HOLIDAY DONATION DRIVE - SUPPORT MSW - DO YOUR PART TO KEEP THIS GREAT FORUM GOING! (Only 13 donations so far - C'mon guys!)
×


Overworked724
-
Posts
1,258 -
Joined
-
Last visited
Content Type
Profiles
Forums
Gallery
Events
Everything posted by Overworked724
-
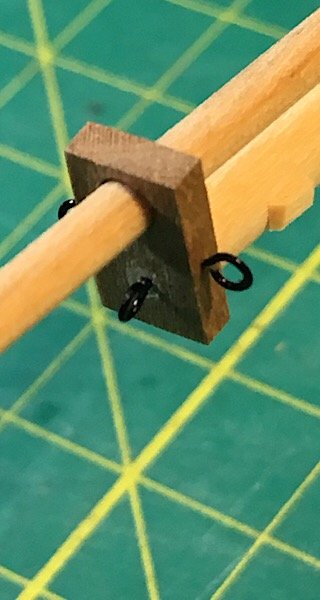
 Ok. Bowsprit Day. The jib-boom saddle and mast cap finally at the correct angle. Lines up nicely. Glued my freshly made cherry wood cap to the bowsprit and have decided it’s just too damned cute to paint black like the jib-boom. Drilled in the holes for the eye-bolts. Glue them on later when I’m ready to set the bowsprit in place. Not a bad days work. I like it when things line up. More pics later. After paint and stain have dried.
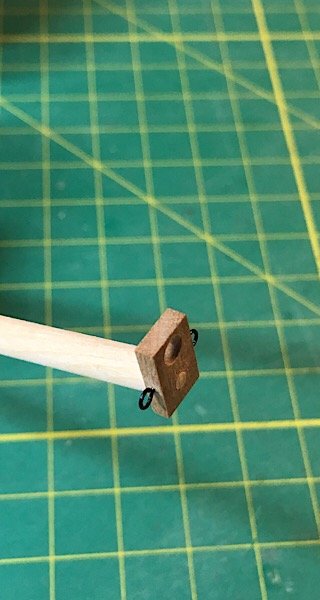
- 449 replies
-
- 3
-

-
- sultana
- model shipways
- (and 2 more)
-
Ooops. John...not Joe!!! Apologies. Still. Beautiful progress so far.
- 90 replies
-
- 1
-
-
- syren
- model shipways
- (and 1 more)
-
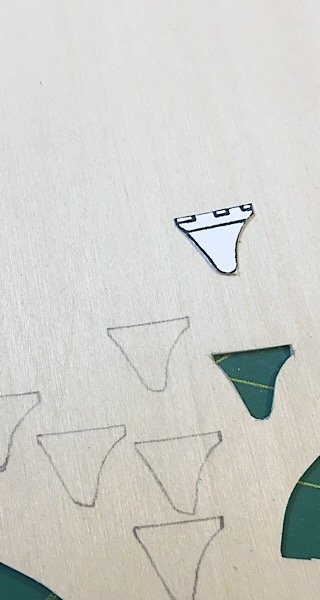
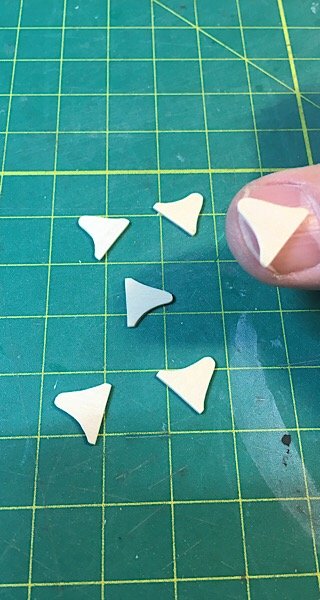
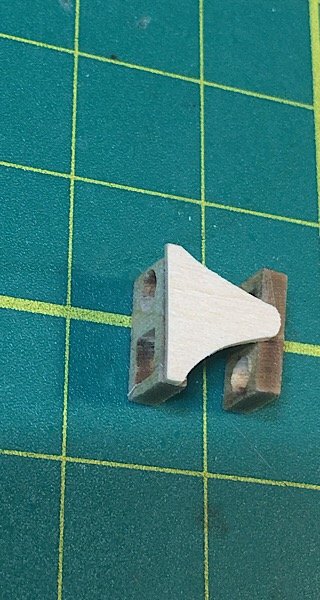
Decided to attack the boys bibbs. 1mm basswood stock and a #11. Magic stuff. Xeroxed the plans, and made a stencil. Made sure caps were right size. (Close but not perfect....but pretty close. 😊) Decided to prep 6 but I only need 4. Will take the best matching 2 sets and paint later. During cutting I wrecked one...make that 5! If you look at my caps, you might have noticed that I needed to make a cap for each mast and the bowsprit. Used cherry wood (2.3mm). Matches the 2 mast caps I could salvage from the kit. Hey...works!!! But since my caps differ from Chuck’s practicum, will mount bibbs differently than he did. Moving on...
- 449 replies
-
- 3
-
-
- sultana
- model shipways
- (and 2 more)
-
Hey Joe...you should try fiddling with a plank bender. You can get quick and permanent curvature by wetting the wood and rolling the wet plank along the curved heated element with pressure. When I was planking the Nelson (before life and the Sultana distracted me) I was getting good at using my cheapie bender. My shipmates from my club made me examine its use and they are pretty cheap. Just another option for you. looking good!
- 90 replies
-
- 4
-
-
- syren
- model shipways
- (and 1 more)
-
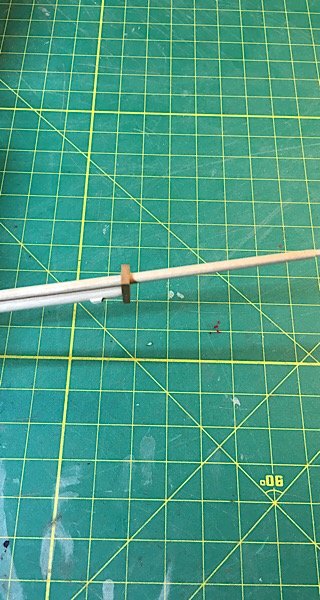
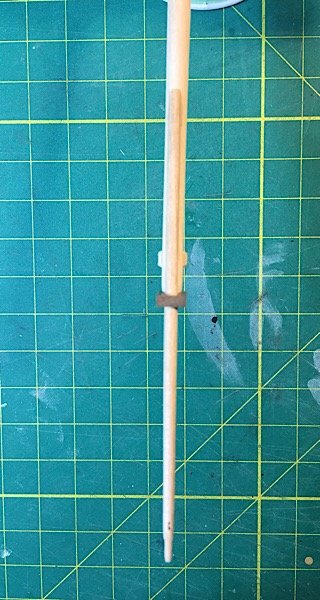
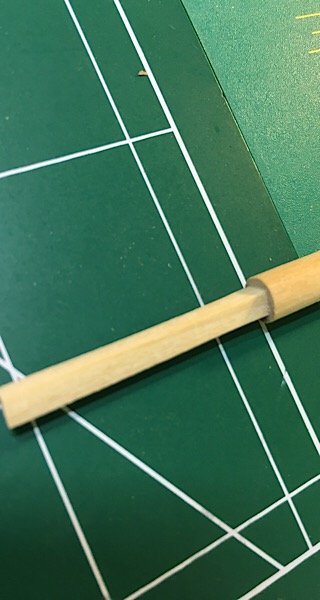
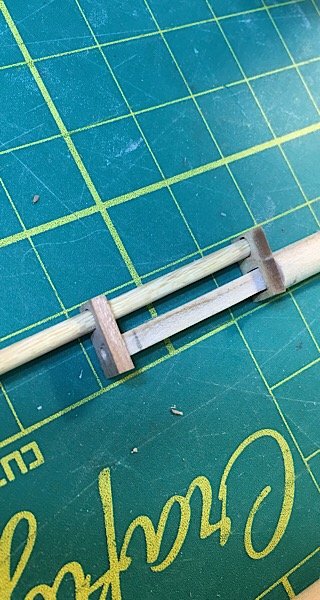
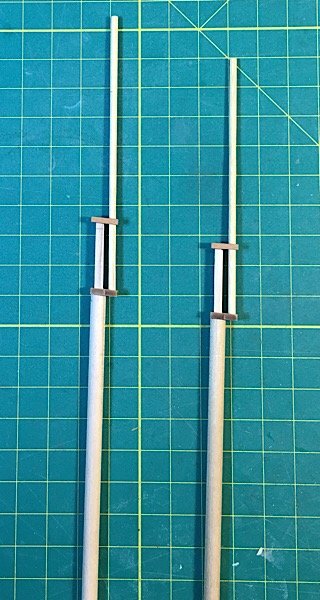
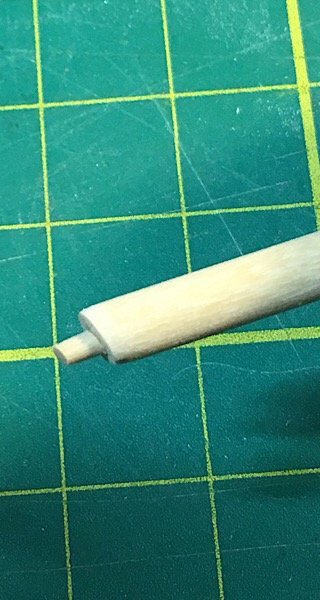
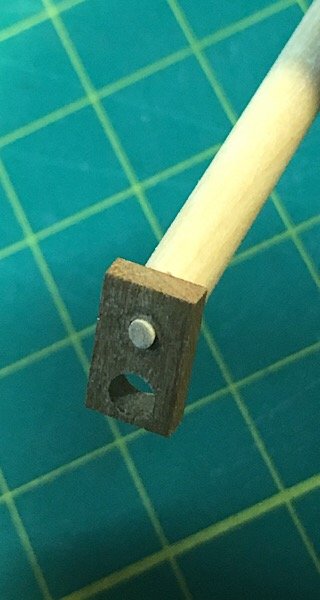
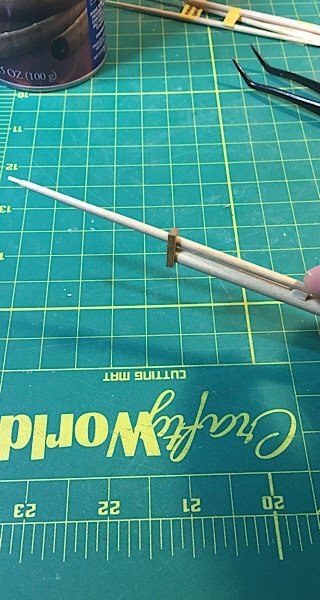
Masts aren’t perfect, but they are passable. Getting the right lean in the caps (?) to match the rake was impossible so I eyeballed it...not lying. Bowsprit and jib-boom required Some thought. I decided to do something different. Rather than shave down the front of the bowsprit, I decided to connect a suitable end of a toothpick to the end of the bowsprit. Fits perfectly in the cap (? Nautical terms are beyond me right now) and allows me to line it up without any thinking. I can sand front of cap flat later before painting. The chuck between the boom and sprit required some sanding with round/beveled needle files. Not bad! It’s progress. Moving on.
- 449 replies
-
- 5
-
-
- sultana
- model shipways
- (and 2 more)
-
Ok. Gun stock bases made. Got top masts and fore and main masts made. Need some sanding. Pics to follow but good progress. Decided I will prep the guns/mounts and add to the ship LAST! I don’t understand (other than to ogle your own hard work) why you put them on until the last...even after the flags!? I have never rigged a ship before, so the fewer obstructions and hazards the better. Moving on...but slowly. Recovering from some difficult oral surgery.
- 449 replies
-
- 2
-
-
- sultana
- model shipways
- (and 2 more)
-
Crap. Miscalculated. Need to sand down the bottom ends by 2mm. 😒
- 449 replies
-
- 3
-
-
- sultana
- model shipways
- (and 2 more)
-
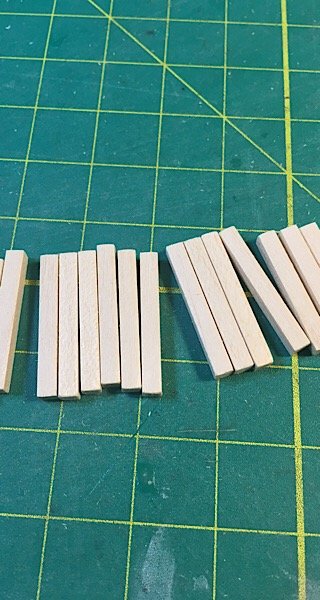
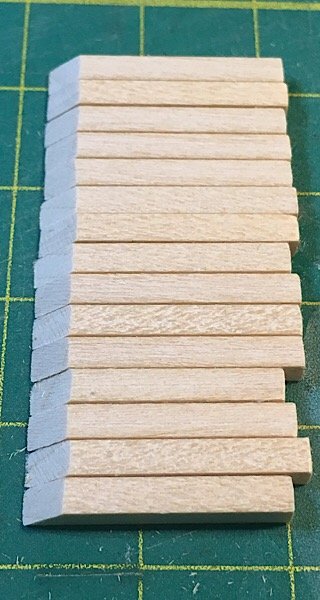
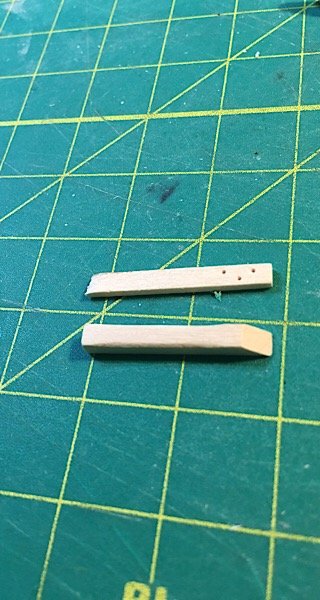
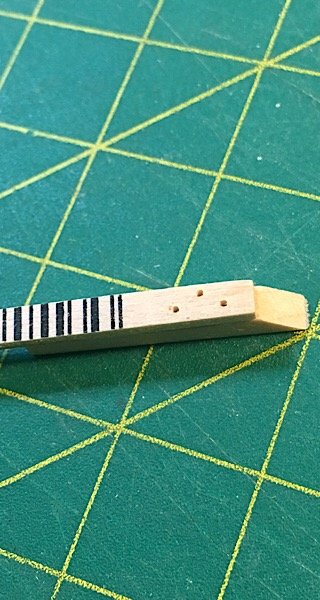
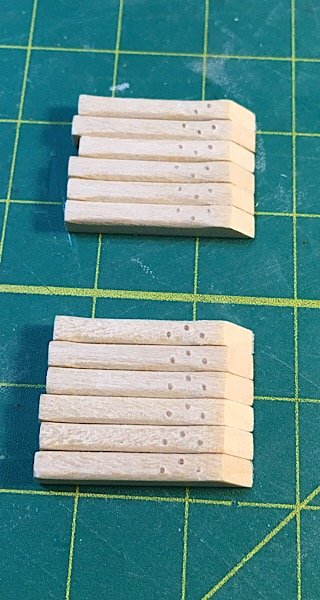
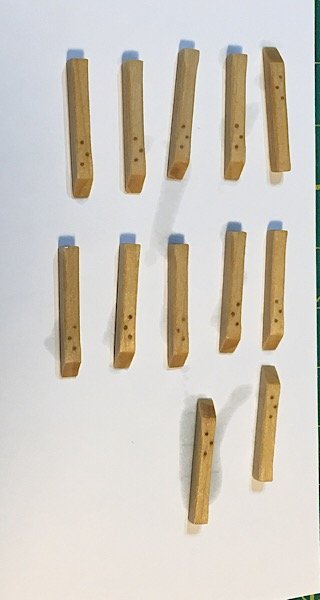
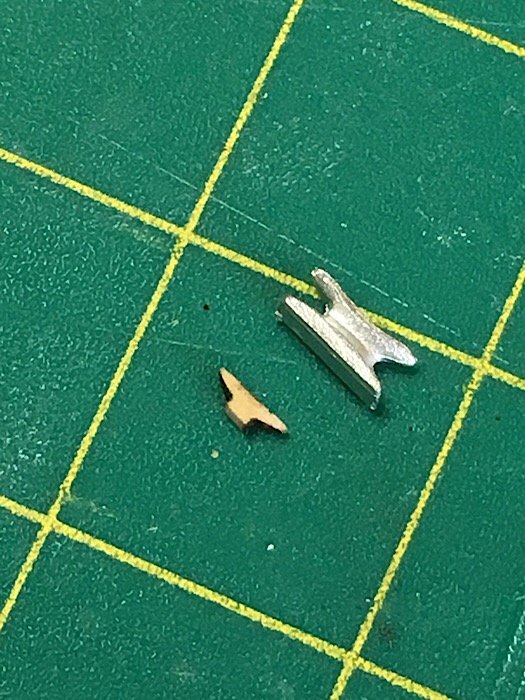
Gun stocks. Not sure if I’ll paint. Used a 1mm x 3mm piece as a template to score my stocks, then drilled the holes and put in the tree nails. Natural stain. Will cut to fit later but numbered them to keep port and starboard straight. Moving on!!!! 😁
- 449 replies
-
- 5
-
-
- sultana
- model shipways
- (and 2 more)
-
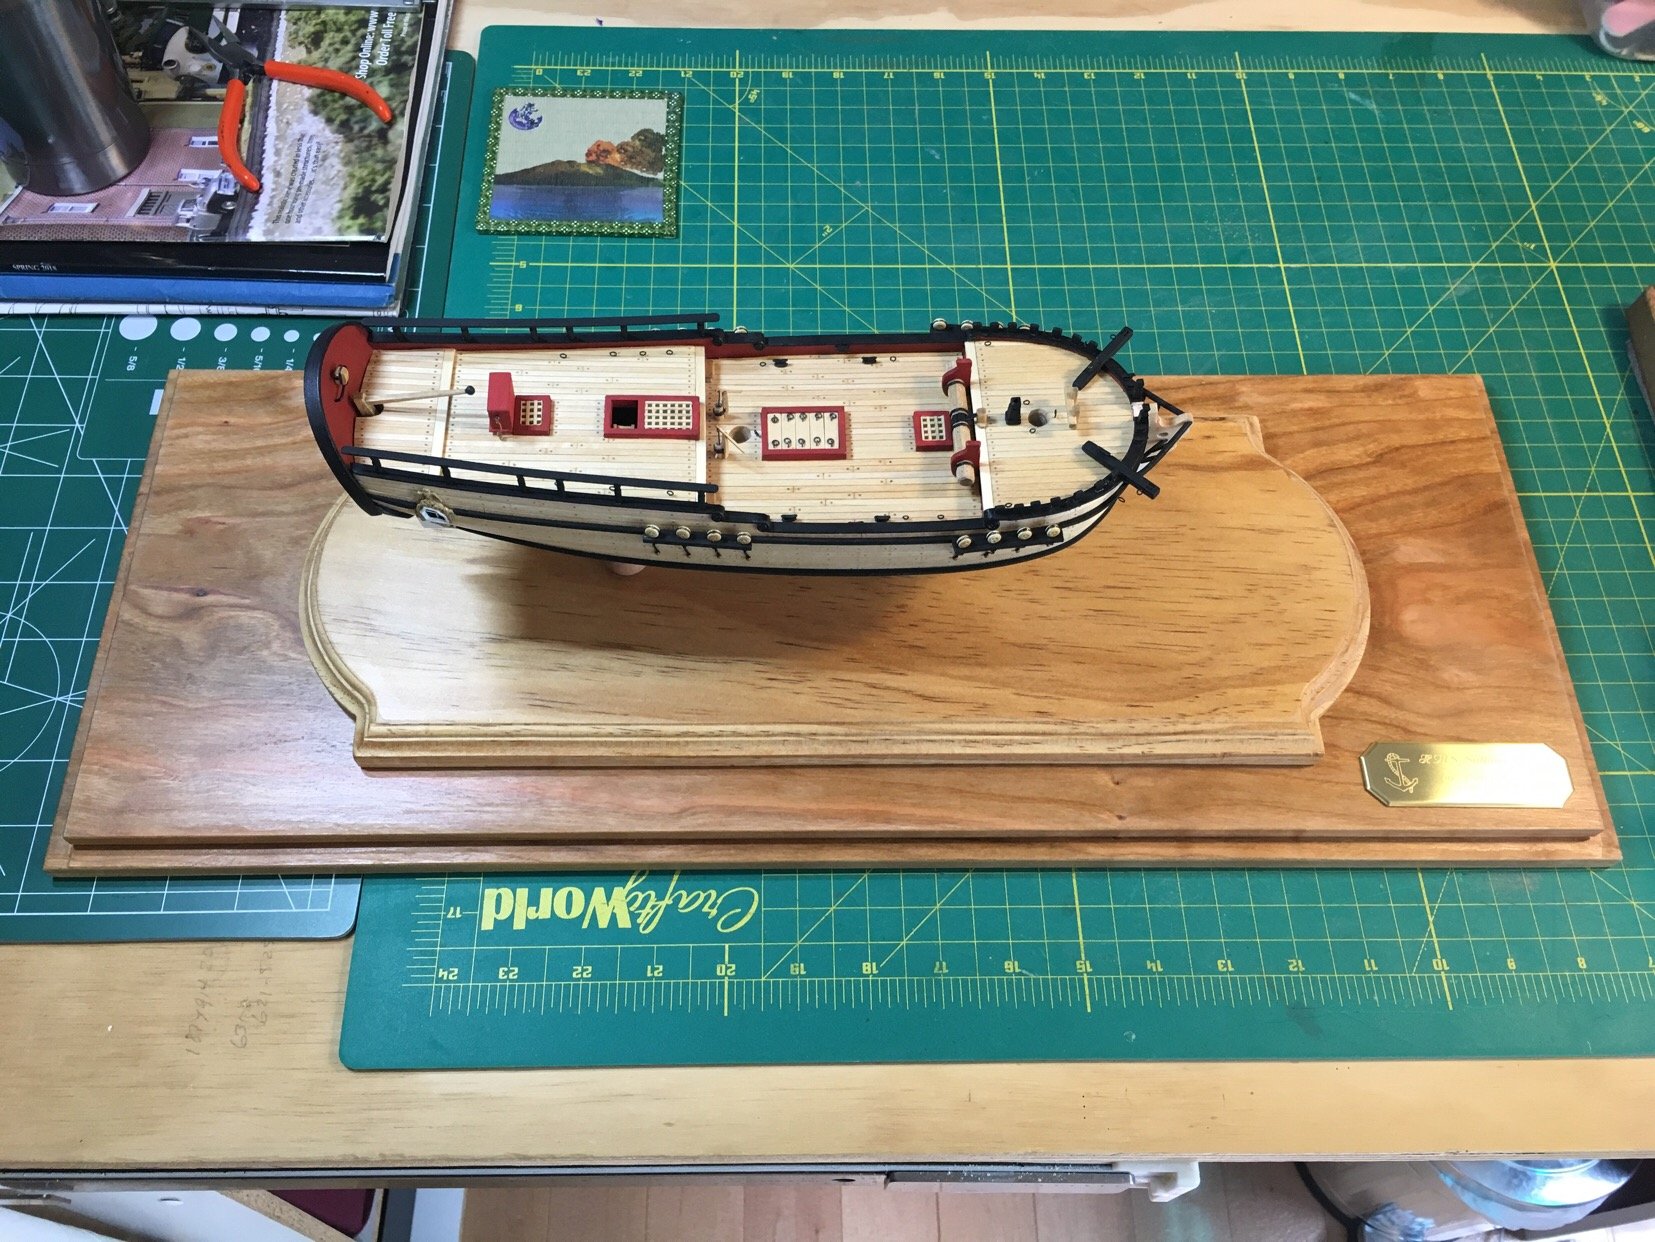
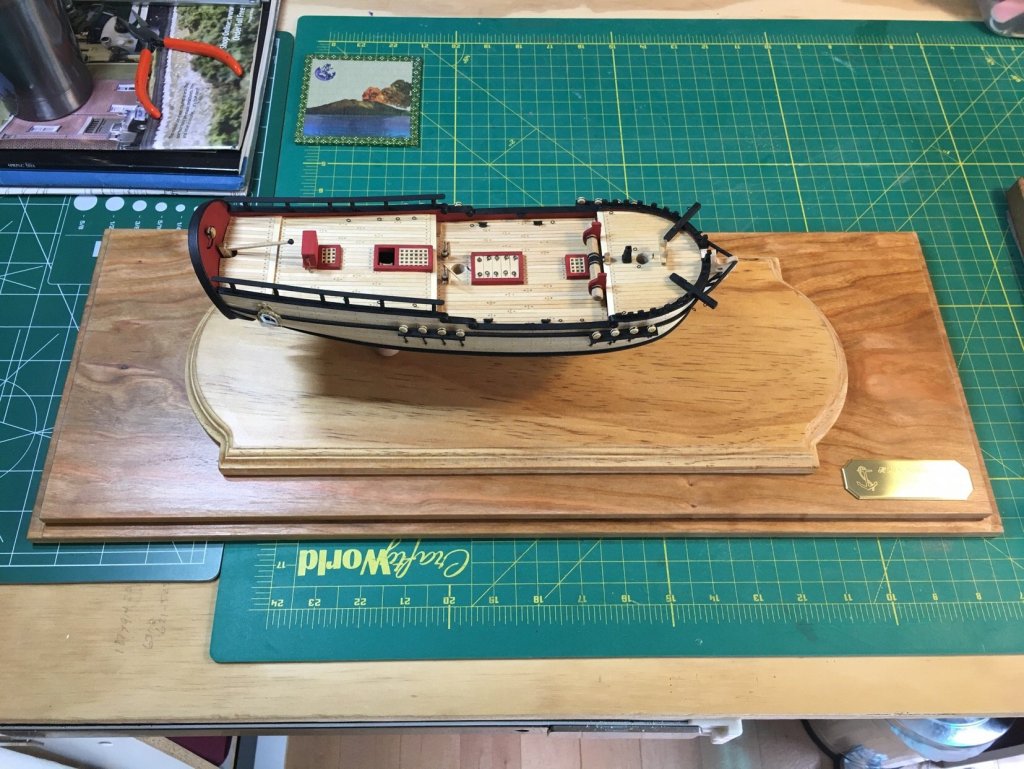
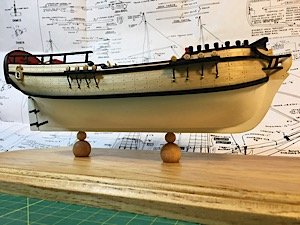
Yes...the ship and mounting board are aligned!!! 😁
- 449 replies
-
- 2
-
-
- sultana
- model shipways
- (and 2 more)
-
Cherry wood base for plexiglass case. Looks pretty good. Had to stain (natural). Was fun getting the mounting board aligned. But a good result. Now working on the little bits of stepping the masts and bowsprit. What a HUGE difference a simple natural stain makes.
- 449 replies
-
- 5
-
-
- sultana
- model shipways
- (and 2 more)
-
Wonderful job on the volutes! The tiny scrolls can be very challenging. Nice job so far! I’m enjoying your build!
-
OK...will post some pics tonight...back to sanding and doing the mast 'caps'...tried using one of the supplied wooden jobbies and the little thing snapped like a twig. I am doomed to be making everything from scratch!
- 449 replies
-
- 2
-
-
- sultana
- model shipways
- (and 2 more)
-
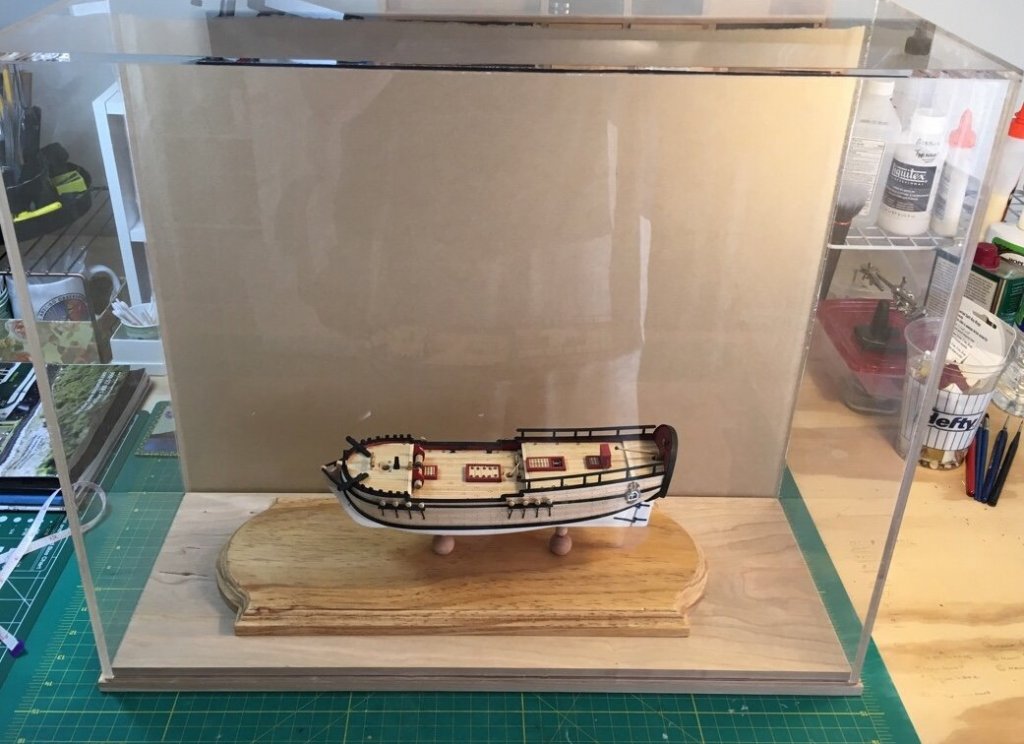
Sorry folks. No pics but case is made. Will add later. Starting to work on masts and get her ready for rigging. Got a bit flummoxed on the base. The case and base (cherry wood) look beautiful. Now considering whether to mount her without an additional support base or right on the cherry wood. Sigh. Decisions decisions.
- 449 replies
-
- 1
-
-
- sultana
- model shipways
- (and 2 more)
-
And once again. I would like to say...tales of my demise have been greatly exaggerated. But my Shipyard has become a bit dusty of late...as my work has again gotten in the way. My my wife has subsequently sent me to my ‘room’ to get me out of her hair. 😆
- 449 replies
-
- 3
-
-
- sultana
- model shipways
- (and 2 more)
-
Awesome video!!!!! Thank you!!! Need to watch this about 10 more times. 😂
- 449 replies
-
- 3
-
-
- sultana
- model shipways
- (and 2 more)
-
Made a few attempts at scratch building the wooden cleats...I think I could probably manage to make some decent ones given some additional time in improving my technique. But I still have a limited skill set, and those bloody things are tiny...so decided to opt on the side of the leisure enjoyment of my build. Will simply stay with the laser cut cleats for the remainder of the build and ignore (with extreme prejudice) the cast metal cleats. This way I can ensure they are reproducible as well as save myself some aggravation in toiling with parts that are so small. So - another deviation from Chuck's fantastic practicum. Got some wooden 3mm and 5mm cleat (laser cut), as well as some 5mm shroud cleats (laser cut) - which was an afterthought and, frankly, a good idea. They were cheap and came in a pack of like 40-50...so they should last me a good long while and can be used for other builds. Moving on...and I do not feel like I cheated...but made a necessary modification to a severely dated kit.
- 449 replies
-
- 3
-
-
- sultana
- model shipways
- (and 2 more)
-
Those Britannia cleats do seem oversized. Decided to order some cleats (3mm) from Syren (cheap). Laser cut cleats from wood seem like a better option when I consider trying to jam seven of them around the main and foremast. We shall see. Also completed sanding out the yards. Moving on....
- 449 replies
-
- 8
-
-
- sultana
- model shipways
- (and 2 more)
-
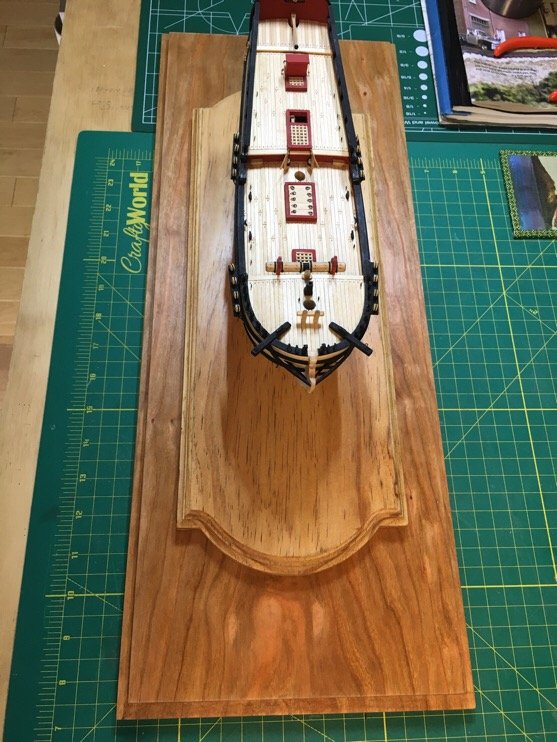
RIGHT!!!??? Ok. It is my first mounted ship and it is not even rigged yet. But DAMN! I cannot stop looking at that pic.
- 449 replies
-
- 4
-
-
- sultana
- model shipways
- (and 2 more)
-
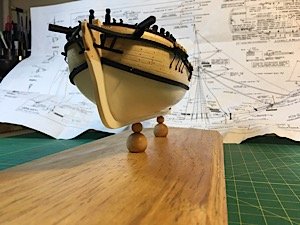
Made another yard. Slow but steady progress. But HEY!! Here is another pic of my Ship with BALLS!!! (Yeah, I said it. The Admiral didn’t laugh either.).

- 449 replies
-
- 9
-
-
- sultana
- model shipways
- (and 2 more)
-
John i also tried inks (think I may have posted one of my attempts on my Sultana log). Ink bleeds...especially if you plan to stain the wood after or even use tung oil. Graphite was sort of the landing spot for me. Looking forward to your findings as well! Happy building, brother builder!
- 90 replies
-
- 1
-
-
- syren
- model shipways
- (and 1 more)
-
and I just saw the post above mine which basically said the same thing...LOL. Sorry John.
- 90 replies
-
- 1
-
-
- syren
- model shipways
- (and 1 more)
-
Quote: "A little time today spent on the build. Taking it slow and carefully.... Placed the simulated lower deck in place today. The edges of the planks are rubbed with a pencil graphite at a 45 degree angle. This tends to slightly reshape the long edge of the plank and show some darker edging nicely. Once glued in place, the planking was stained with Golden Oak. Funny thing, though, my golden oak looks less golden and a bit darker than others'... I wonder if my stain is old or something. M'eh. ;-) " OK. A couple of things. - I have Golden Oak, too...and it is also very dark after drying...almost like is was aged antique oak. It's quite beautiful, but much darker than I supposed based upon pics from Chuck's practicum on the Sultana. It's not you....it really is the stain and the type of wood. Not certain whether other woods might come out looking slightly less darker...but worth a short search. - Pencil lines for deck planks. I love that effect! But I tried multiple ways on scrap planking until I realized a truism...no two seams will be the same, and the effect or darkness of the plank lines (tar lines) may in fact be too much or too little based upon your desire. As for me, I found that taking a #2 and rubbing a single side of the plank joint (i.e. only marking one 'facing' side of only one of the two planks which form the seam) provided me with a fairly consistent and effect across the entire deck. Also, when sanding, you run the risk of rubbing the graphite into the wood grain if you leave too much residue. So I found that coloring one side (one the flat of the face, and not at an angle where I could bruise the soft basswood strips I was using) gave me consistency, without too much reside which would 'bleed' out of the seam upon sanding once I went the even out the deck. Take my two 'pre-school' tips at face value. I'm just learning myself but like you, I am always doing a lot of 'trial and error' before I pull the trigger on the build itself. Loving your build! Best Pat
- 90 replies
-
- 1
-
-
- syren
- model shipways
- (and 1 more)
-
Fantastic boat....nicely done and the pics are an excellent tutorial!
-
Lou! You and I have the same Admiral I swear. Distance is relative nowadays. She doesn’t trust me much, especially in her kitchen!!!! She is Japanese. So we have quite a bit of family there. But she is traveling for family, I’m traveling for work. We’ll meet up in Tokyo. And to your our first question...no. I’m not adult enough to be left alone. But my childish cuteness seems to keep her coming back.
- 449 replies
-
- 3
-
-
- sultana
- model shipways
- (and 2 more)
-
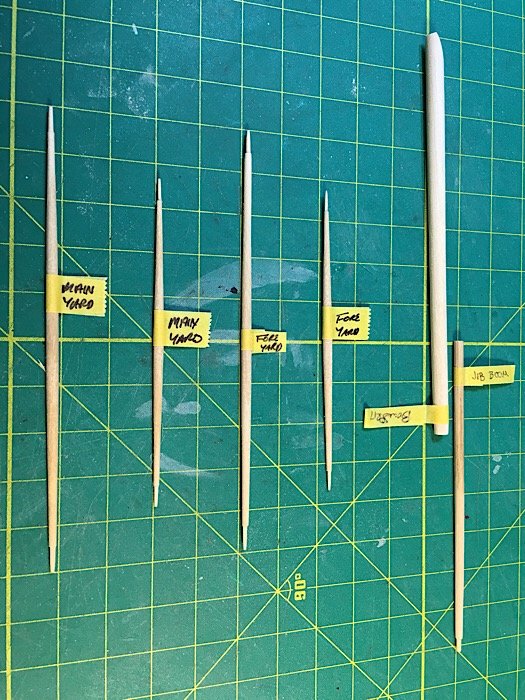
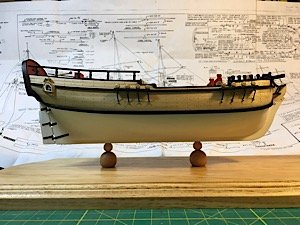
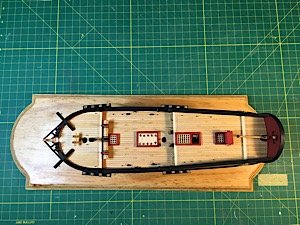
Ok. The Admiral is in transit to Tokyo. I am on my own for the next week and my ship was calling me. Progress. Made my first yard. Tapered by elbow grease, sandpaper, sweat, sheer guts, and my drill. Yes, I finally just stuck the dowel in the chuck, and simply squeezed 120gr, 240gr, and 400gr around the barrel of the yard as I spun the wood in the drill until desired taper achieved. Easy. Carved the ends using a #11 and shaved off bit by bit. One yard took about 10 minutes. Don’t know what I was so fricken afraid of!!!! Mounted the hull on the wooden balls and board I prepared. Had to see if my preparations were even worth a fig. But...TaaaaDAAA!! The flat keel sitting on the wooden balls, mounted on the stained board...was curvy and smooth and makes you wonder if the ship will fall over!!! The effect I wanted! Really happy with the choice of mounting on balls. Neat effect. Cannot see the screws at all, and the hull is trim and level with the keel. Heart attack moving the ship to the mounting board. Ugh!!! Moving on. More yards to make before I go to Japan next week.

- 449 replies
-
- 9
-
-
- sultana
- model shipways
- (and 2 more)