HOLIDAY DONATION DRIVE - SUPPORT MSW - DO YOUR PART TO KEEP THIS GREAT FORUM GOING! (Only 13 donations so far - C'mon guys!)
×


mojofilter
-
Posts
160 -
Joined
-
Last visited
Content Type
Profiles
Forums
Gallery
Events
Everything posted by mojofilter
-
 Just finished the last of the shroud lines. I had purchased 1ea. 20' piece of Syren's .88mm (.035") dark brown rigging rope (among other colors/sizes). This really is superior to the kit's .80mm supplied rope. The finish is much nicer - tighter - free of 'slubs'. I don't have a good way of accurately measuring the diameter of the two but visual comparison shows them about the same size. So one 20' piece was enough to do all 10 shrouds with several botched ones, and a couple of feet to spare. The kit calls for the .80 rope, and then the serving, puts it probably about 3" dia. at scale - I'm sure this is 'overscale' but not too much, and I think it looks pretty good. I'll get photos up when I get them temporarily installed. - Tim
 -
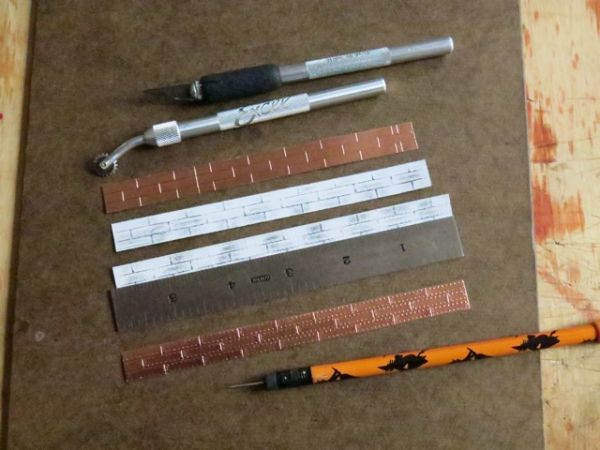
Hello Primey - I too will pull up a chair and watch your build. I must say, so far, nicely done! I lurk on the CS build logs as I have one (Mantau/Sergal, also 1:78) under the workbench, waiting for Yacht America to be finished. A ways off but in the meantime, soaking up tips and wisdom like a sponge on a puddle of spilled Coopers. My only advise at this point is to consider copper plating the hull. CS looks so nice with a copper bottom, and there are many examples and tips on it. The Mantua kit comes with something like 1300 individual plates. Think of it this way, that's only 650 per side! Piece of cake! Ive seen other kits with self-adhesive tape, one plate wide that I gather, goes on like planking. I think you have to apply the 'rivets' first. On America, I used tape that was three plates wide and ~eight plates long (3/4" wide X 6" long) and applied the 'rivets' with a pounce wheel from the back side. Either way, she looks like she is going to be a fine build. Looking forward to your progress! - Tim
-
Tom - I don't think you'll be disappointed with the Syren serving machine. Easy to get the hang of using. Maybe a little short for those 50cm shroud lines (America) but maybe the lines would become unmanageable it the working area were any longer. My humble advice: while assembling the machine, make the moving parts slightly too loose, rather than slightly too tight. You want it to spin easily with no work mounted on it. I also used bee's wax on all the bearing surfaces (except those to be glued of course) and gear teeth. Looking forward to watching your progress. - Tim
- 1,348 replies
-
- 1
-

-
- constitution
- model shipways
- (and 1 more)
-
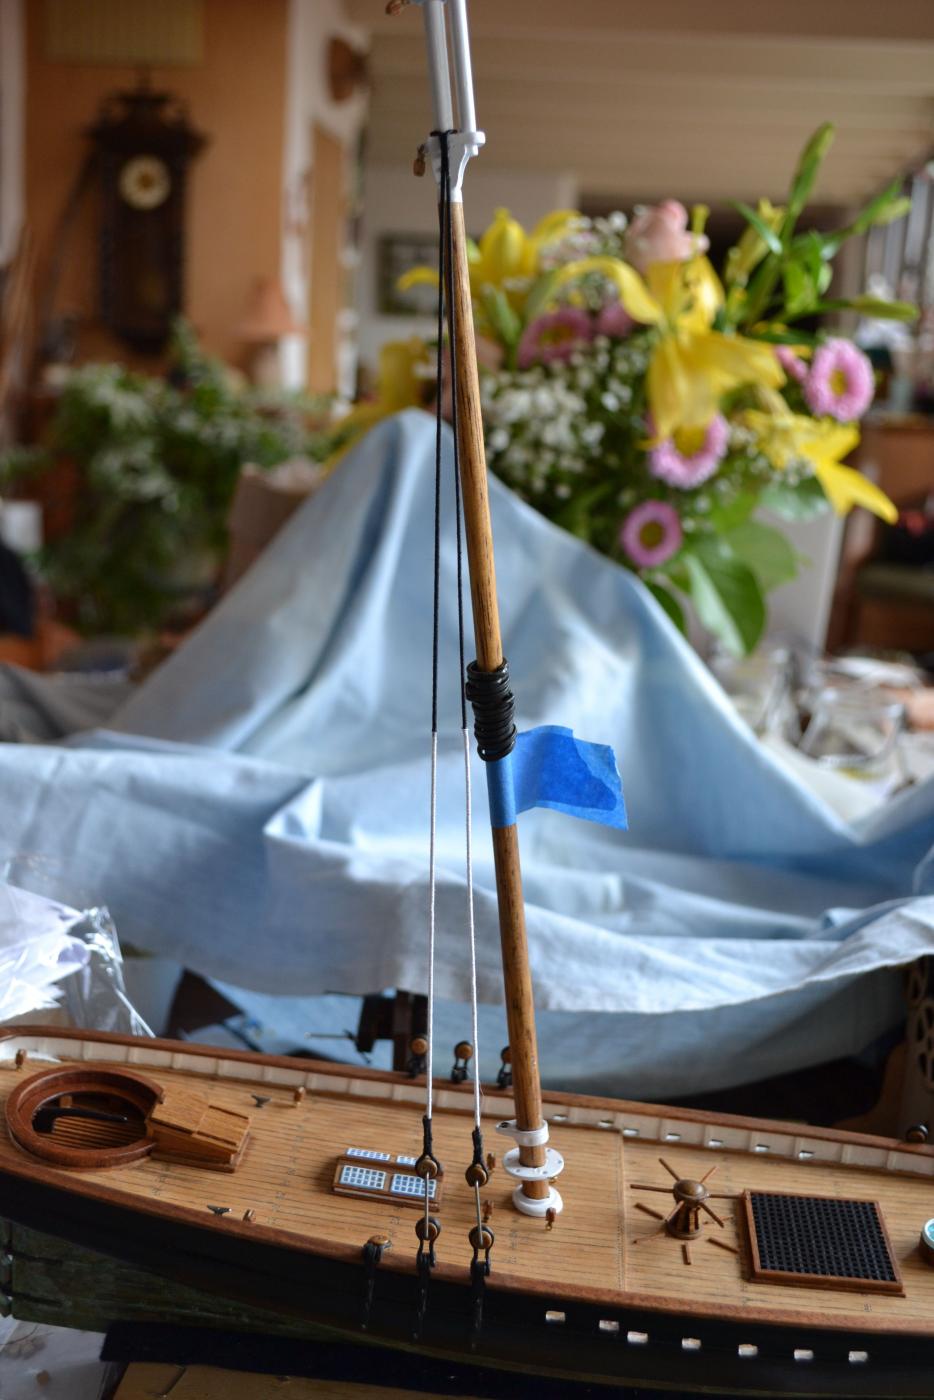
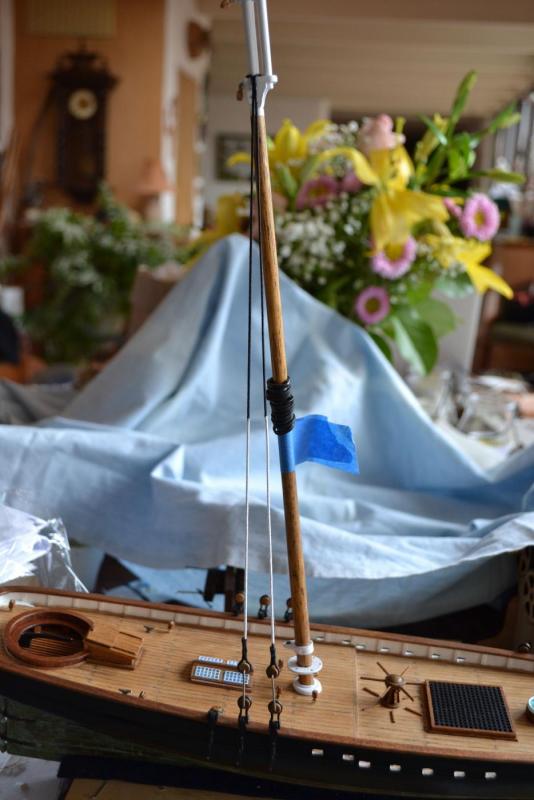
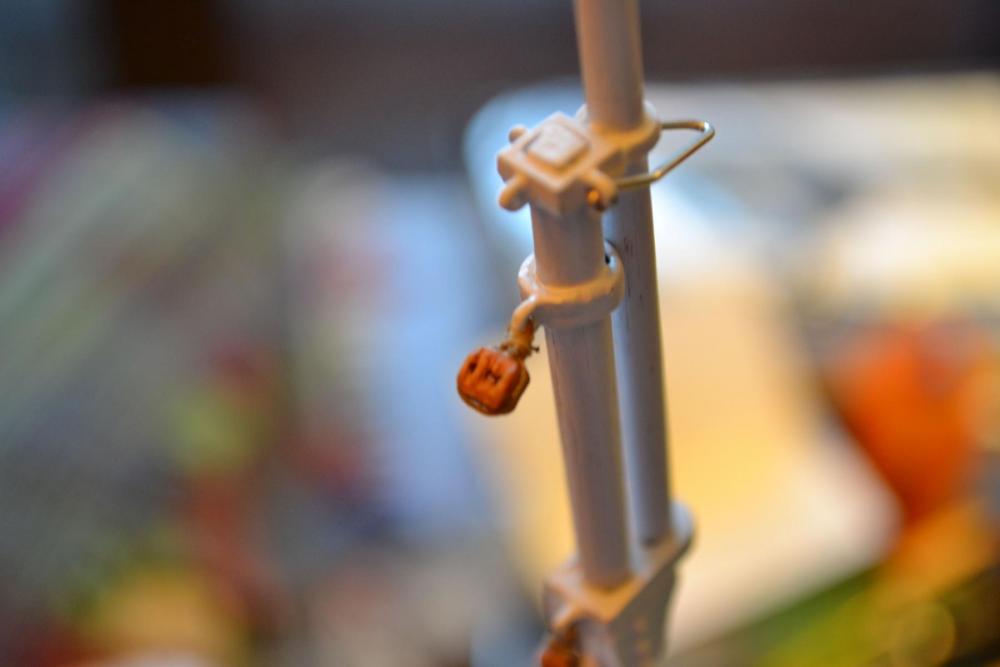
PS - the flowers are for my wife, who's afraid she is becoming a model ship widow. Works for a little while ;-)
-
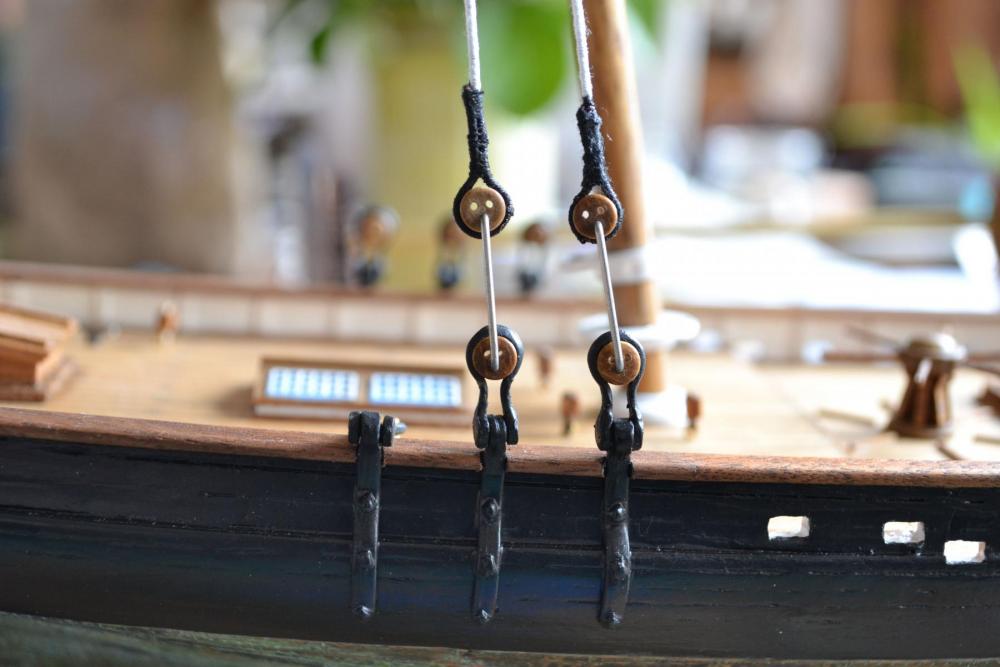
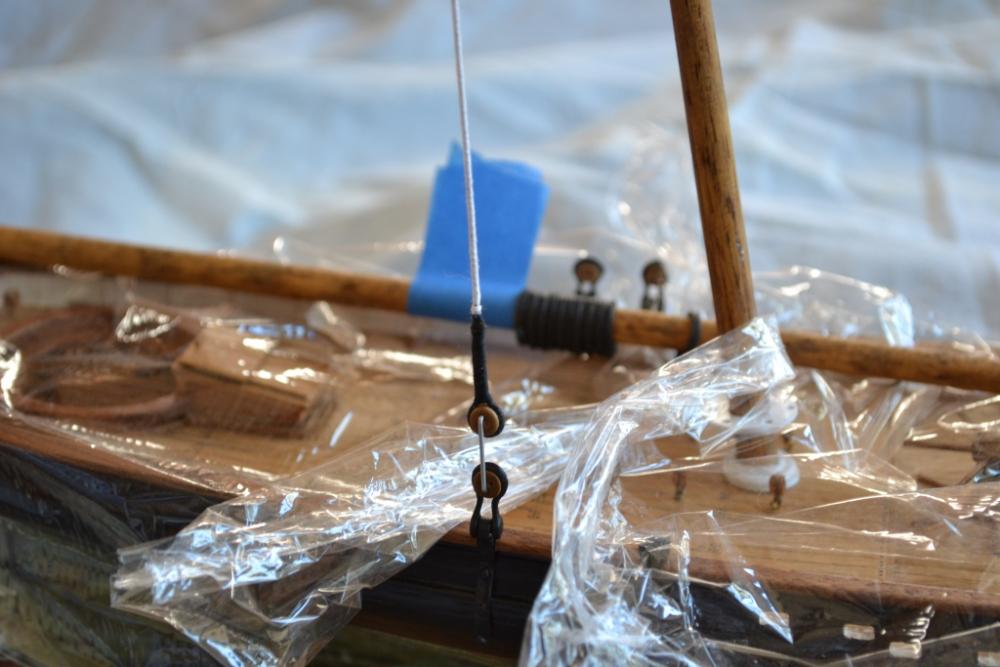
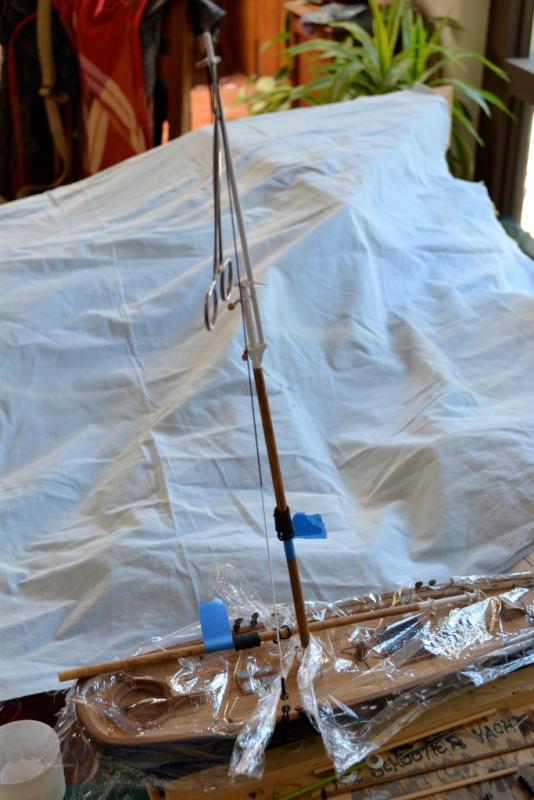
So here is my latest attempt. The aft shroud, top deadeye seizing is my attempt at the method that Brian shows. There is actually three seizings, although hard to see due to black on black. I'll re-do the single shroud (to the top mast) and proceed to the other side. I hope to keep all the shrouds about the same (very low) tension in the paperclip retainers so that at the end of rigging, the lanyards will bring the deadeyes to the same spacing. We'll see...
-
Eye-spliced - interesting. I guess that means the shroud lines are (natural, or nylon) rope of some kind. I would have thought that the replica America would have steel wire rope - but then would you even need deadeyes? One the other hand, the deadeyes are such a visual aspect of that period that you'd want to replicate them. Thank you for the research! - Tim
-
Hi Hamilton - Be nice to see the windlass and skylights on some deck furniture ;-} ... Kidding - life just kinda gets in the way of more important things sometimes. Try getting doctor's orders for this special therapy. - Tim
-
Peter - just re-read your last post, and remembering that the stern was quite ambiguous in the plans. I too have seen many variations on the look of the stern. Everything from a very flat slab, to a jutting break line below the hand rail around the stern. (sorry for my lack of nautical terminology). In many cases, it looks like to see the eagle carving on the stern, you would have to be directly under it - well almost. Anyway, looking forward to seeing your interpretation! Keep up the good work! - Tim
-
Hi Peter - Very nice job! Curious about the walnut stem/stern? IMHO, the more care you take with the Mamoli bulkheads, the easier the planking will be. Looking forward to your progress. - Tim
-
Not a bit of it! Extremely valuable information. Please leave your post as-is. I will incorporate the seizing method on my next try. I will probably still go with the white serving to the halfway point, and then black all the way around the mast and back down to half way, etc. since there are only two per mast (not counting the mainmast top), I will serve both the entire length. I like the temporary deadeye positioners. mine are paper clip pieces. Thanks, - Tim
-
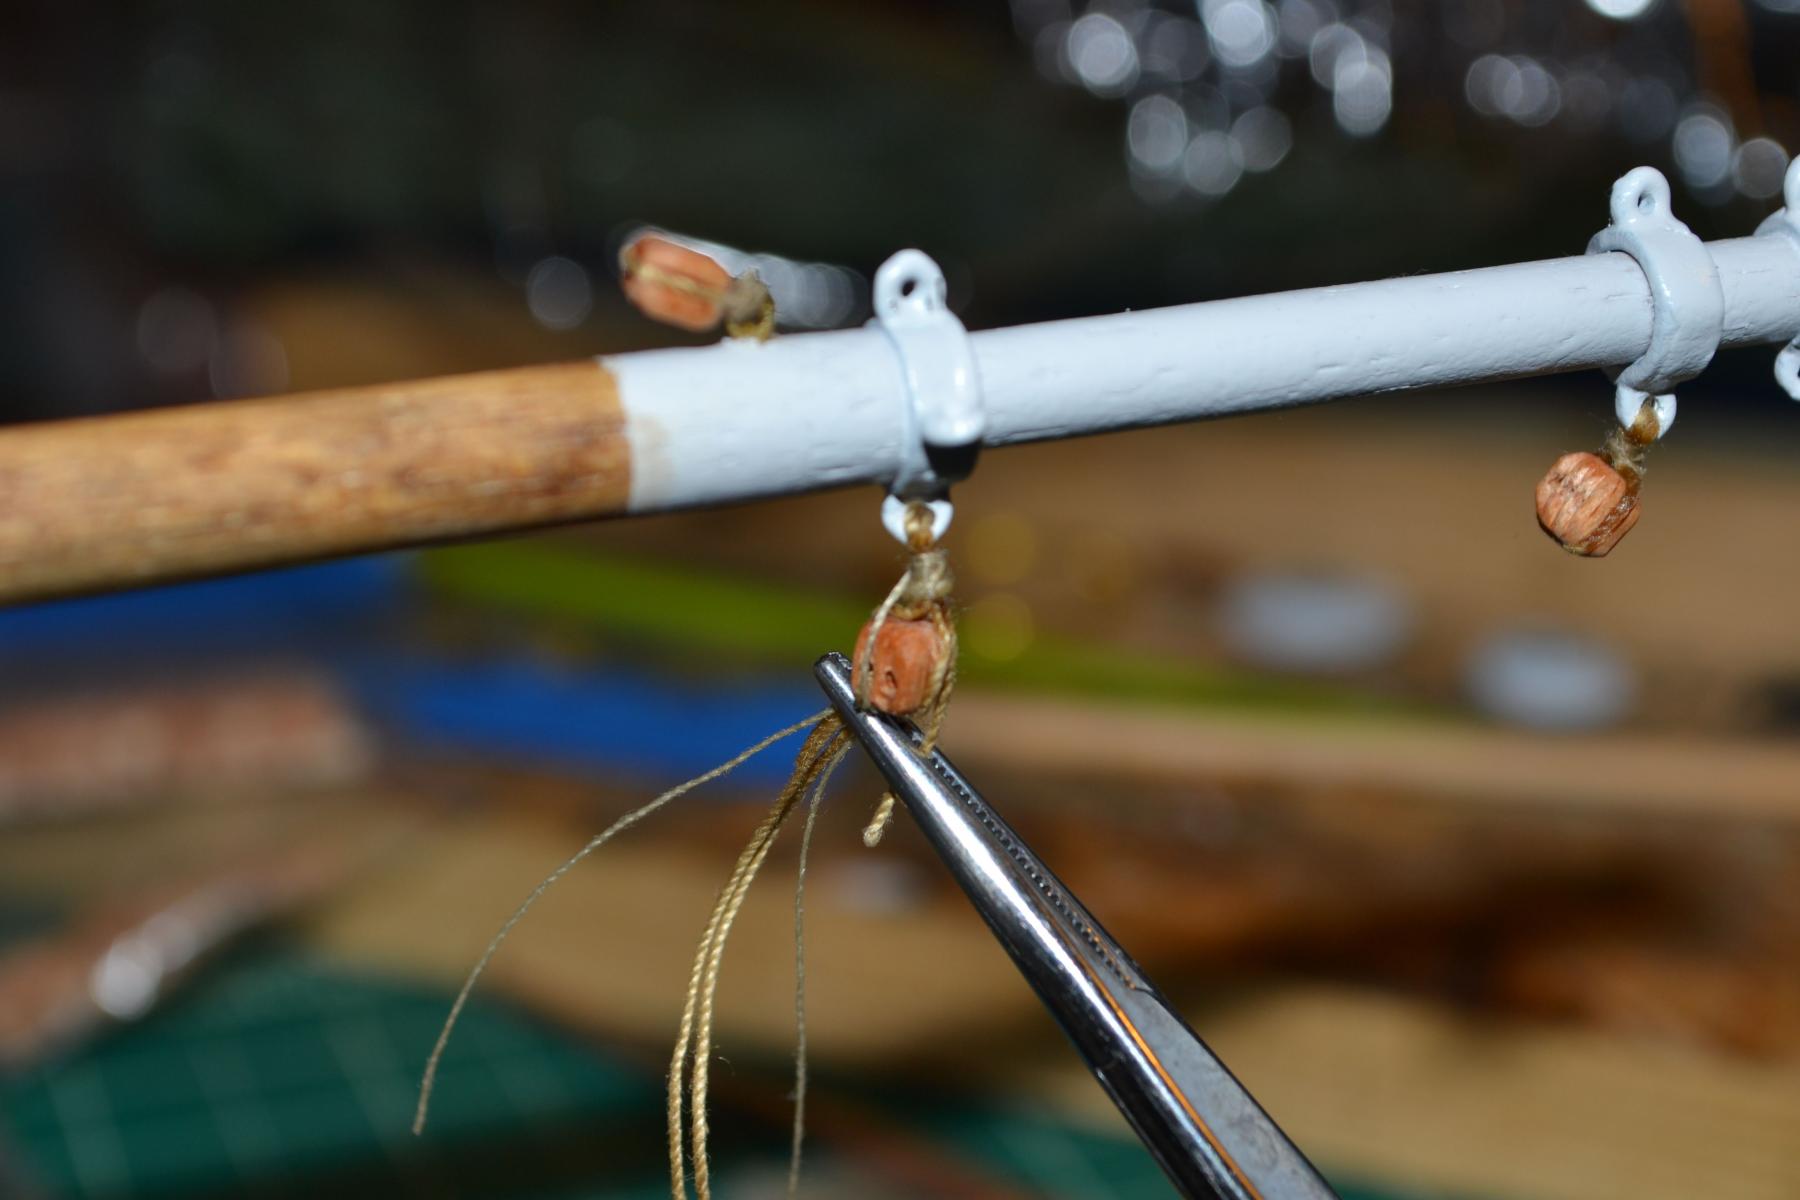
Hi Hamilton - Building the machine is straight forward, although the laser cut bits are nice and tight. If you buy the Syren server, don't be afraid to let out the shaft holes a bit. The top 'transfer shaft' holes. You want it to spin easily. Using it takes no time to get the hang of. I keep the serving thread between my thumb and index finger, and just a smidge behind the wrap. It's pretty forgiving. The Syren rope choices didn't match the kit's 0.80mm shroud line. I used their 0.88mm rather than the 0.63. I'll try one with the smaller rope. Another 'complaint' is that the Coats & Clark mercerized cotton covered polyester thread is a bit fuzzy. There is probably a better thread - this was from Her sewing box. I will eventually get to a step where I can't seize with the machine. Not looking forward to that (still no third arm no matter how hard I've tried). I'm wondering if anyone has tried one of those fly-tieing devices to hand-seize? Any way, we'll see how this goes. I like the look! - Tim
-
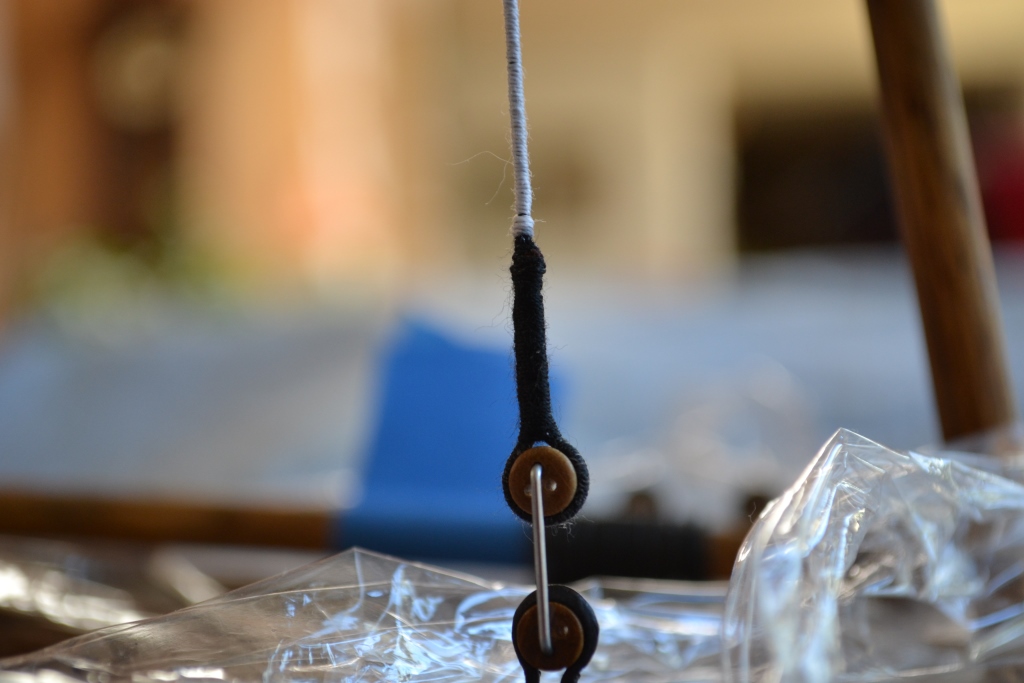
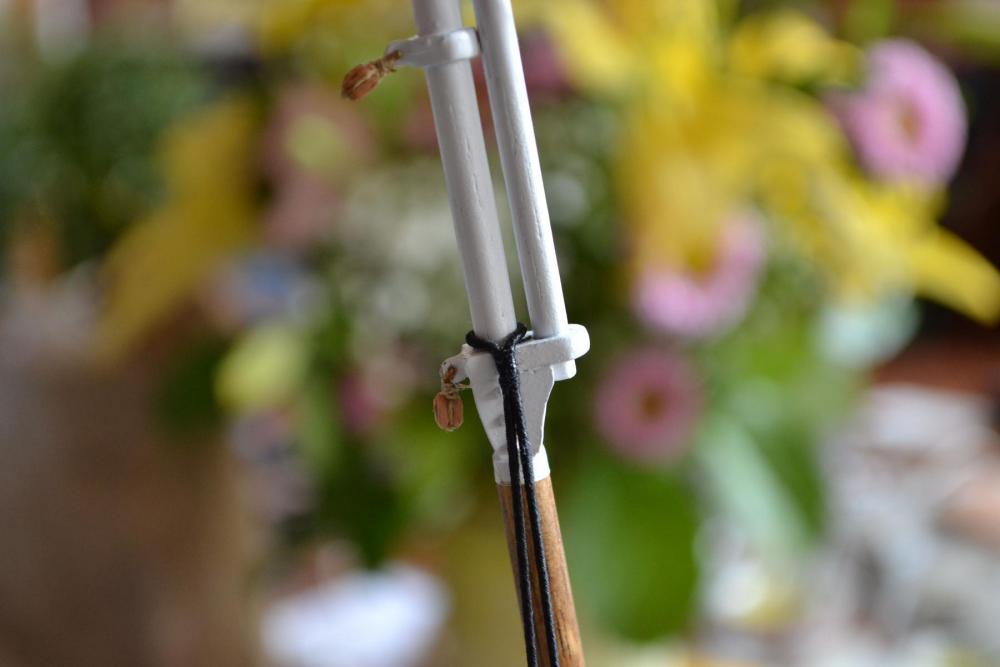
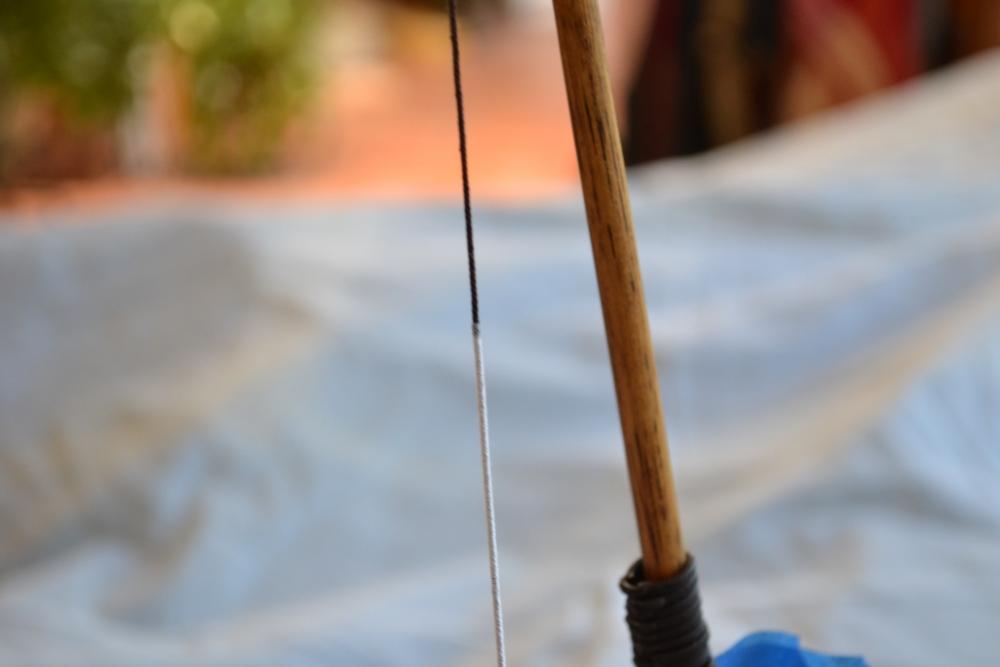
So the rope from Syren arrived. My first attempt at serving: I served about 1 1/2" at the bottom end with black thread for around the deadeye. Then seized it. I then went from the top of the deadeye seize to about half way with white thread, then served the top inch with black thread again for around the mast (not shown) I think the seize at the top of the deadeye is too long and fat. I might try the next size down on the shroud rope. I also think I'll not go quite as high on the white serving. But I do like the effect and believe I'll go with this rather than paint. - Tim


-
So my Syren serving machine arrived and I assembled it - quite a nice little gadget. I mounted up some of the shroud line and served about an inch on one end in black - pretty fine thread - to go around the deadeye, then white thread from there to about half the length of the line, then about 3/4" at the top (black thread again) to be seized around the mast. I don't know if white and black paint was applied directly to rope in 1851, but I think I like the look of the served shroud line. I'll try to get a picture up on my log. I note that in both links that Hamilton provided (THANKS!!), There are two shrouds to the step of the mainmast. The third (aft) shroud to the top of the stepped mast is not there (as in the kit). So in all the paintings and other references, the vote seems to be about 2/3 without the third shroud, and 1/3 with. - Tim
-
Hi Hamilton - Have you given any thought to your shroud lines as far as color? Looks like the kit (box photos anyway) show shrouds served in black from the deadeyes to the little cross spacer (insert nautical term here), maybe 15mm, then white to about half way up the shroud, then black again from there to the mast. You can barely see it in the tiny picture on the end of the box. I can't find any info on the original, and don't see any finished builds on the forum. Any thoughts? - Tim
-
I love the effect of the thread!!
-
Very nice start Peter. Both Hamilton and I are currently building the Mamoli kit. Hamilton has done an outstanding job on his hull - You might want to take a look. I think the little wooden 'copper' plates supplied with the kit are an interesting concept, and I've seen it done well, but I think the real copper plates are very much nicer. I look forward to following your log. - Tim
-
Very nice!! I really like the three step plank butt progression. The kit said two so I did two. Did you get pre-cut hand railing with your kit? I did not - had to cut my own out of thin walnut strip. They are in four pieces (plus the stern wrap) and it took me several trys. I recommend plenty of glue as the rails get a lot of abuse during construction. Up until I started the rigging (deck blocks) I used TiteBond II for everything. Keep up the beautiful work! - Tim
-
I shall look into the rigging line at Syren. The plans in the kit call for number 25, 40, and 80 line. I have no idea what that means. I don't know what size I would order. I can see relative line size on the plans and certainly the shrouds and fore and back stays are the largest. No clue on the Arthur C. Montgomery plans as to the size. They do mention that the mast rake is '2 3/4" to the foot' I'll get out me measur'n sticks and do the trig, but the mainmast is glued in so it is what it is. Any help on line size would be great! - Tim
-
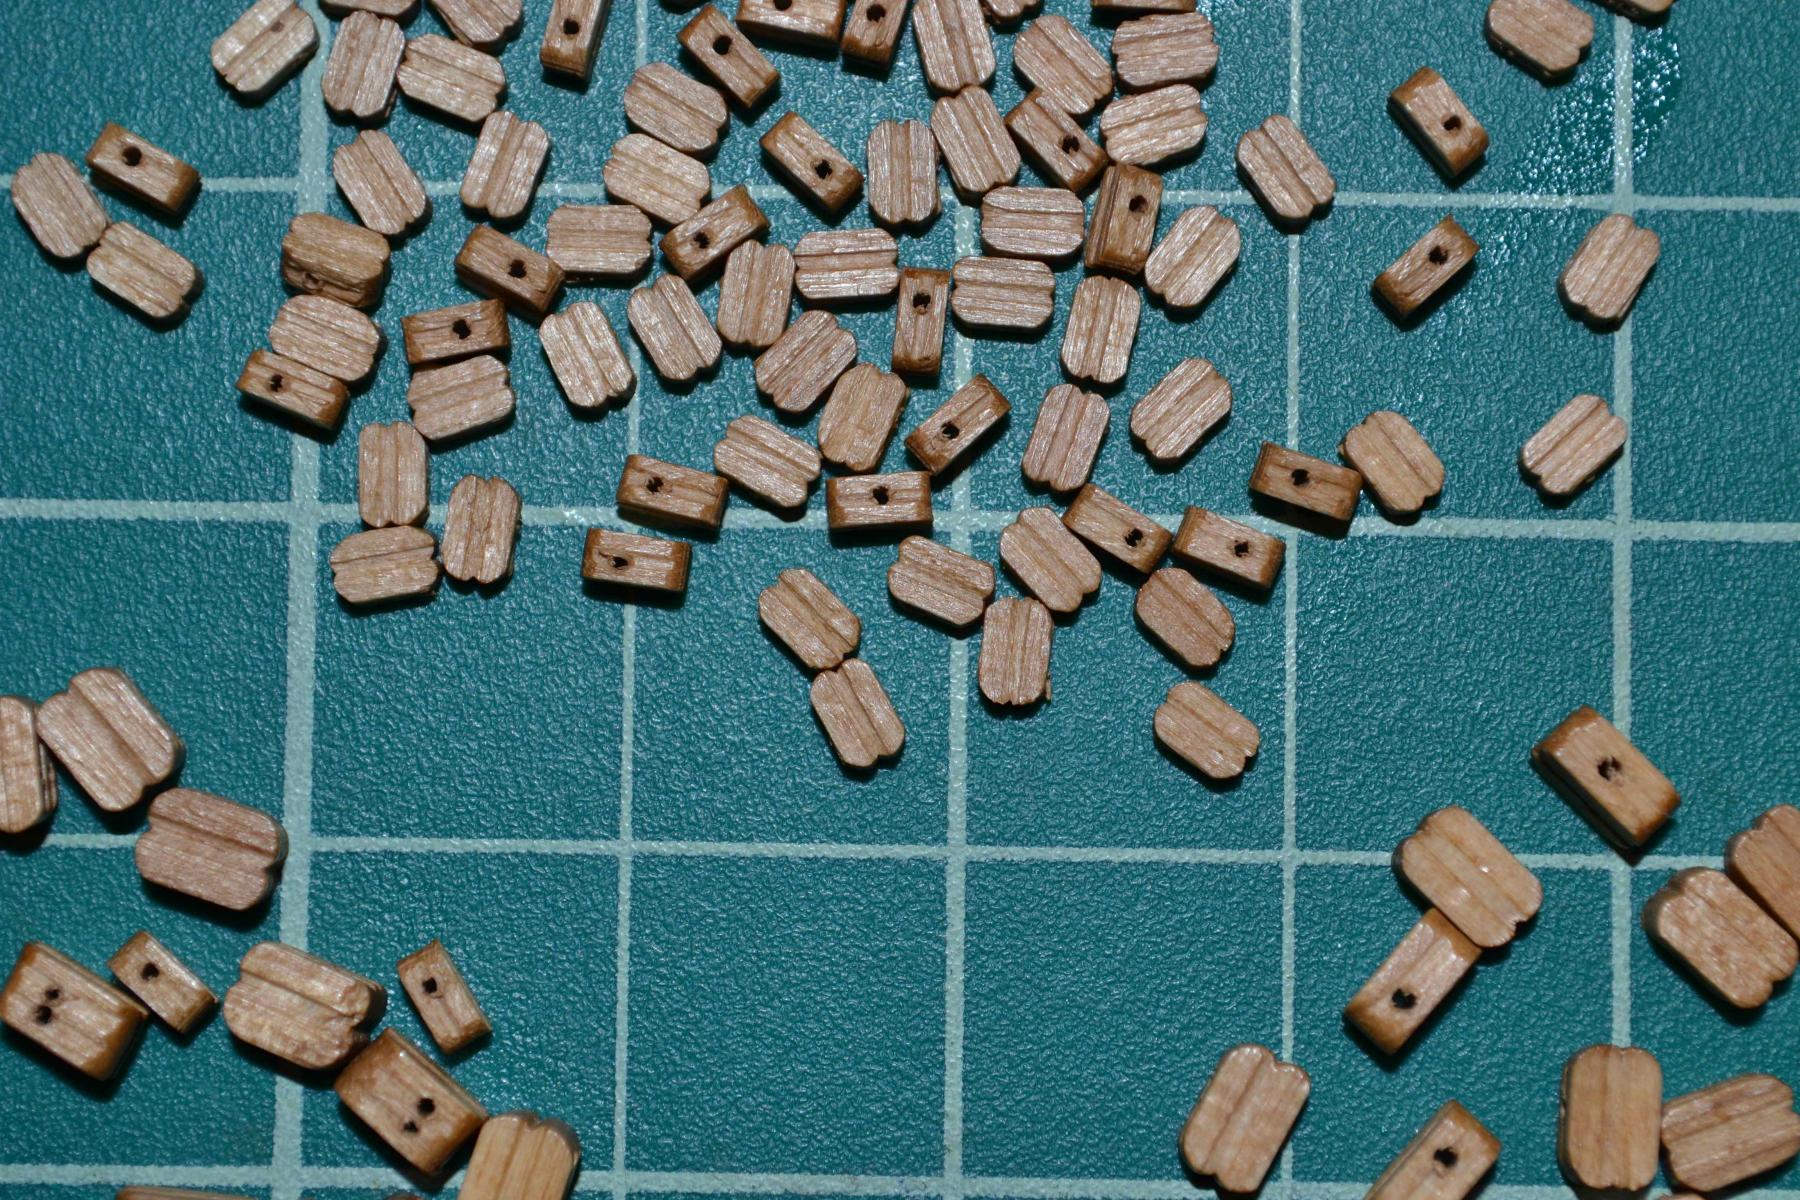
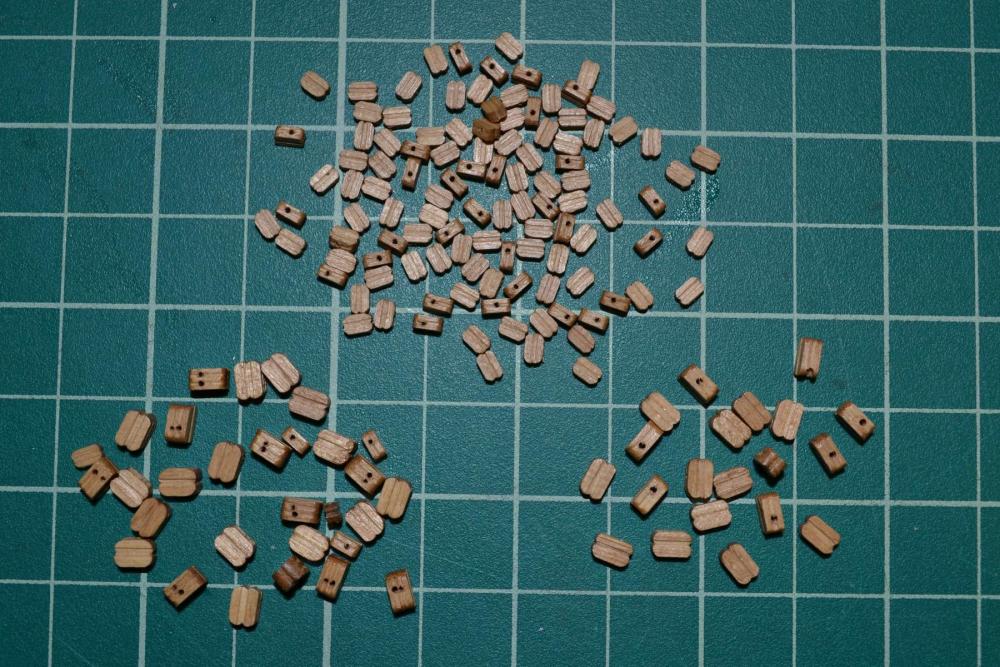
I just went to Chuck's Syren Ship Model Co. site to look at their blocks - WOW!! I wish I'd seen them before I started seizing blocks onto the deck. They are beautiful! In reviewing my posts, I didn't order replacement blocks from Ages of Sail, it was deadeyes. I will order the blocks from Syren for the CS. I have an amateur's question though - Why are there two holes per sheave on their blocks? Do you just use the 'far' holes? - Tim
-
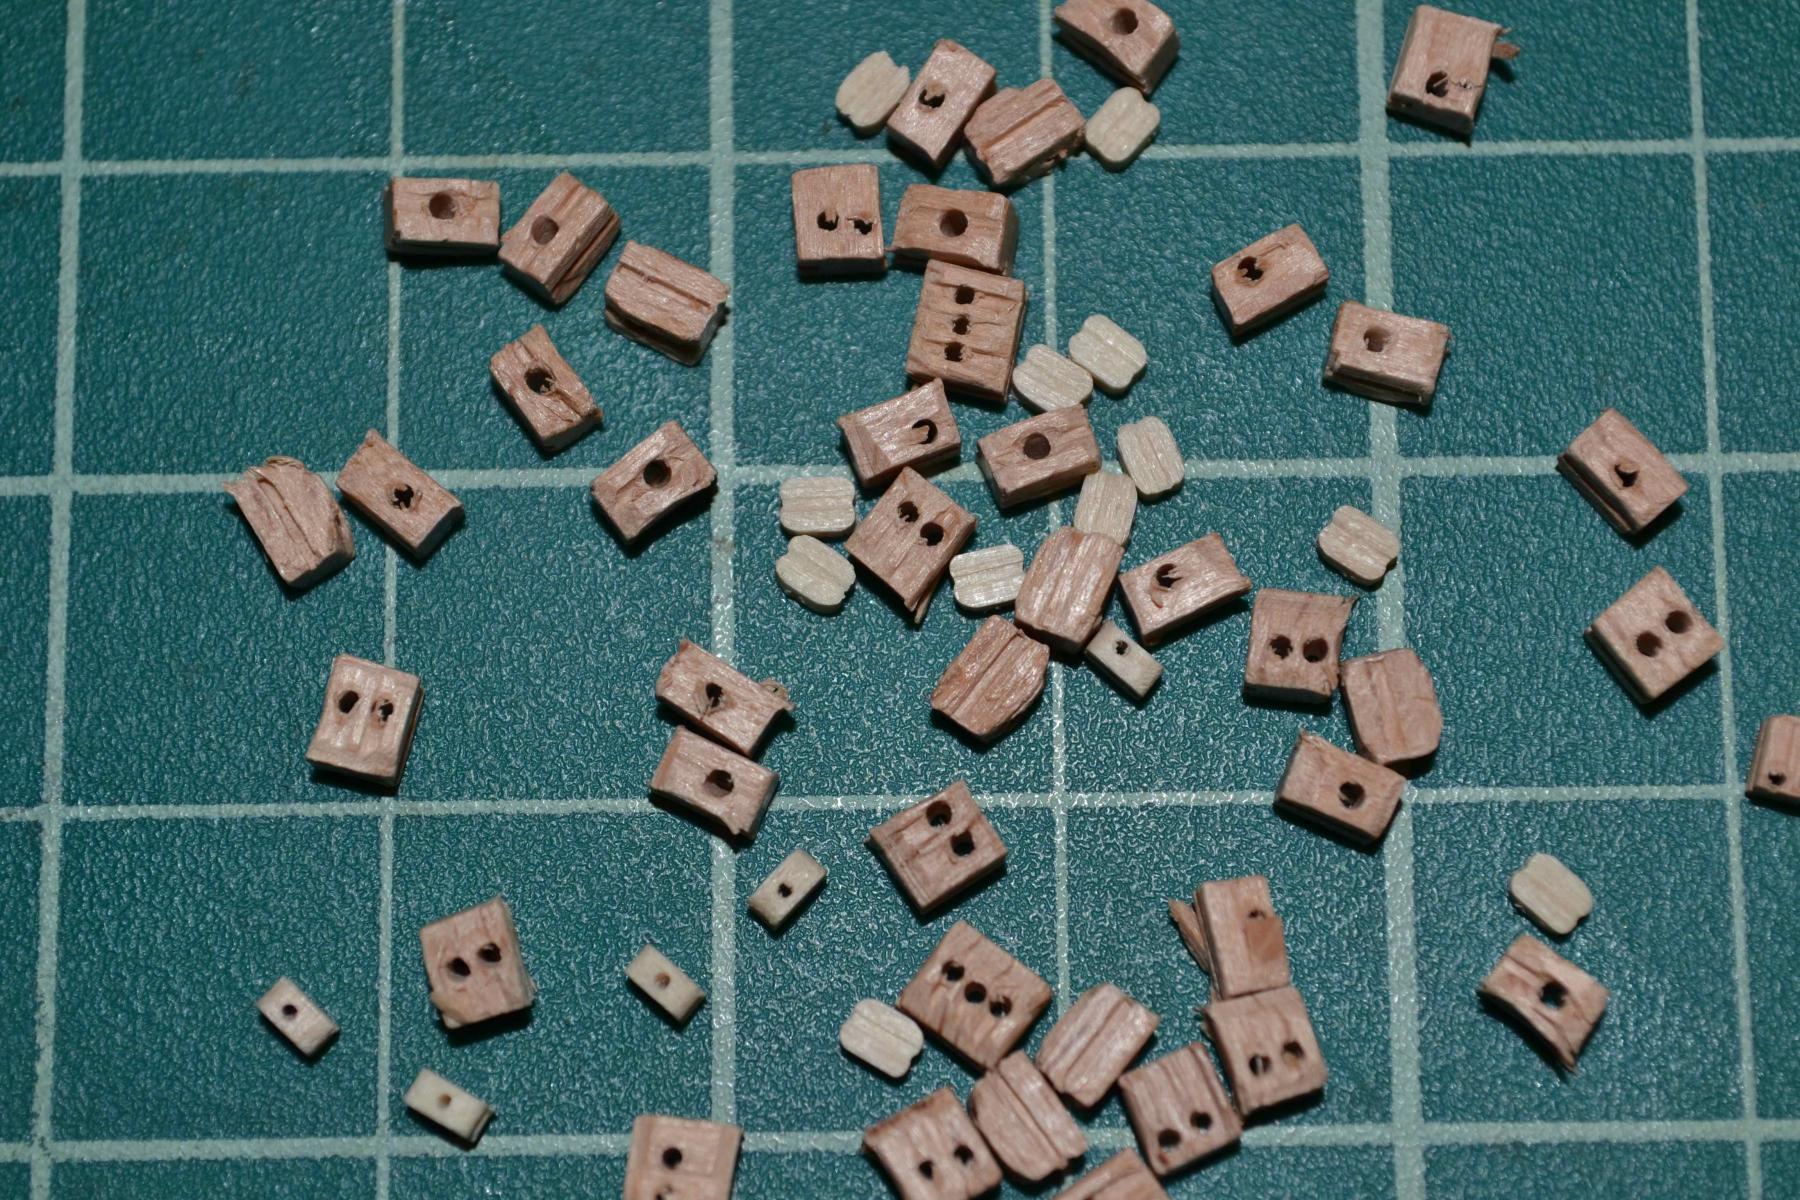
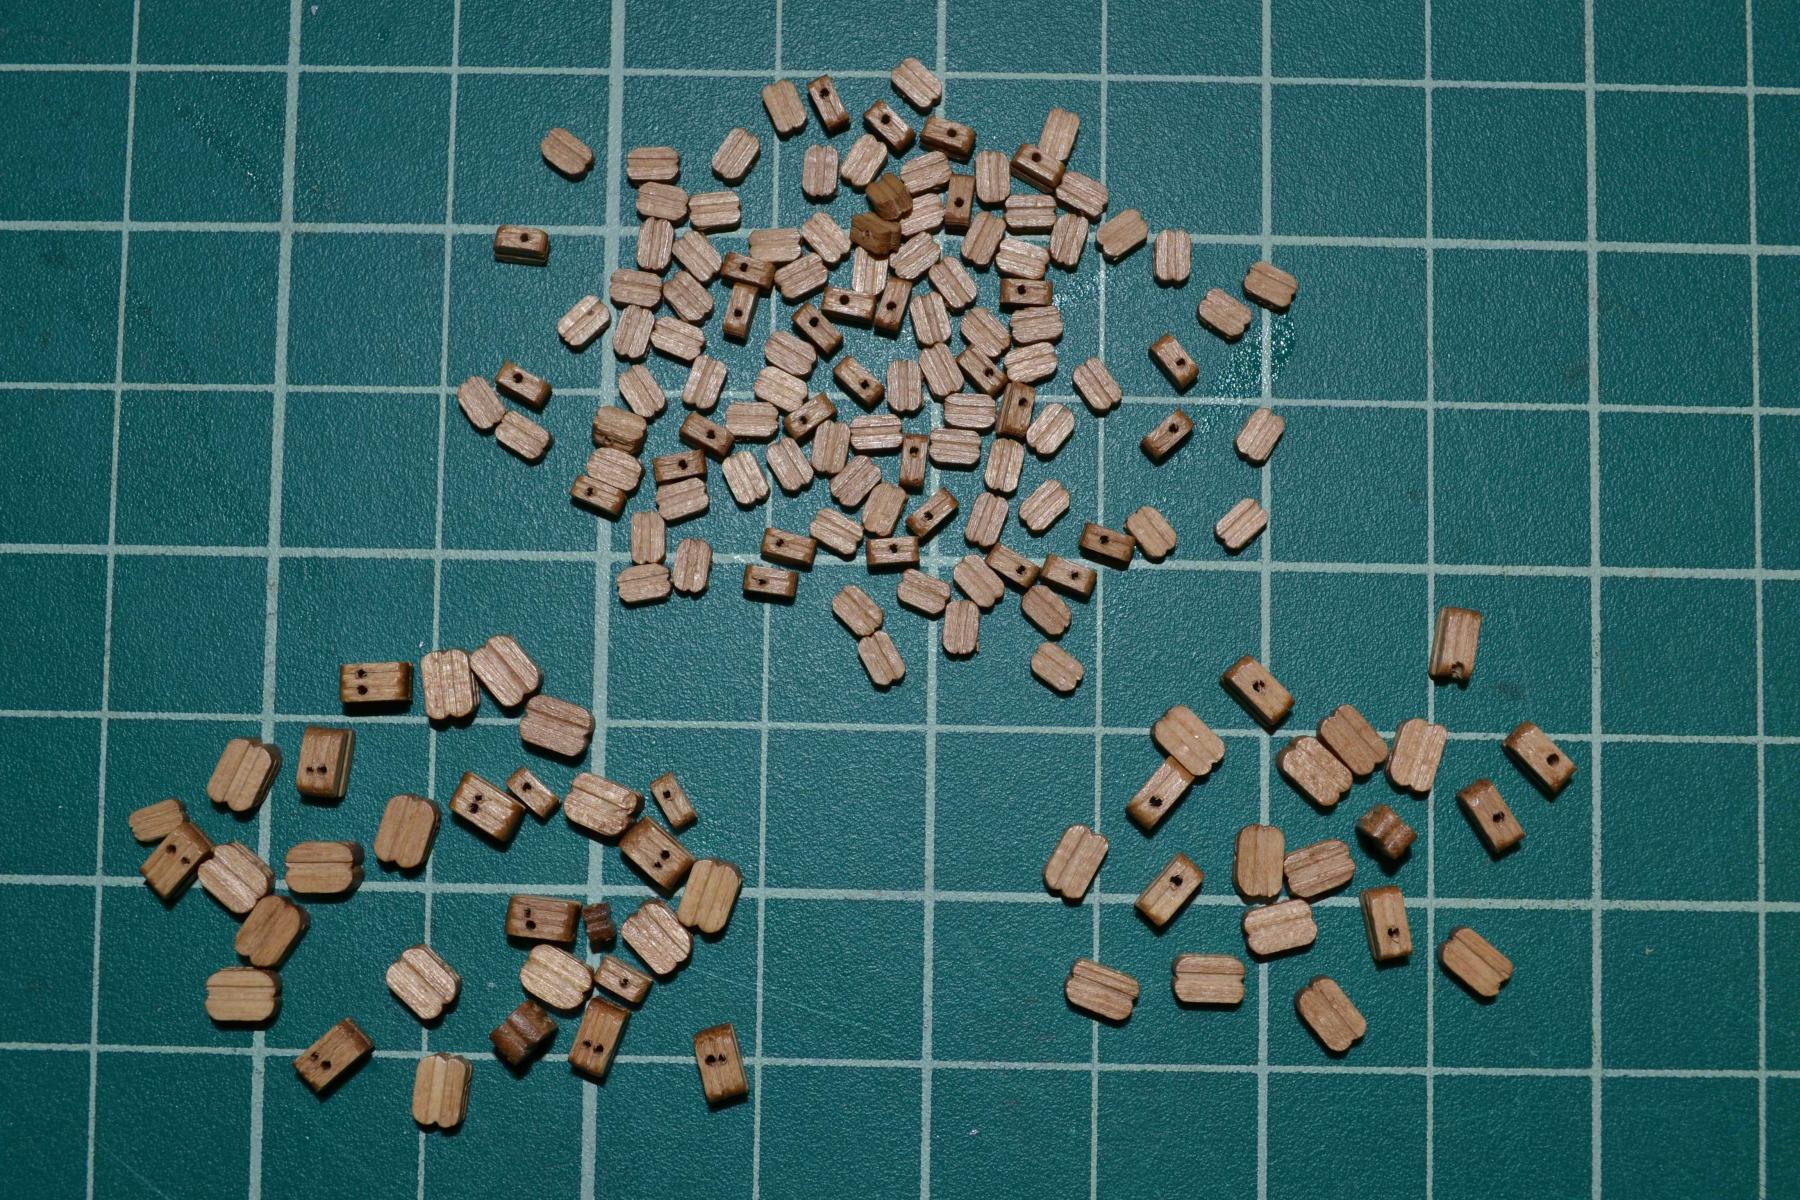
Thanks for the link to Block-Tumbler!! What a great forum!!! So I've been 'dressing' the blocks one at a time - what a pain. It's gotta be done, the blocks as provided are unacceptable, even by my rank amateur standards. So, I got into the newly opened Mantua Cutty Sark Box and dug out the blocks. Better but still need some attention. Seizing the blocks . . . Since there are 19,258 blocks on Cutty Sark, I will either buy or build a block tumbler.


-
I will start on the standing rigging after the serving tool gets here. I still have not decided on the sails yet. I doubt I will put up full sails per the kit. I just don't think I could do a very good job. Certainly the sail cloth that came with the kit would be ridiculous. If someone knows of a realistic fabric, maybe . . . I'm more inclined to leave the sails off, or maybe even try for furled sails. What do folks do about the running rigging on ships with no sails? - Tim
-
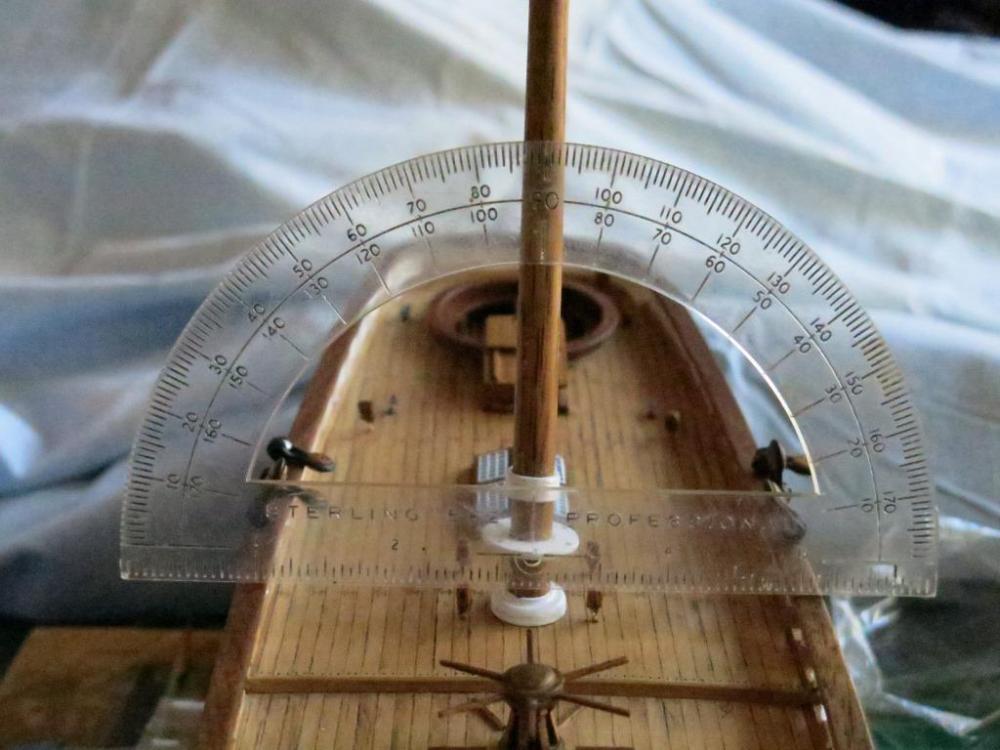
Elijah - I got that protractor from Kmart when I was in the 7th grade. Camera angle makes it look like it's off-center, but it's really pretty darn close. Hamilton - I am cherry-picking the blocks. I got spares but they are all pretty much the same (poor) quality. I pick the ones that look like the holes are in the right place, and then sand them by hand. I would love to see a tool to do them en masse. I believe that I ordered higher quality blocks for Cutty Sark from Ages of Sail but like you, I think I'll just work with these. - Tim
-
Getting the mainmast on straight. Good, assuming the handrails are the same height . . . I'll just match the foremast to it how ever it turns out. My father always told me the mind can judge difference a lot better than distance. Gonna start paying a little more attention to the rigging blocks. The kit blocks are pretty crude, but look a little better with some detailing (sanding). I'm getting nervous about the rigging. Dealing with the tiny mast blocks is tricky - need three hands. I need to review threads on the subject of rigging. I did order a little serving machine today - mostly for the shroud lines. Good practice for the upcoming Cutty Sark project. -Tim
-
Ah ha - that's them. They threw me off because they are double sheaved. The cheek plates on the drawing serve only one sheet each. And they are large. Here again, scale would have them over 52" long in real life. I believe I will try making them out of brass strips/wood sheaves. Thanks hamilton! - Tim
-
Hi - Just re-read that you are using 3mm for the deck planking. I think that will be a nice compromise. - Tim