HOLIDAY DONATION DRIVE - SUPPORT MSW - DO YOUR PART TO KEEP THIS GREAT FORUM GOING! (Only 13 donations so far - C'mon guys!)
×

mojofilter
-
Posts
160 -
Joined
-
Last visited
Content Type
Profiles
Forums
Gallery
Events
Everything posted by mojofilter
-
 Hi Hamilton - All I can say is wow! You really did a fantastic job on the sails. I'm still debating... Sorry it's been so long since I last checked in but the new wood shop has eaten away at my late summer and alas my America has been under a dry cleaning bag in the den for far too long. At least I will have a warm shop to build the case and the stand in (or, in which to build the case and stand - in college professor speak). Now that the New Mexico autumn is fast approaching, I can get back to the final rigging. Your pictures have been and will be a great help! Please check in from time to time on my log - hopefully coming back to life soon. It has been a genuine pleasure watching your build - she is beautiful and you can be really proud! I will follow your Syren build with great interest. Happy modeling! - Tim
 -
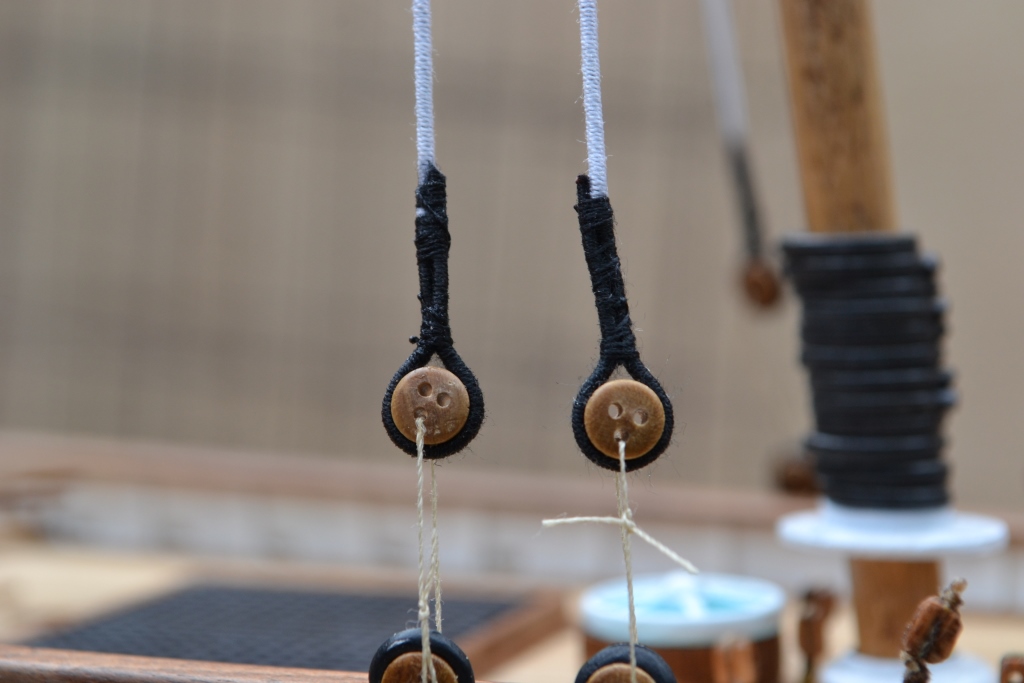
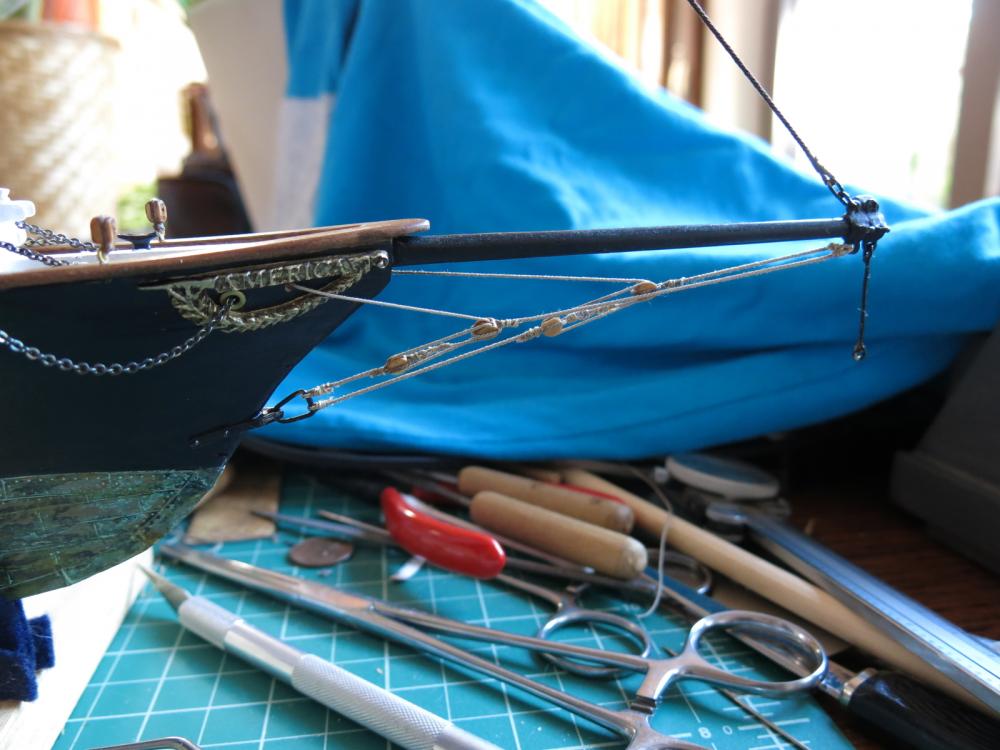
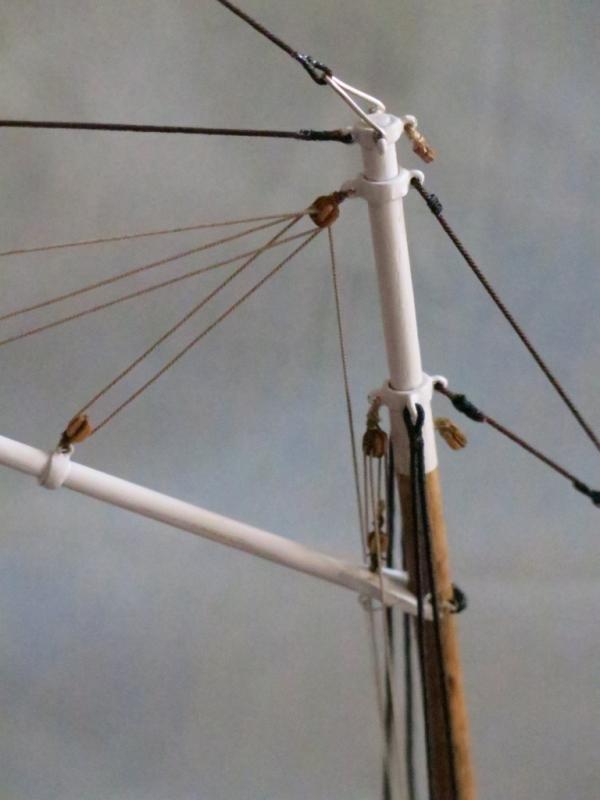
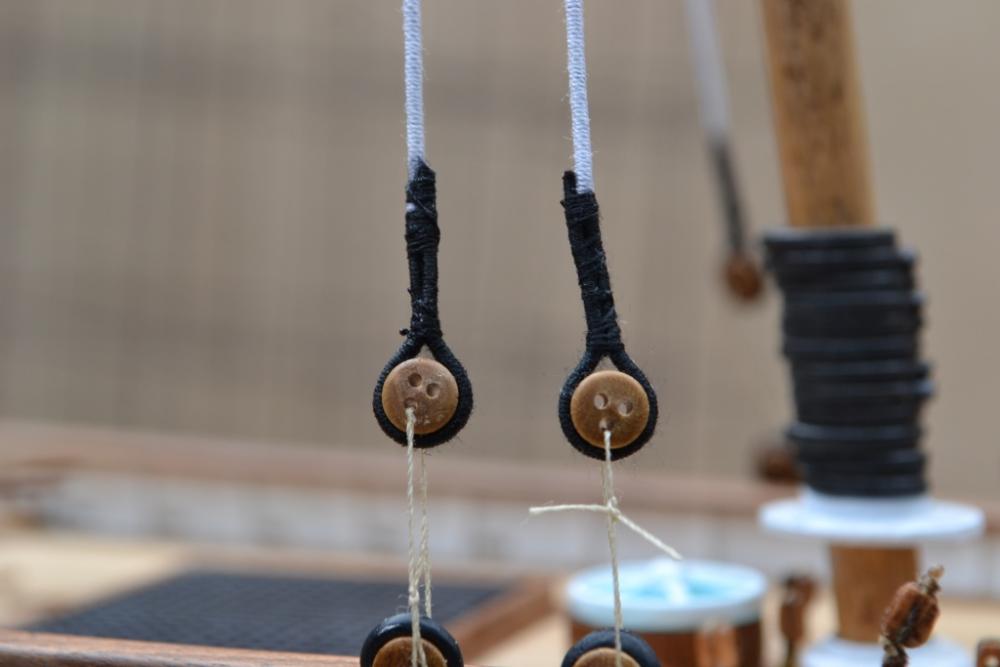
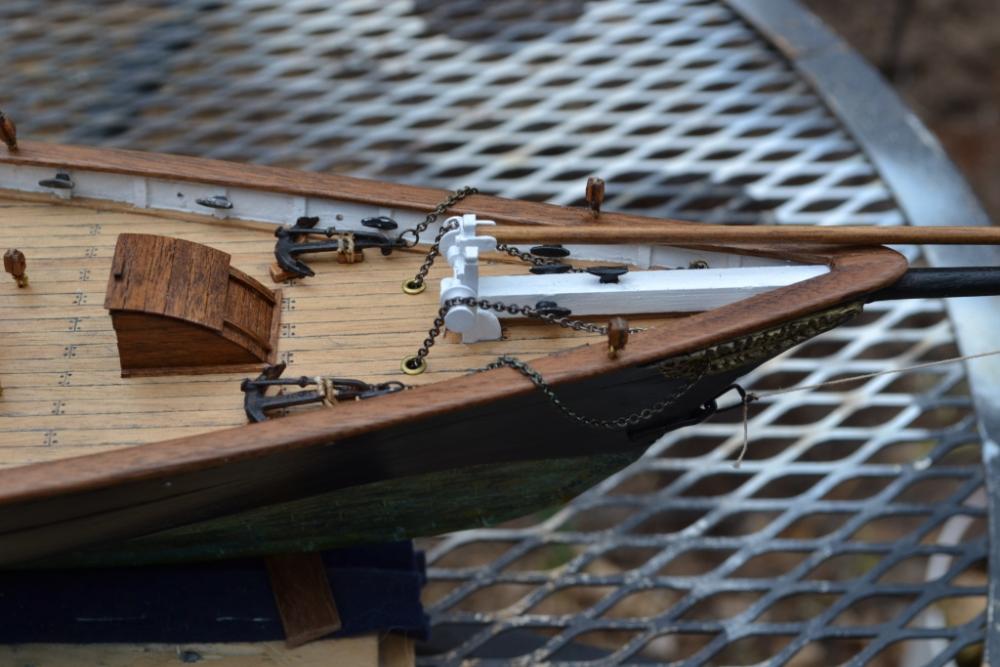
Me too after ~16 years. Great American Smoke-out, 1986. Best (hardest) thing I ever did. But I keep a few lighters around for fireworks on Canada Day! (well, 4th of July anyway). The picture could help me figure out the bowsprit shrouds tackle, which are a bit confusing on the plans. Rather than block tackle, they appear to be these little grooved triangles (no doubt a nautical term for these). Thanks!! - Tim
-
Hi Hamilton - I ran into the same issue with fuzzy thread on serving. My solution (don't try this at home) was a cigarette lighter. It's quite nerve wracking but I used the blue part of the flame and went really fast. Beware! I also tried this on a block end (did you call them bobstay tackle?) that I had seized and was fuzzy. I guess the CA was still a little fresh as it instantly went up in flames! . Wondering if you could get a closeup shot of the bowsprit rigging from the side - where the various lines go through/attach to the bow? Thanks, - Tim
-
Hi Hamilton - Looks like you've passed me! Outstanding work! I have yet to rebuild the bowsprit rigging. Did you use the kit-supplied rope? I'm guessing not as the kit only had tan line. I like your contrasting black/tan line. I think it is .40mm for the block lines and .25mm for the running lines(?). Syren doesn't have those exact sizes so like the blocks, I will go with the next size down. As for the main gaff topsail, I will place all the rigging for it, (including running rigging where appropriate), but I've decided against sails. I was considering furling the main and foresail but if I'm not mistaken, that would mean that the gaffs would be down too. I like the look of the gaffs hauled up. I'll have to look at the sail plan and decide what running rigging to put up. Like you, I'm going more for aesthetics than configuration accuracy. Keep up the great work!! - Tim
-
BTW - more than half of the images I've seen for America show her with ship's boat(s?) and davits. The few texts I've read say that they were in place for transatlantic crossings but removed for racing (at least, The Race).
-
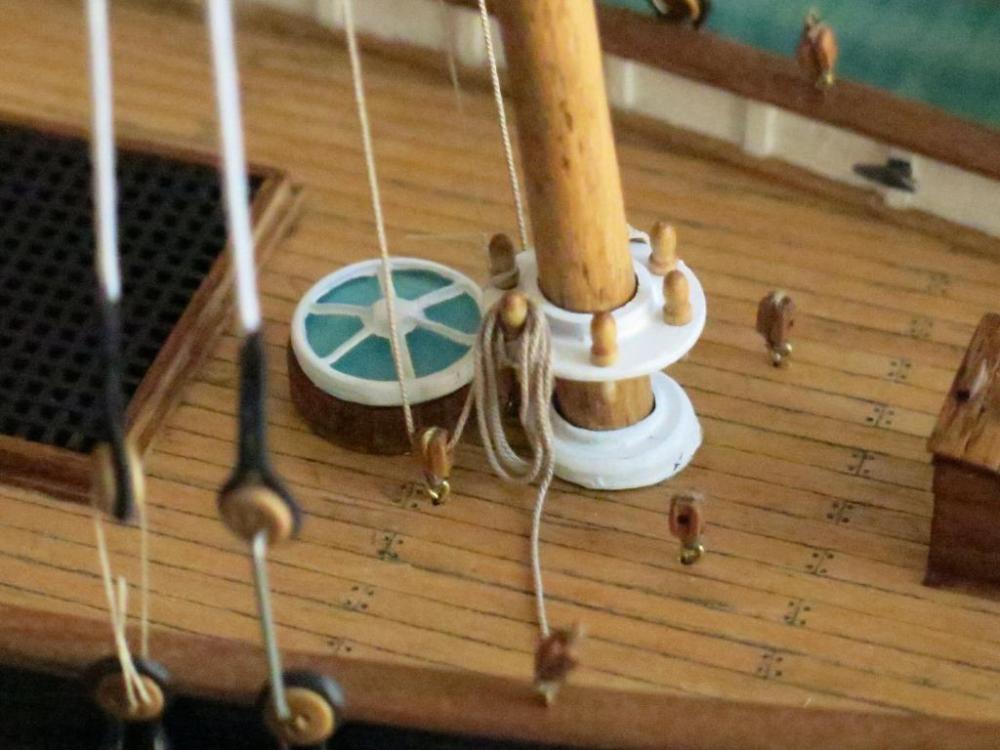
As you see on mine, I have both - the "cleats" on the deck and capstan bars mounted to the capstan. That way, I always have something to snag rigging line on and break off capstan bars - keeps me off the streets - Tim
-
Hi Hamilton - Just found this this morning! I had no idea you were doing a scratch-build along with America! So another one I'll be watching. Judging by your work on America, this will be another fine craft from the Hamilton Shipyards. - Tim
-
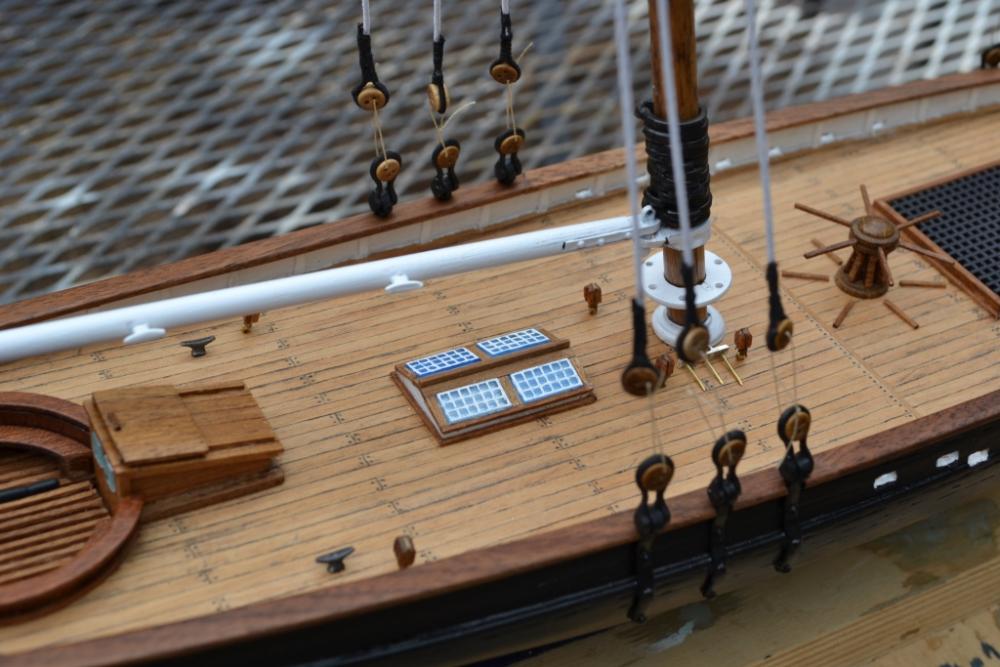
Very nicely done!! I see your capstan bars are on the deck - I presume that is where they are kept when not in use? And then some shorter bars. I did not research this and assumed the short bars were mounted to the deck and provided foot traction for the crew operating the capstan? If I have left enough anchor chain I will wrap at least one wrap around the windlass as you have done - certainly wouldn't work otherwise (duh). Very pretty work sir!! - T
-
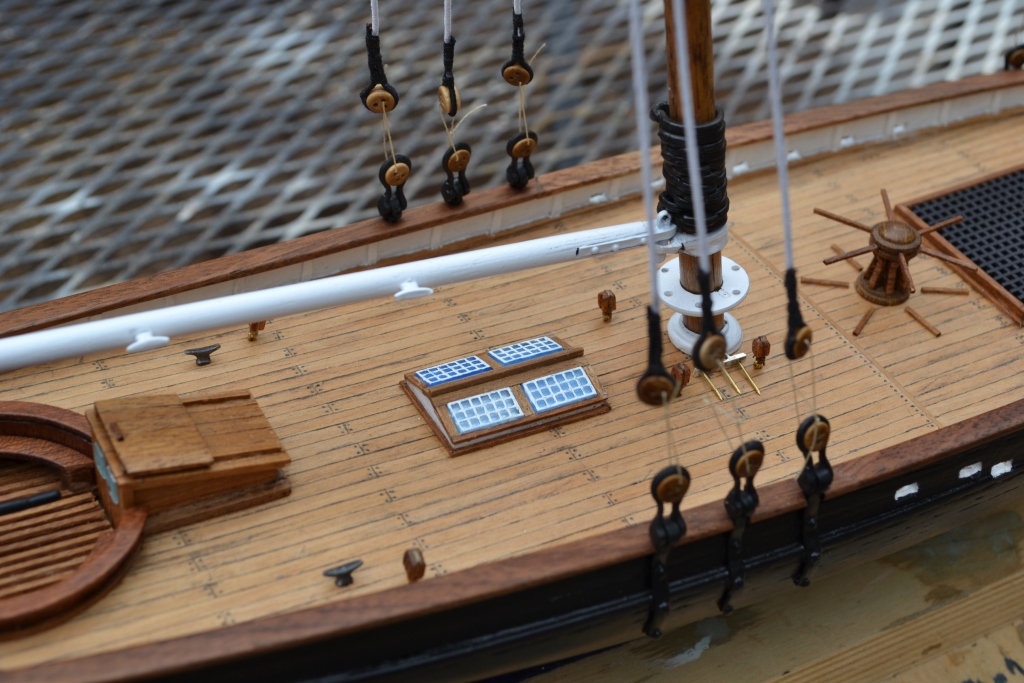
Extremely nice work Hamilton!! I love the deck furniture so far. You are welcome for the spare bits - entirely worth it to see this progress! Found more bits (like some chain plates) - just let me know if you need 'em. I went the entire opposite direction with my cockpit. Yes, way too large but opened up the deck/frame area to accommodate the cockpit. Truth be known, I built the cockpit 100% before placing it on the deck, to discover that it didn't fit. The cockpit was described as very large - 30' in circumference, ~6.5' diameter I work that down to ~1.124". Notice that the tiller shaft is nowhere near the top of the rudder? Anyway, yours looks great!! Nice job on the skylights. I used a stereo microscope (left over from circuit board inspection job) and a toothpick to paint with. Per my log, I will get back to work soon. You may want to take a look at the latest - some interesting things I've found. - Tim
-
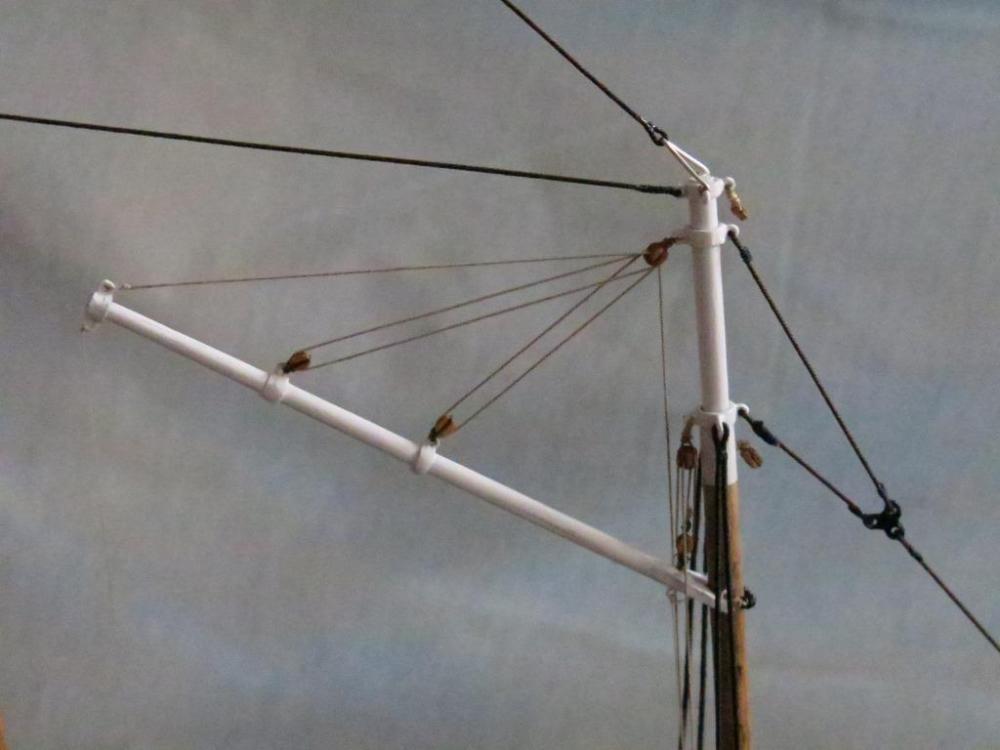
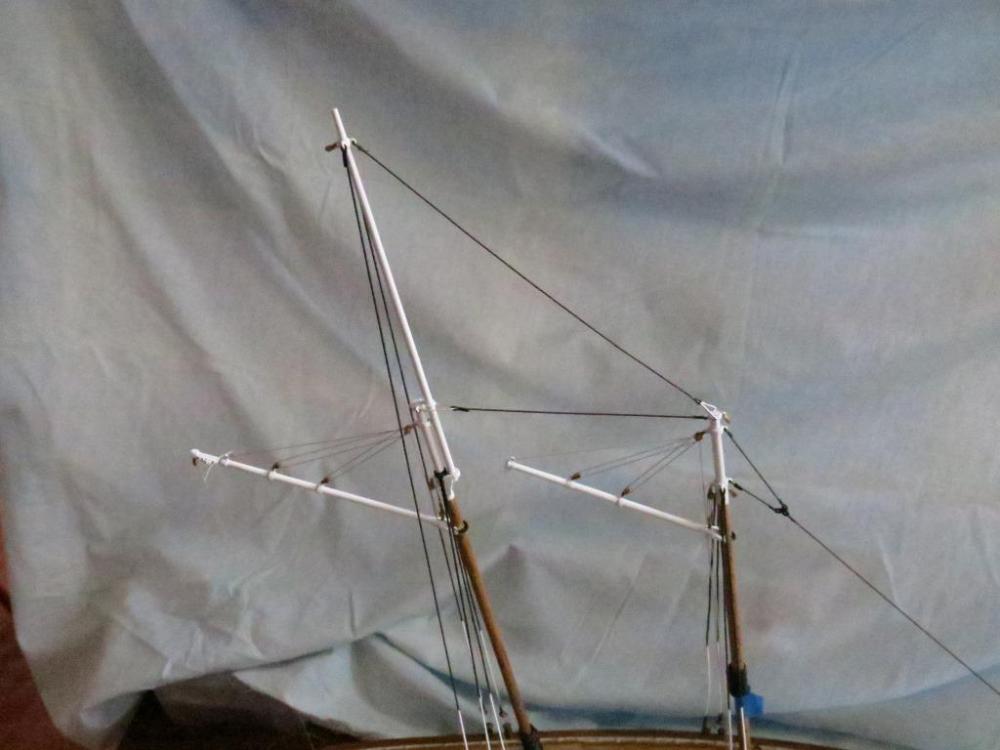
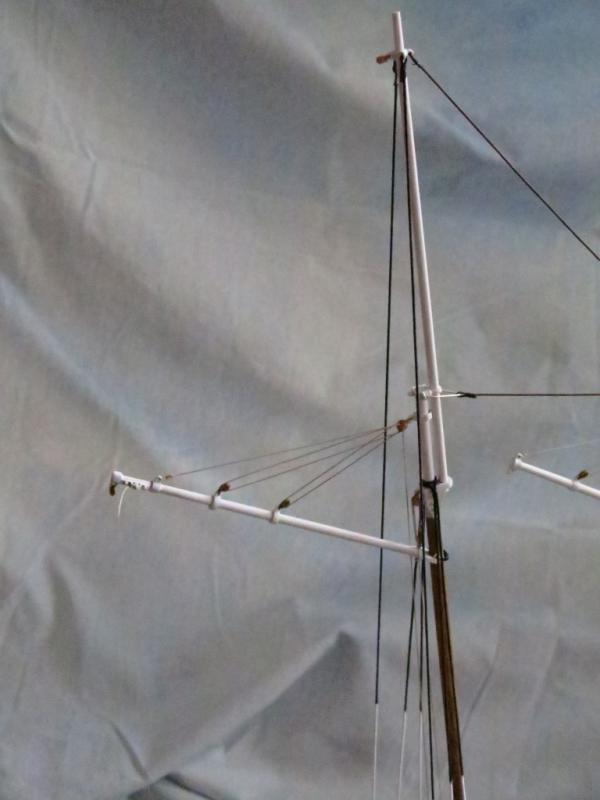
As I mentioned before, I found a truly great reference to the Schooner Yacht America. It is THE LOW BLACK SCHOONER YACHT AMERICA 1851-1945 by John Rousmaniere. I would highly recommend this book to anyone building America as it has some detailed history, descriptions, paintings and even some photographs from her later years. While you should buy the book yourself, I will point out some things I've learned here for the potential benefit of some folks who are in the middle of their America build. While the Mamoli kit indicates three shroud lines to the mainmast (actually two to the step of the topmast and one to the top end of the topmast), none of the paintings of photographs show this. Only two shrouds to the topmast step - nothing above that. Nevertheless, I like the look of the topmast shroud so it stays. It is said that as designed, she had a gaff topsail over her mainsail but it was never built. She only carried three sails; a boomed mainsail, a boomless foresail, and a single boomless jib. The Mamoli kit has the gaff topsail rigging, and jib boom and its sail used at the beginning of the Isle of Wight race, which was "carried away" during the race. In a refit in 1875 she was fitted with a top foremast and flew two gaff topsails. Her masts were designed to have "extreme rake". 2 3/4" per foot. That's ~12.9 degrees. I don't know if that is off the keel or the waterline. I have seen drawings & paintings with more and less than that. Evidently in 1885 she was stepped with masts forward of plumb(?!?) - The rope headstay was 10" in diameter! That would scale to 3.85mm. Evidently wire rope was not yet used (in 1851). Her large cockpit was 30' in circumference which is ~6.18' in diameter. She was originally fitted with a long tiller but early photographs show her with a wheel. Her deck was 3" white oak (not teak like I always thought). Bulwarks were 13" high at the afterdeck step, and 20" high for the forward deck. The book is crammed with race history and Civil War history. Pretty cheap too.
-
So I cut off the bowsprit rigging but have not gotten around to re-rigging with the Syren 1/8" blocks and line. I would also like to replace all the Mamoli-supplied blocks with Syren blocks but this will be difficult. The deck and handrail mounted blocks were wrapped and seized to the brass eyelets and then glued into little holes with CA glue. Re-wrapping the Syren blocks to the glued down pins will be a challenge. I will get to it but summer seems to be getting in the way. The other big distraction from this critical ship building job is the new wood shop in the back yard 12' x 24' with 10' ceilings. Been waiting a long time for this. One of the very first projects will be a walnut and glass case for America, that will sit on a dedicated display stand. I saw somewhere on this site where a gentleman had made drawers in his stand where he placed the kit drawings and reference books for his model. Speaking of reference books . . .
-
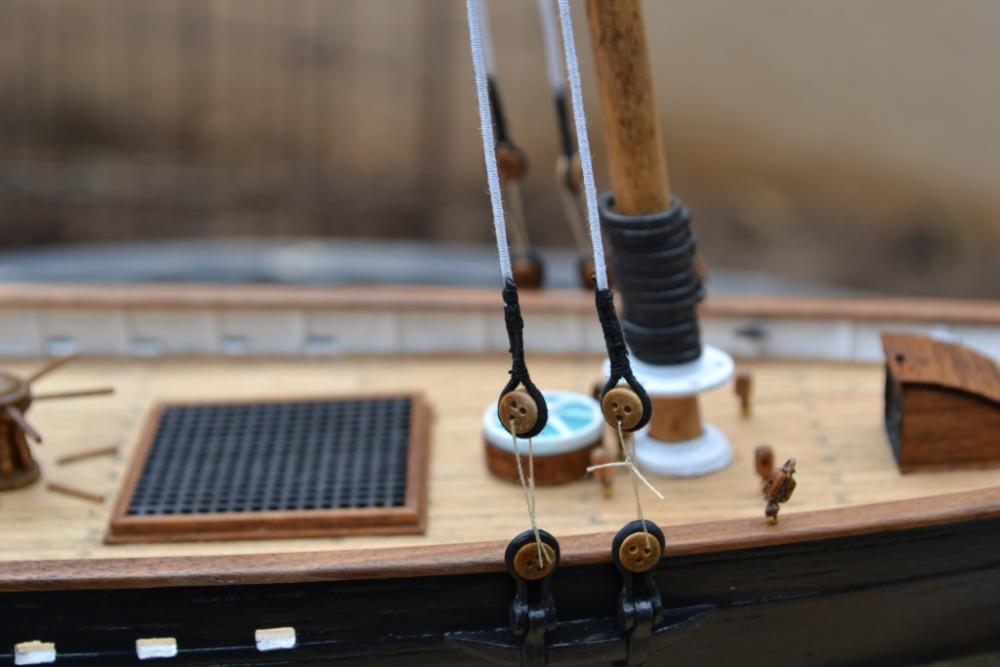
Also, looking at the blocks on the cap rails (I think they're for running rigging), they look crappy too. These are from the Mamoli kit - before I discovered Syren's beautiful blocks. They come off too. Gonna have to stop this at some point or she'll be stripped to her scuppers - Tim
-
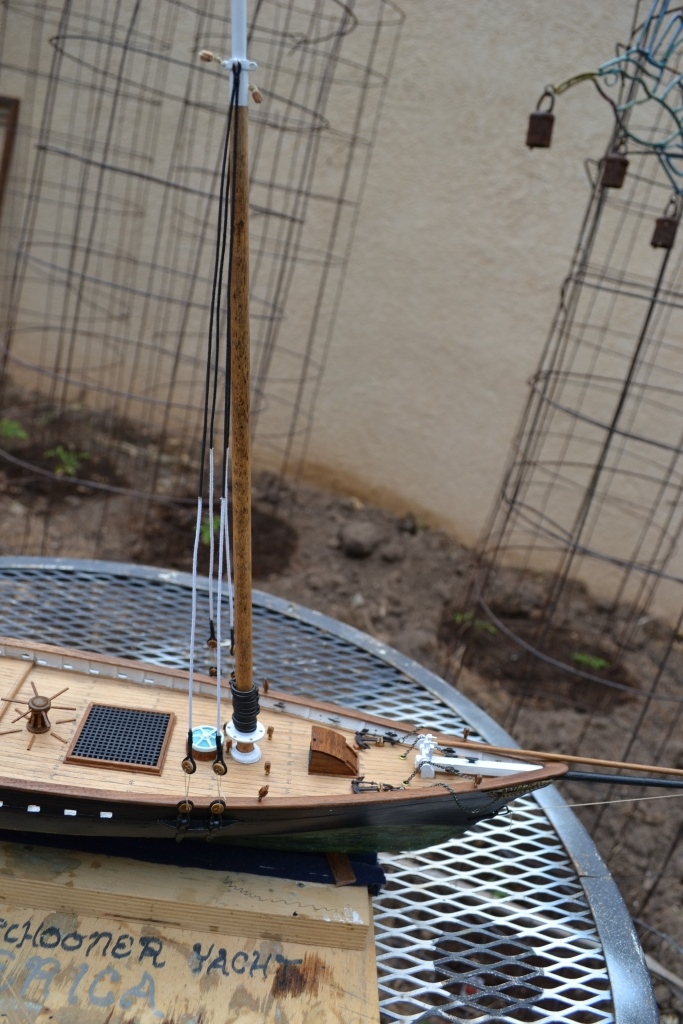
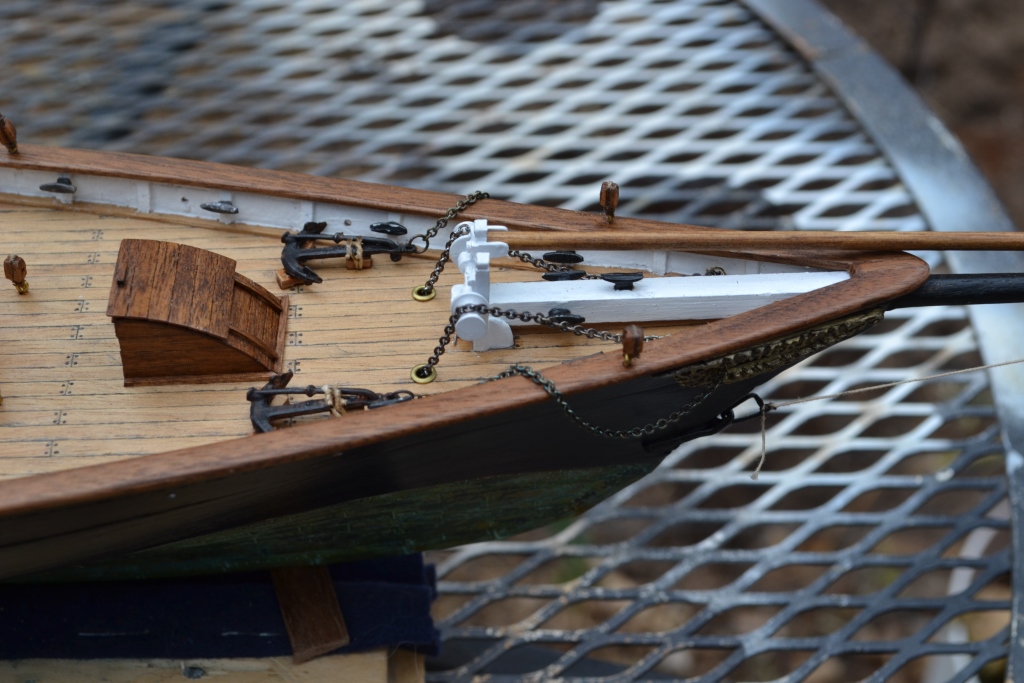
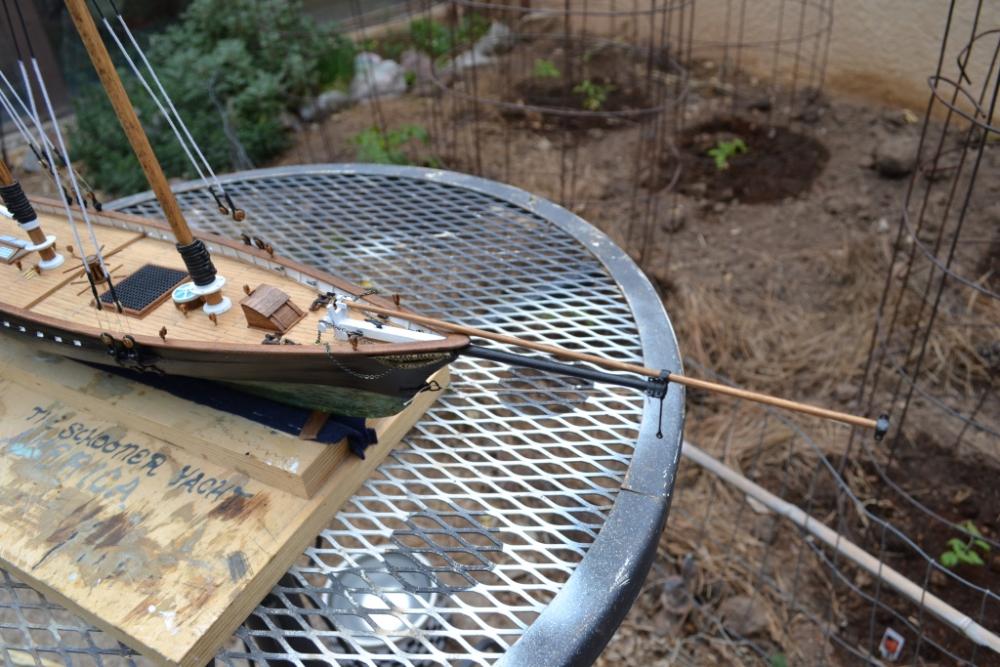
So I attempted the lower bowsprit rigging - don't like it. I used the plan's sizes for the blocks and line; 4mm blocks and .4mm stay lines and .25mm for the draw (?) lines. Too big. Scale size for the blocks would be about 10.4" long. Plus the line seizing is ratty. Now, there was a time, before I started seeing all of the fine work you folks do, that this would have been good enough. The bar has been set higher. Dang you guys! I will tear it all off and redo using Syren's 1/8" blocks, and .3mm stay lines, and .2mm working lines.
-
Hi Hamilton - I haven't posted here in a while but I was looking at rfolsom's Cutty Sark build and he was attaching the chain plates for the lower dead-eyes. Now that your cap rails are on, you will probably be doing chain plates soon. I am reminded that the Mamoli plans said nothing about slanting the chain plates (in the text anyway), which sit quite a bit aft of the mast centers, forward toward the mast step (in the case of the mainmast). I put mine in nearly straight up and down, and ended up bending the upper portion of the chain plates forward (broke two of them in the process ). The drawing shows them slanting forward but through haste and inexperience I missed it. Anyway, the moral of this story is that the chain plates are very brittle - you'll have to be forming them around the little bump out (insert nautical term here) - very dicey. You (and several others) have convinced me that when I do the copper plating on my next build, I will leave the copper raw and let it patina on its own. It looks very nice now, and the natural aging process will be much better. Can't wait to see what's next! - Tim
-
Very nice!! Golf? "A nice walk, wasted" Can't wait to see the copper go on.
-
Hello Hamilton - Looks like you've already started the plates. I've edited my very first post to show what the copper plates looked like before I put the patina on. The tape with the pounced rivets and embossed plate lines are three plates high (except where they are tapered in). I added them to my post rather than clutter up your post. Take a look if you want. At scale I guess it does look a bit overbearing - not nearly as extreme looking after the (heavy) patina though. - Tim
-
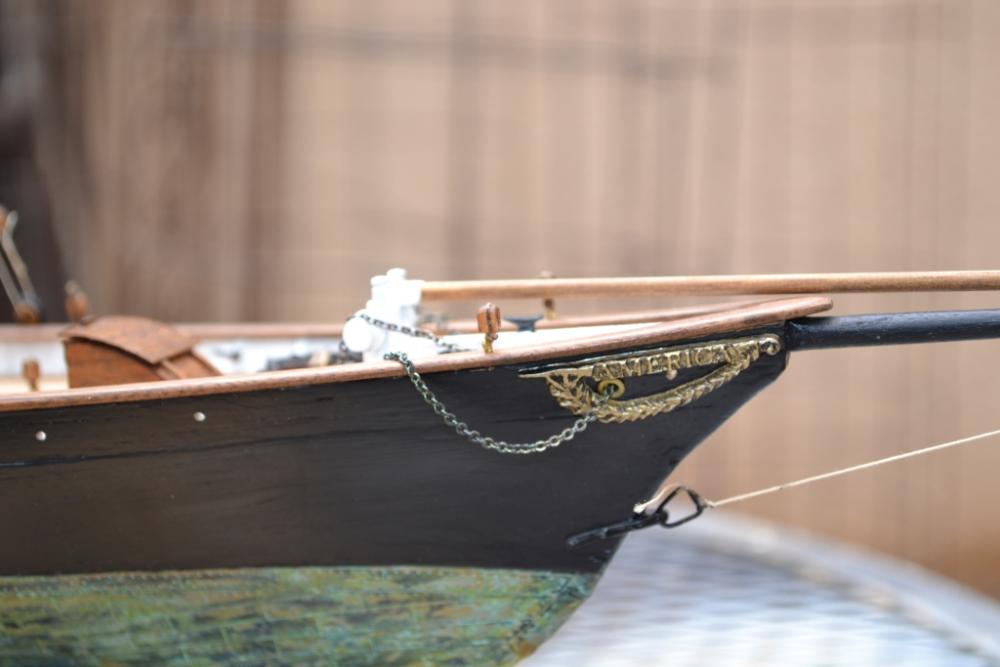
Nicely done Hamilton!! What did you use to glue the caprail to the top of the bulkhead with? Mine has been through some rough times, especially when she was inverted for coppering. One thing you may want to take a quick look at before you get much further is the line of the bowsprit through the hole under the forward caprail. The fit of the square section of the bowsprit was pretty tight, Also the angle of the bowsprit is set by where it sits on the top of the bow (top of the keel? - there's a name for that part ), and the aft end which sits in the anchor windlass. Paintings and old photos seem to show a variety of vertical angles of the bowsprit, some almost parallel to the waterline. I put mine as high as I could, which wasn't much. Can't wait to see the copper start going on. Are you going to simulate rivets? - Tim
-
Hi Hamilton - Great to see your America again!! That's a beautiful deck - I really like the three-staggered butt planking. The oil really brings it out. Don't worry, my America is about 80% filler (I figure it will keep the ship worms out ;-). Can't remember if you had decided what to copper with - glue-on plates or tape. I was afraid of my tape not sticking well to the filler (and its dust) so I sprayed a light coat of lacquer over the lower hull. Don't know if it was necessary but the copper is still on there. Anyway, hope you have a great summer of modeling! - Tim
-
Hello Jörgen - Beautiful! So what is the material you ended up using for the sails? Some of the nicest I've ever seen.
-
For the coils, the rope was just soaked in 50/50 Elmer's and water. Tried to get it as dry as possible with paper towels, then coiled on the pin. Put plastic wrap on the deck underneath. I've seen much better on this site. Also they are unrealistically short - it would not cover the vertical rise of the gaff if brought down. The supplied rope is 24mm, 40mm, & 80mm, or so Mamoli says (no practical way to tell). I got Syren rope but no direct size match. I went with the next size up but really, it doesn't look like that much of a difference. Probably because the Syren rope is much 'tighter' - less fuzz.
-
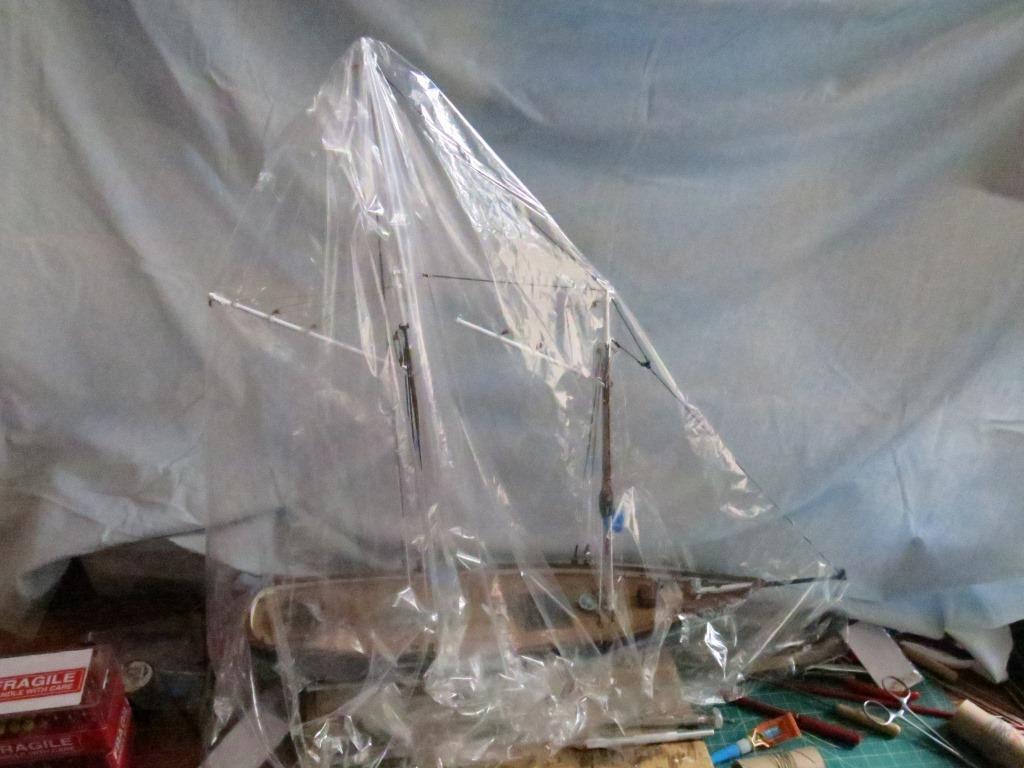
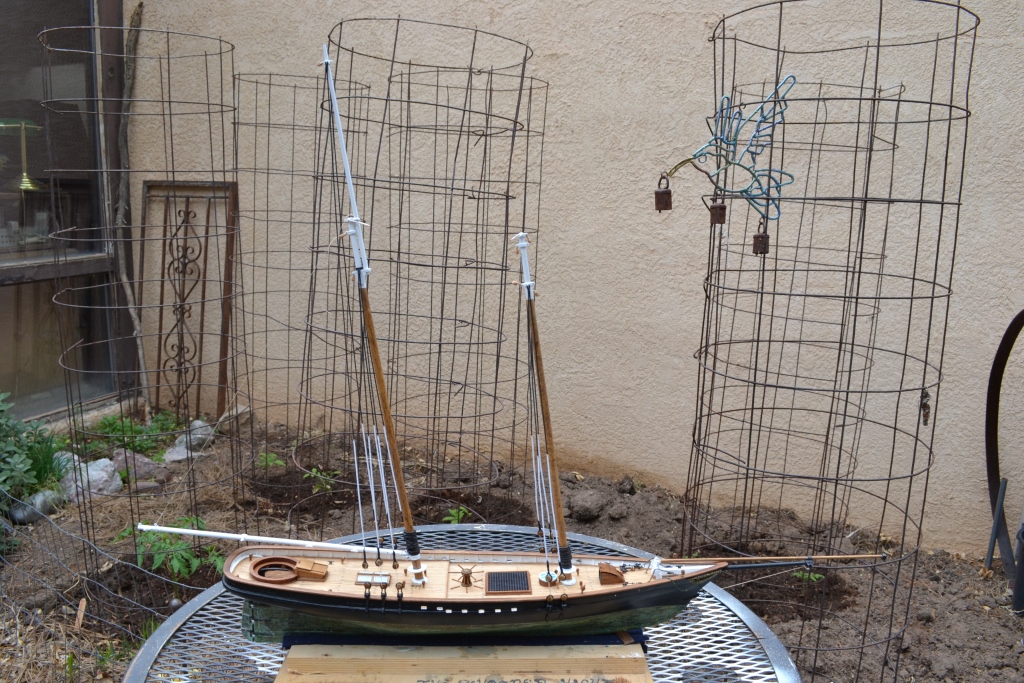
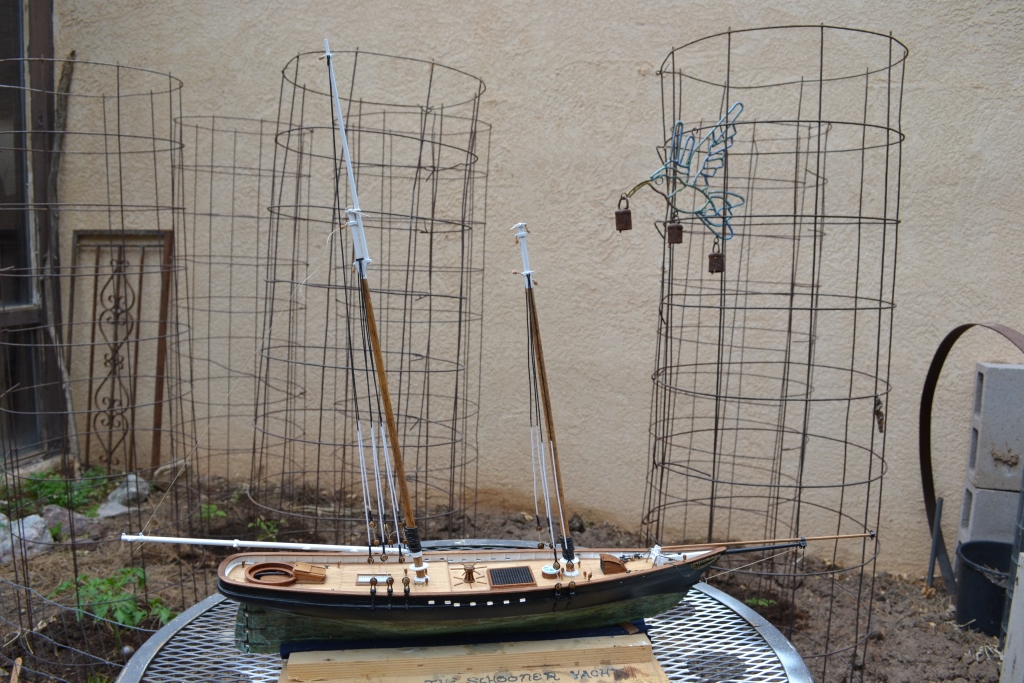
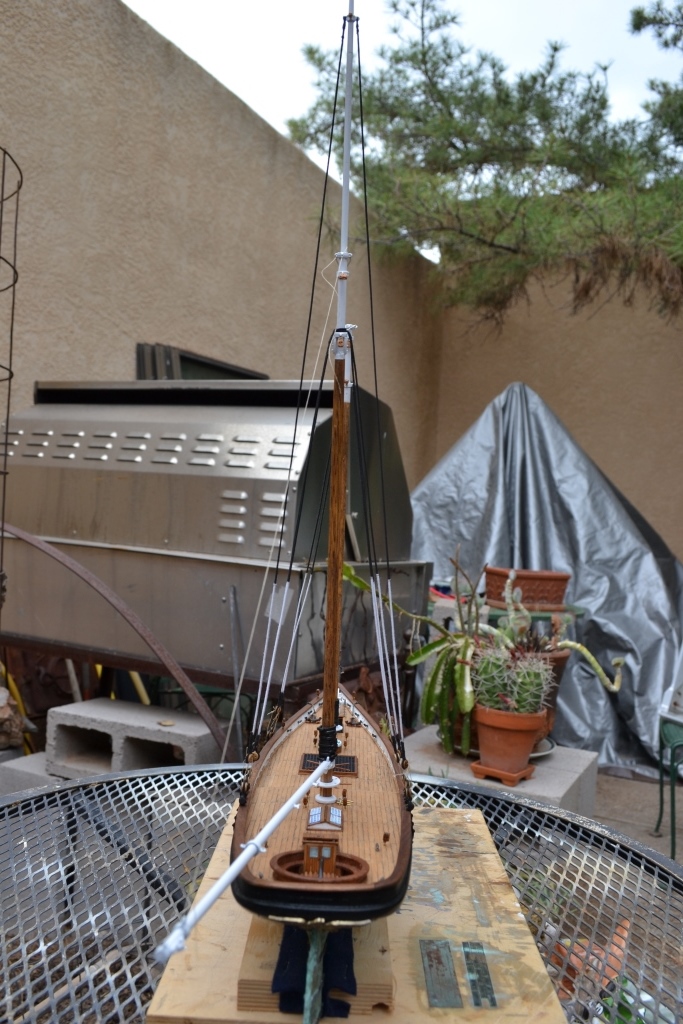
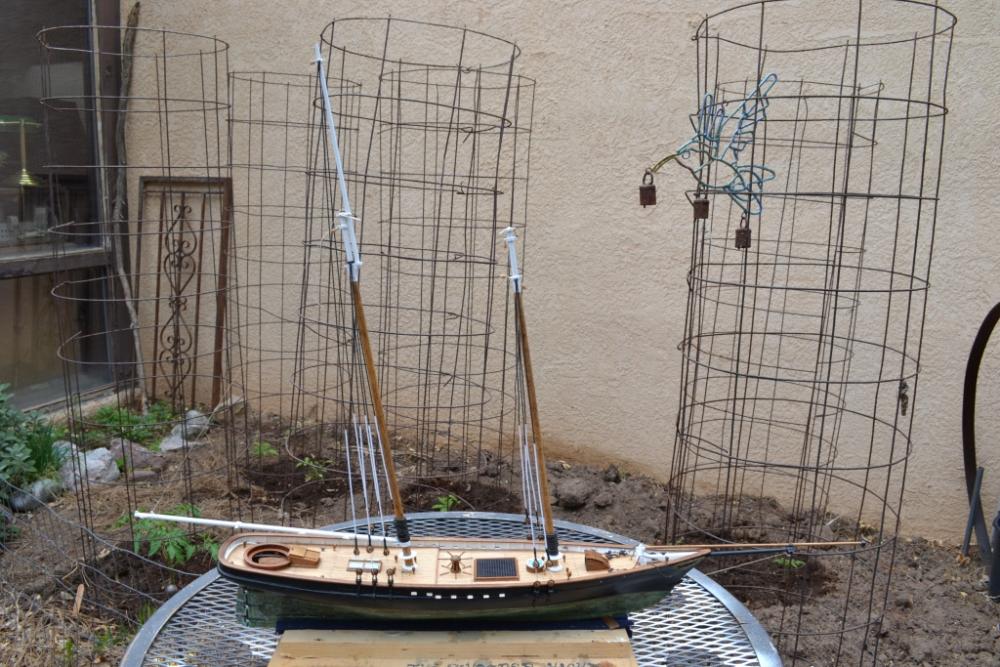
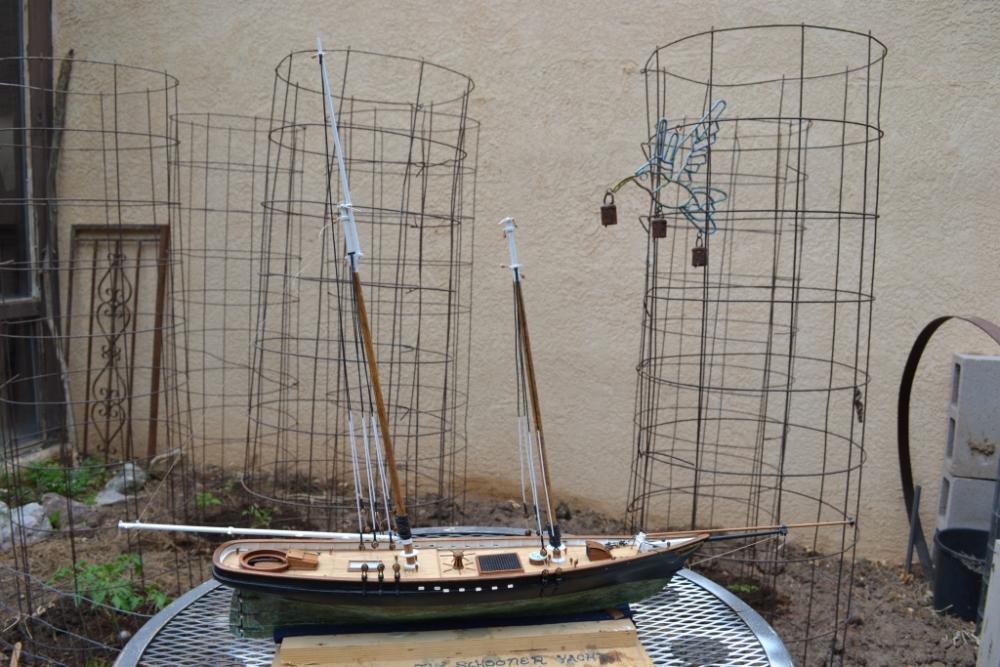
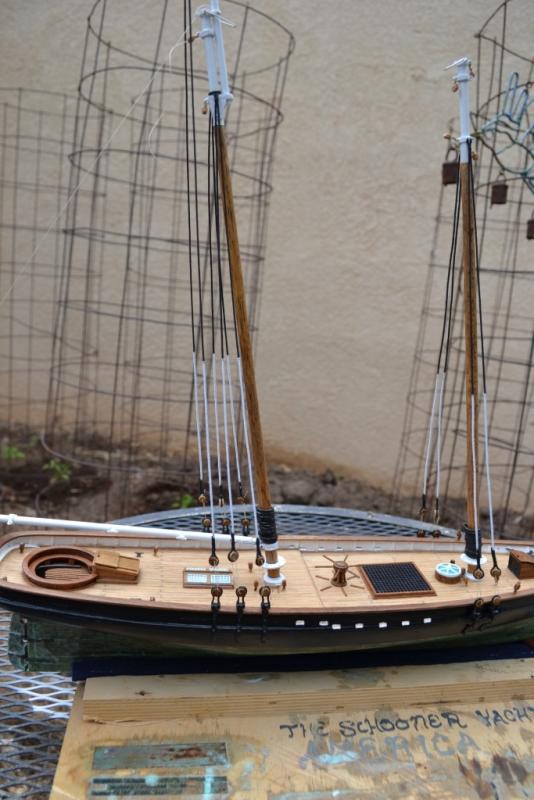
So it's been a little slow going on the standing rigging but some progress. This is where she lives when not being worked on. It is so dusty next to the mesa - that and the dog hair . . . The gaff rigging: My attempt at rope on a belaying pin So no more procrastinating - on to the bowsprit. Incidentally, I ordered an excellent book on America called the Low Black Schooner: Yacht America 1851 1945 by John Rousmaniere. (ISBN 0-939510-04-9). Lots of history, really good drawings, paintings, and even some early photographs. No wonder so many different model interpretations - she went through many changes between the Isle of Wight and the civil war. I am still up in the air about sails. At the very least I will add some of the running rigging. Getting close now.

-
Hi David - As for which side out? Your ship is so beautiful that you must put it on a table in the middle of the room so people can walk all the way around it! I say all sides out! - Tim
- 117 replies
-
- 3
-

-
- constitution
- model shipways
- (and 1 more)
-
Hello Primey - I have used the pounce wheel on my Yacht America and I think it looks pretty good. I think I've read of a number of people who have used this technique. My recommendation would be the one that is not the needle point. Mine looks like the other you show with the light colored handle. I didn't want to pierce the copper - I even dulled it a little on a sharpening stone. I pounced from the back and used a hardboard backing. Too hard and it seemed to want to pierce it, too soft and it didn't have a good definition. I used 3/4" self adhesive copper tape as seen in this log (post #23). The tape was scored from the front with a dulled #11 Xacto blade to look like individual plates. If you chose to use this method, you might want to use tape that is 1 plate wide - could be easier to control. I see your CS is 1/78 scale. You could also order the plates that come with the Mantua CS kit - ~1300 individual plates. Can't wait to see what you come up with. - Tim
-
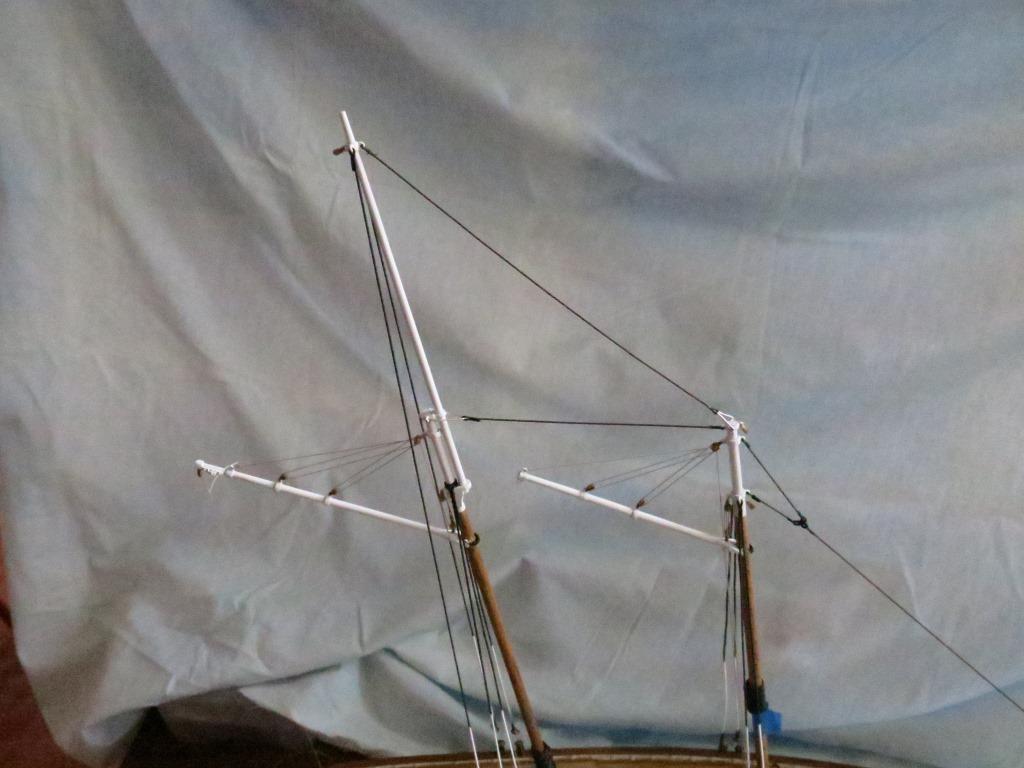
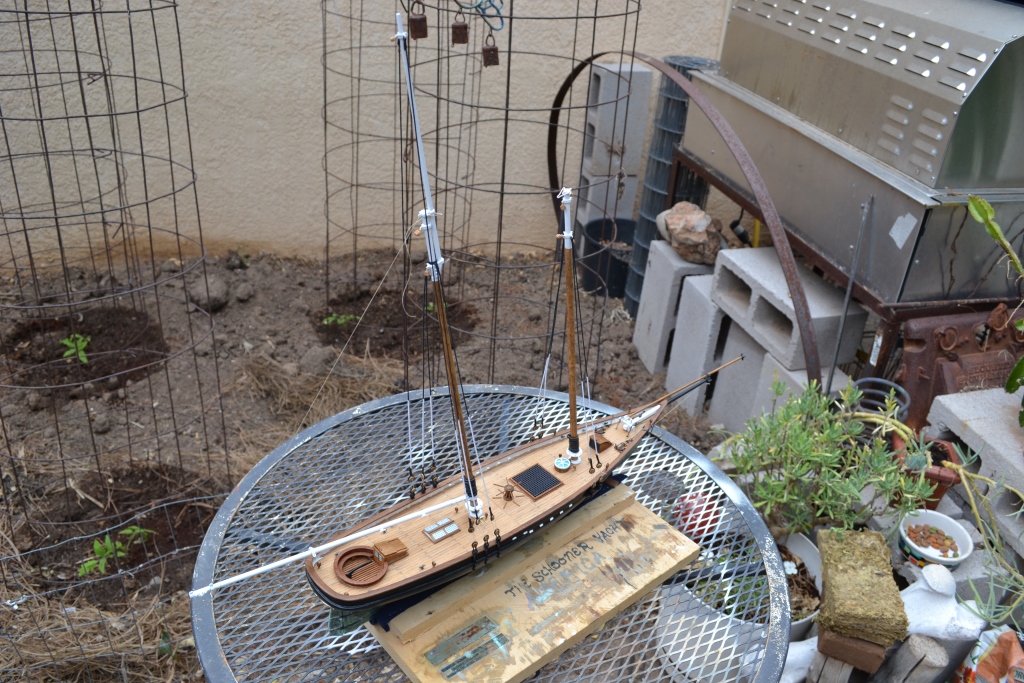
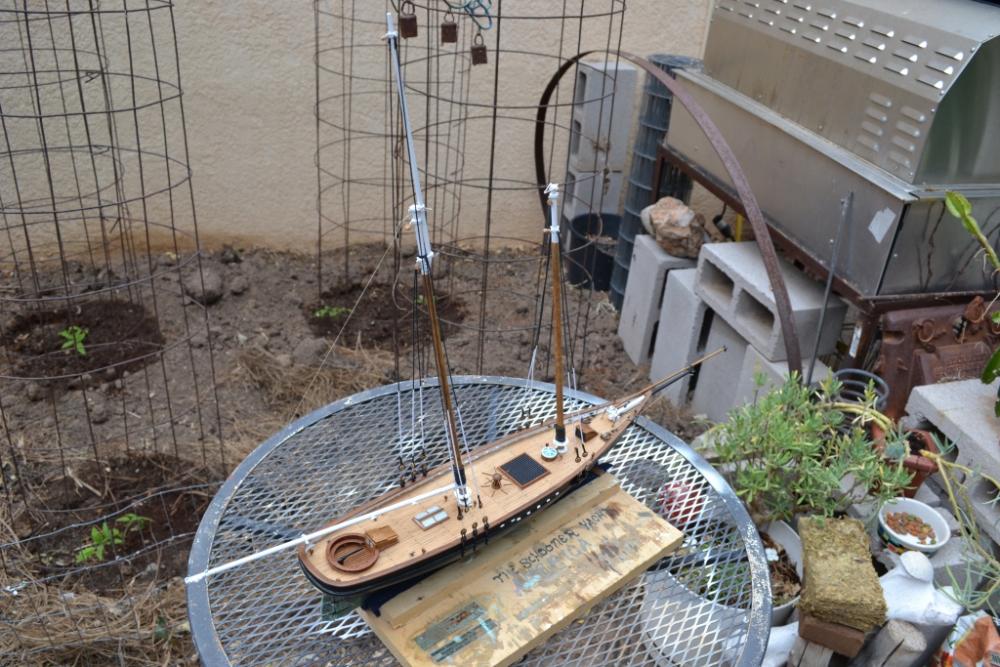
Got a minute to update a little. Still have to finish the gaffs. The kit came without the Britannia-metal gaff jaws or a design for the clappers indicated on the Arthur Montgomery plans. I shall fashion the jaws out of walnut. The shroud lines are temporarily rigged to the deadeyes. Per someone's good advice, I won't apply the lanyards until the rest of the rigging in on. Here's a bunch of pictures: Next will be hanging the gaffs and the rest of the standing rigging. The bowsprit, jib boom and the main boom worry me because they really stick out in harm's way. I can be pretty ham-fisted . . . I figure it's time to get her on a pedestal but haven't decided on what to use yet. I'm pretty sure it won't be the 'cradle' that came with the kit. - Tim


-
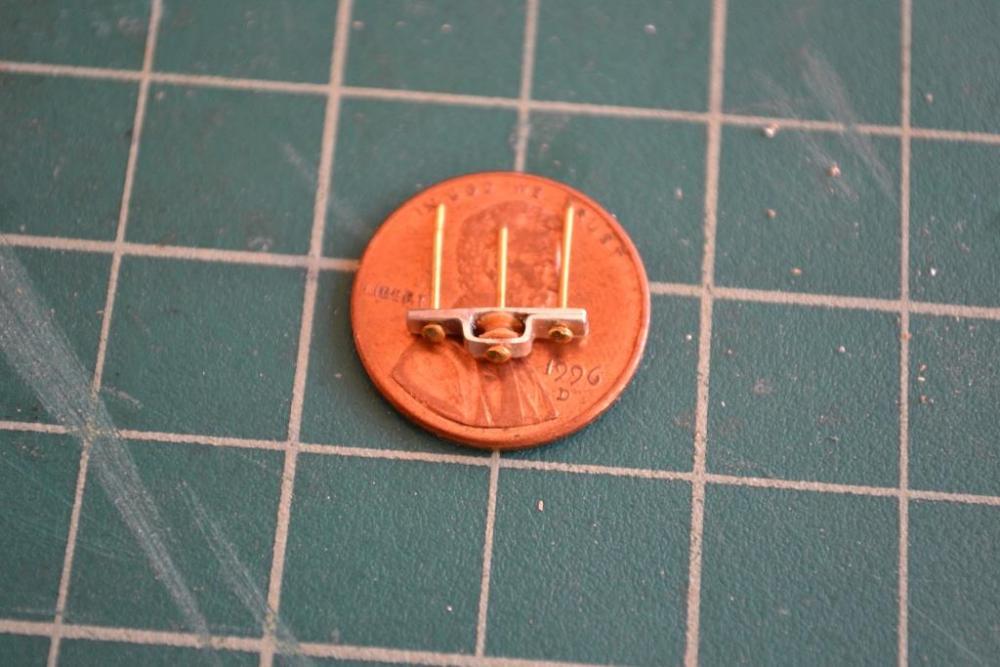
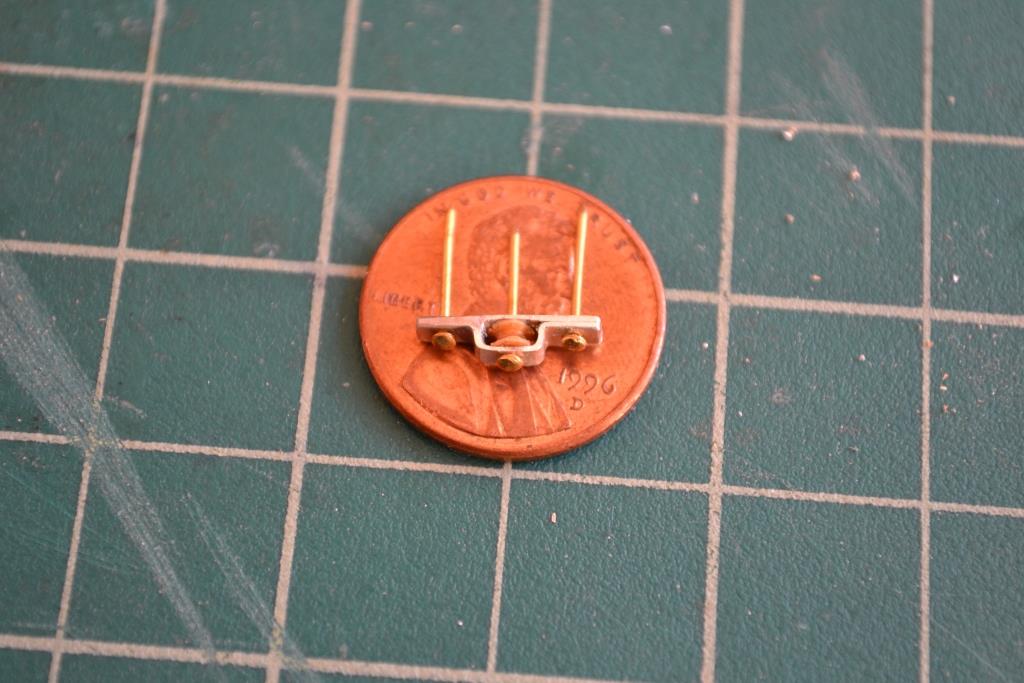
I think I mentioned somewhere before that the supplied Britannia metal cheek blocks for the end of the main mast boom and the gaff were way too big - double sheaves and way too heavy. I fashioned my own out of sterling silver (didn't have any brass, plus my wife is a silversmith) and turned a little sheave. I used the supplied little brass nails. I will file the heads of the nails to look like hex bolts but I'm afraid that only 9 year olds and people like me with magnifiers will notice...