HOLIDAY DONATION DRIVE - SUPPORT MSW - DO YOUR PART TO KEEP THIS GREAT FORUM GOING! (Only 13 donations so far - C'mon guys!)
×


RGL
-
Posts
5,529 -
Joined
-
Last visited
Content Type
Profiles
Forums
Gallery
Events
Everything posted by RGL
-
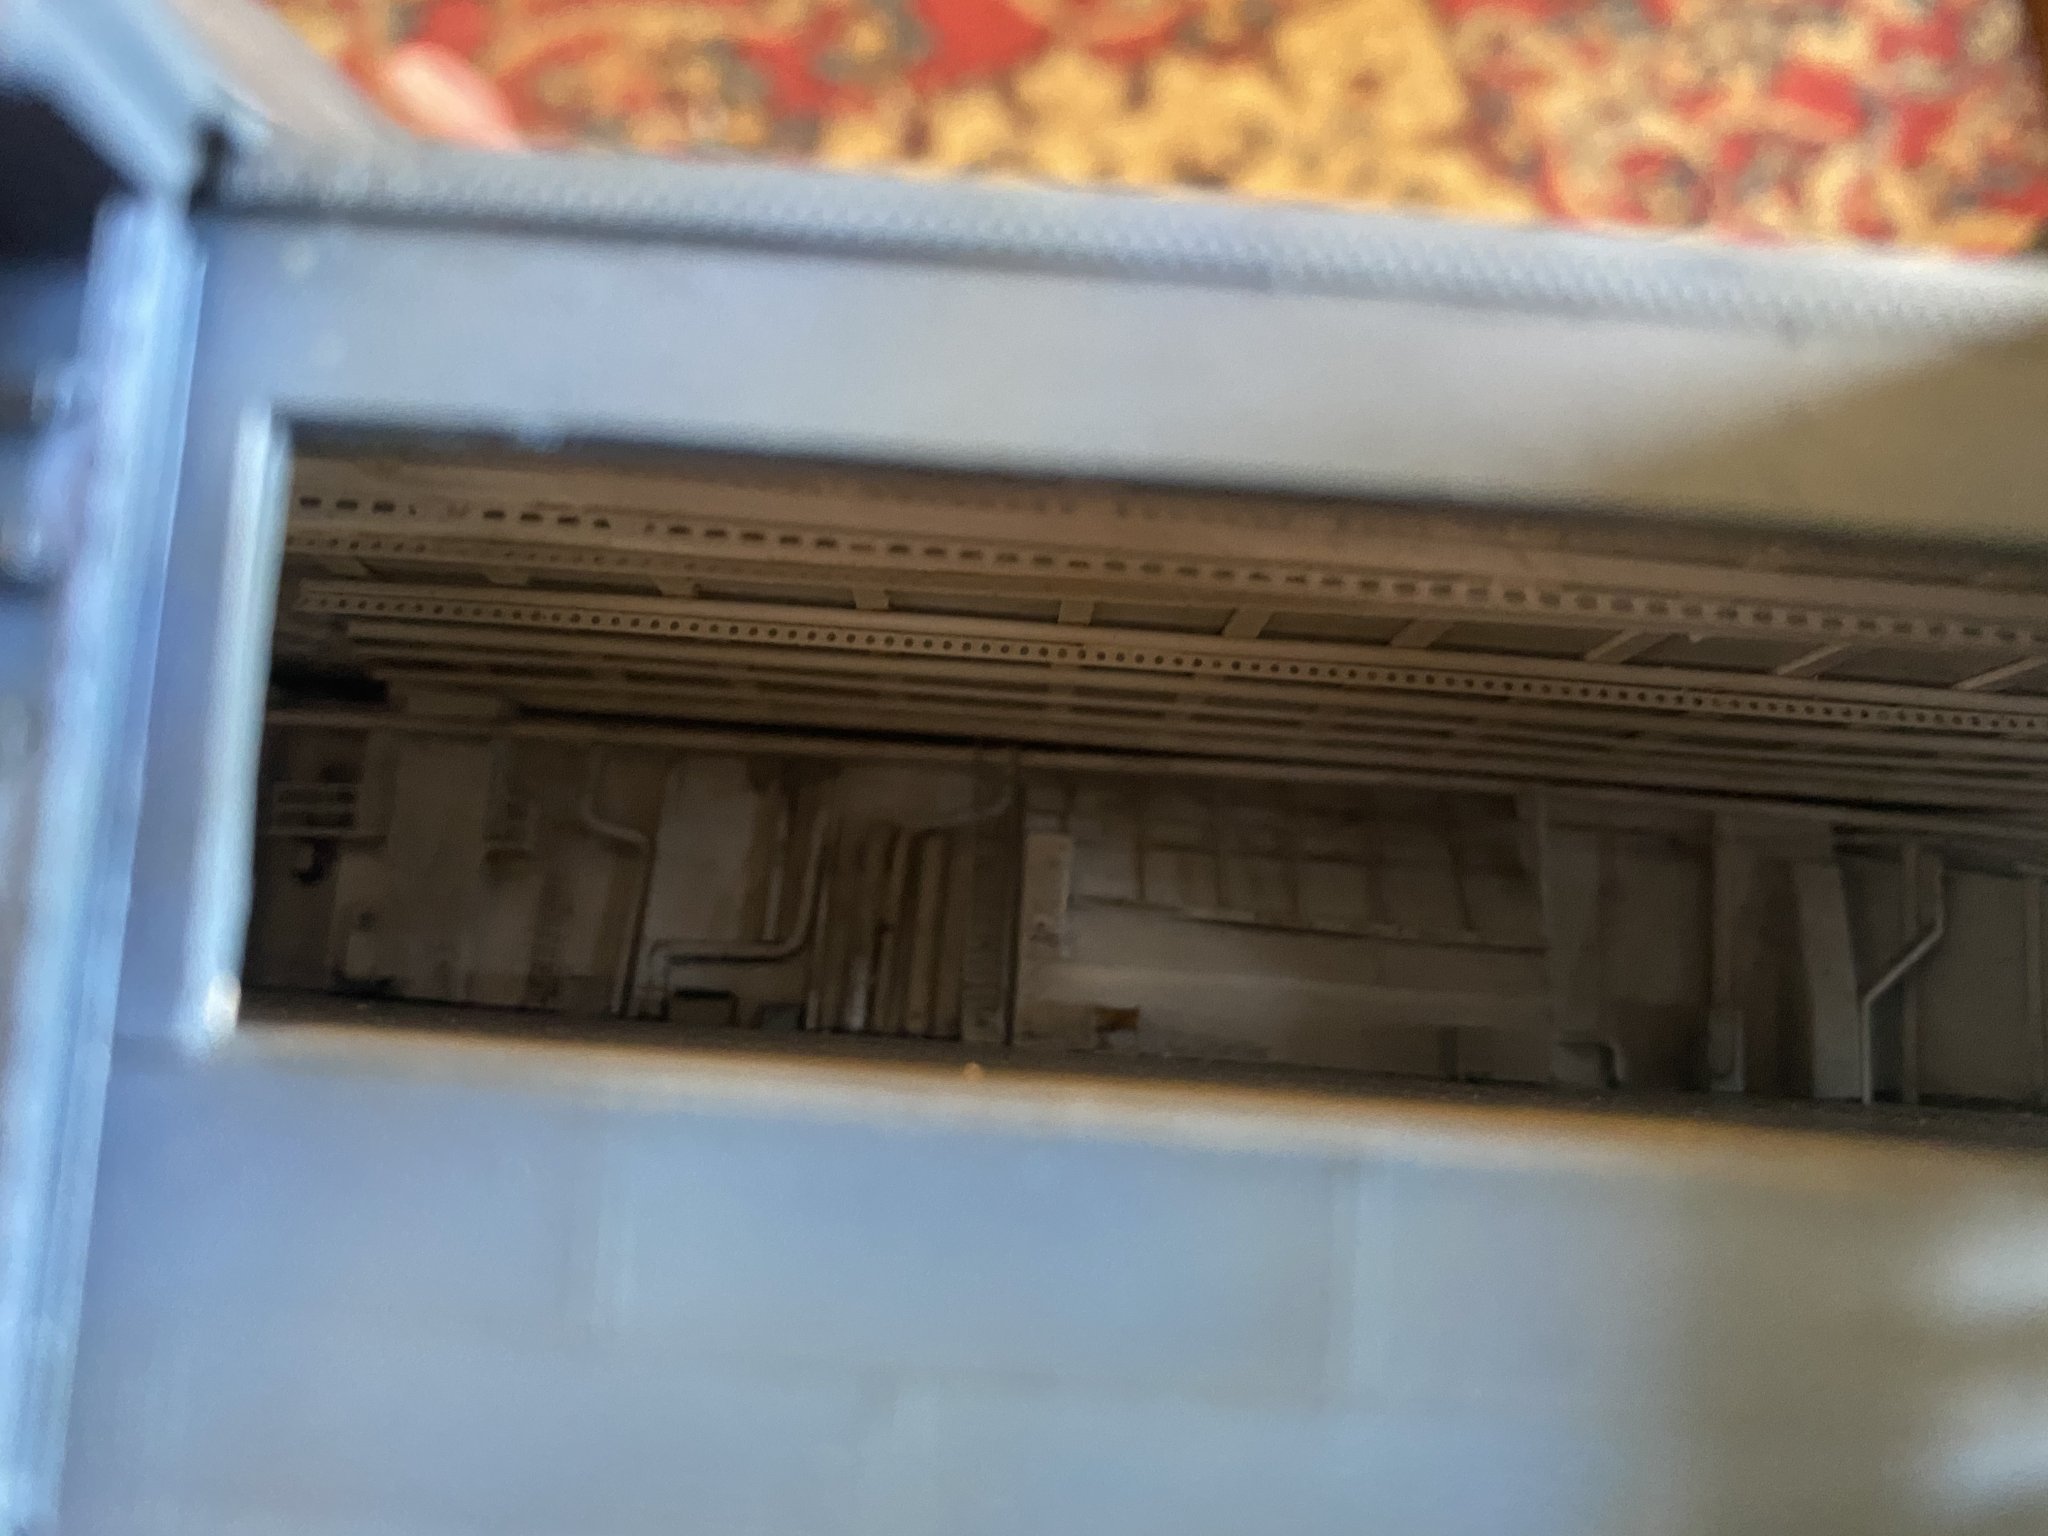
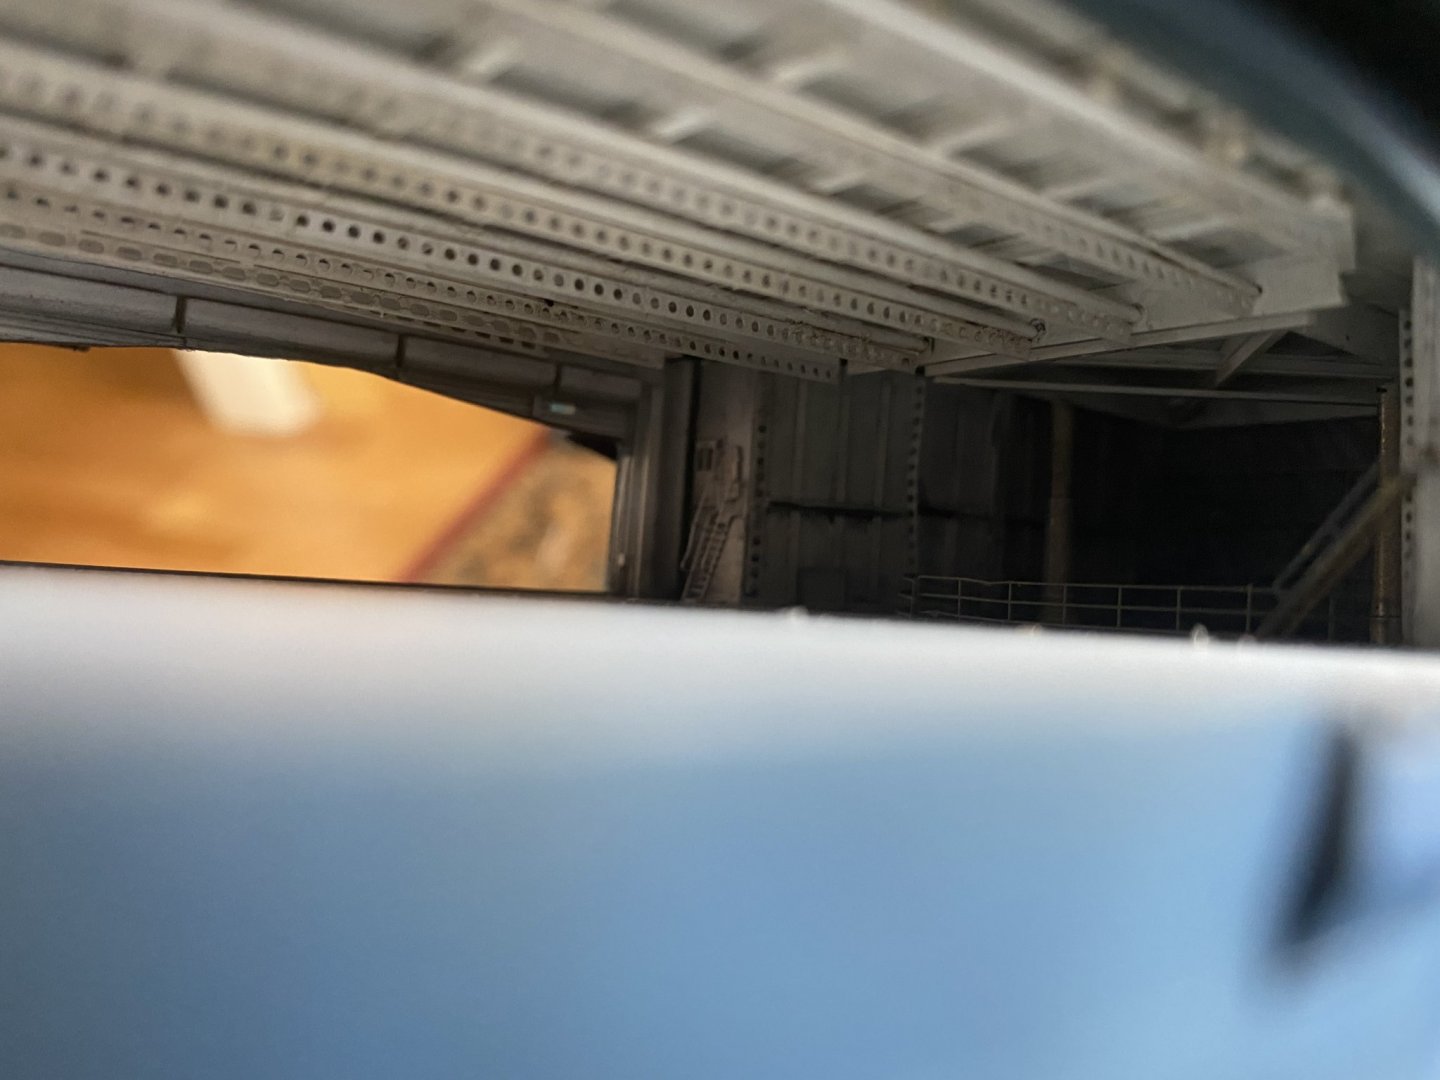
 So finally after finishing the catwalks I find a photo which shows the arrestor gear controls. Little bit more scratch building to go then
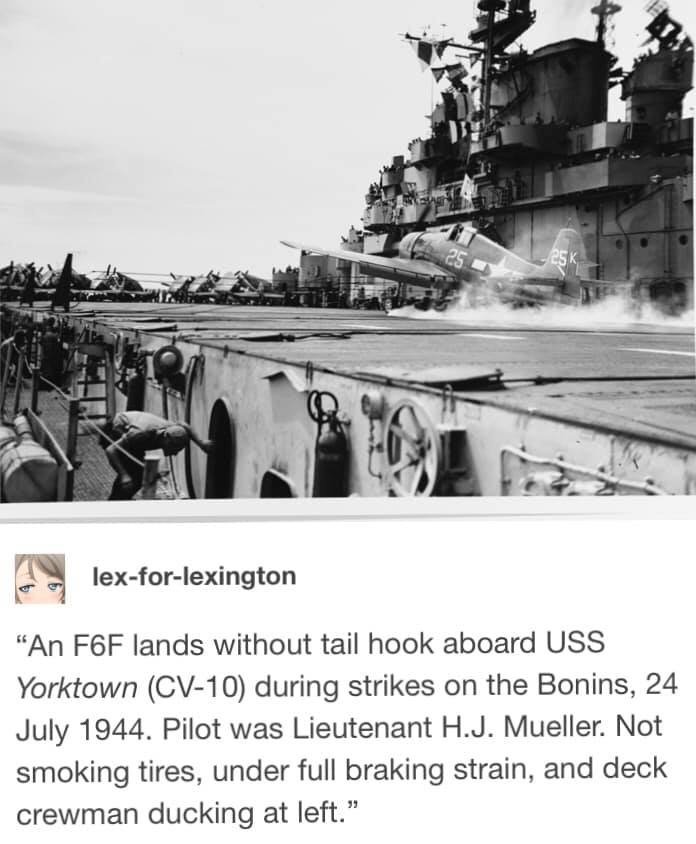
-
Yes mate, they were blue at the start, then went dazle to disrupt submarines which make them too easy for the Kamikazie when they went back to a greyer colour.
-
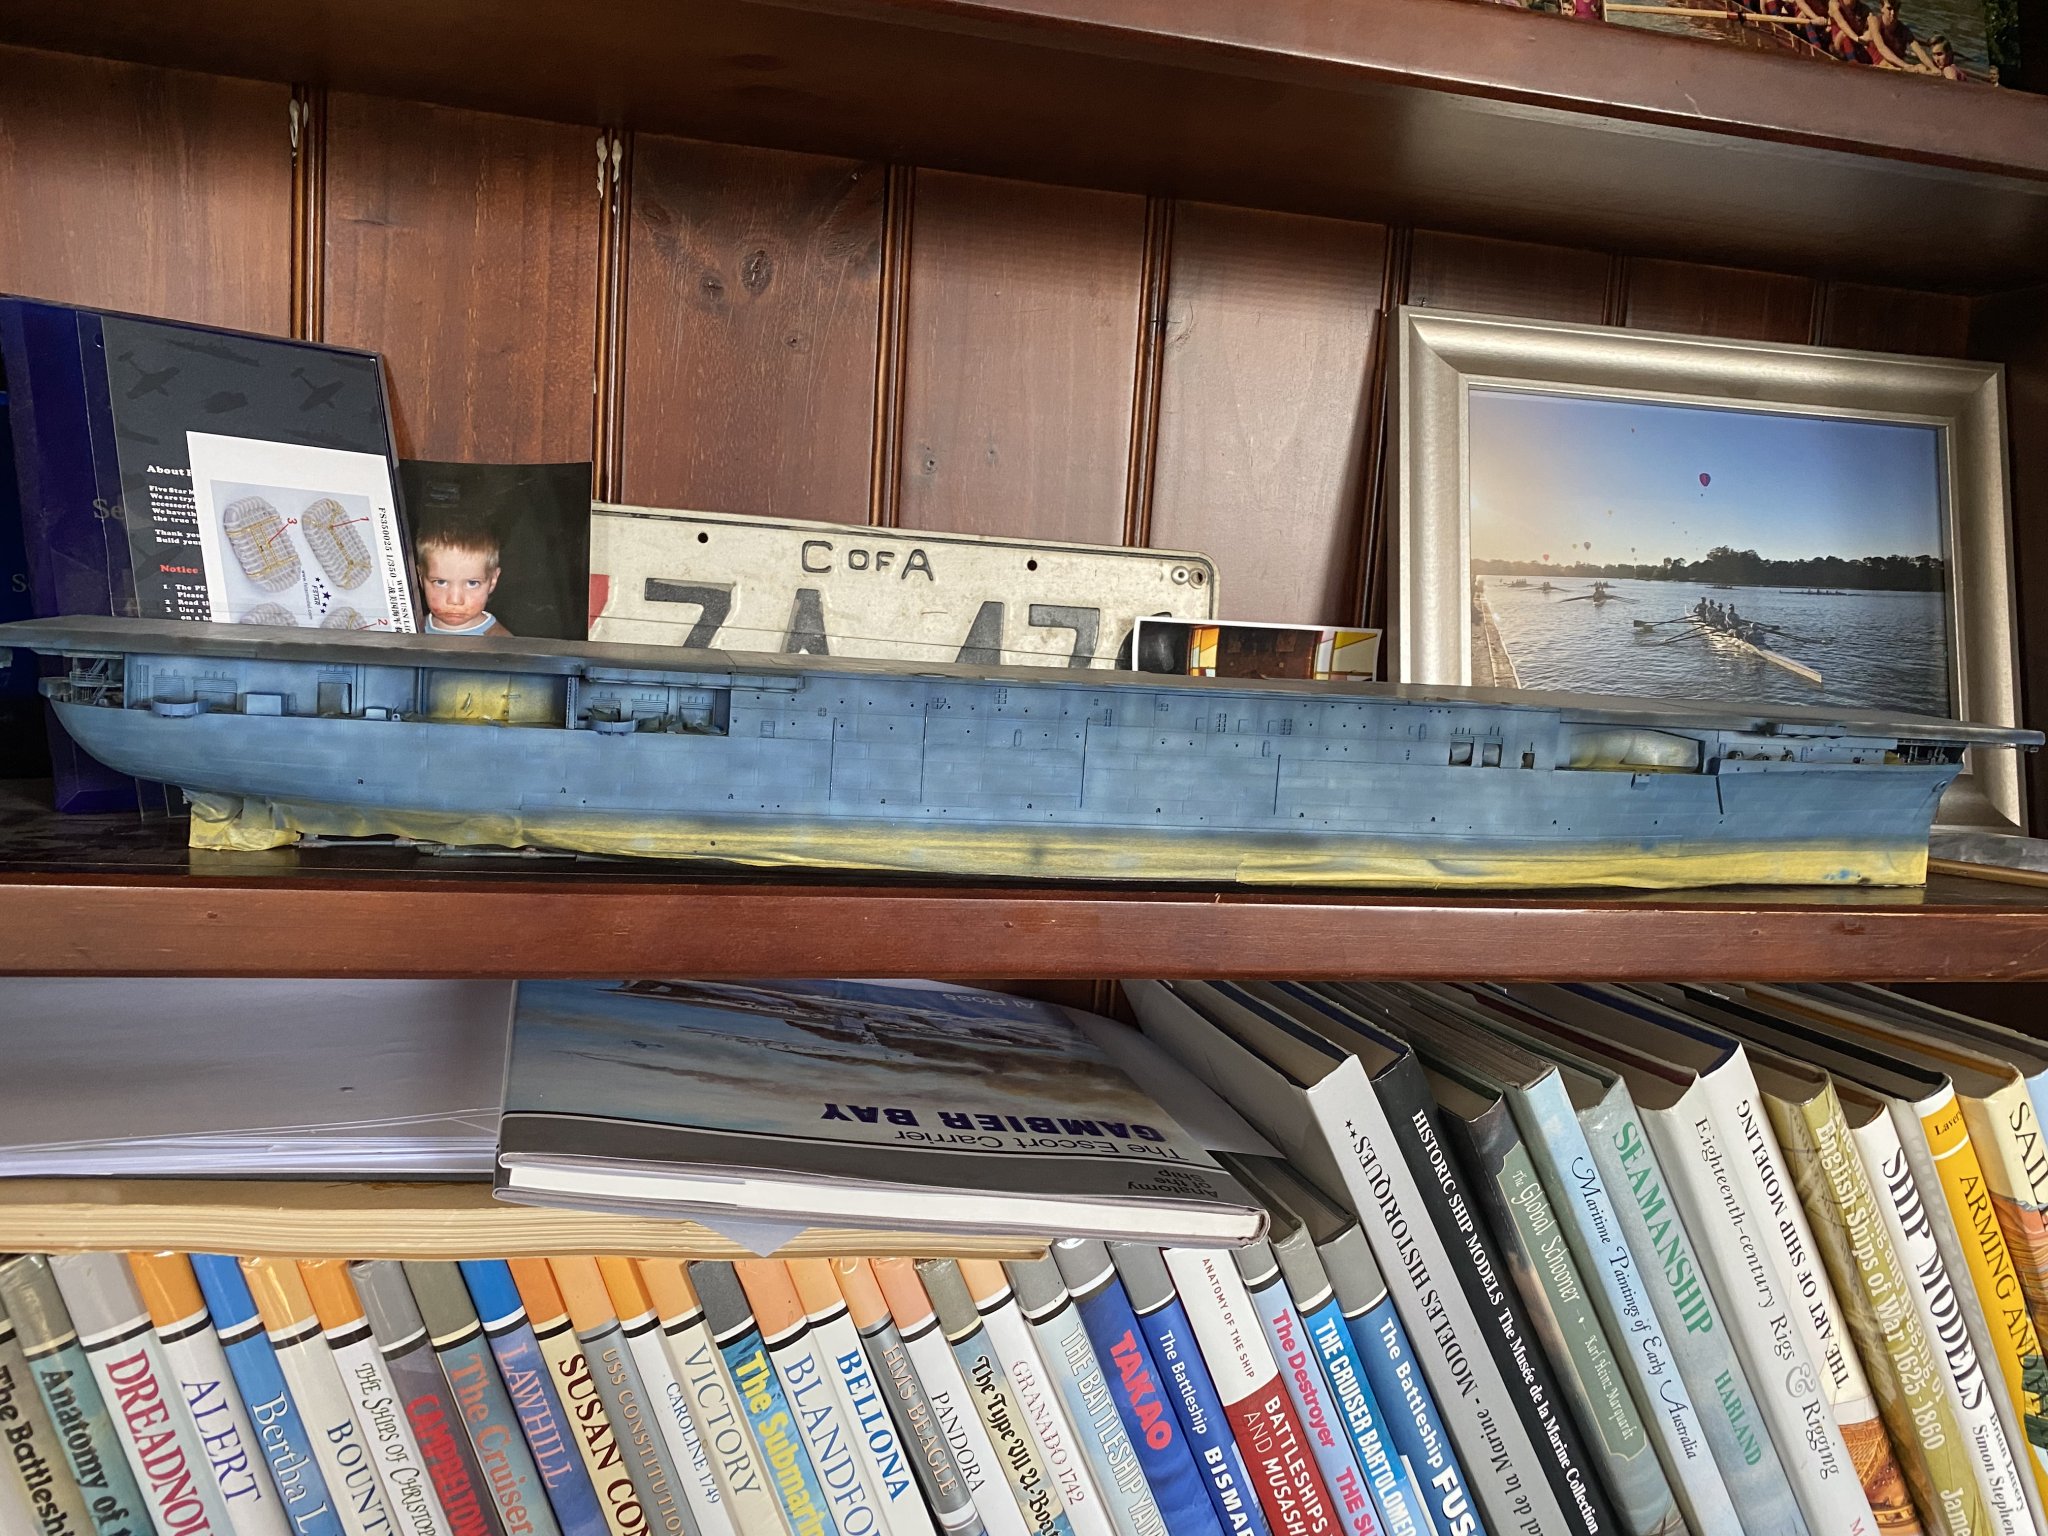
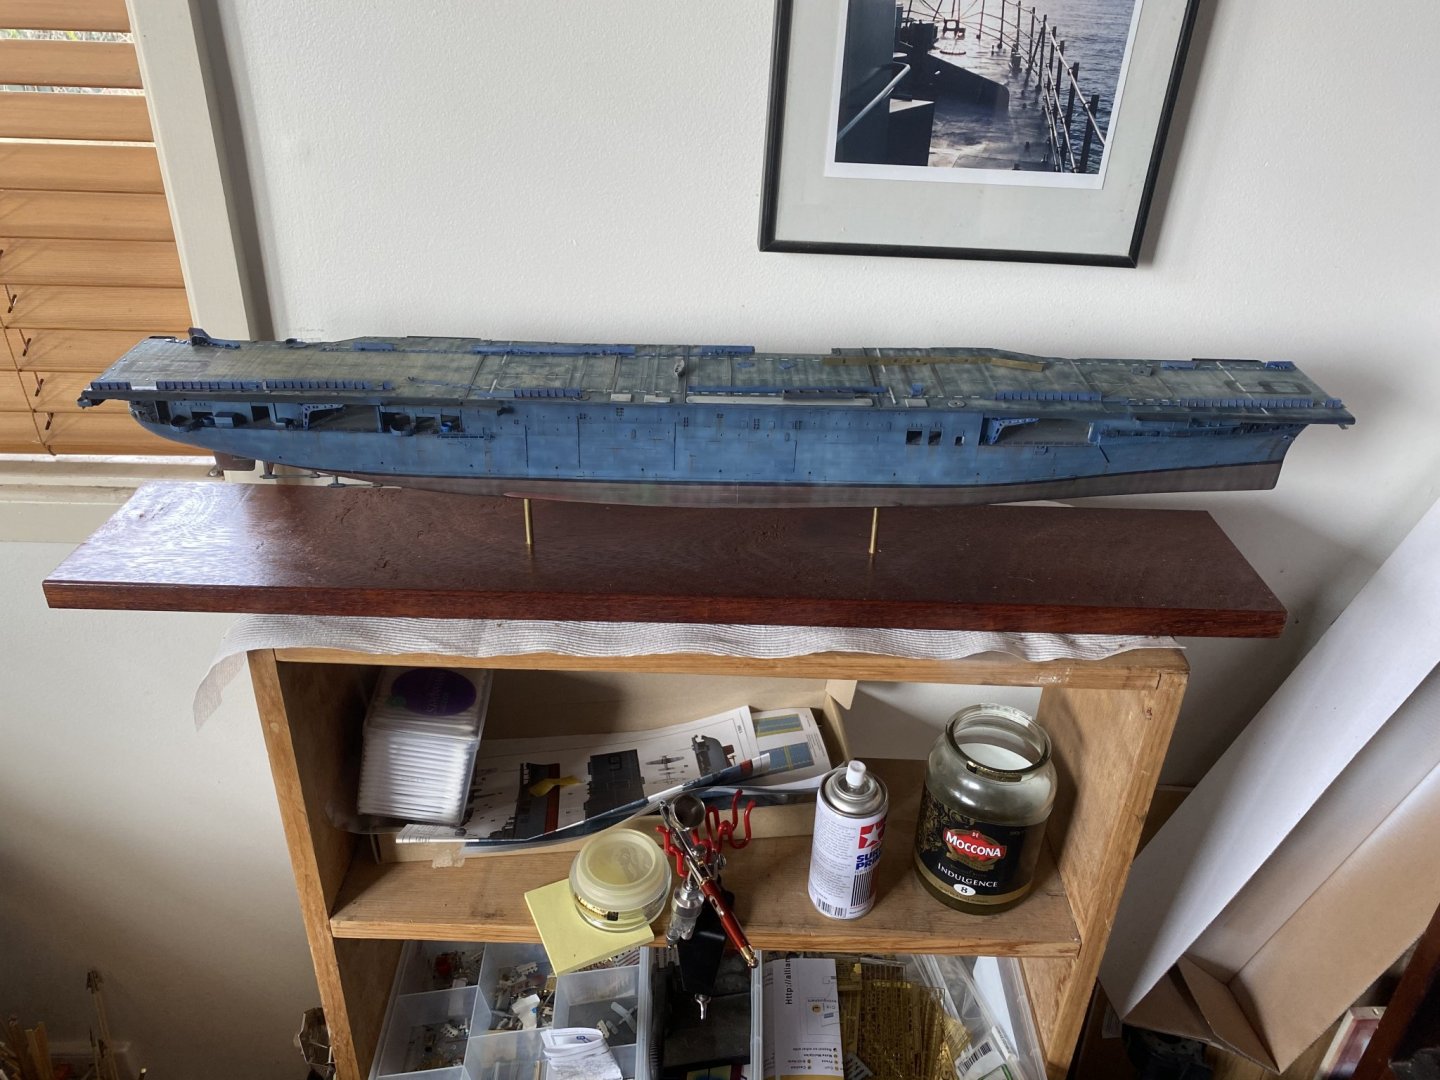
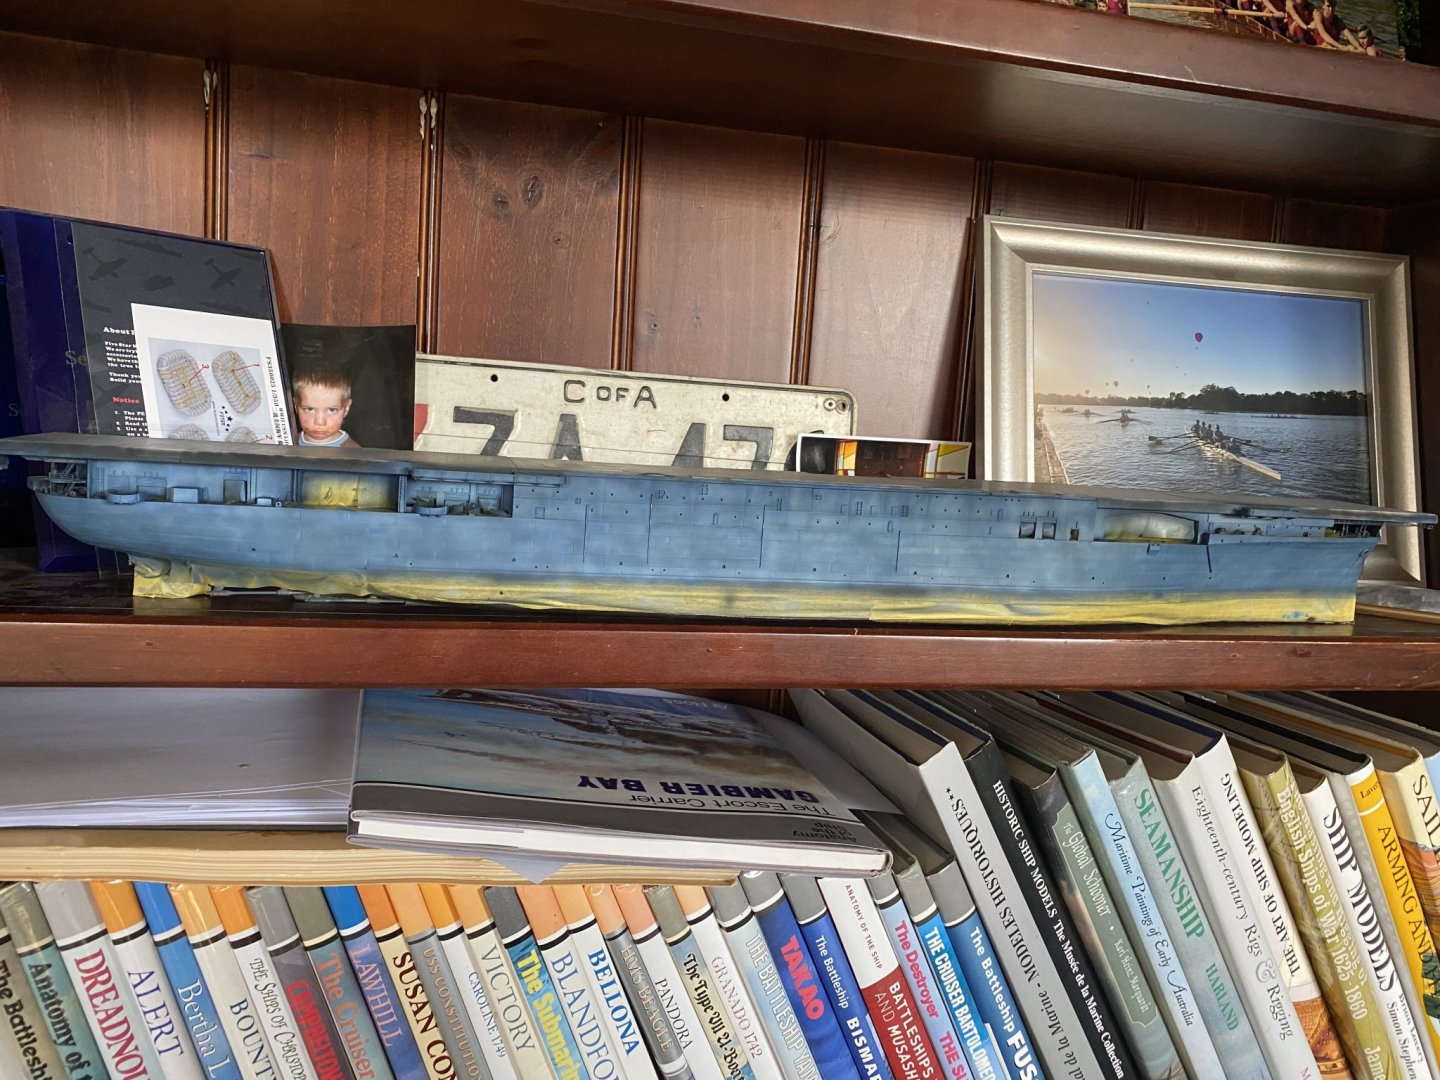
I’ve finally got the ship permanently mounted, it’s now safe enough to put the catwalks on as I won’t have to handle the ship. ive left one off that runs alongside the island and have yet to add the 54 floater net baskets and later on lots of rafts to be slung under. IMG_1644.MOV IMG_1643.MOV
- 308 replies
-
- 10
-

-
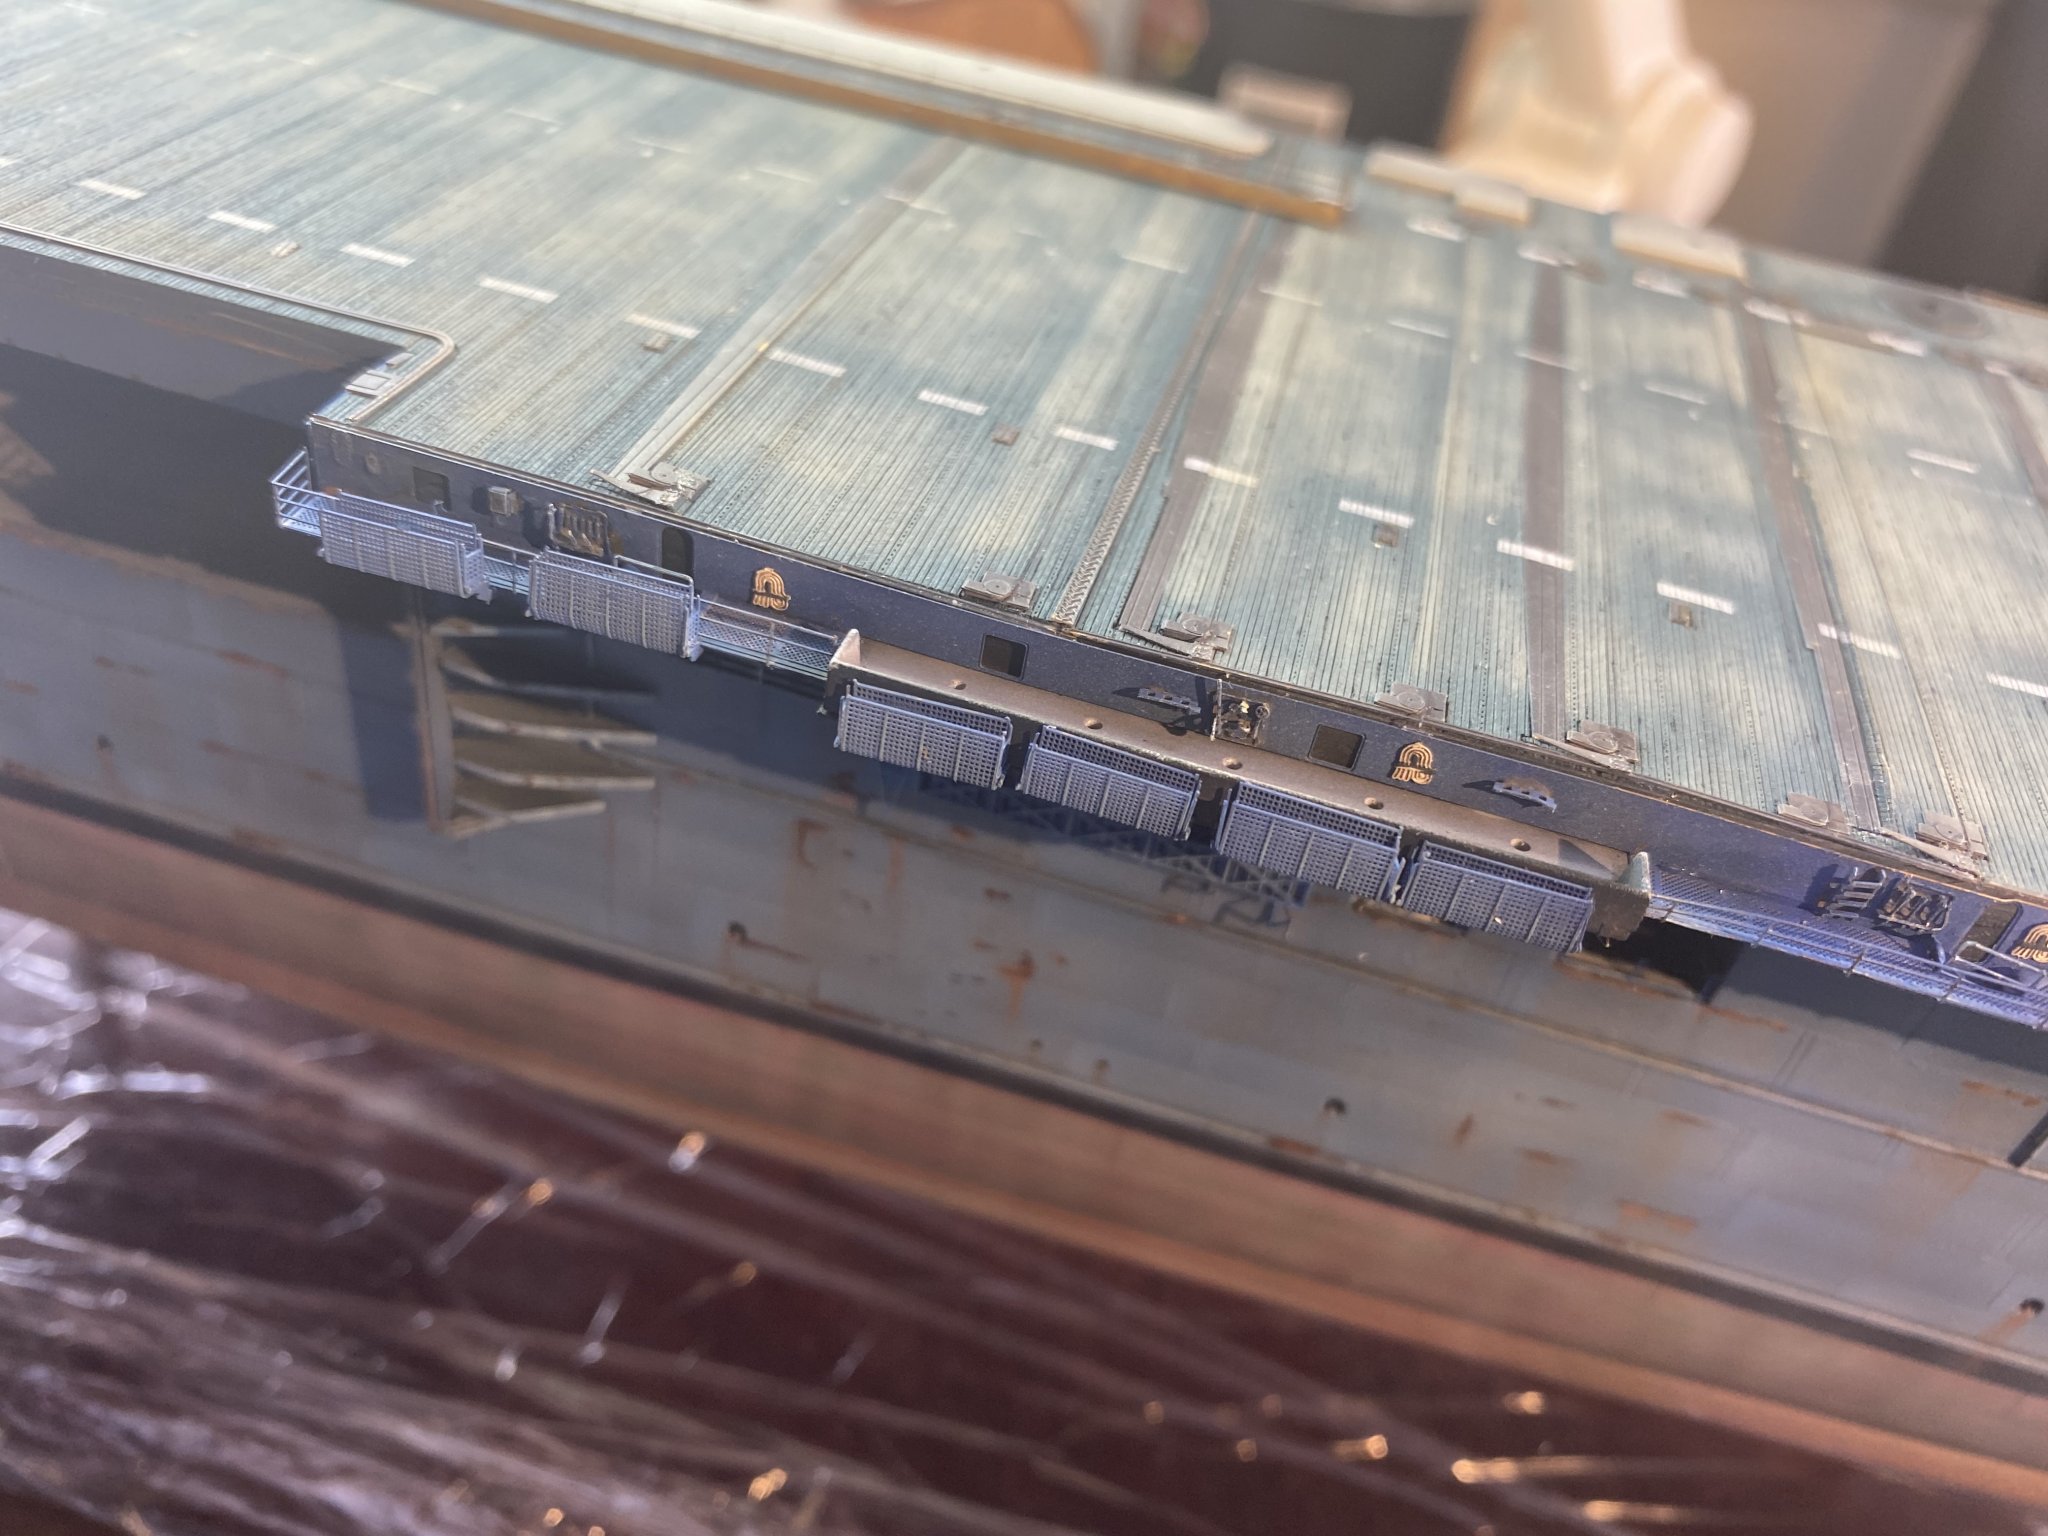
The arrestor cables on the flight deck. The upgrade made these mandatory really, I’ve been told they stayed deployed the entire time and were heavily greased up.


- 308 replies
-
- 20
-
-
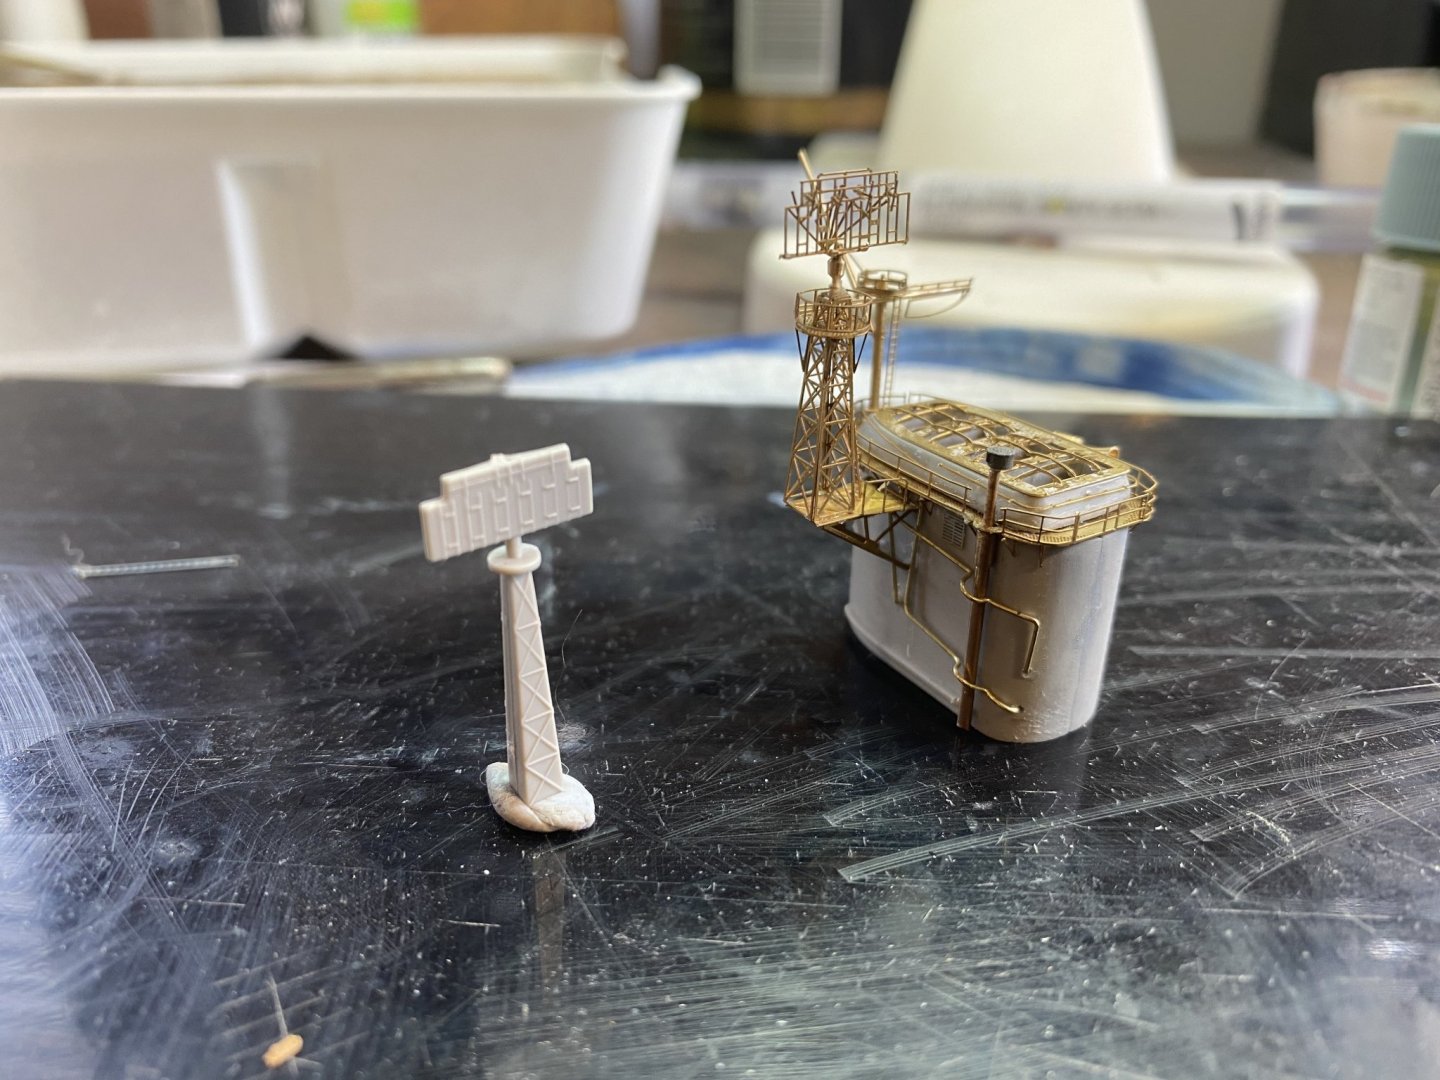
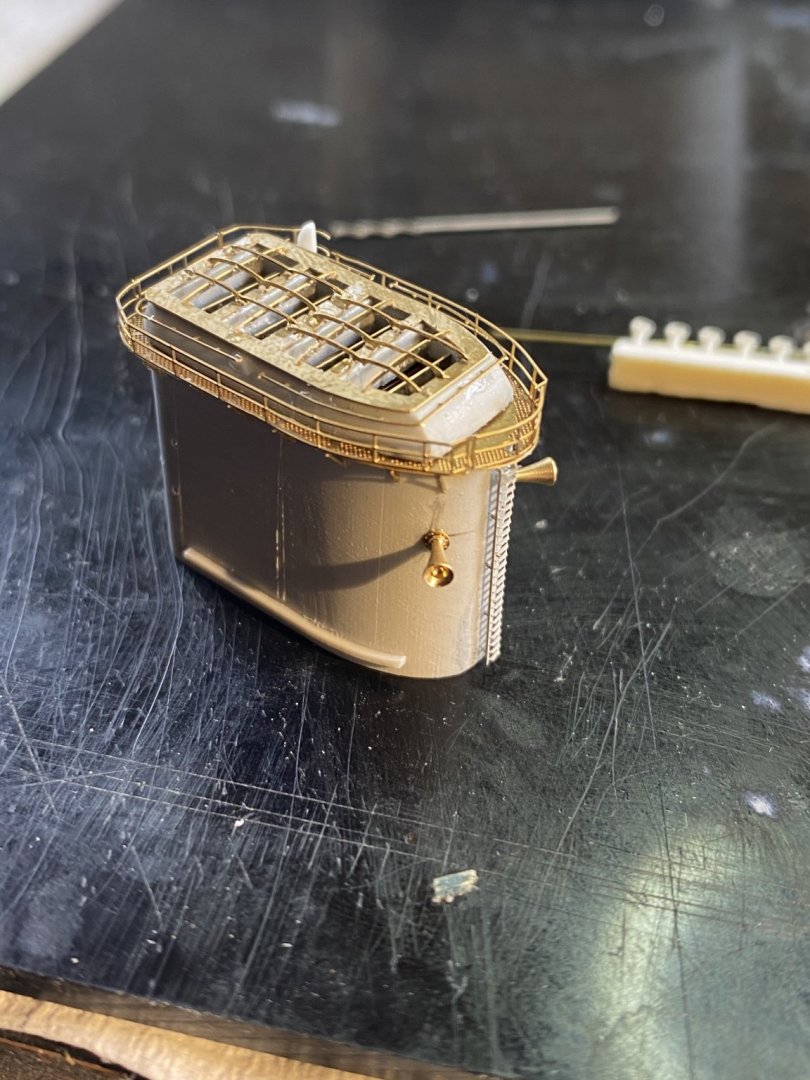
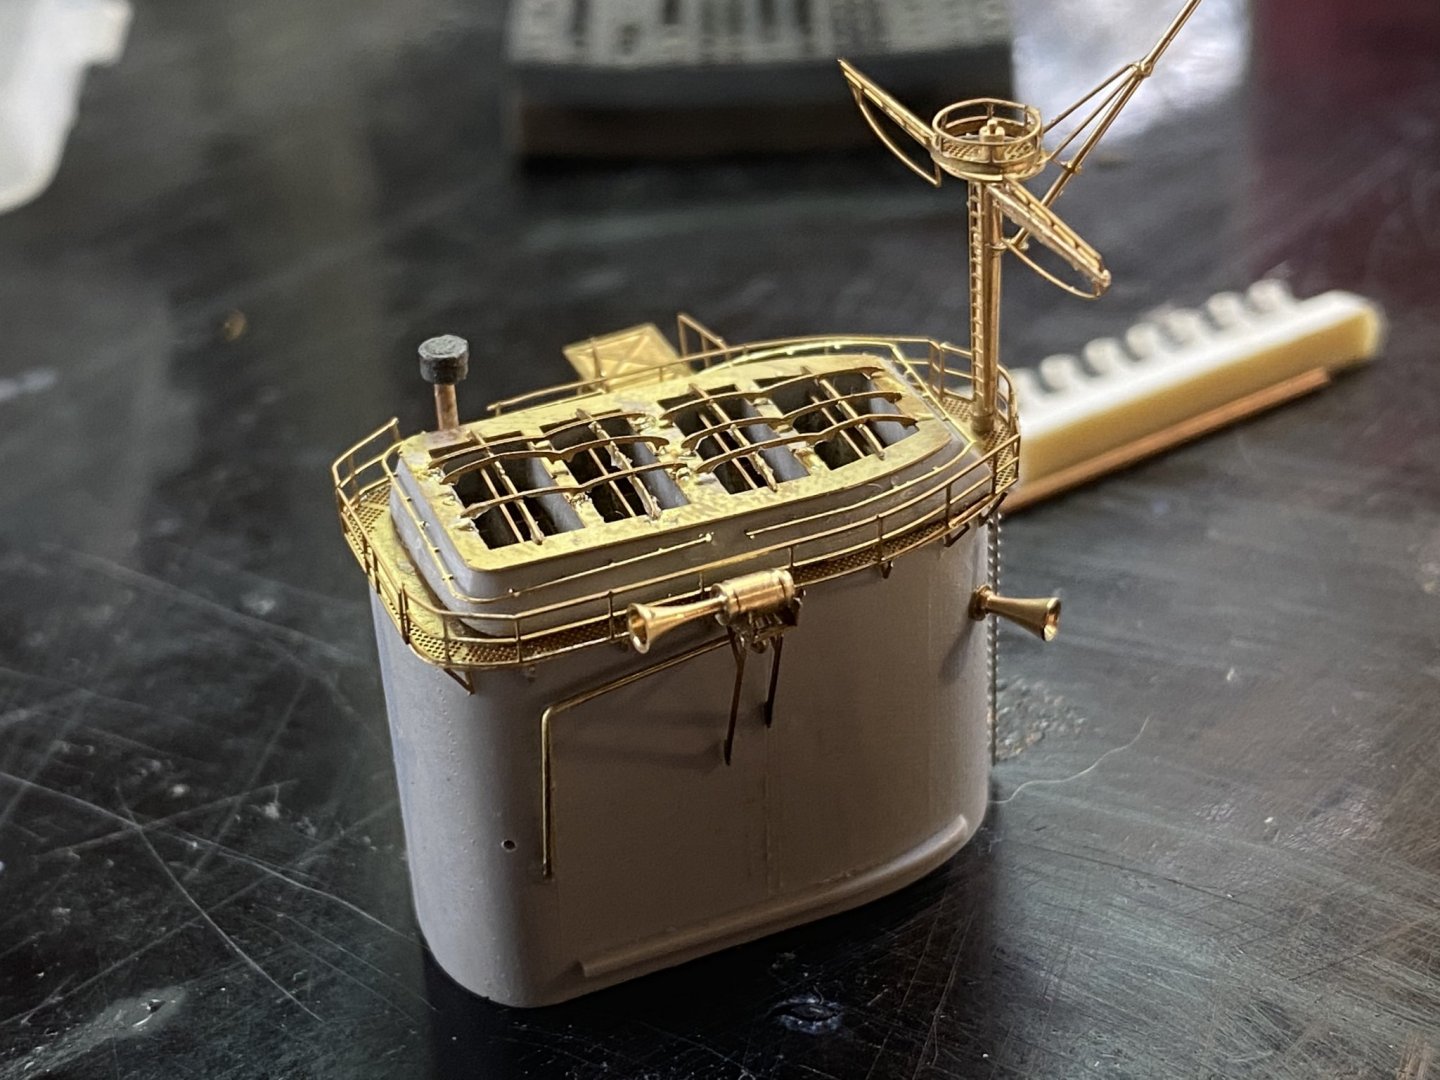
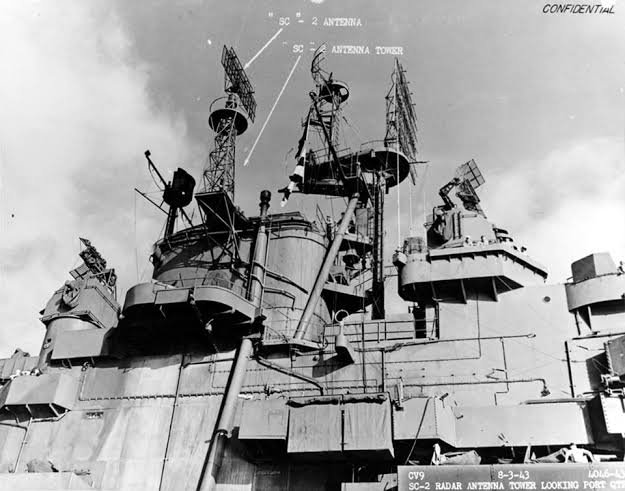
And done, with the SC-2 Radar, back to the hull now. not the kit provided radar set, this is why PE is really unbeatable
- 308 replies
-
- 18
-
-
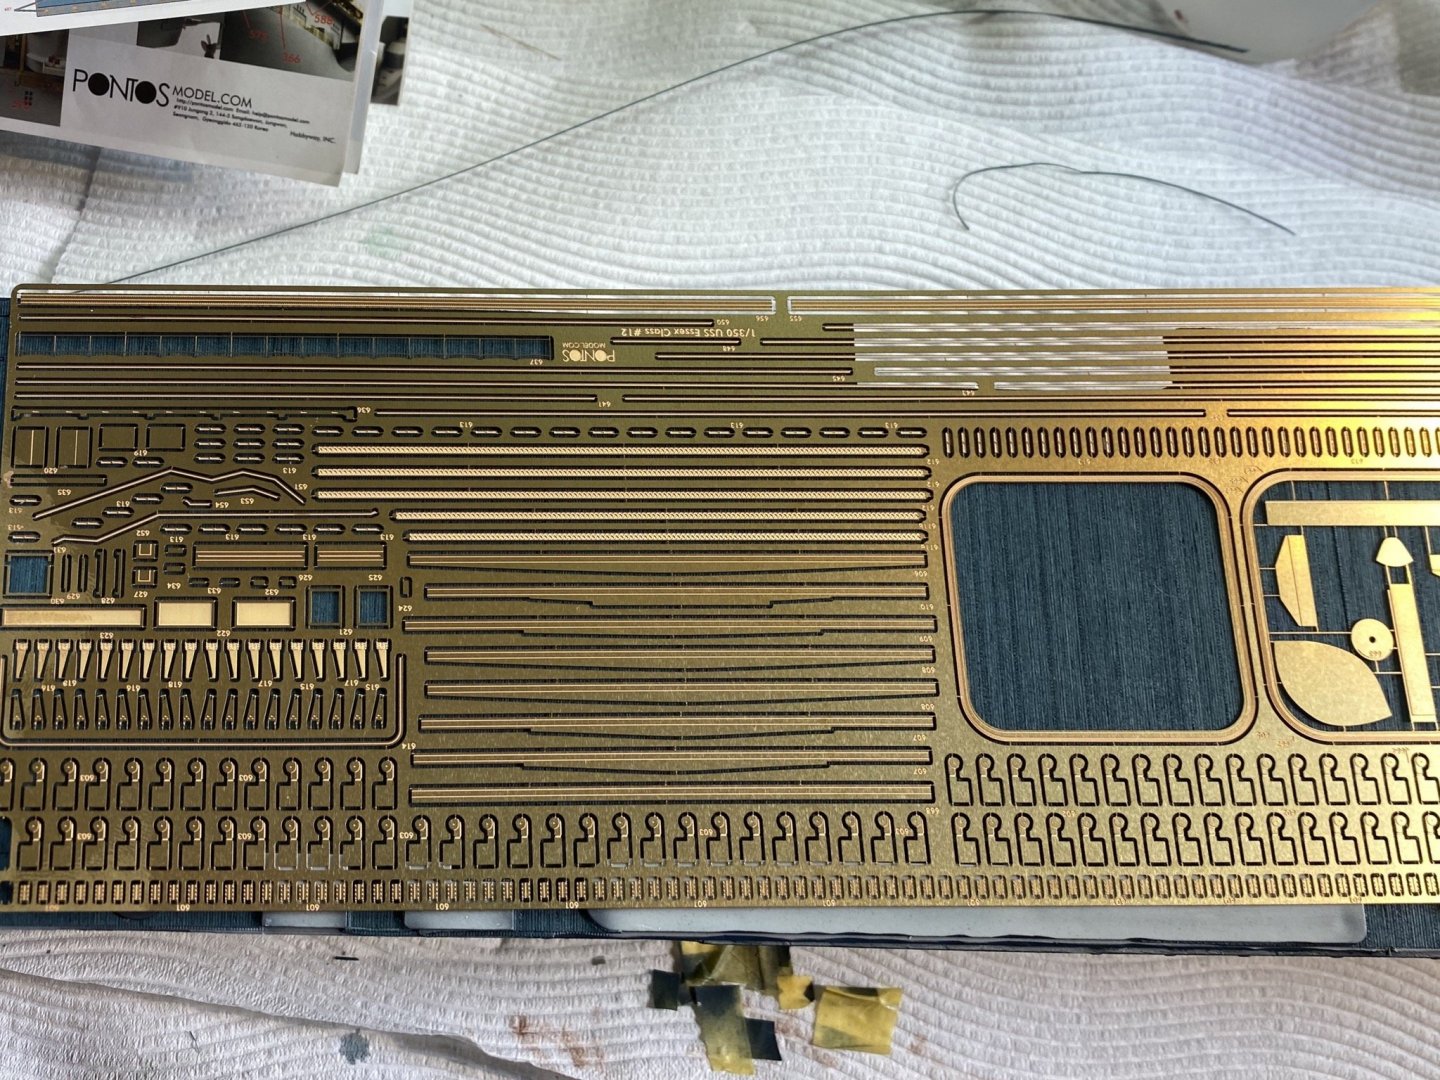
Funnel, what the kit provides then what it is supposed to look like in 1943 and the metalwork begins plus some extra pipes


- 308 replies
-
- 24
-
-
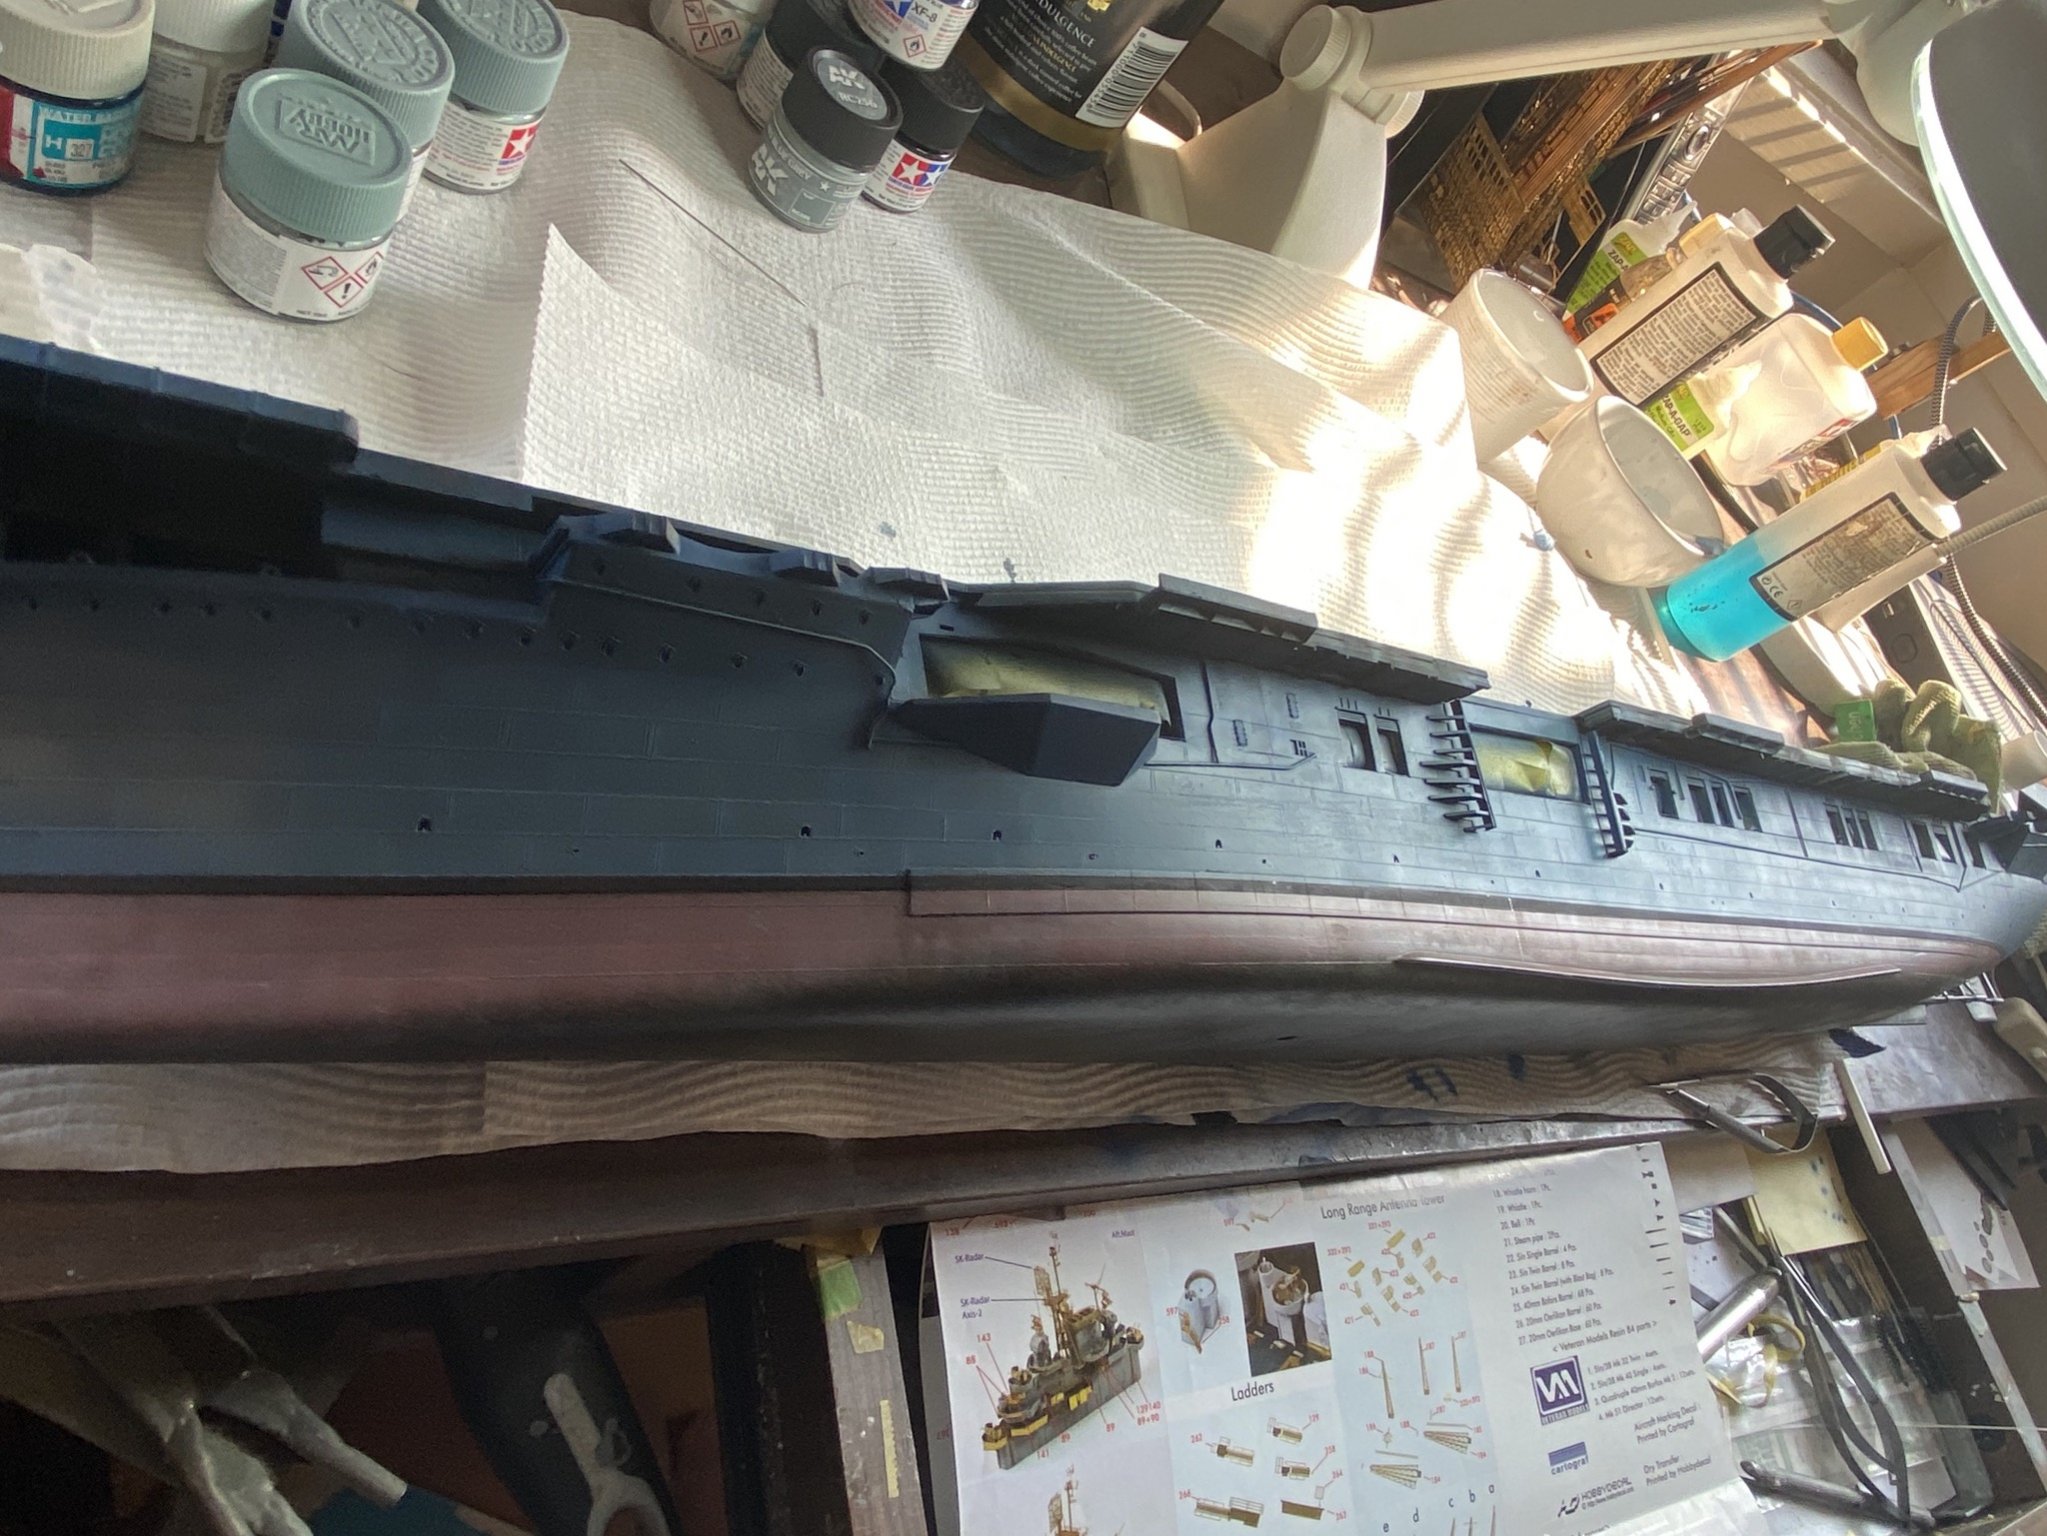
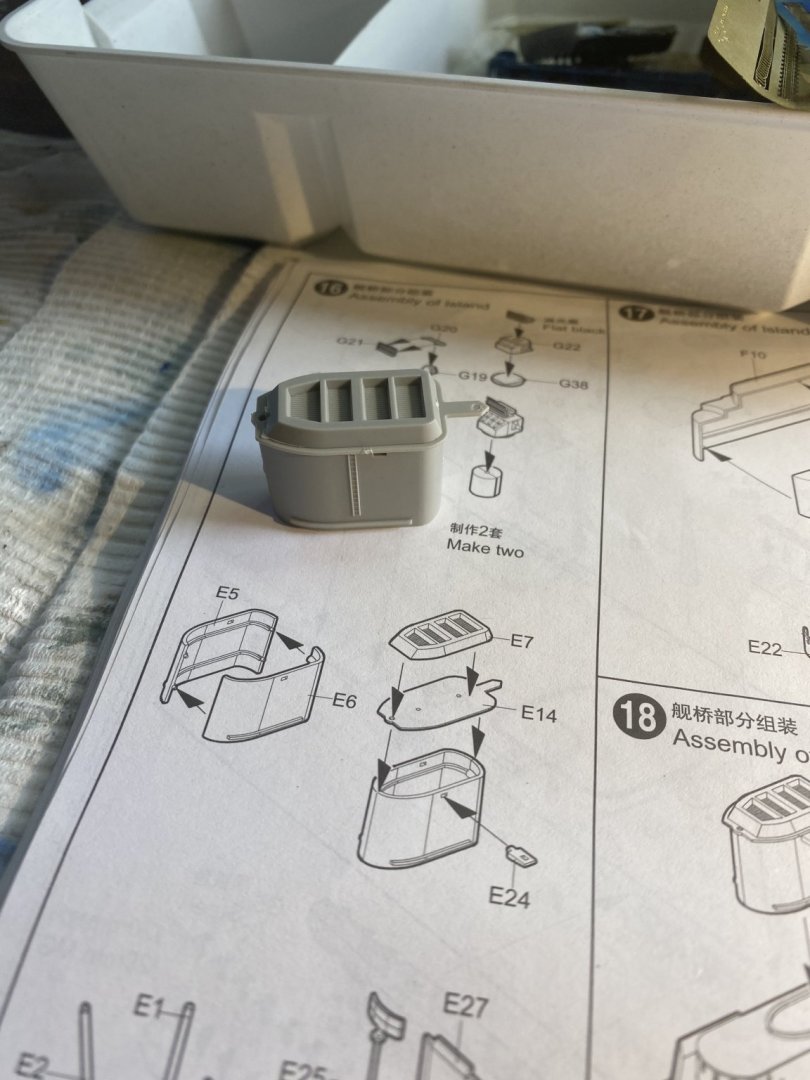
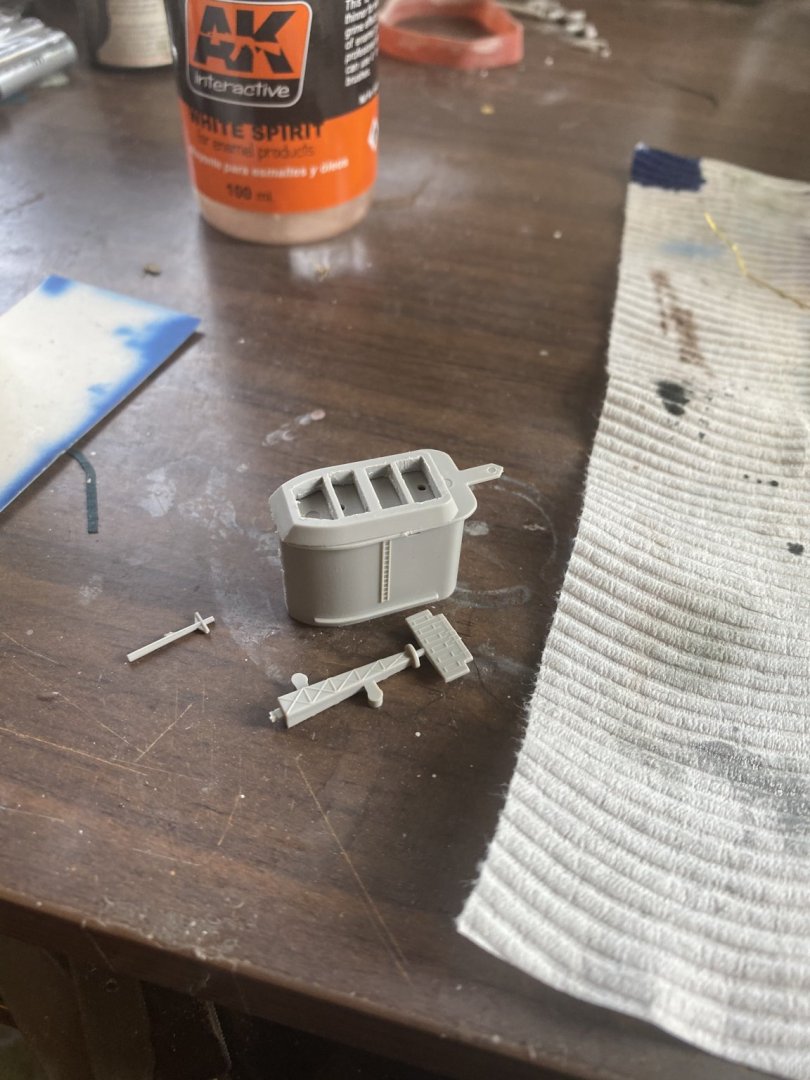
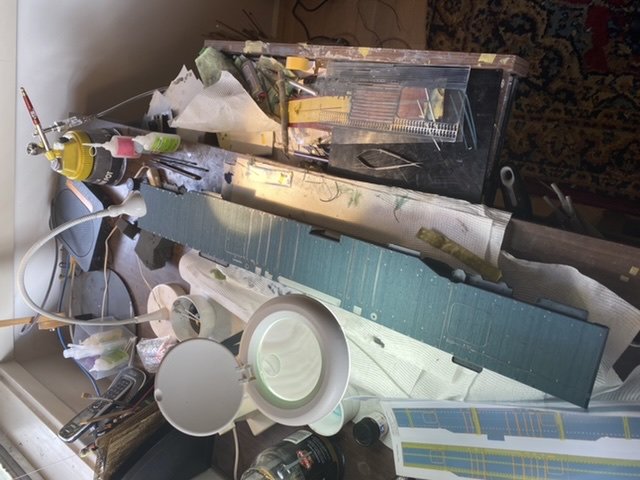
I finally got around to going to the hardware store and got a length or Merbu cut to length. A couple of layers of oil and she’s good to go. I intend on cutting the pedestals down by half then I can all all the completed catwalks which are strewn on the deck. I spend the entire day doing half of the funnel, the island superstructure is a whole model in itself it’s so intricate.
- 308 replies
-
- 15
-
-
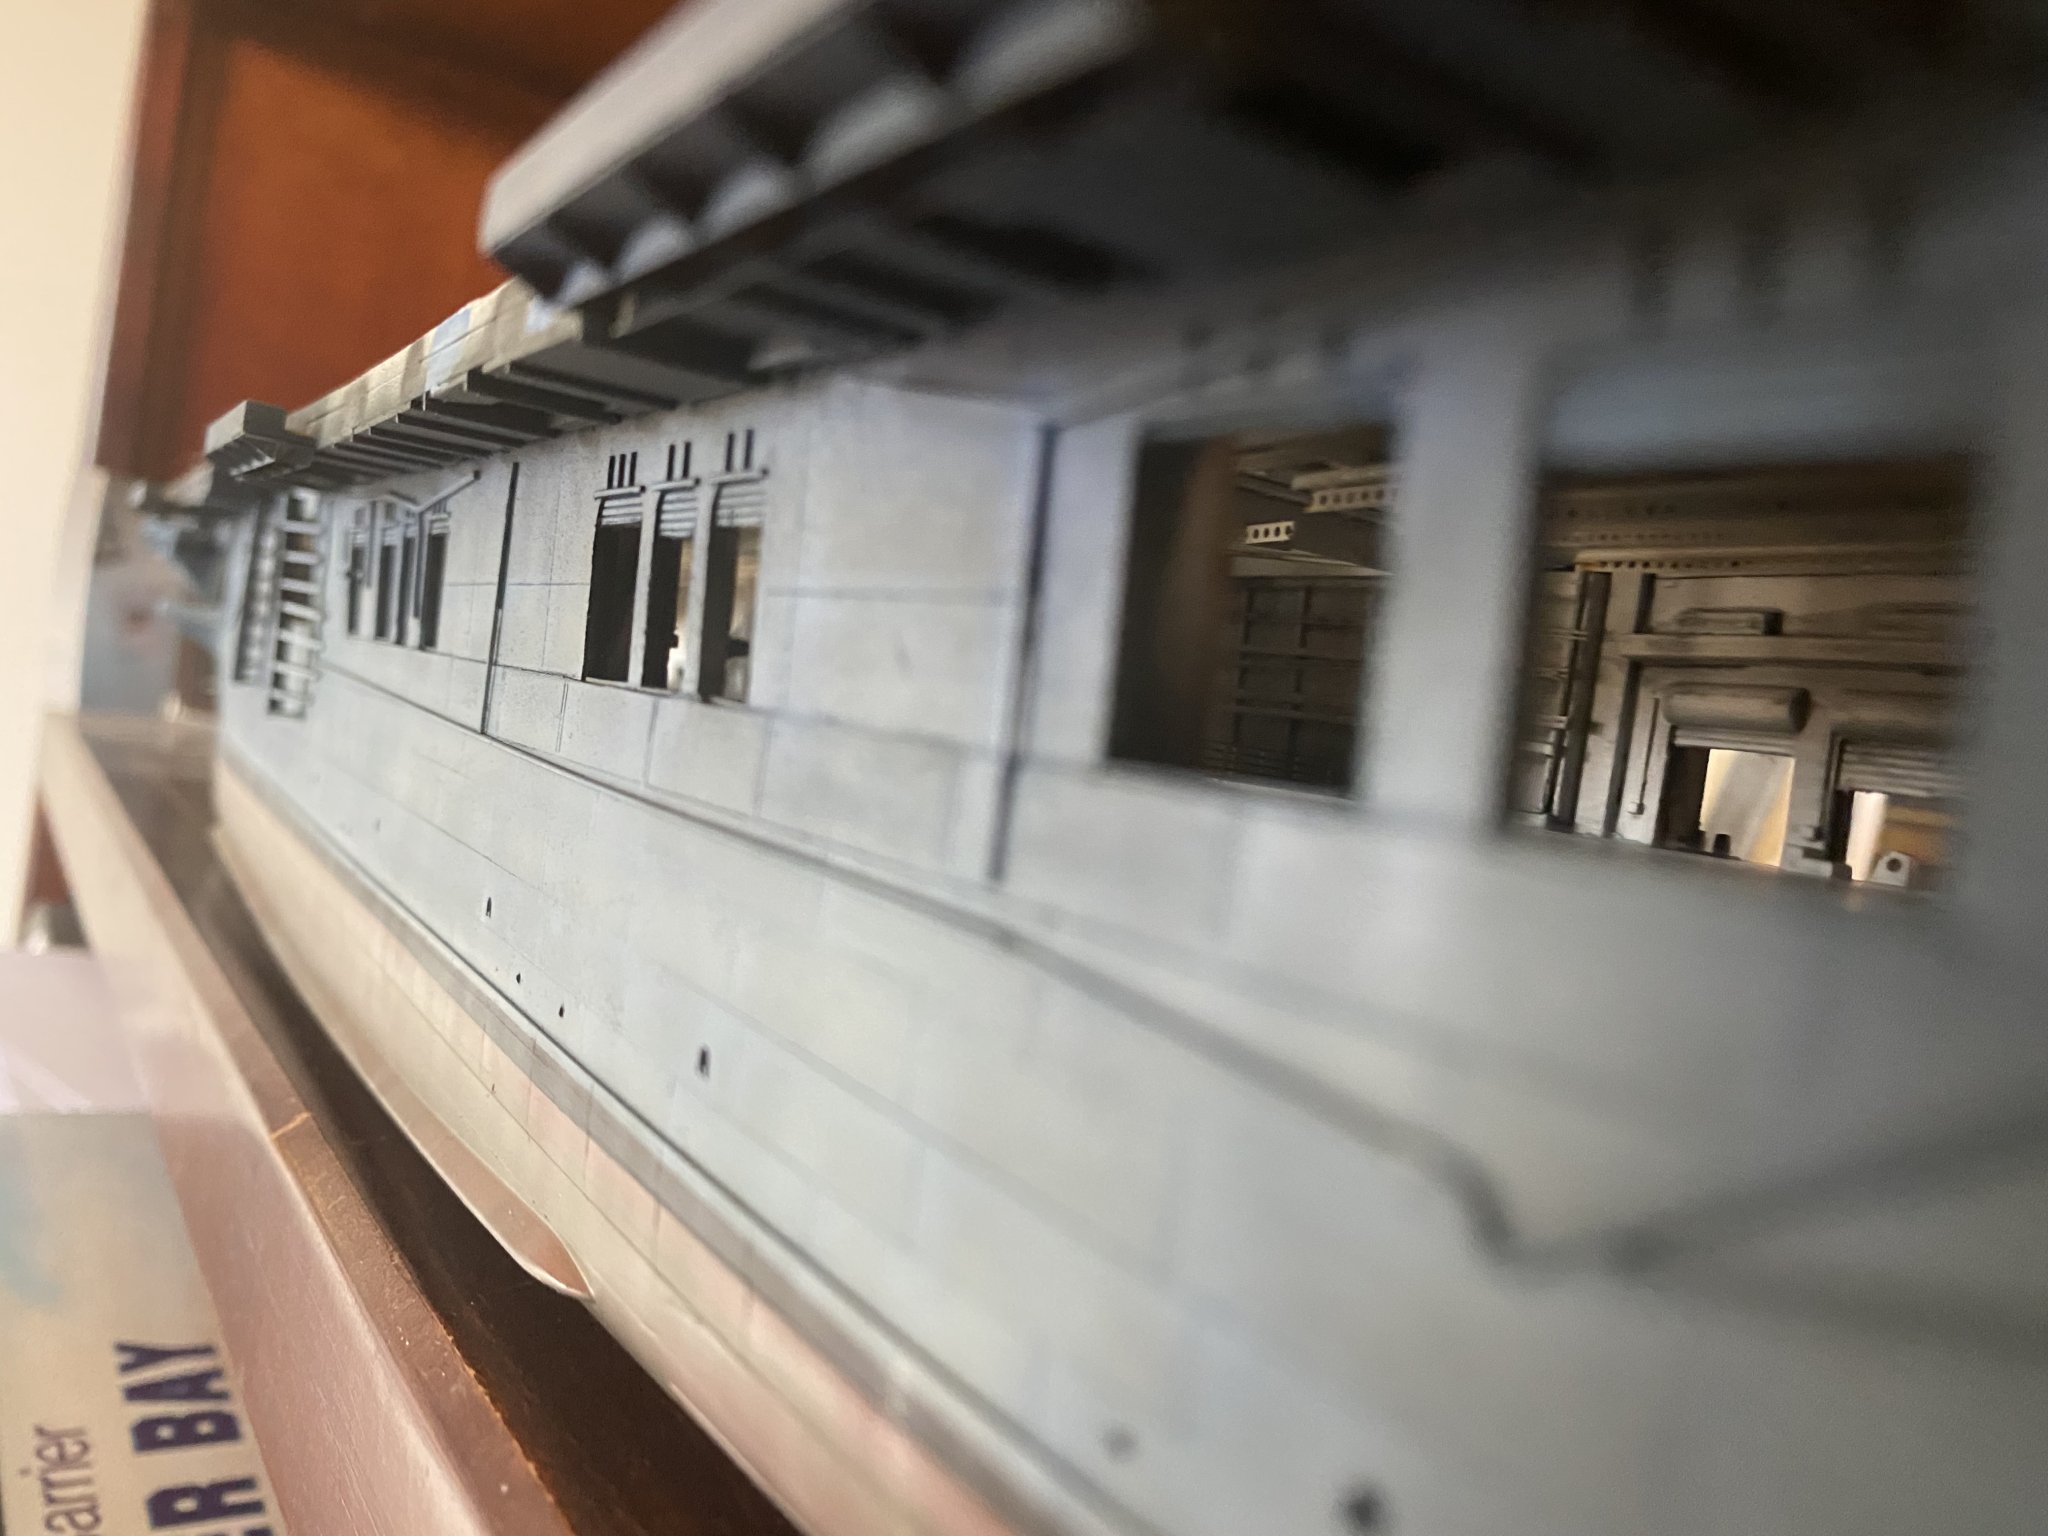
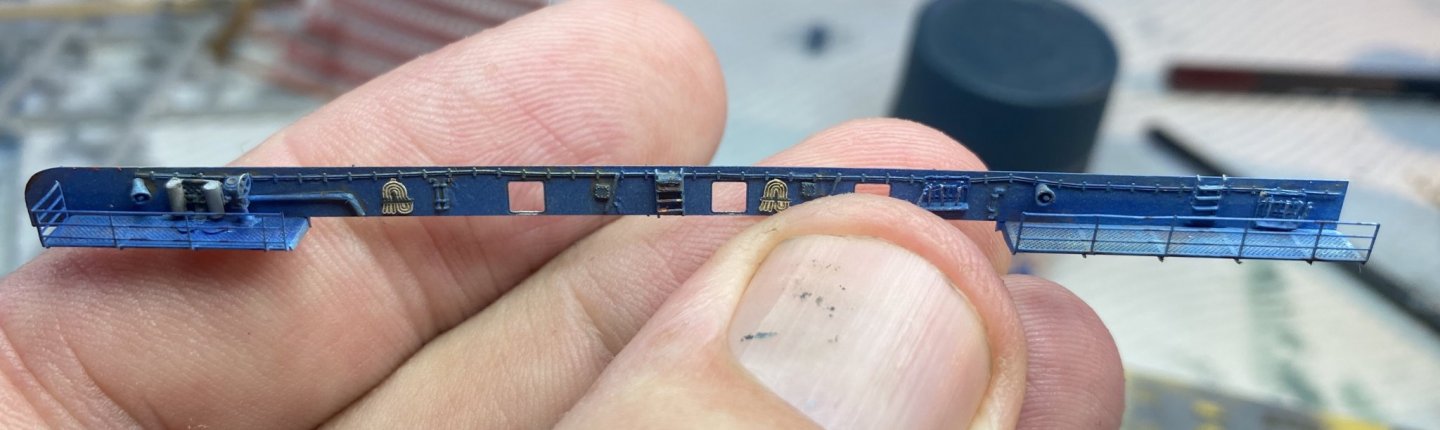
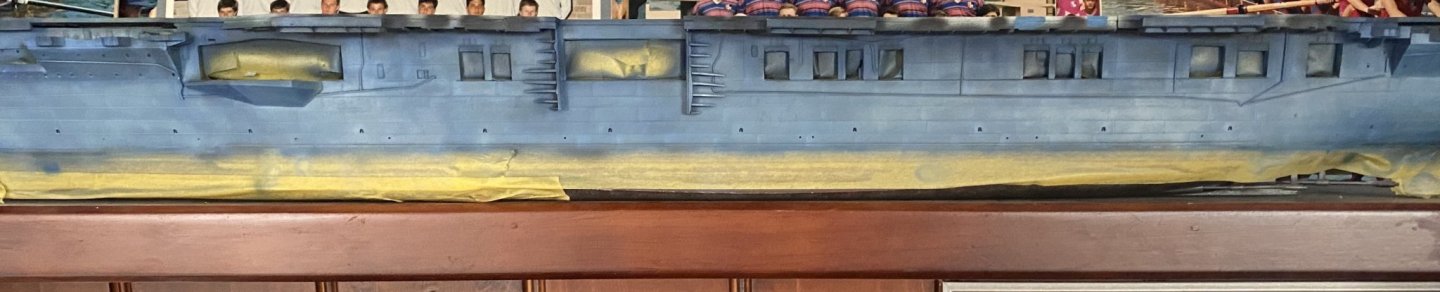
Back onto the catwalks, adding details such as the refueling station and fire hoses. this is the first piece of about 10
- 308 replies
-
- 18
-
-
As I’m short sighted, I just don’t need to wear glasses for close work, but do for the very small details
-
Just ordered what Pat suggested. My eyes have only just recently changed. I use three lamps but miss details that I only pick up in photos. It’s the direct light onto the work I need. I love the idea of storing them in a large zip loc bag to keep the dust off. God knows how people do 1/700
-
Looks good Pat, thanks for the feedback all.
-
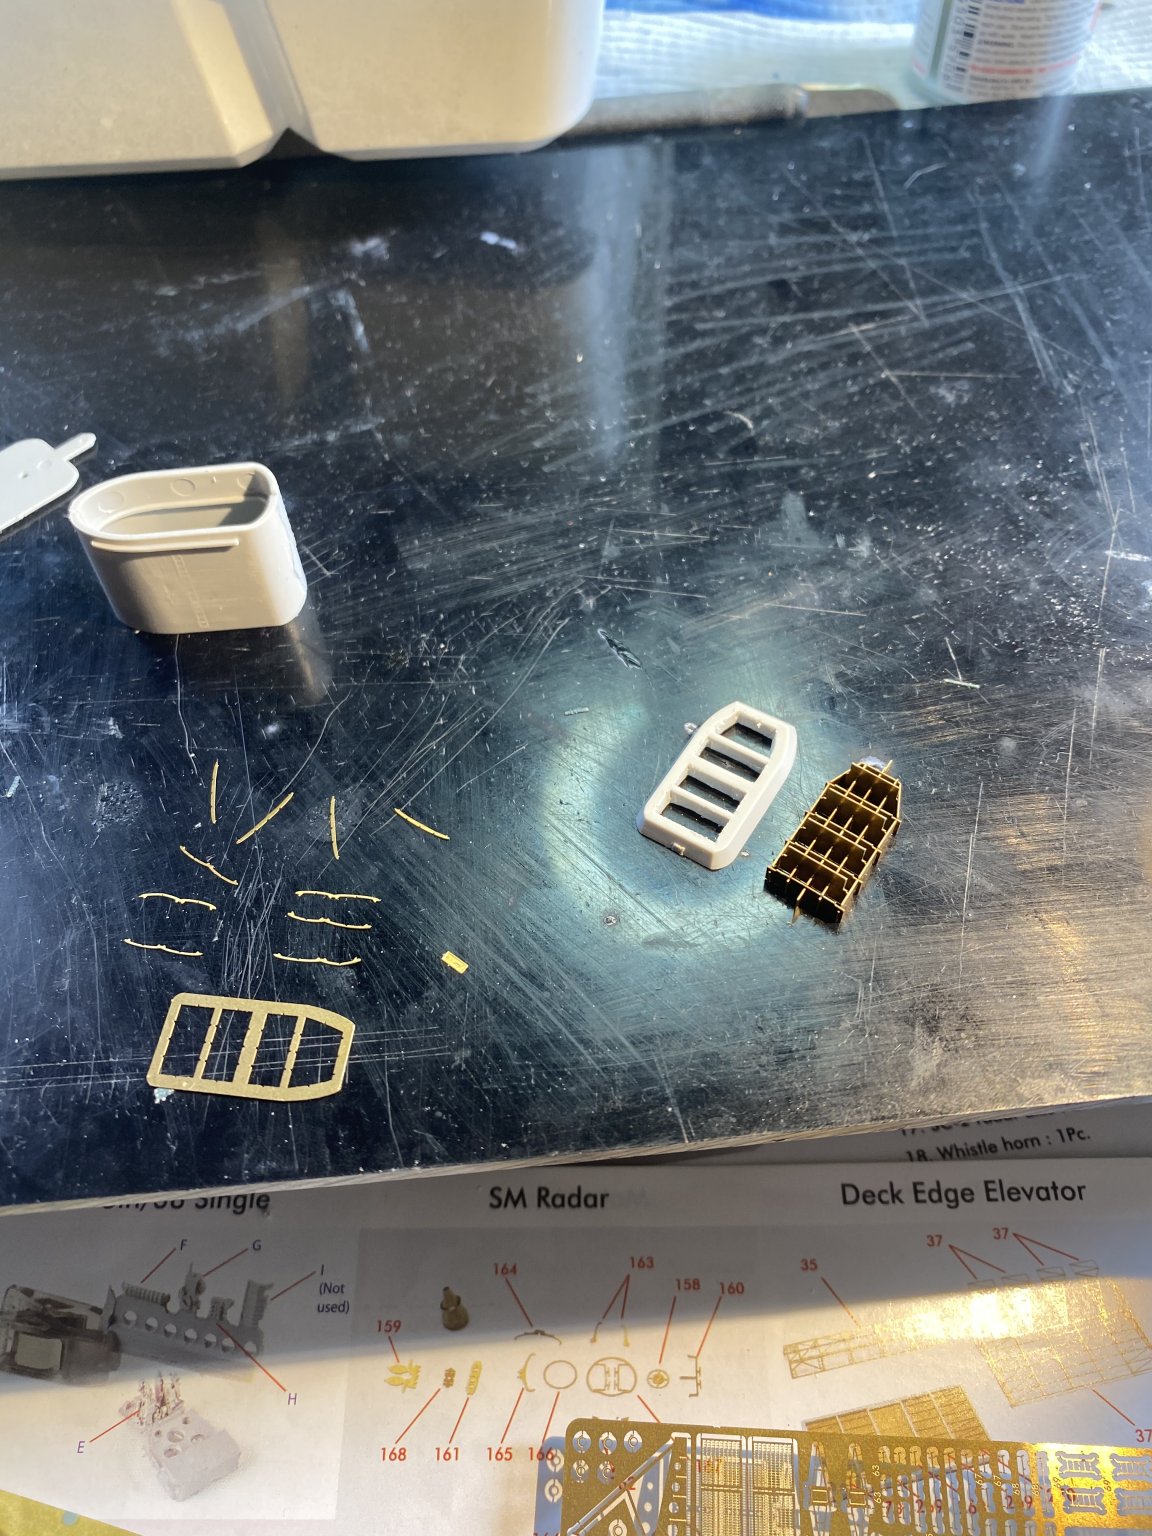
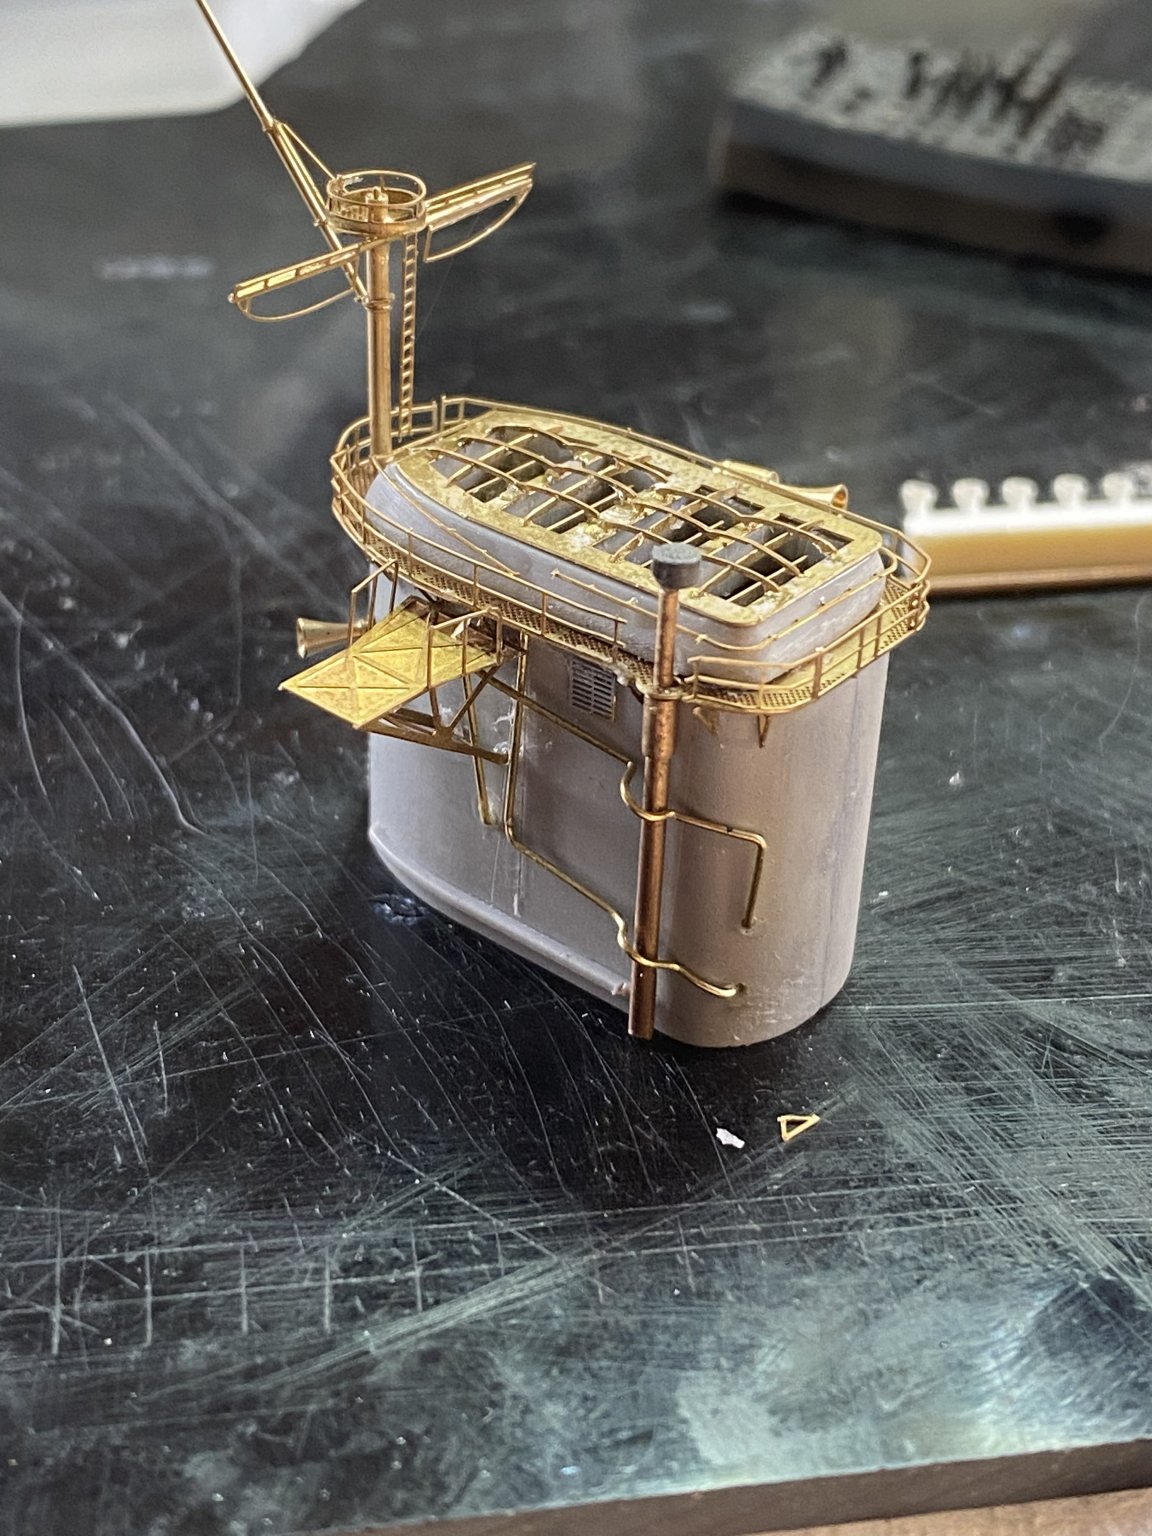
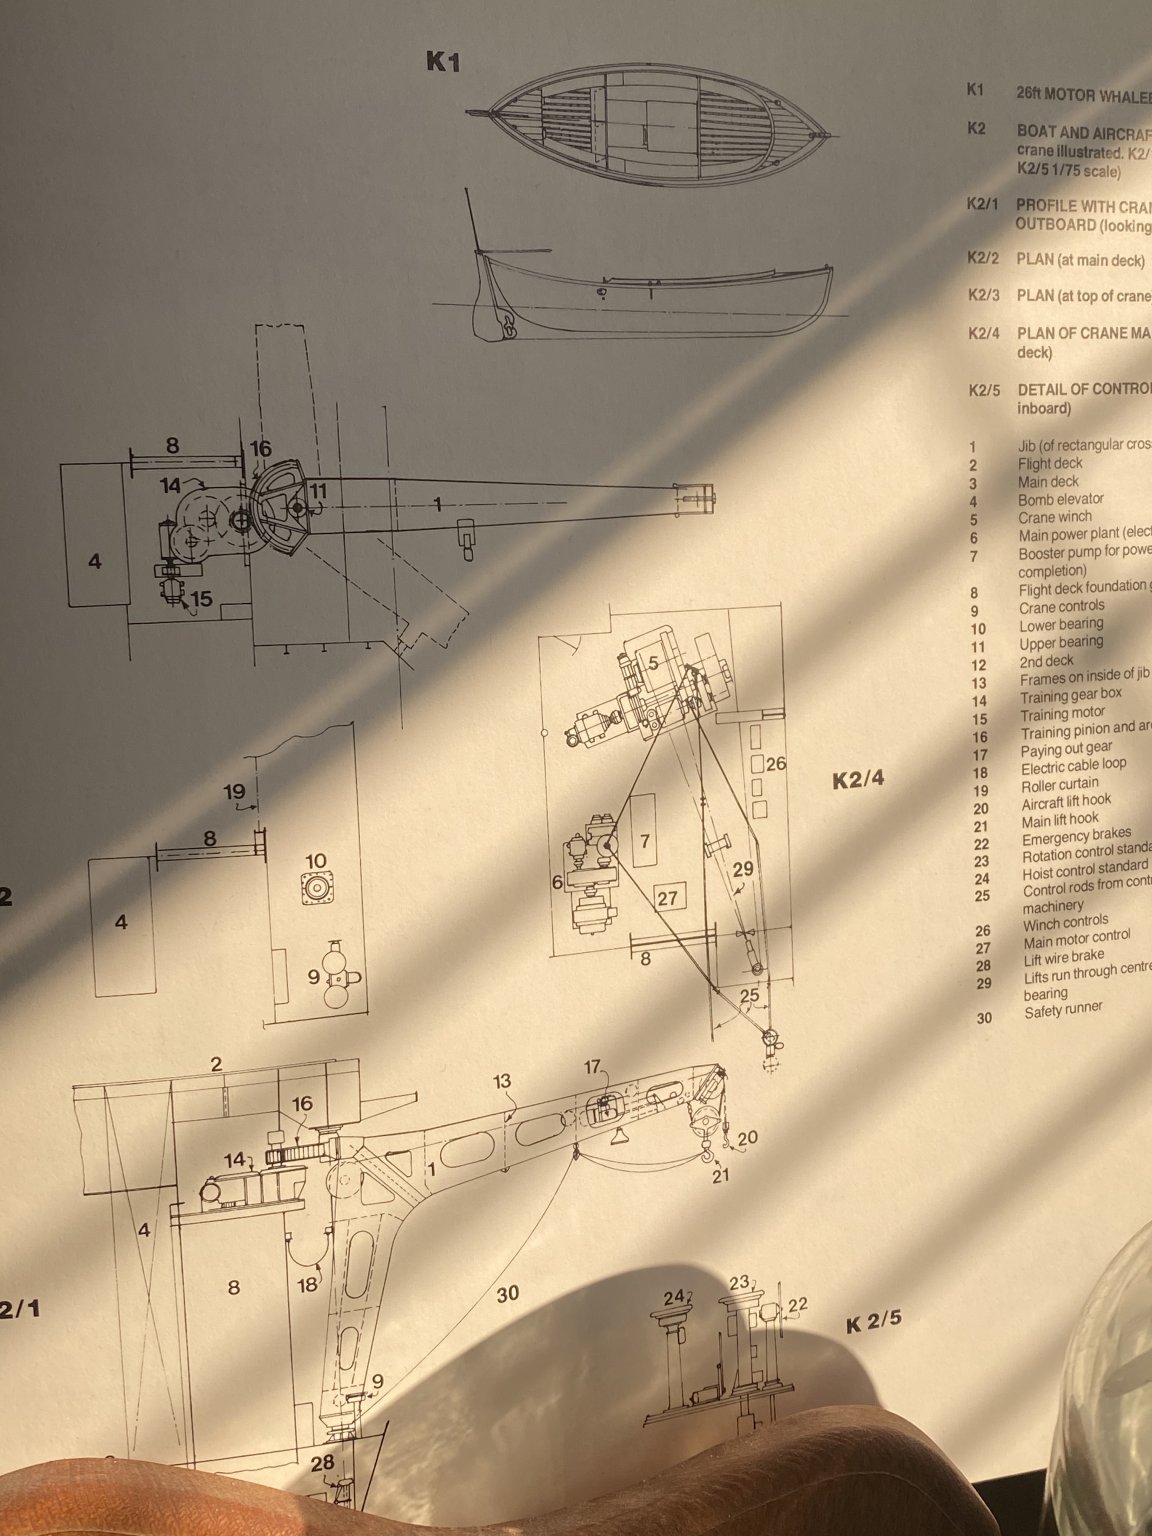
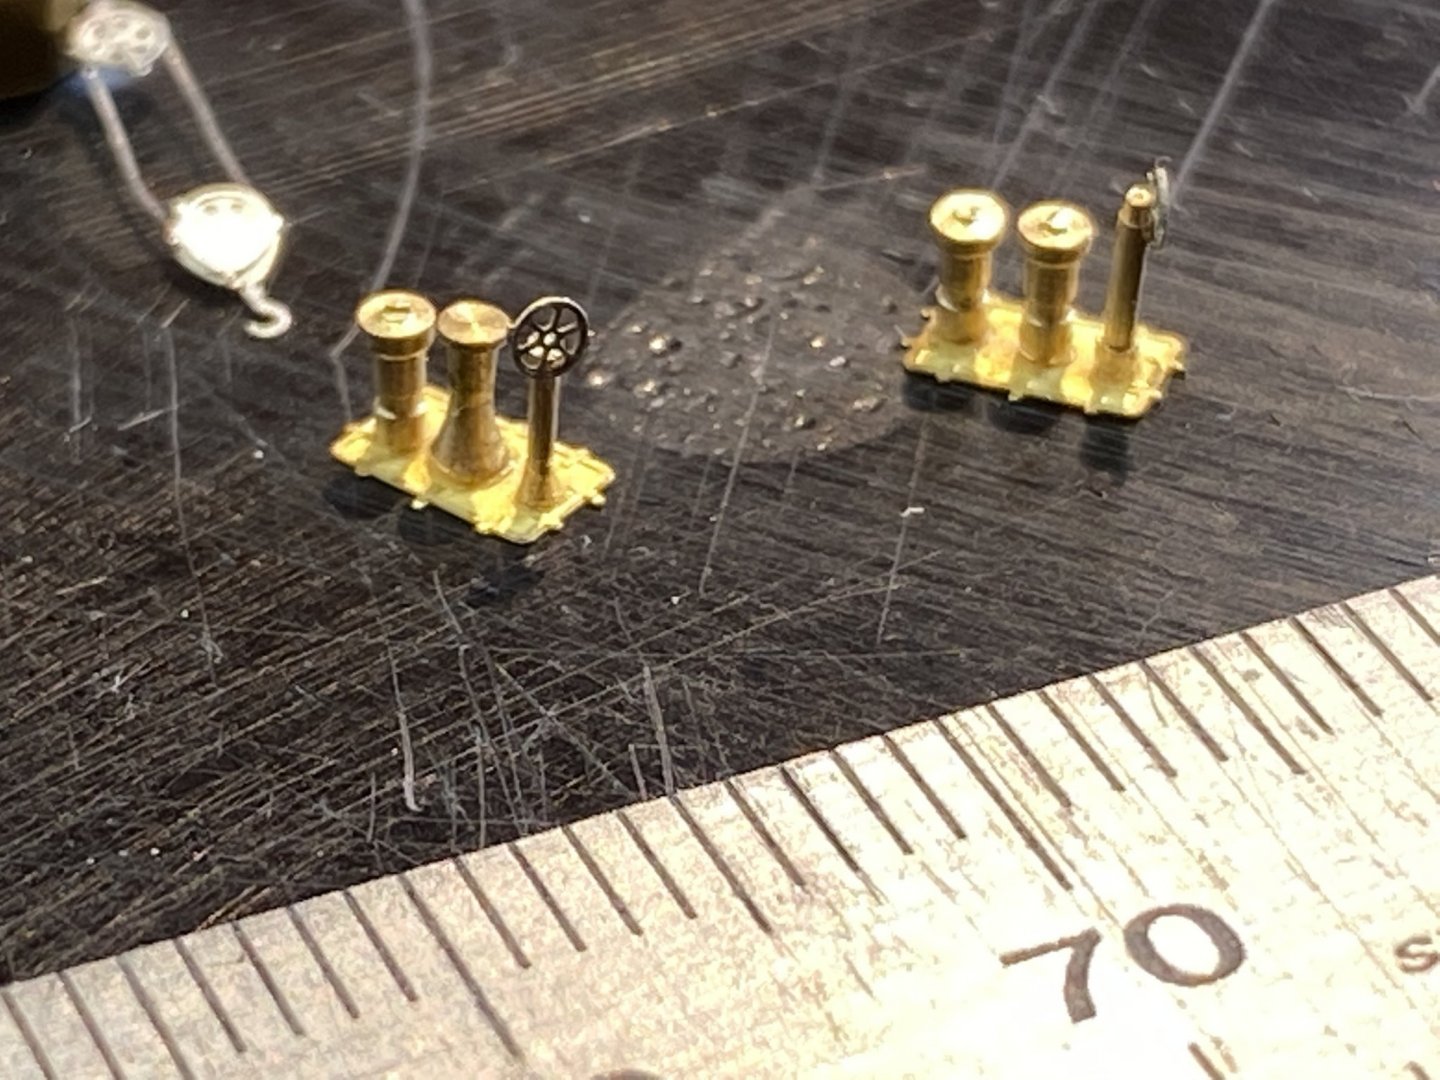
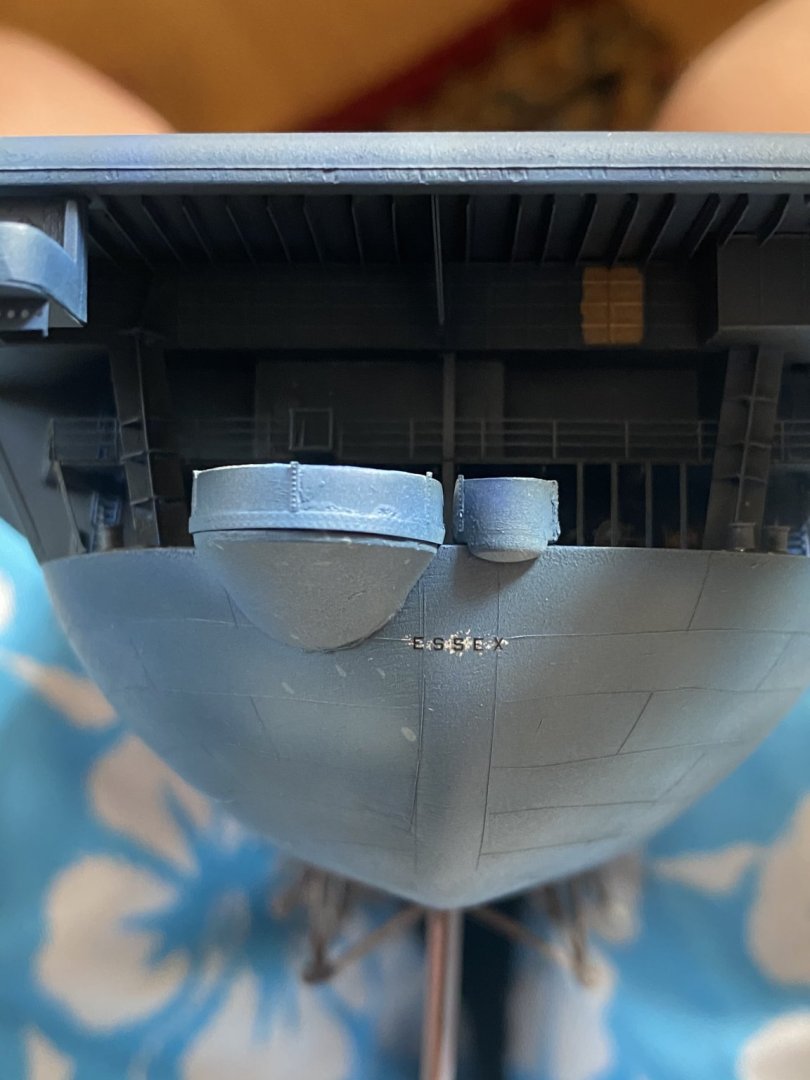
The ships cranes; photo one is how they are supposed to look, the kit ones, (see grey blob) actually come with a crank which I cut off and put on the Pontos replacement which is on the fret but no instructions whatsoever. I had to change one of the tackle as the pontos kit one went somewhere into space. finally the winch controls which I built out of spares


- 308 replies
-
- 18
-
-
So, by my profession I have approximately 14 years to go before I find out what’s on the other side. but.... my eyes need help. What the best optivisor? Working at my small scale I needs to admit I need sone assistance
-
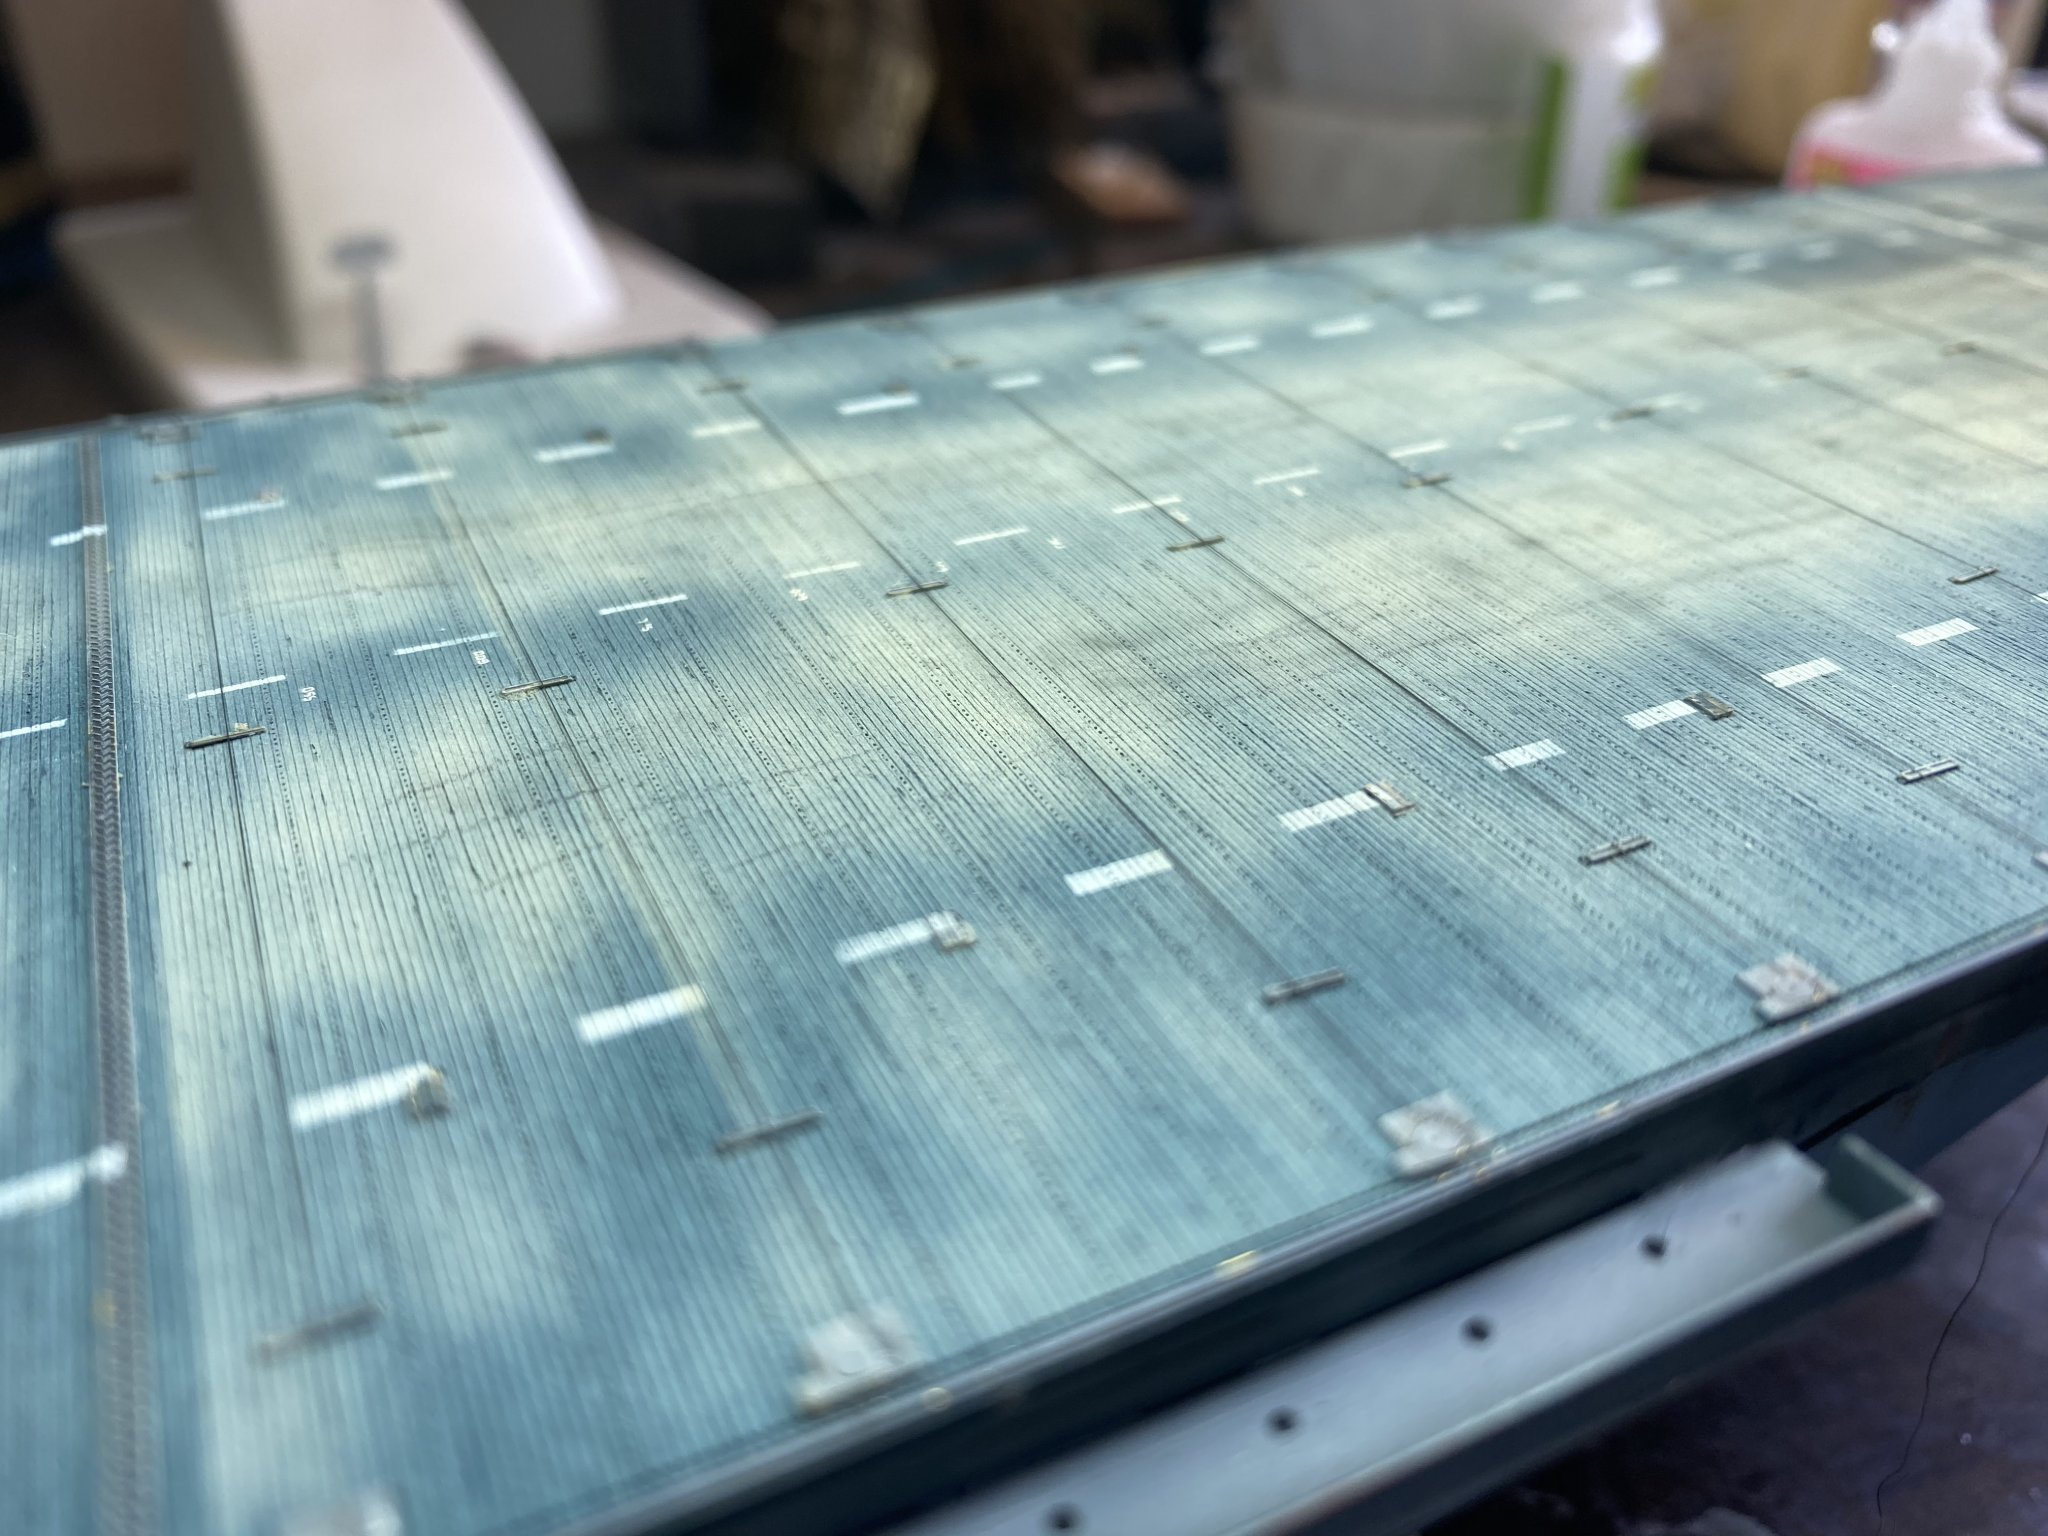
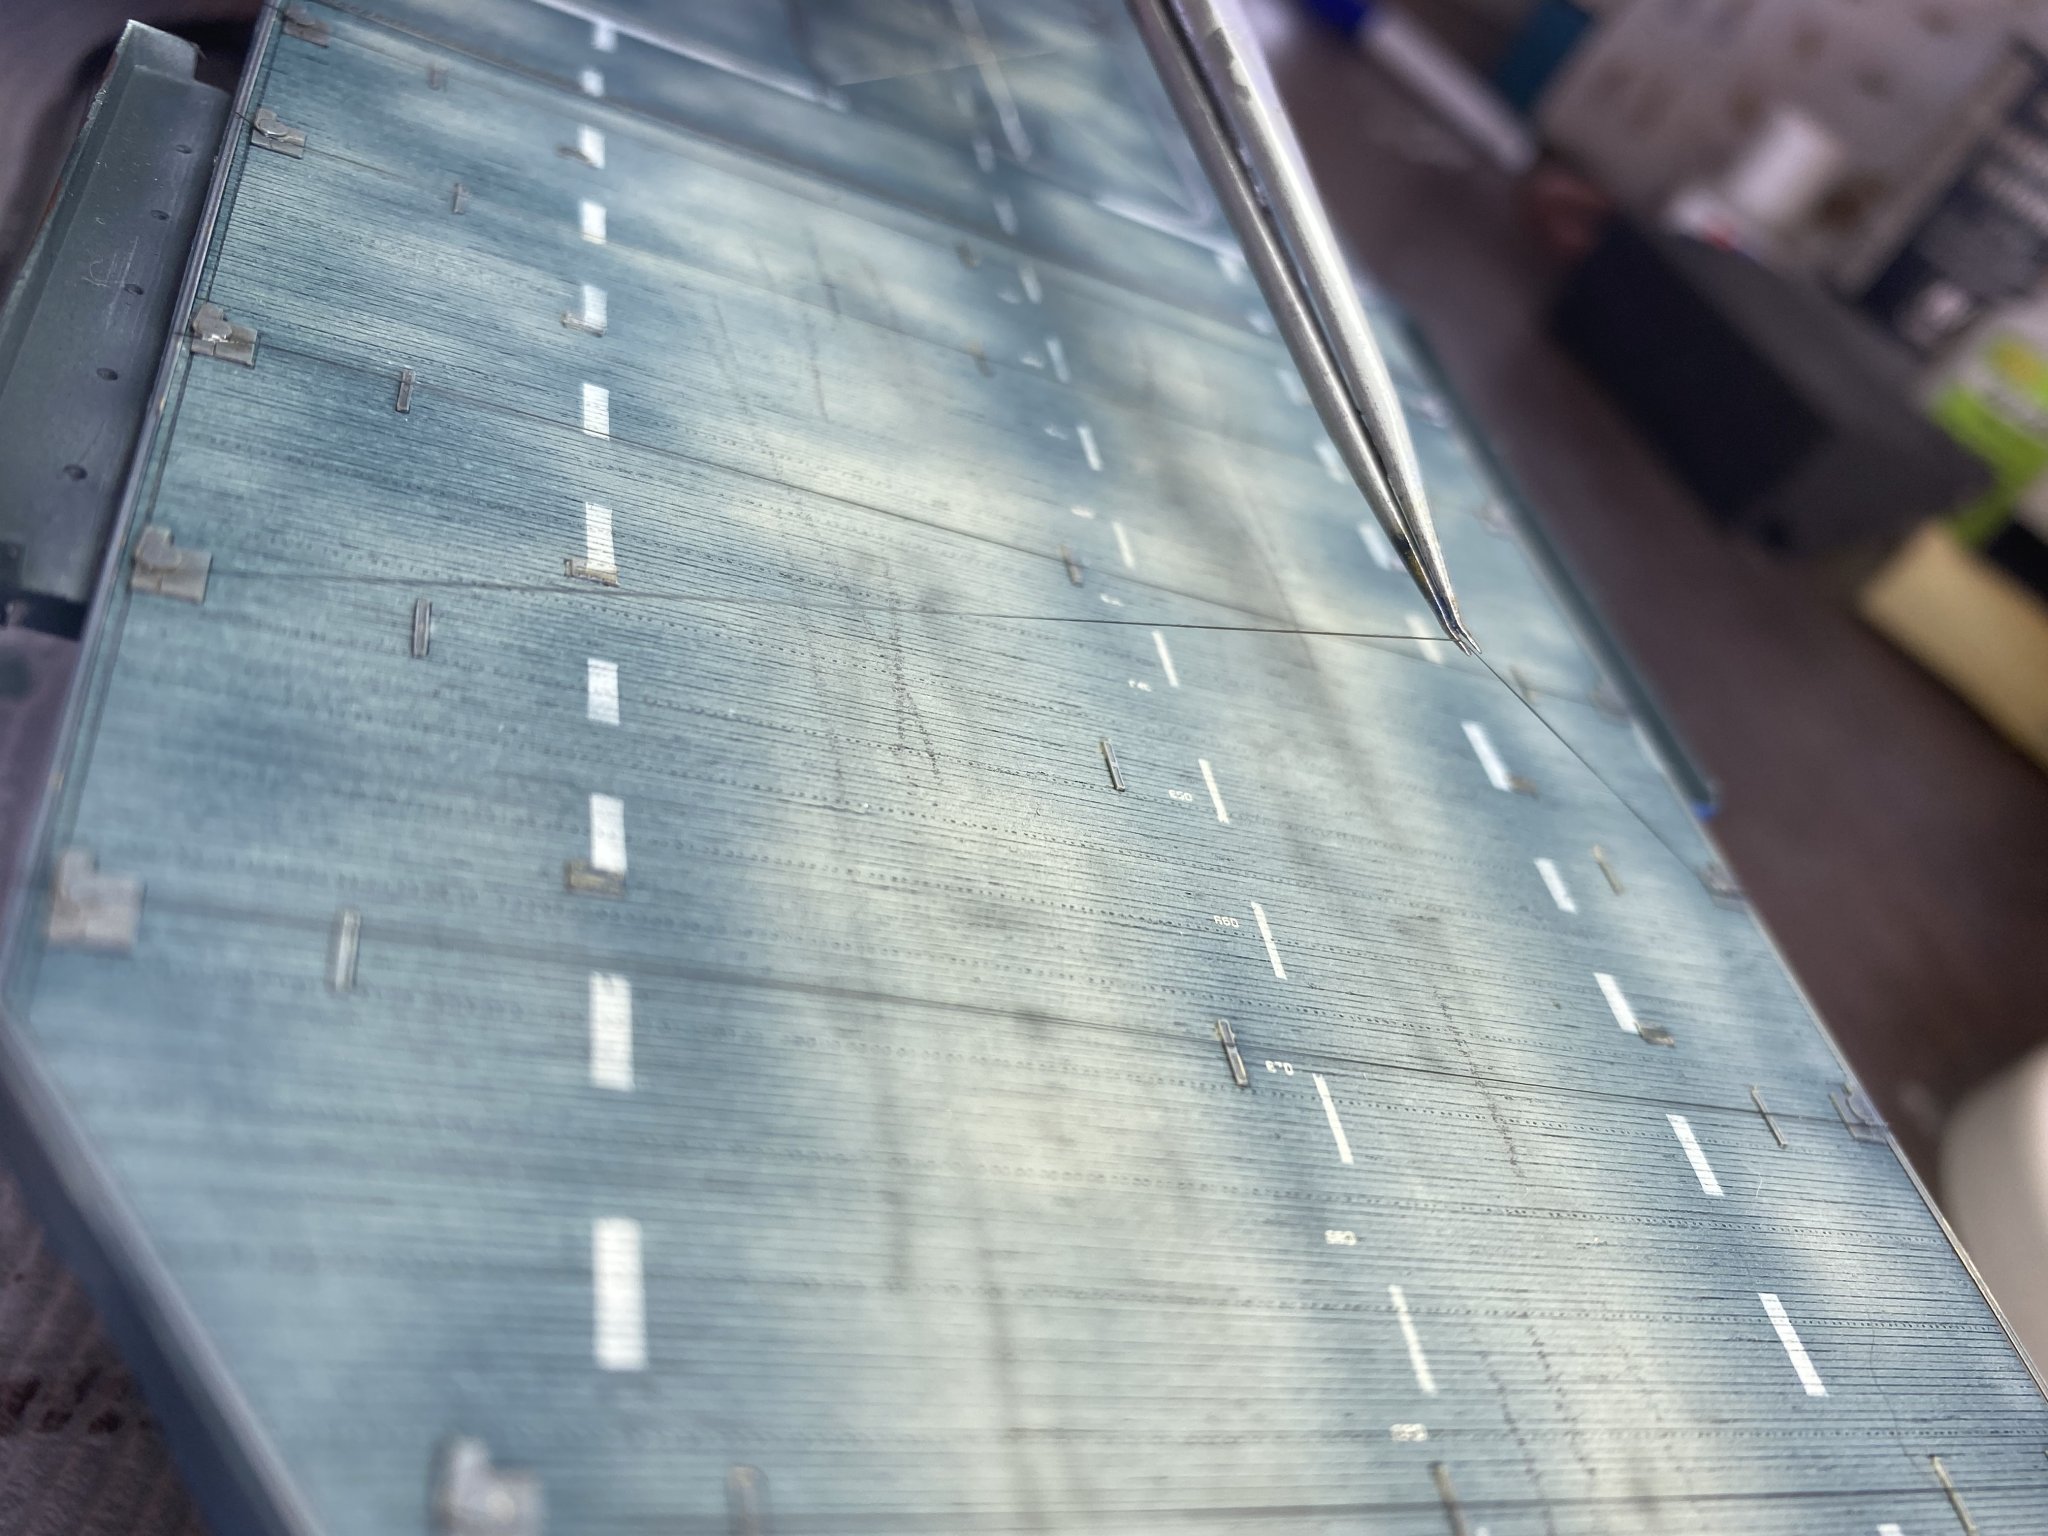
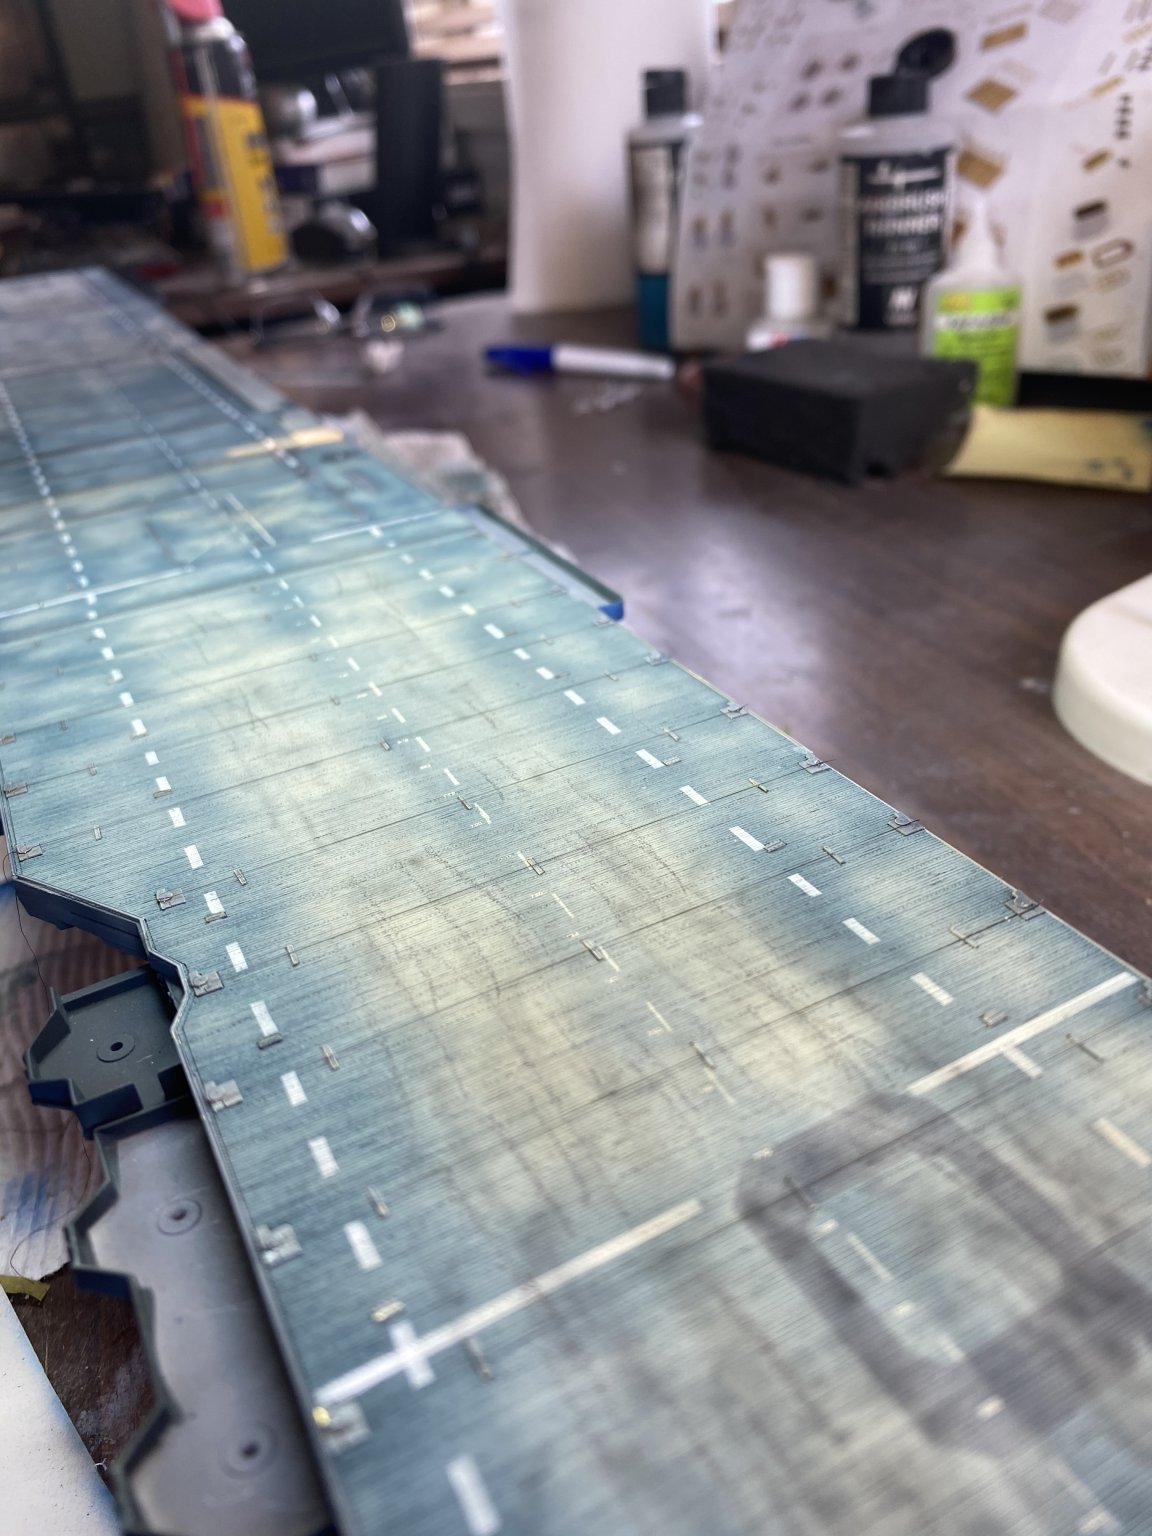
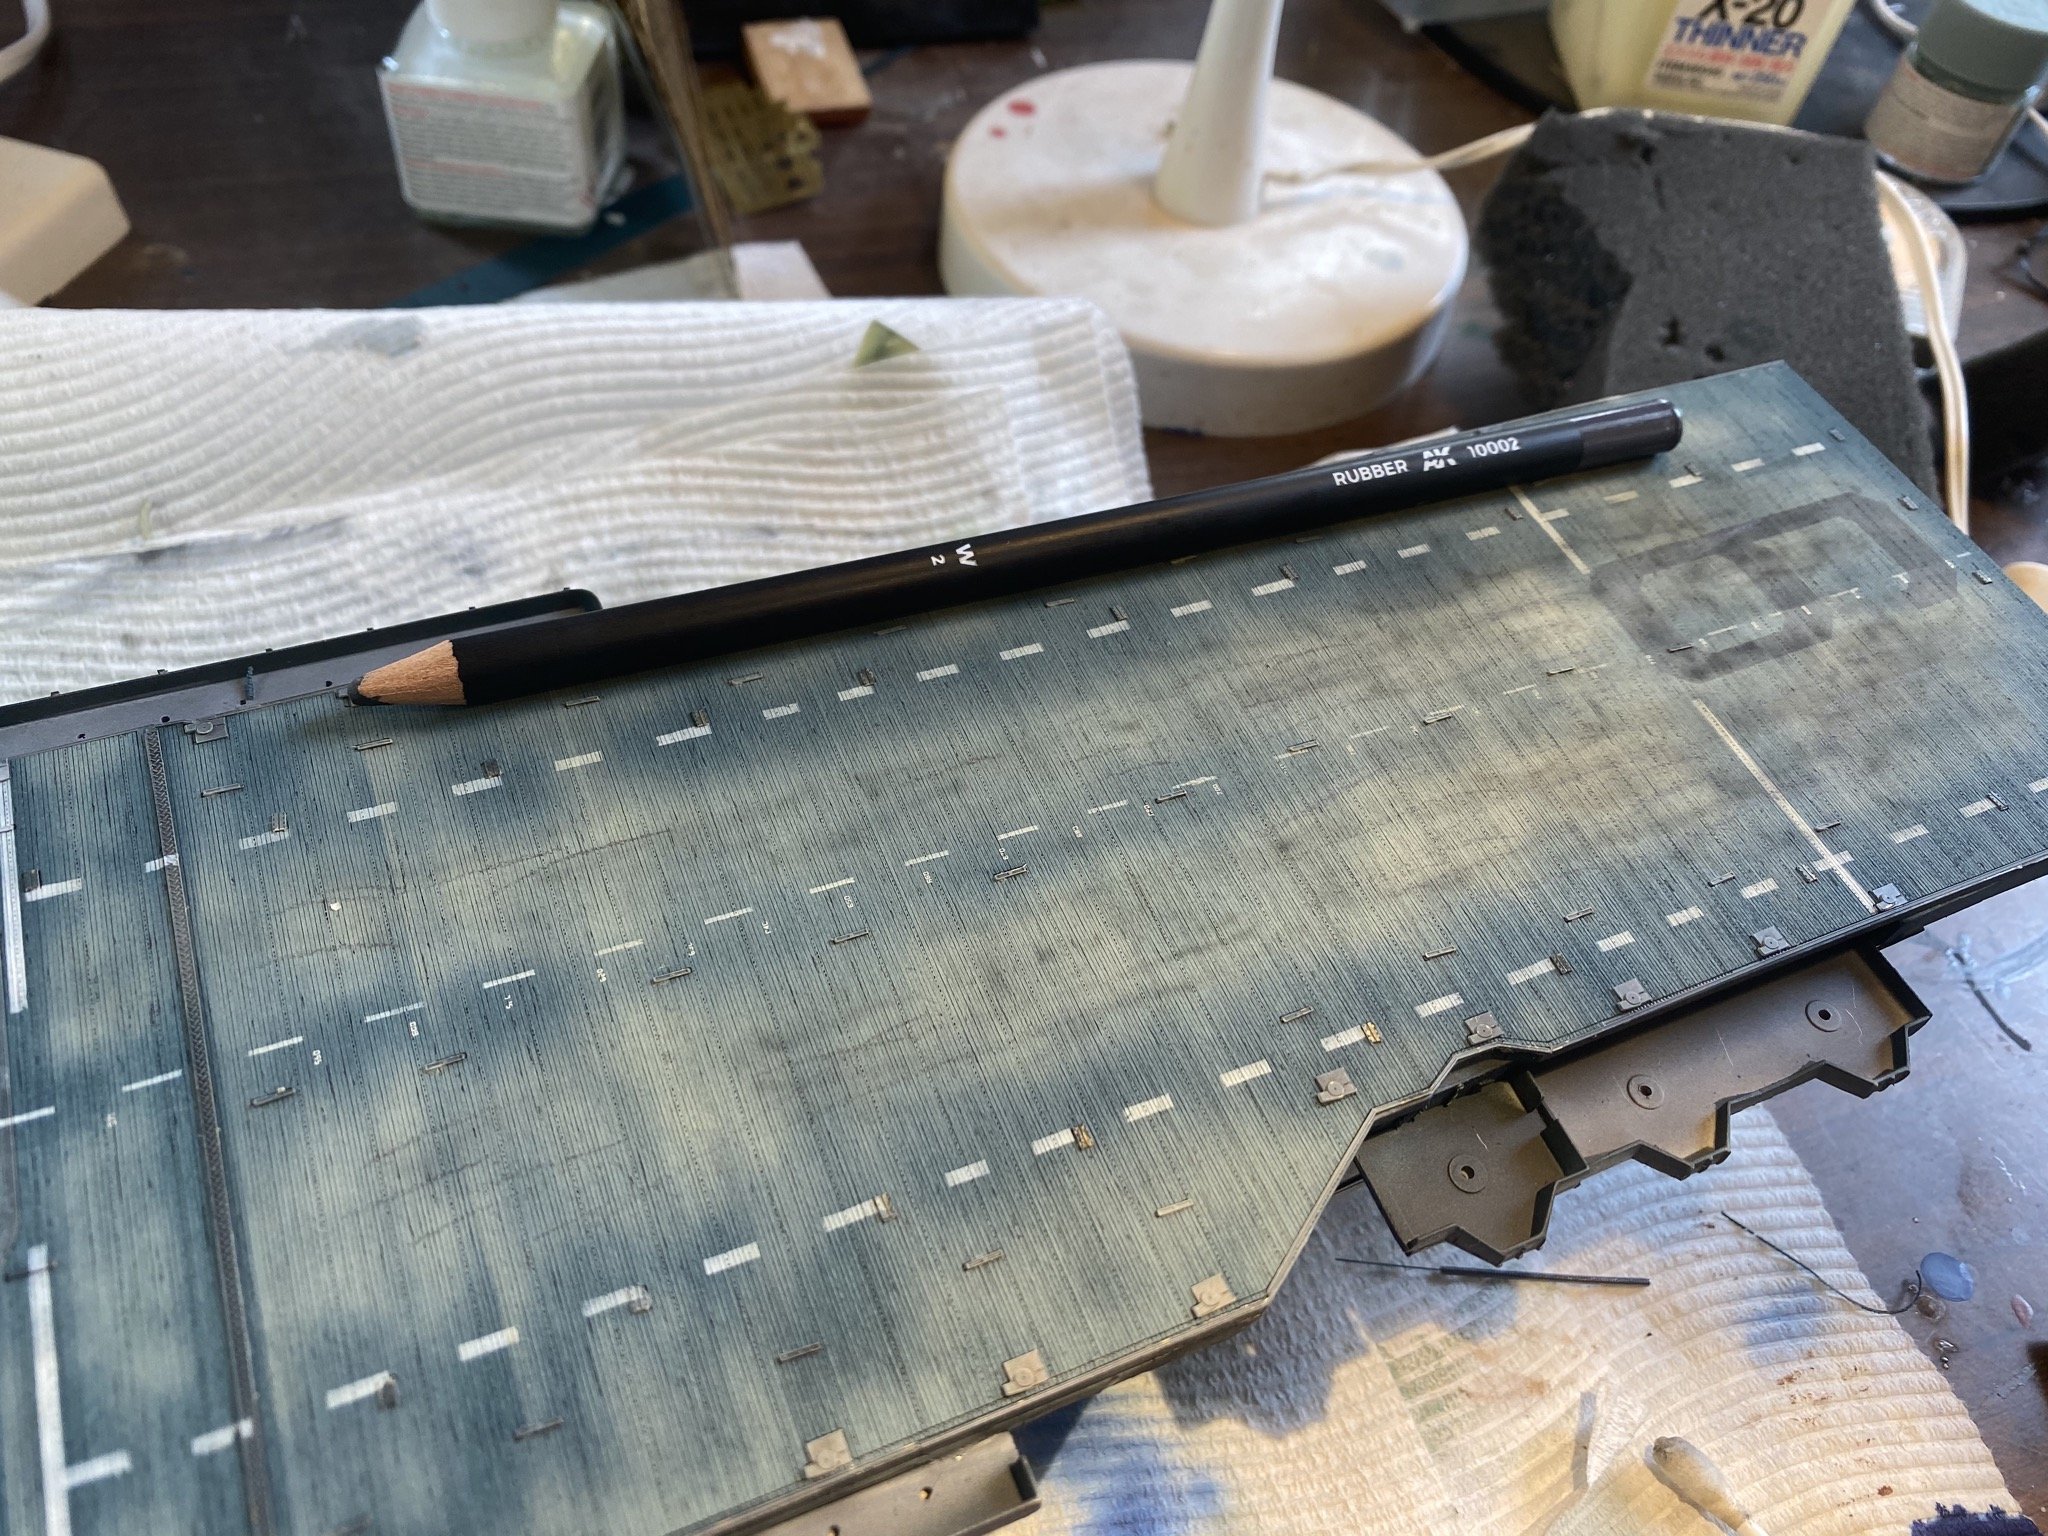
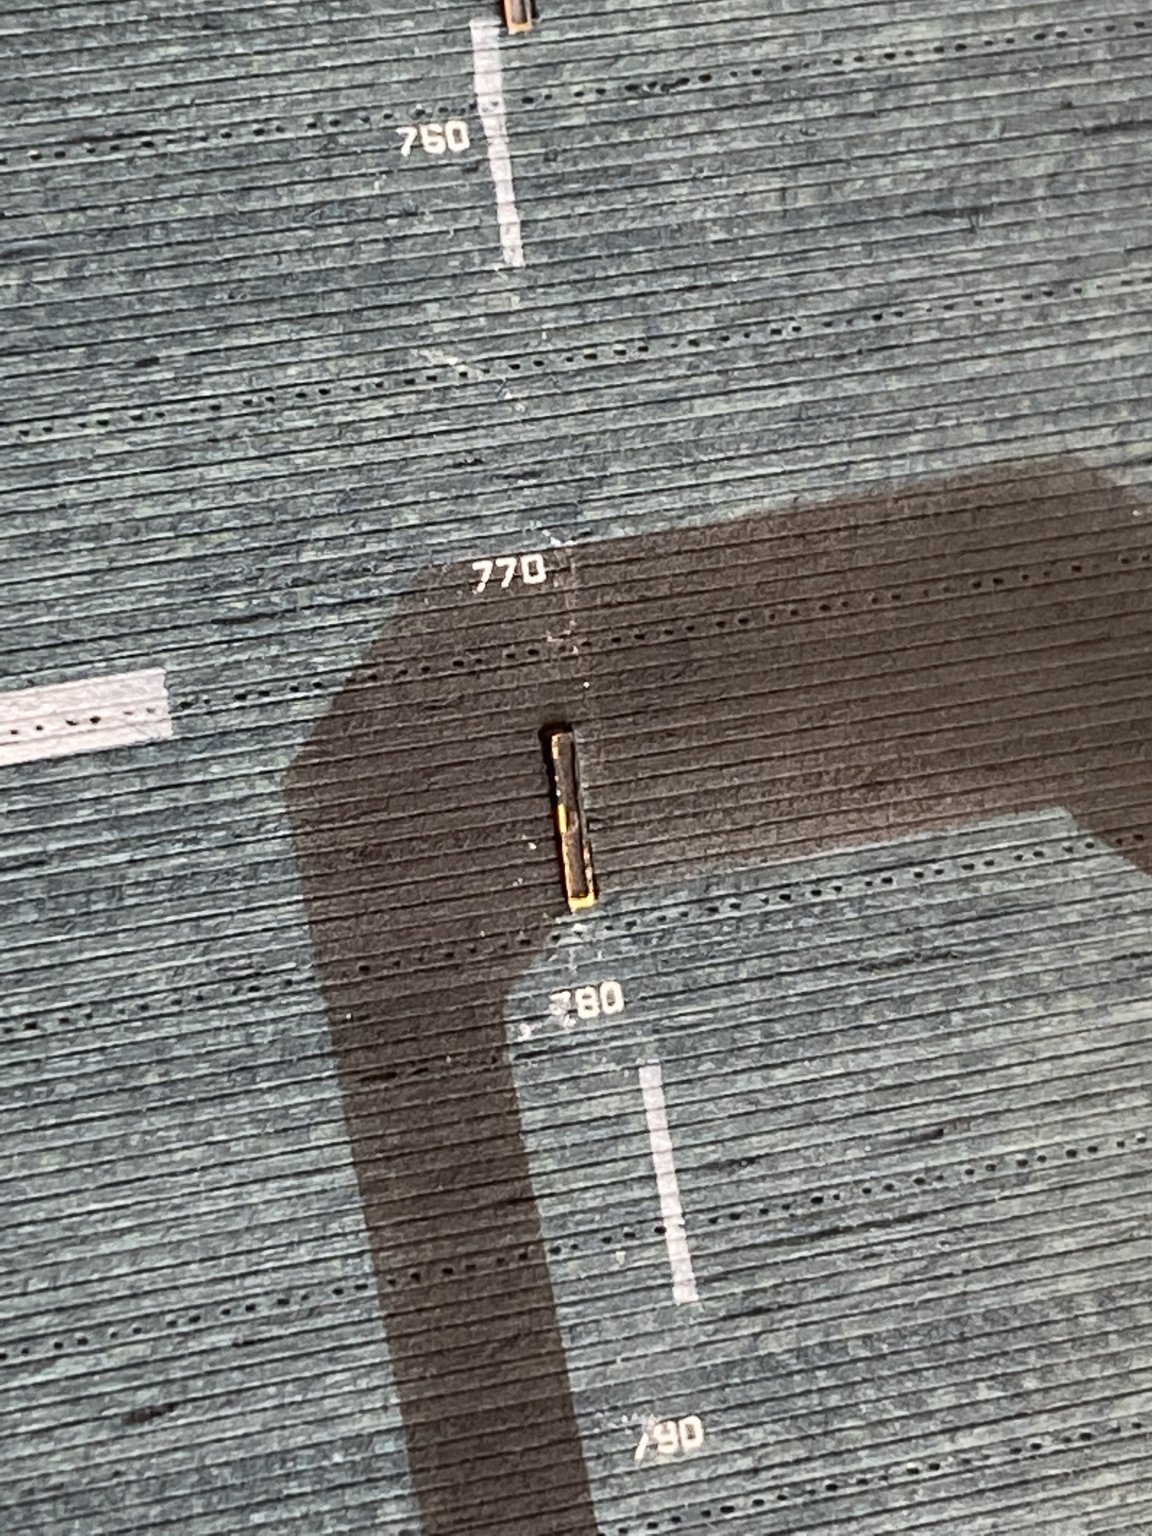
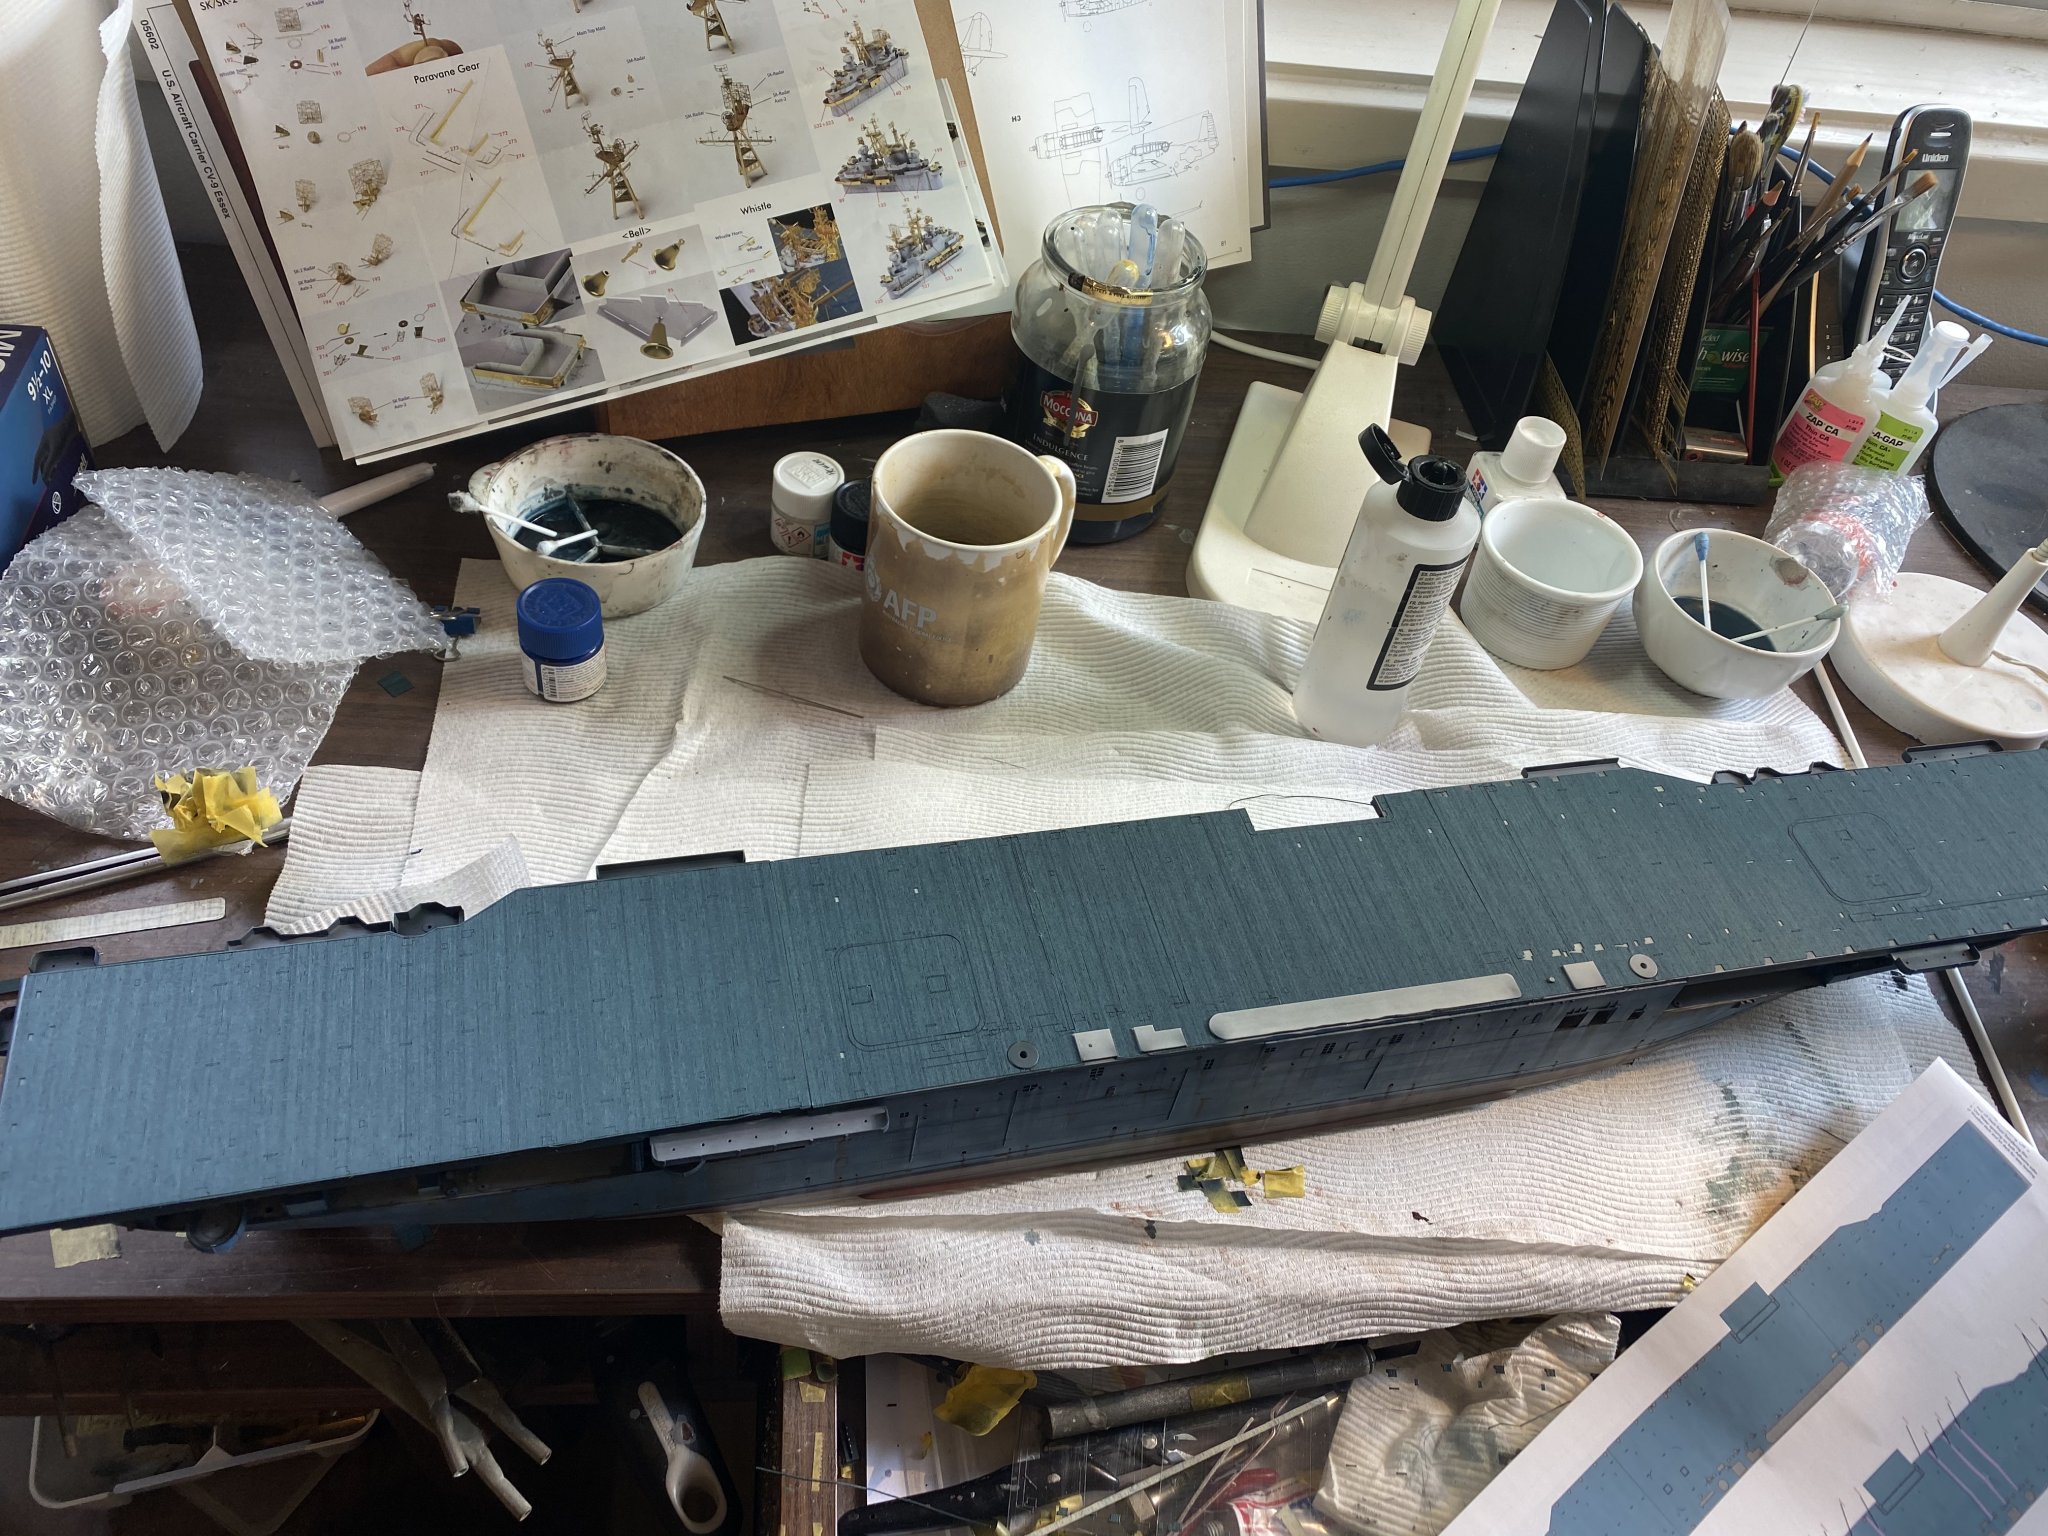
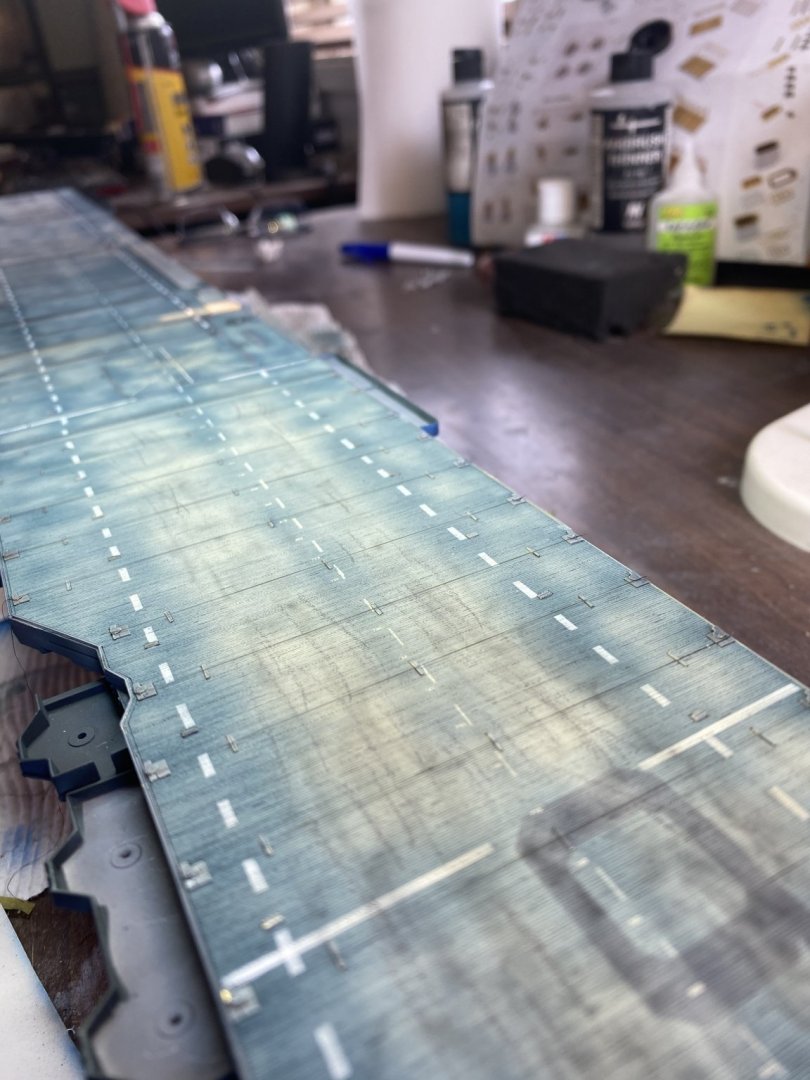
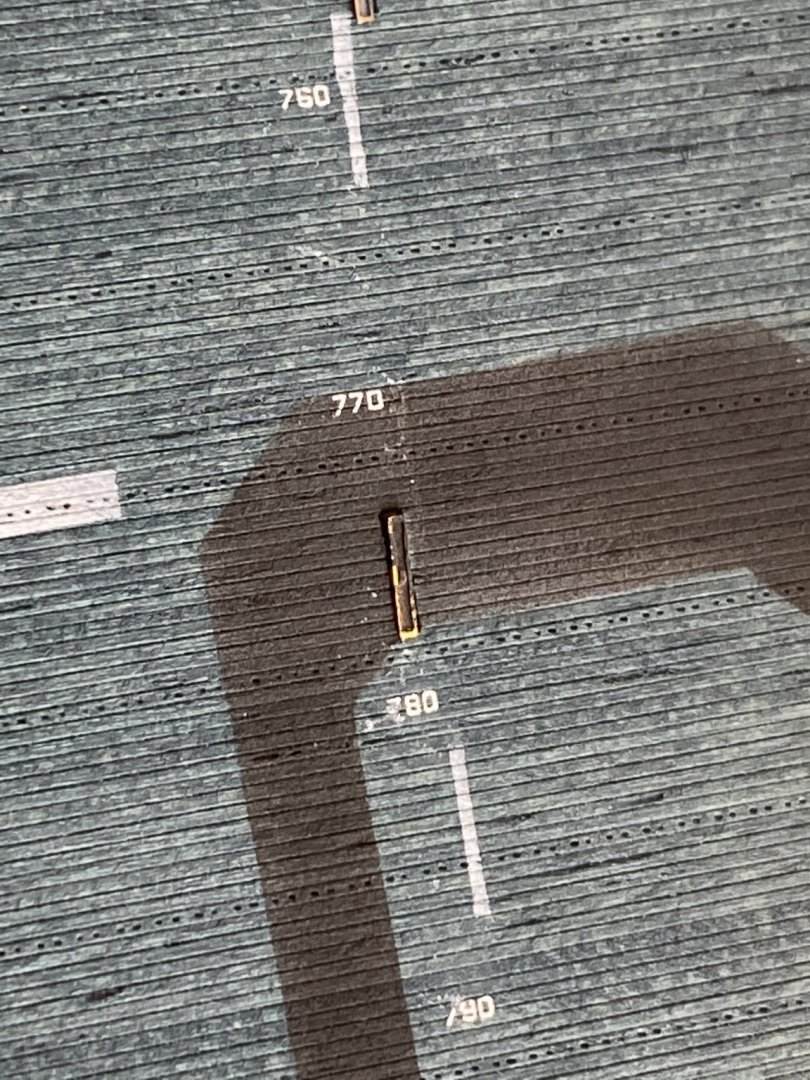
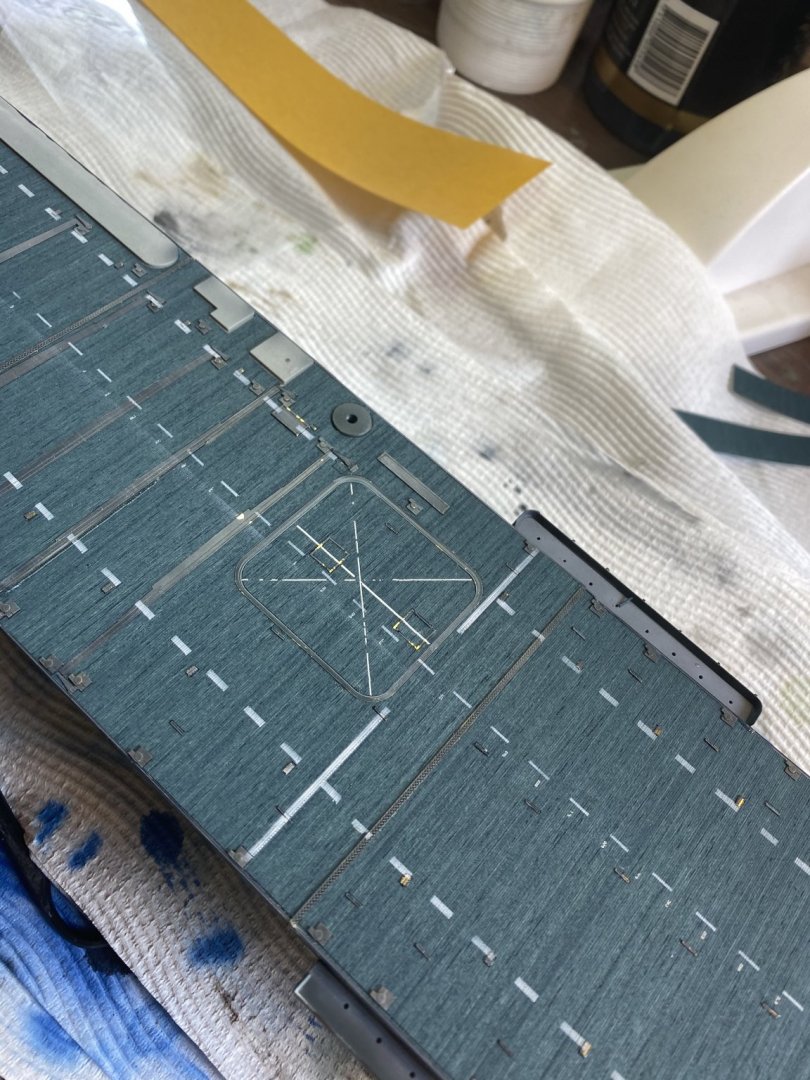
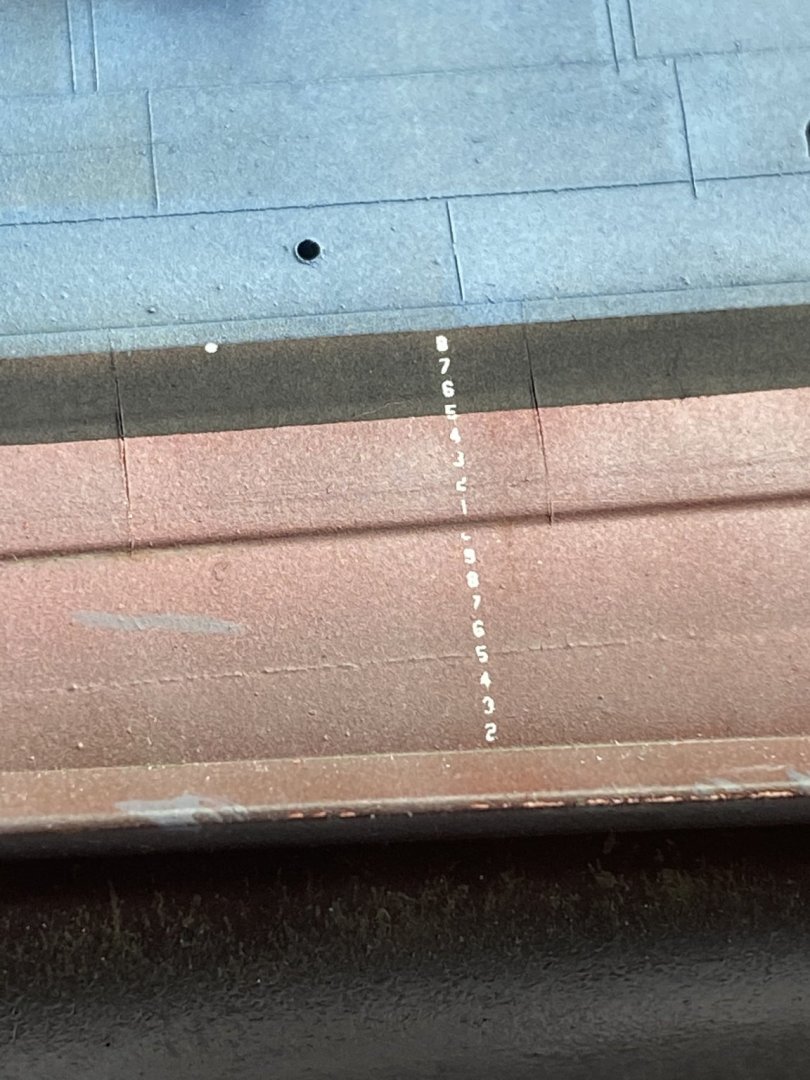
Masking, line marking then dry transfers (I’m happy with the gaps in the lines as I’ll be weathering those bits The mask lifted tiny bits of paint from the metal fittings which I’ll repair later. The 1mm length markers are pretty cool.


- 308 replies
-
- 17
-
-
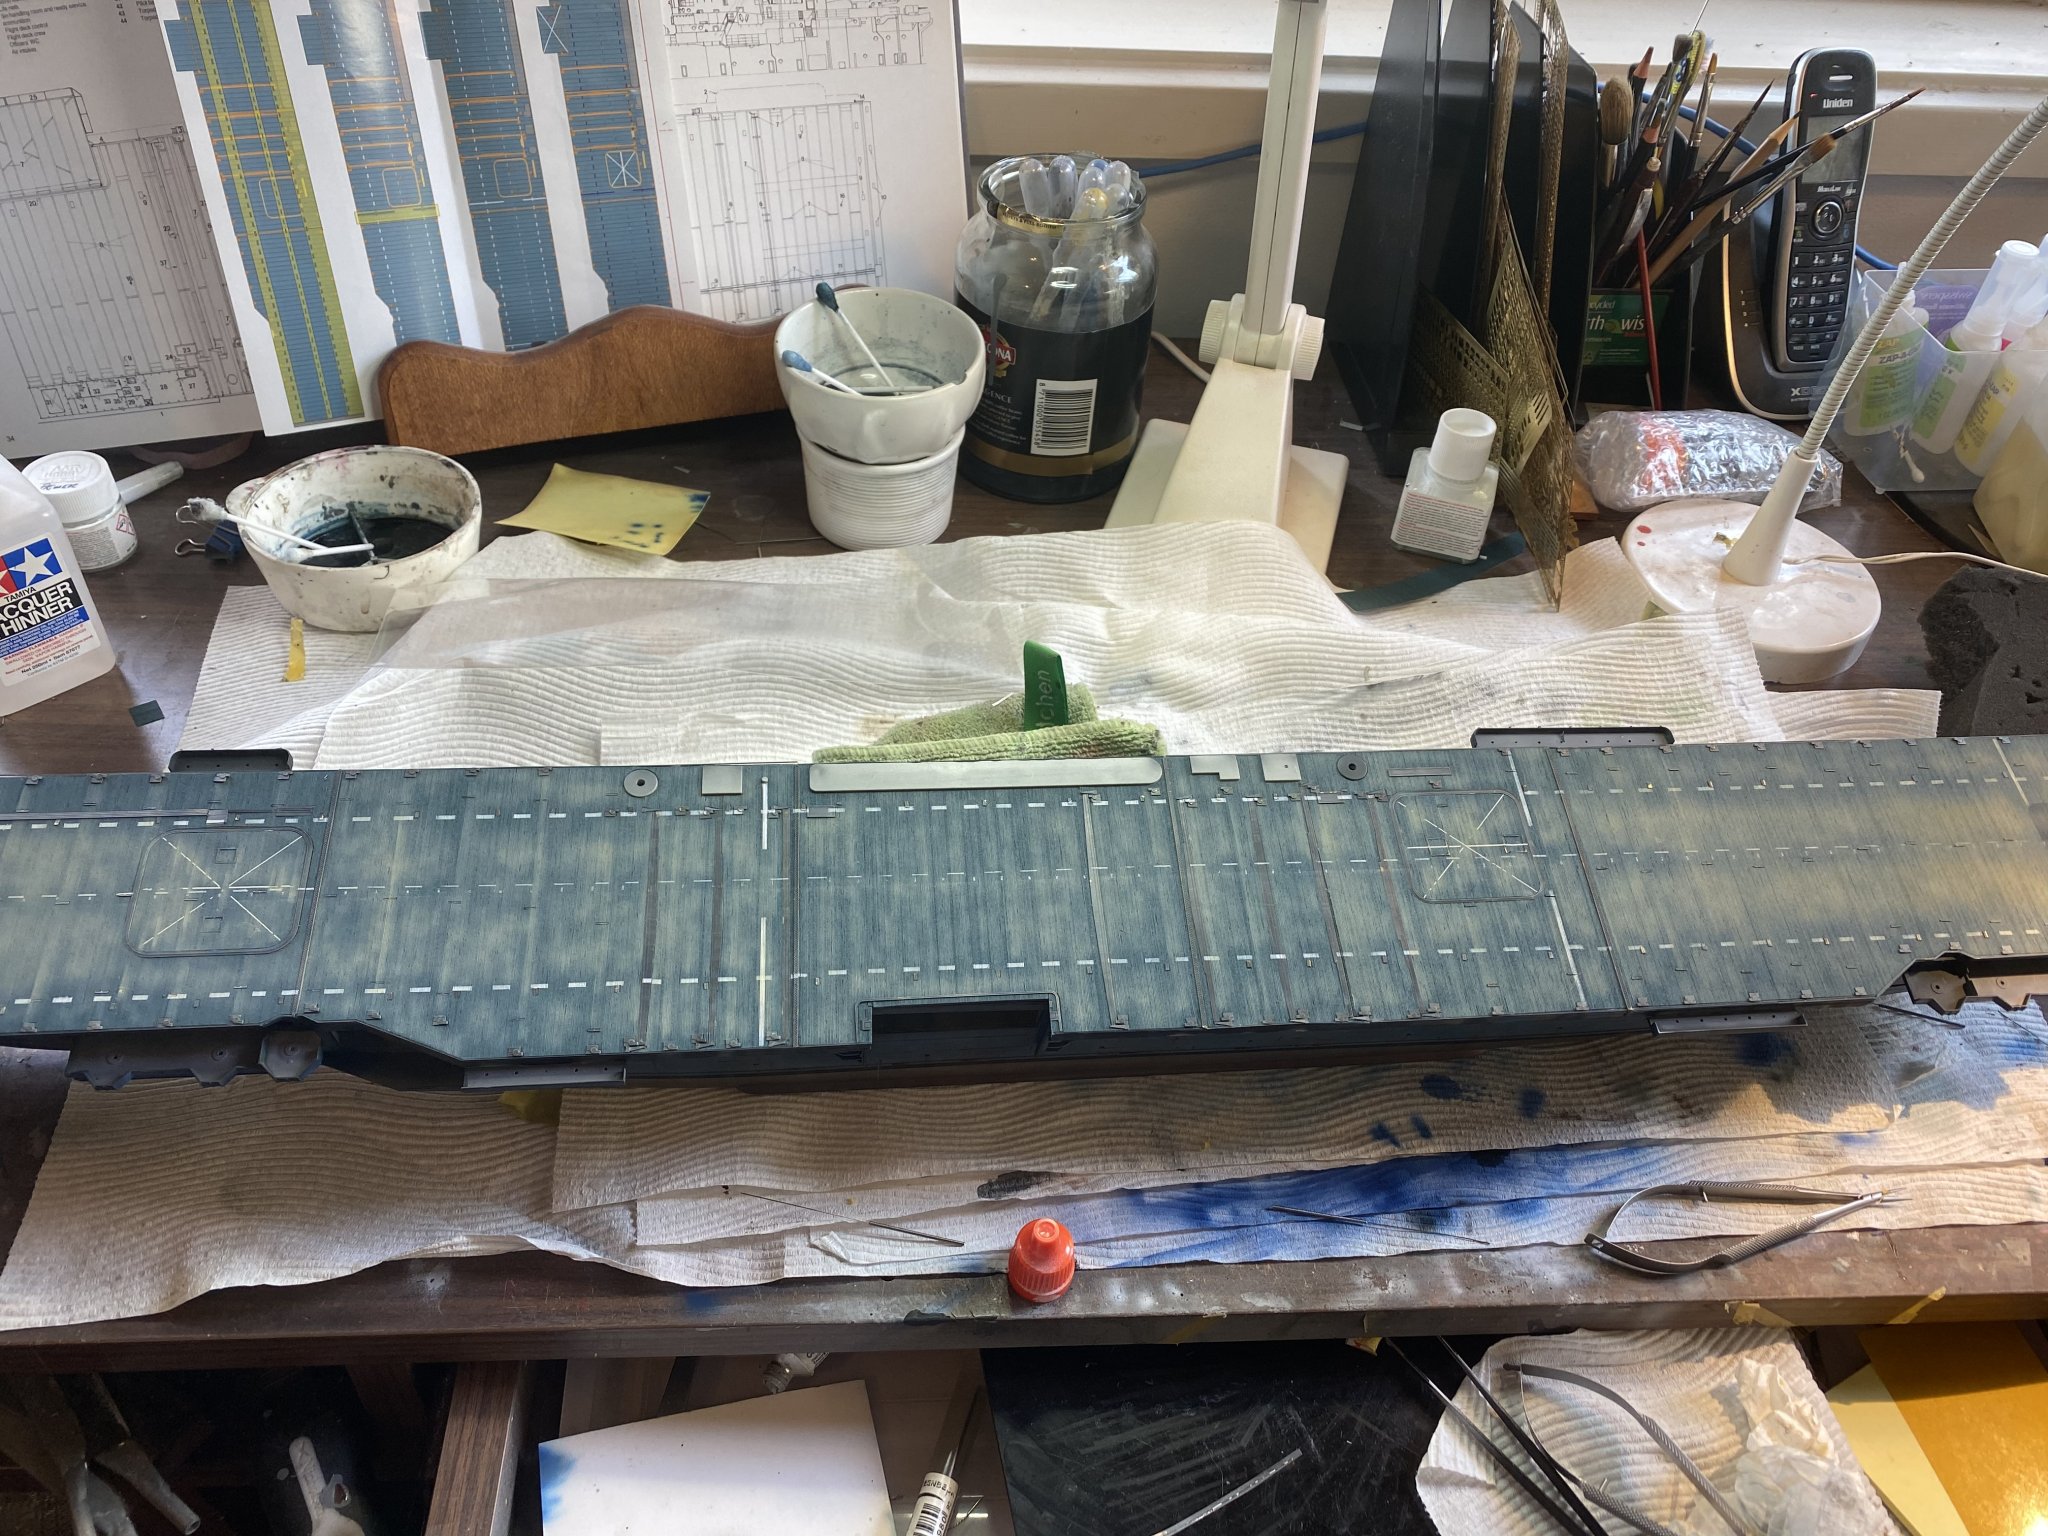
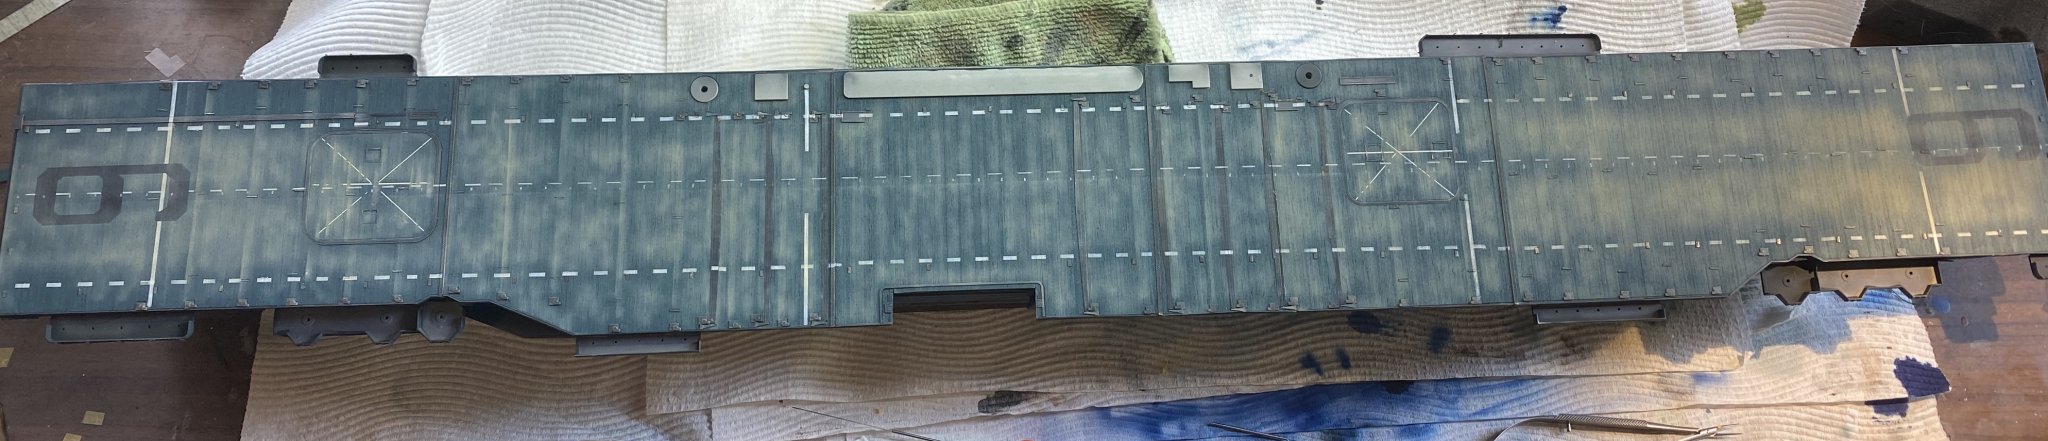
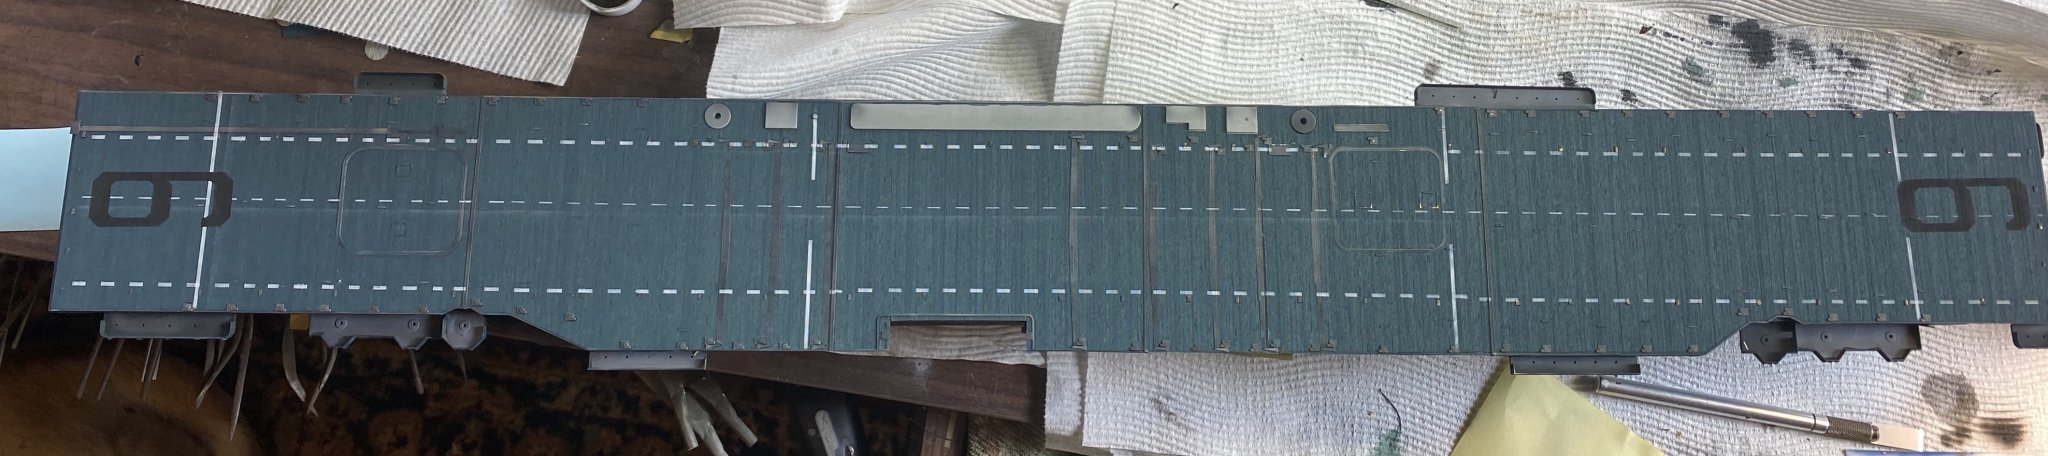
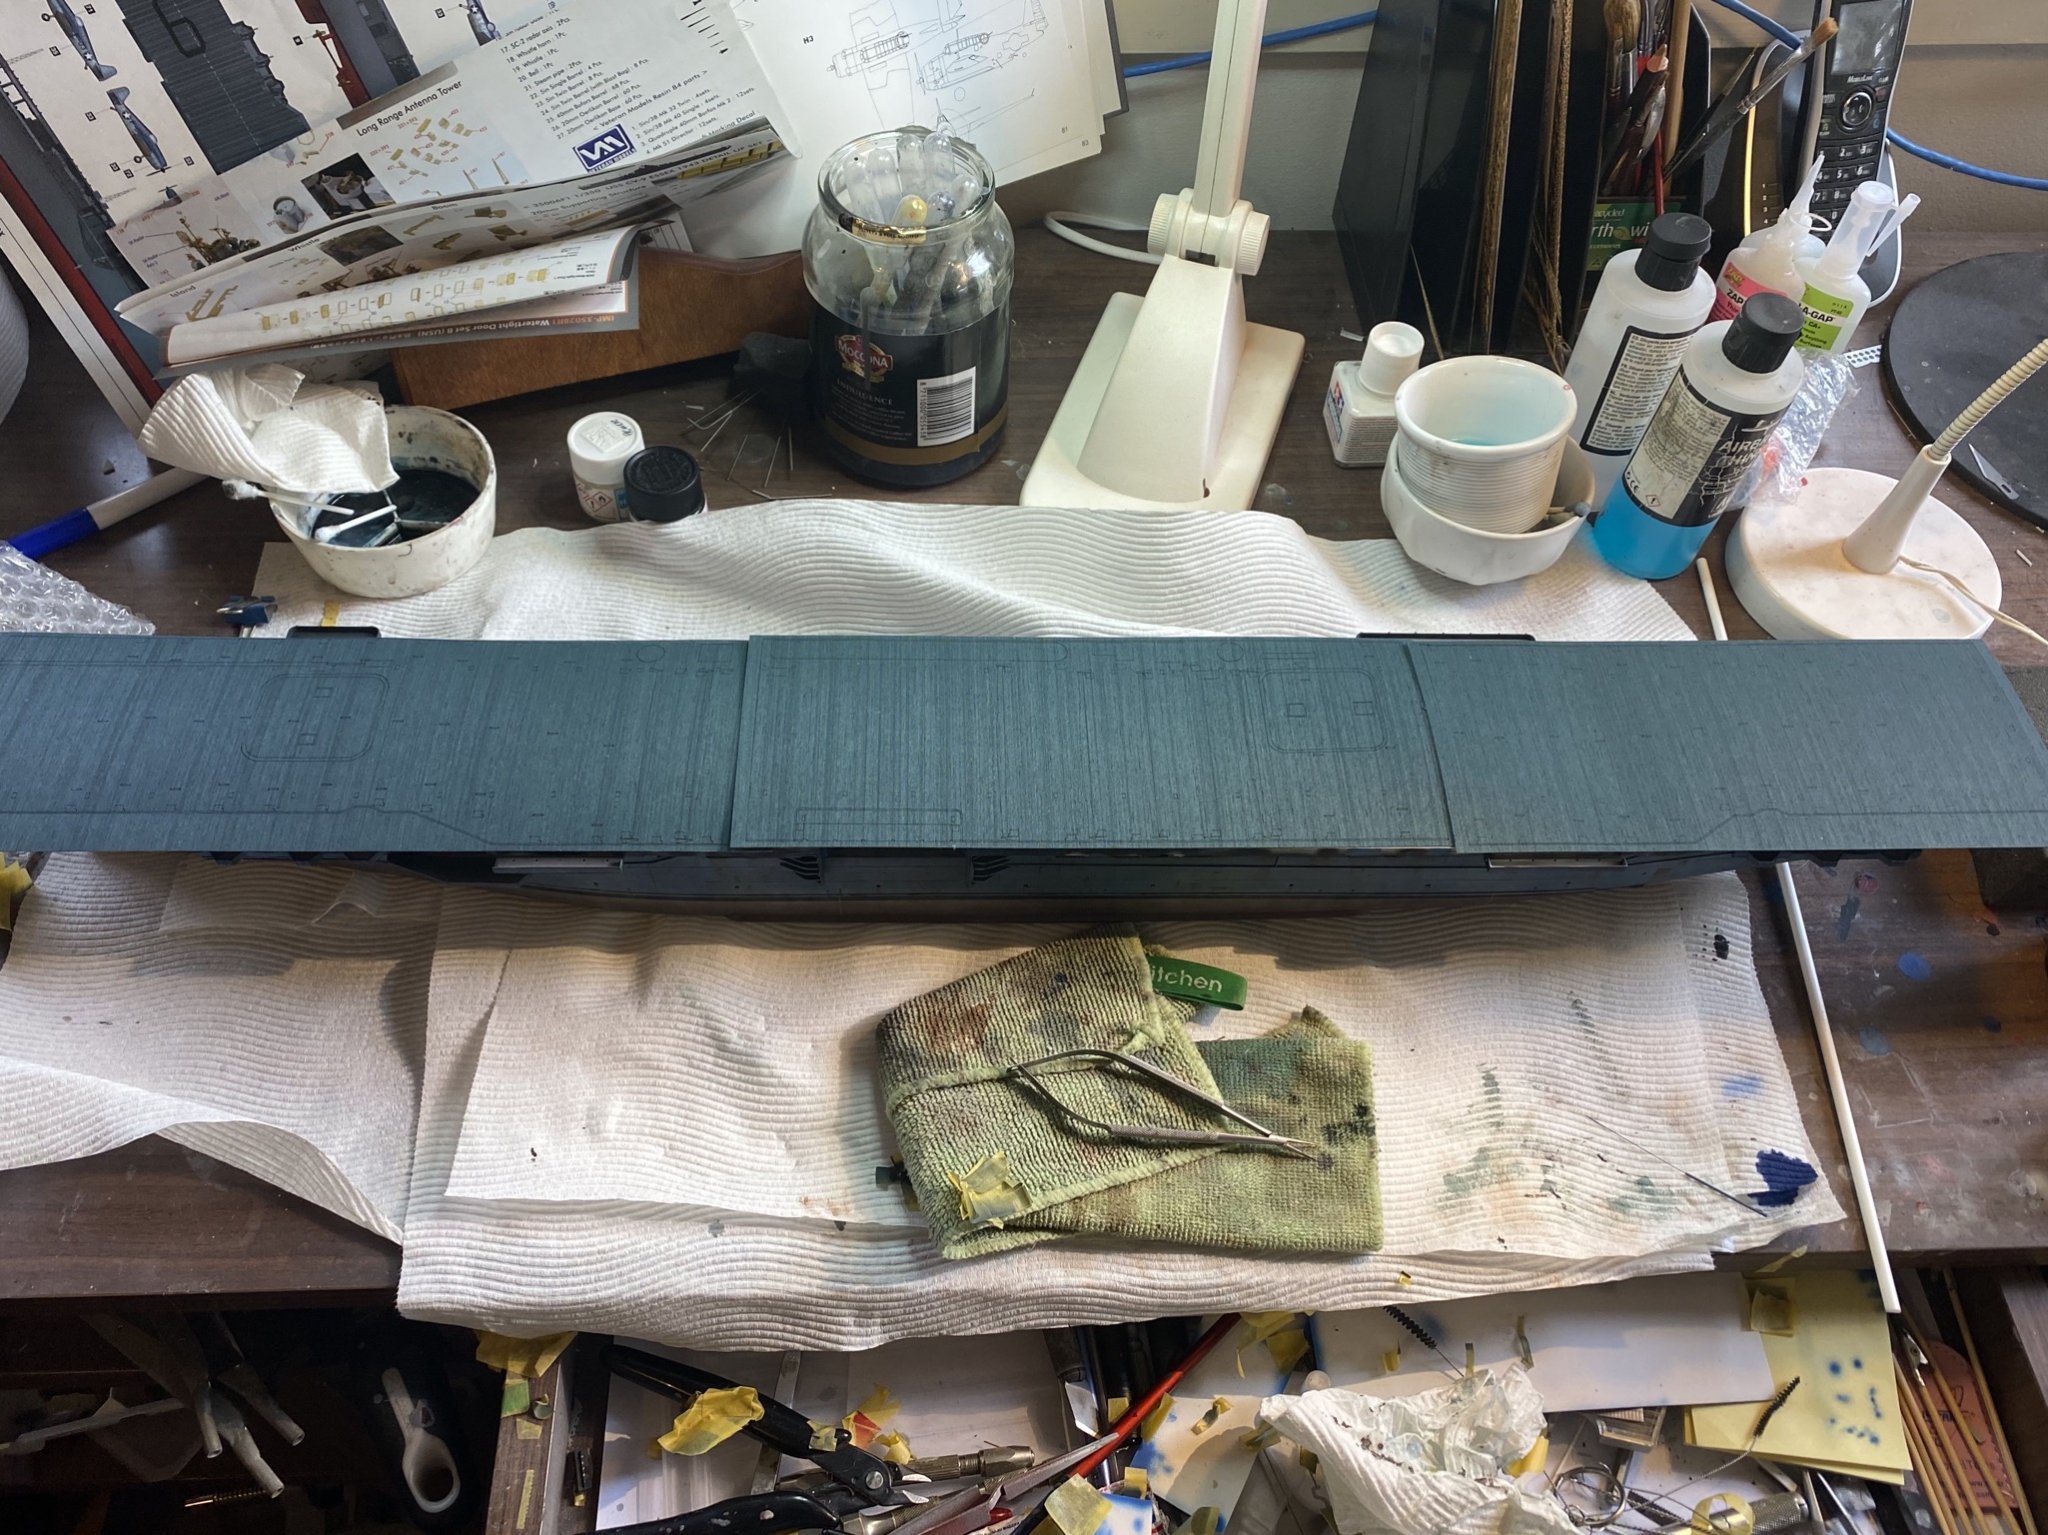
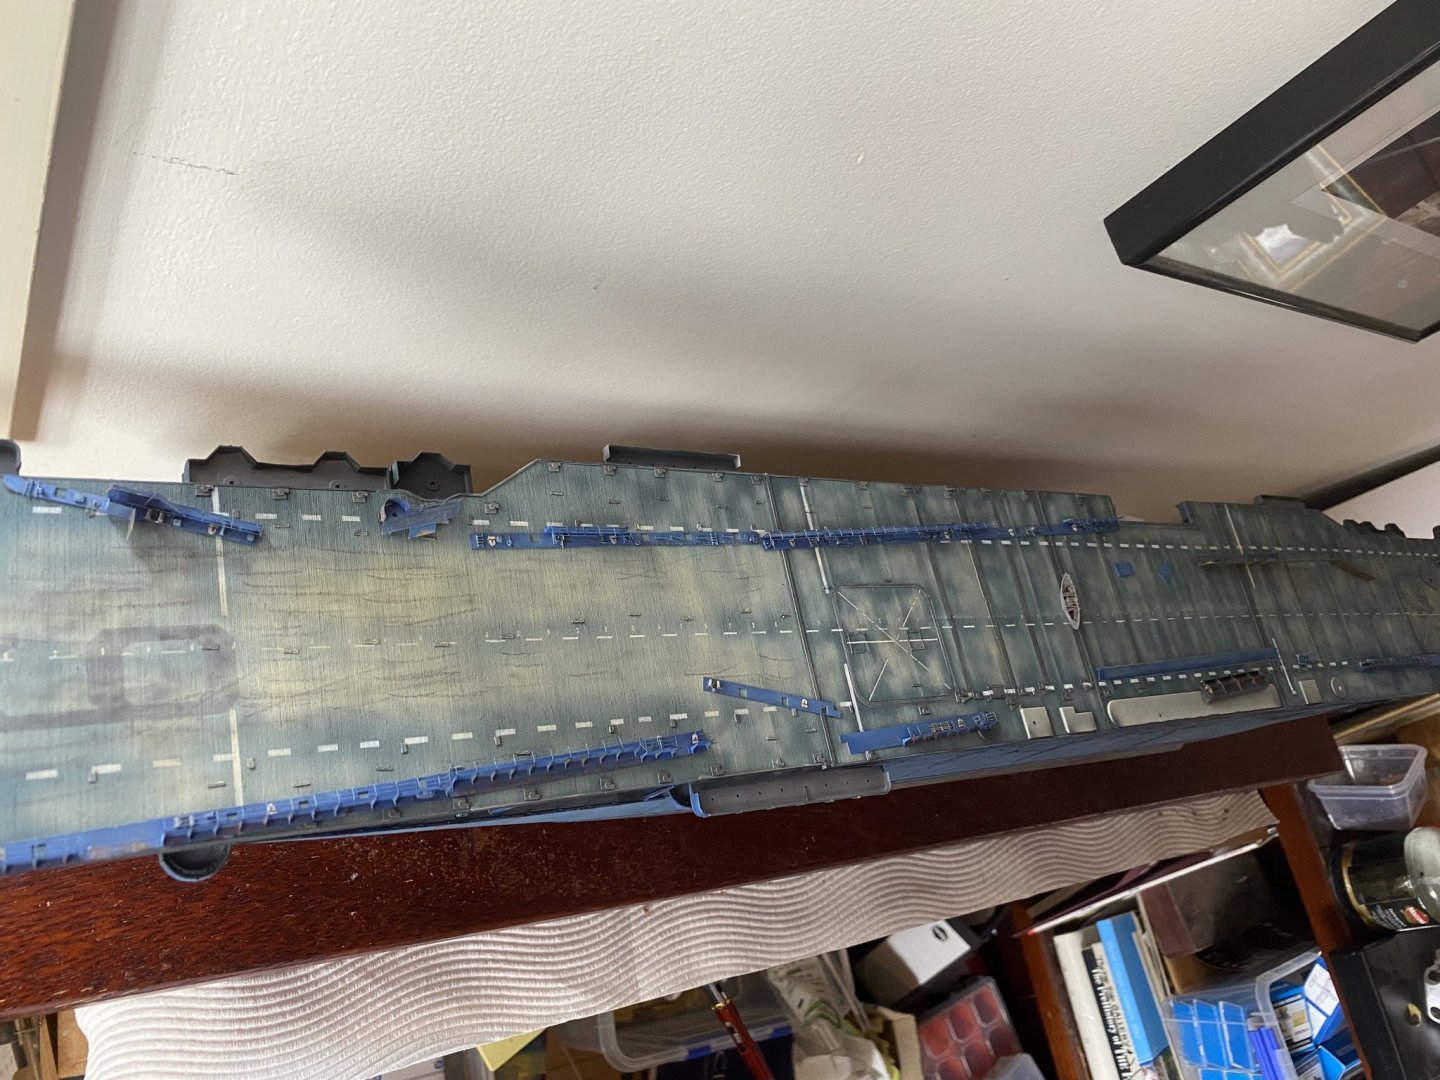
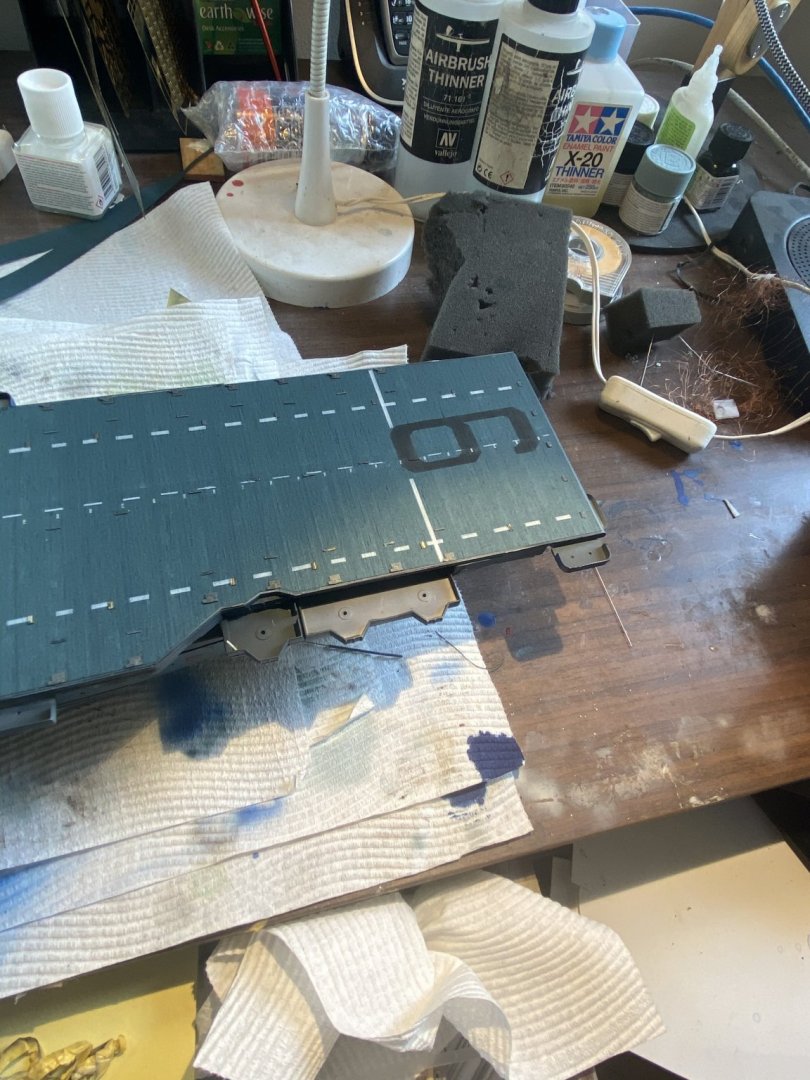
Well I worked all over Christmas so I finally got some work done on the deck, the metal inserts for the deck joins, arrestor gear cables, elevator boundaries, tomorrow I’ll finish off the remaining 100 or so Tie down inserts and cable lifts and I can then mask and do the deck numbers. It’s a very blue deck which I will then have to weather which is a new learning experience but should be fun.
- 308 replies
-
- 14
-
-
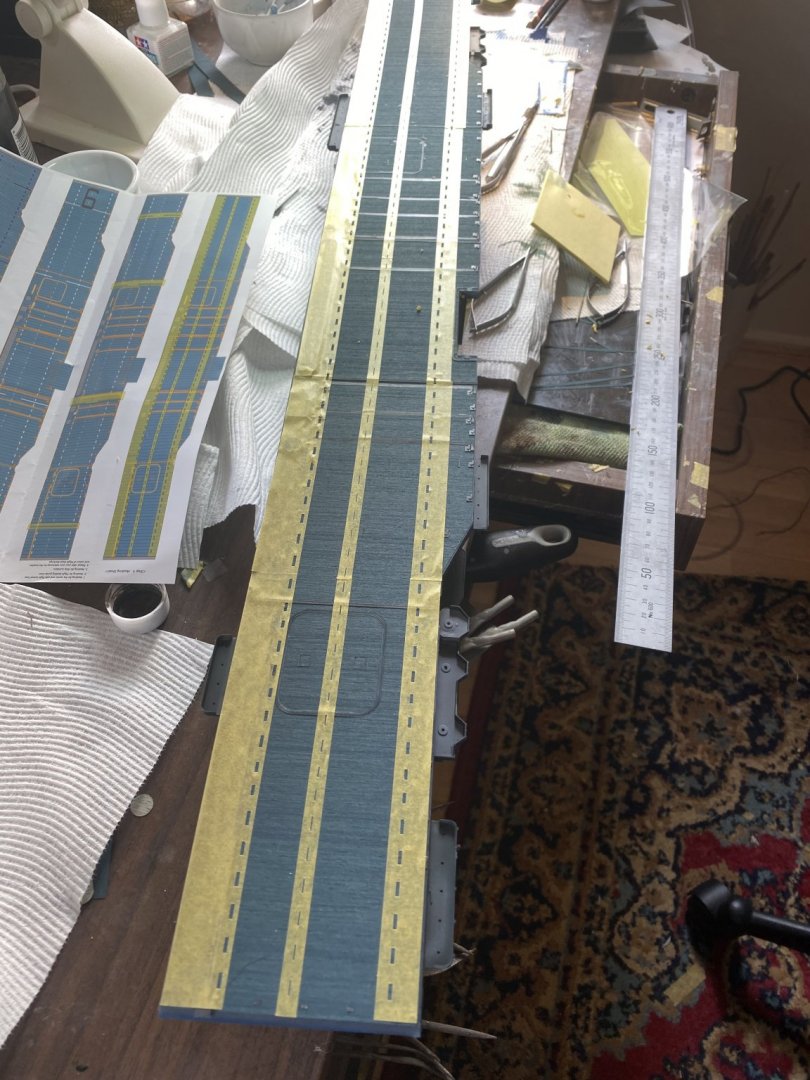
Thanks folks. next the raisin d’être, the flight deck. This will be a major works in itself. lay deck trim deck do PE, paint deck (with provided stencils) add Dry transfers weather deck


- 308 replies
-
- 21
-
-
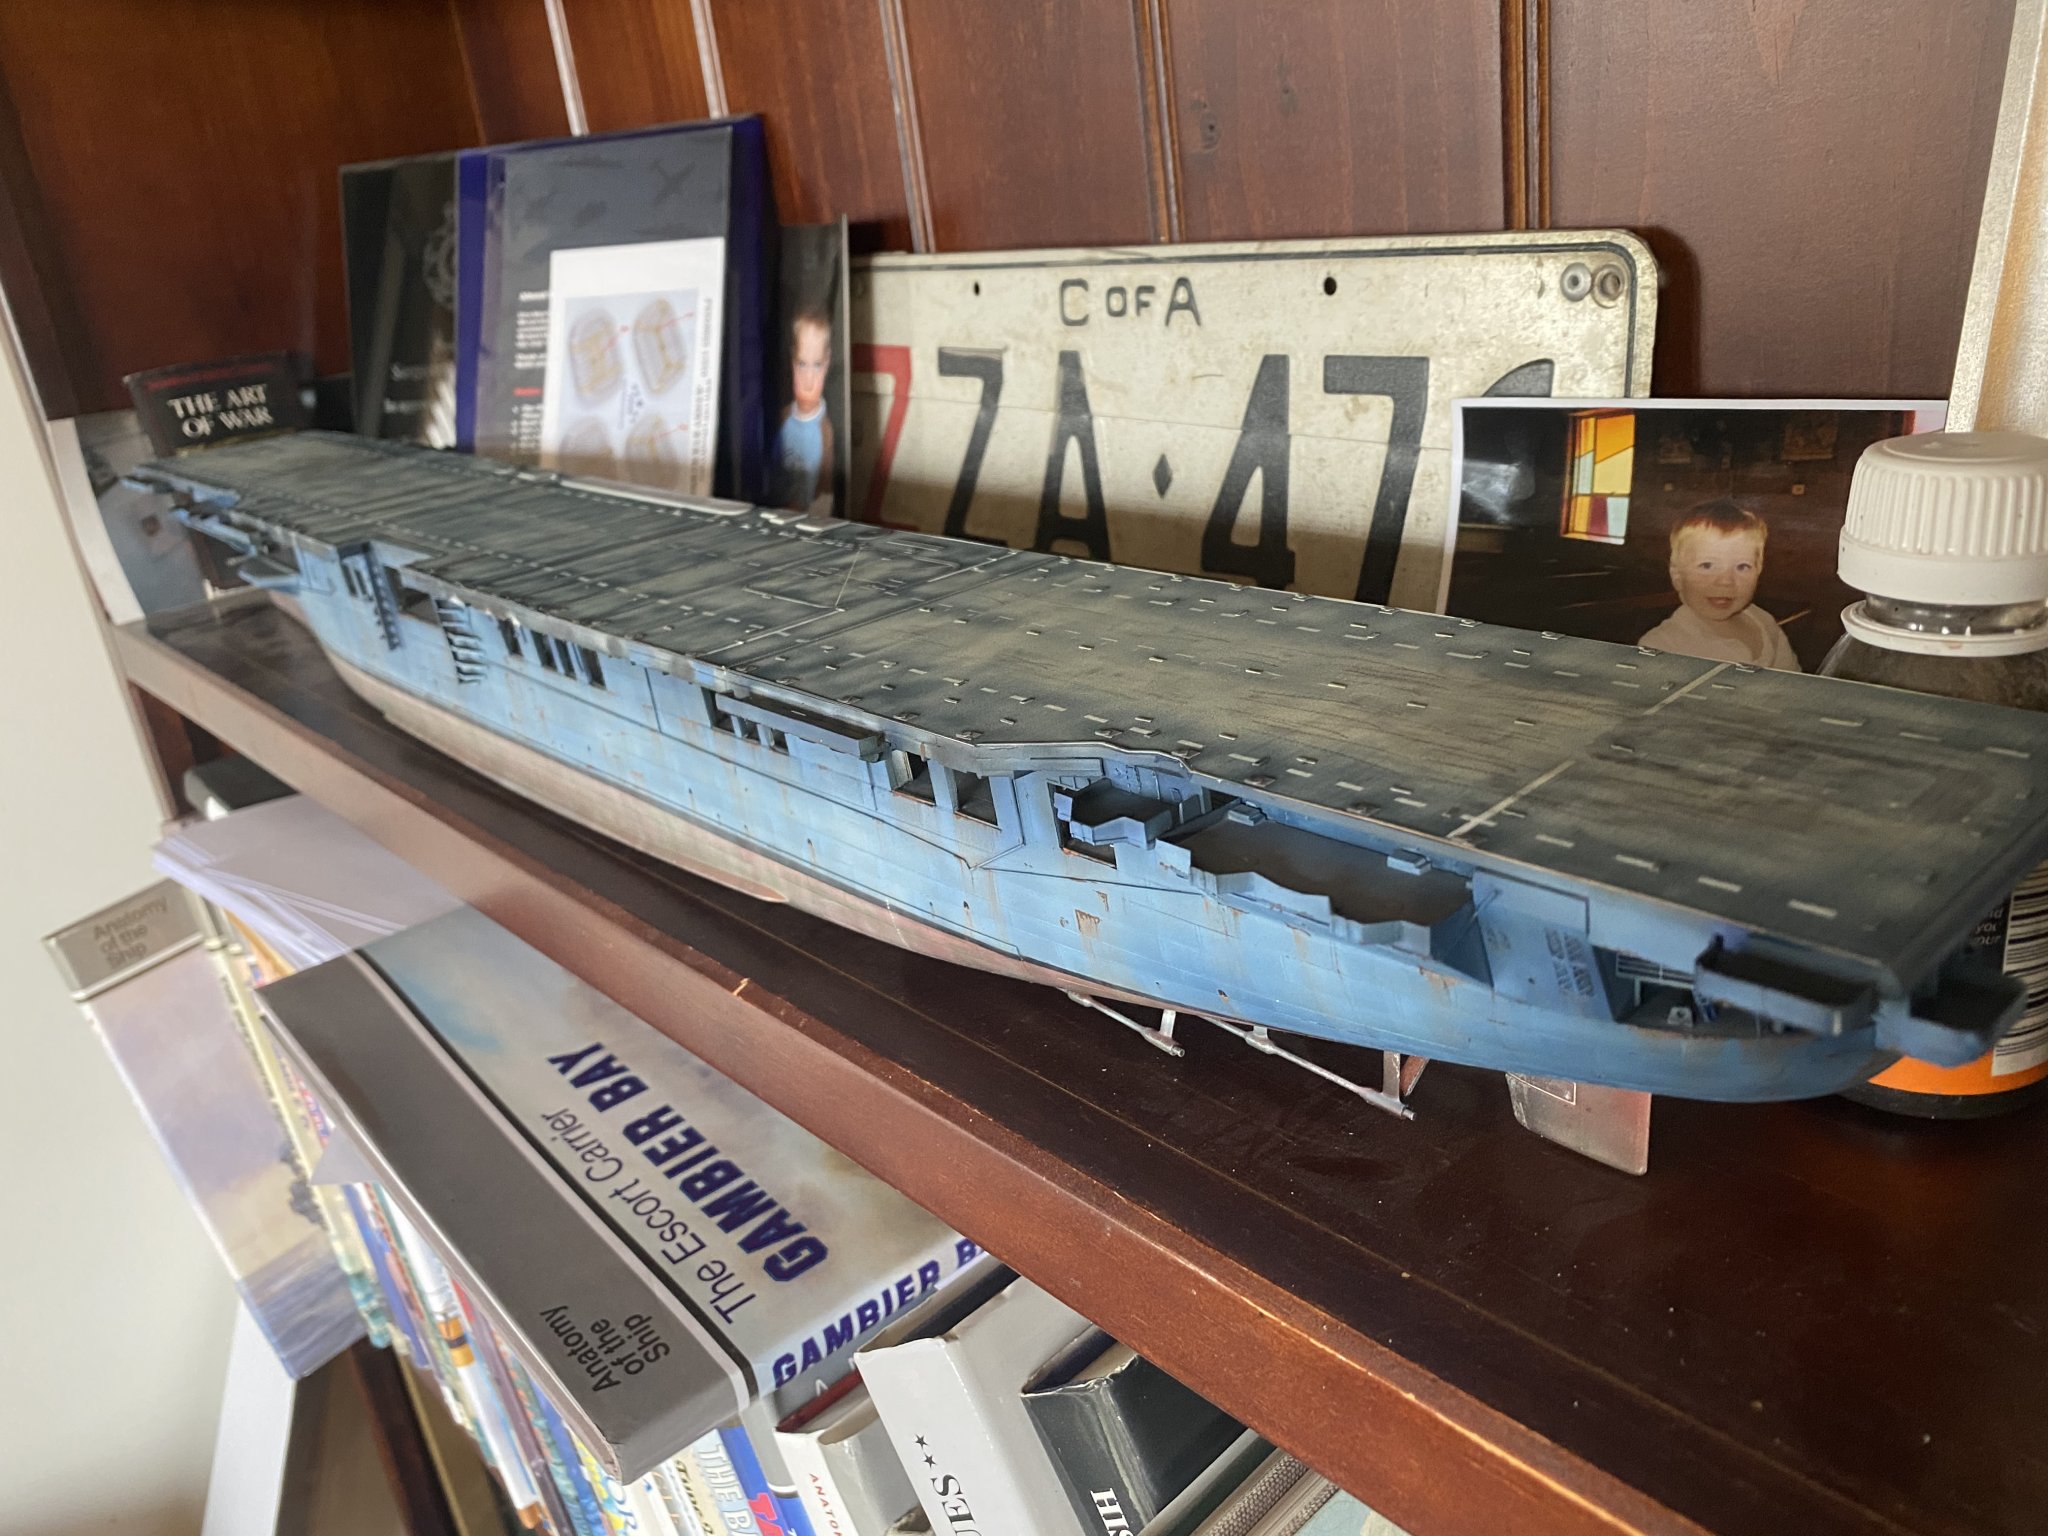
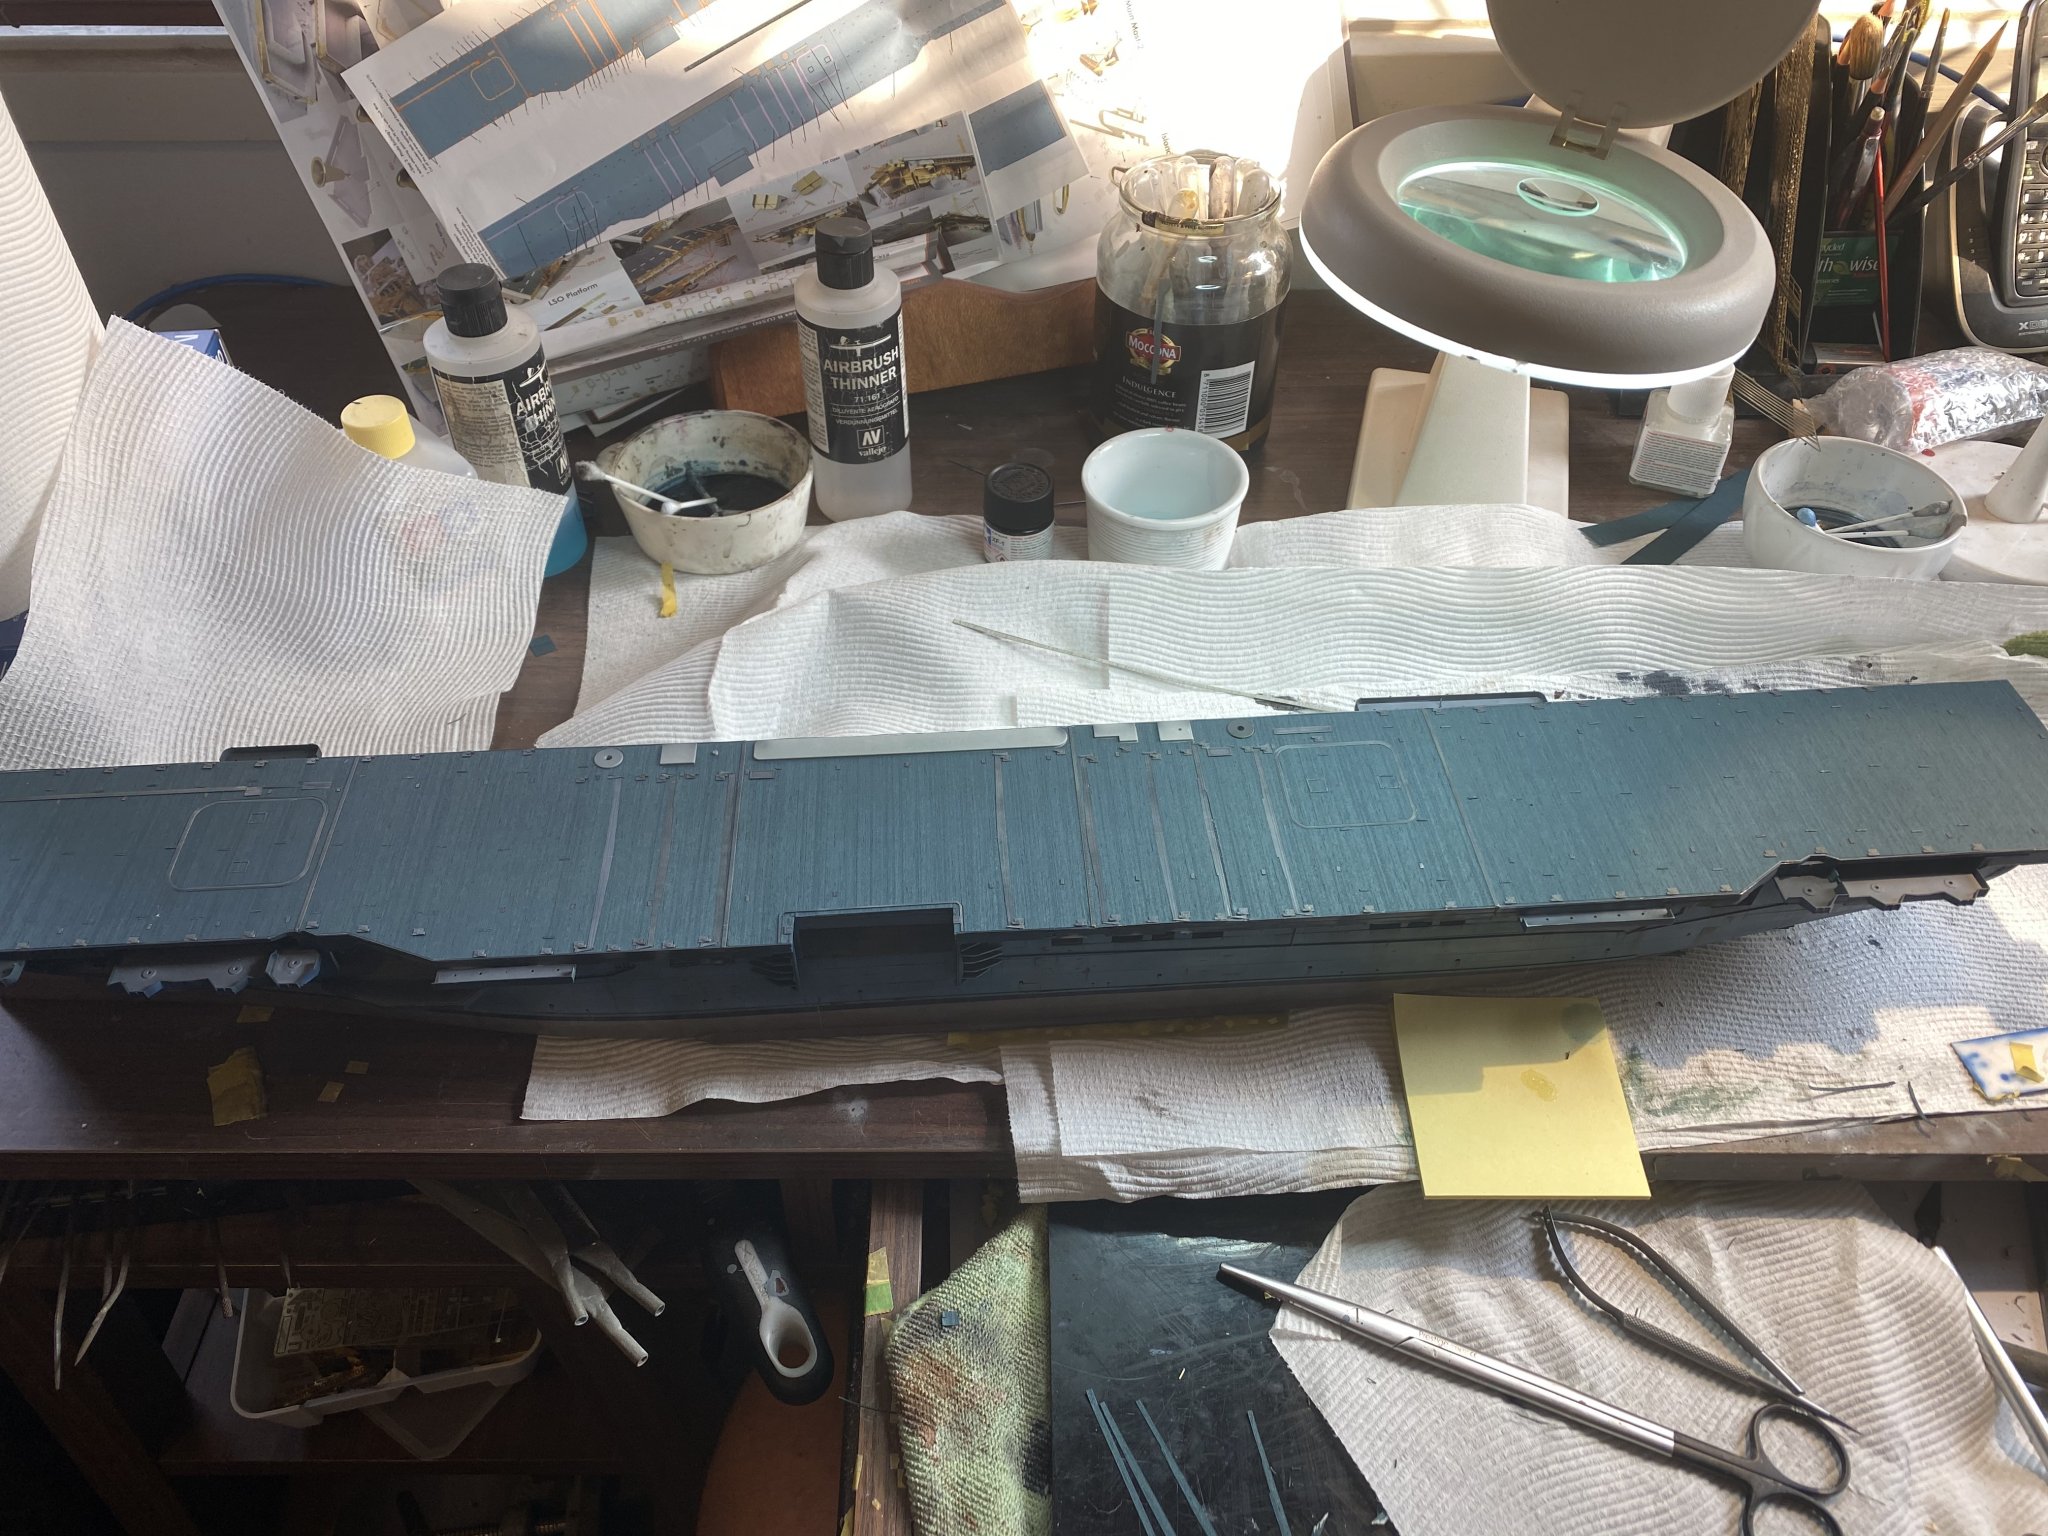
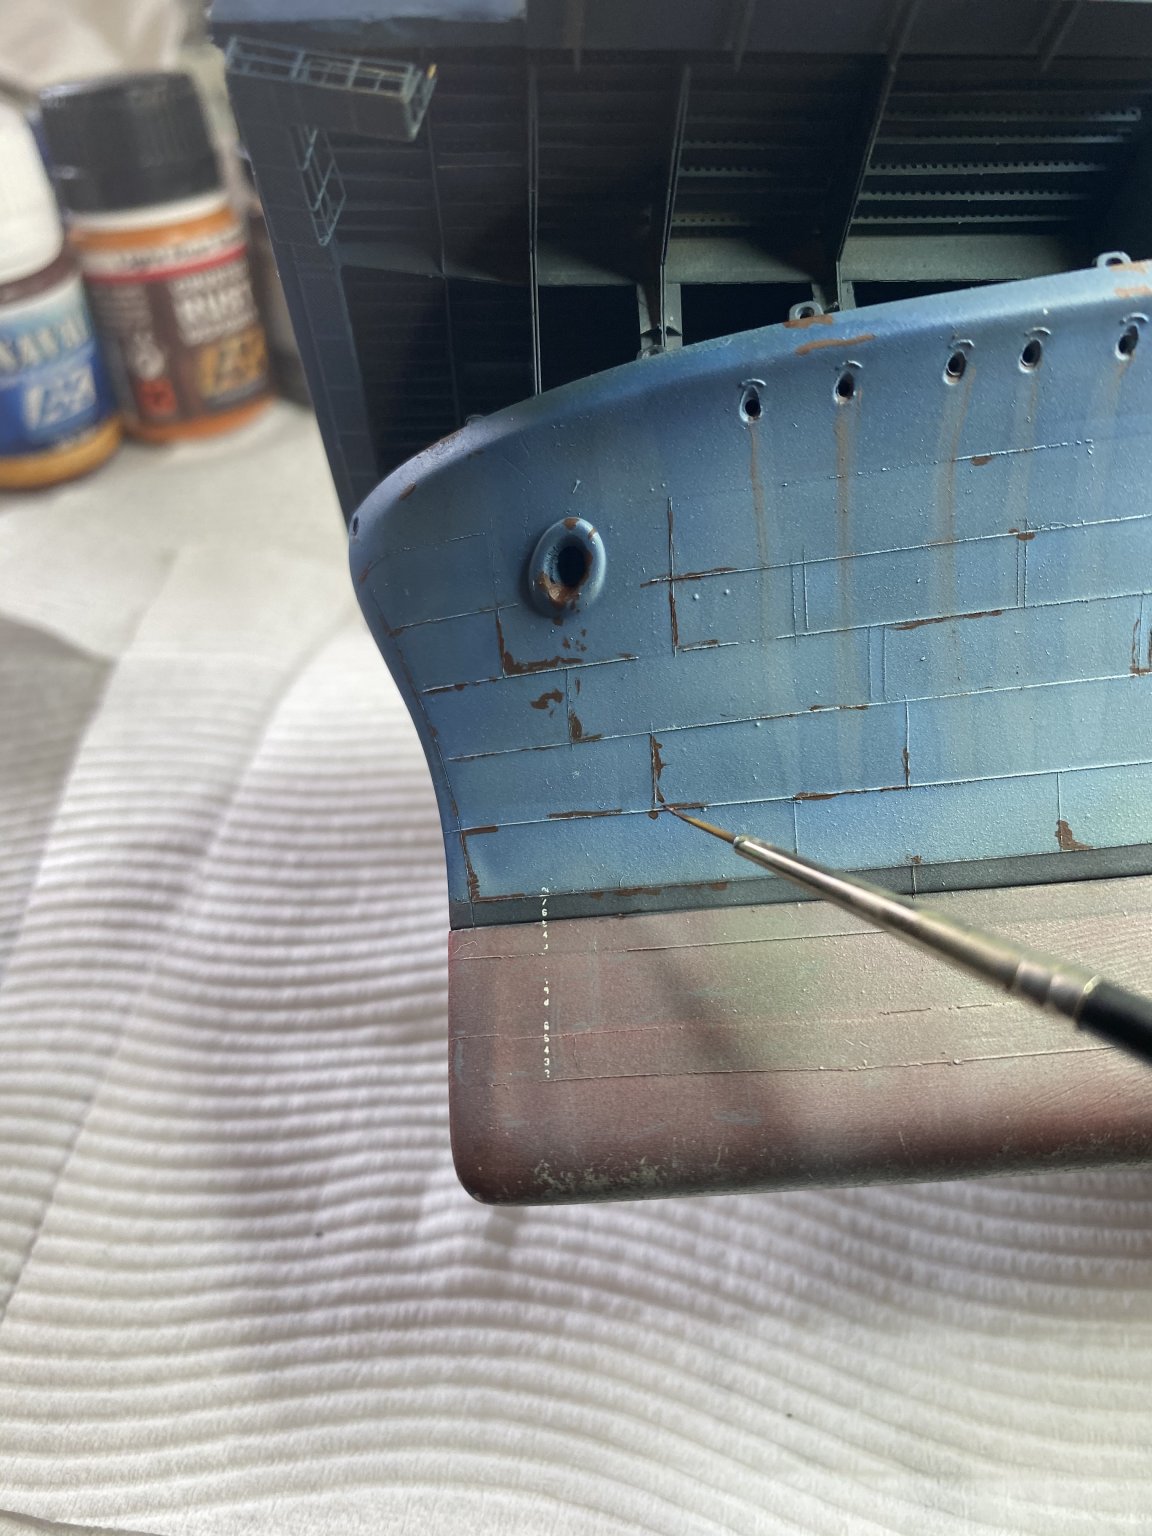
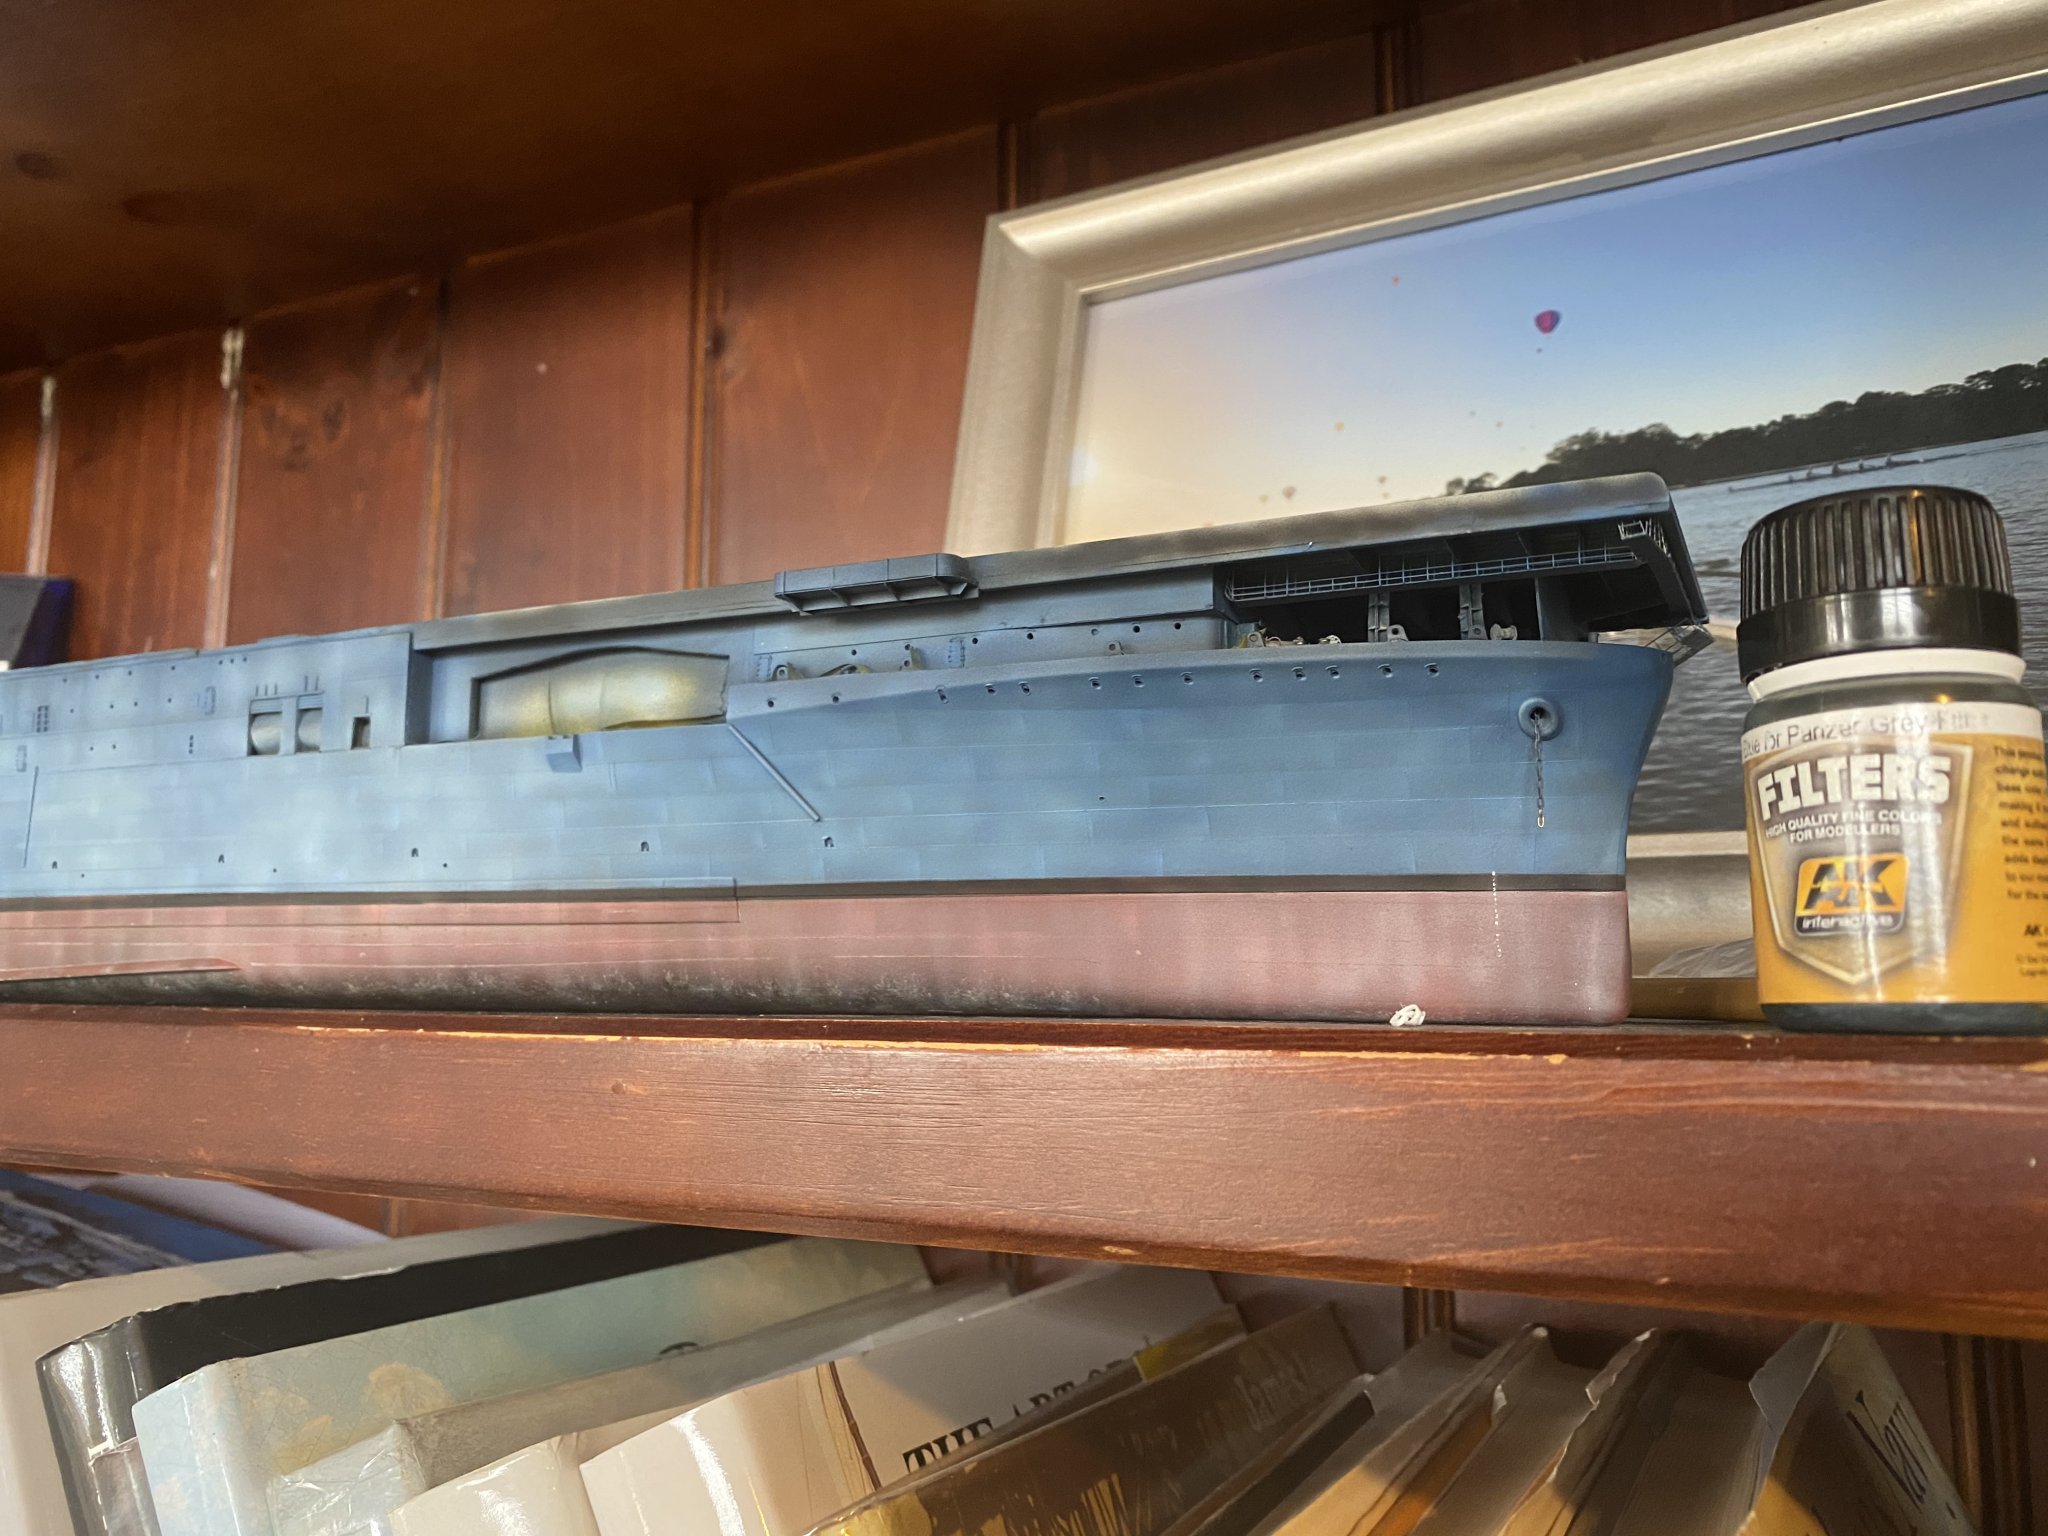
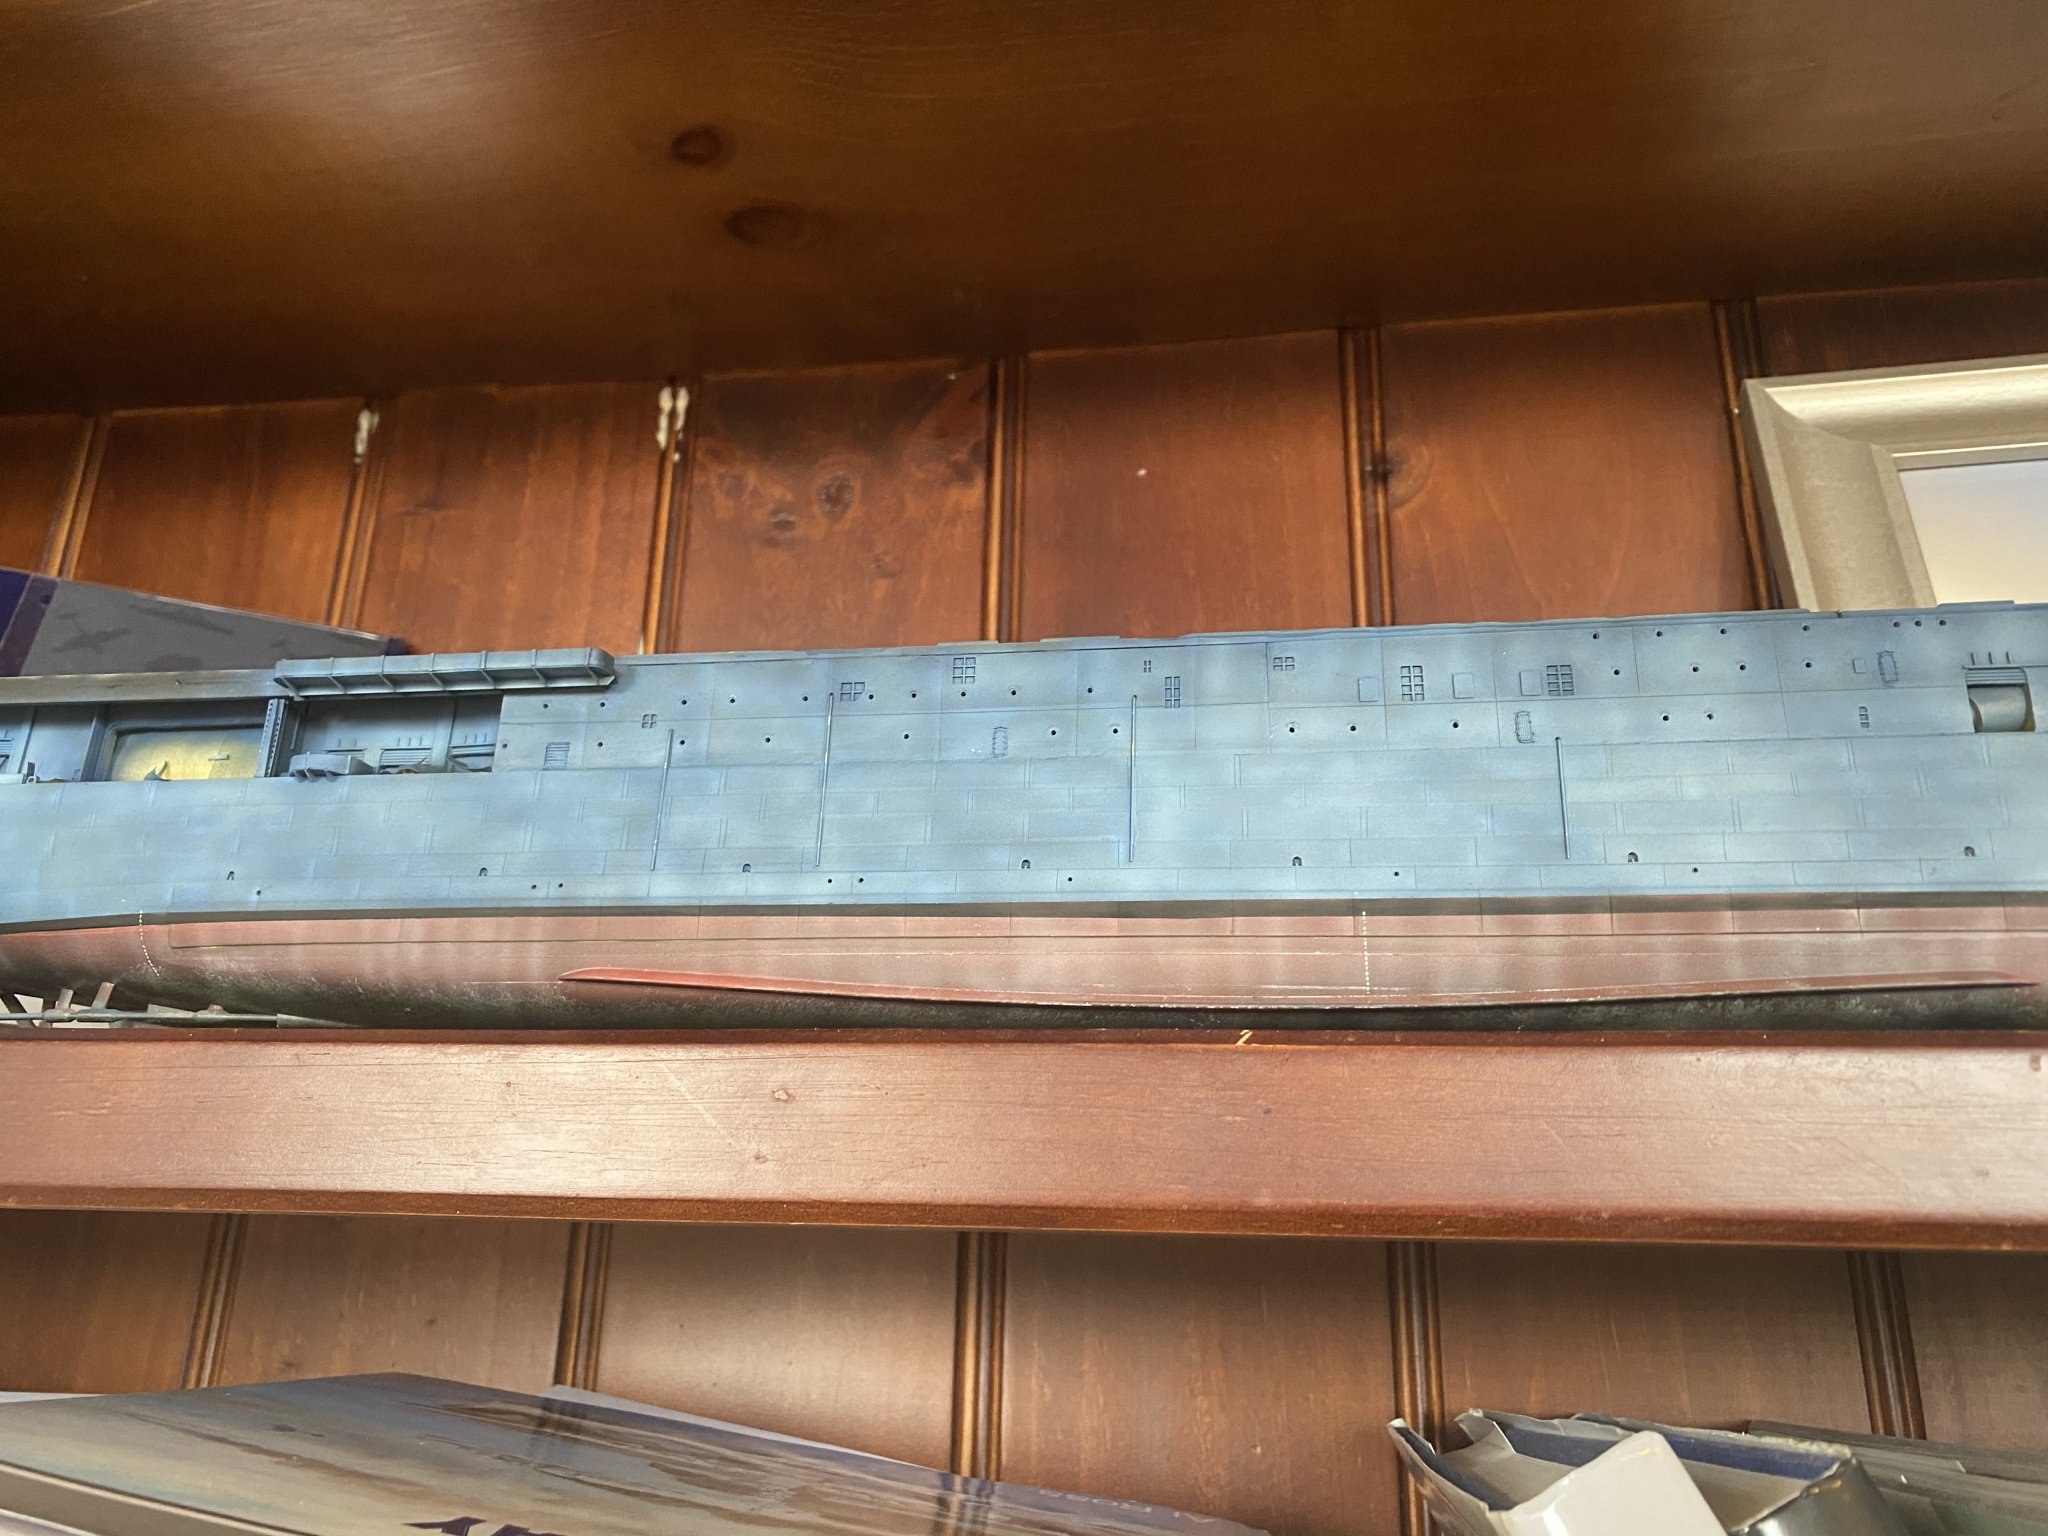
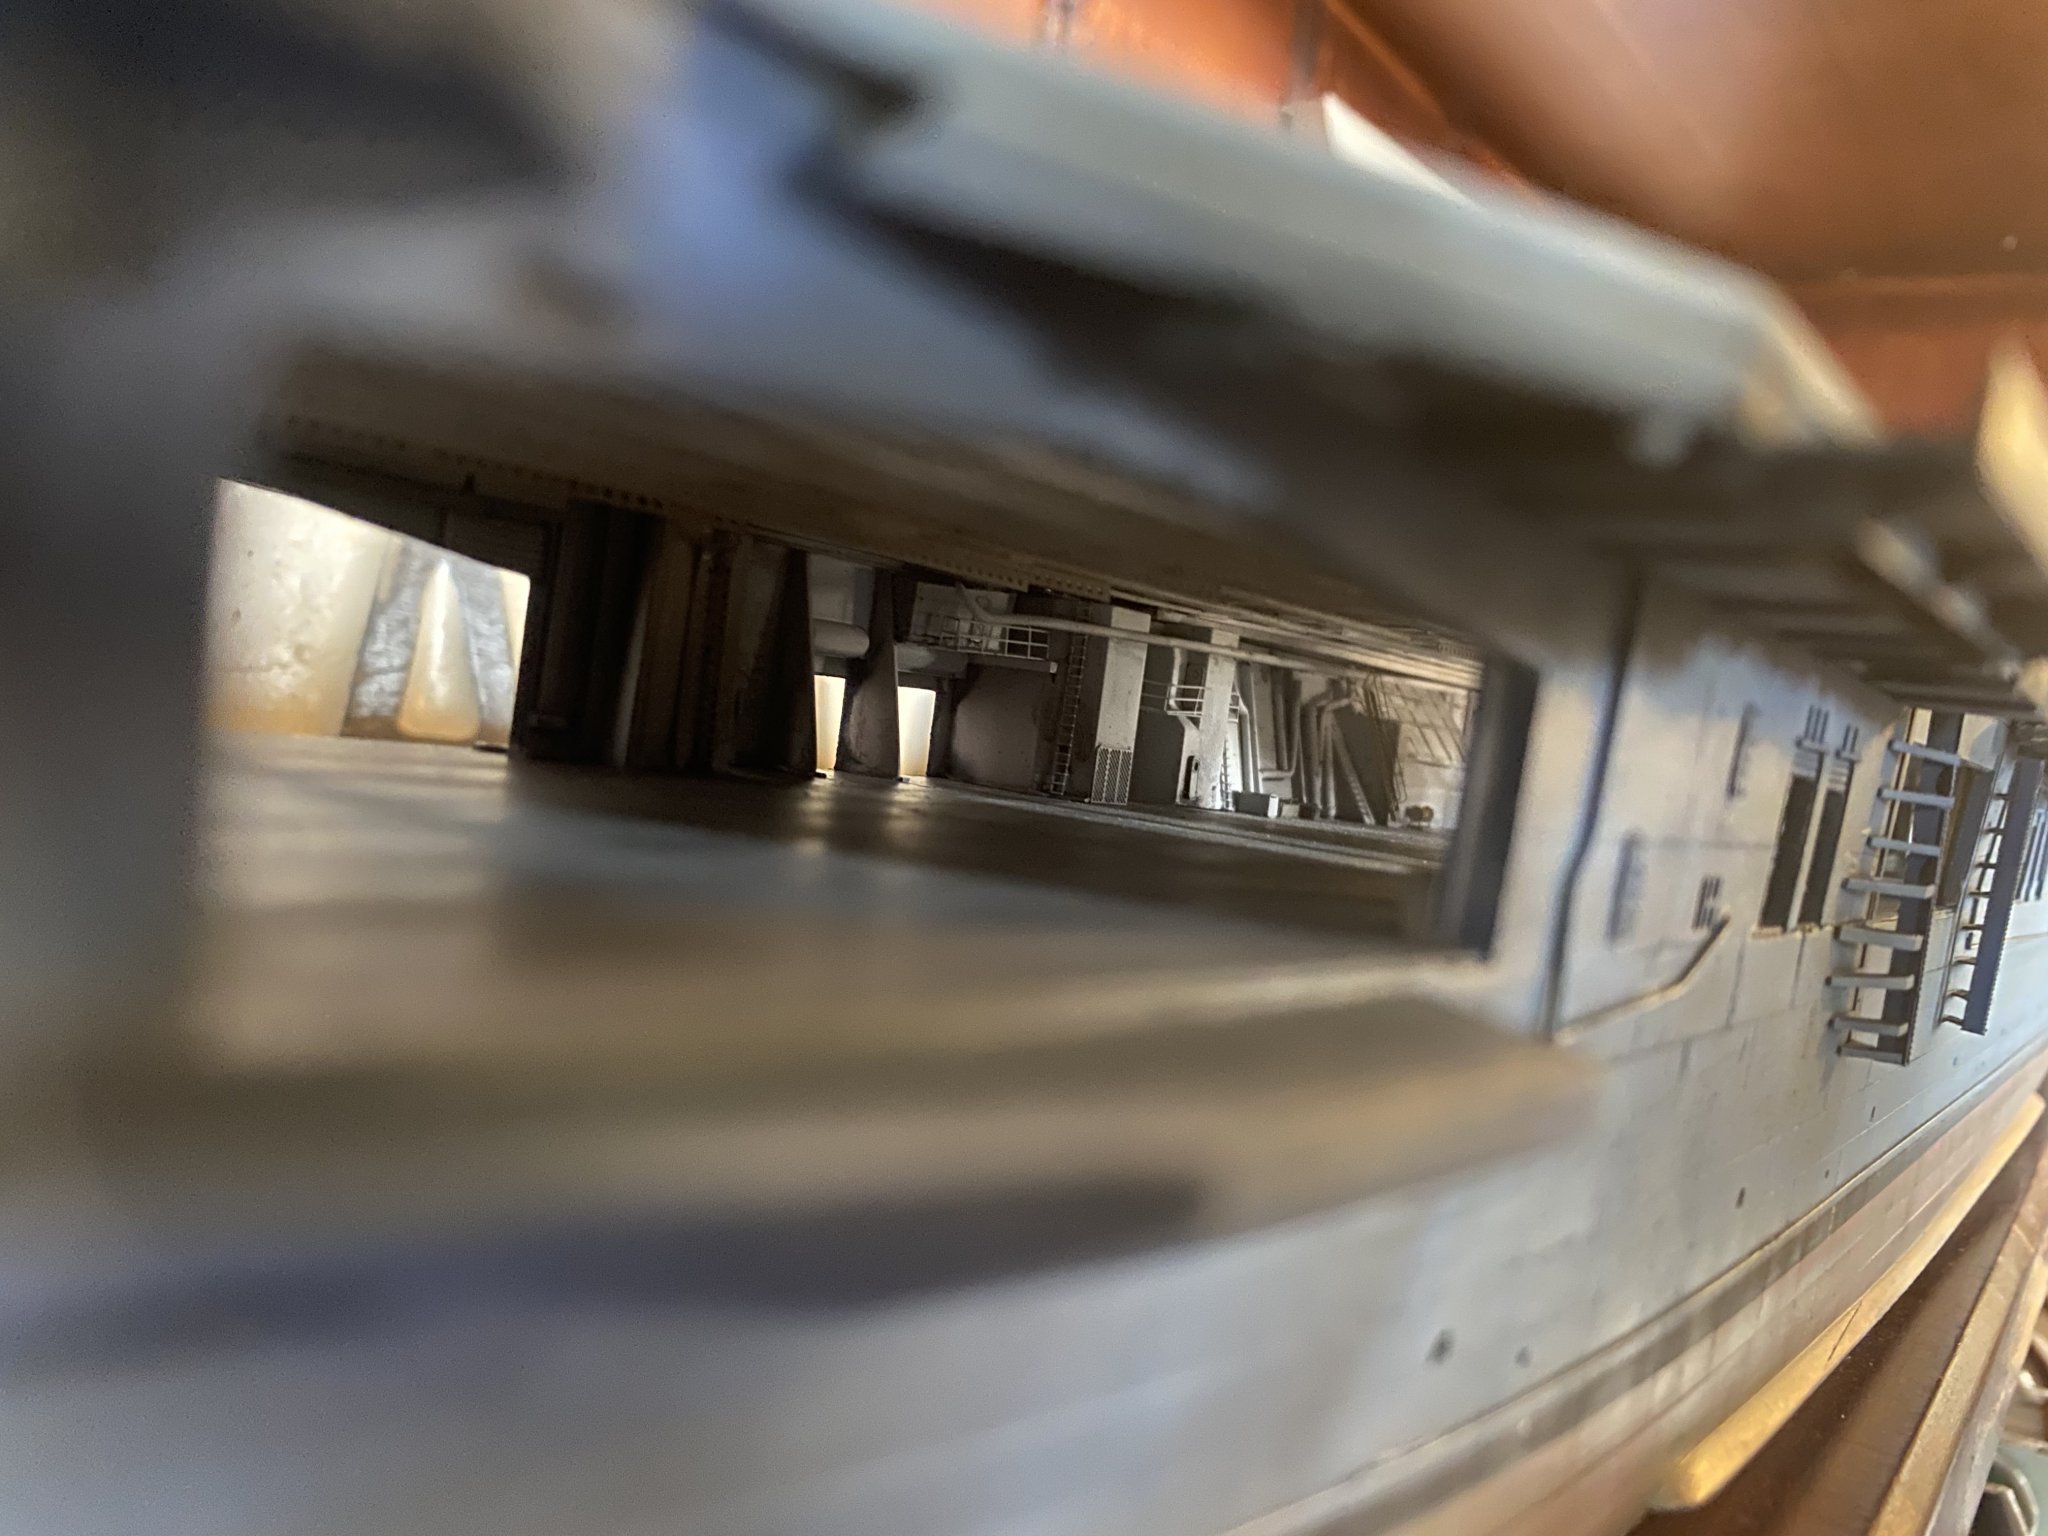
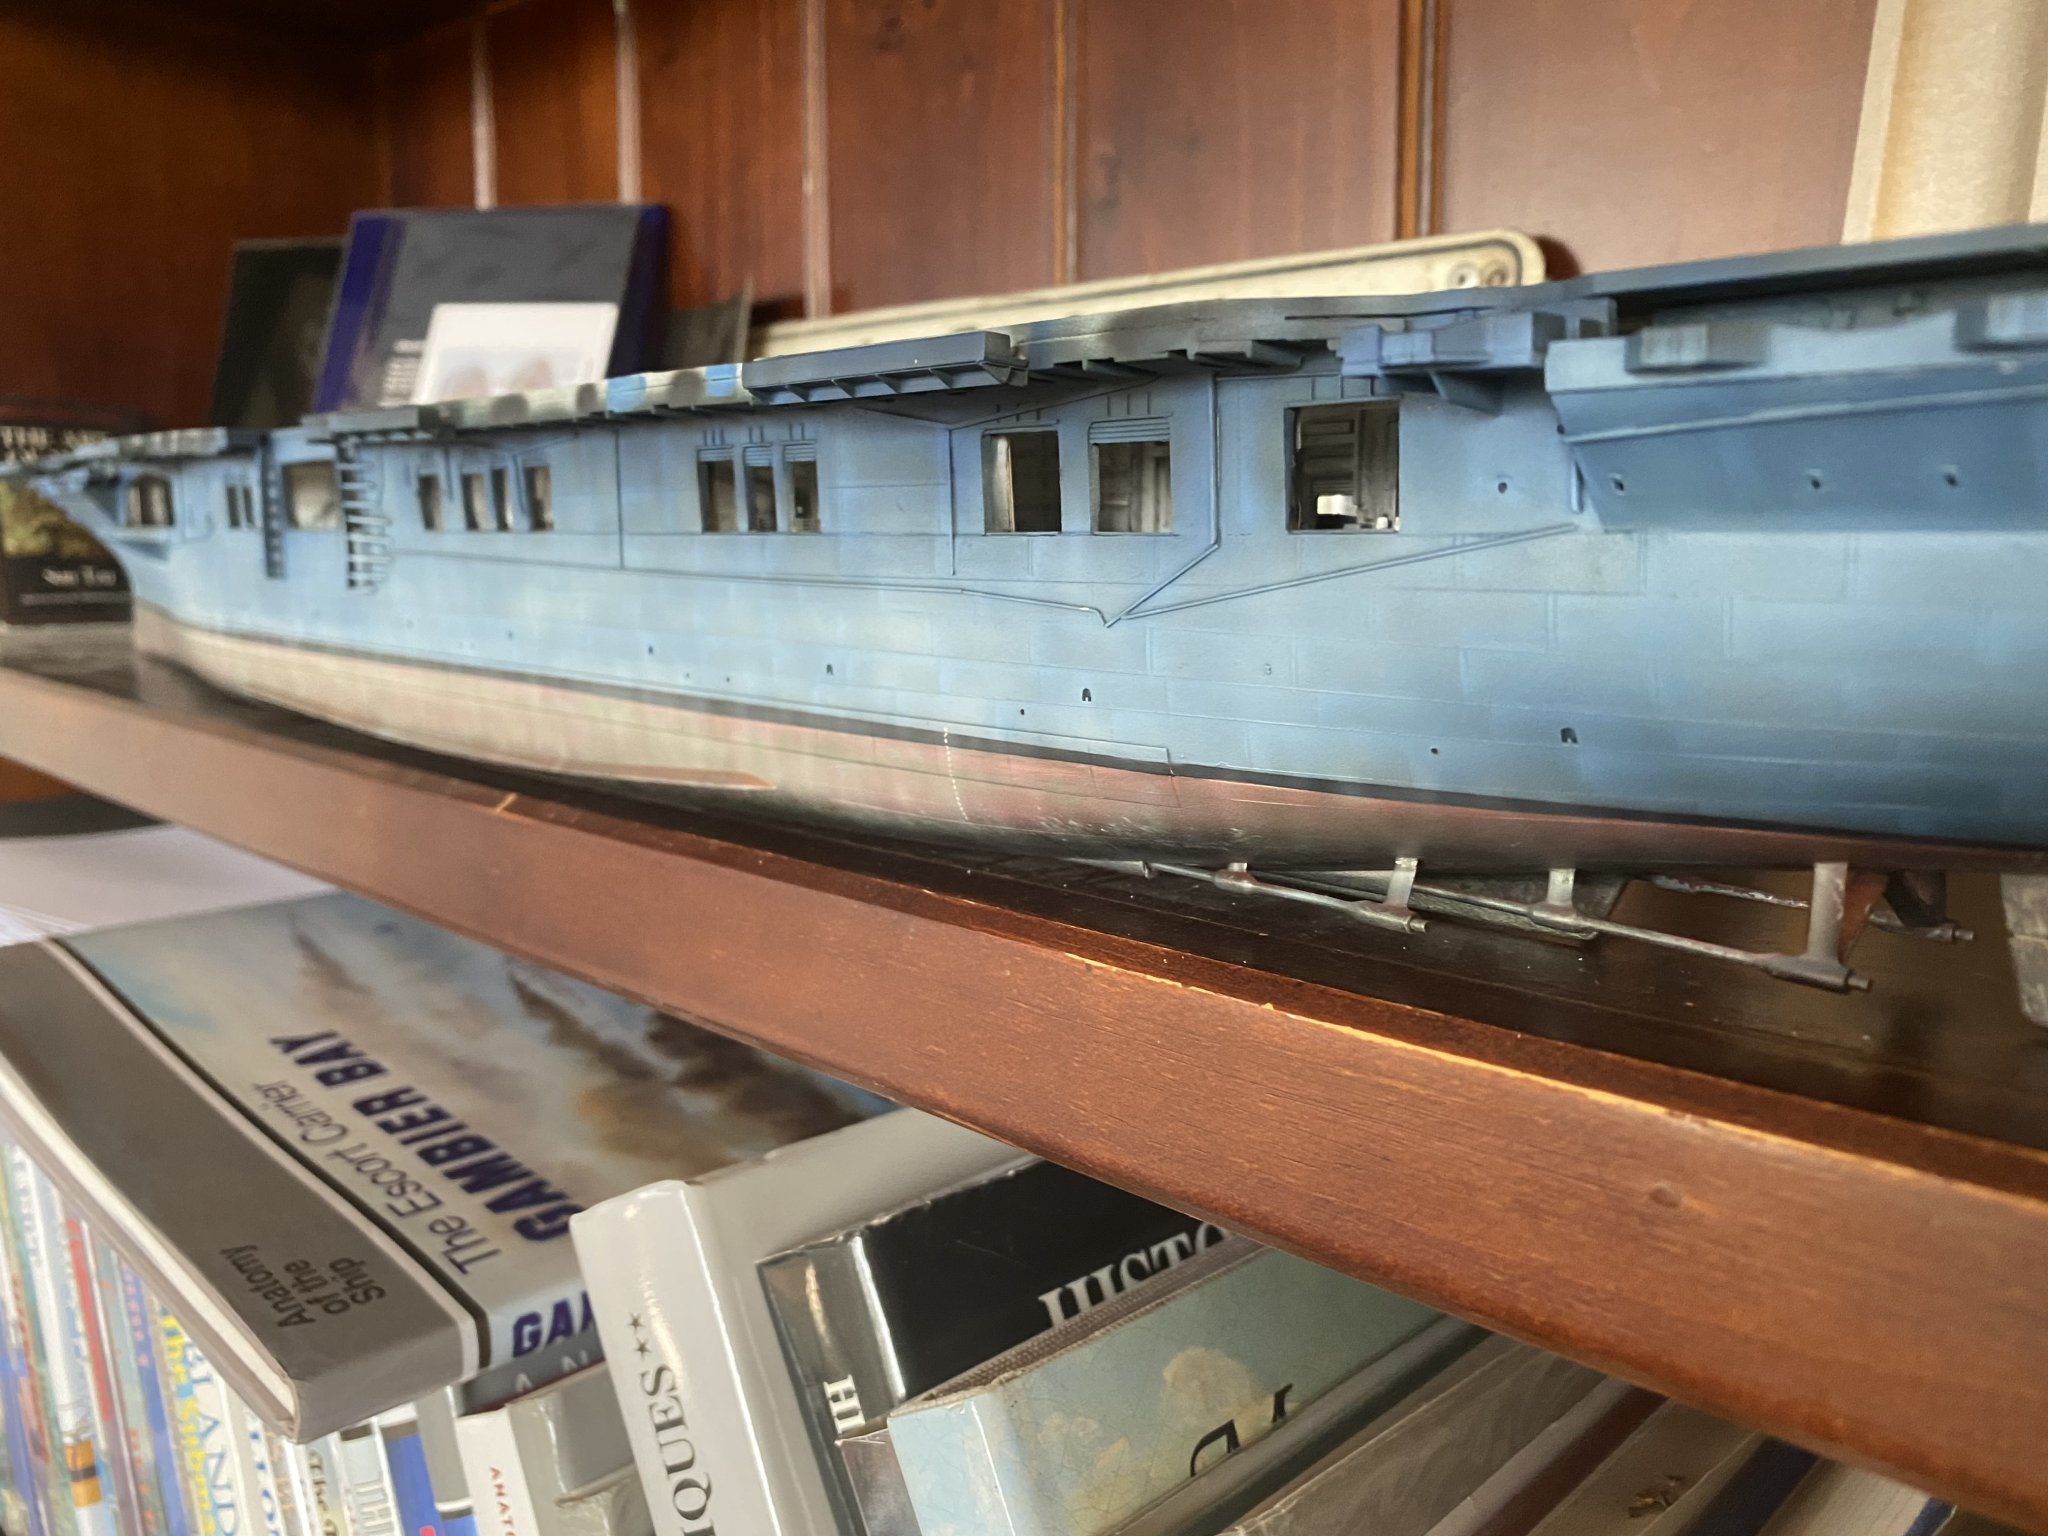
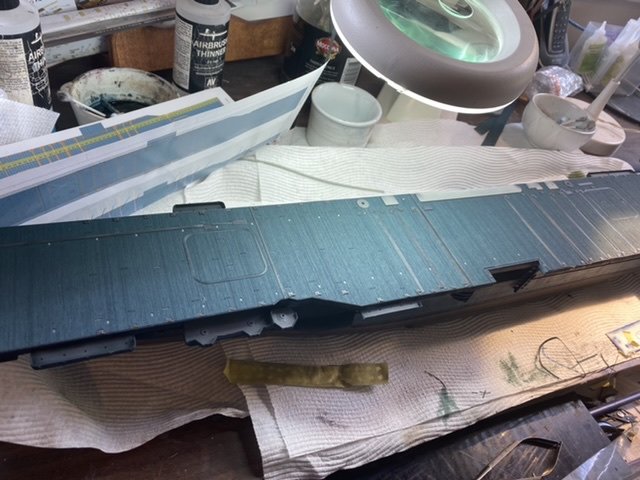
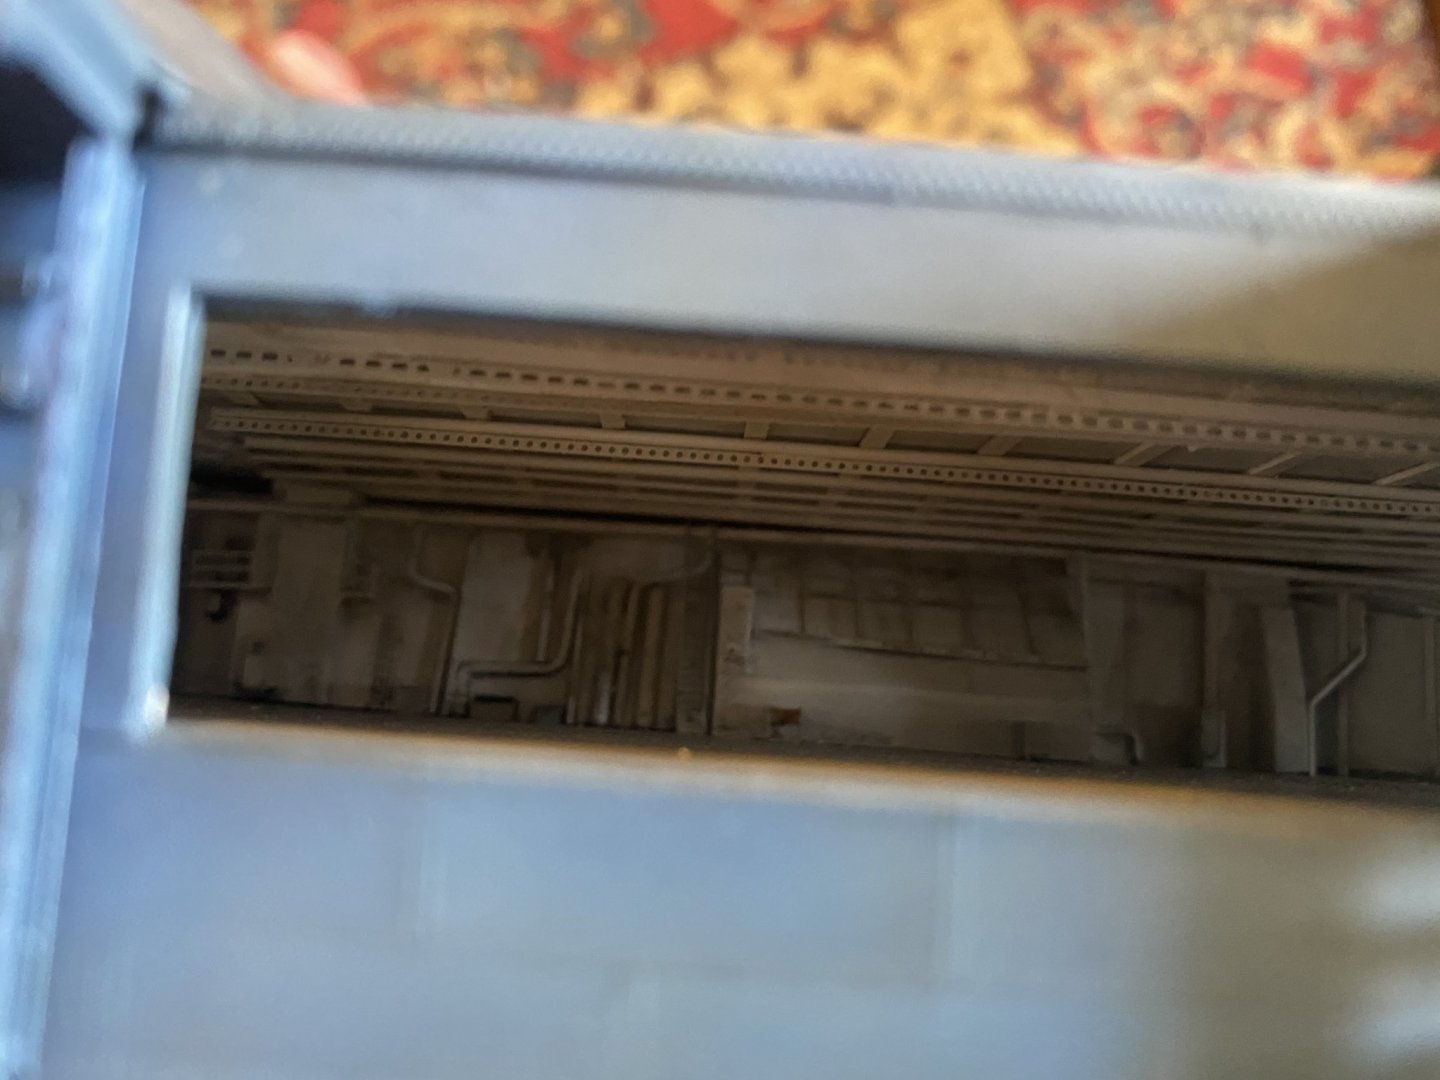
Now I can park the airbrush for this part of the hull I can remove all the tape and show off the interior. Blue grey filter on the blue bits and some more grunge to dull down the boot strap.


- 308 replies
-
- 19
-
-
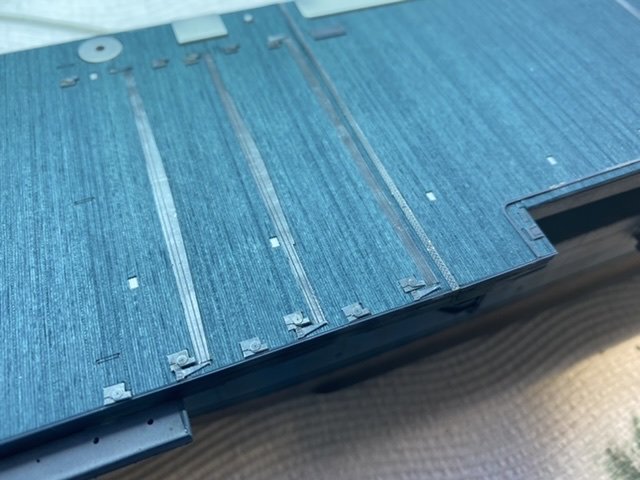
How cool are dry transfers? tape is off, bootstrap looks OK, now filters and weathering

- 308 replies
-
- 15
-
-
An overspray of grey blue and I’m pretty happy with a mottled finish looks about the right shade of blue to my eye.
- 308 replies
-
- 18
-
-
Very very blue; I can experiment a bit to what I’m happy with. This photo, which I’m pretty sure is from 1943 shows a lighter blue grey on the gun shield compared to the “sea blue” behind it. I’m thinking this will probable approximate what I’m after.
-
There are basically no decent photos in colour, and the MS scheme basically says a dark ish blue, but even the black and white photos would not look so light grey if it were dark blue if that makes sense?