RGL
-
Posts
5,553 -
Joined
-
Last visited
Content Type
Profiles
Forums
Gallery
Events
Everything posted by RGL
-
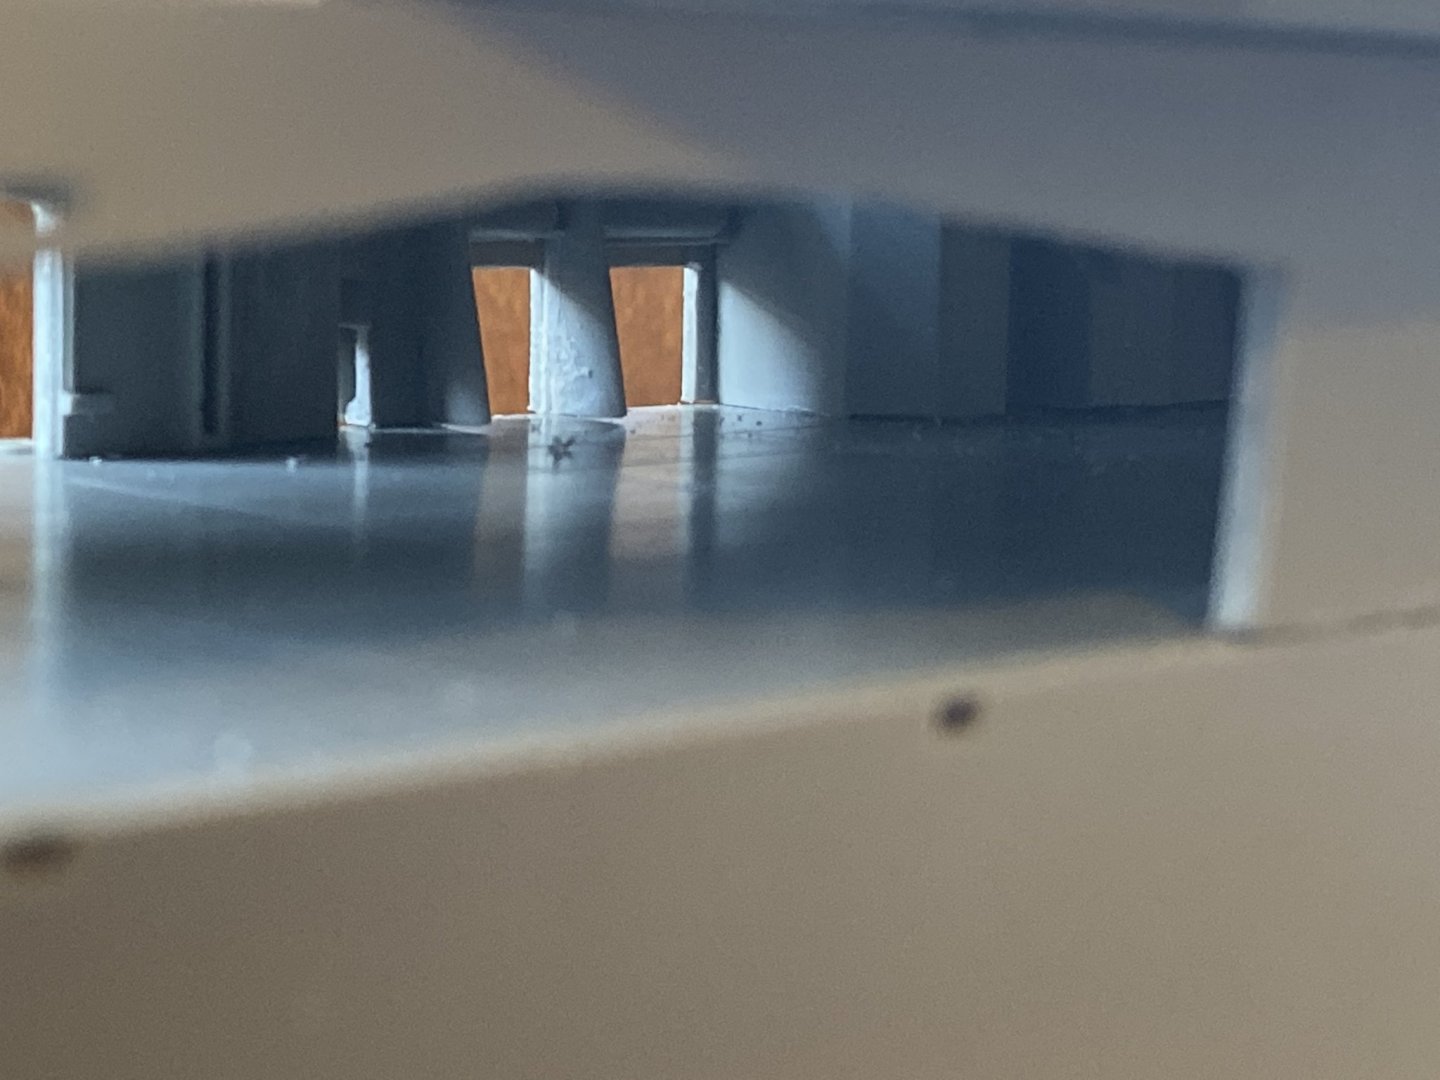
 Hangar deck - won’t really be that visible but a good muscle memory exercise for the airbrush

- 308 replies
-
- 16
-

-
Probably something to do with the weight of the big guns that needed to be counterbalanced below the waterline and the magazines were safer and could be flooded if below the waterline.
-
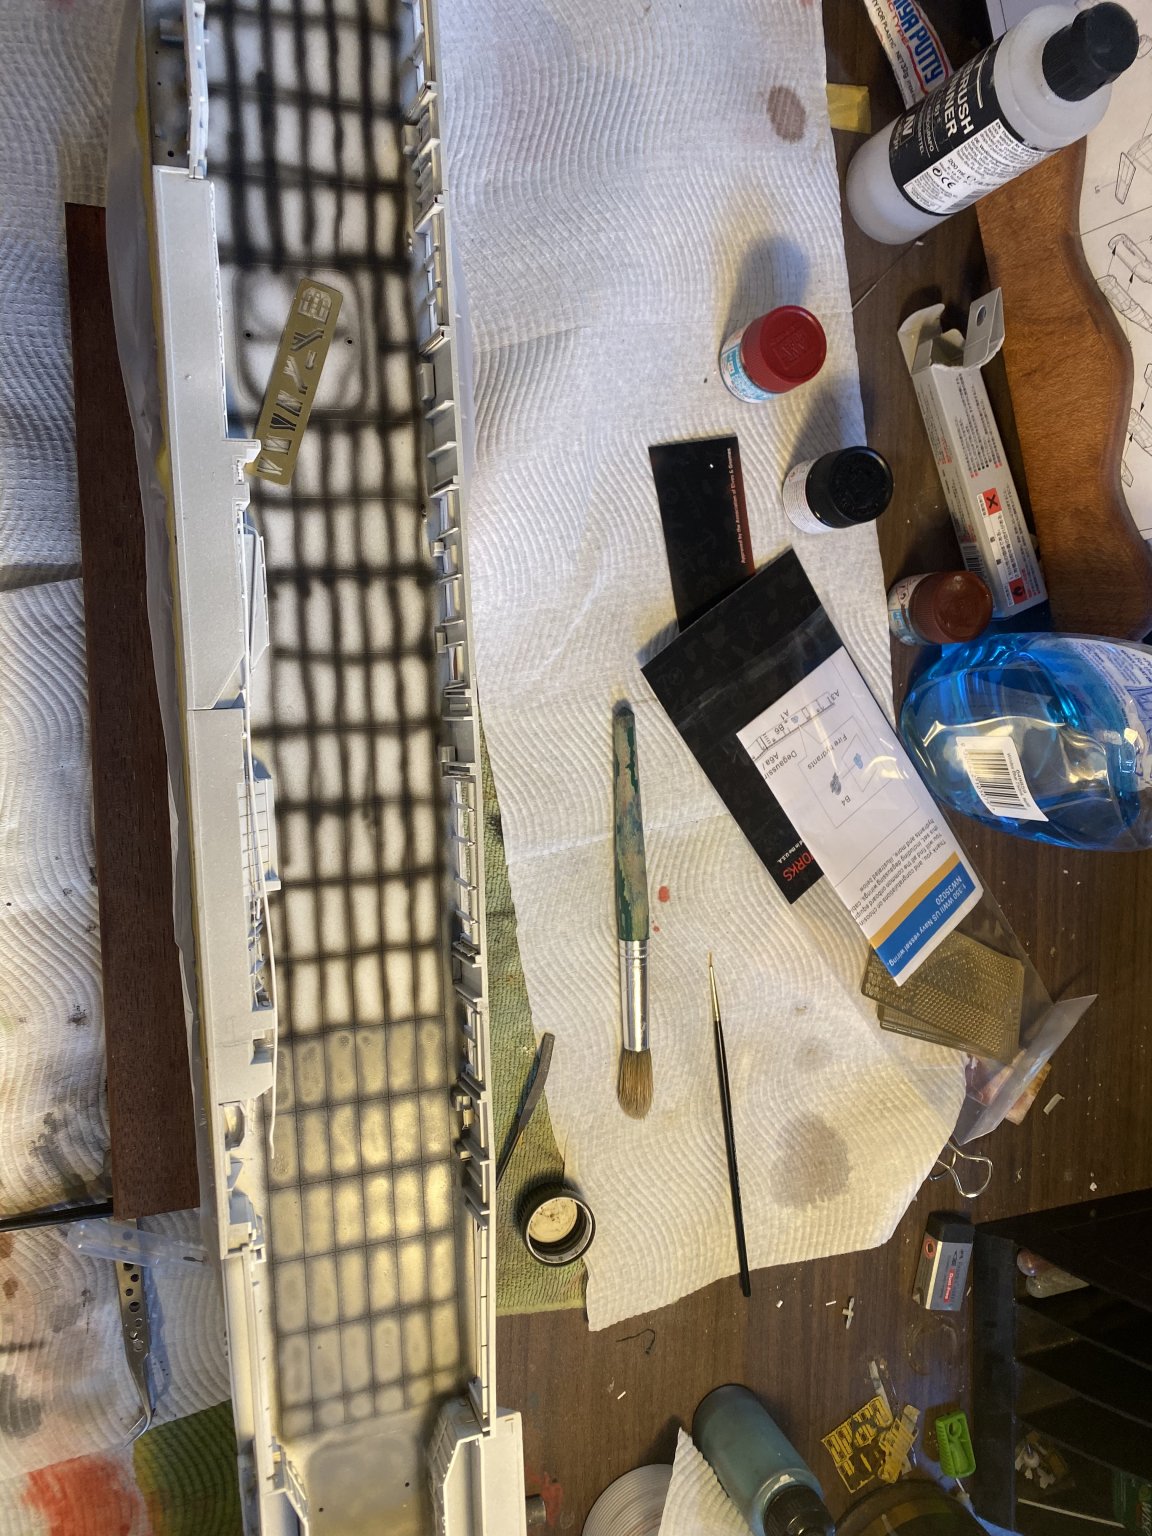
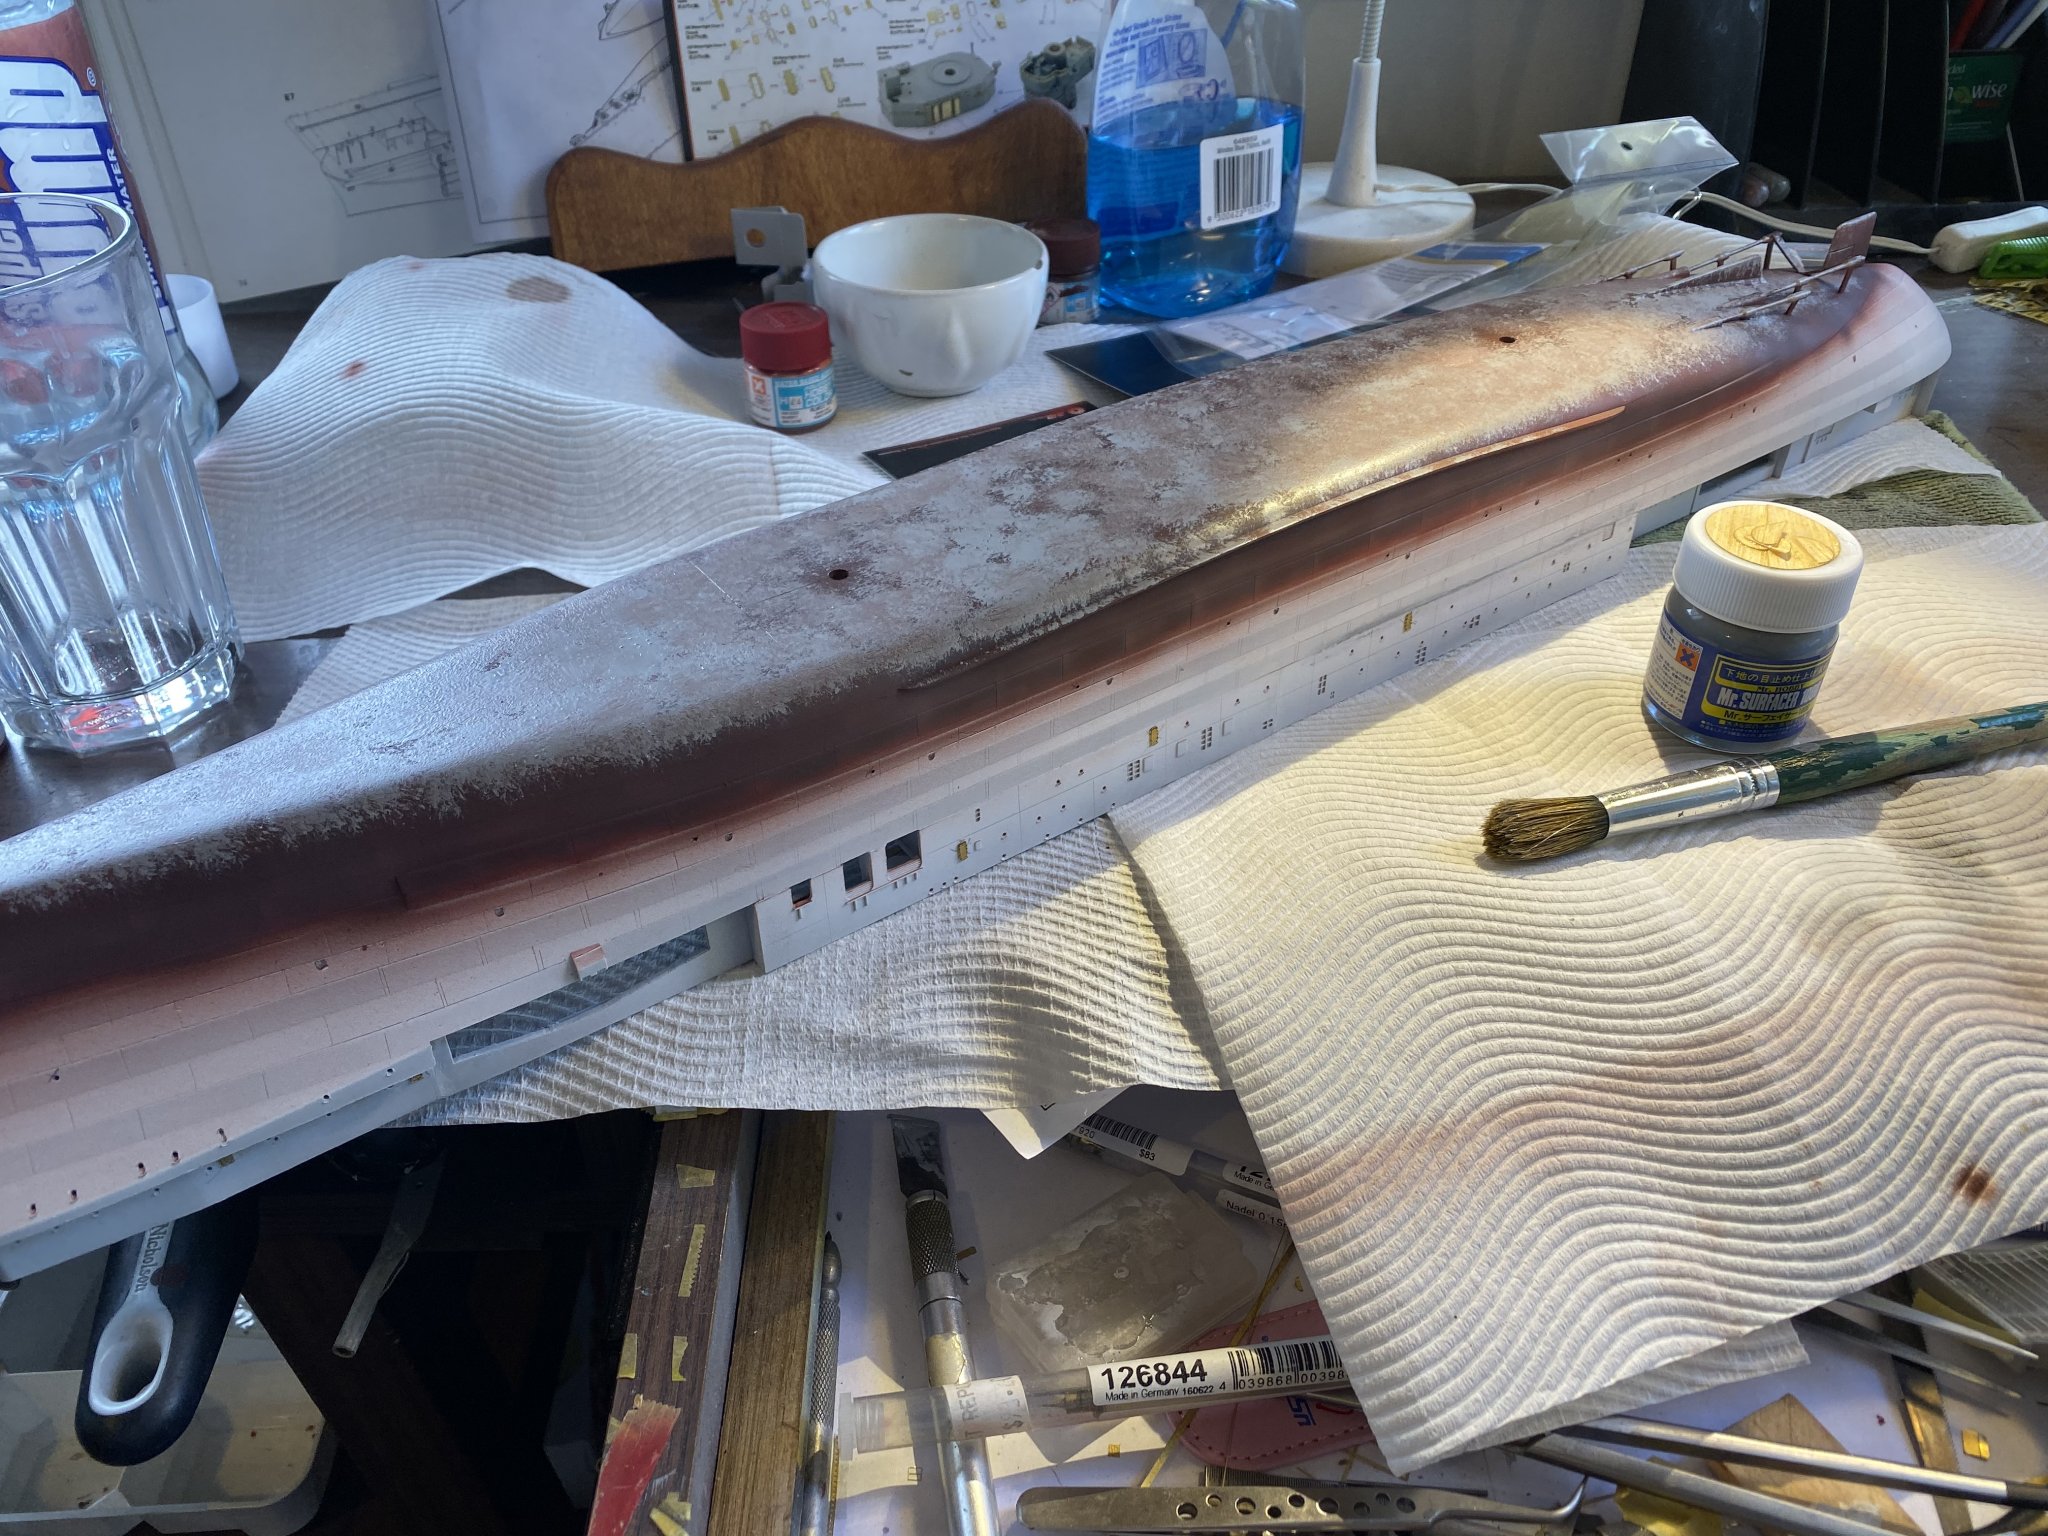
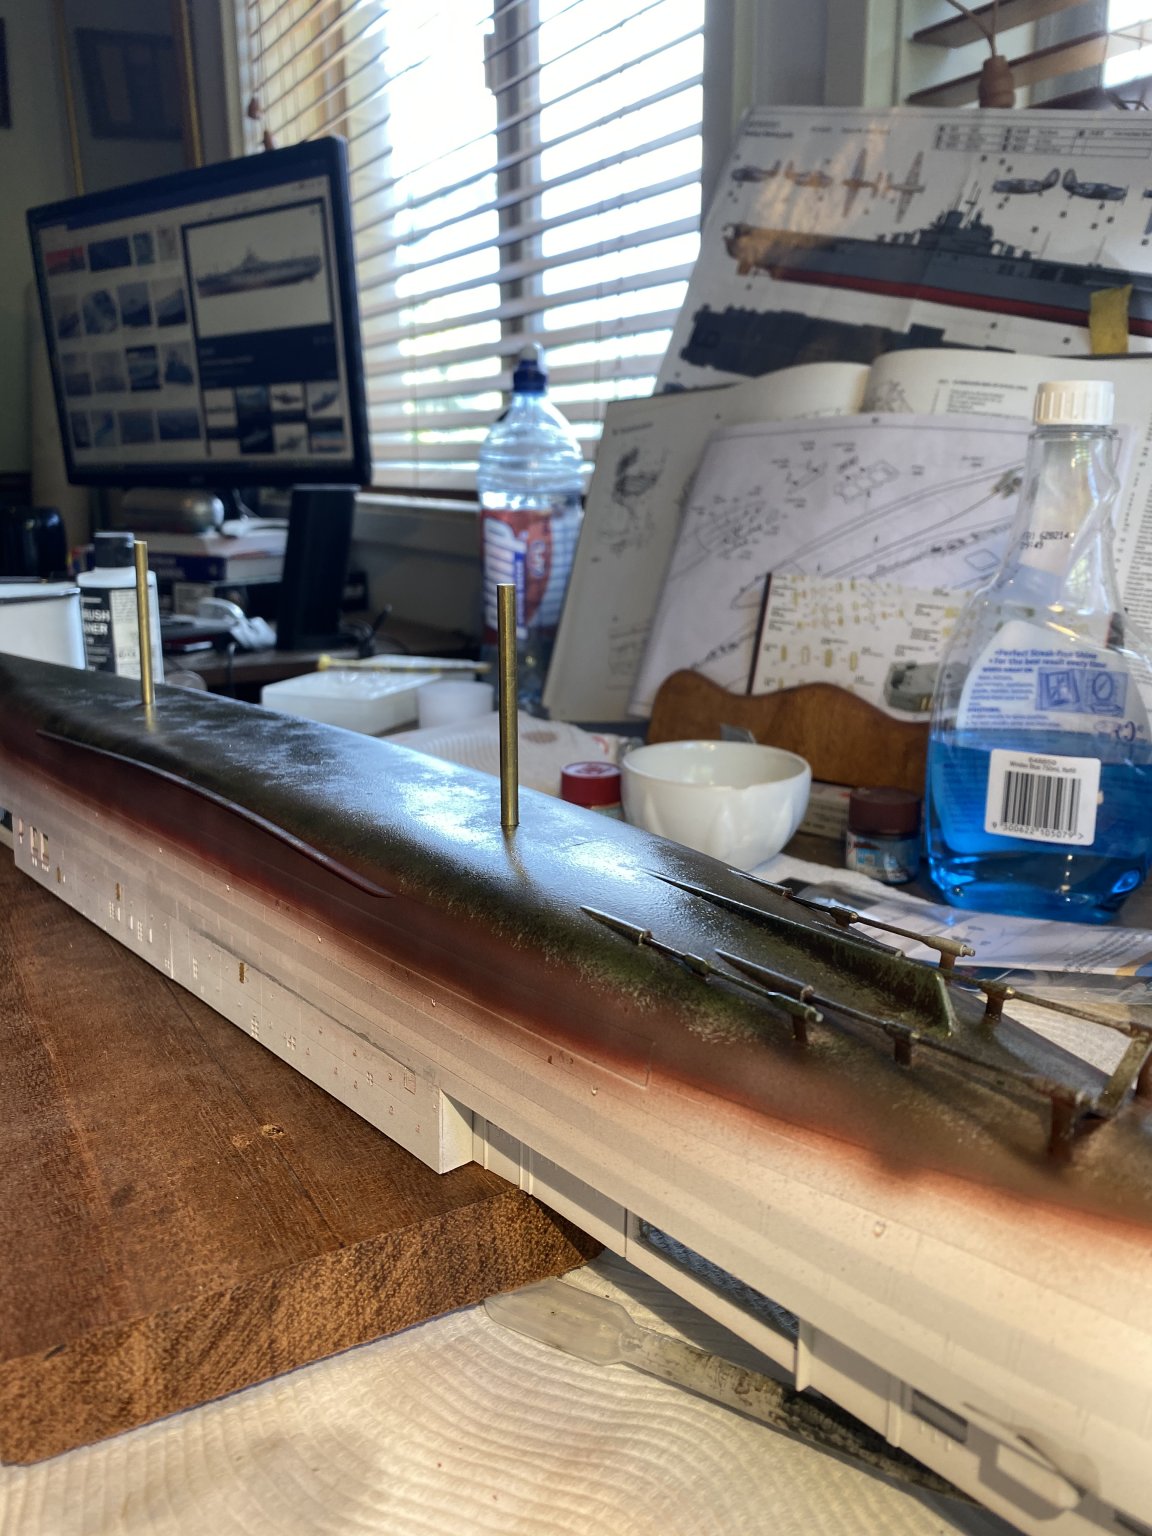
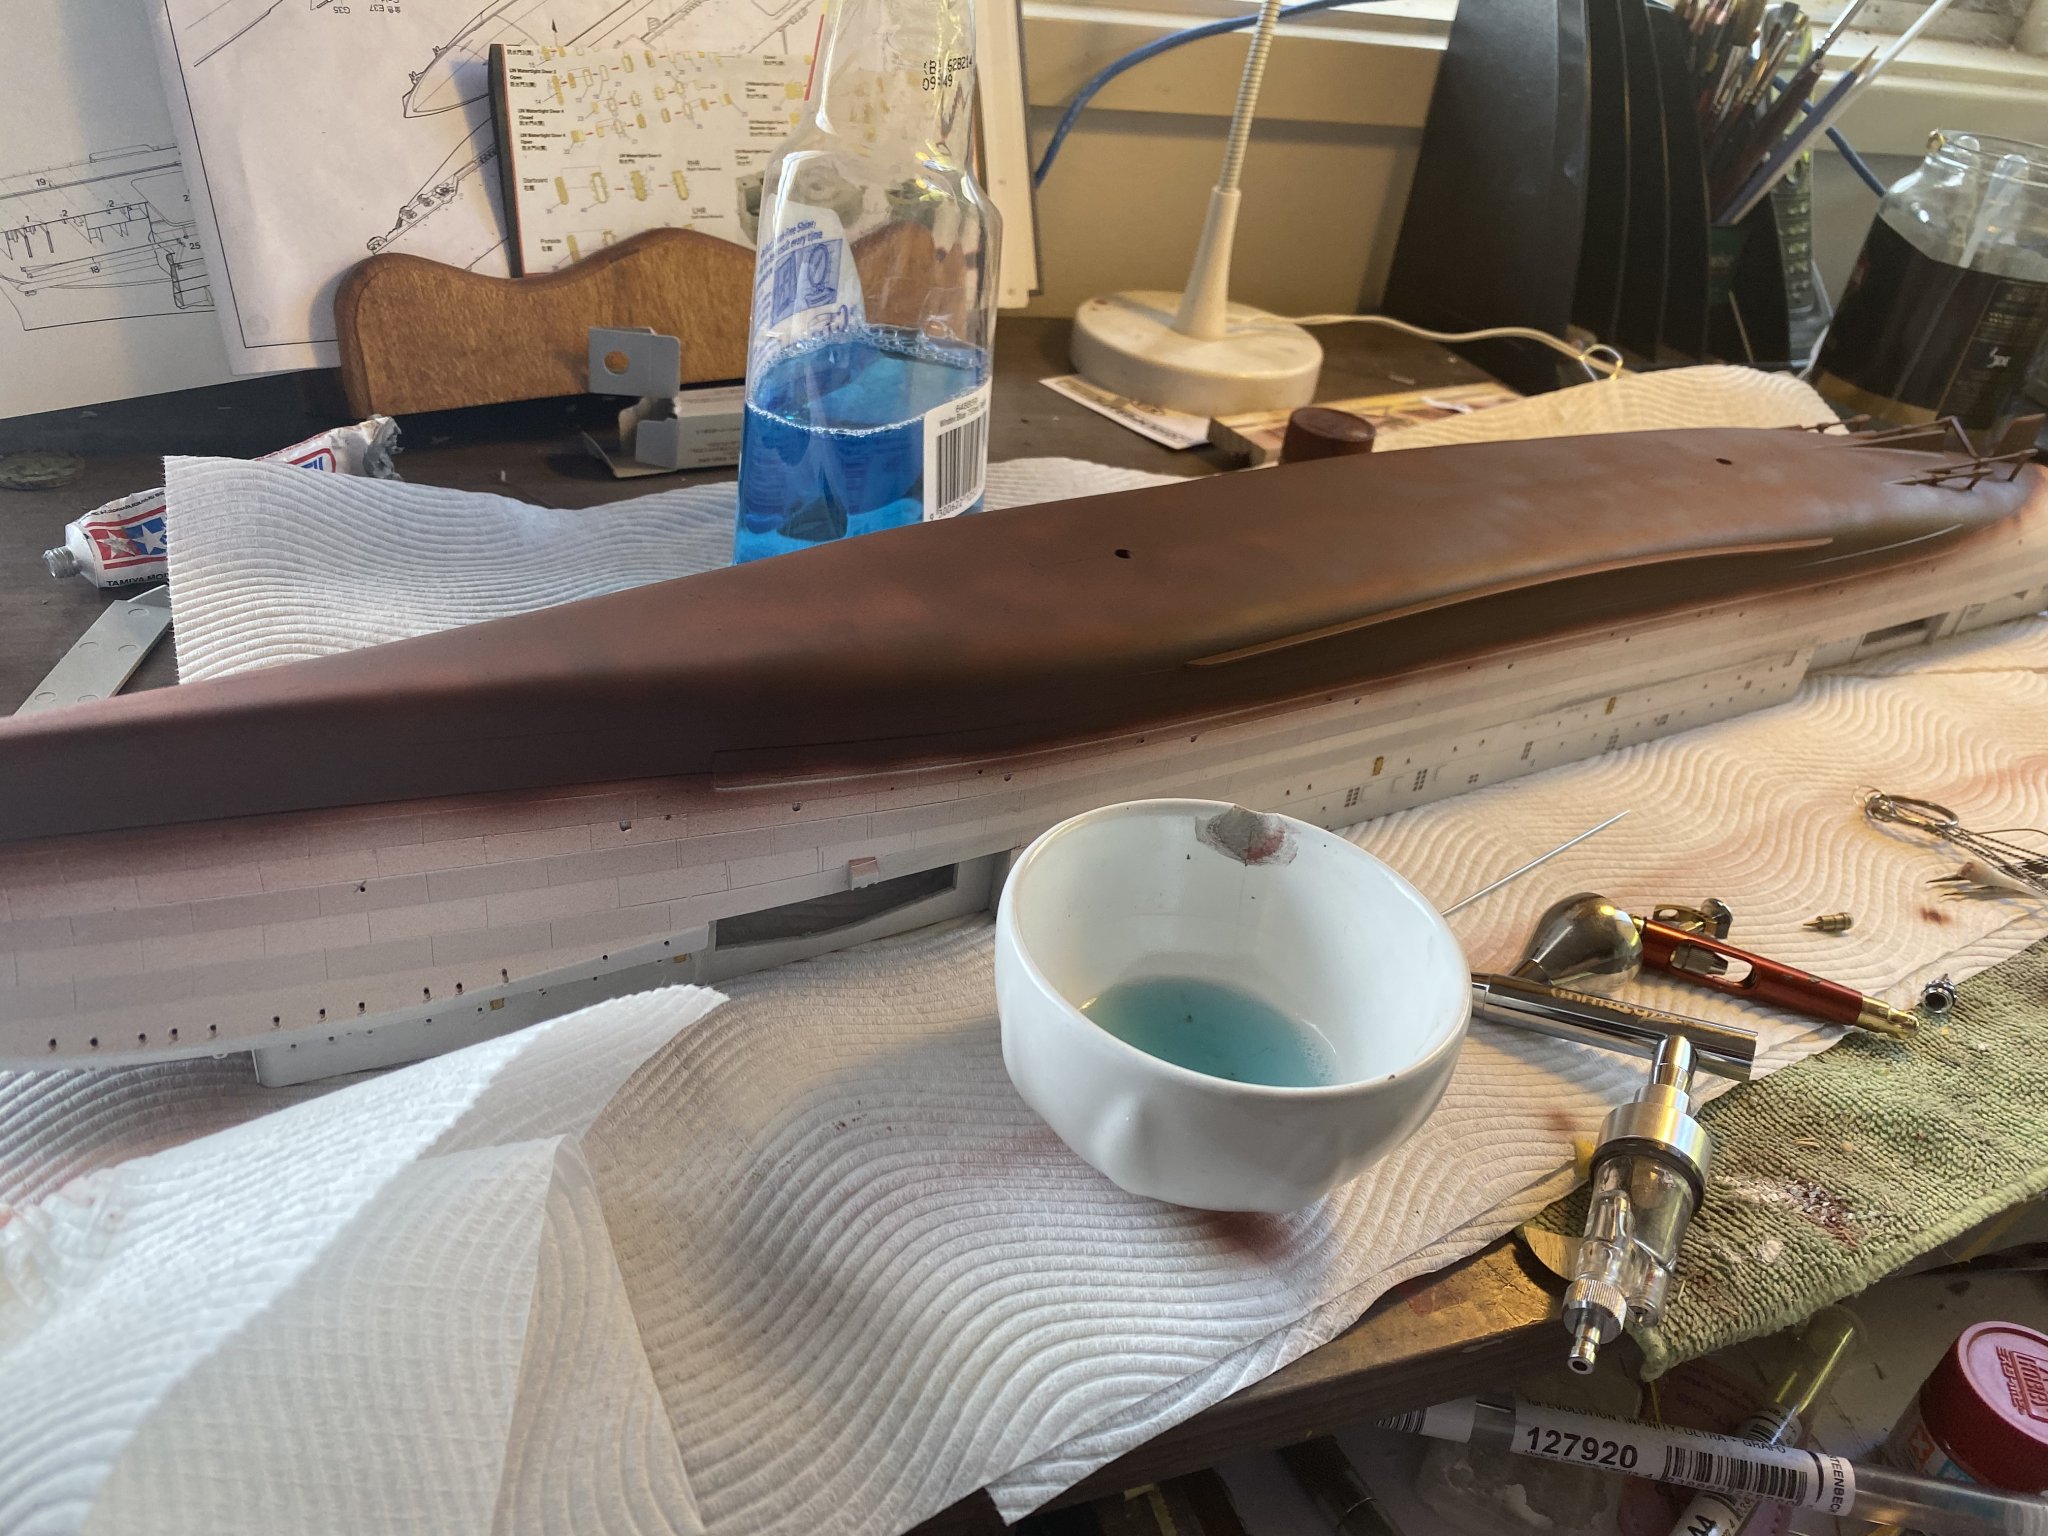
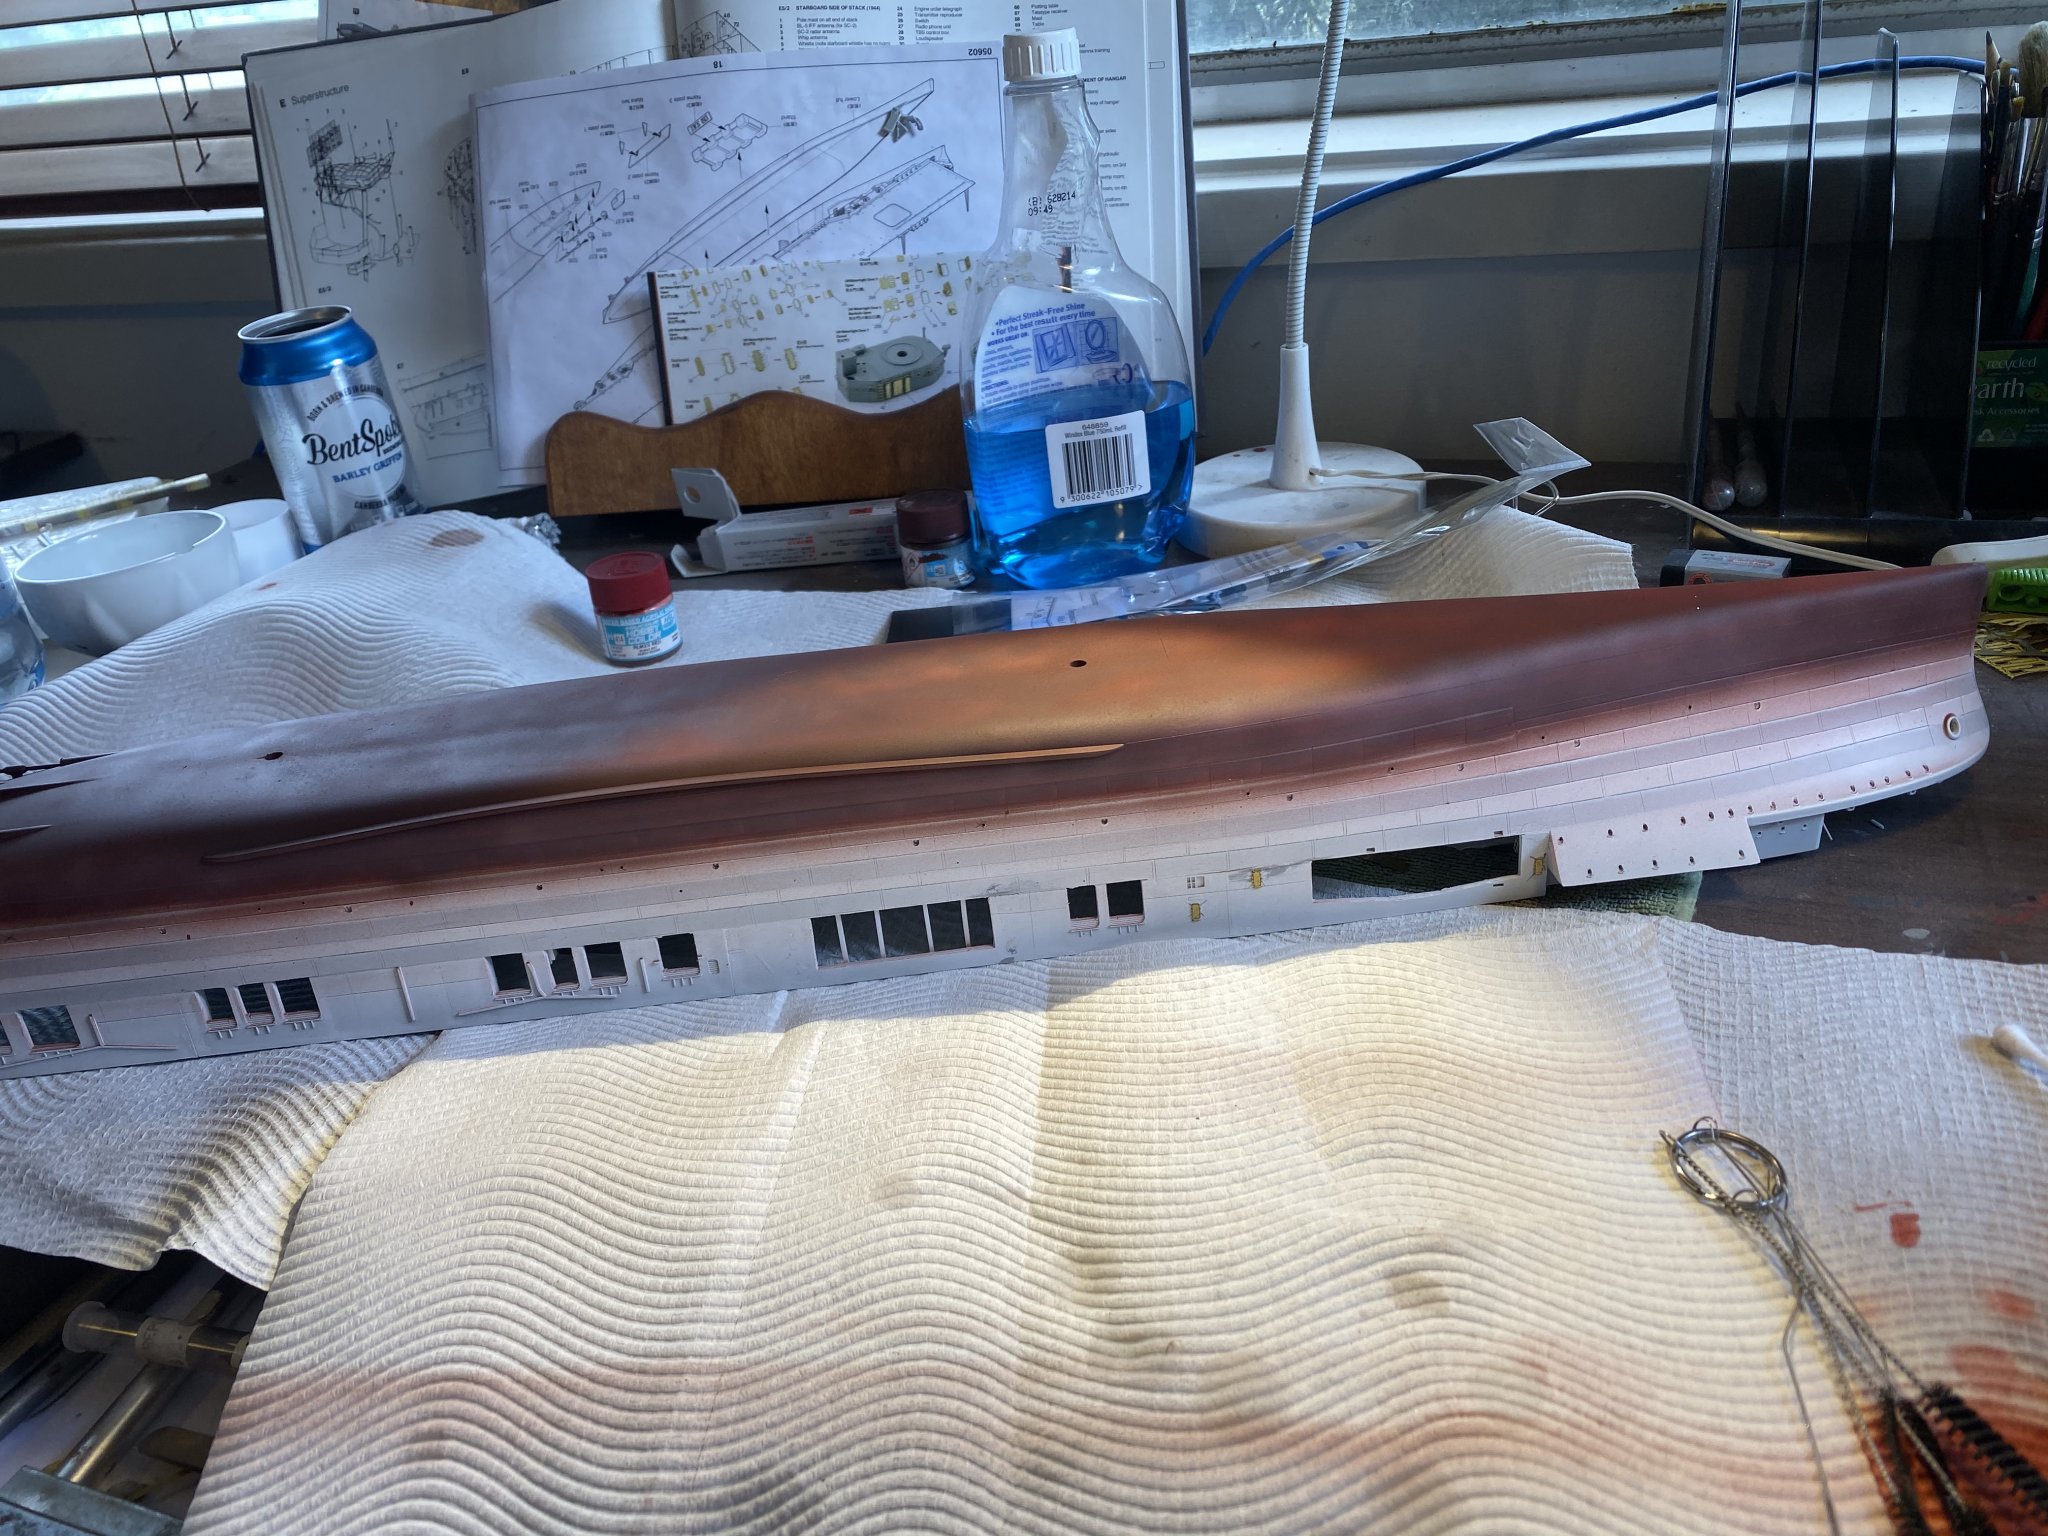
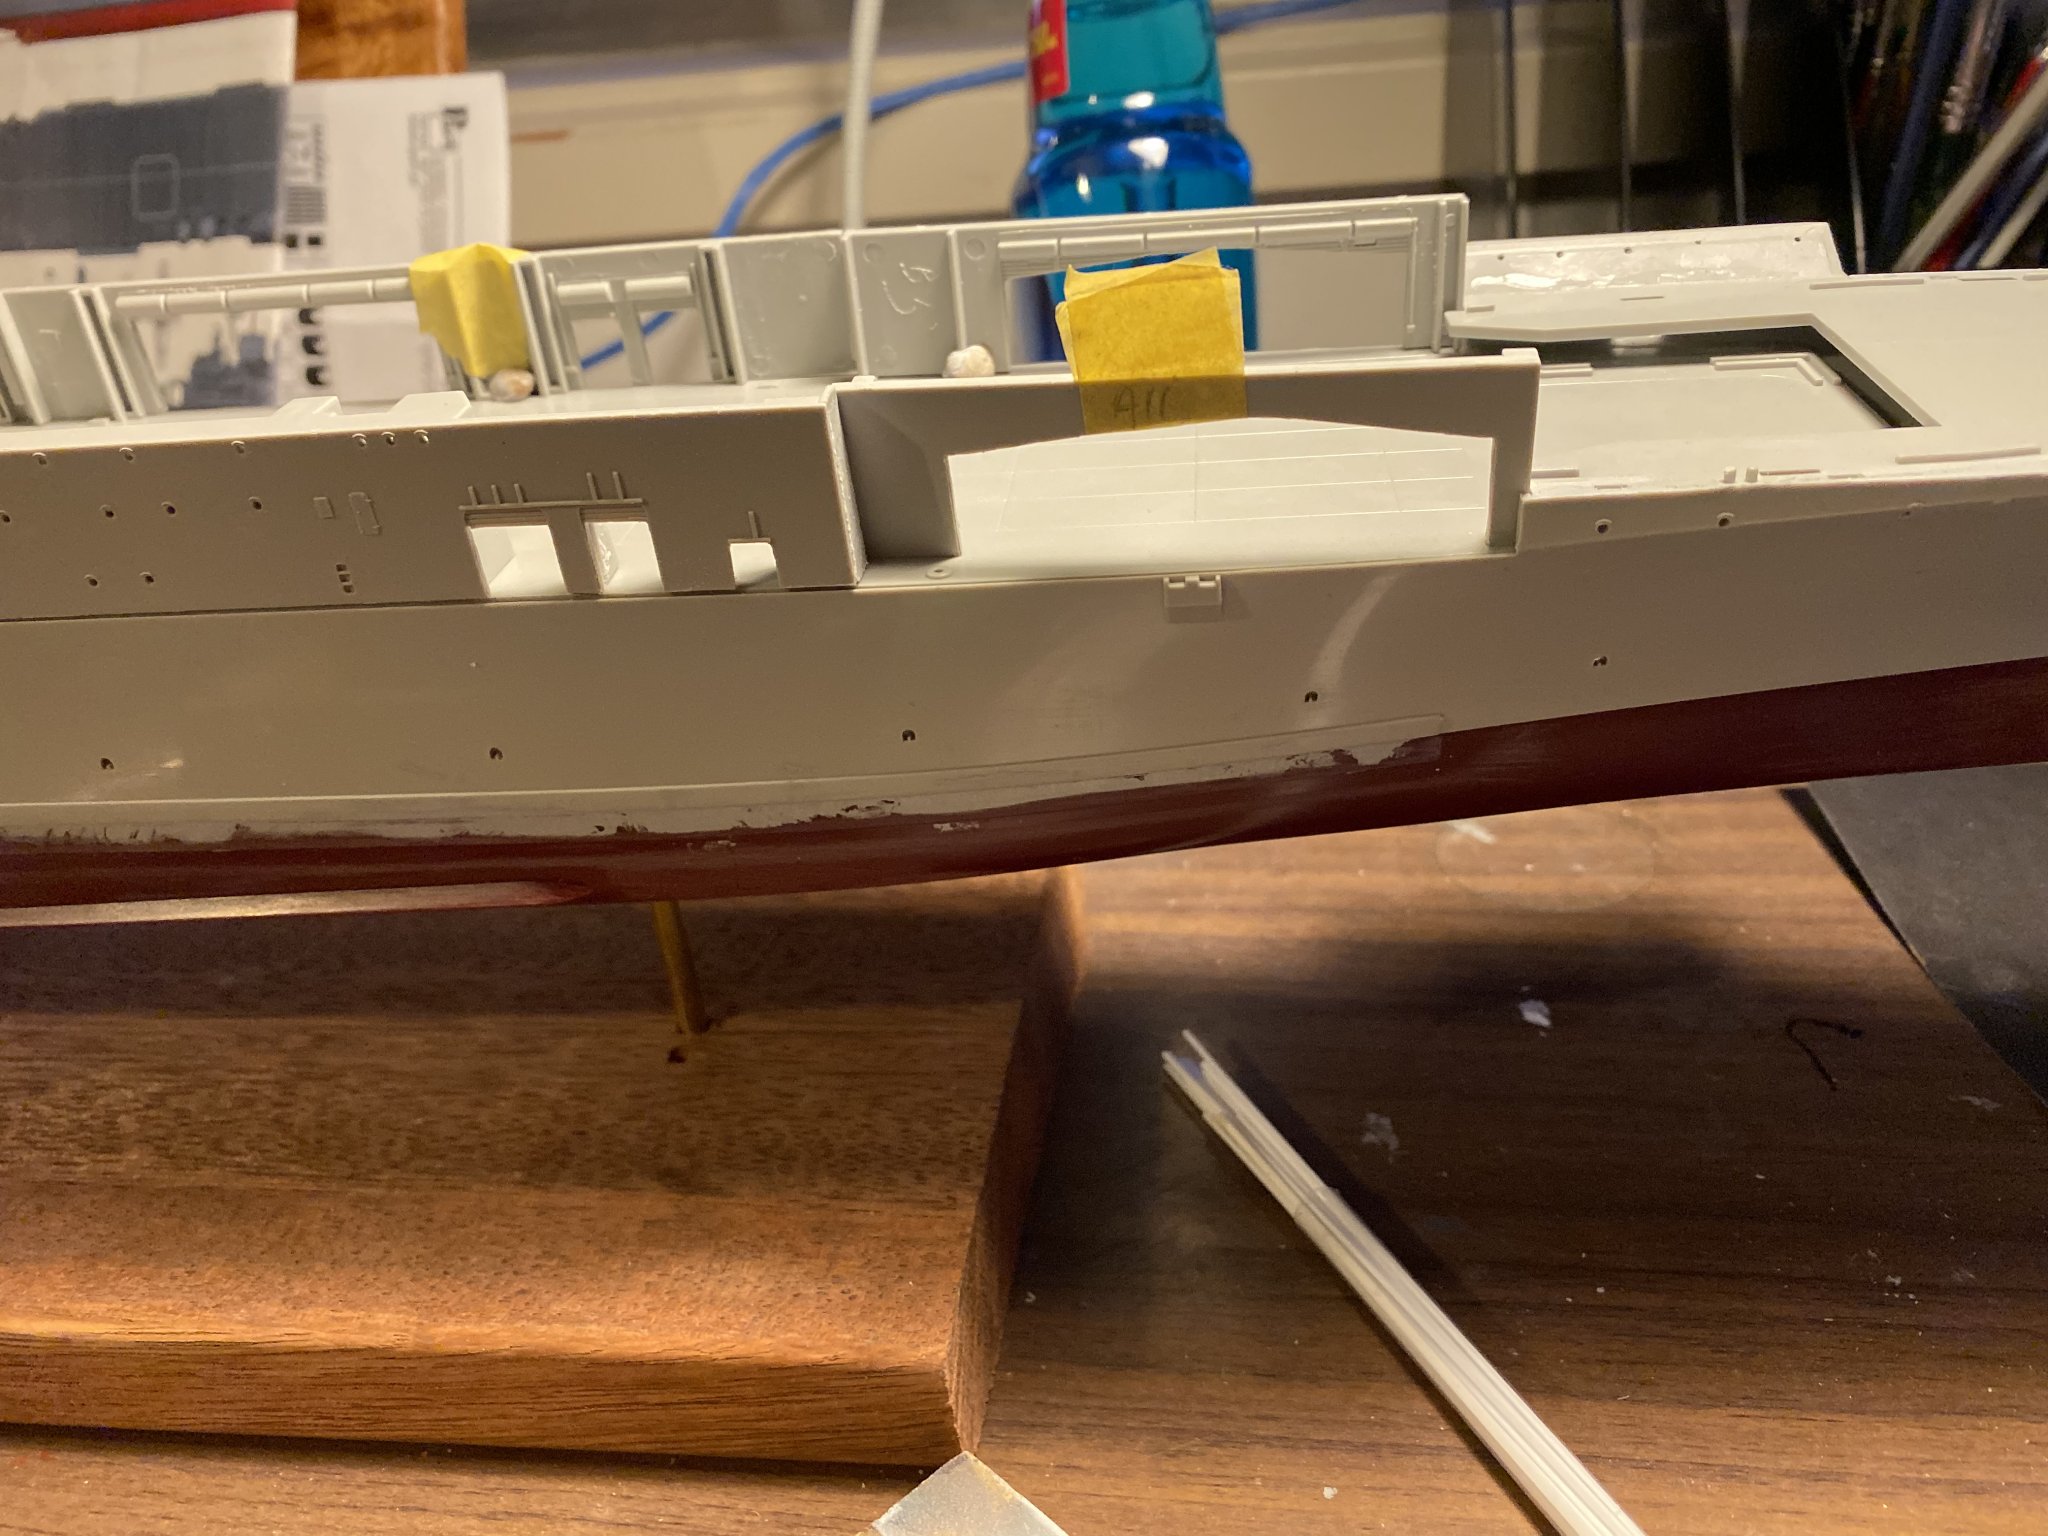
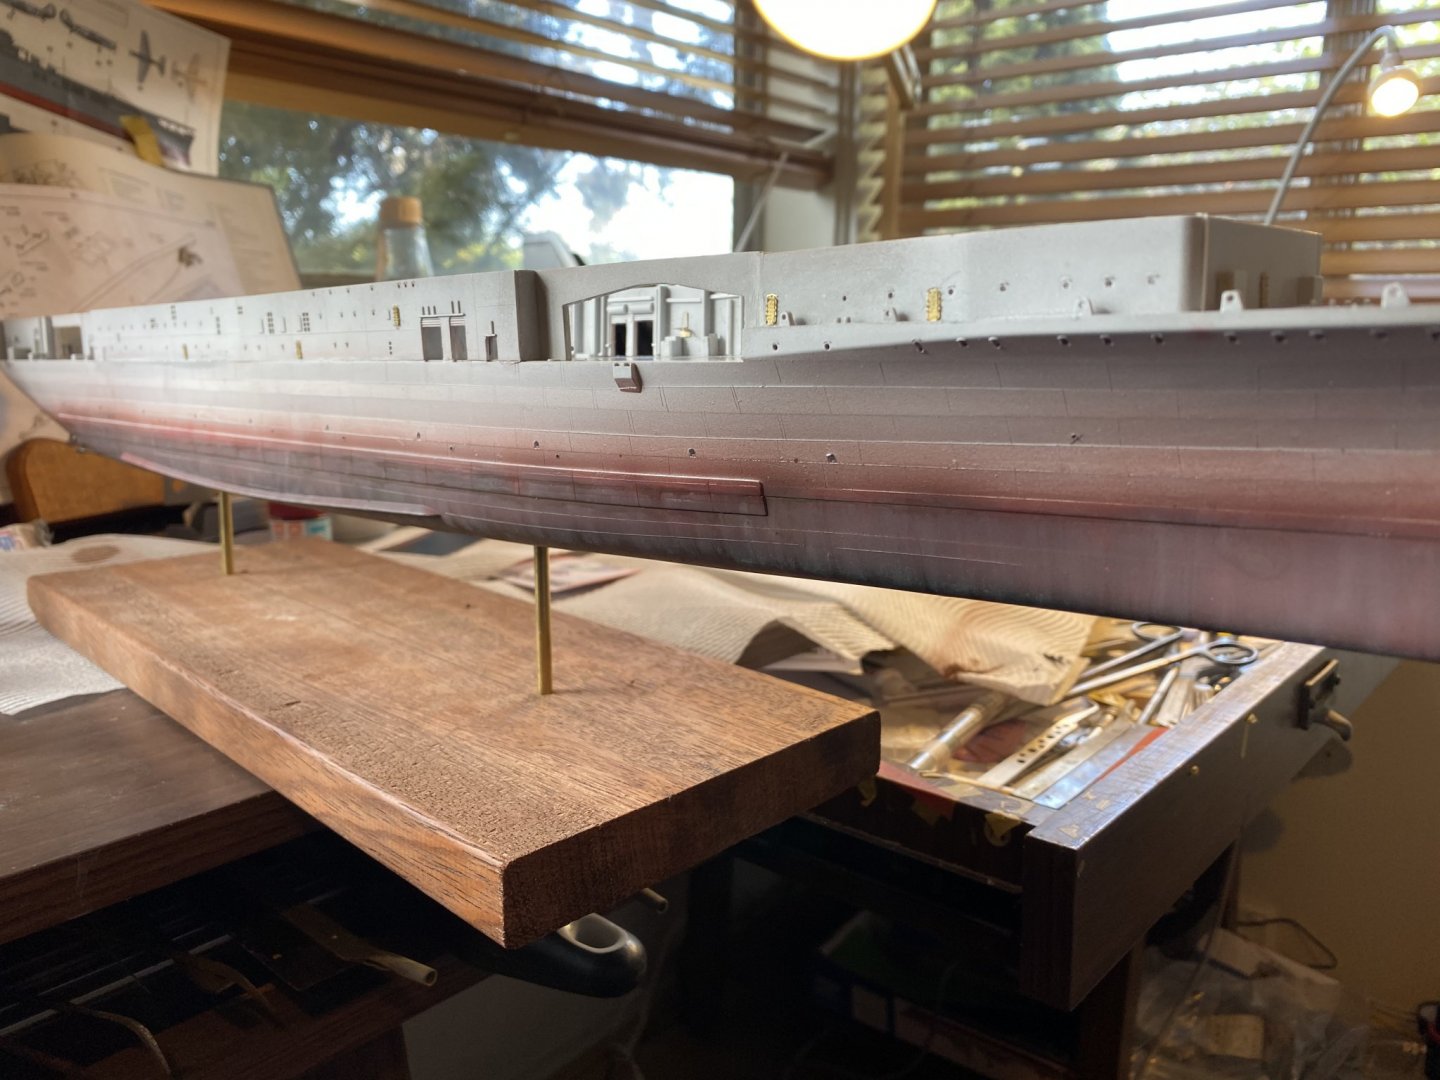
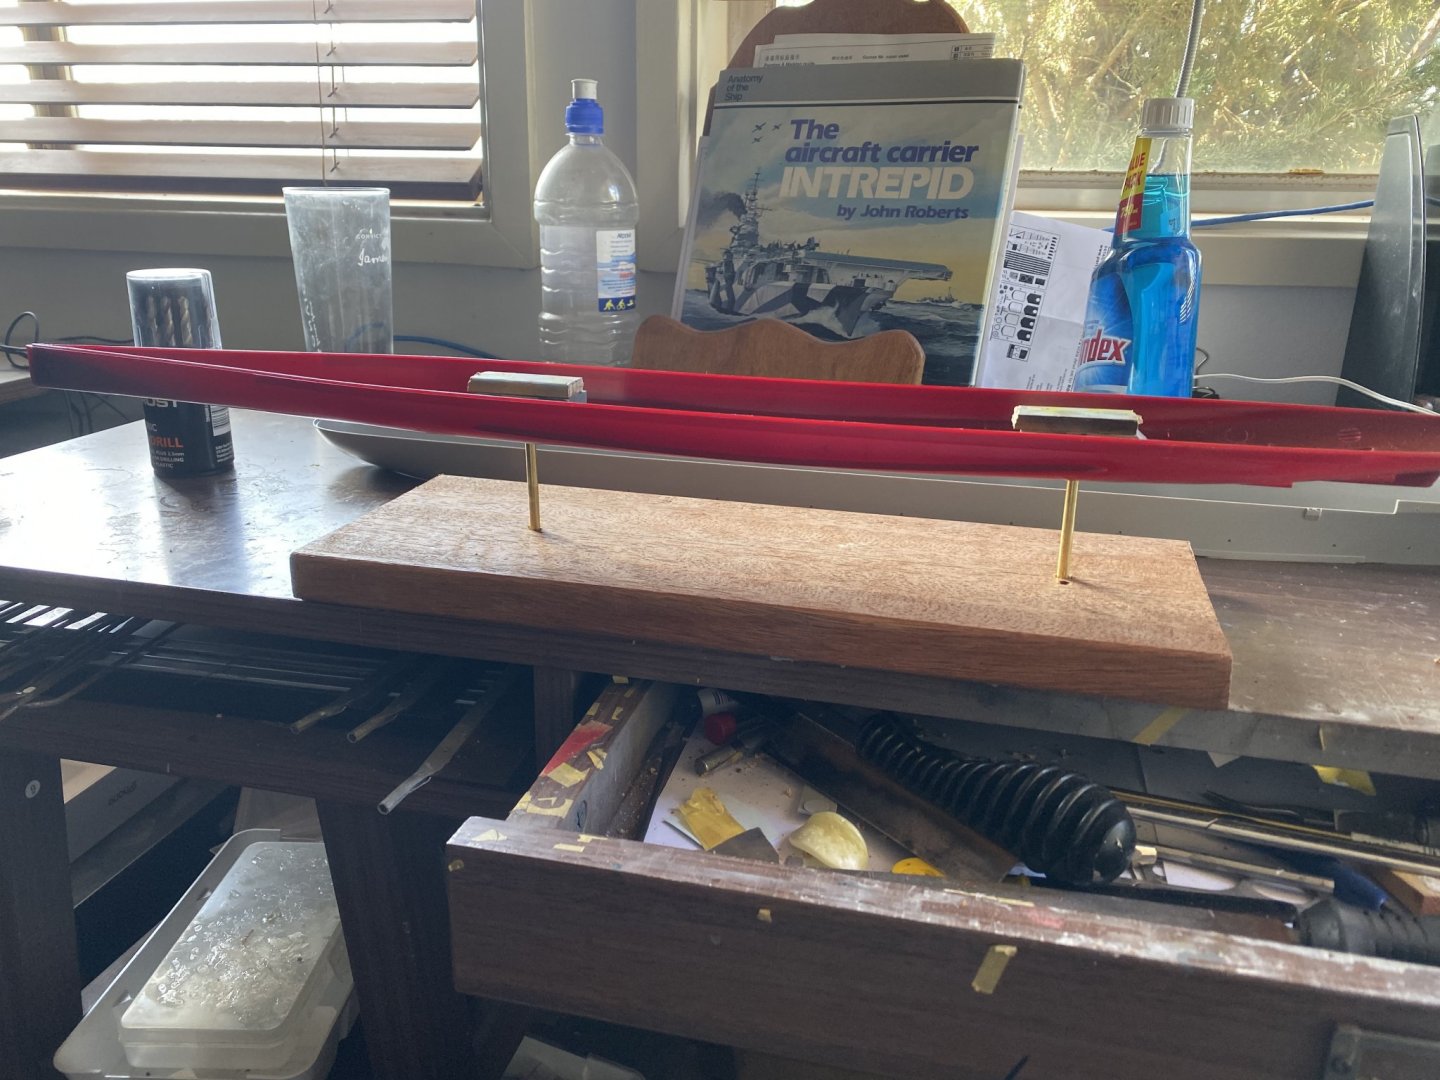
Mr surfacer put in with a big brush to represent barnacles. Then lights coats of black, green then grey,a filter coat and that will until the boot strap and the rest of the hull is done. Now I can do the hangar deck.


- 308 replies
-
- 18
-
-
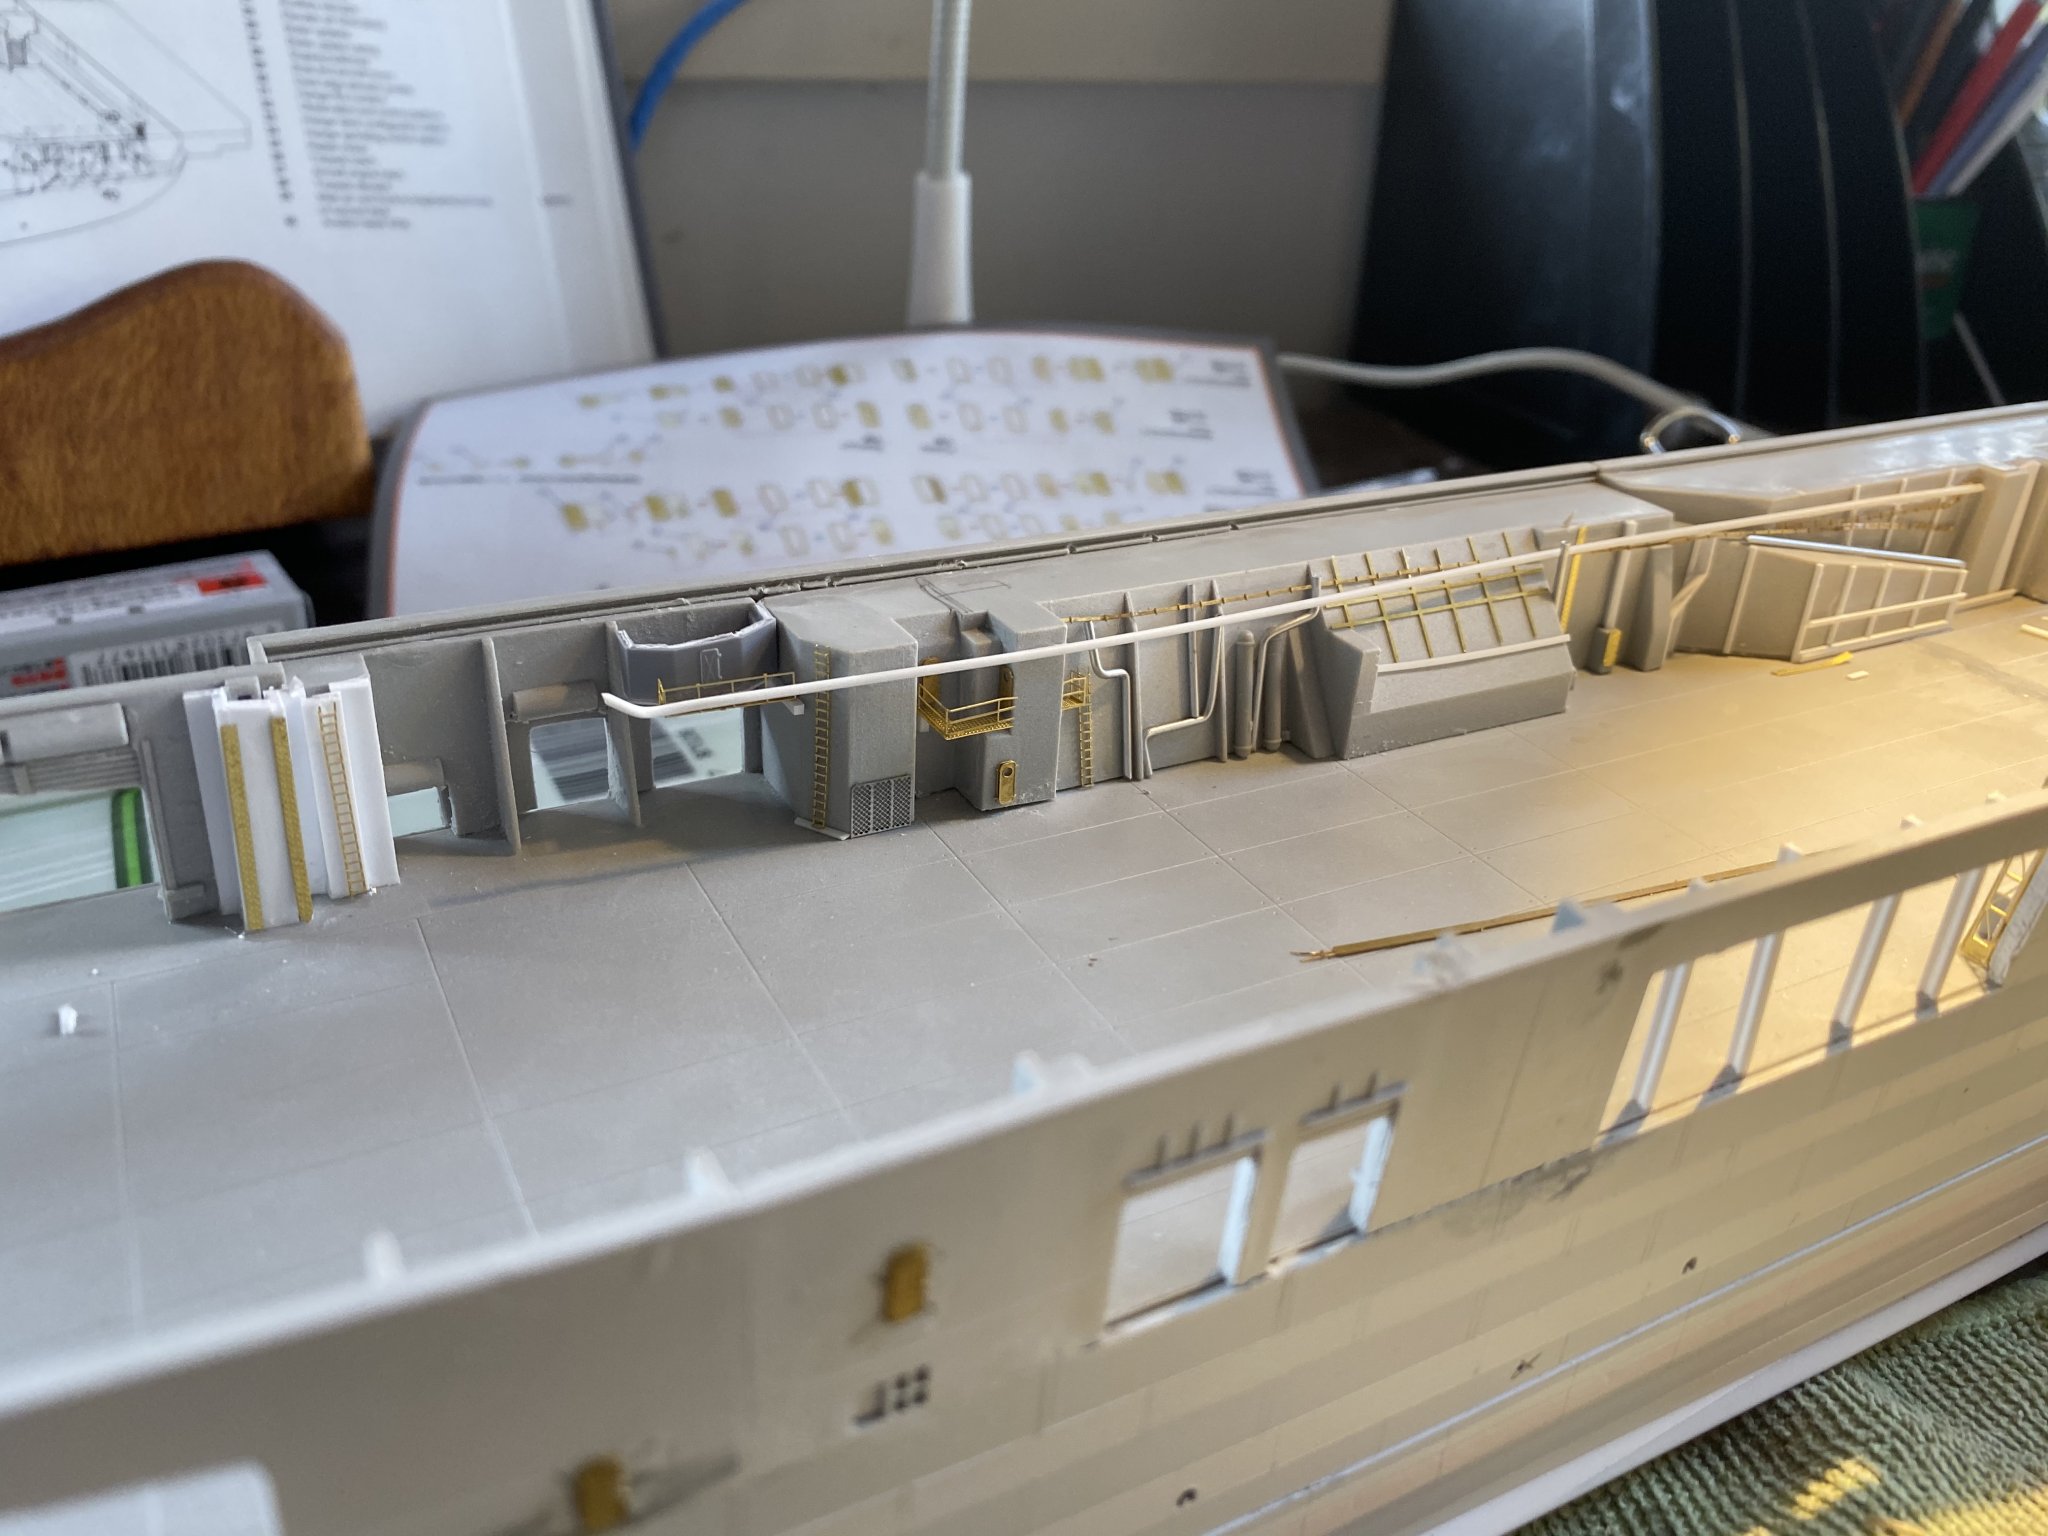
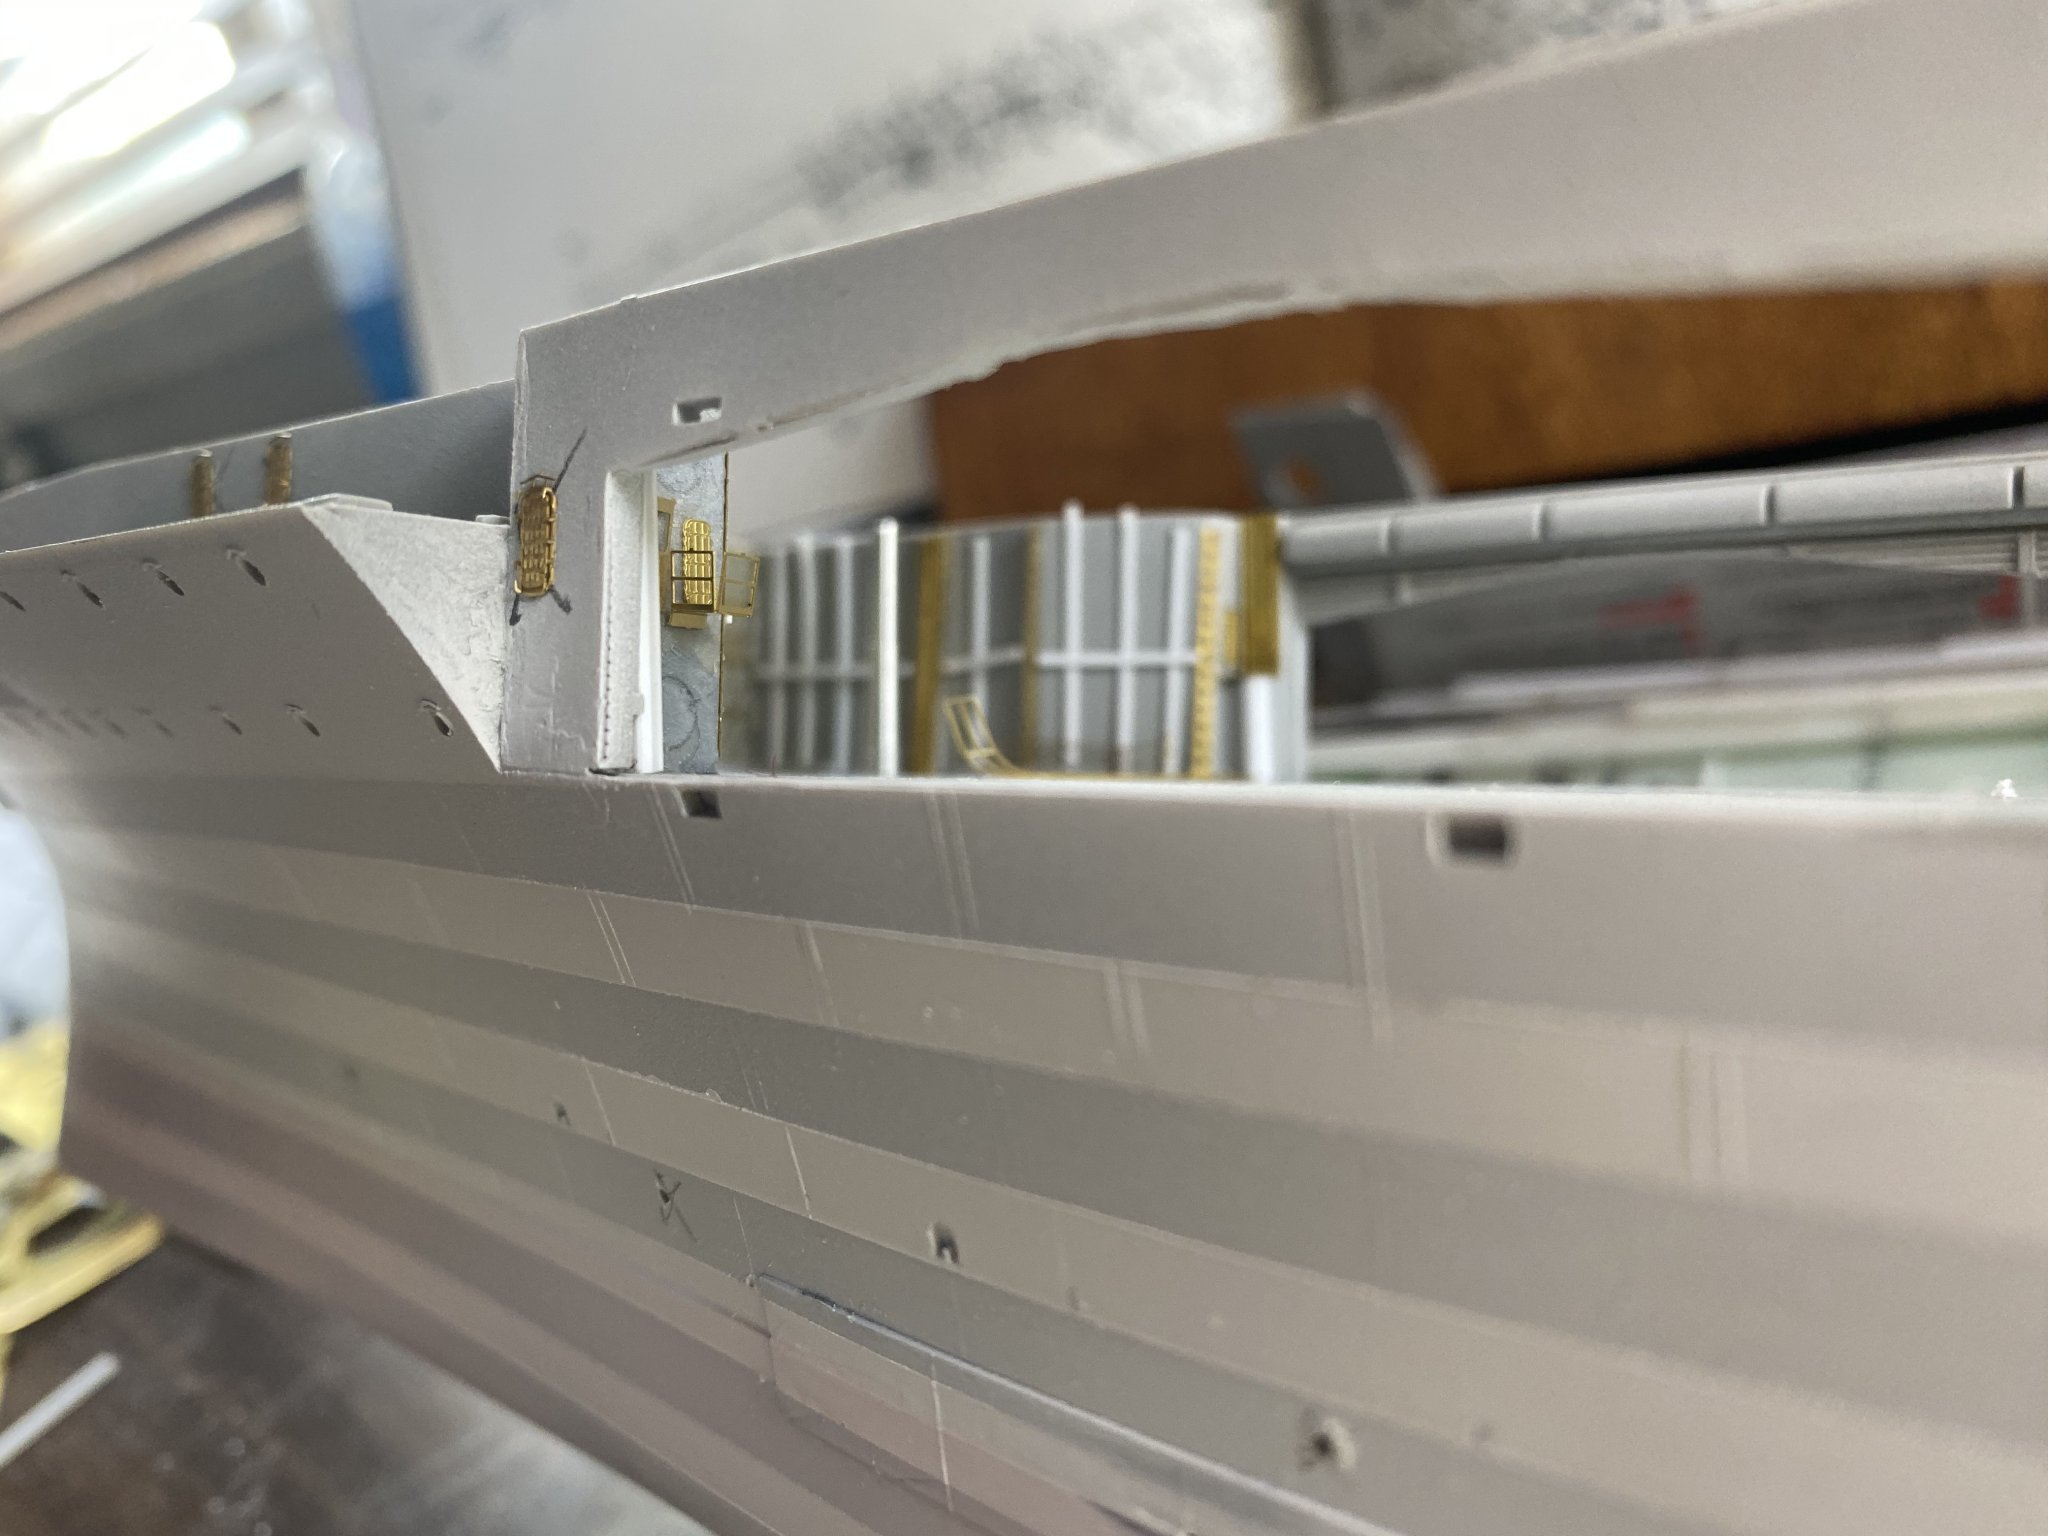
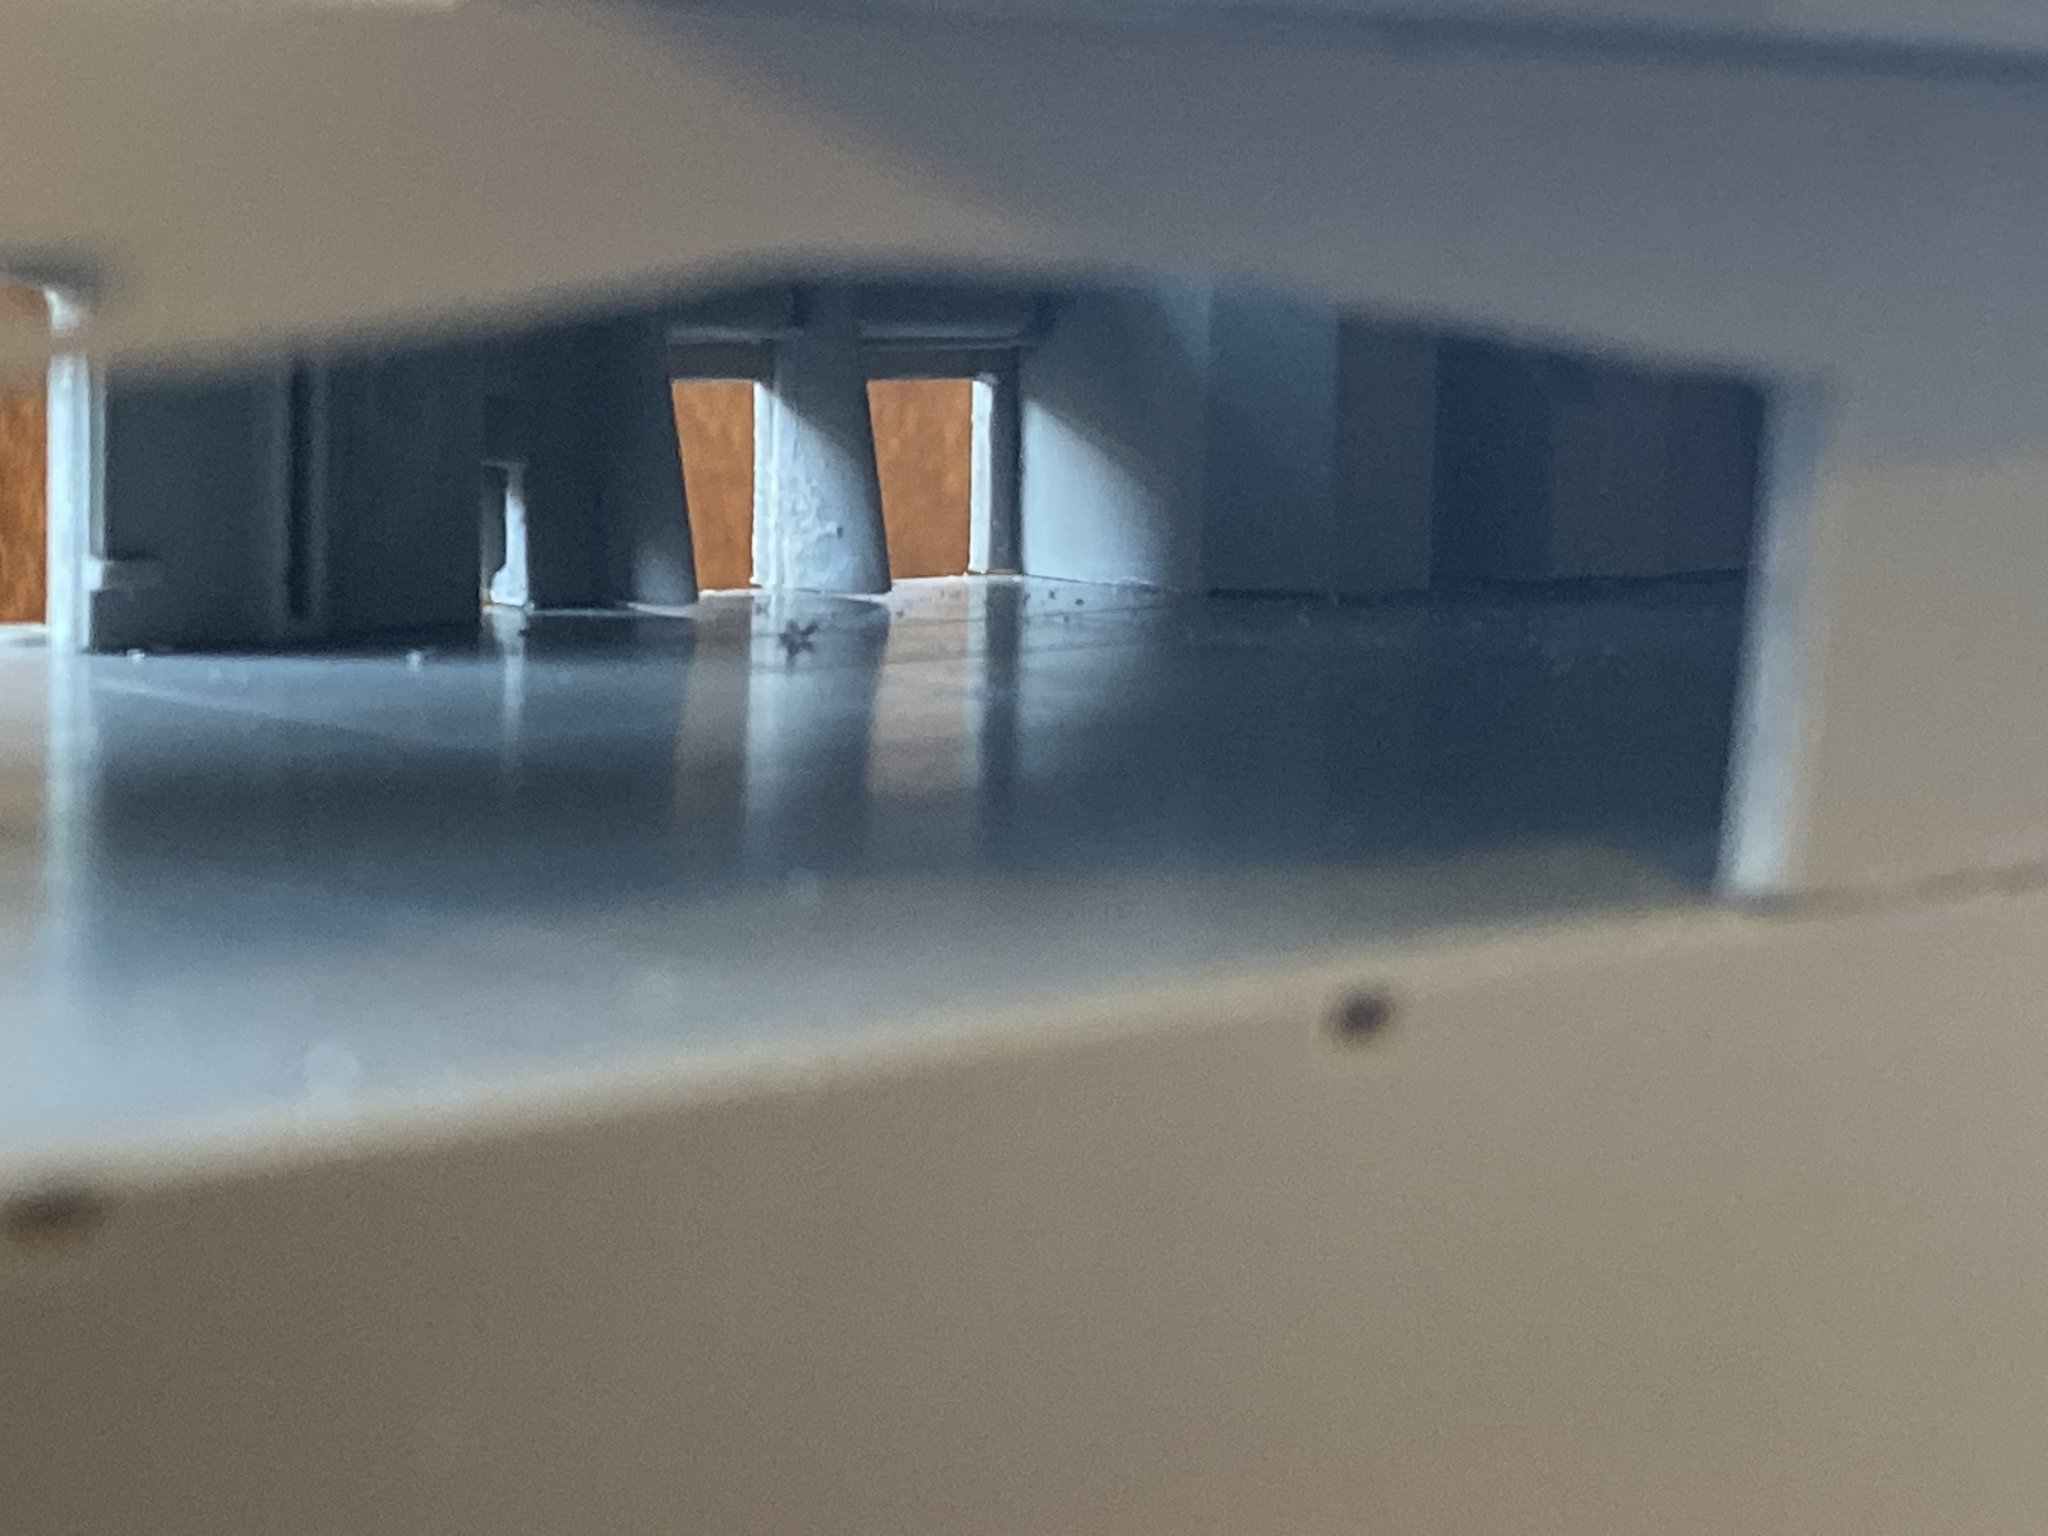
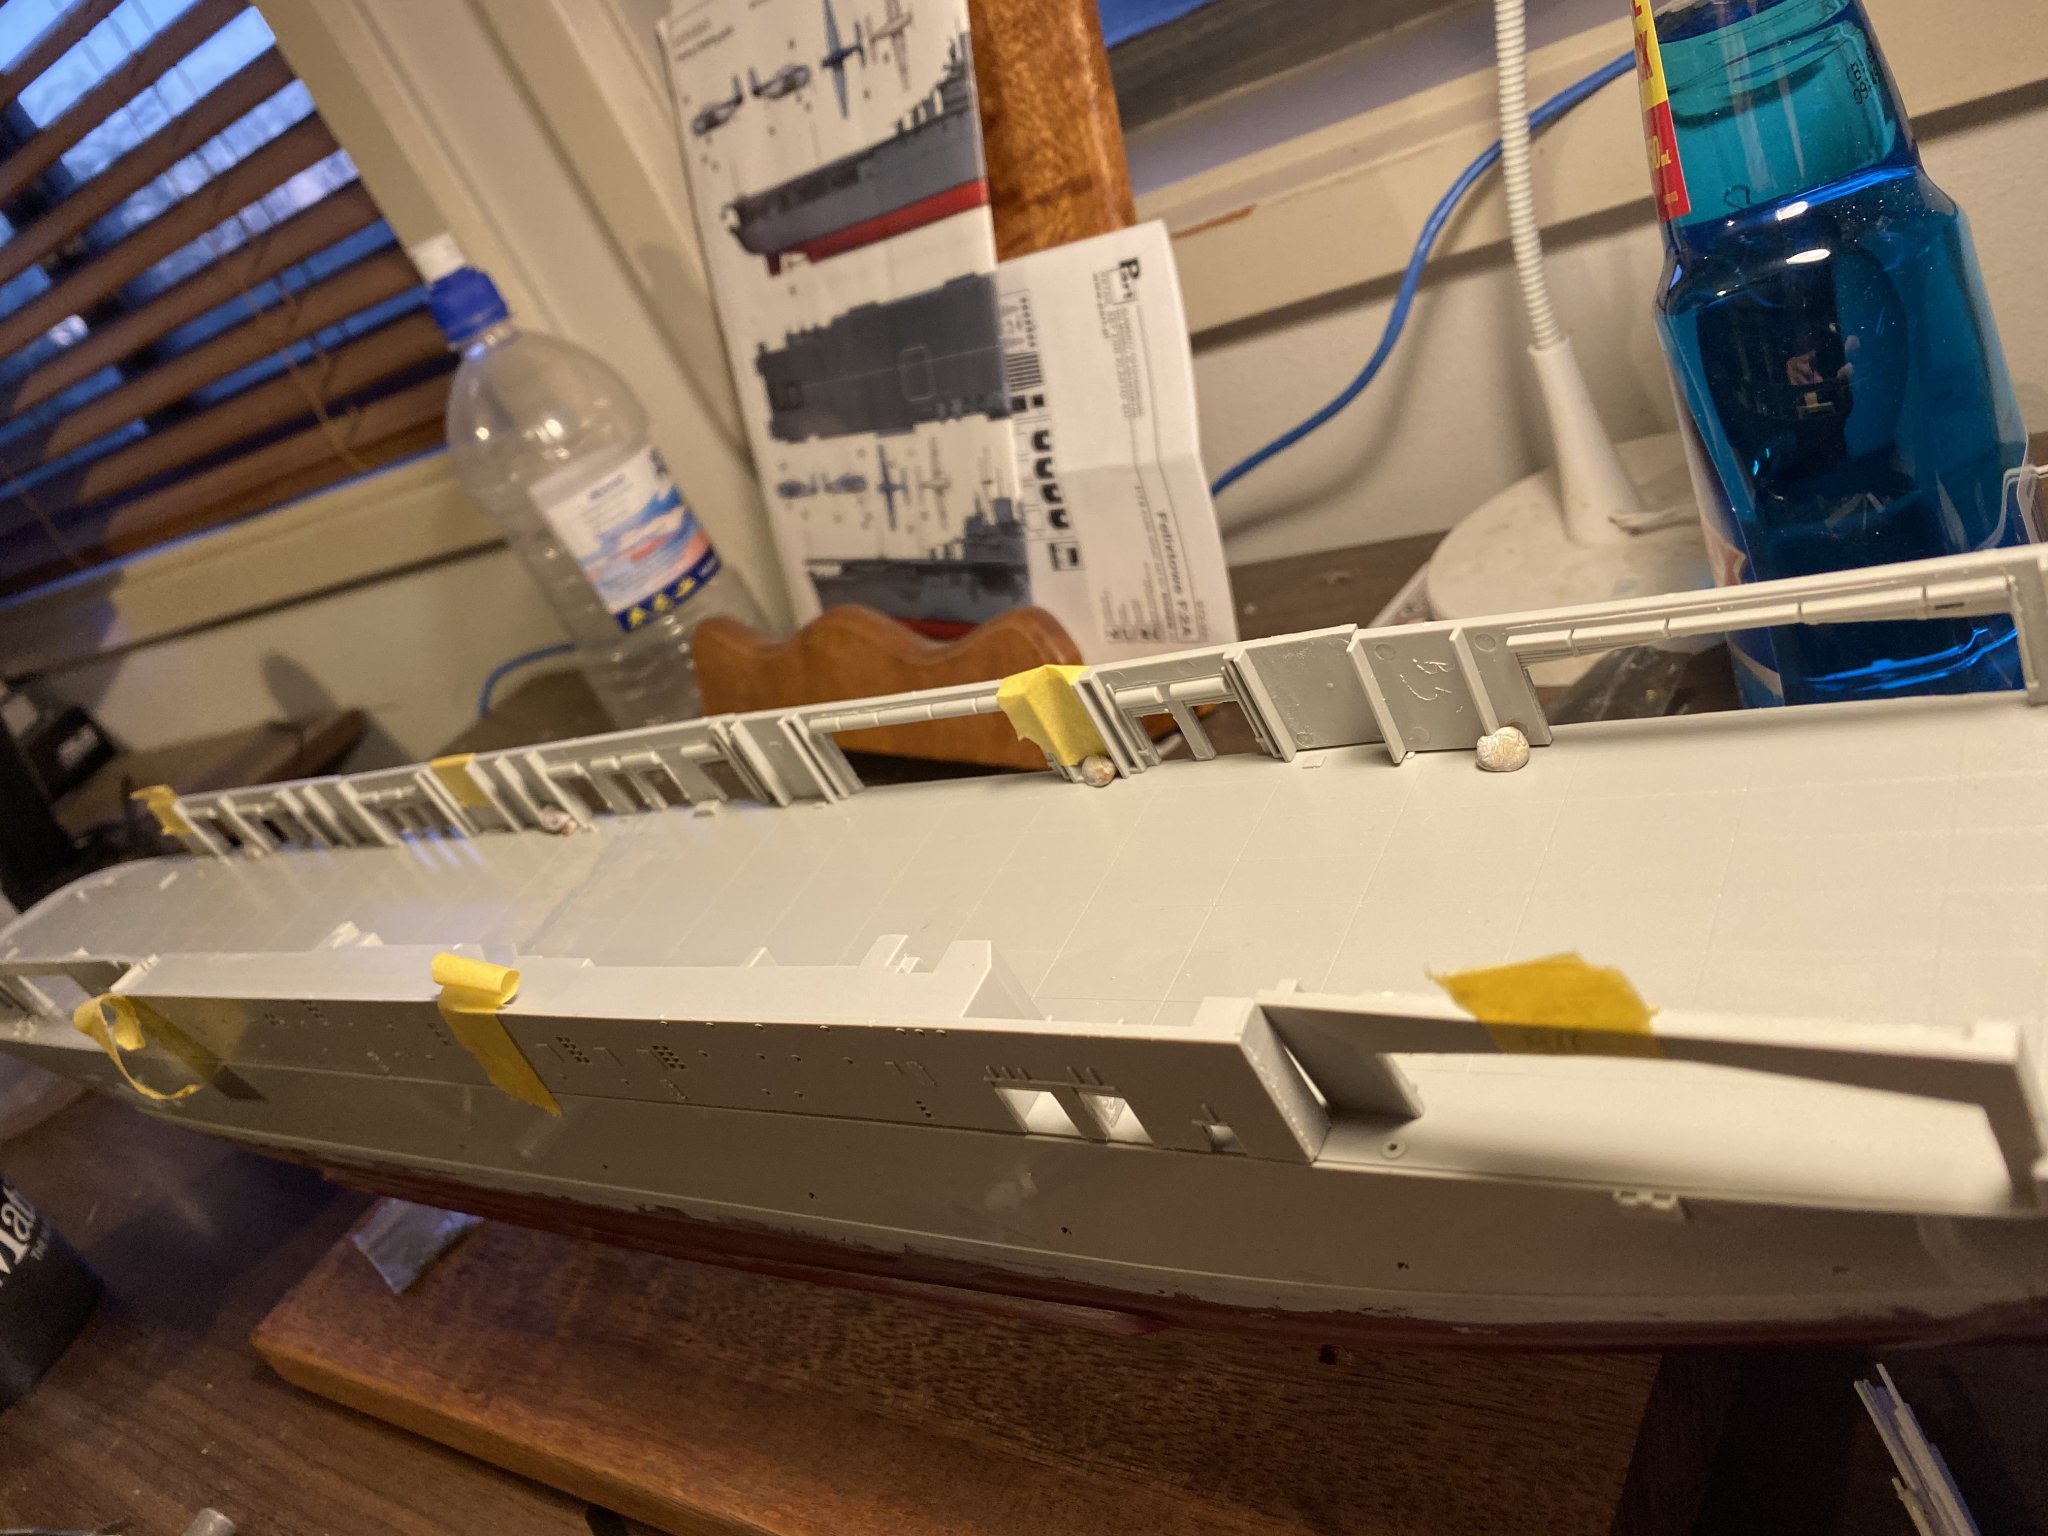
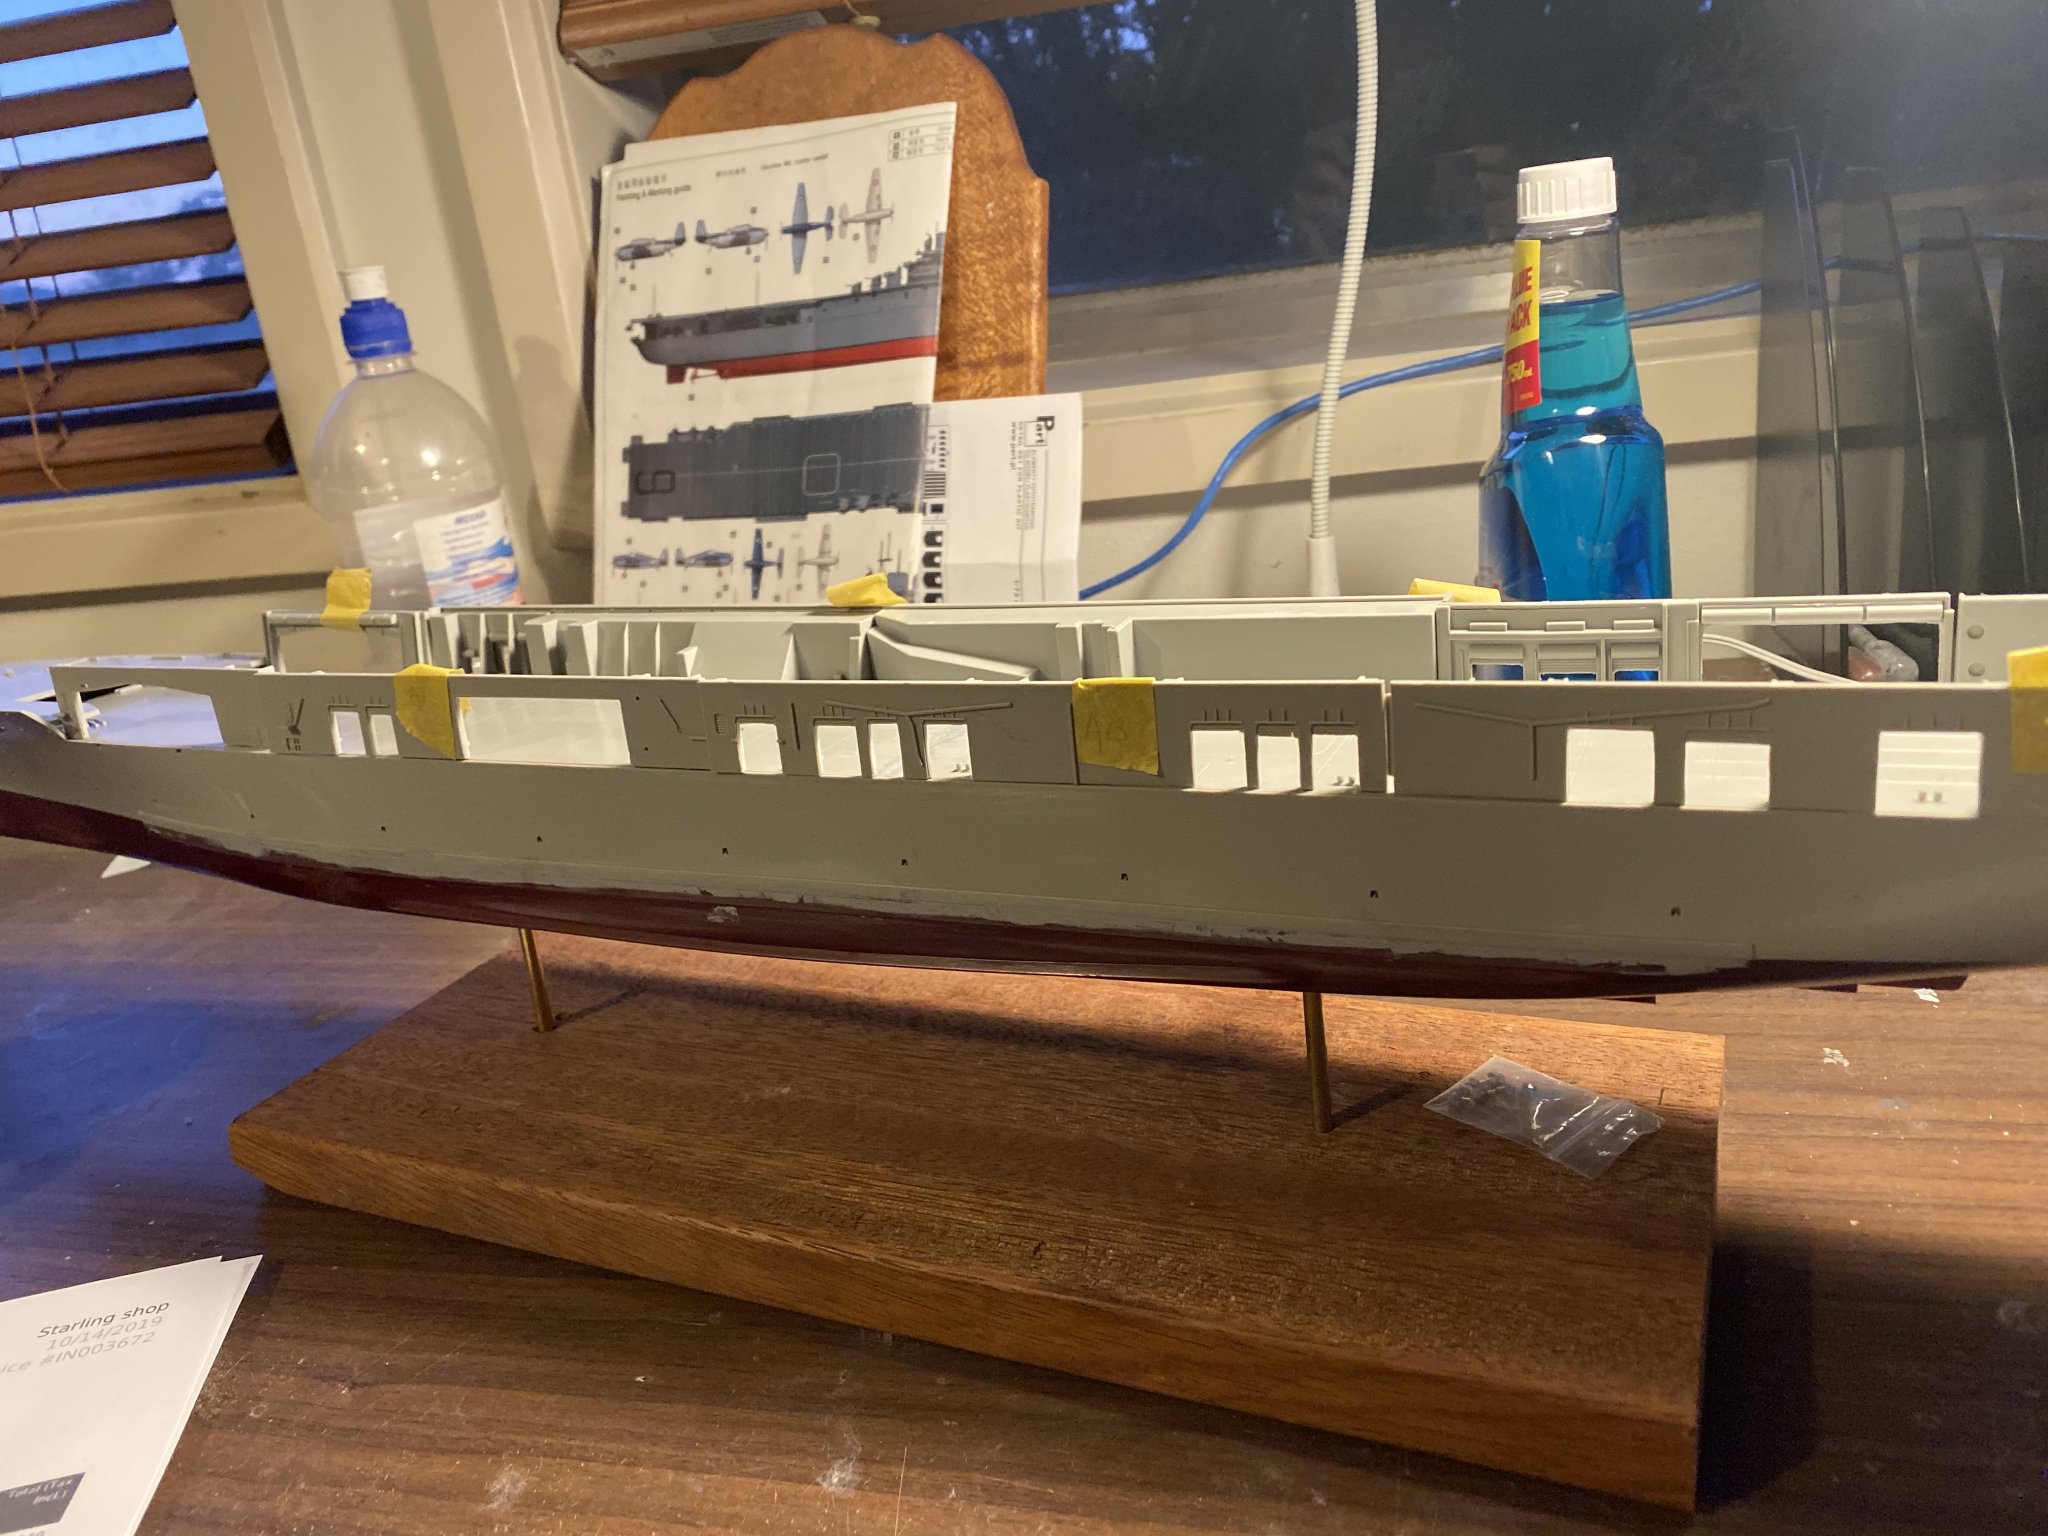
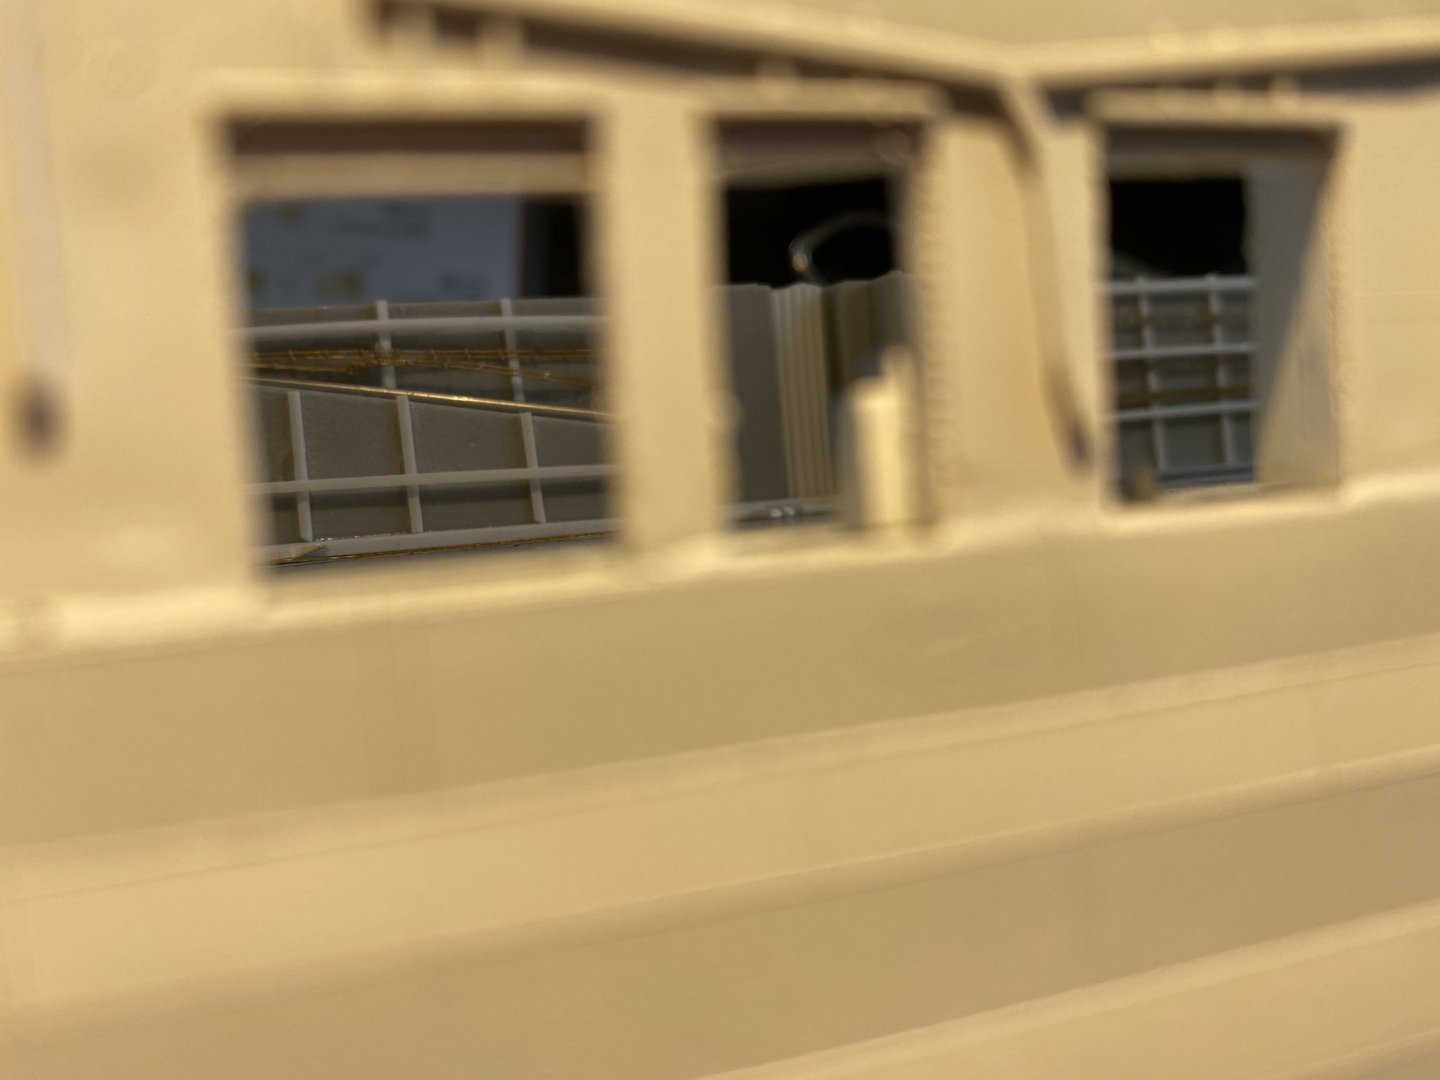
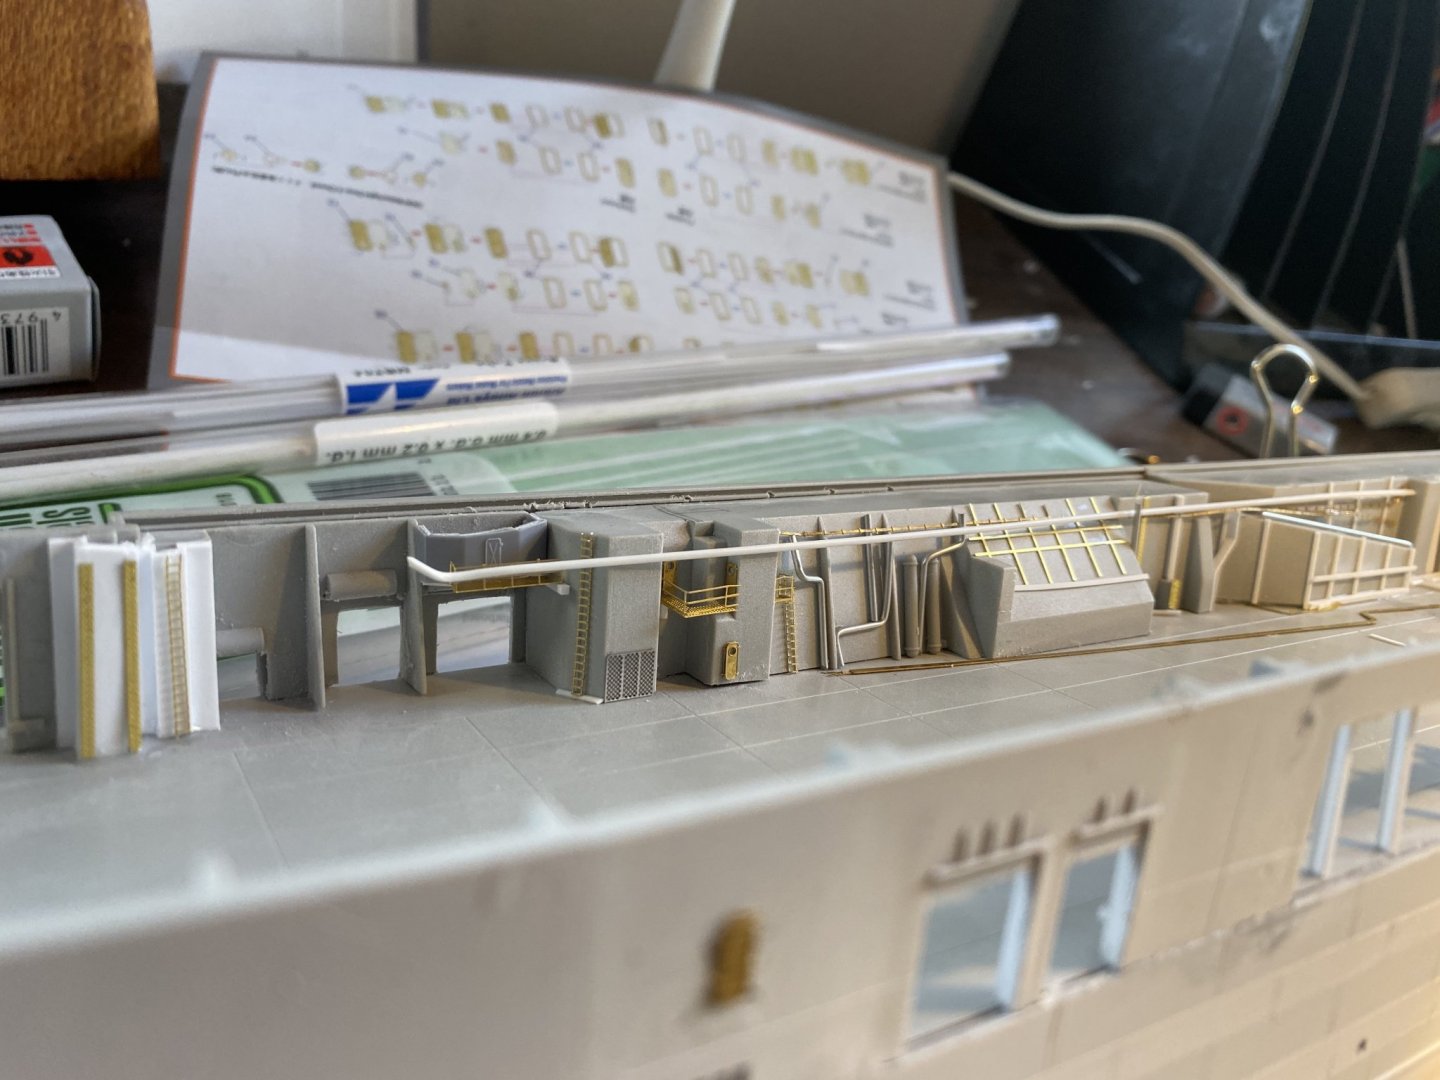
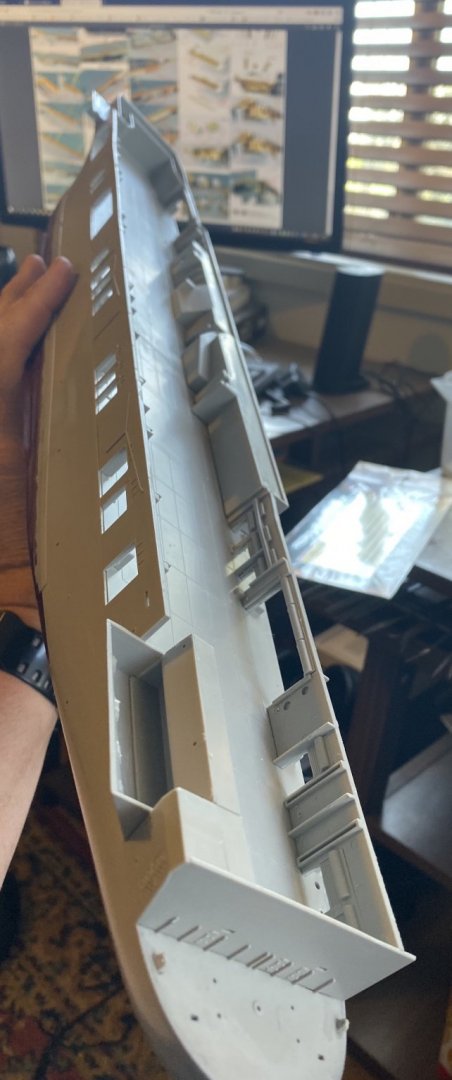
And the other side. Note most of this will not be visible on from looking inside the side doors. There are 3 elevators, the AOTS intrepid state there are two cylinders per hoist (I can find no photos of this, but I have used cut off big bore barrels. There is also supposed to be lift wells which would be overcapitalising. I intend to have the side lift down and the two centre ones up.


- 308 replies
-
- 23
-
-
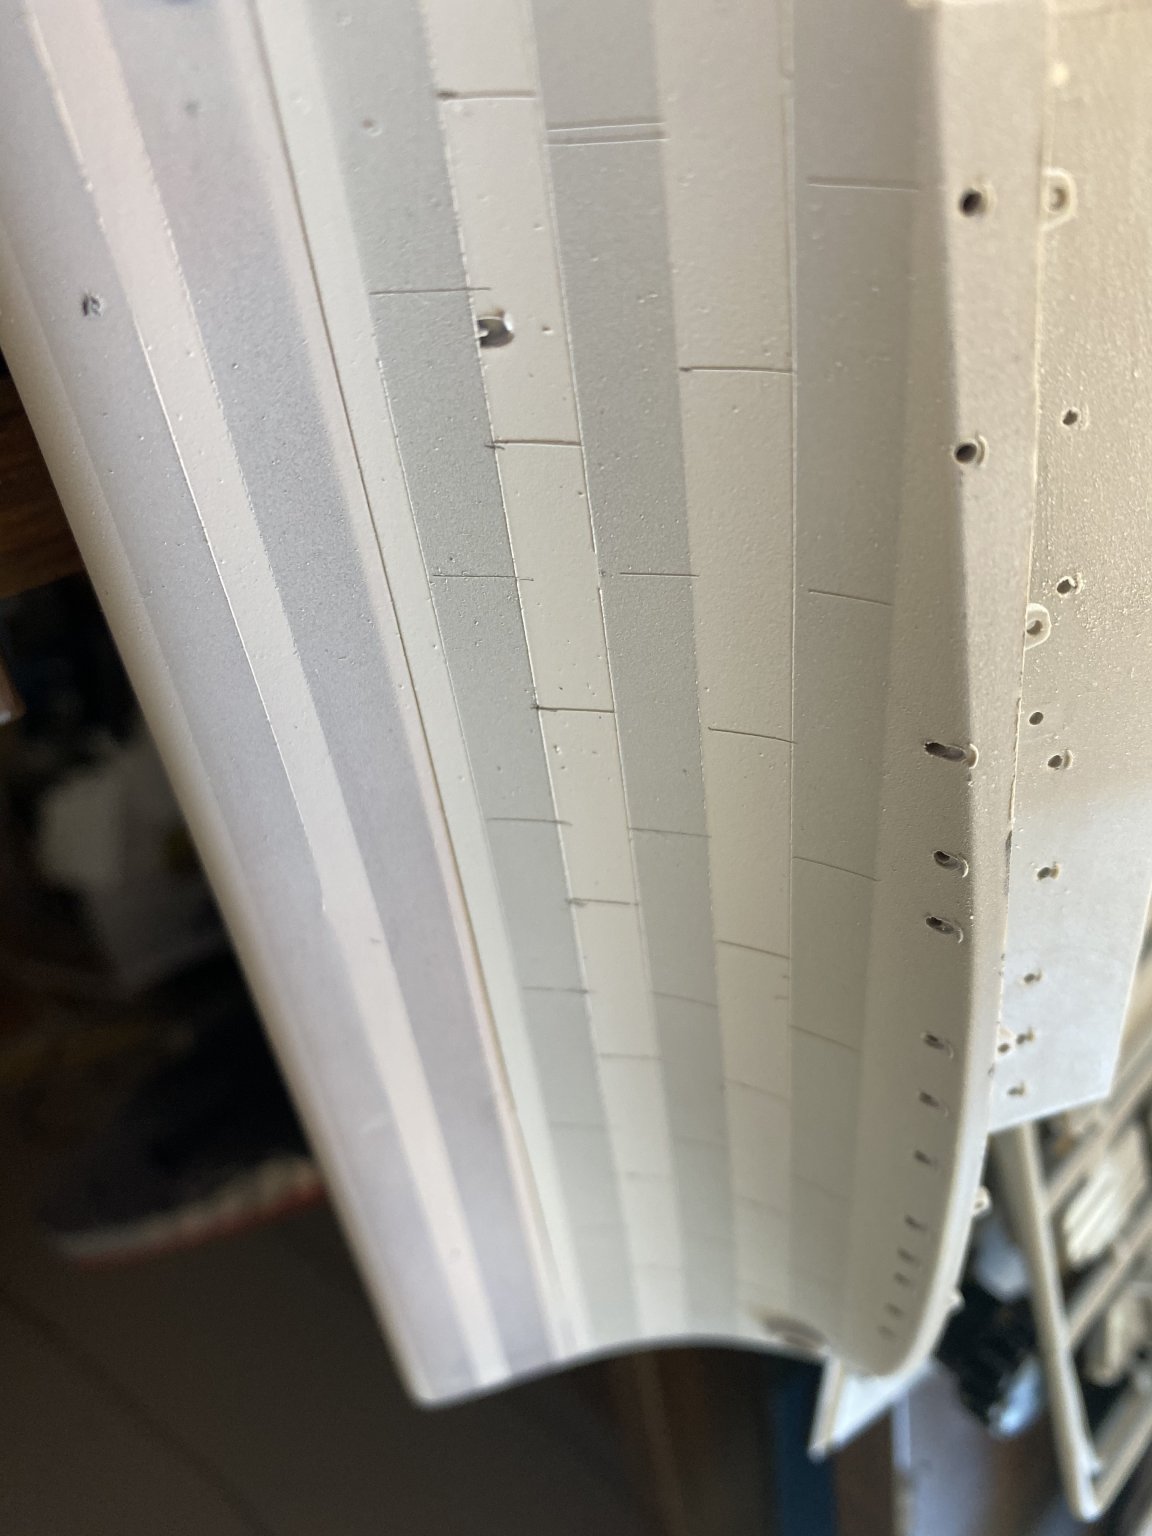
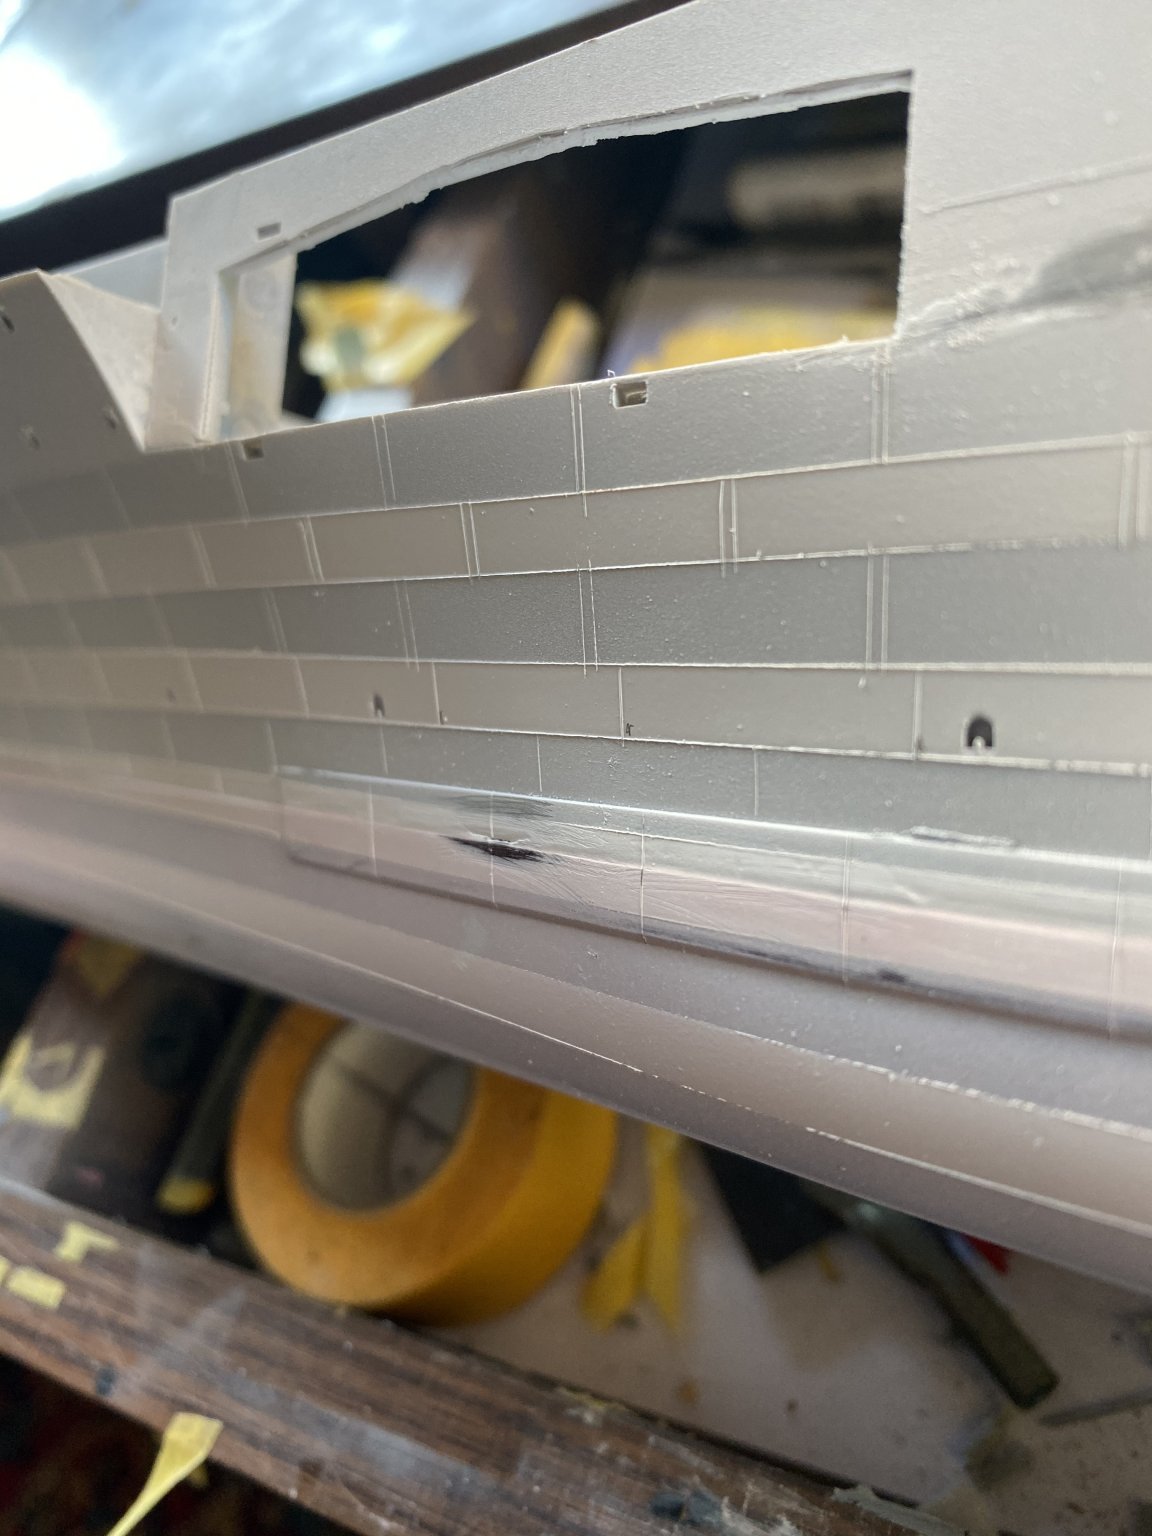
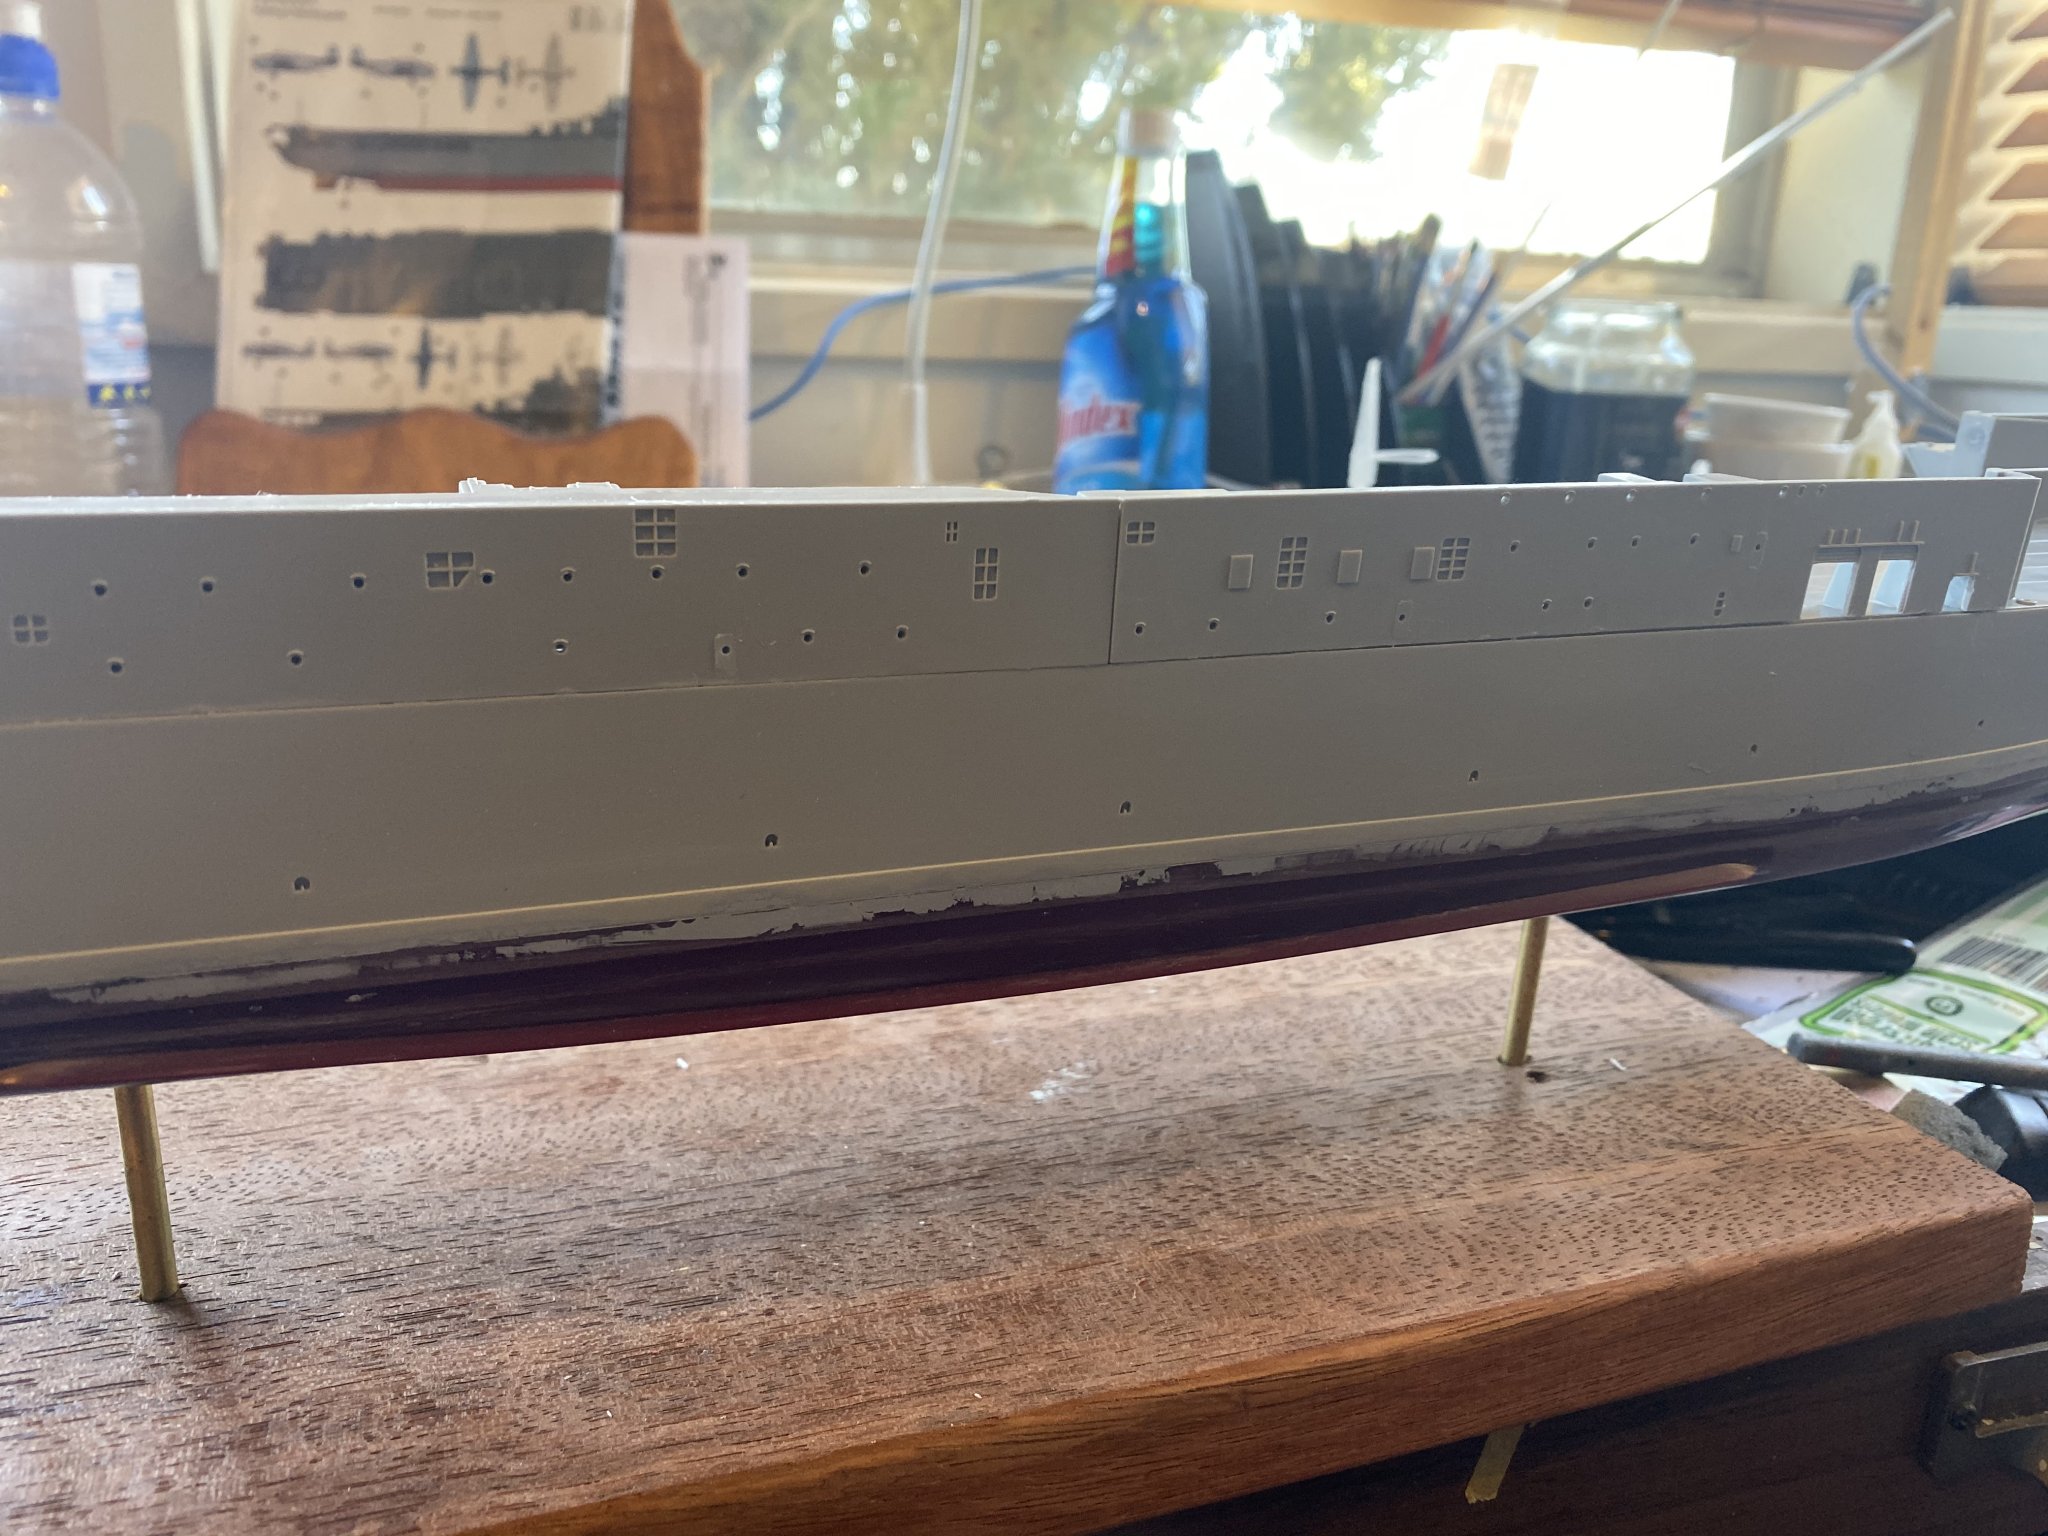
I mask the lines of the hull plates and add layers of primer then etch they plates into the primer.it only needs to be about 1mm
-
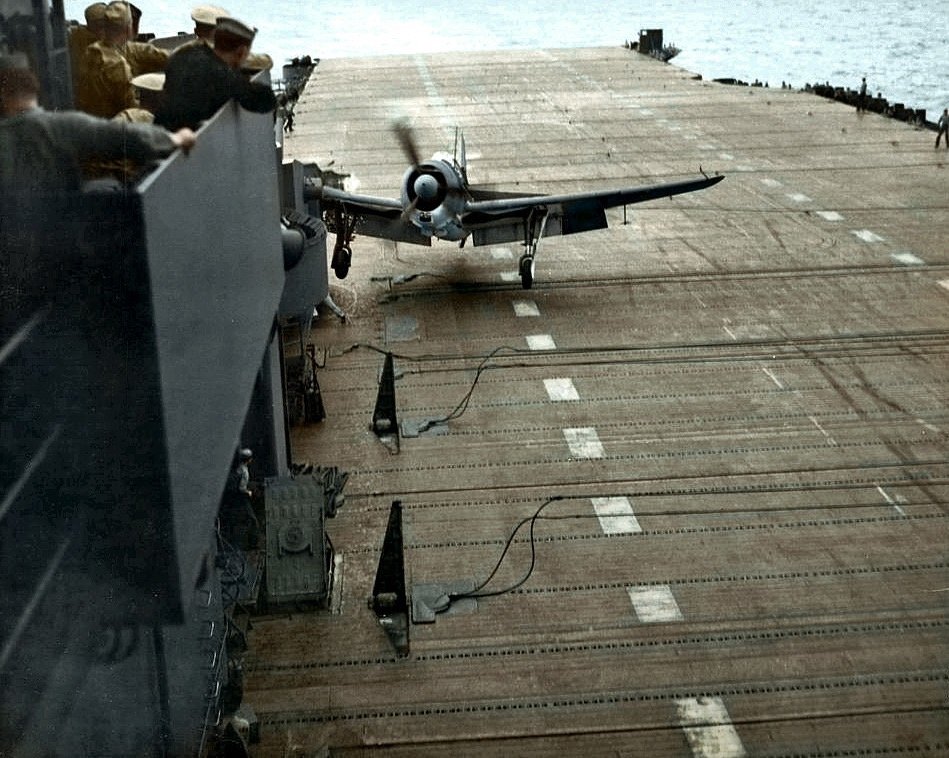
It’s reasonably cheap in Asia, but I’m thinking of just a few on deck during recovery. There’s an excellent colour U tube video from WW2 that depicts it. The commentary is typical 1940’s but wow these young fellas were brave.
-
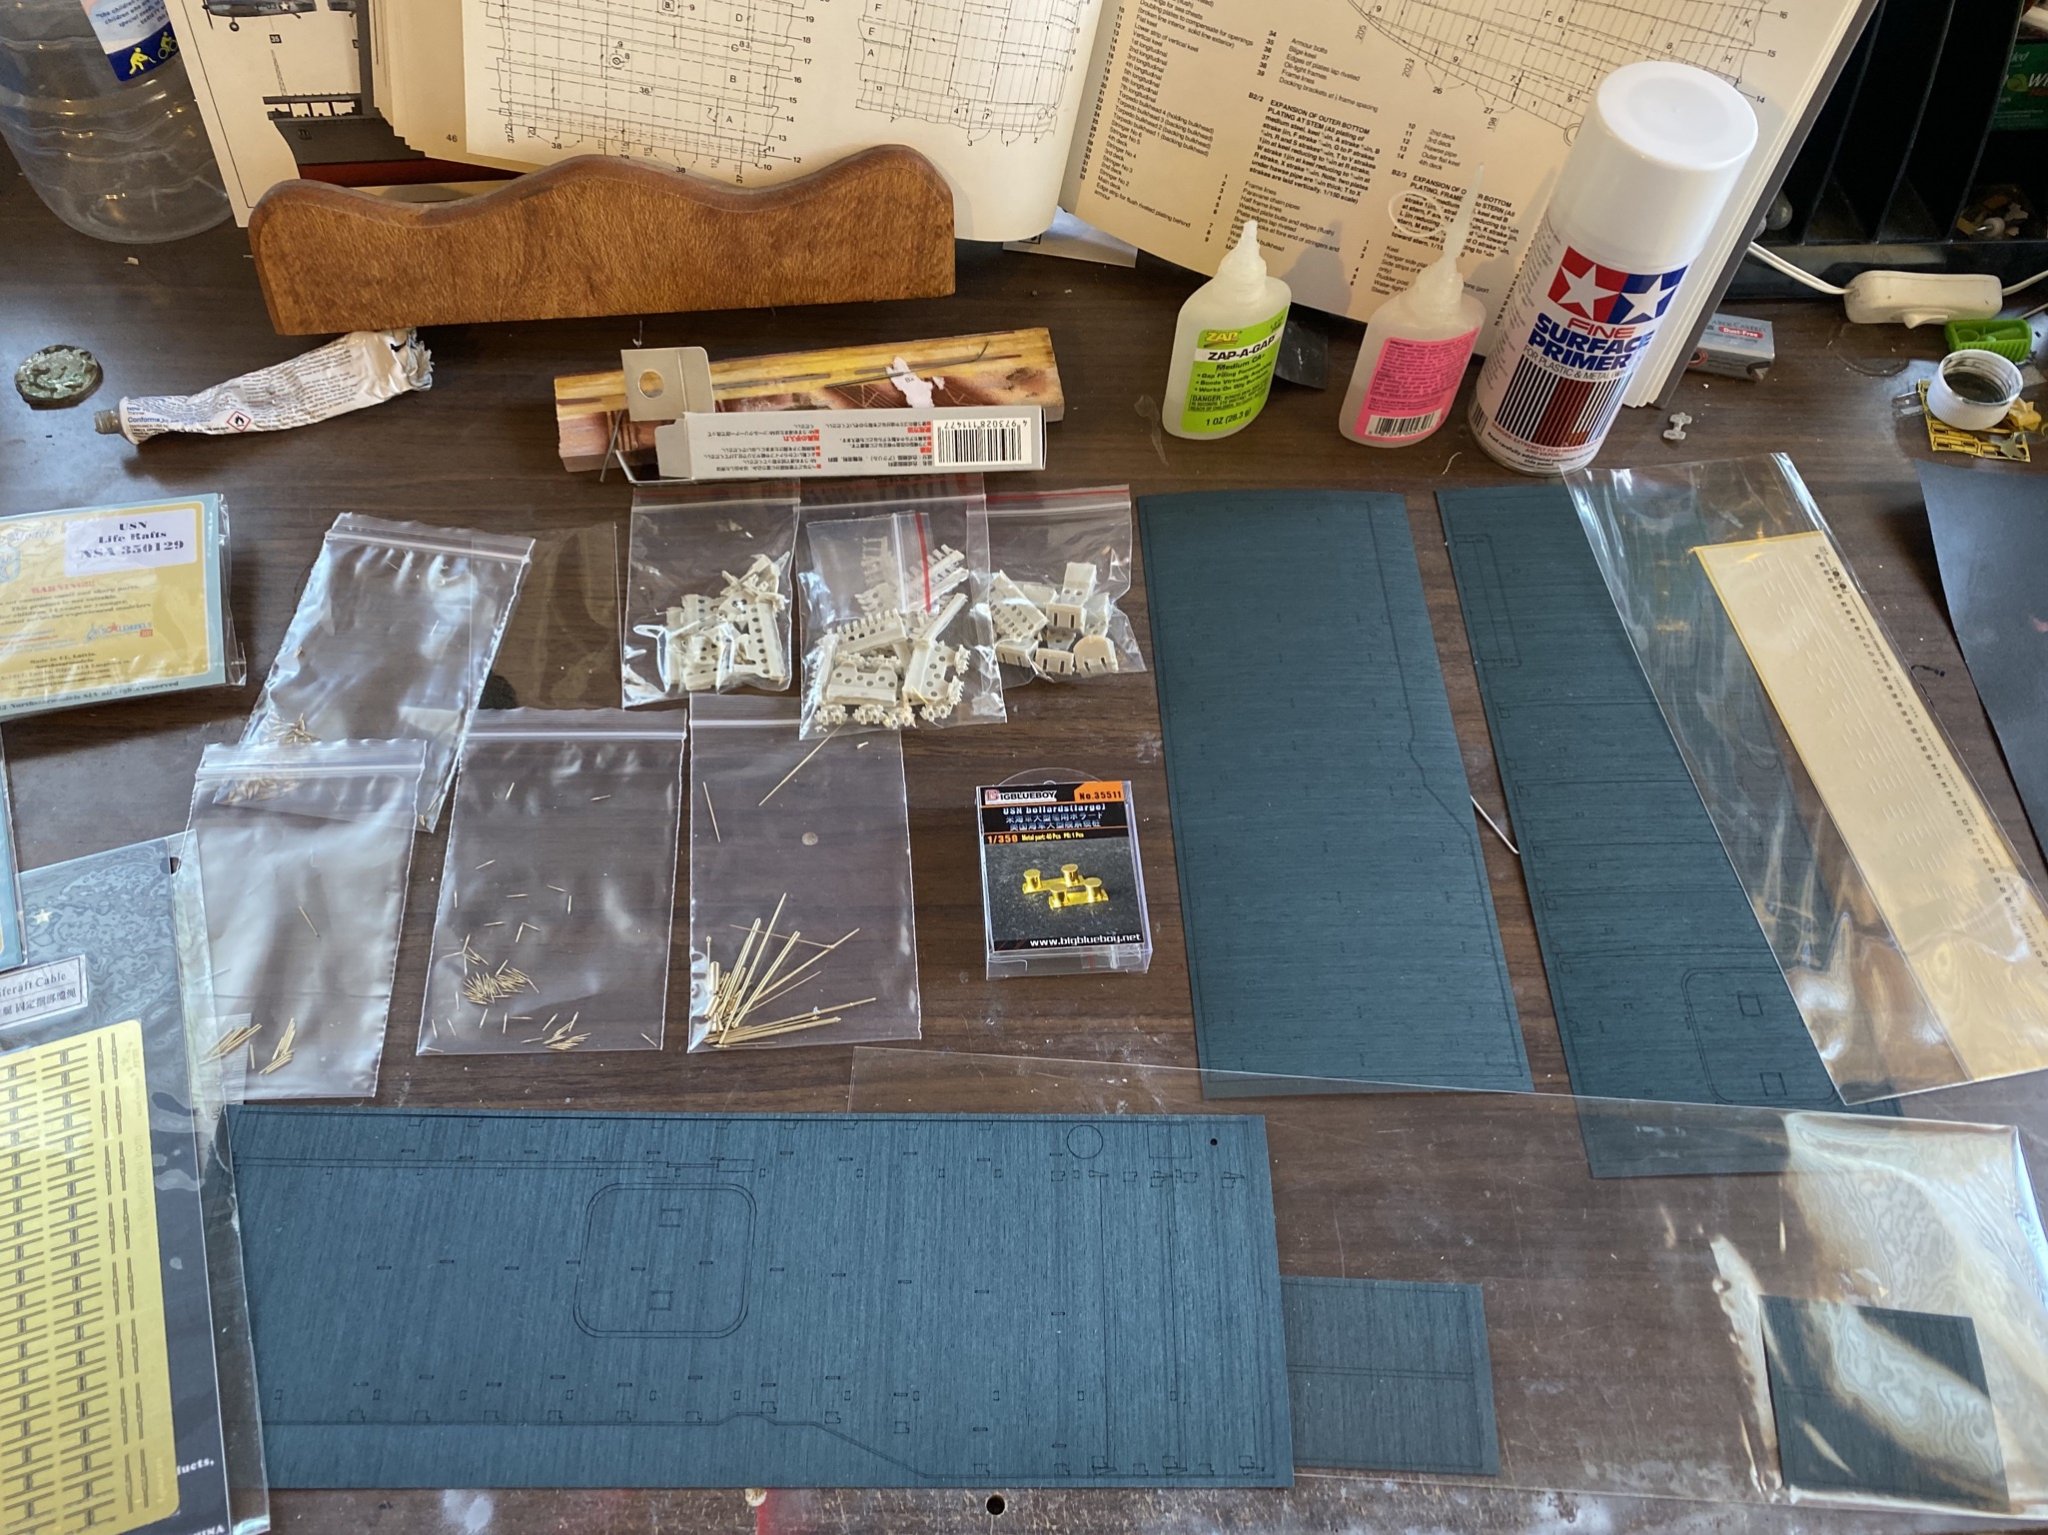
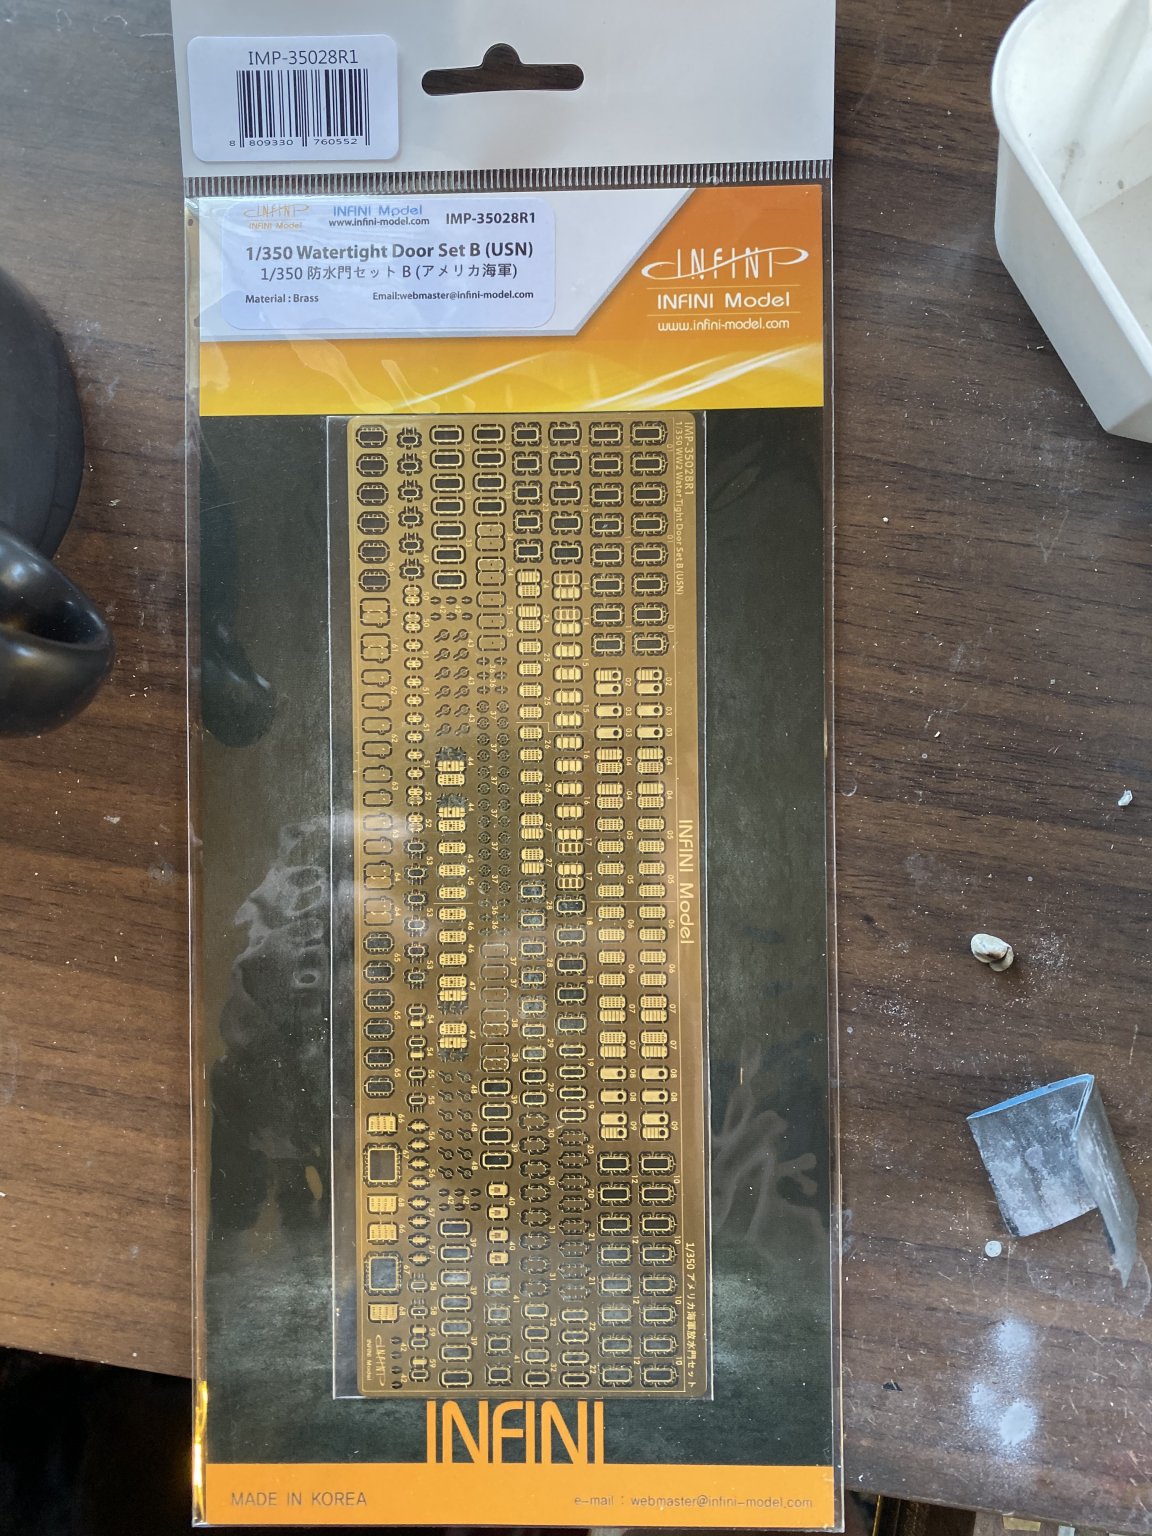
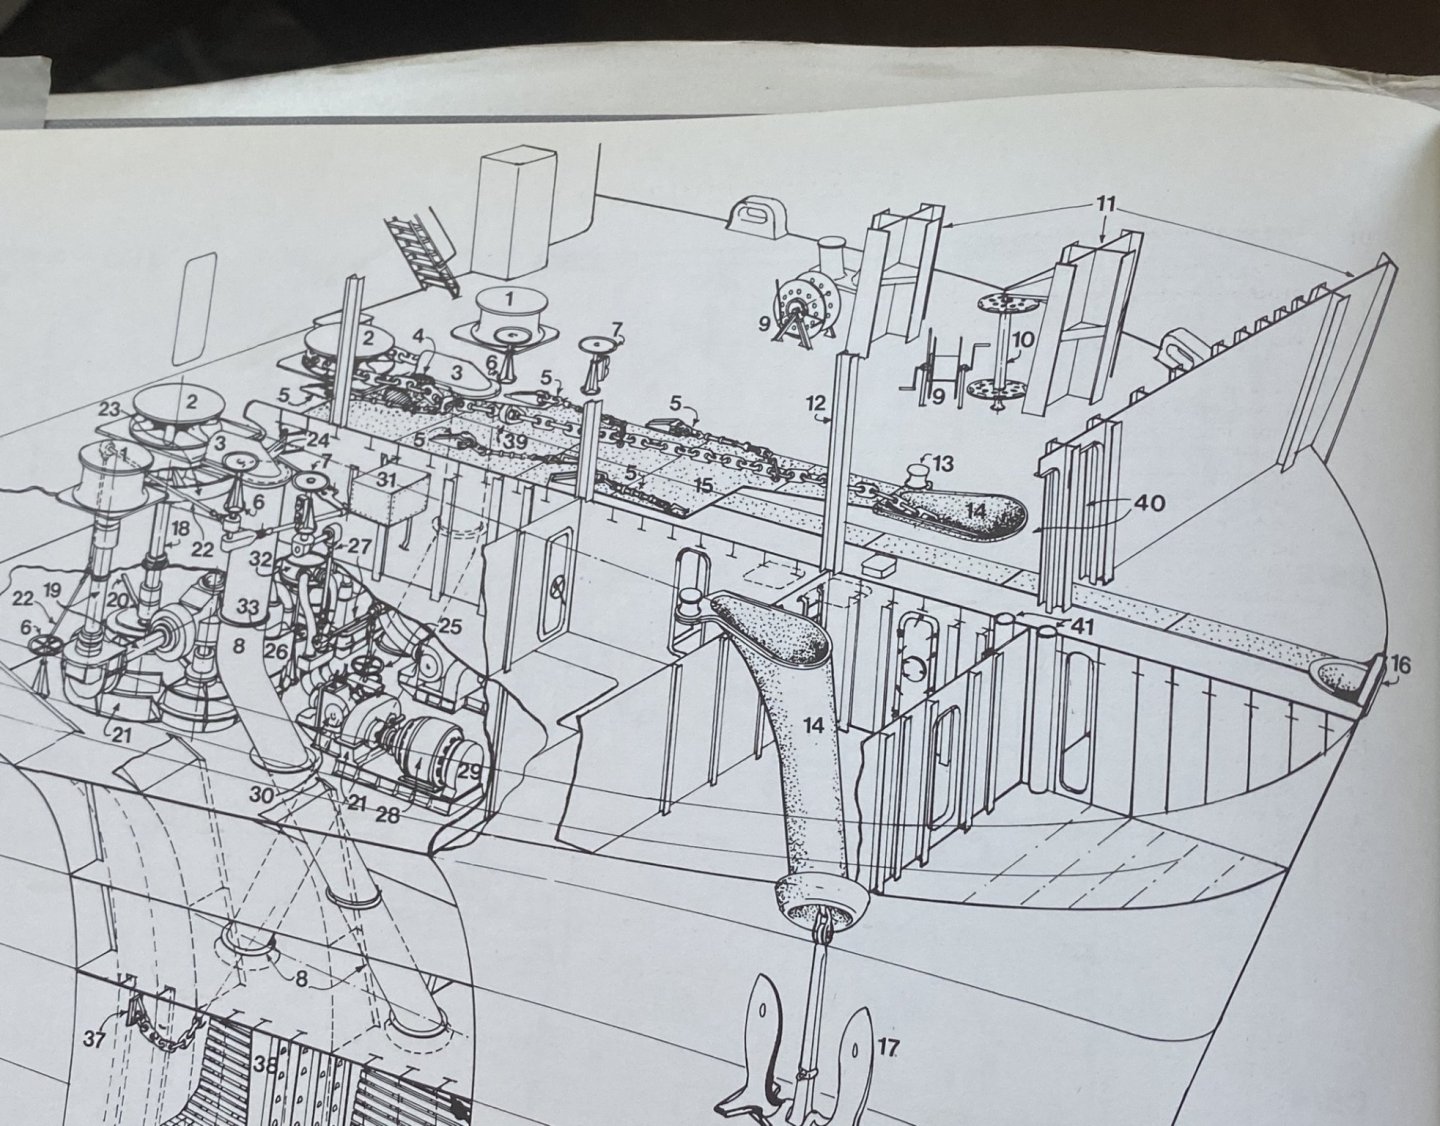
So, after market addition will be paravanes, capstans, doors, cable reels, fire hydrants, life rafts, USN life raft rigging, USN Anchors And still quite a bit of scratch building required and lots of bits from spares.
-
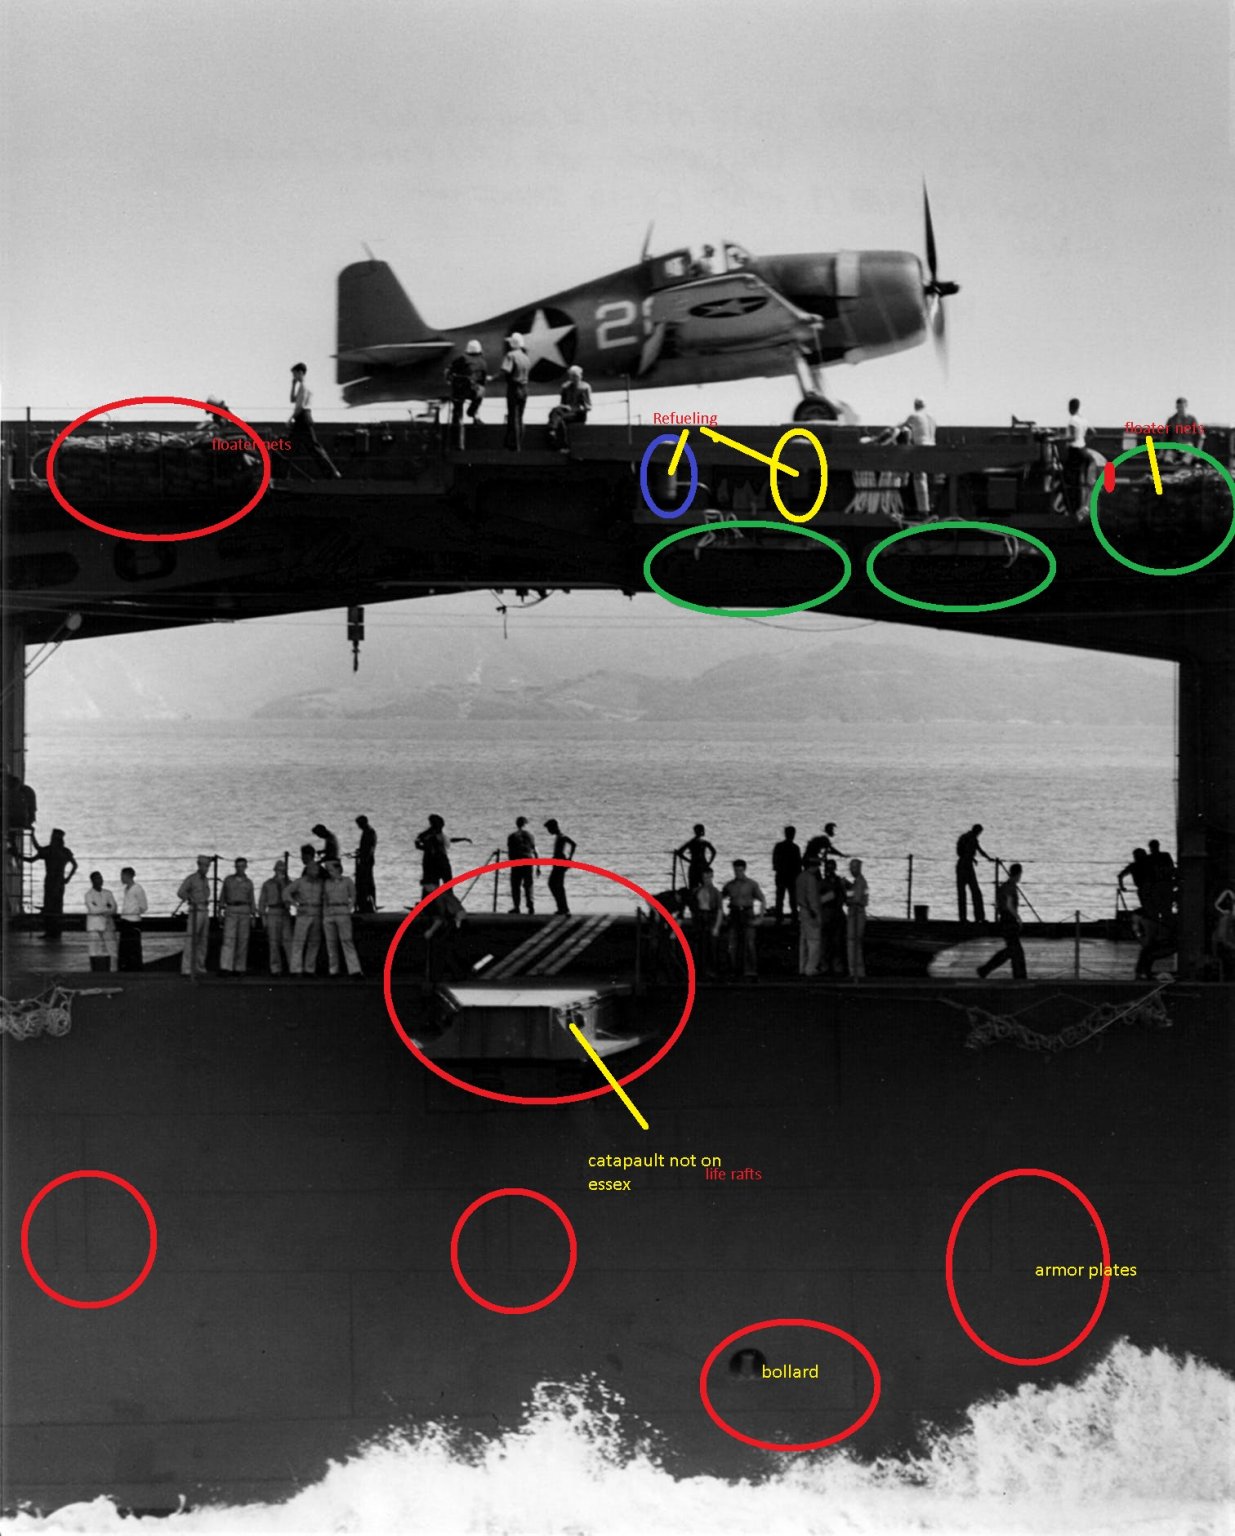
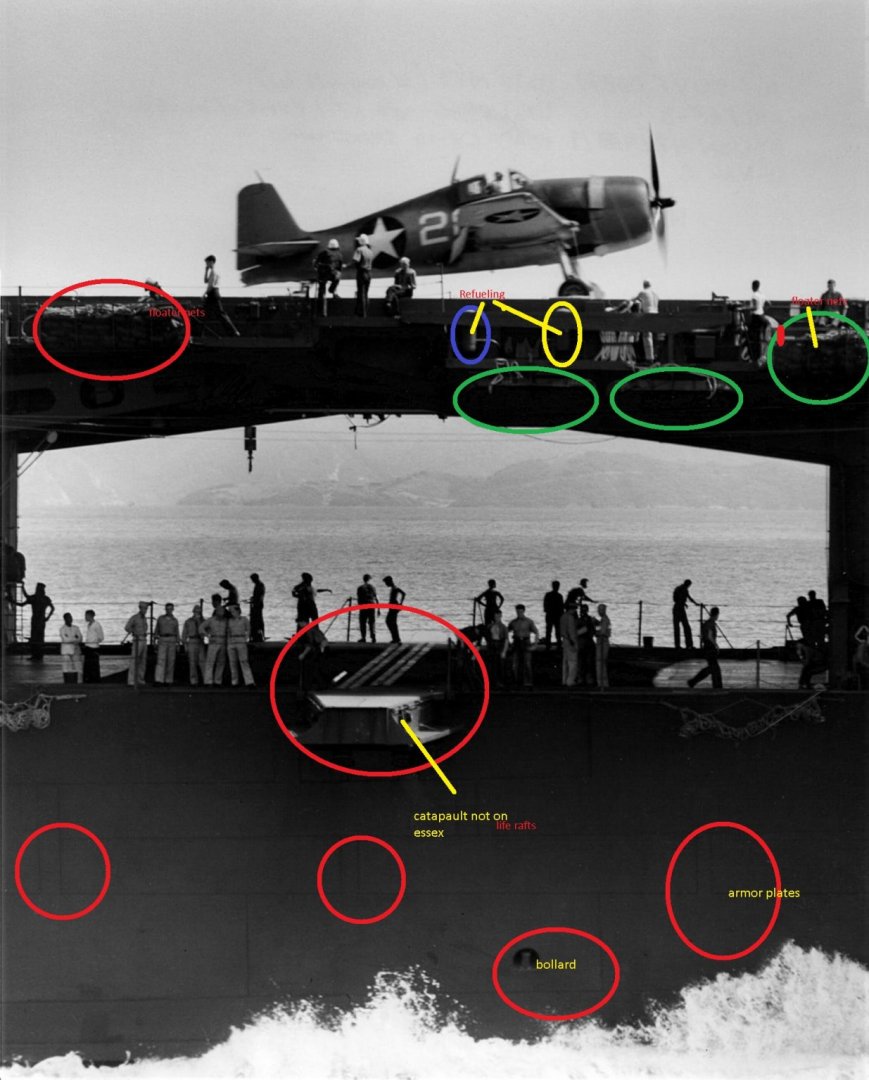
As discussed, the hull of the Trumpeter kit is smooth as a baby's bum. This photo of the USS Yorktown in 1943 shows the hull plate details of this class. There is also the catapult that Essex does not have and includes catwalk details Ill need to add.
-
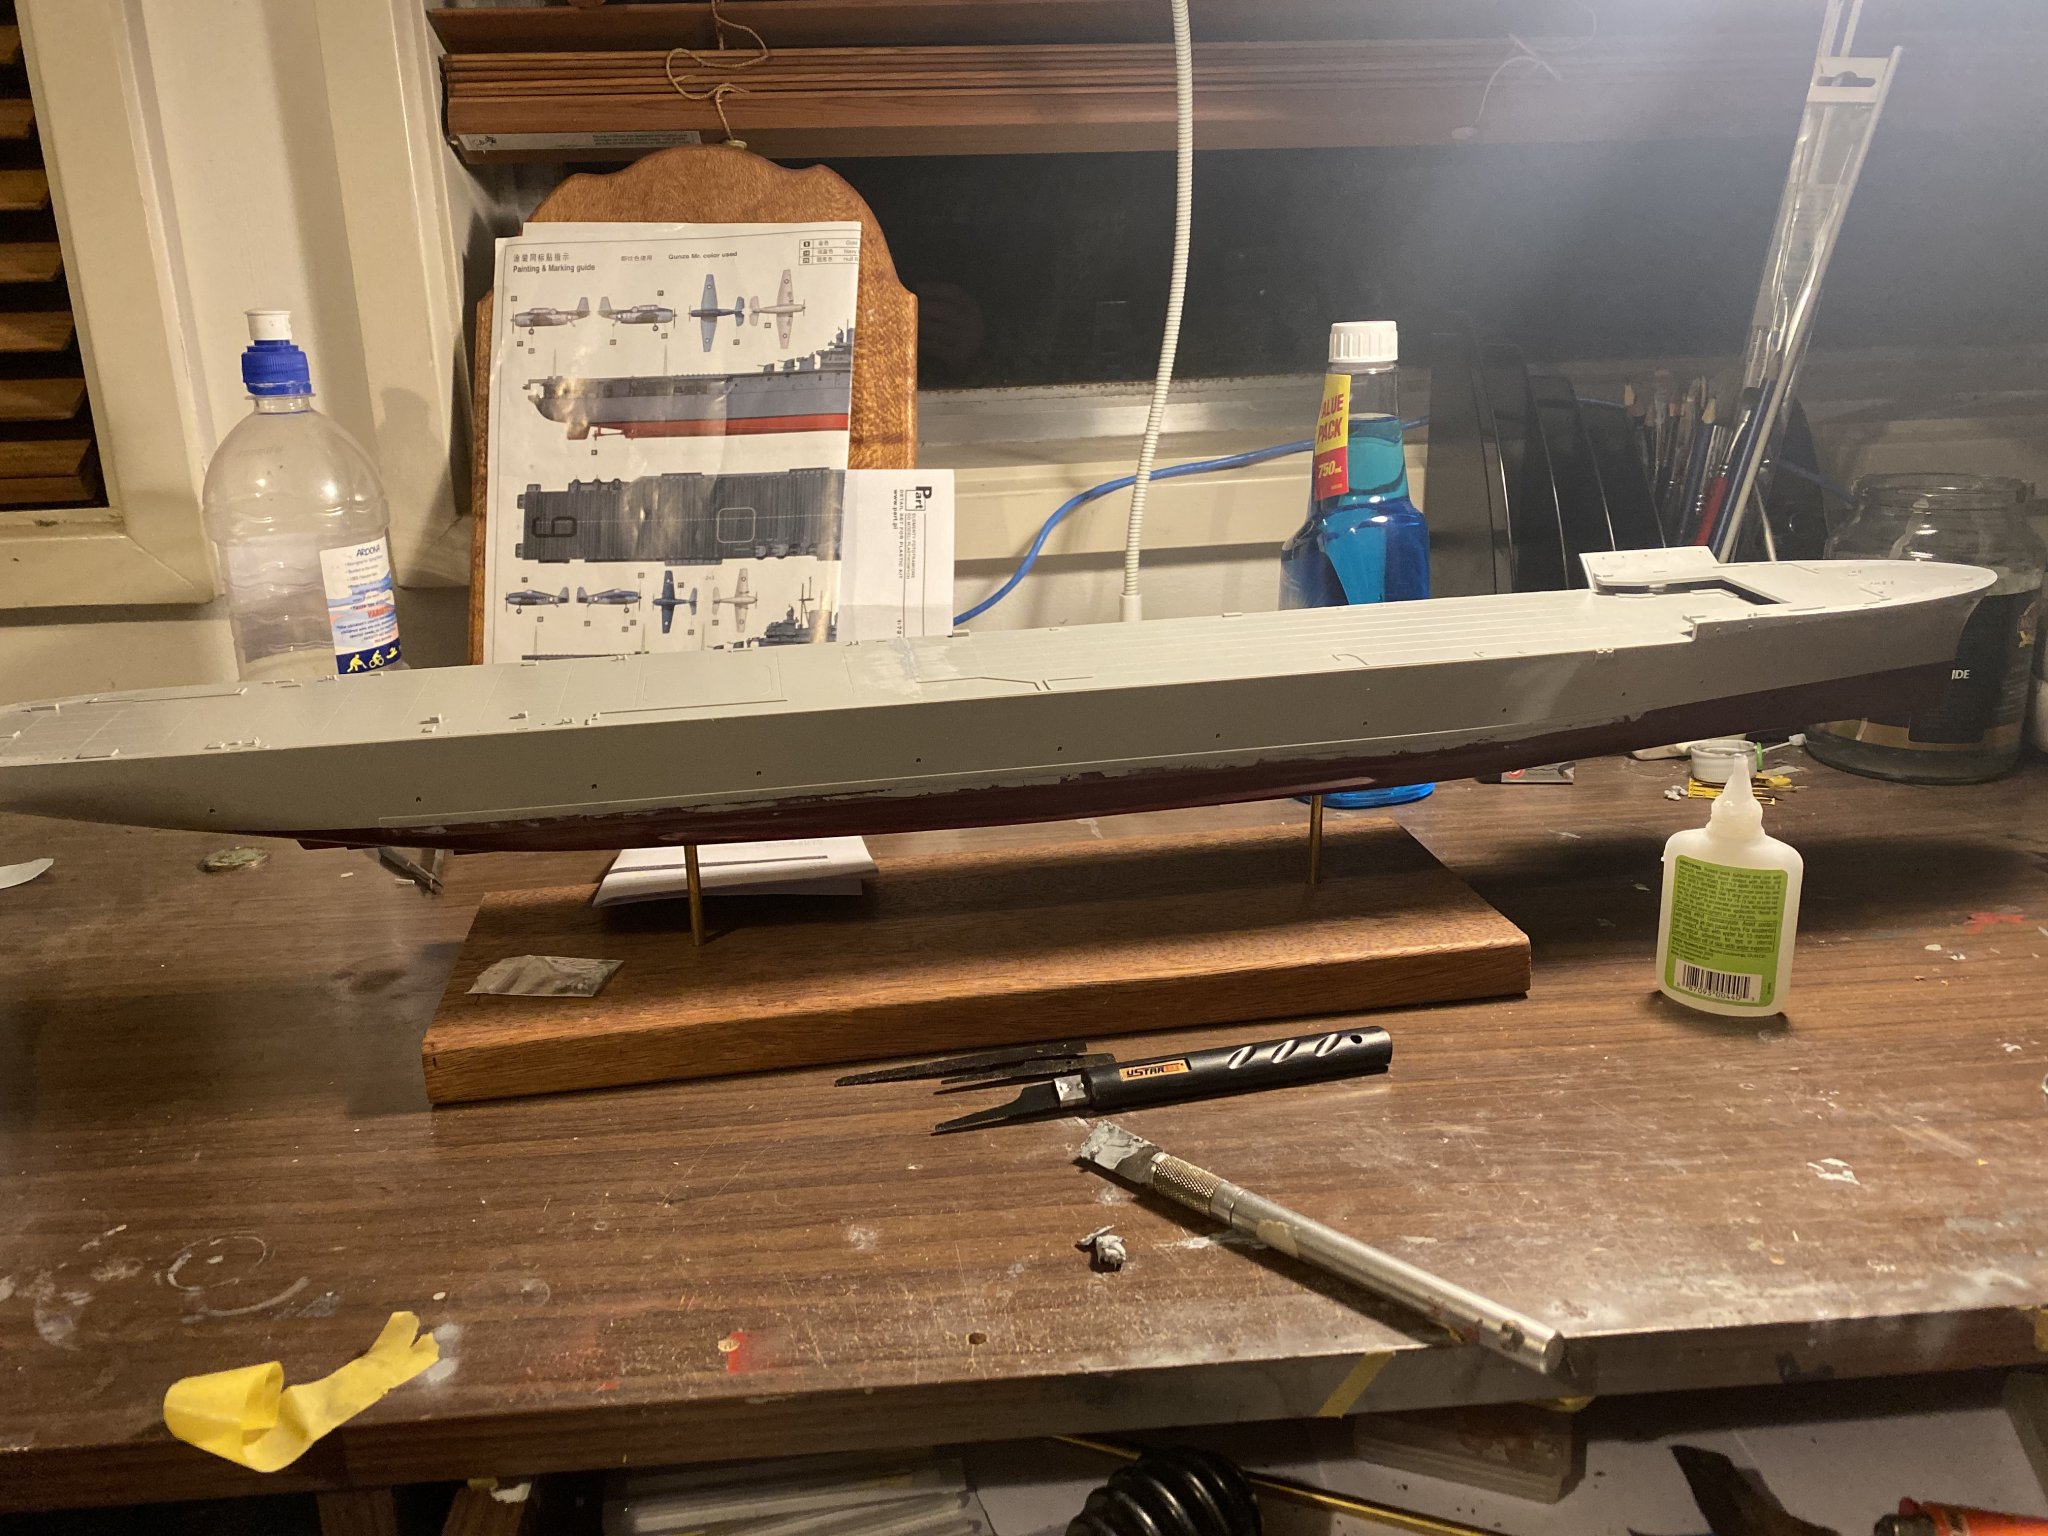
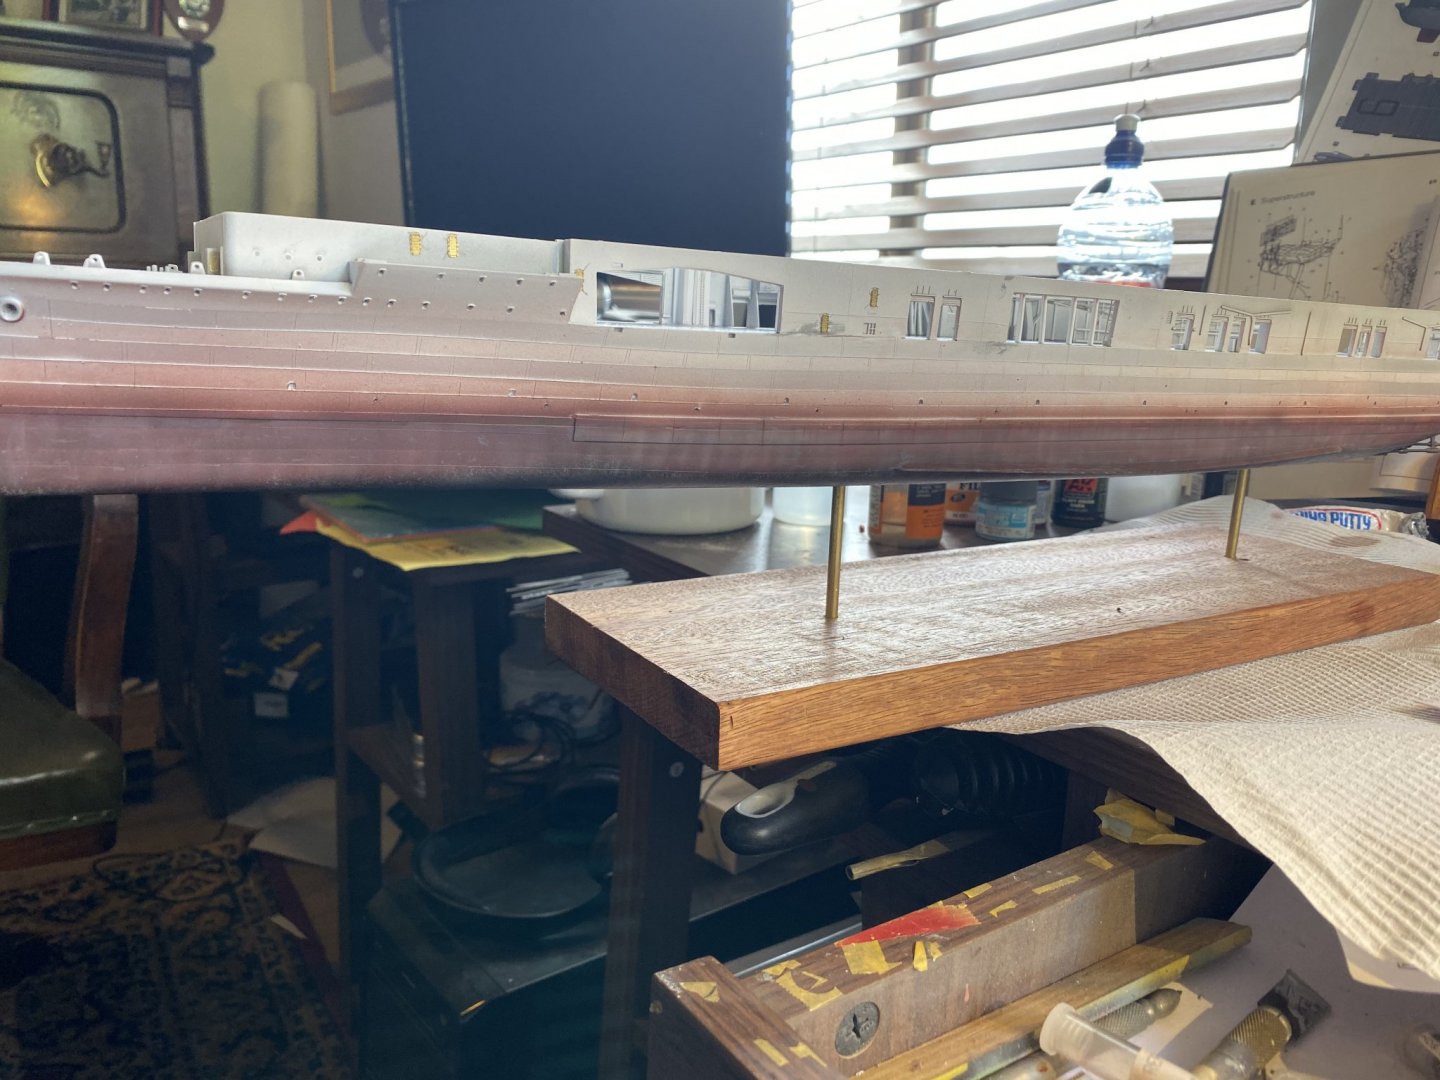
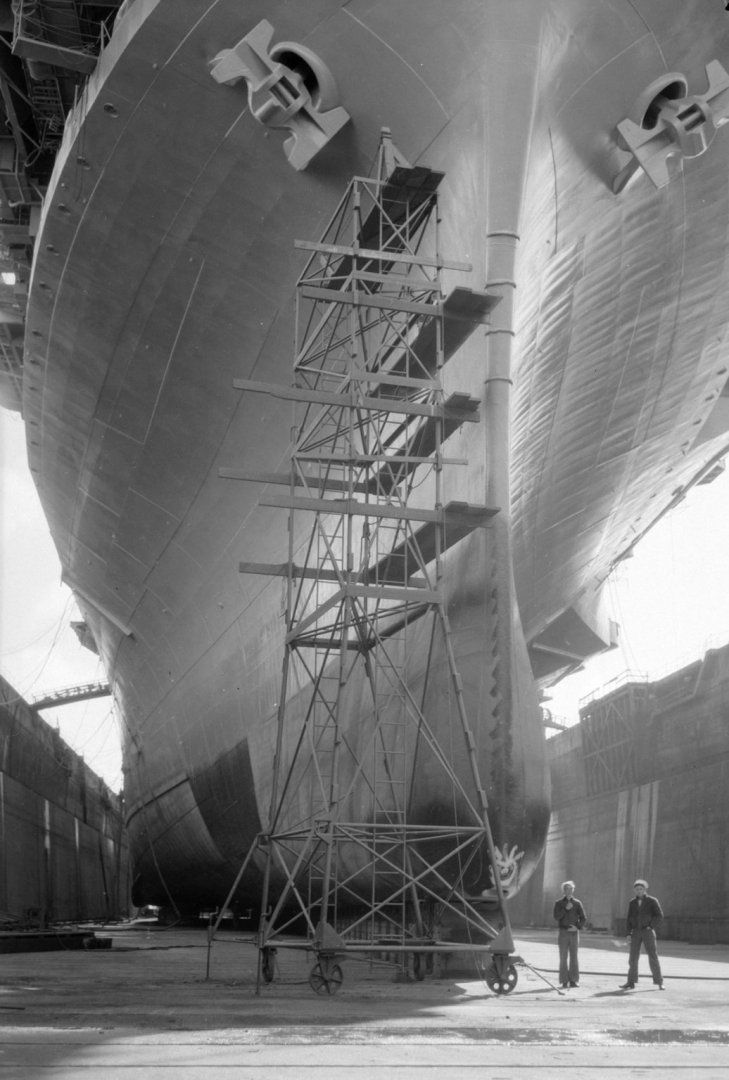
Starting on the hull plates. Nearly a whole roll of masking tape. You can see from this shot of Essex in dry dock in 1945 it’s very subtle and you can hardly see them. There are some attractions or ribs visible but I imagine this would be from the previous 3 years of war service. As I’m doing this early in her service the US Navy dark blue will hardly make it visible.

- 308 replies
-
- 12
-
-
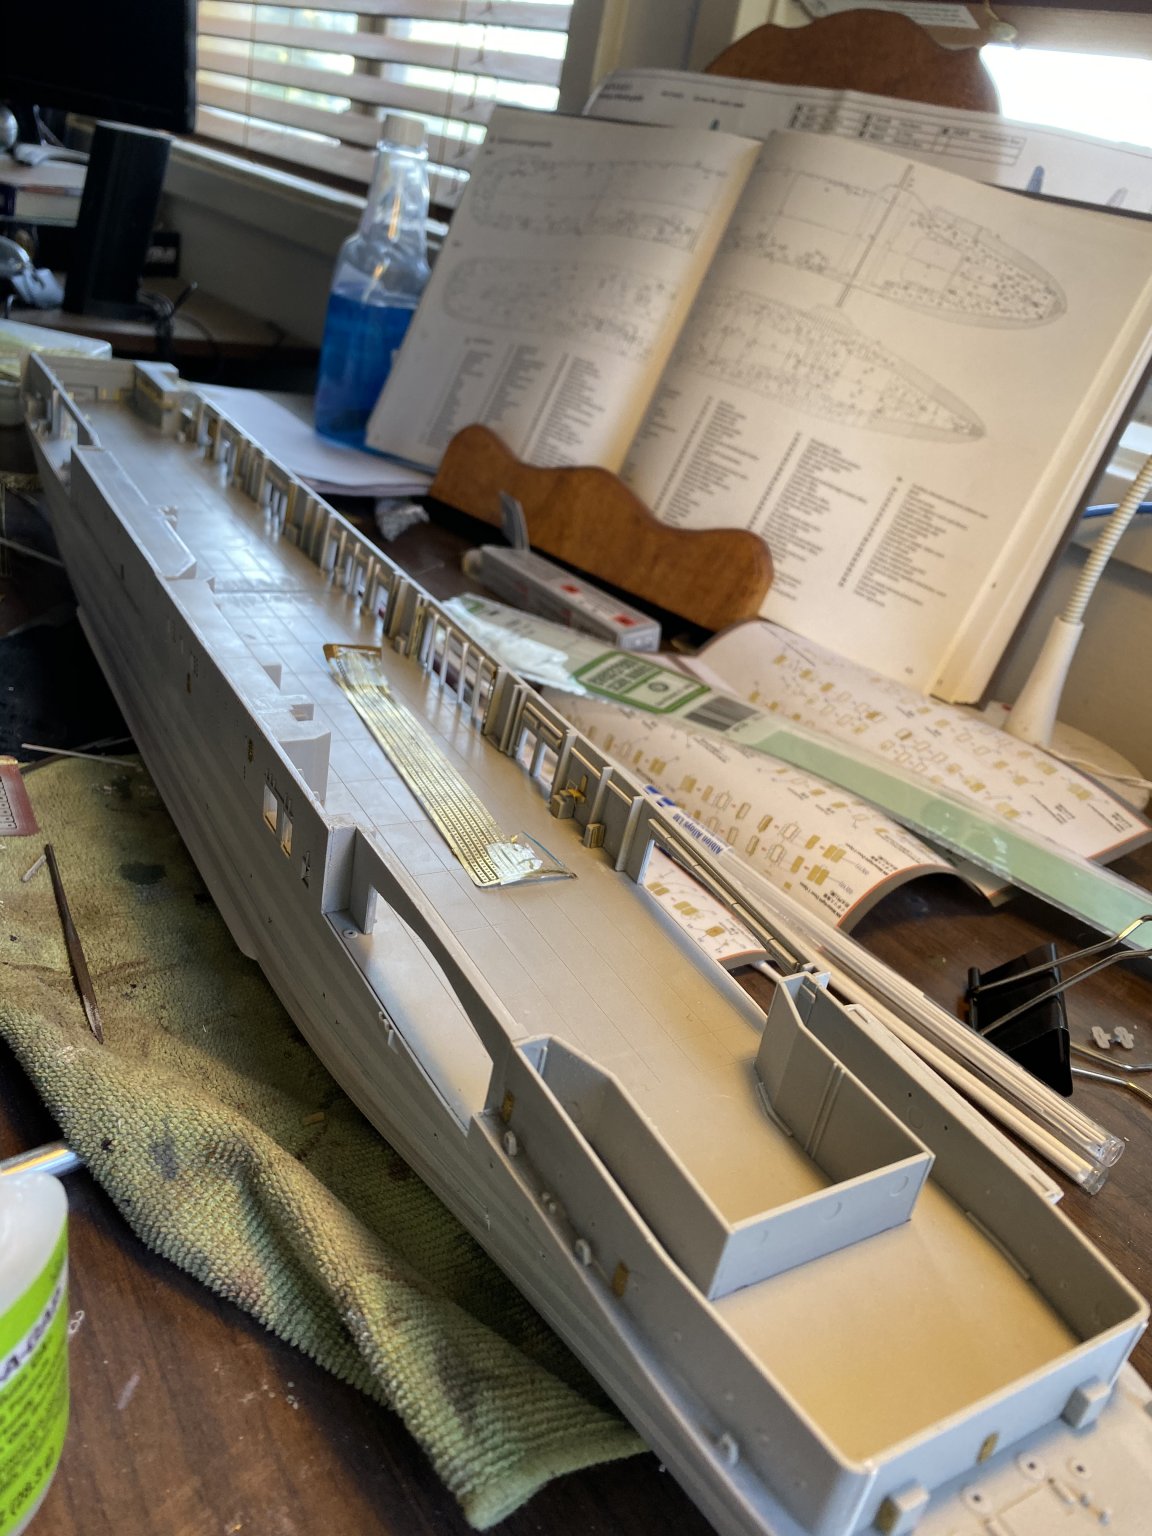
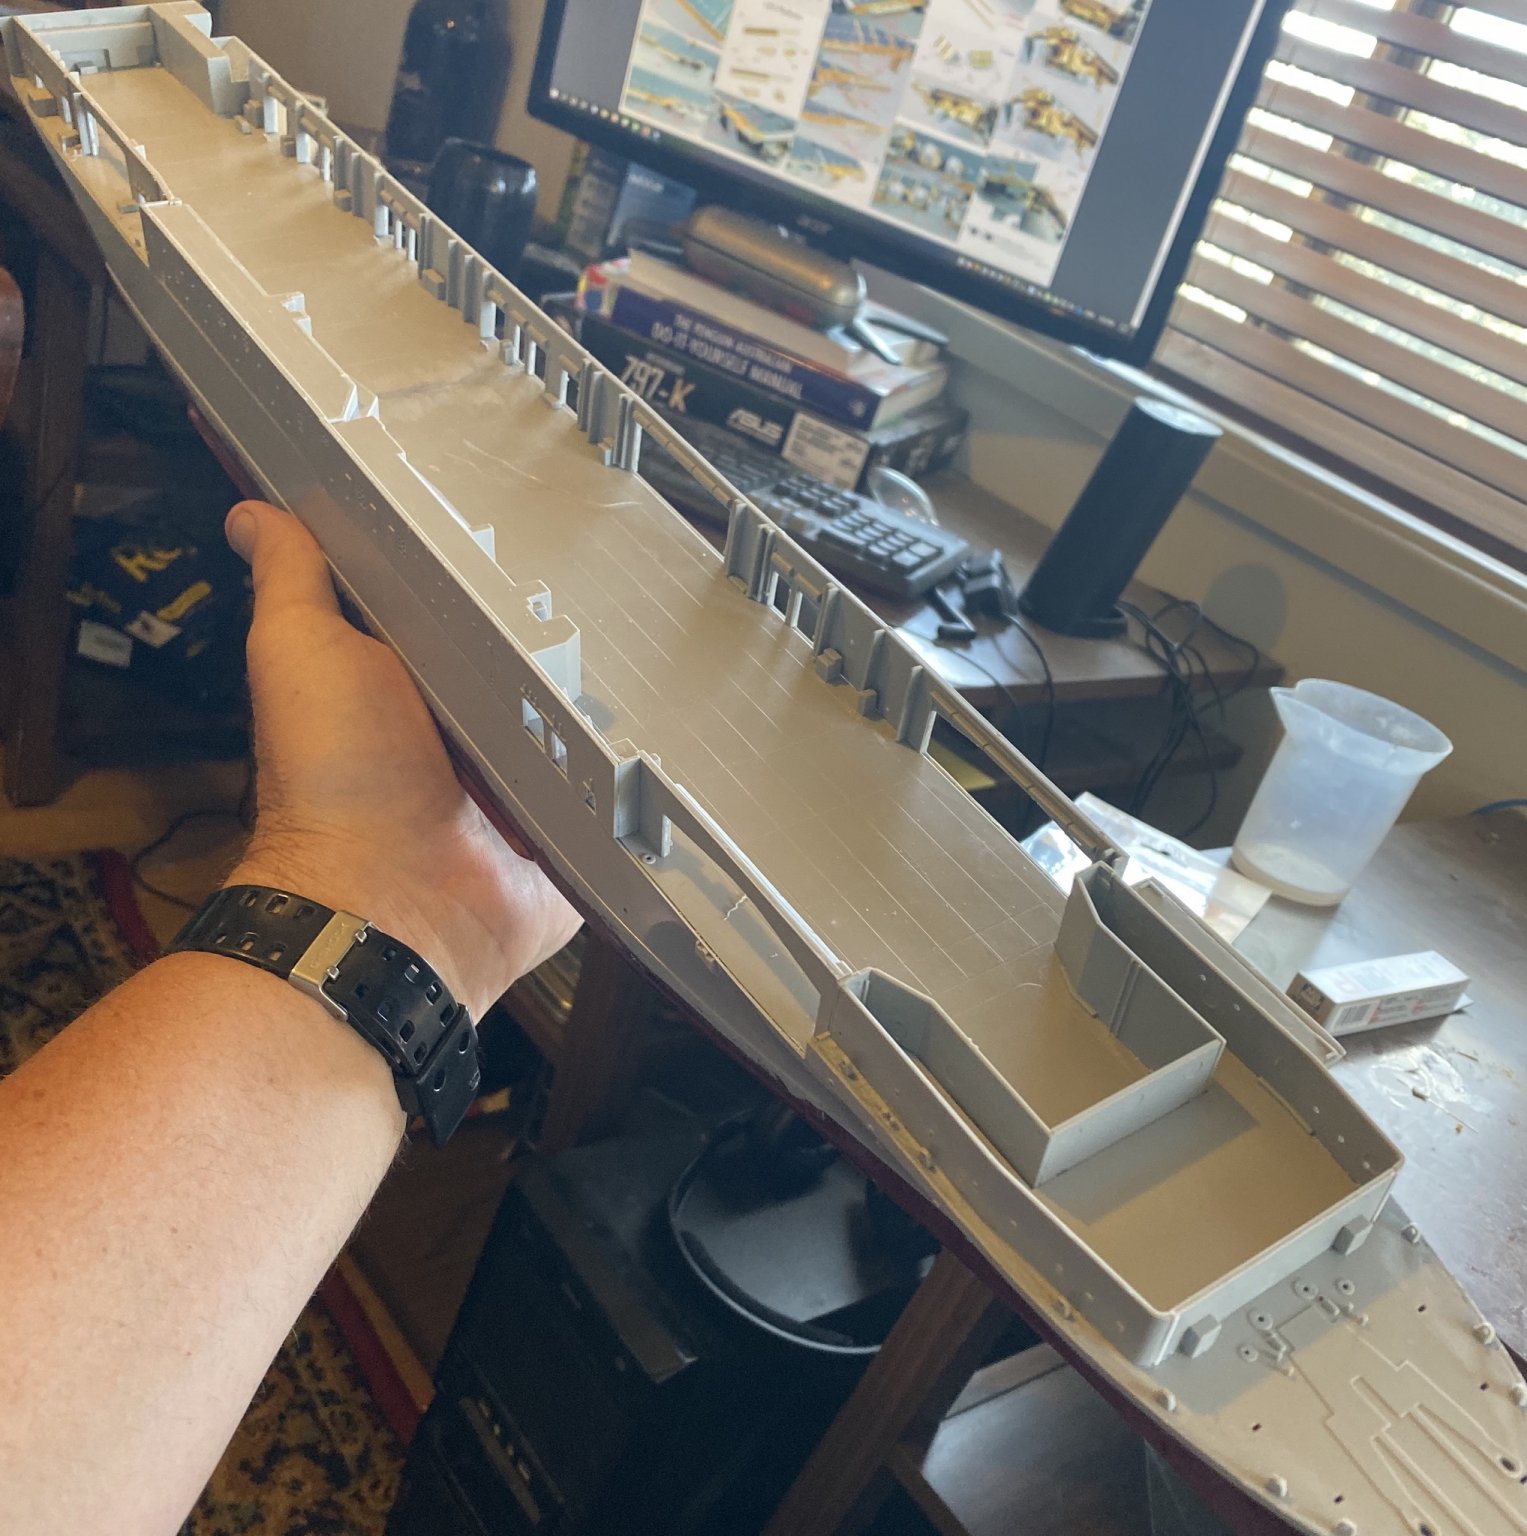
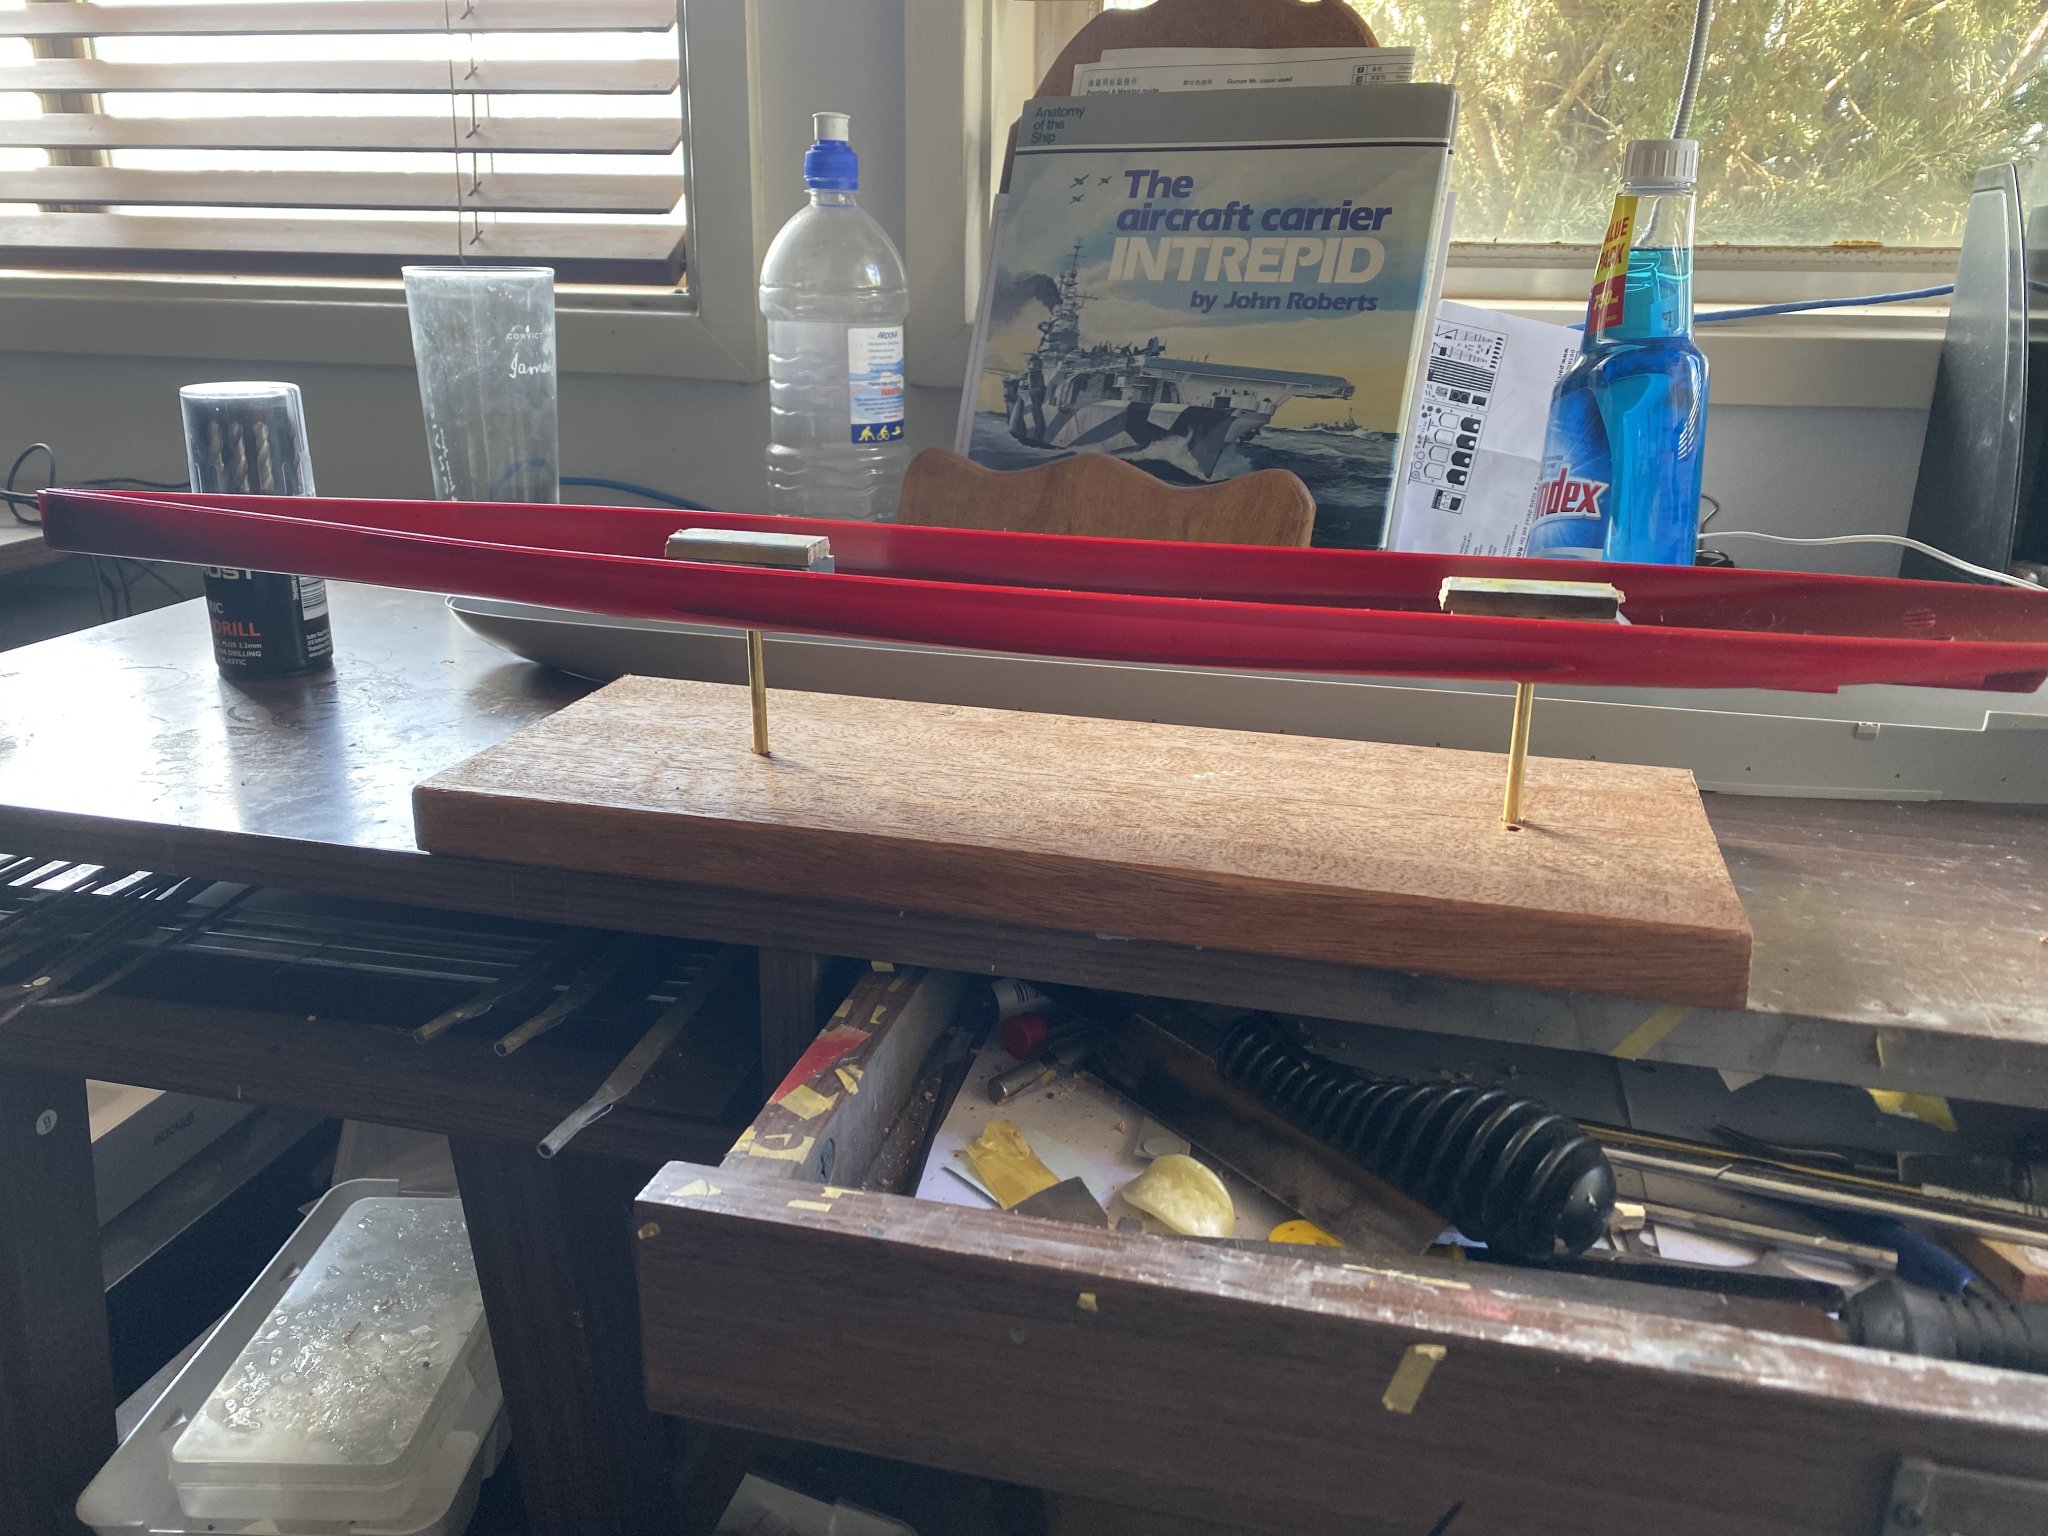
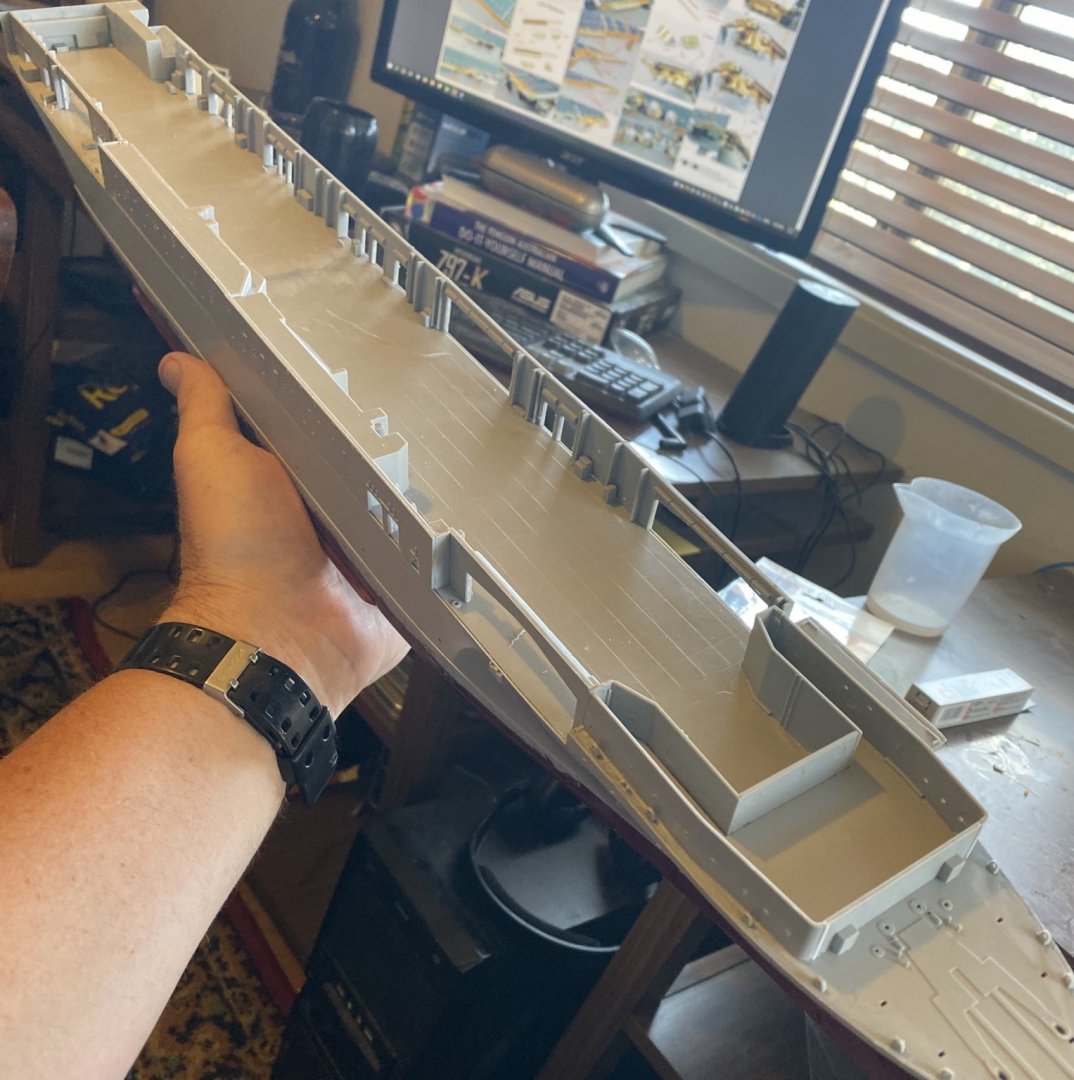
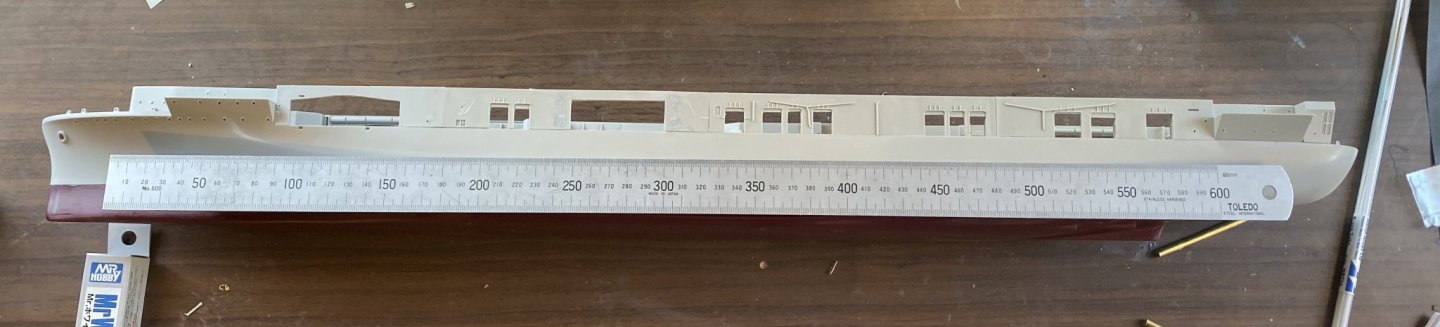
Even without the flight deck it’s longer than the Graf Zeppelin. It’s going to suck up a lot of detail.
-
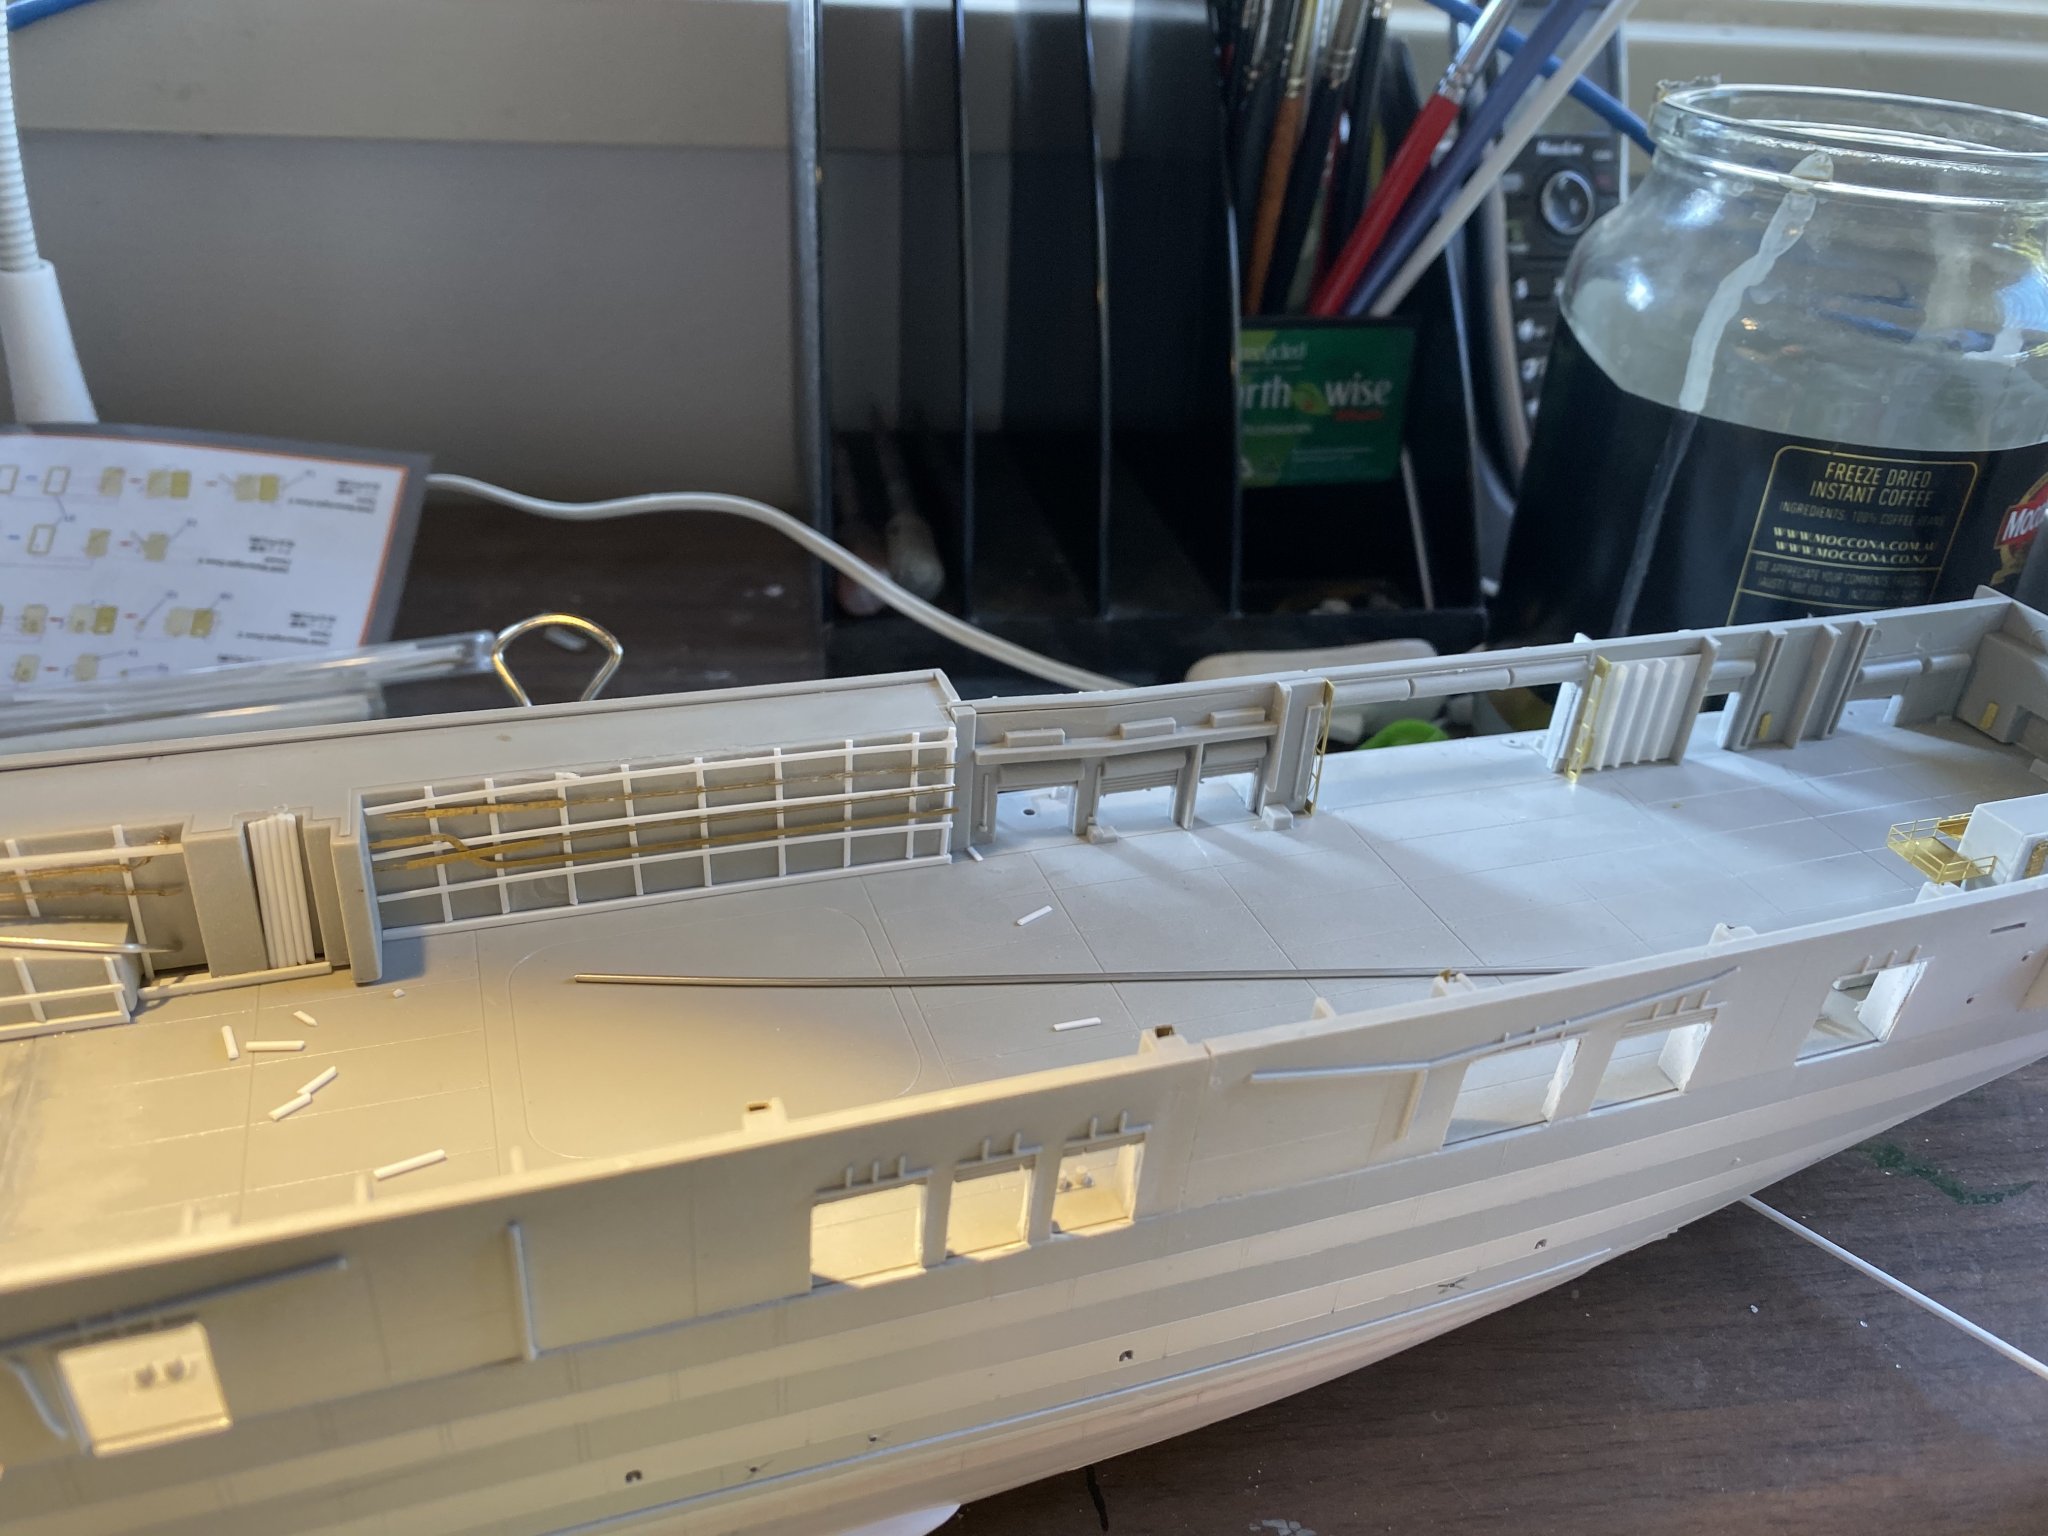
Hangar deck goes. Lots of putty now needed, then I can start on the hull pleated. Once that is done I can superdetail the hangar deck.
- 308 replies
-
- 12
-
-
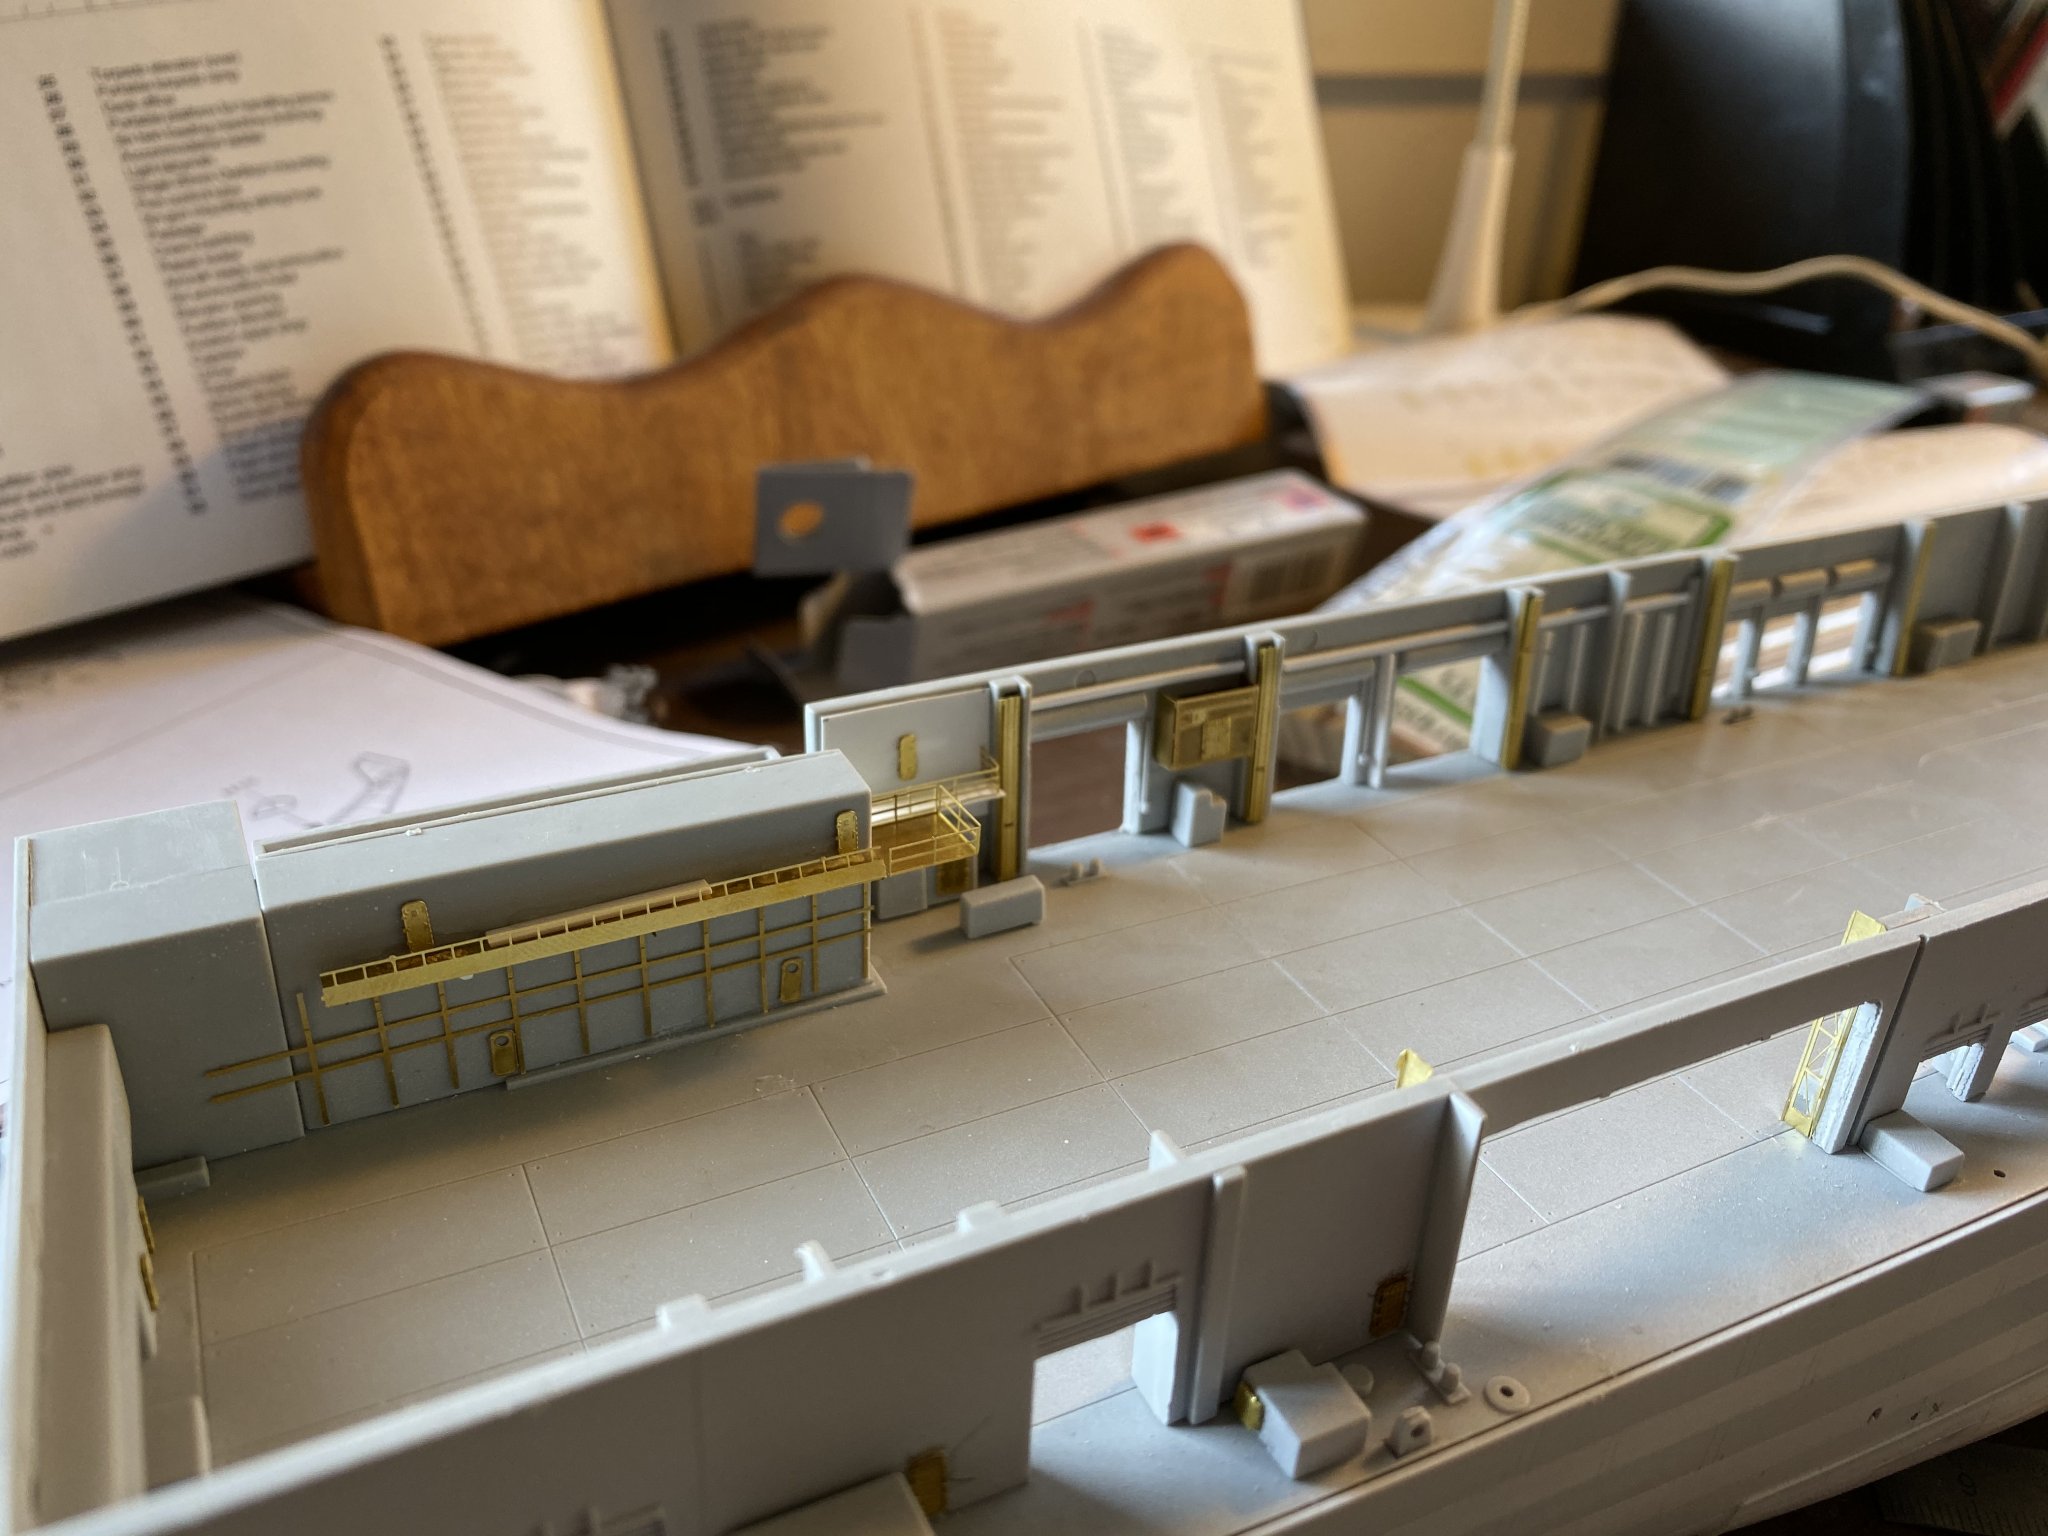
So, nothing really fit well so there’s lots of gaps on this level that need fixing. The Pontos set has not arrived yet from Korea but I got extra doors (it appears there are not in the upgrade).


- 308 replies
-
- 11
-
-
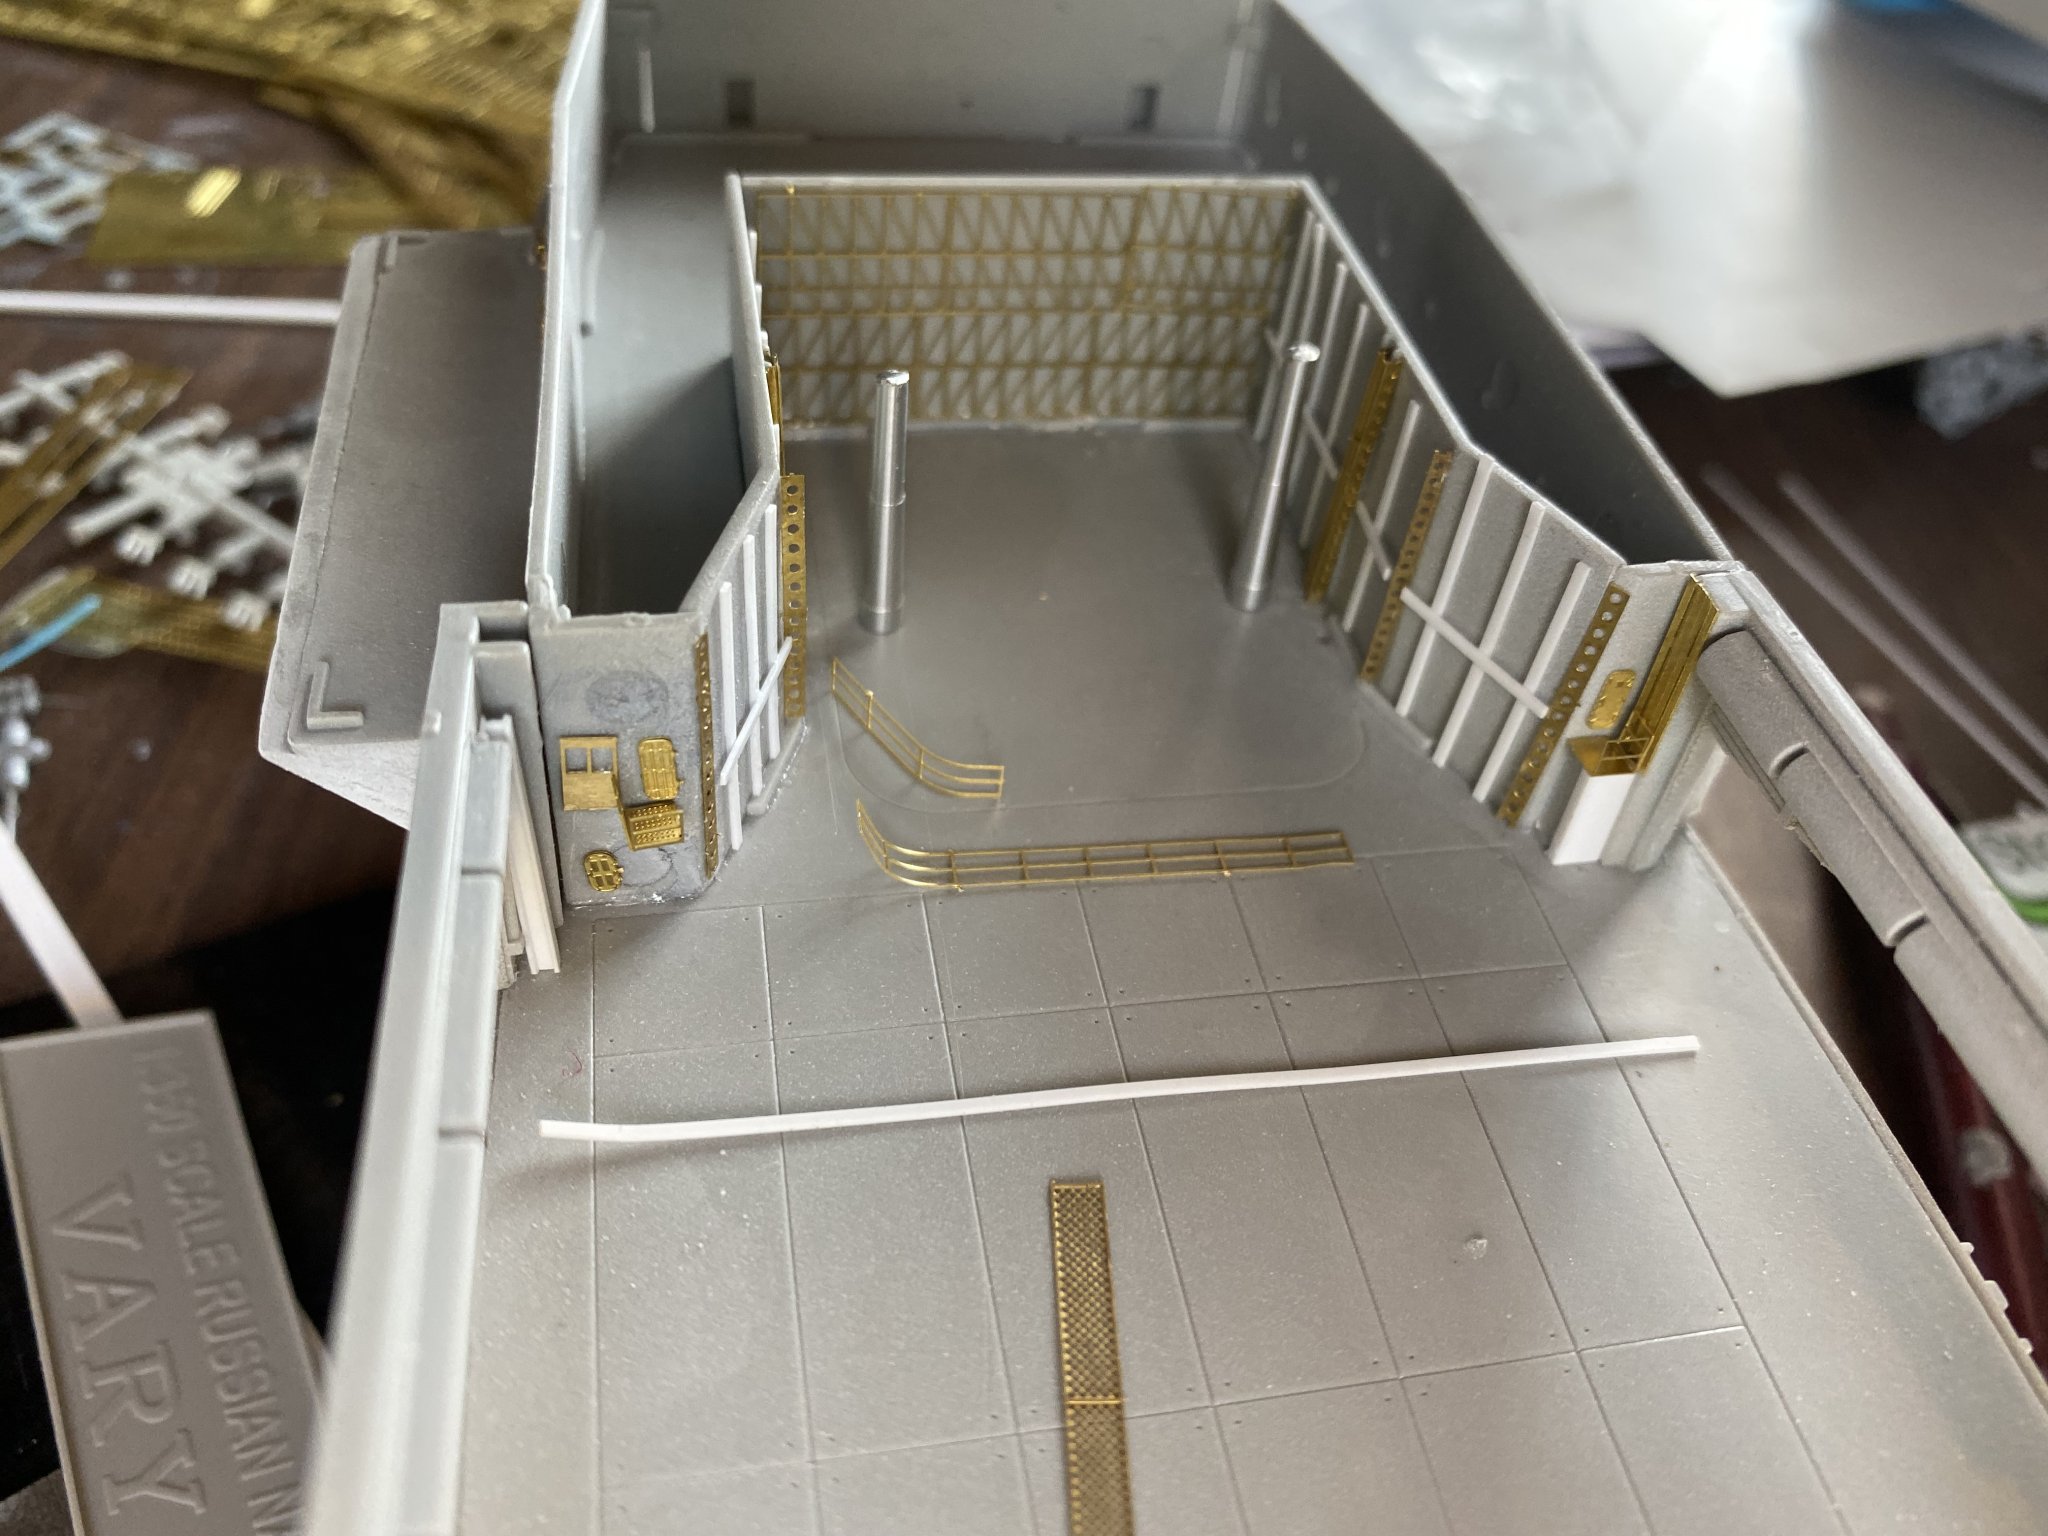
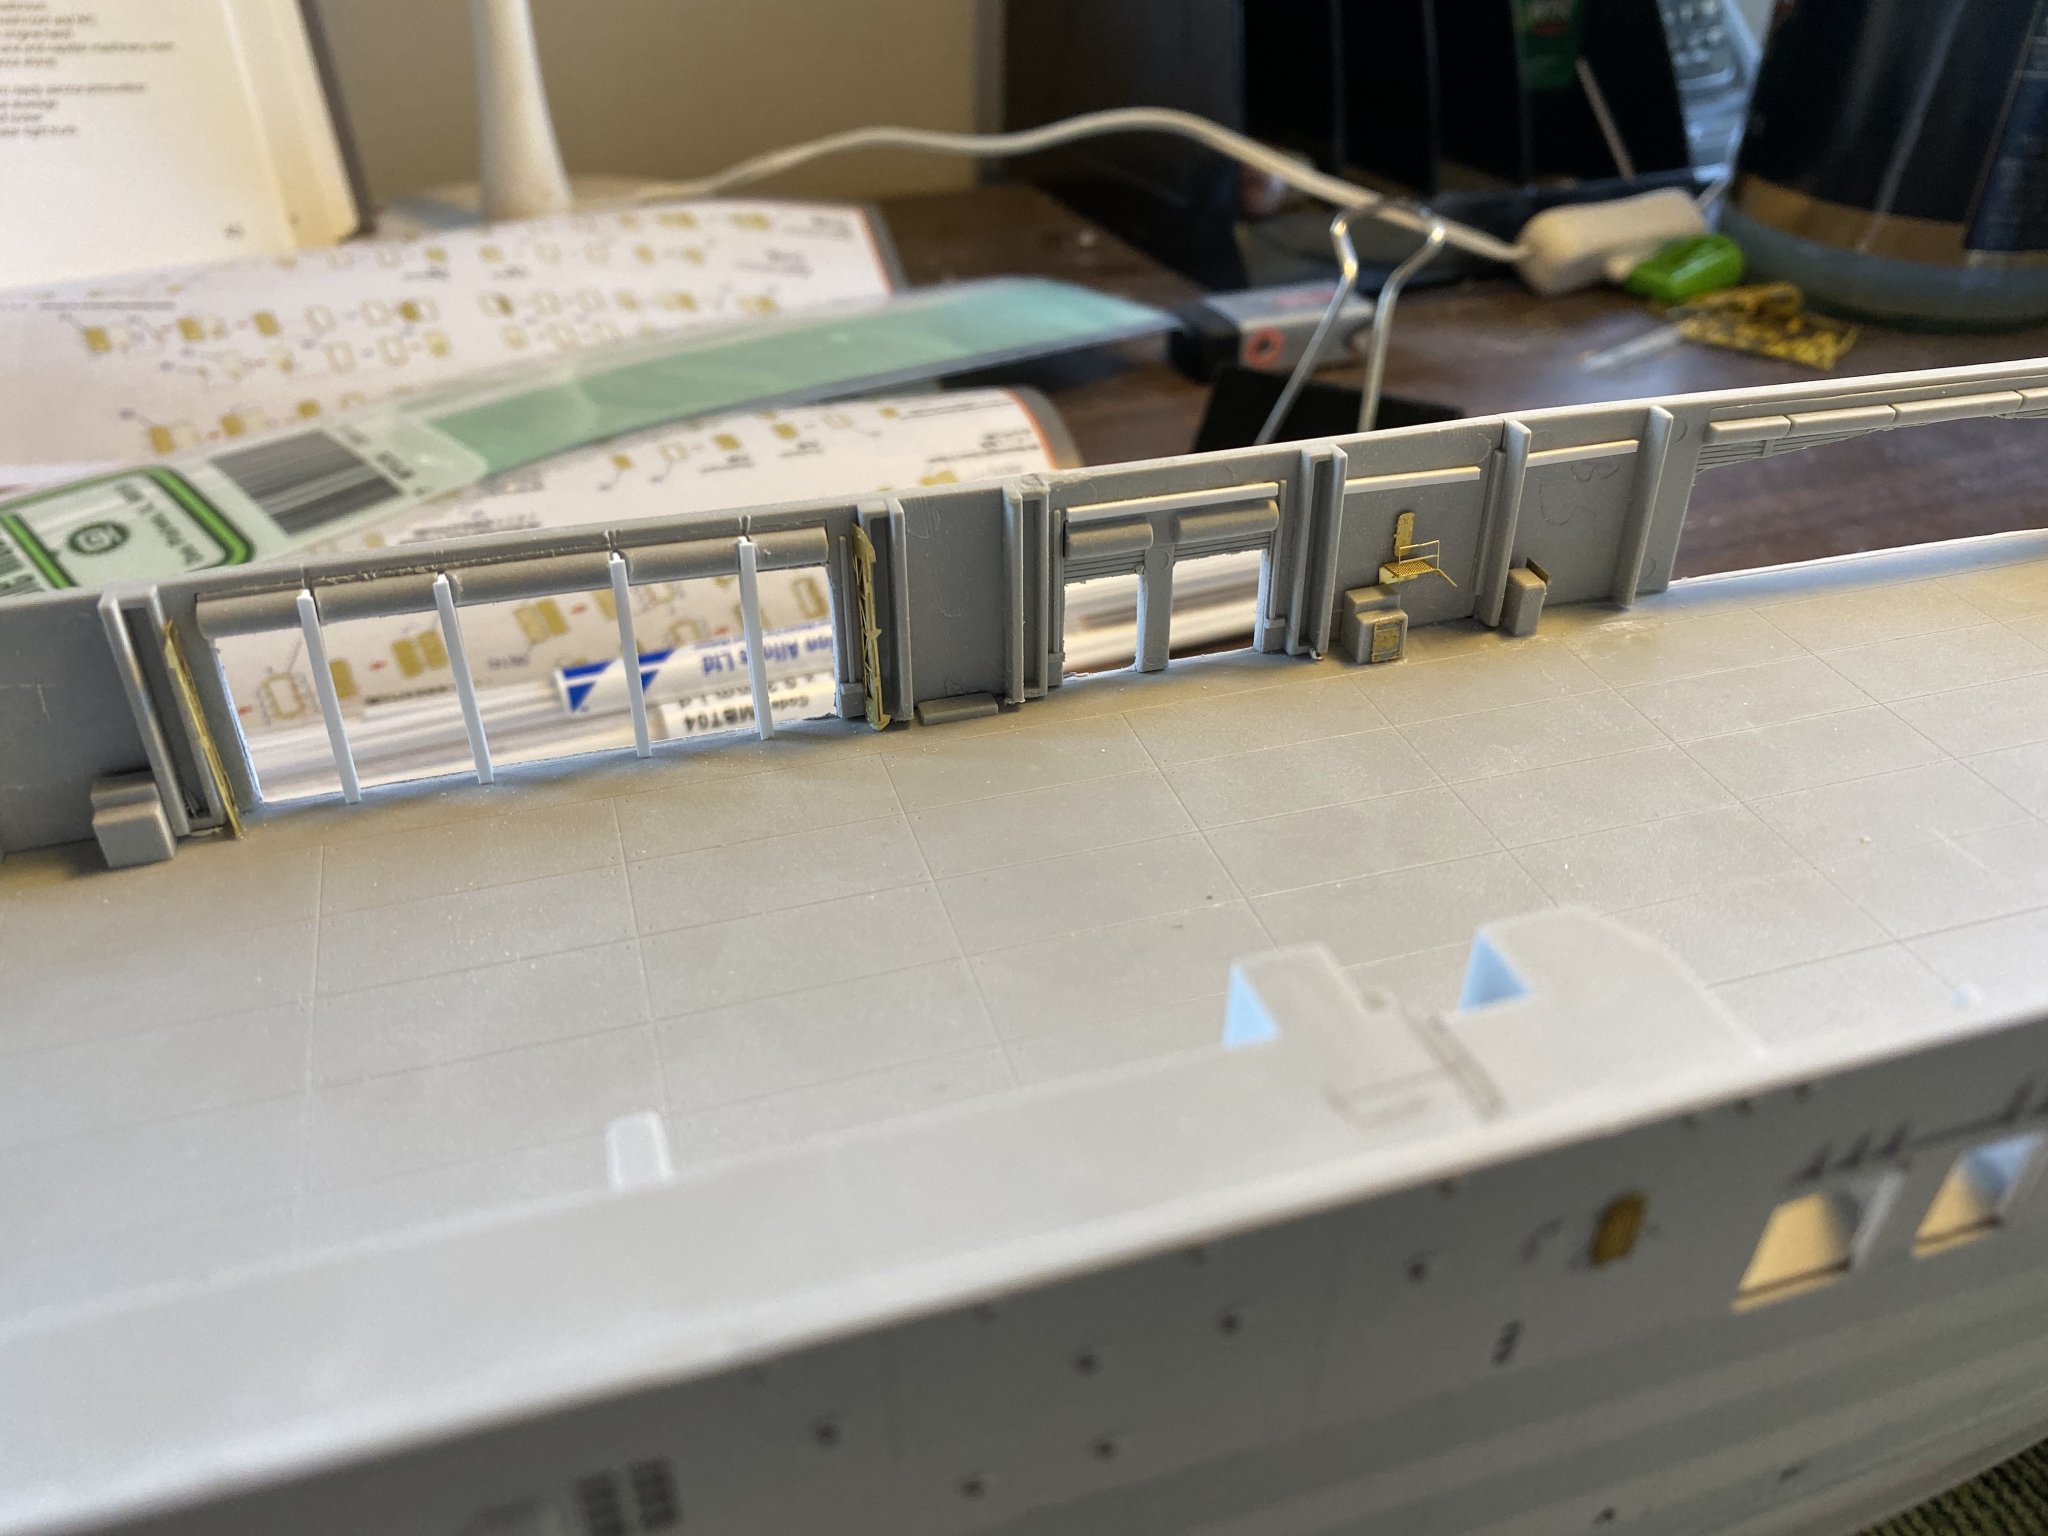
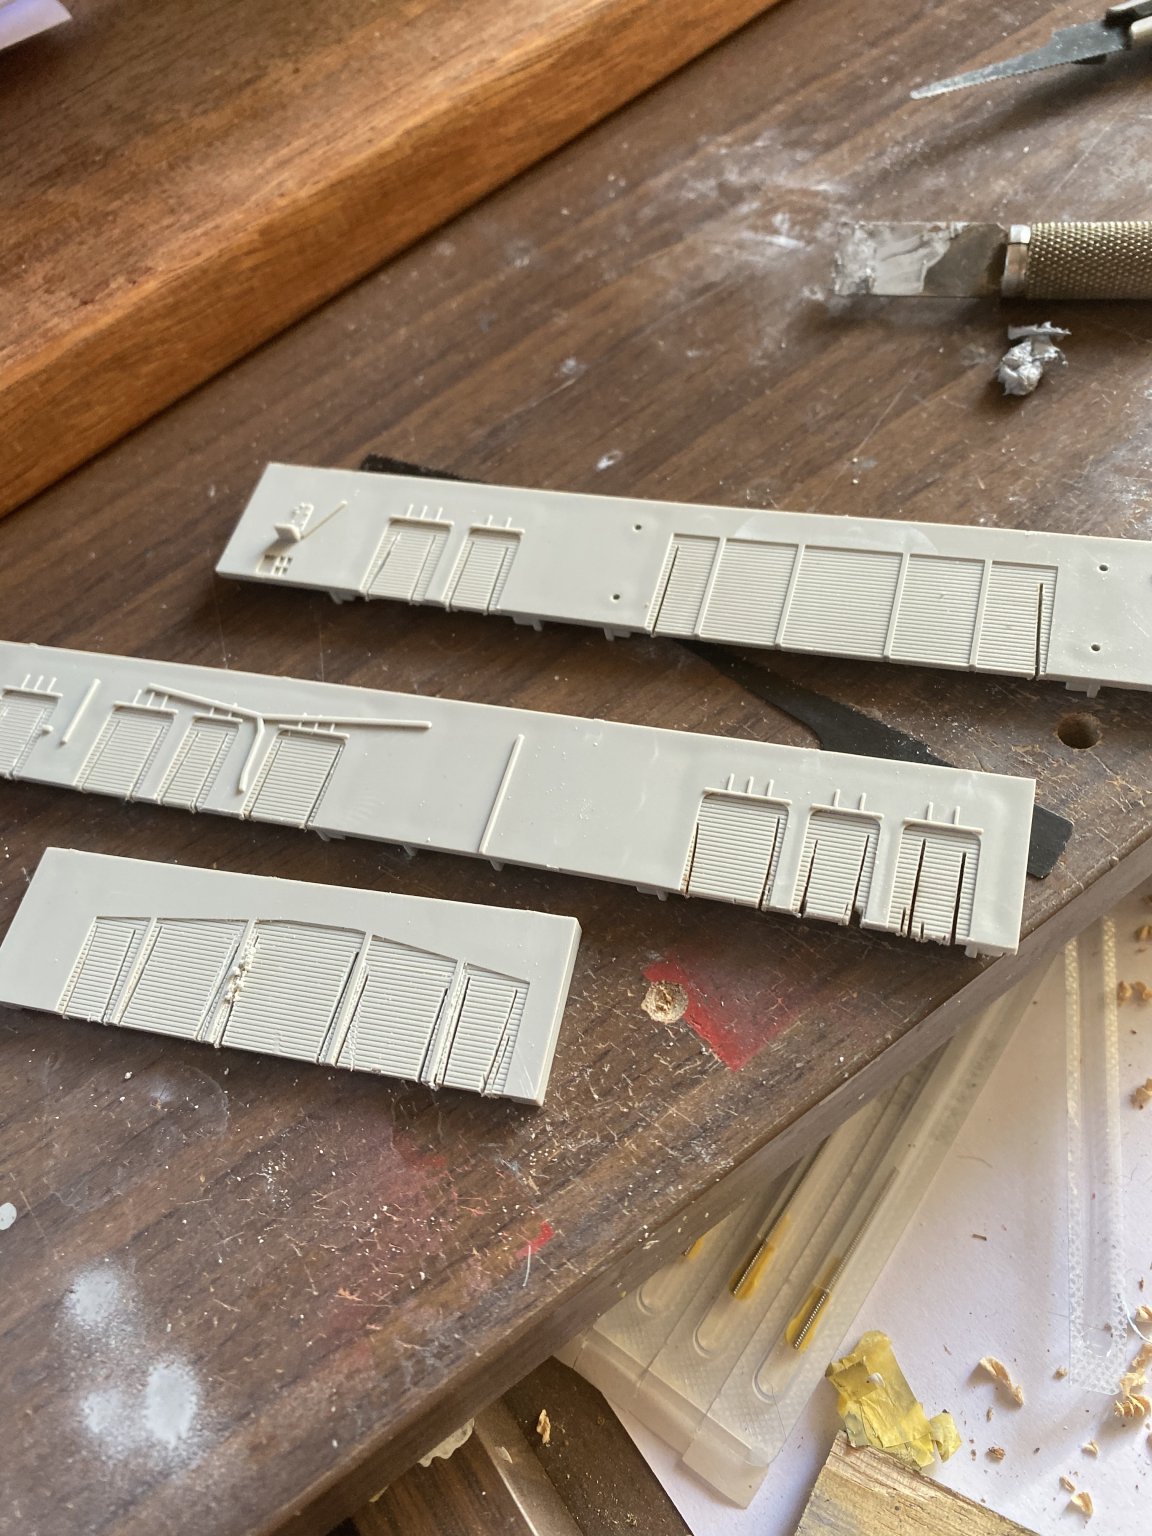
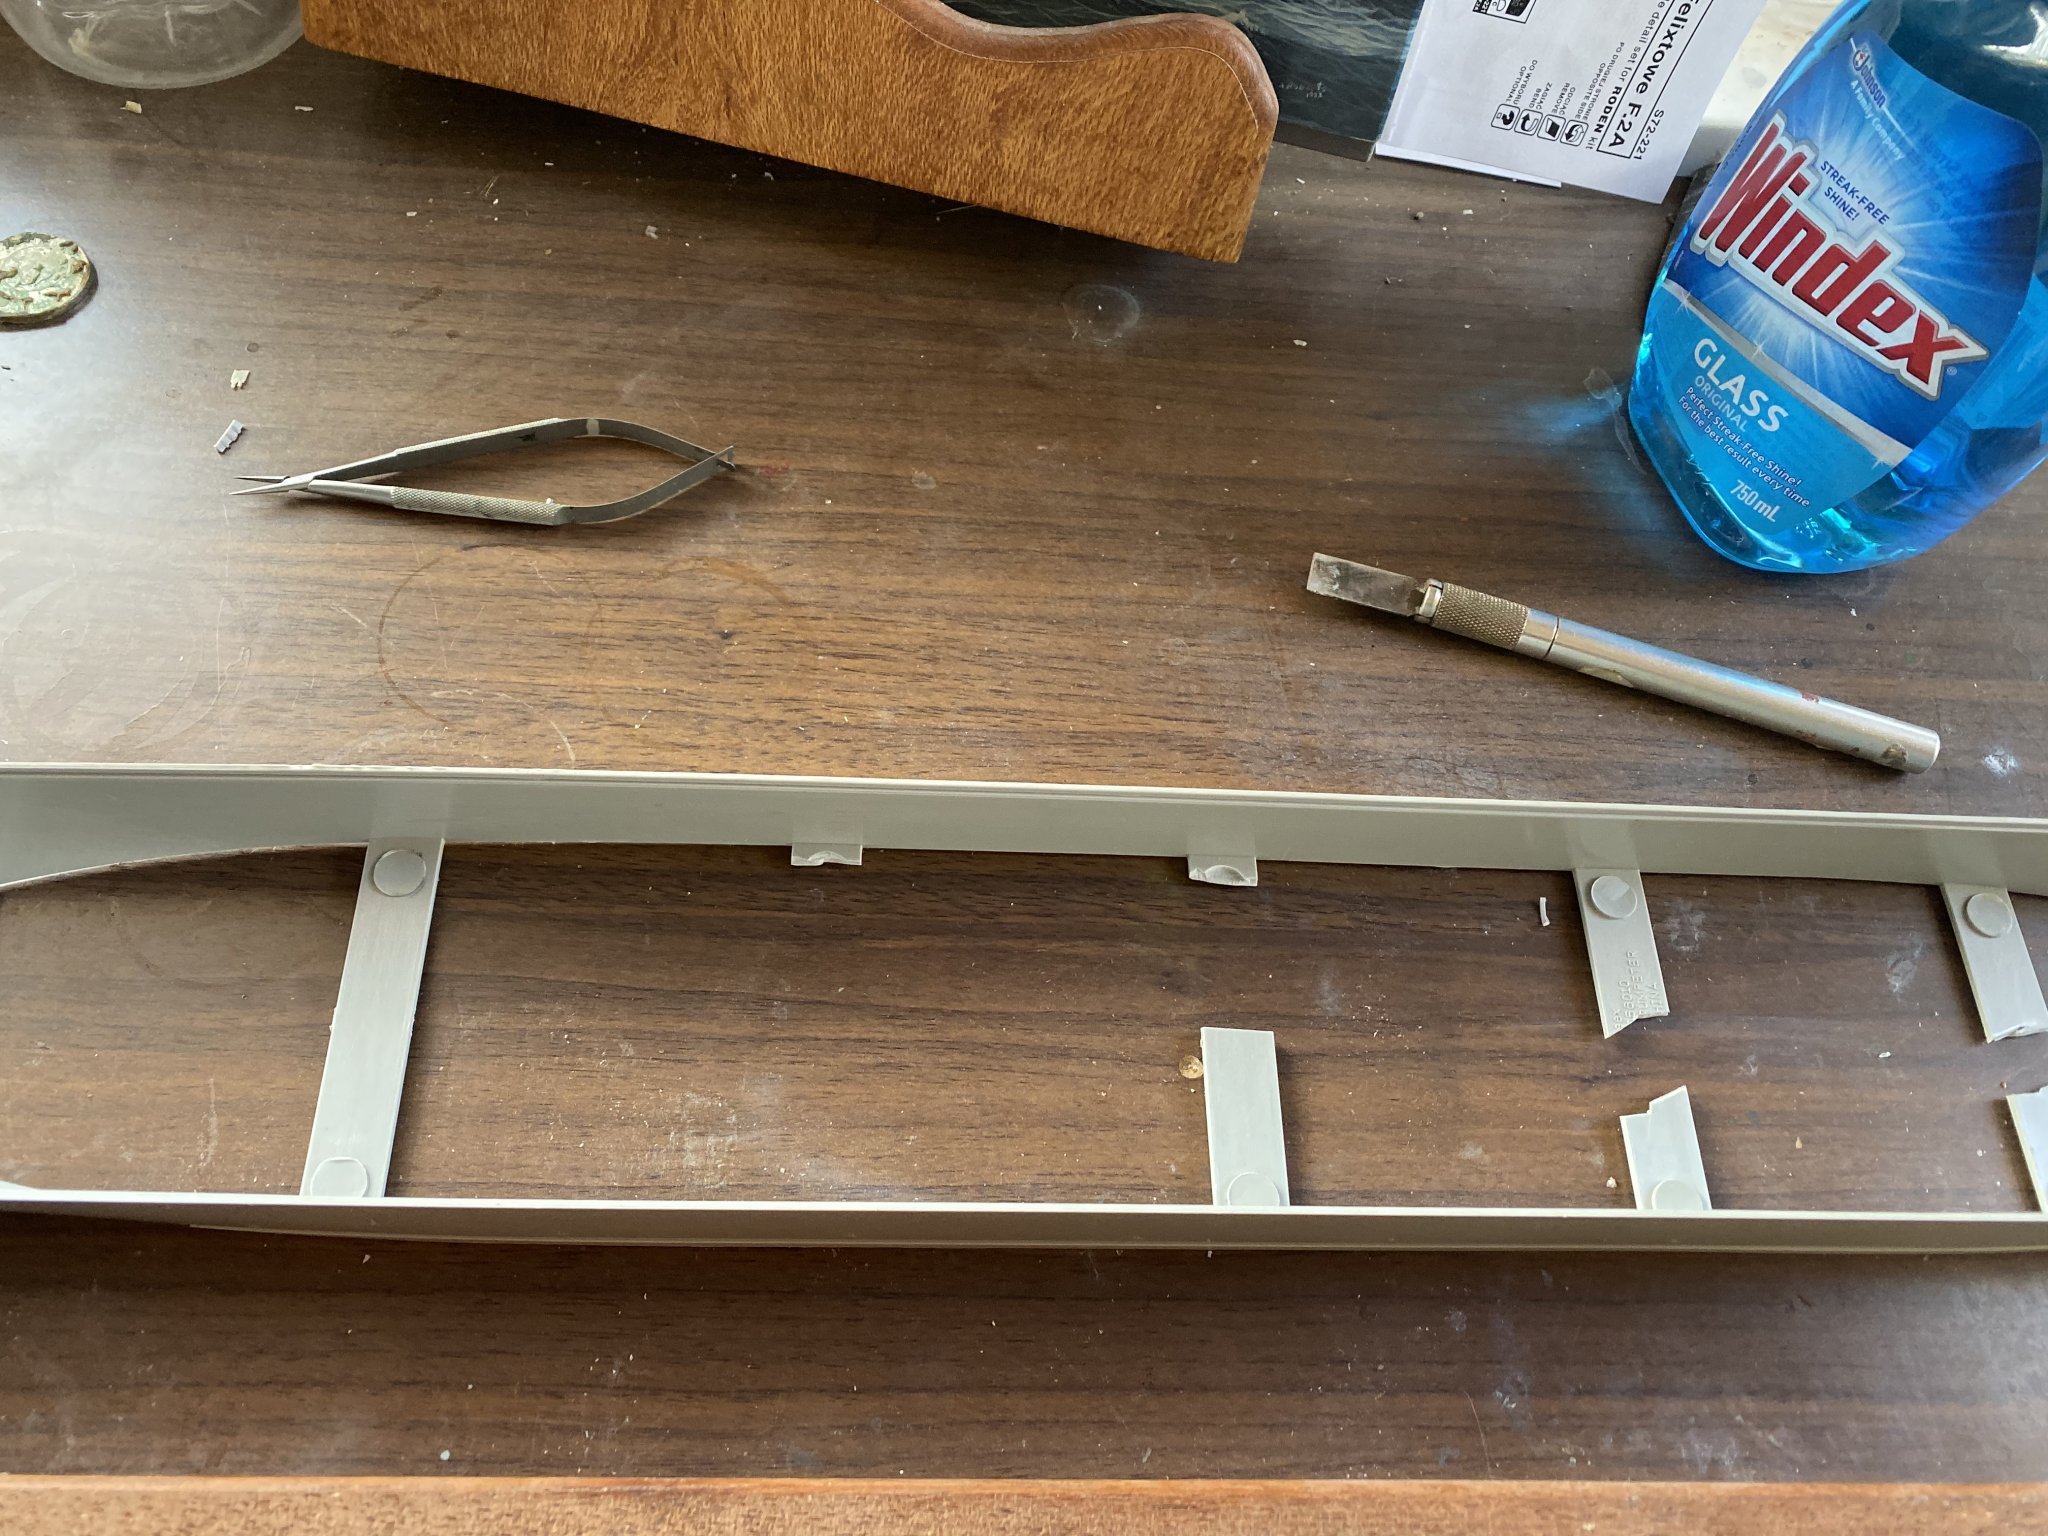
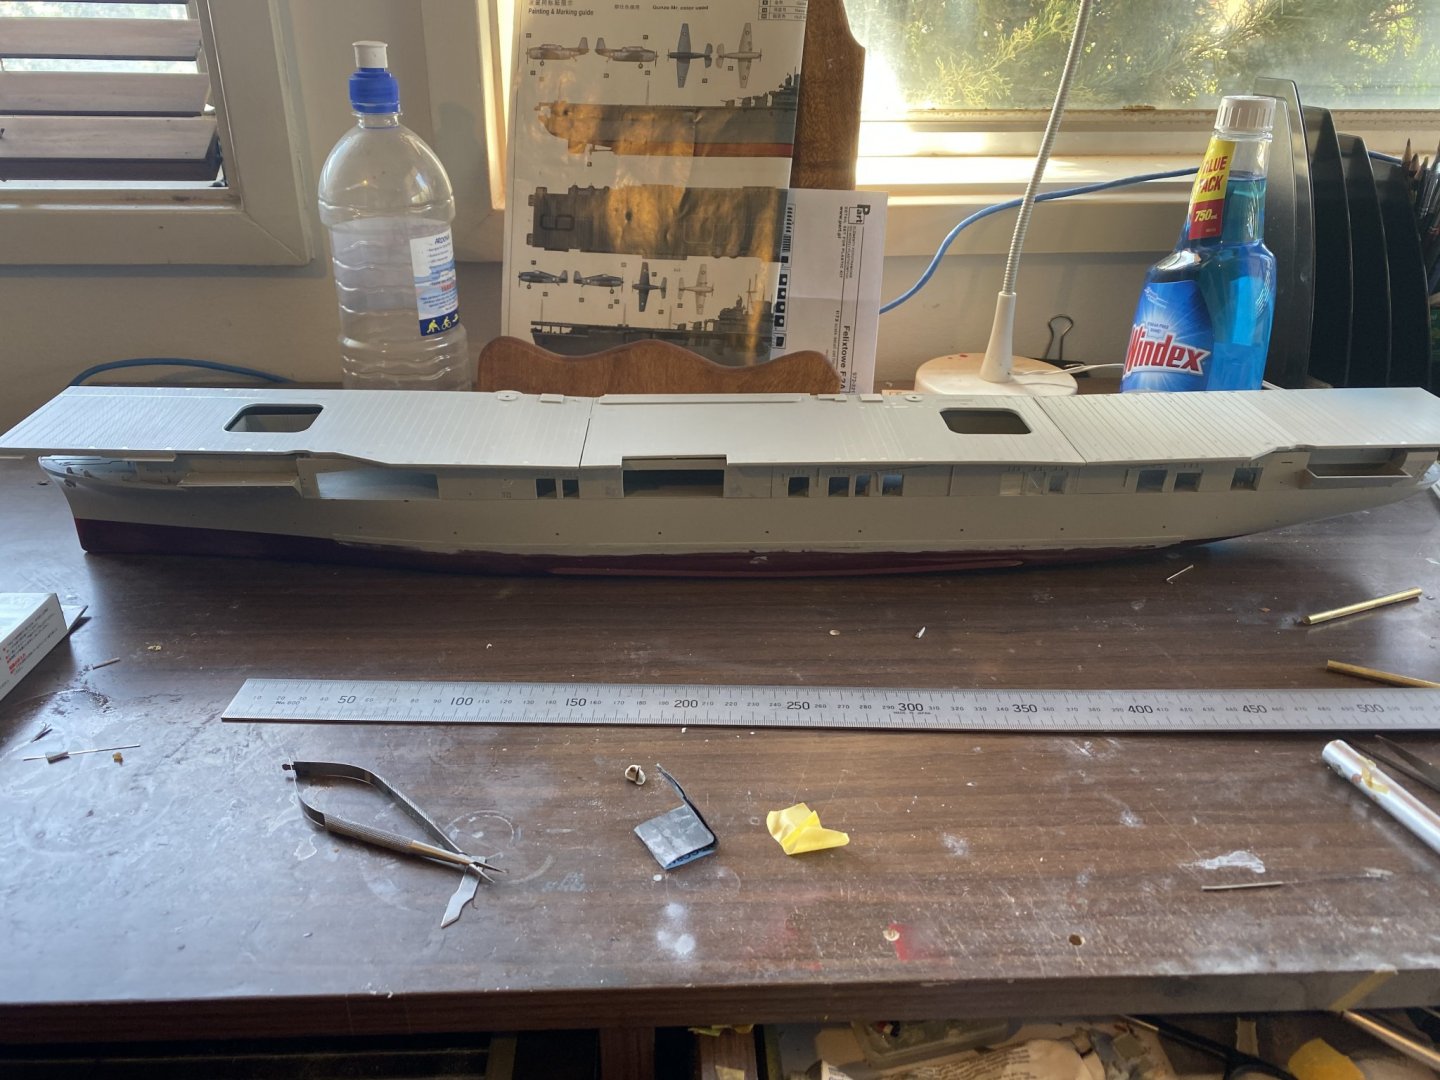
Hangar deck. Several hours worth of cutting out all the roller doors. The South Pacific is bloody hot, I imagine at sea the doors would be open as much as possible. I intend on detailing the inside as much as is sensible and park some planes inside.i have to get this level done before I can overspray and etch in the hull plates


- 308 replies
-
- 15
-
-
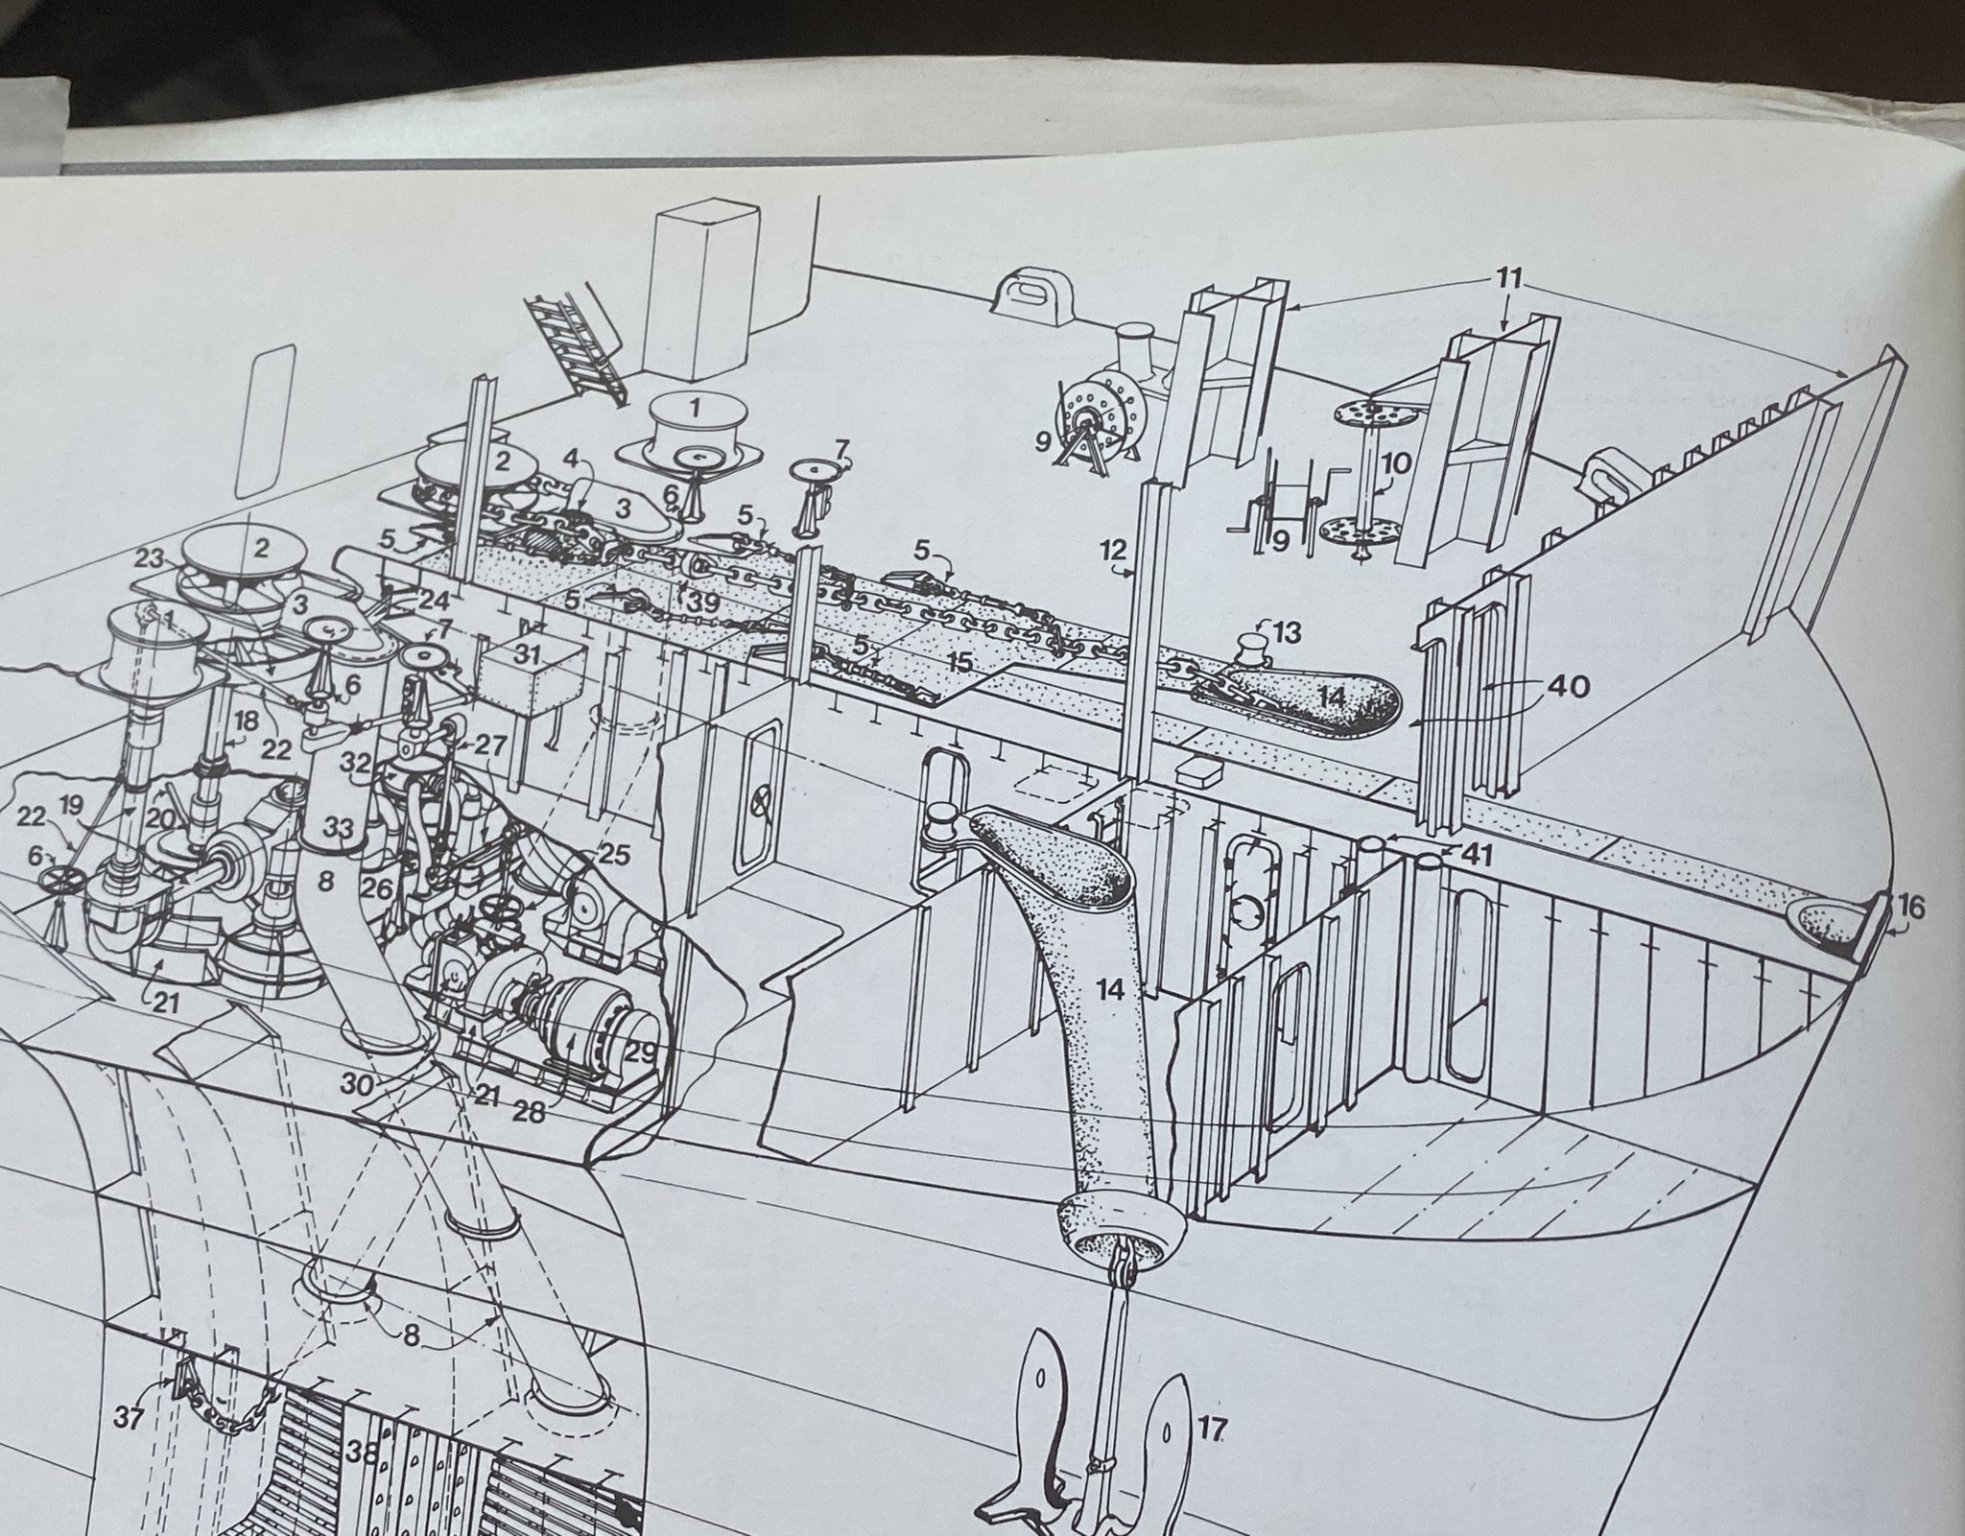
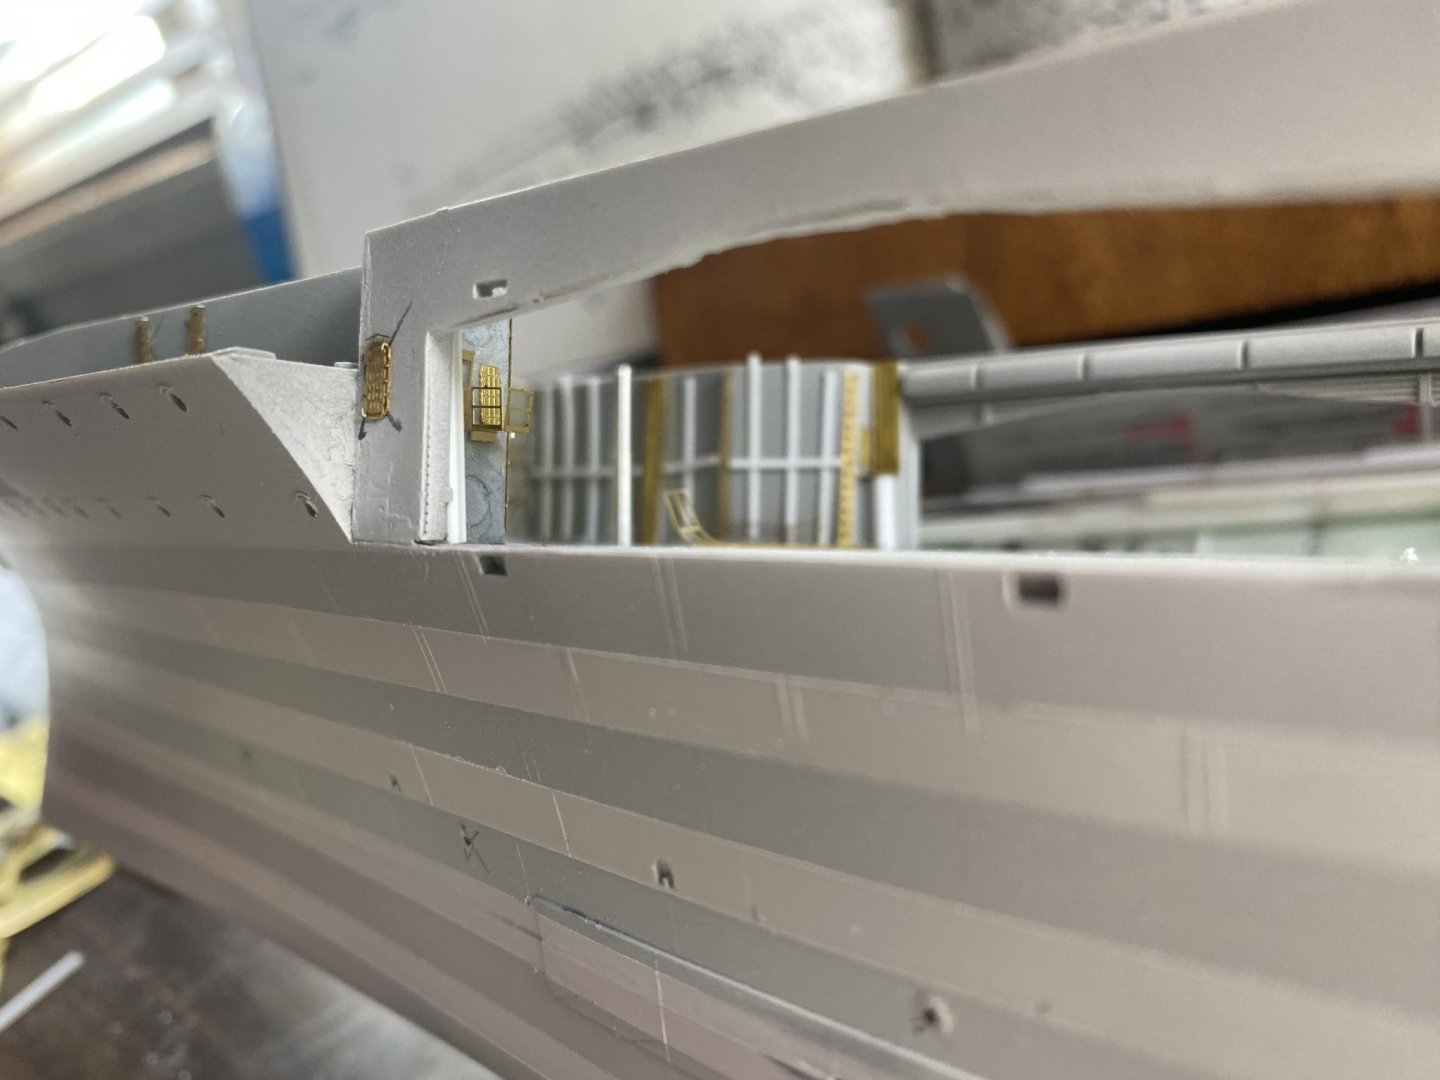
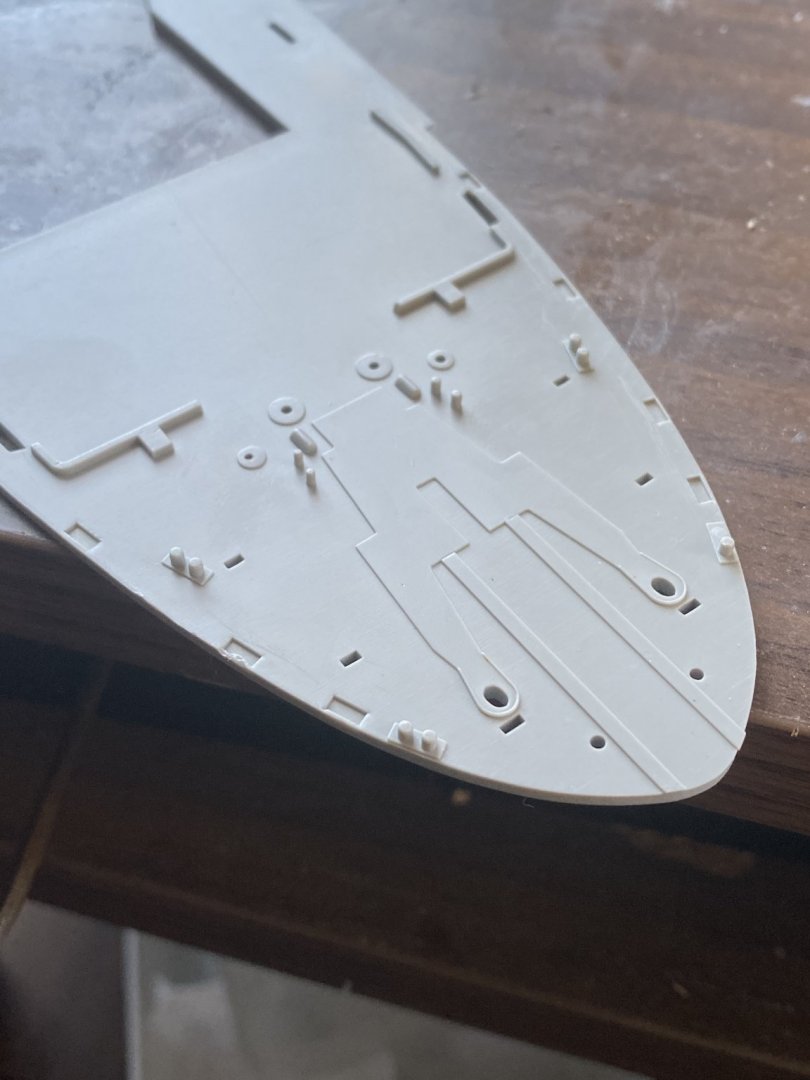
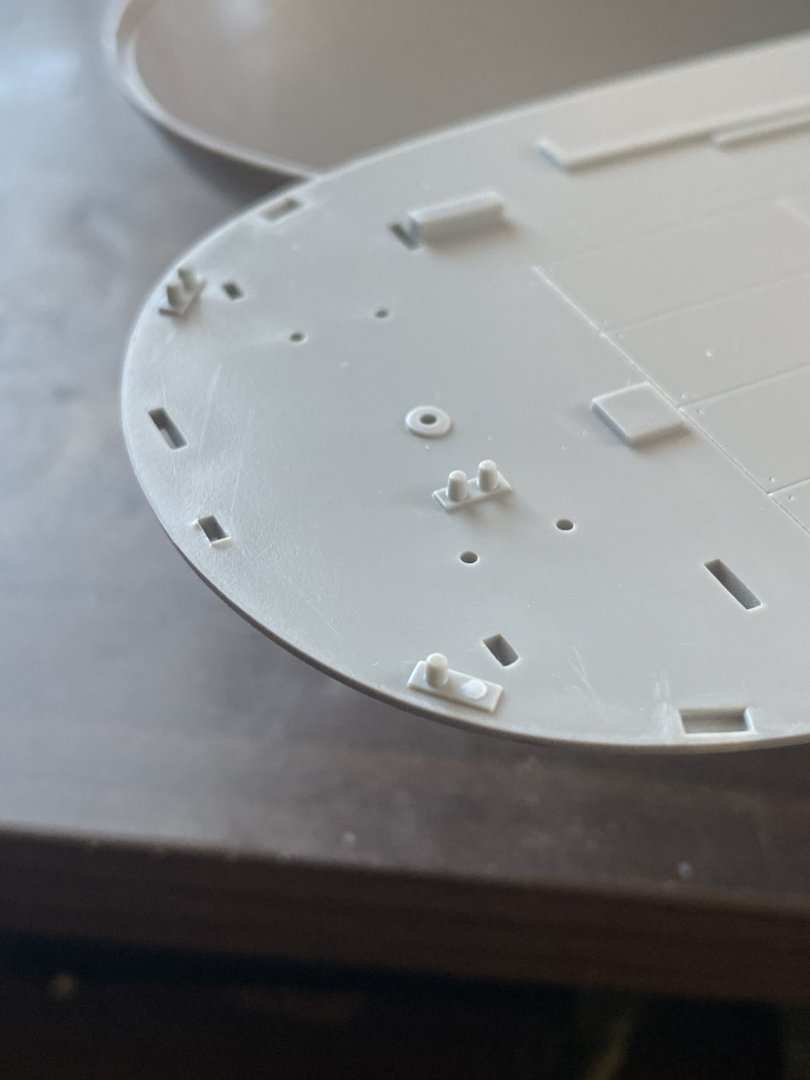
The bow, I’m going to have to replace a fair bit(this is under cover anyways and hard to see) the gap is huge and you can see from the real thing there are two large holes MISSING from the bow that even have the chafing plates running to them. the kit and Pontos don’t include cable reels


- 308 replies
-
- 12
-
-
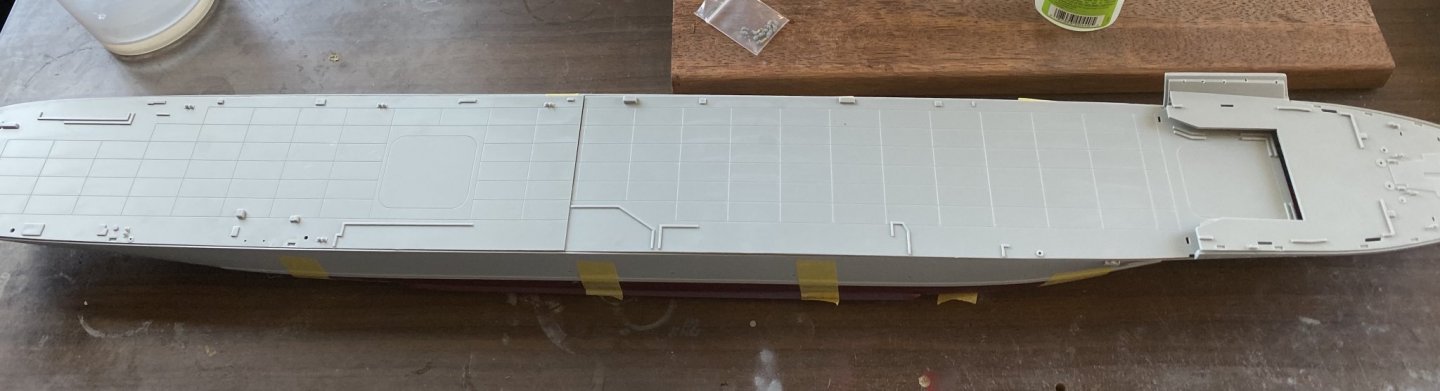
So the middle deck joined up and it’s actually flush when you break out the centre struts. hangar deck dry fitted and there’s going to be some big gaps. two bollards have snapped off (it’s a second hand kit so meh, I’ll replace the bollards anyway.

- 308 replies
-
- 12
-
-
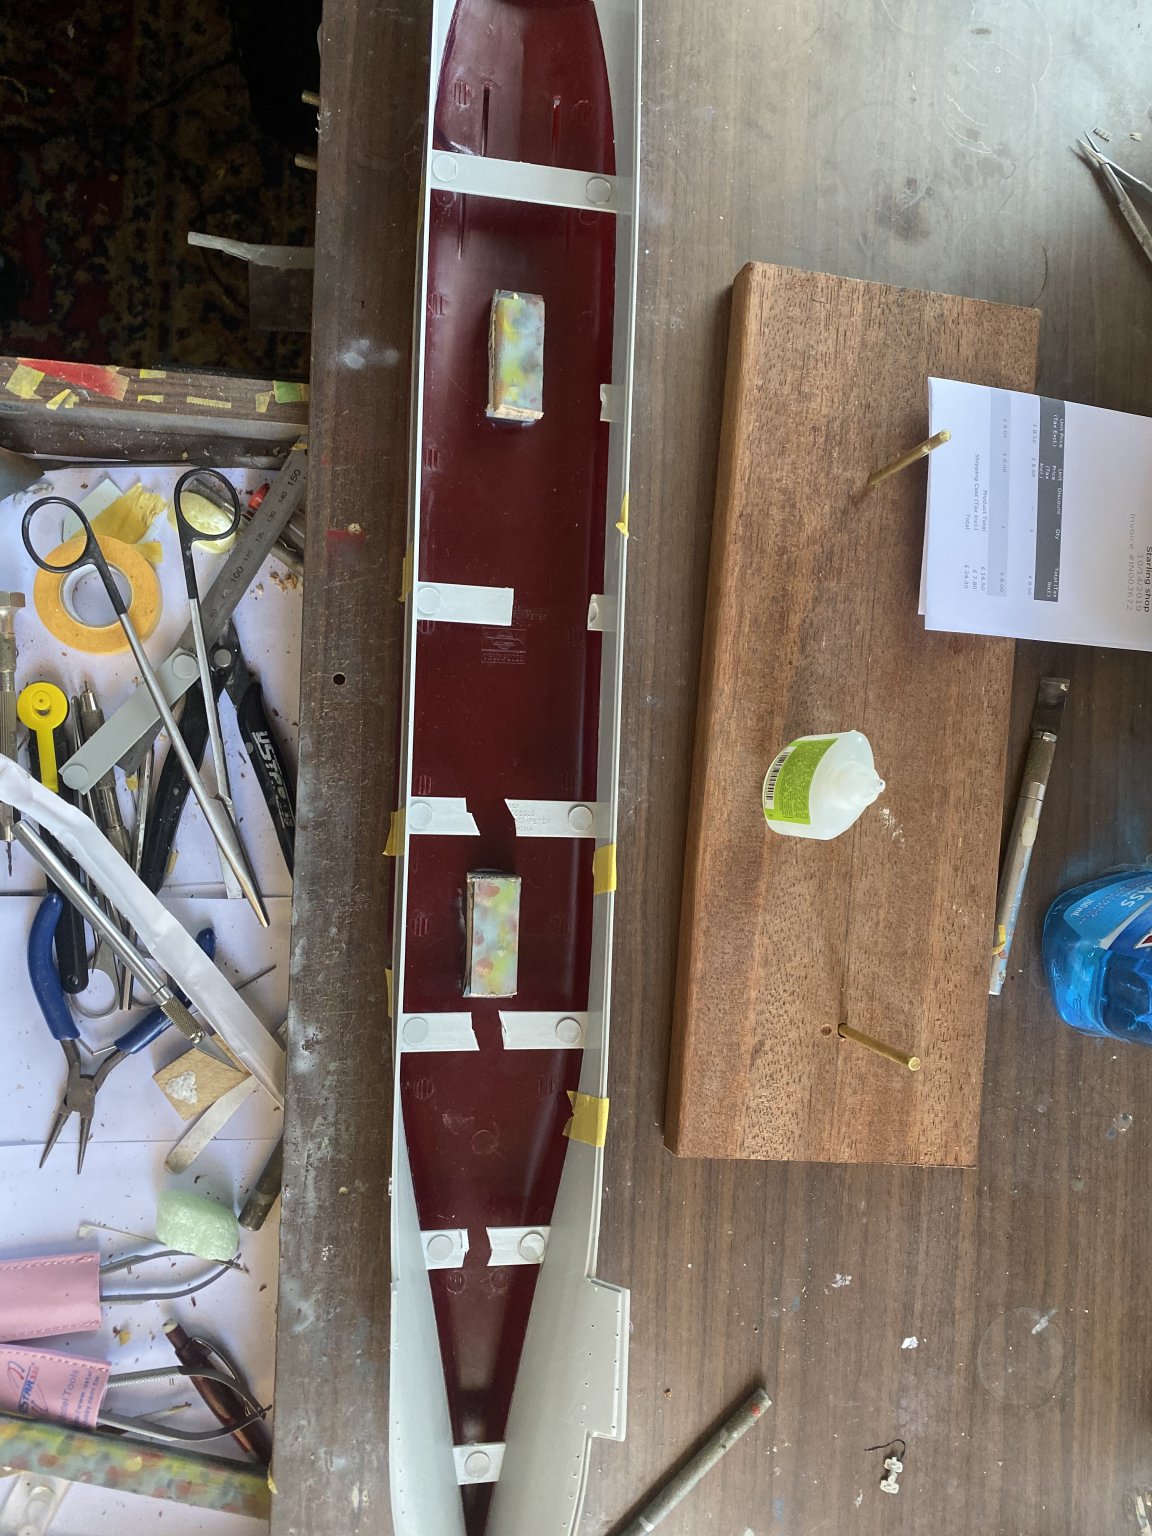
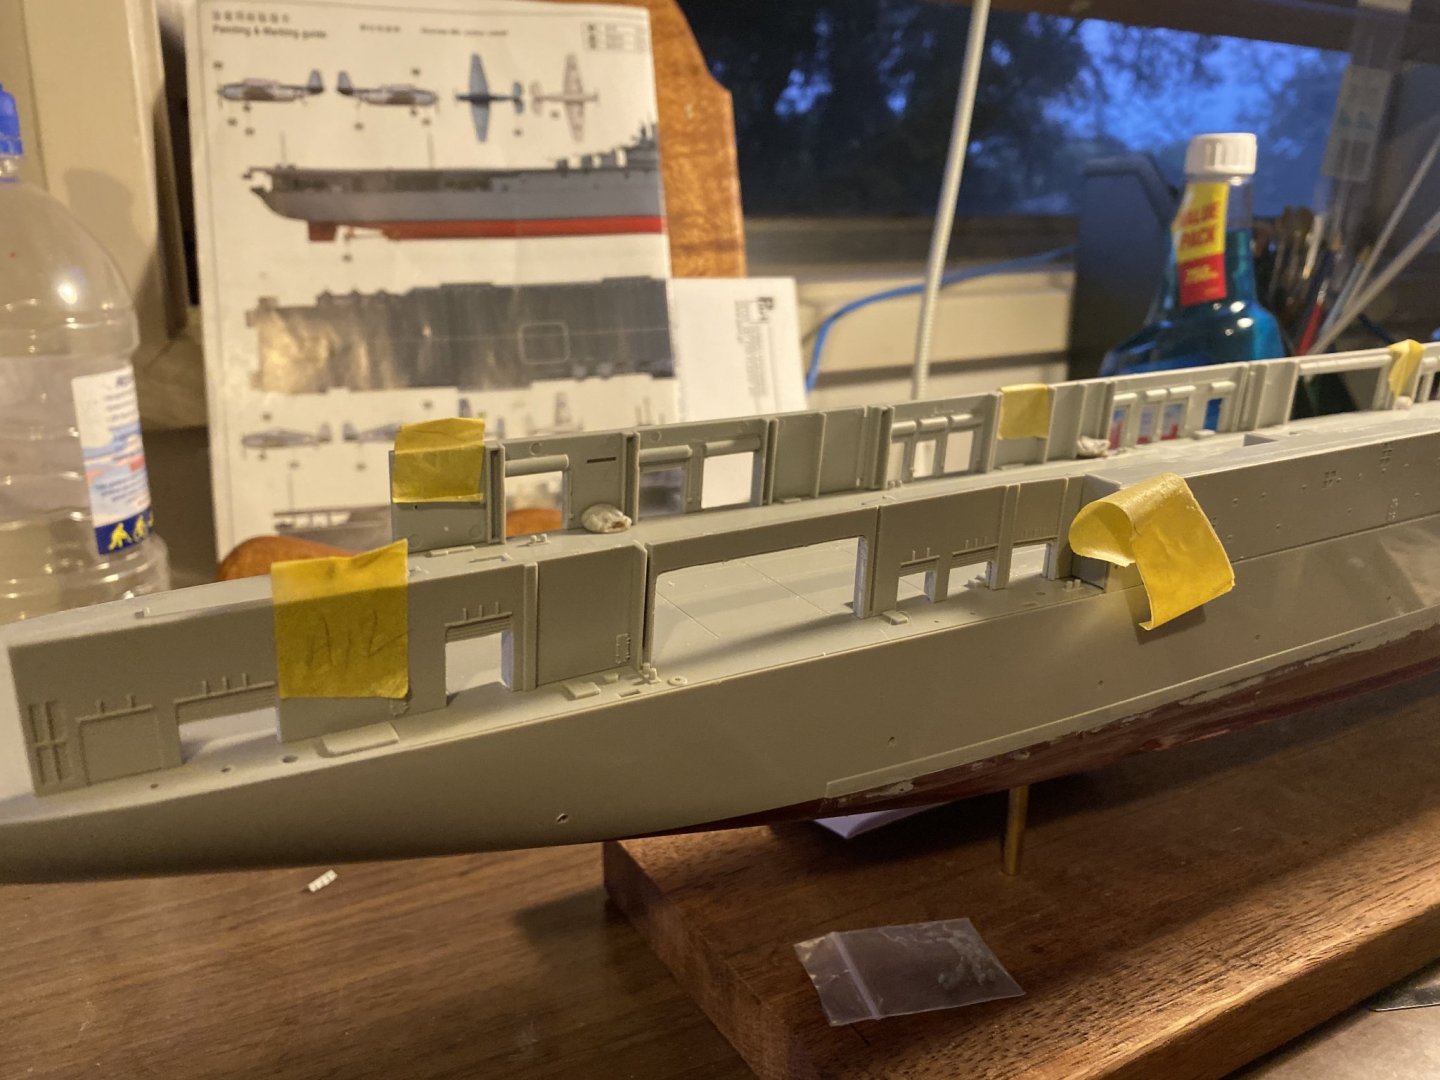
And it starts. Some fairly prominent mold lines that needed a lot of sanding, offcuts used to hold the pedestals. the next level which goes from the waterline to the hangar deck, the centre support struts needed to be broken off to make sure it fits flush with the base. Only a few portholes to drill.

- 308 replies
-
- 13
-