RGL
-
Posts
5,080 -
Joined
-
Last visited
Content Type
Profiles
Forums
Gallery
Events
Everything posted by RGL
-
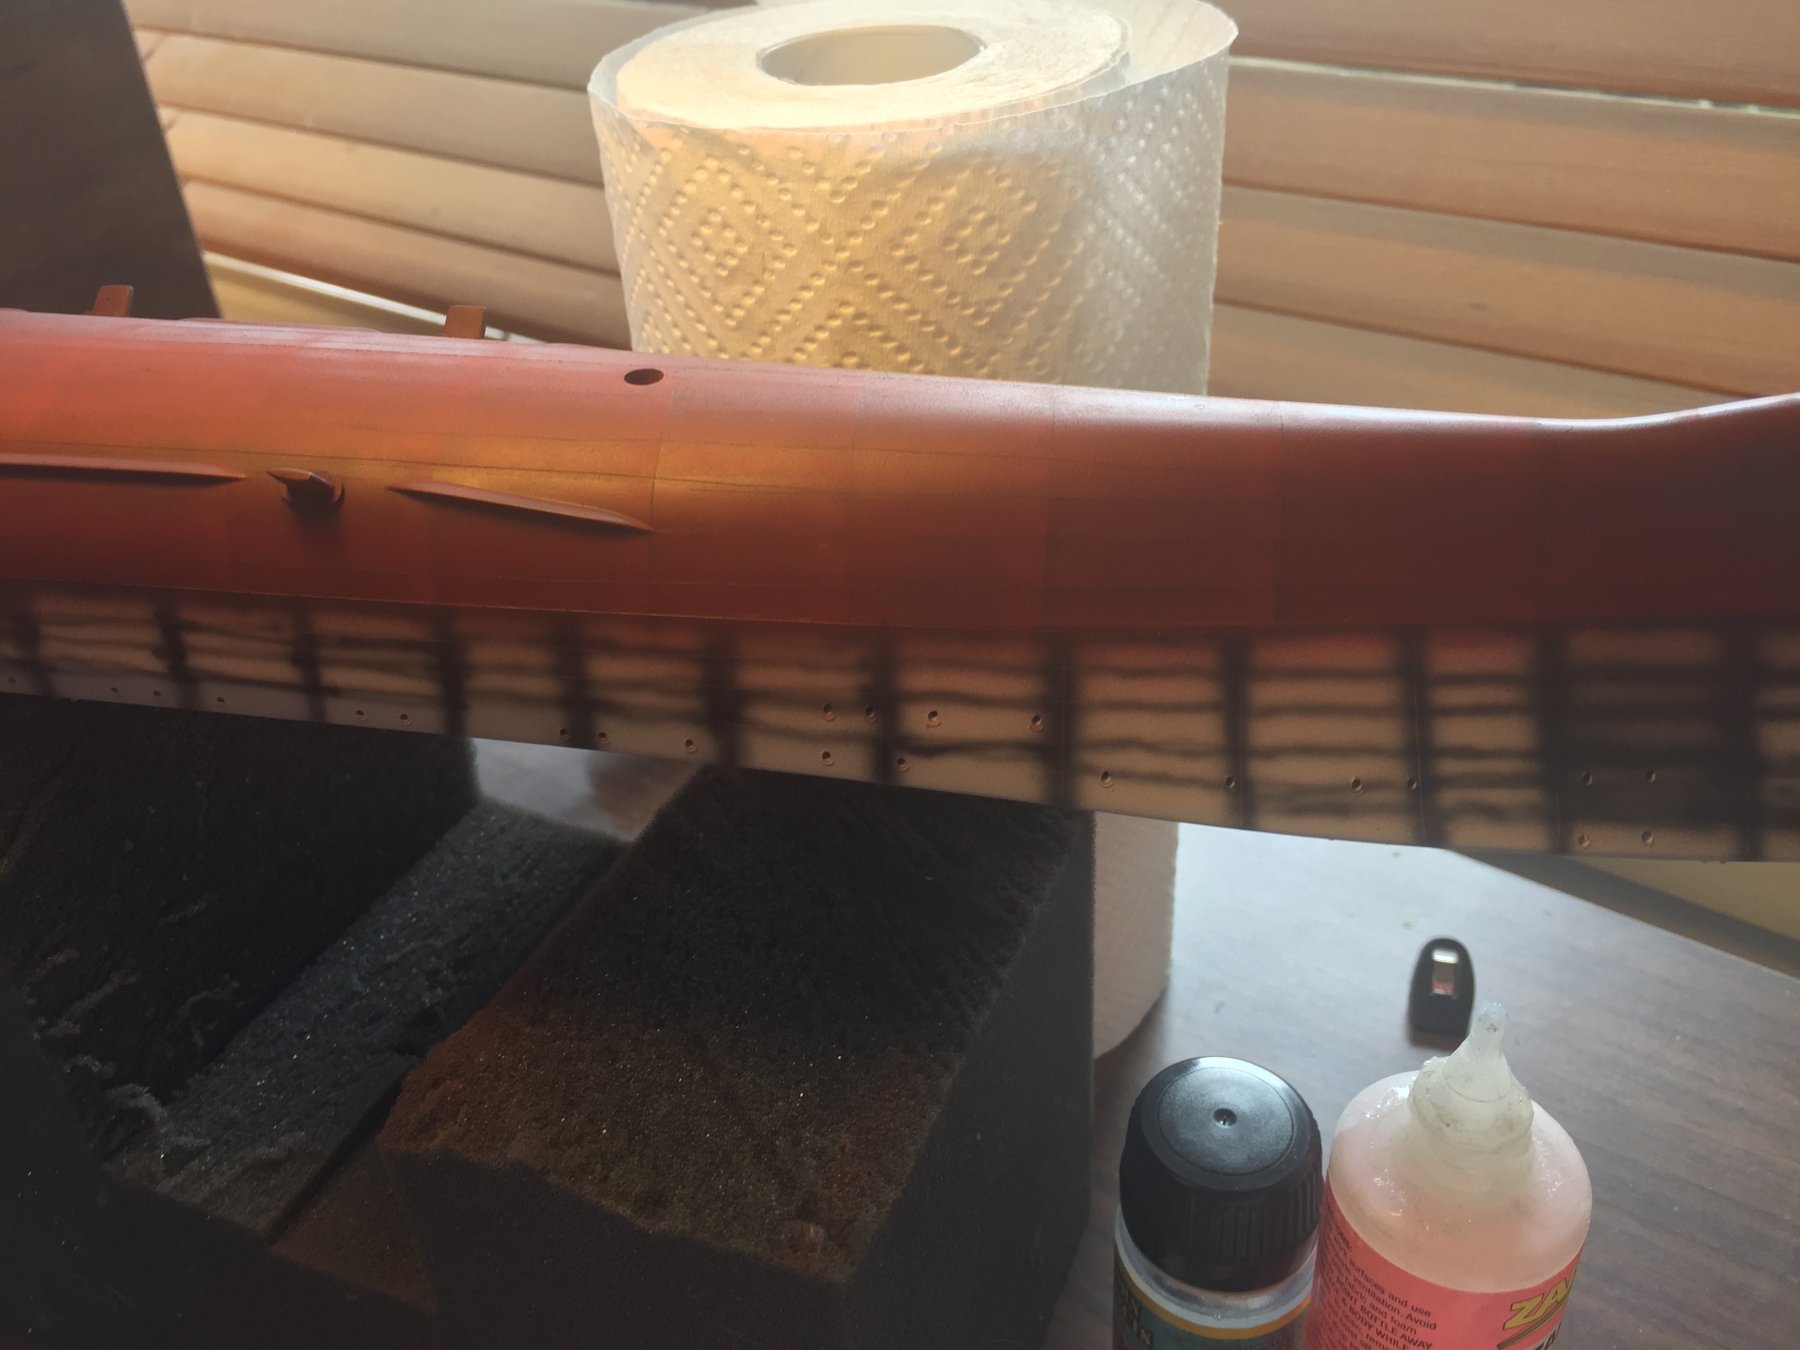
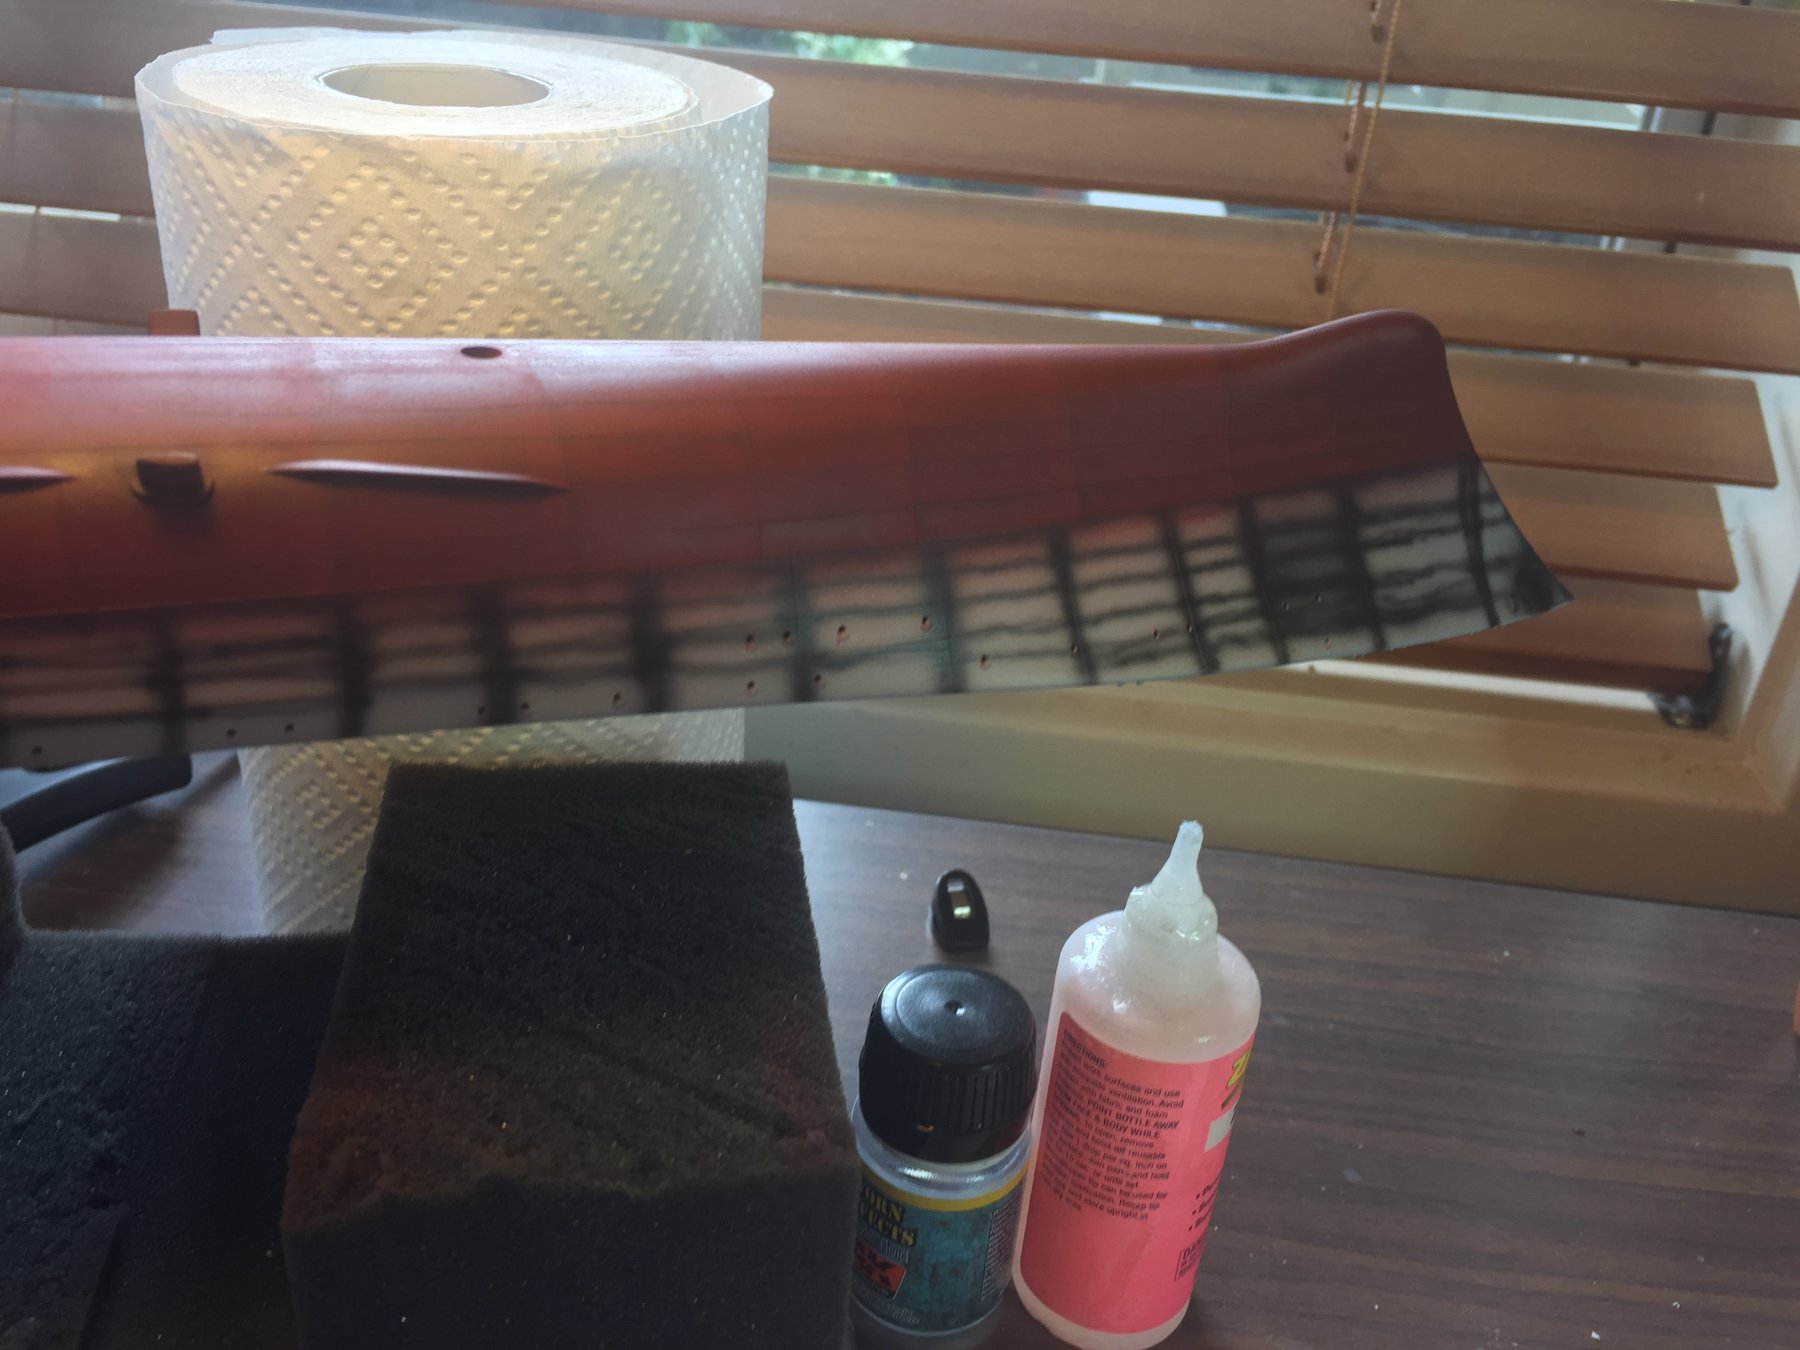
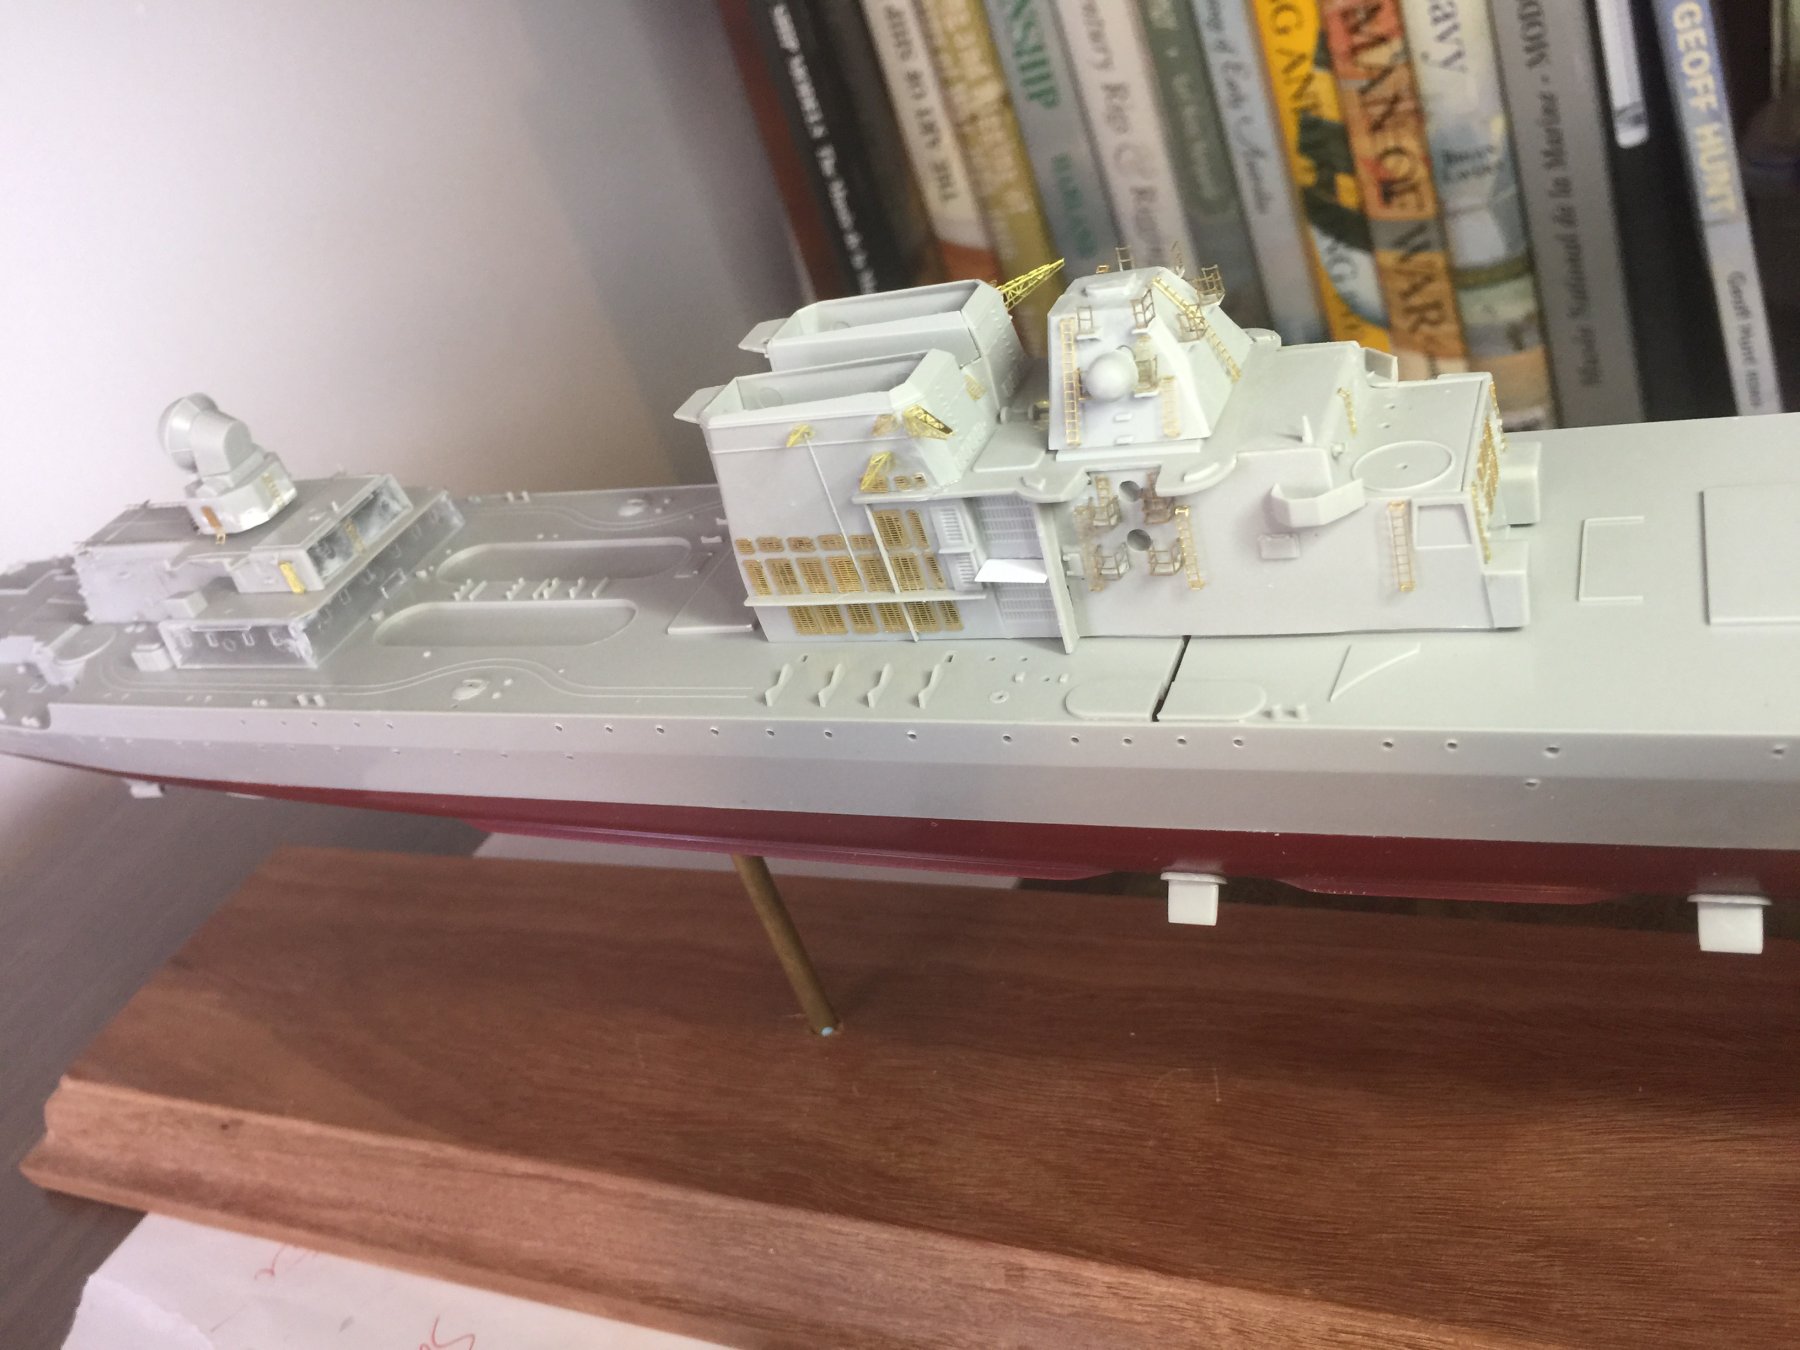
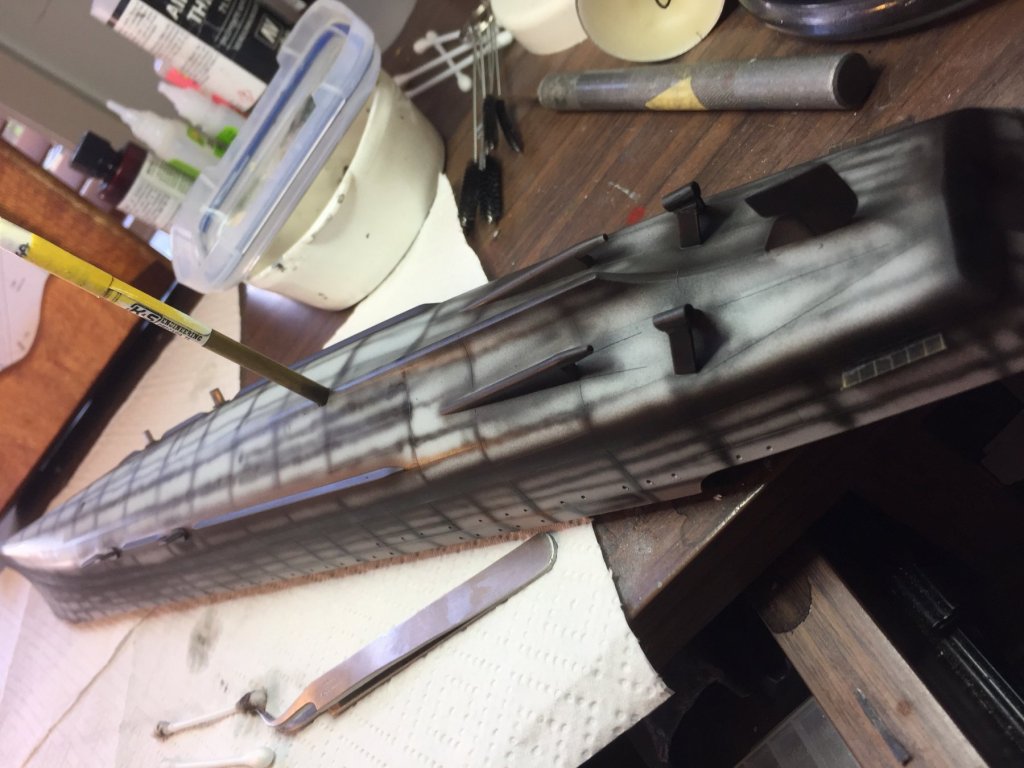
 I diffused below the hull with 2 coats of red and 1 of burnt sienna. To the naked eye it looks a lot more blended but there is weathering to go anyway. I’ll let it dry for a couple of hours, then do the chipping. I can then let it dry for a week as duty calls over Xmas so I’ll get some priming done of the superstructures done this afternoon.
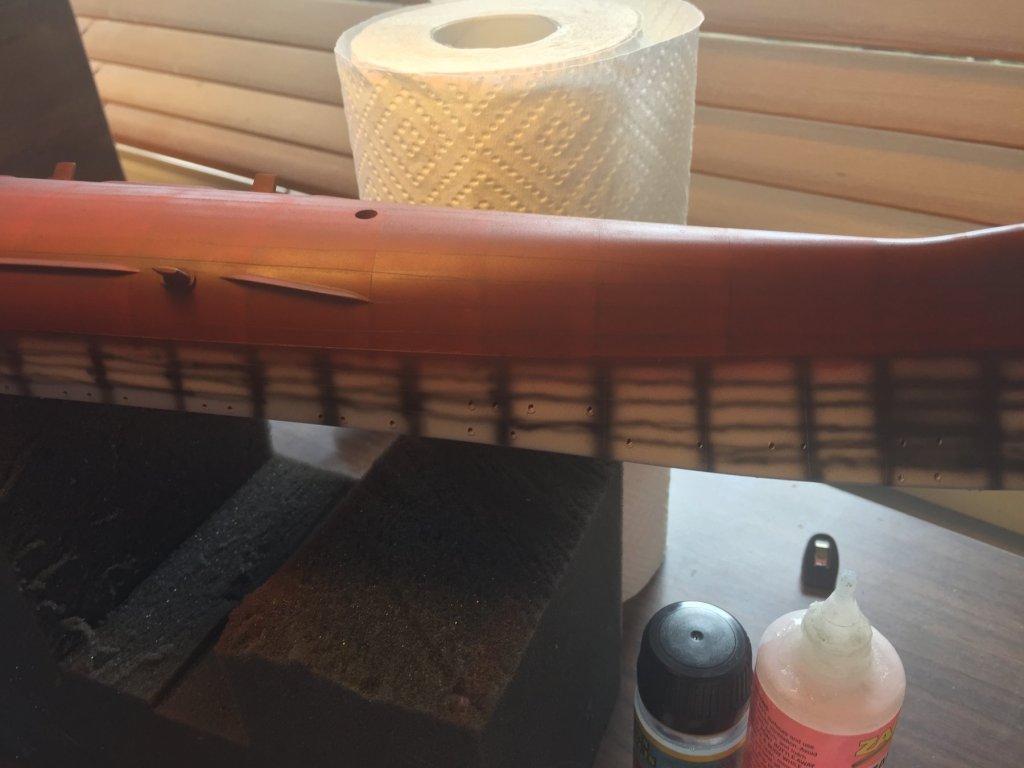

- 180 replies
-
- 11
-

-
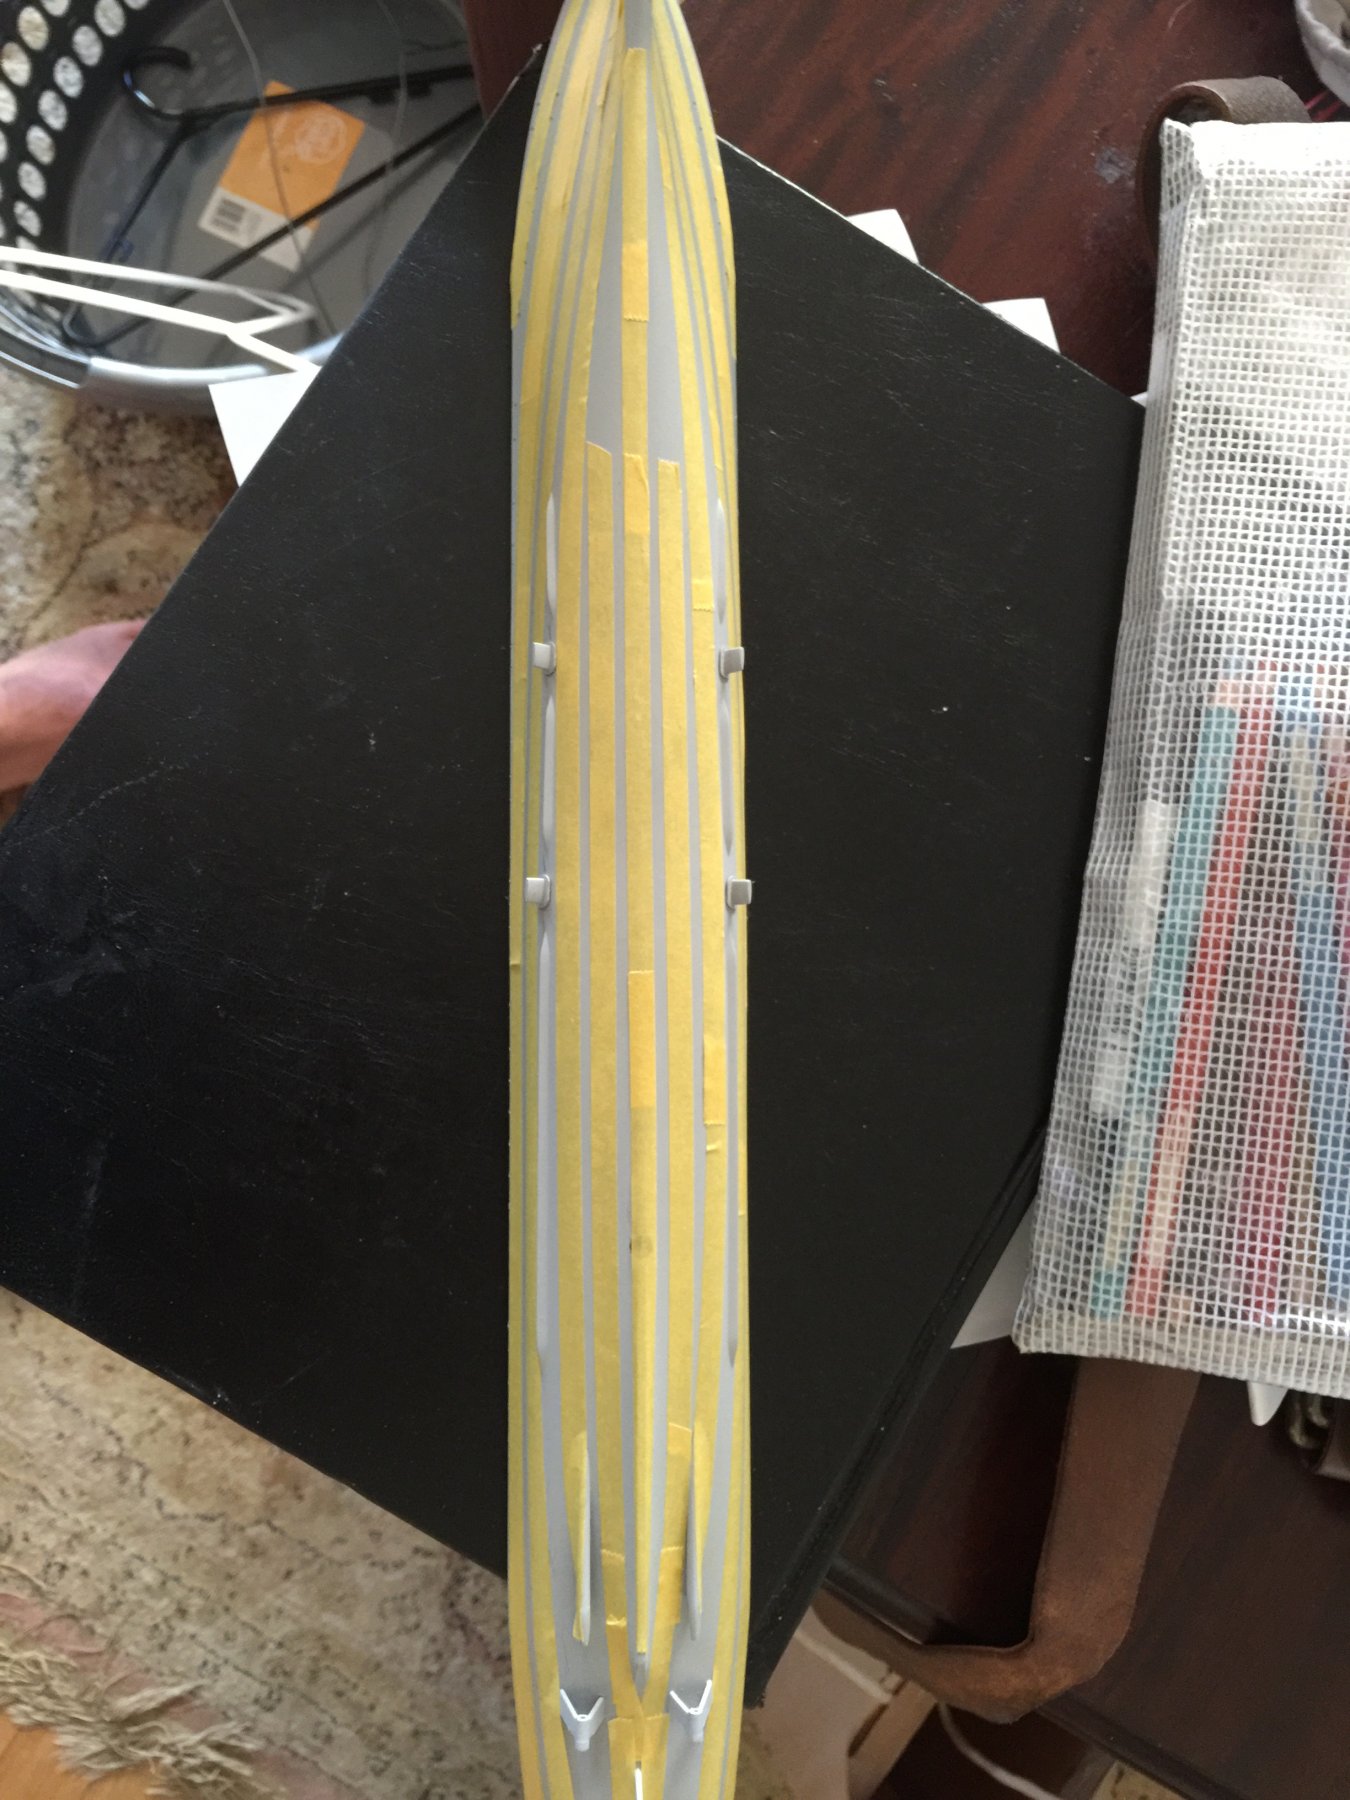
Thanks all. To accentuate the panels i have used some matt red and a card to keep strait lines. I’ll give it a little bit of time and then use a 25% red solution to overspray to fade it then a lighter coat on top of that.


-
It helps define the panels/armour belts. If you have a look at my build of the Dreadnought and then compare it to my Isuzu build it will depict why I do it.
-
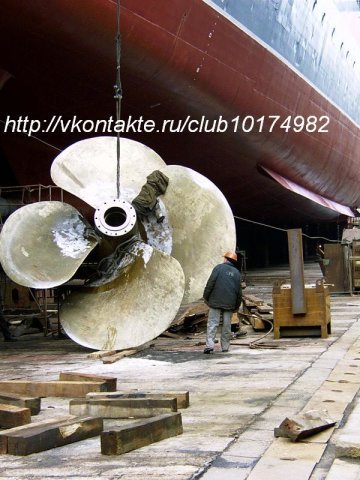
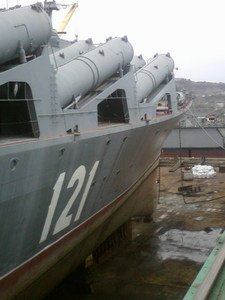
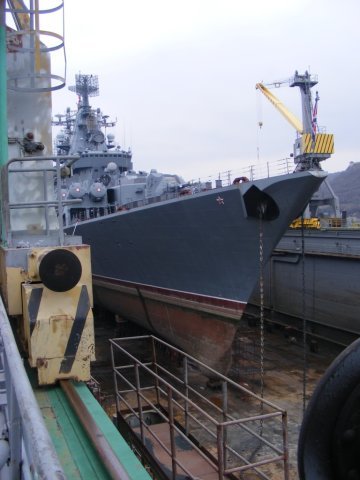
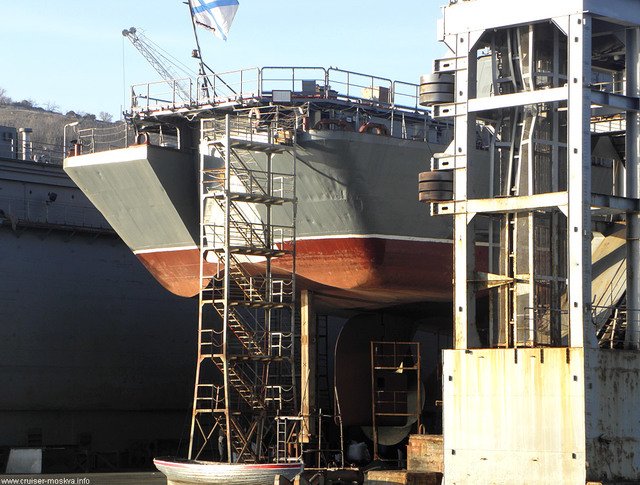
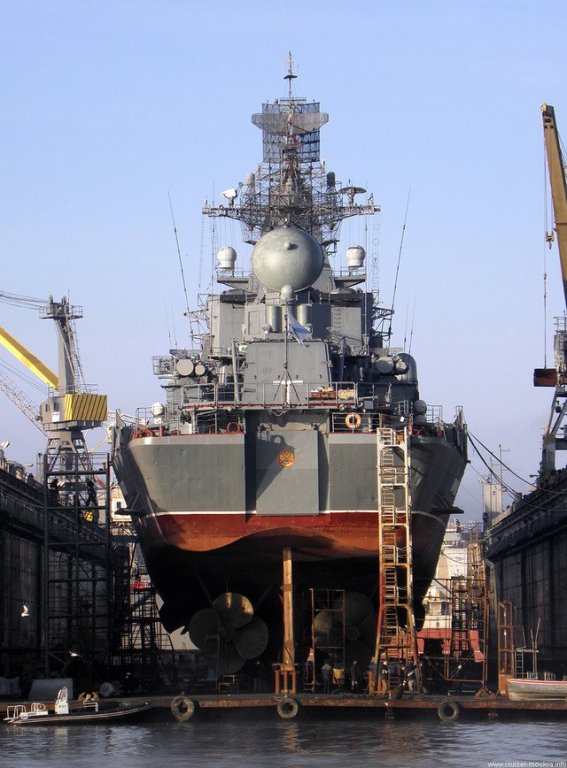
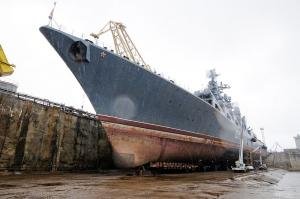
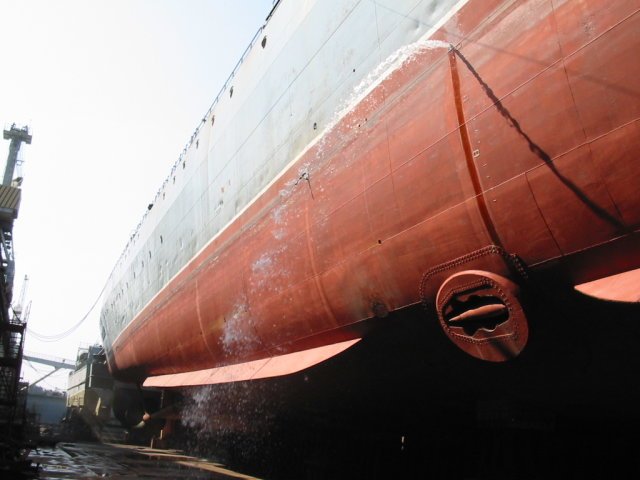
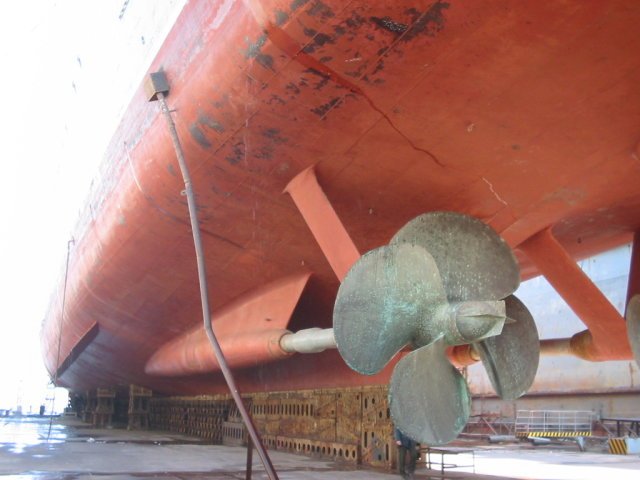
and a few more of a real hull in the stages of a refit. I can still grunge him up a bit yet.

-
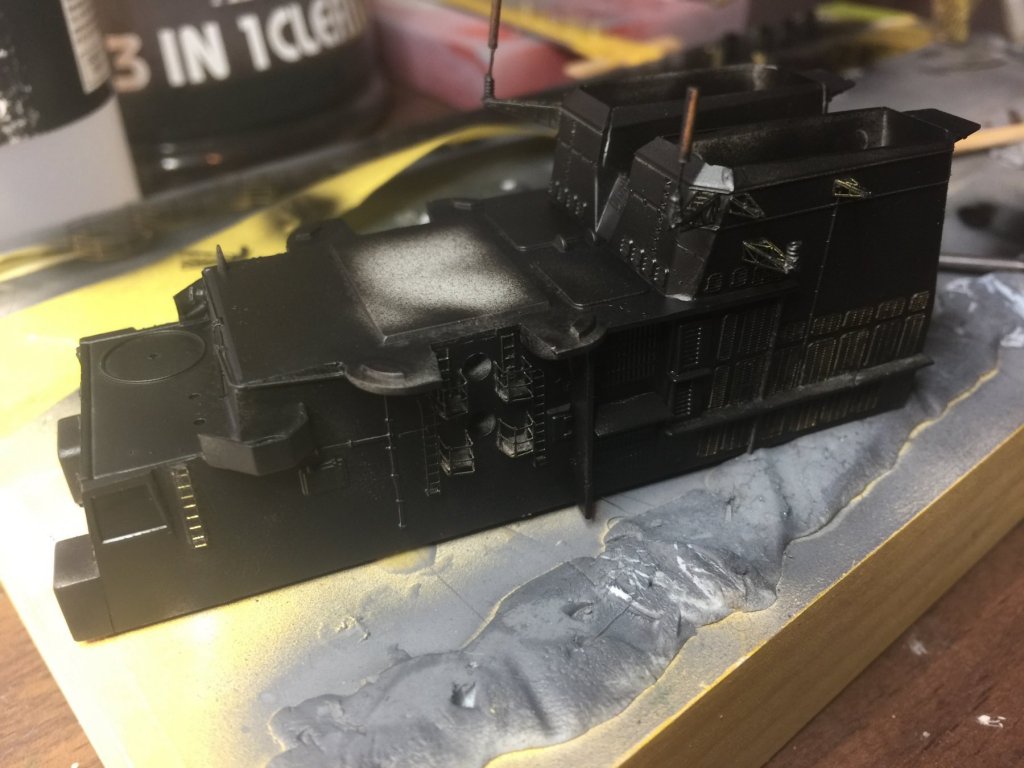
I have a black Vajello primer, I love the colour but I hate the paint as it Boggs up the airbrush very quickly. It saves time with preshading but more importantly it shows up where I have missed.
-
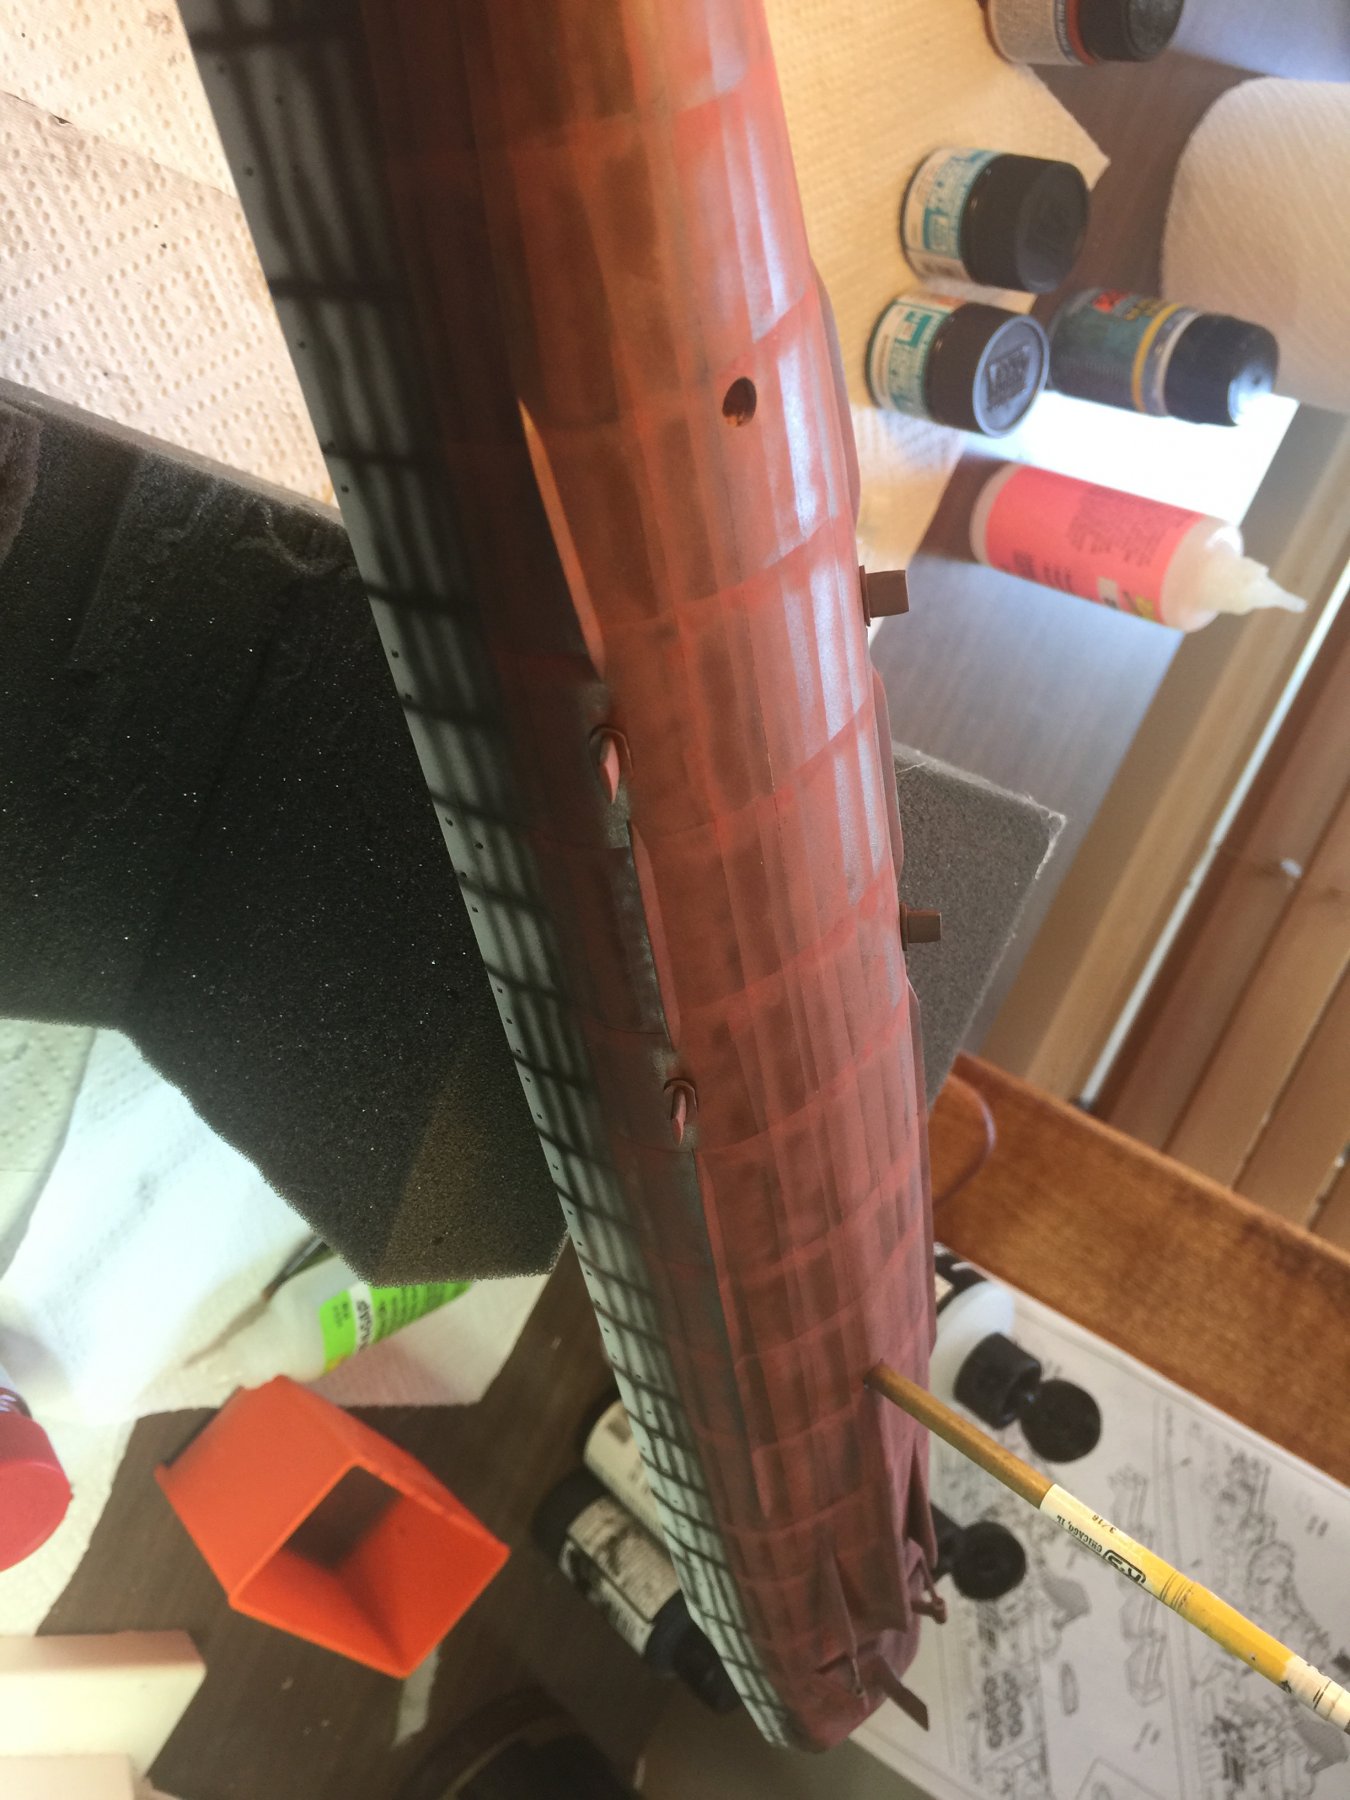
Small coats of chipping fluid, then filling the squares with coca brown. Next will be a dark red for the edges and some lighter colours for fading.


- 180 replies
-
- 12
-
-
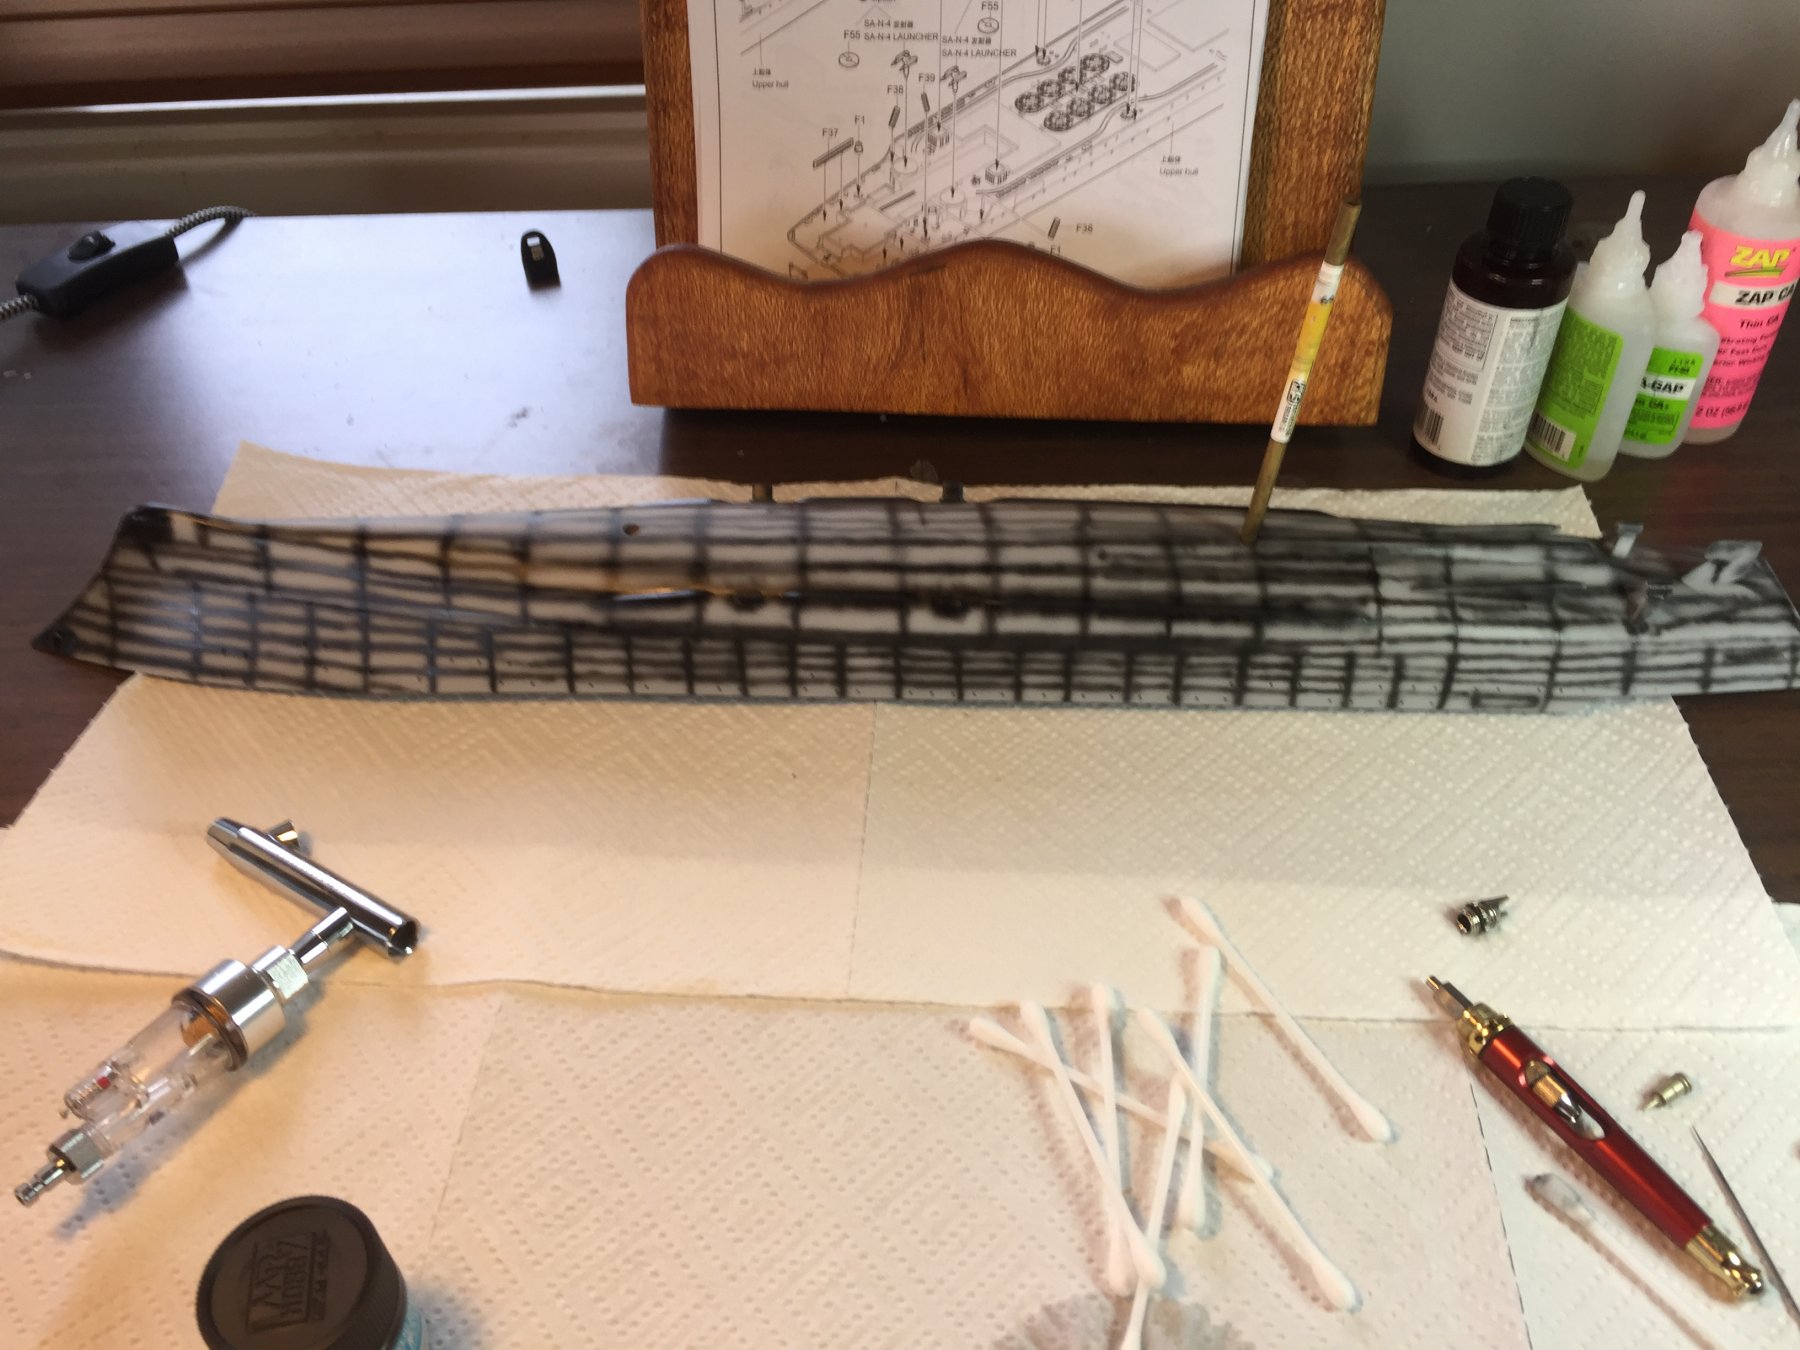
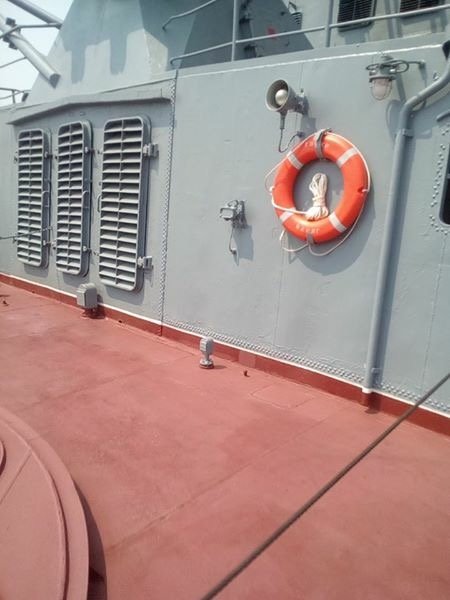
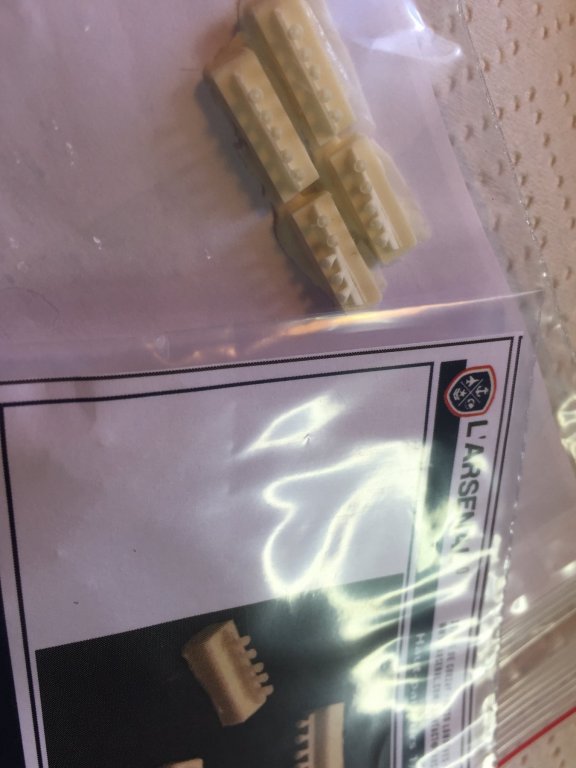
I have re attacked the pre shading, then covered the black bits with Matt varnish, the idea is to then put chipping fluid on top of the black prior to commencing painting. The chipping fluid is apparently good for 2 day’s under paint, but there is a full day’s work just getting the bottom of the hull right. I’m going to let that sit until a good black of day’s off. That way, once the hull red is added, I can chip away at areas for wear and tear that will appear as bare metal. This ship requires a boot strap and white line as well, then I can the add grunge. Next, just arrived from France after a weeks trip to Oz, tannoys it speakers, which are fairly liberally festooned around the ship. Someone in Singapore flew a drone over the Varyag this year and the HD video is amazing and I have picked up a lot of details on the superstructure I have to revisit. The kit does not come close to covering it all.

- 180 replies
-
- 12
-
-
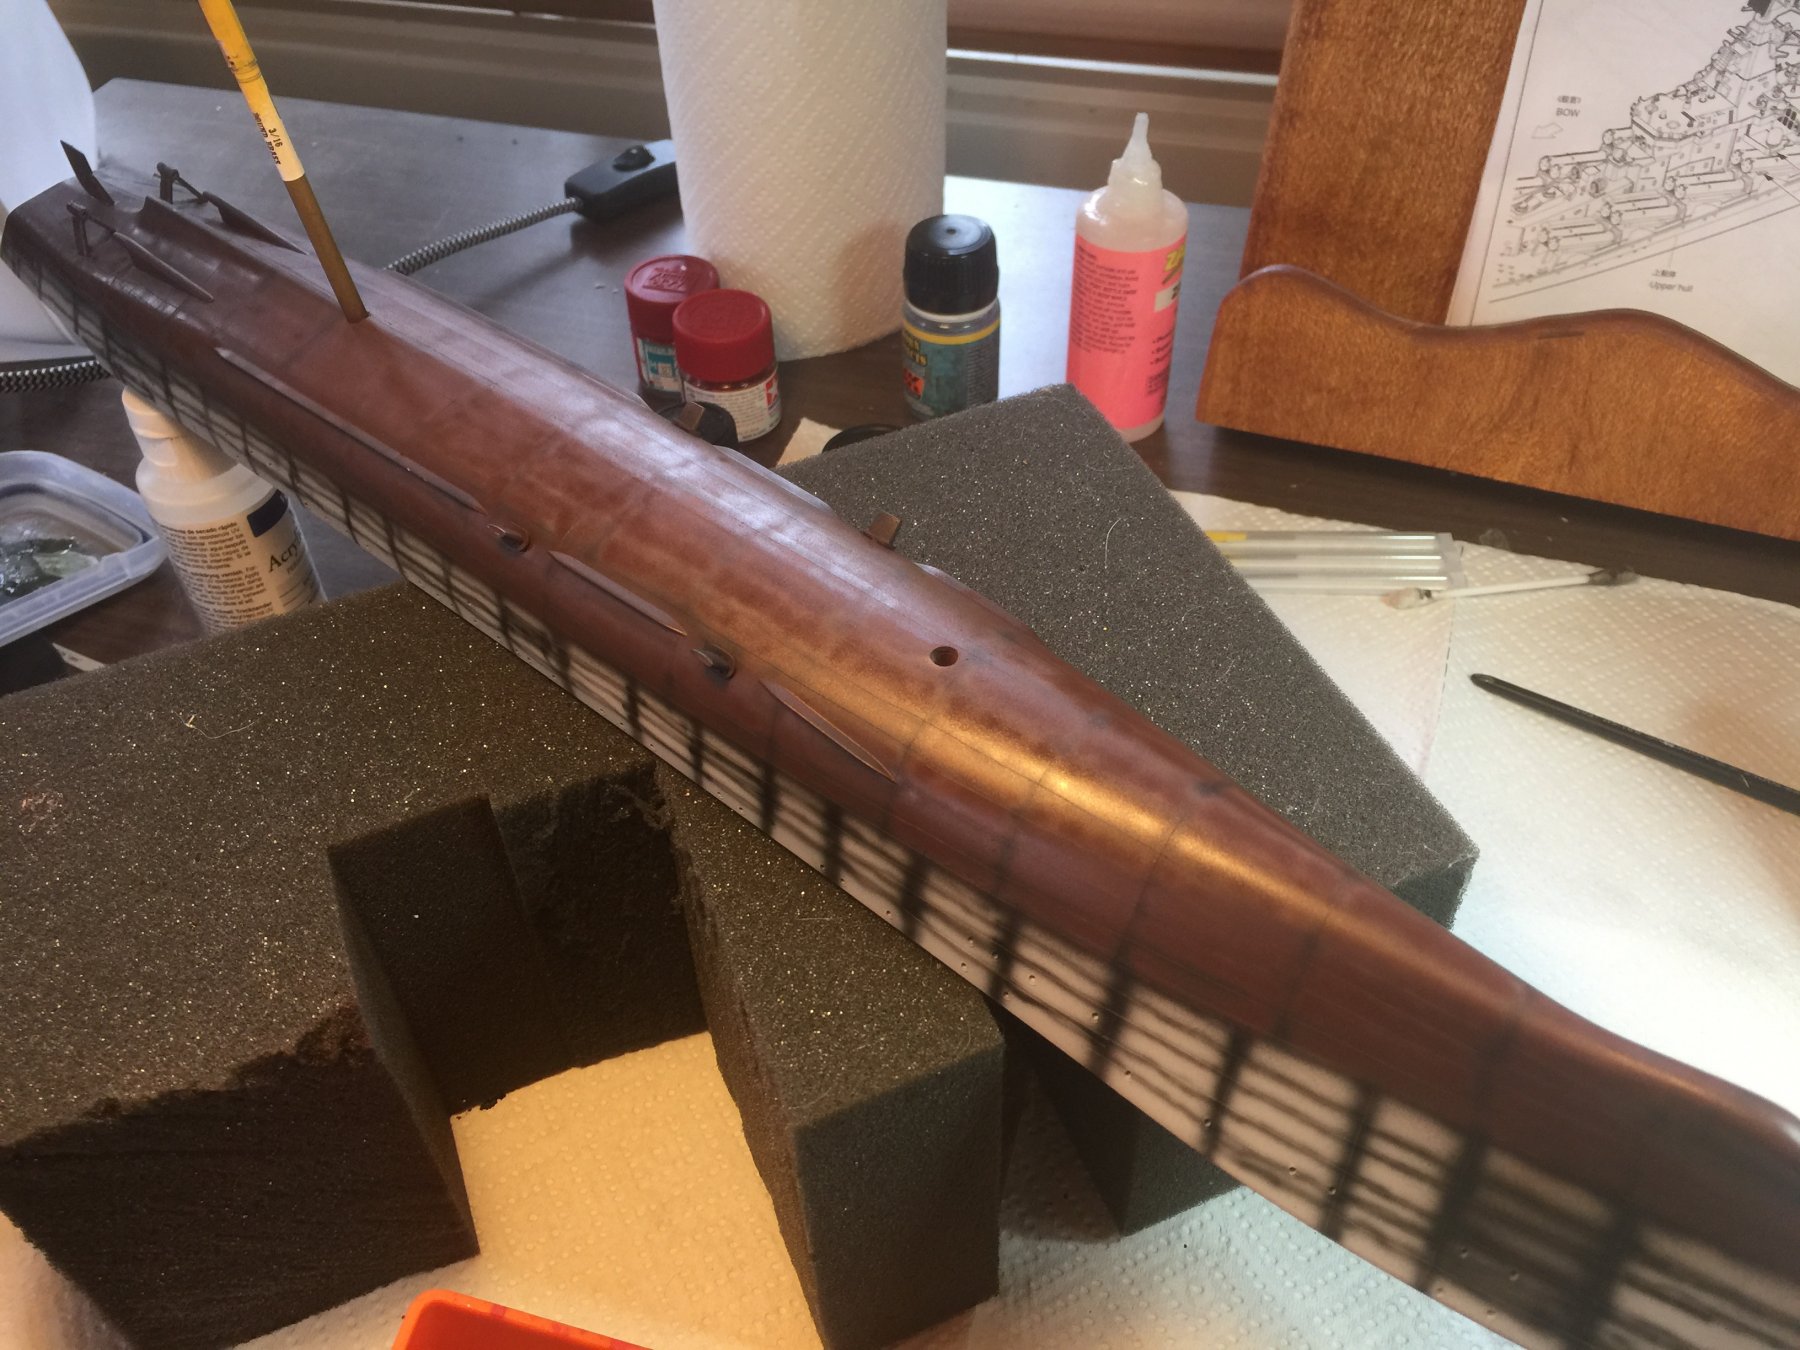
Only 27 at the moment and almost beer o’clock. Preshading begins along the etched panel lines. I think I’ll do it again with a red/black mix, then give it a varnish coat, add some chipping fluid in places, then paint (this is below the water line) then do a bit of chipping before I do a boot strap and white water line.

- 180 replies
-
- 11
-
-
Really too hot to do anything but drink beer. Or when working outside tell people to go inside.
-
It’s 35 degrees here (95 f?)Dries very quickly. Only a few passes gives enough definition,with more coats to go over the top, preshading and weathering it should be subtle,
-
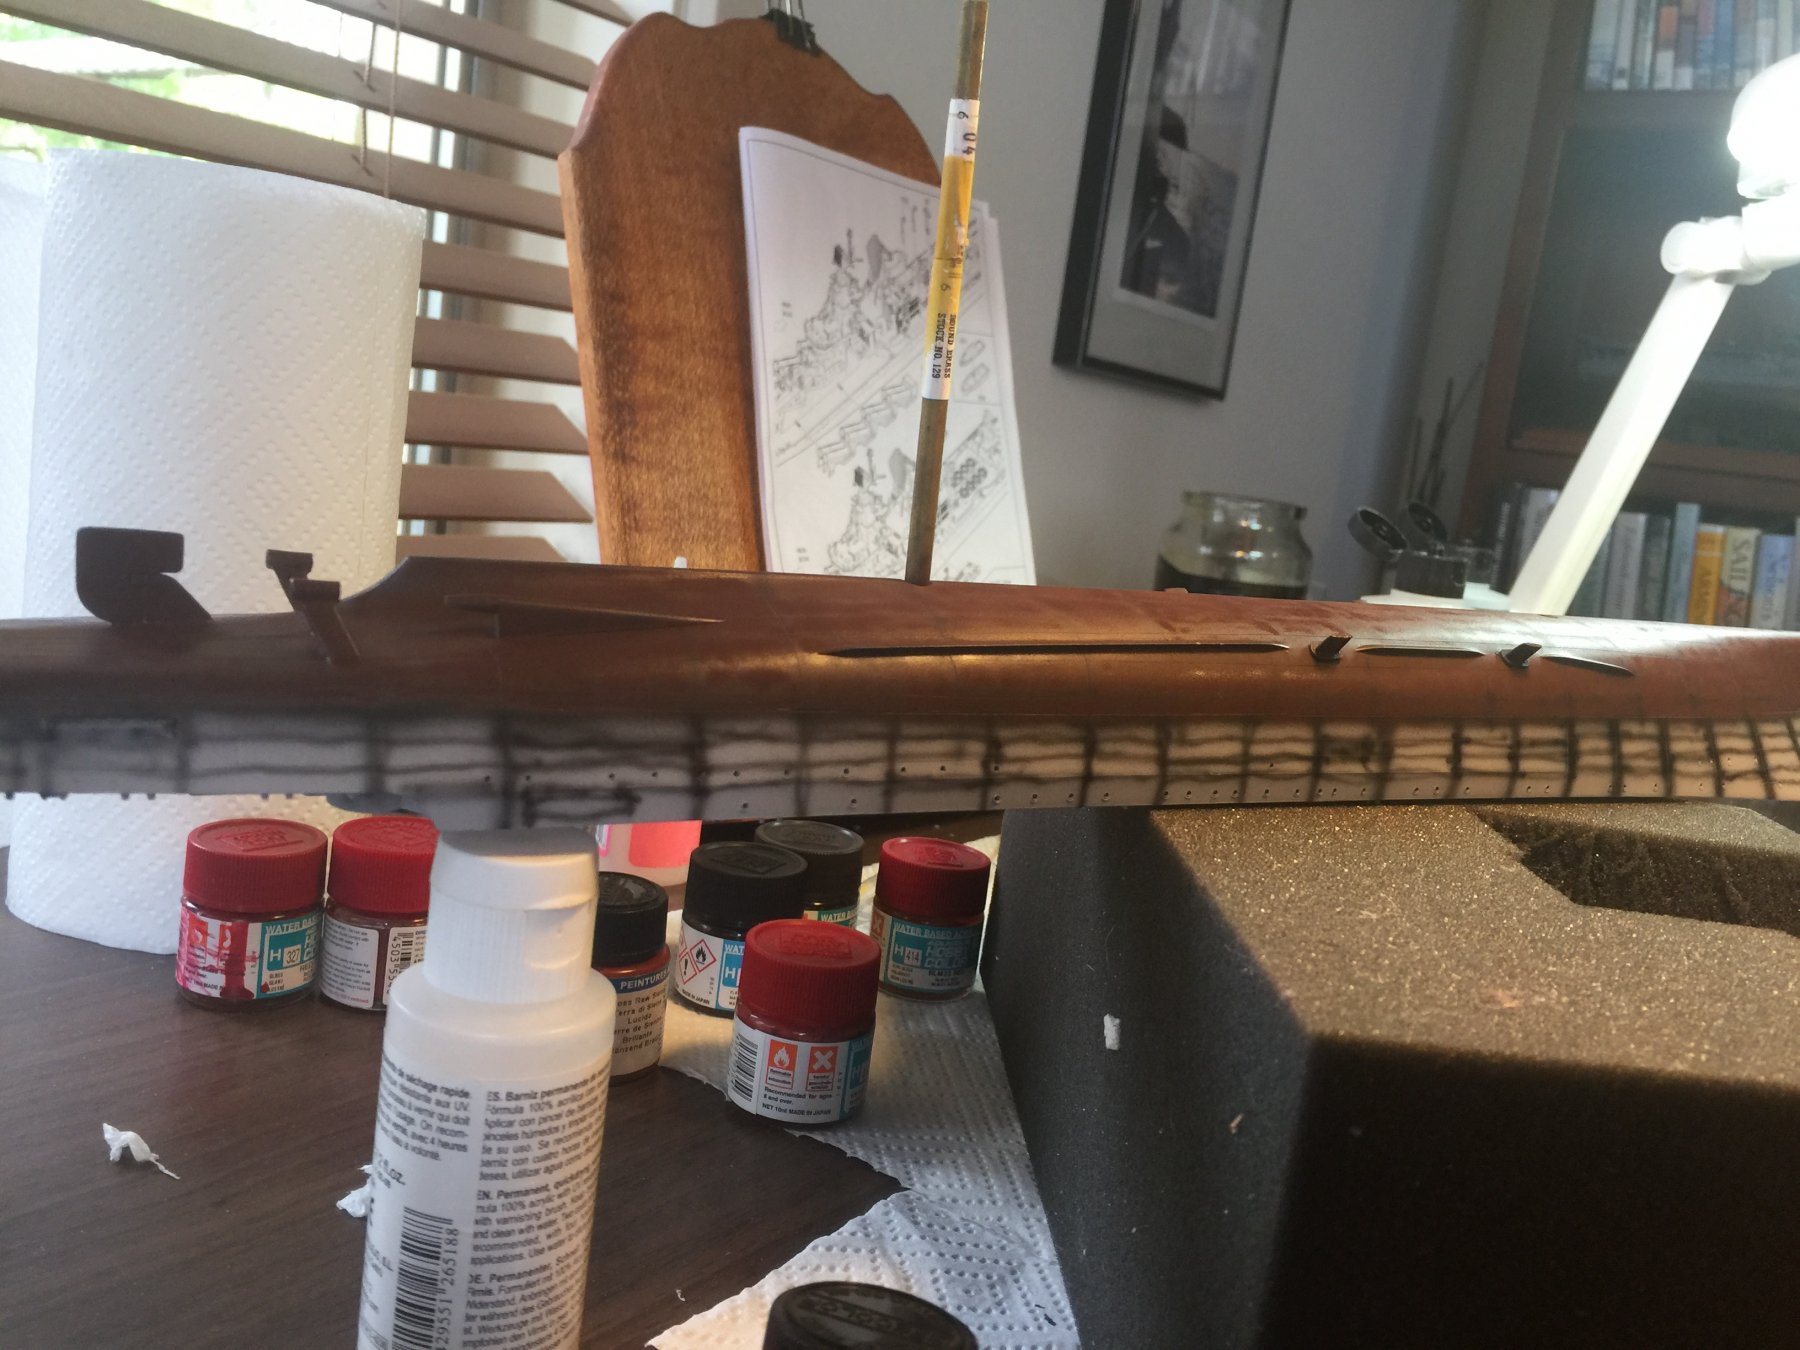
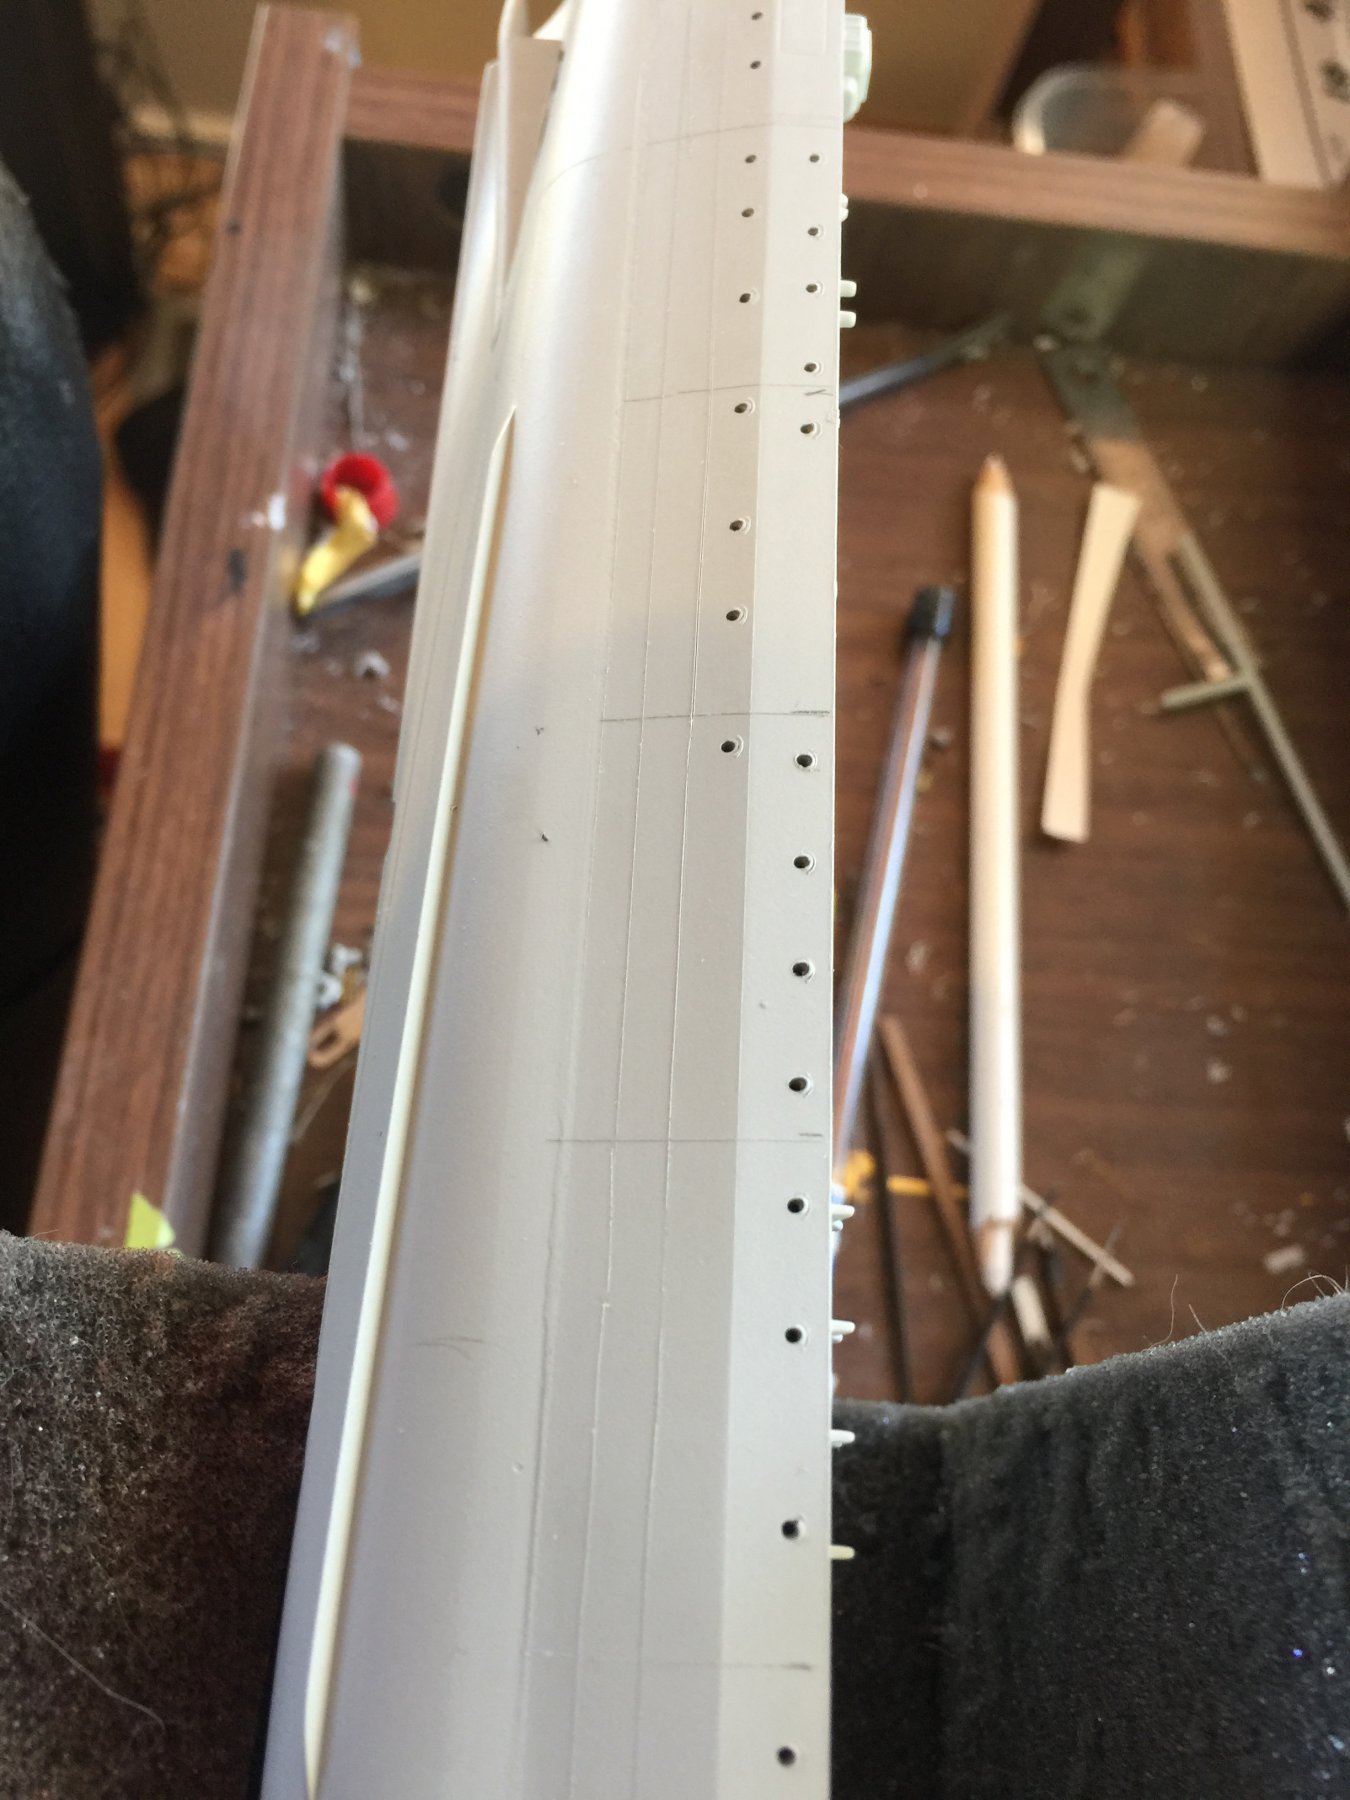
Back to reality and the hull. It’s really smooth. Really really smooth. You can see from the photo that’s not real life. I oversprayed lots lots of layers of rattle can primer to give me a good base and I’m now in the process of lightly scribing panels into the primer (not the plastic). Unlike the old warships, there are no bolt on external Armor bands. This will make a base for the preshading and oil canning when painting. I hope.


- 180 replies
-
- 10
-
-
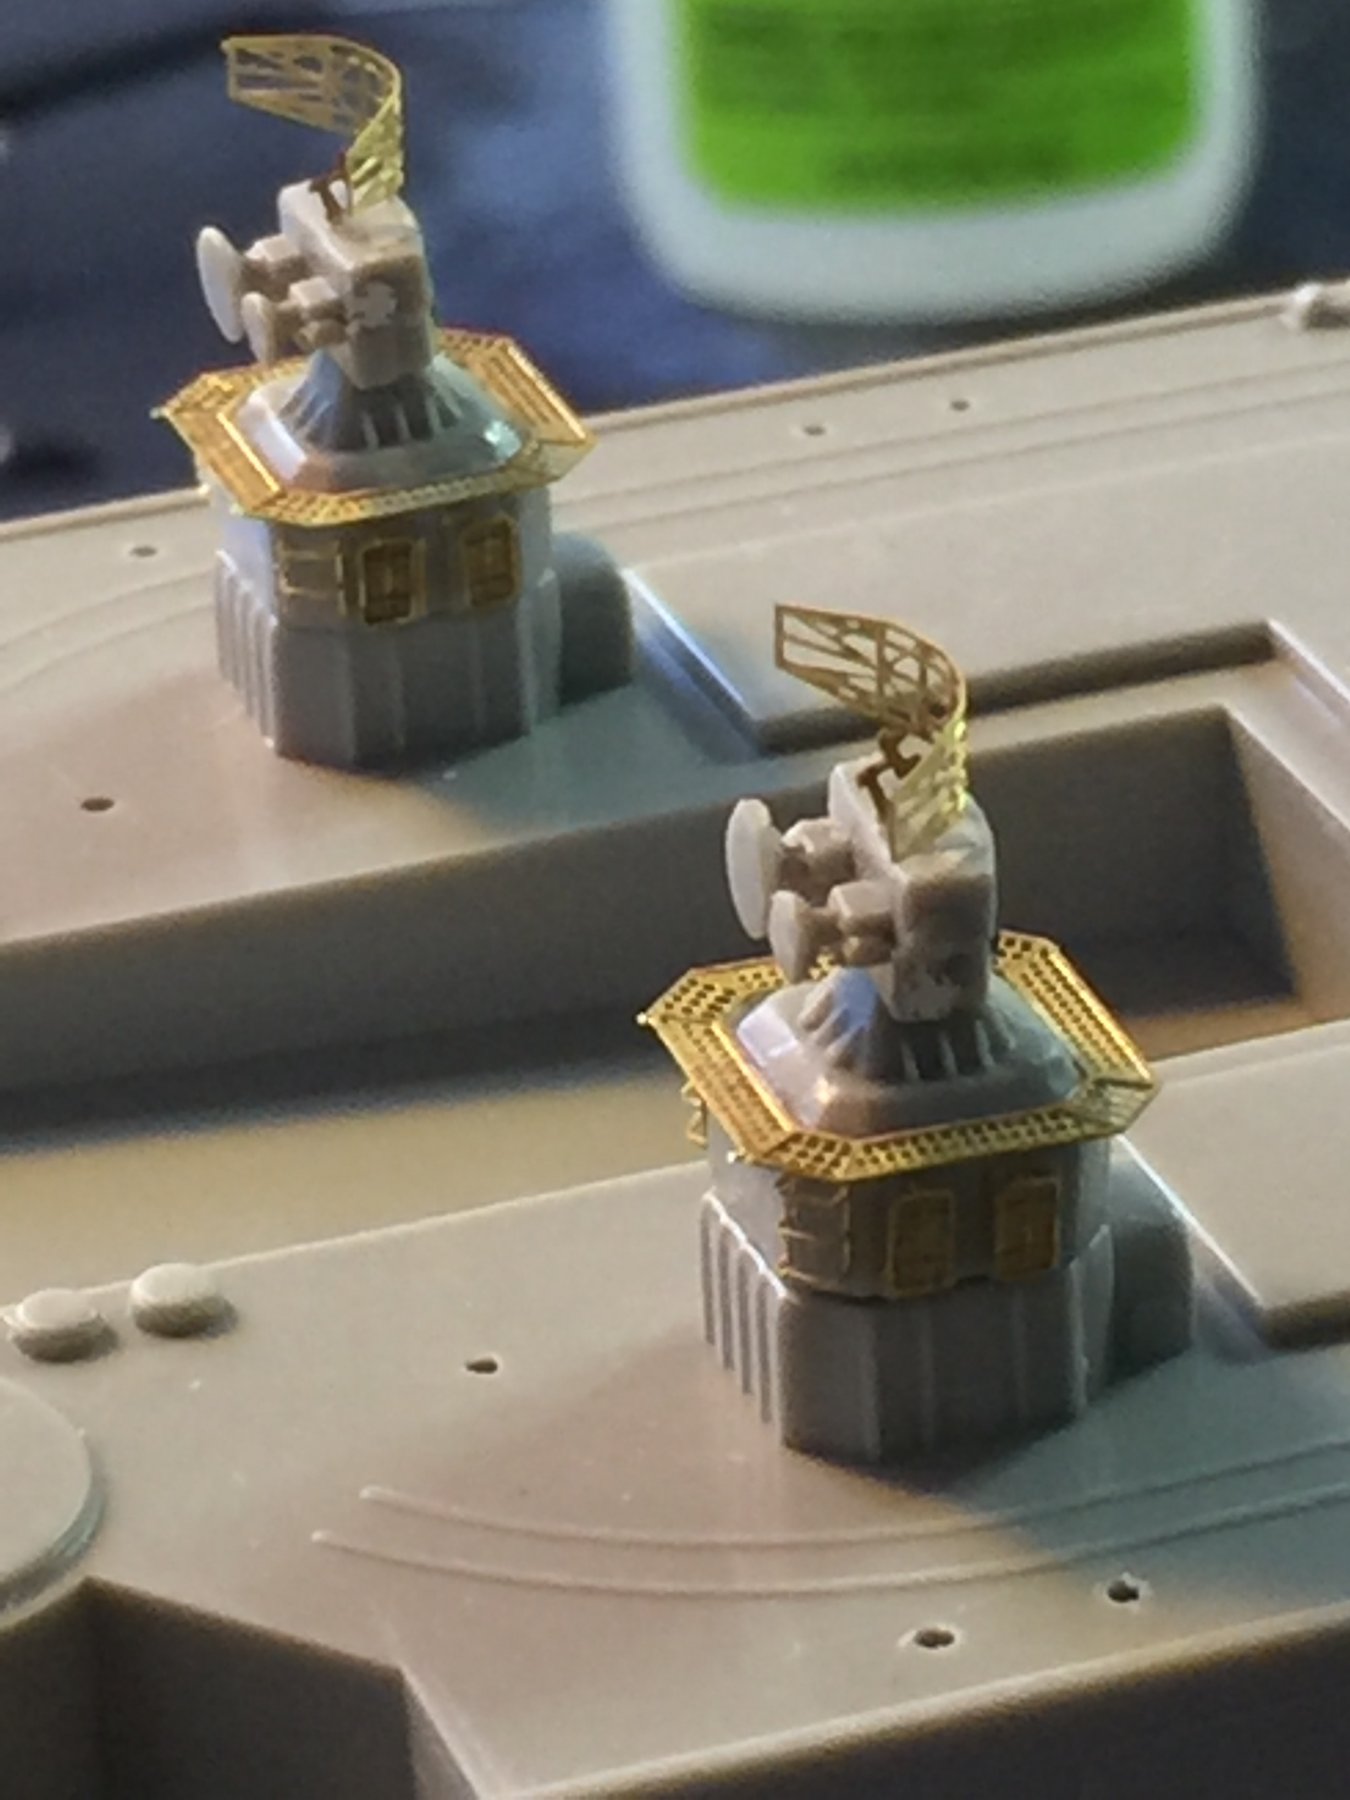
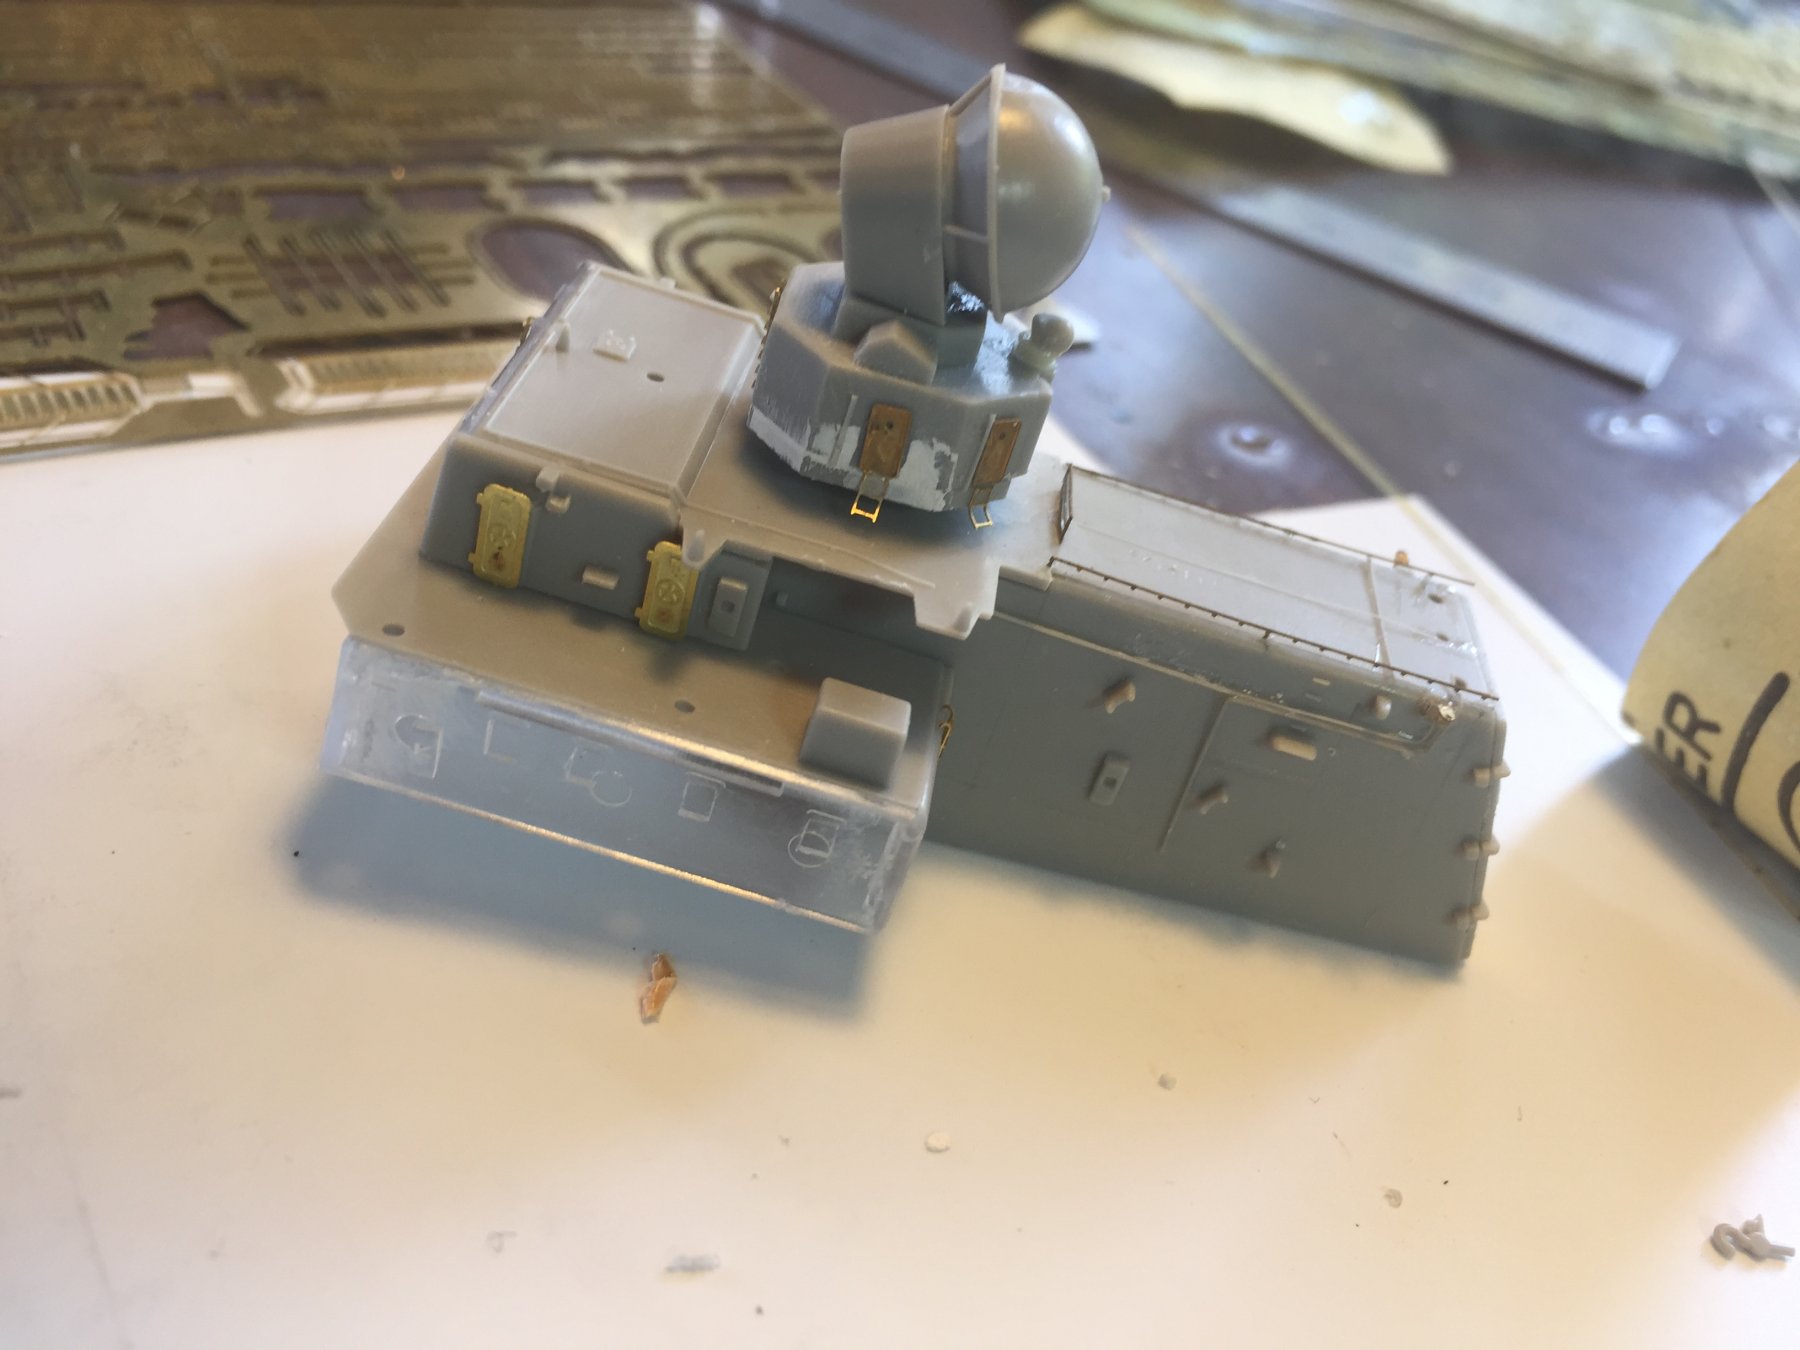
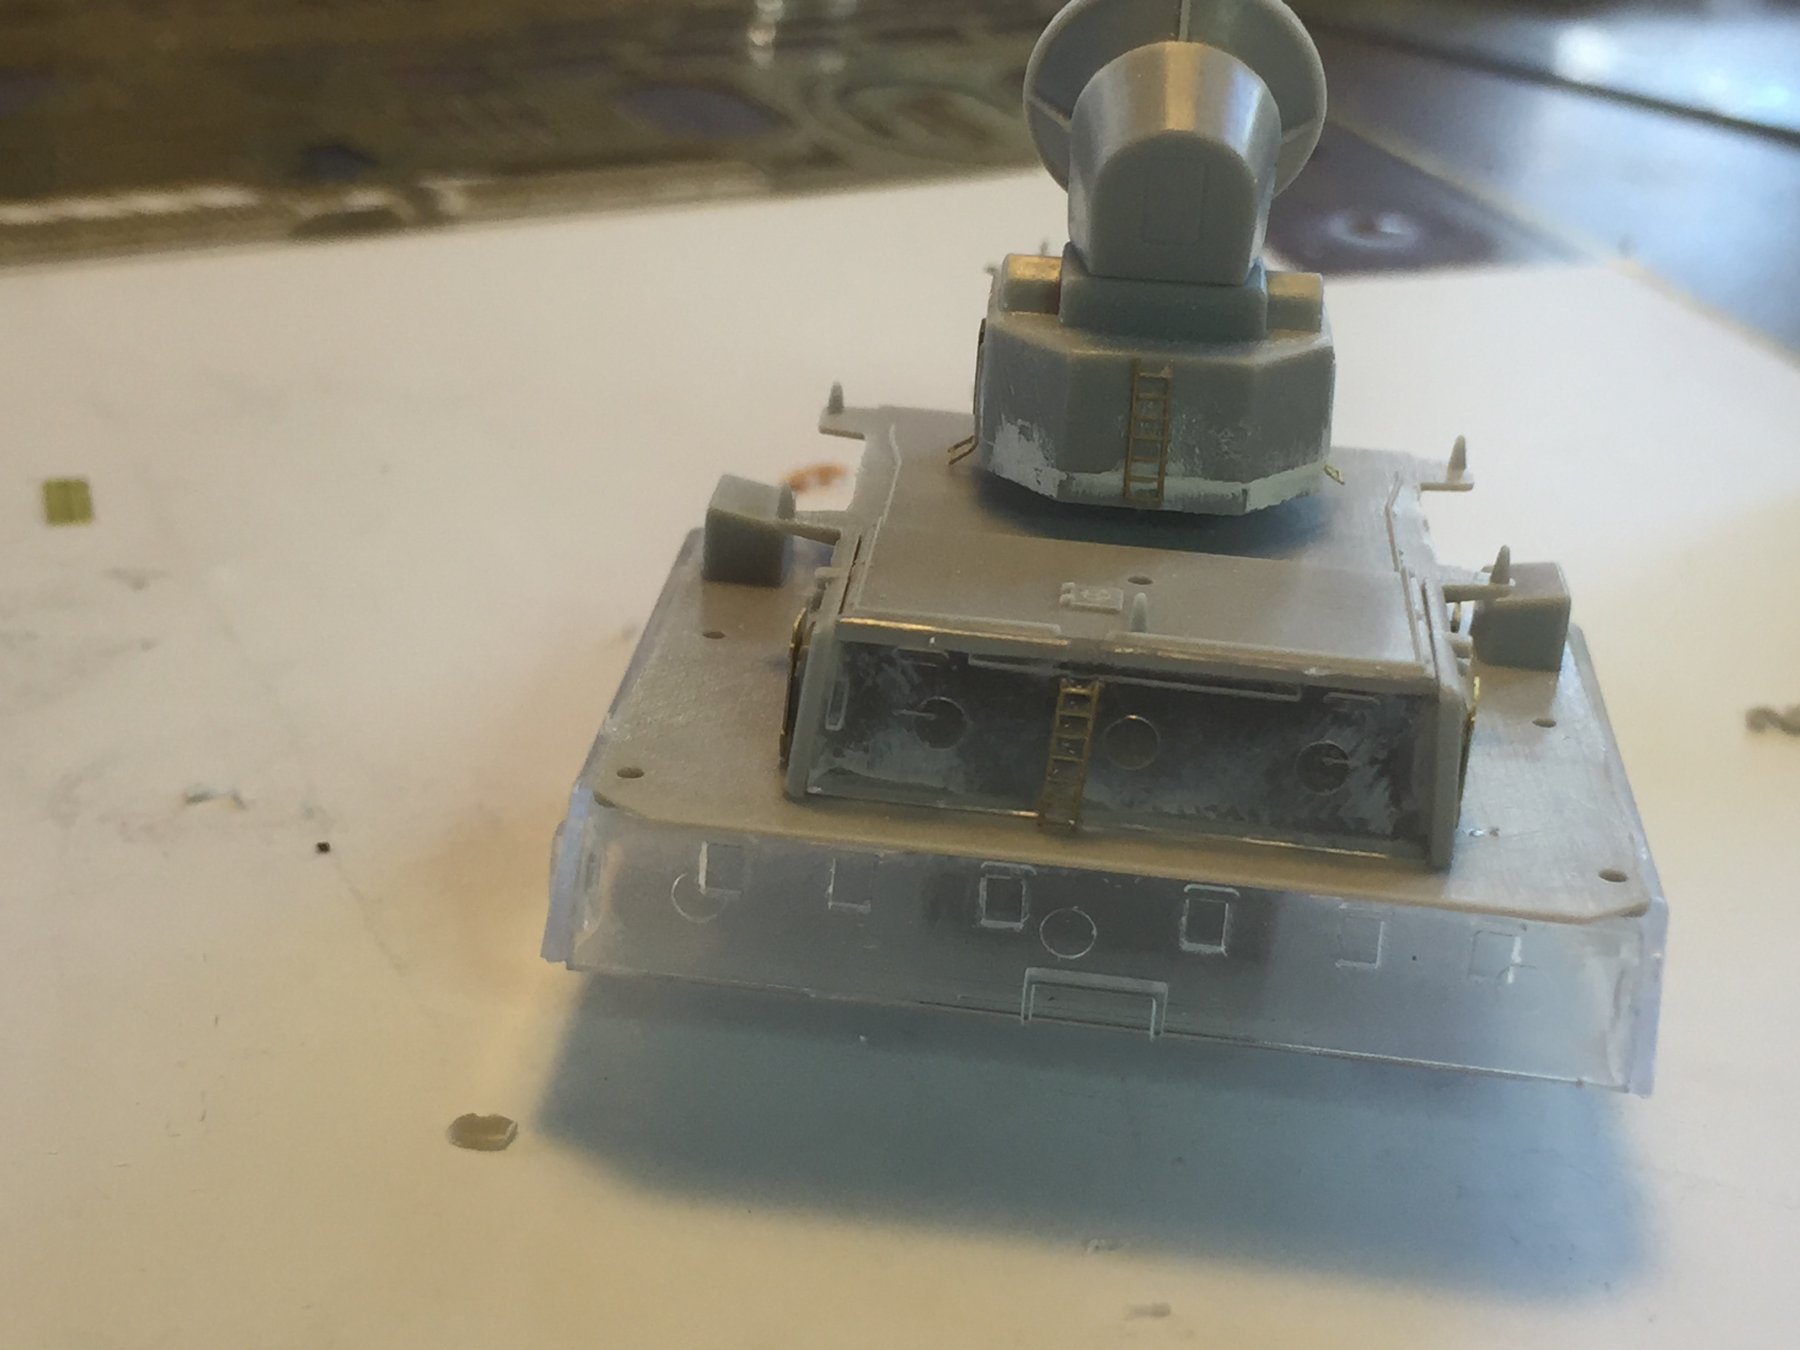
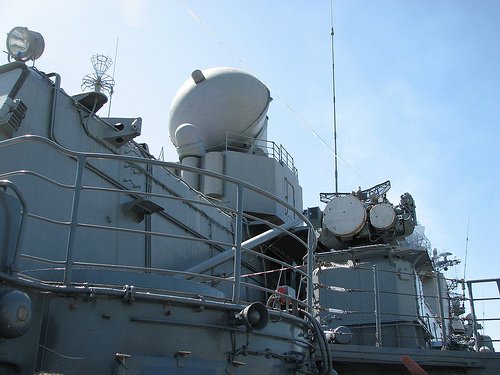
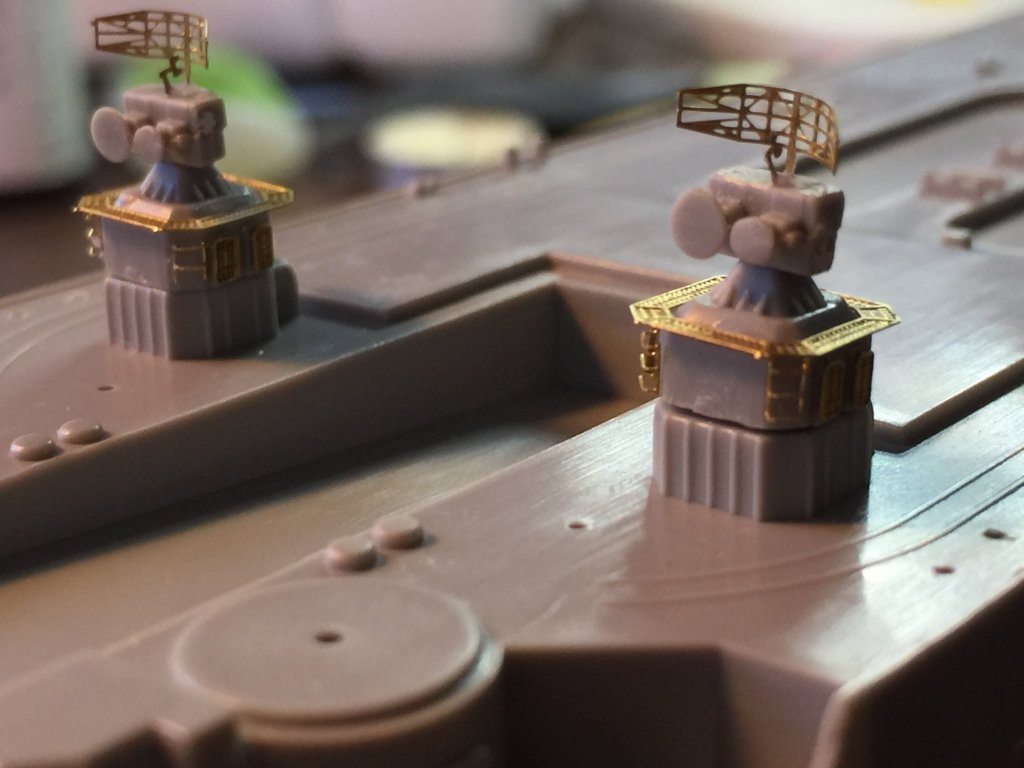
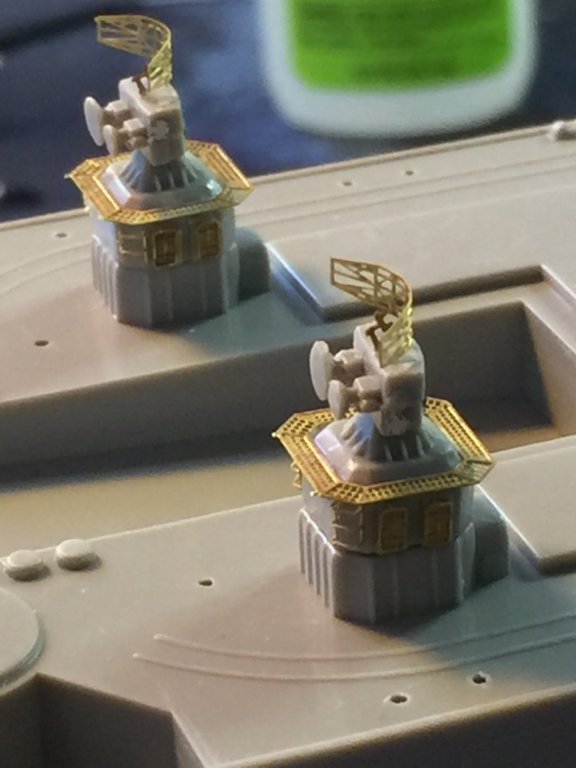
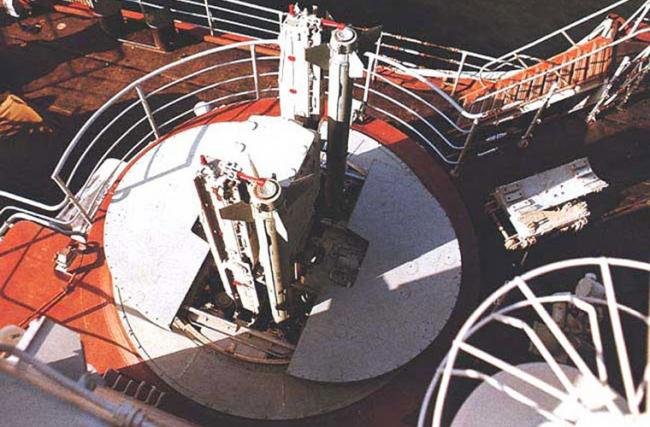
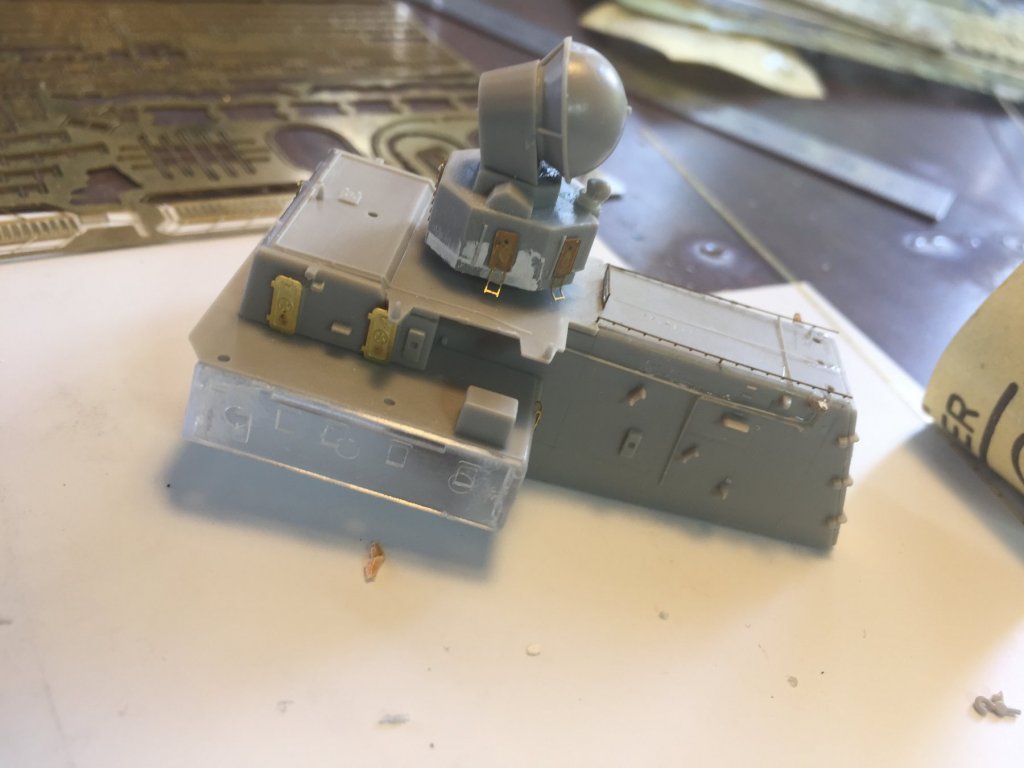
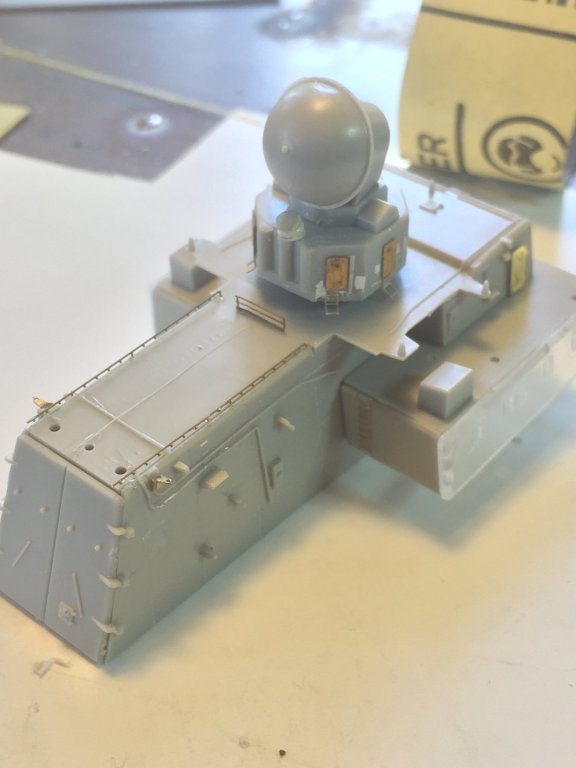
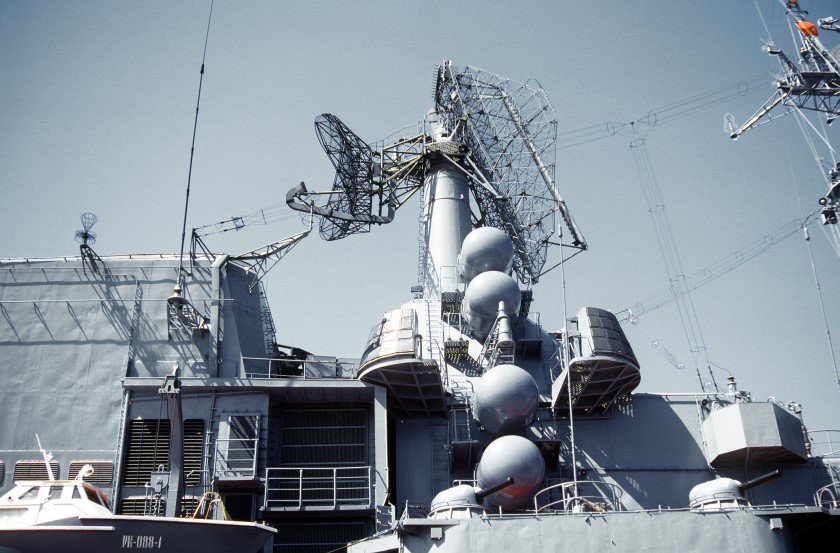
The pop group radar/Fire control for the SAM’s. A quick search on Facebook and there is a lot of open source on this ship.

- 180 replies
-
- 11
-
-
Mate it’s 2000’s design, the latest stuff is probably better engineered. The final part is very convoluted. But; that’s the last of the complex stuff. I need to go back and keep detailing up the bits I’ve done and some of the other bits.


- 180 replies
-
- 16
-
-
IN a very slow part of the build, I’ve commenced adding details to the main superstructure. I’ve added extra conduits (that appear on the real thing), and have a hell better f a long ways to go.


- 180 replies
-
- 13
-
-
Seriously I have no idea. Maybe on the windows? Maybe because it’s very hard? It’s a pain as it won’t sand well, and Ive learnt to add PE to plastic before paint in most cases. It’s actually great having lots of photos of him from all the ubiquitous Chinese tourists in Hong Kong who have posted a heap of HD photos. I intend on using lots lots of spare IJN stuff to superdetail it before I go to paint. If it ends up looking like crap so be it. Slow down. Enjoy it. Repeat mantra.
-
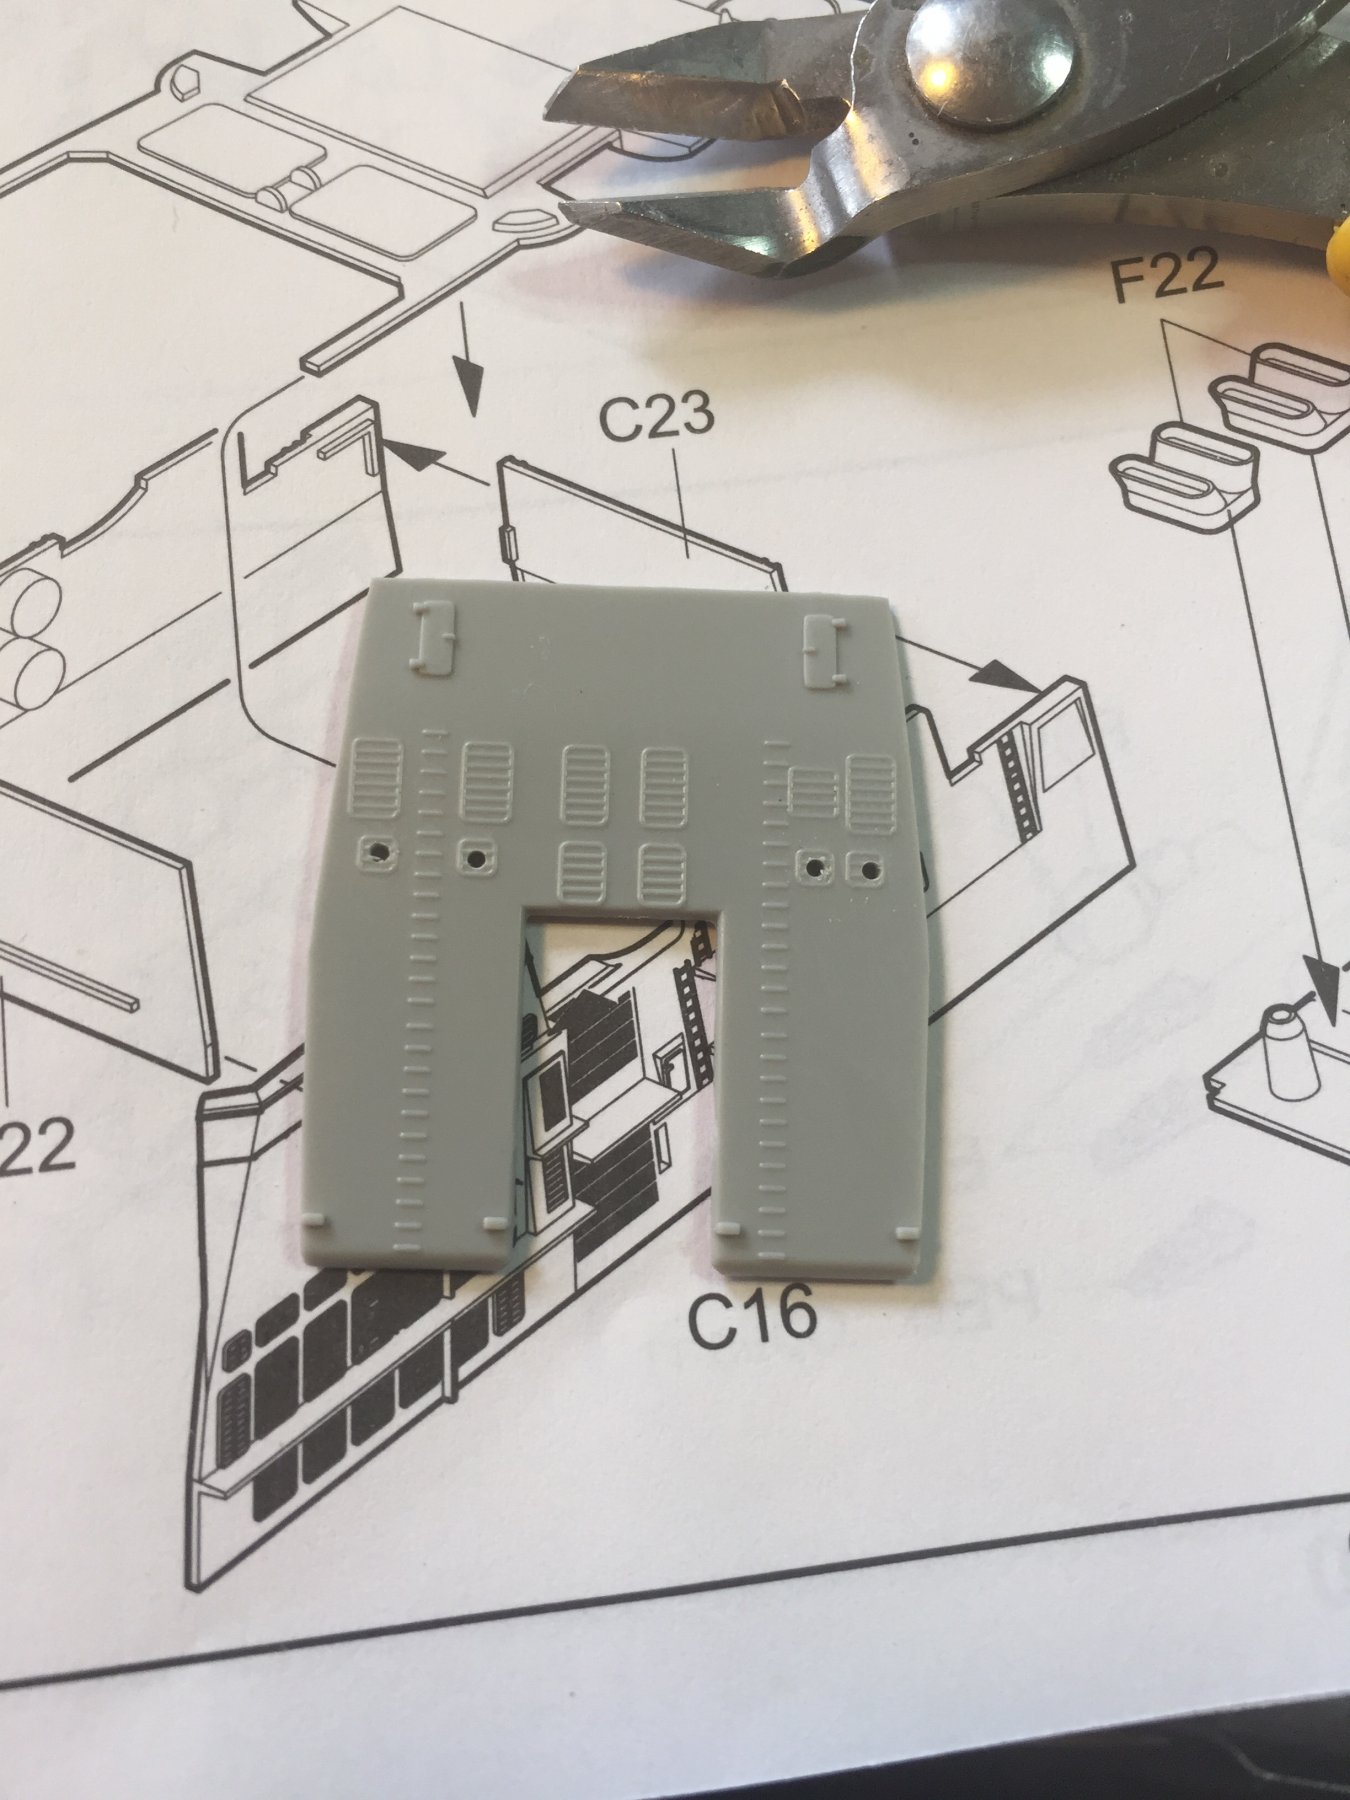
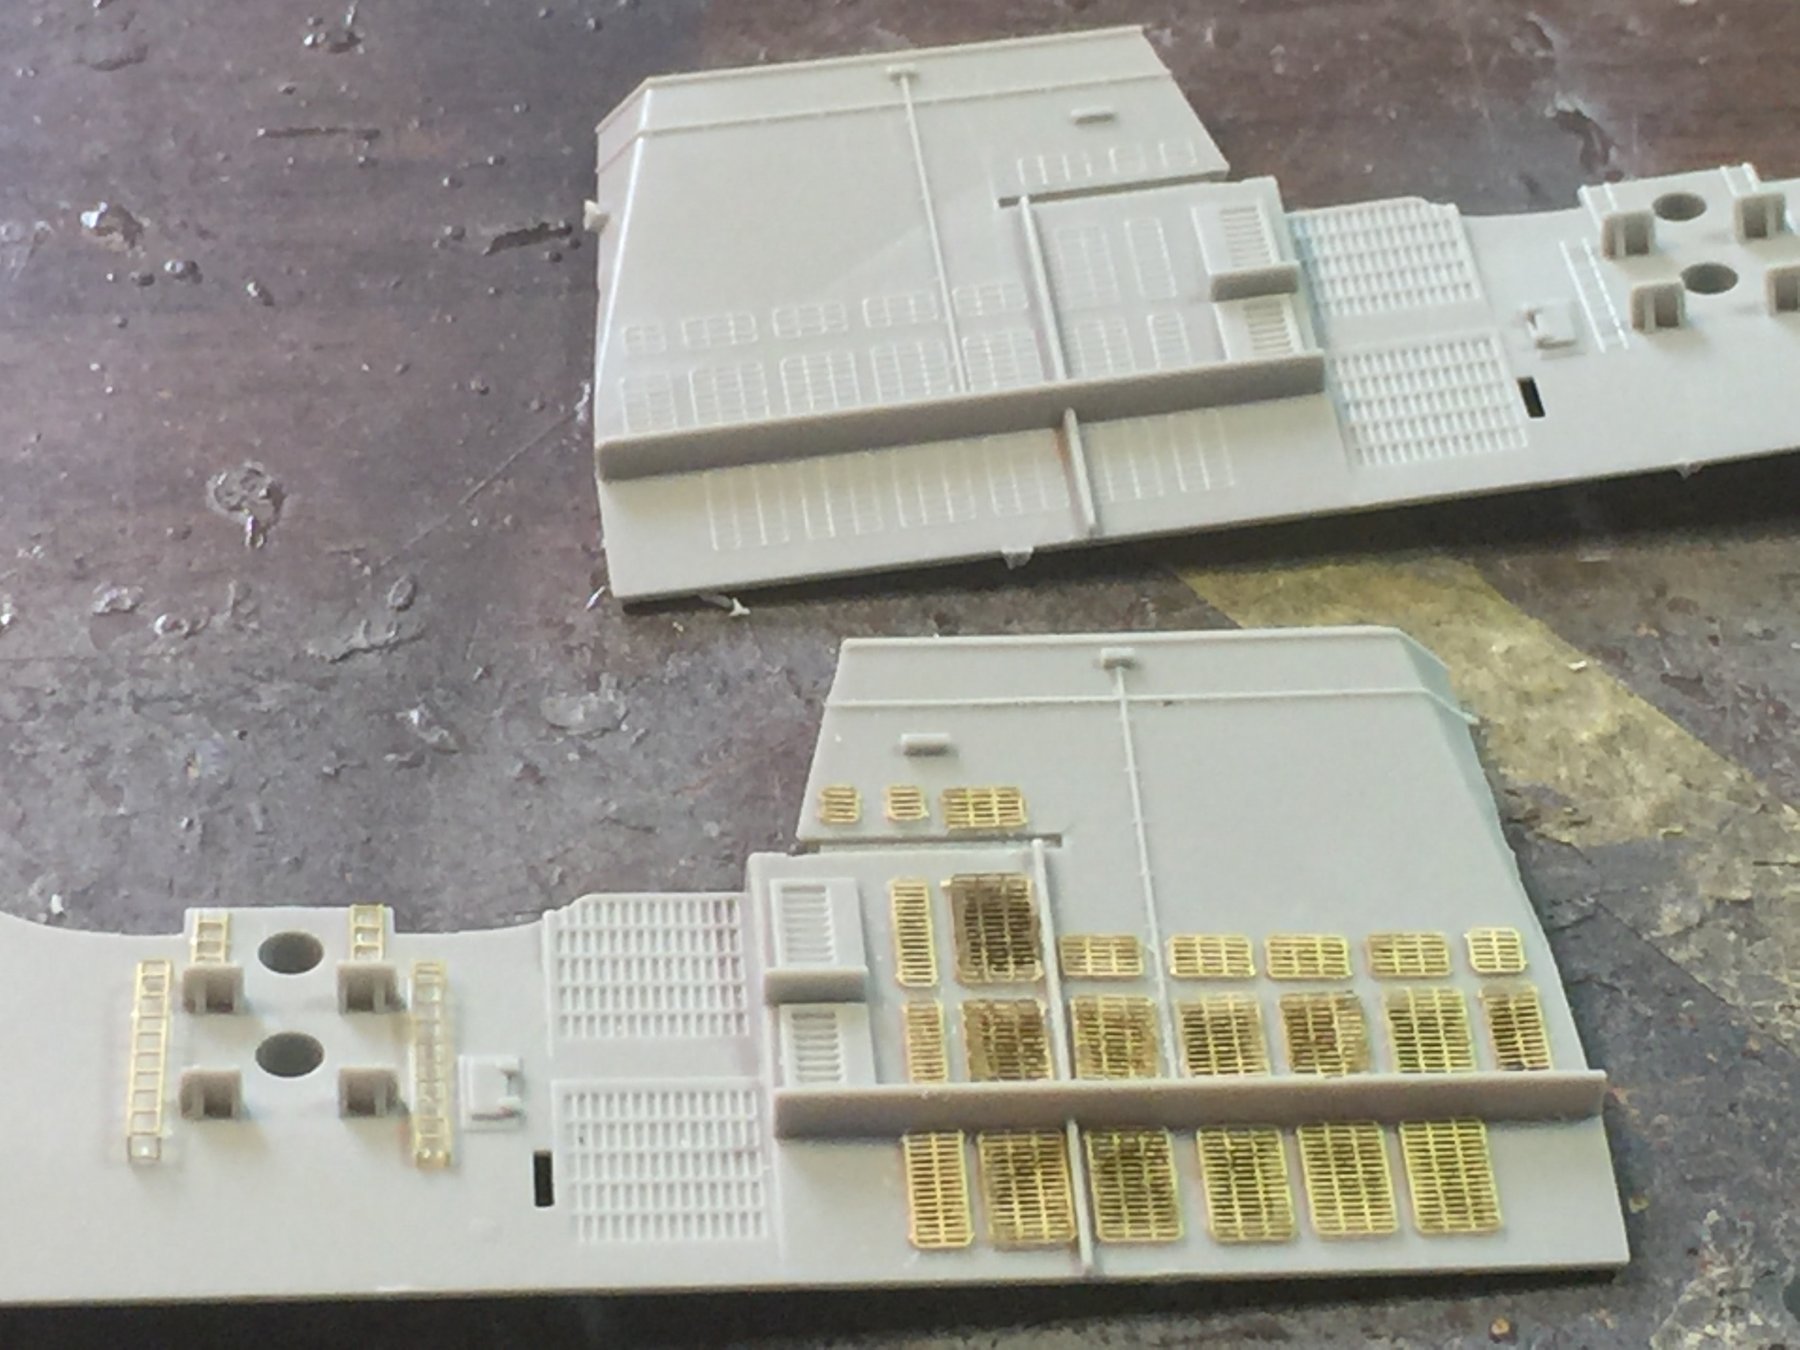
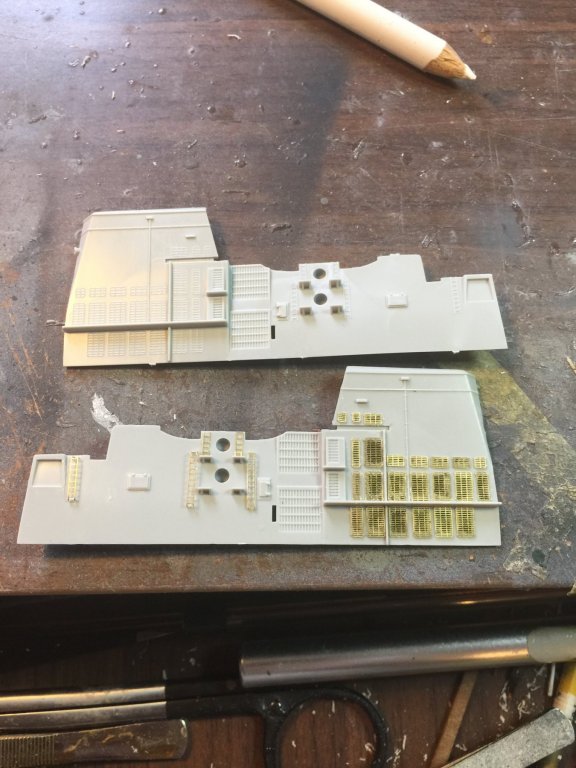
The last main superstructure, this clear stuff is such a pain, you cannot see gaps, so after I glued it I used some Mr Surfacer on the edges to see where the gaps where. I sanded in the small box es and used some plastic strip on the big ones. There is a LOT of small details to add to this. I found some speakers in 1/350 (coming from France) and have ordered some Accupuncture needles to uses as the multiple whip aerials. Apart from the GMM set there are a lot of cables and handholds to add all over. Dry fit;


- 180 replies
-
- 12
-
-
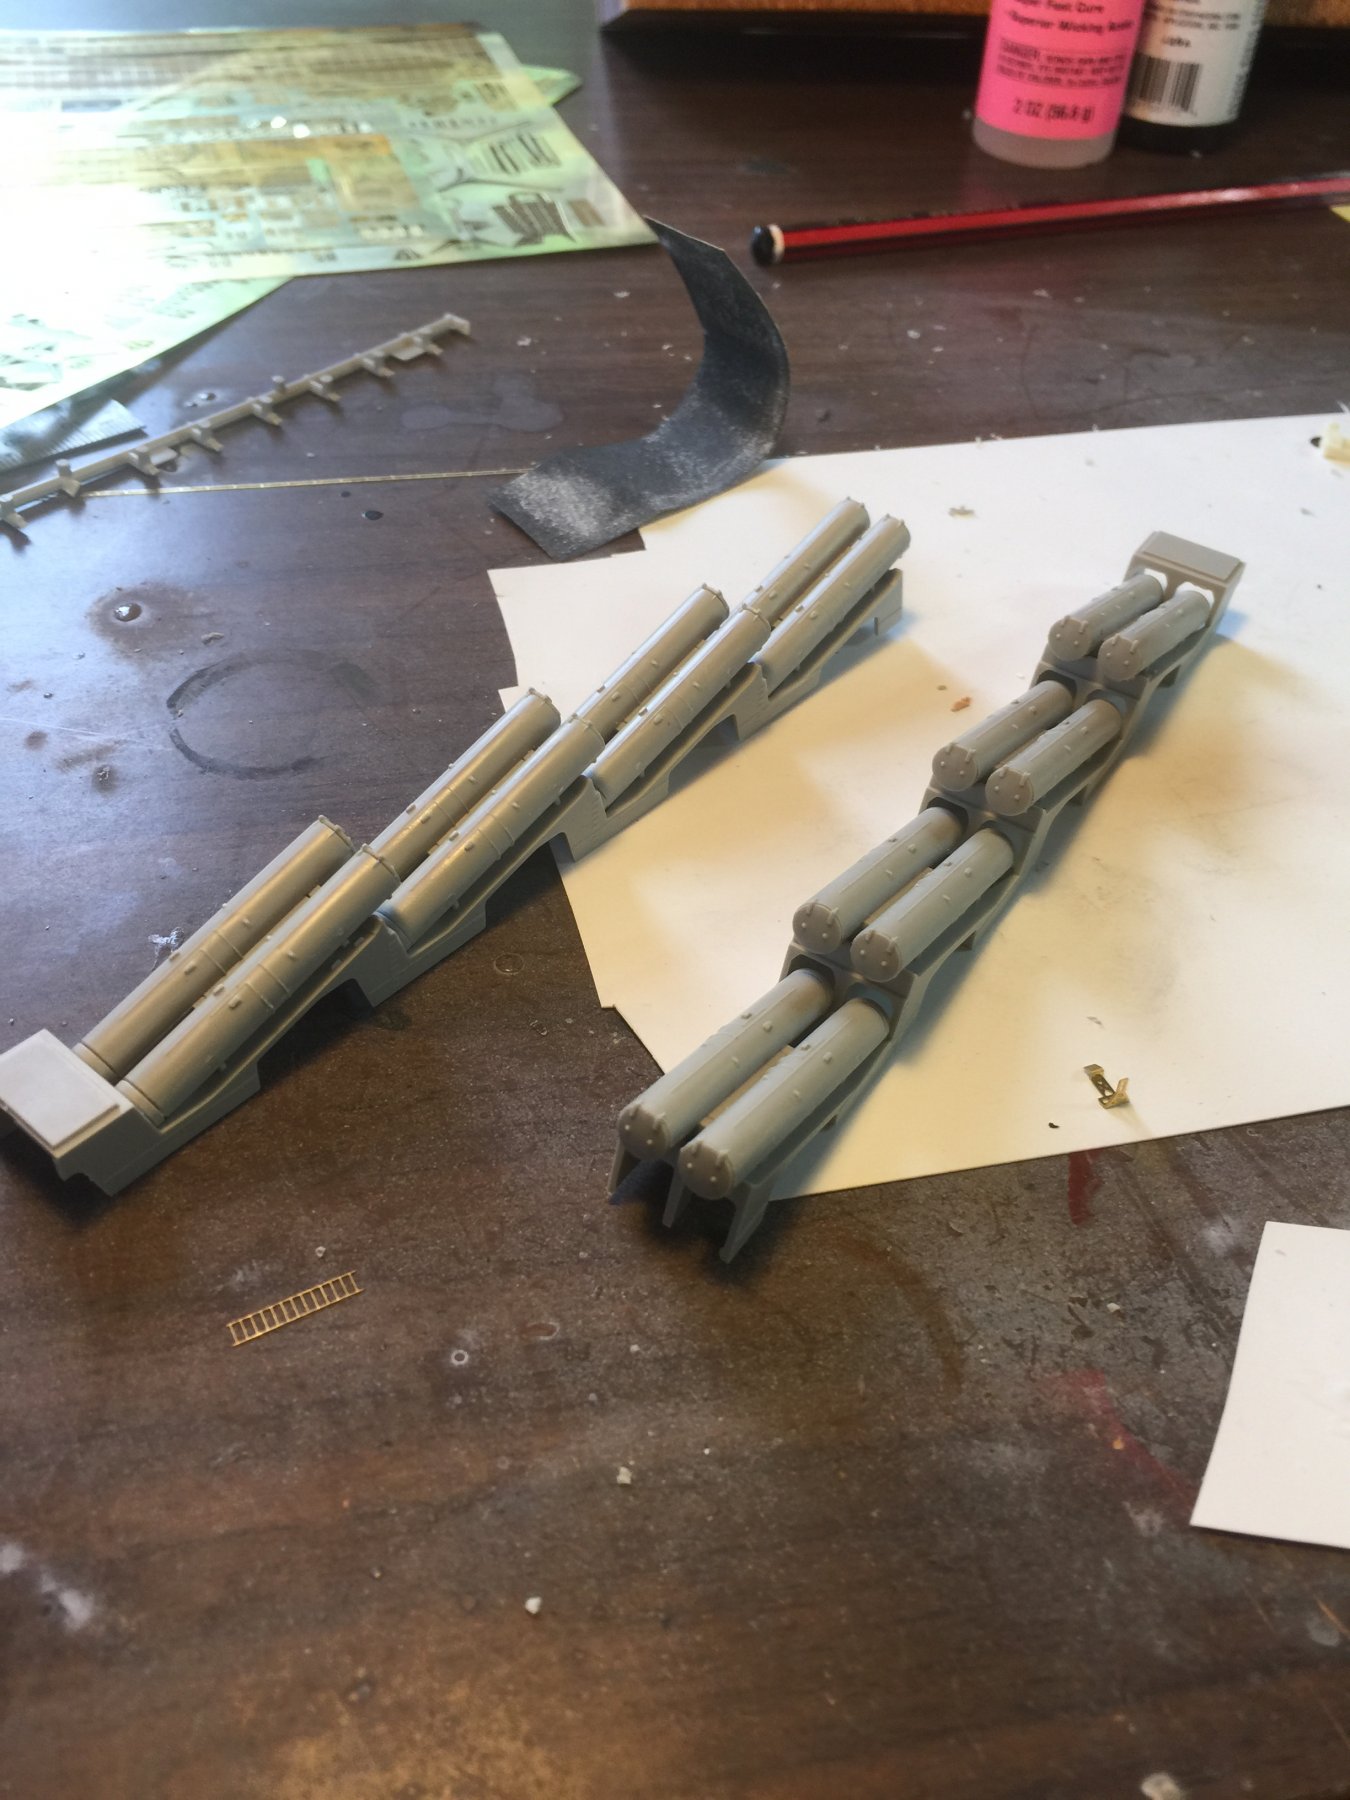
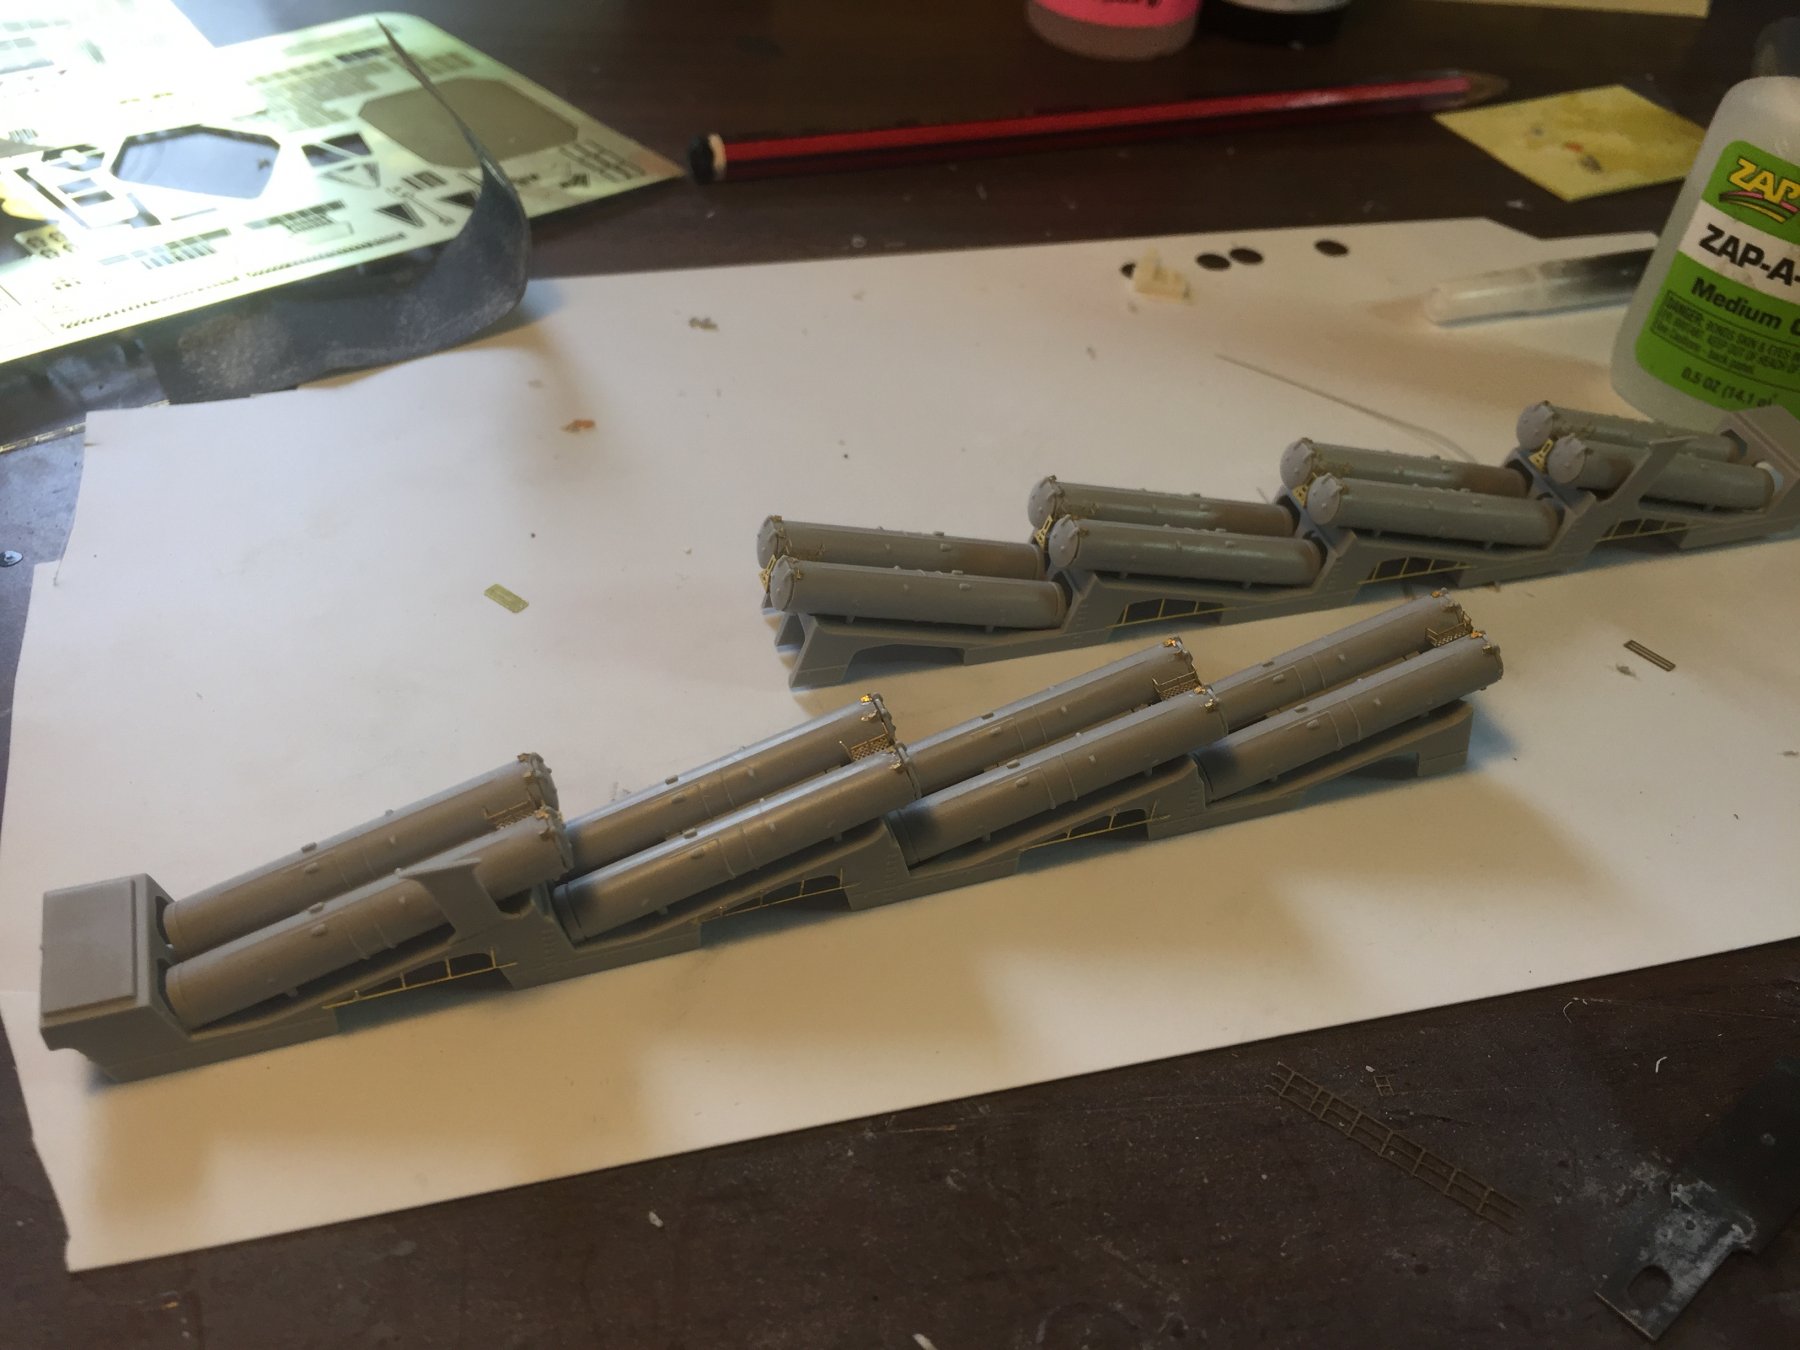
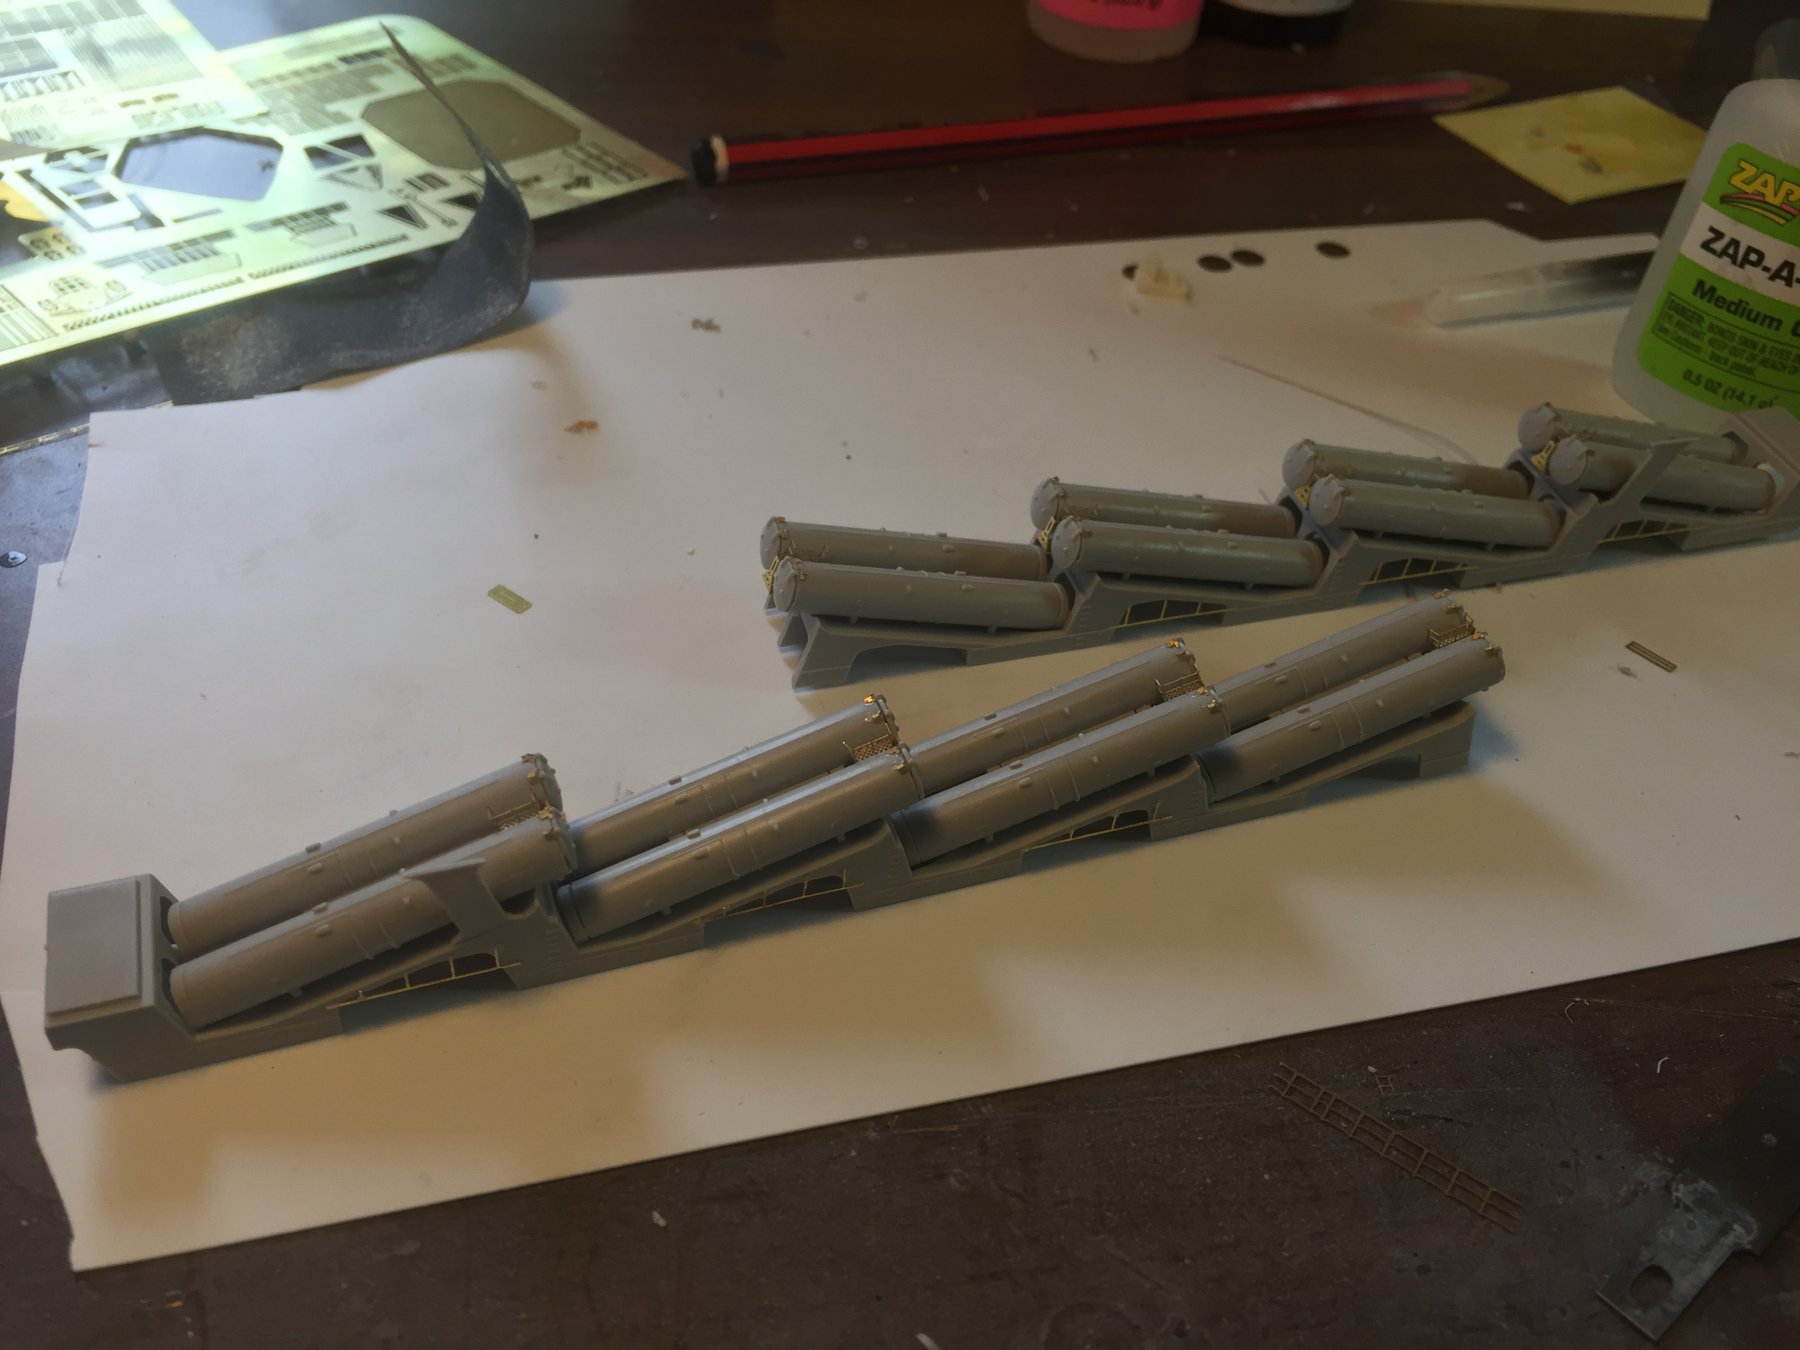
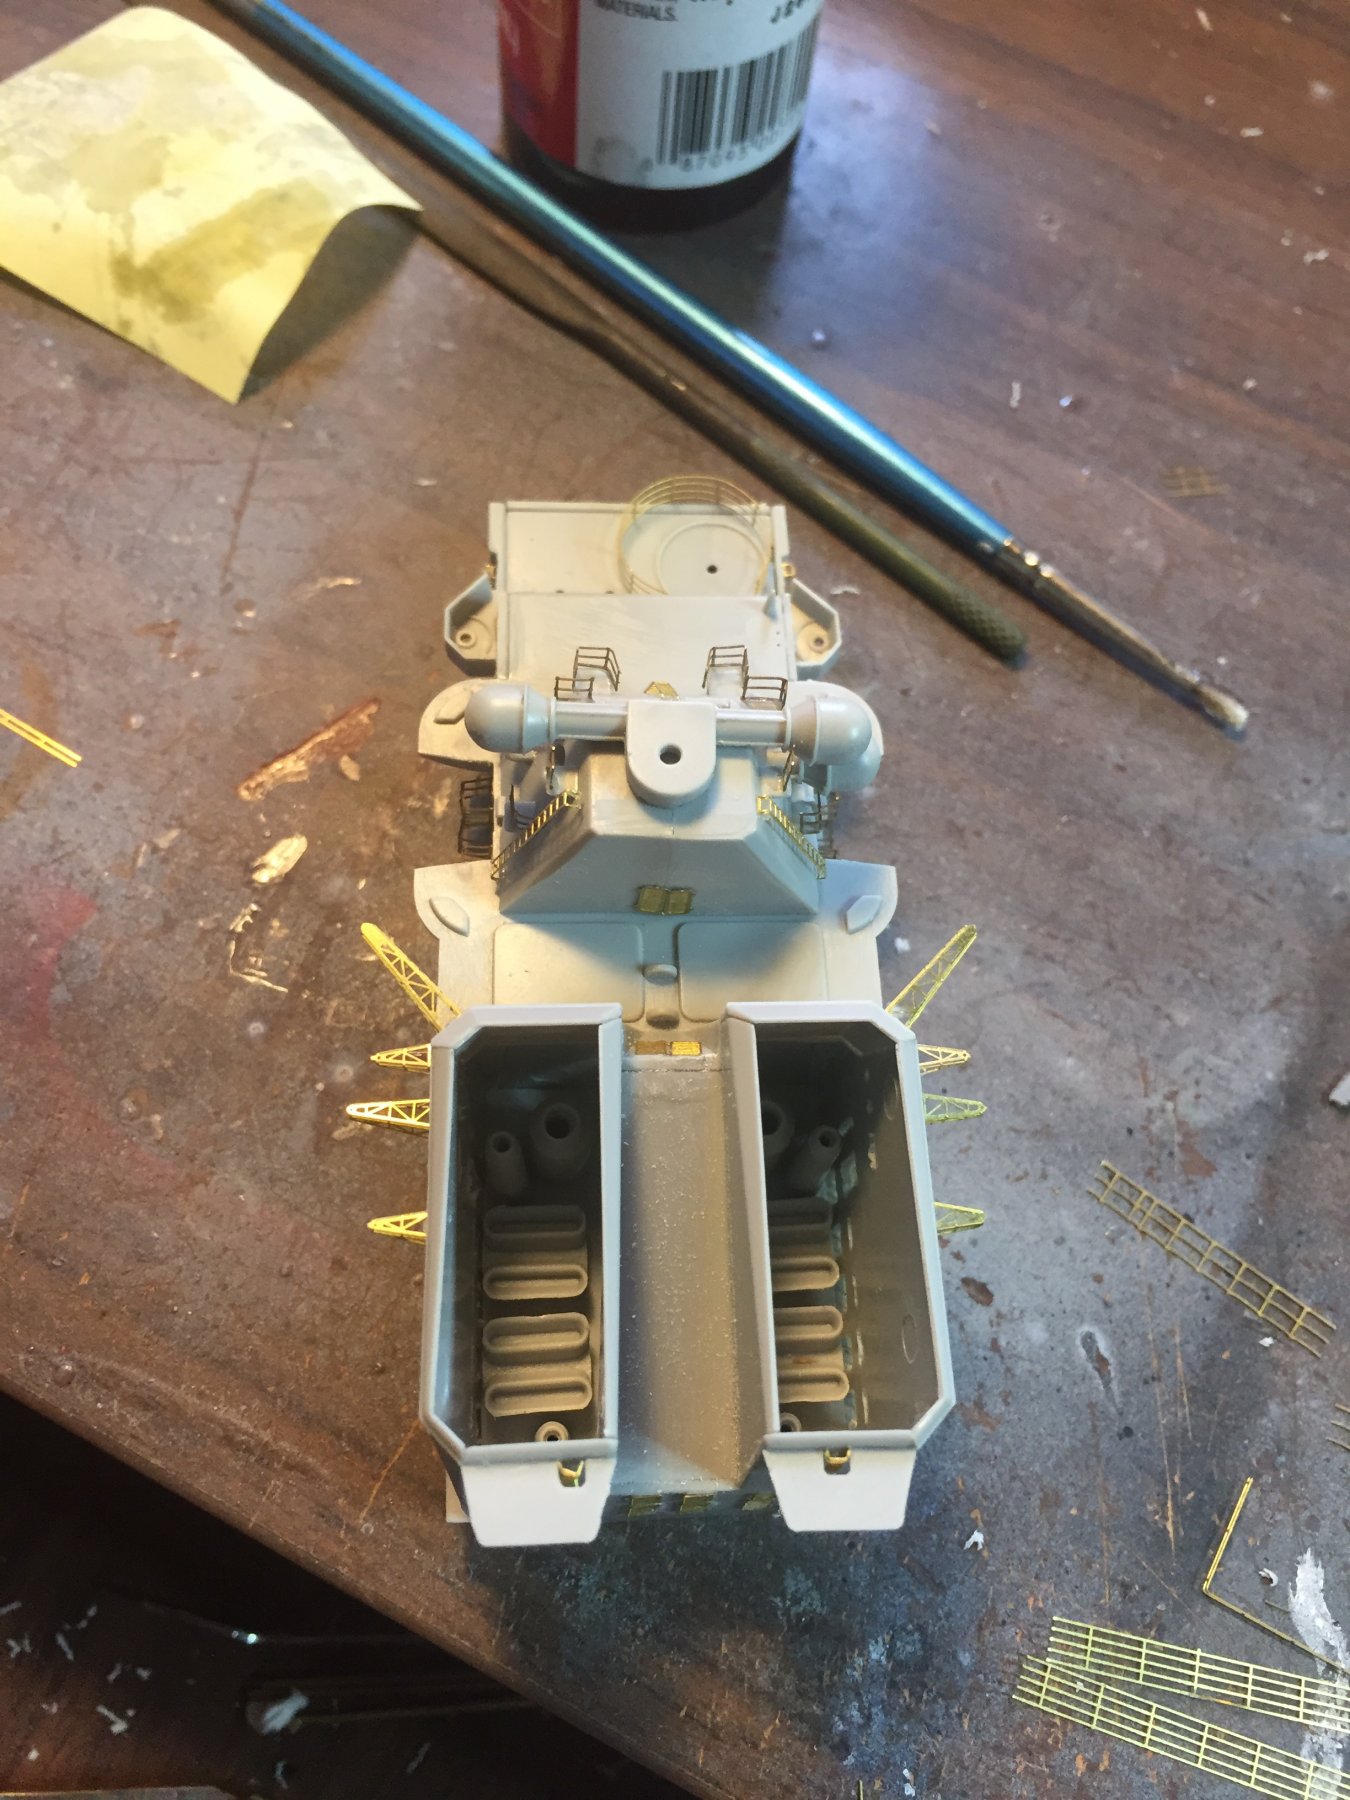
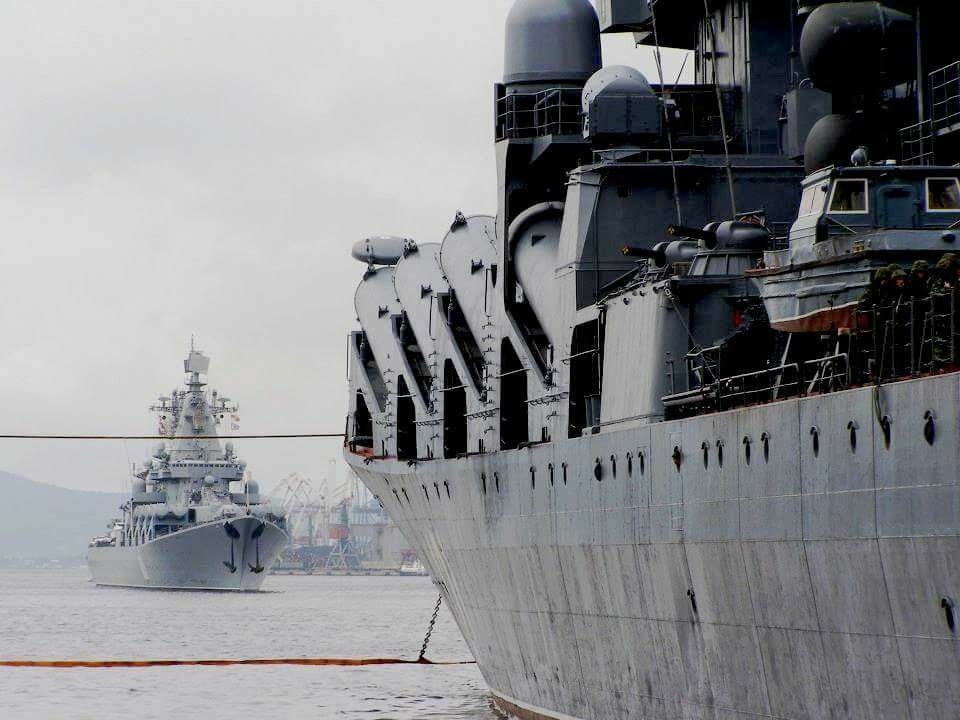
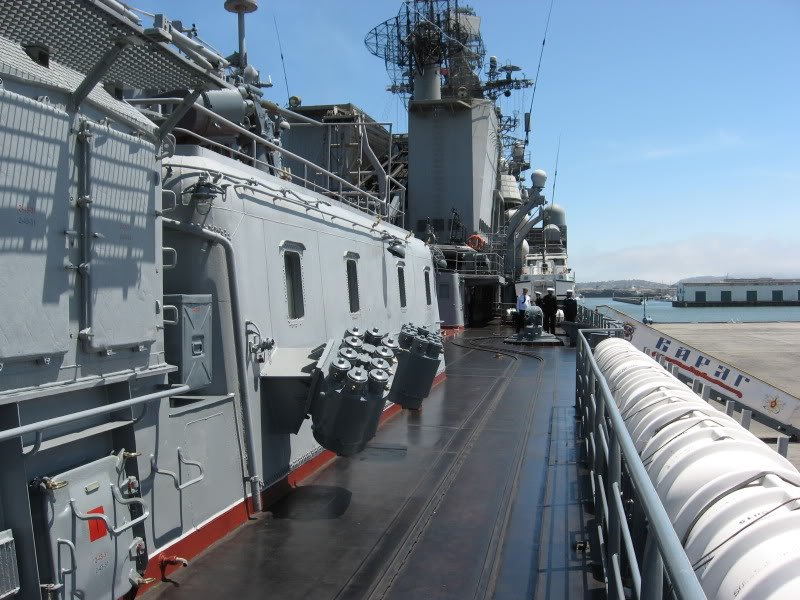
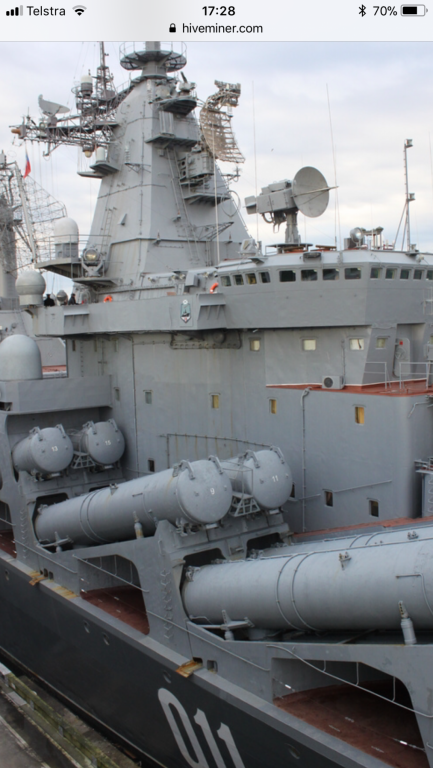
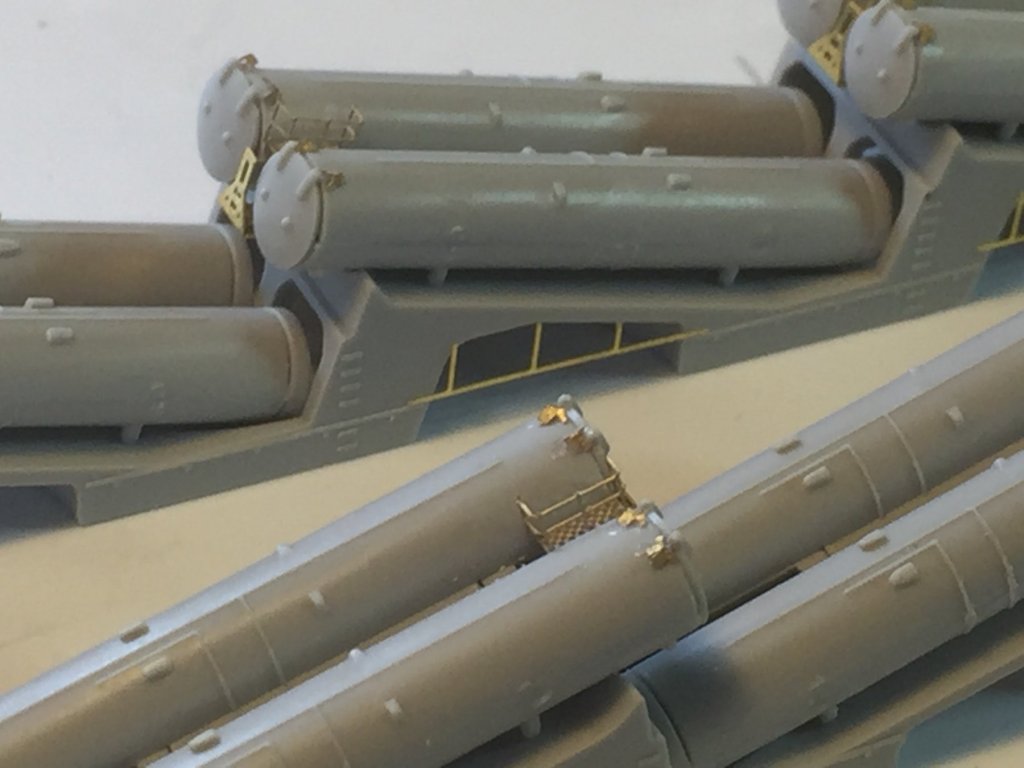
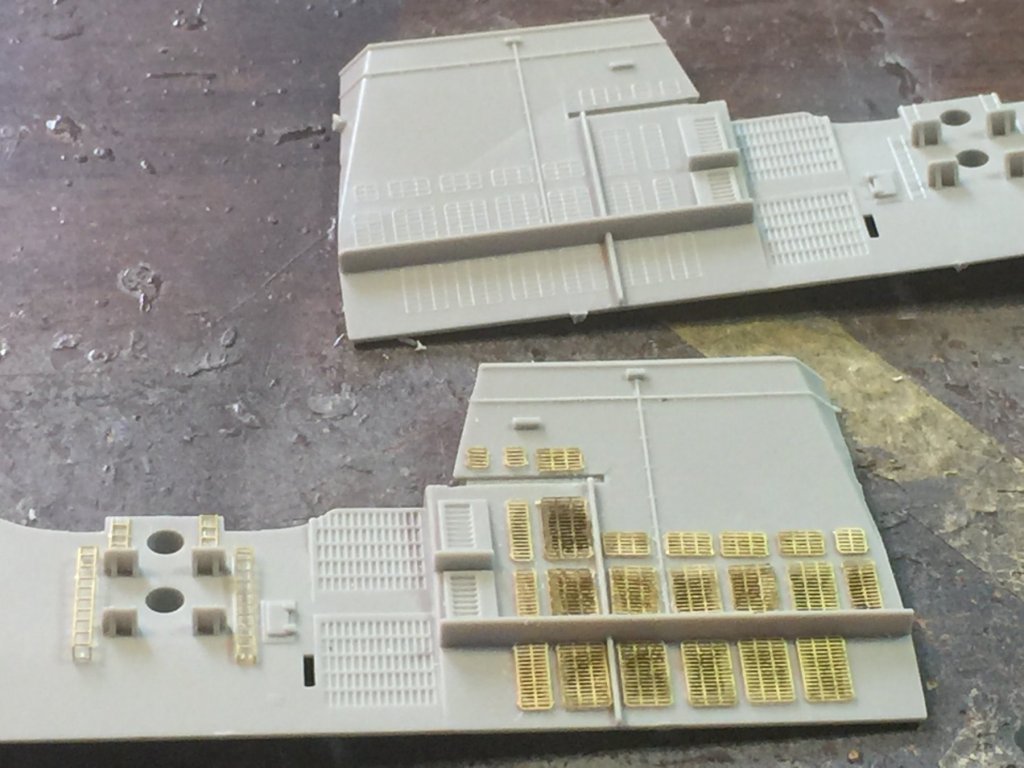
The SS-N-12 launchers. The kit provides a little bit of PE that sirlts at this he front which is supposed to be a platform. I used these and added some platforms and railings from the Ise spares. There are also exhaust railings on the side and some offcuts of brass thingys to make up some hinges which are fairly non existent


- 180 replies
-
- 13
-
-
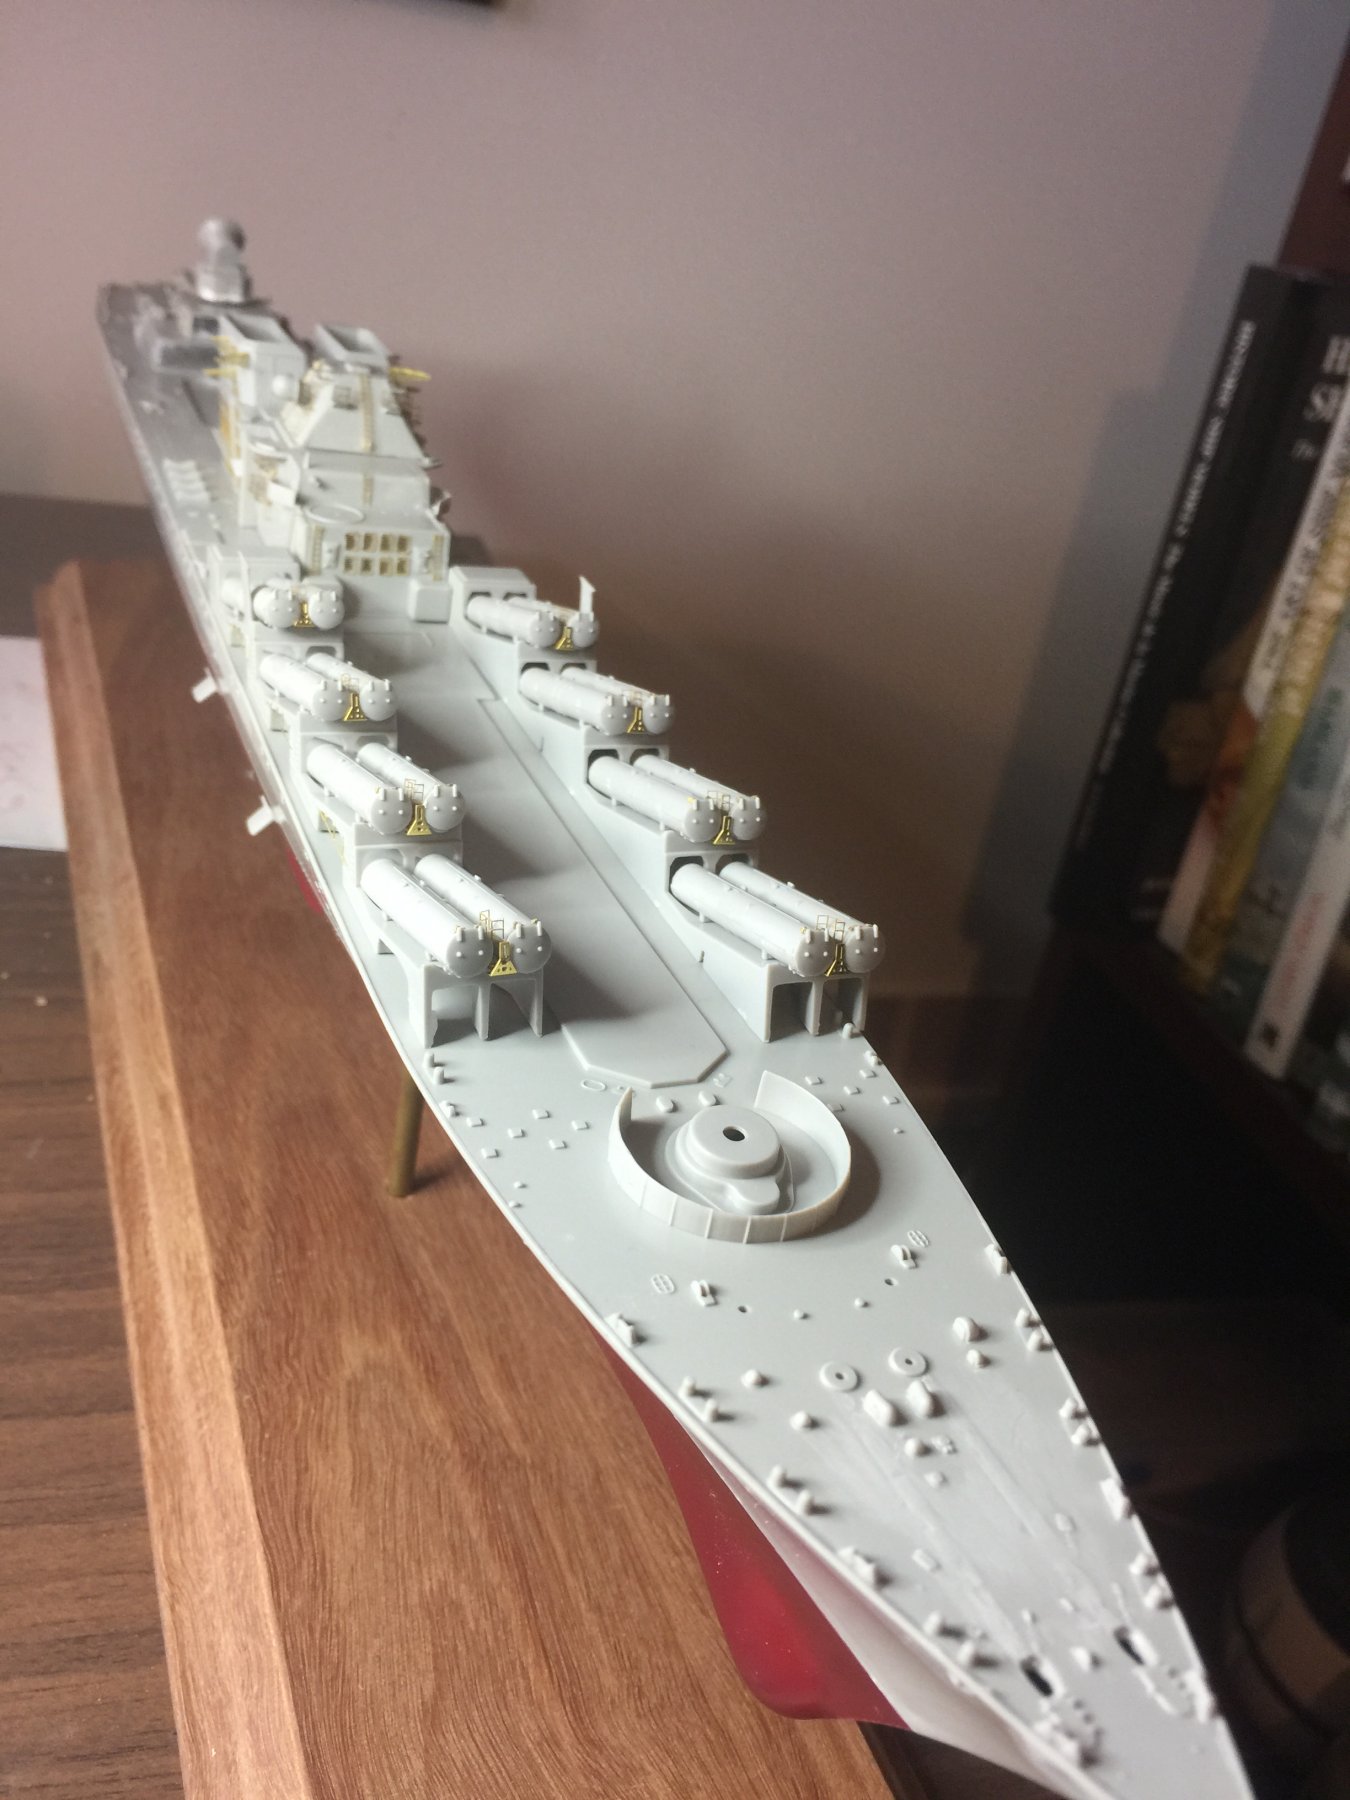
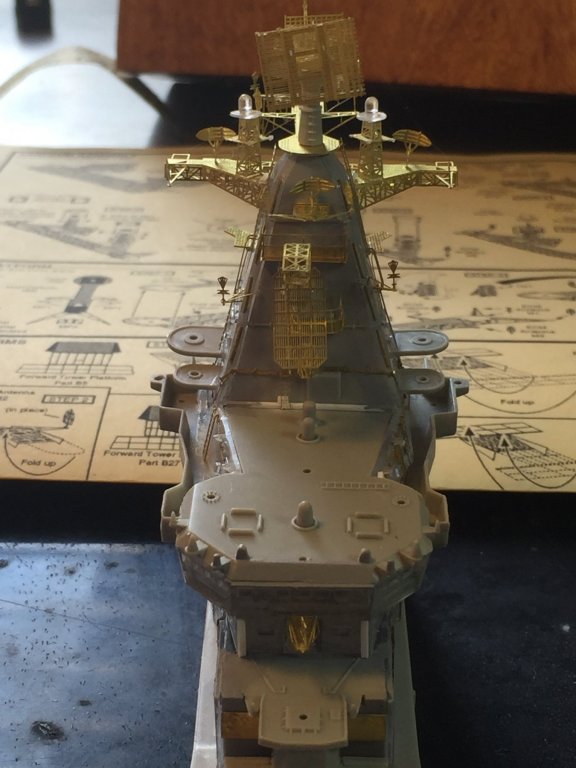
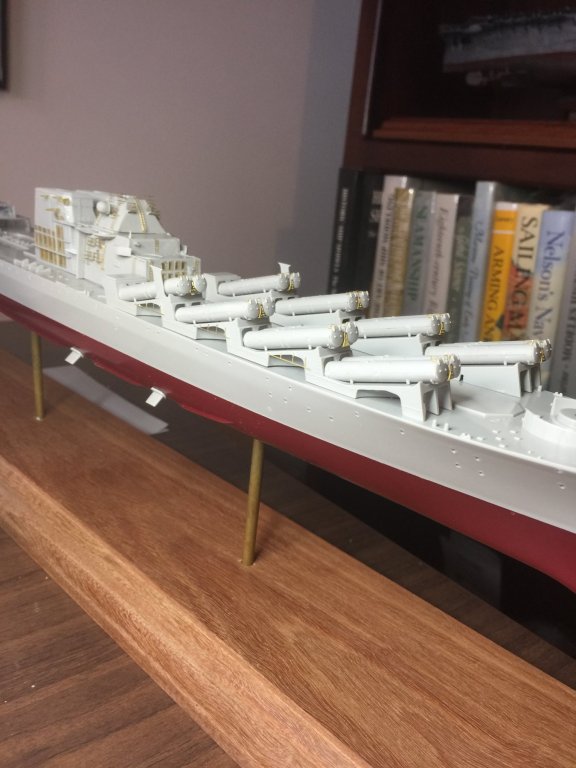
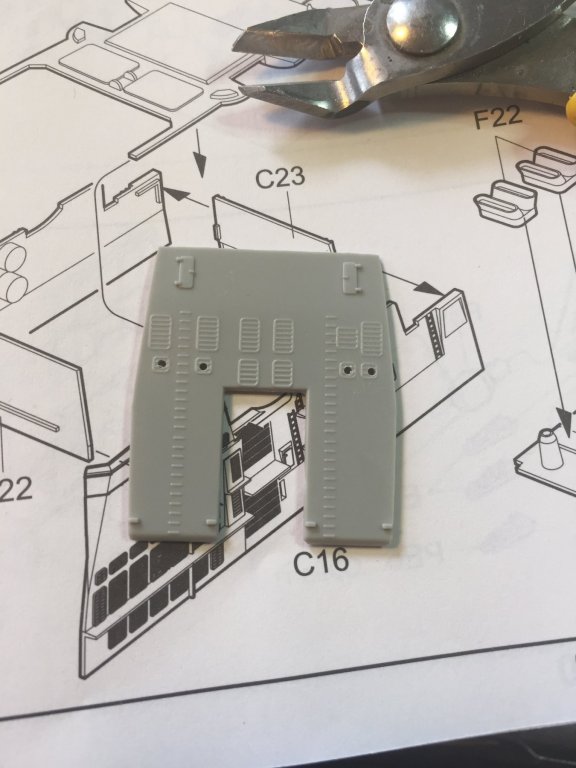
A quick dry fit over the massive gap in the deck. The quick fix will be to file the inside of the superstructure so it drops on flush. Then the two outside platforms that hold CIWS guns will cover the rest of it.

- 180 replies
-
- 13
-
-
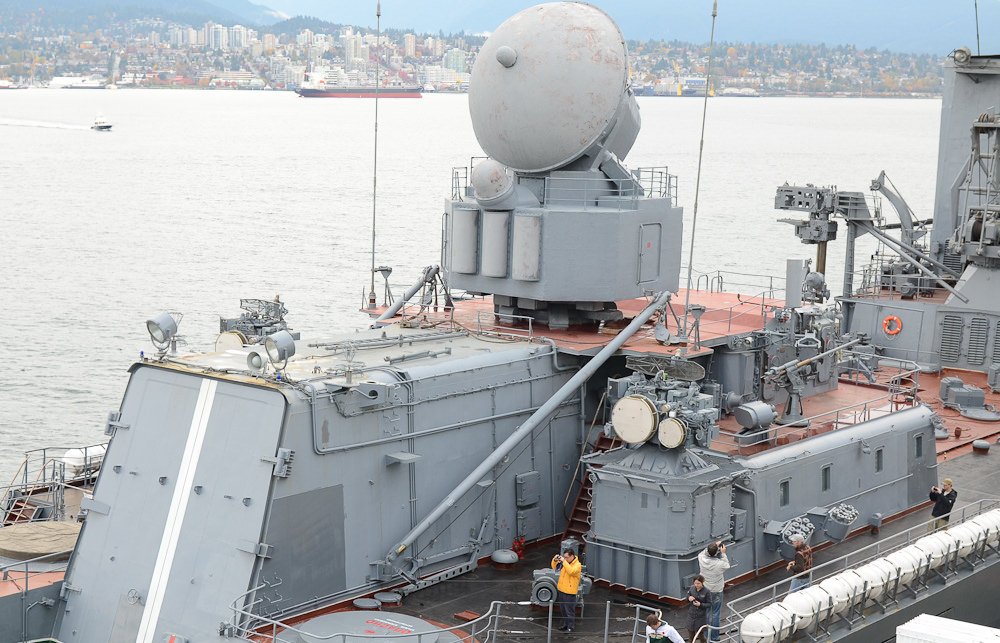
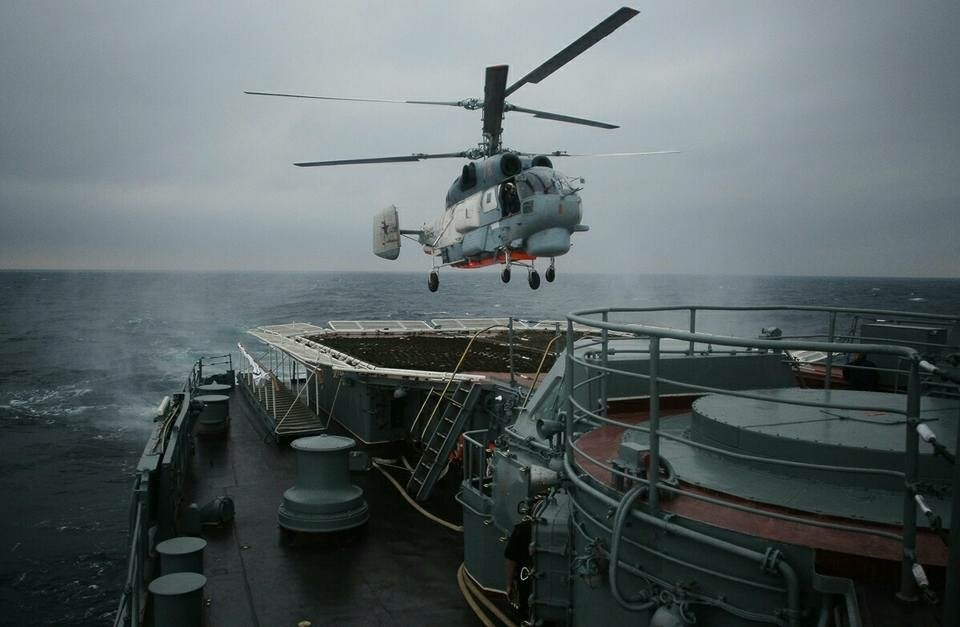
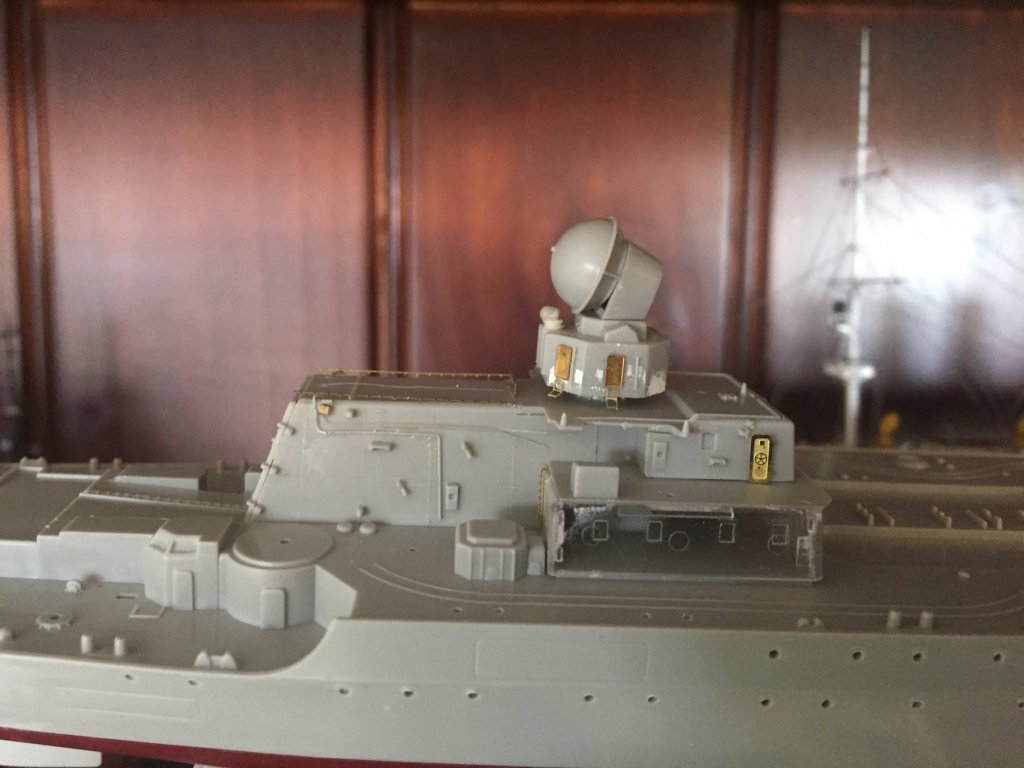
The garage for the helicopter. I’ve added a few cables than run to the ECm and spotlights out of stretched spruce. There was a molded ladder on top which I’ll replace later. Lots more detail to add to the piece yet but after painting. Someone flew a drone over her in HK earlier this year and posted it on U tube so there is a HD reference which also confirms from the still photos that the Top Done fire controller is very very wrong, requiring some filing and a bit of scratch building and added some doors from spares. It also includes some clear pieces which I have seen from other forums are universally hated. Off to the front of the bus next. Question; does anyone have any clue how to make 1/350 speakers/Pa’s?

- 180 replies
-
- 12
-
-
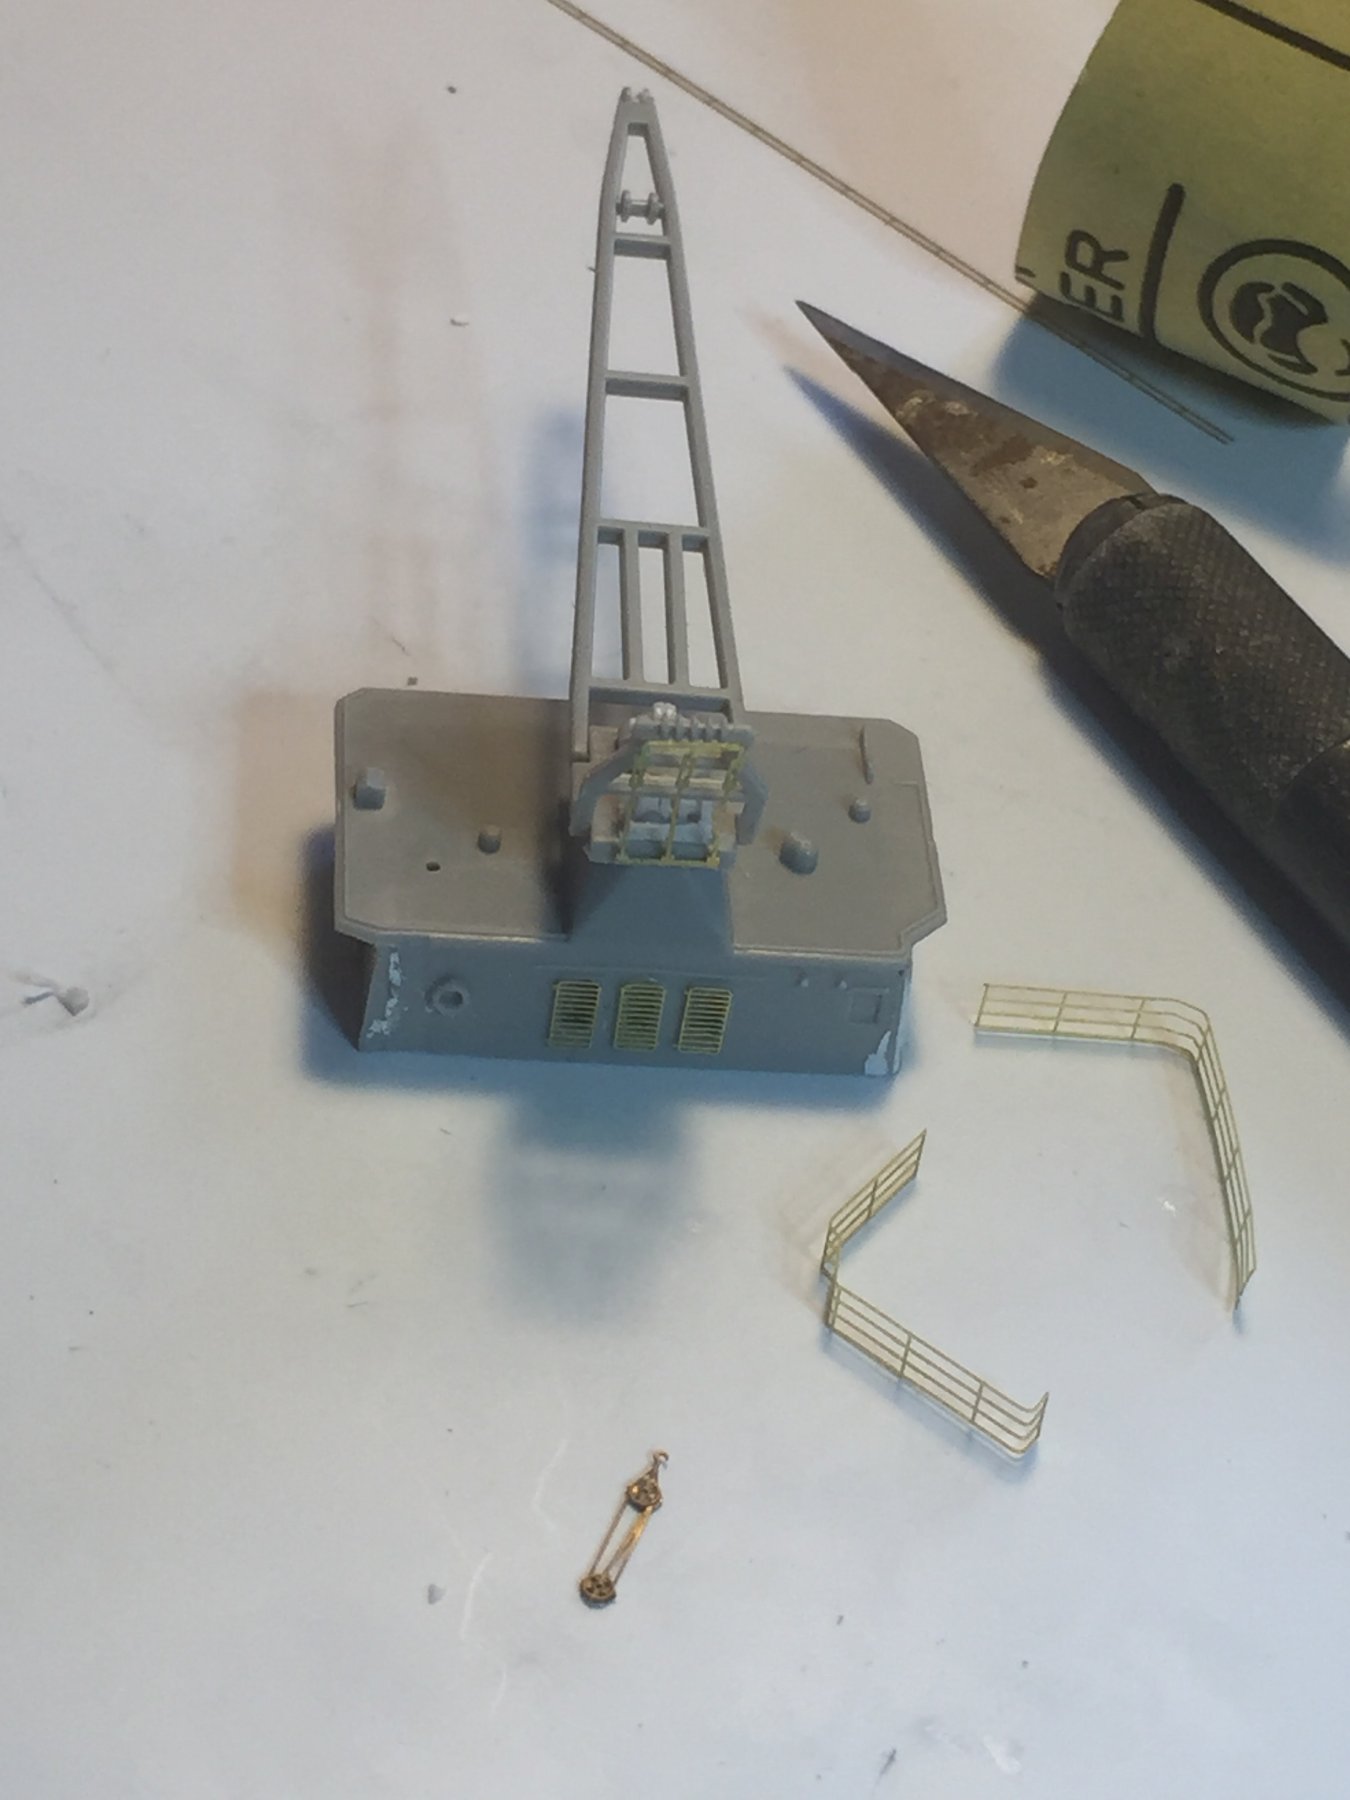
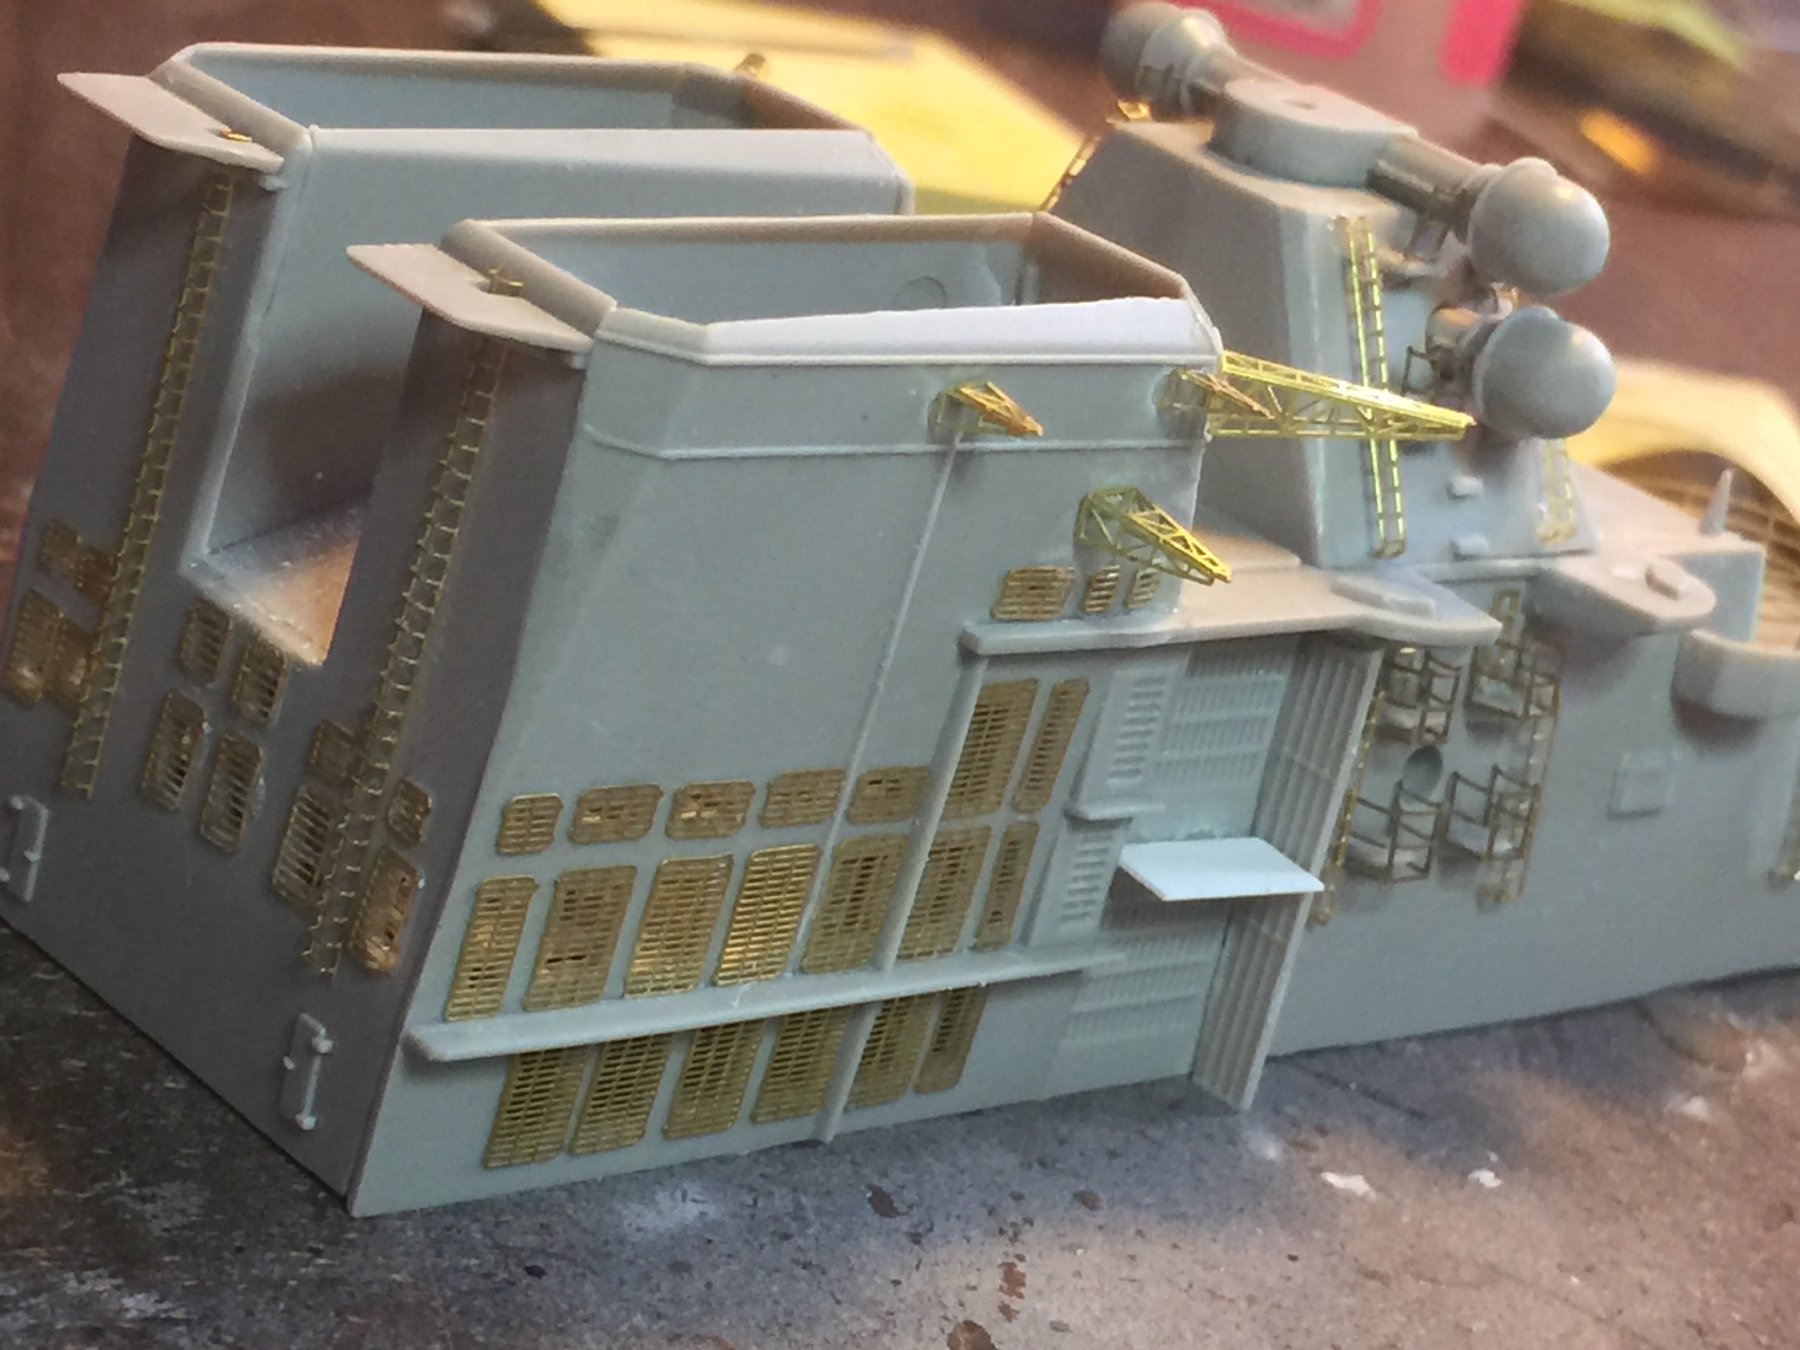
Cdw don’t hold back! There are a few more ‘recent’ ships I have my eye on. The crane section done, I added winches and backstays but will rig it once painted.

-
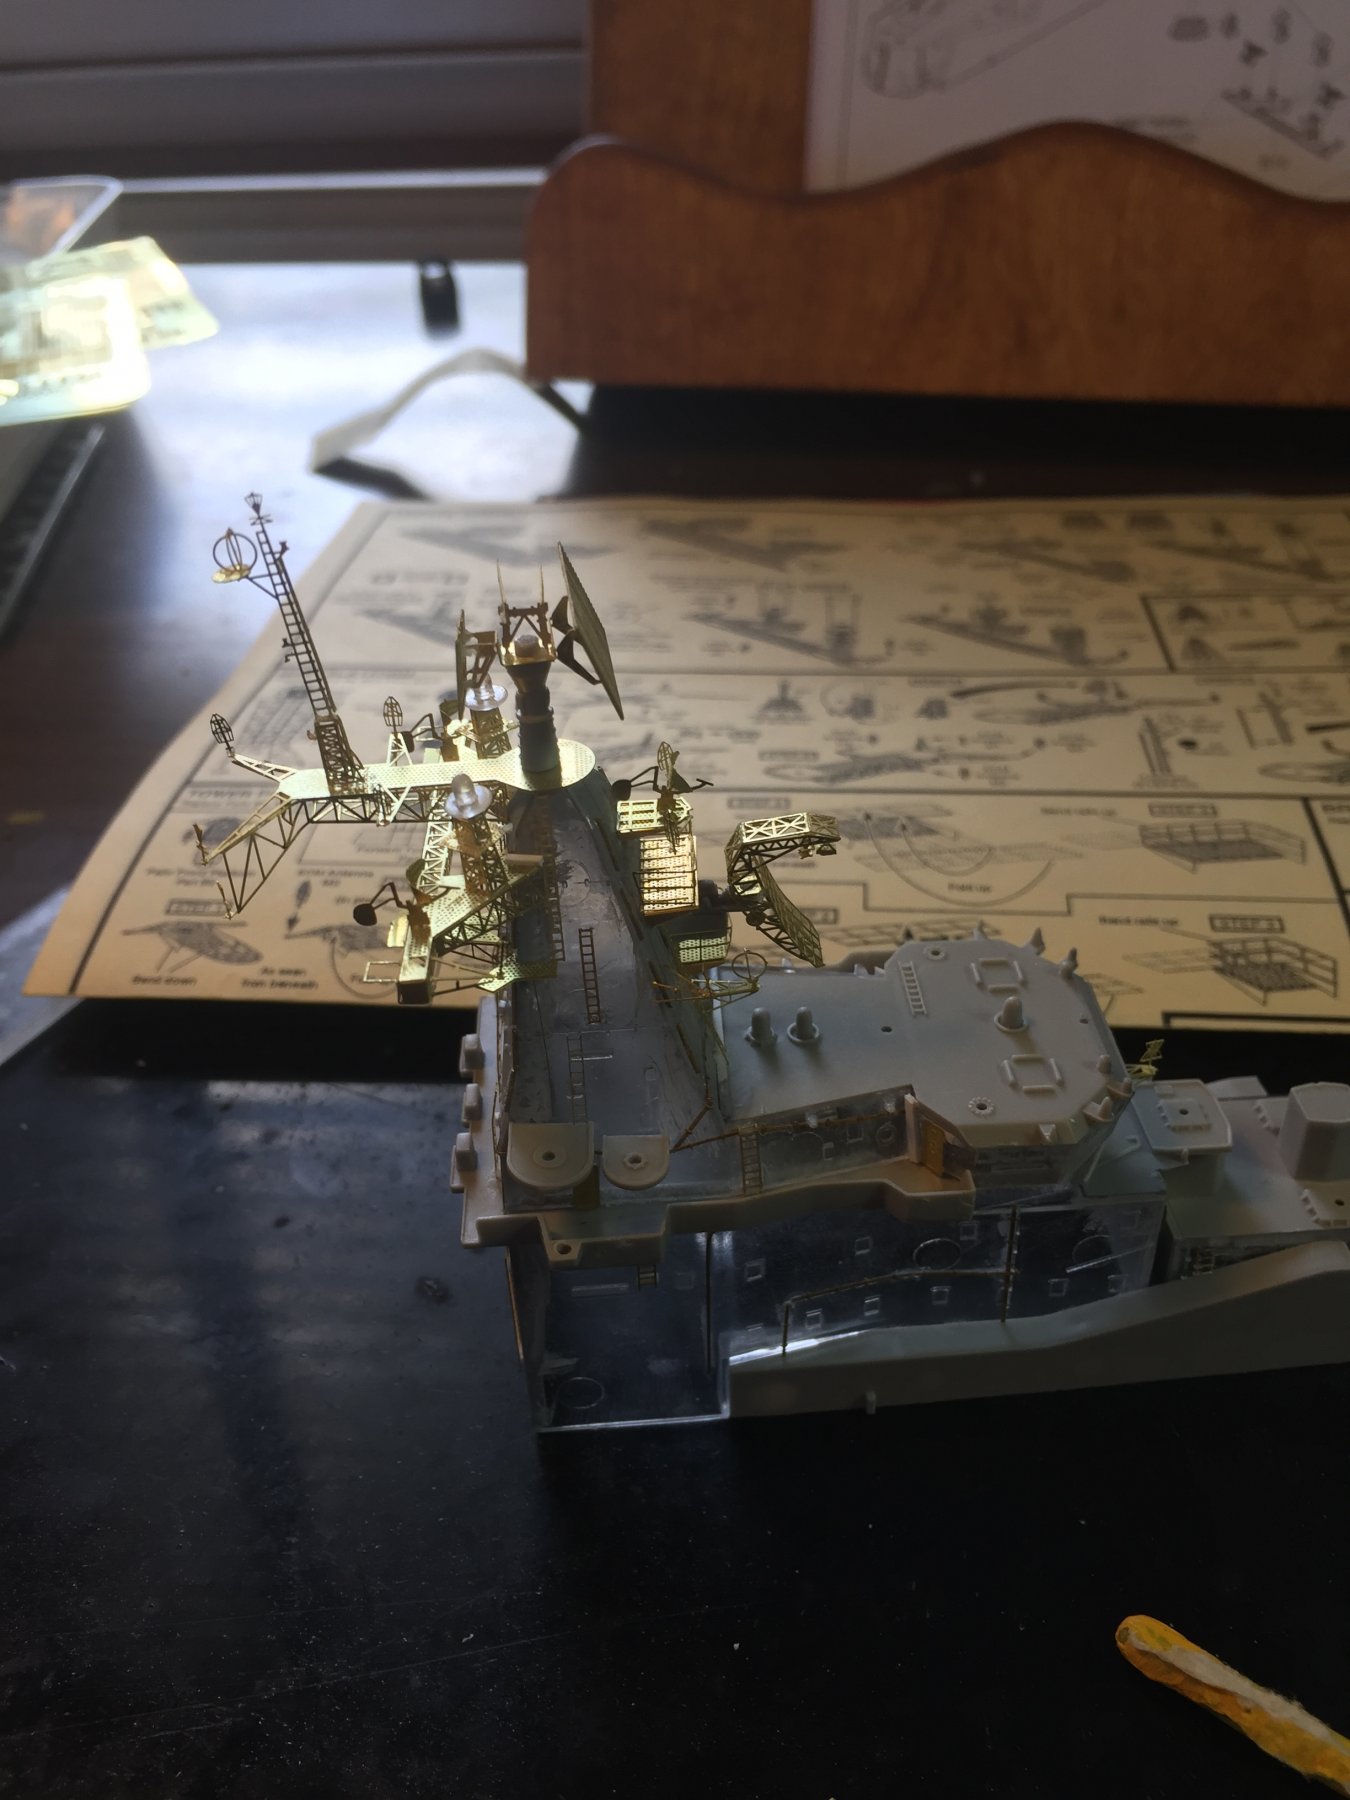
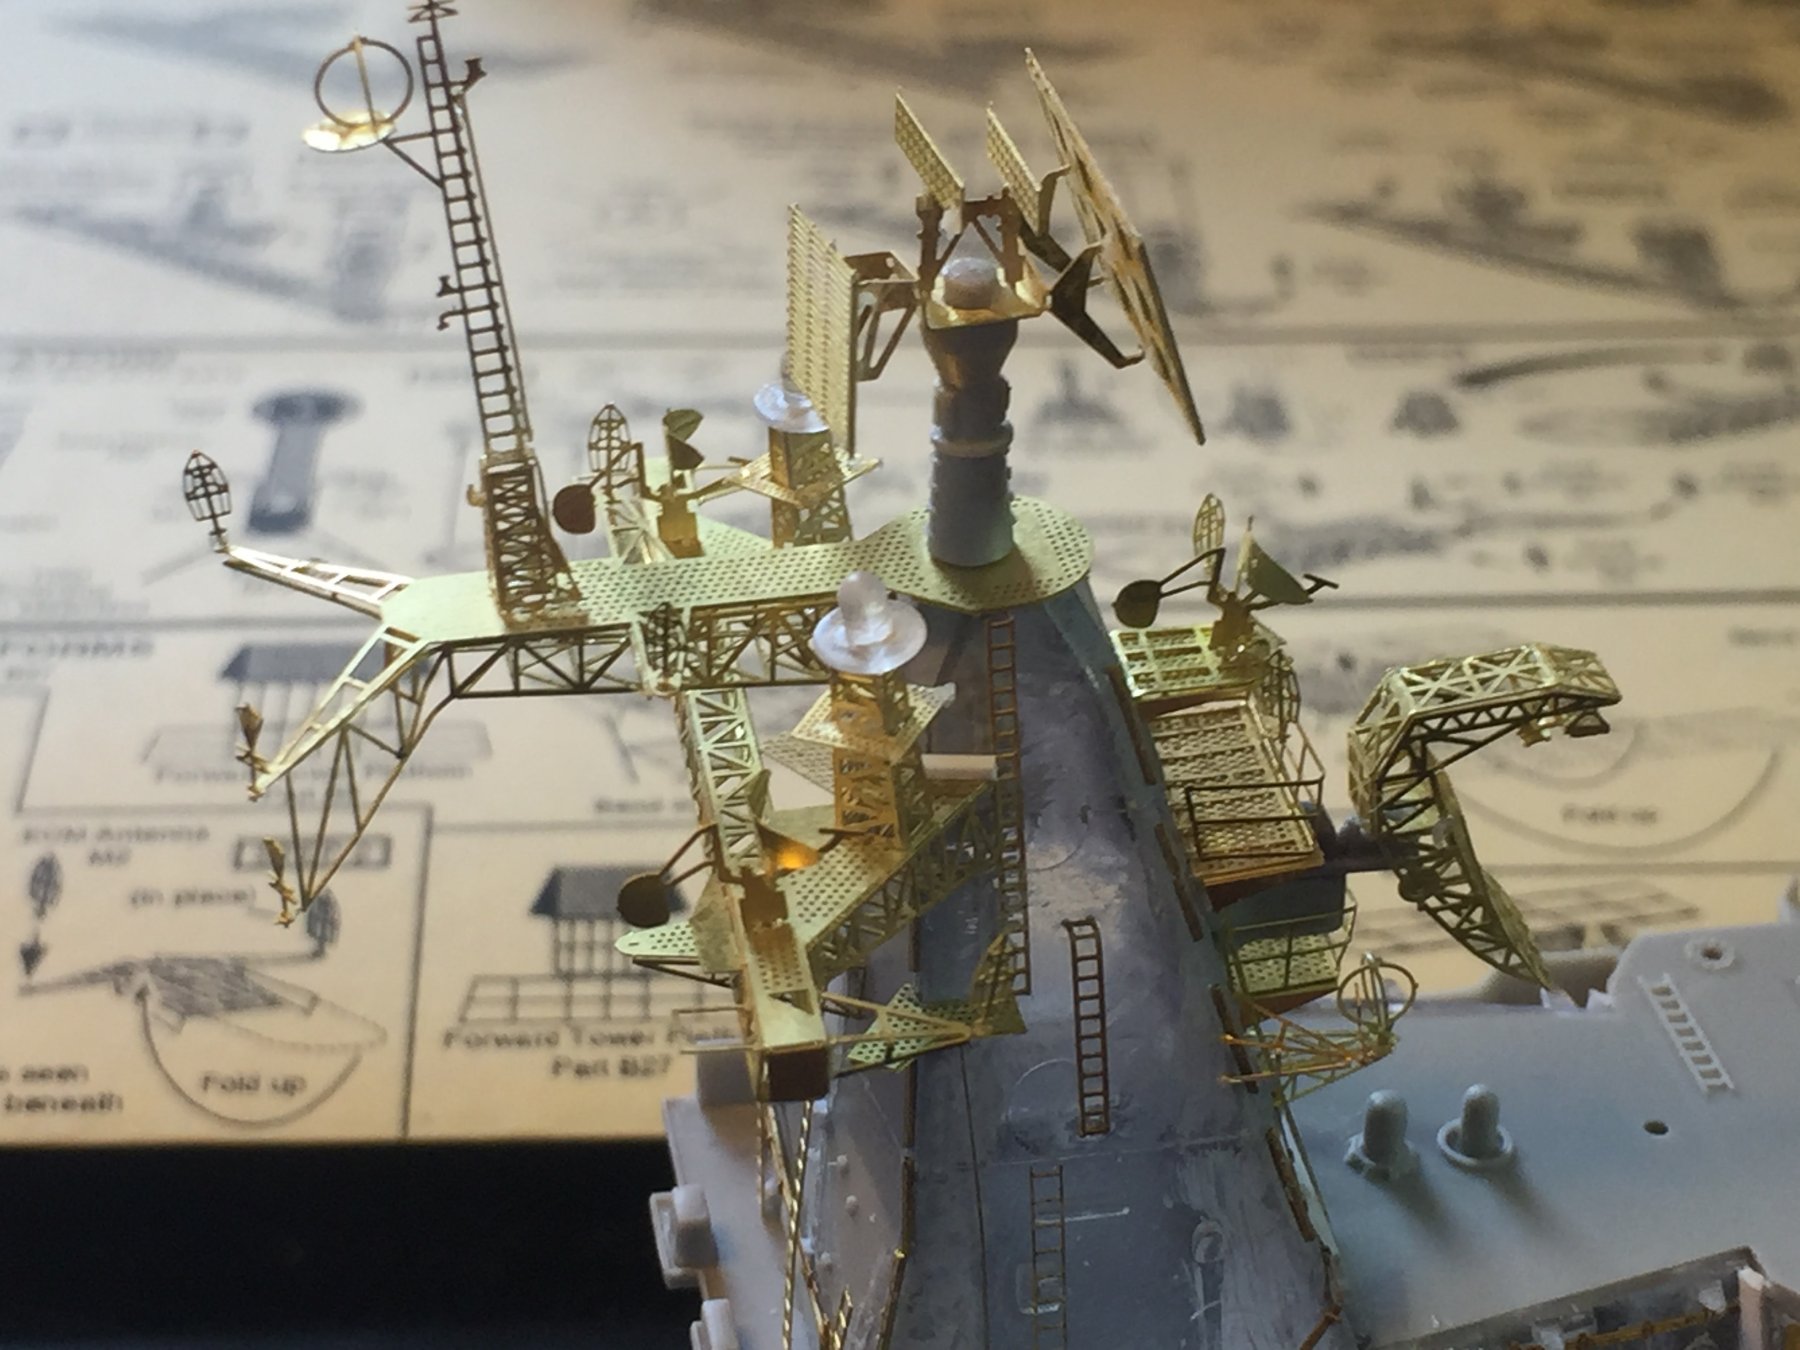
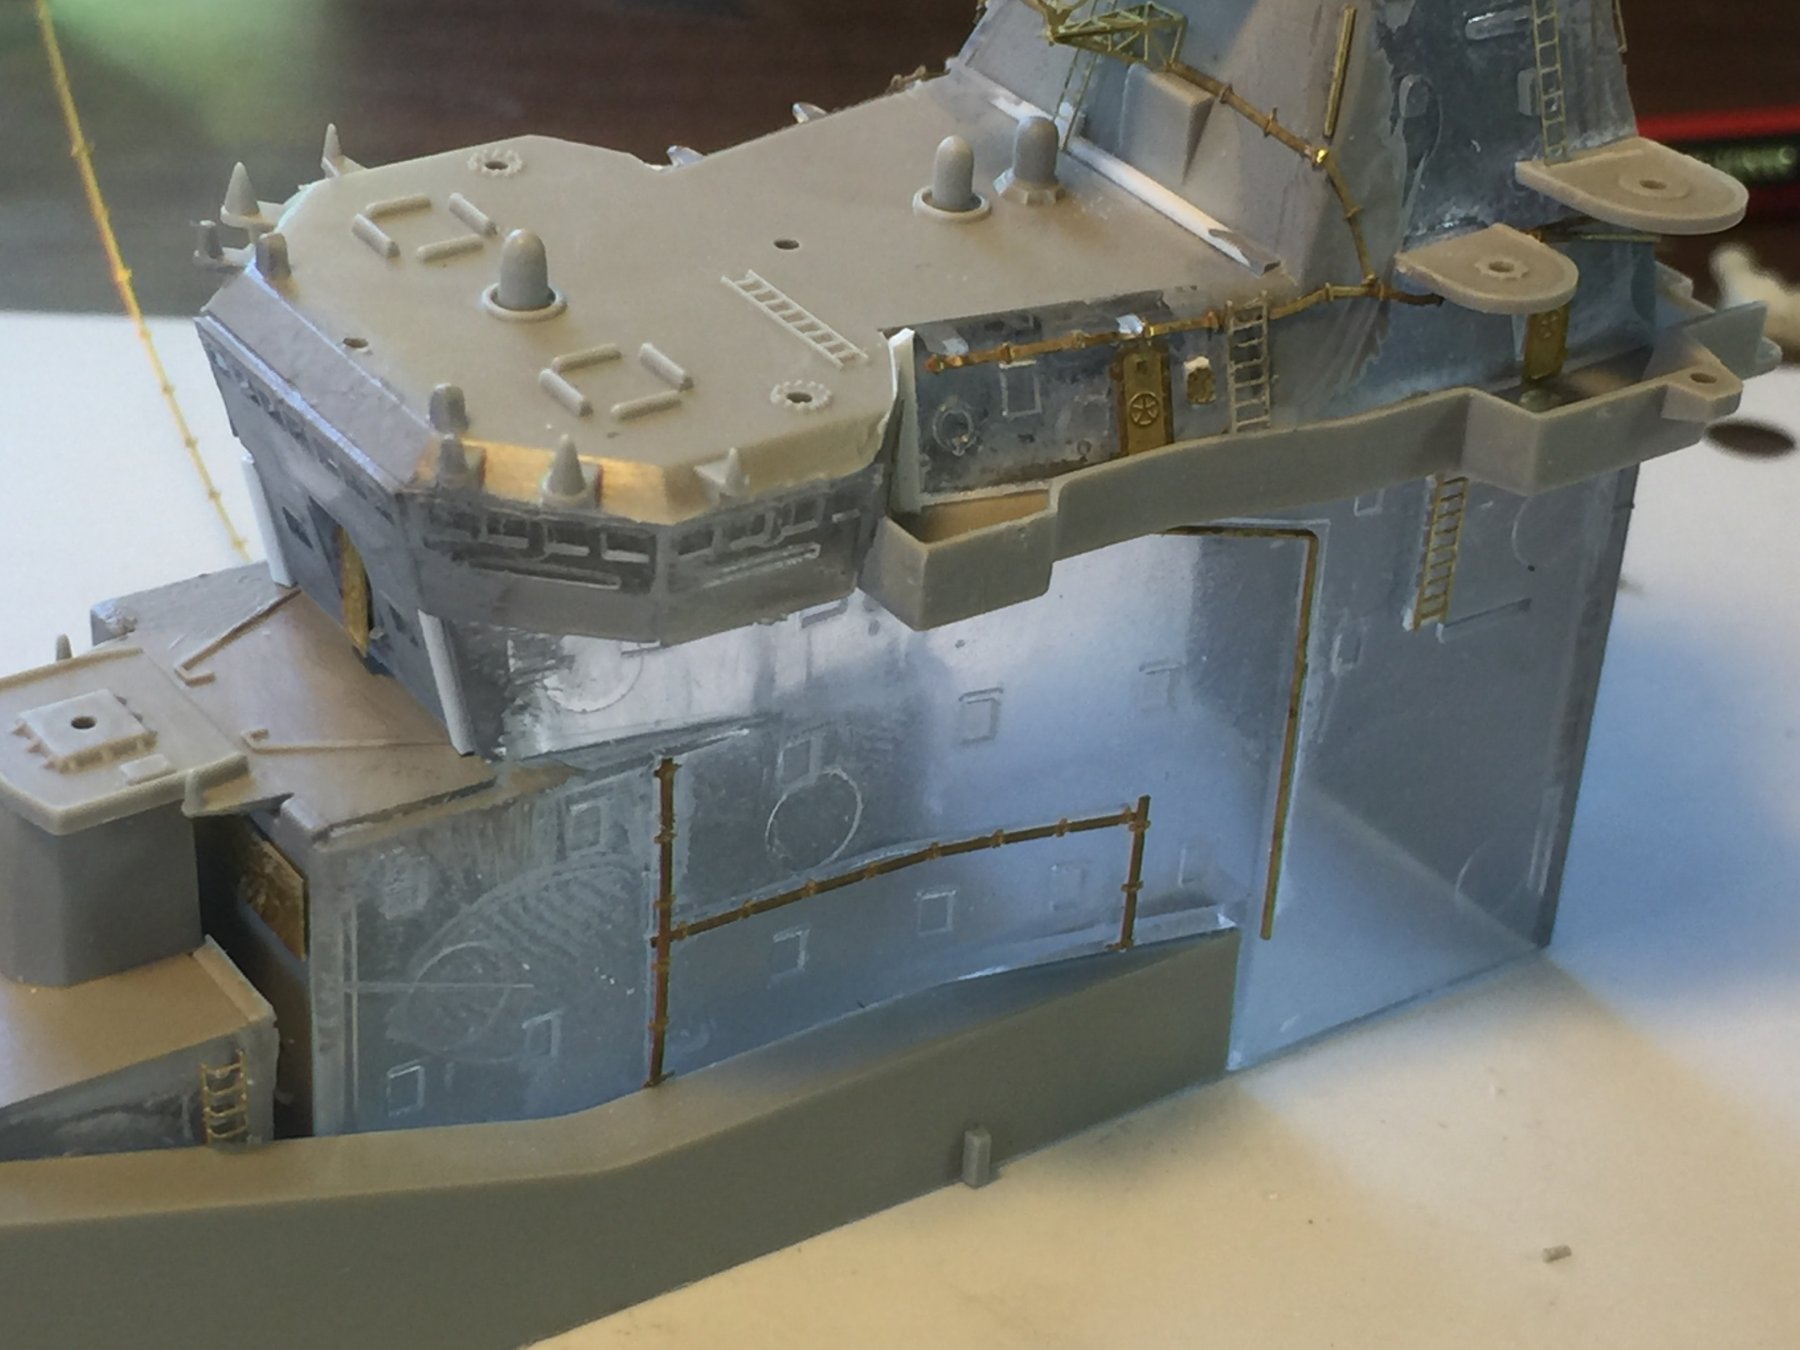
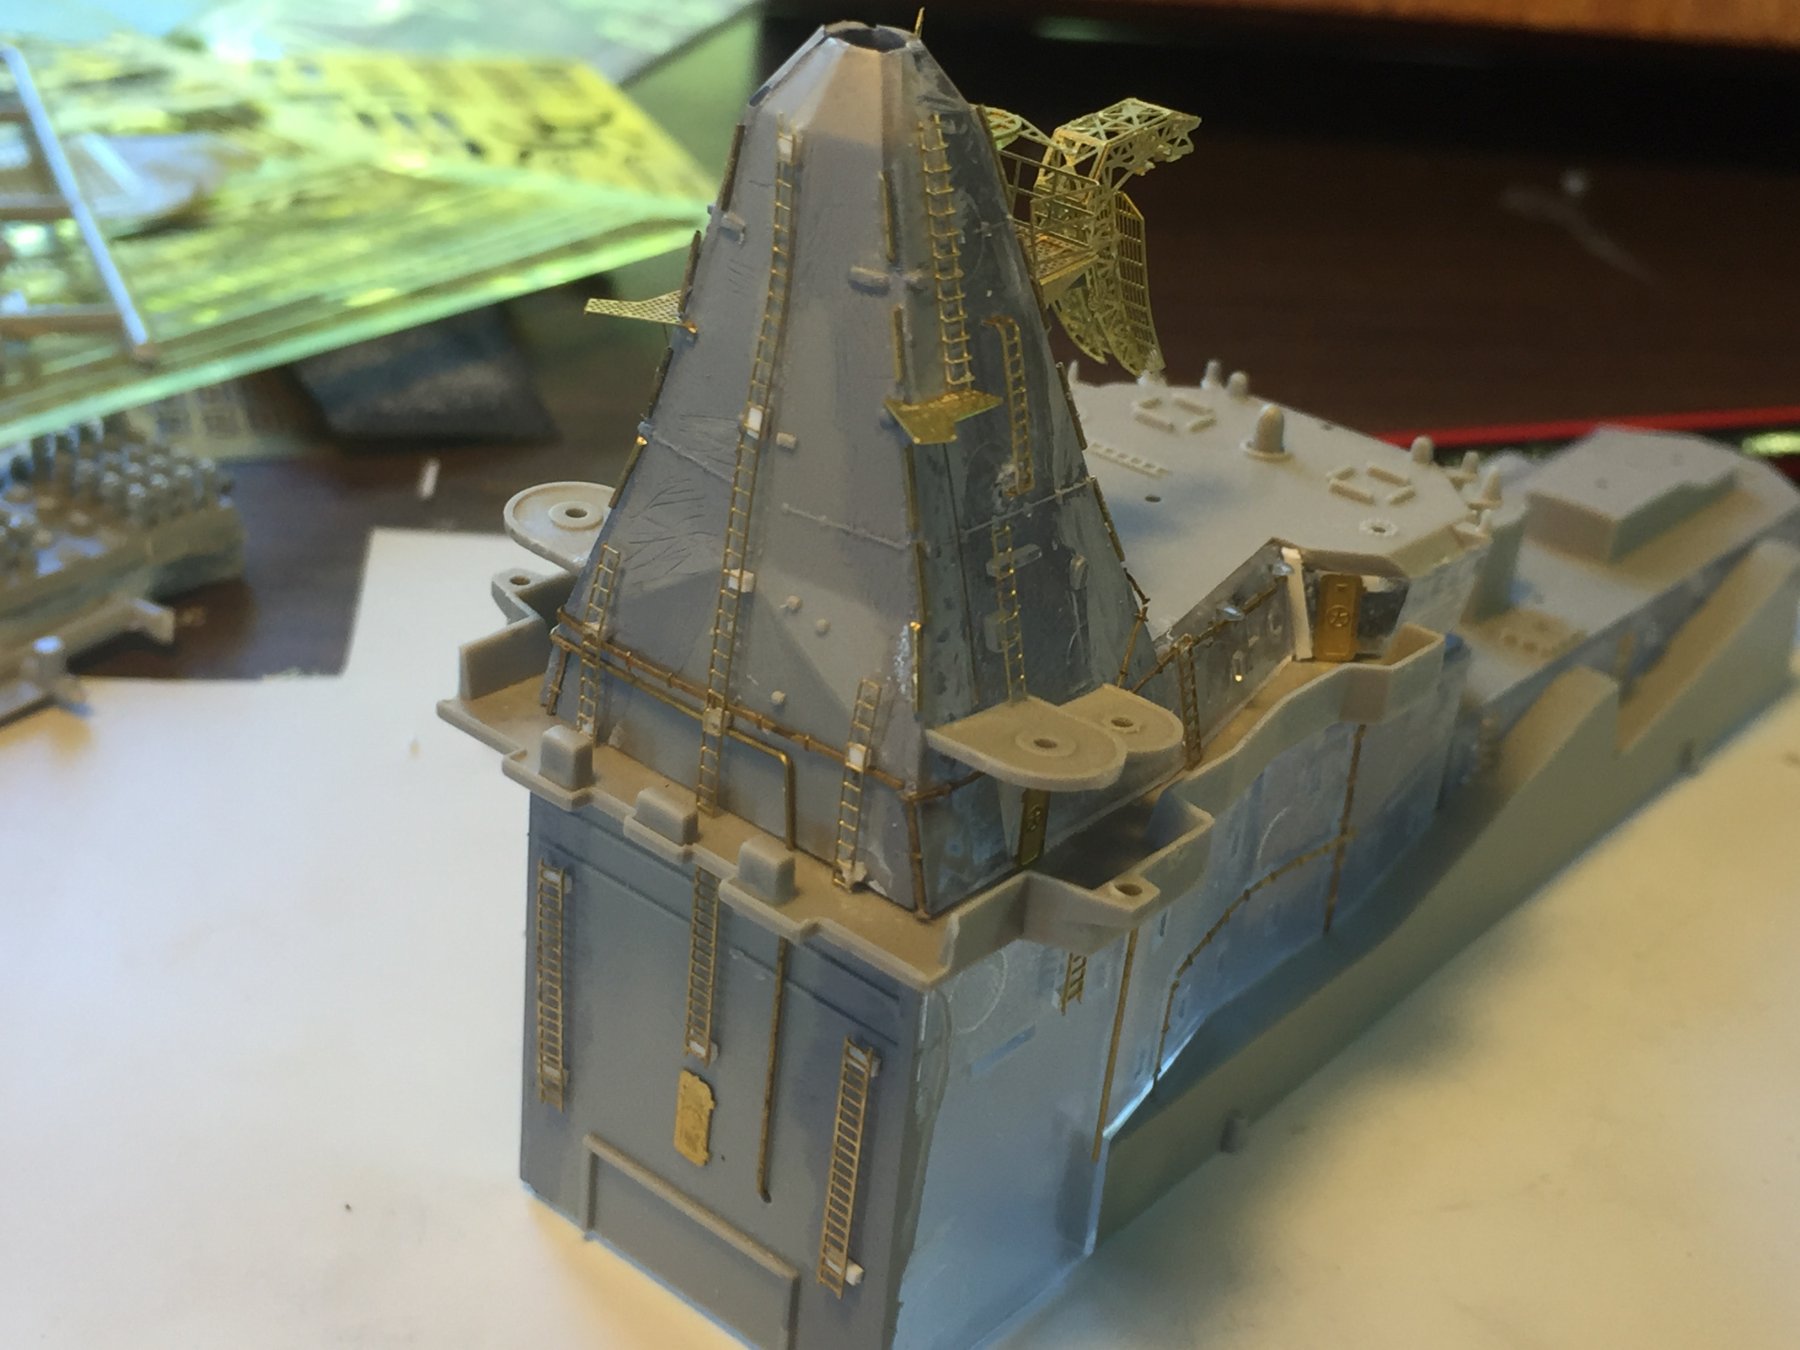
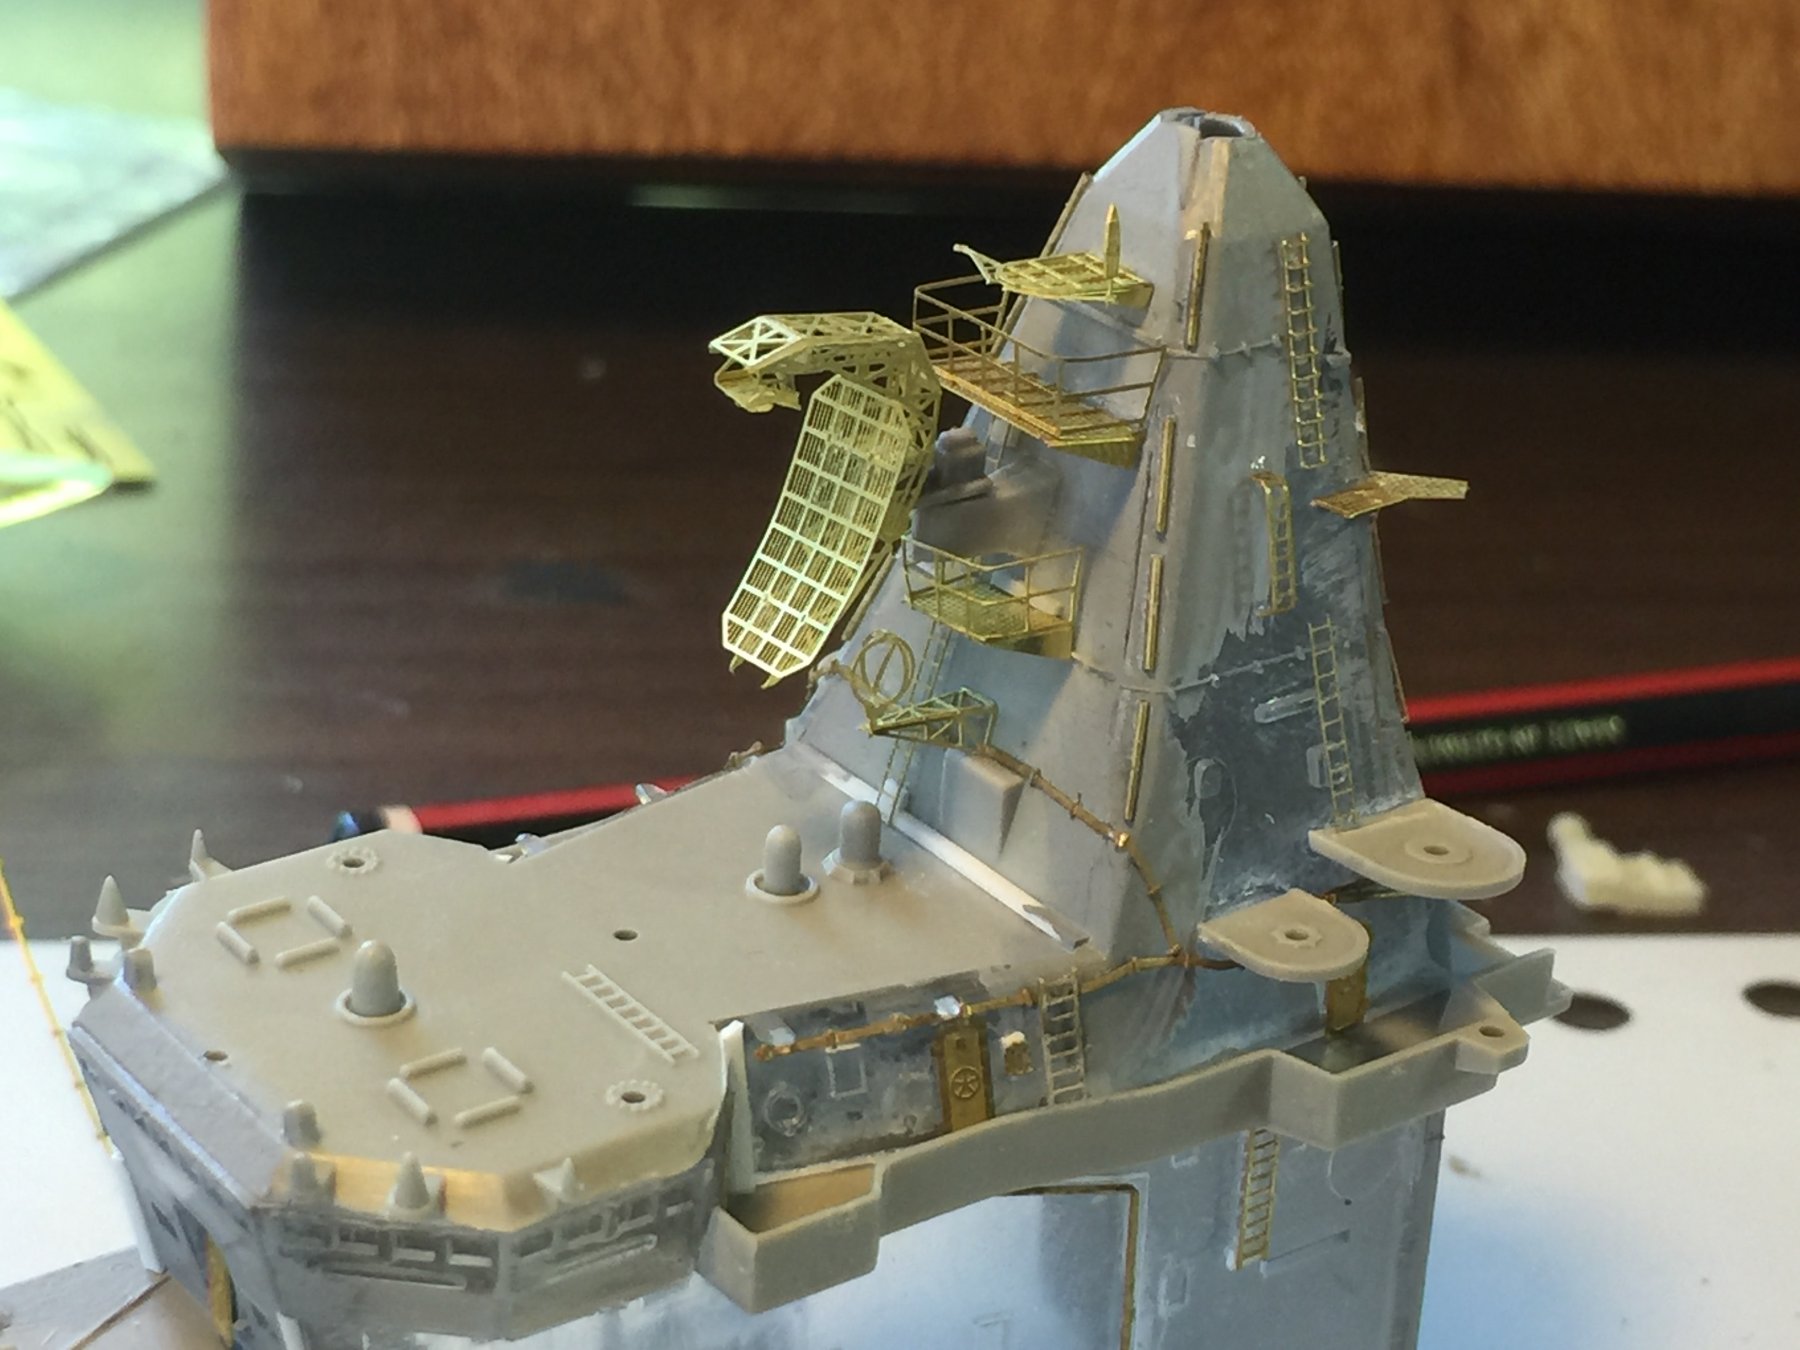
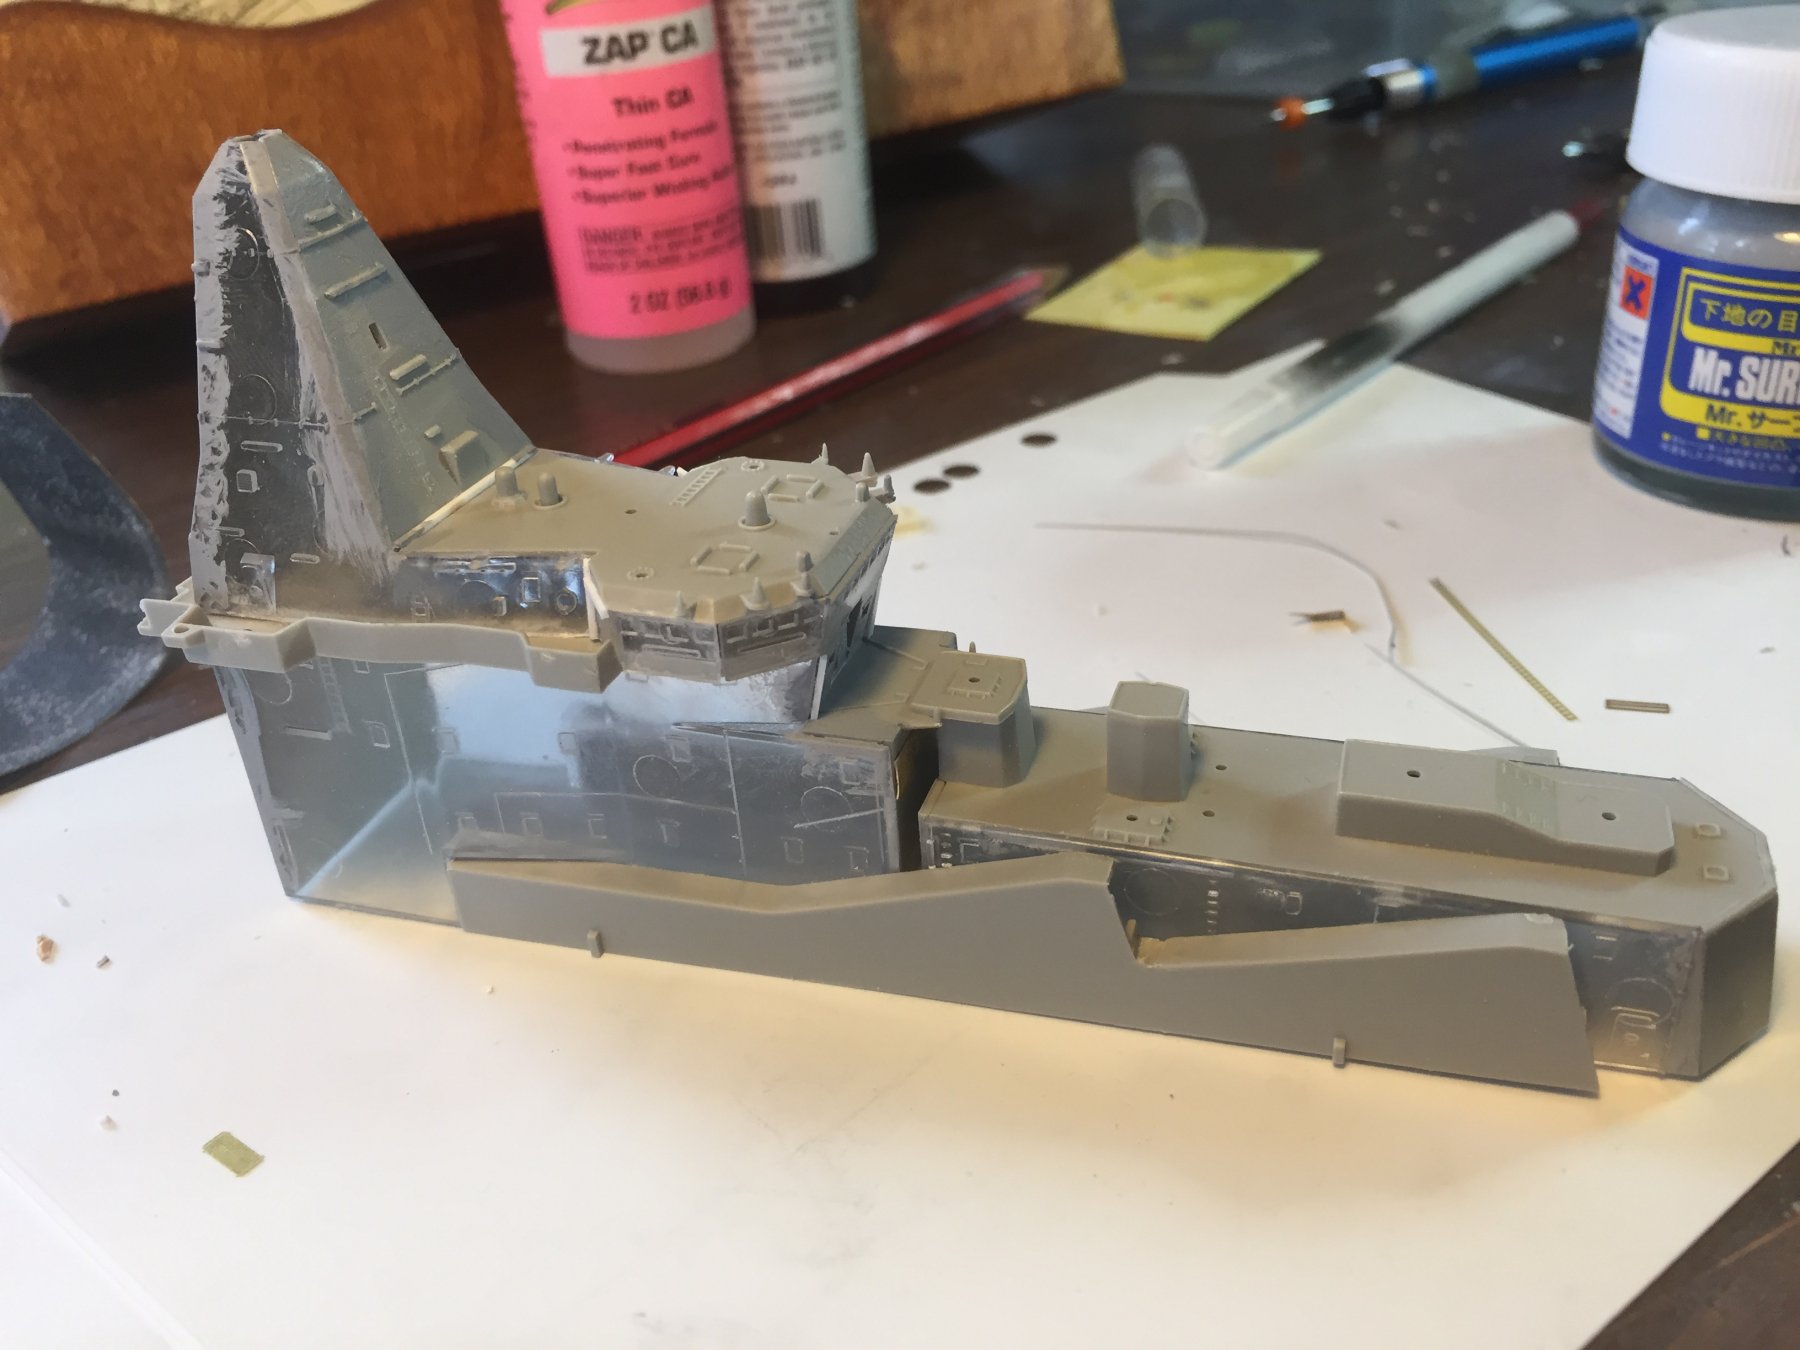
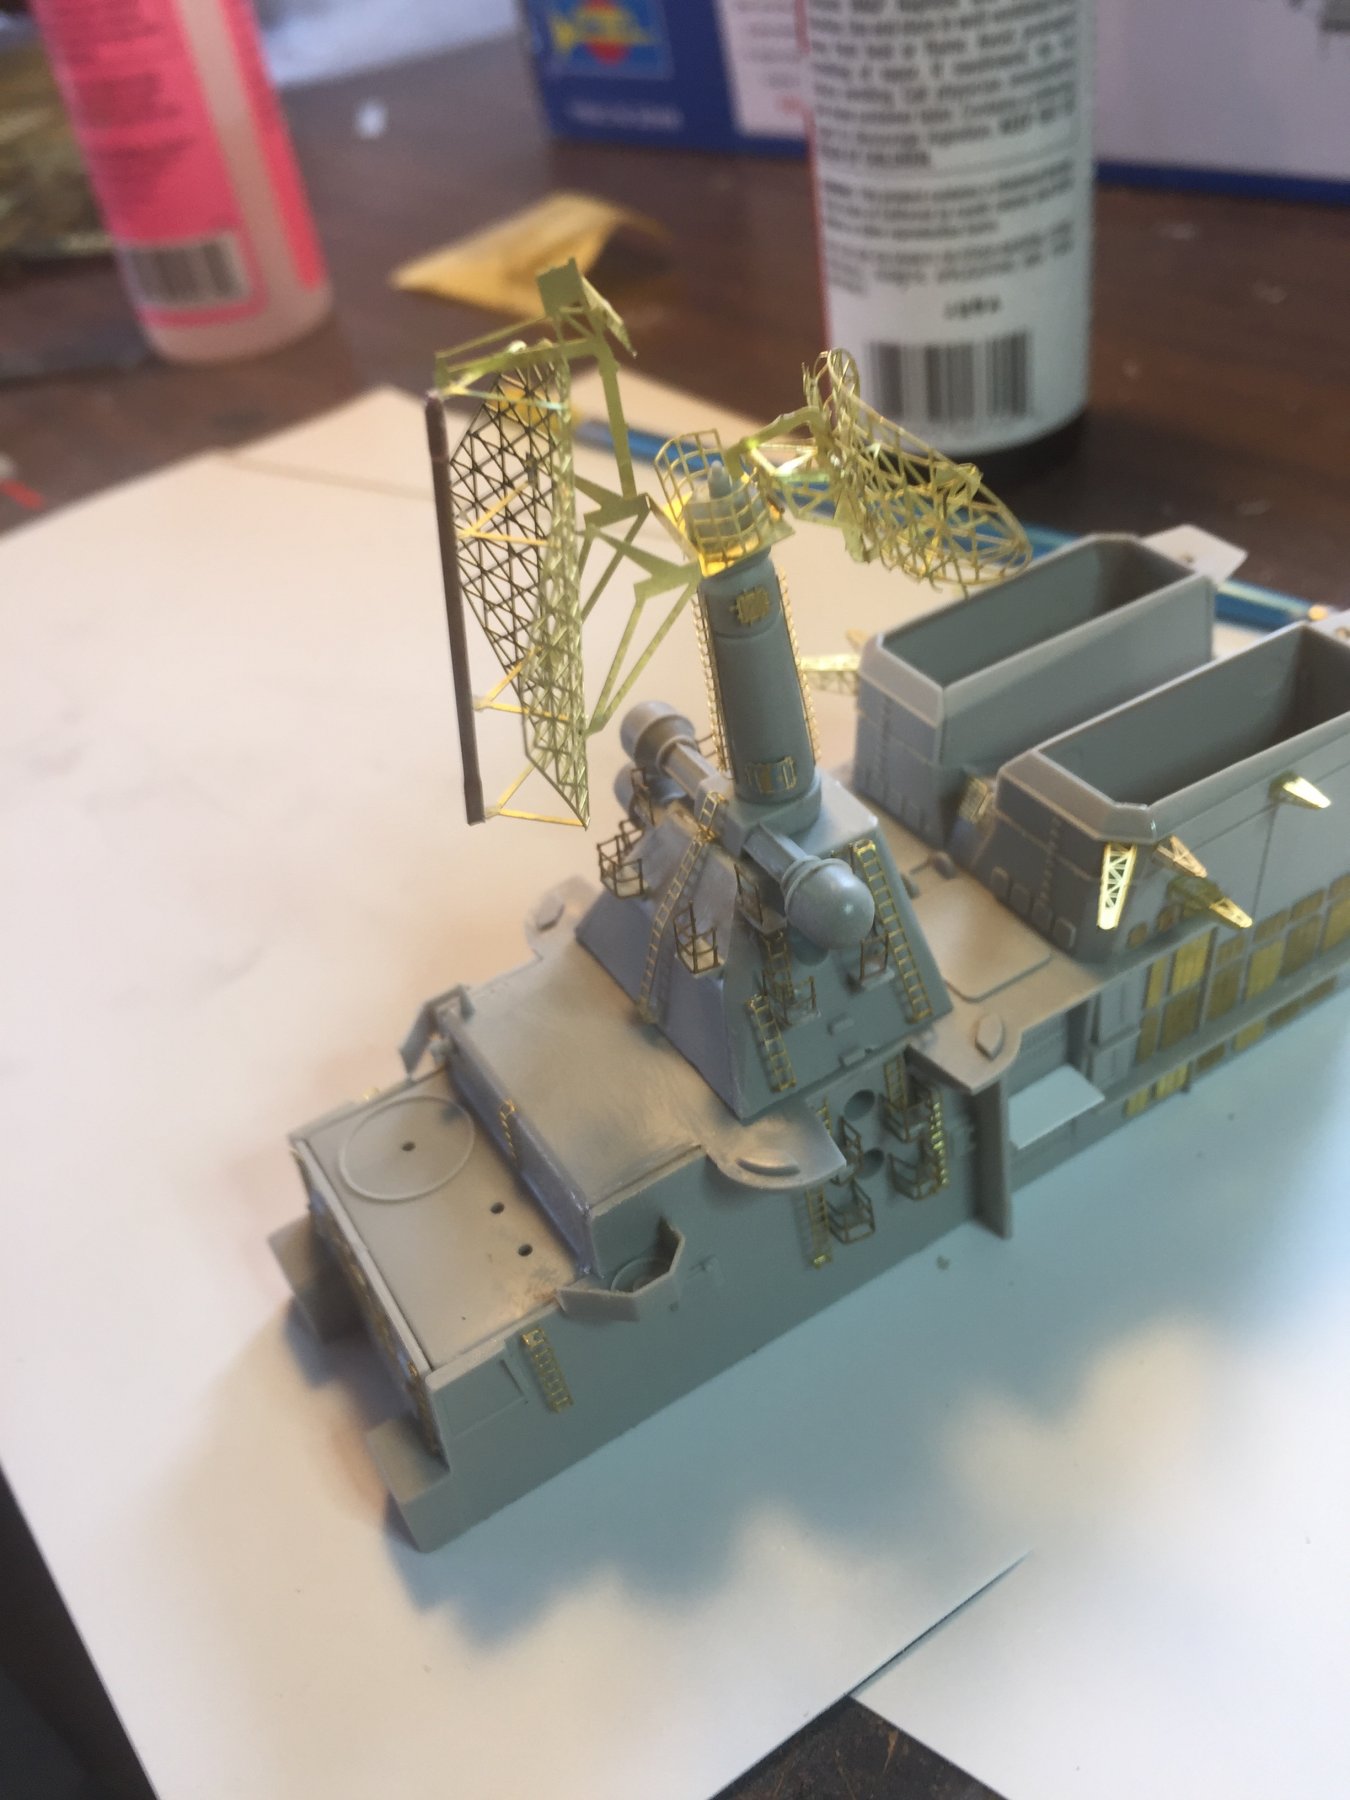
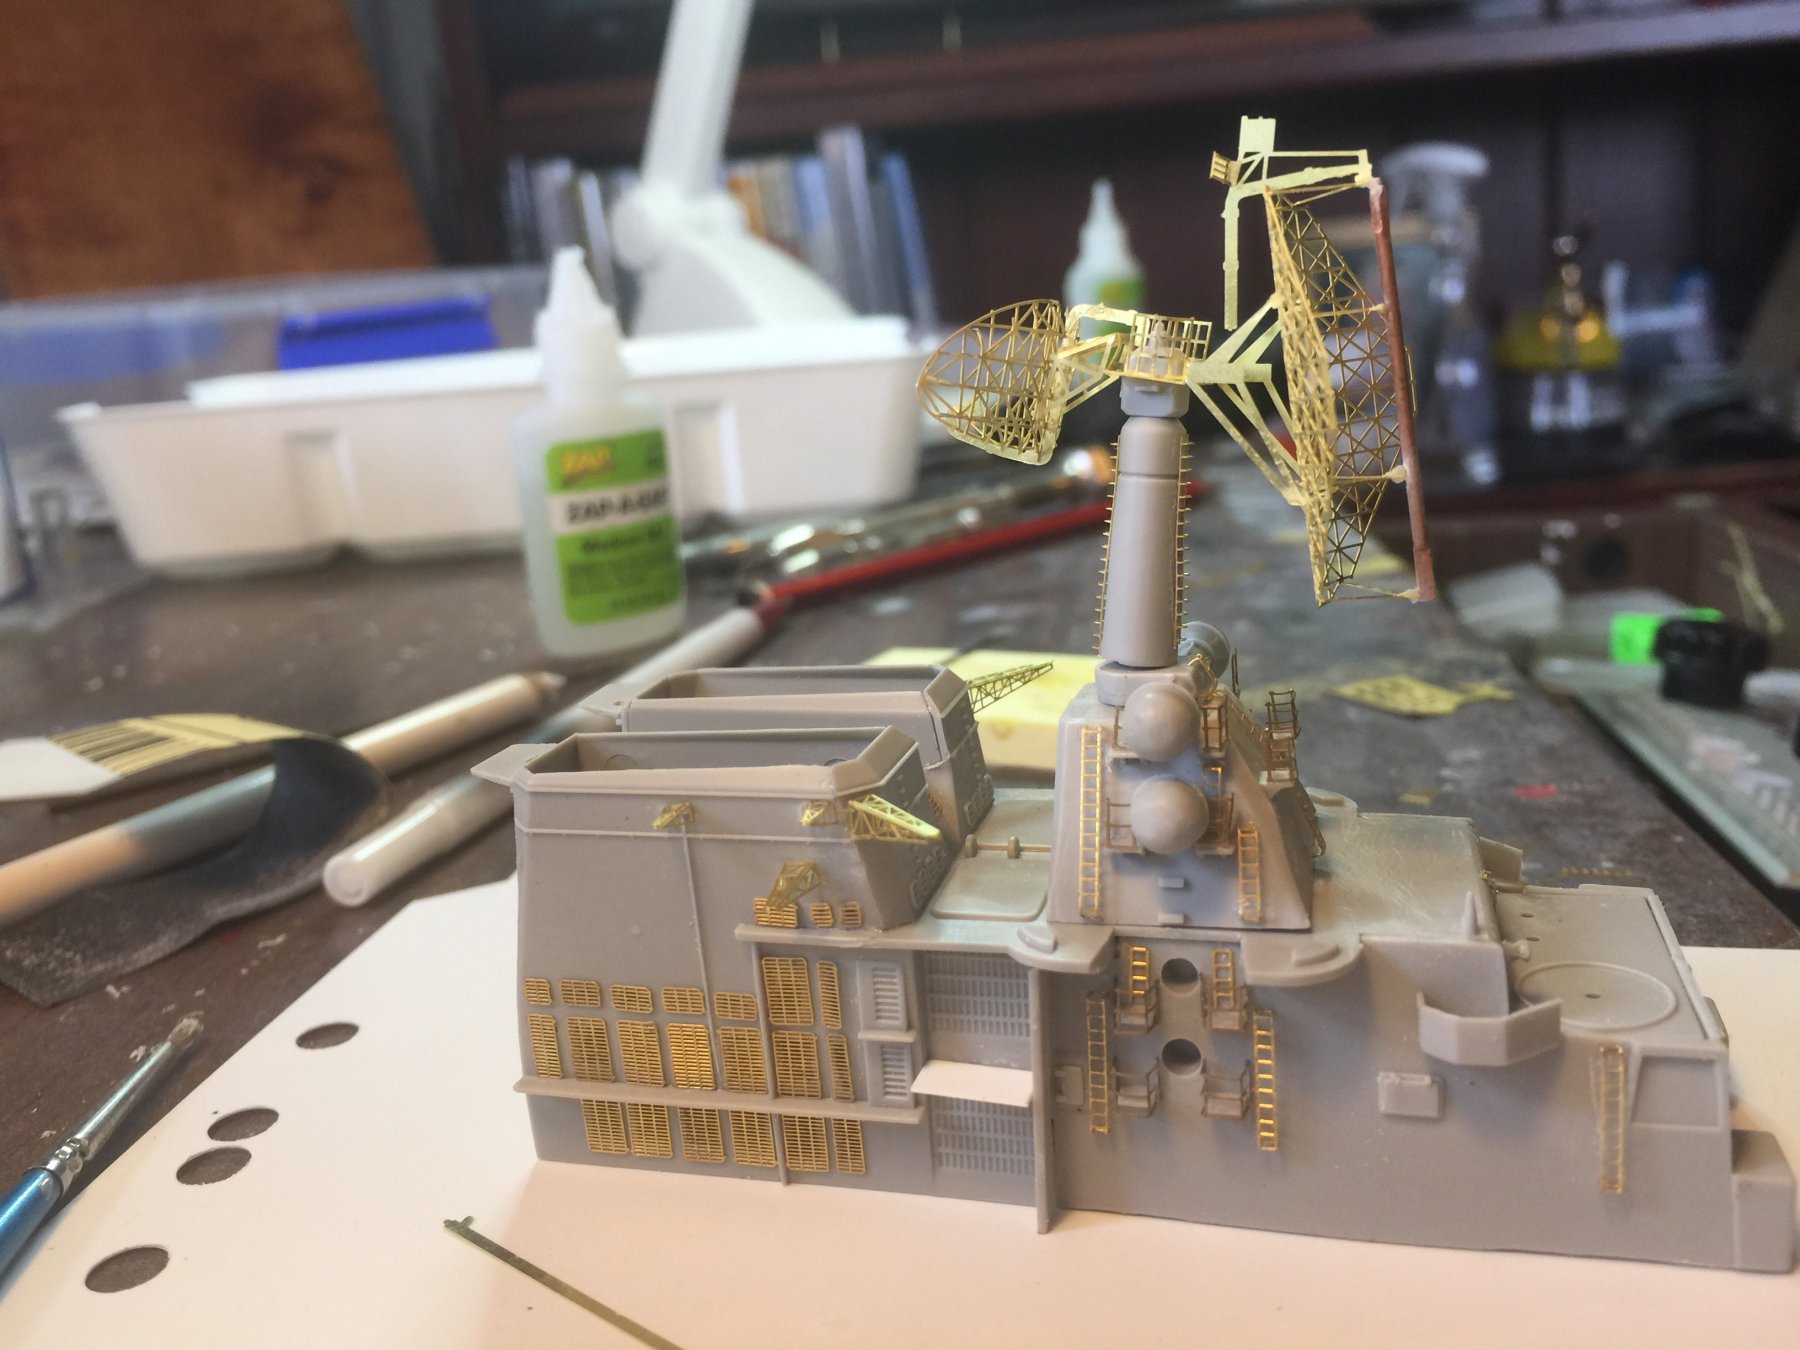
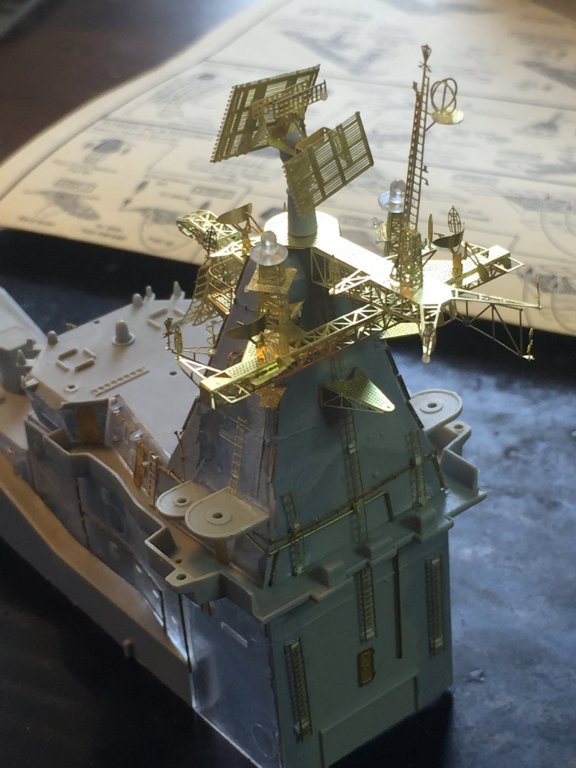
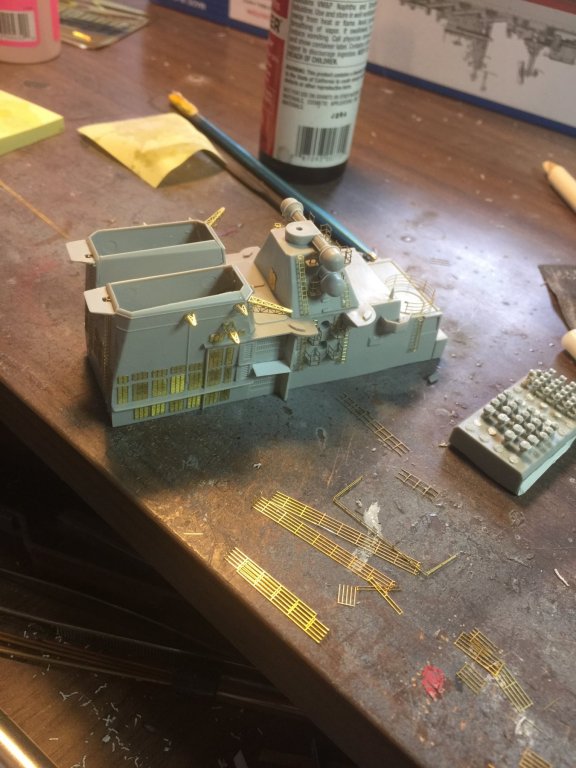
Well I haven’t posted for a while as I’ve been slowly working on the funnel section which will be one of the 3 main superstructures. Like a wooden ship, I’m trying to plan ahead as much as possible but unlike a tall ship, I have to preplan what gets painted in situ or painted off ship then placed on after. The Gold Medal Models PE is dated, expensive compared to what comes out of Asia and presumes a LOT of knowledge with PE. That being said it’s lovely and no one else makes it for this kit. The plastic Trumpeter pieces are nice enough but just not Tamiya standard for accuracy and fit. After the last 5 days of nightshift I have researched all I could for what extra needs to be done and there is a lot of small not in the kit or explained by GMM. It’s going to be a bastard to paint. Anyways, I drilled out all the vents and placed the covers provided by GMM, small railings and ladders that will go into vet the radar thingys. This has been a surprisingly large amount of work with still a lot to go. Railings everywhere and belaying points for cage antanne and big gaps to be filled.


- 180 replies
-
- 14
-