RGL
-
Posts
5,539 -
Joined
-
Last visited
Content Type
Profiles
Forums
Gallery
Events
Everything posted by RGL
-
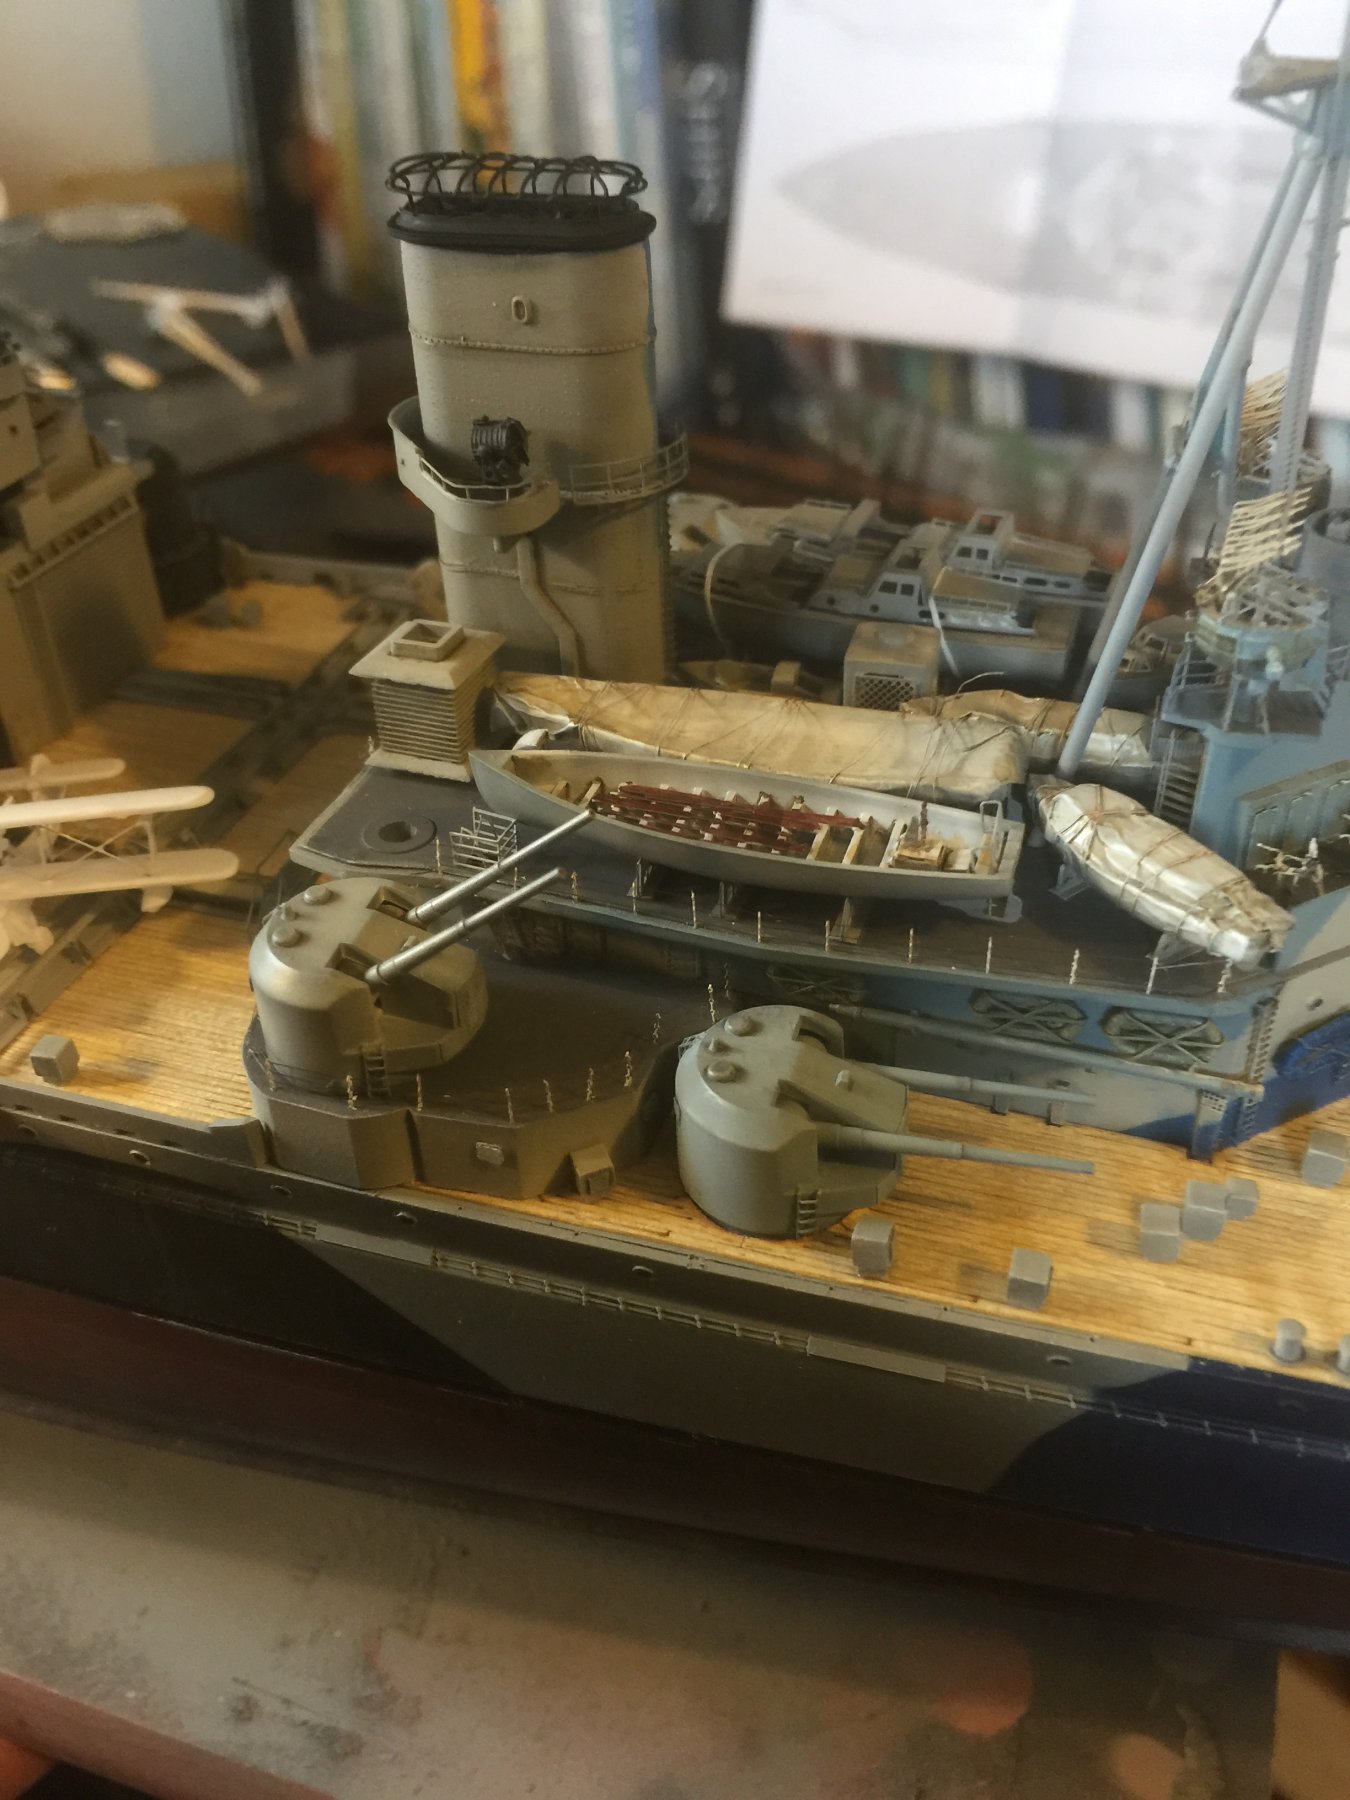
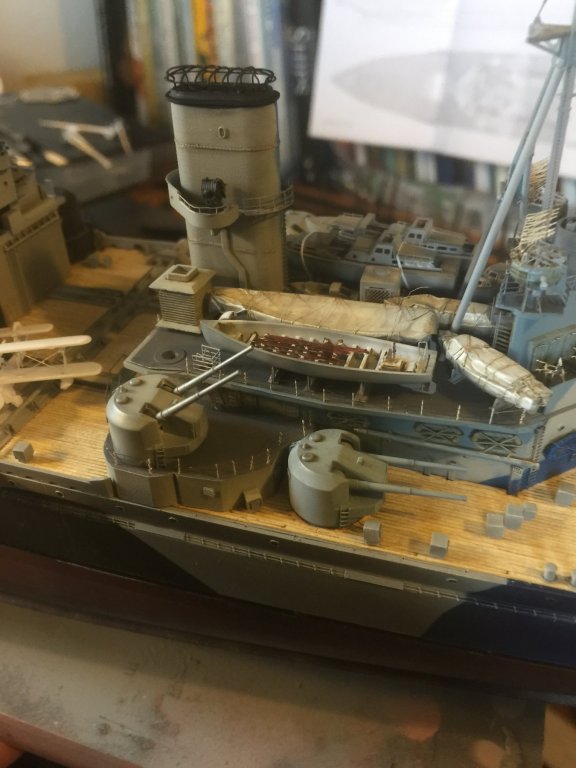
 i Just hate doing the ships boats as I reckon they just look horrible. Thus cover them with canvas.
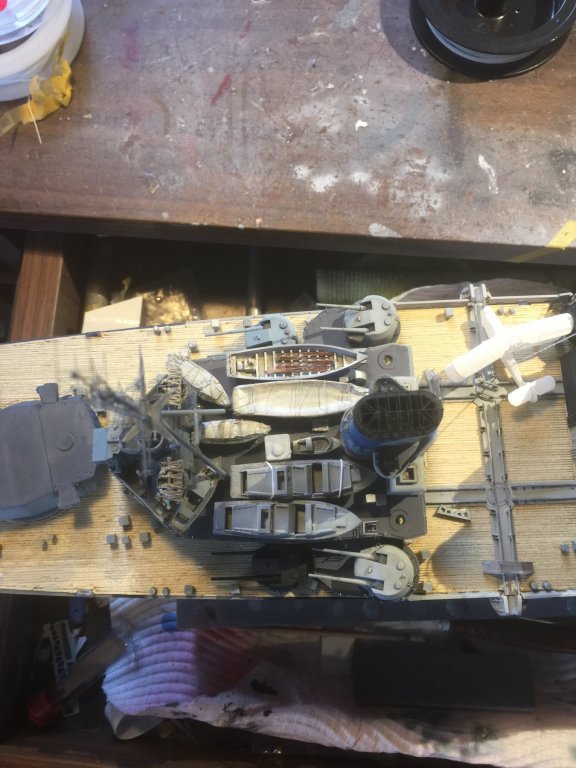
- 405 replies
-
- 13
-

-
- tamiya
- king george v
- (and 2 more)
-
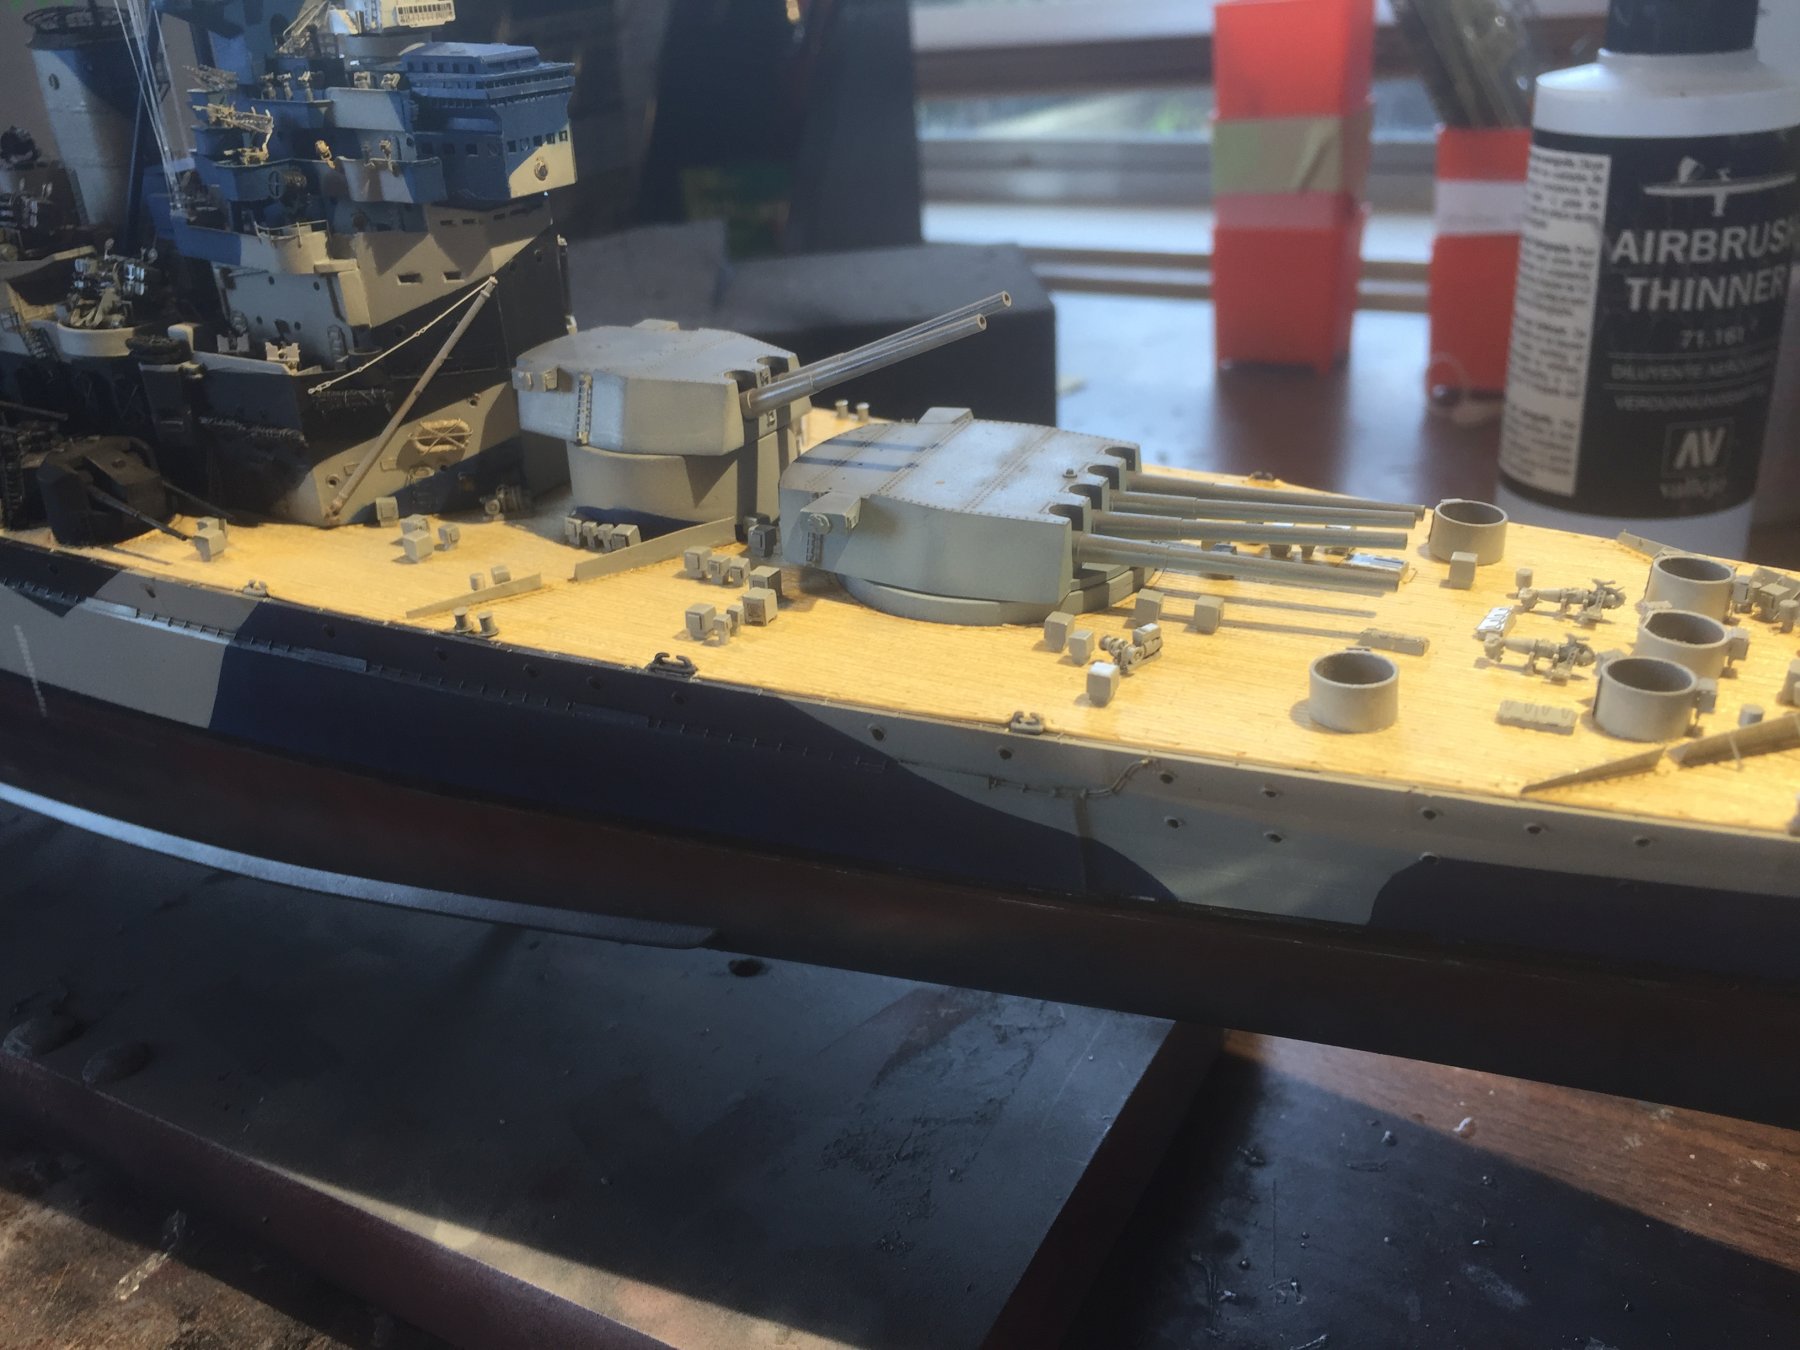
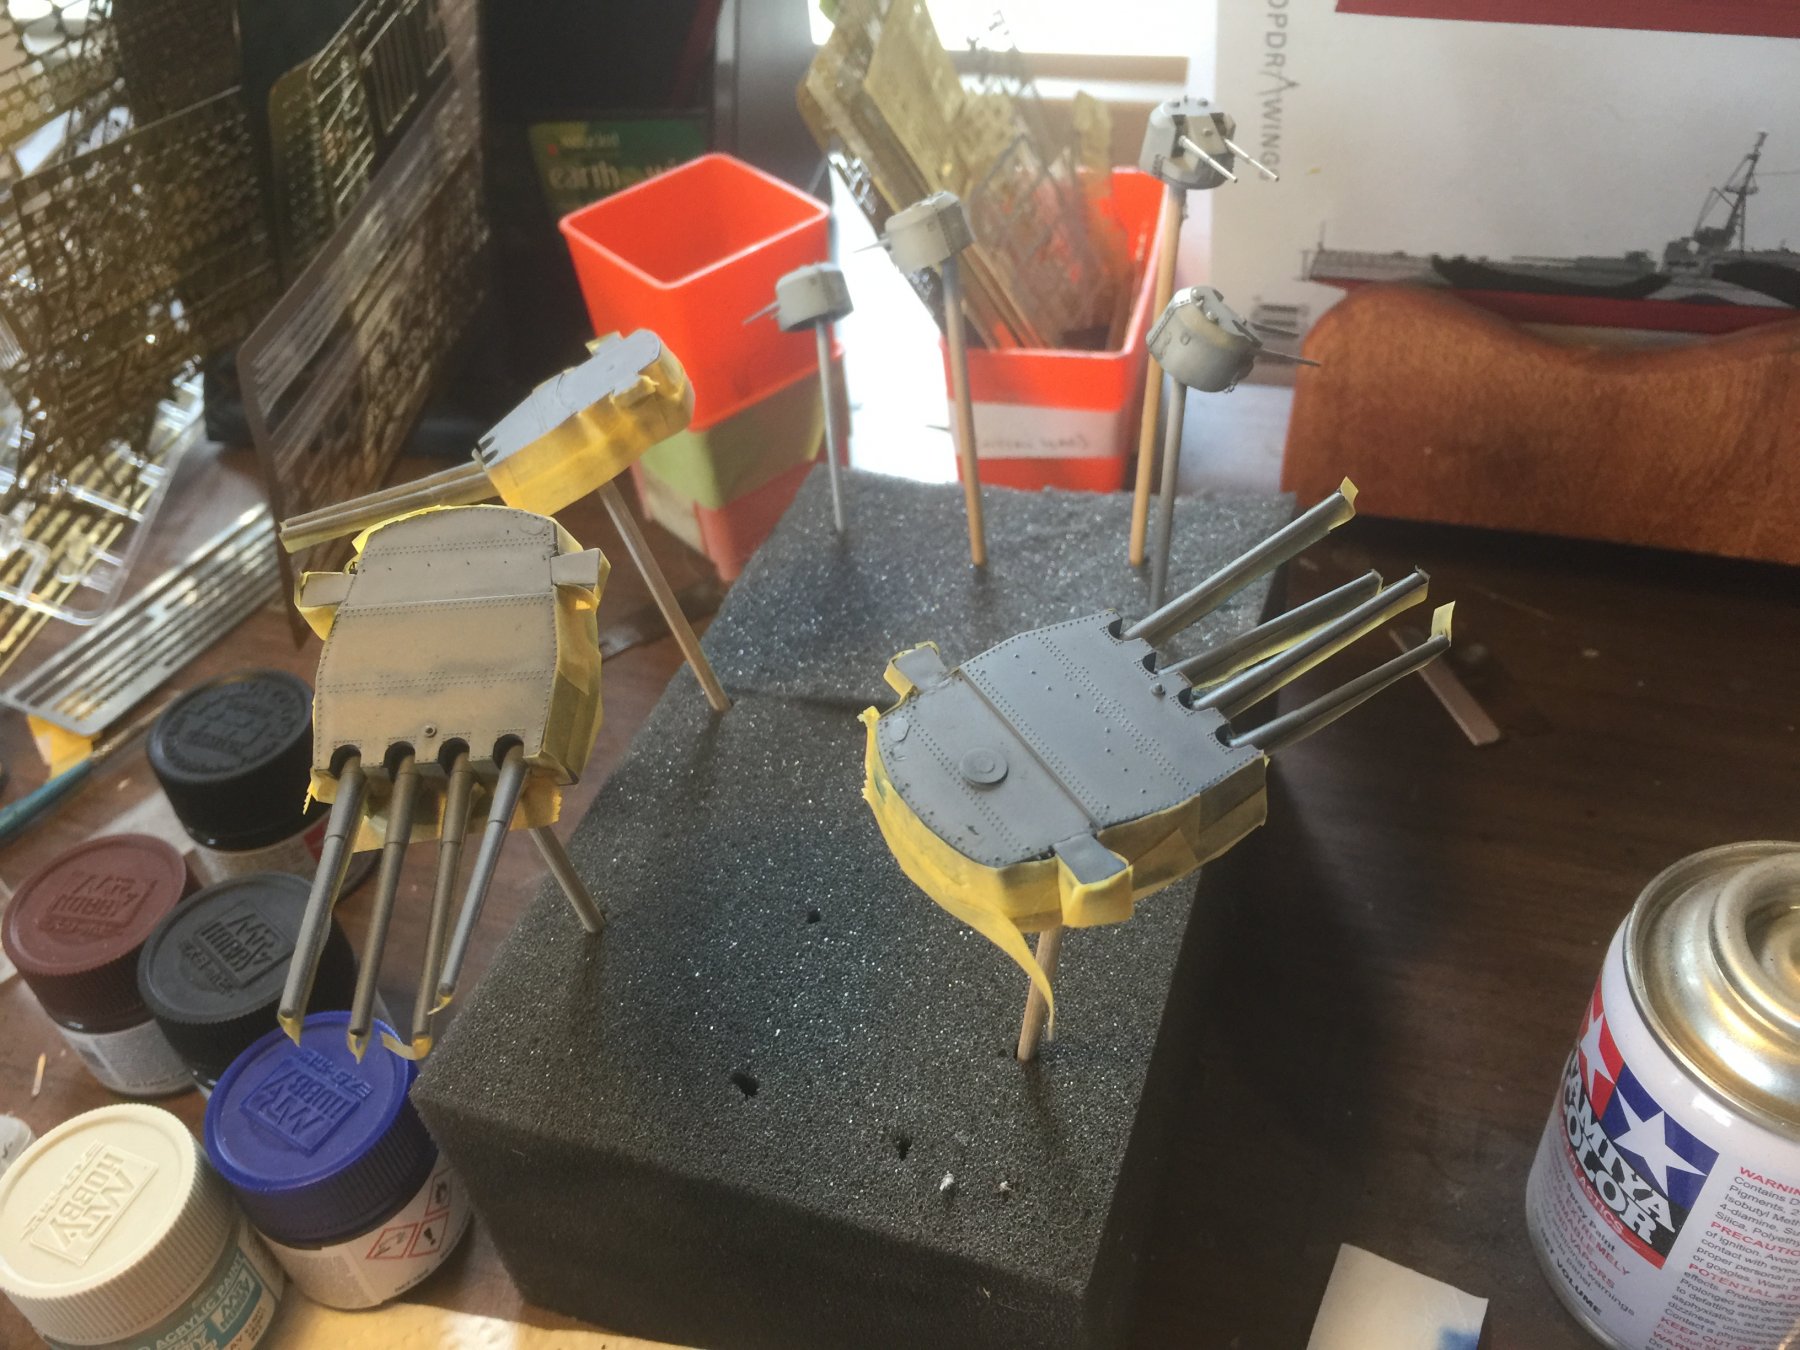
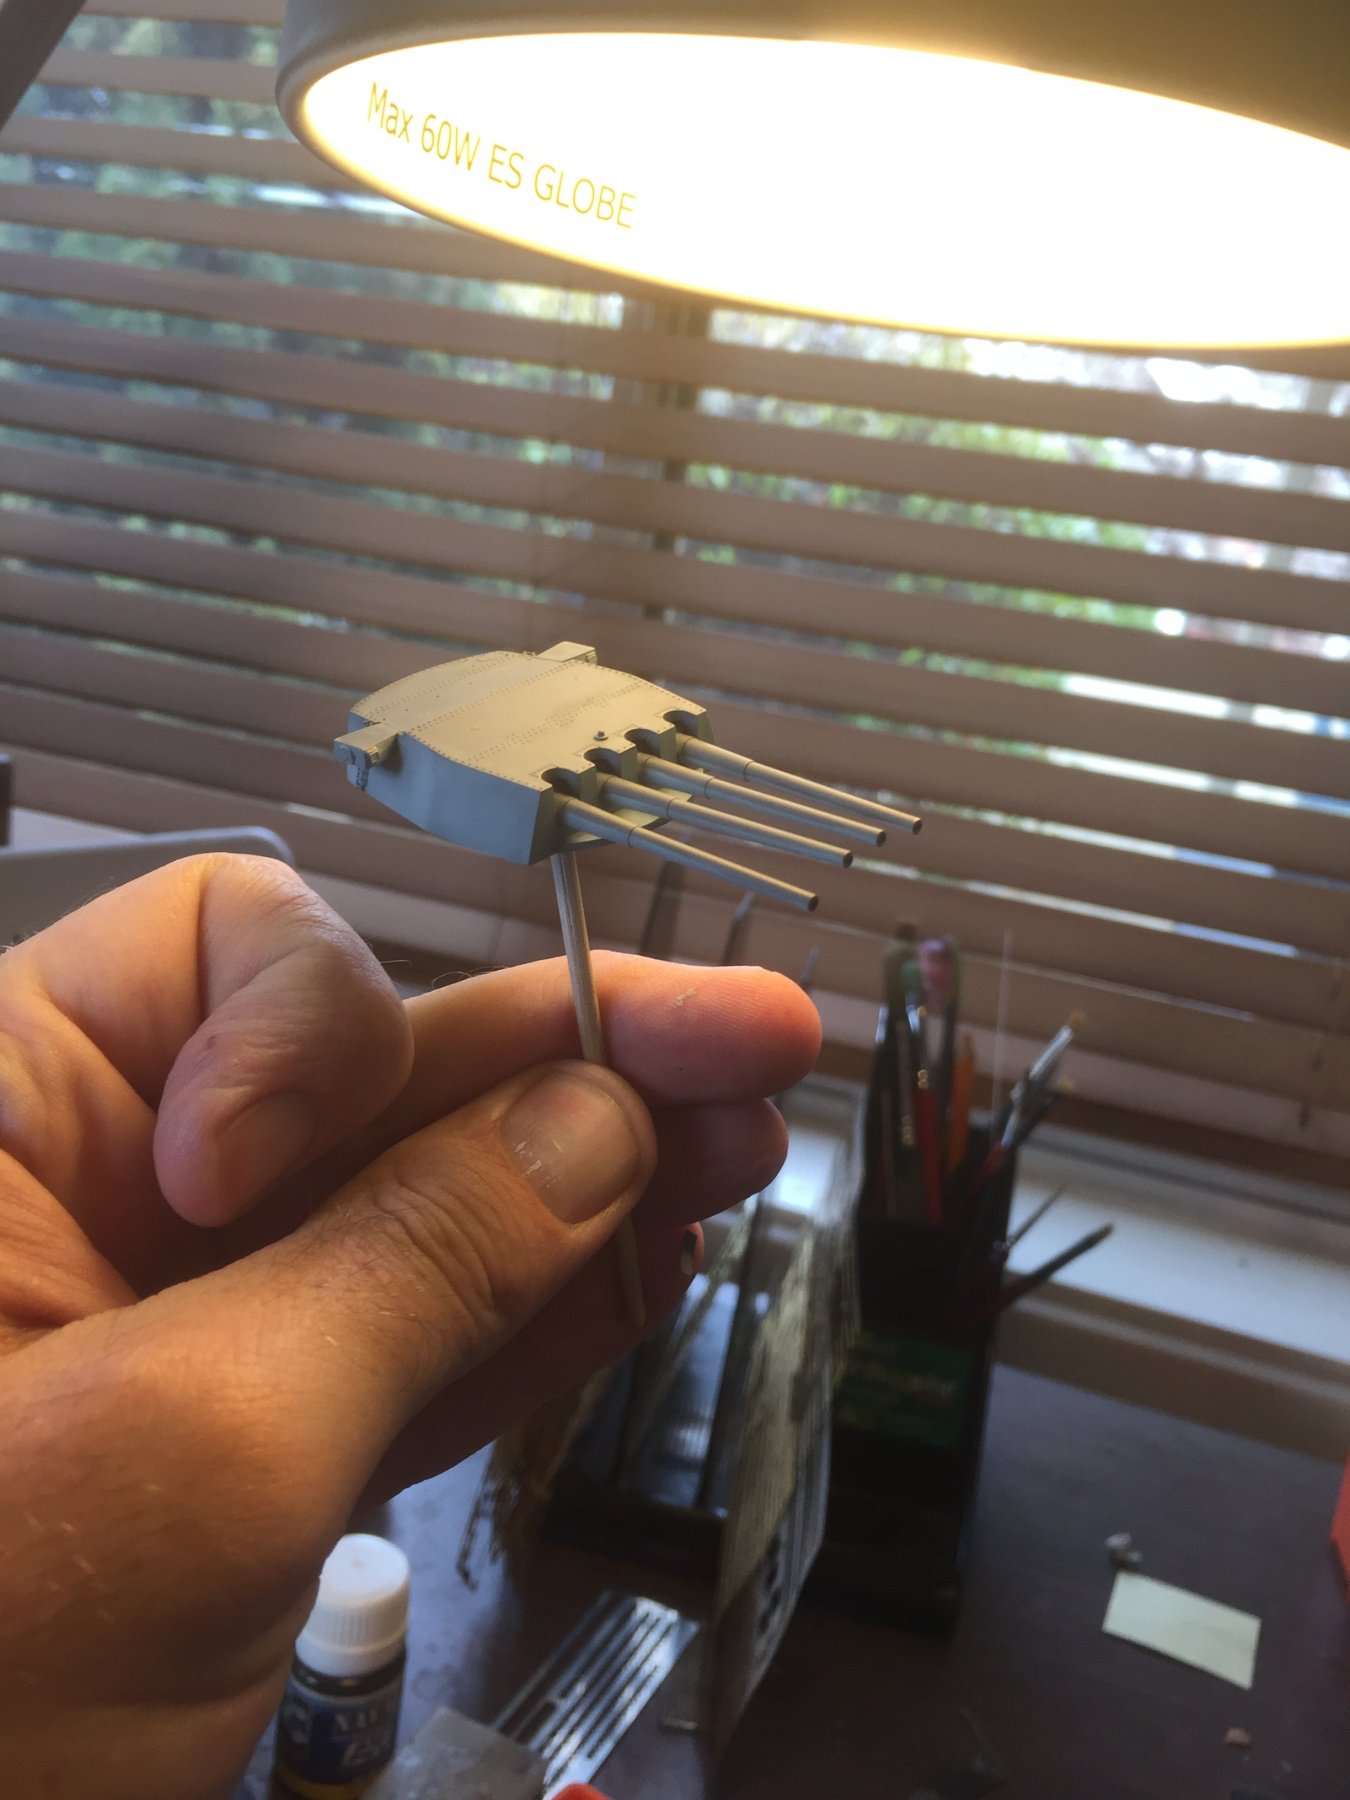
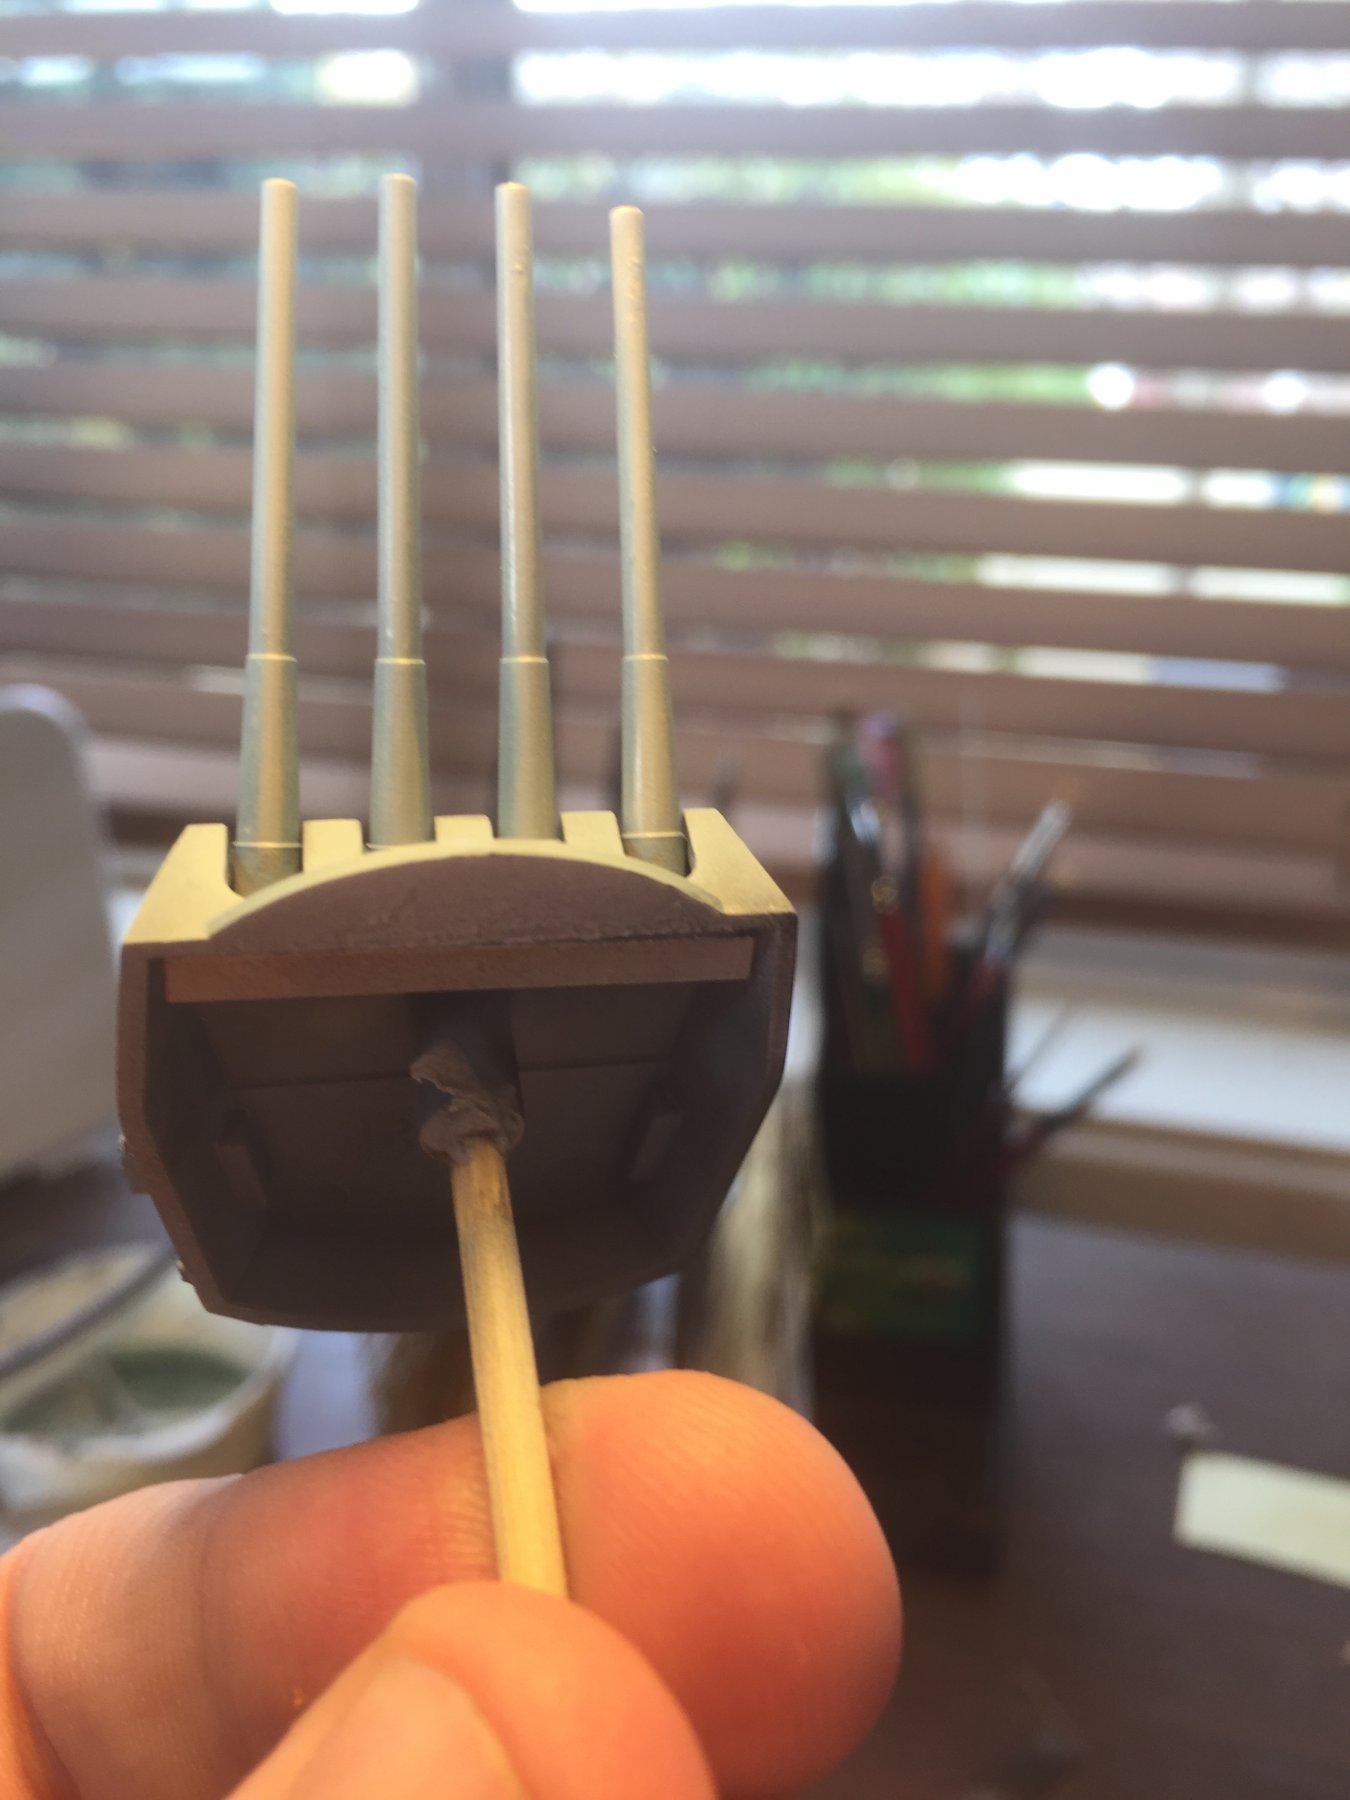
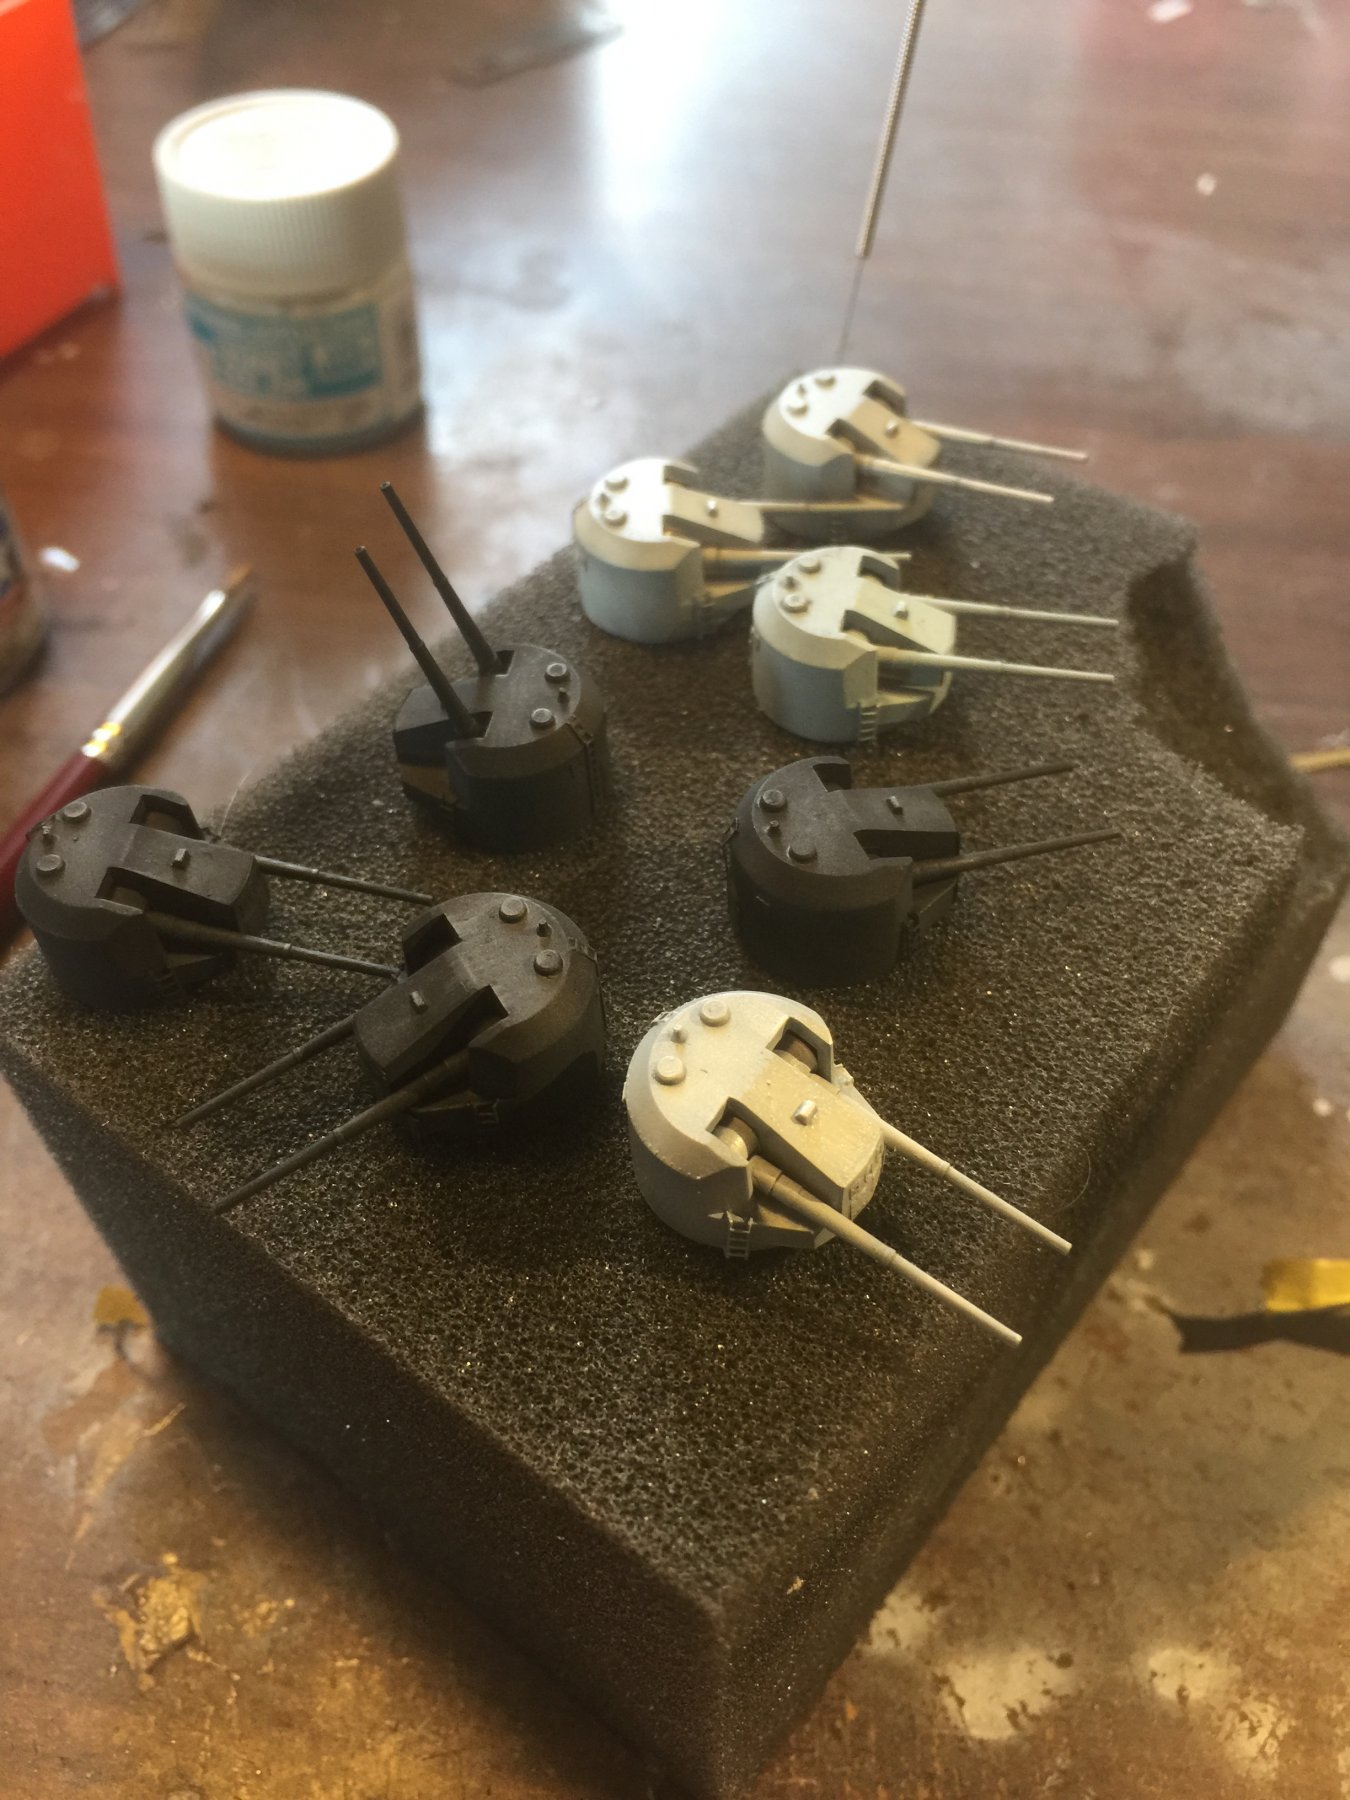
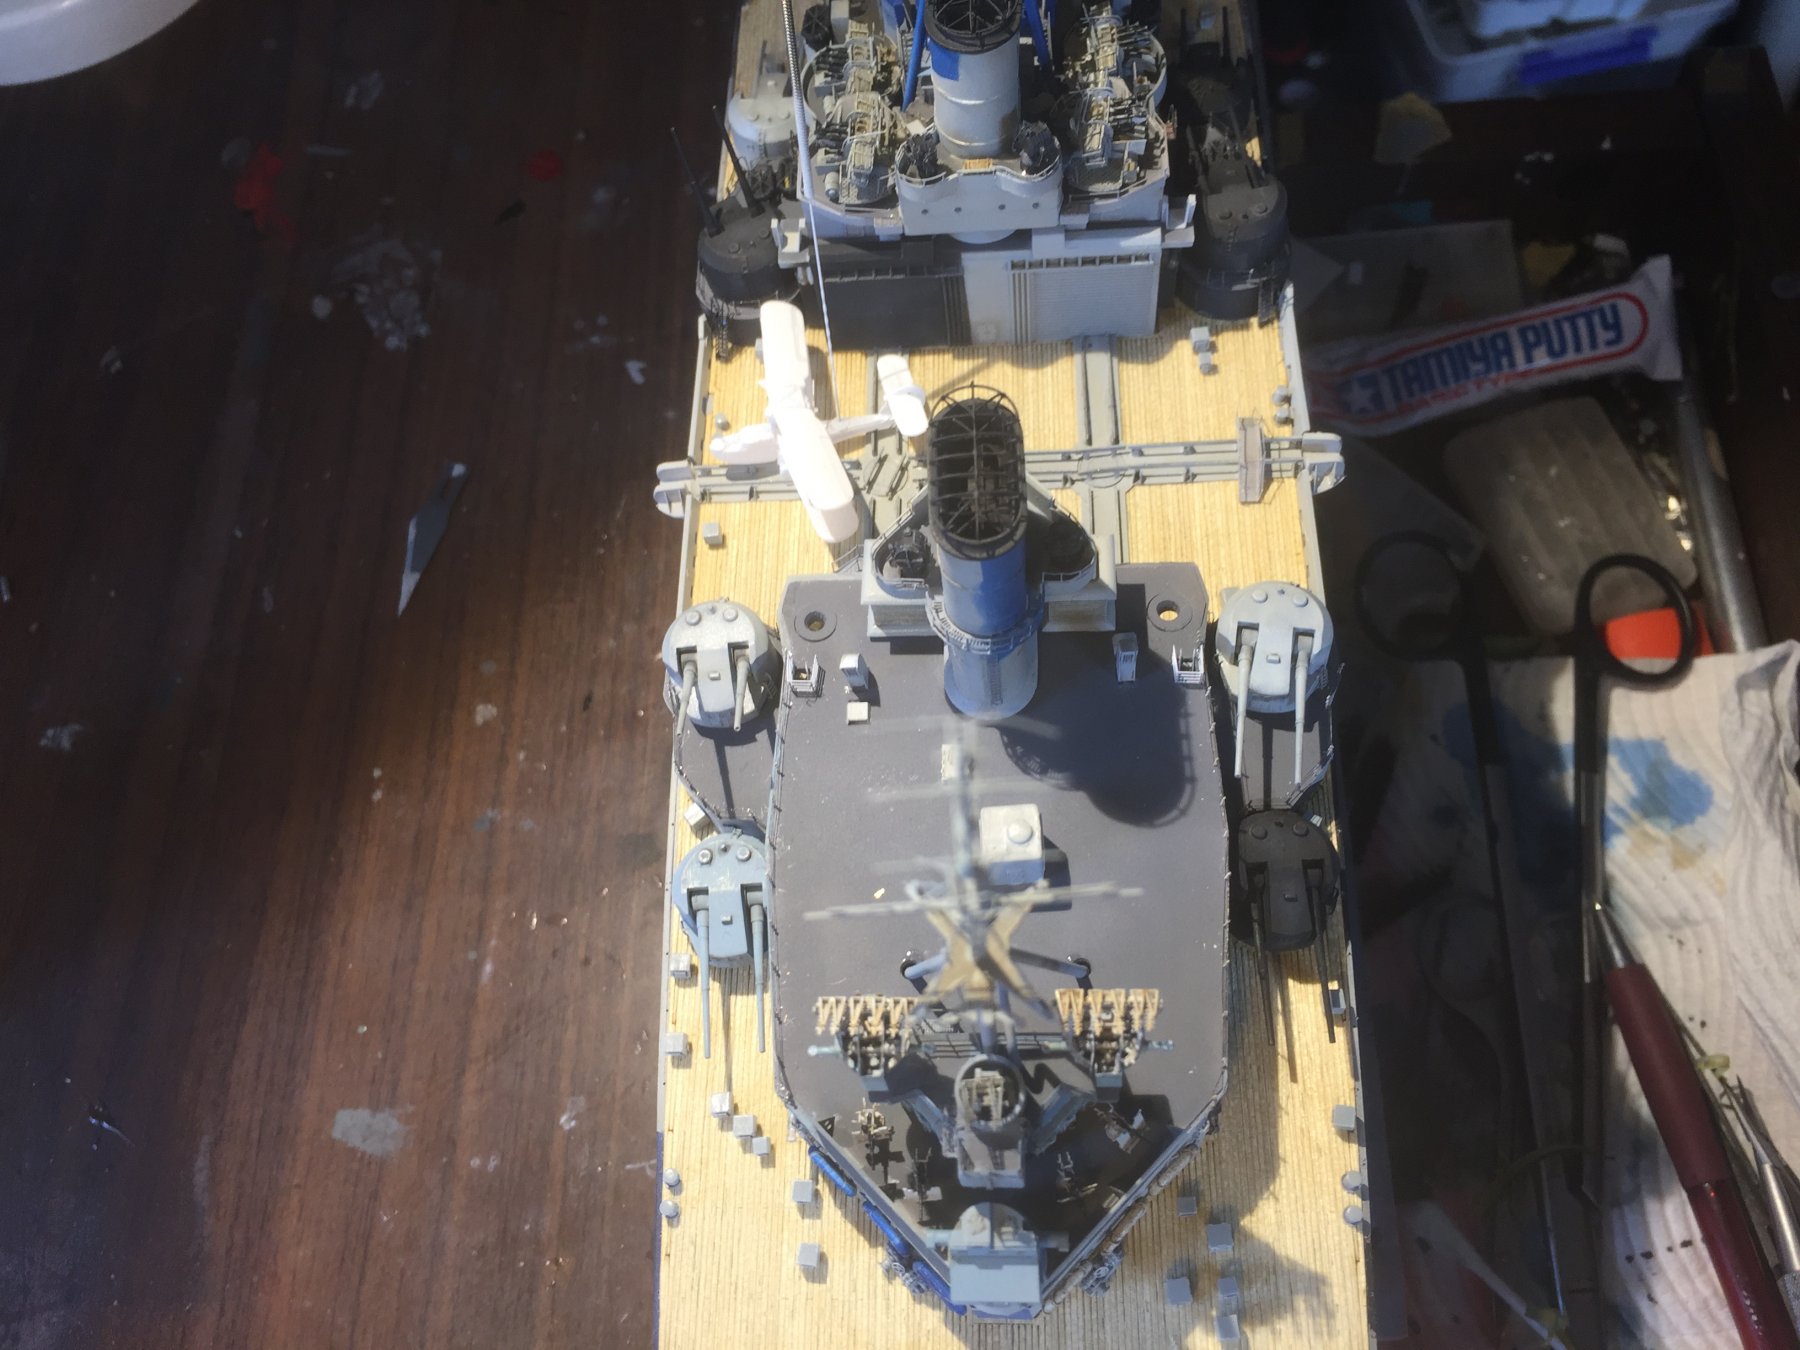
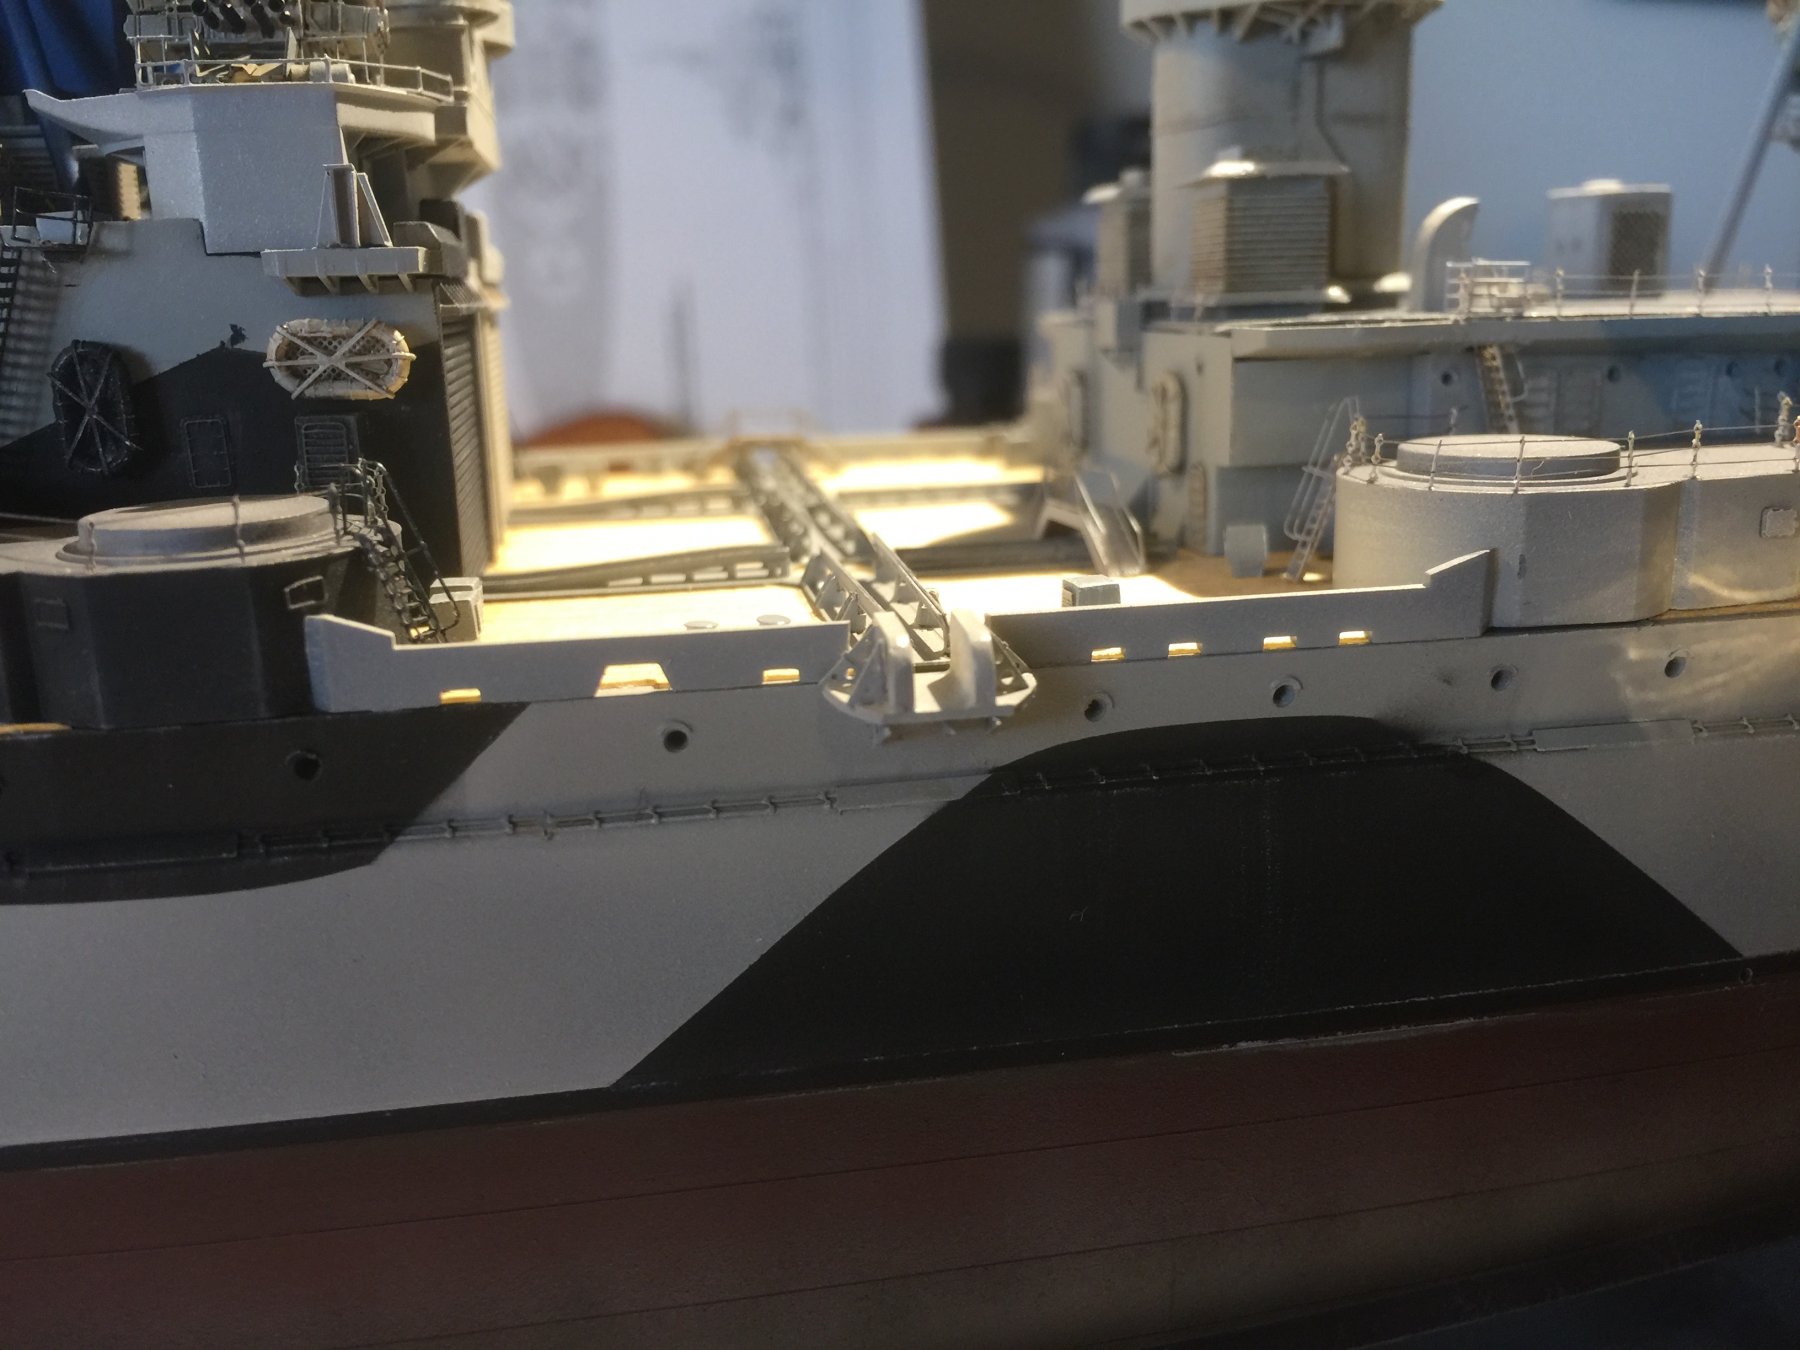
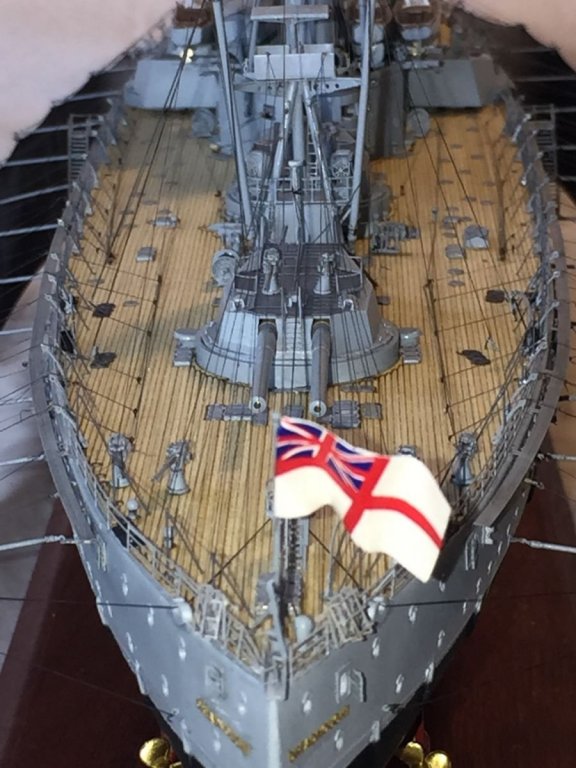
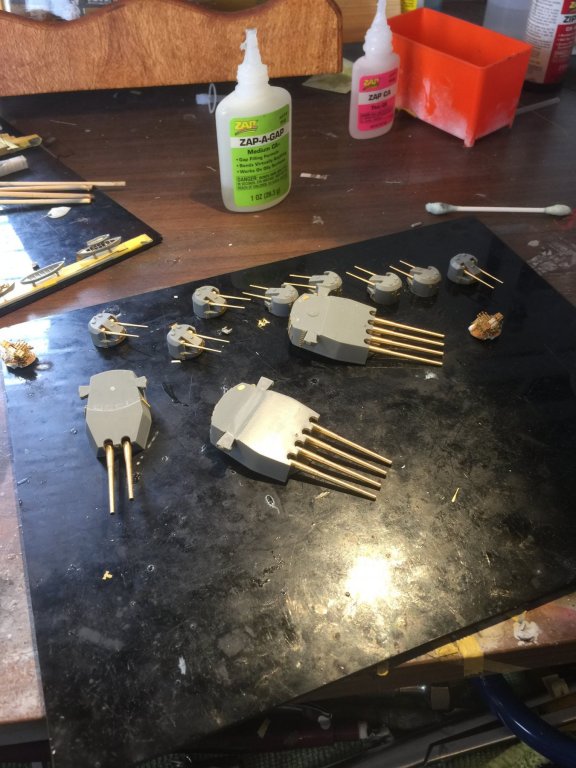
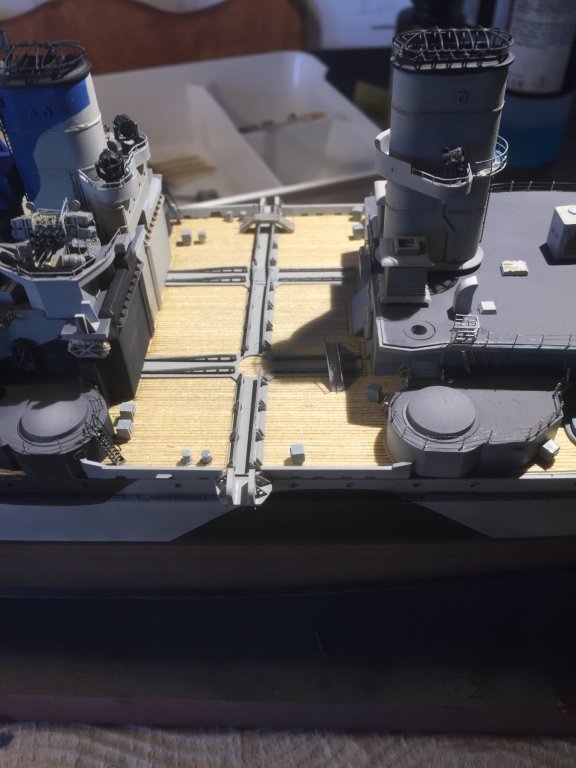
Big guns done, even the triple levels on the barrels, they need some weathering yet plus handrails, which will be about a full day’s work.


- 405 replies
-
- 12
-
-
- tamiya
- king george v
- (and 2 more)
-
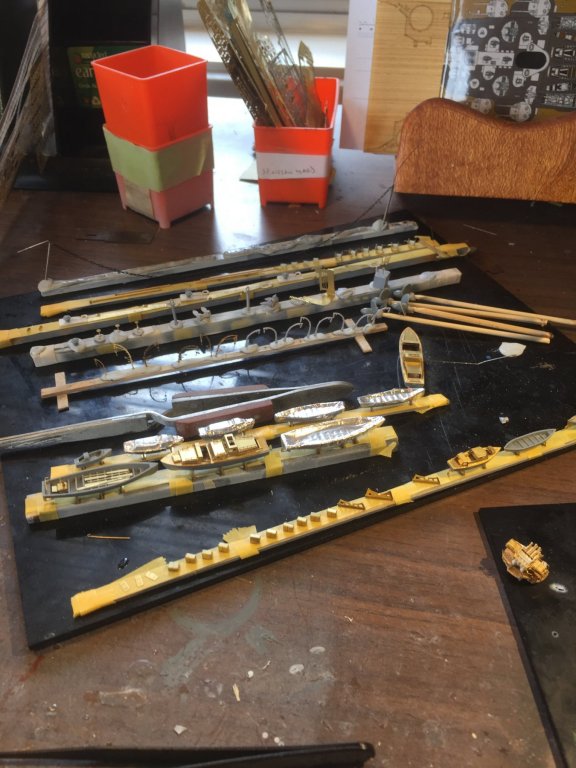
Starting to get the next lot done. Firstly the anchor chains with some extra detail for chain stoppers and hawser Home covers.
- 405 replies
-
- 11
-
-
- tamiya
- king george v
- (and 2 more)
-
Hobbyeasy is advertising the mast set and barel set, just tormenting you.....
- 1,090 replies
-
- 5
-
-
- showcase models
- vendetta
- (and 2 more)
-
@popeye the sailor, yes, no and no. I still have a lot to do on KGV
- 1,090 replies
-
- 7
-
-
- showcase models
- vendetta
- (and 2 more)
-
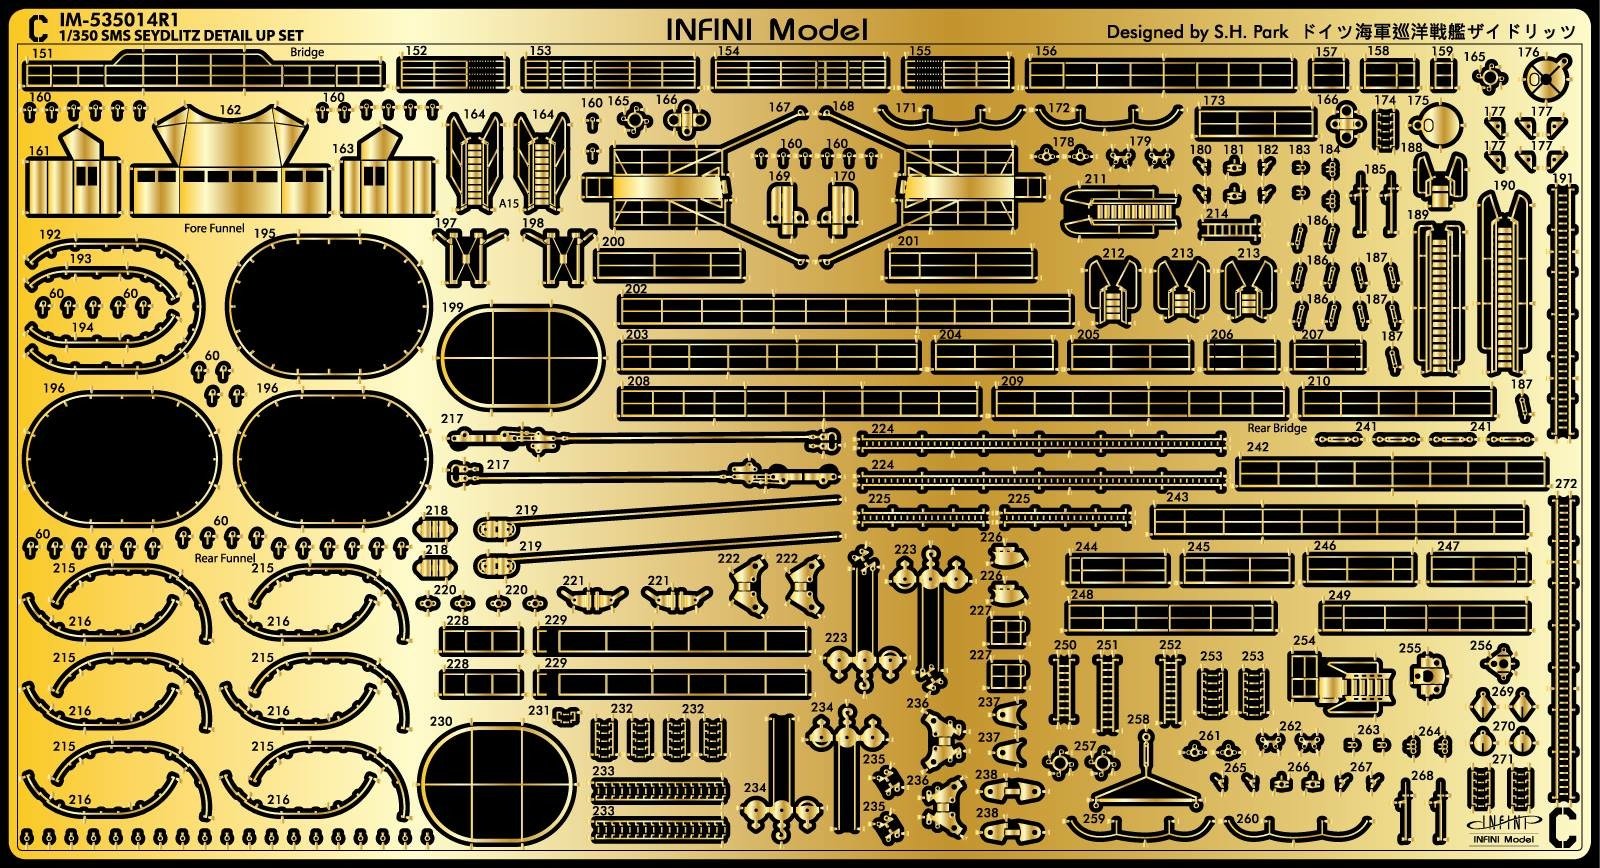
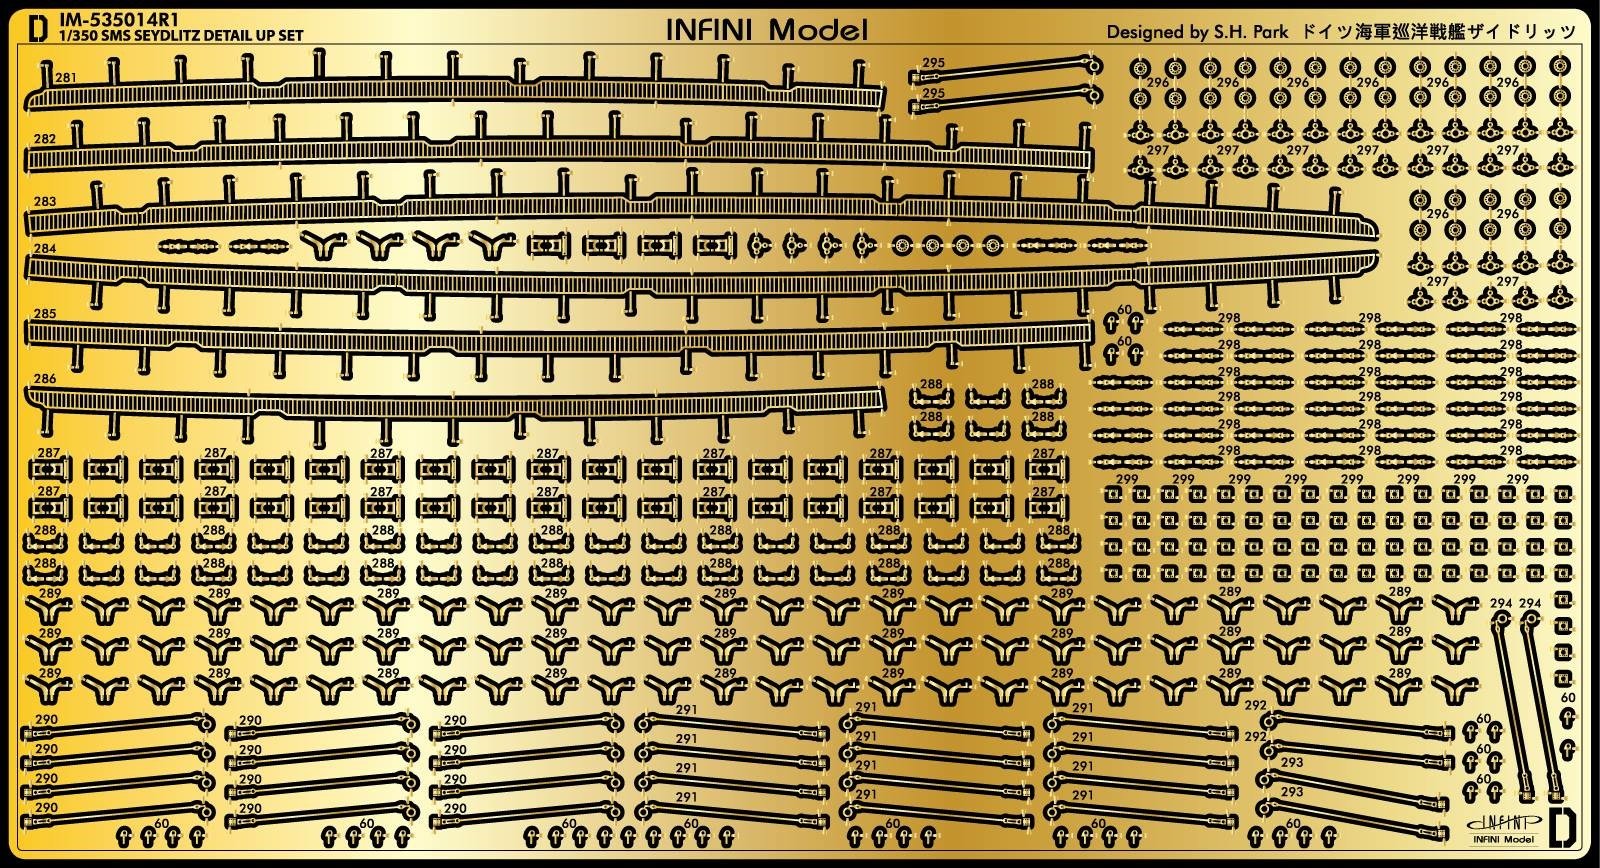
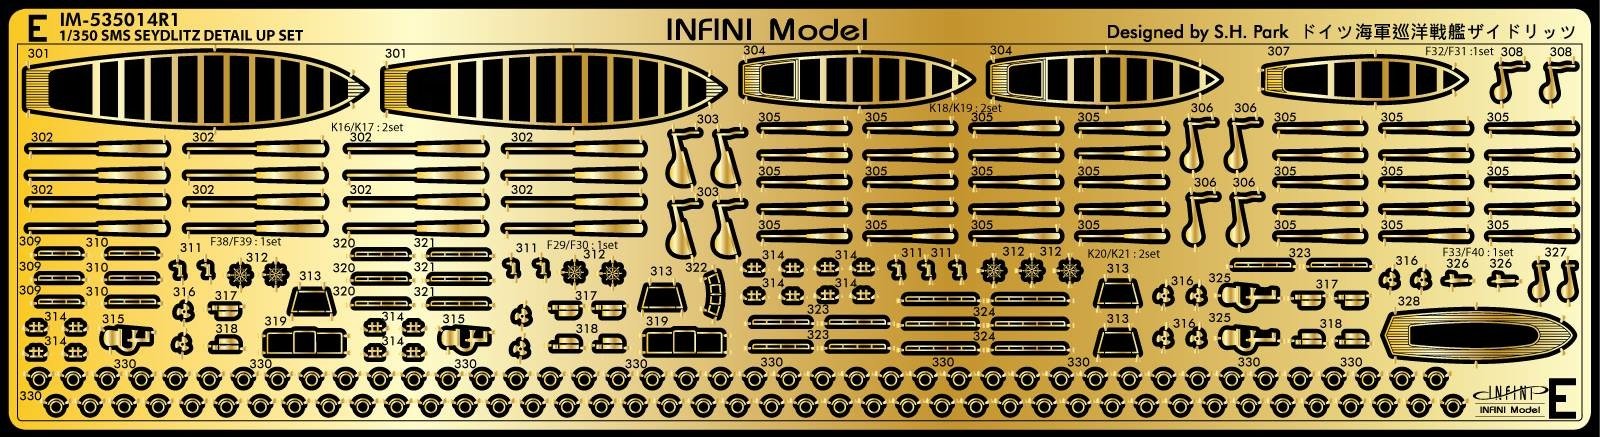
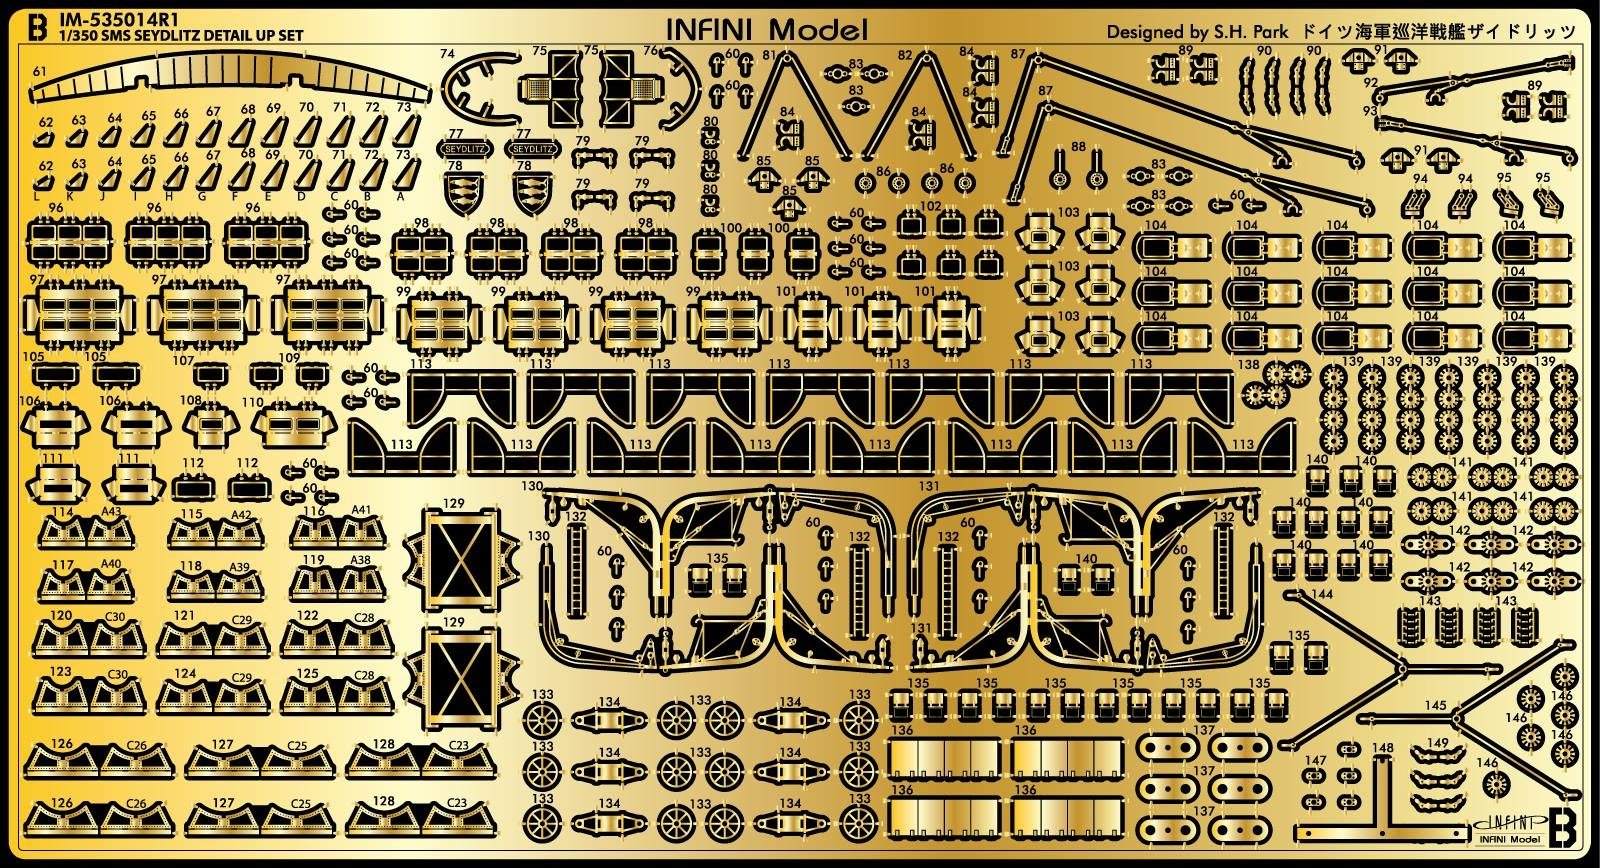
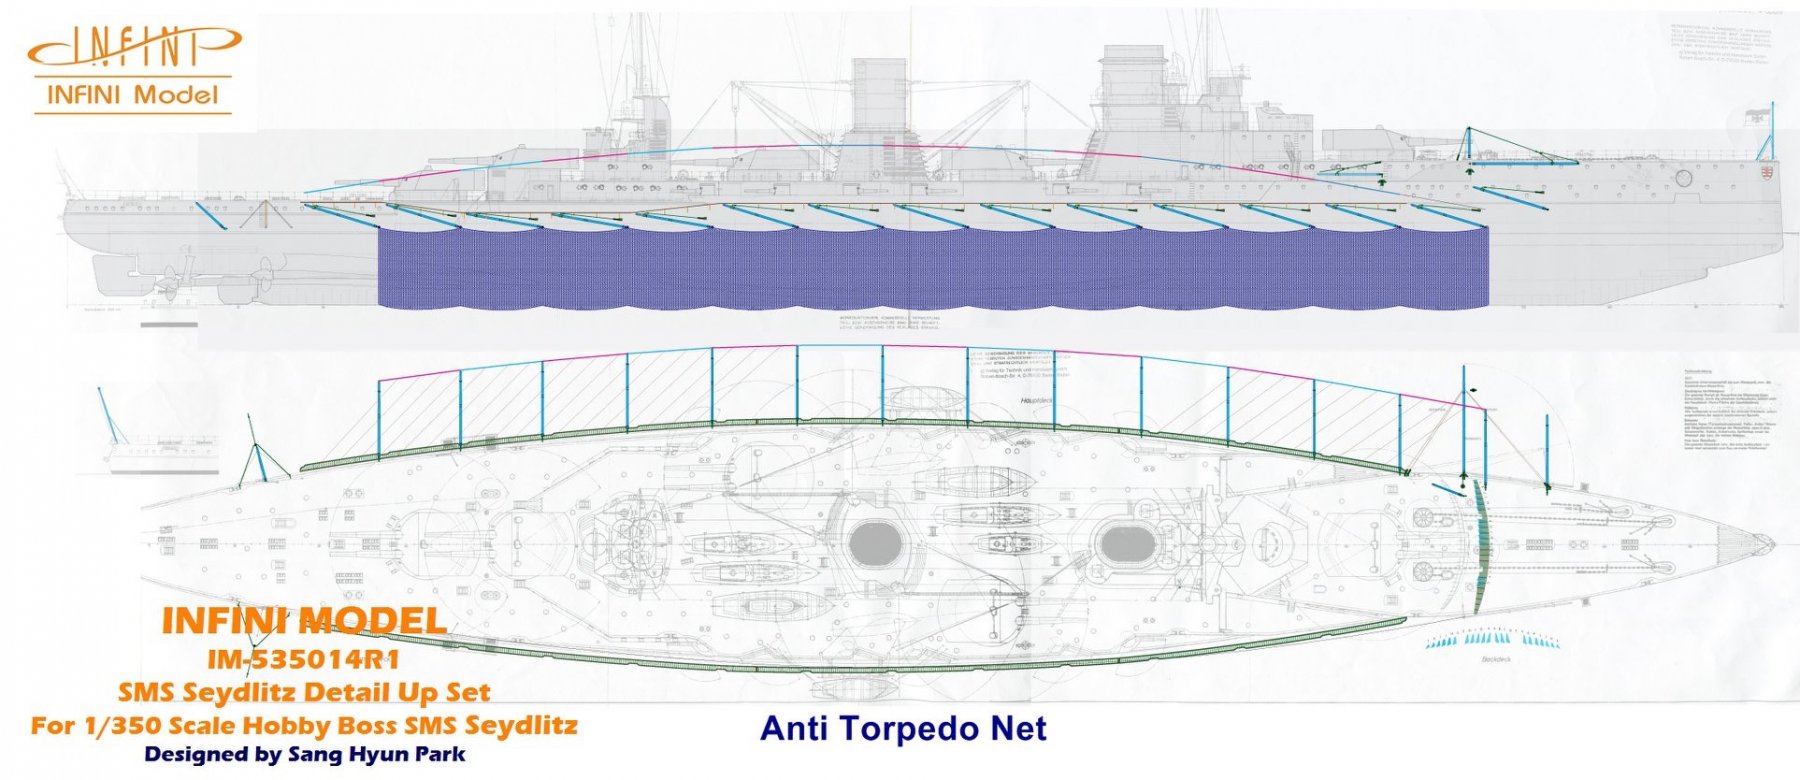
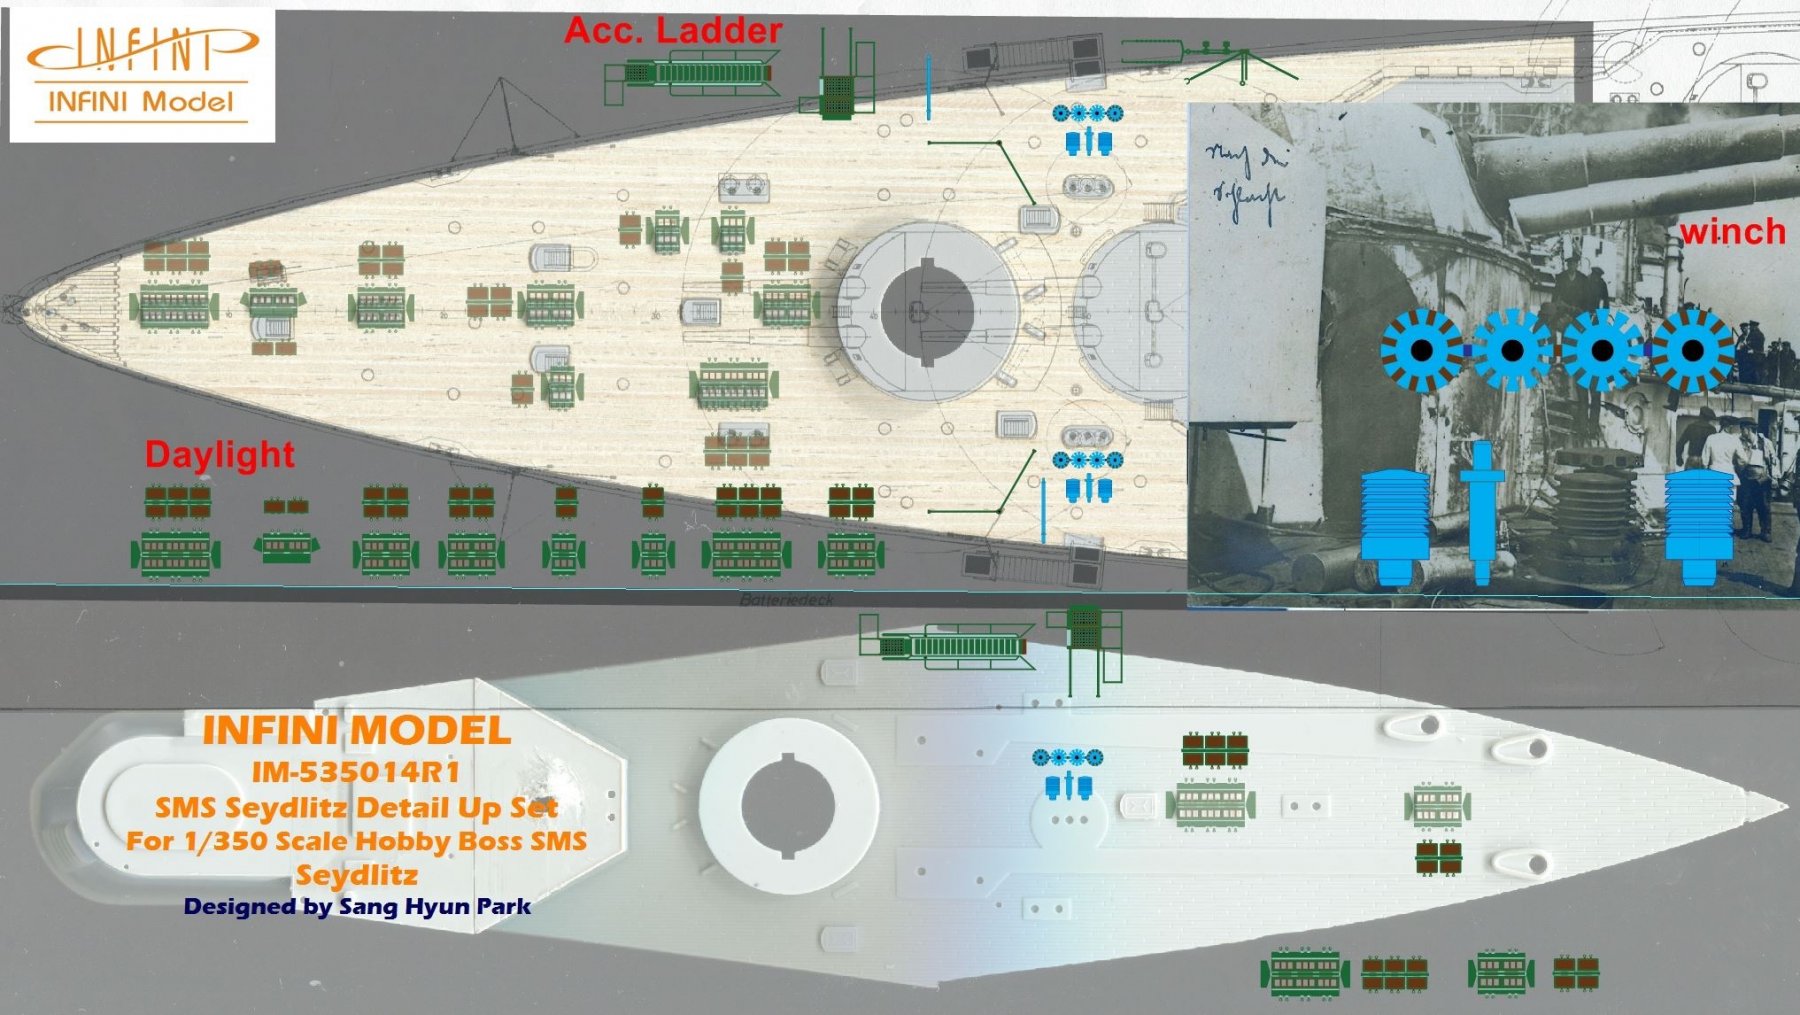
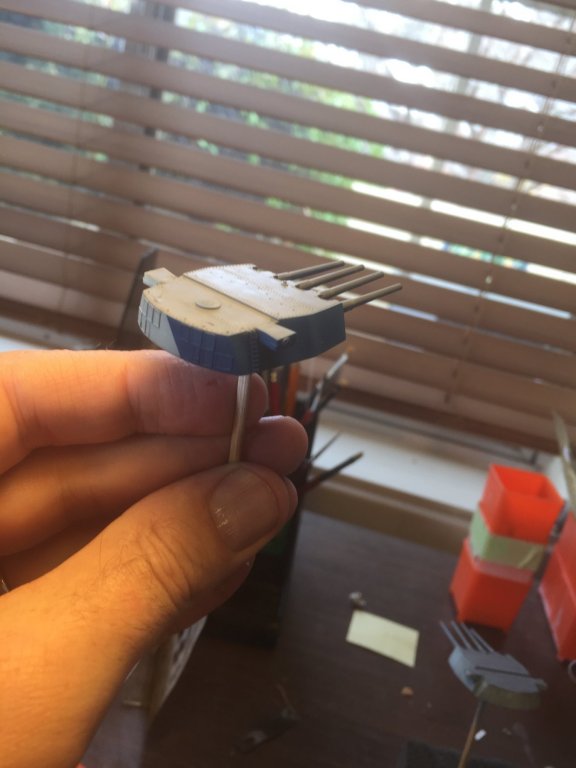
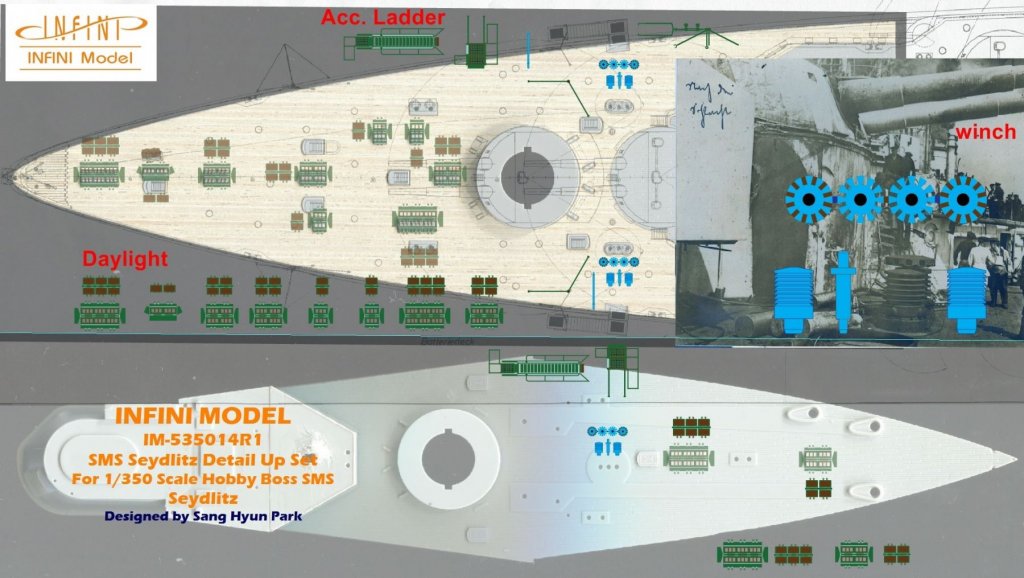
Sorry, most of us don't have a spare 6 metres in the house to build one. Mind you sourcing the aircraft and the crew would be fairly easy. More teasers for the Seydlitz though, if you remember my Dreadnought, it can be done in a similar manner.


- 1,090 replies
-
- 8
-
-
- showcase models
- vendetta
- (and 2 more)
-
Get stale? Nearly there. Back to work now so wont be done in a hurry
- 405 replies
-
- 7
-
-
- tamiya
- king george v
- (and 2 more)
-
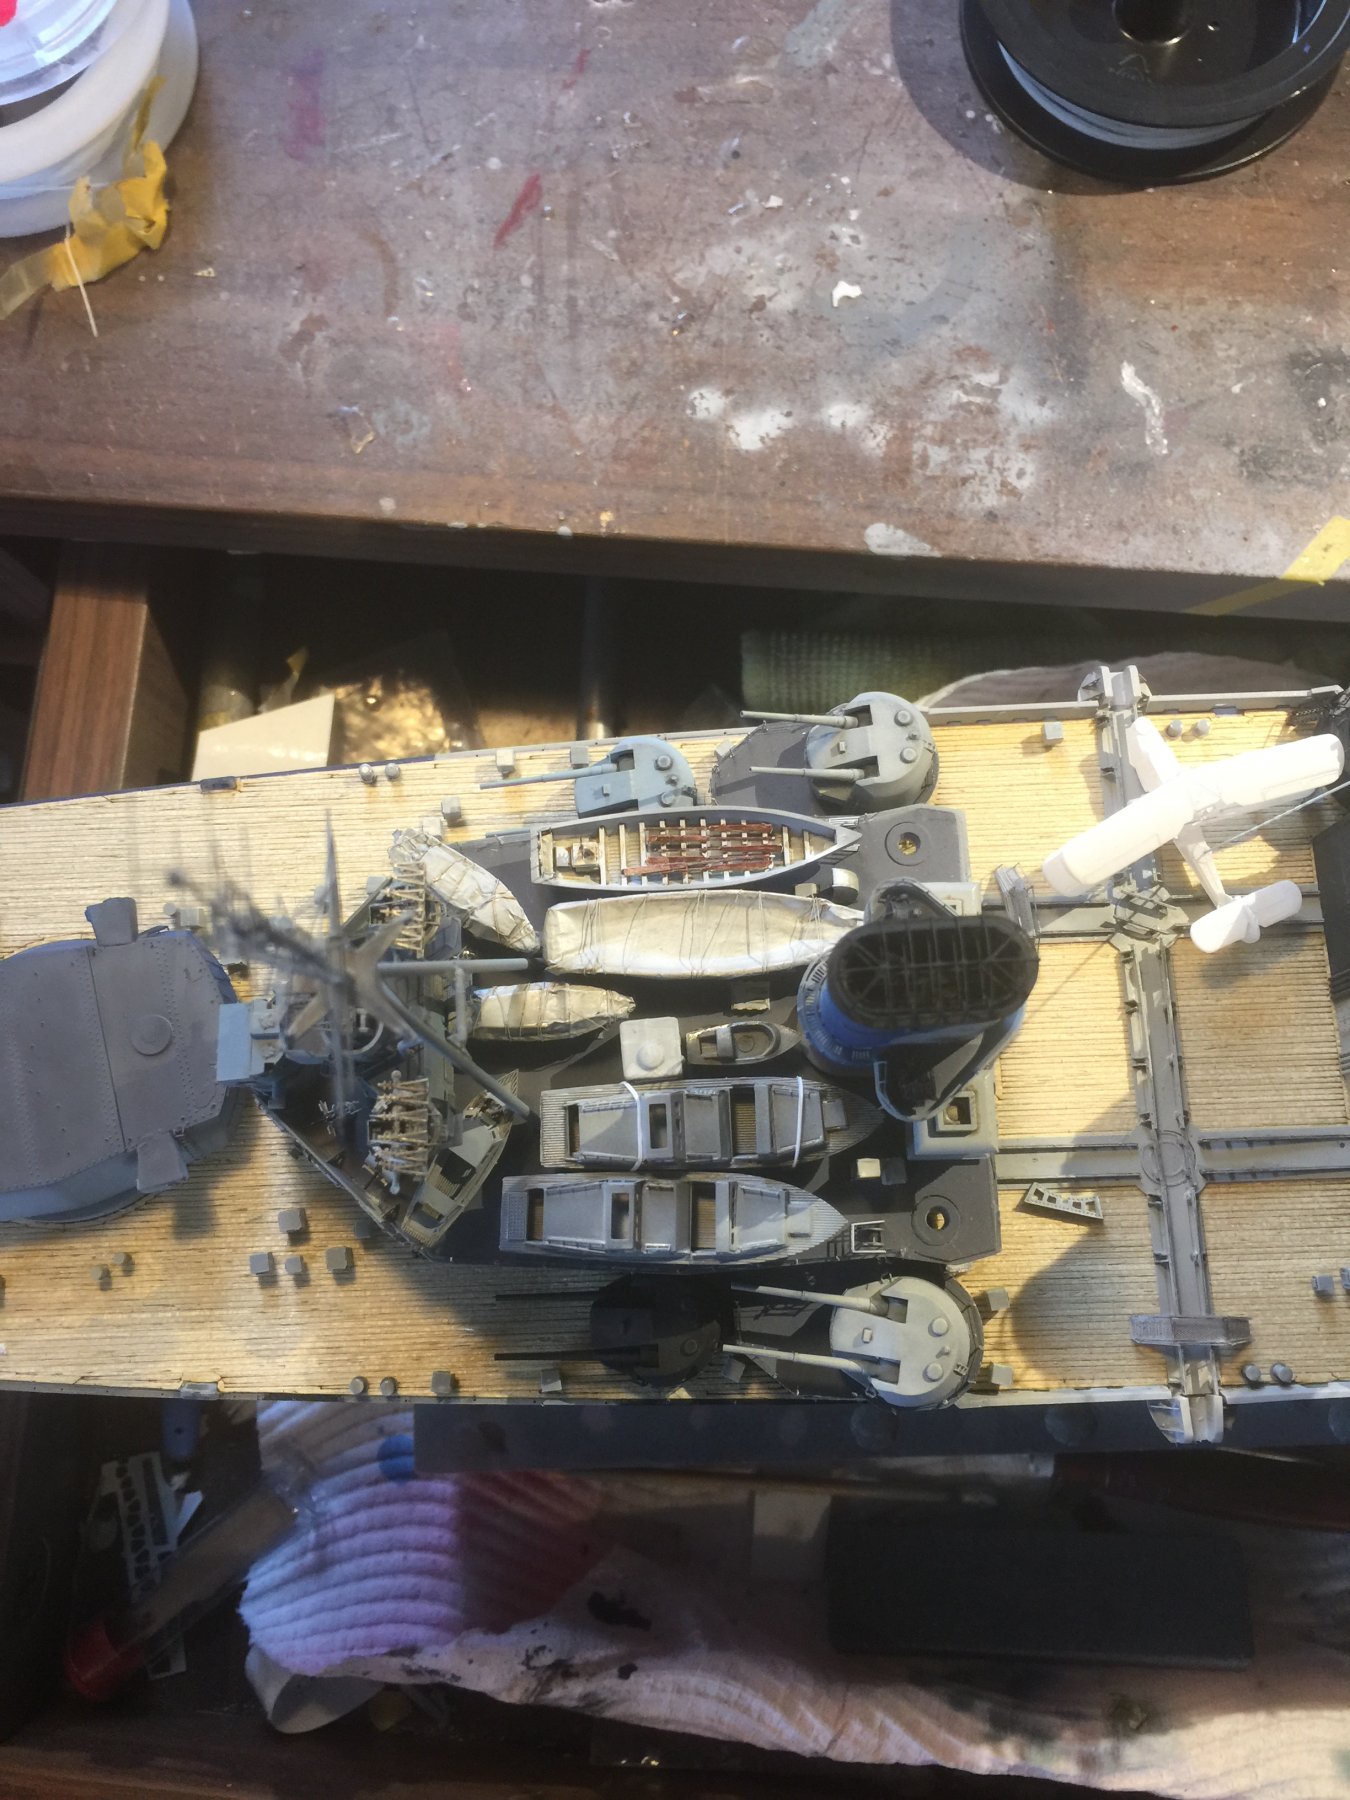
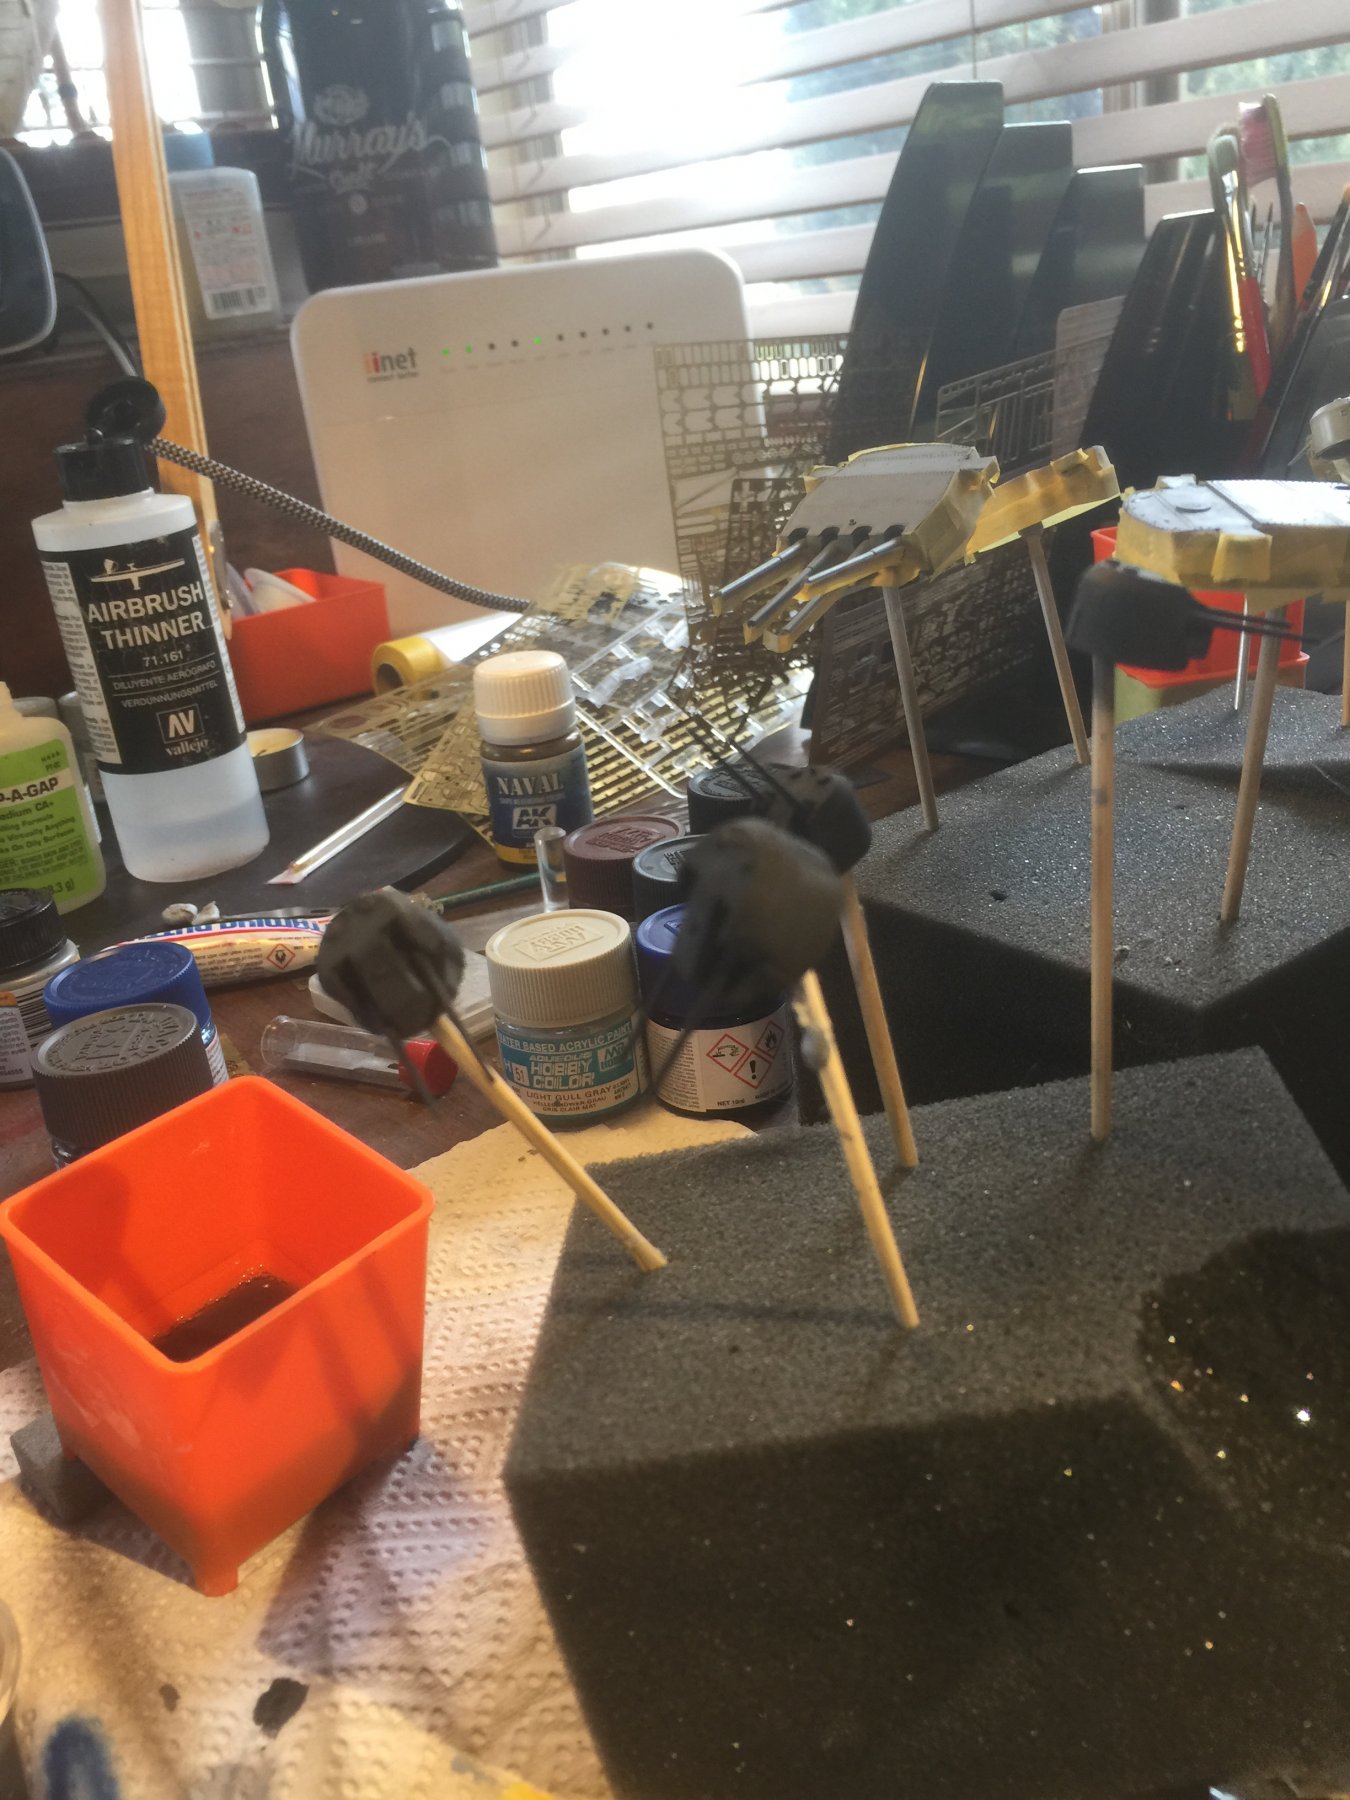
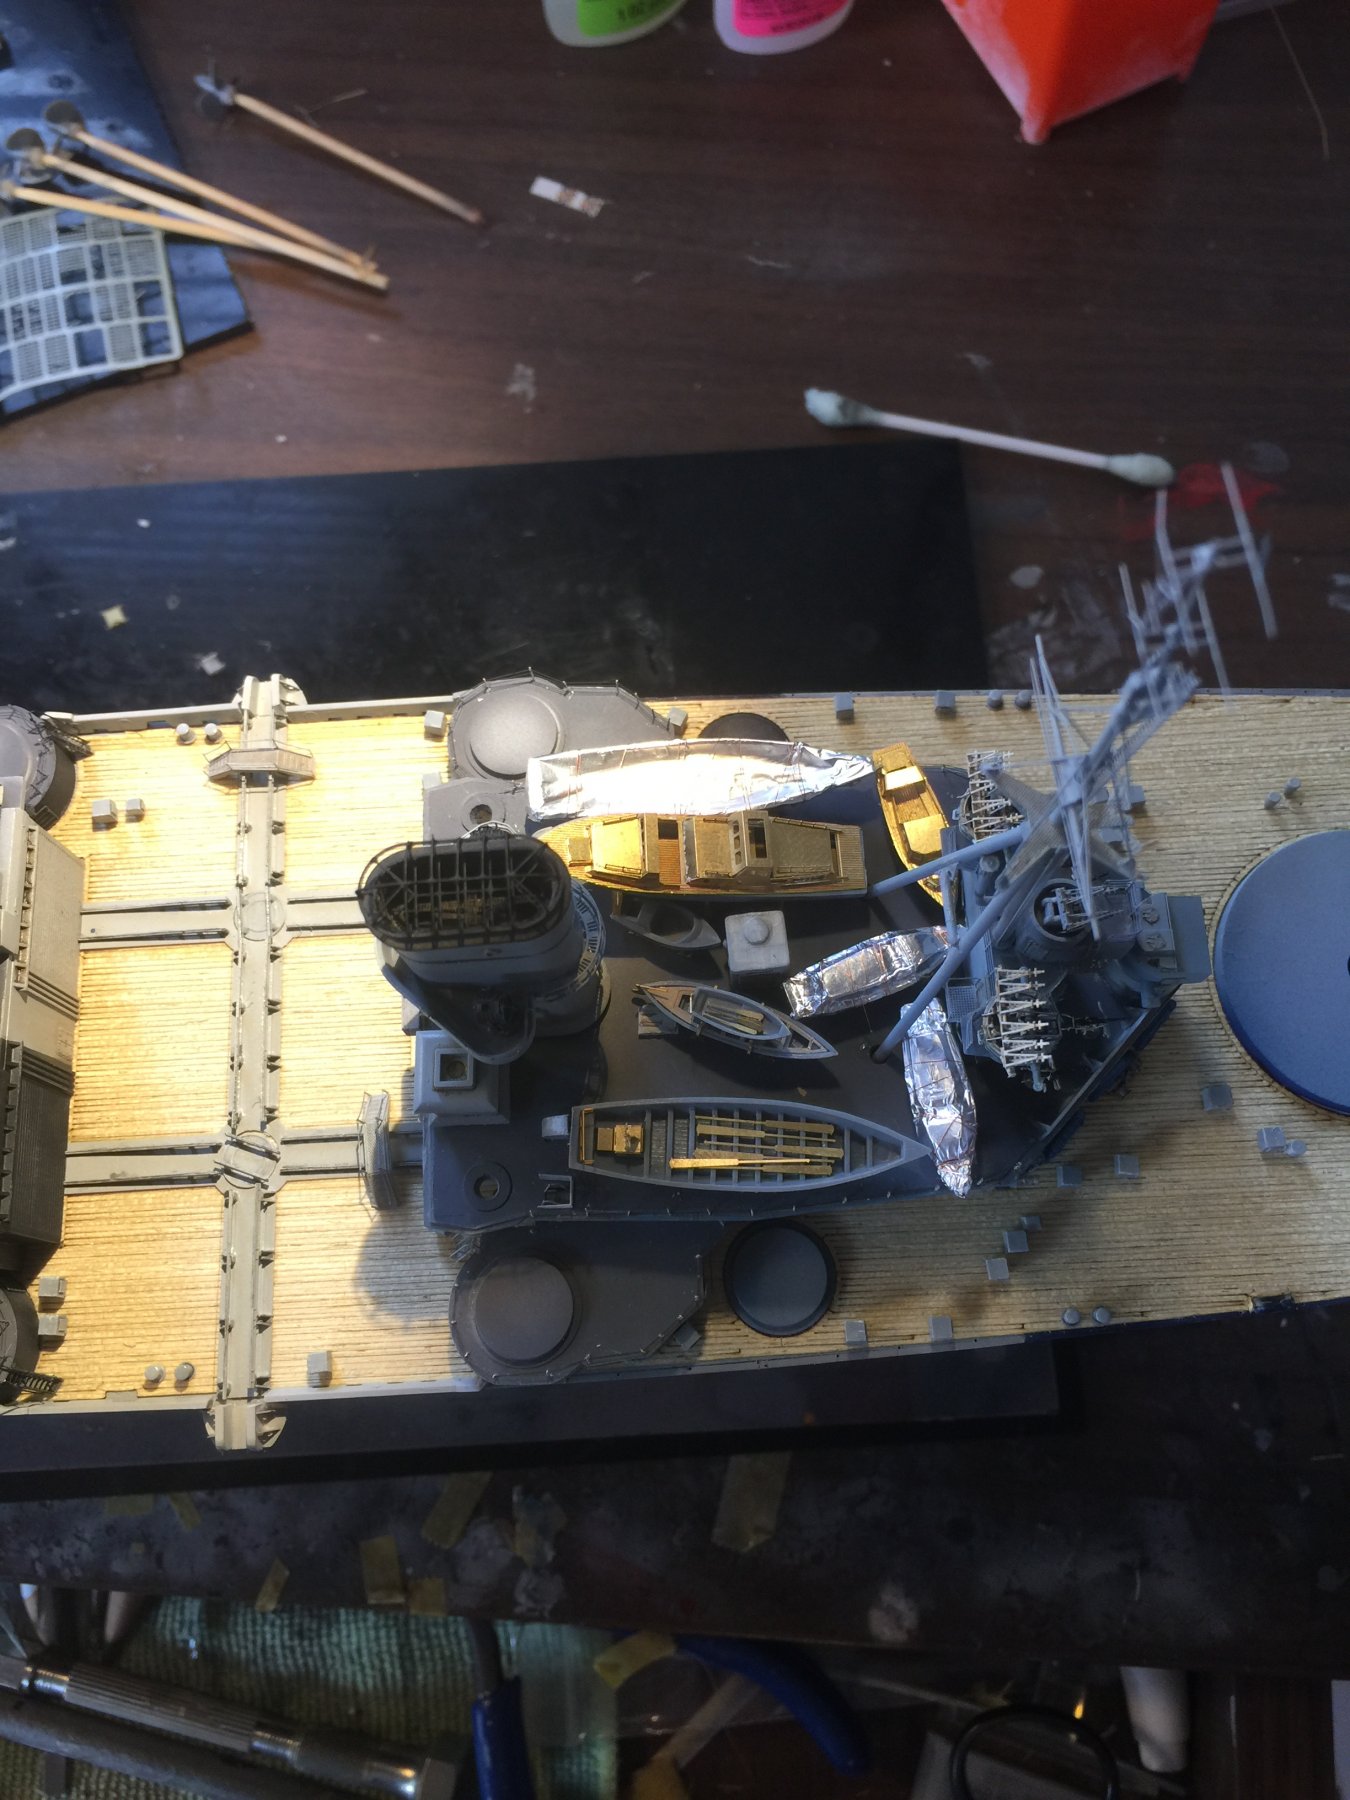
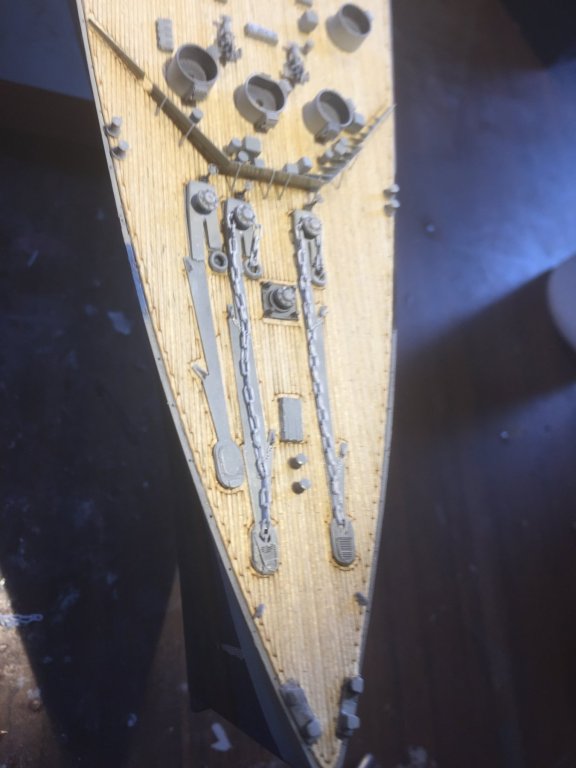
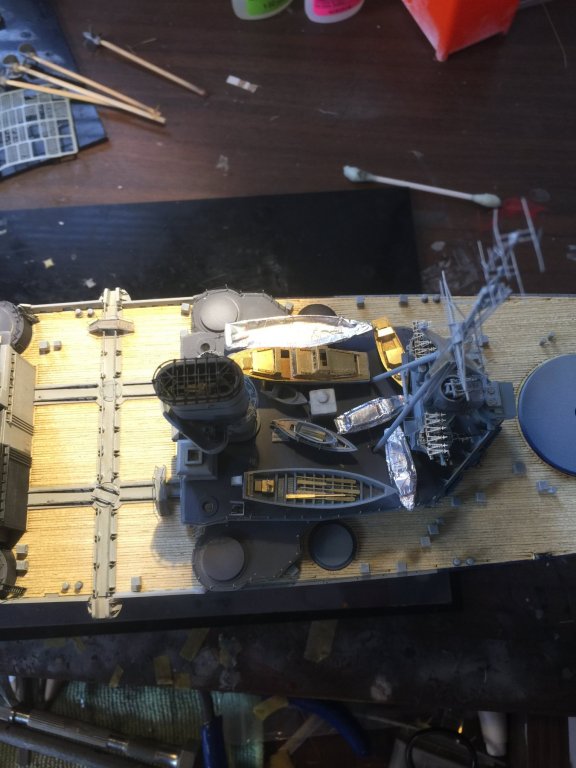
The next lot in the paint cue, davits, focsle equipment, etc etc. I even ordered more carley floats. With soo many tiny pieces I have to alternate as I’d just go mad.
- 405 replies
-
- 15
-
-
- tamiya
- king george v
- (and 2 more)
-
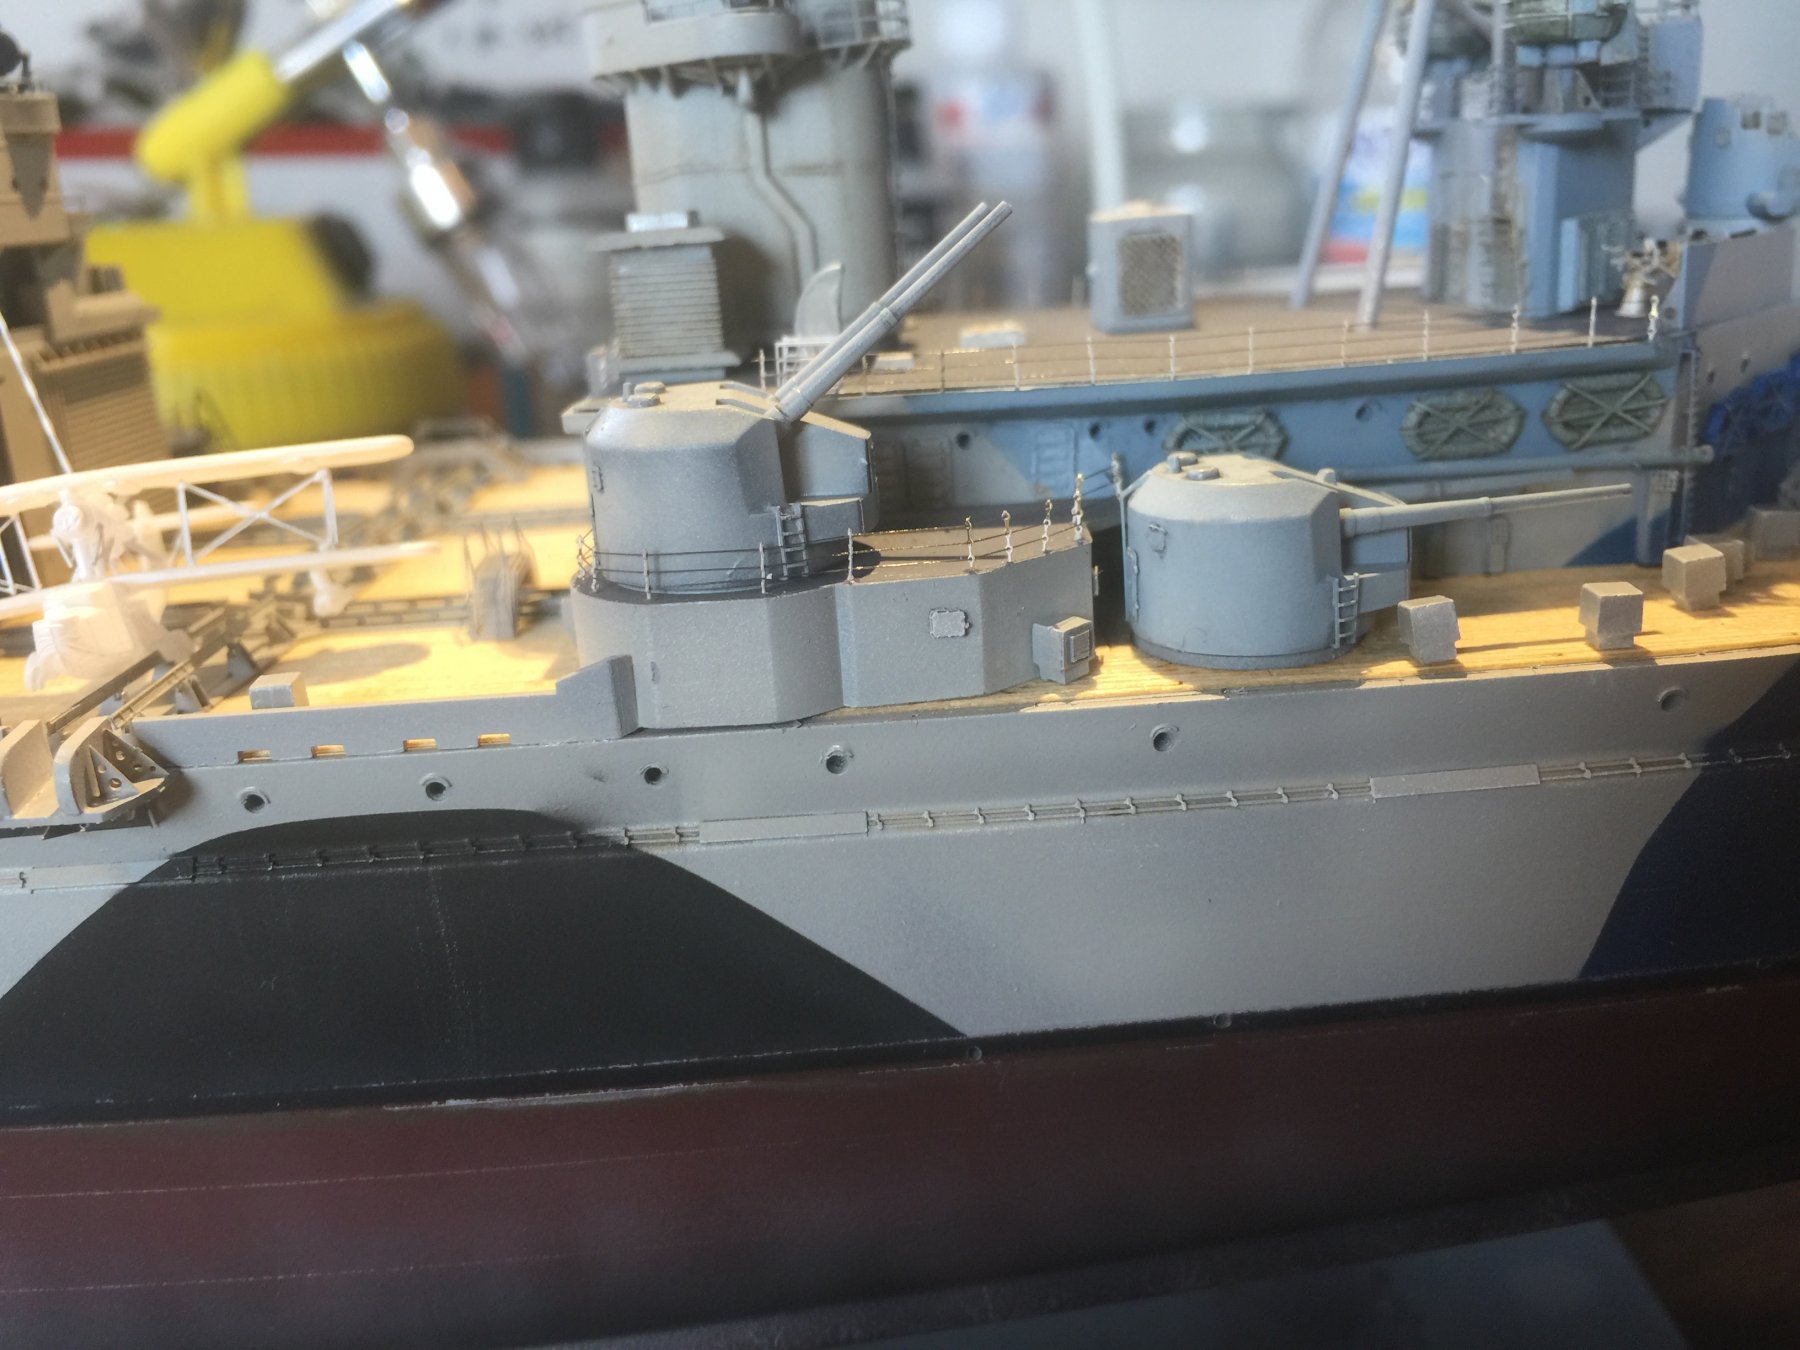
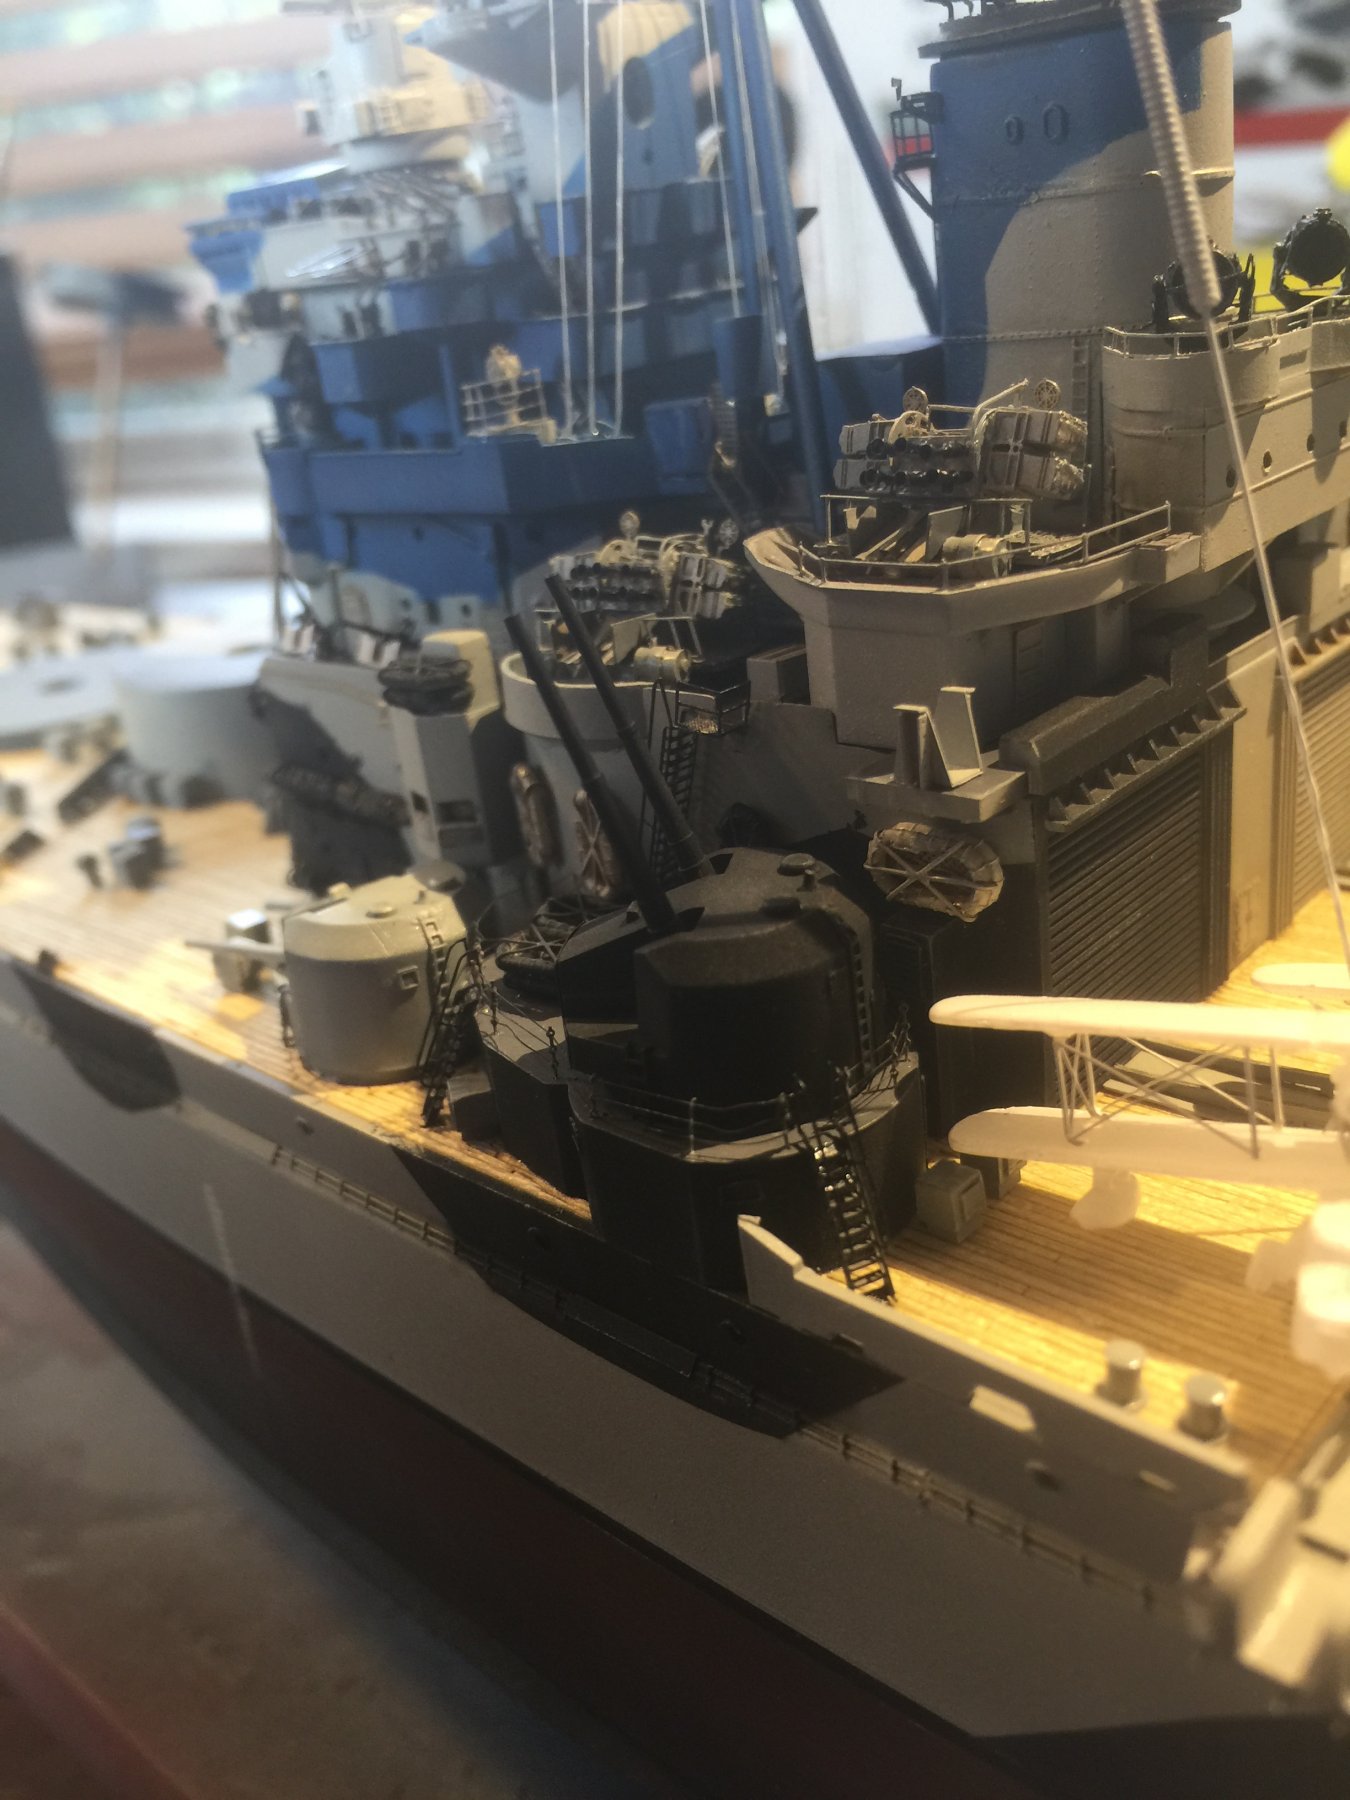
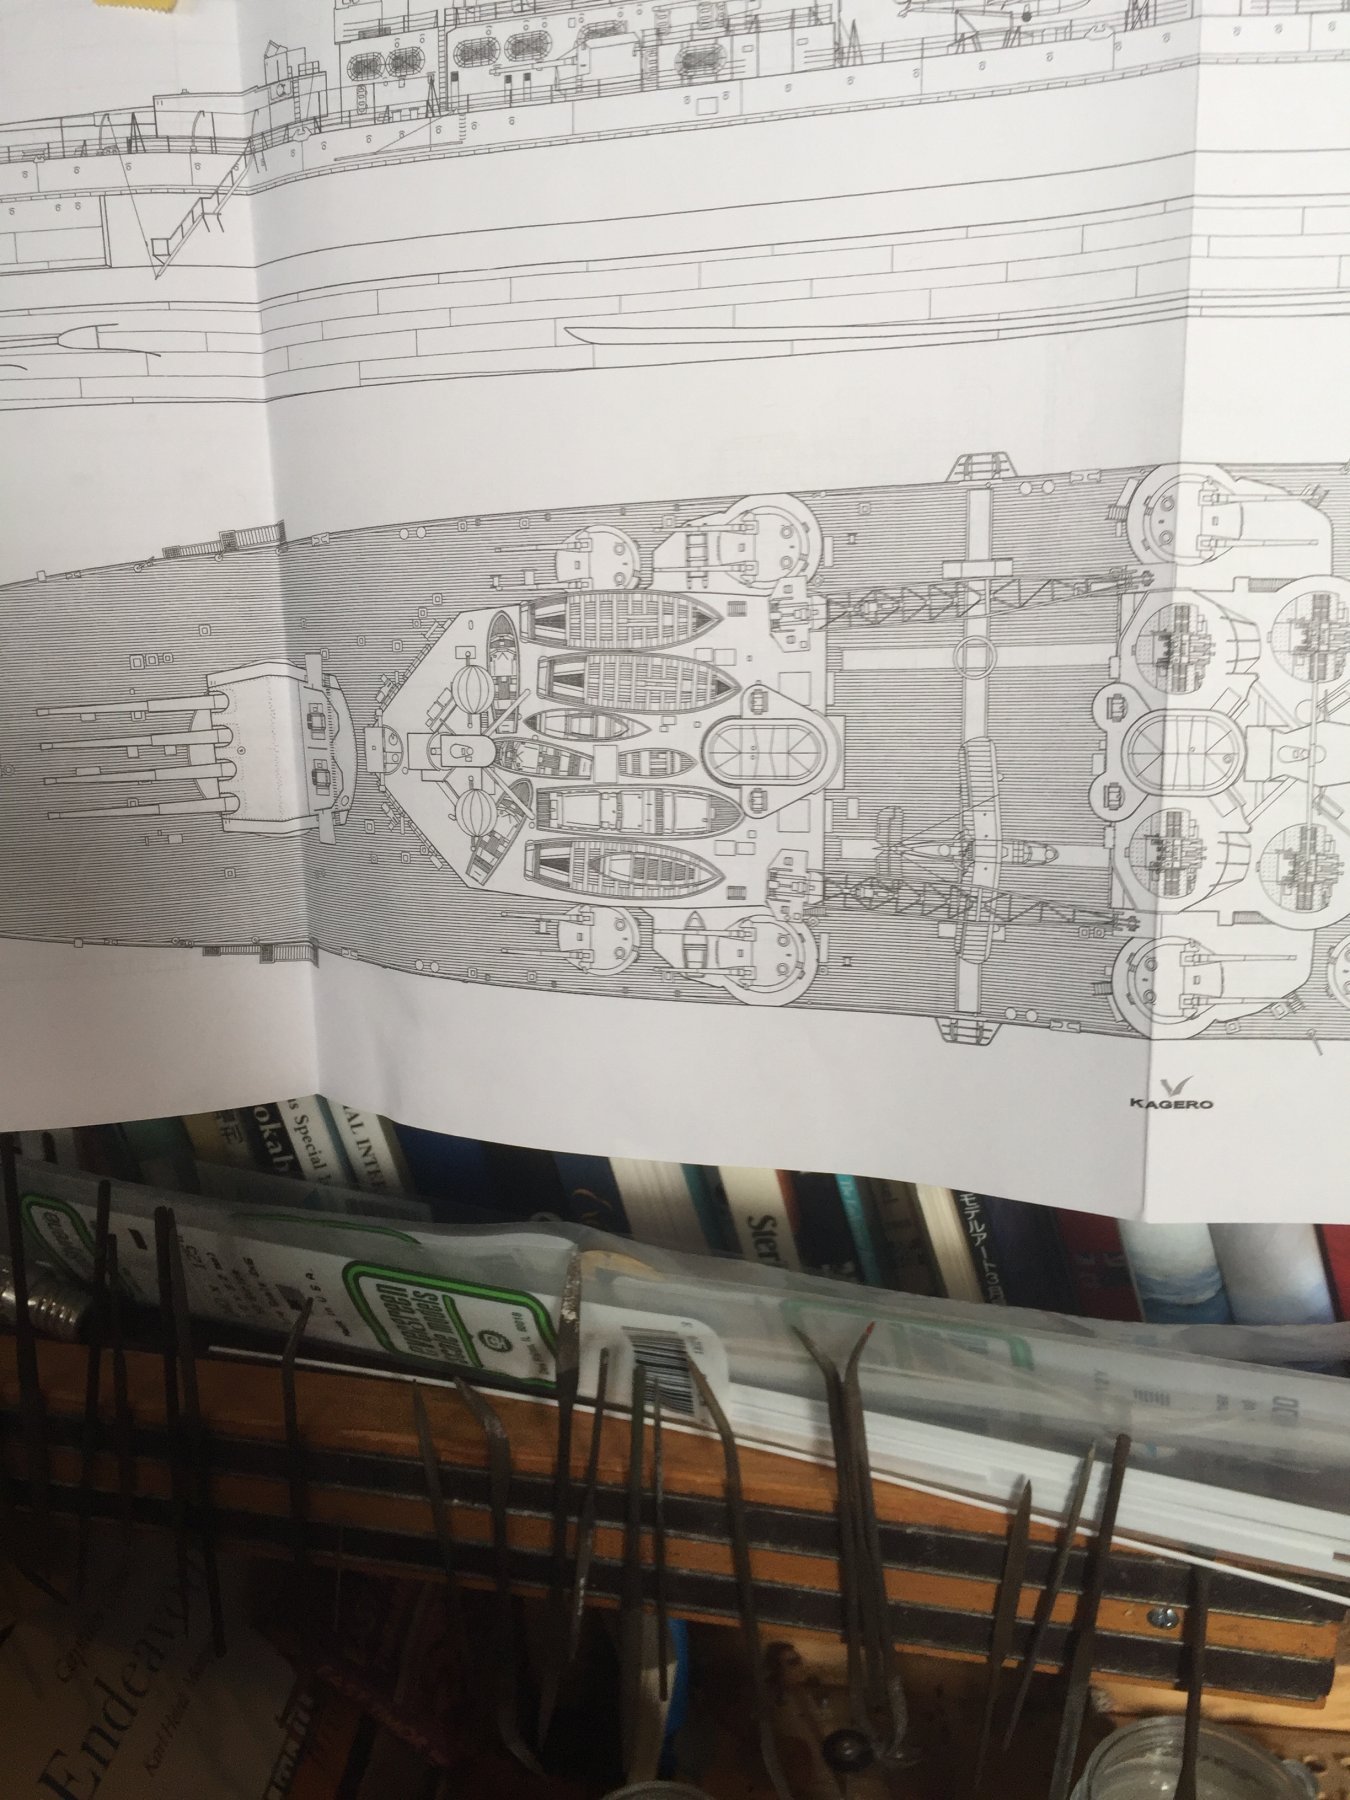
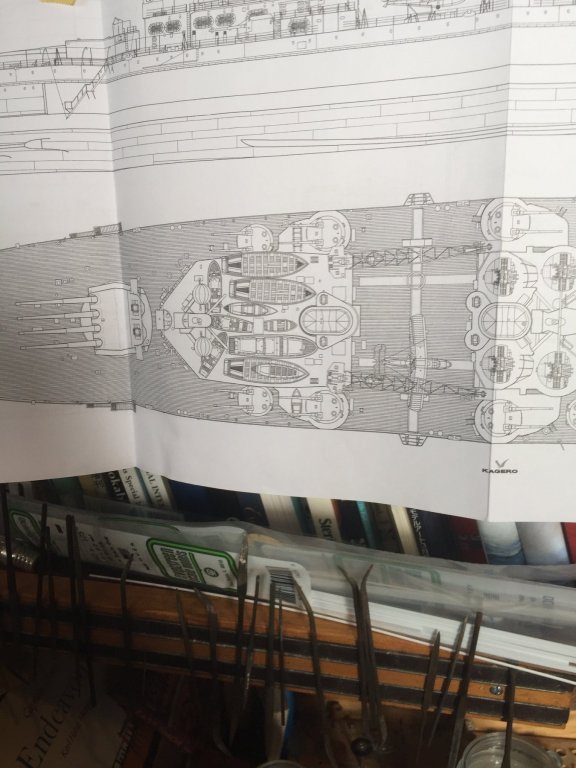
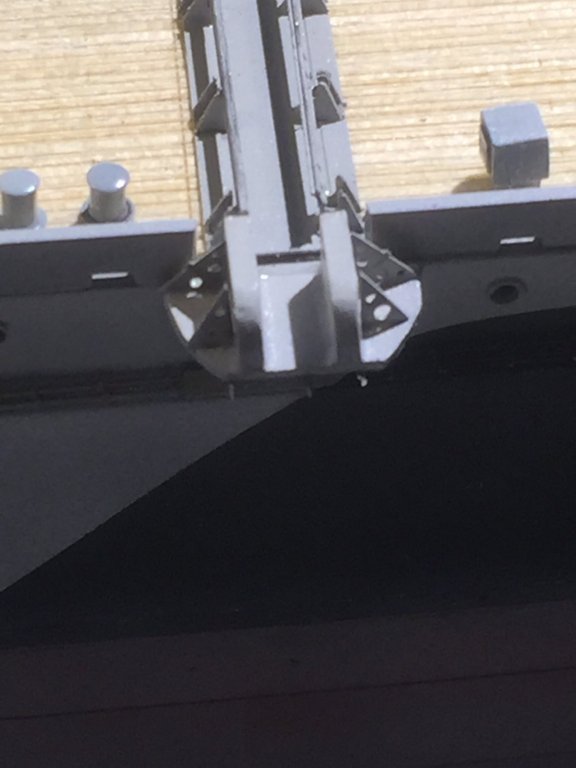
AS previously stated, Pontos based this kit on Tamiya’s Prince Of Wales not the KGV. As such the central catapult area is a retrofit and there is no protrusions at the end of the Cats on the side of the ship provided and have to be scratch built. The 42-43 version did have the armoured splinter shields instead of railings and I have yet to add 8 single 20mm guns. Yes, I also have to fix up the paintwork and add some large scuppers.

- 405 replies
-
- 15
-
-
- tamiya
- king george v
- (and 2 more)
-
they are also good for poking fun at the Dutch
- 1,090 replies
-
- 7
-
-
- showcase models
- vendetta
- (and 2 more)
-
I use acupuncture needles, packet of 100 for about $5
- 1,090 replies
-
- 7
-
-
- showcase models
- vendetta
- (and 2 more)
-
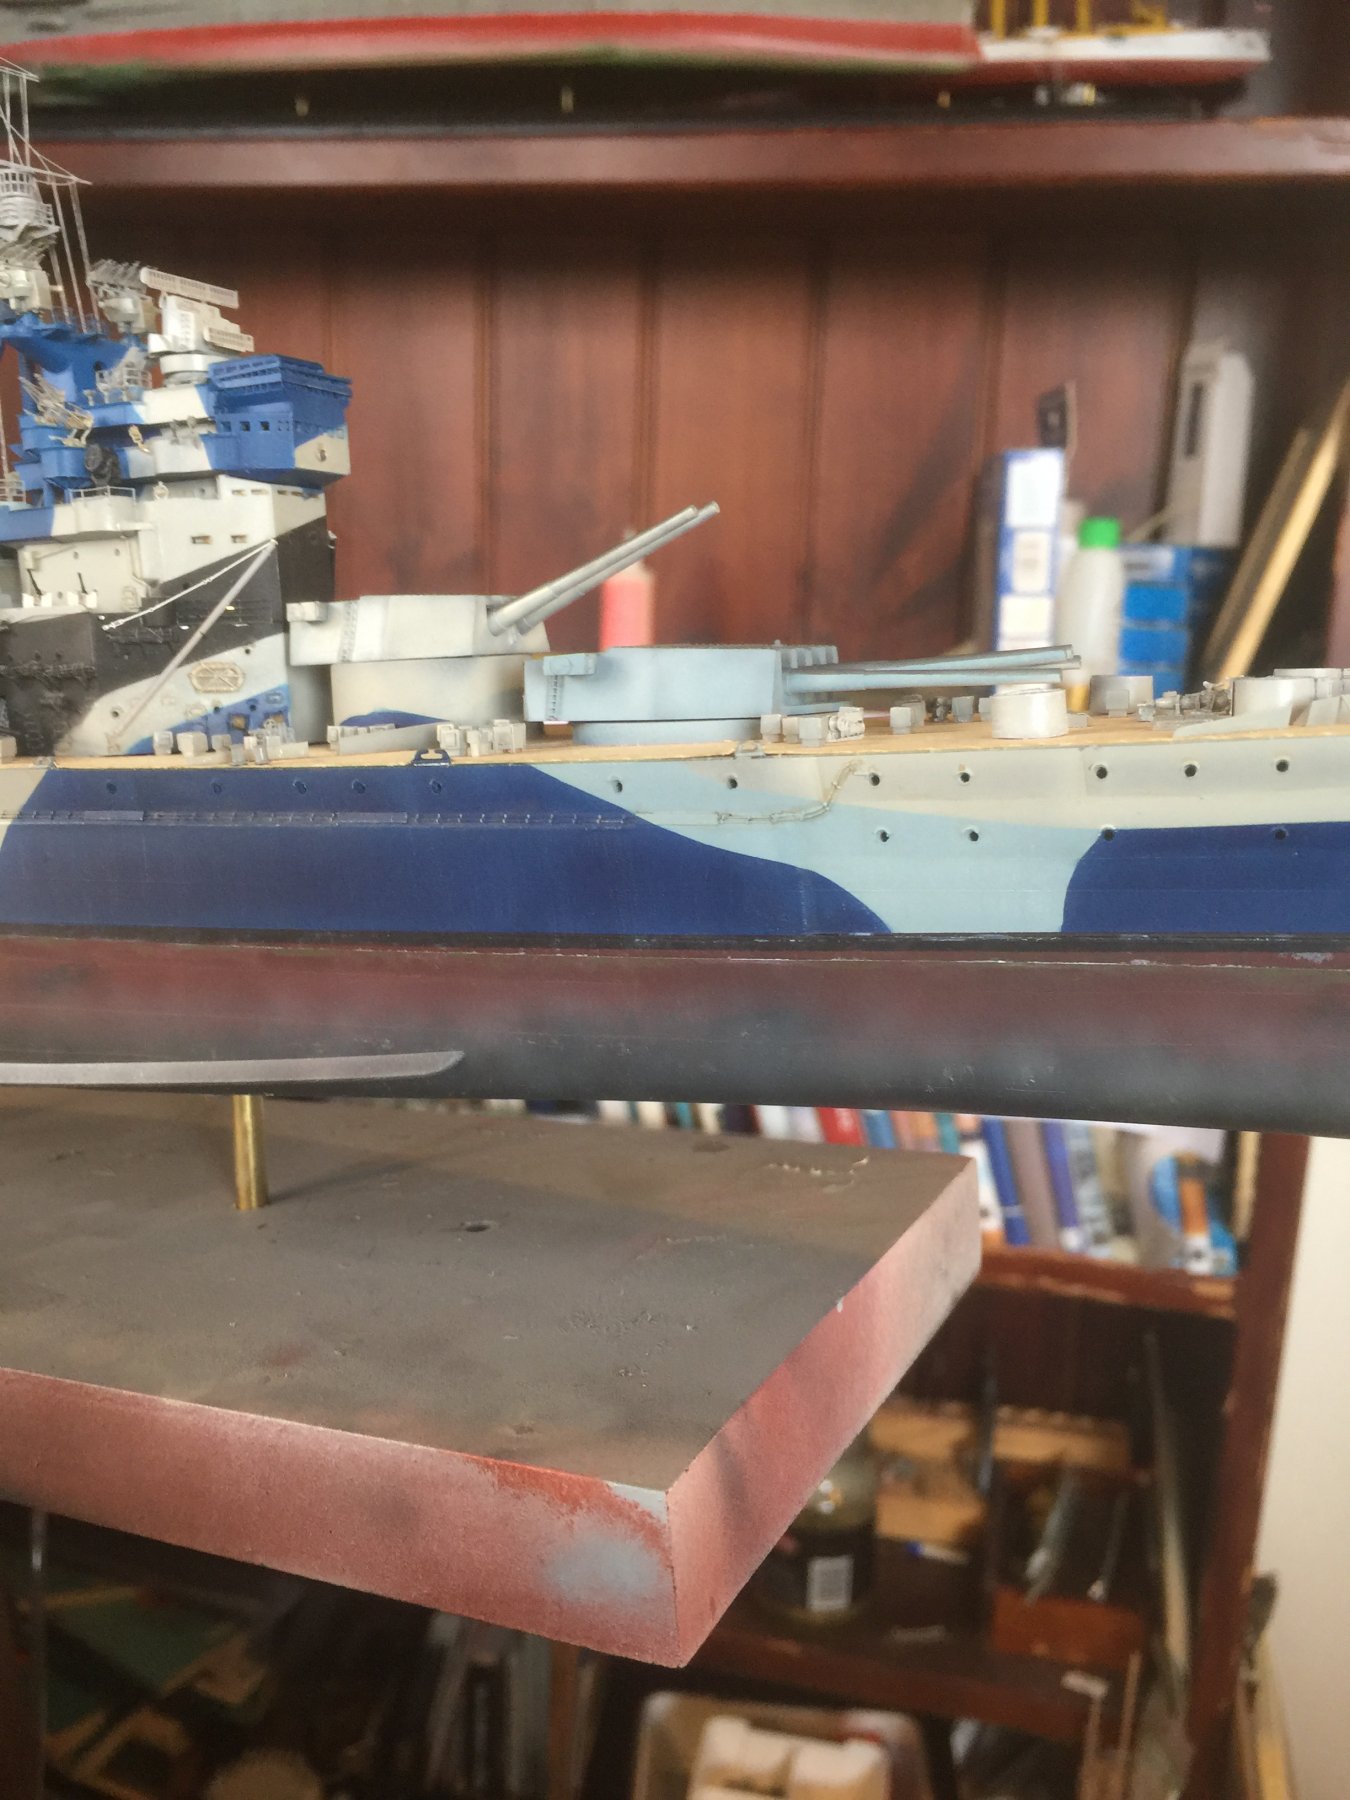
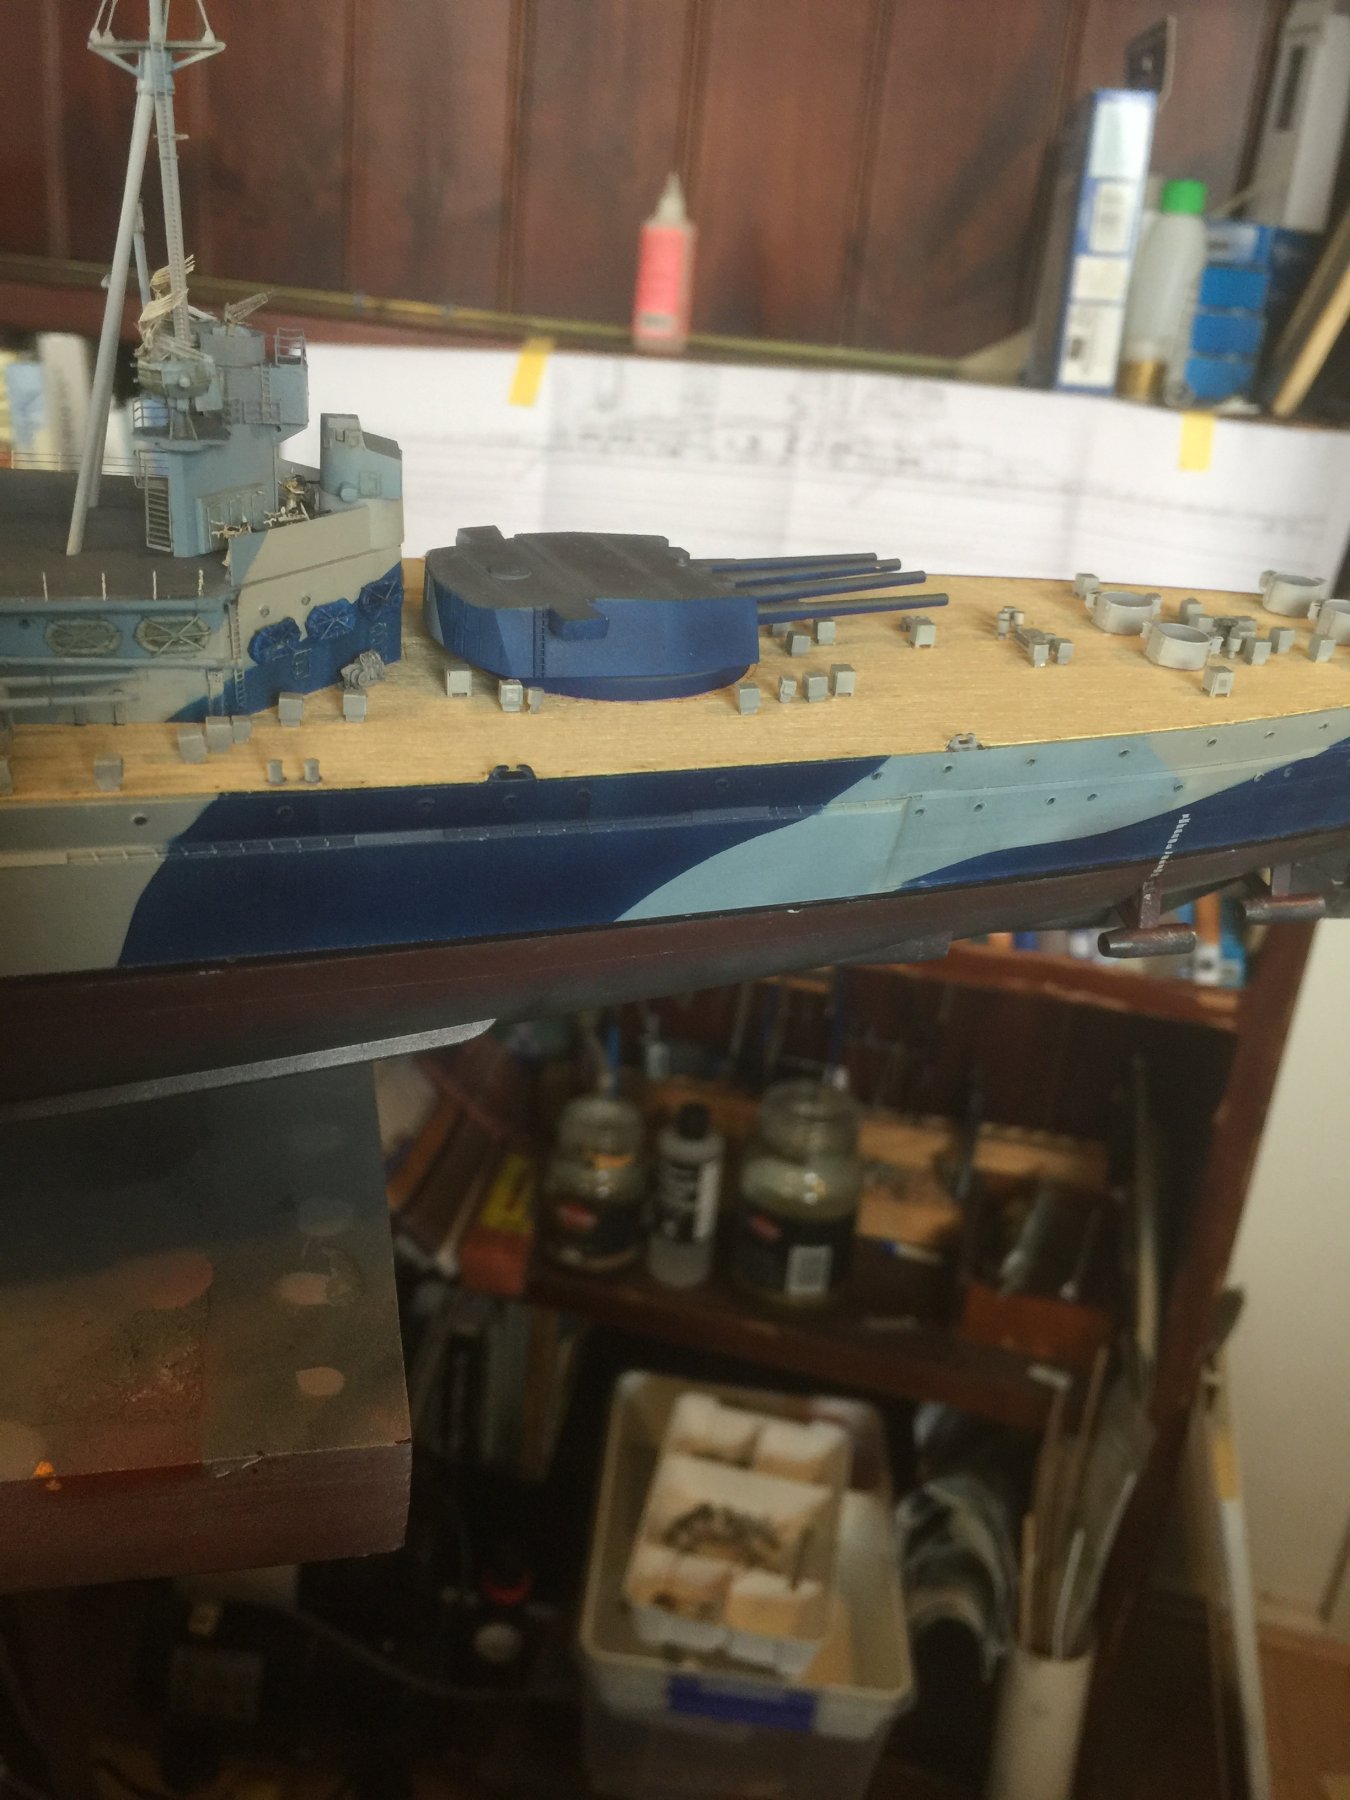
You’re flying along, looking good. It’s funny how the camera picks up things they mk1 eyeball misses.
-
So true, small scale also hides mistakes but if I were to build her again I’d do individual stanchions.
- 1,090 replies
-
- 8
-
-
- showcase models
- vendetta
- (and 2 more)
-
Love them a lot. You are soo right about Pontos instructions but I keep going back.
- 467 replies
-
- 5
-
-
- mikasa
- wave models
- (and 1 more)
-
Nope. Can’t buy any of it yet. He’s still in the design phase. You still have at least 2 builds to finish young man! I only have 1. I am liking your RN builds a lot though. When he makes a full set commercially available I’ll let you all know. On the Facebooks I see some people have multiple kits still in boxes, I’ll never do that, as each day brings its own adventure and I’d hate to be caught with a huge stash of kits when the lights go off.
- 1,090 replies
-
- 7
-
-
- showcase models
- vendetta
- (and 2 more)