RGL
-
Posts
5,547 -
Joined
-
Last visited
Content Type
Profiles
Forums
Gallery
Events
Everything posted by RGL
-
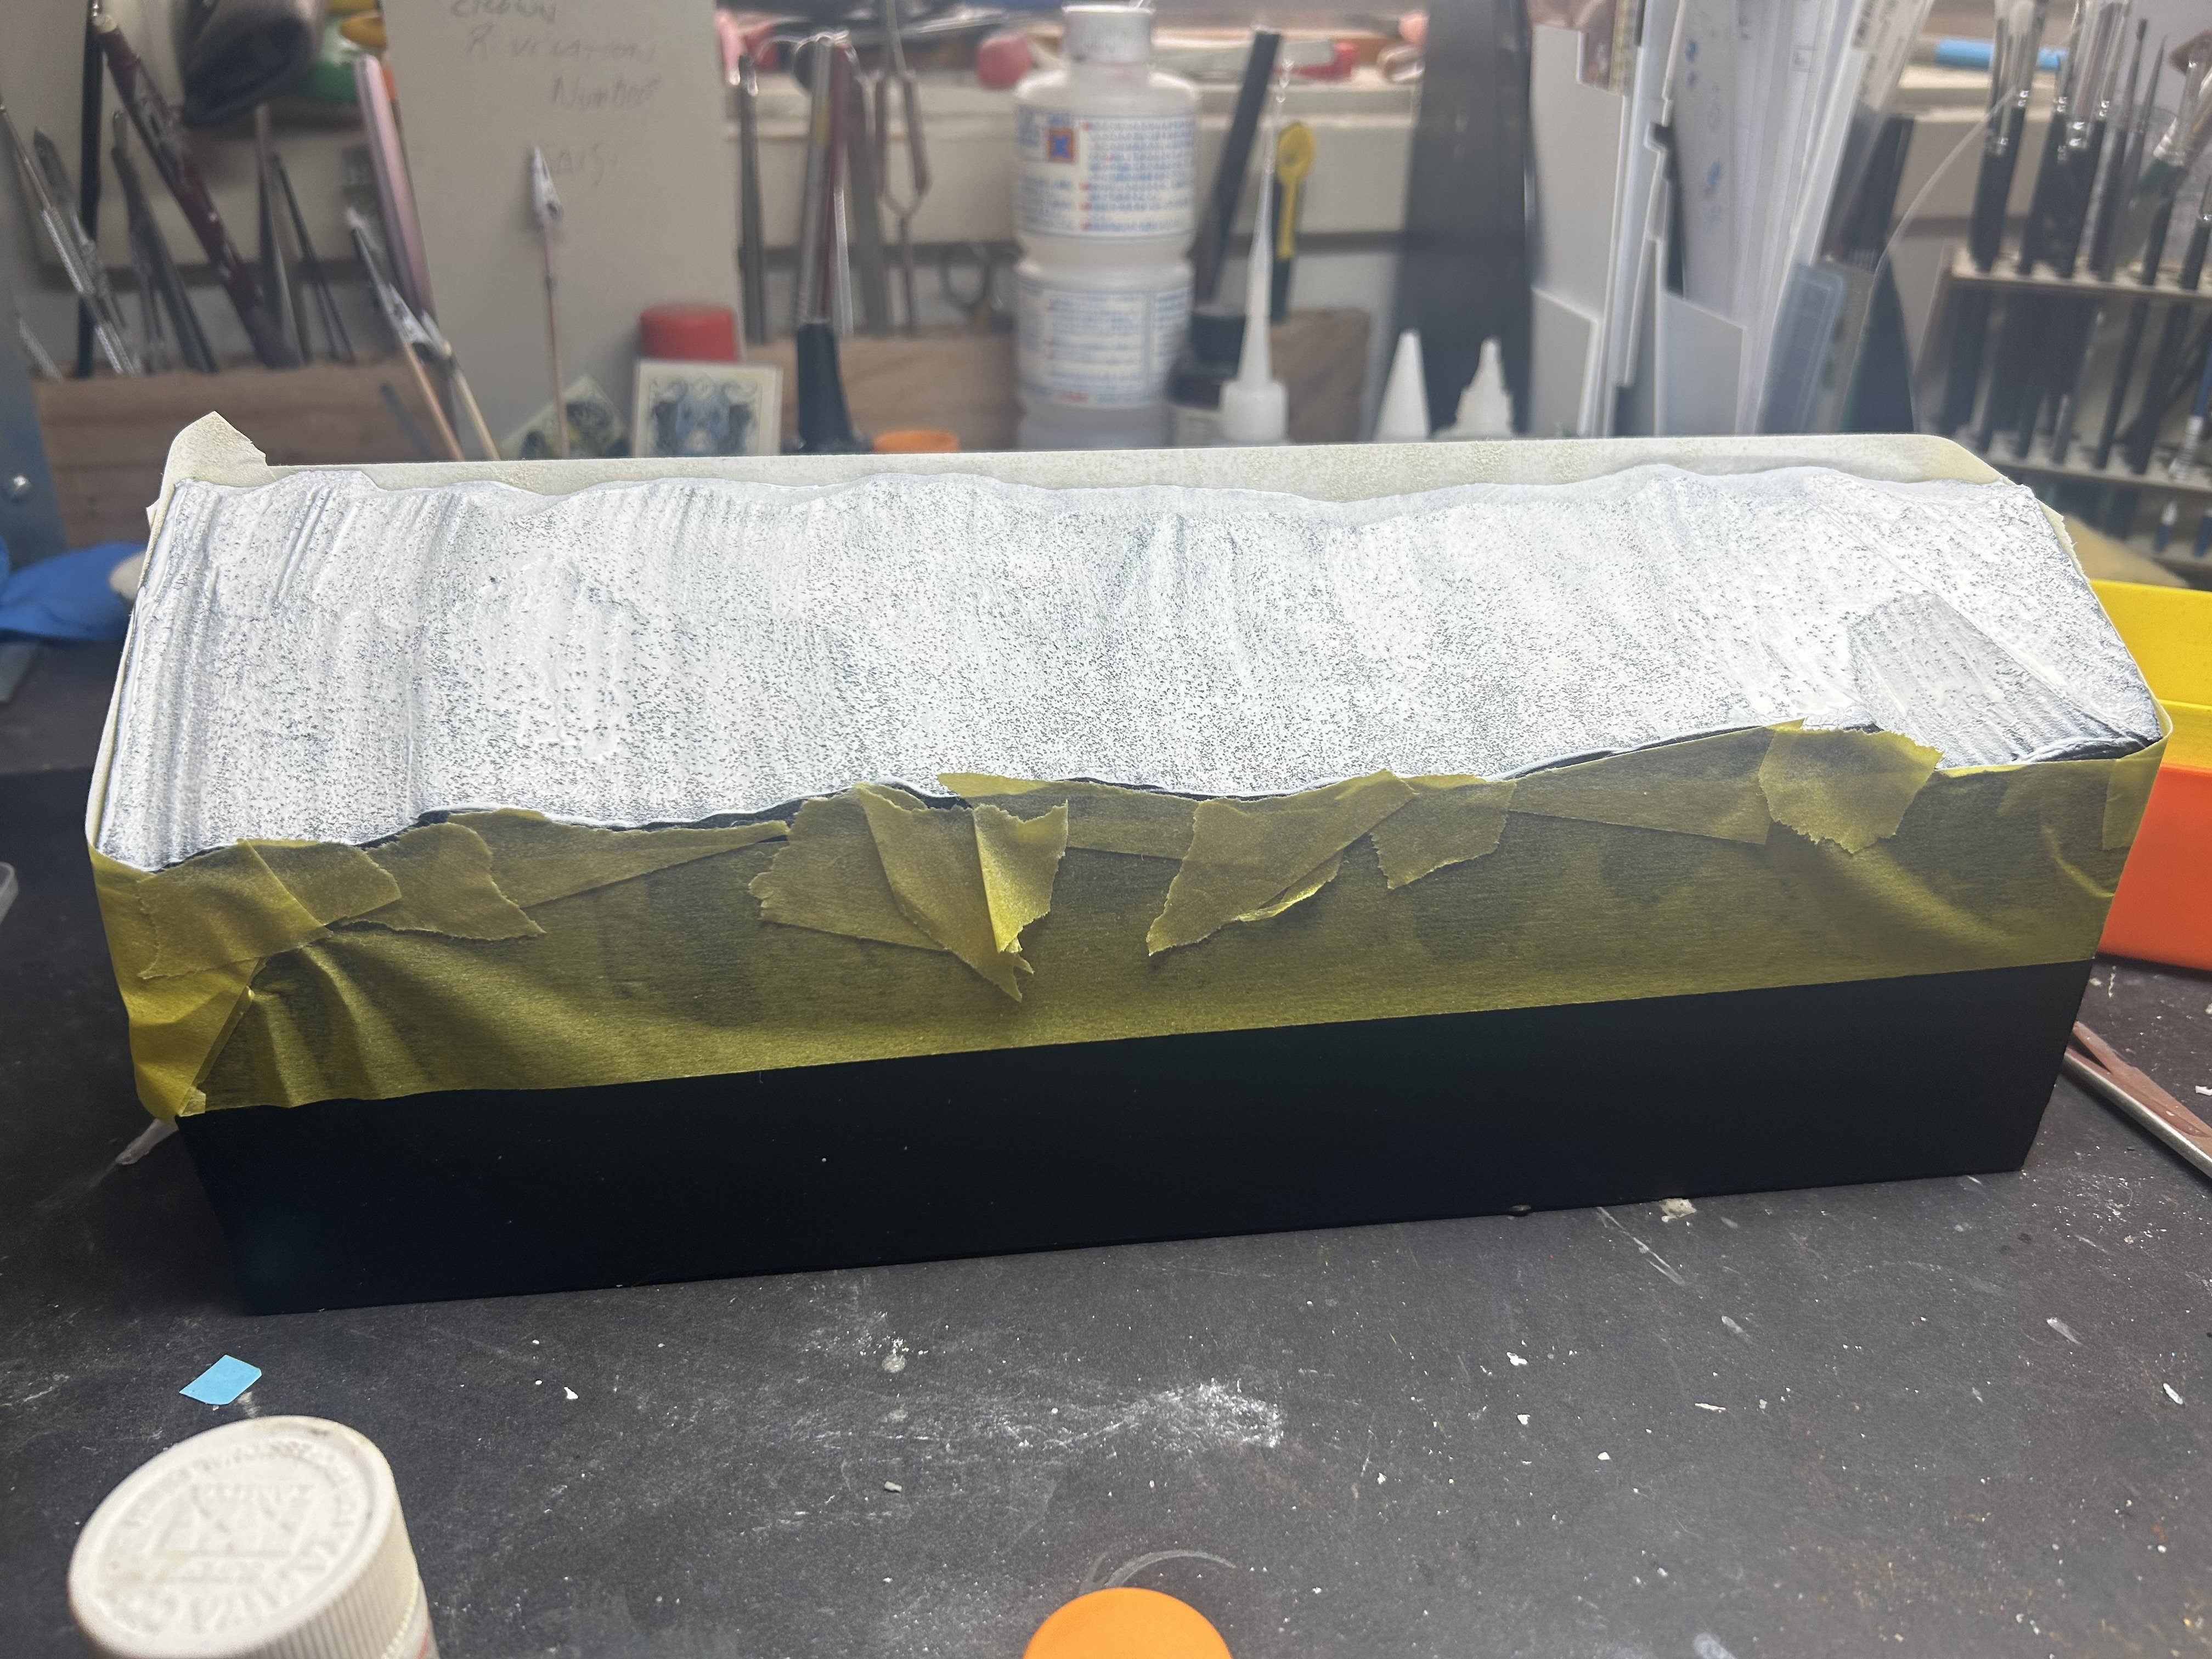
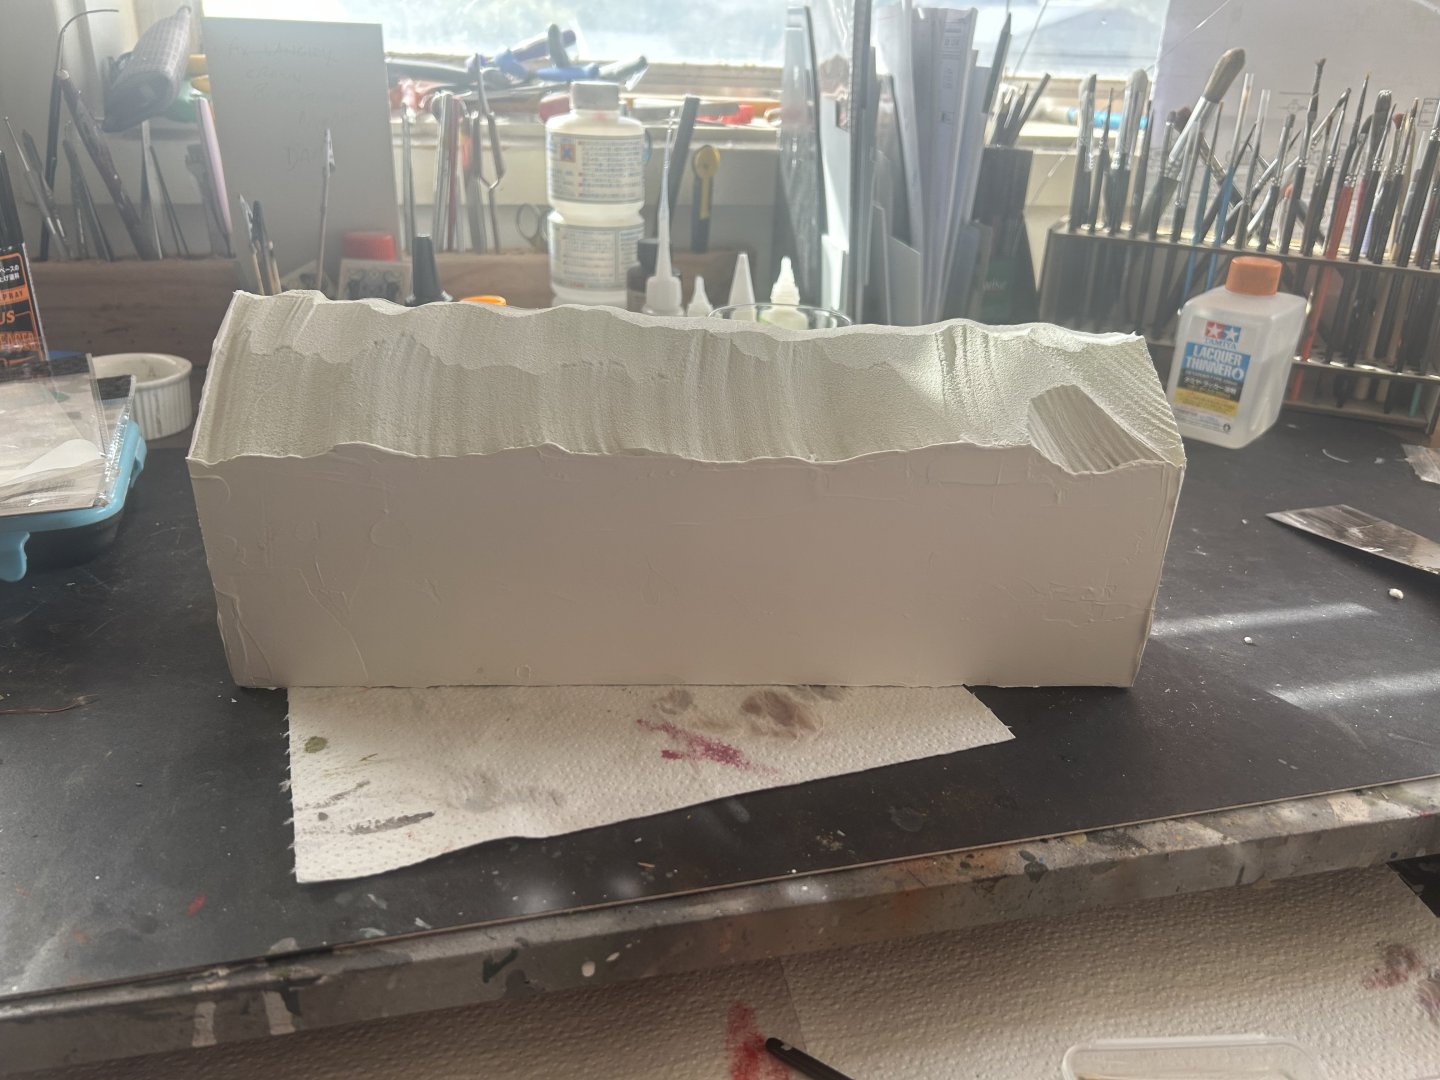
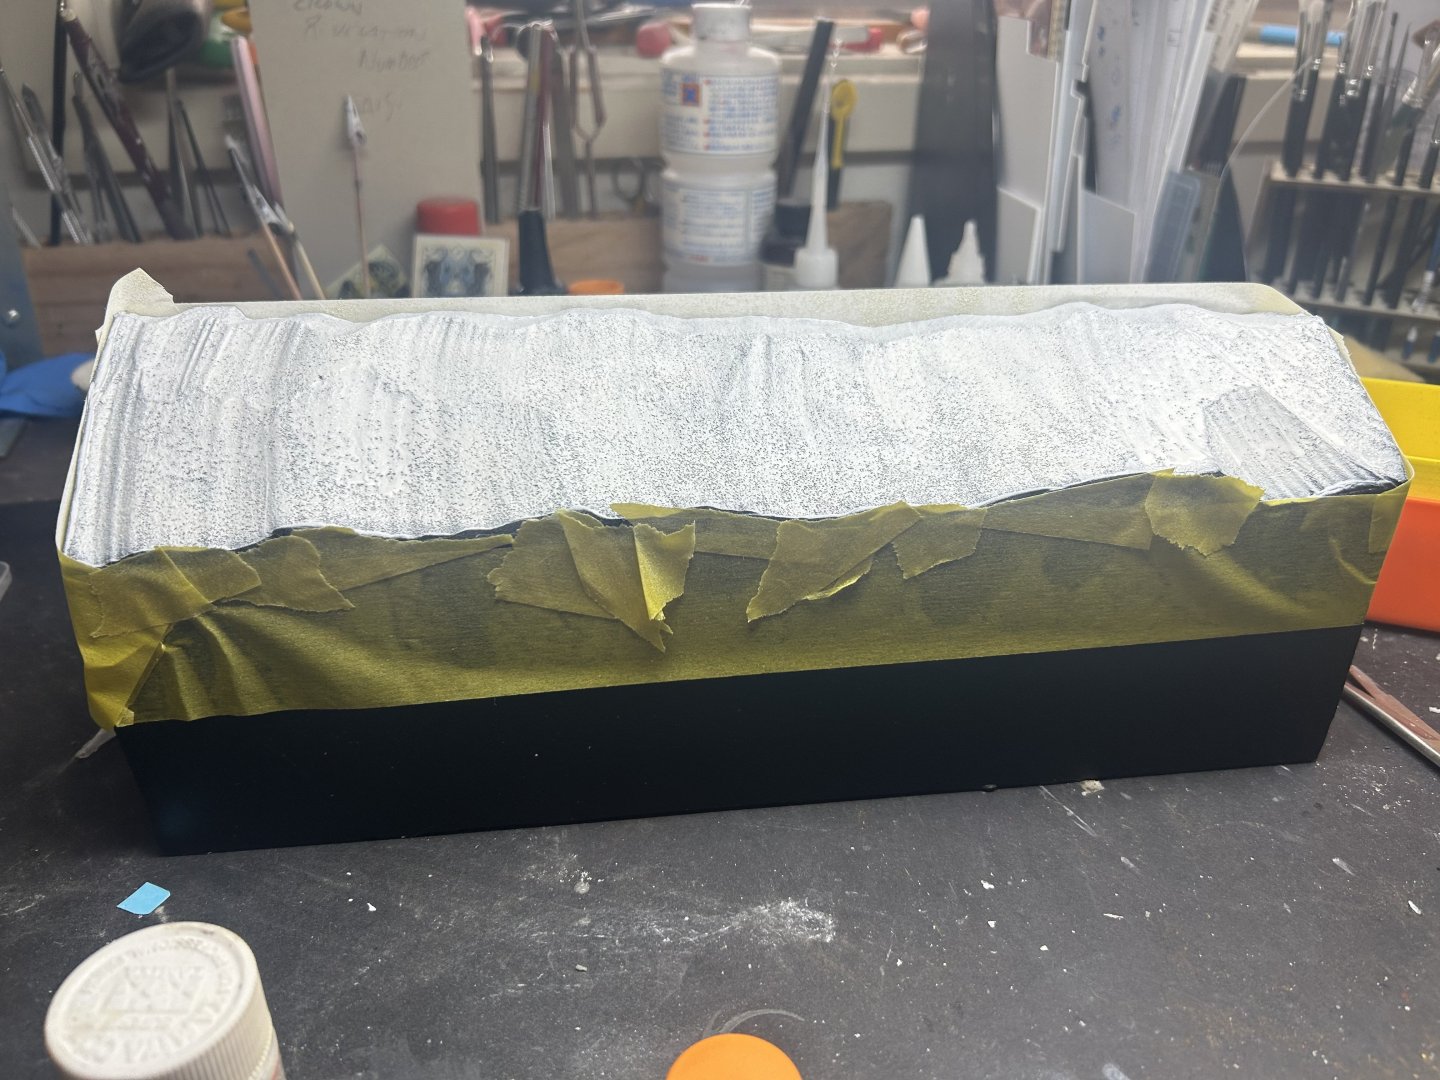
Starting on the base. My plan is to have all 4 flying just over the crest
-
Death! Diorama next


-
Death is nearly done, have to choose a head


-
The final orc, Death, rides a pale horse
-
Third Orc; Famine, carries a set of scales


-
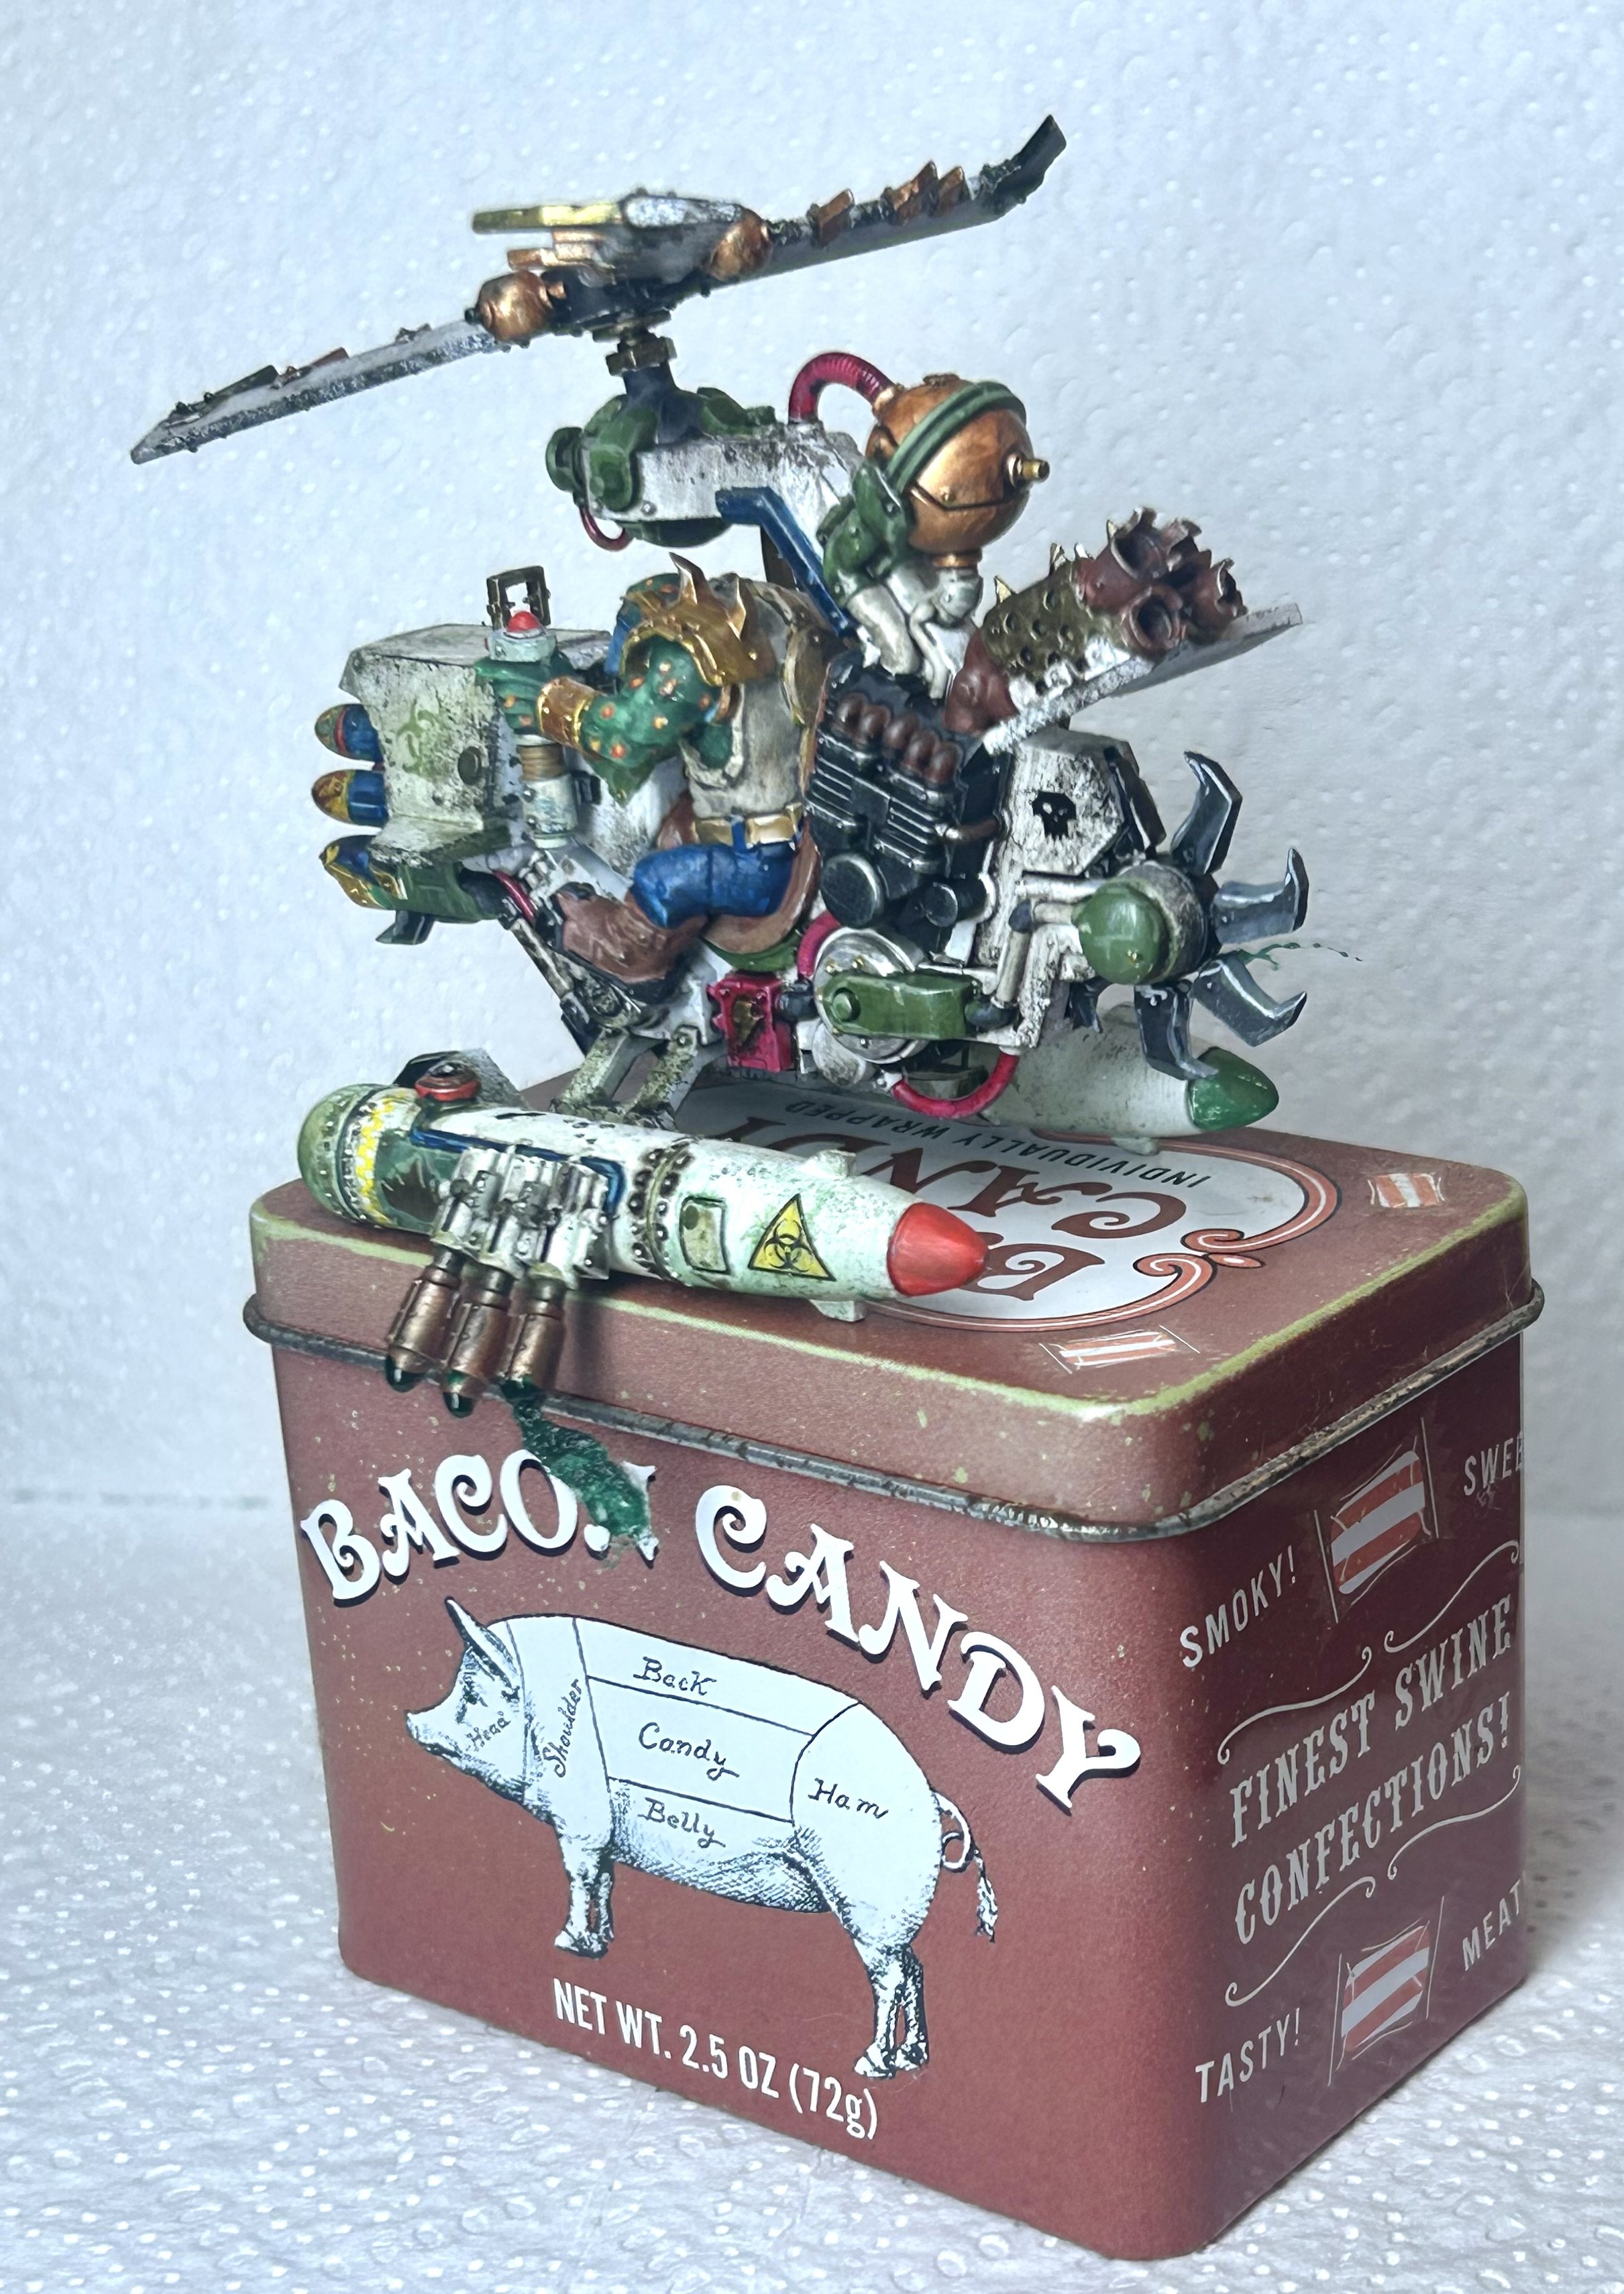
My Facebook page is Bacon Bits Models
-
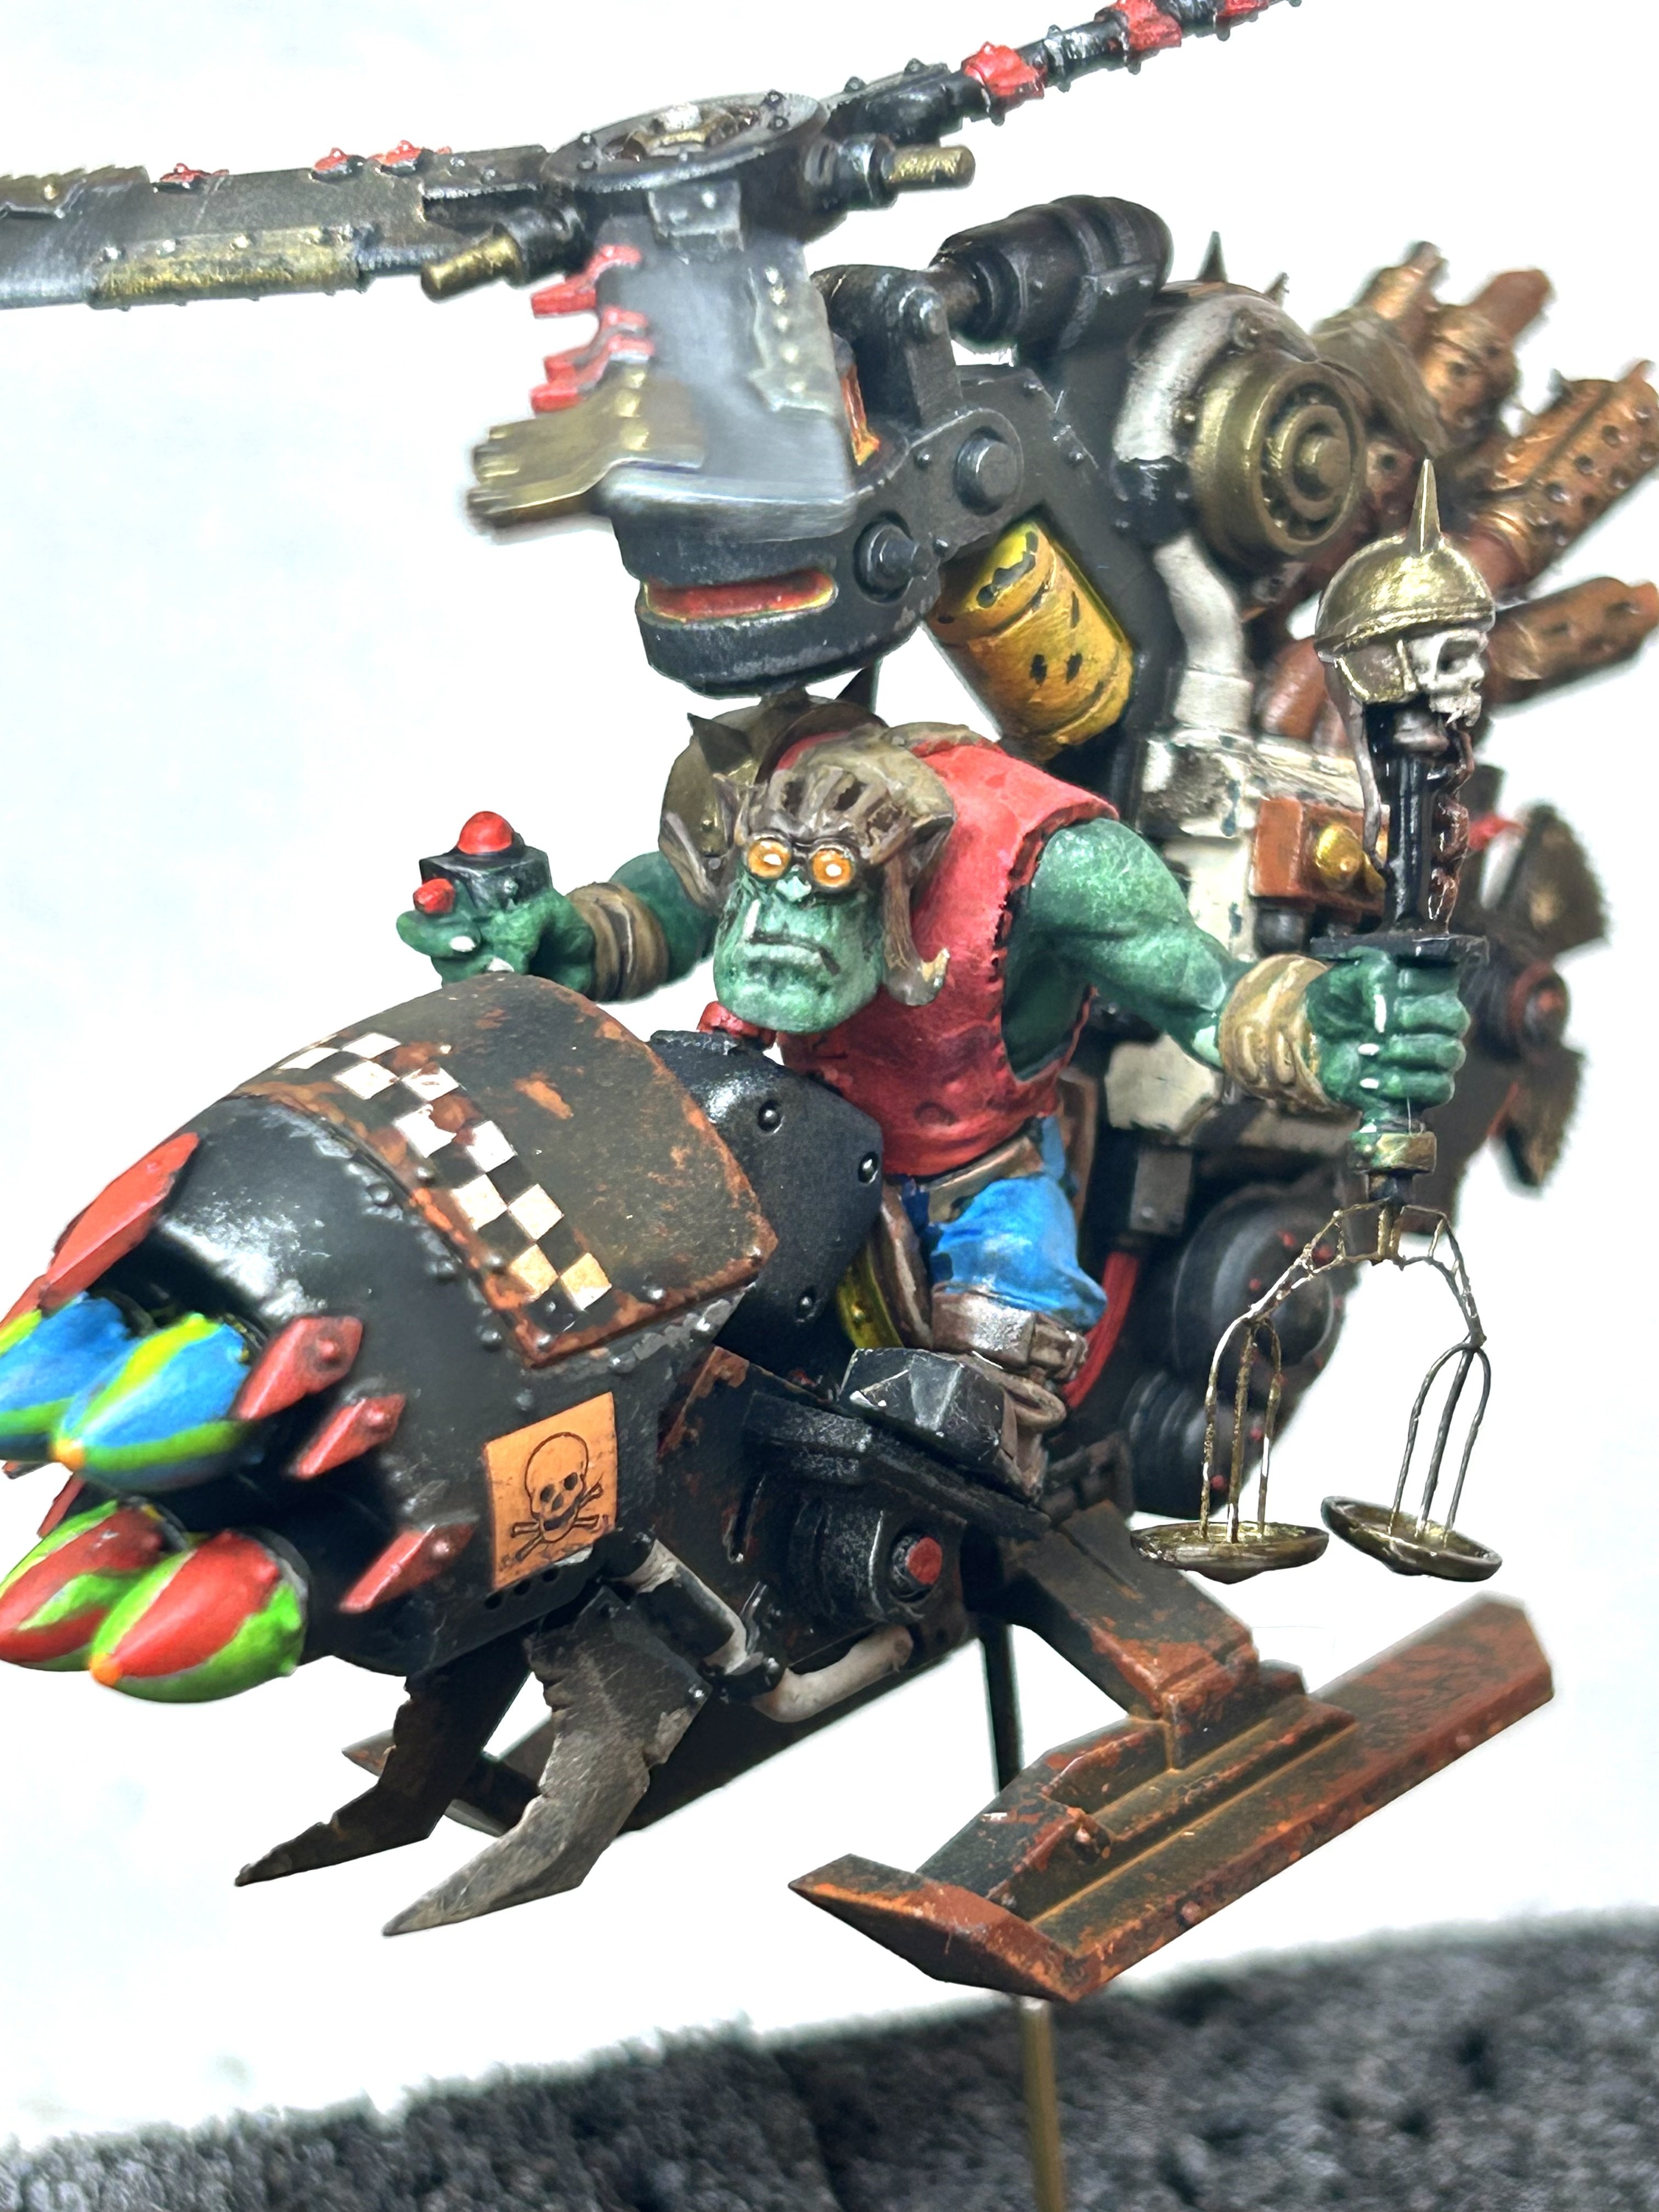
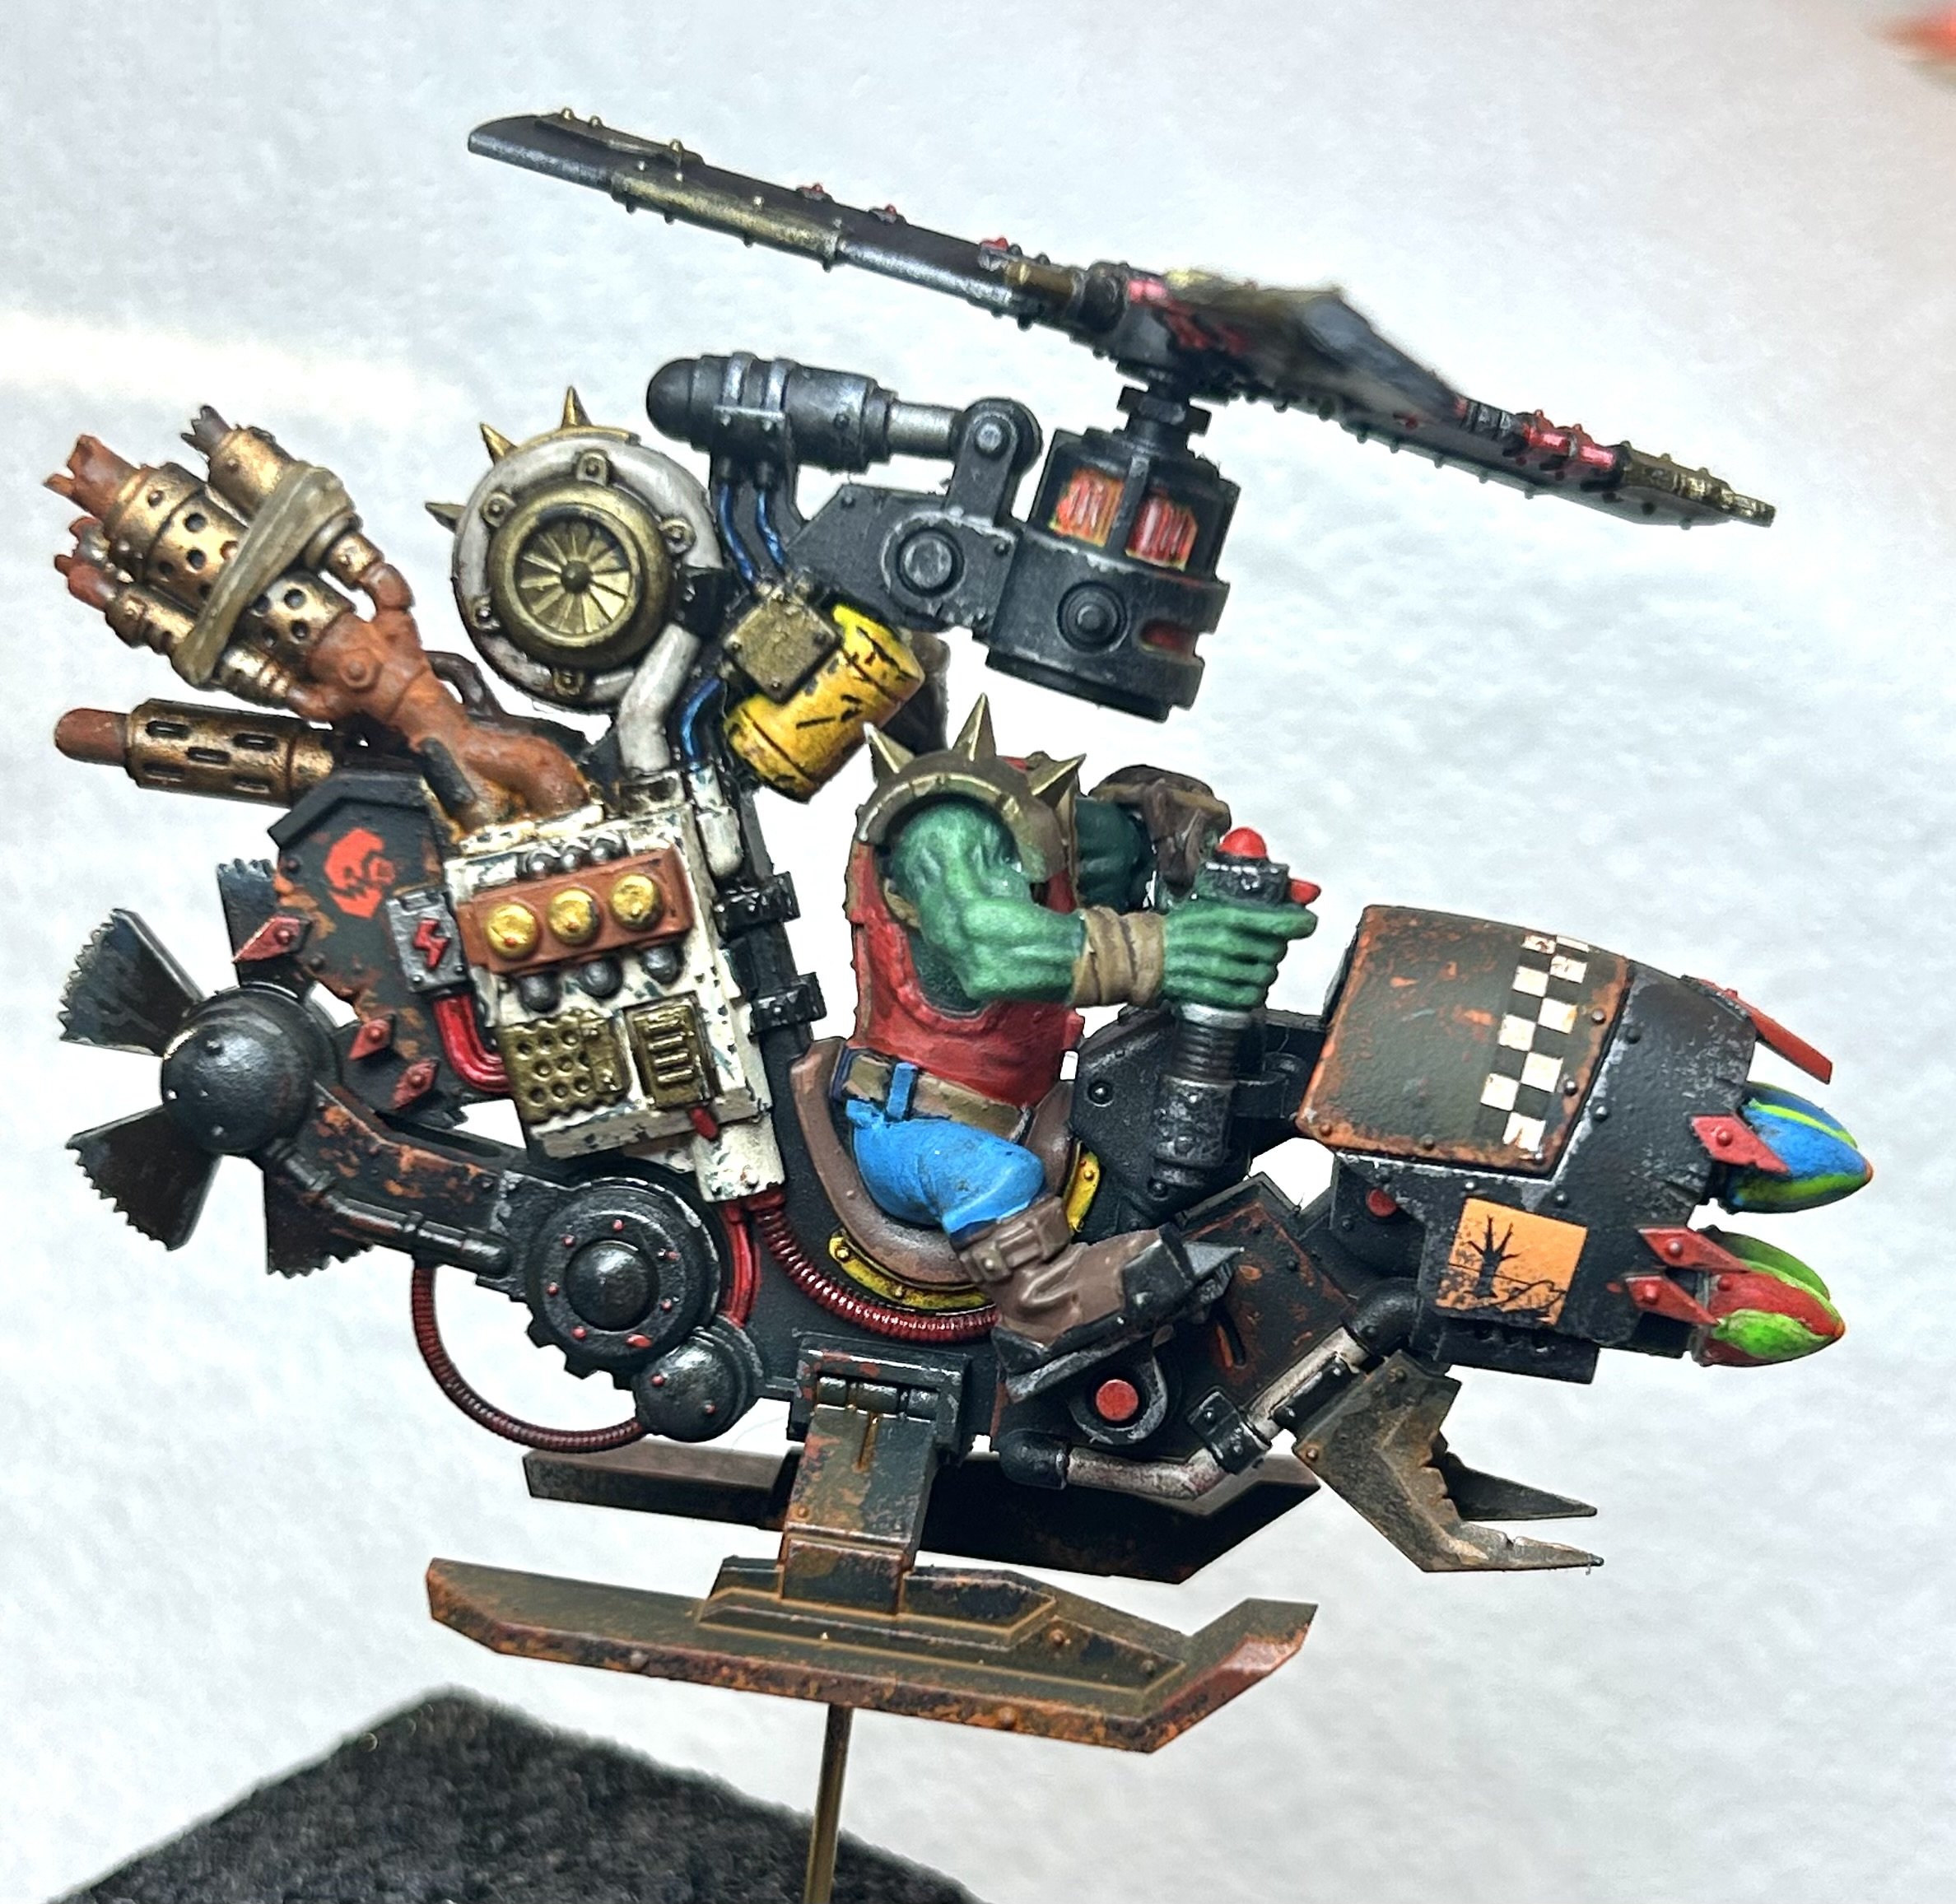
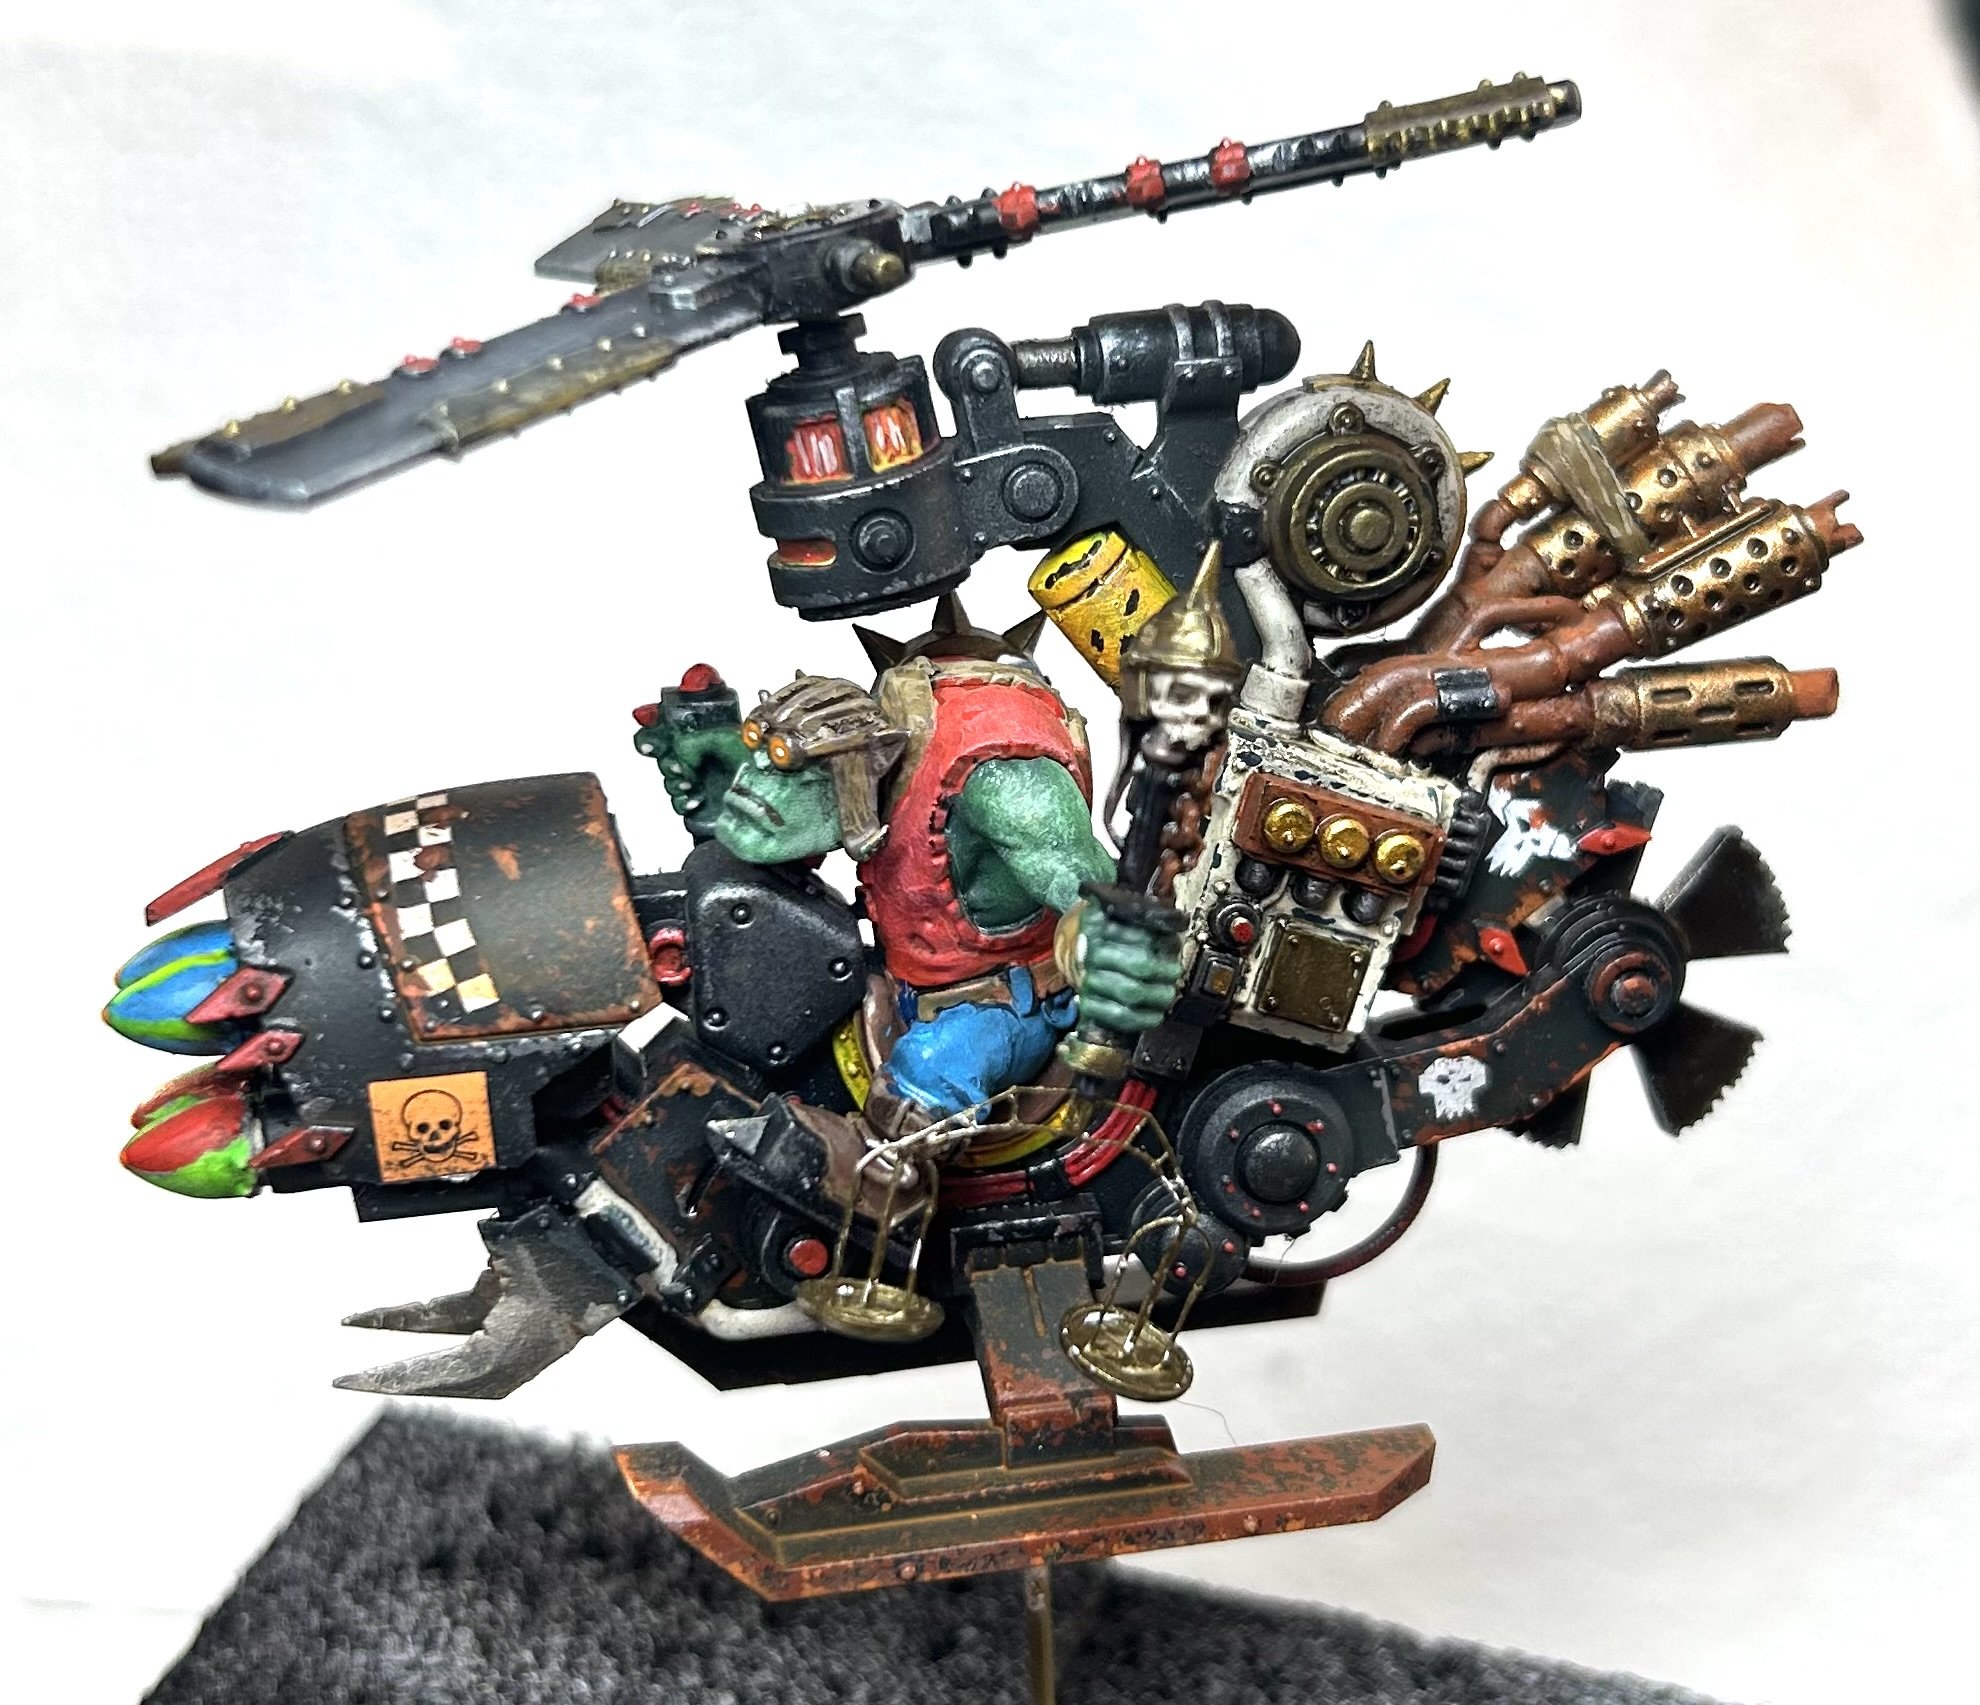
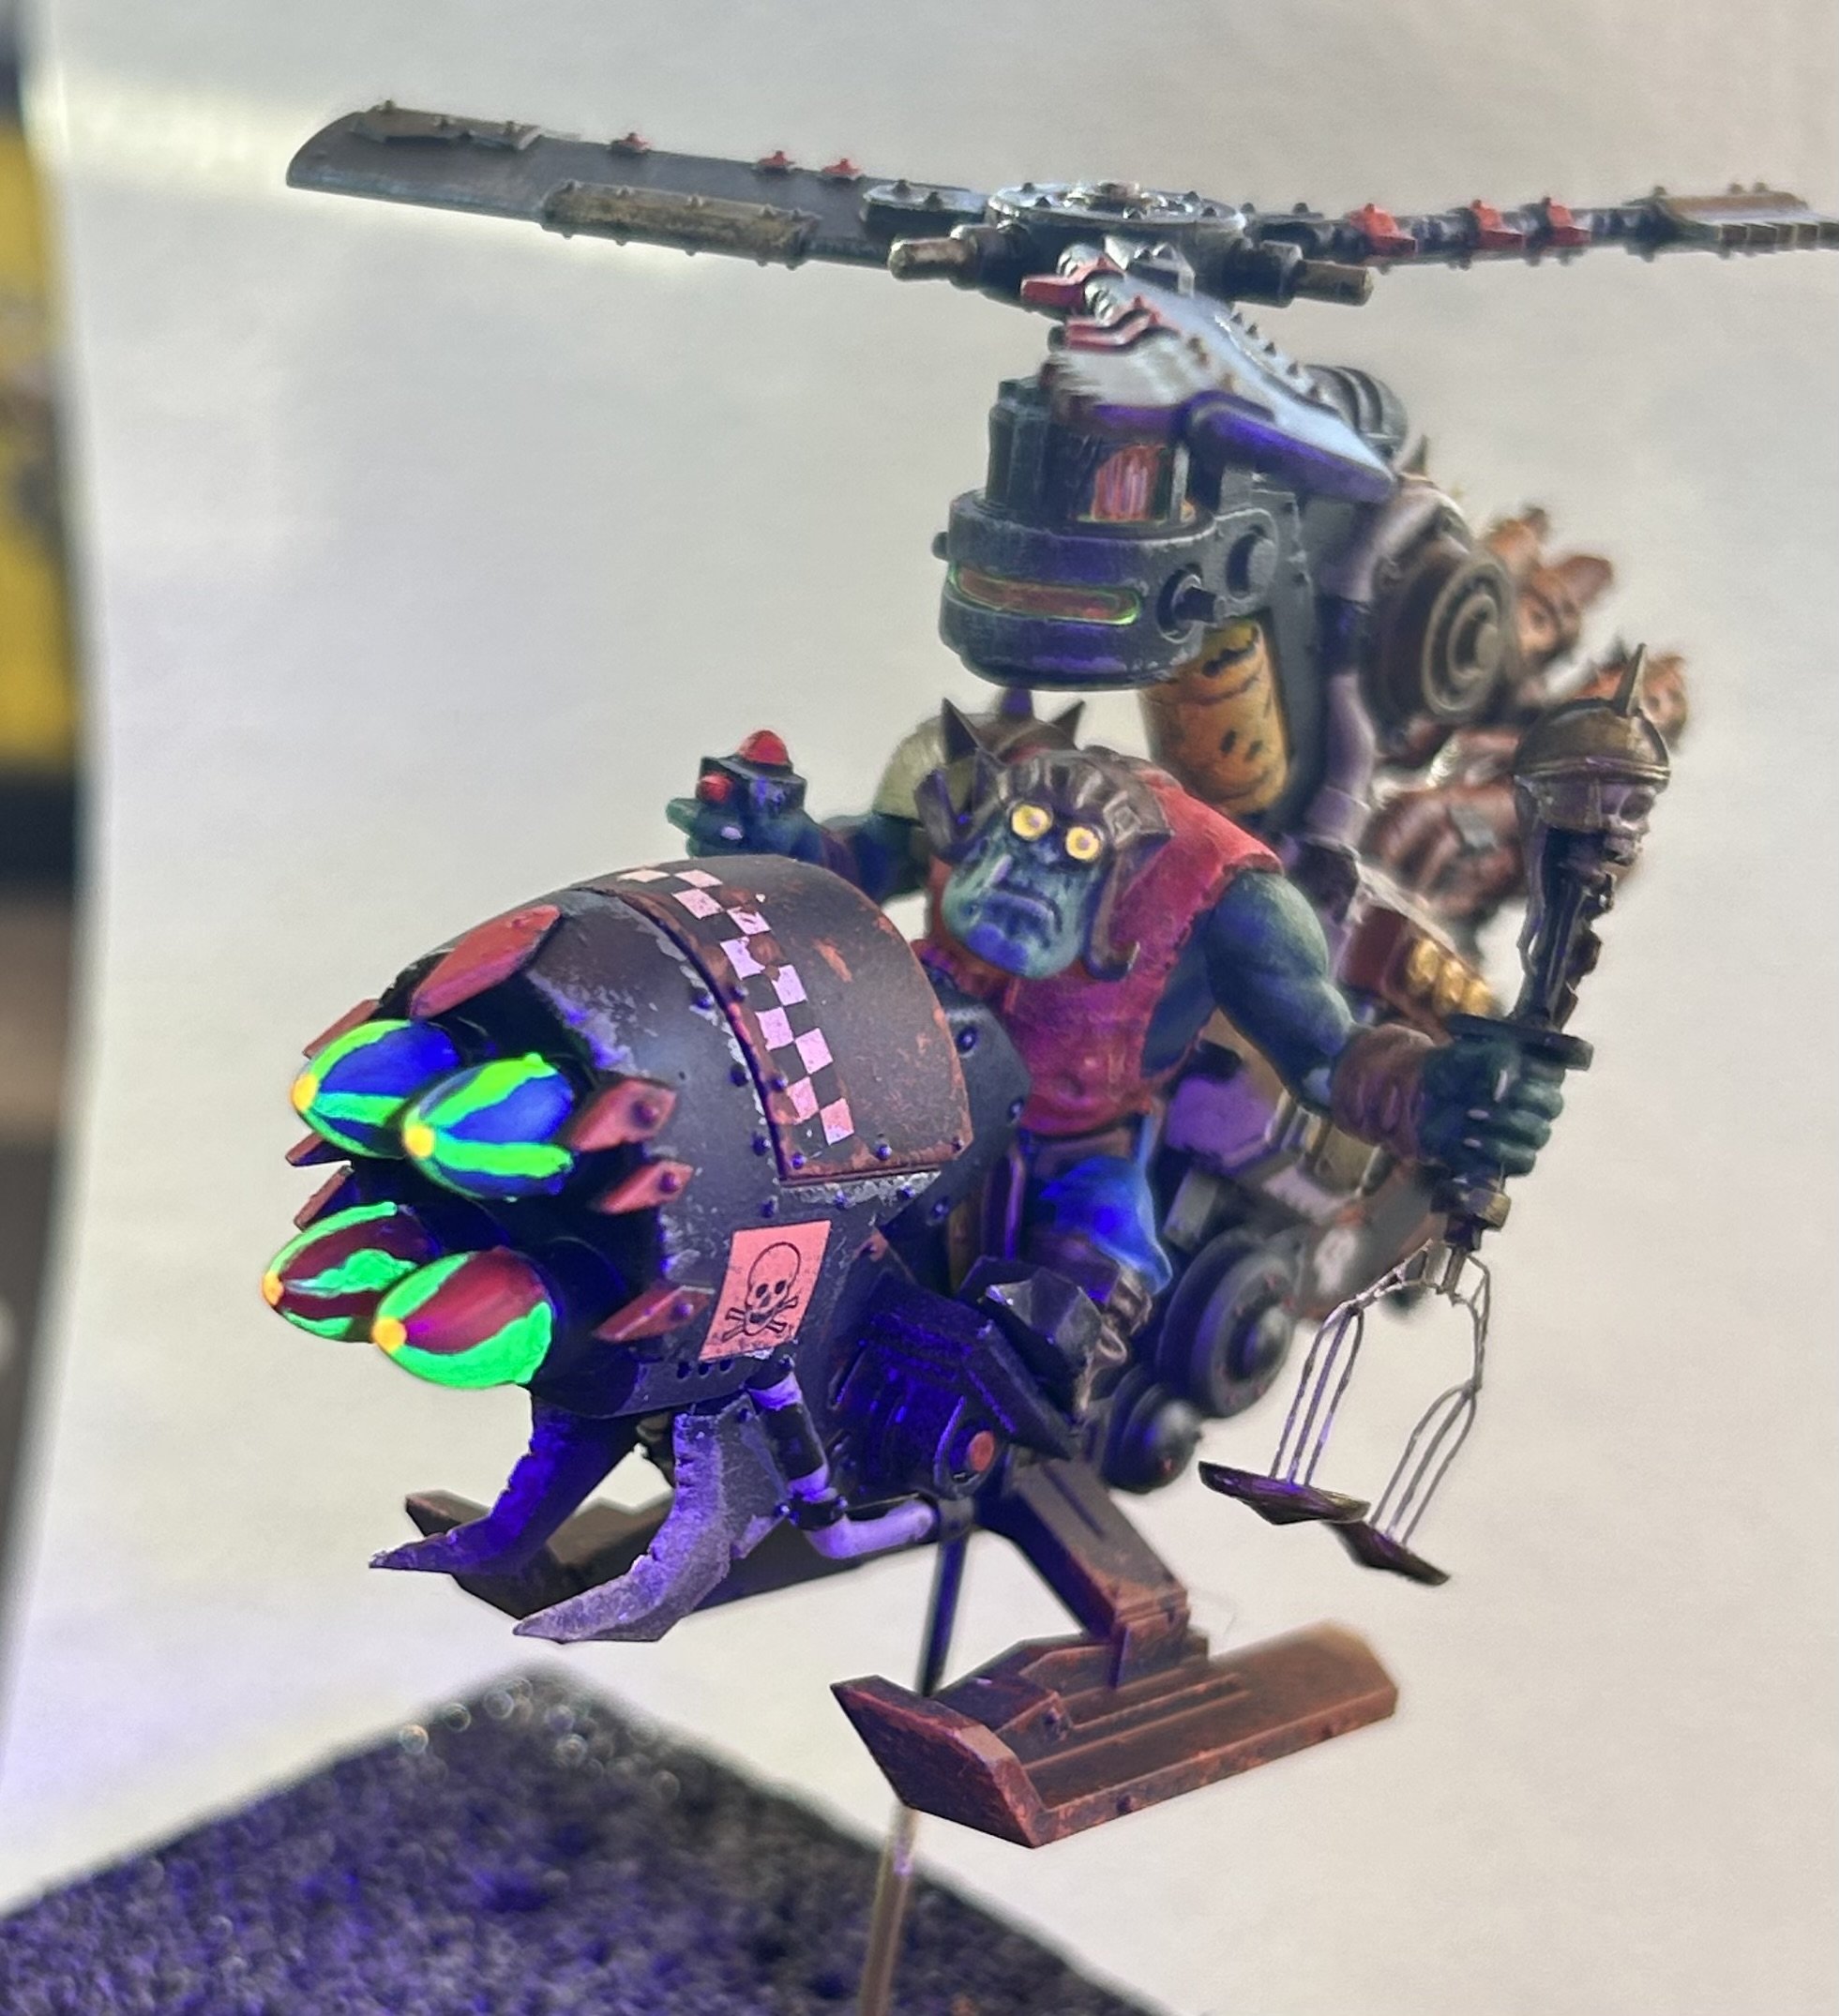
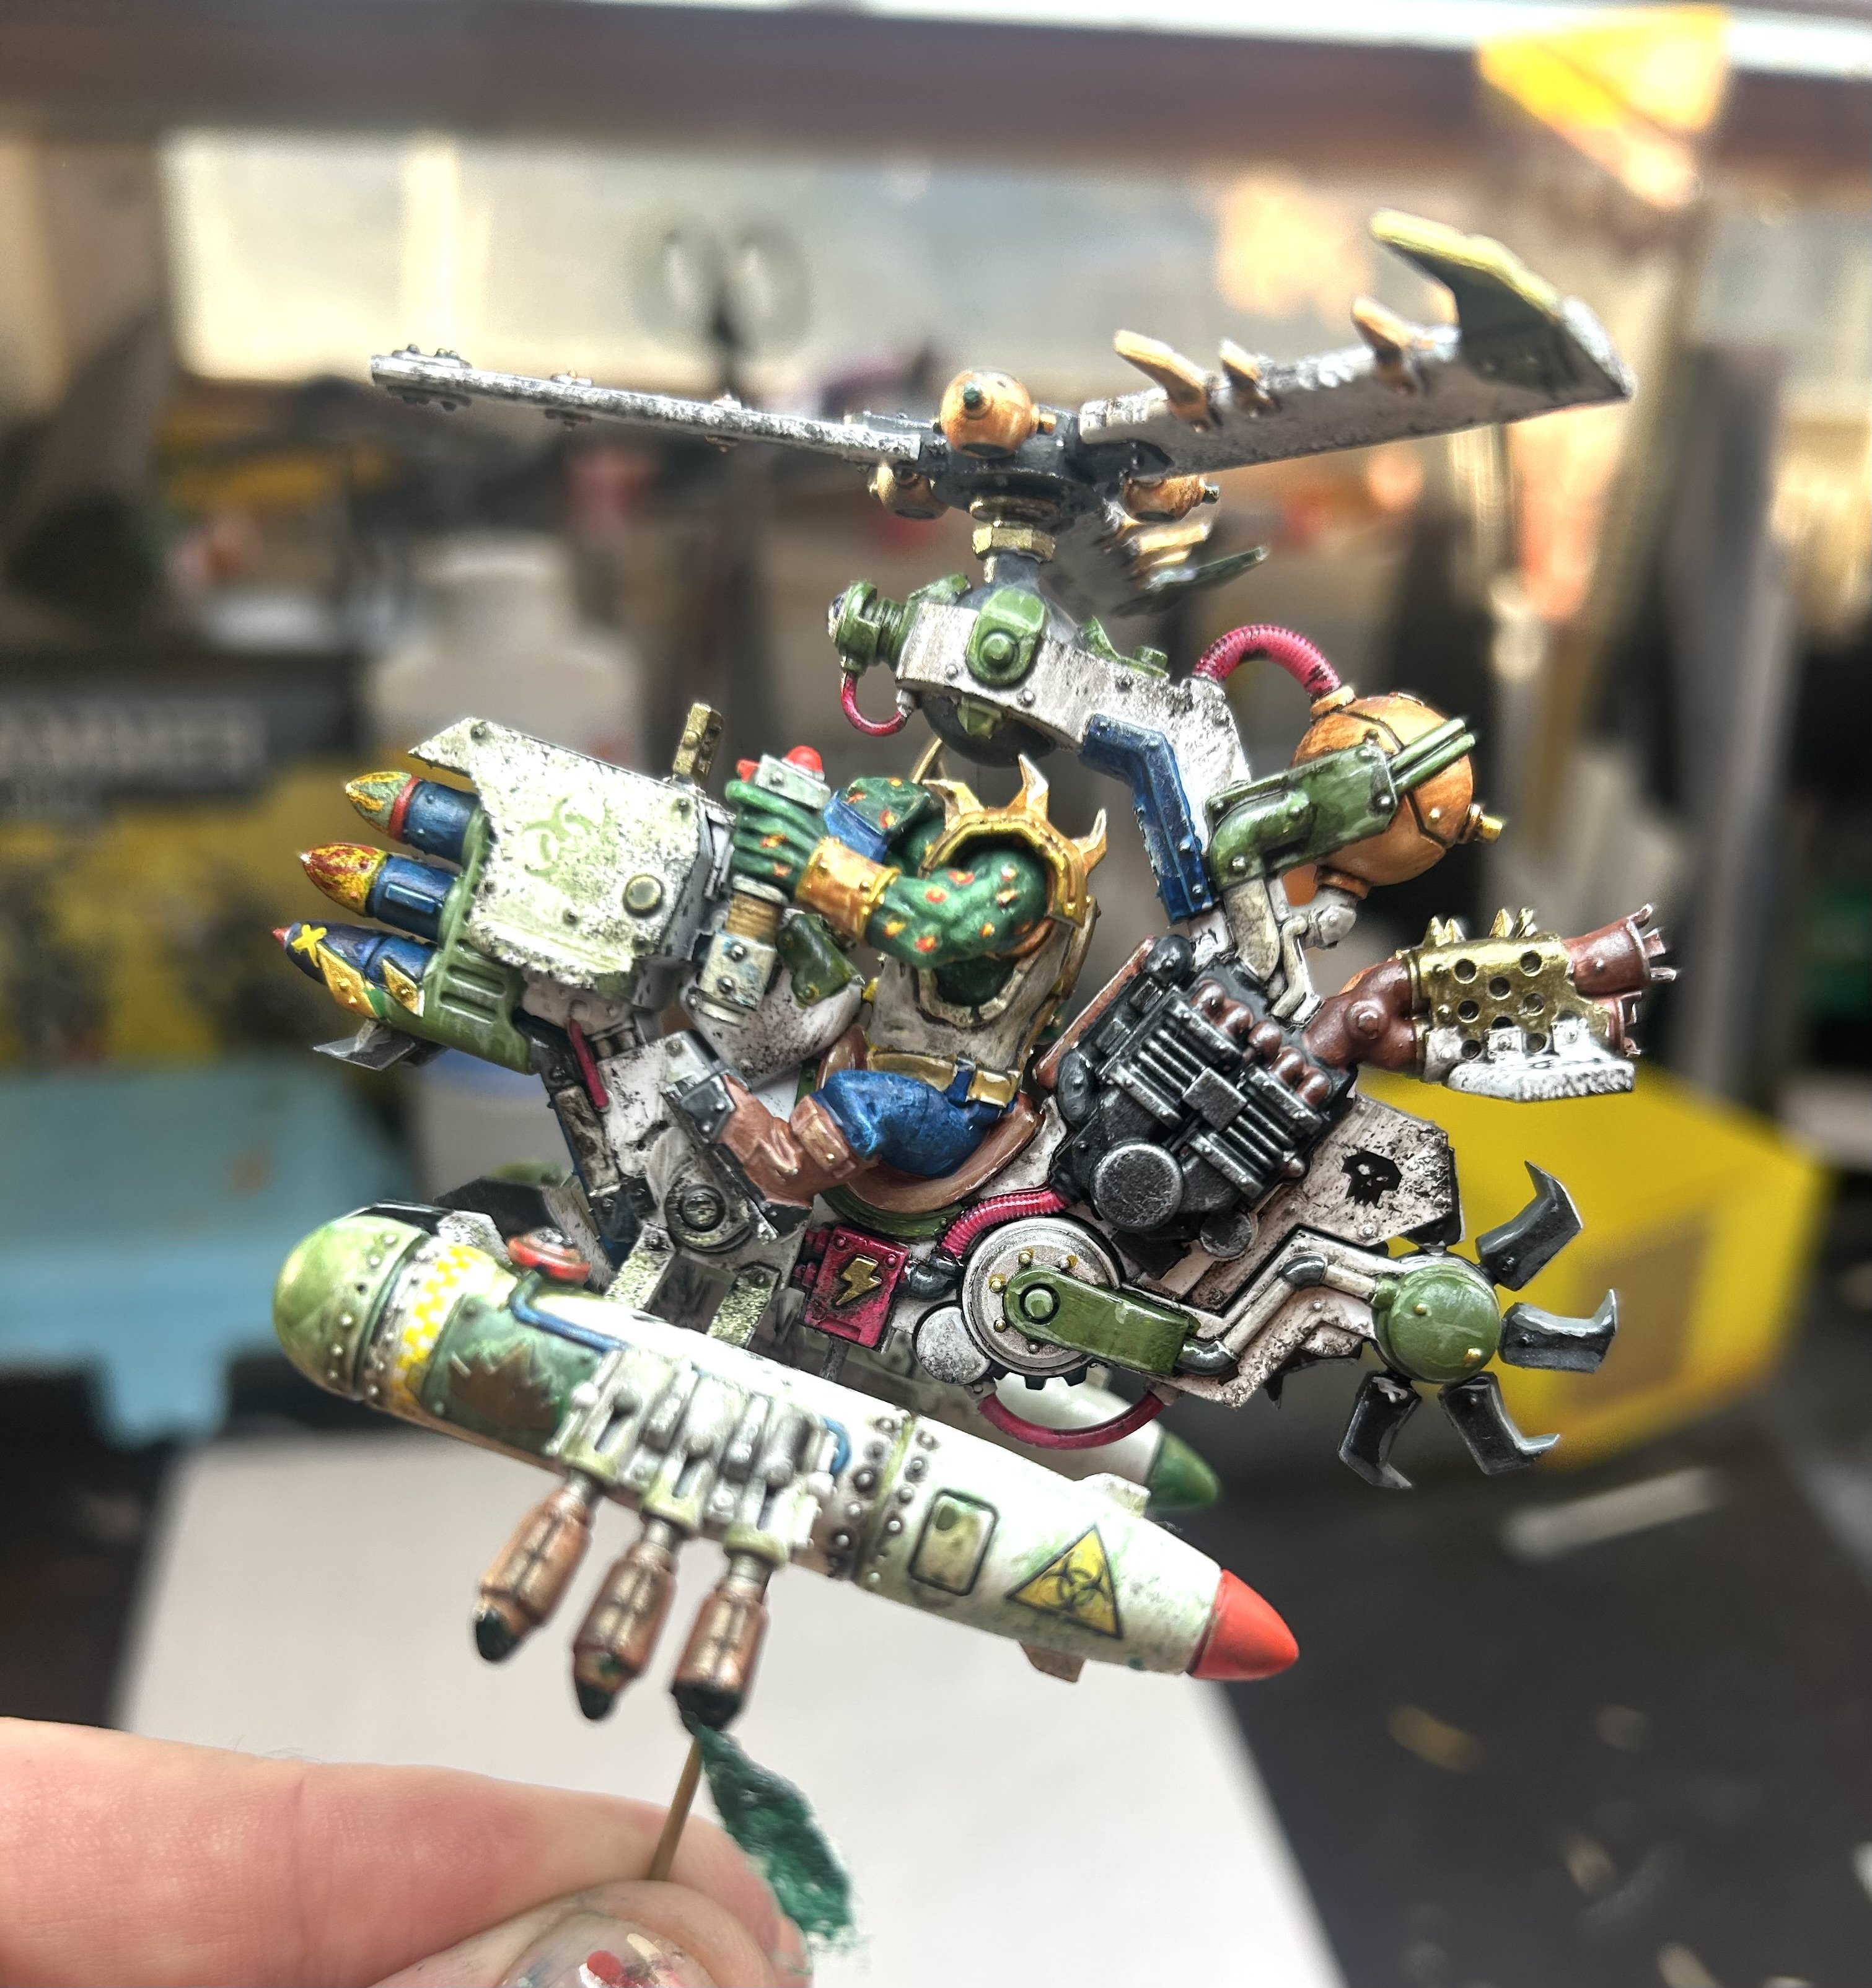
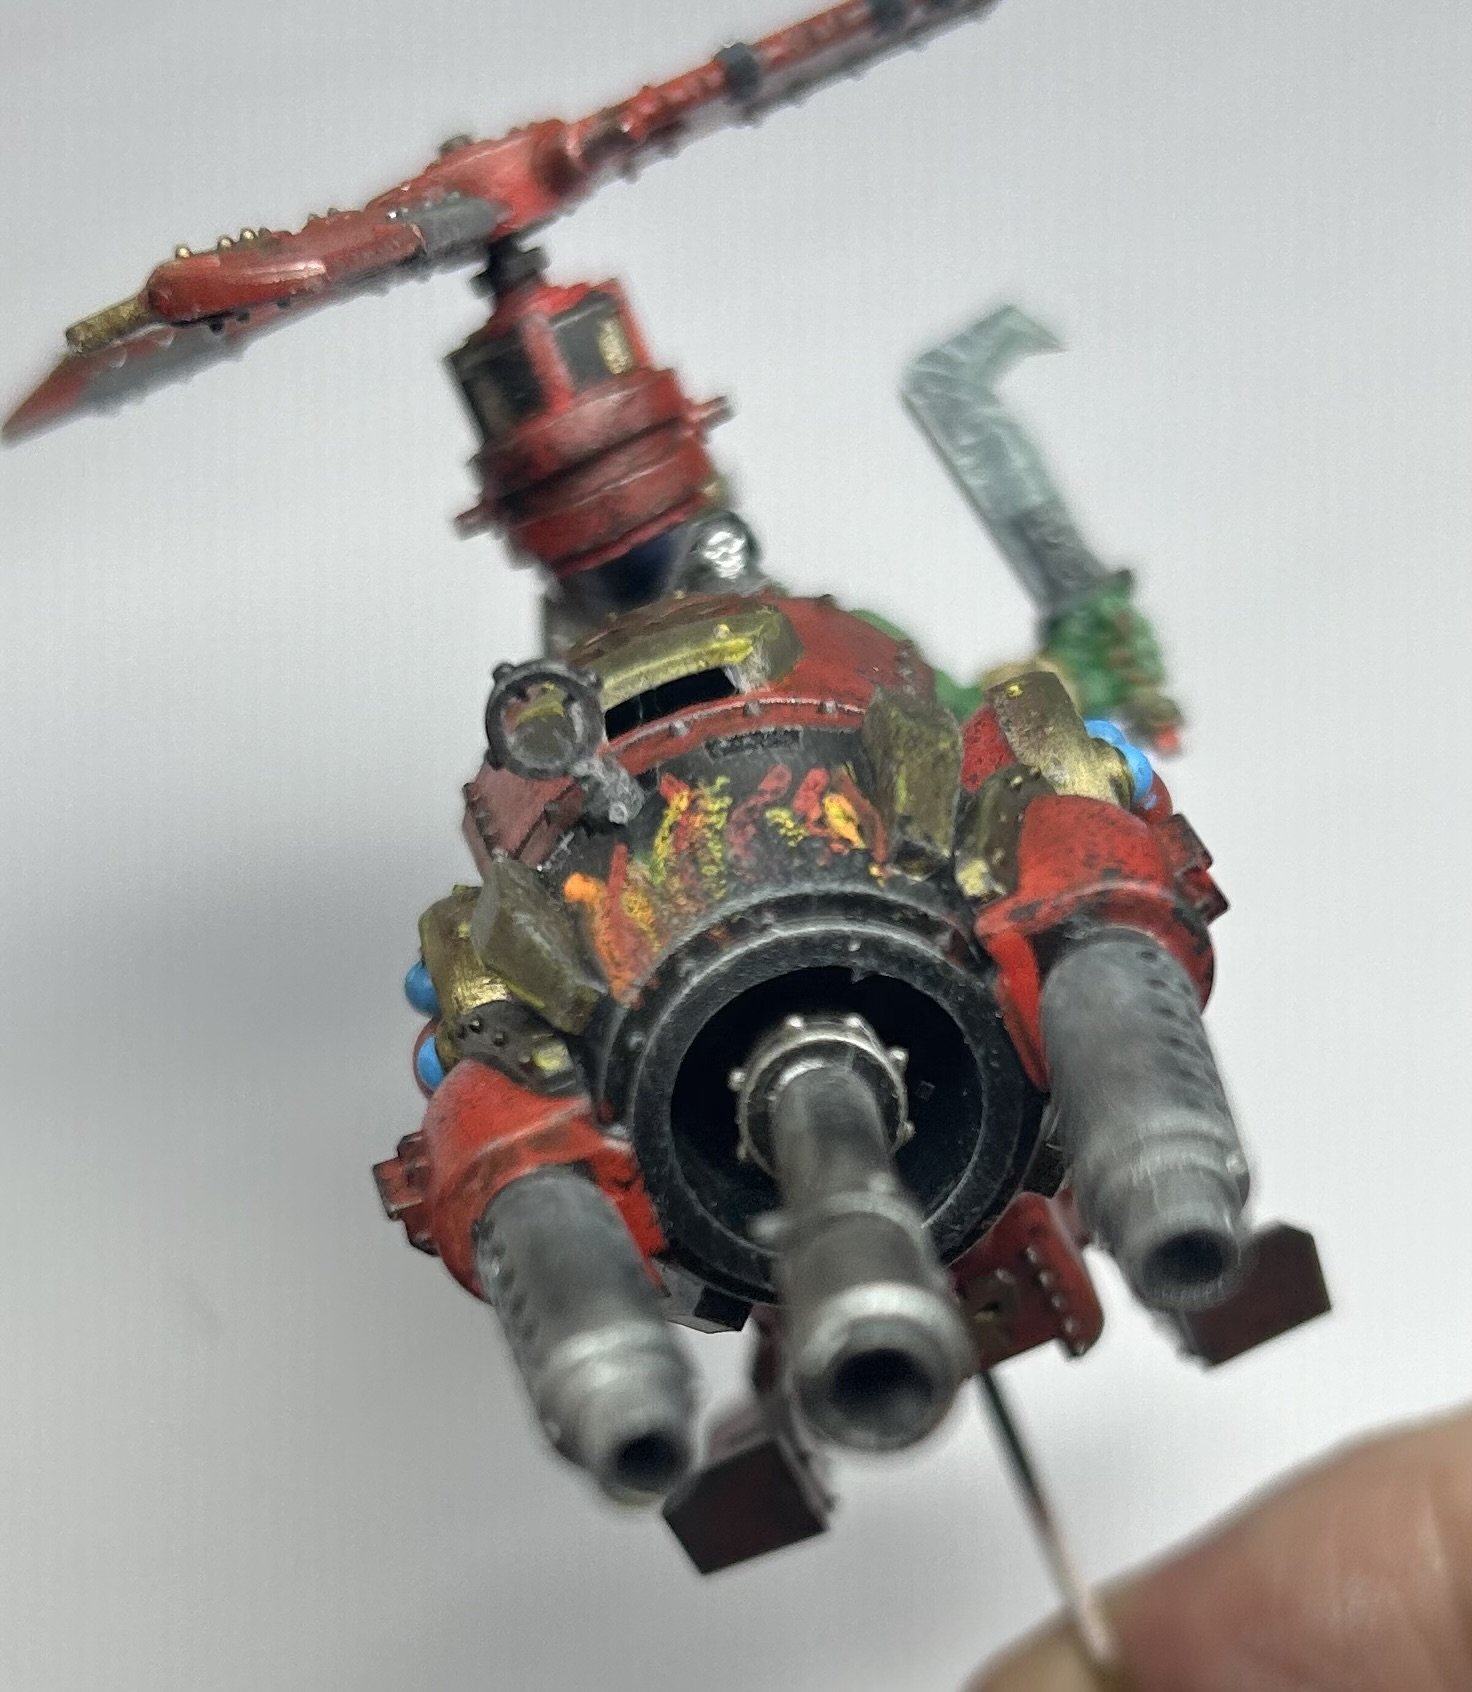
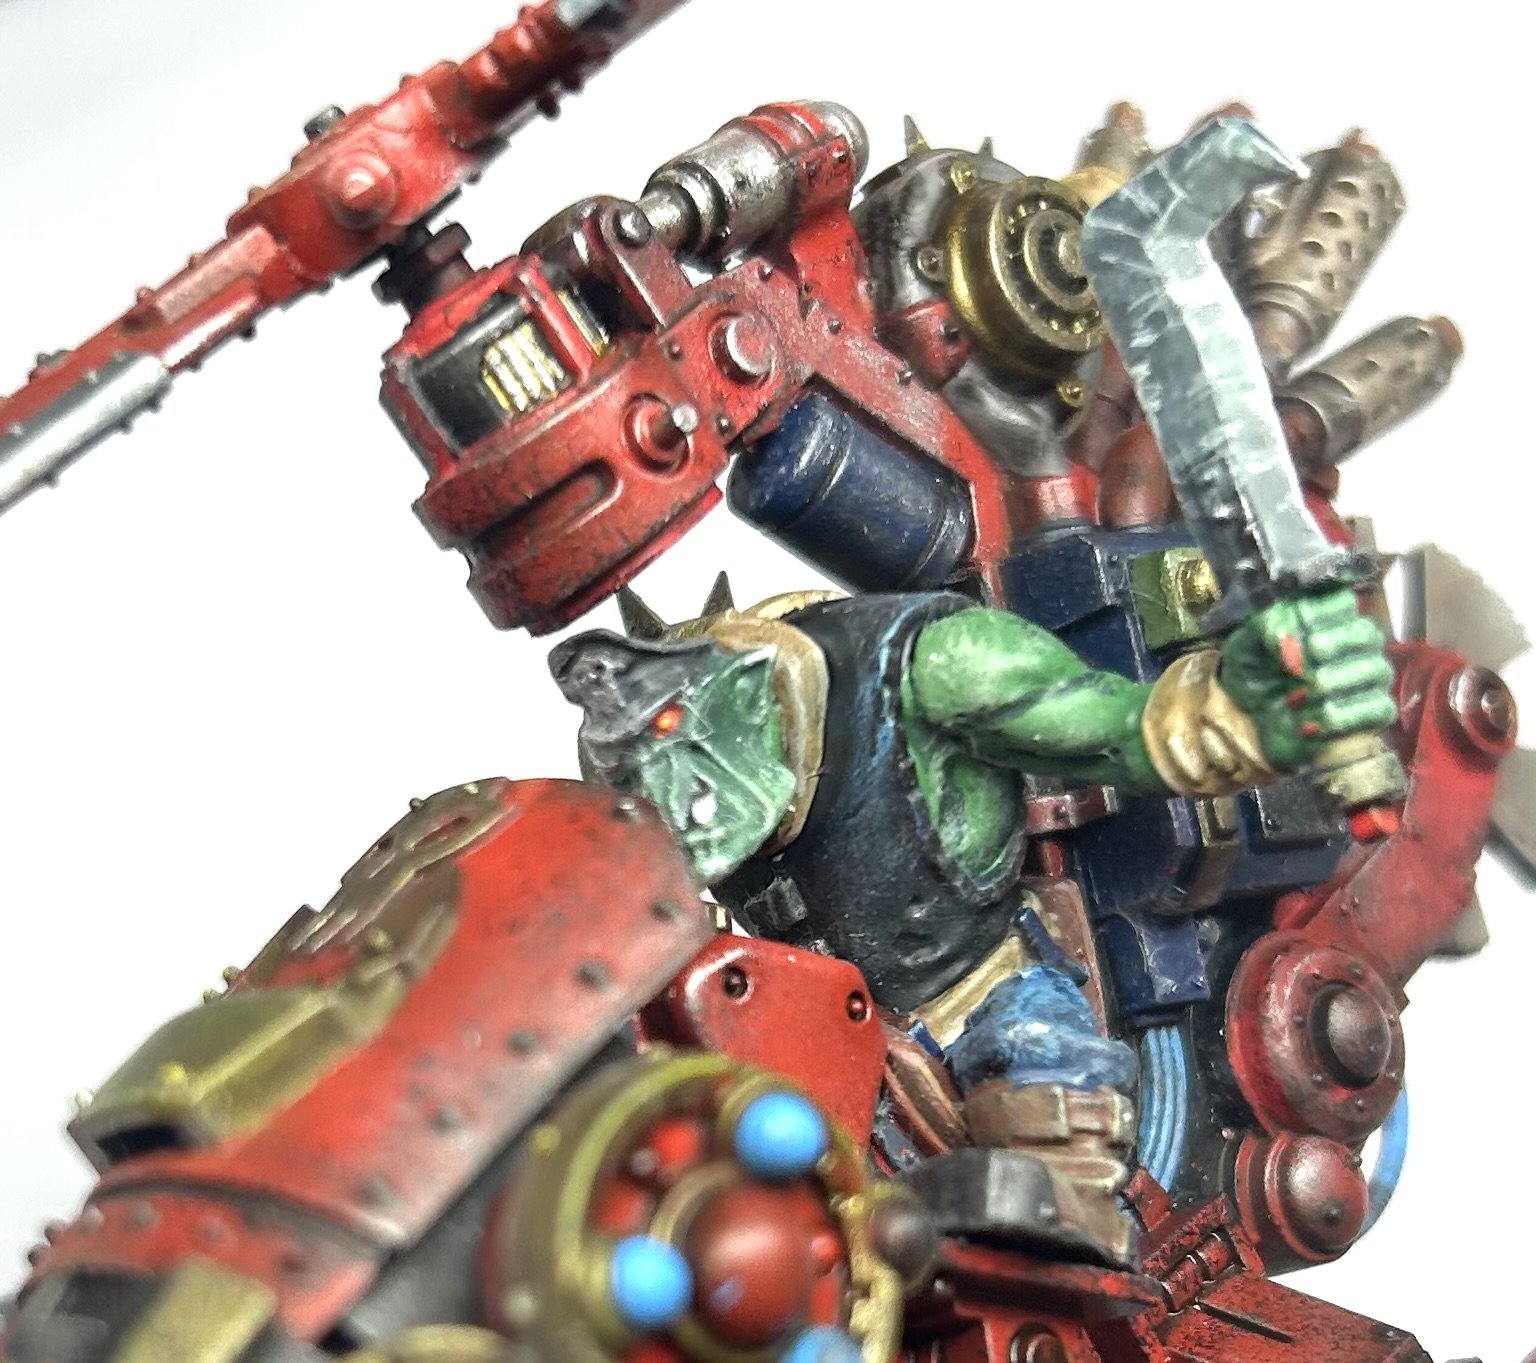
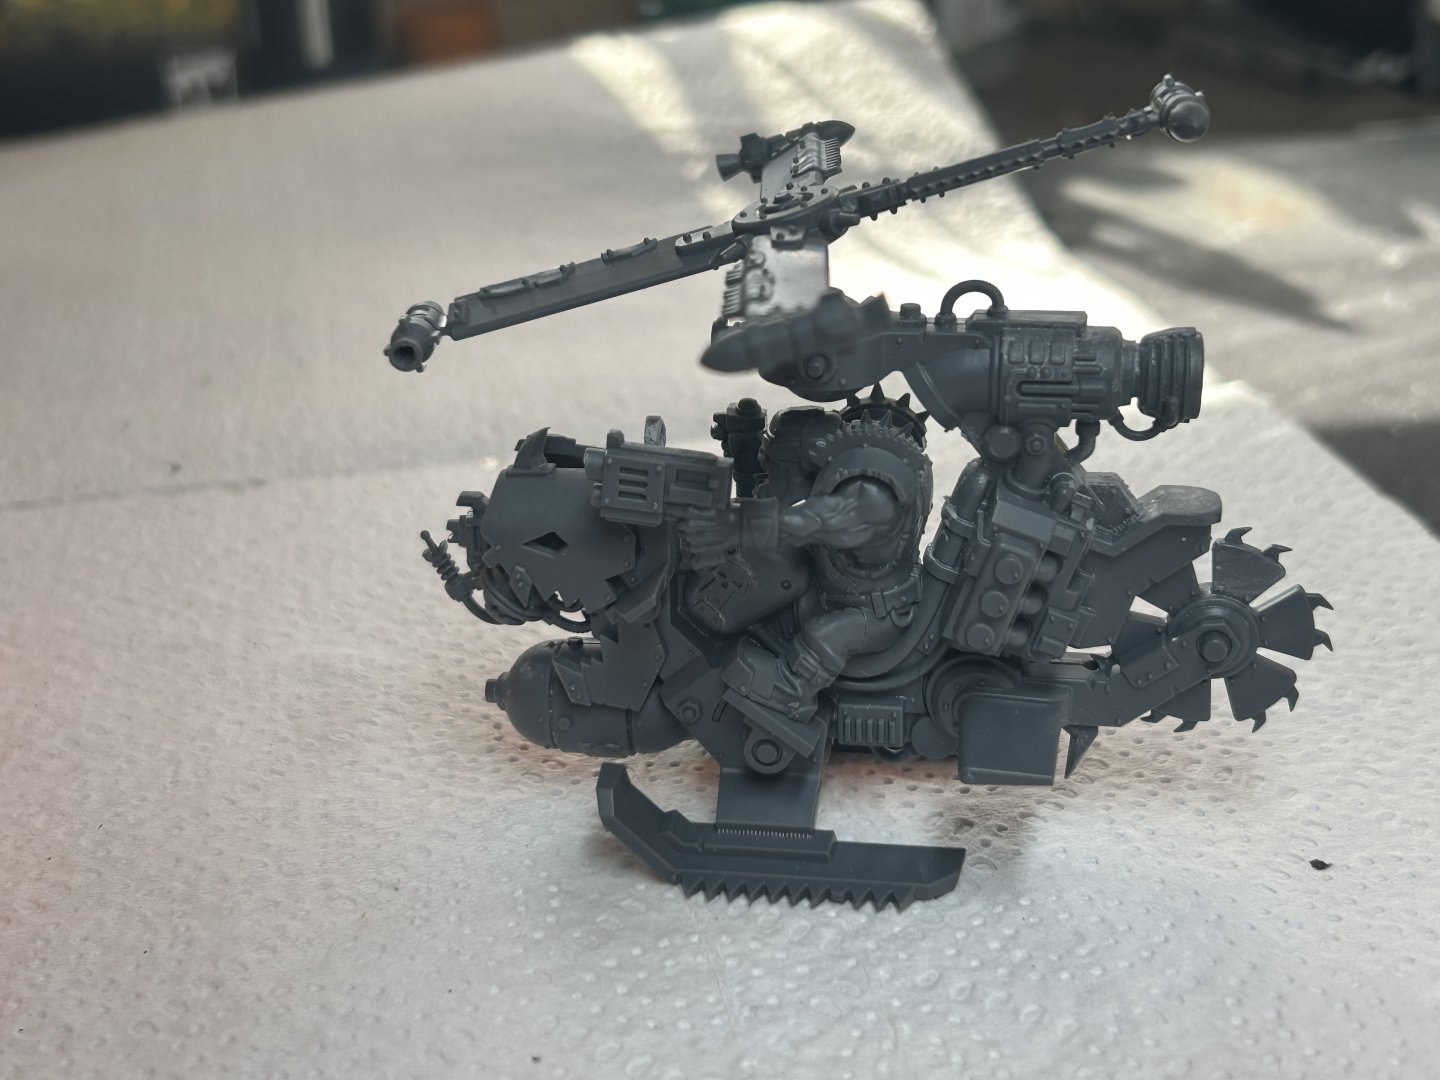
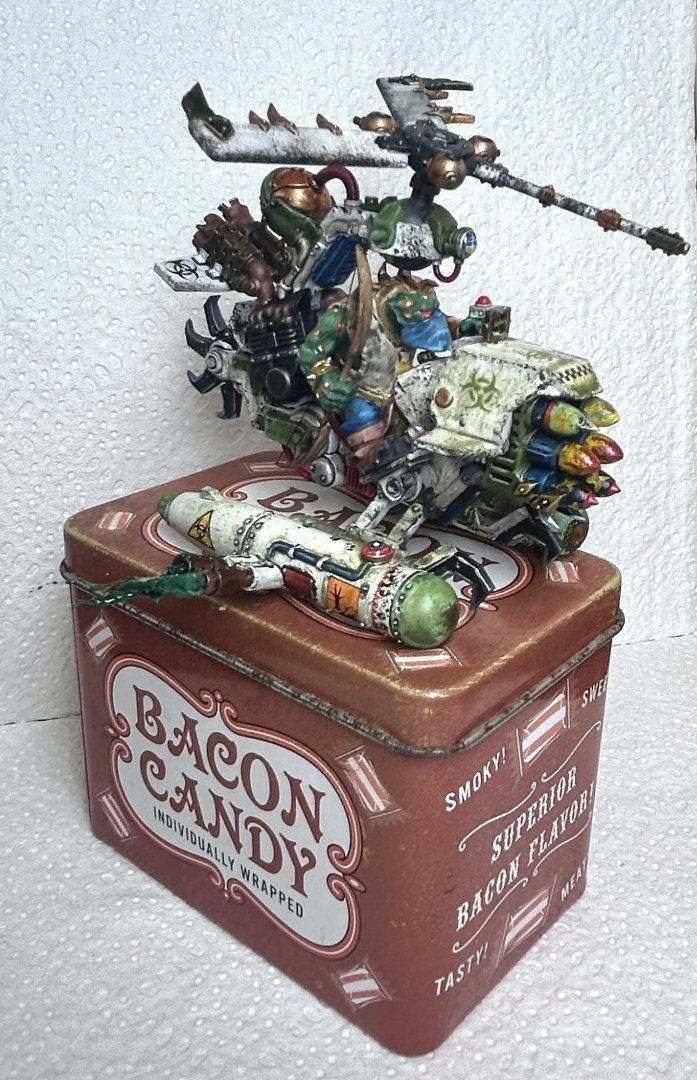
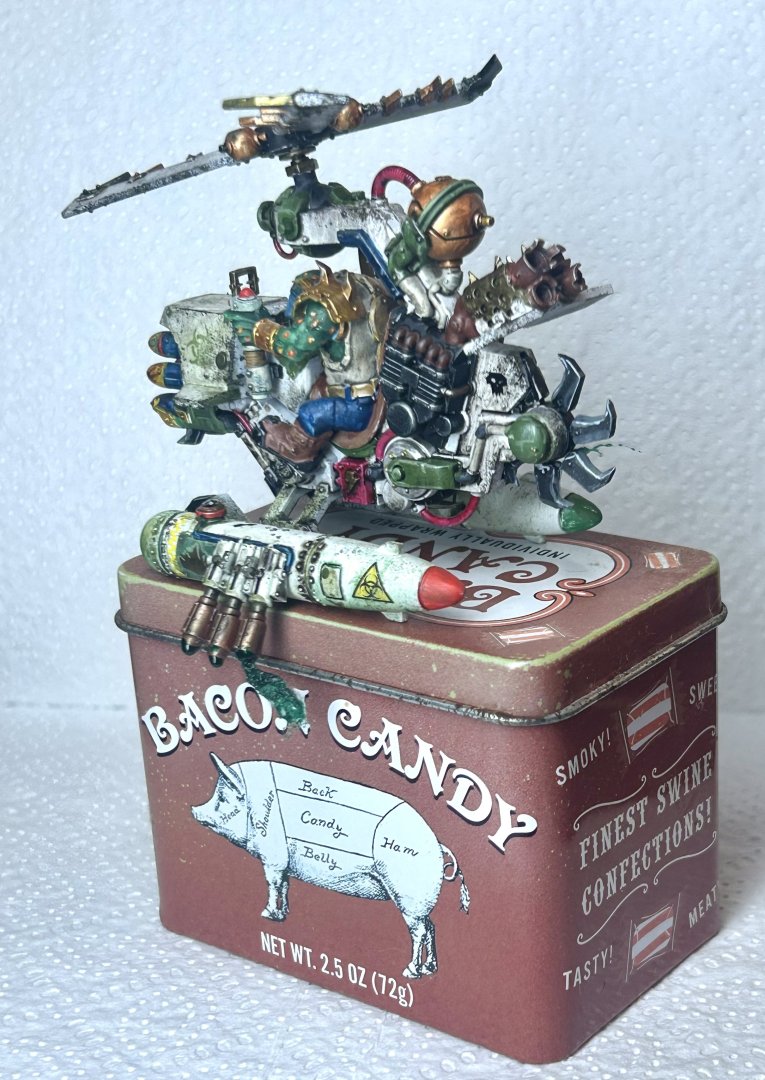
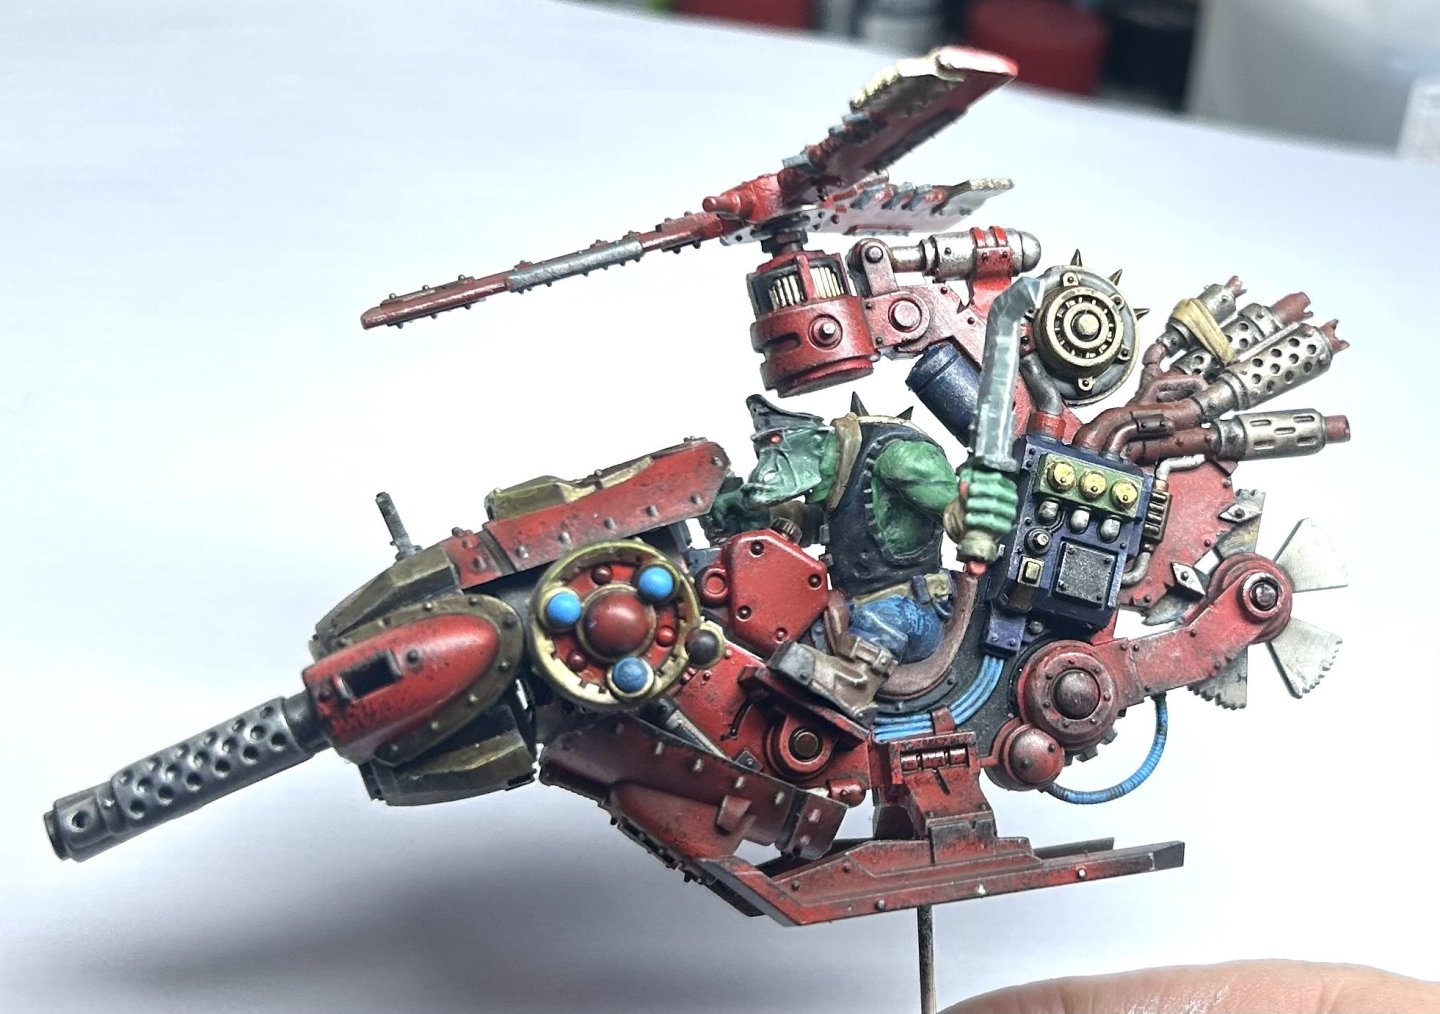
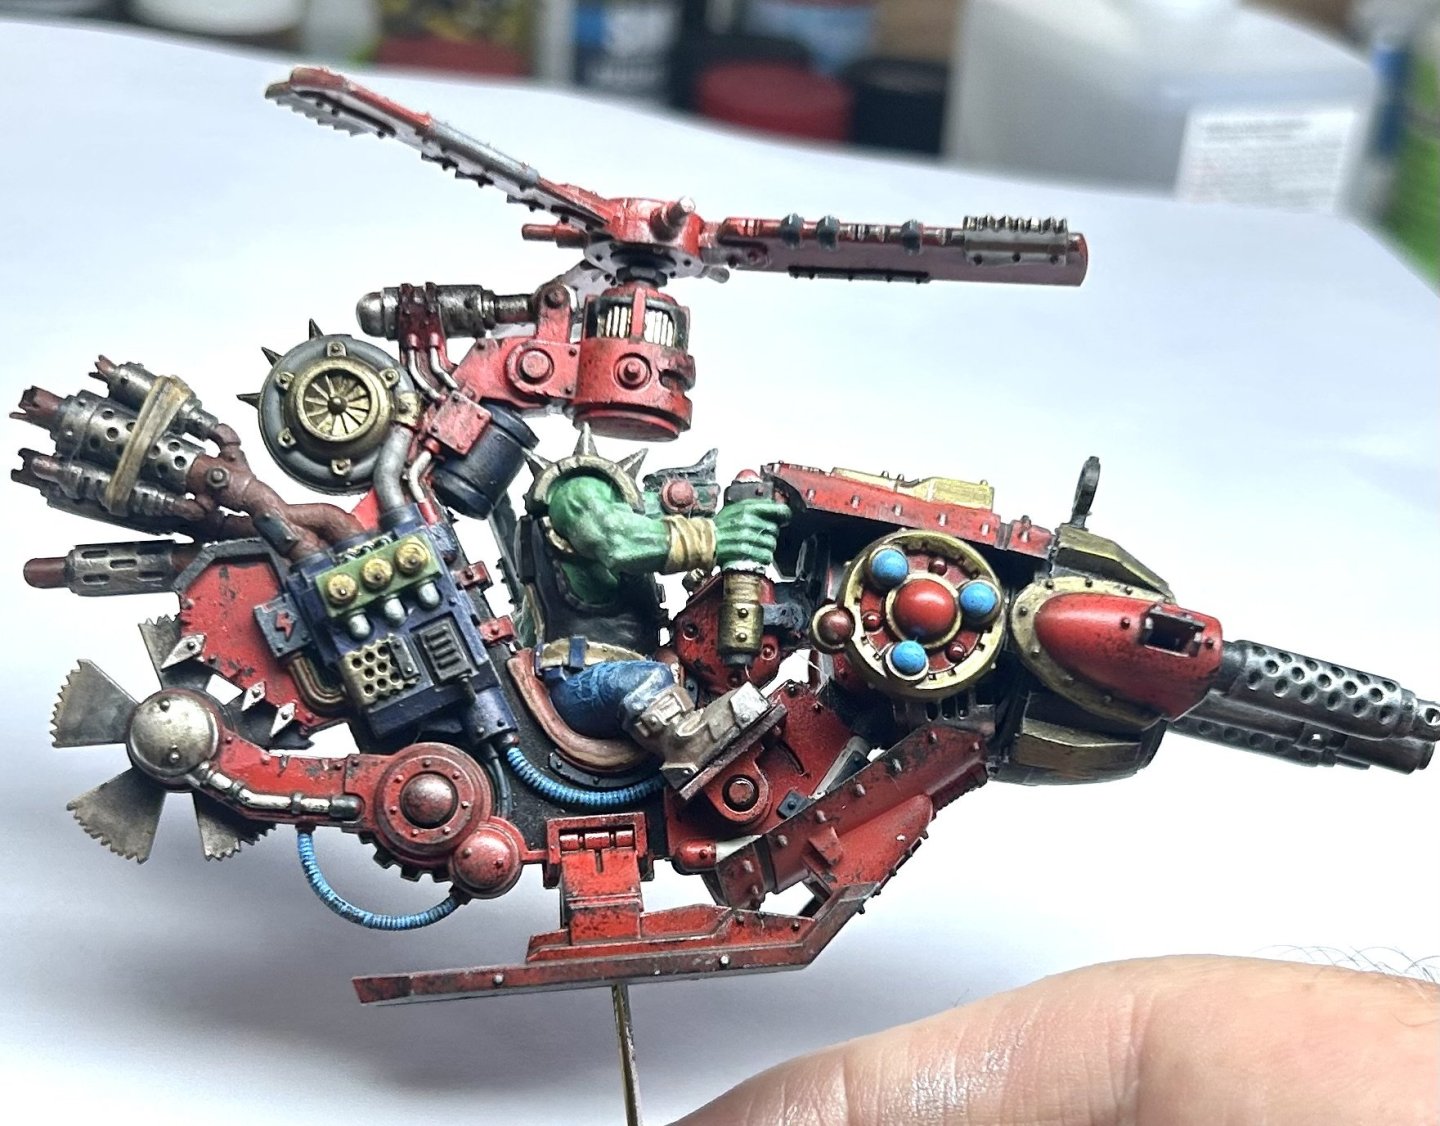
Orc of Pestilence


-
War!


-
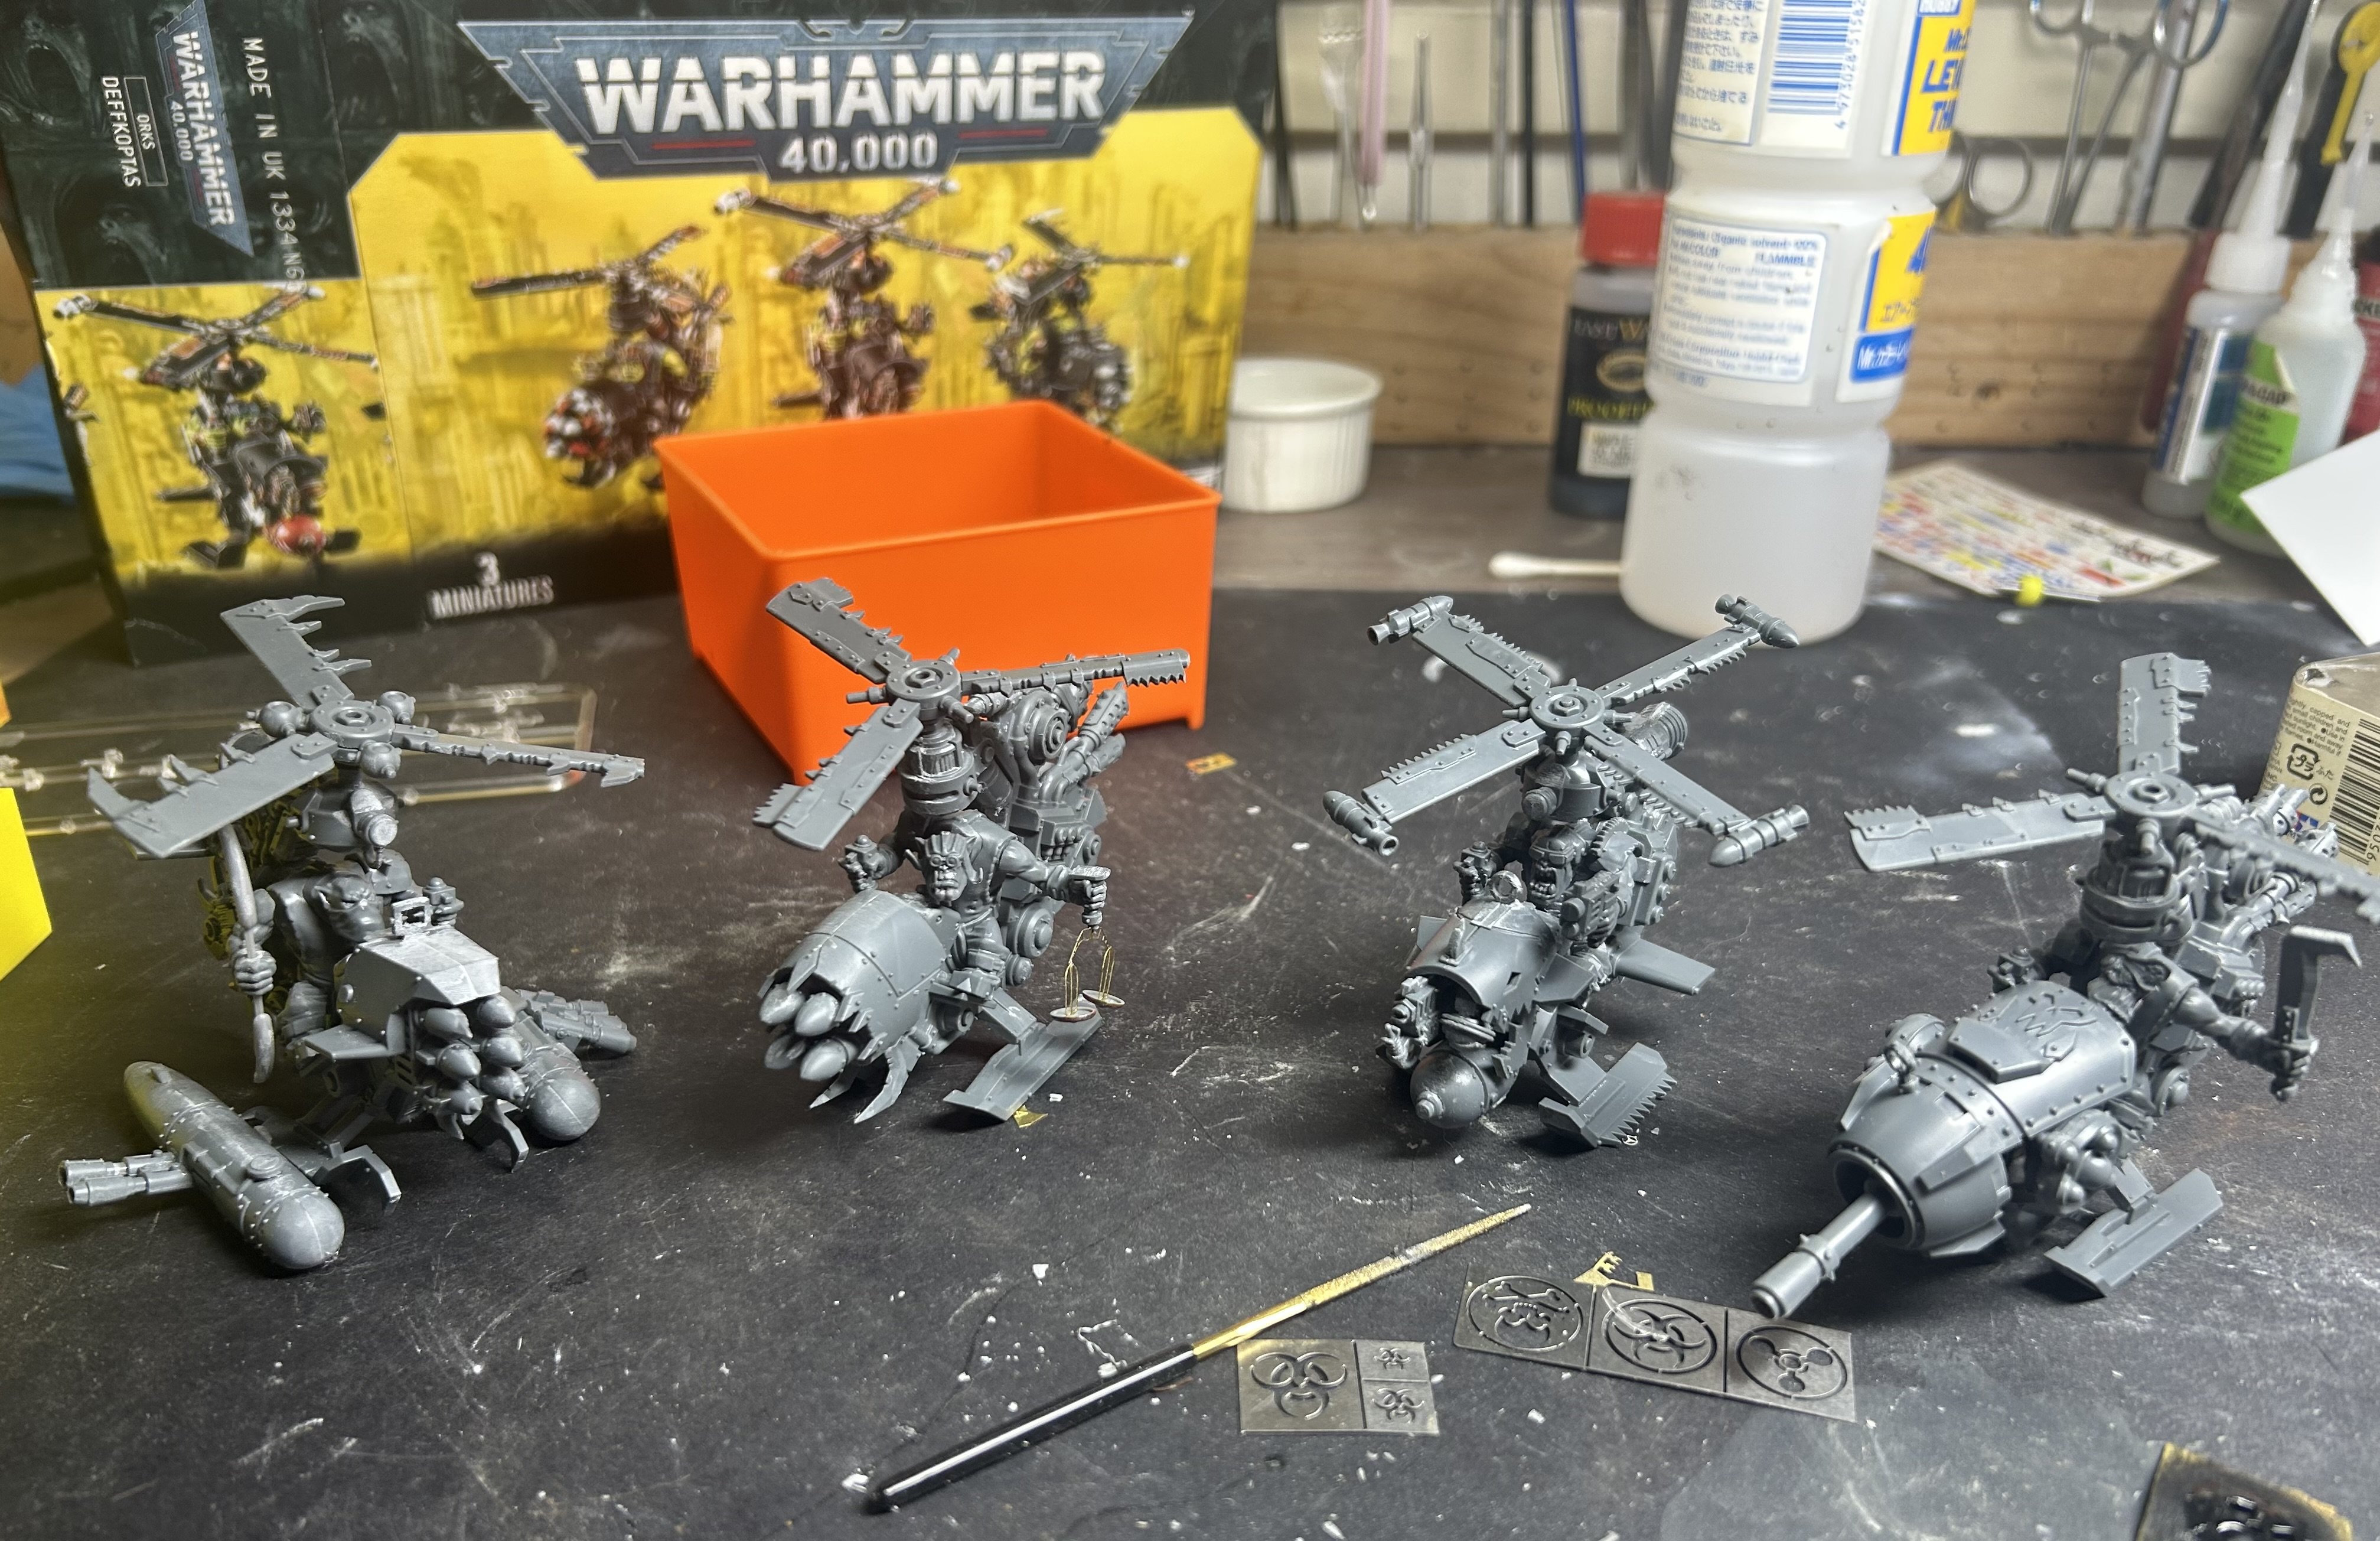
Orctober is coming; I wanted to do something never done before x the 4 Orcs of the Orc-Pocolypse,. I don’t play the game but dammit some of the painters are just the most beautiful things you’ll ever see (past a wooden ship of course)

-

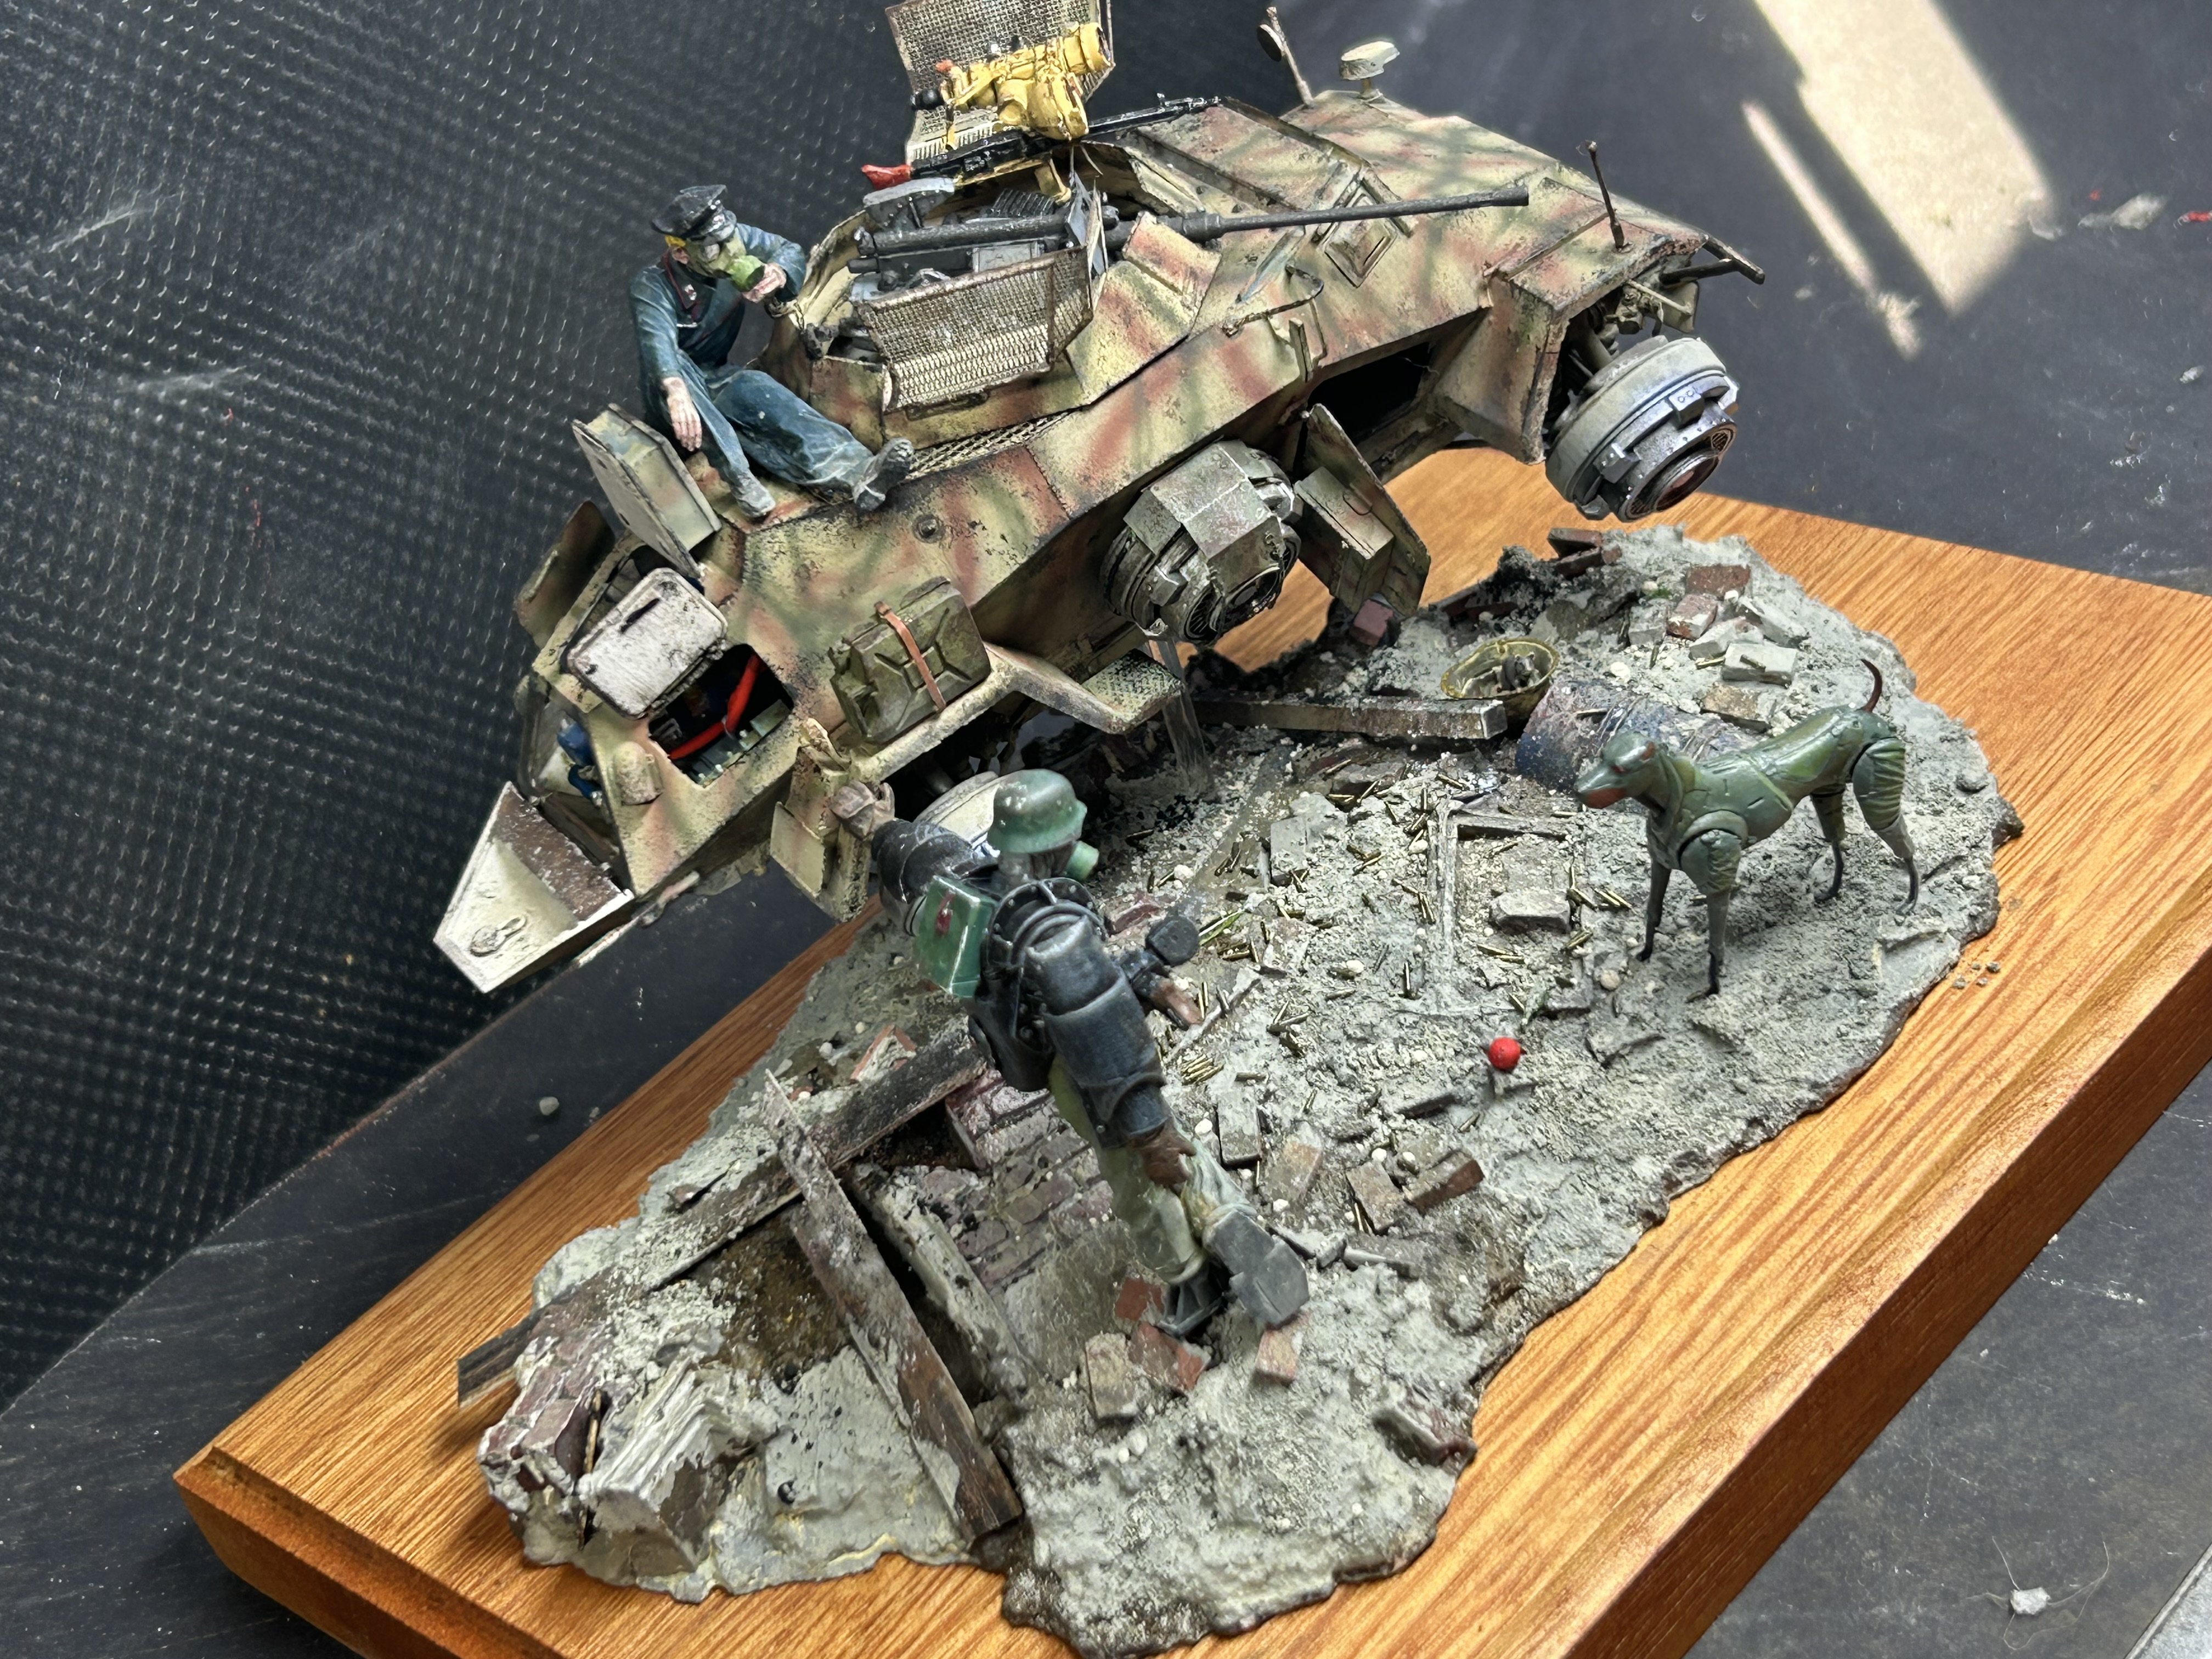
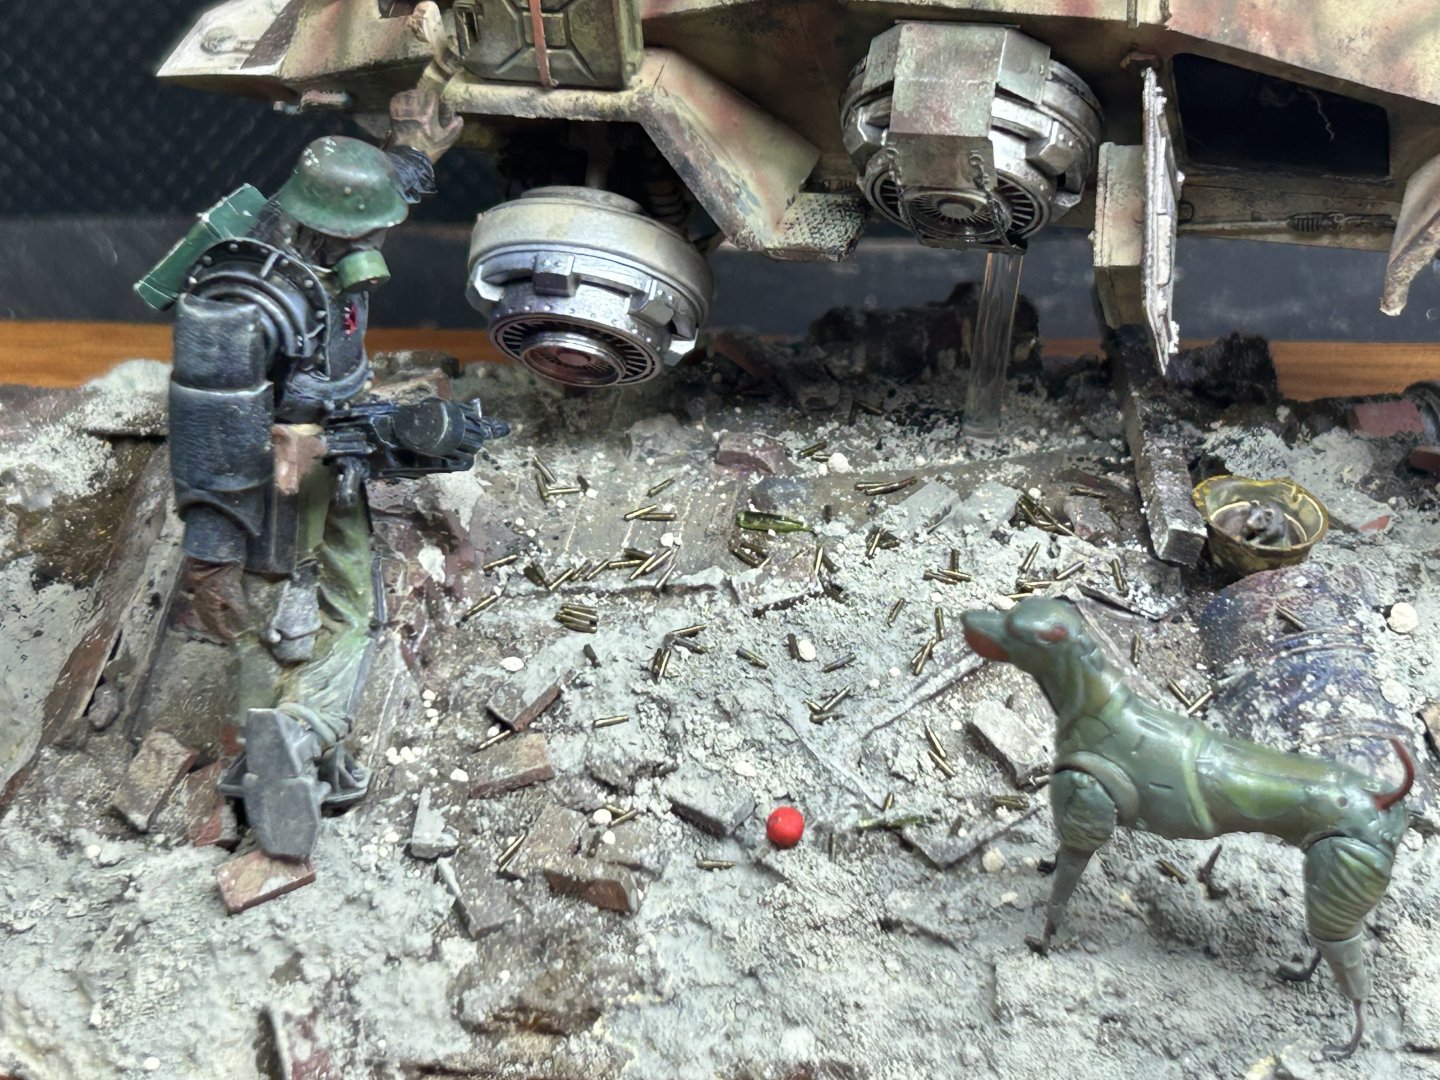
Flying Sd.Kfz.222 by RGL - HobbyBoss - 1/35 - PLASTIC
RGL replied to RGL's topic in Non-ship/categorised builds
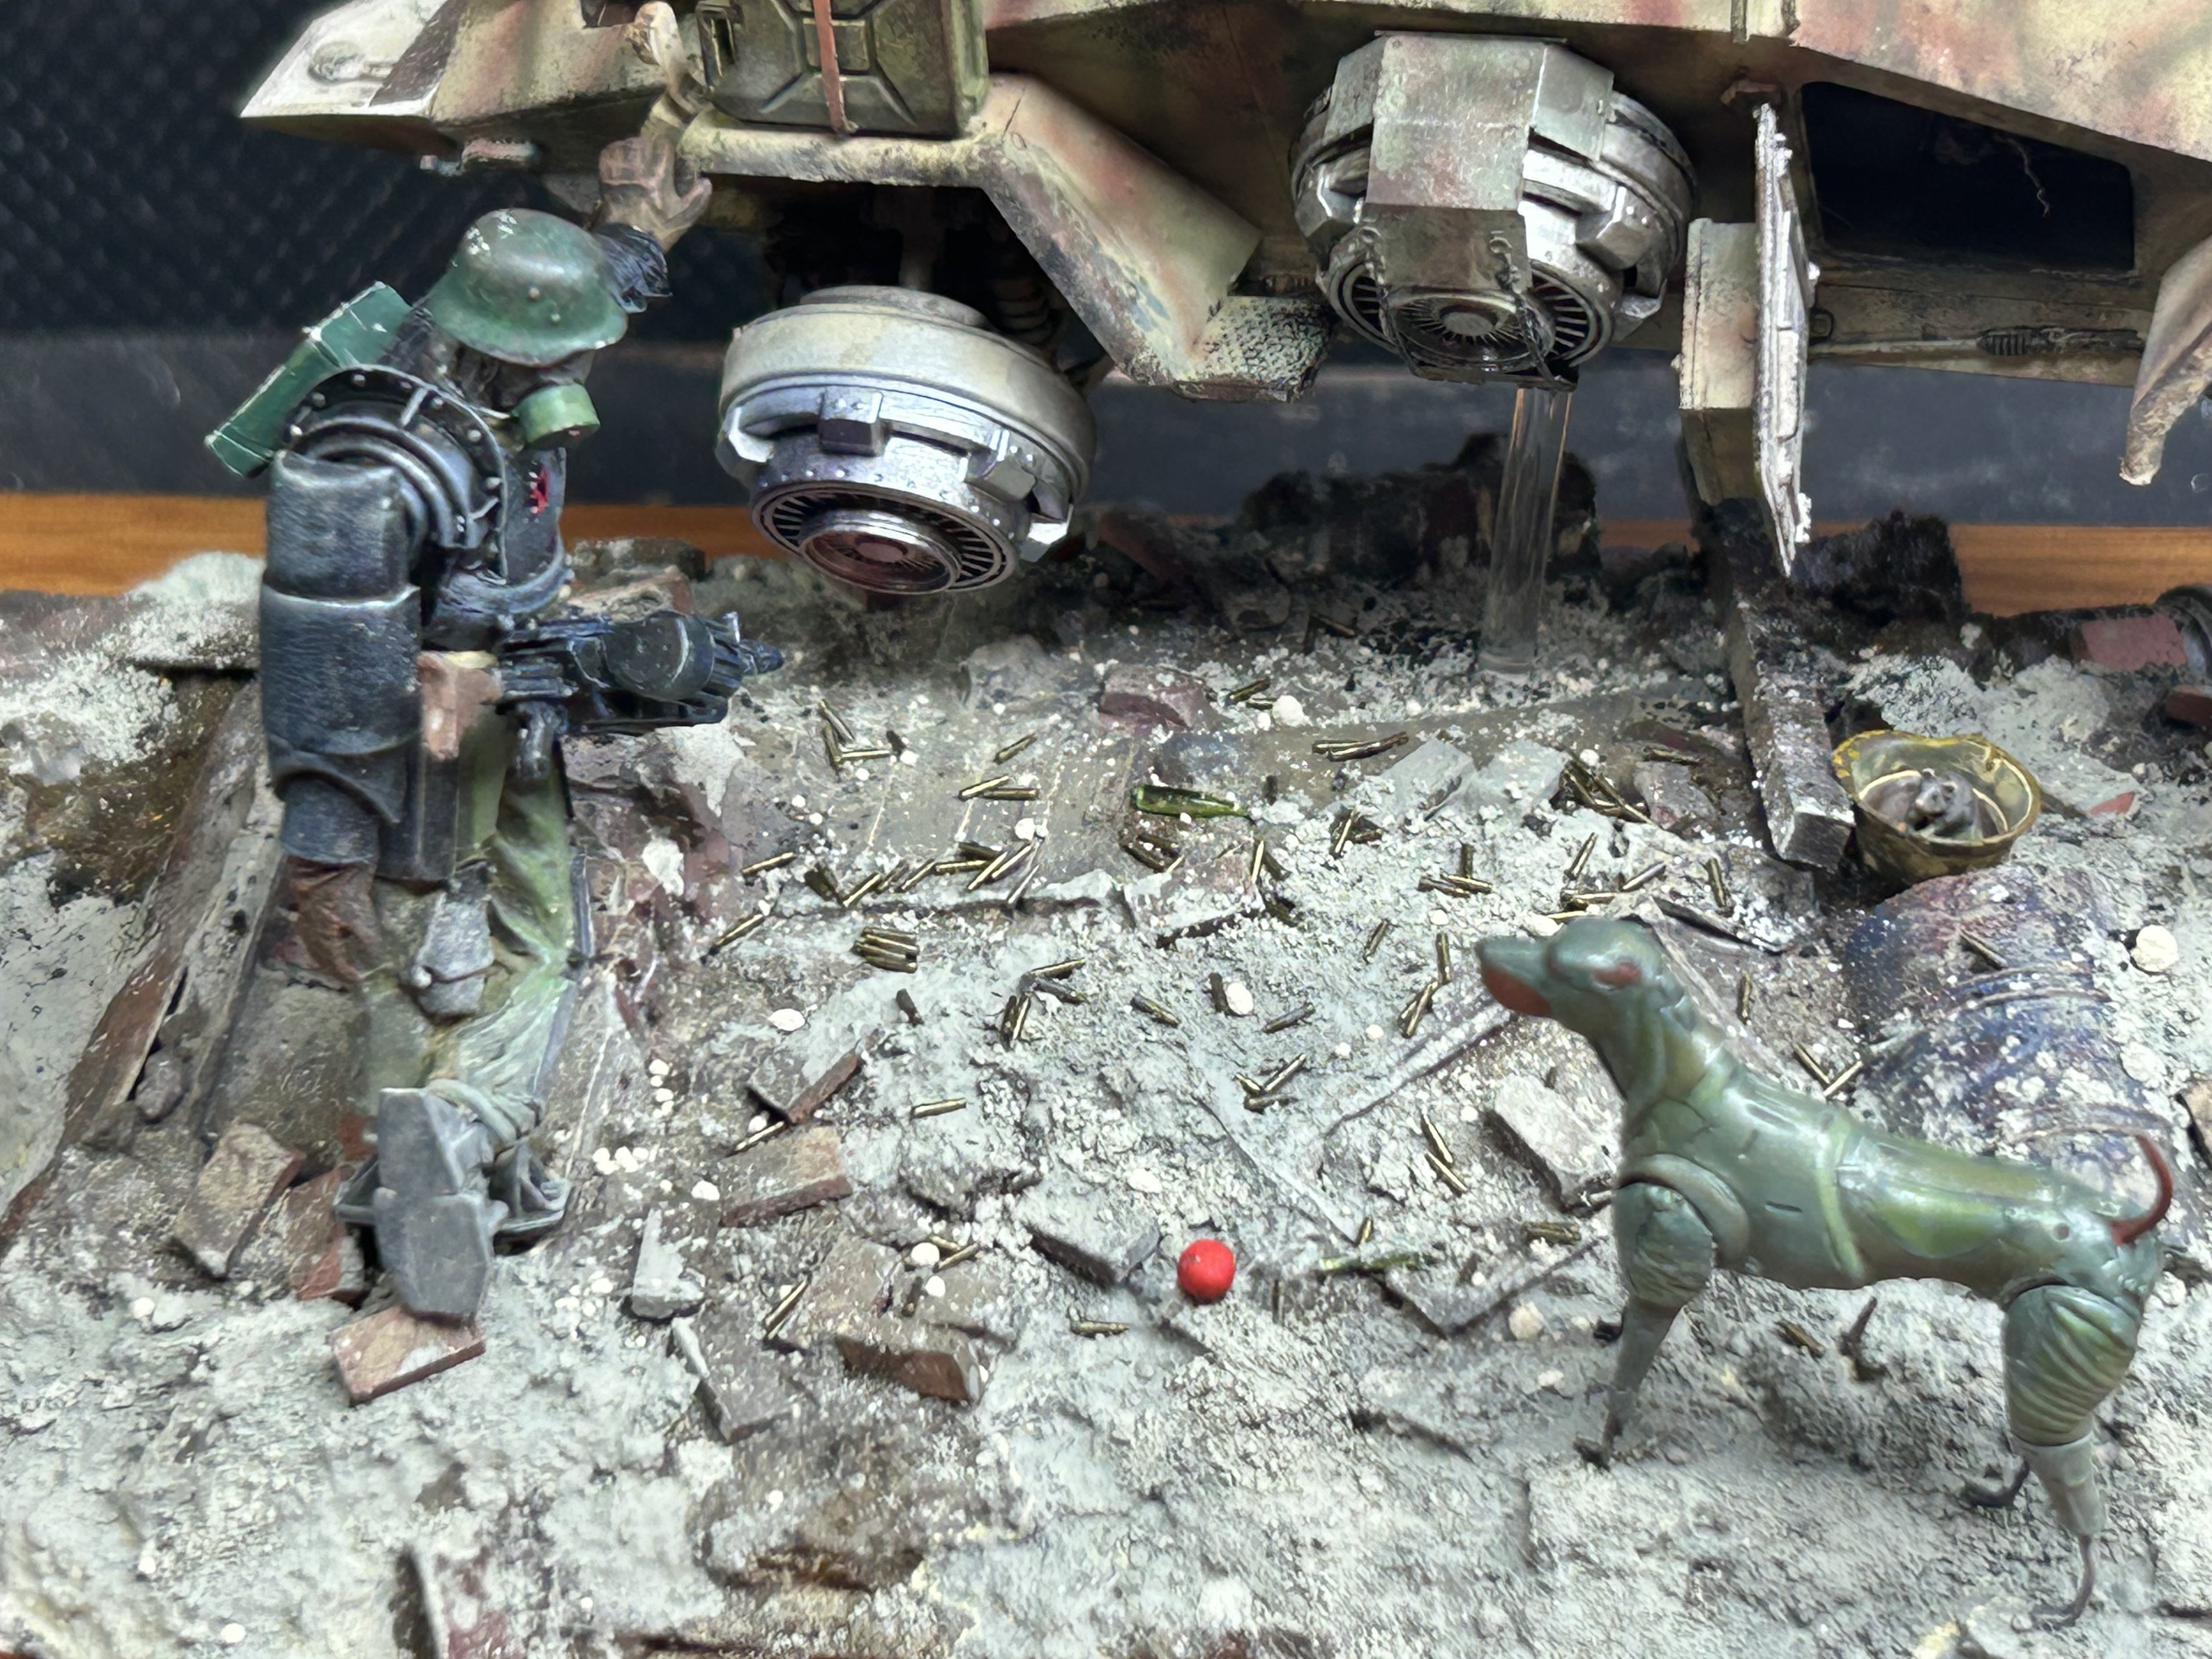
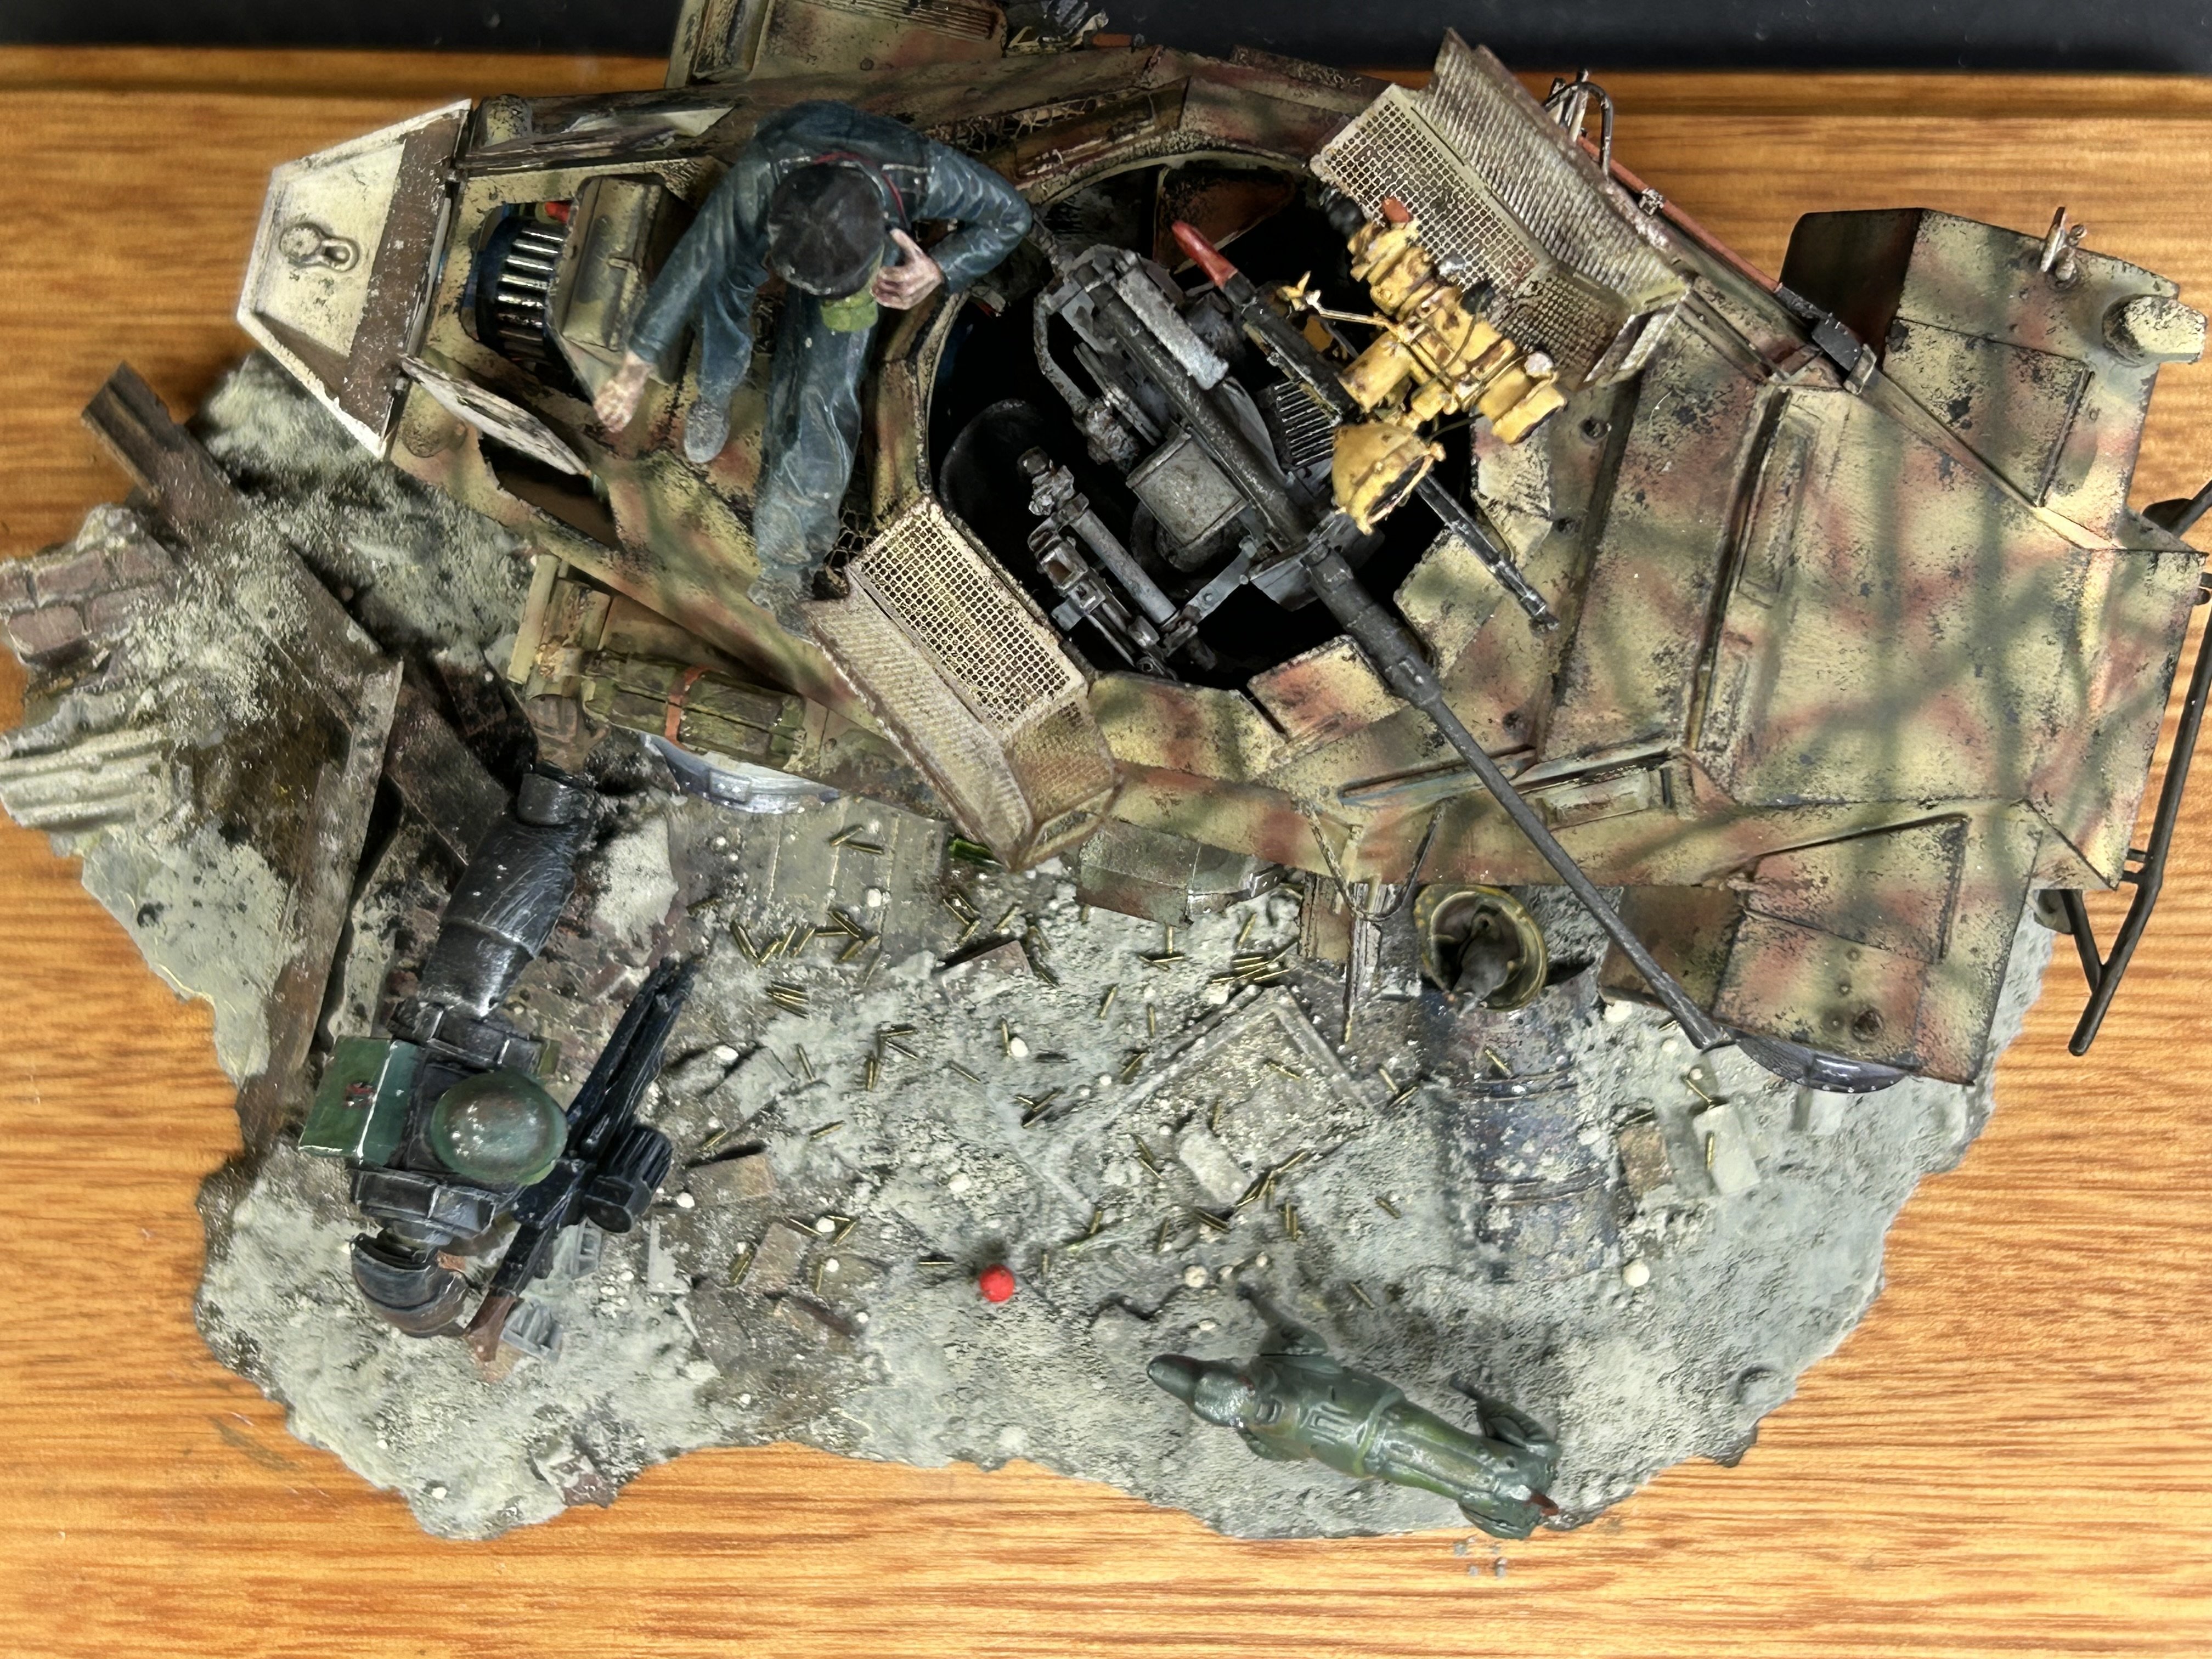
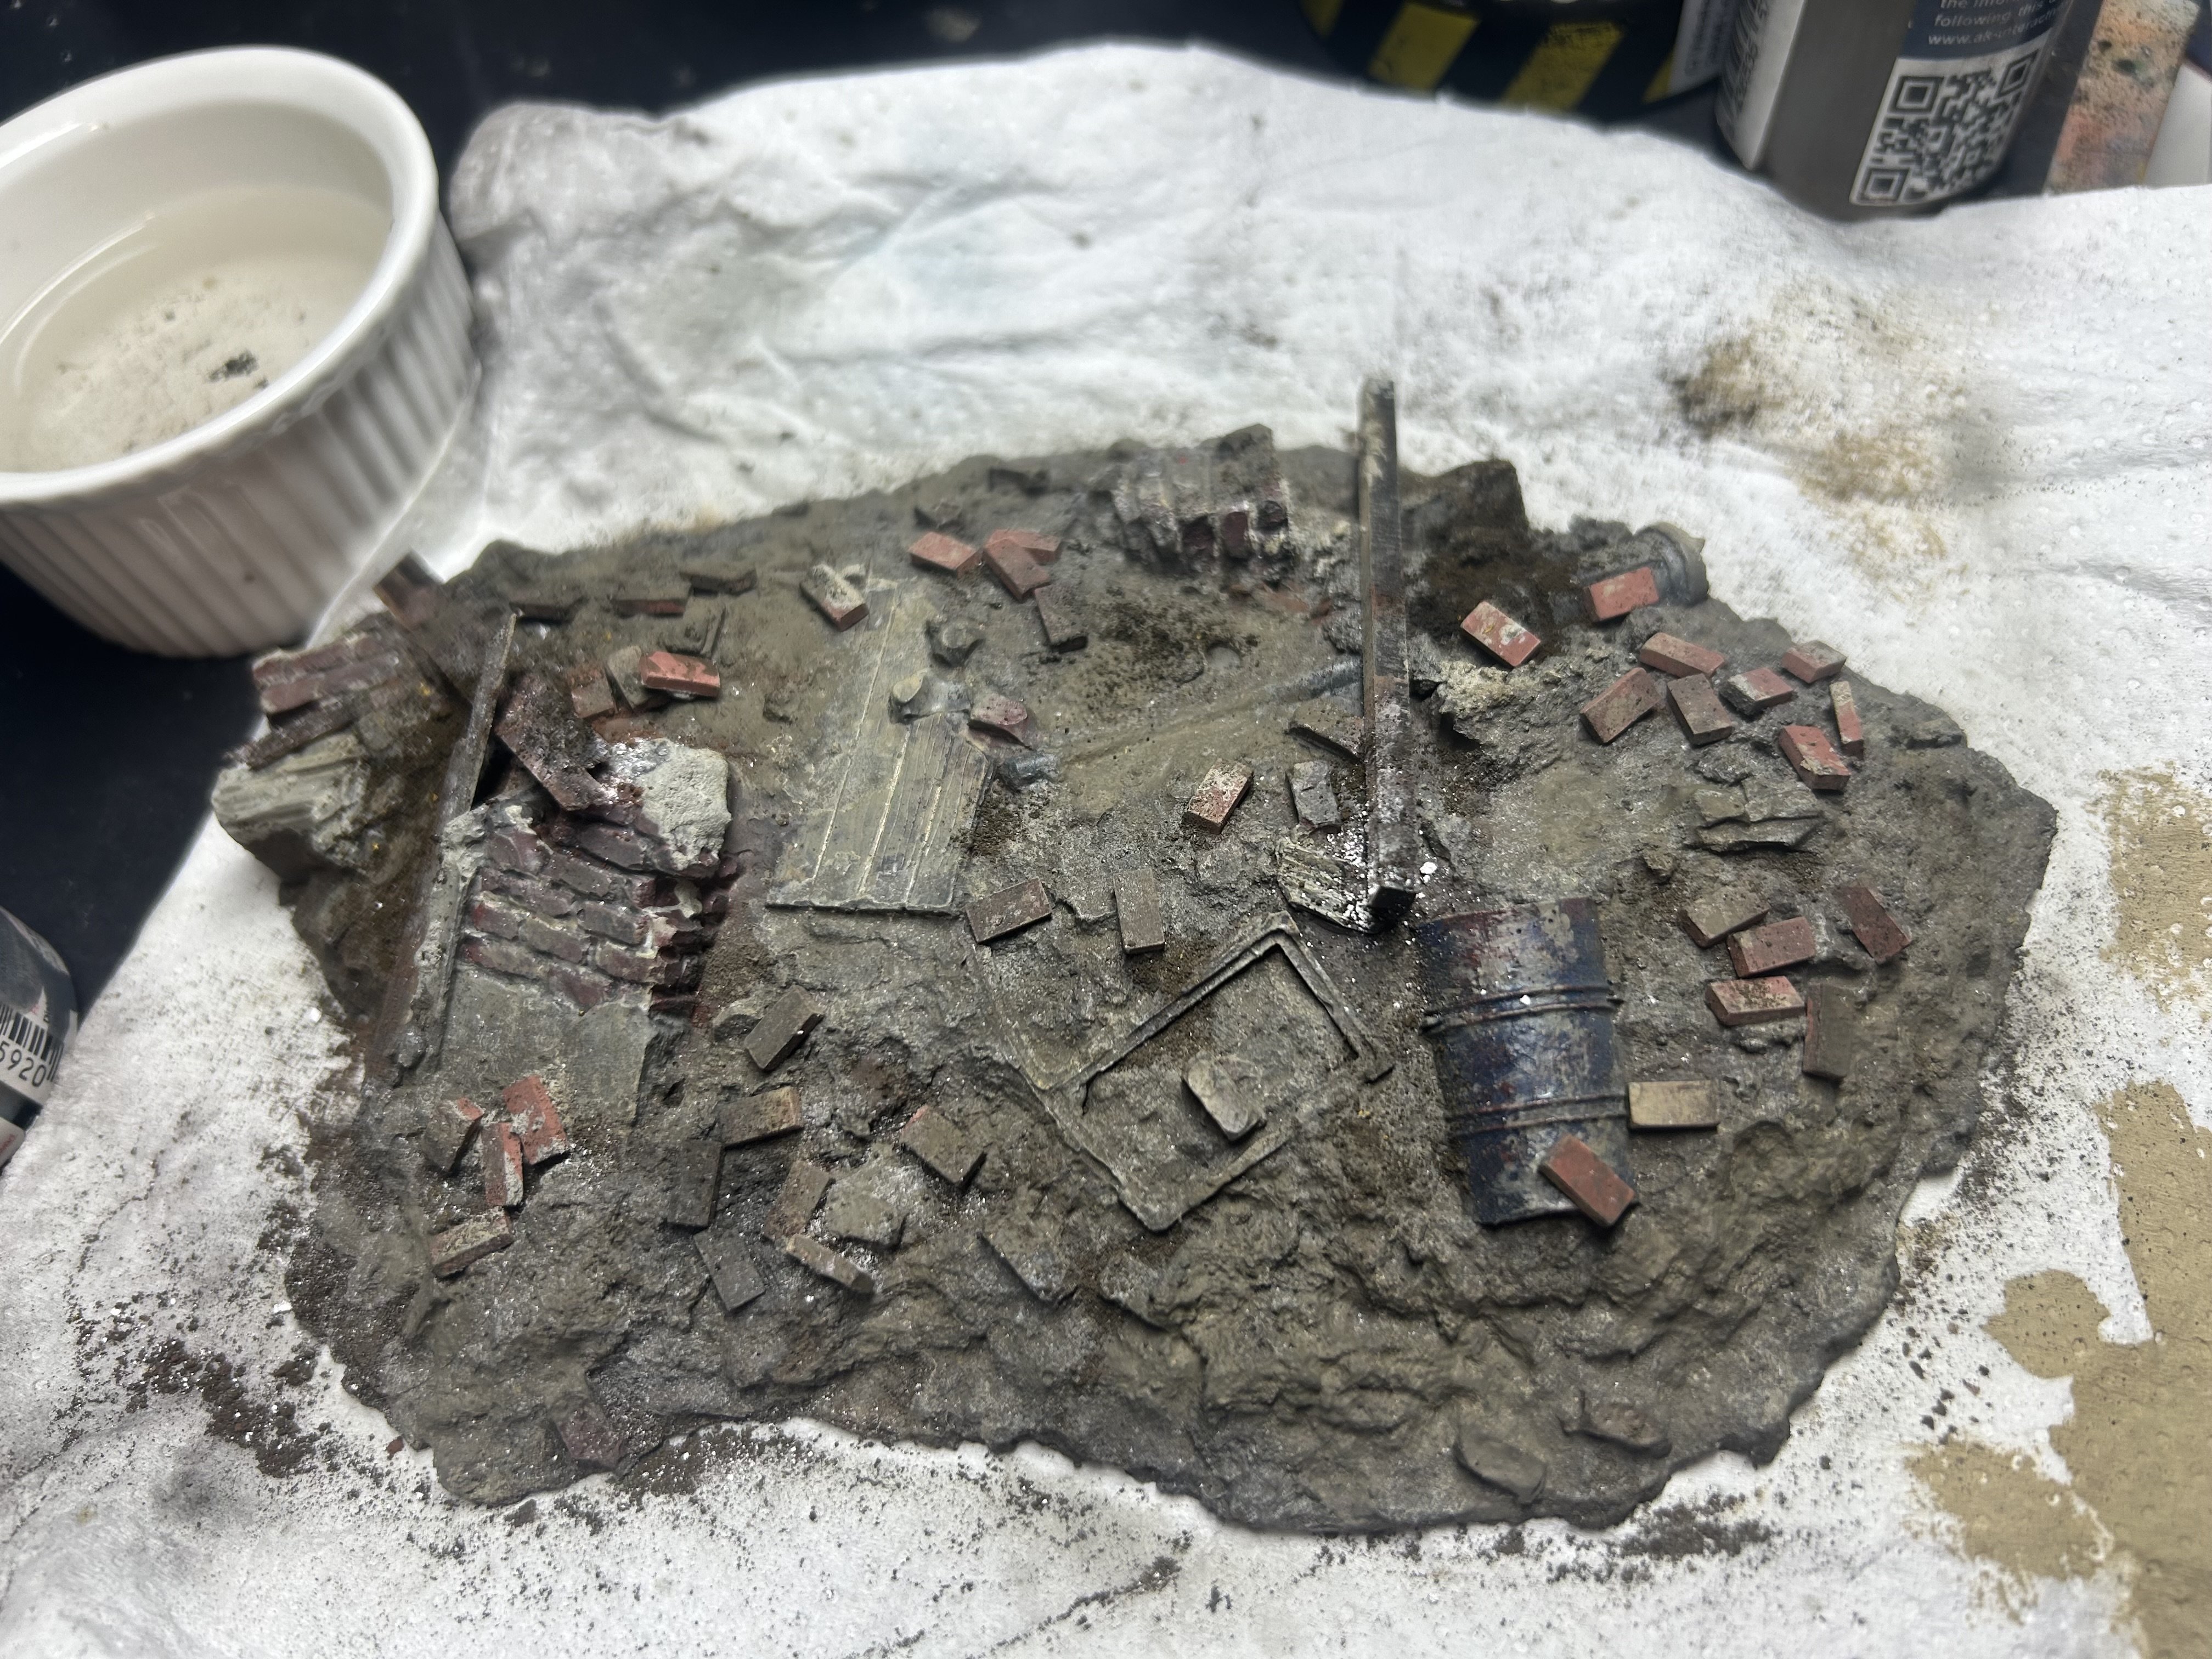
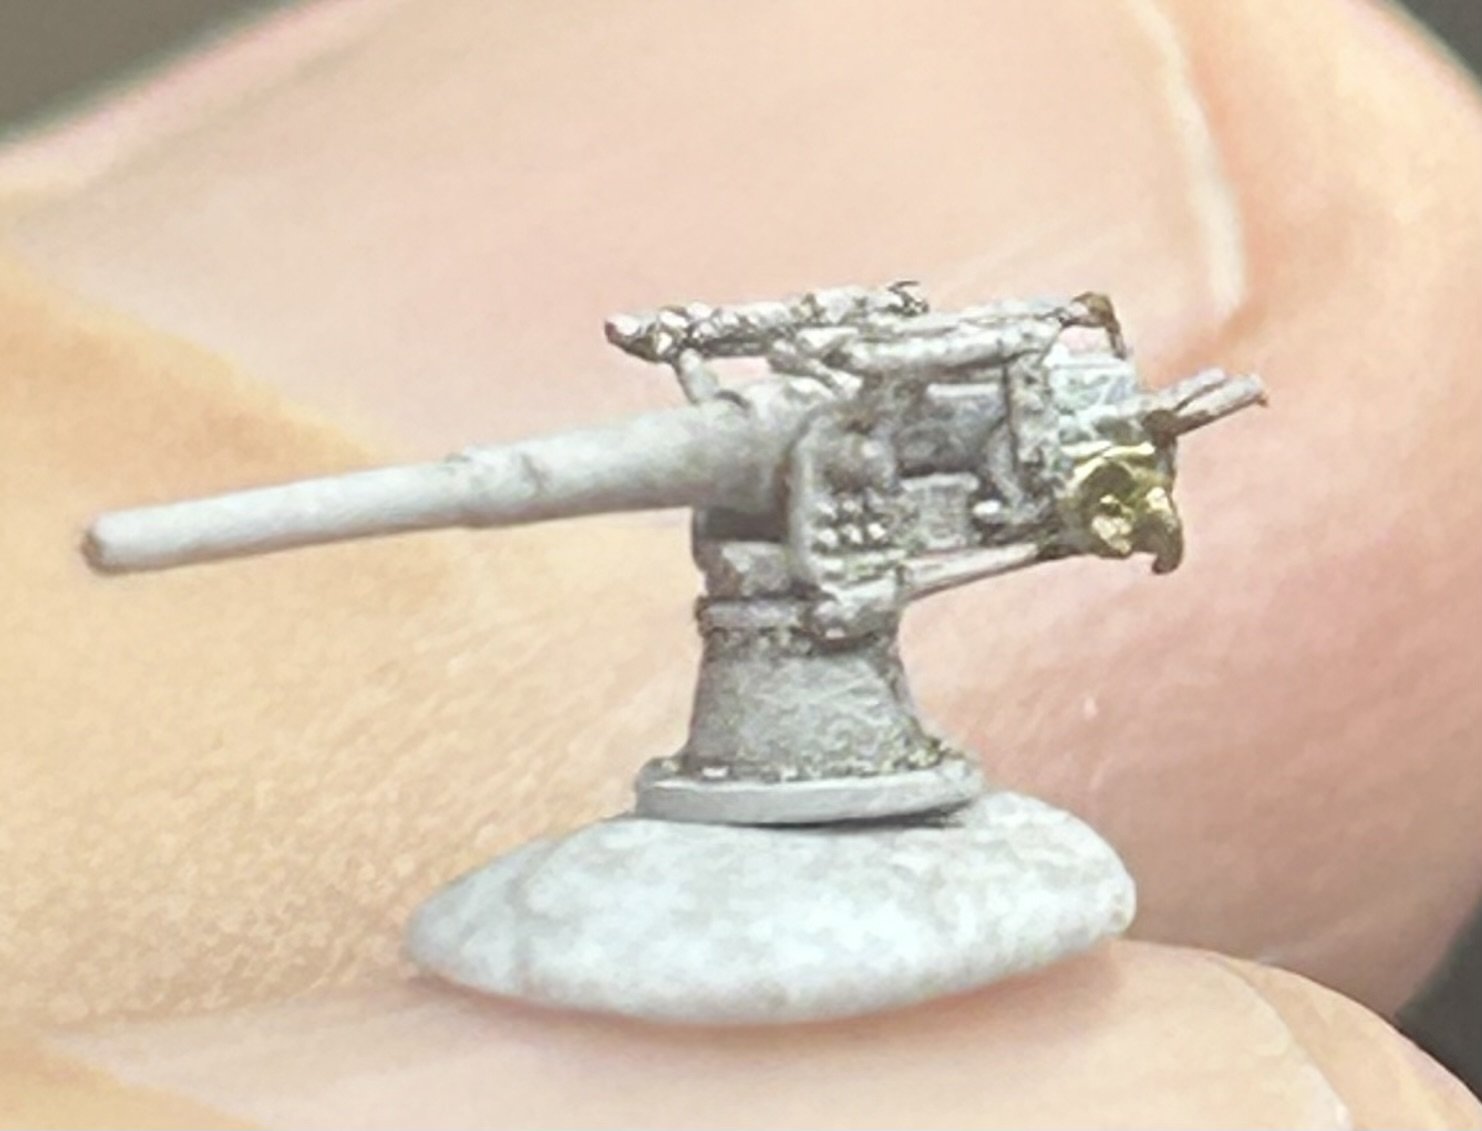
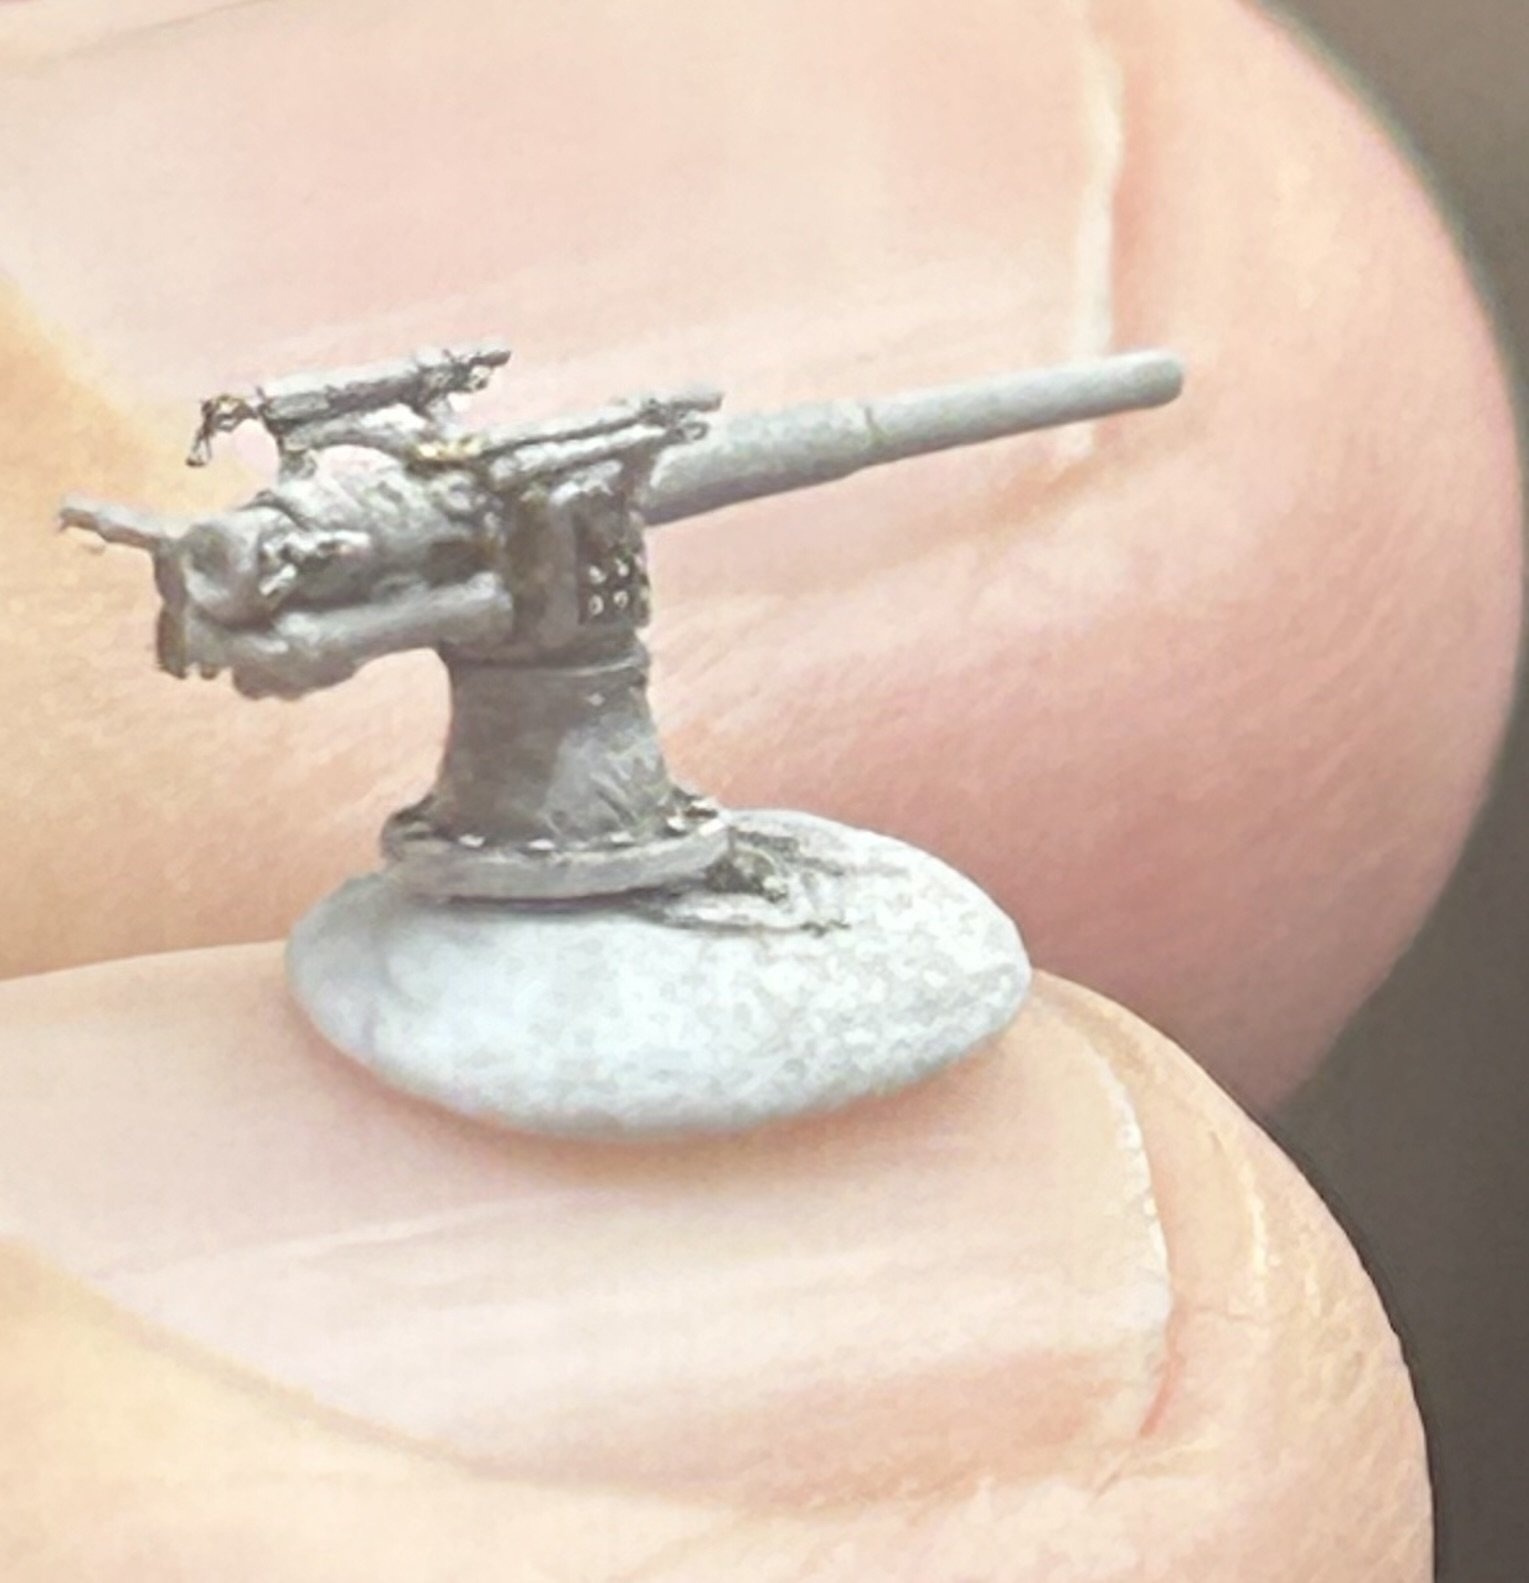
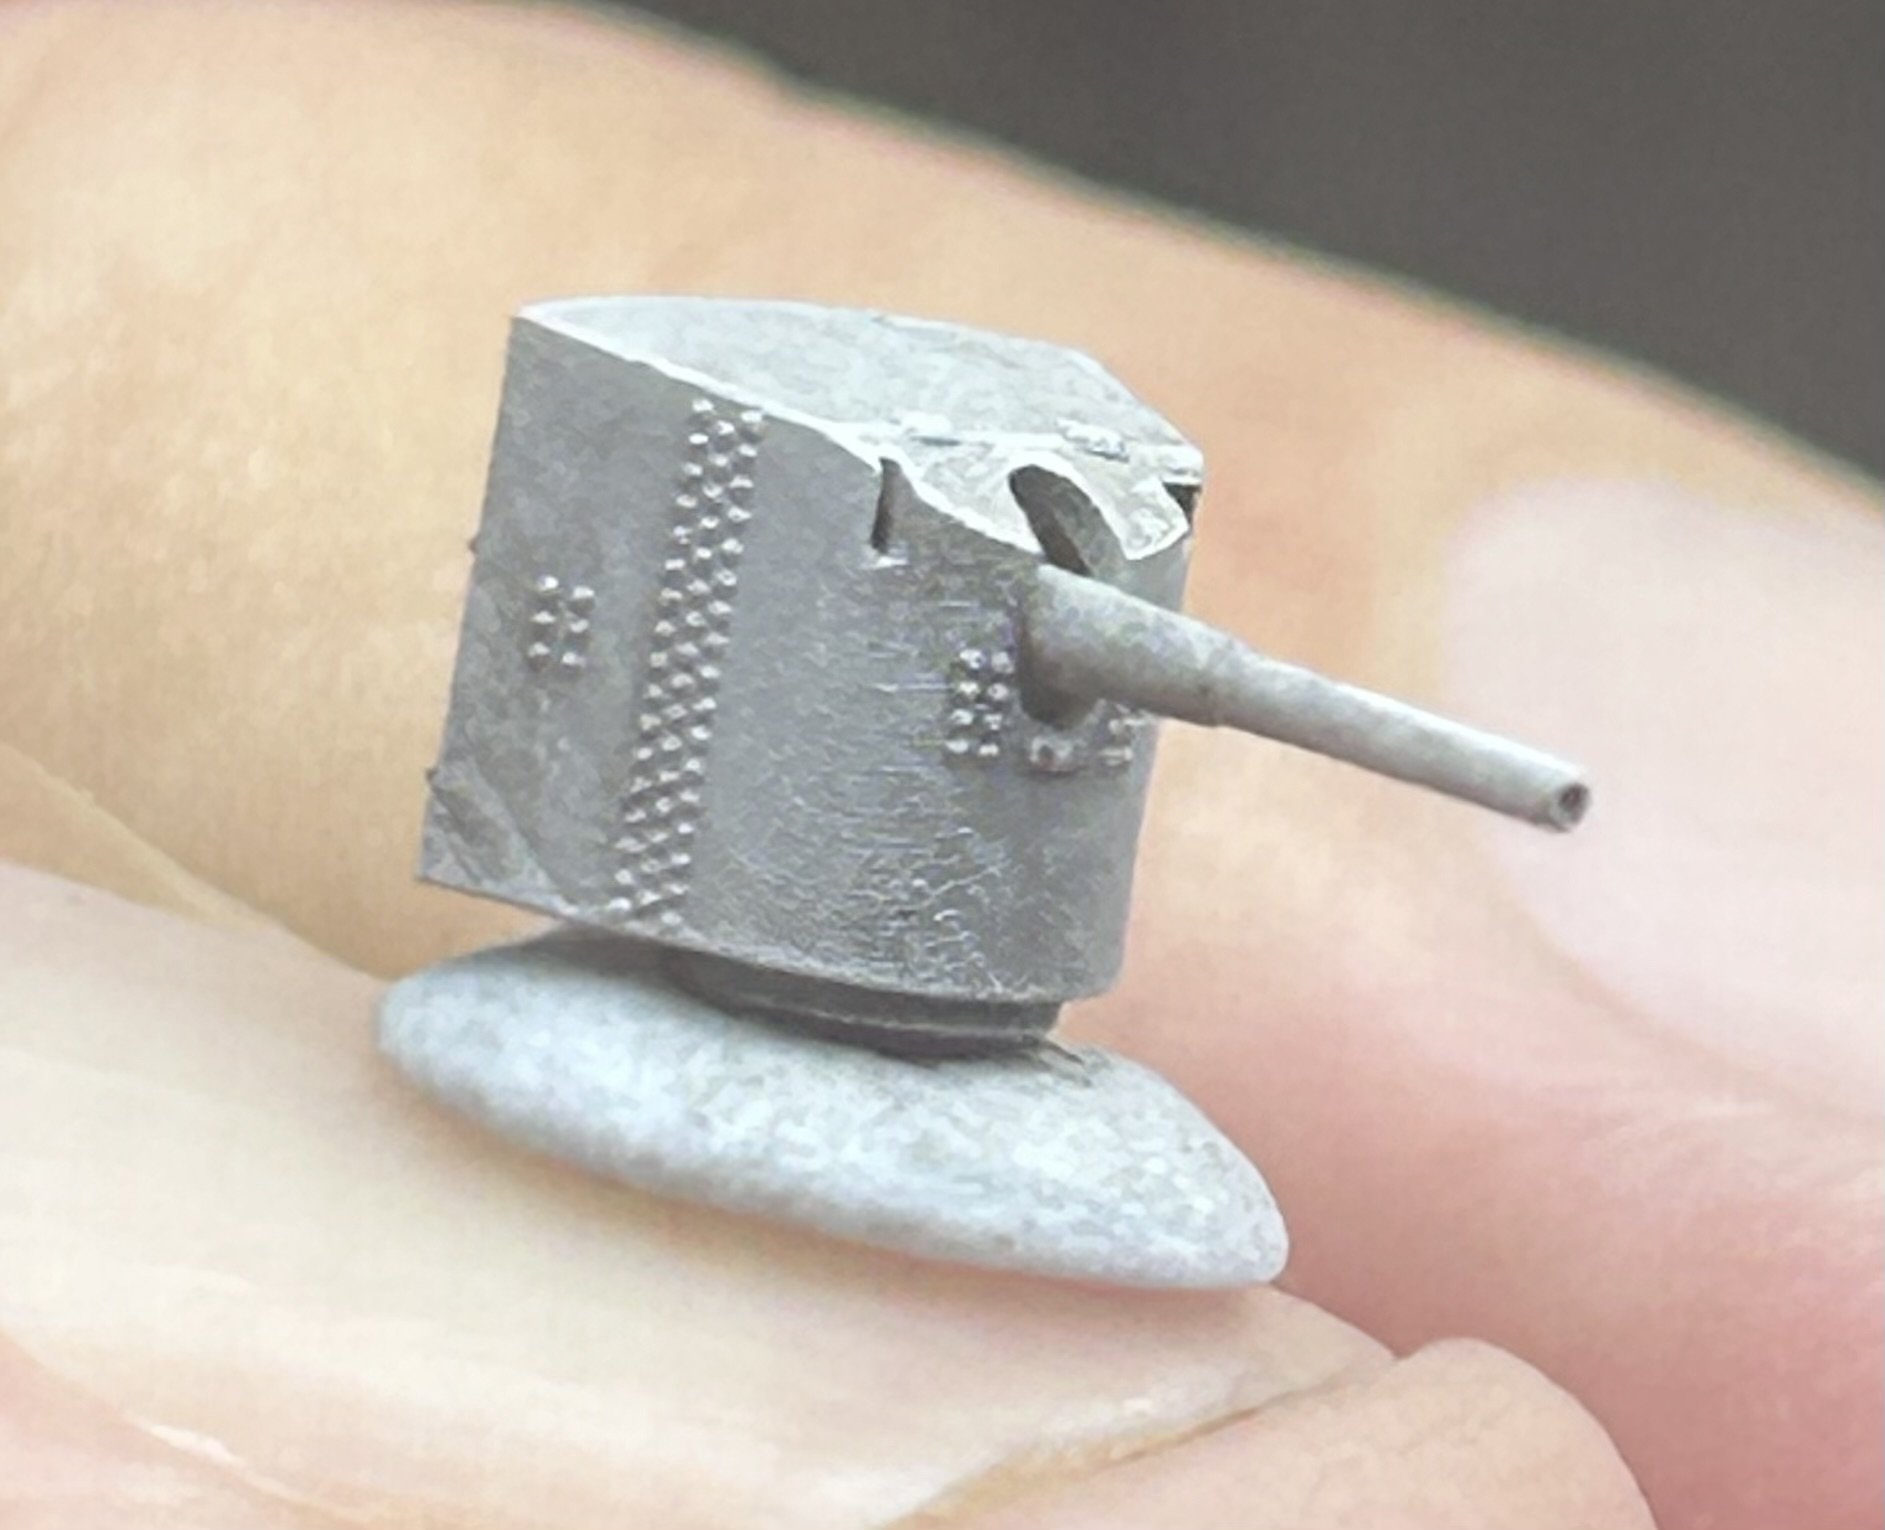
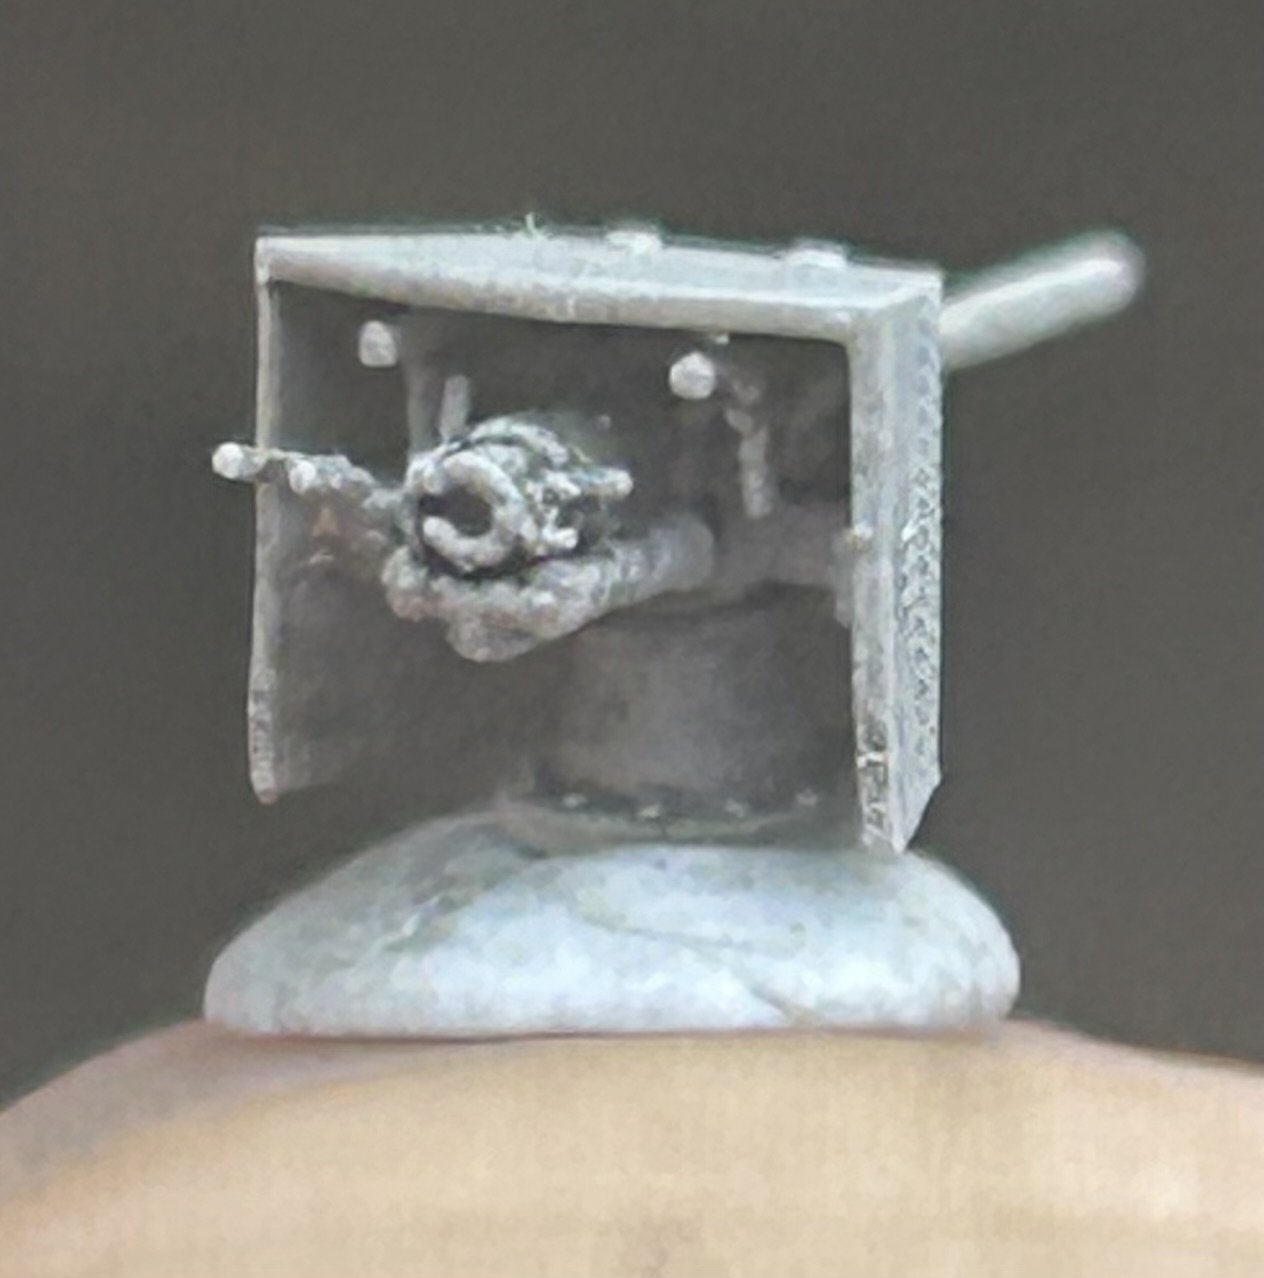
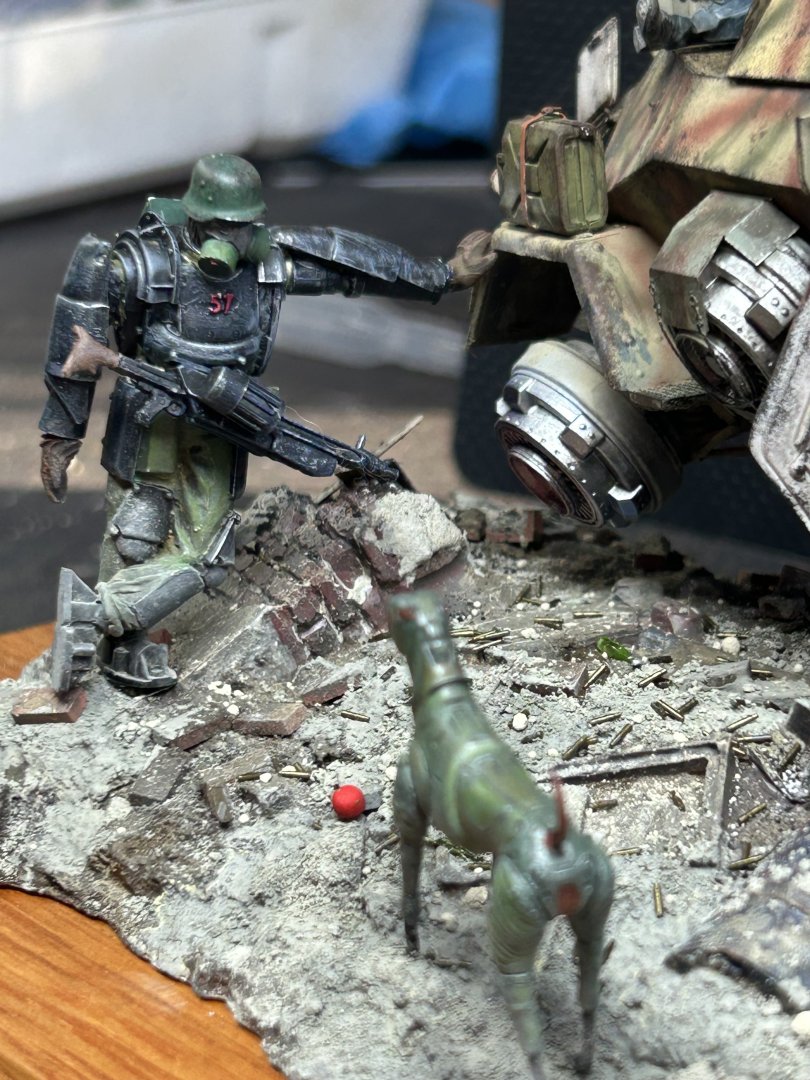
So I changed the base colours to concrete pigments, then added some shell casings and this part is done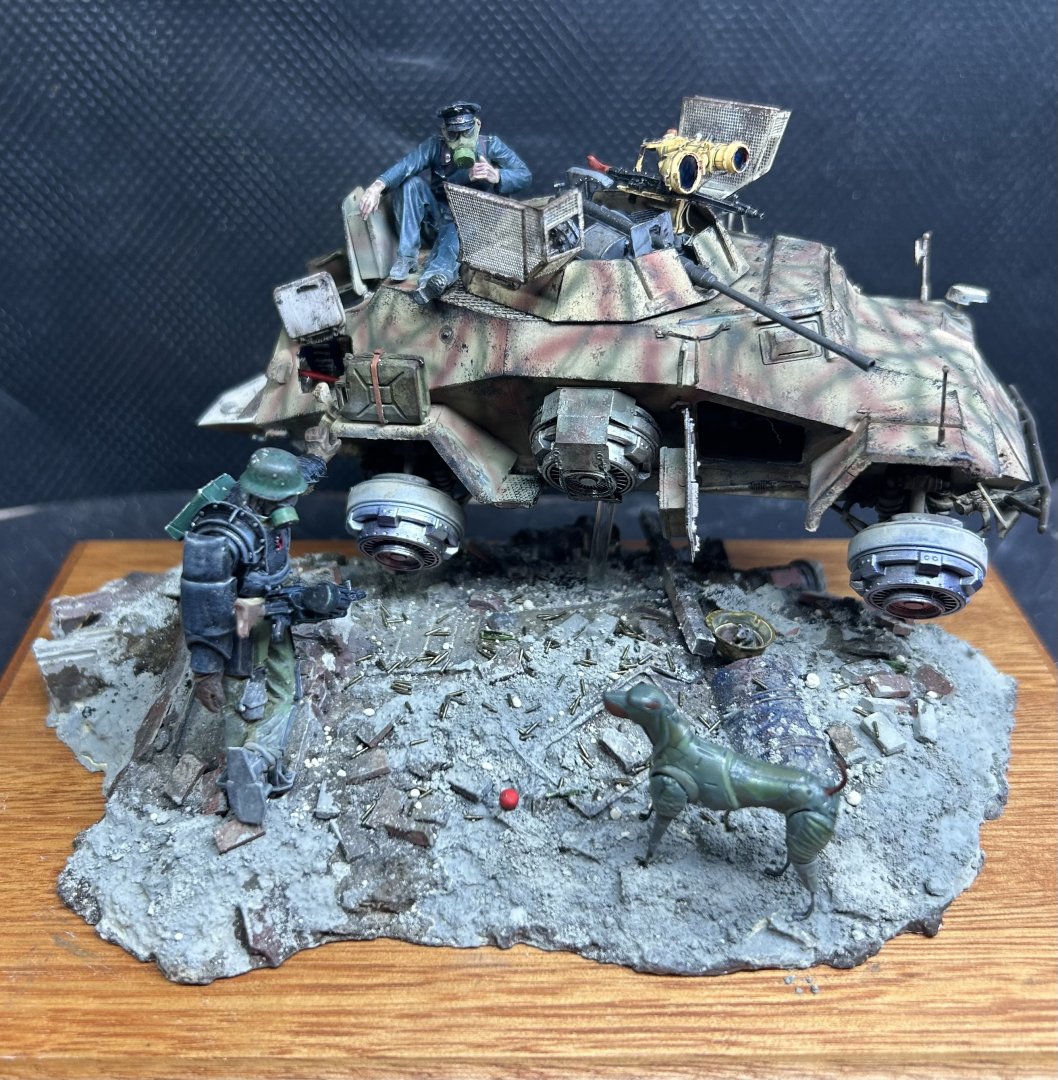


-
Flying Sd.Kfz.222 by RGL - HobbyBoss - 1/35 - PLASTIC
RGL replied to RGL's topic in Non-ship/categorised builds
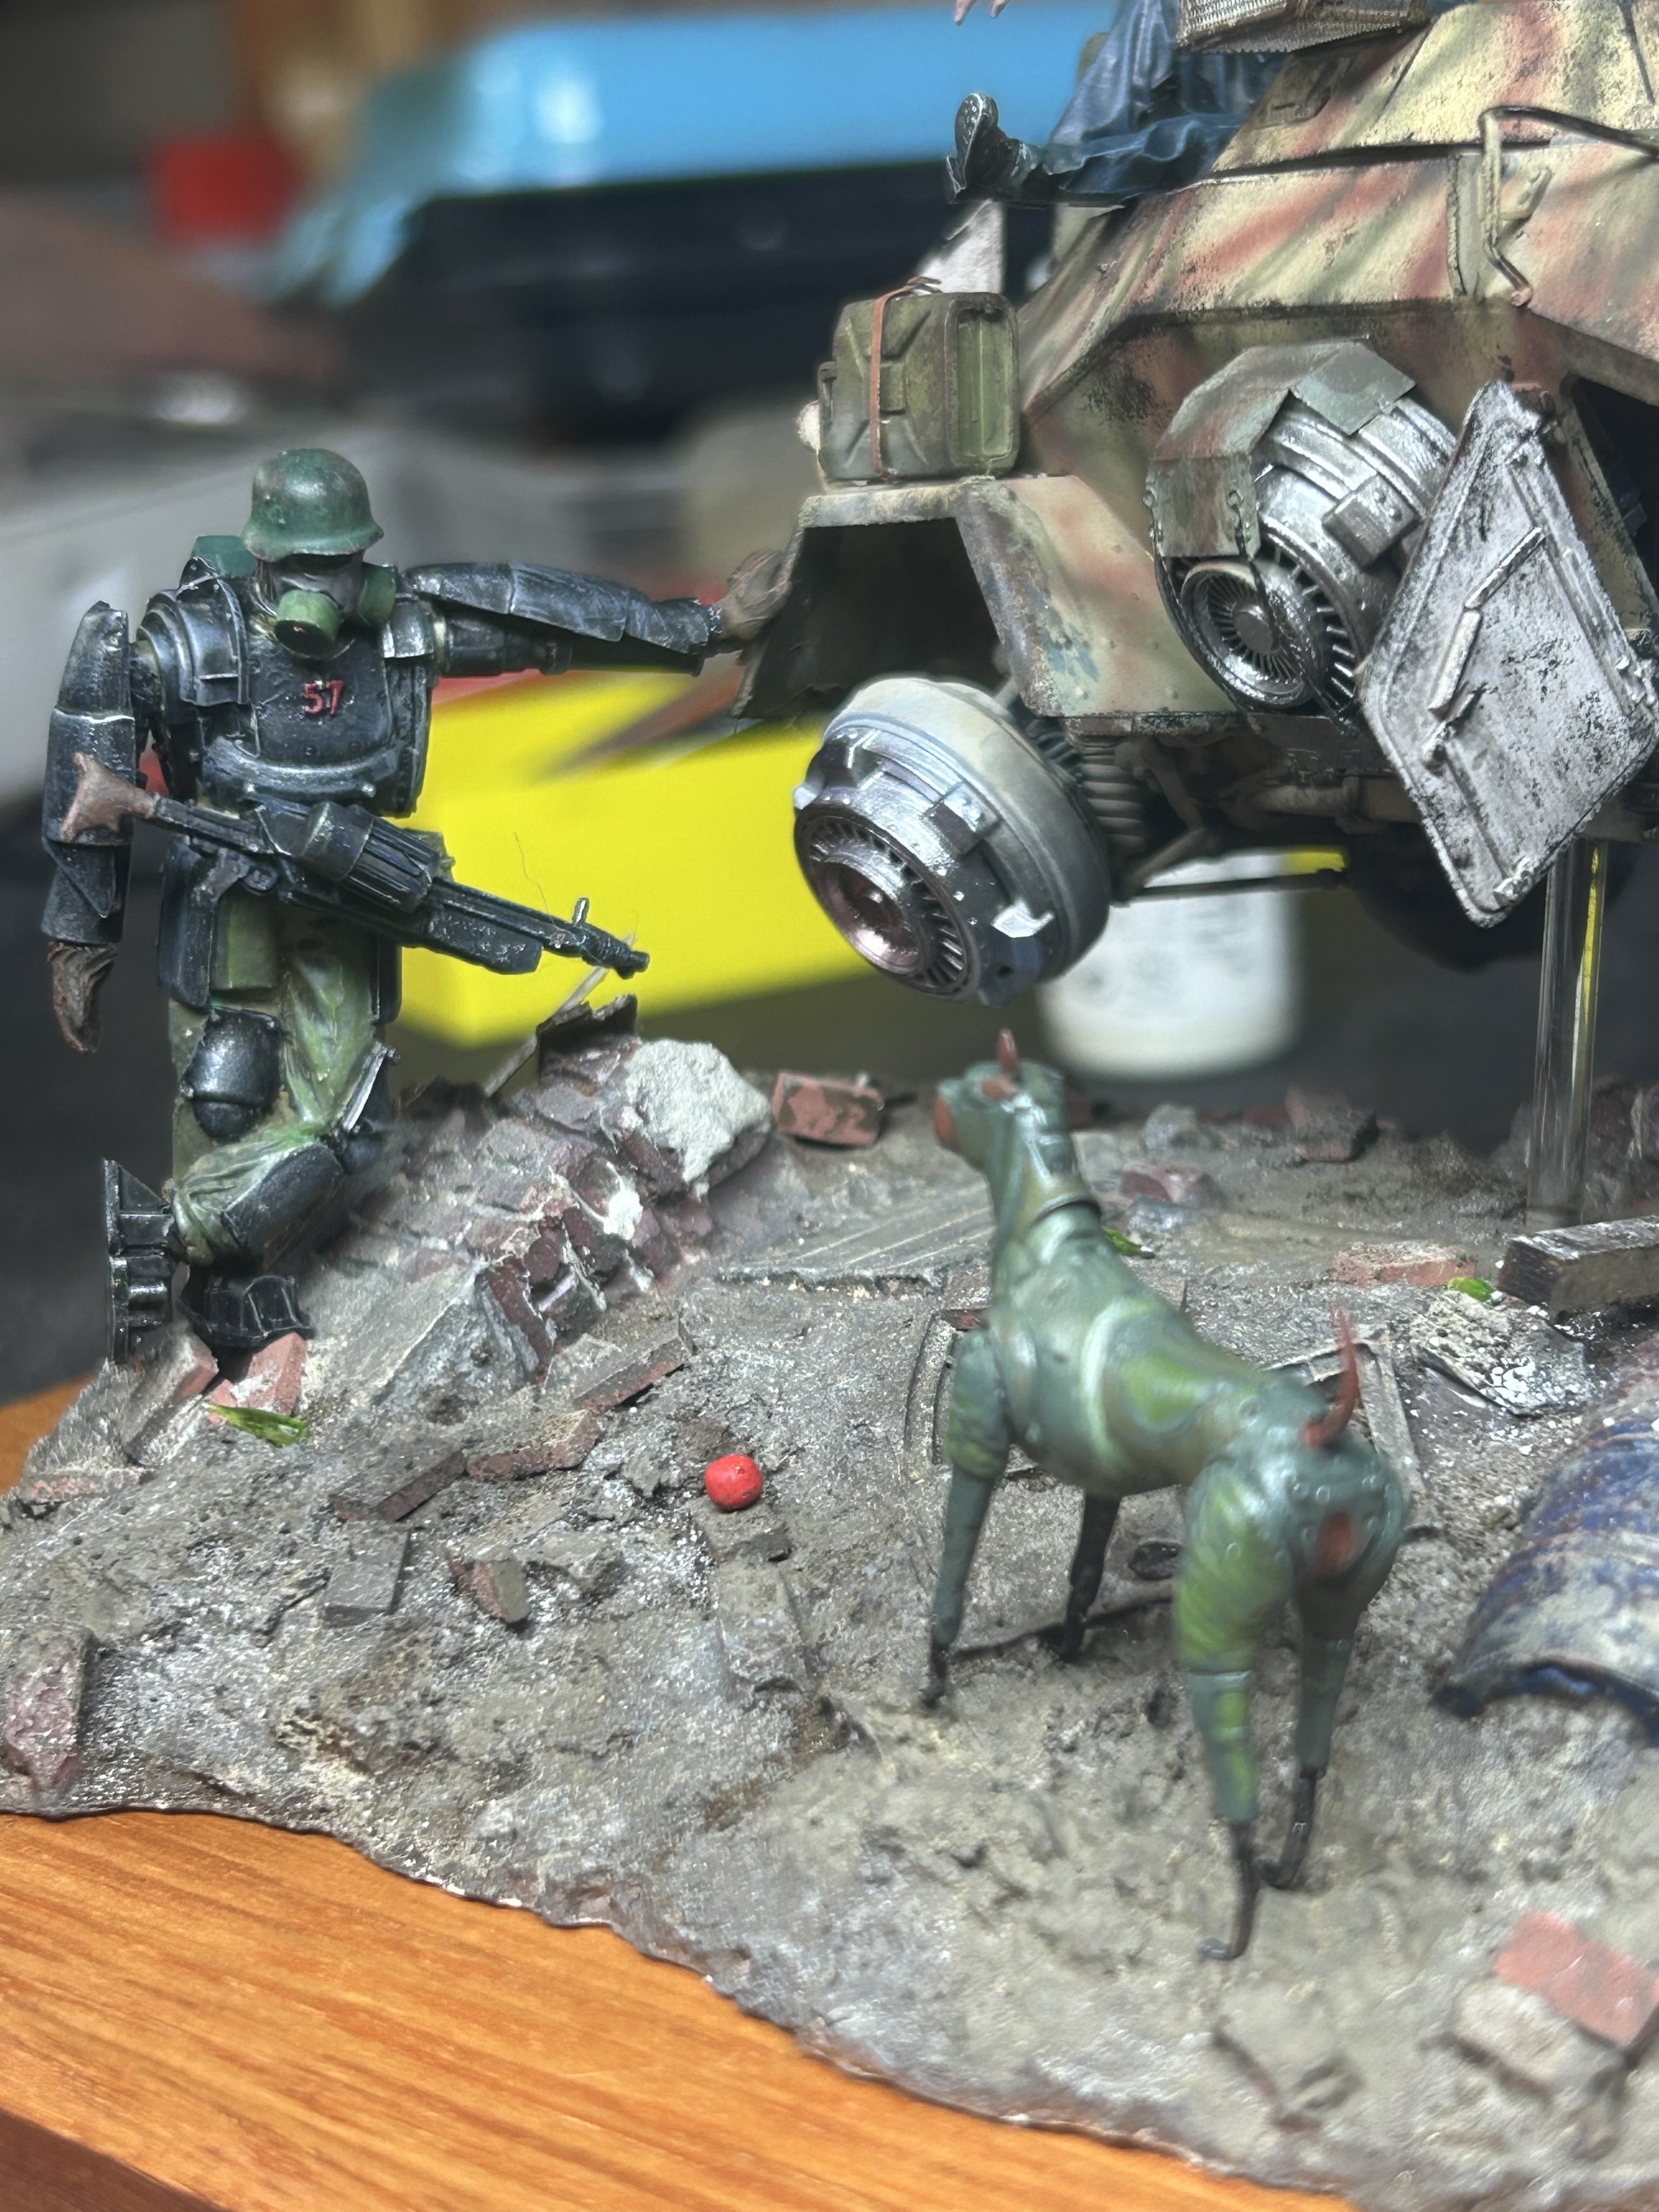
wirf den Ball Mensch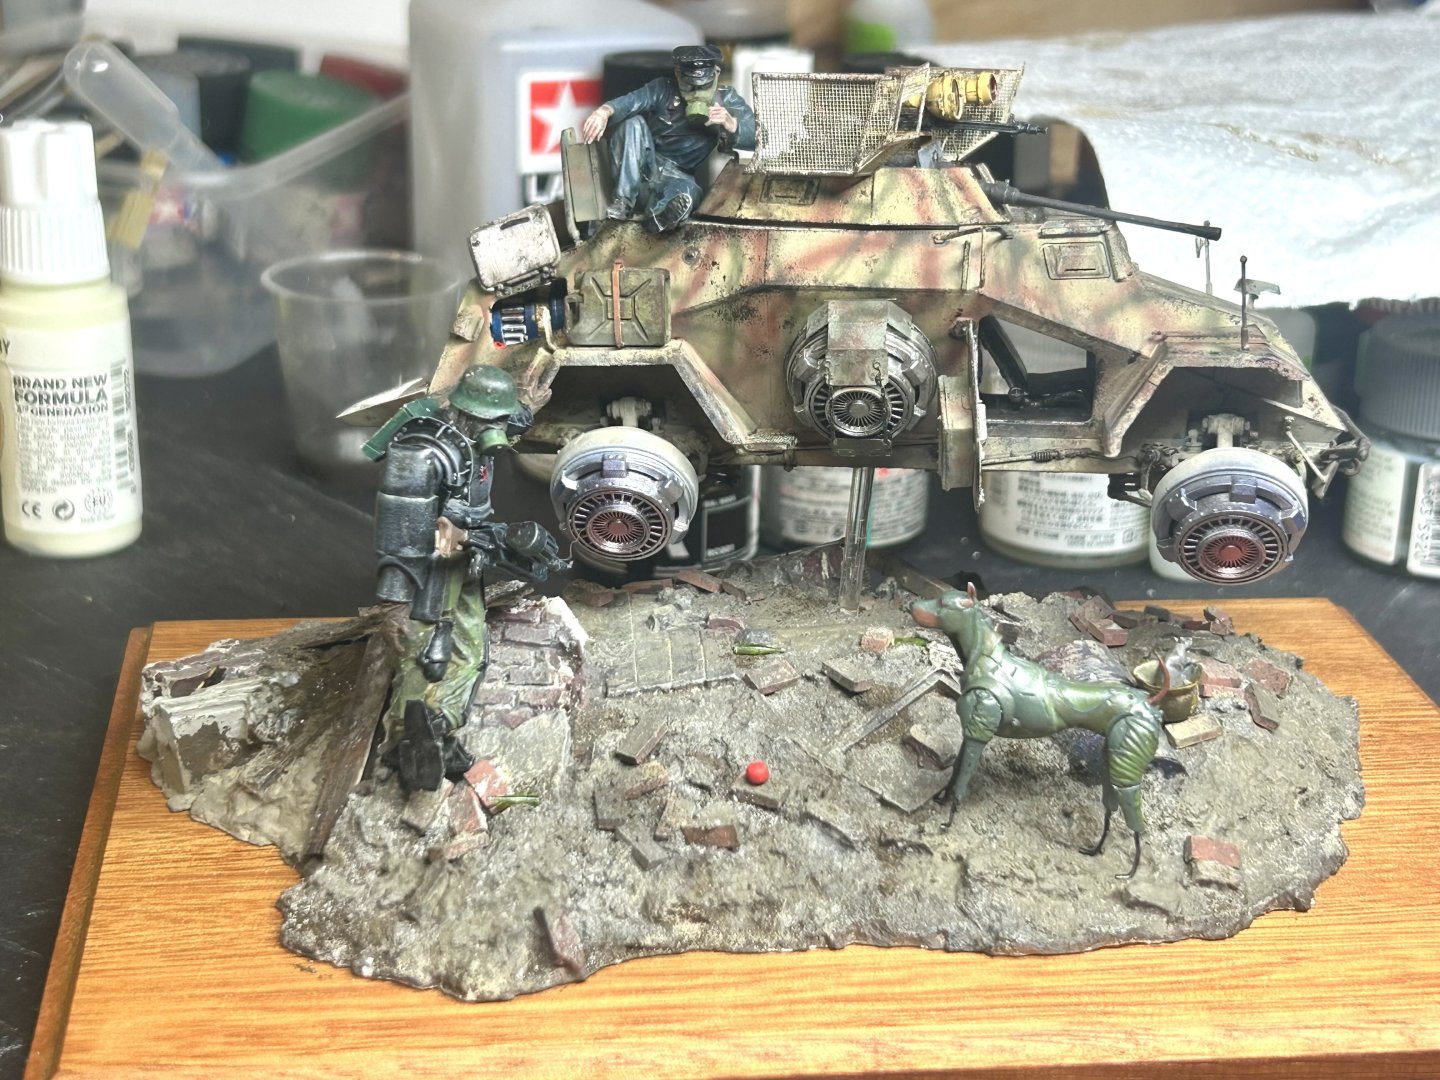


-
Flying Sd.Kfz.222 by RGL - HobbyBoss - 1/35 - PLASTIC
RGL replied to RGL's topic in Non-ship/categorised builds
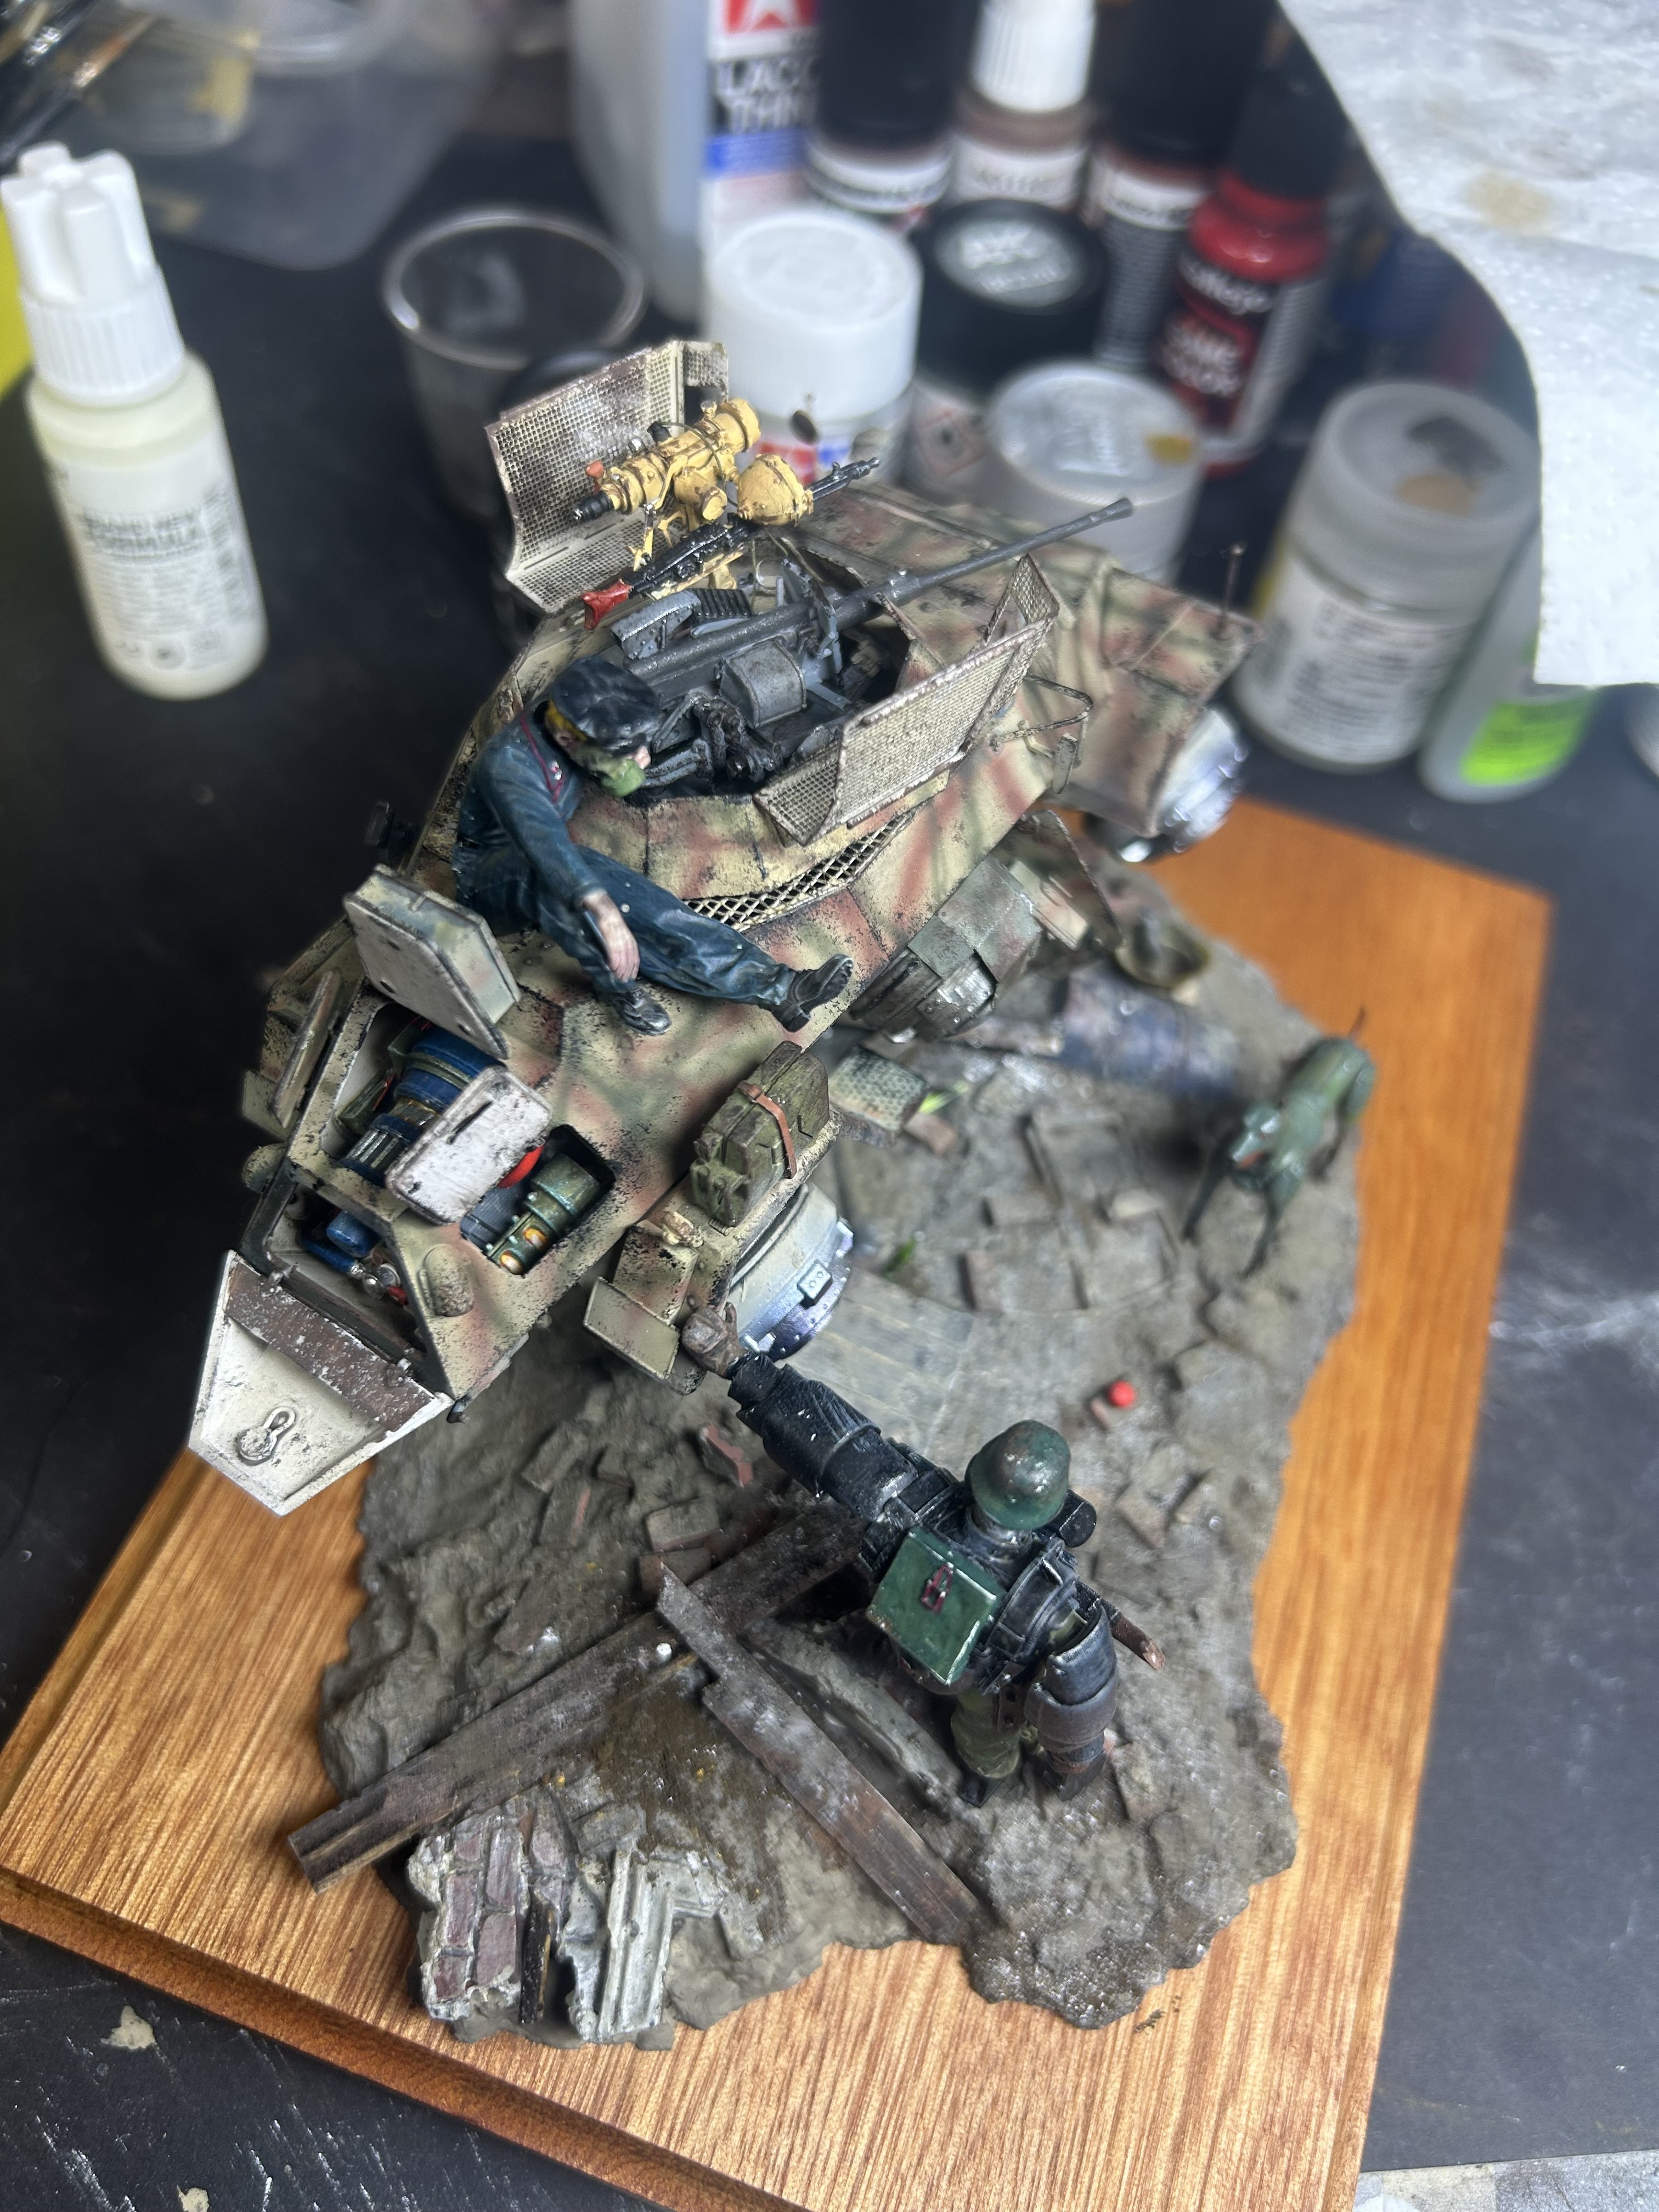
And I’m back! Part 1/3 for dioramas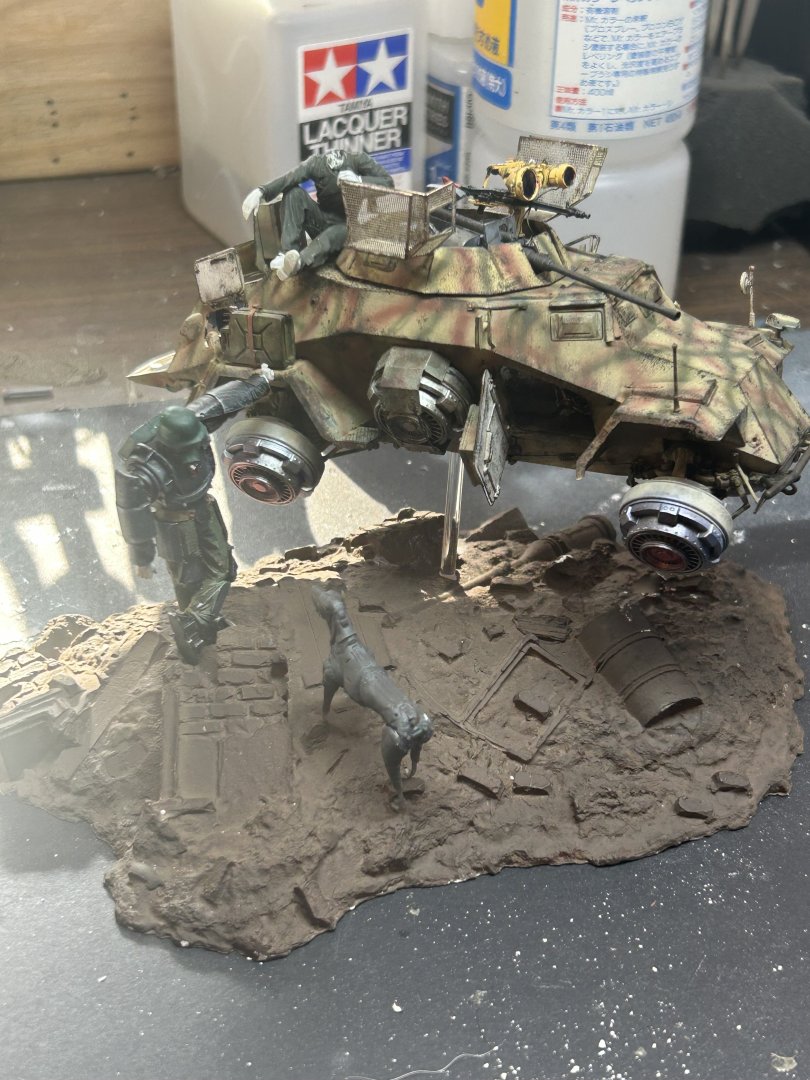

-
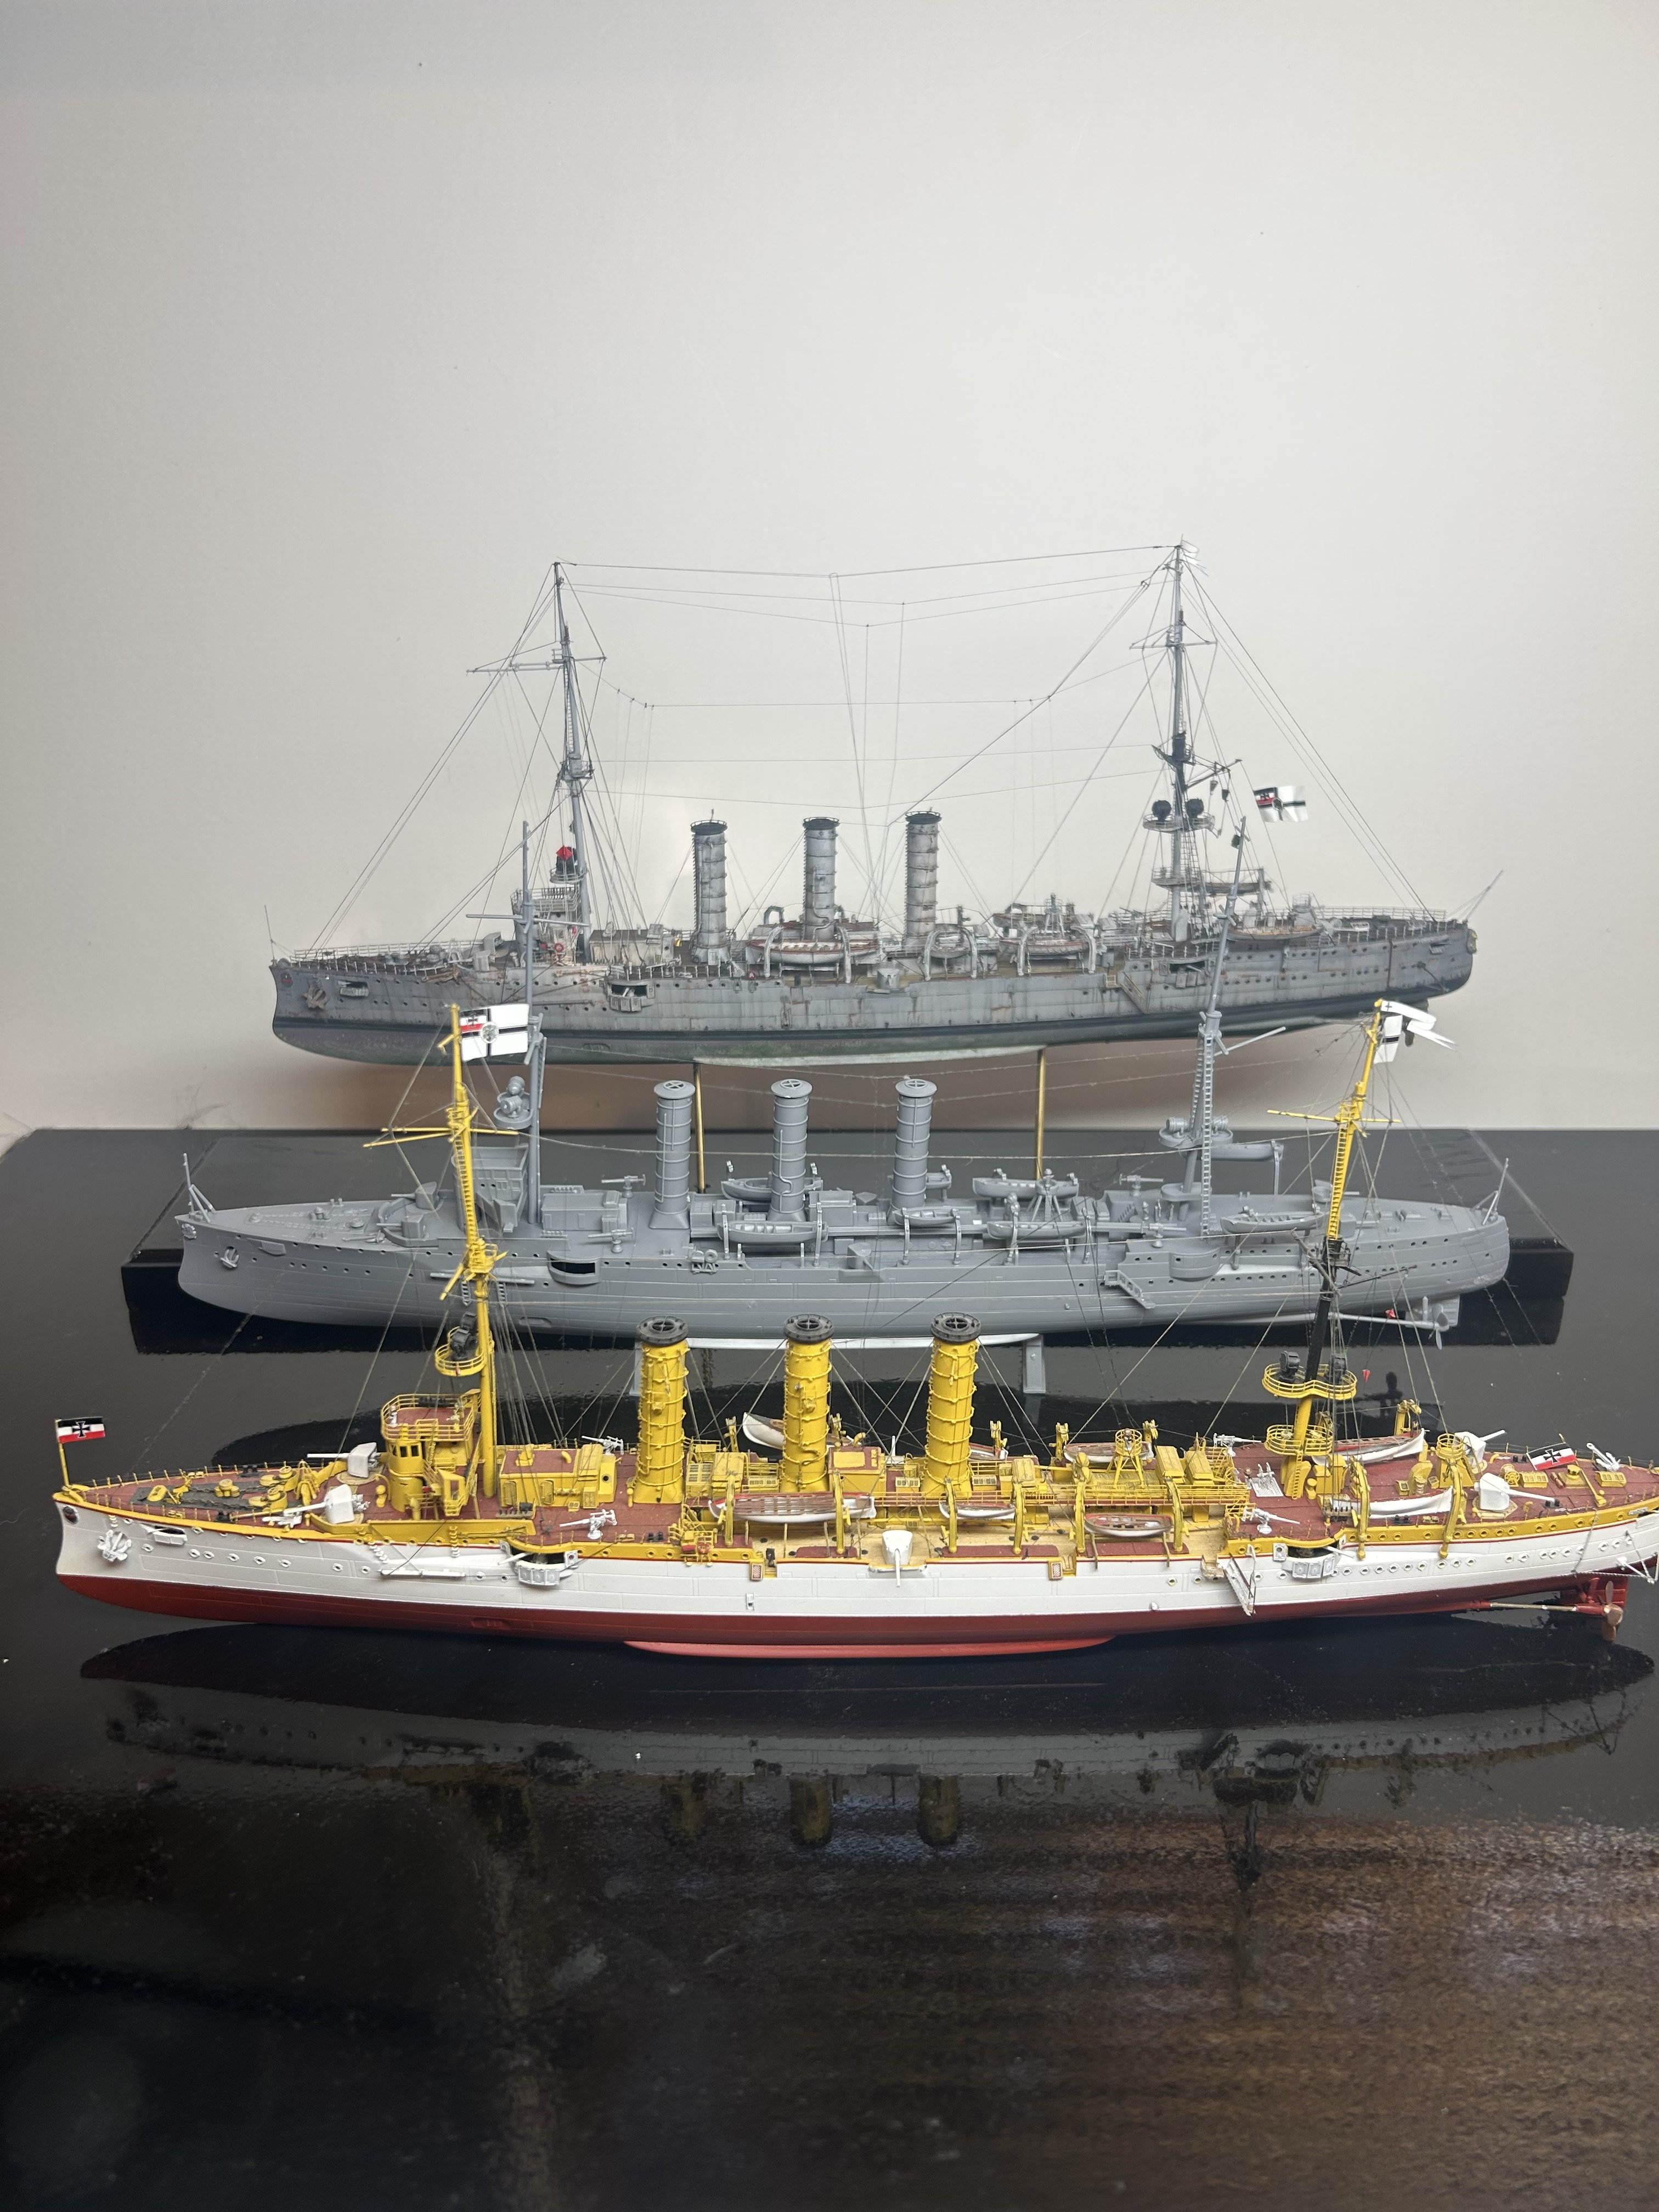
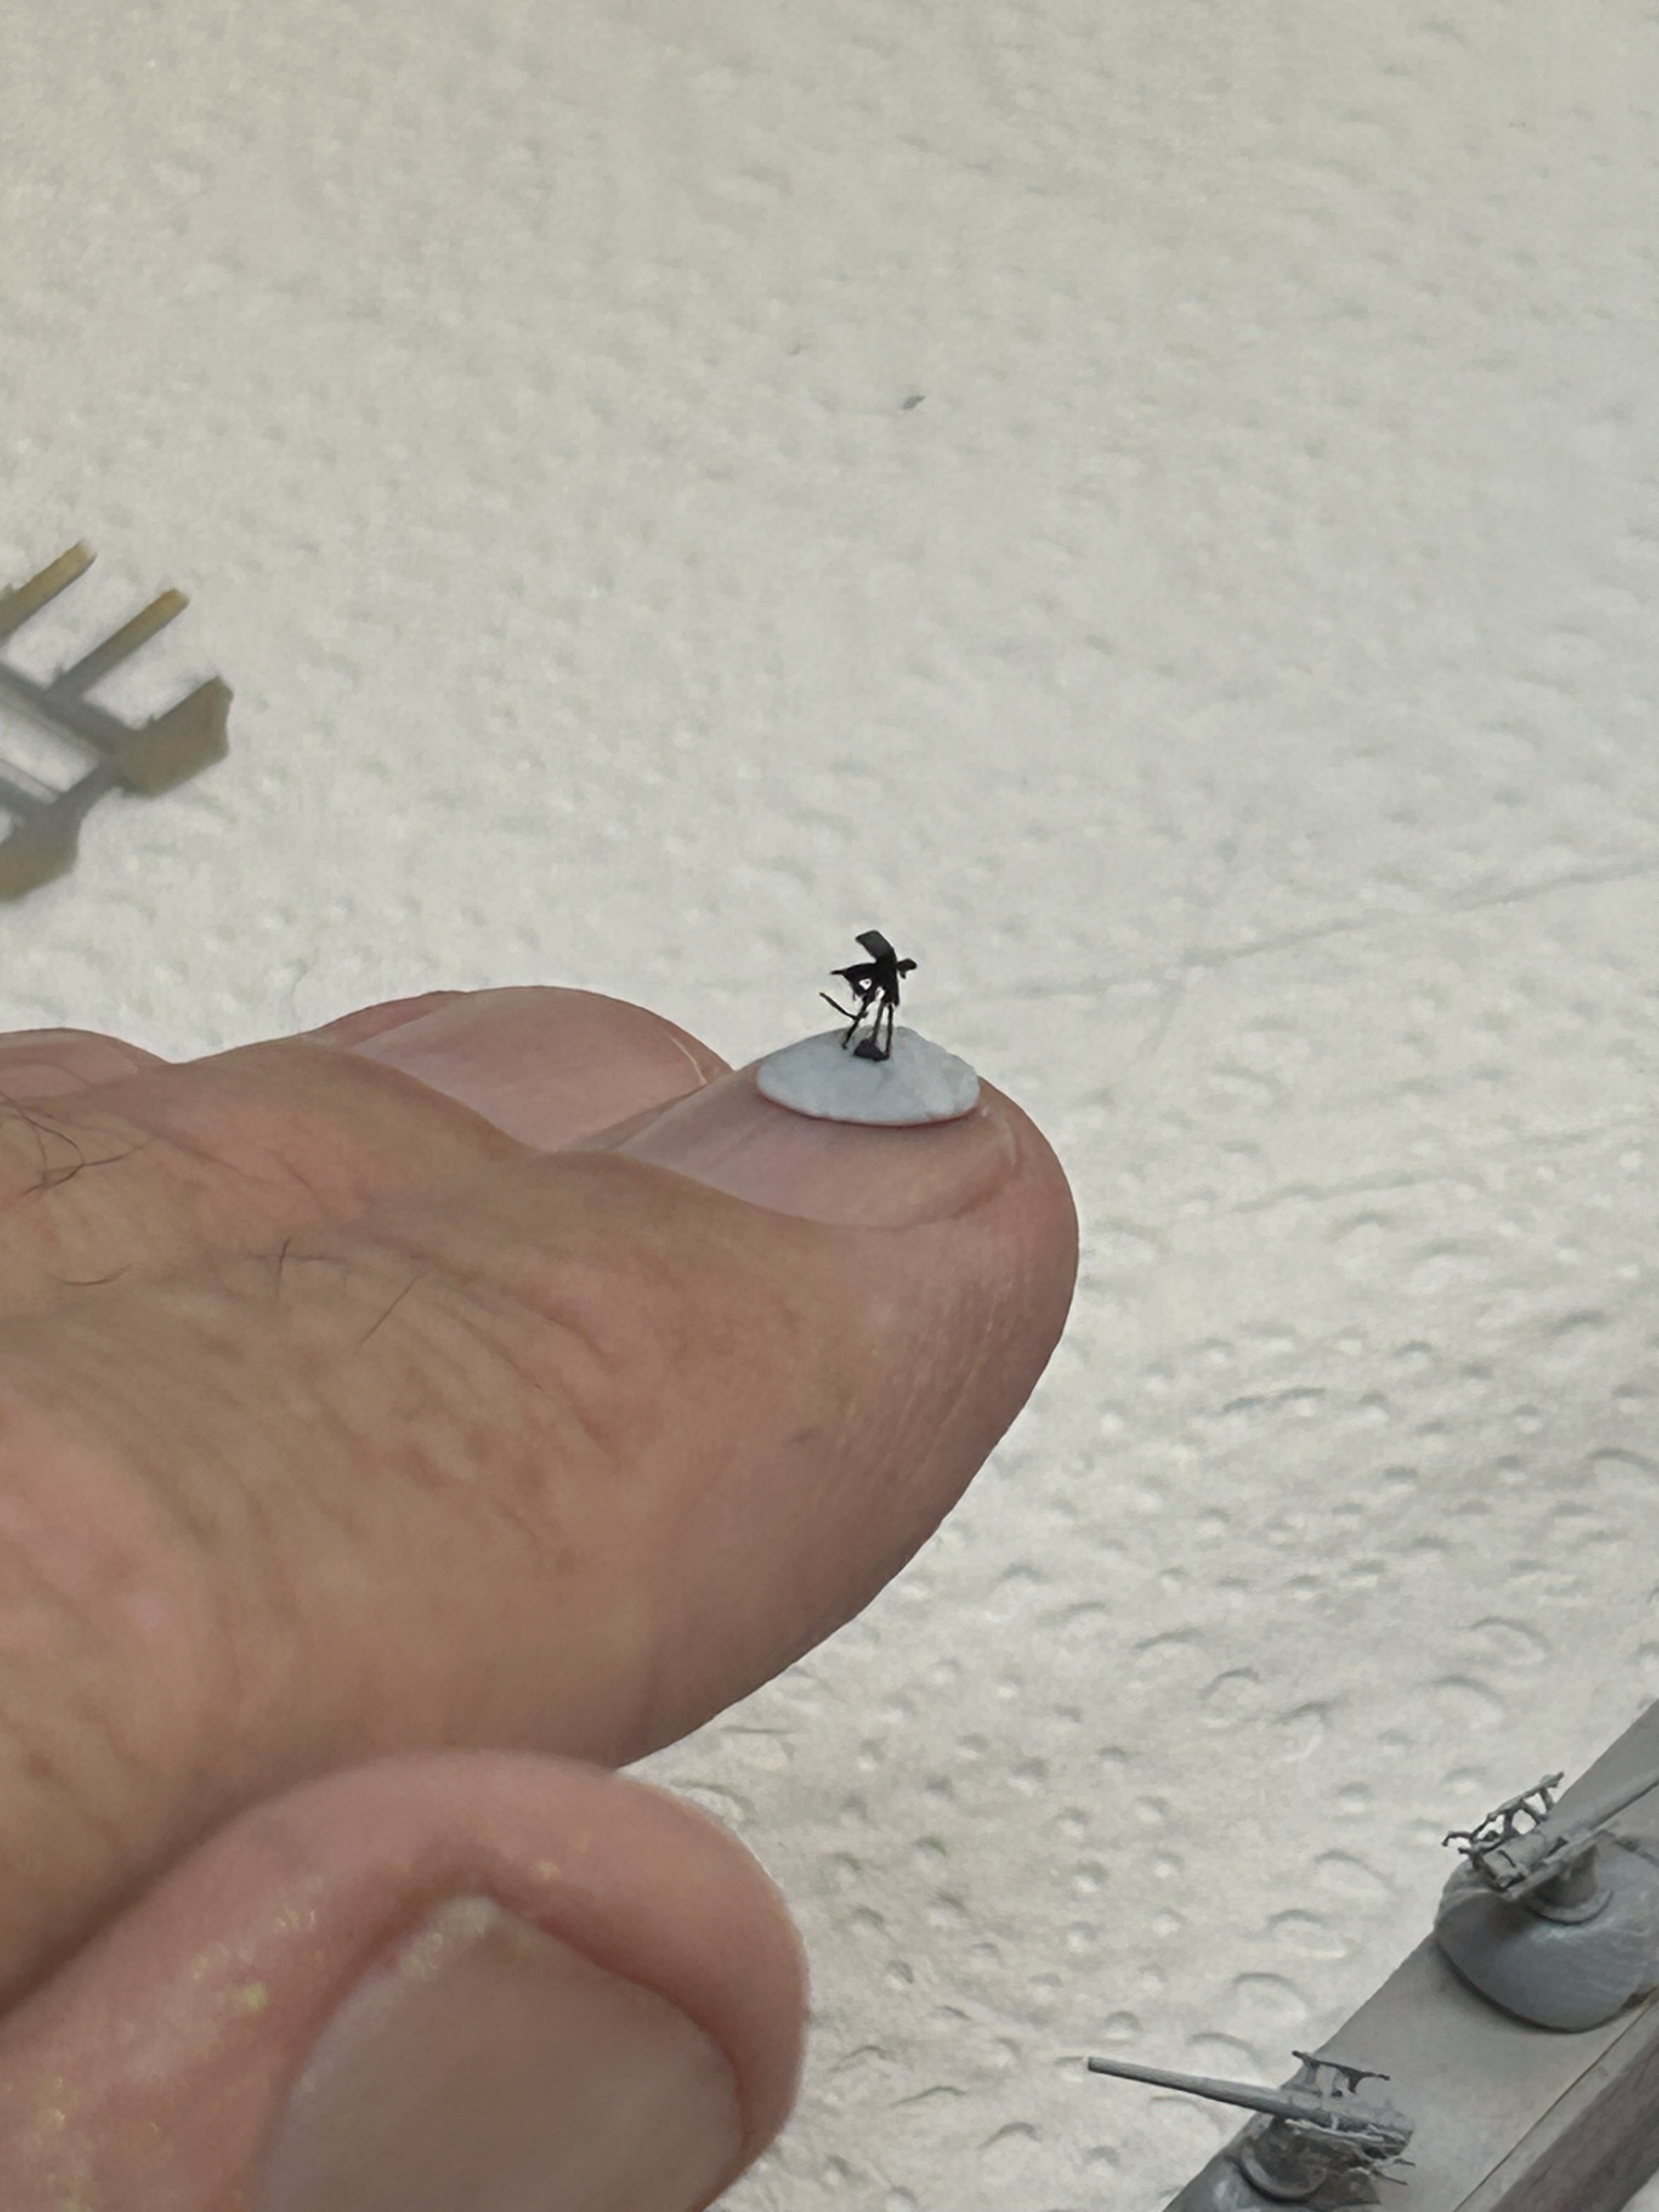
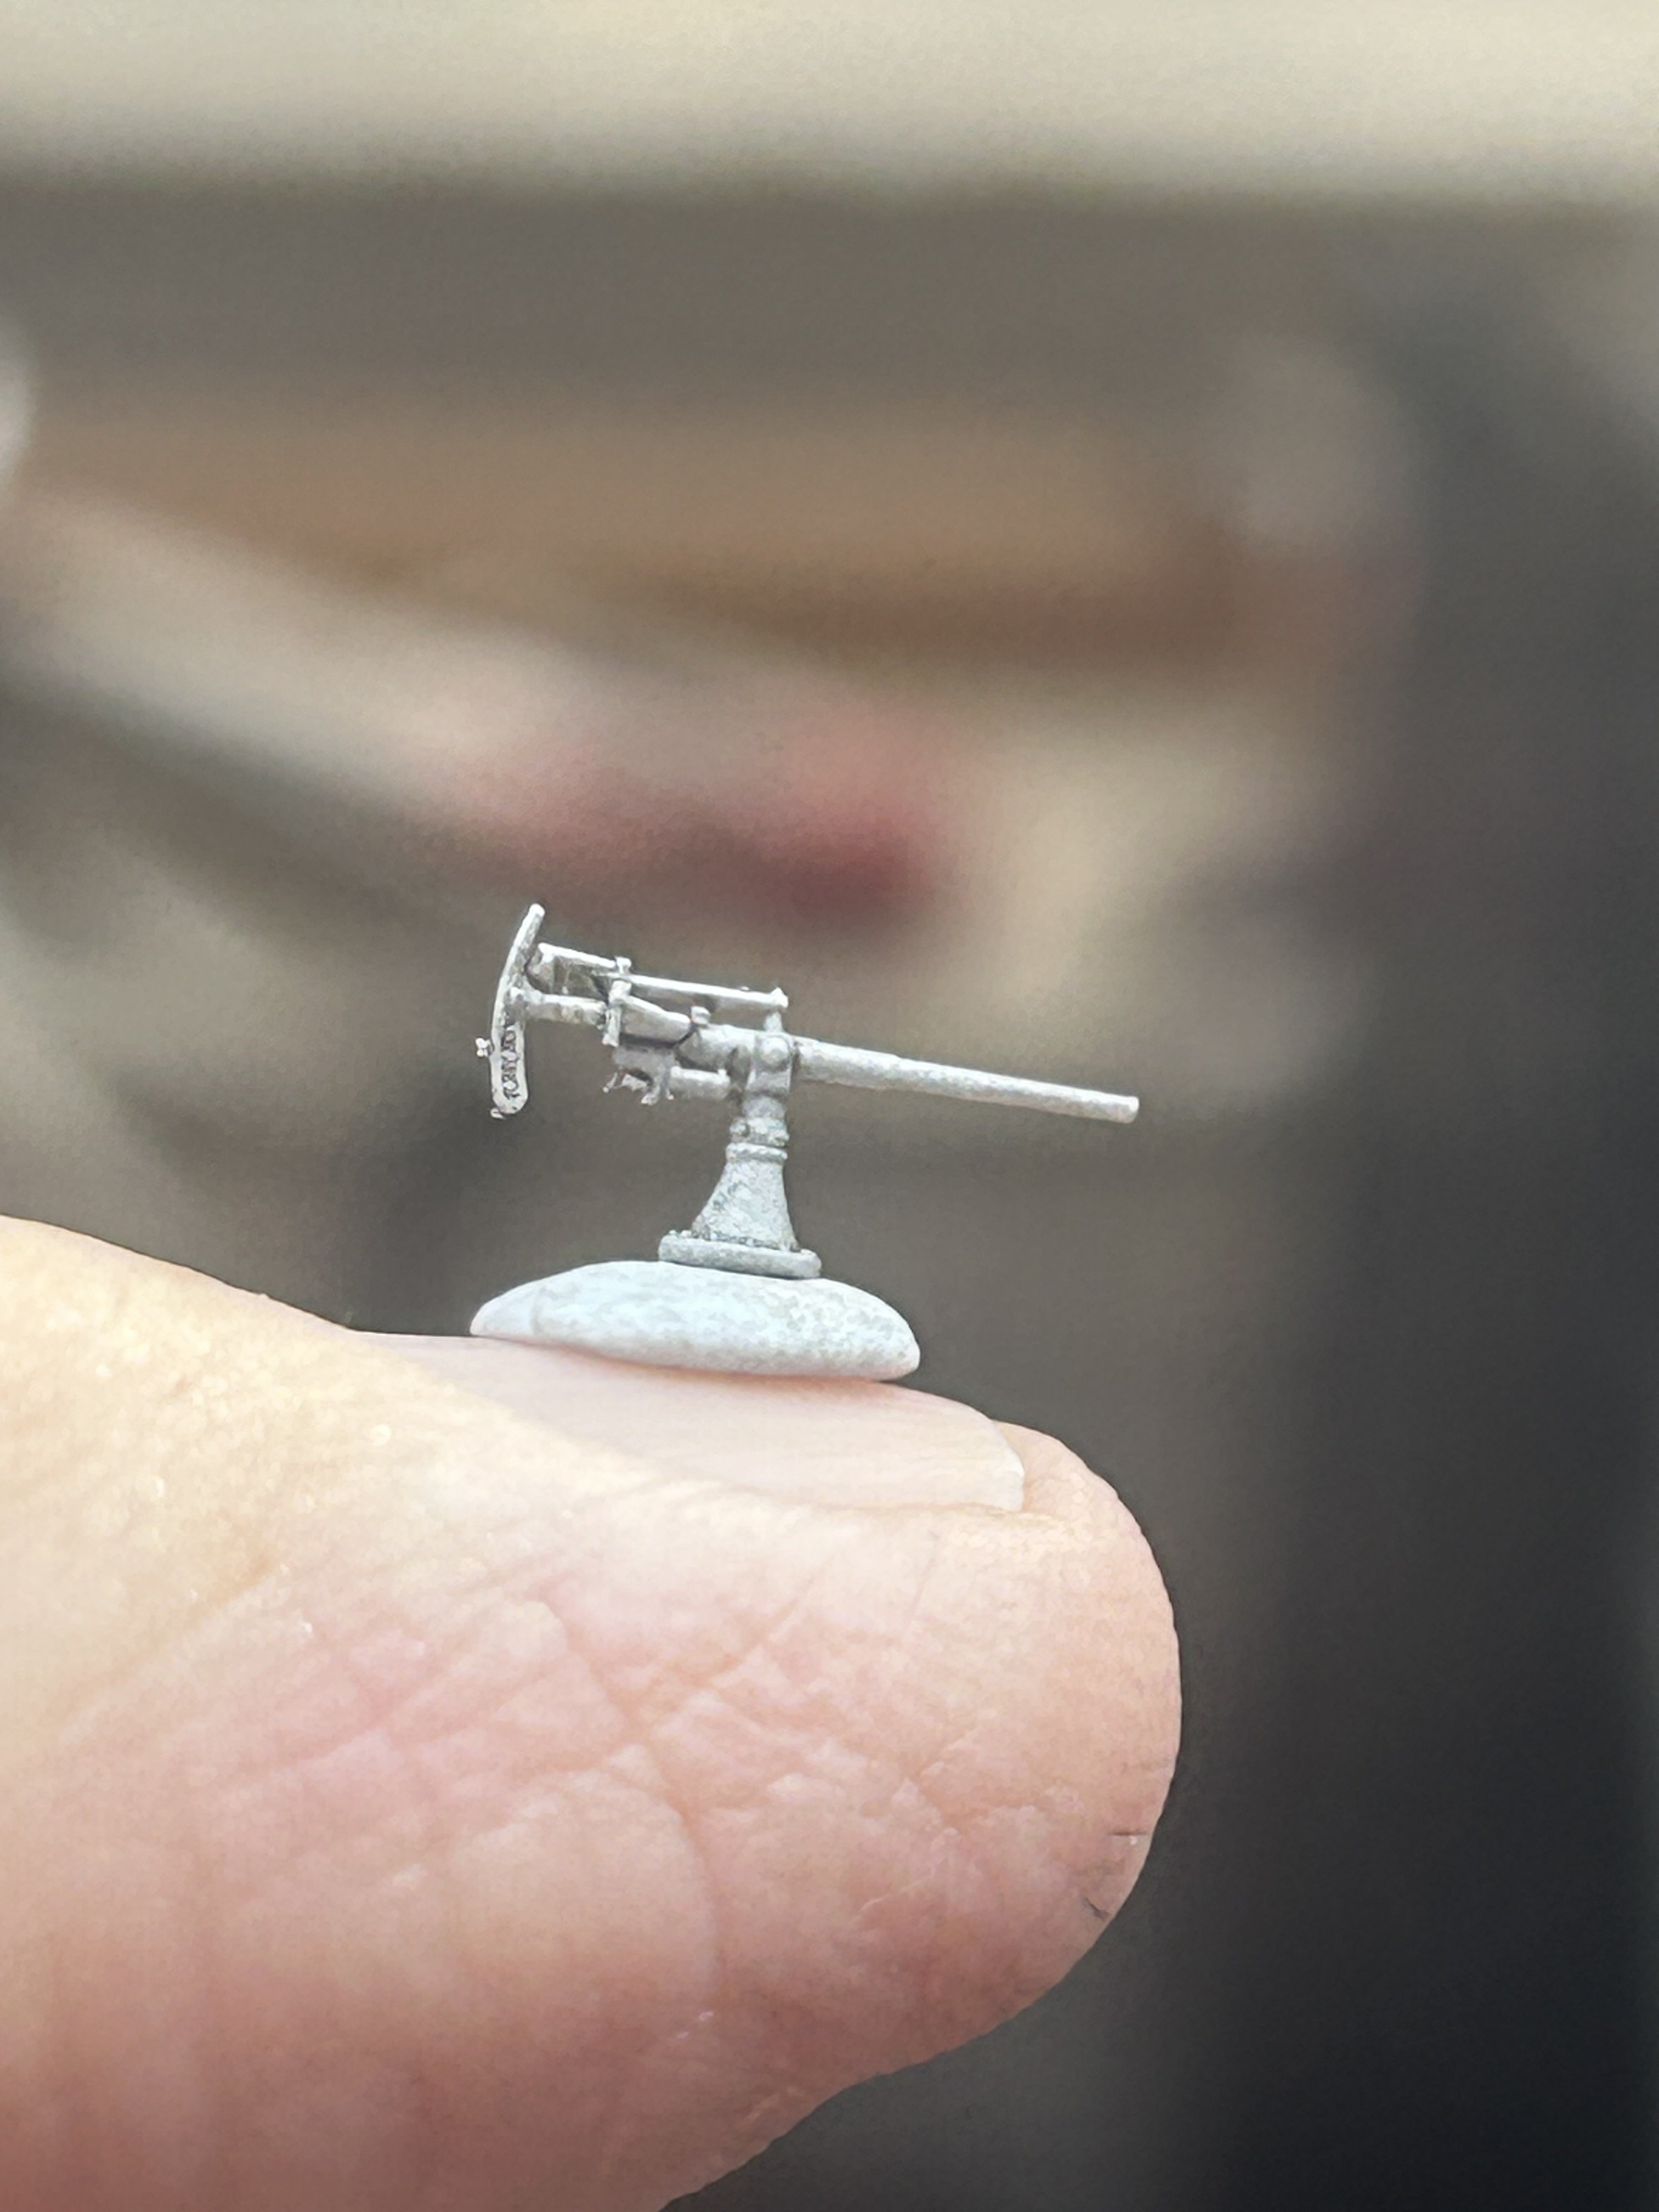
So today I’m done, I build the third kit for comparison in 1 hour 50,
- 81 replies
-
- 11
-

-

-
- Micromaster
- Eduard
- (and 4 more)
-
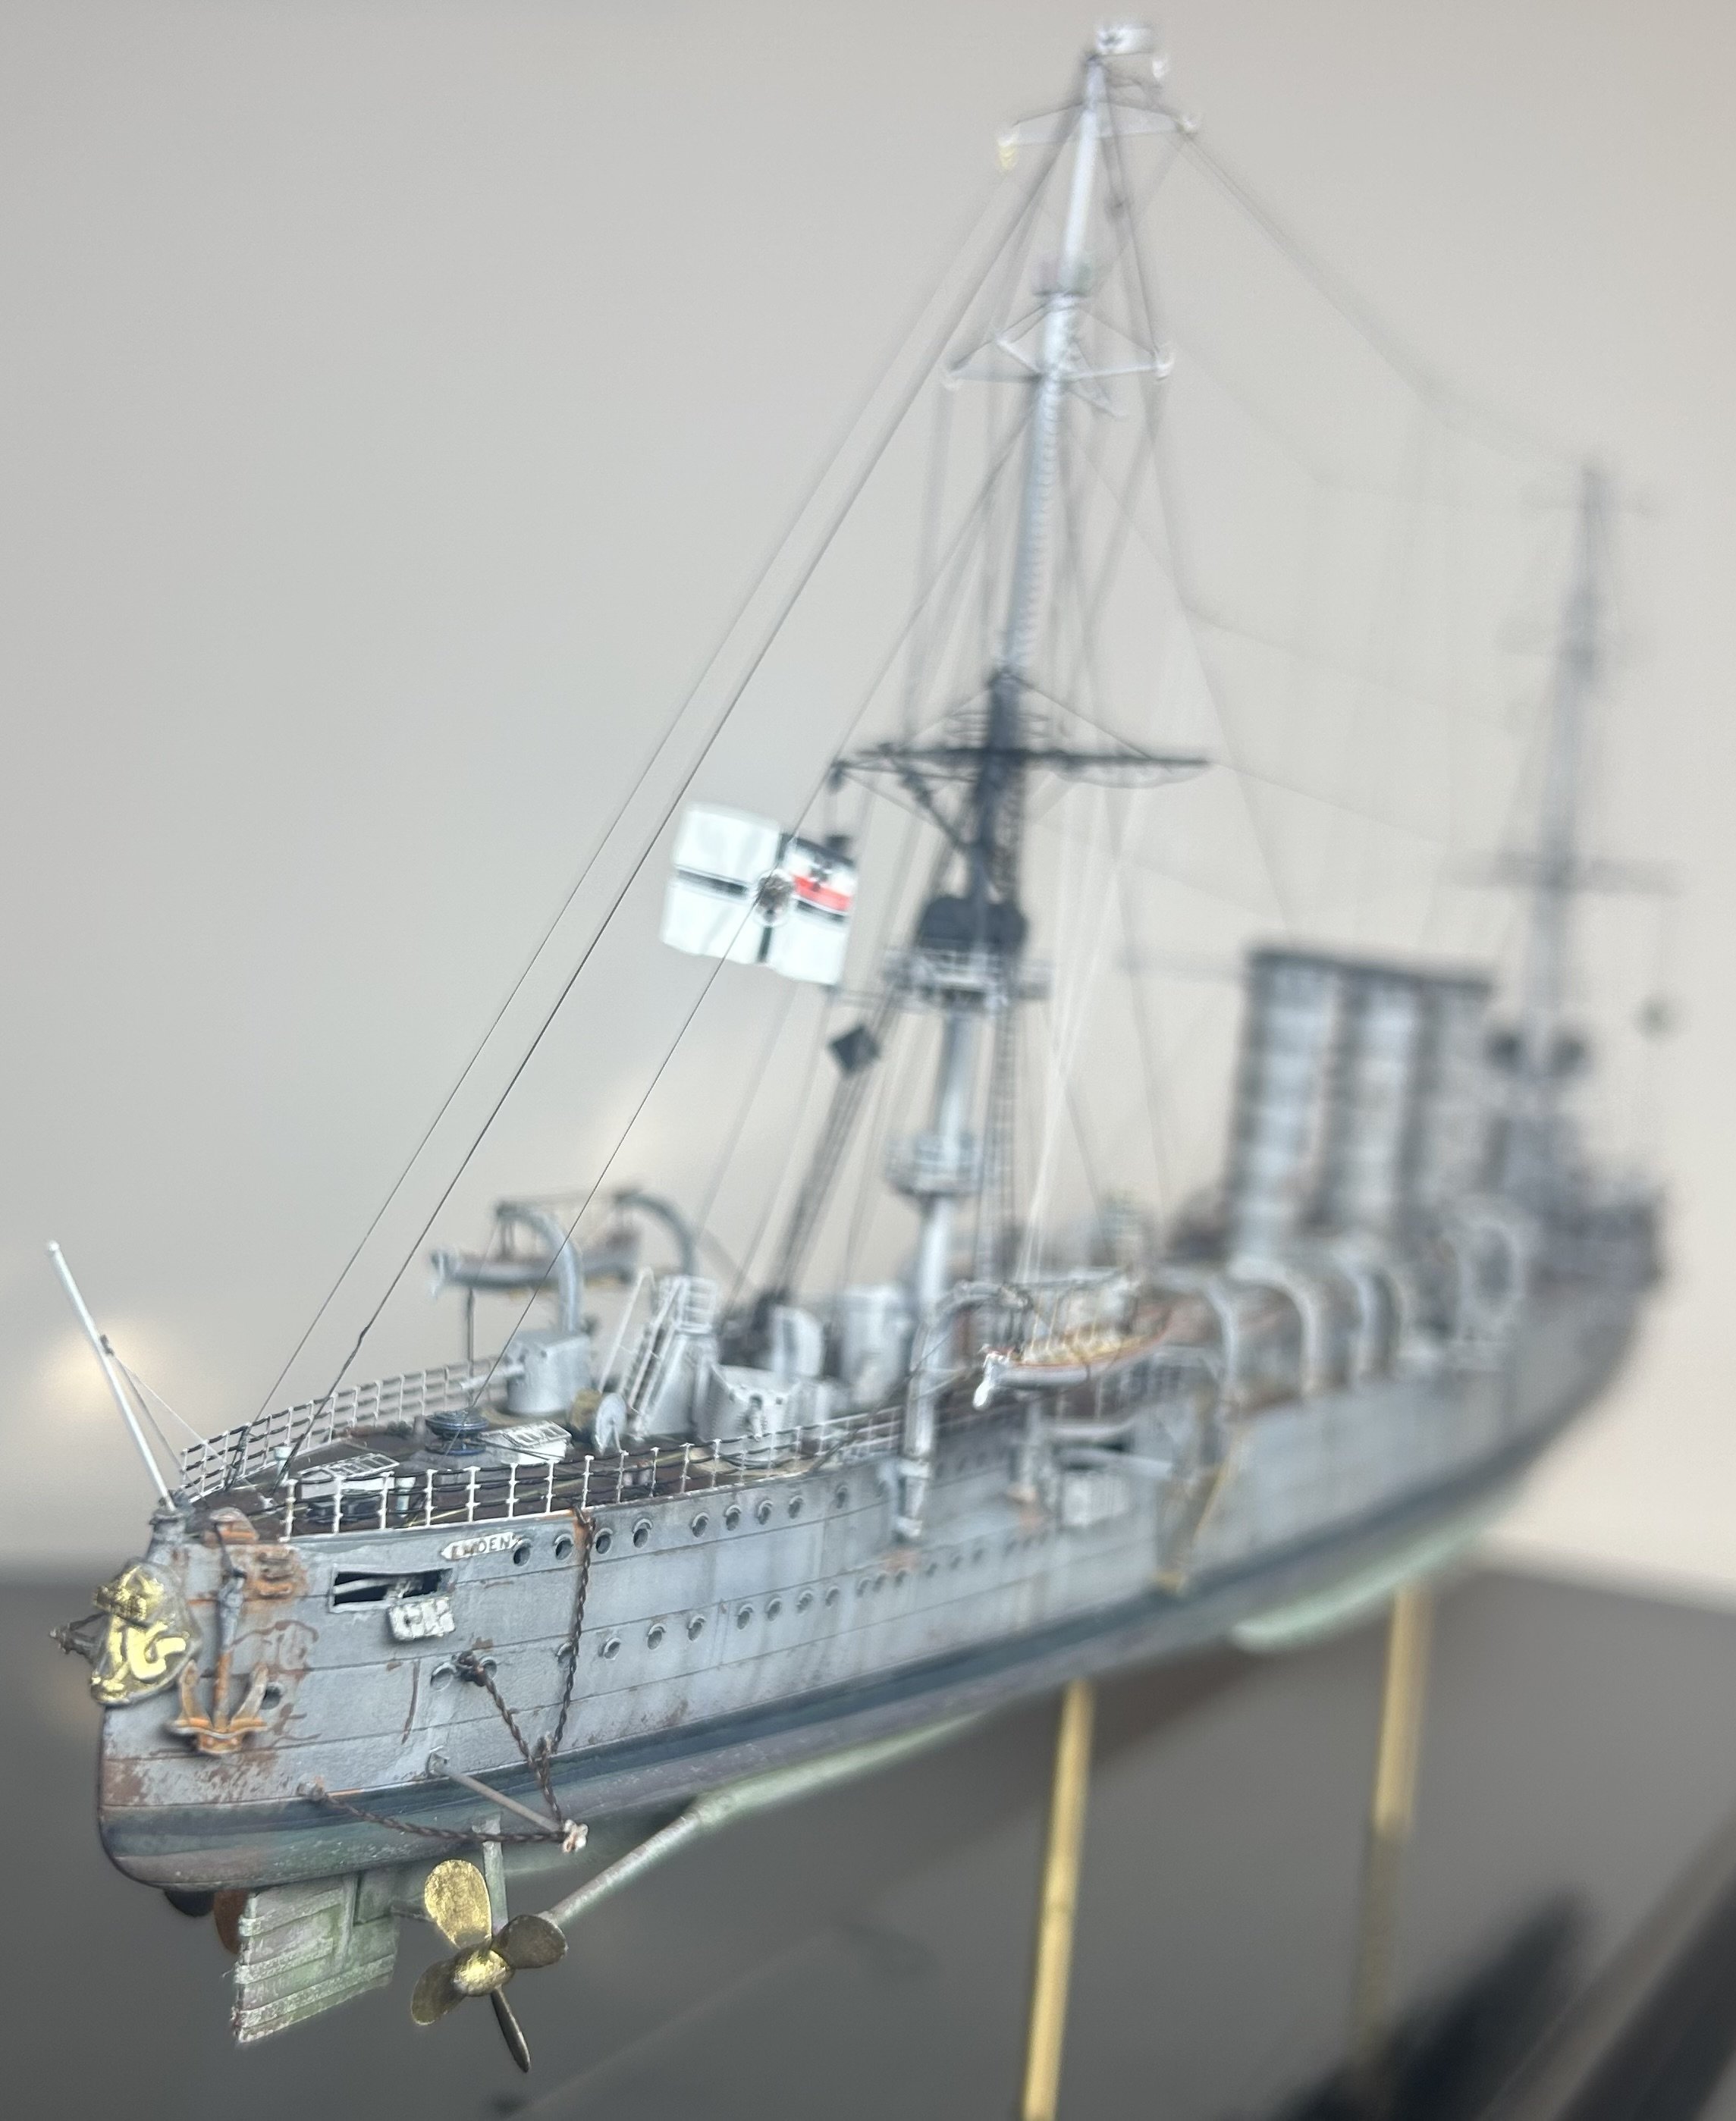
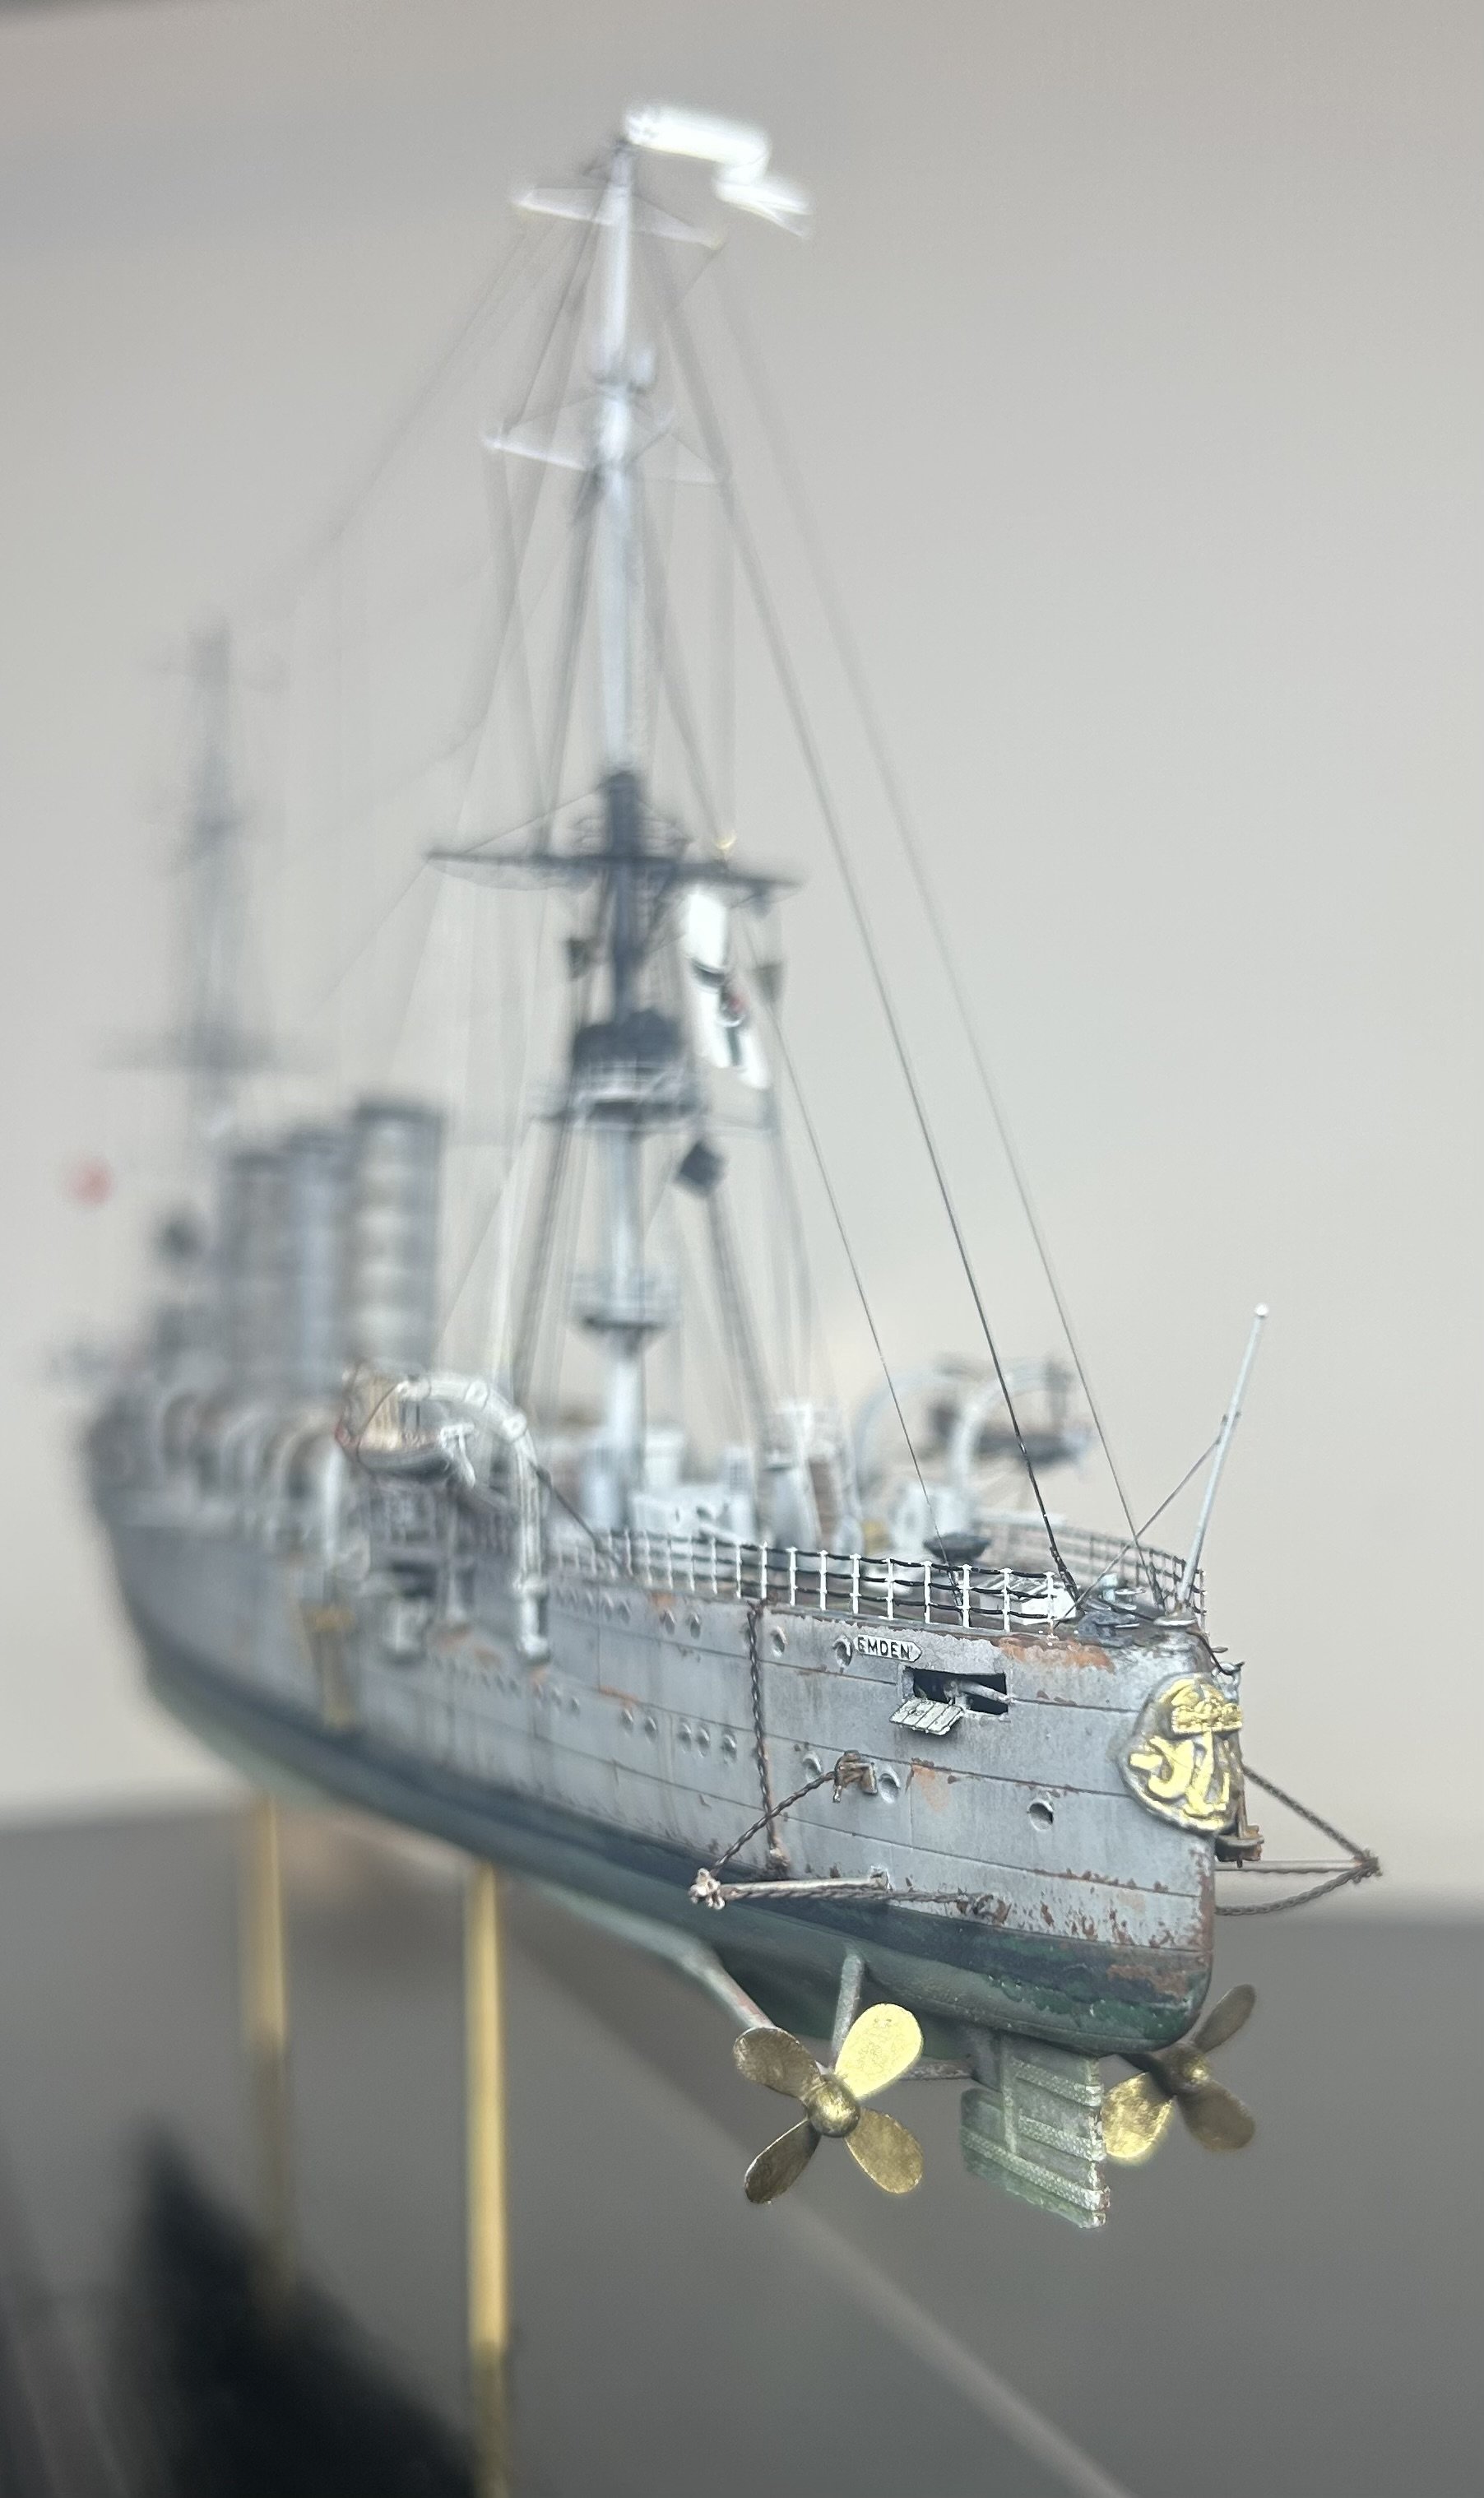
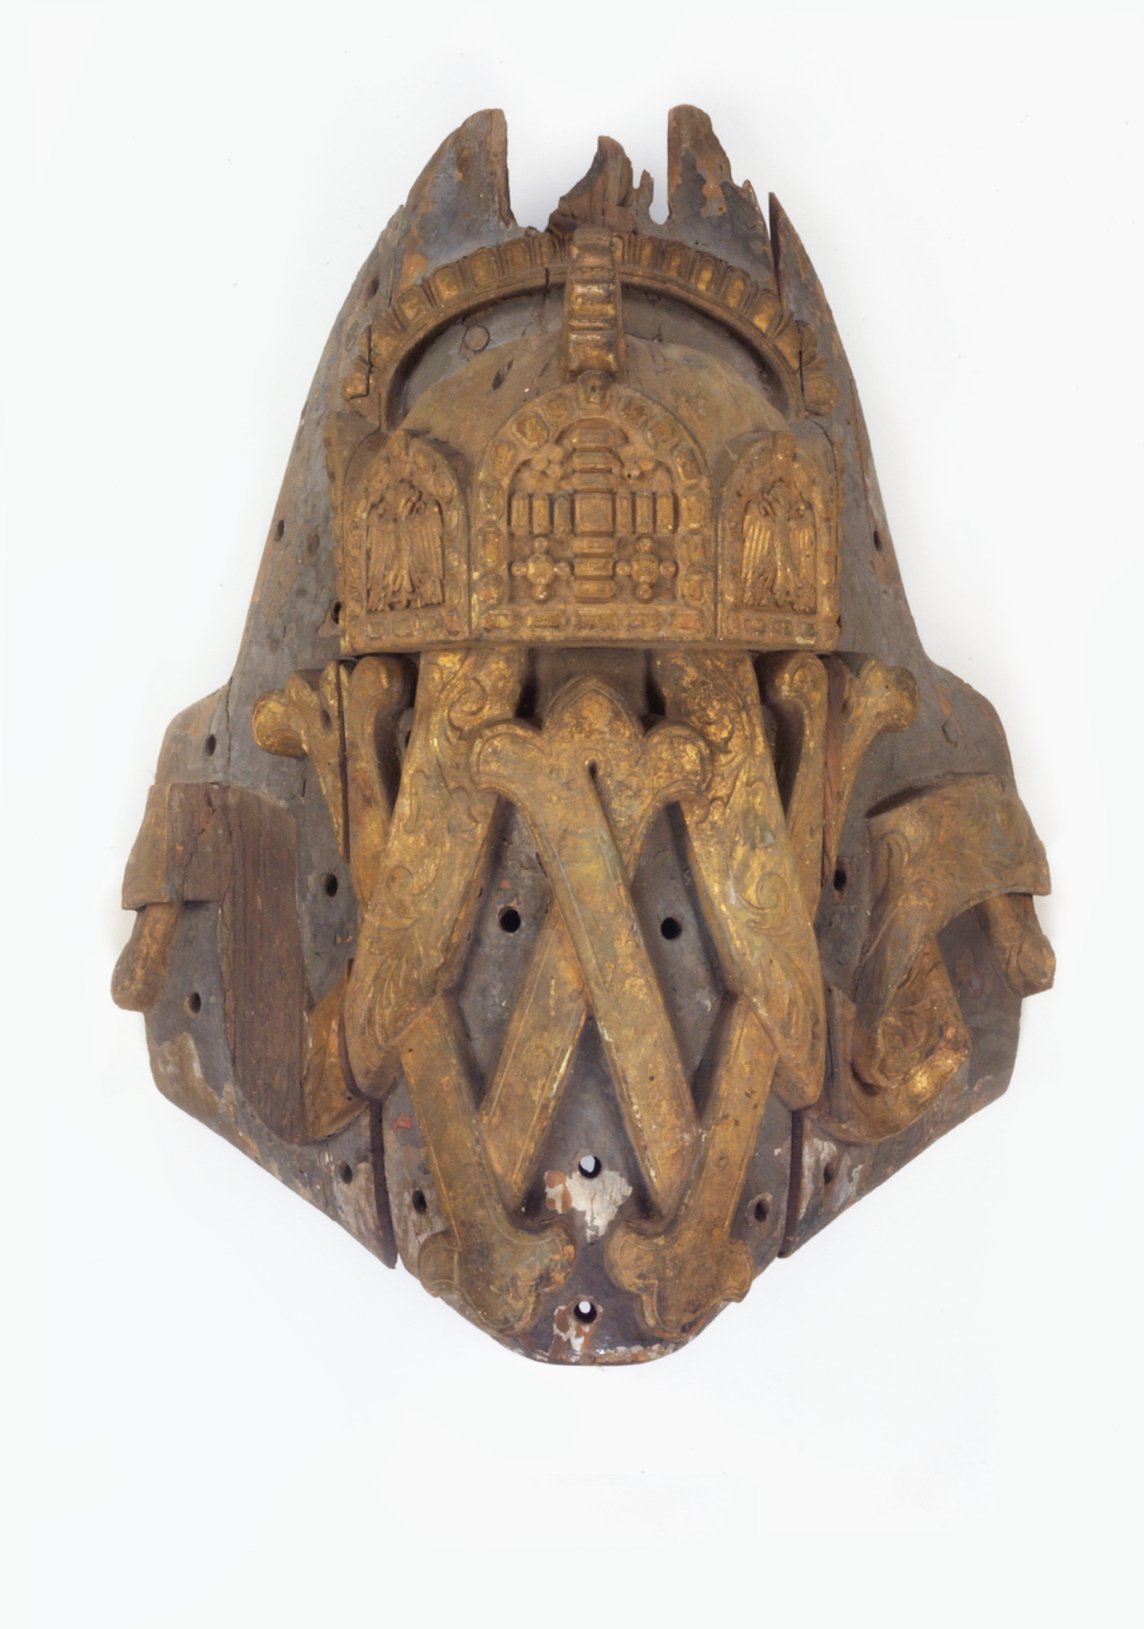
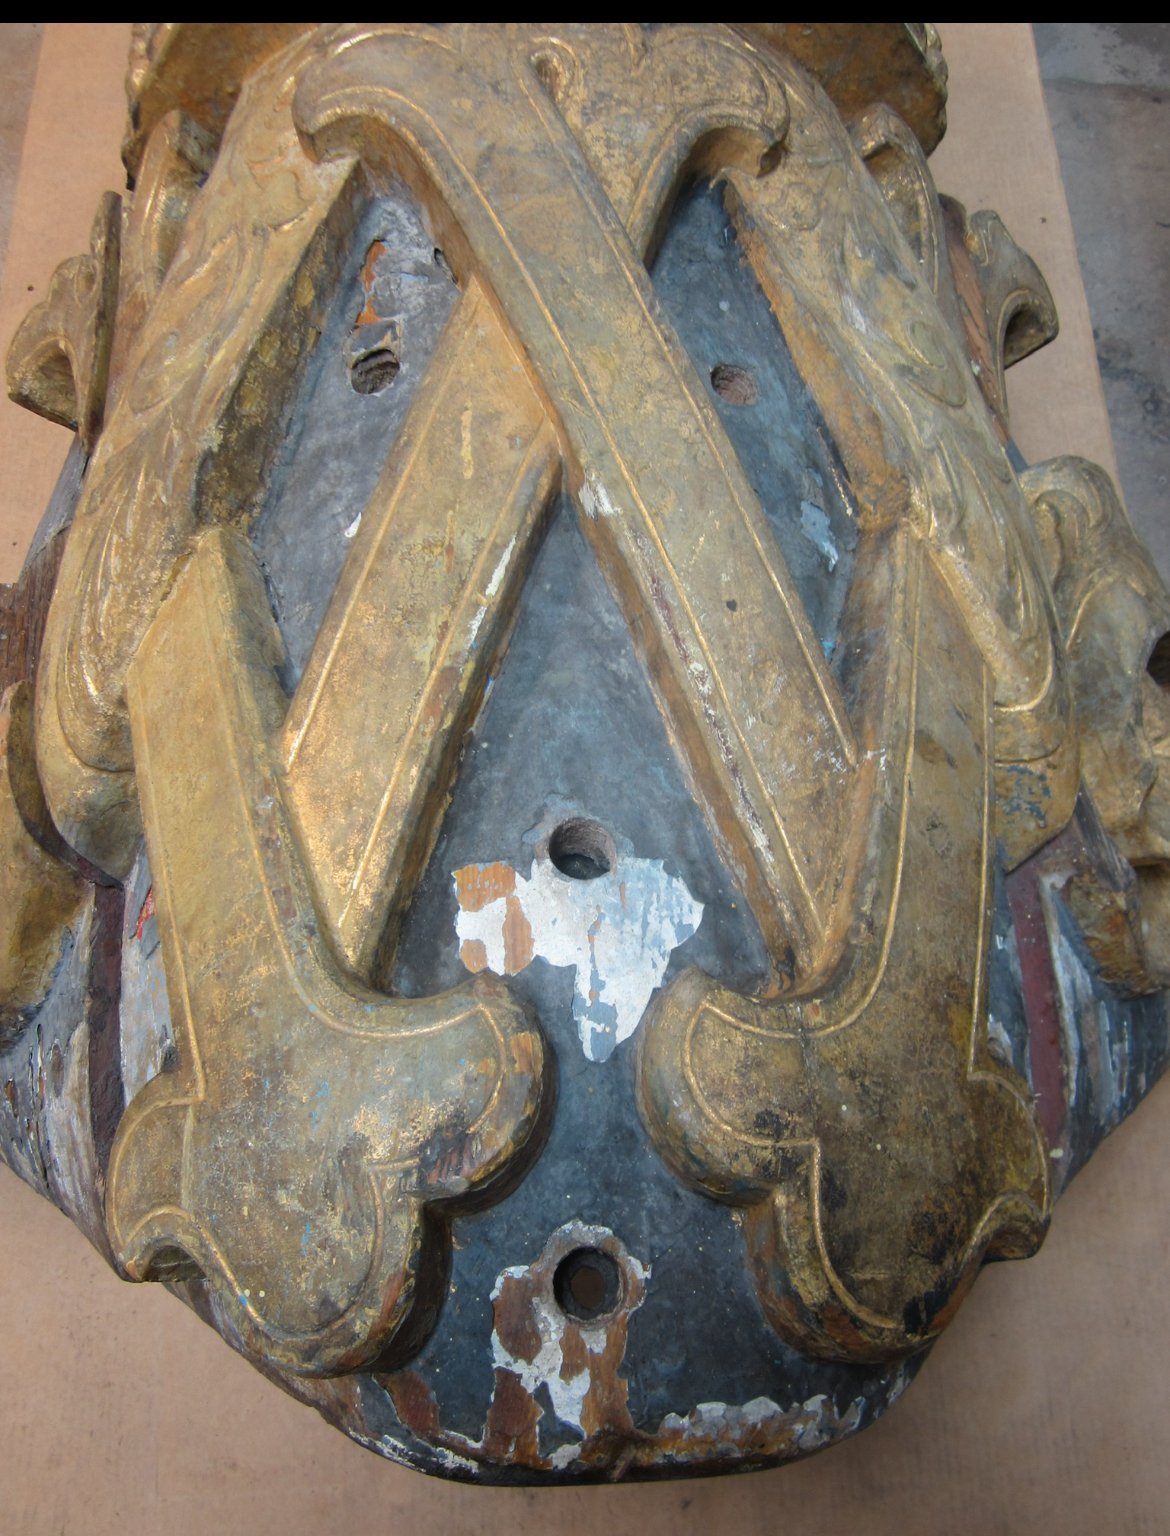
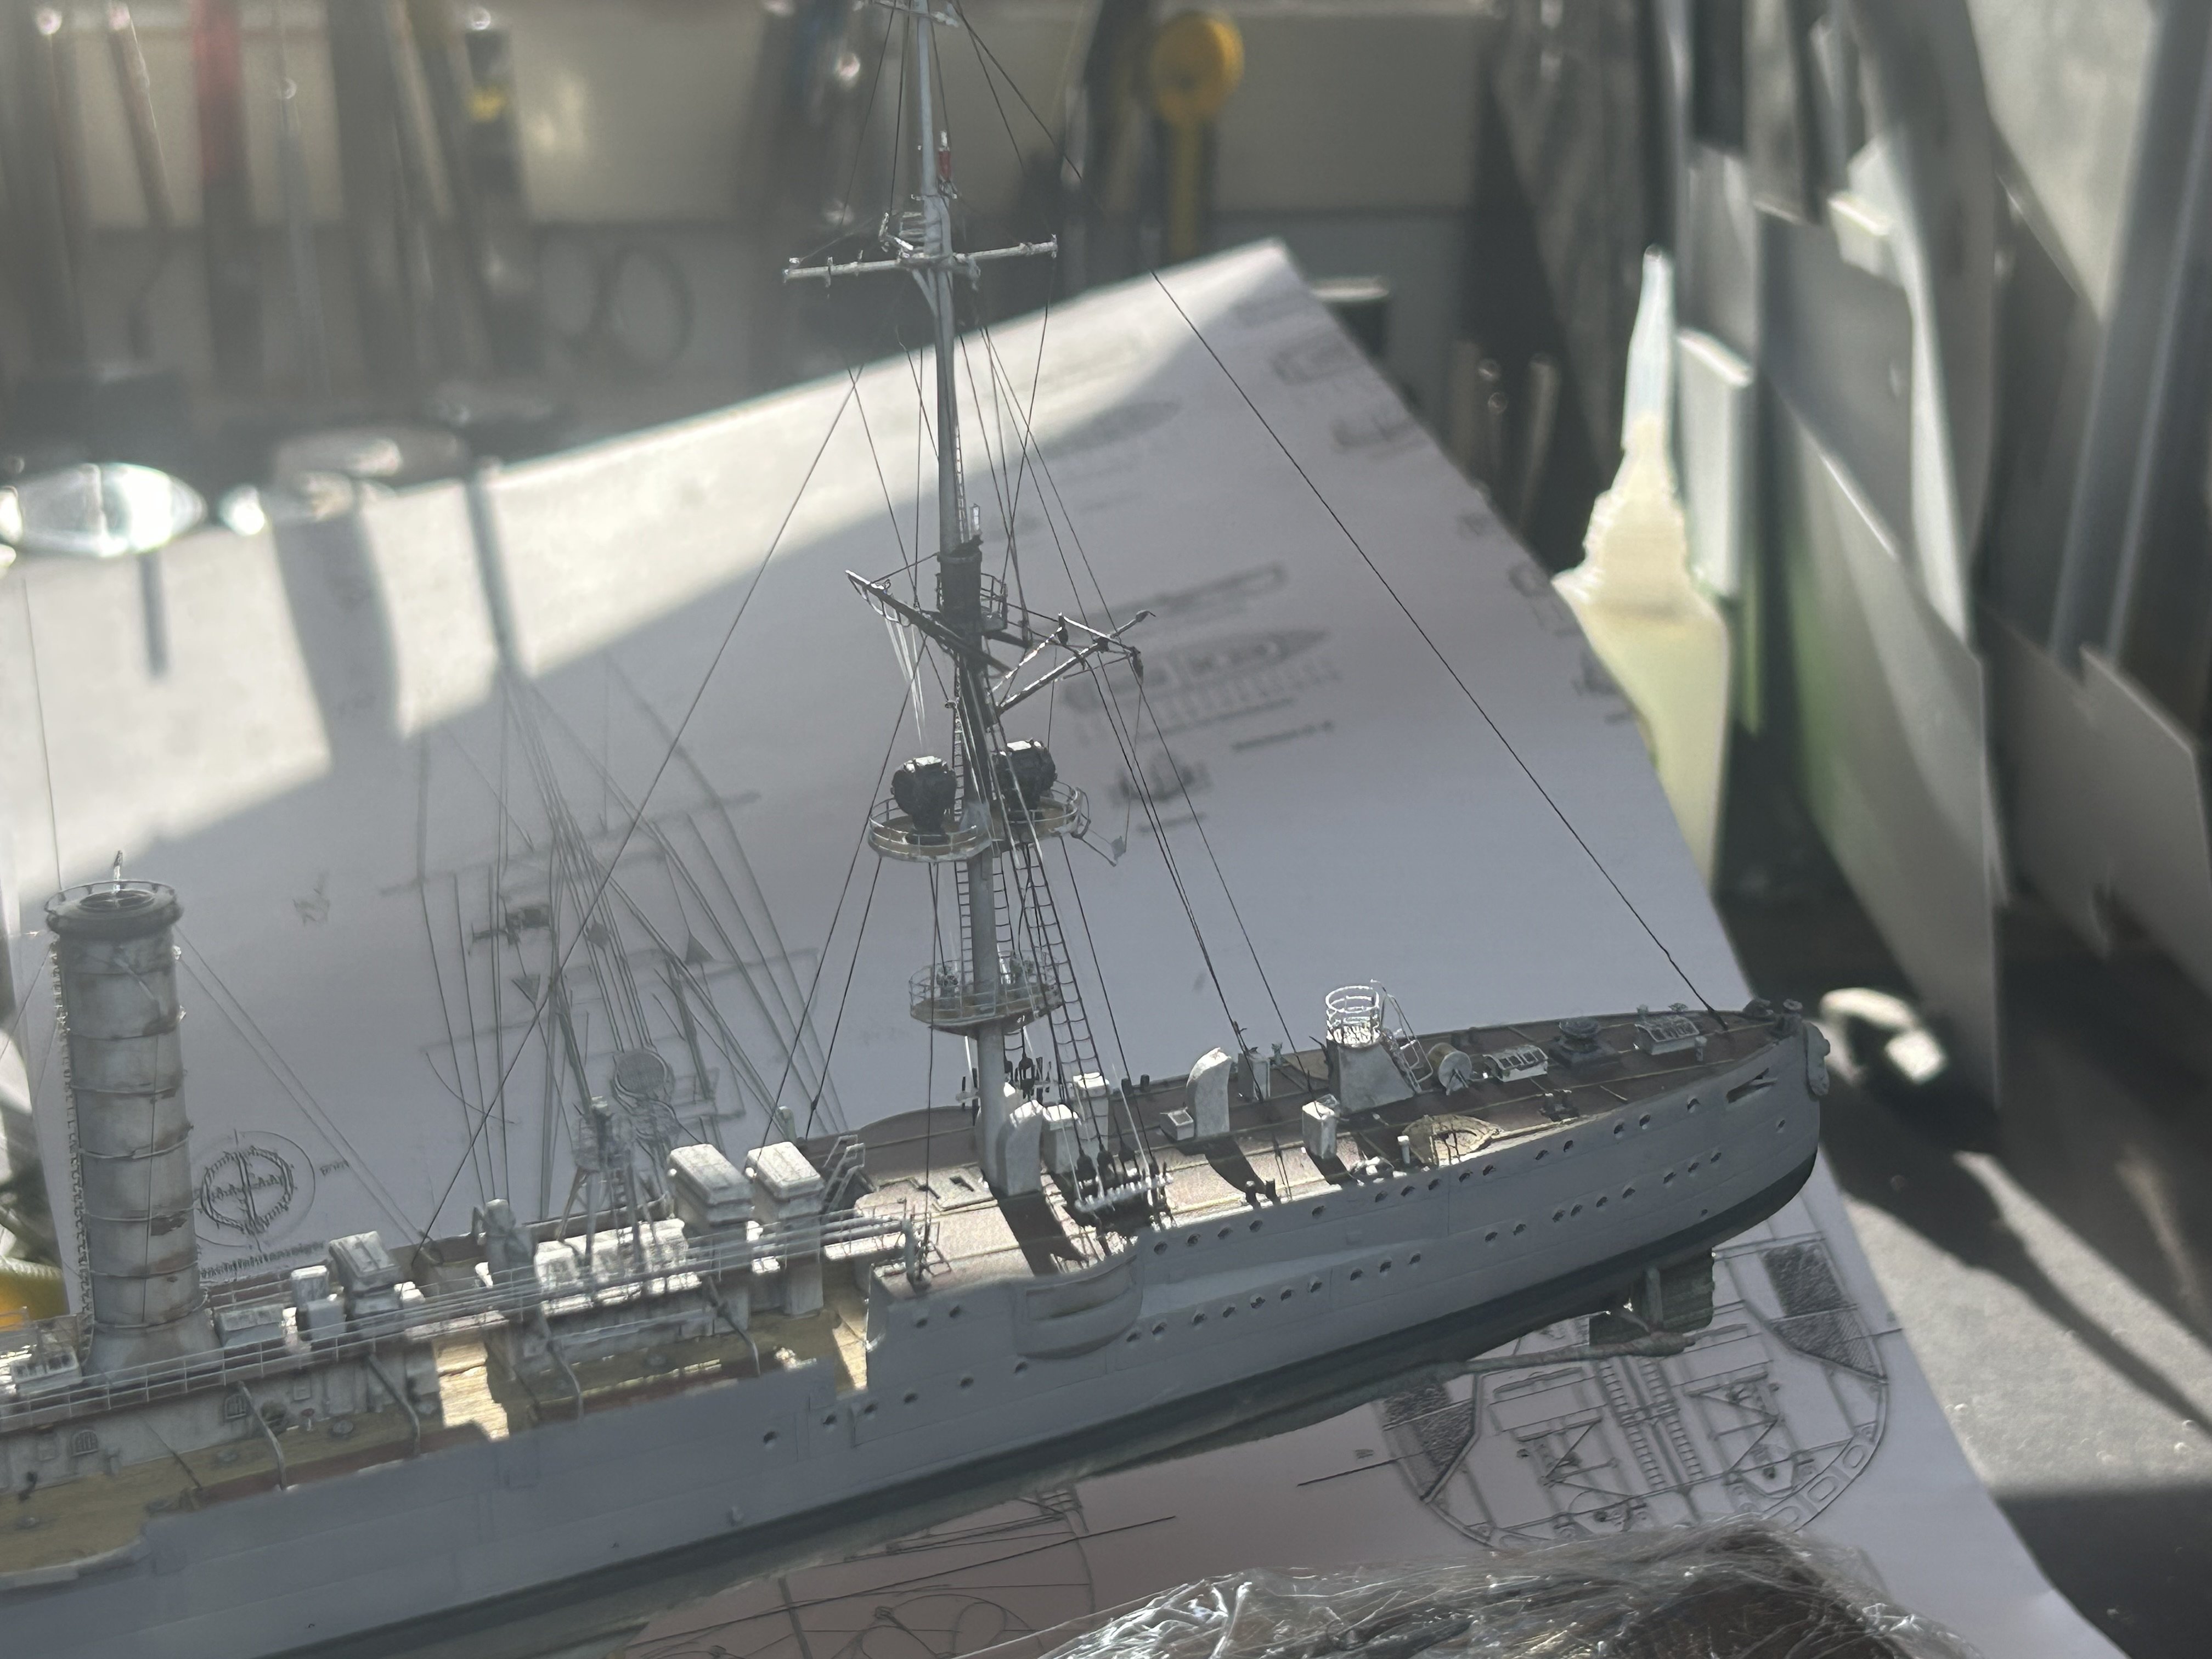
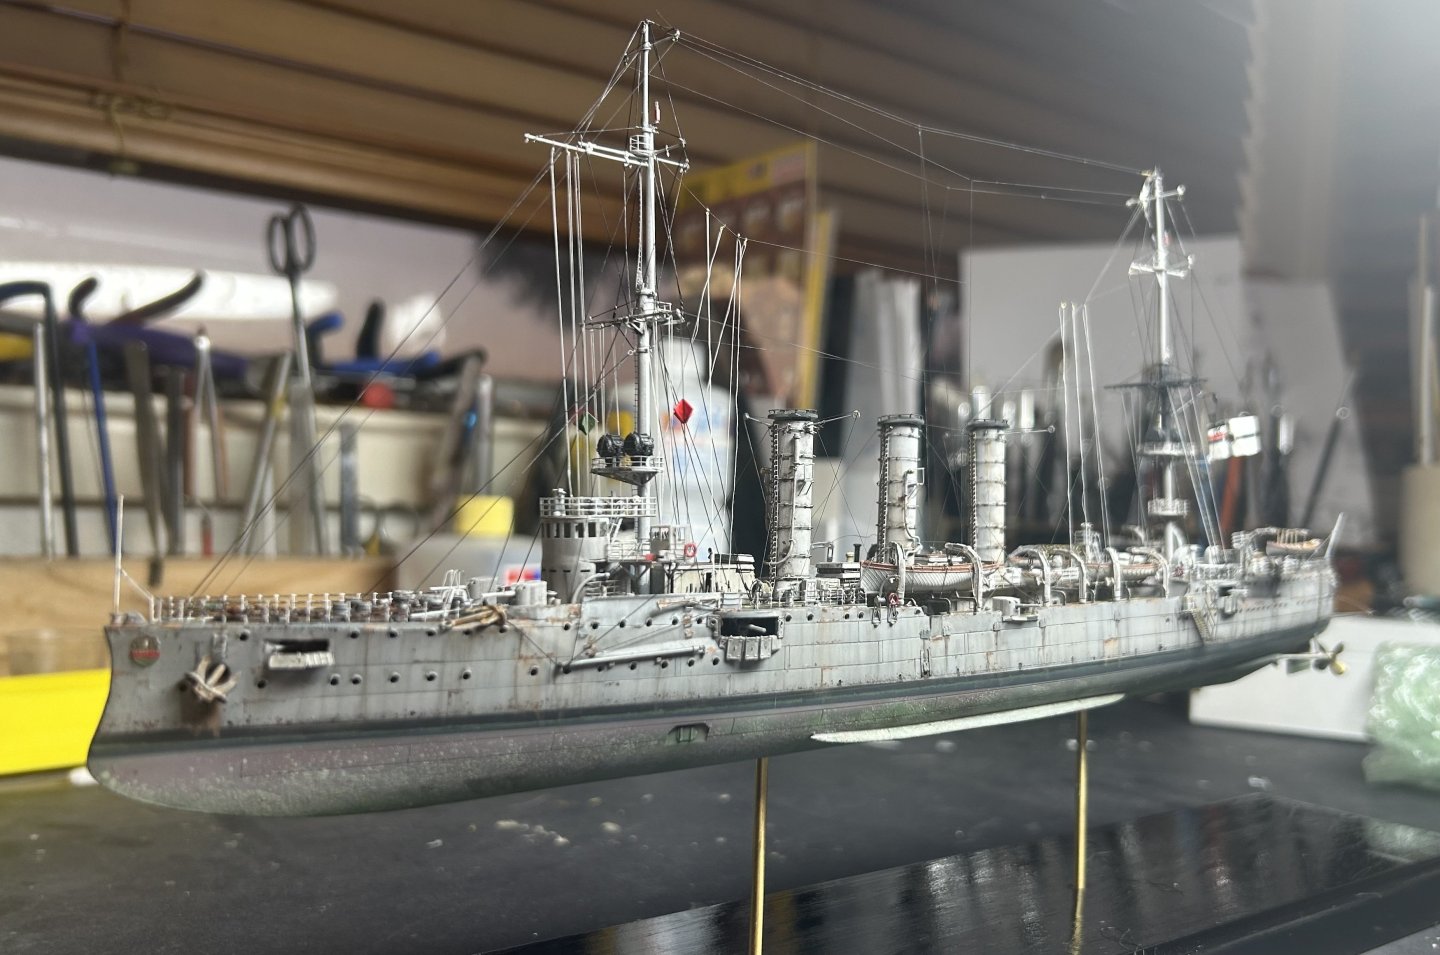
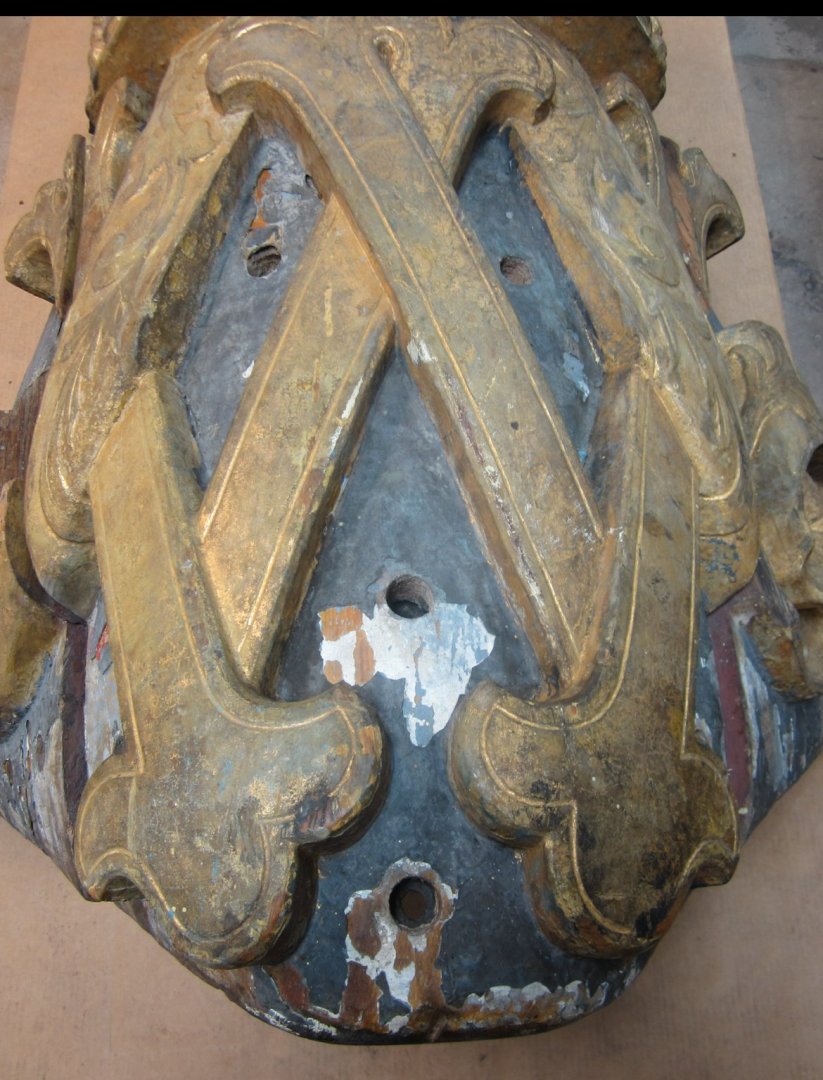
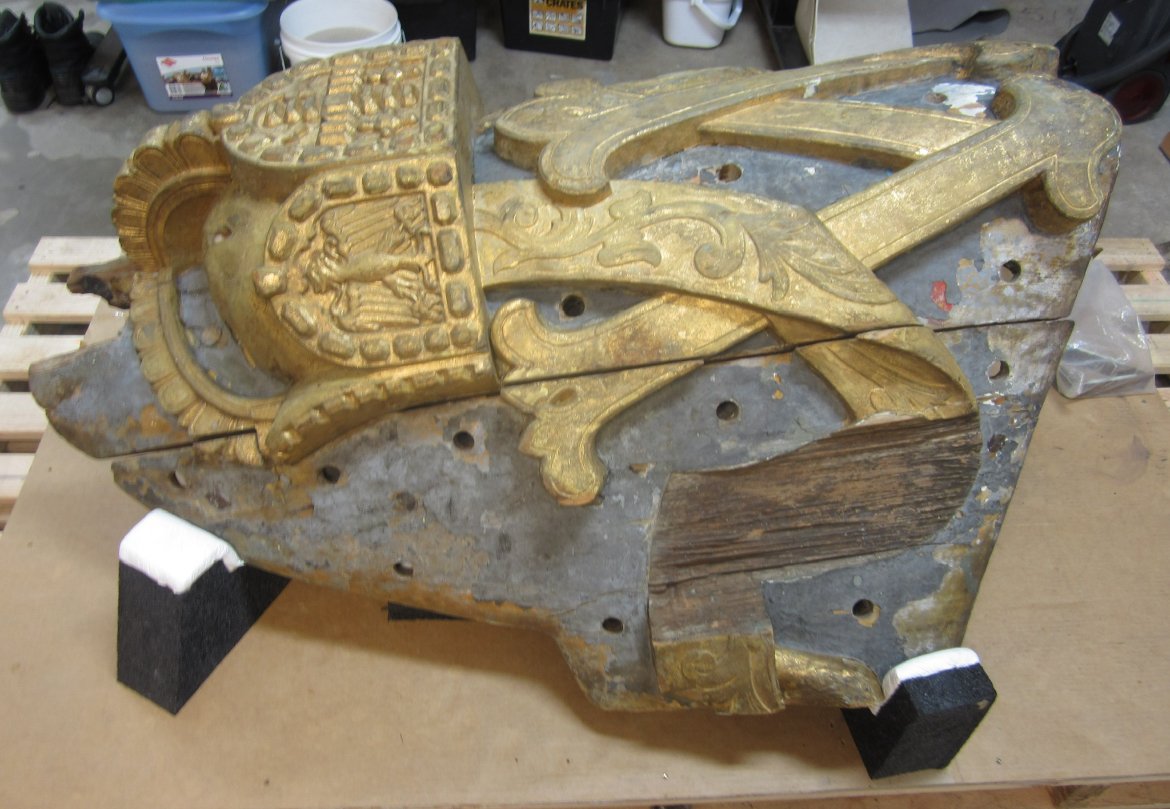
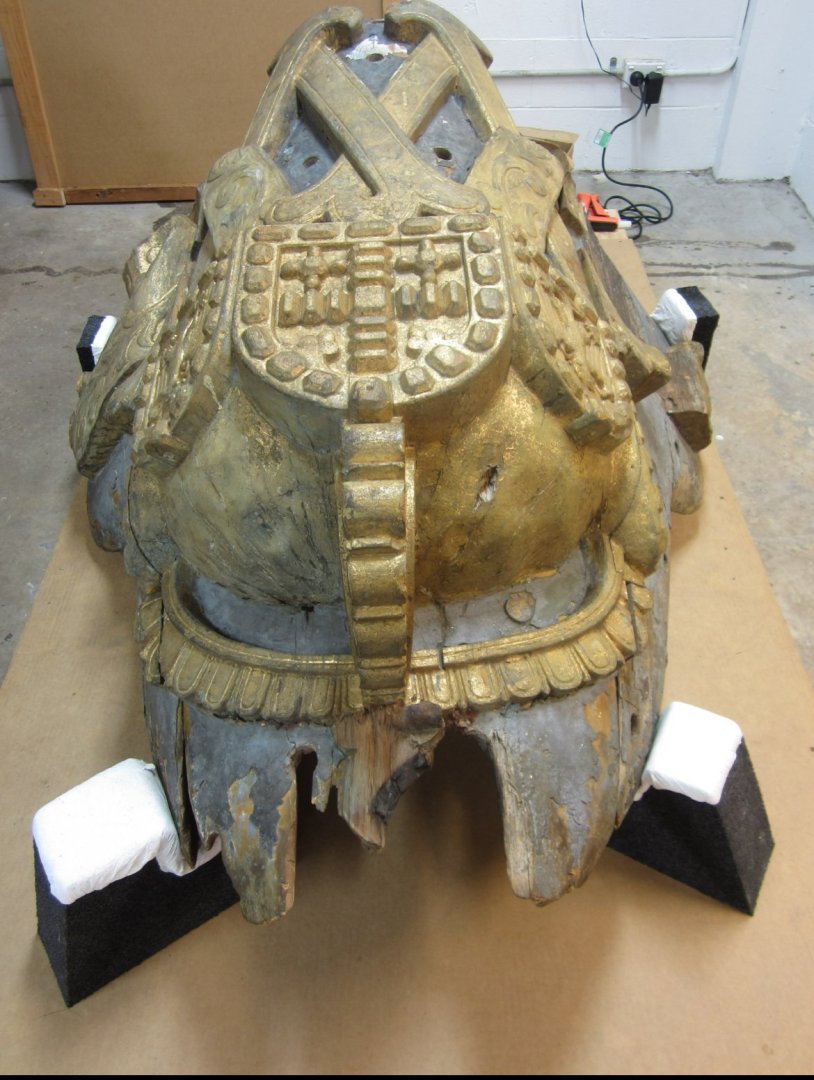
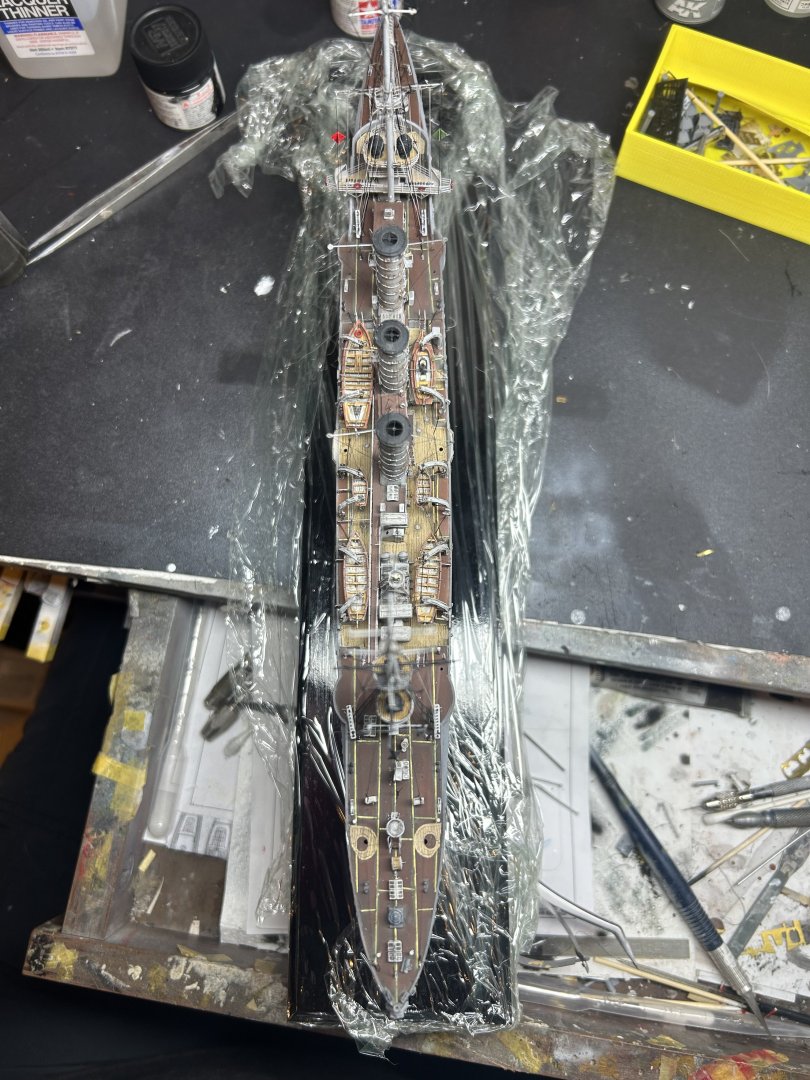
Stern piece was 3D designed for me, the real thing is held at the war memorial,

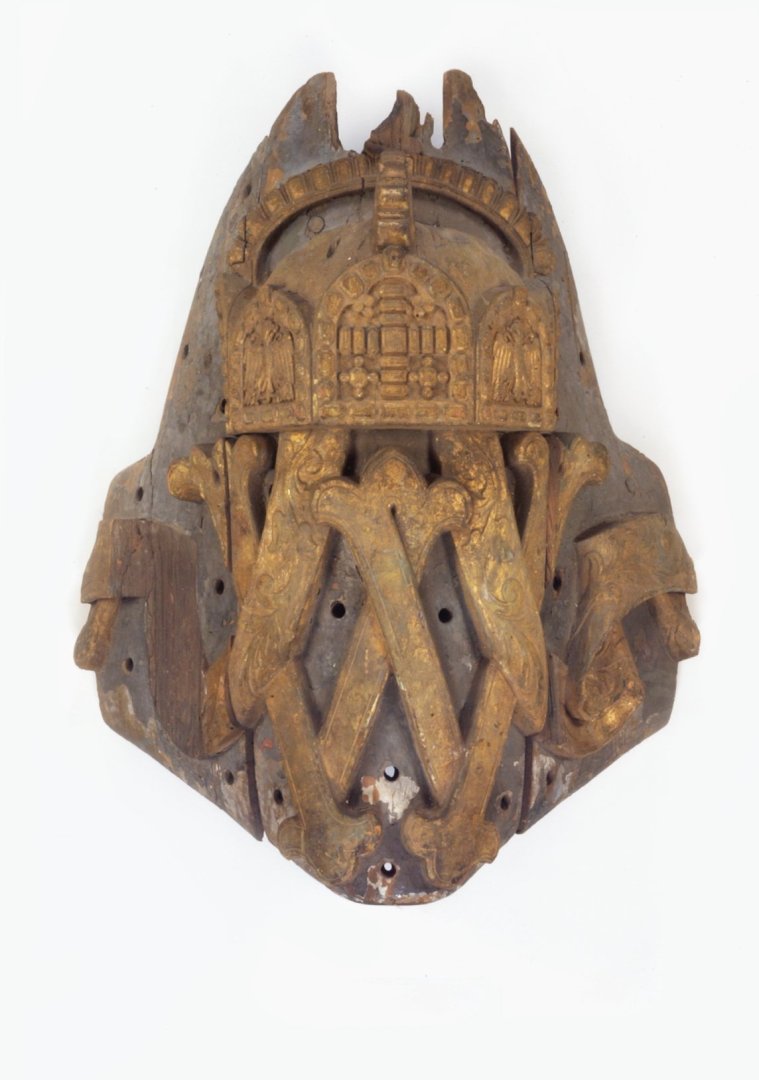
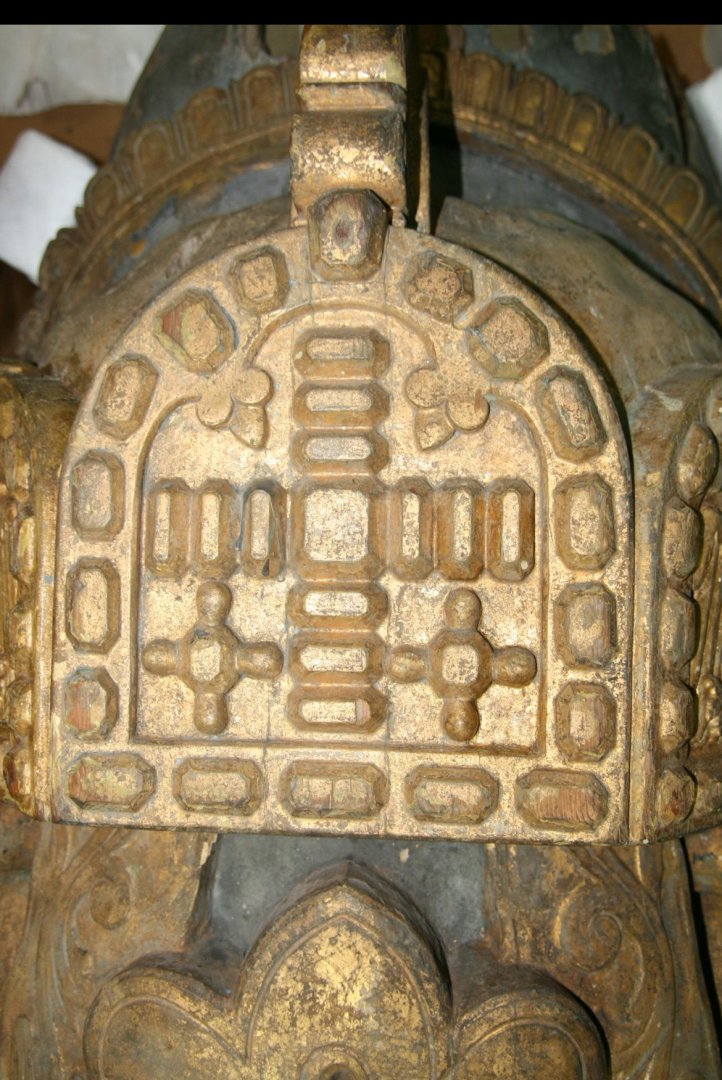
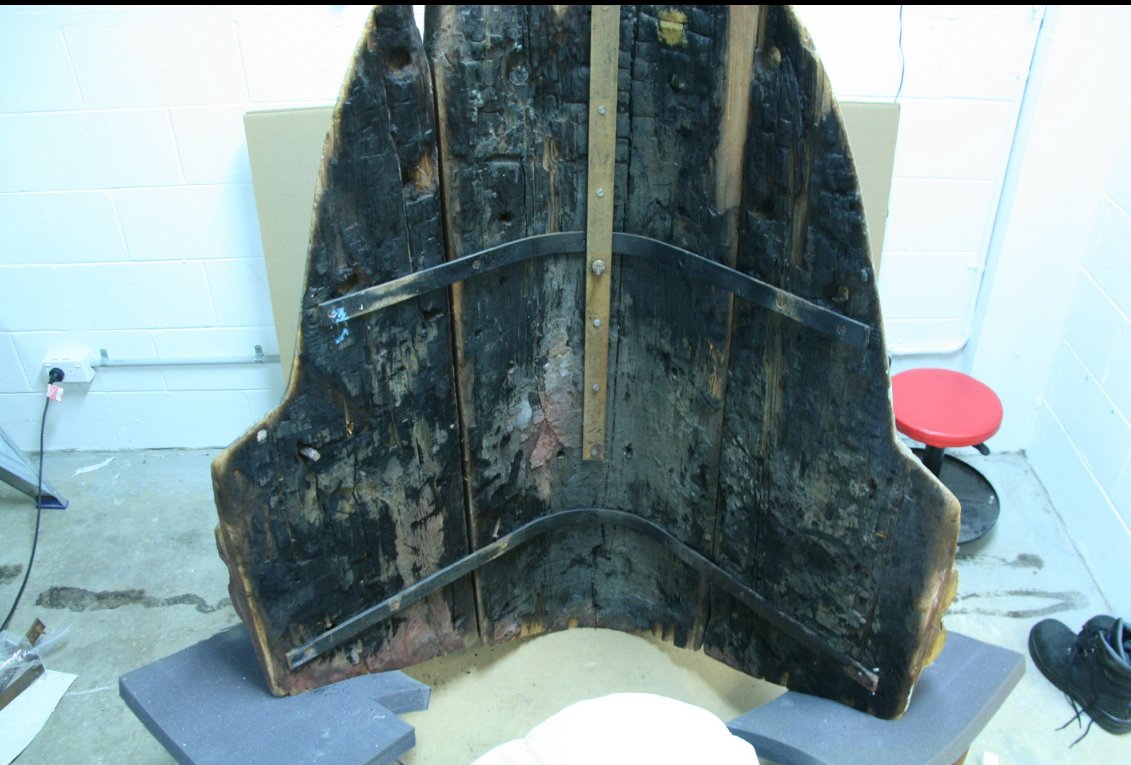
- 81 replies
-
- 7
-
-
-
- Micromaster
- Eduard
- (and 4 more)
-
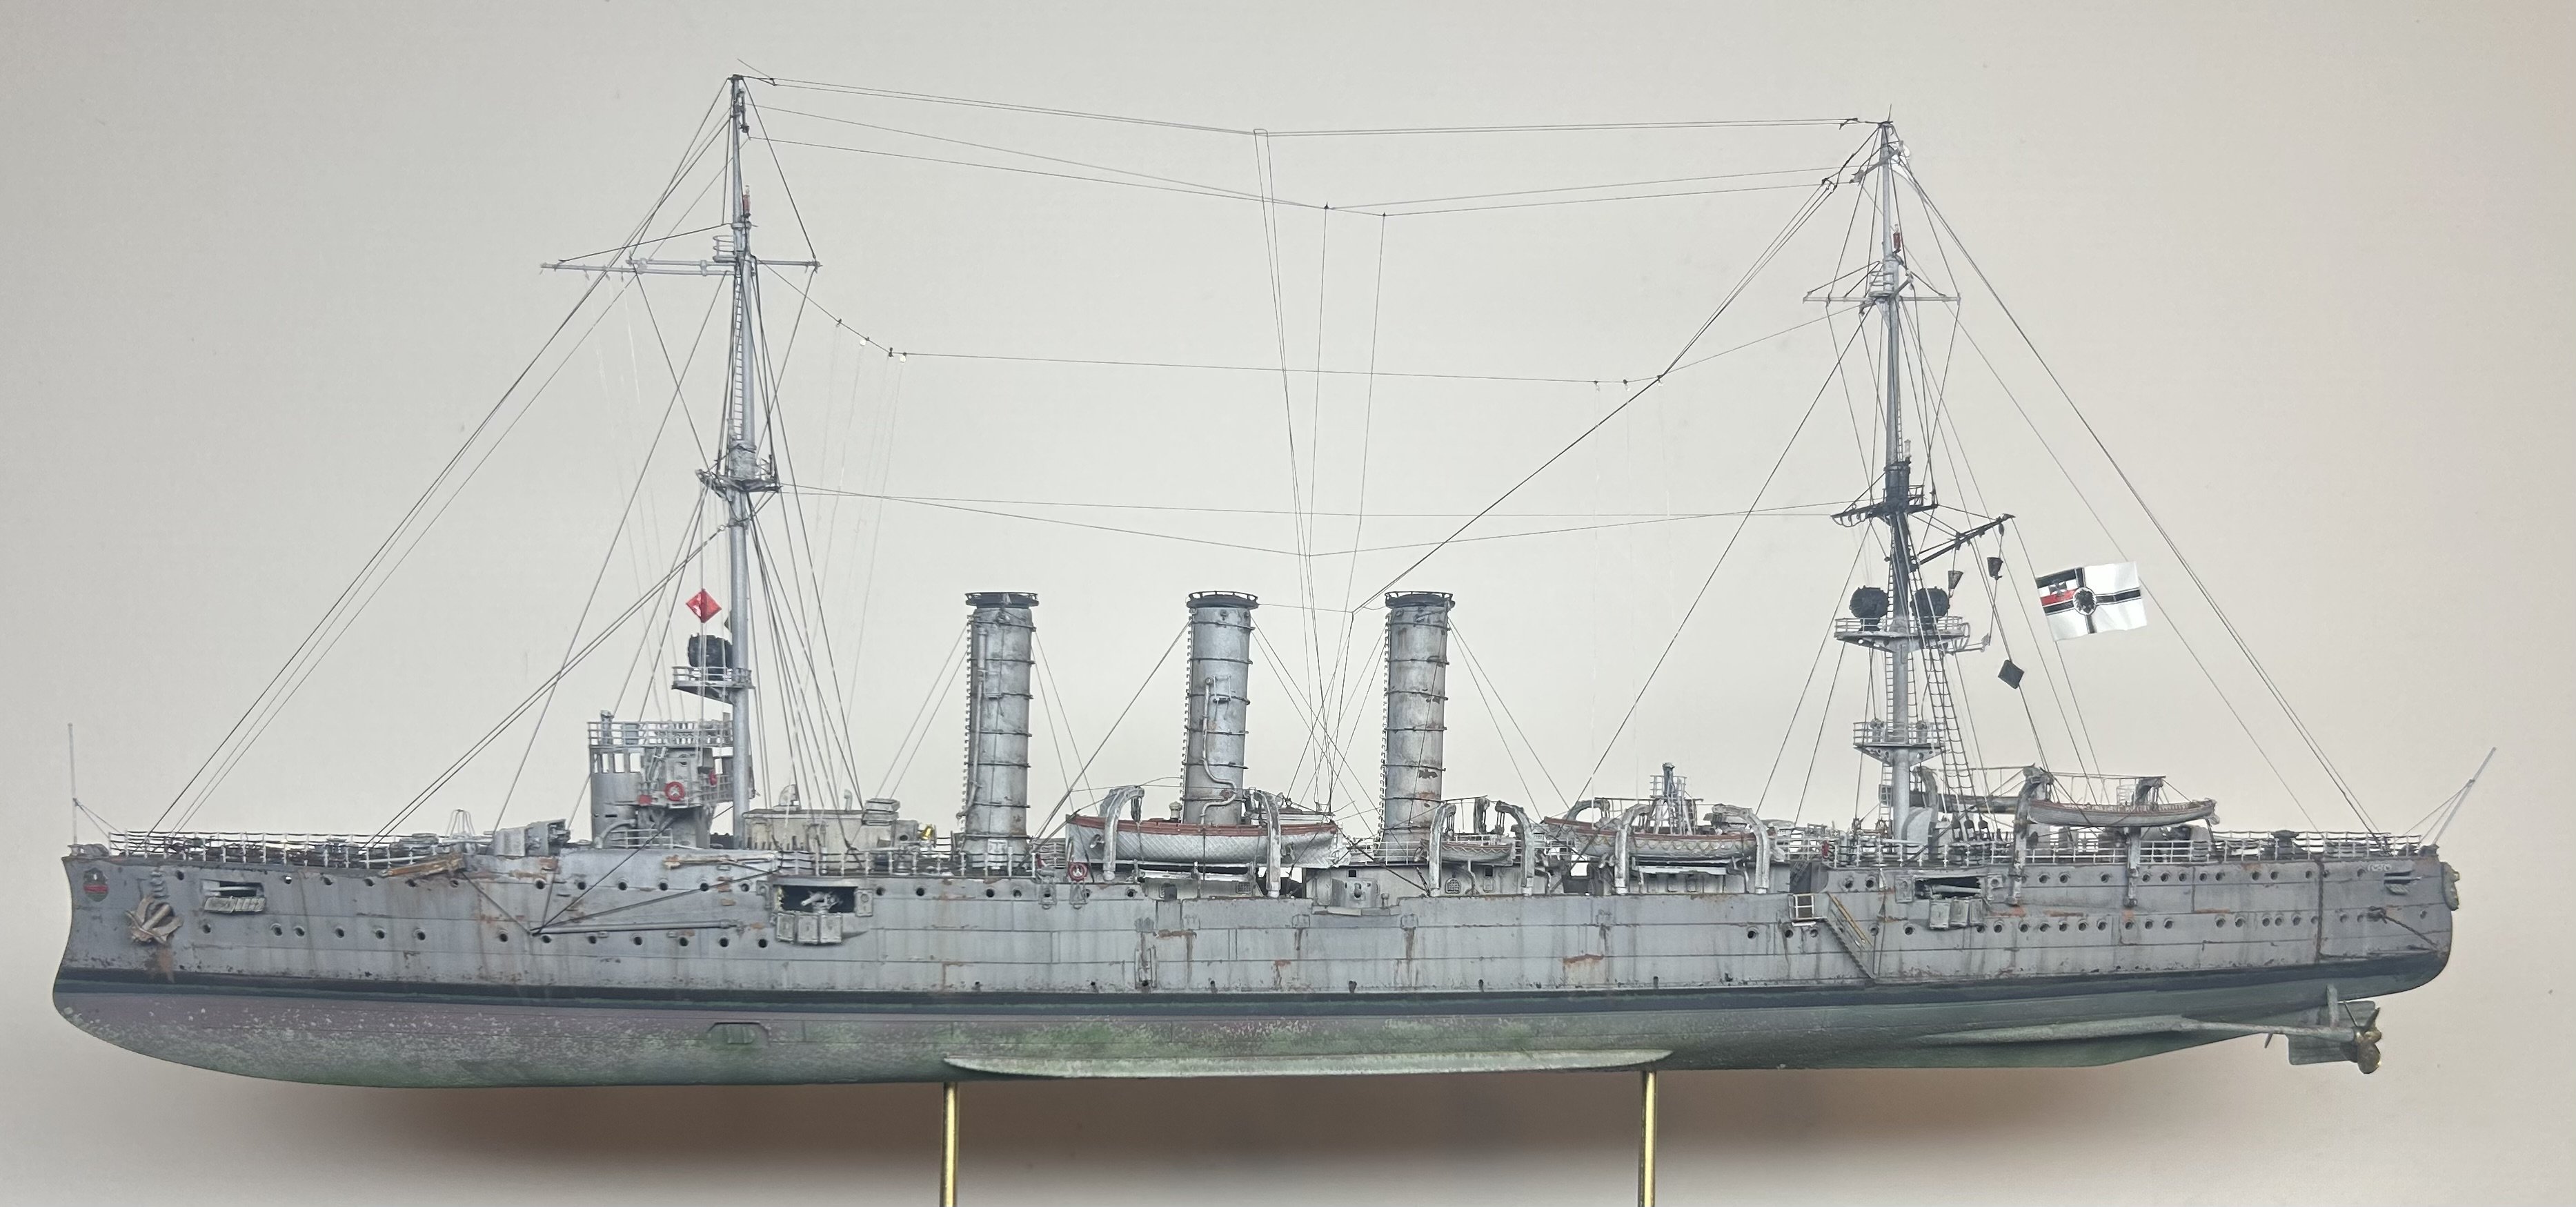
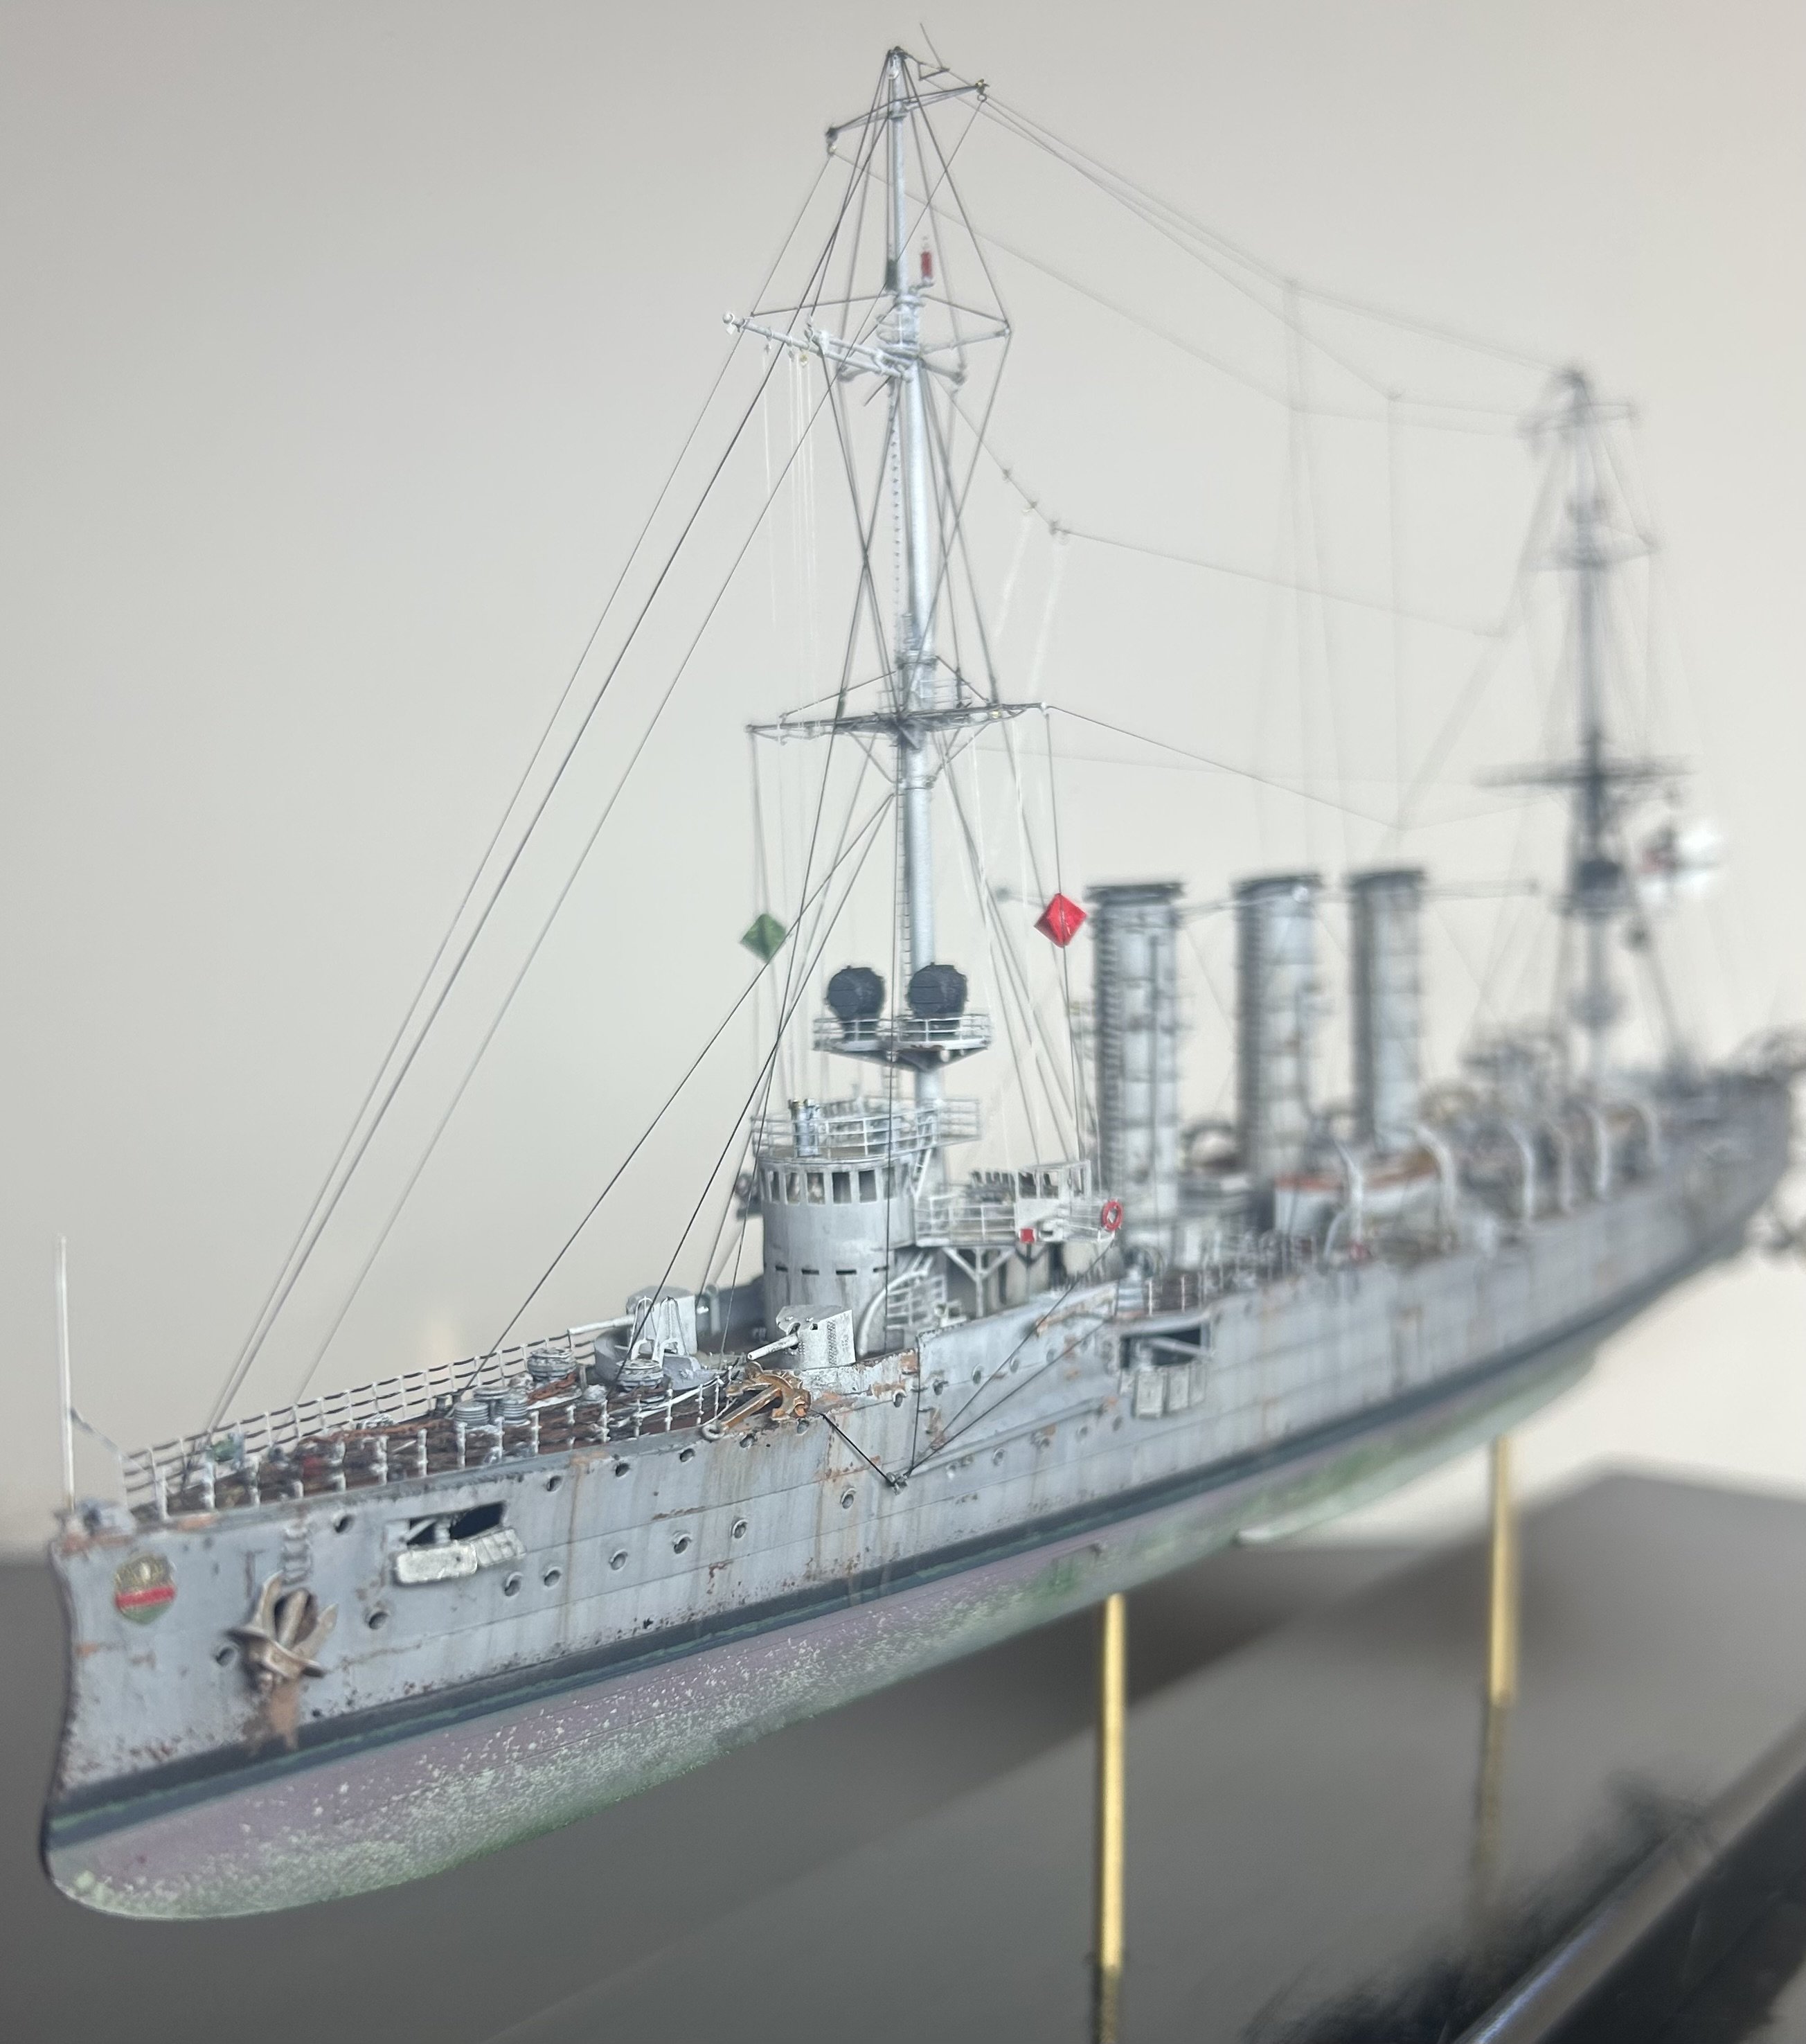
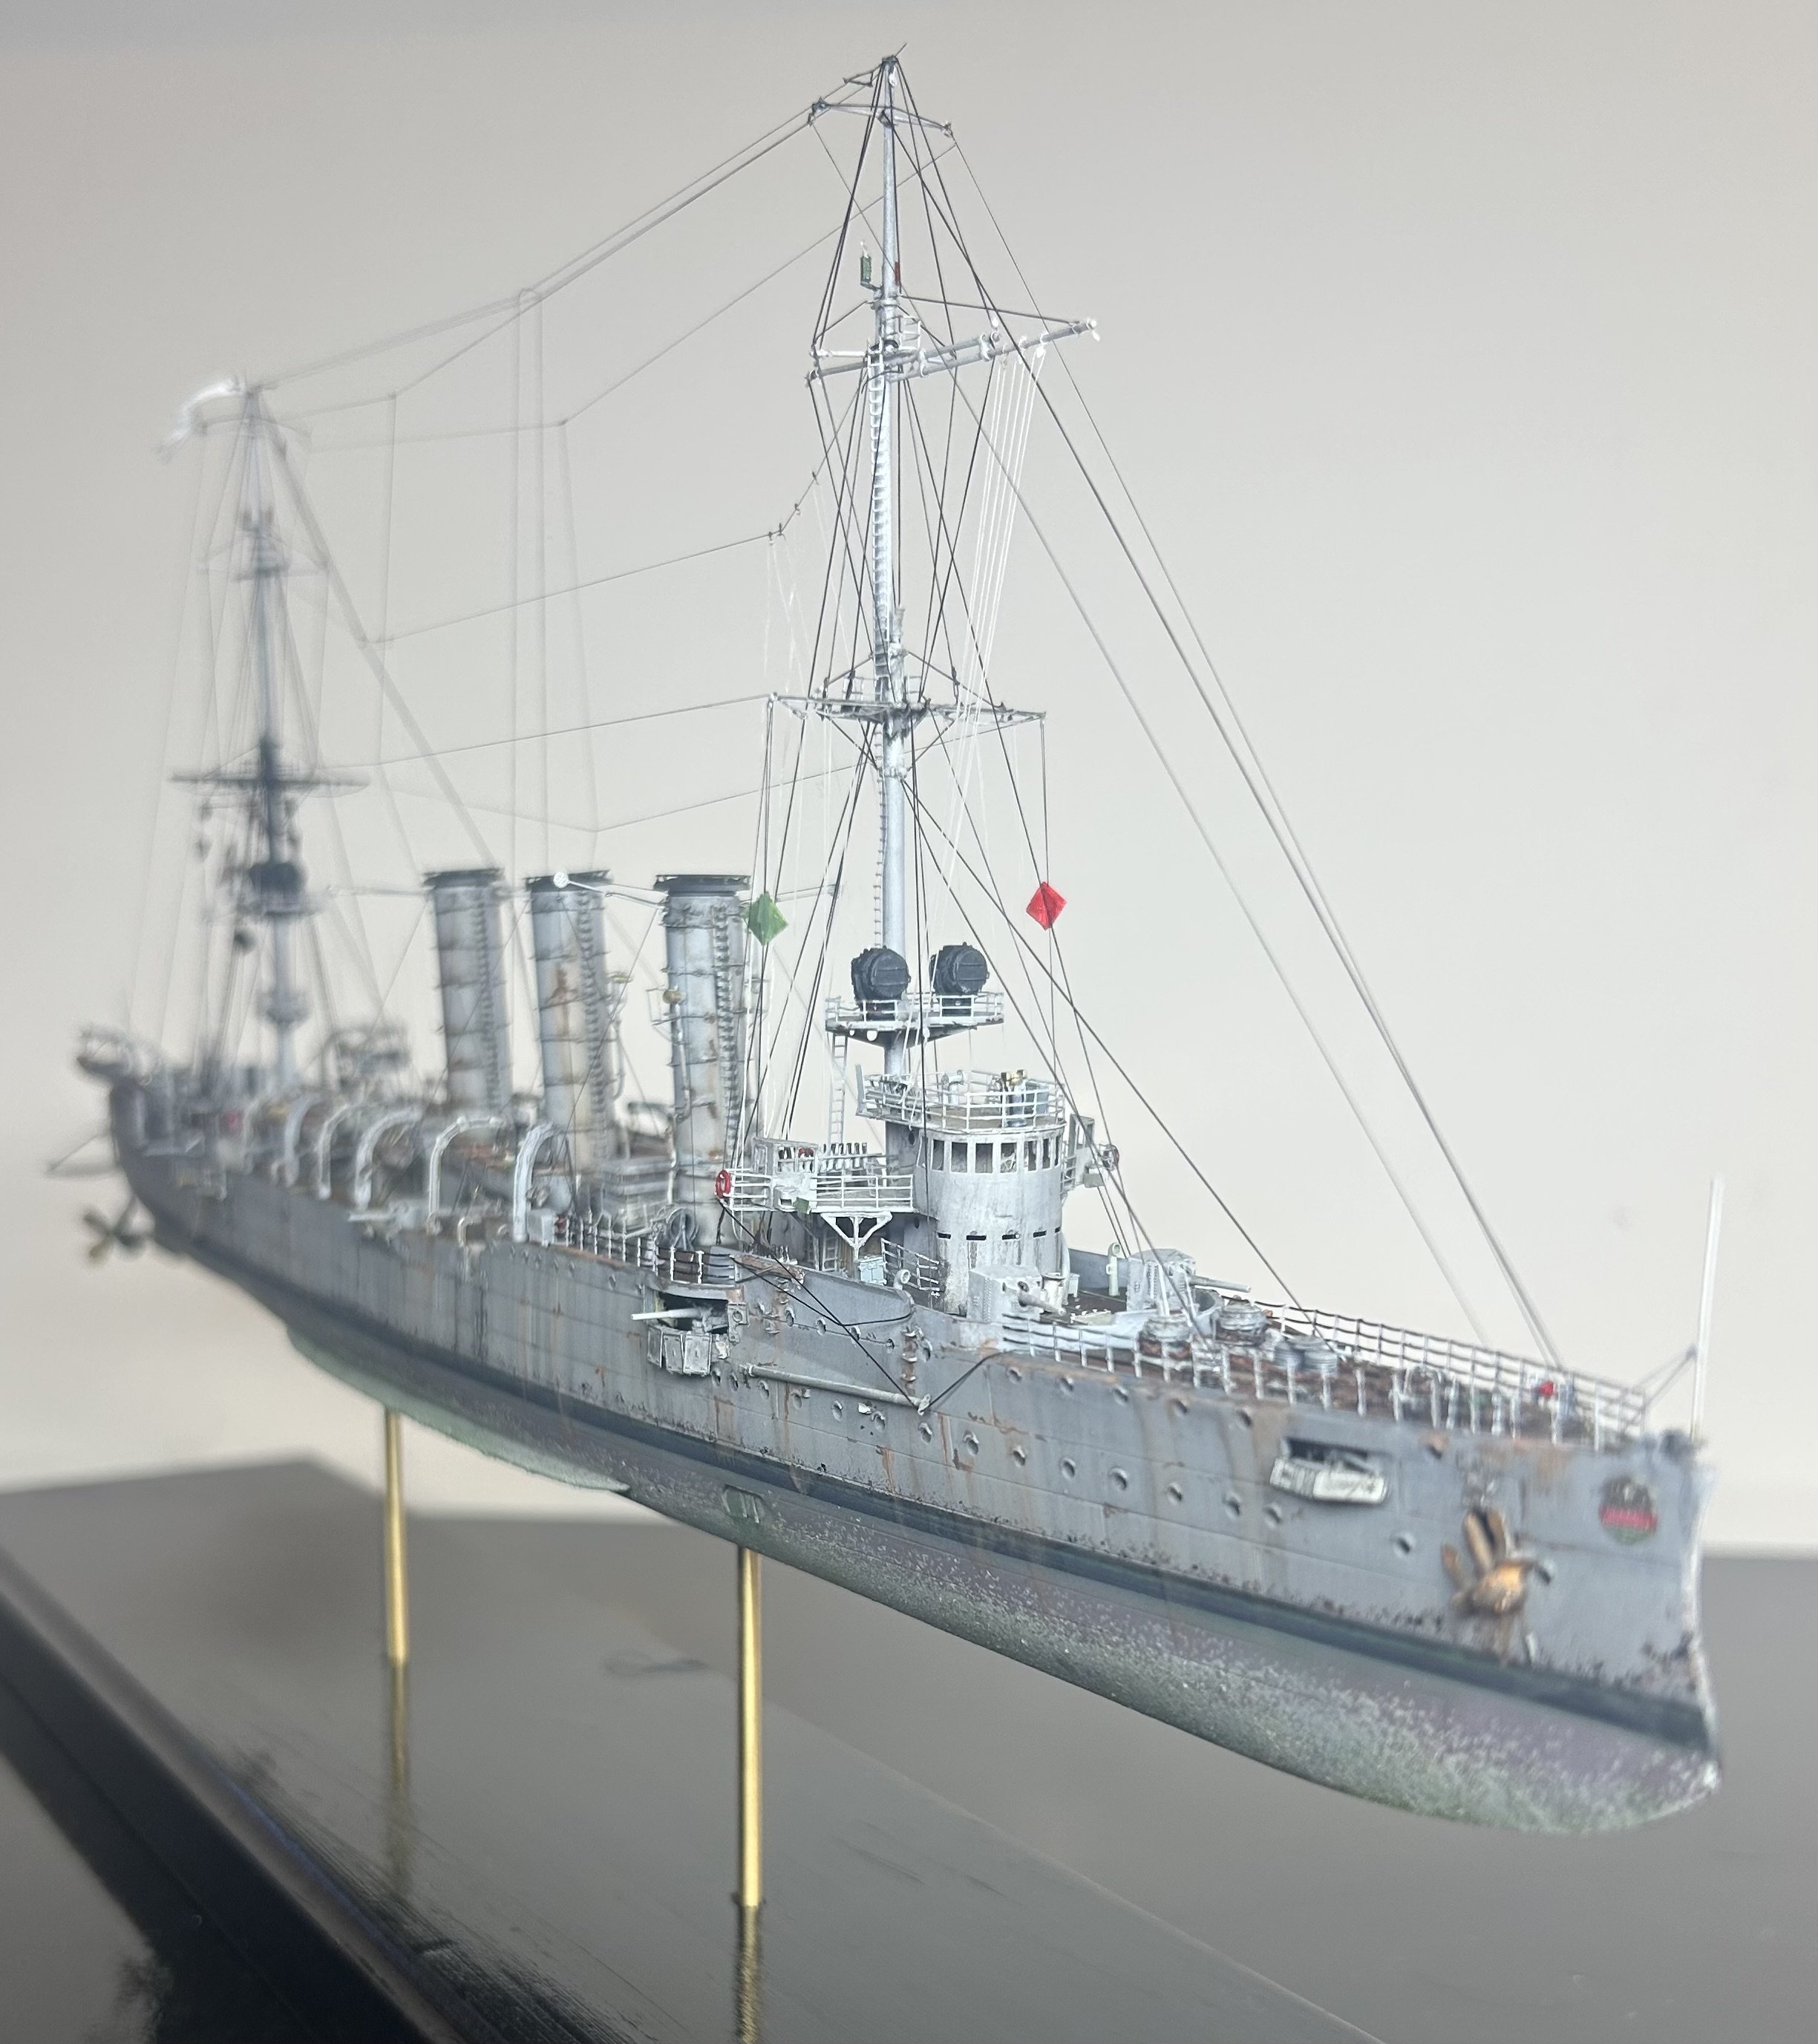
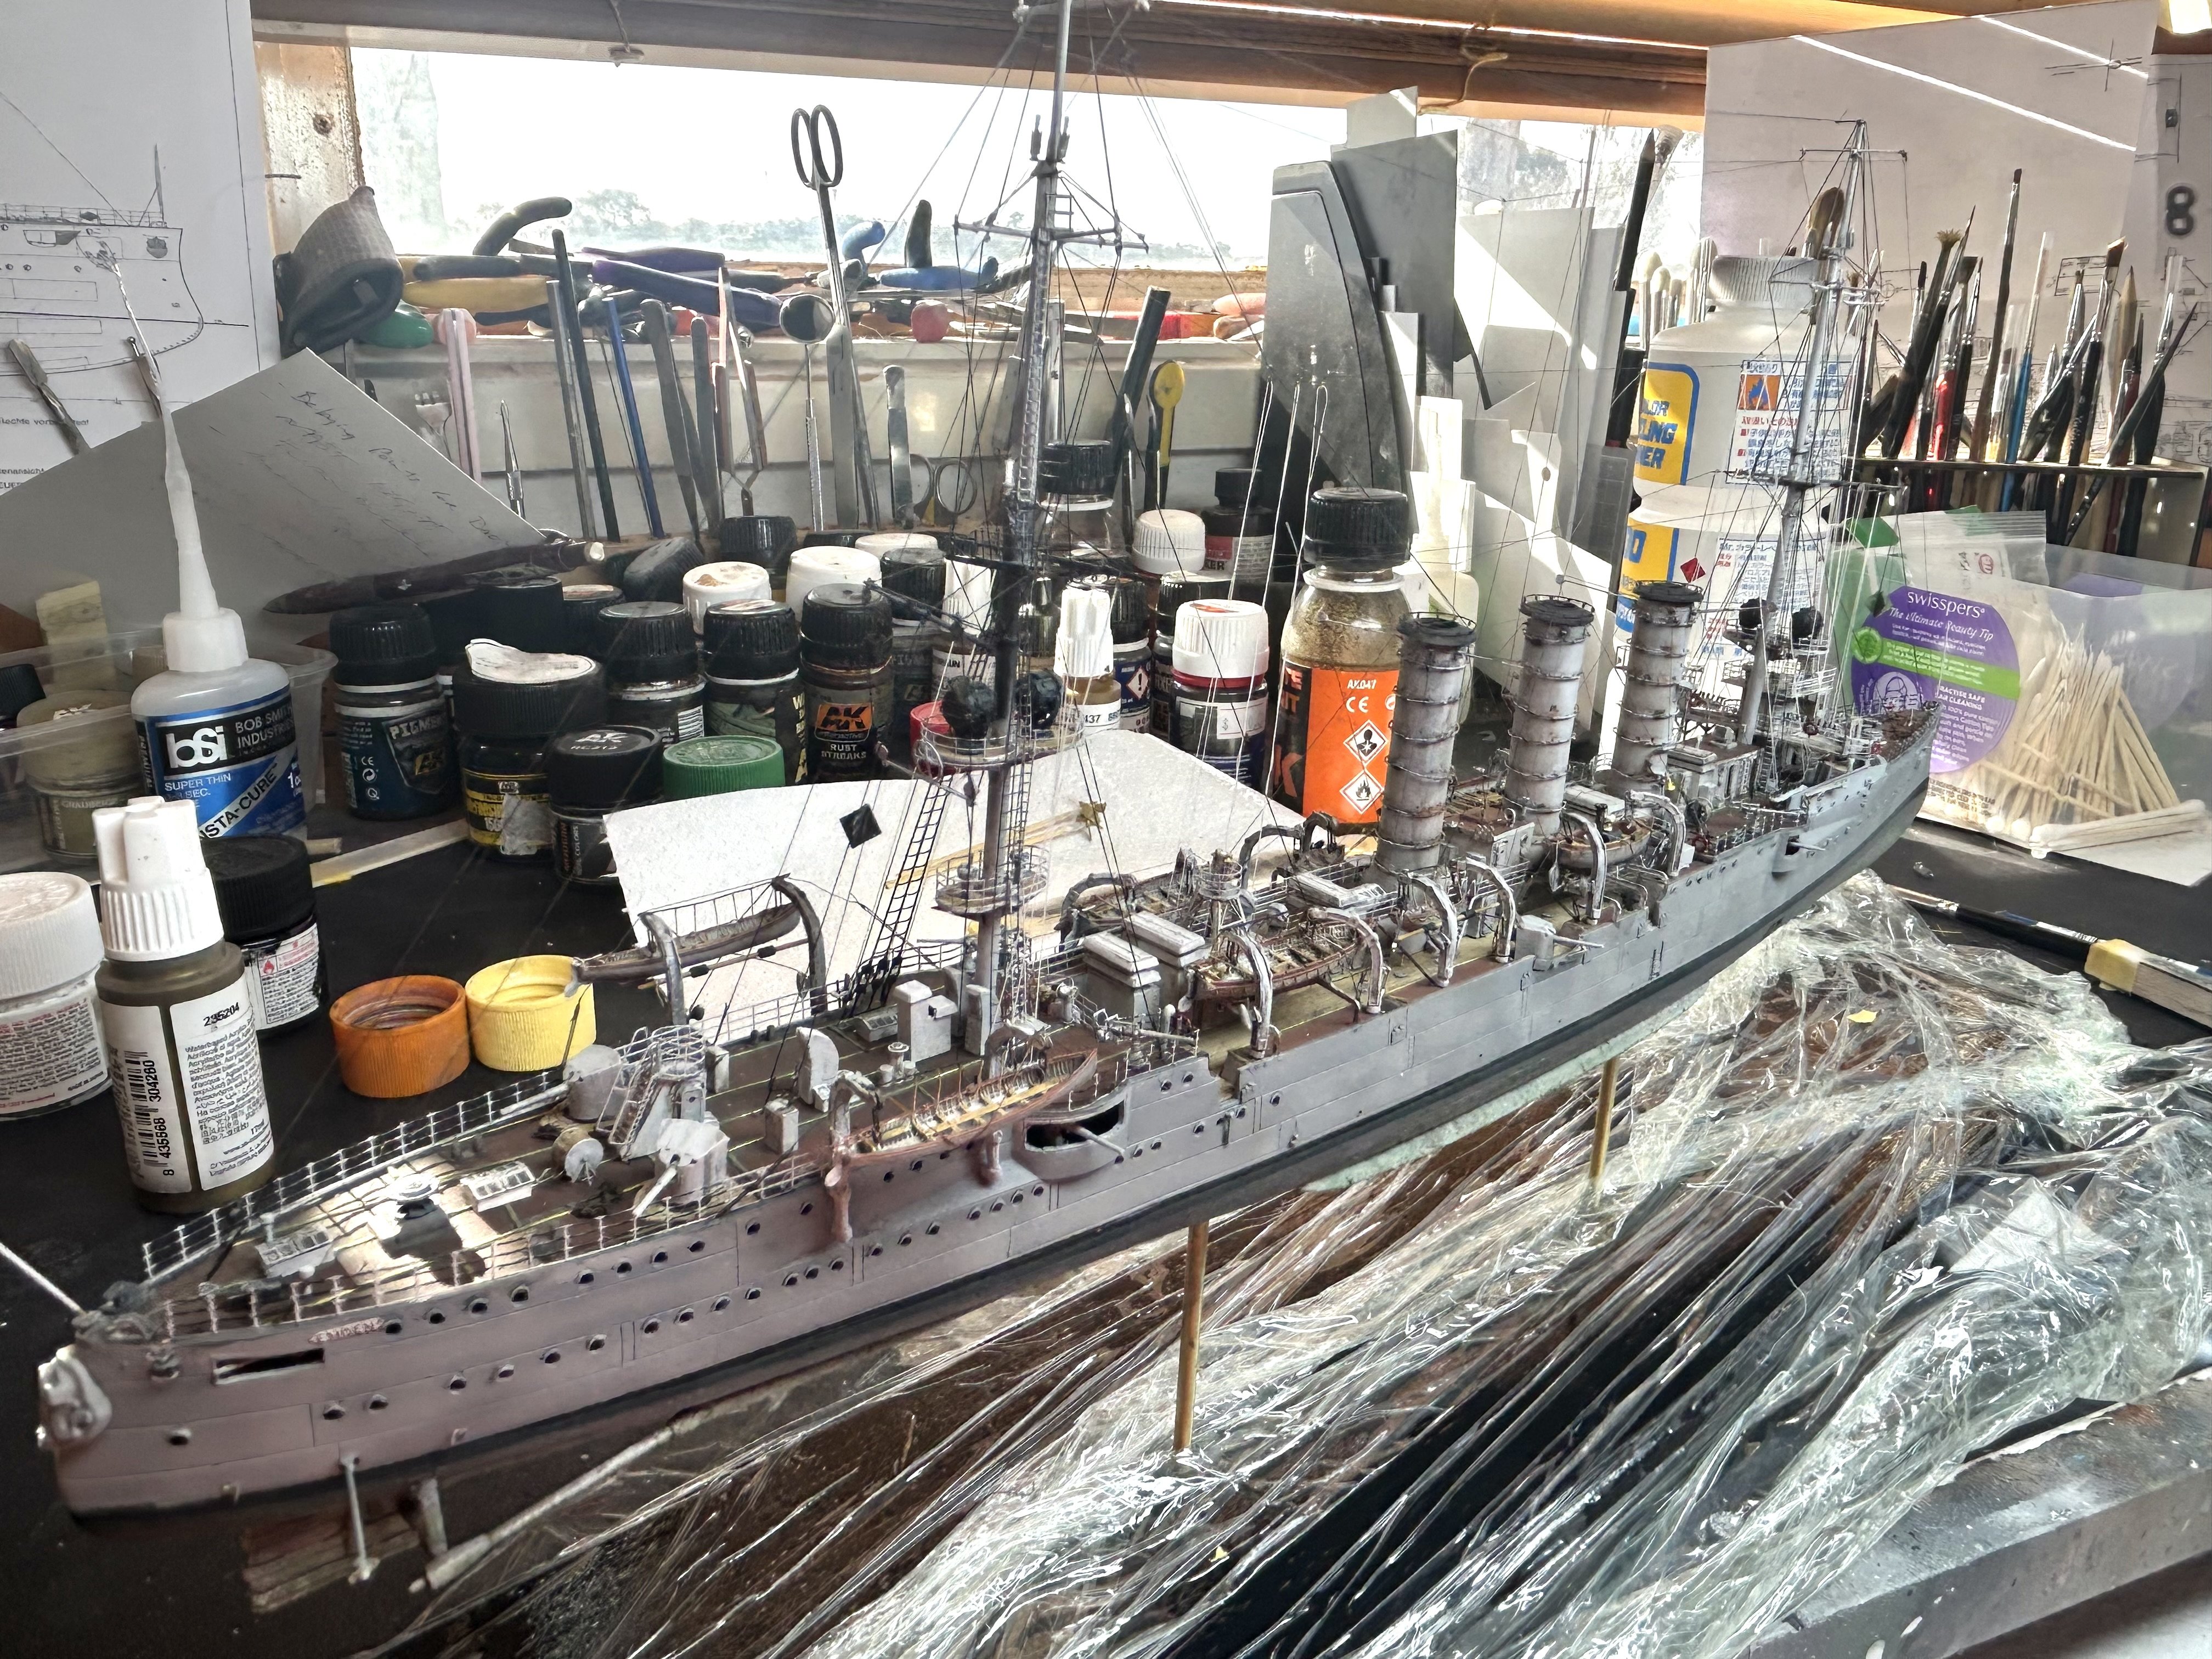
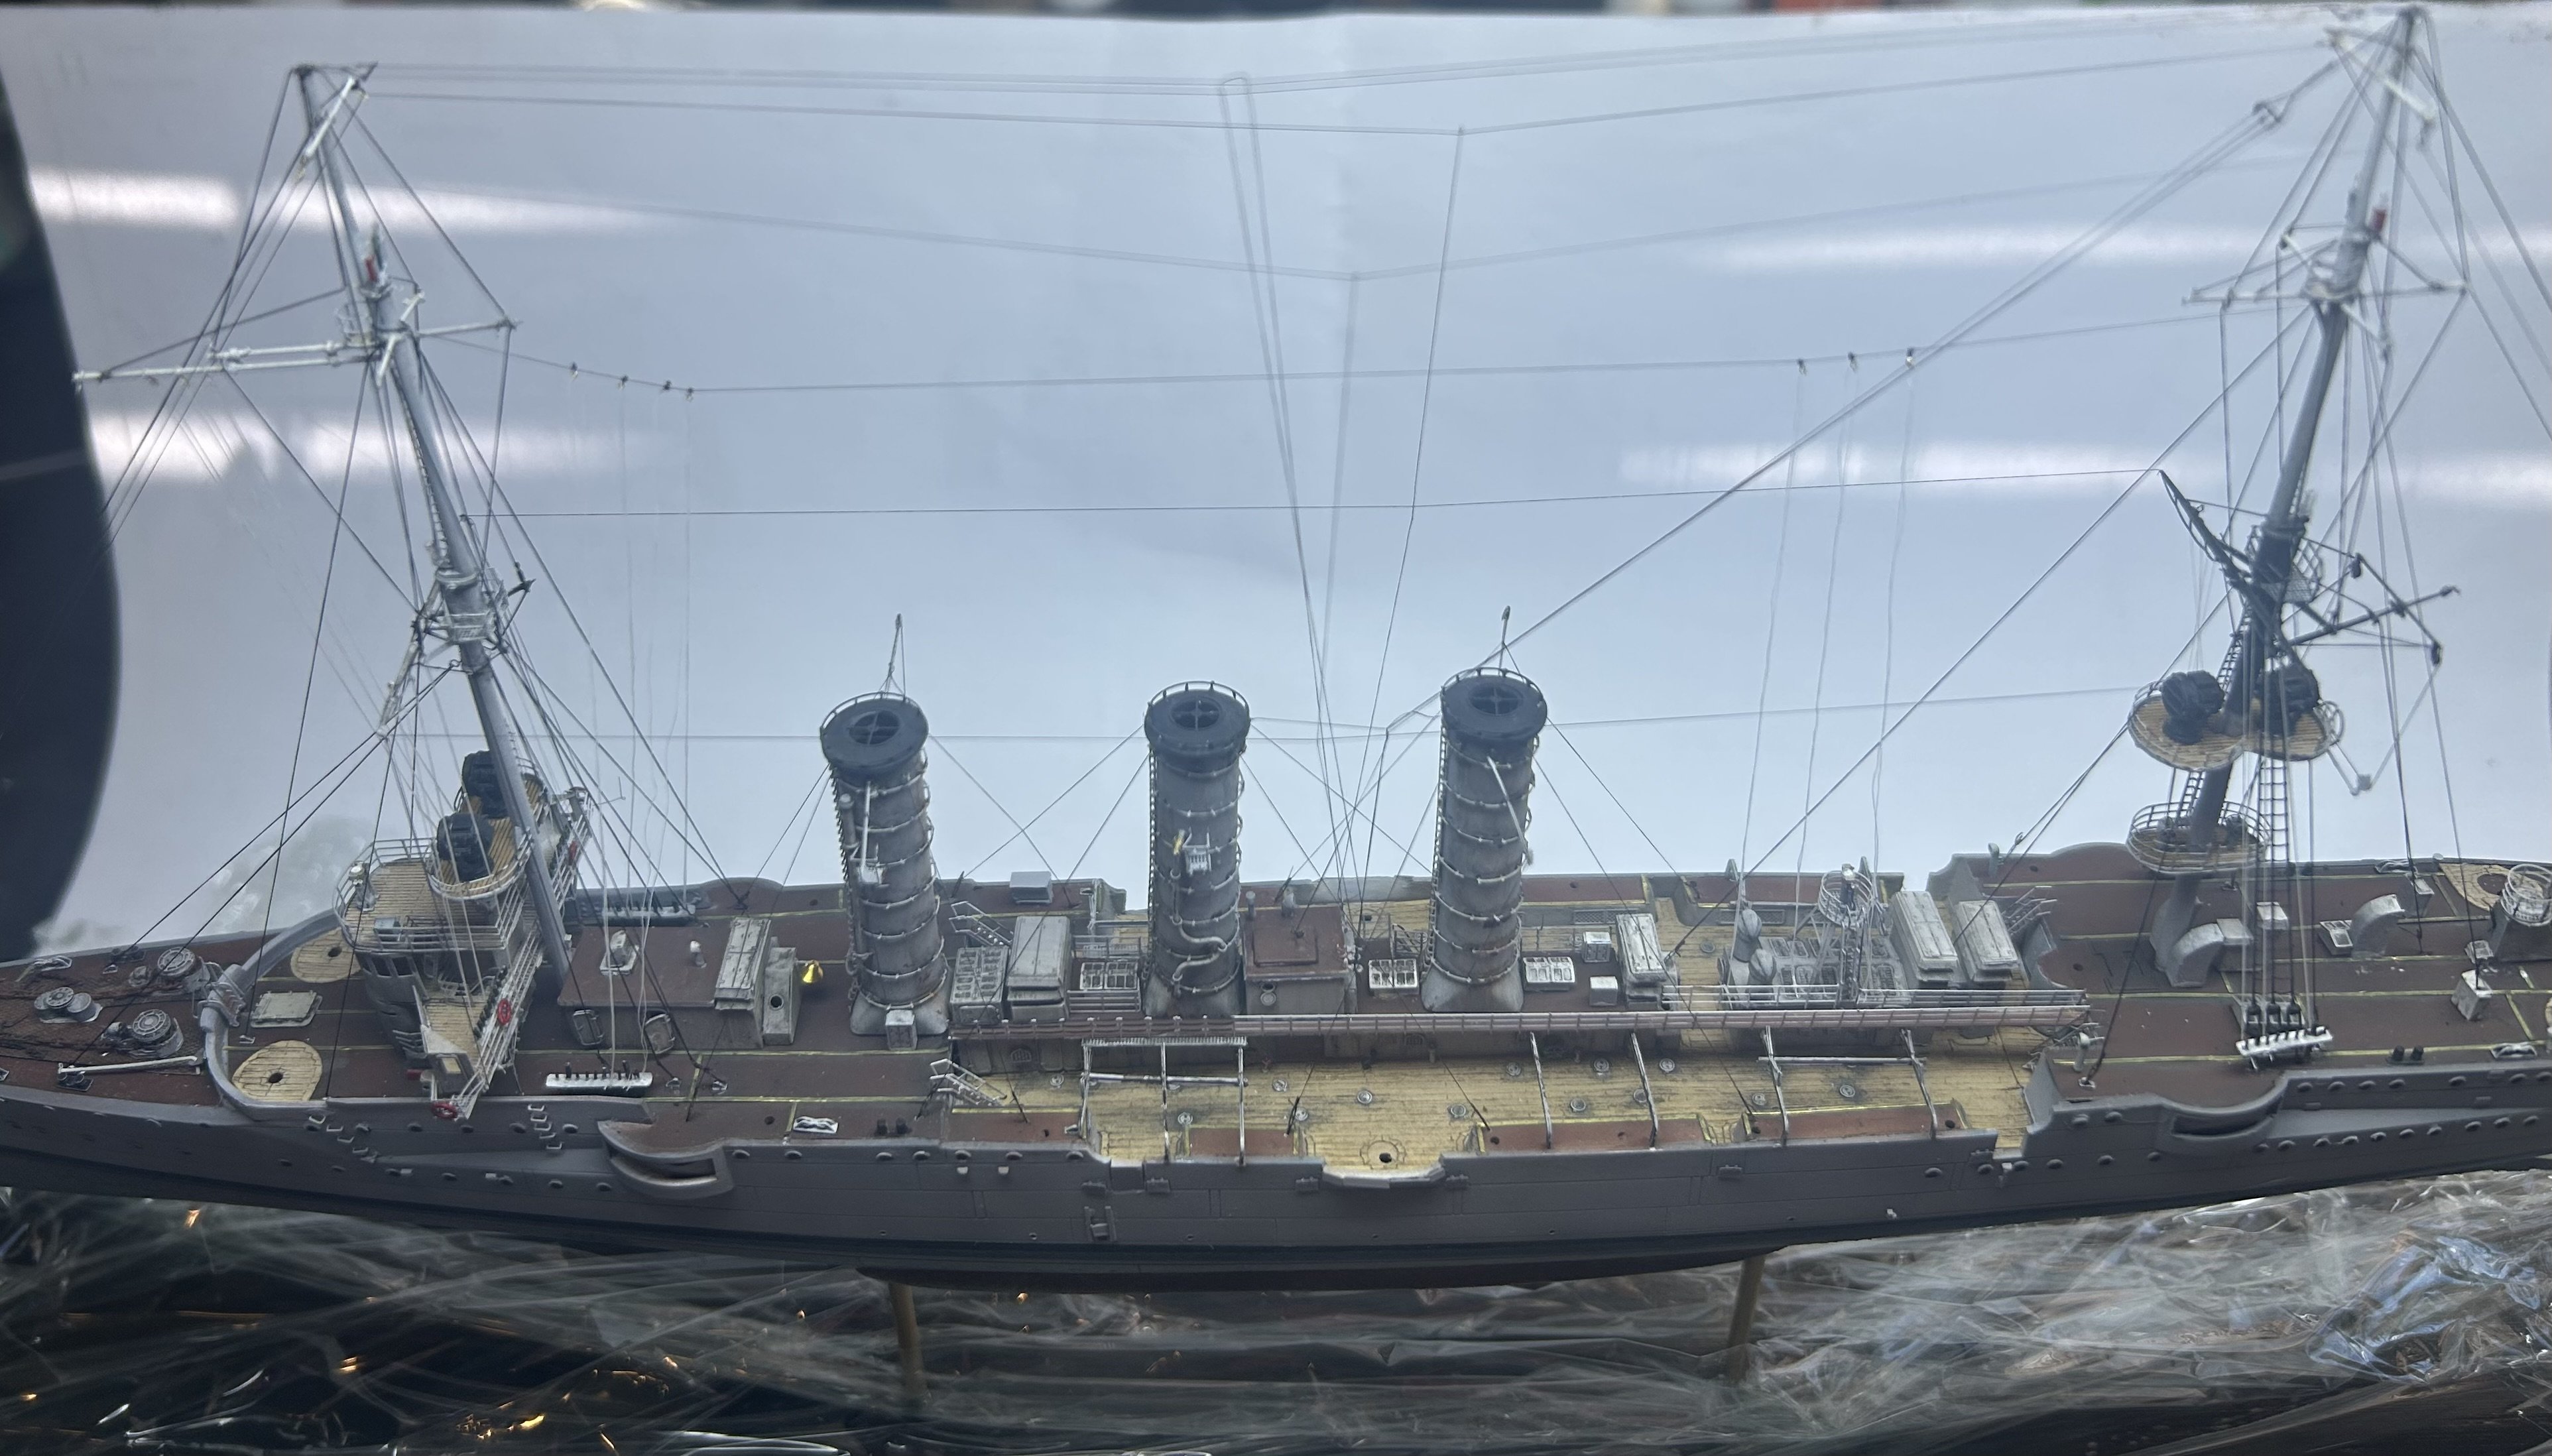
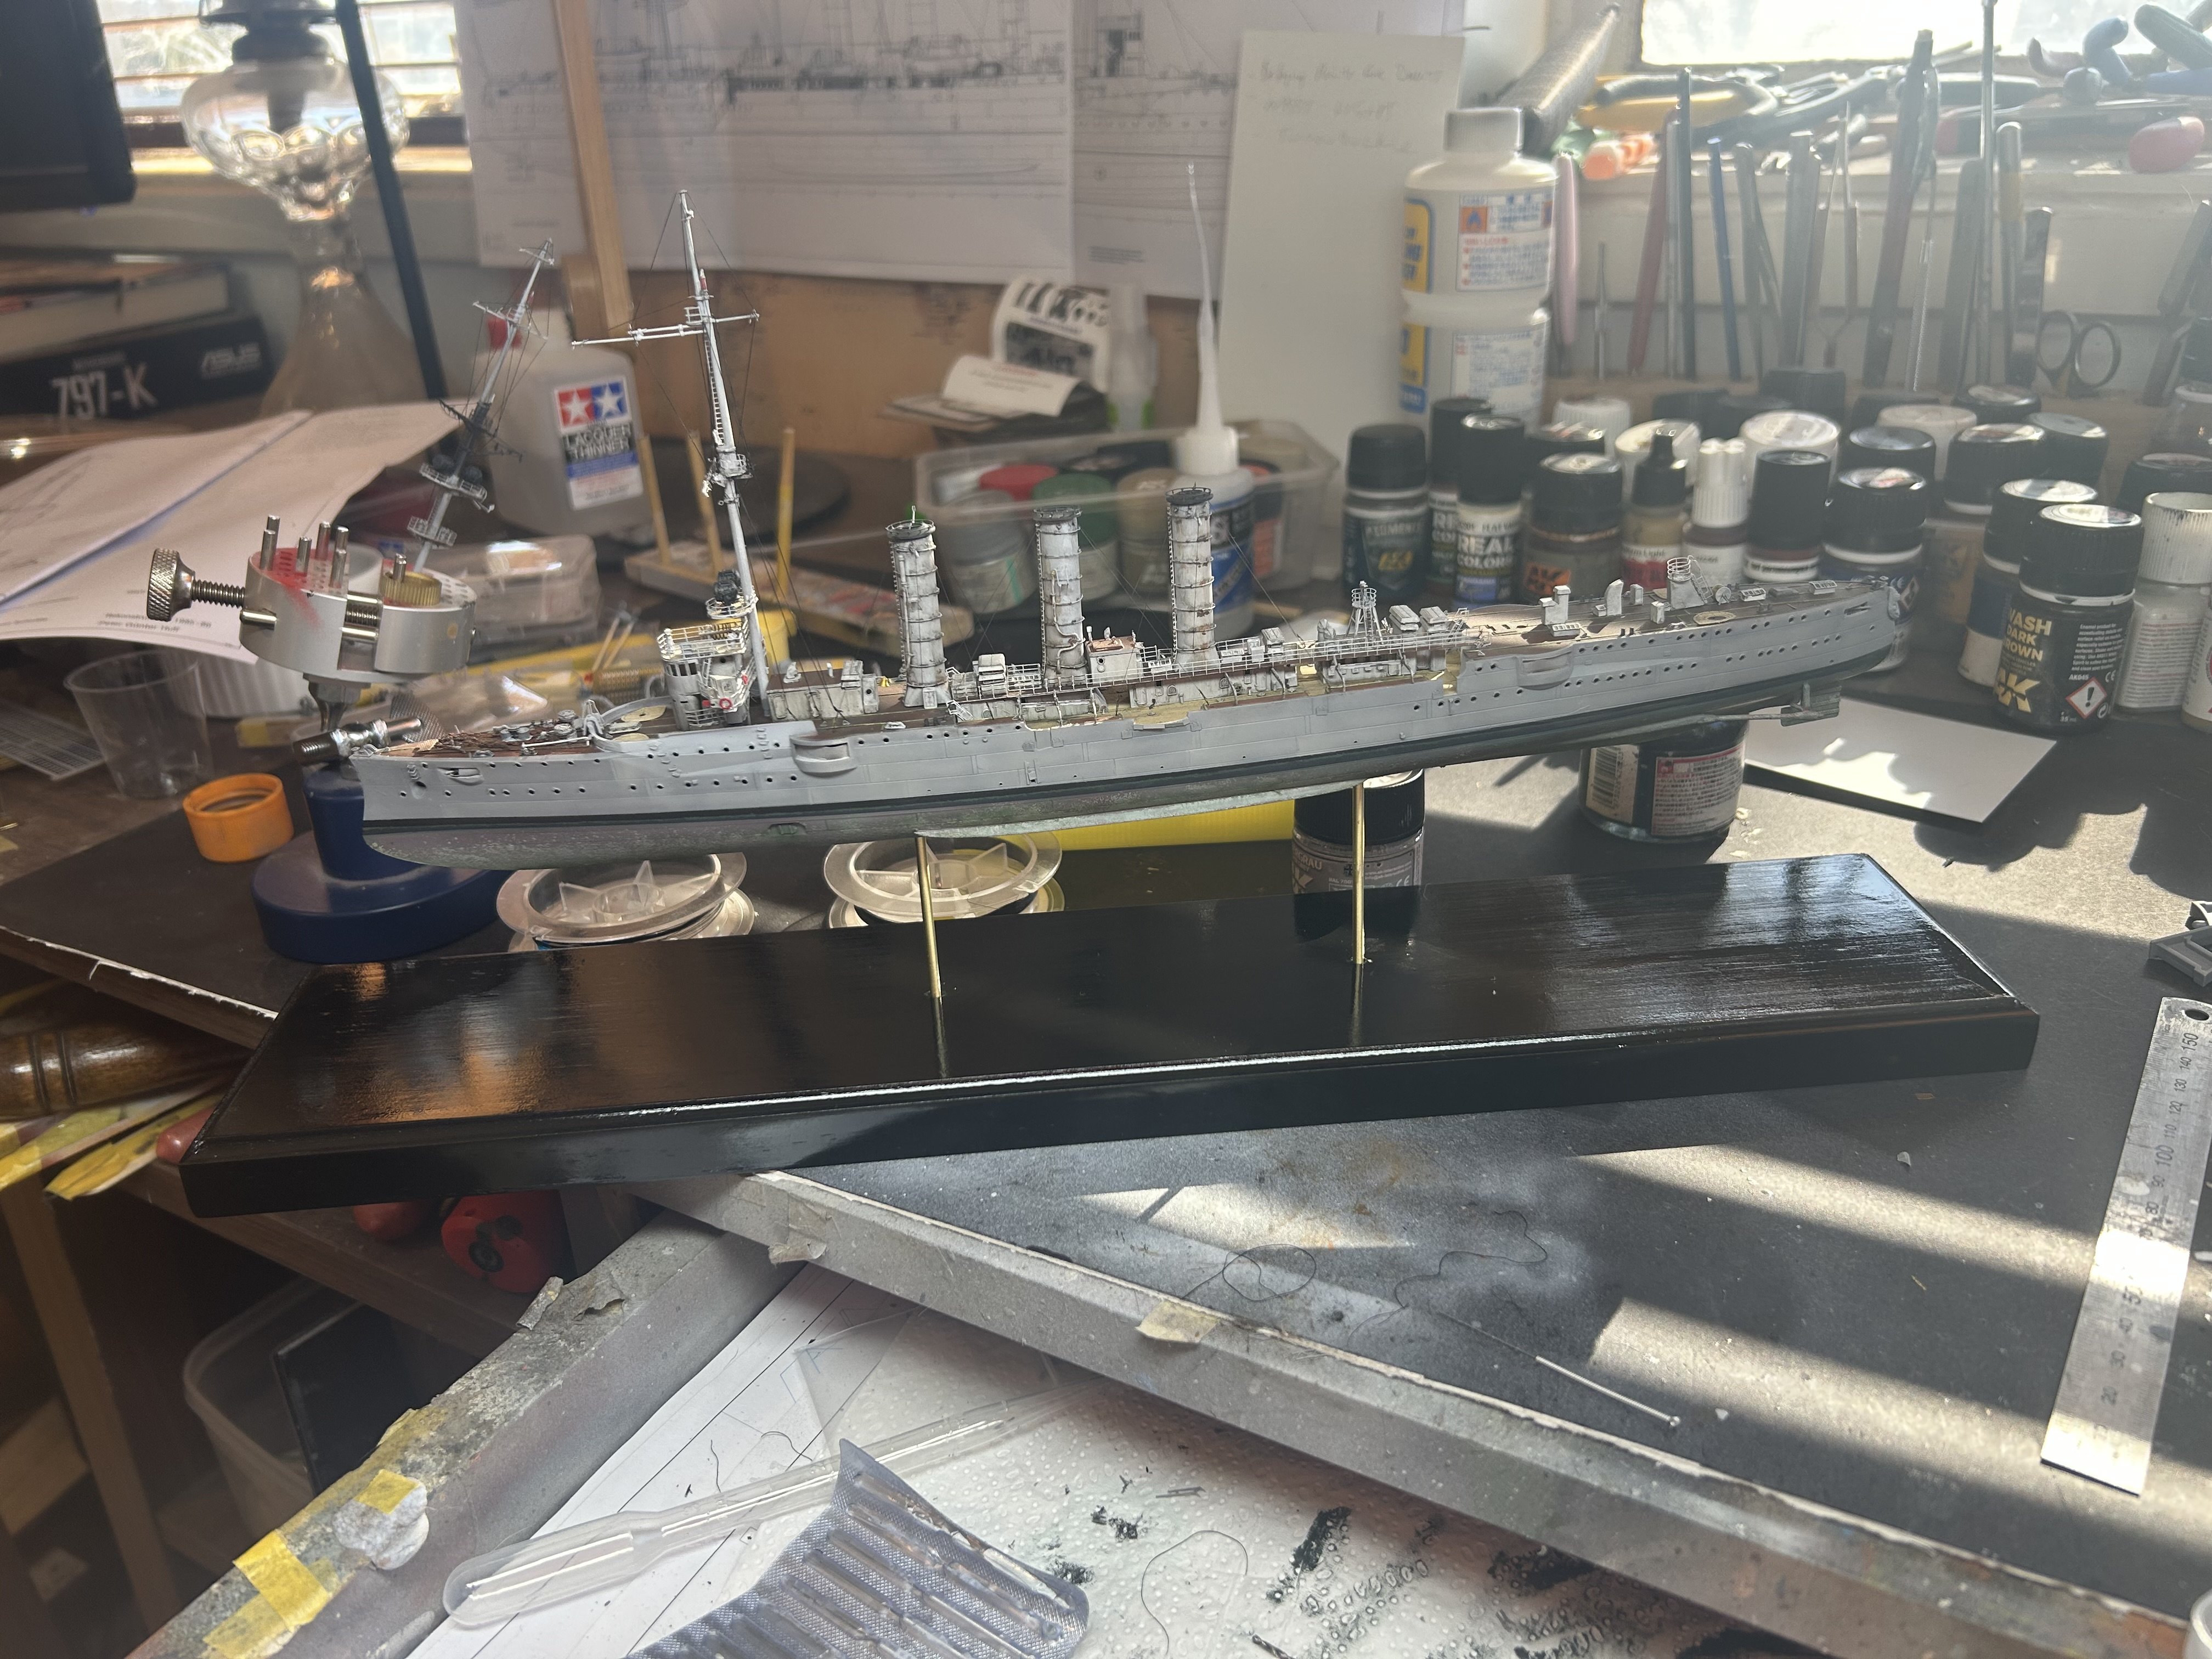
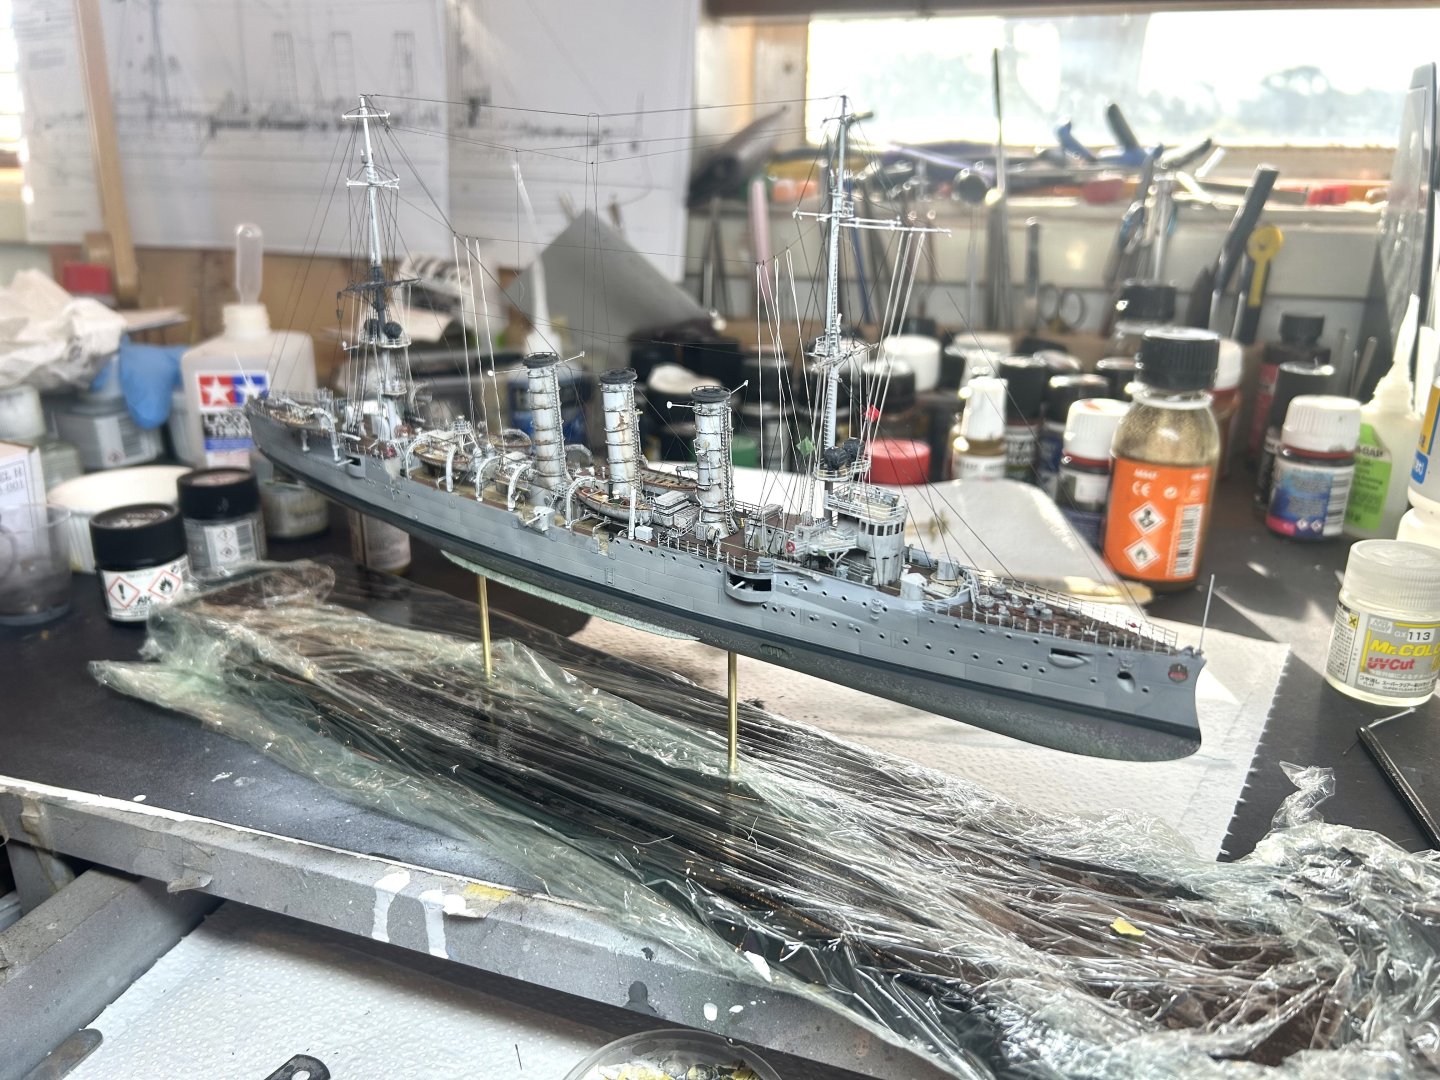
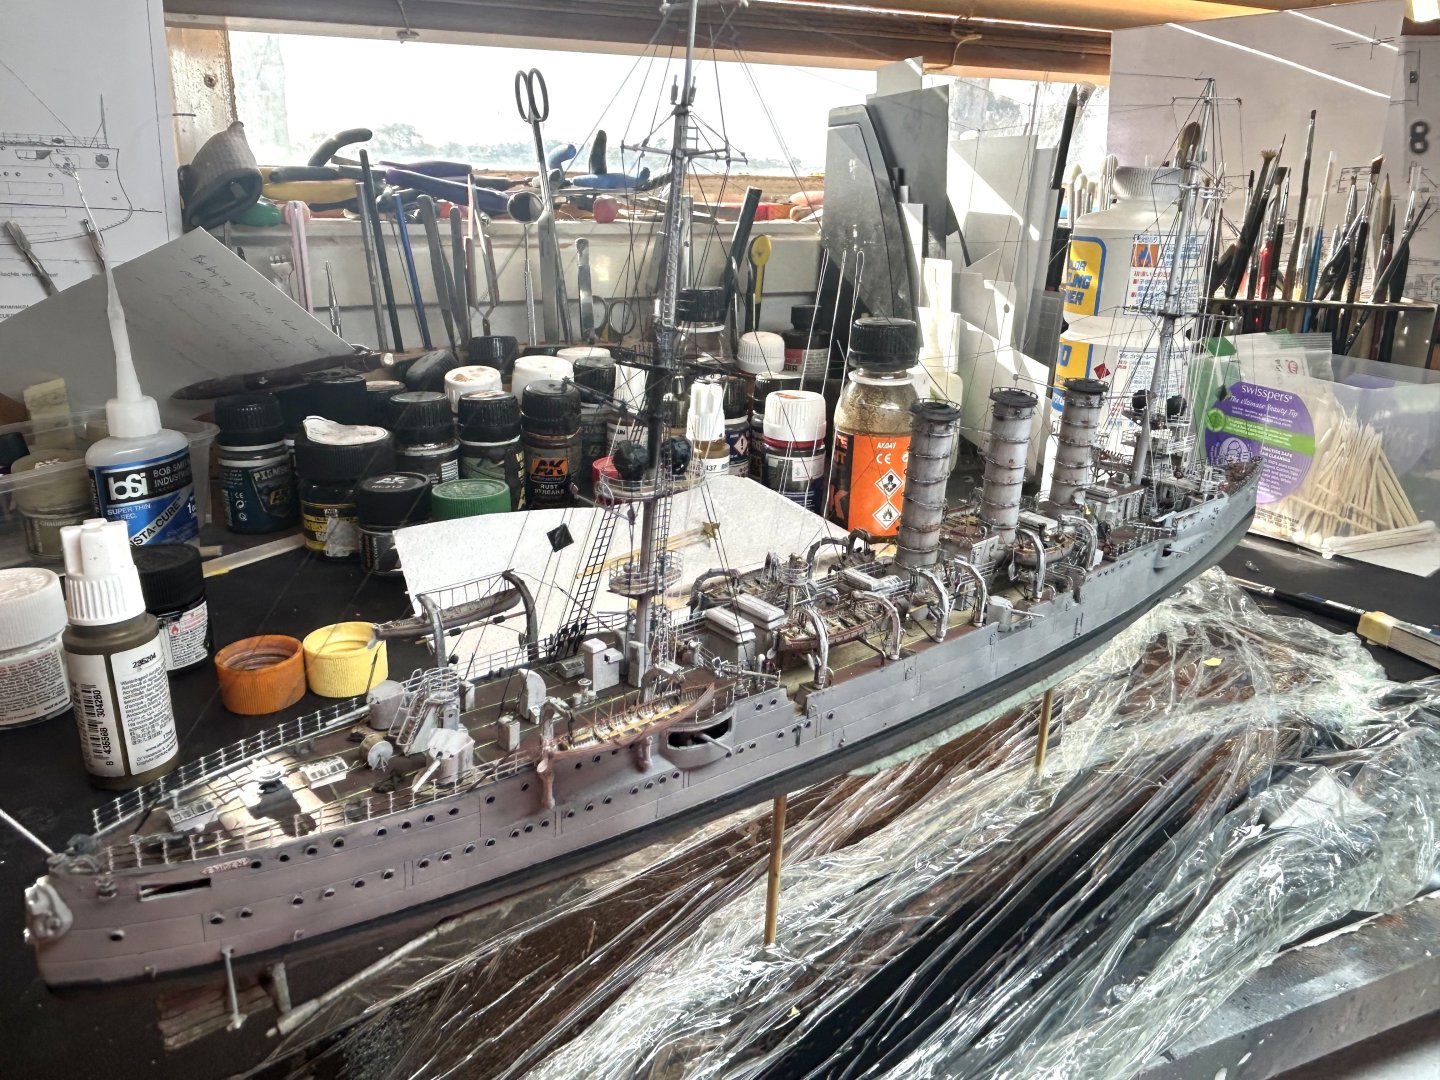
Getting close to the finish now, another full day of weathering and gunport shutters to add plus the screws.
- 81 replies
-
- 7
-
-
-
- Micromaster
- Eduard
- (and 4 more)
-
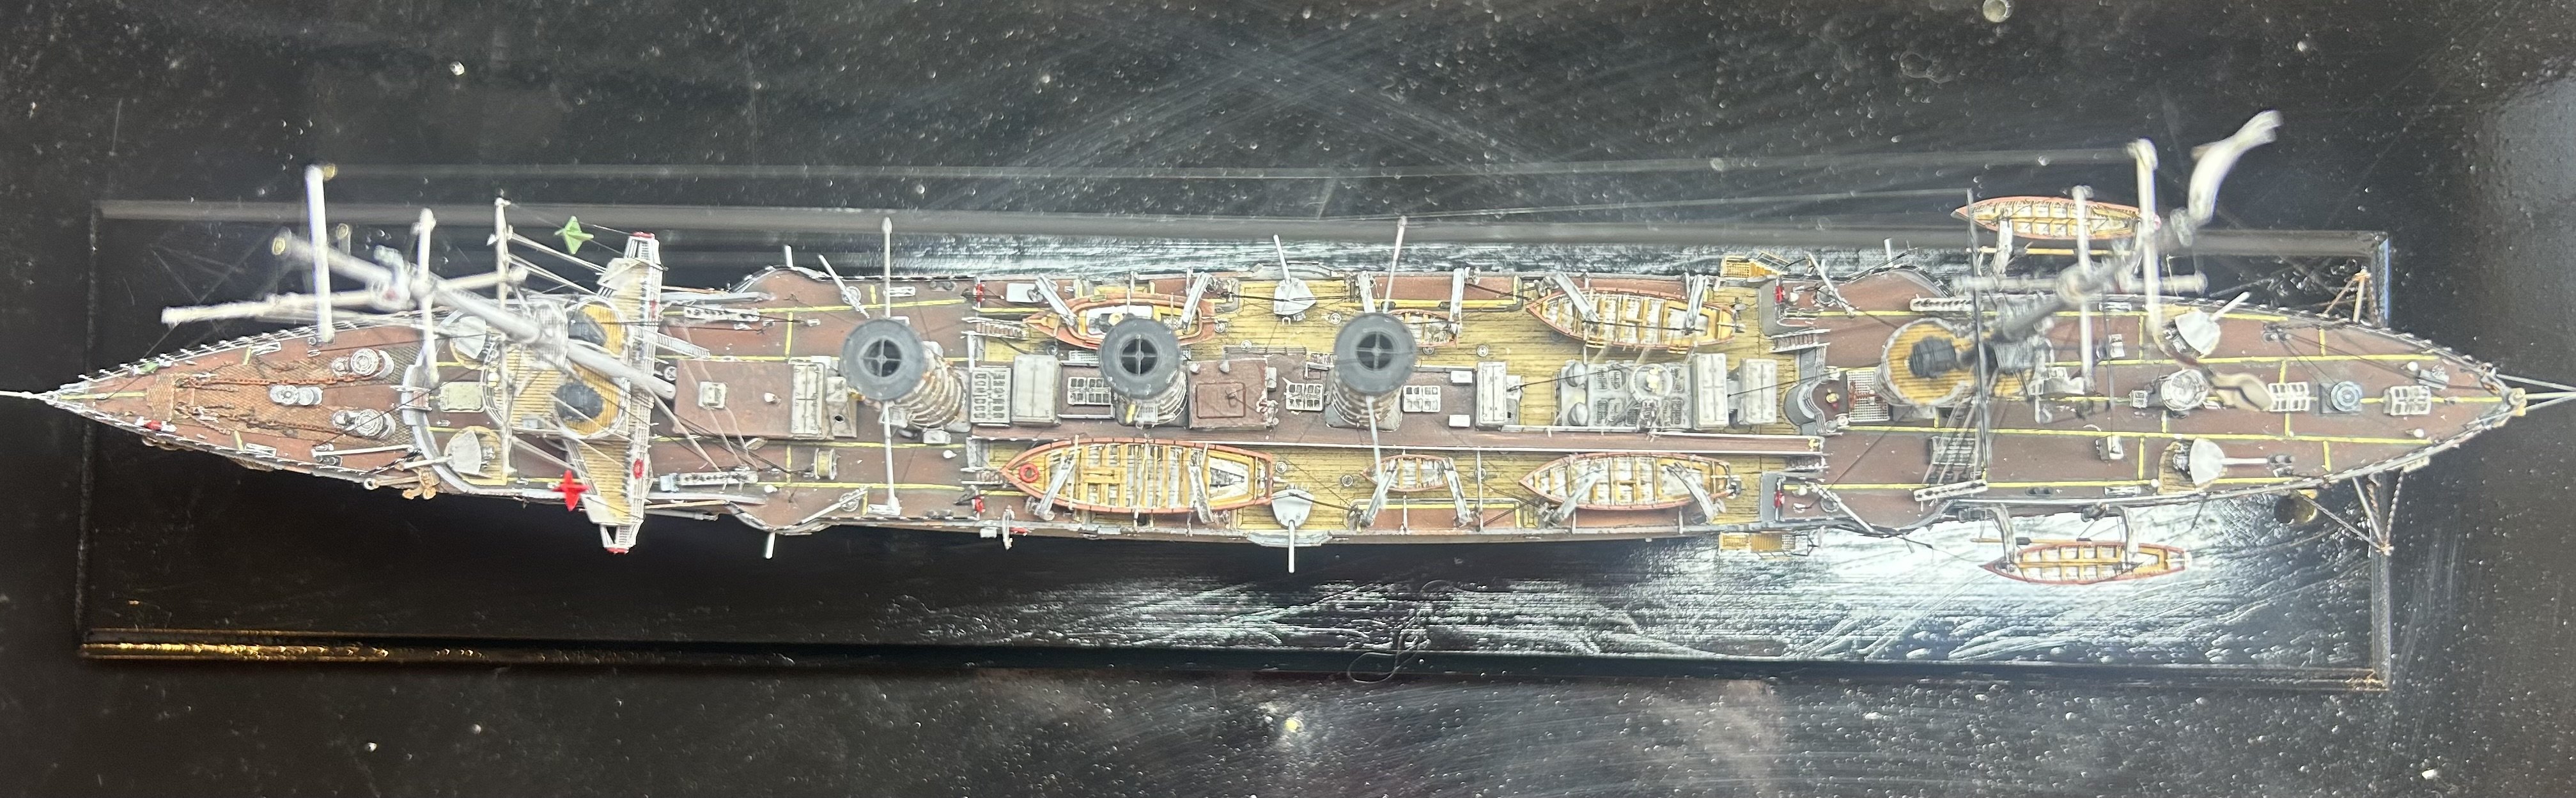
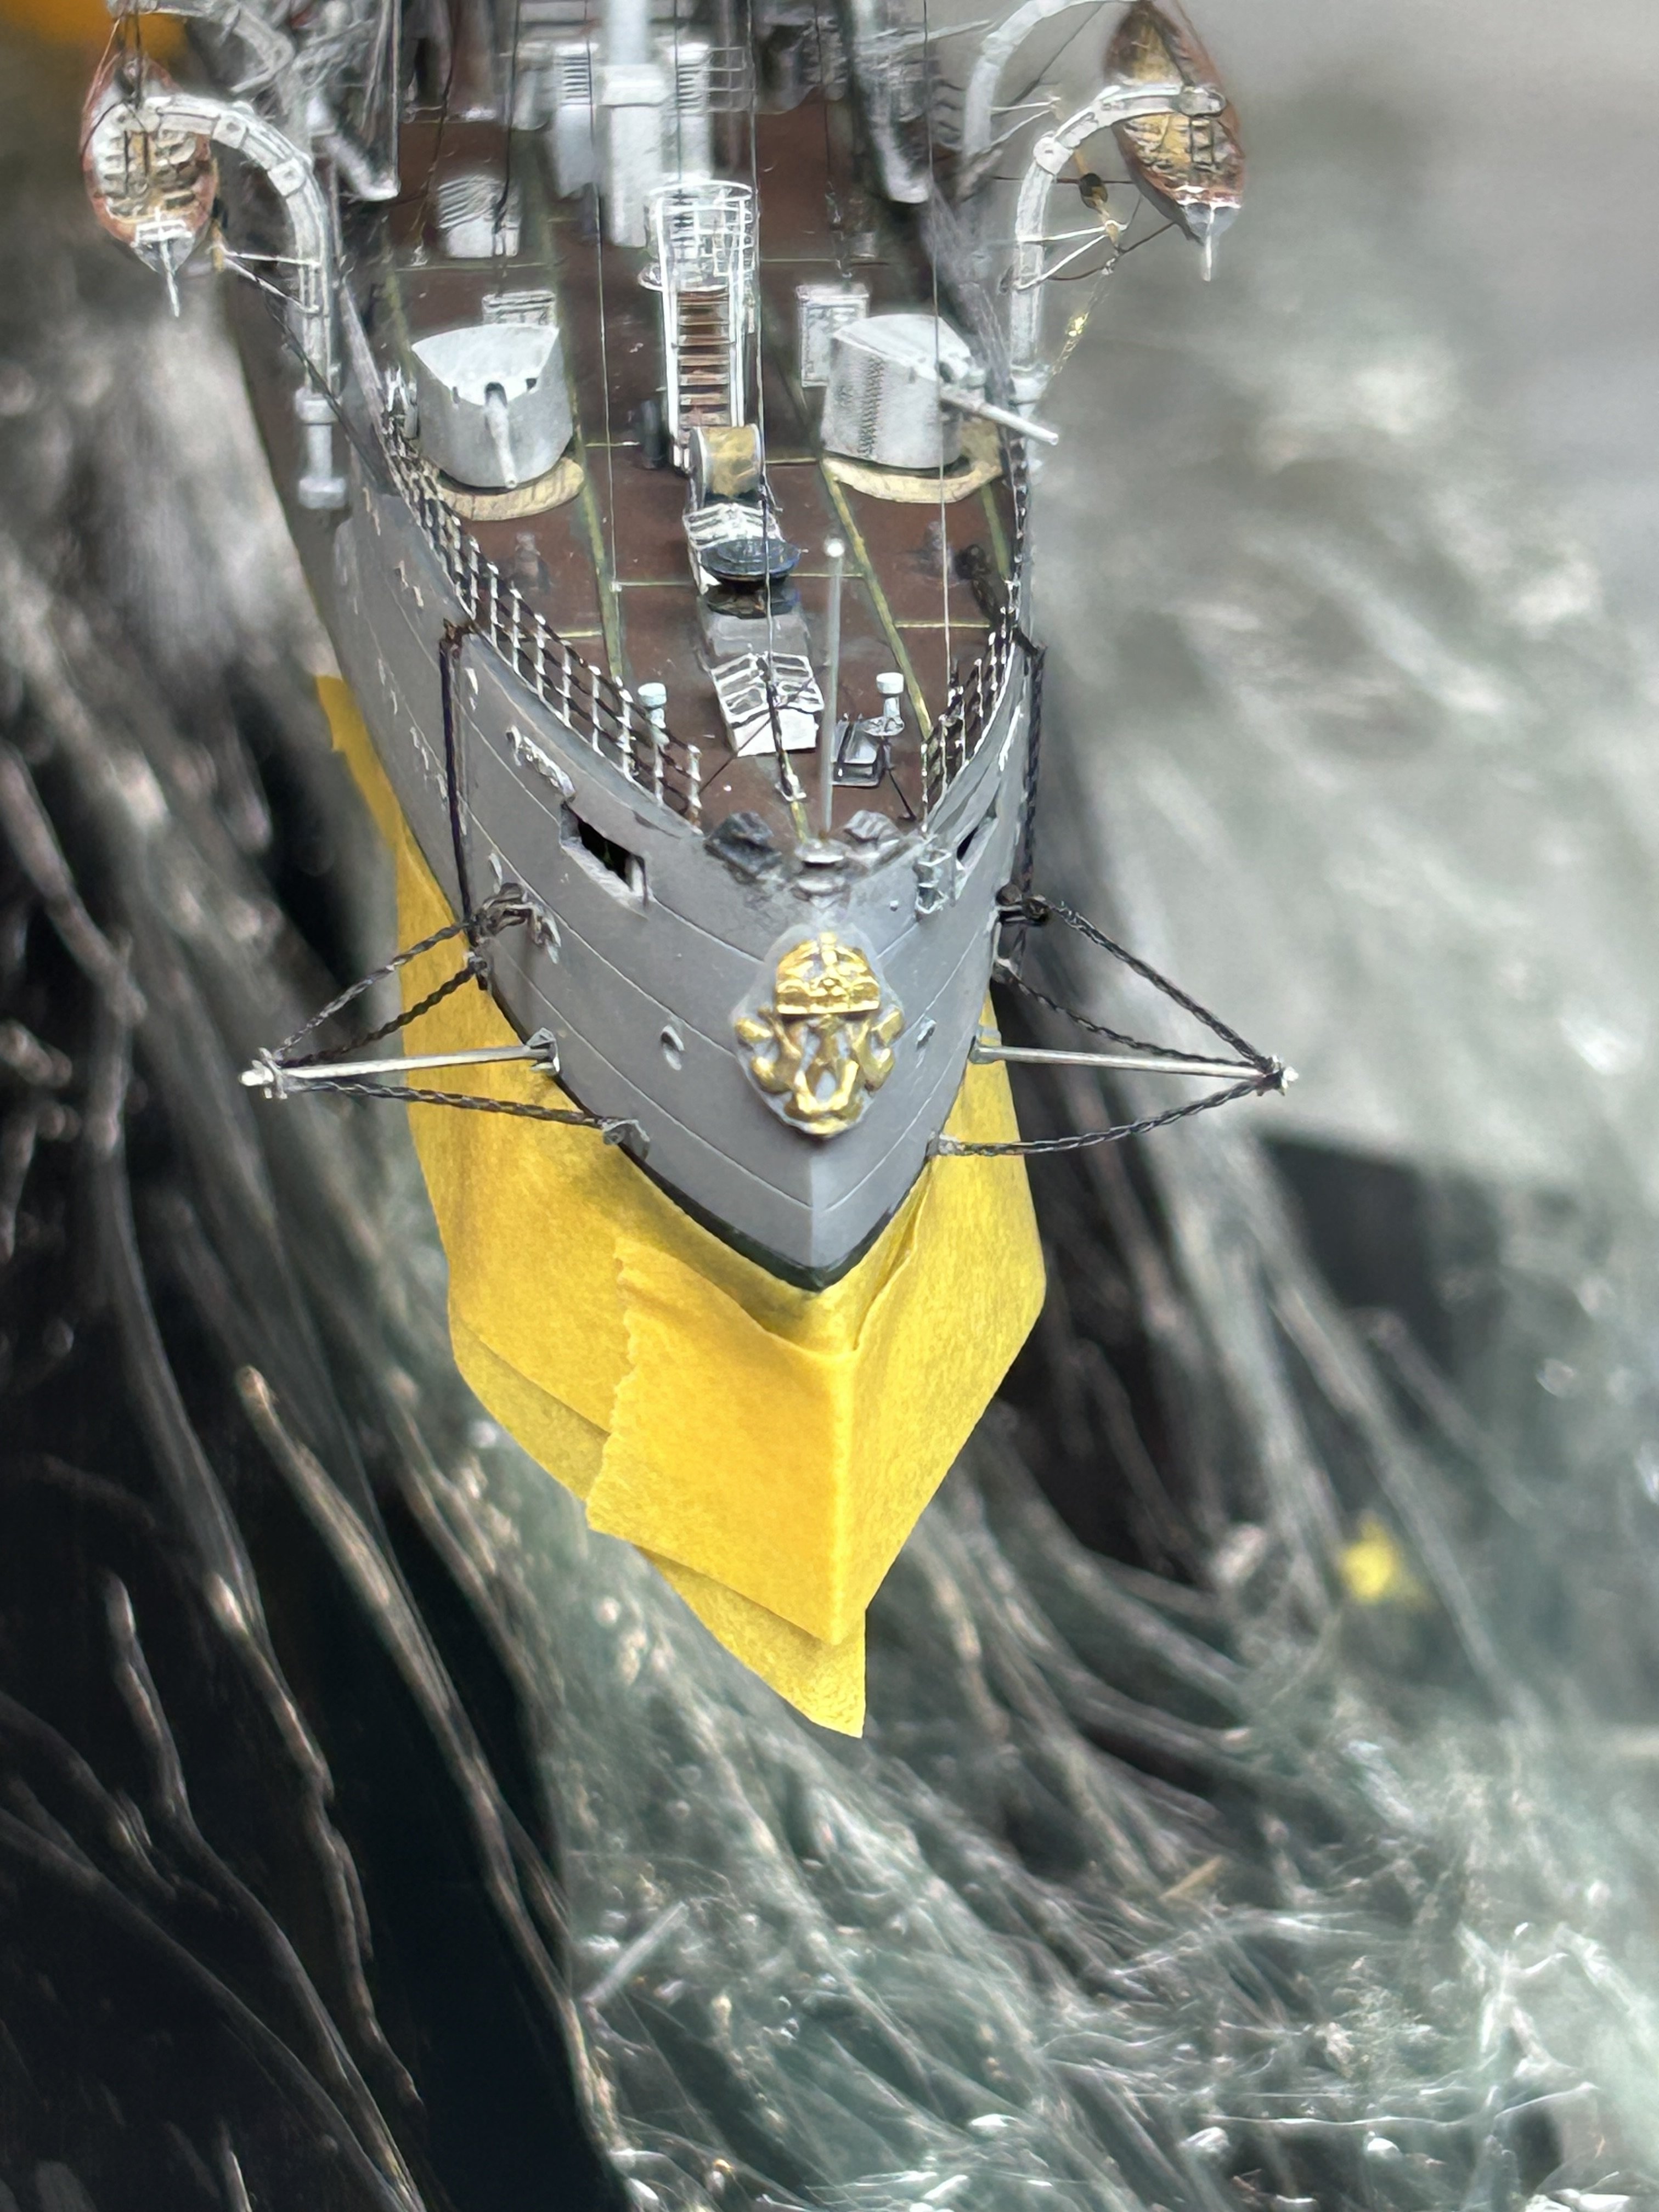
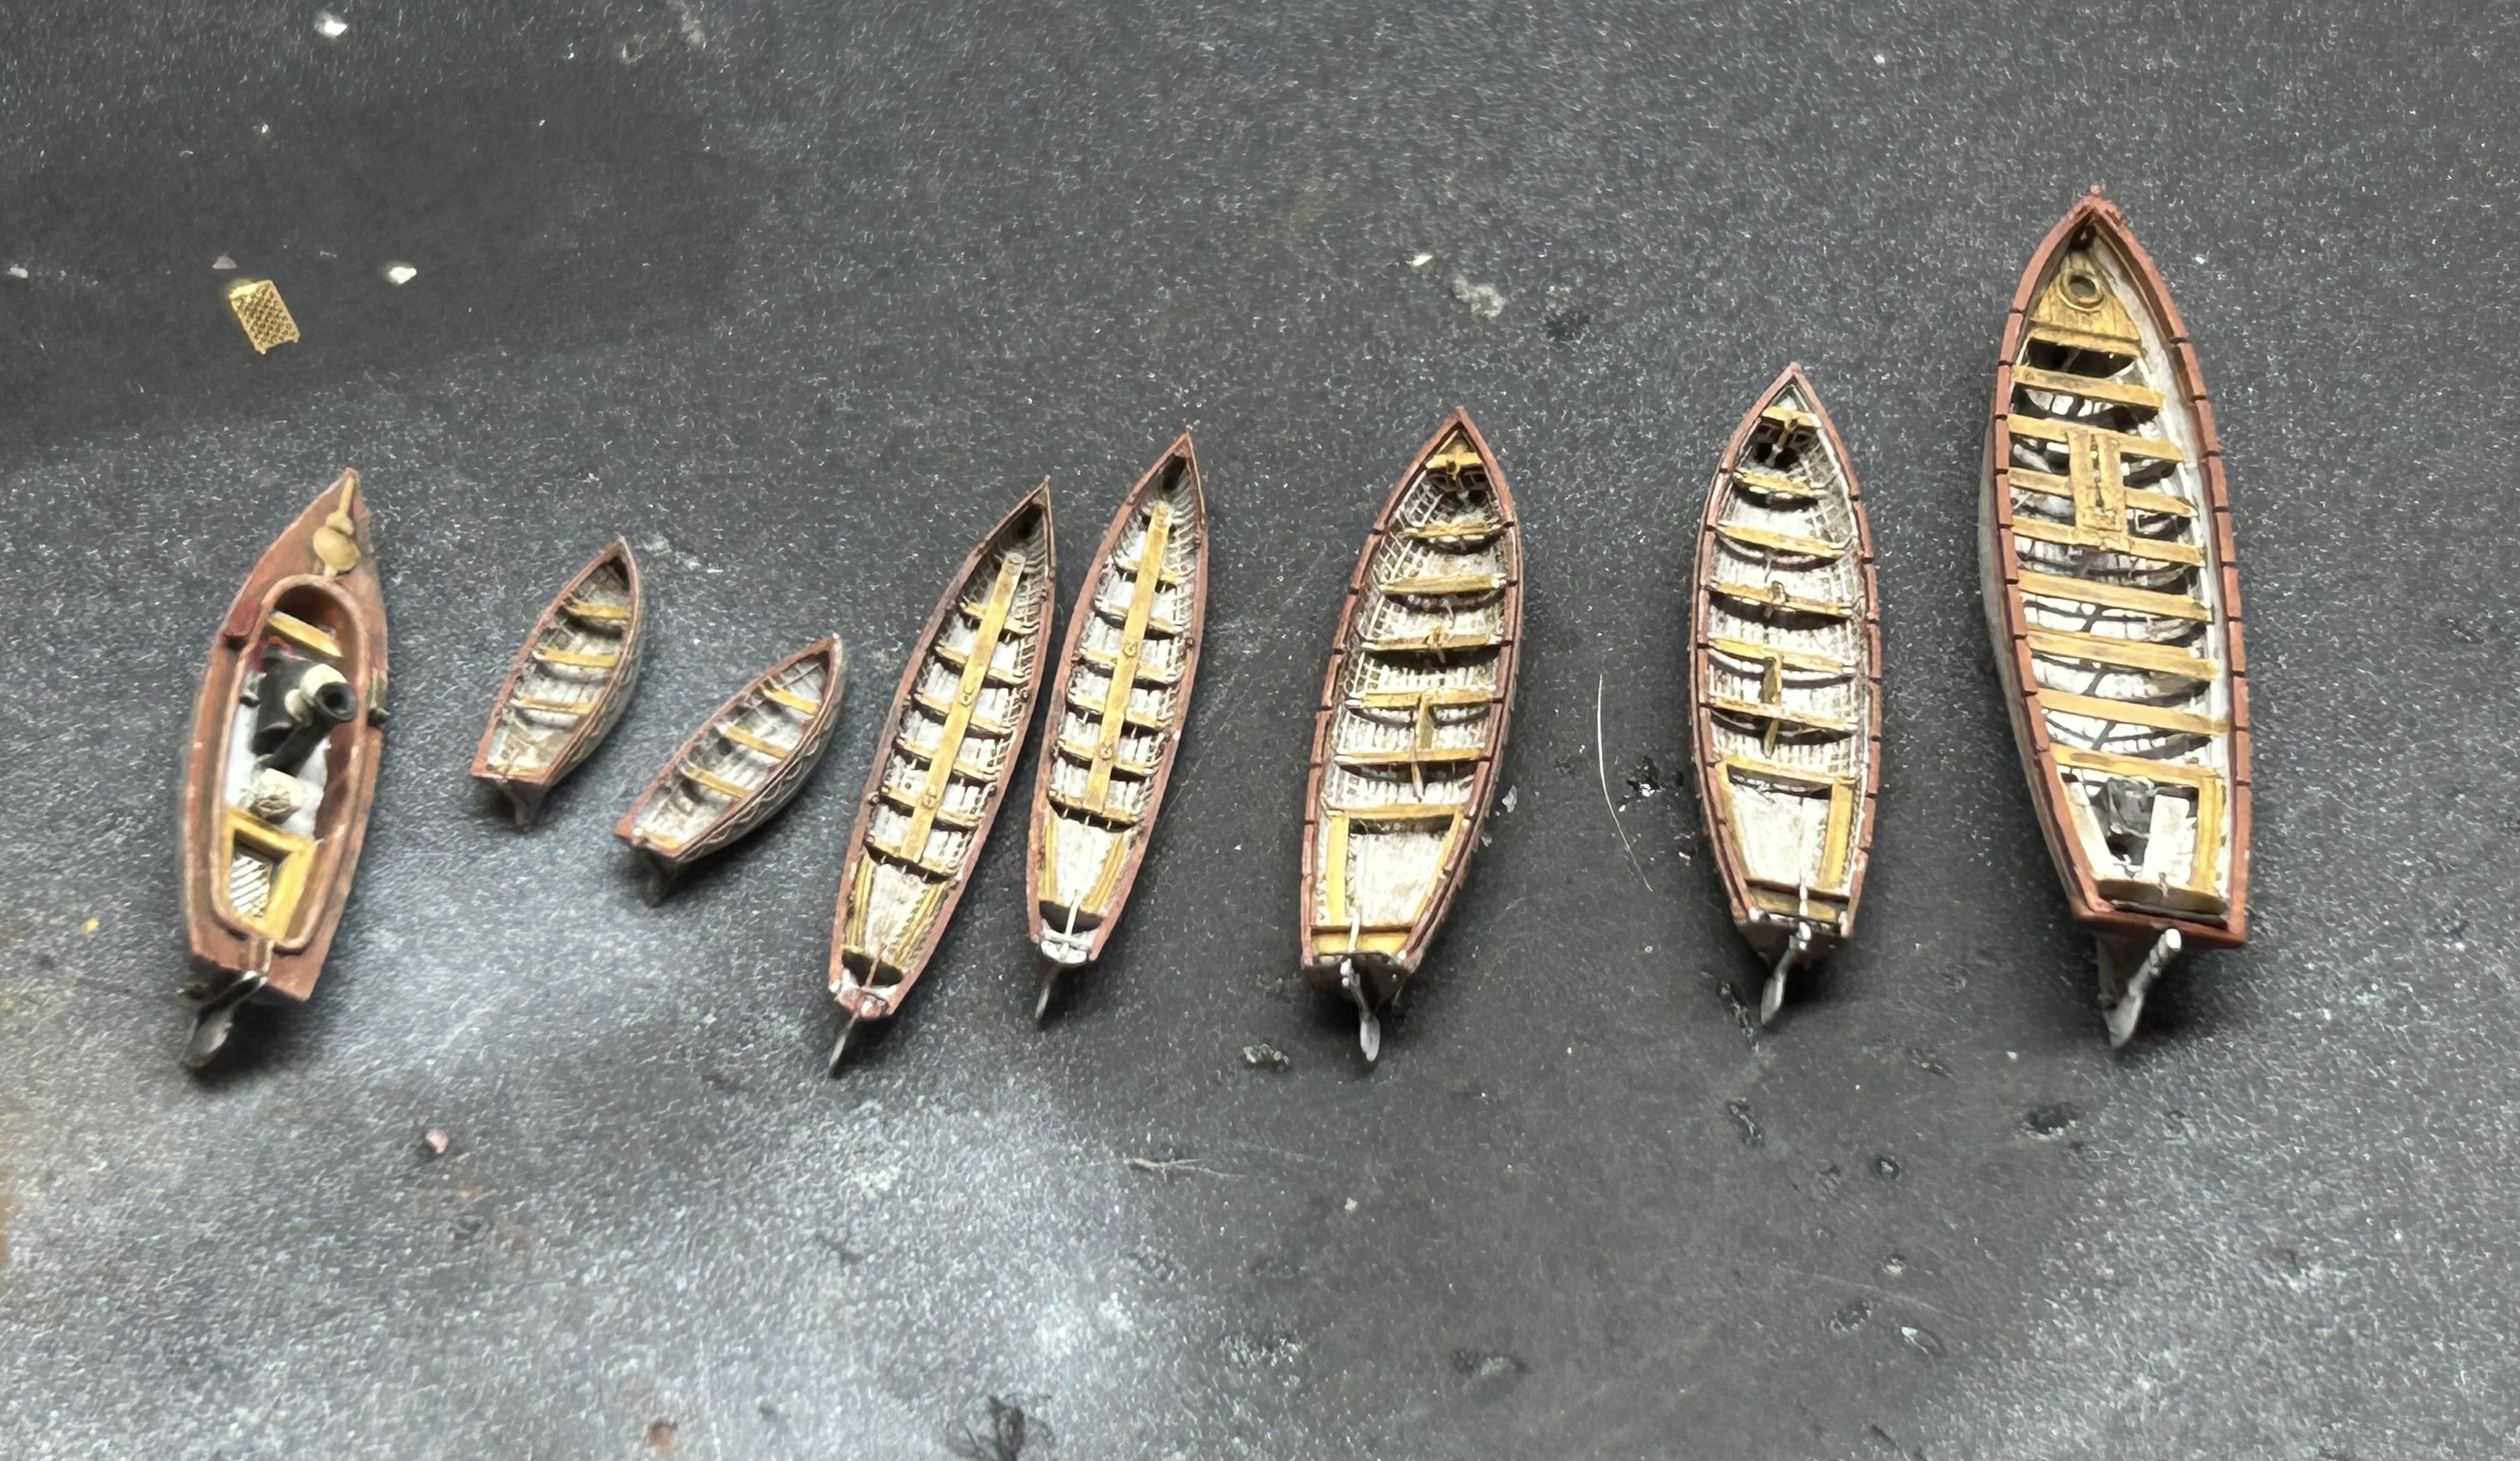
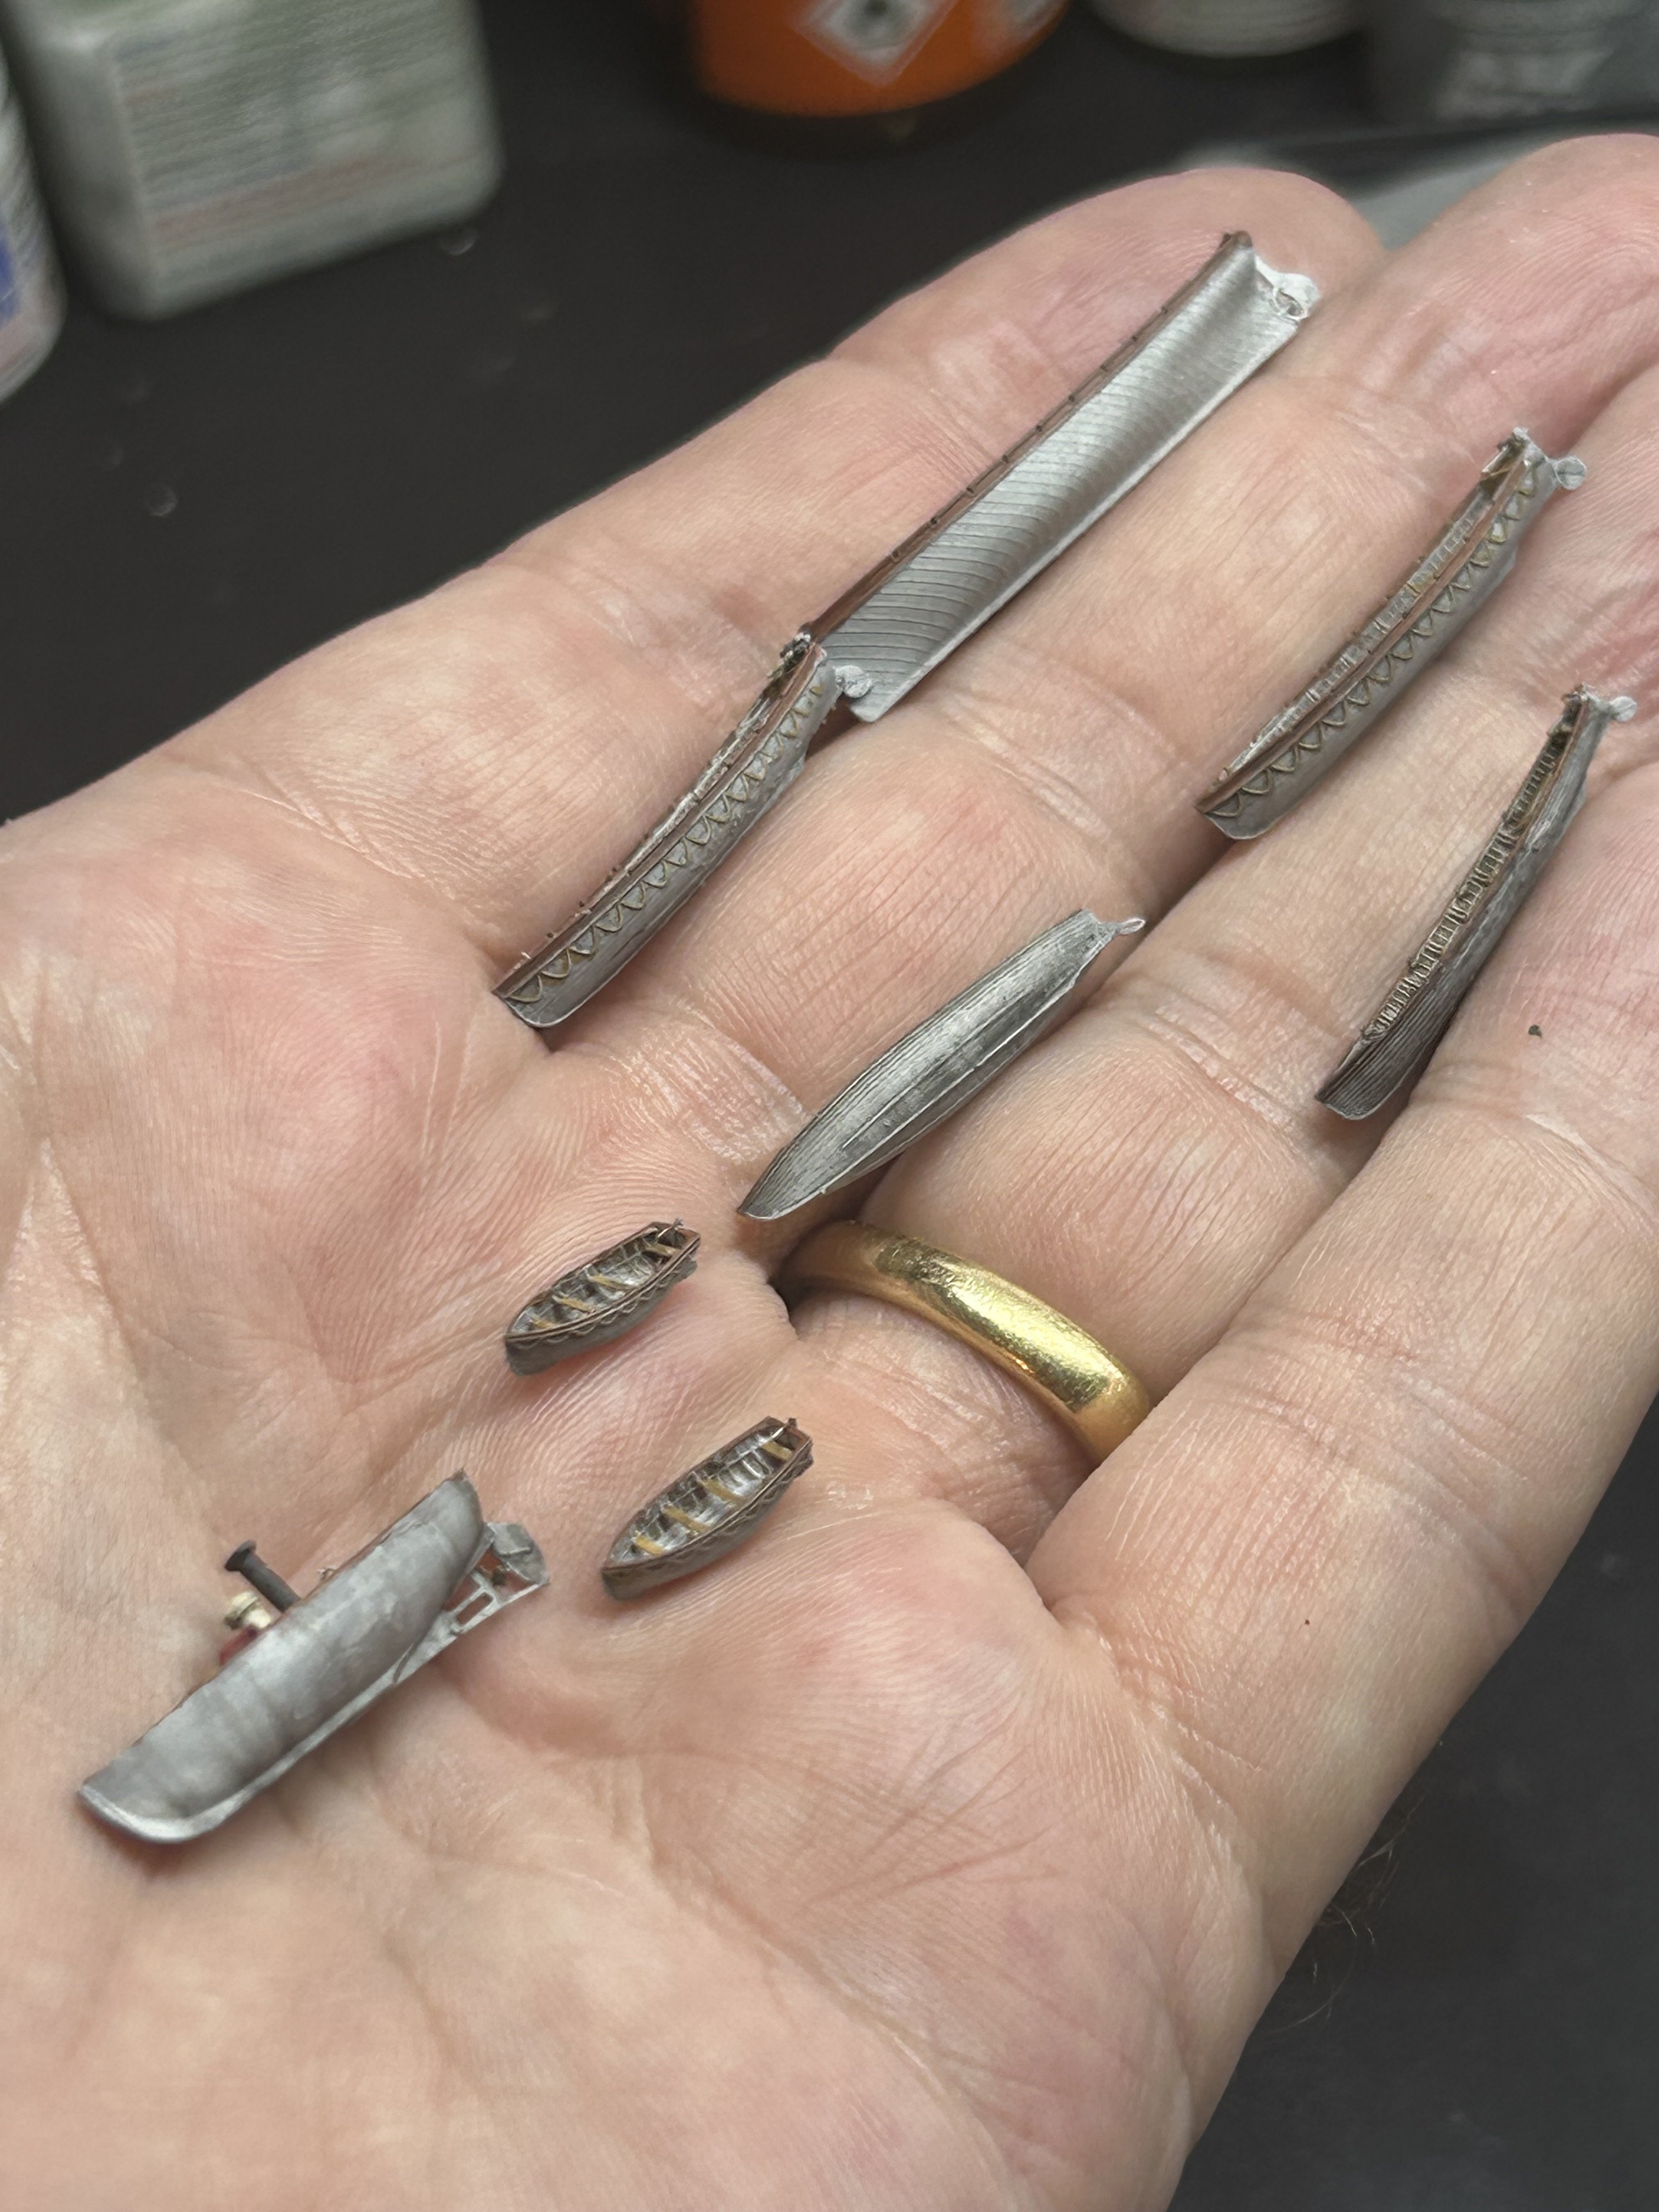
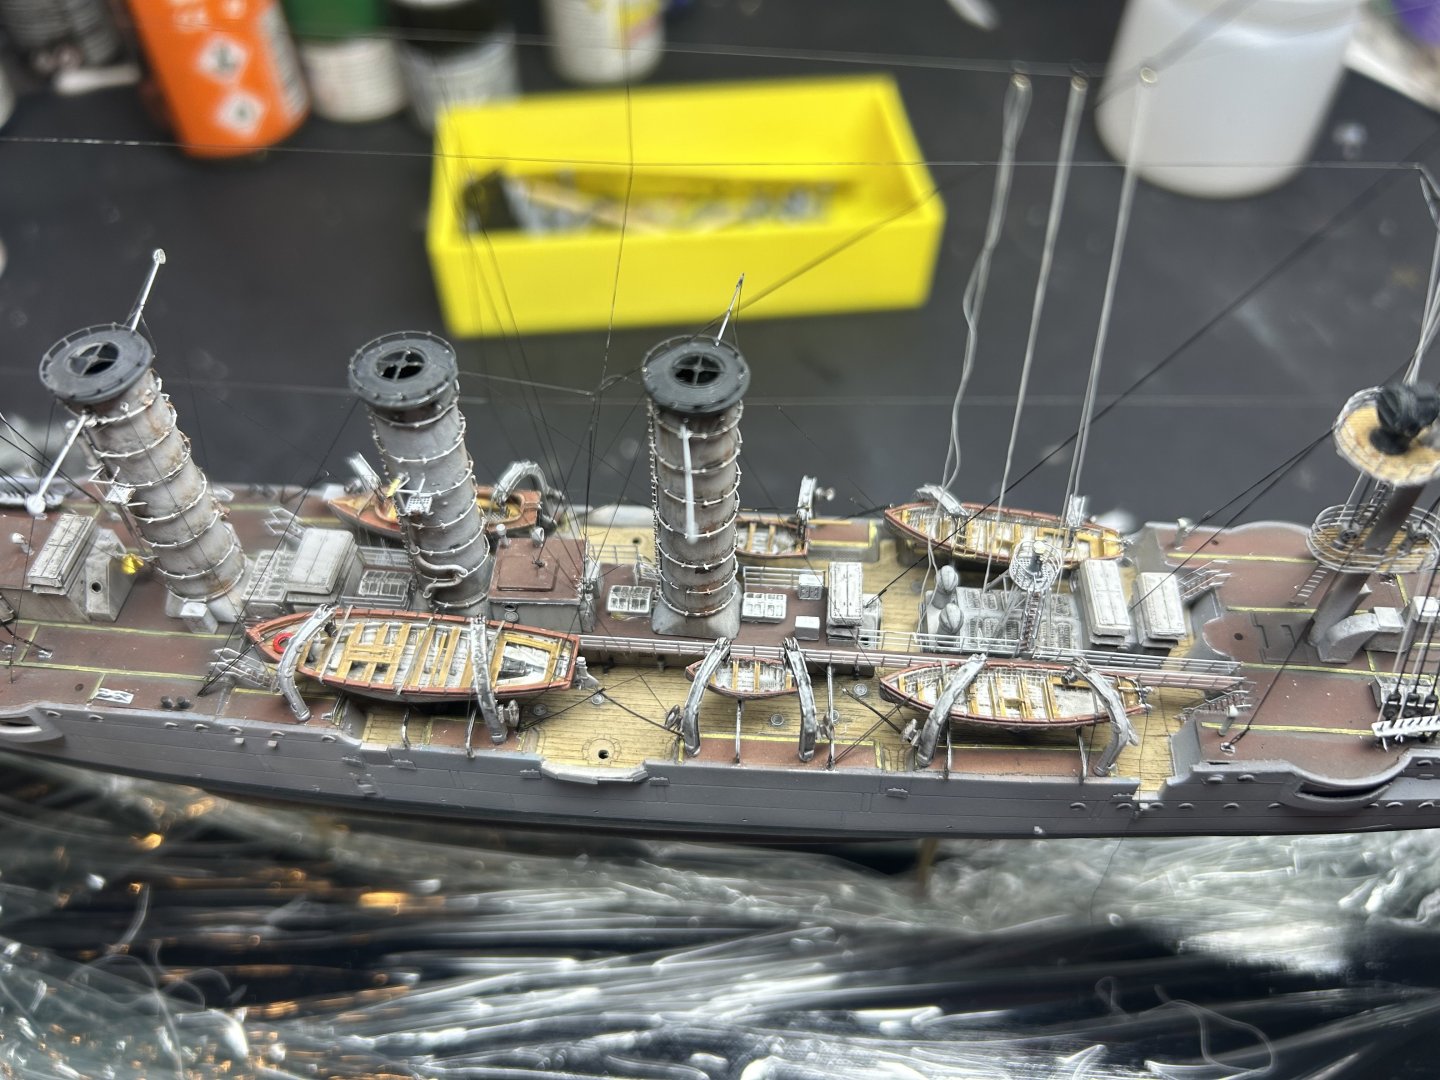
Ships boats amidships added with davits, as well as lashing
- 81 replies
-
- 9
-
-
-
- Micromaster
- Eduard
- (and 4 more)
-
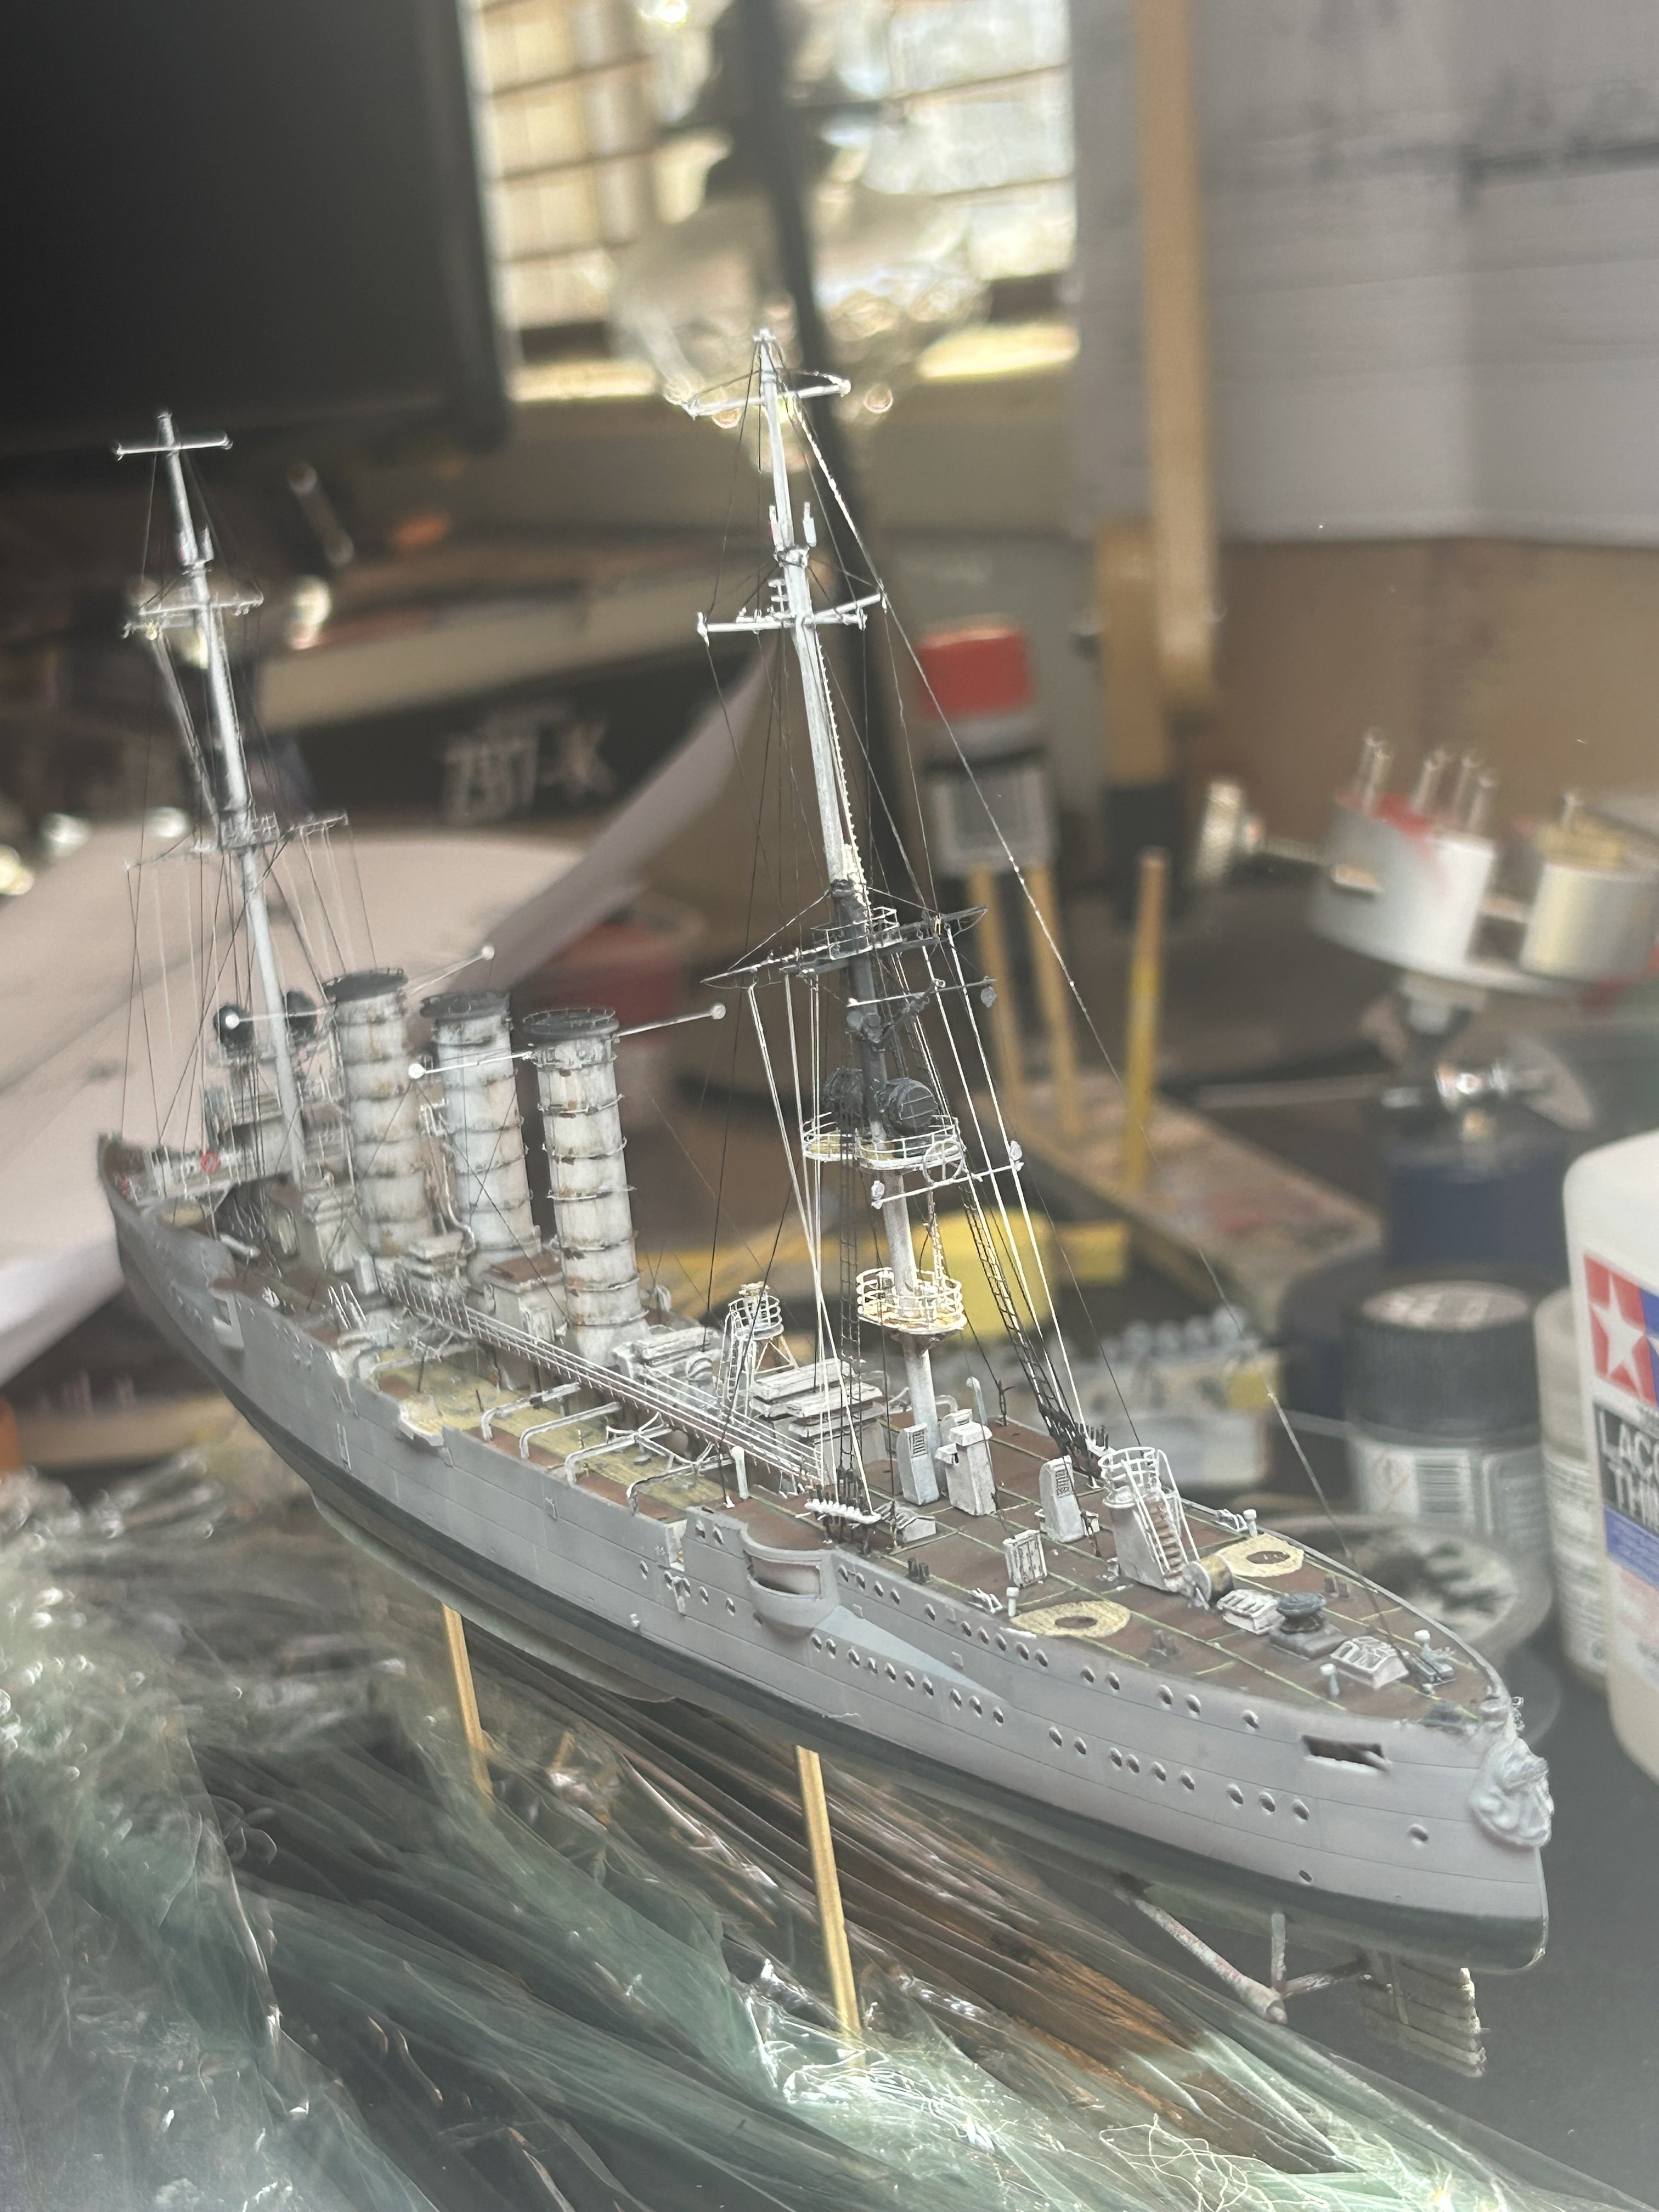
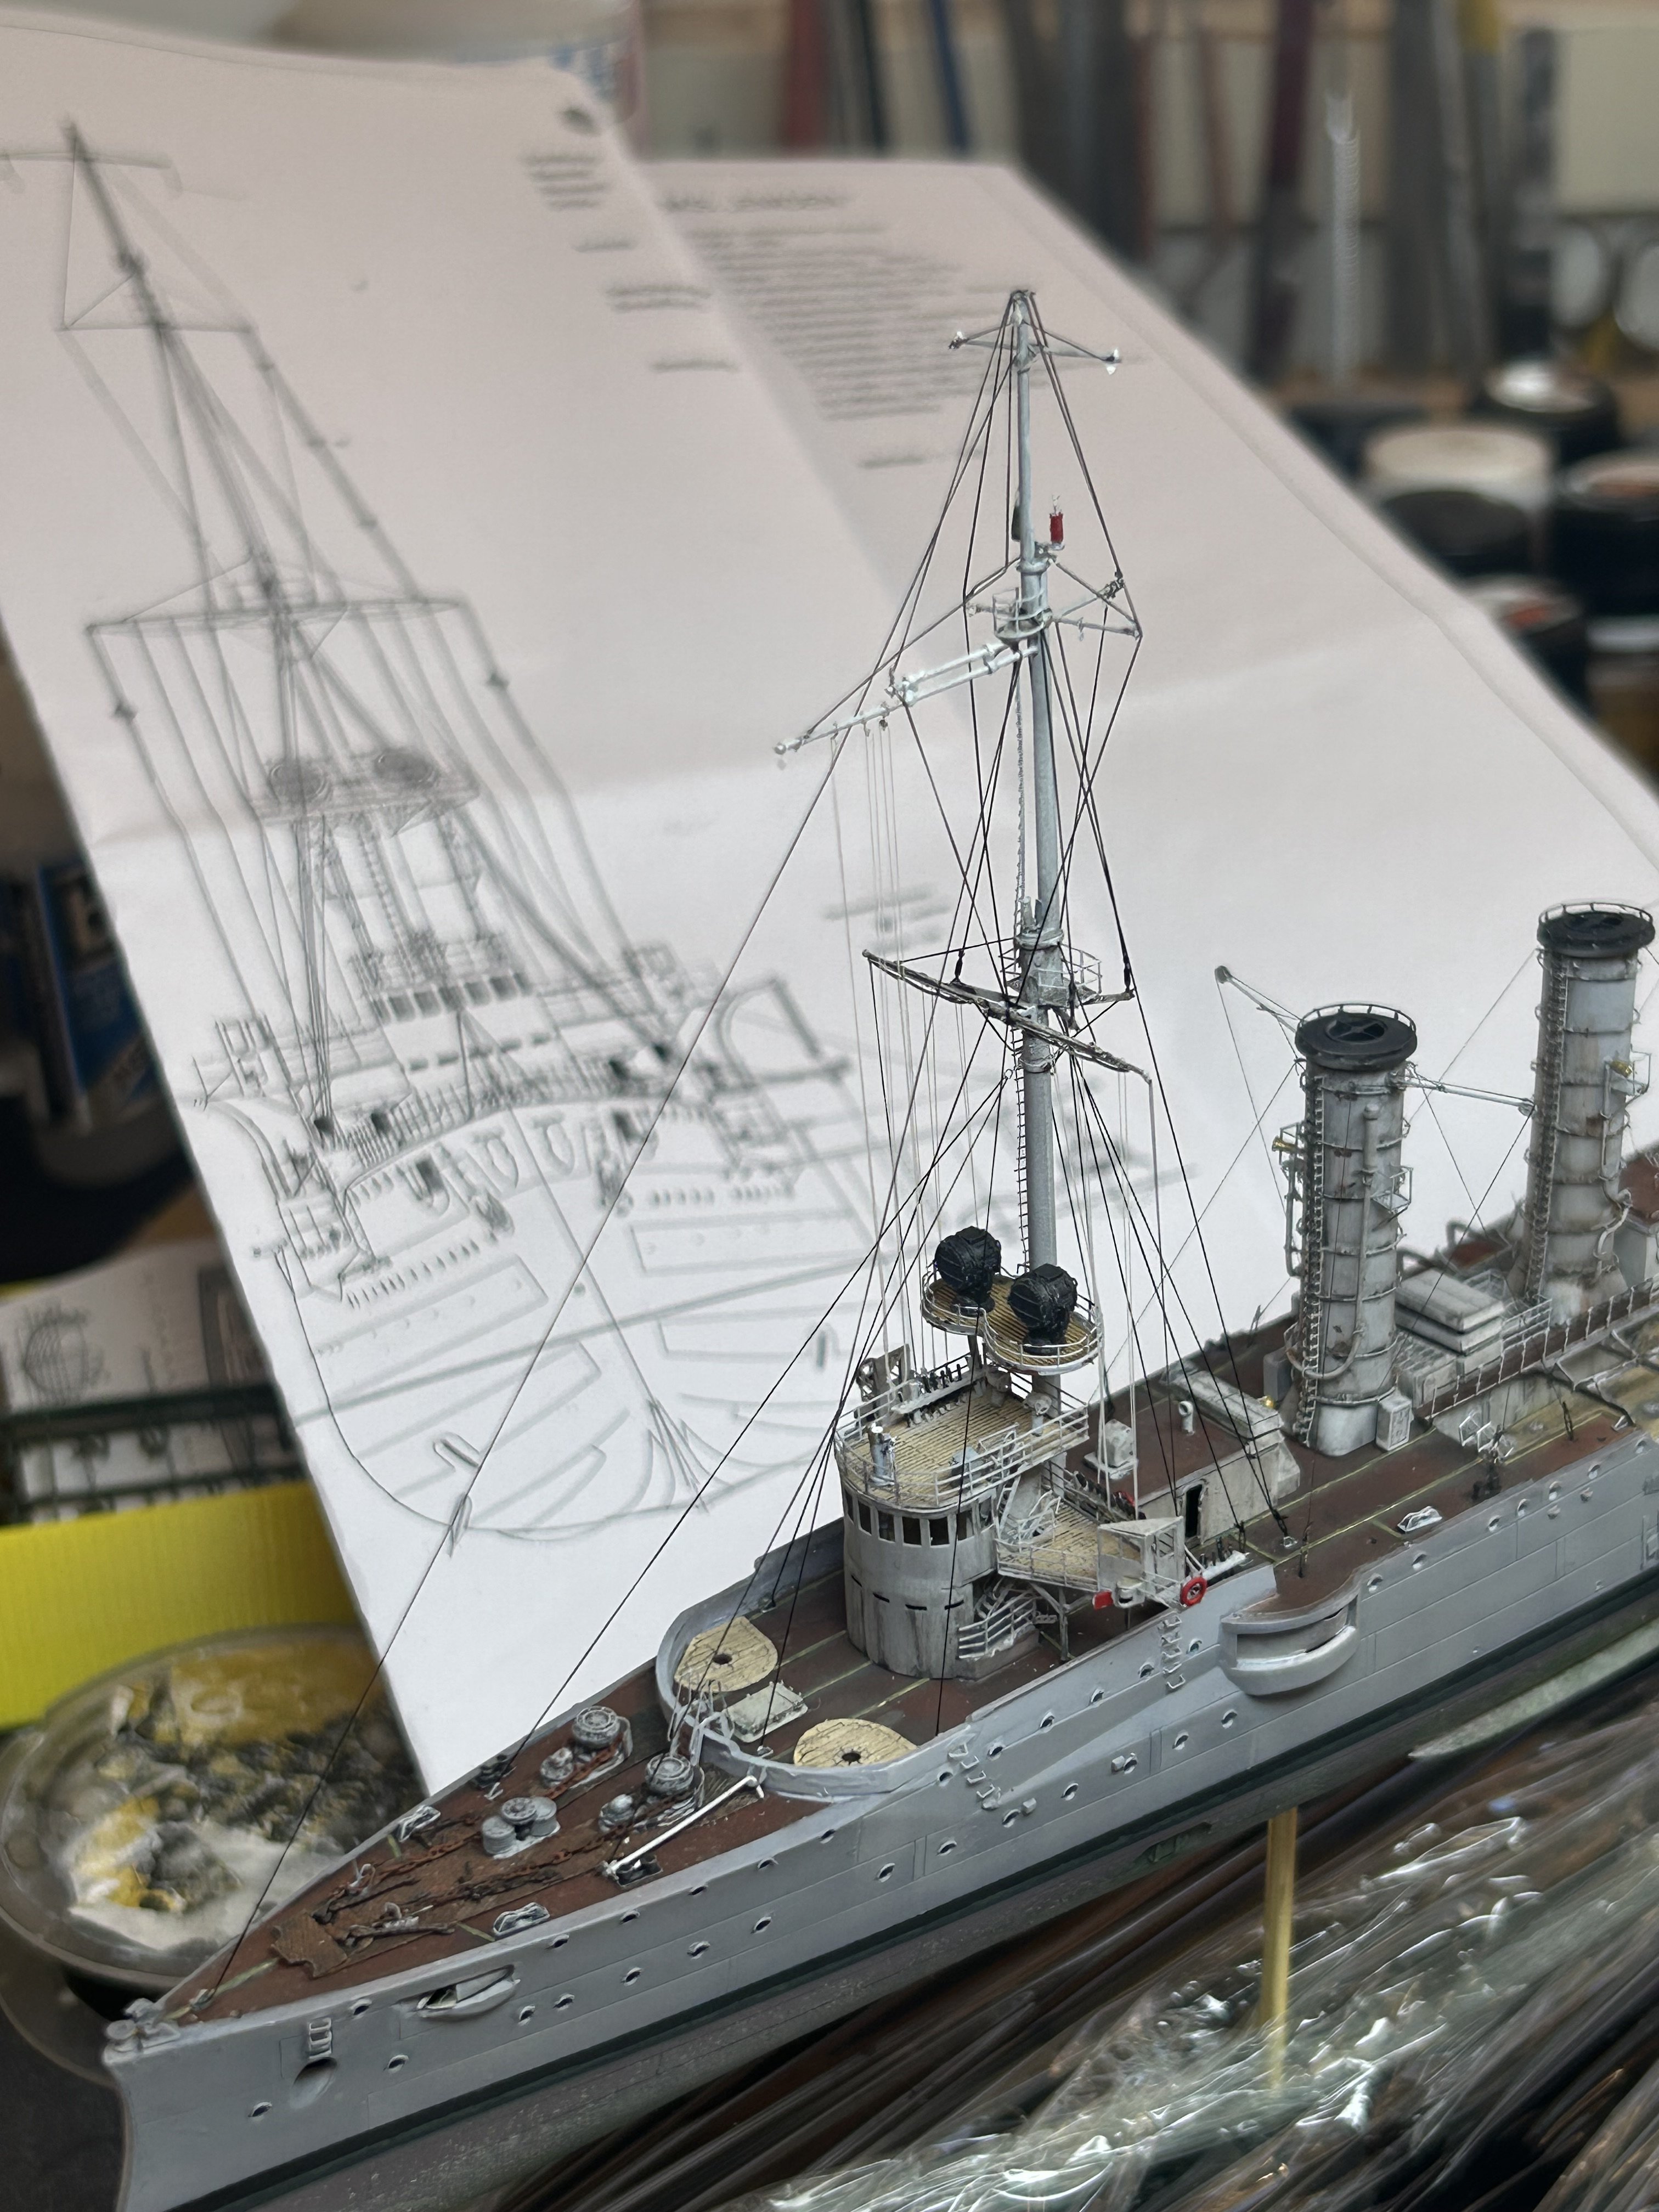
Denier line, I pre planned still the belaying points then use different thickness denier line m, stays are thicker than running, halyards are pale and thin, you have to use thin CA to attach denier line
- 81 replies
-
- 2
-

-
-
- Micromaster
- Eduard
- (and 4 more)