RGL
-
Posts
5,547 -
Joined
-
Last visited
Content Type
Profiles
Forums
Gallery
Events
Everything posted by RGL
-
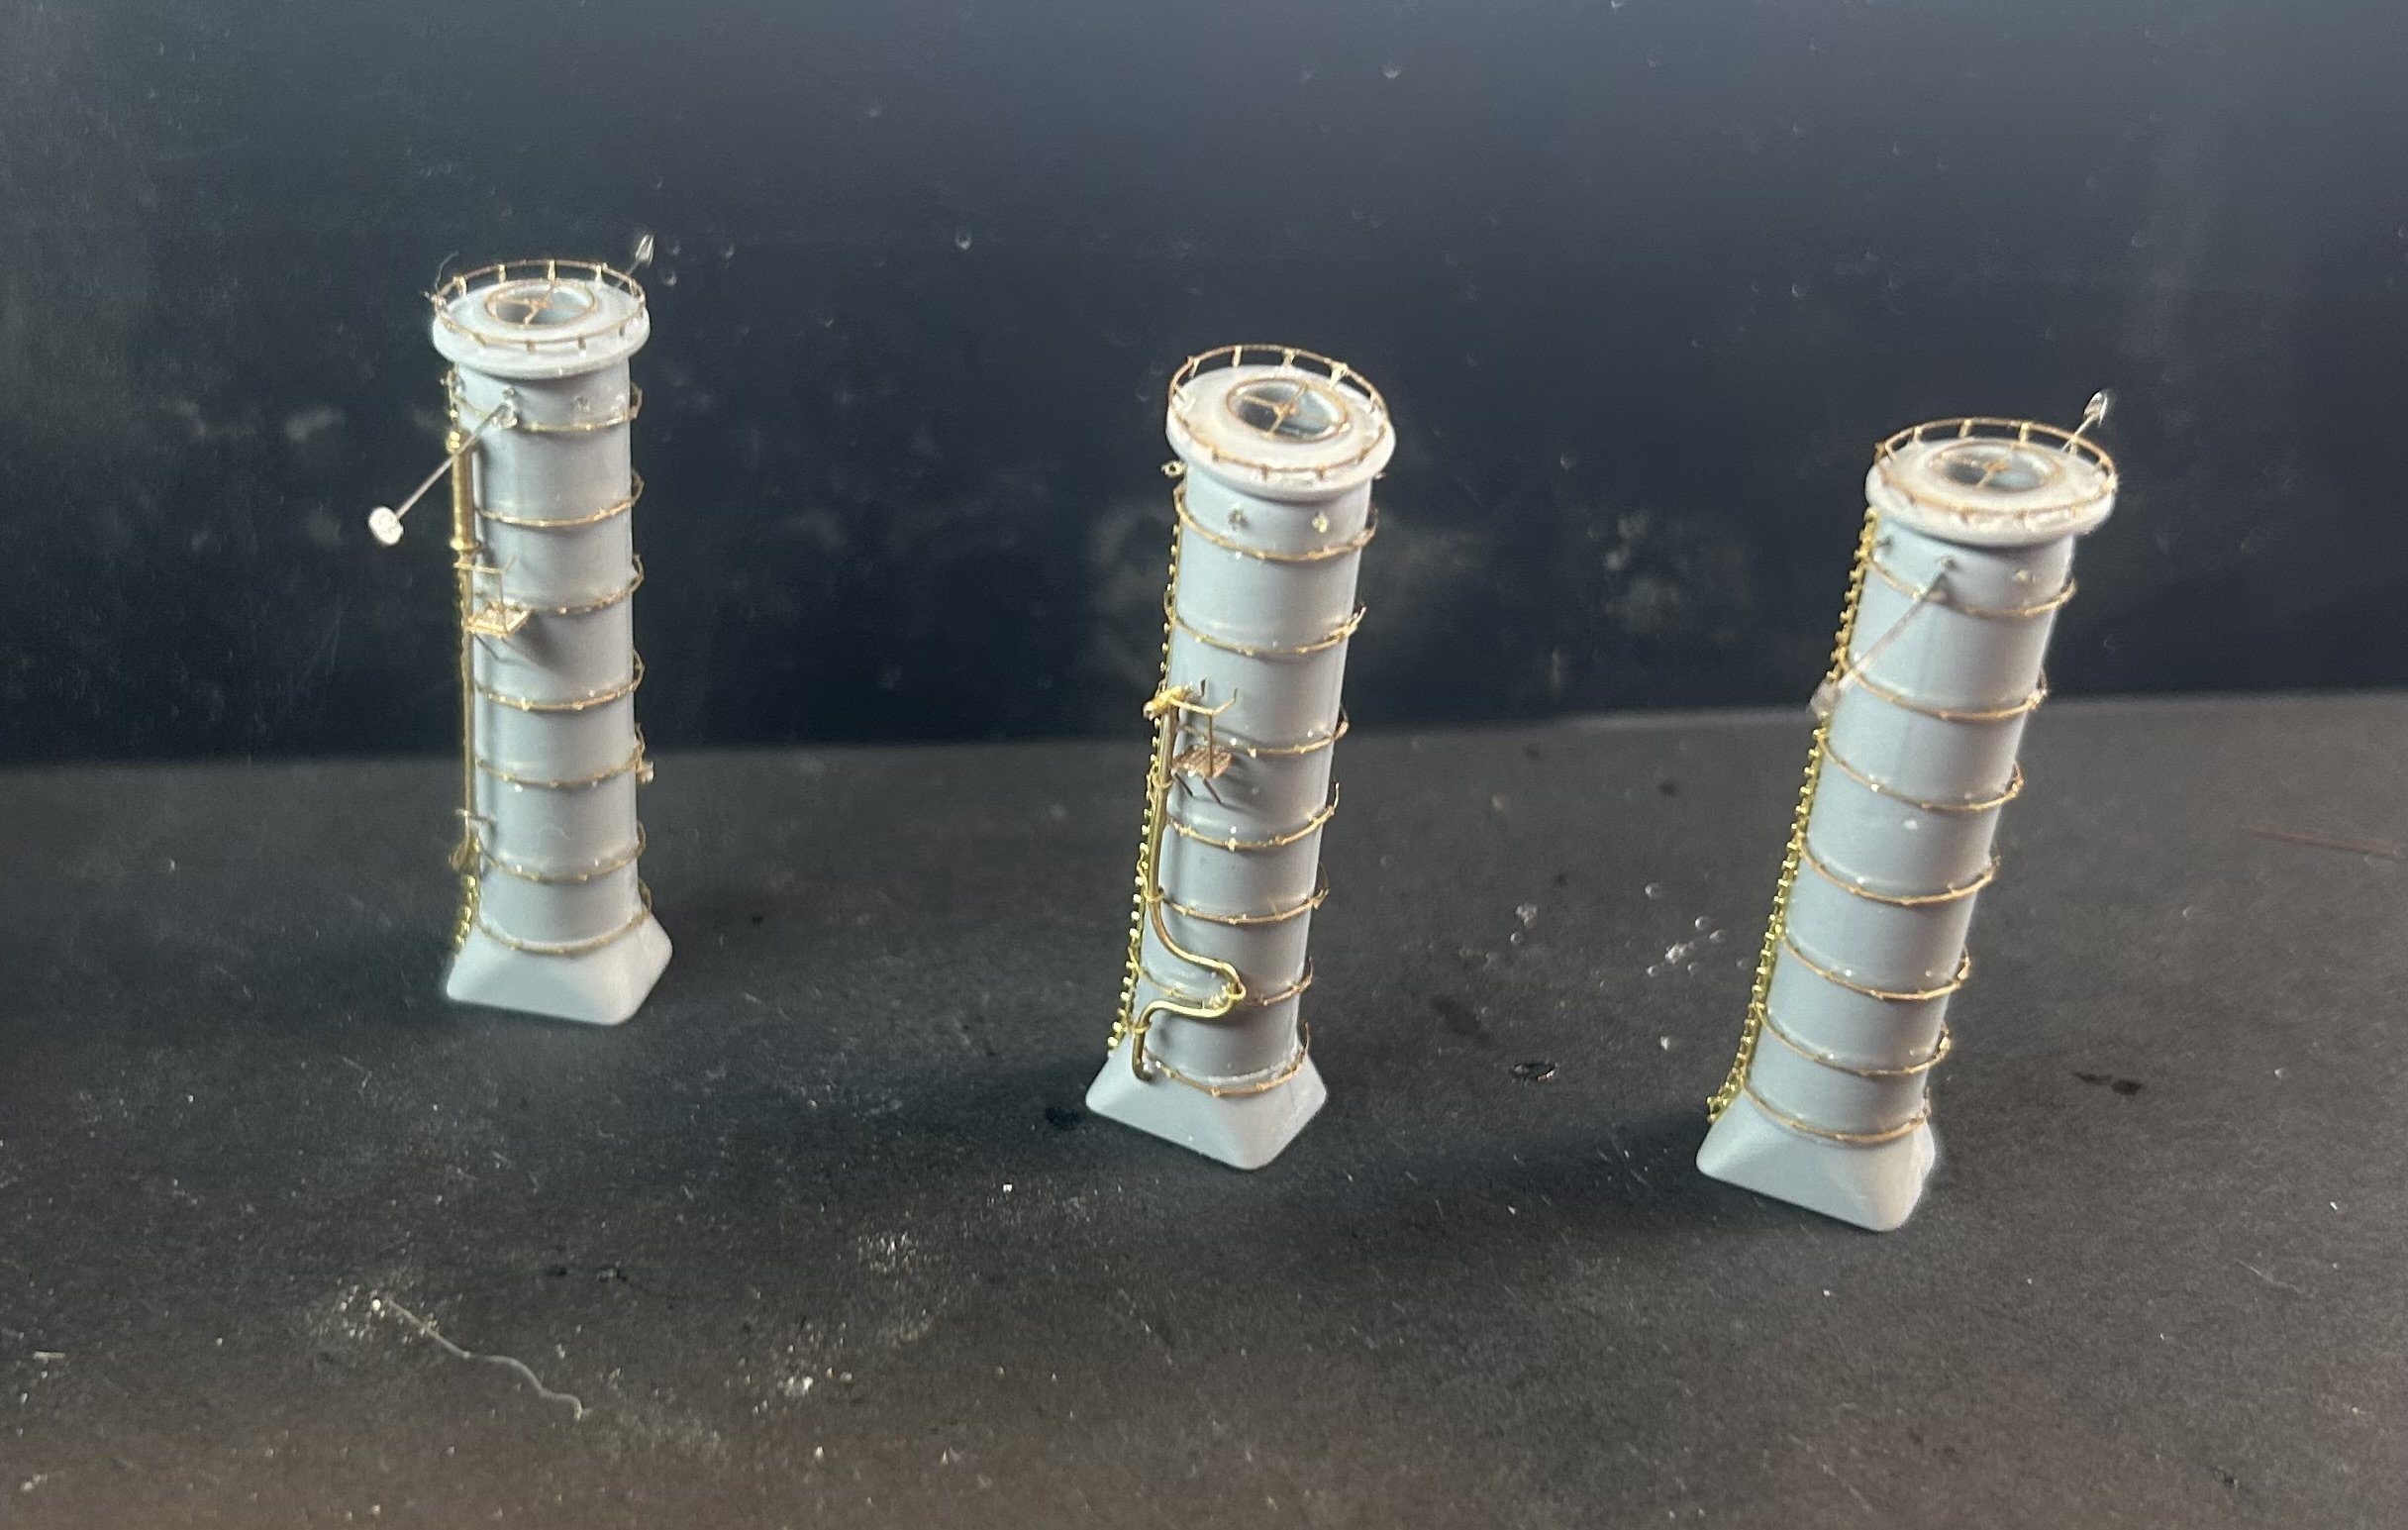
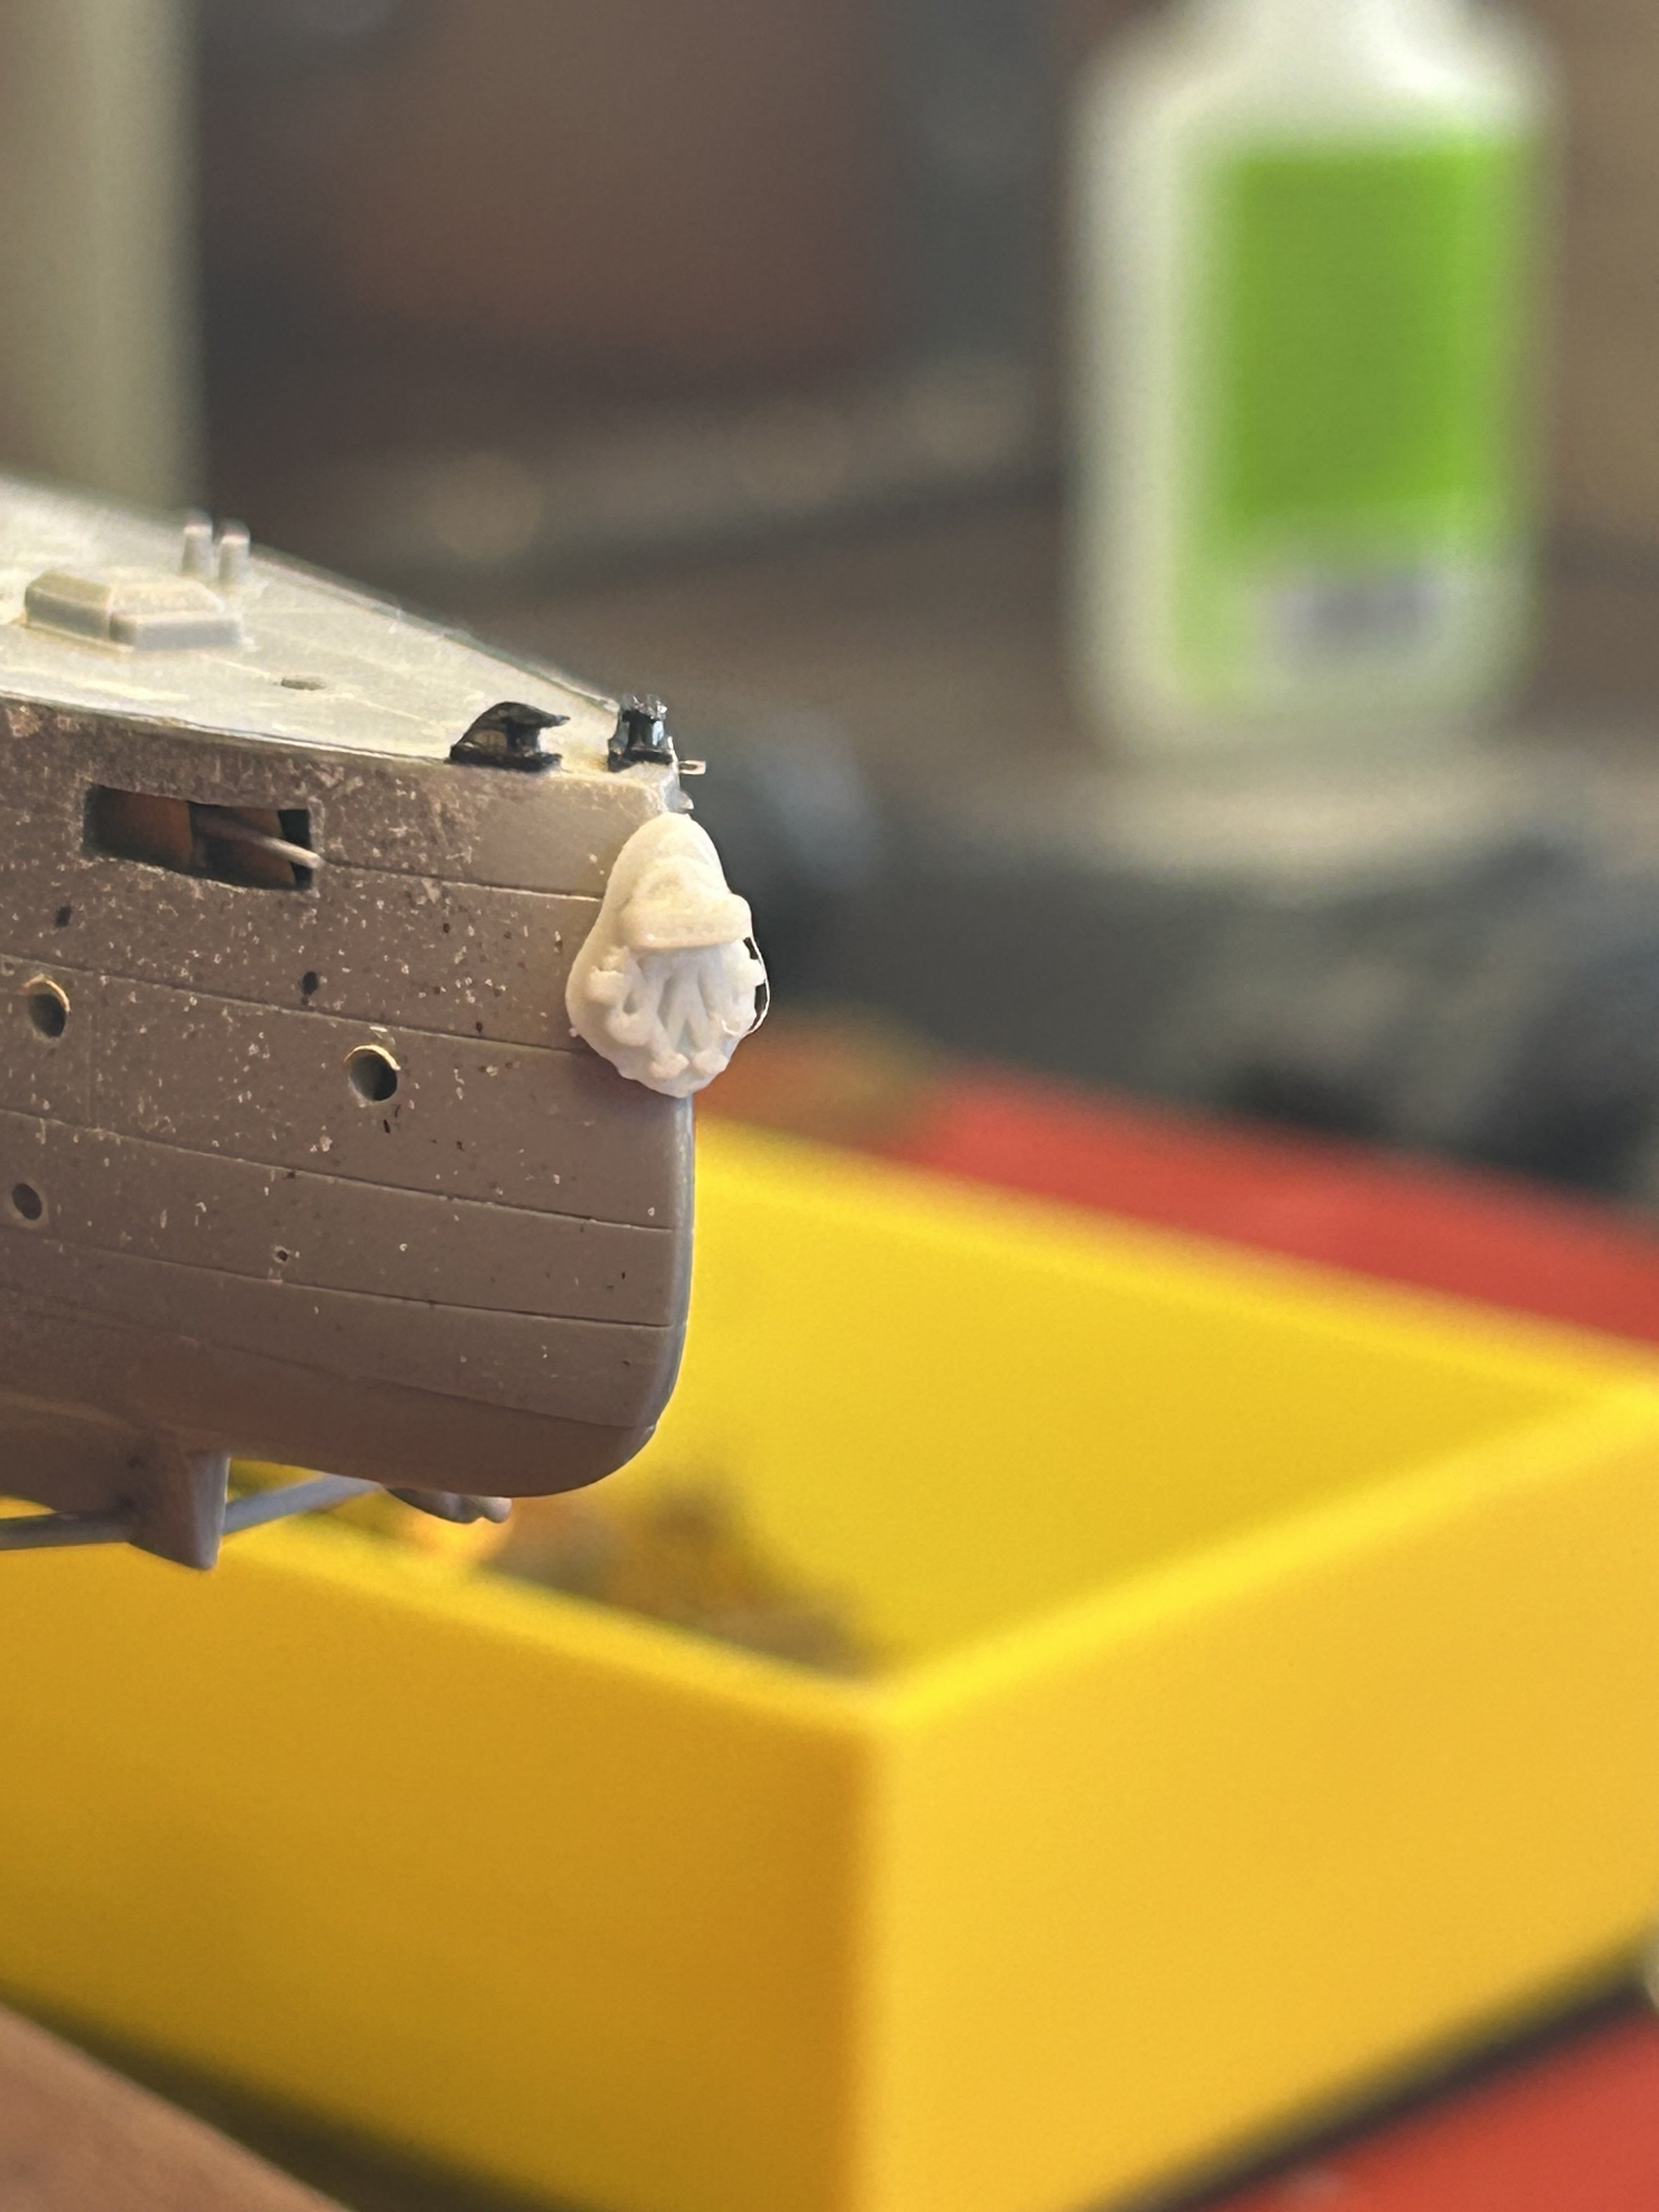
 More bling, given the vagaries of painting the bridge will be piece work. the stern piece is a 3d print made by a club member. next I’ll start work on the funnels

- 81 replies
-
- 6
-

-
- Micromaster
- Eduard
- (and 4 more)
-
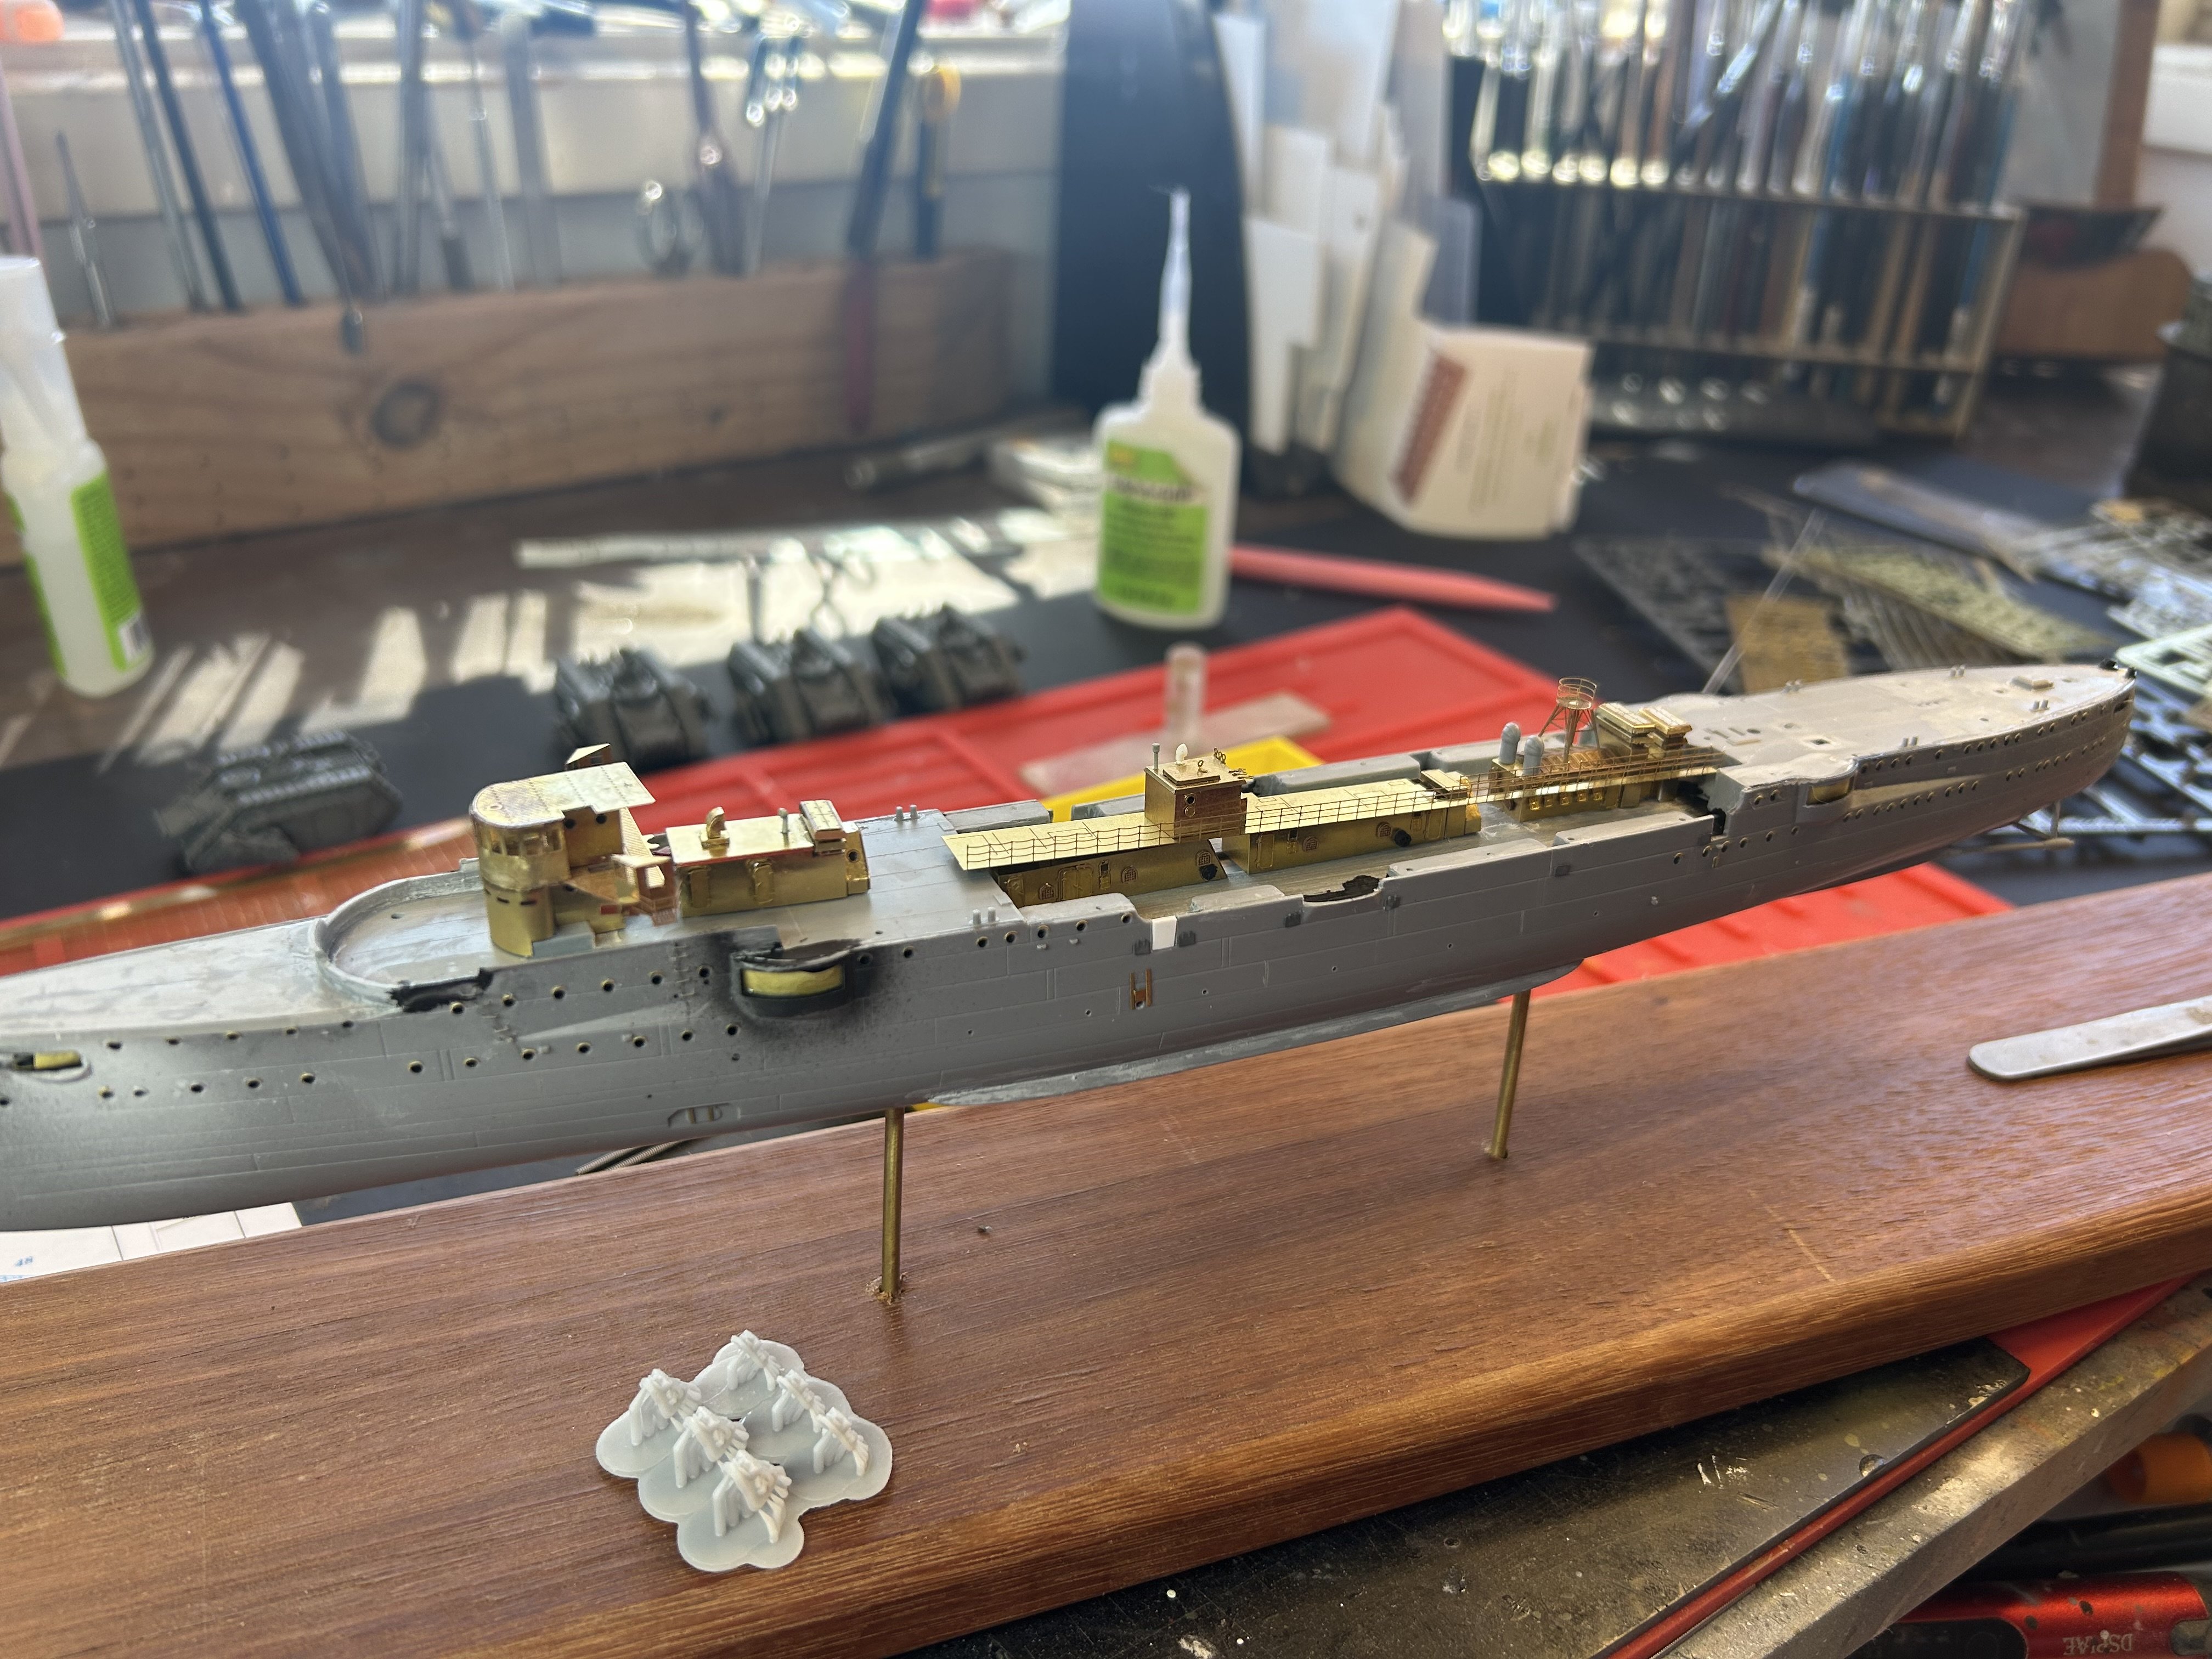
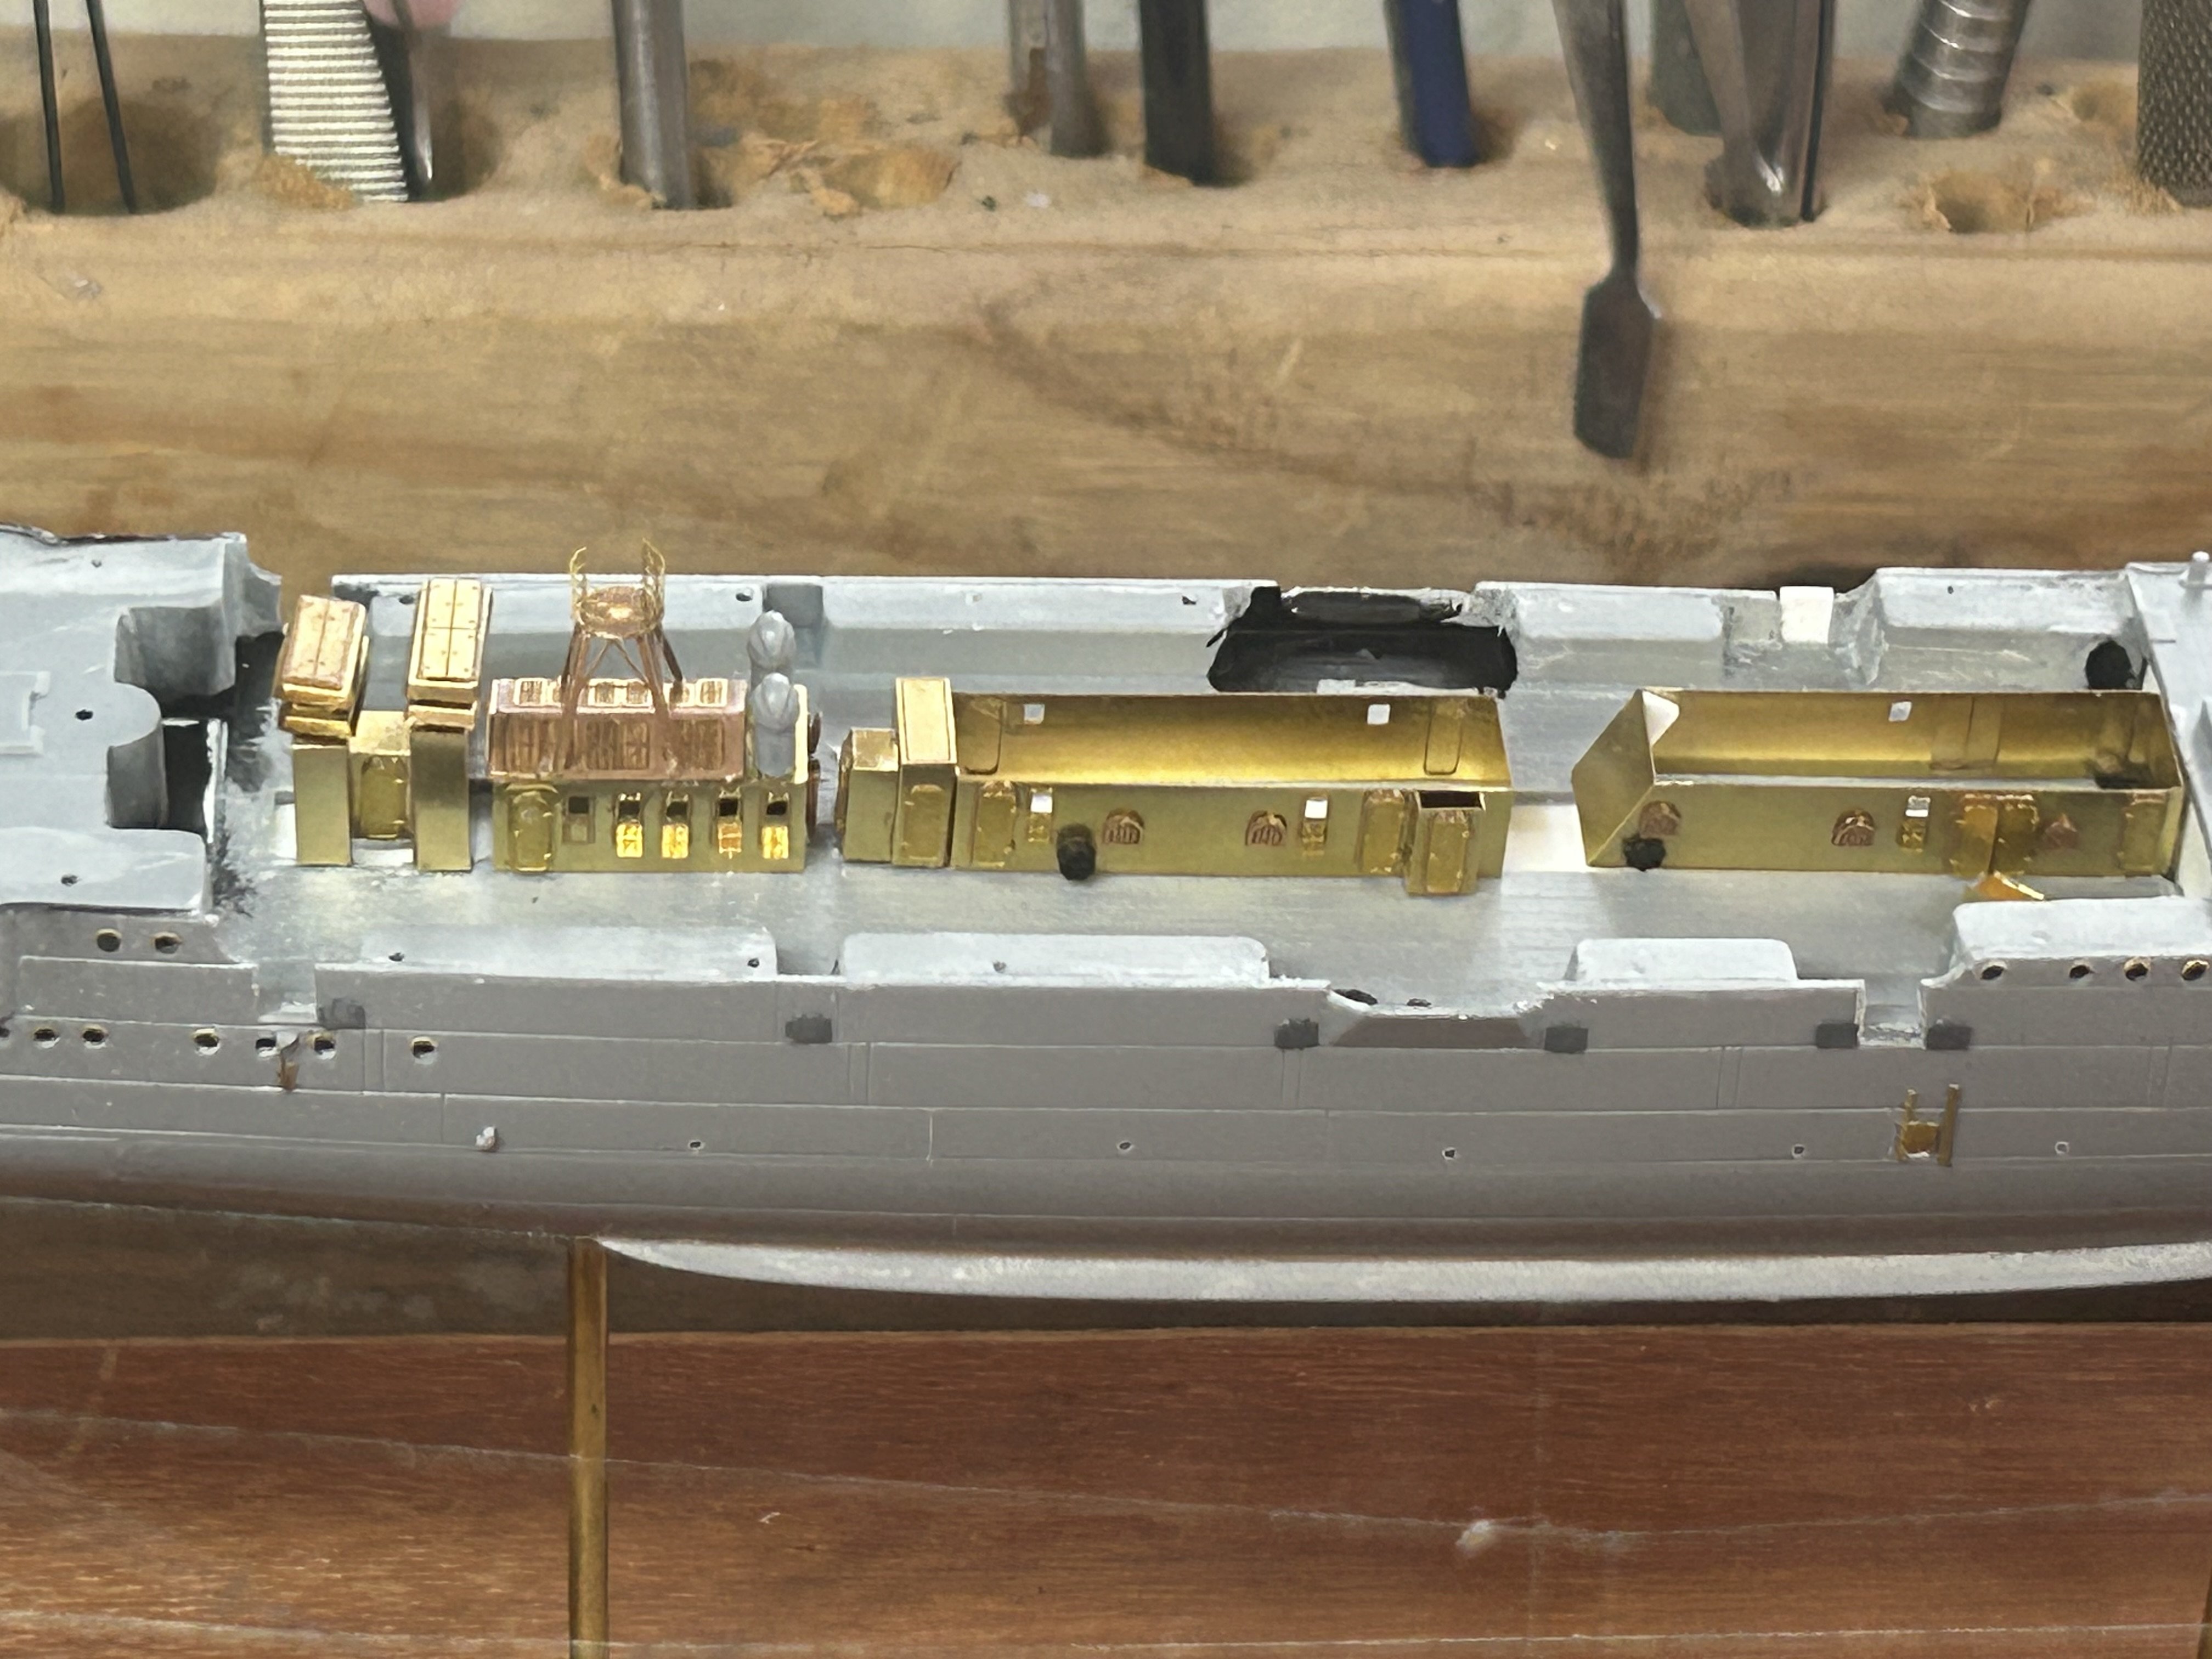
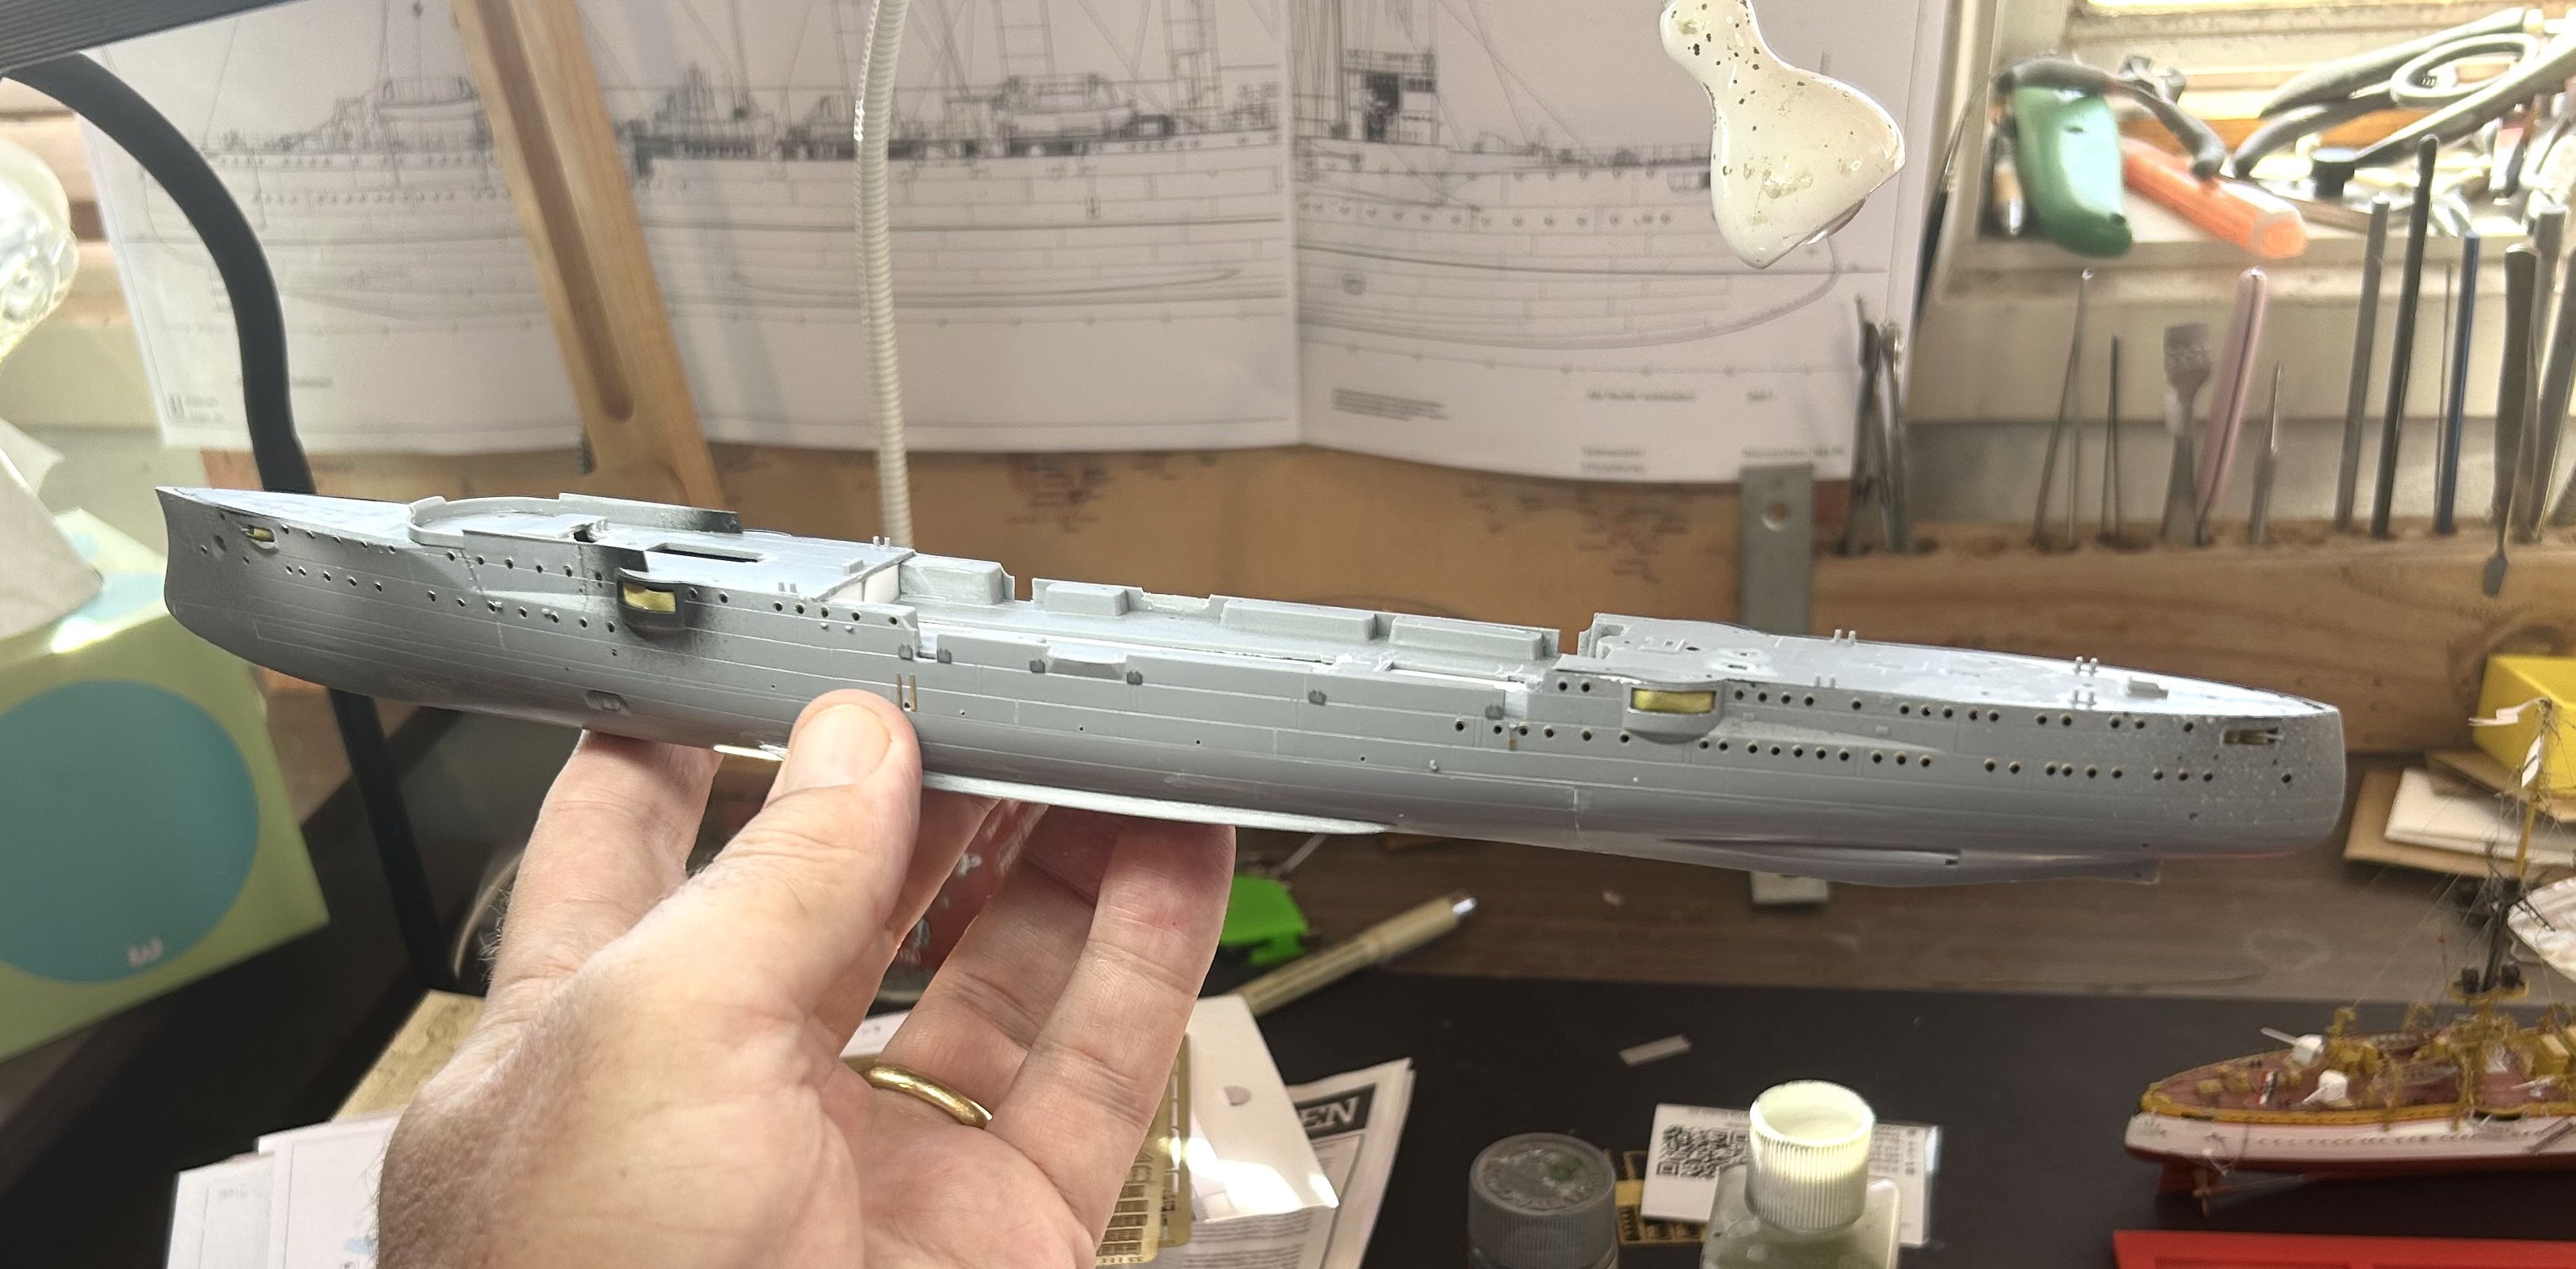
Hull is now done, hull ladders and screw shafts added . Now the superstructures

- 81 replies
-
- 6
-
-
- Micromaster
- Eduard
- (and 4 more)
-
https://podcasts.apple.com/au/podcast/on-the-bench/id1262869310?i=1000702269610
- 81 replies
-
- 1
-
-
- Micromaster
- Eduard
- (and 4 more)
-
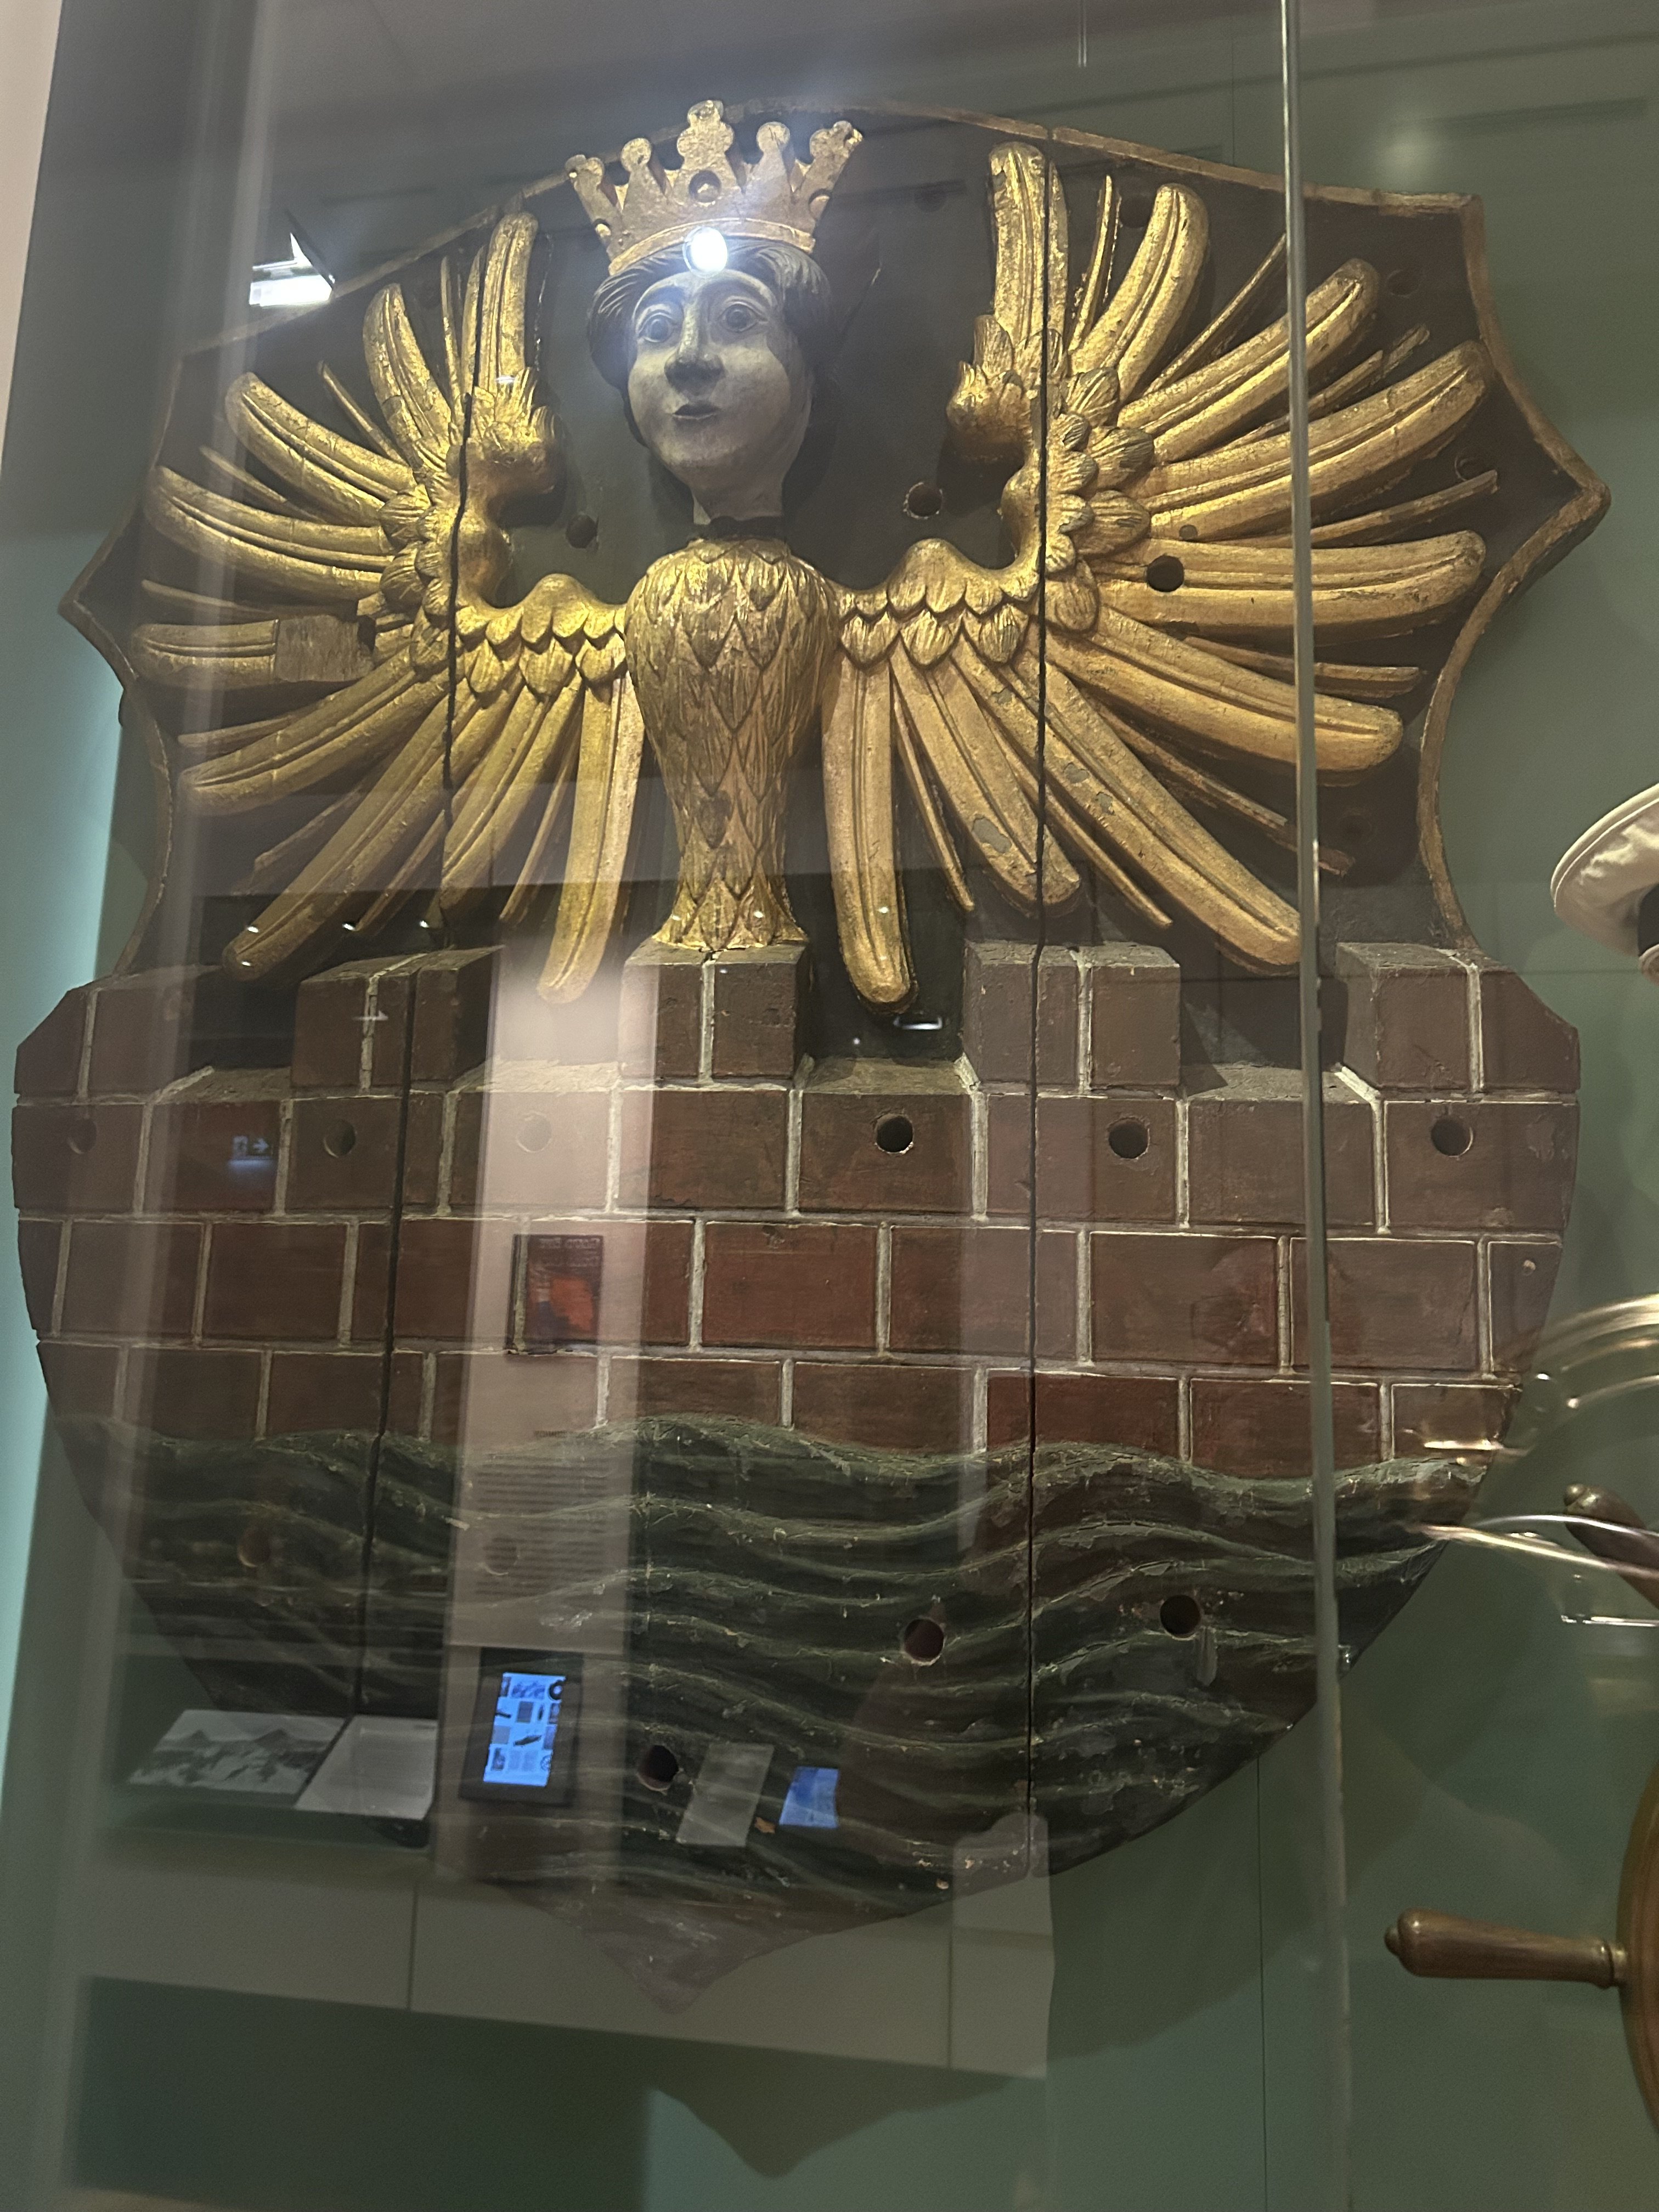
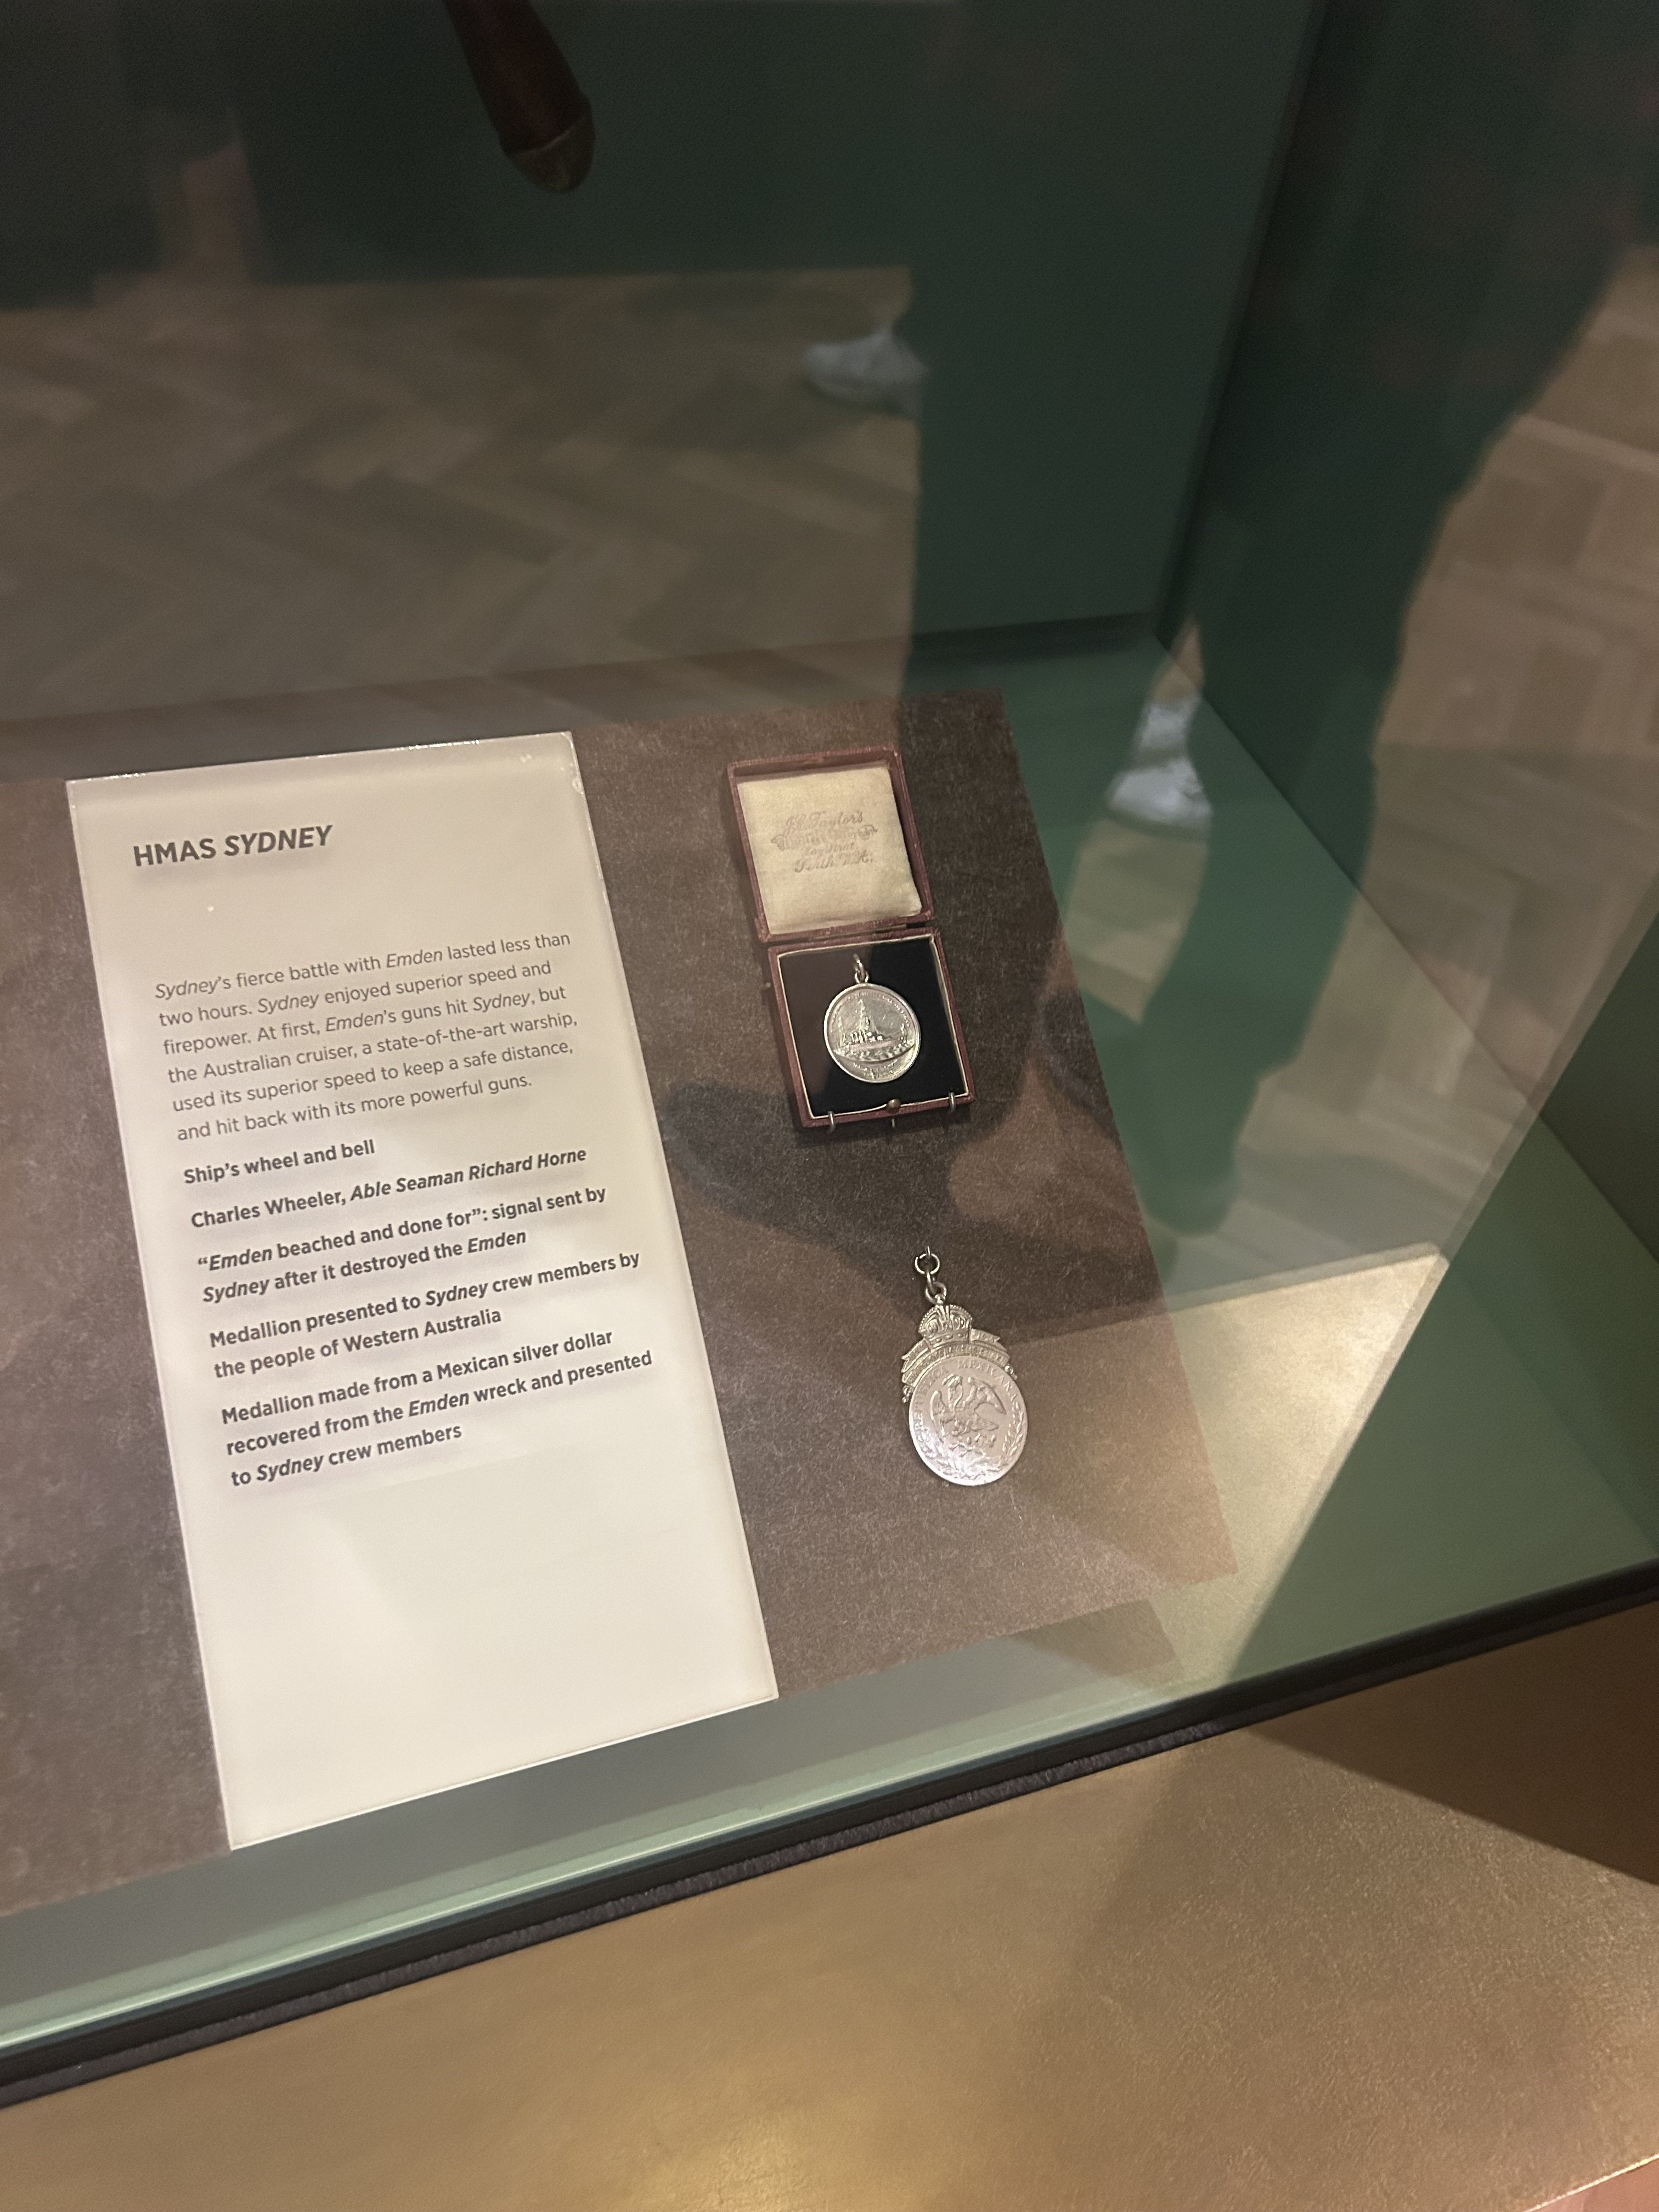
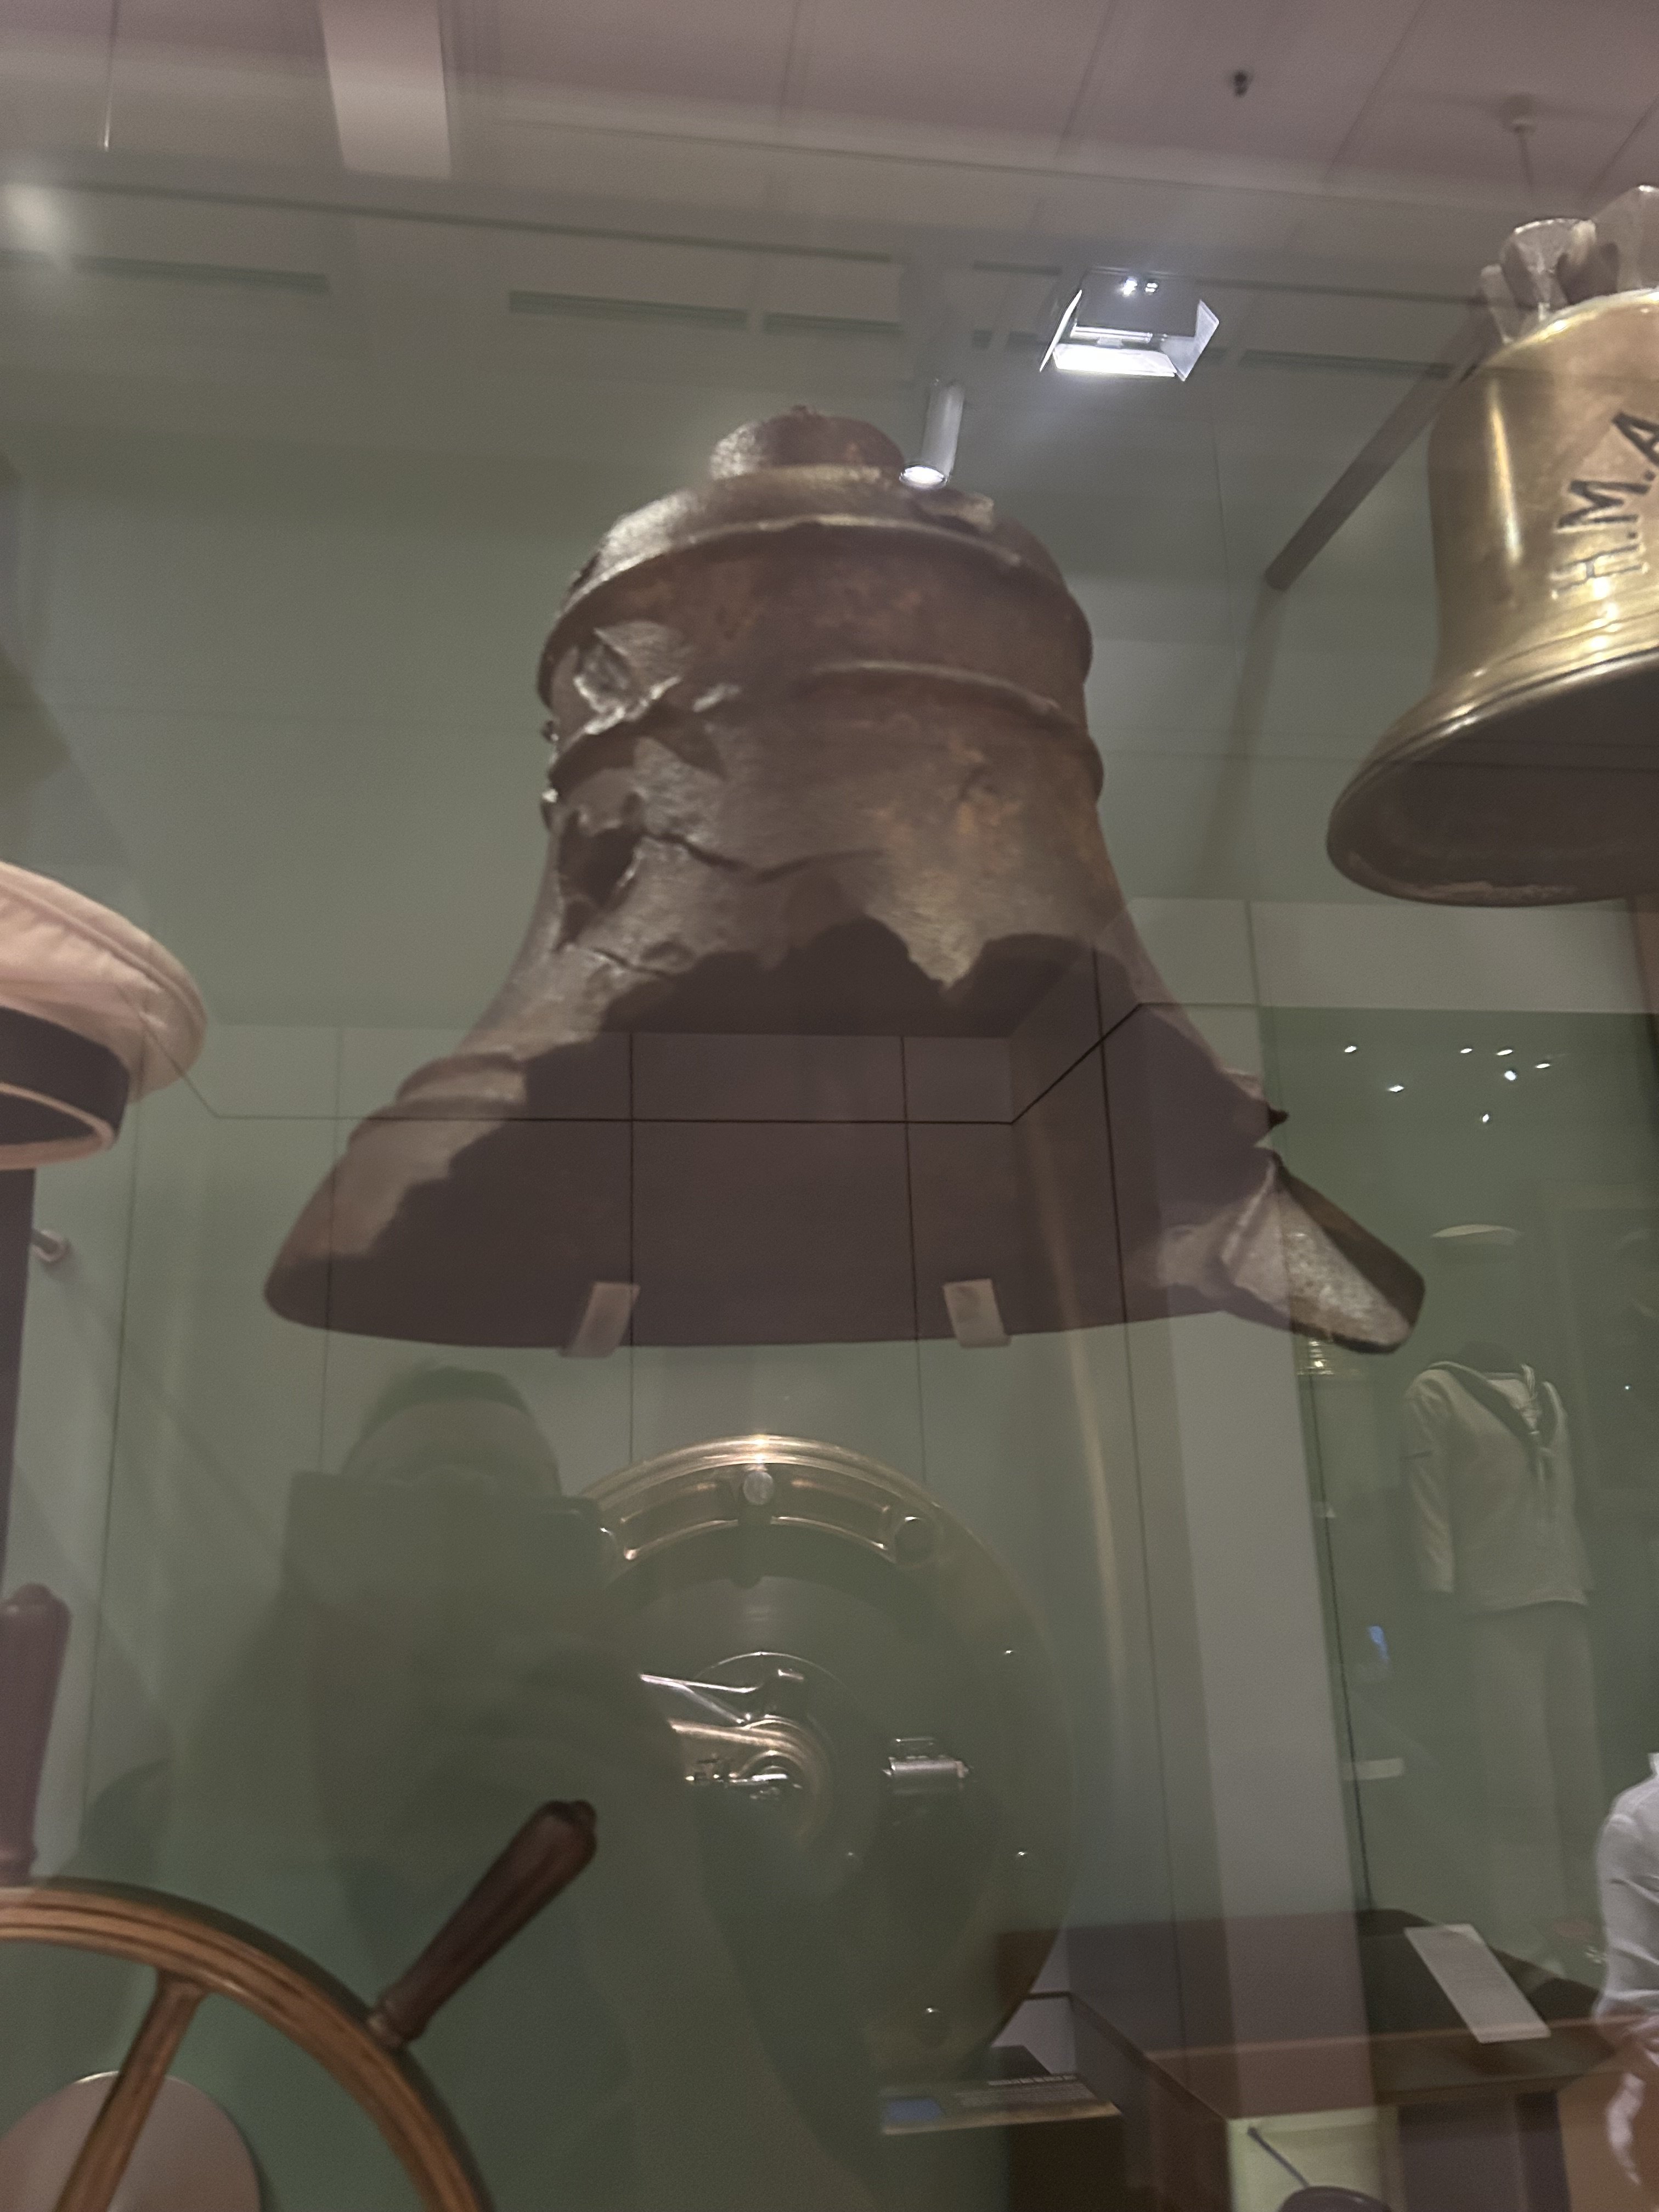
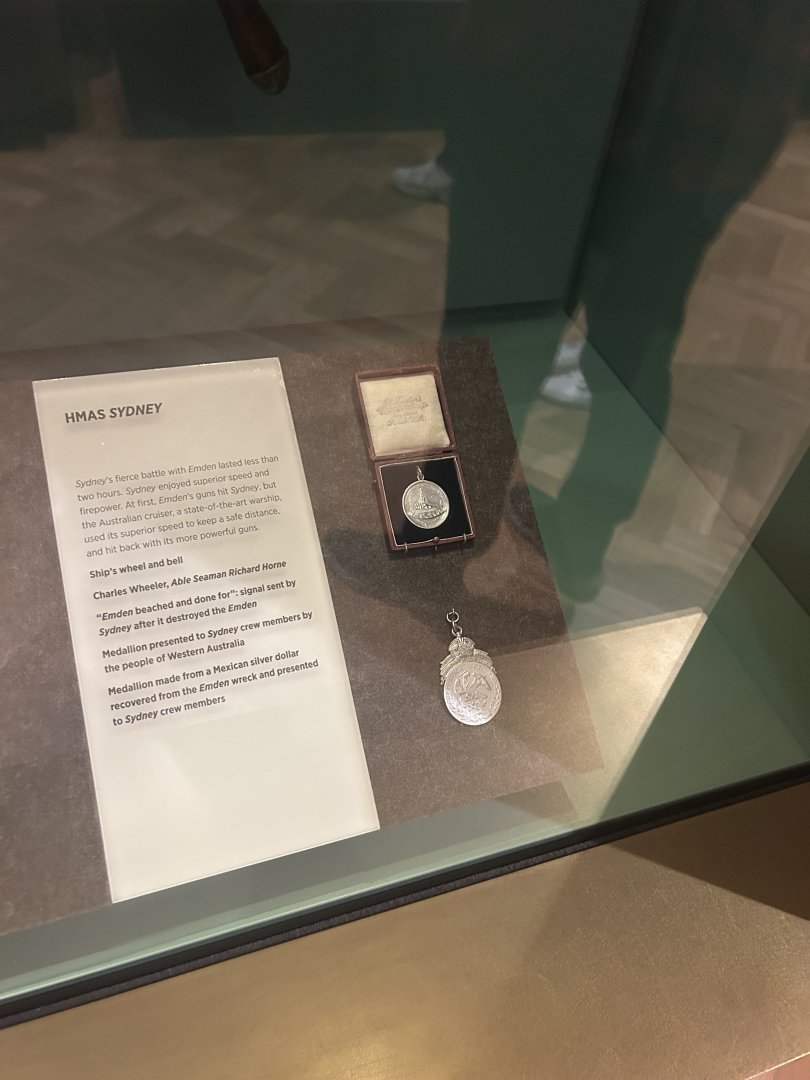
Went to the Australian War Memorial today, a couple of exhibits you may recognise. This time next year they will have a whole new display for the encounter between Emden and Sydney


- 81 replies
-
- 5
-
-
- Micromaster
- Eduard
- (and 4 more)
-
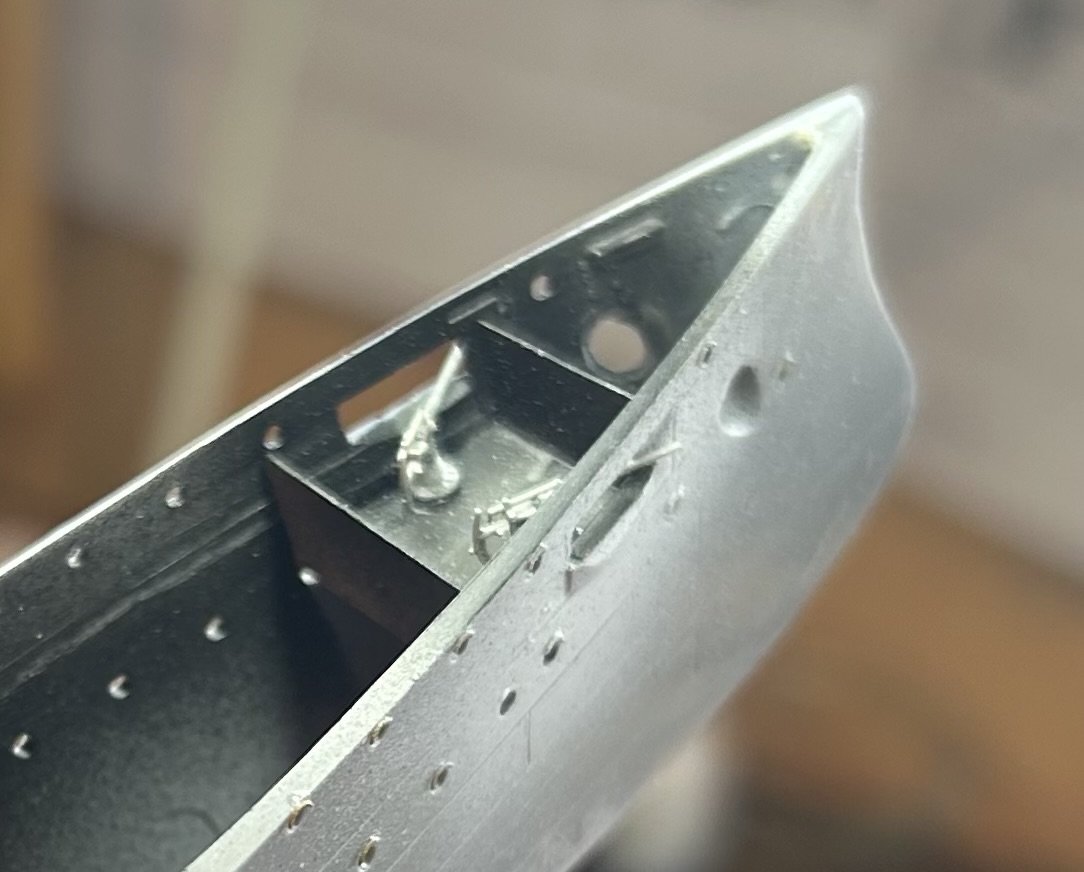
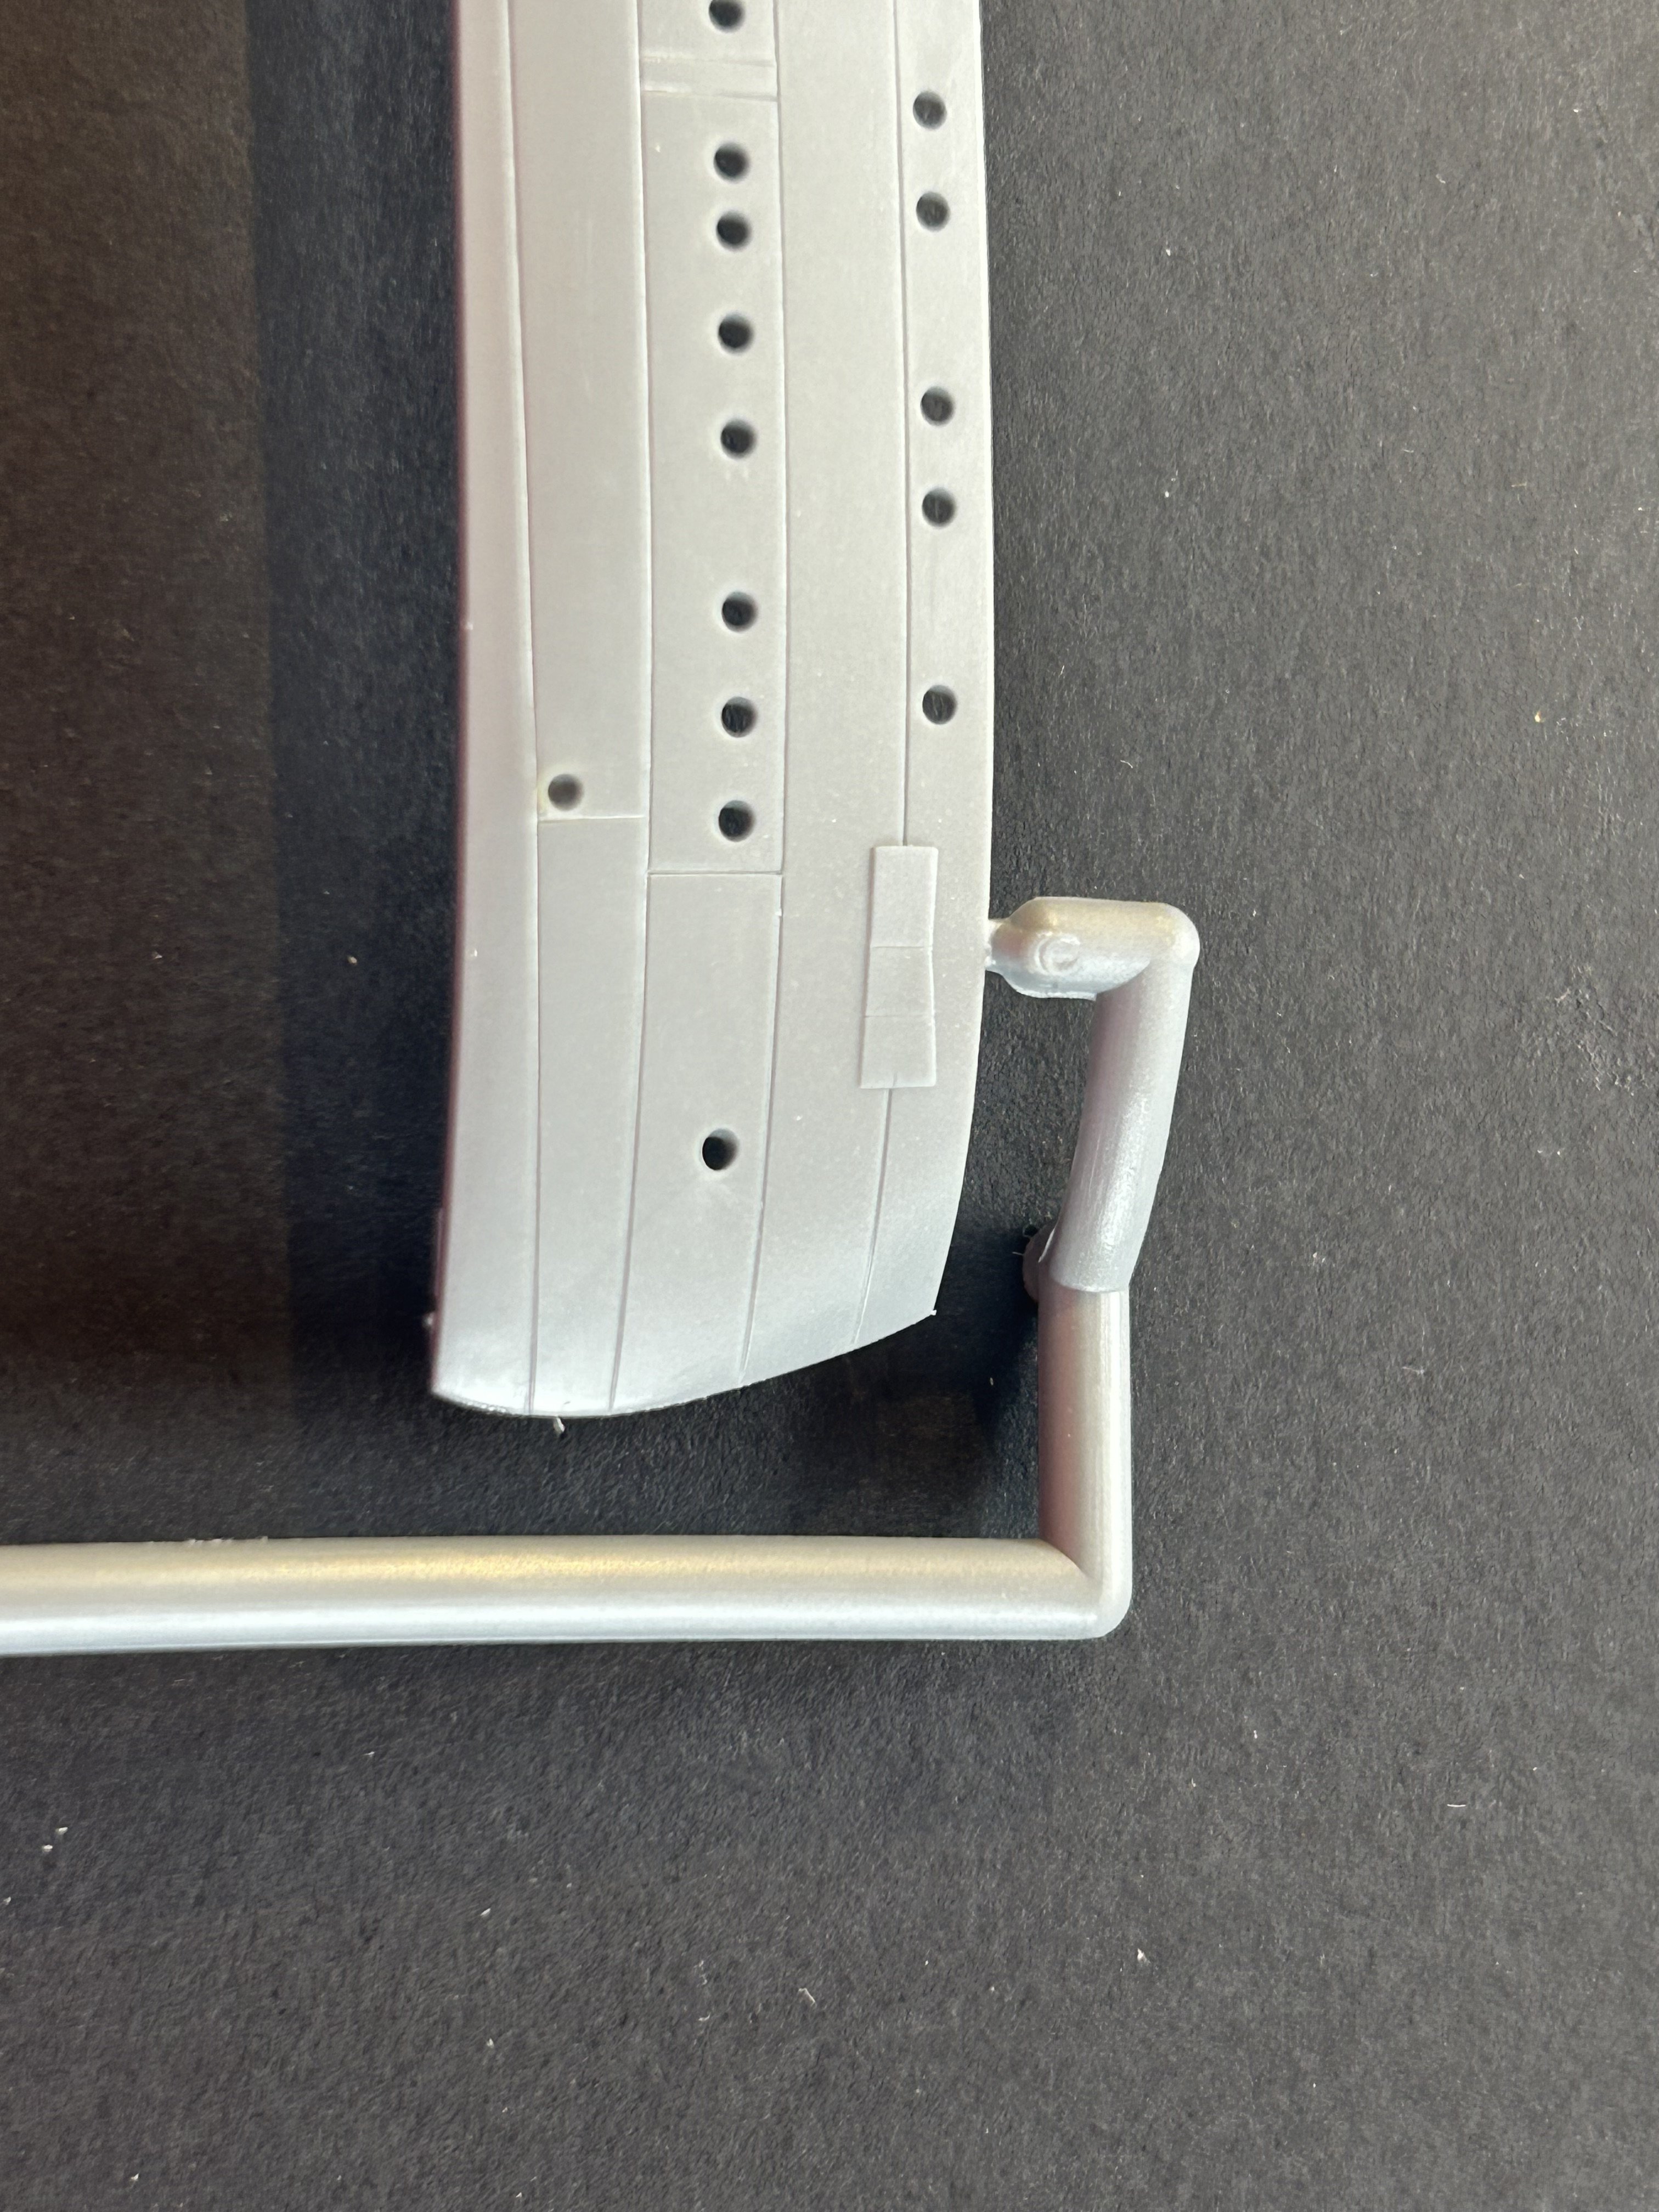
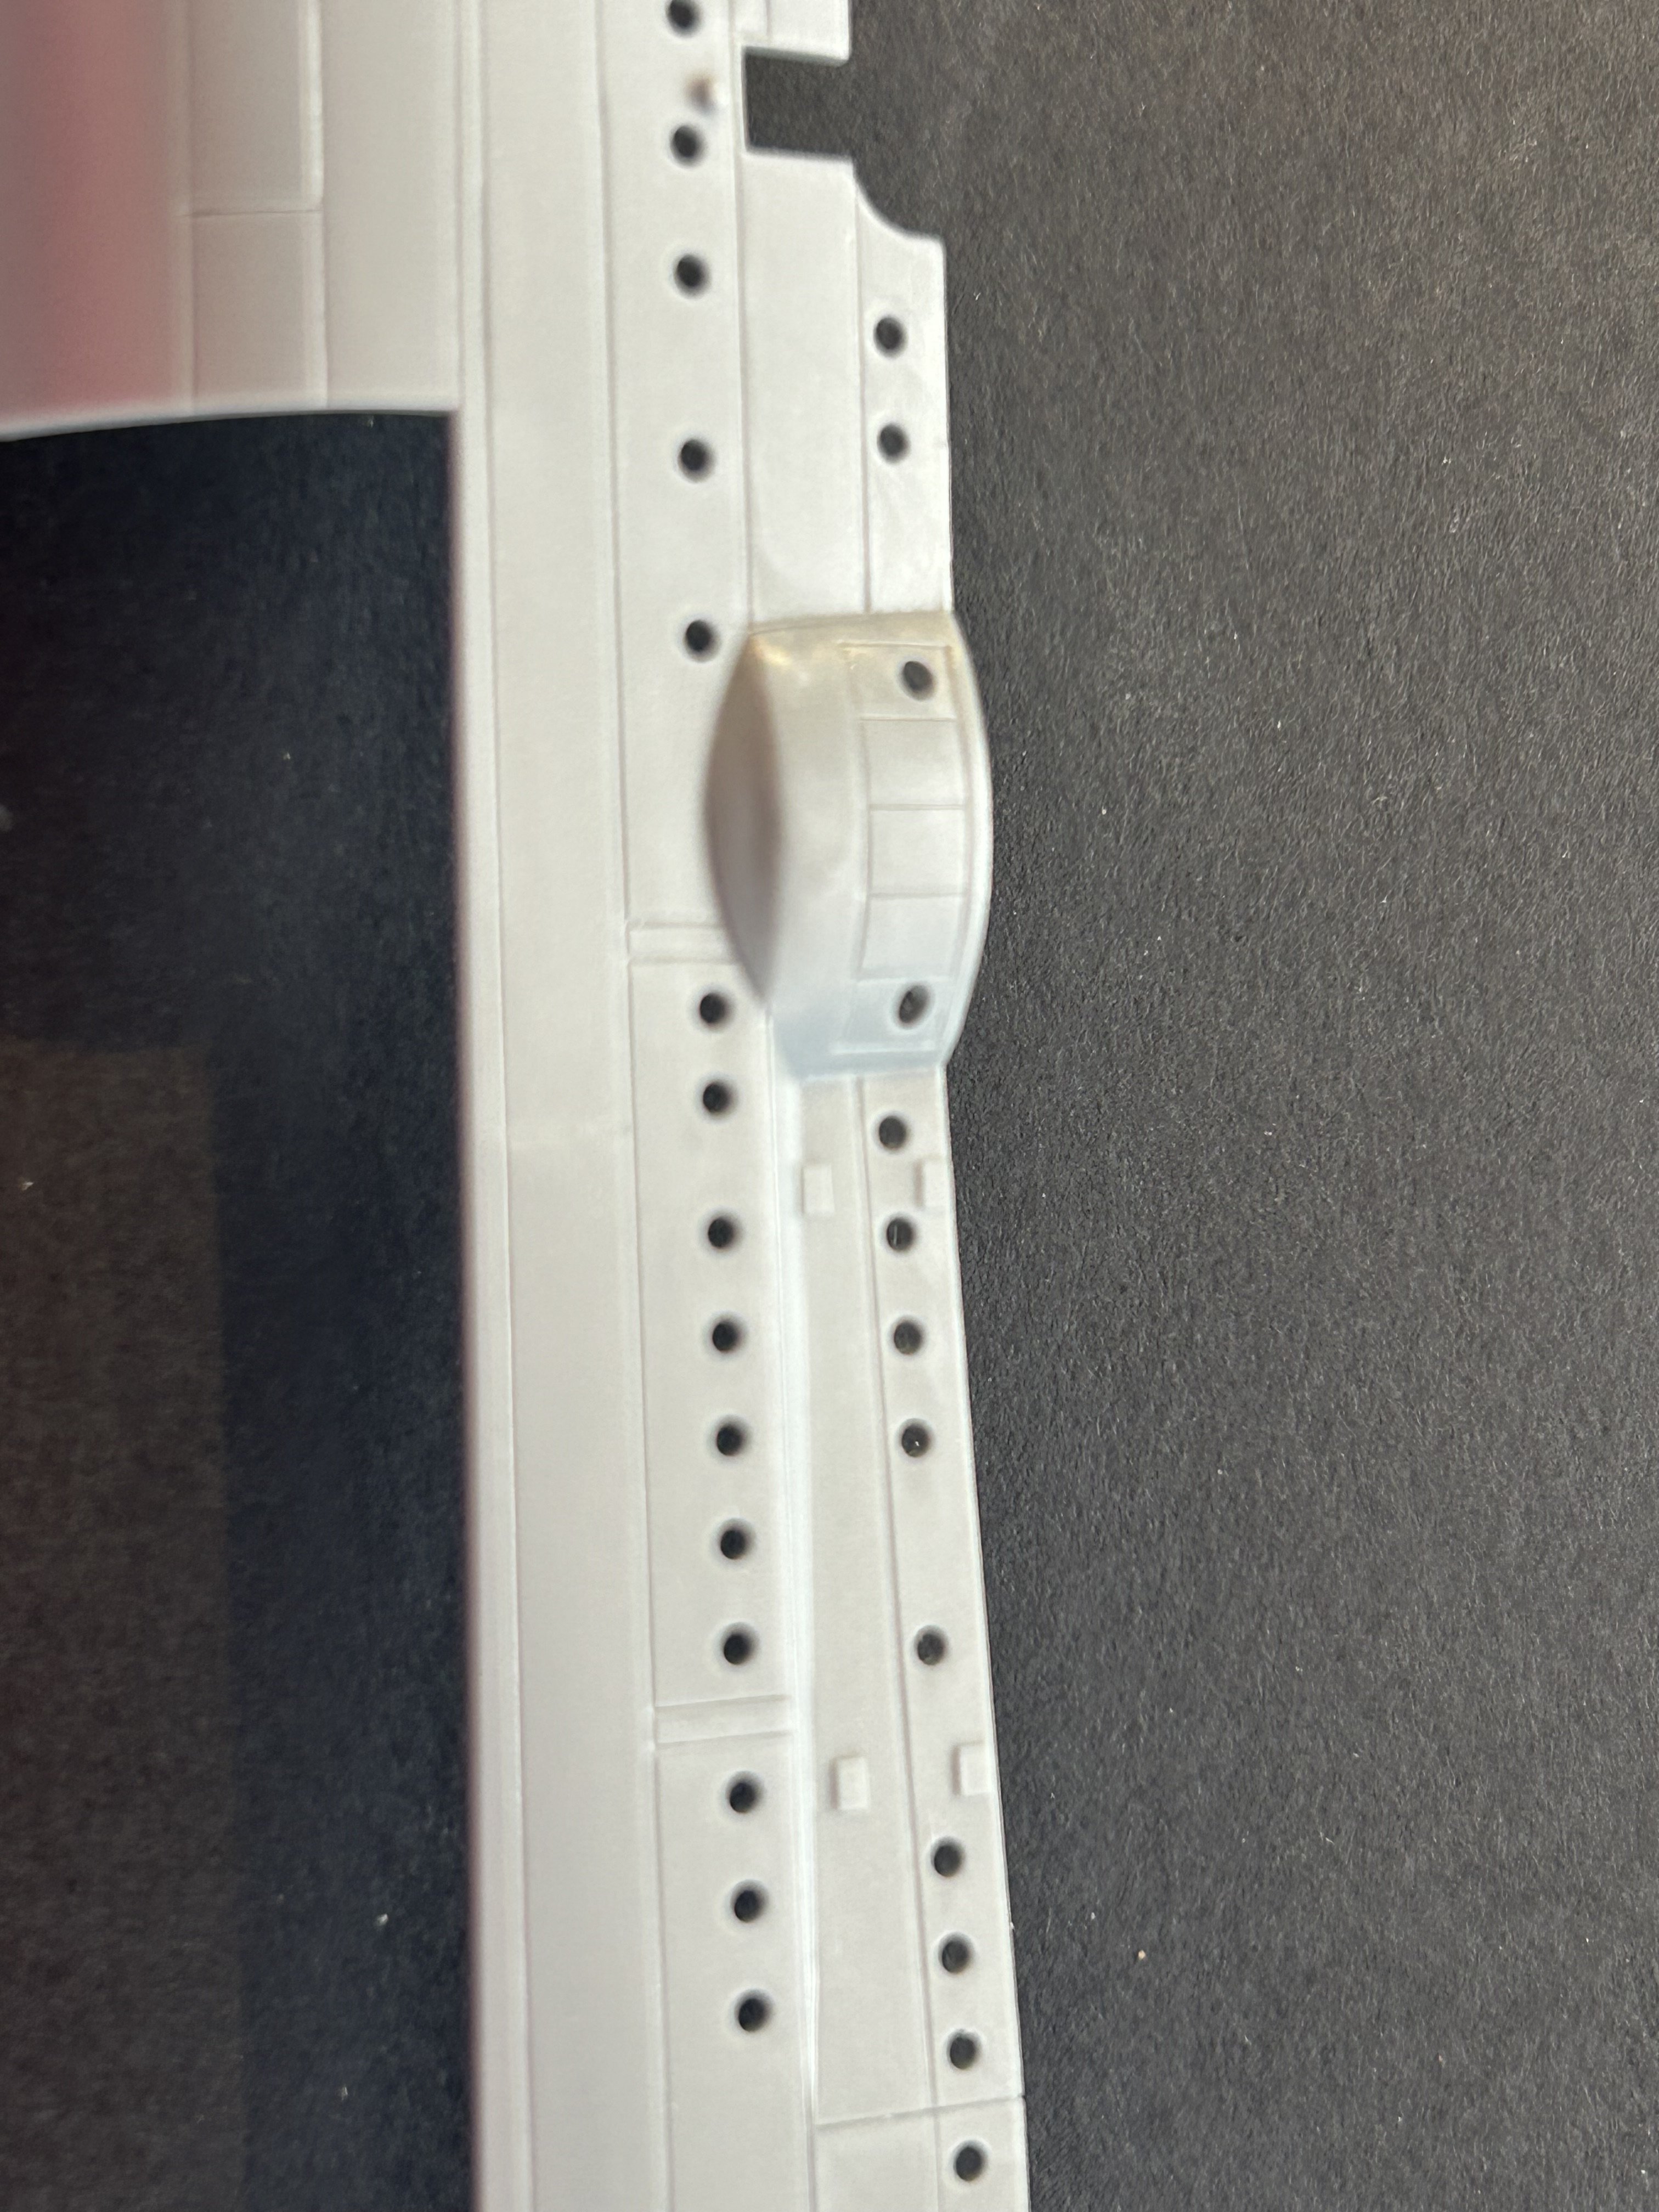
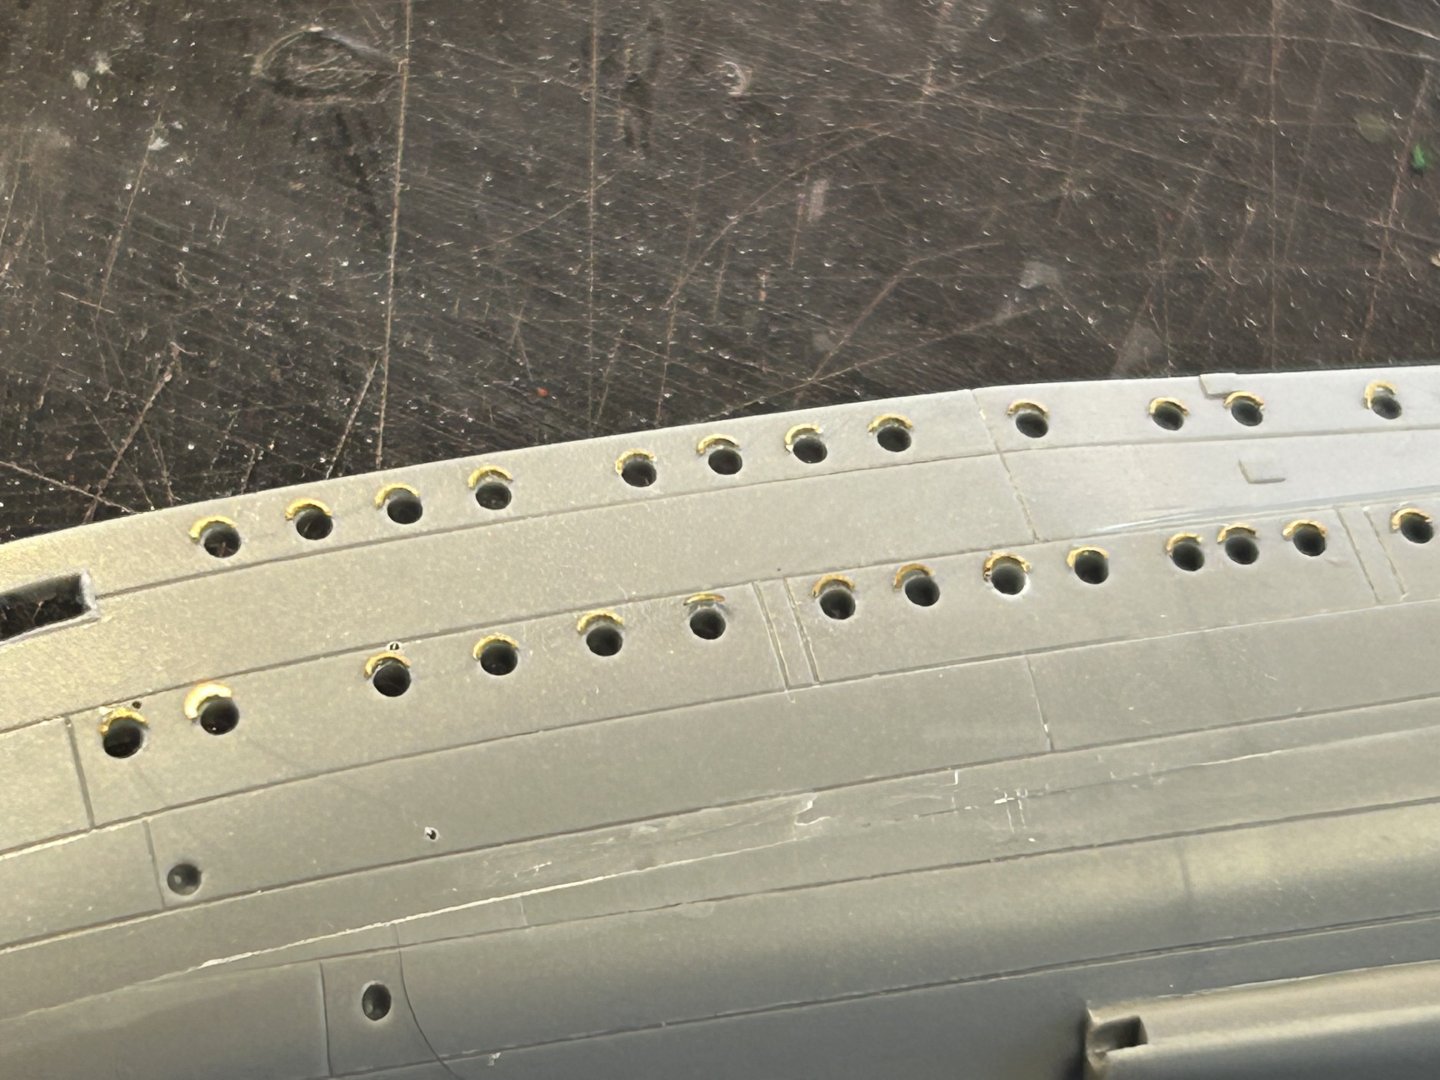
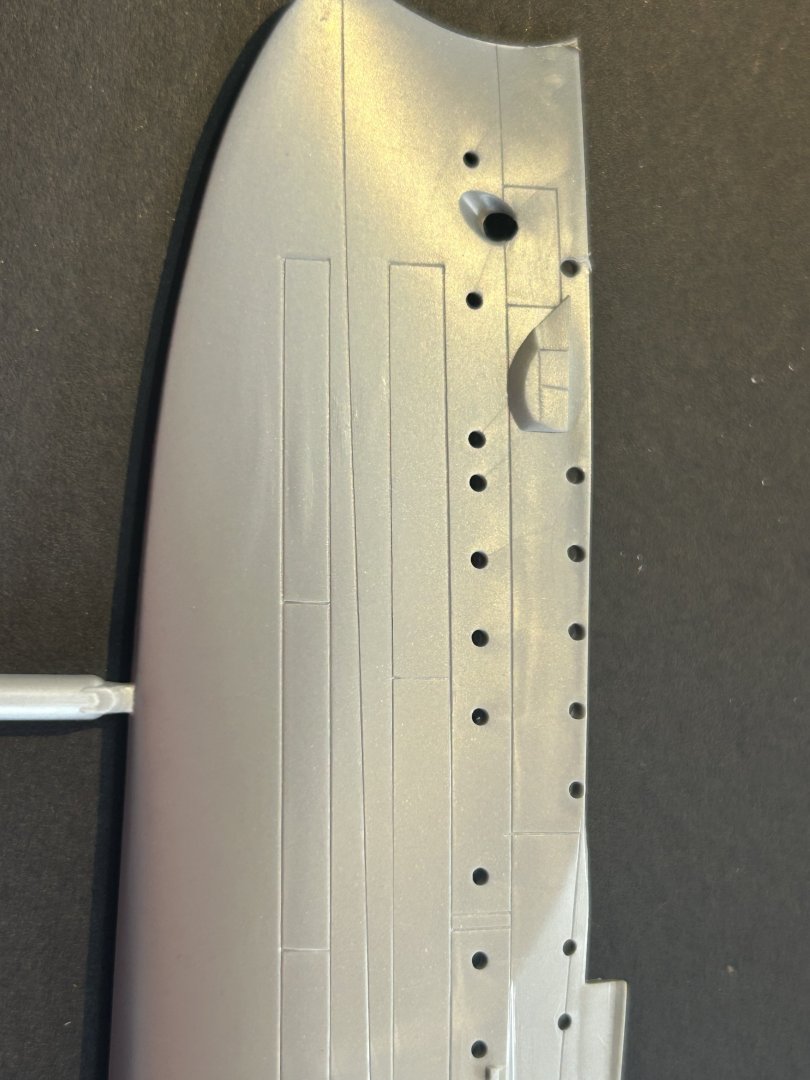
Starting on the hull, drilled out and cleaned the below deck gun hatches, drilled foundations for the hull ladders and started on the Rigols
- 81 replies
-
- 6
-
-
- Micromaster
- Eduard
- (and 4 more)
-
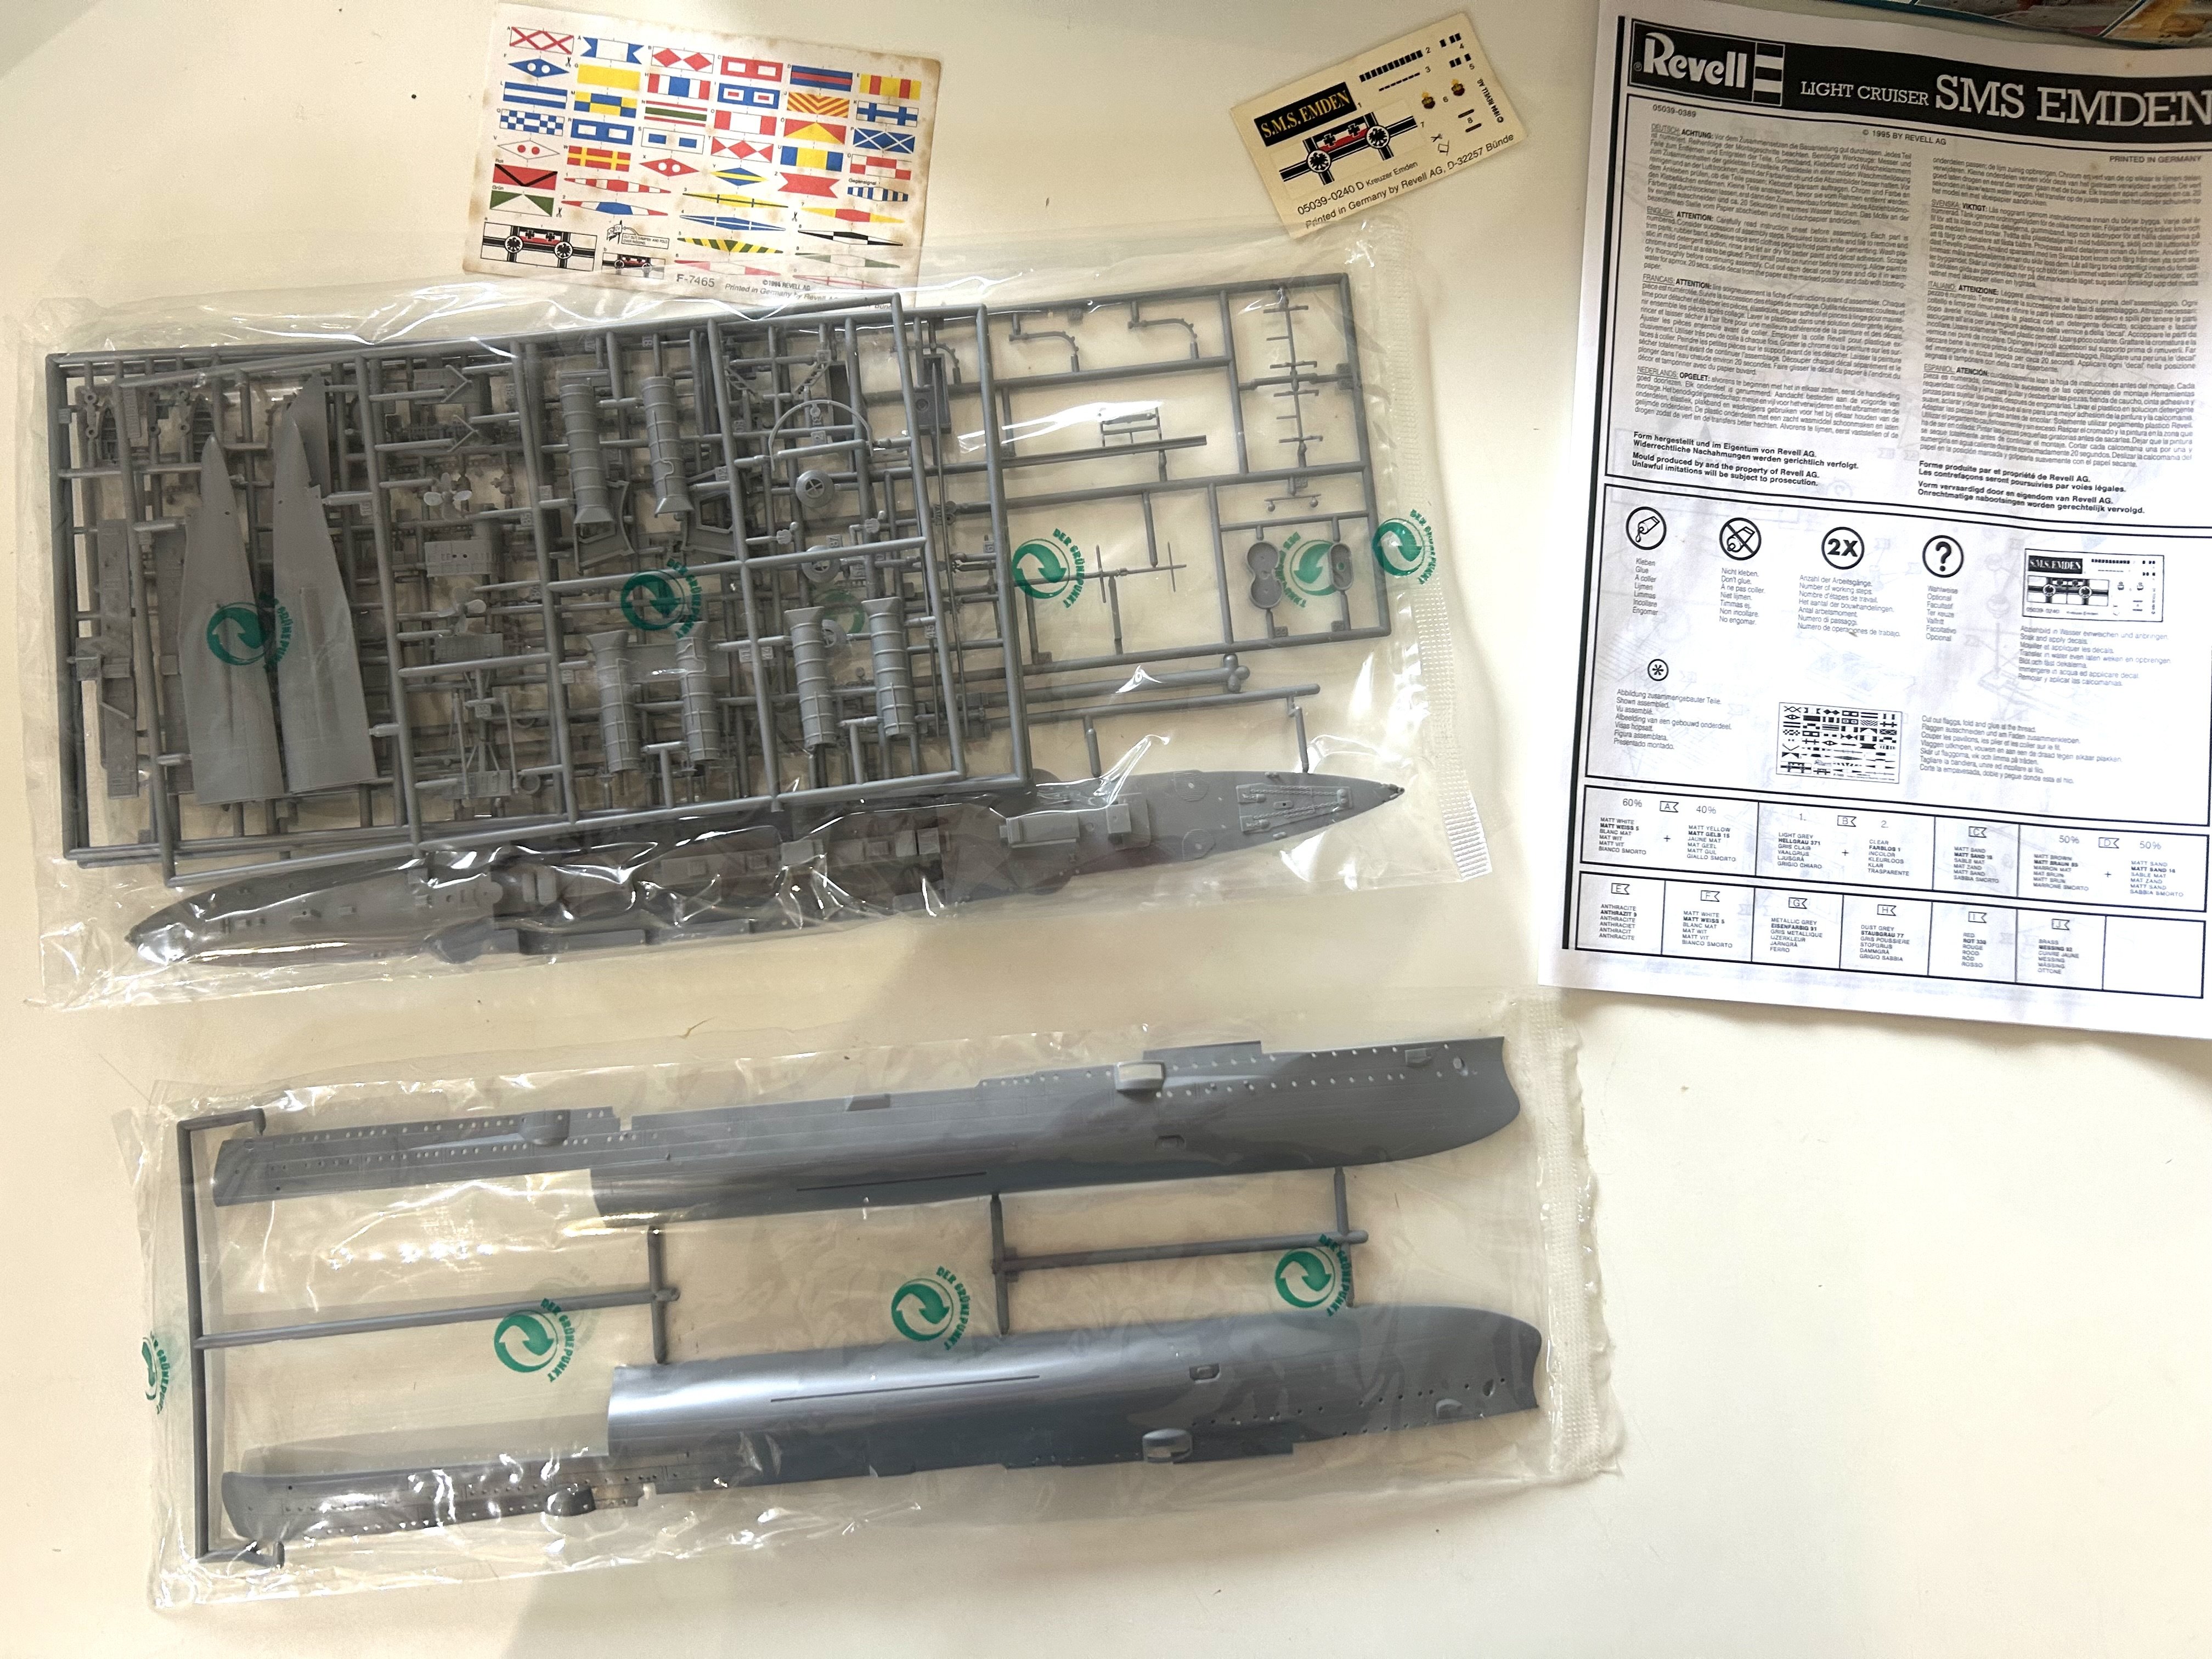
1/350 is quite economical, big stuff will always be expensive as it takes a lot of time and resin
- 81 replies
-
- 2
-
-
- Micromaster
- Eduard
- (and 4 more)
-
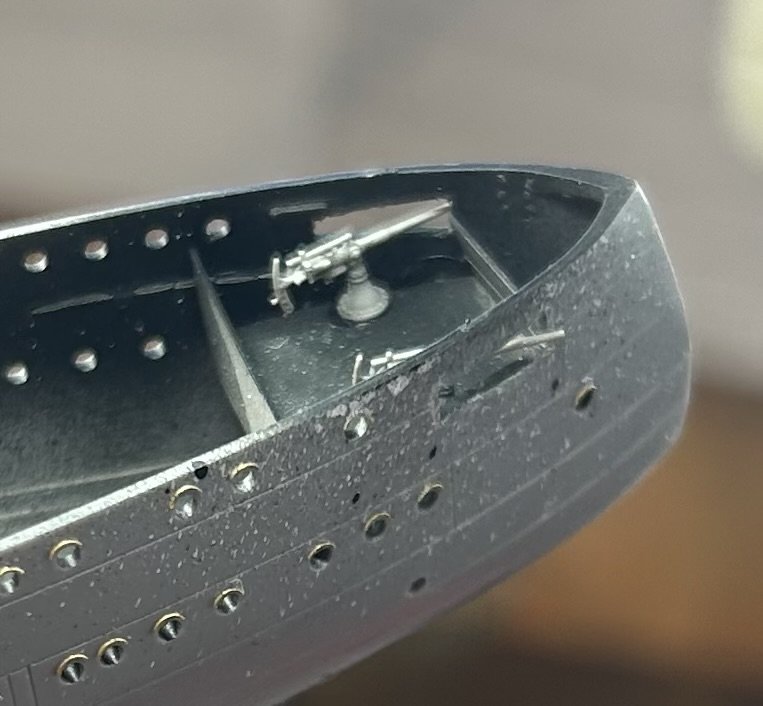
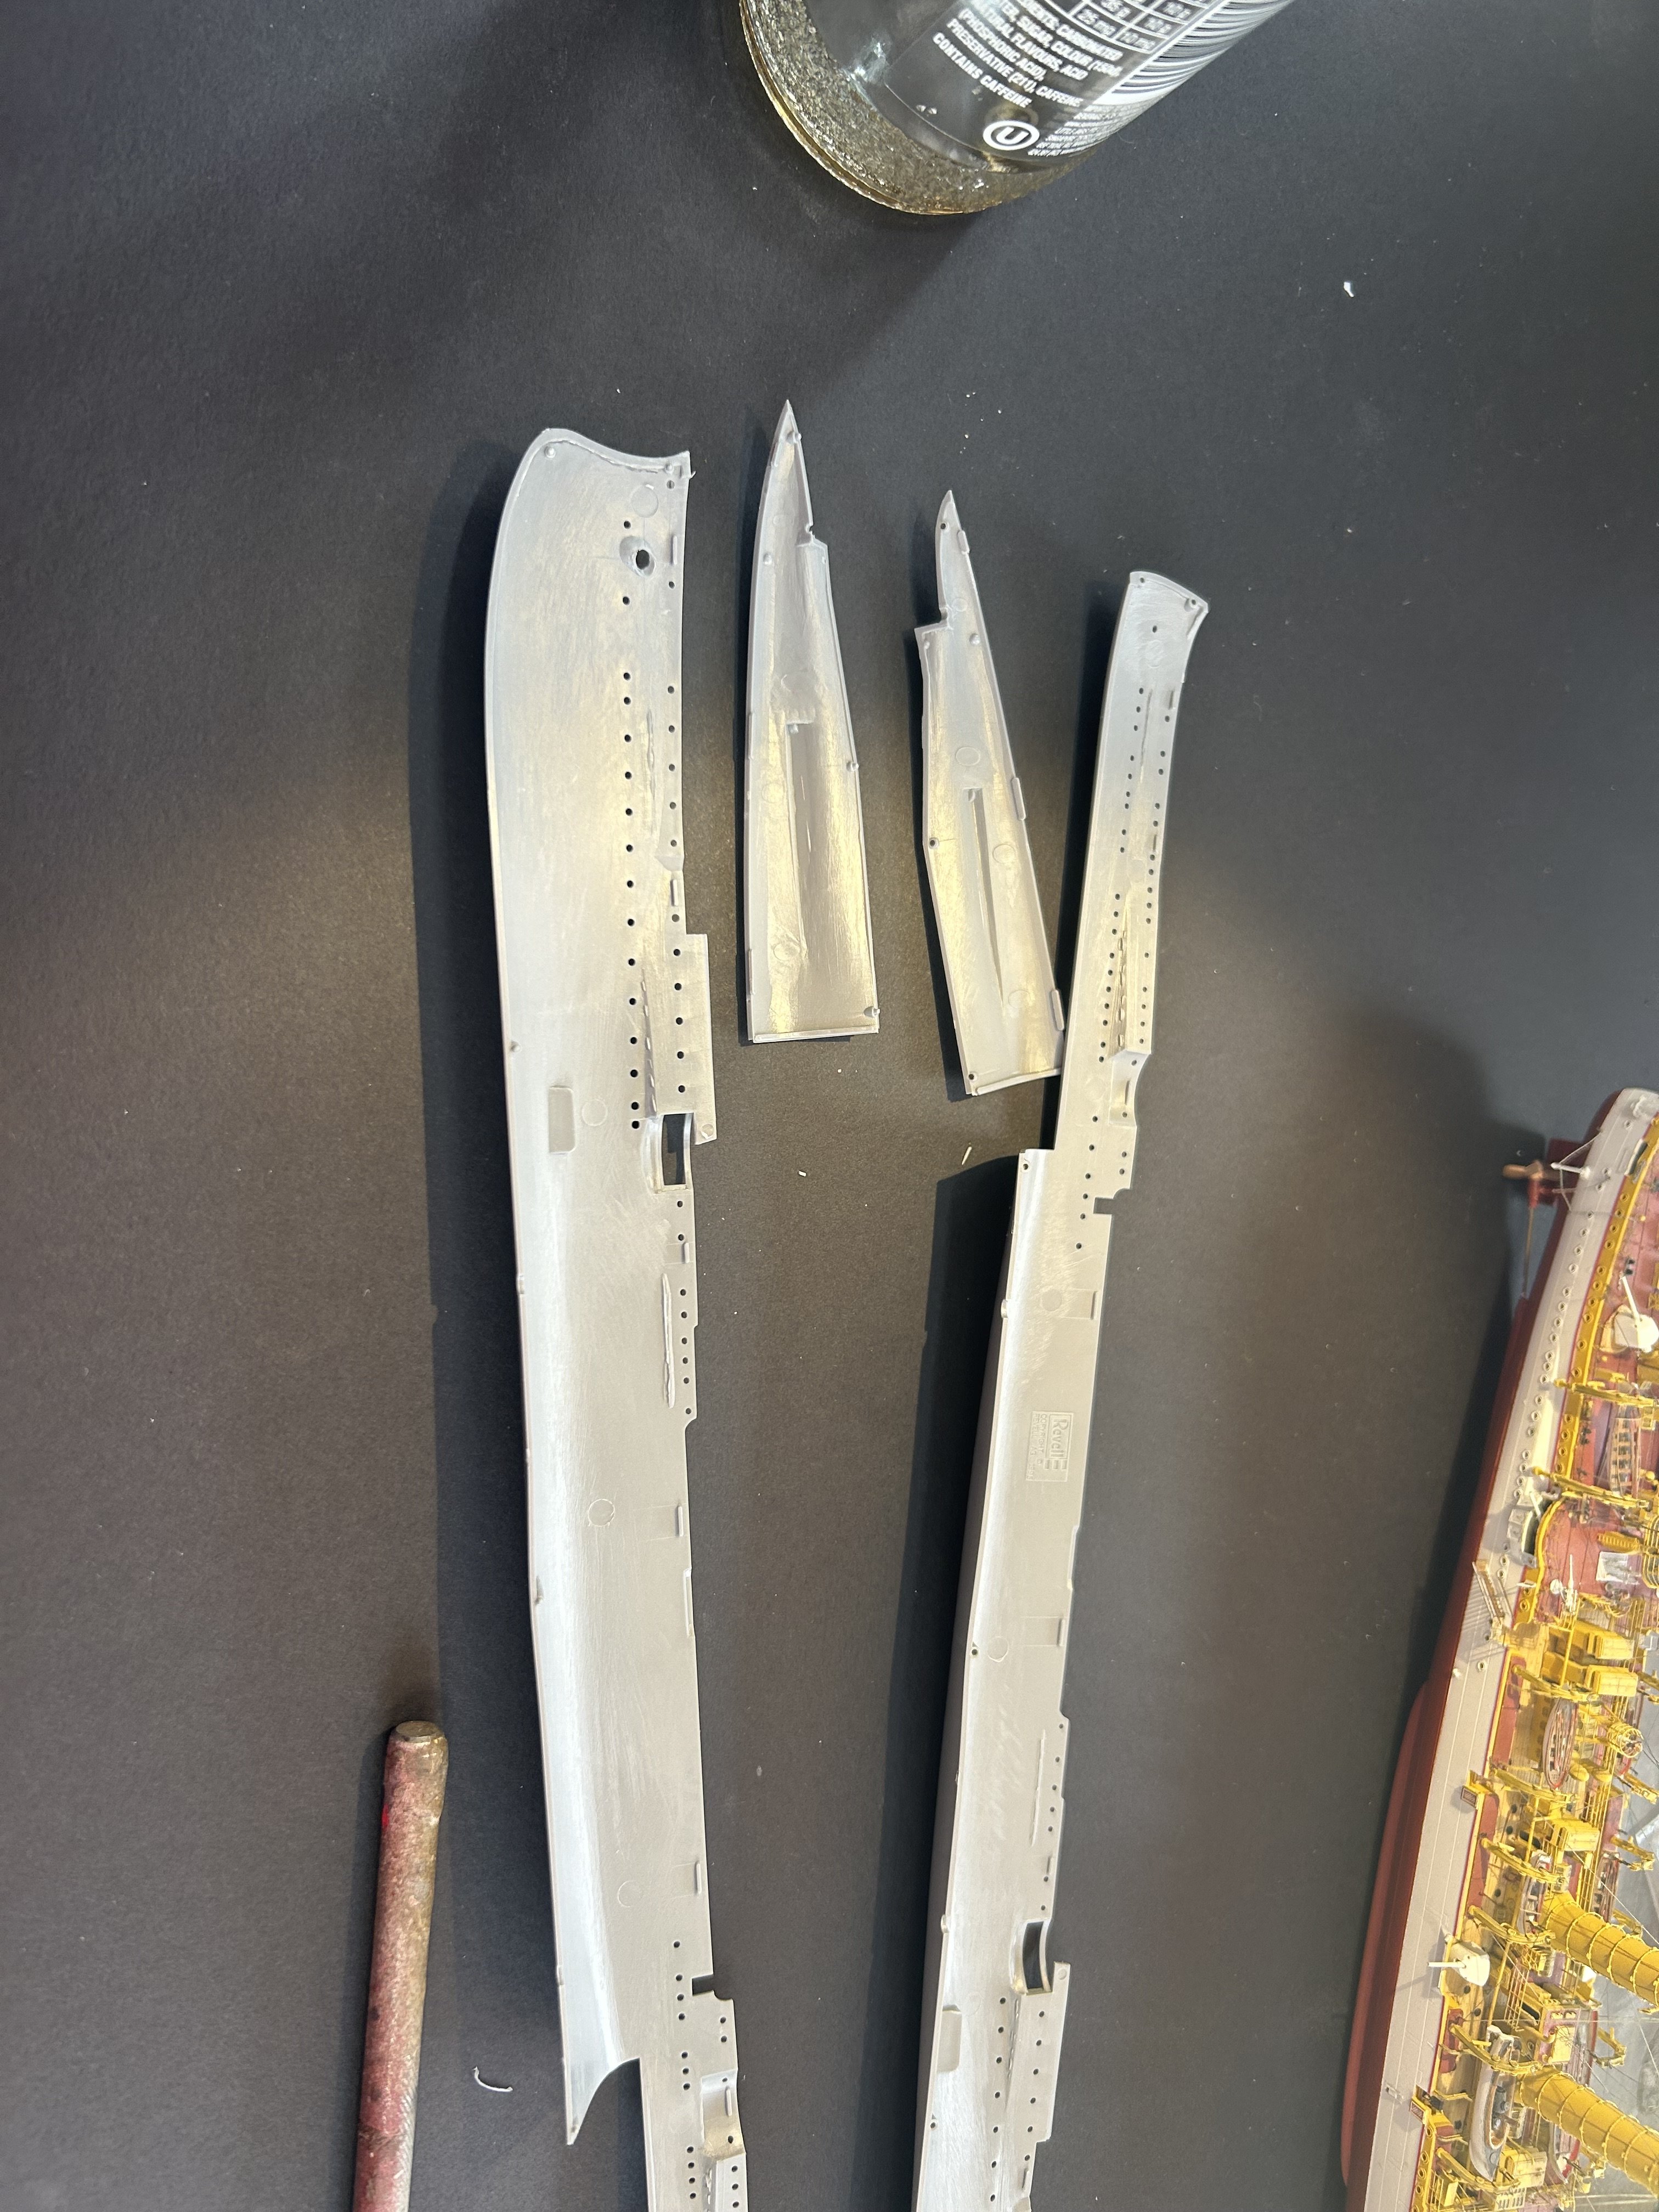
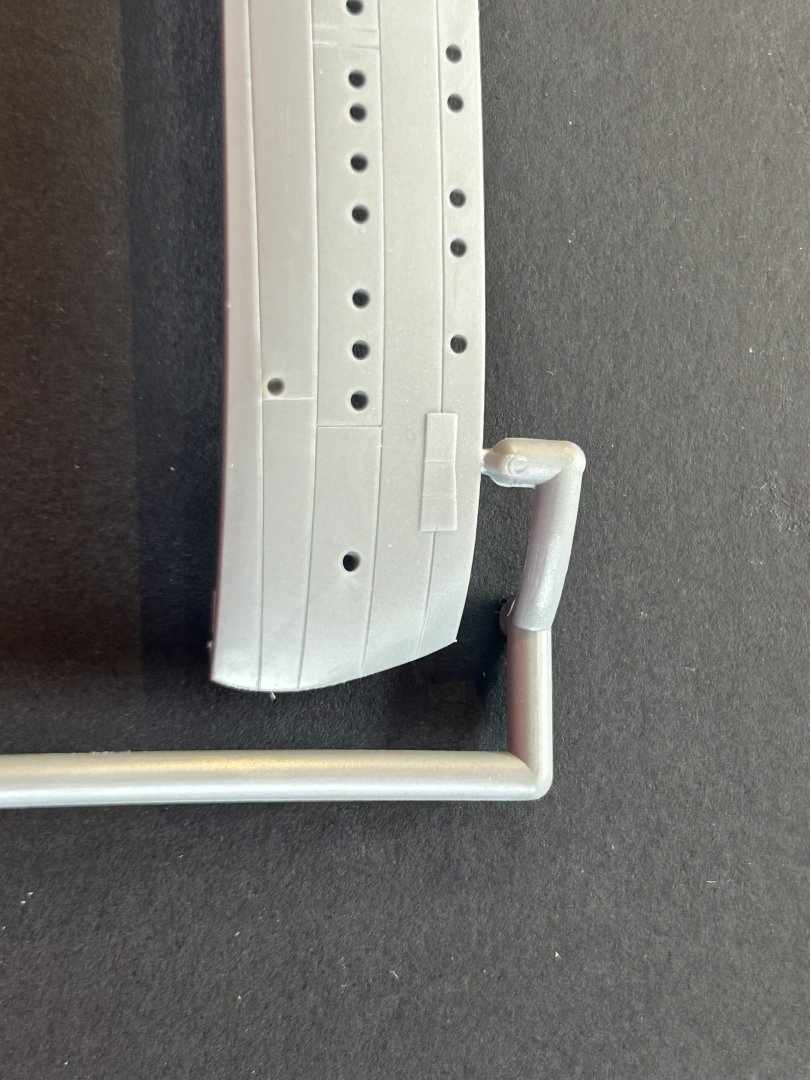
Righto, the hull. Bow and stern chaser guns, the hull need to be cut open. Ladder holes to be drilled in. The stern pieces are clumsy became kit is designed fro both the Dresden’s (4 shafts) and Emden (2 shafts)


- 81 replies
-
- 8
-
-
- Micromaster
- Eduard
- (and 4 more)
-
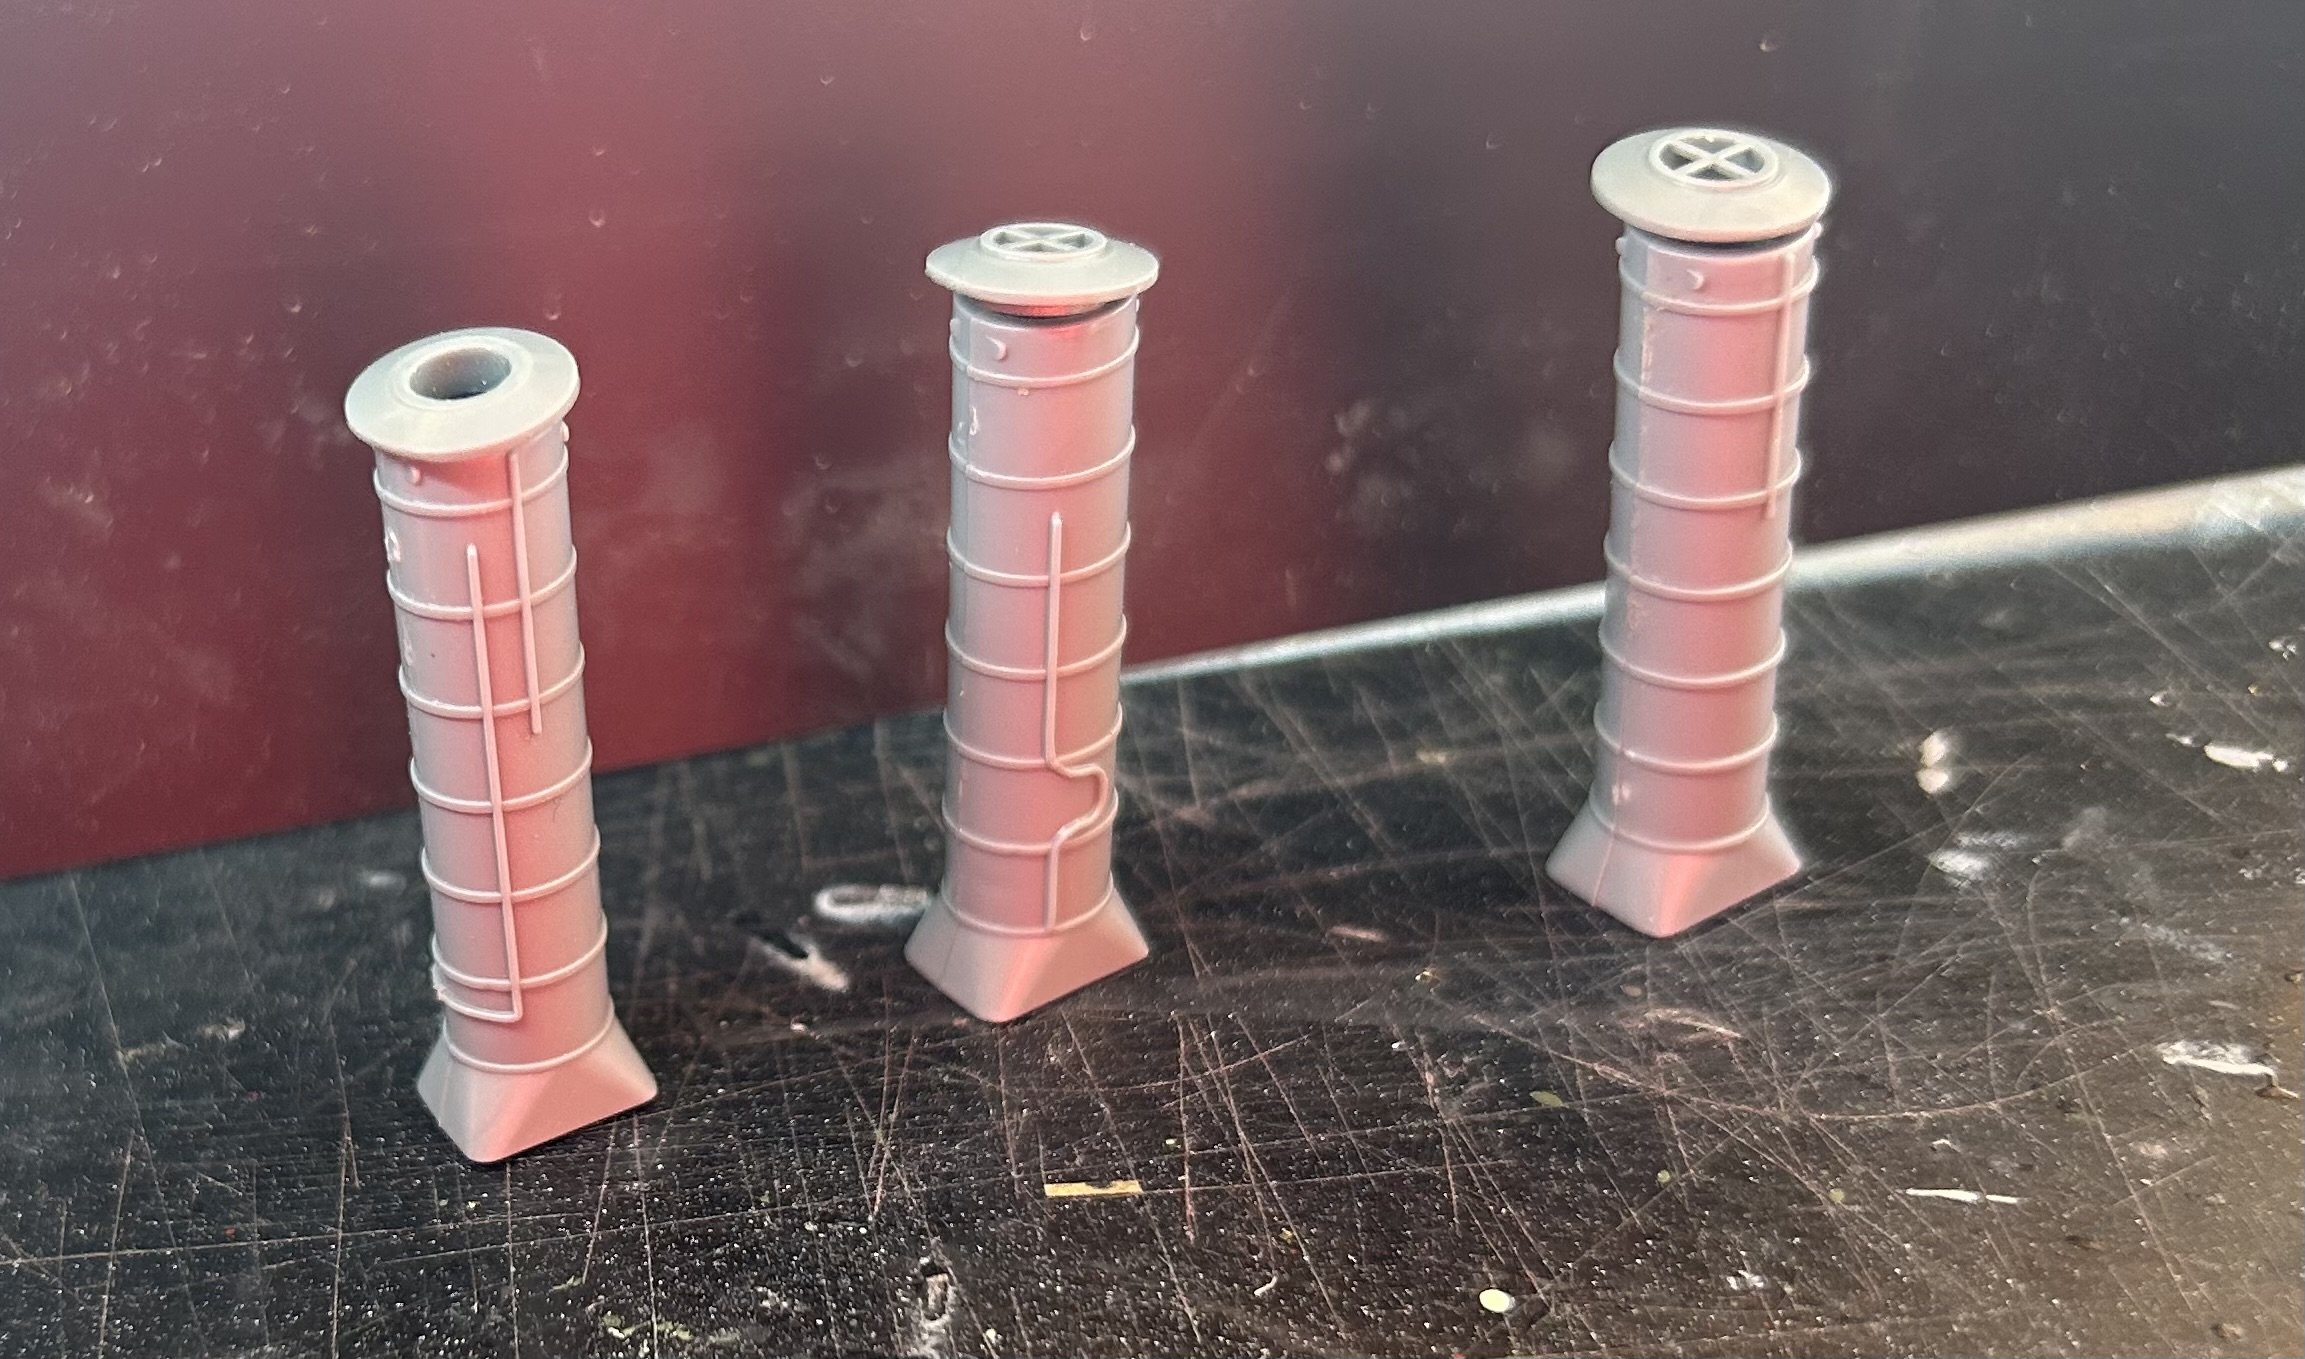
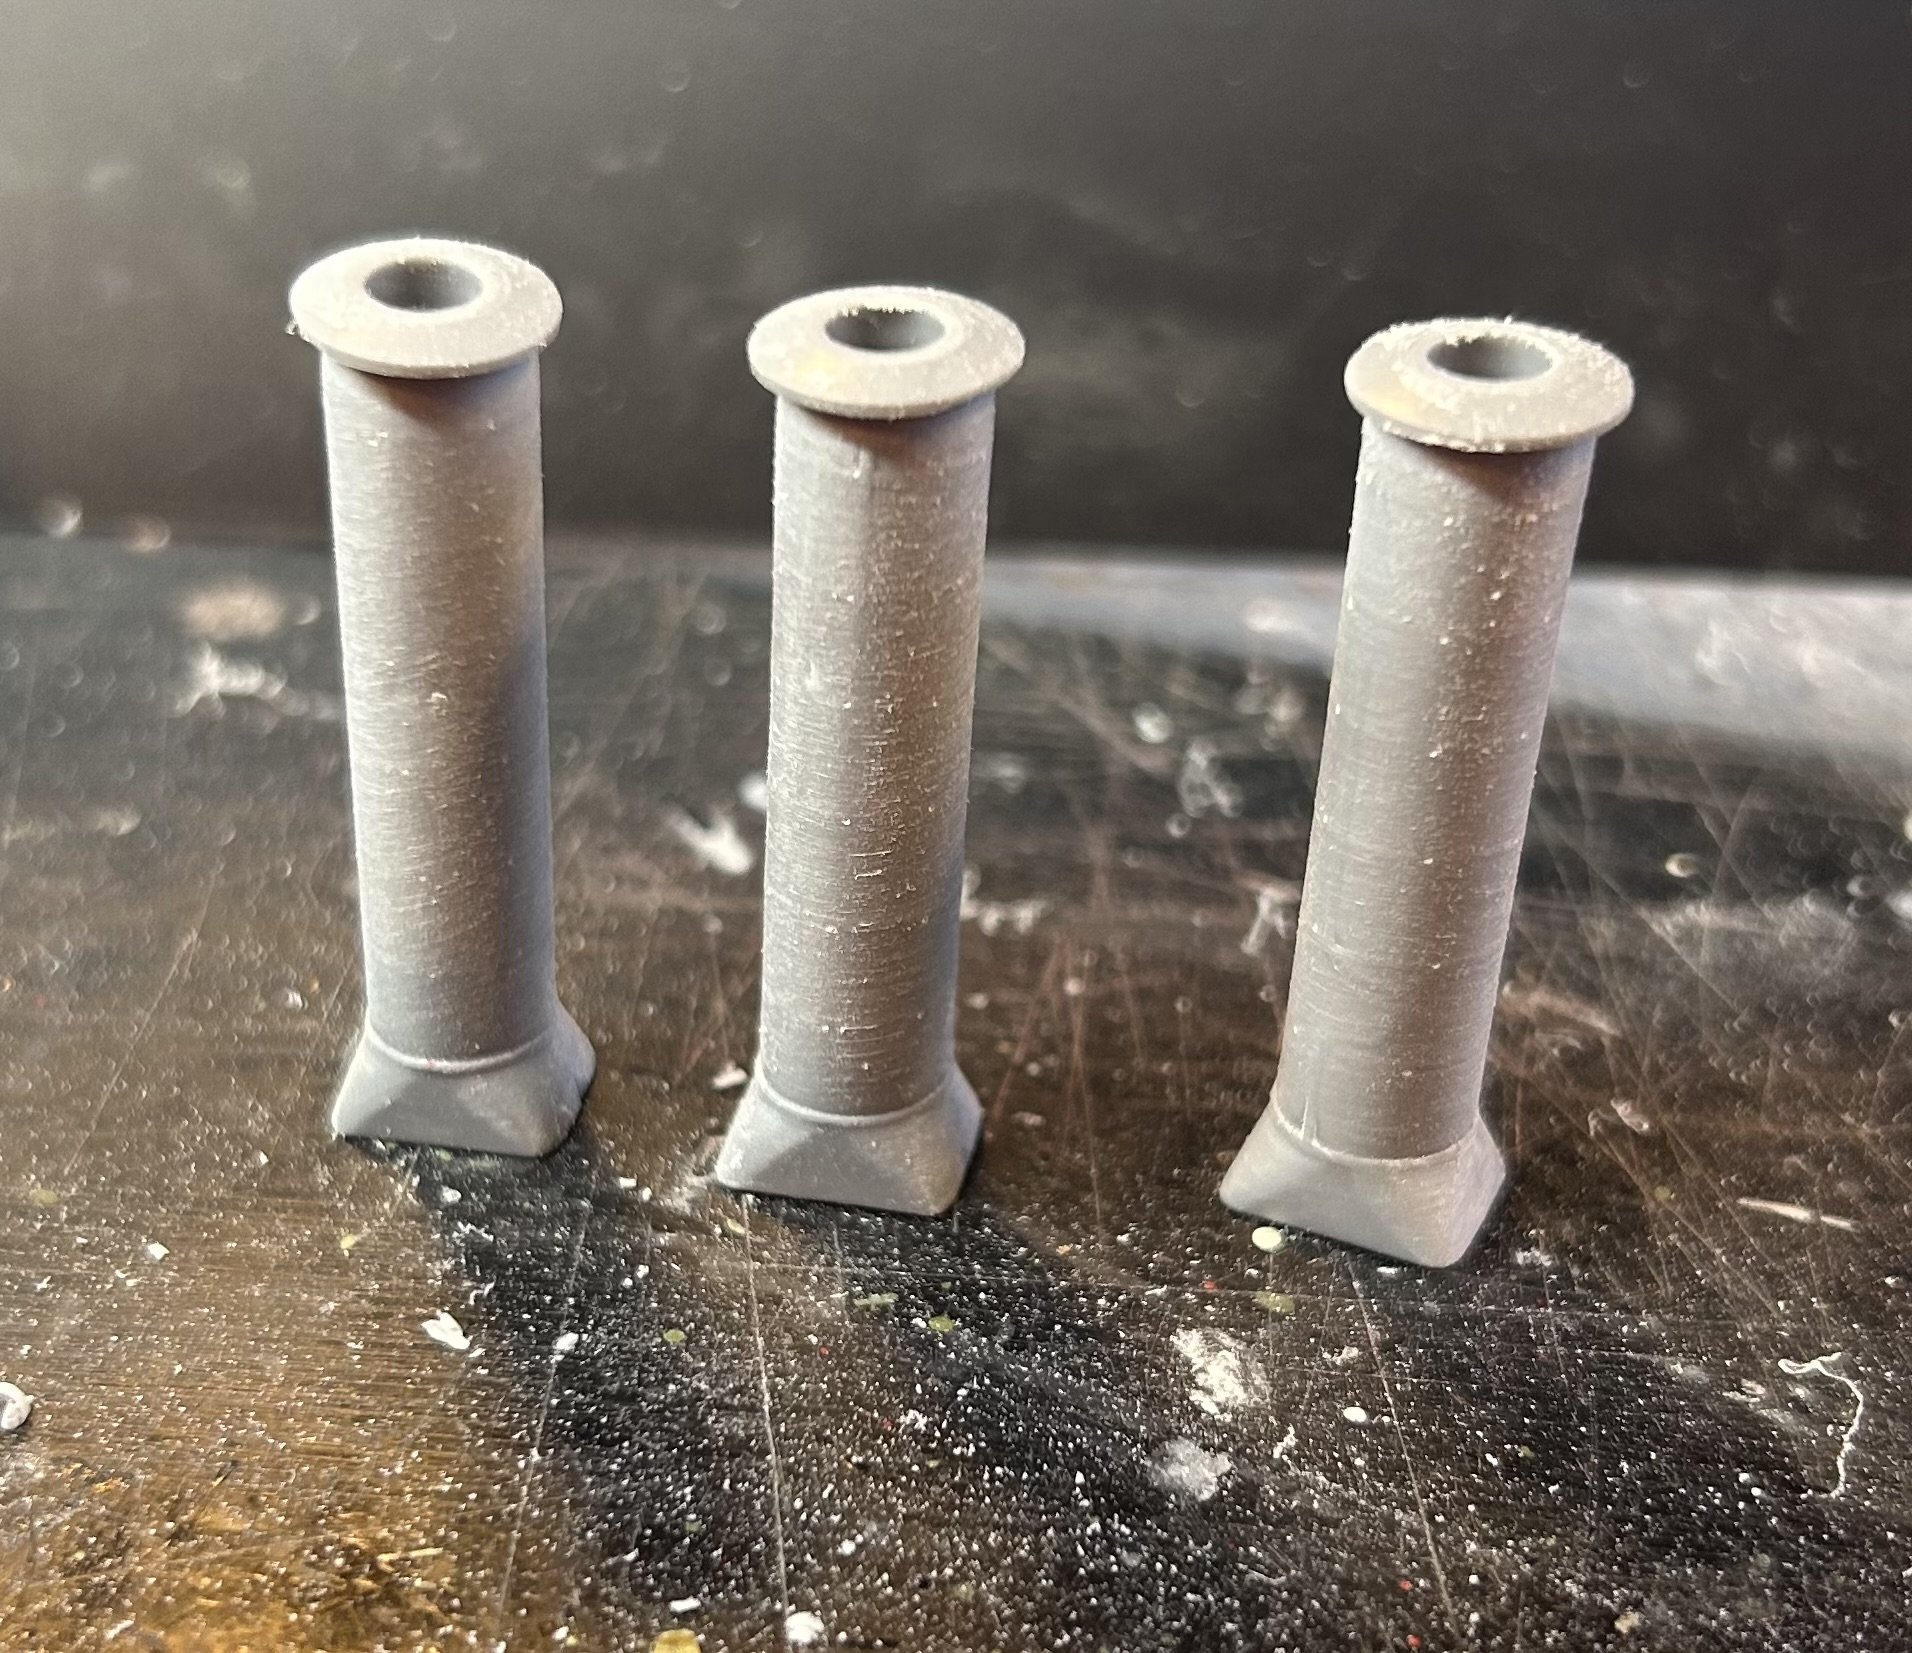
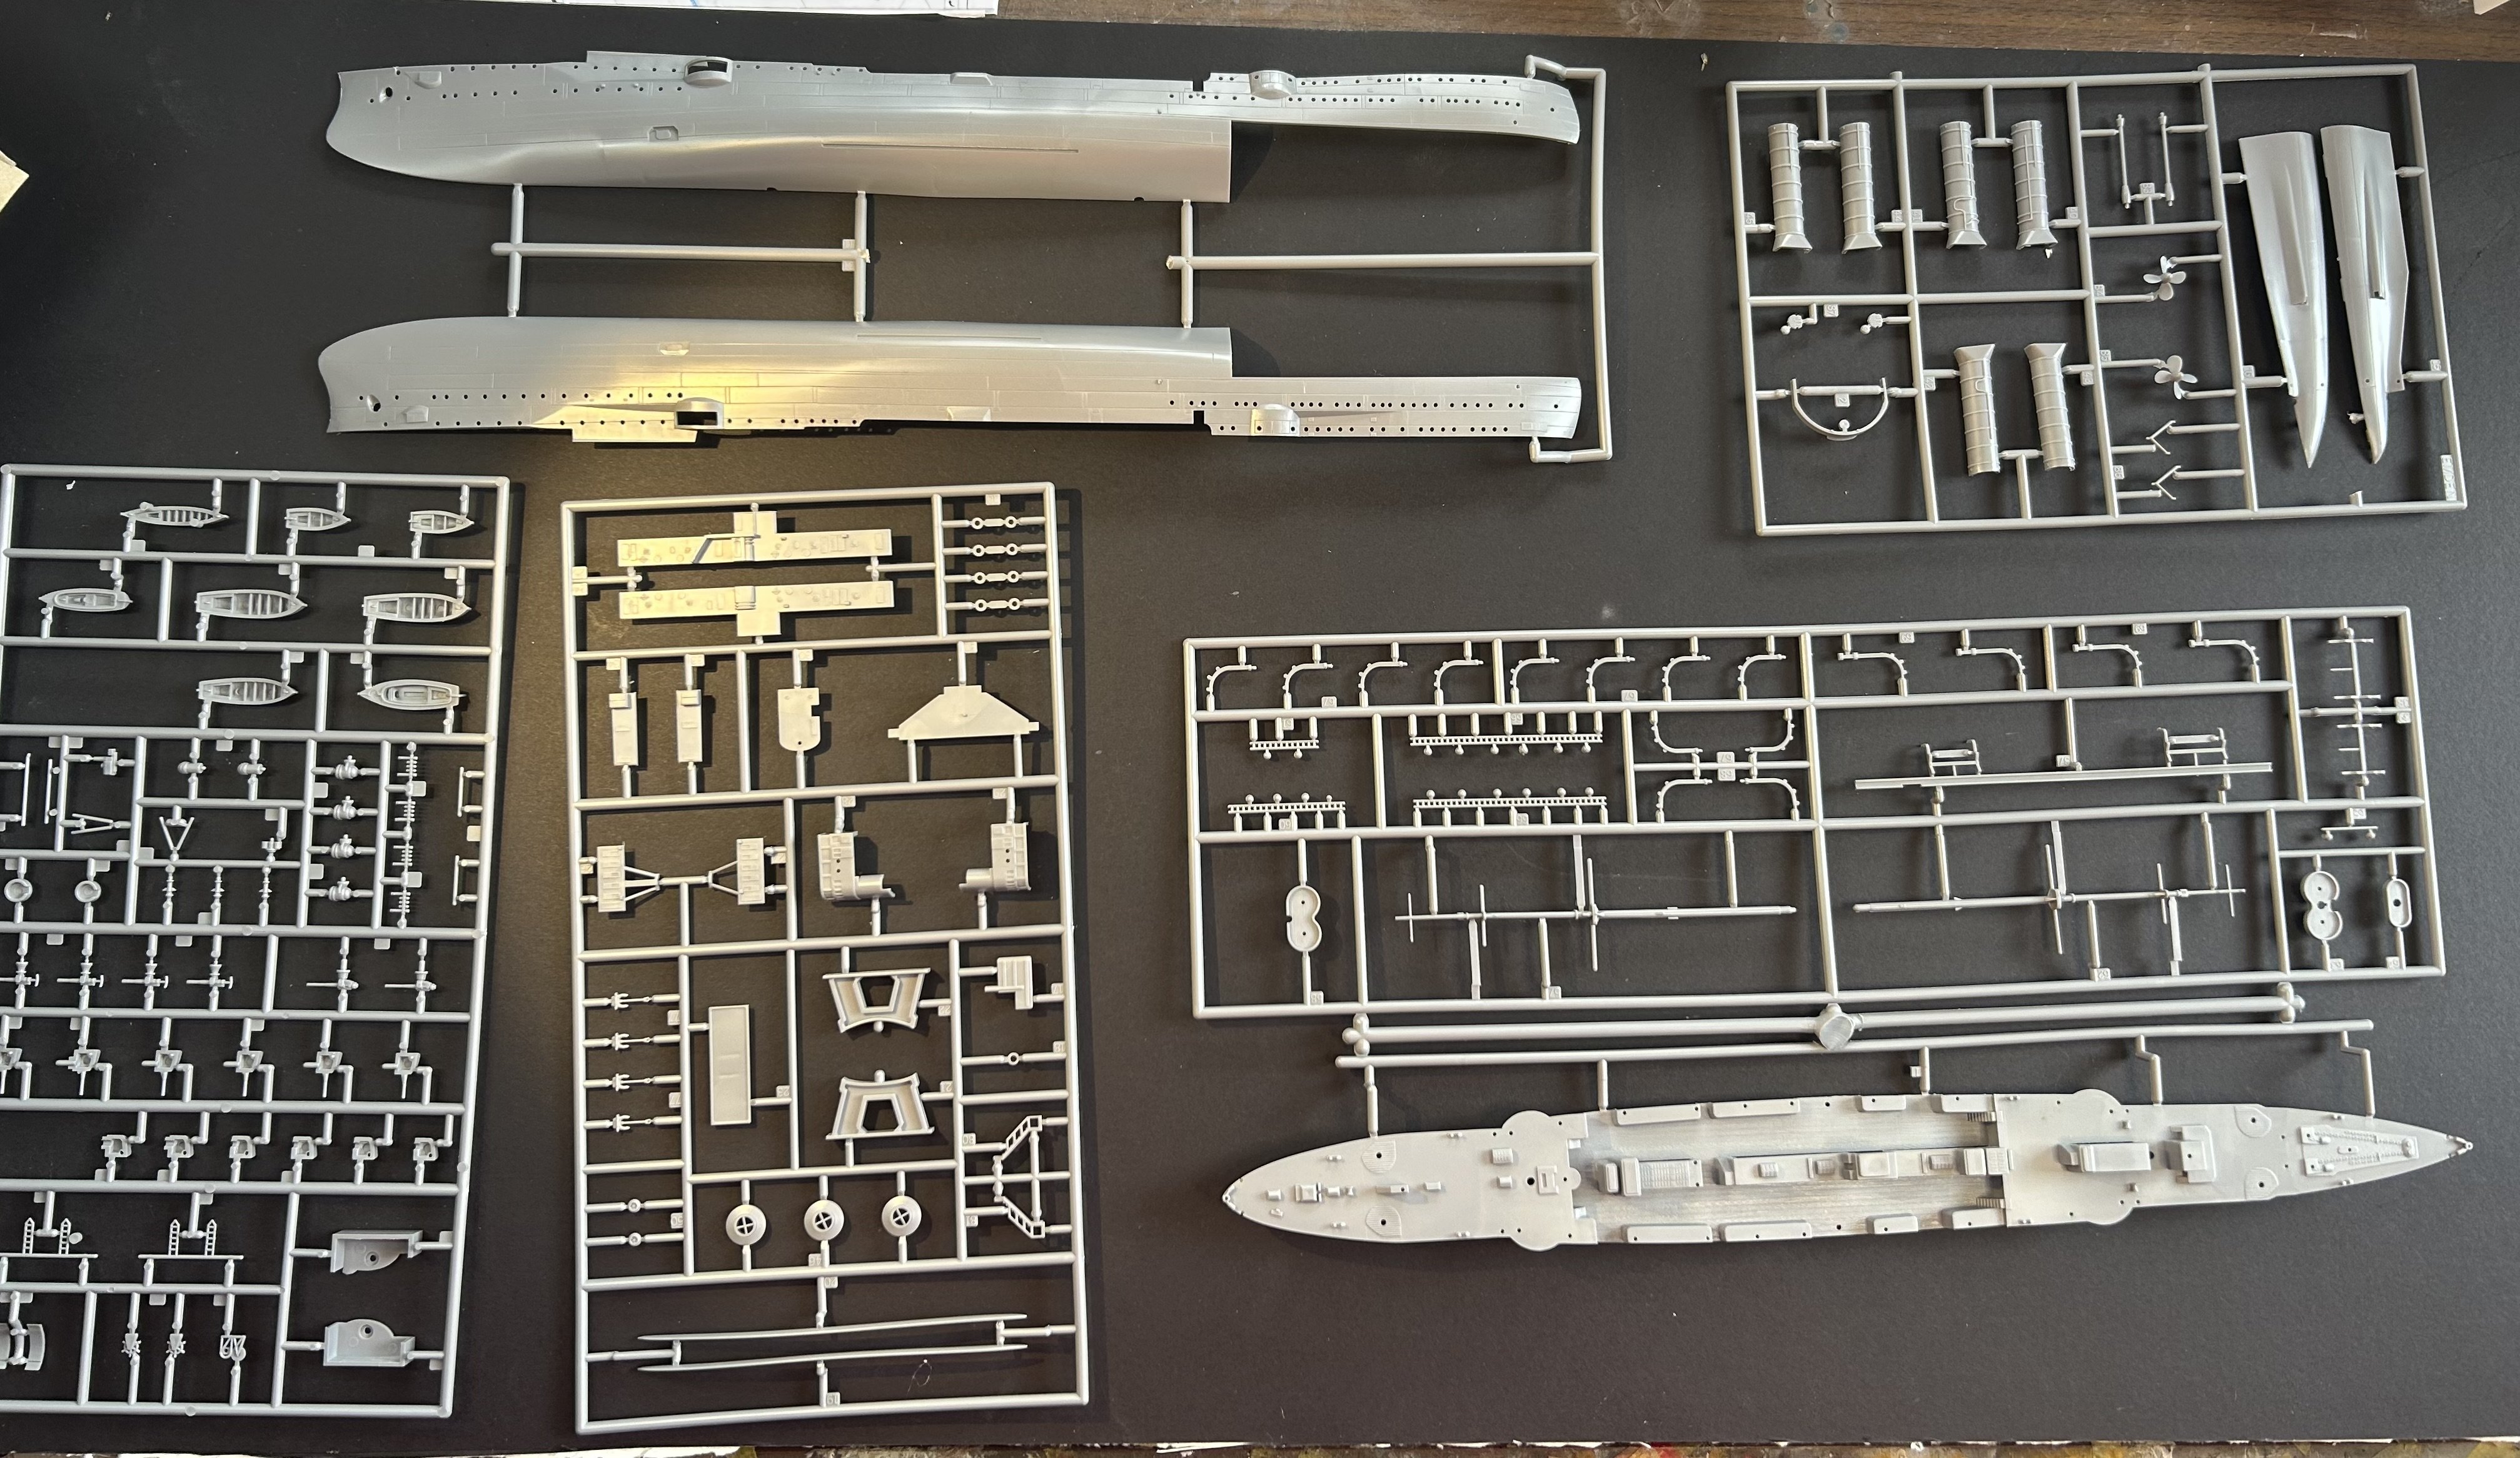
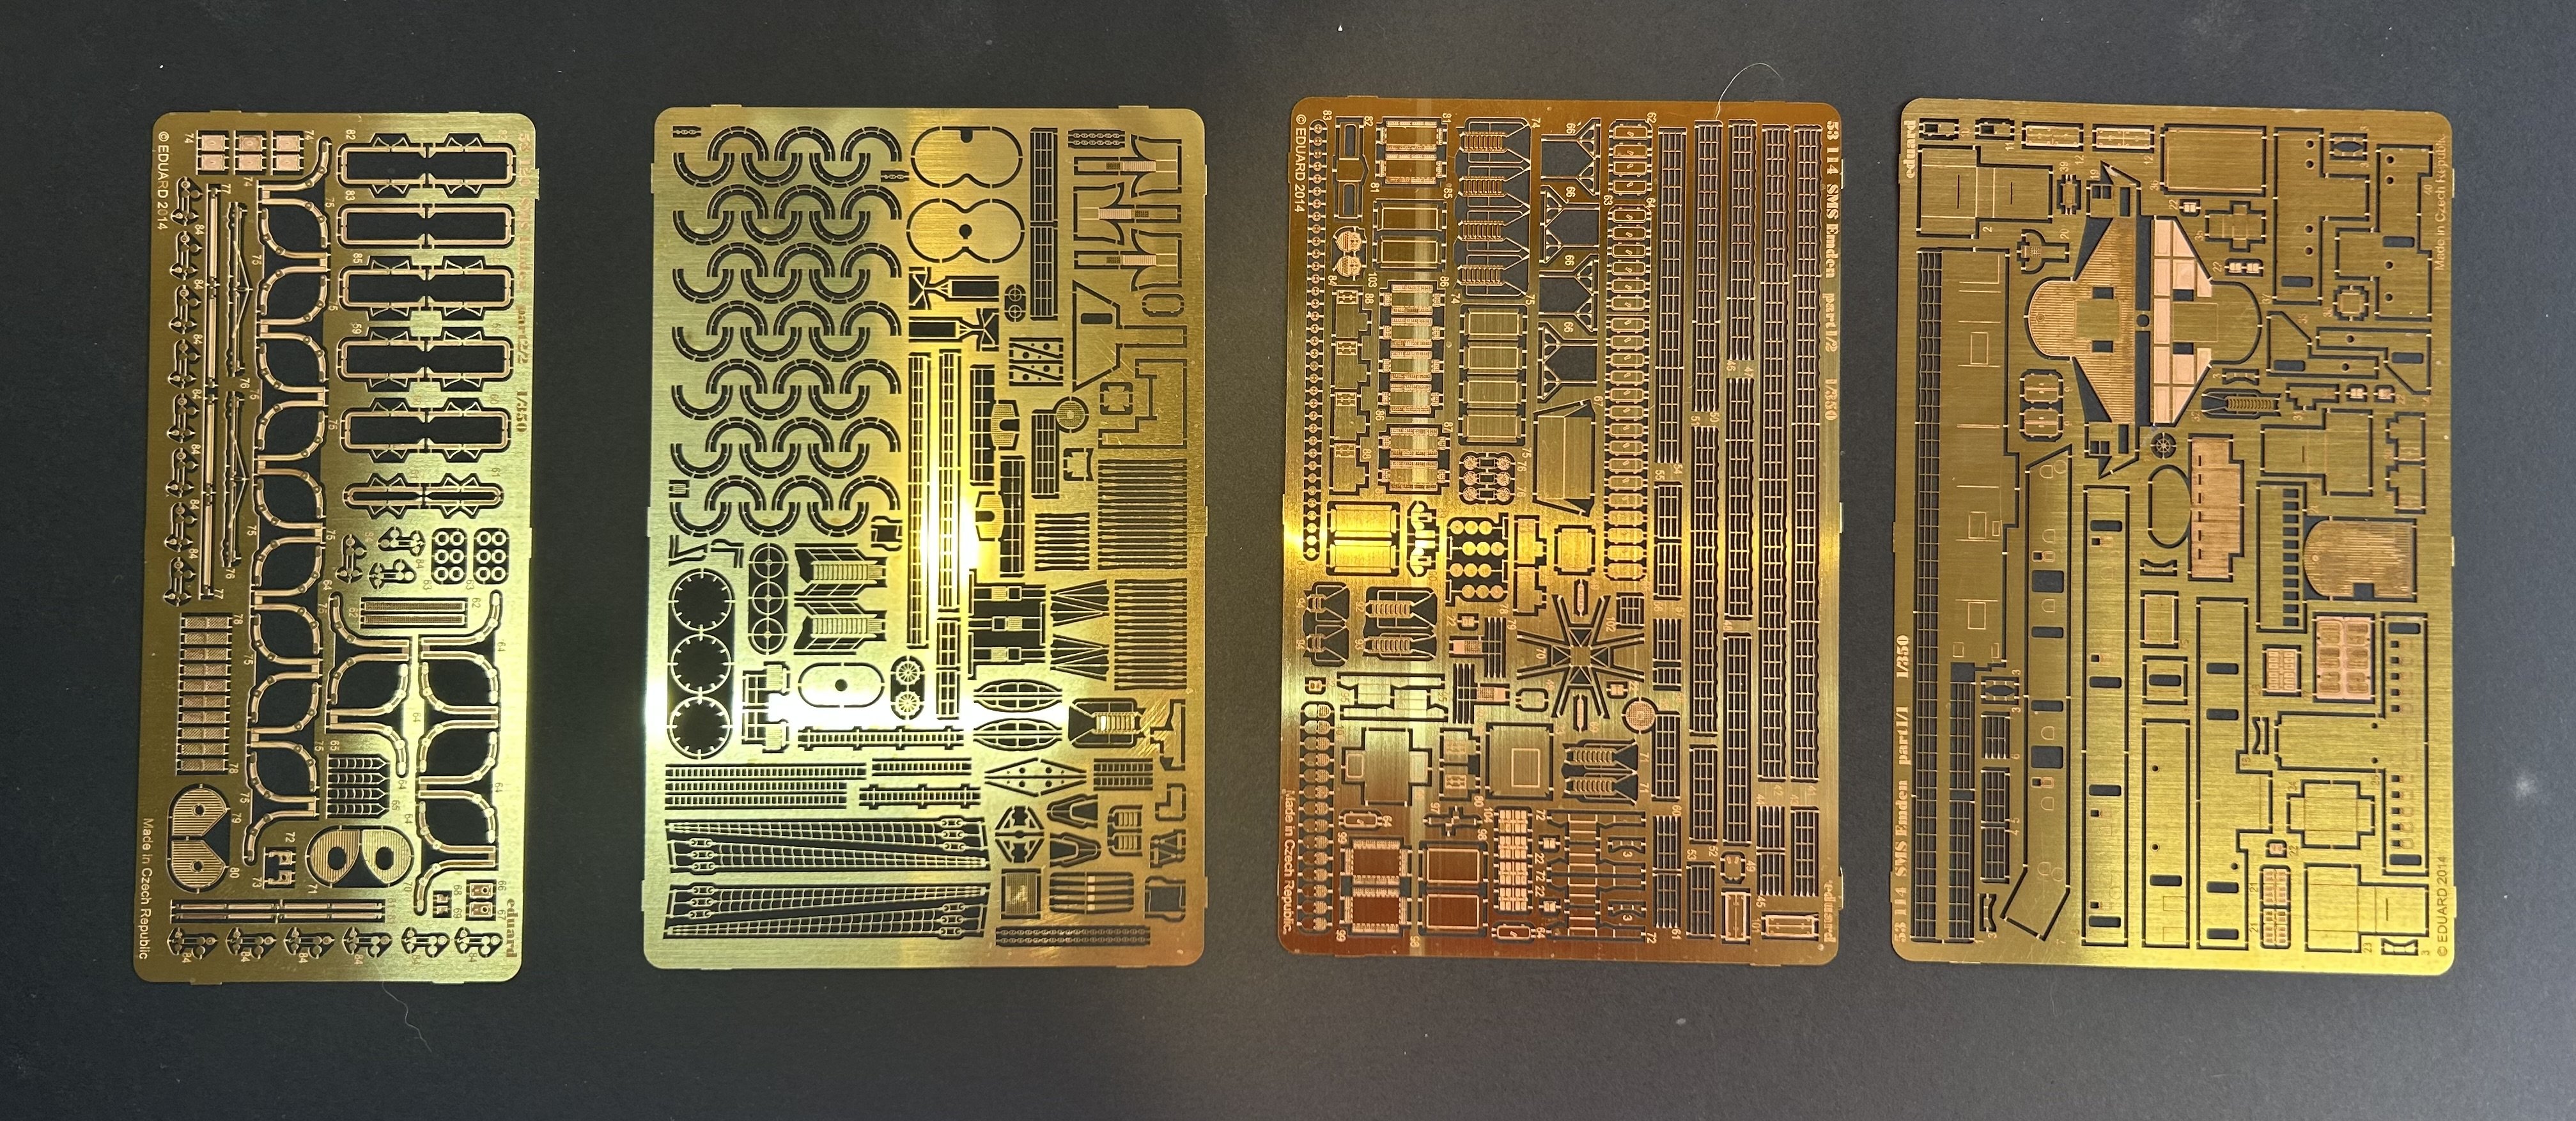
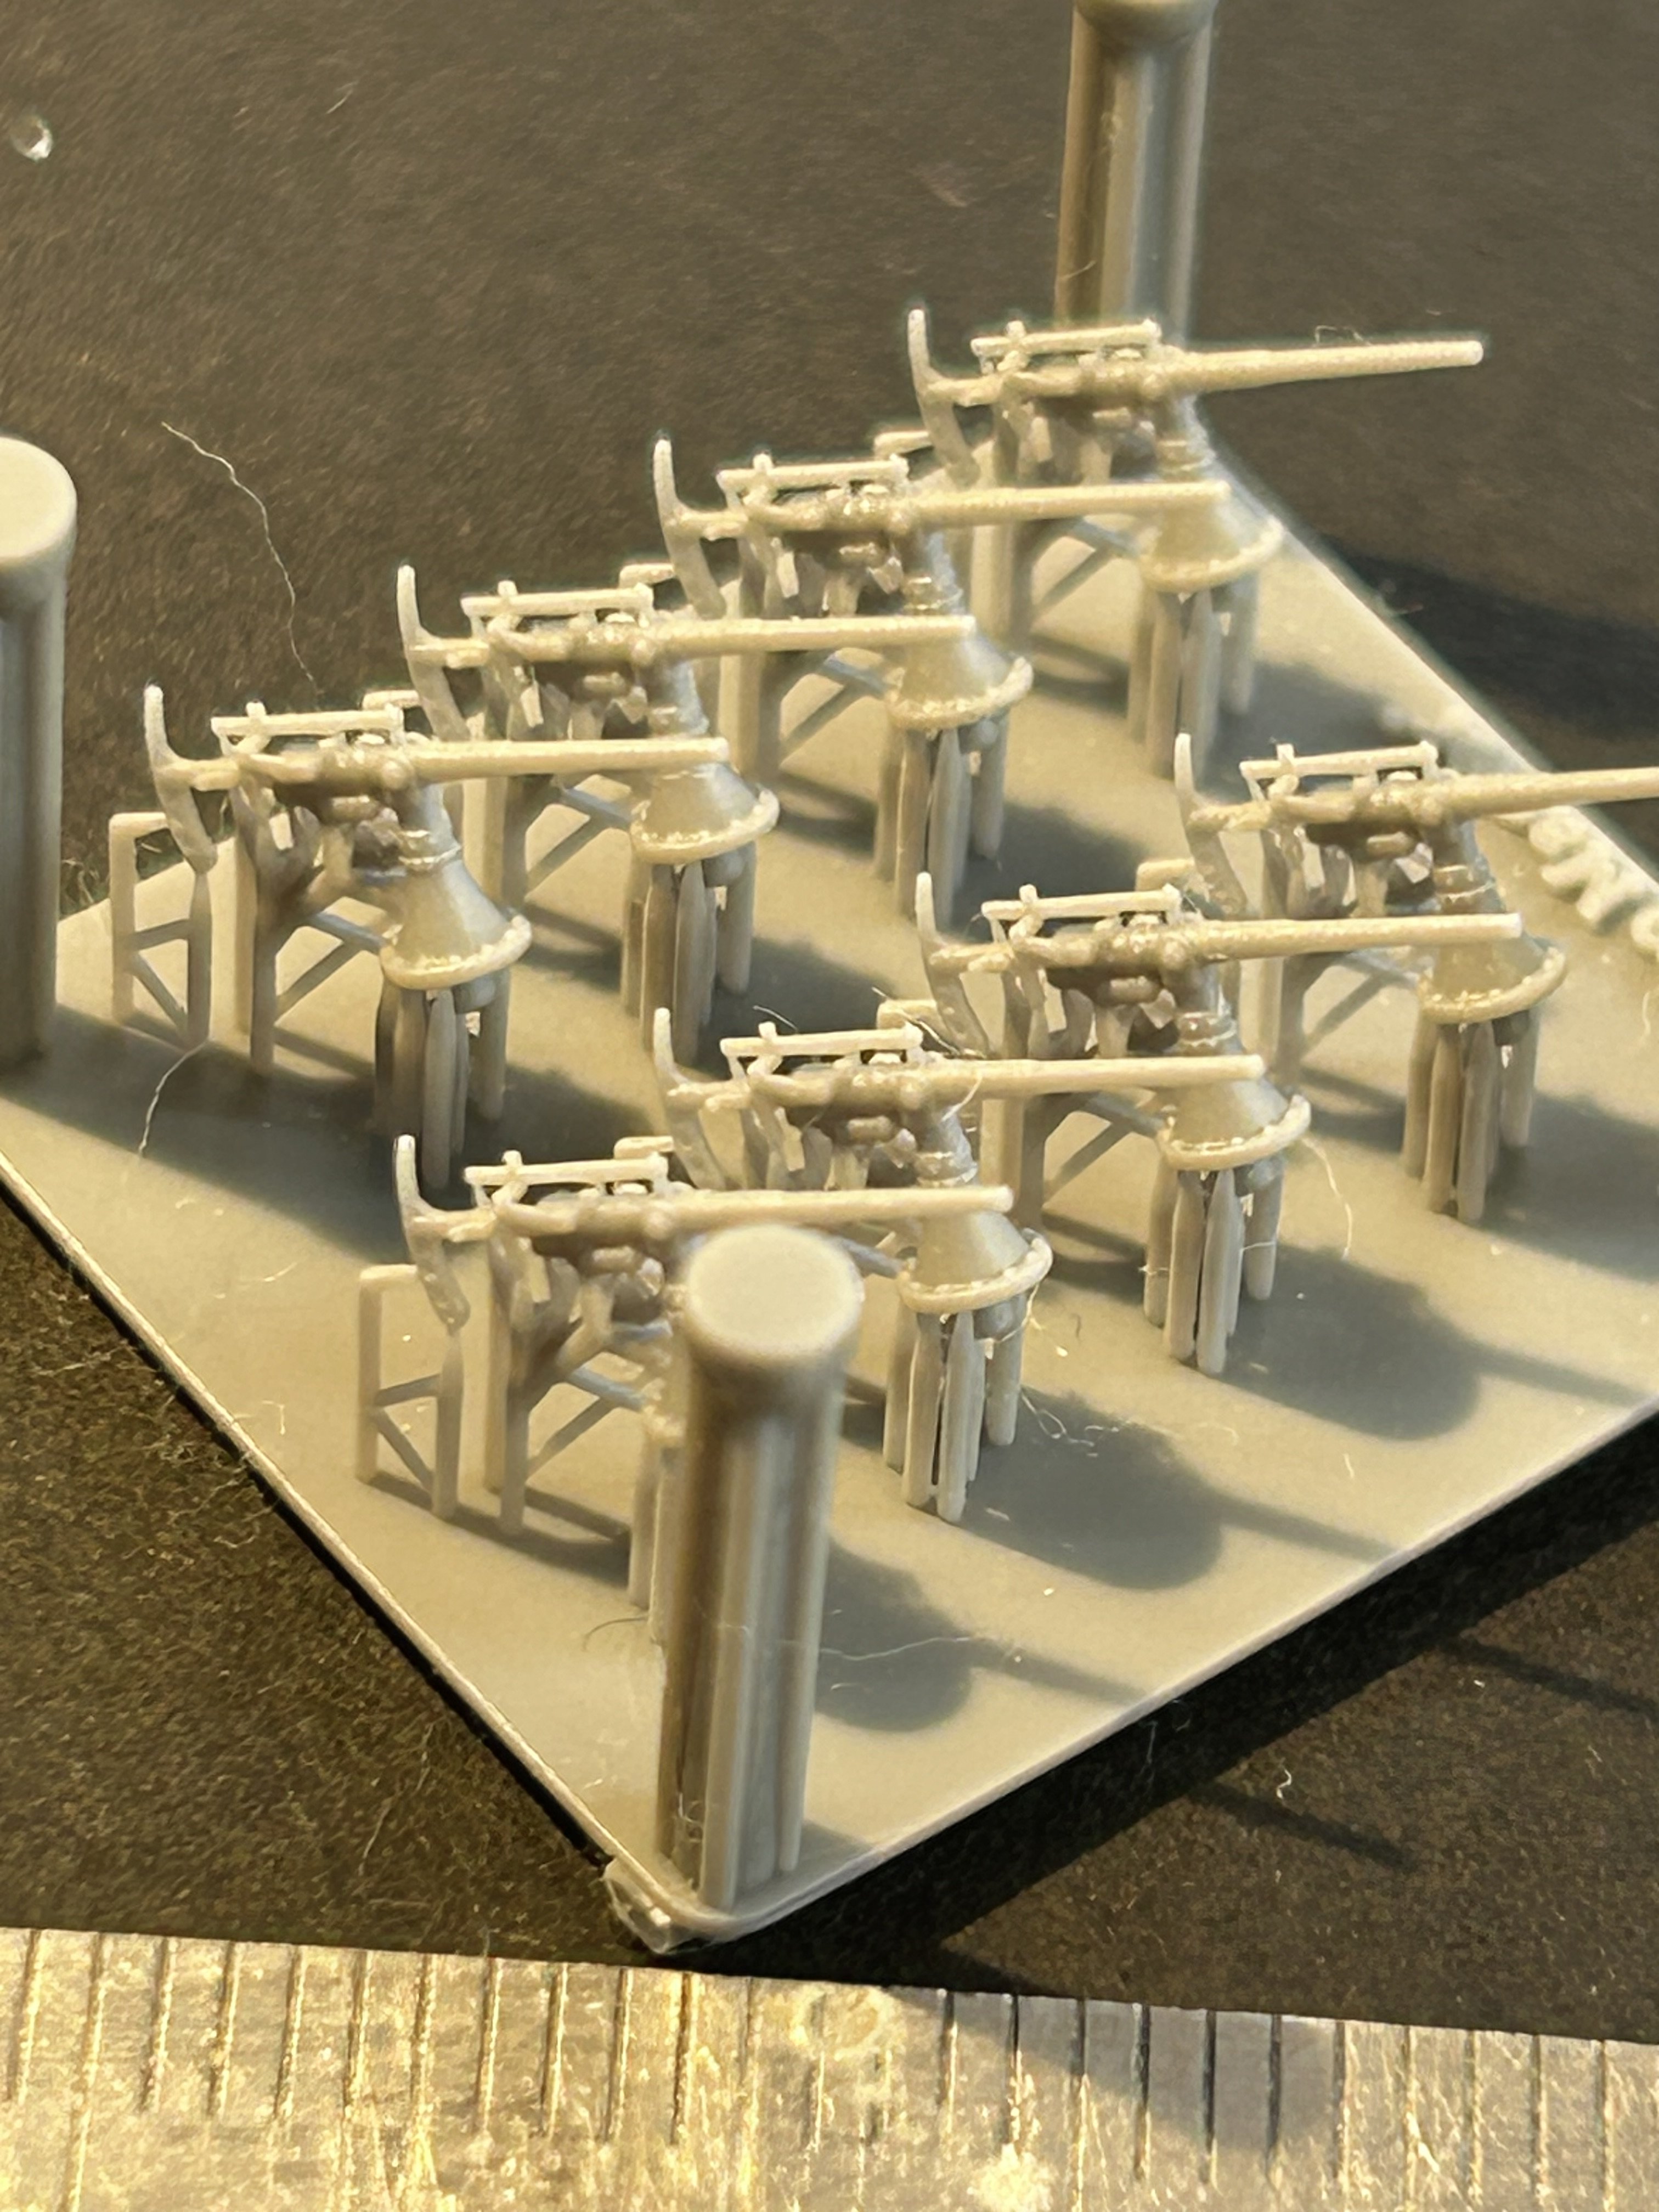
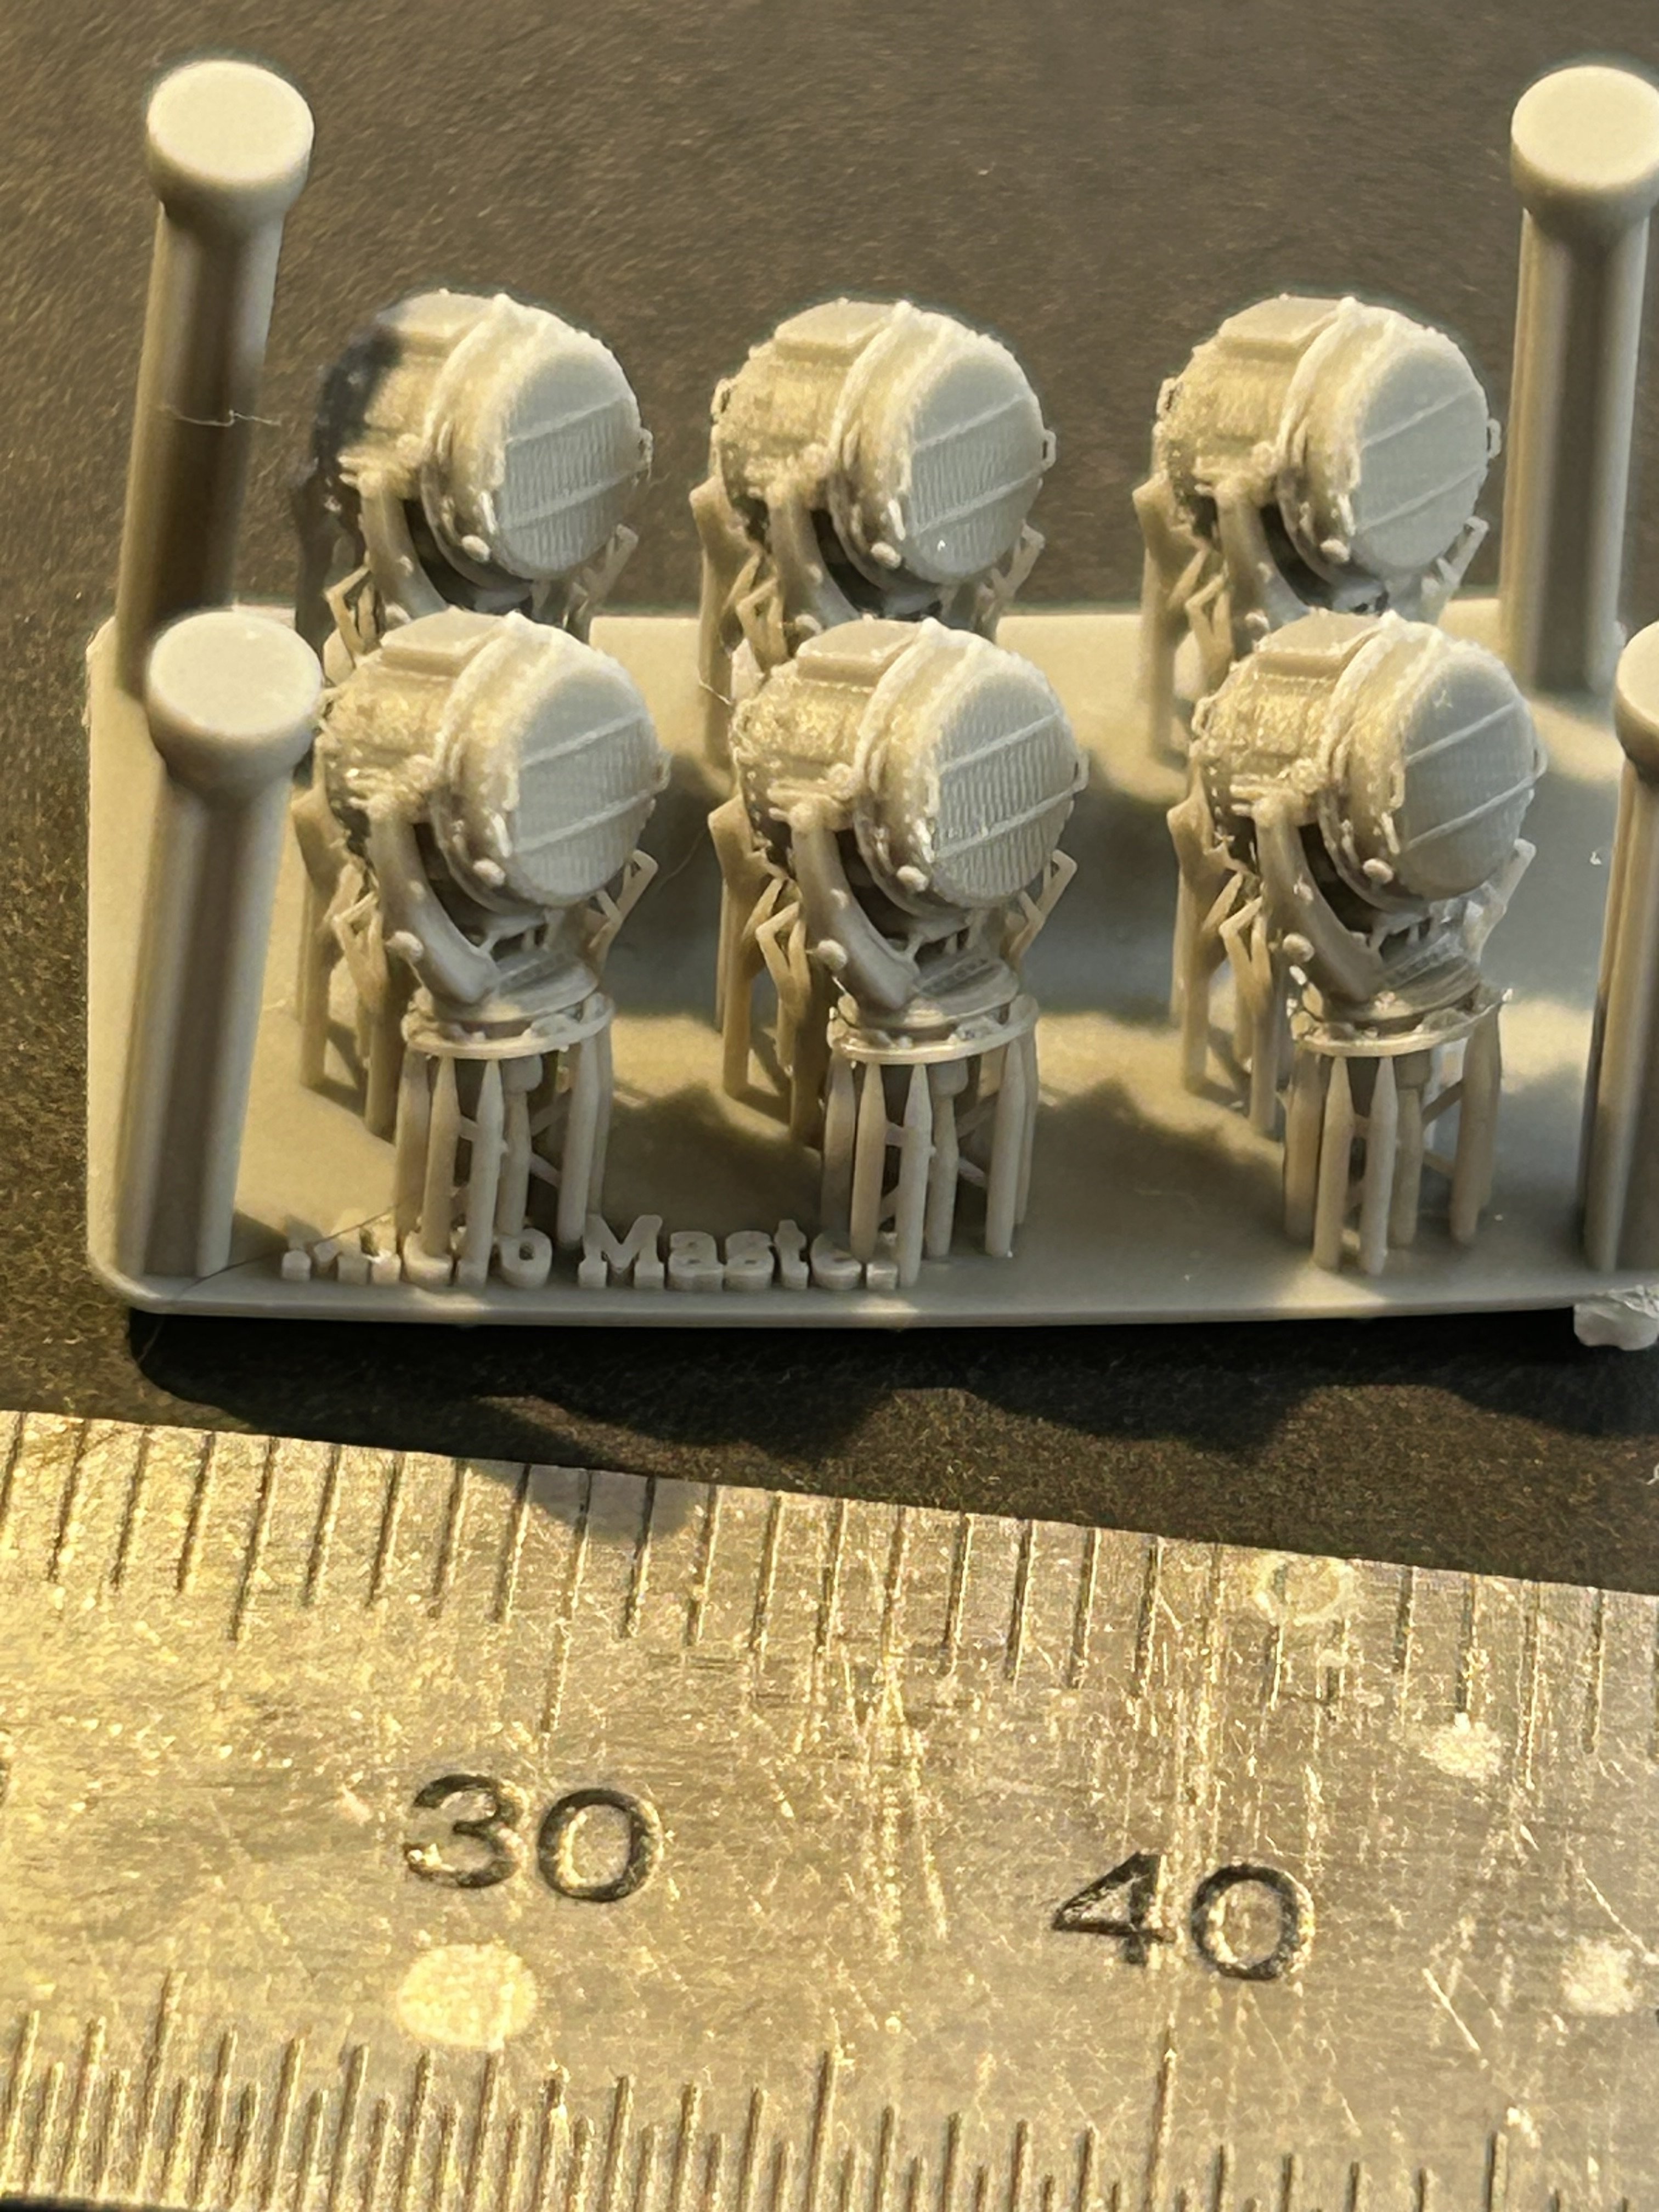
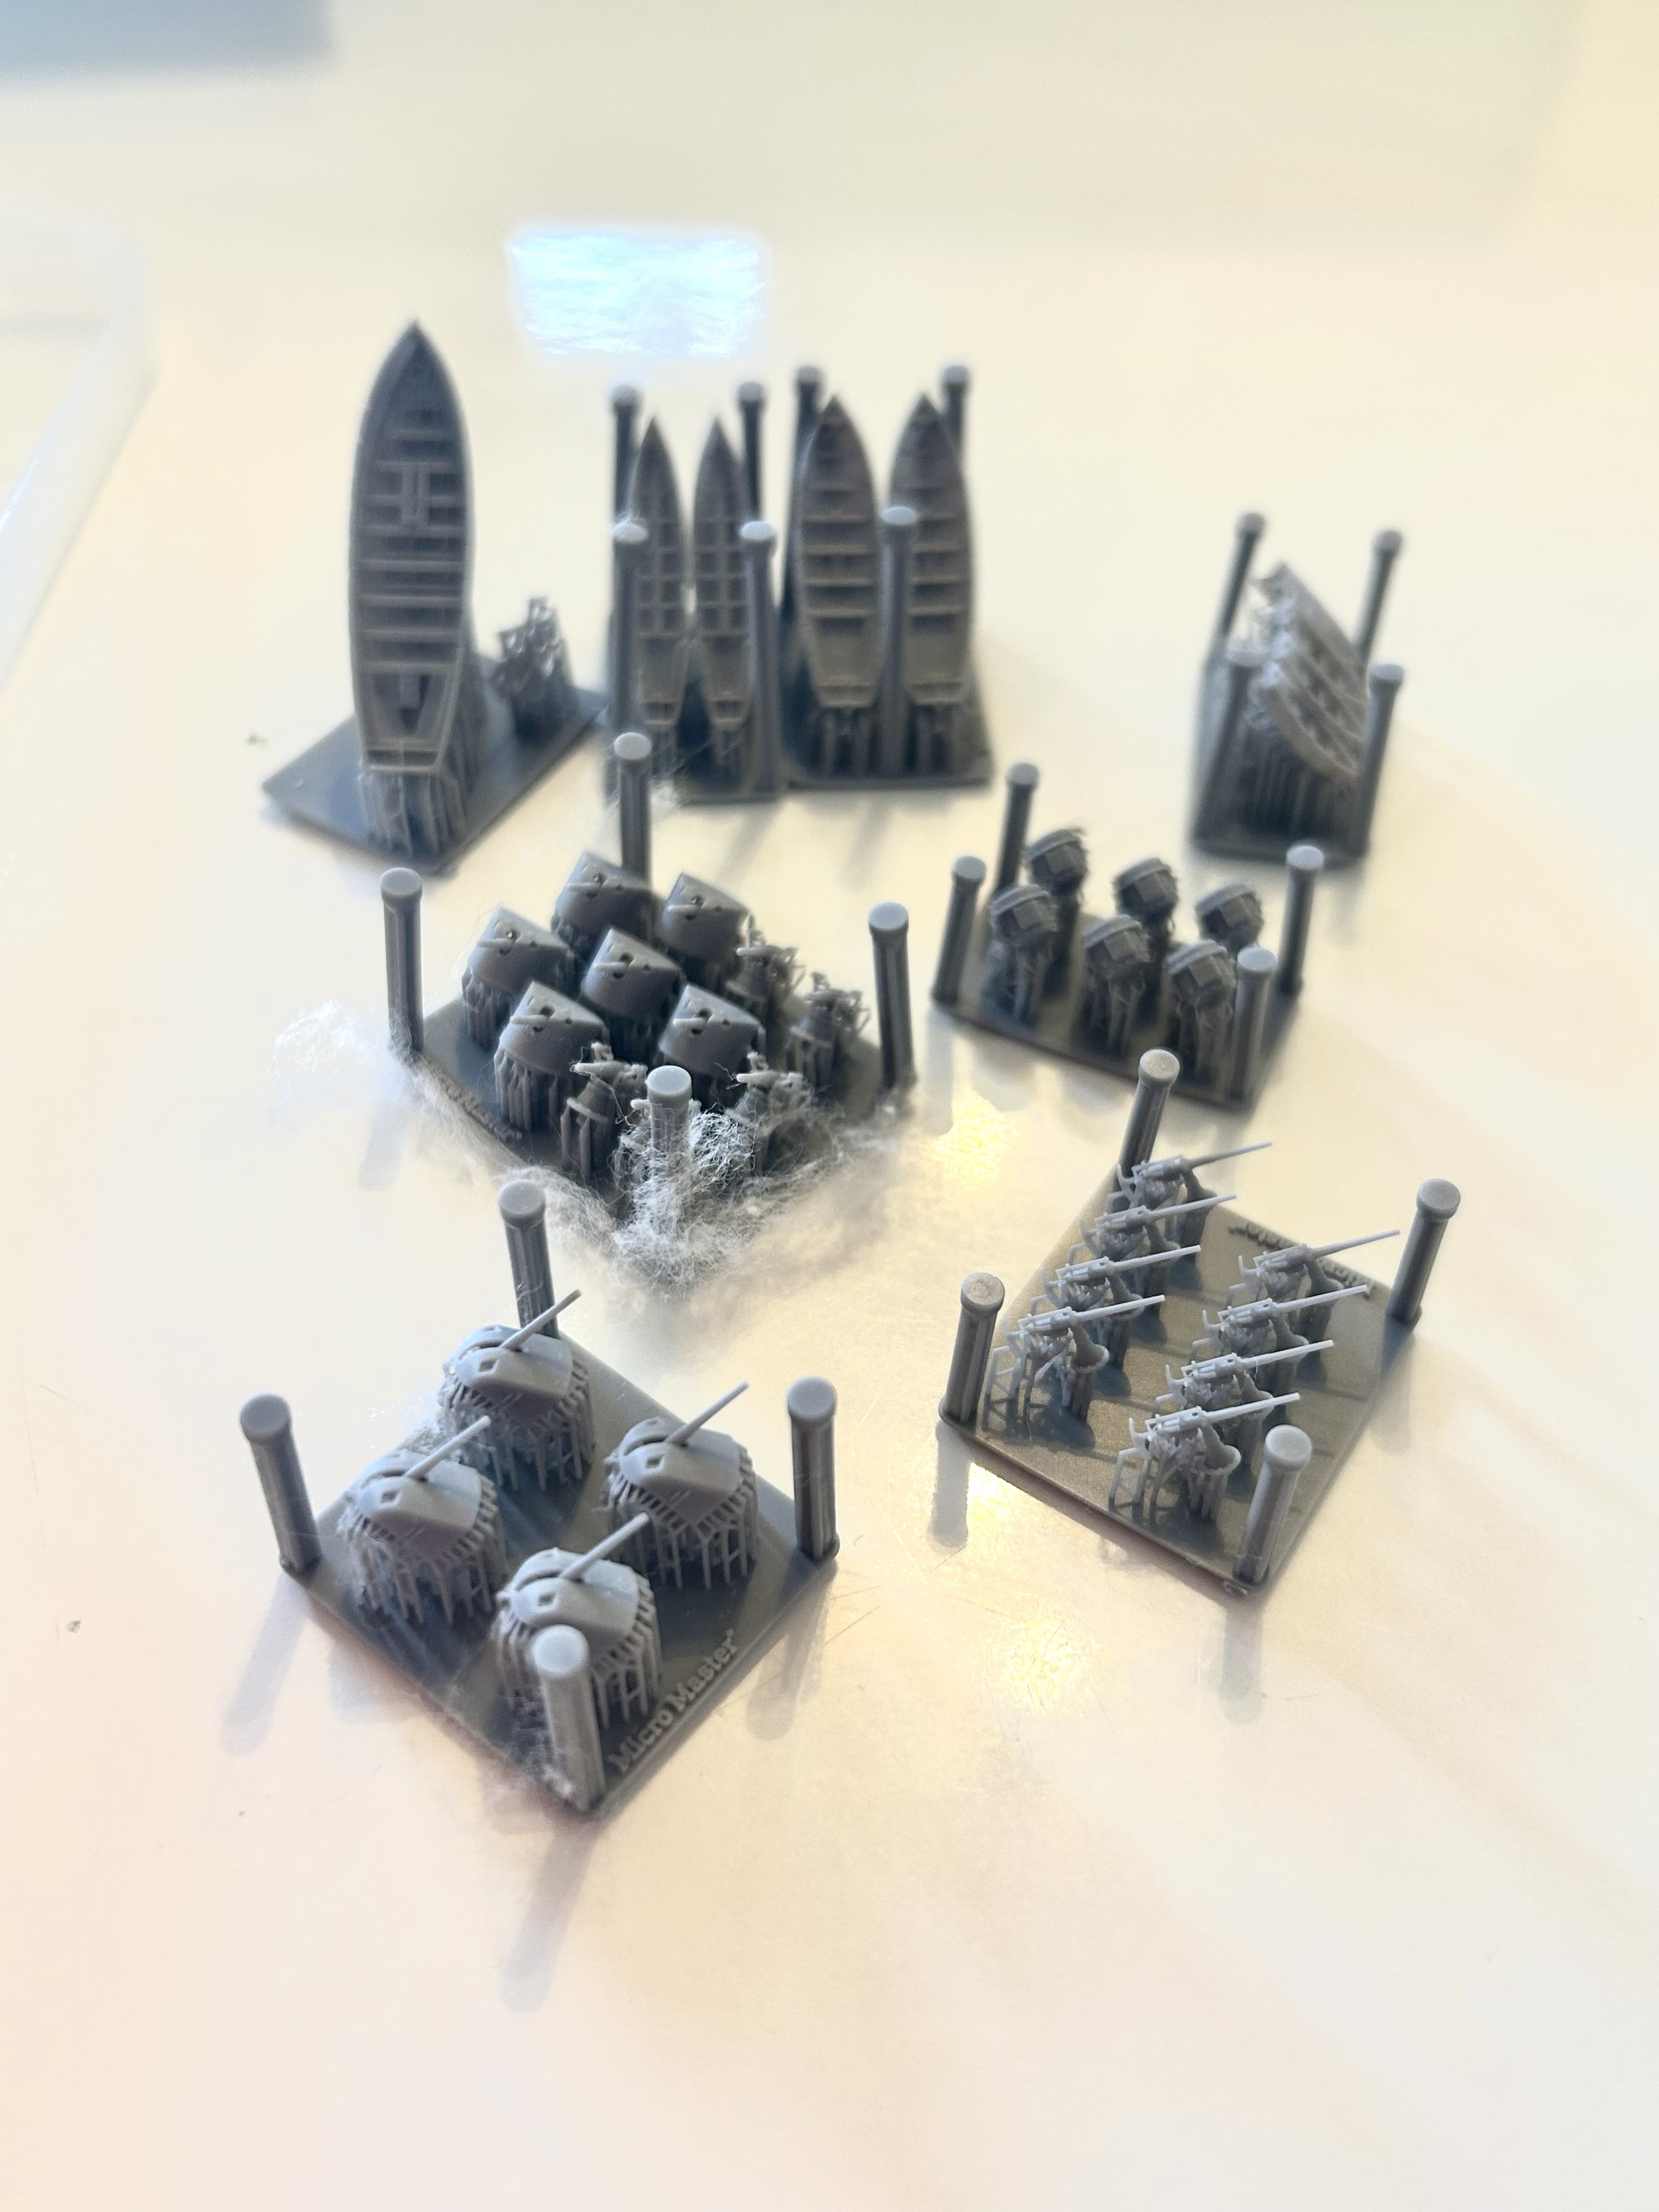
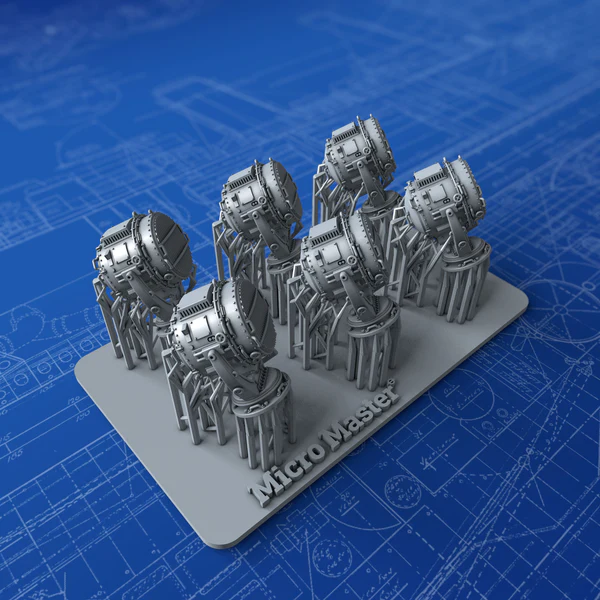
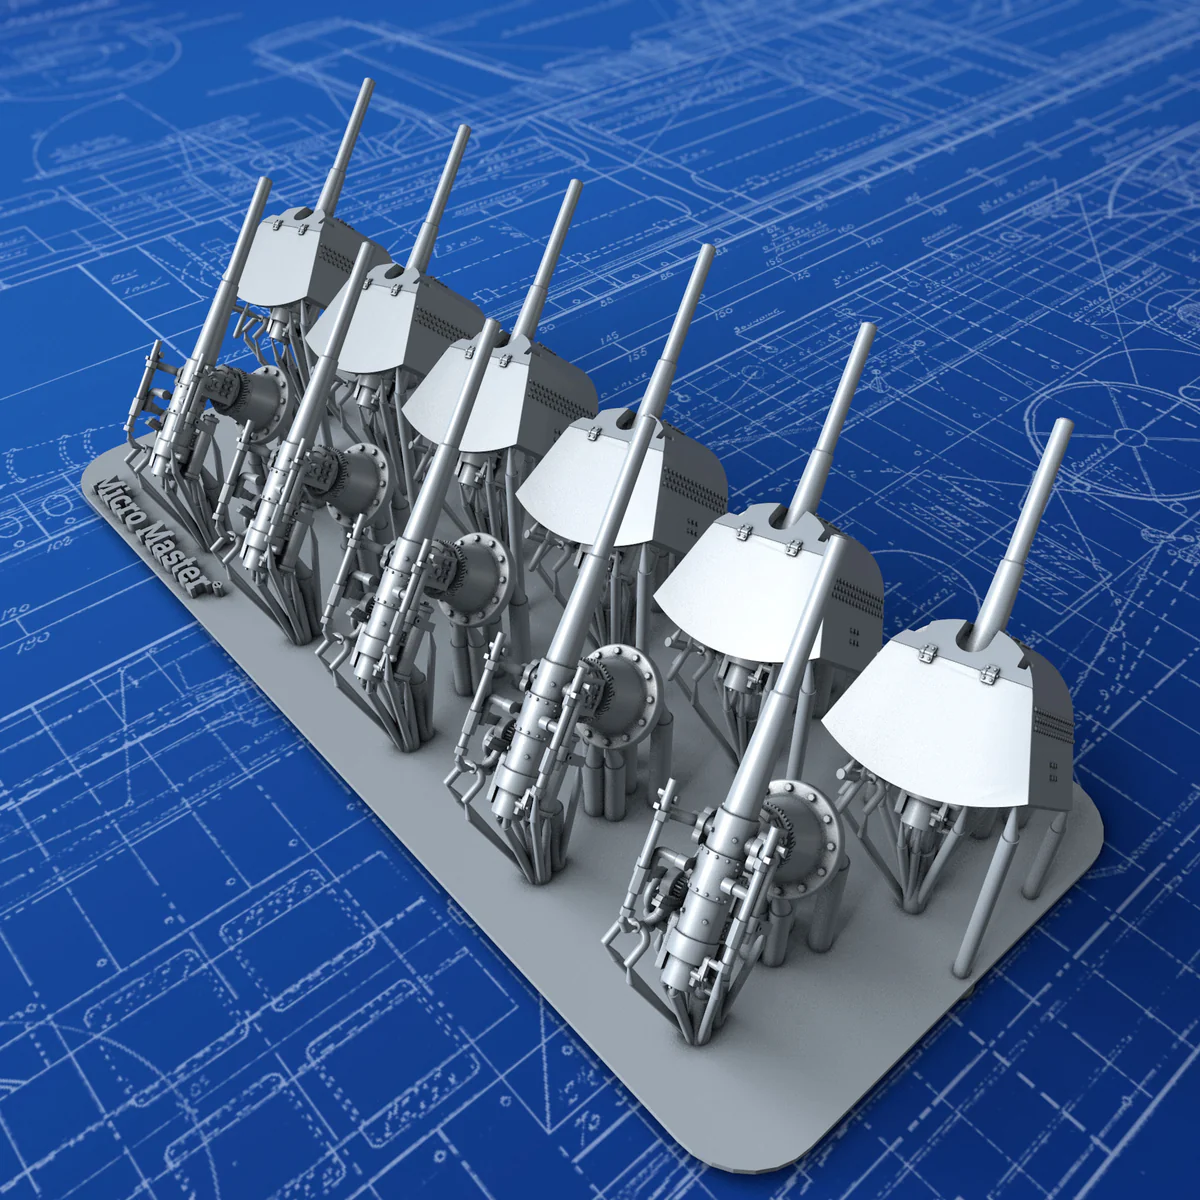
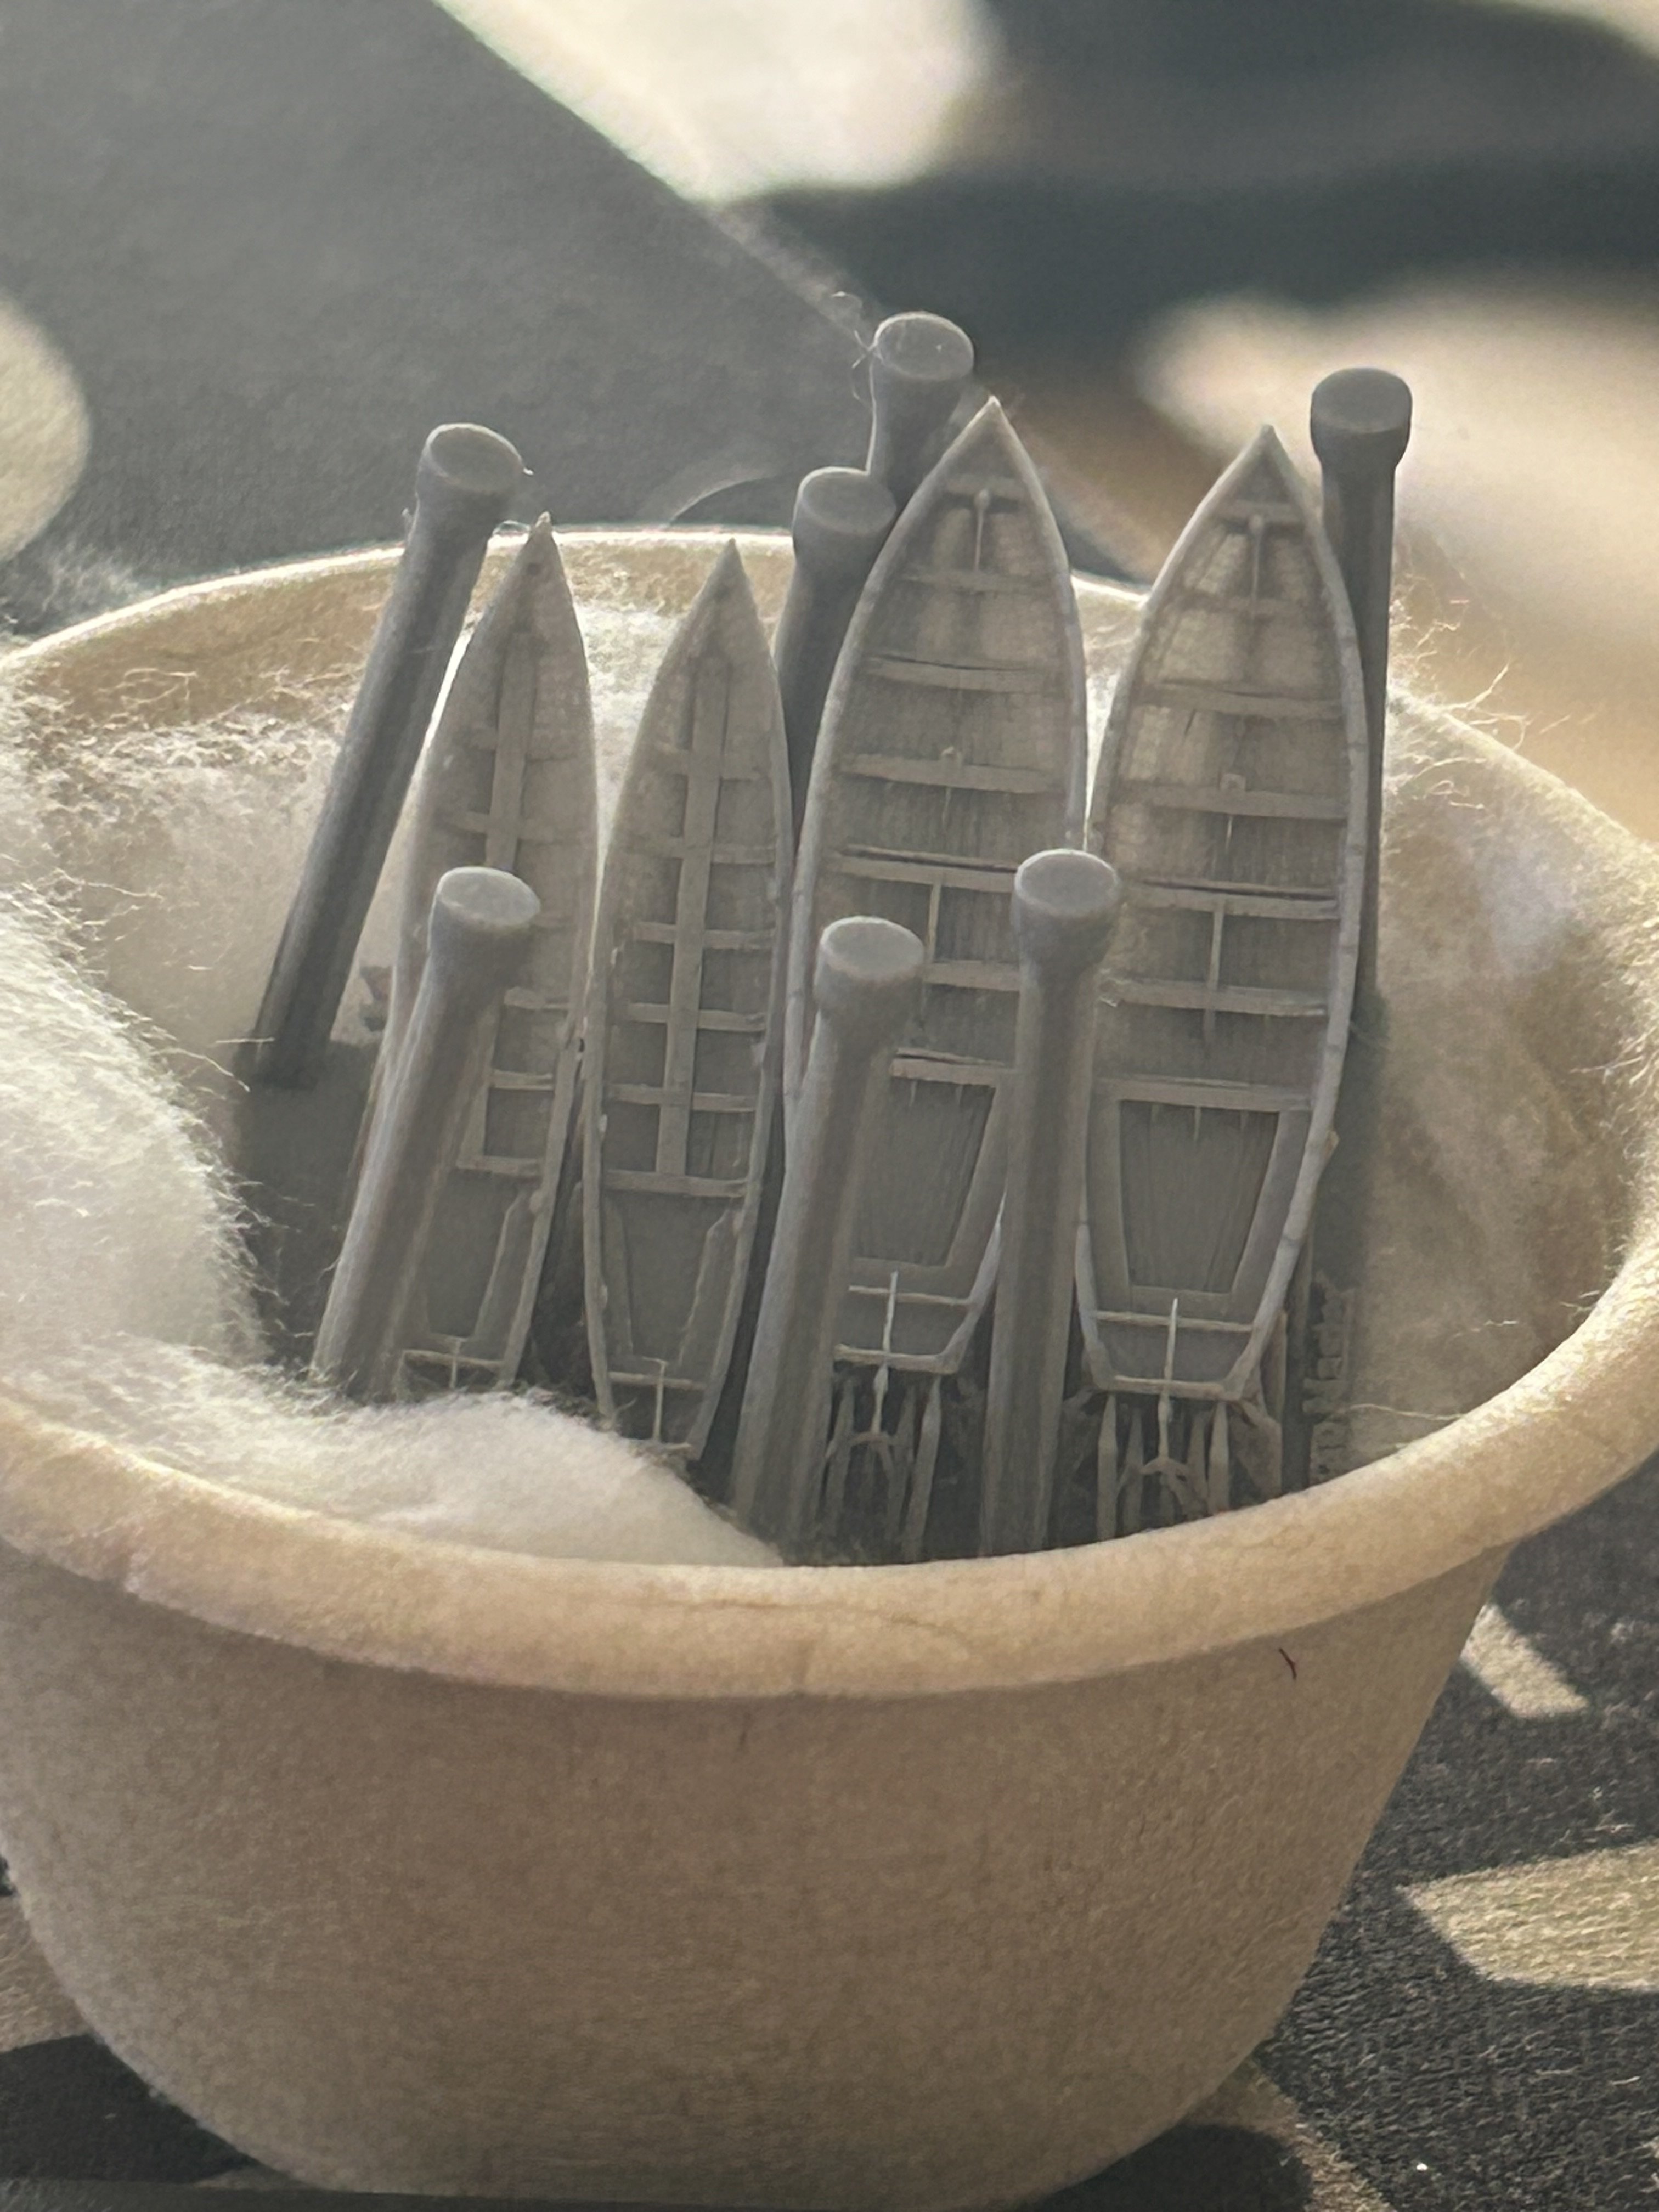
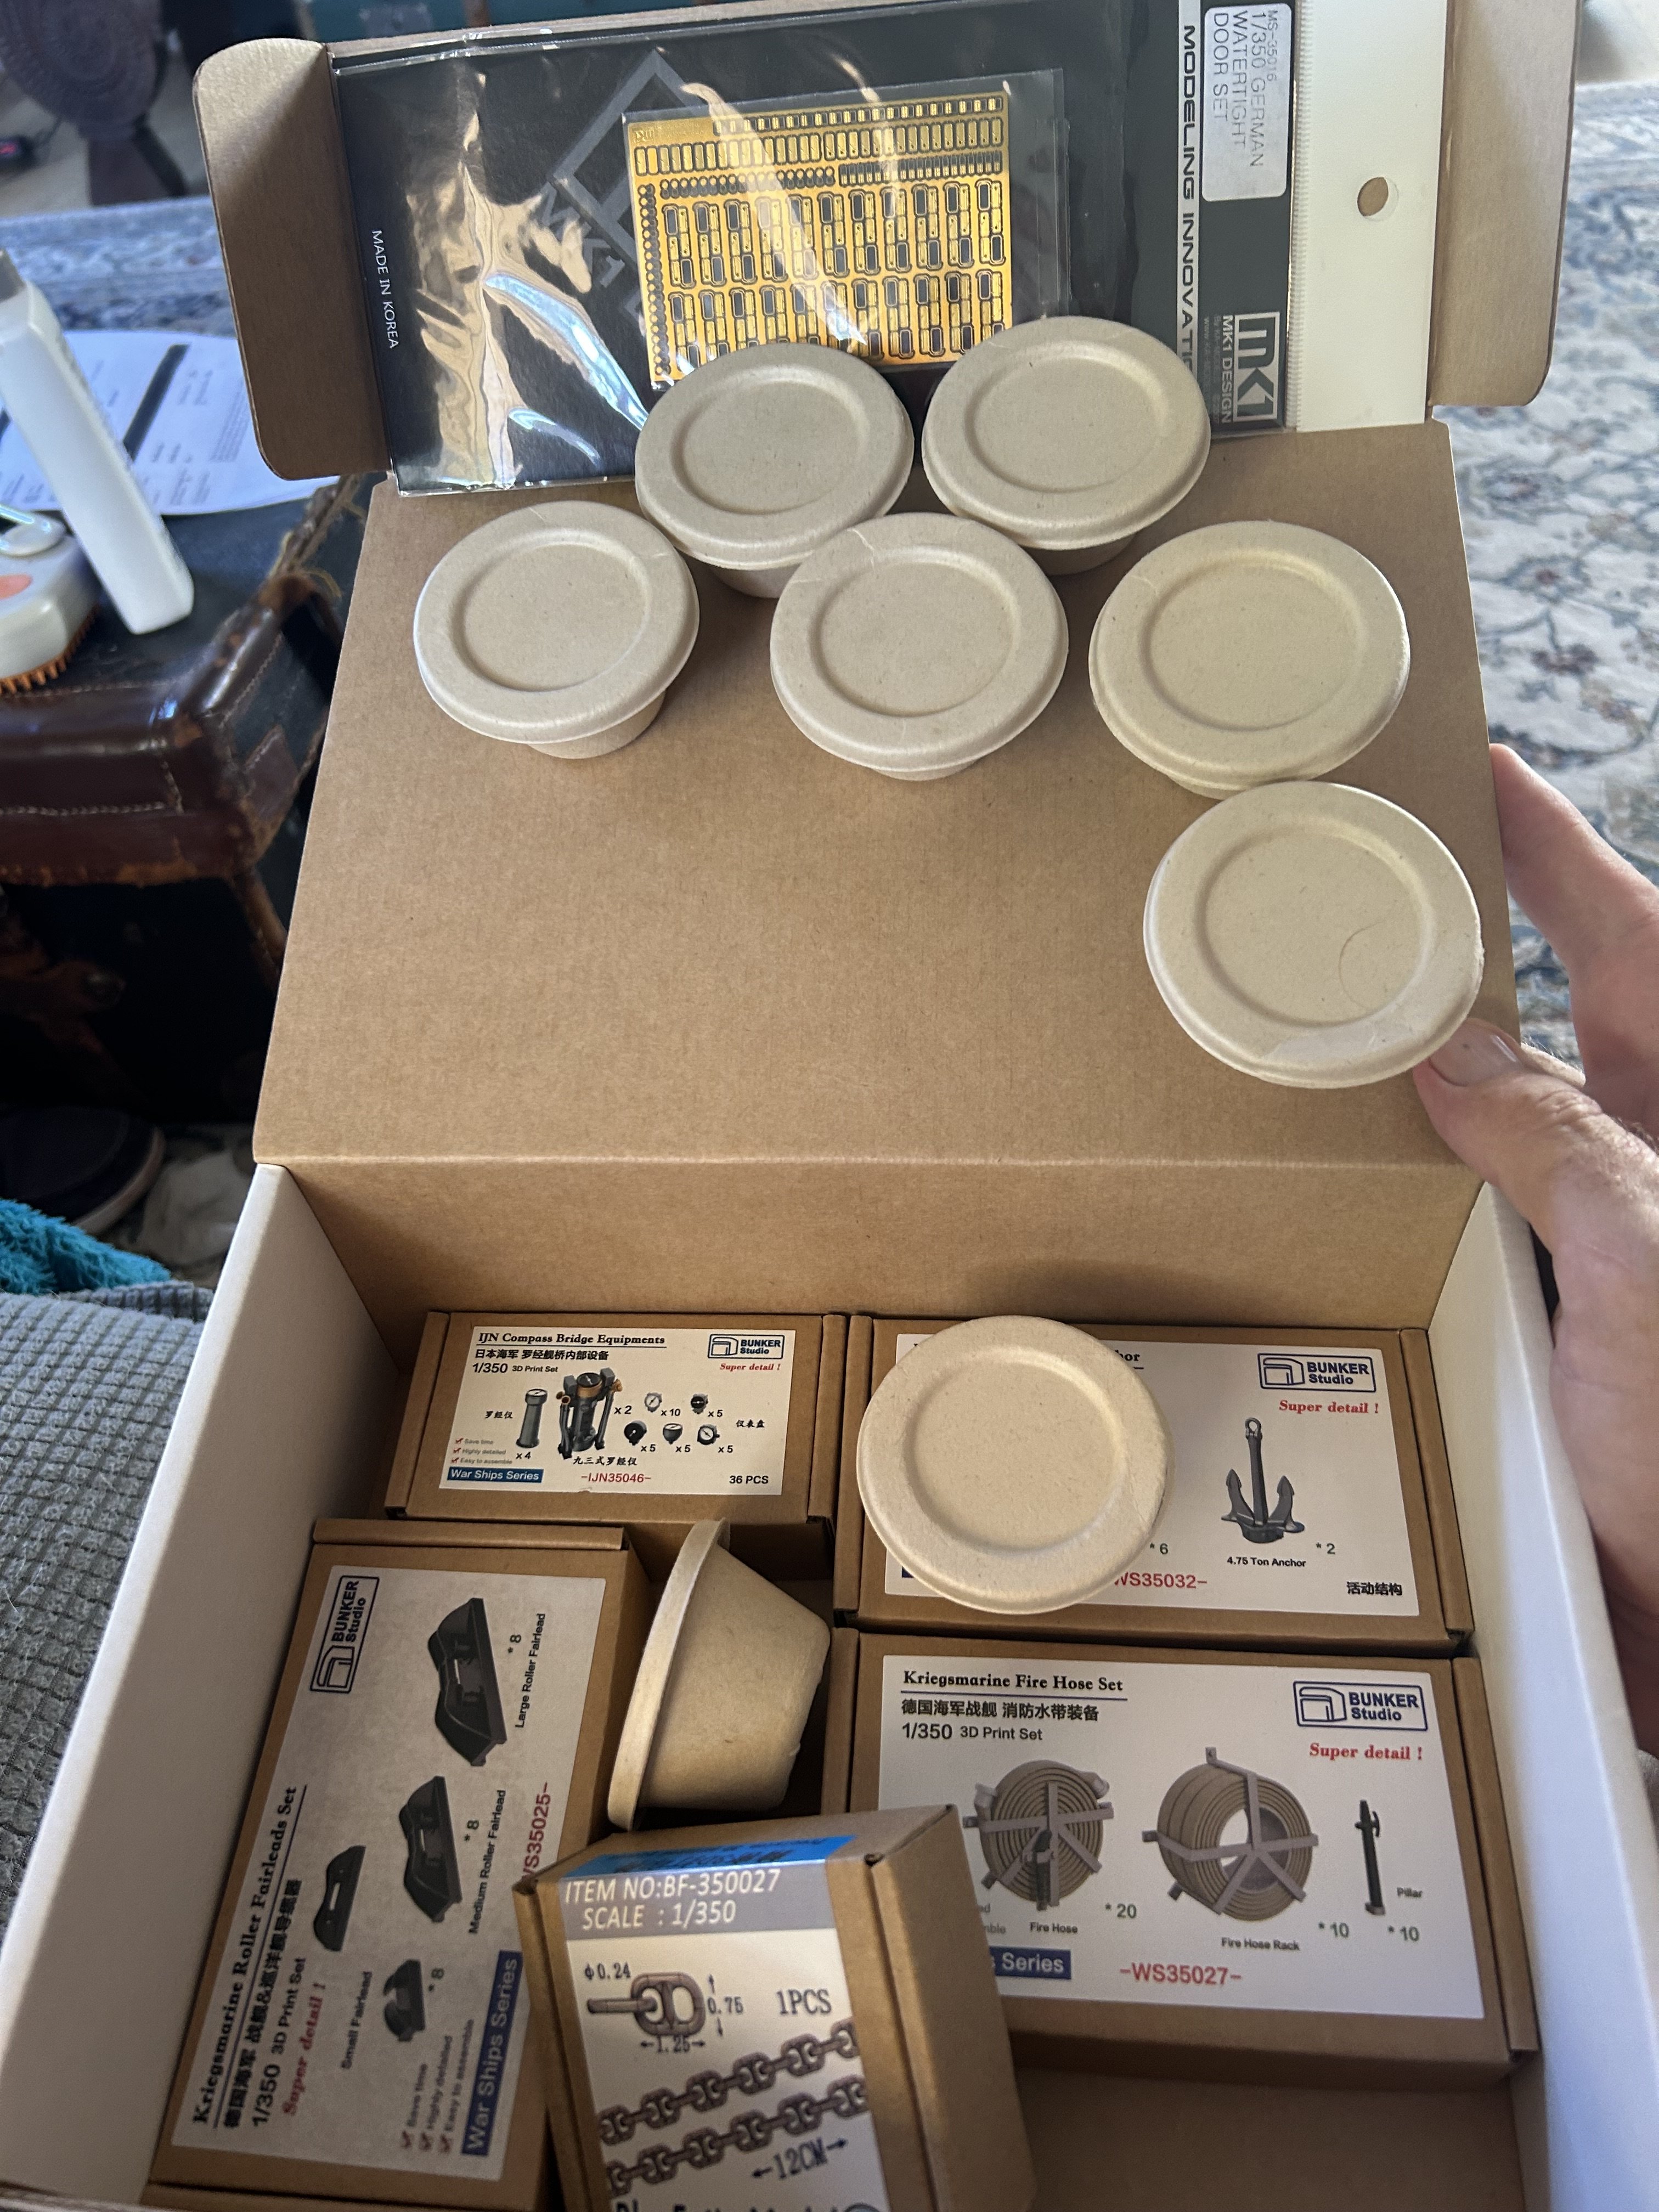
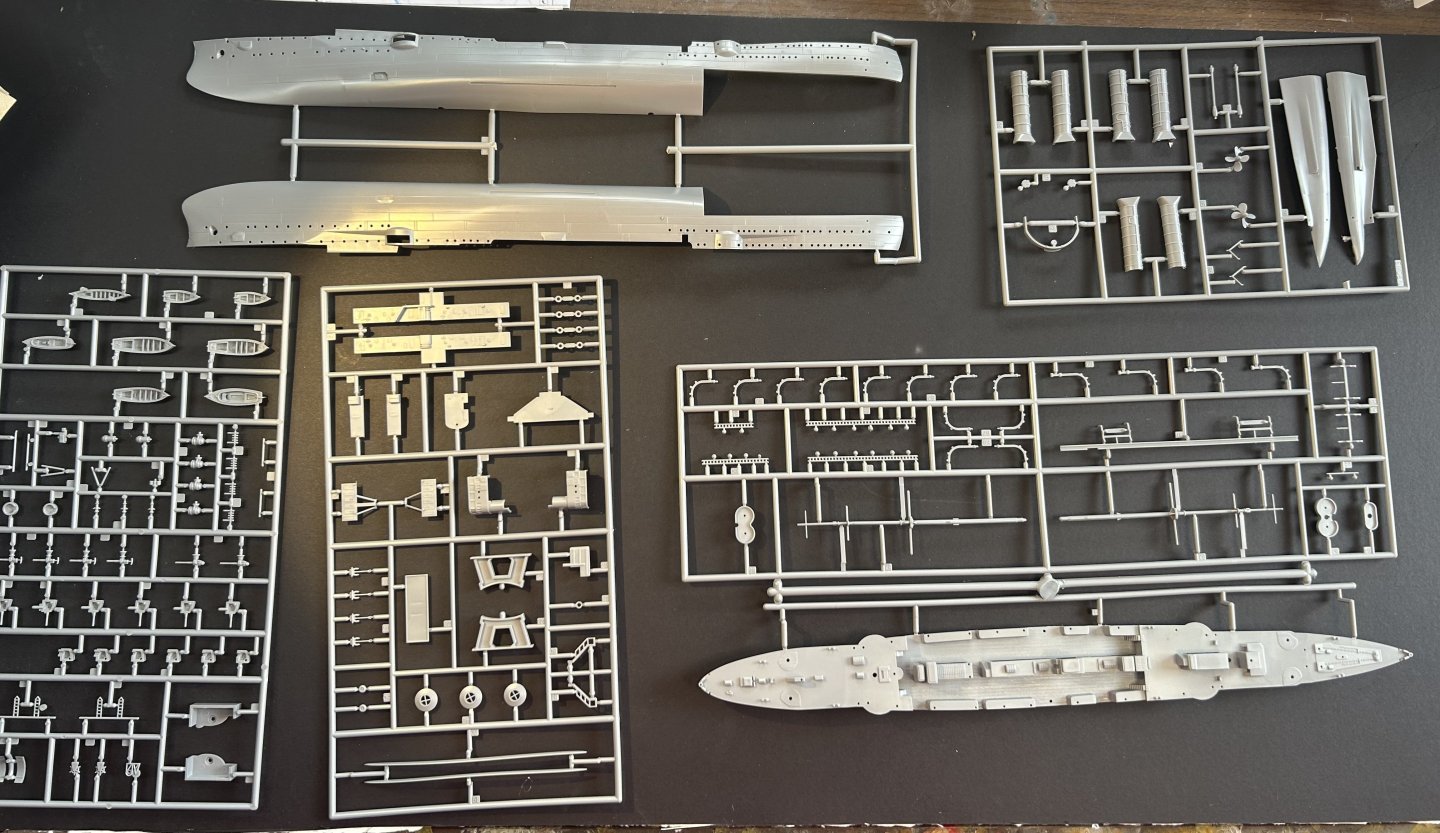
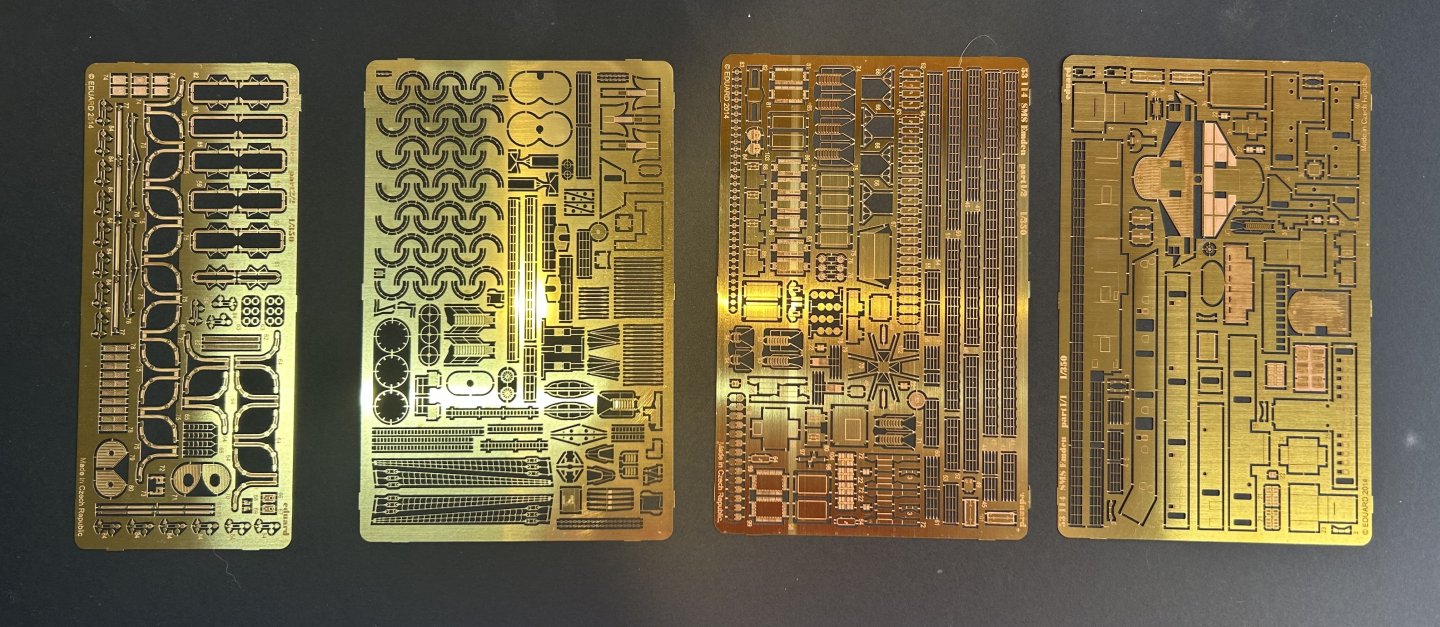
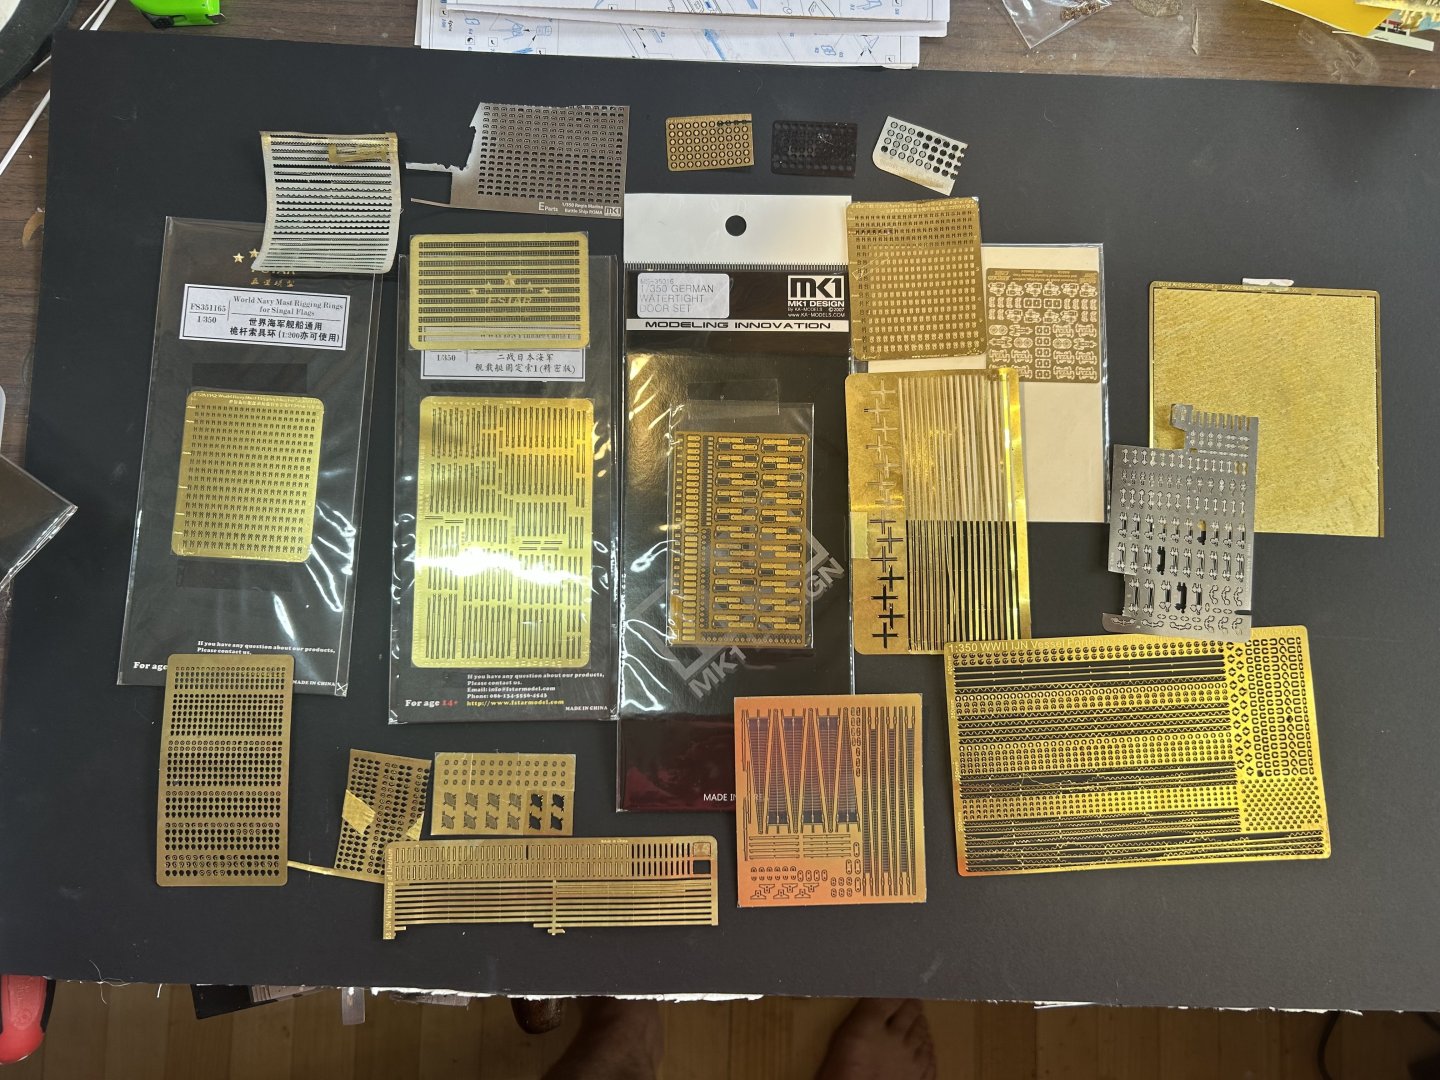
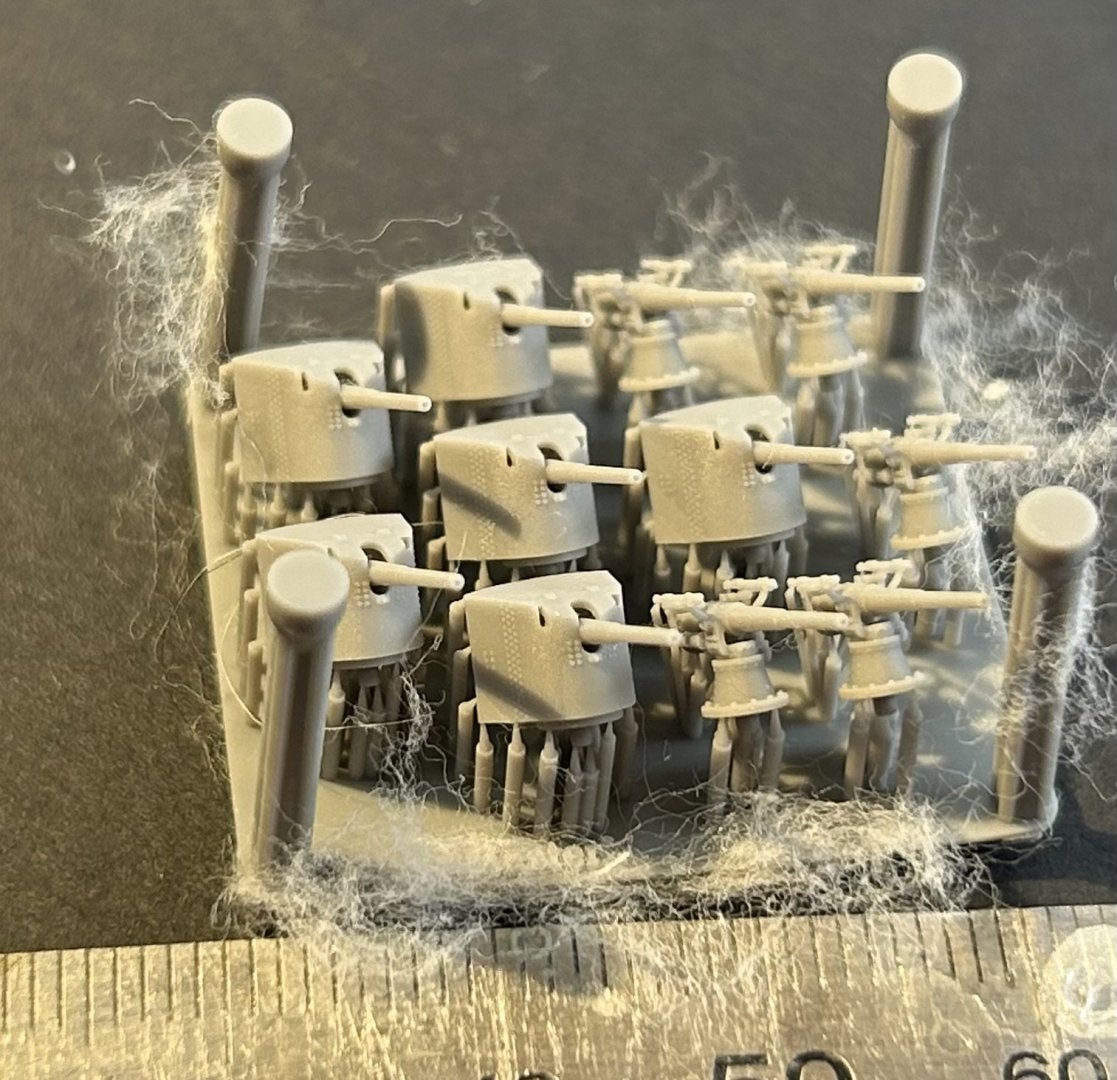
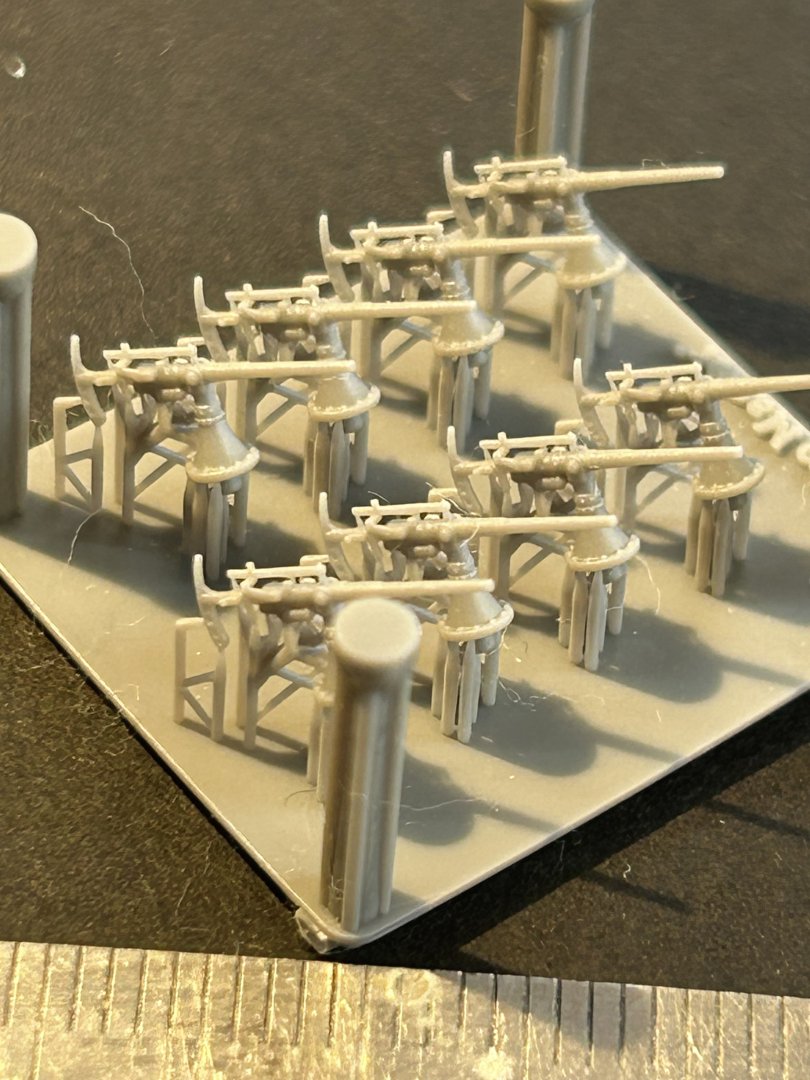
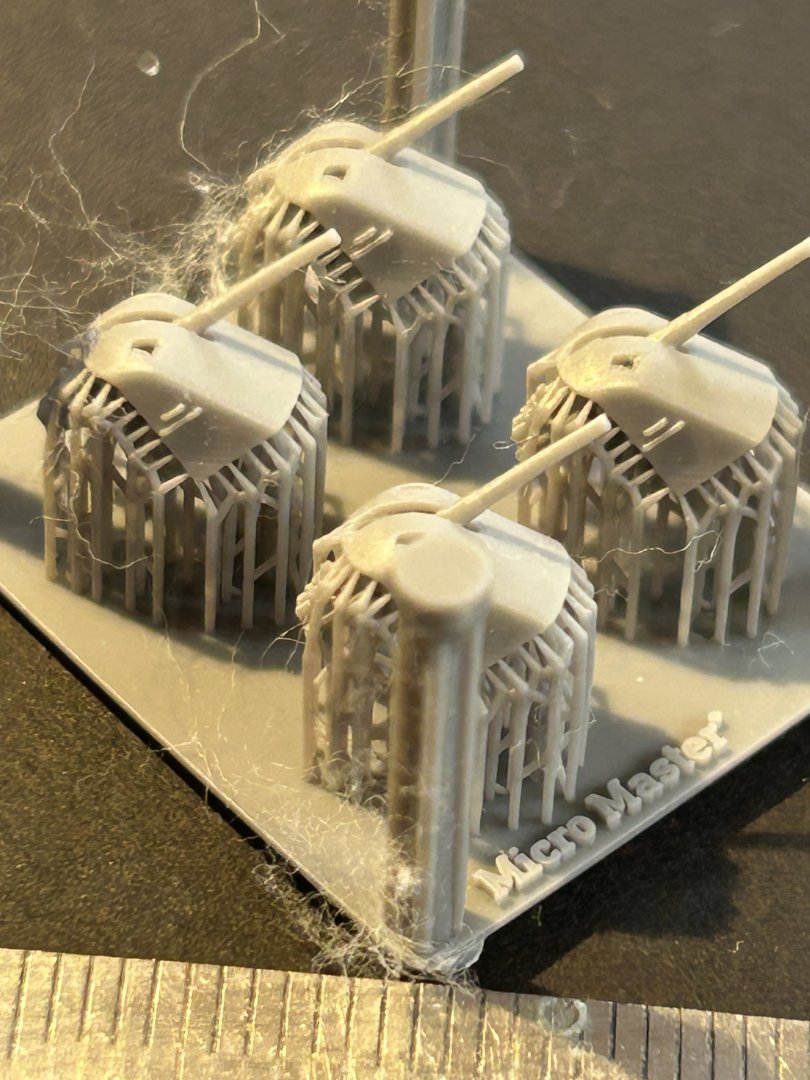
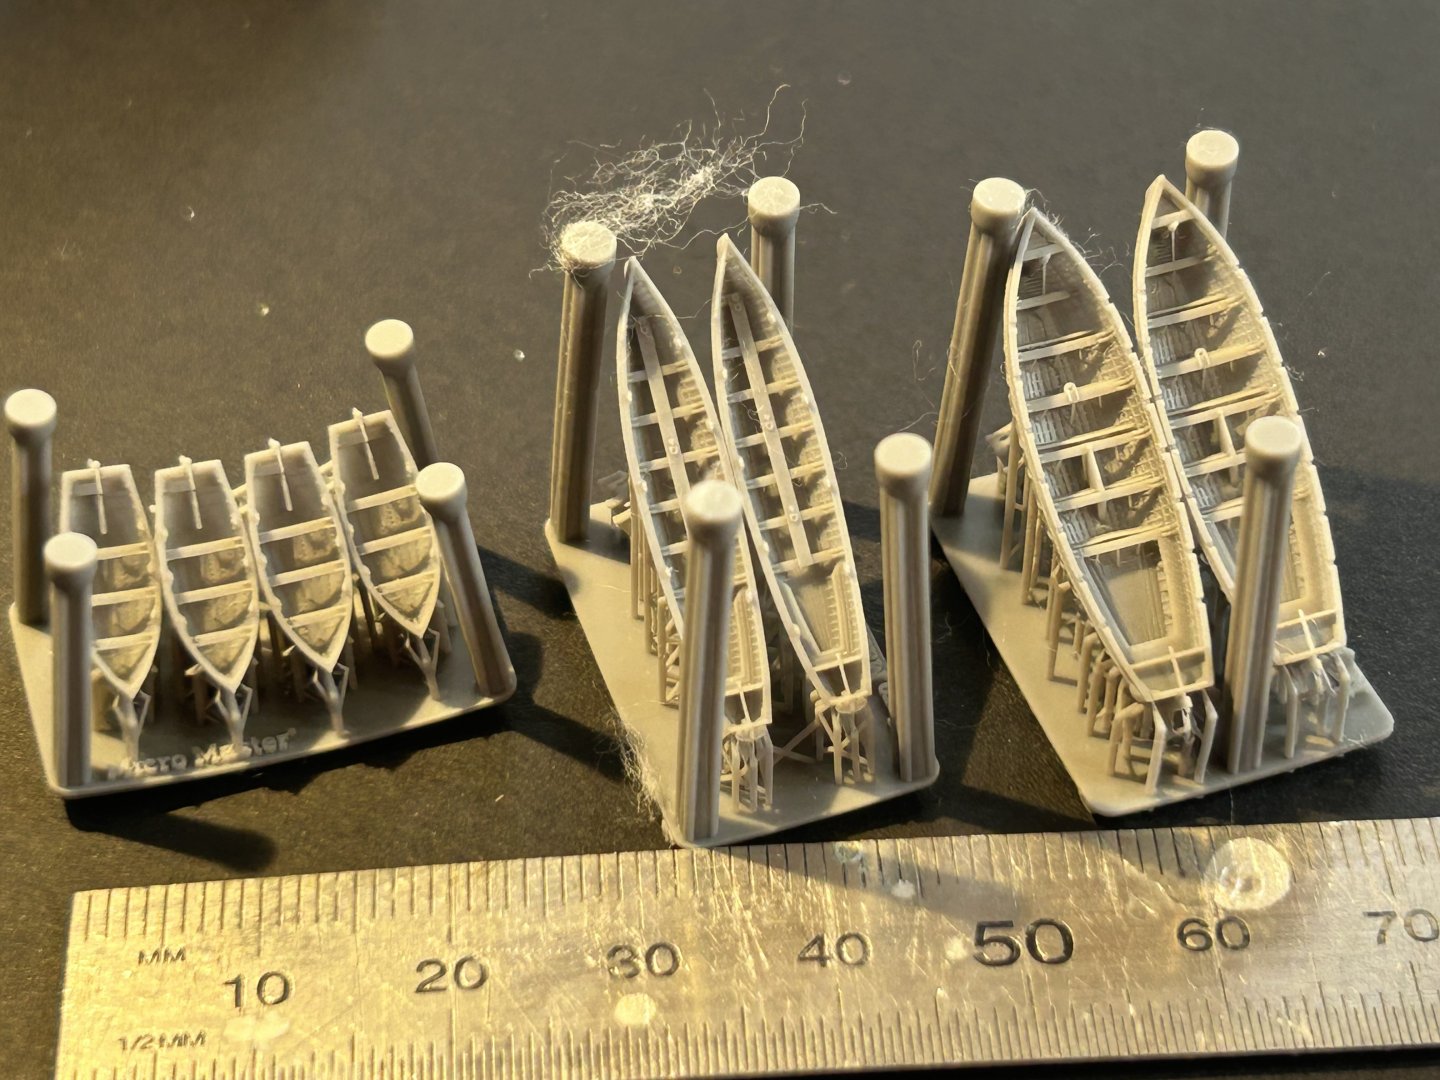
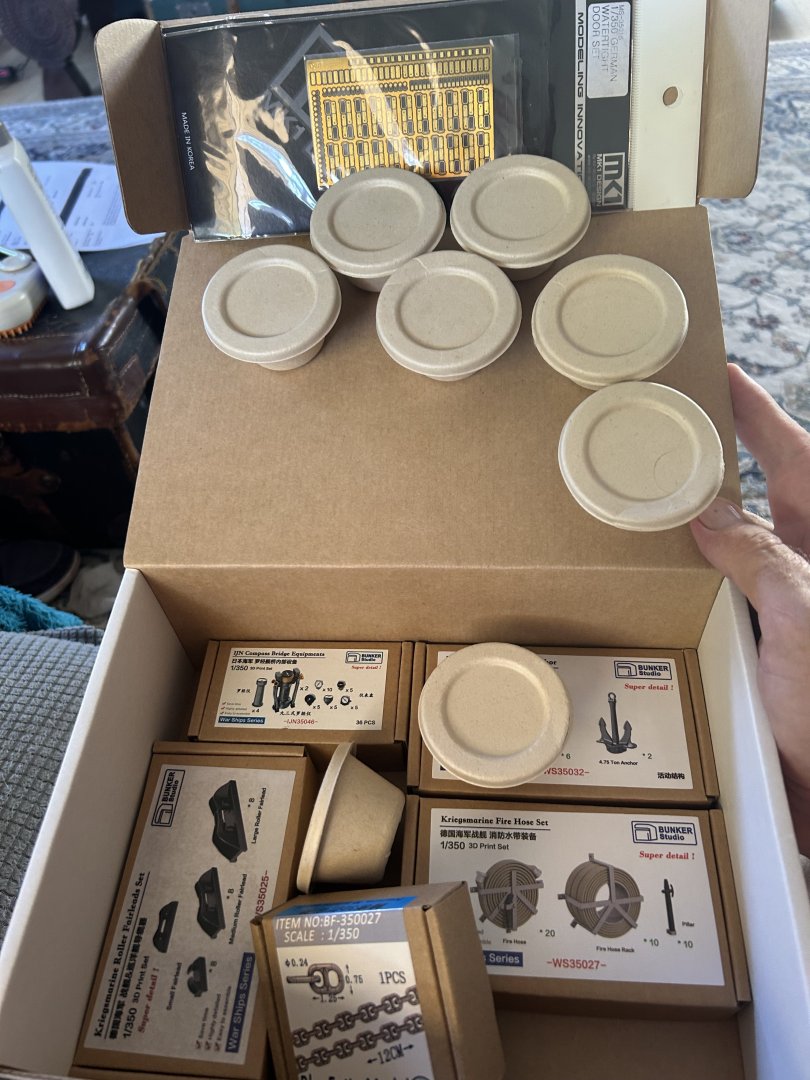
So this are the sprues that will be replaced with a lot of this stuff

- 81 replies
-
- 8
-
-
- Micromaster
- Eduard
- (and 4 more)
-
No, it’s not brittle so breakages are rare, I’ve been using the stuff for a couple of years and it’s a lot better than some others with ‘hard’ resin which snaps very easily
- 81 replies
-
- 5
-
-
- Micromaster
- Eduard
- (and 4 more)
-
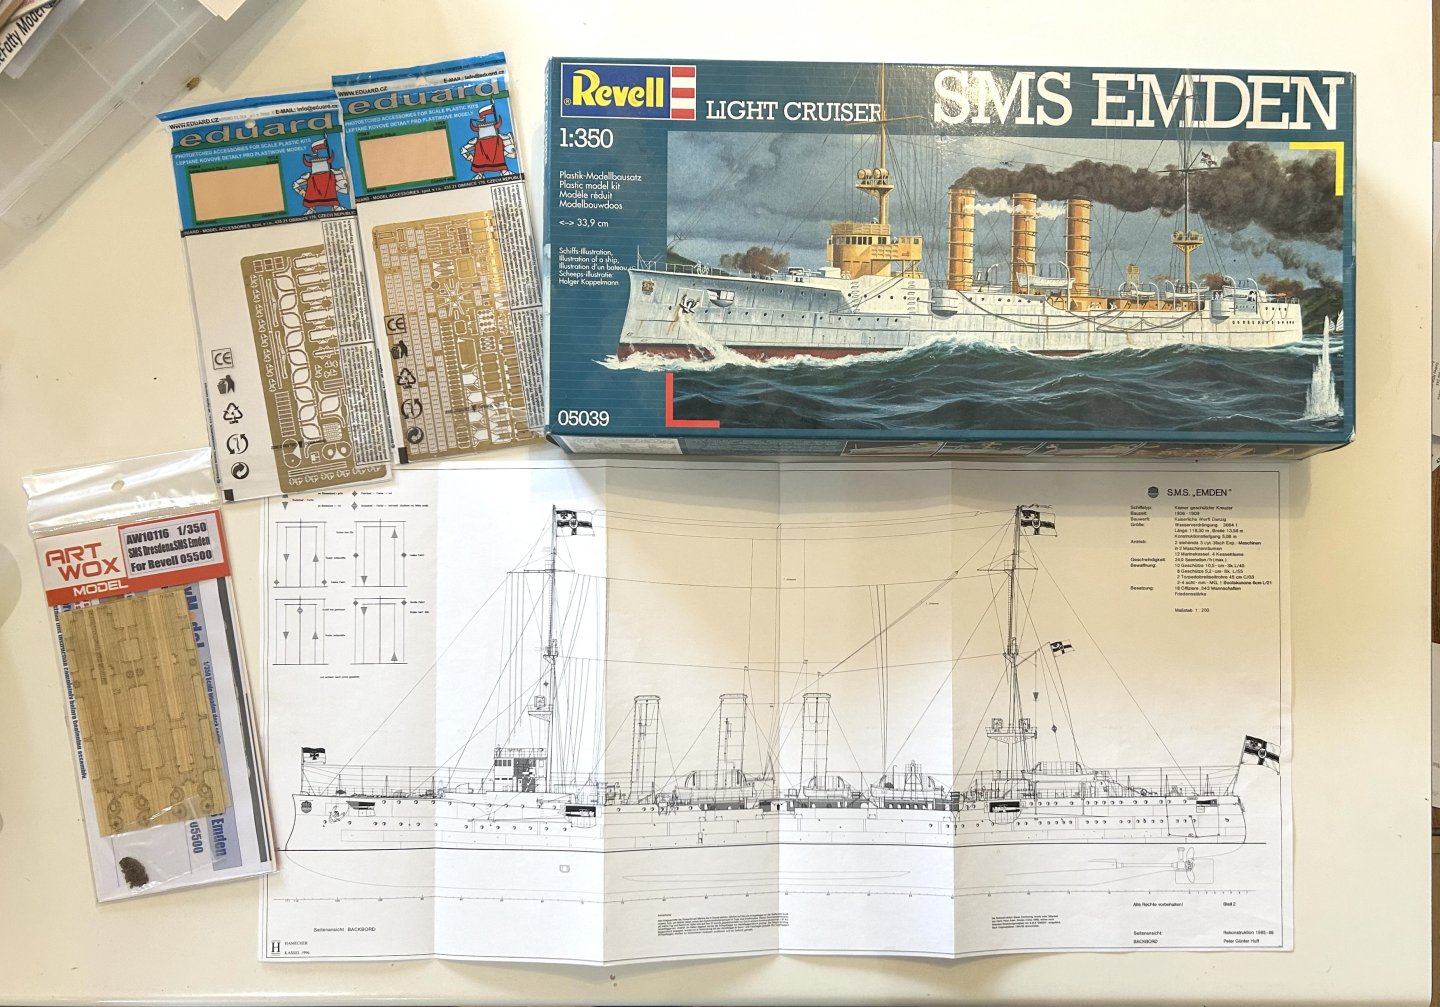
https://modelshipworld.com/topic/12162-sms-emden-by-rgl-finished-revell-1350-plastic/
- 81 replies
-
- 4
-
-
- Micromaster
- Eduard
- (and 4 more)
-
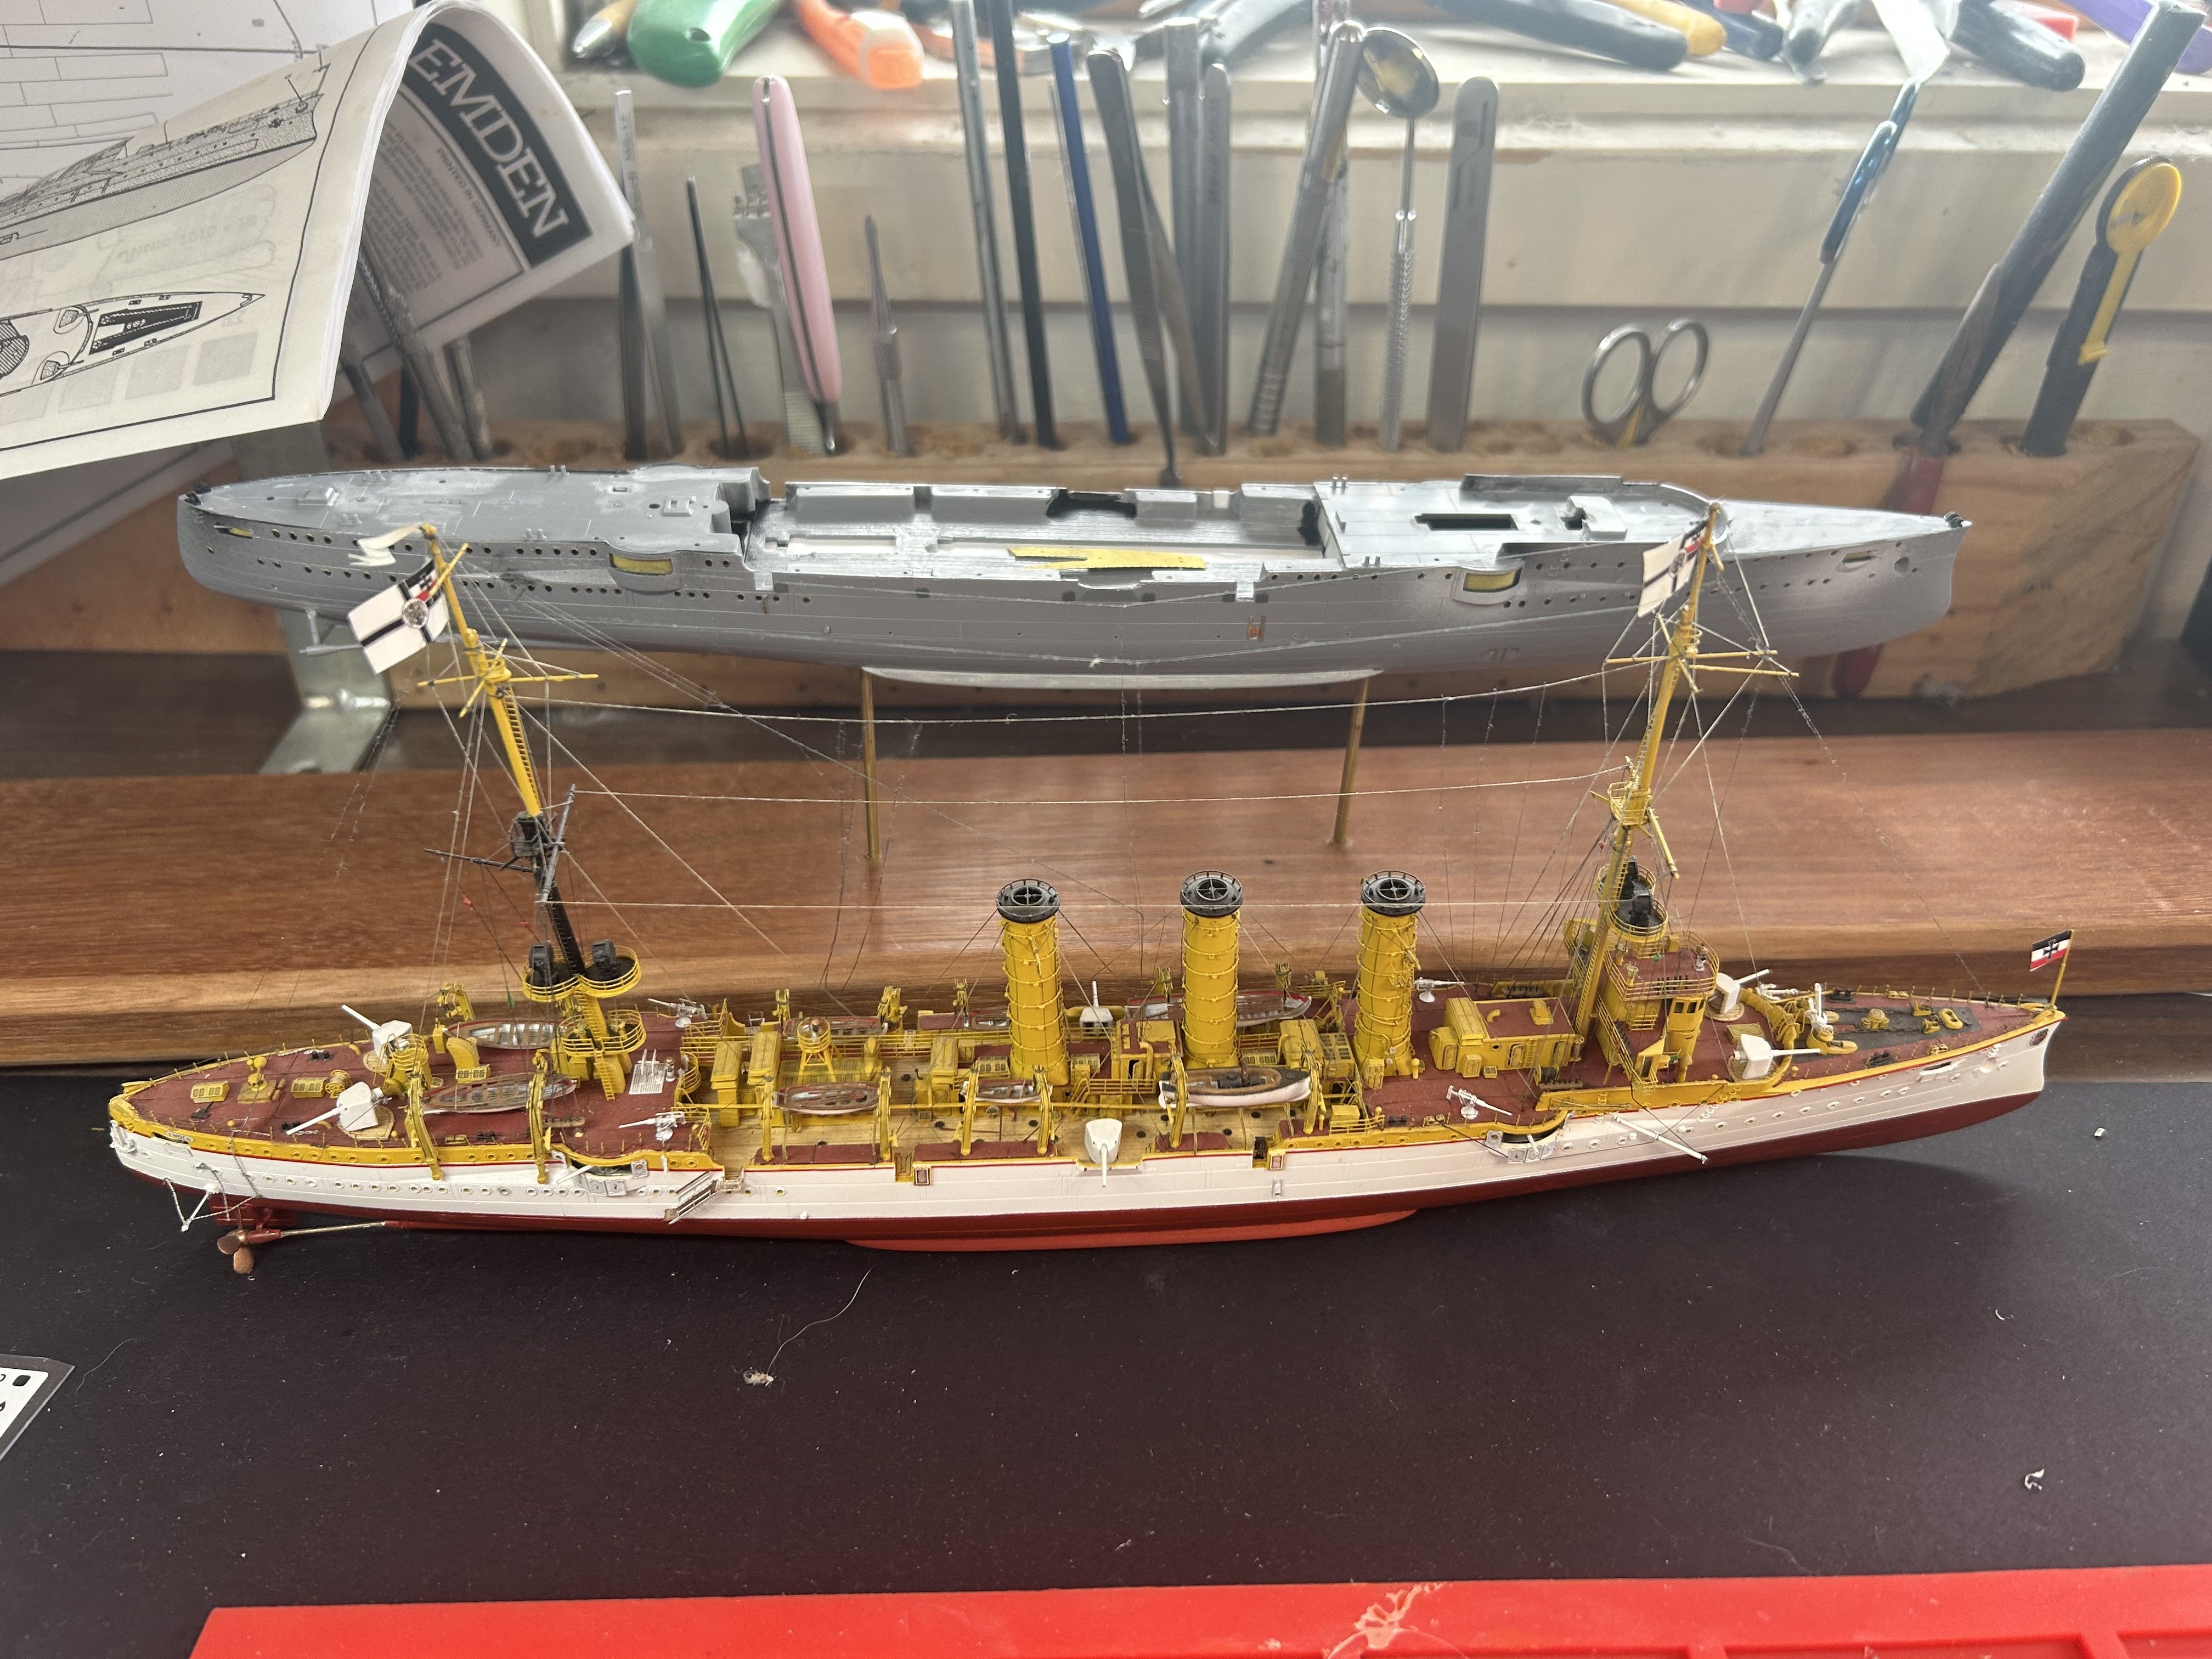
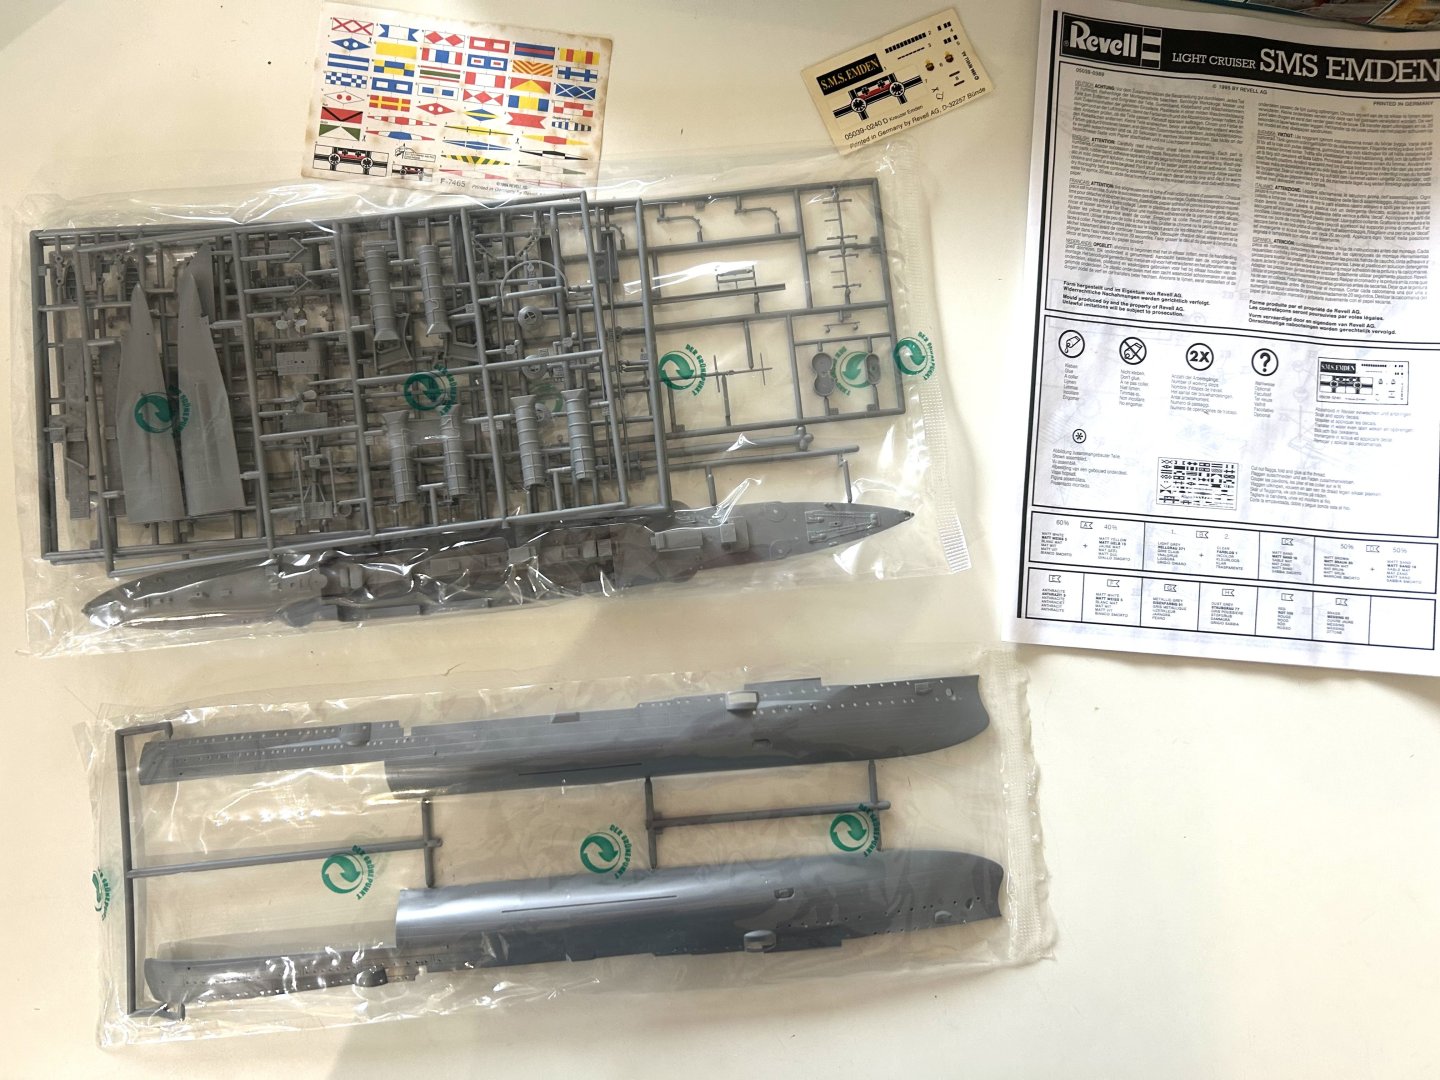
I’ll add the link where I did this build here 10 years ago, this time I own and airbrush and 3d printing is a thing. I’m still very happy with the old one and I intend on doing this build as a part of my presentation for our local hobby show in November which as become one of the biggest shows in Australia. I also have access timo the Australian War Memorial which has relics of her. the kit is now super hard to find and stupidly expensive on EBay with shipping anything outside of the US about $70 (that’s just saying we don’t want your business )
- 81 replies
-
- 11
-
-
- Micromaster
- Eduard
- (and 4 more)
-
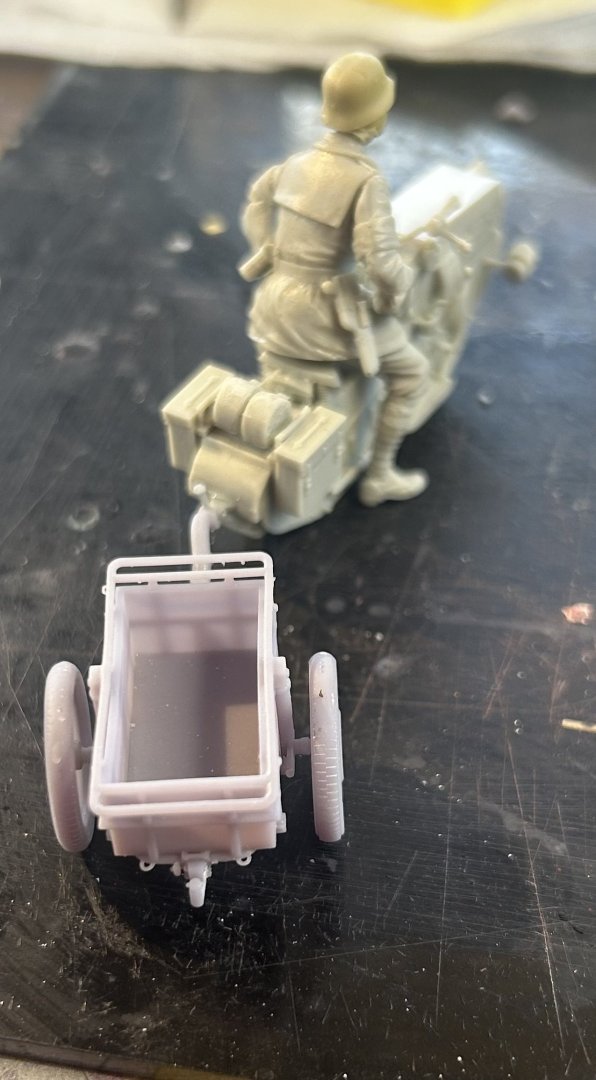
Flying Sd.Kfz.222 by RGL - HobbyBoss - 1/35 - PLASTIC
RGL replied to RGL's topic in Non-ship/categorised builds
Final one
-
Flying Sd.Kfz.222 by RGL - HobbyBoss - 1/35 - PLASTIC
RGL replied to RGL's topic in Non-ship/categorised builds
Next
-
Flying Sd.Kfz.222 by RGL - HobbyBoss - 1/35 - PLASTIC
RGL replied to RGL's topic in Non-ship/categorised builds
Next bit

-
Flying Sd.Kfz.222 by RGL - HobbyBoss - 1/35 - PLASTIC
RGL replied to RGL's topic in Non-ship/categorised builds
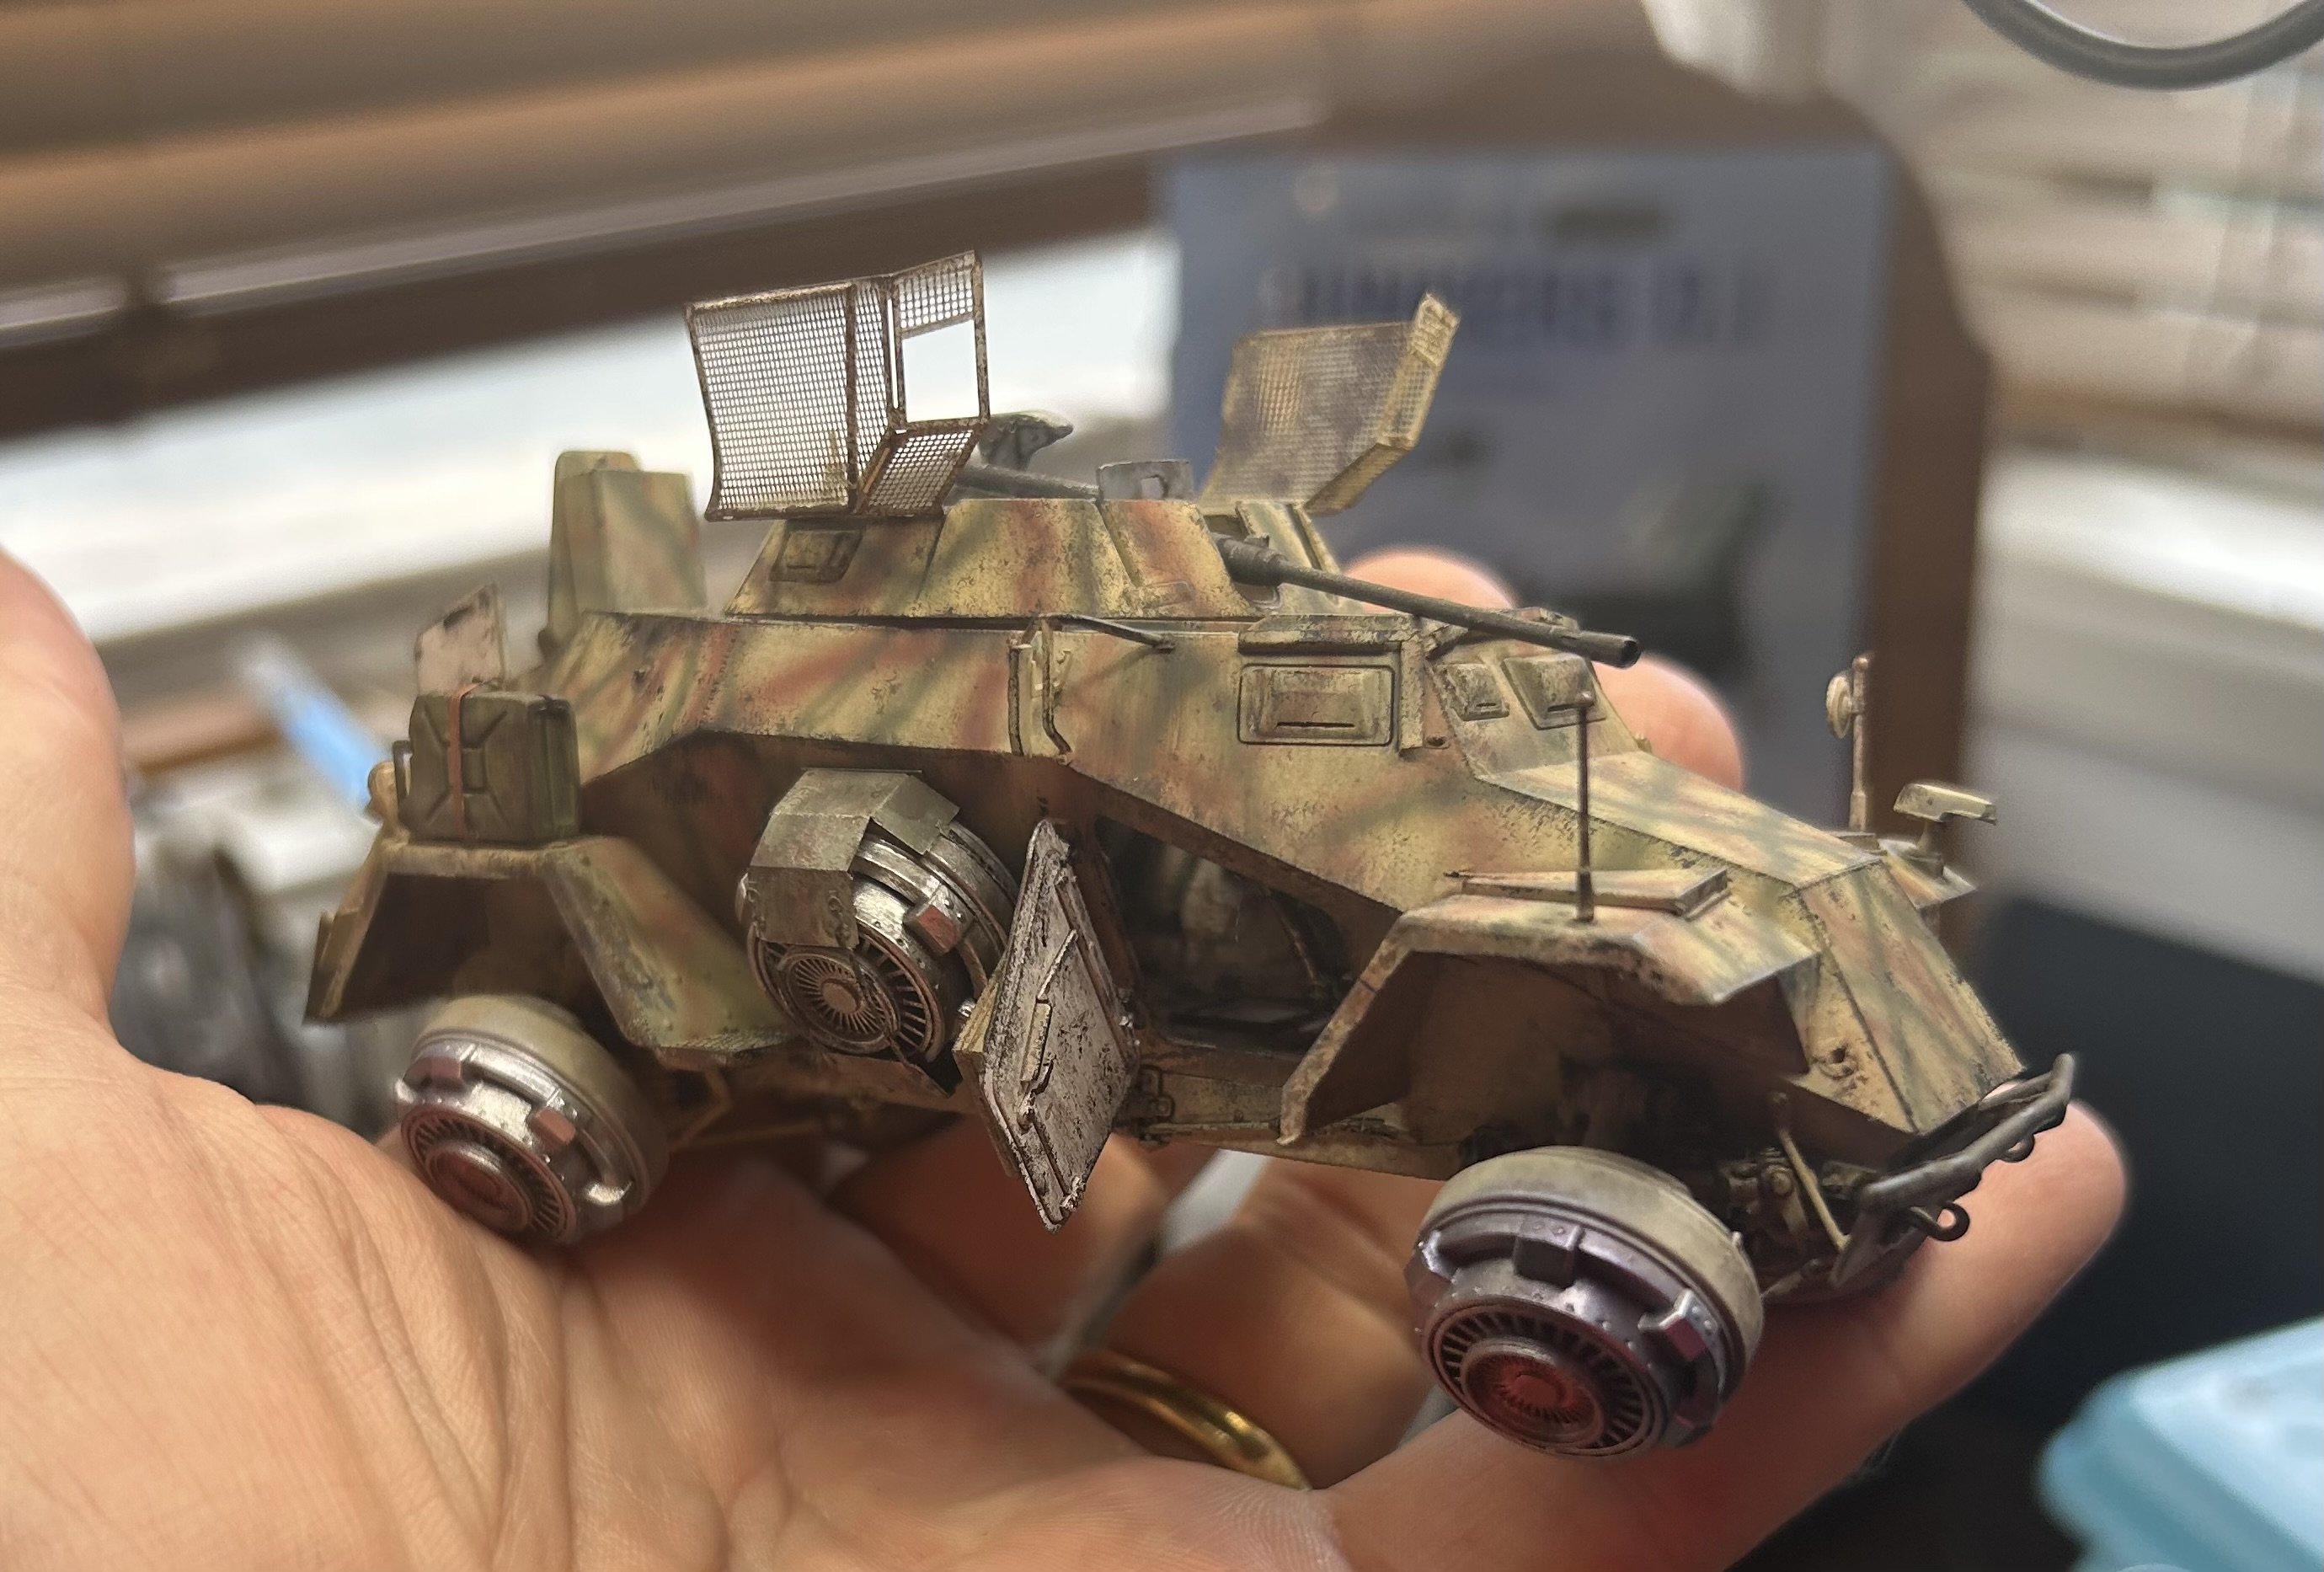
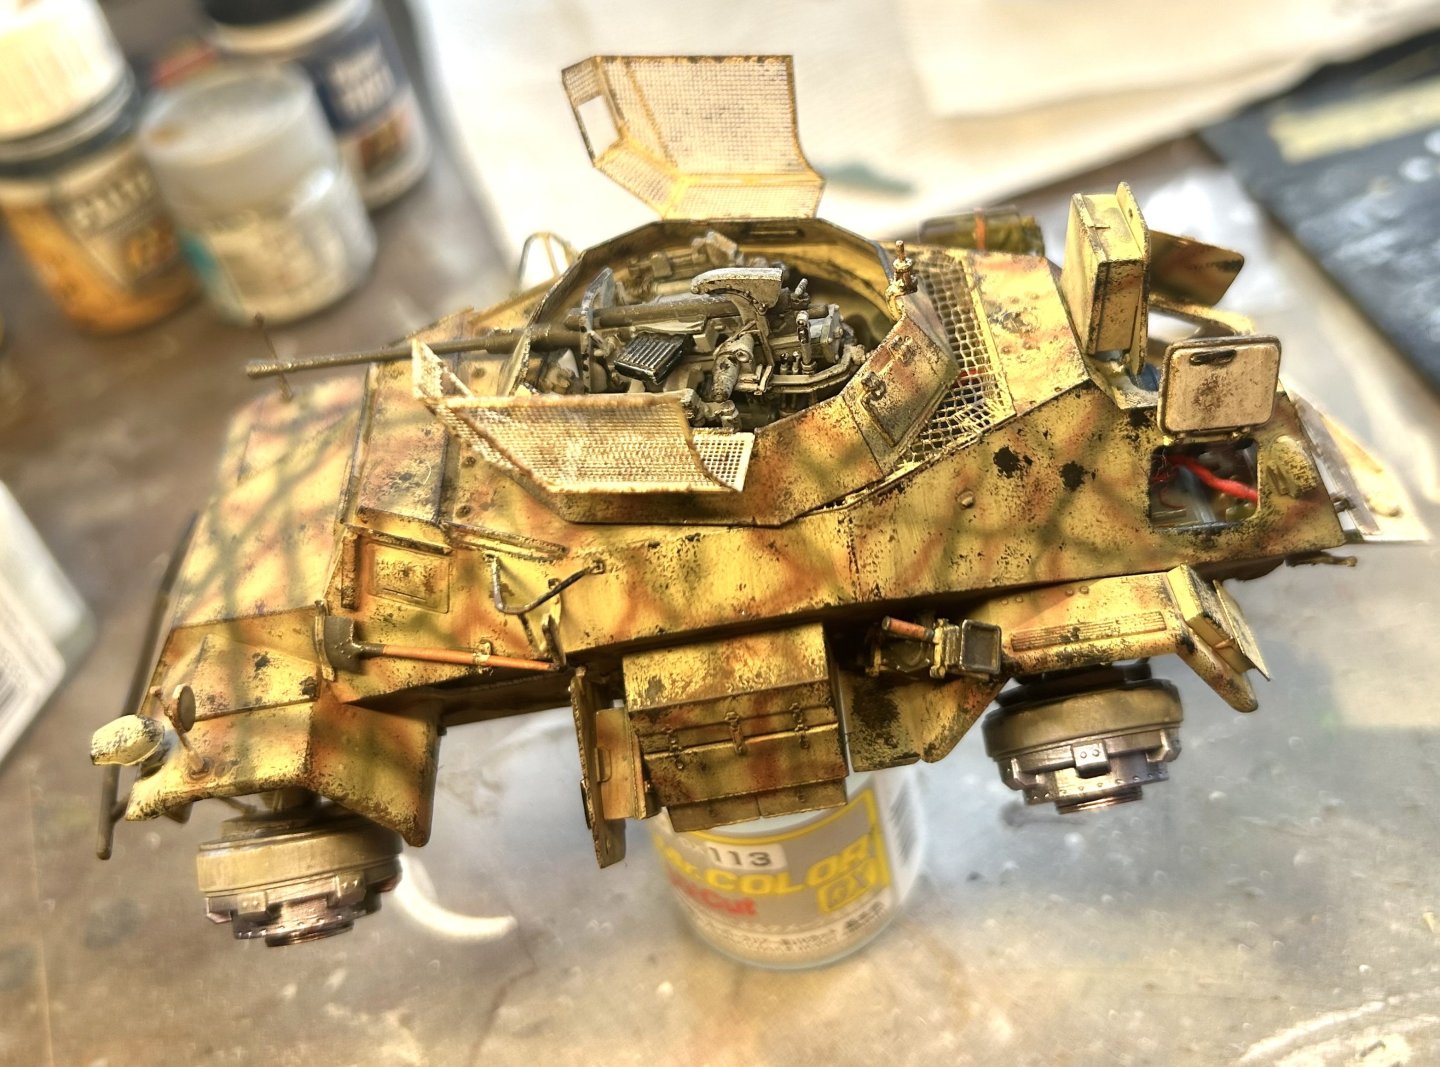
Well that’s part 1 done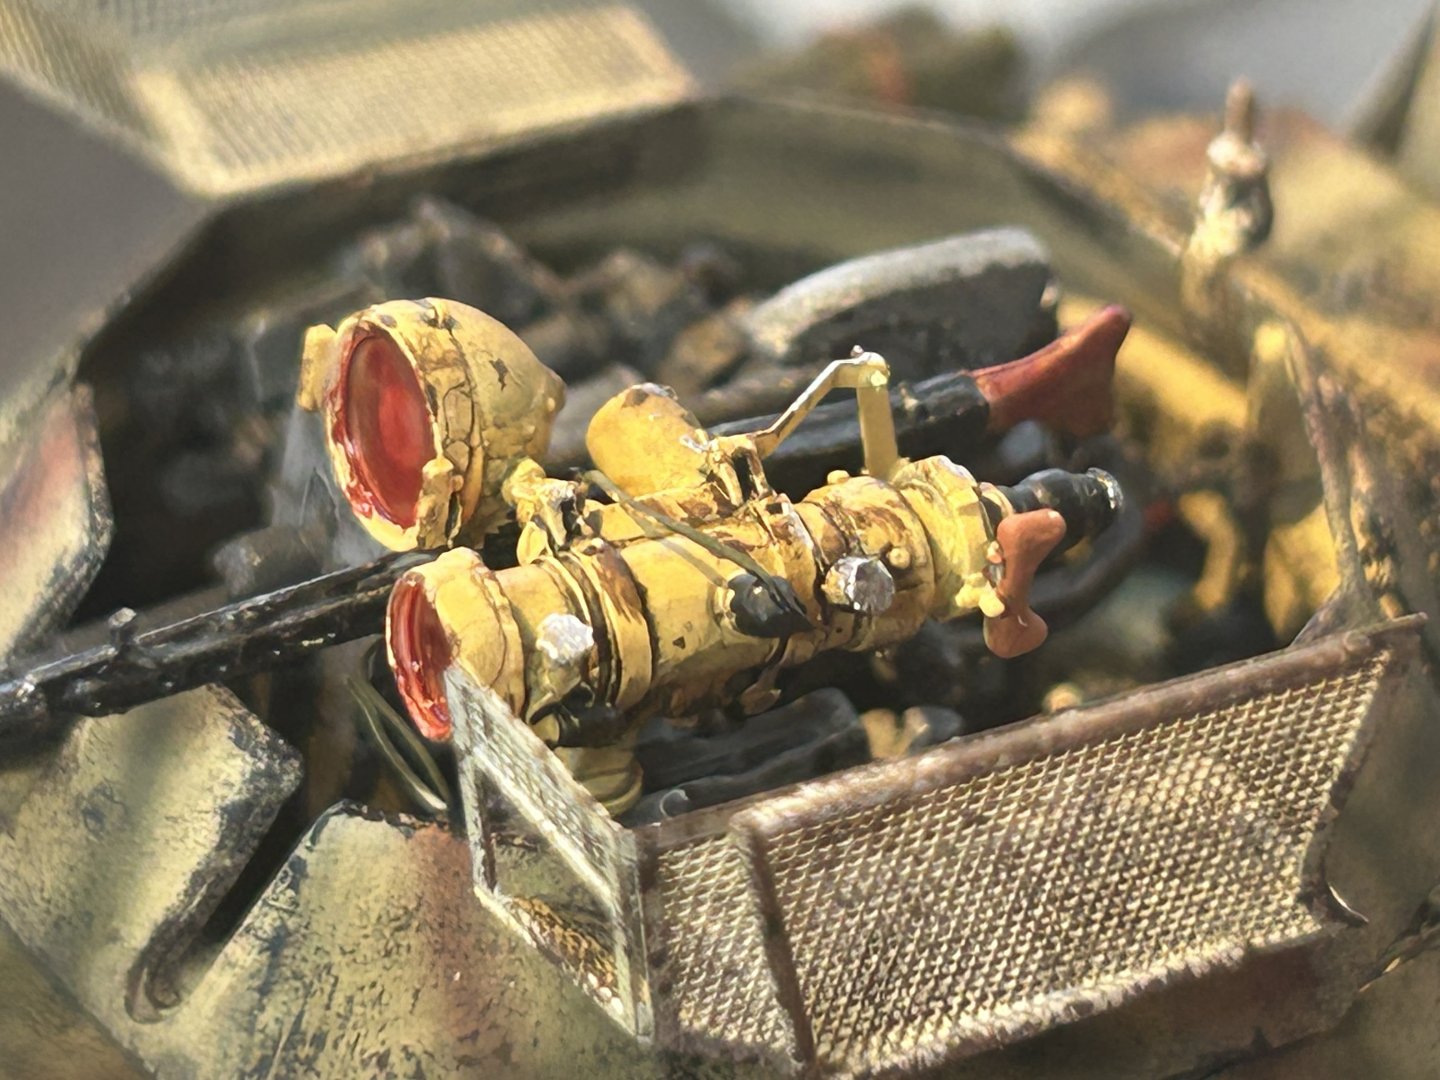


- 24 replies
-
- 10
-
-
Flying Sd.Kfz.222 by RGL - HobbyBoss - 1/35 - PLASTIC
RGL replied to RGL's topic in Non-ship/categorised builds
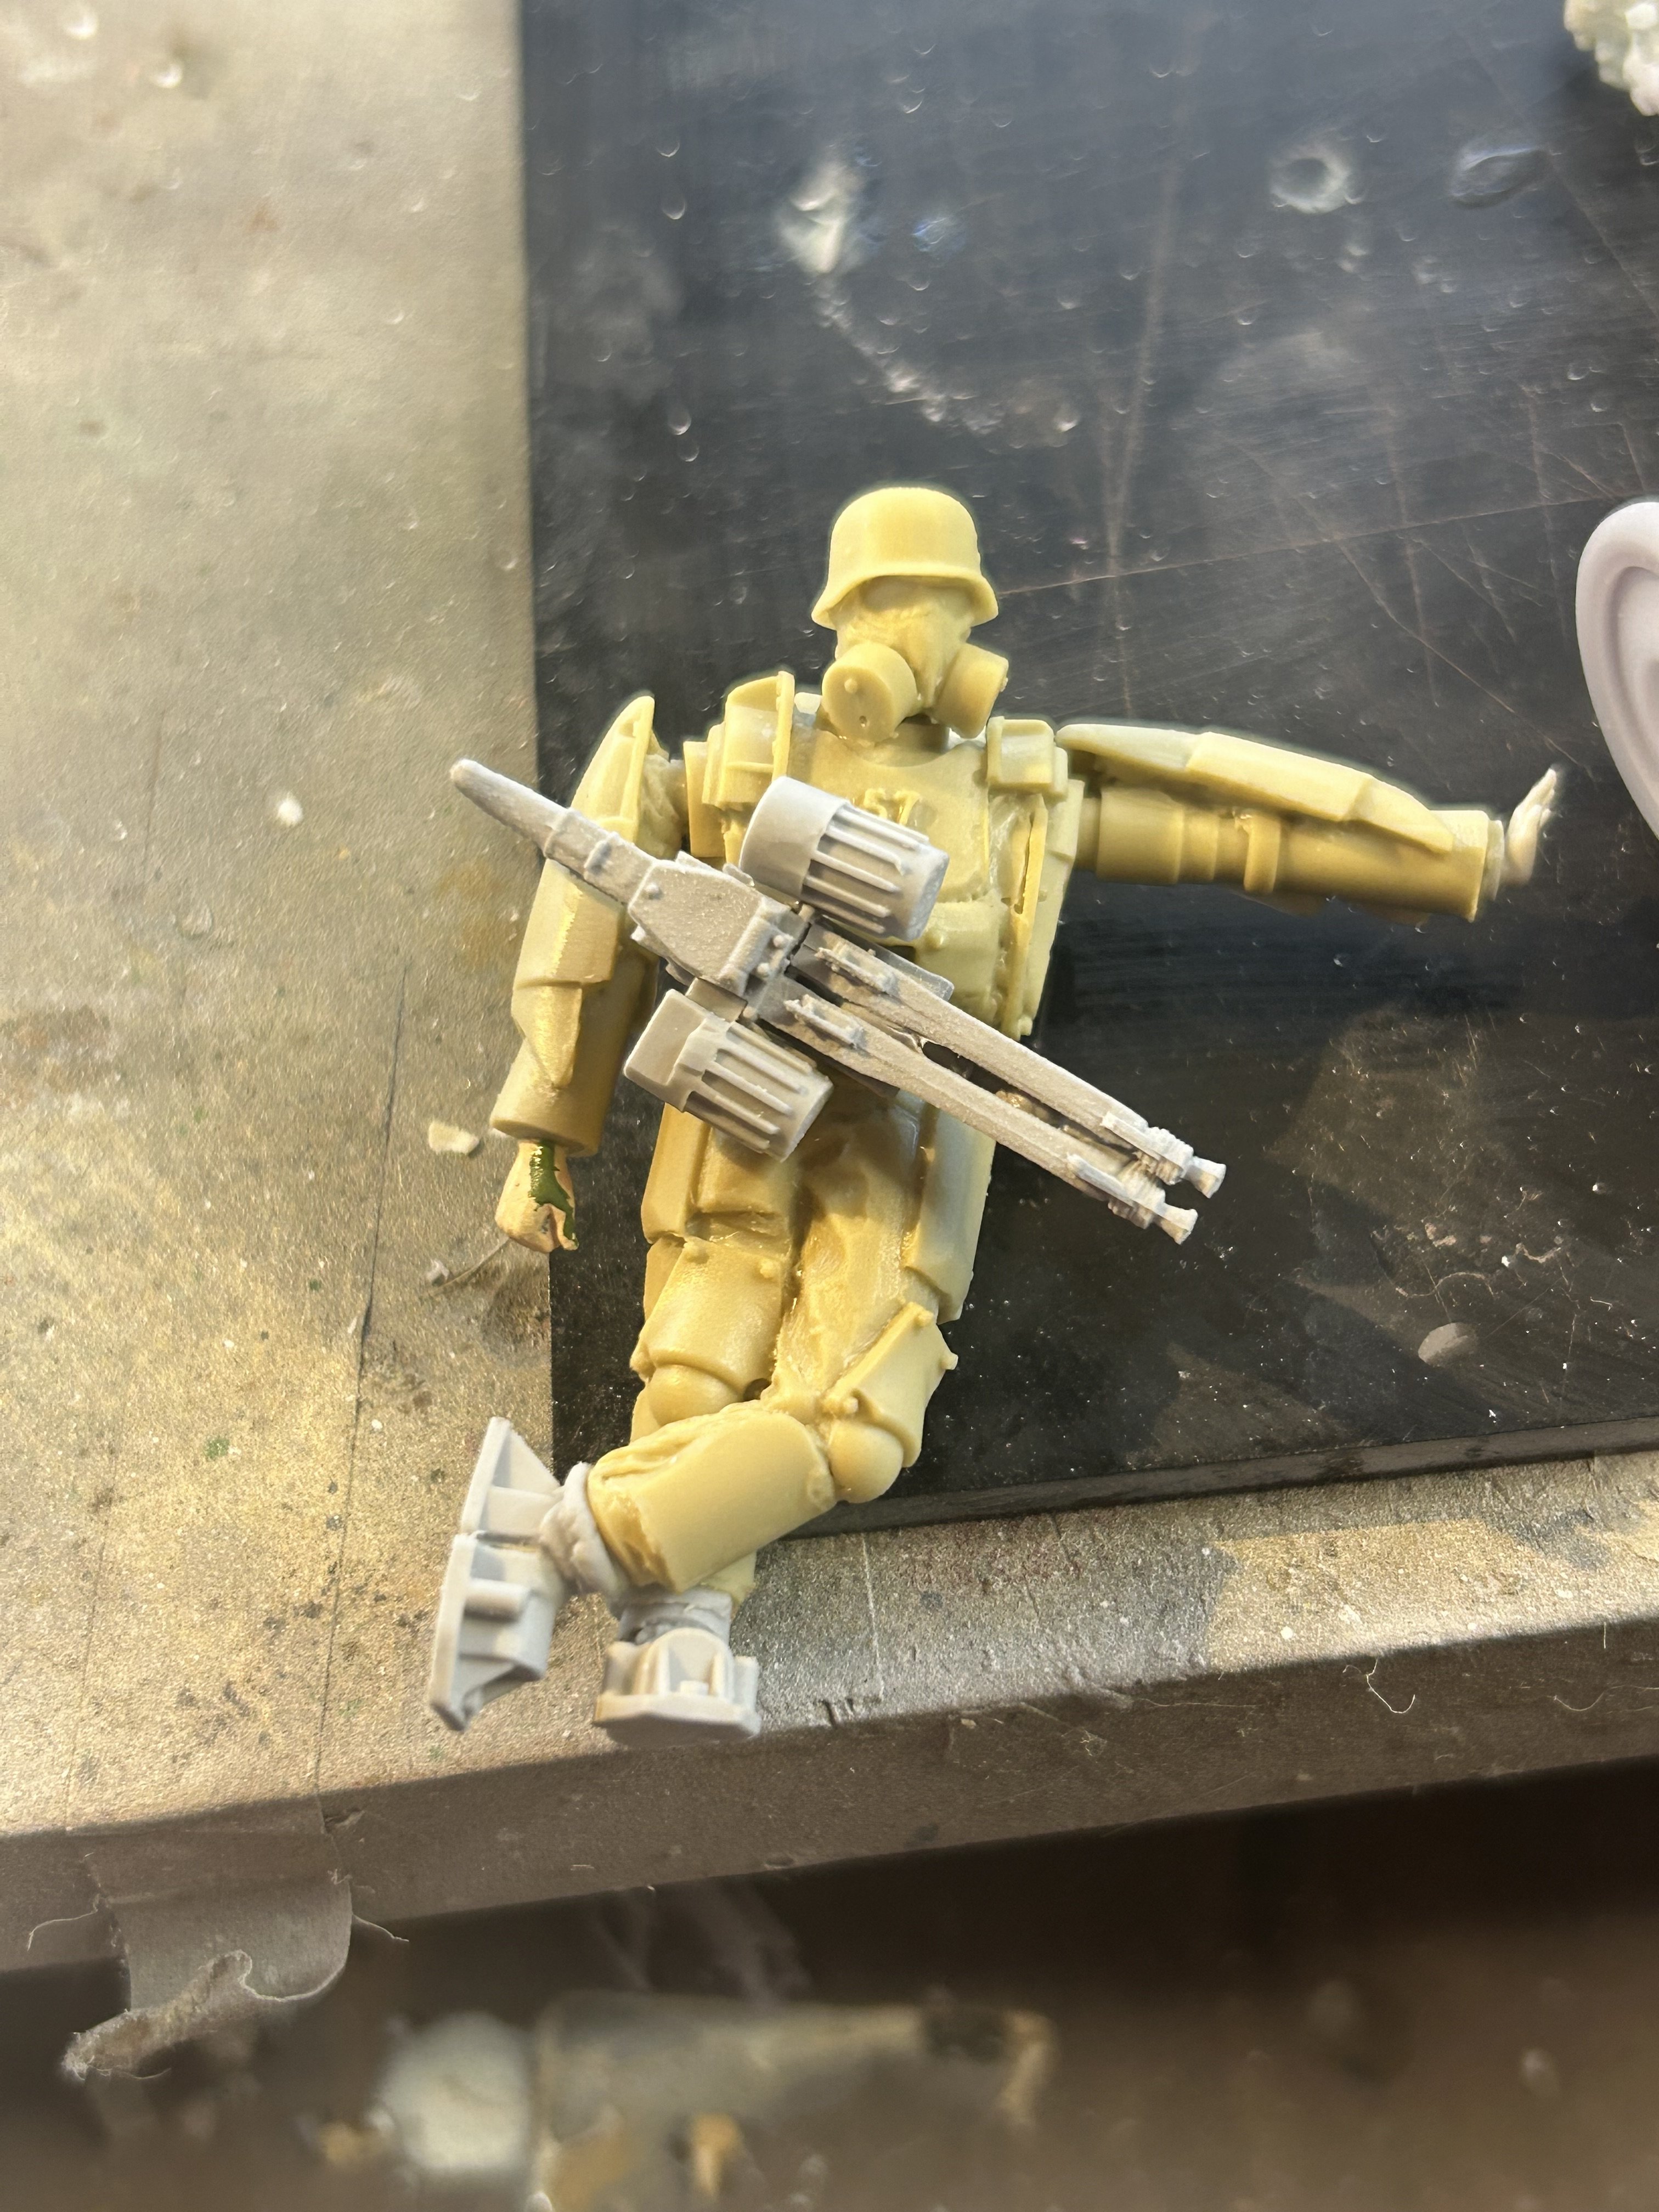
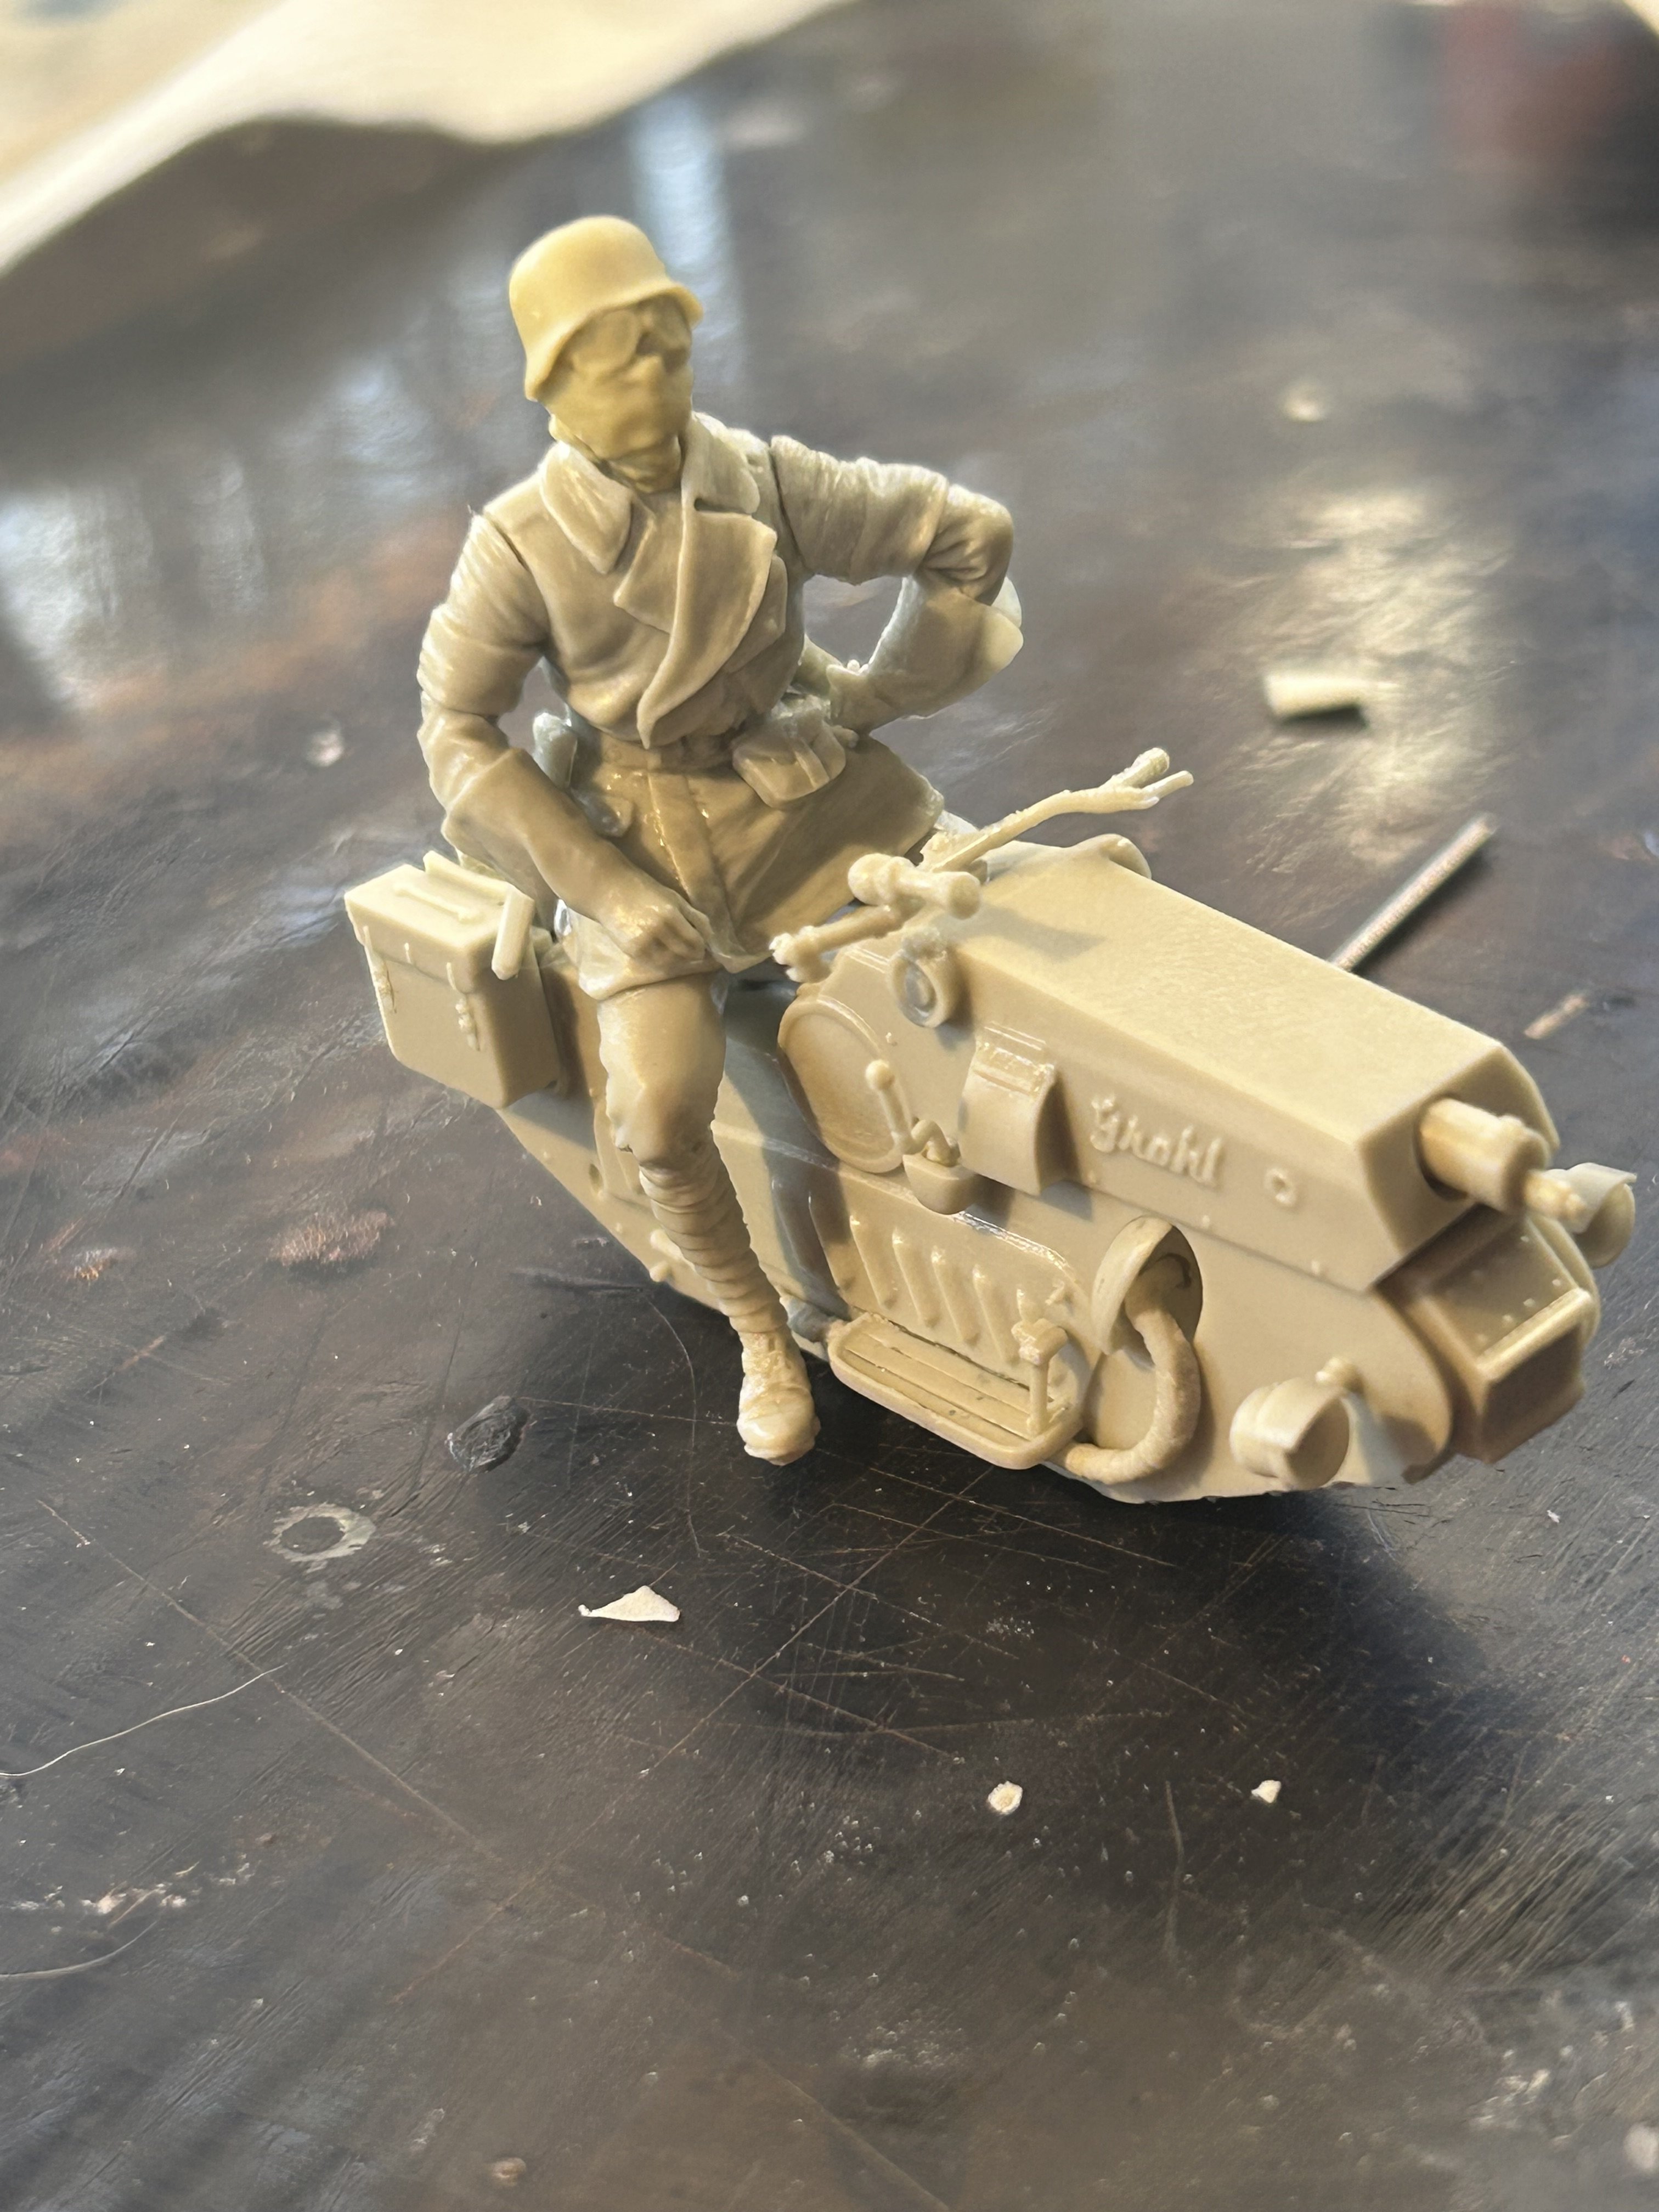
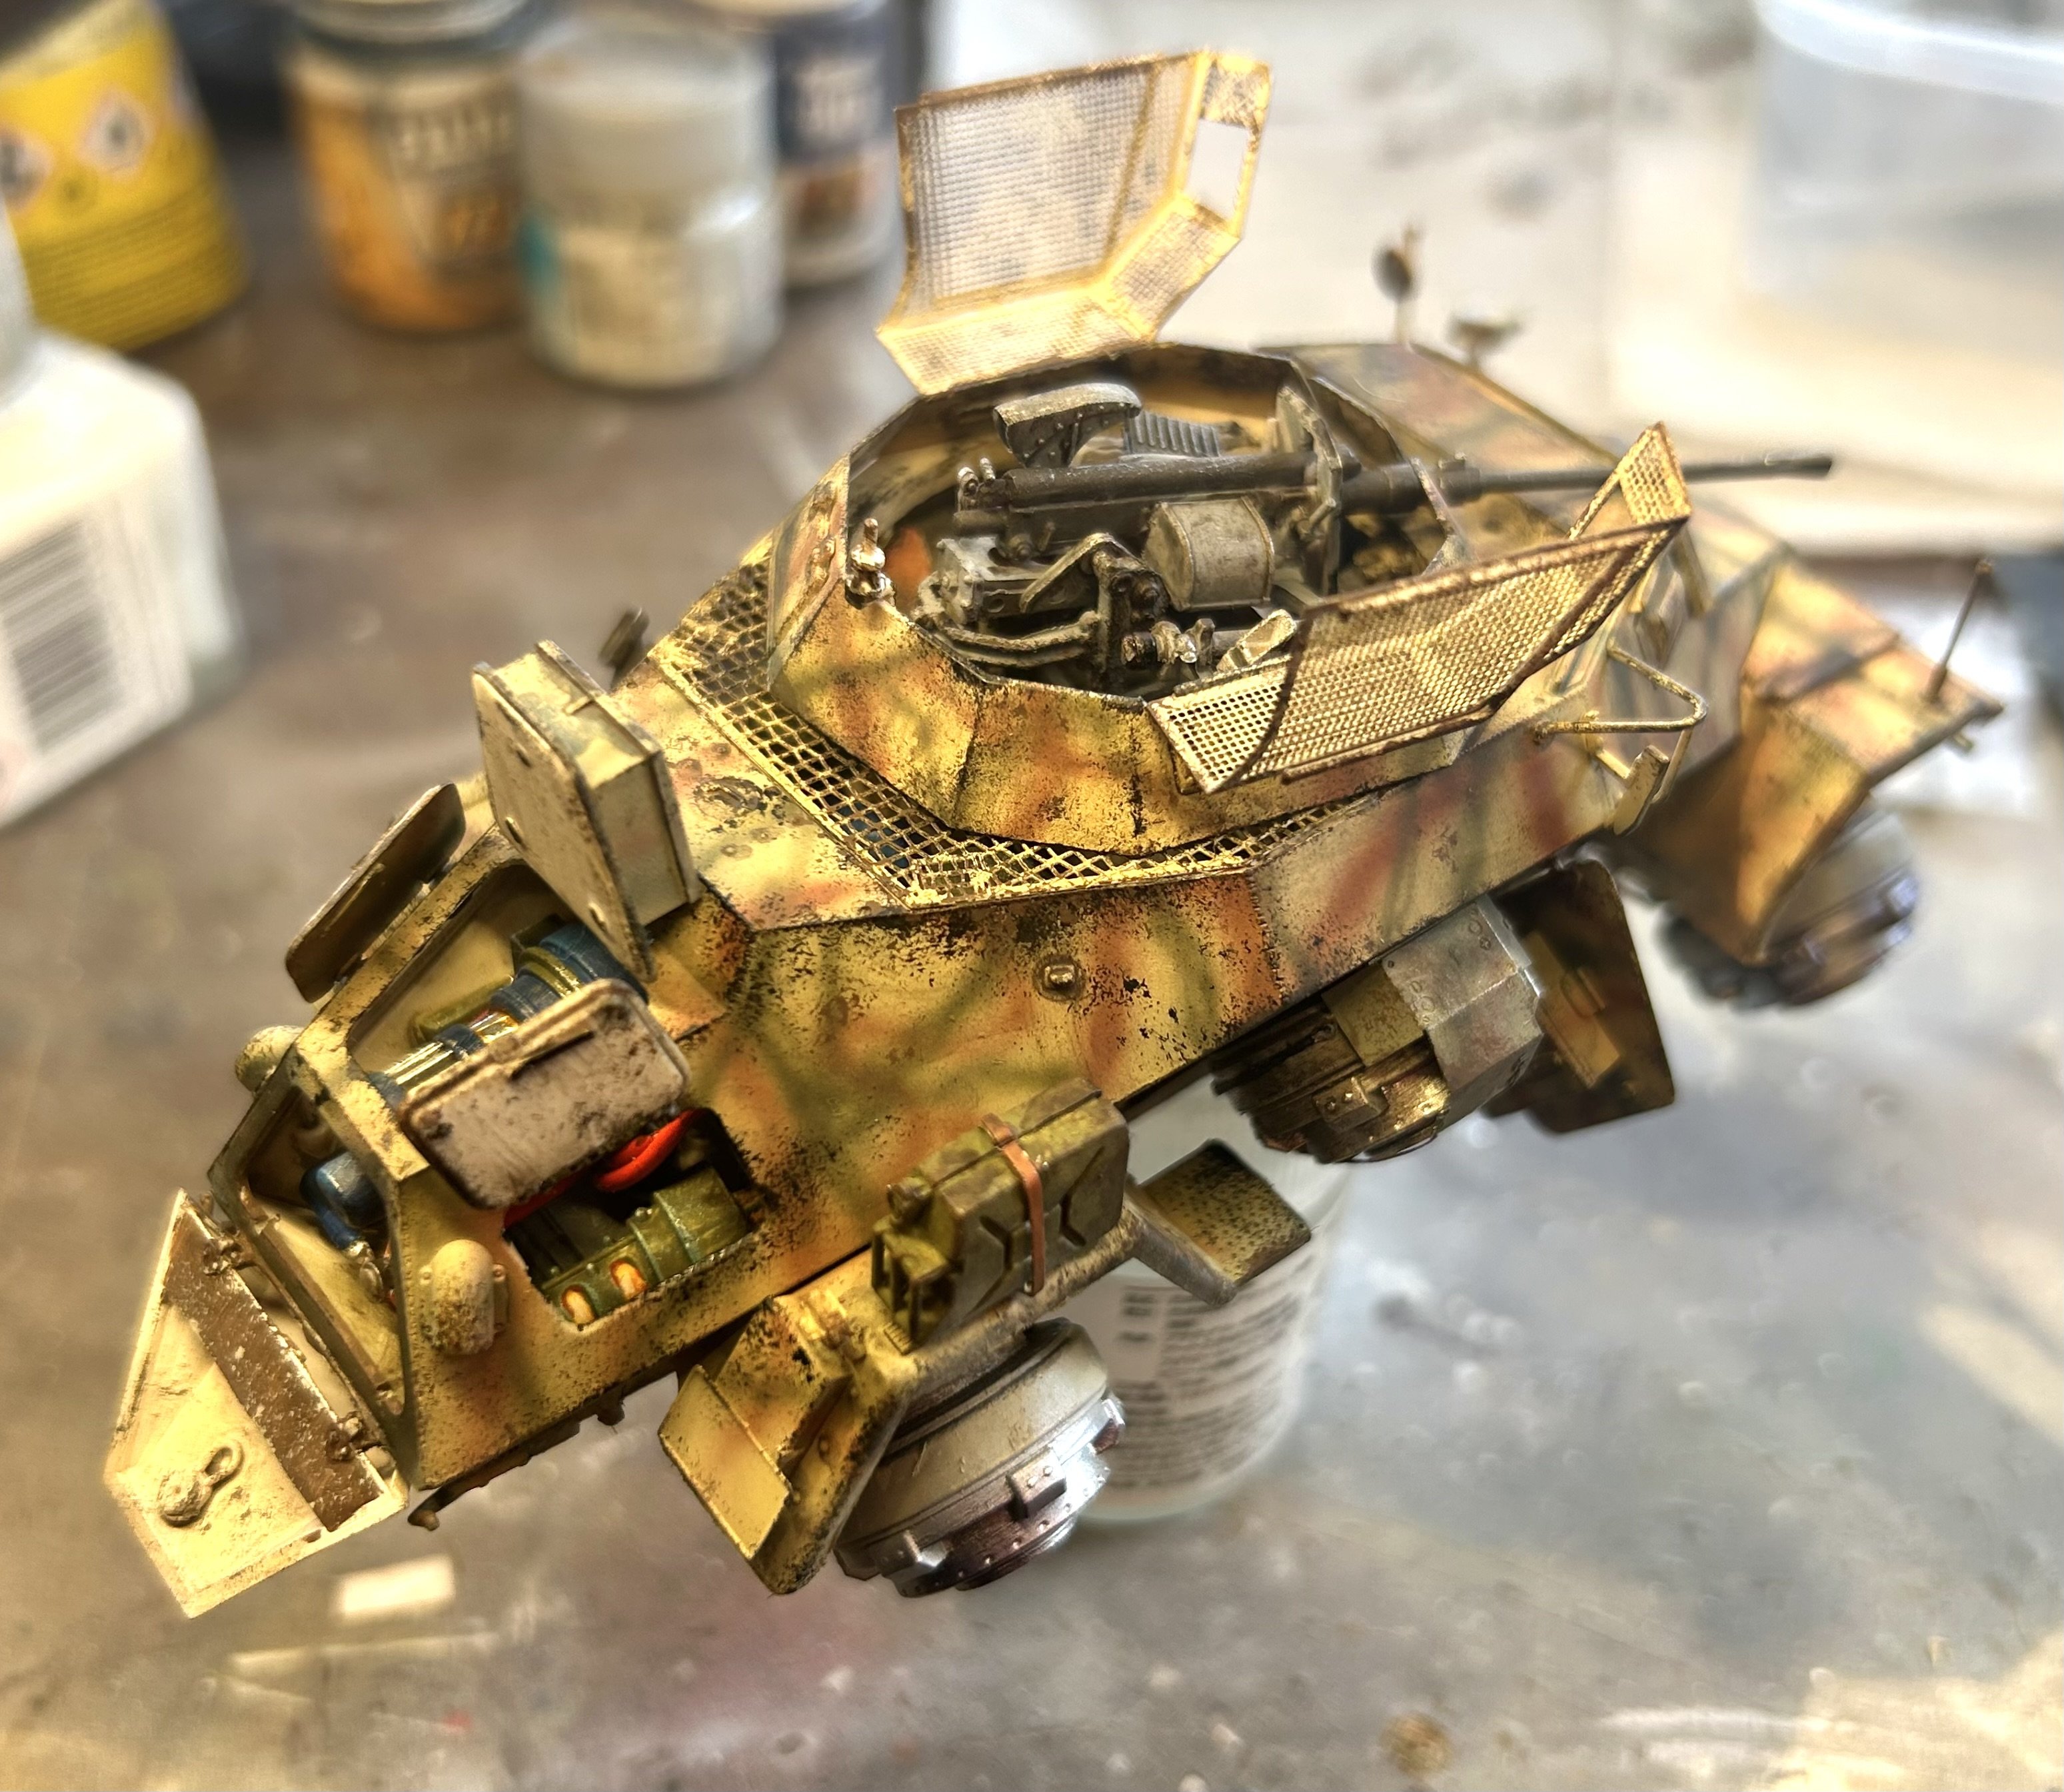
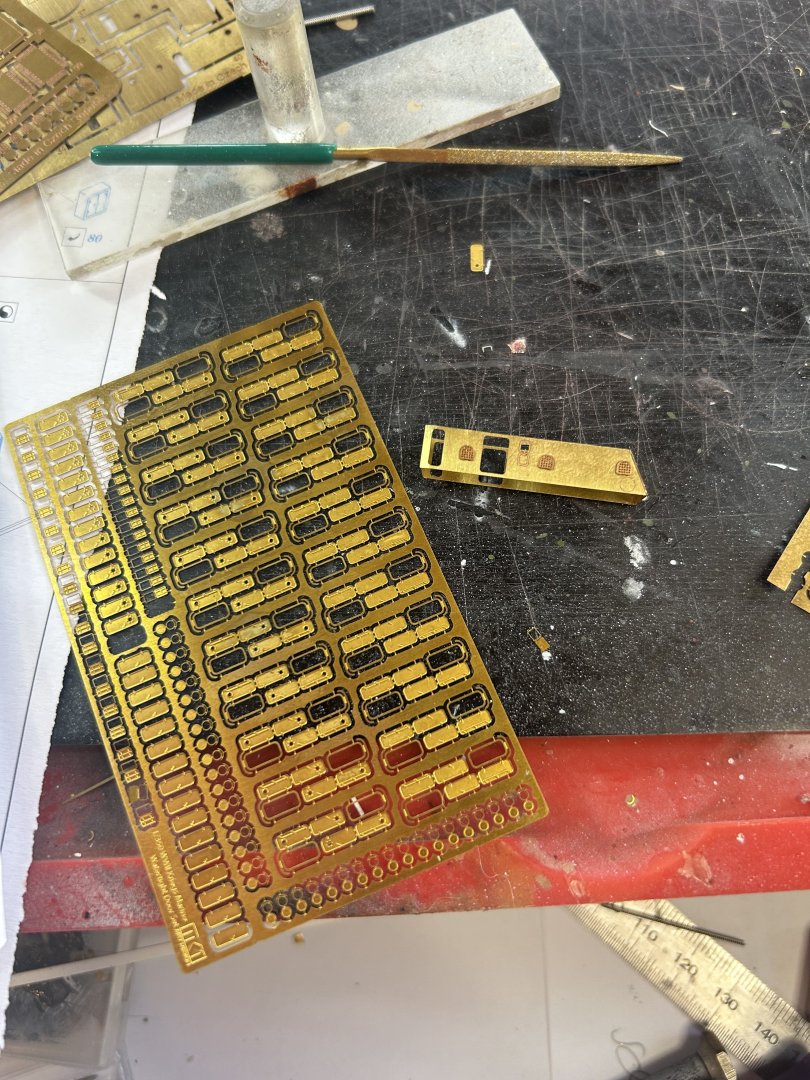
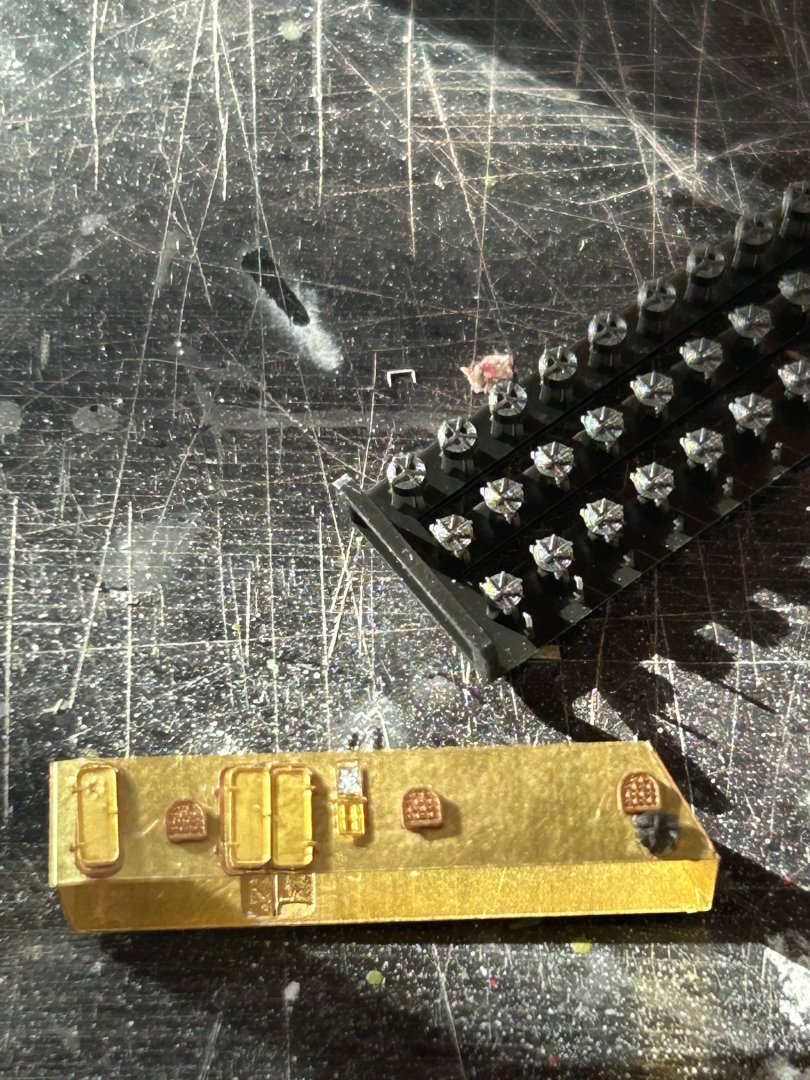
A machine gun to go….

- 24 replies
-
- 10
-

-
-
Flying Sd.Kfz.222 by RGL - HobbyBoss - 1/35 - PLASTIC
RGL replied to RGL's topic in Non-ship/categorised builds
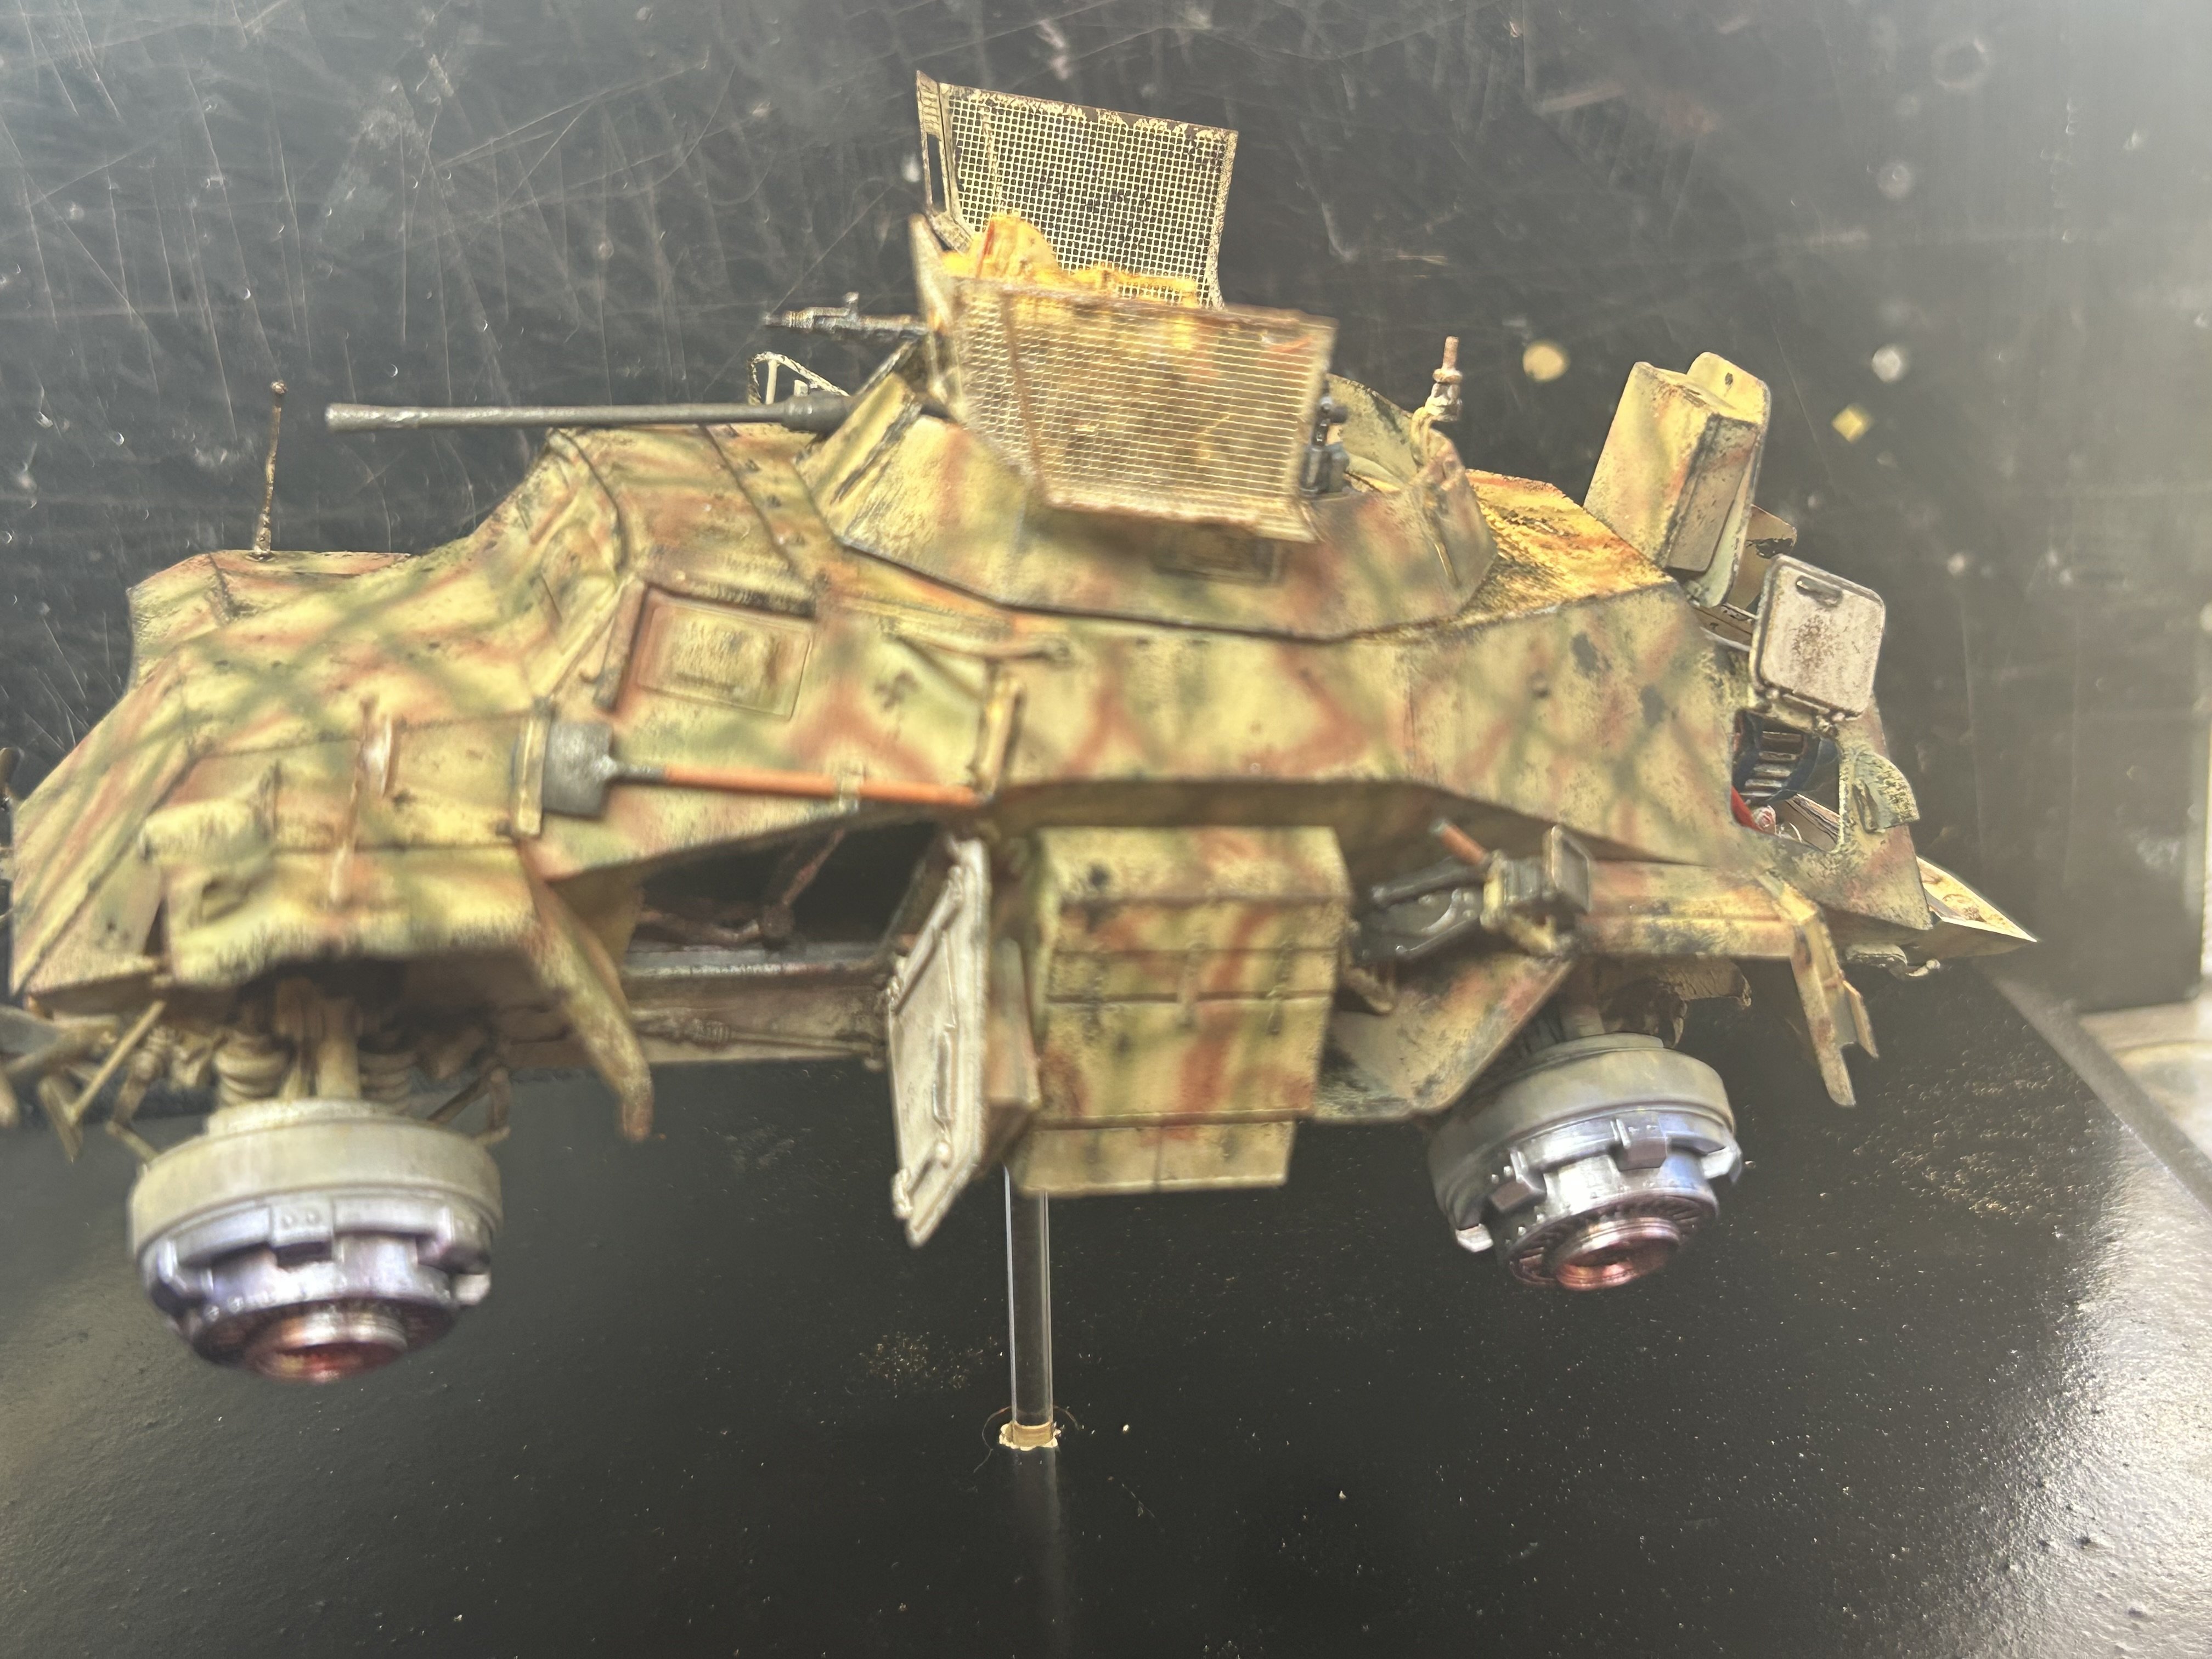
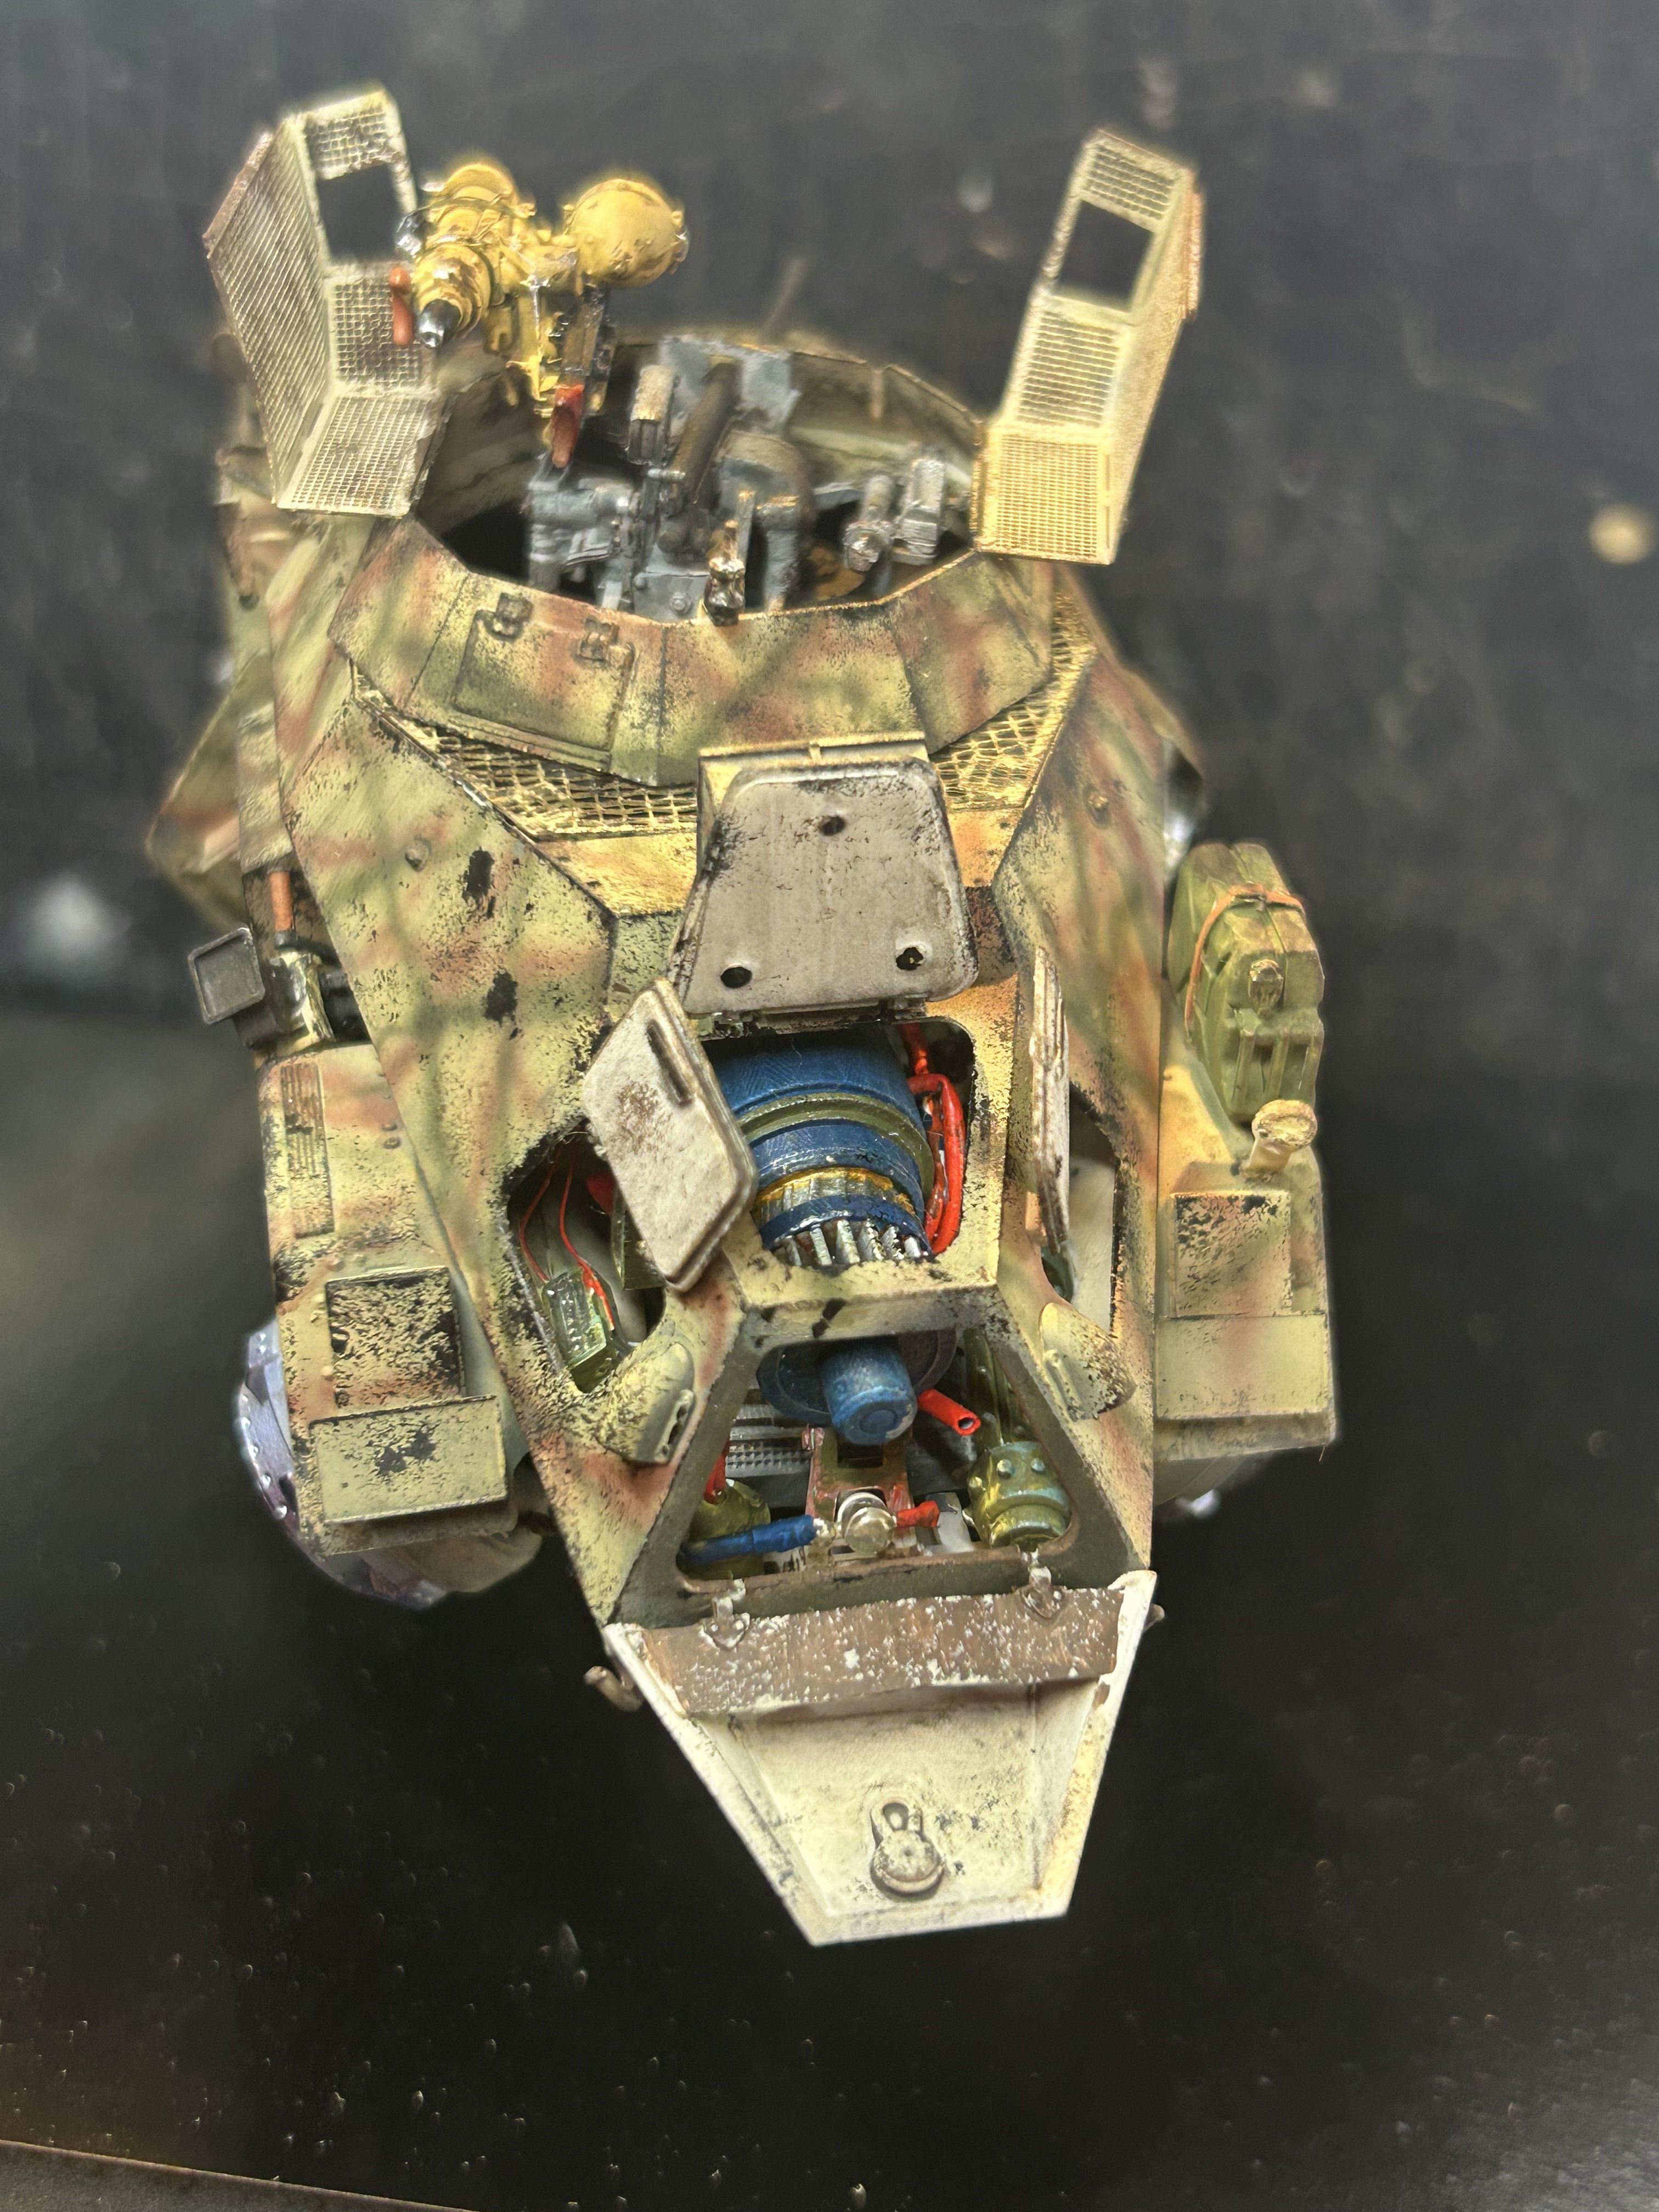
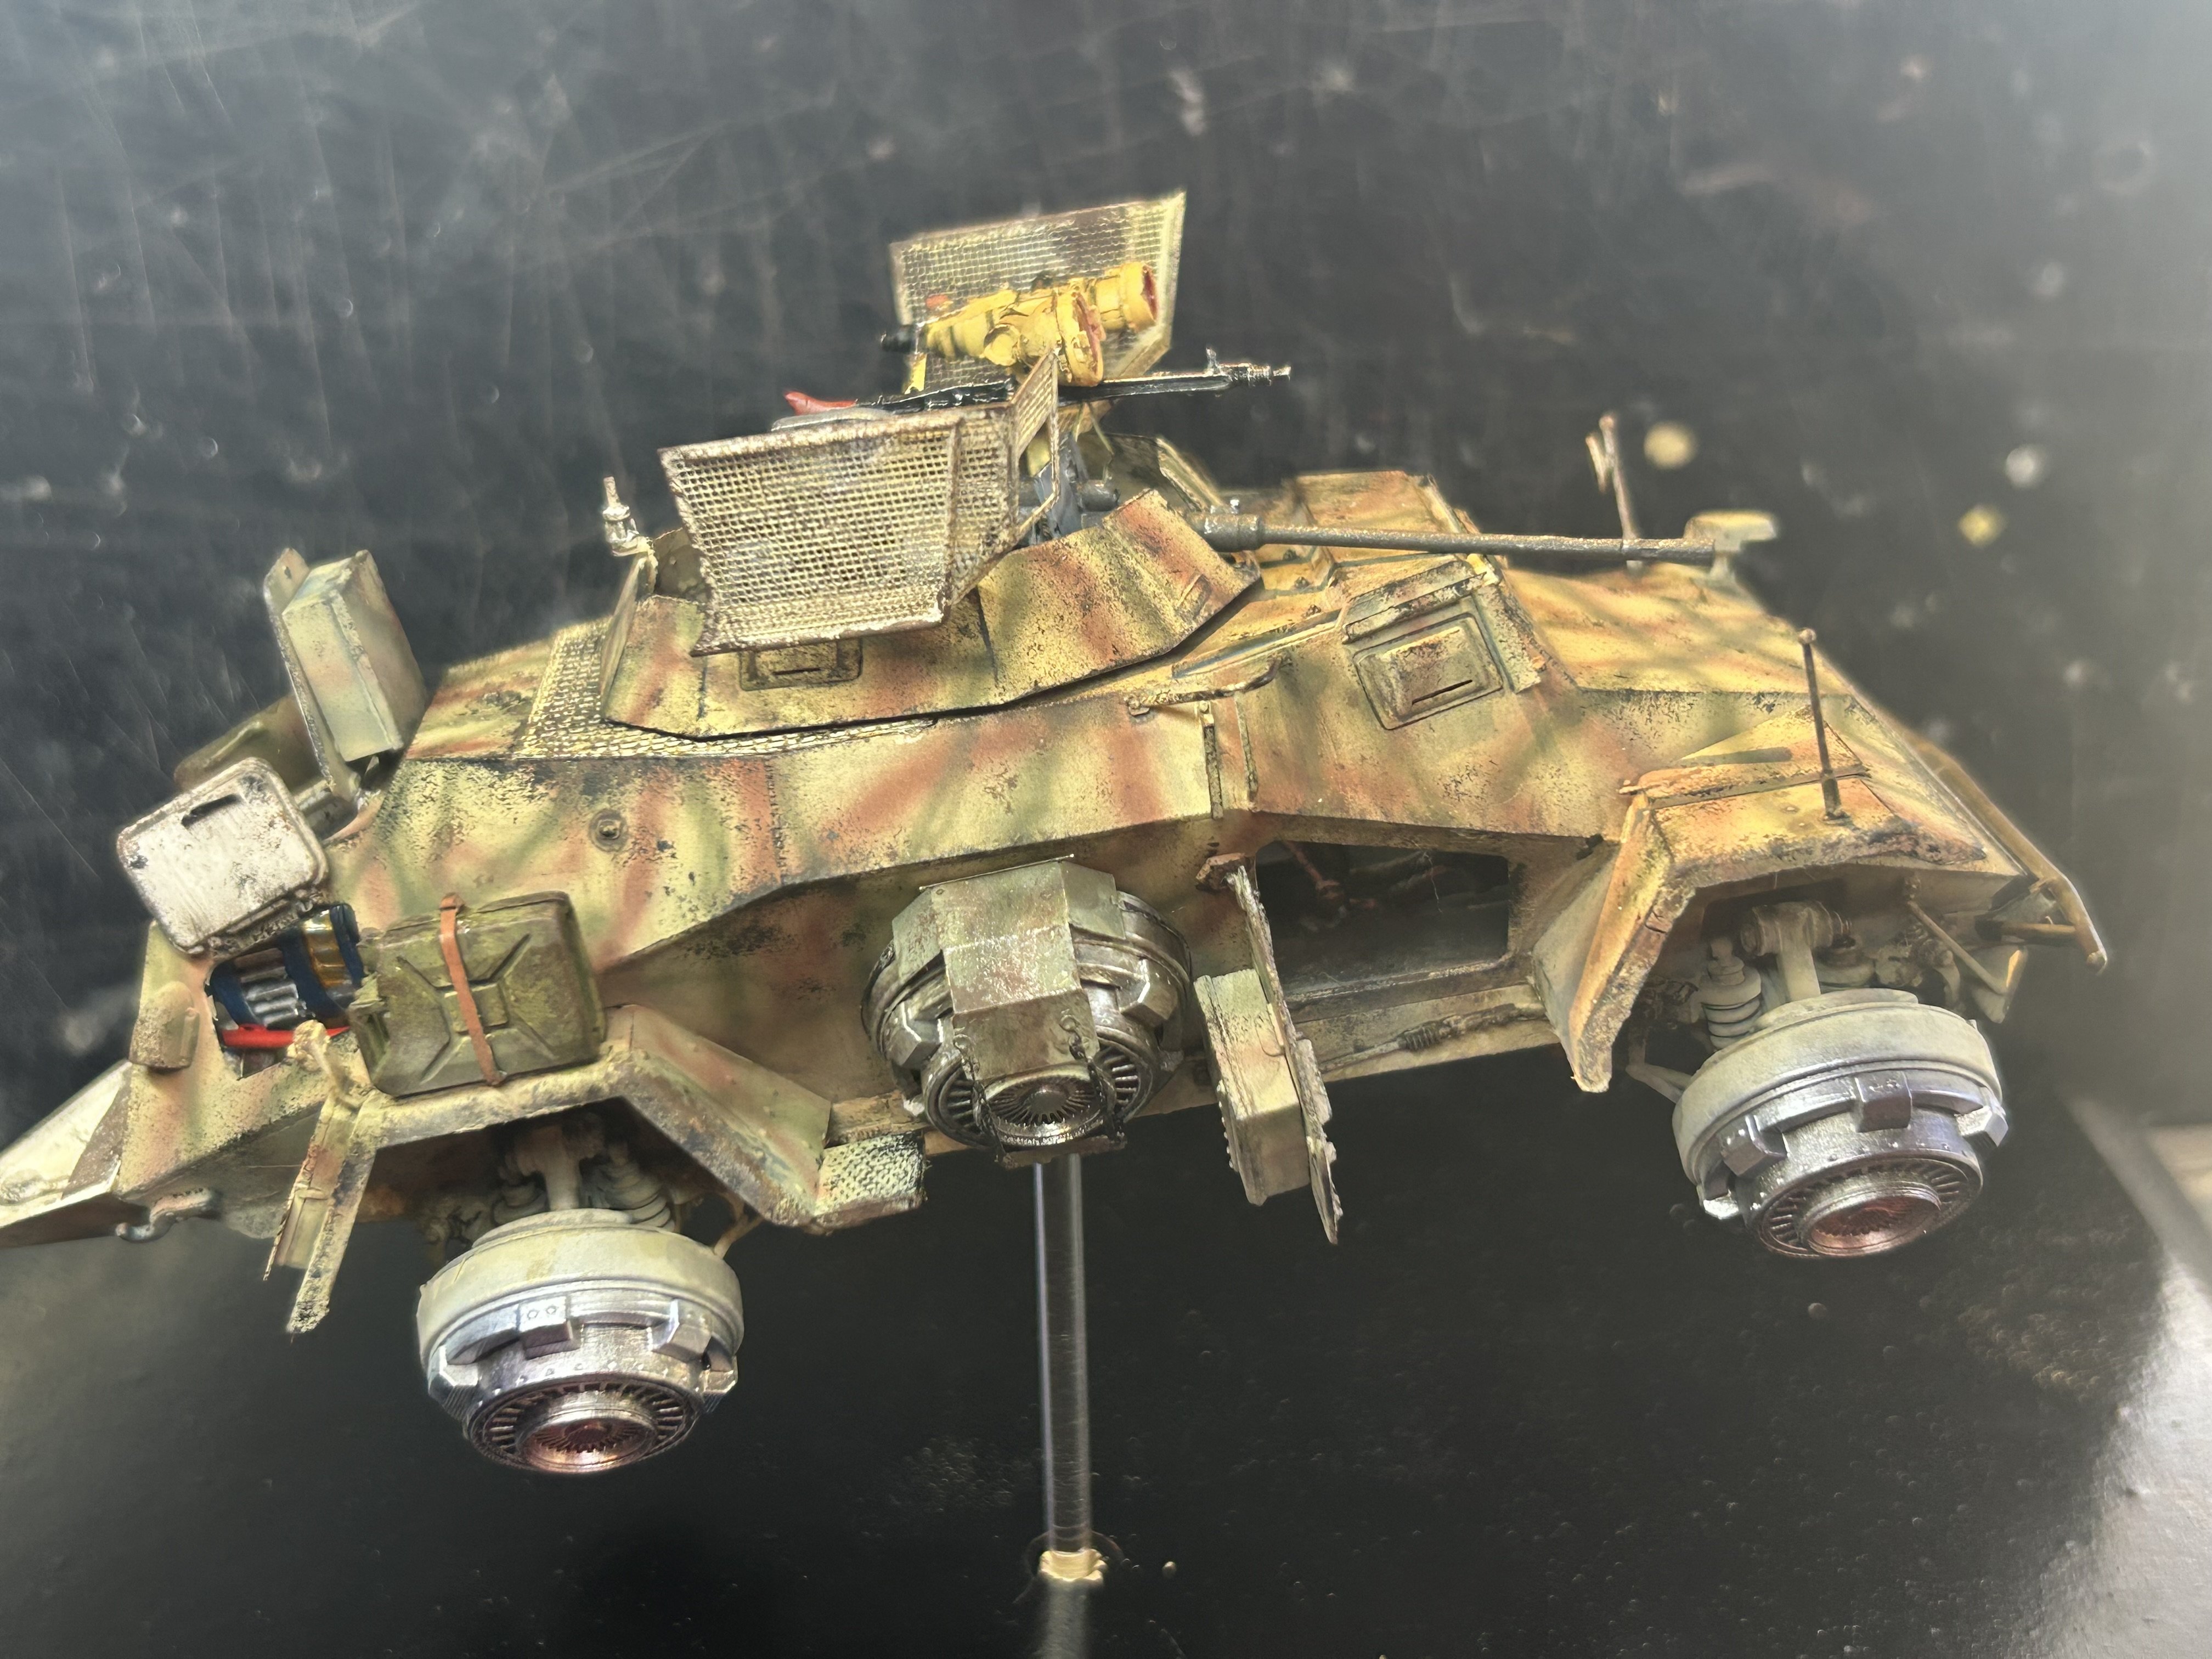
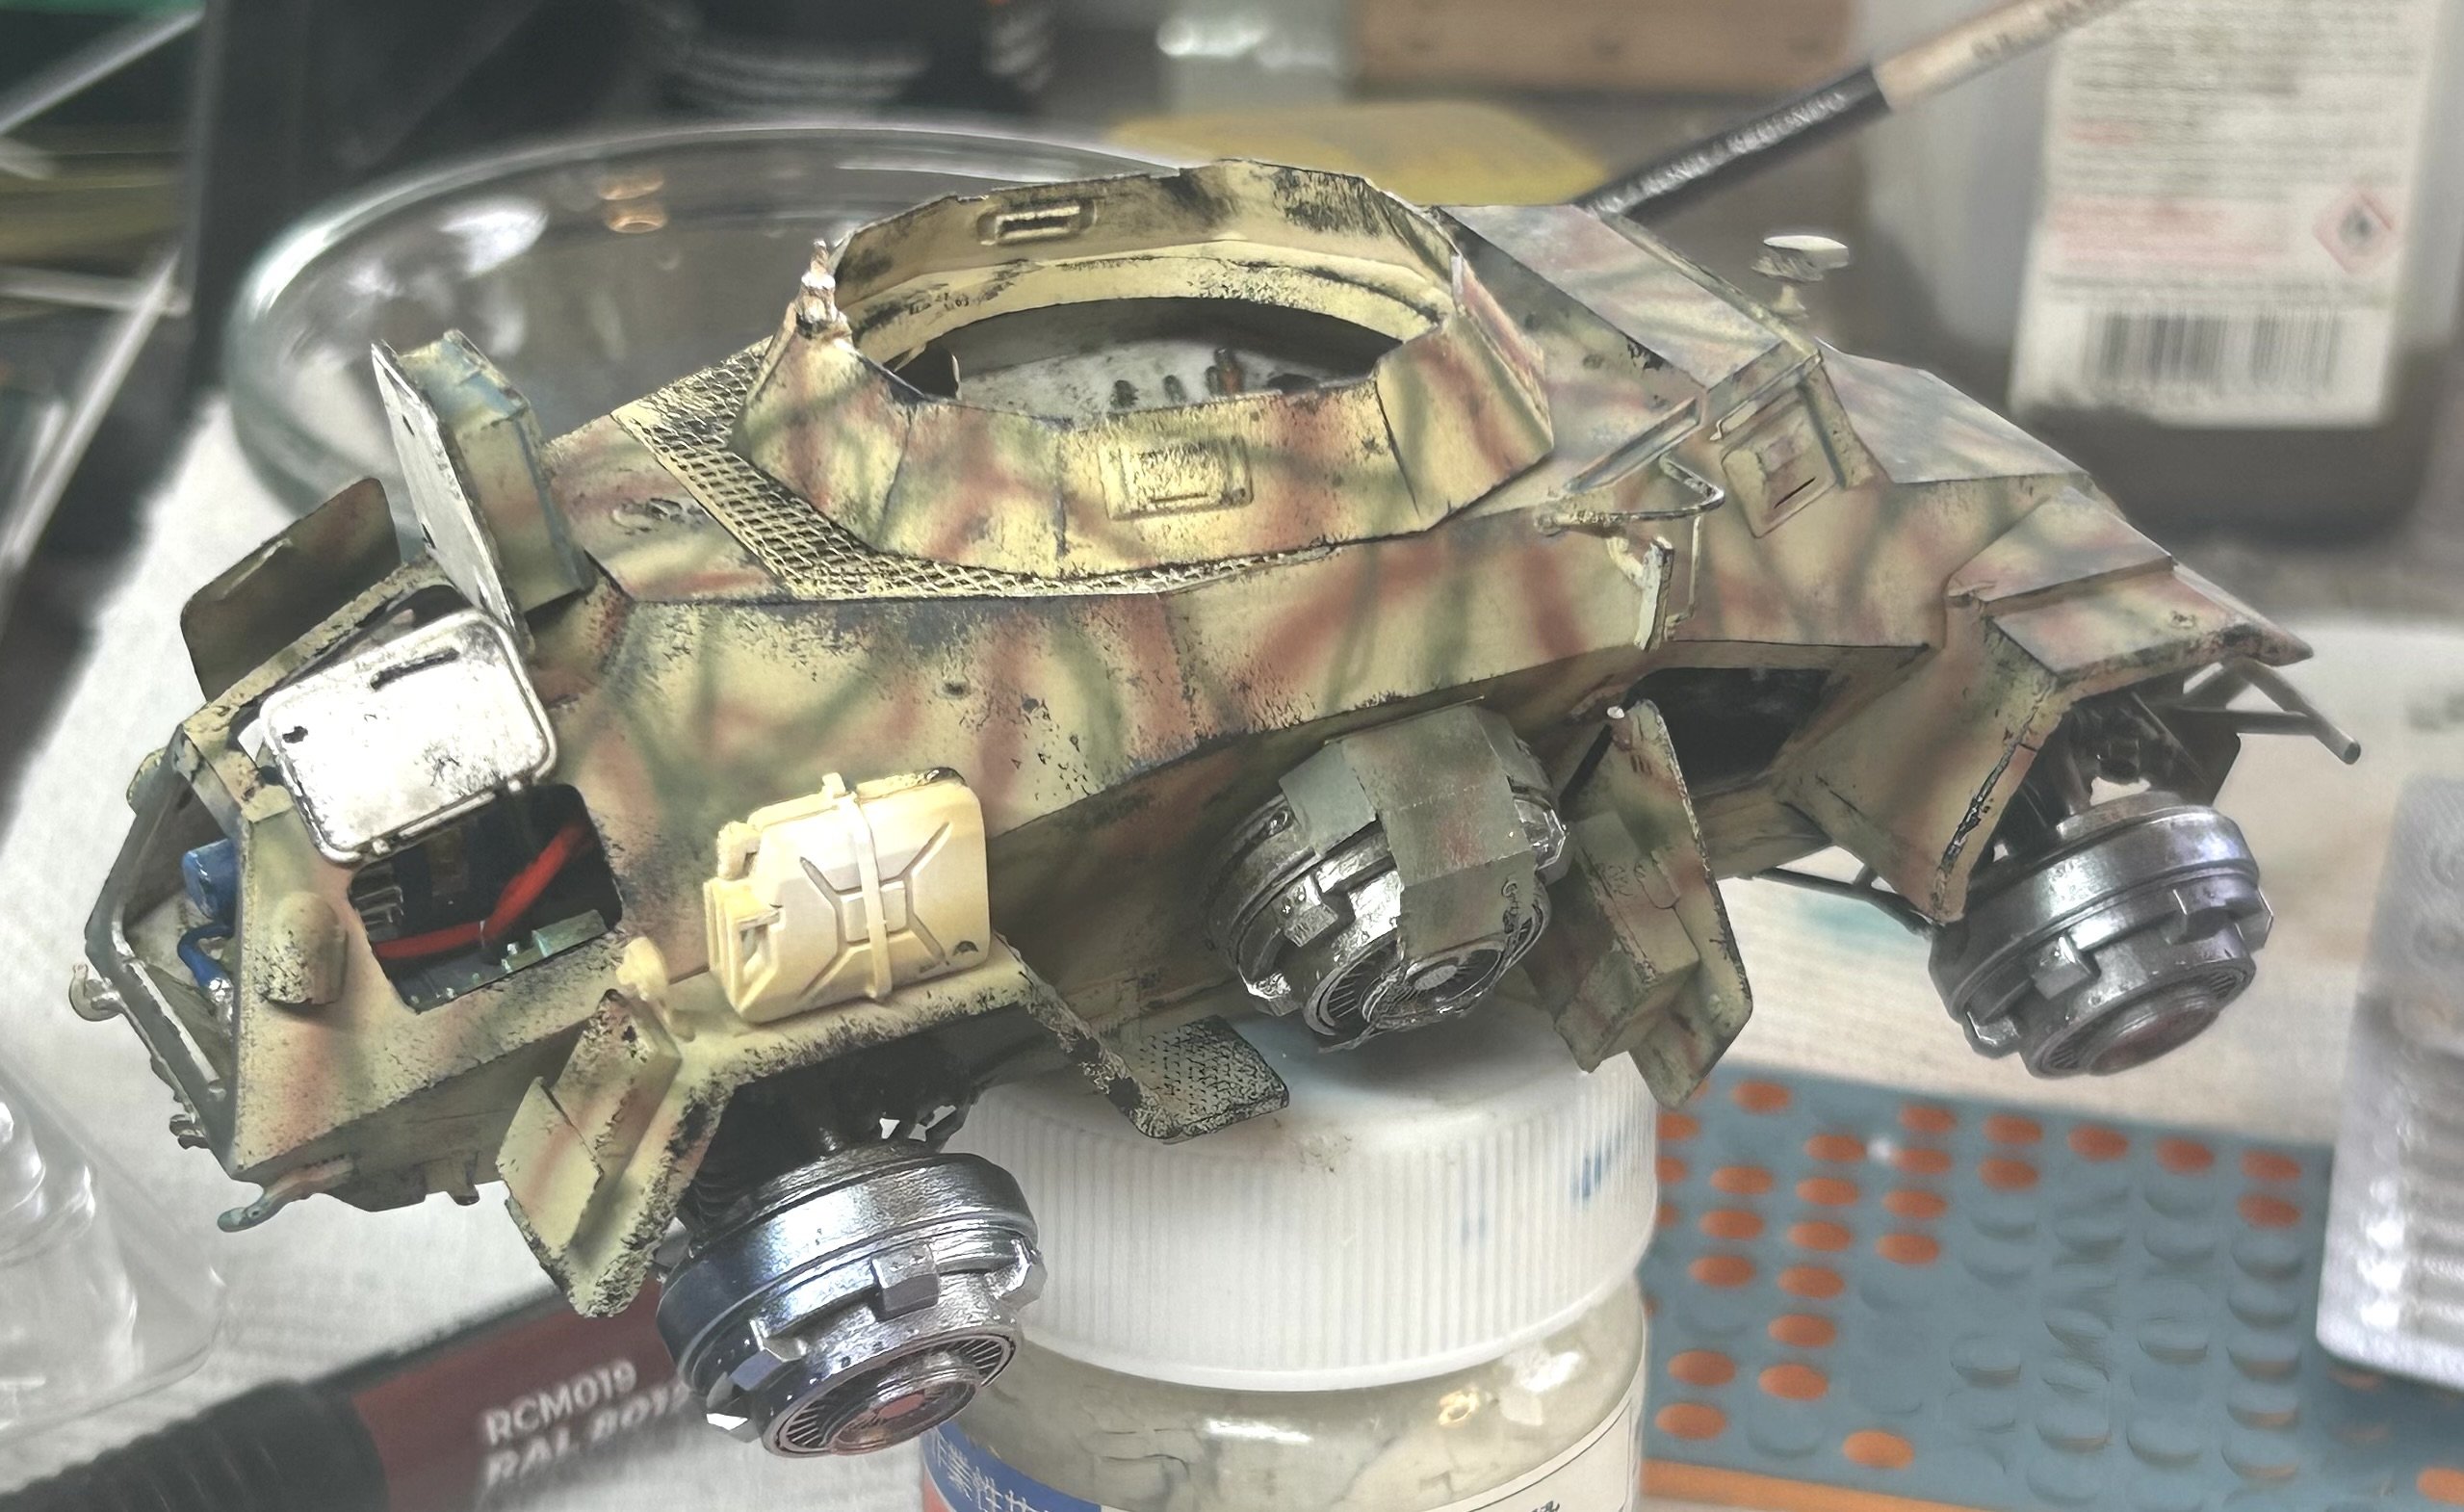
That’ll do for today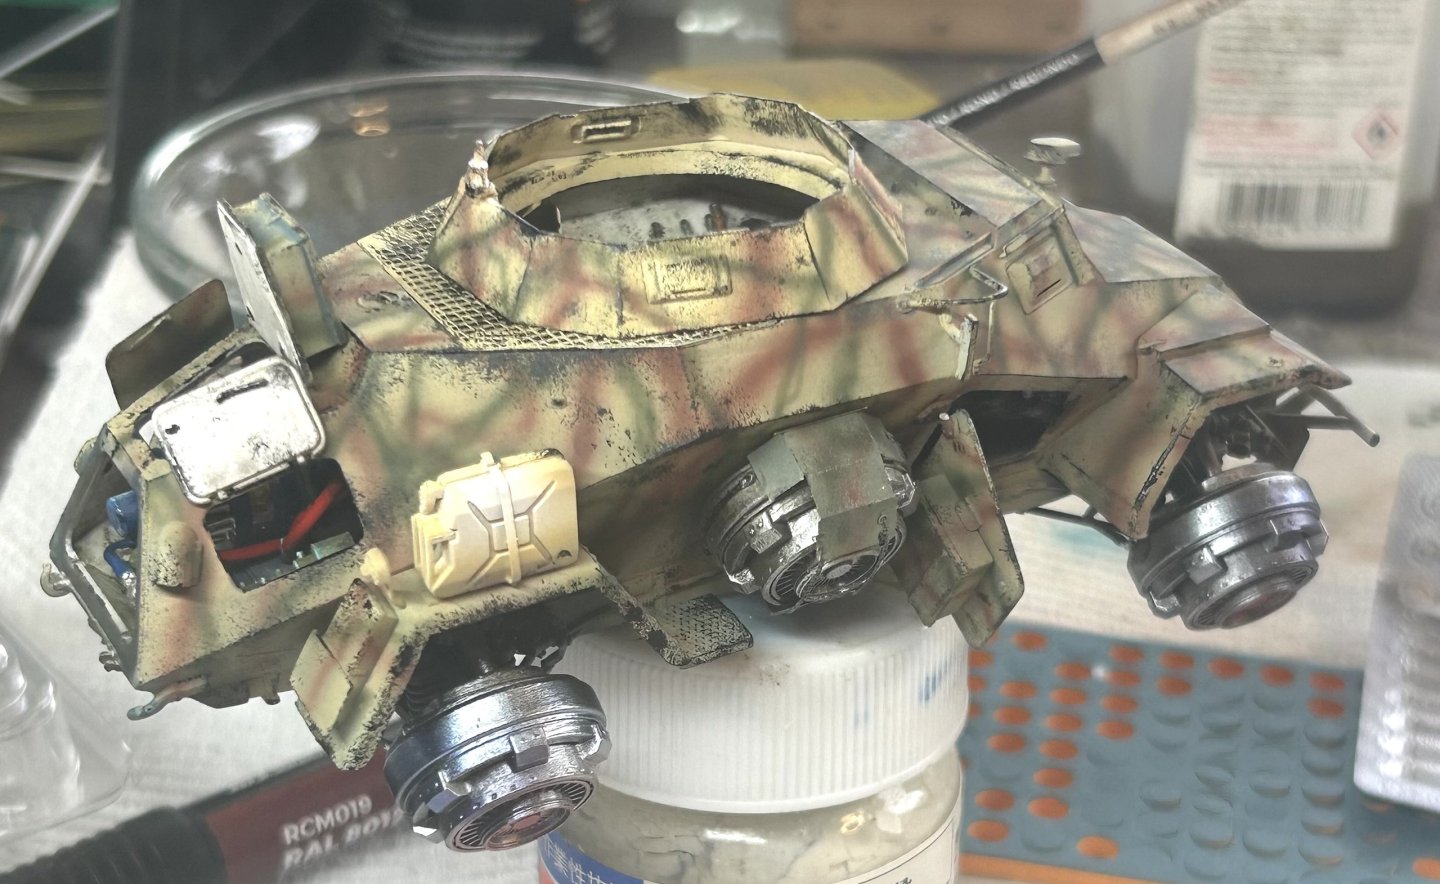

-
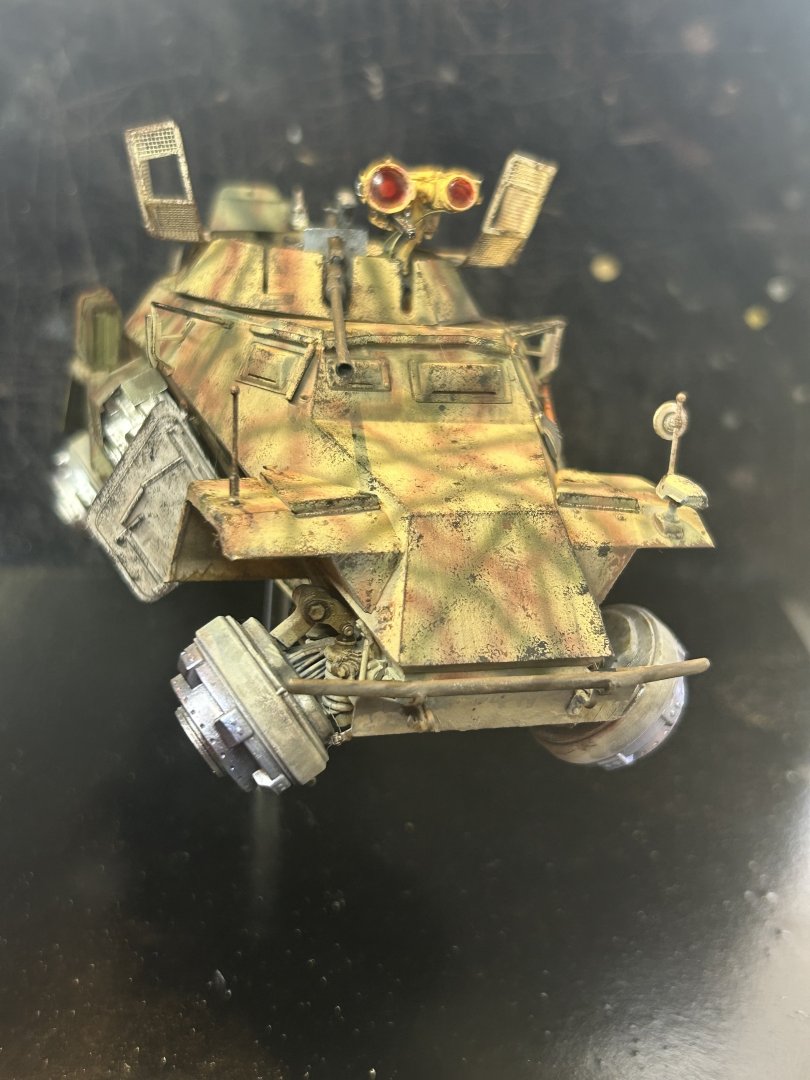
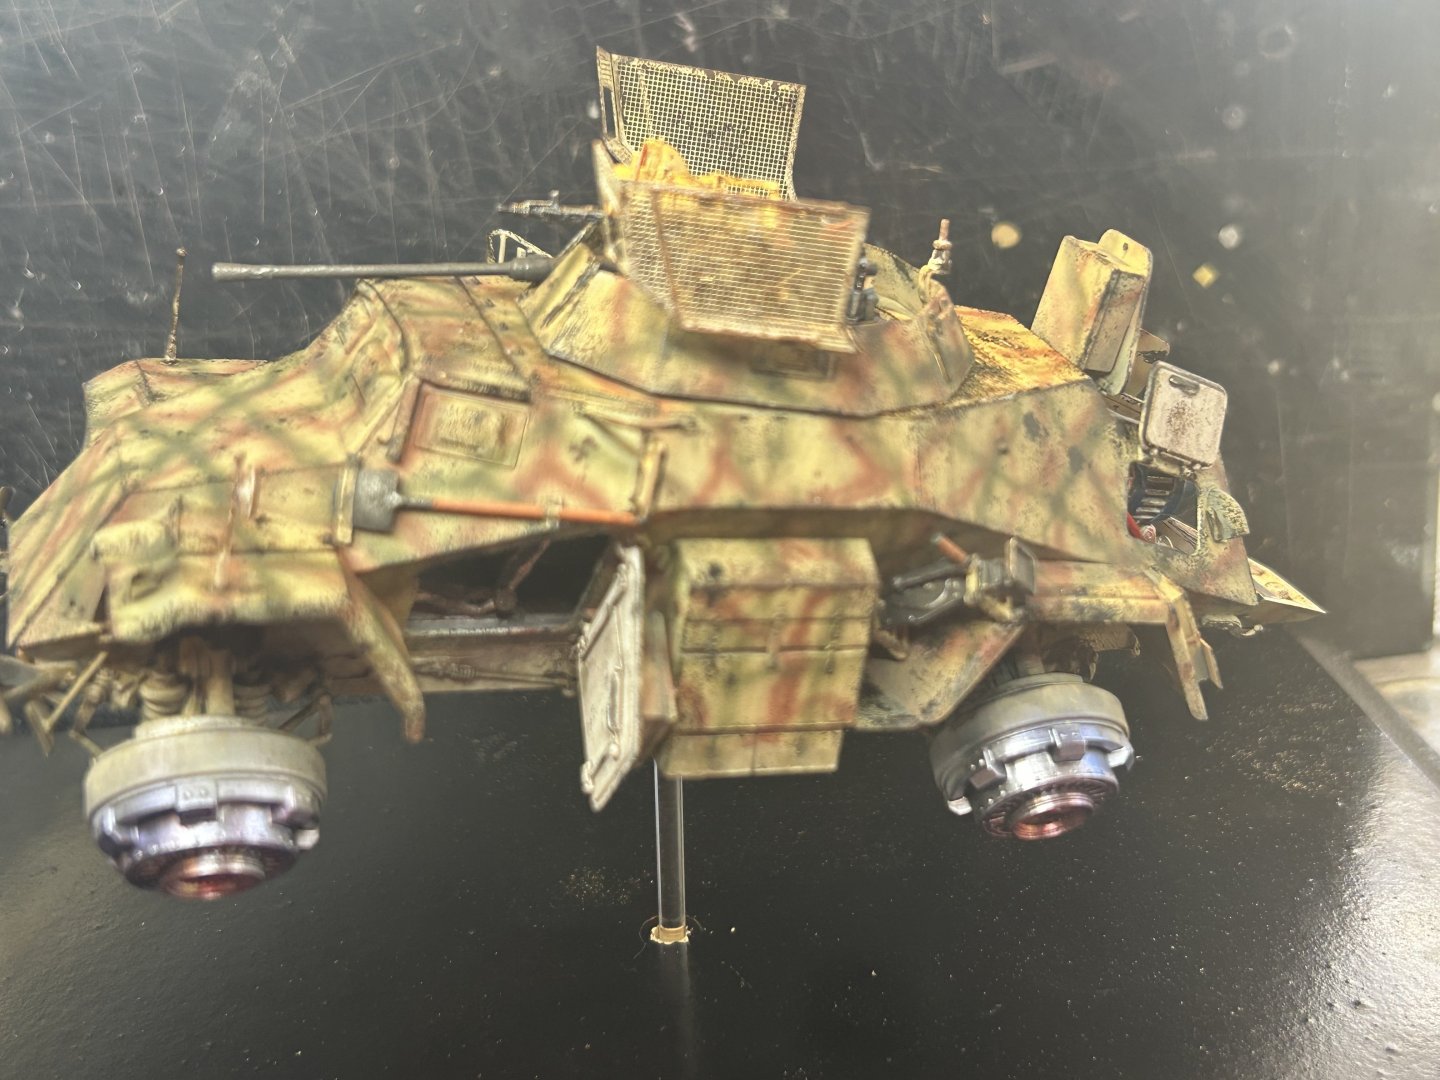
Flying Sd.Kfz.222 by RGL - HobbyBoss - 1/35 - PLASTIC
RGL replied to RGL's topic in Non-ship/categorised builds
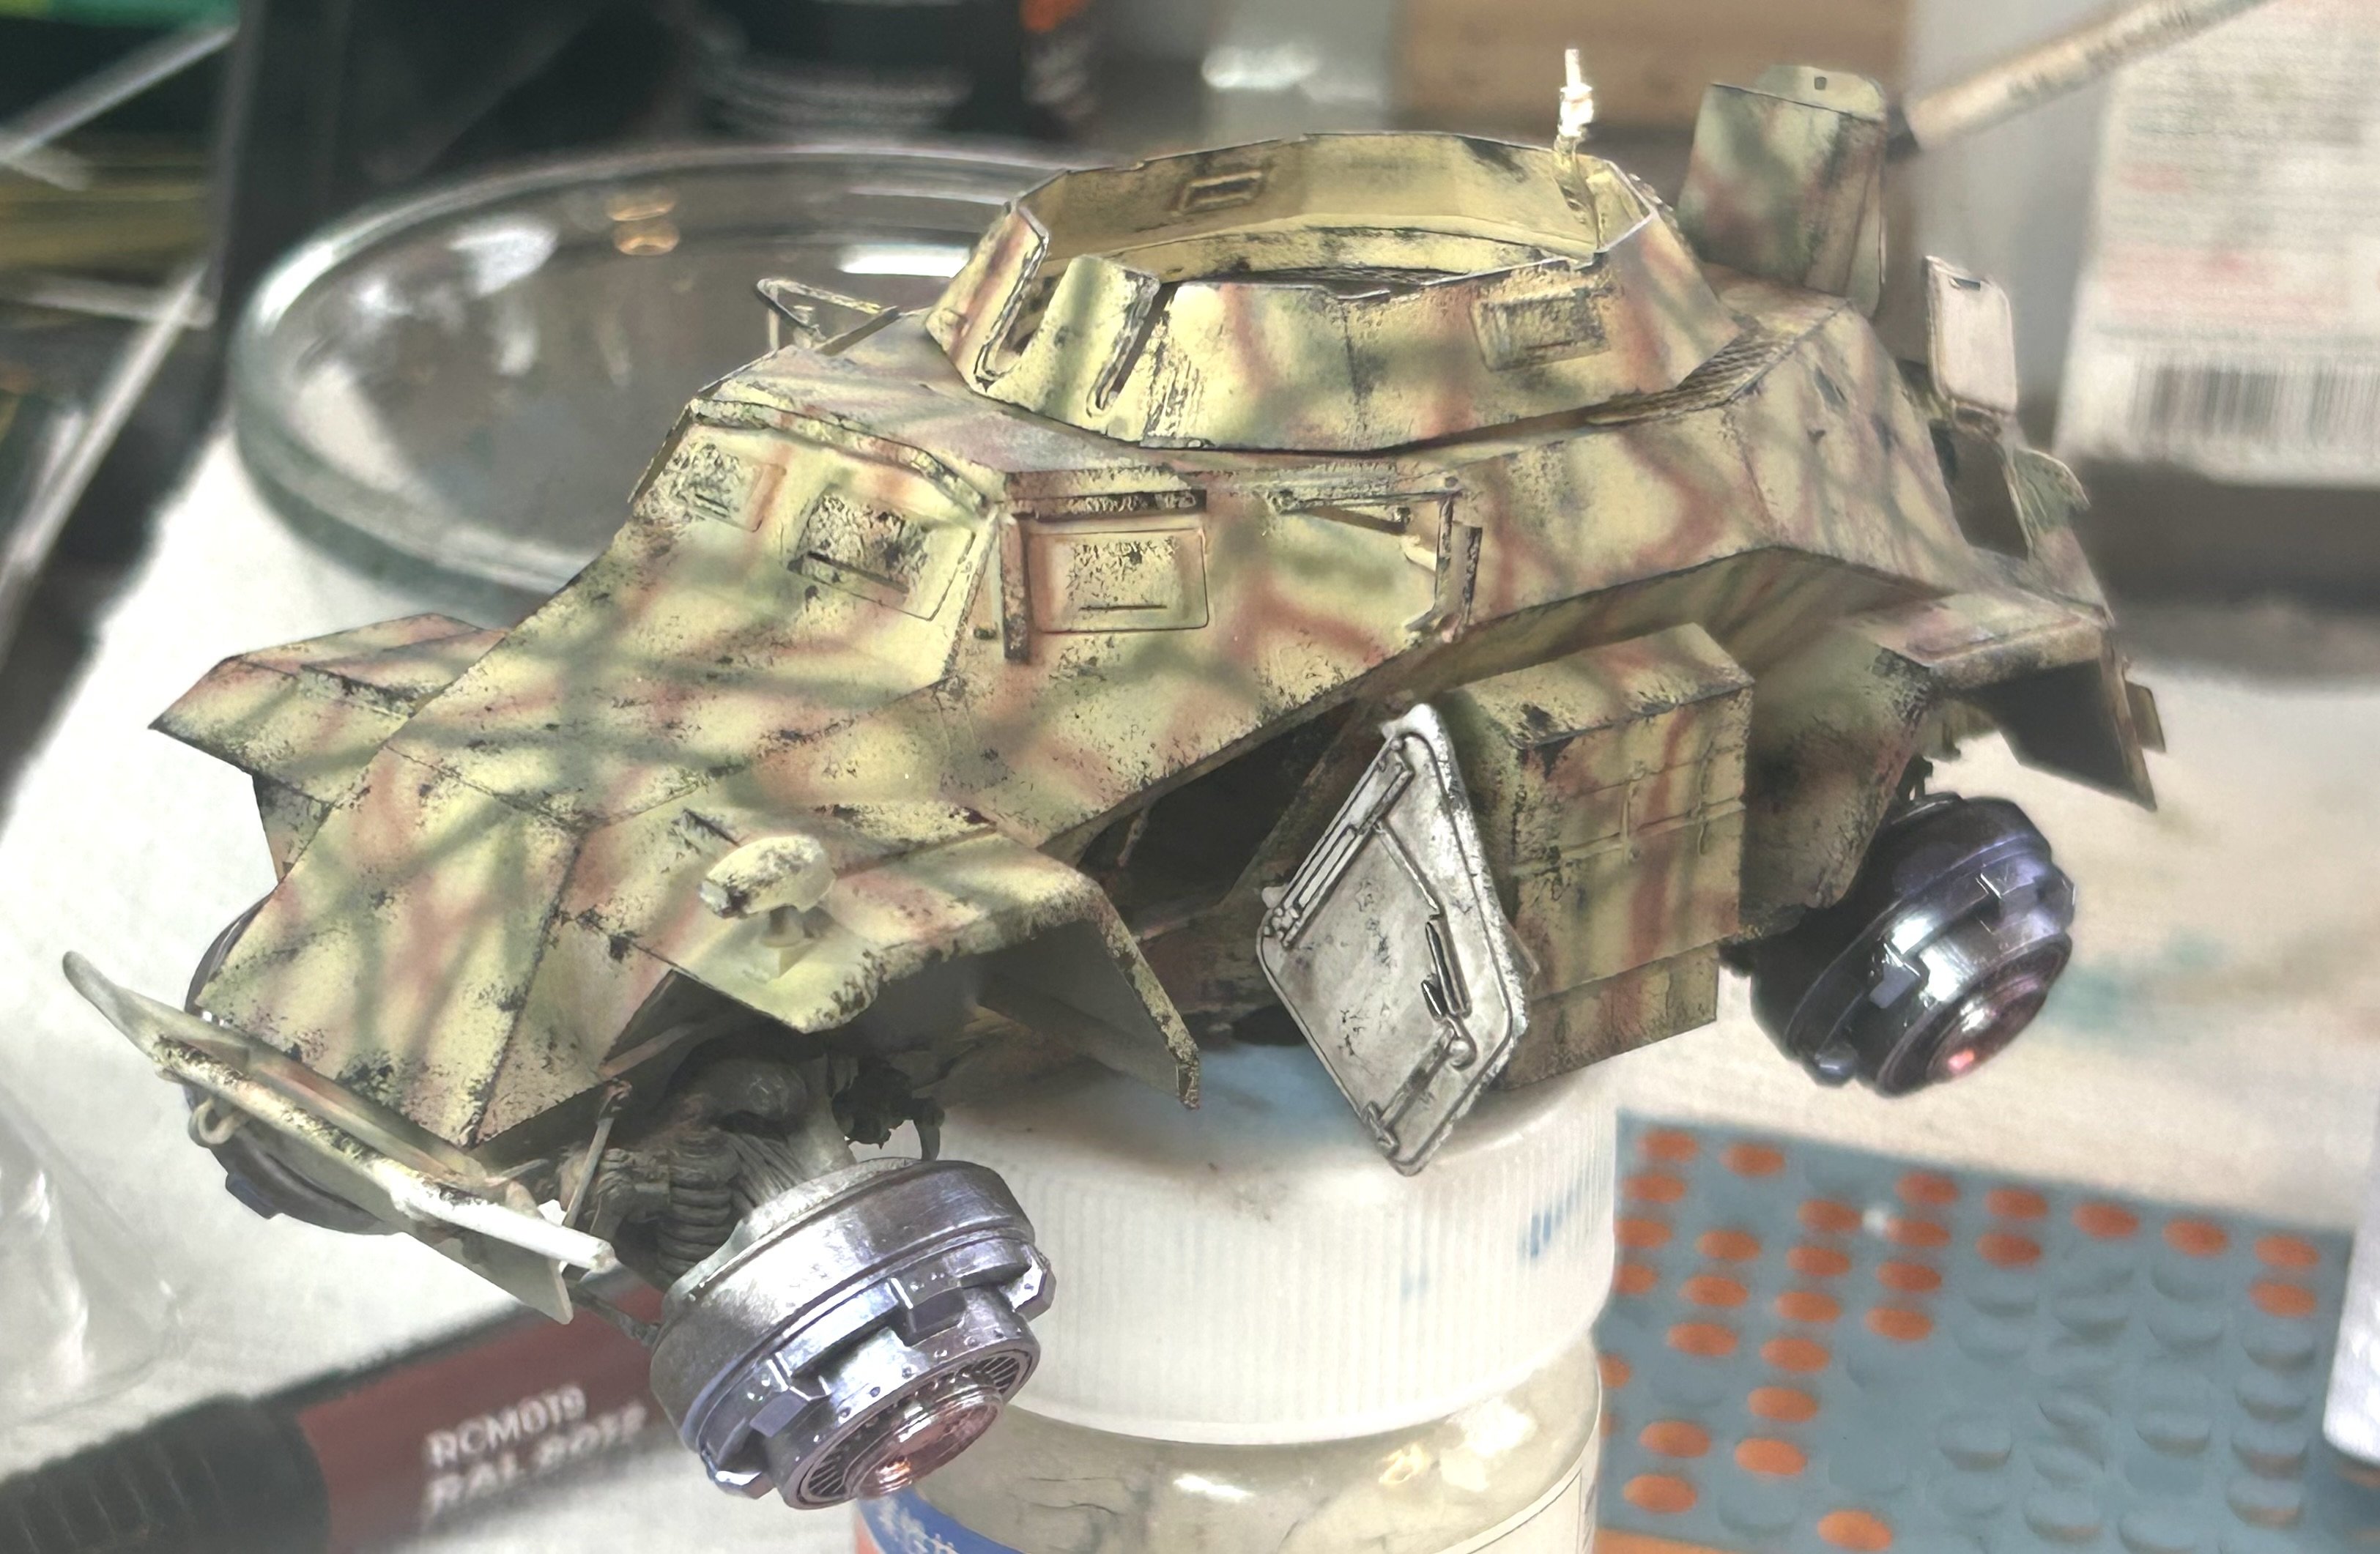
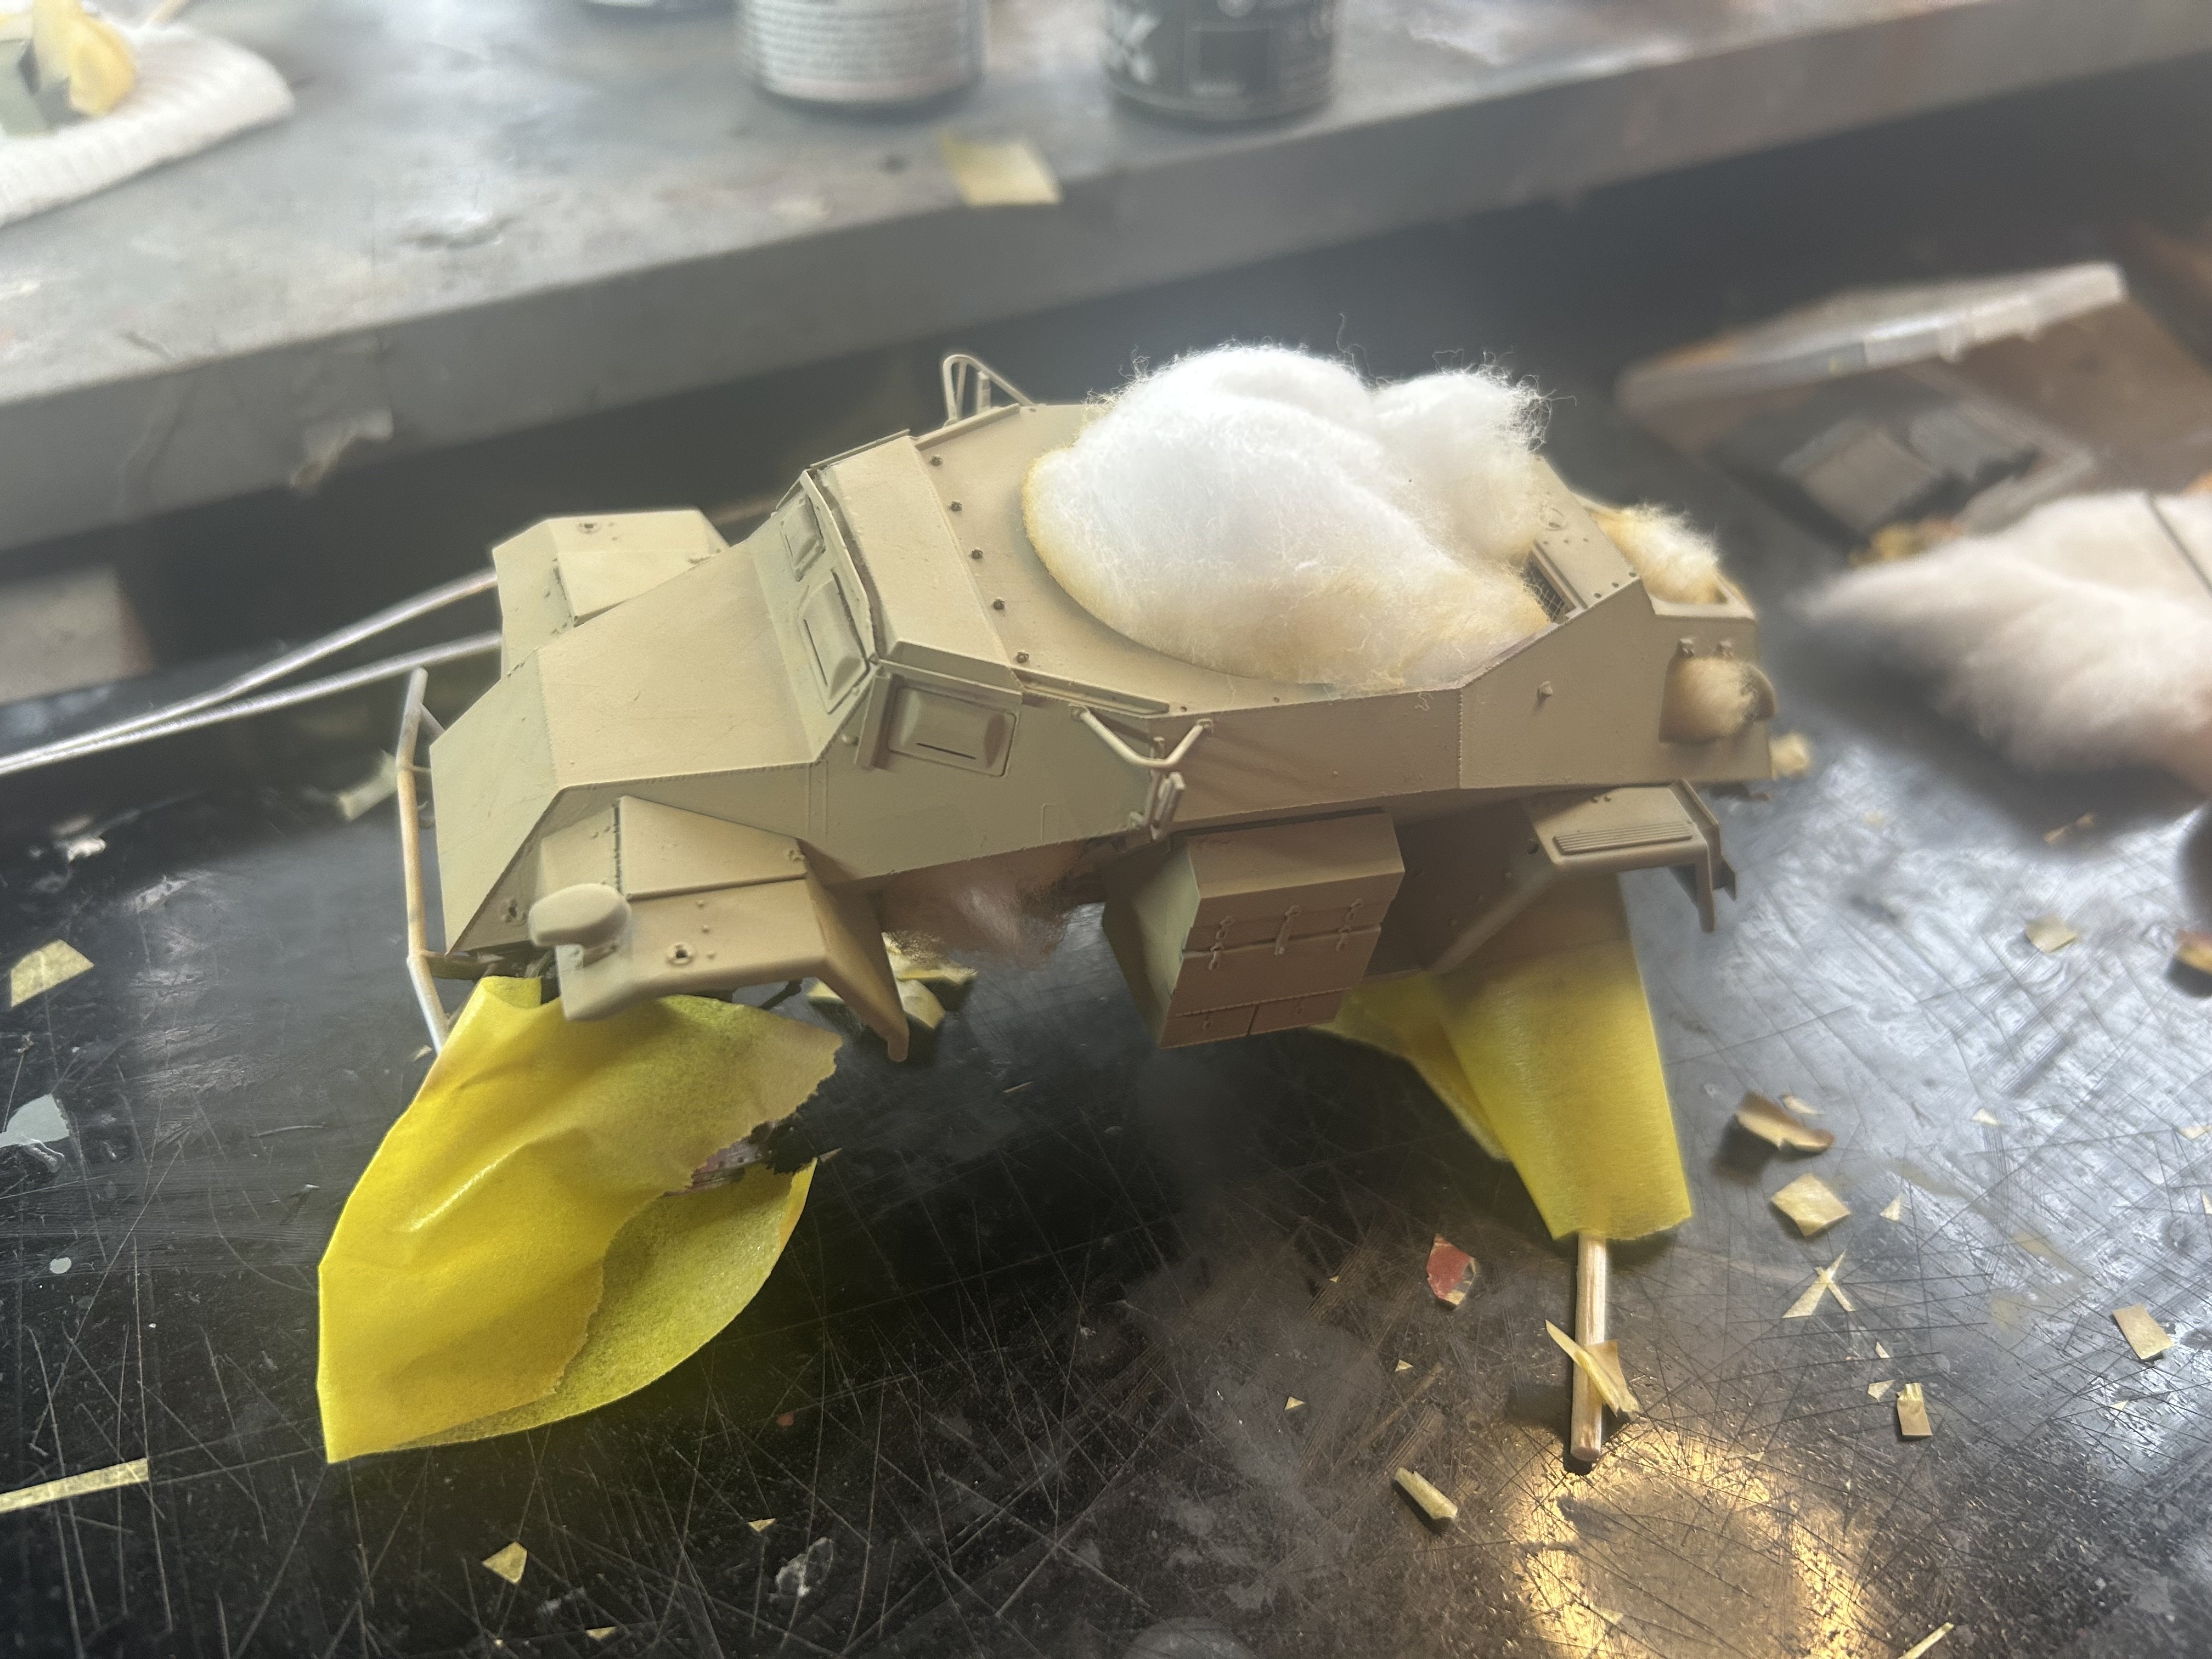
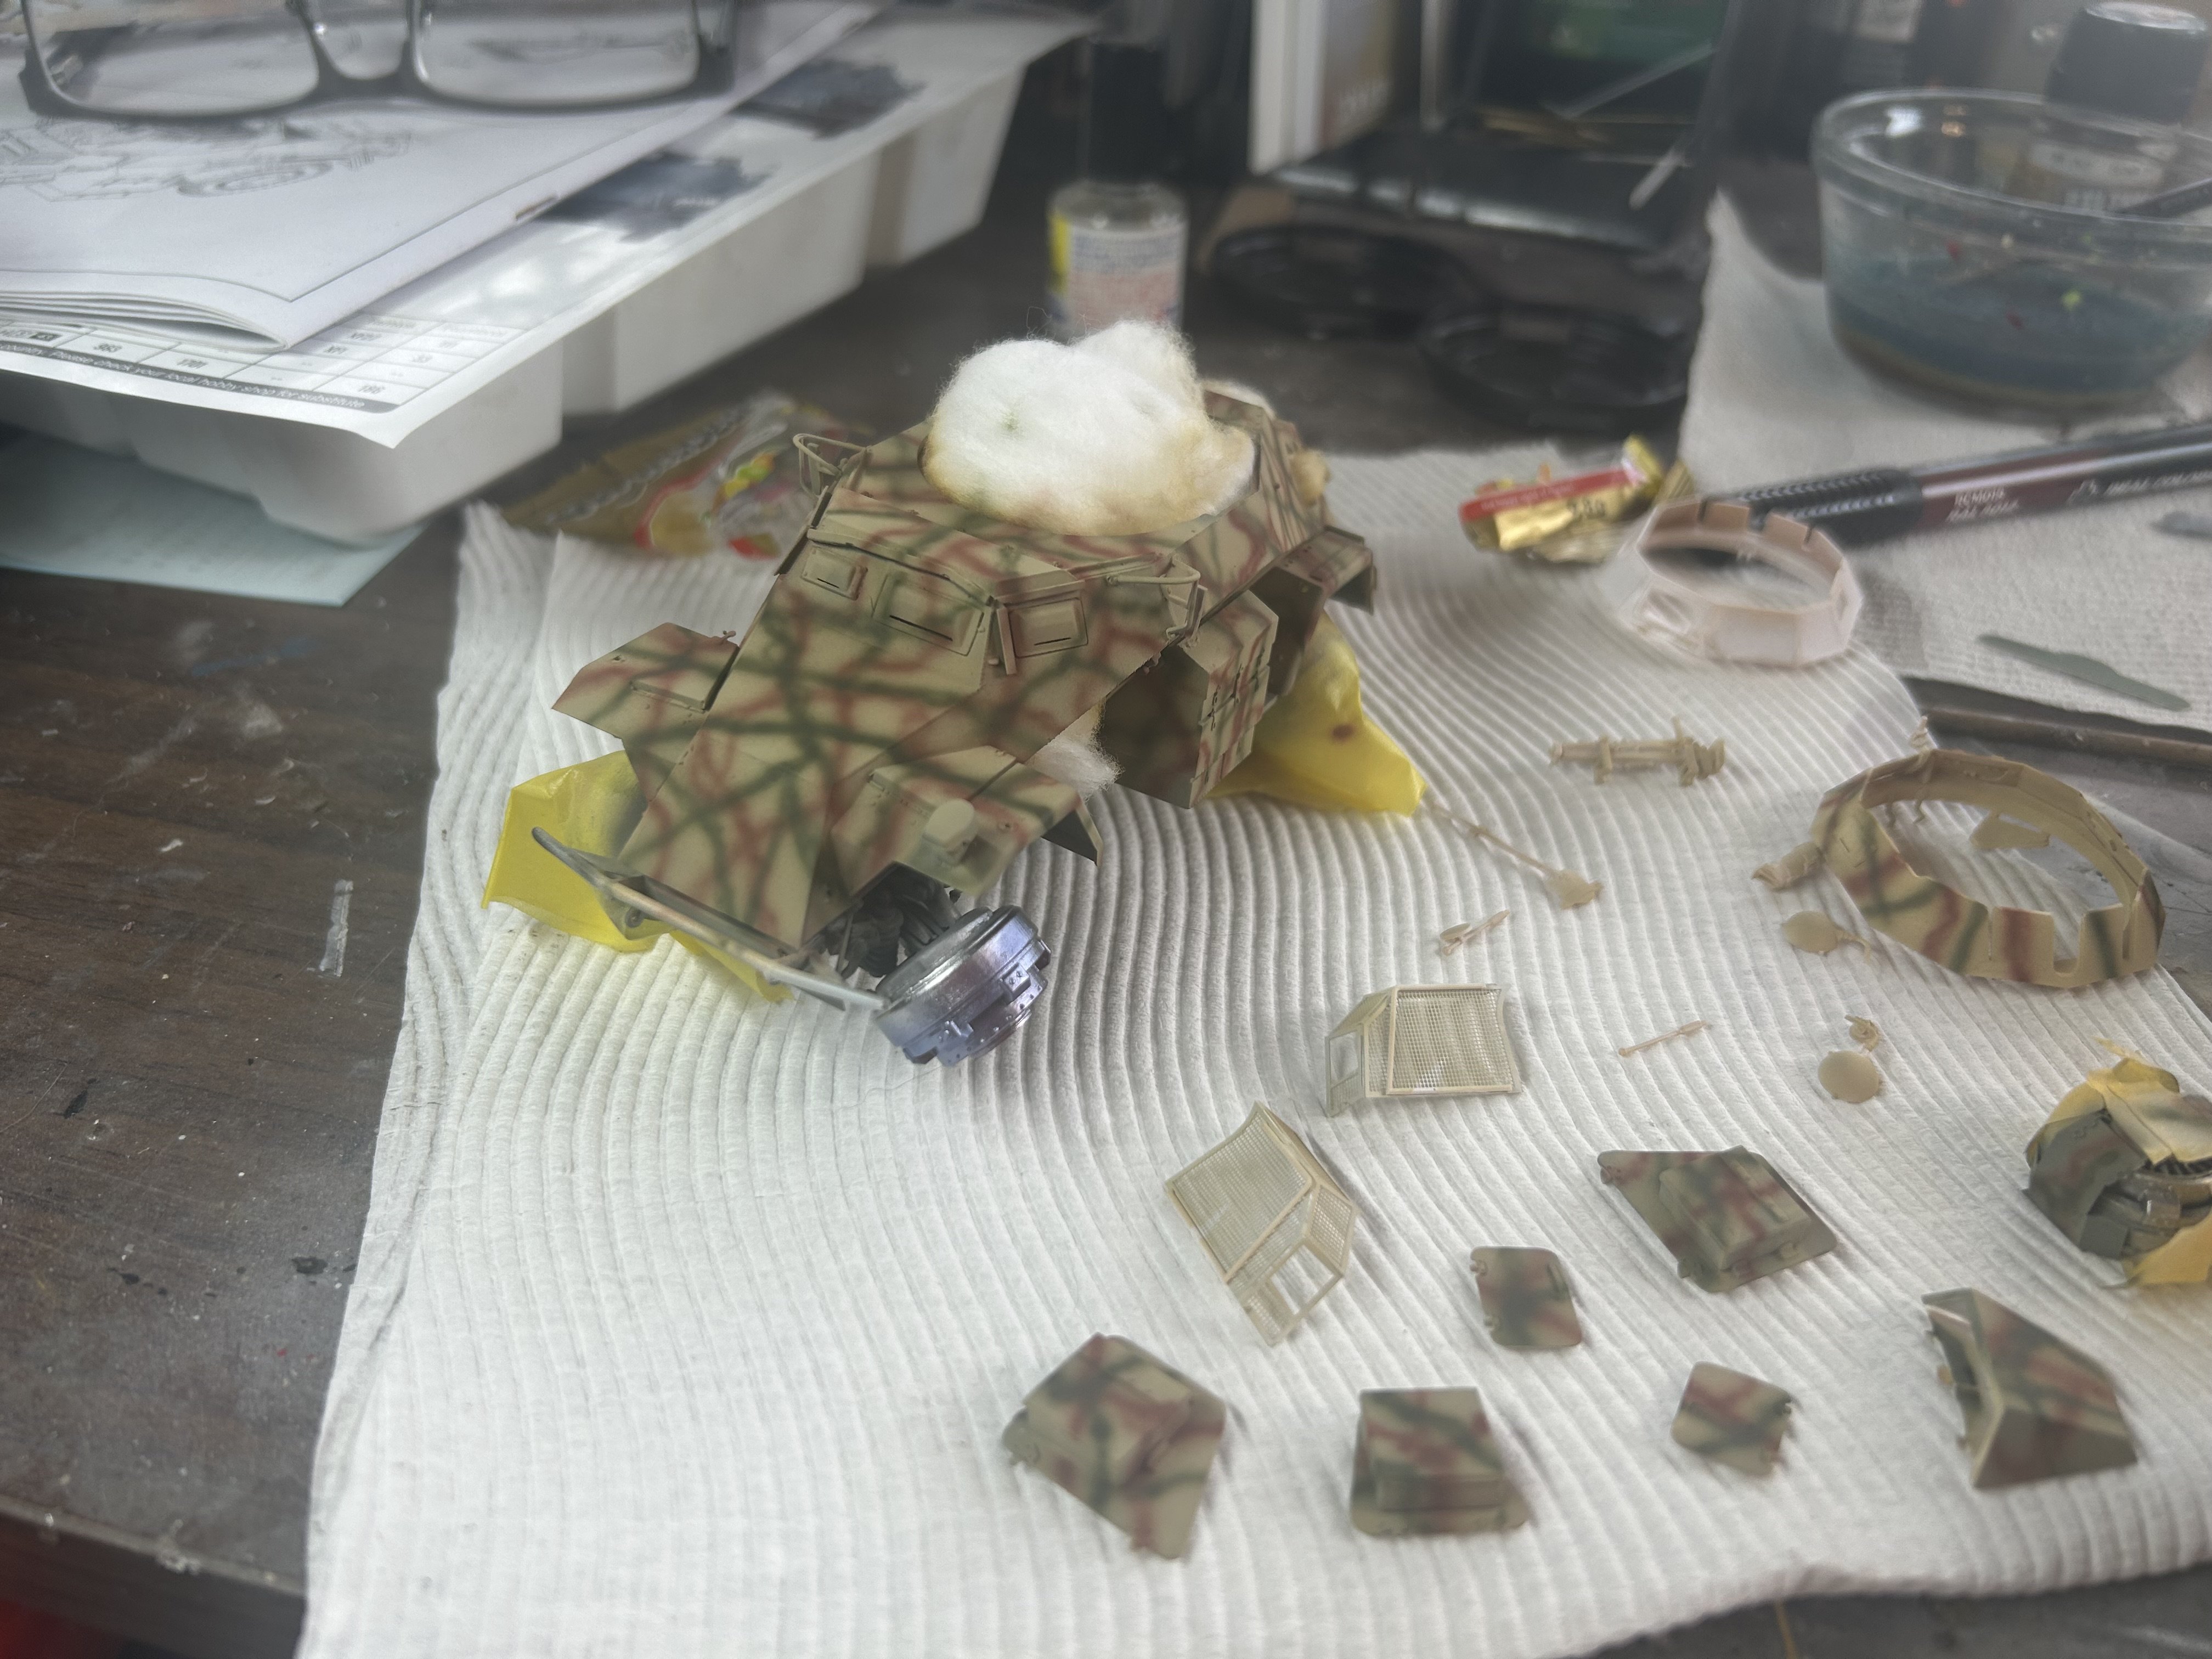
Back to a simple later war pattern. There will be a lot of weathering to go yet.