RGL
-
Posts
5,563 -
Joined
-
Last visited
Content Type
Profiles
Forums
Gallery
Events
Everything posted by RGL
-
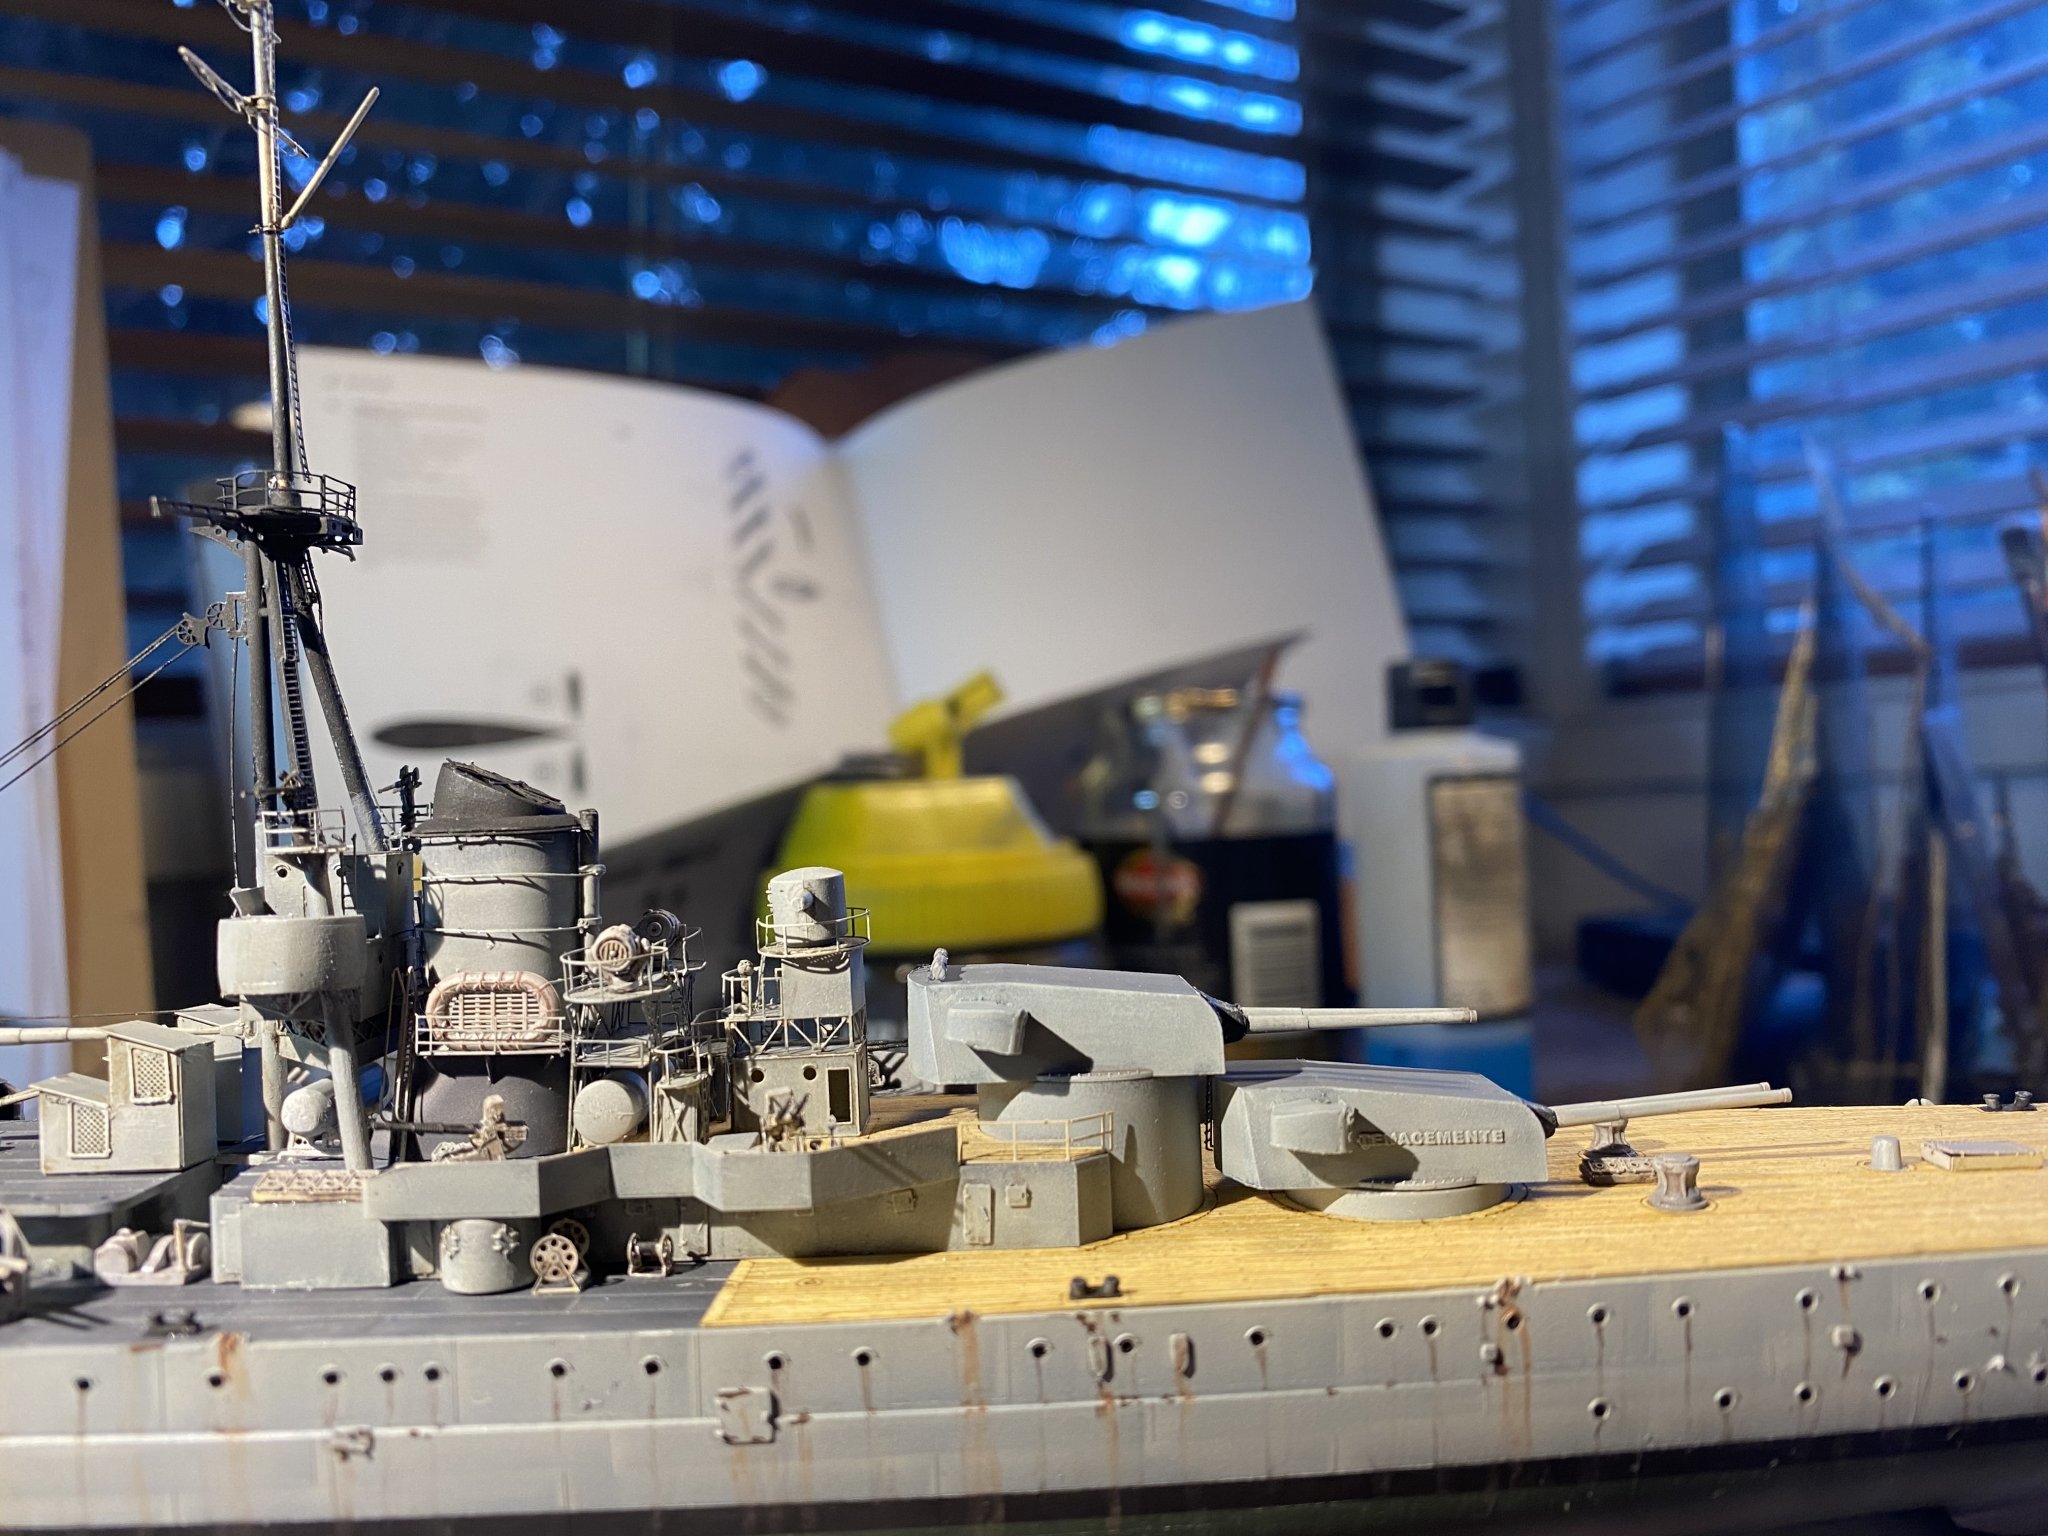
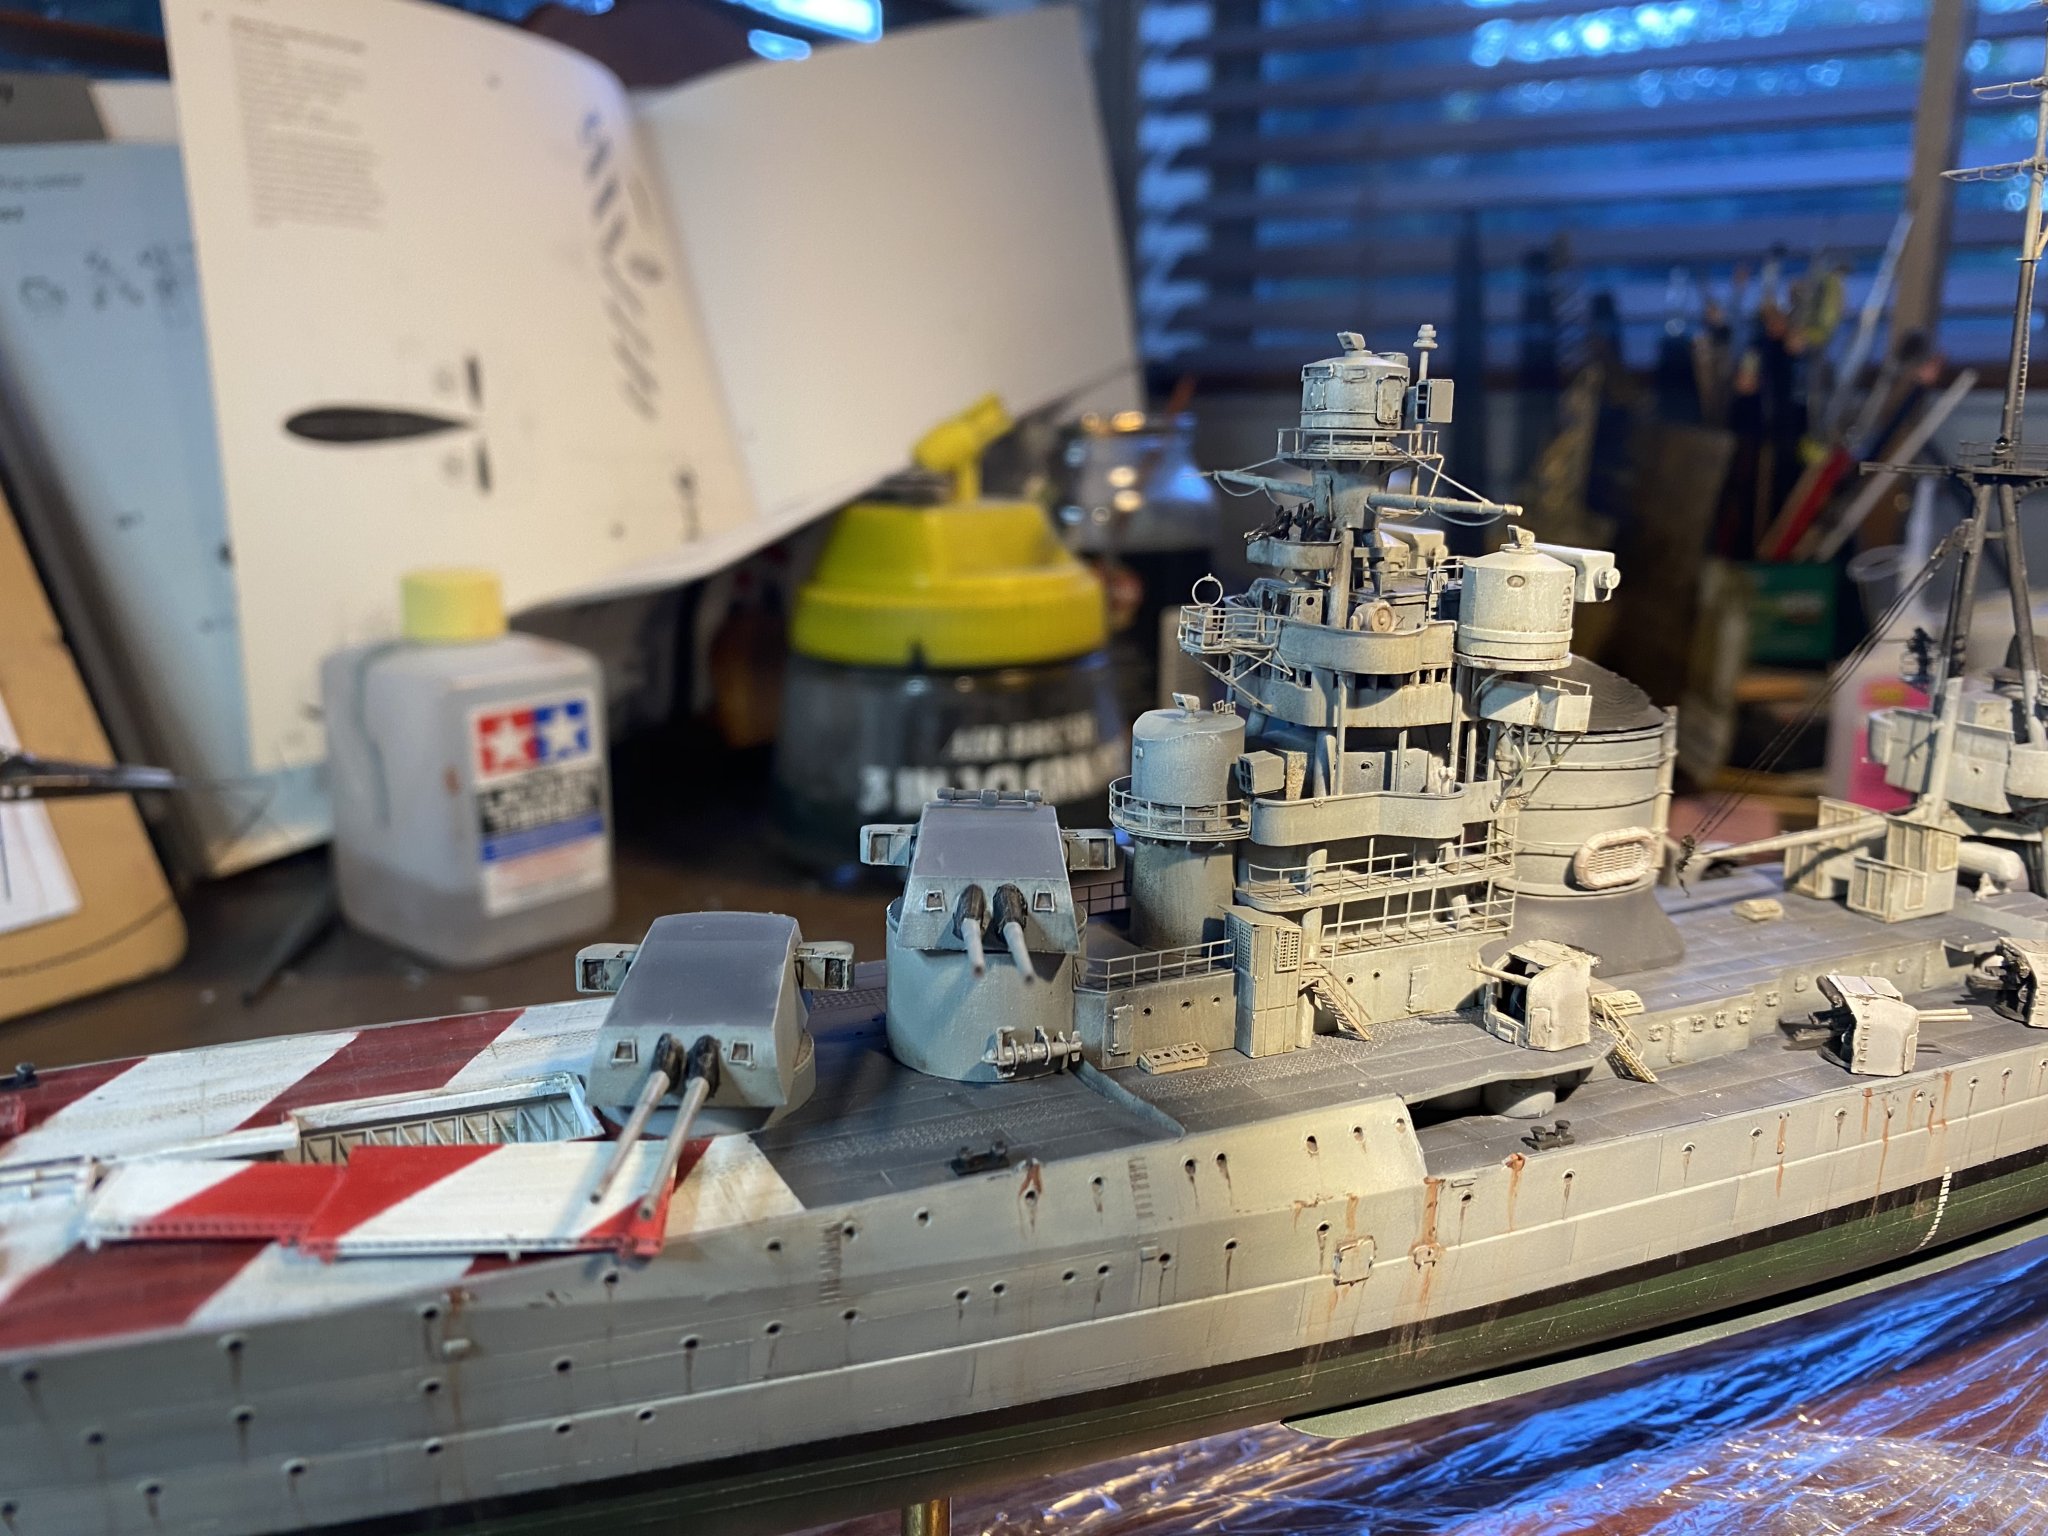
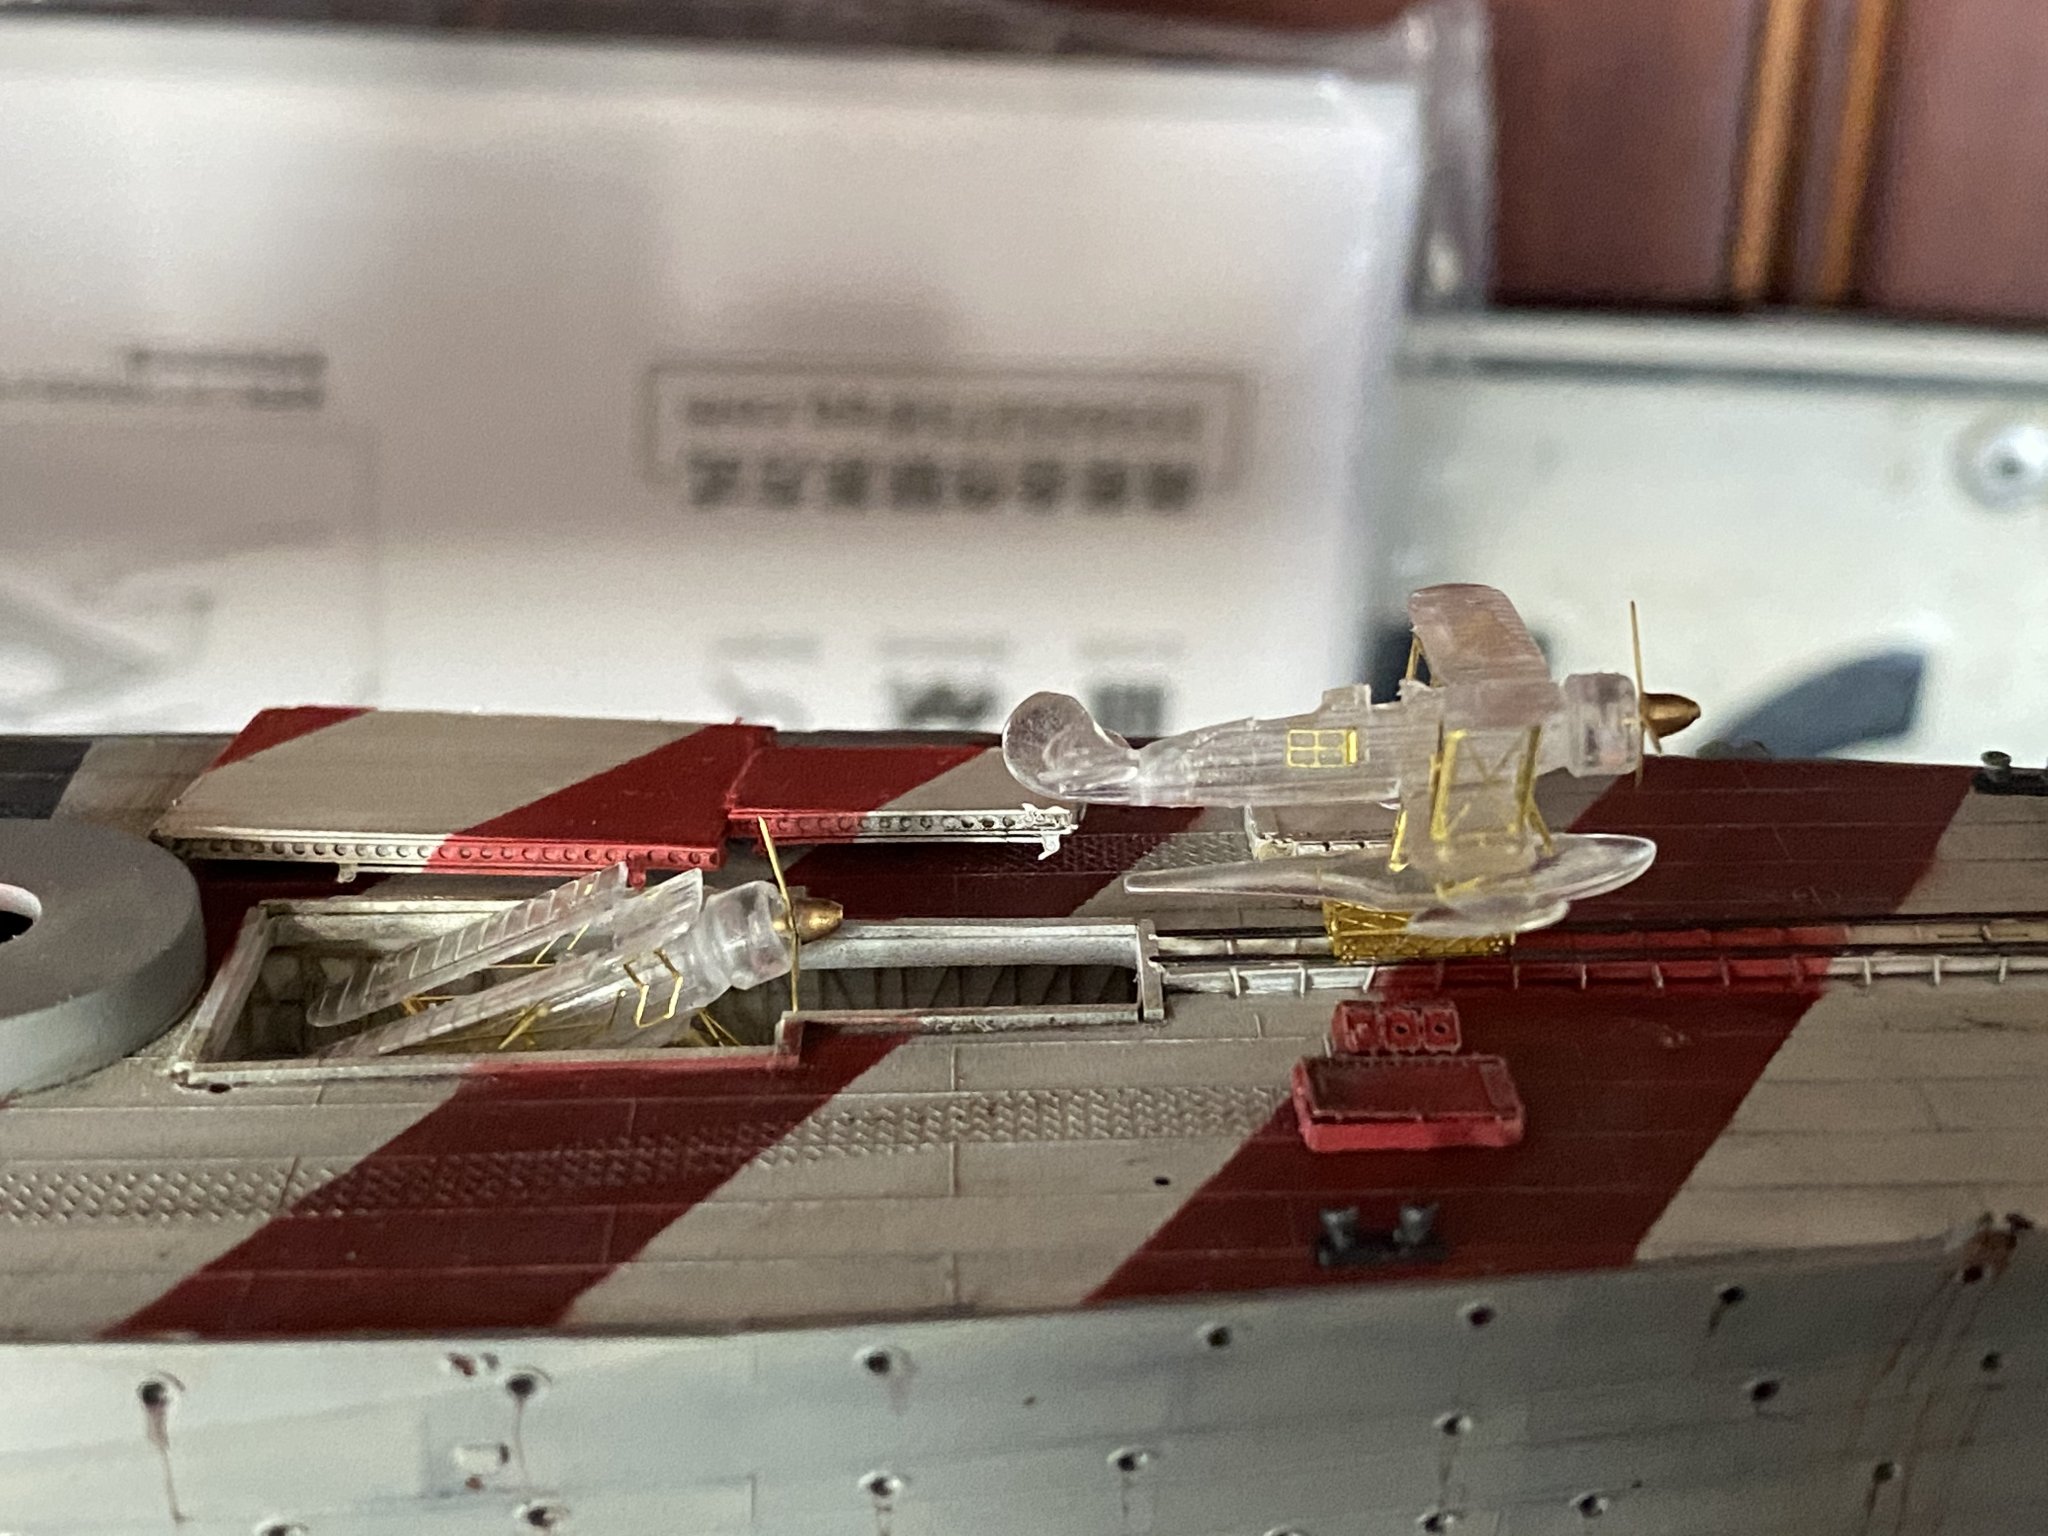
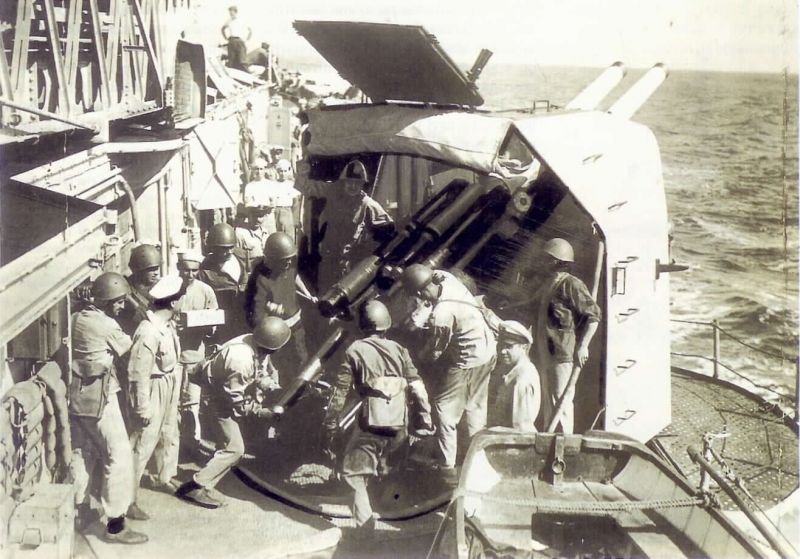
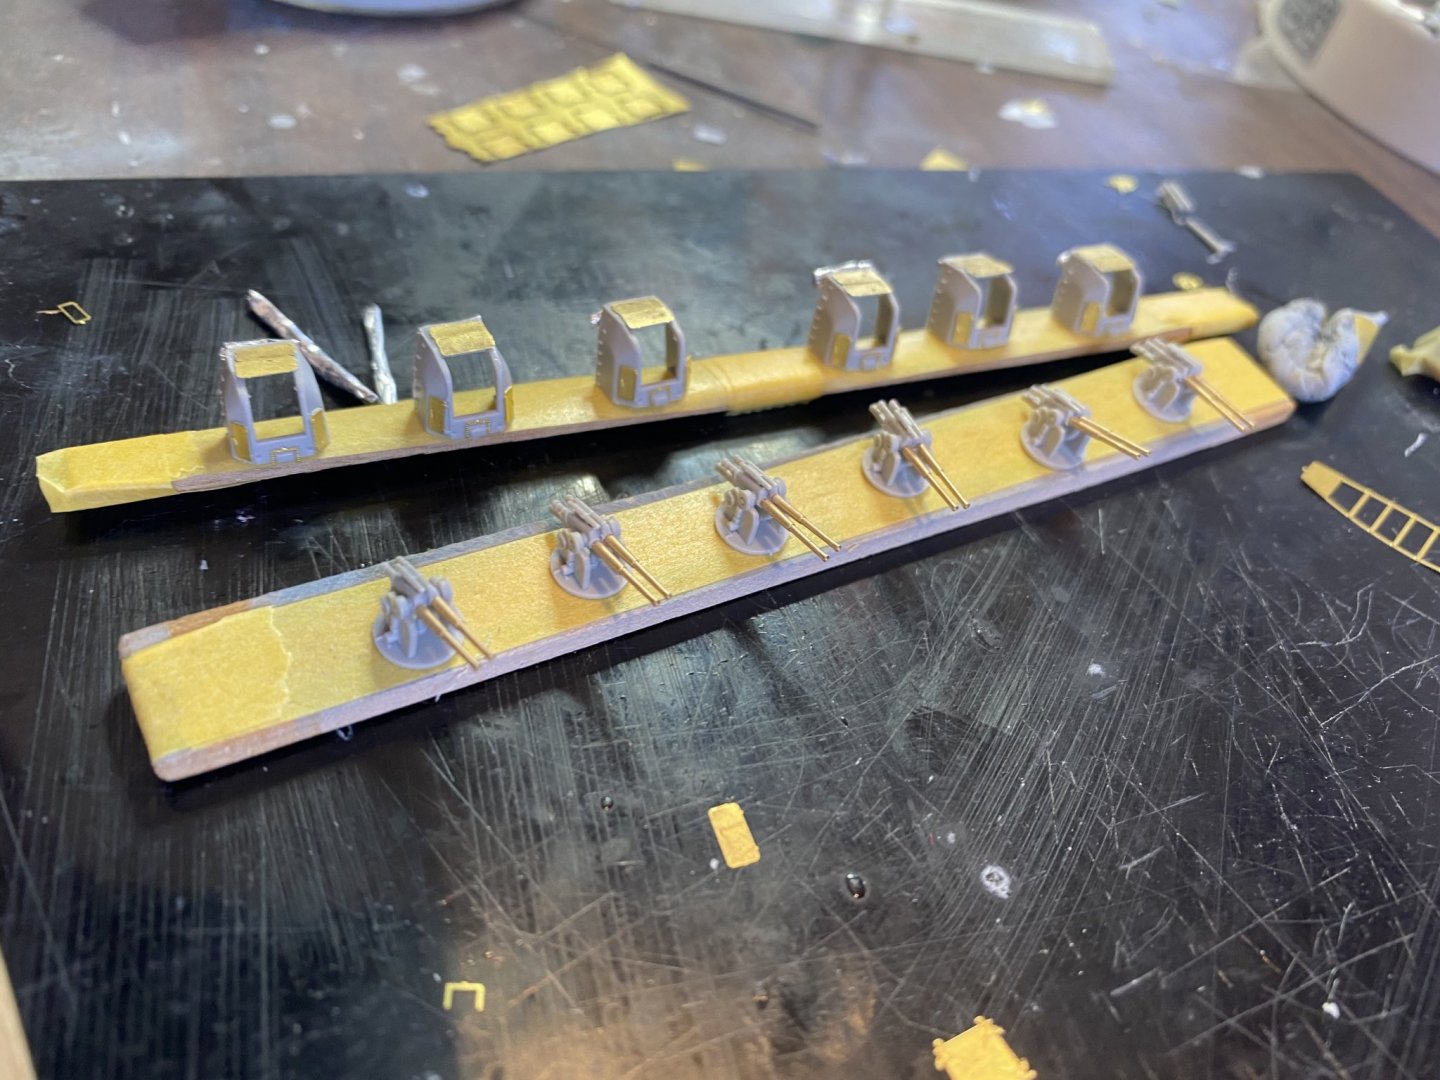
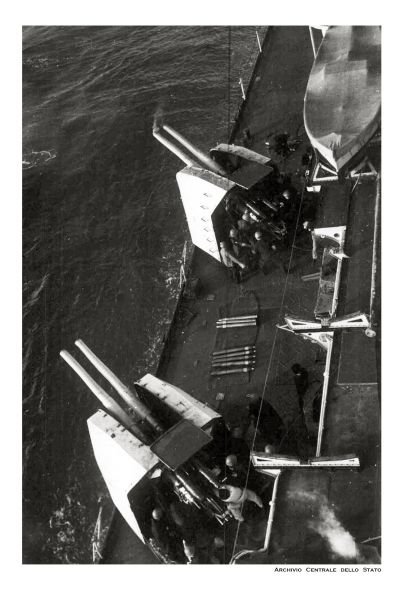
 There are 6 high altitude AA guns, the kit is quite nice, but the barrels get replaced and I’ve added some extra panels on top (I would have required some surgery to cut the panels out.

- 232 replies
-
- 10
-

-
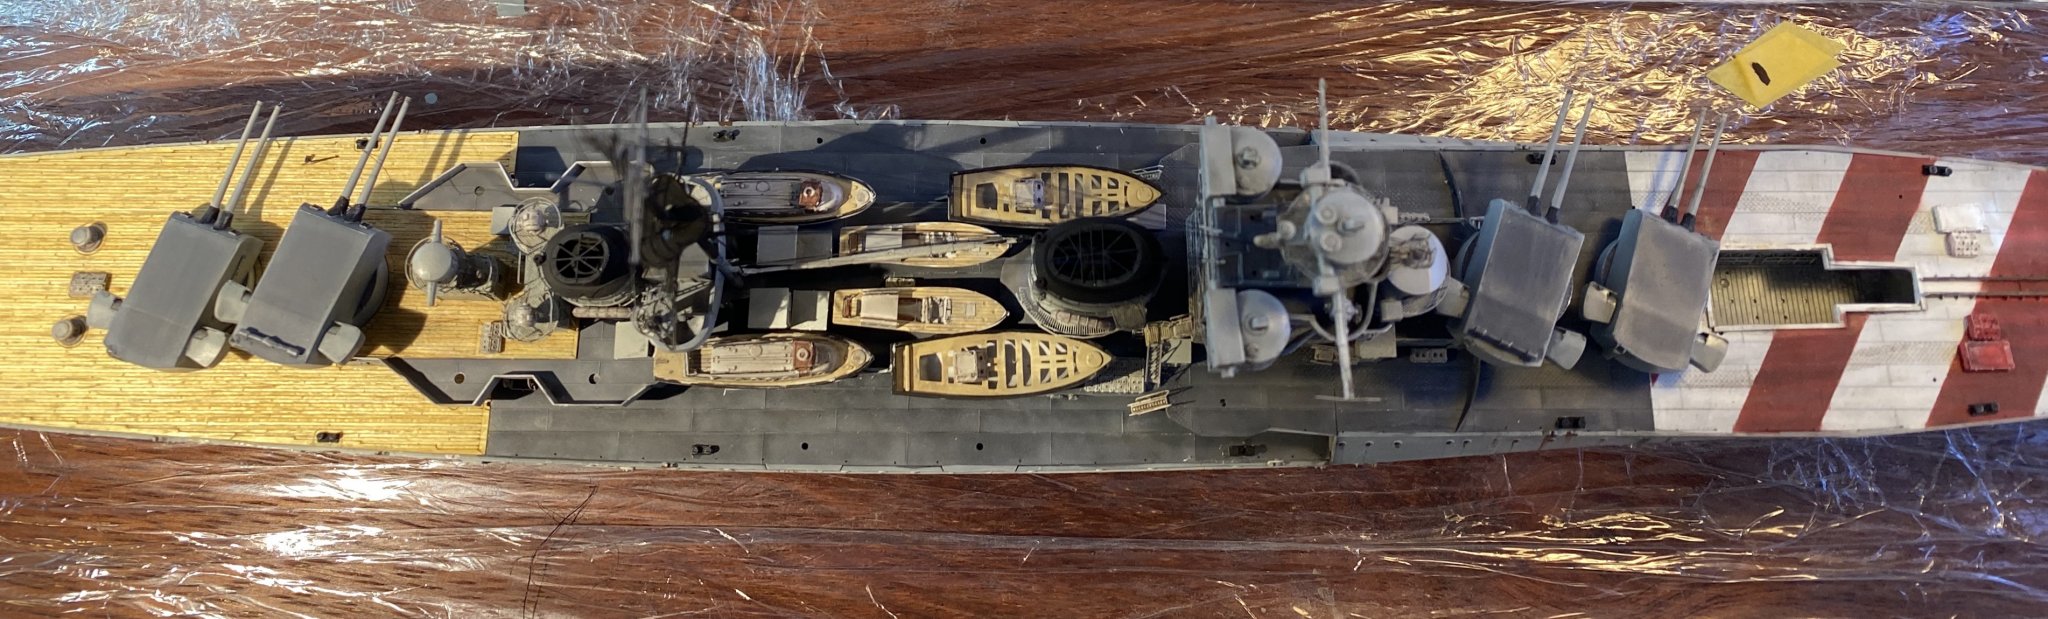
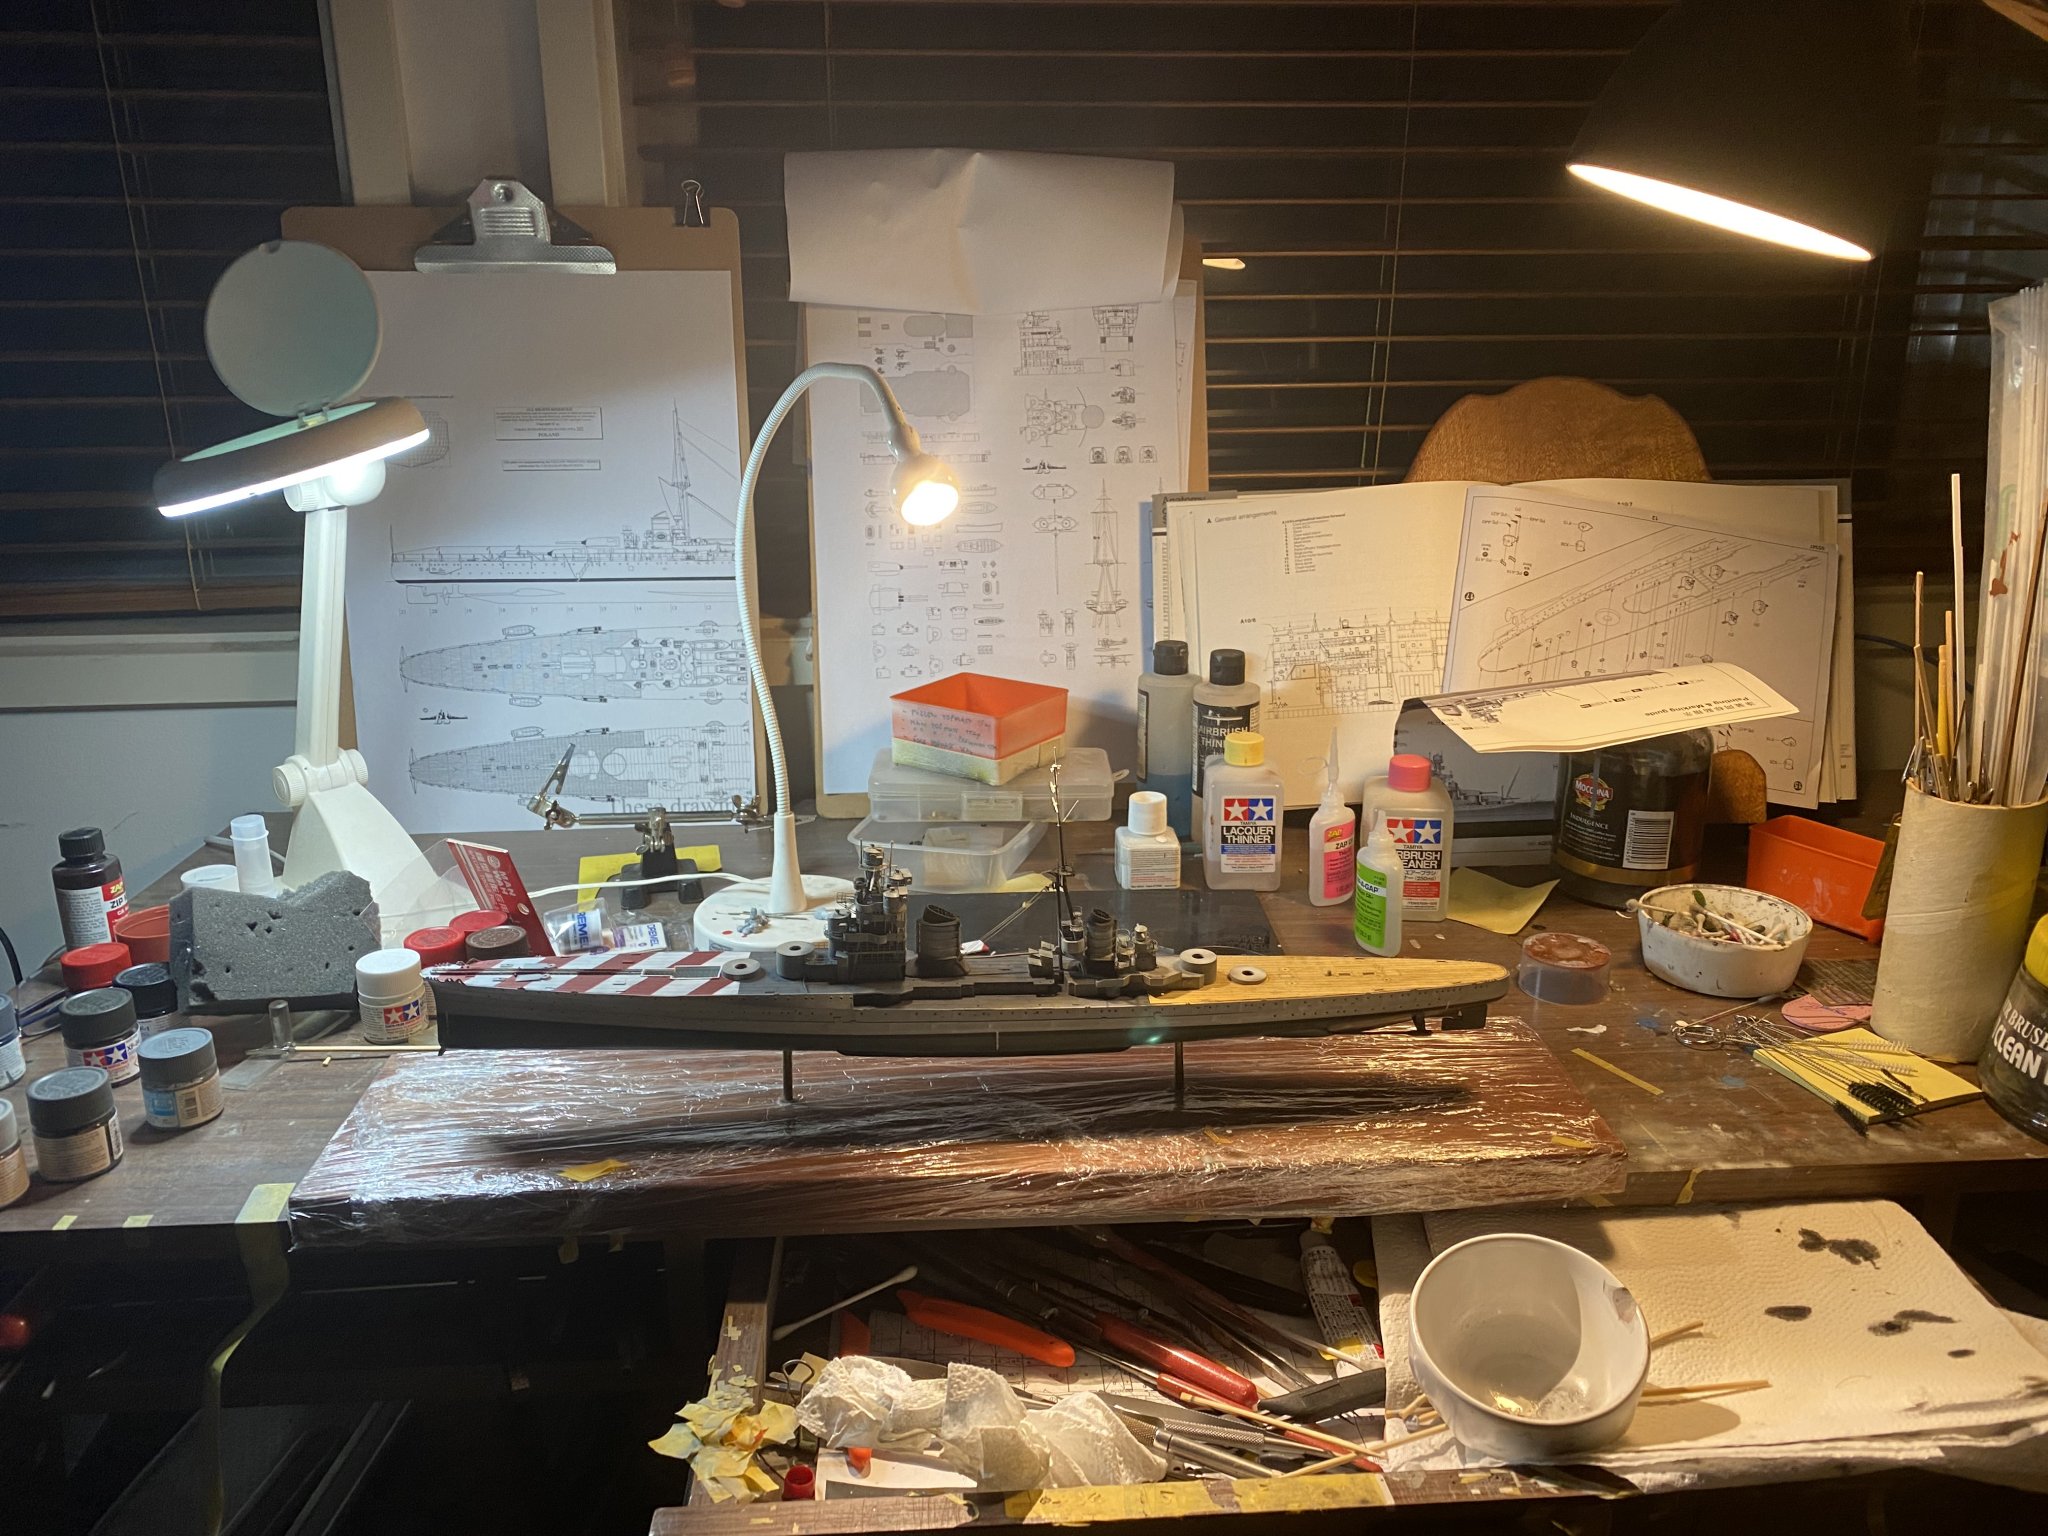
Hahaha description! You are kidding. You know as well as me there is a lot of ‘interpretive dance’ in Chinese instructions. ive gotten quite/ bit done this block of days off. Deck fittings next. Then ships boats, then I can step and rig the mast.
-
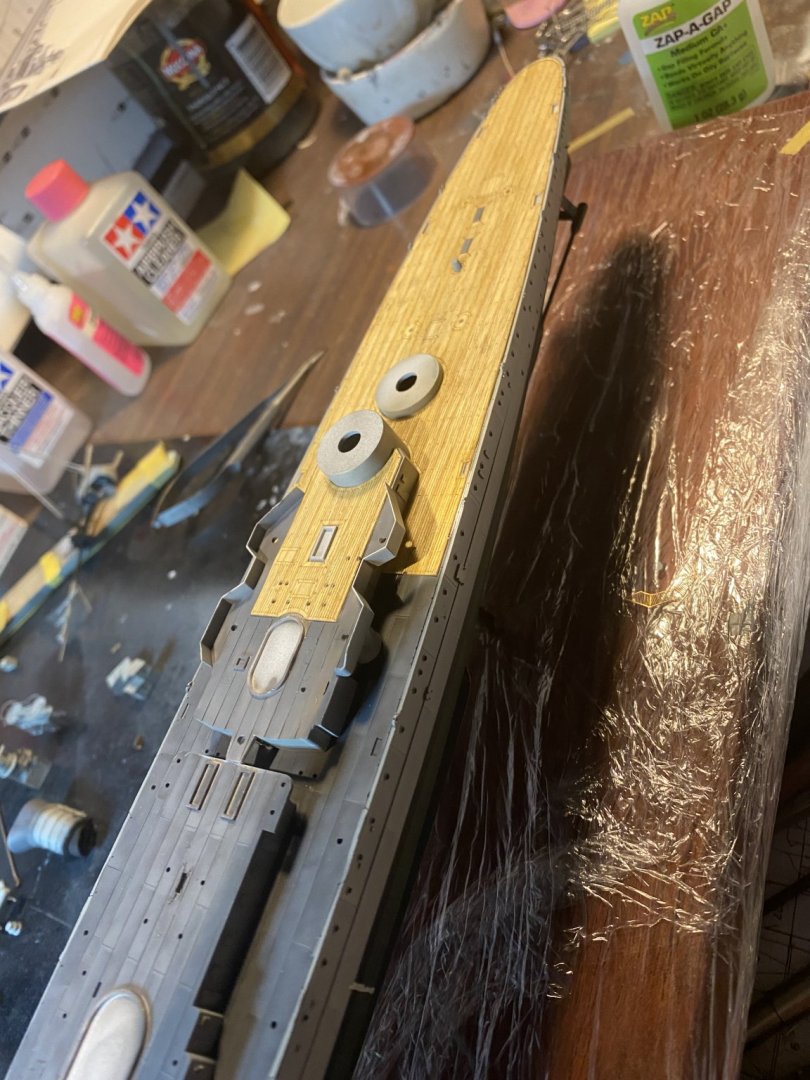
No I’m just going to replace it. The problem is I tried to peel it off the plastic backing thinking it was an adhesive deck which it wasn’t
-
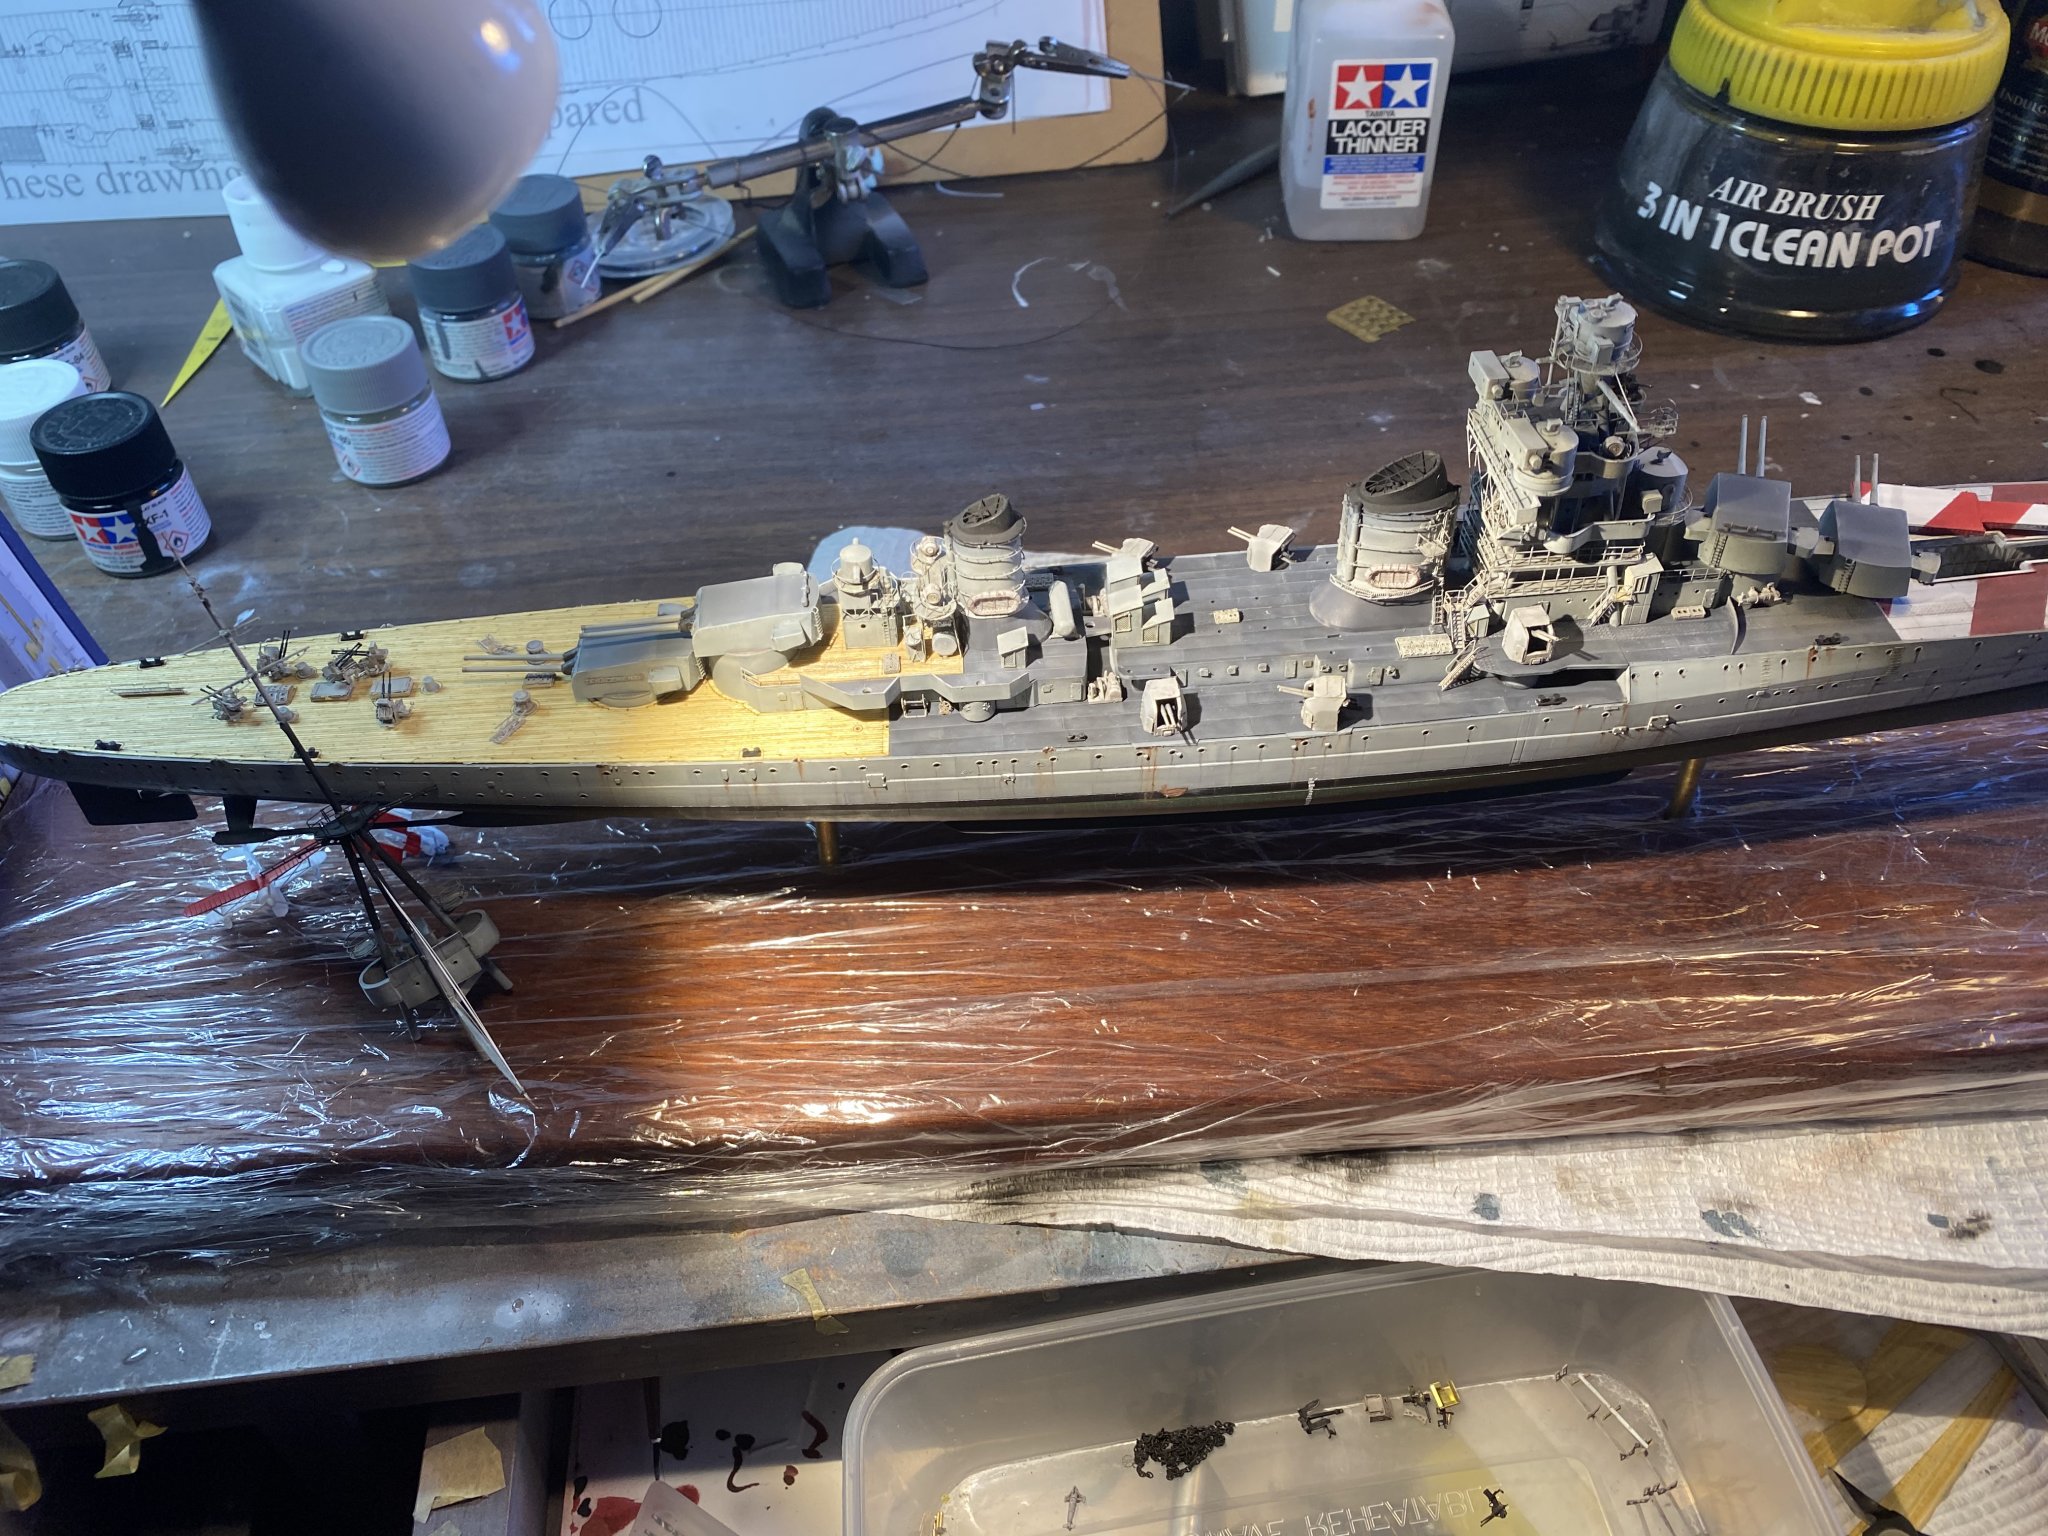
I’ve glued down most of the painted bits now except for the rear building as I’ve ripped off the horrible deck and will replace it.


- 232 replies
-
- 11
-
-
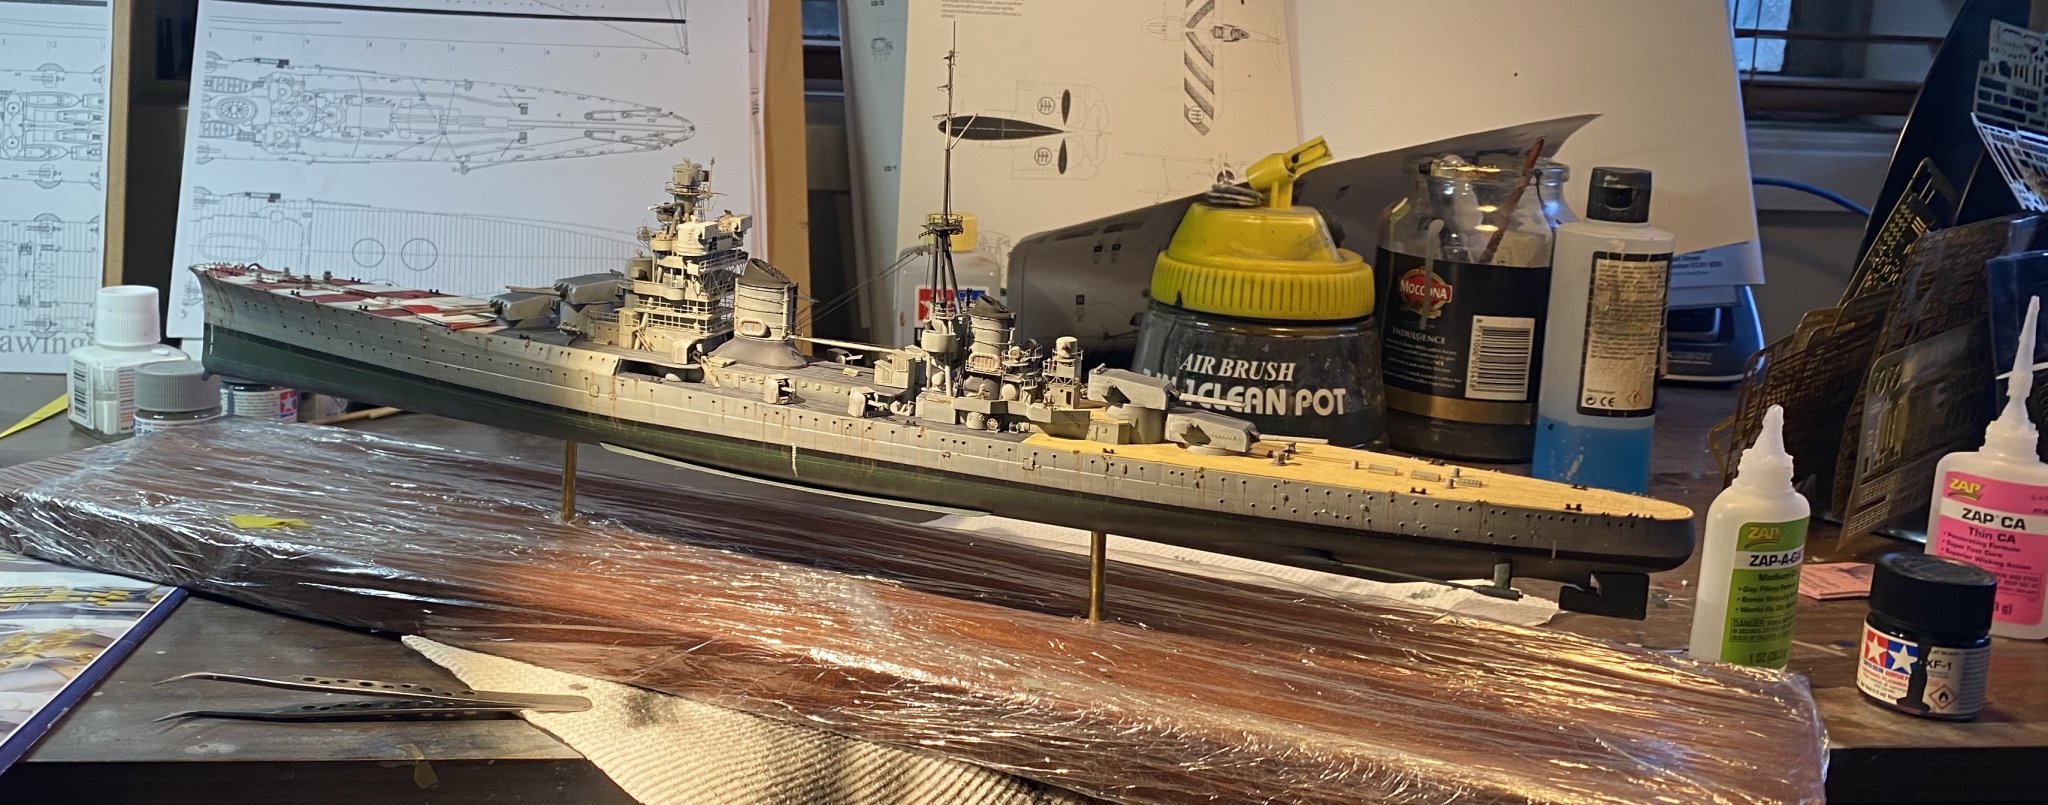
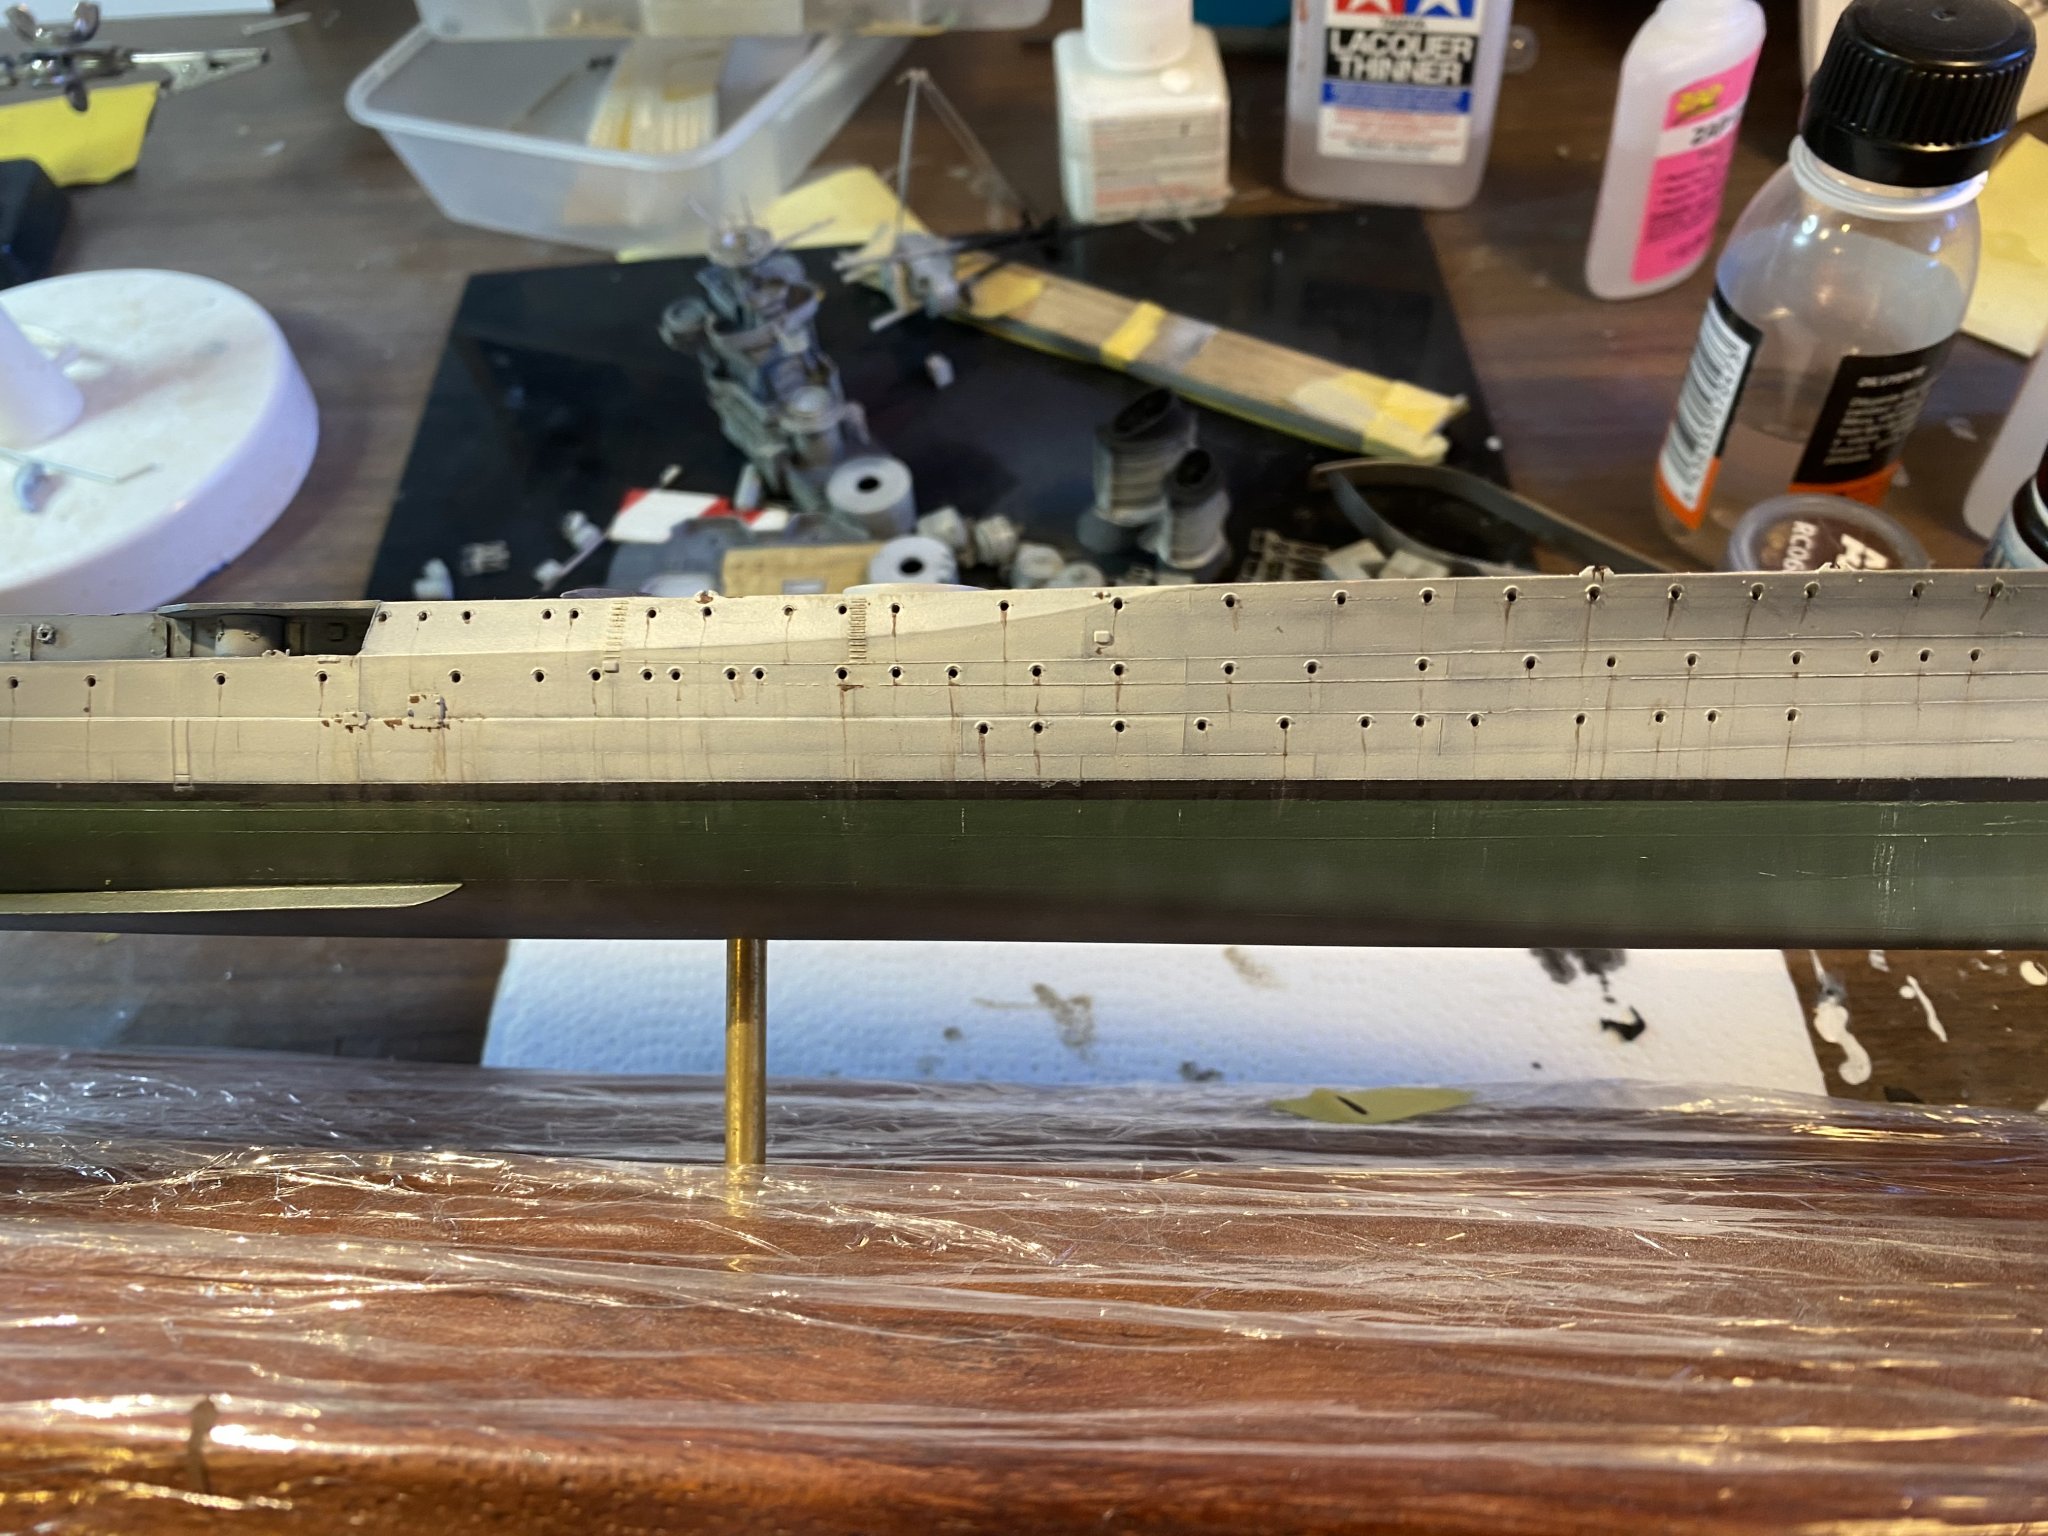
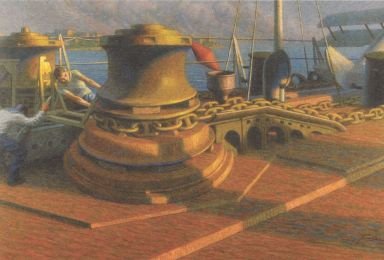
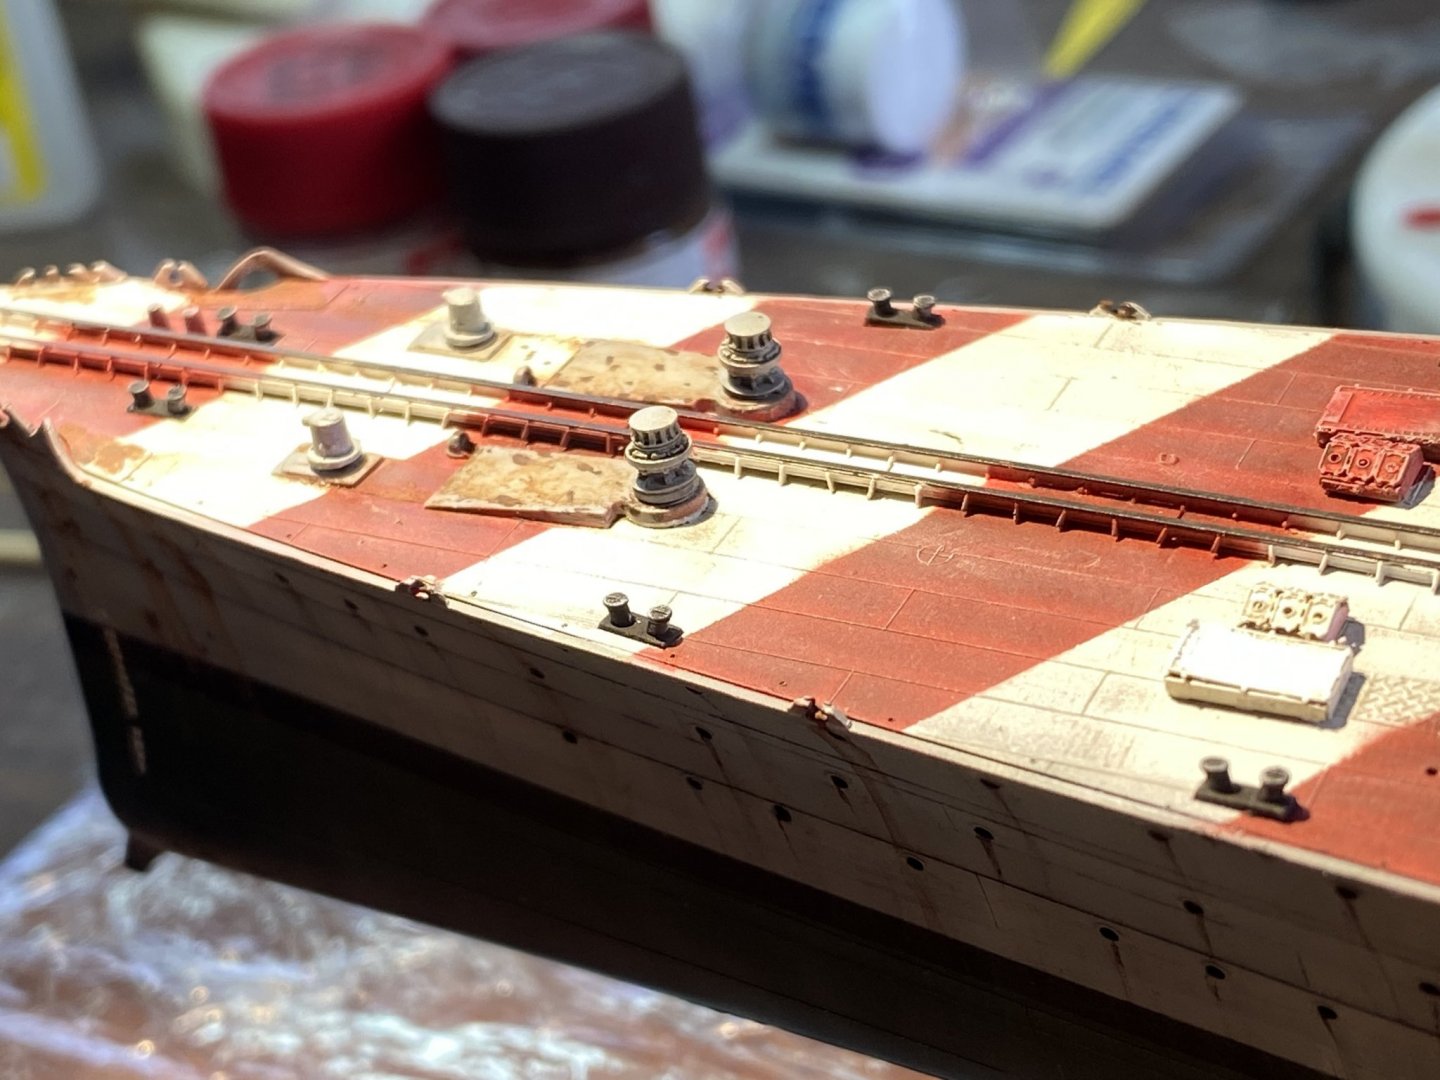
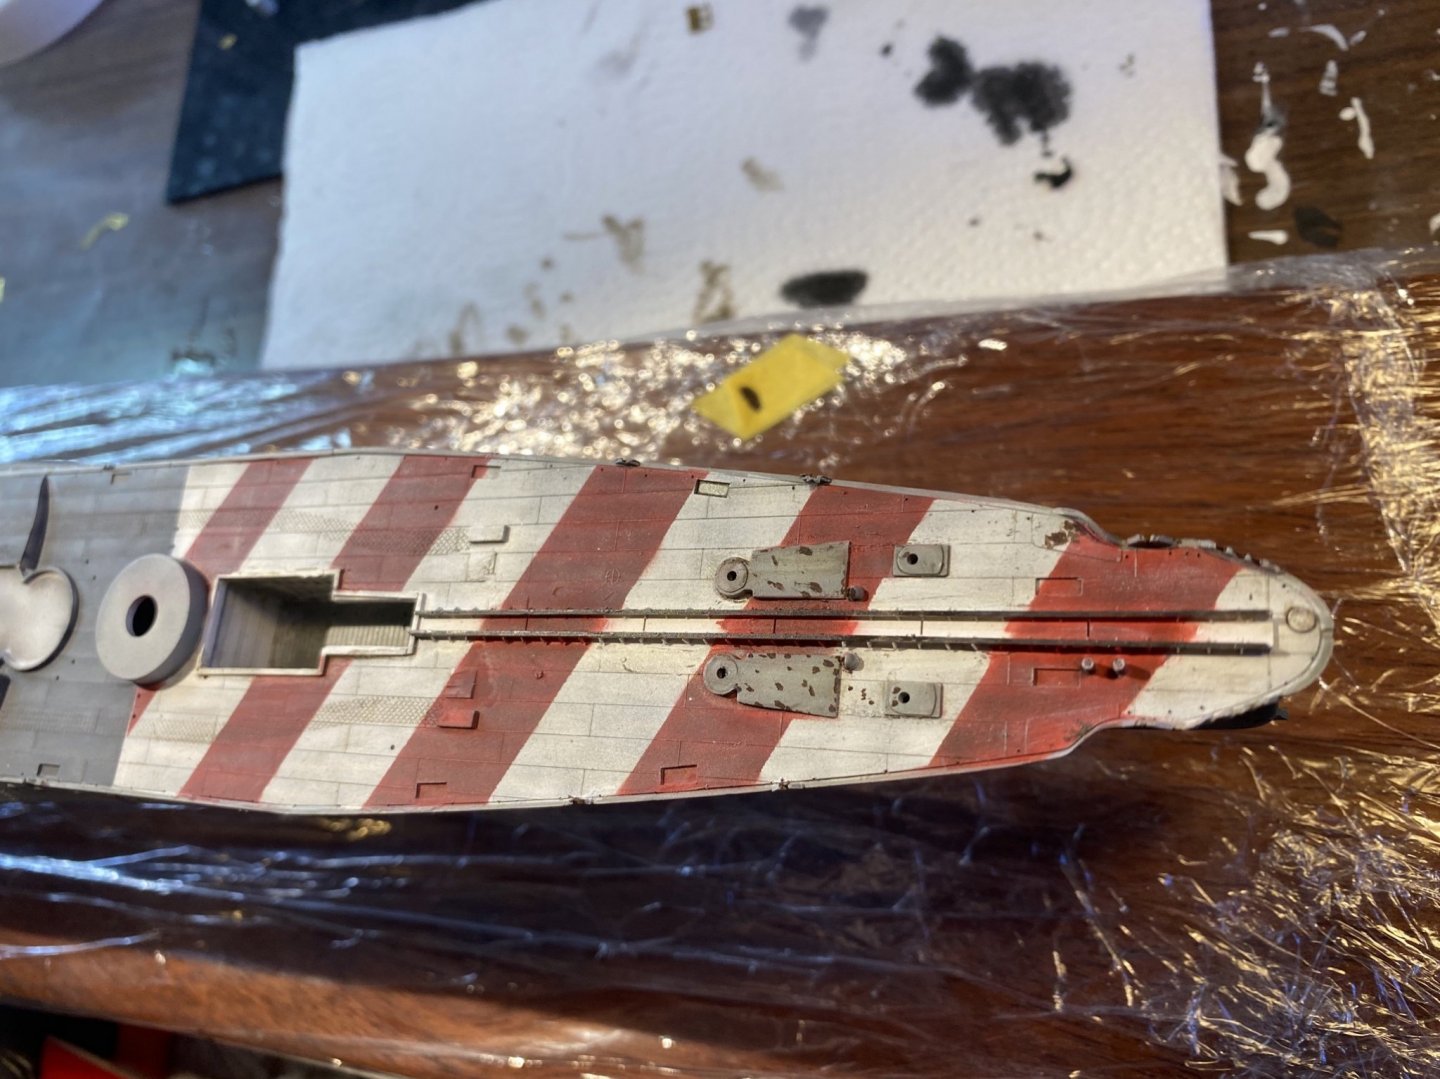
Added a bit of rust and the focsle, replaced the capstans with one that is a bit more accurate
- 232 replies
-
- 12
-
-
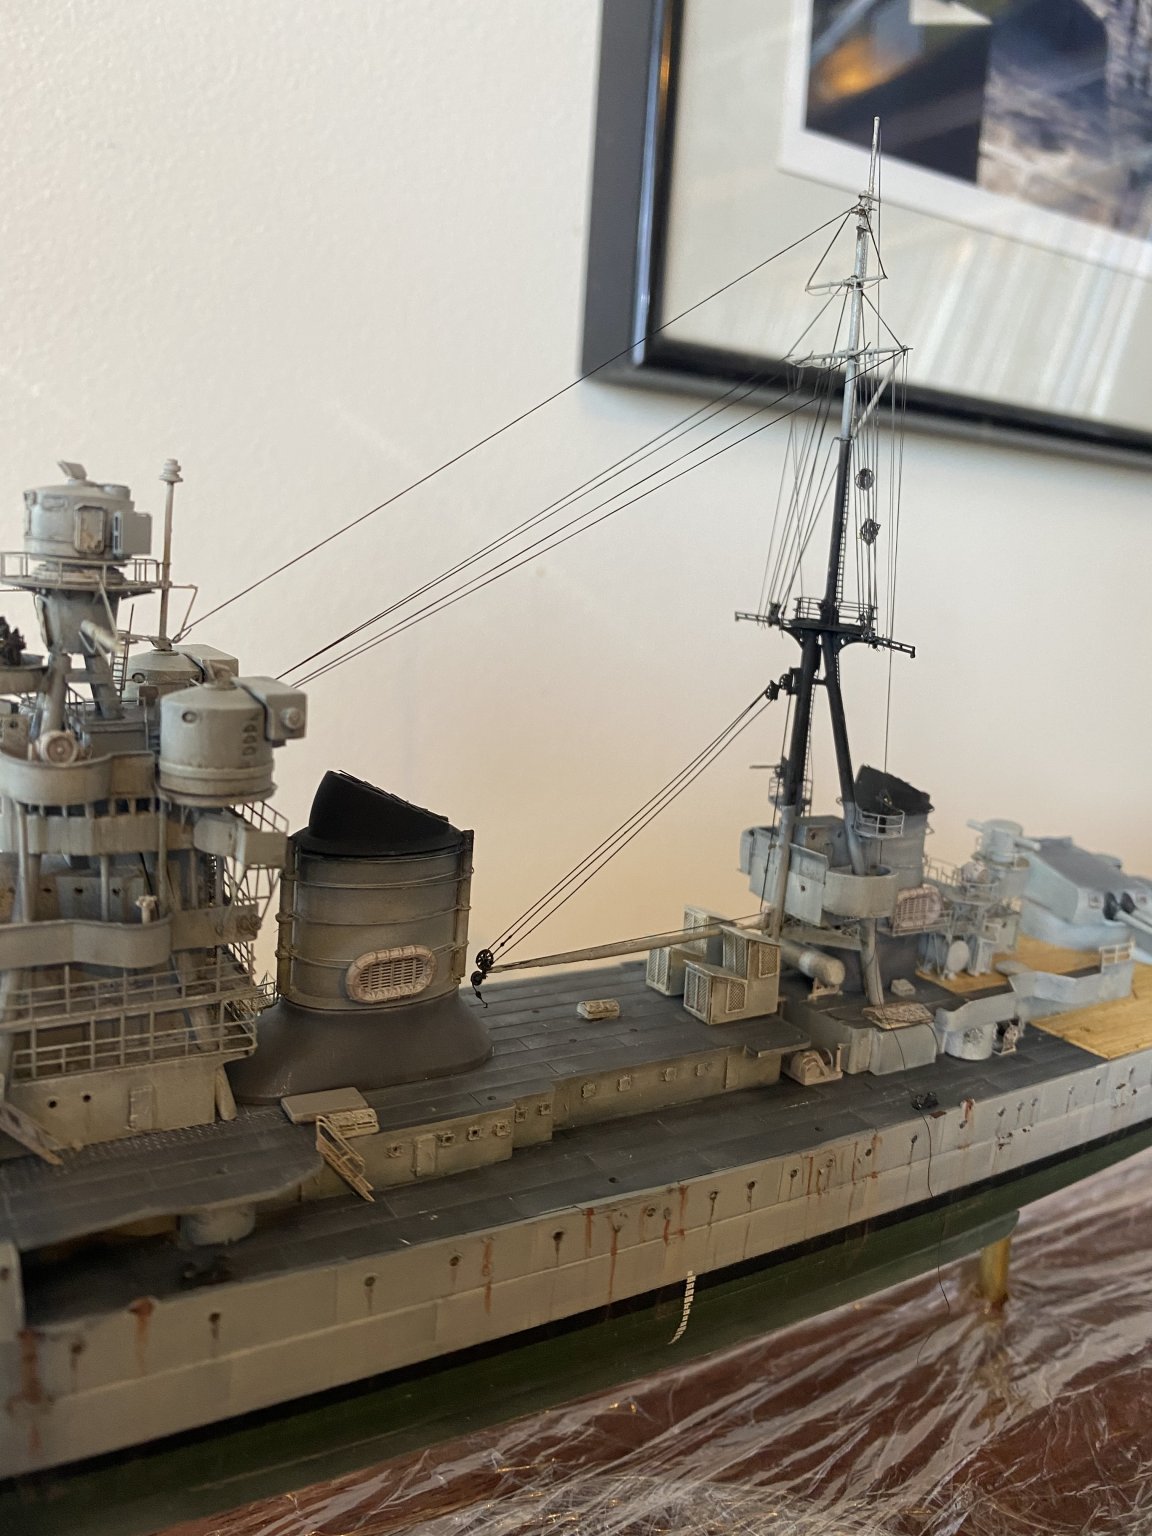
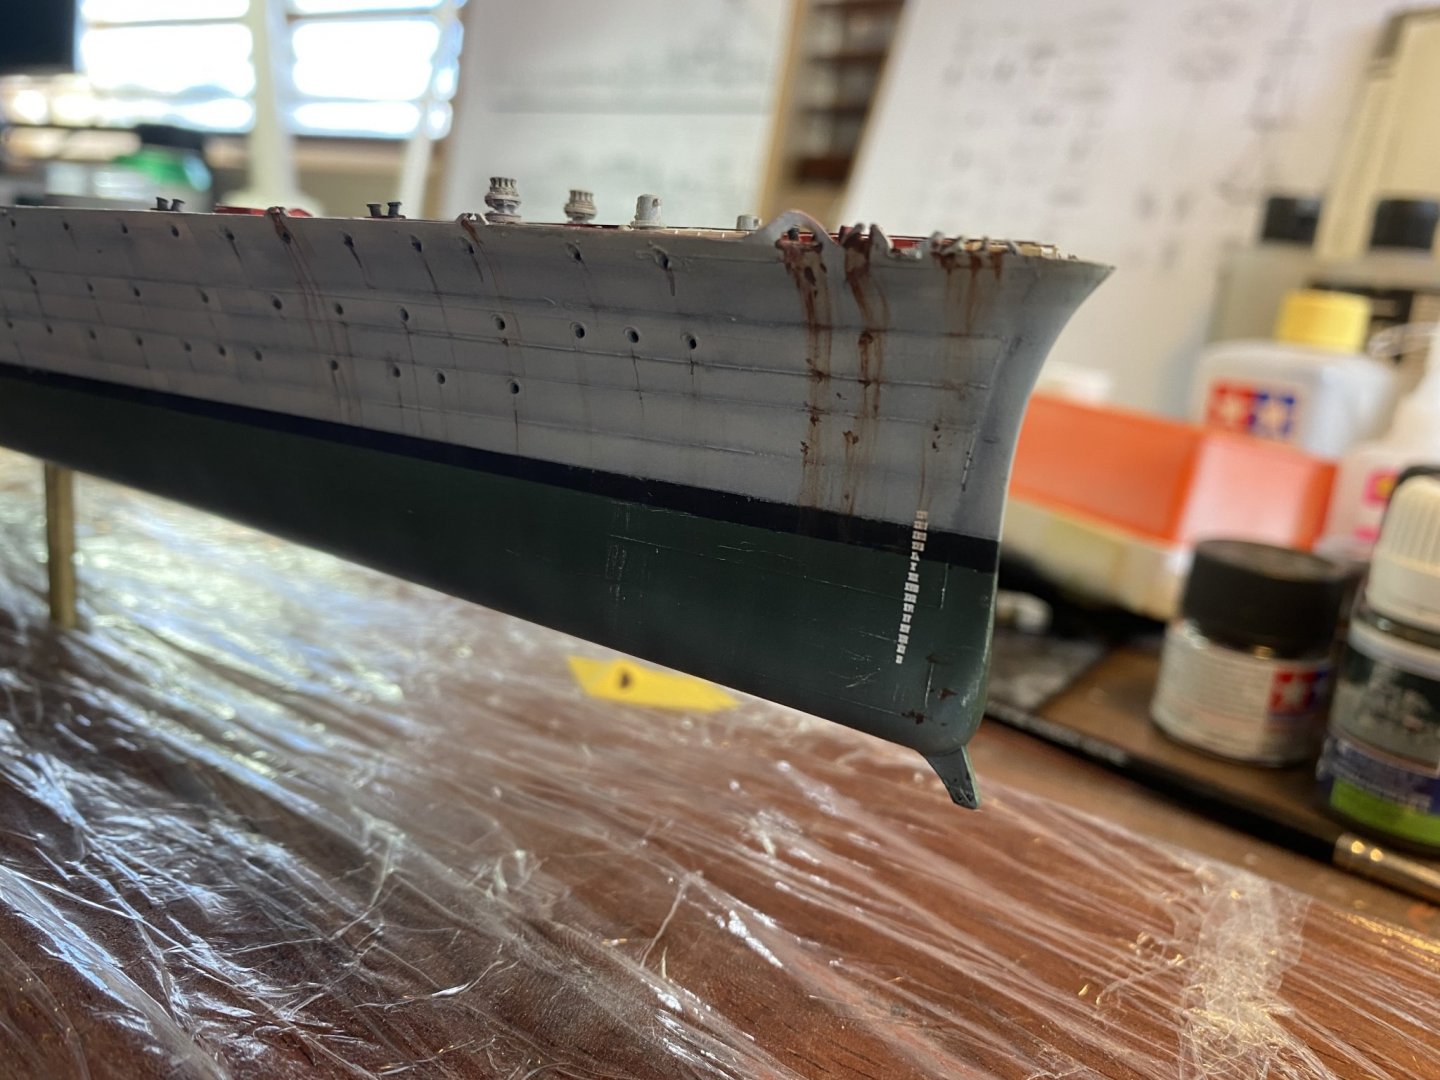
Weathering starts. Grime, filters washes. I feel much more comfortable now it’s a bit dirty a. Rust next.

-
It’s not that it’s bright as rubbish. It has to be glued down which just does not work well.
-
The stick down wooden deck. Isn’t stick down. First one I’ve come across. The plastic backing will come off, but it is not adhesive and it’s wafer thin. A lot of slicing and inserting glue needed.
- 232 replies
-
- 16
-
-
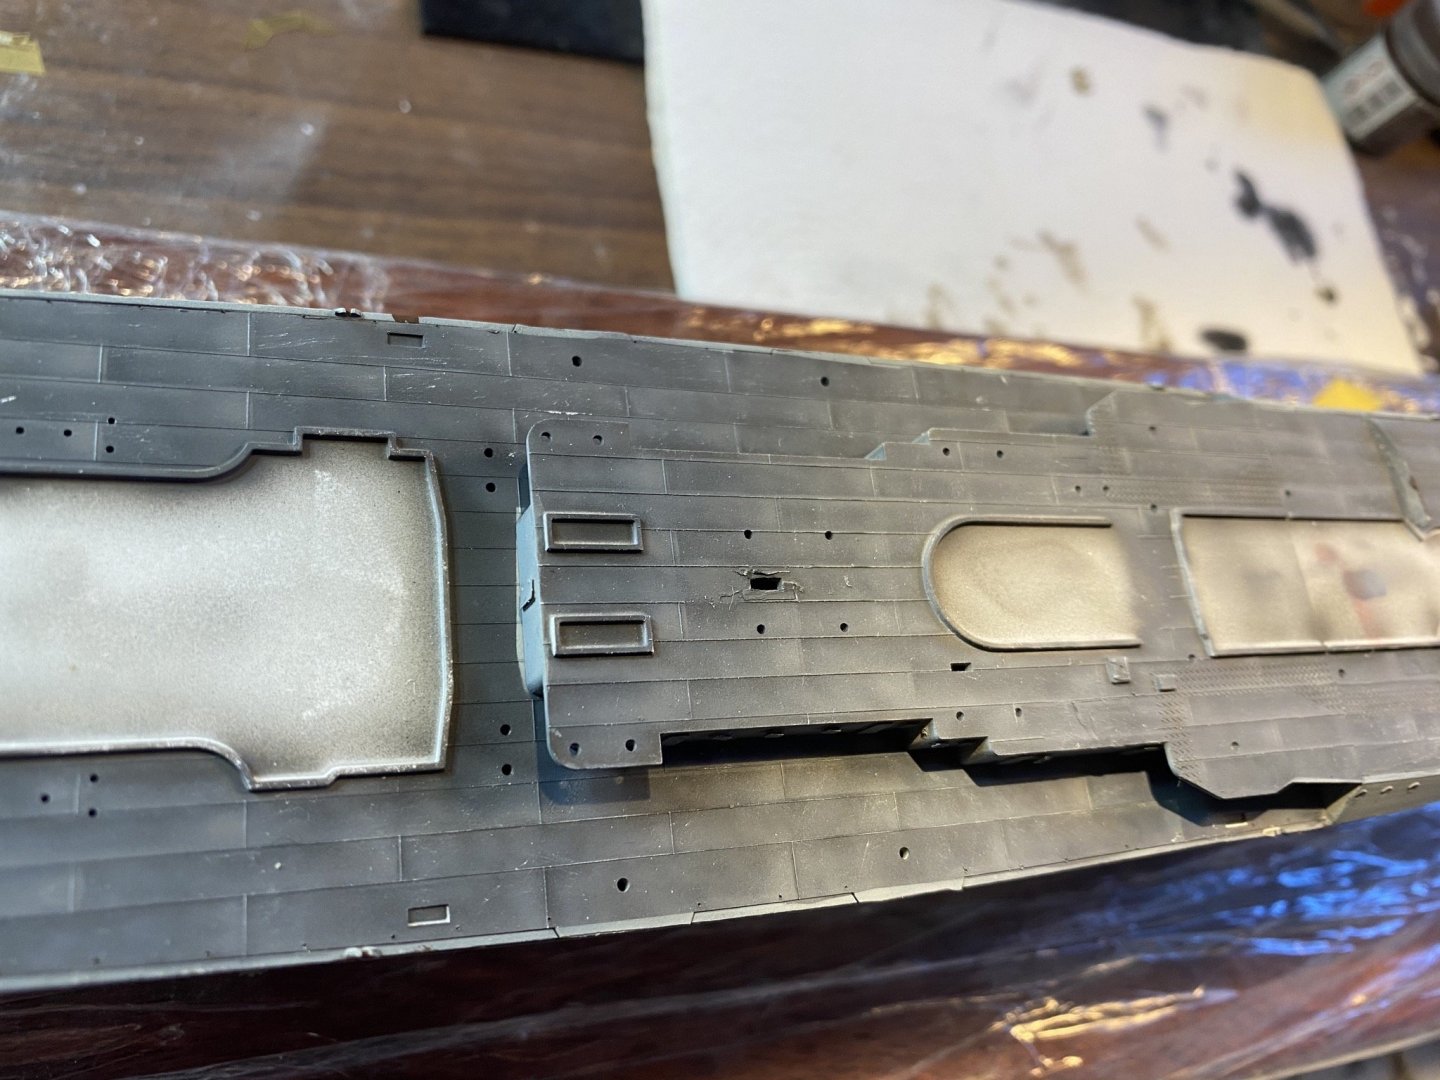
Grey day. The main burg prices are now done. I want it to dry overnight then I can start filters etc.

- 232 replies
-
- 10
-
-
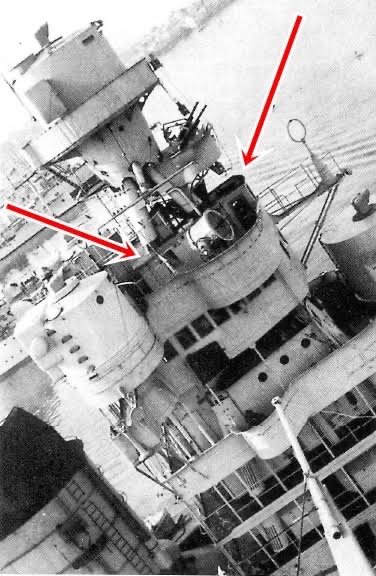
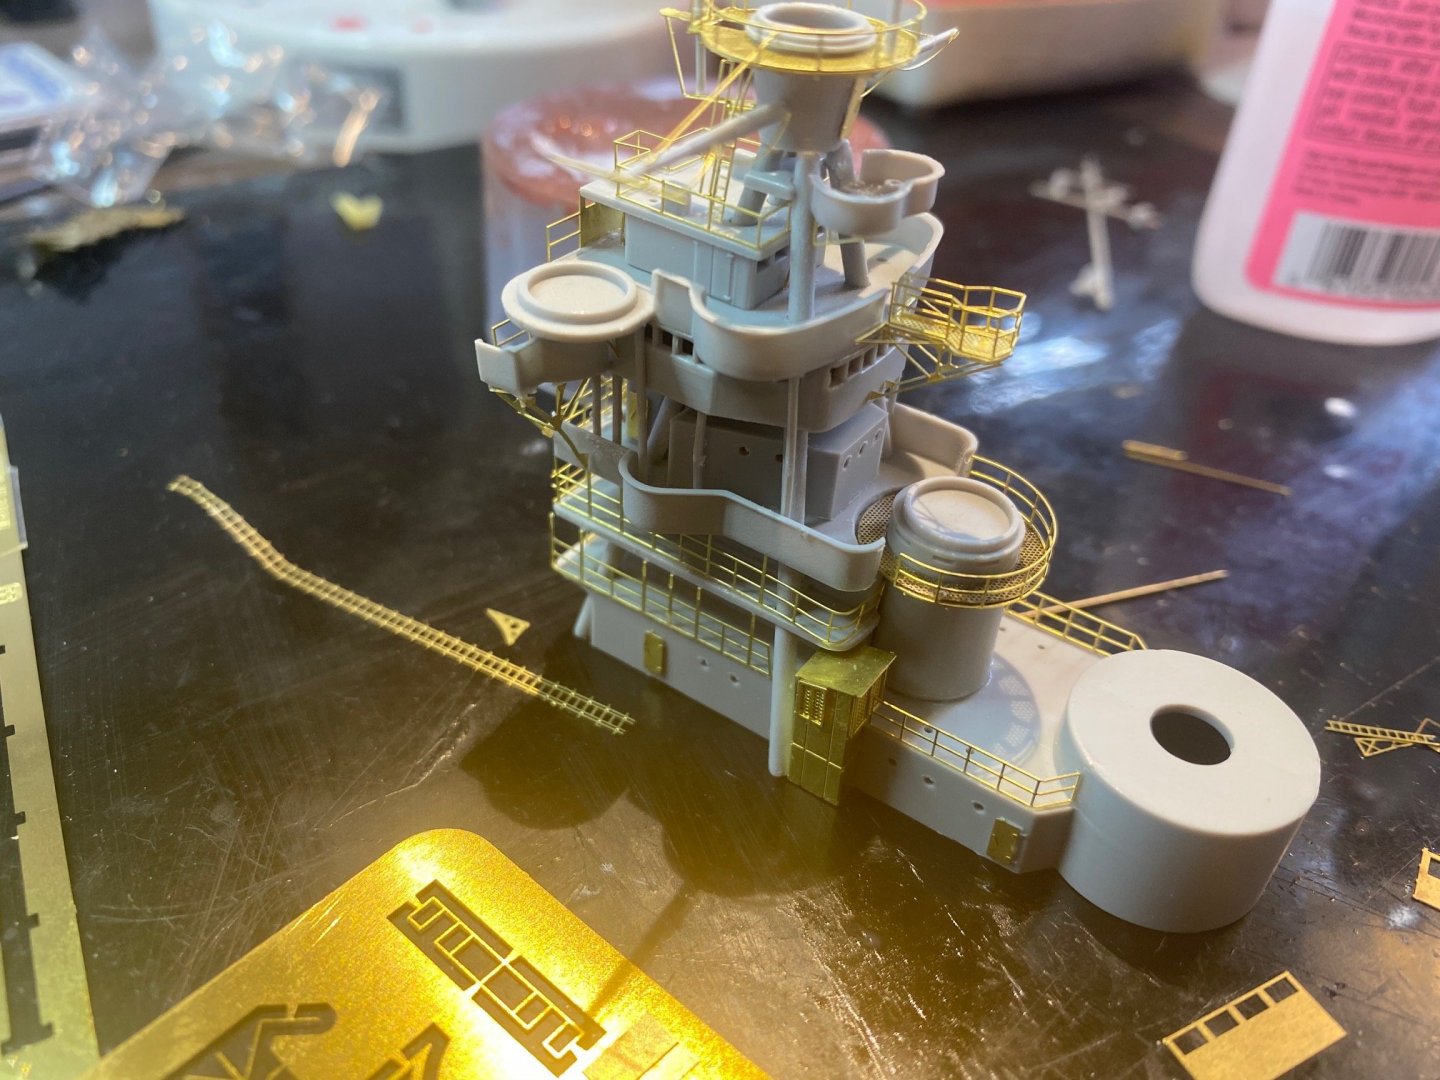
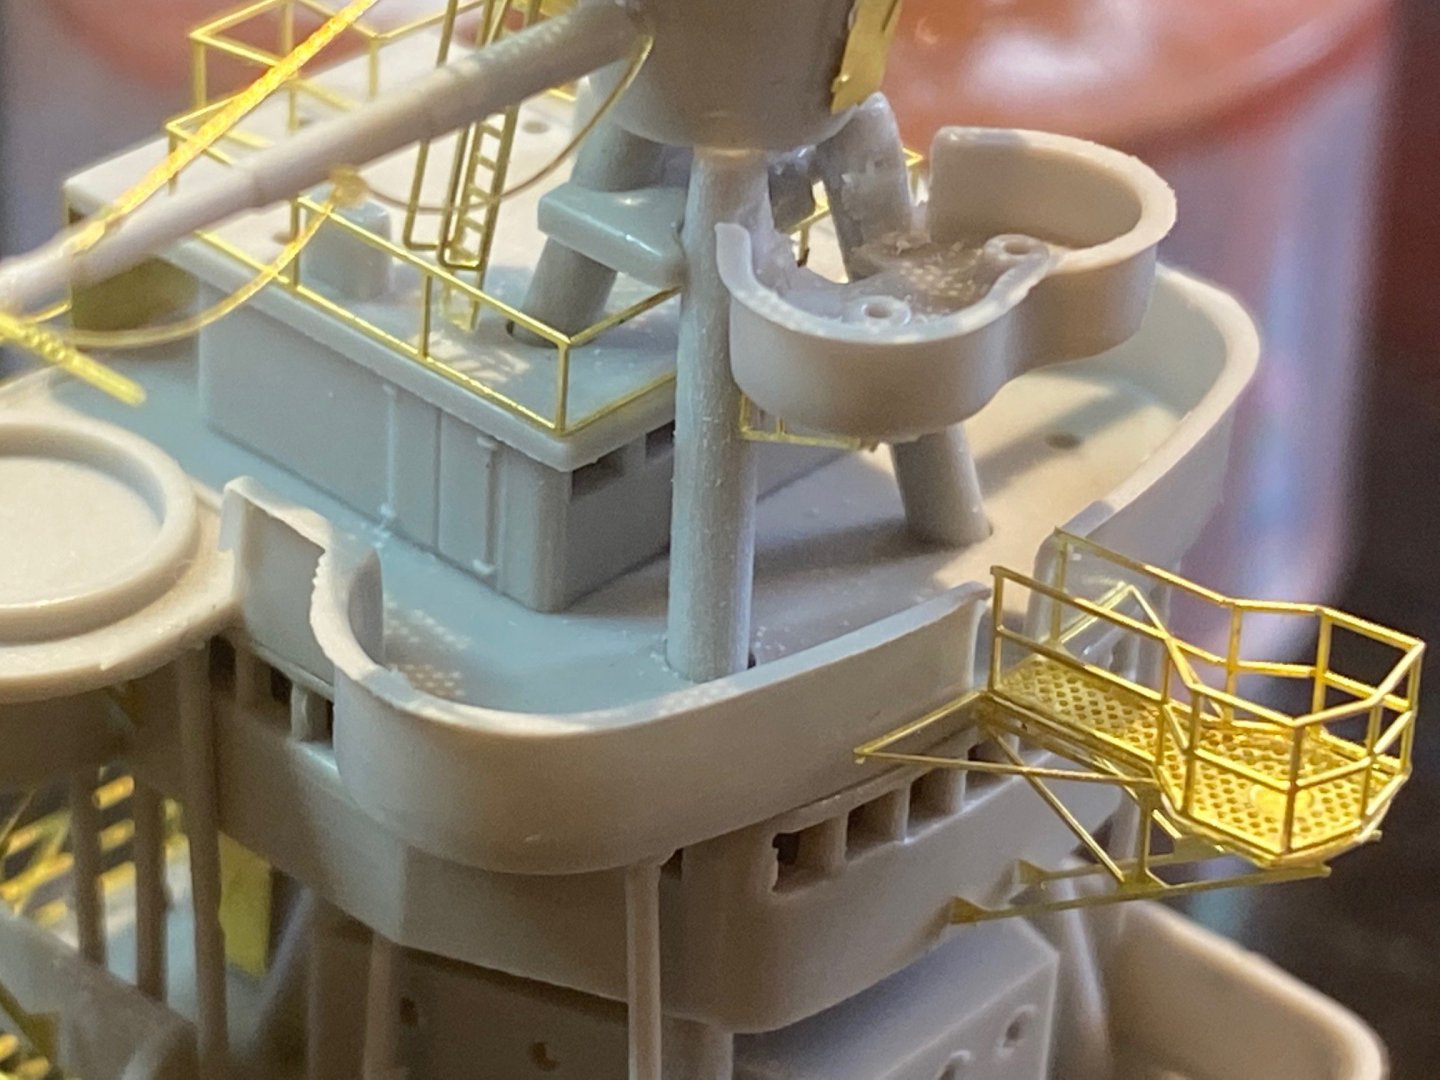
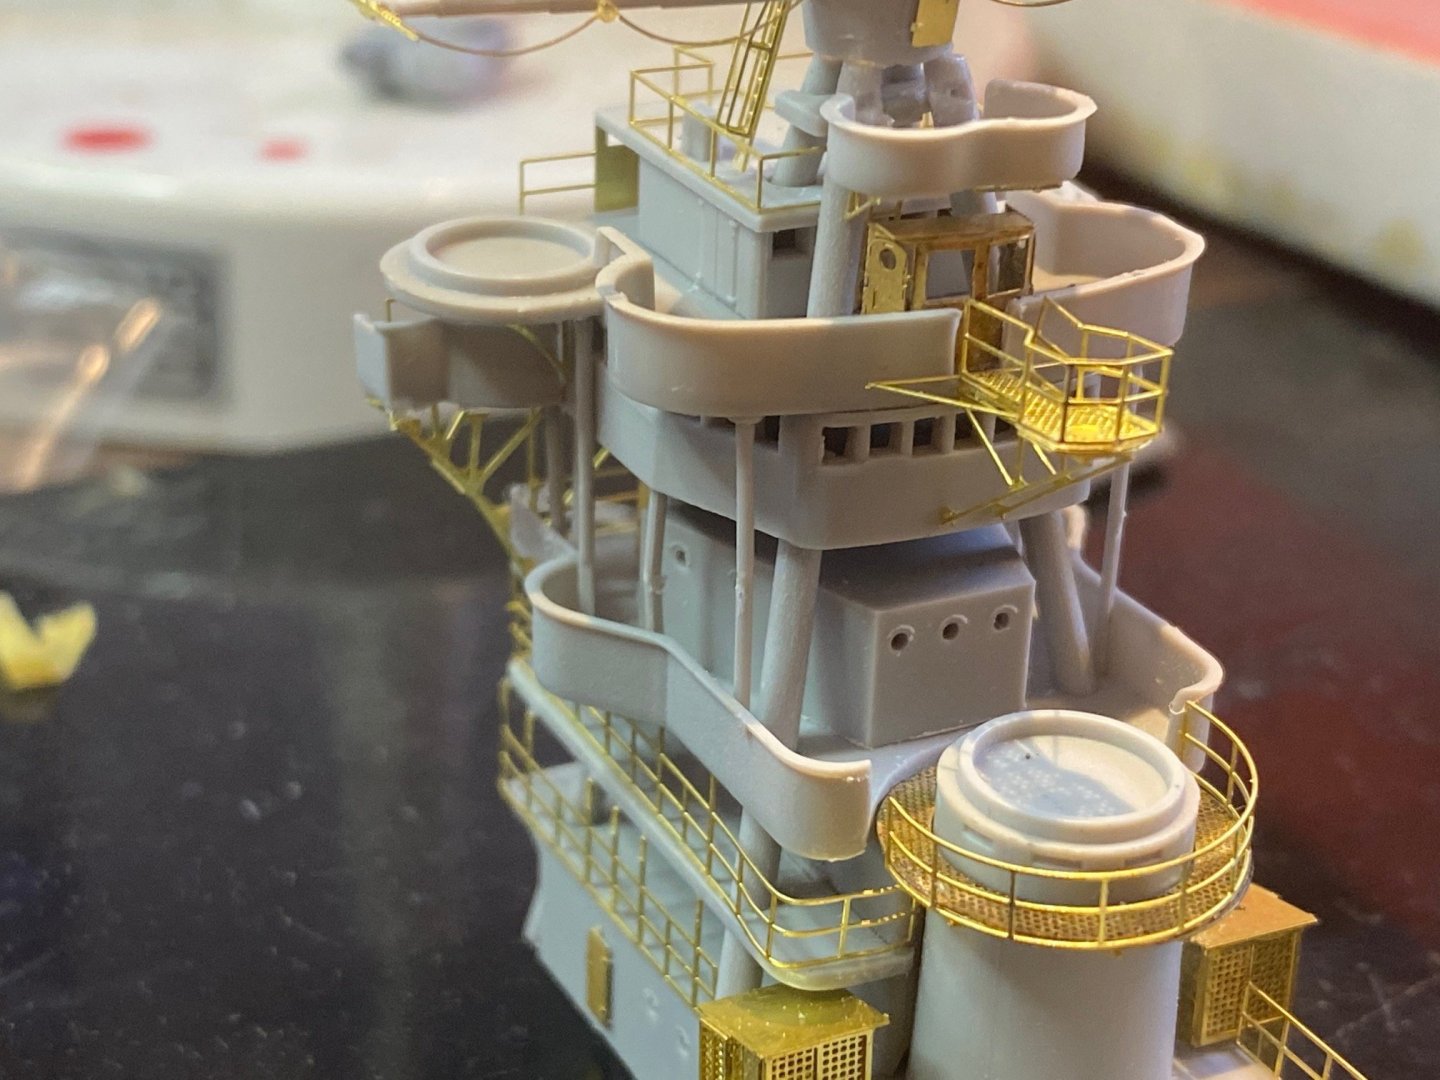
Now back to the bridge. I only figured out what was changed by 1941 after I finished the bridge. there is a cabin behind the directional finder. I cannot pull the entire thing to pieces, so I've just added a cabin.
- 232 replies
-
- 13
-