HOLIDAY DONATION DRIVE - SUPPORT MSW - DO YOUR PART TO KEEP THIS GREAT FORUM GOING! (Only 72 donations so far out of 49,000 members - Can we at least get 100? C'mon guys!)
×

MESSIS
-
Posts
1,232 -
Joined
-
Last visited
Content Type
Profiles
Forums
Gallery
Events
Everything posted by MESSIS
-
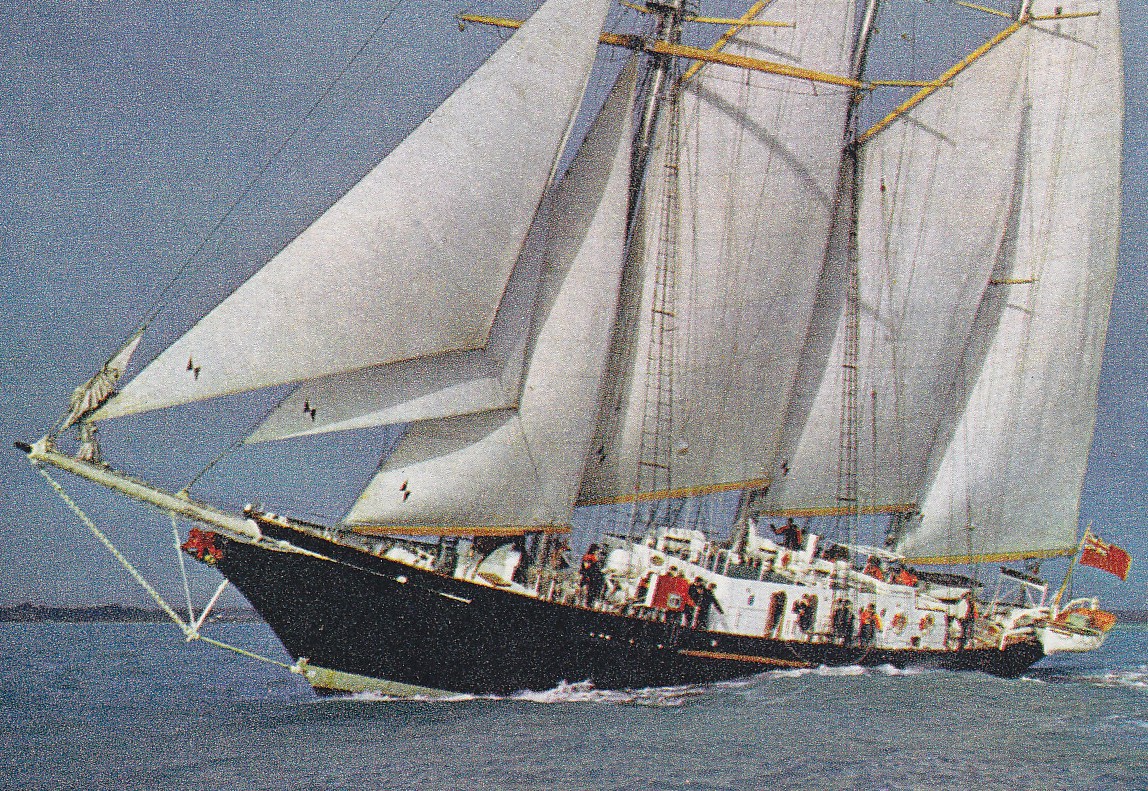
 Great! Caribean is wonderfull. Wish you pleasant stay there. I myself on weekend am going to France and ofcourse am going to visit Hermione in Rochefort. If you need any specific pictures of the ship say so and I ll get them for you.
 -
Thx Bob, Yes I shall do what you said. It seems am going to get away with the sharp points planks. As you saw my calculations it seems am going to have not less than just 2+ mm as the minimum thinest planks and that only on some planks at the stem it self. Have you seen my post to you on philos log about: the replica and the original Hermione dillema? and what about your buildlog?
-
Dilbert55 how is going your build. Have you started a buildlog?
-
Dilbert55 Its very probable what you sugest. And here comes the thing am dealing now with. Which ship am going to build. As you know I got the new kit which is the replica. If I go for that, then how come can I put on it the crew. And not only that, for example the real ship has rope for the anchor... my kit has also rope, but the replica at Rochefort has also a chain! So if I build the replica I have to add the chain.... And what about coppering?The replica has no but the original ship was coppered.... etc etc etc....
-
Sorry guys.... I got confused.... thoght it was the cannon deck.....
-
Good idea the guitar string. Arent there any cannons and cannon ports to make?
-
Thank you Pat
-
Trying to figure out how is the best way to make a nice flag blowing in the wind. Christos
-
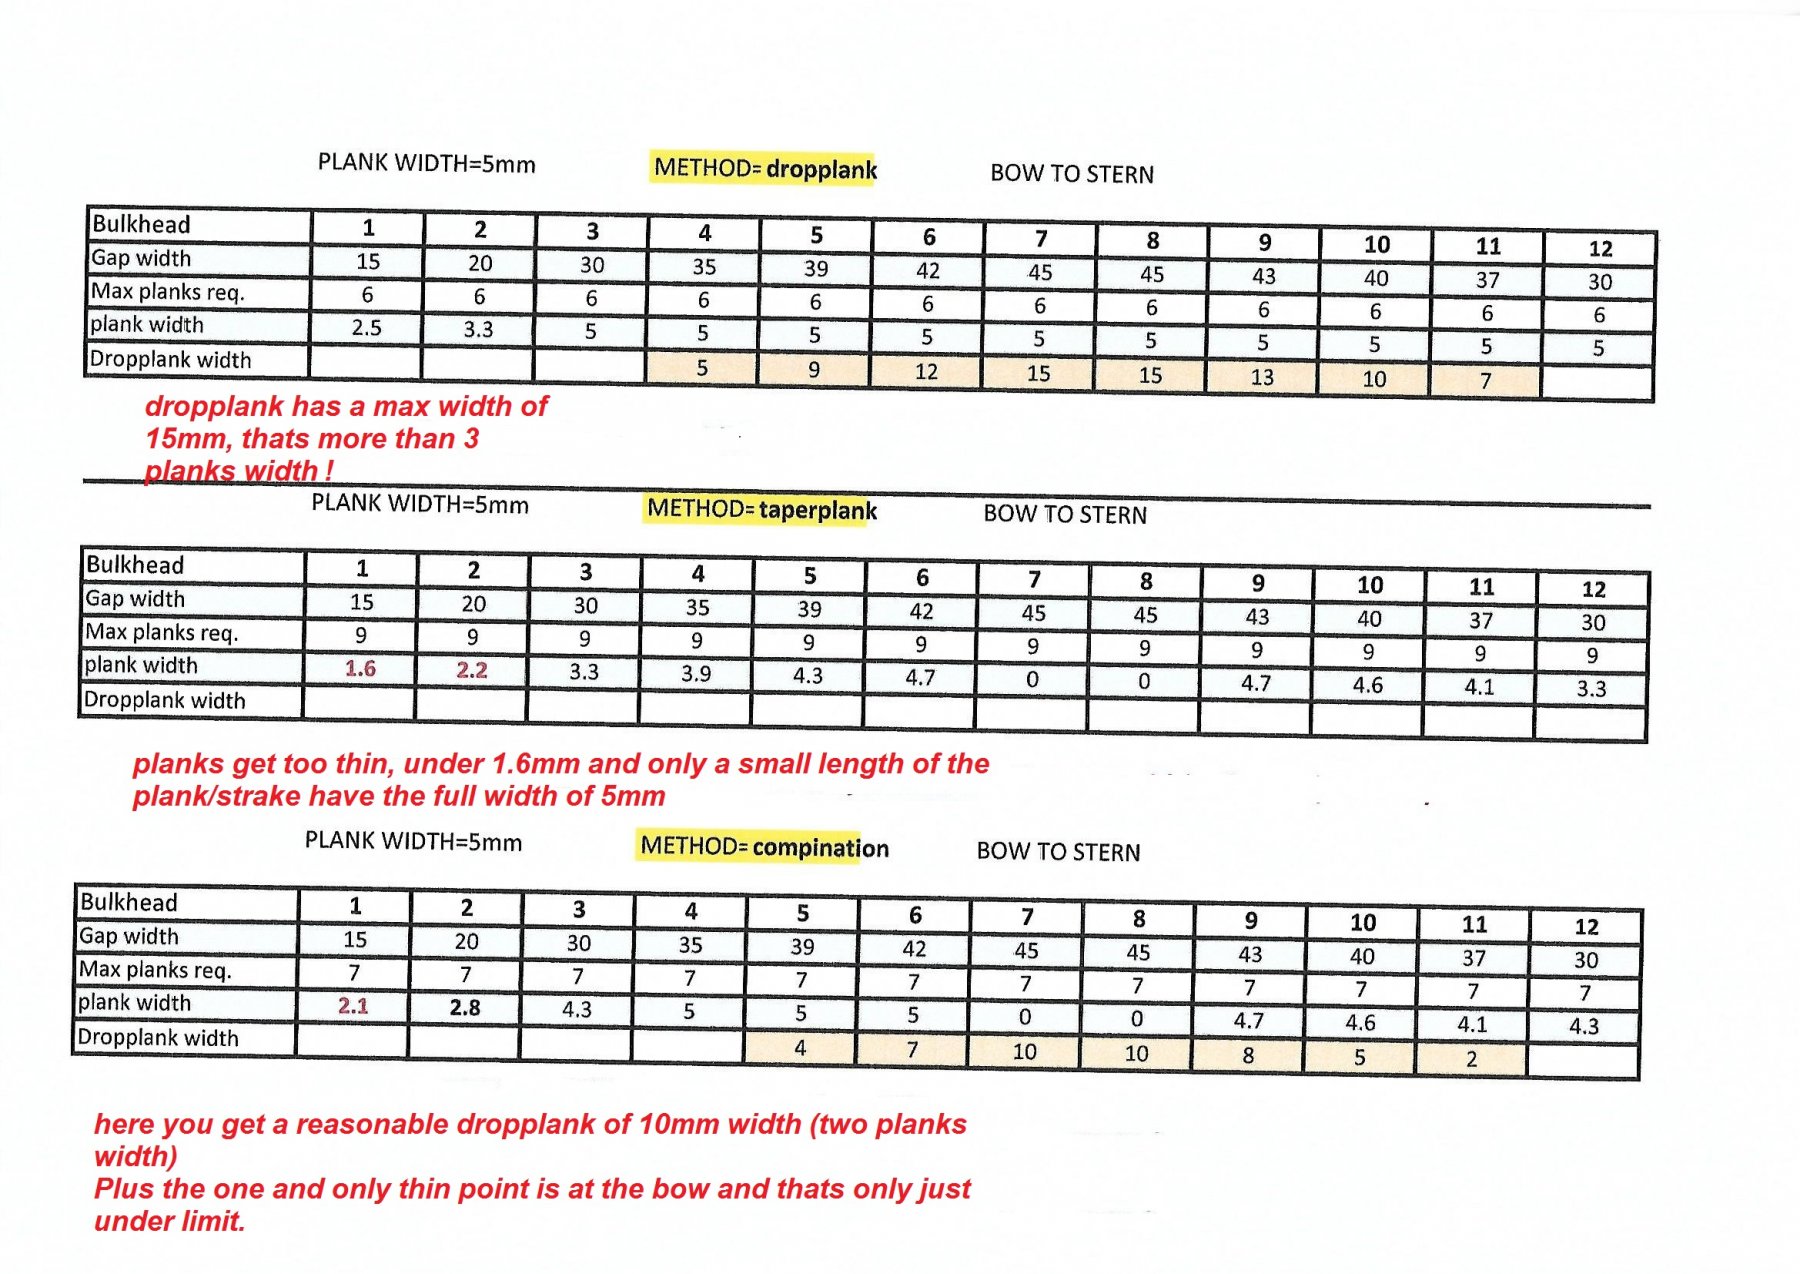
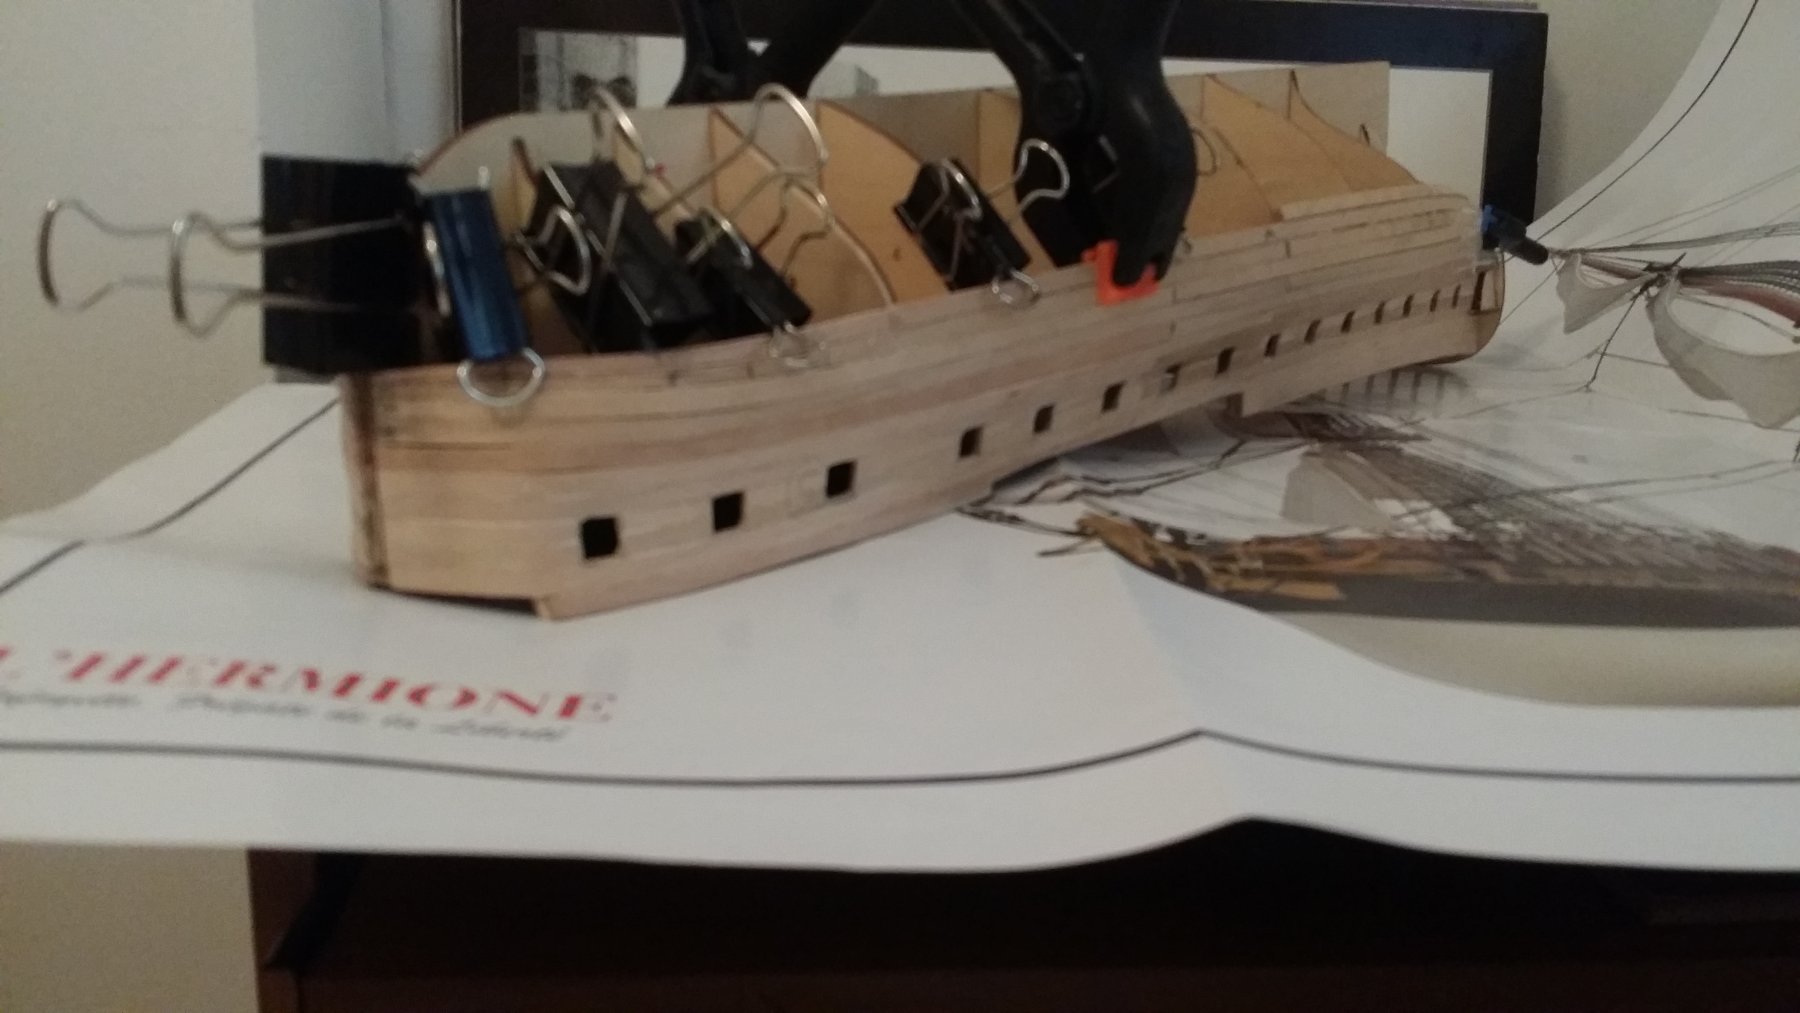
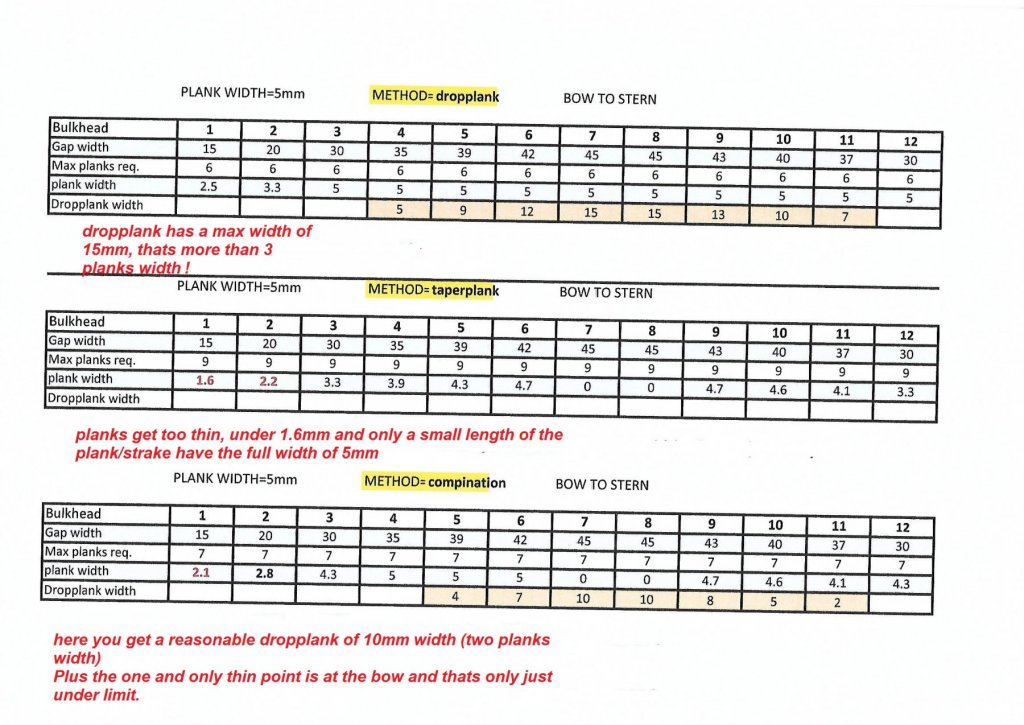
So here is where I am. There is now time for the two planked areas to meet and close the hull. I got my measurements and I got some difficulty to decide how I proceed. If I use the dropplank method I get a very wide dropplank (15mm=3 planks width). If I go for the tapperplank method then I get some very thin planks... 1.6 mm at the bow and 2.2 mm further in, when plank width is 5mm! I almost have nowhere the full 5 mm plank/strake width. So I figure I make a combination... dont know if I am doing well or if thats going to come out very bad. Am open to any opinions and suggestions guys... please. Here are my calculations
- 317 replies
-
- 3
-

-
- hermione
- artesania latina
- (and 1 more)
-
Well done Bob. You made a very good staining. I hope its not my eyes me getting old.... hi hi. Christos
-
Dilbert55 Concerning colours: There is also the "scale effect", that considers the distance seen a colour. And thats obvious different in scale model than in reality. The colours must be pale on the models so you got to mix them with some white or water.... etc etc. Here is a link about this if you are interested in: https://www.cybermodeler.com/color/scale_effect.shtml So if you have the correct colour is not enough. You need to expiriment a little till you find the scale effect, by mixing around. If you like I can email you the corresponding nr of the vallejo paints. Christos Ps. Your picture: Nice build there.... and nice dark wood! I wouldnt paint such a nice wood hull .... ever. As you saw my model has a plain almost white wood. Very good quality but it doesnt worth even considering letting it unpainted.
-
Dilbert55 no prlm using the log.... its anyway about the build of Hermione you are talking about. So you are always wellcome. Now about painting the wood. Yes you are right I also agree with you "find it diffiticult putting paint over wood". But... thinking over it I spoke with one of the kits disigners in Artesania Latina and he told me that the paint of the replica in Rochefort is according to the documentation of the original ship back in 1789 which is still to be found in the museum. Its a fact that the original ship was indeed painted. So..... I had to make my decision what it was going to be and I choose to go for the original look of the ship, which yes it was painted. As to identfy the original colours: As the designer said the kit instructions are to paint the ship in its original colors (replica is painted as original ship). There for in the kit its a list included, of the colours that the replica's designers used in order to paint the replica in the original colours. This list designates the "pantone"colour system, but as to help me, the designer send to me a list of vallego model paints that corespond to the colors of the pantone colour system. I gave that list to philo426 and you can find it posted on its log Christos
-
I did... though there were no nails in the kit (I had nails). But thats not yhe issue.... I want to work the way the ship was builded then... Philo thx for your interest and comments. It seems that in this blog we are very longly.... ok I know we are not the best modellers around here but I thought thats not the issue. Its all about beeing happy with modelling.... but its not am afraid.
-
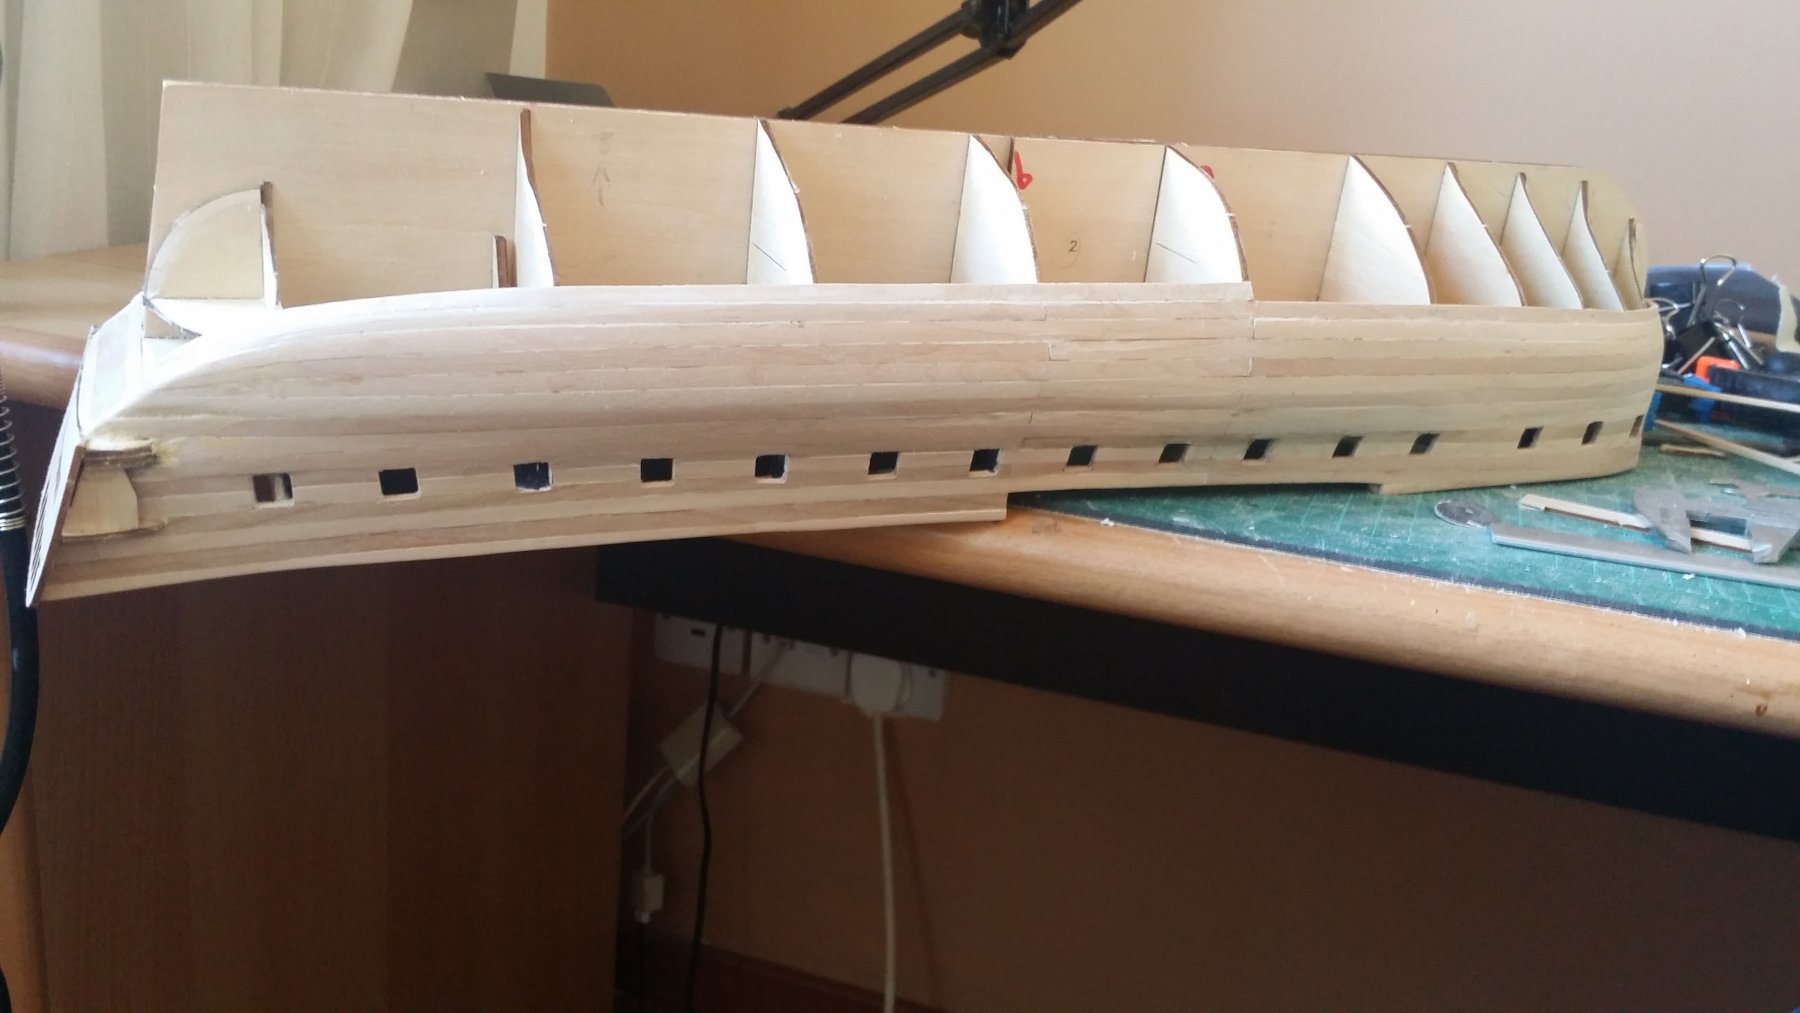
And a better one. It shows the space between the planks at the stern ,where the 4 stealers are going to be fitted . The end (max) distances for the stealers are 4mm, 3mm and once more 3mm . And there is another one to come after installing the next plank with max distance 4mm again.
- 317 replies
-
- 1
-
-
- hermione
- artesania latina
- (and 1 more)
-
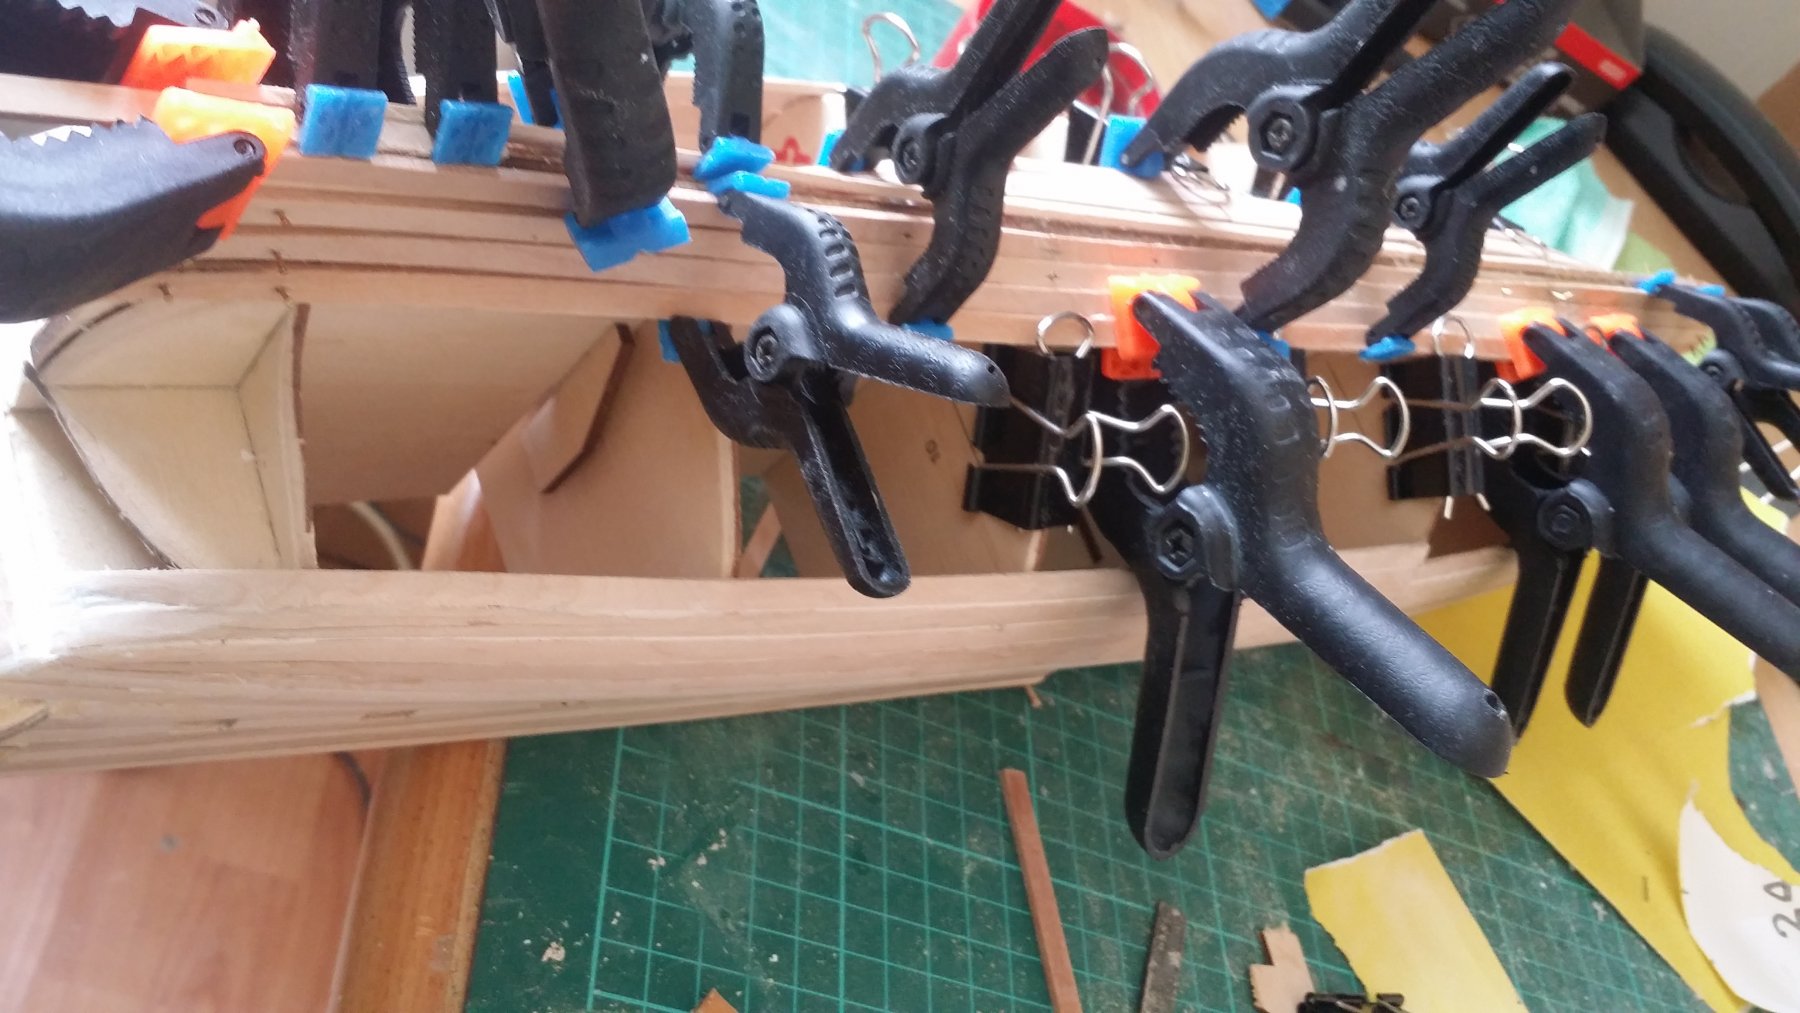
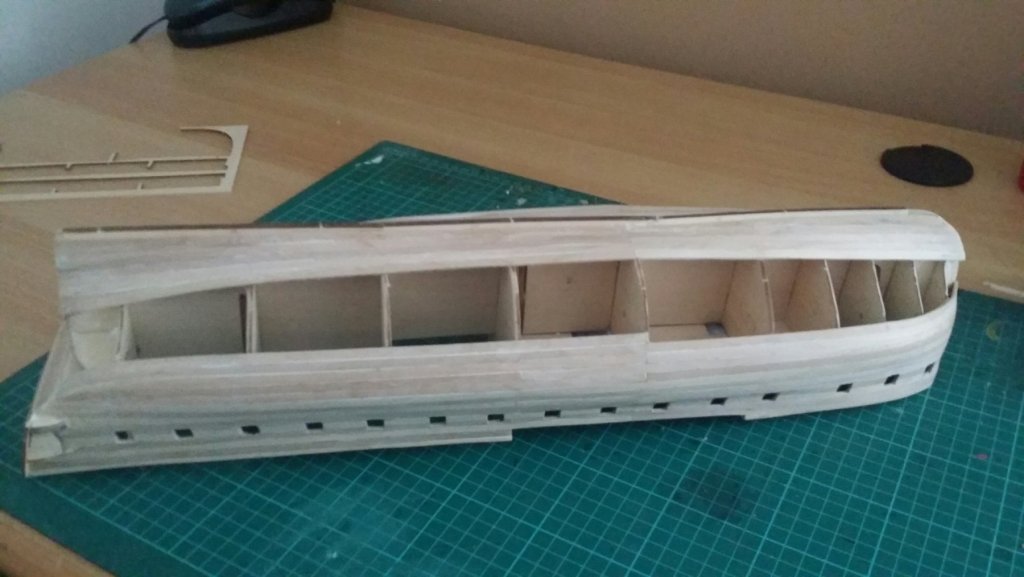
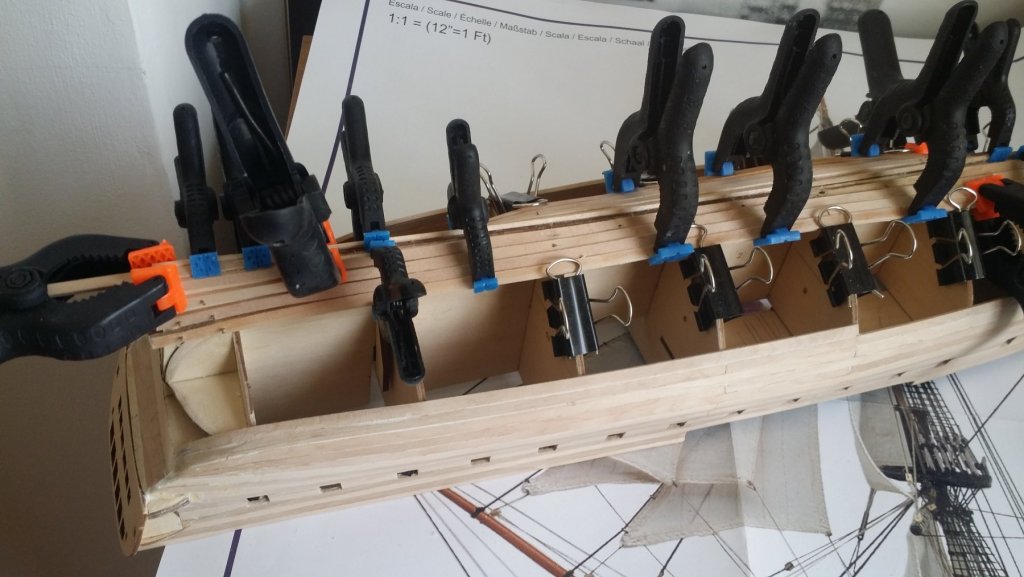
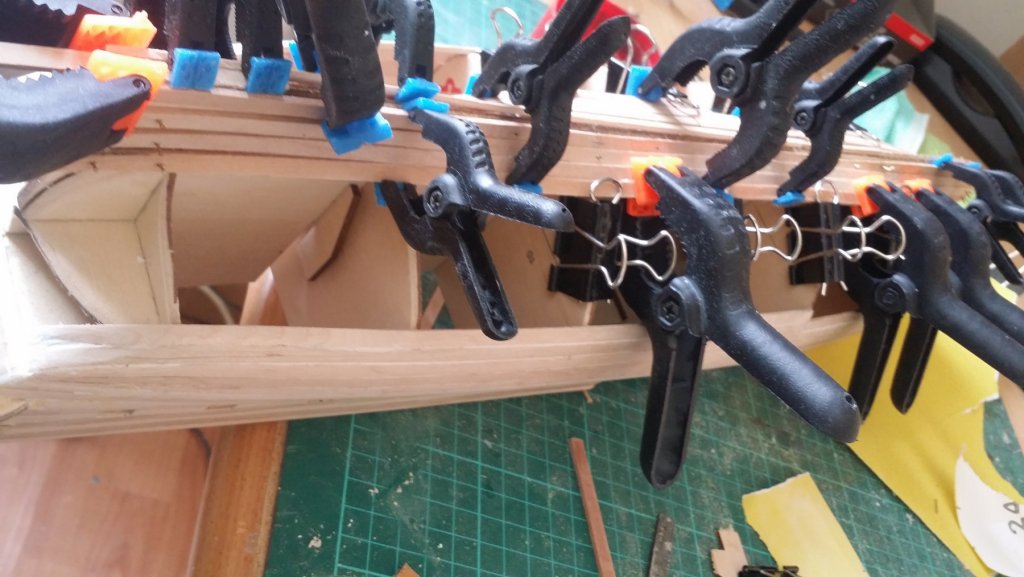
Planking proceeds without major problems. It doesnt look a lot of work but believe me it realy was, due to the complicated (twisting and curving) bendings.
- 317 replies
-
- 1
-
-
- hermione
- artesania latina
- (and 1 more)
-
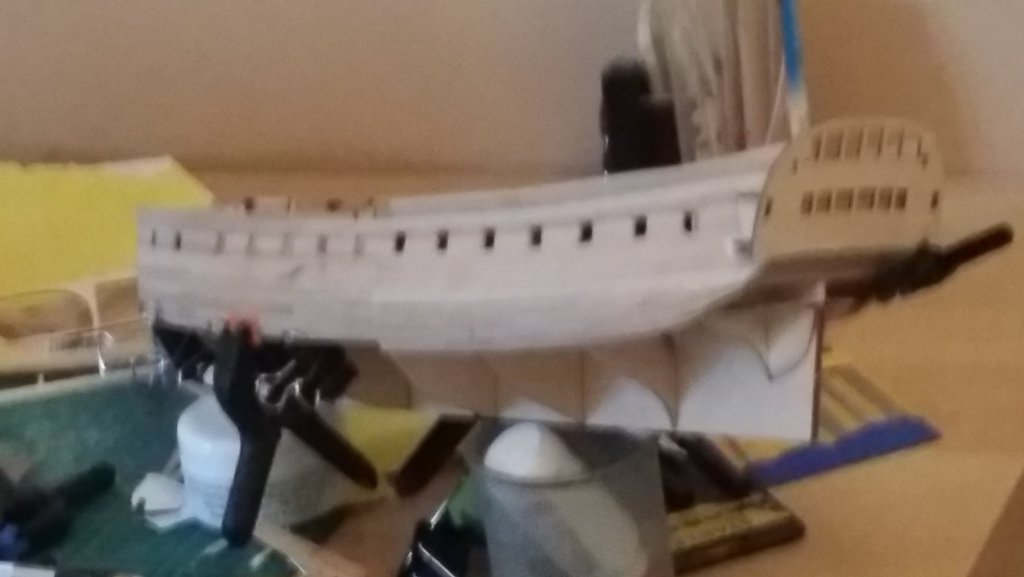
Getting old is nature. I havent noticed that my pictures are not sharp... Sorry guys am coming up tommorow with a few sharp pic. I think its good to see the planks one by one and the turn from upper plank to underplank, which I commented proudly above. Sorry again
-
Well done. It seems you are working very intesive.
-
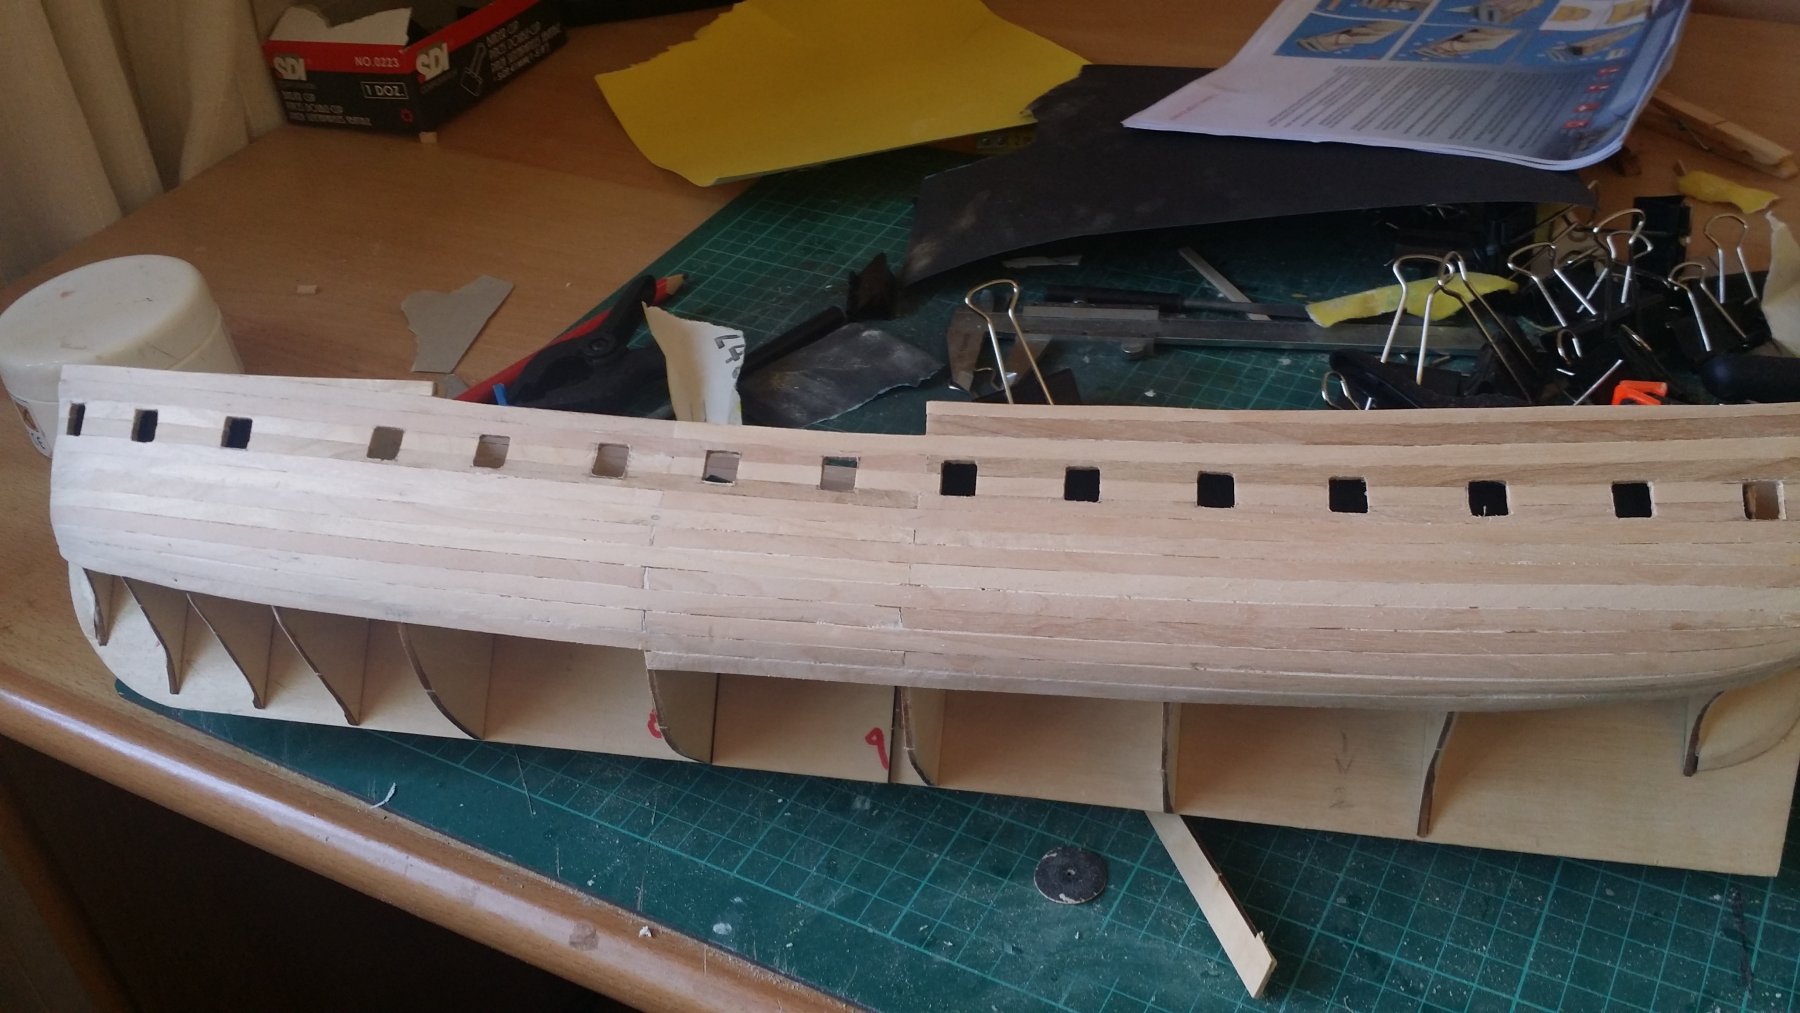
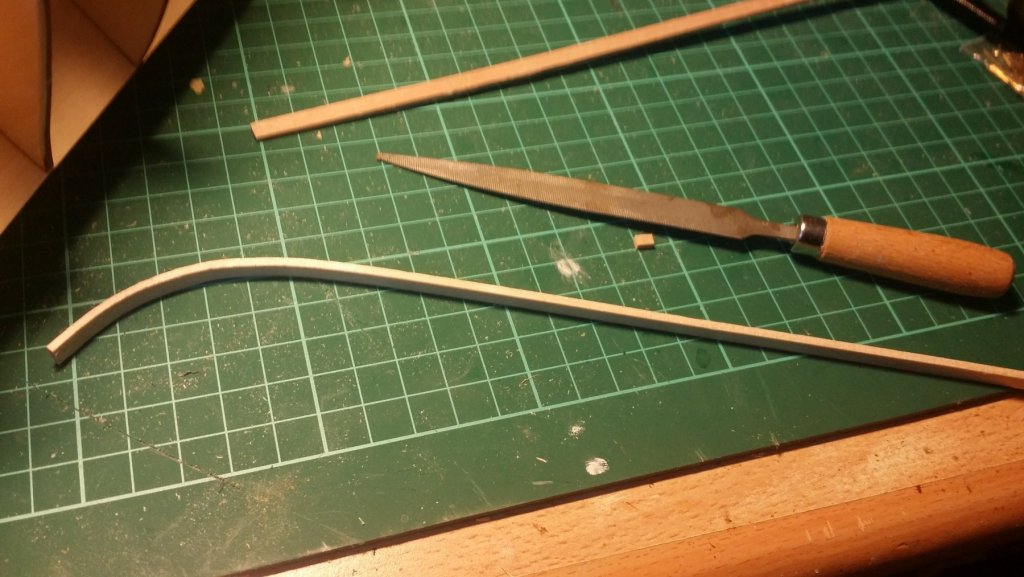
Shipyard remain open through Eastern holidays but mostly didnt turn up for work! Anyway planking went on, from gunports down to the hull. Crushial point was the turning from side planking (gunports planking) to the planking under the hull (bottom hull planking).It went smoothly! The key was to keep distances within tollerances of +/- 1mm diviation from the initial plank. Problems appeared on the end of the planks at the bow where the planking ends leaving a gap to fit the sternpost and on the few last planks on the stern (just before the turn to the bottom planking), where planks had to be pointed at their end in order to make the planking's turn to the bottom (under) hull. Though a lot of planks need almost 90 degrees curves,the bending was easy... soaking planks from last night. So it seems the Artesania Latina planking instructions are well studied by the designers of the kit and very good presented in the pictures of the dvd.

- 317 replies
-
- 3
-
-
- hermione
- artesania latina
- (and 1 more)
-
Help with measuring
MESSIS replied to 1213brett's topic in Building, Framing, Planking and plating a ships hull and deck
Yes you are right I was wrong.... -
Help with measuring
MESSIS replied to 1213brett's topic in Building, Framing, Planking and plating a ships hull and deck
Sorry wrong advice so I deleted it Christos