mtbediz
-
Posts
1,258 -
Joined
-
Last visited
Content Type
Profiles
Forums
Gallery
Events
Everything posted by mtbediz
-

USS Constitution by mtbediz - 1:76
mtbediz replied to mtbediz's topic in - Build logs for subjects built 1751 - 1800
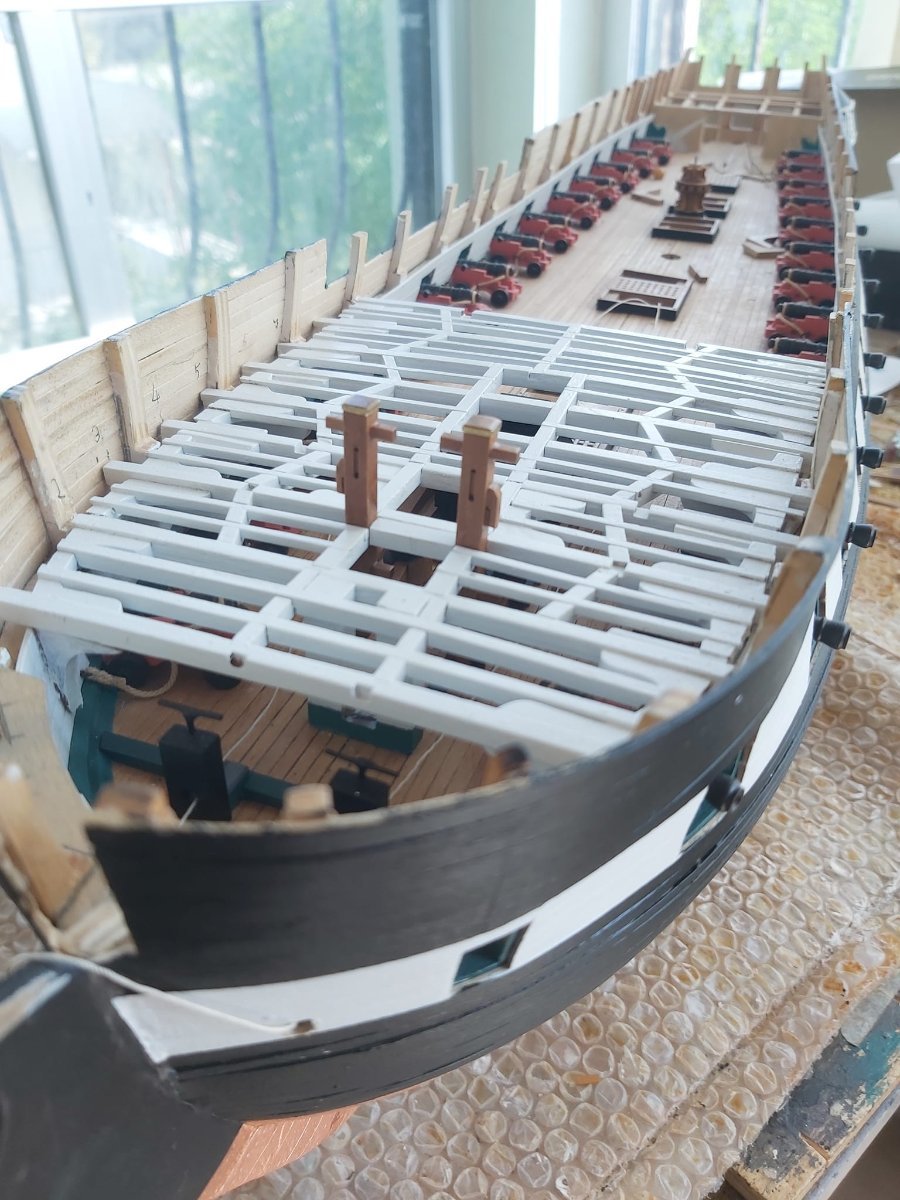
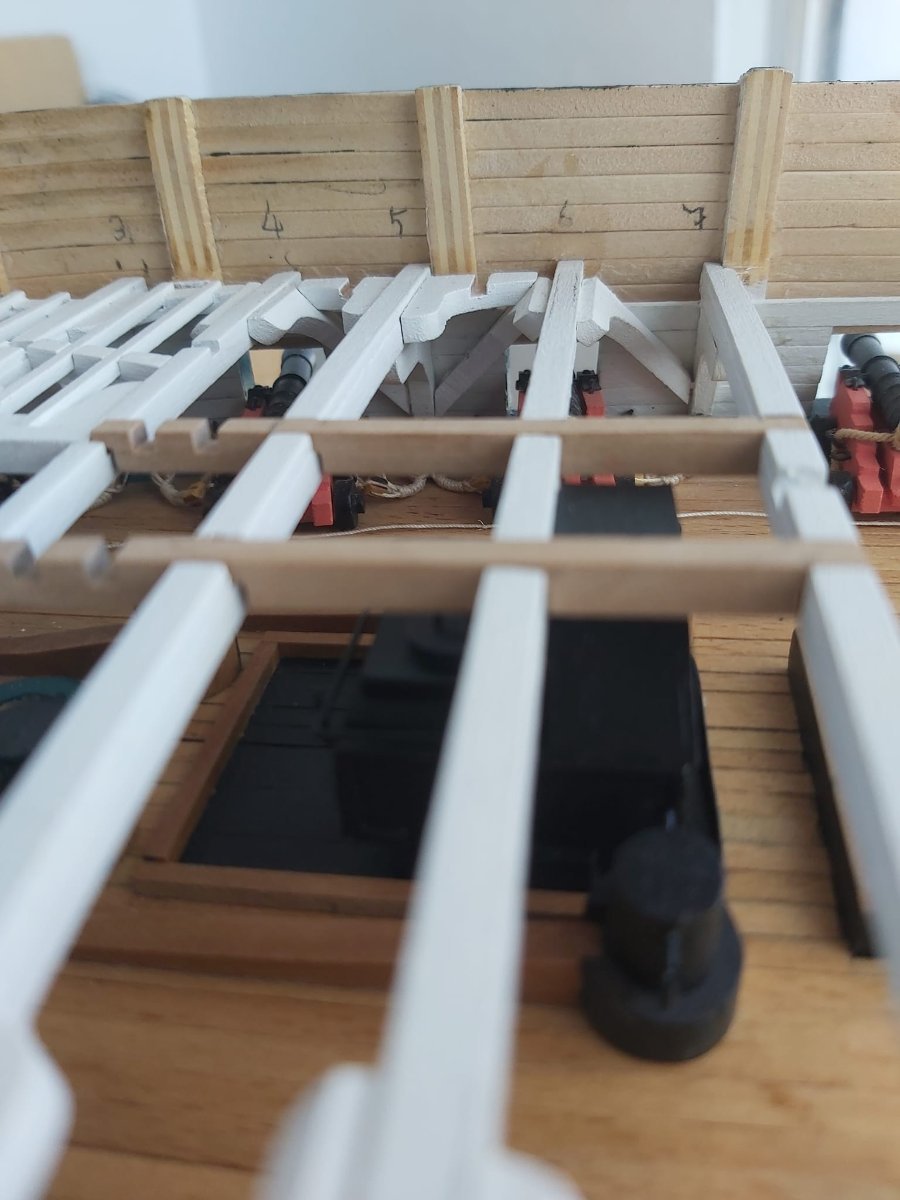
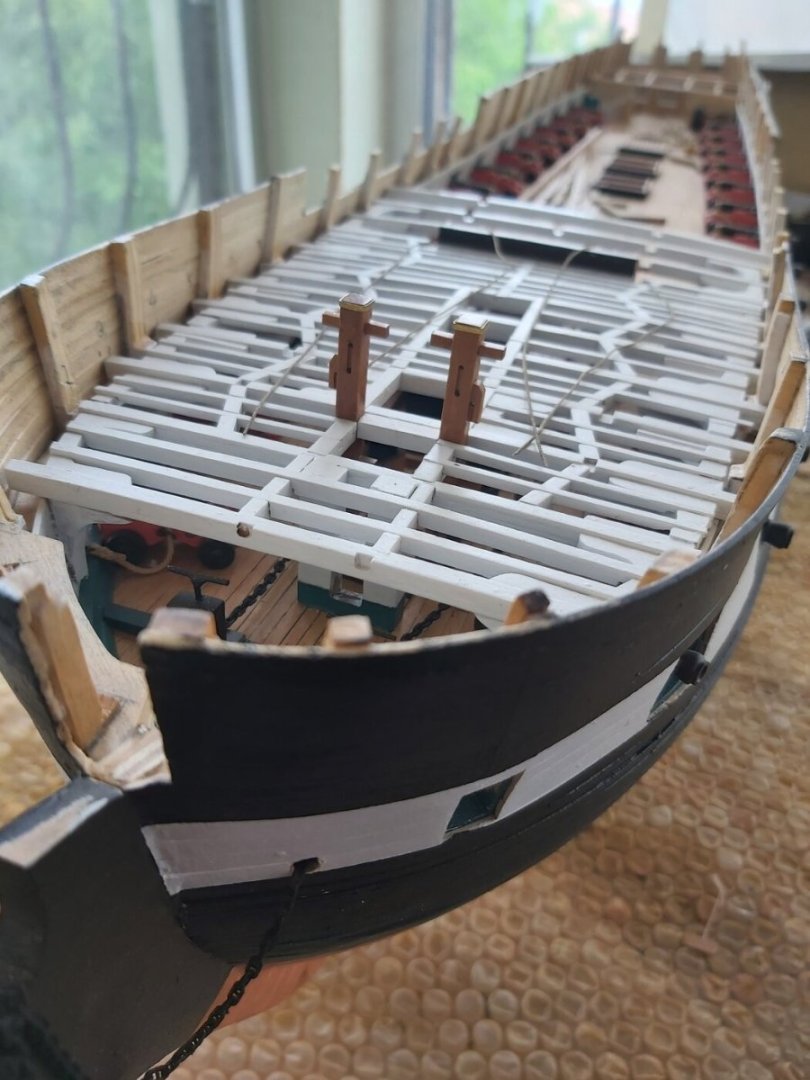
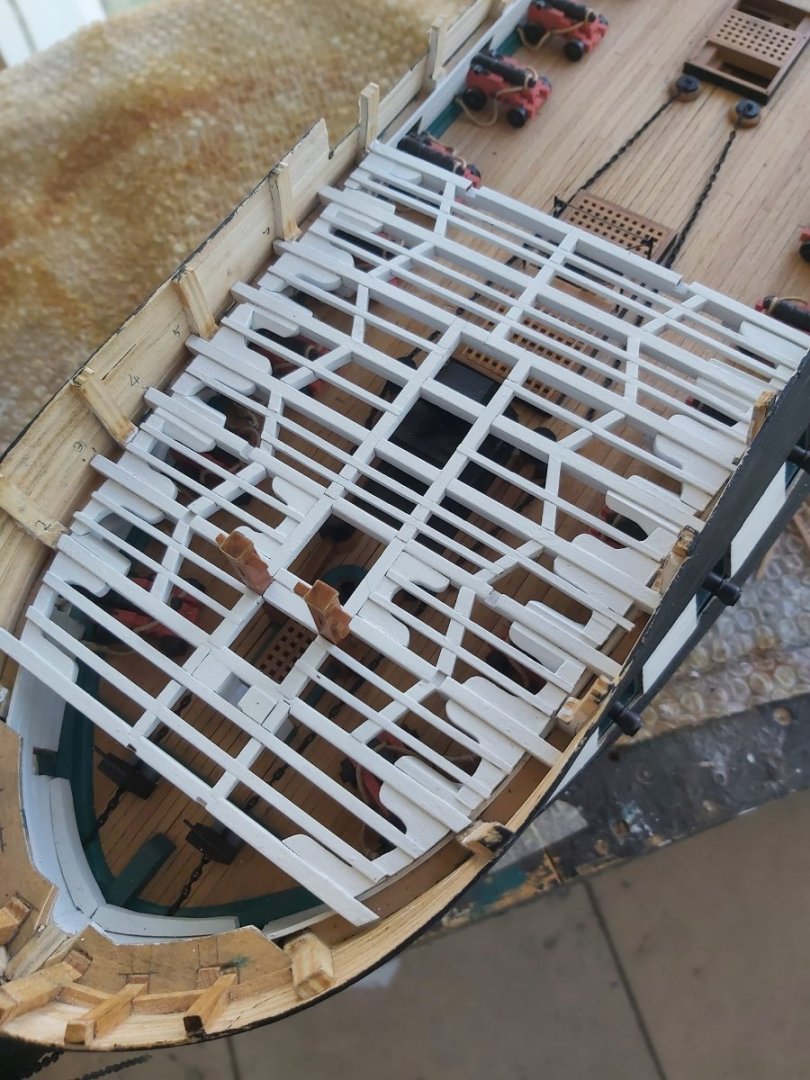
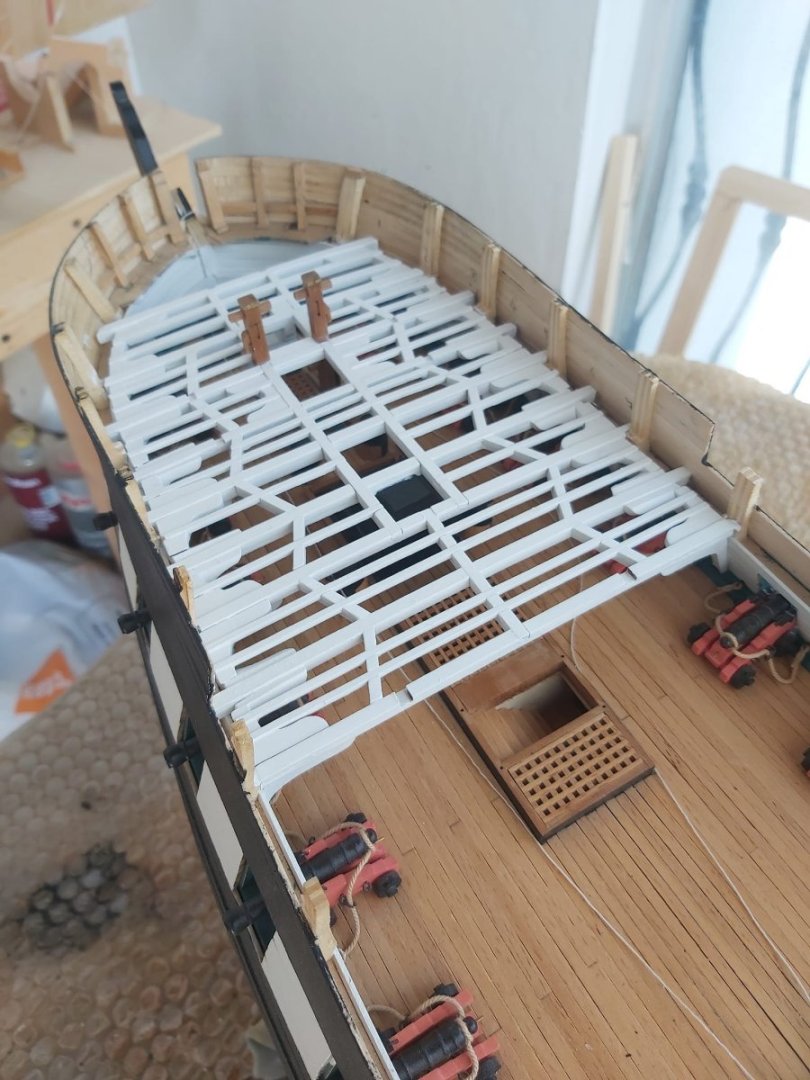
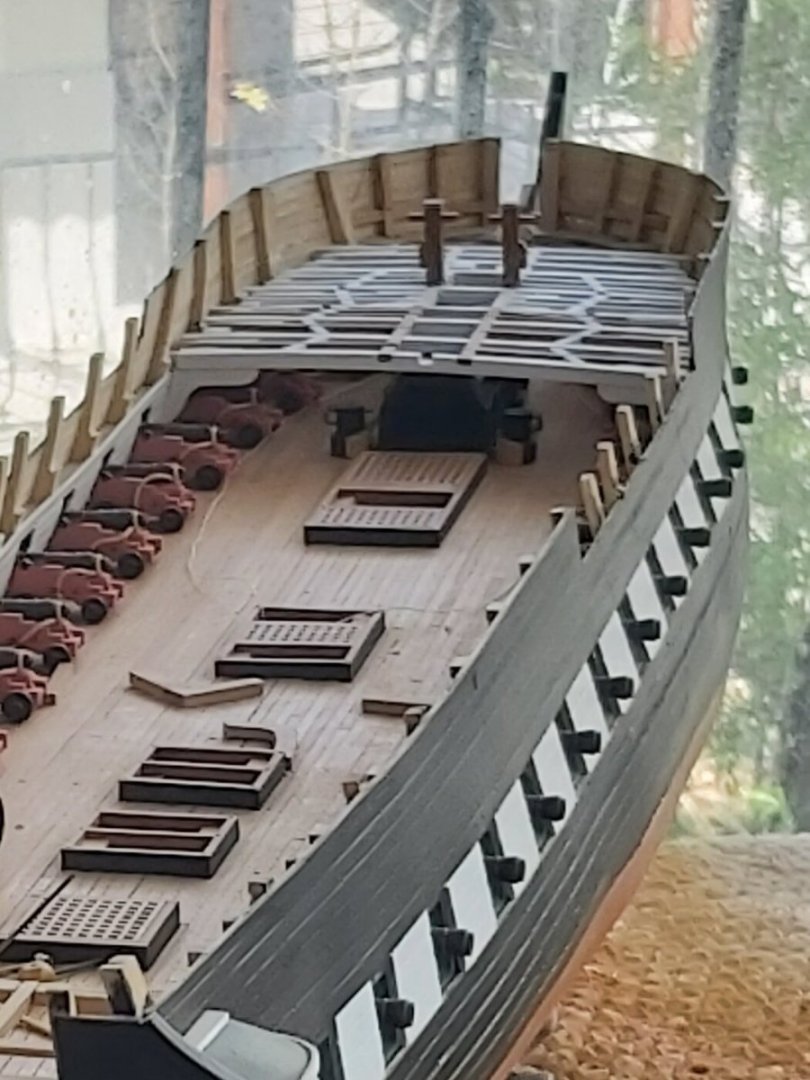
Yes Jon, you suggested this to me before. Even making the auxiliary beams thinner at the front of the ship didn't help make the gun deck as visible as I had hoped. So I decided not to put them in anymore. -
USS Constitution by mtbediz - 1:76
mtbediz replied to mtbediz's topic in - Build logs for subjects built 1751 - 1800
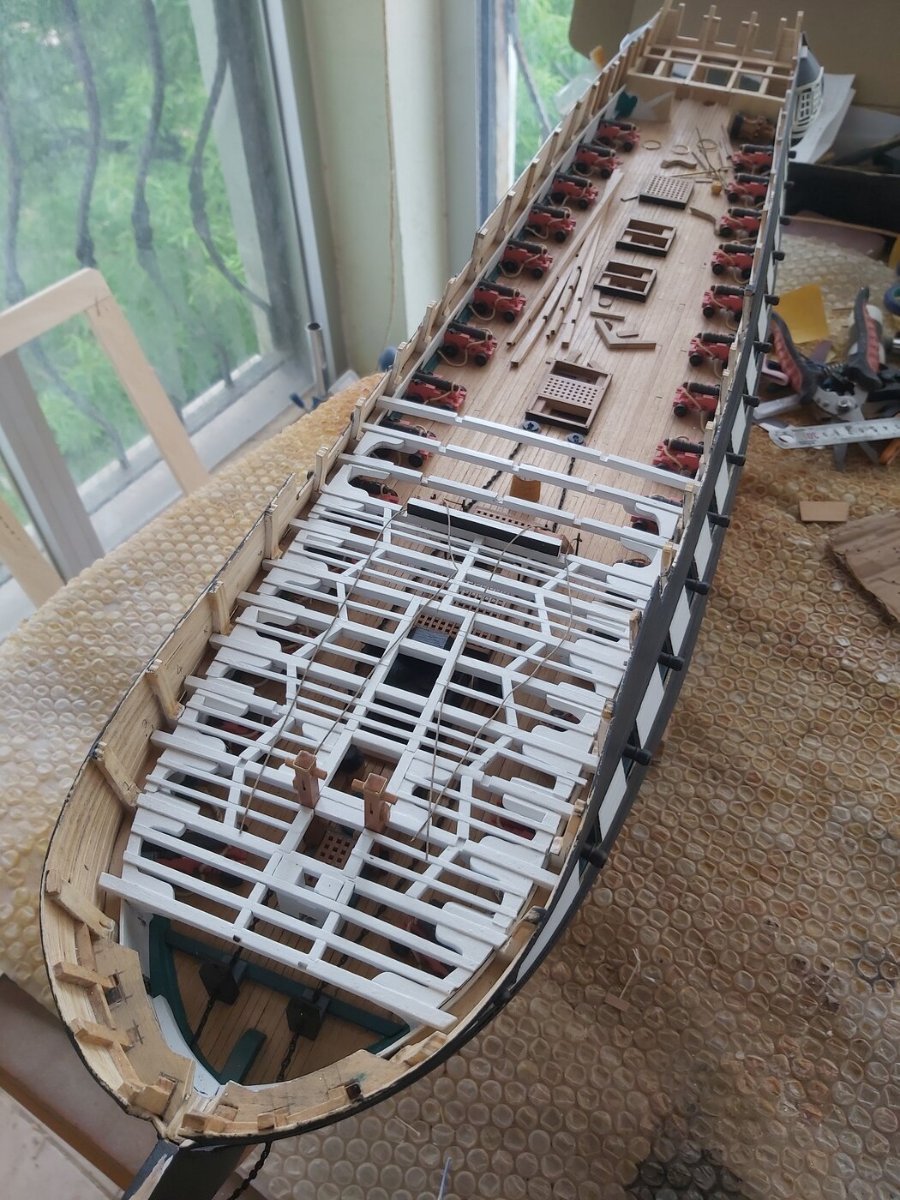
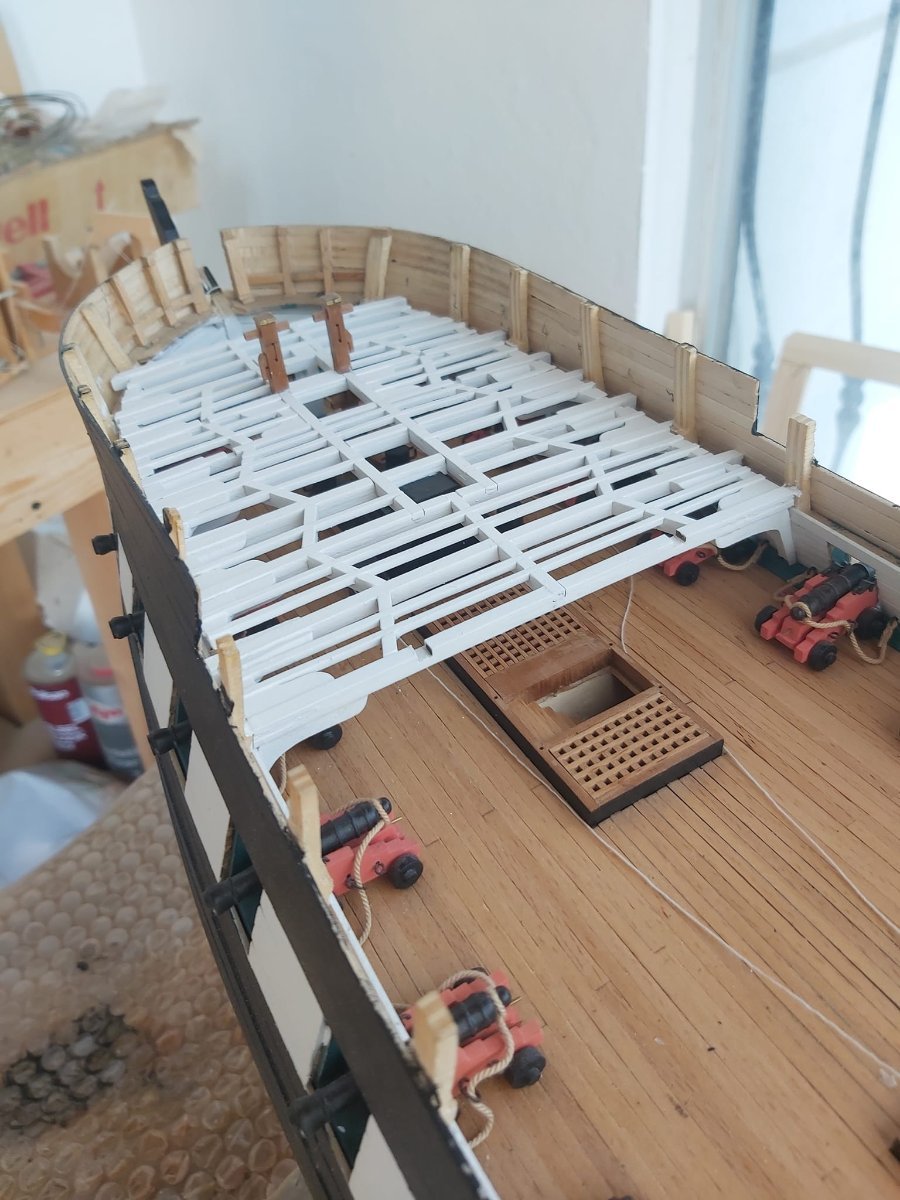
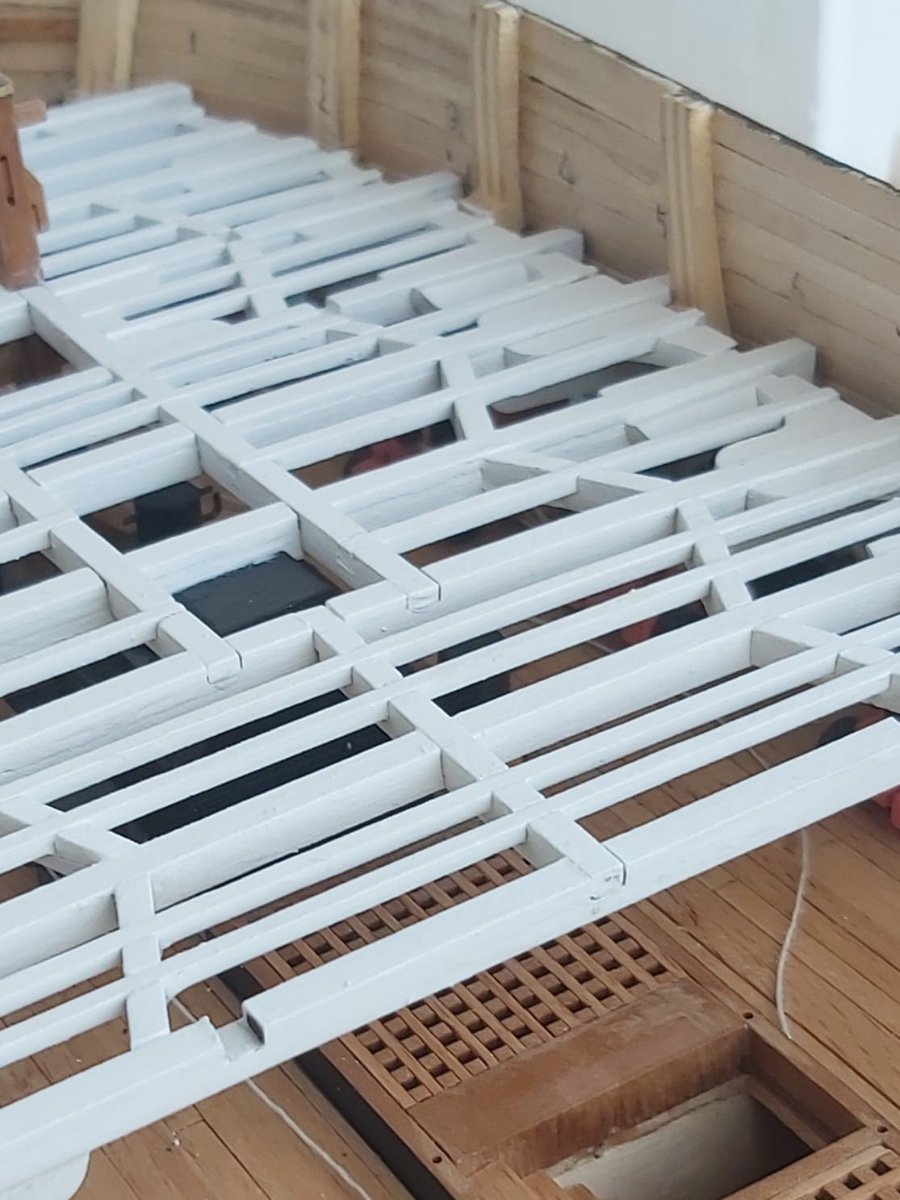
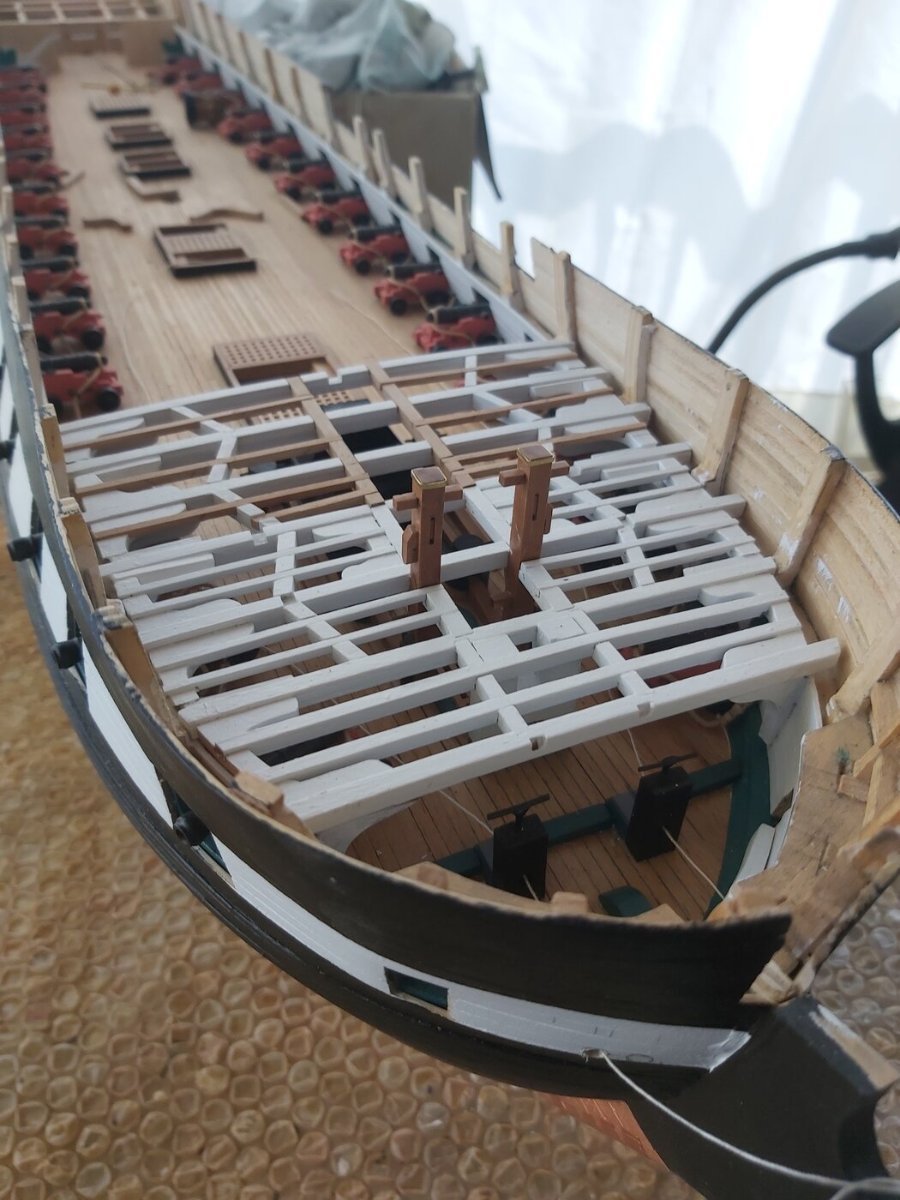
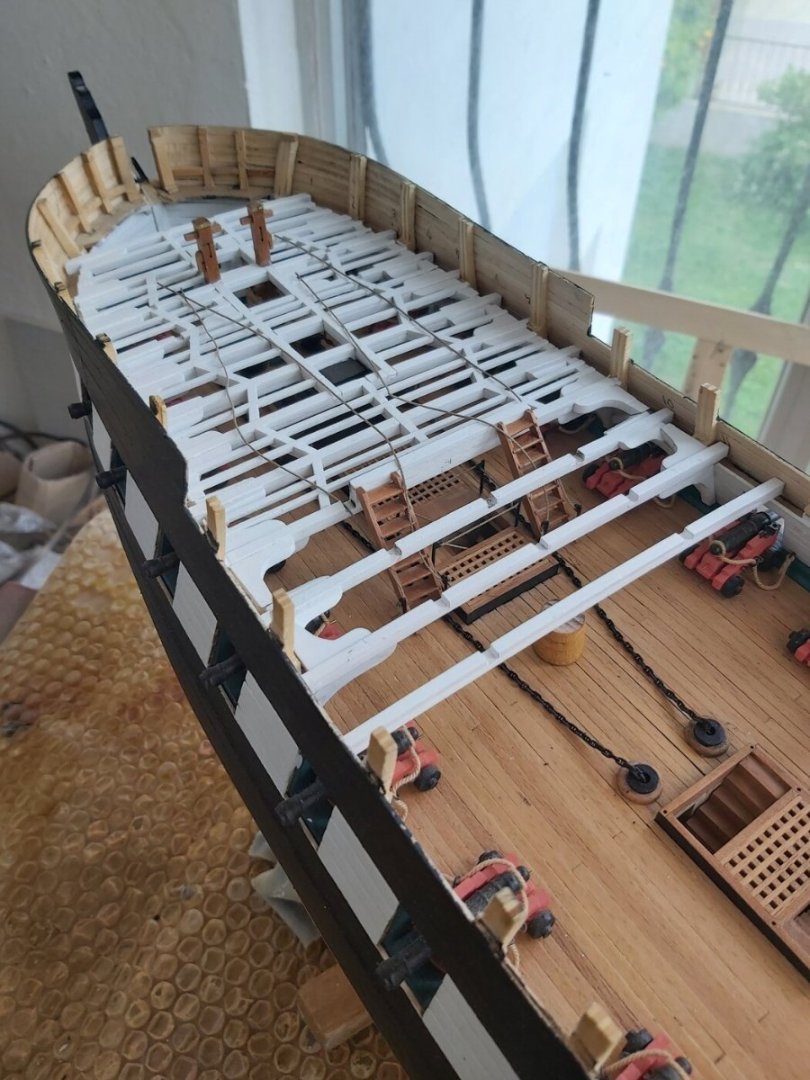
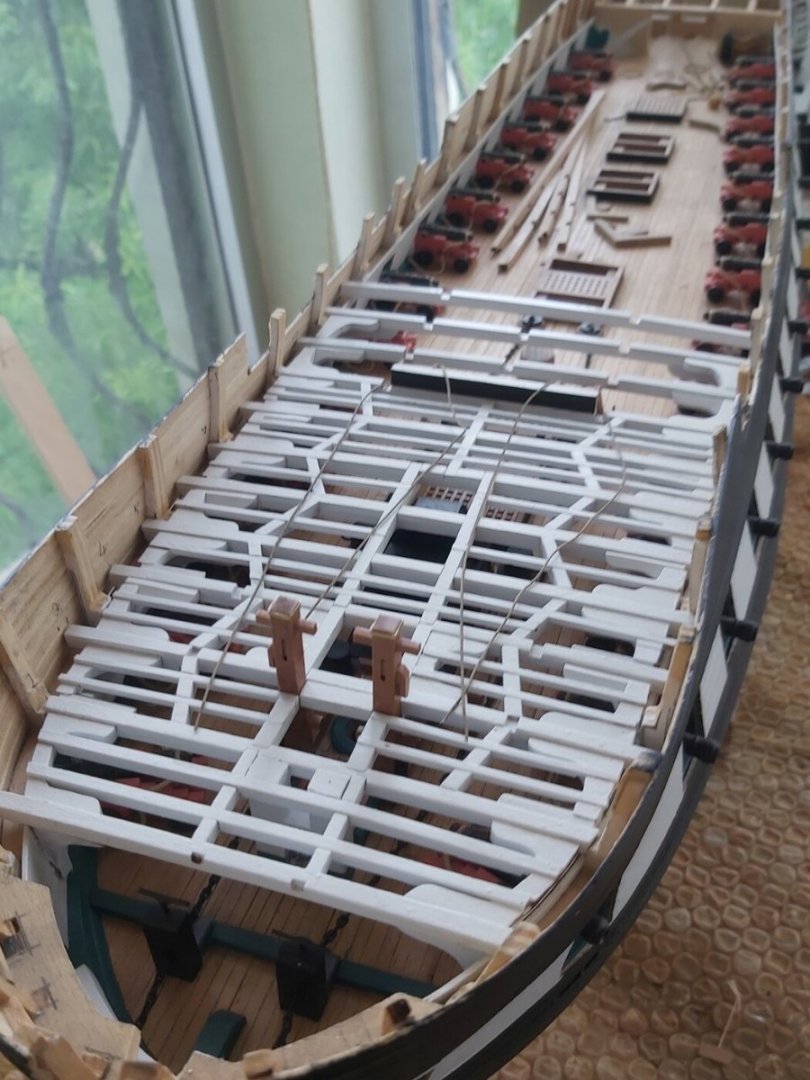
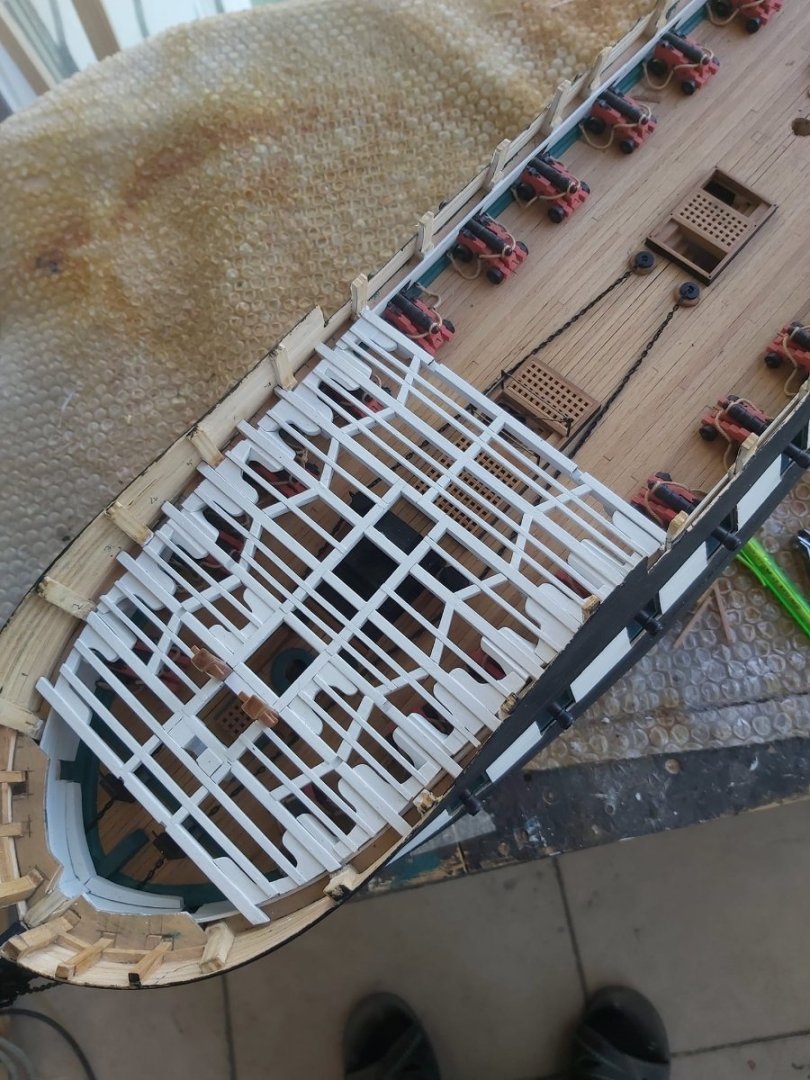
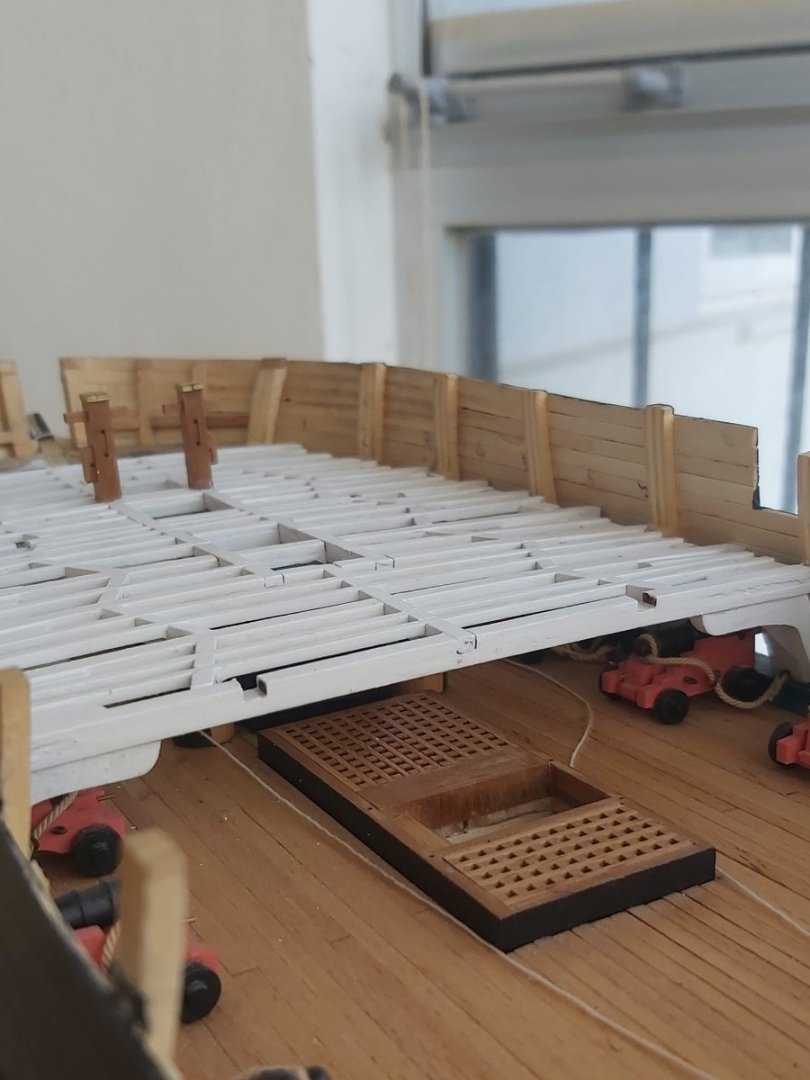
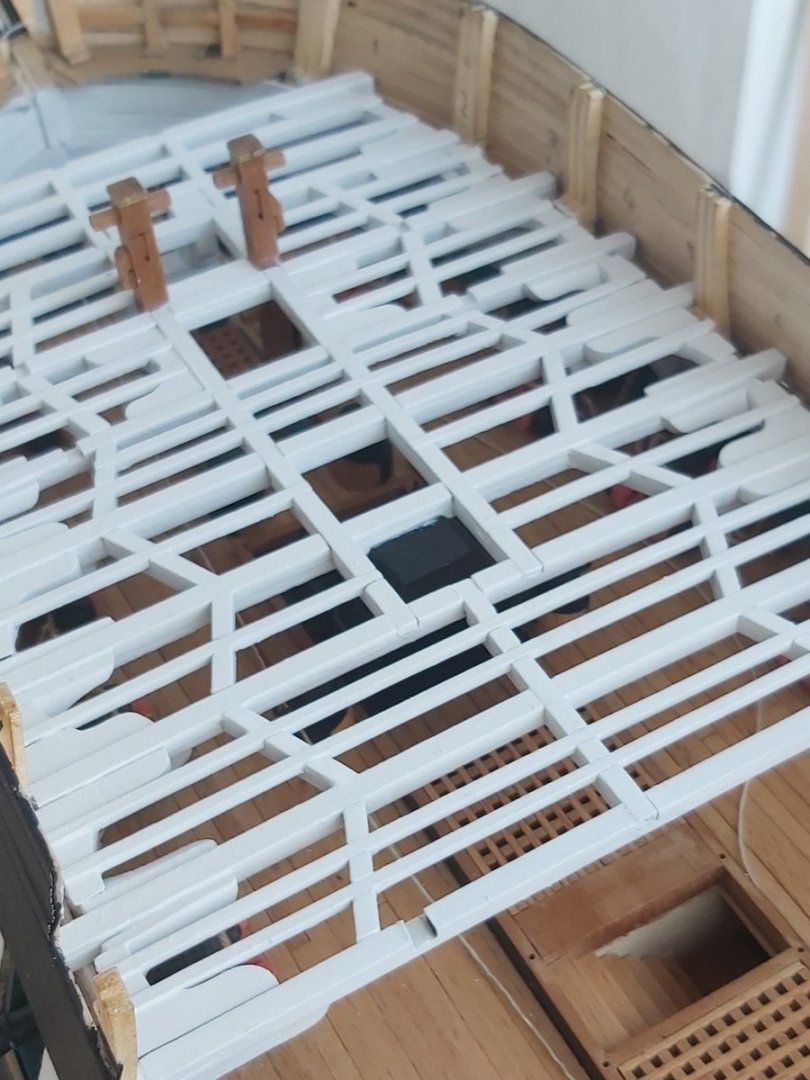
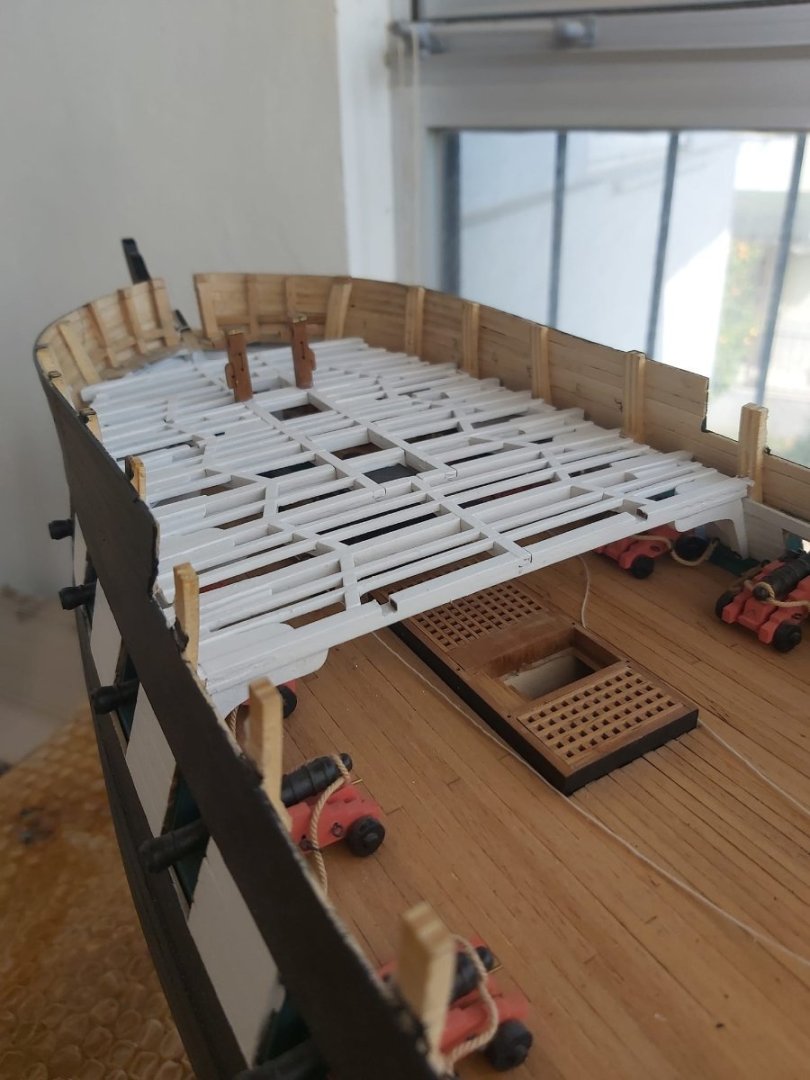
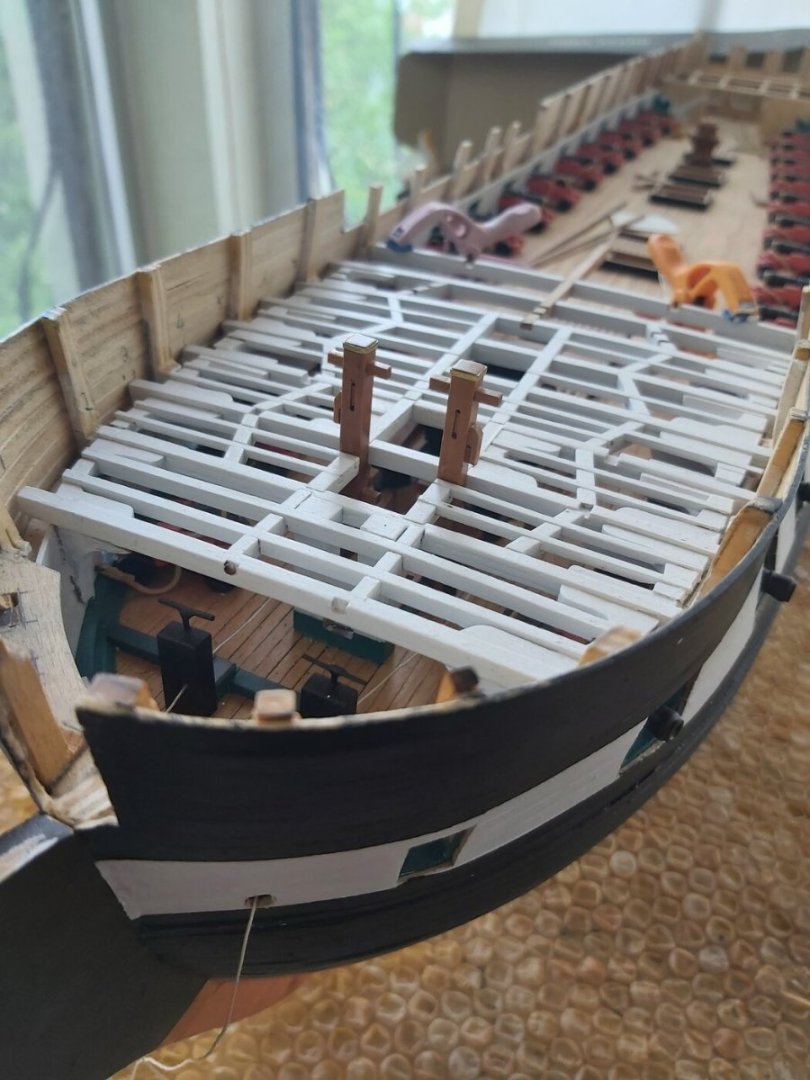
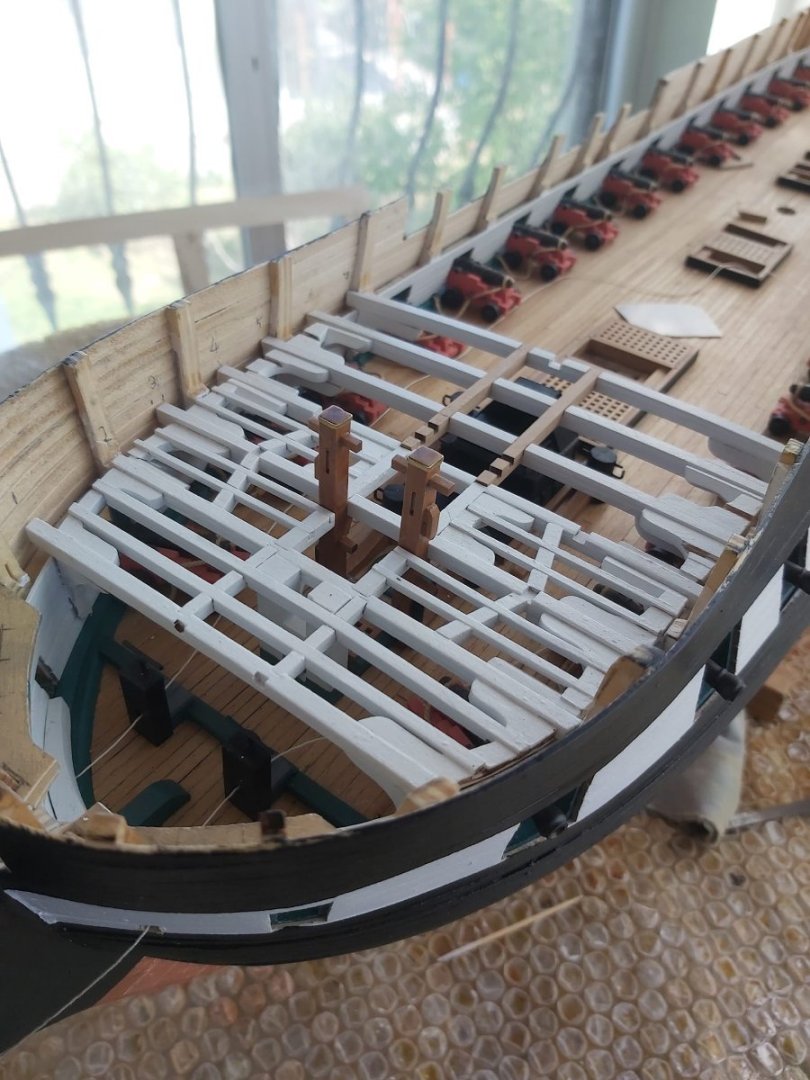
I decided not to add the auxiliary beams along the gratings on the spar deck. I'll settle for just the main beams. Thus, the details on the gun deck will be more visible.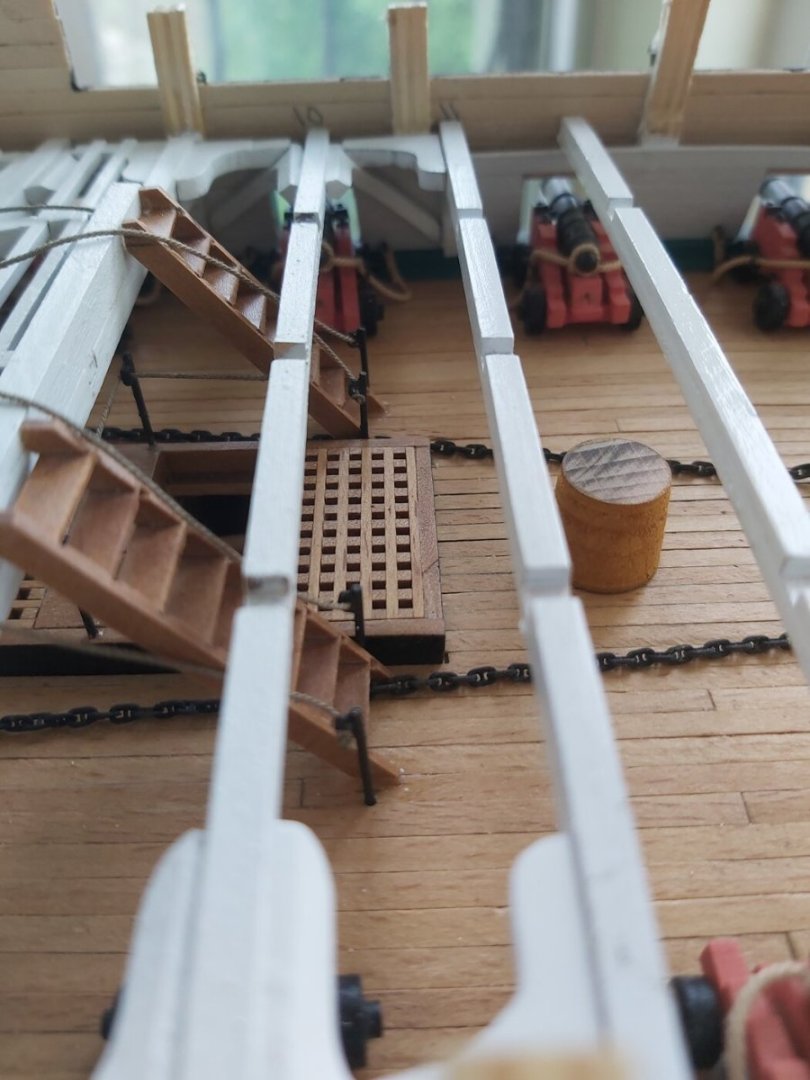


-
USS Constitution by mtbediz - 1:76
mtbediz replied to mtbediz's topic in - Build logs for subjects built 1751 - 1800
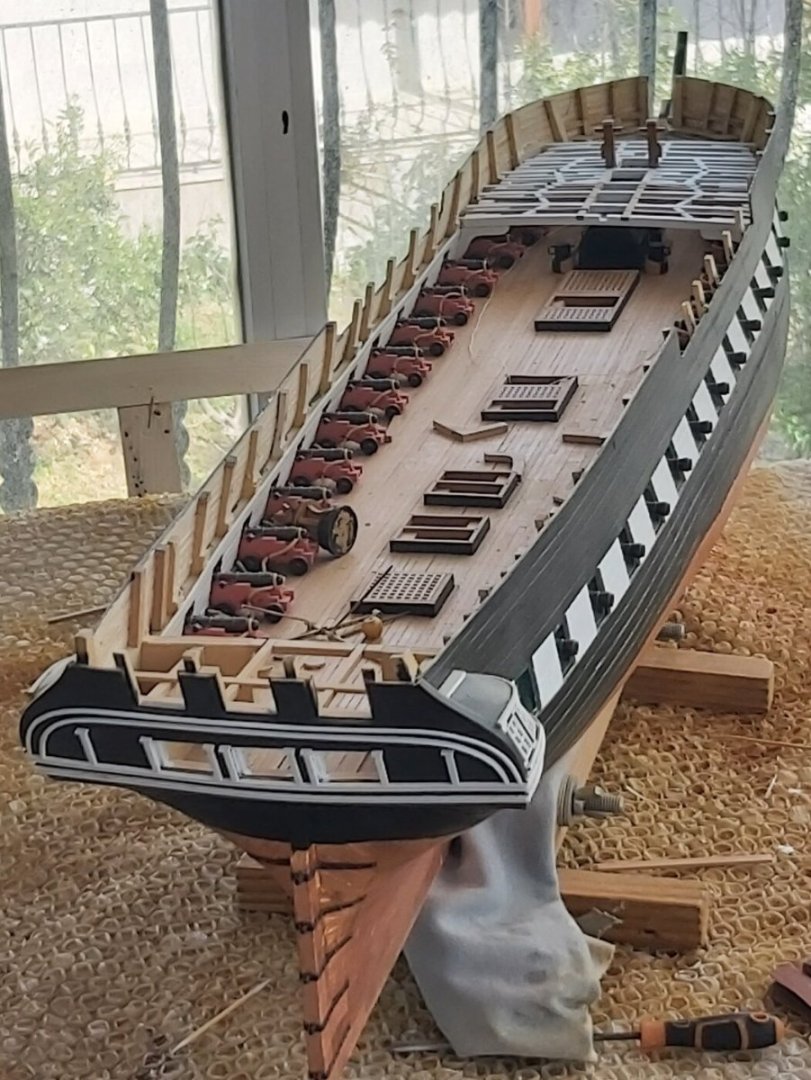
Since I was away from the shipyard for a while, there was no progress on the model. Let me share a few photos that I like.
-
You are very good at metal work. Everything looks so nice Greg!
- 184 replies
-
- 1
-

-
- Bluenose
- Model Shipways
- (and 1 more)
-
USS Constitution by mtbediz - 1:76
mtbediz replied to mtbediz's topic in - Build logs for subjects built 1751 - 1800
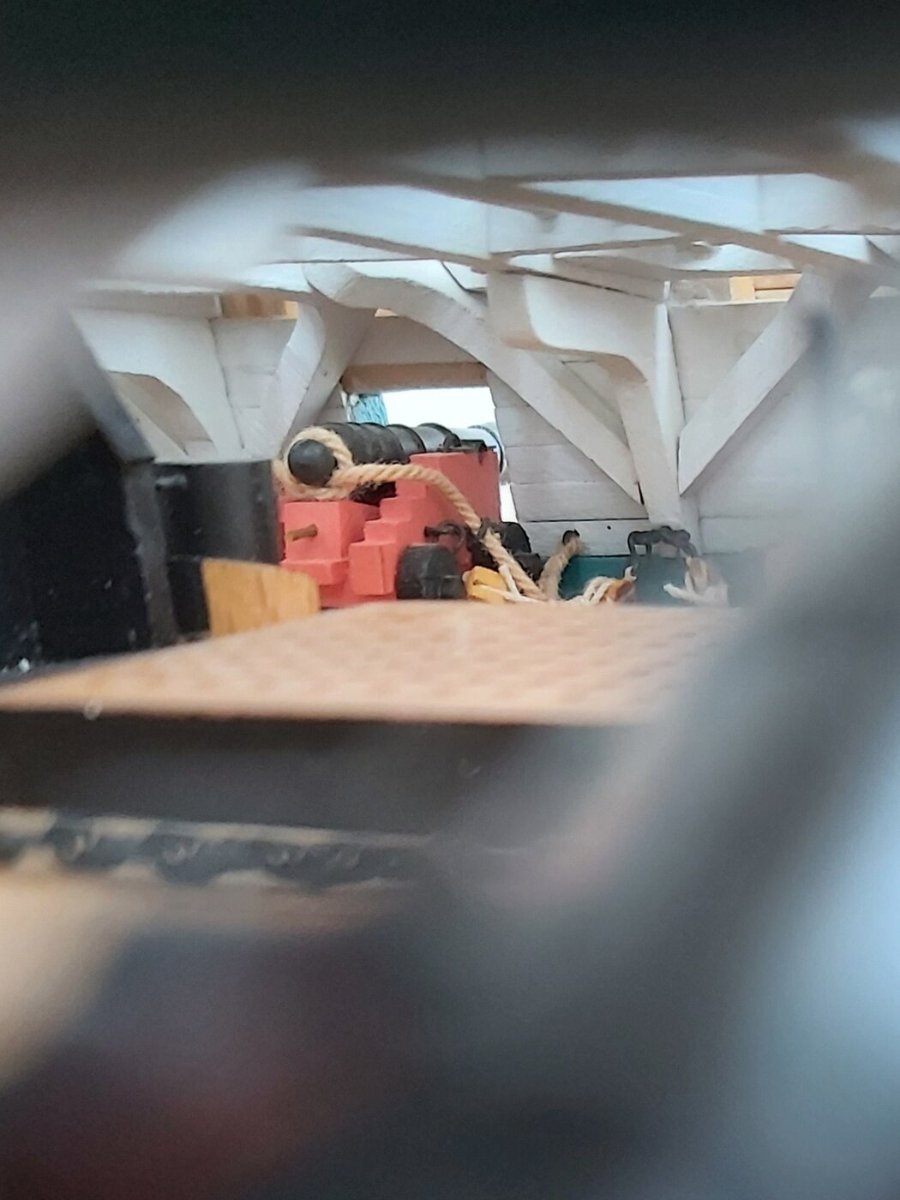
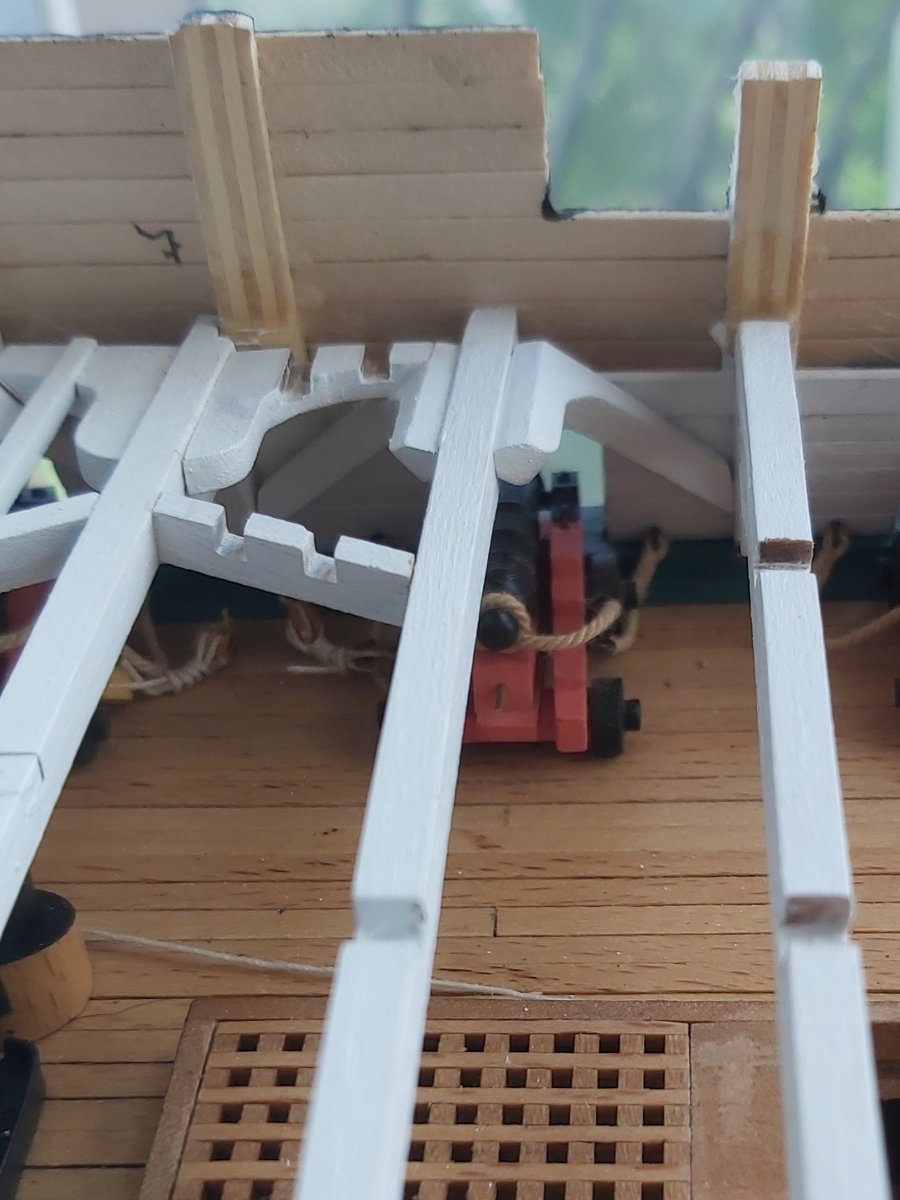
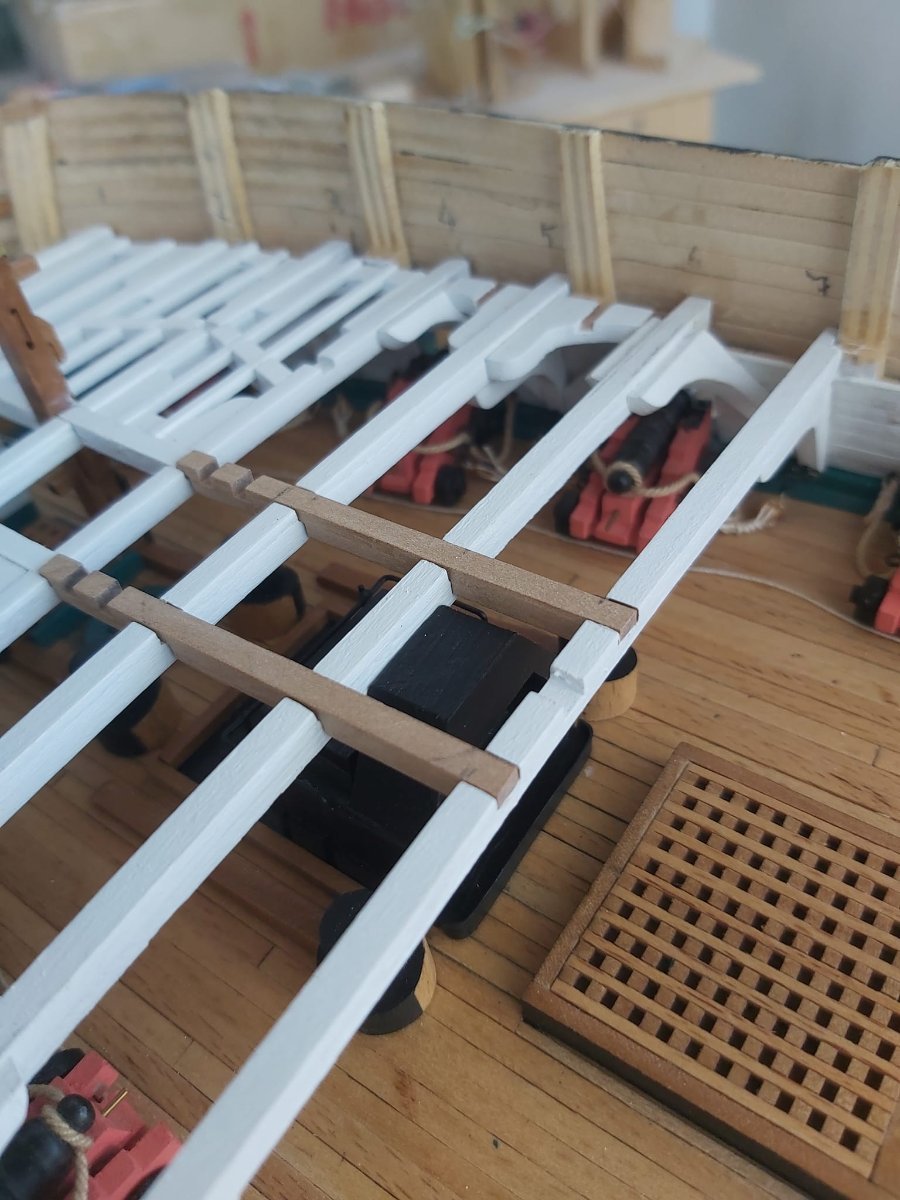
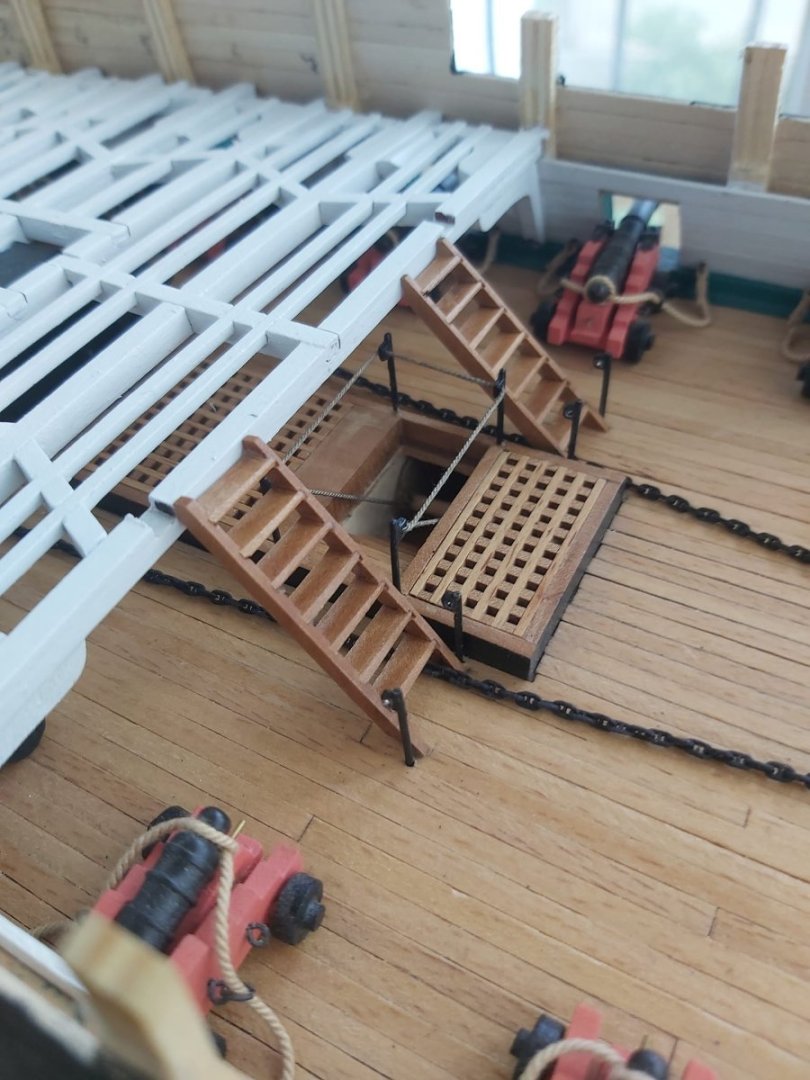
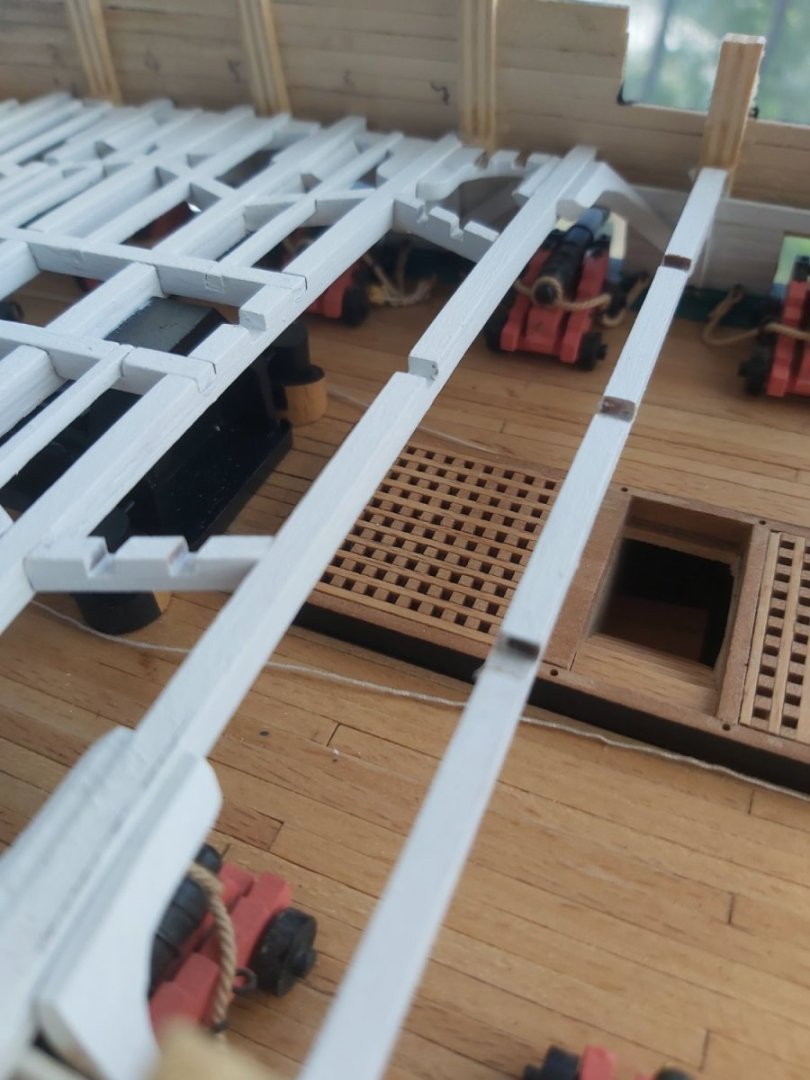
Close-up photos of the stancions. They're not as good as the real ones, but they work.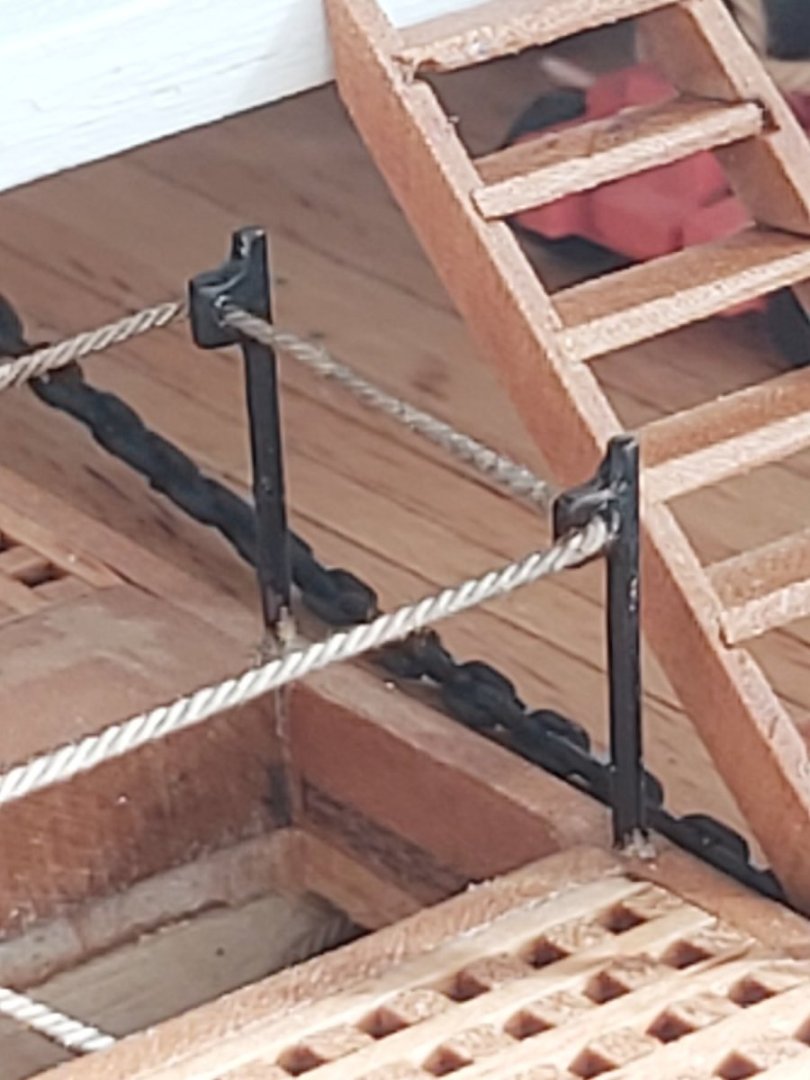
-
USS Constitution by mtbediz - 1:76
mtbediz replied to mtbediz's topic in - Build logs for subjects built 1751 - 1800
You are welcome Peter. -
USS Constitution by mtbediz - 1:76
mtbediz replied to mtbediz's topic in - Build logs for subjects built 1751 - 1800
Dear Greg. The photos Jon posted are beautiful. Of course, I cannot do it this well on this scale, I just tried to simulate it. I'll take a close-up photo tomorrow and add it here. -
USS Constitution by mtbediz - 1:76
mtbediz replied to mtbediz's topic in - Build logs for subjects built 1751 - 1800
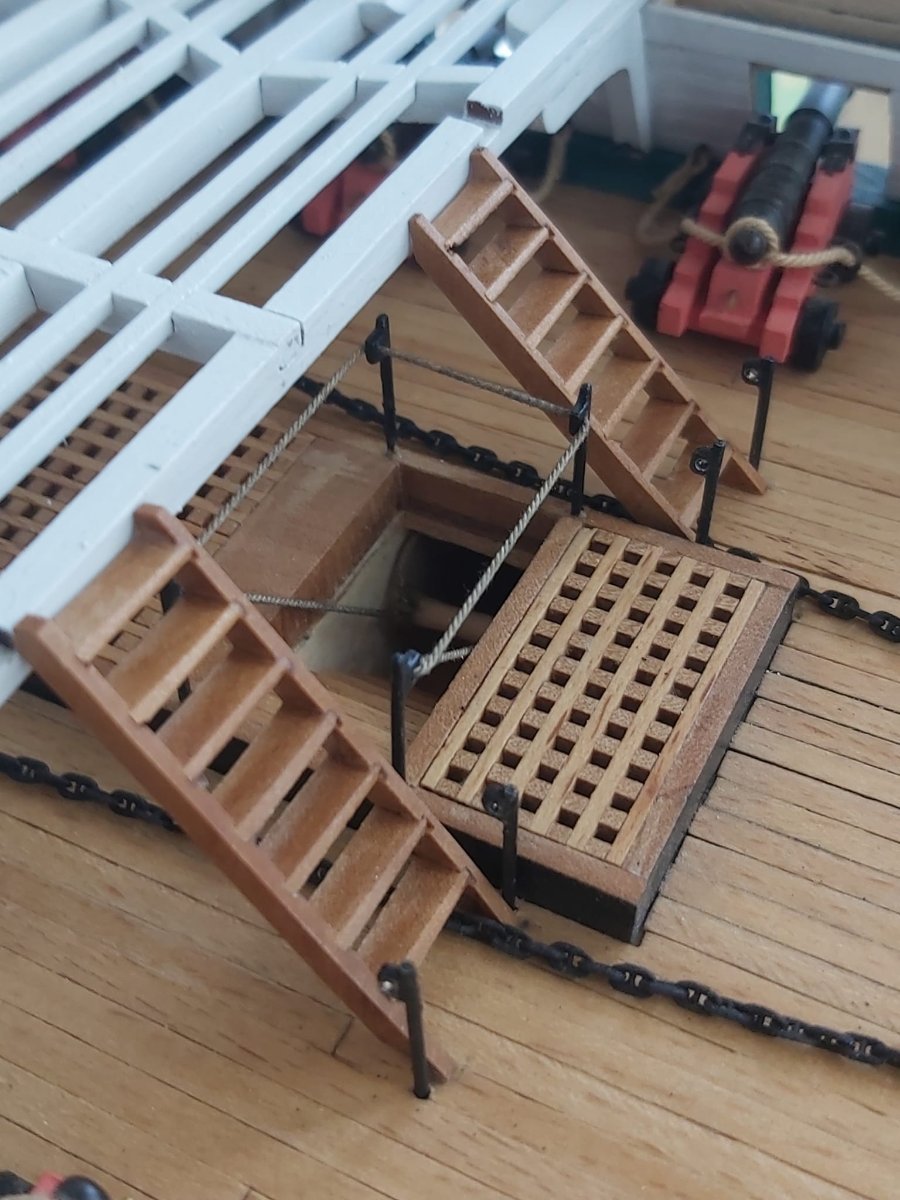
First of all, thank you very much for your attention and warning me, Jon. Yes, you are absolutely right. I will lextend or remake the ladders. I haven't glued the ladders in place yet anyway. As for the hand ropes, I'm making them because I saw them in your build and in the photos of the ship. Other than that, I don't have any information. -
USS Constitution by mtbediz - 1:76
mtbediz replied to mtbediz's topic in - Build logs for subjects built 1751 - 1800
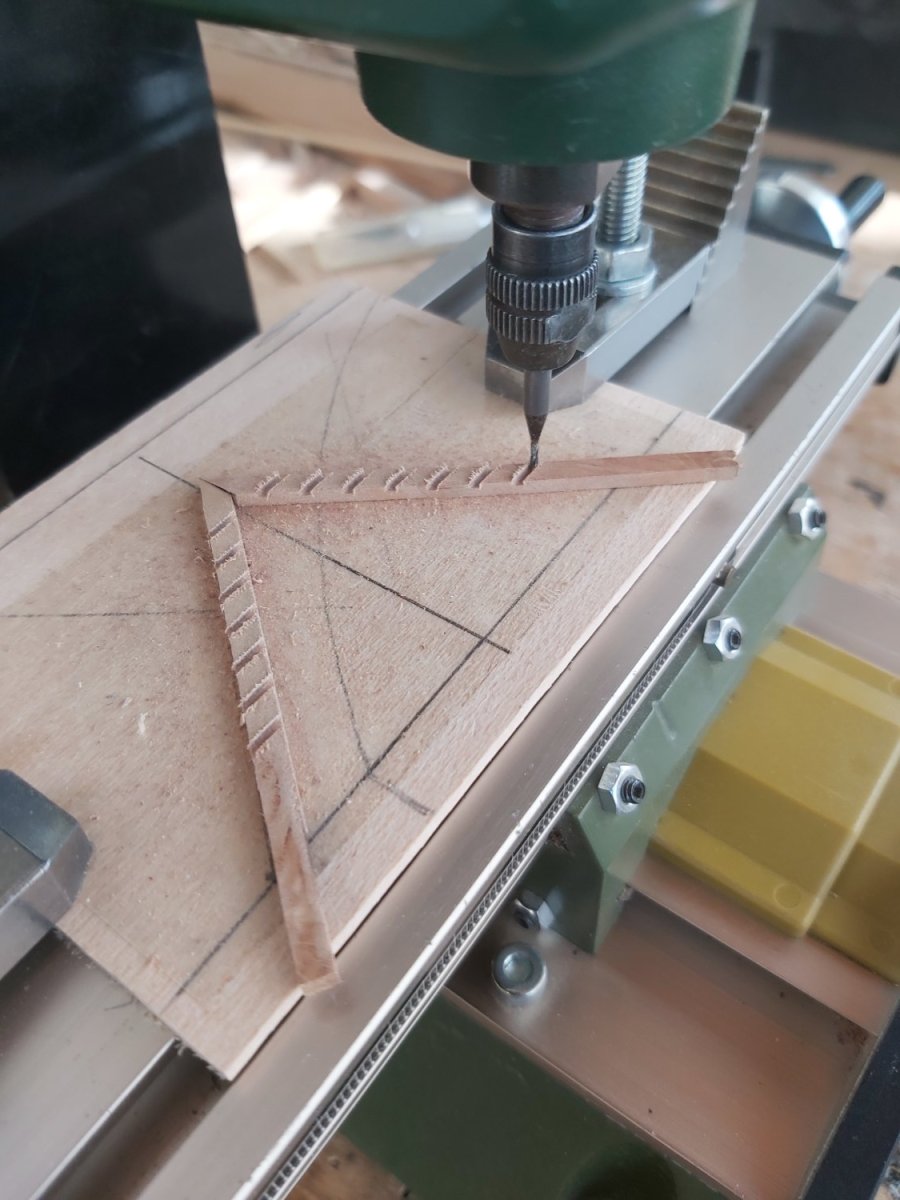
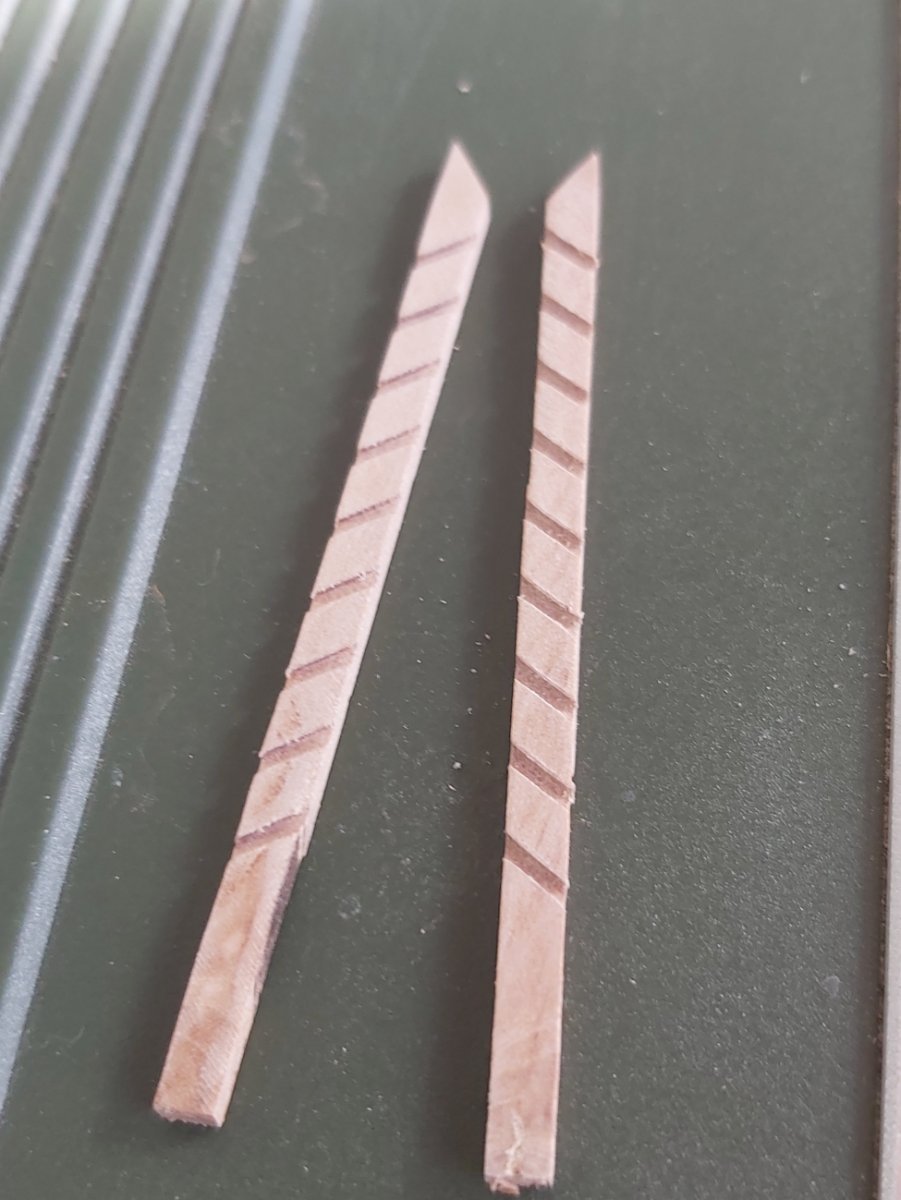
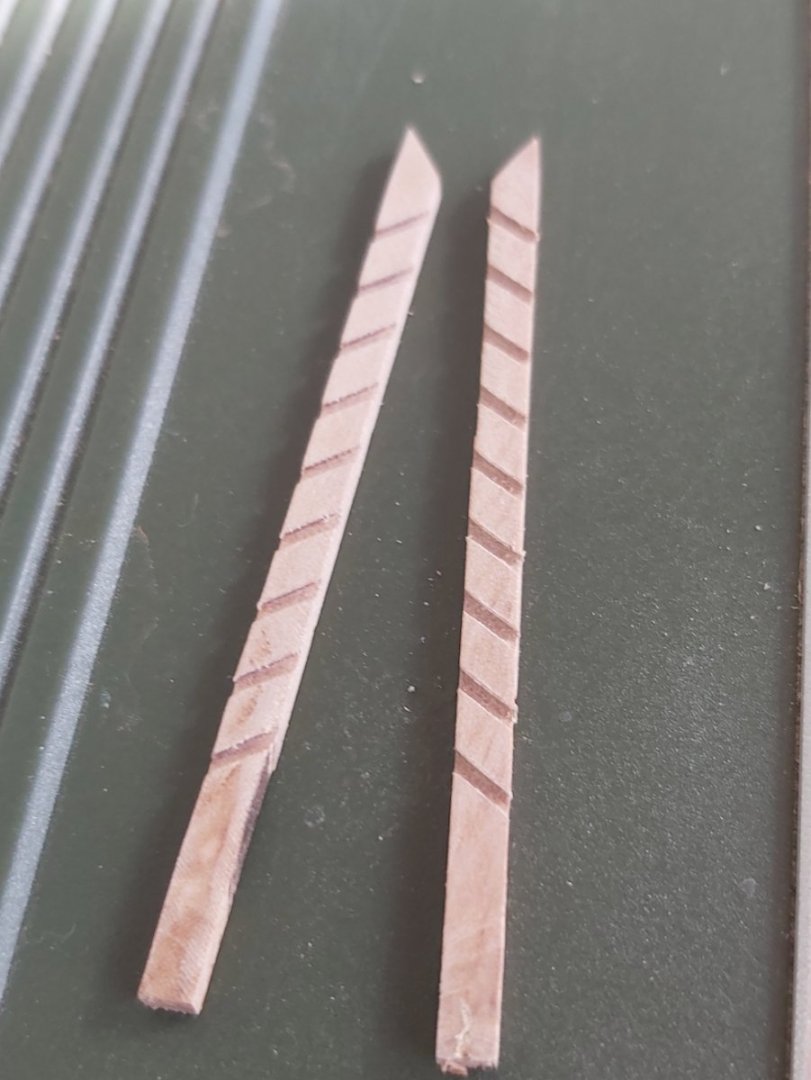
I do the cuts with my mill. I just attach the side rails properly (with the same angle) onto a piece of wood with double sided adhesive tape and cut them together, then glue the steps. I don't use any jig for that.
-
USS Constitution by mtbediz - 1:76
mtbediz replied to mtbediz's topic in - Build logs for subjects built 1751 - 1800
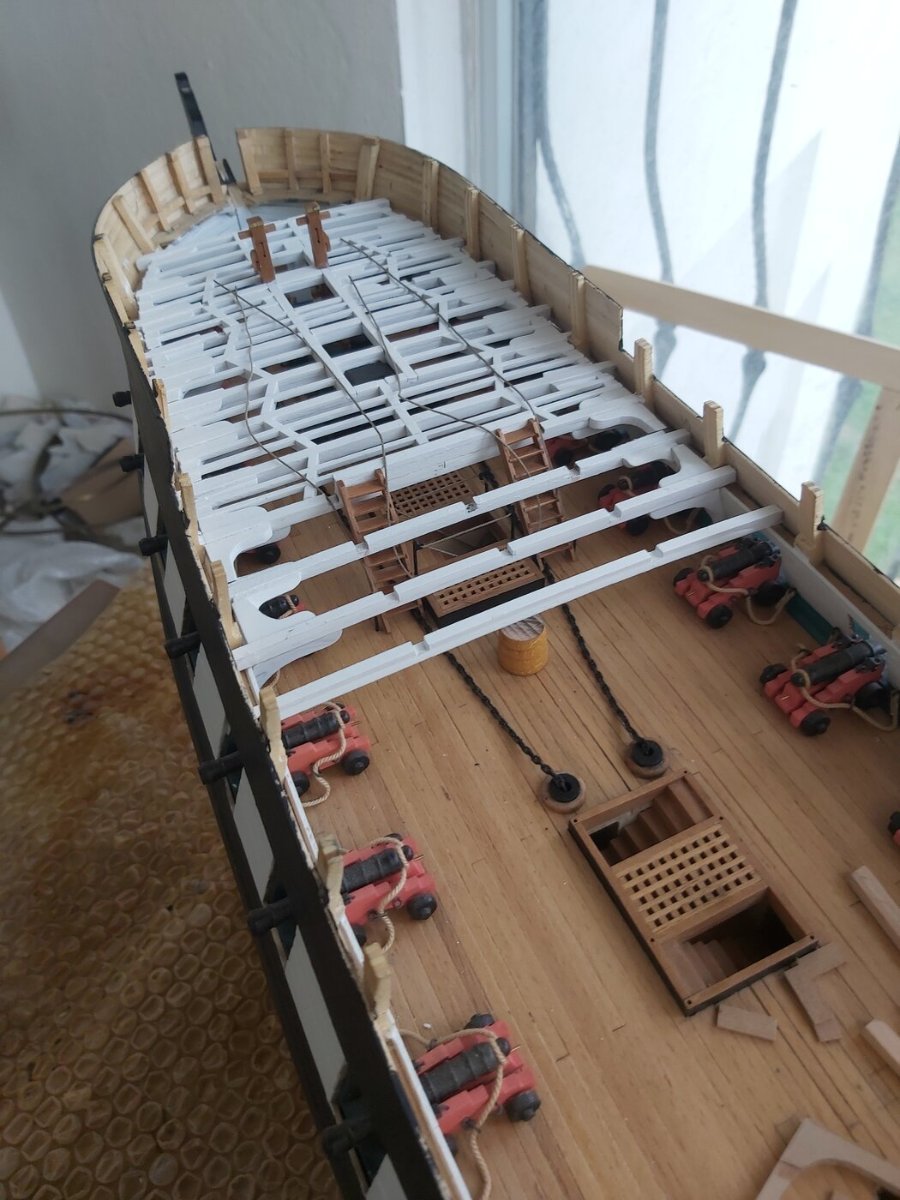
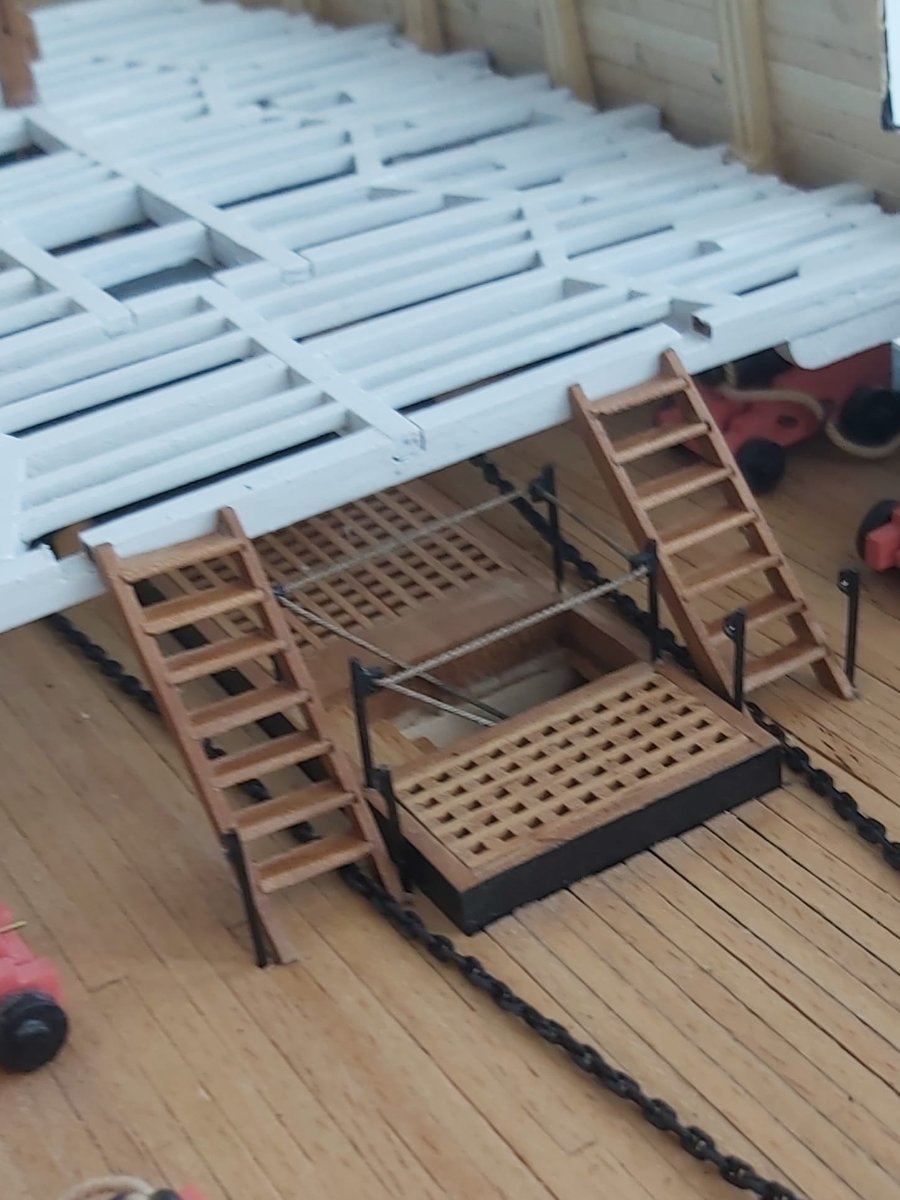
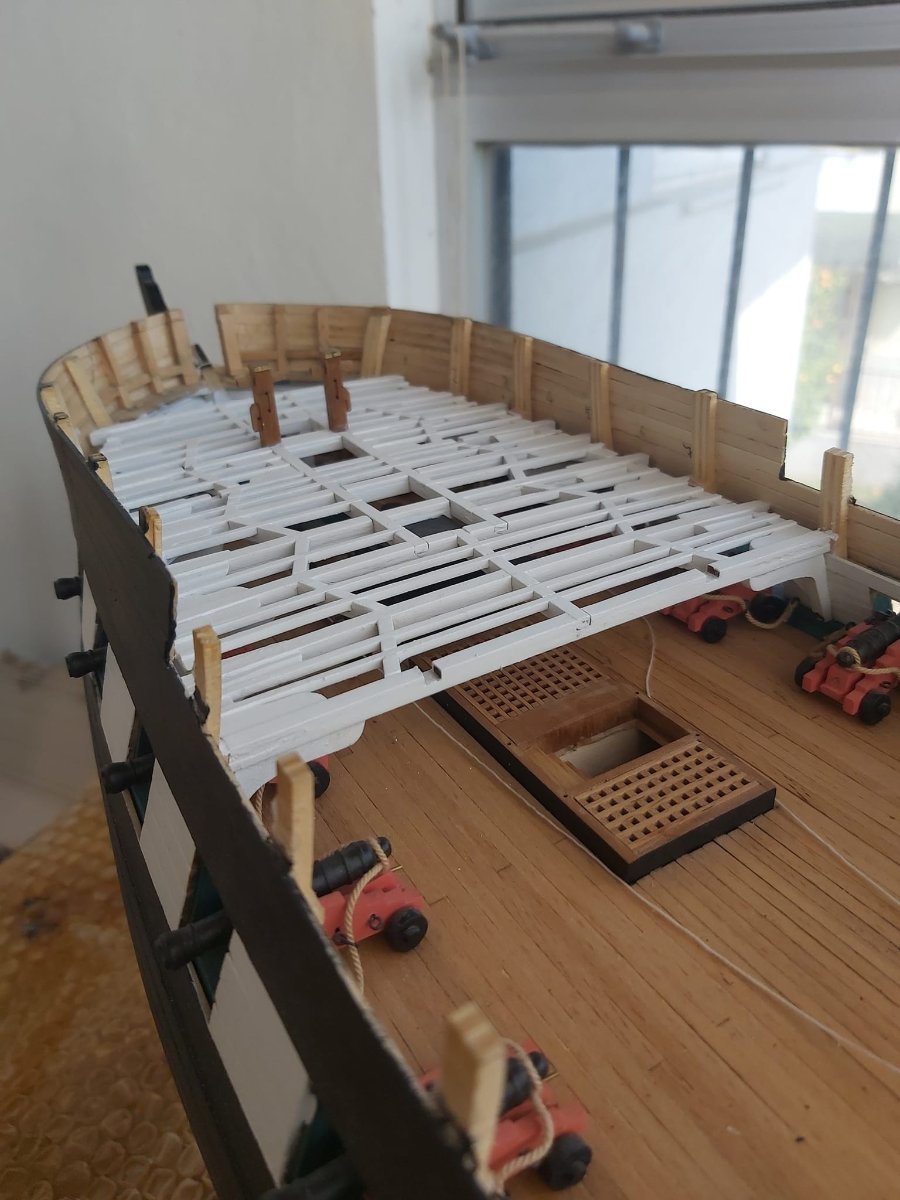
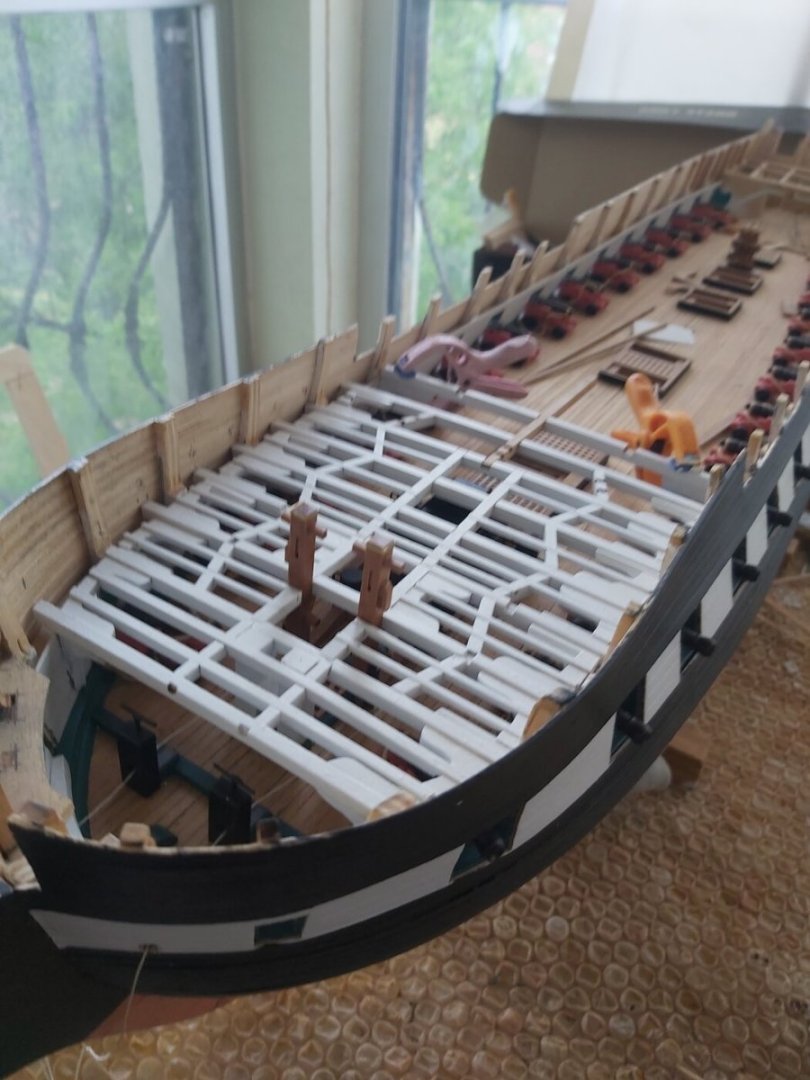
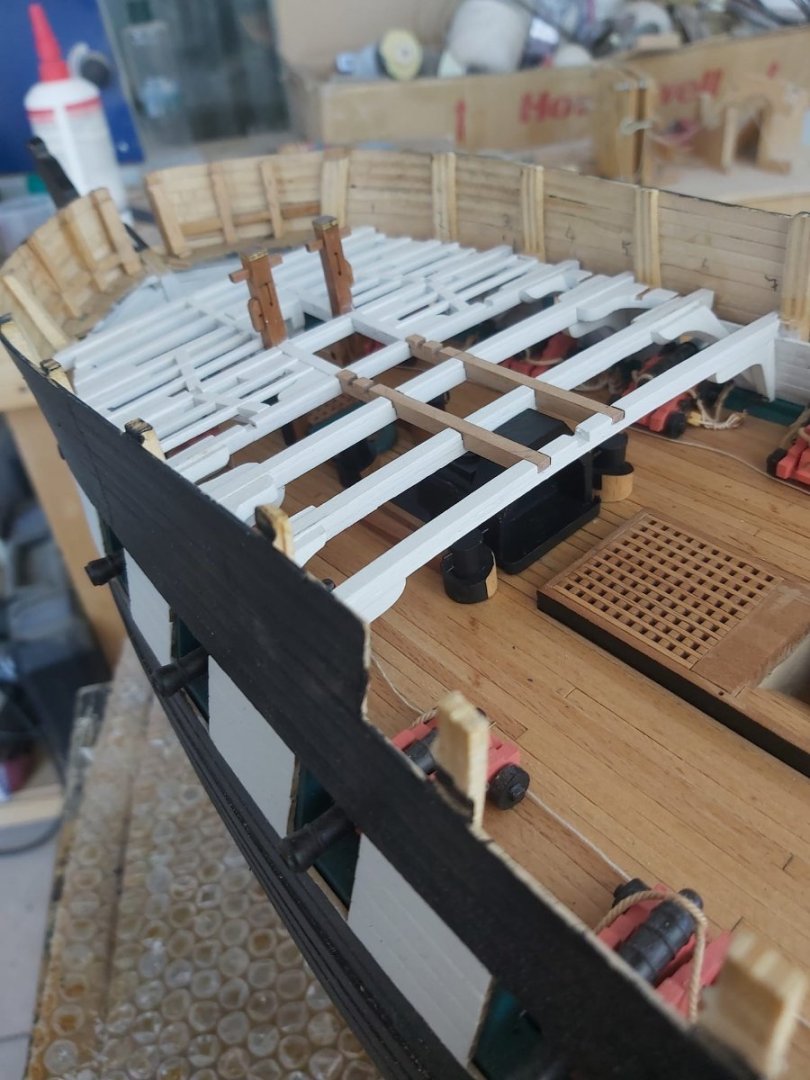
I completed the gun deck hatch's stancions and hand ropes. I made two ladders from the spar deck to the gun deck and since they were still reachable I added stancions for the hand ropes because the beams would prevent me from reaching them later.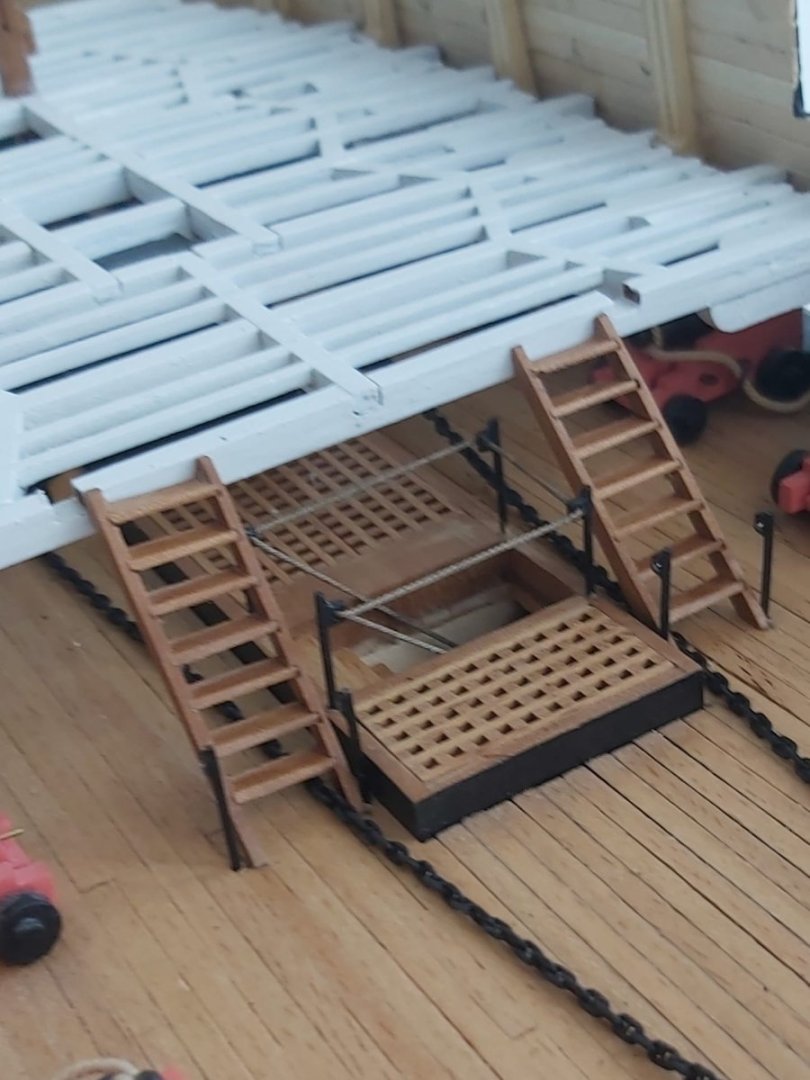


-
USS Constitution by mtbediz - 1:76
mtbediz replied to mtbediz's topic in - Build logs for subjects built 1751 - 1800
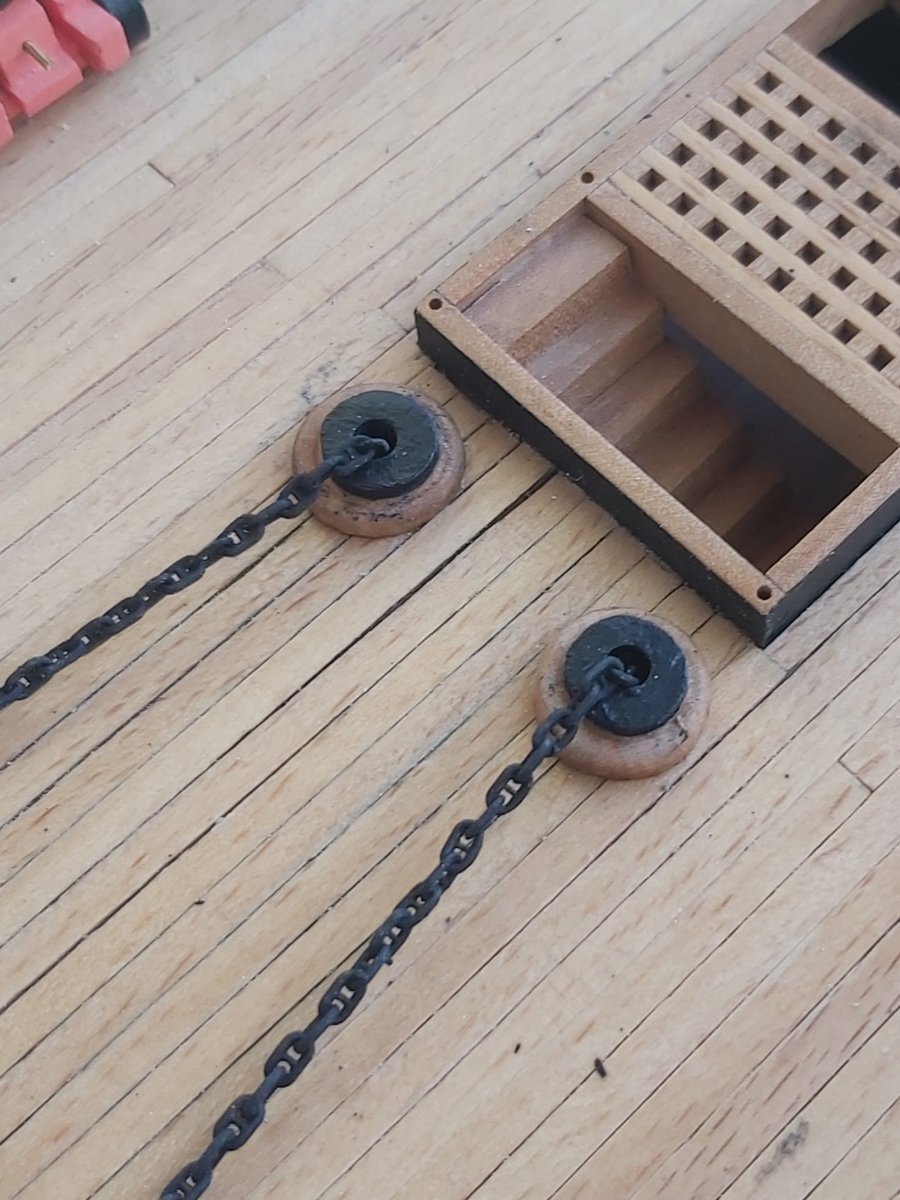
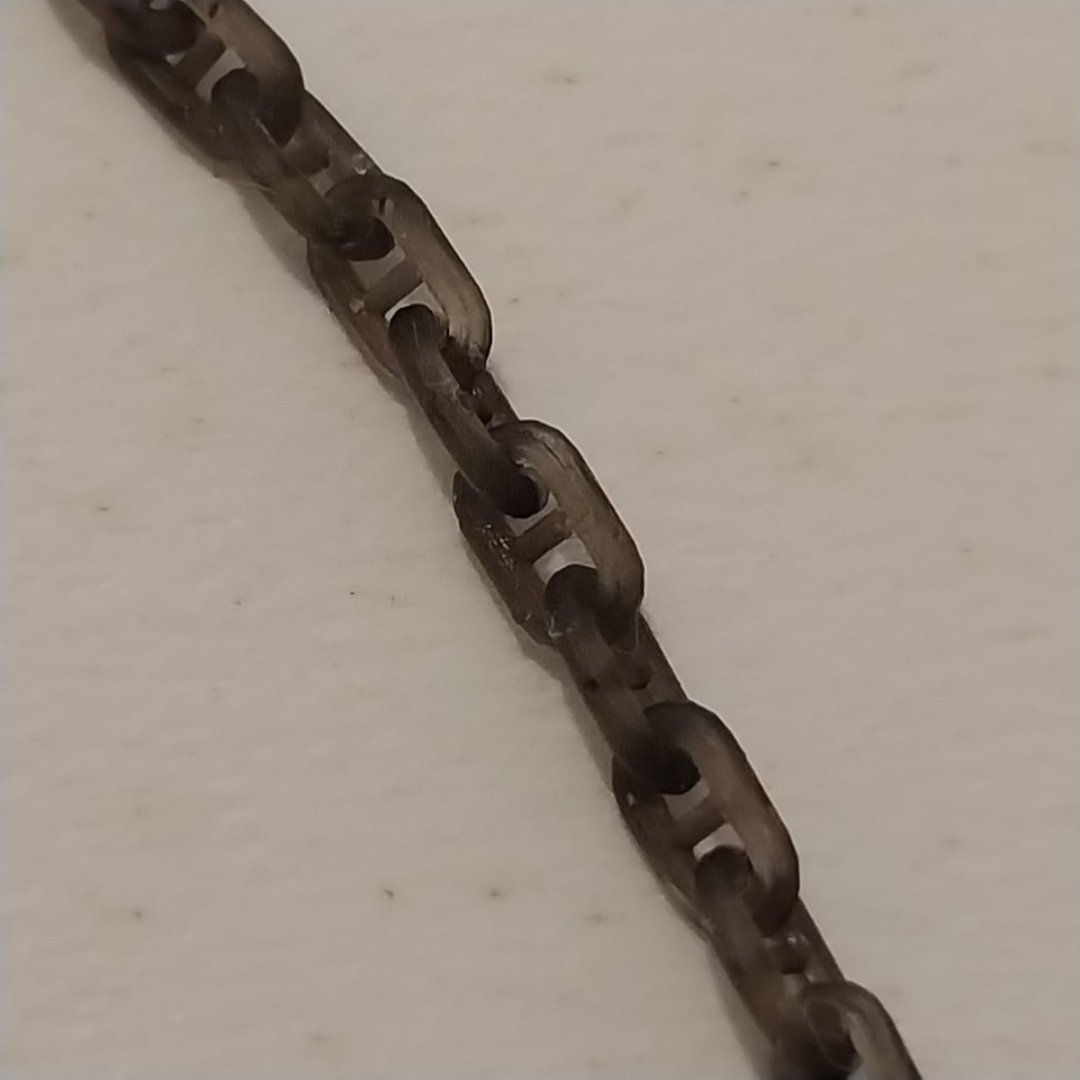
Hi Greg. Yes these are anchor chains. It would be difficult for me to explain how the system works on here, but there is a YouTube video that I like very much and you can find the answers to many questions about historic ships in this video. For the answer to your question, please watch from 18:50 of the video. -
USS Constitution by mtbediz - 1:76
mtbediz replied to mtbediz's topic in - Build logs for subjects built 1751 - 1800
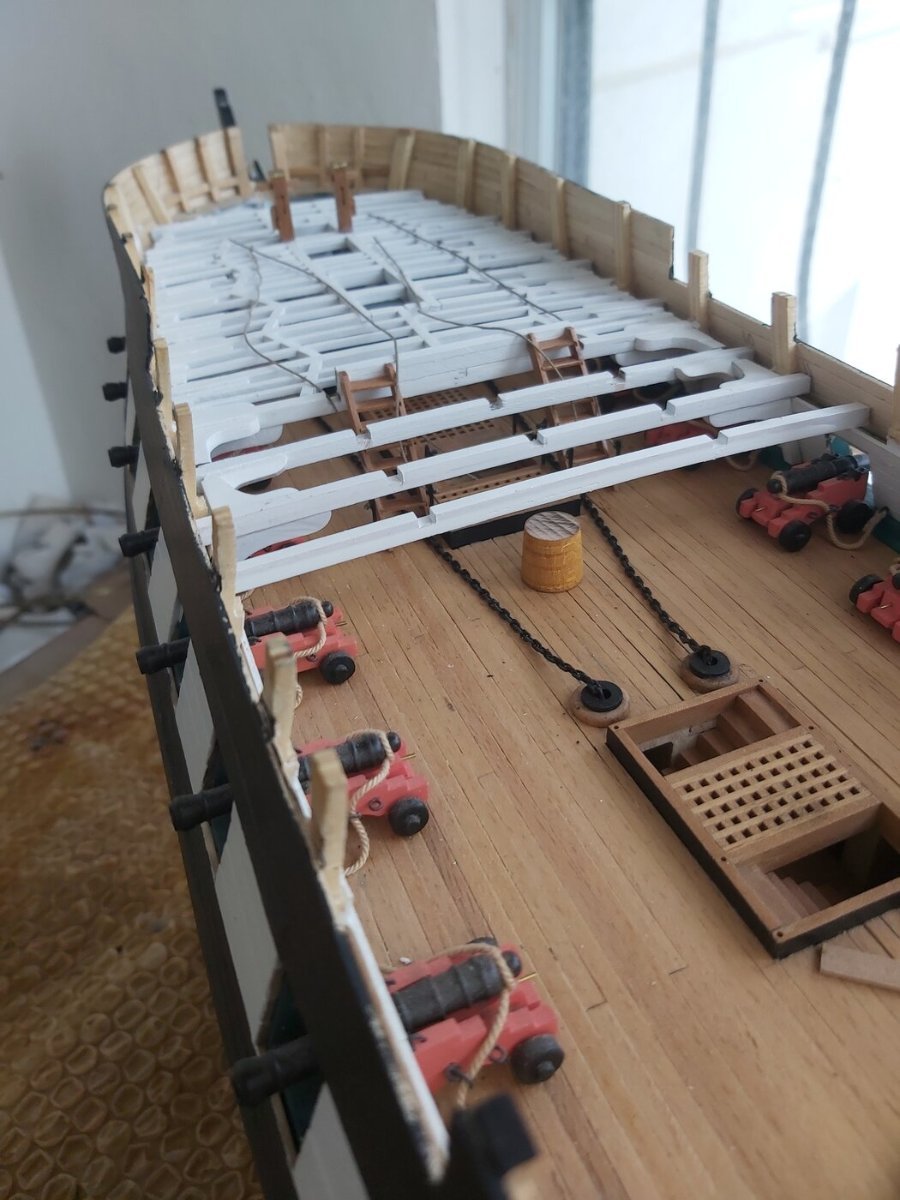
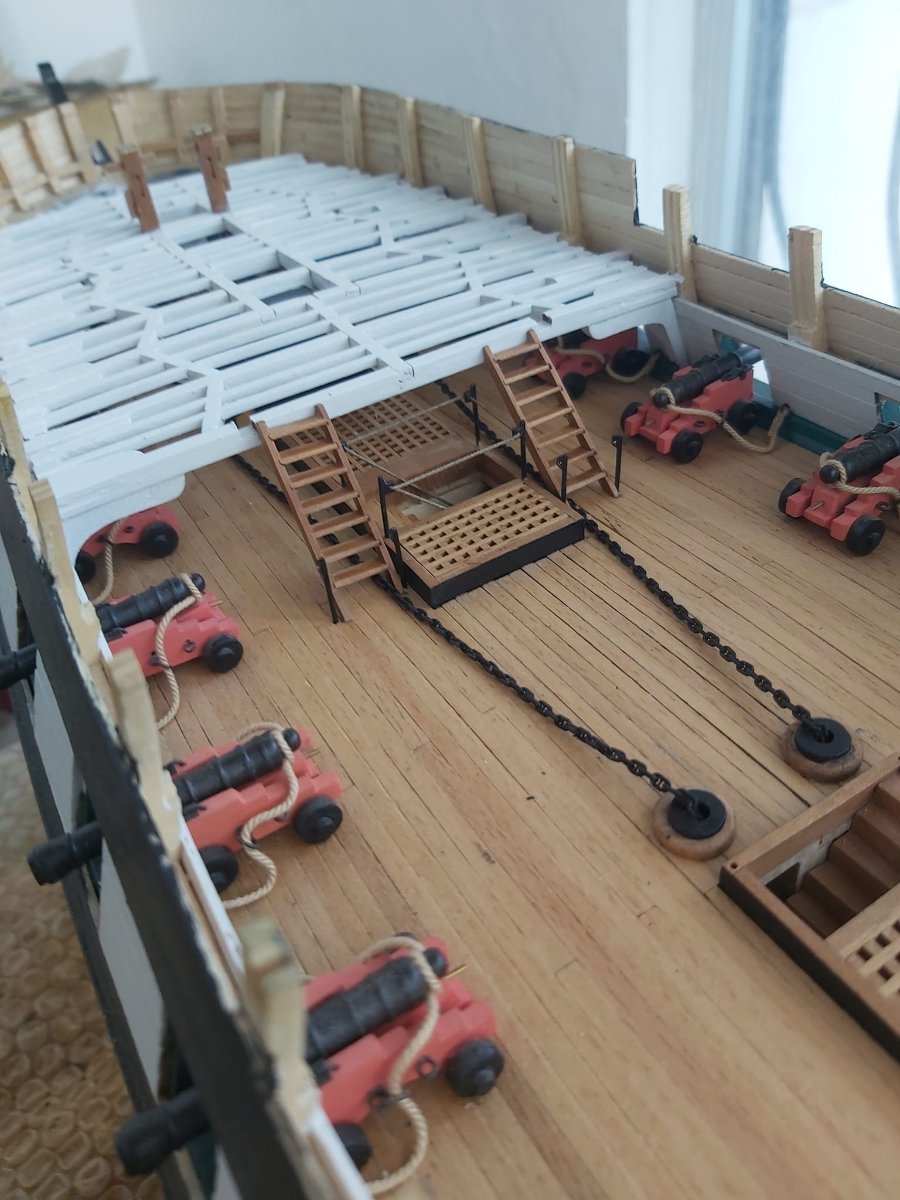
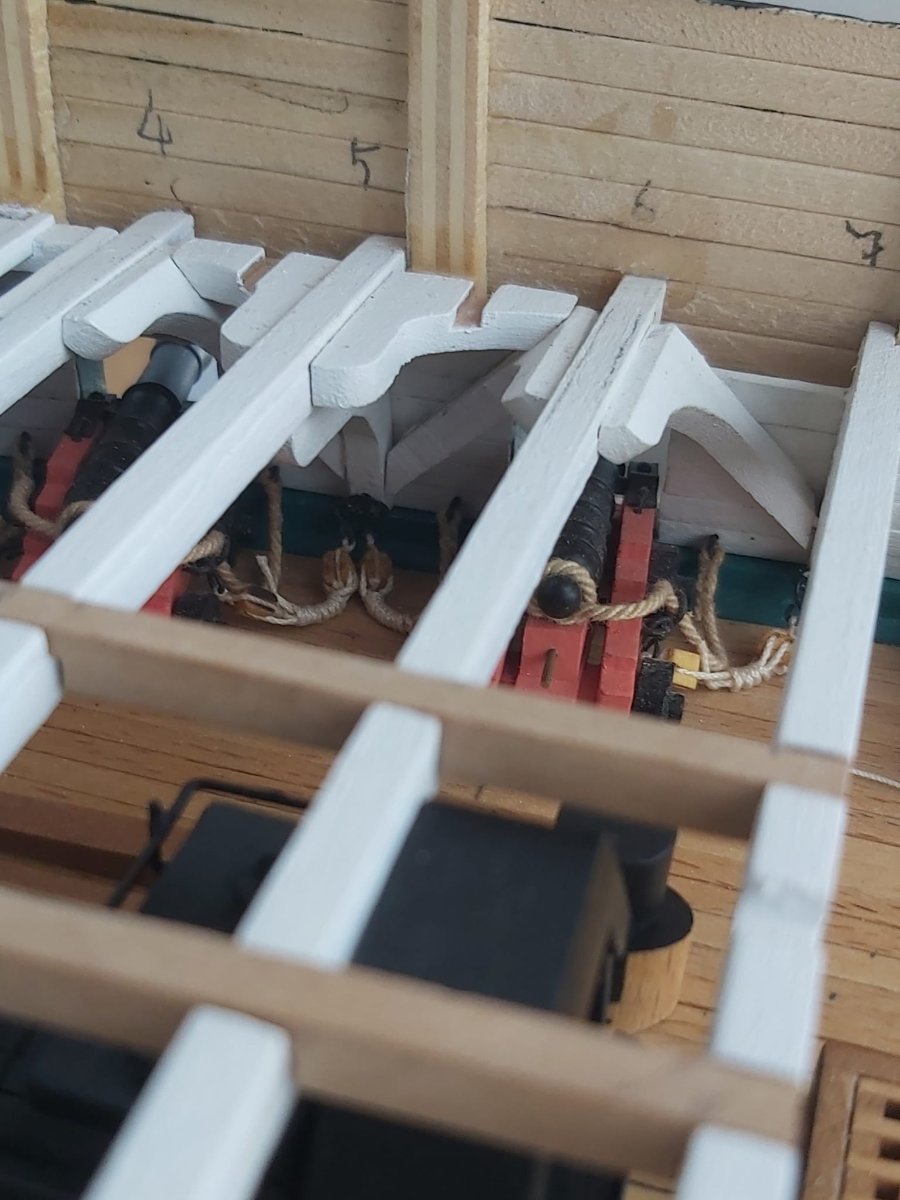
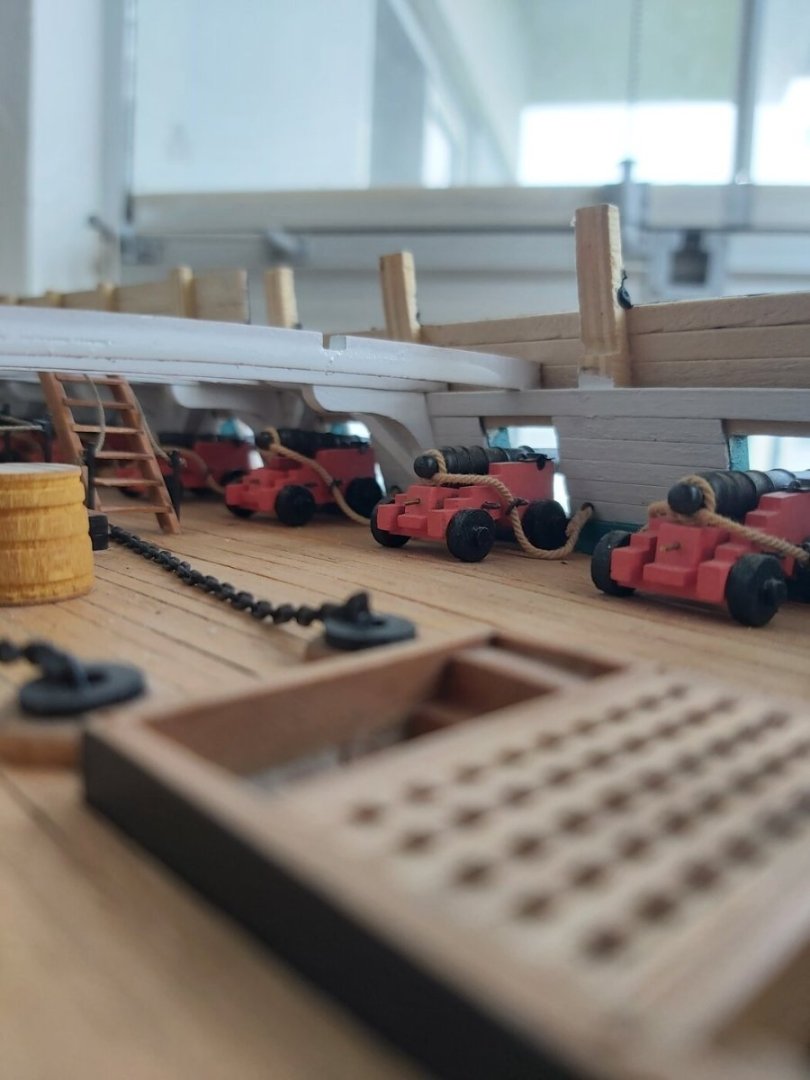
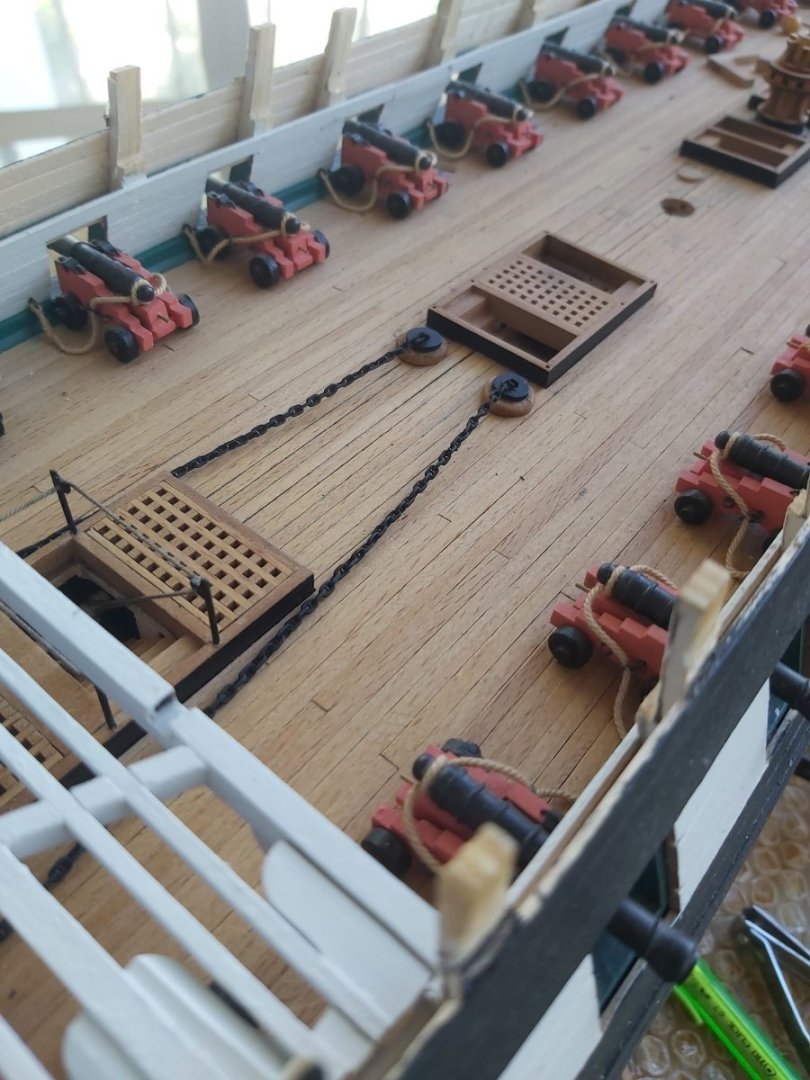
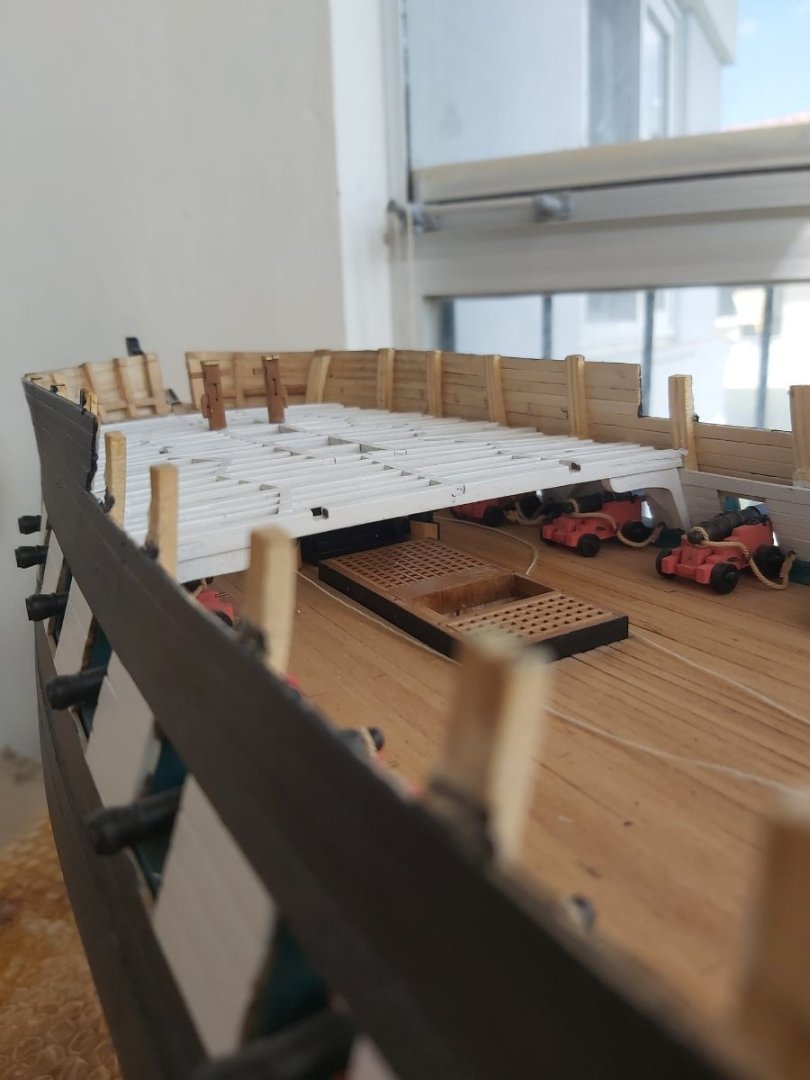
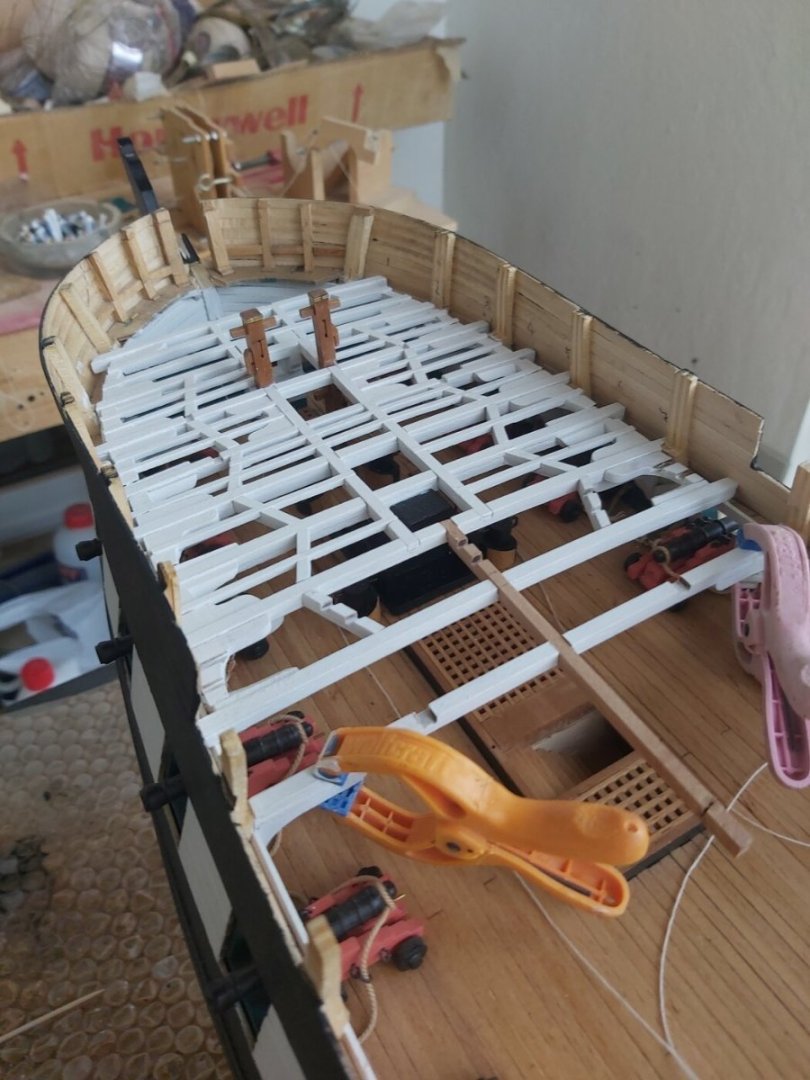
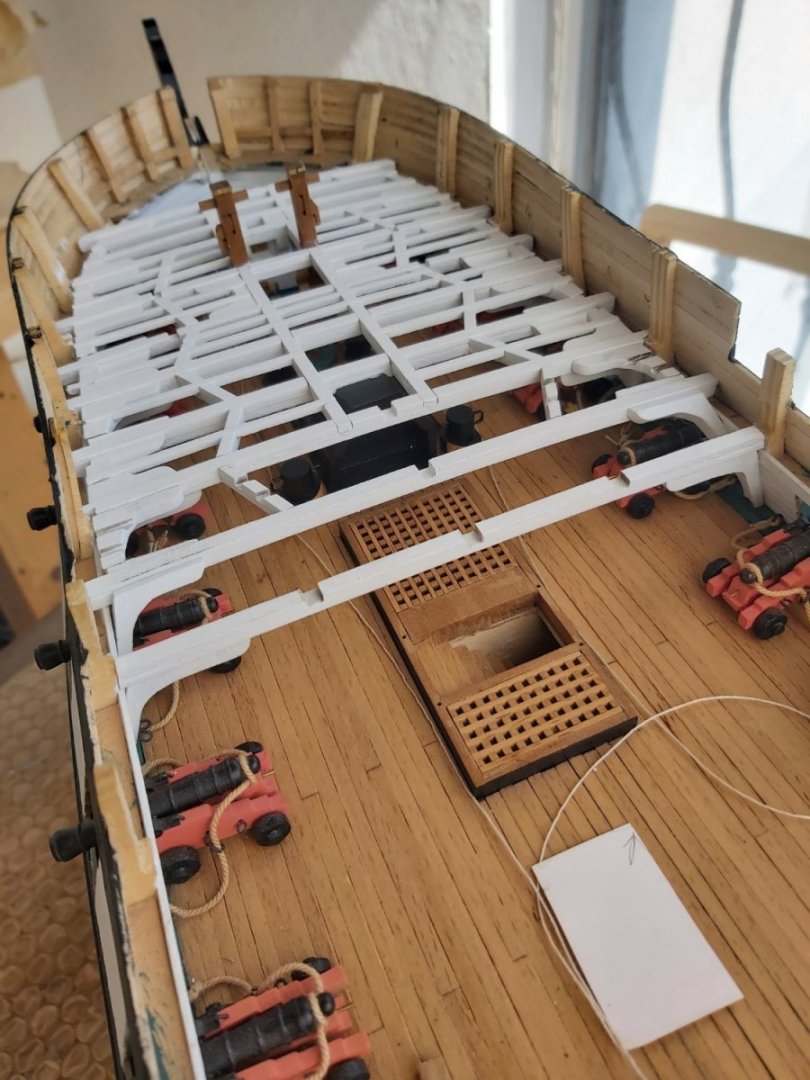
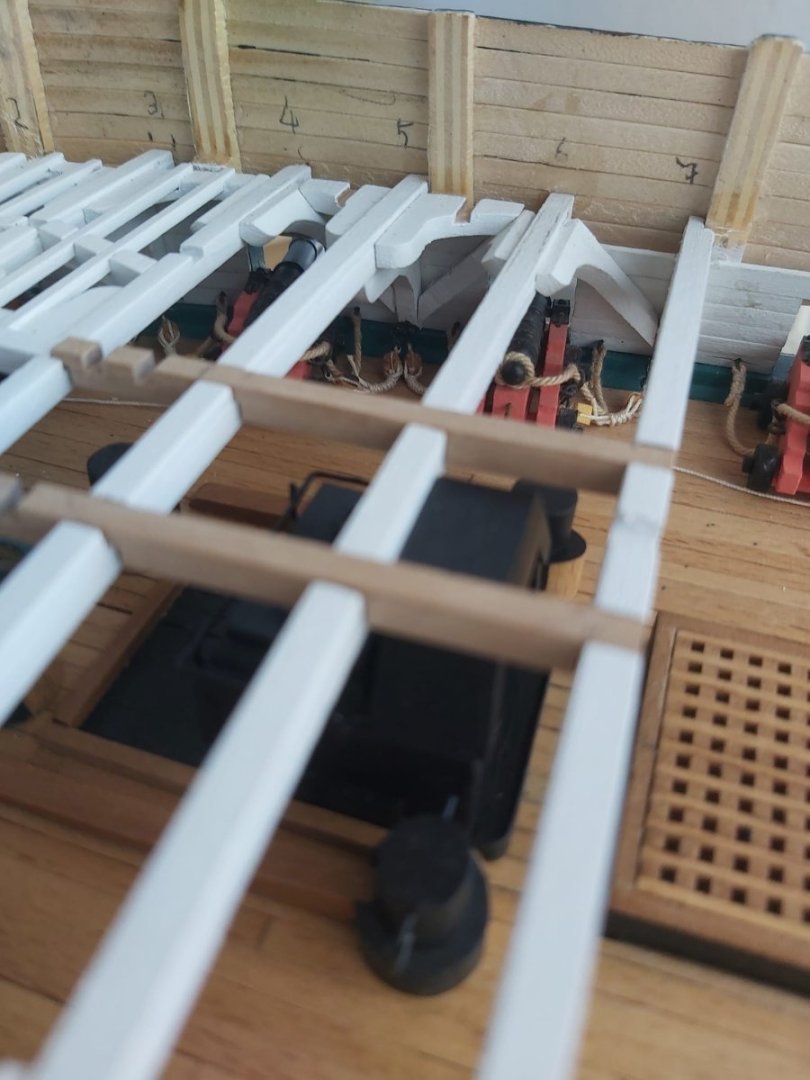
I made the chain pots and fixed them in place. These are where the anchor chains or ropes are transferred across the gun deck and into storage areas. I then hauled the anchor chains onto the gun deck.
-
USS Constitution by mtbediz - 1:76
mtbediz replied to mtbediz's topic in - Build logs for subjects built 1751 - 1800
Thank you so much Greg. -
USS Constitution by mtbediz - 1:76
mtbediz replied to mtbediz's topic in - Build logs for subjects built 1751 - 1800
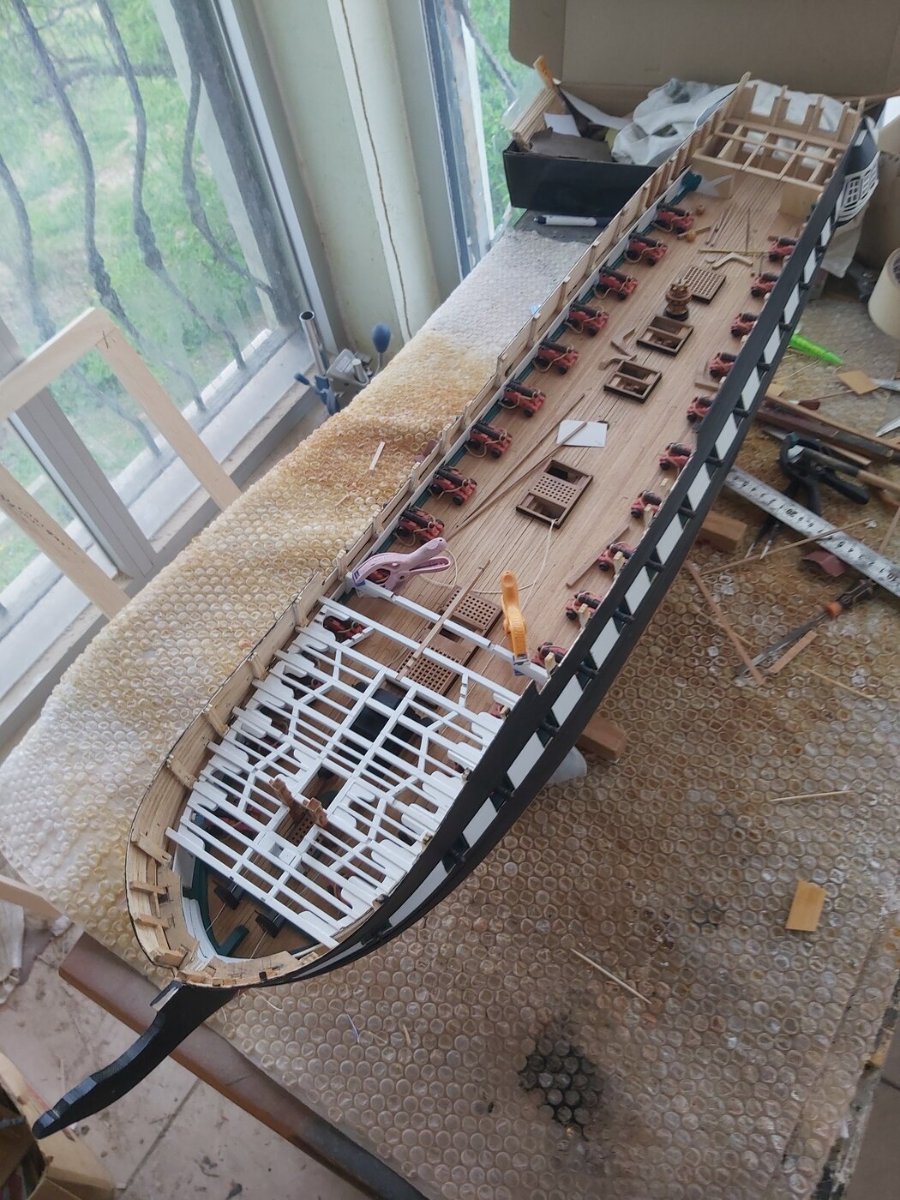
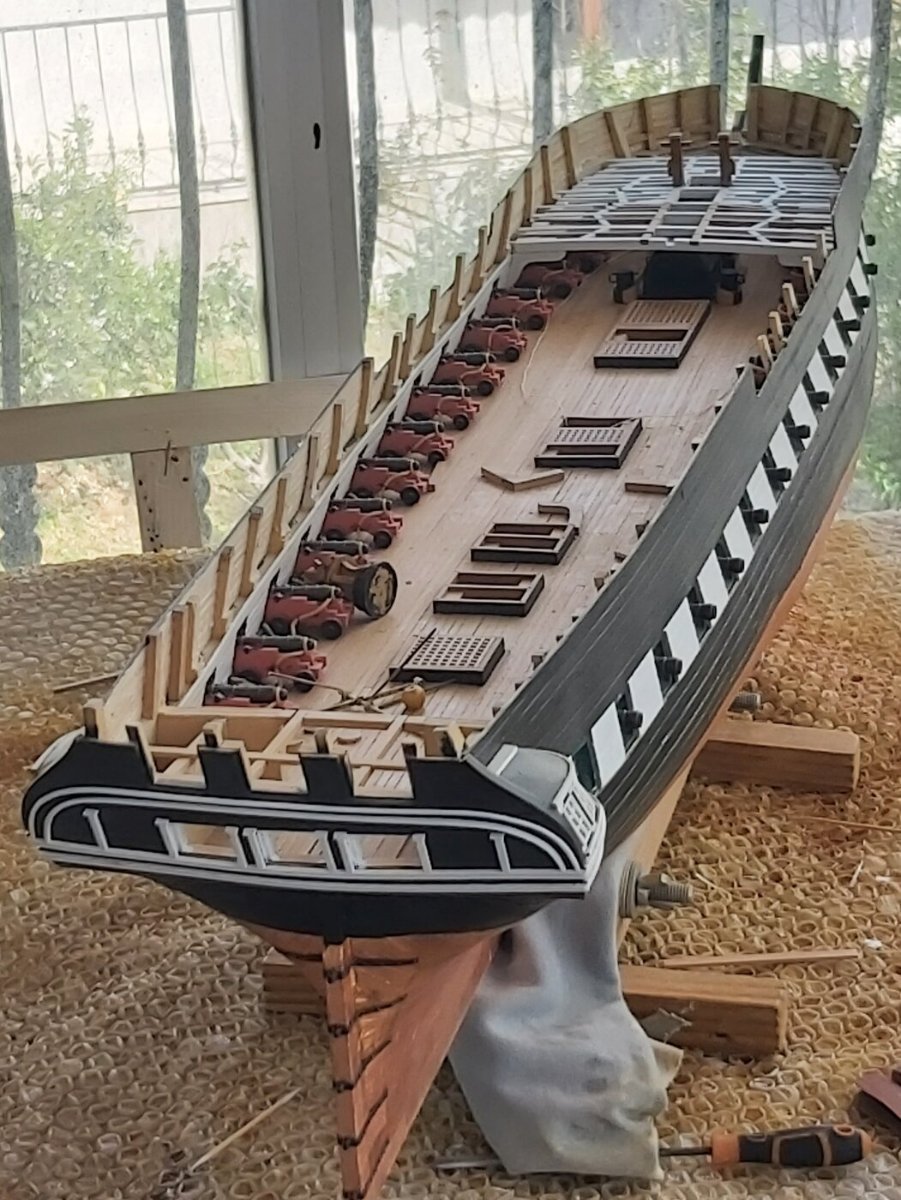
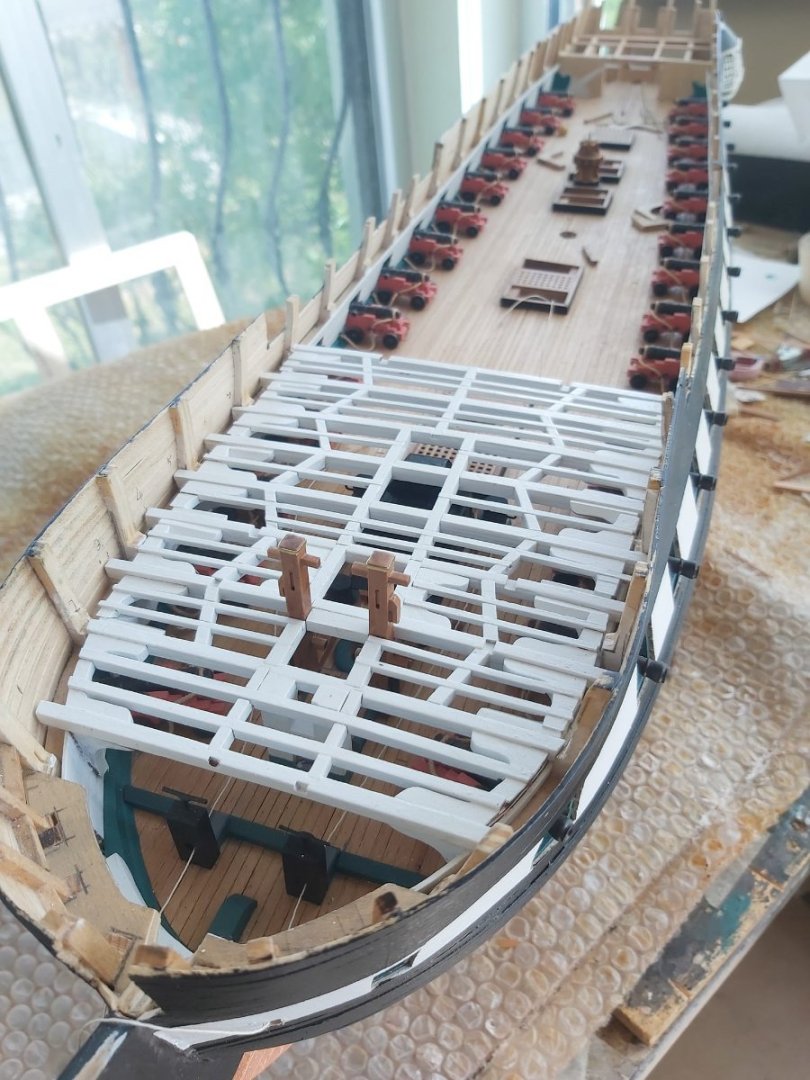
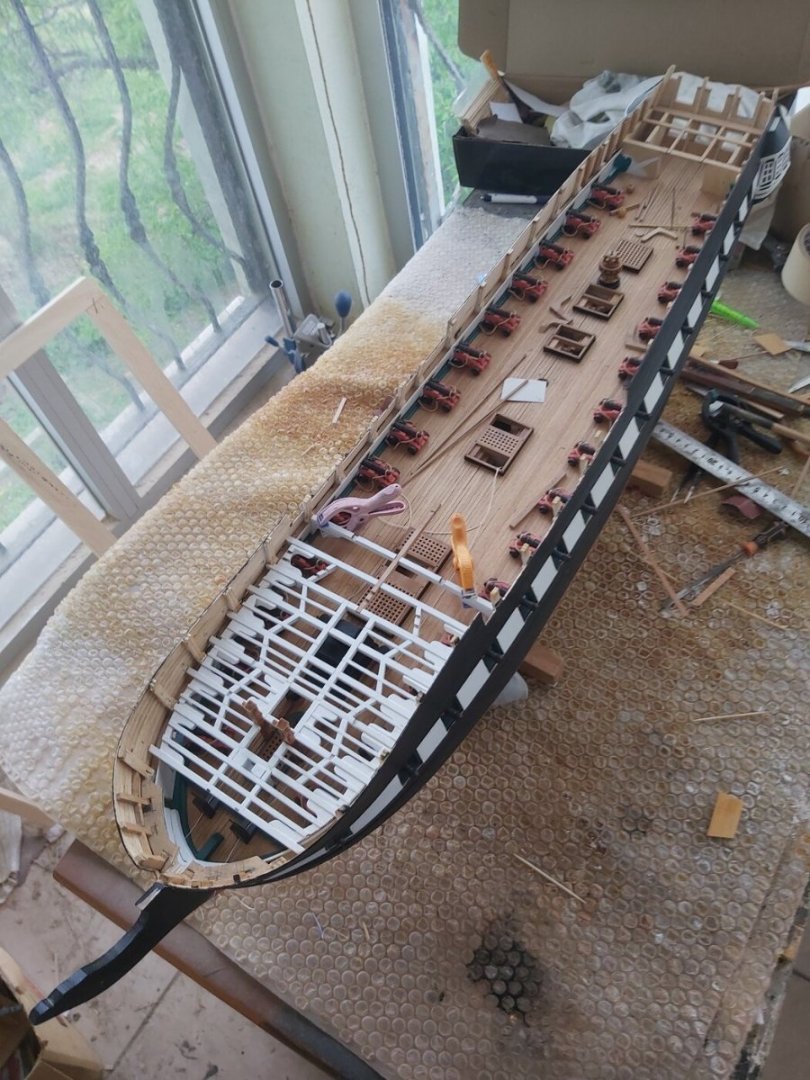
Conny's current situation.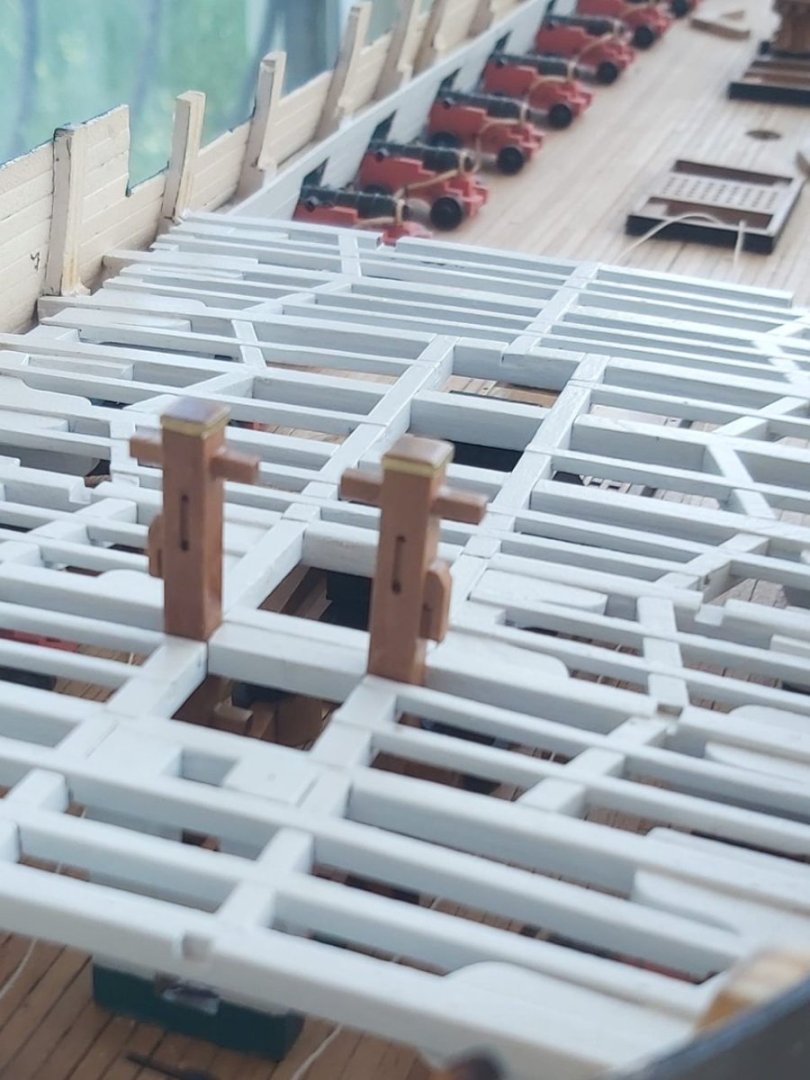


-
You are my inspiration, Jon. I am learning a lot from you.
-
USS Constitution by mtbediz - 1:76
mtbediz replied to mtbediz's topic in - Build logs for subjects built 1751 - 1800
Thank you Todd. -
I love your build and look forward to your progress.
-
USS Constitution by mtbediz - 1:76
mtbediz replied to mtbediz's topic in - Build logs for subjects built 1751 - 1800
That's it for today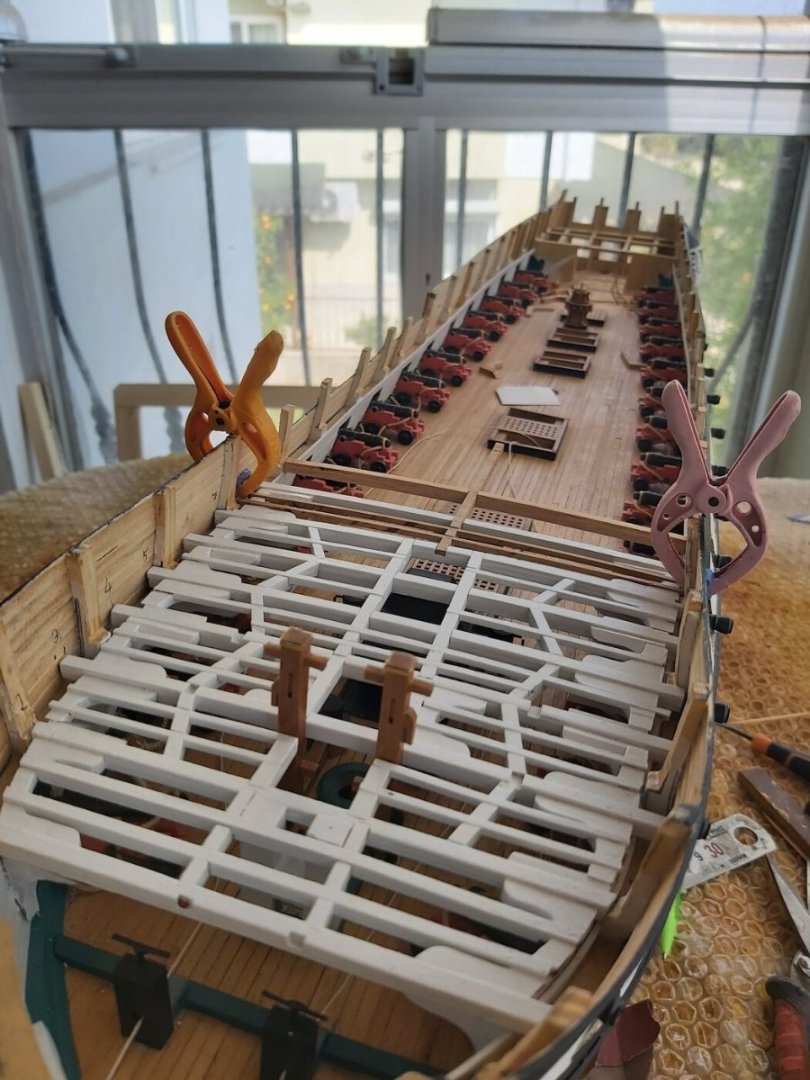

-
USS Constitution by mtbediz - 1:76
mtbediz replied to mtbediz's topic in - Build logs for subjects built 1751 - 1800
Painted or unpainted, I'm sure your model will look great either way. You are working very meticulously and cleanly. -
USS Constitution by mtbediz - 1:76
mtbediz replied to mtbediz's topic in - Build logs for subjects built 1751 - 1800
The spar deck is slowly taking shape. The unpainted parts in the photos have not been glued into place yet. After making sure that all the parts are compatible with each other, they are painted and glued.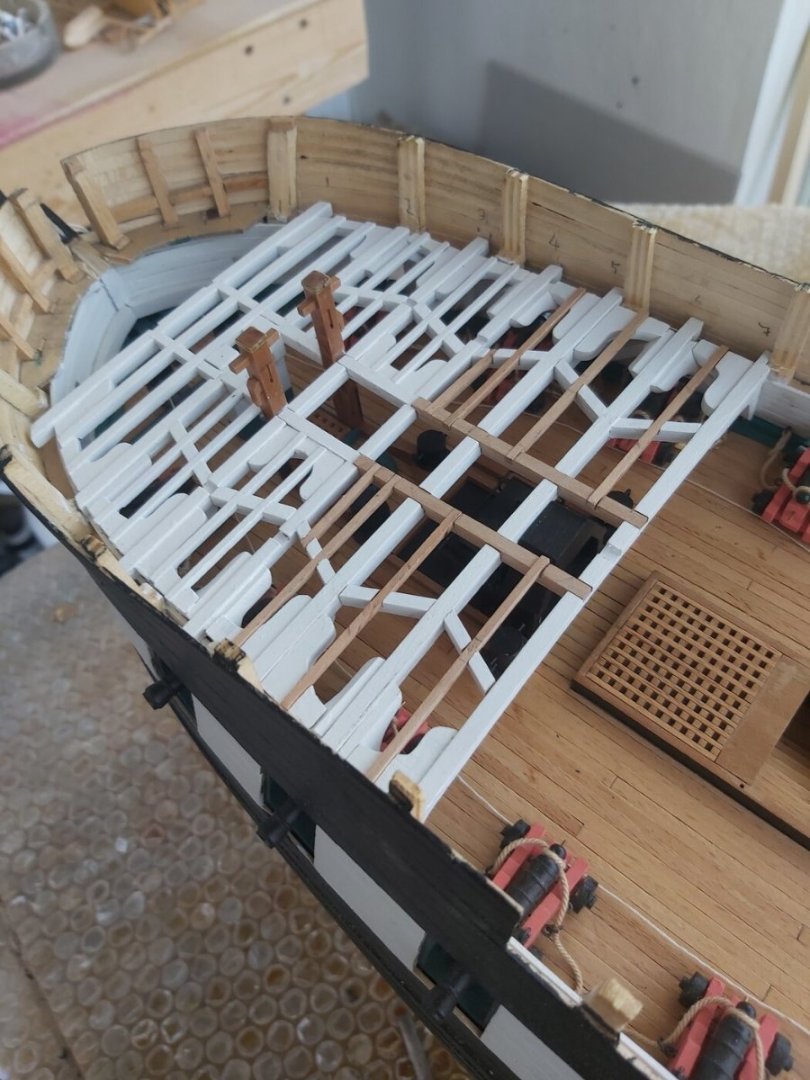


-
USS Constitution by mtbediz - 1:76
mtbediz replied to mtbediz's topic in - Build logs for subjects built 1751 - 1800
Chain bitts and stove were glued in place at this stage. Because after this stage, their passage would be blocked by the beams.


-
USS Constitution by mtbediz - 1:76
mtbediz replied to mtbediz's topic in - Build logs for subjects built 1751 - 1800
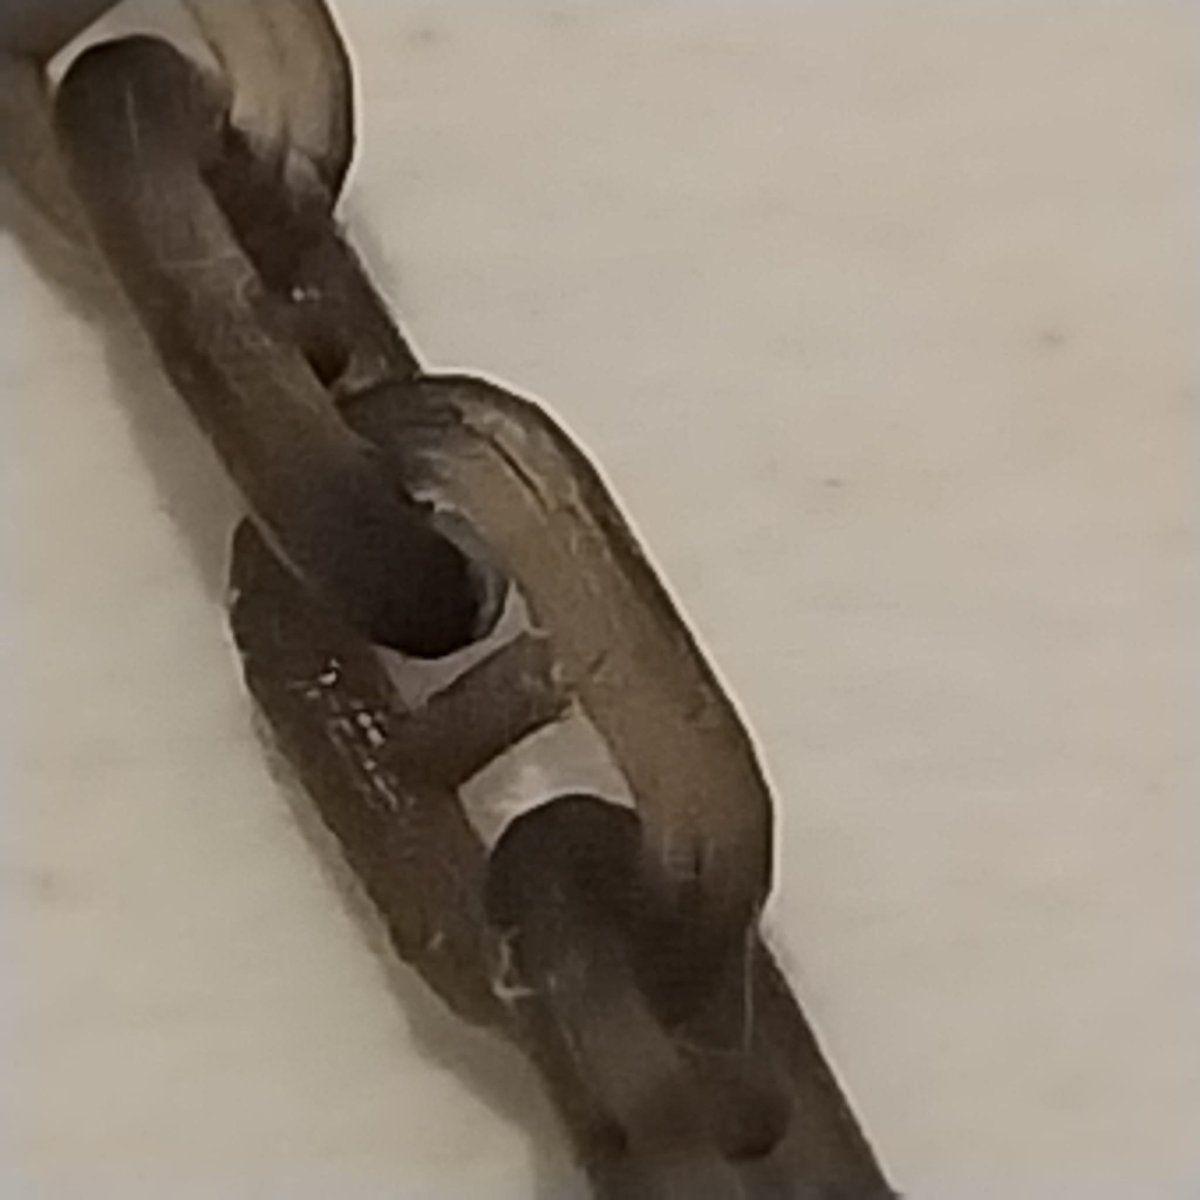
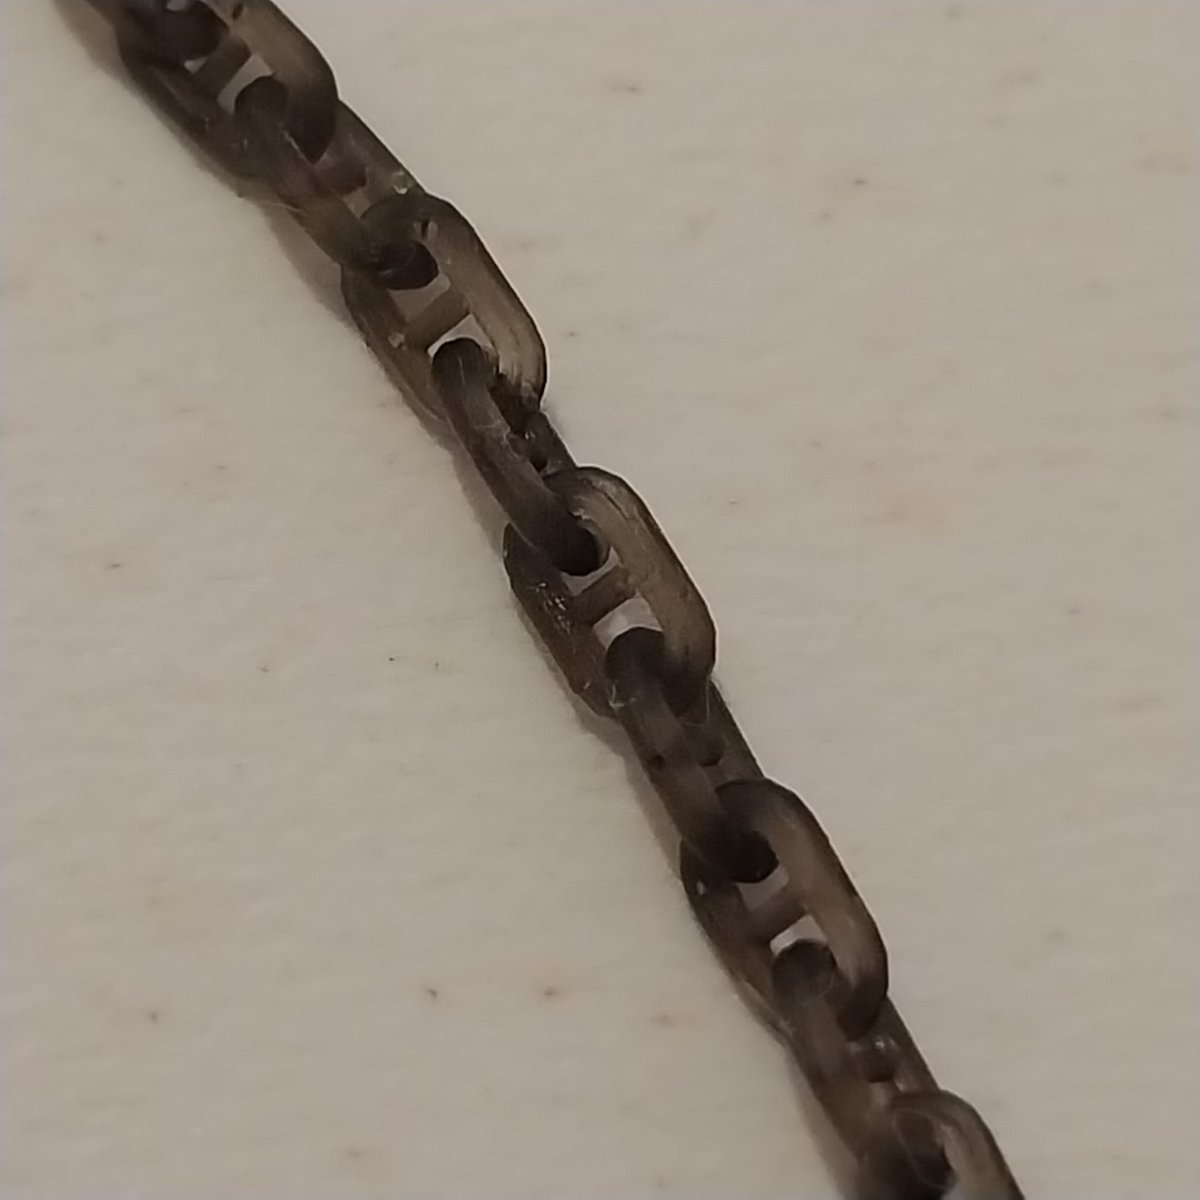
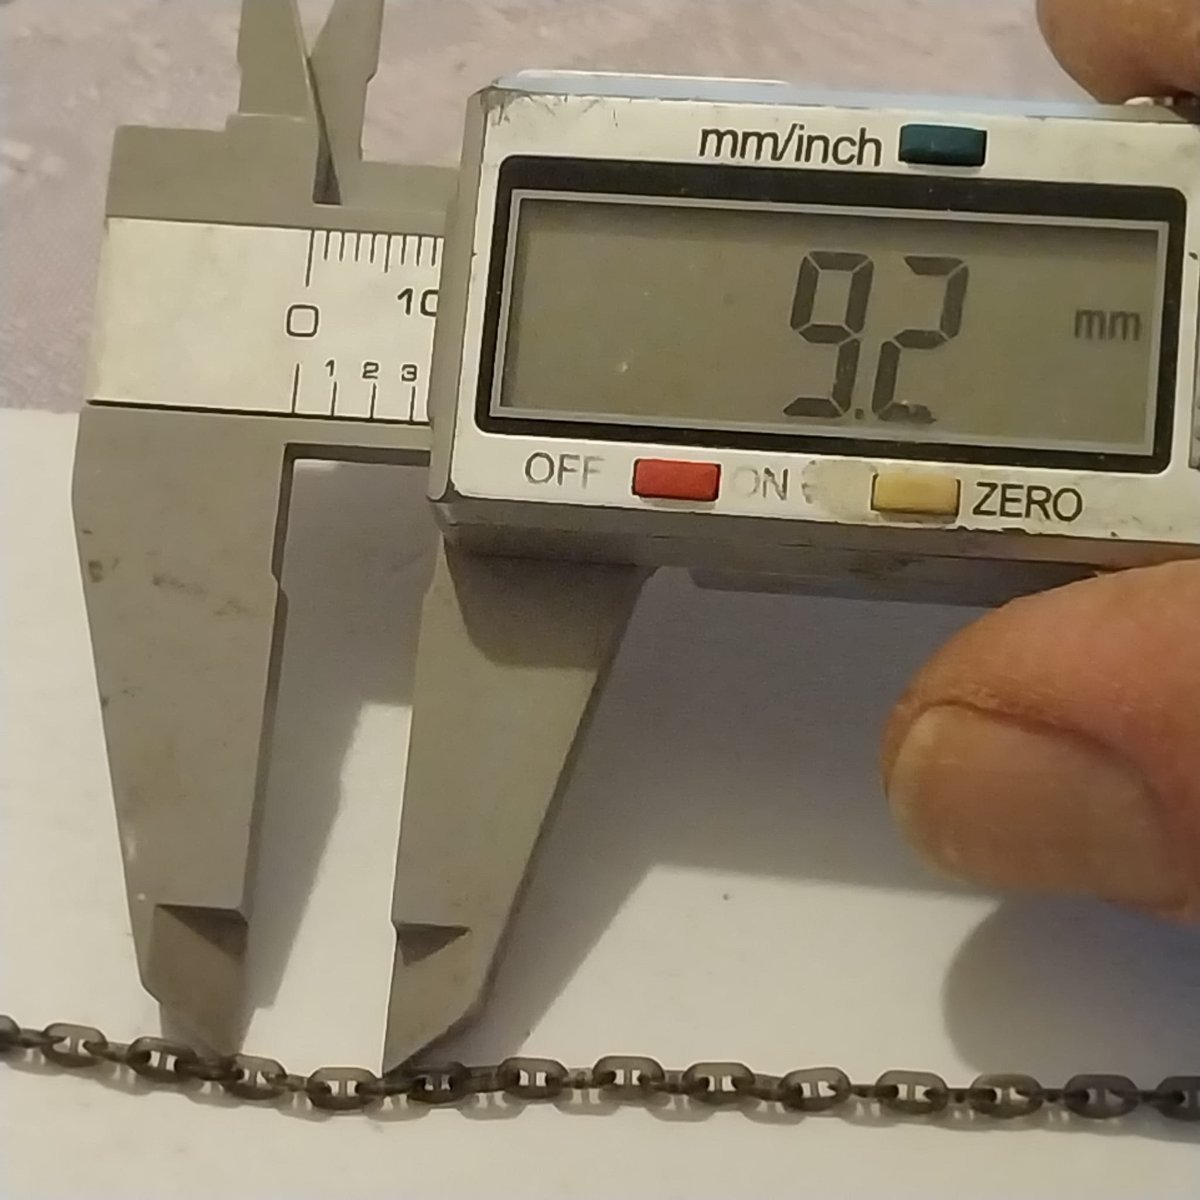
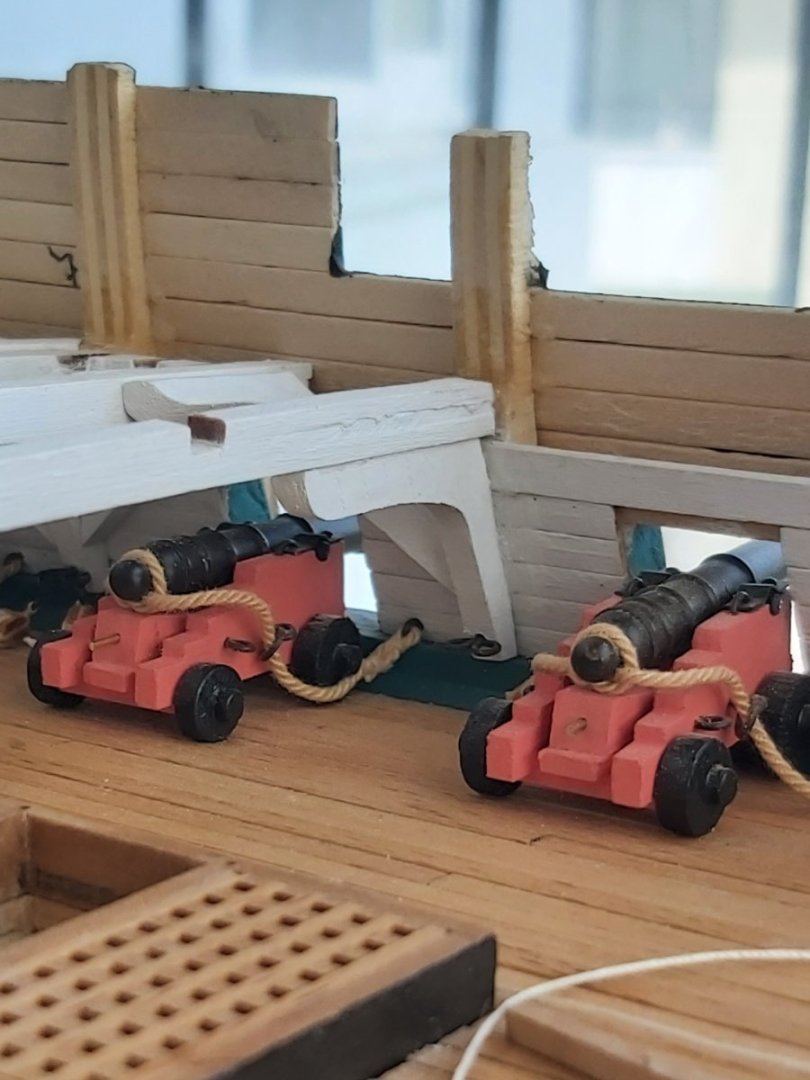
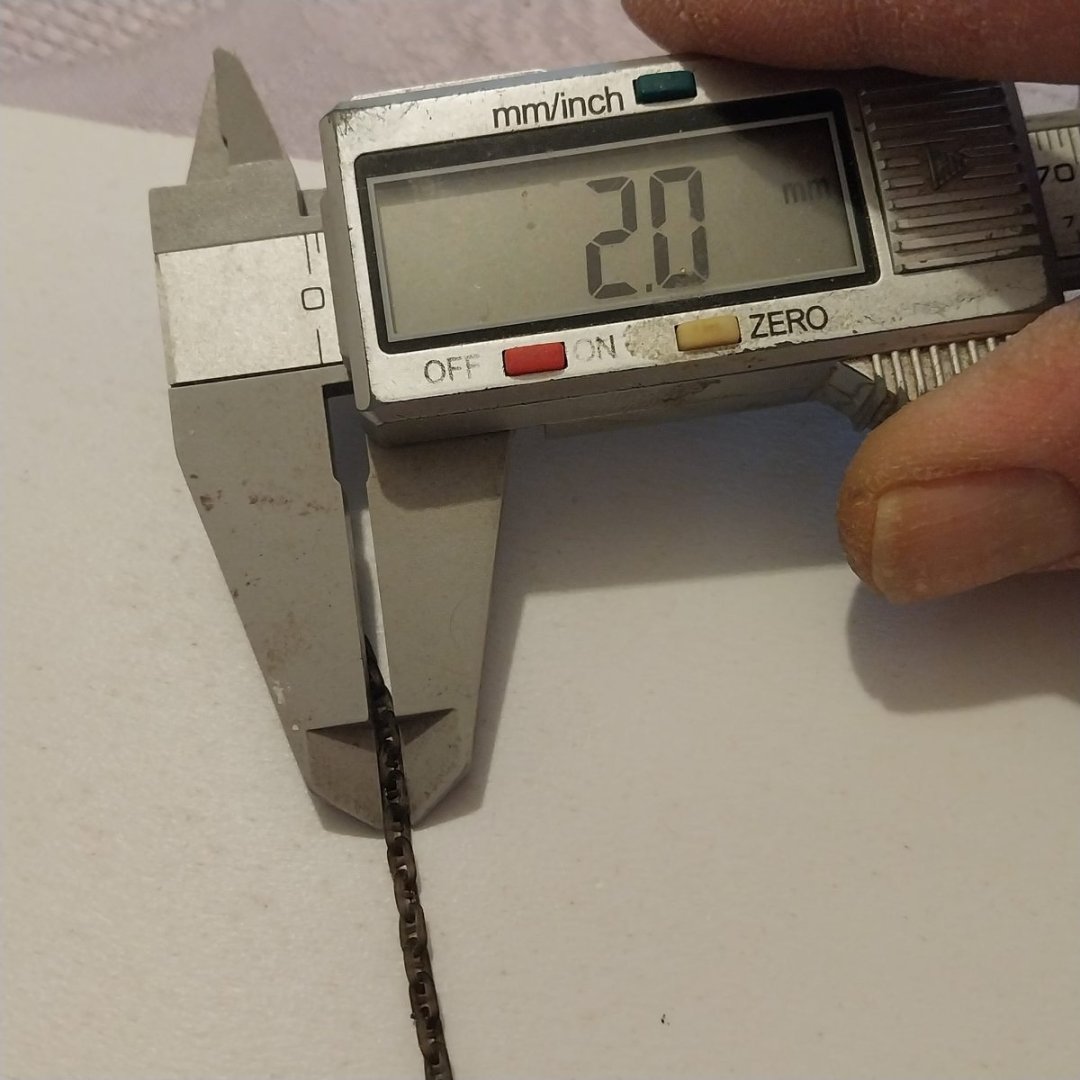
Thanks Jon. The chain provided by the kit didn't feel quite right to me. I think the links are too small, but a chain with 1x3 mm links seems to be closer to the scale. I found a chain of about 3 links/cm in the pictures on a local hobby shop. I think it was made with 3D resin printing. I ordered this, it looks okay but I think I'll have to paint it black.

-
USS Constitution by mtbediz - 1:76
mtbediz replied to mtbediz's topic in - Build logs for subjects built 1751 - 1800
Thank you for the information and photos, Jon. Do you have information about the size of the chain? -
Planking looks so good.