mtbediz
-
Posts
1,344 -
Joined
-
Last visited
Content Type
Profiles
Forums
Gallery
Events
Everything posted by mtbediz
-
 A legendary work.
 -
USS Constitution by mtbediz - 1:76
mtbediz replied to mtbediz's topic in - Build logs for subjects built 1751 - 1800
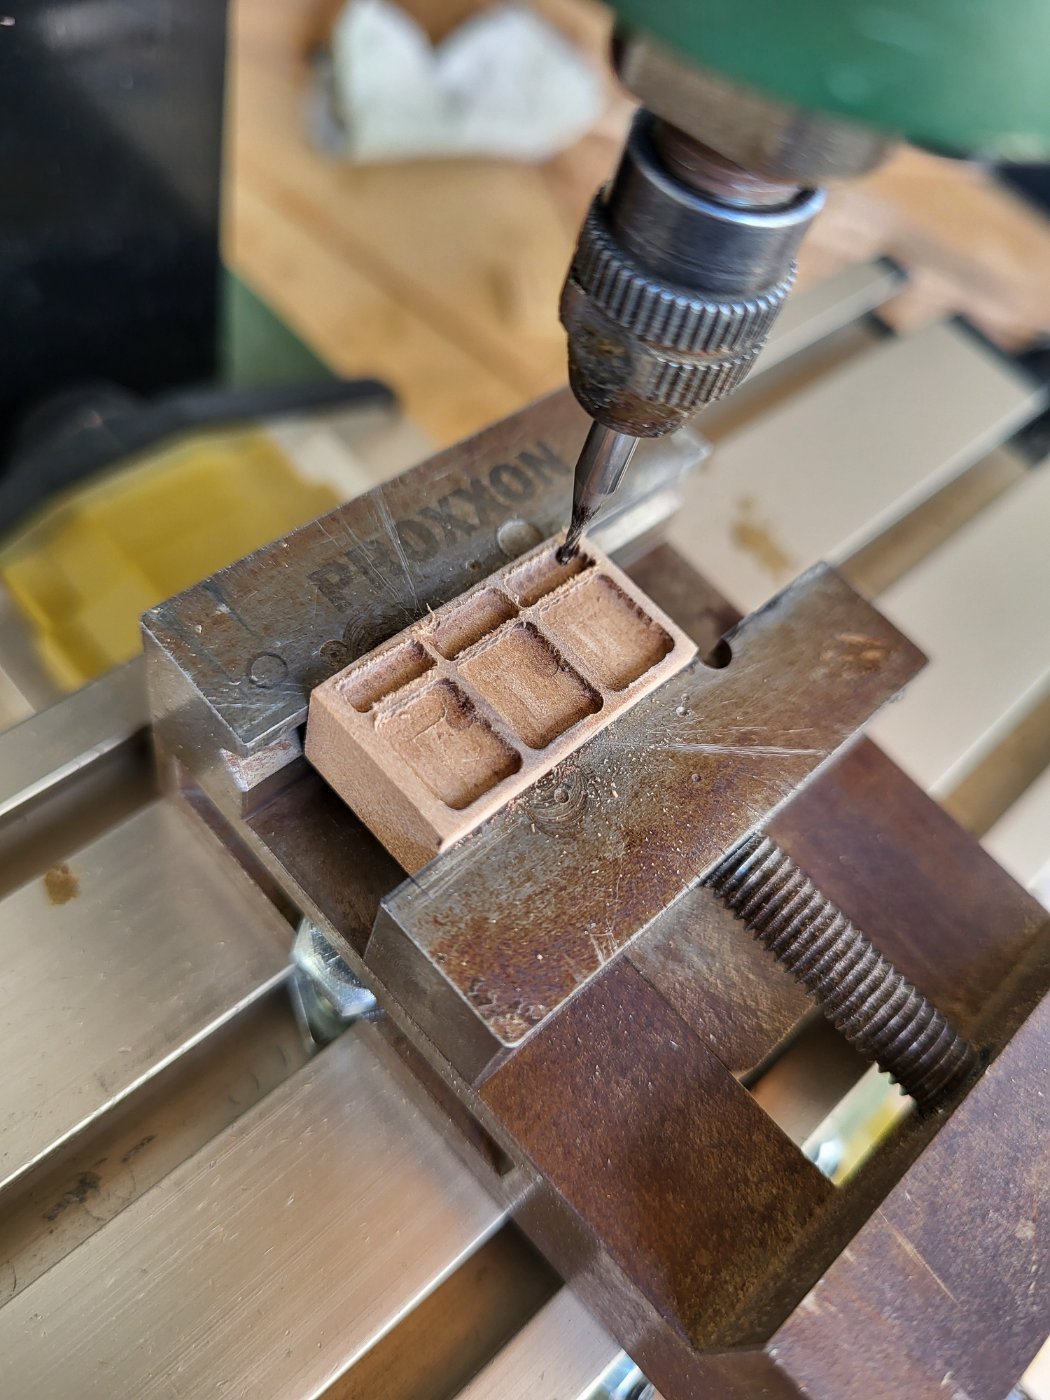
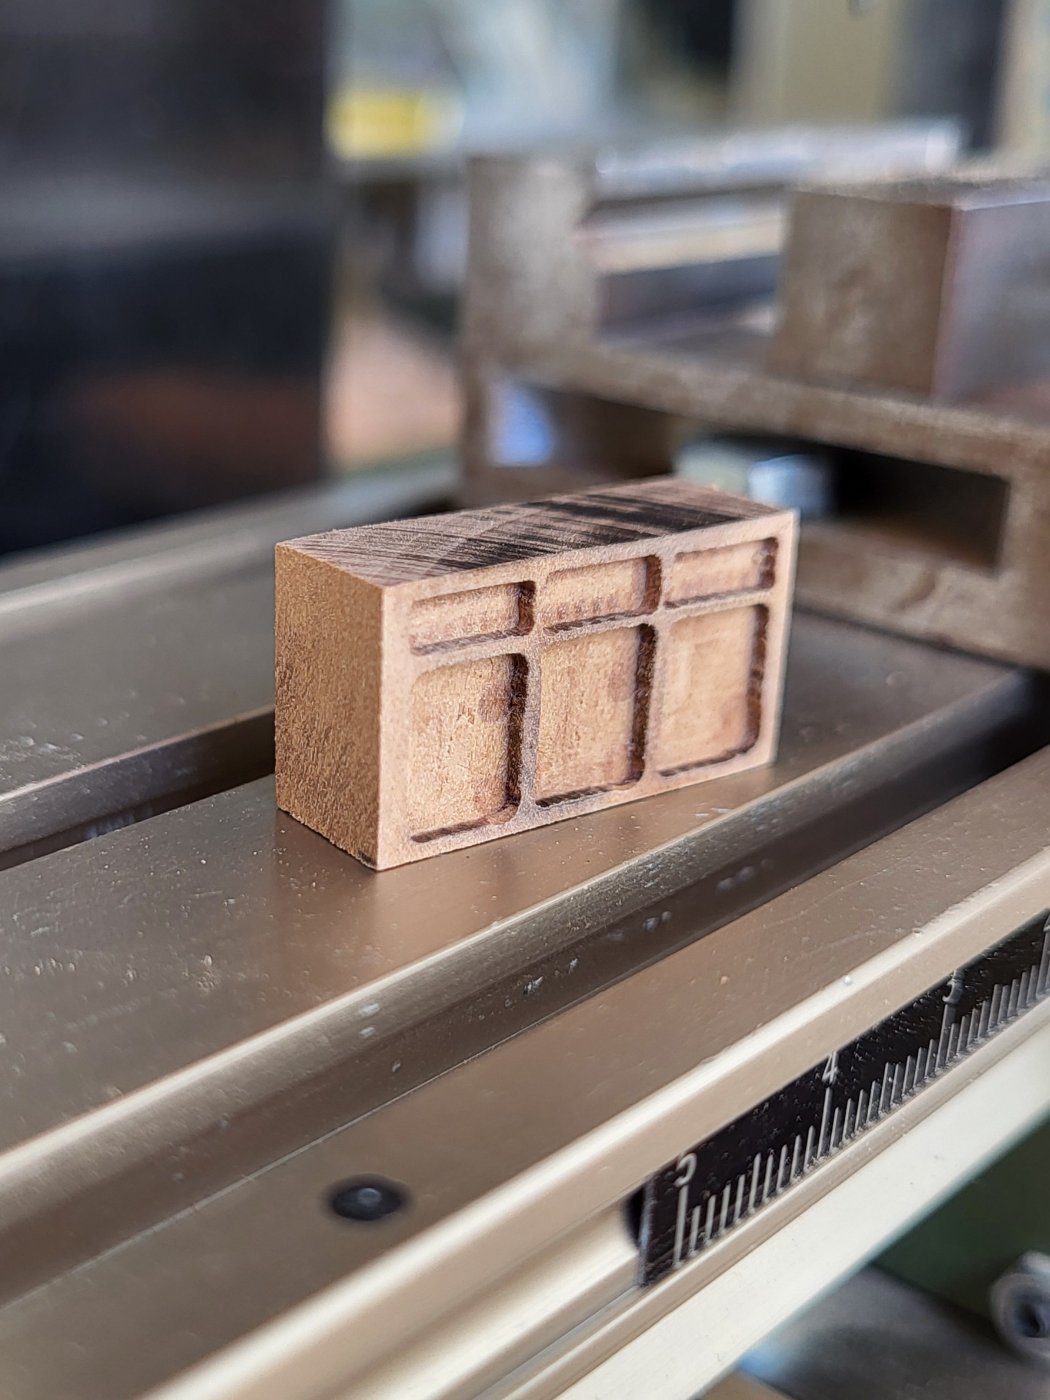
In my opinion, a milling machine is a tool that every modeler should have. It makes things a lot easier and helps a lot in getting the job done properly. It will take you a few months at most to use the milling machine effectively. You will need a vise compatible with the milling machine and end mills of different diameters. -
USS Constitution by mtbediz - 1:76
mtbediz replied to mtbediz's topic in - Build logs for subjects built 1751 - 1800
Thank you so much Ronald. -
USS Constitution by mtbediz - 1:76
mtbediz replied to mtbediz's topic in - Build logs for subjects built 1751 - 1800
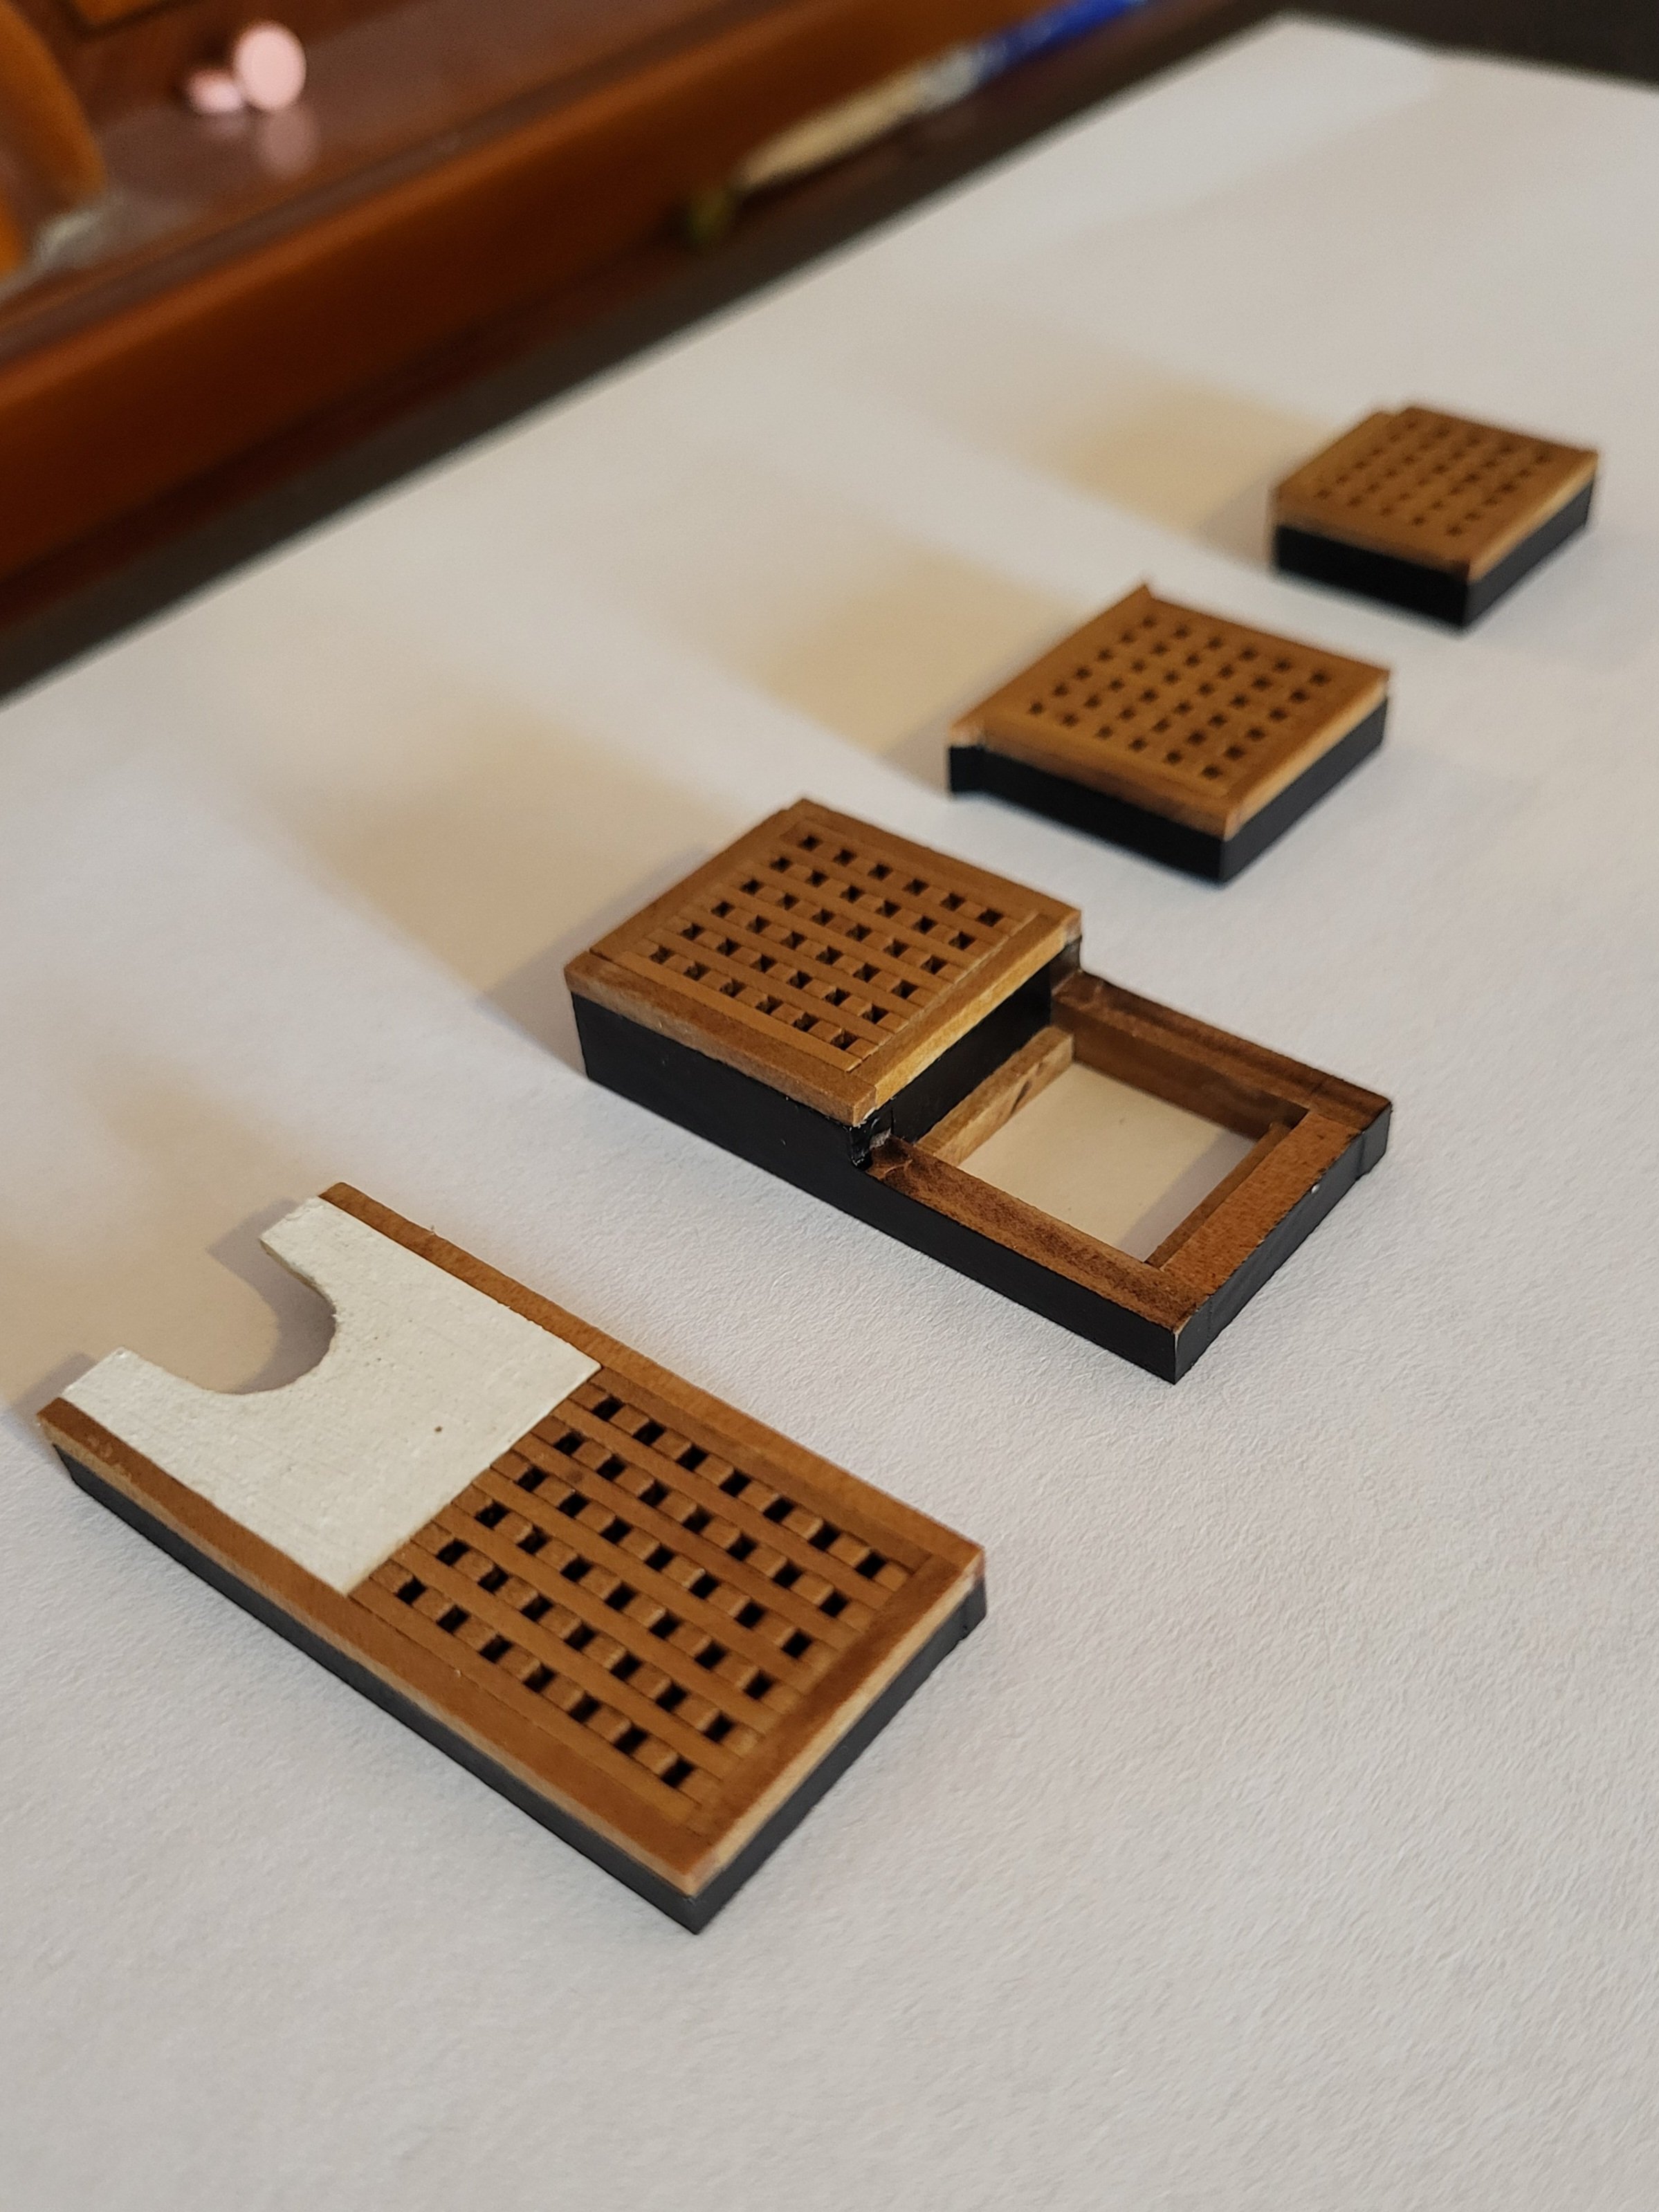
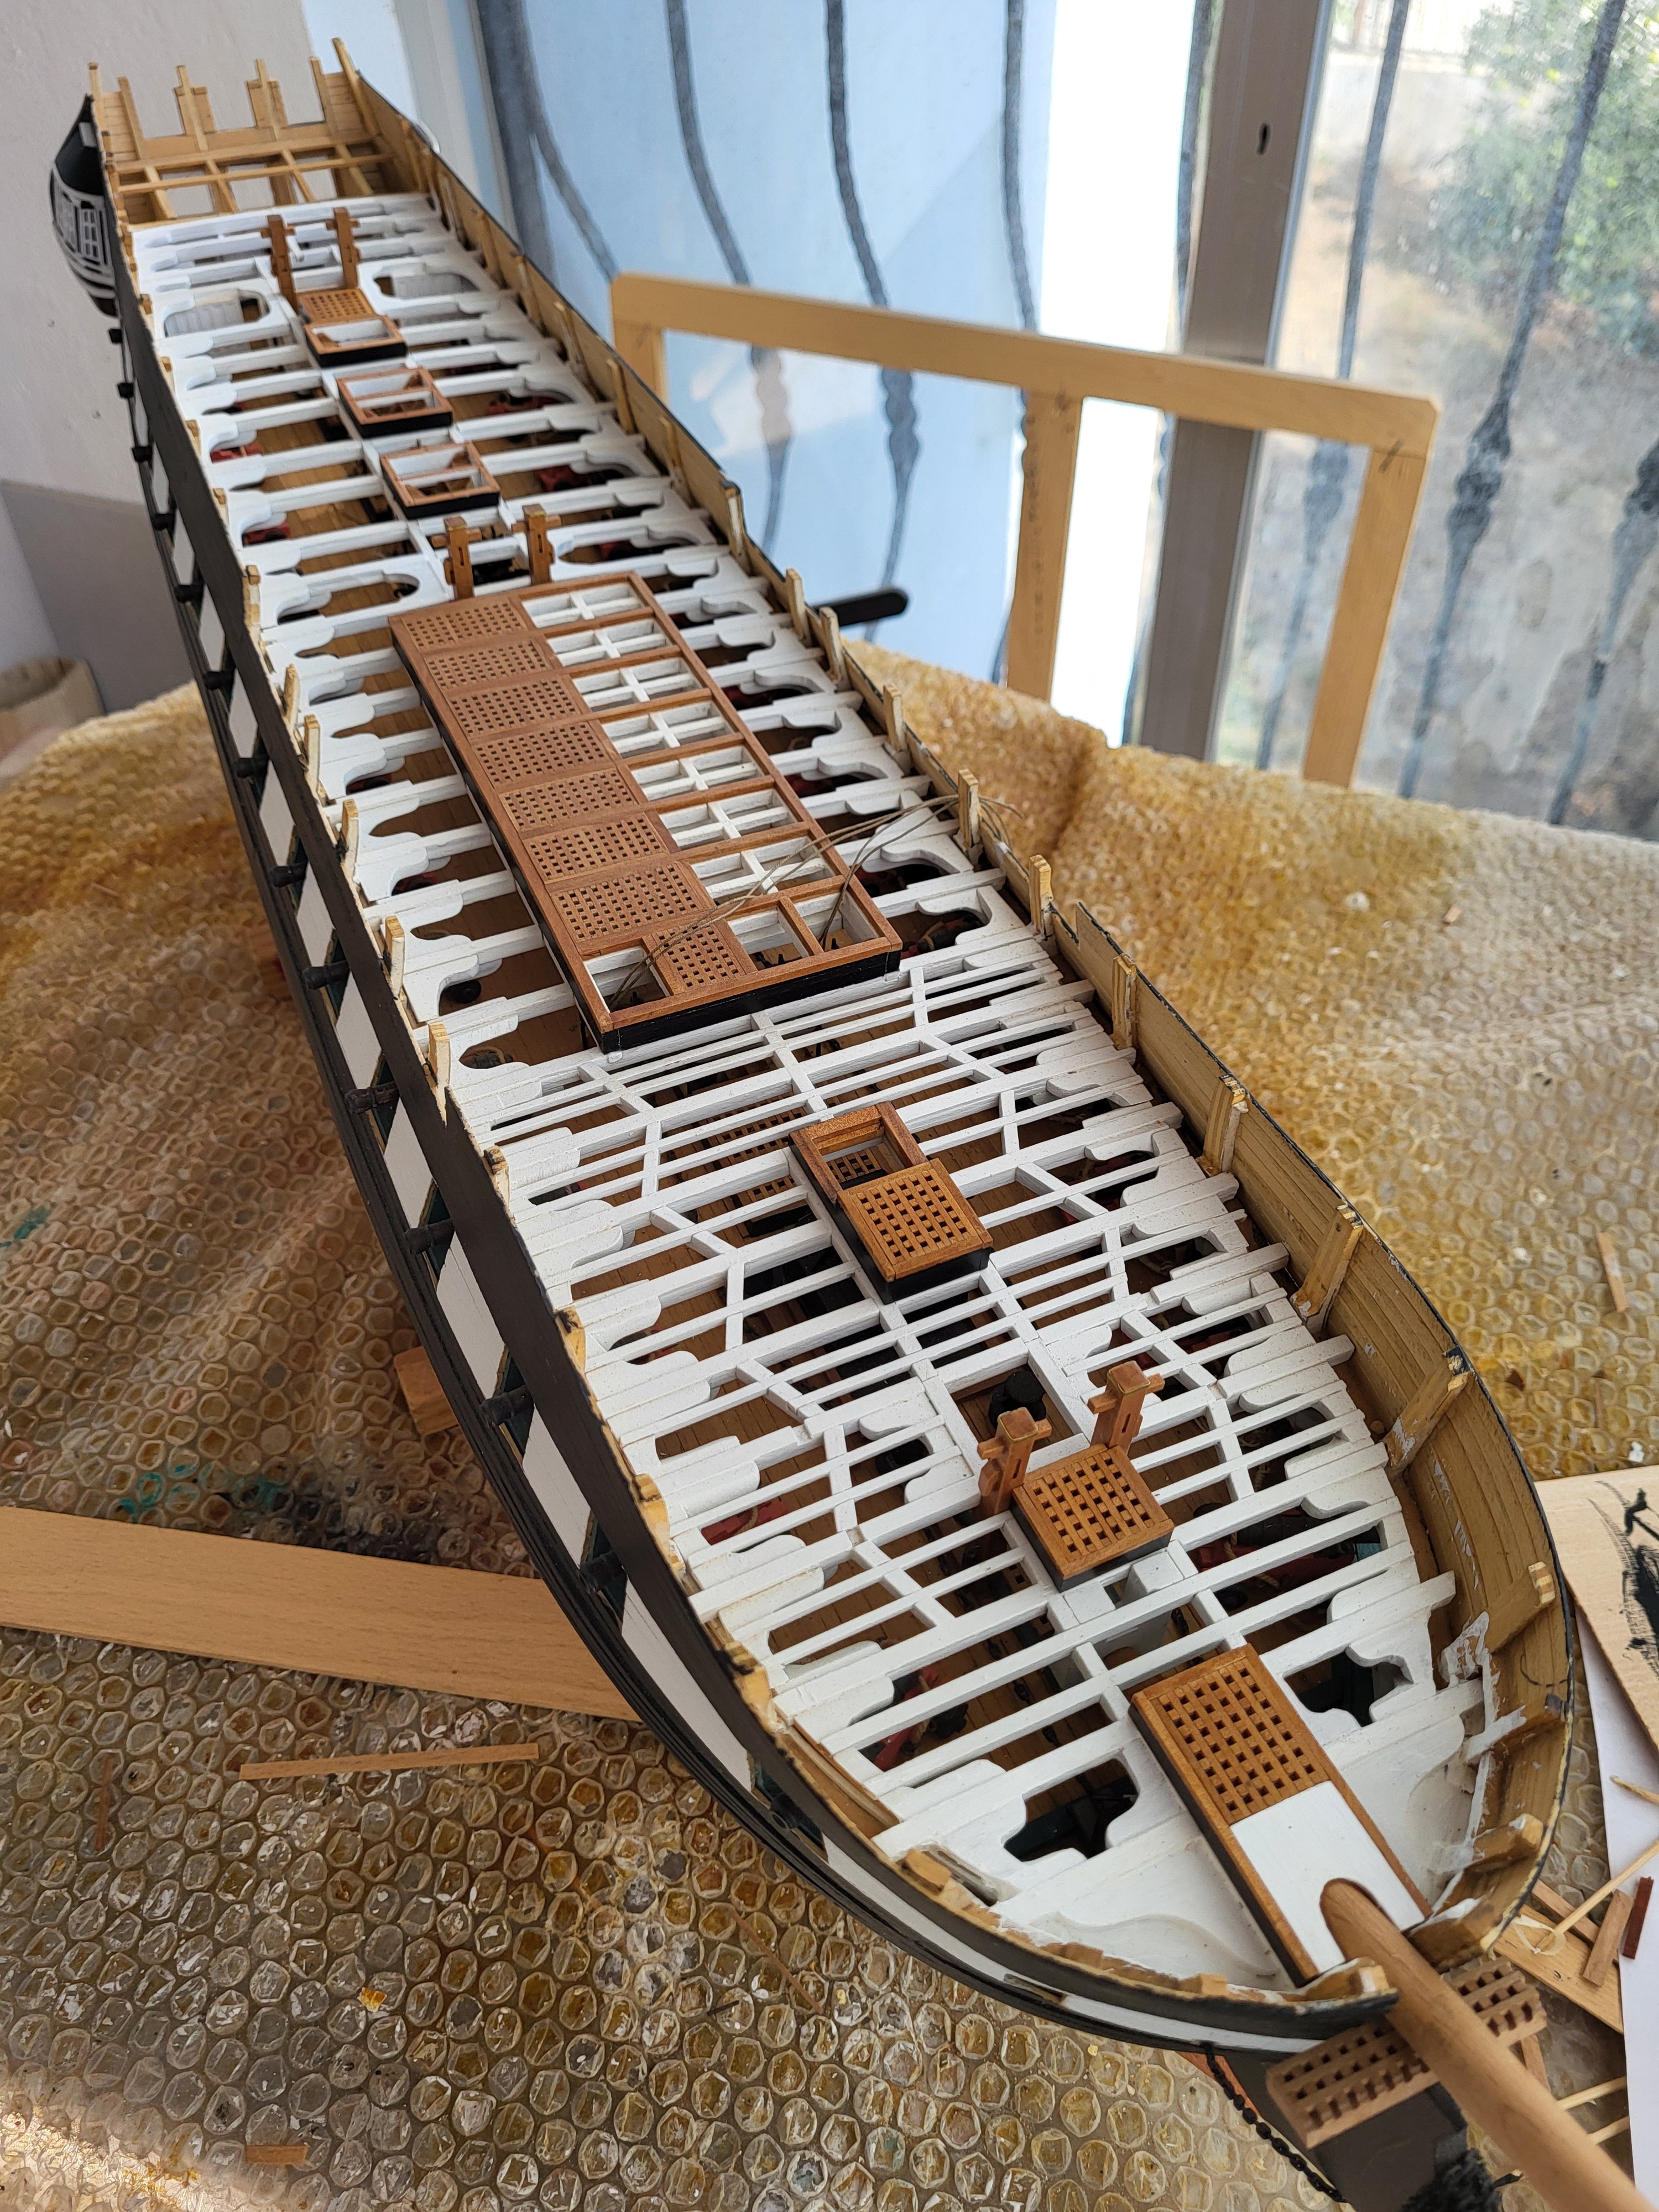
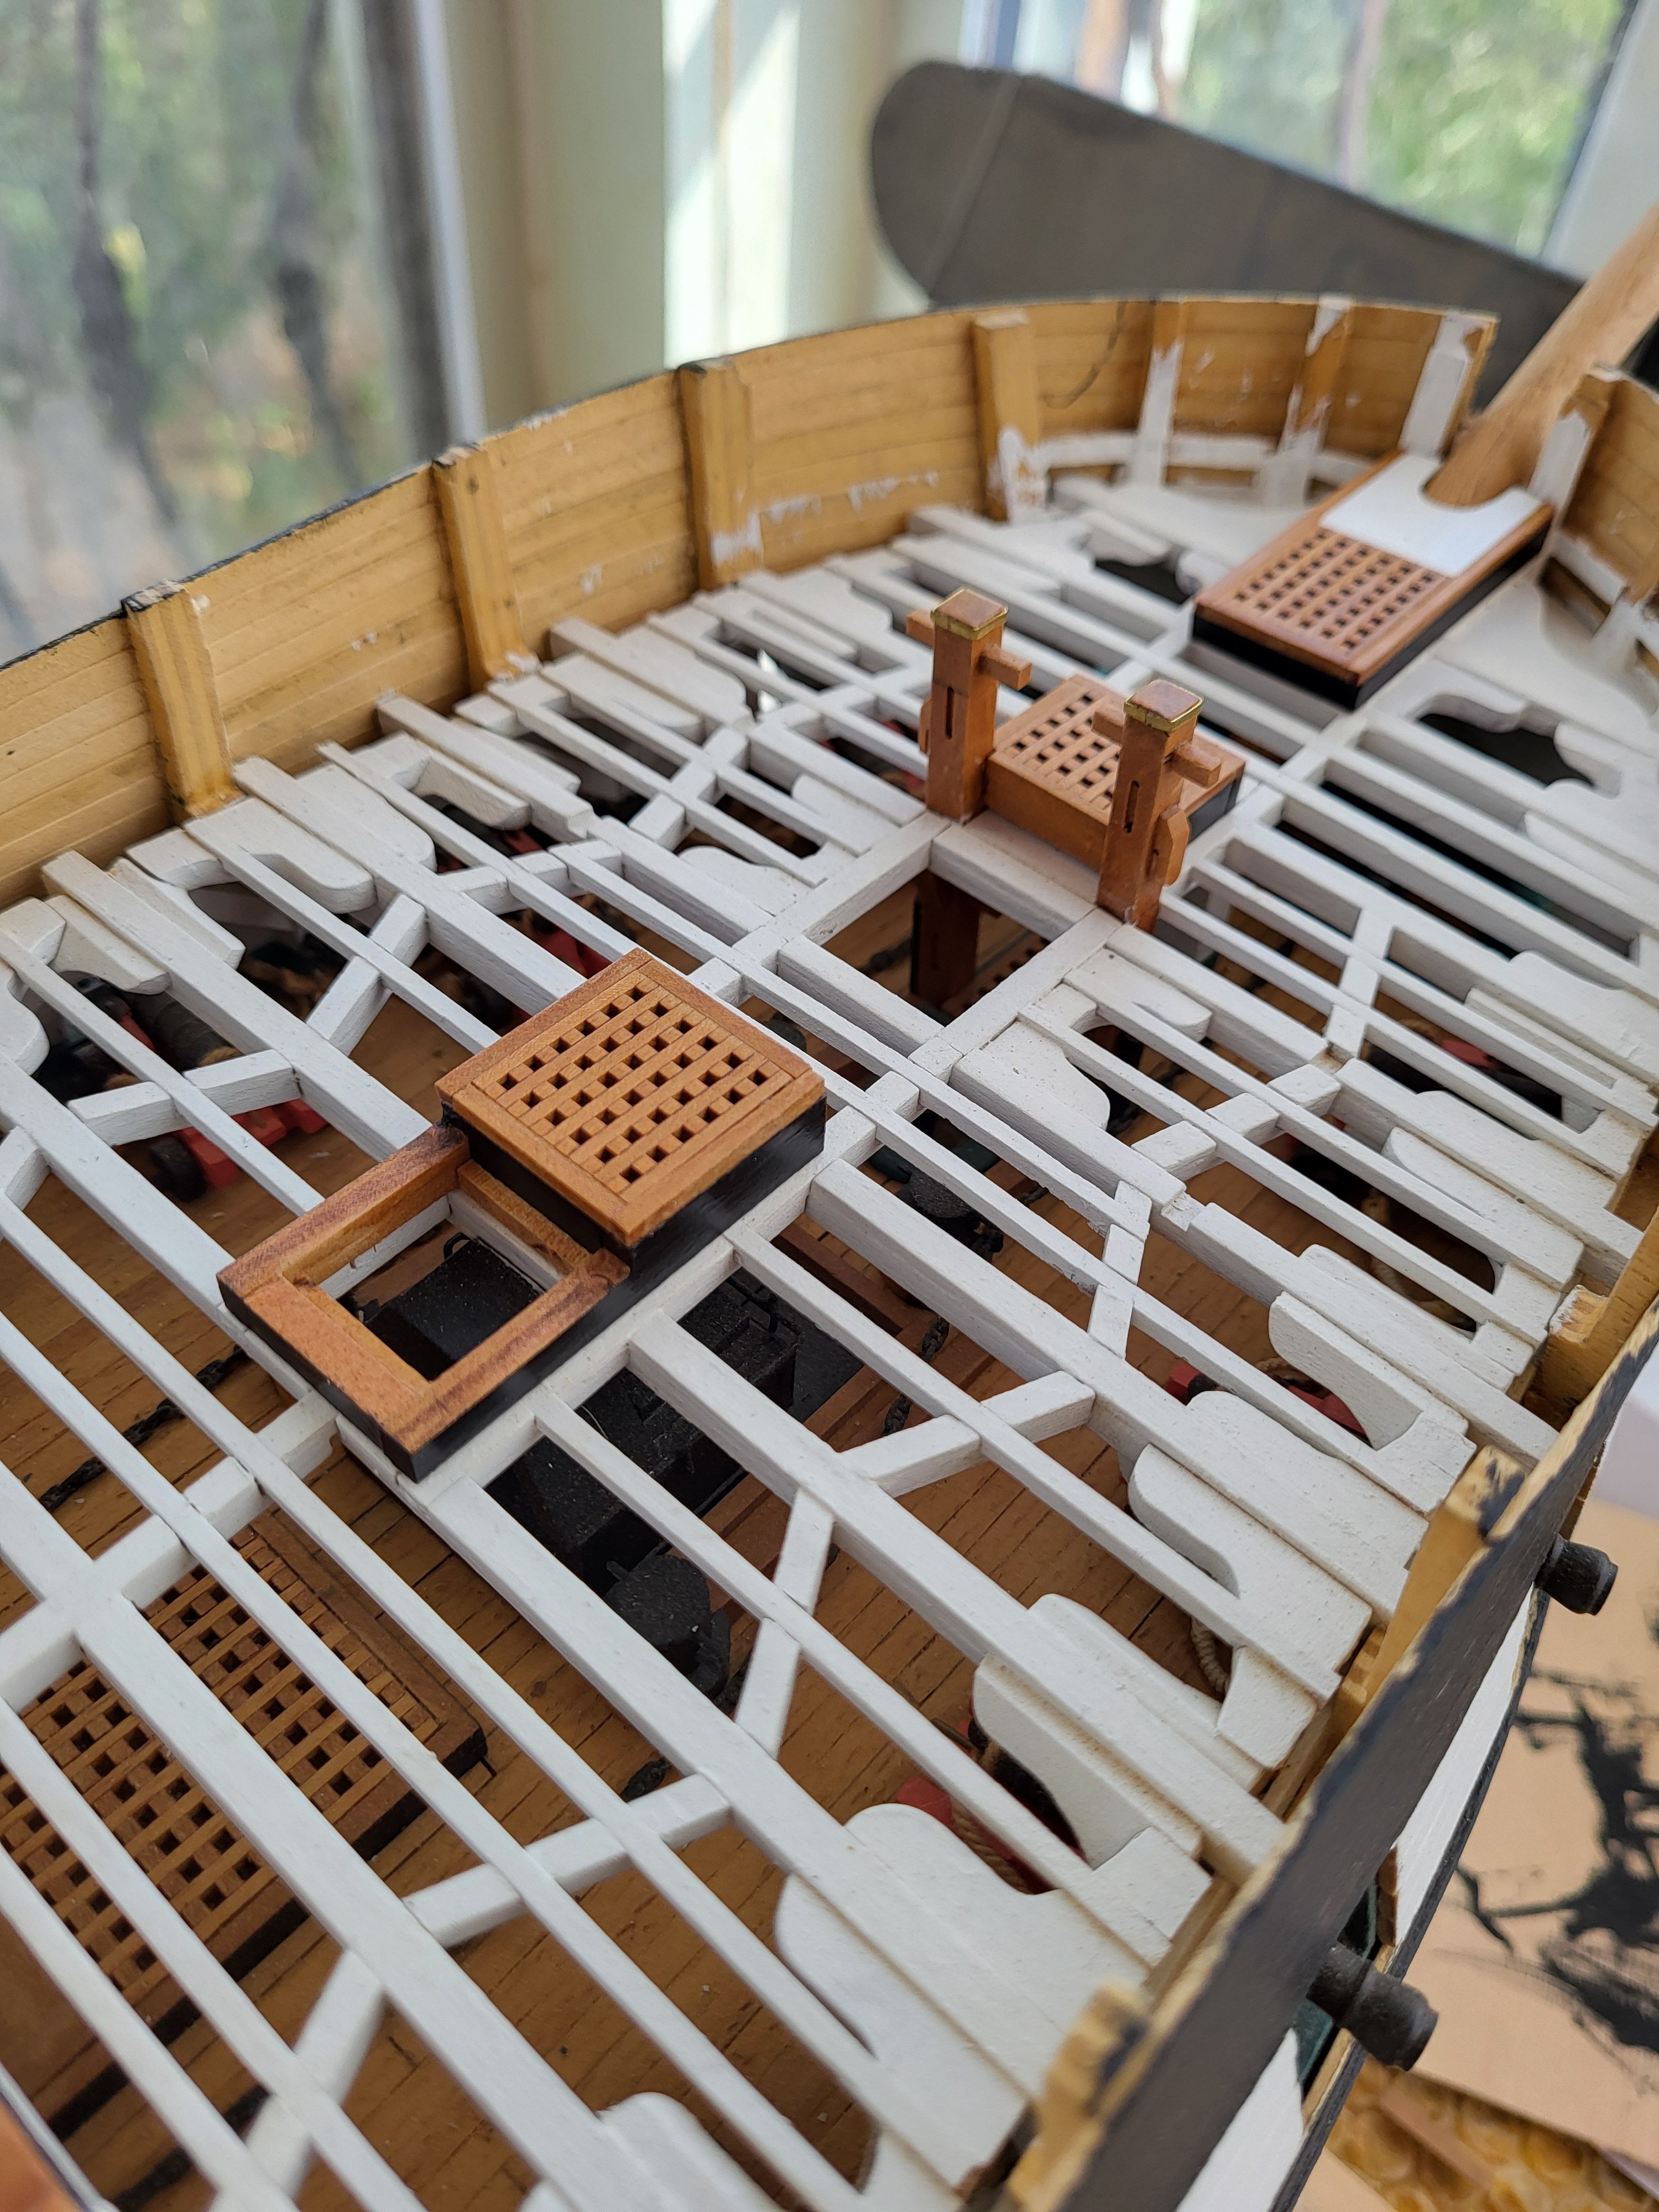
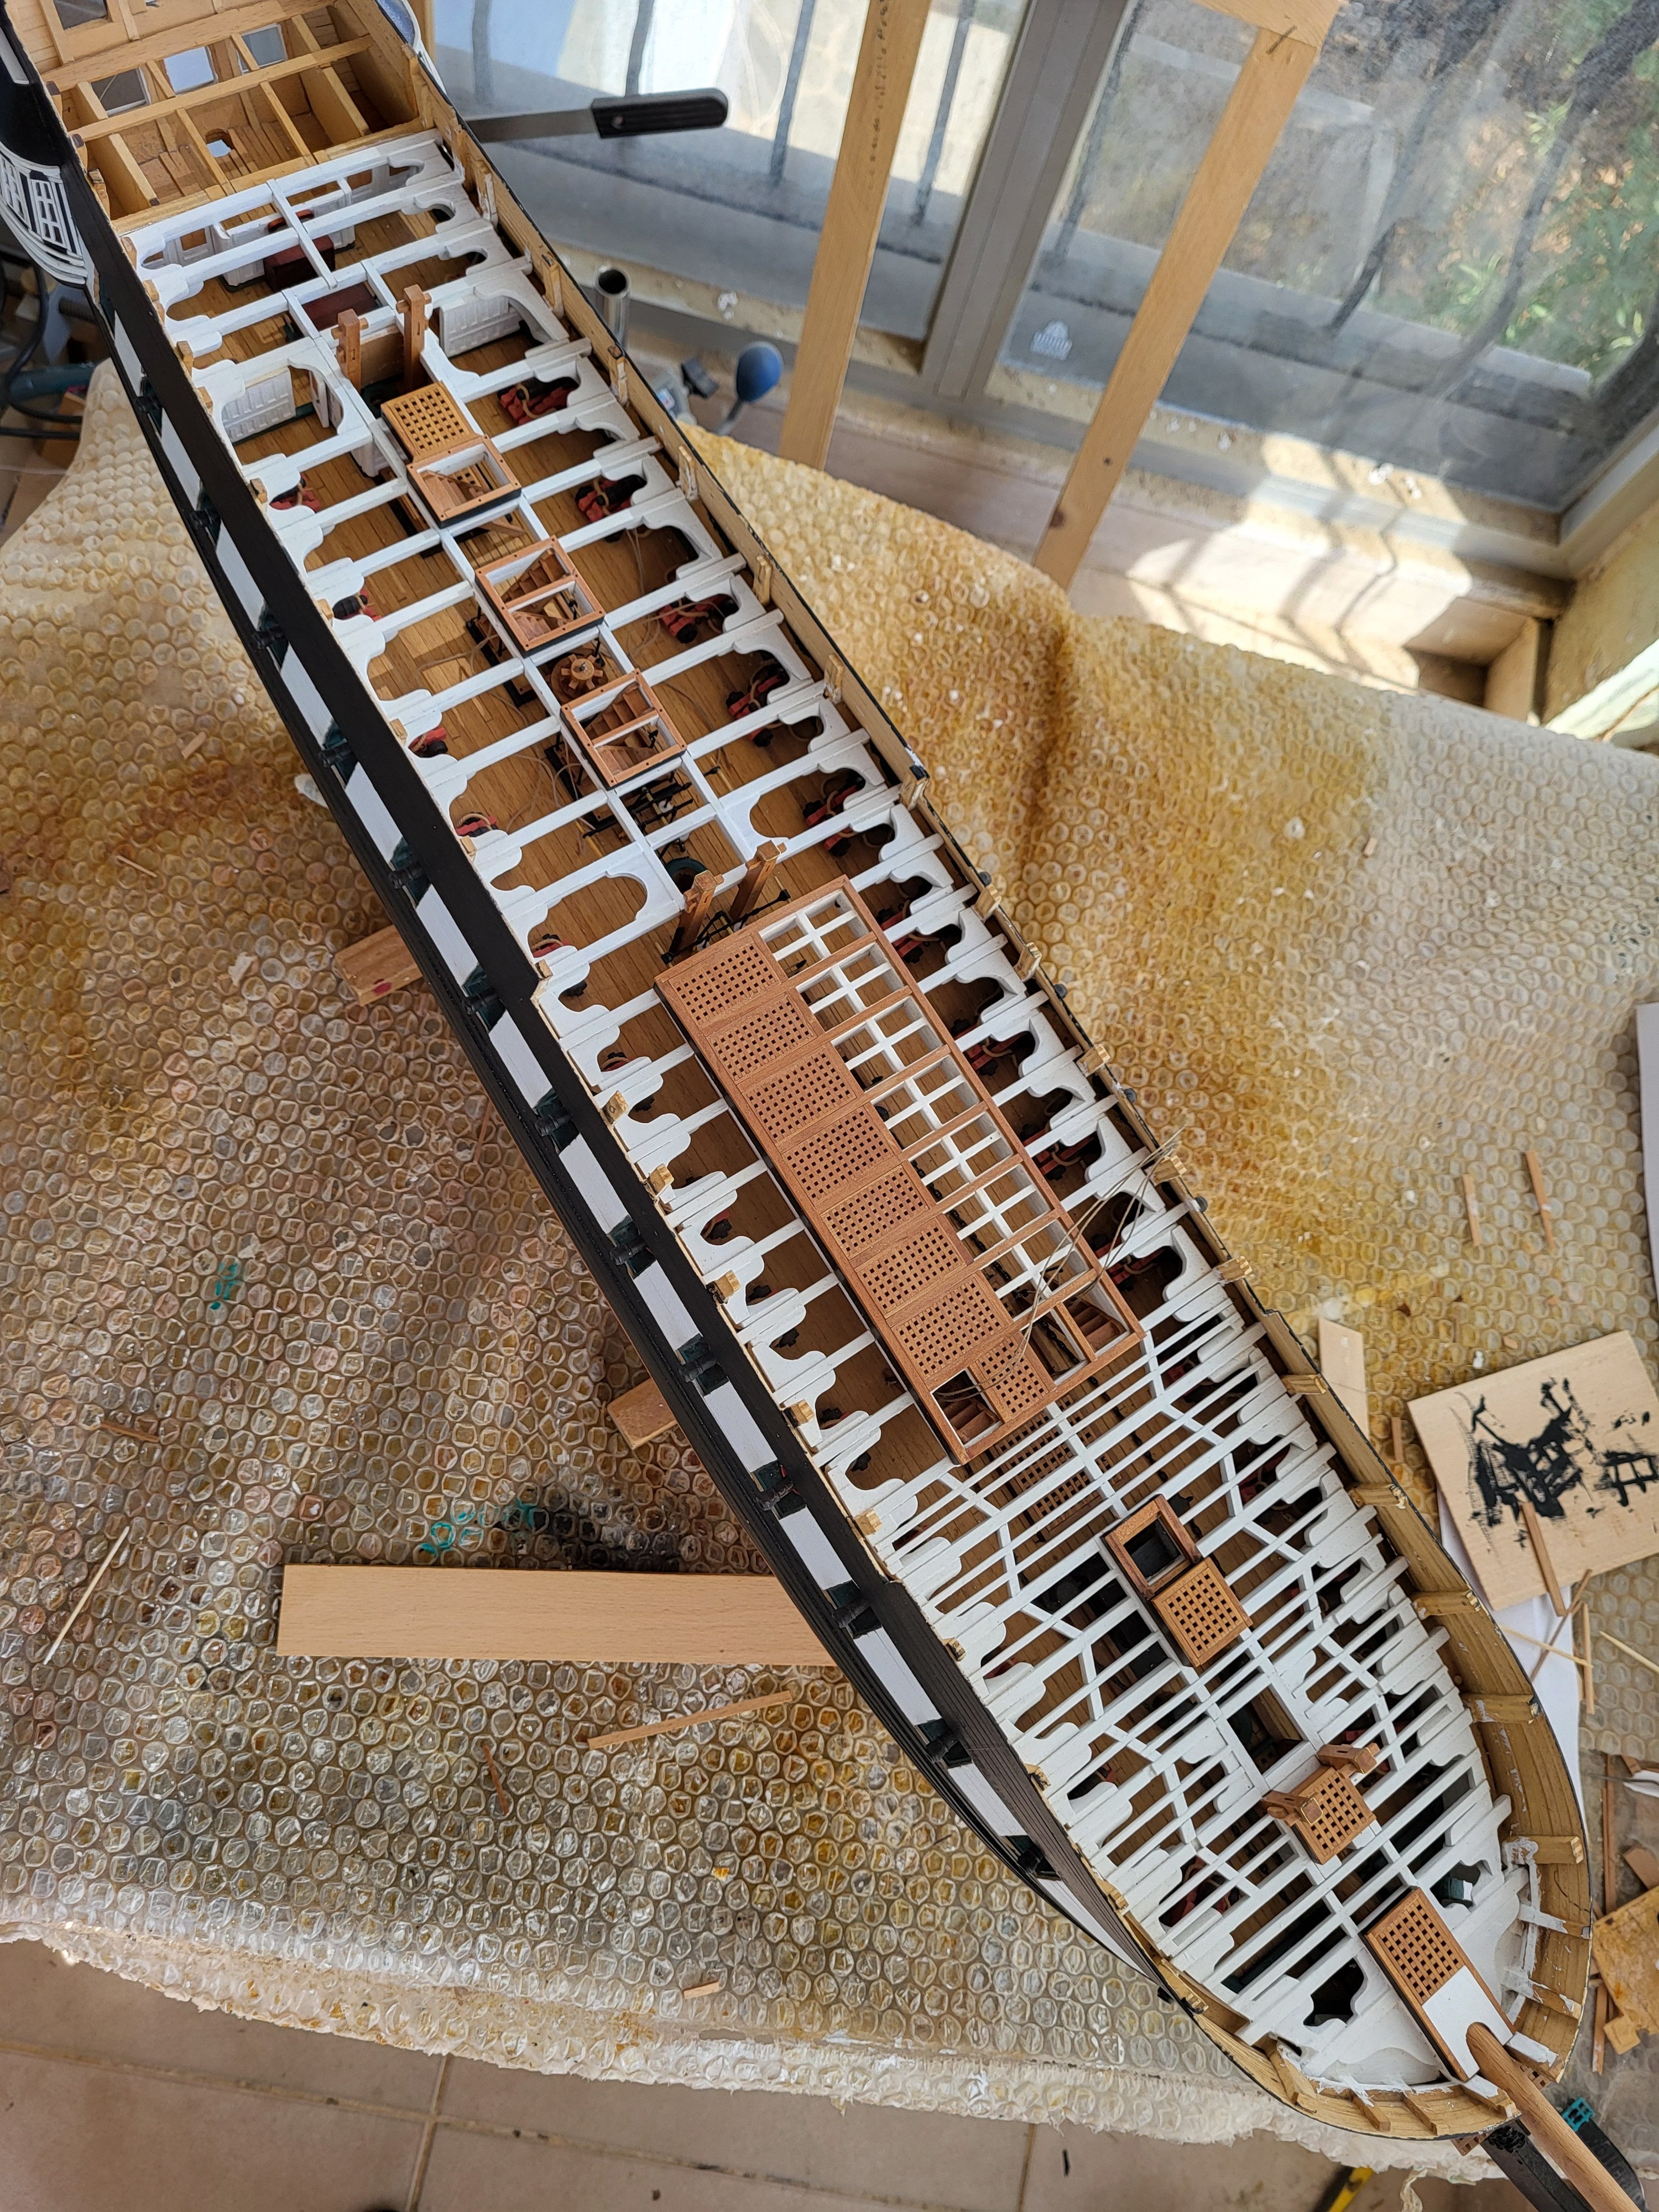
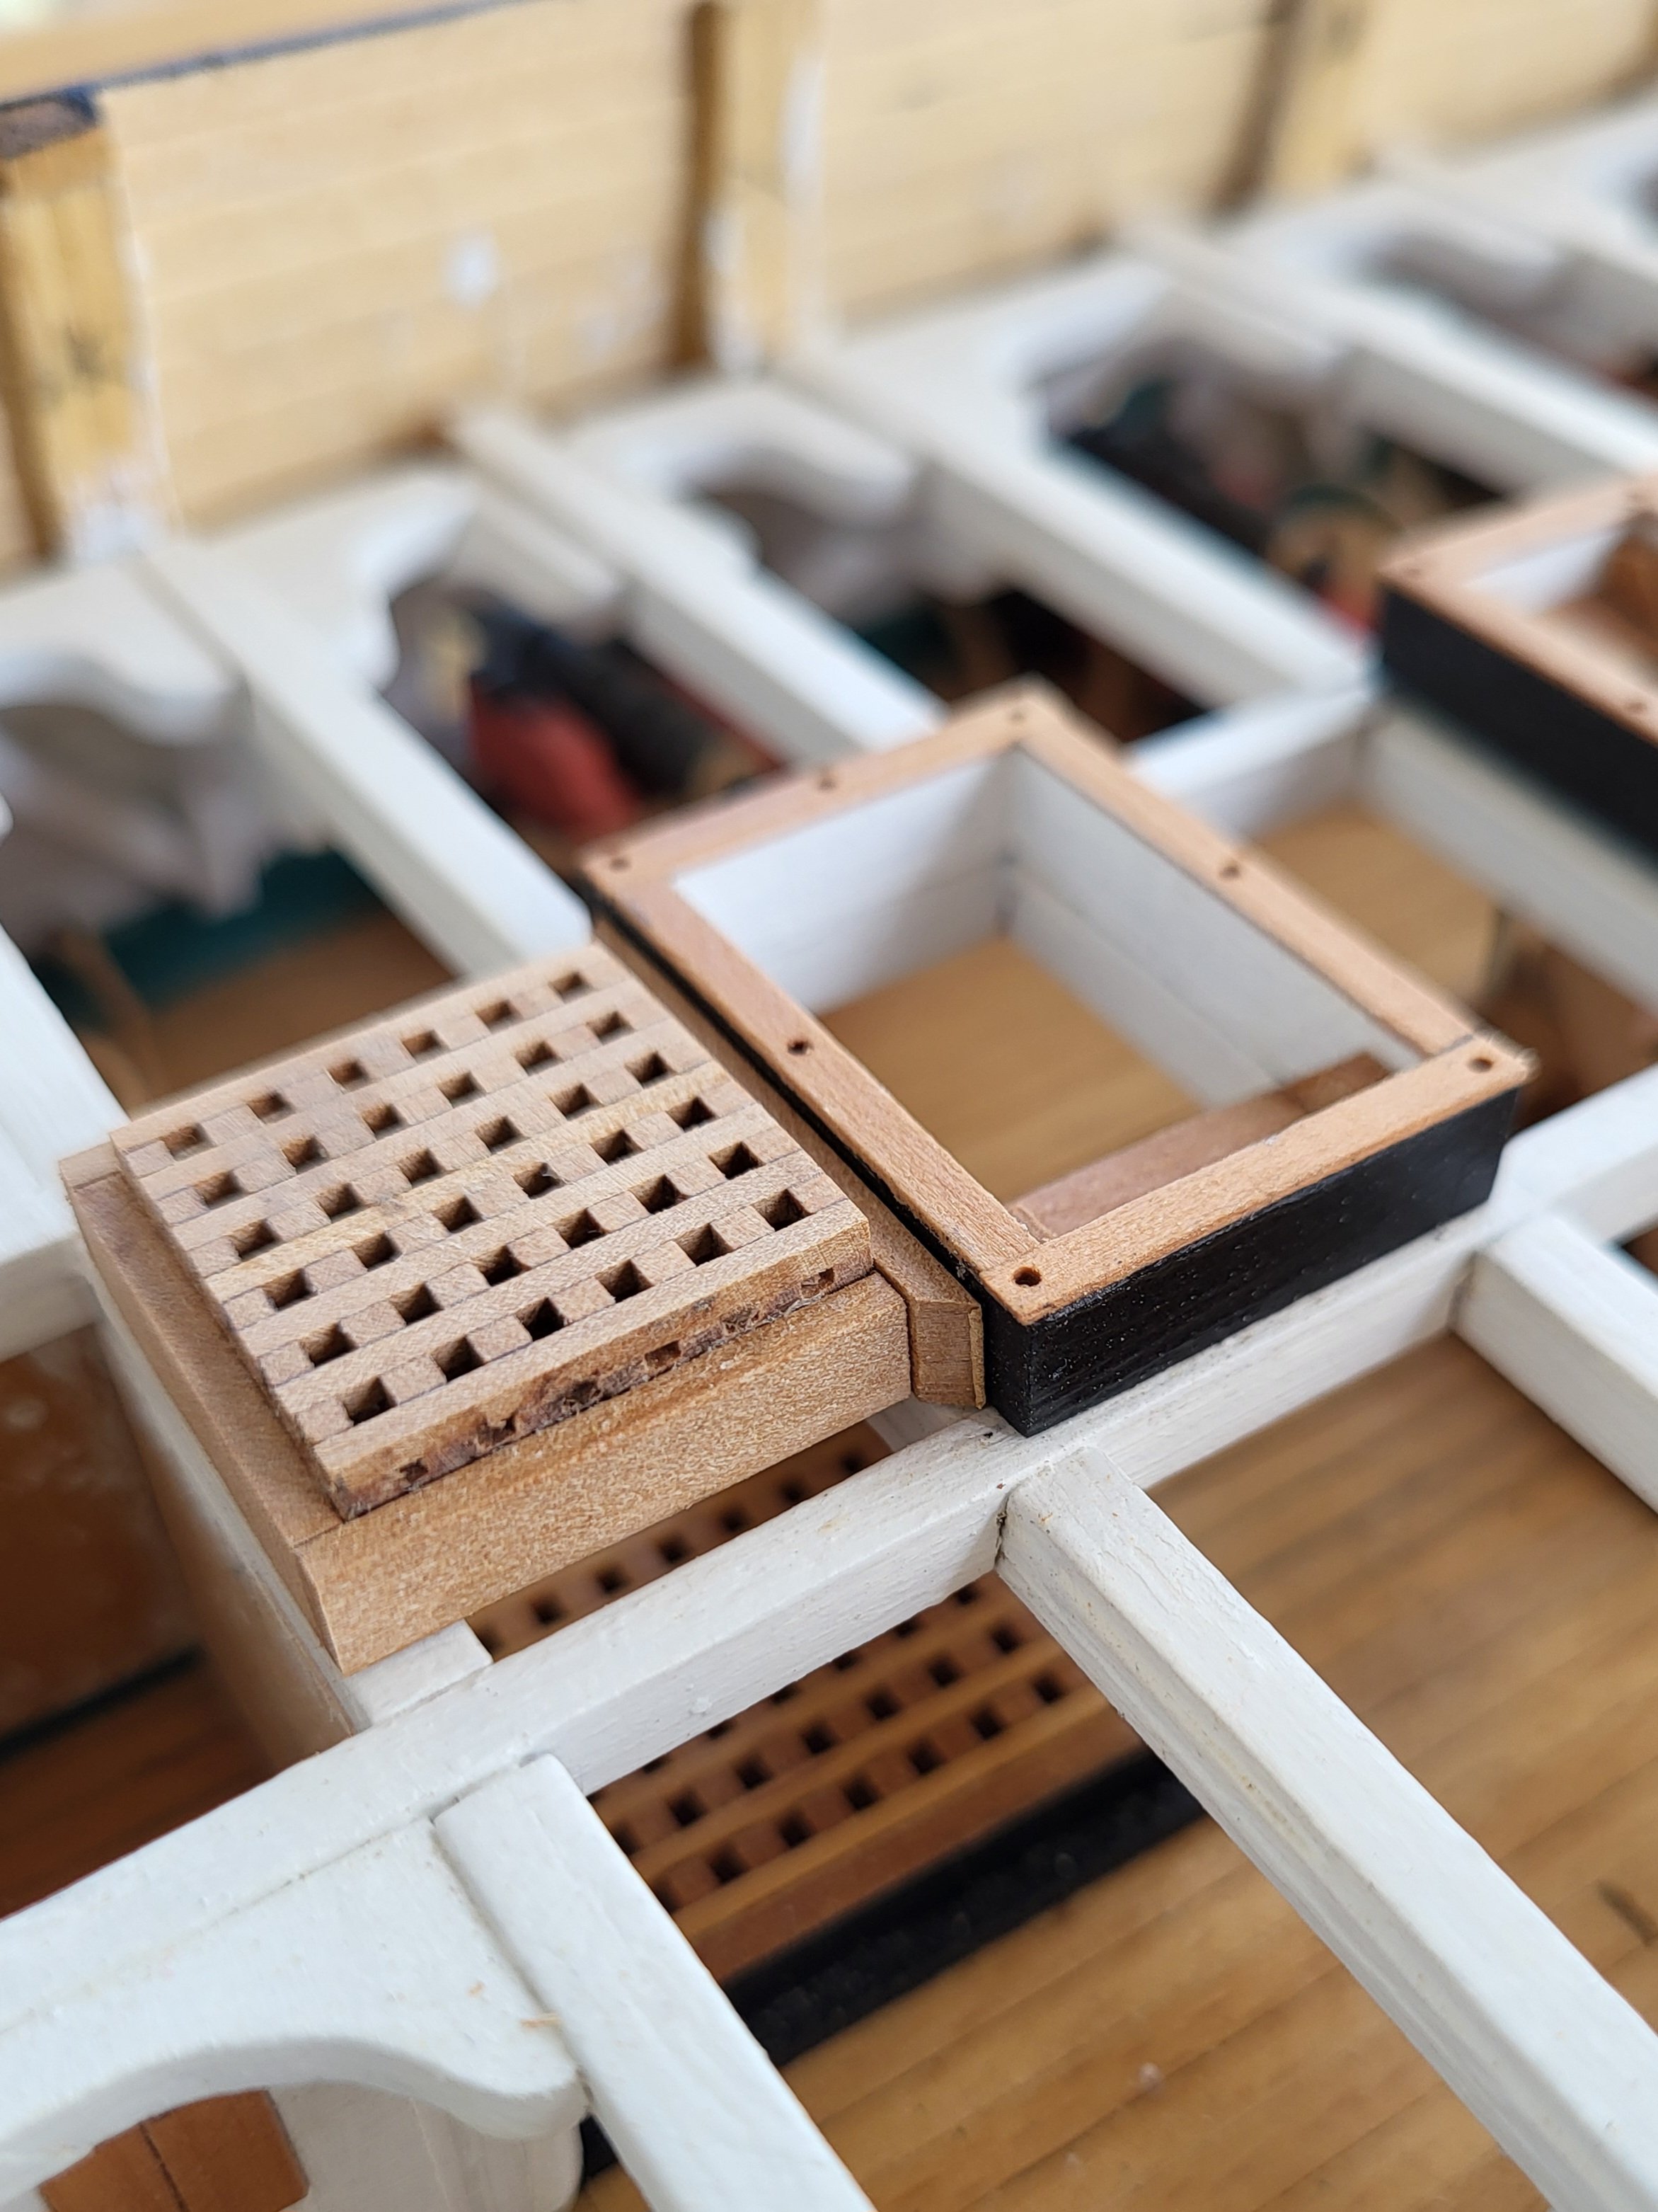
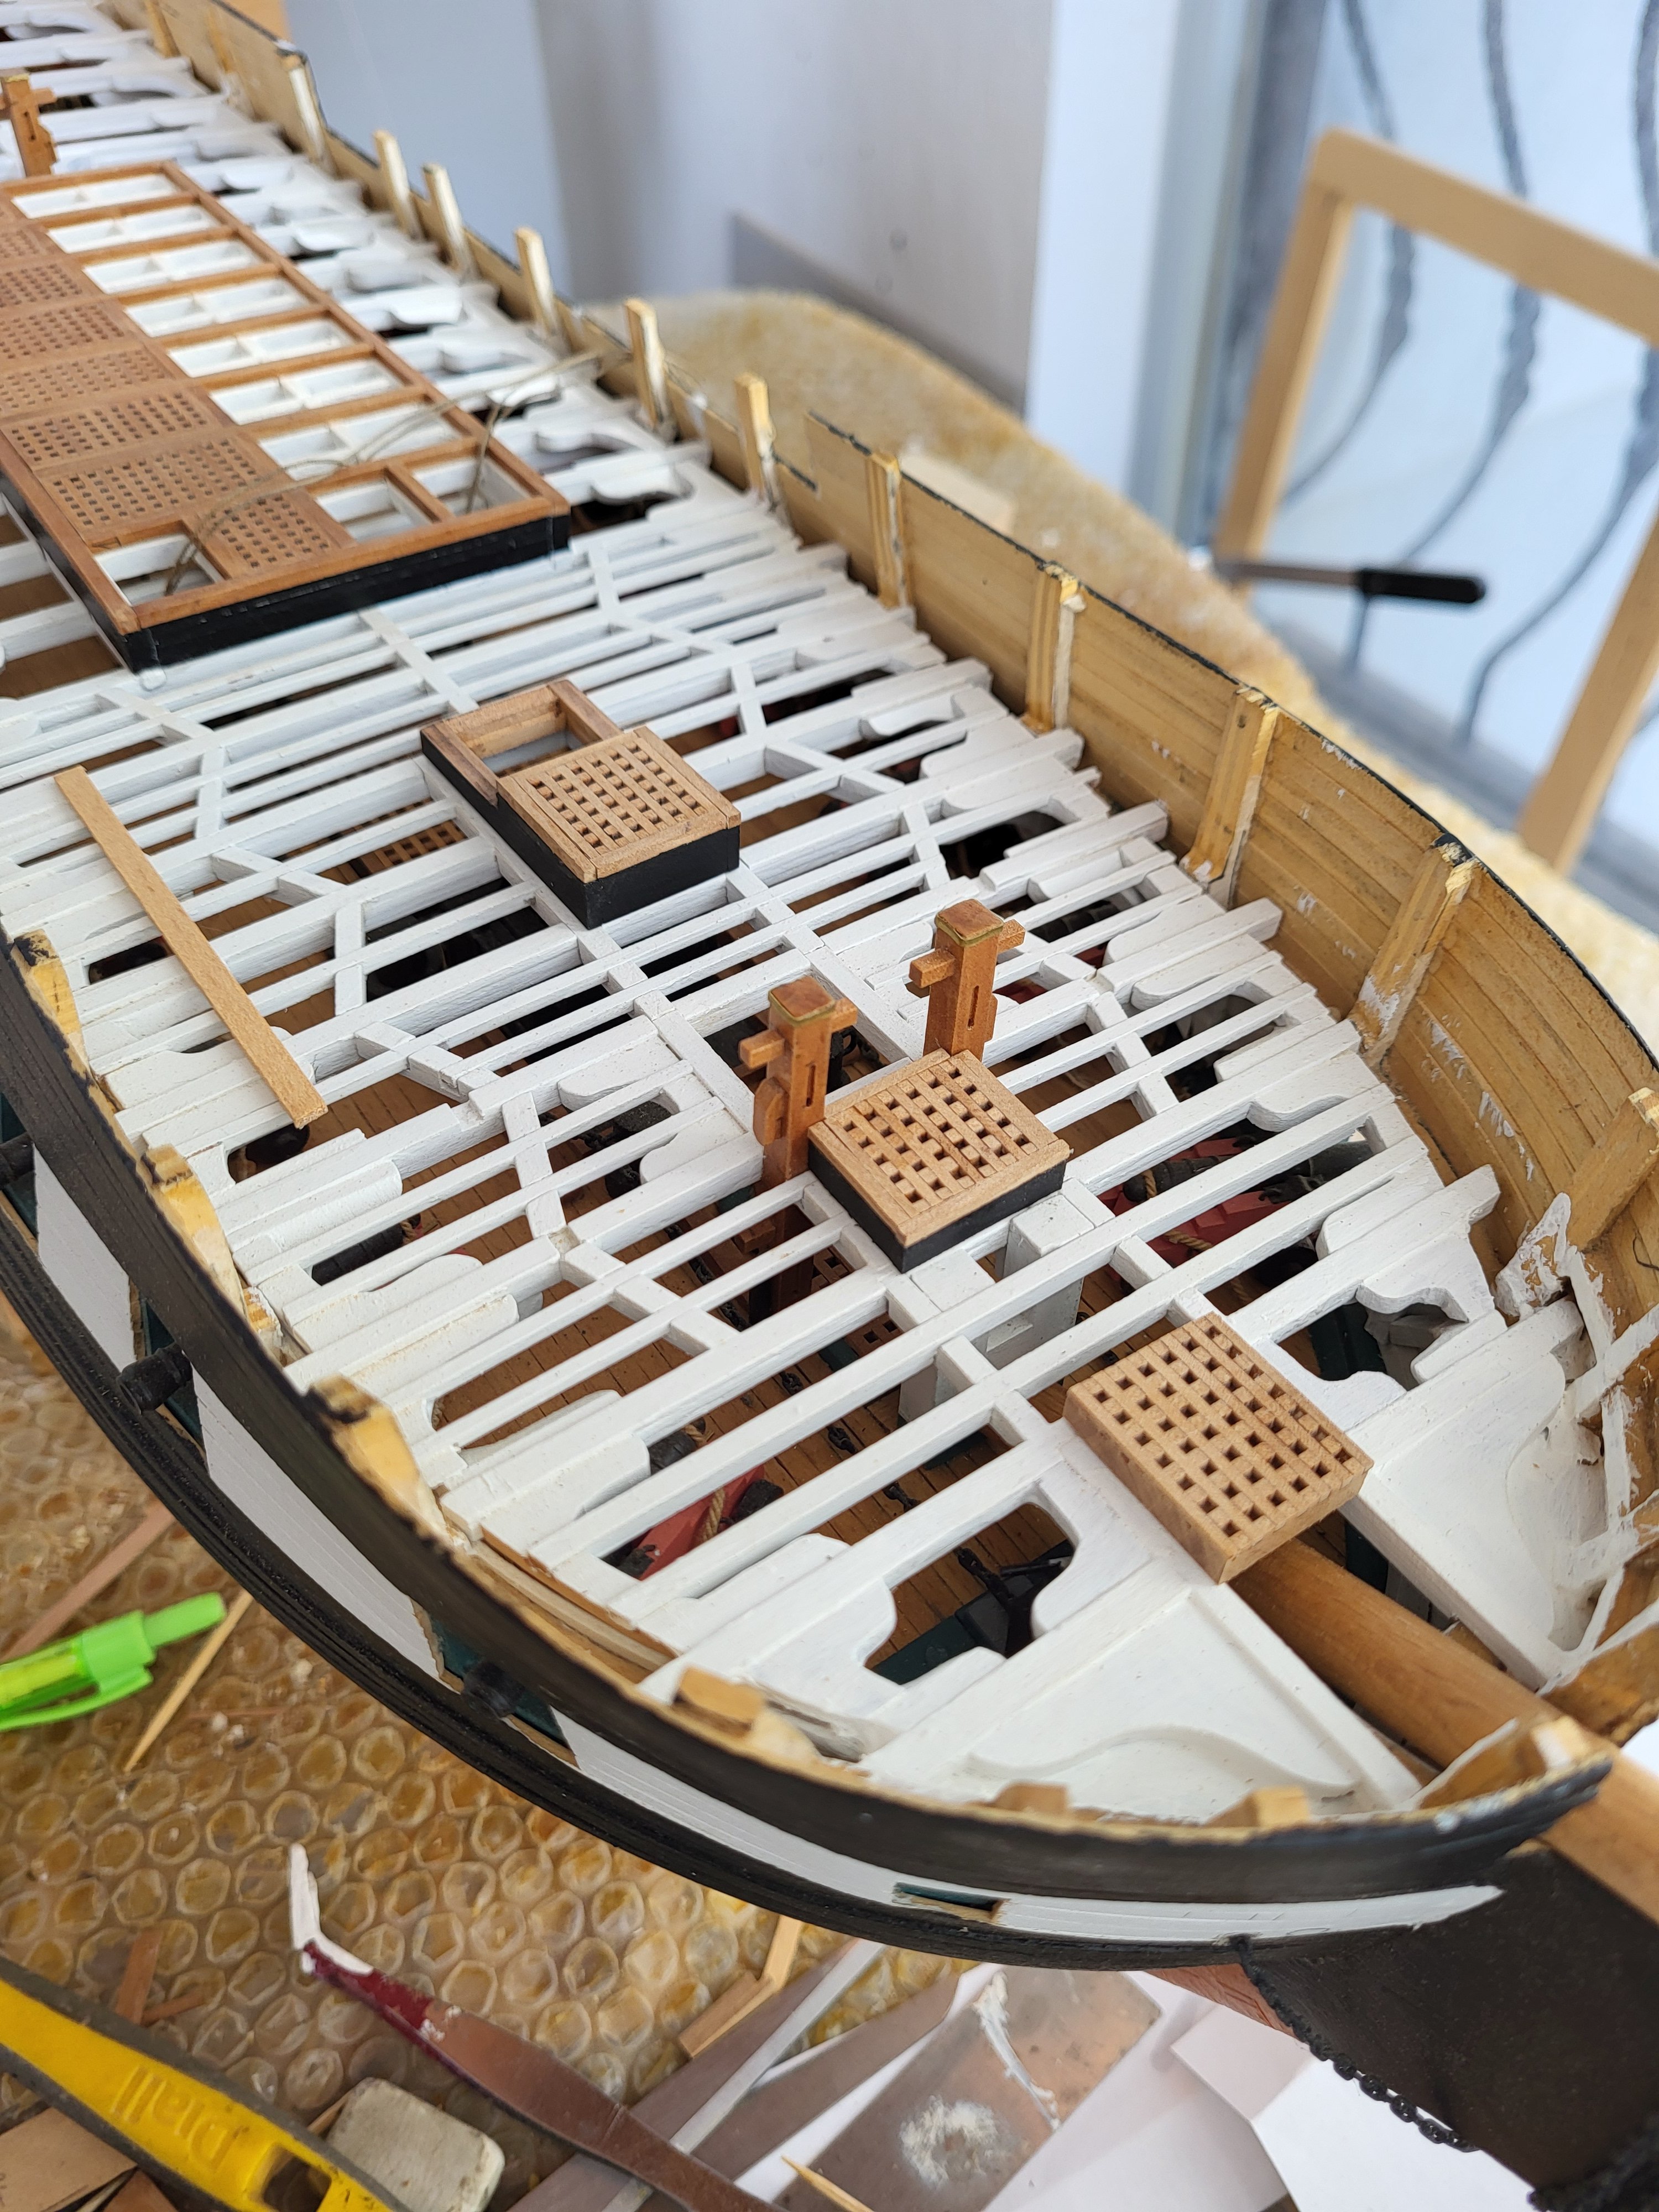
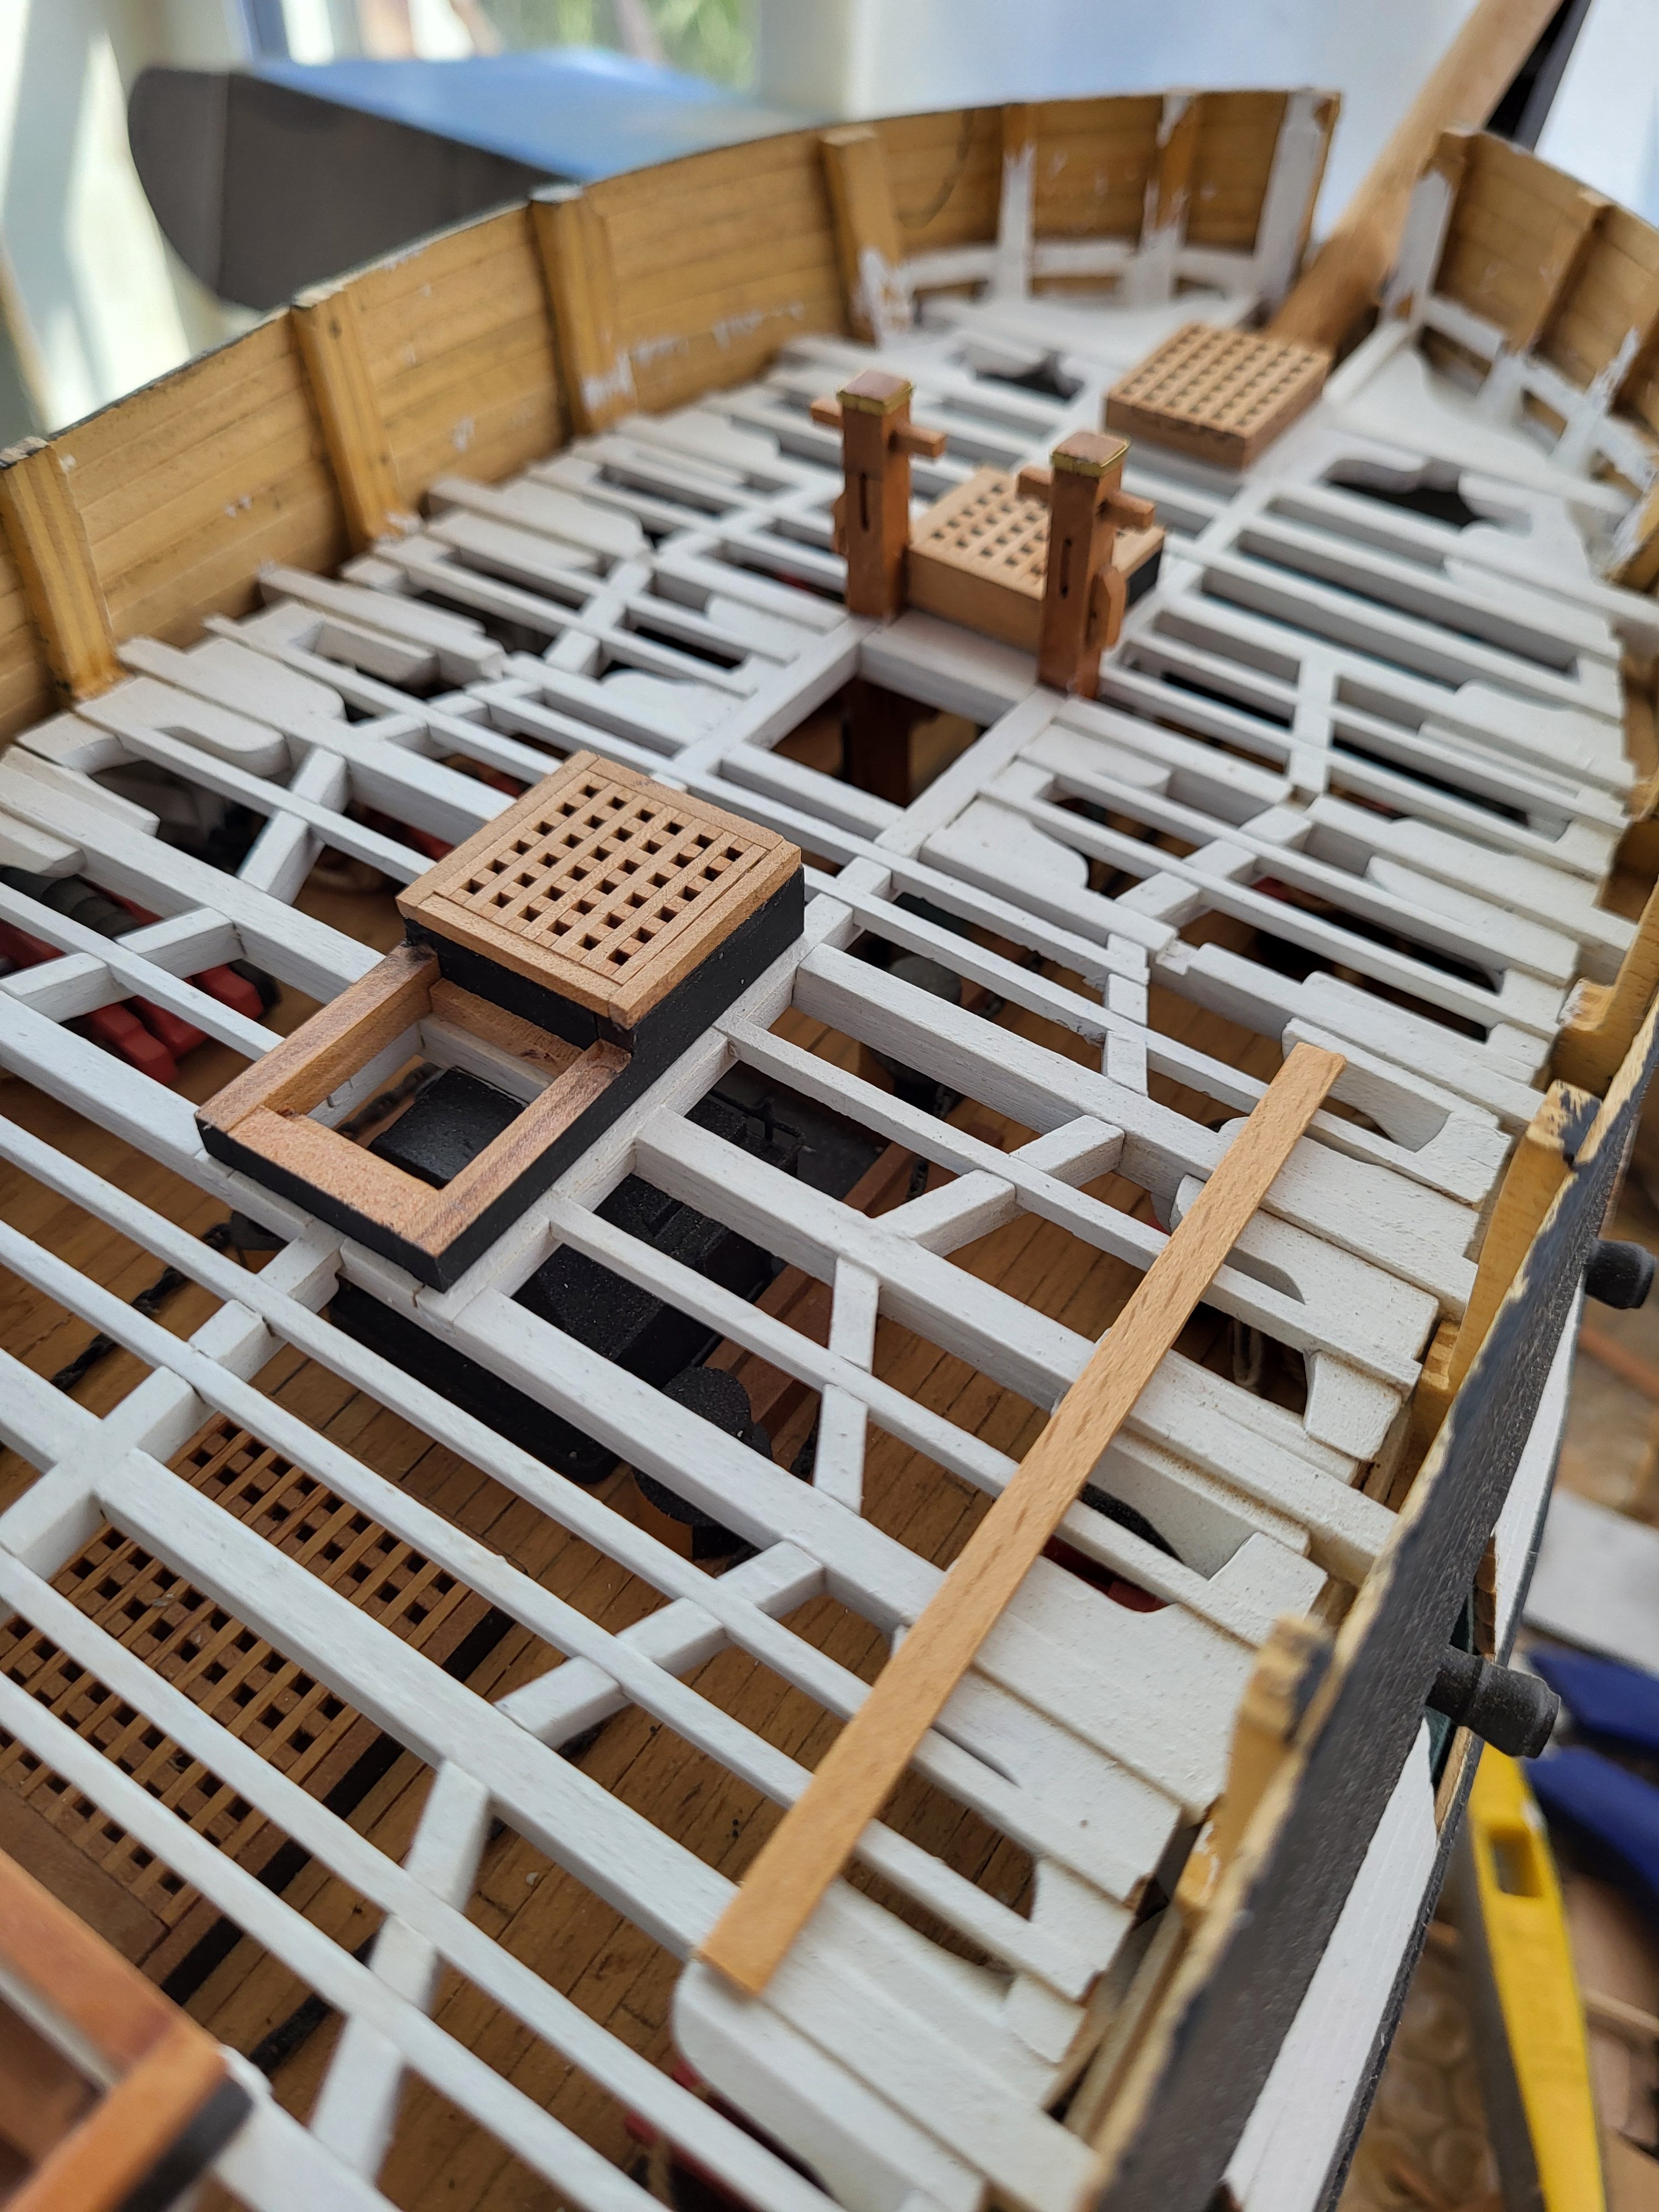
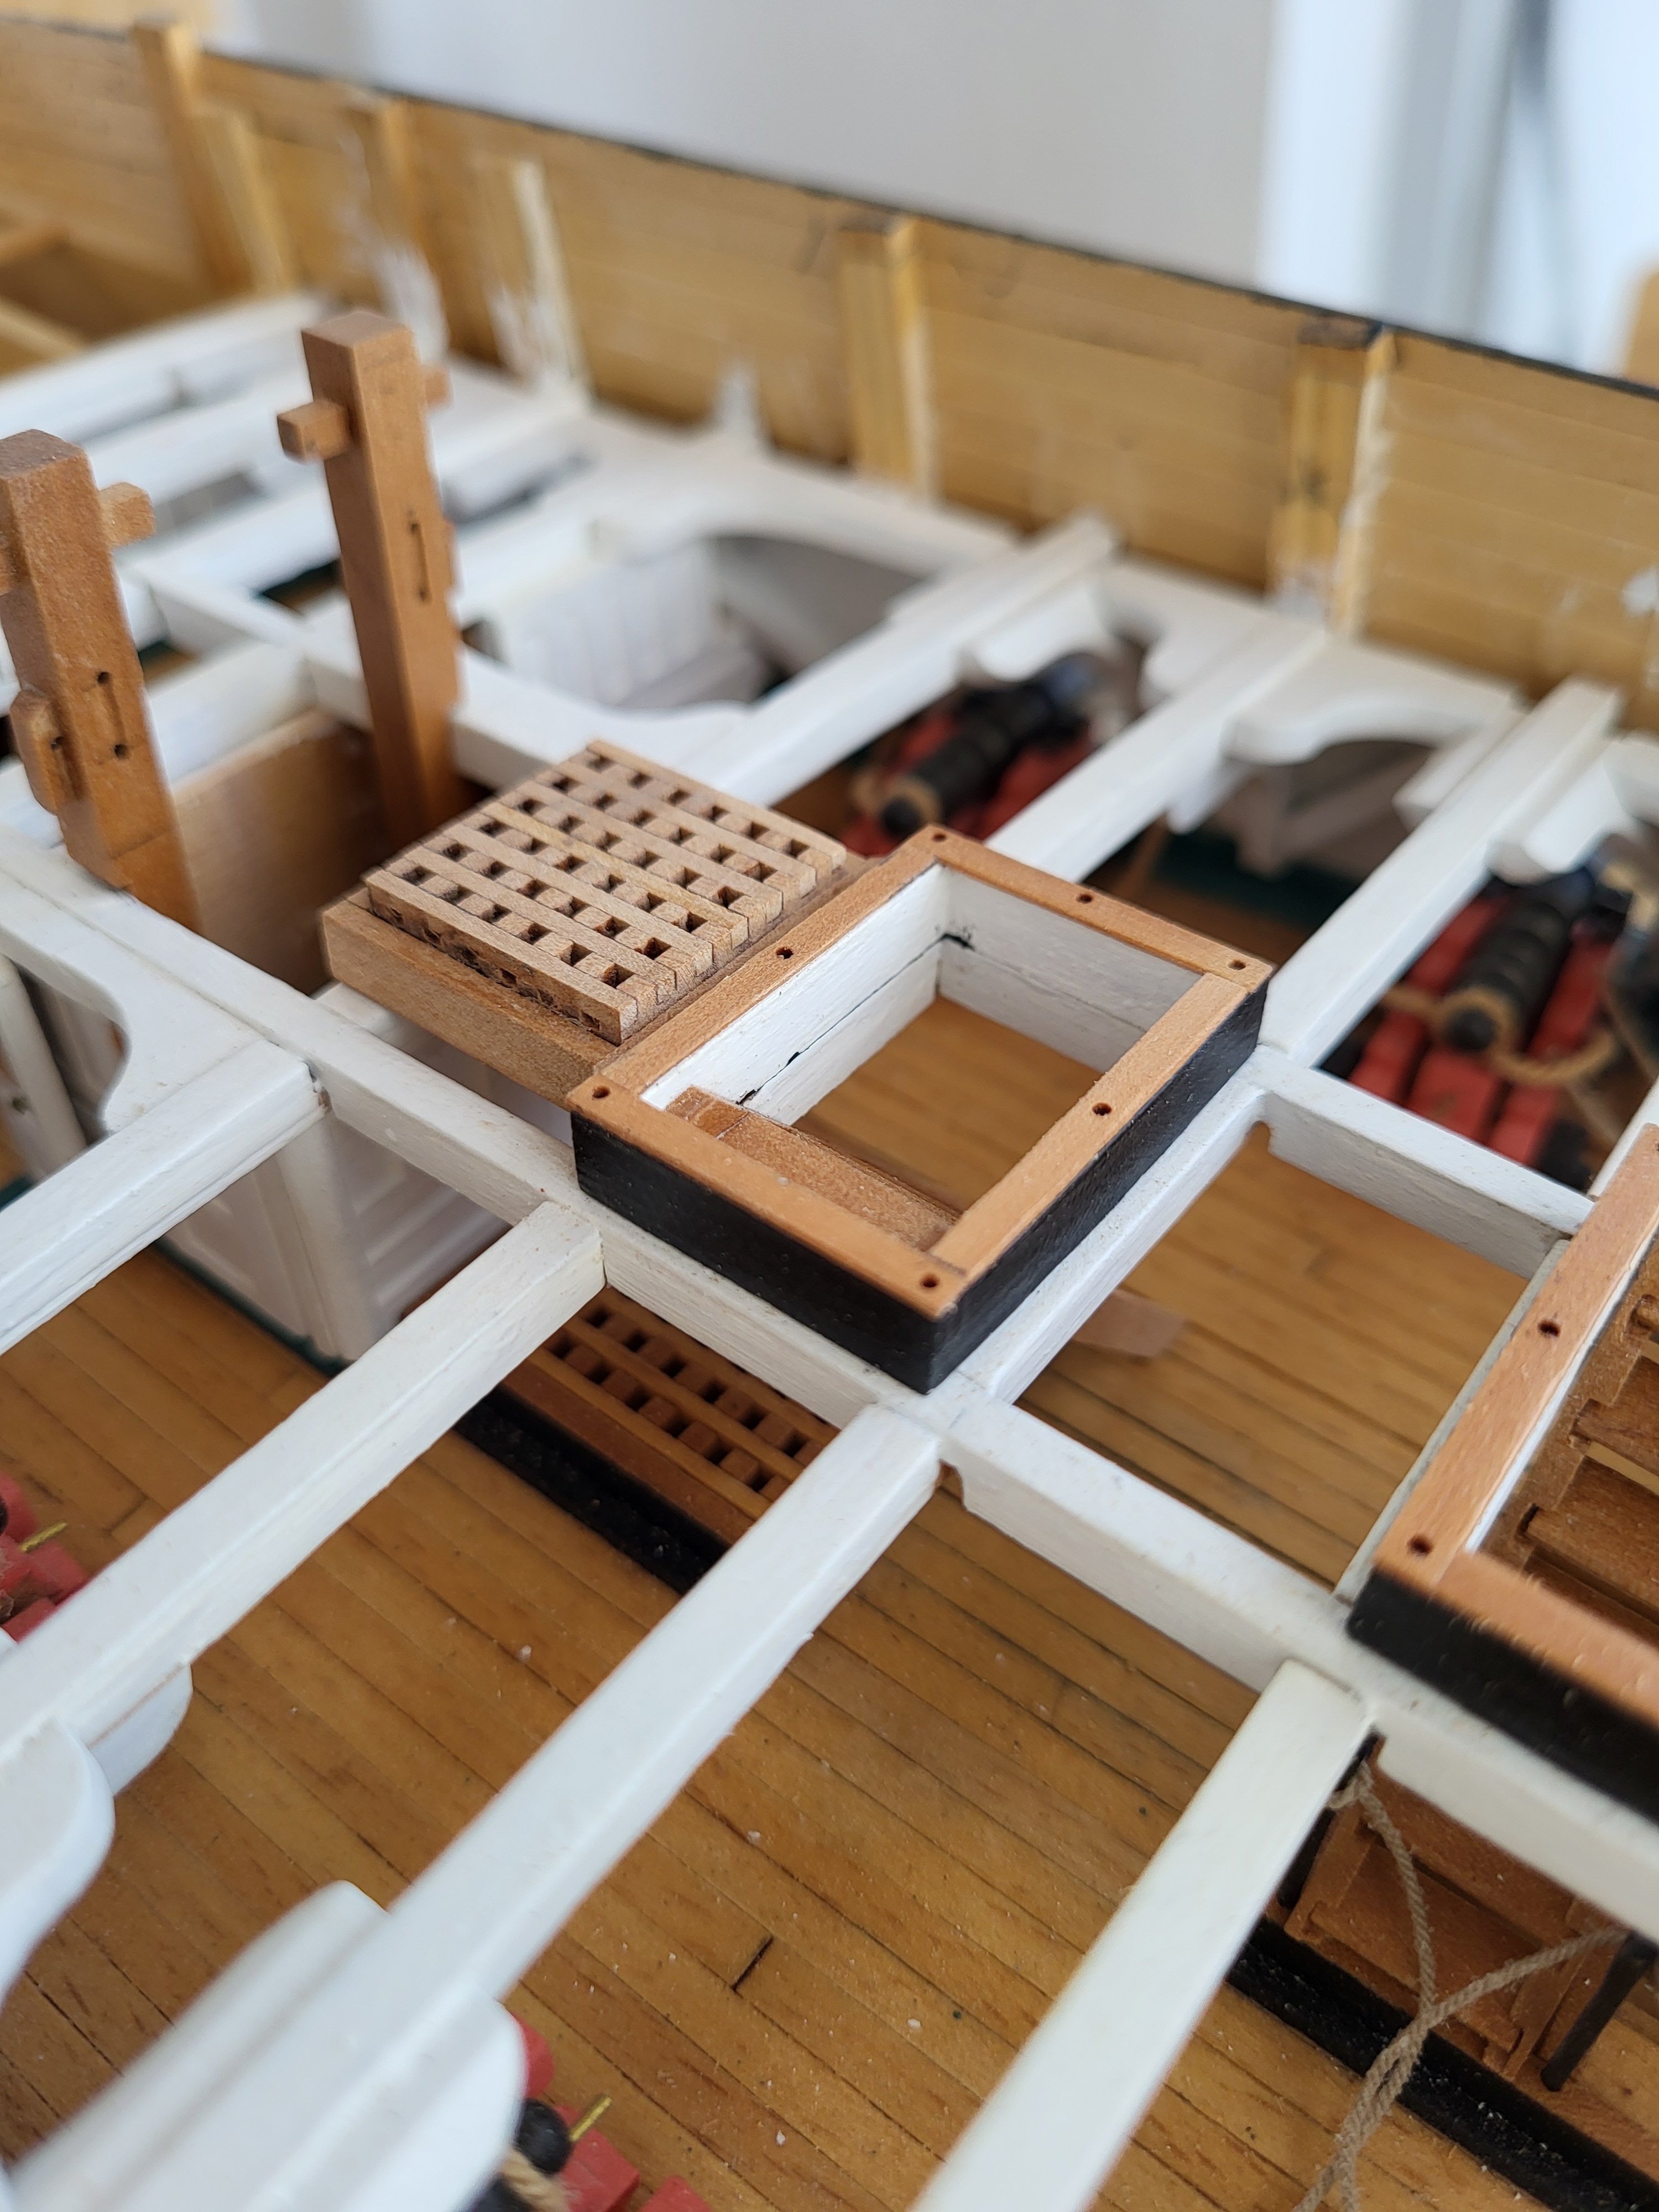
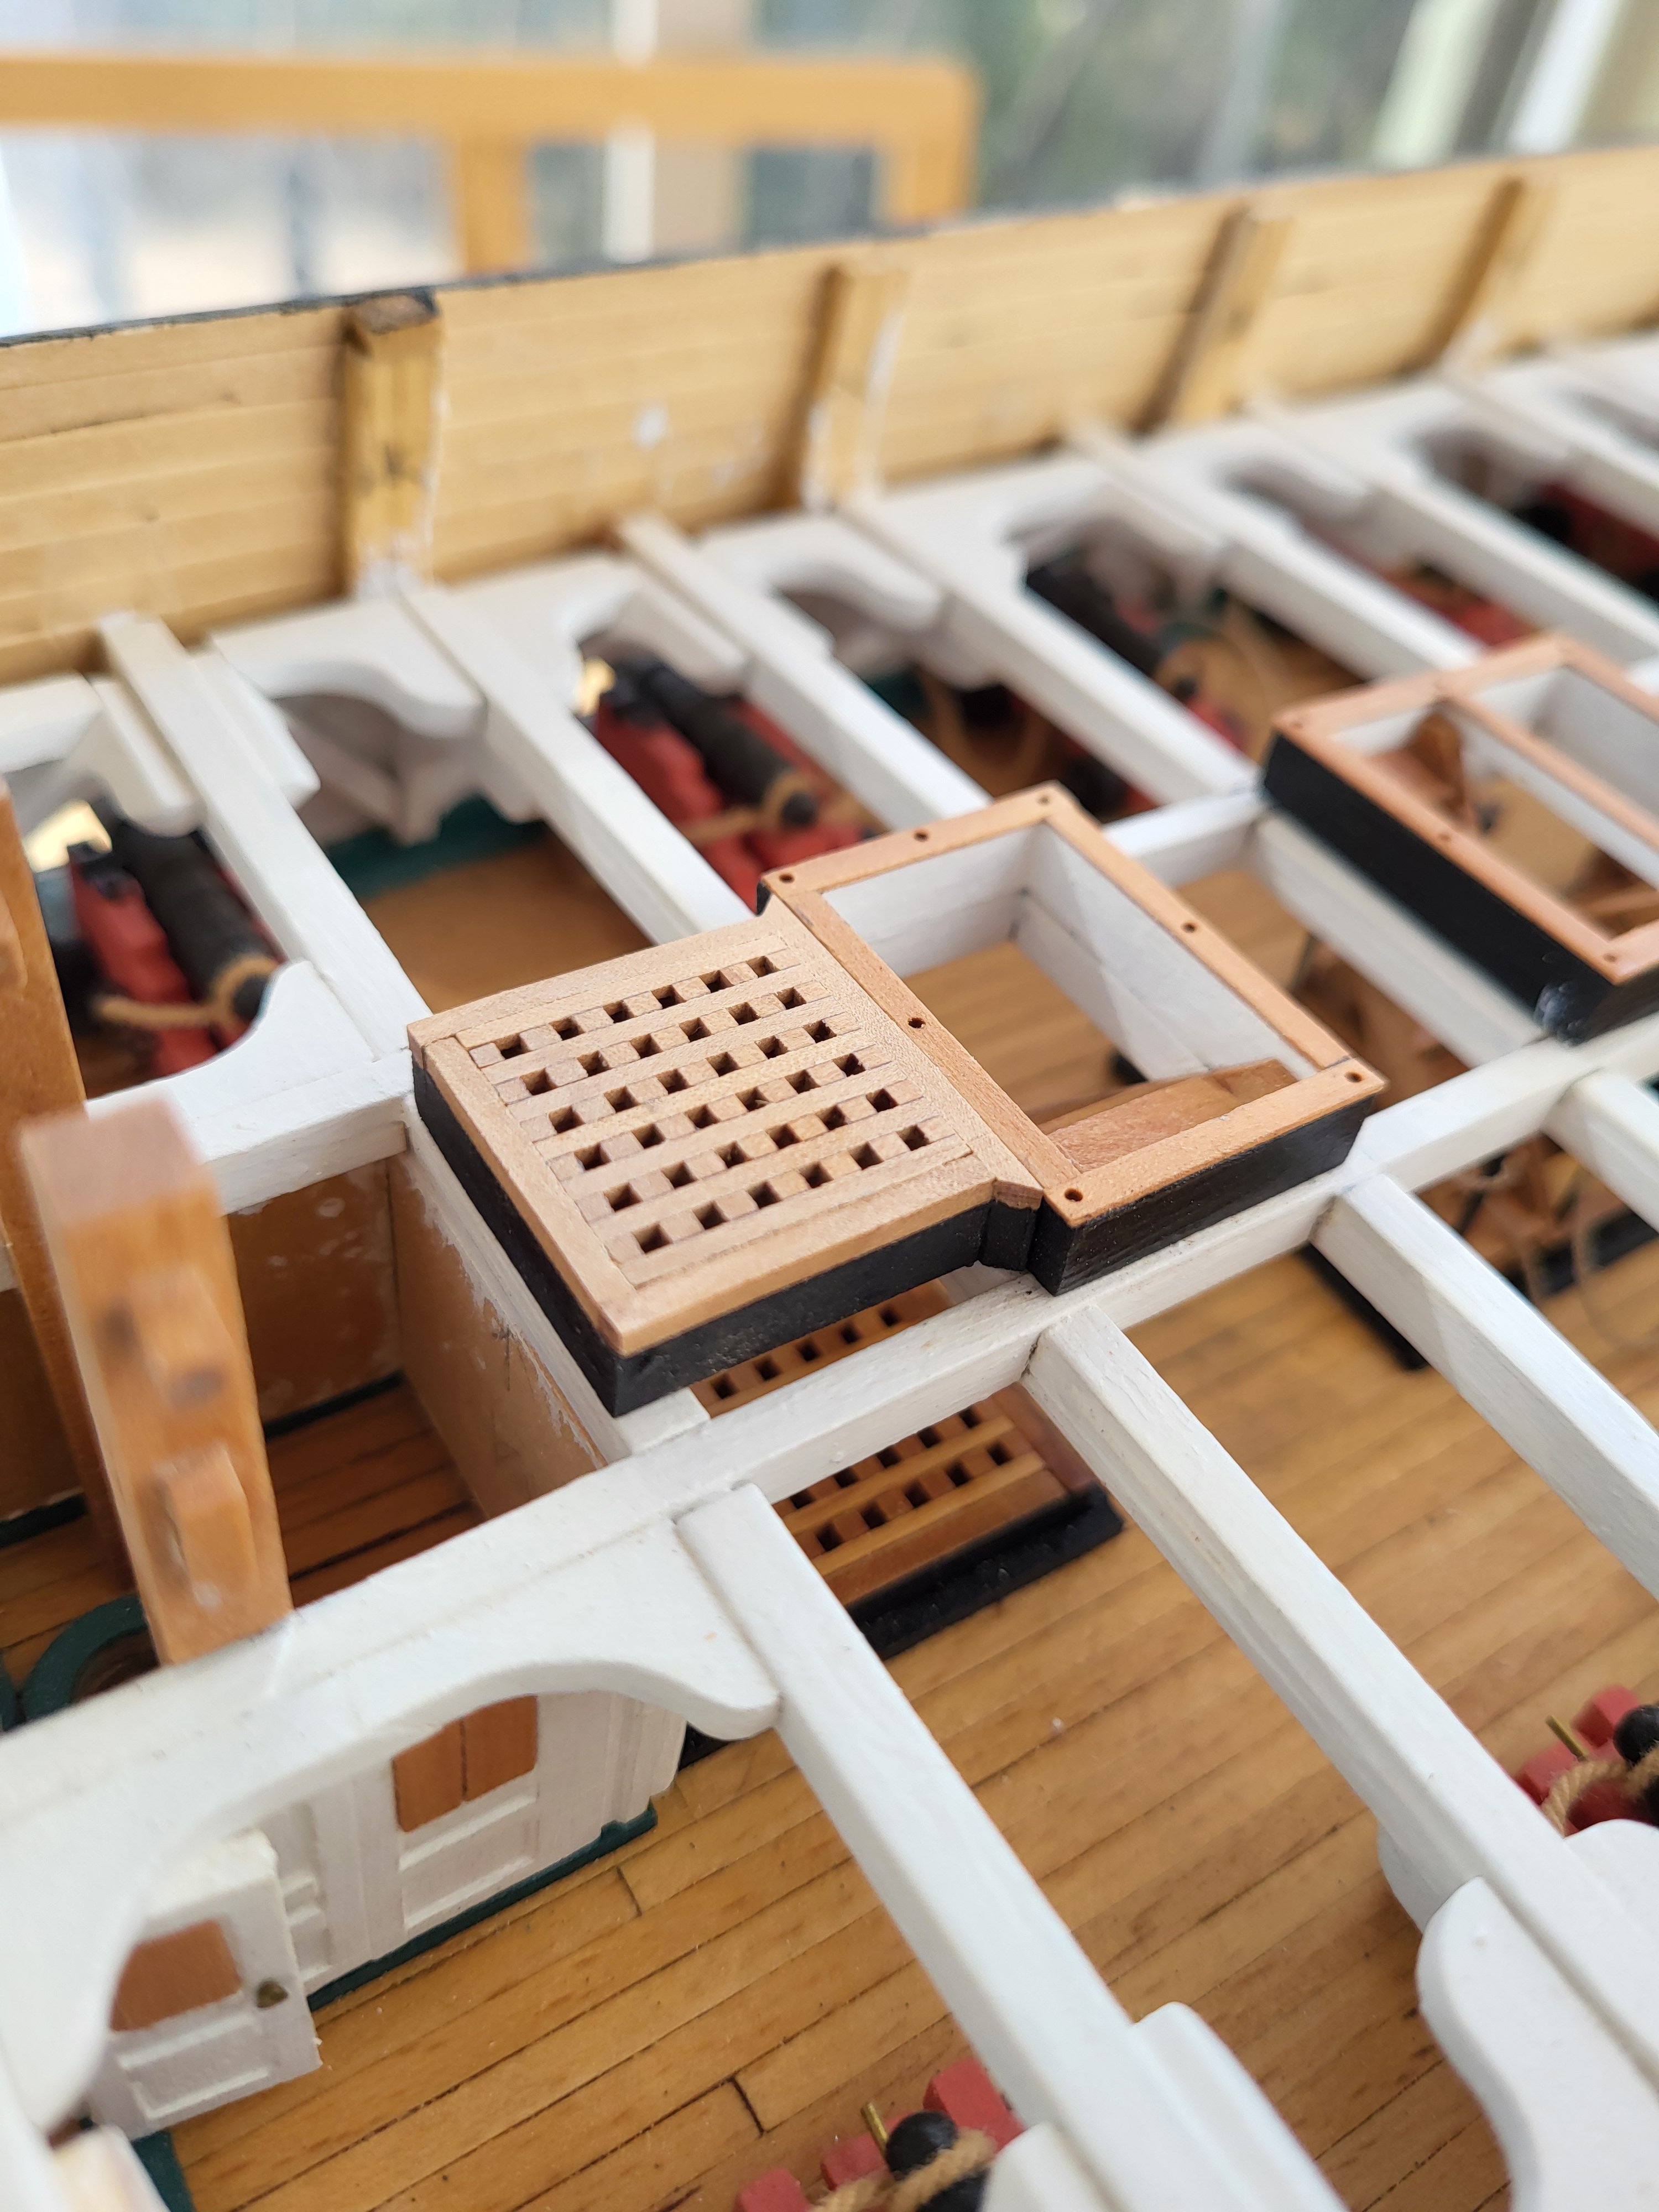
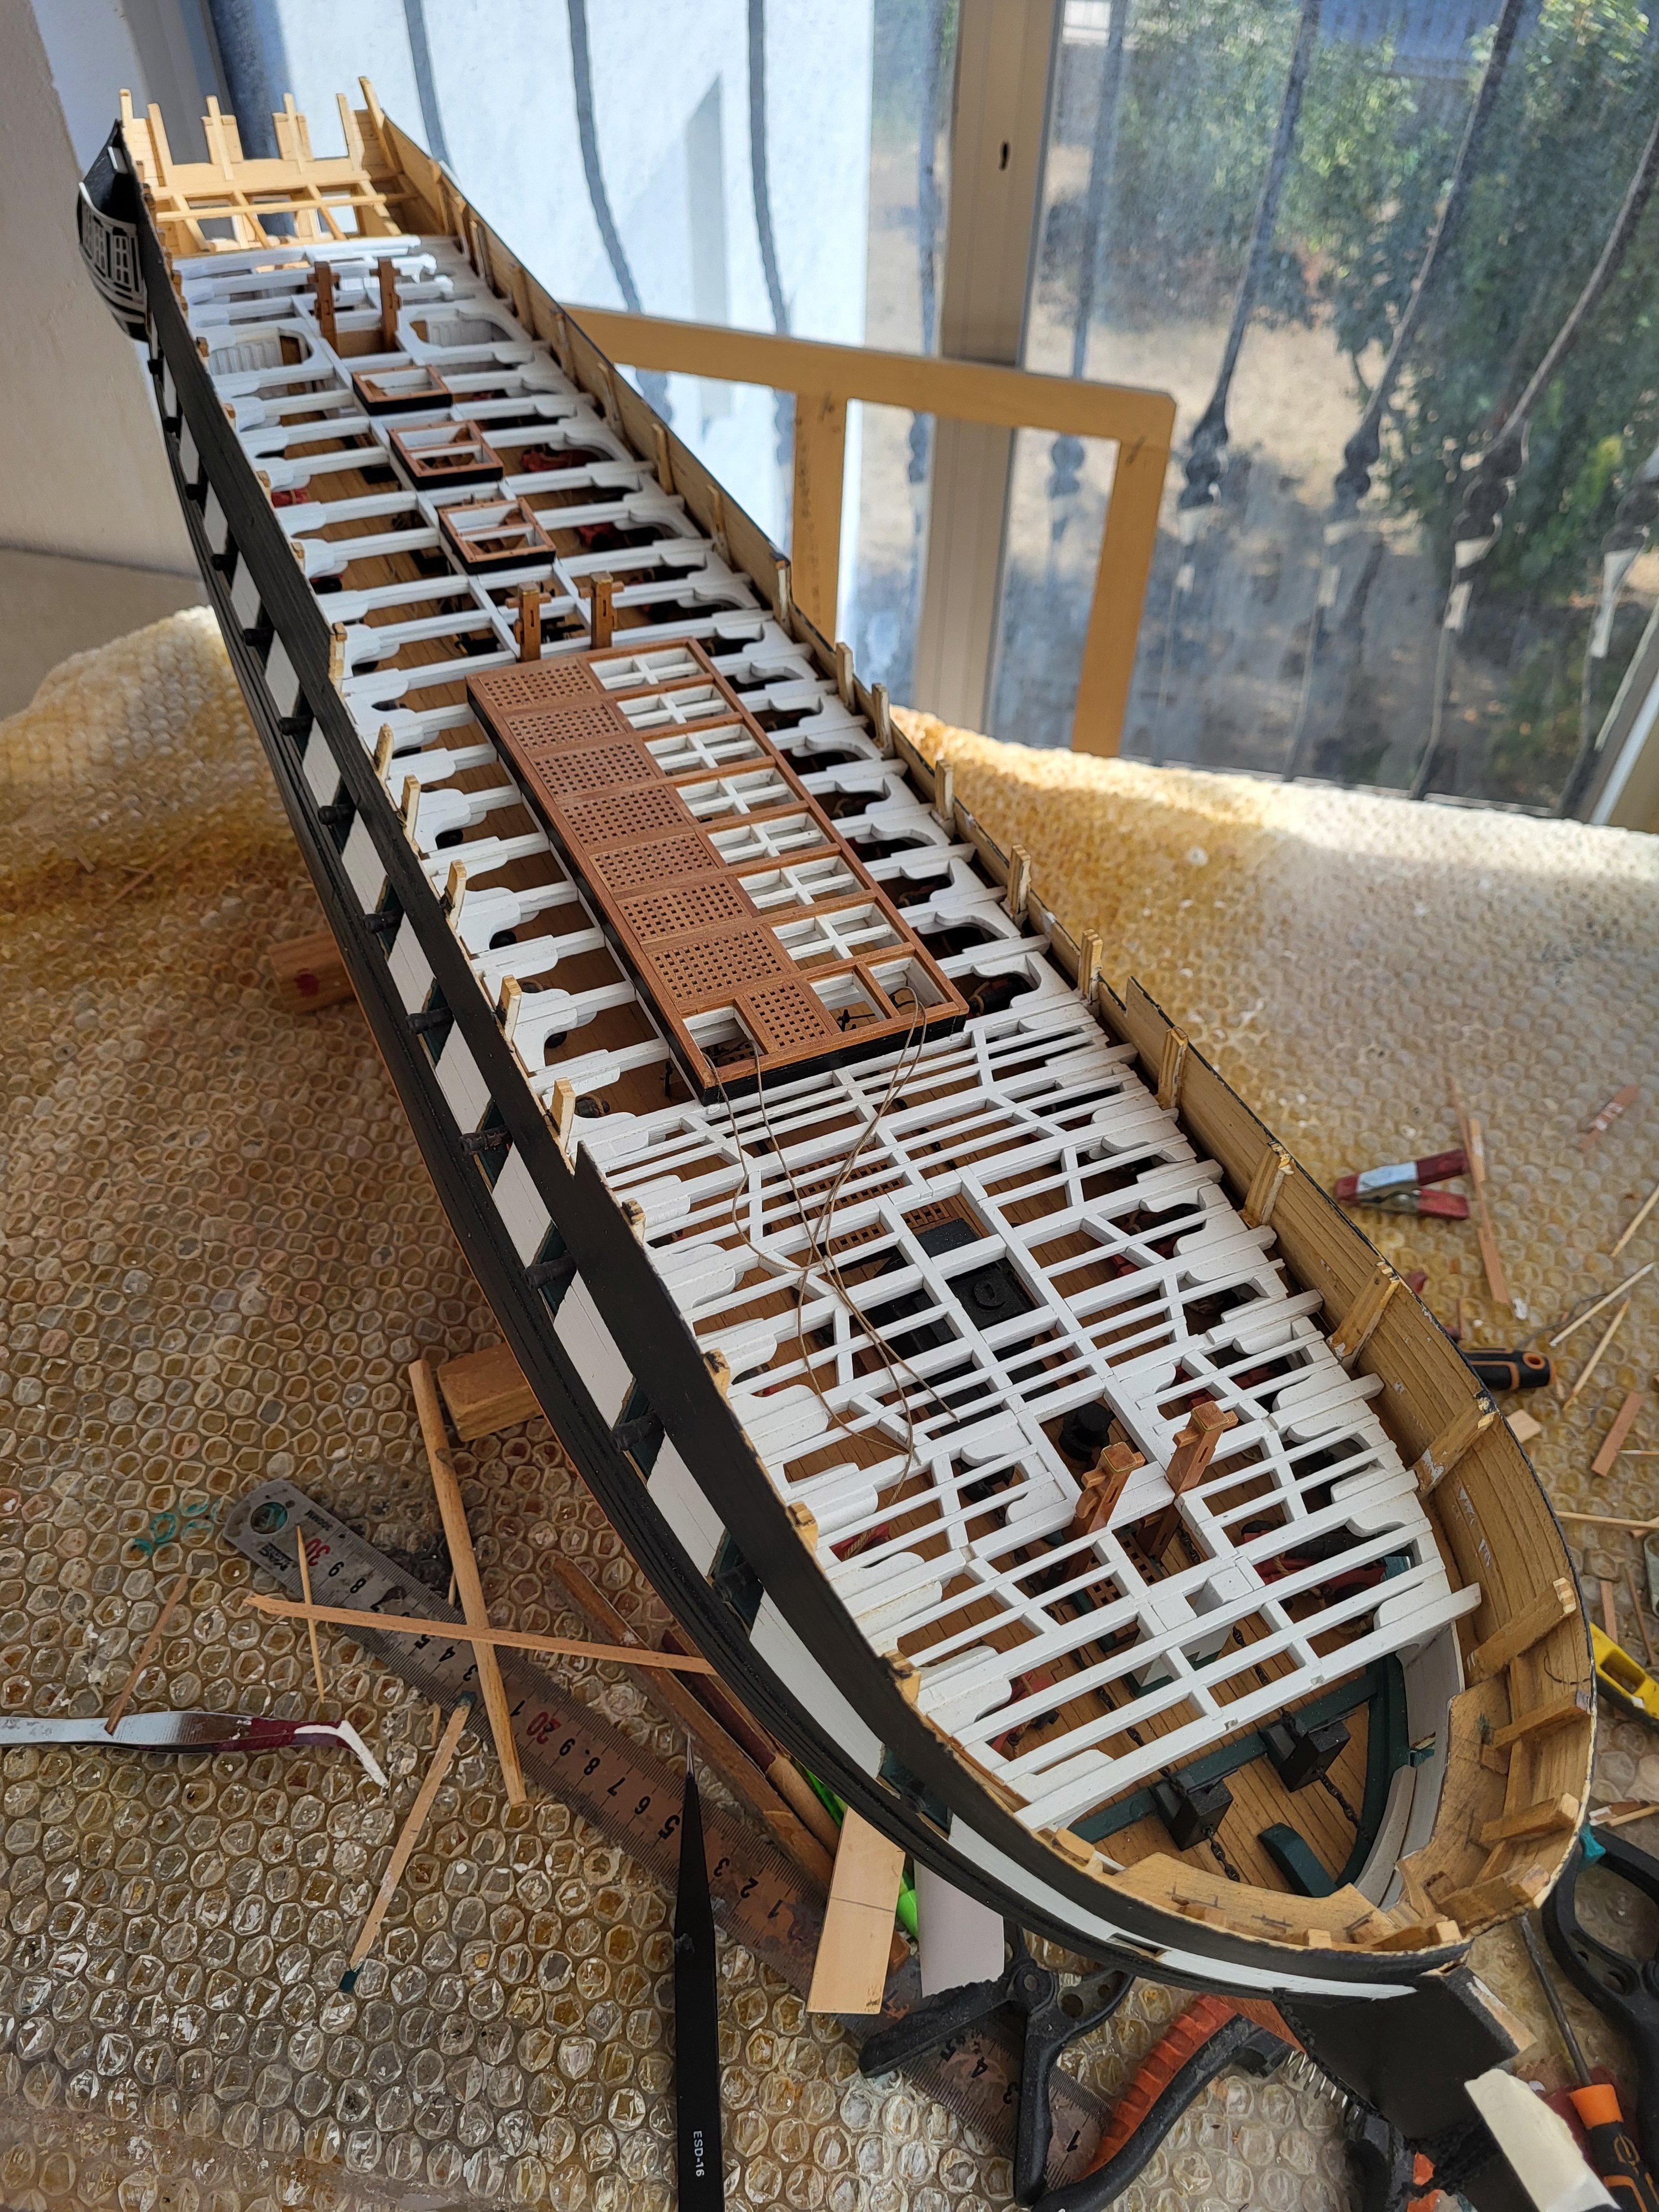
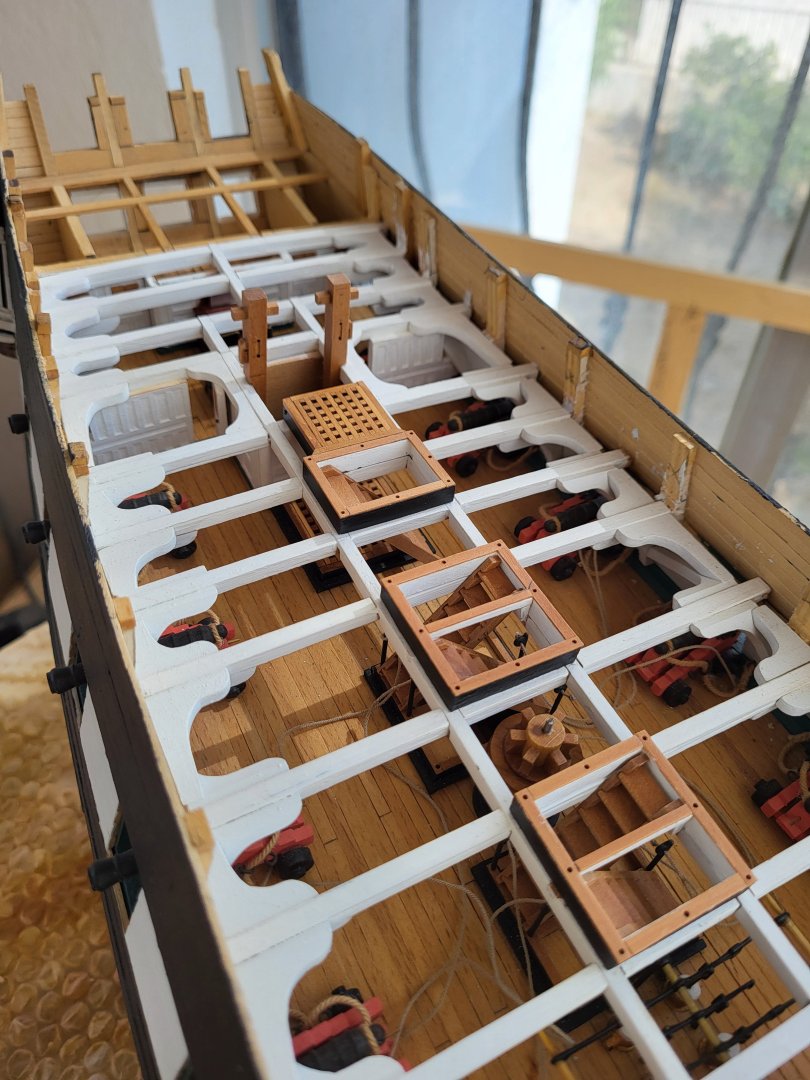
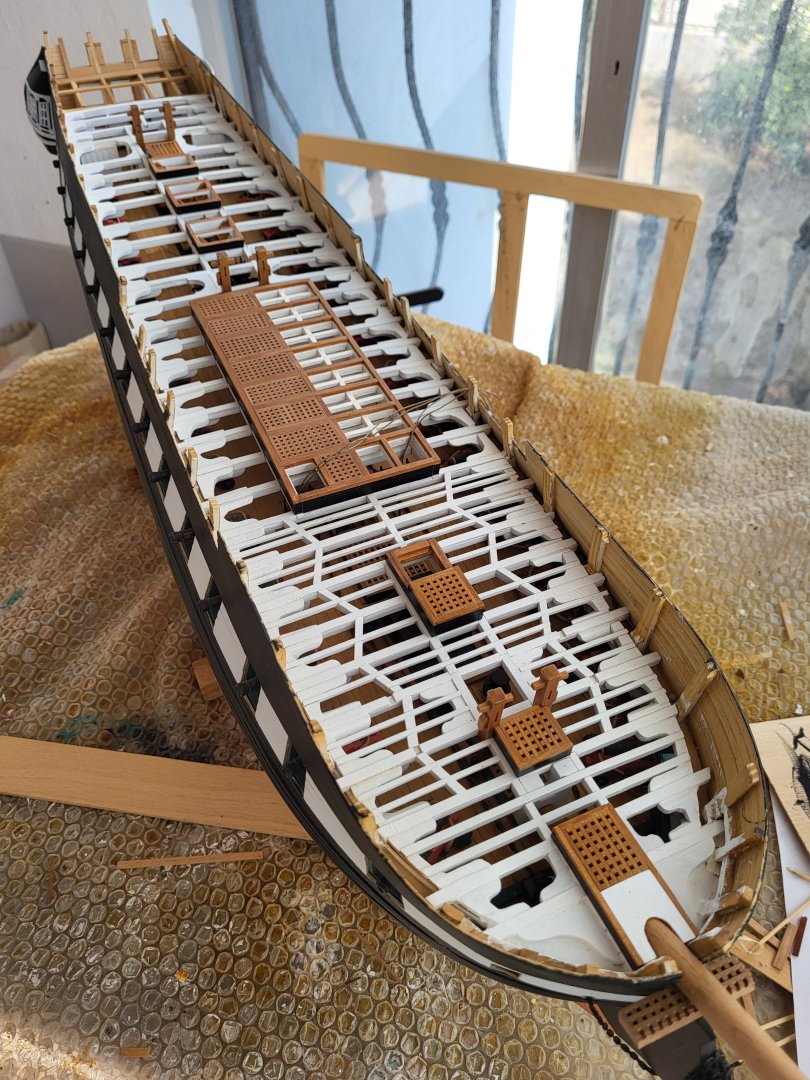
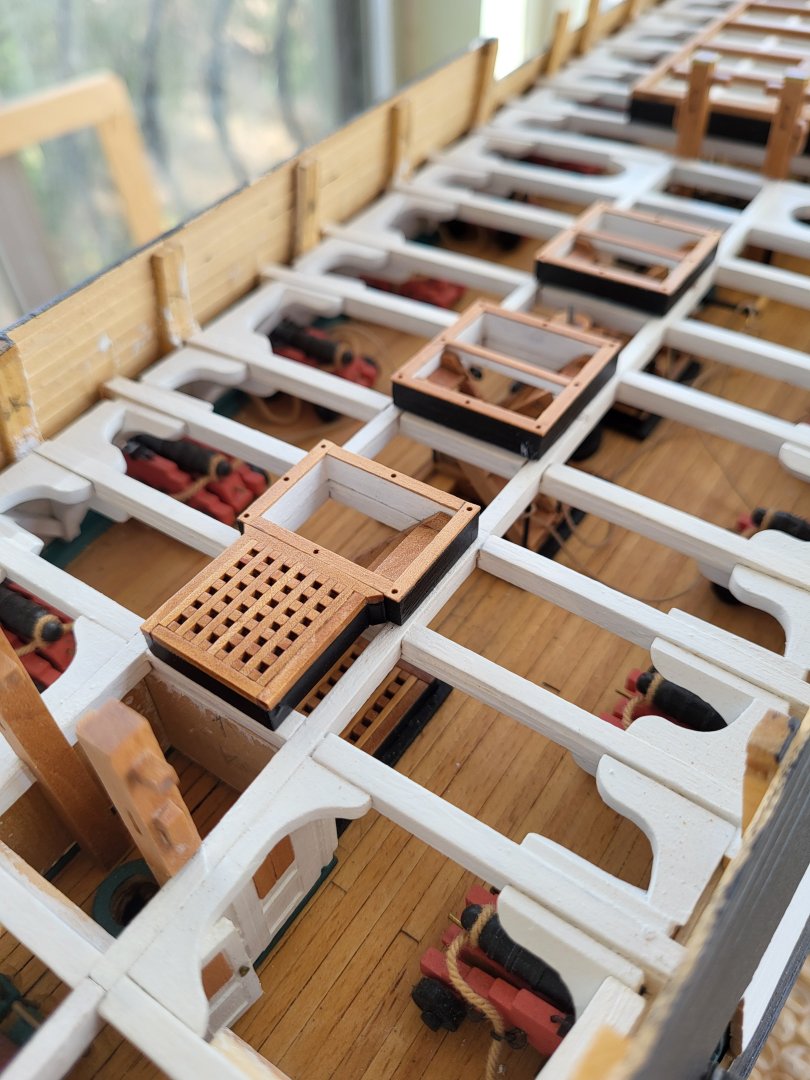
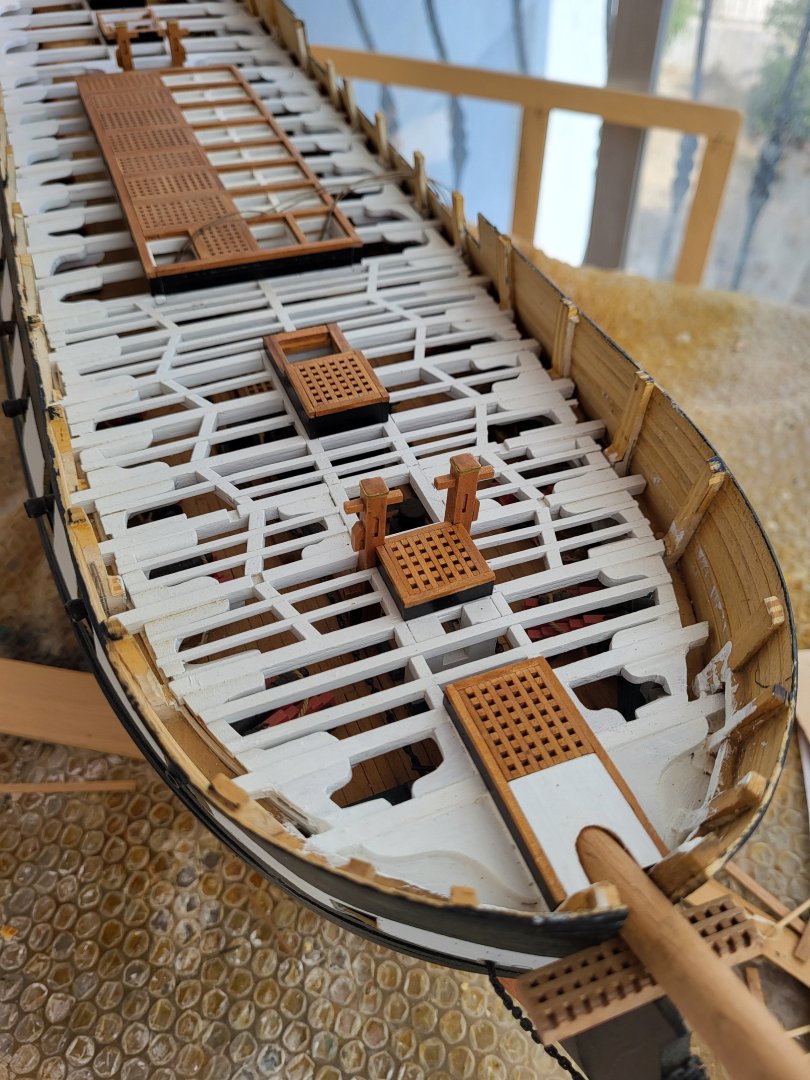
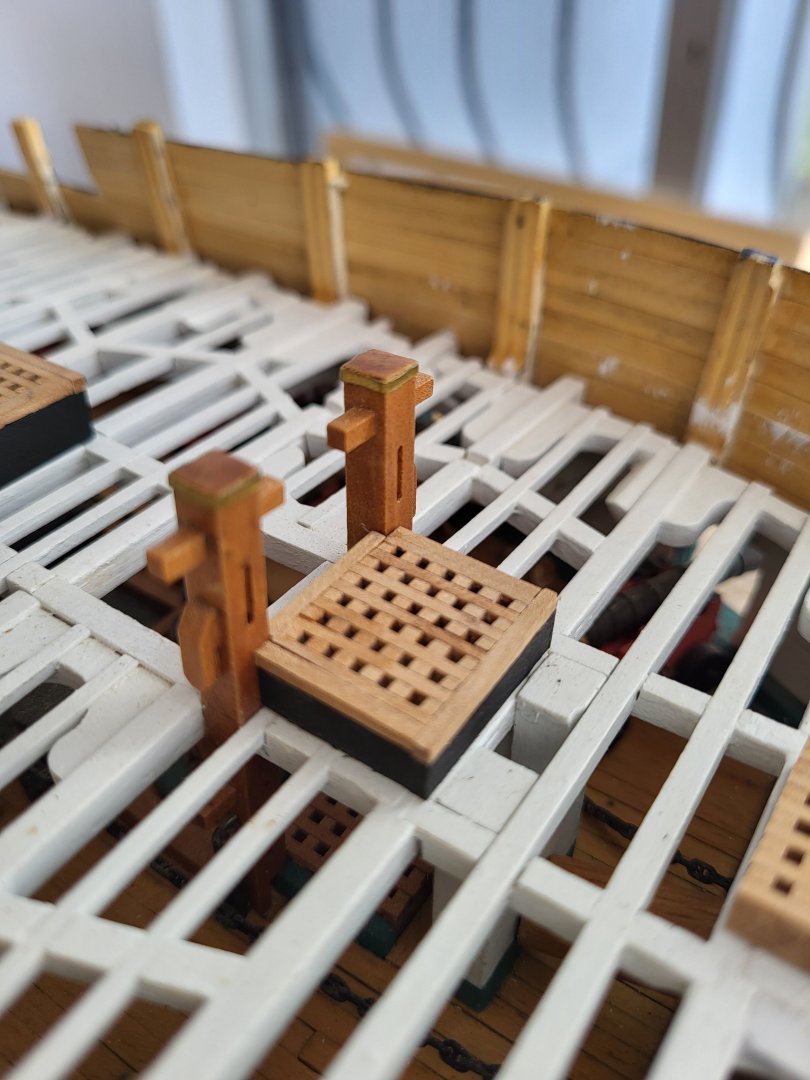
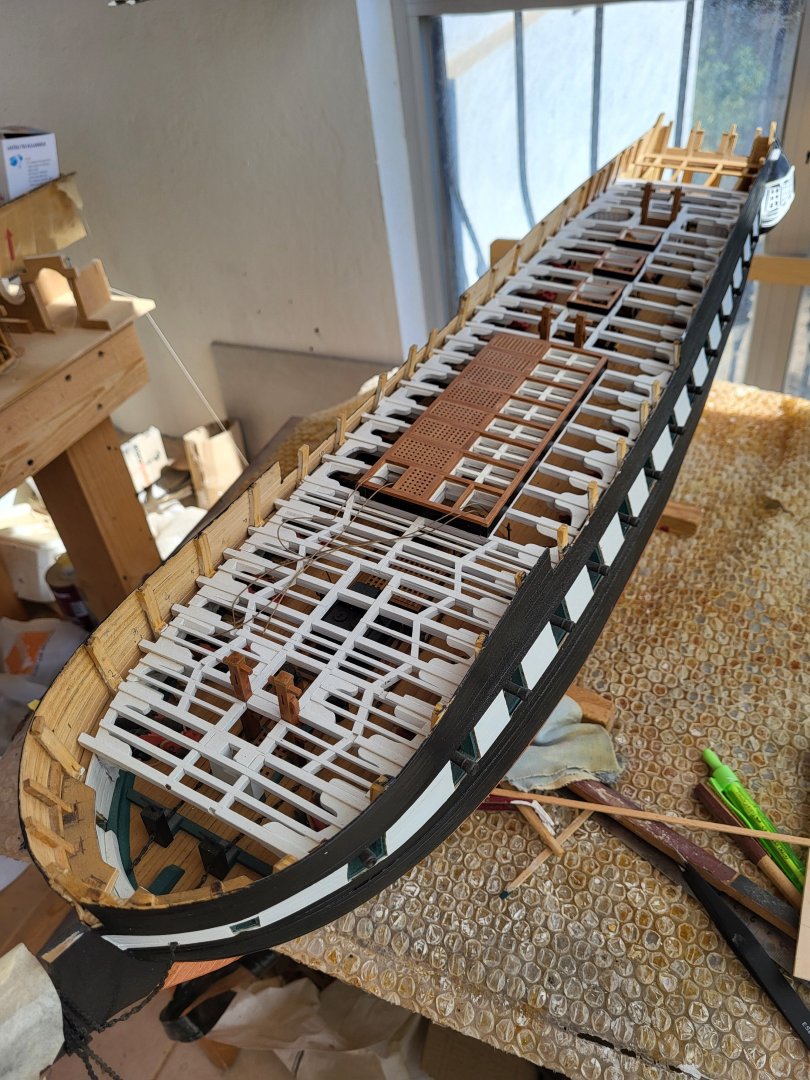
Gratings on the spar deck were completed and varnished.


-
The windows look perfect, Peter. I have never used styrene in the models I have made but I will definitely use it from now on.
-
USS Constitution by mtbediz - 1:76
mtbediz replied to mtbediz's topic in - Build logs for subjects built 1751 - 1800
Thank you Jon. -
USS Constitution by mtbediz - 1:76
mtbediz replied to mtbediz's topic in - Build logs for subjects built 1751 - 1800
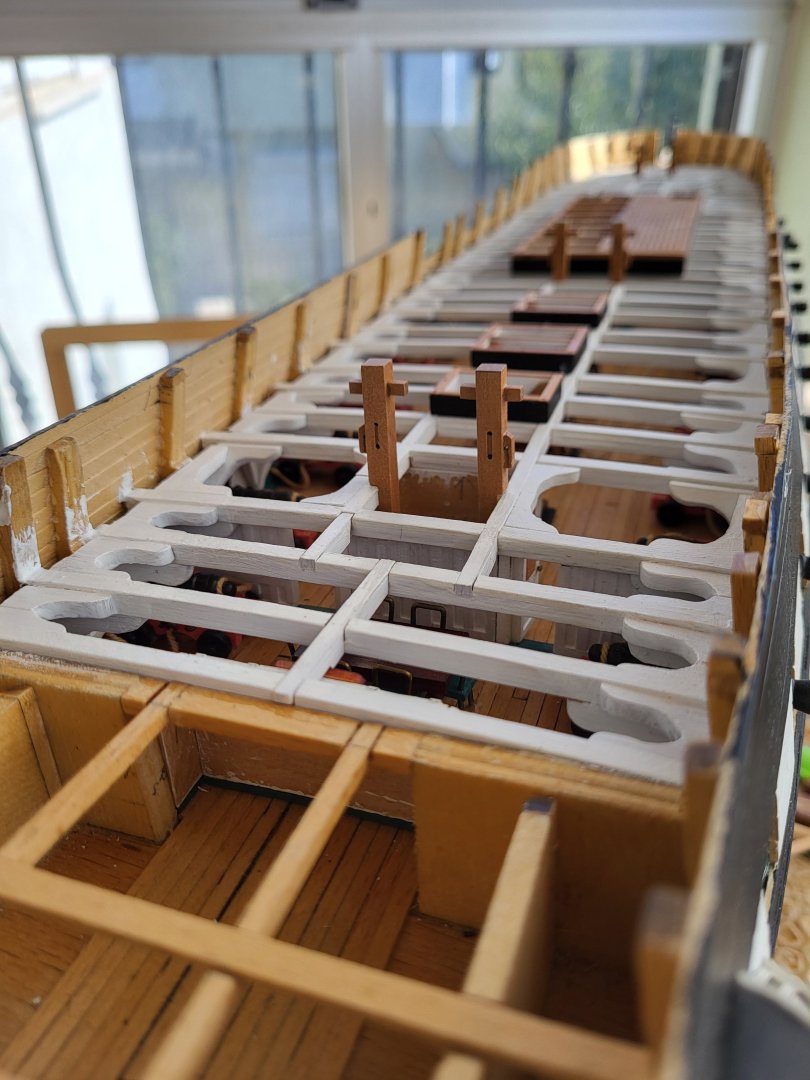
I started fabricating the gratings on the spar deck. Nothing has been glued into place yet.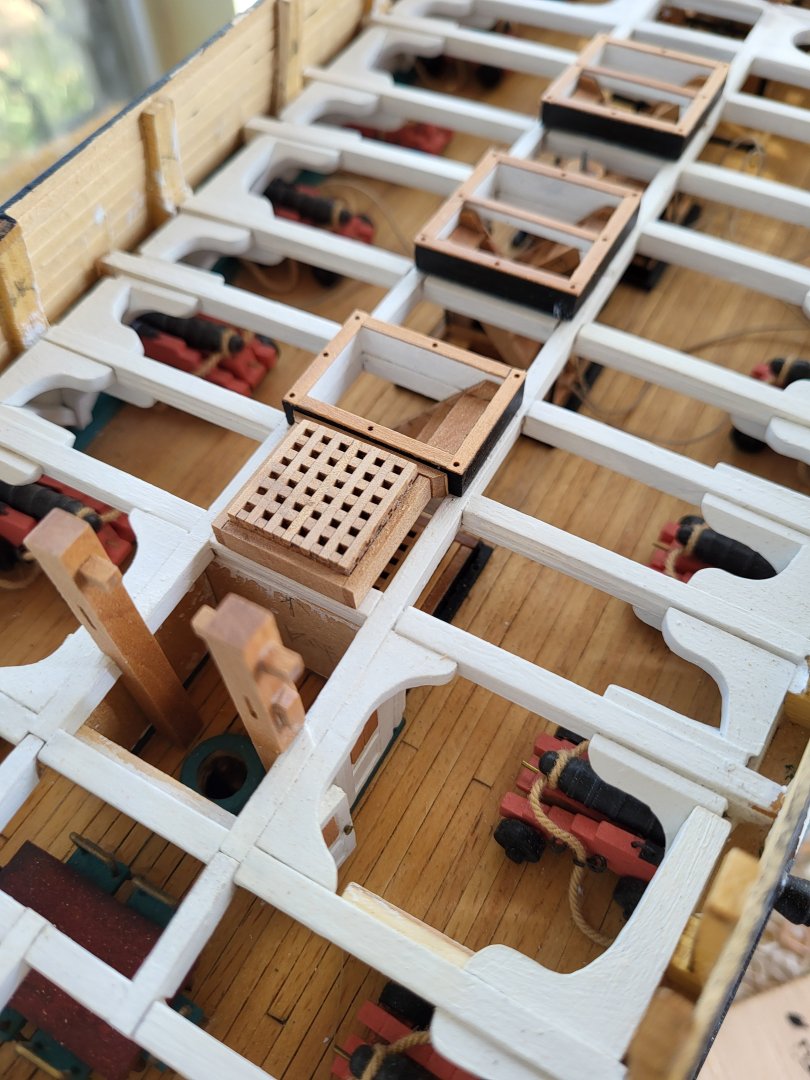


-
We haven't heard from you for a long time, Peter. Are you fine?
-
Nikitin's kits look quite high quality. This will be a beautiful model. Some kit manufacturers call the part which we place the bulkheads the "bulkhead former", and the bottom piece connected to it as the "false keel".
- 58 replies
-
- 1
-

-
- Santa Maria
- Ships of Pavel Nikitin
- (and 1 more)
-
USS Constitution by mtbediz - 1:76
mtbediz replied to mtbediz's topic in - Build logs for subjects built 1751 - 1800
Thank you so much for your kind comment Greg. -
USS Constitution by mtbediz - 1:76
mtbediz replied to mtbediz's topic in - Build logs for subjects built 1751 - 1800
Dear Jon, your build log and your work have been an inspiration to me since I started this model. Thank you again for this. My advantages are that I make everything from scratch and have enough materials and tools. -
Glad to hear that you and your family are fine.
-
USS Constitution by mtbediz - 1:76
mtbediz replied to mtbediz's topic in - Build logs for subjects built 1751 - 1800
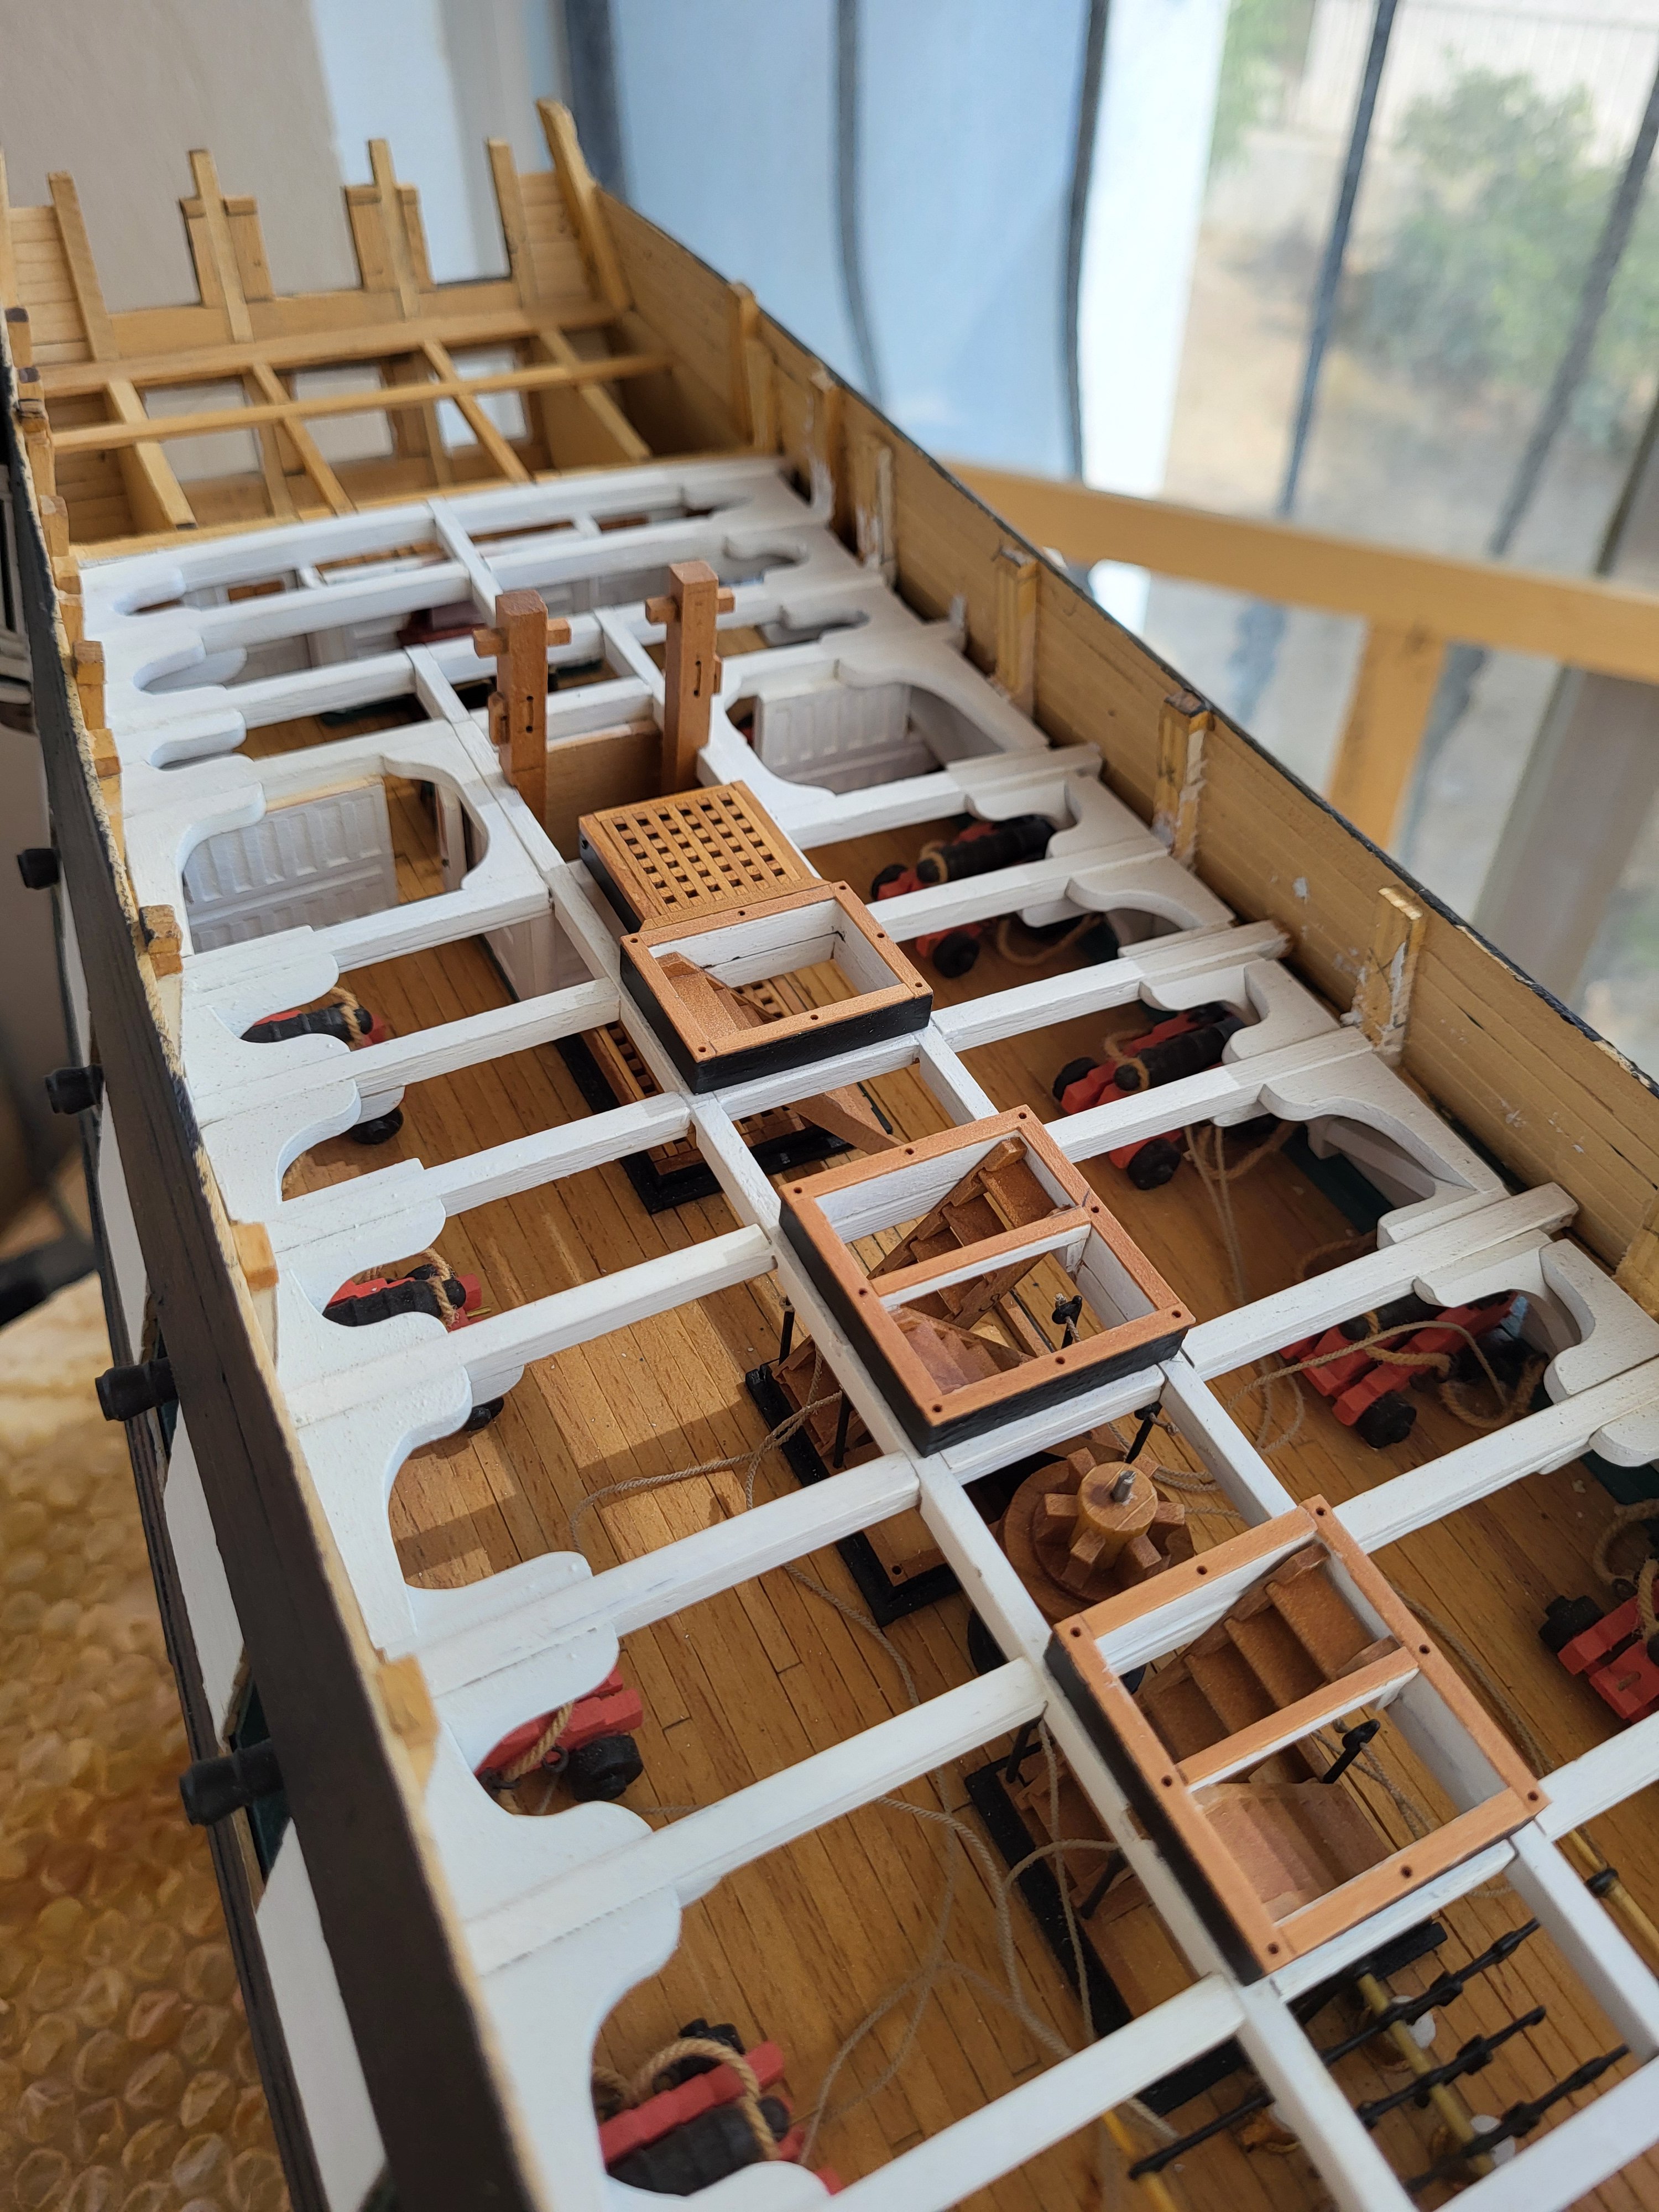
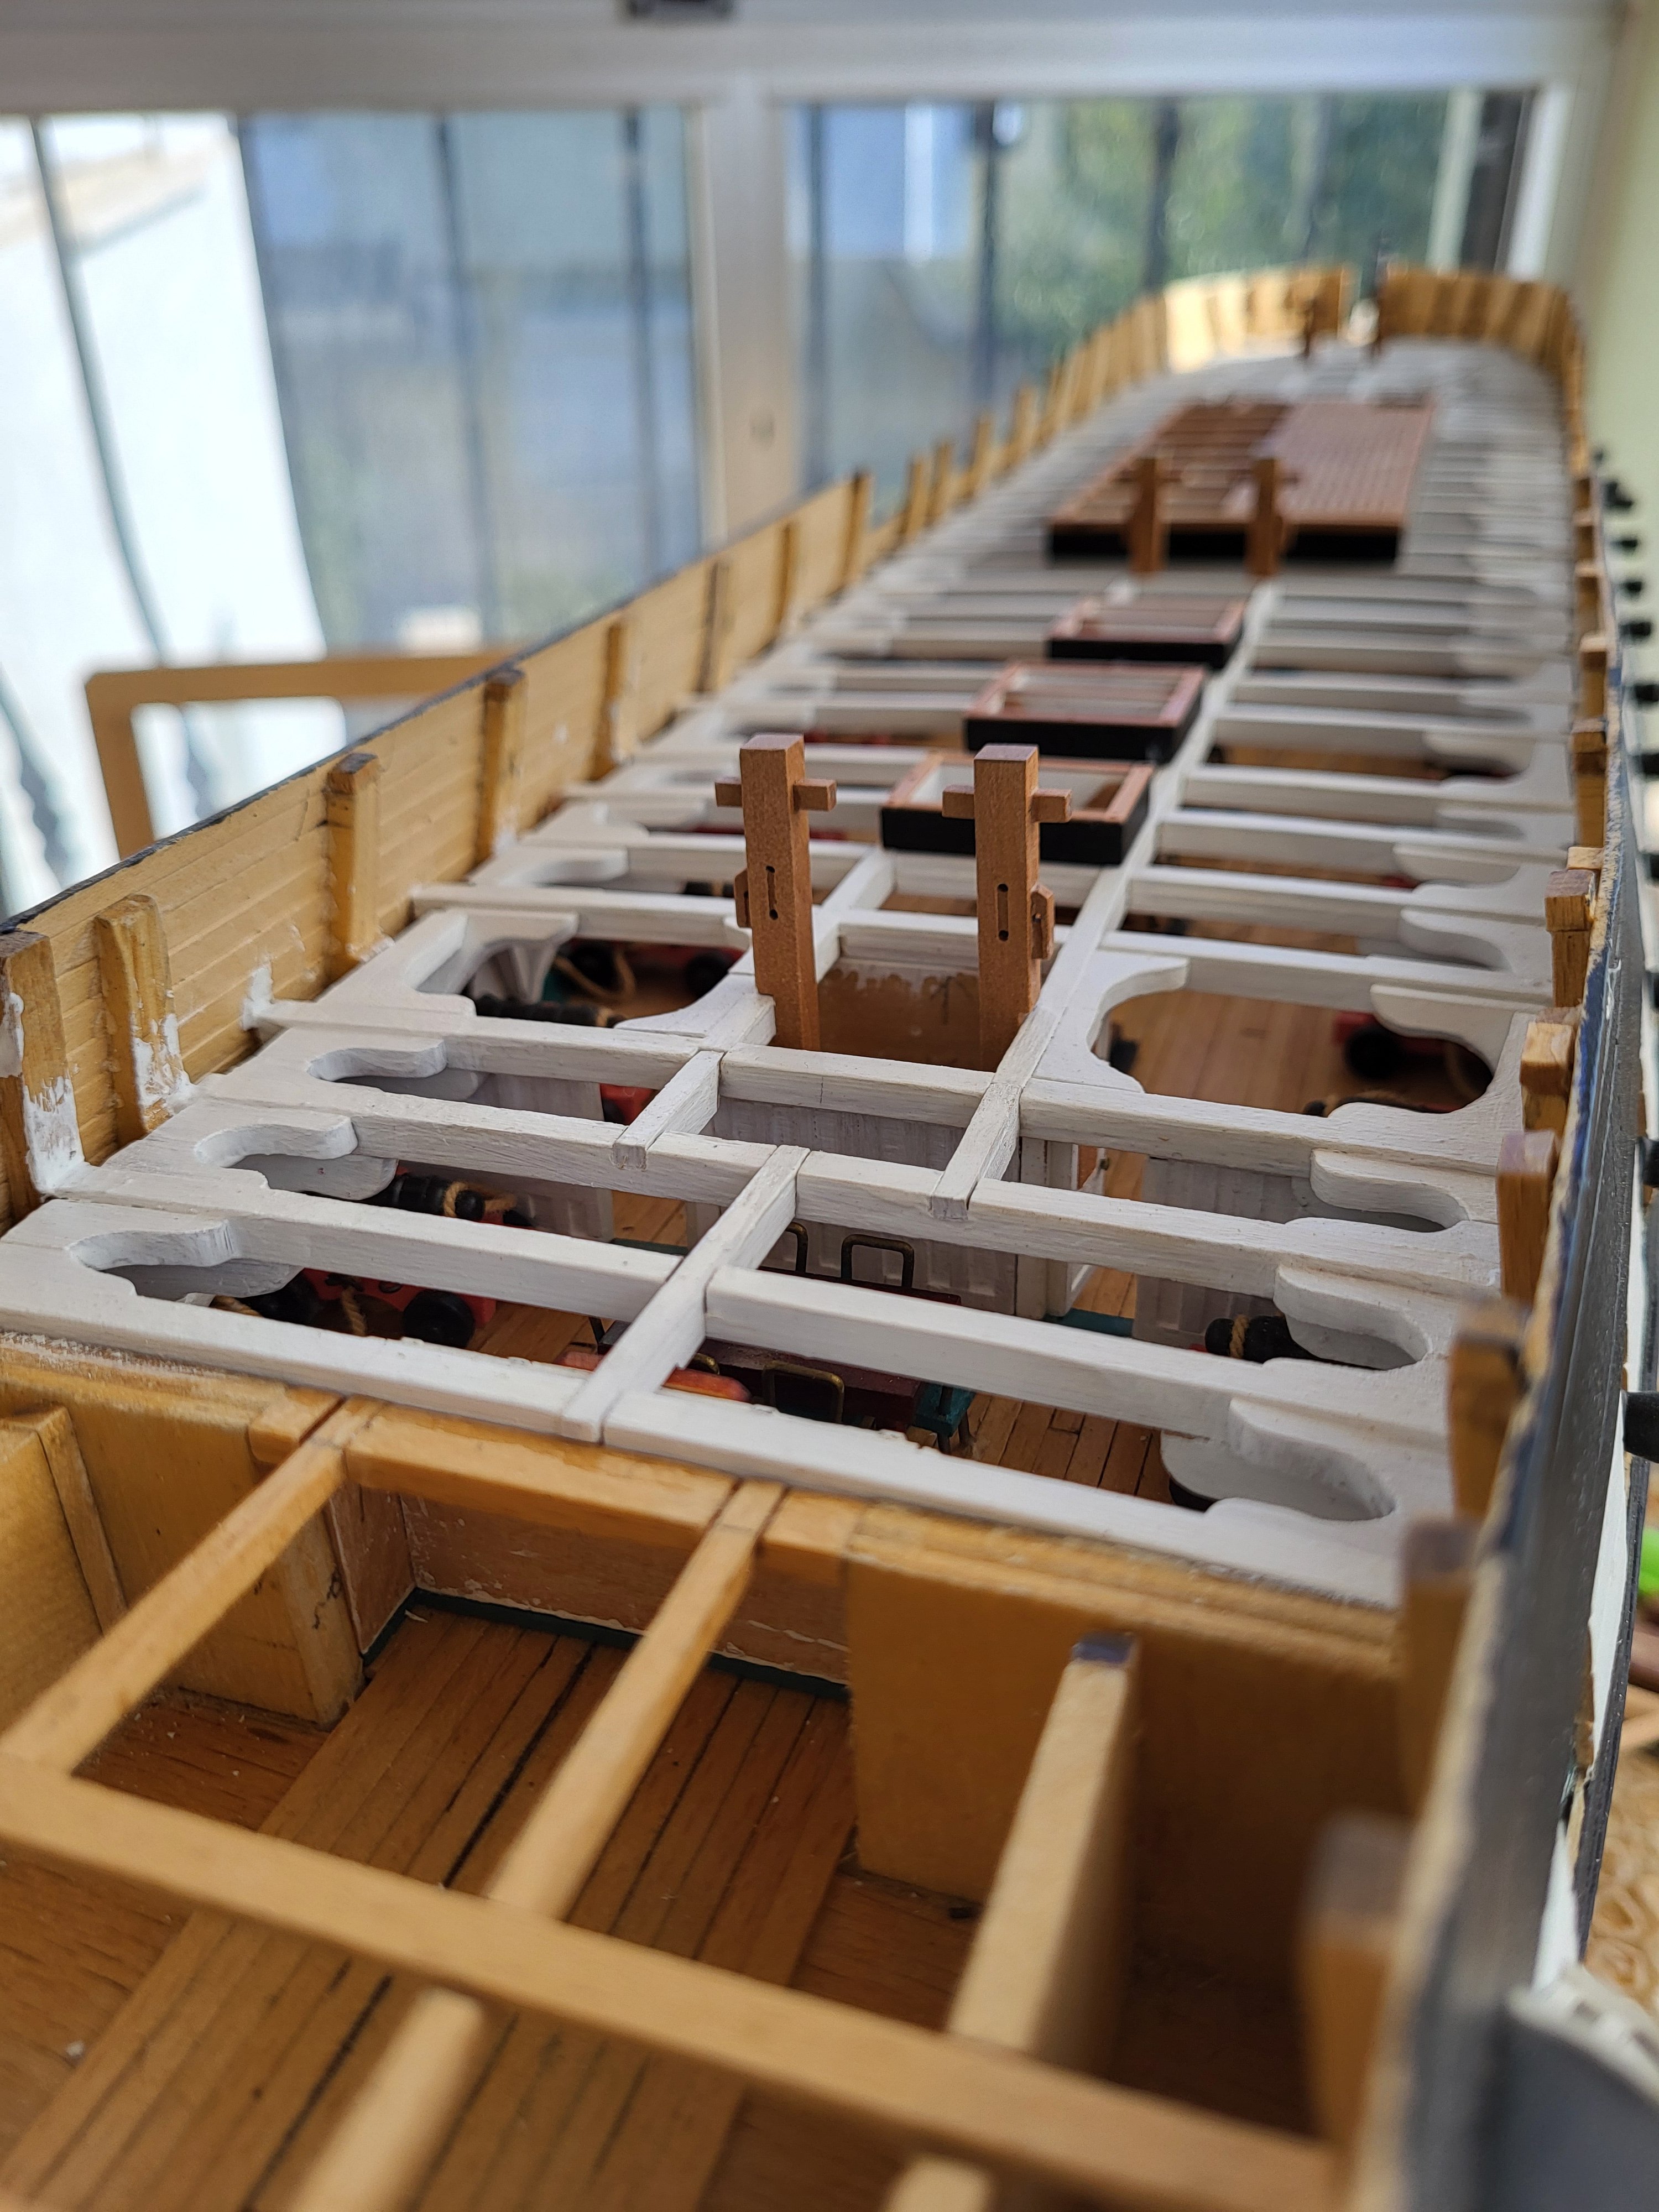
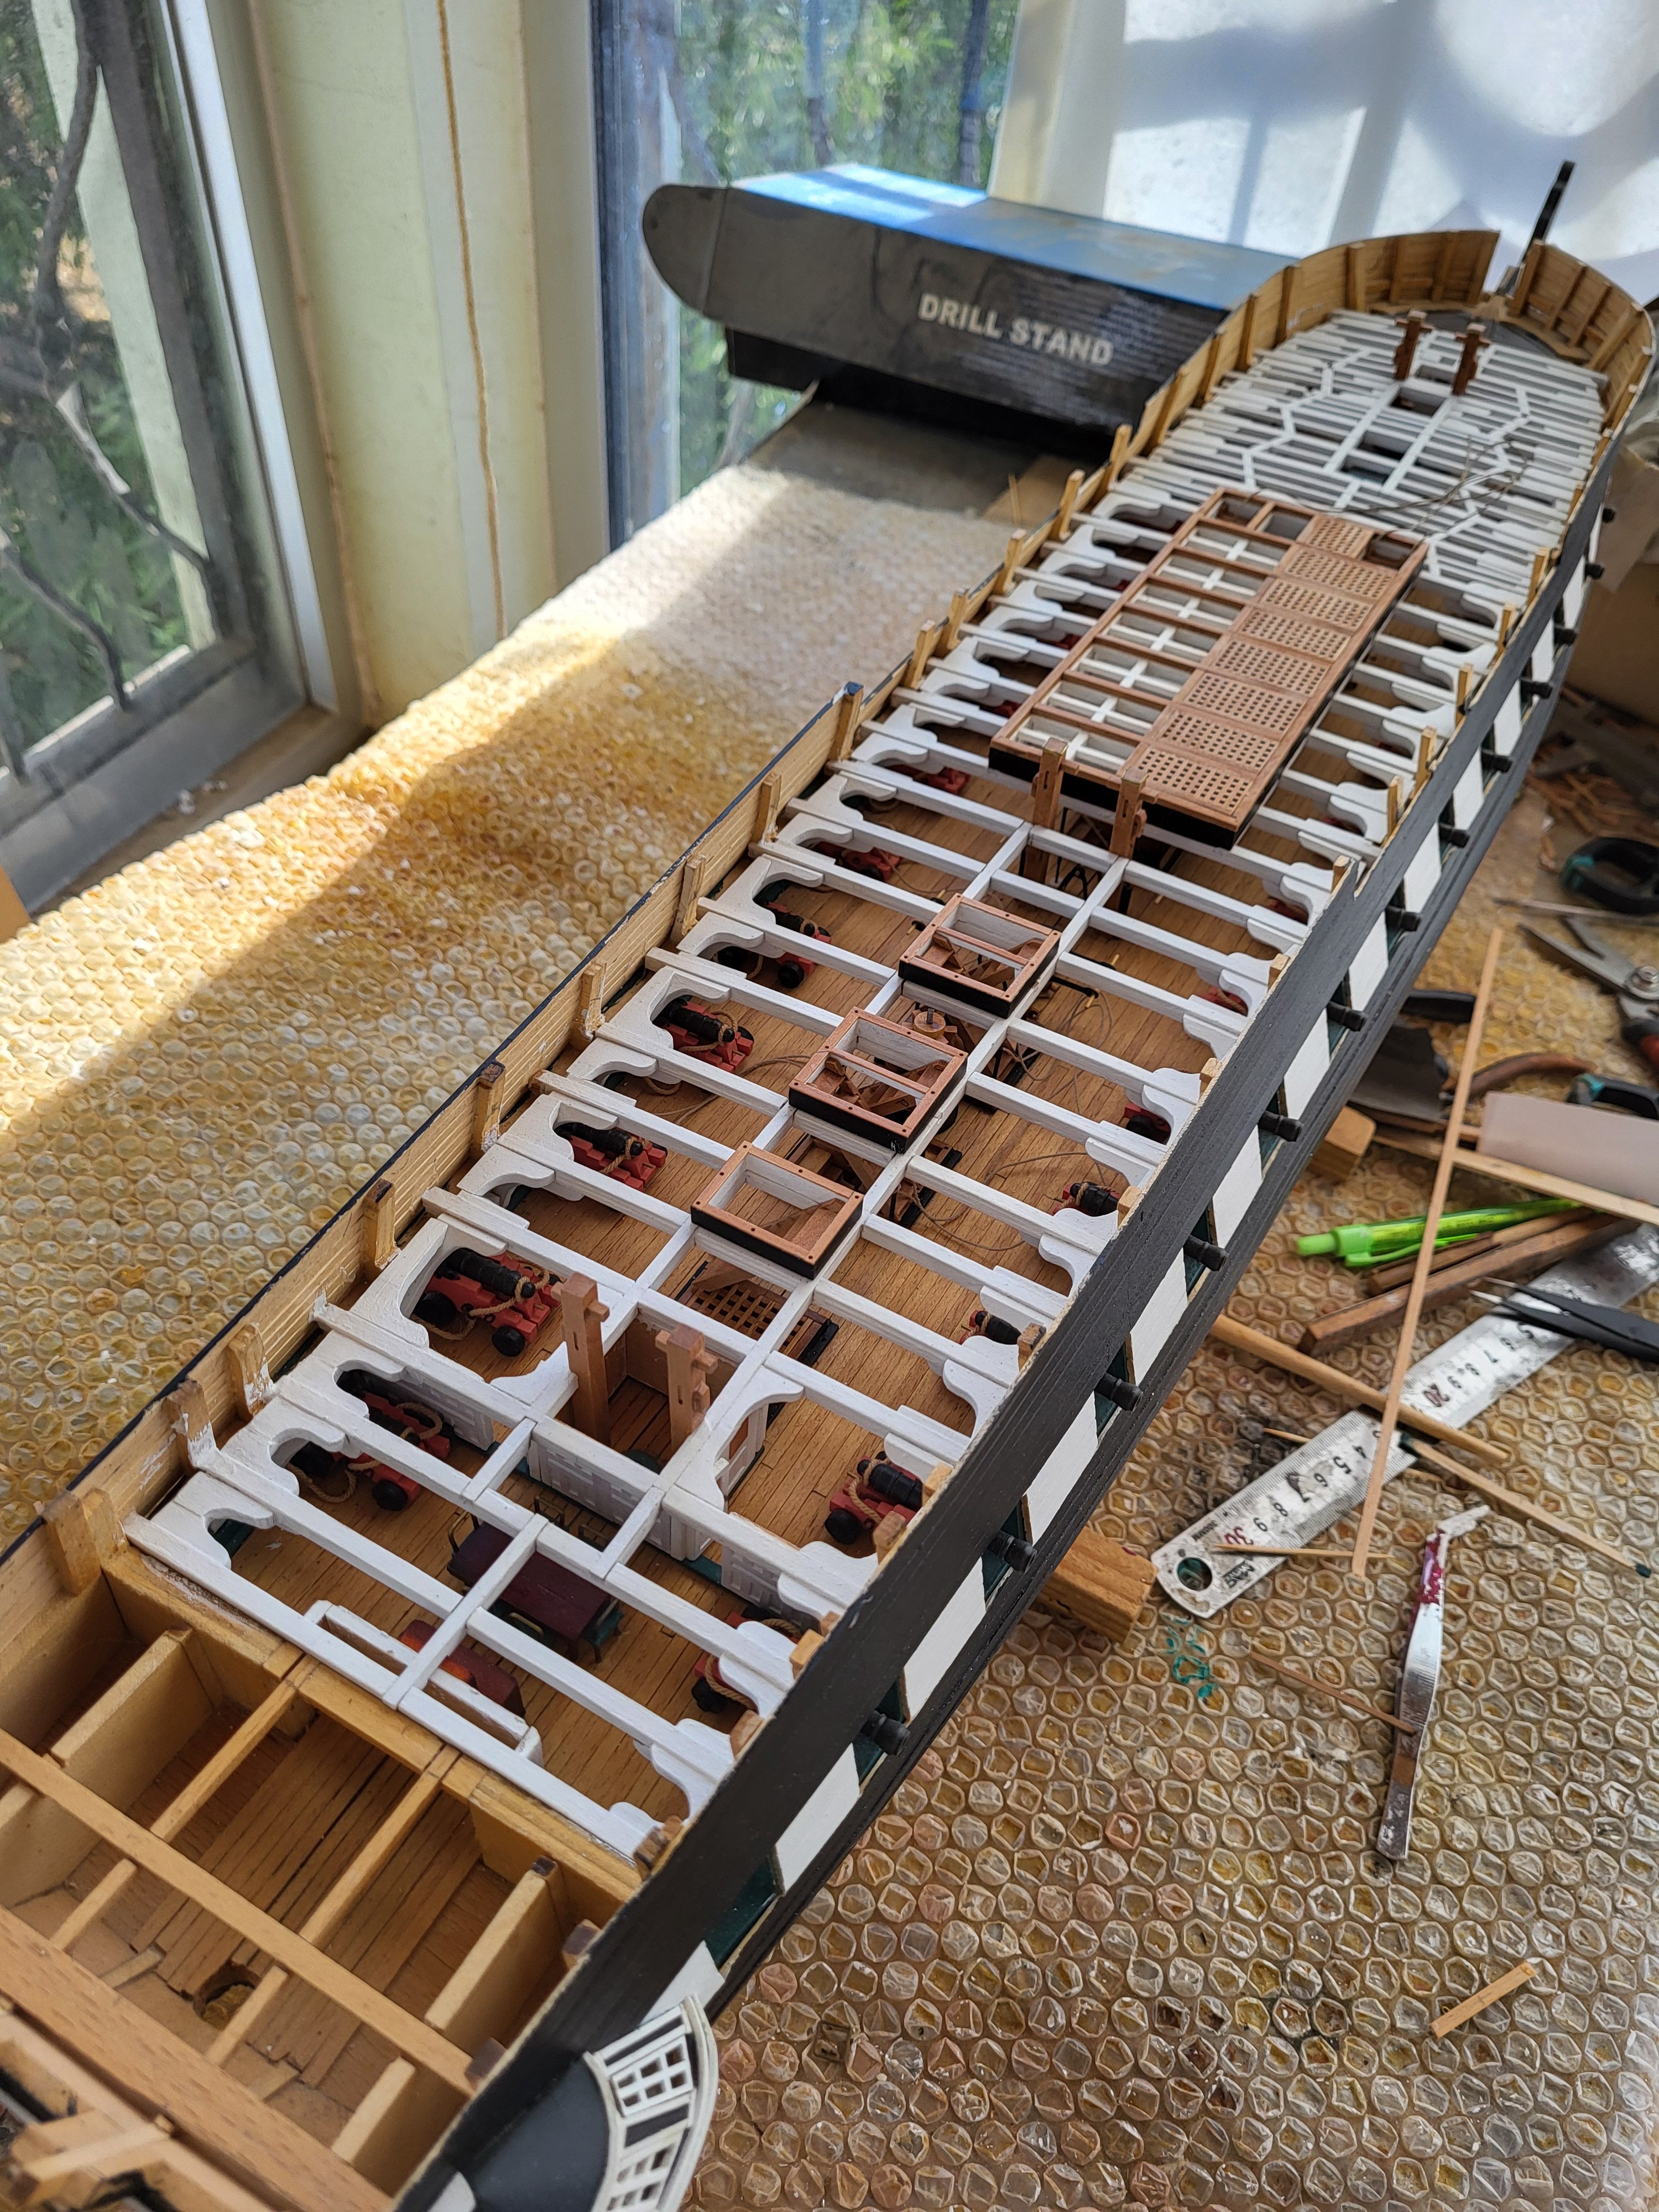
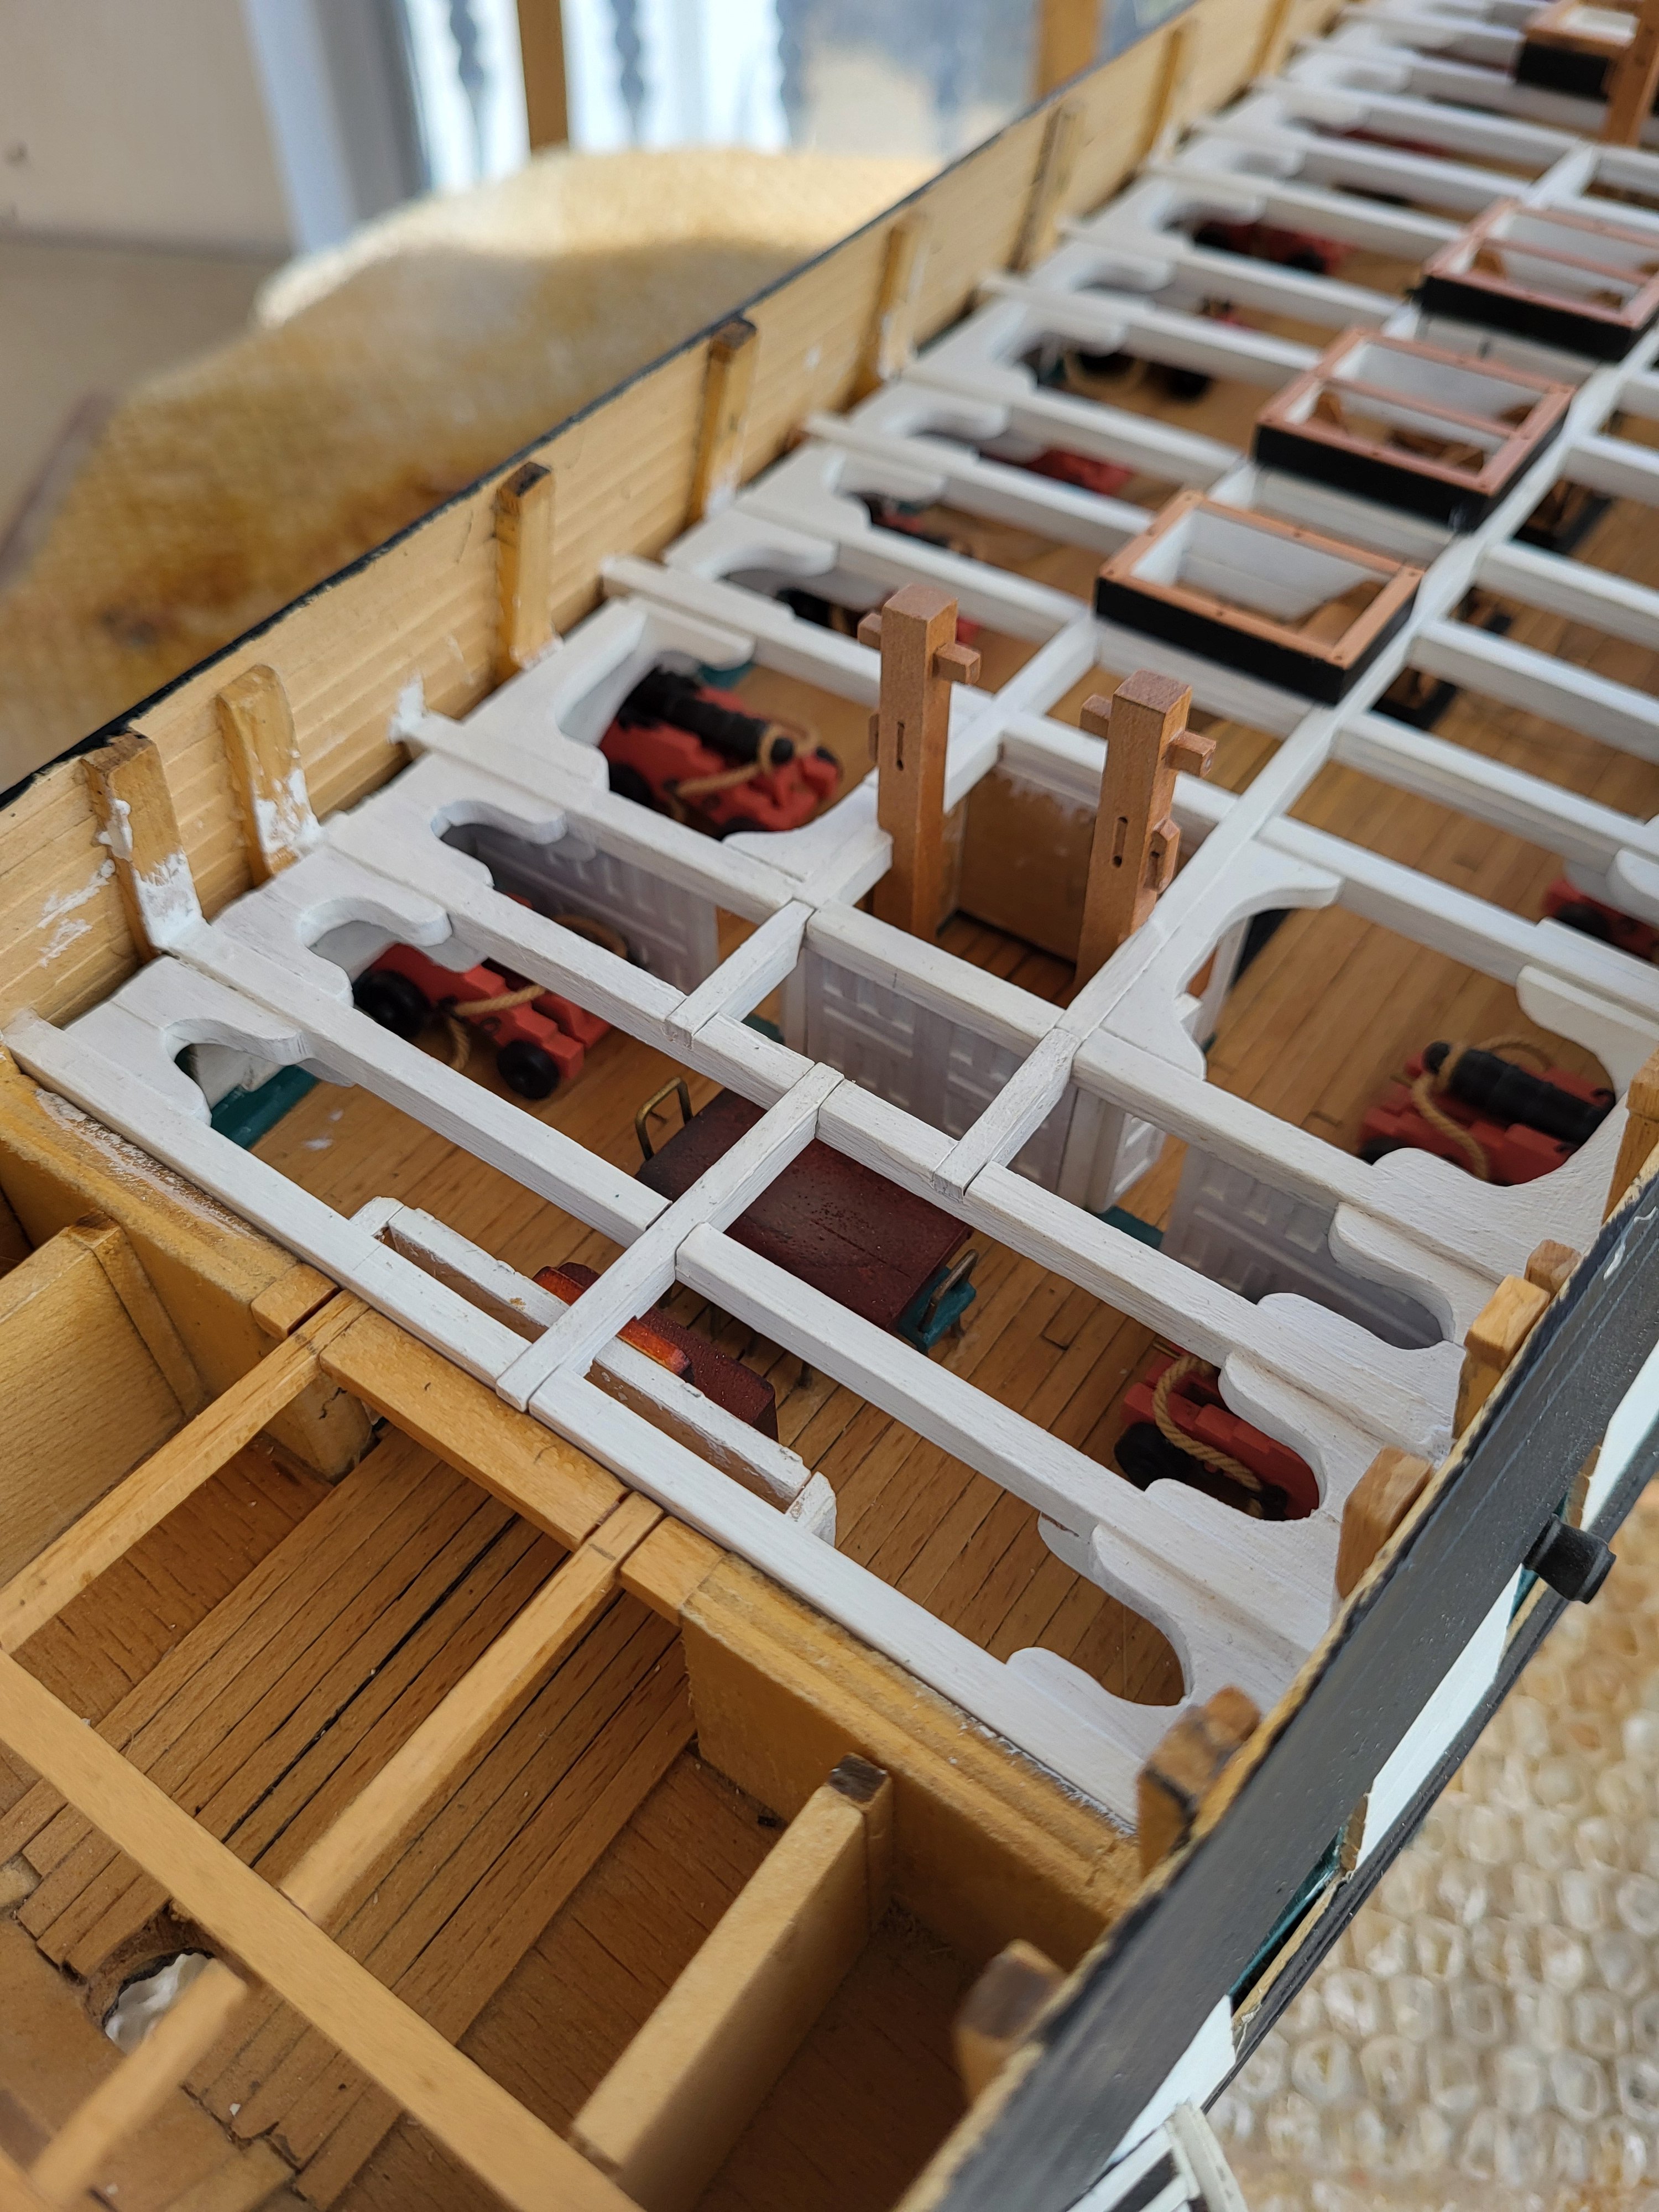
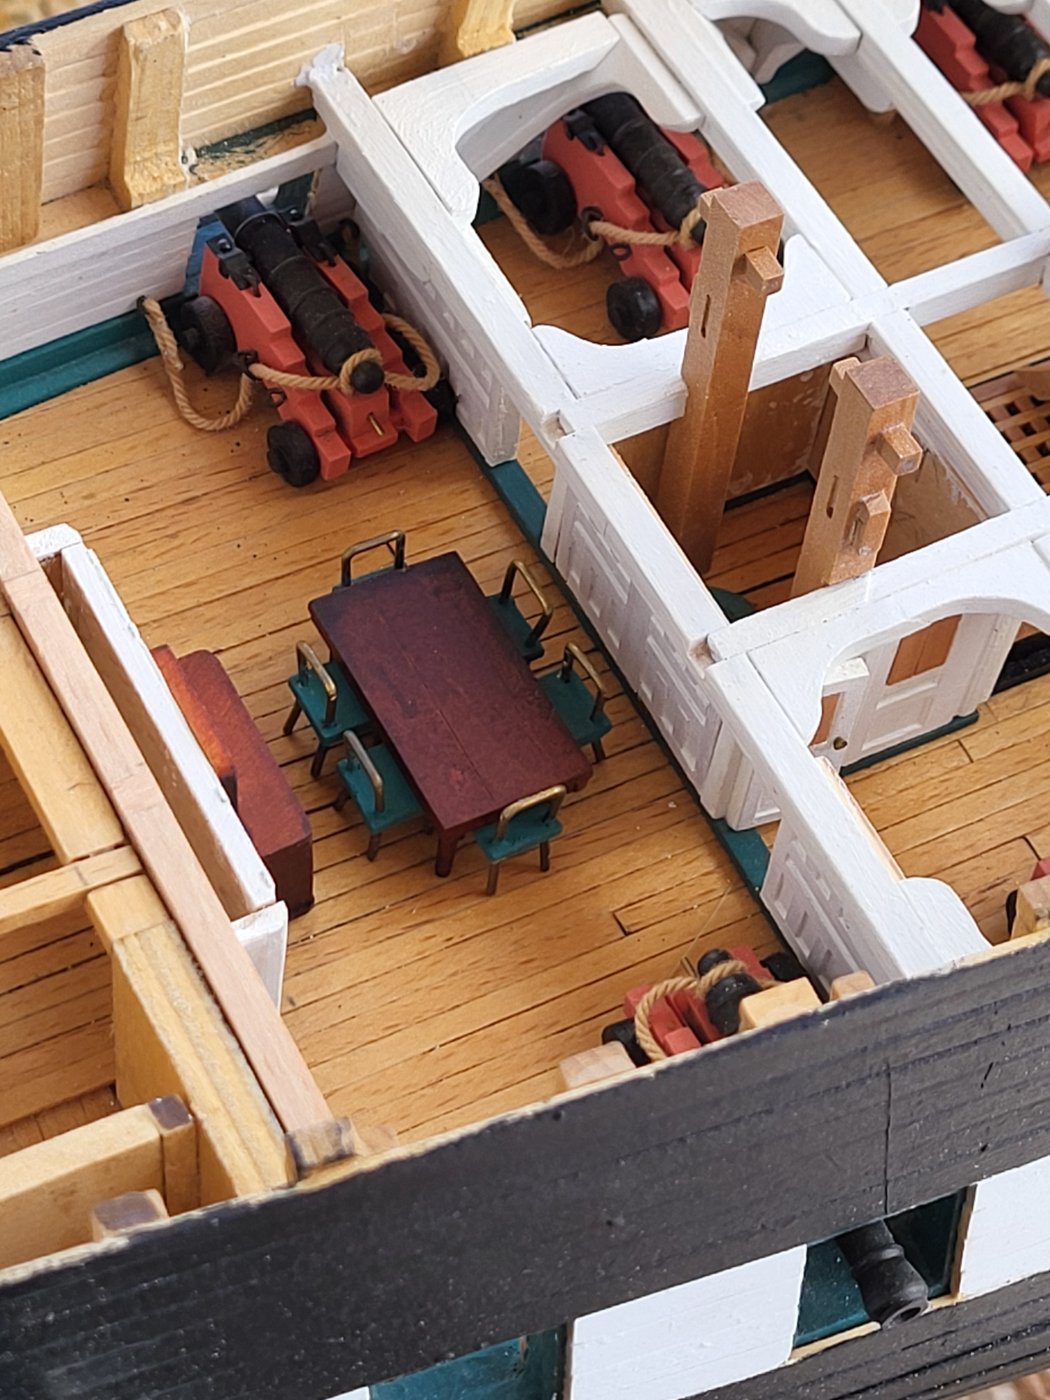
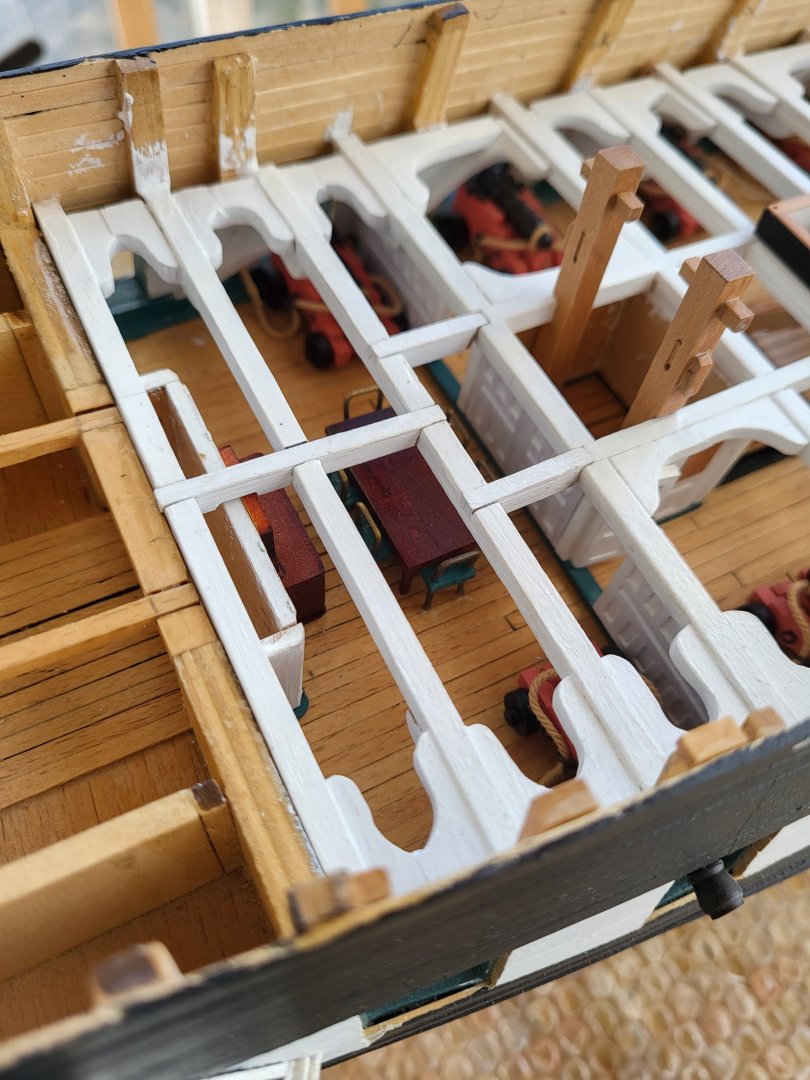
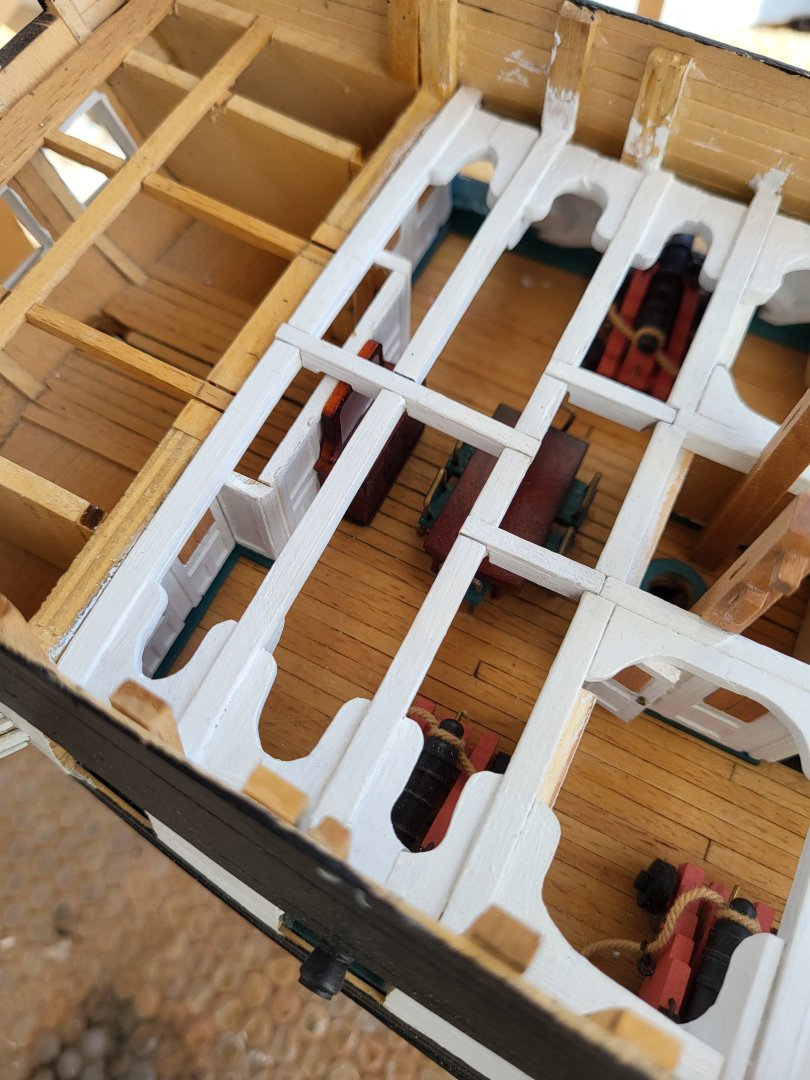
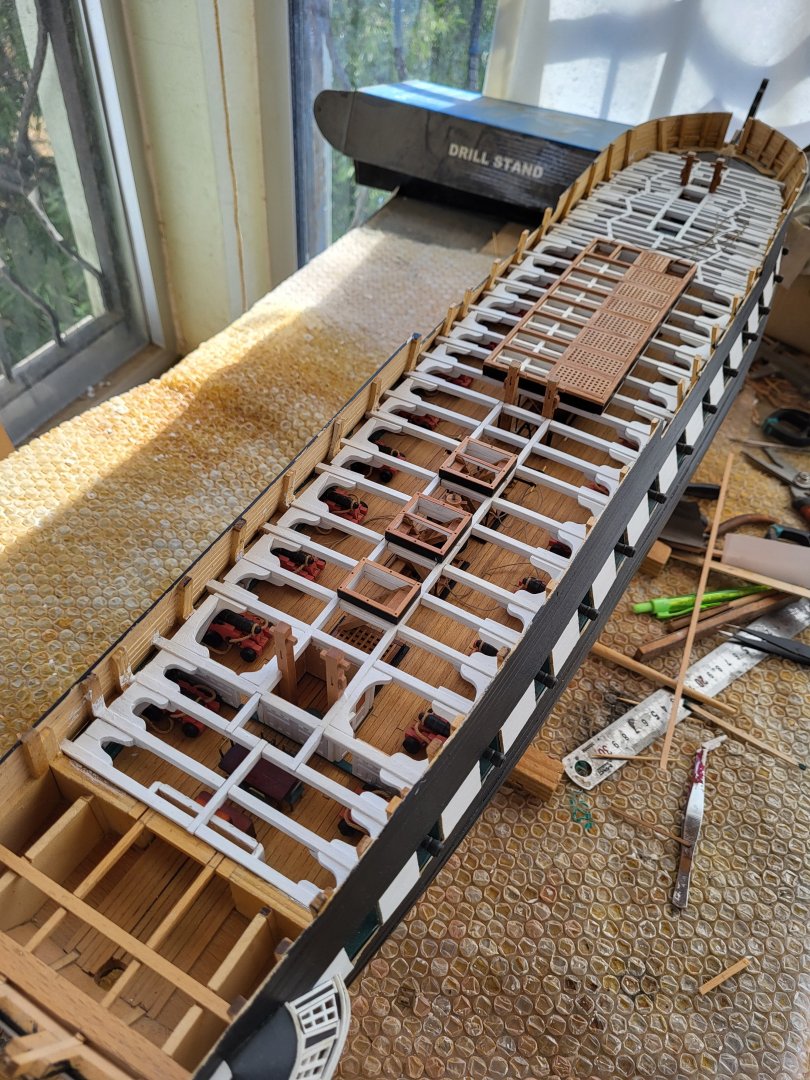
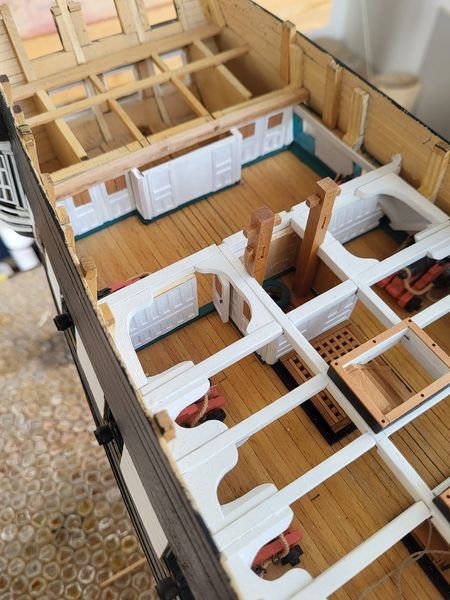
Gun deck details and spar deck beams have been completed. I will not add the details of the captain's cabin because I will cover it completely.


-
Greg, congratulations on finishing this great model. I'm looking forward to Santa Maria's posts.
- 184 replies
-
- 1
-

-
- Bluenose
- Model Shipways
- (and 1 more)
-
USS Constitution by mtbediz - 1:76
mtbediz replied to mtbediz's topic in - Build logs for subjects built 1751 - 1800
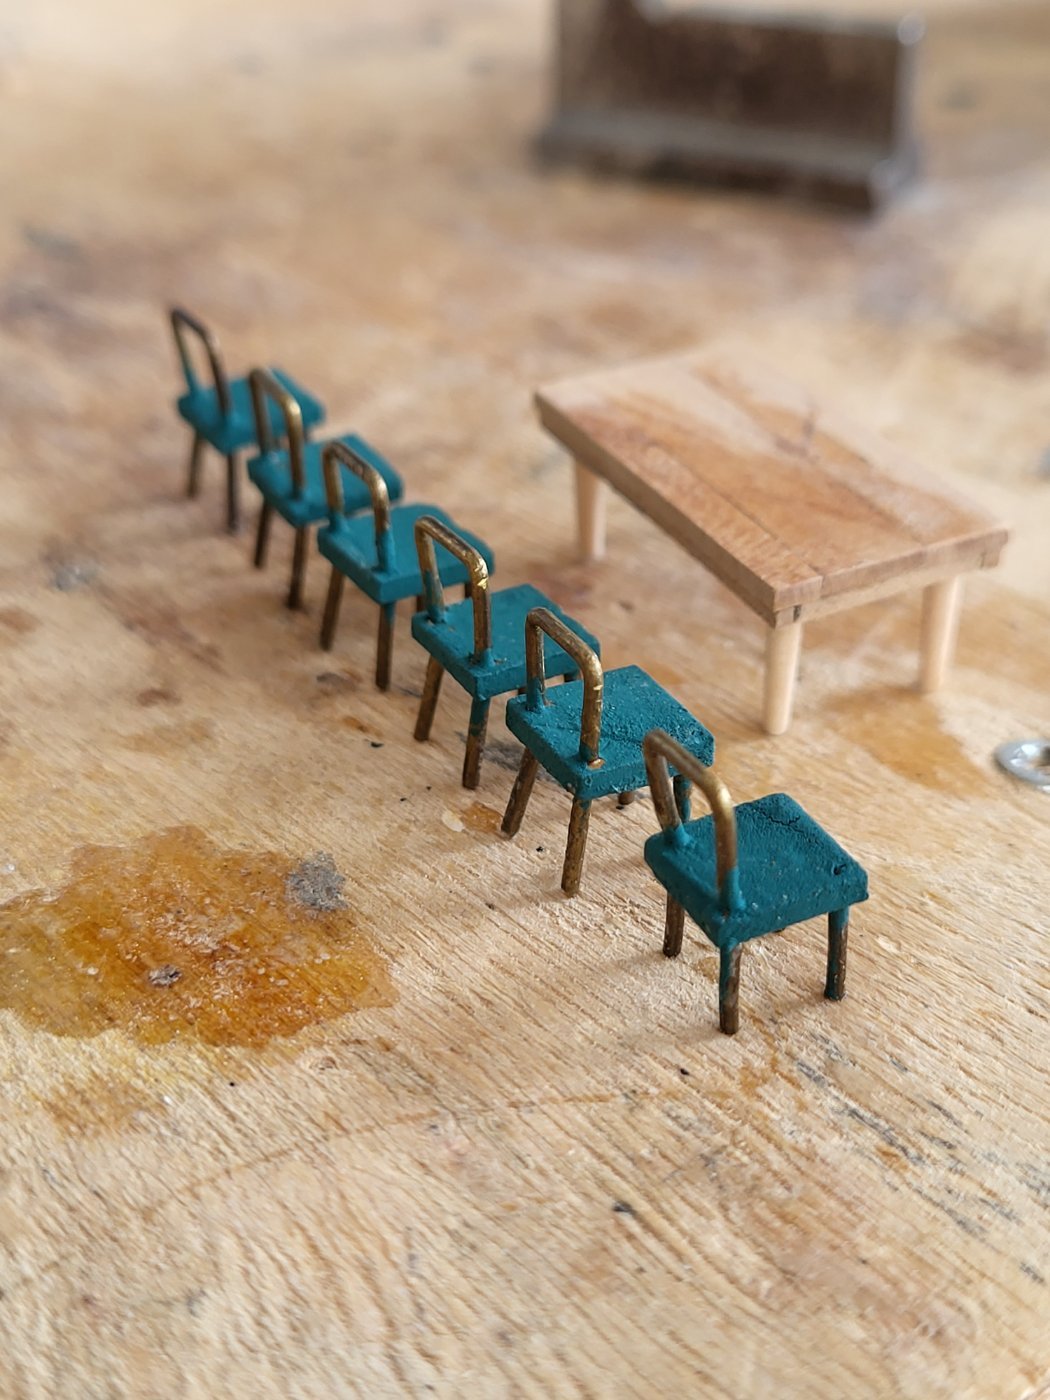
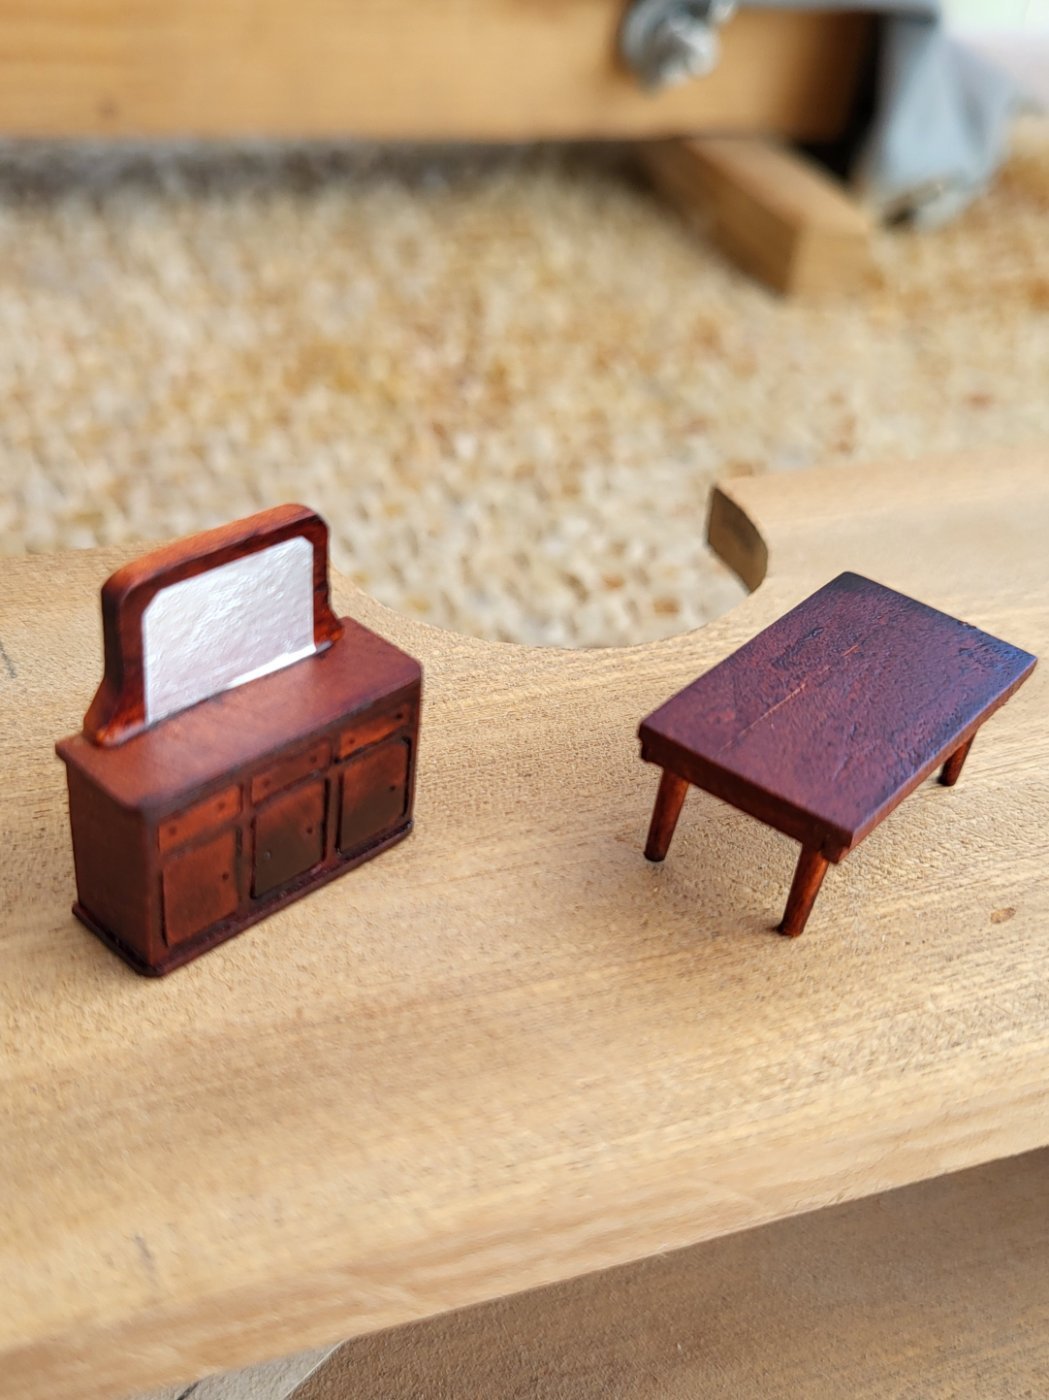
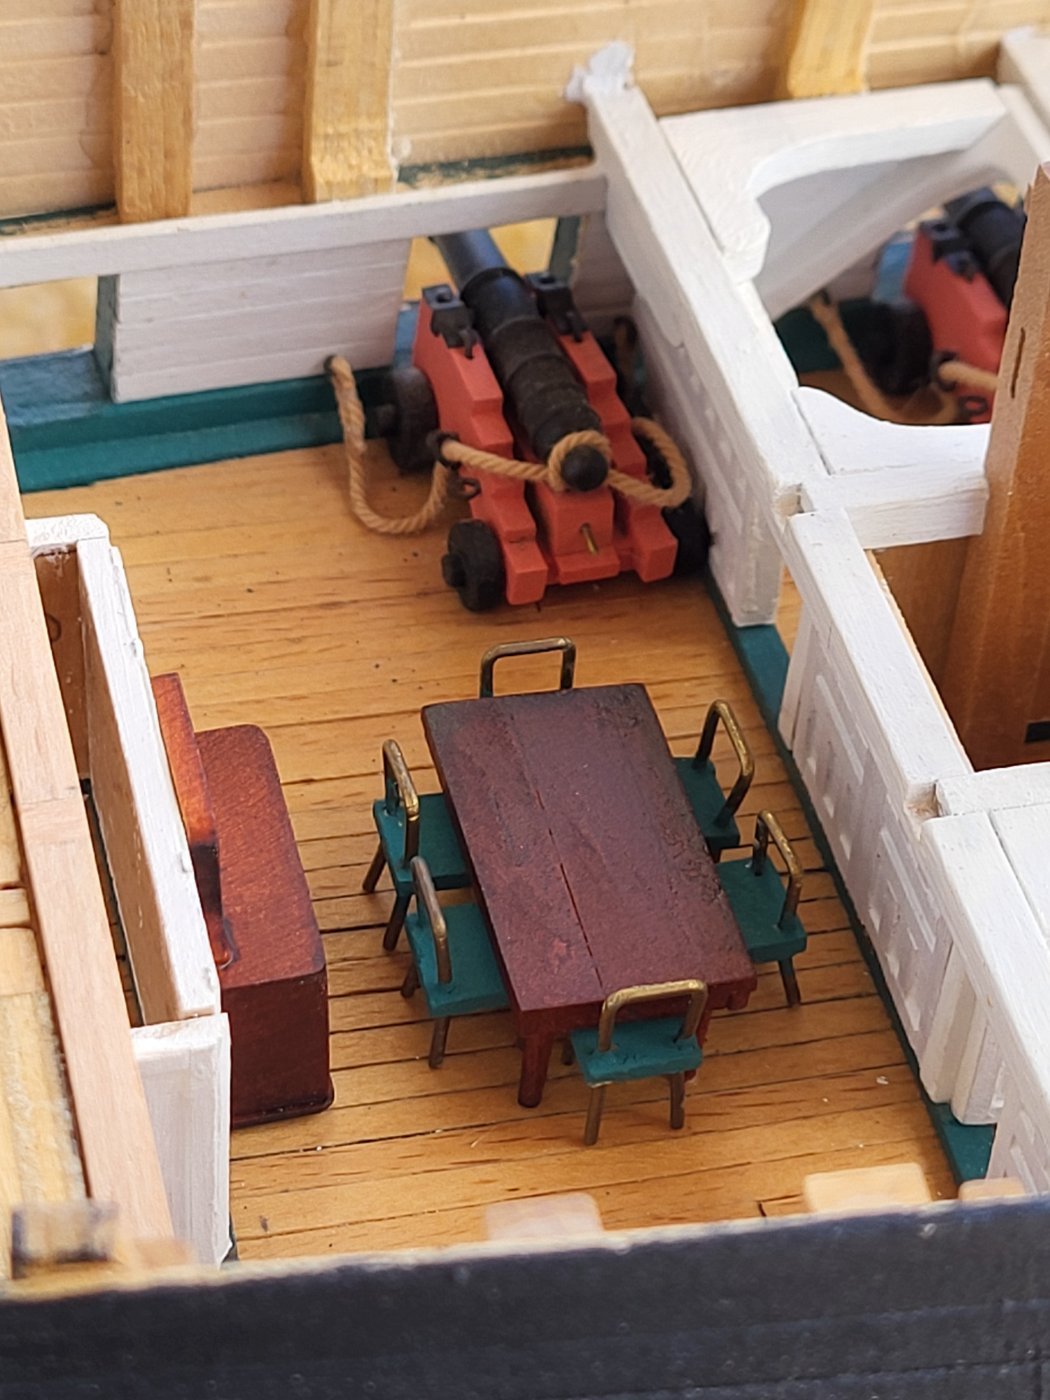
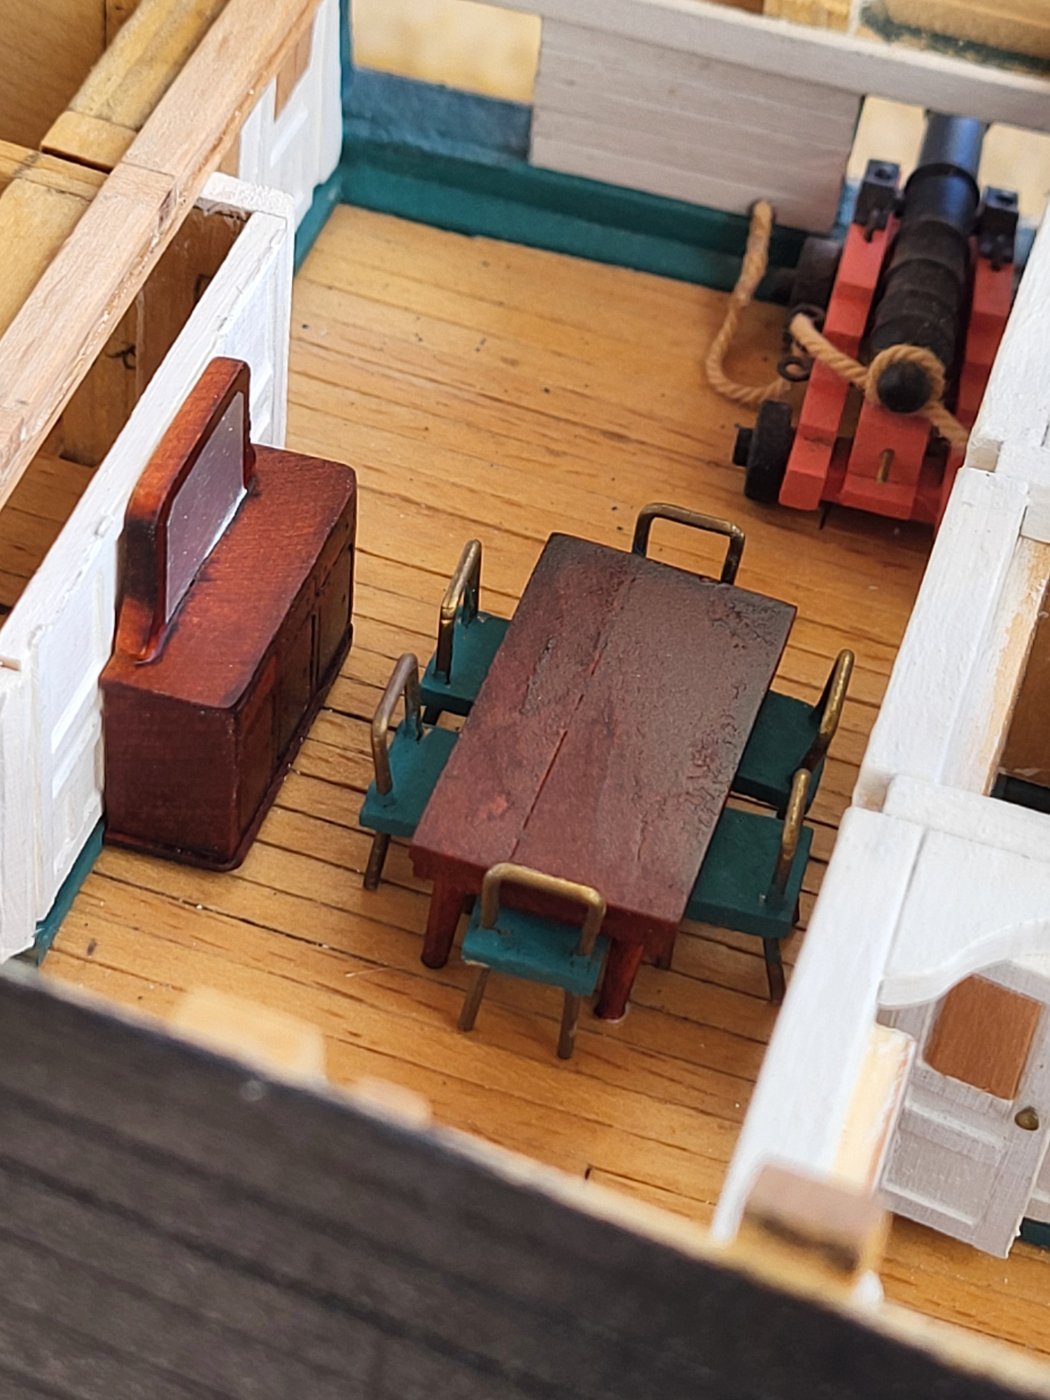
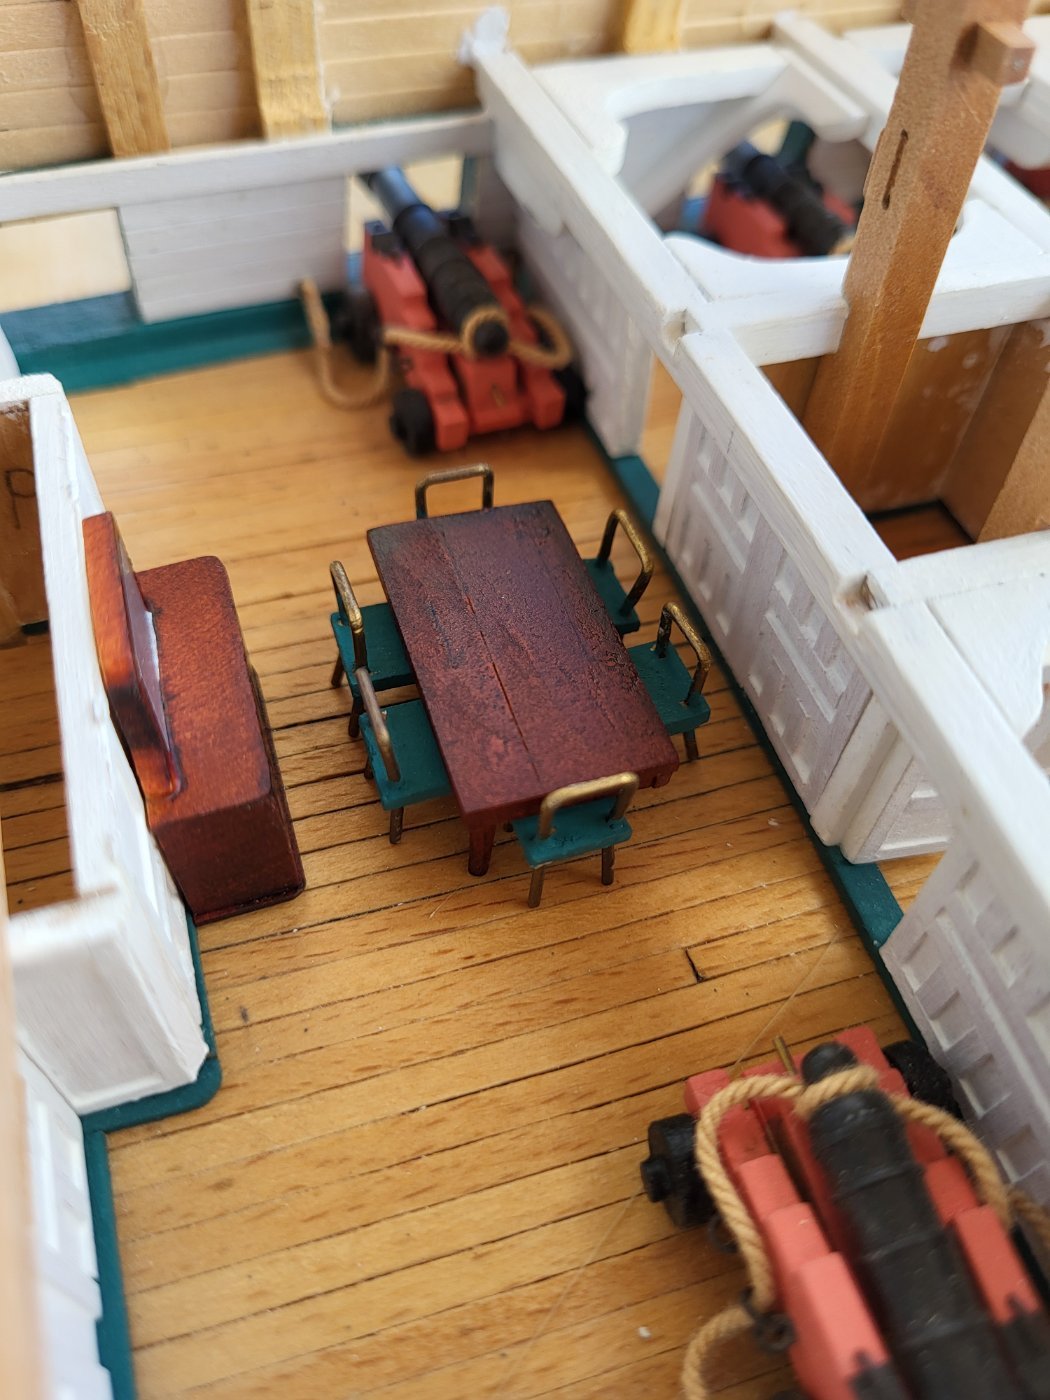
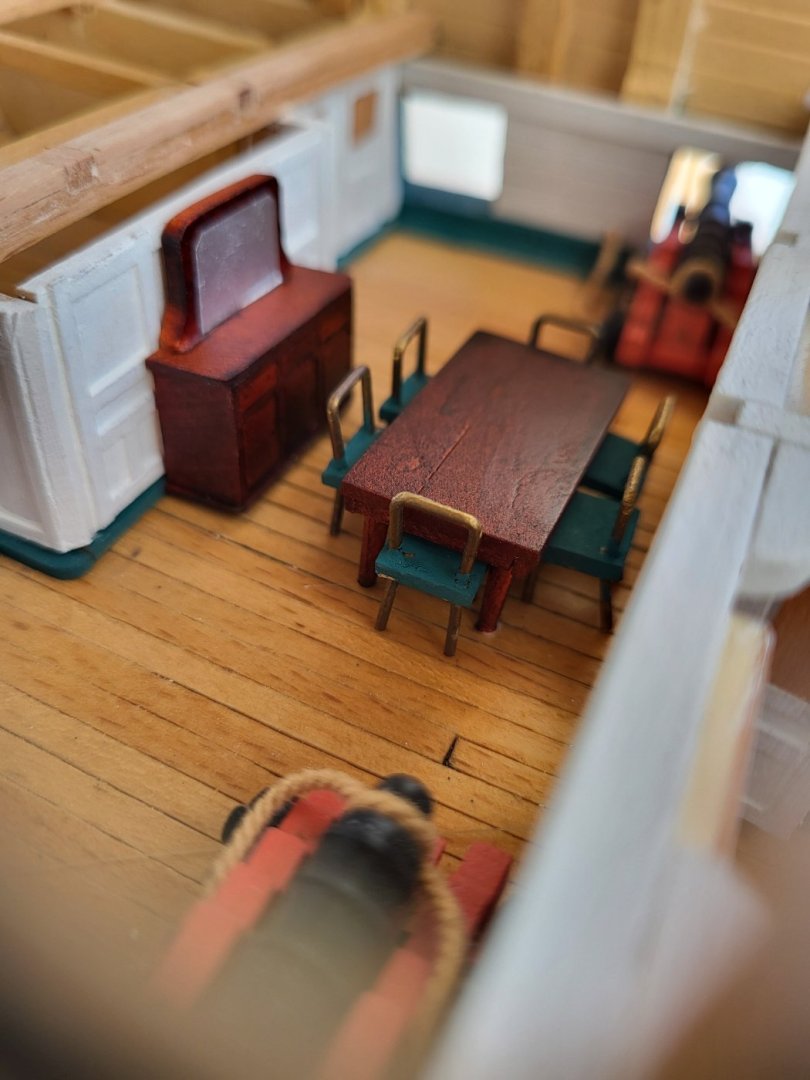
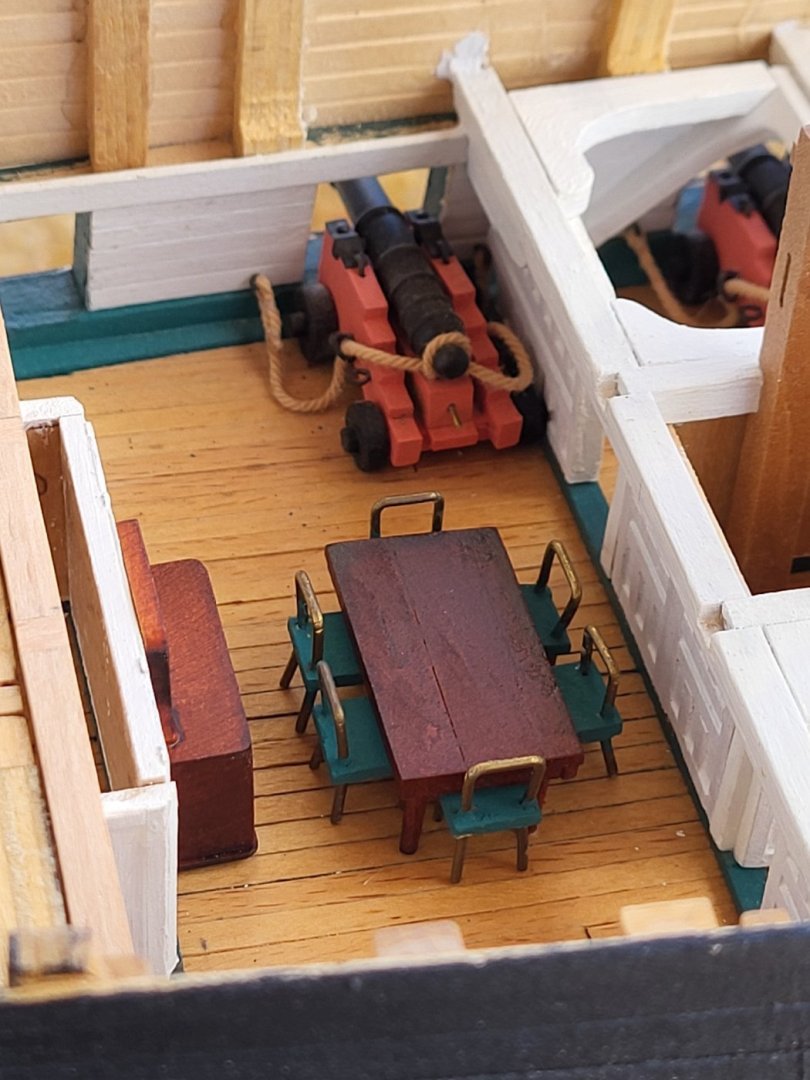
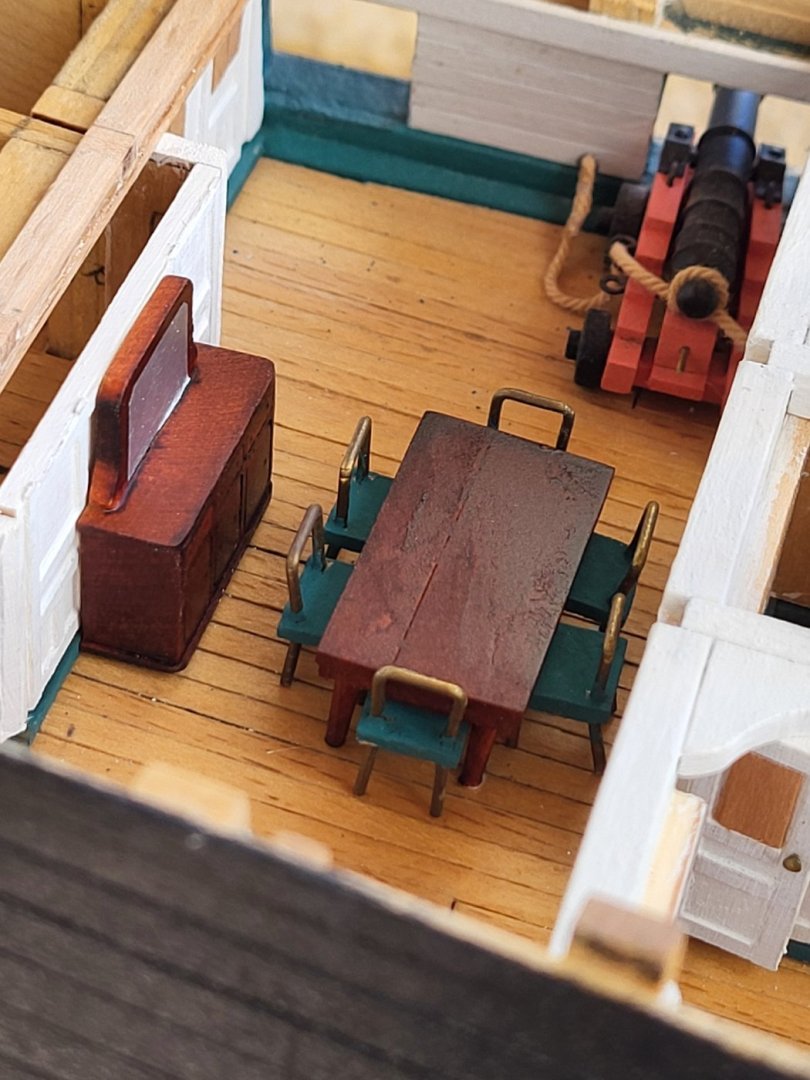
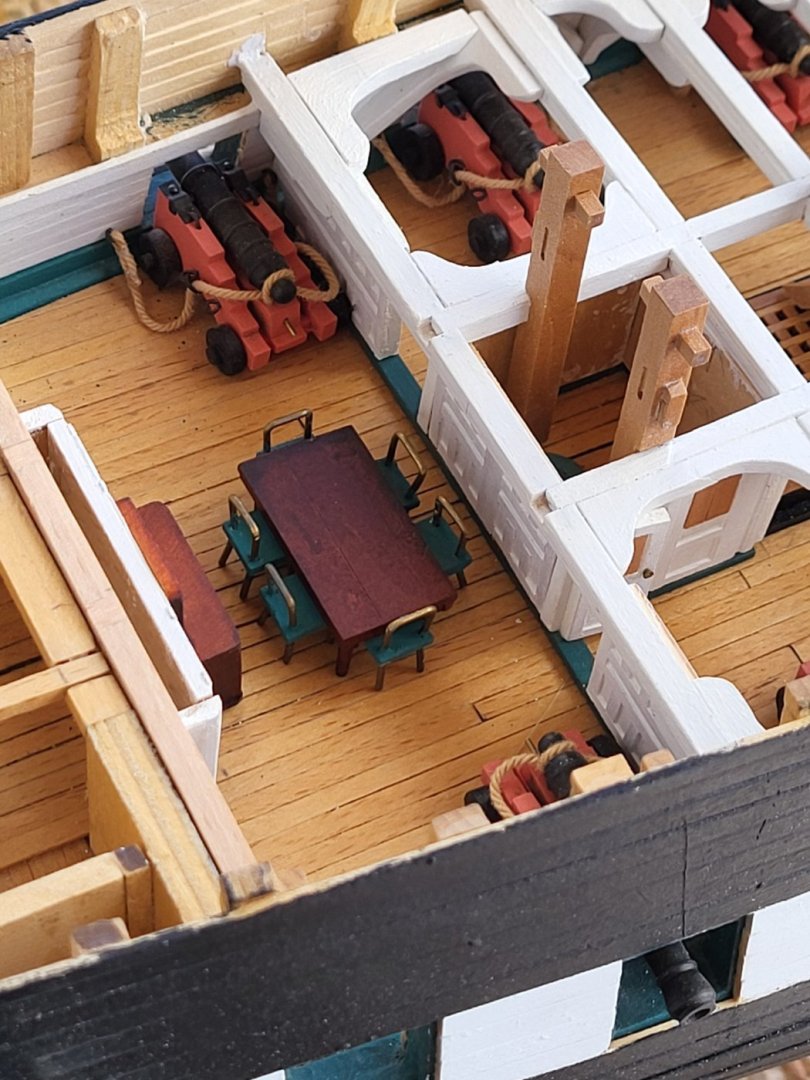
I made a console and table with chairs for the commodores cabin.


-
USS Constitution by mtbediz - 1:76
mtbediz replied to mtbediz's topic in - Build logs for subjects built 1751 - 1800
After a long summer break, I returned to my shipyard. I spend summers at my house in Alanya district of Antalya, a world-renowned holiday destination frequently visited by foreign tourists. On maps, it is located in the south of Turkey on the Mediterranean coast. I had wonderful days with my children and grandchildren and regained my energy. Now it's time to work. I completed the walls of the Commodore cabin. Now I will start making the furniture in the cabin.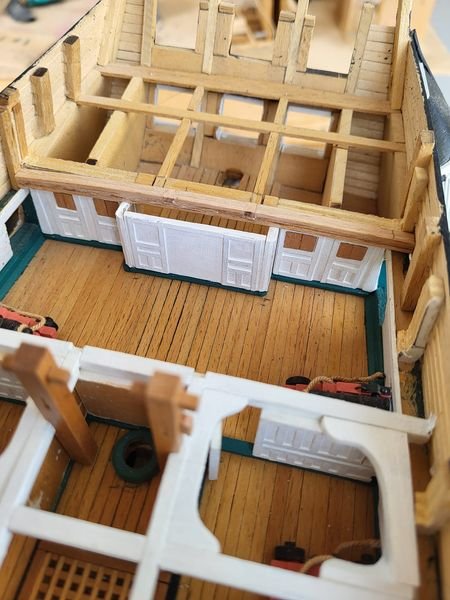
-
You're doing a great job, Greg. I stay away from the idea of adding sails to my models because I could not achieve a realistic appearance in my first models I built. I also noticed that the sails concealed the detail work on the ship and the details in the rigging. Of course, if you can give the sails a realistic appearance, this will contribute to the model, but I could not achieve this.
- 184 replies
-
- 1
-
-
- Bluenose
- Model Shipways
- (and 1 more)
-
Hi Jon. The quadruple bilge pump is currently behind the main mast of the real ship, and the double pump is in front of the mast, but in your model you have mounted the quadruple pump in front of the main mast. Is there any particular reason?
-
She becomes a super model Jon. She has many more subtle details than mine, congratulations. I'm looking forward to getting back to my model too.
-
Congratulations, she is beautiful.
-
She looks so nice Greg.
-
It looks perfect, Peter. If I were you, I would paint all the pieces before gluing them in place. It would be much easier. Because there are a lot of black and white pieces next to each other and it is very difficult to paint them without smearing the other. Note: I assume you will paint the model
-
Since it took me 6 years to collect the tools I have, it didn't hurt much. Especially the fact that the comprehensive kits cost almost as much as the tools led me to this. It really costs less to make a model from scratch.