mtbediz
-
Posts
1,362 -
Joined
-
Last visited
Content Type
Profiles
Forums
Gallery
Events
Everything posted by mtbediz
-

USS Constitution by mtbediz - 1:76
mtbediz replied to mtbediz's topic in - Build logs for subjects built 1751 - 1800
Thank you so much Greg. -
USS Constitution by mtbediz - 1:76
mtbediz replied to mtbediz's topic in - Build logs for subjects built 1751 - 1800
I had to think for a long time about how I could put the pieces together. This was a real challenge,for me especially on this scale. -
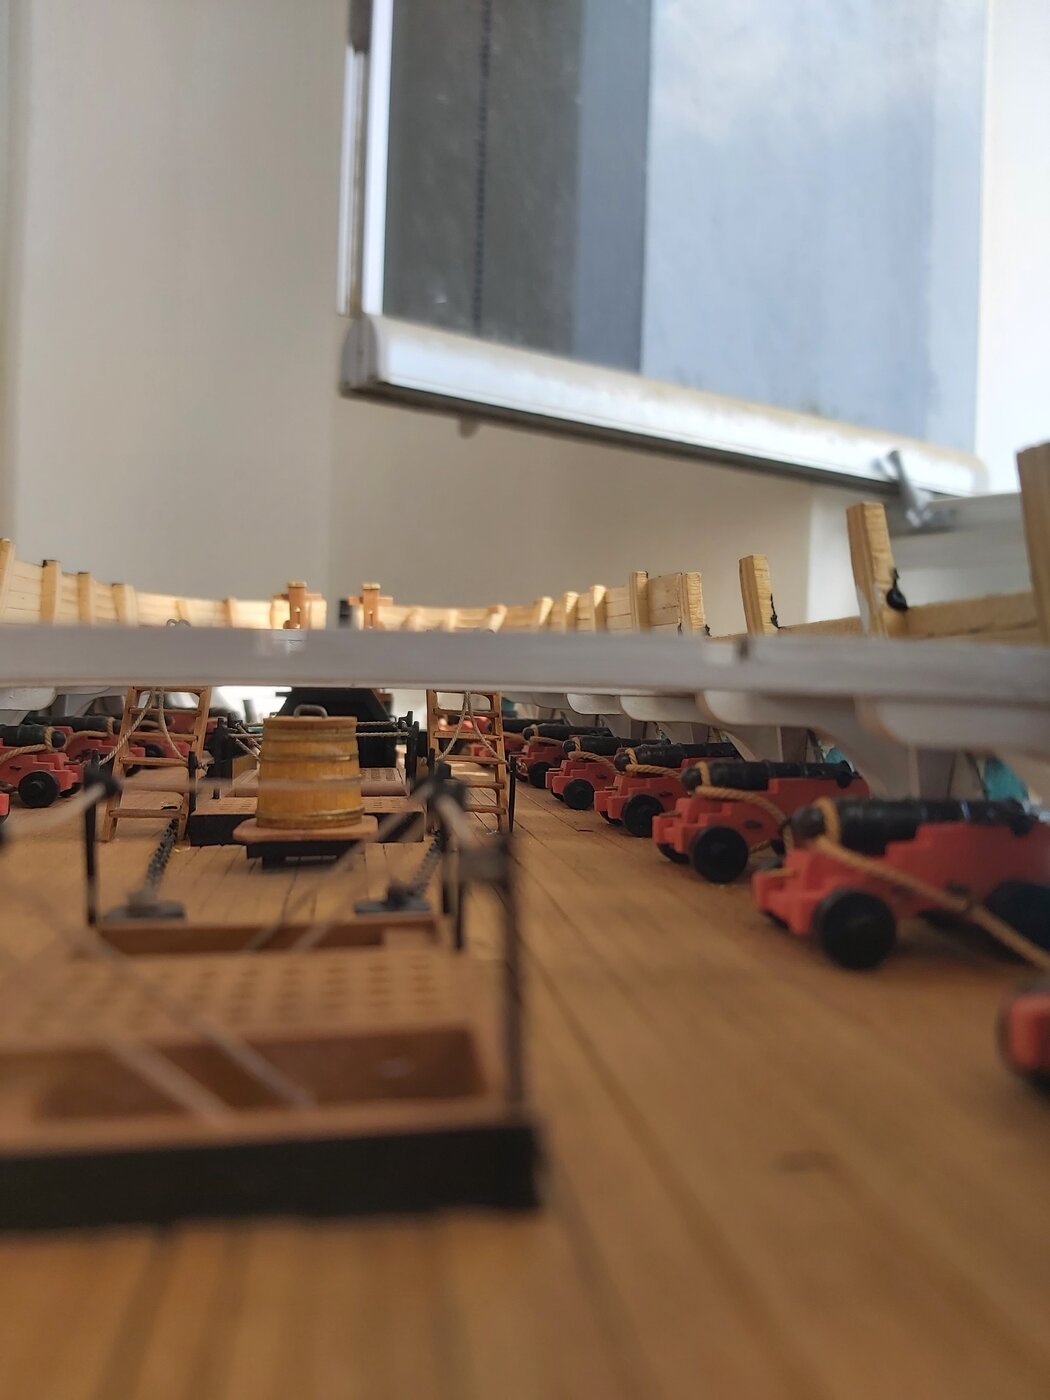
Great job on the gun rigging. I gave up adding tackles to the guns in my Constitution model because I couldn't produce blocks that fit the scale. Maybe I'll try doing it again for the spar deck guns.
-
USS Constitution by mtbediz - 1:76
mtbediz replied to mtbediz's topic in - Build logs for subjects built 1751 - 1800
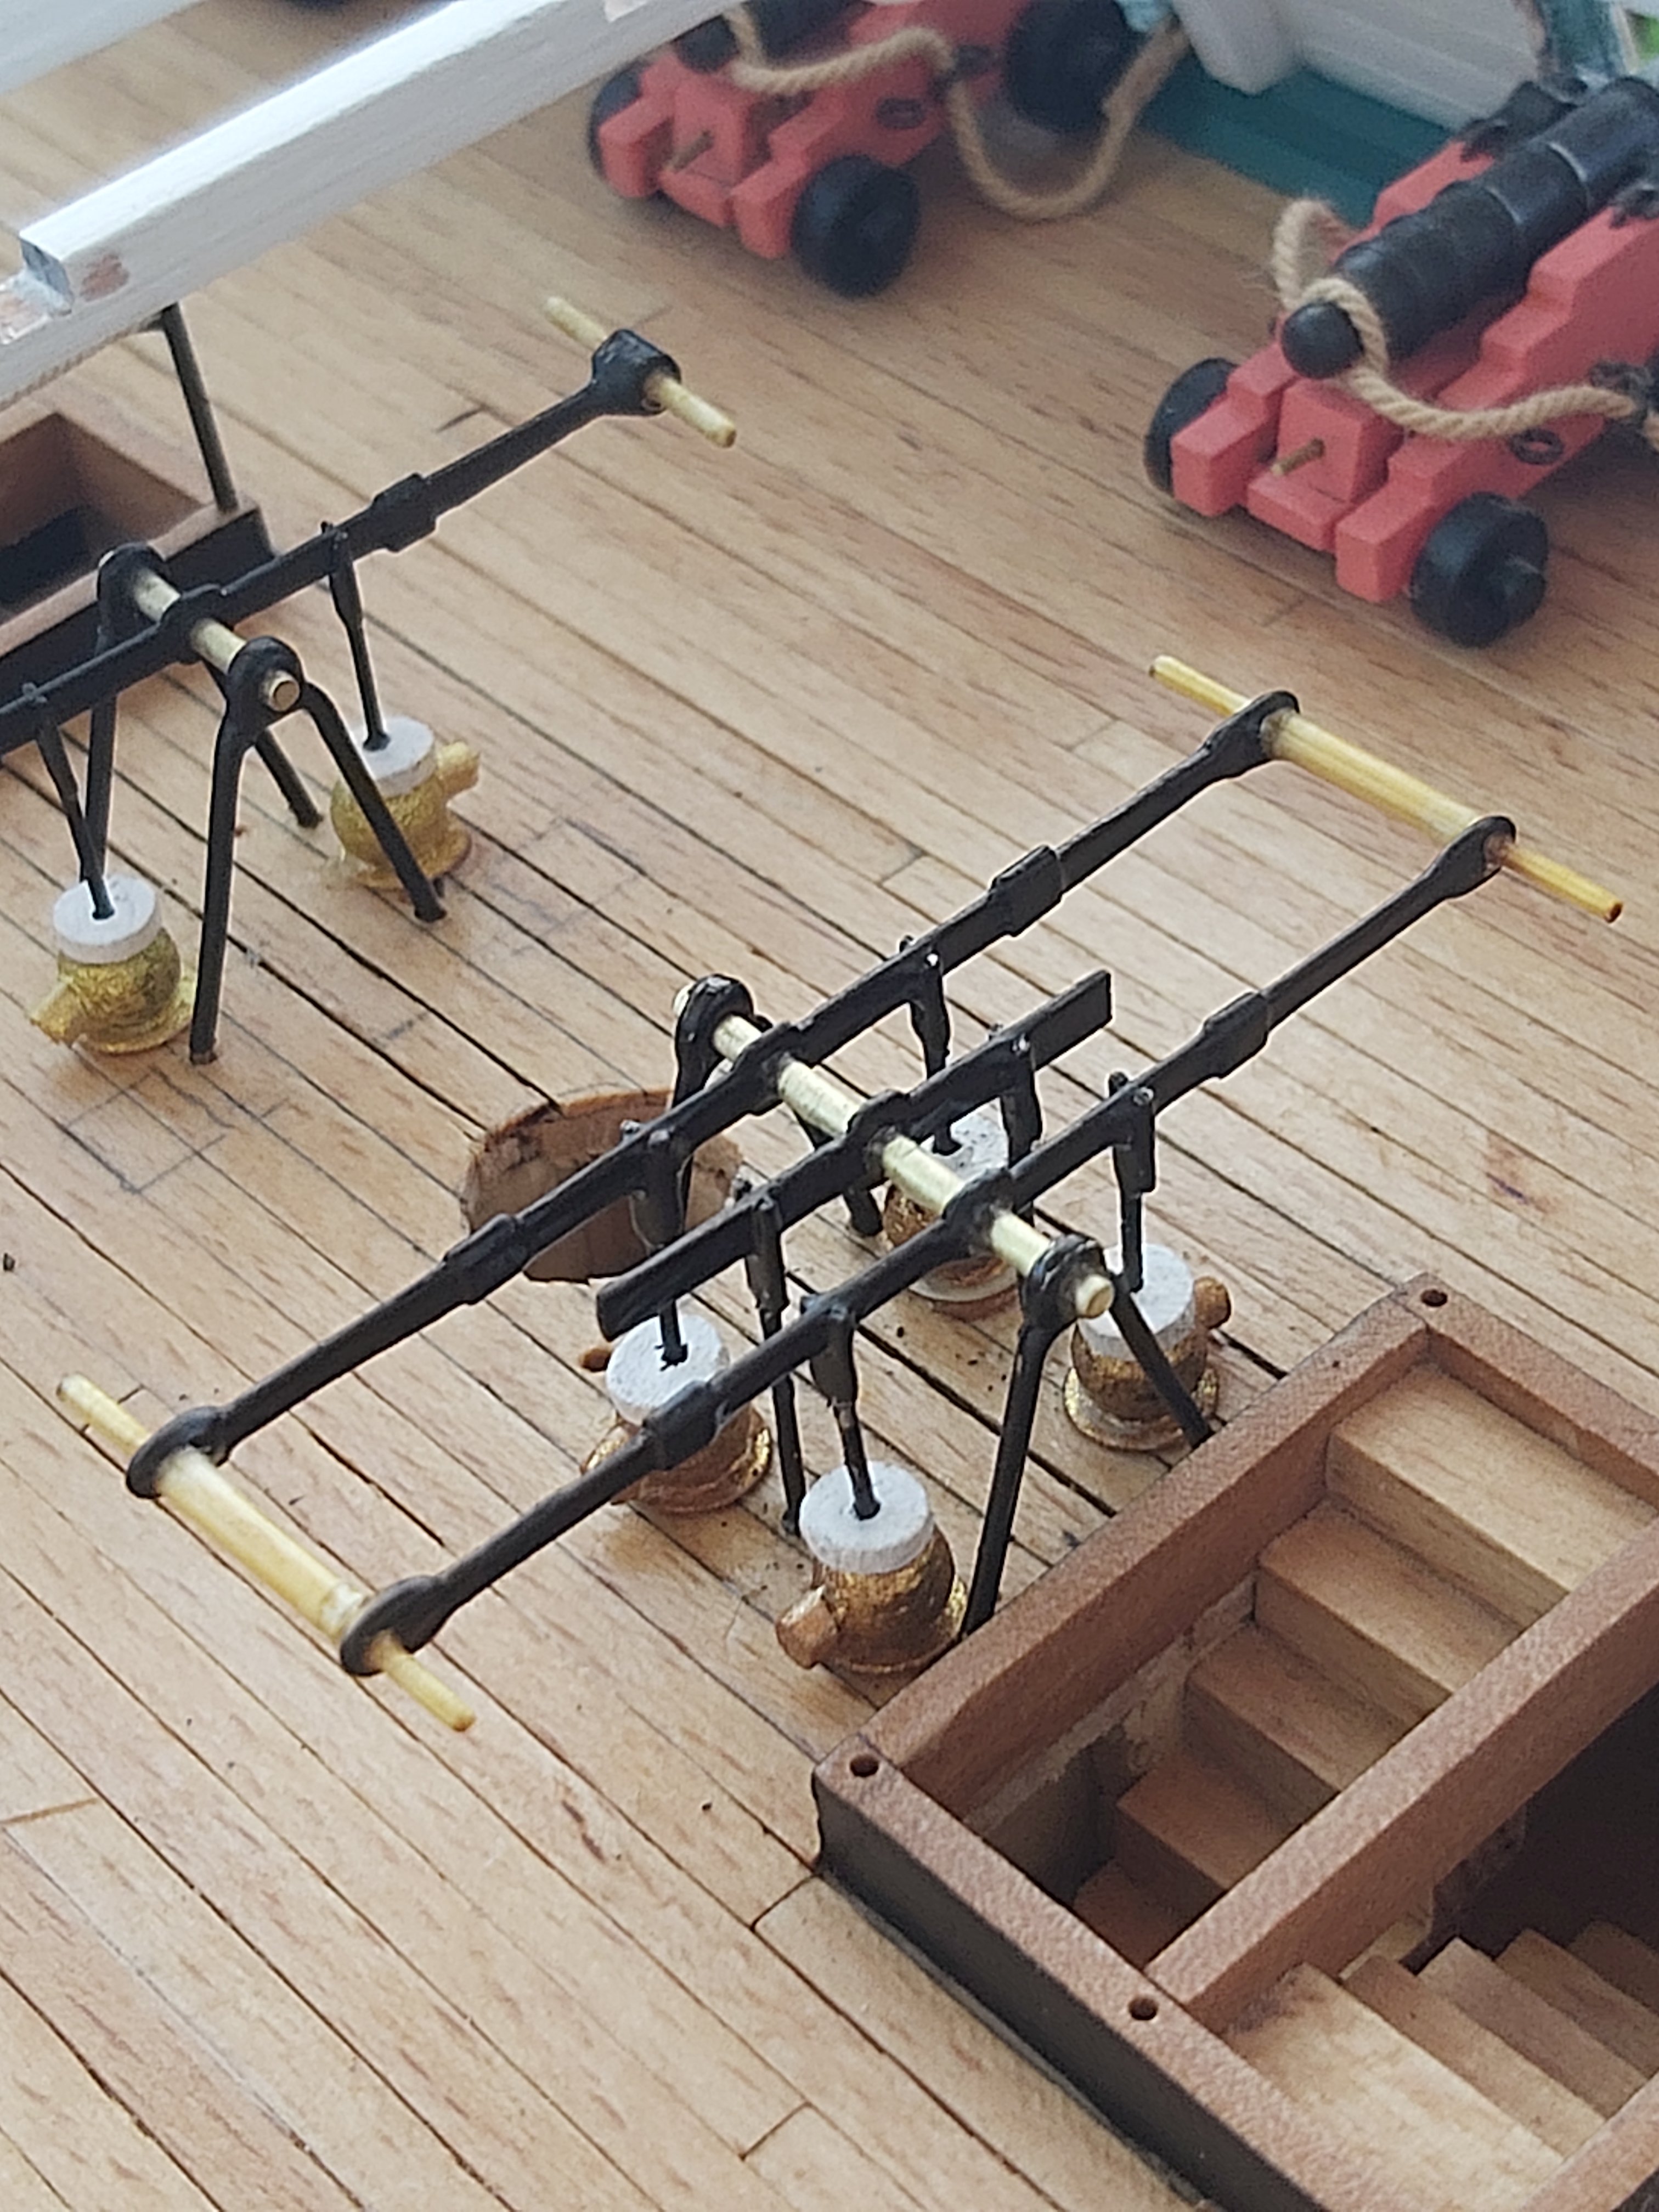
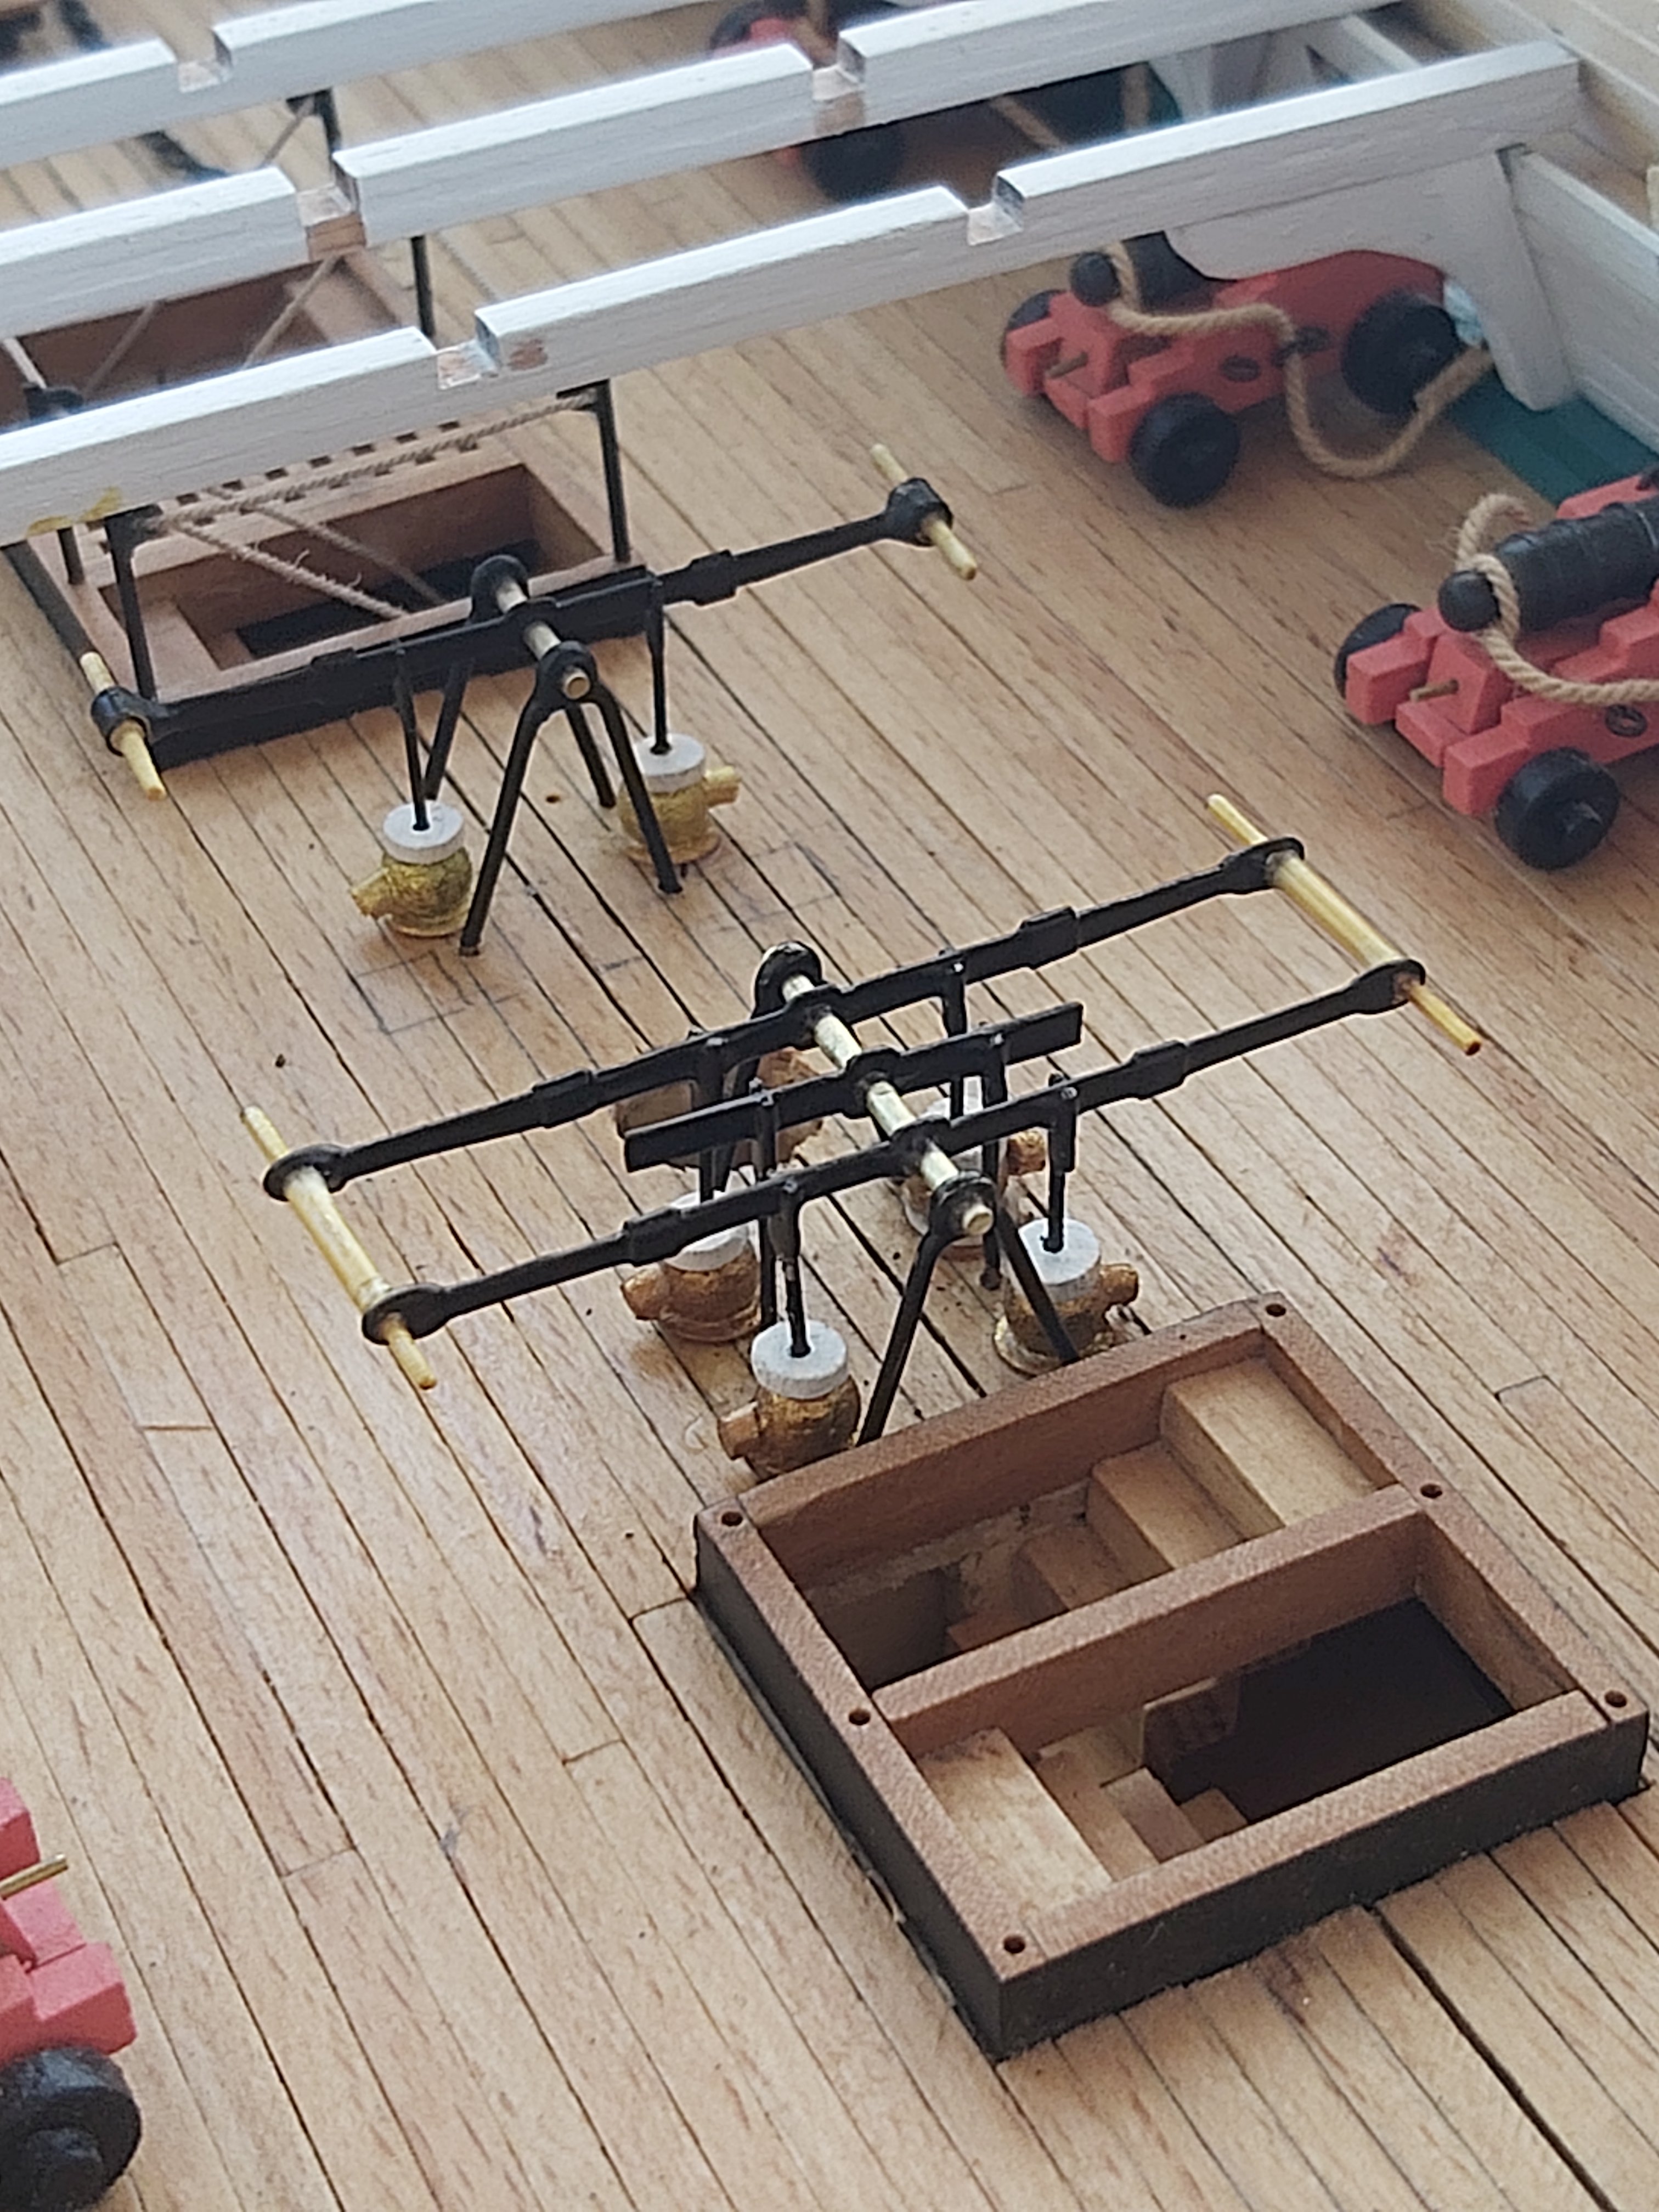
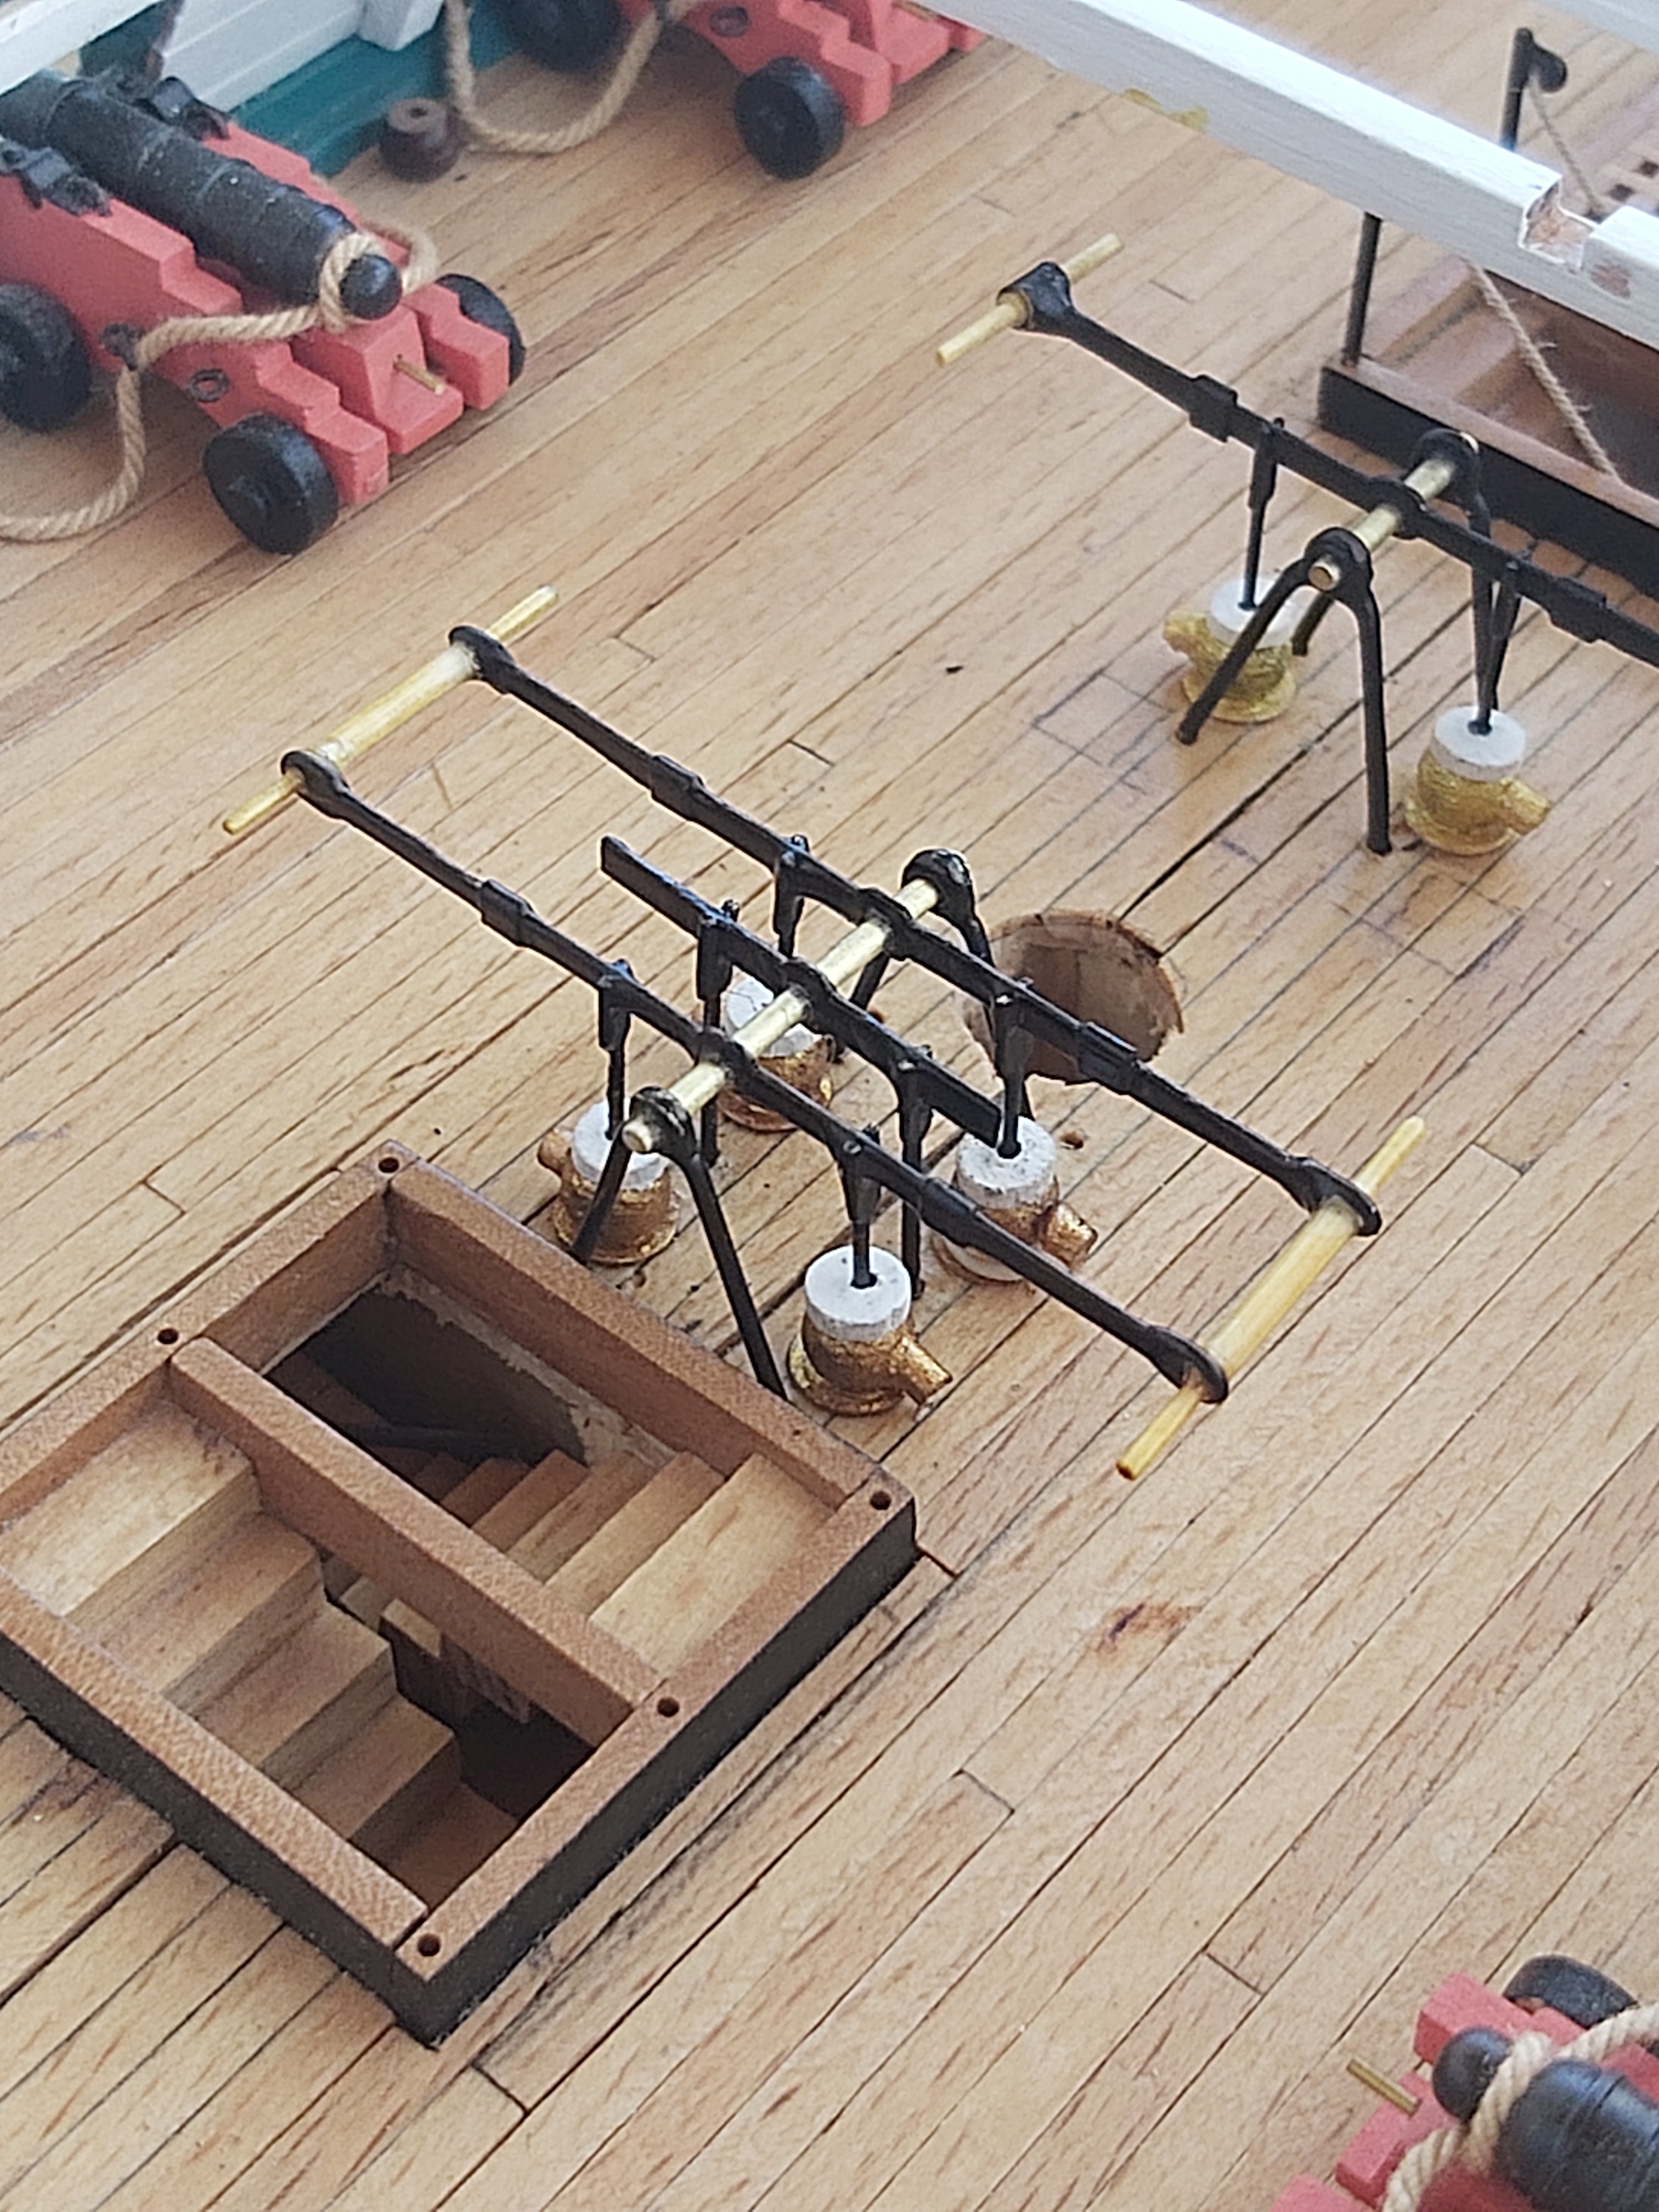
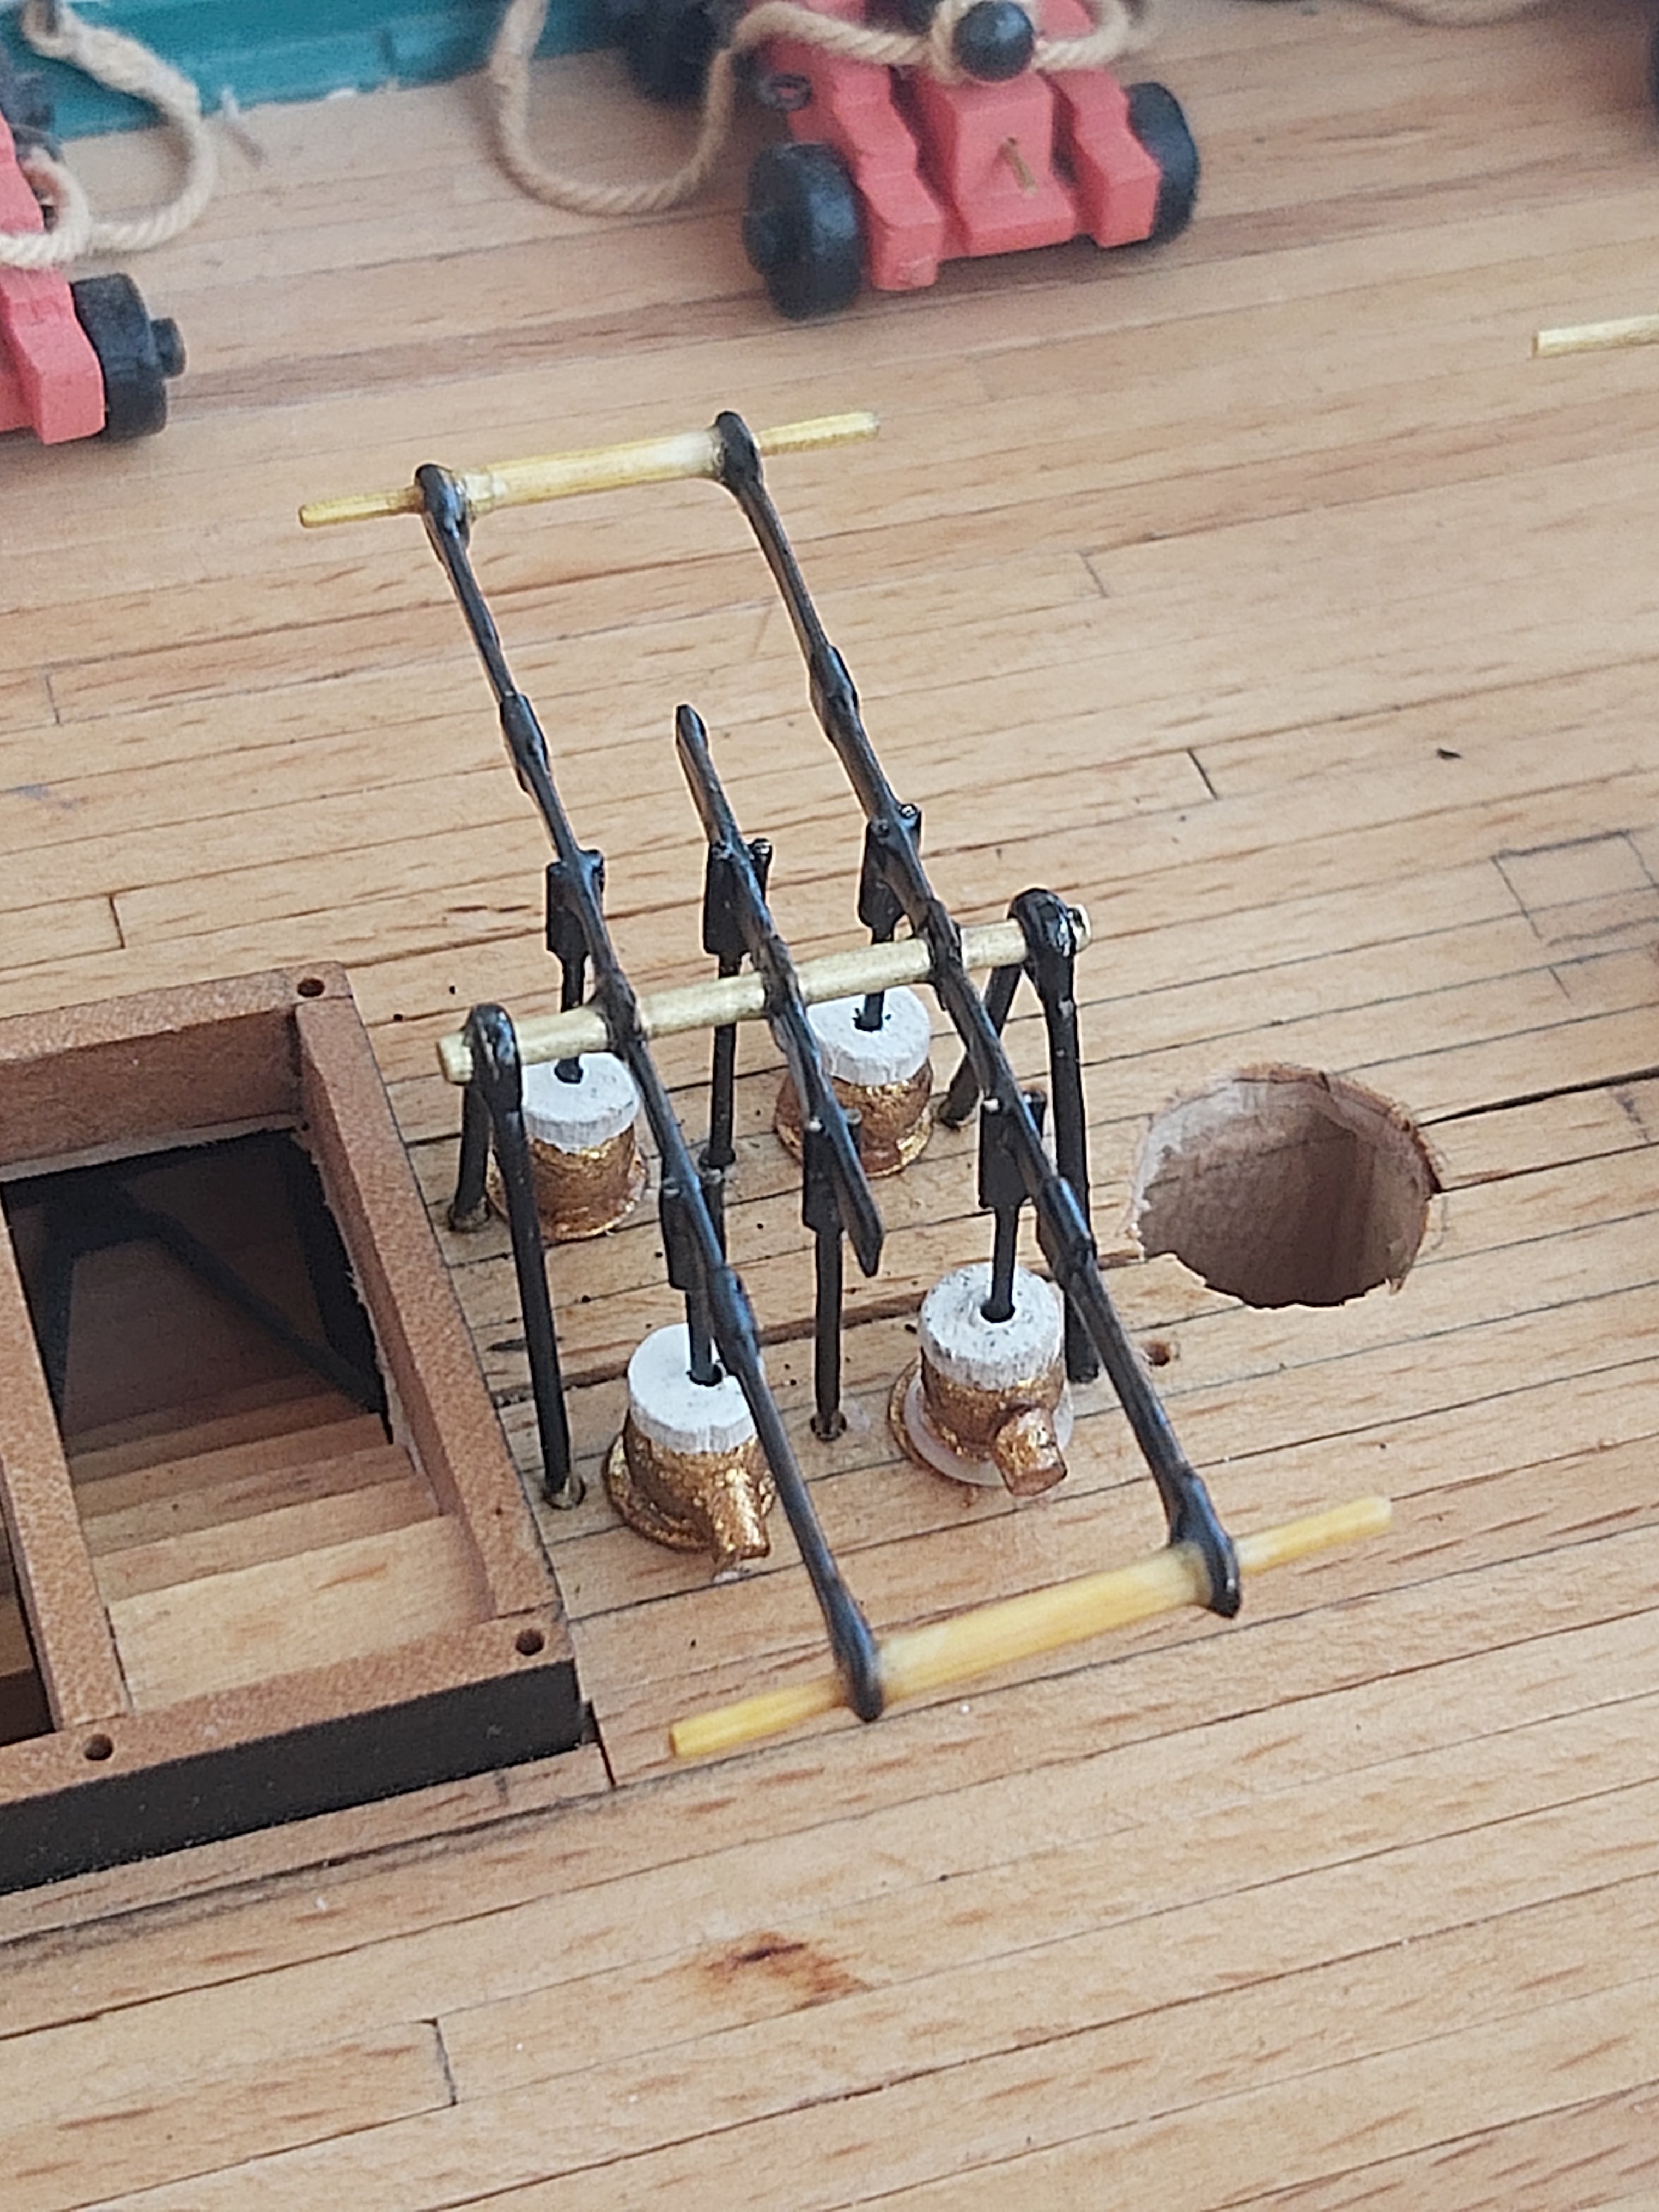
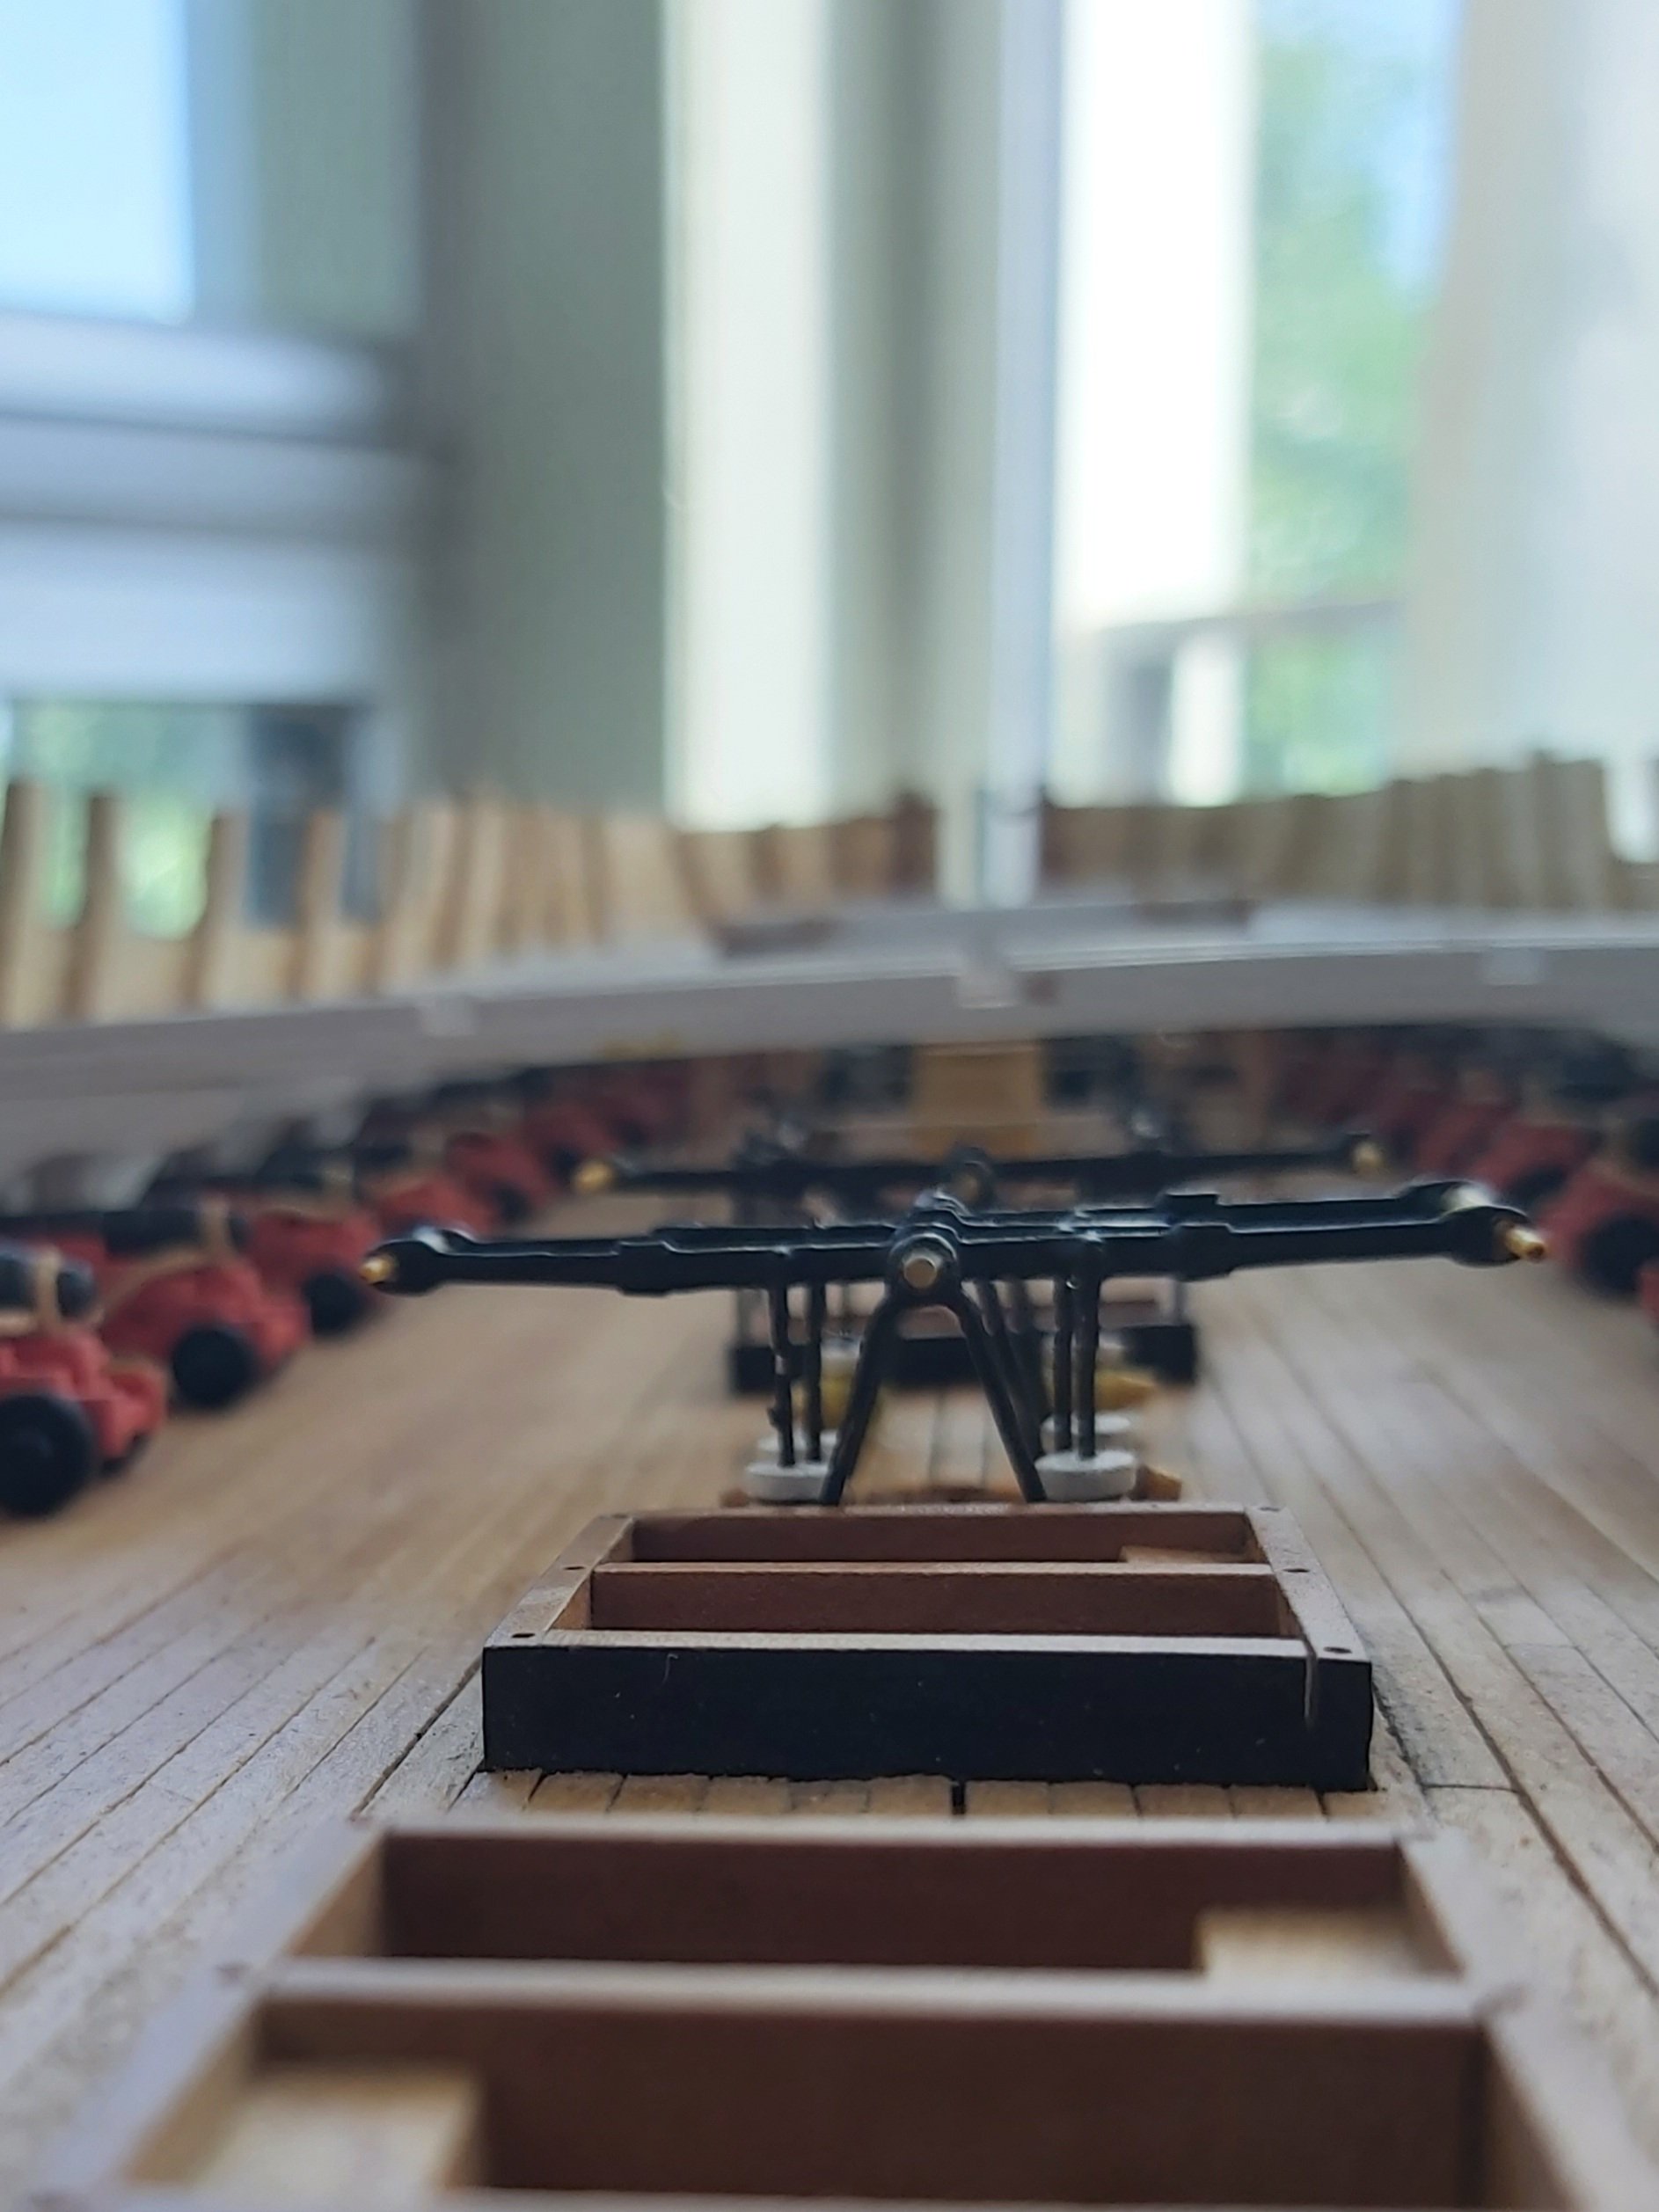
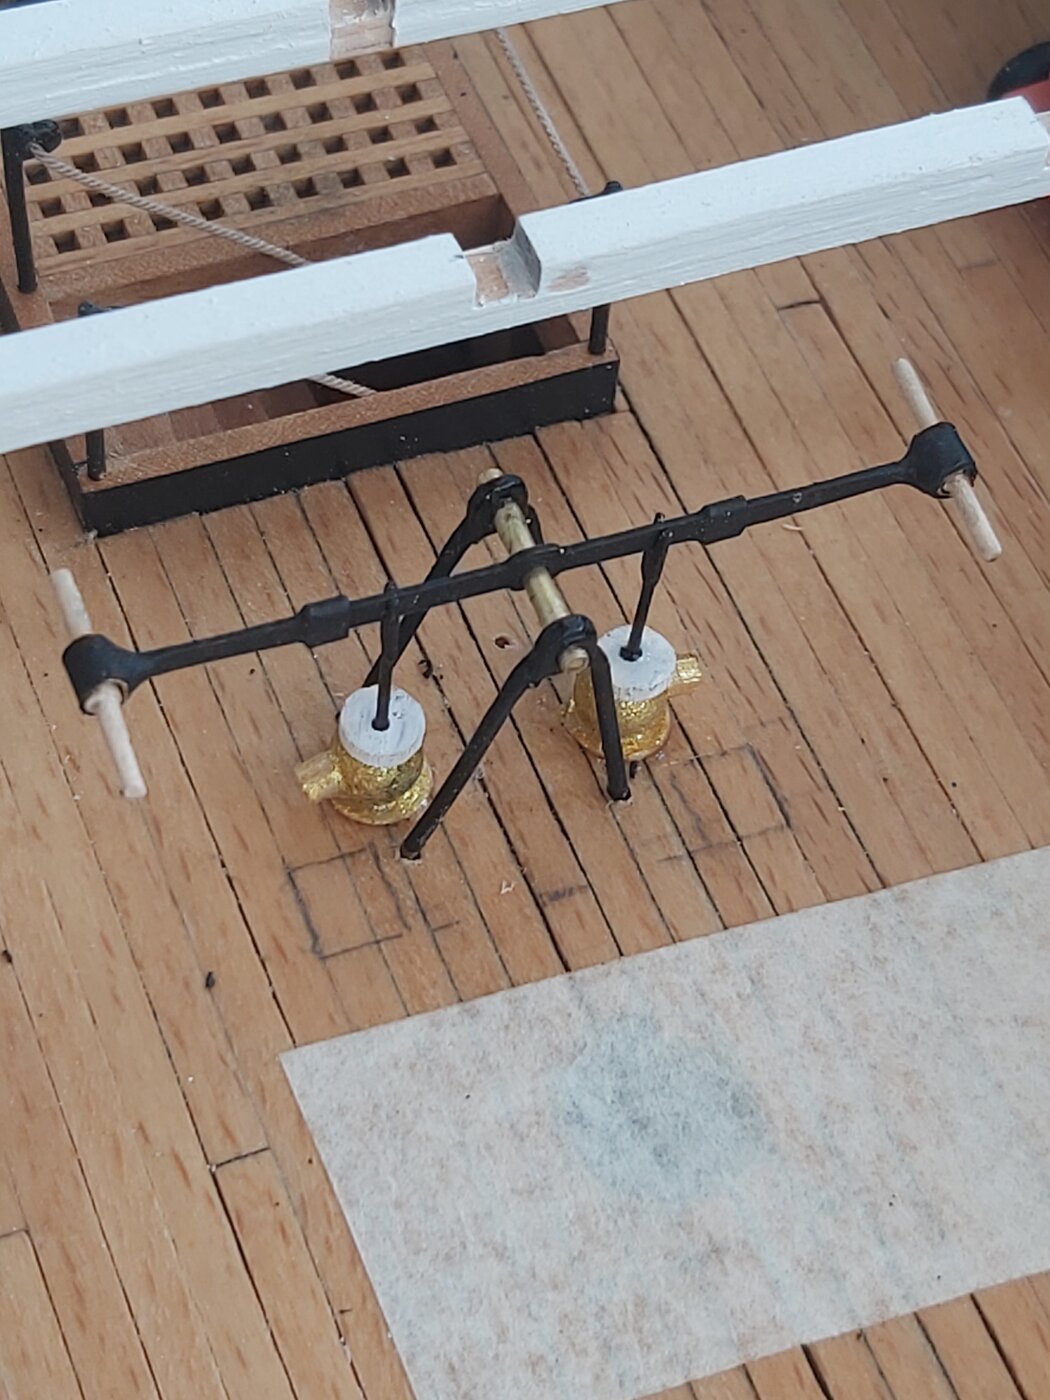
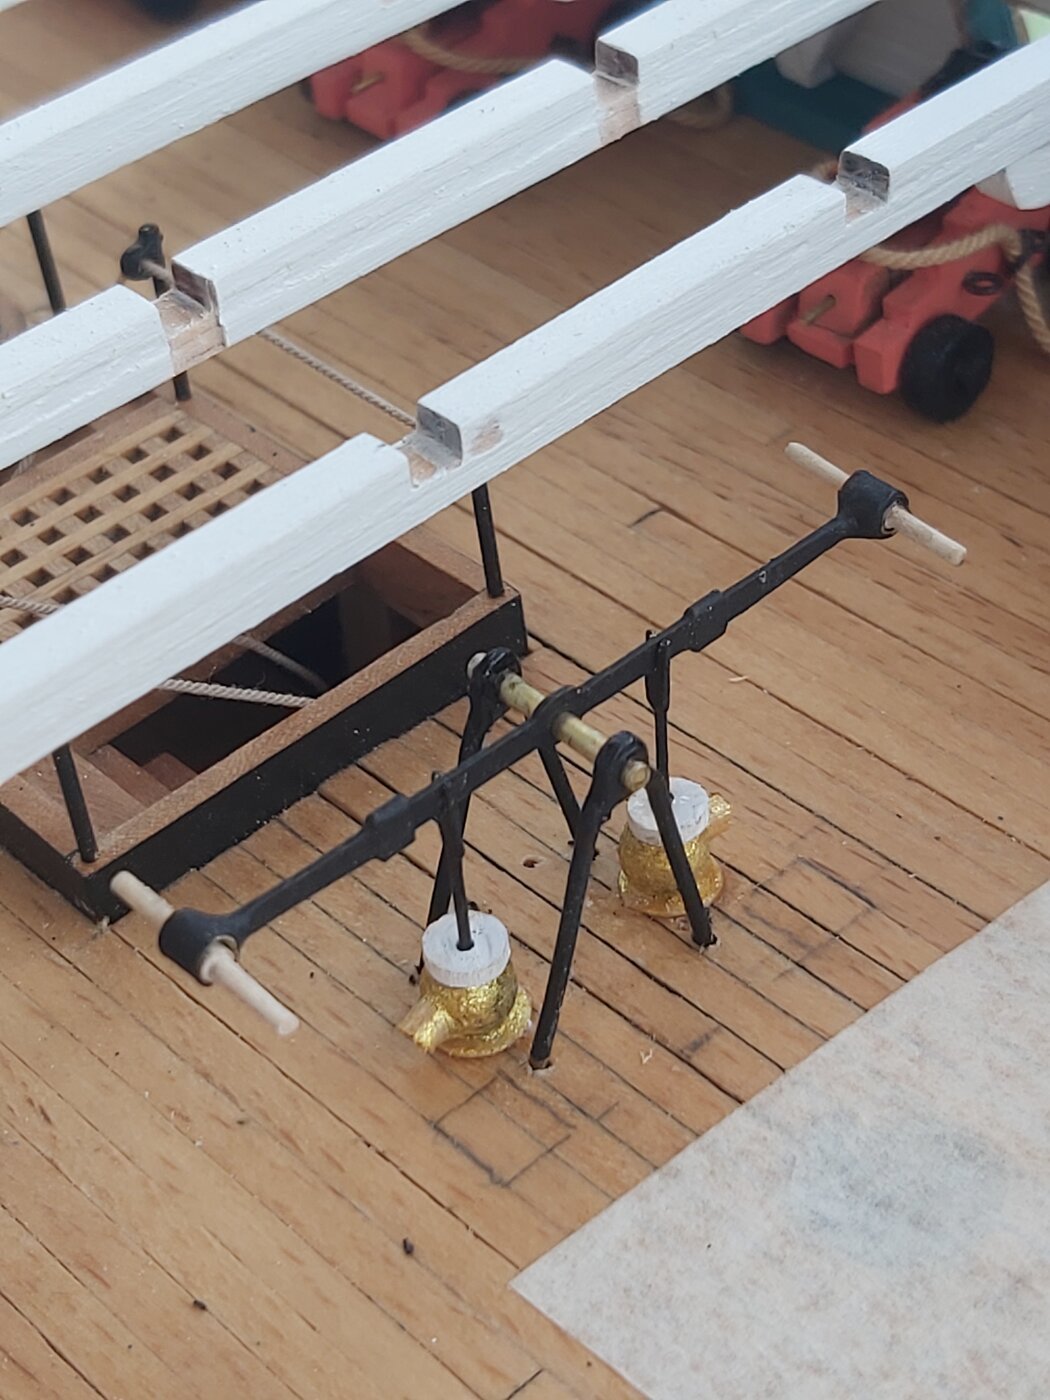
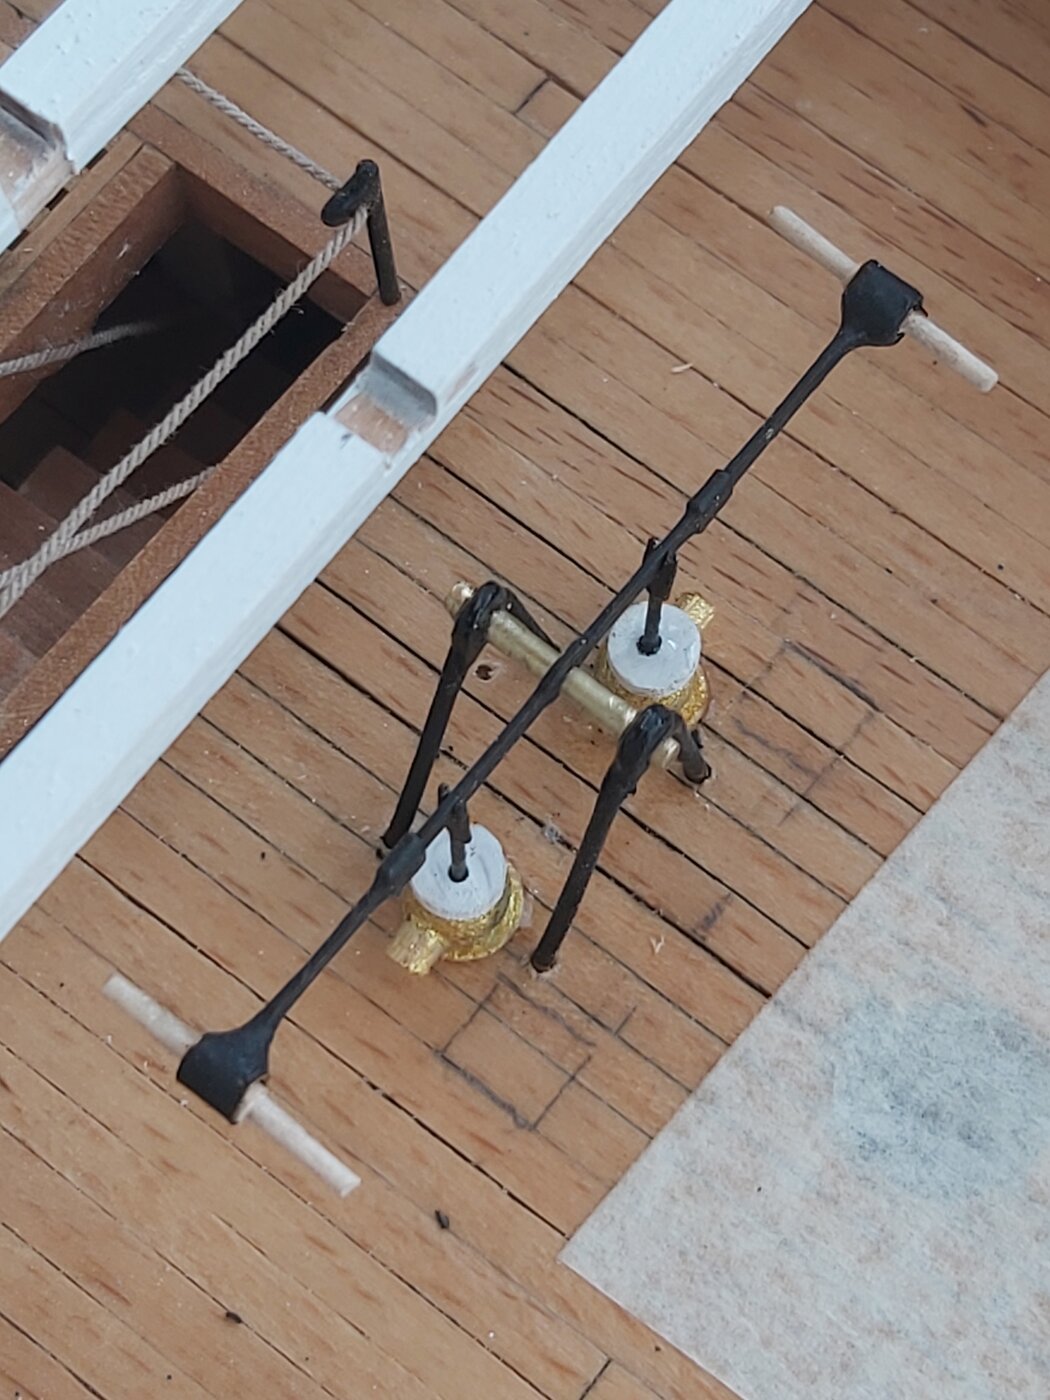
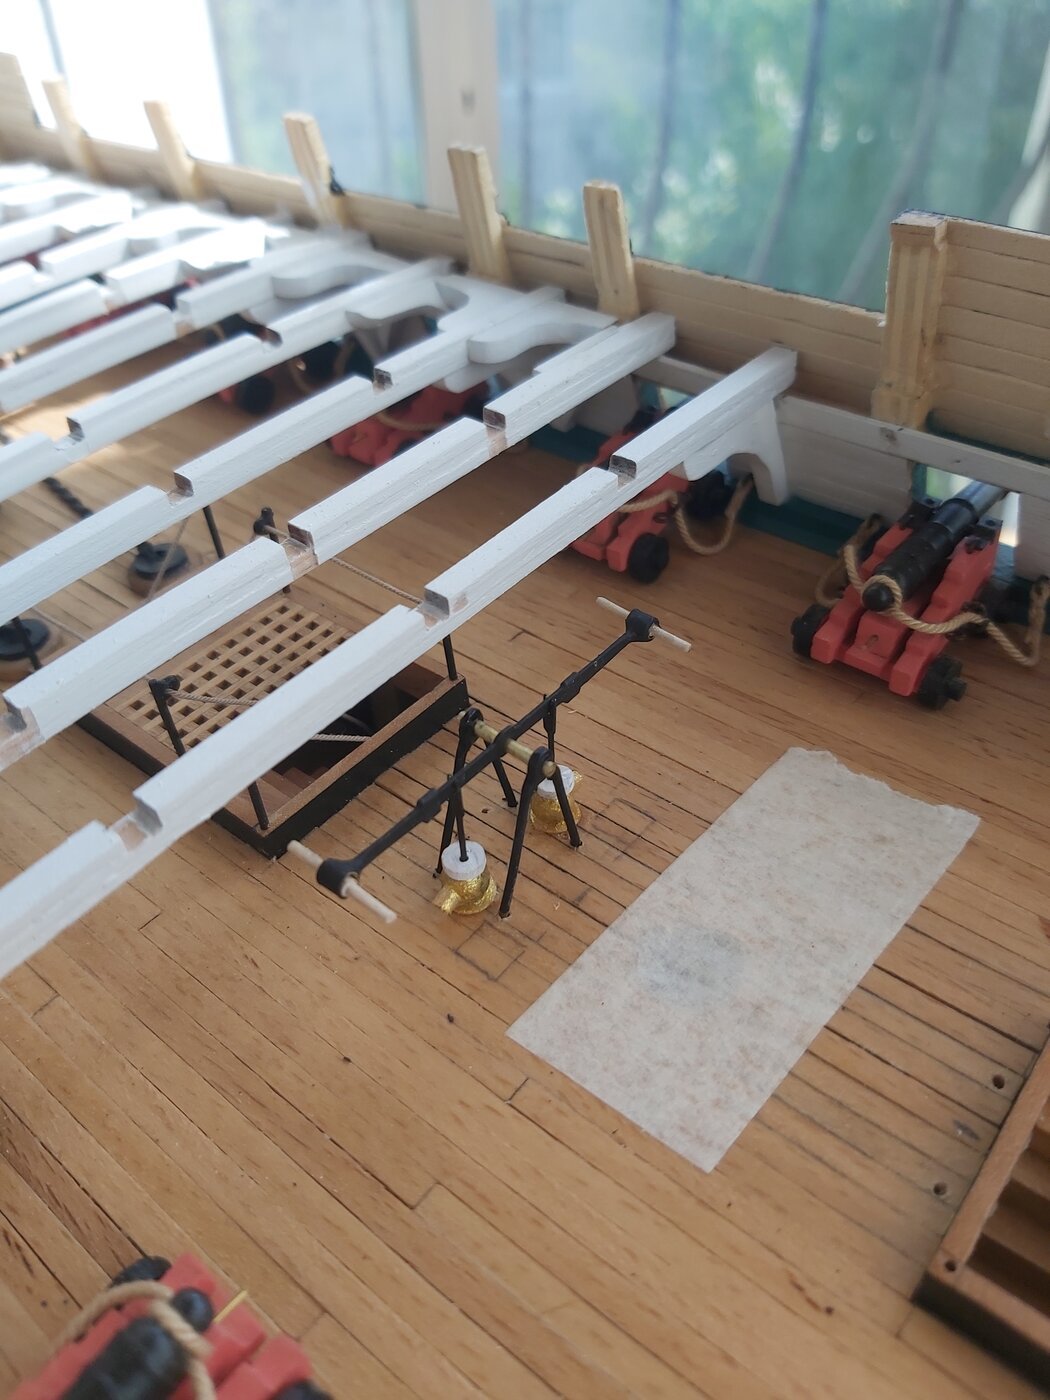
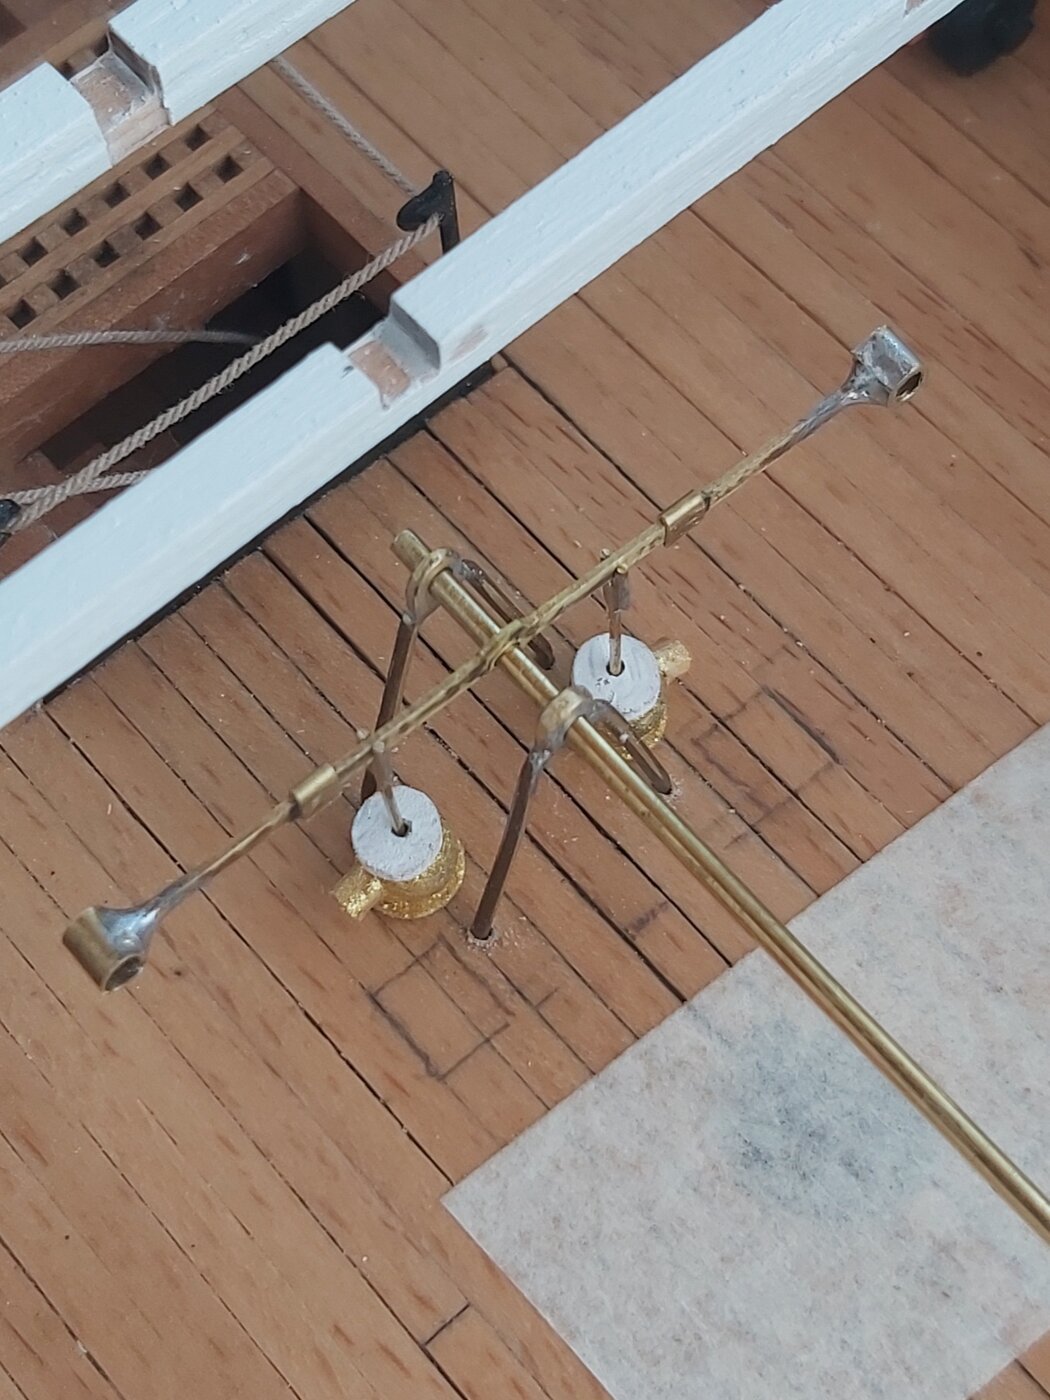
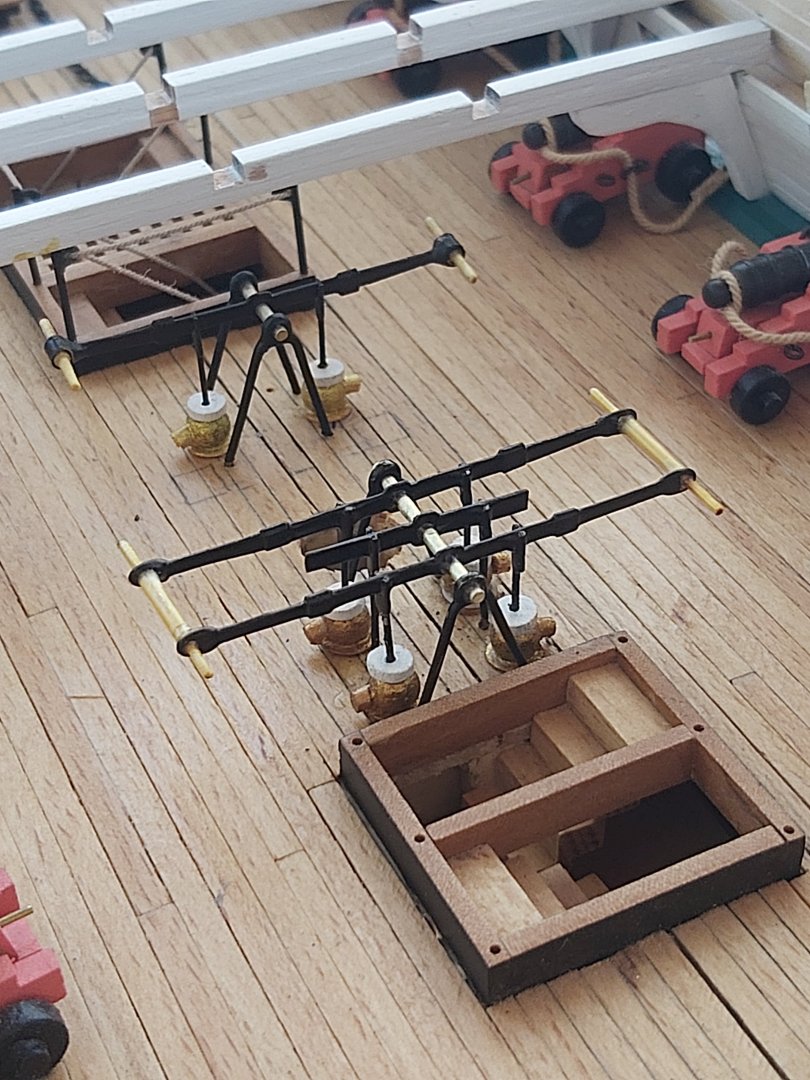
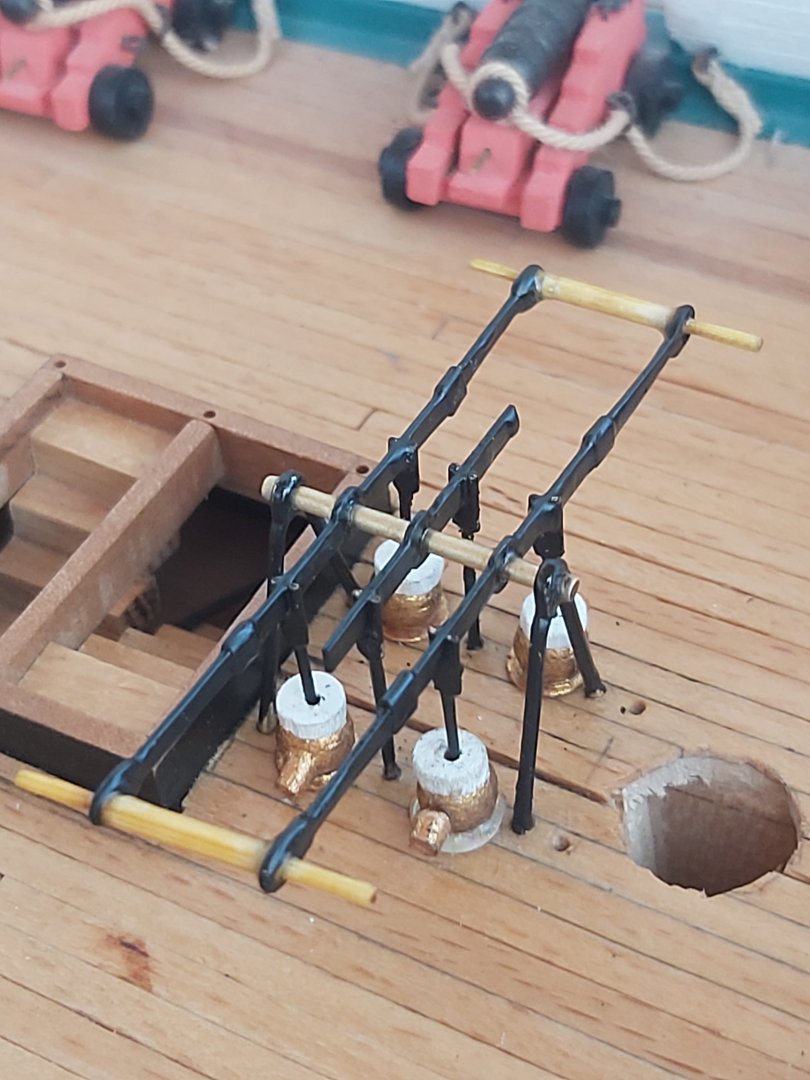
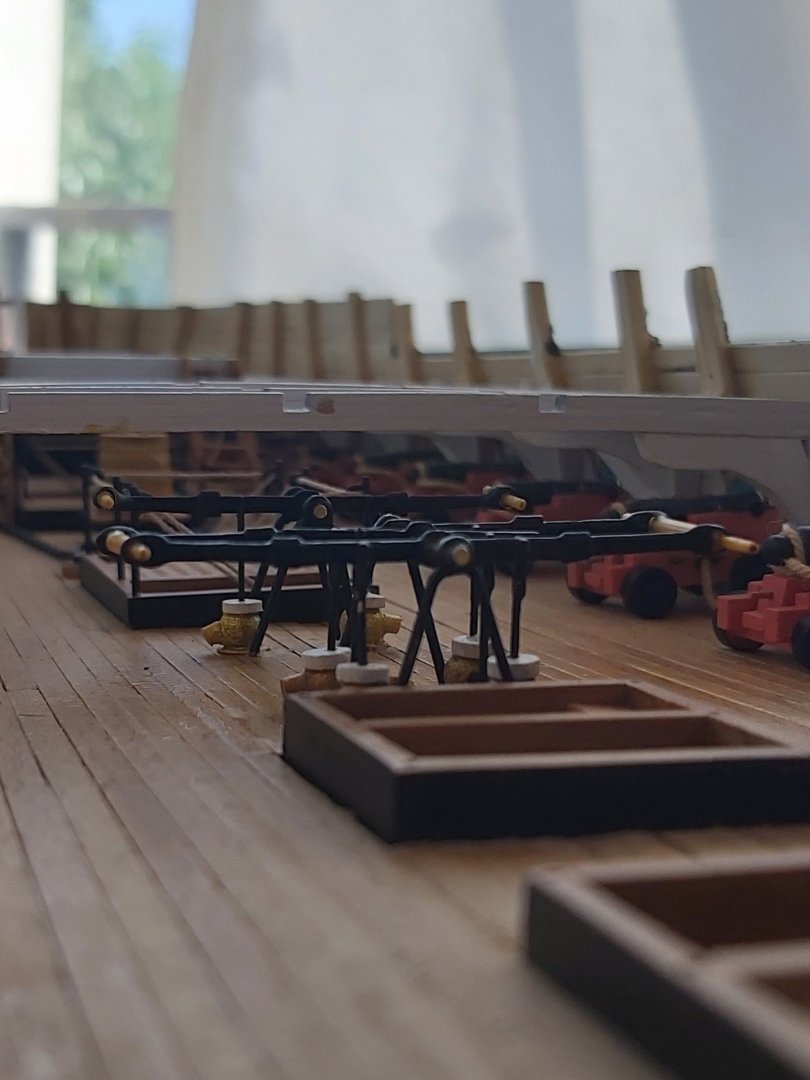
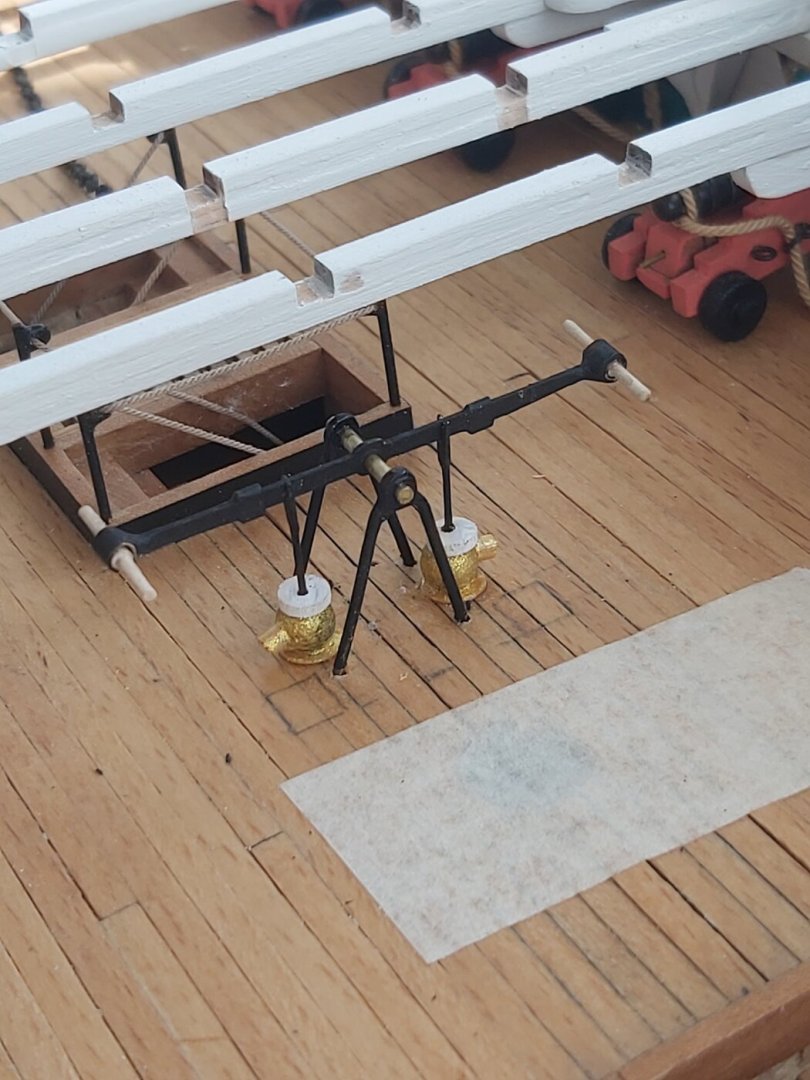
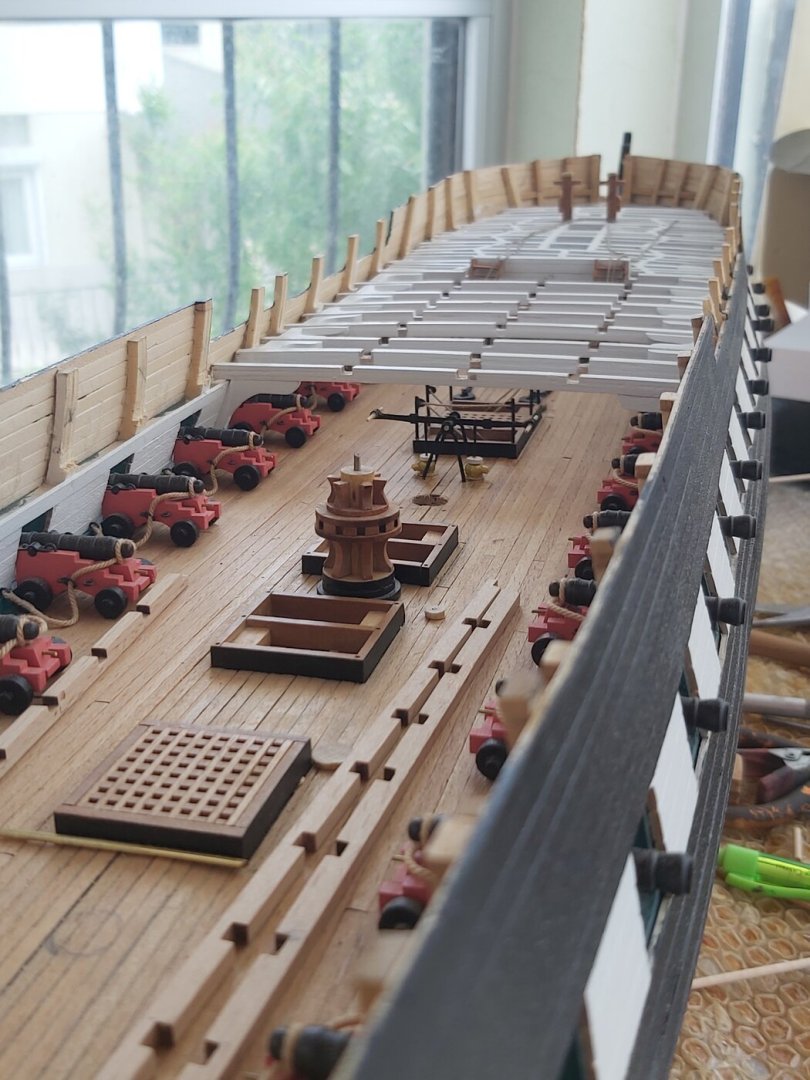
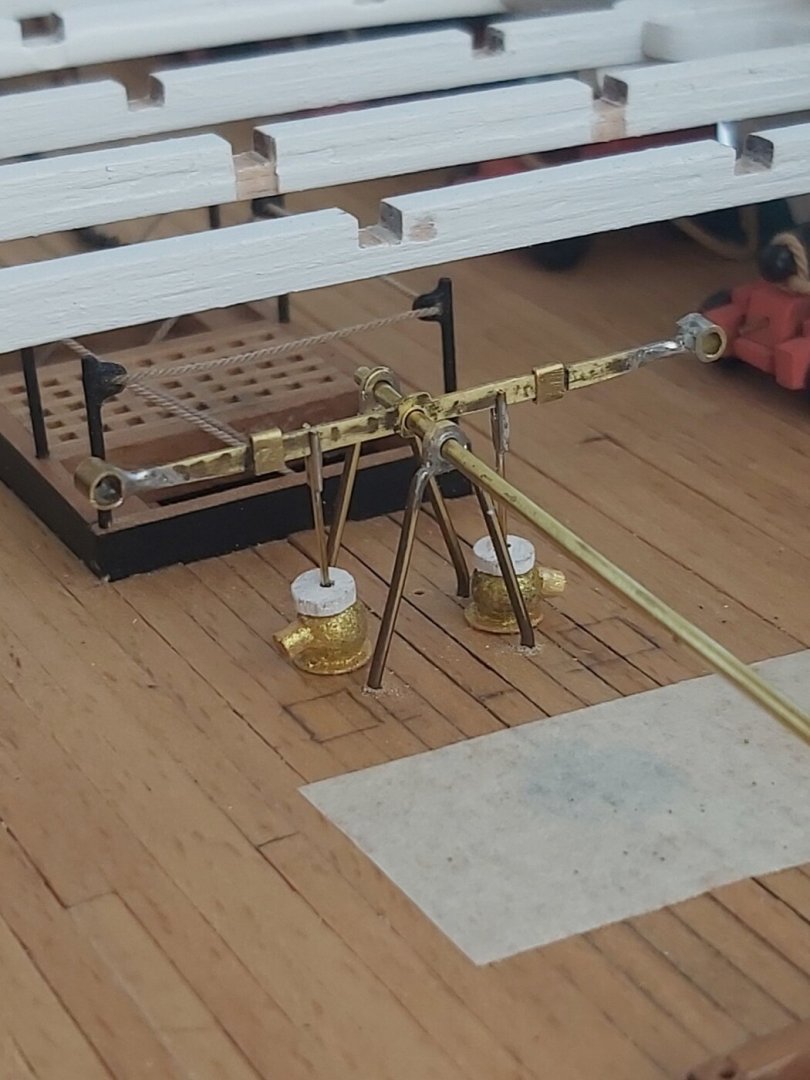
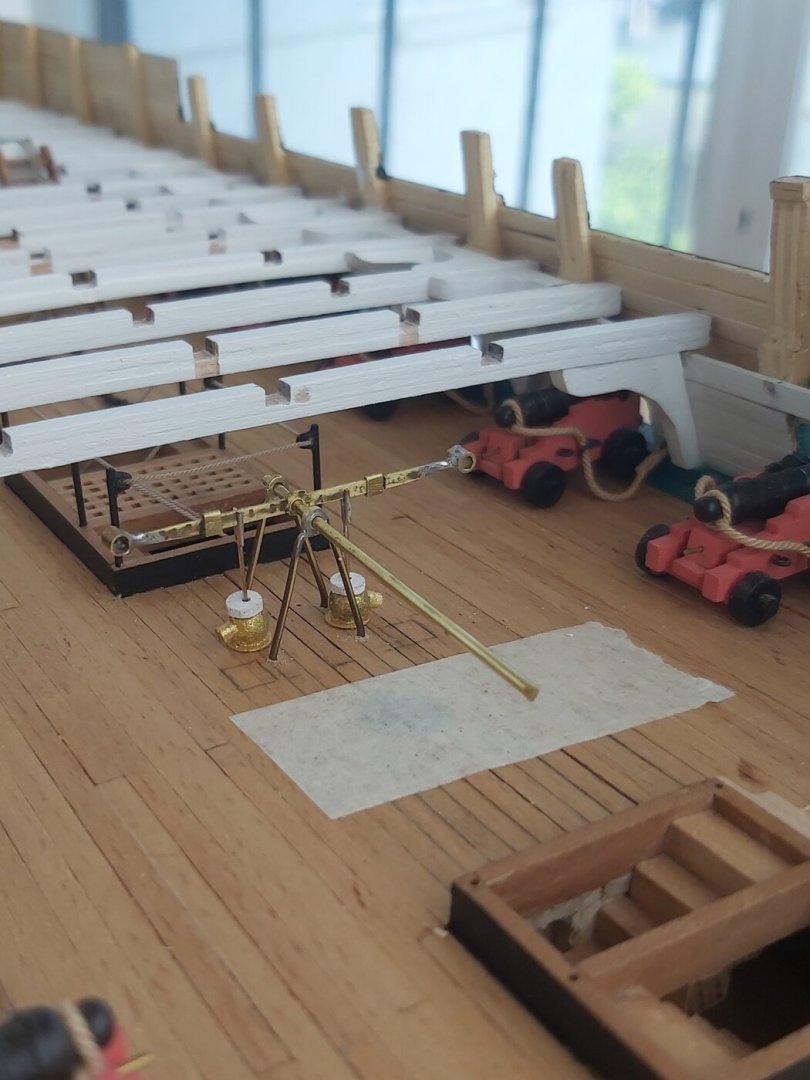
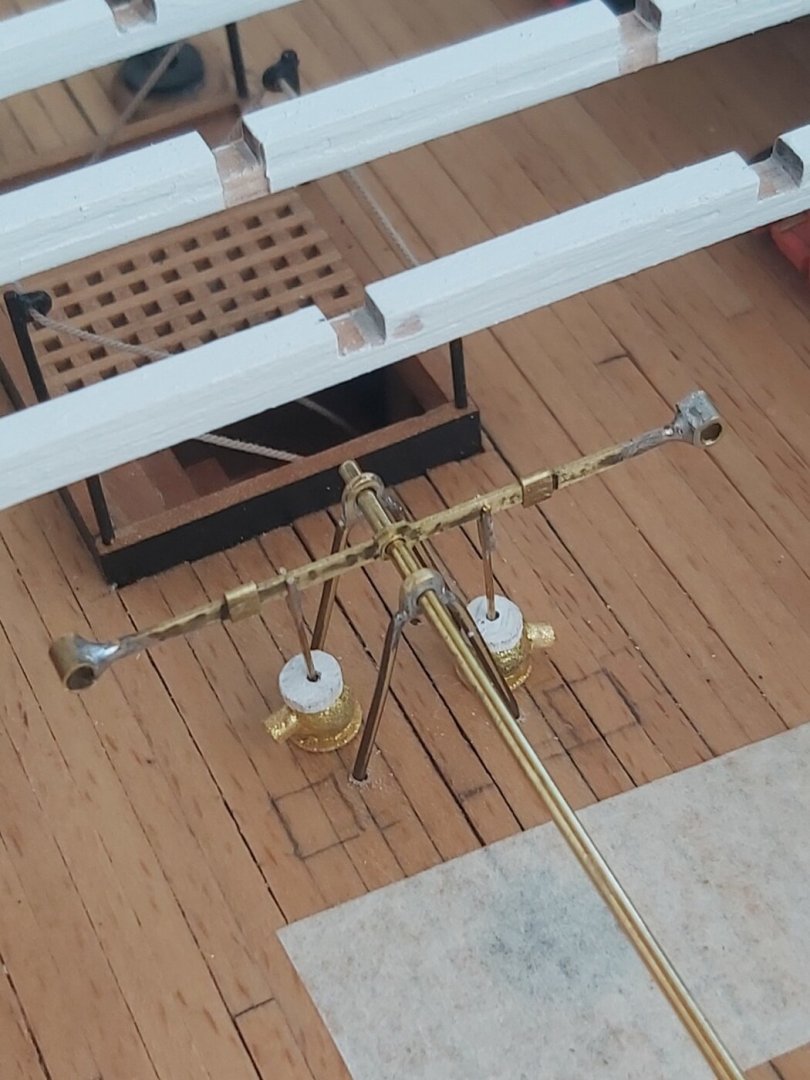
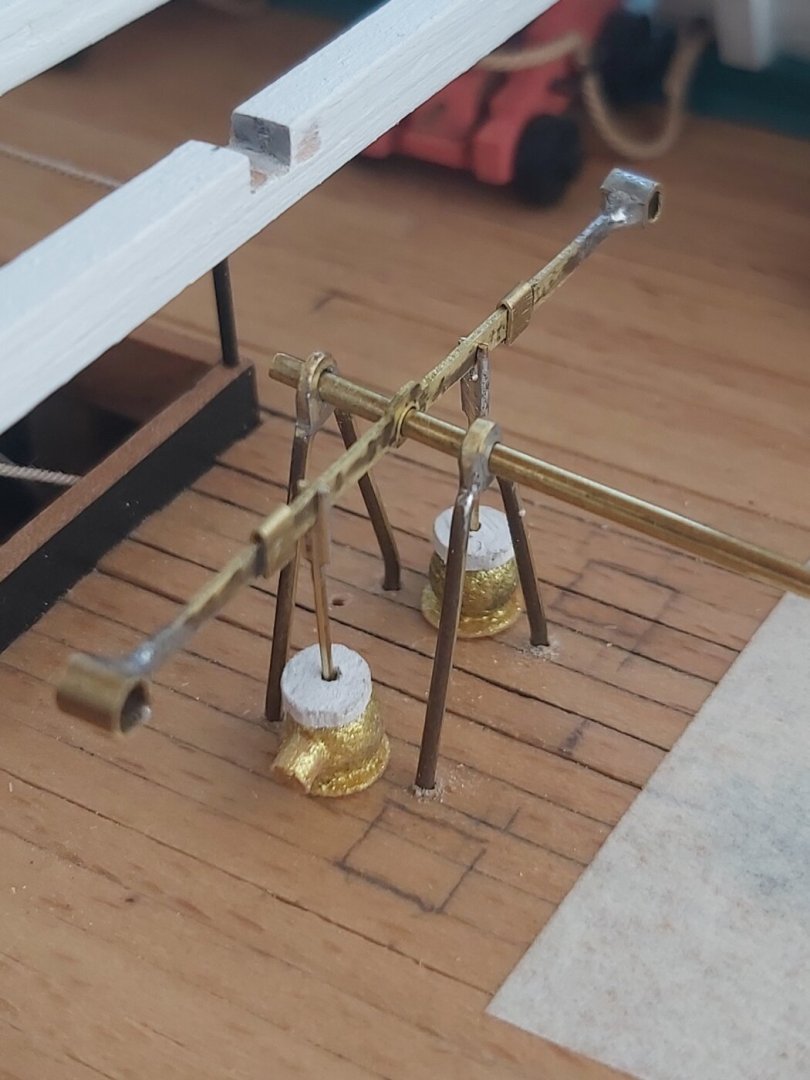
Quad pump completed.This has been the equipment I have had the most difficulty in manufacturing and assembling so far.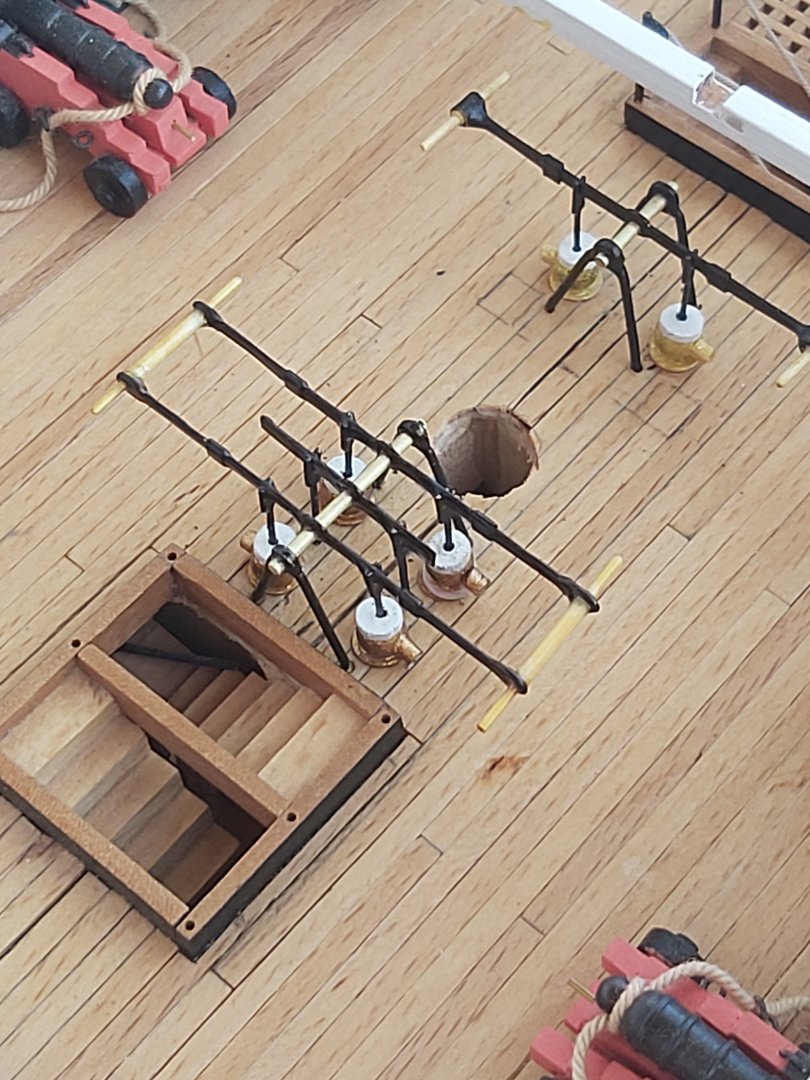


-
USS Constitution by mtbediz - 1:76
mtbediz replied to mtbediz's topic in - Build logs for subjects built 1751 - 1800
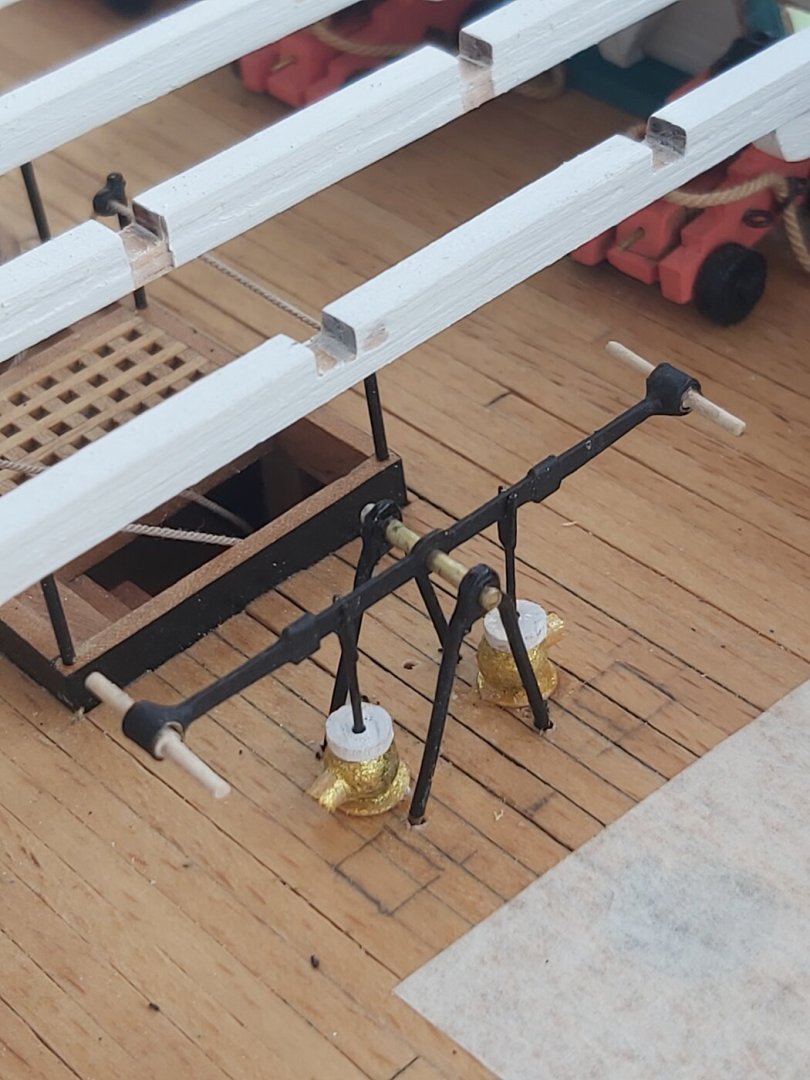
The first gun deck bilge pump has been painted and installed in place.


-
USS Constitution by mtbediz - 1:76
mtbediz replied to mtbediz's topic in - Build logs for subjects built 1751 - 1800
Thank you Greg. Normally, I do not paint the brass material, I just blacken it with chemicals, but since I use solder here, I have to paint it because the solder does not blacken with the chemical. I don't blacken the brass before painting, I just paint it with acrylic paint and apply matte spray varnish after the paint dries. -
USS Constitution by mtbediz - 1:76
mtbediz replied to mtbediz's topic in - Build logs for subjects built 1751 - 1800
Thank you so much my friend. -
USS Constitution by mtbediz - 1:76
mtbediz replied to mtbediz's topic in - Build logs for subjects built 1751 - 1800
I have assembled the gun deck bilge pump parts in place for testing. The brass parts will be painted black.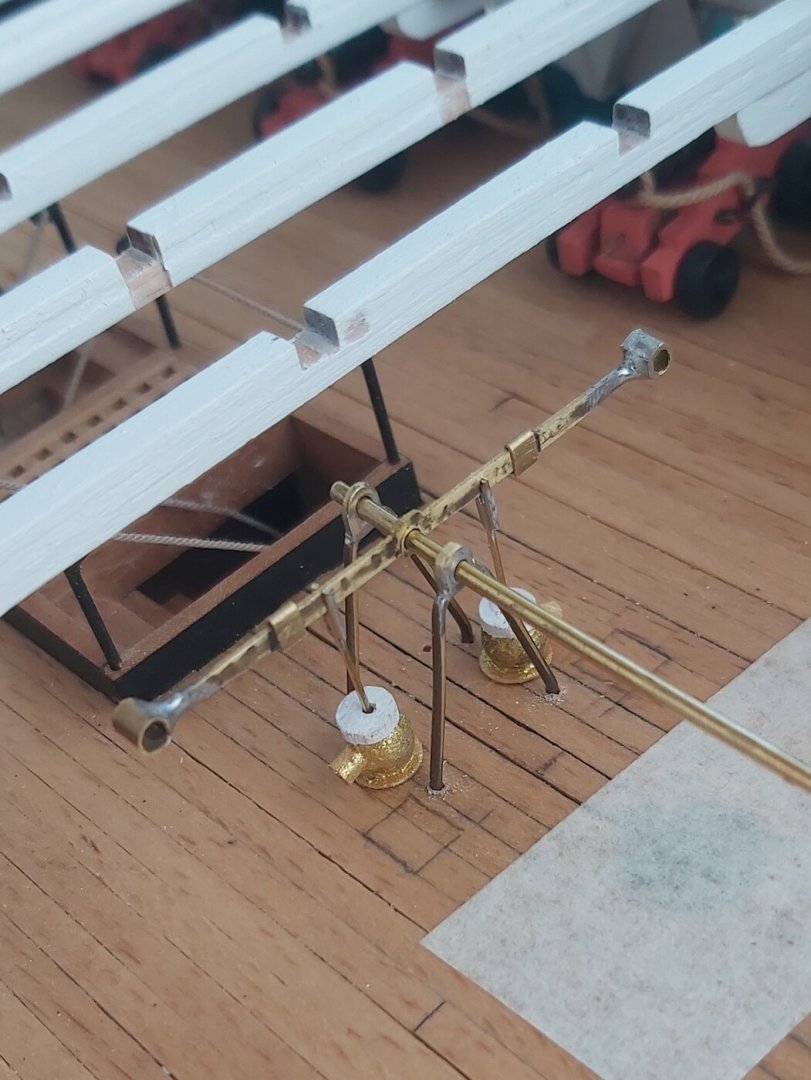

-
You are way ahead of me in the paint business. Good job!
-
USS Constitution by mtbediz - 1:76
mtbediz replied to mtbediz's topic in - Build logs for subjects built 1751 - 1800
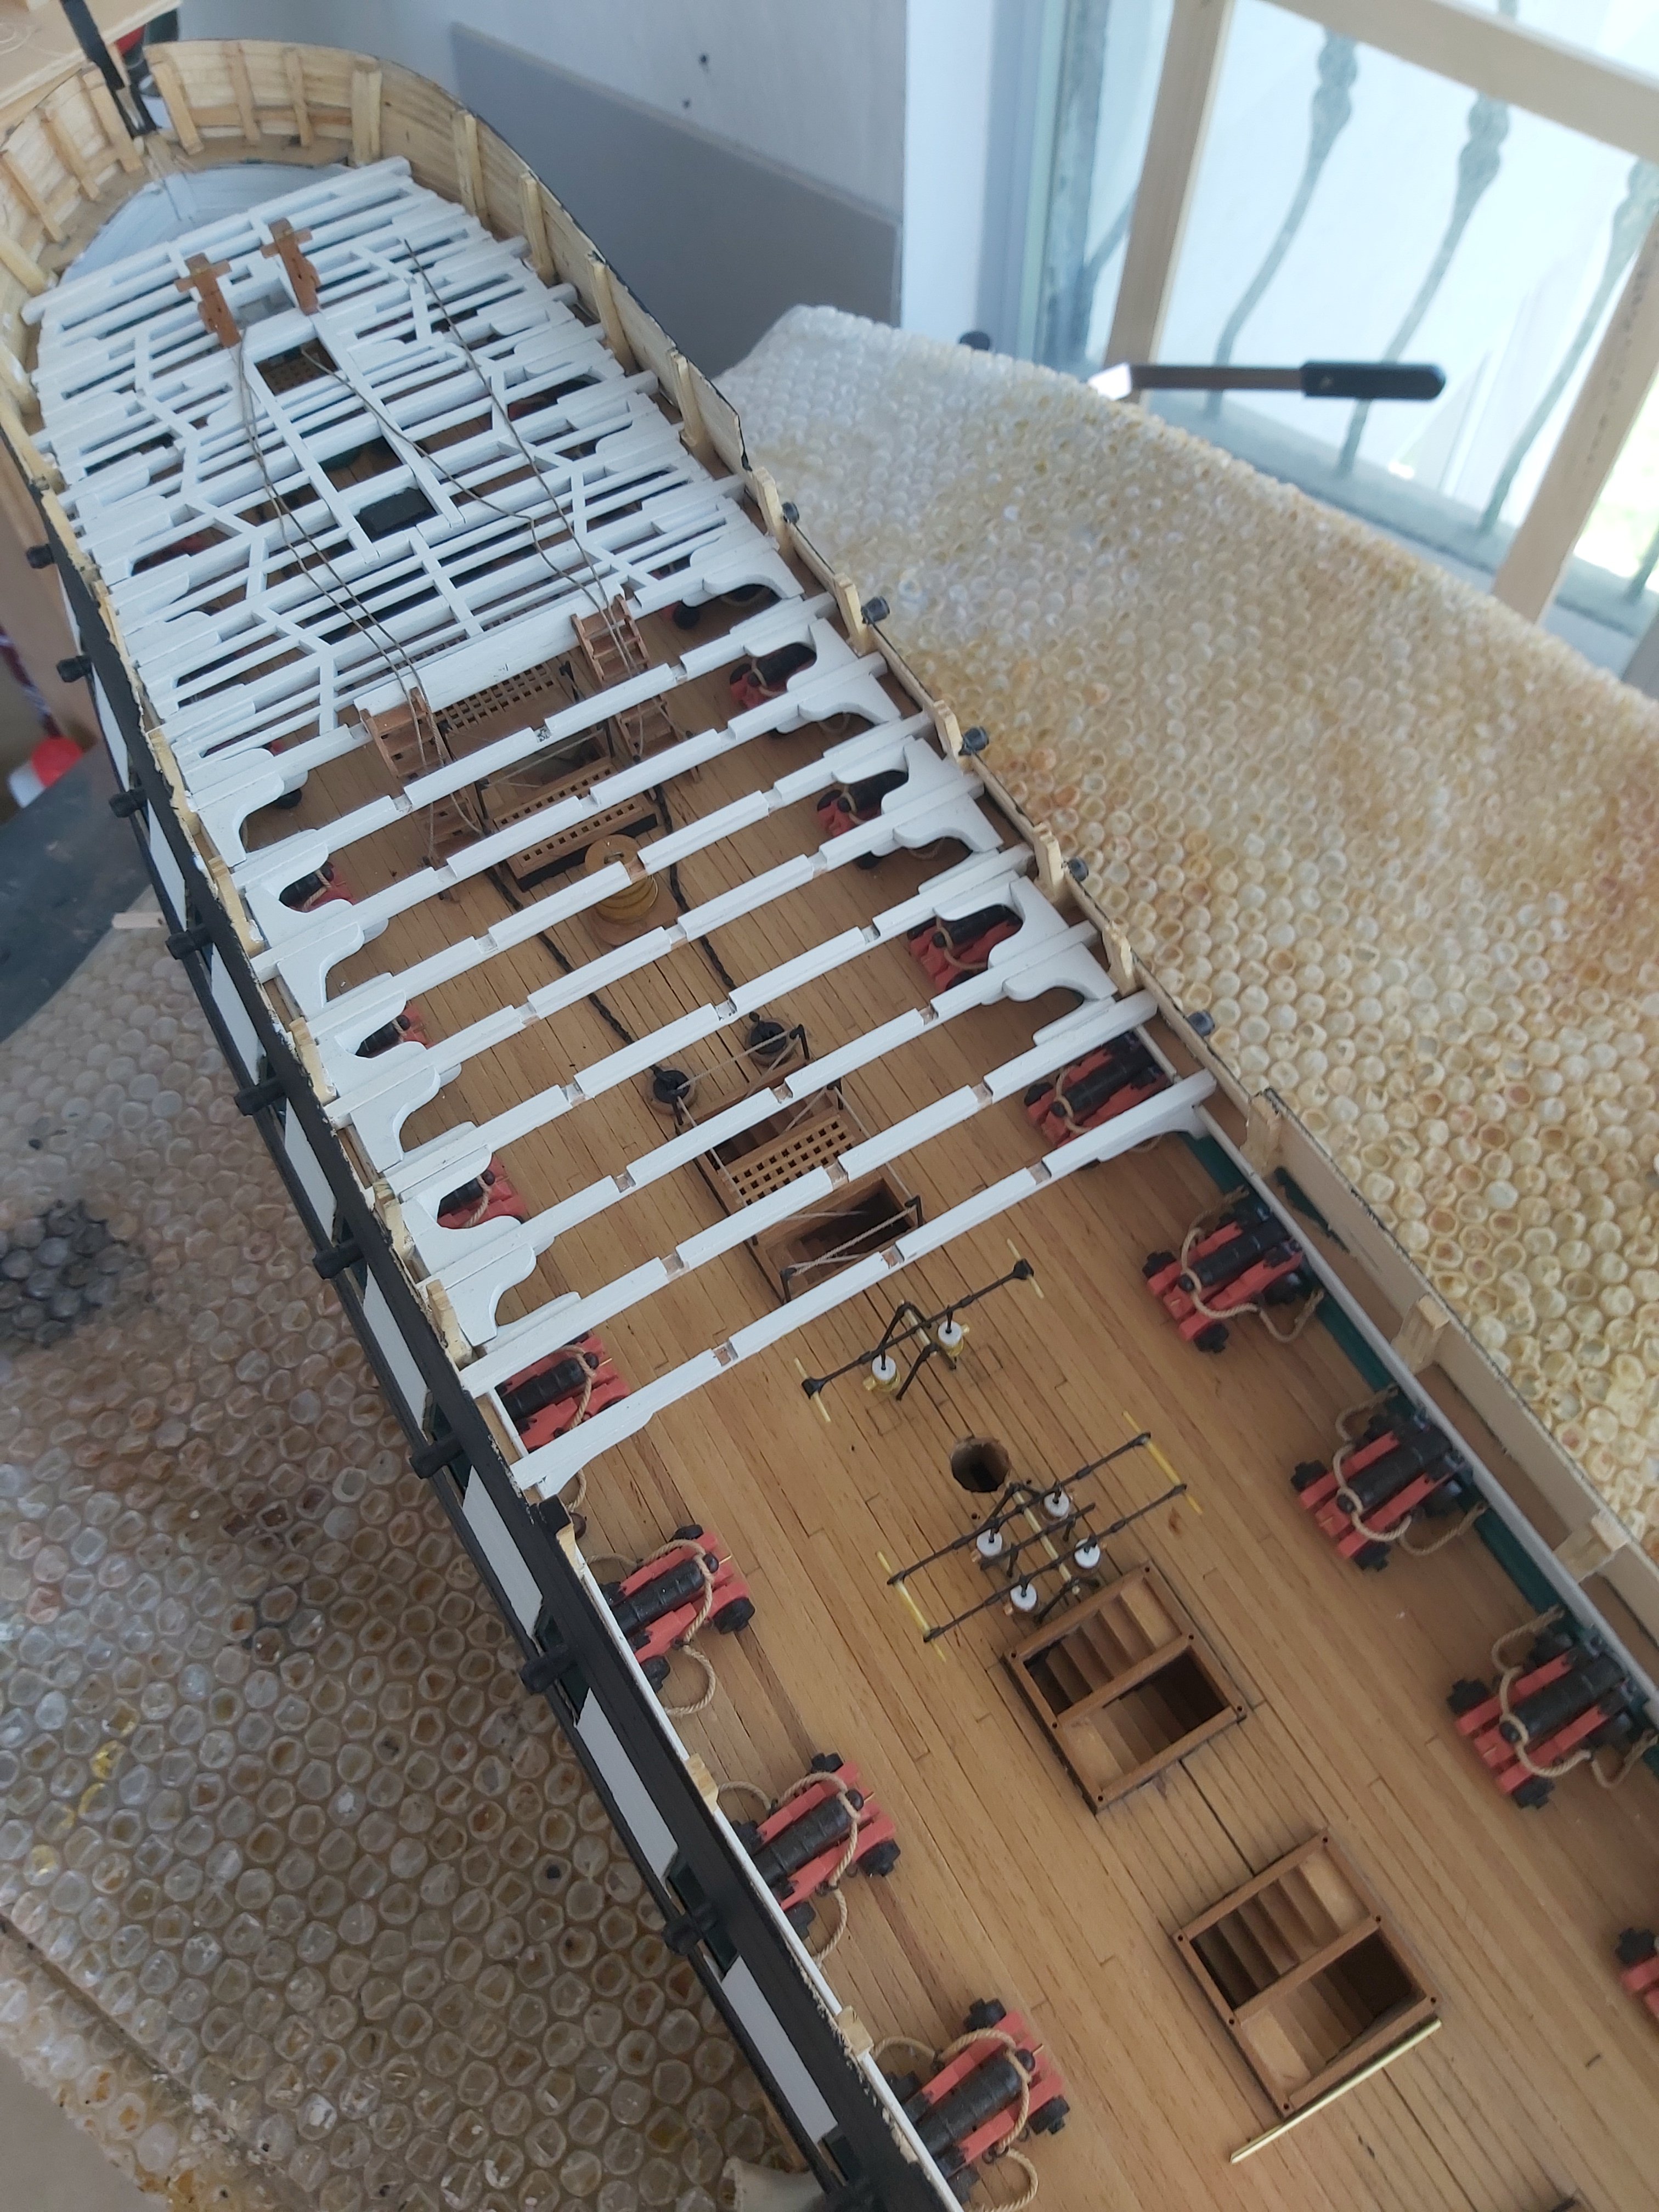
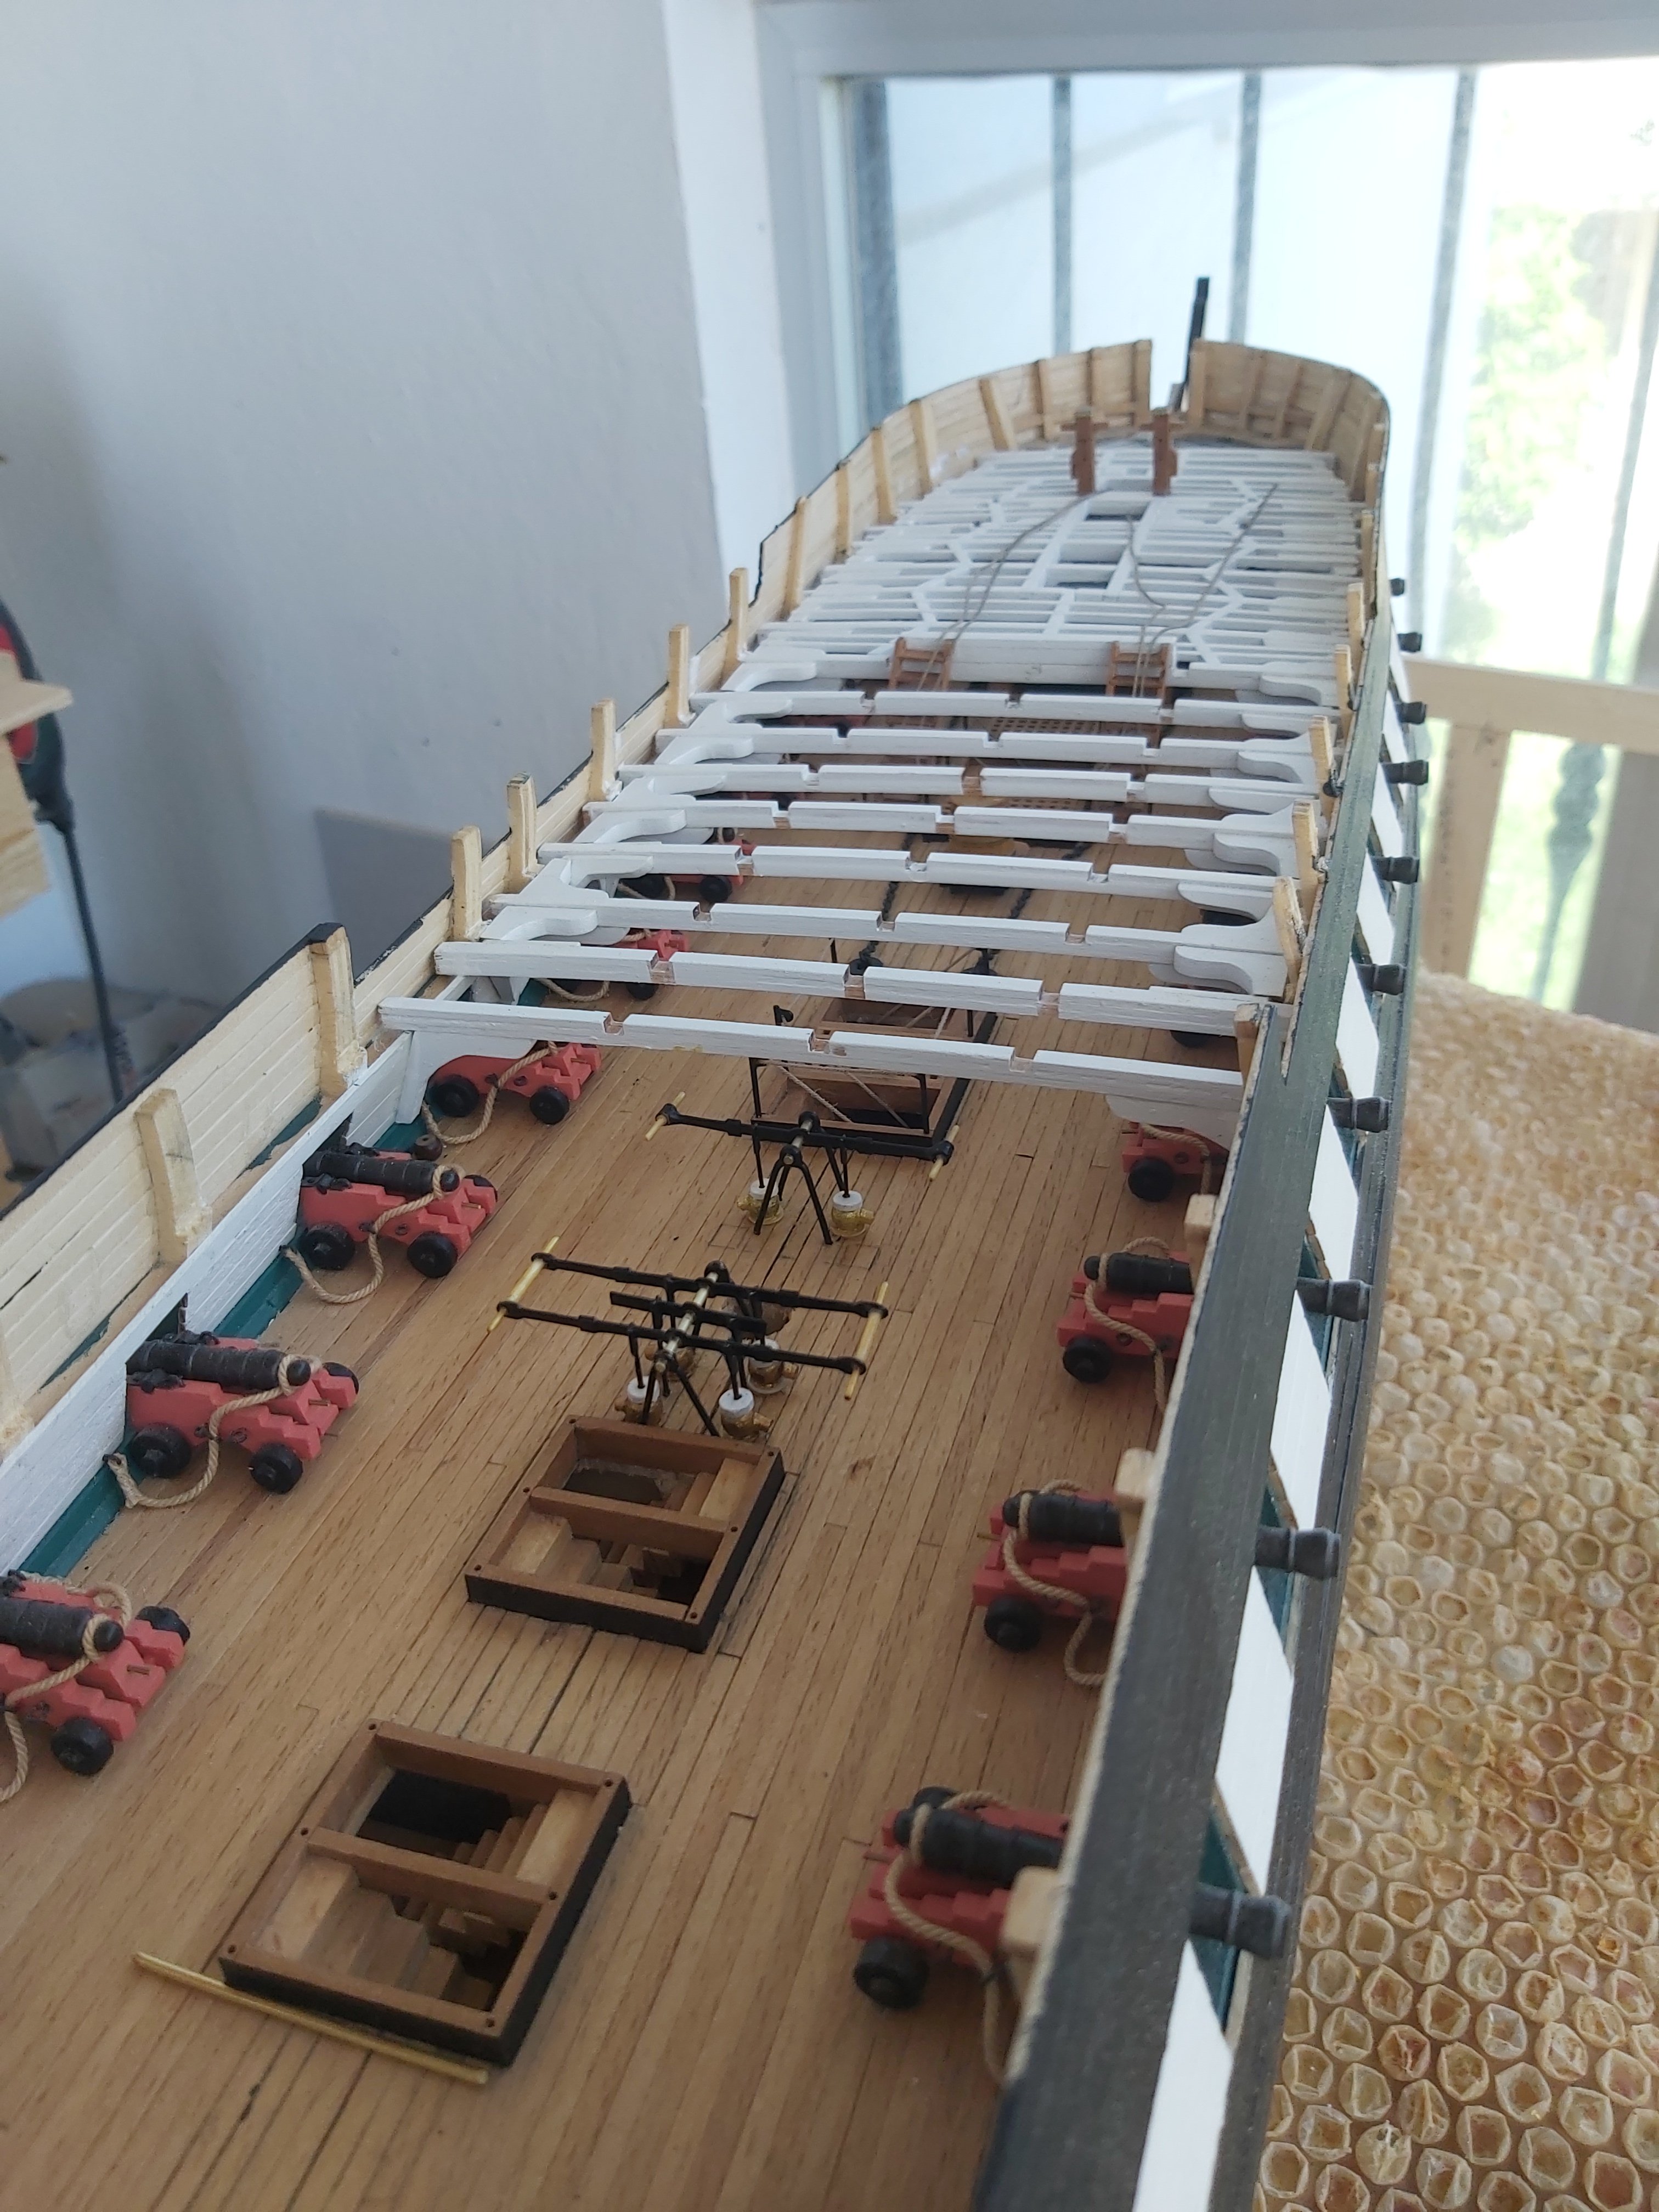
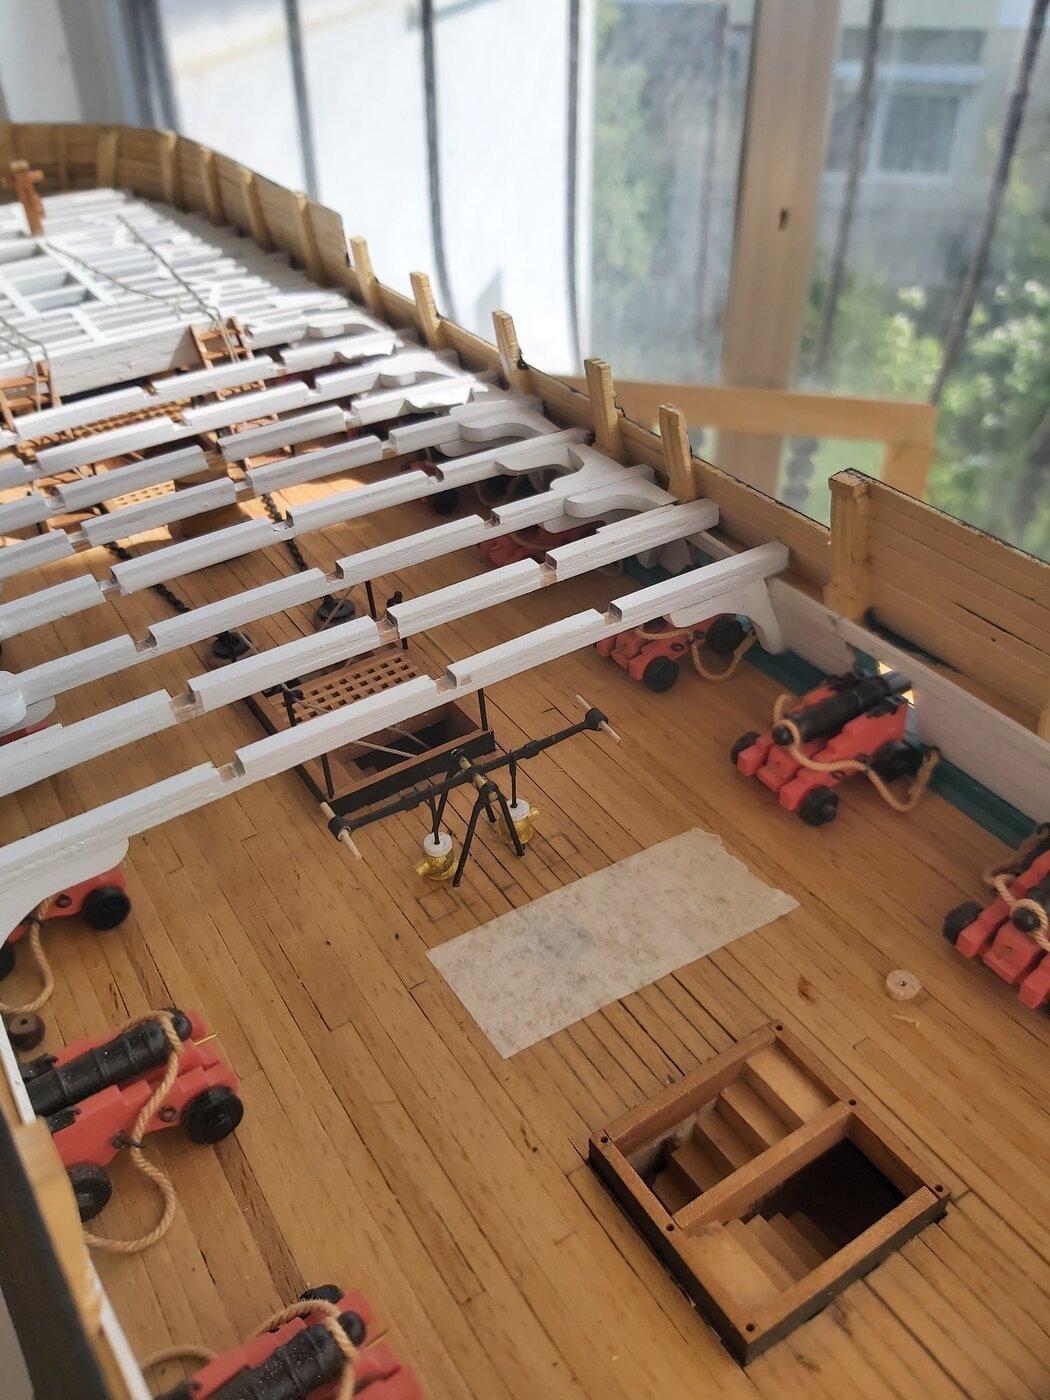
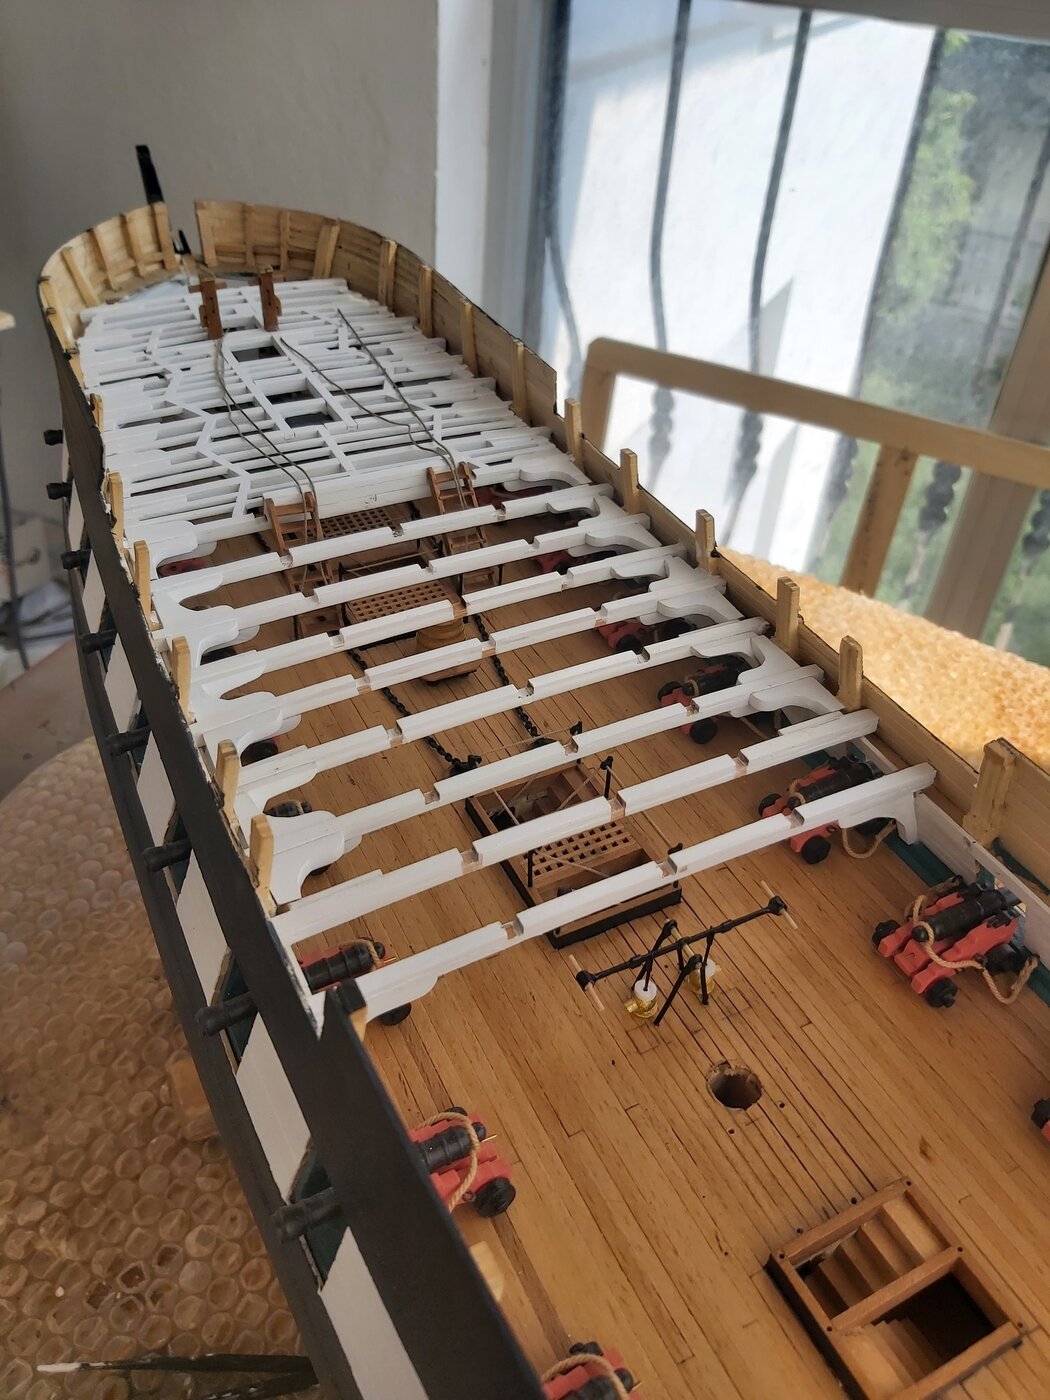
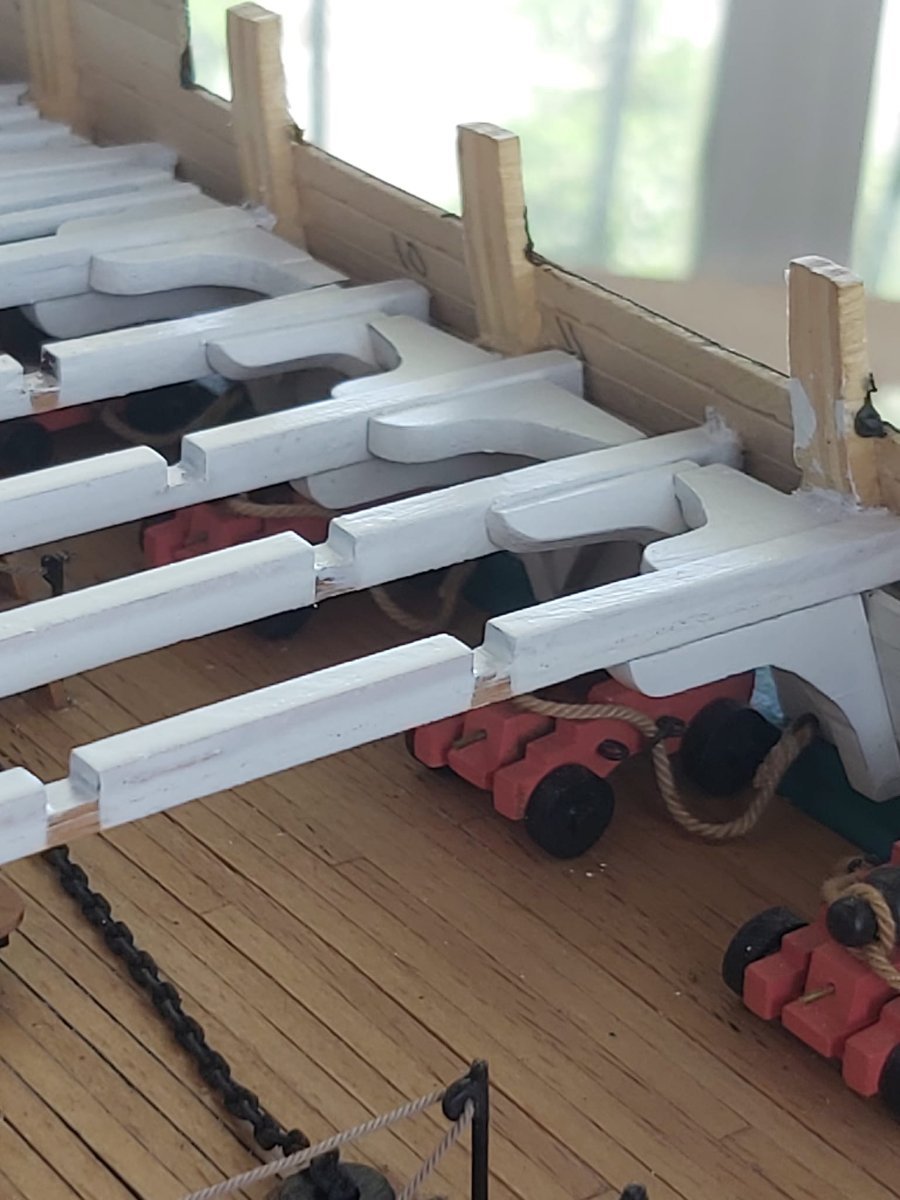
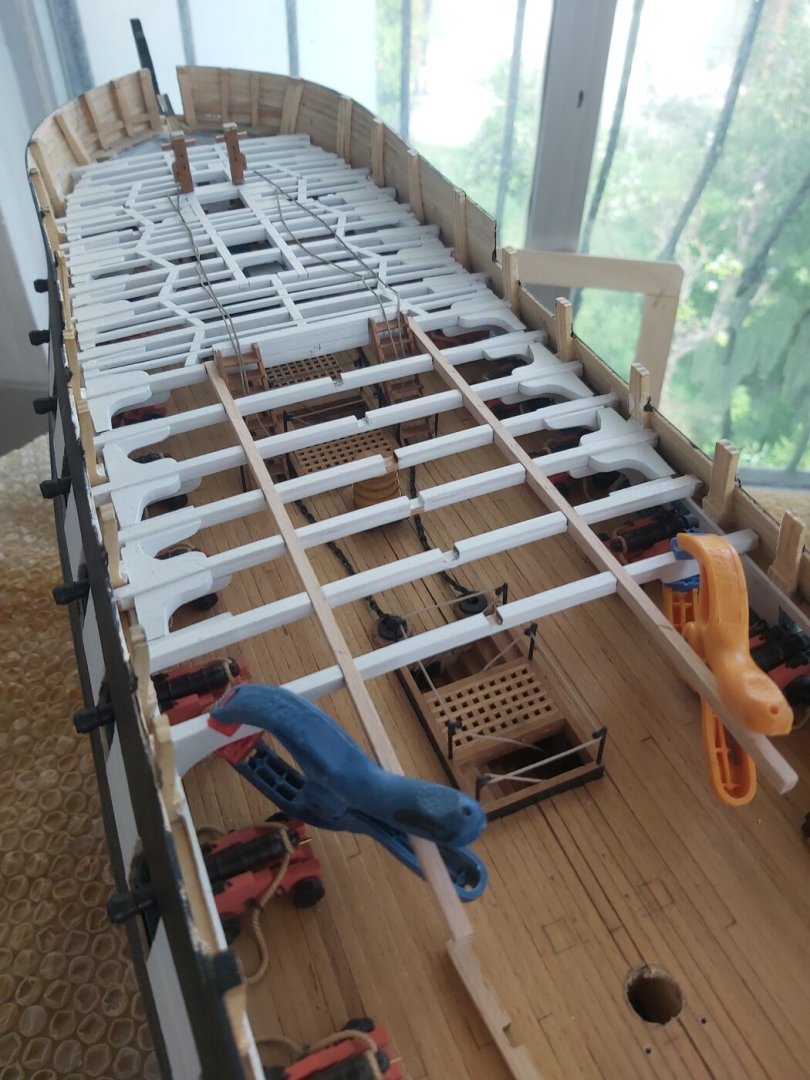
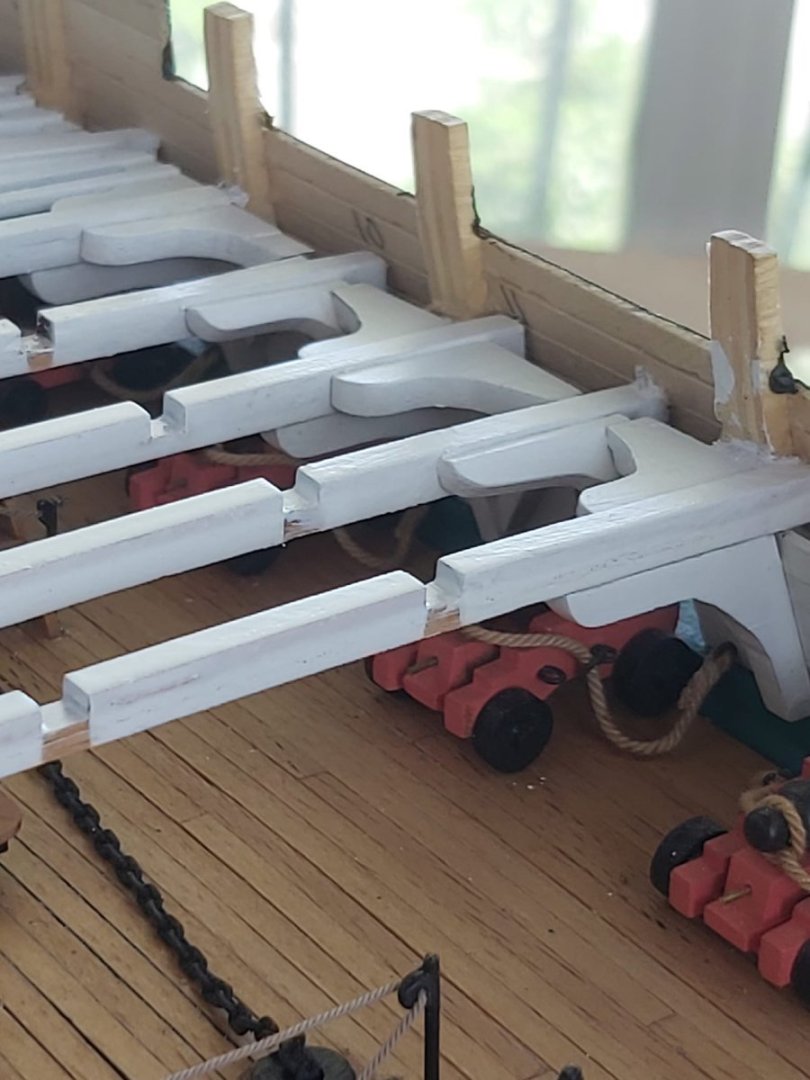
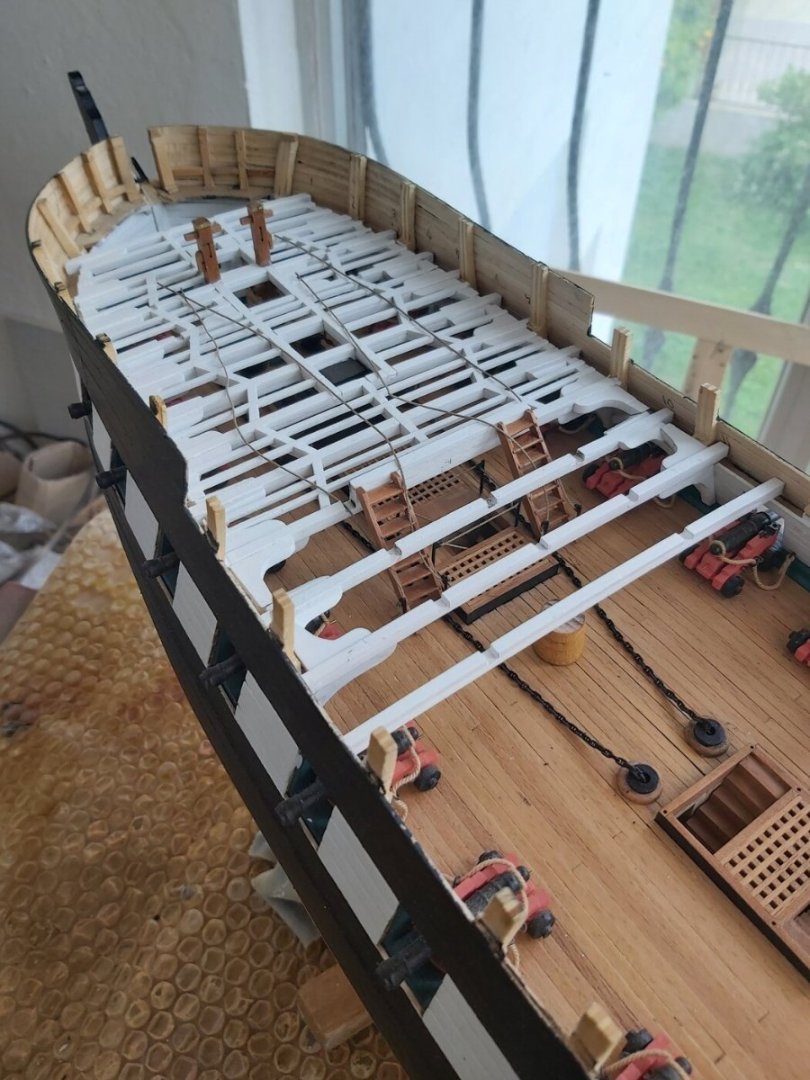
Half of the spar deck beams are completed. I can only complete one beam and its connected knees per day.


-
USS Constitution by mtbediz - 1:76
mtbediz replied to mtbediz's topic in - Build logs for subjects built 1751 - 1800
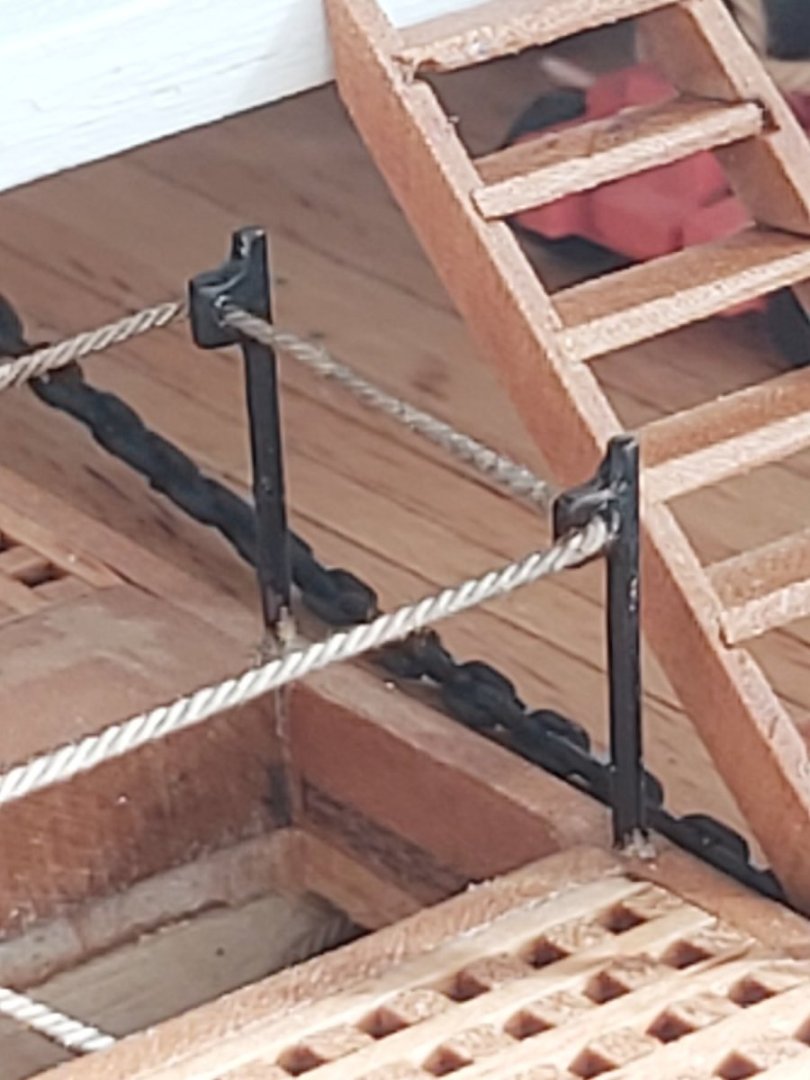
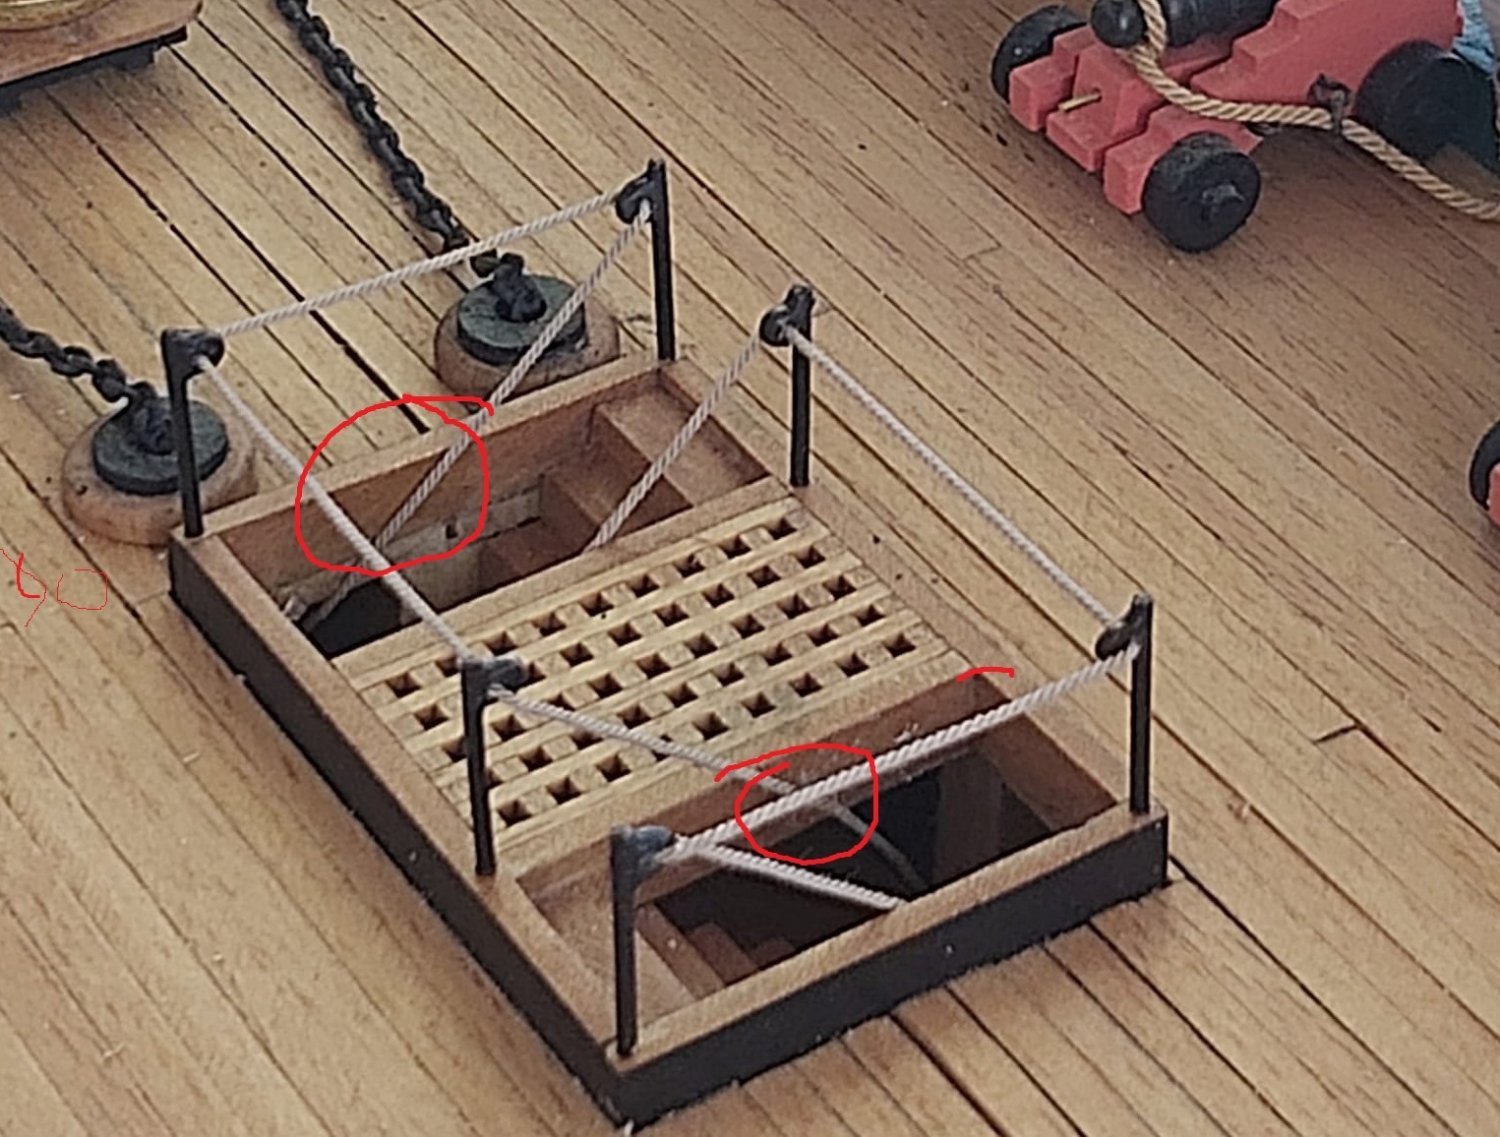
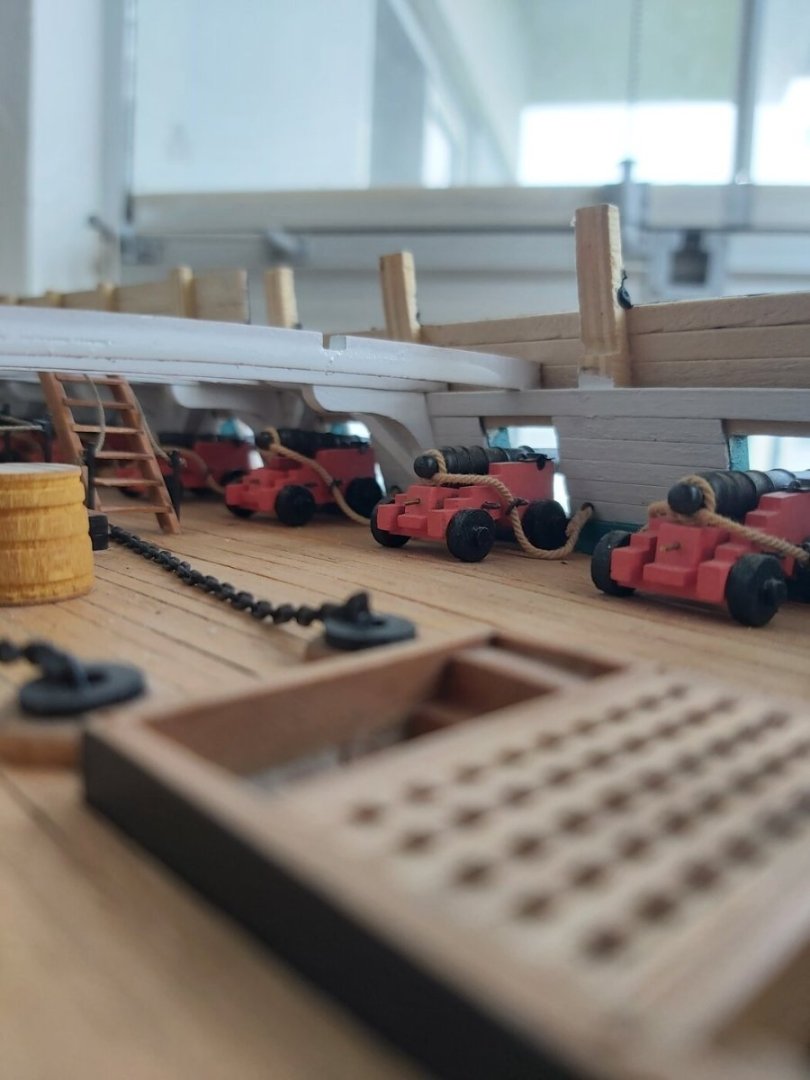
I glued the ropes with CA to the frame, where I marked with a red circle in the picture. While gluing, I stretch the rope with a pair of tweezers that I extend below. So it looks like it's tied somewhere below. The end of the rope is not tied to anything, I found such a solution.
-
Great job on the metal, Greg. Looks like brass material, have you ever thought of blackening it? It looks more realistic.
- 184 replies
-
- 1
-

-
- Bluenose
- Model Shipways
- (and 1 more)
-
USS Constitution by mtbediz - 1:76
mtbediz replied to mtbediz's topic in - Build logs for subjects built 1751 - 1800
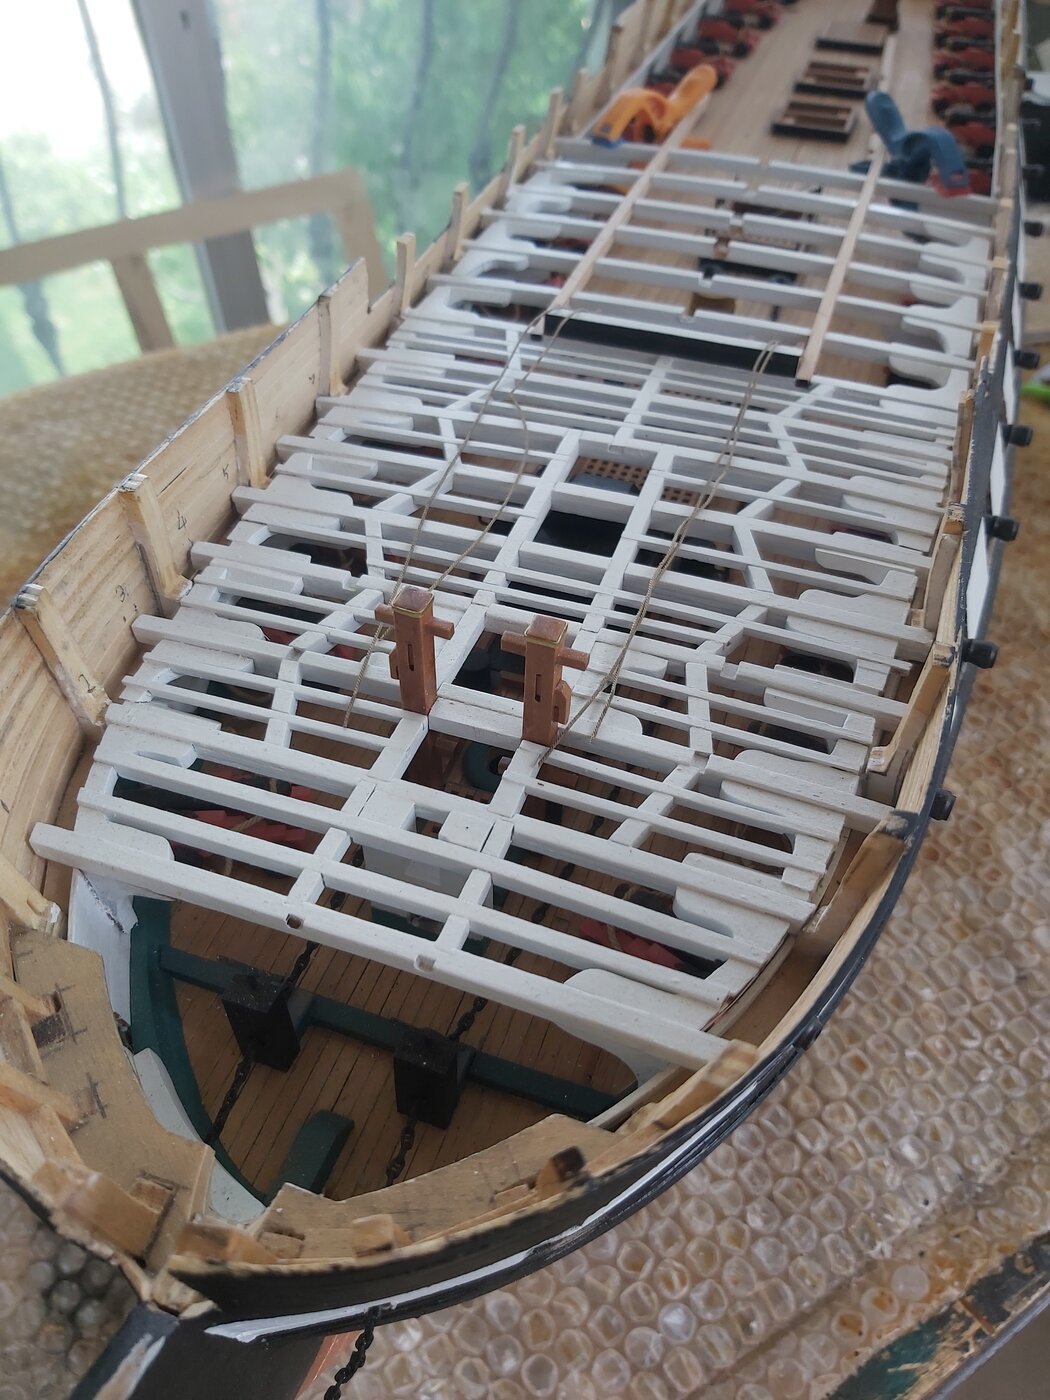
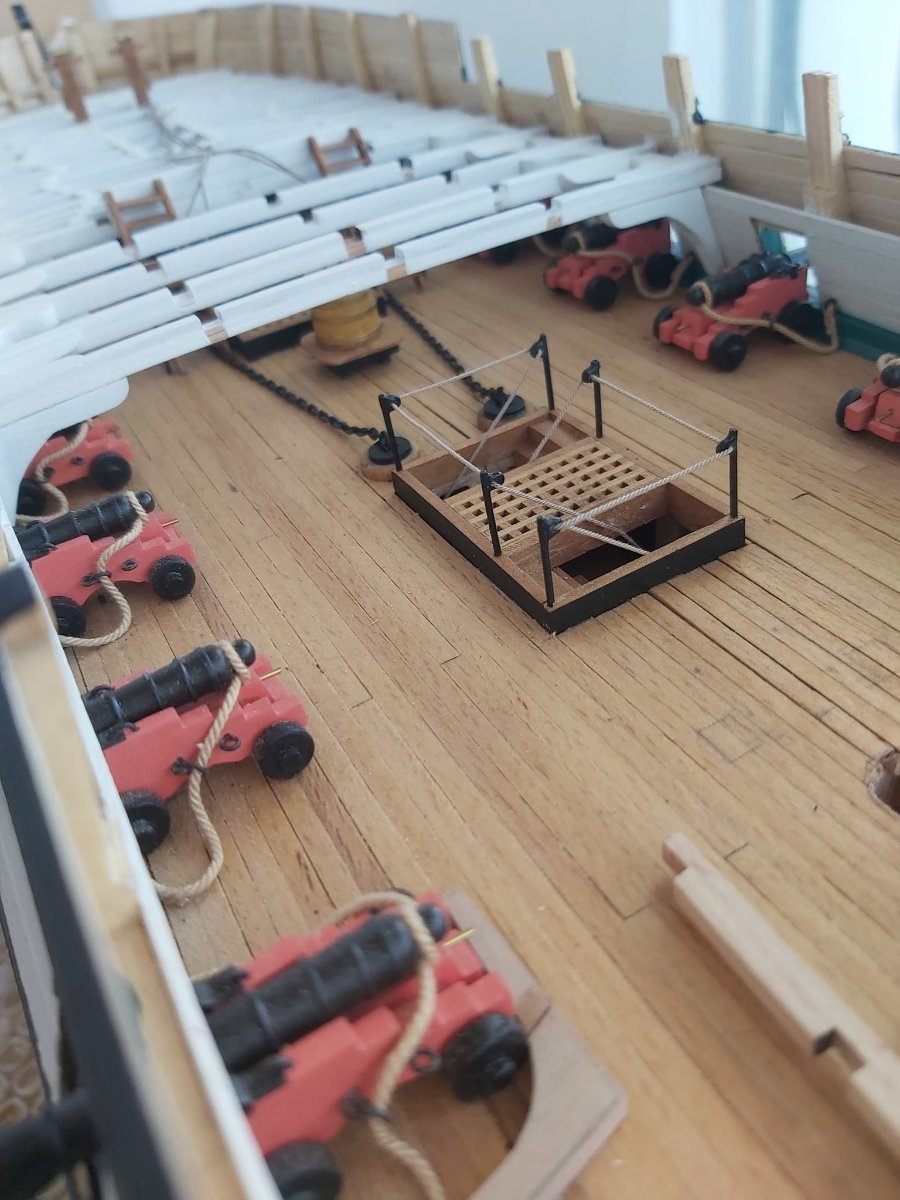
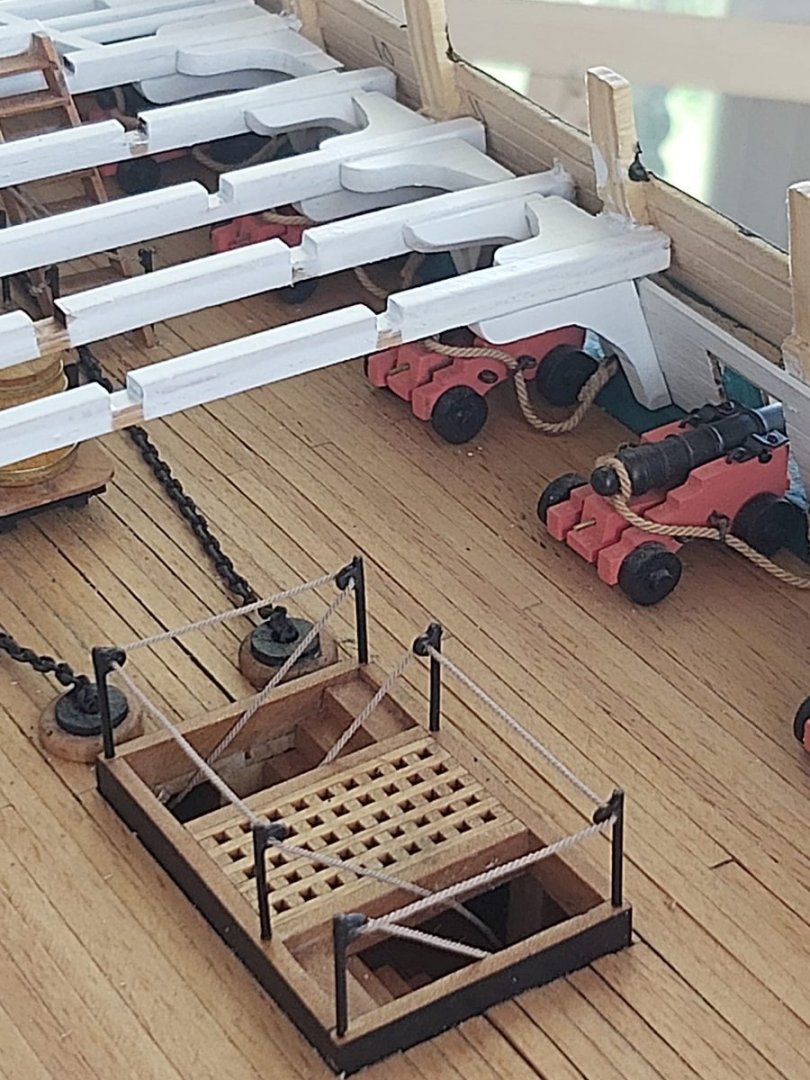
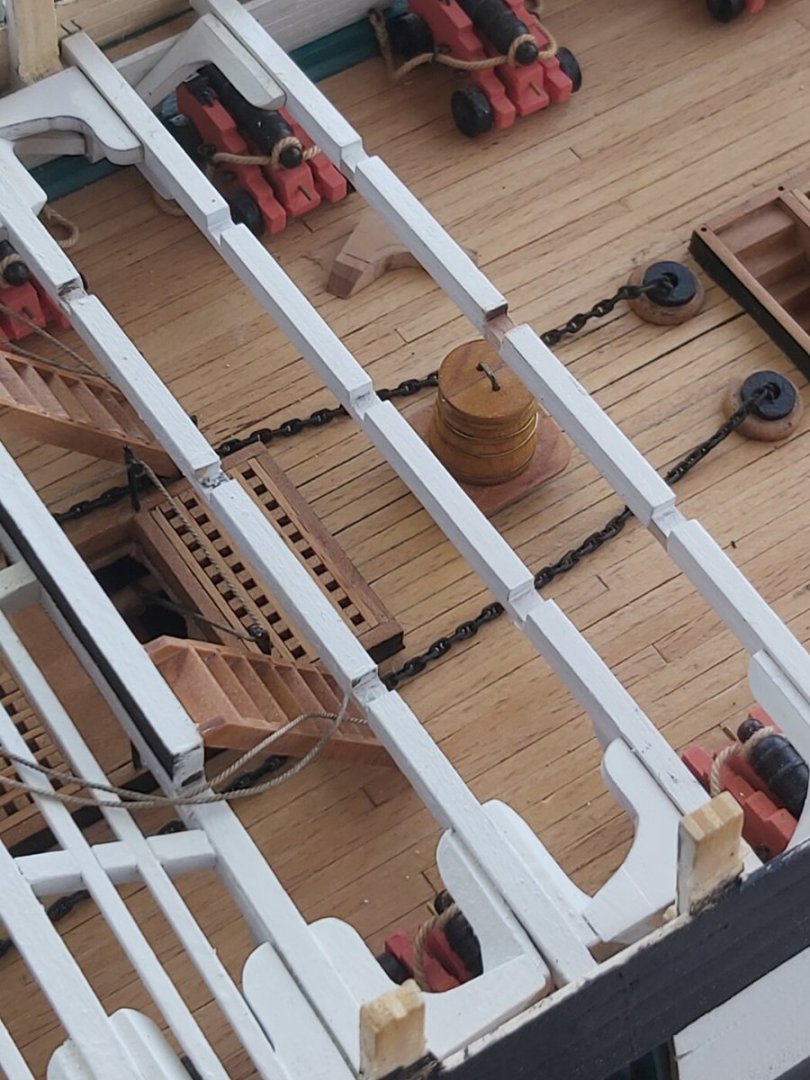
Added stancions and hand ropes around the main hatch while it is still accessible.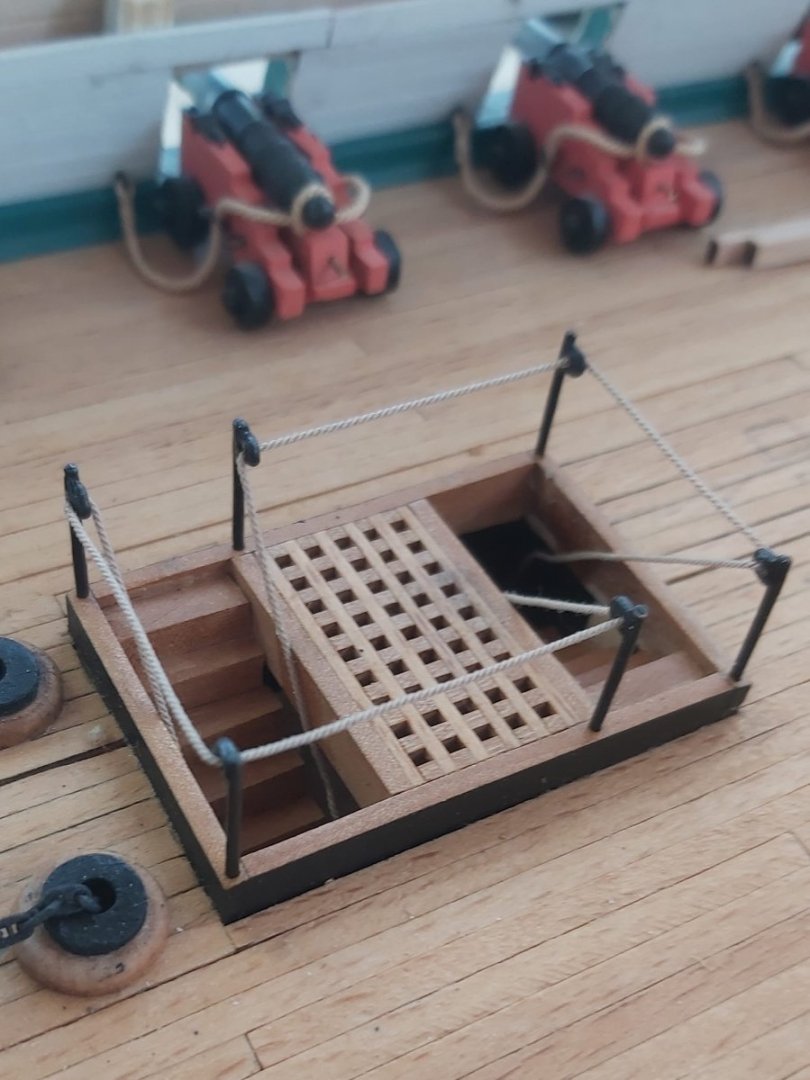


-
USS Constitution by mtbediz - 1:76
mtbediz replied to mtbediz's topic in - Build logs for subjects built 1751 - 1800
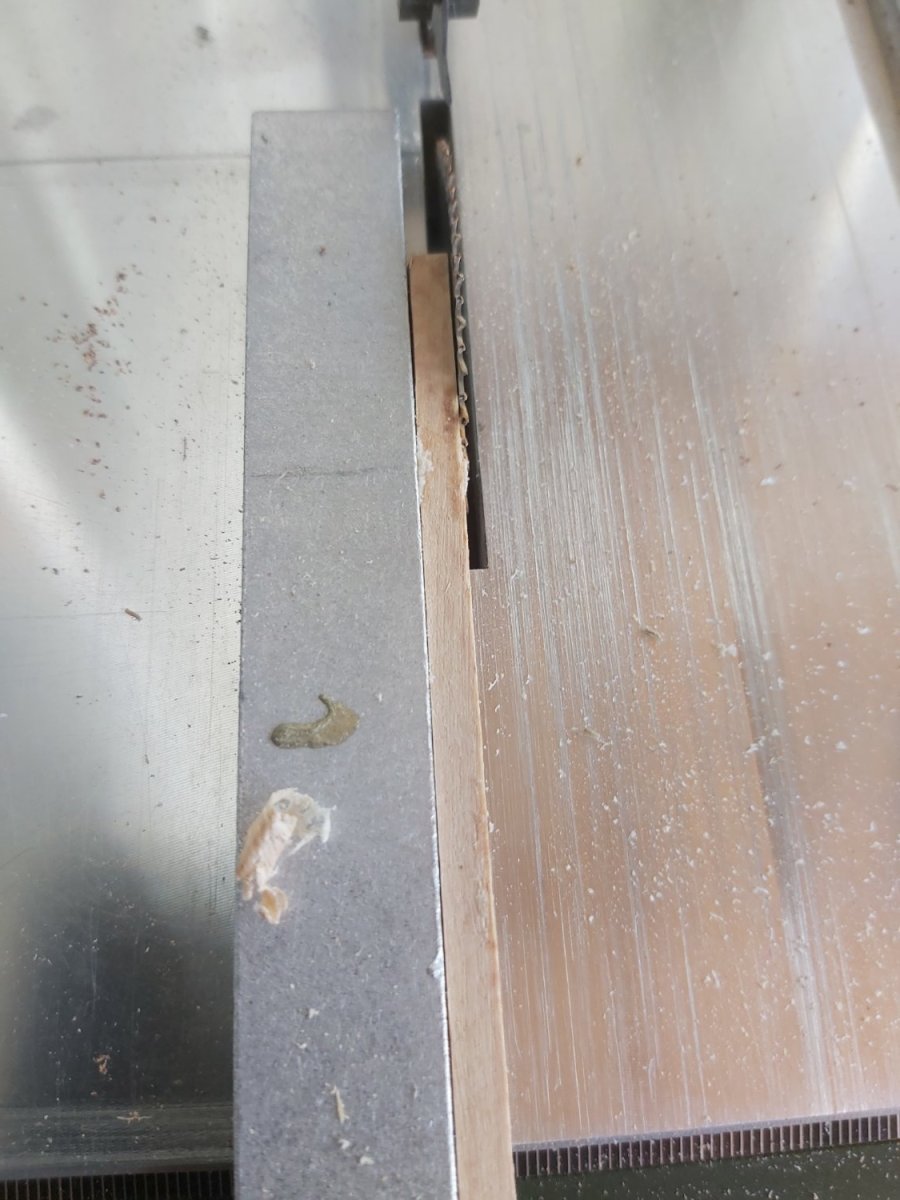
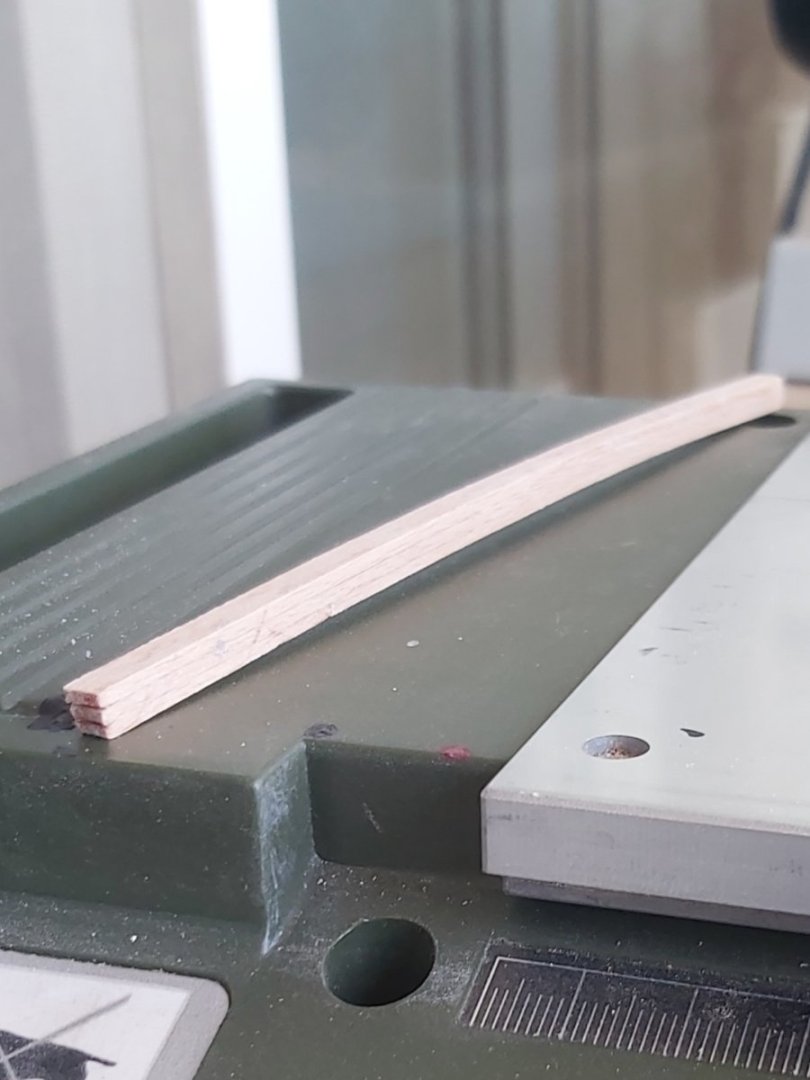
Thank you Greg. My table saw is a Proxxon KS230. It's Proxxon's simplest saw and does a good job within its capabilities. I've been using it for six years. -
USS Constitution by mtbediz - 1:76
mtbediz replied to mtbediz's topic in - Build logs for subjects built 1751 - 1800
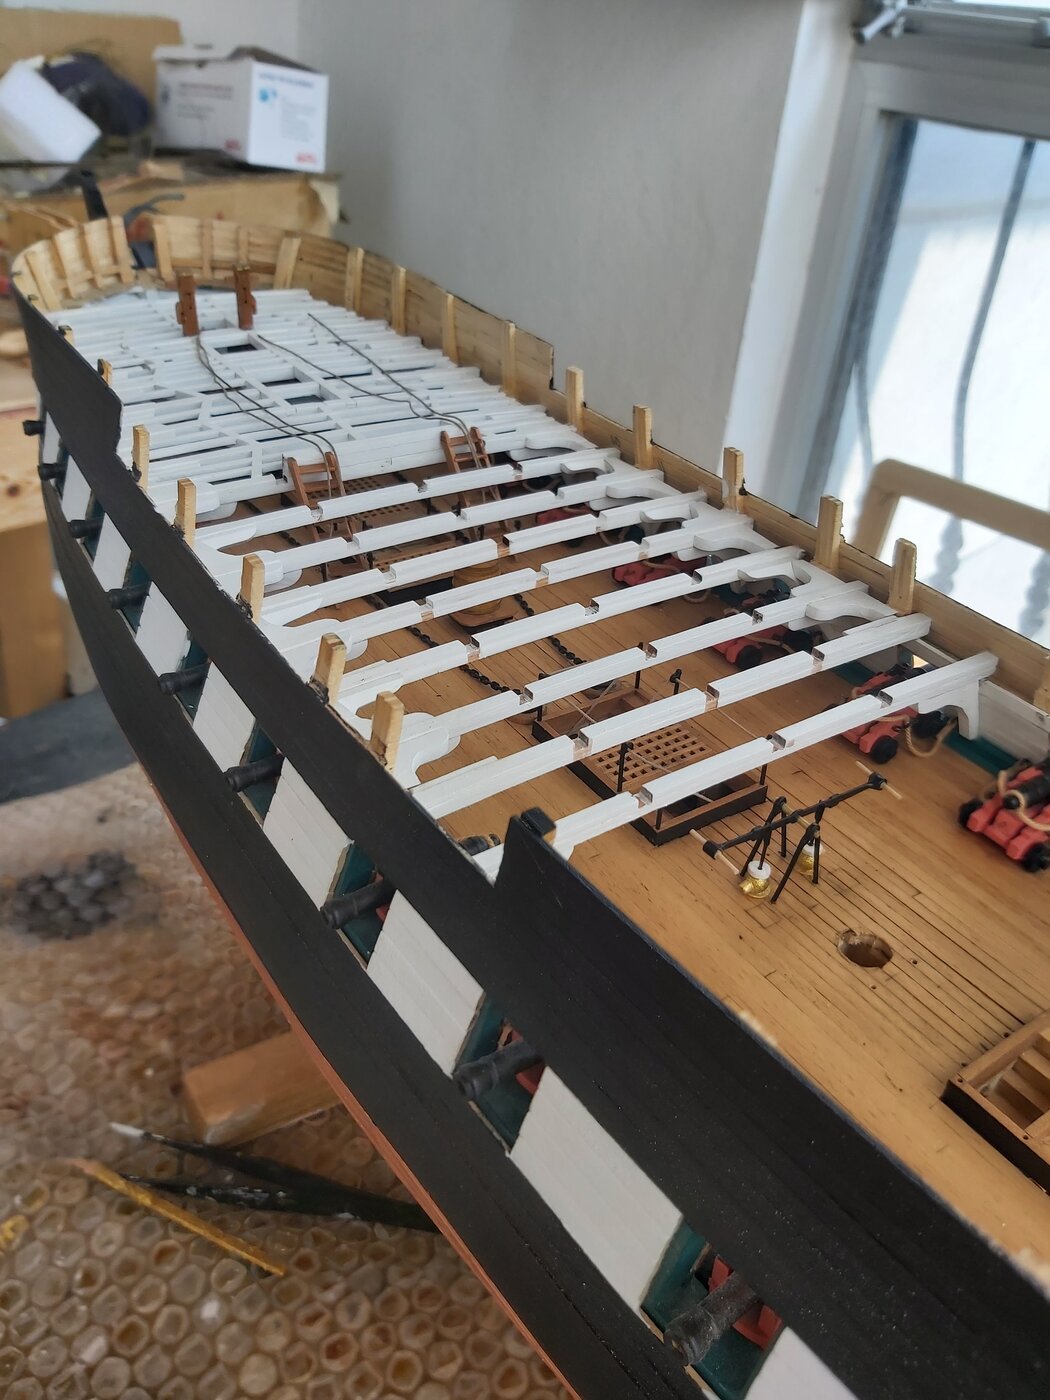
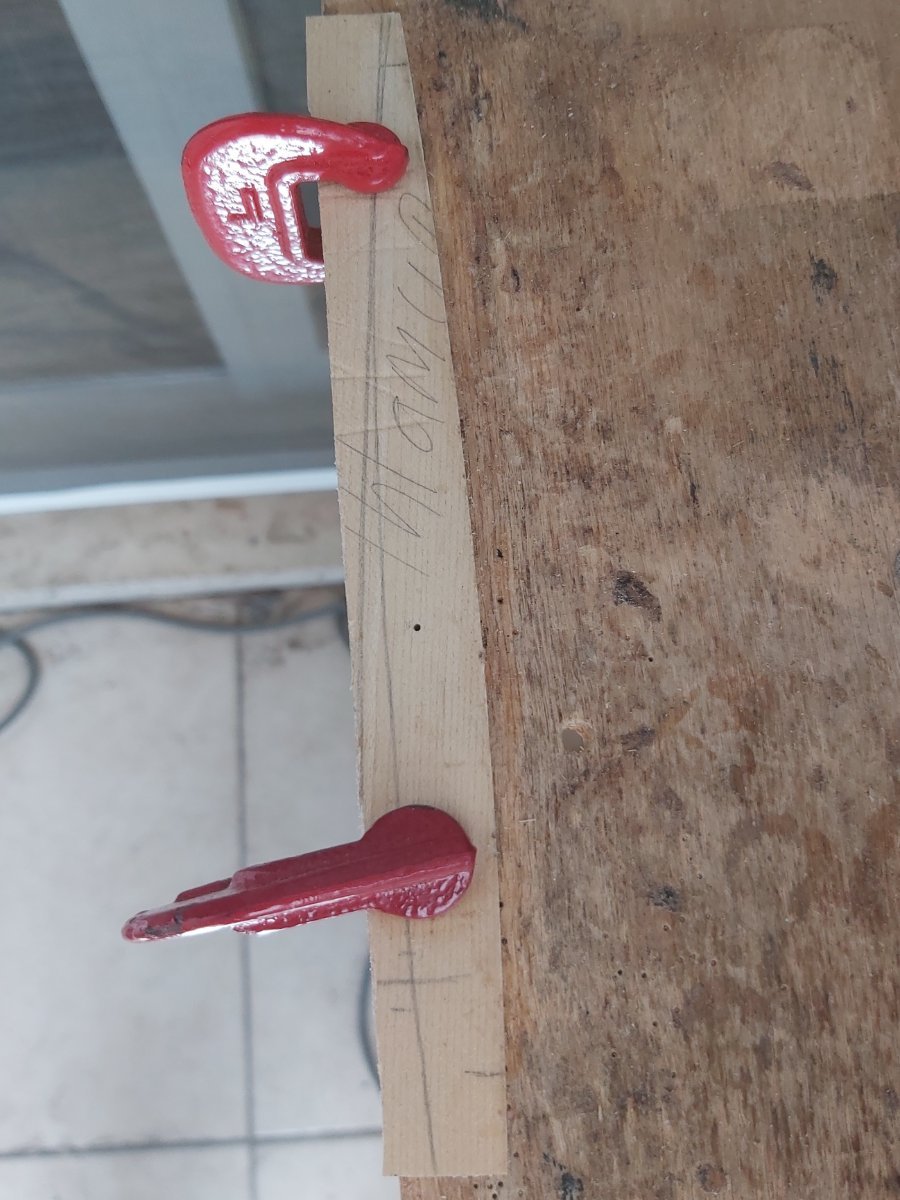
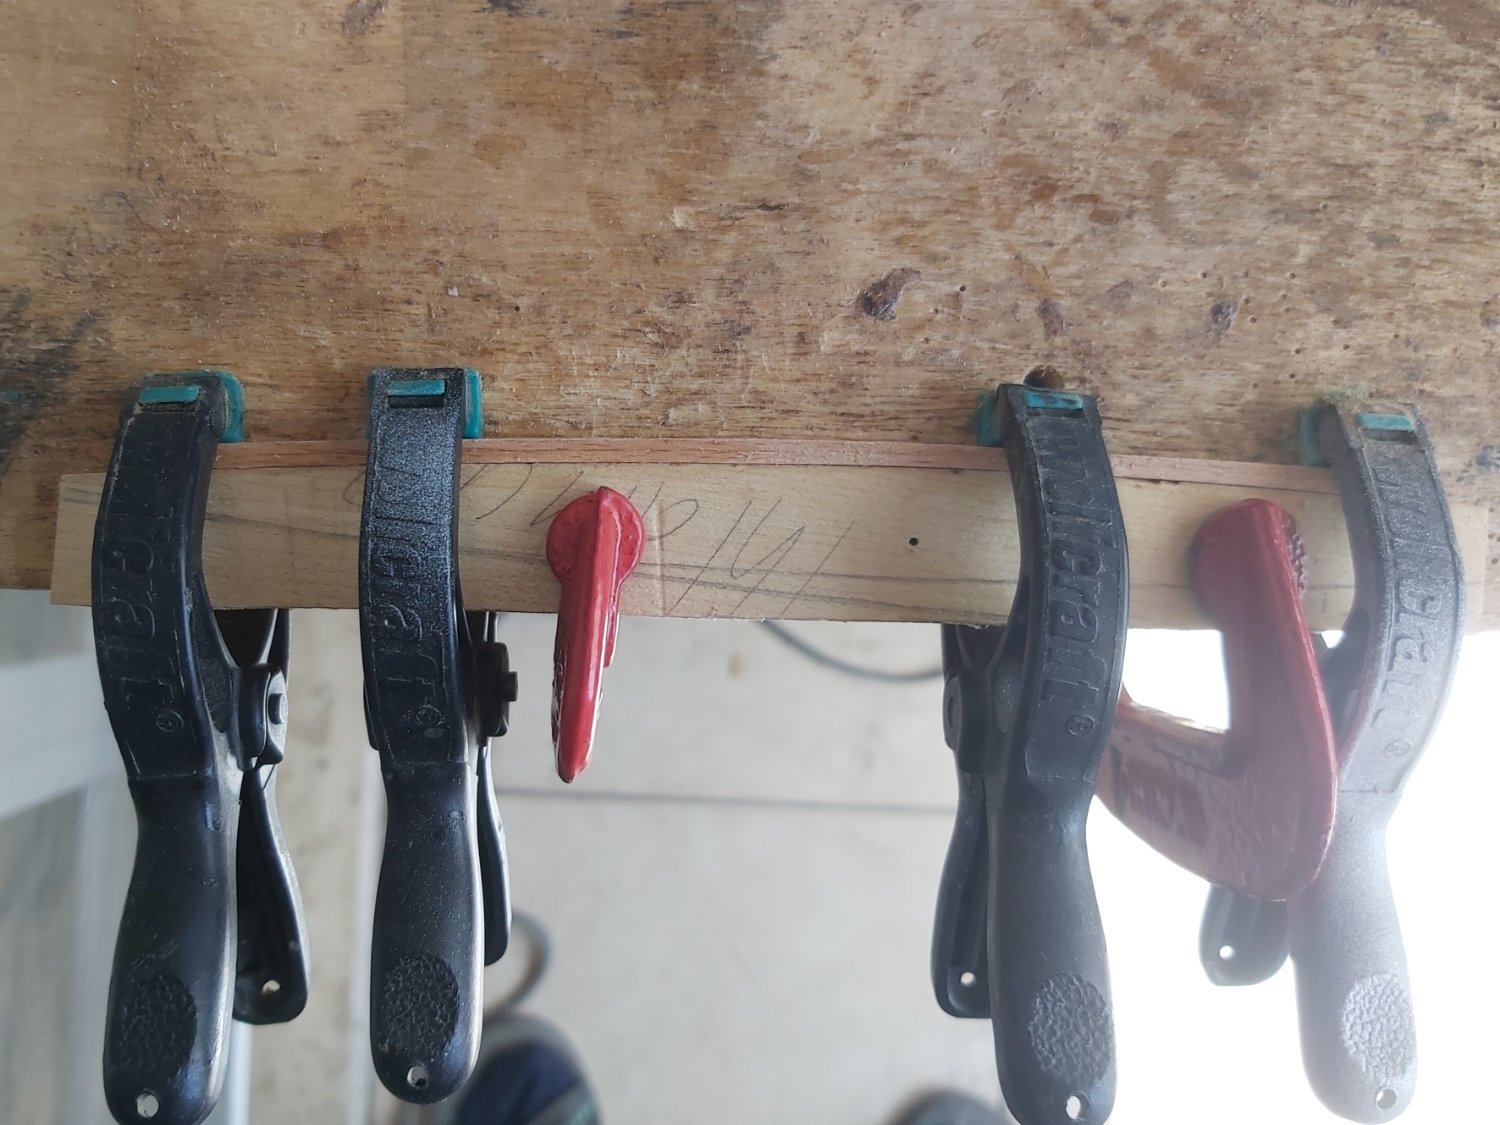
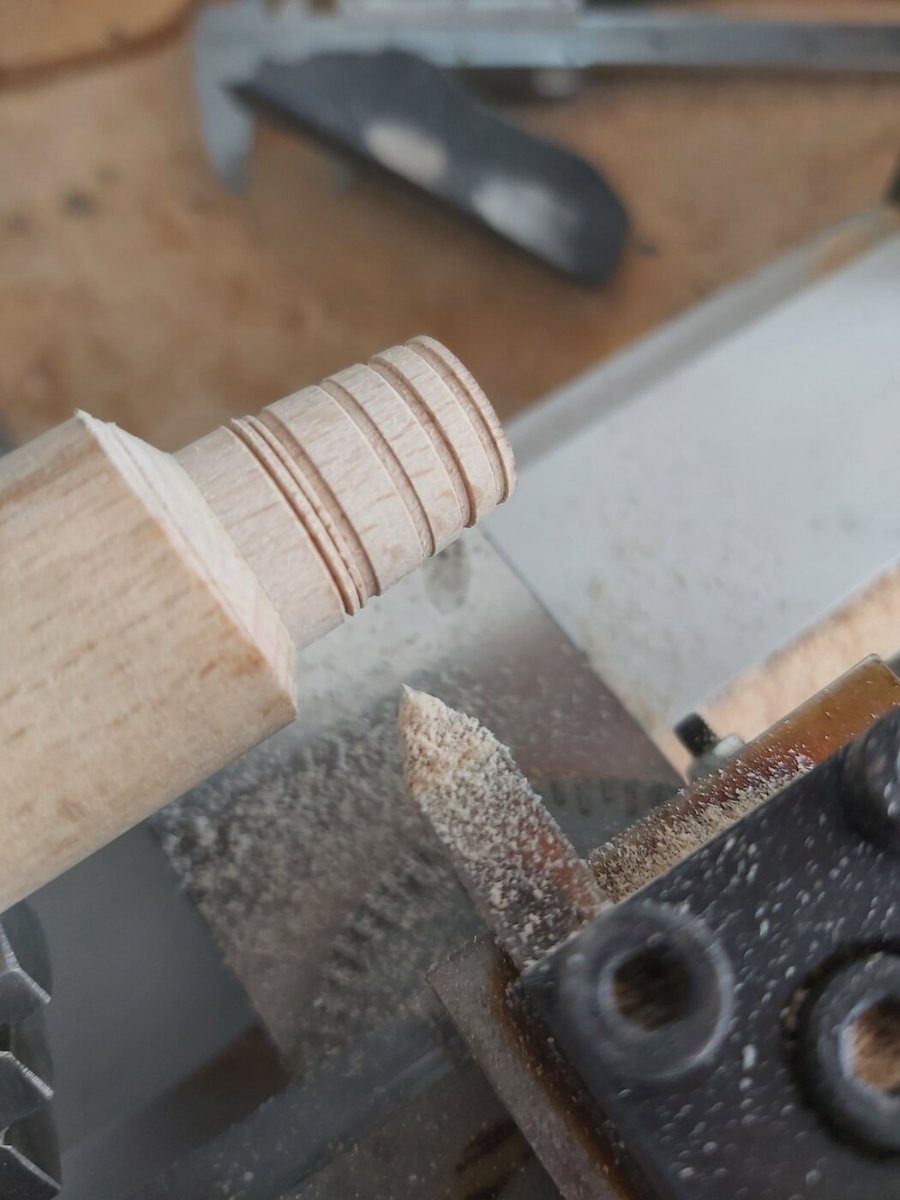
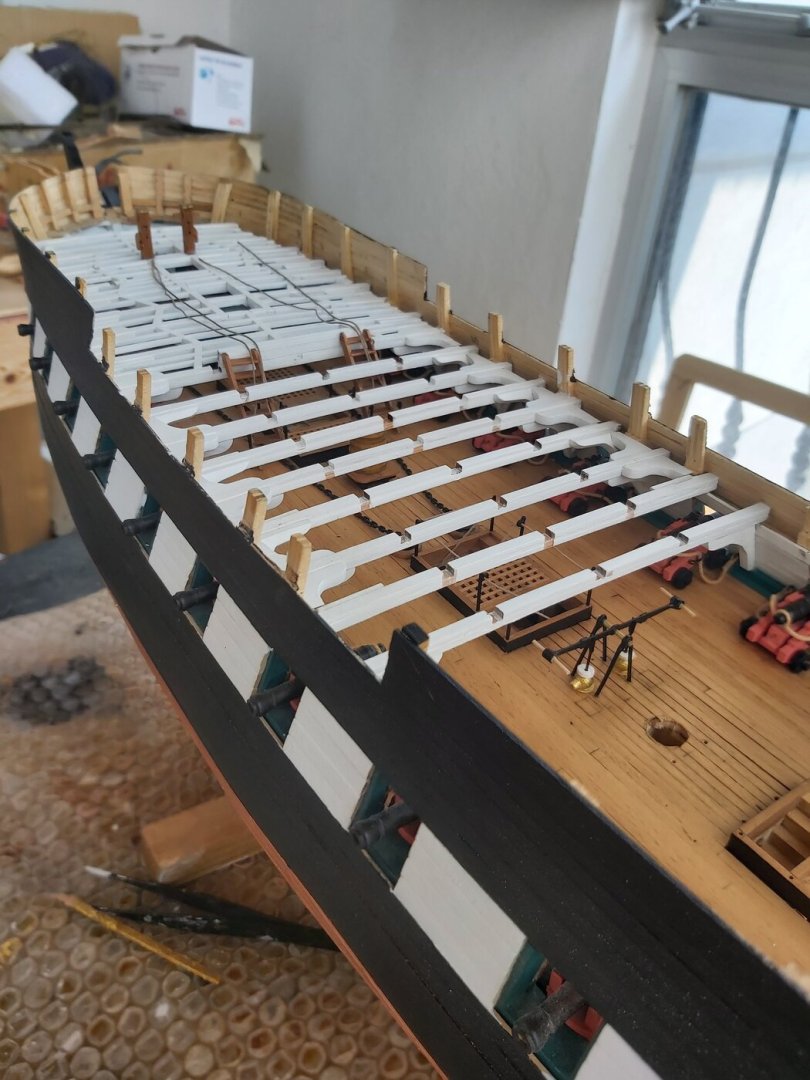
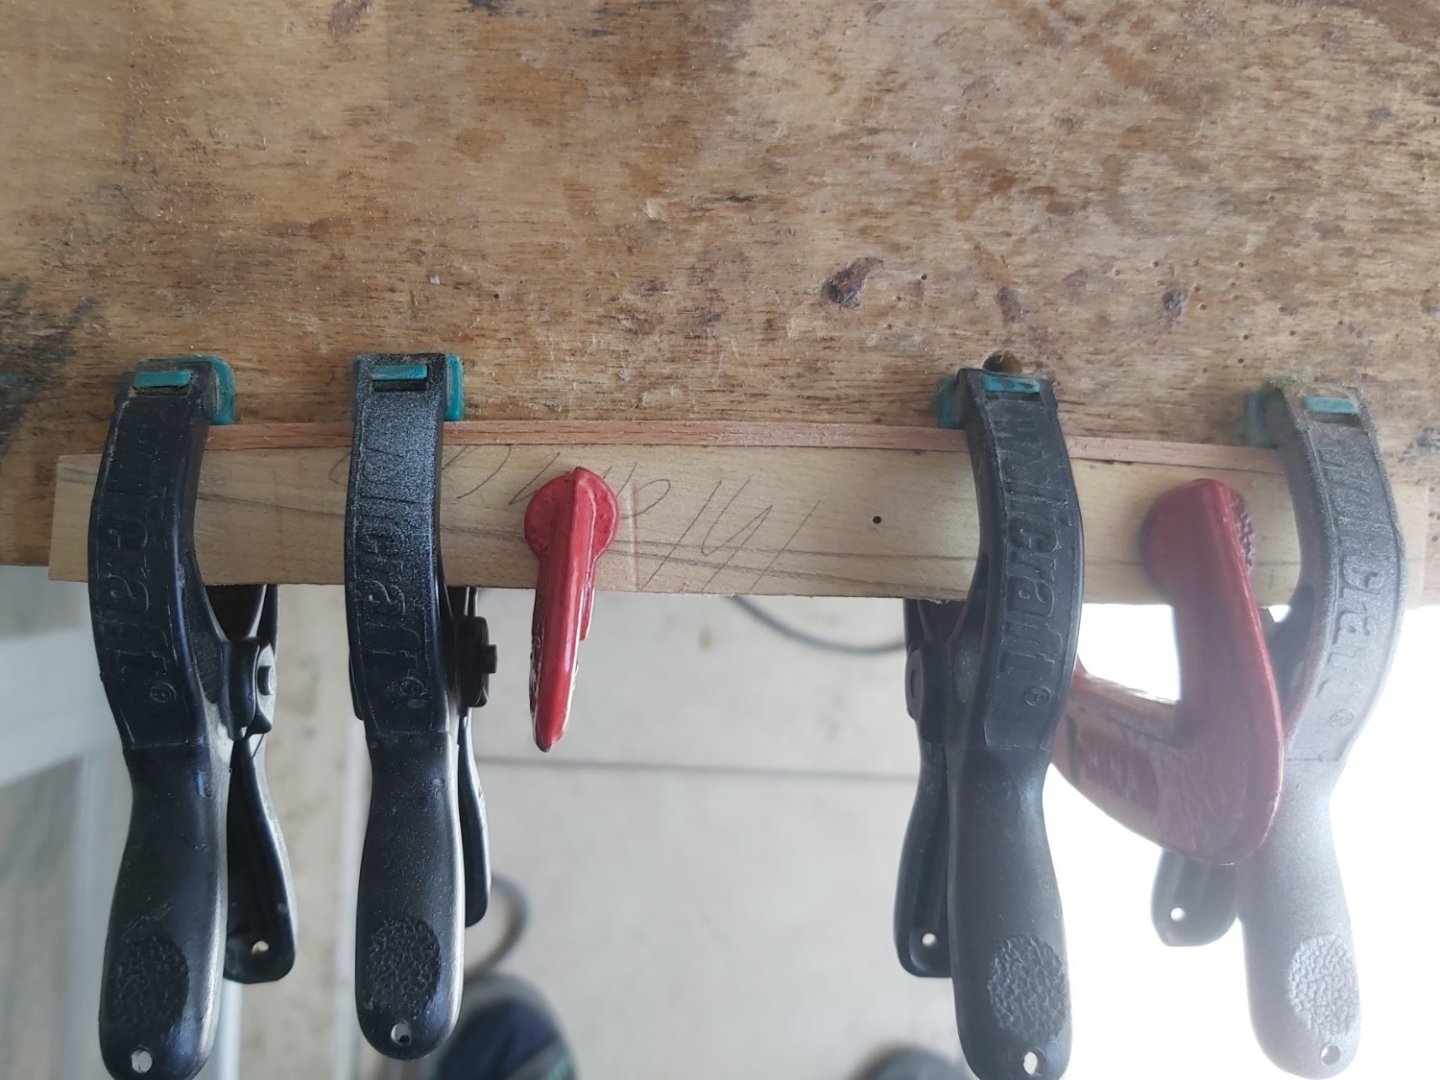
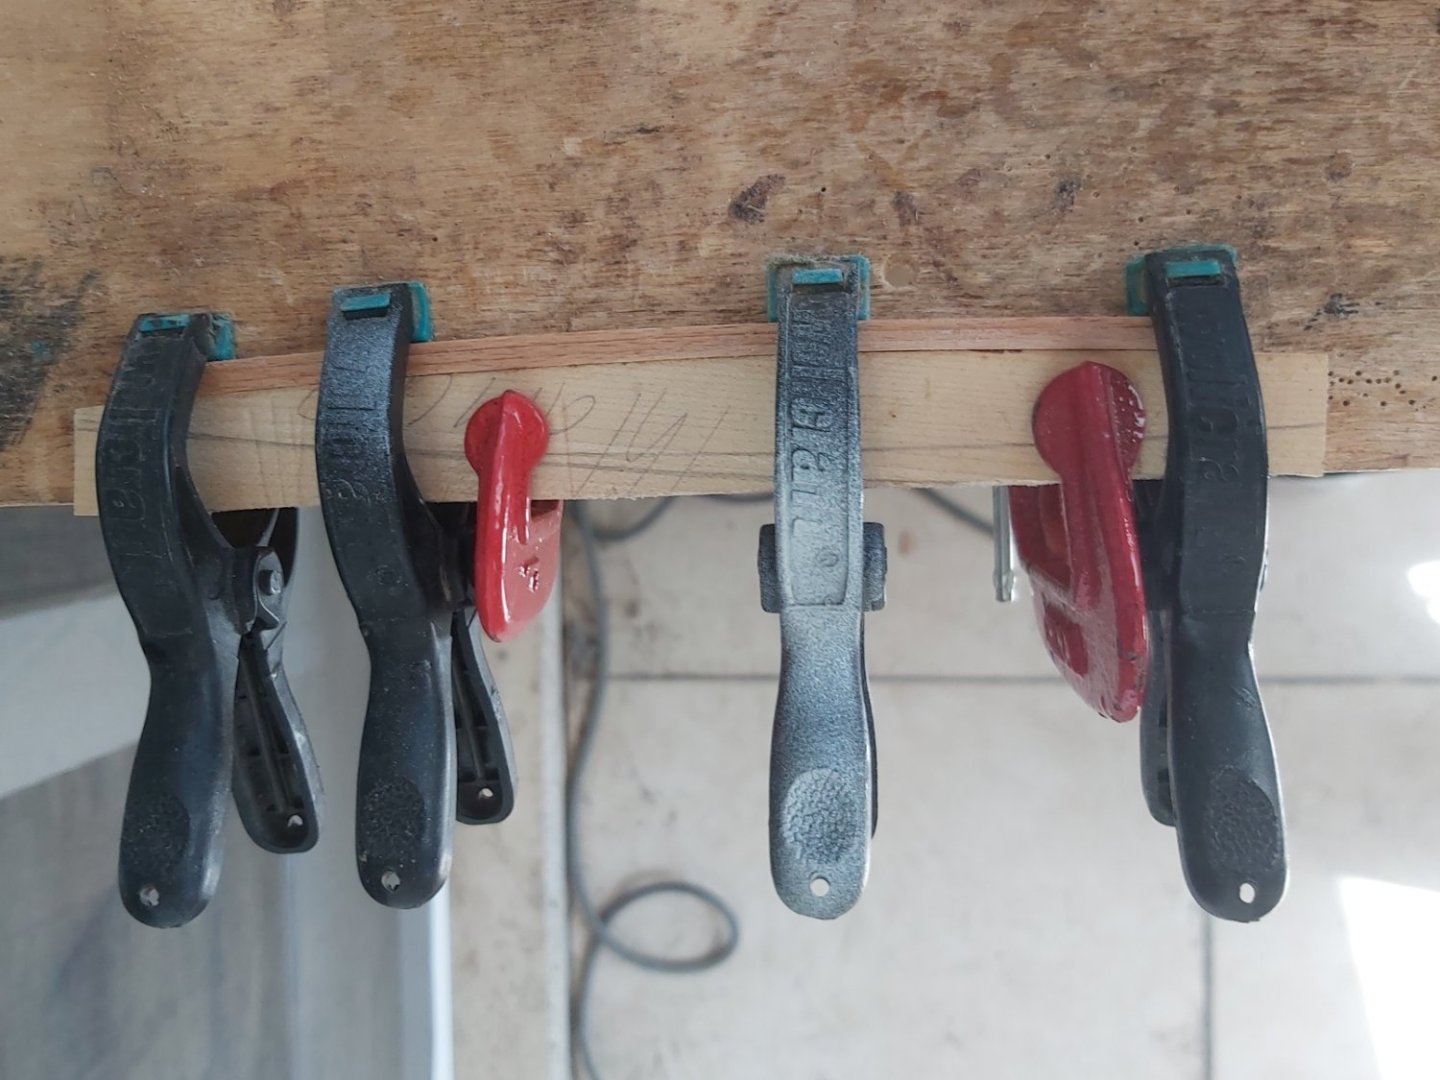
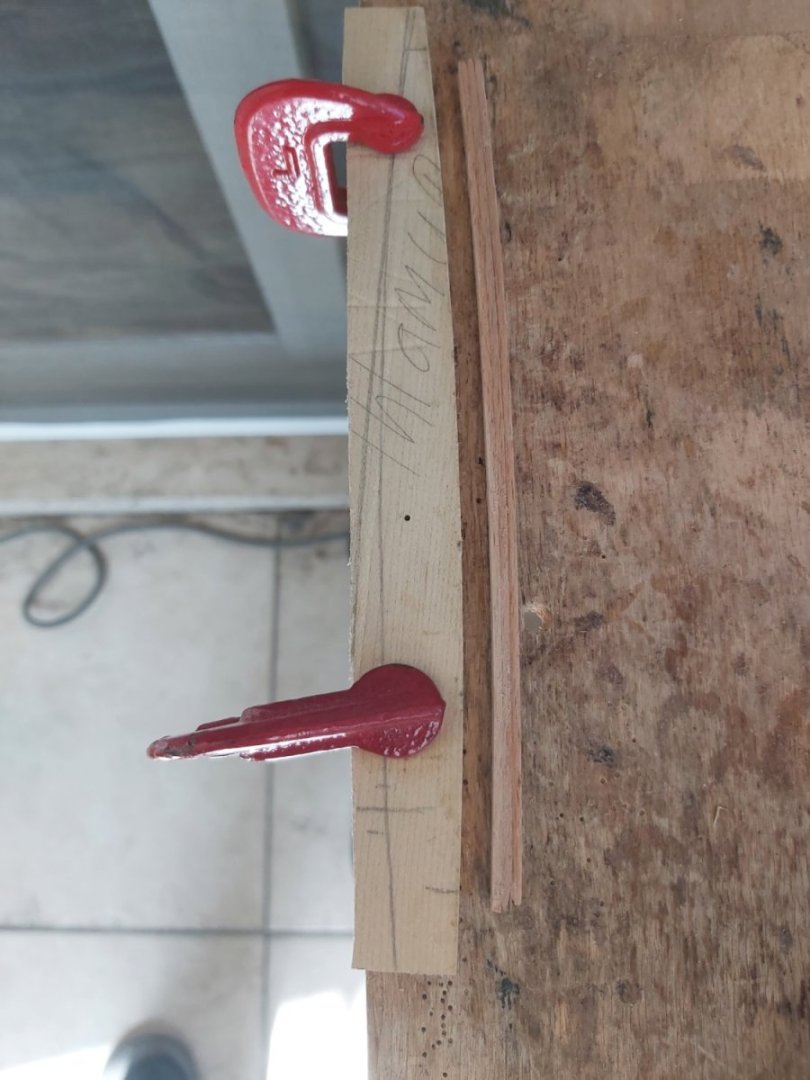
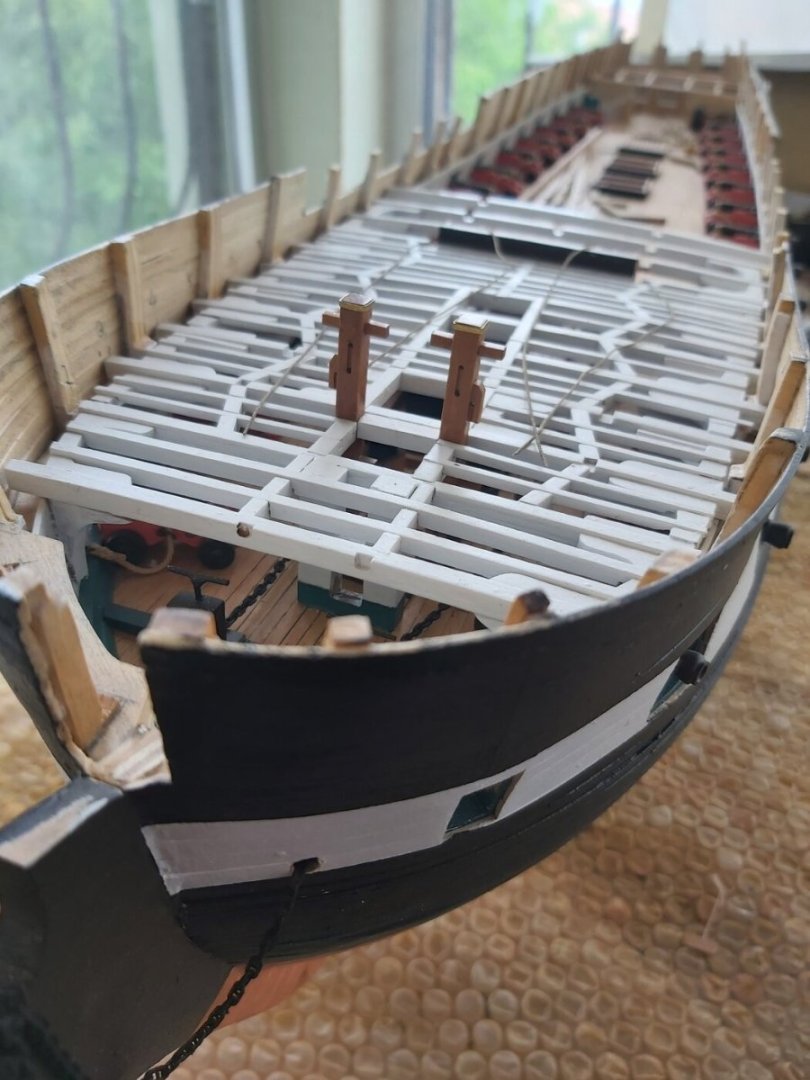
I would like to show how I made the main beams for those who are wondering how I did it. Since I have difficulty obtaining smooth beams by cutting and sanding wood, I use another method. I cut 3 pieces of the same size strip from 1,5x5 mm stock, apply glue between them, clamp them to the mold I prepared before, wait for it to dry, and remove it from the mold. Thus, I obtain standard curved beams.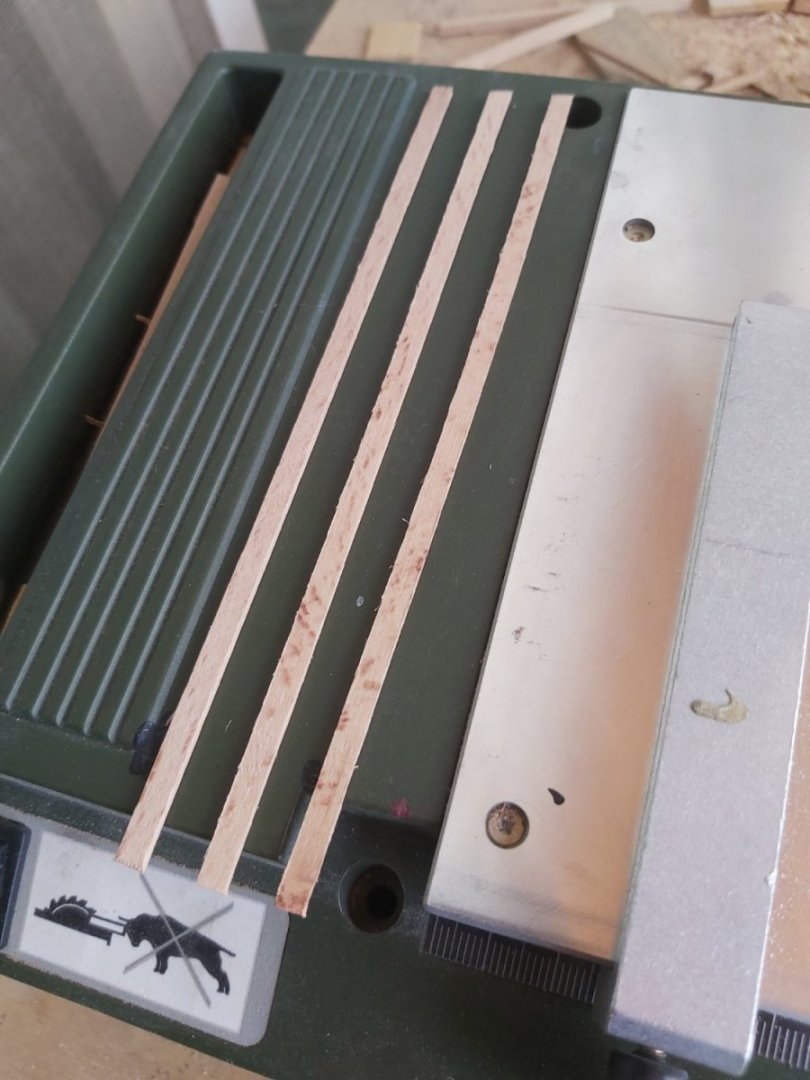


-
USS Constitution by mtbediz - 1:76
mtbediz replied to mtbediz's topic in - Build logs for subjects built 1751 - 1800
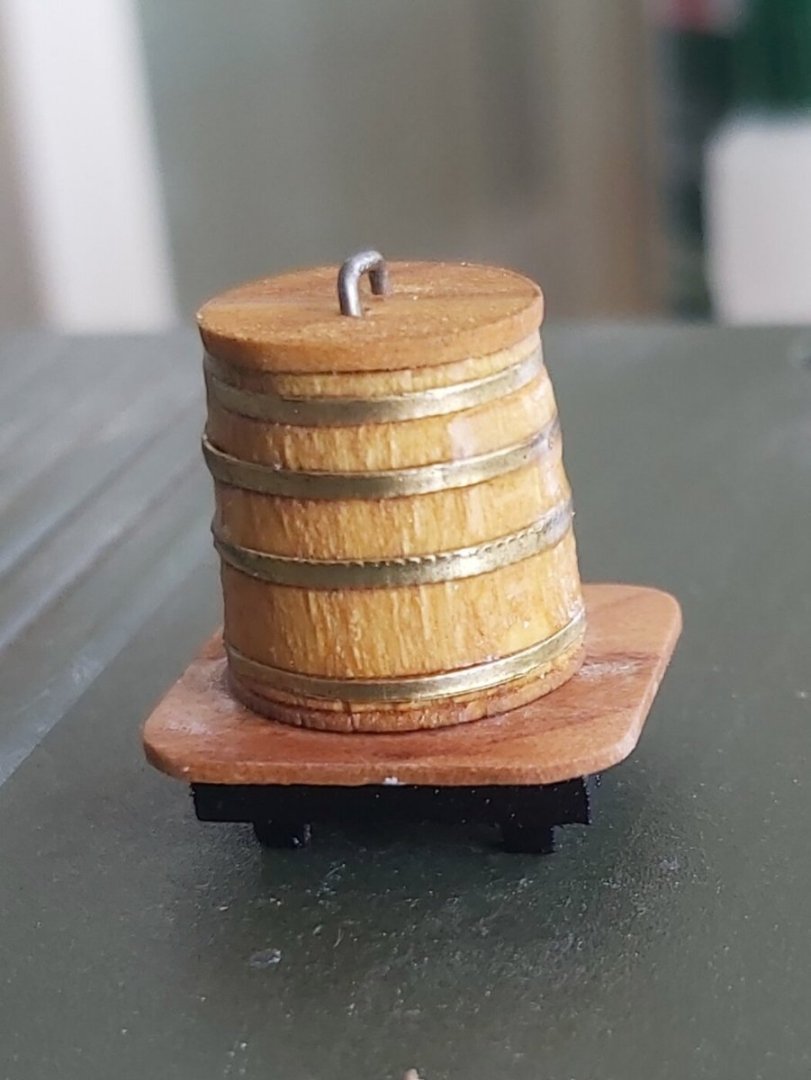
Thanks for the info John. As far as I understand what I made is a Grog Tub -
USS Constitution by mtbediz - 1:76
mtbediz replied to mtbediz's topic in - Build logs for subjects built 1751 - 1800
Thank you Greg. I really don't know what was in the barrel. There was probably a liquid inside, such as water or alcohol. I added it because it was on the deck of today's ship. Jon is really knowledgeable on Conny. Maybe he can make a contribution. -
USS Constitution by mtbediz - 1:76
mtbediz replied to mtbediz's topic in - Build logs for subjects built 1751 - 1800
I don't know when this ship was launched, but my guess is that she is at least 200 years old and is still alive and well. She deserves her name. She's an ''Iron Lady'' -
USS Constitution by mtbediz - 1:76
mtbediz replied to mtbediz's topic in - Build logs for subjects built 1751 - 1800
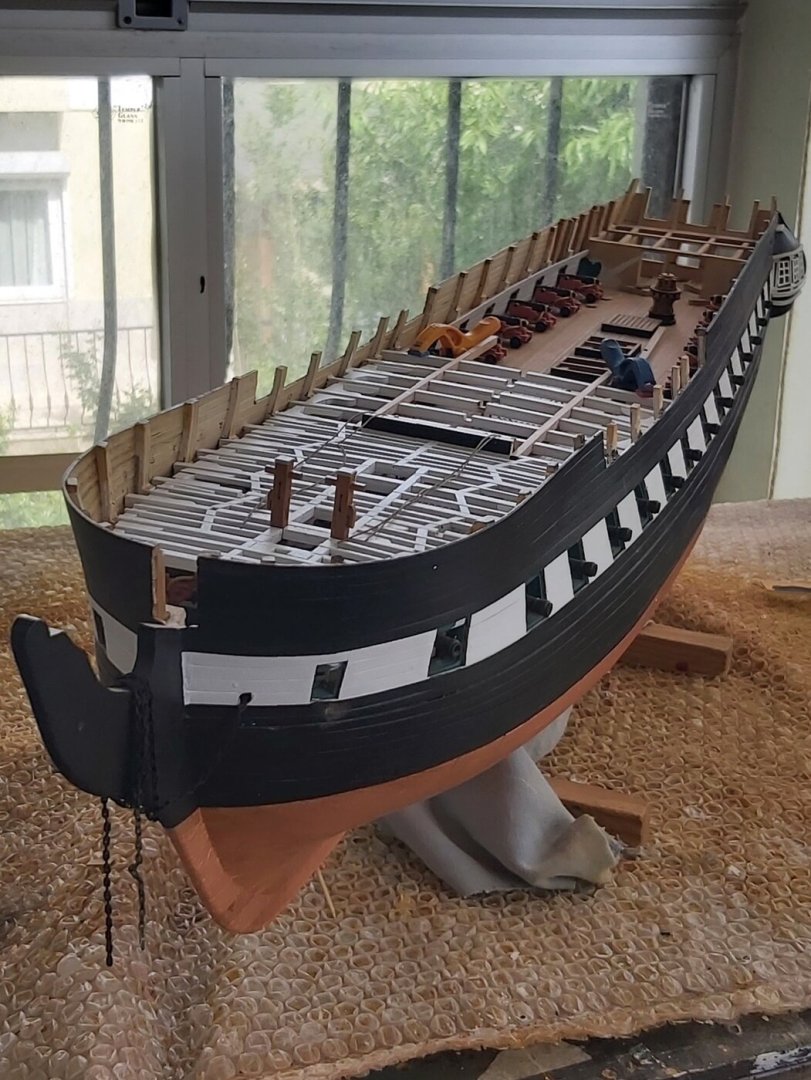
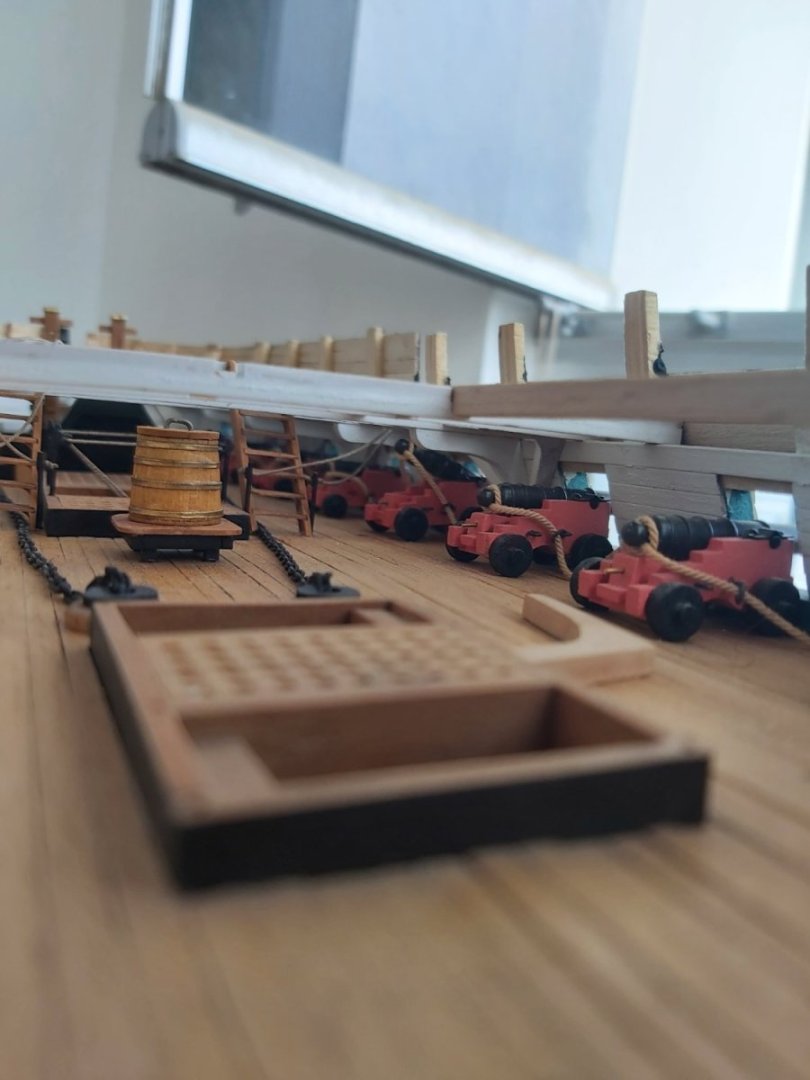
A quick update
-
USS Constitution by mtbediz - 1:76
mtbediz replied to mtbediz's topic in - Build logs for subjects built 1751 - 1800
Greg, I know it's too early to ask because you're concentrating on your Bluenose right now, but while it's mentioned, let me ask anyway. Are you considering adding a gun deck to your Constitution? As far as I know the kit does not have this. -
USS Constitution by mtbediz - 1:76
mtbediz replied to mtbediz's topic in - Build logs for subjects built 1751 - 1800
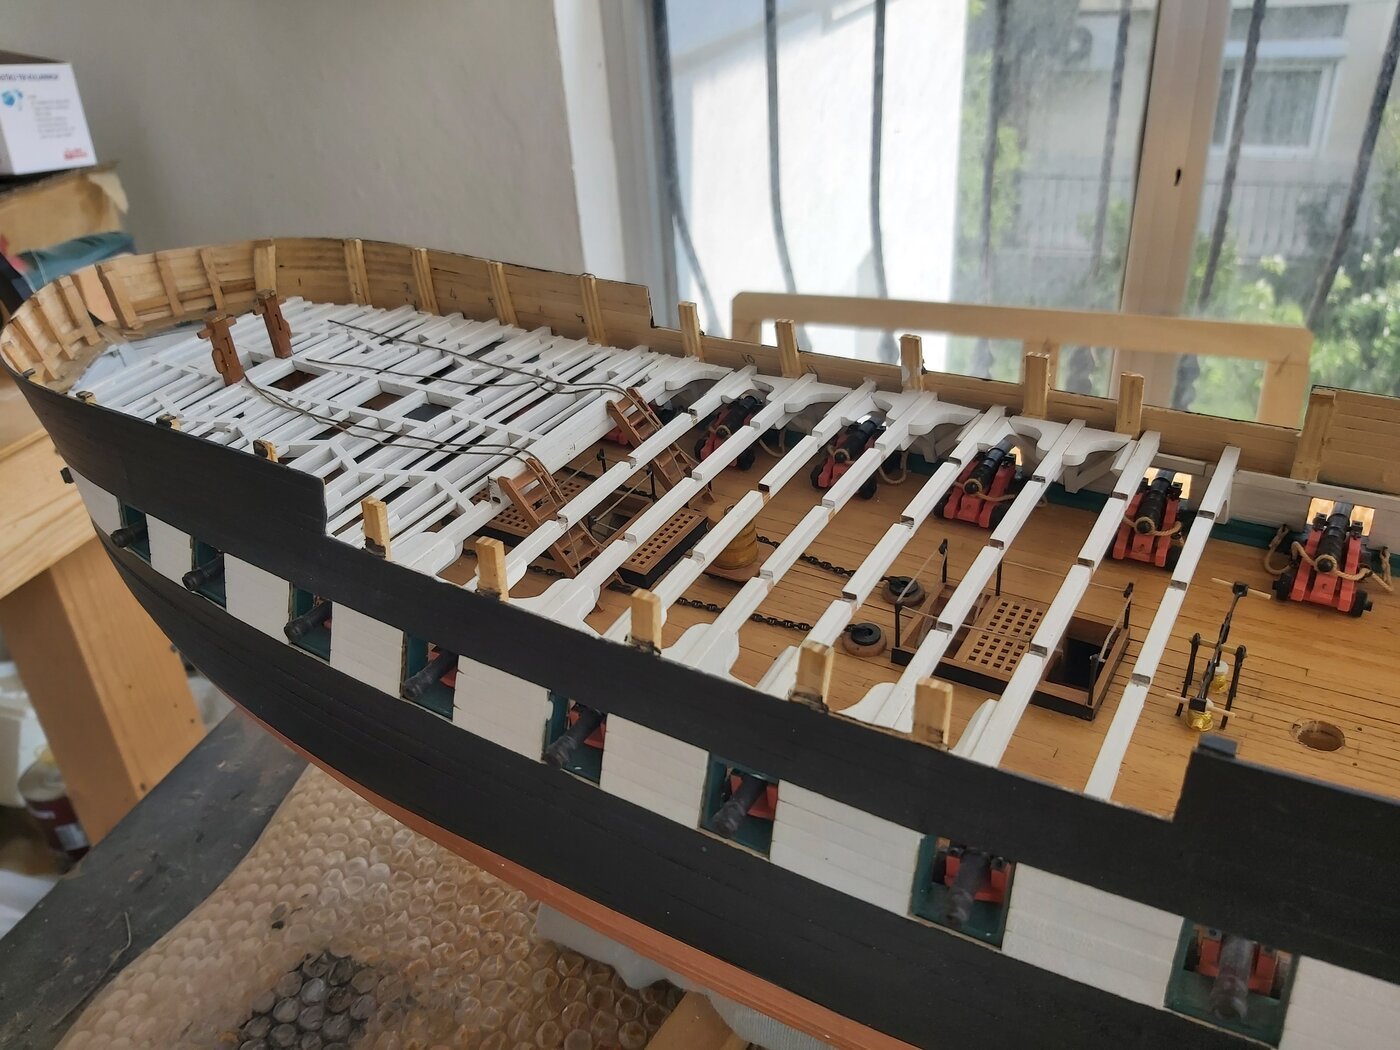
Yes Jon, you suggested this to me before. Even making the auxiliary beams thinner at the front of the ship didn't help make the gun deck as visible as I had hoped. So I decided not to put them in anymore. -
USS Constitution by mtbediz - 1:76
mtbediz replied to mtbediz's topic in - Build logs for subjects built 1751 - 1800
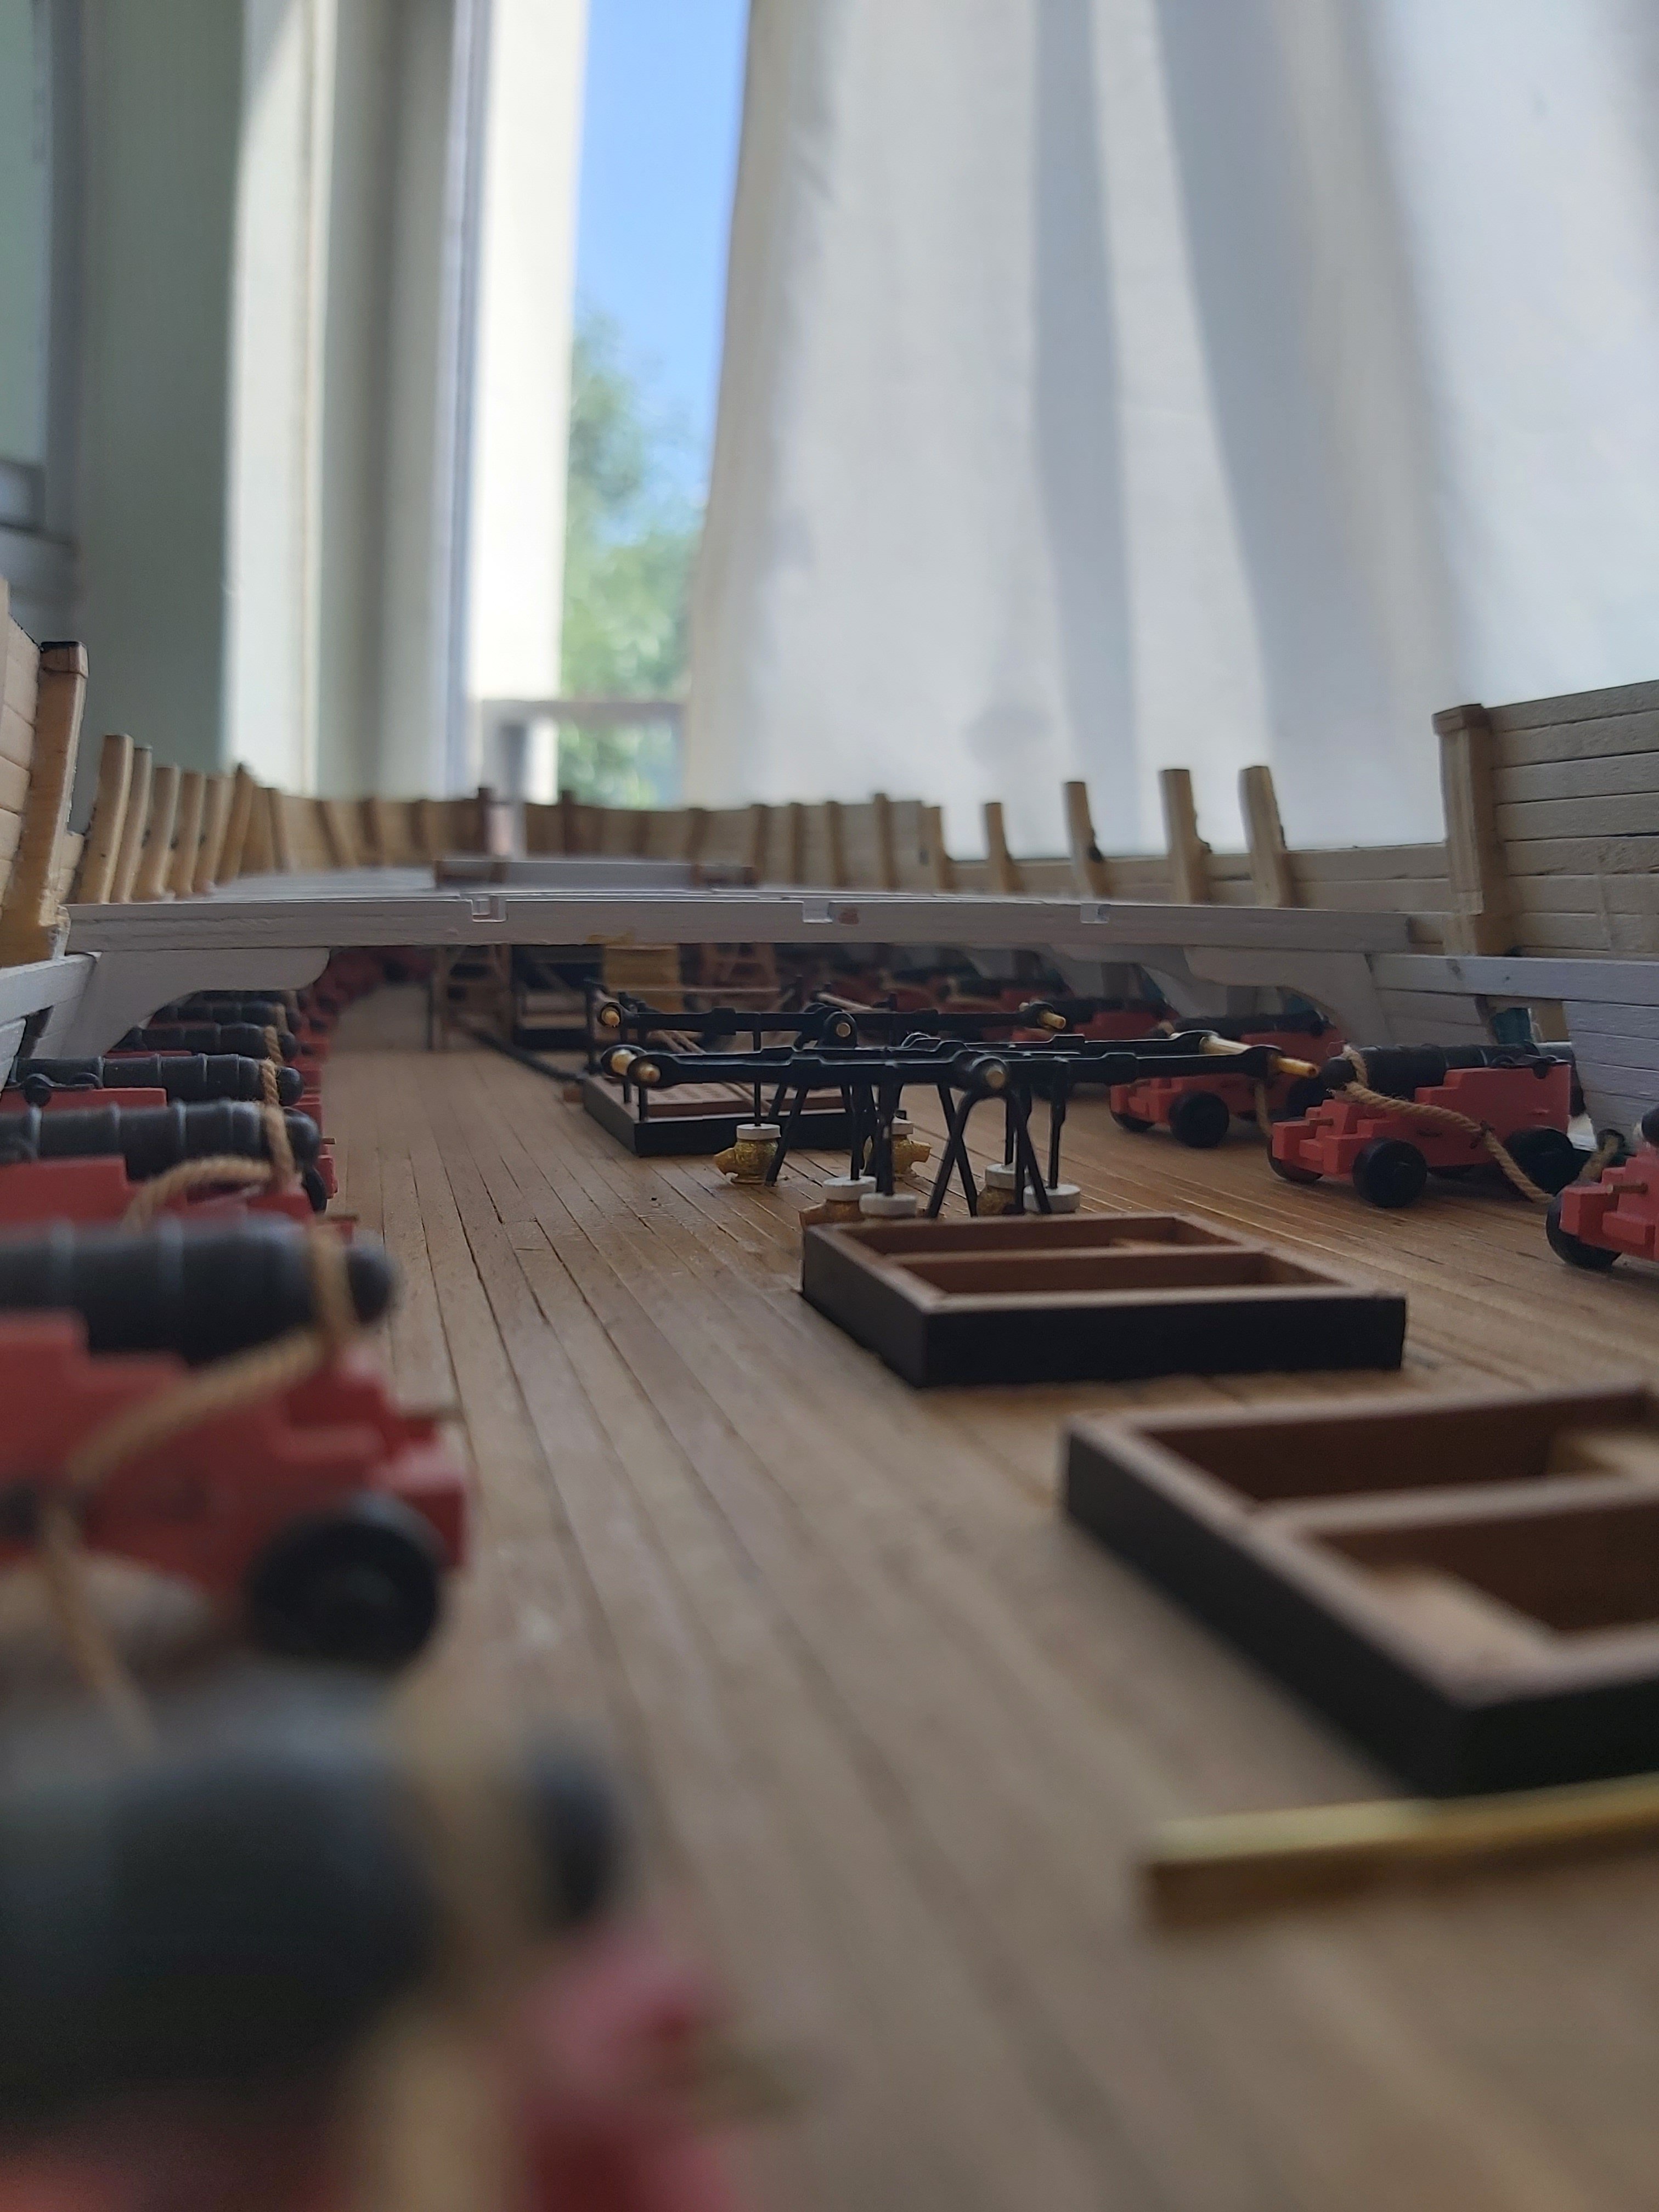
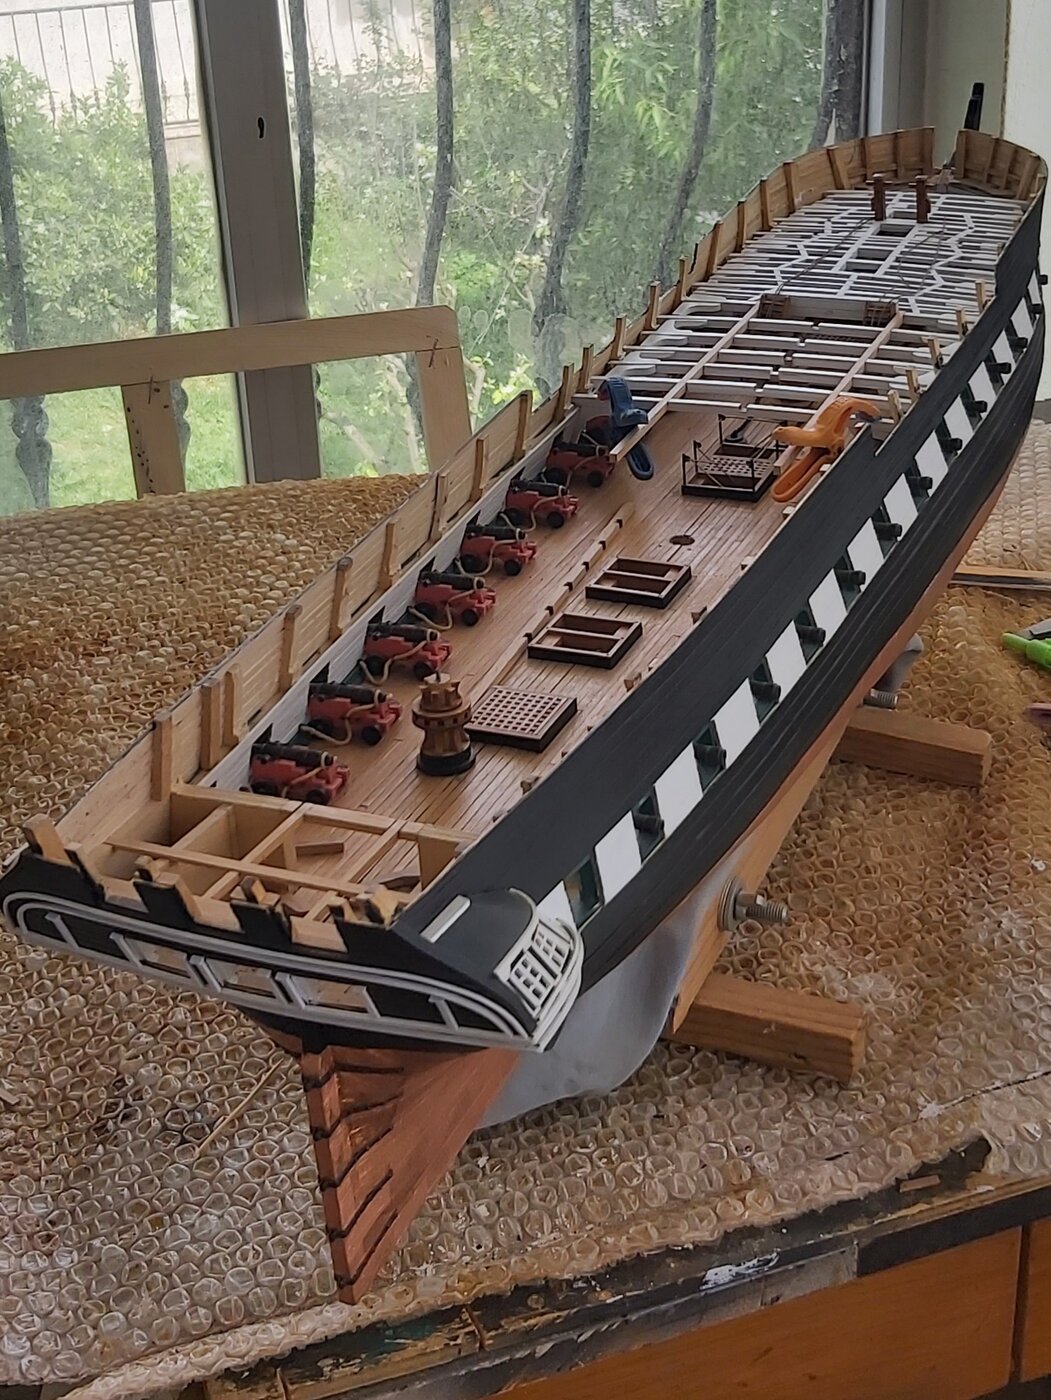
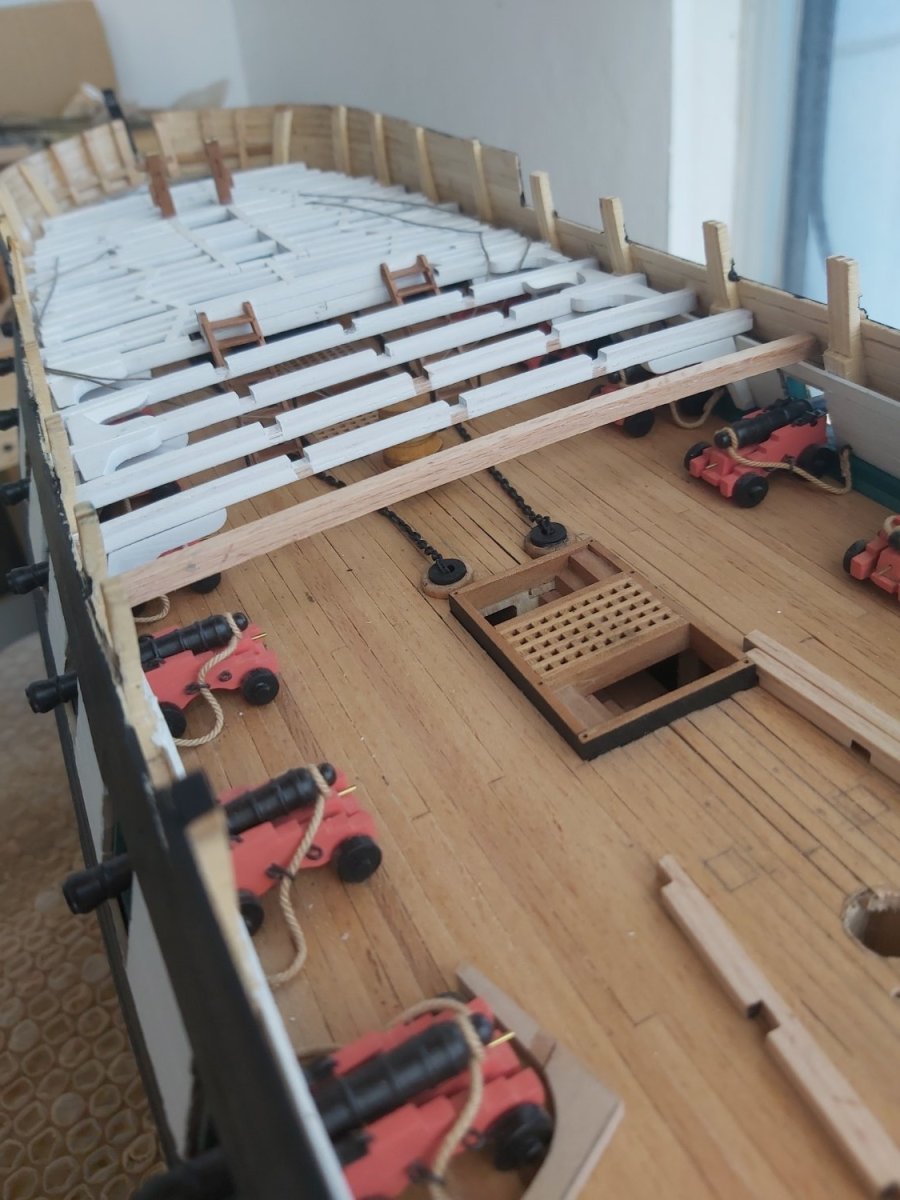
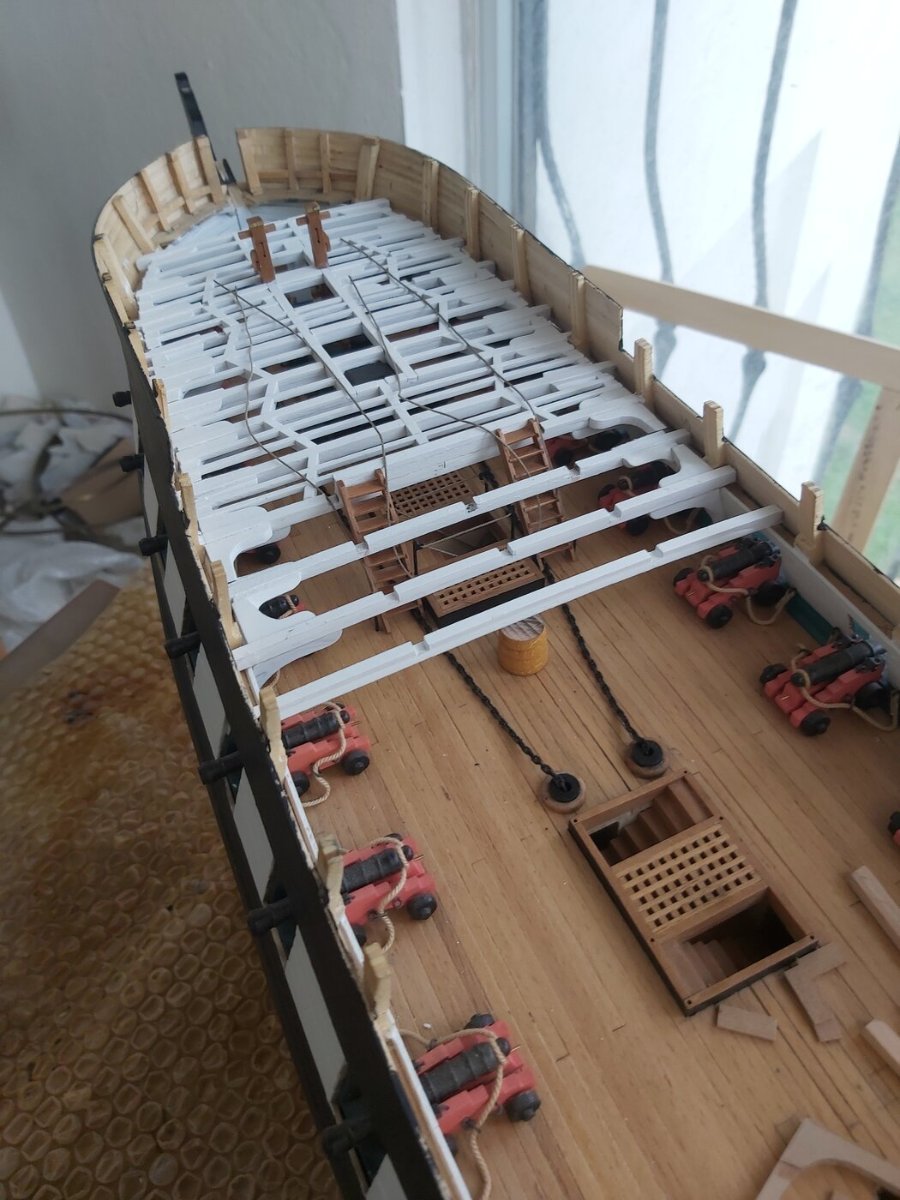
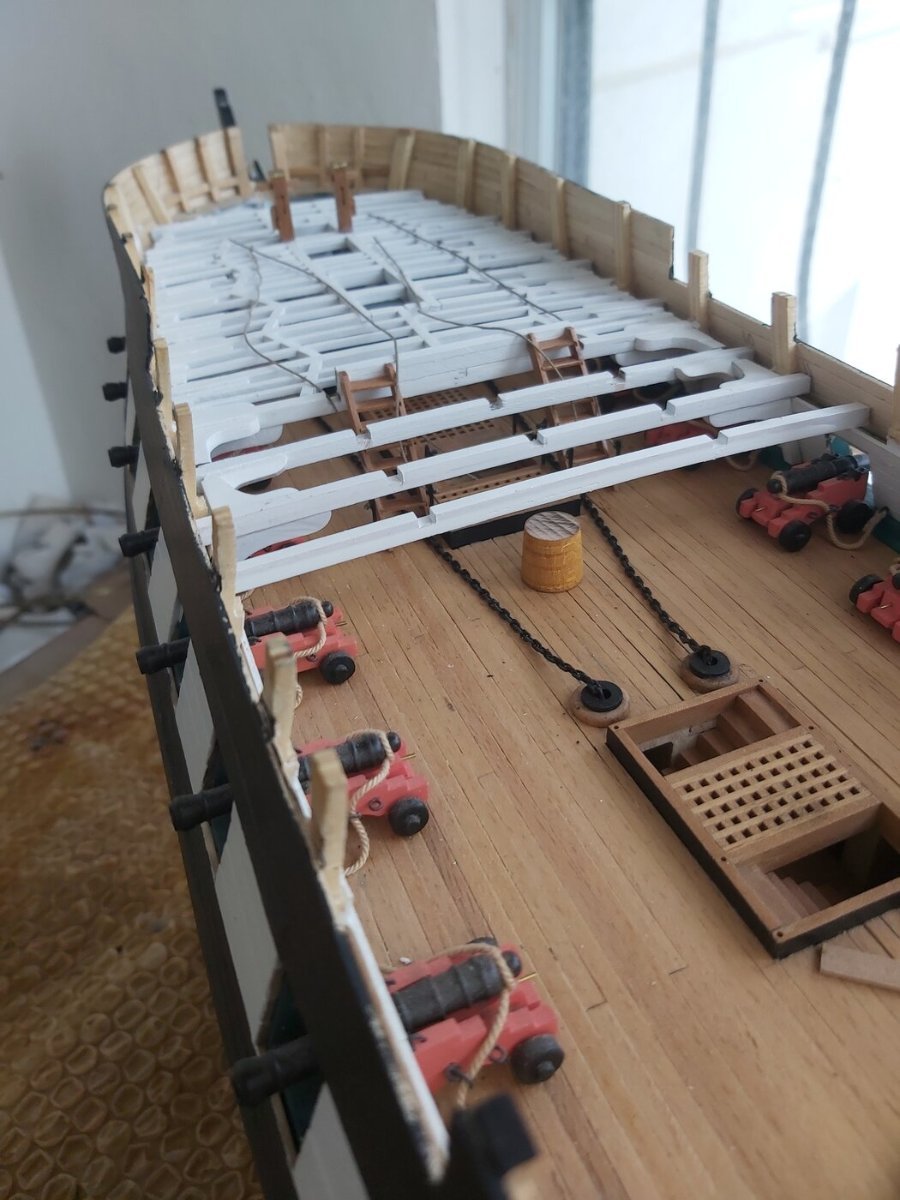
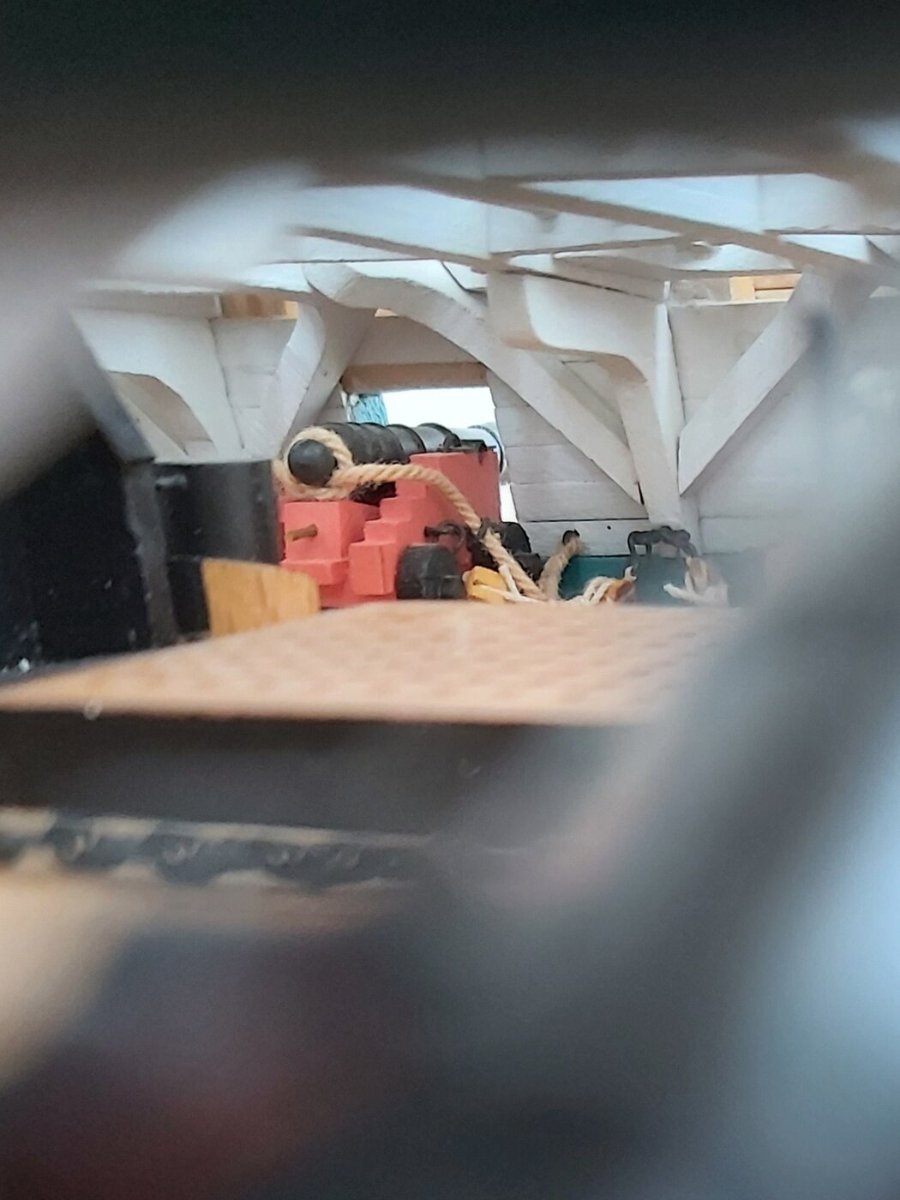
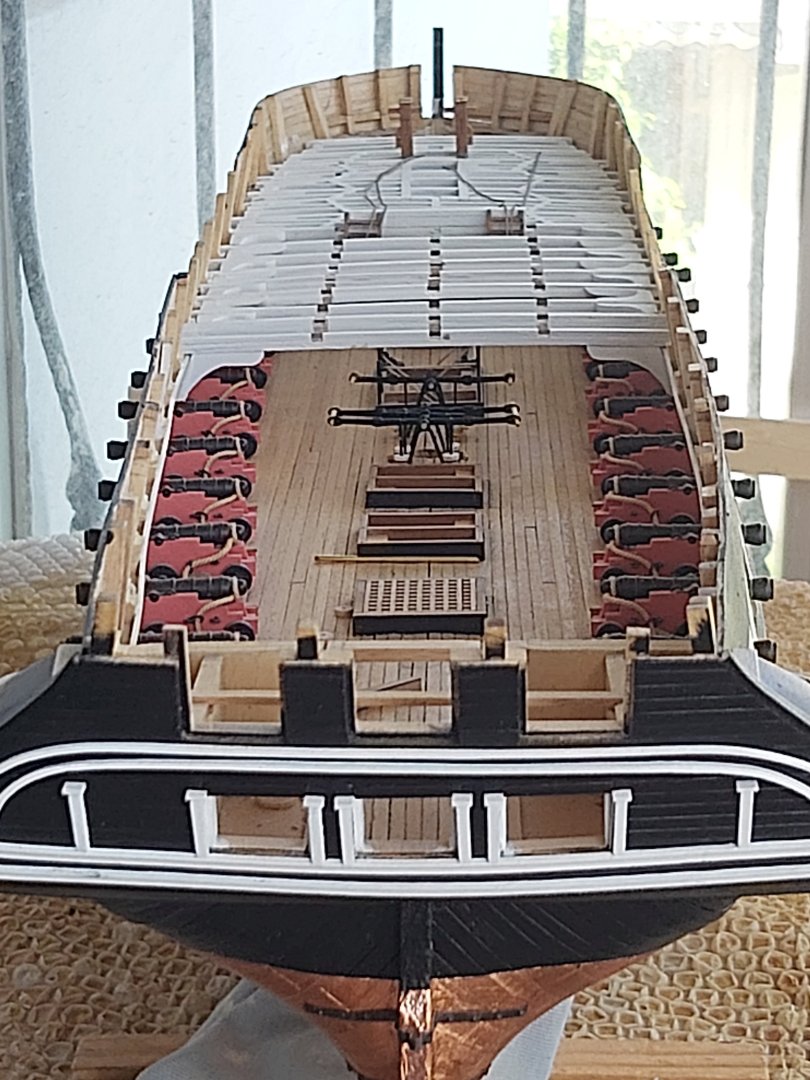
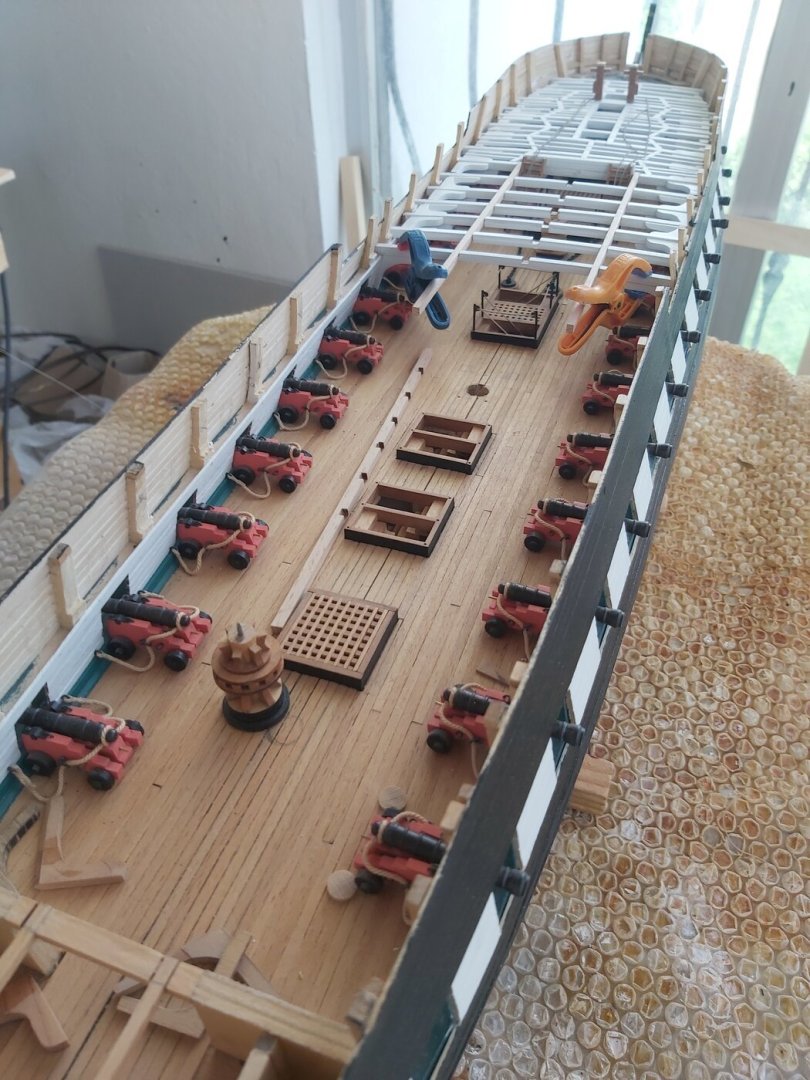
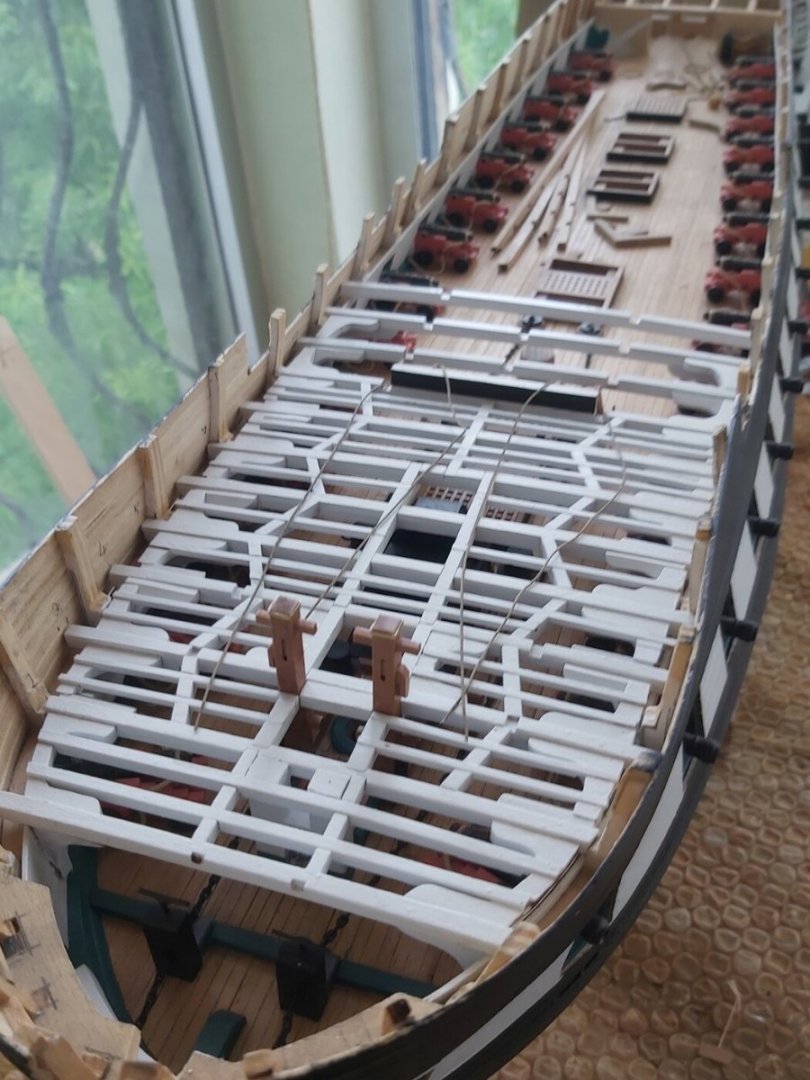
I decided not to add the auxiliary beams along the gratings on the spar deck. I'll settle for just the main beams. Thus, the details on the gun deck will be more visible.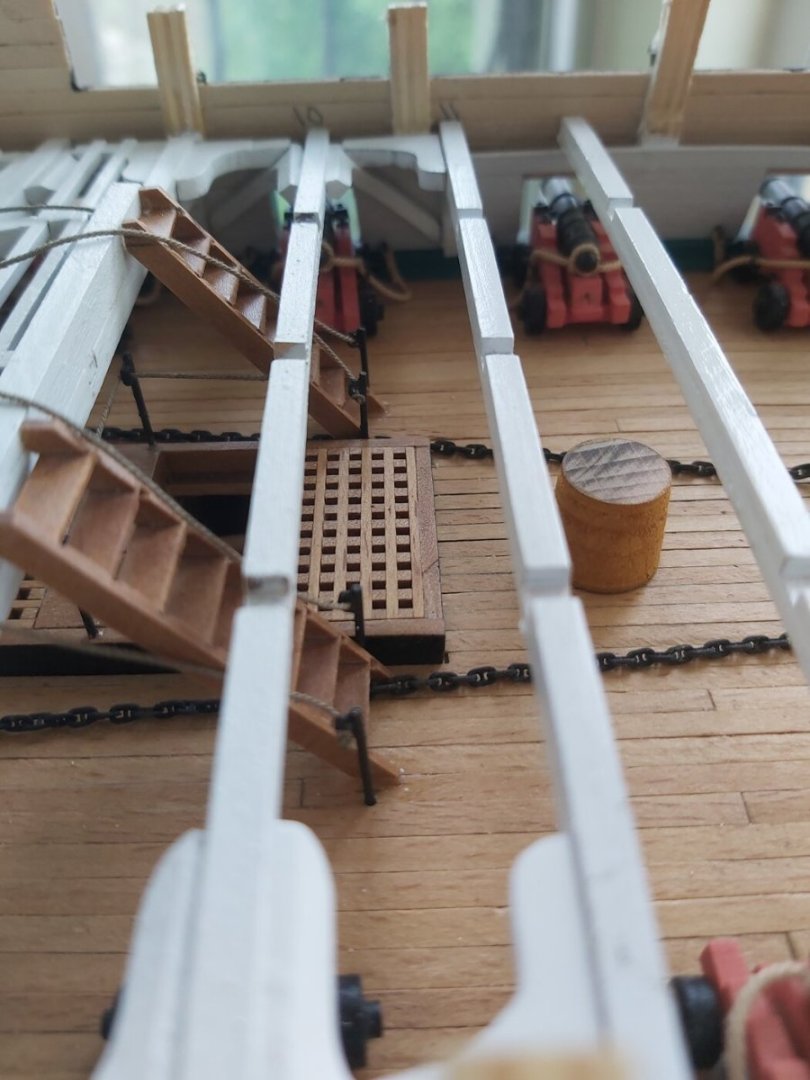


-
USS Constitution by mtbediz - 1:76
mtbediz replied to mtbediz's topic in - Build logs for subjects built 1751 - 1800
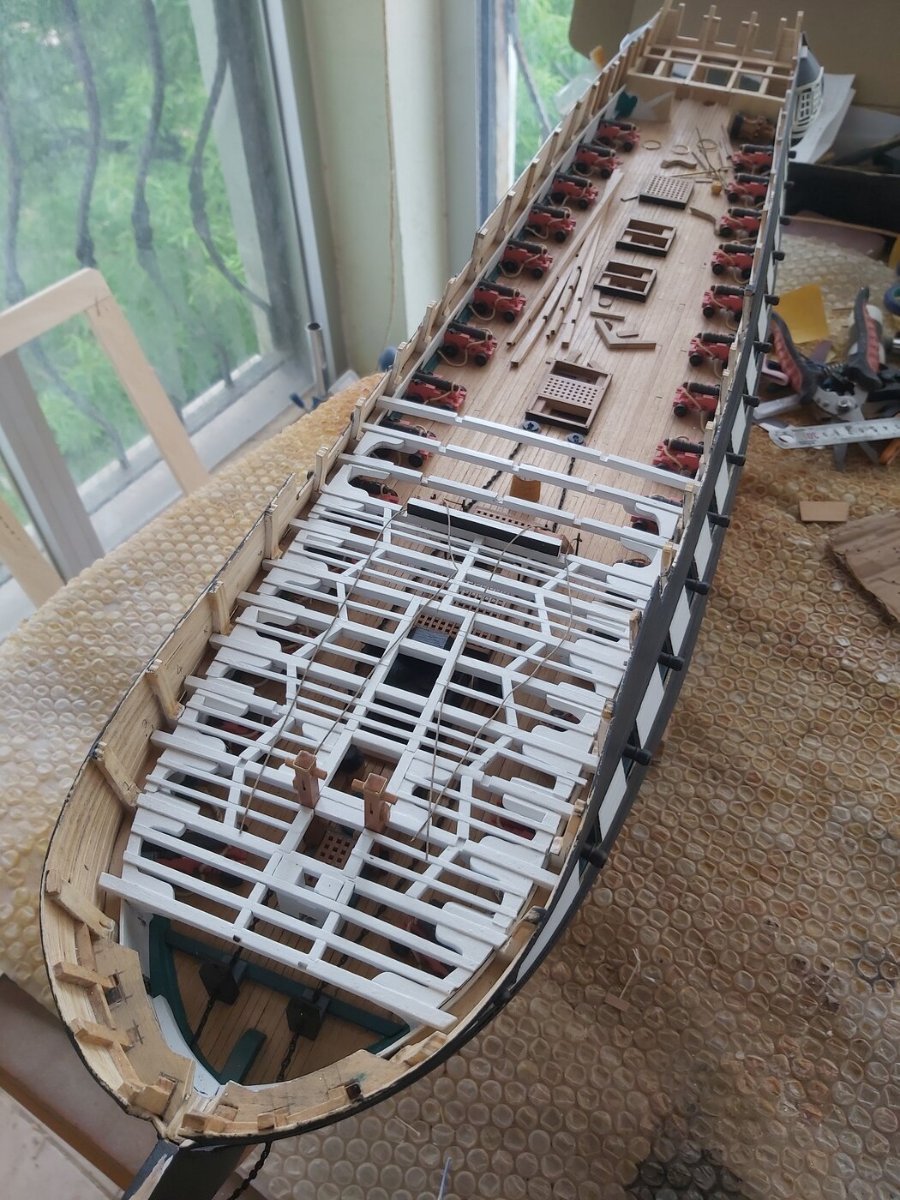
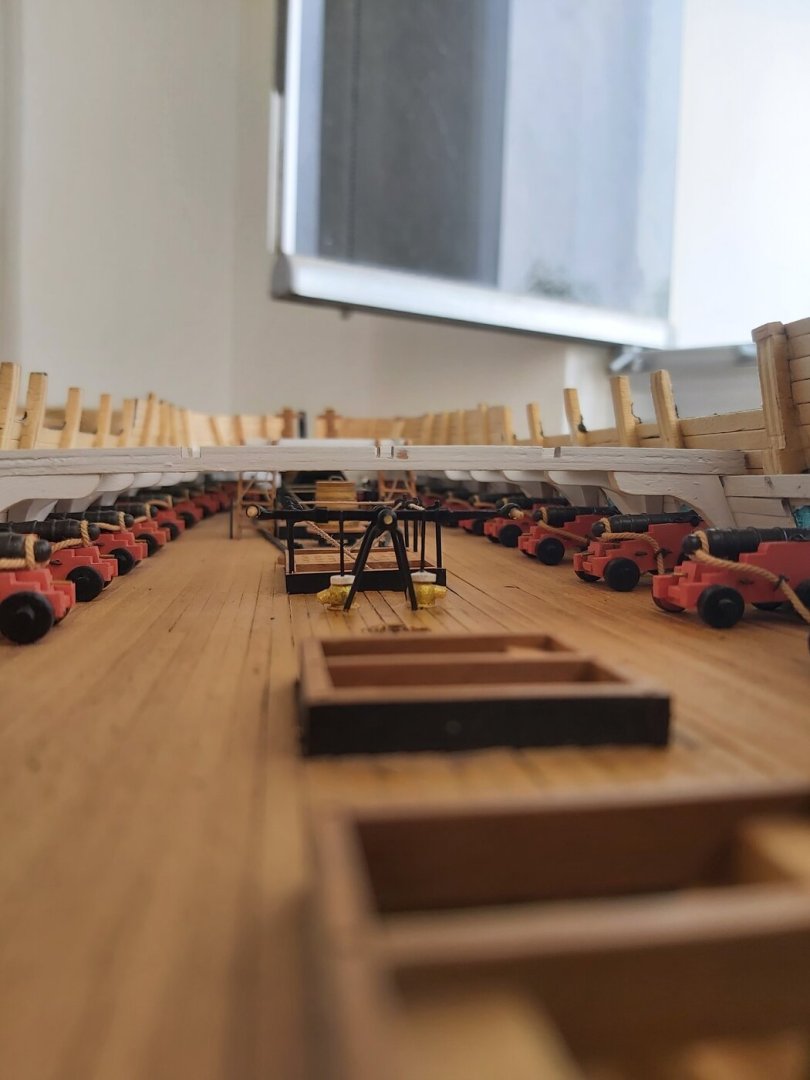
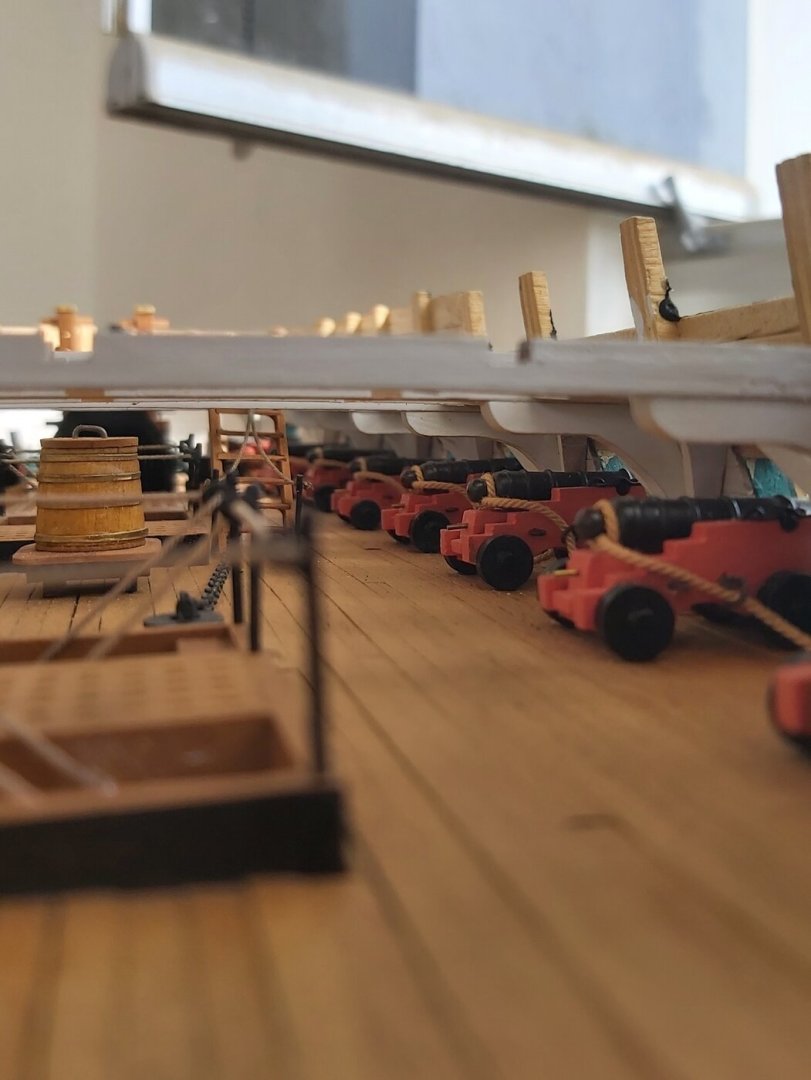
Since I was away from the shipyard for a while, there was no progress on the model. Let me share a few photos that I like.
-
You are very good at metal work. Everything looks so nice Greg!
- 184 replies
-
- 1
-
-
- Bluenose
- Model Shipways
- (and 1 more)
-
USS Constitution by mtbediz - 1:76
mtbediz replied to mtbediz's topic in - Build logs for subjects built 1751 - 1800
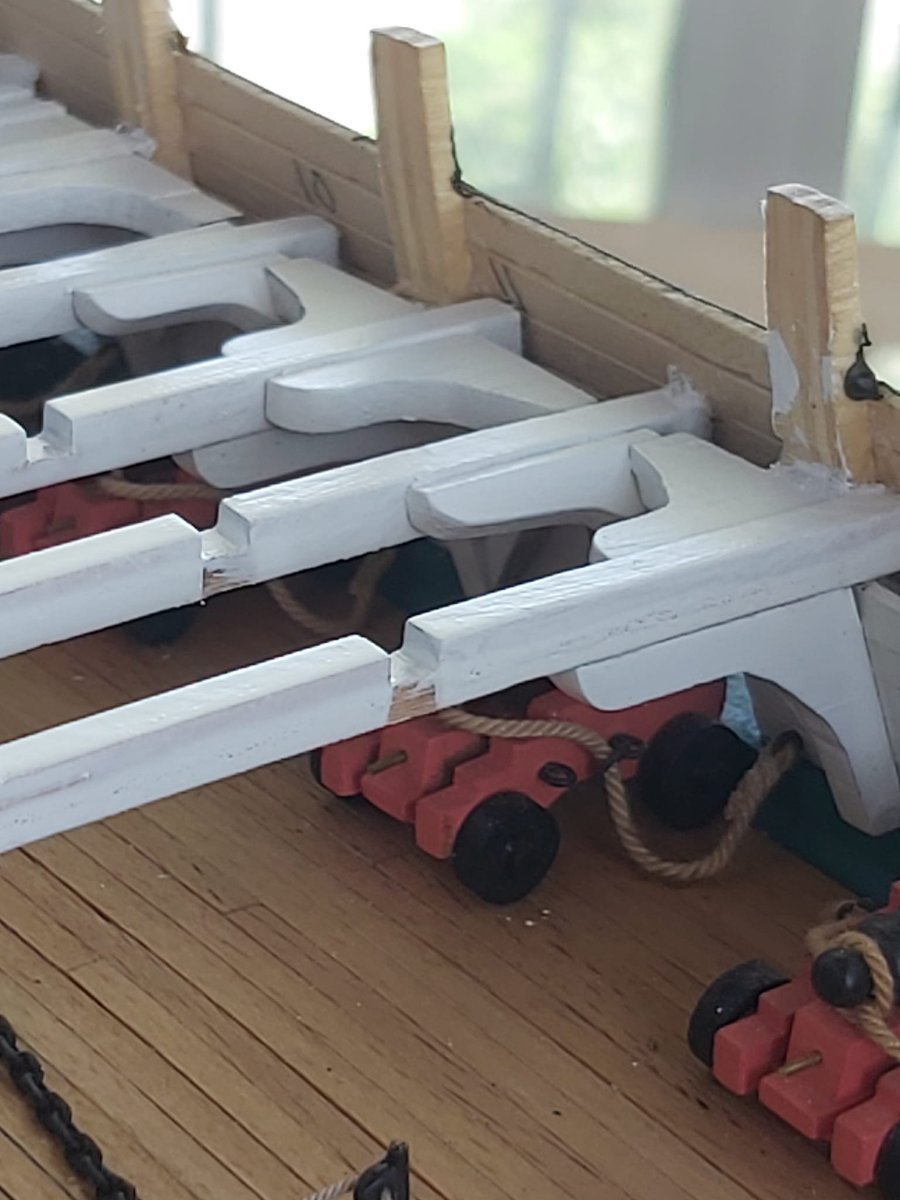
Close-up photos of the stancions. They're not as good as the real ones, but they work.