-
Posts
1,362 -
Joined
-
Last visited
Content Type
Profiles
Forums
Gallery
Events
Everything posted by mtbediz
-

USS Constitution by mtbediz - 1:76
mtbediz replied to mtbediz's topic in - Build logs for subjects built 1751 - 1800
Sorry for the late reply, Peter. I don't actually remember why I installed the pin rails before the carronades. It would probably have been more appropriate to install them after the carronades. -
A very nice model of Sphinx! Congratulations.
- 426 replies
-
- Vanguard Models
- Sphinx
-
(and 1 more)
Tagged with:
-

USS Constitution by mtbediz - 1:76
mtbediz replied to mtbediz's topic in - Build logs for subjects built 1751 - 1800
Thank you so much my dear friend! -

USS Constitution by mtbediz - 1:76
mtbediz replied to mtbediz's topic in - Build logs for subjects built 1751 - 1800
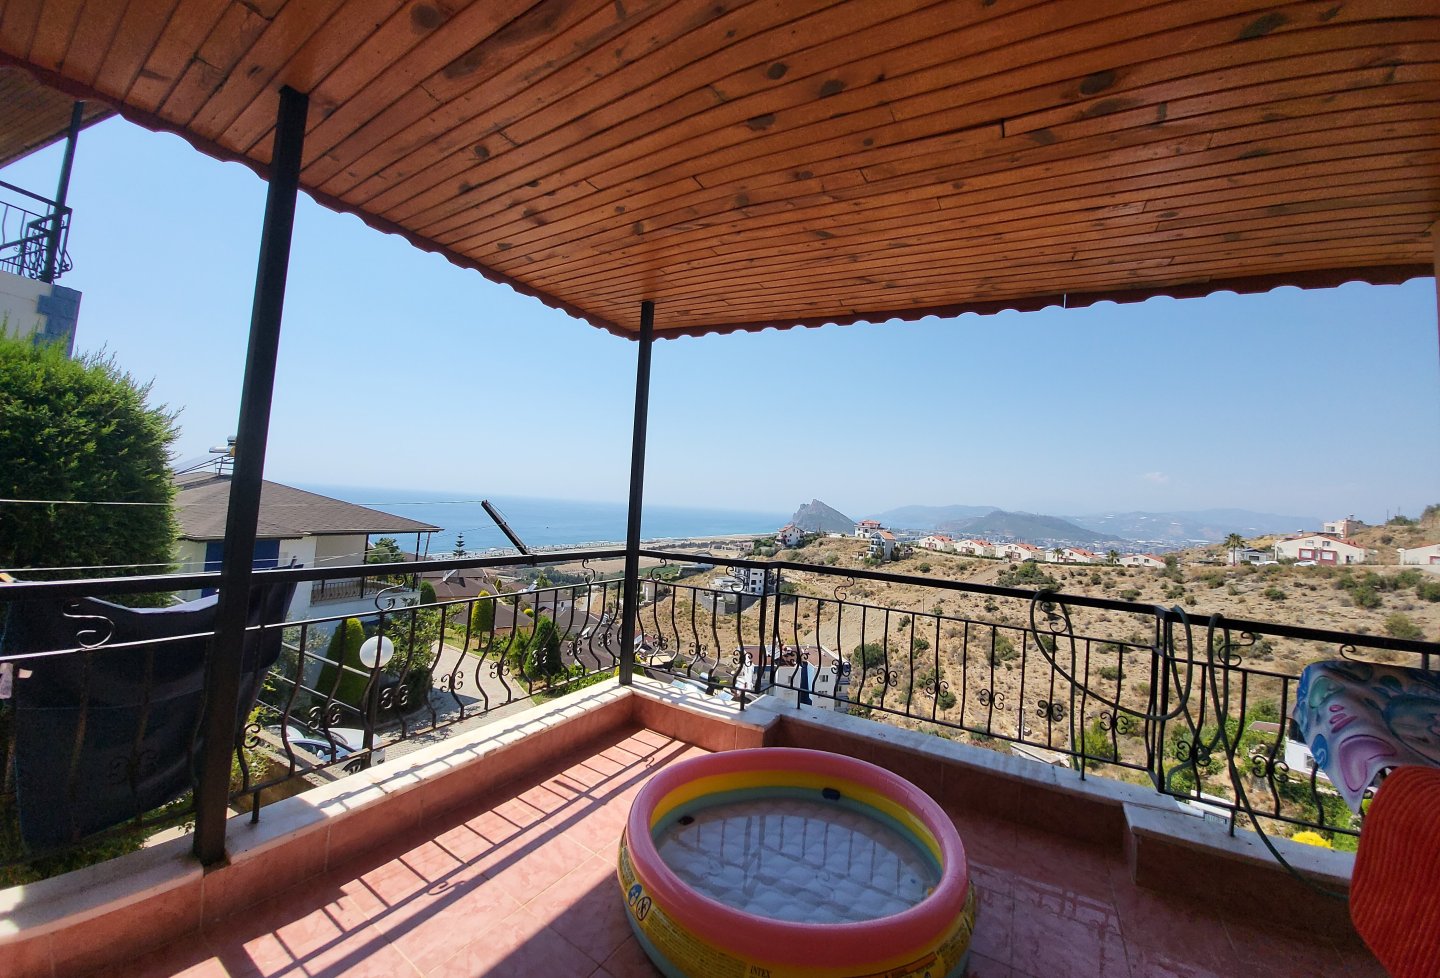
Not really! Just sitting by the pool, sipping my vodka and watching my grand daughter Bon appetit to you too. -

USS Constitution by mtbediz - 1:76
mtbediz replied to mtbediz's topic in - Build logs for subjects built 1751 - 1800
For sure it is hot! but not where I am sitting down right now -

USS Constitution by mtbediz - 1:76
mtbediz replied to mtbediz's topic in - Build logs for subjects built 1751 - 1800
-
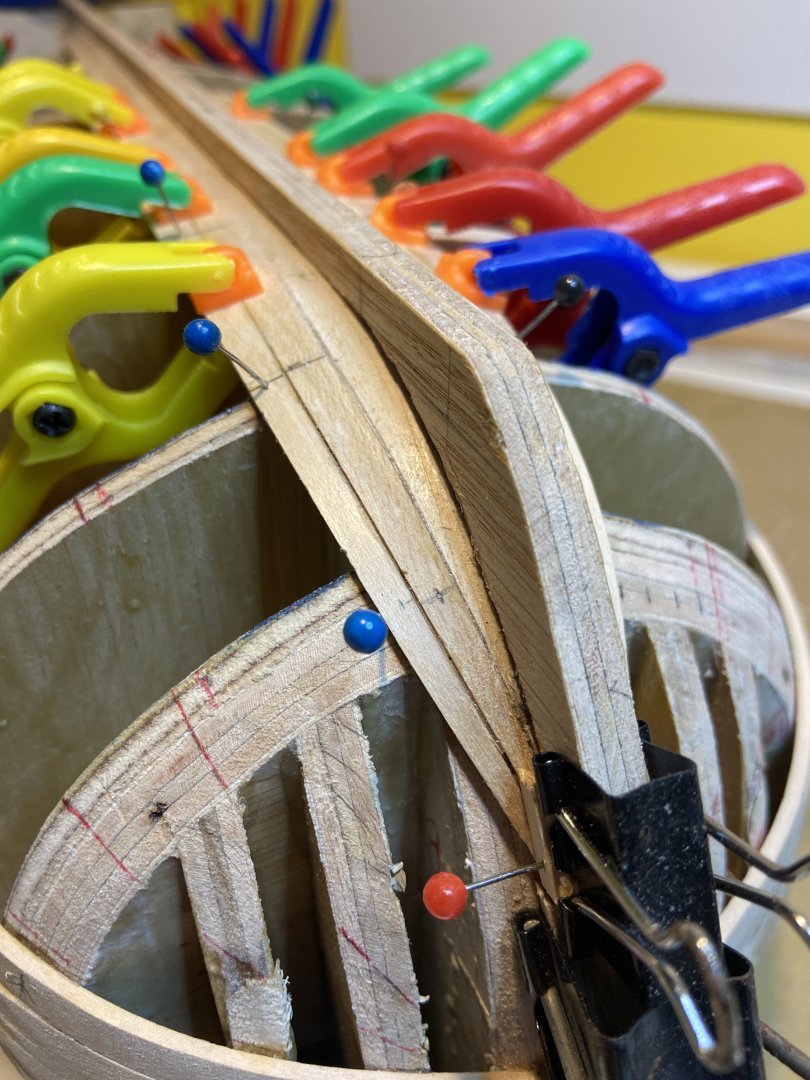
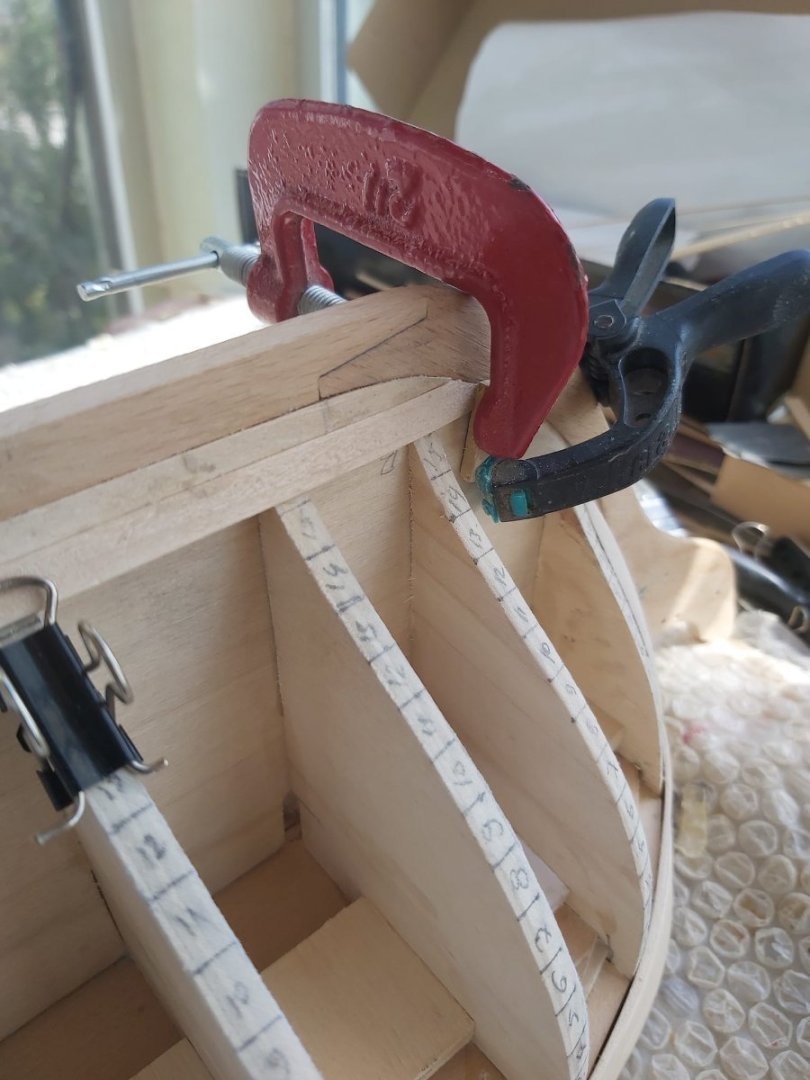
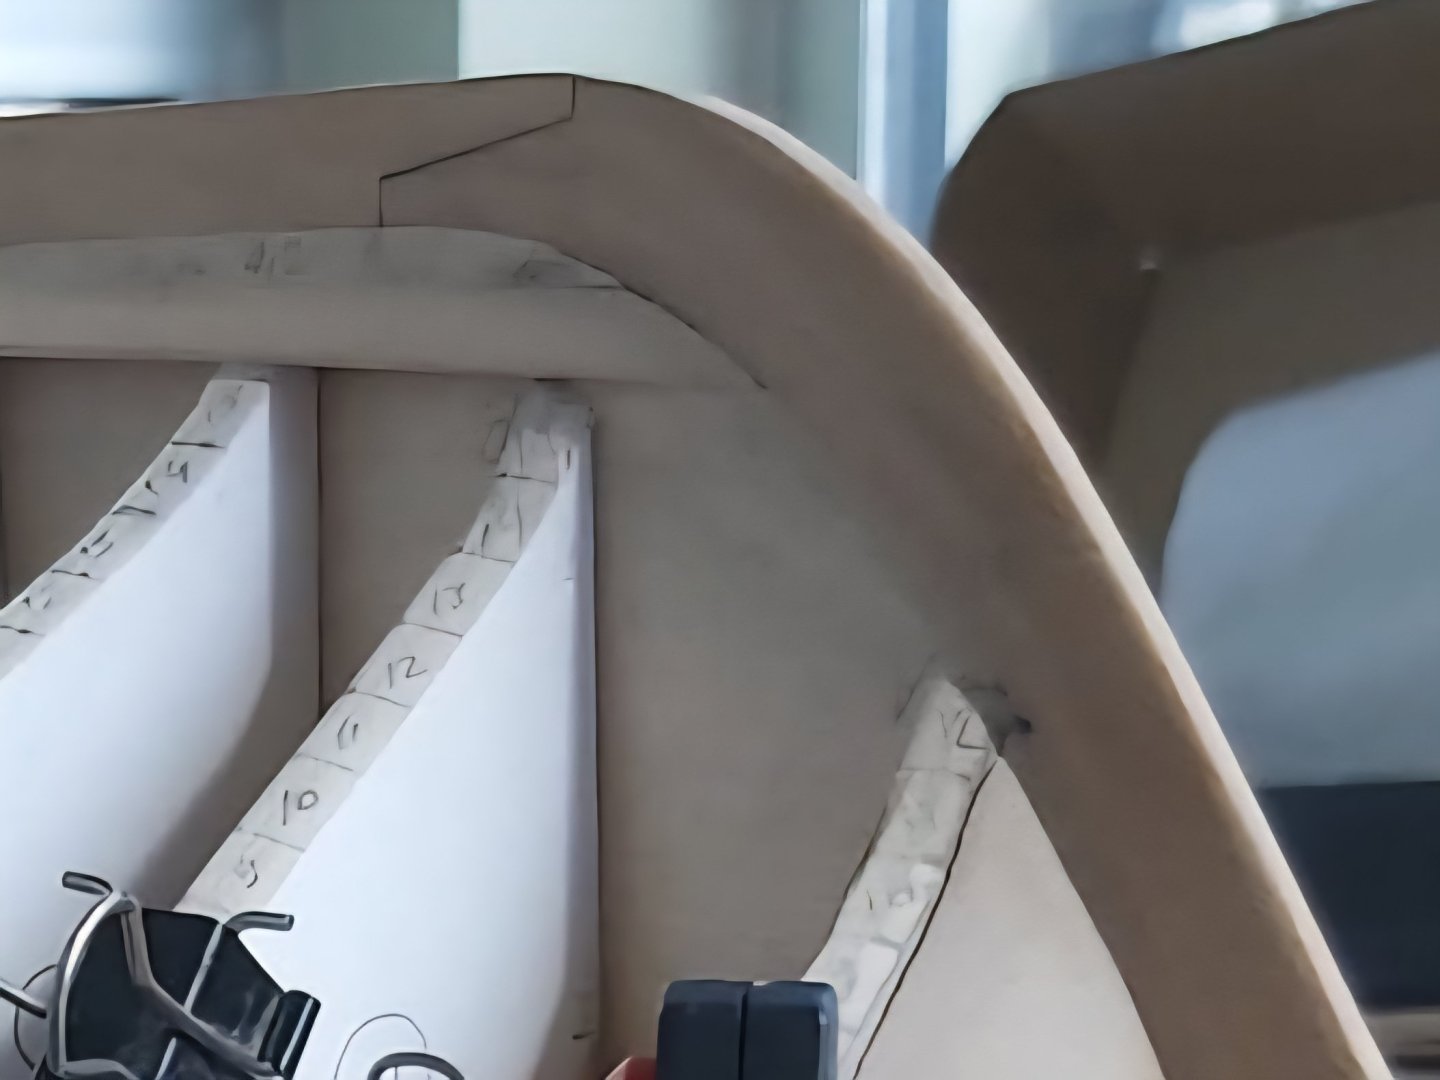
I hate to say it, but your garboard planks are unfortunately incorrect. They've climbed too high, which will cause plank congestion in the bow later. If you want to plank your ship correctly, remove the garboards now and remake them as shown in the photos. If your ship has a second layer planking, take this into consideration when making the second layer planking. Other than that, everything is going great so far.
-
Welcome to the forum. The result you've achieved so far with limited hand tools on this challenging model is truly impressive. There are a few other modelers in this forum, including myself, who are building the same model and sharing insights. You might find inspiration by joining us and seeing how we tackle various challenges.
-

USS Constitution by mtbediz - 1:76
mtbediz replied to mtbediz's topic in - Build logs for subjects built 1751 - 1800
My mistake, sorry. When I said "I will remove them" I meant "I will remove the entire channels". Because I will cut the slots on the channels. These pins will also be there when the channels are permanently glued in place -

USS Constitution by mtbediz - 1:76
mtbediz replied to mtbediz's topic in - Build logs for subjects built 1751 - 1800
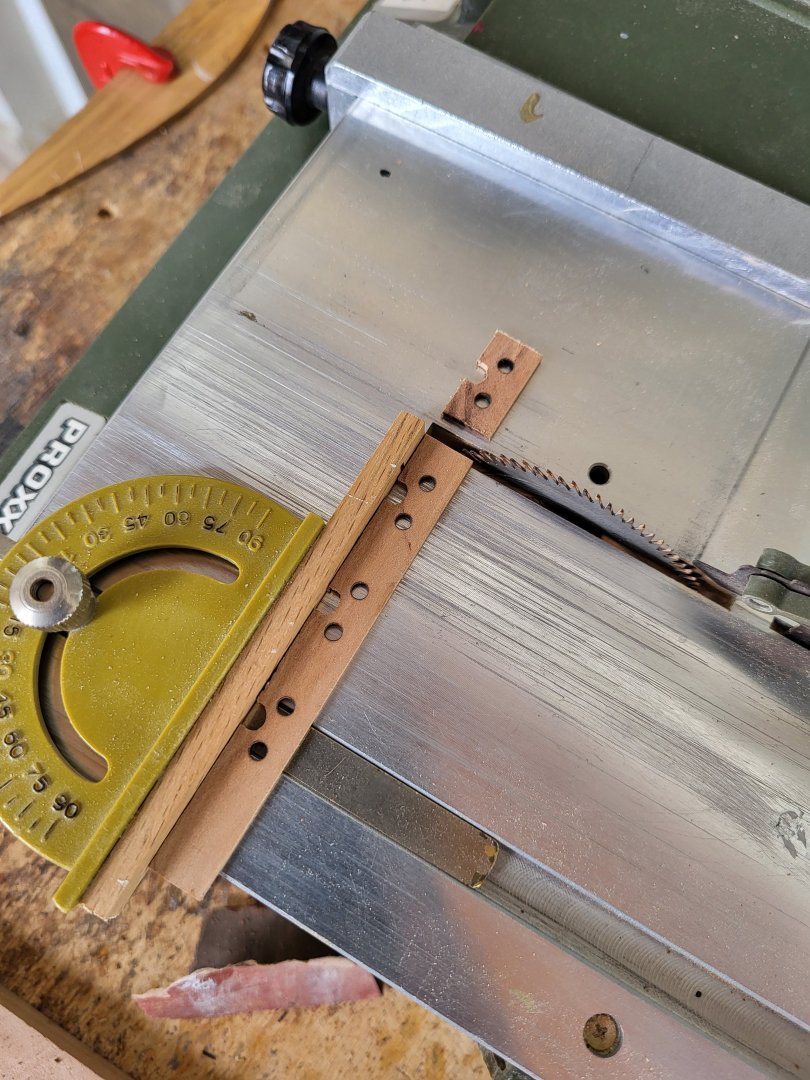
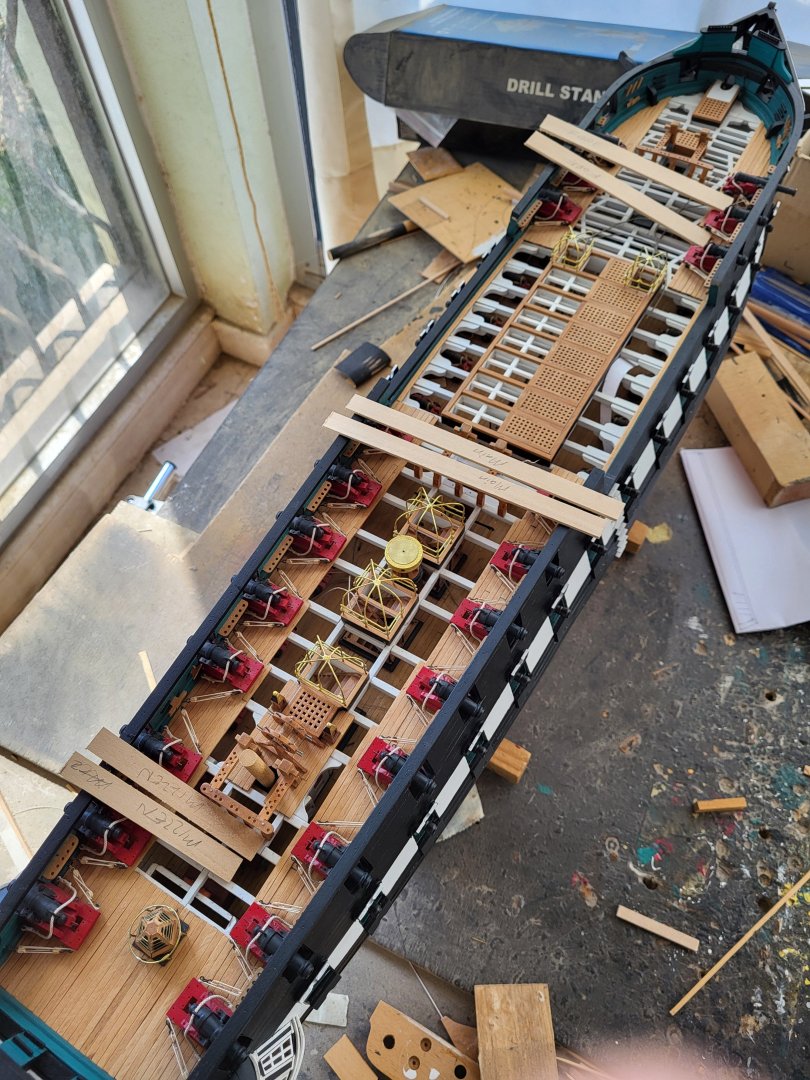
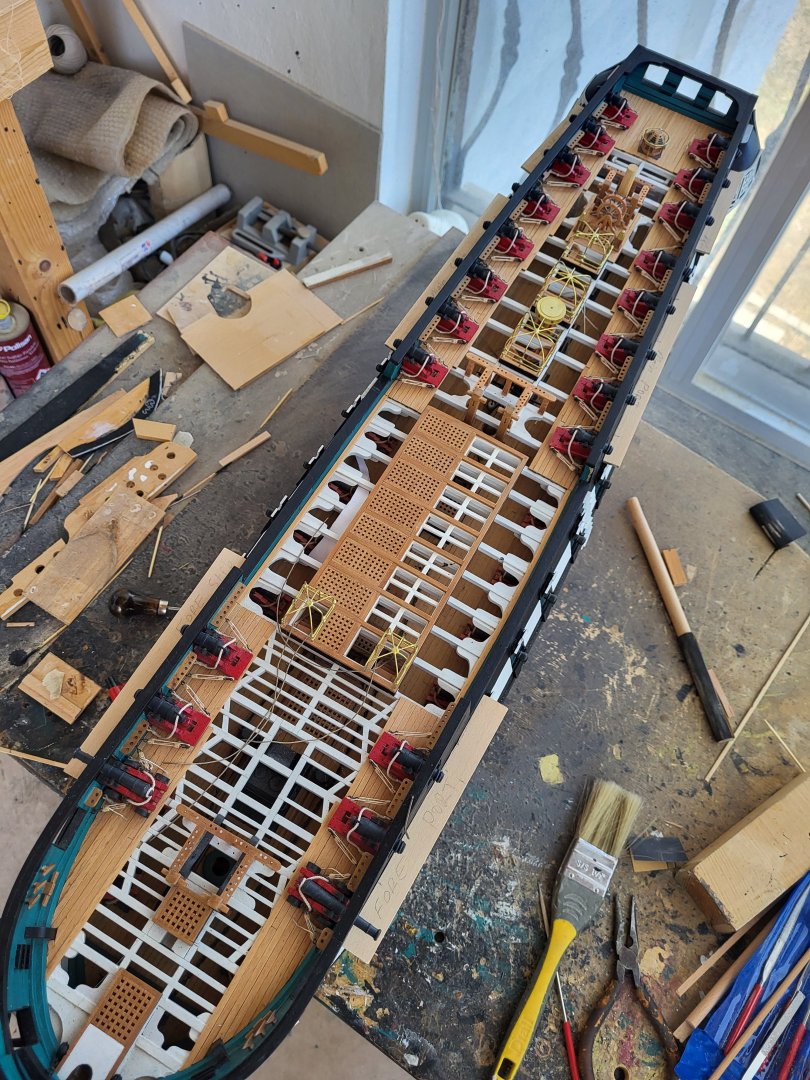
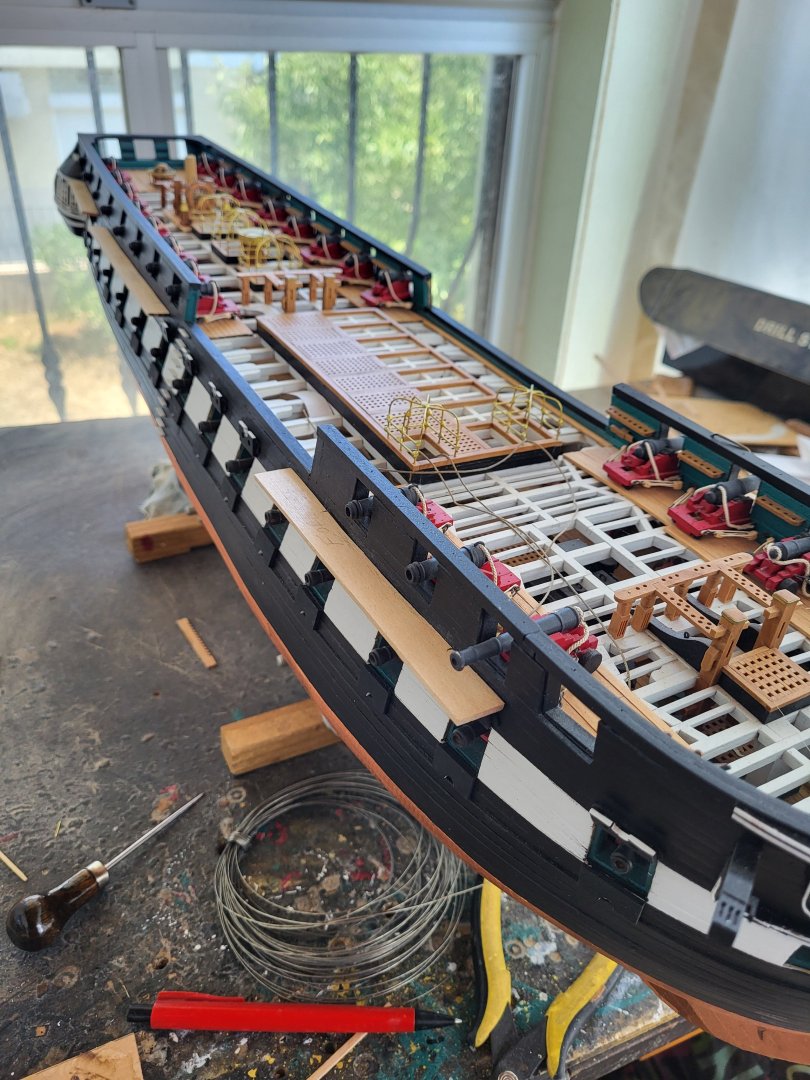
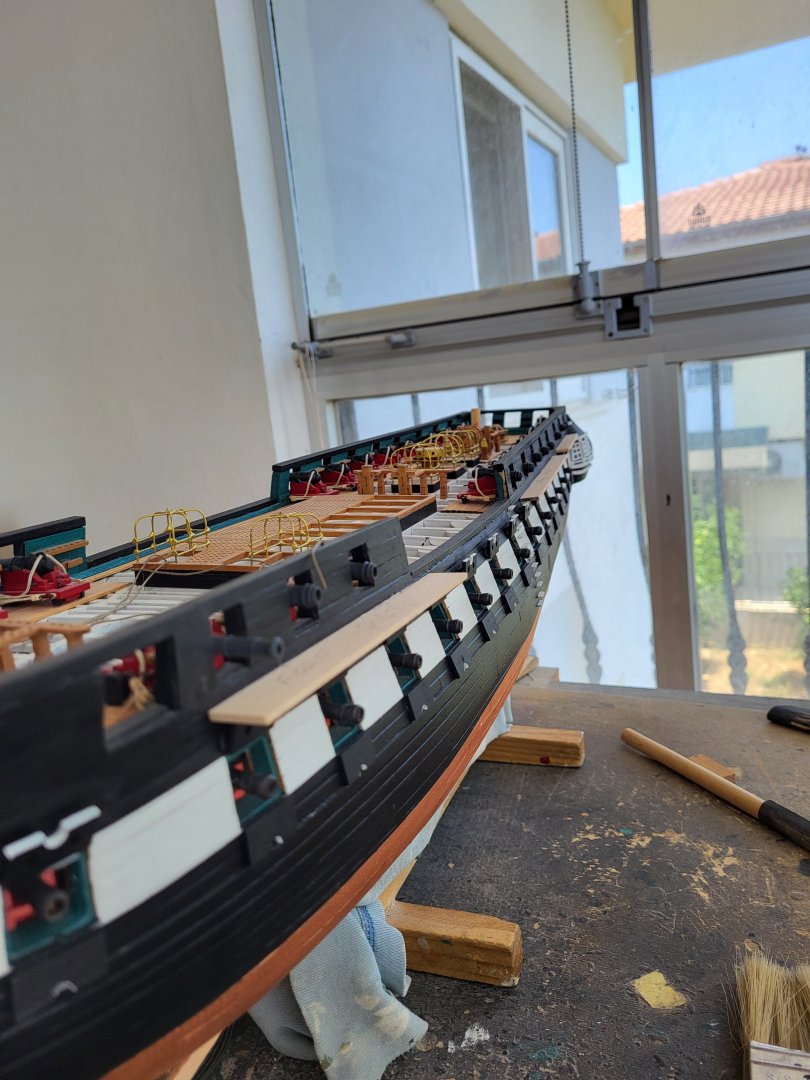
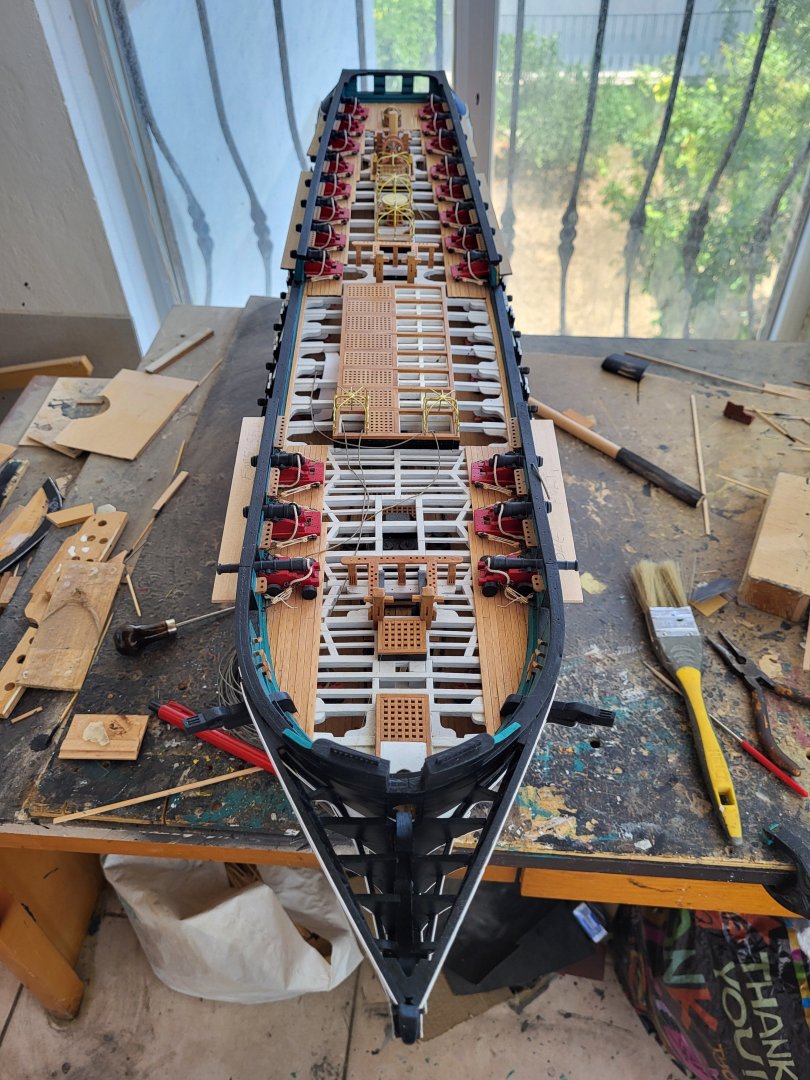
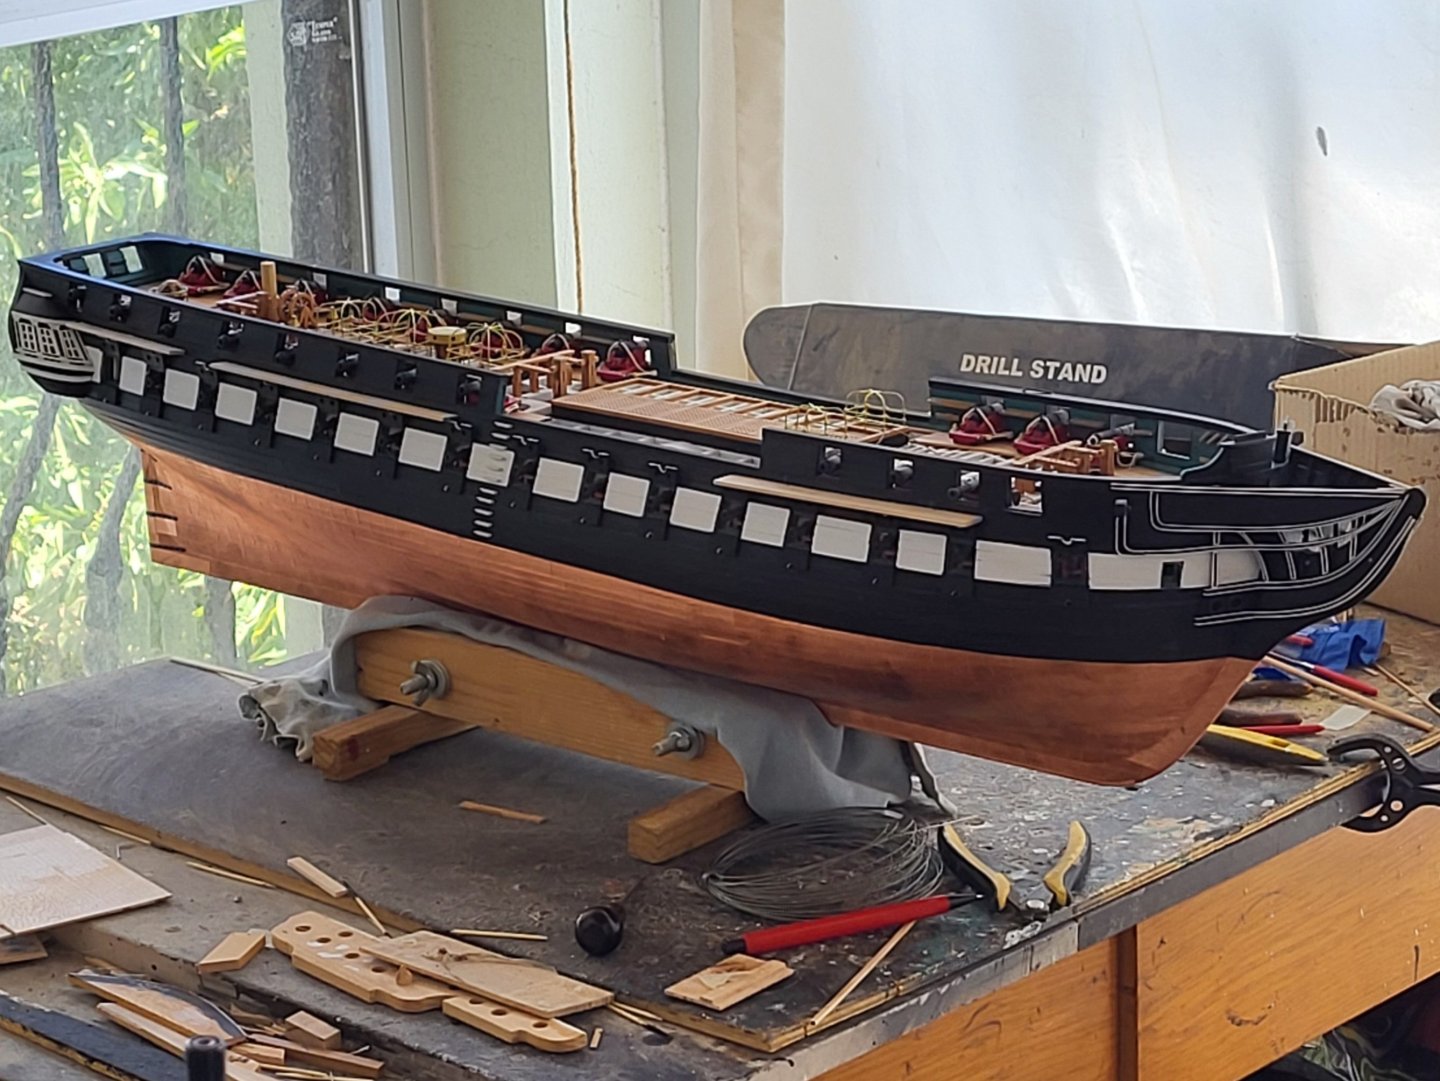
Based on the US Navy plans shared by Jon, I calculated the widths of the fore, main, and mizzen channels scaled to my model. These plans showed that all three channels have different widths. Accordingly, the fore channel is 16 mm wide, which is significantly wider than the main and mizzen channels. I don’t know the reason for this, but that’s how it is. I calculated the main channel to be 12 mm and the mizzen channel to be 11.2 mm. These measurements do not include the strip that will cover the chain plate slots. I cut the channels from 2.1 mm thick basswood sheet and temporarily attached them in place with pins. After marking the positions of the slots where the chain plates will be attached on the channels, I will remove them. -

USS Constitution by mtbediz - 1:76
mtbediz replied to mtbediz's topic in - Build logs for subjects built 1751 - 1800
Thanks for your efforts, Jon. The navy plans will be sufficient for me to calculate the correct dimensions. Thanks again. -

USS Constitution by mtbediz - 1:76
mtbediz replied to mtbediz's topic in - Build logs for subjects built 1751 - 1800
Next Wednesday, I’ll be shutting down the shipyard again until September, Peter. I’m guessing you’ll catch up and surpass me easily. -

USS Constitution by mtbediz - 1:76
mtbediz replied to mtbediz's topic in - Build logs for subjects built 1751 - 1800
Thank you Jon. I've reviewed the plans again, and yes, there are some details, but I couldn't find any information or drawings regarding the width and thickness of the channels, which is what I need. I’d be grateful if anyone who can see these dimensions could let me know.
About us
Modelshipworld - Advancing Ship Modeling through Research
SSL Secured
Your security is important for us so this Website is SSL-Secured
NRG Mailing Address
Nautical Research Guild
237 South Lincoln Street
Westmont IL, 60559-1917
Model Ship World ® and the MSW logo are Registered Trademarks, and belong to the Nautical Research Guild (United States Patent and Trademark Office: No. 6,929,264 & No. 6,929,274, registered Dec. 20, 2022)
Helpful Links
About the NRG
If you enjoy building ship models that are historically accurate as well as beautiful, then The Nautical Research Guild (NRG) is just right for you.
The Guild is a non-profit educational organization whose mission is to “Advance Ship Modeling Through Research”. We provide support to our members in their efforts to raise the quality of their model ships.
The Nautical Research Guild has published our world-renowned quarterly magazine, The Nautical Research Journal, since 1955. The pages of the Journal are full of articles by accomplished ship modelers who show you how they create those exquisite details on their models, and by maritime historians who show you the correct details to build. The Journal is available in both print and digital editions. Go to the NRG web site (www.thenrg.org) to download a complimentary digital copy of the Journal. The NRG also publishes plan sets, books and compilations of back issues of the Journal and the former Ships in Scale and Model Ship Builder magazines.




.jpeg.bc306c64021d0ca9ec82ad14c1c7c8de.jpeg)
