HOLIDAY DONATION DRIVE - SUPPORT MSW - DO YOUR PART TO KEEP THIS GREAT FORUM GOING! (89 donations so far out of 49,000 members - C'mon guys!)
×


drobinson02199
-
Posts
1,074 -
Joined
-
Last visited
Content Type
Profiles
Forums
Gallery
Events
Everything posted by drobinson02199
-
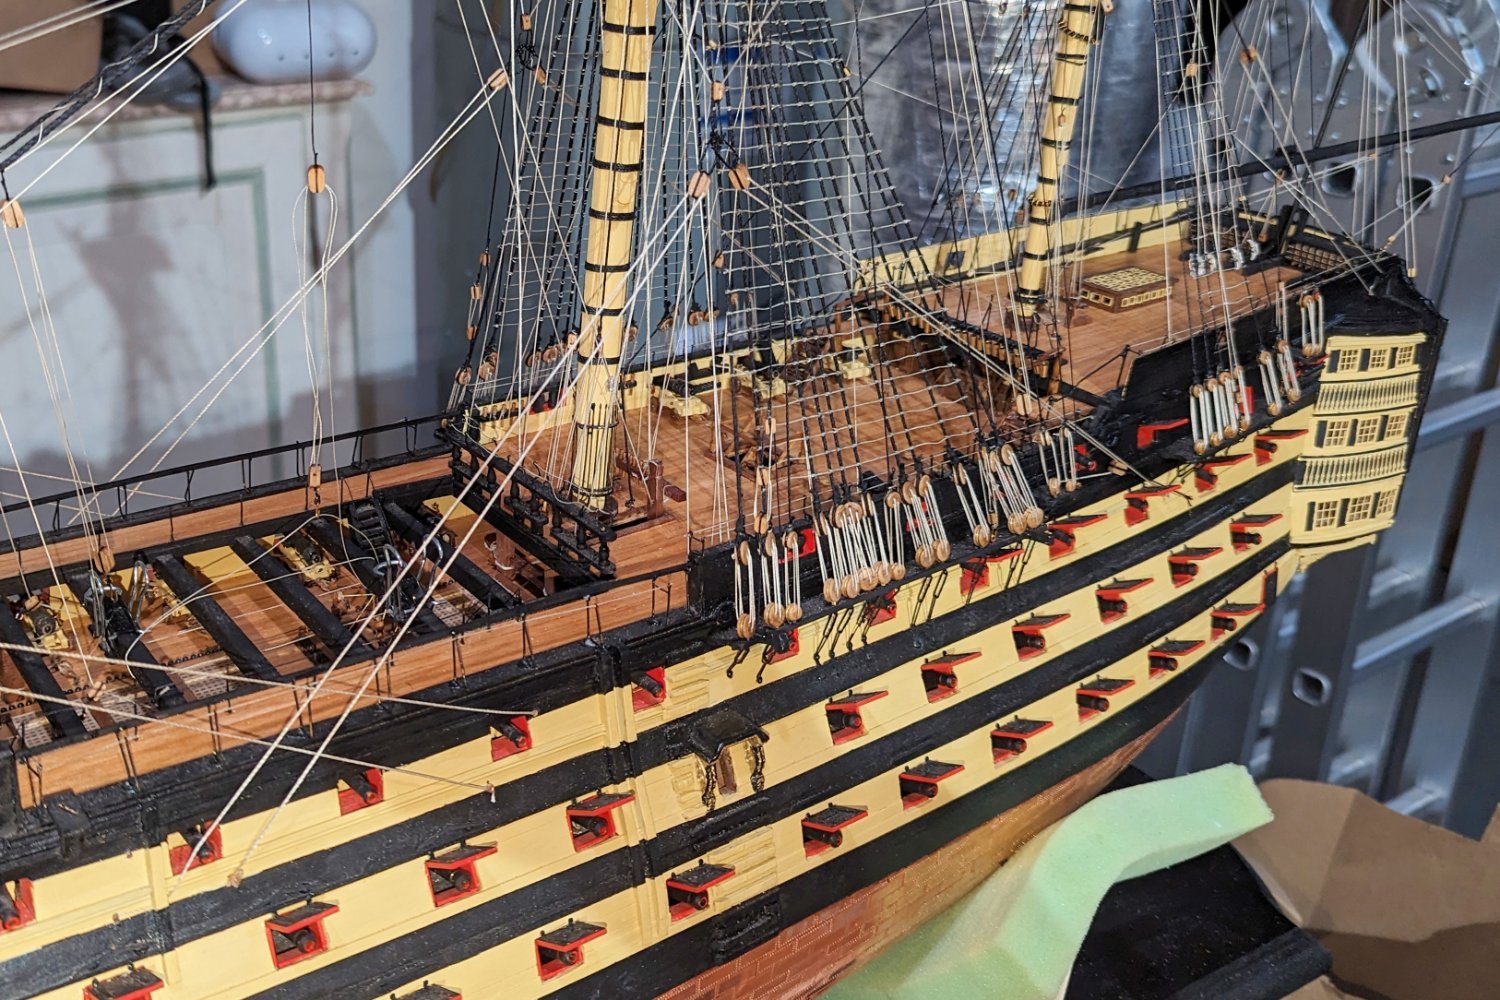
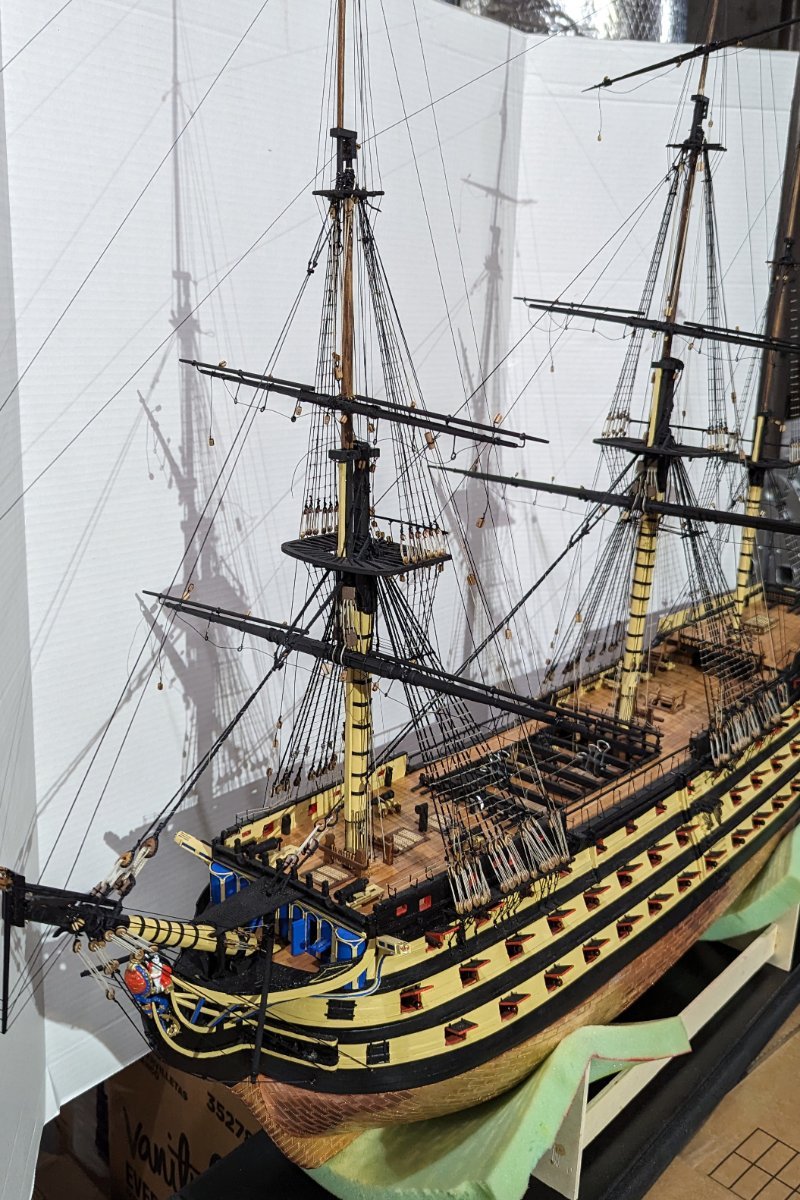
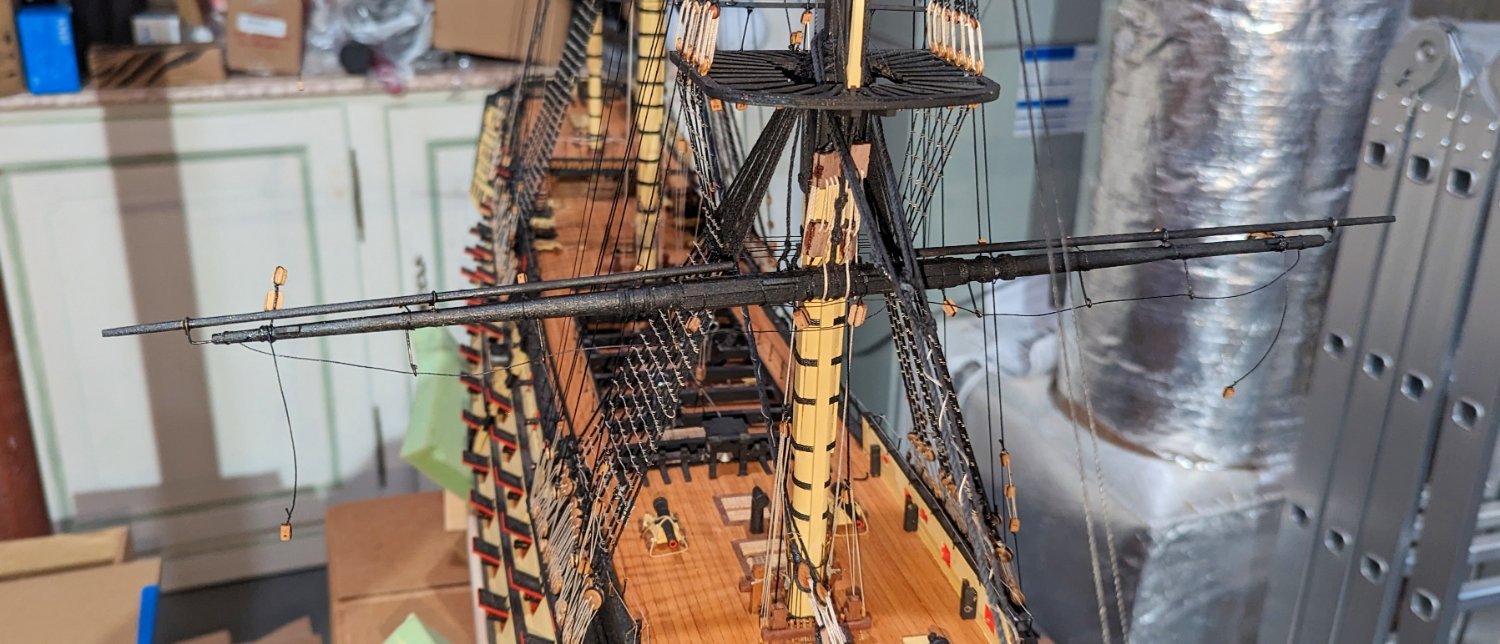
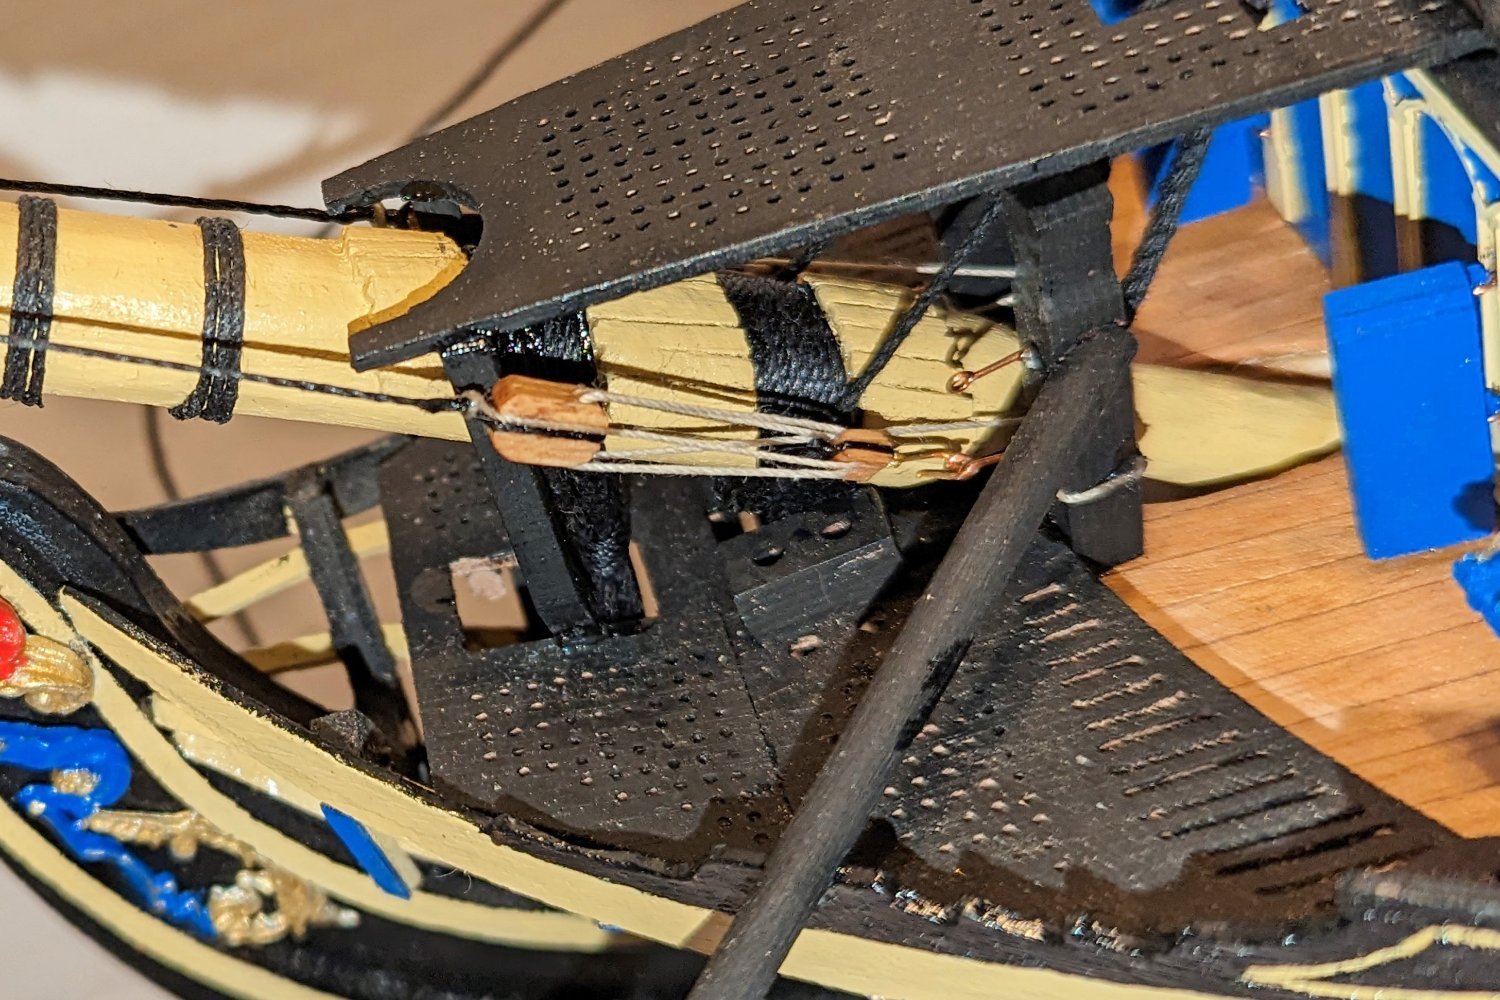
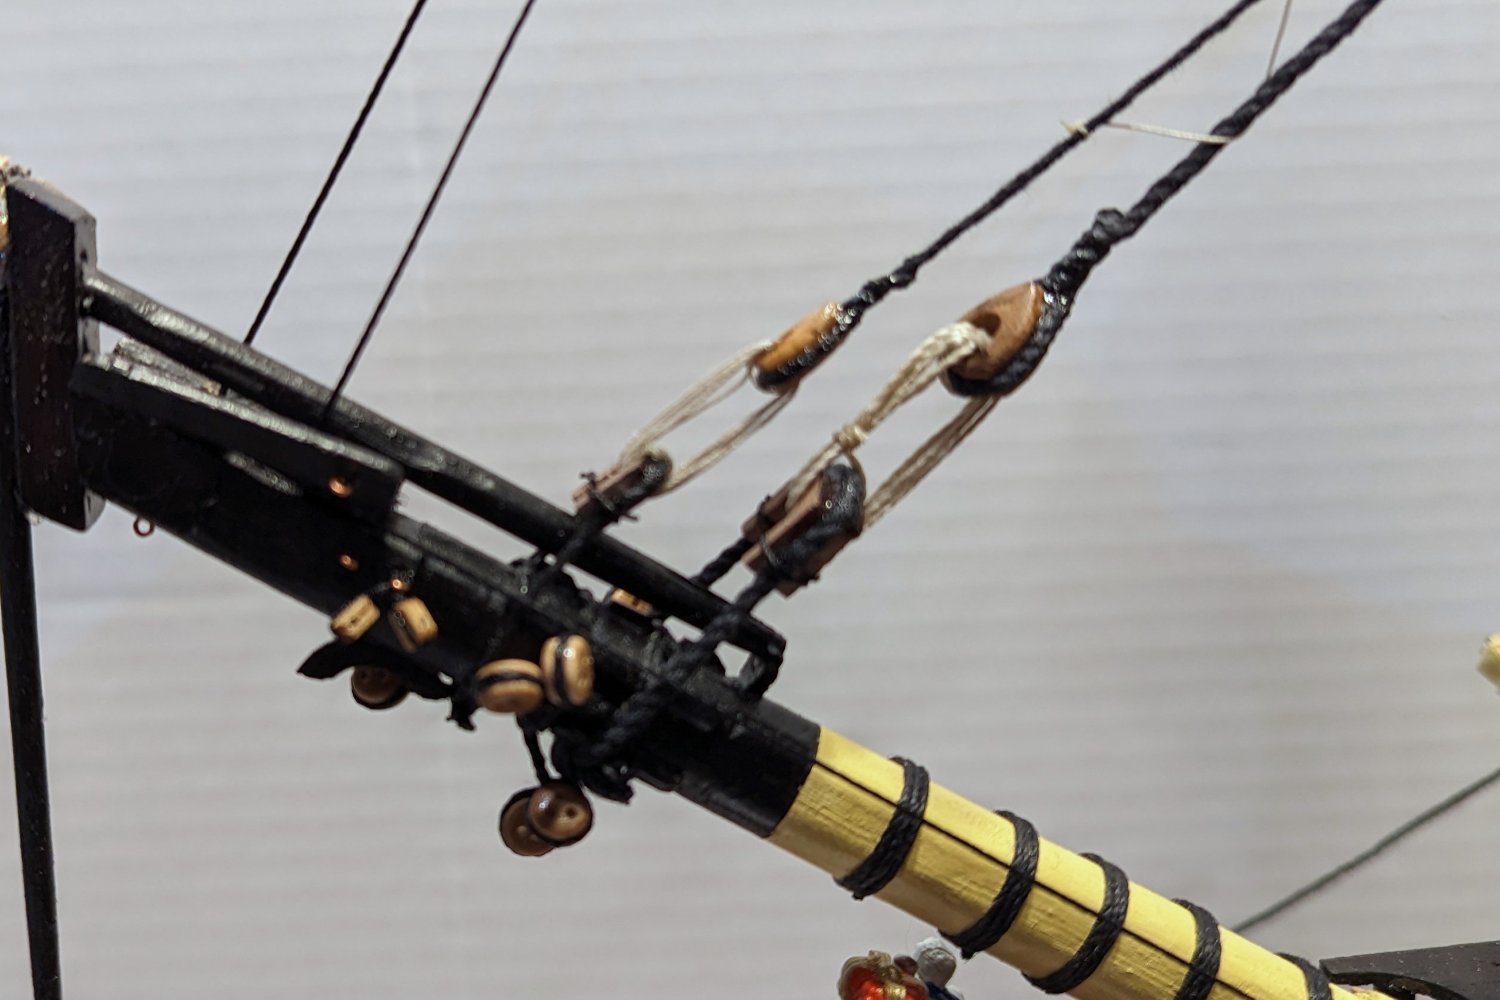
 Fore and main cluelines, tacks and sheets done. Some of these go through holes in the hull and are anchored below the skids. It's super difficult to do that last, when you are trying to tension the lines. So I started there, got them anchored, and then rigged back to the eyebolts on the exterior of the hull -- and it's easy to tension there. Three points of tension have to be balanced at the same time. Regards, David
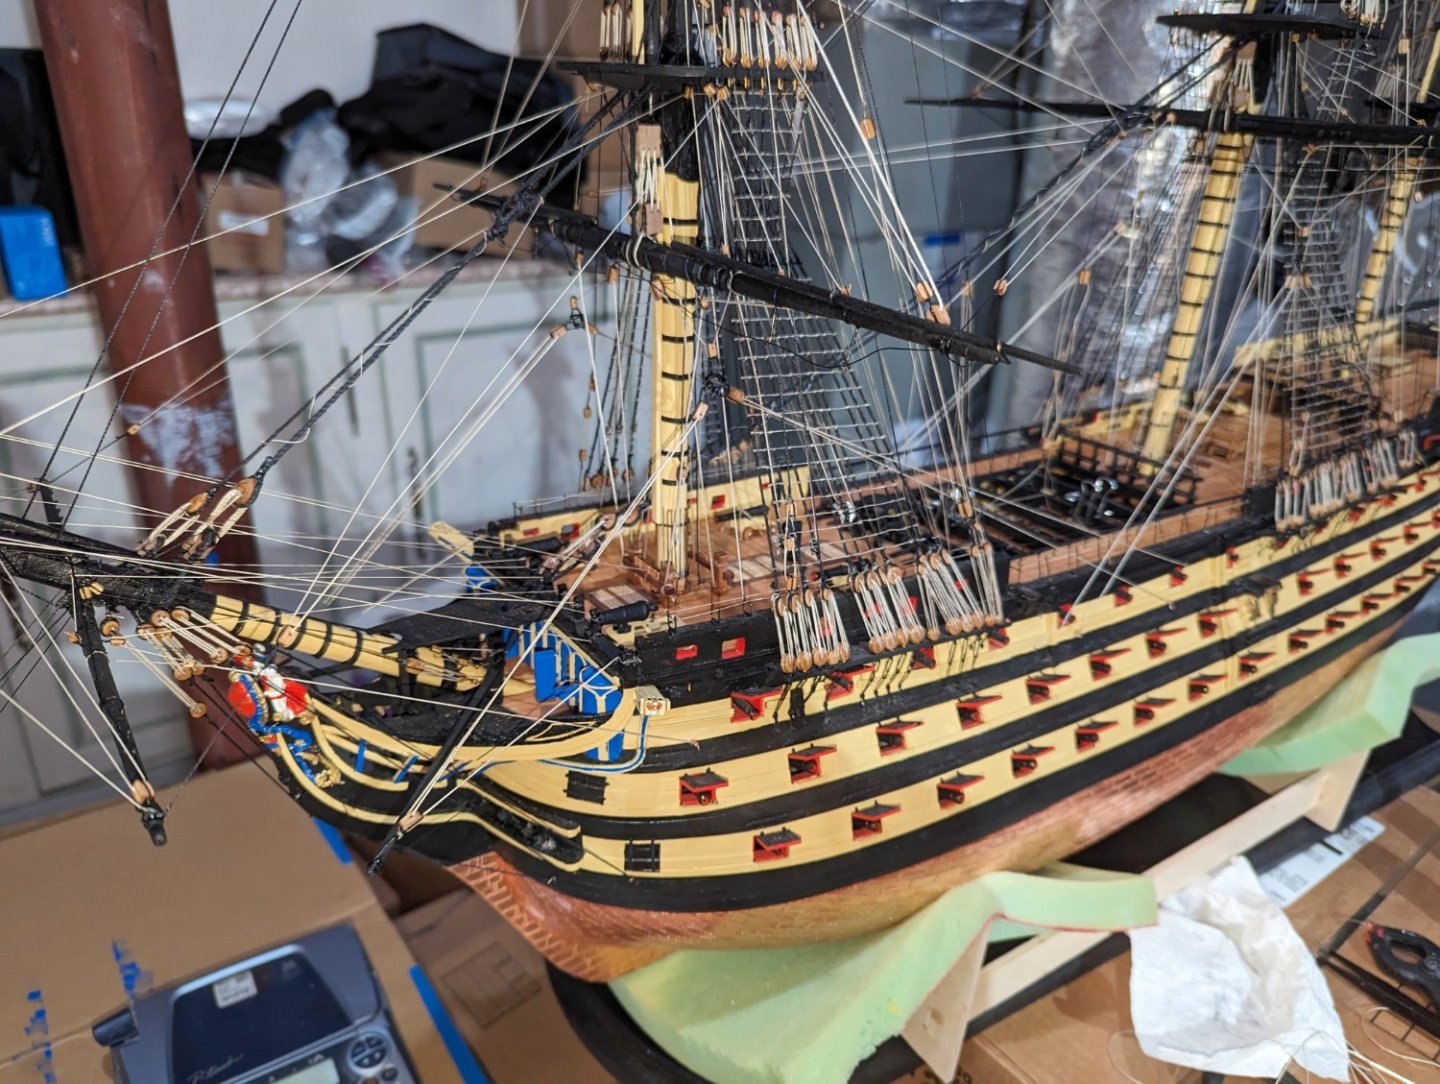

- 218 replies
-
- 9
-

-

-
- Victory
- Caldercraft
- (and 1 more)
-
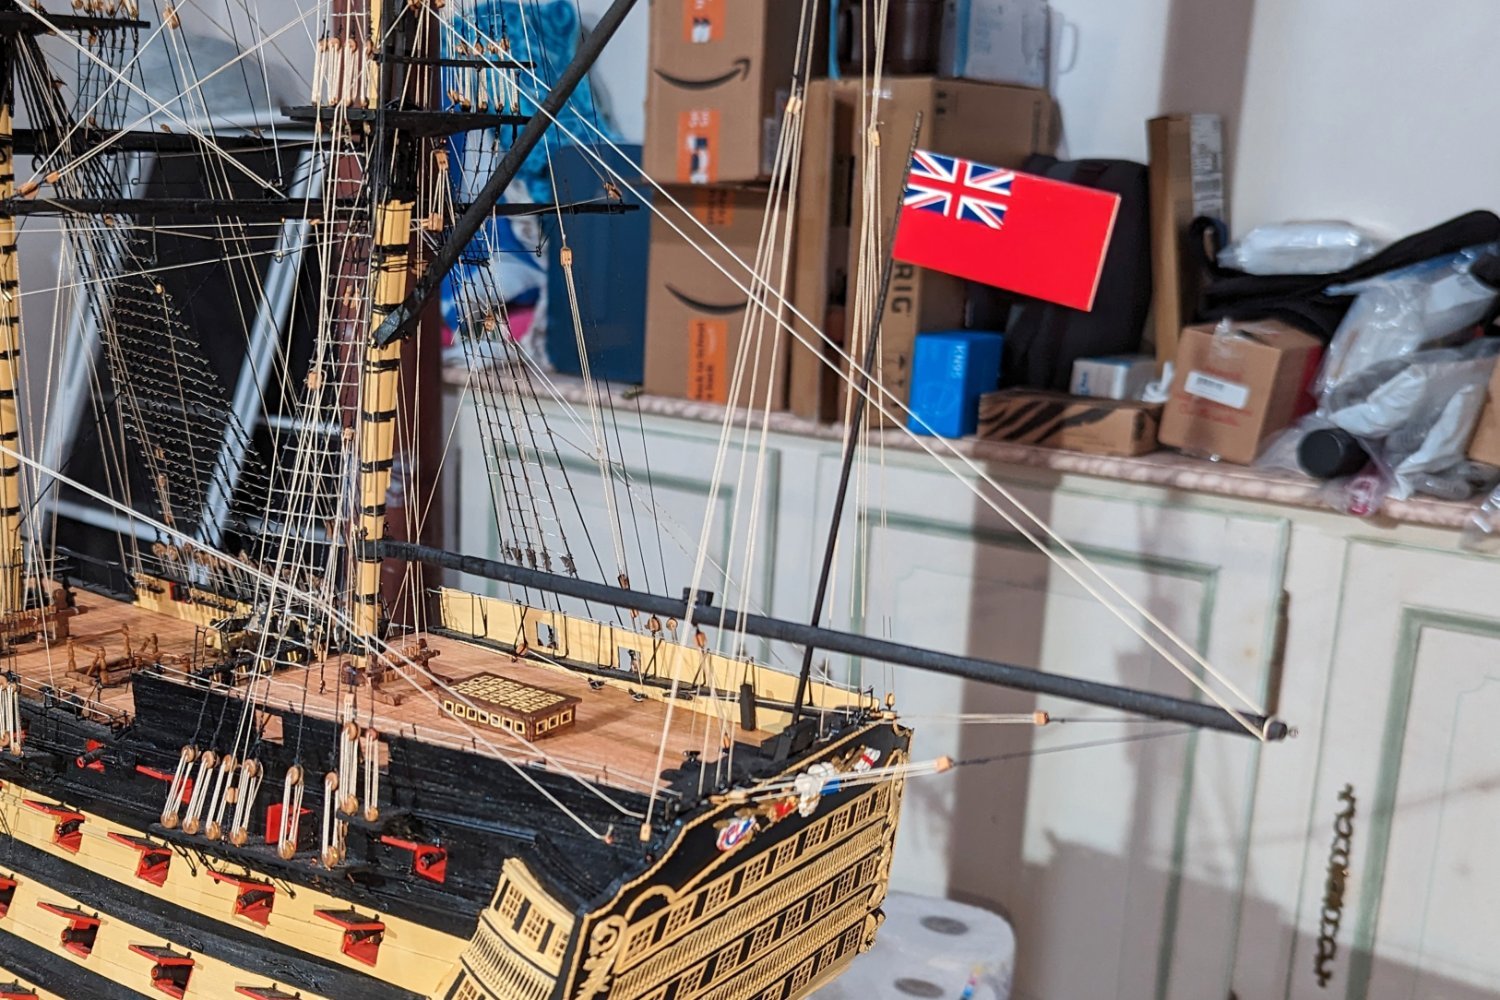
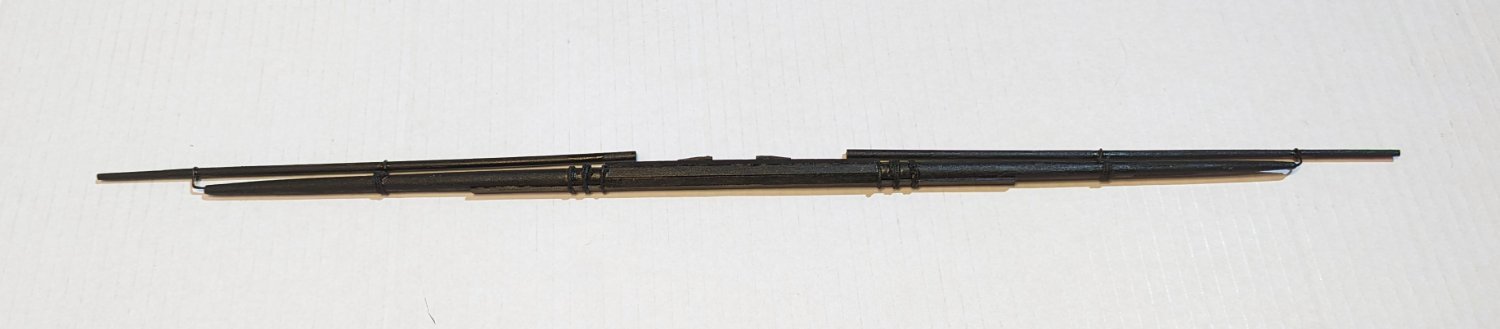
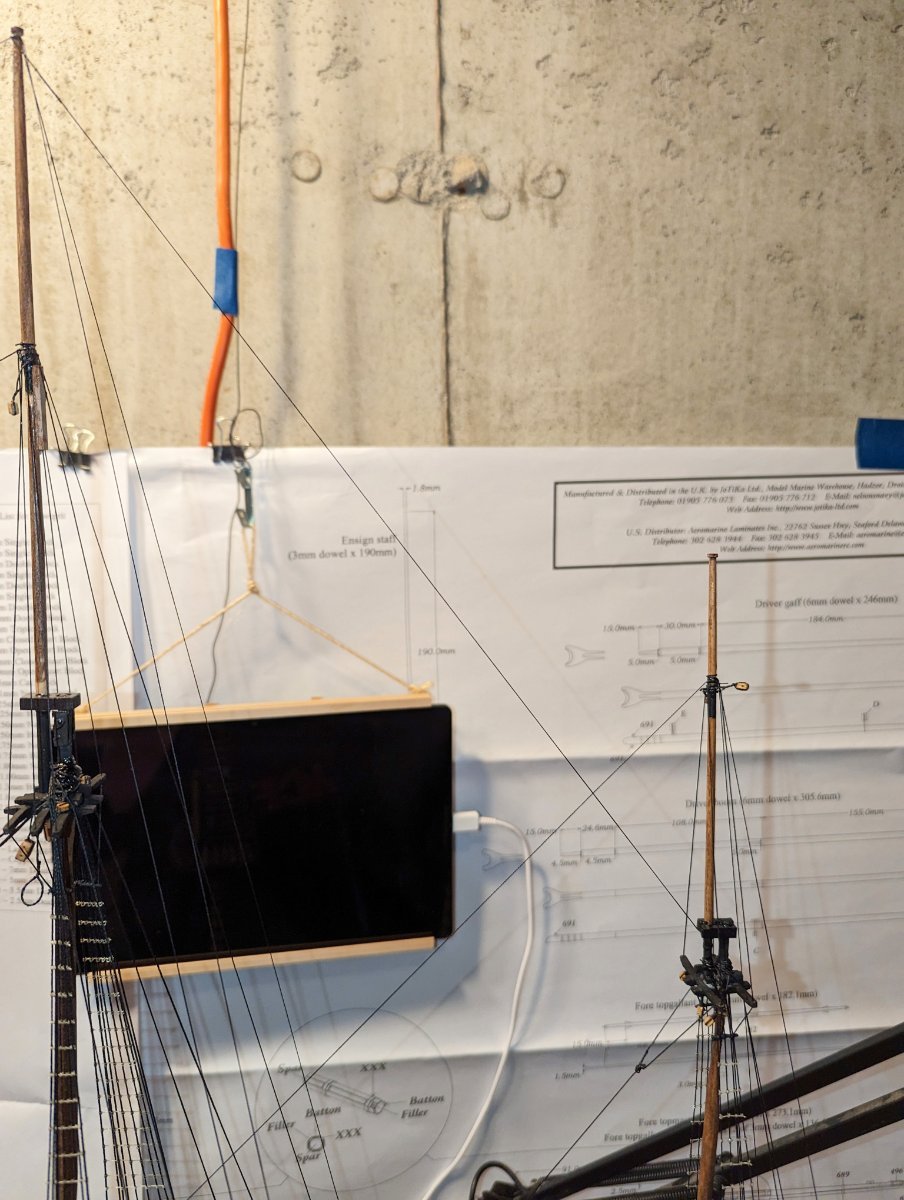
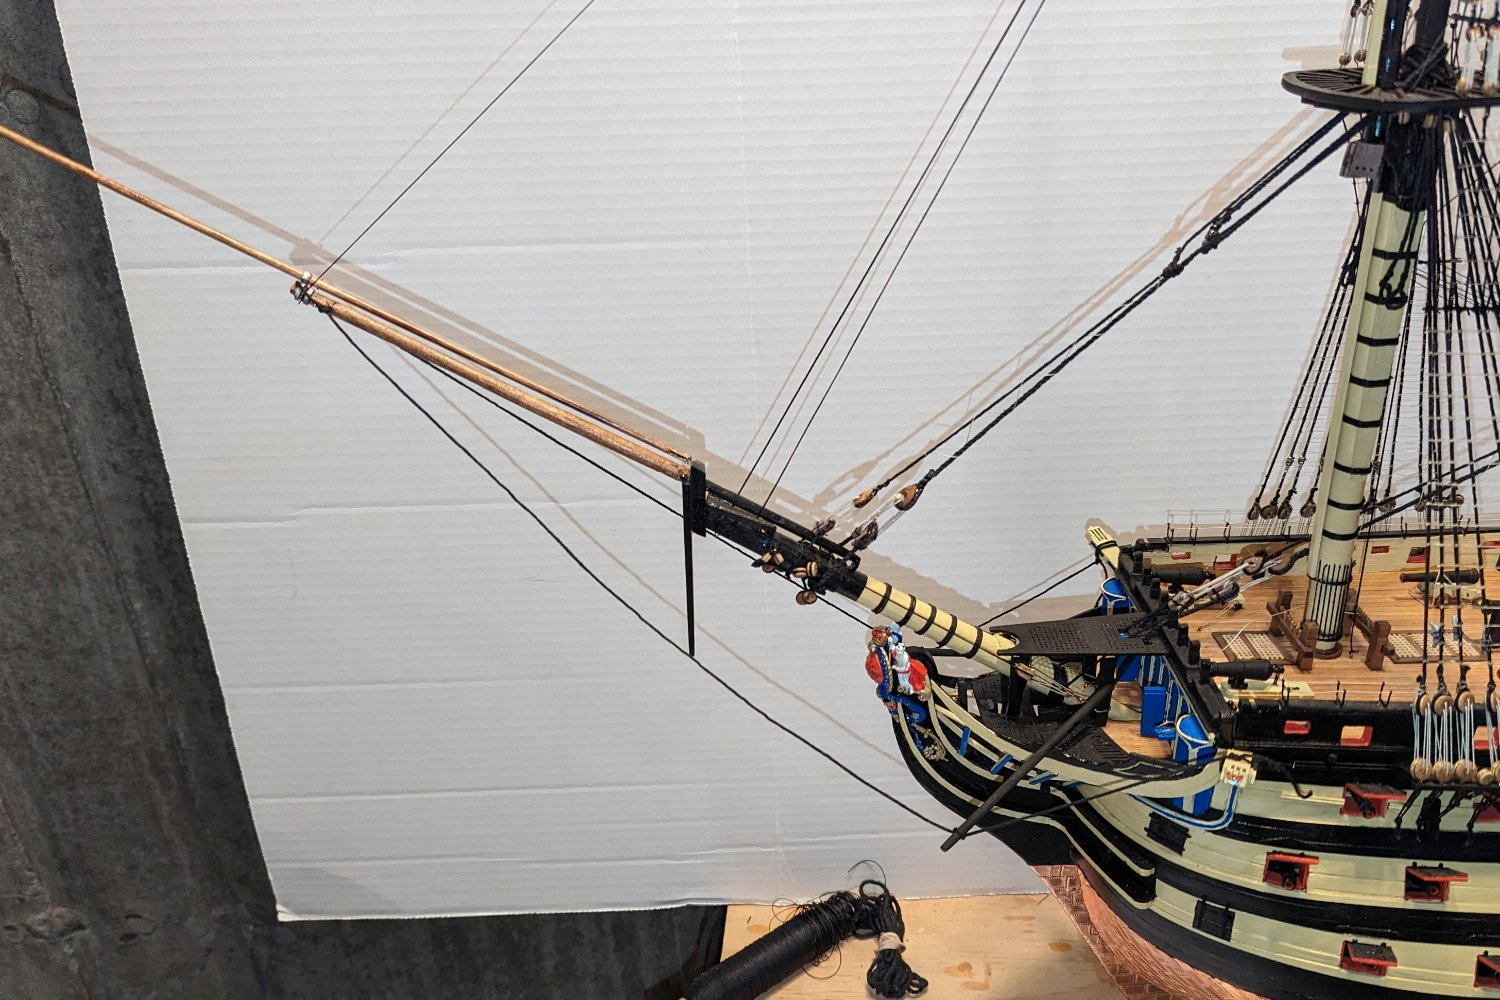
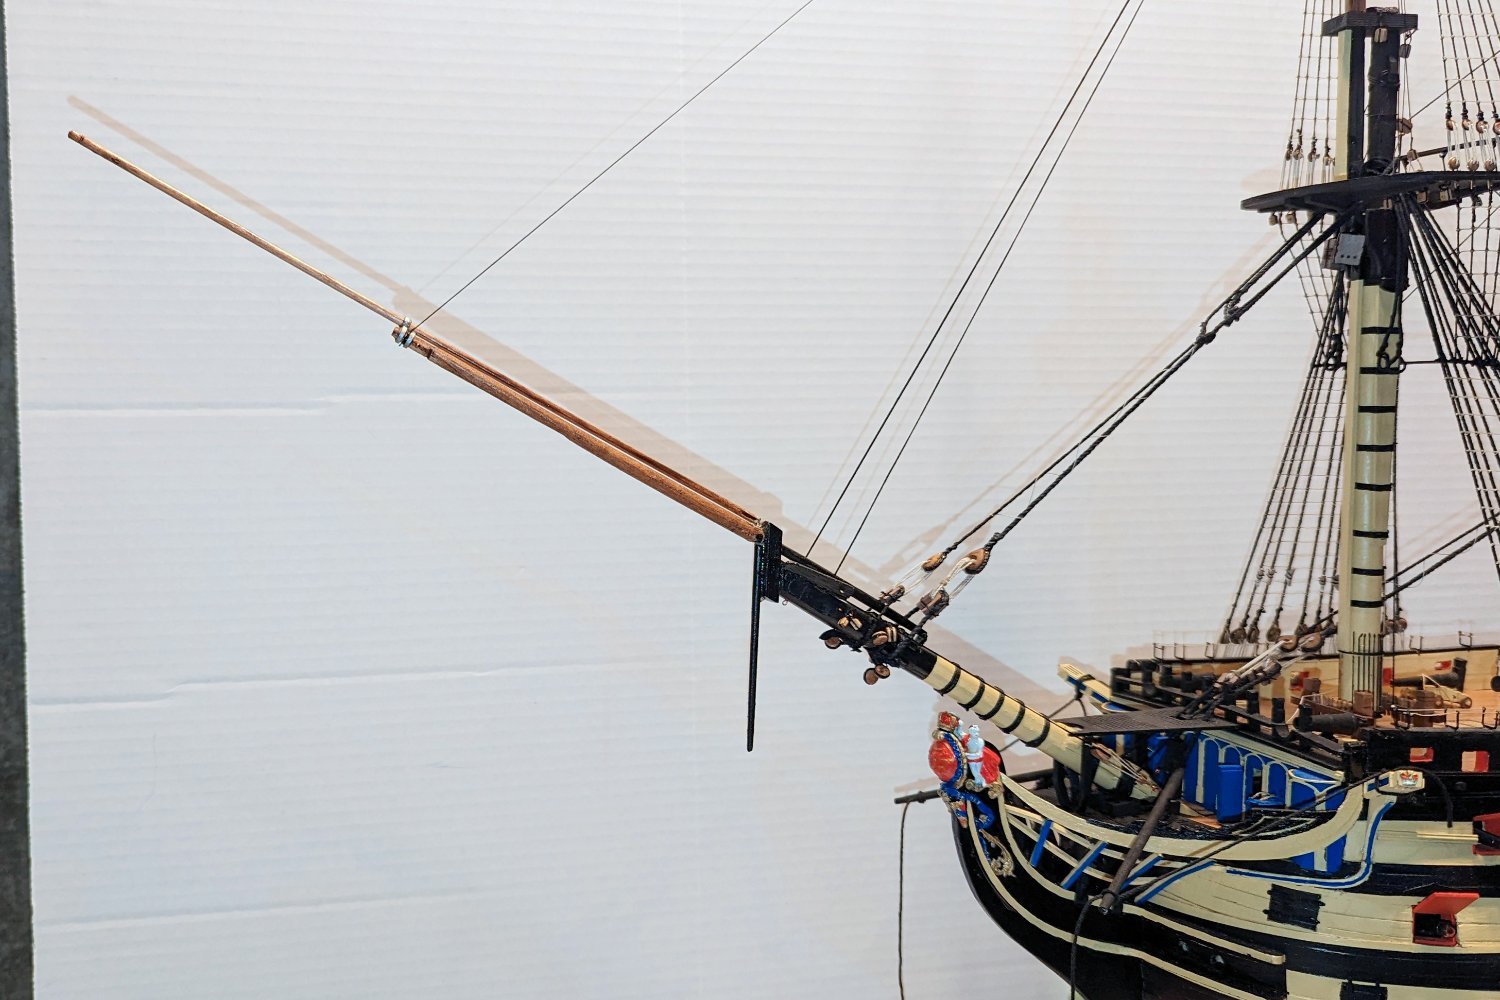
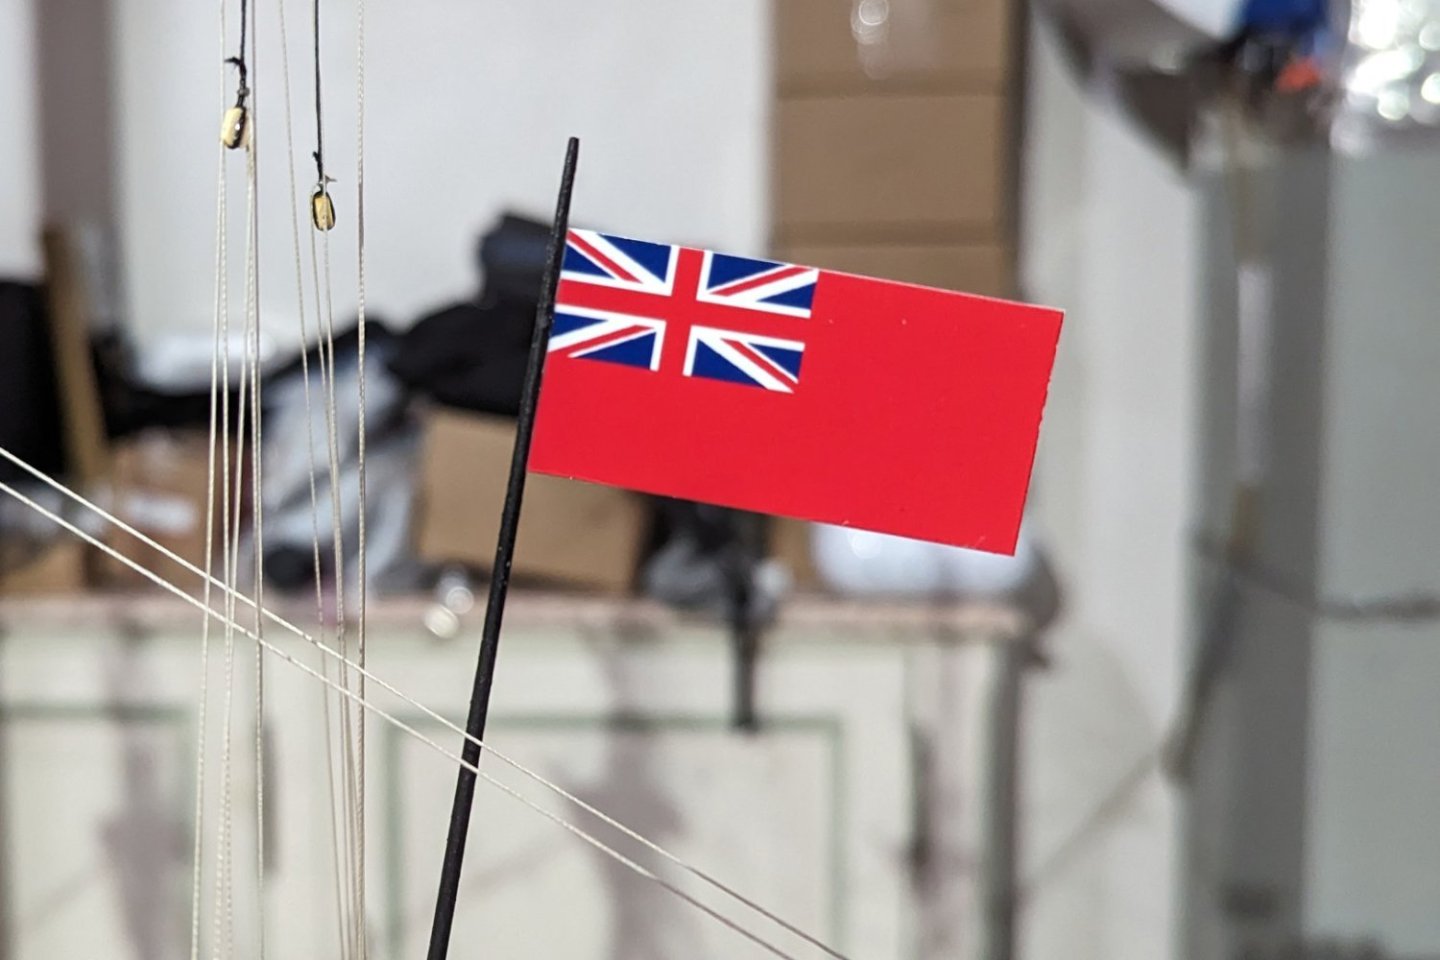
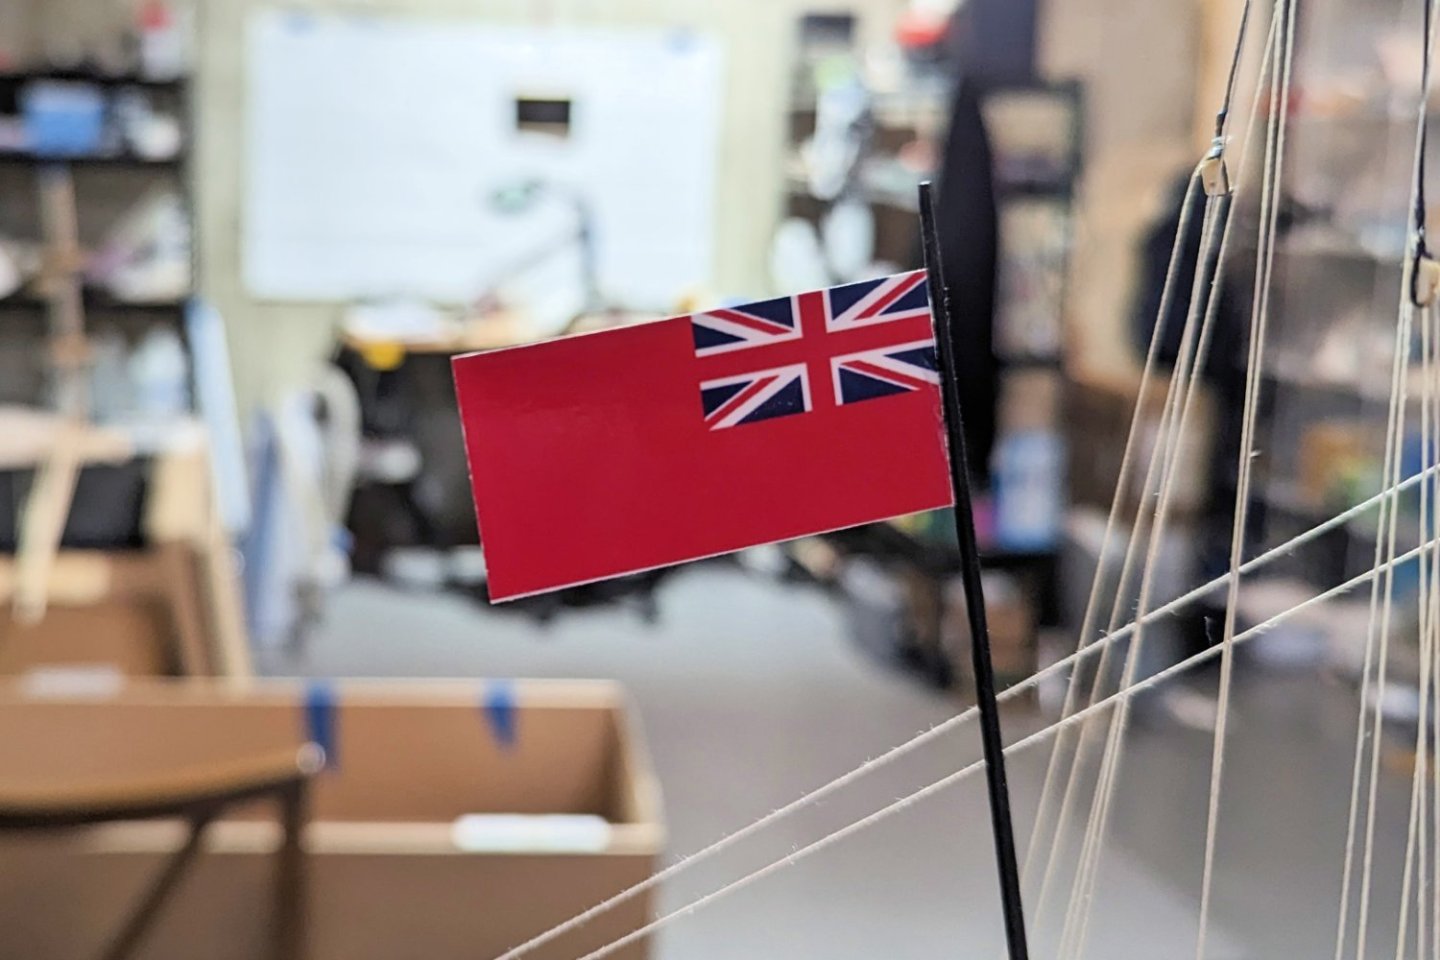
Driver boom built, mounted and rigged. Also the jackstaff for the ensign. Regarding the ensign: there are no flags supplied with this model, and I thought a small ensign would be a nice addition. So I researched British ensigns of that period, and found a good picture that I could download. I then used Photoshop to resize it, and also to do a "flip horizontal" on the image so that the backside would come out properly. Looks nice on the model. You may notice that the lanterns aren't on. I held off on that to avoid pranging them, but now that the boom sort of "protects" that area, I can add them at any time. Regards, David

- 218 replies
-
- 6
-
-
- Victory
- Caldercraft
- (and 1 more)
-
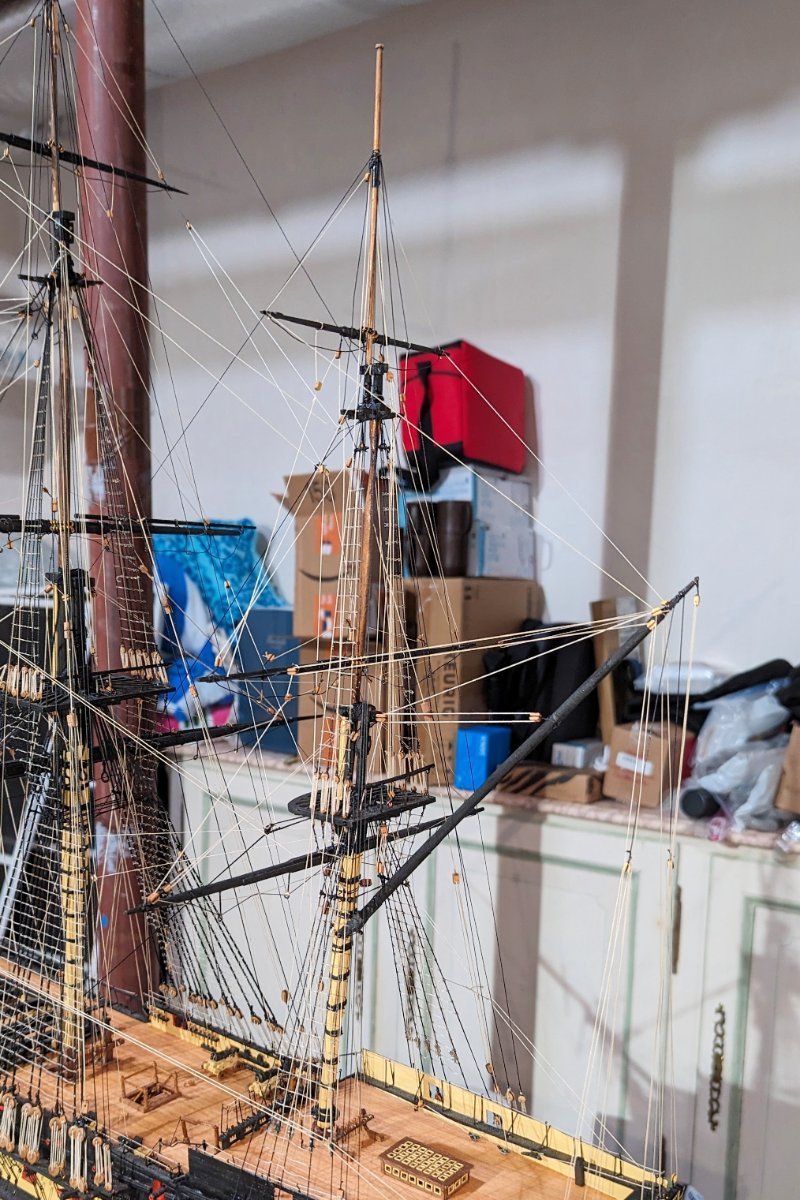
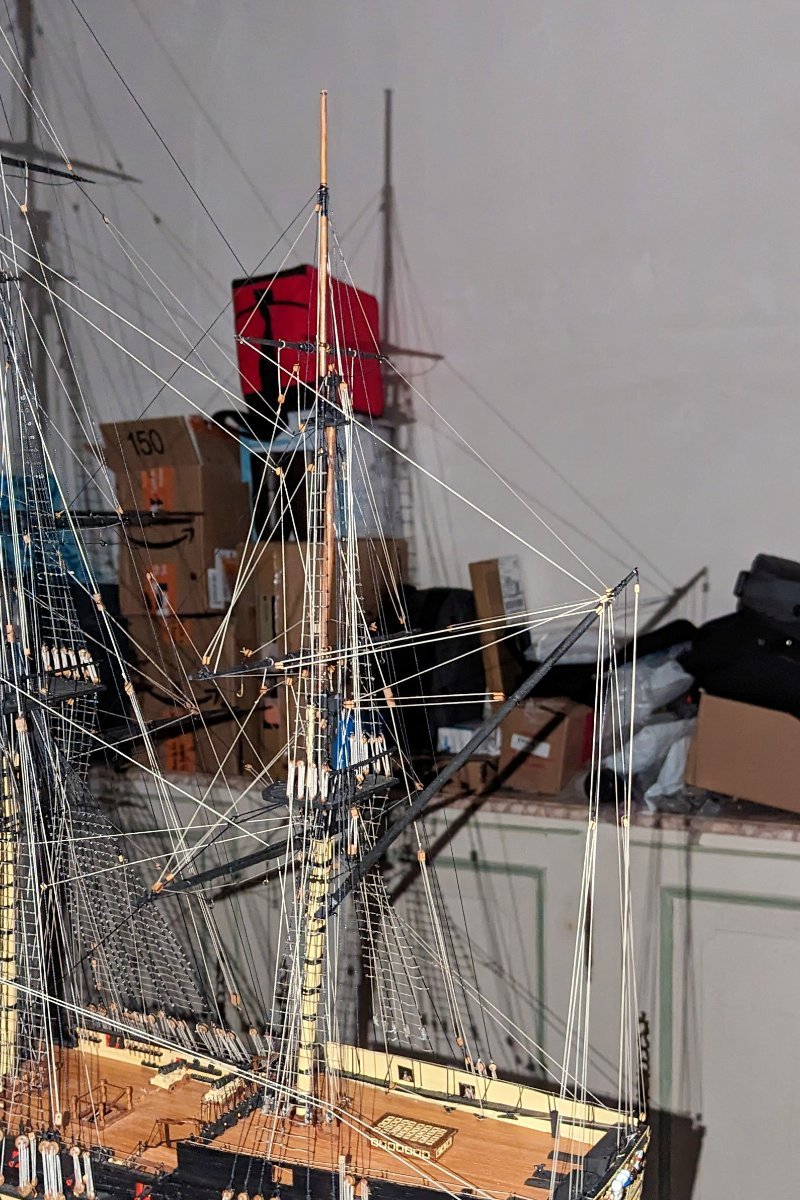
Finished building, mounting and rigging the Driver Gaff. One of these pics shows the gaff better, and the other one shows the rigging bettter. One comment: the instructions say to rig both the mizzen top yard and the mizzen topgallant yard braces before rigging the vang. I did the top yard brace because the angles put some downward pull on the gaff, but the topgallant brace would pull up. So after the top yard brace I rigged the vang, which puts nice downward pull on the gaff and also helps to align it side to side. Then the topgallant brace and I could put some tension on it because the vang anchored the gaff down. Just a small note for those who might be building a step or two behind me. Regards, David

- 218 replies
-
- 7
-
-
-
- Victory
- Caldercraft
- (and 1 more)
-
Braces now done. Next step is the boom and gaff, which look semi-complex to build and to rig. Regards, David
- 218 replies
-
- 8
-
-
-
- Victory
- Caldercraft
- (and 1 more)
-
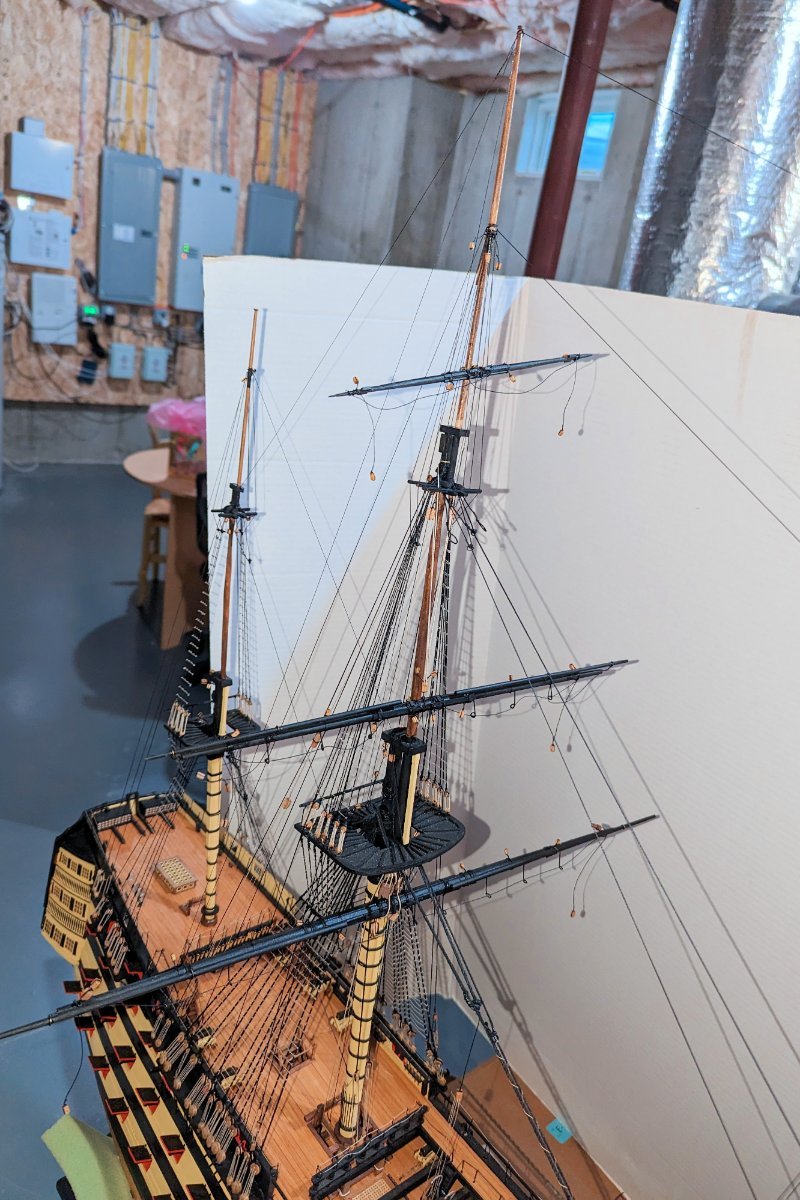
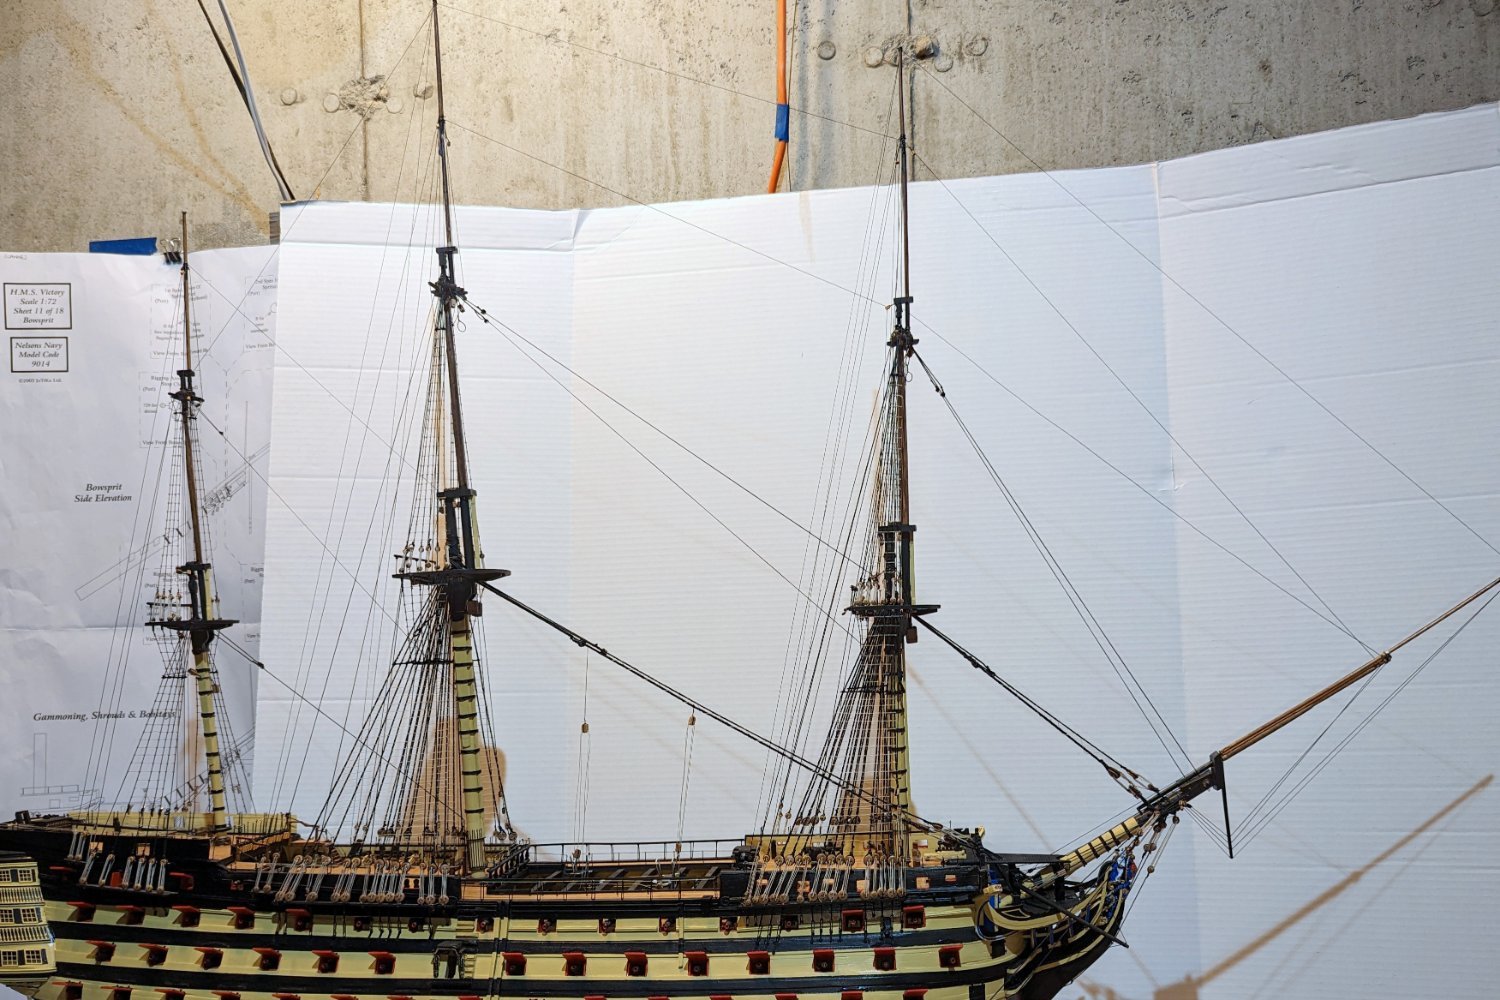
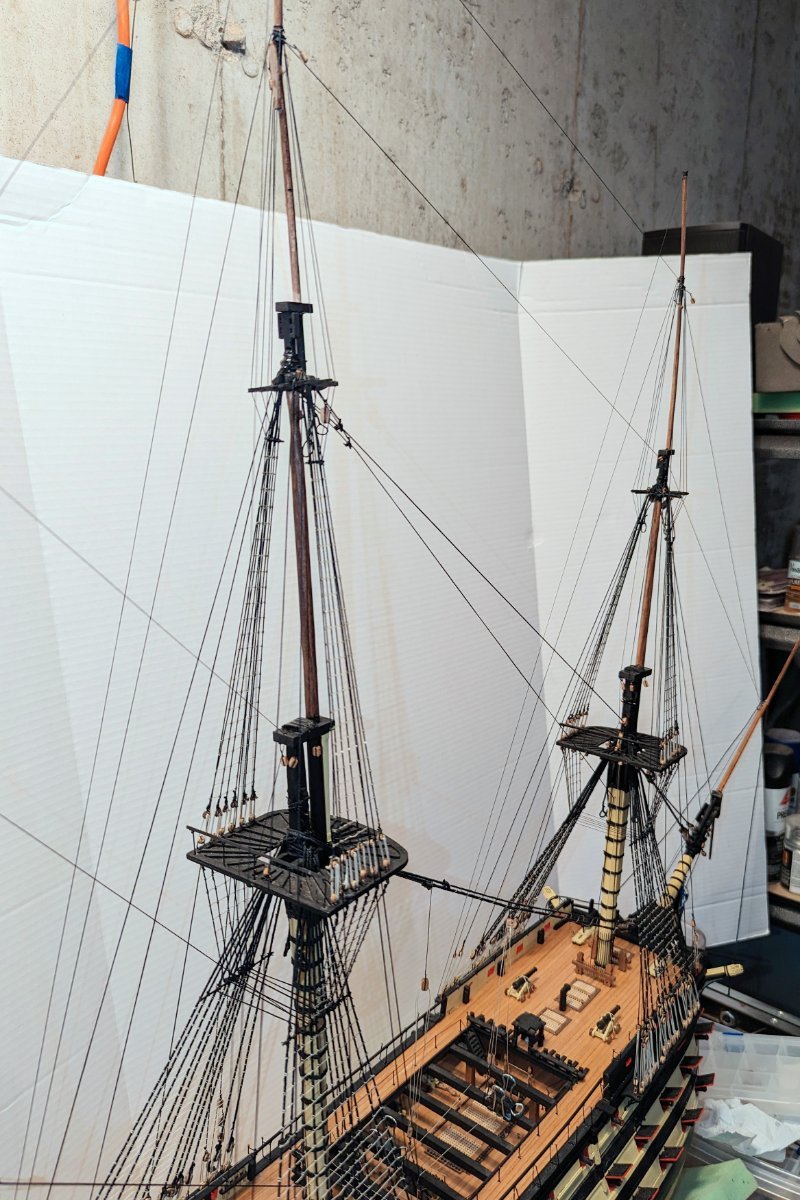
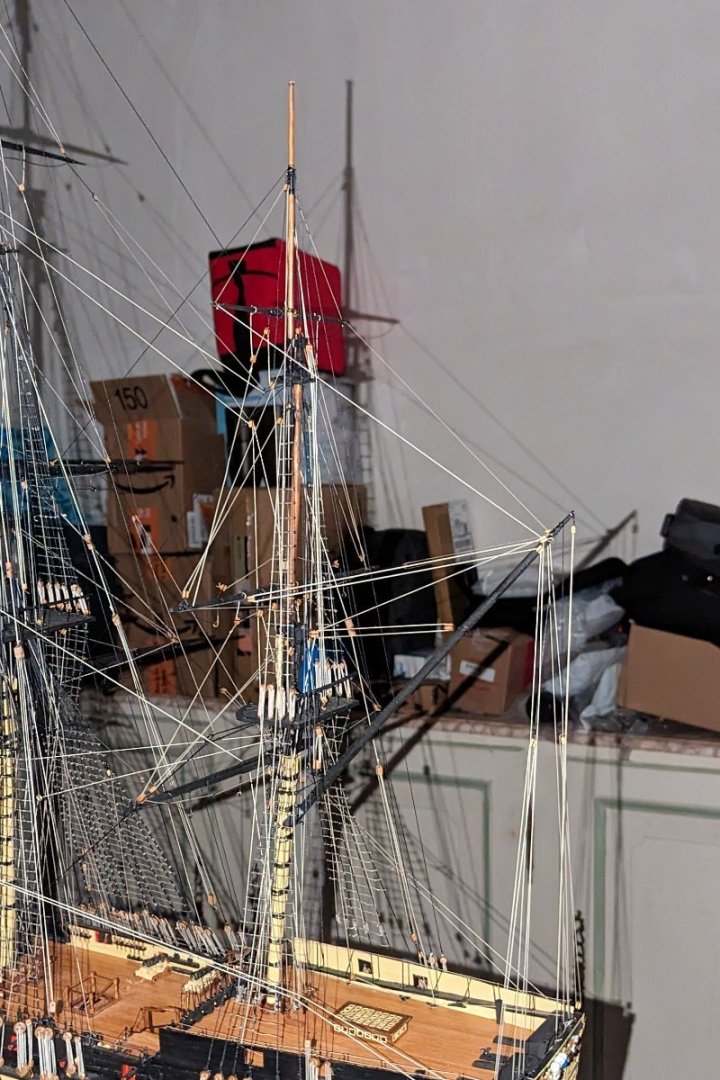
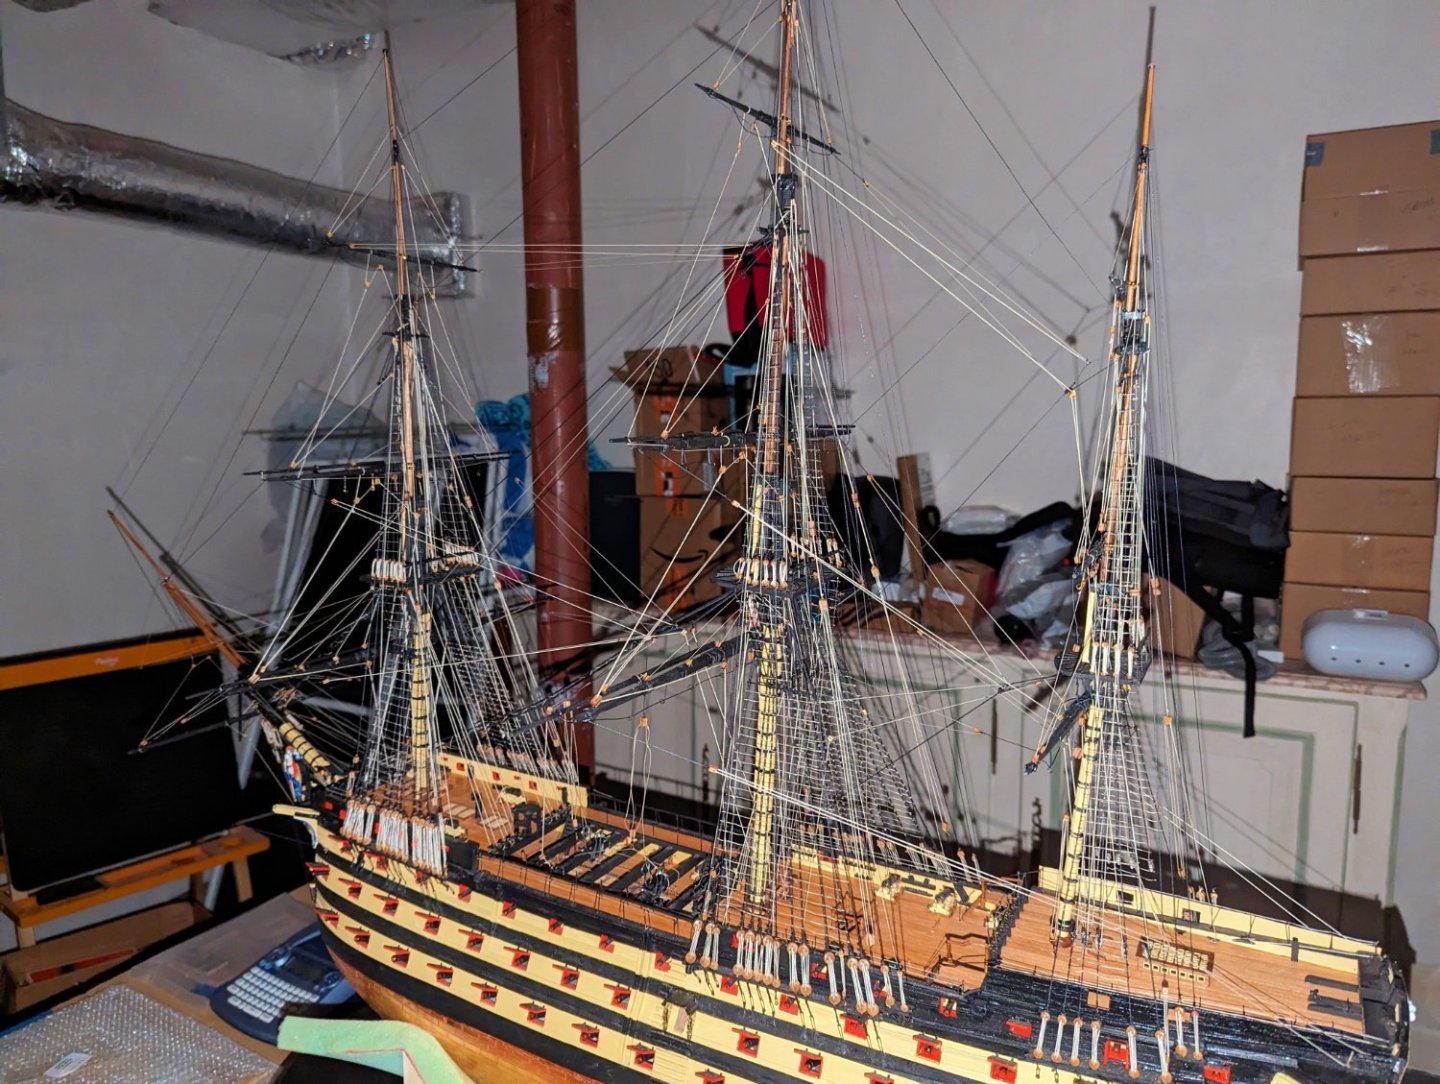
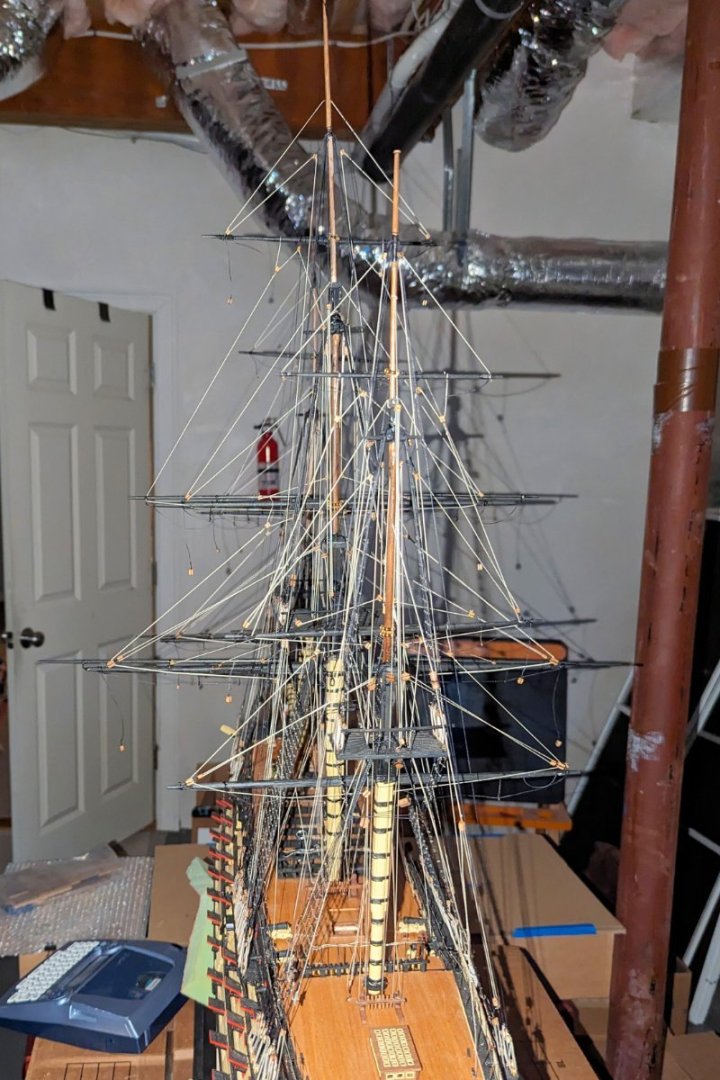
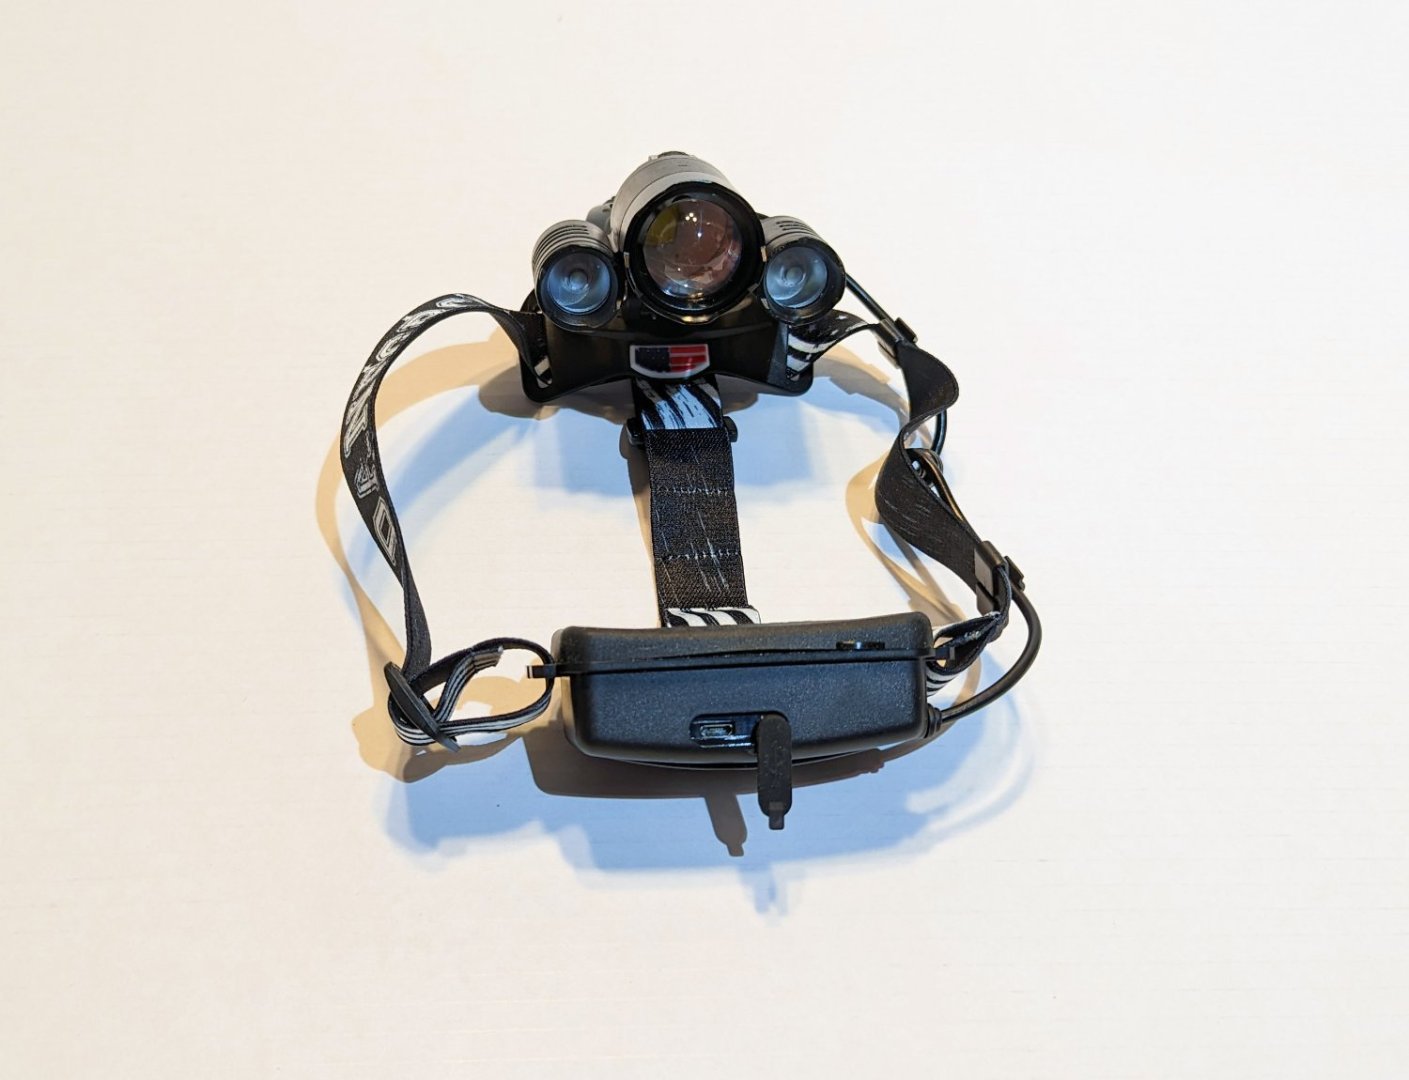
A note on the rather odd backgrounds you may notice in my more recent pictures. When I started building the yards, I needed to clear my workbench, so I moved the ship on top of some large boxes that contain case lots of household supplies -- something we started doing during Covid and have kept up. What I found was that I could get to both sides of the ship easily without having to rotate it all the time. The hull is just below chest level, so the masts and yards are at a perfect height when I'm standing up. So I bought a headlamp (mentioned earlier) to provide a good worklight in that area, and that's where I've been mounting yards and doing rigging. Works pretty well -- but it's why you see those odd "basement" backgrounds. Regards, David
- 218 replies
-
- 3
-
-
- Victory
- Caldercraft
- (and 1 more)
-
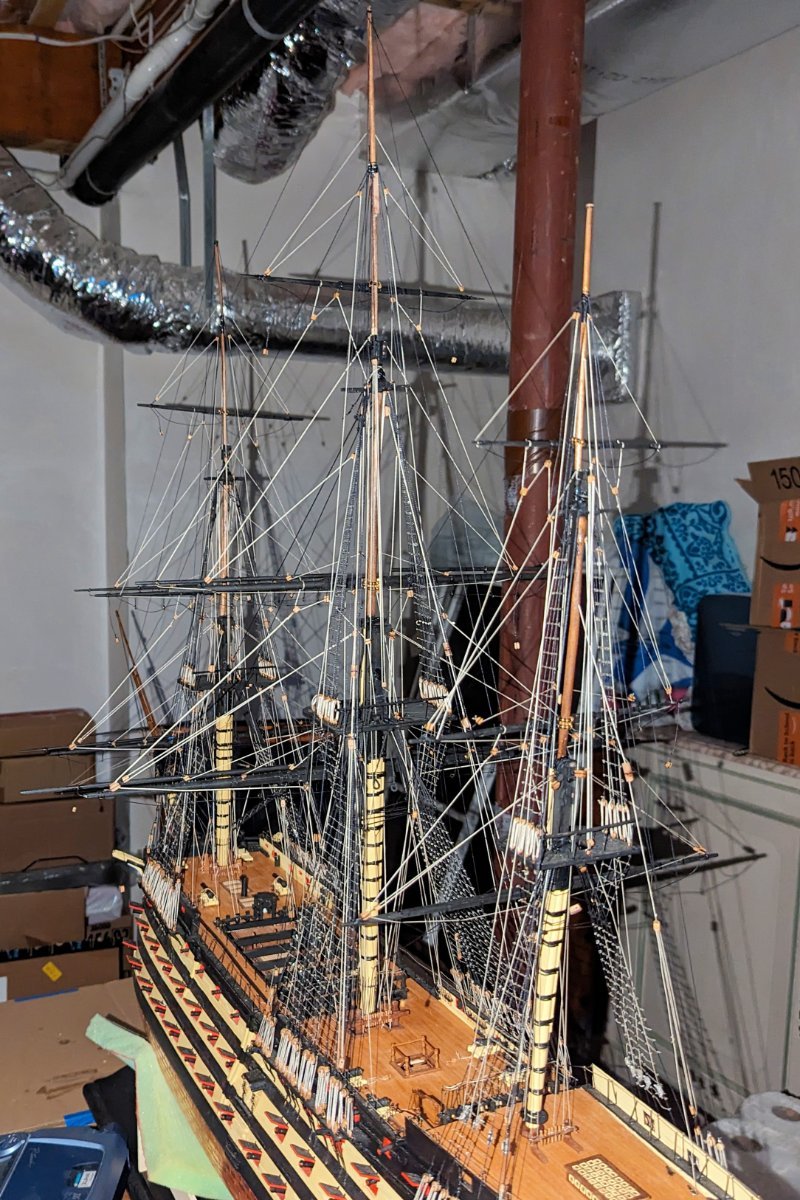
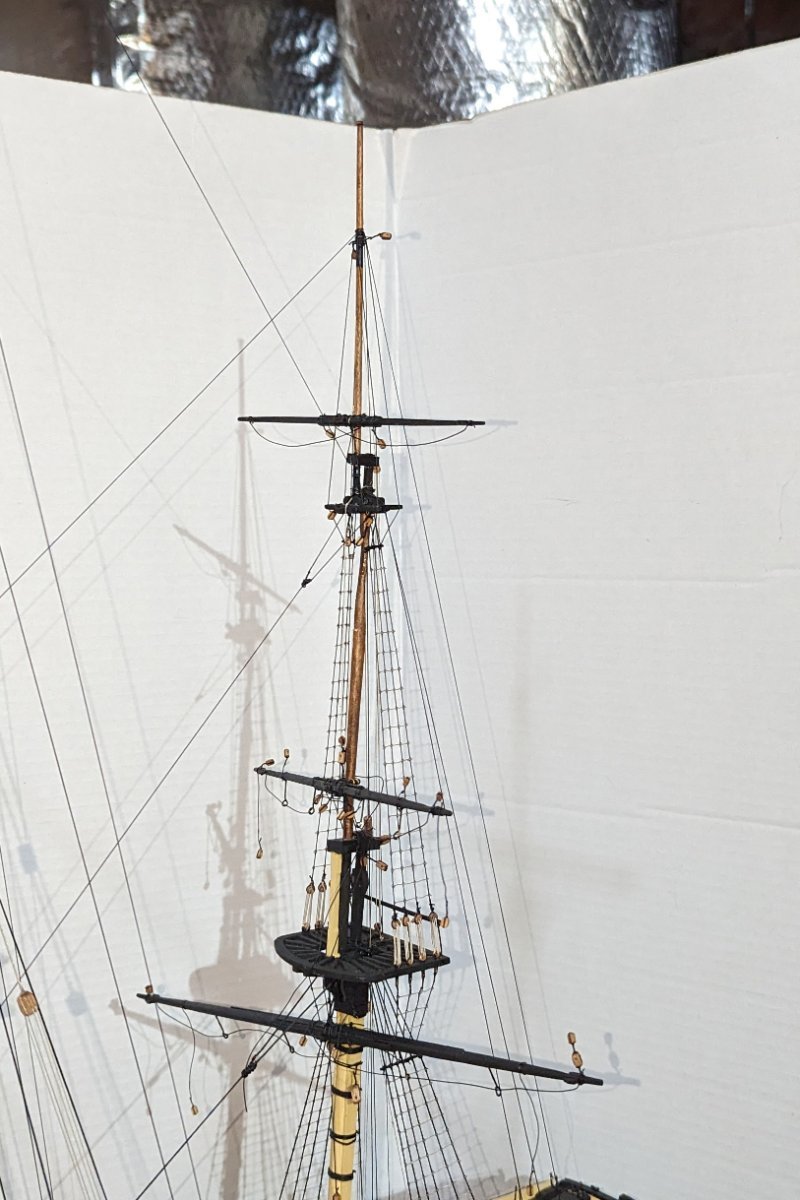
The lifts, sheets, buntlines and cluelines are now done on all 3 masts and the bowsprit. Pictures attached. Next step is braces. It moves along more quickly once you get to the "real" rigging stage. Regards, David

- 218 replies
-
- 9
-
-
- Victory
- Caldercraft
- (and 1 more)
-
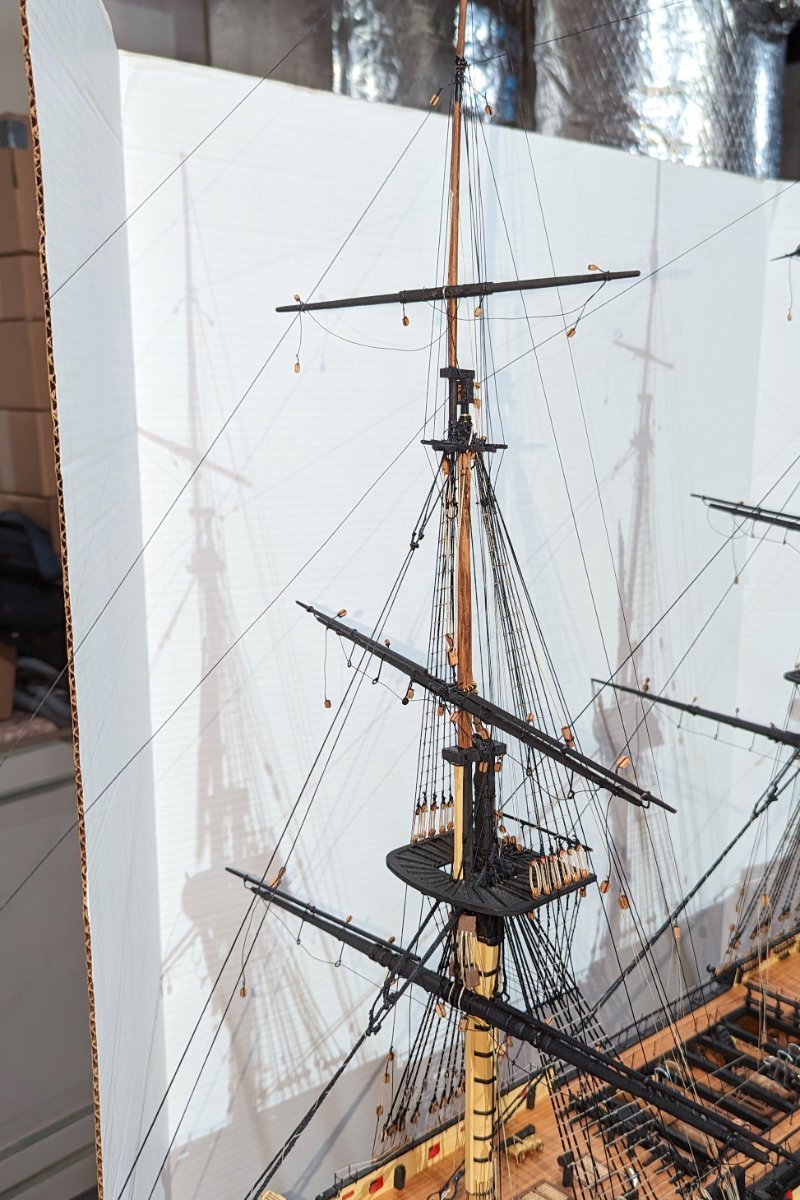
Main mast yard lifts, sheets, buntlines and clewlines done. Regards, David
- 218 replies
-
- 7
-
-
- Victory
- Caldercraft
- (and 1 more)
-
Finished the foremast yard lifts and sheets (plus "bunt" and "clew" lines, whatever those are). I used flash in the dark with no white background so the rigging would show up. Regards, David

- 218 replies
-
- 4
-
-
-
- Victory
- Caldercraft
- (and 1 more)
-
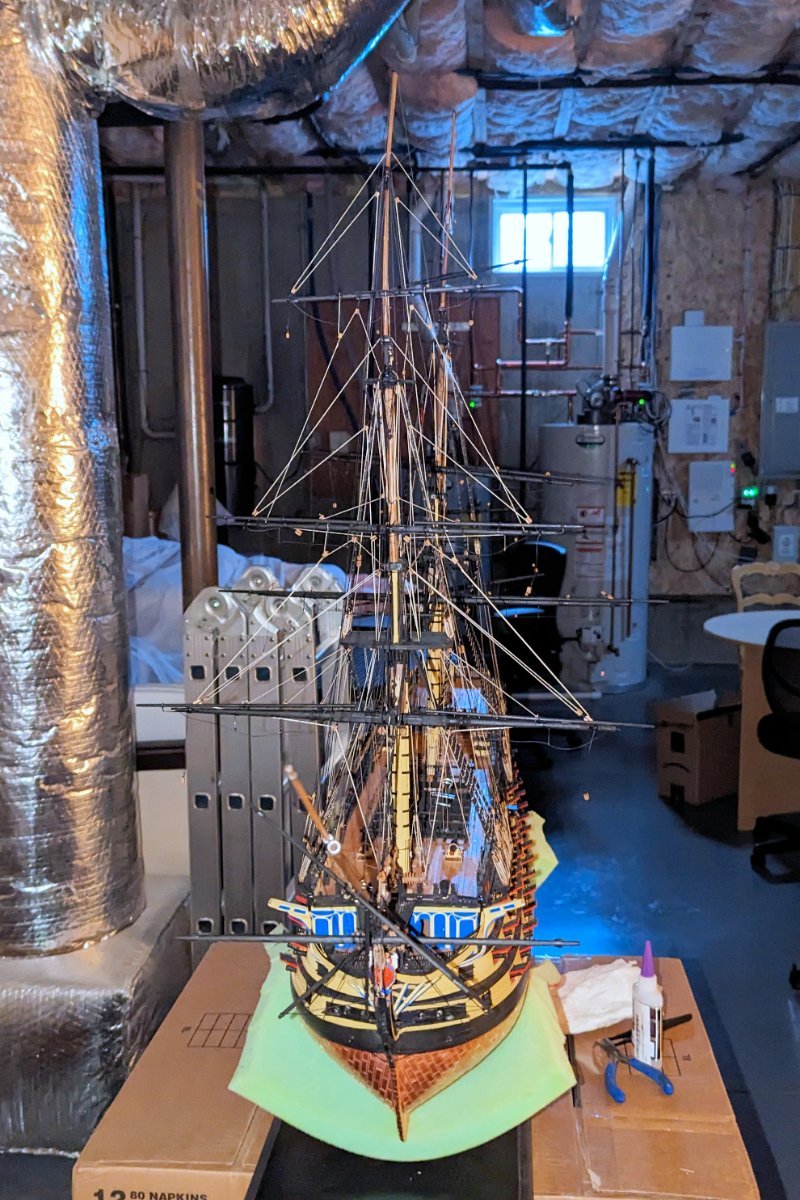
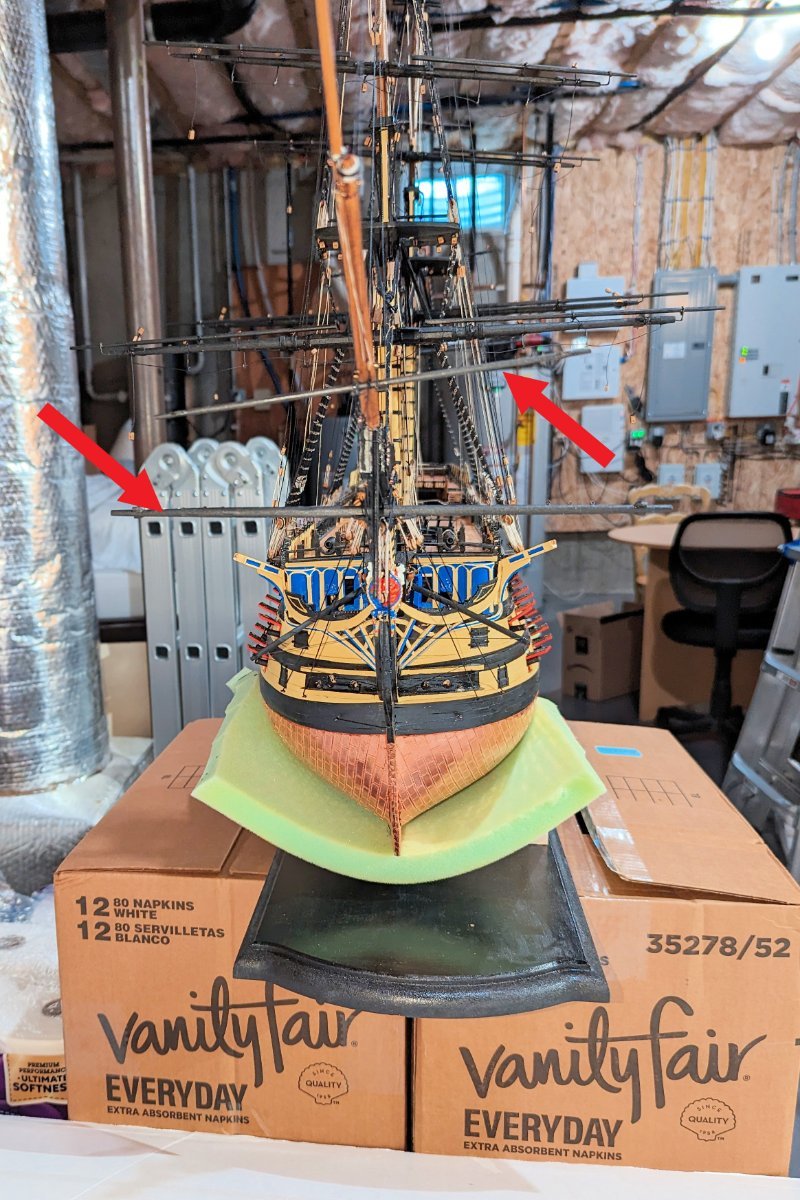
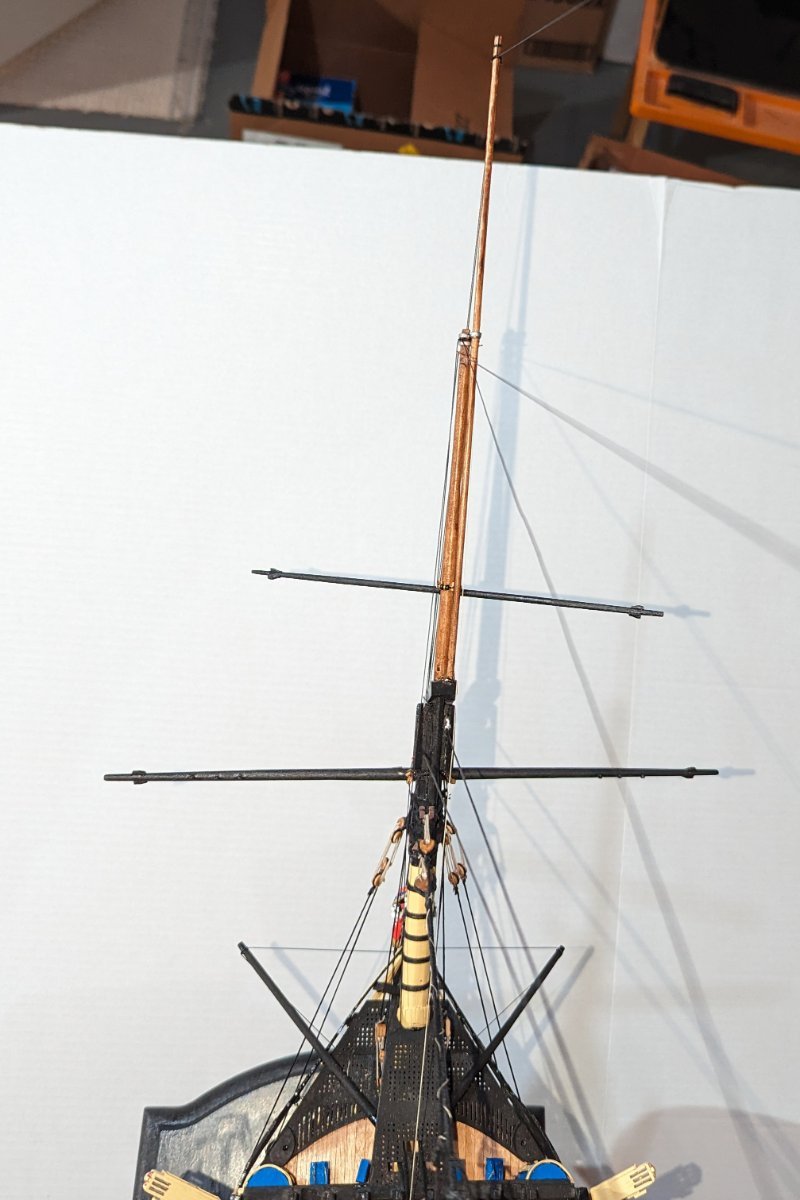
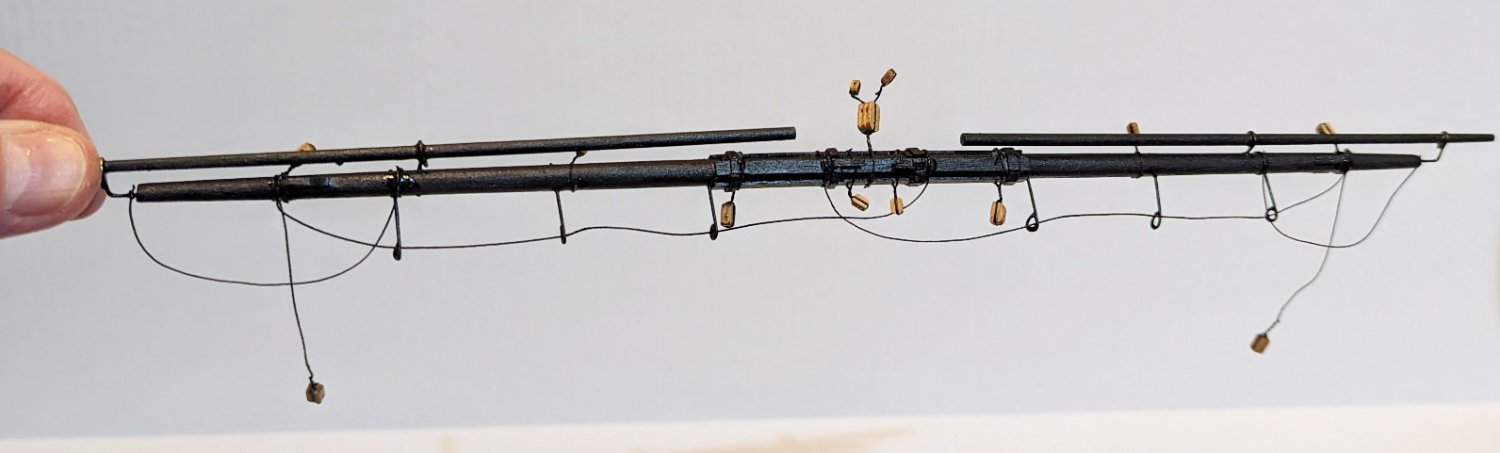
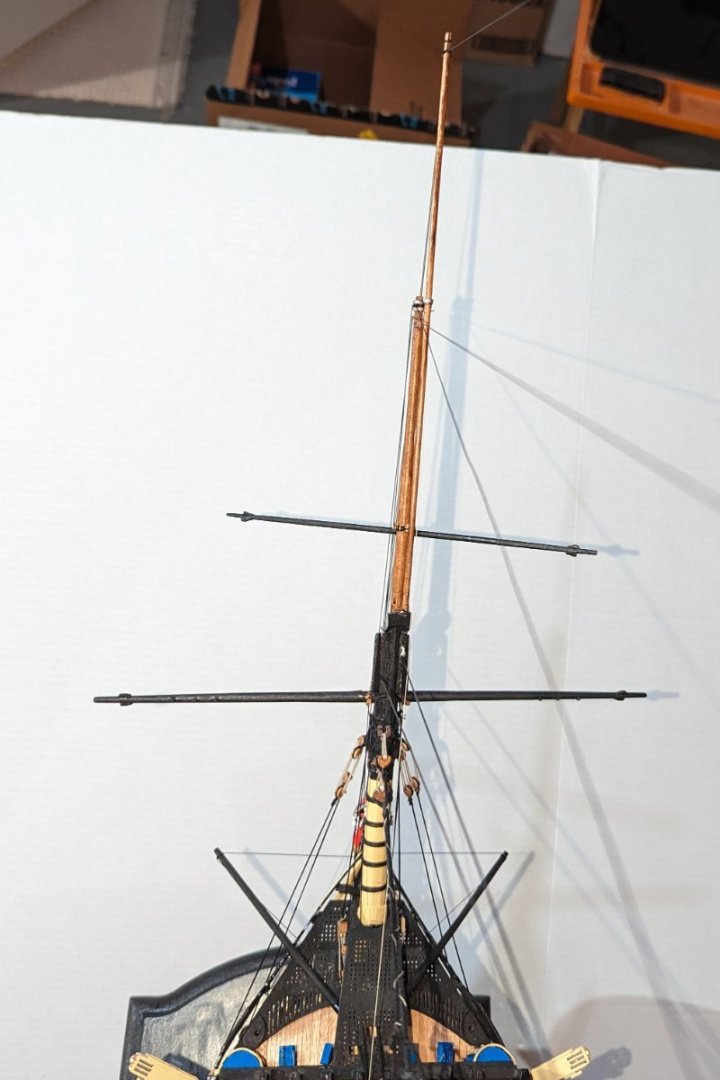
Bowsprit yards done and mounted. Pictures show bow-on view with some arrows added so the yards are more identifiable, and a top-down view. Now the real rigging can start! Regards, David

- 218 replies
-
- 6
-
-
- Victory
- Caldercraft
- (and 1 more)
-
Mizzen yards done and mounted. Now just the bowsprit yards left. Regards, David

- 218 replies
-
- 7
-
-
-
- Victory
- Caldercraft
- (and 1 more)
-
Fore topgallant yard up. So now on to the mizzen yards, which are simpler to build than the fore and main yards. Regards, David
- 218 replies
-
- 10
-
-
-
- Victory
- Caldercraft
- (and 1 more)
-
Built and installed the fore topmast. Knocking them off, one by one. Regards, David
- 218 replies
-
- 9
-
-
-
- Victory
- Caldercraft
- (and 1 more)
-
Allan: You asked why many of my blocks are rigged upside down. Actually, I think it's all of them. I'm sure you are right, and that I'm doing it upside down. When I started building ships, it seemed to me that rigging the sheaves (the holes) at the loop end vs the tie end would lead to more aligned rigging and less fouling. So I've always done it that way. Regards, David
- 218 replies
-
- 1
-
-
- Victory
- Caldercraft
- (and 1 more)
-
The fore yard is built and rigged onto the ship. Going on a trip for a couple of weeks so won't be posting again until latter part of June. Regards, David

- 218 replies
-
- 6
-
-
- Victory
- Caldercraft
- (and 1 more)
-
Main topgallant yard built and mounted. I included a pic of the rigging. Again, as with the topyard, I have rigged a strop to hold the yard down, and I'll cut that if something comes along later that does that. Regards, David

- 218 replies
-
- 8
-
-
- Victory
- Caldercraft
- (and 1 more)
-
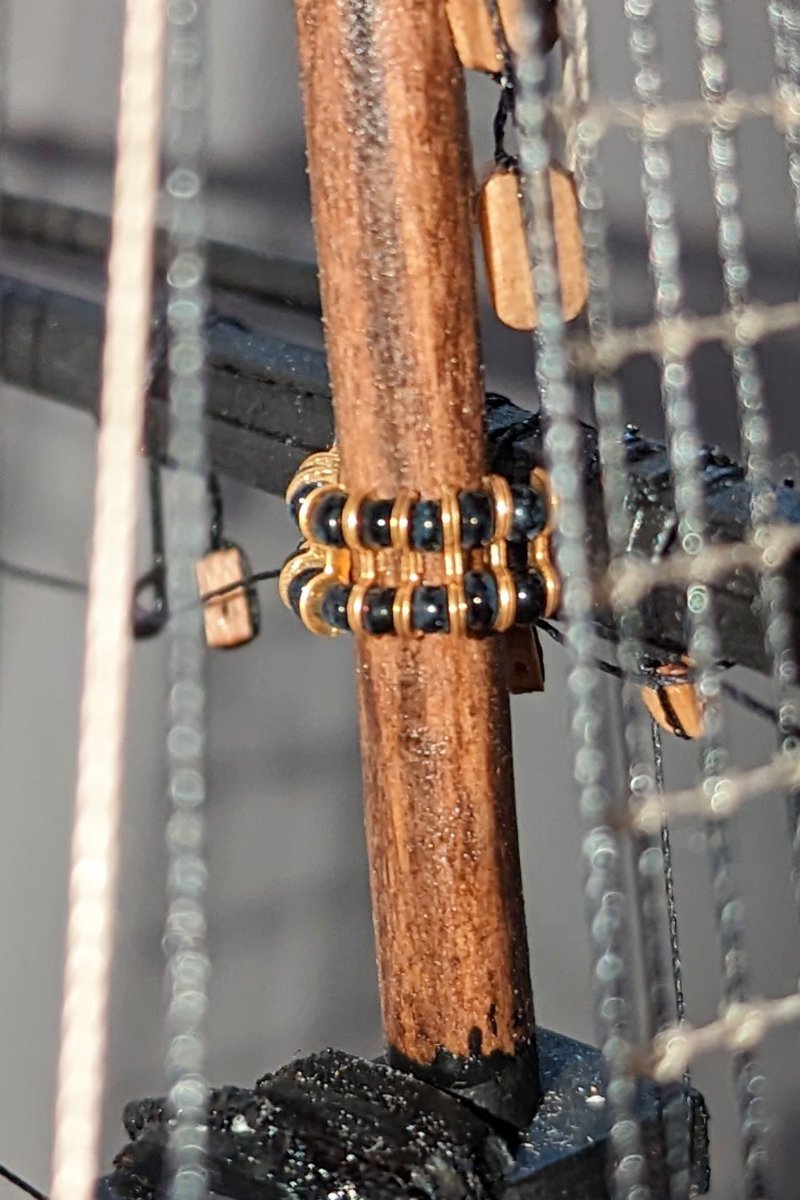
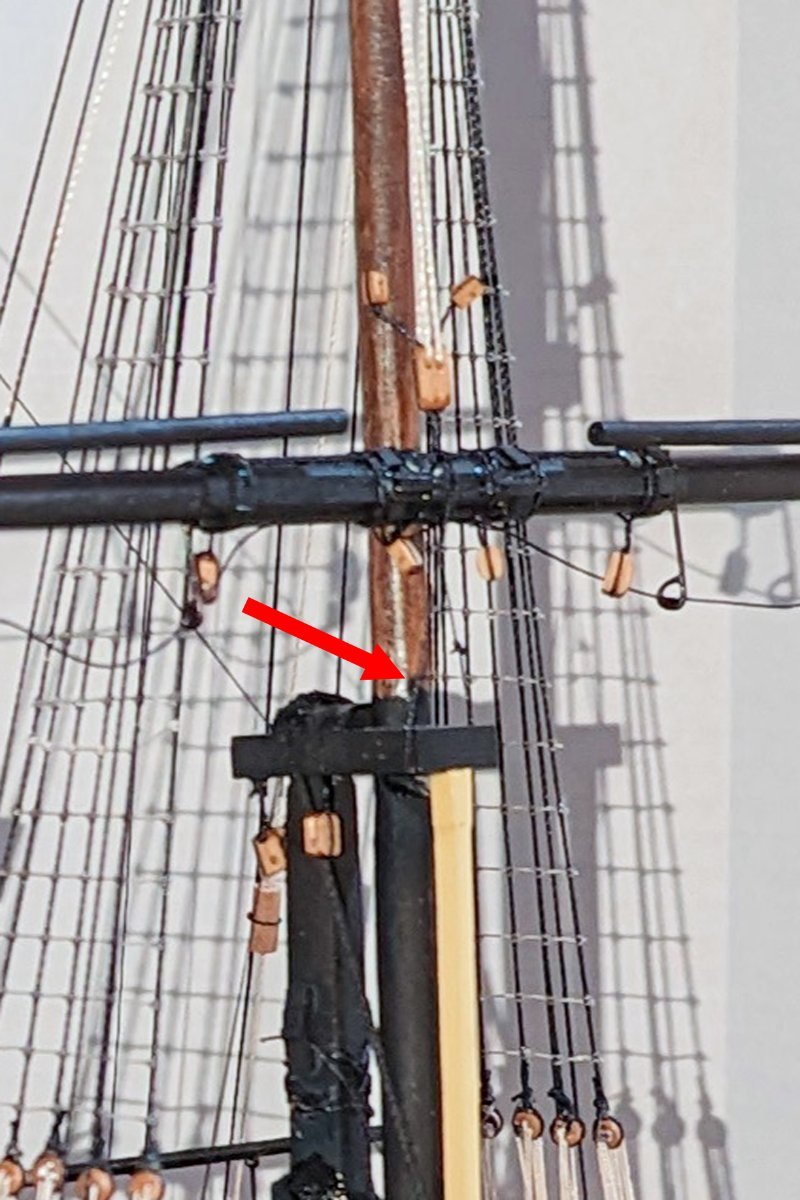
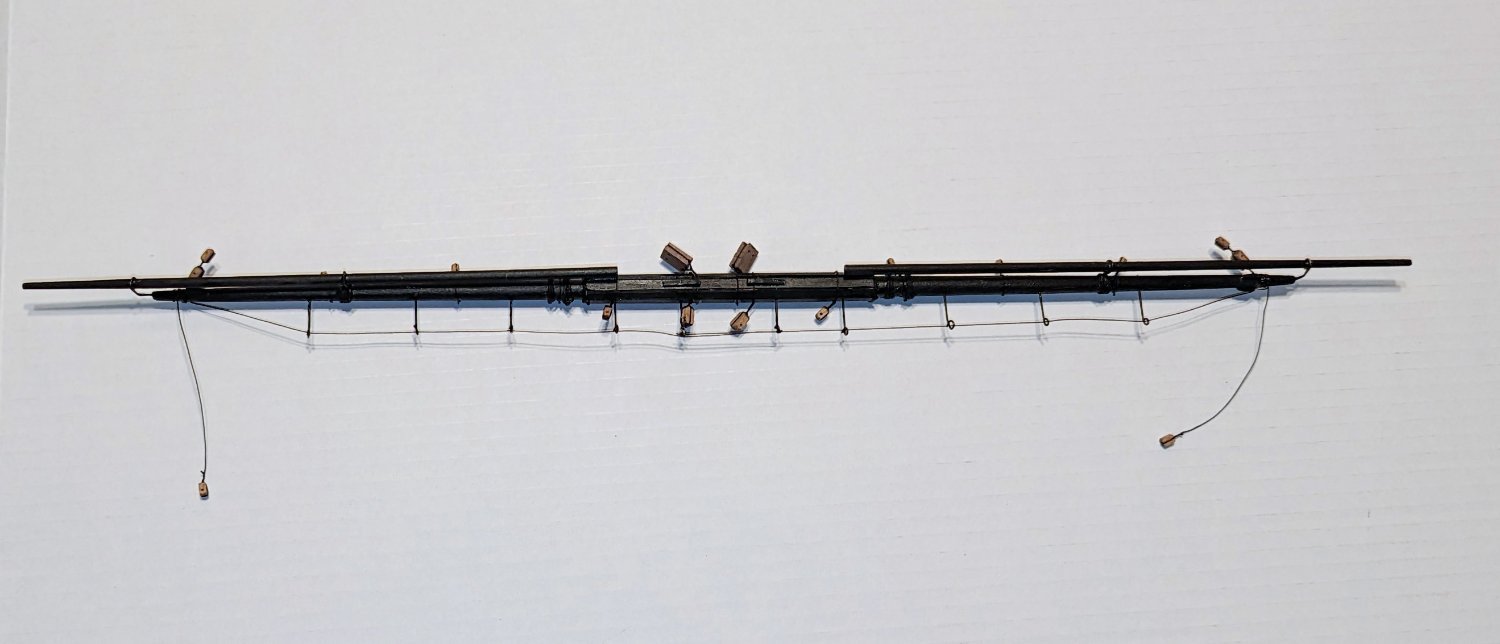
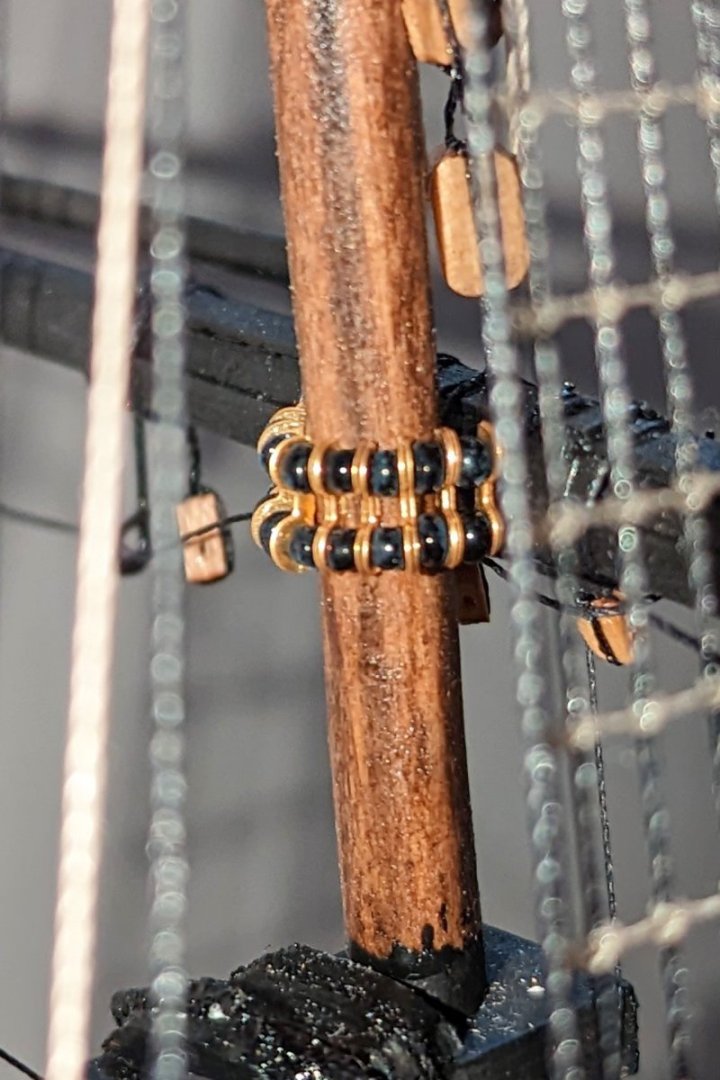
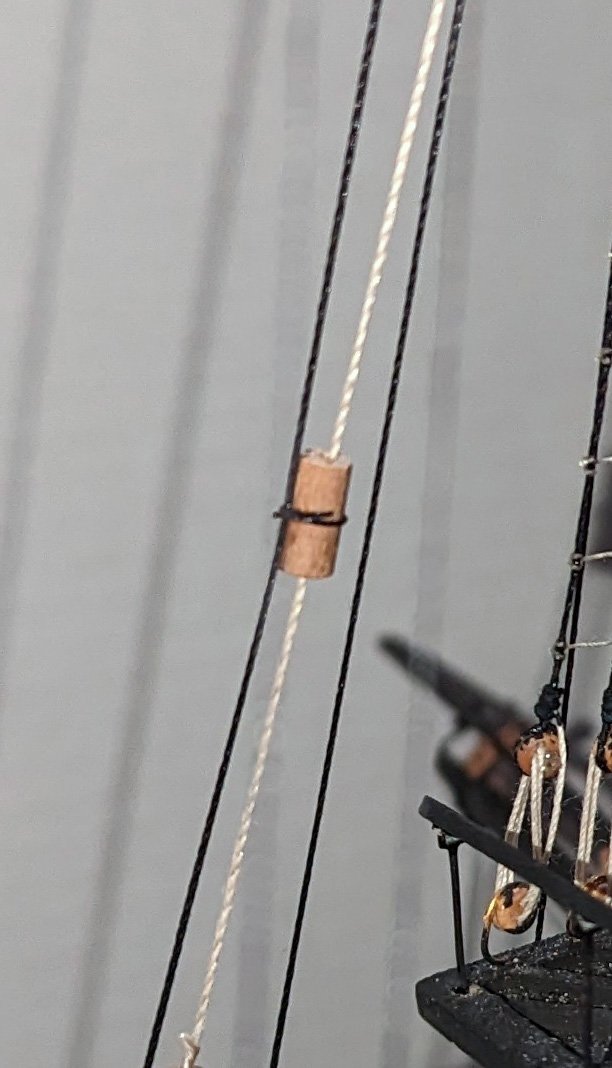
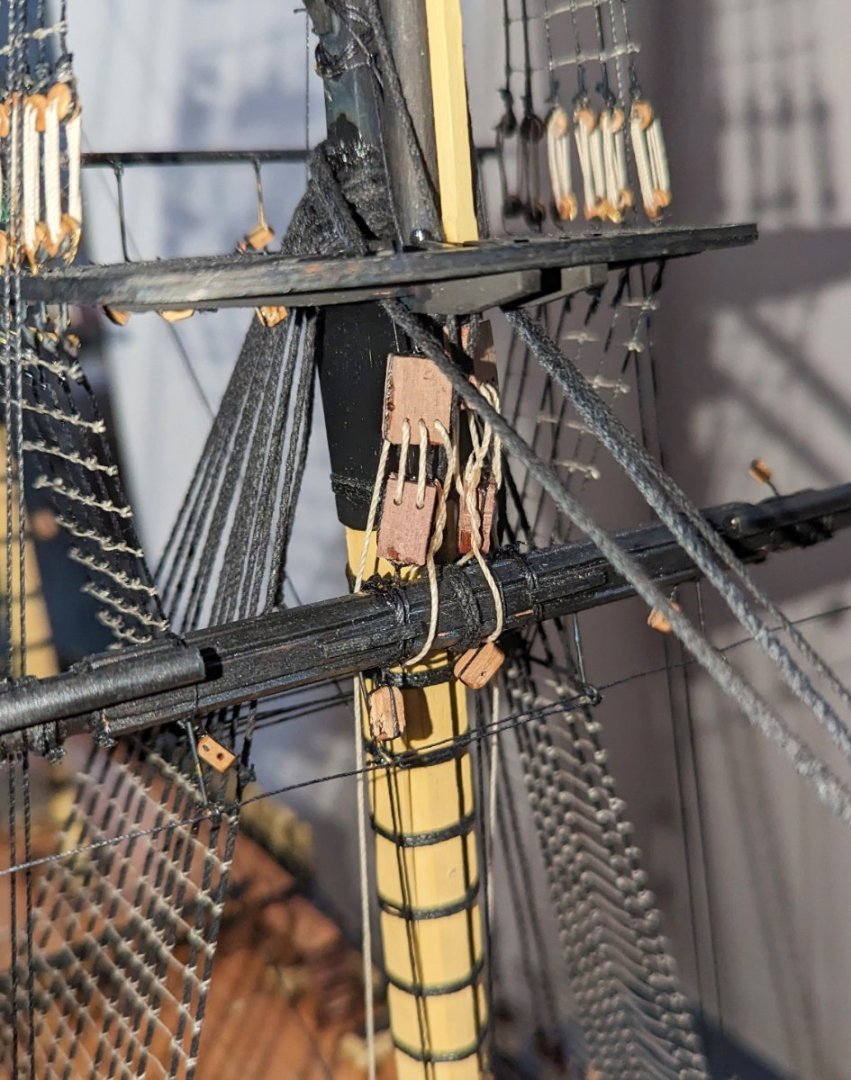
Finished the main topsail yard and mounted it. Some things to comment on with accompanying pictures: The parrel beads and ribs look nice. I've typically had trouble mounting yards with parrel beads -- holding everything in place (even with the ends knotted to make a tight assembly. This time I dry-mounted the yard with painters tape, which made it relatively easy to rig the beads. Didn't have to resort to my default on earlier boats of gluing them to the mast and then rigging them. Other pics show the "tye" rigging including long block and tackle at the end. In order to get the tyes tensioned correctly, I needed to tie the yard down, and there is a thin loop (red arrow) doing that. If something comes up in the later rigging that holds the yard down, I'll snip that loop. There is something called a "truck" that lashes the rigging to one of the backstays. It's supposed to be a cast item, but looked high and low and nada in the parts box. So I improvised with some scrap walnut dowel as shown in the picture. In general, I've been pretty disappointed in the cast items in this kit -- particularly the yard rings, which I've ditched for my own using wire. It took me about 5 days to build and mount this second yard, so allowing for an upcoming vacation it may be sometime in August before I have them all done -- maybe later. I'll keep posting as I go. Regards, David


- 218 replies
-
- 7
-
-
-
- Victory
- Caldercraft
- (and 1 more)
-
Yes, Chris -- agree. Have you done more?
-
Finished and added blocks to the main yard. Because I need my workbench to make the yards, I have moved the ship across the room. I also need somewhere to store the yards as I build them -- so I will mount them on the masts as I go along. Pic of the first mounted yard is shown, along with some rigging detail. The light is not very good in the part of the workroom where the ship now is, so I bought a LED headset light (shown). Wow, what a godsend. Puts a ton of light just where you are looking. Only $30 at Amazon. Wish I'd had it sooner. Regards, David

- 218 replies
-
- 8
-
-
- Victory
- Caldercraft
- (and 1 more)
-
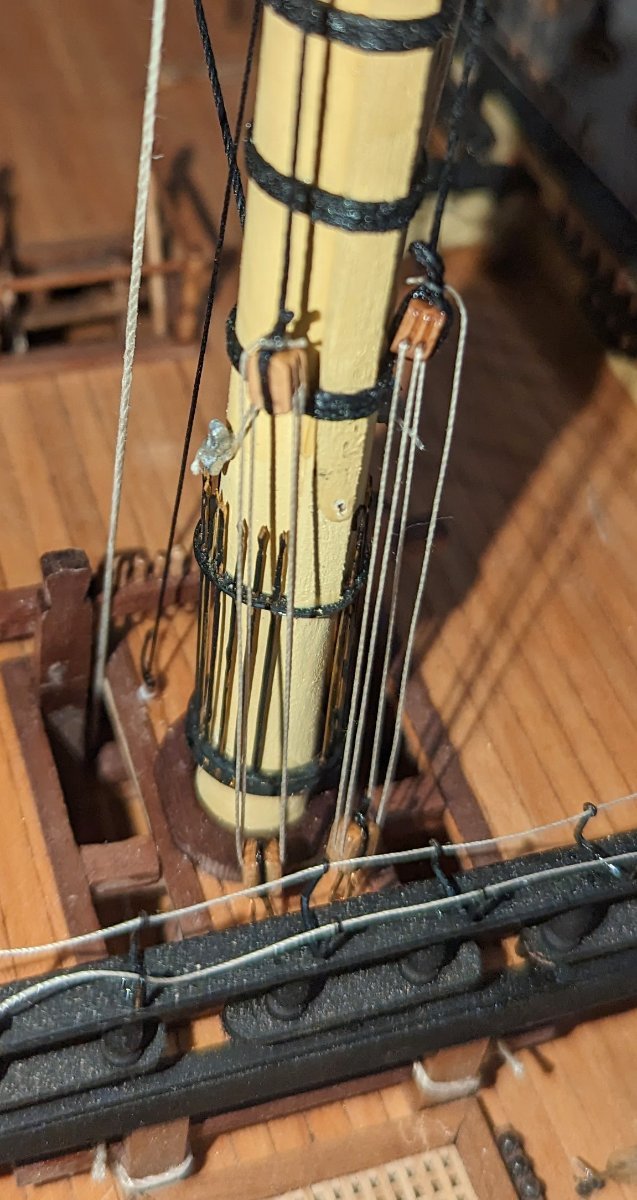
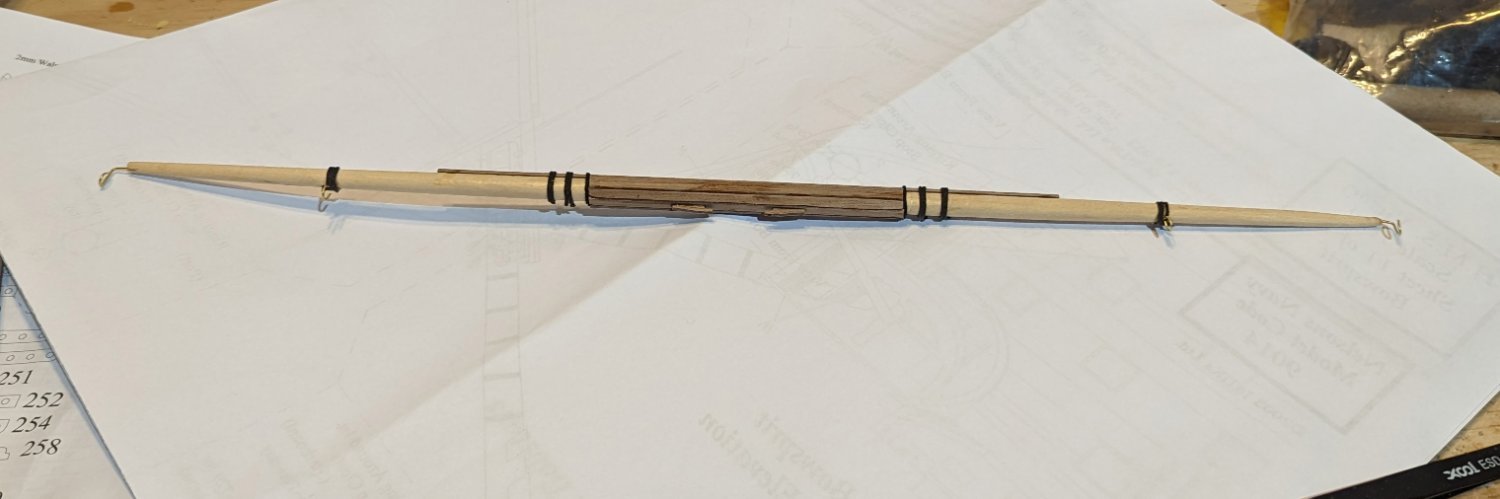
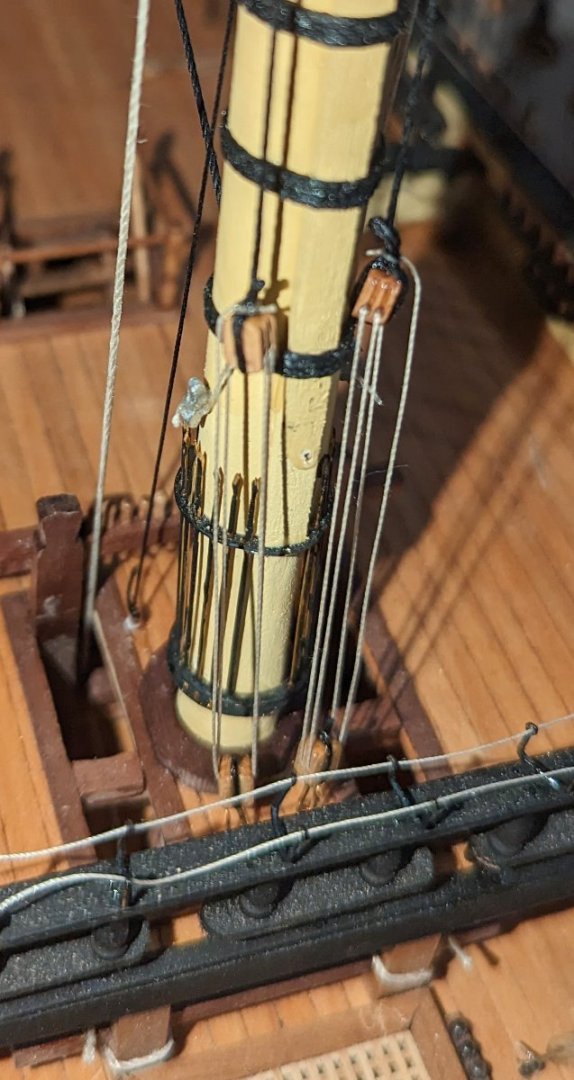
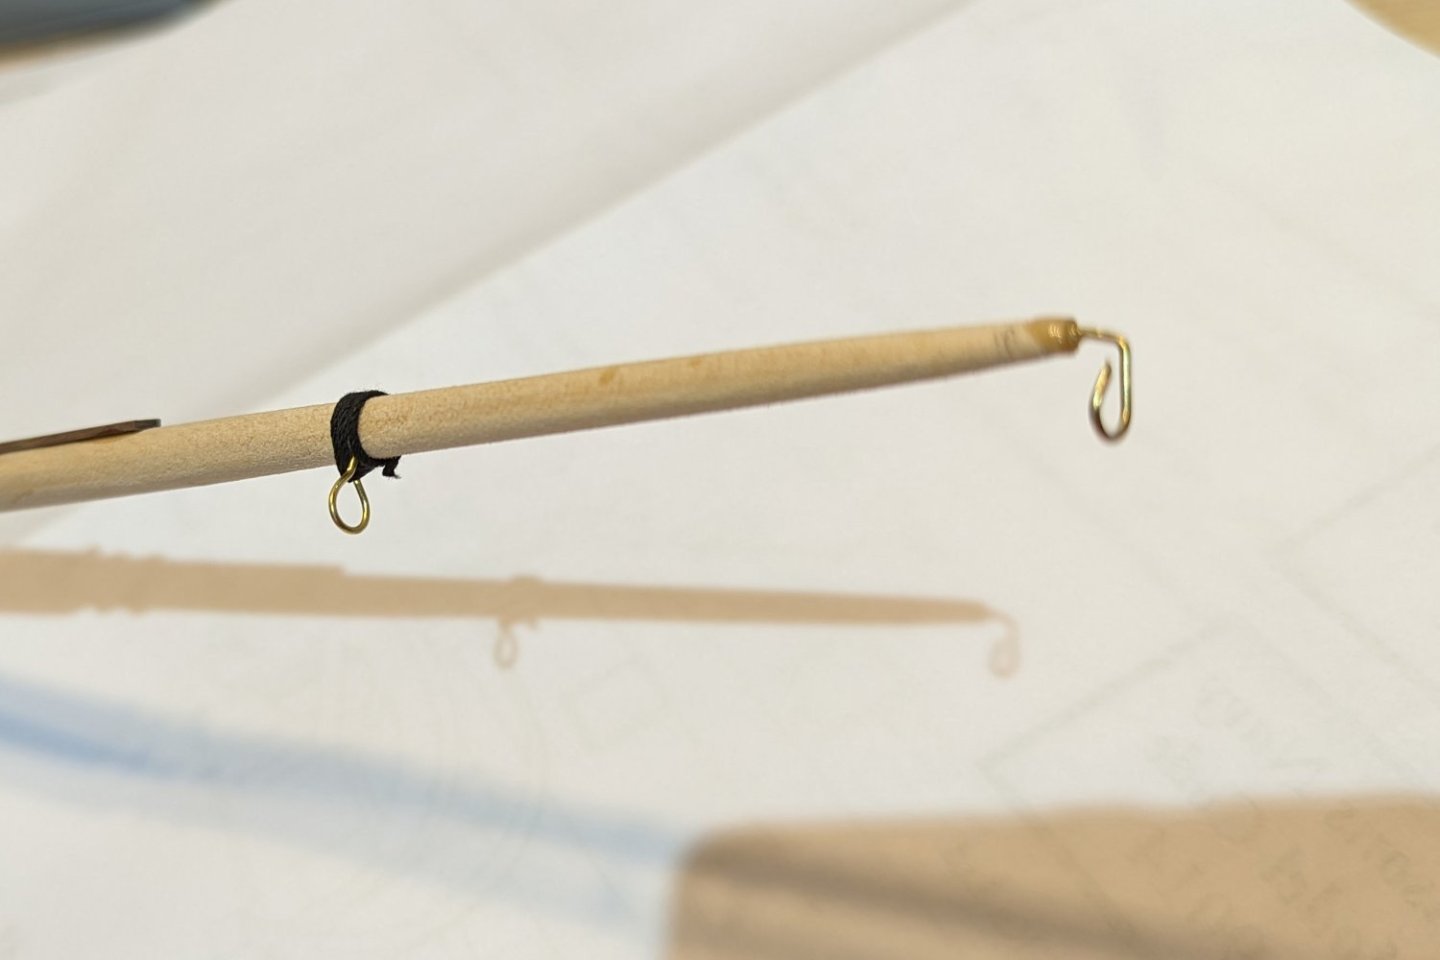
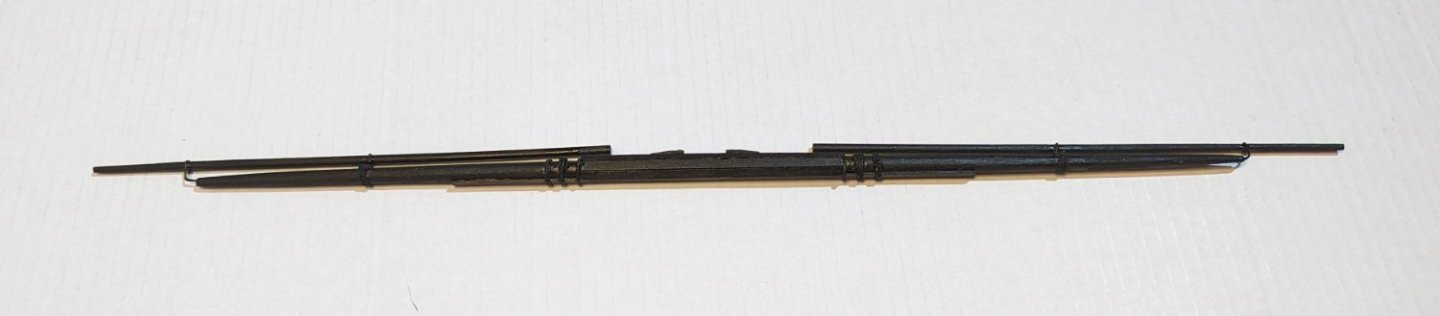
Built my first yard -- the lower main yard -- and thought I'd offer a few comments: 1) The plans show banding on the yards, but there is no indication there or in the manual what they are made of, so I used black thread. 2) For the life of me, I can't figure out the mast rings supplied with the kit. The inner diameters seem wrong, and the counts seem wrong. So I have abandoned them and made my own for the stunsail booms out of wire. It's all painted black at the end so it looks fine. The finished yard (rigging blocks not yet installed) is shown below as well. Regards, David

- 218 replies
-
- 9
-
-
- Victory
- Caldercraft
- (and 1 more)
-
Finished the standing rigging on the jib. Now all of the standing rigging is done. I haven't built any of the yards yet, so now it's on to shaping and sanding. Regards, David

- 218 replies
-
- 9
-
-
- Victory
- Caldercraft
- (and 1 more)
-
Thanks, Allan. Yes, I did vary the circumference according to the manual specs.
- 218 replies
-
- 1
-
-
- Victory
- Caldercraft
- (and 1 more)
-
Backstays now done on all masts. Jib standing rigging next. Regards, David

- 218 replies
-
- 8
-
-
- Victory
- Caldercraft
- (and 1 more)
-
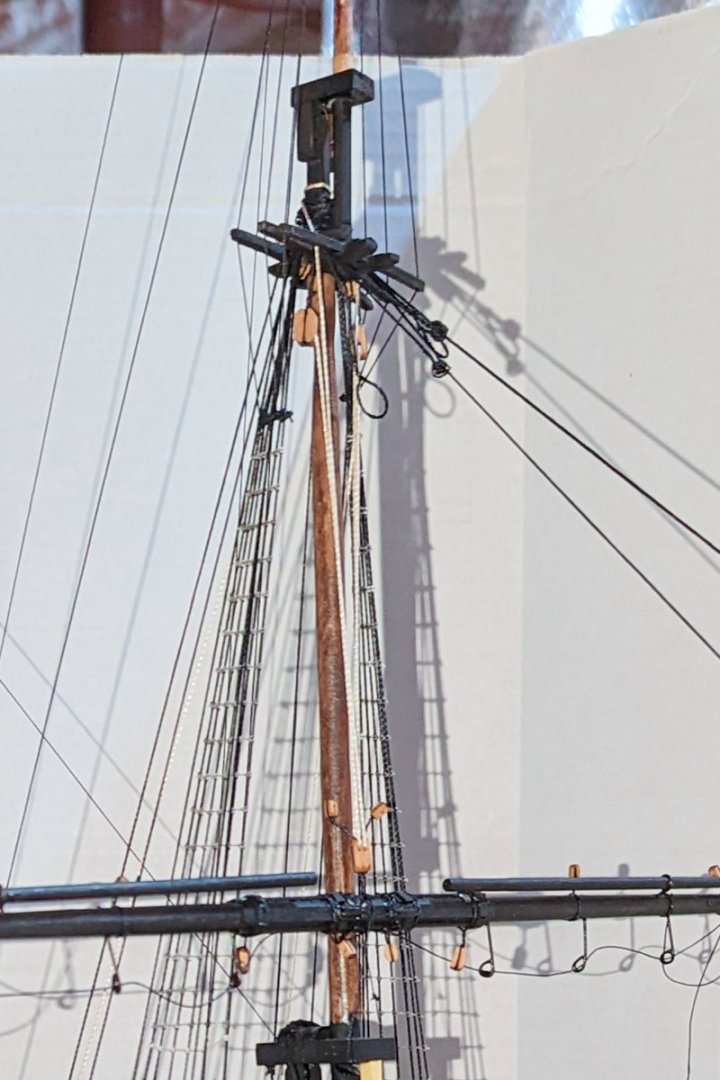
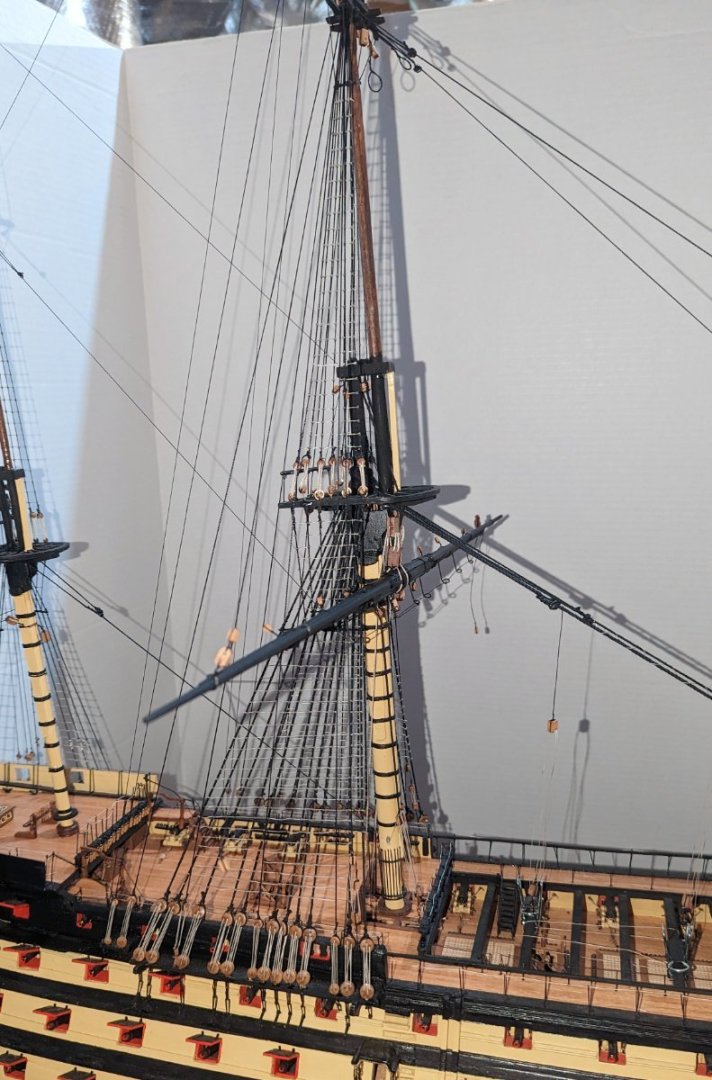
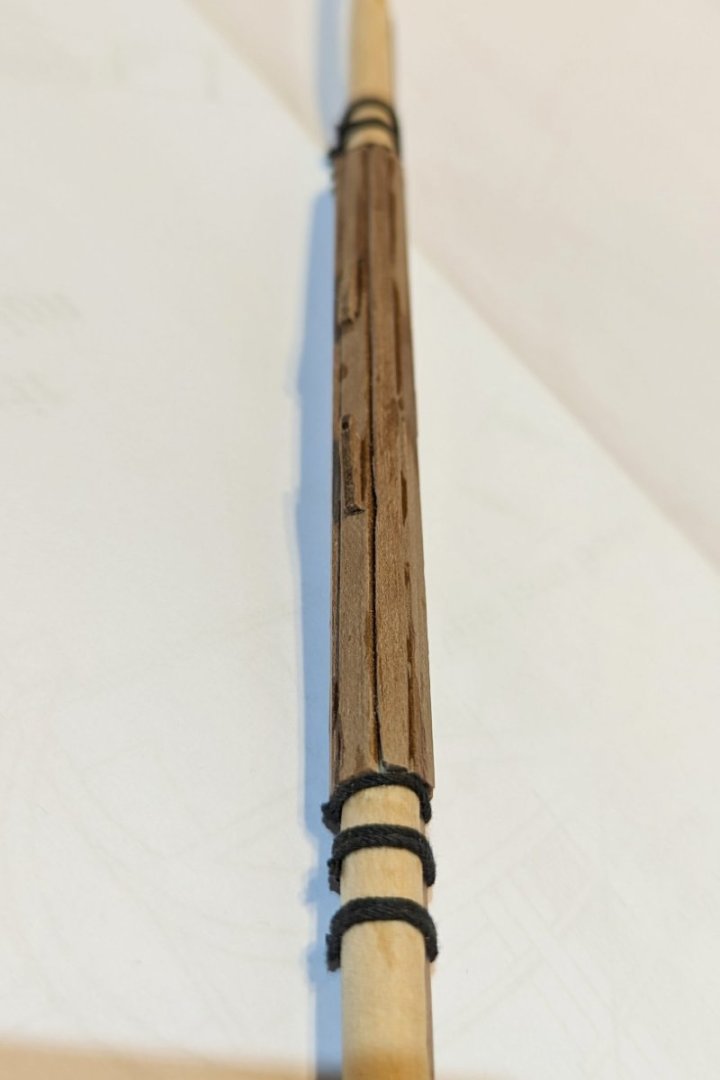
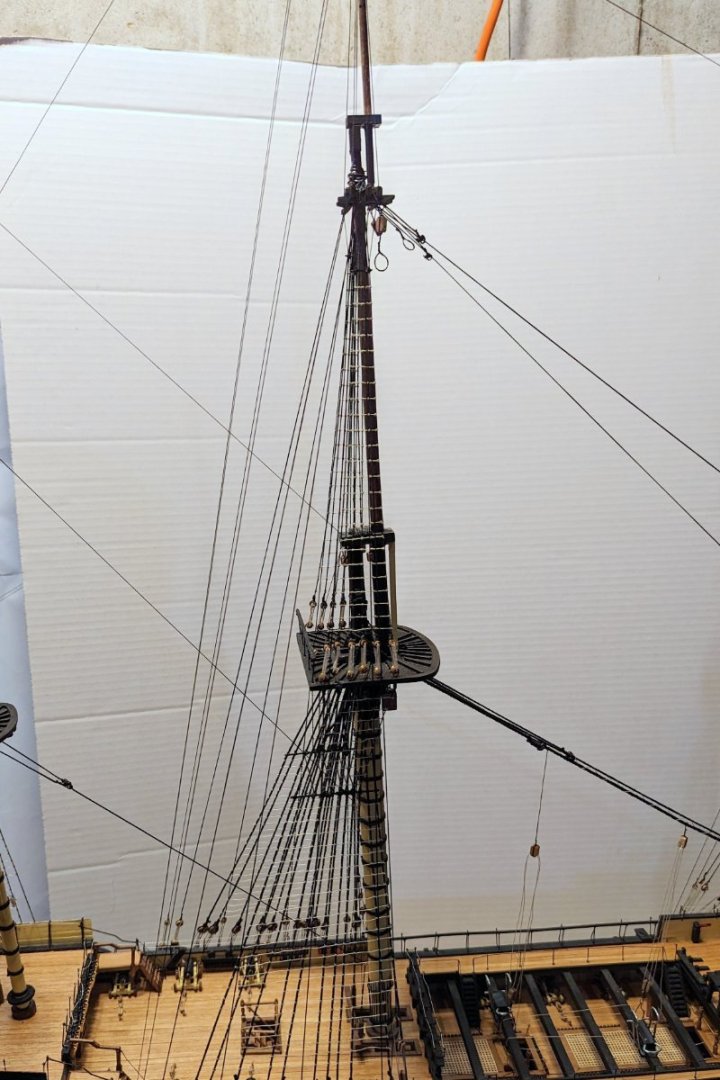
A couple of "not in the plans" mods: When I made the main topgallant mast, I messed up and created an area of the mast that was too narrow, and too weak. As I got into rigging the backstays, I saw that it might not hold the tension. So I added a small splint, which is virtually invisible at normal viewing distance, and that has strengthened the mast back to where it can handle rigging tension. I also added a backstay that isn't in the plans, running left to right from the top of the main mast down to the mizzen. The backstays that are in the plans run at too steep an angle to pull the topgallant mast back to straight, which is what was needed. Regards, David

- 218 replies
-
- 4
-
-
- Victory
- Caldercraft
- (and 1 more)
-
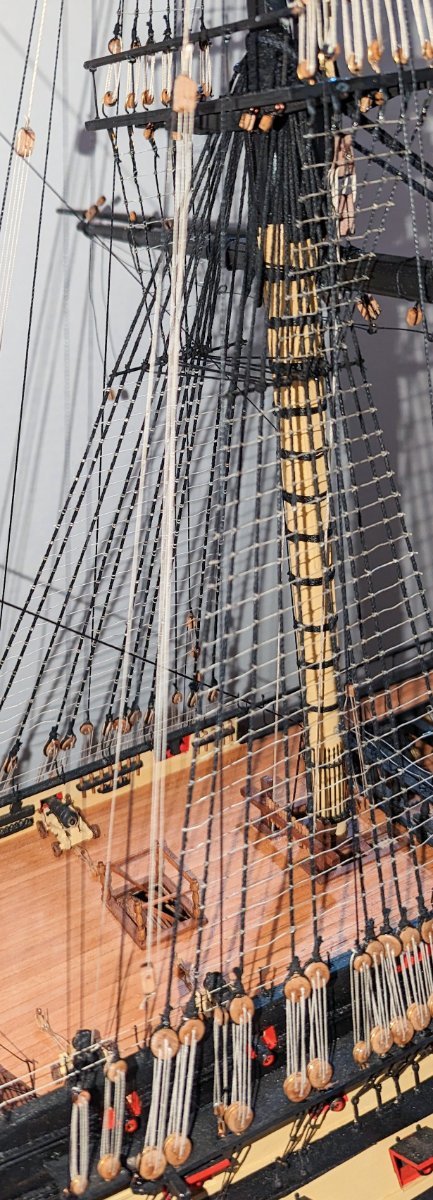
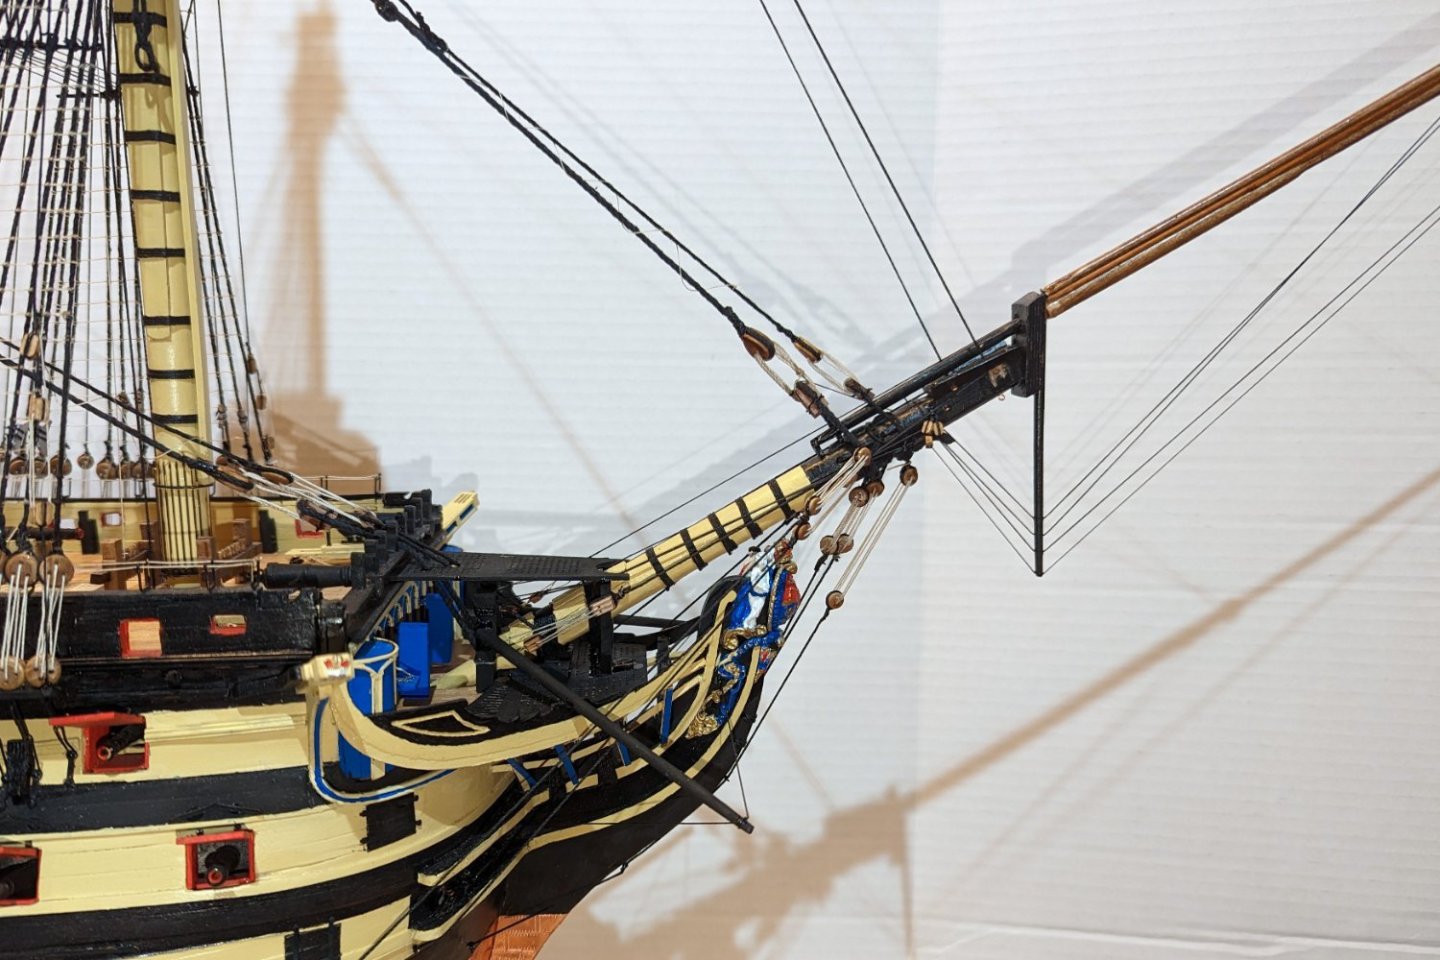
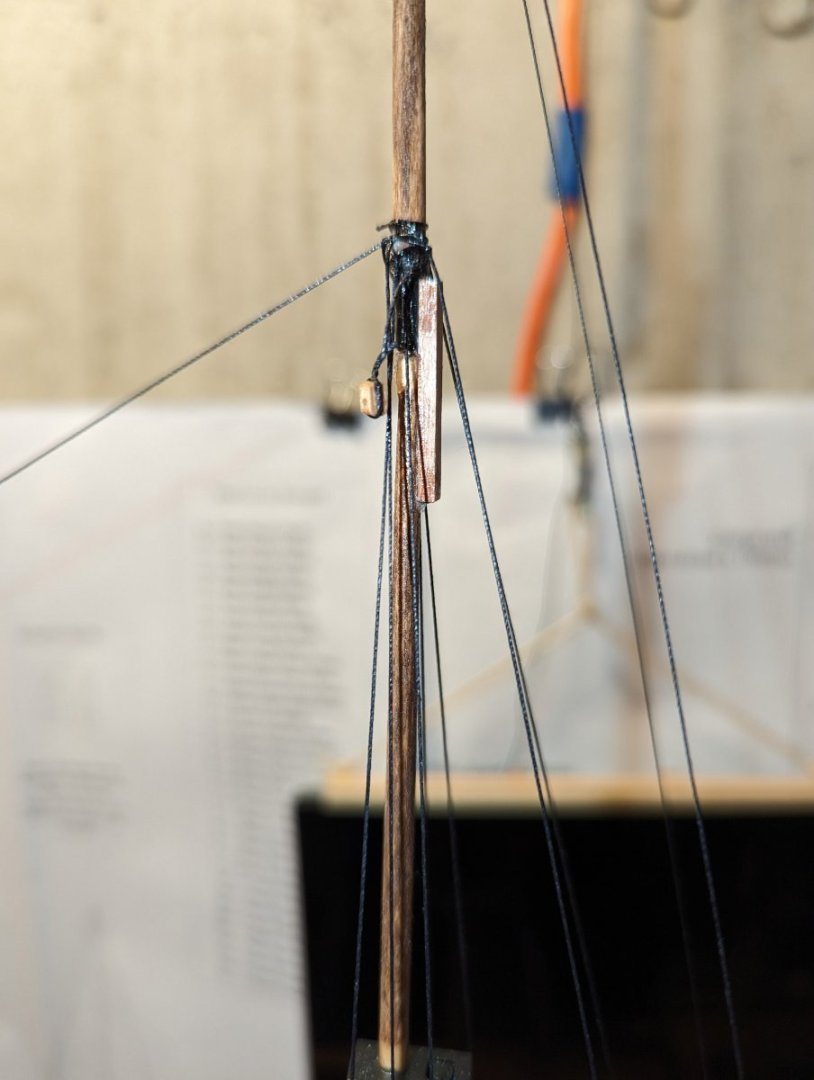
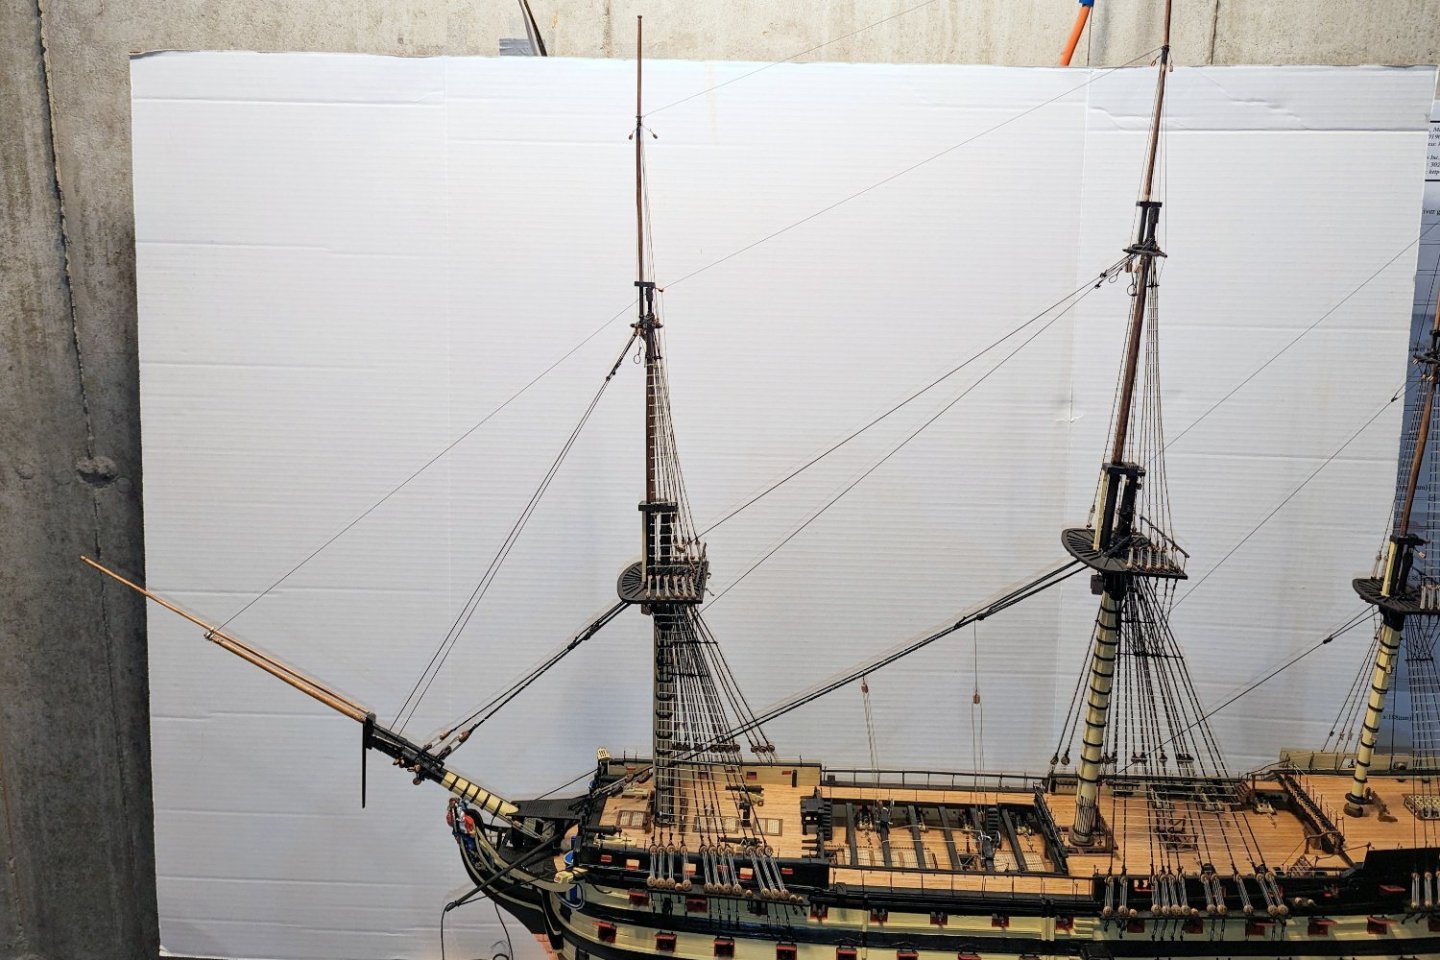
Here is most of the forestay rigging done. Last picture shows some lines I've temporarily rigged through the boomkins and up to the jib, to try to keep me from pranging anything else. Regards, David


- 218 replies
-
- 7
-
-
- Victory
- Caldercraft
- (and 1 more)