

Timmo
-
Posts
607 -
Joined
-
Last visited
Content Type
Profiles
Forums
Gallery
Events
Posts posted by Timmo
-
-
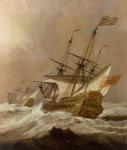
Lost historic anchors, chance finds, bungling officialdom, and rock music, this story has it all....
-
Hi again Timmo
I looked at getting prints of the SOS and the Royal William from the NMG but they wanted 60 pounds each + P&P so gave it a miss.
Denis.
Thanks for the kind words Denis. My Granado plans were about $70 including PP. I guess that's he benefit of a smaller vessel.
I've just noticed a bundle of pics have disappeared from the log. I'll try to replace them but suspect some may have been deleted since.
-
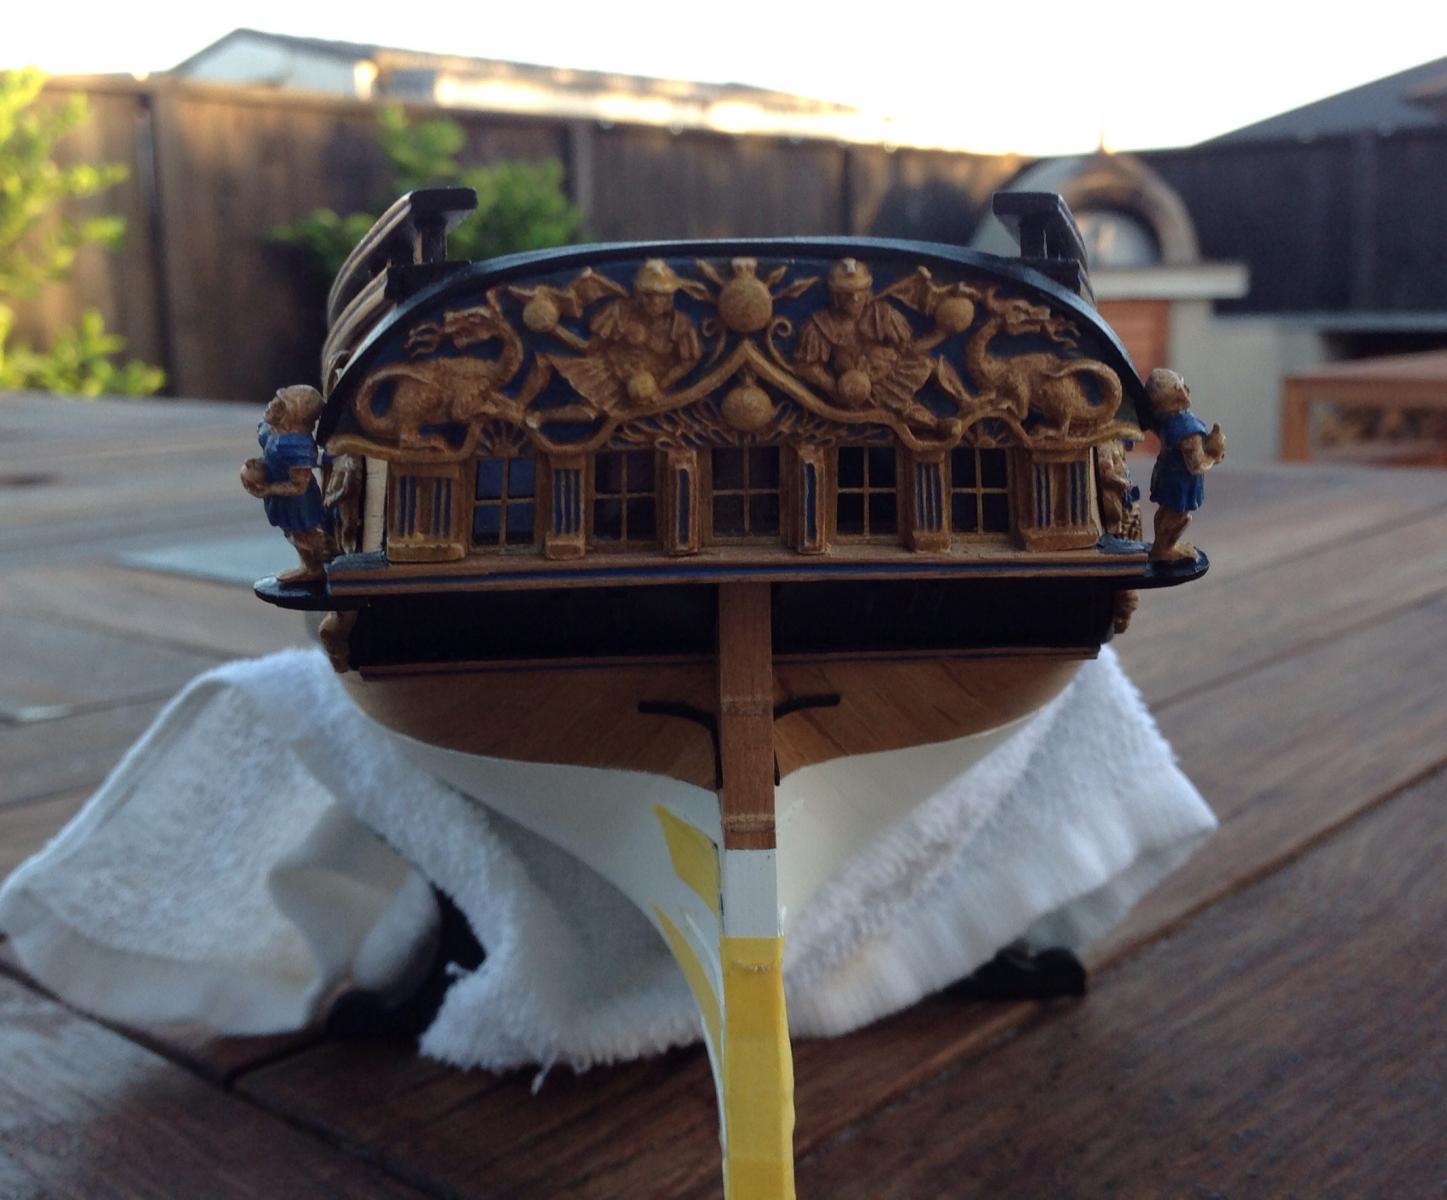
That looks superb Bob. A very fine paint job on that stern decoration that compliments the rest of the build and shows all the cherubs nicely! I wasn't a fan of the red background on the stern of vanguard as seen on shots of other versions of this kit but you've convinced me with your efforts.
-
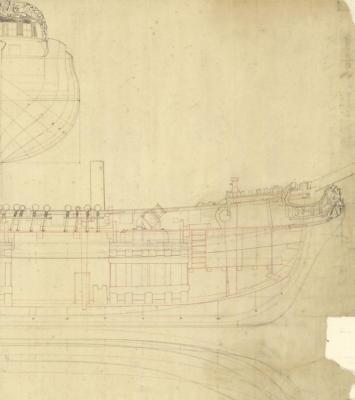
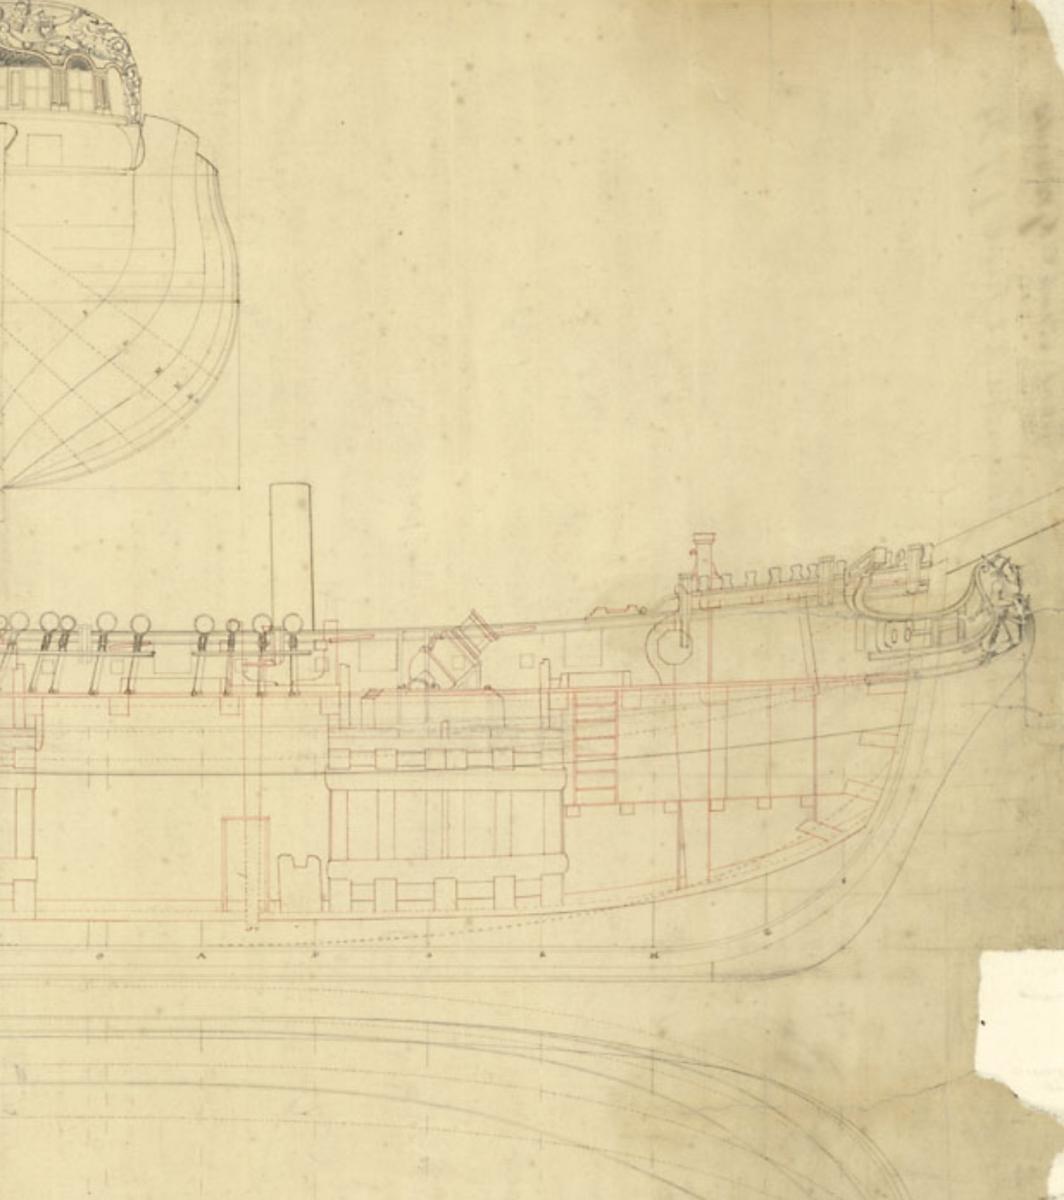
Here's what we're aiming for. The Granado plans from the national maritime museum at Greenwich. This is low-res off the website as I don't like taking my copy out of the tube much until I can afford to get it framed as a new crease appears each time. Note the detail with the hair bracket etc. quite a bit there that's not in the kit.
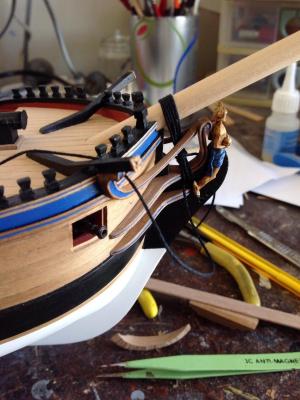
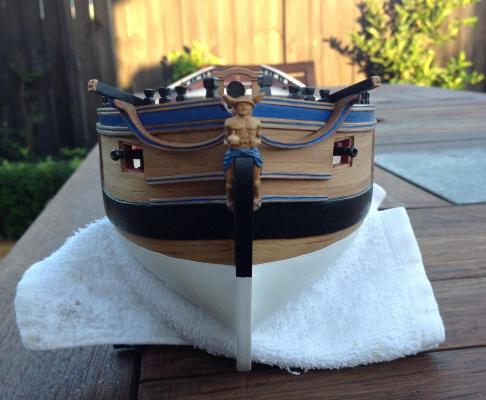
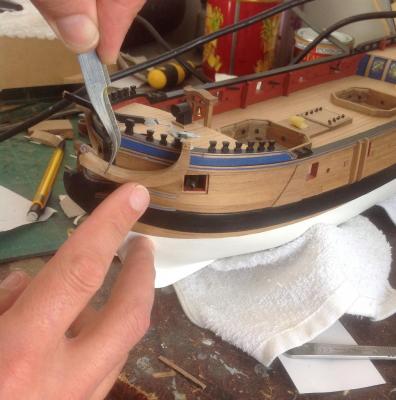
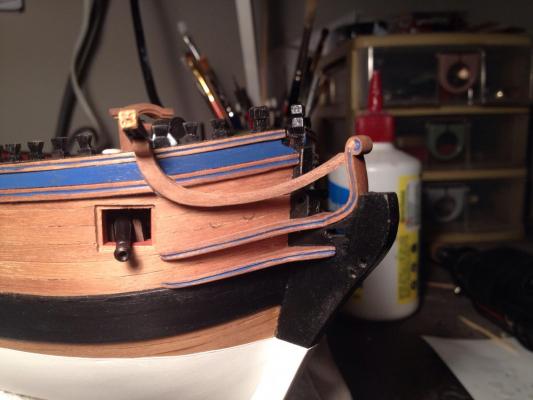
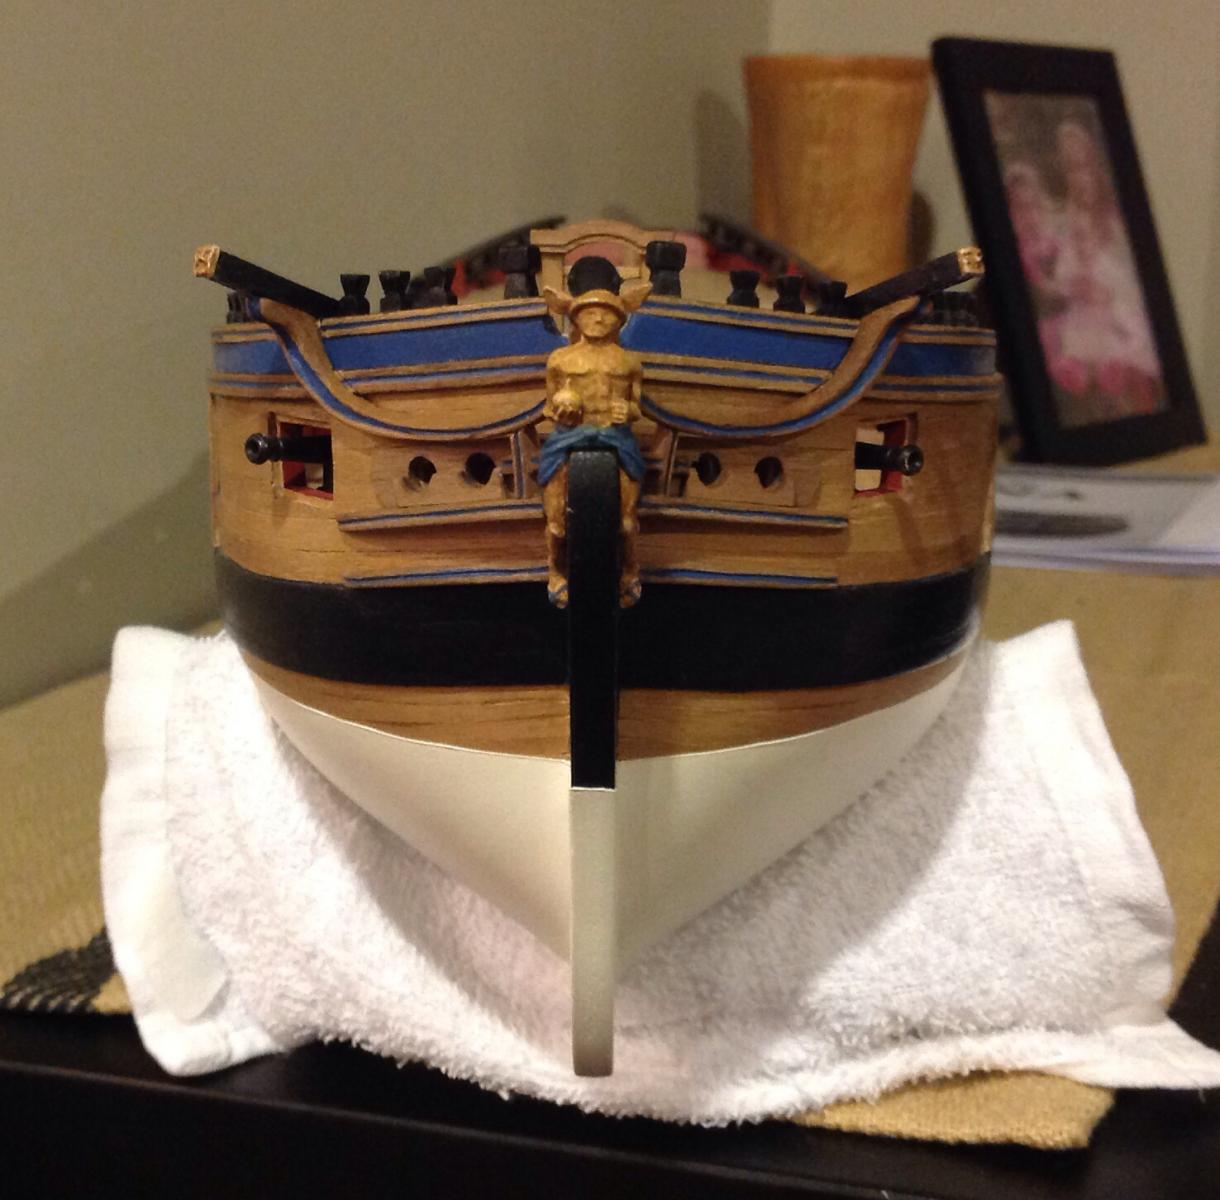
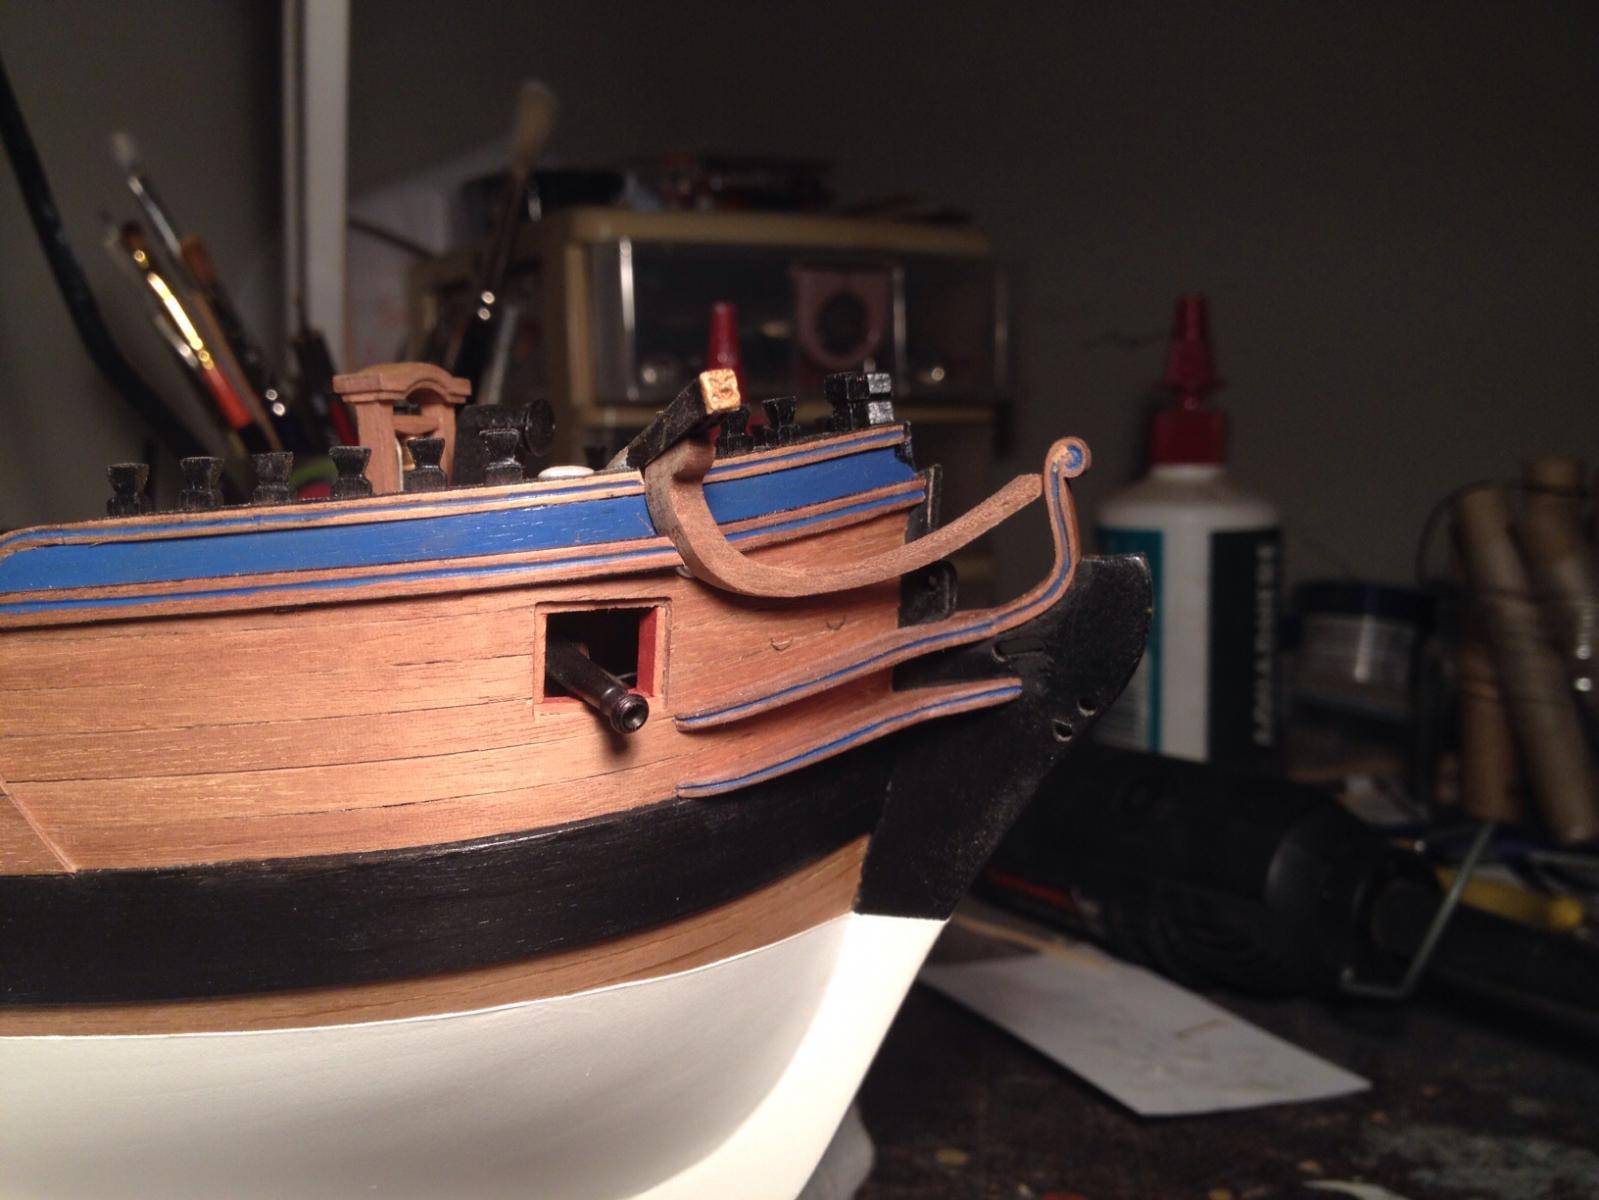
At last the finished rails with centre section added. The fit on some of the rail sections isn't that tight but it's mainly on the inside which should be hidden by gammoning and the bowsprit. It will be harder to do the gammoning now but shouldn't be impossible.
Our friend Hermes isn't fixed yet and won't be until the bowsprit is on. He's already had his caduceus (twirly stick) broken, which will be fixed later.


- aliluke, Stockholm tar, gjdale and 11 others
-
 14
14
-
Thanks joe. It's a fine kit with just a bit of extra difference in the way of the mortars and the bling on the stern. I'd highly recommend it.
-
Very clean build you've got there joe. Nice work.
-
-
Thanks Alistair and very poetically put. Nice weekend for the crossing. Bet you could almost see your house from there.
Irony is next on the agenda is shaping and installing swivel gun pedestals and then installing the carriage guns- read repetitive.
But the head rails were always the bit I anticipated would cause the biggest block in construction and that's because I wanted to give it a bit extra.
That's how we learn.
-
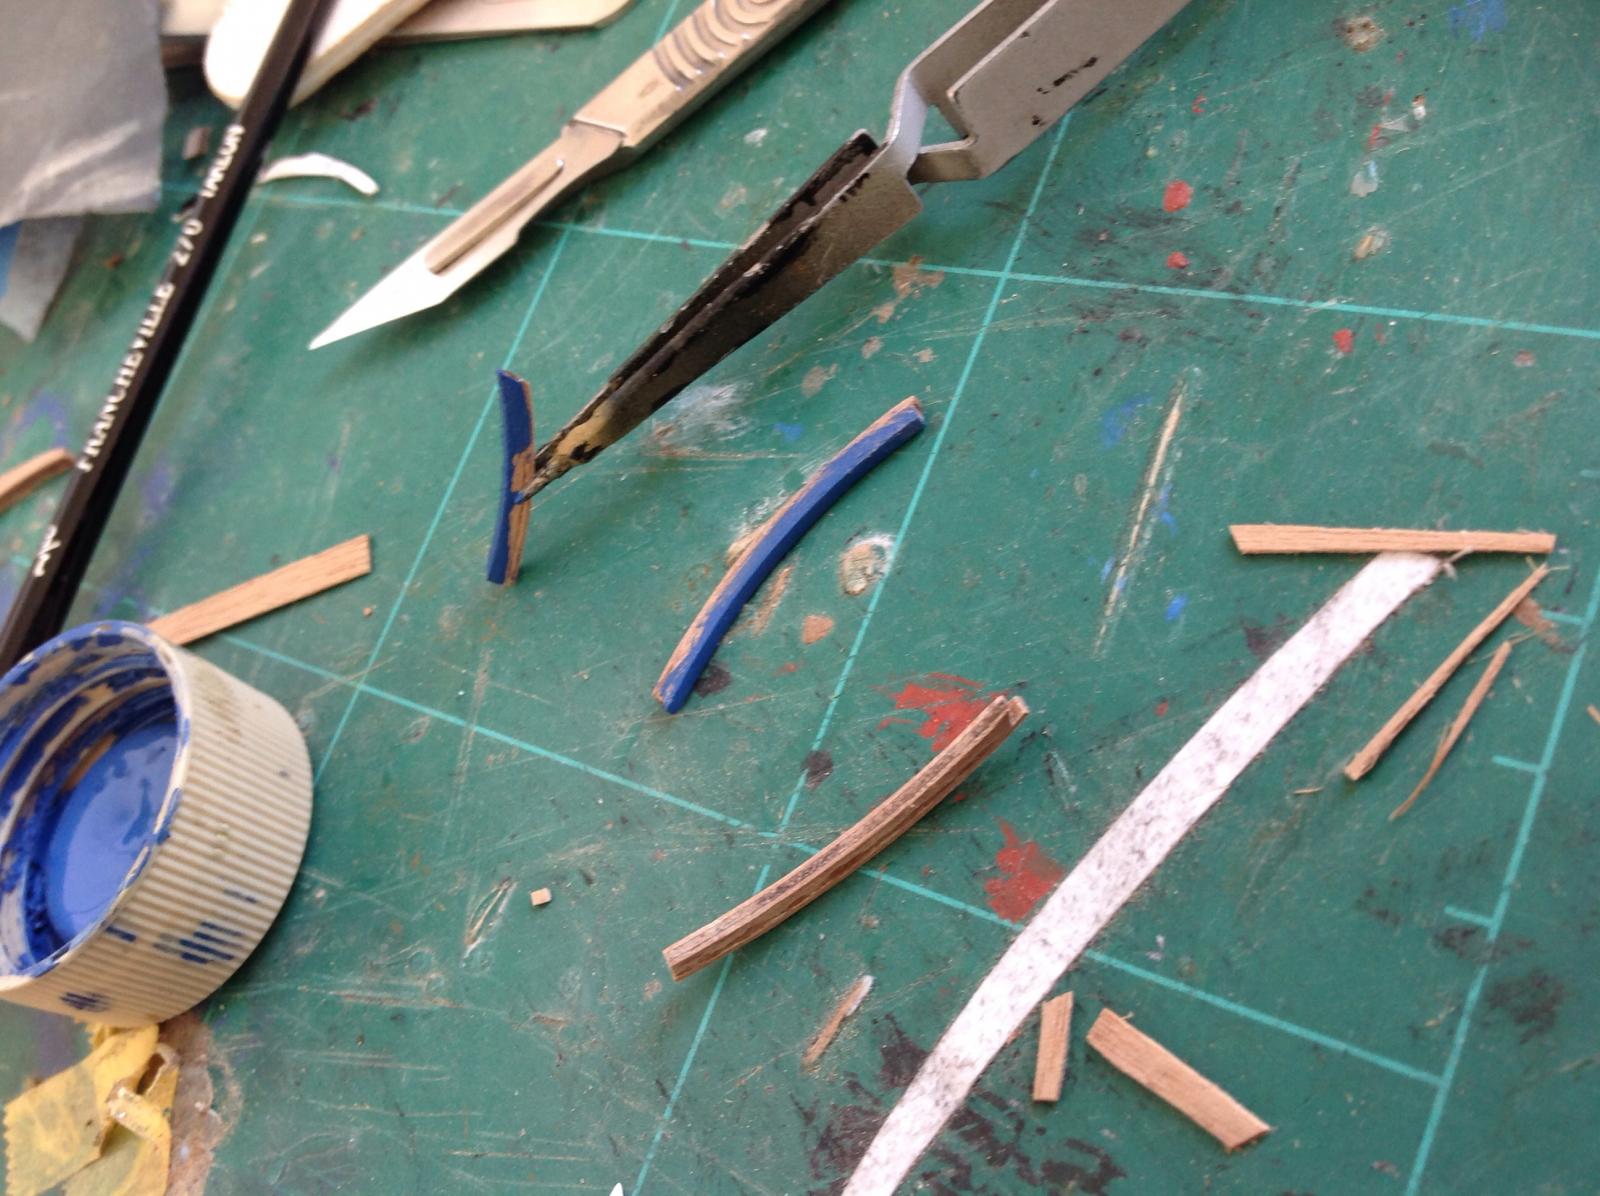
The vertical timbers of the head rails were made up from some curved pieces of ply from the kit that were unused from the hair brackets. In a technique copied from Mitsuaki Kubota's fine Bellerophon build they were painted blue and some half mm walnut were laminated to the sides. This was sanded back to give a nice edge.

Careful shaping ensured a close fit.

The centre hair brackets running horizontally between the upper cheek and upper rail have been made up and painted and await cutting and fitting to slot between the verticals.
I'll be glad when this lot is finished.
- gjdale, Stockholm tar, jaerschen and 13 others
-
16
-
-
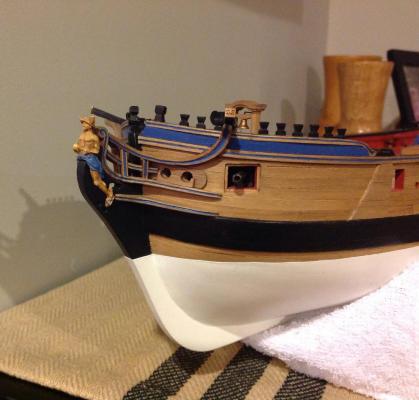
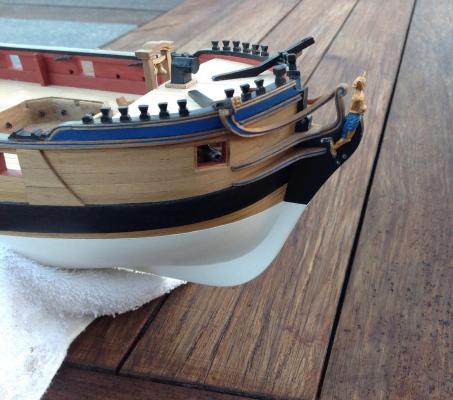
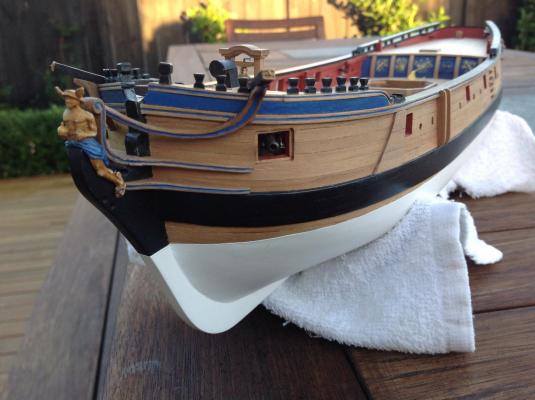
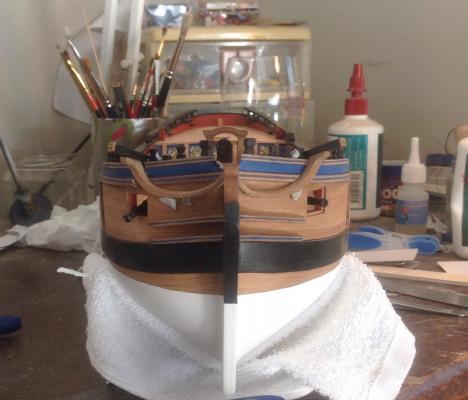
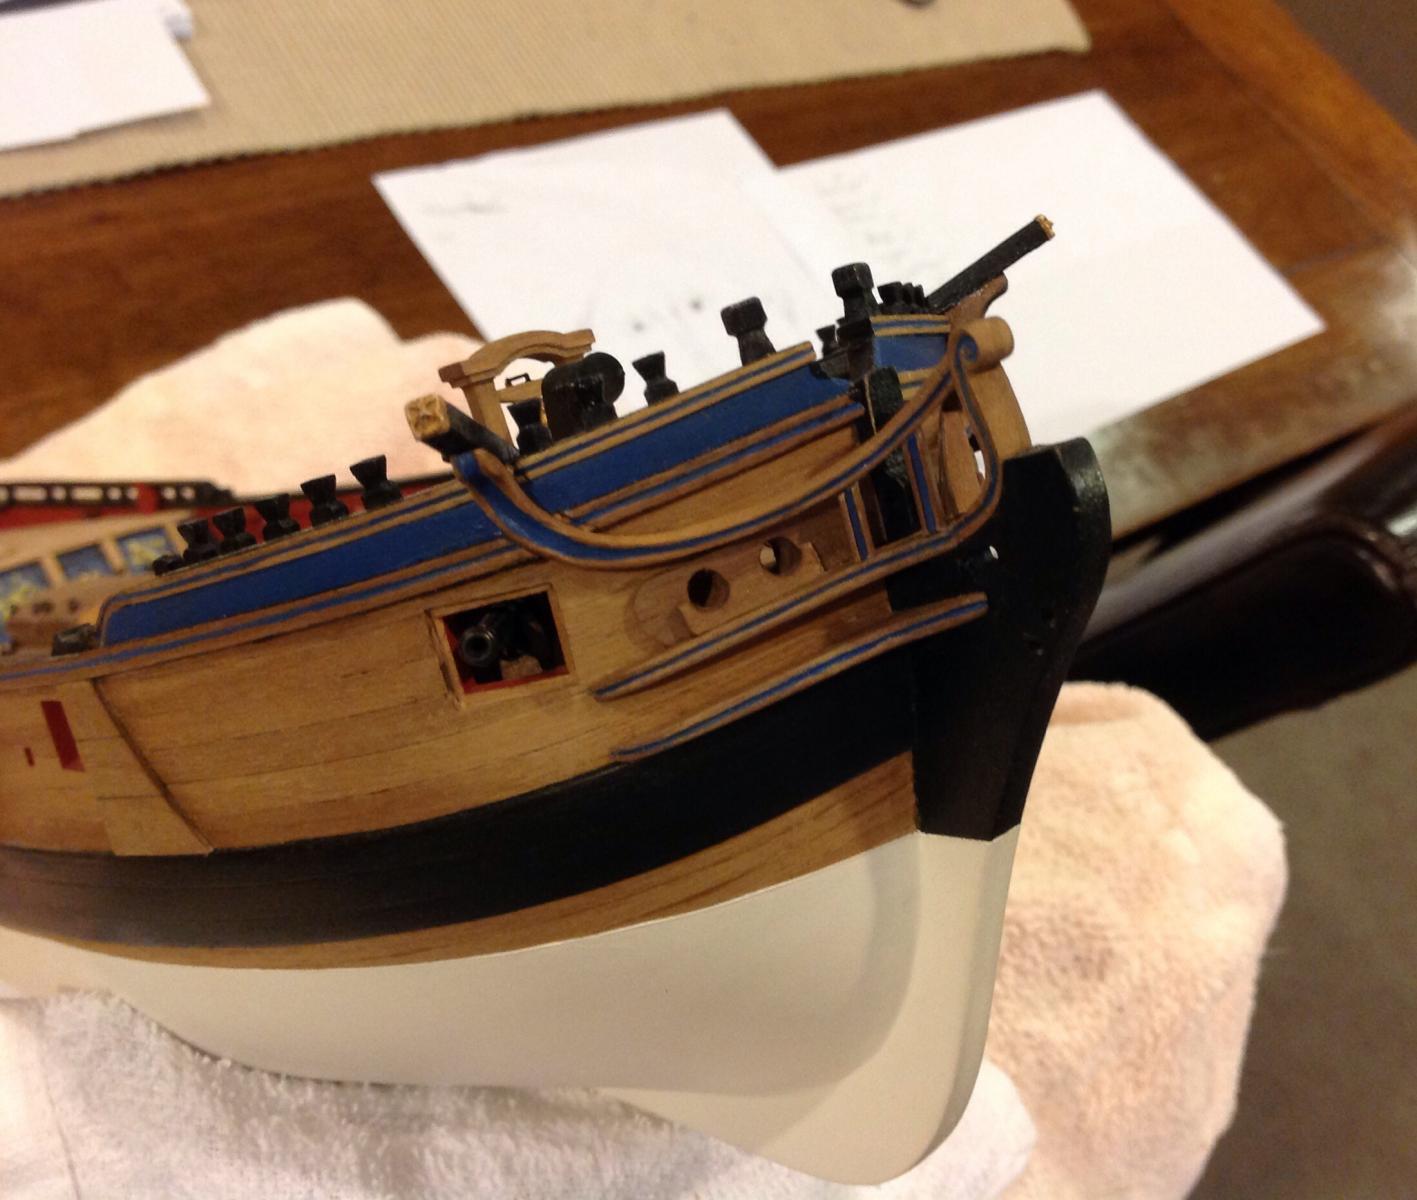
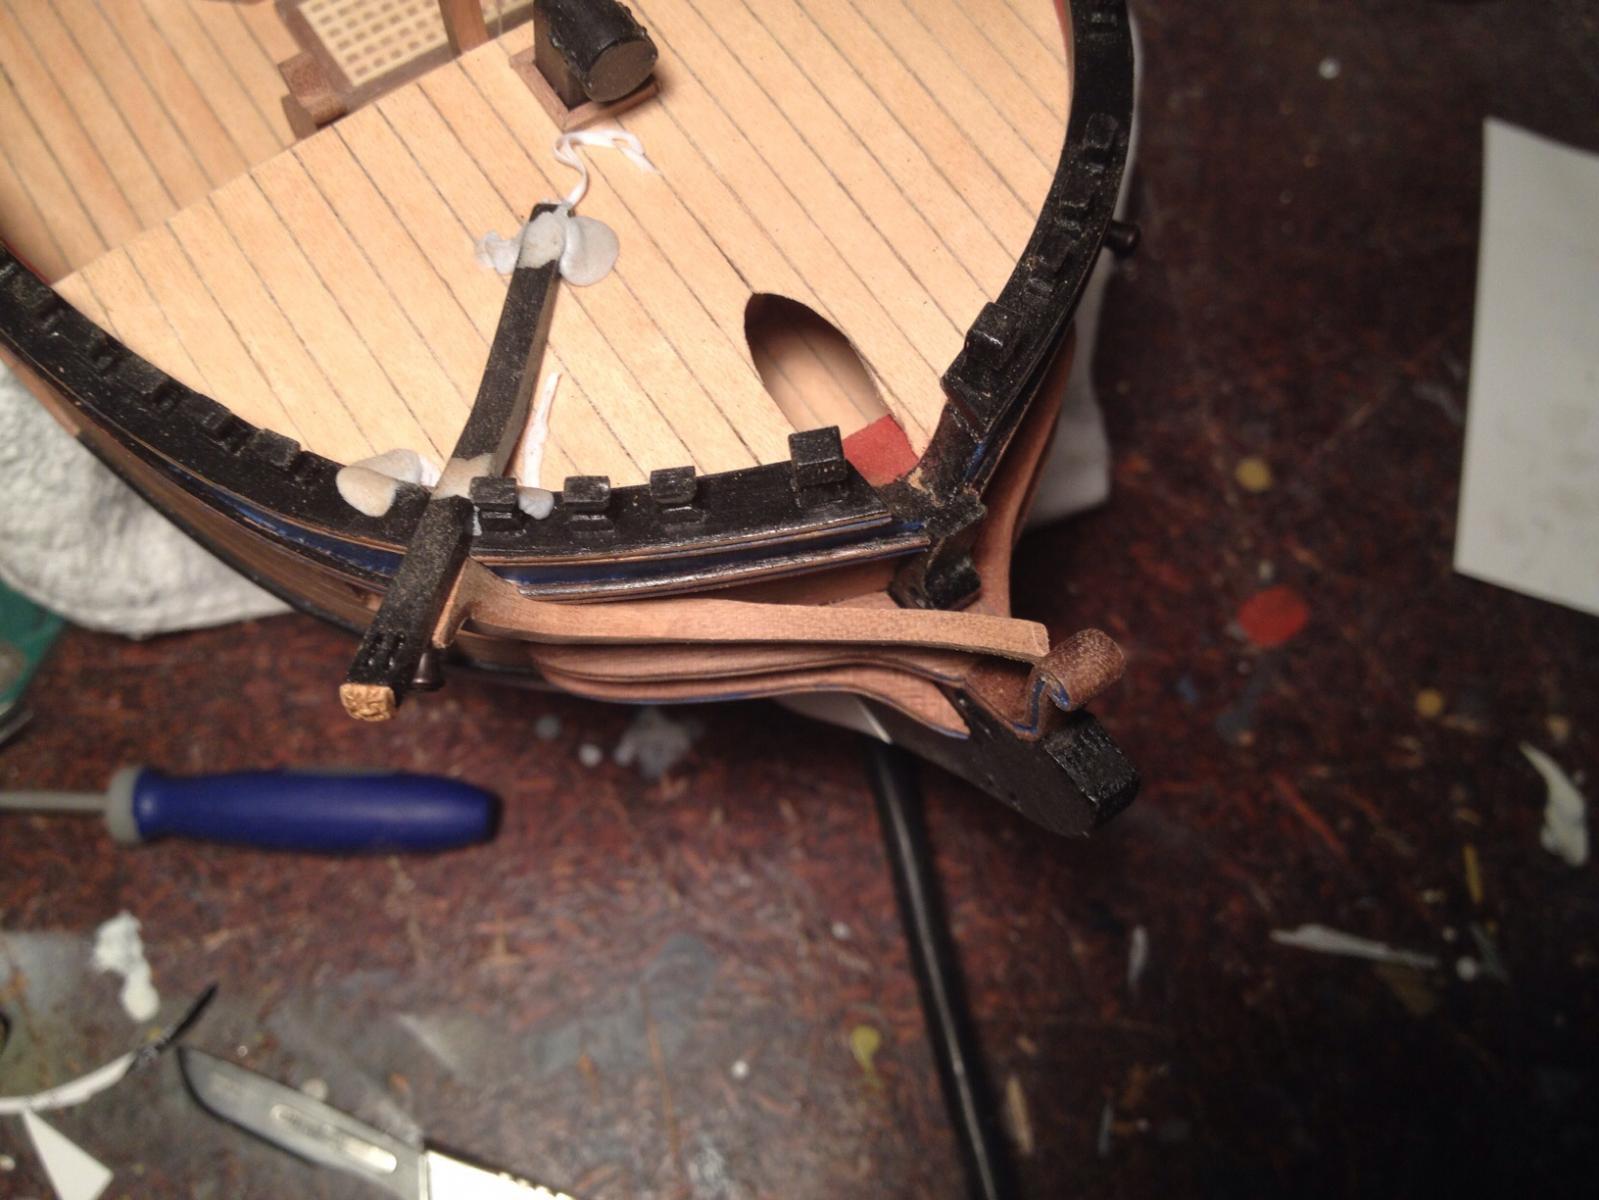
With all the changes to the head rails the bowsprit was temporarily fitted and gammoning applied to make sure there was nothing that would be in the way later.
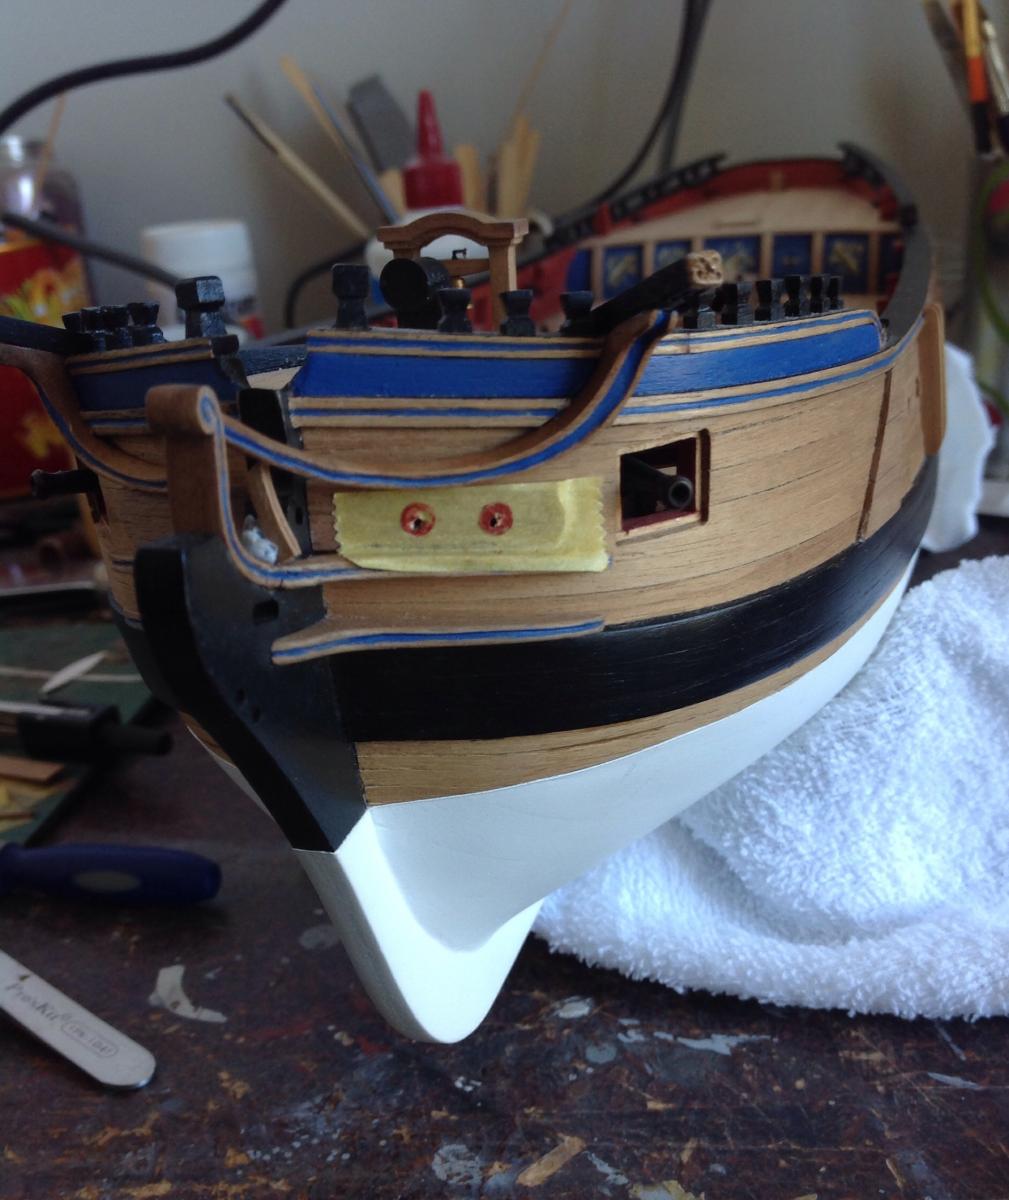
A small but nerve wracking addition was the hawse holes.
I added a reinforcing plank between the cheeks as per AOTS and as a result thinned down the bolster a bit and rounded the top and semi circle edges.
The bolster was held in place while holes were marked with the flat end of the 3.5mm drill bit dipped in paint. A smaller pilot hole was drilled first before the larger one. This was done with a Dremel. The bit was too long and had a little bit of wobble making the hole slightly bigger than I would have liked but nothing major. Tape on both faces prevented splintering which was my big fear. Not a lot of second chances with this area.

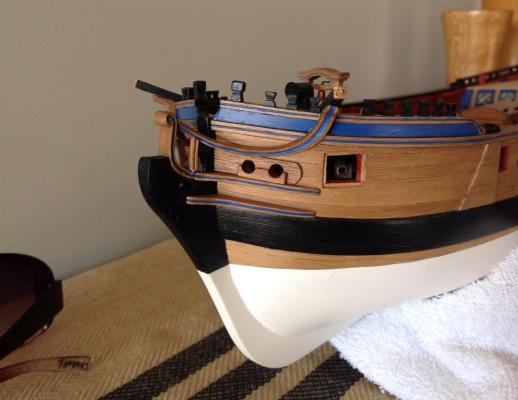
Now the final centre head rail can be knocked up.
- Ferit, Stockholm tar, Barbossa and 13 others
-
16
-
Aww ok then , that's pretty good but I reserve the highest praise four your work in wood.
-
Brilliant work as ever Danny.
Just when I thought it couldn't get any better you knock up a ships wheel! Inspirational stuff.
Great to see something next to a coin I can relate to for scale.
-
Hi Jason, thanks for the comments.
yes I would seriously consider boxwood or another timber next time. This is my second kit so was started without much consideration for materials etc and I've learned a lot since about the splintering and grain properties of walnut. Looking at the head rails especially I think they could have been a lot neater with a different timber but cost is a consideration so depending on what I embark on next I may be stuck with it yet.
-
-
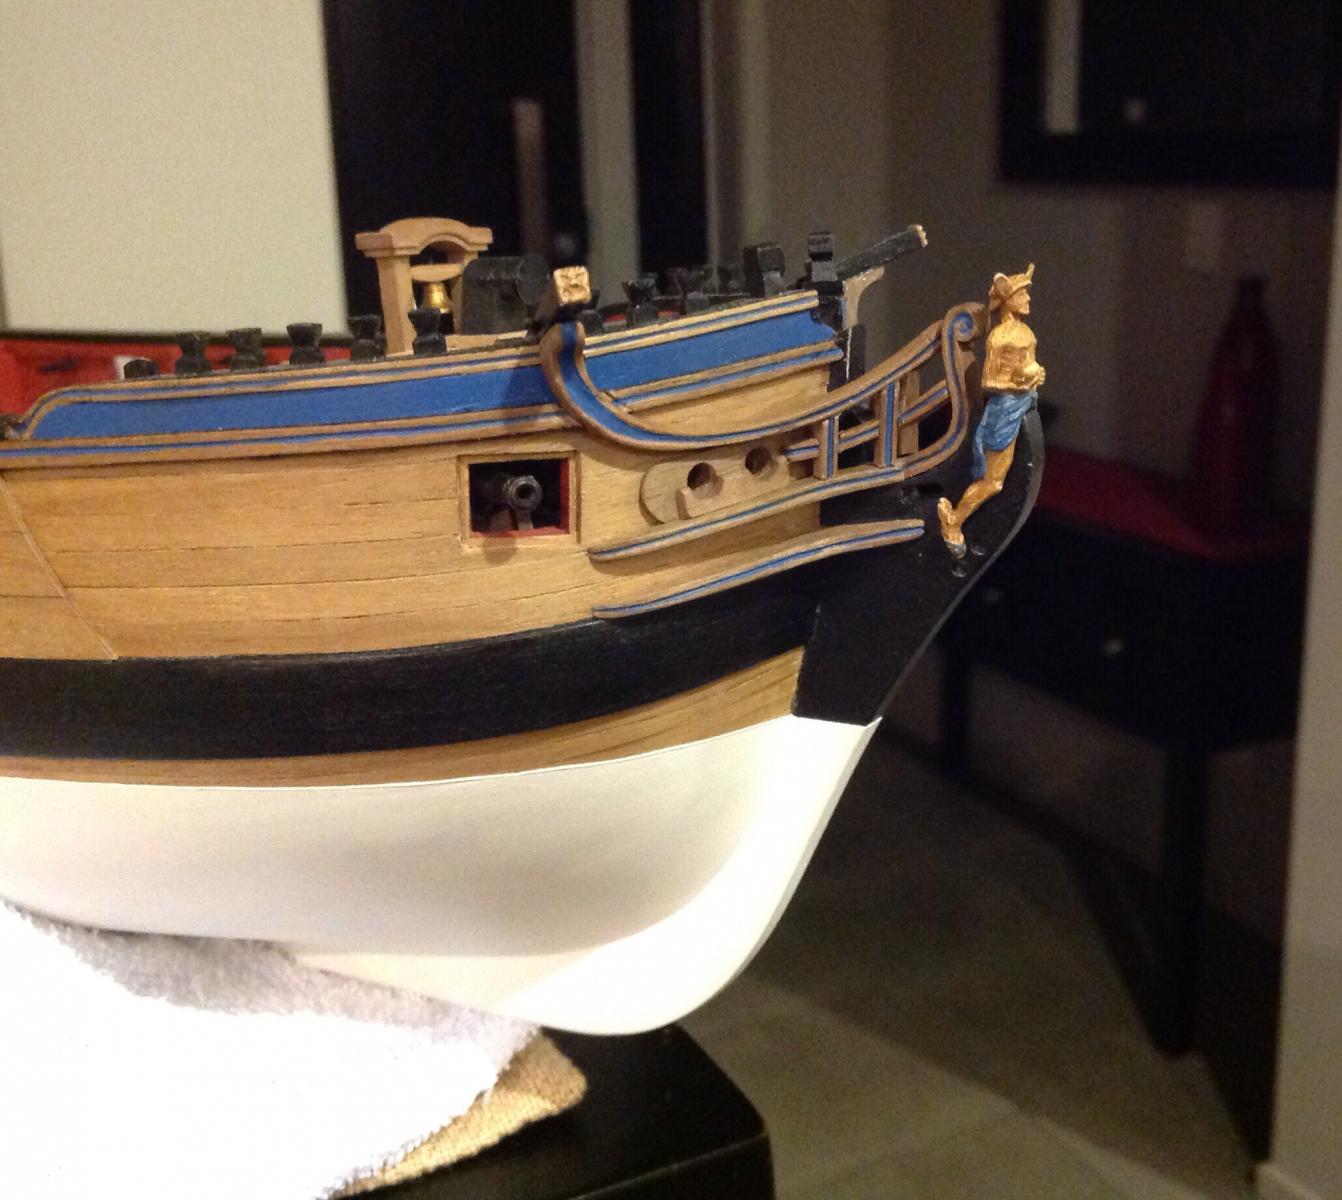
The head rails had a centre section carved out to created raise prfofiles on either side. It's a little rough thanks to the file slipping and he grain on the walnut but it'll do. The centres were painted up to match the rest
Two part epoxy was used to attach the head rails. It claimed a setting time of 4 minutes but was more like an hour resulting in a lot of smearing to remove and paint over later.
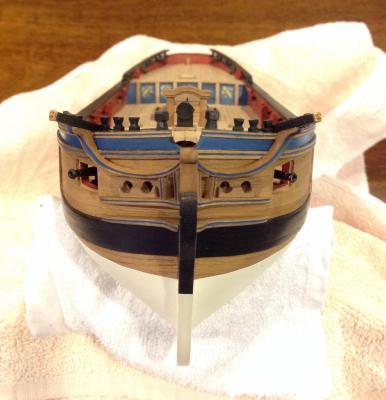
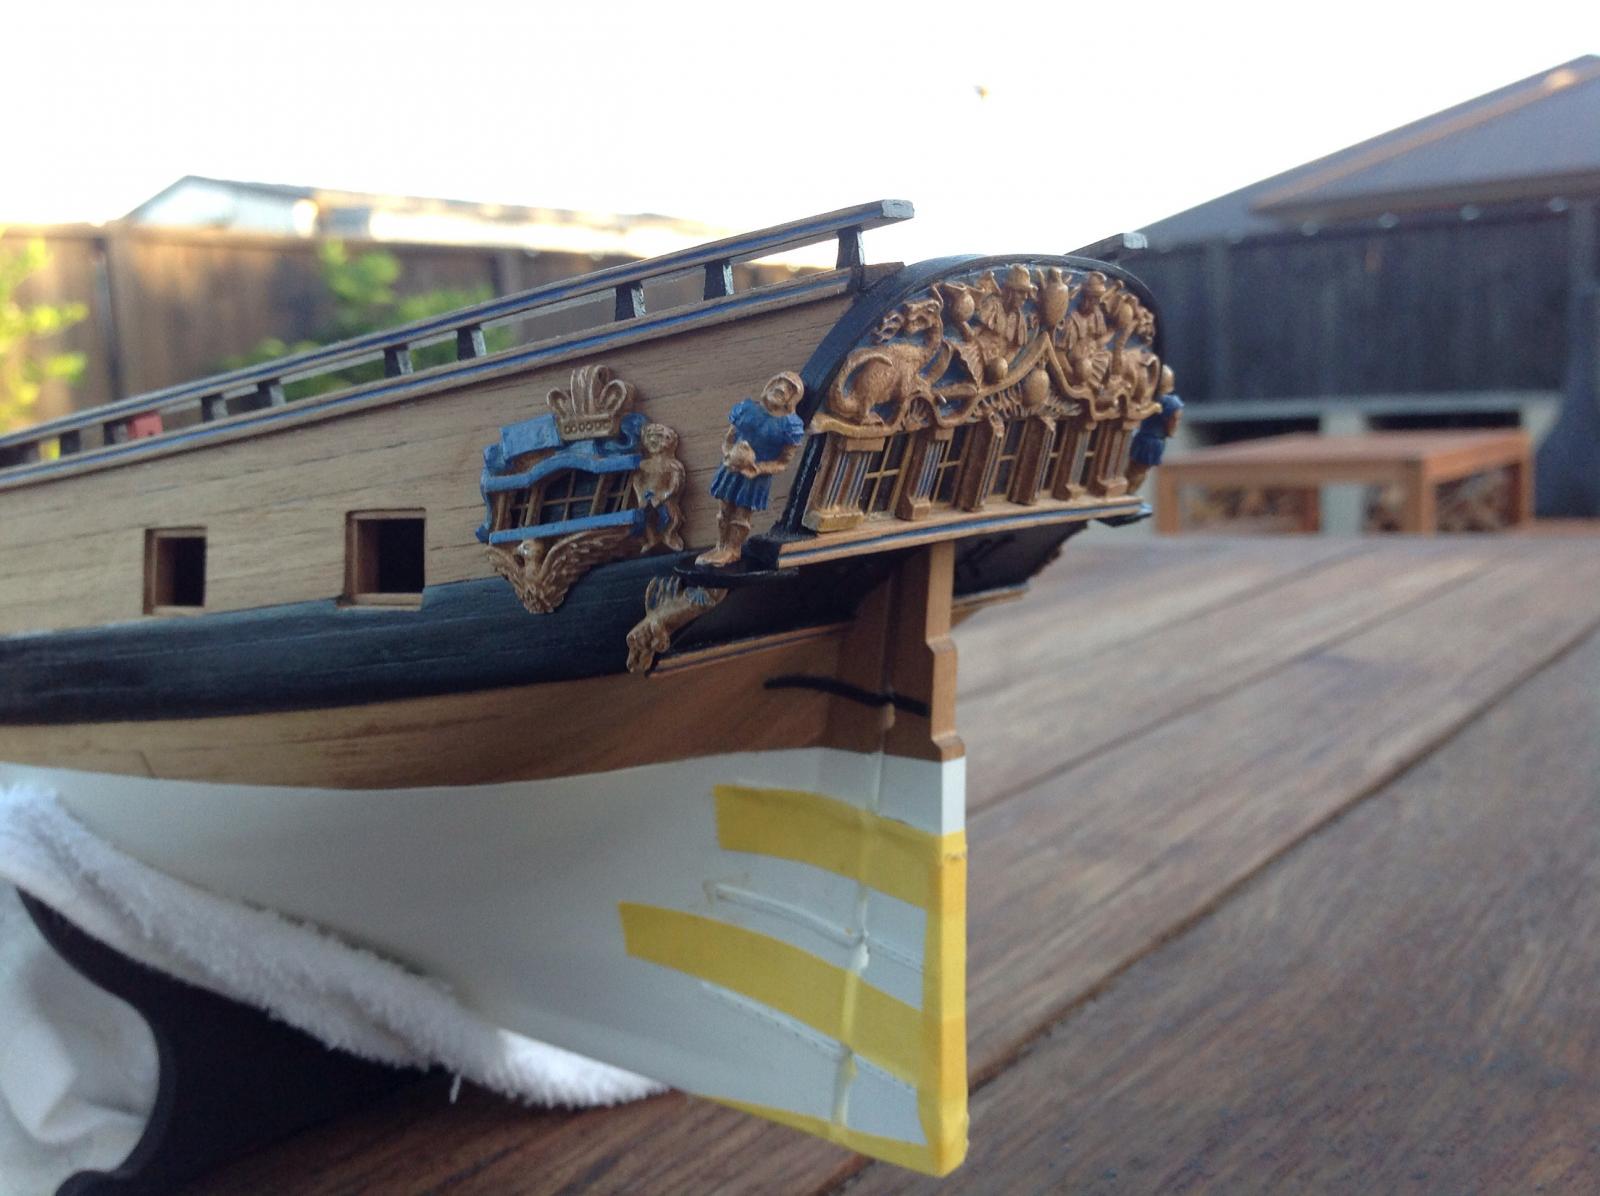
While the epoxy was out the remaining stern figures were added. The castings are not quite symmetrical so bit of gentle pressure bent them on the right angle to have their heads resting against the taffrail. The bases they rest on had the edge facing the hull shaped to fit neatly.
The wee dolphin carvings were set further back towards the stern than the kit instructions show. According to AOTS Granado they are almost a continuation of the stern carvings.

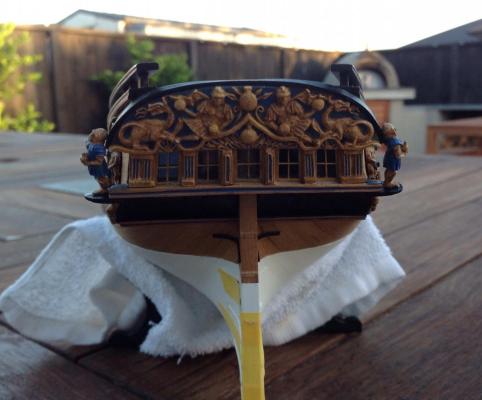
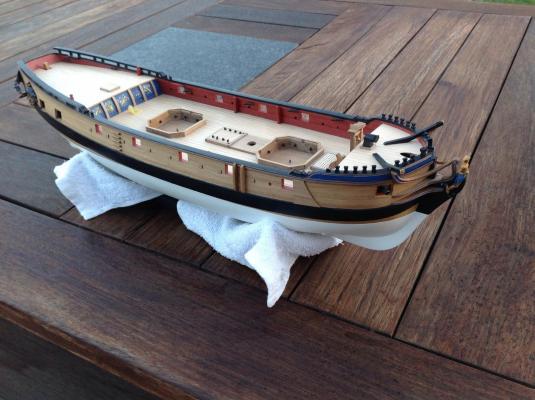
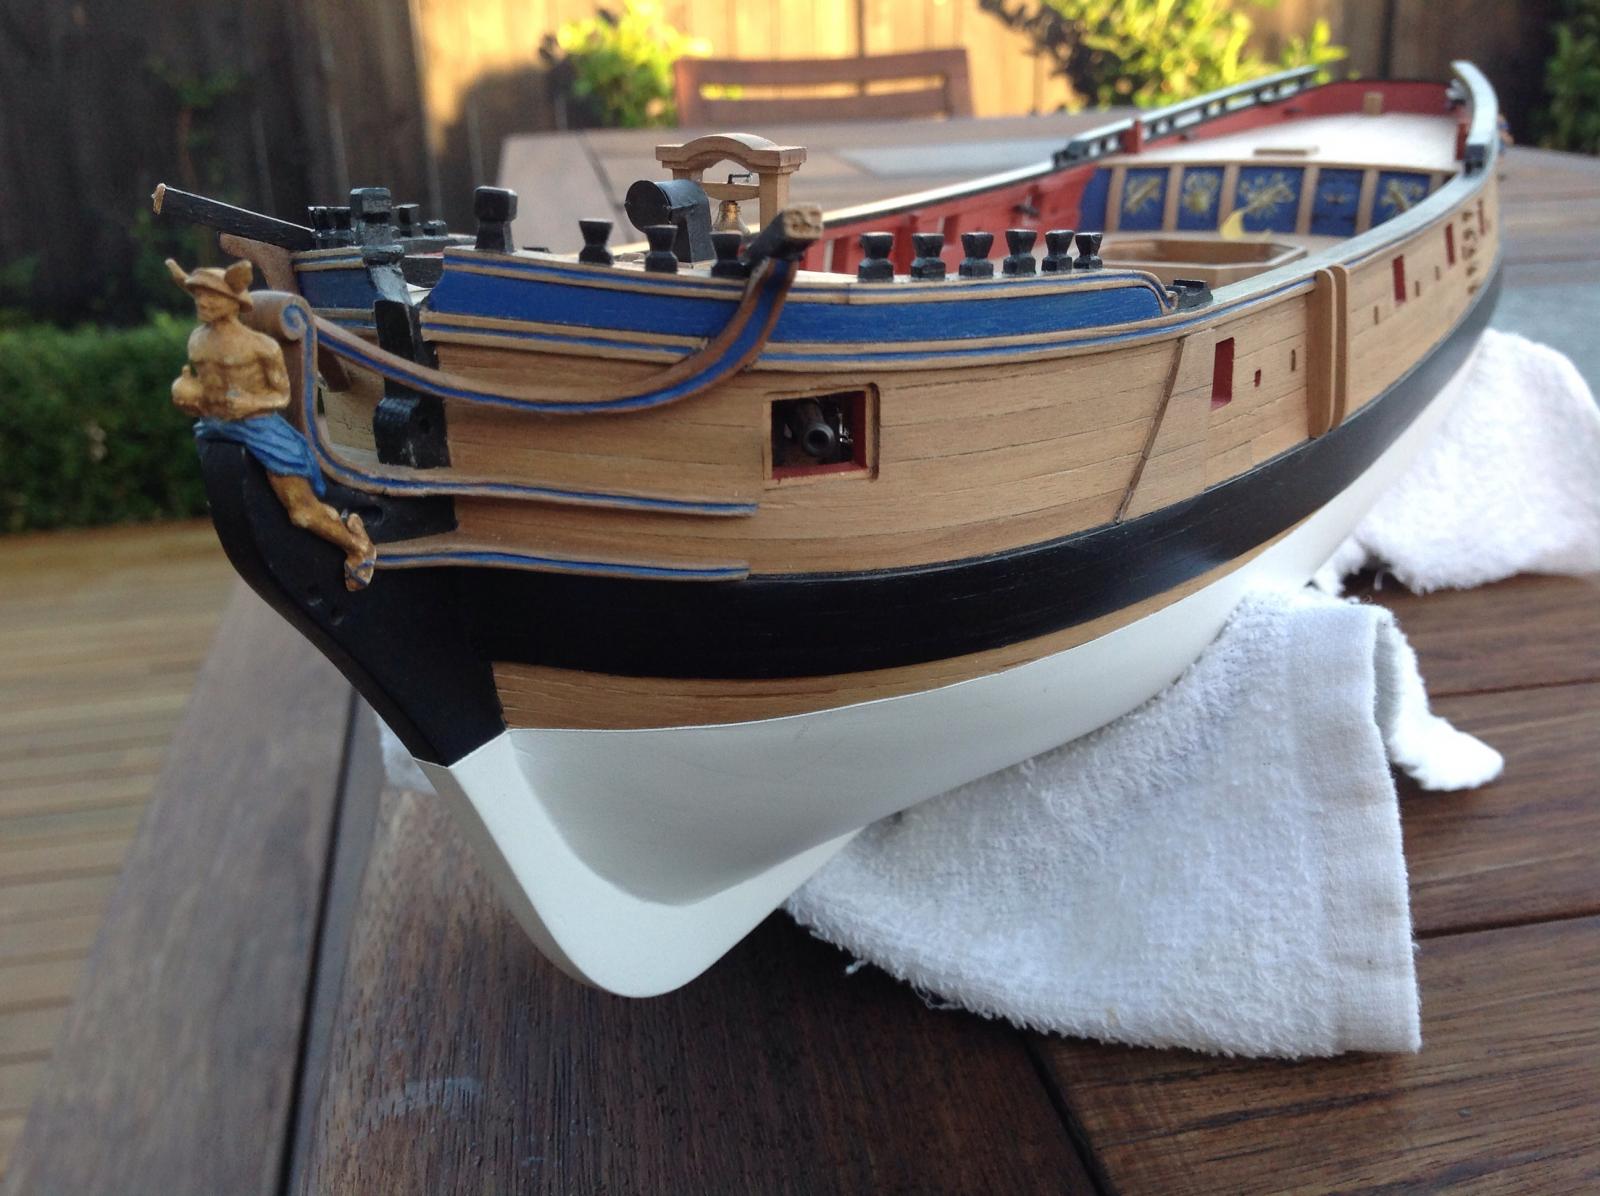
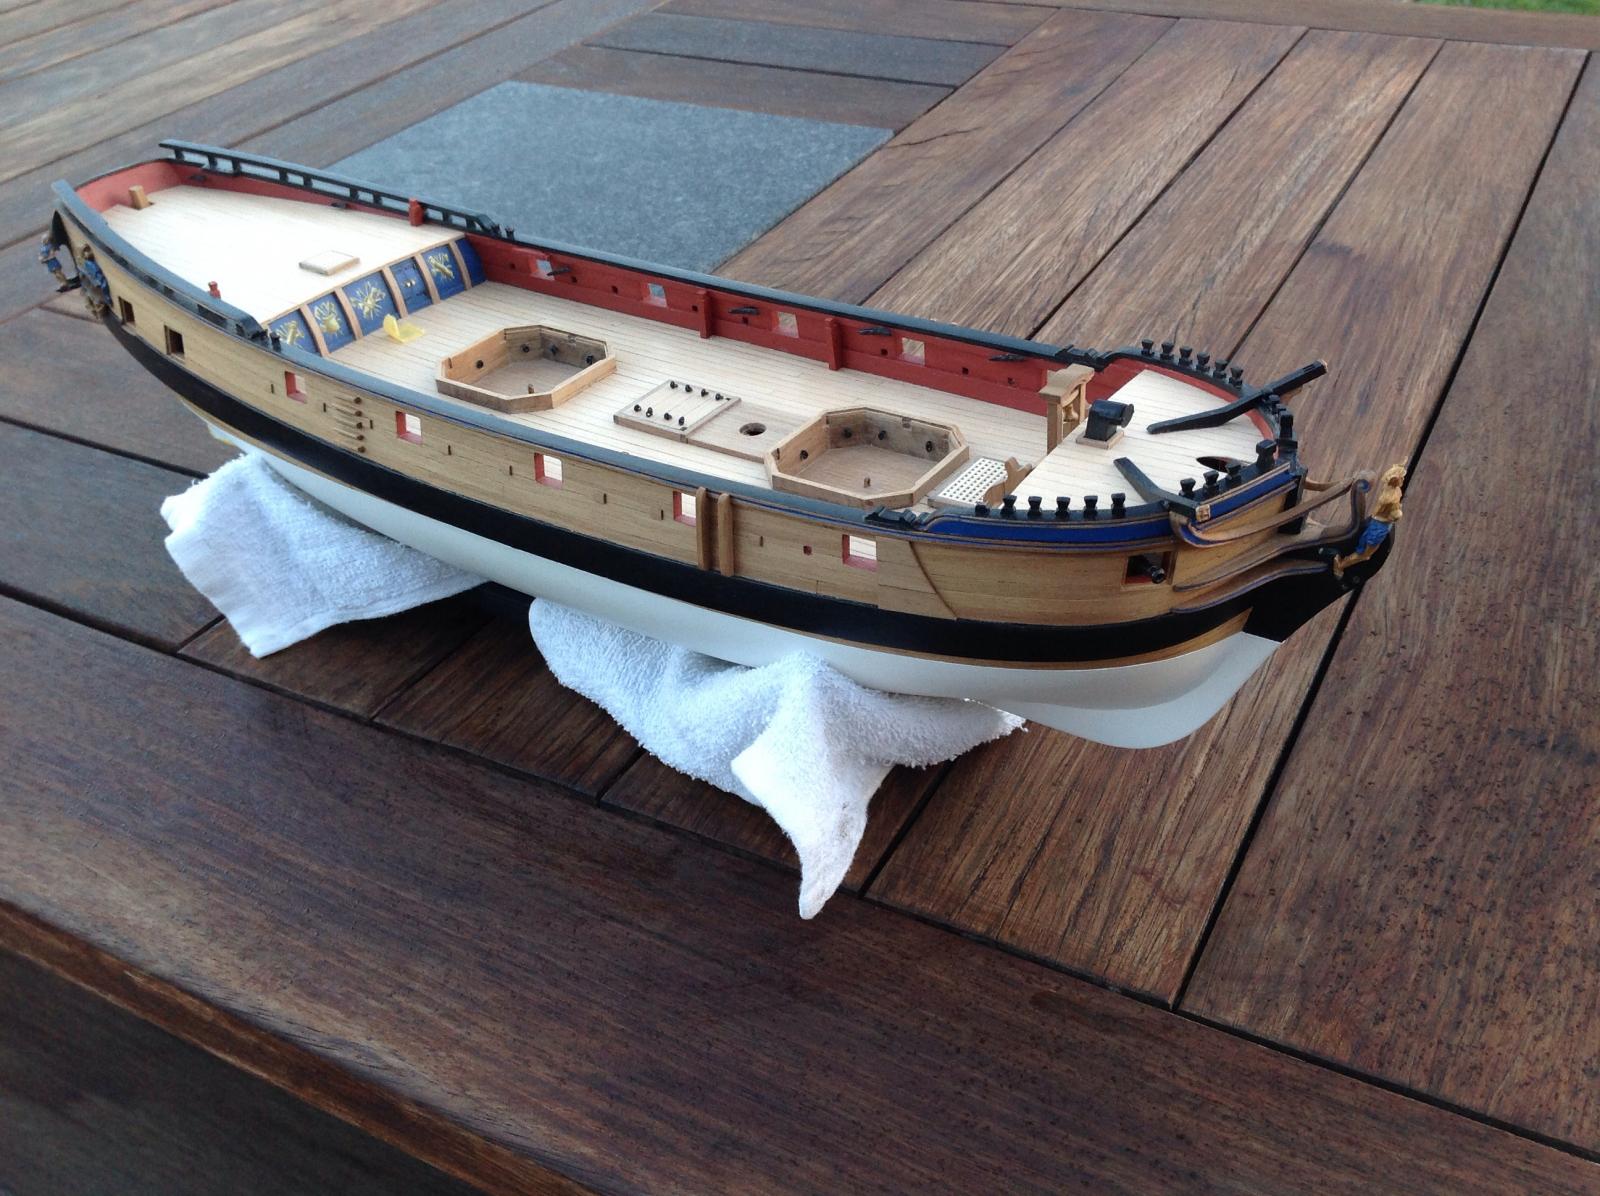
His majesty's bomb vessel Granado as she now stands
- gjdale, realworkingsailor, Ferit and 12 others
-
15
-
Thanks, Alistair, Andy, Jason and all.
-
More top rigging there Jason. Nice work
-
Autumn is in the air for today's spell in the garage shipyard.
The dregs of cyclone Lusi pass overhead bringing a gusty wind and spot of rain from the dark sky. A porter ale in hand to match the mood and On to the port headrail/ cathead knee.
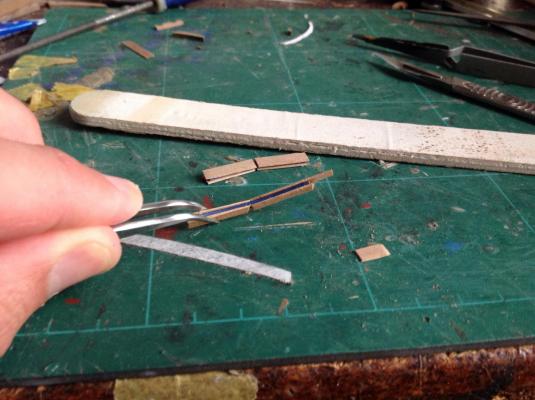
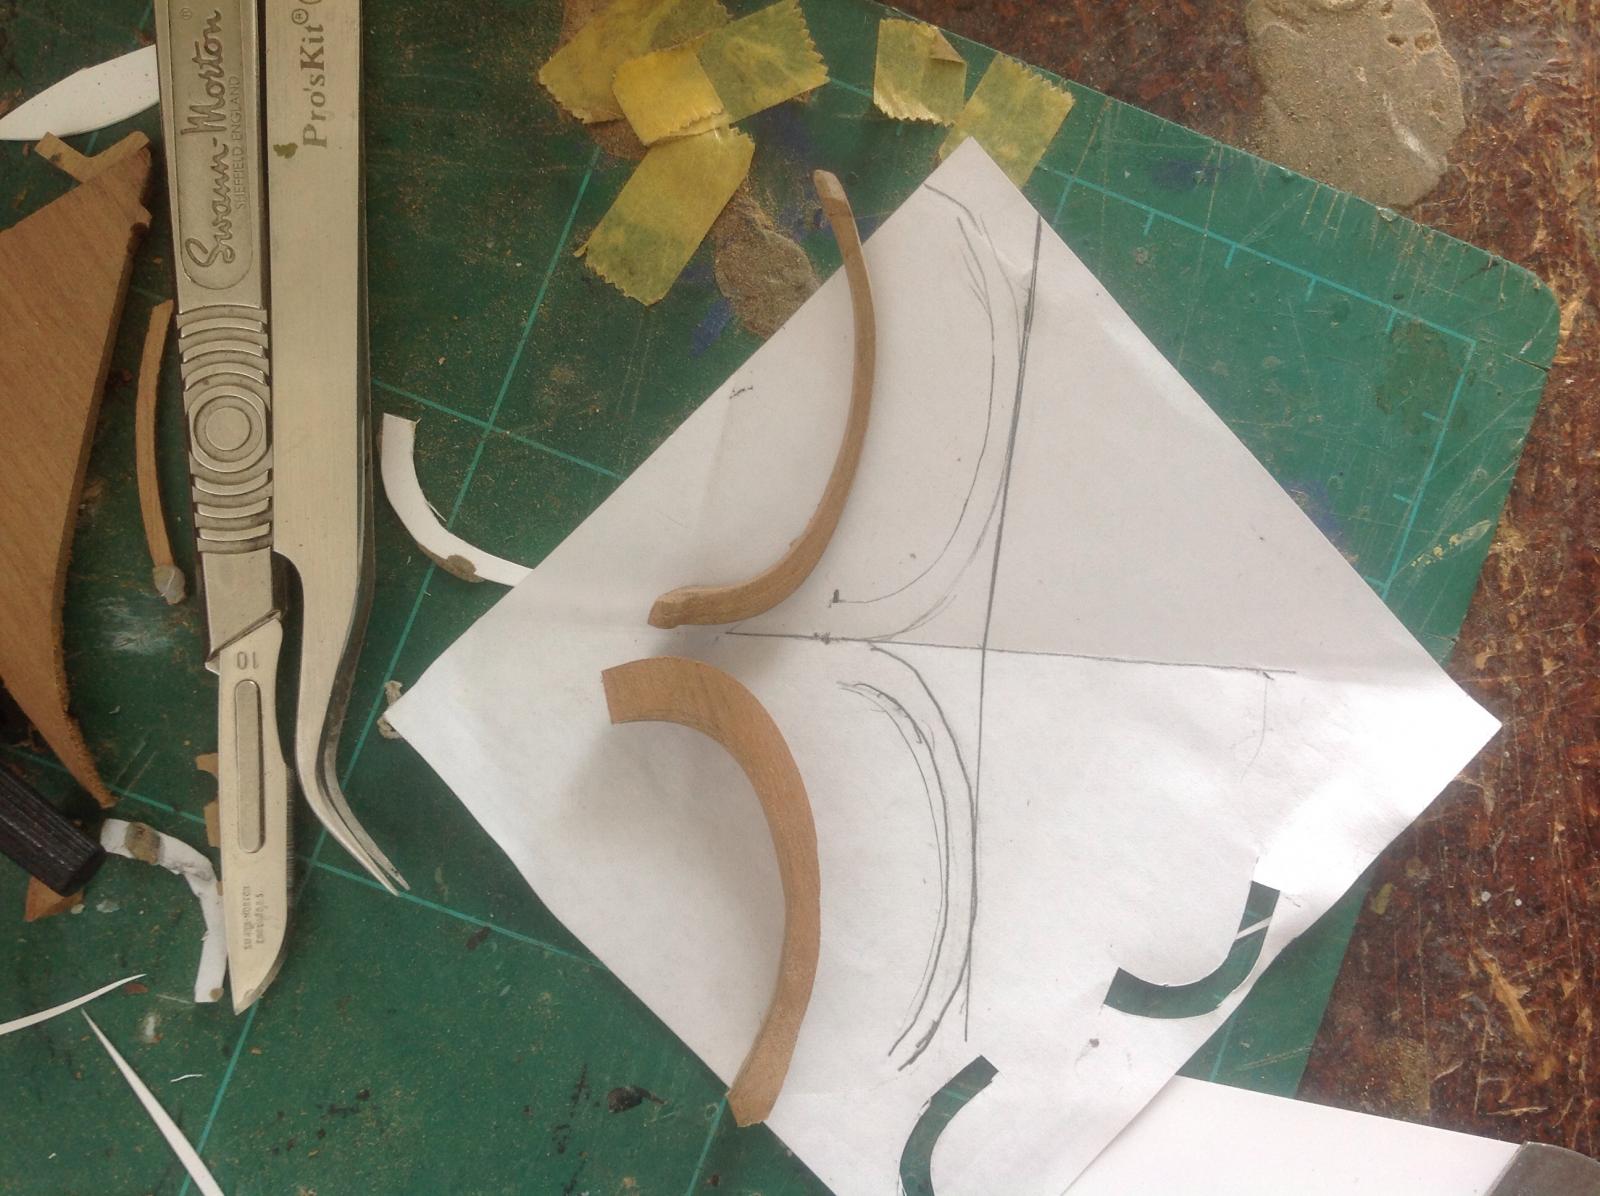
Symmetry is the issue here. A trace of the one already completed onto paper and a fold to invert the image to proved a template to help with the other side piece.
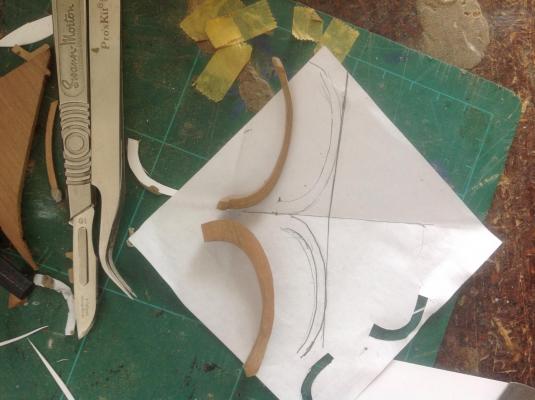
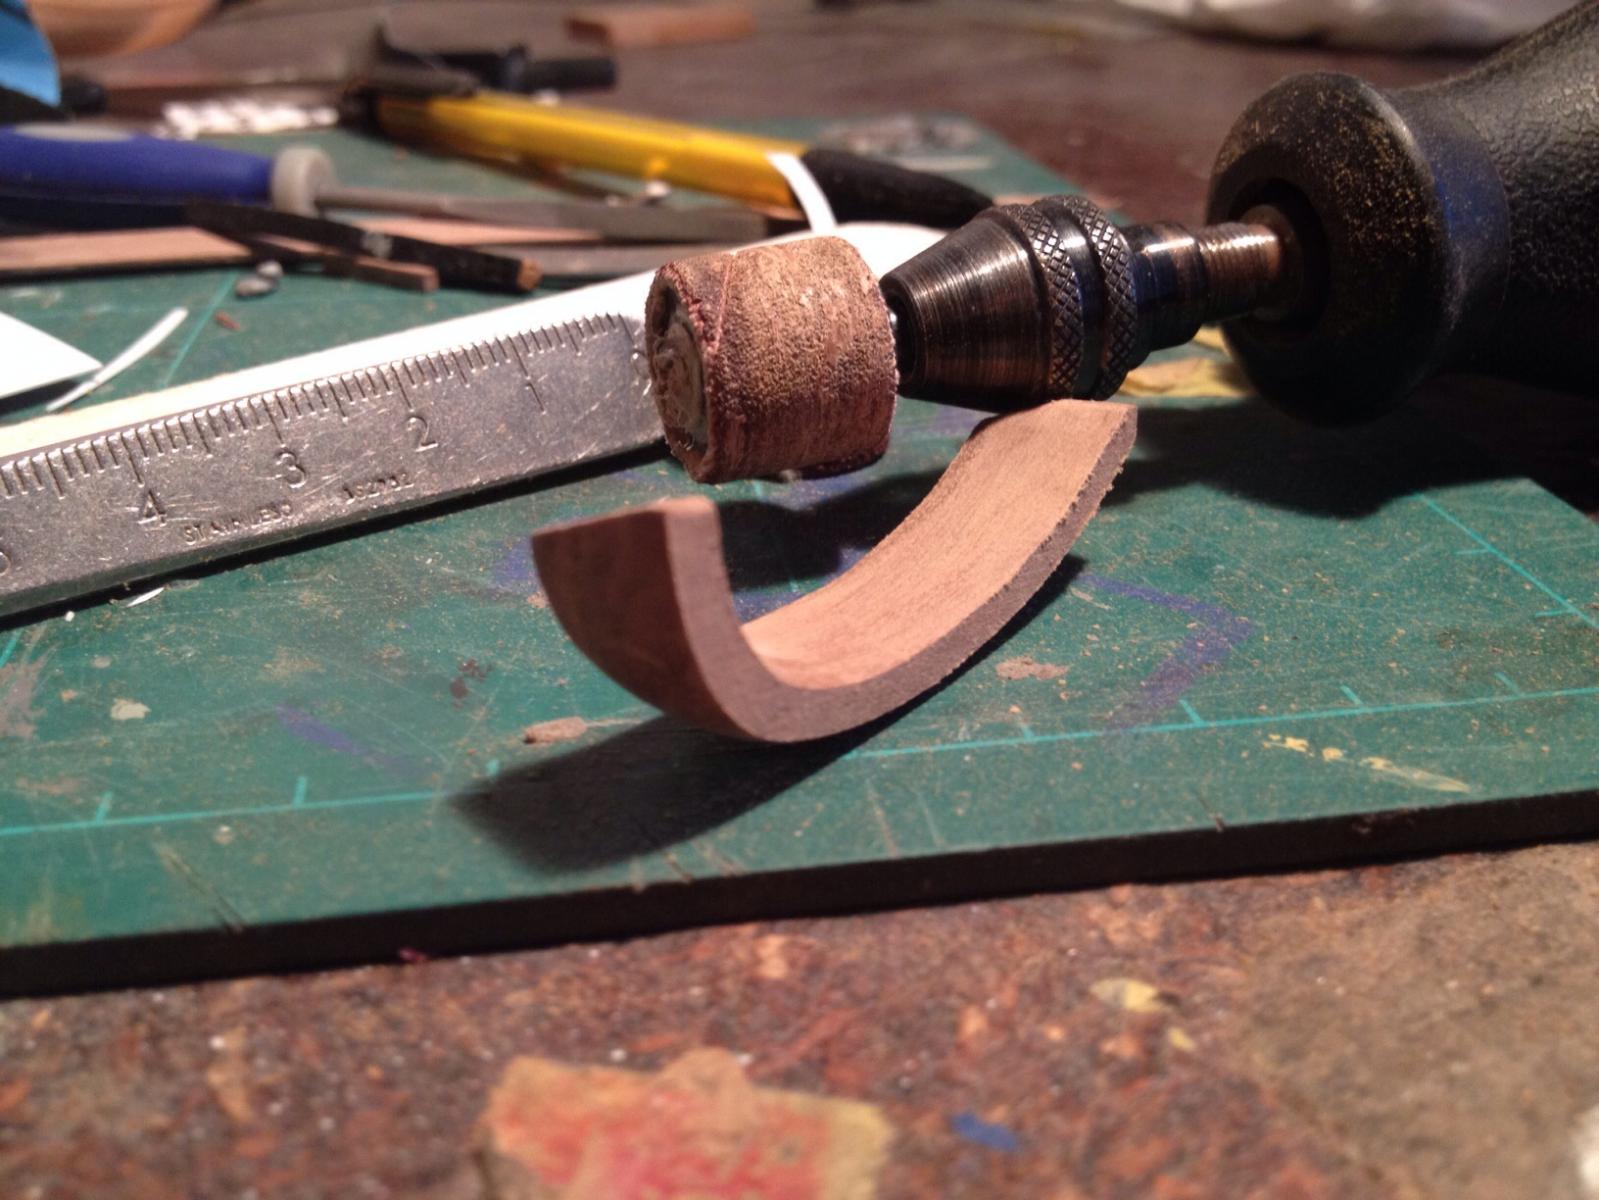
The same method of Dremel, bench sander, file and sandpaper was used to and shape the piece.
Plenty of test fitting is the order of the day.
The largely finished piece, right, compared to the other. None fixed as yet. I was a bit too vigorous on it and snapped it. Easily glued back together but that spells the end of progress today while the glue sets.
- Aussie048, Gregor, Beef Wellington and 7 others
-
10
-
That's right Alistair, making one of something is always possible, but two the same is the issue. The other might take a bit longer as I grapple with symmetry .
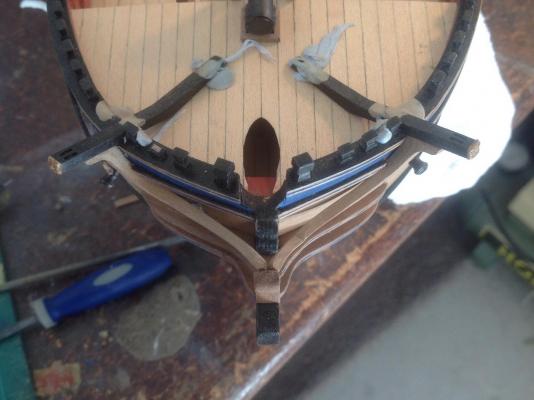
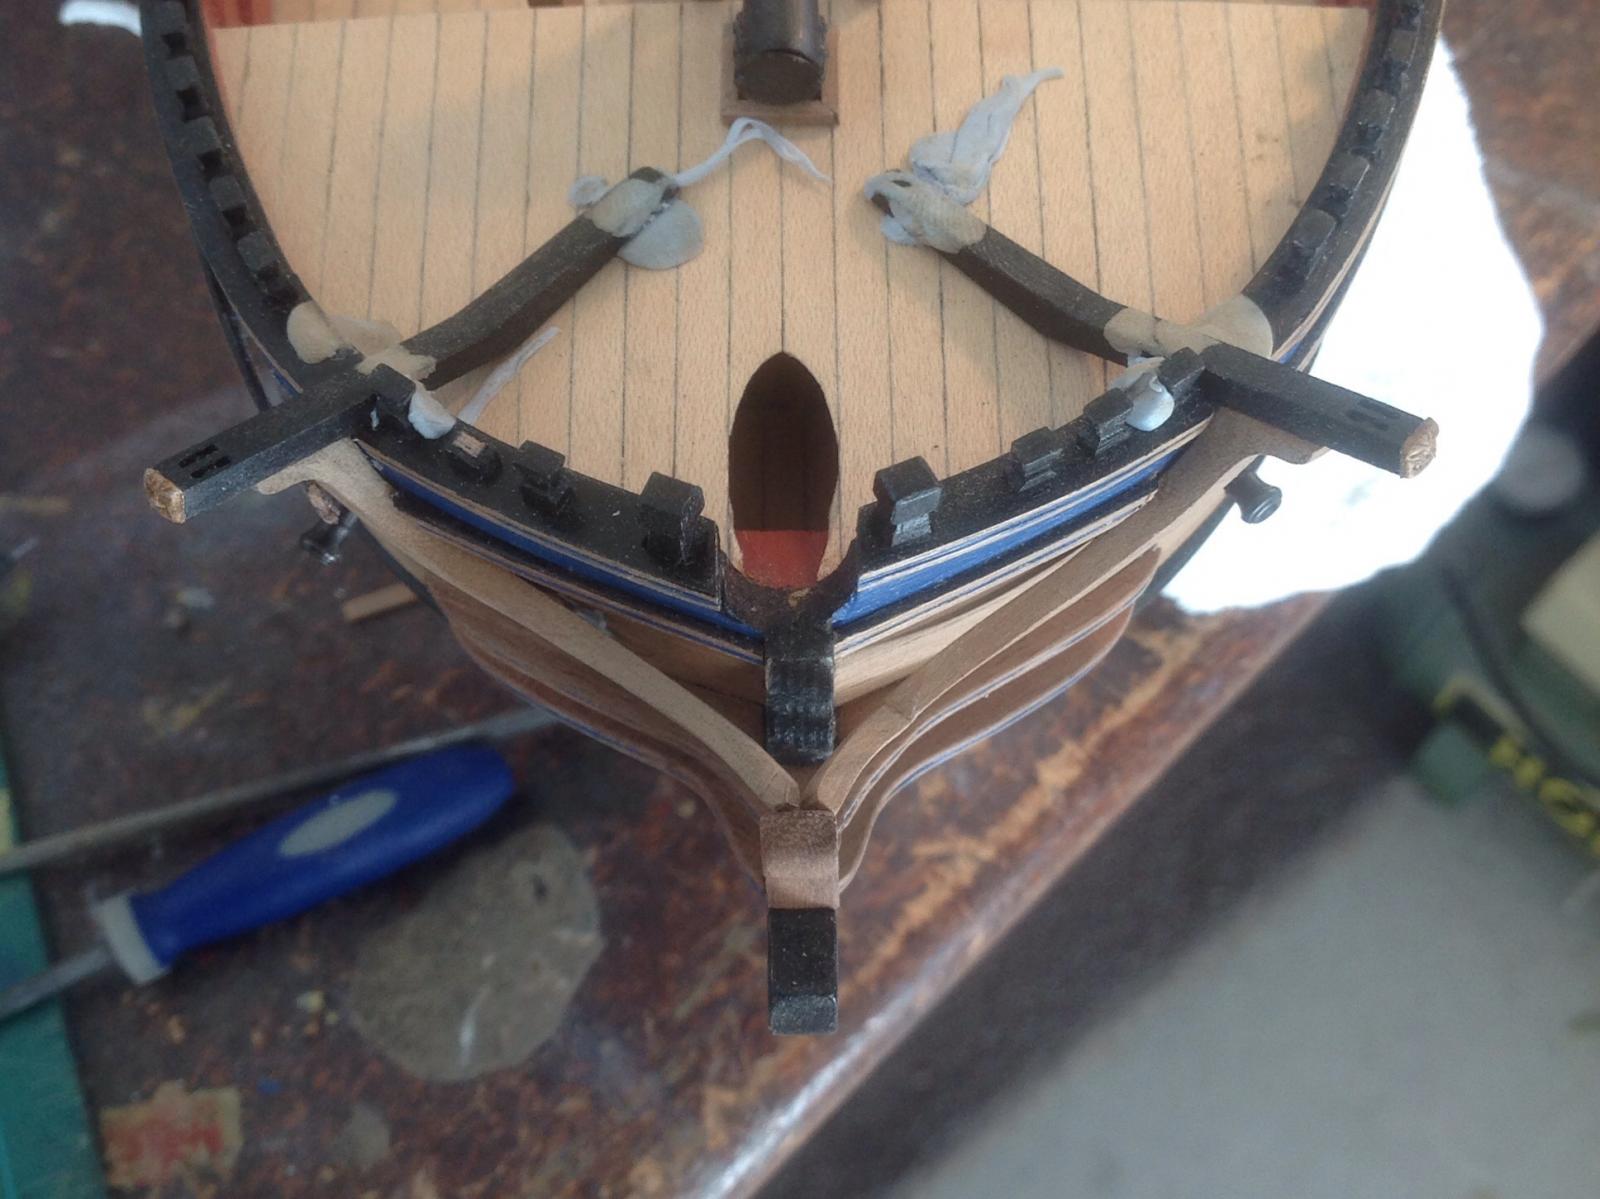
No turning back now since I've cut notches in the sheer rail.
-
-
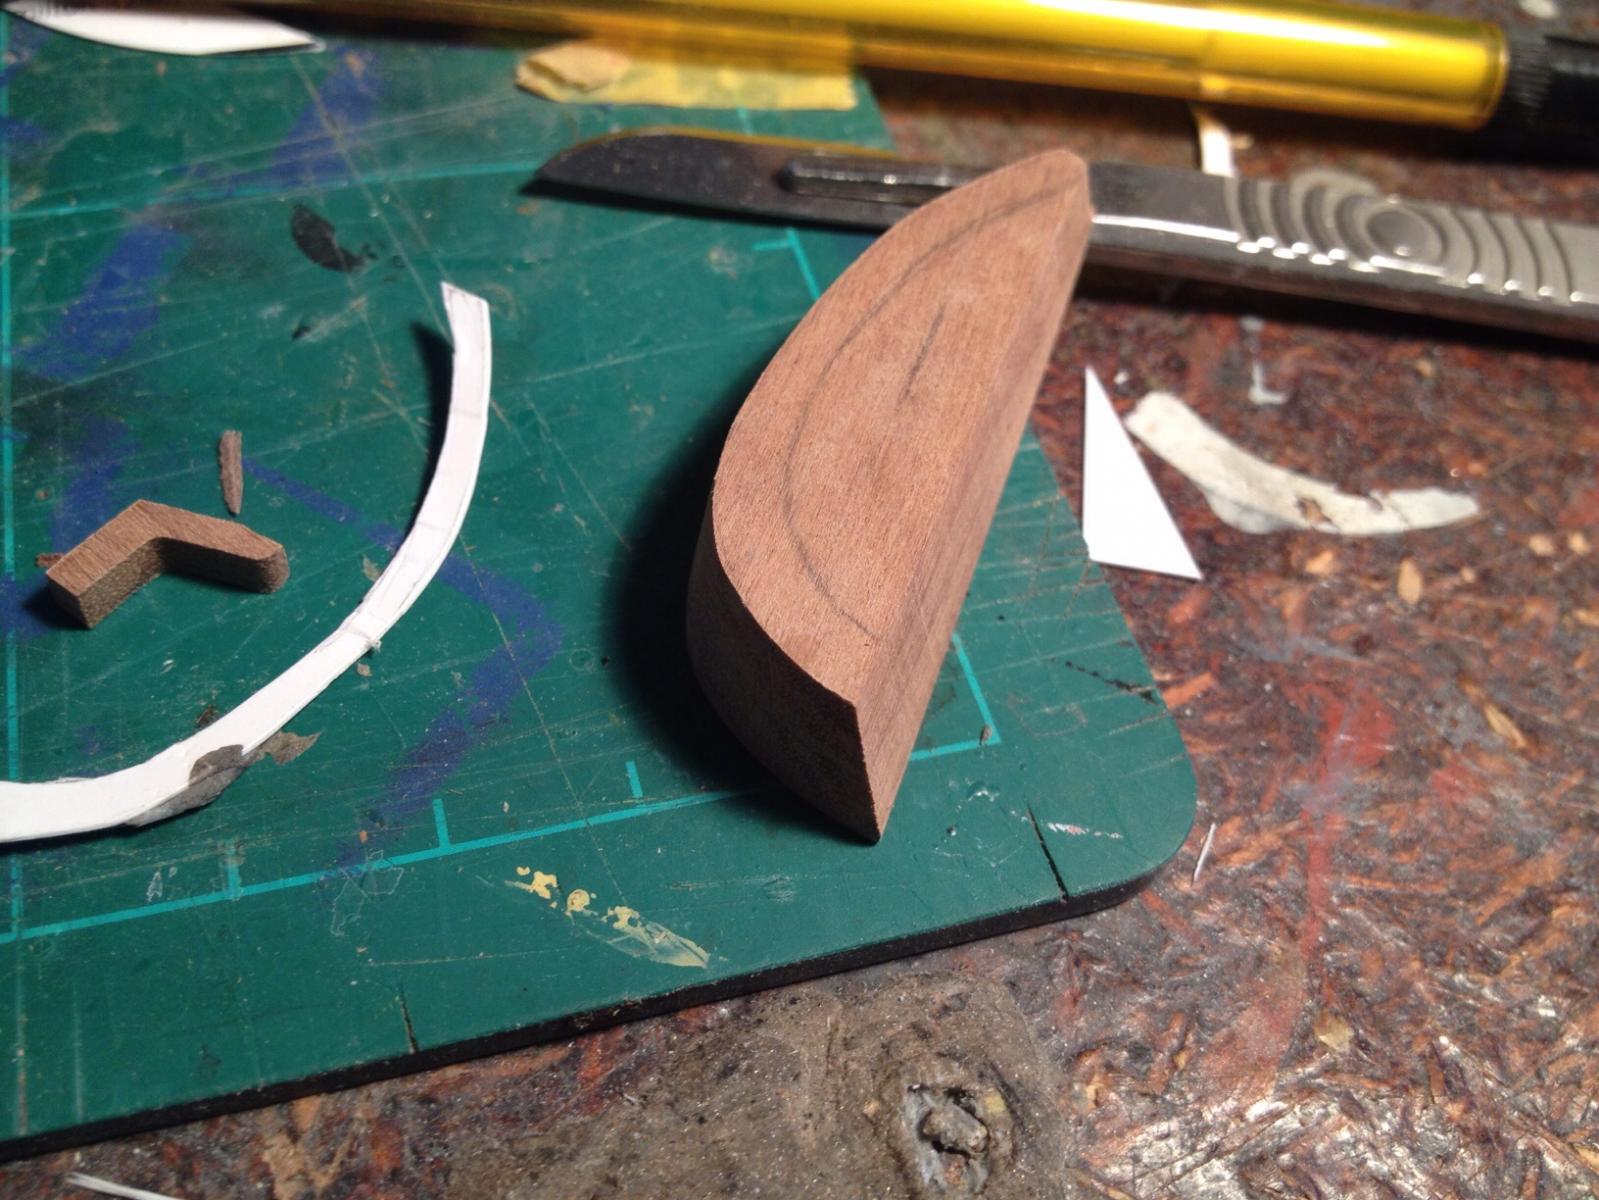
A couple of bits of walnut offcuts from the kit were laminated together and cut to shape for the upper head rails.
The shape was marked off the cardboard templates and the outline cut. First the outside then the inside.
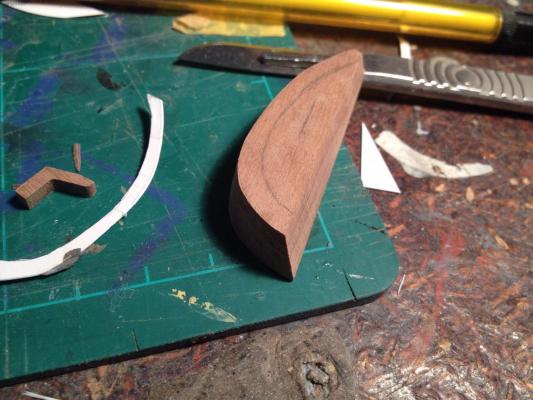

Constant checking ensured a reasonably snug fit to the hull, the cat head and a consistent curve. A Dremel with a sanding head followed by files and sandpaper was used to shape the piece. Notches were cut in the sheer rail and lower profiled strip on the hull to accommodate the head rail/cathead knee.
It's quite a complex curve and I was going to do it in two pieces to have a better chance of success but this seems to have come out ok. A profile will be cut into the front once the other piece is shaped up.


- Beef Wellington, Barbossa, Ferit and 6 others
-
9
-
No response to email orders and phone calls to westbourne and after some online research there's a disturbing number in the same boat.
Can't even get hold of them to confirm the presumably undispatched order is cancelled.
-
Nice work. Great start to a mouth-watering kit.


HM Cutter Sherbourne by bonjourmatelot - Caldercraft - Scale 1:64
in - Kit build logs for subjects built from 1751 - 1800
Posted
Great work so far. The sherbourne's a great little kit. It was my first and I learned a lot from it. Keep it up.