HOLIDAY DONATION DRIVE - SUPPORT MSW - DO YOUR PART TO KEEP THIS GREAT FORUM GOING! (Only 36 donations so far out of 49,000 members - C'mon guys!)
×


rwiederrich
-
Posts
5,518 -
Joined
-
Last visited
Content Type
Profiles
Forums
Gallery
Events
Everything posted by rwiederrich
-
Yes that was also a factor that made her unseaworthy for sucha voyage. But We're gonna rebuild her in all her Glory......... Rob
-
Samuel Samuels book...*From Forecastle to Cabin*...is then a must read for you Rich. It was an amazing look into the clipper ship life. Rob
-
Yes...most likely because she was on the West coast and the state of her hull(hogged) and her extremely reduced masts and rigging....prevented her from making a trip around the horn. Just too expensive a prospect...and nobody on the West coast wanted her...not even San Fran. Rob
-
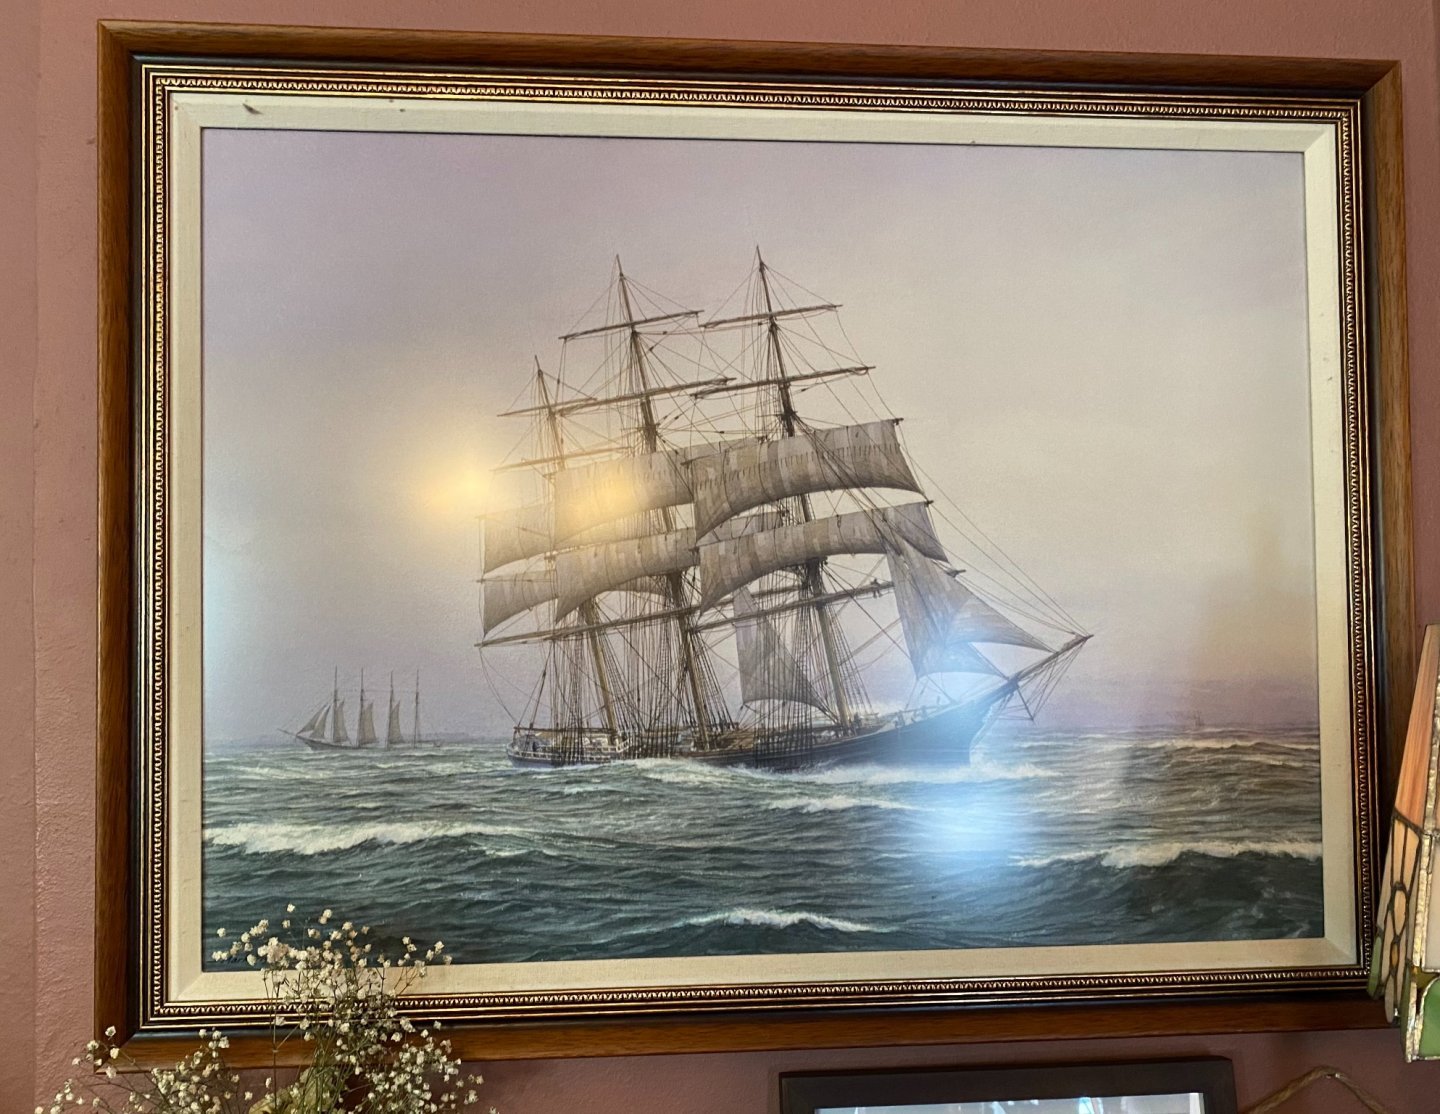
Lastly..this is a bad image of the painting that will grace the dusk jacket of his new book....... Rob

- 3,560 replies
-
- 3
-

-

-
- clipper
- hull model
- (and 2 more)
-
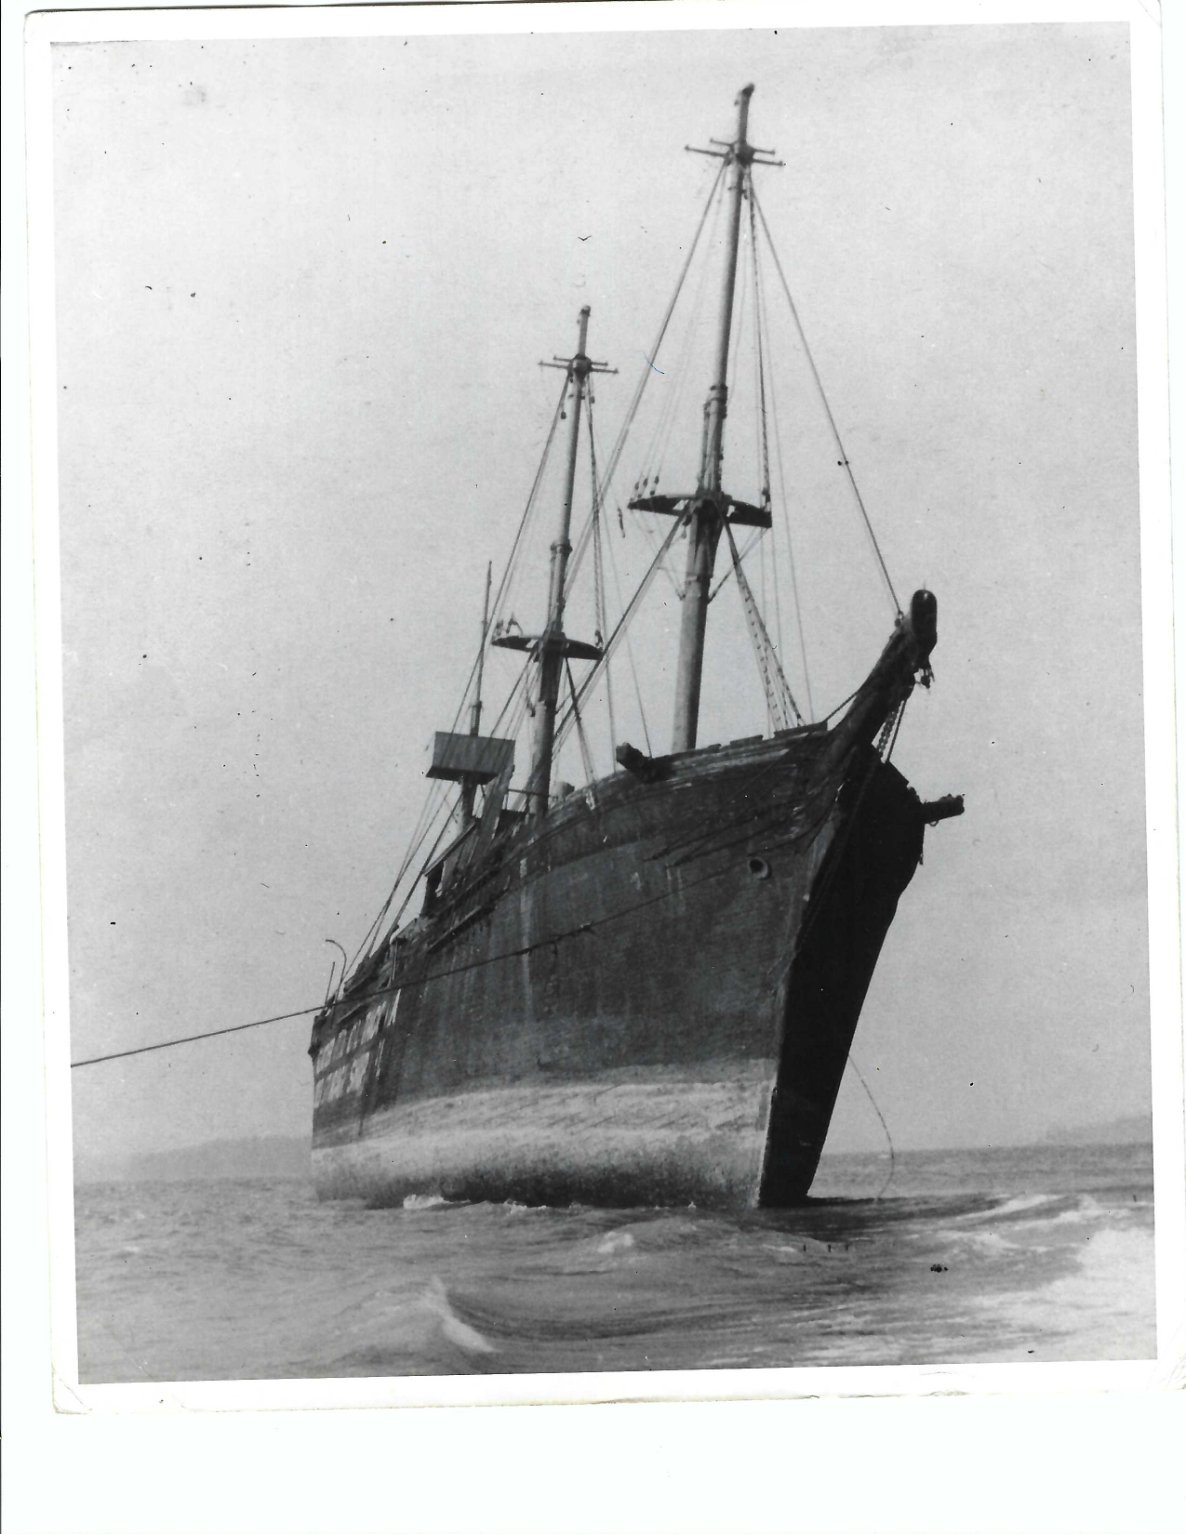
And lastly a new one of her at Endolyne prior to her burning.
- 3,560 replies
-
- 2
-
-
- clipper
- hull model
- (and 2 more)
-
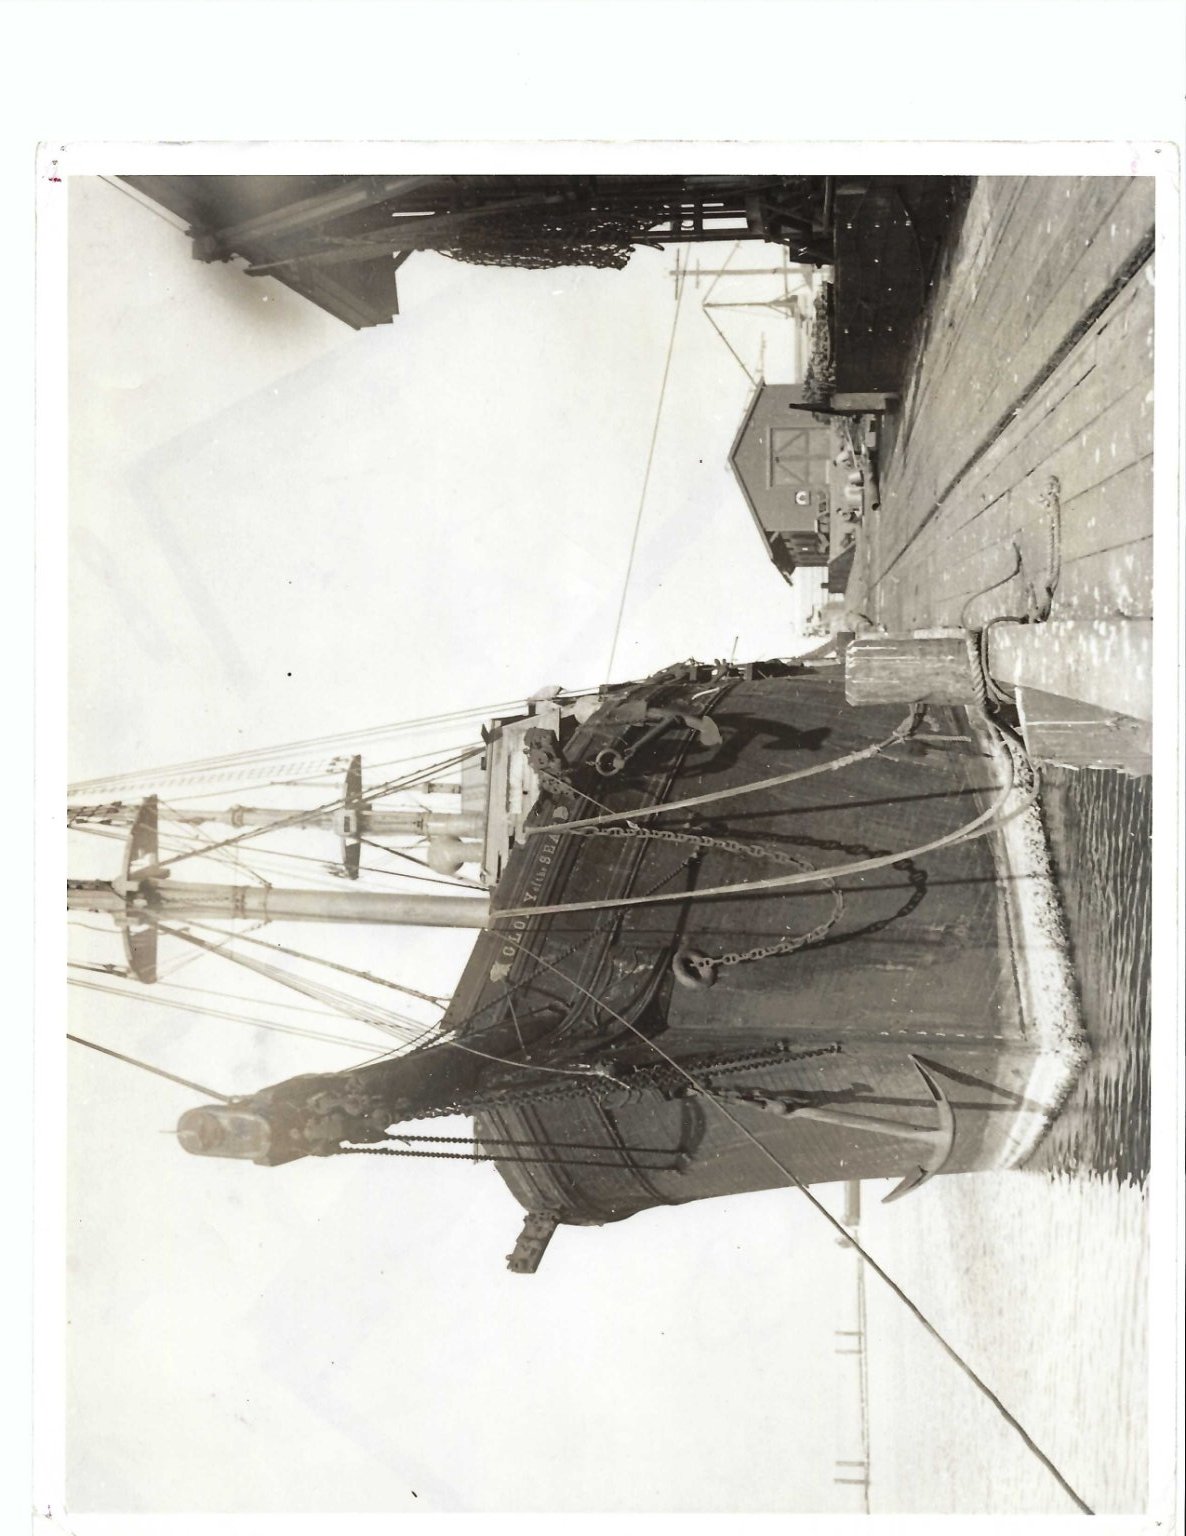
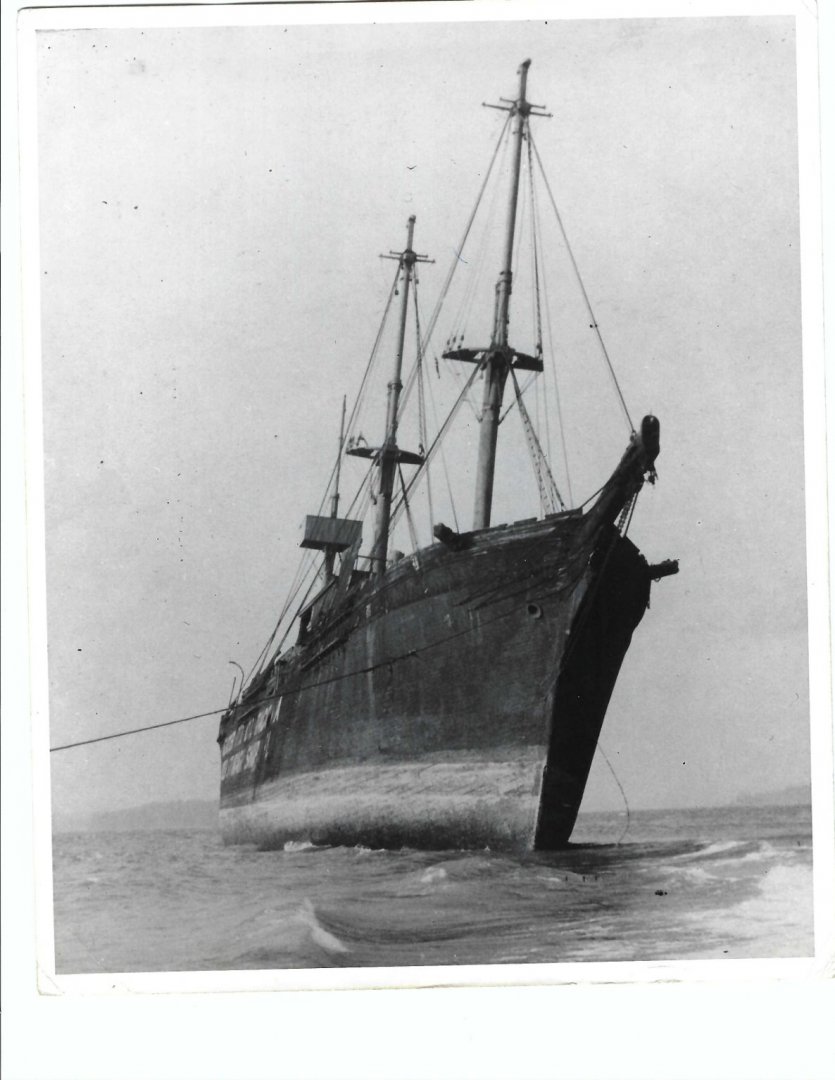
Here is another of her at the Tacoma cold storage docks...after her starboard name board and figurehead had been removed. A lot can be gained from this image.... I can't seem to right the image....

- 3,560 replies
-
- 2
-
-
- clipper
- hull model
- (and 2 more)
-
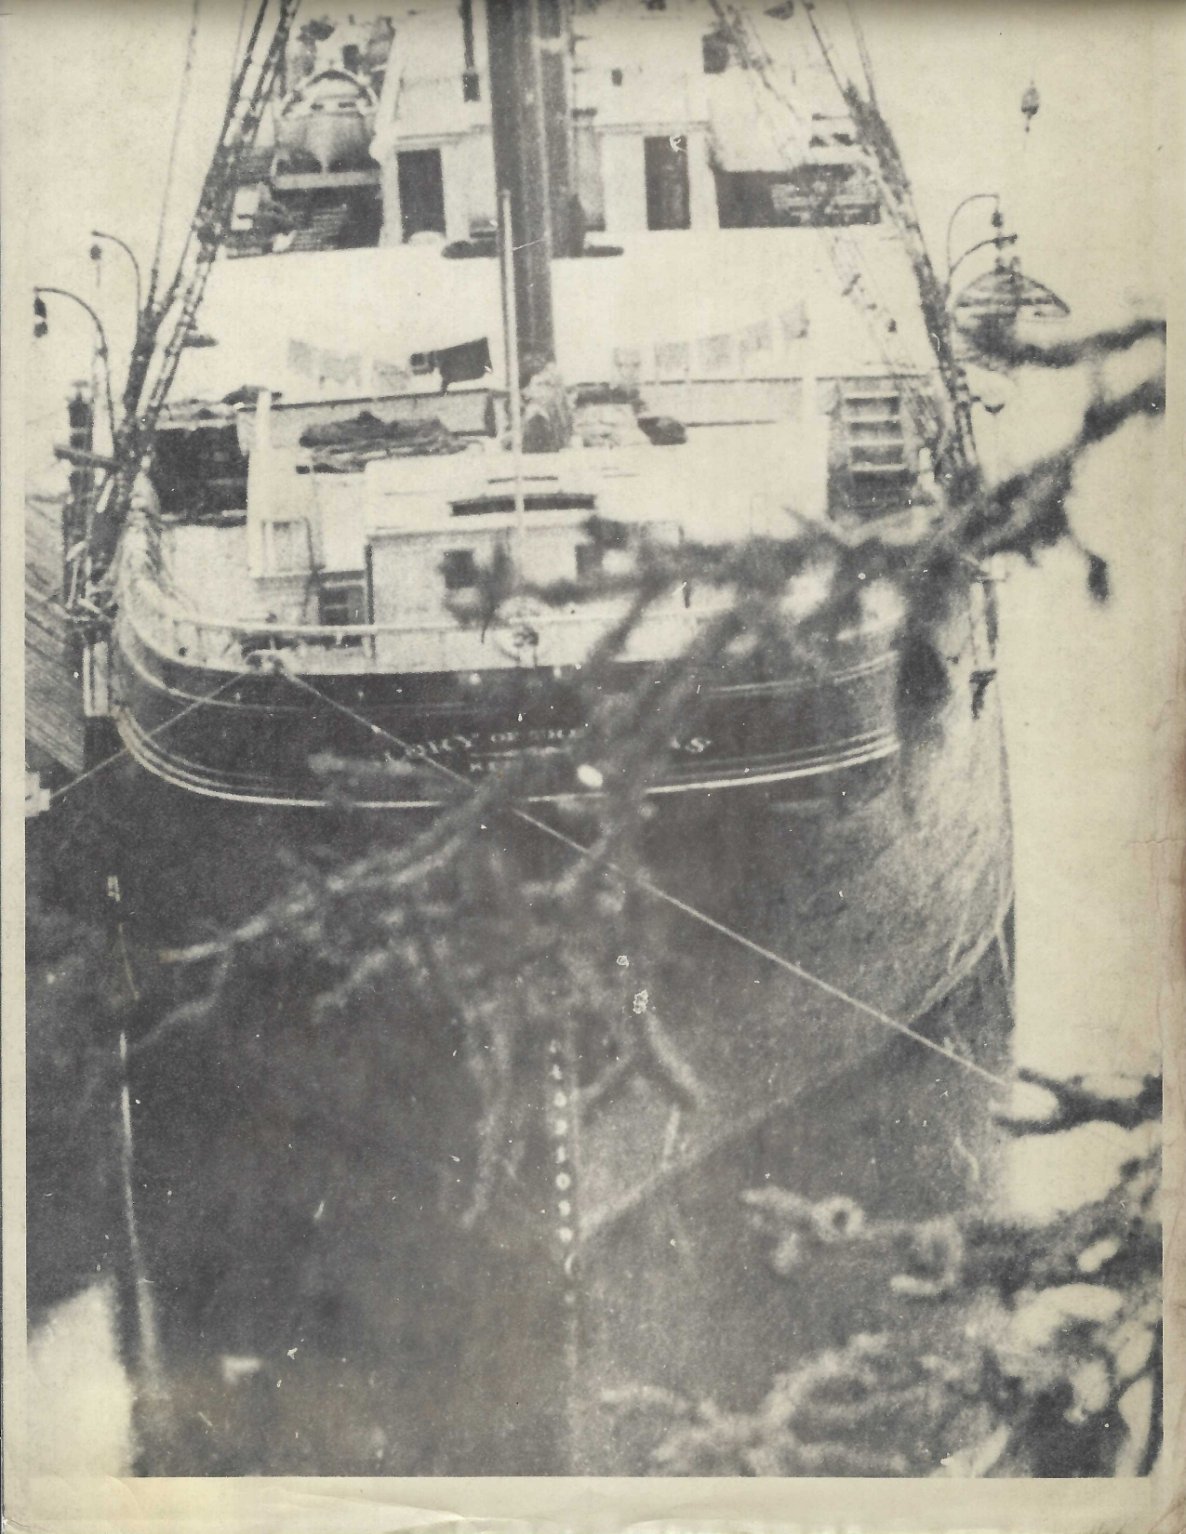
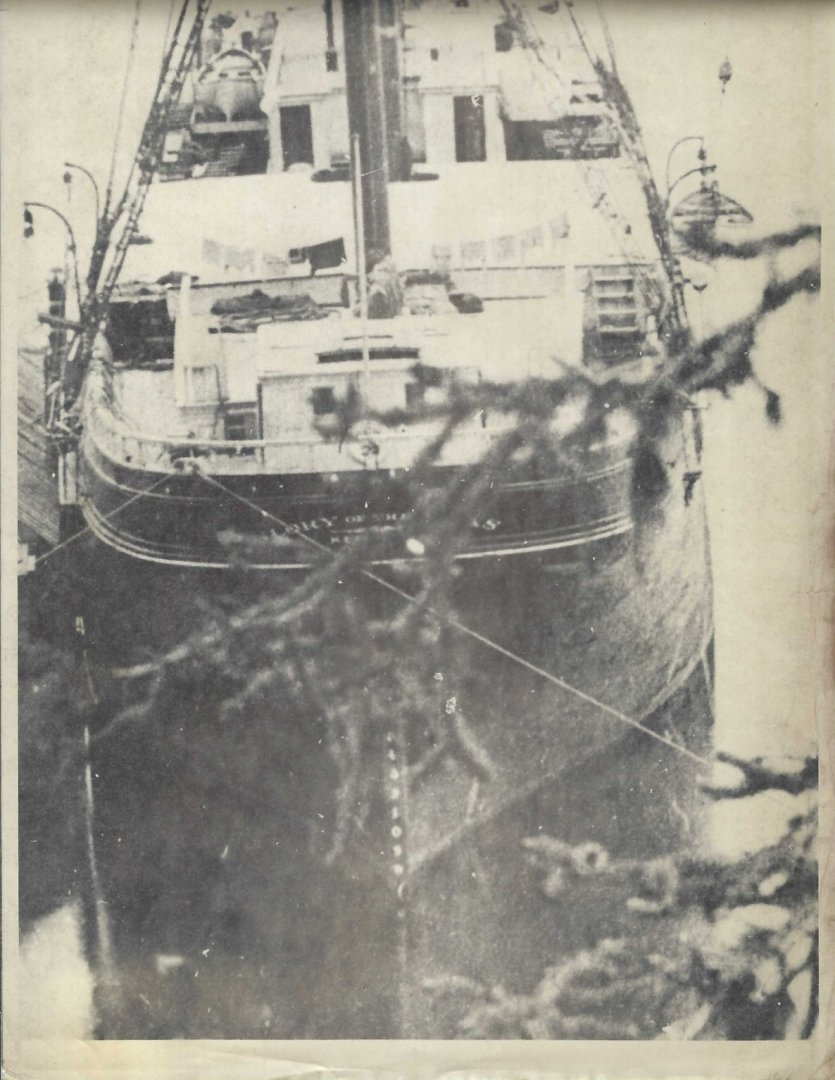
OK....I promised some new images of Glory. Now Mike is still looking for his drawings of her stern carvings...but he assures me he has them and will soon send them to me. Here is an image of the stern of Glory...partially skewed by tree branches. But the stern name and origin are after she was sent to Ketchikan Alaska. You can make out all her new deck buildings and the like
- 3,560 replies
-
- 3
-
-
- clipper
- hull model
- (and 2 more)
-
We talked about so many things....but we spent little time on her figurehead. I did mention I was carving her at 7/8"...and he was amazed I could made her so small. He did say he had more images of her...I'll continue to ask him. He is still cataloging his images. We also talked about his friend in Australia who is redrawing the Glory...and that he has acquired all his drawing of 40 or more DownEasters and drawing of two clippers that were actually built in Seabeck. 1000~1500 ton vessels. Deep water vessels. I thought the Western Shore was the only clipper to be built on the West coast...at Cooz Bay Oregon. That is all together an other story for sure....... As far as the figurehead goes.......I'm carving her toga currently...and I'll spend more time tonight...hopefully finishing her up. Rob
-
Rich...Mike said he hopes it will be out by Summers end...and I told him I would need 3 signed copies. I'll keep reminding him...but the publisher is who we are waiting on at this time I gather. Rob
-
I'll post images later. Rob
-
I talked to Mike today and he told me the nameboard is 14ft long...slightly over what I calculated(I couldn't quite see the flowery ends all that well). Mike told me he was the one who helped that museum acquire the nameboard....magine that....? Anyway...what a time with Mike. He has many more images he is going to send me and one in particular is of the stern... from the stern. He also has a drawing of the exact stern mouldings he will get me too. We hit the gold mine. Mike tells me that his new book is in publishing as we speak and wouldn't you know it...he even has the manuscript ready for his fourth book....yep...the final voyage of the Glory when she sailed to Alaska and back to Seattle. Wonderful! The image for his next books dust cover is the one his daughter posted here not long ago. It was a great time conversing and trading information about clippers and Donald McKay. I didn't know this but Mystic Seaport has a rewrite of his book that was published in 2000. It corrects all the mistakes...well some of them...in his original book. I think I need to get that. Great times with Mike. Rob
- 3,560 replies
-
- 1
-
-
- clipper
- hull model
- (and 2 more)
-
I calculated the length of the figurehead and used that to determine the nameboard length
-
George...not to answer for Vladimir...but I believe he has a provider of such services in his own country Slovakia. I believe Vladimir provided them with the 2D CAD drawings...then they cut the bulkheads. All rather nicely done, IMV. Rob
-
Hey Rich...did you ever get the actual length of the nameboards for Glory? I projected that it was 13ft long. Rob
-
In my scale the figurehead is 7/8" in length...so she will be hand carved from plastic and I will use hard dental wax to carve her toga. I have several ideas to work with so I hope it works out fine. I also spent some time printing out her gold on black name boards in 1/96 scale as well. Lots of small details to attend to in advance. Rob
-
Thanks Vlad..... I'm taking this time to compile construction material and while doing so, i tend to work out production planning issues as well. By the way....I'll be meeting with Mike tonight and I'll be getting your book signed, so I hope to have that off to you shortly. Can you PM me and give me your address? Rob
-
Thanks Bob
-
No my friend.......a dental hand piece or a Dremel and some cut-off wheels
- 3,560 replies
-
- 1
-

-
- clipper
- hull model
- (and 2 more)
-
I'll be making lots more. In conjunction with my angle control wood ones I aught to be ready for planking. I received all the scale deck planking today from BlueJacket as well..... Rob
- 3,560 replies
-
- 1
-
-
- clipper
- hull model
- (and 2 more)
-
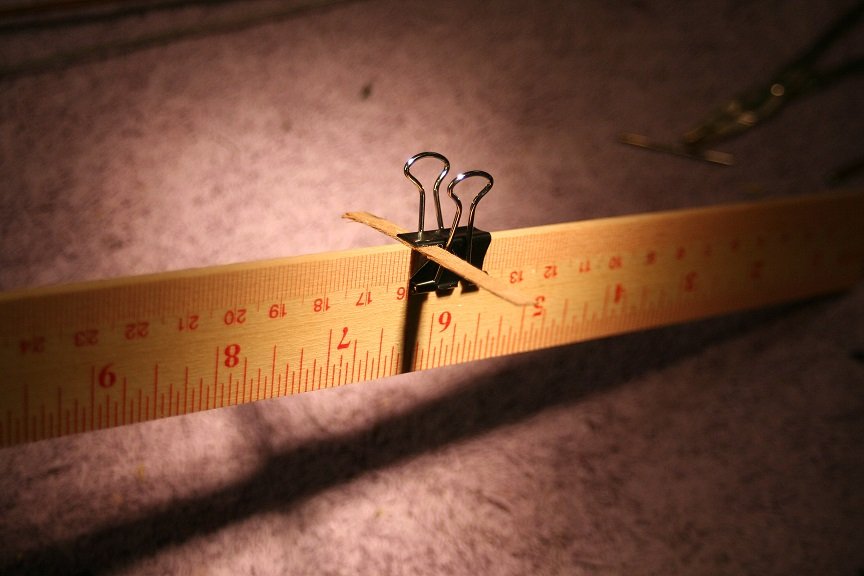
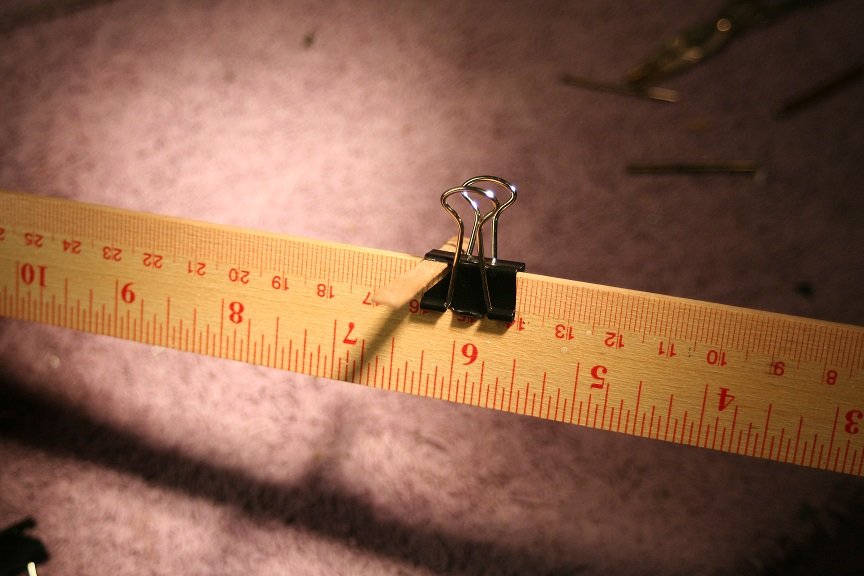
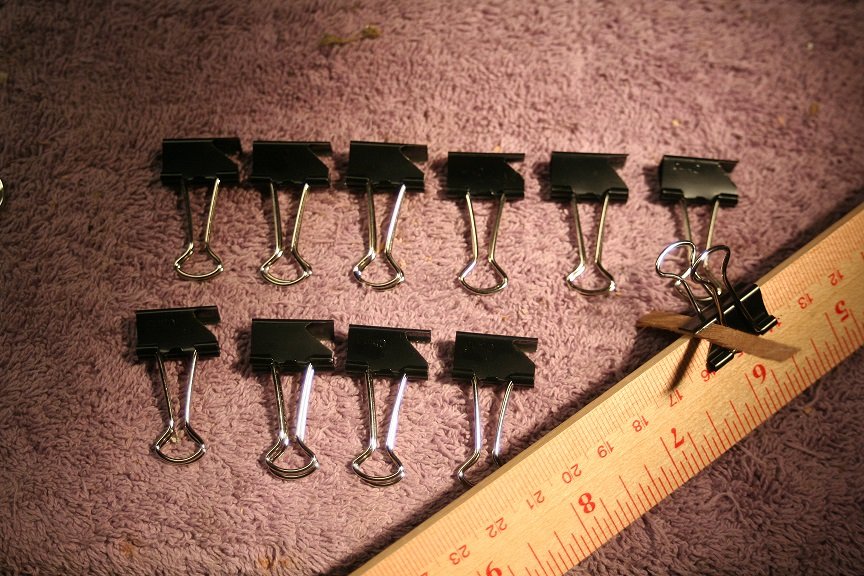
Here are few other angles and a demonstration image of how it works. these are easy to make and anyone can make them. They hold tight and secure. Rob
- 3,560 replies
-
- 4
-
-
-
- clipper
- hull model
- (and 2 more)
-
Spent a bit of time today modifying spring clamps to be my planking clamps. This is just a few of them......notice the cut out. This holds down the plank as the clamp grips the bulkhead...all in one.

- 3,560 replies
-
- 2
-
-
- clipper
- hull model
- (and 2 more)
-
Vladimir....I recall when we first encountered and you had just begun or shortly begun your Cutty Sark build. I was telling you of my passion for American clippers and especially for Donald McKay clippers. You became enchanted as much as I . I had initially begun my own study for my first build of Glory over 14 years ago and started the composite model in 2010. It is amazing to me to see where it has all come. I met Richard several years ago and he explained of his own passions for Glory. It wasn't until Richard and I began a serious study of Glory when you brought your own talents of design and Cad ability to the table. It probably wouldn't have happened as quickly and proficiently if we hadn't had the expertise of Mike Mjelde and his willingness to accommodate our desire to create the most accurate version of Glory that had been produced thus far. Now we find ourselves at the beginnings of your own Glory build. The results of a near year long compilation of many researchers and Glory historian buffs. What a fantastic journey. I can't wait. I will be following this log with great anticipation. I hope to be creating my own build log of her soon myself. We can bounce off one another on construction ideas and material uses. I have already developed another clamping system and am planning on mods to the framing to accommodate more to scale entrance and exit dimensions. Your participation in the fulfillment of this next build of Glory of the Seas cannot be underemphasized. I appreciate your willingness to help myself and Rich in the acquisition of your fine scaled bulkhead frames. It would be cool if someone like Nic of BlueJacket ship crafters would be interested in making Glory of the Seas a new addition to their fine line of finely crafter model kits. And here we go....... Rob
-
One thing is interesting about name boards, they were typically removed while not in port. Open sea travel was a tough business and many items not removed and stewed away...... we’re washed away and lost. Some clippers even removed their figureheads in fear of losing them in a rough sea and then replacing them when in port for a showy effect.
-
Well I started this thread in Aug of last year, but I was working on the plans for a hull build many months before that. I’m waiting for Vlad. No pressure on him, because he’s been awesome. I’ve also been working on another clamp design that I think will rock. I can’t wait.
- 3,560 replies
-
- 1
-
-
- clipper
- hull model
- (and 2 more)
-
Well it has been a year since it all started. So now we’re waiting on the bulkheads and Vlad is busting that out as quickly as possible. I’m prepping as much as I can till then. By the way Vlad, I received the Glory book so now I need to set up a signing date with Mike. I assure you Keith you won’t die before I get started
- 3,560 replies
-
- 1
-
-
- clipper
- hull model
- (and 2 more)