Check out our new MSW Sponsor Innocraftsman
×


rwiederrich
-
Posts
5,504 -
Joined
-
Last visited
Content Type
Profiles
Forums
Gallery
Events
Everything posted by rwiederrich
-
I can't say much, but Steve is dealing with his mothers failing health and has taken time off from his modeling sites for a time. He also recently moved. Rob
- 453 replies
-
- 4
-

-
- thermopylae
- sergal
- (and 1 more)
-
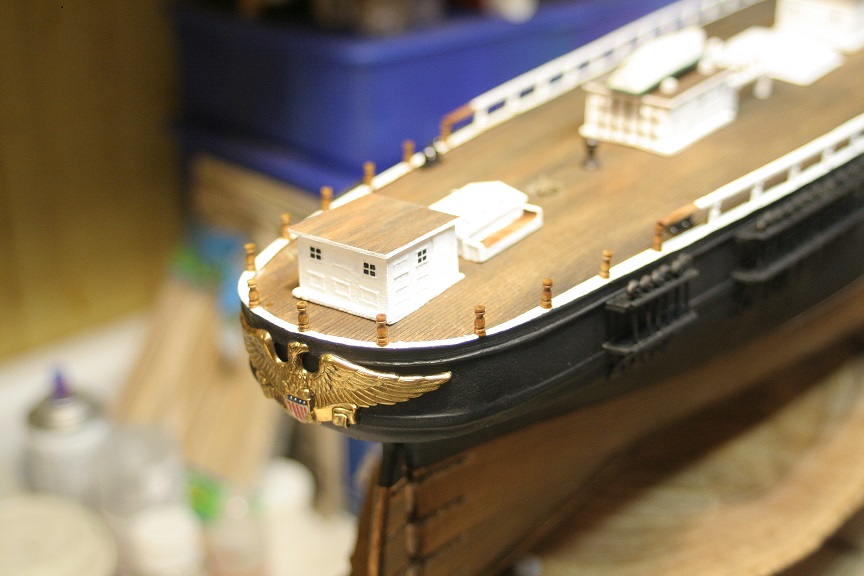
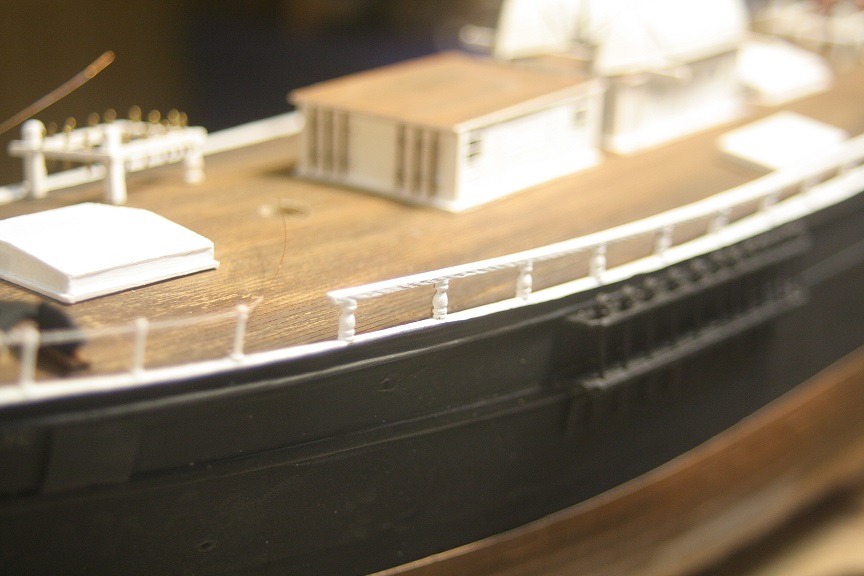
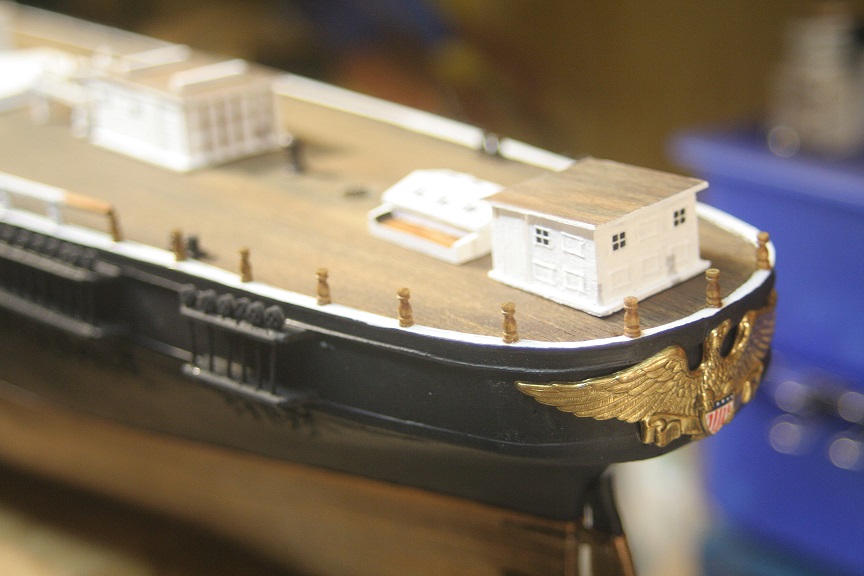
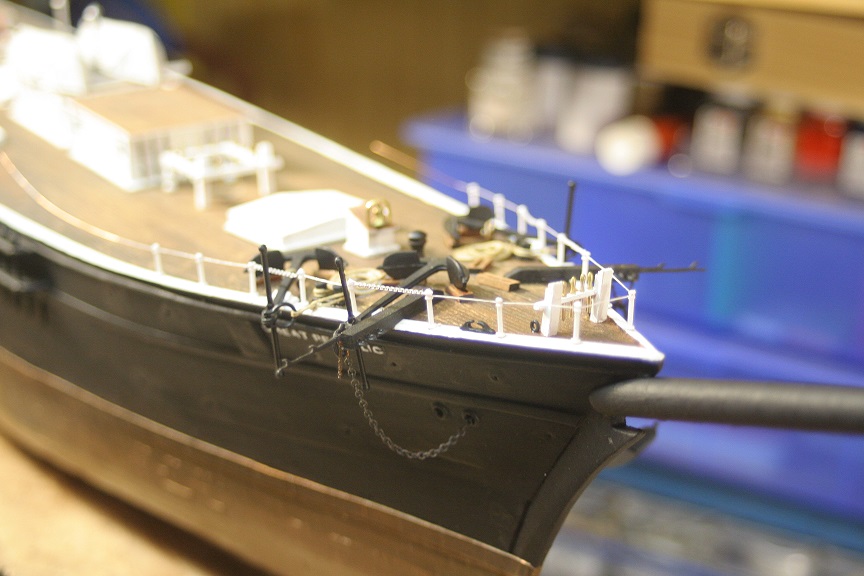
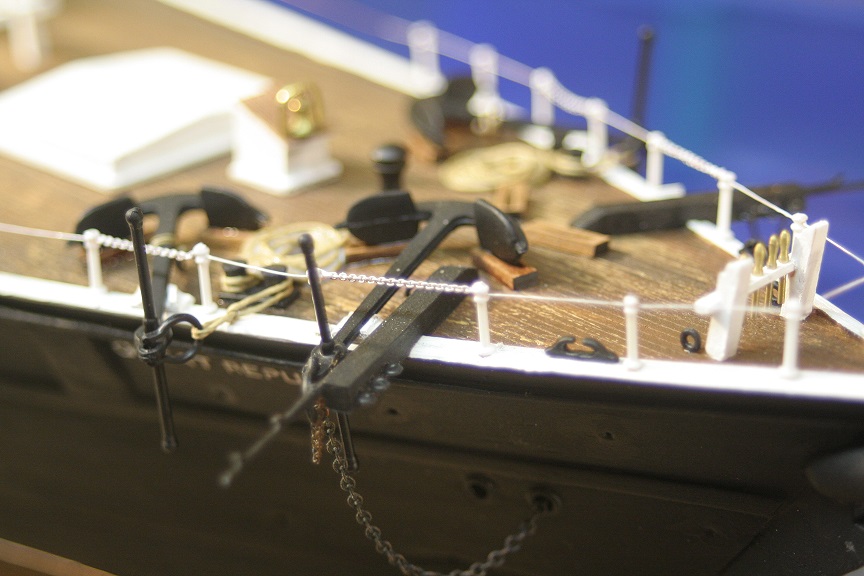
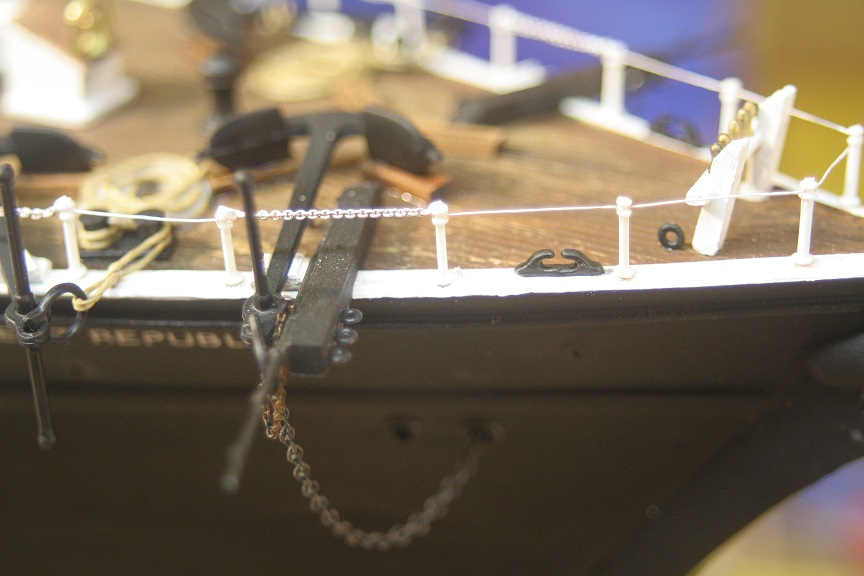
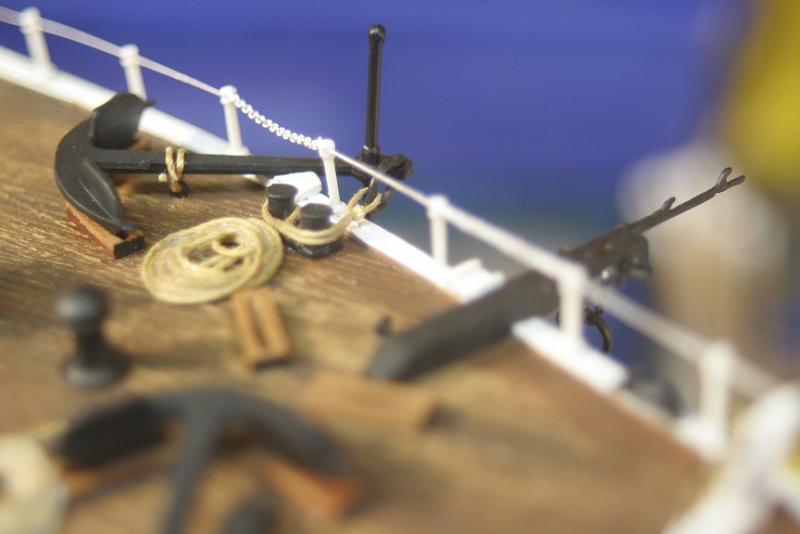
I used wood turned stanchions from Cast Your Anchor and strip mahogany for the rail. Rob
- 1,208 replies
-
- 2
-
-
- great republic
- clipper
- (and 1 more)
-
I tried steaming...and I think I am going to laminate several extremely thin sections together to form the bend of the fantail rail. Rob
- 1,208 replies
-
- 2
-
-
- great republic
- clipper
- (and 1 more)
-
Thanks Russ...I try. I wish my attention to detail was as good as some.....However the designer gave me lots to work with......(ie Donald McKay) Rob
- 1,208 replies
-
- 3
-
-
- great republic
- clipper
- (and 1 more)
-
Steve is an email friend of mine and we converse as often as we can...he does a great job and is a great mentor. Good call to post his google site. Rob
- 453 replies
-
- 8
-
-
- thermopylae
- sergal
- (and 1 more)
-
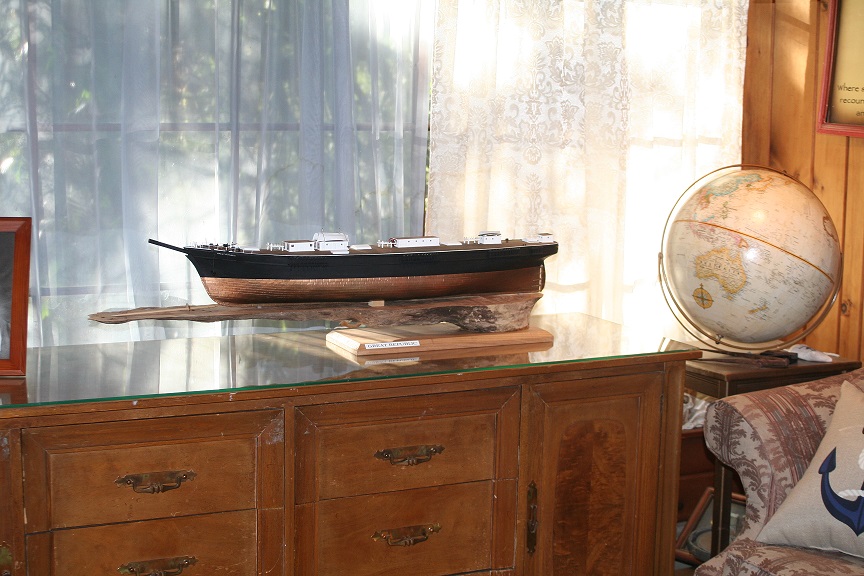
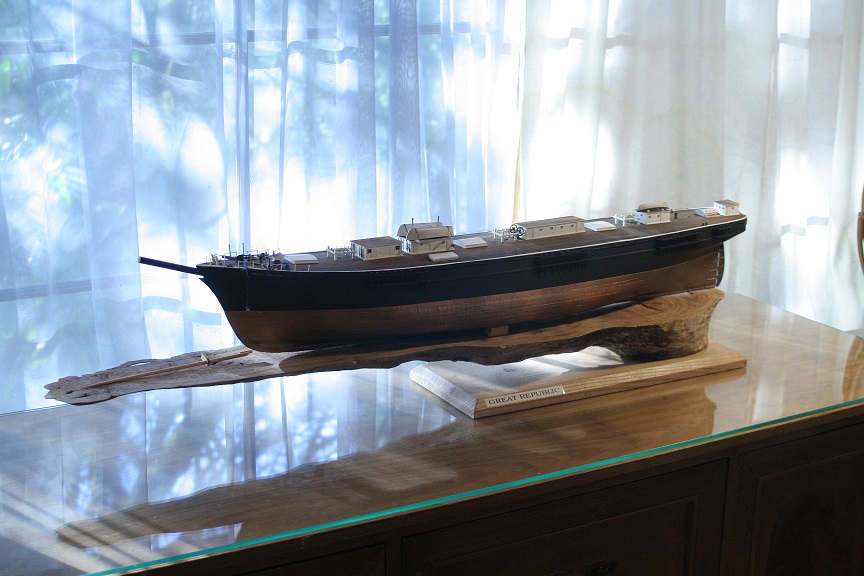
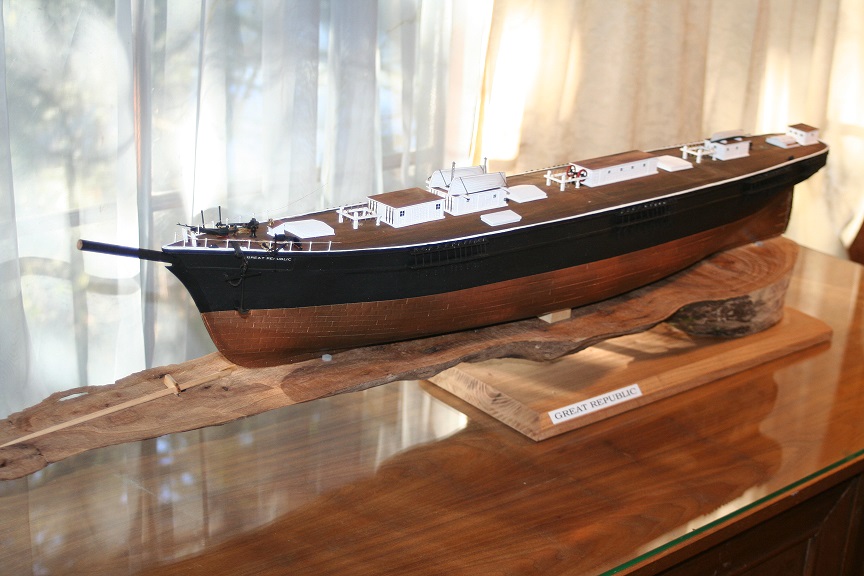
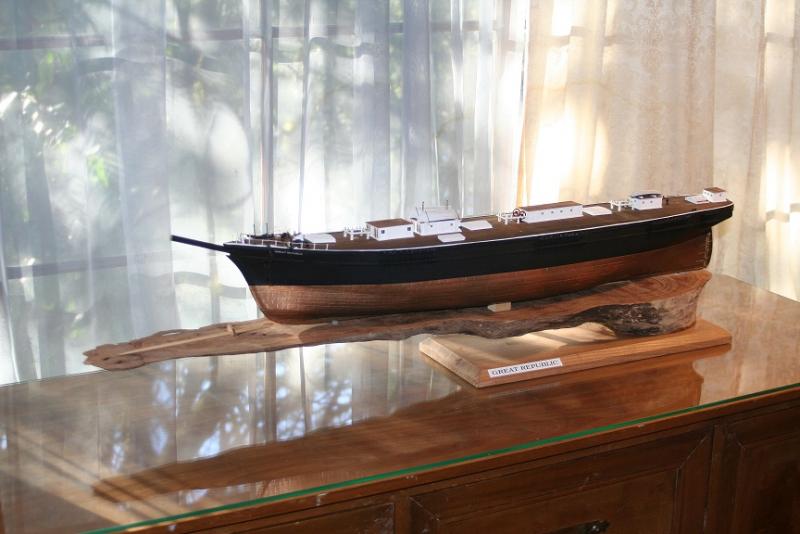
Thanks Patrick and Nils. I'm under the impression that a unique stand/display under your model accentuates the model....elevating it beyond a more traditional display. This is of course my opinion. Again..thanks for the fine comments..and likes. Rob
- 1,208 replies
-
- 5
-
-
- great republic
- clipper
- (and 1 more)
-
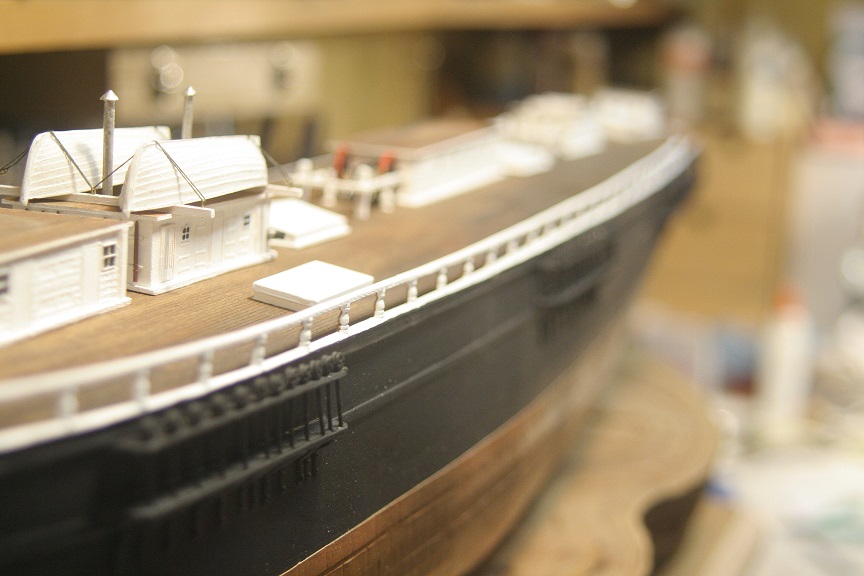
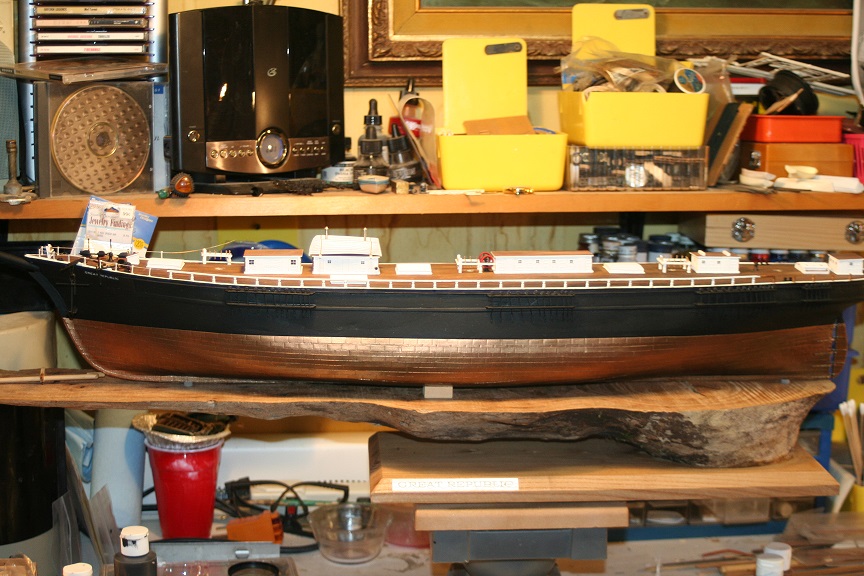
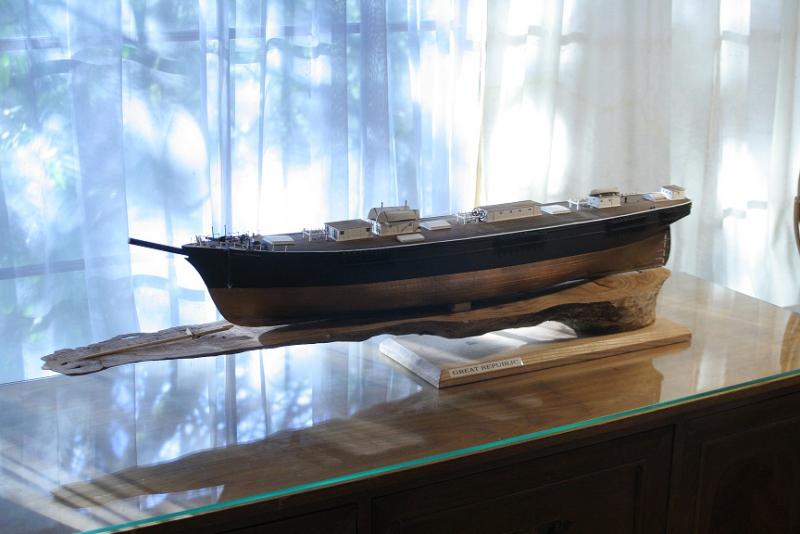
Thanks Popeye. I wanted something magnificent..unusual, a stand that projected the model and made a statement in presentation. It is well balanced as is quite stable. It will receive another coat of tongue oil before I am finished. Now that the cable/chain rail is installed, I can focus on the turned stanchion rail that will complete the railing project. Rob
- 1,208 replies
-
- 3
-
-
- great republic
- clipper
- (and 1 more)
-
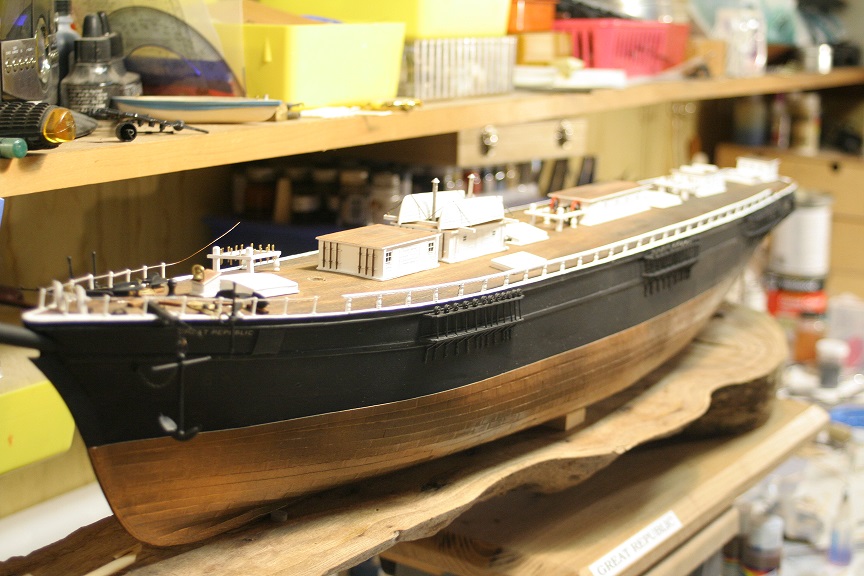
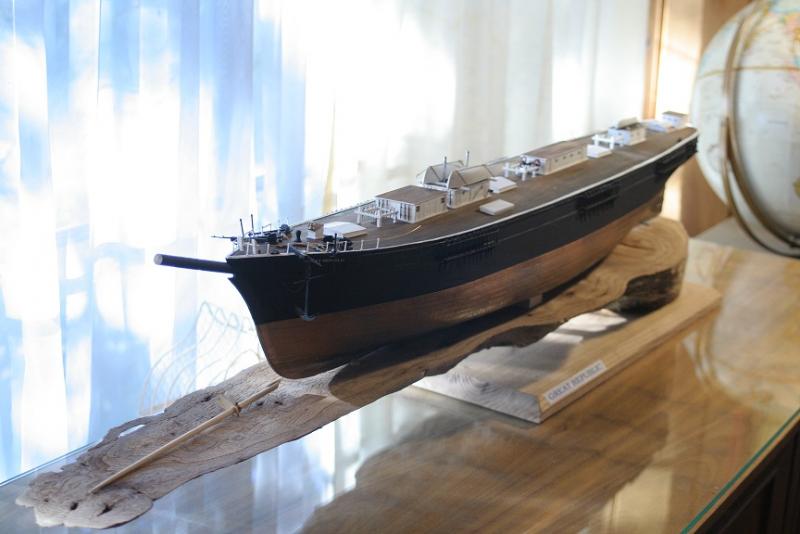
I placed the model in its permanent place on the hutch to see what it will look like......Lots of room for it. Rob

- 1,208 replies
-
- 13
-
-
- great republic
- clipper
- (and 1 more)
-
I call it *Hyper detailing*...where you go beyond typical and you attempt to include details found on the prototype..regardless how insignificant. Rigging can be a storehouse of detail...when done in scale. Good luck. Rob
- 3,618 replies
-
- 3
-
-
- young america
- clipper
- (and 1 more)
-
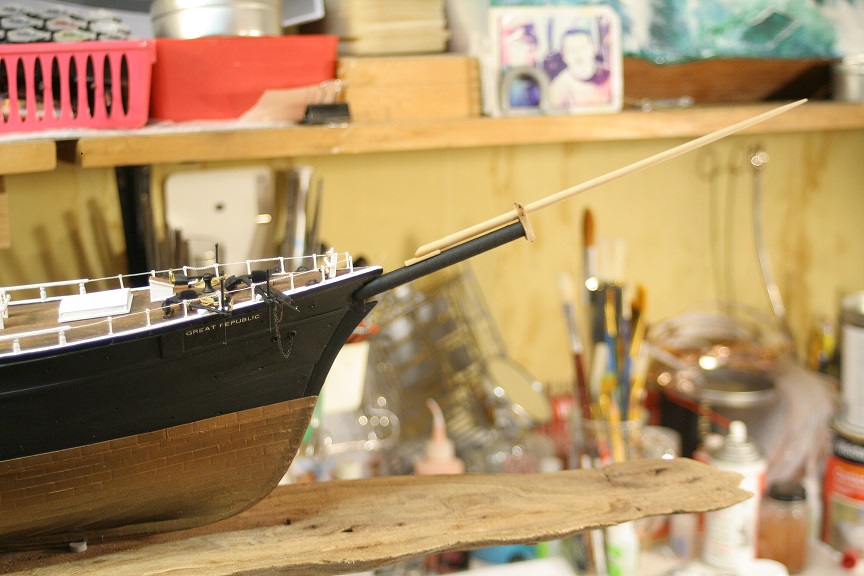
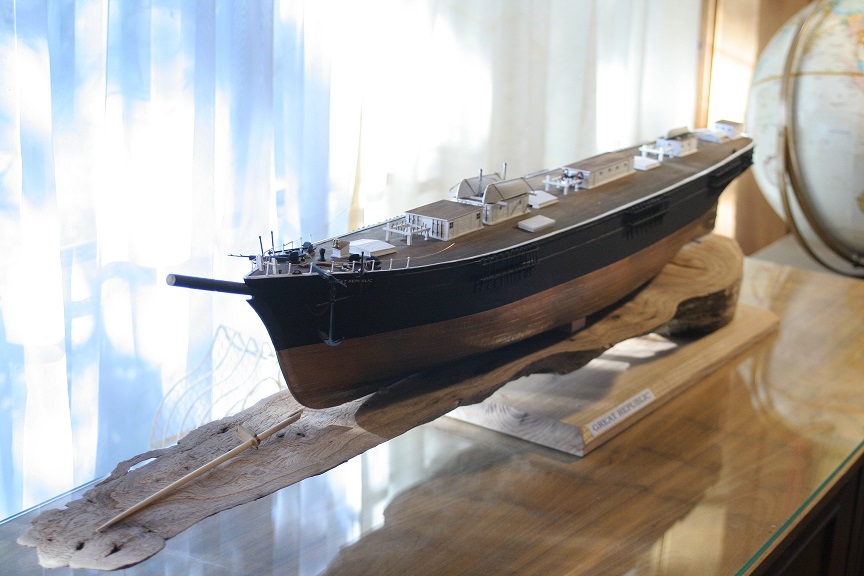
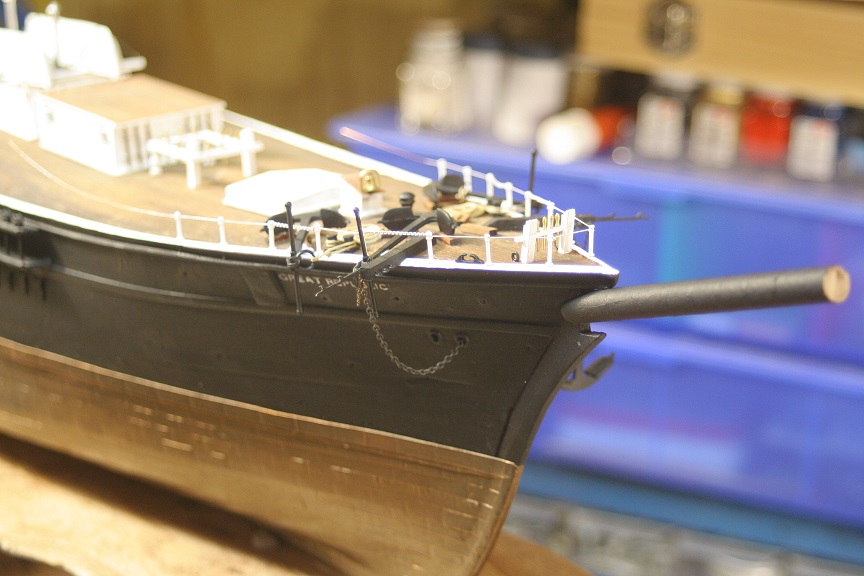
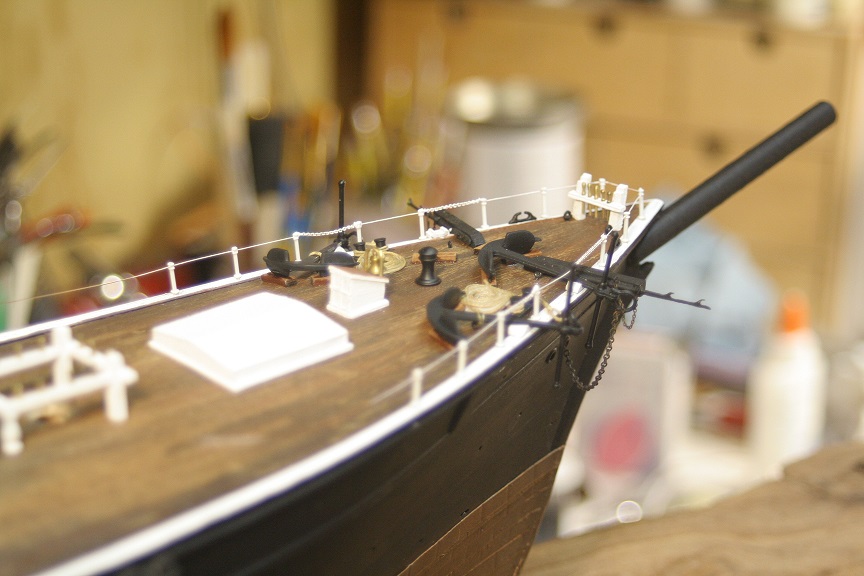
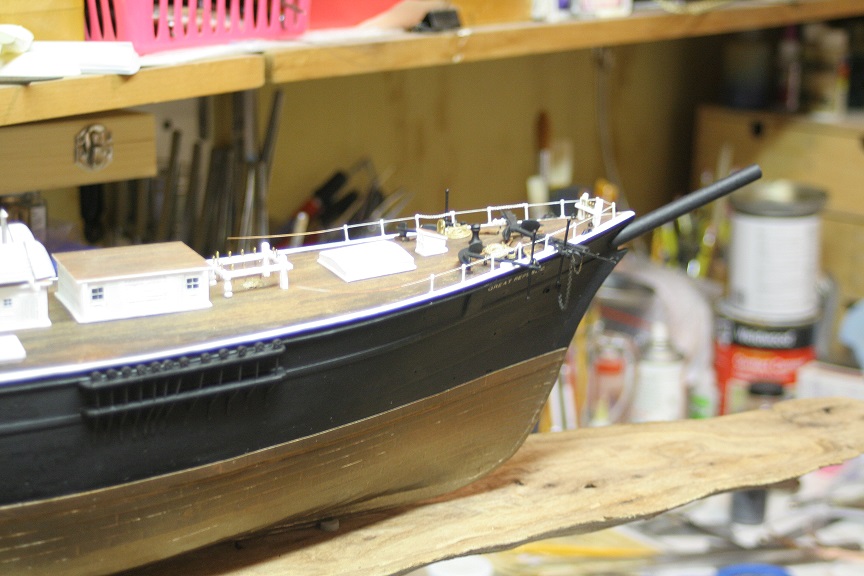
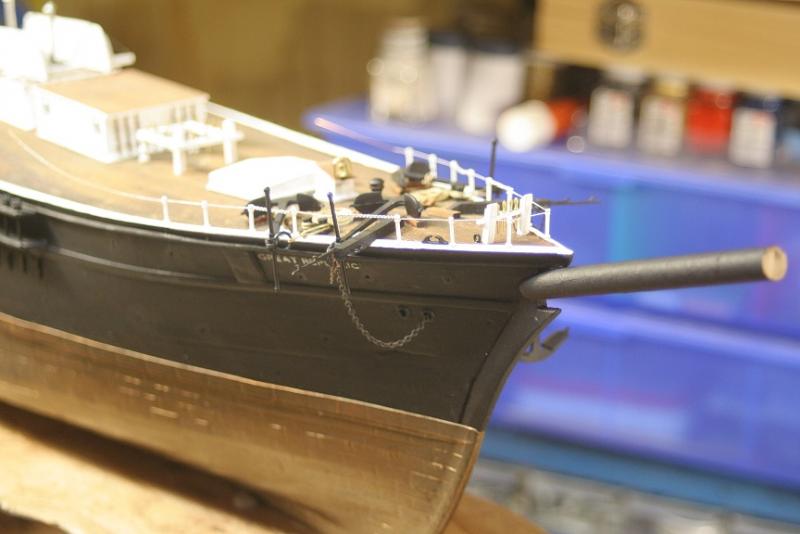
I worked on the forecastle rail and bowsprit Rob


- 1,208 replies
-
- 11
-
-
- great republic
- clipper
- (and 1 more)
-
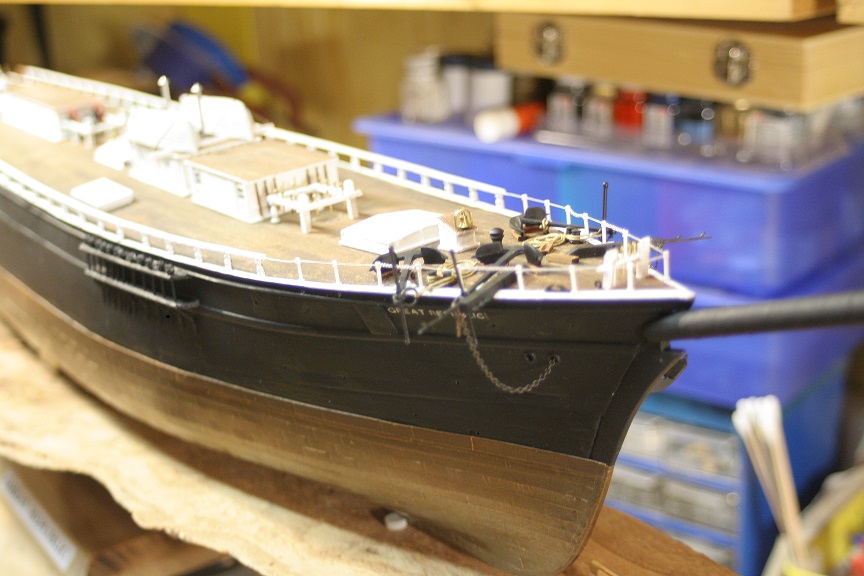
Thank everyone for their comments and likes....I appreciate that very much. I began working on the forward railing with wire/chain rail and stanchions. No pix yet..but I'll get to it..... Rob
- 1,208 replies
-
- 3
-
-
- great republic
- clipper
- (and 1 more)
-
Nah..Popeye...I used boats from two sources. All my Cutty boats have been used on the Donald McKay and the Glory. I picked up many scale boats from a fellow in town who sold all his collection of models and moved to Reno...Good for me. Not sure where he collected them...some are from several Constitution and other sailing ships. I do have a single CS long boat..but it is too large for the scale I'm in. I have dozens of white metal boats.....I might make the two whale boats that will be swung from the davits. Thanks for your comment. Rob
- 1,208 replies
-
- 4
-
-
- great republic
- clipper
- (and 1 more)
-
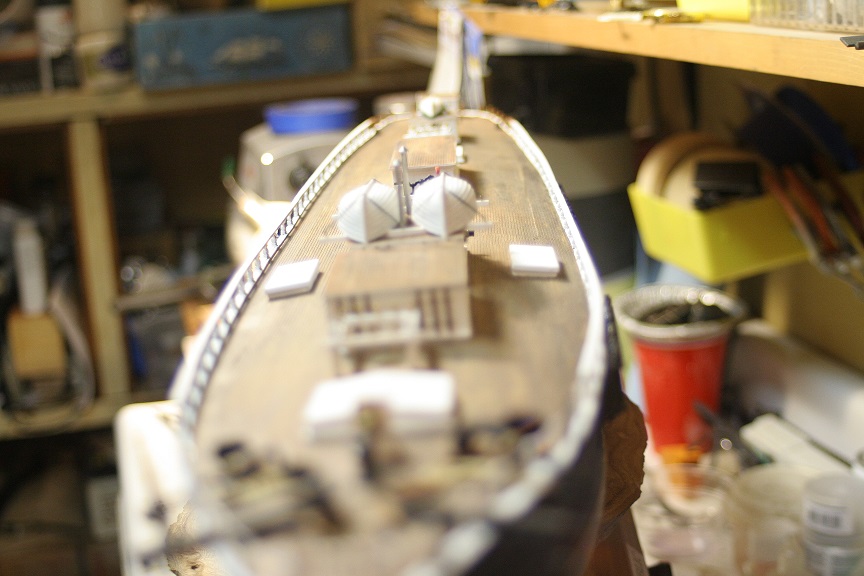
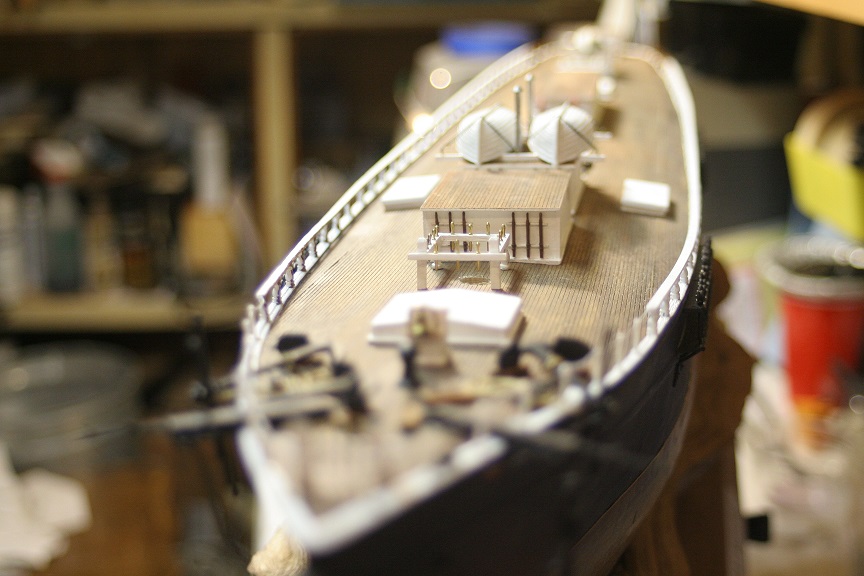
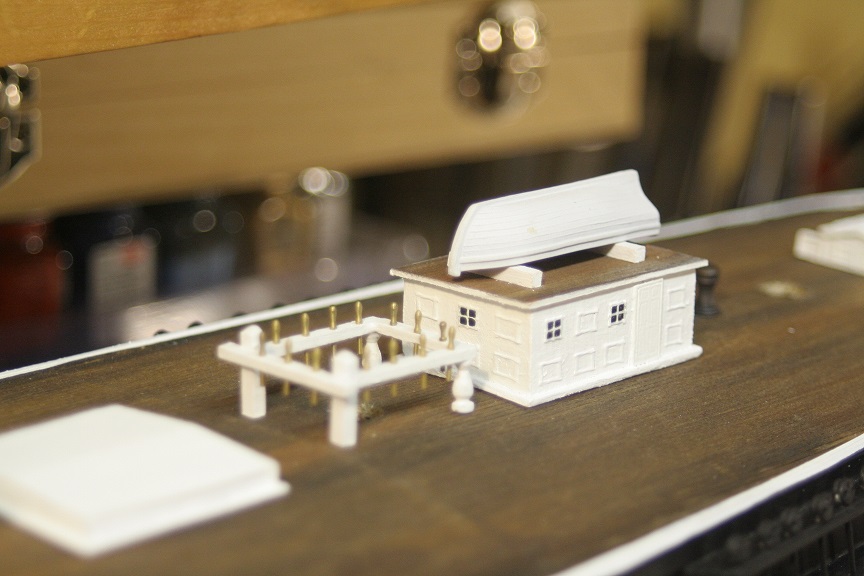
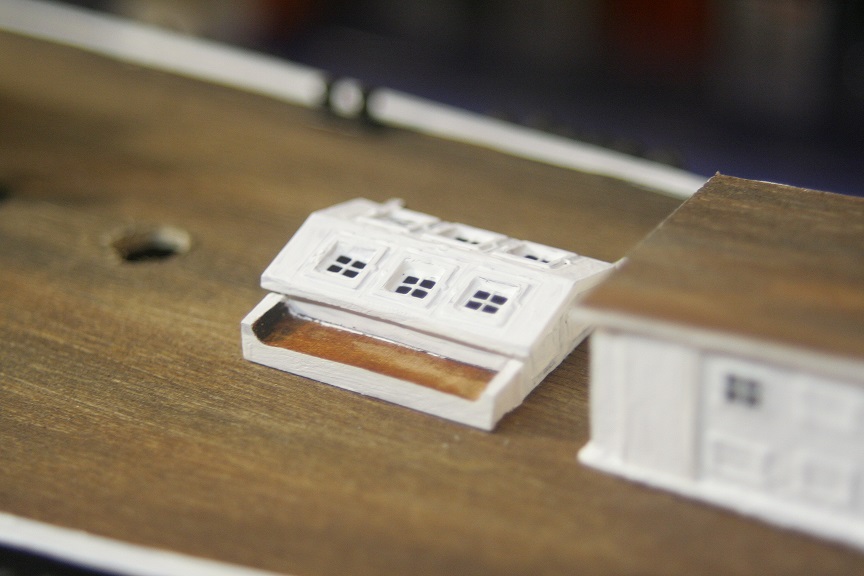
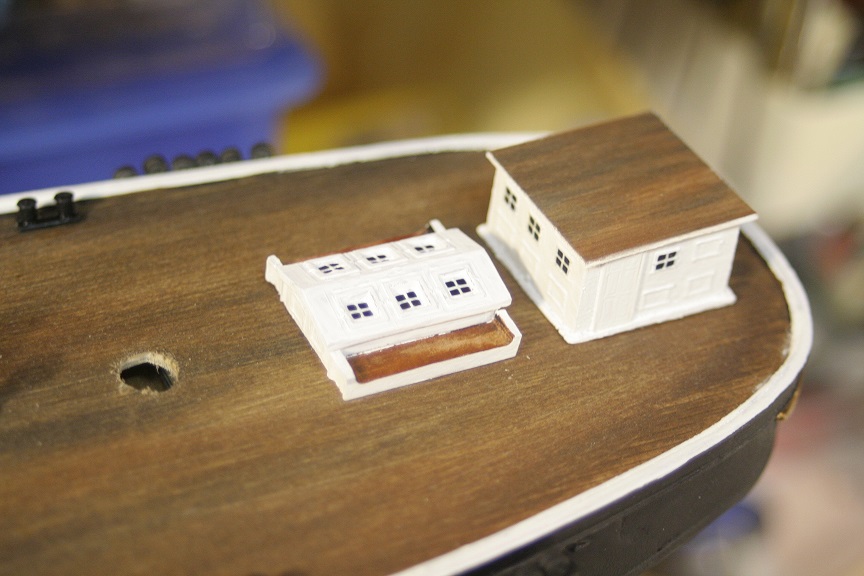
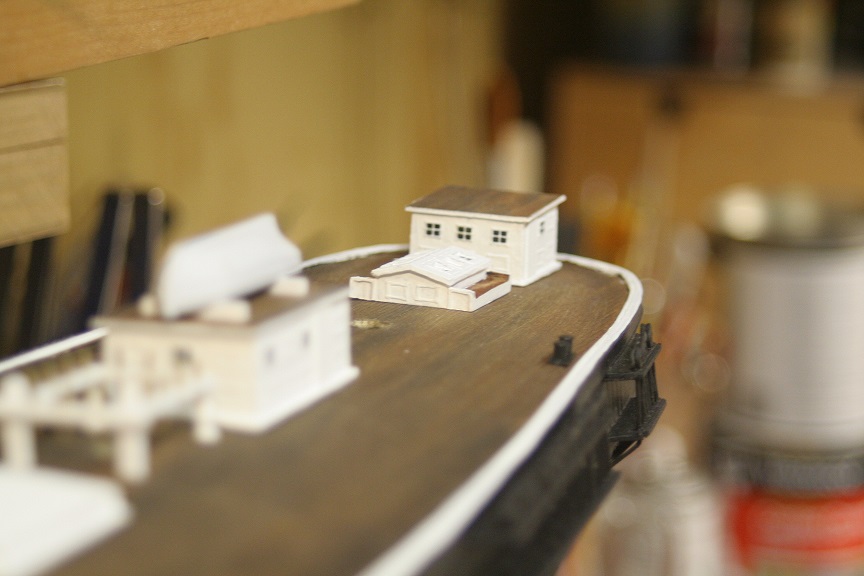
And some finishing touches to the aft cabin and captains gig.

- 1,208 replies
-
- 11
-
-
- great republic
- clipper
- (and 1 more)
-
Thanks Patrick..you are so right. I love historical nautical items(Actually, that is all I collect). Rob
- 1,208 replies
-
- 4
-
-
- great republic
- clipper
- (and 1 more)
-
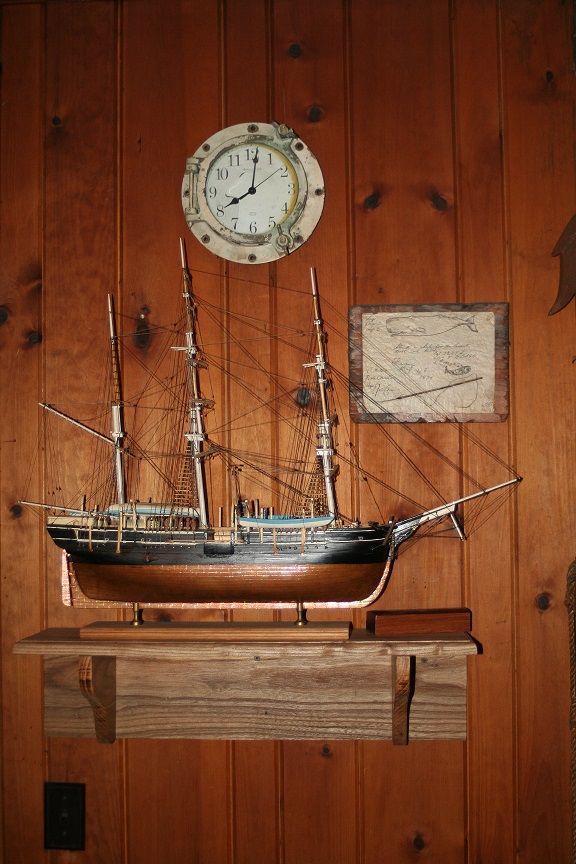
What a wonderful holiday Christmas season...I hope and pray all my friends here had a great time with family and friends. I was up to a bit of creativeness apart from my GR build. For Christmas a cousin gave me a brass porthole with the glass intact that came from a 45ft sailboat he purchased in Japan 40 years ago. the boat has been destroyed since then, but he retained 7 of the portholes..one of which he gave me. So I dusted it off and retained the old chipped paint and oxidized brass and I then added a clock to it and placed it above the whaling section of my nautical den. What a perfect addition to my nautical collection. Here's a couple images for your enjoyment. I'm in the process of fabricating the 6 crab winches and aft sky light........ Rob


- 1,208 replies
-
- 13
-
-
- great republic
- clipper
- (and 1 more)
-
W2YSM..(ie).. Picard.. I'm very pleased with the results. If my hands and eyes were 20 years younger...I may have taken another route. That route surely would have included re-engineering something to create the panels..that's for sure. I tend to settle for things..then I did years ago. One thing remains....I try to inject something ingenious(jab at humour), that makes the build easier to complete. I truly appreciate the many likes and fine comments. Rob
- 1,208 replies
-
- 5
-
-
- great republic
- clipper
- (and 1 more)
-
Beautiful Nils....coming down the final stretch...looks like. Rob
- 2,625 replies
-
- 4
-
-
- kaiser wilhelm der grosse
- passenger steamer
- (and 1 more)
-
Thanks for the holiday salutations.....Popeye. Wishing the best for you and yours this Christmas season as well. I keep a varied size of mesh screen on hand for such an occasion. It has many applications in the modeling world. I'll utilize anything in the building of my clippers. Rob
- 1,208 replies
-
- 5
-
-
- great republic
- clipper
- (and 1 more)