Check out our new MSW Sponsor Innocraftsman
×


rwiederrich
-
Posts
5,504 -
Joined
-
Last visited
Content Type
Profiles
Forums
Gallery
Events
Everything posted by rwiederrich
-
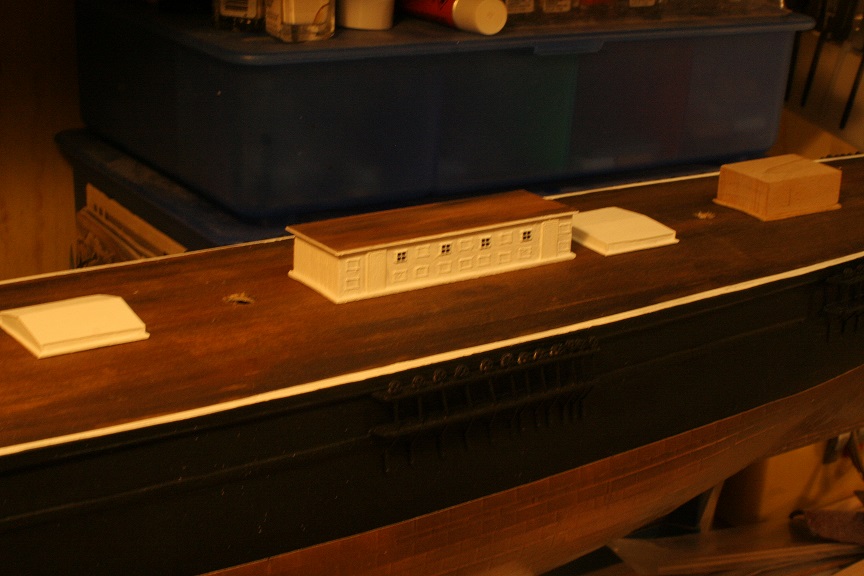
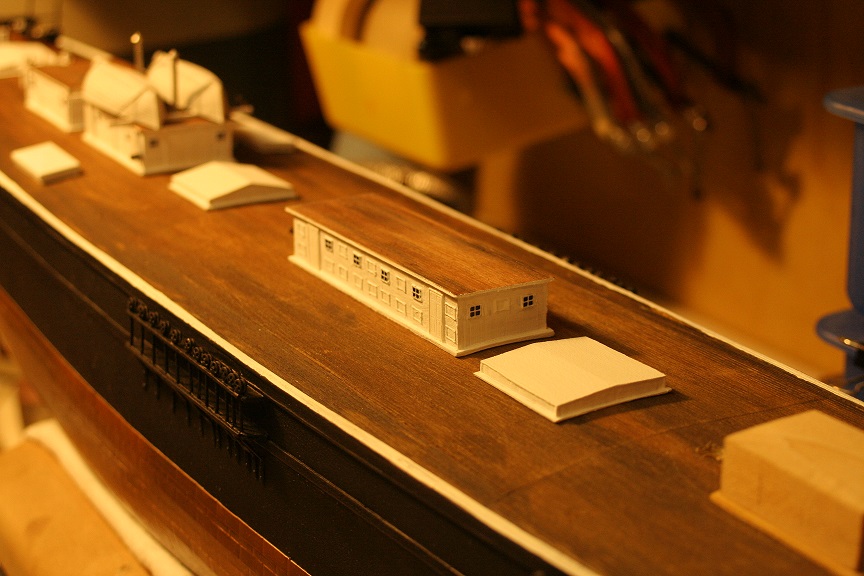
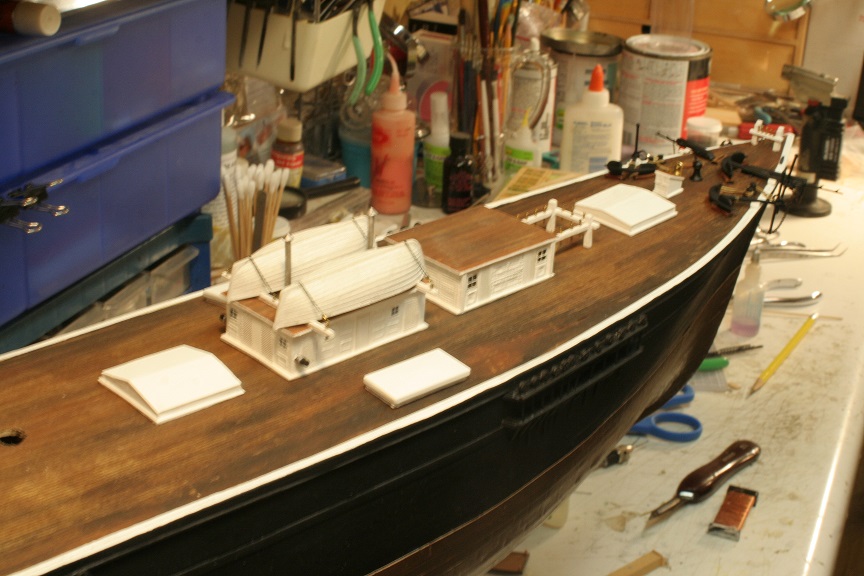
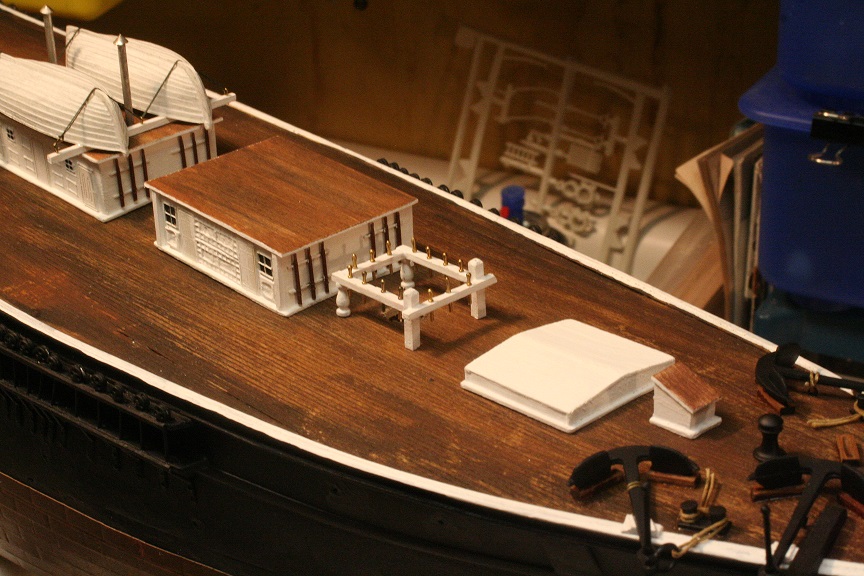
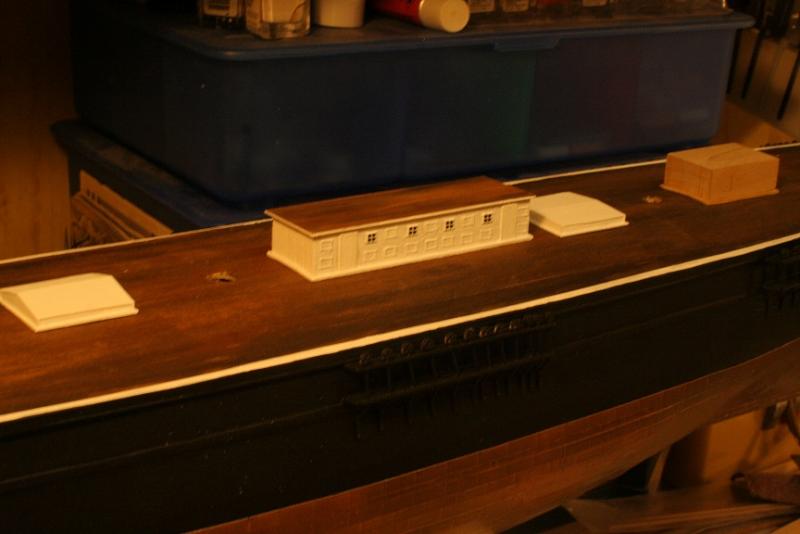
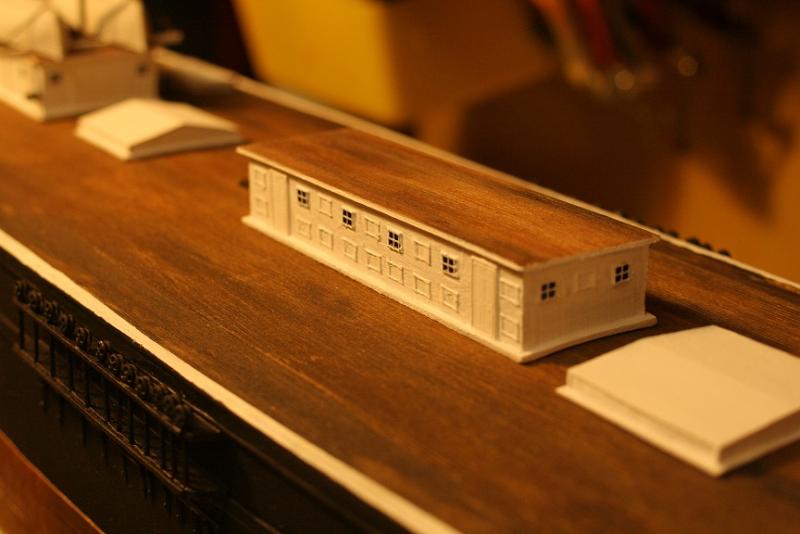
Spent some time building the main cabin today....about an hour of my time before I had to run. Paneled just like the for cabins.


- 1,208 replies
-
- 14
-

-
- great republic
- clipper
- (and 1 more)
-
Thanks Dave....yeah, I just wanted the hull finished..so I did it the fastest way without a whole lot of fiddling around with multiple layers of strip planking. Since I was only going to paint it and copper it anyway. My method would have been harder if I didn't have access to the 1/16" thick by 2" planking...that actually molds around the formed bulkheads very easily. Rob
- 1,208 replies
-
- 4
-
-
- great republic
- clipper
- (and 1 more)
-
Super execution...Ed. I too, always wondered how the relief was created under the batten. Your approach seams as likely as any other. Mast construction surely differed among the builders...cuz many McKay ships were not fashioned with them and others were. Not sure that was the builder of the masts call or that of McKay's. Your work is masterful. Rob(I still have a lot of deck work to do before I get there)
- 3,618 replies
-
- 2
-
-
- young america
- clipper
- (and 1 more)
-
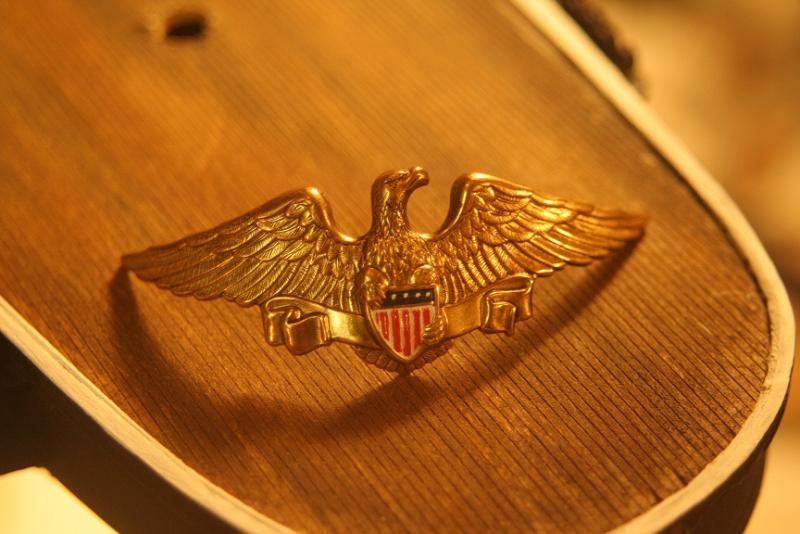
No actually..this particular eagle is roughly 60 years old and was procured from an antique vender. Since there are no photos or scaled renderings of the eagle stern ornamentation that was on the GR stern...all we have are personal descriptions and measurements of the carving. What was on the GR's stern (American eagle with extended wings clutching the American crest) and its location in relations to the rail edge and its dimensions are known....so I kept my example within scale and used some artistic license. I had searched for some time (Locally and internet) and was quite fortunate to locate an example that require only minor alterations. Yes I had to exchange an historical antique for a model component...but that exchange IMV proved to be an advantageous one. Again..thanks for your kind words. Rob
- 1,208 replies
-
- 5
-
-
- great republic
- clipper
- (and 1 more)
-
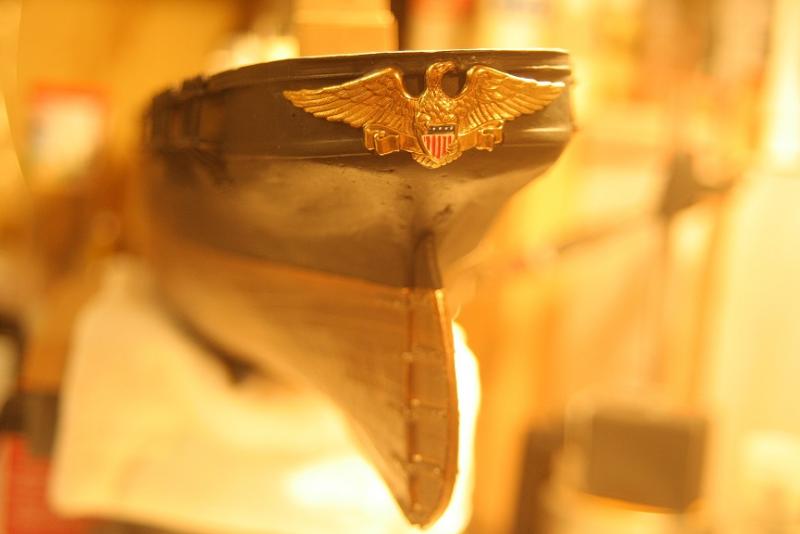
Thanks Patrick and Albert..... Well..as is my habit(Think outside the box, and use anything and everything)...I scrounged around for some time until I found an eagle pin that was the right size, orientation, and had the American shield clutched in the eagles talons. With some modifications and some very mild accurate bending....I achieved the goal I was seeking. Then with some paint to identify the shield and after I cut out portions of the planksheer...fit her in and glued her down. It's all about re-engineering. Oh yeah..I could have made the eagle from scratch...with lots of time and energy applied...but why? I achieved my goal. And since the Great Republic had this enormous 30ft eagle on her stern...it had to be convincing. I've seen other examples by other model builders....annn...I think it works well. Now for the eagle head figurehead.... Rob
- 1,208 replies
-
- 7
-
-
- great republic
- clipper
- (and 1 more)
-
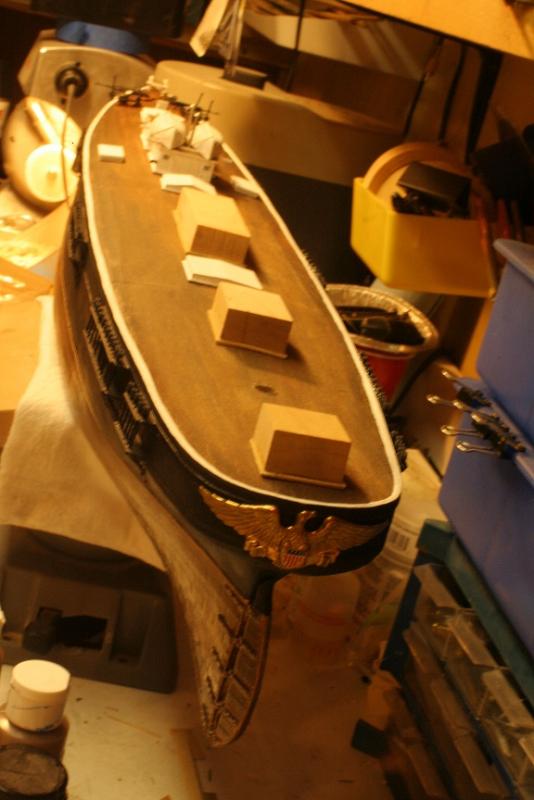
I haven't had much time to work on the GR..but I did manage to finish up the large 30ft long stern eagle clutching an American shield. Here it is on the deck and then mounted. Slowly moving along. Rob

- 1,208 replies
-
- 14
-
-
- great republic
- clipper
- (and 1 more)
-
Amazing........mixed up pix an-all...simply amazing. Rob
- 281 replies
-
- 1
-
-
- falls of clyde
- tanker
- (and 2 more)
-
Fantastic work Ed. Not sure of the method used for the hounds install...but your final application works. Just wondering if the drilling and install of the sling eye bolt might have been easiest done with the bibs not installed quite yet? Regardless of your steps...the final mast is looking exceptional. I hate it when you have to redo stuff because of an unforeseen mishap(Sorry about the blackening) Rob(Quite impressed)
- 3,618 replies
-
- 3
-
-
- young america
- clipper
- (and 1 more)
-
Ed..fantastic job.... Extreme detail to say the least. awestruck. Note: The spacing of banding is a mathematical one and generally the spacing is based upon the diameter of the mast. YA has 36" diameter mast thus 36" band spacing. From what I understand. My Great Republic has 44" diameter Fore and Main masts..thus banding is spaced at 44". Rob
- 3,618 replies
-
- 5
-
-
- young america
- clipper
- (and 1 more)
-
Fantastic read Ed.....I love the technique you used. Far more of an exercise in fabrication then in my method..that's for sure. What will be your approach to fastening the chafing batten? I simply used the seam of the banding and placed the bands with their seam under the chafing batten. I also paint my masts and their bands..exposed iron would rust in a day if left un protected. As you probably already know, many captains painted these bands in several colors. I even think Samuel Samuels, capt of the Dreadnought painted these bands bright red. What method did you use to cut the copper in equal/even lengths...do you have a miniature sheer/break? Rob
- 3,618 replies
-
- 4
-
-
- young america
- clipper
- (and 1 more)
-
Thanks everyone for your fine comments and likes. I wish I was working faster. The hatch covers were all hand carved from stock and finished trimmed..so they took a bit of time. The main cabin will have its fife rail attached so it will take a bit longer too...hope I can throw some time at it tonight. Rob
- 1,208 replies
-
- 4
-
-
- great republic
- clipper
- (and 1 more)
-
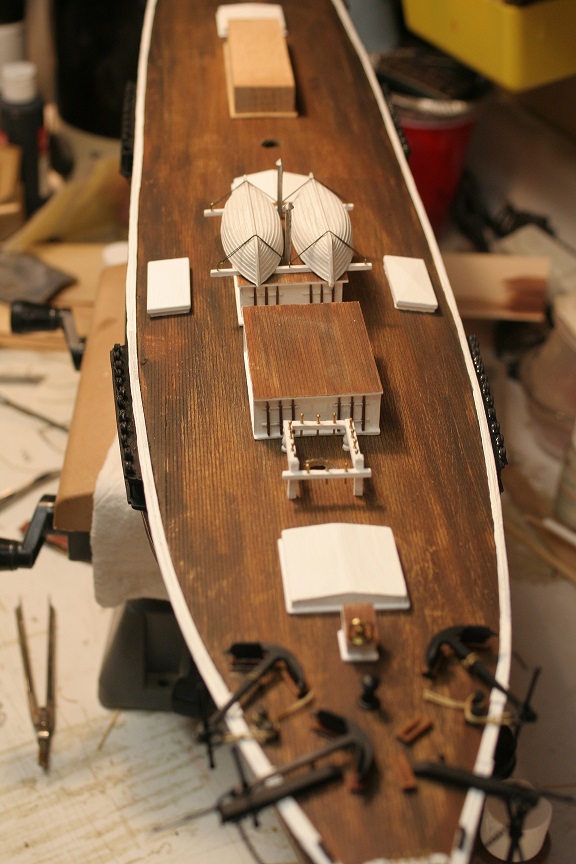
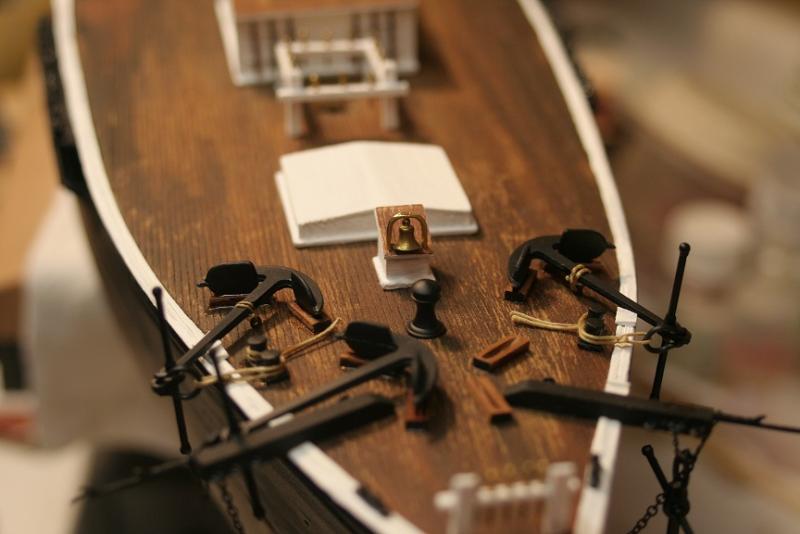
Made a few hatch covers and installed the bell. Slowly moving aft.


- 1,208 replies
-
- 18
-
-
- great republic
- clipper
- (and 1 more)
-
Fantastic work Nils.....I like the woodwork mingled within the iron work. Rob
- 2,625 replies
-
- 5
-
-
- kaiser wilhelm der grosse
- passenger steamer
- (and 1 more)
-
Thanks Popeye...and thanks everyone for the likes. Yes those are extra 1/96 CS spare parts. In my building technique I sometimes utilize spare parts that are in scale as models for me to use to make my own parts from metal or some other media. I have many kits I bash from to aid in my builds. Remember...if I can use someone else's machined parts I will. I'm after the end product...the means and process getting there is irrelevant. Oh..by the way..it was brought to my attention on another forum that my calculations for scale on the GB is off. So for all who are following, let me clear the scale thing up for you..so I don't create further confusion. This particular model is built 3/32"=1ft. 10.75 scale feet= 1 inch. The GR was a total of 400ft long(335ft from stem to stern of hull only) So dividing 335 or 400 by 10.75 you get roughly 31" or 38". Then divide 31" or 38 by 12=2.5 or 3.1 Finally take the hull length 335 or 400 and divide that by 2.5 or 3.1= 130ish. So from all that mind bending contortioning....my model has a hull of 31", 38" as a completed model and is in the scale of 1/130. NOT the erroneous scale I posted earlier of 1/280. I think that's right. Rob(I hope it's right)
- 1,208 replies
-
- 4
-
-
- great republic
- clipper
- (and 1 more)
-
Good deductive application of the build masts for this vessel Ed. 36" D places your banding at scale 36" spacing. After building the Glory of the Seas masts I realized that that is quite a bit of banding. Love the updates and fine workmanship. Rob
- 3,618 replies
-
- 3
-
-
- young america
- clipper
- (and 1 more)
-
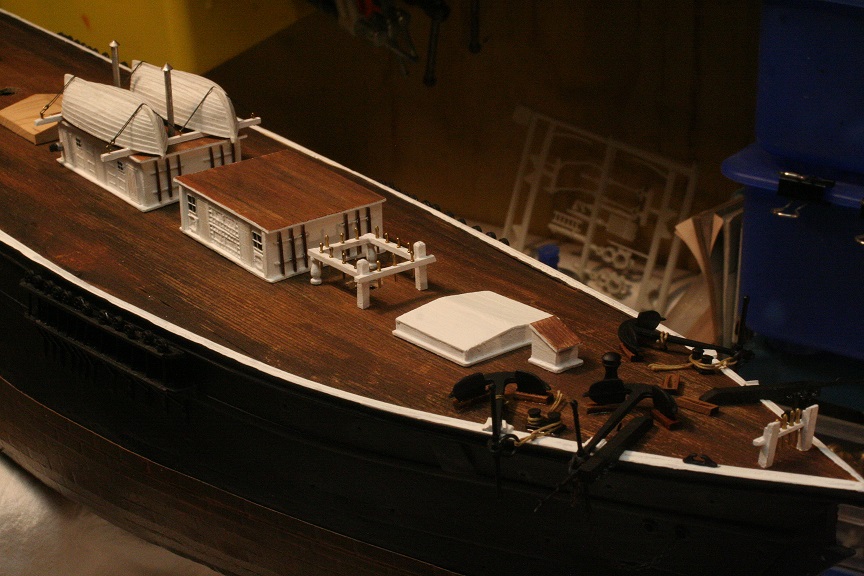
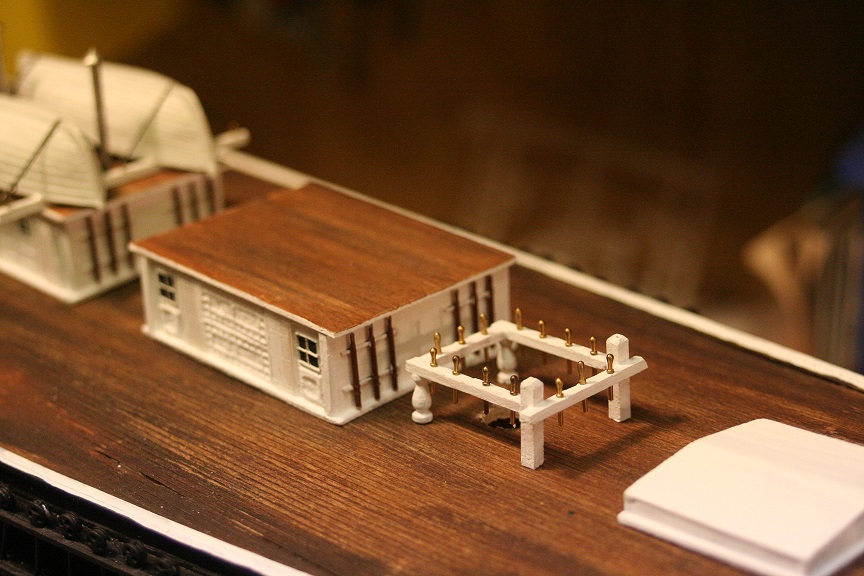
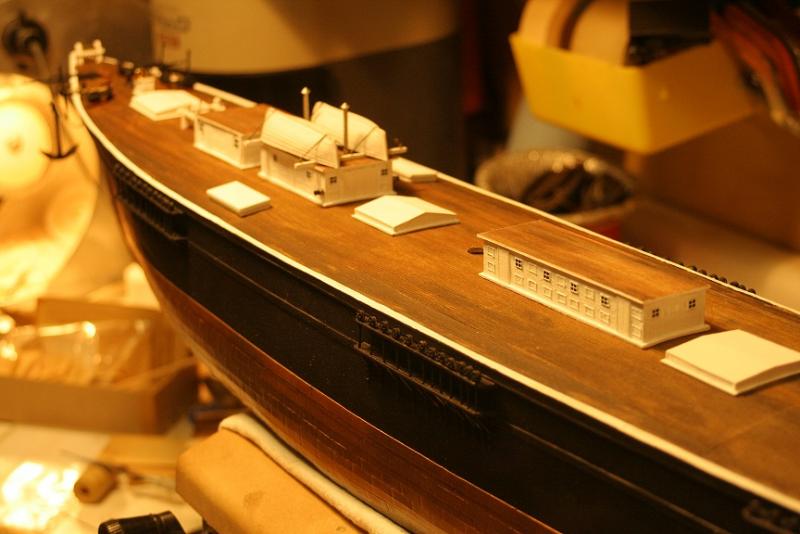
Working forward aft..I still need to add the ships bell mounted on the forward campanionway, just forward of the hatchway. Slowly moving along. Rob
- 1,208 replies
-
- 4
-
-
- great republic
- clipper
- (and 1 more)
-
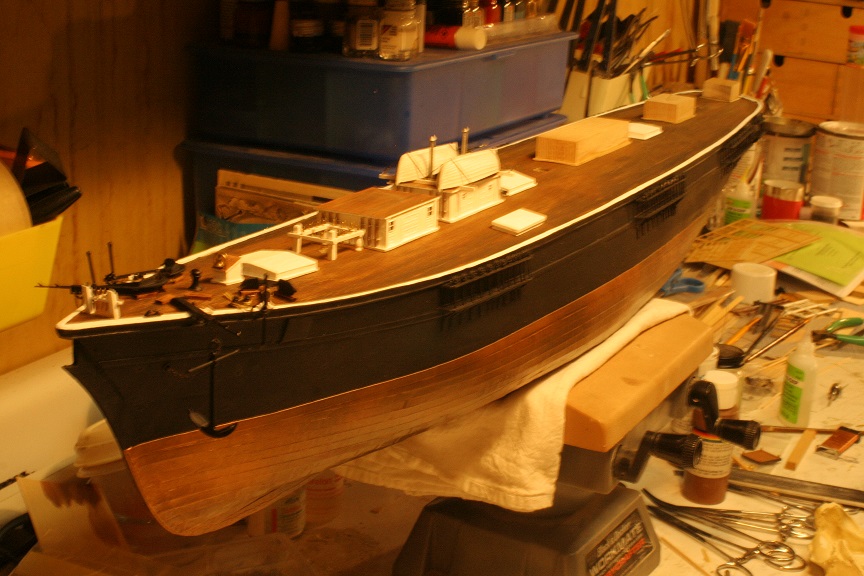
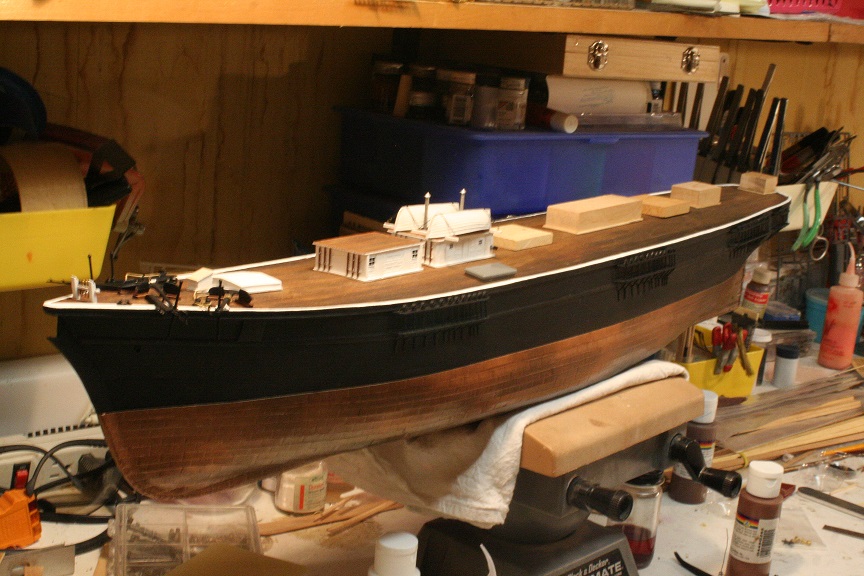
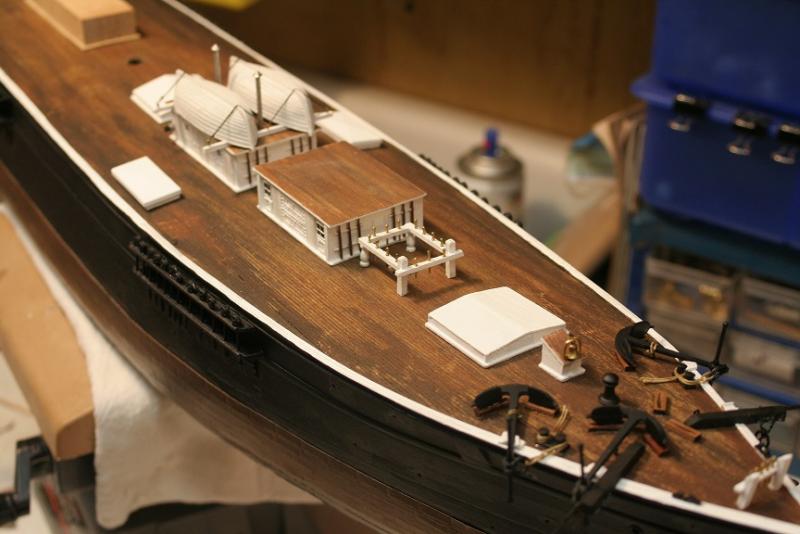
Modeling habits of old would have me work the entire model at once....ie..placing deck parts along the length of the model. I've decided to forgo that approach and begin from the bow and work aft. Instead of making/installing all the bits or cleats then installing them..I make them all then only install the ones in the area I am working. Same goes with the deck furniture and houses. For some reason it makes the build go by faster for me to see small accomplishments being made then to drudge through an entire vessel that isn't really finished...just piece mealed. I've been working overtime so I have had few hours to dedicate to the GR.....I am planning to working on the for fife rail this weekend and possibly the main hatch. Sweeewww...I'm used to working at a faster clip(Pun). Rob
- 1,208 replies
-
- 4
-
-
- great republic
- clipper
- (and 1 more)
-
Wonderful work Nils......on par with many of the professional models I viewed at the Mariners Museum in Virginia. Just beautiful. Rob
- 2,625 replies
-
- 5
-
-
- kaiser wilhelm der grosse
- passenger steamer
- (and 1 more)
-
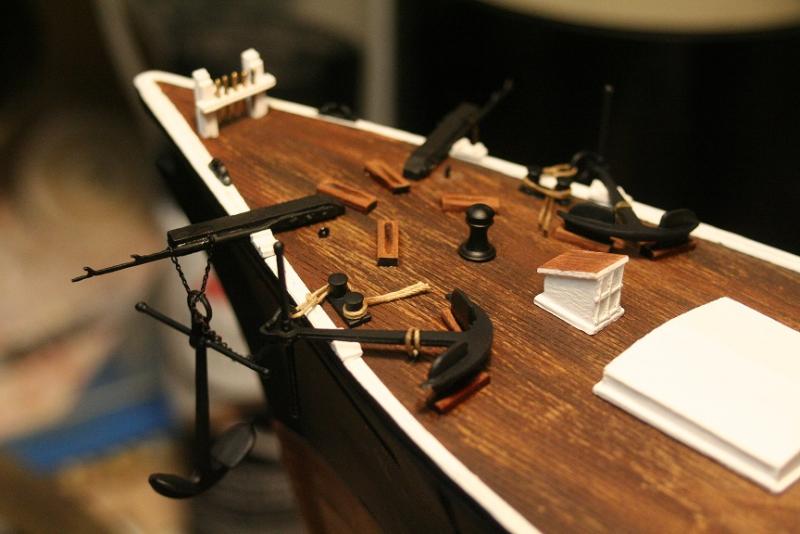
I'll be adding rope coils about the fordeck to finish it up before I begin to add the forward rail.
- 1,208 replies
-
- 4
-
-
- great republic
- clipper
- (and 1 more)
-
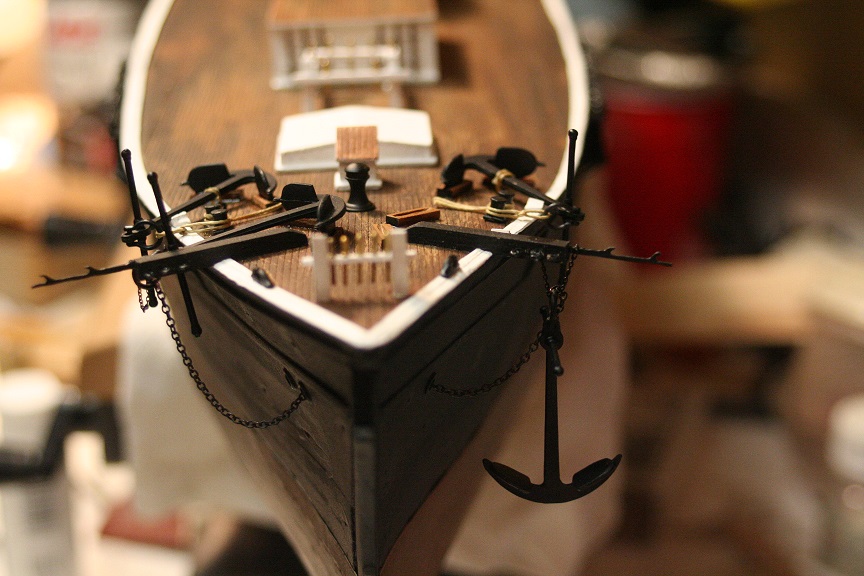
Well I worked on the GR a bit today..finished laying up a port anchor underneath the cathead. I added the forward passageway and the forward hold cover. Even at this scale the parts are pretty small. Rob

- 1,208 replies
-
- 15
-
-
- great republic
- clipper
- (and 1 more)
-
Fantastic wood working Ed. I do appreciate the time you spend in describing the processes...it's as if we're learning at the hand of a master shipwright in 1853. The main mast of the GR are end tapered and I will be rigging a gig for the process on my wood lather for this. Watching you use your equipment is quite refreshing and encouraging as well...not to mention all the hand working you apply to this project. Rob
- 3,618 replies
-
- 5
-
-
- young america
- clipper
- (and 1 more)
-
Coming along nicely....fun to watch you solve these RC issues. Rob
- 553 replies
-
- 2
-
-
- sloop of war
- constellation
- (and 3 more)