rwiederrich
-
Posts
5,520 -
Joined
-
Last visited
Content Type
Profiles
Forums
Gallery
Events
Everything posted by rwiederrich
-
Rich. I’m becoming more convinced that Donald McKay built Glory on his own accord to attempt to turn round his financial situation, thusly not following a normal pattern of his to redesign a new clipper , but to build using designs he previously had designed. Drawing from his more successful designs we can see clearly the true similarities. The Donald McKay, Flying Fish….etc. I chose to add the 1.3 degrees to more closely mimic what photographs suggested……knowing fully that such deviation would and could not be refuted based upon known drawings. Which there are none. It was an educated attempt to harmonize what data I acquired to that of what photographs suggested. Rob
- 3,560 replies
-
- 1
-

-
- clipper
- hull model
- (and 2 more)
-
Rich……I stand by my confusing claim. Everything points to 7deg. During the build of my Glory(after we had our long conversation about optical distortion), I believe I slightly modified my builds bow by 1.3 degrees to compensate for any optical distortions that may have been incorporated by the image. (I’m not sure actually). This was provoked by the angle represented in her in the photograph of her at San Pedro. And your insistence her bow was sharper then previously determined. My calculations is roughly between 7 and 8.3. The hard #’s show 7degrees if all else is correct. Rob
-
Beautiful work. Clean and skillfully done. Rob
-
You know you can add the wire via drilled hole and glue, then paint the entire leading edge of the deadeye white along with its iron support bar……then simply slip it through the pre drilled hole in the pin rail and glue. Simpler method. IMV Rob
- 481 replies
-
- 1
-
-
- Cutty Sark
- Revell
- (and 2 more)
-
Not to speak for Vlad, but his large scale CS is sold and it was a waterline half hull model…..with simple stub masts. Rob(mouth of one…voice of many)
- 525 replies
-
- 1
-
-
- cutty sark
- mantua
- (and 2 more)
-
On my last two builds I directly glued the chain plate to a hole I drilled in each deadeye. Worked fine and was very strong and secure. This trick works well if wire stropping is too hard for your application. Good job Rob
- 481 replies
-
- 1
-
-
- Cutty Sark
- Revell
- (and 2 more)
-
Glad …… it is such a thrill to hear you are still progressing with your build. I appreciate your encouragement. Im loving the build coming along……she is so beautiful. Has Rich been in touch with you concerning his article? How exciting. Glad you are following. Rob
- 3,560 replies
-
- 1
-
-
- clipper
- hull model
- (and 2 more)
-
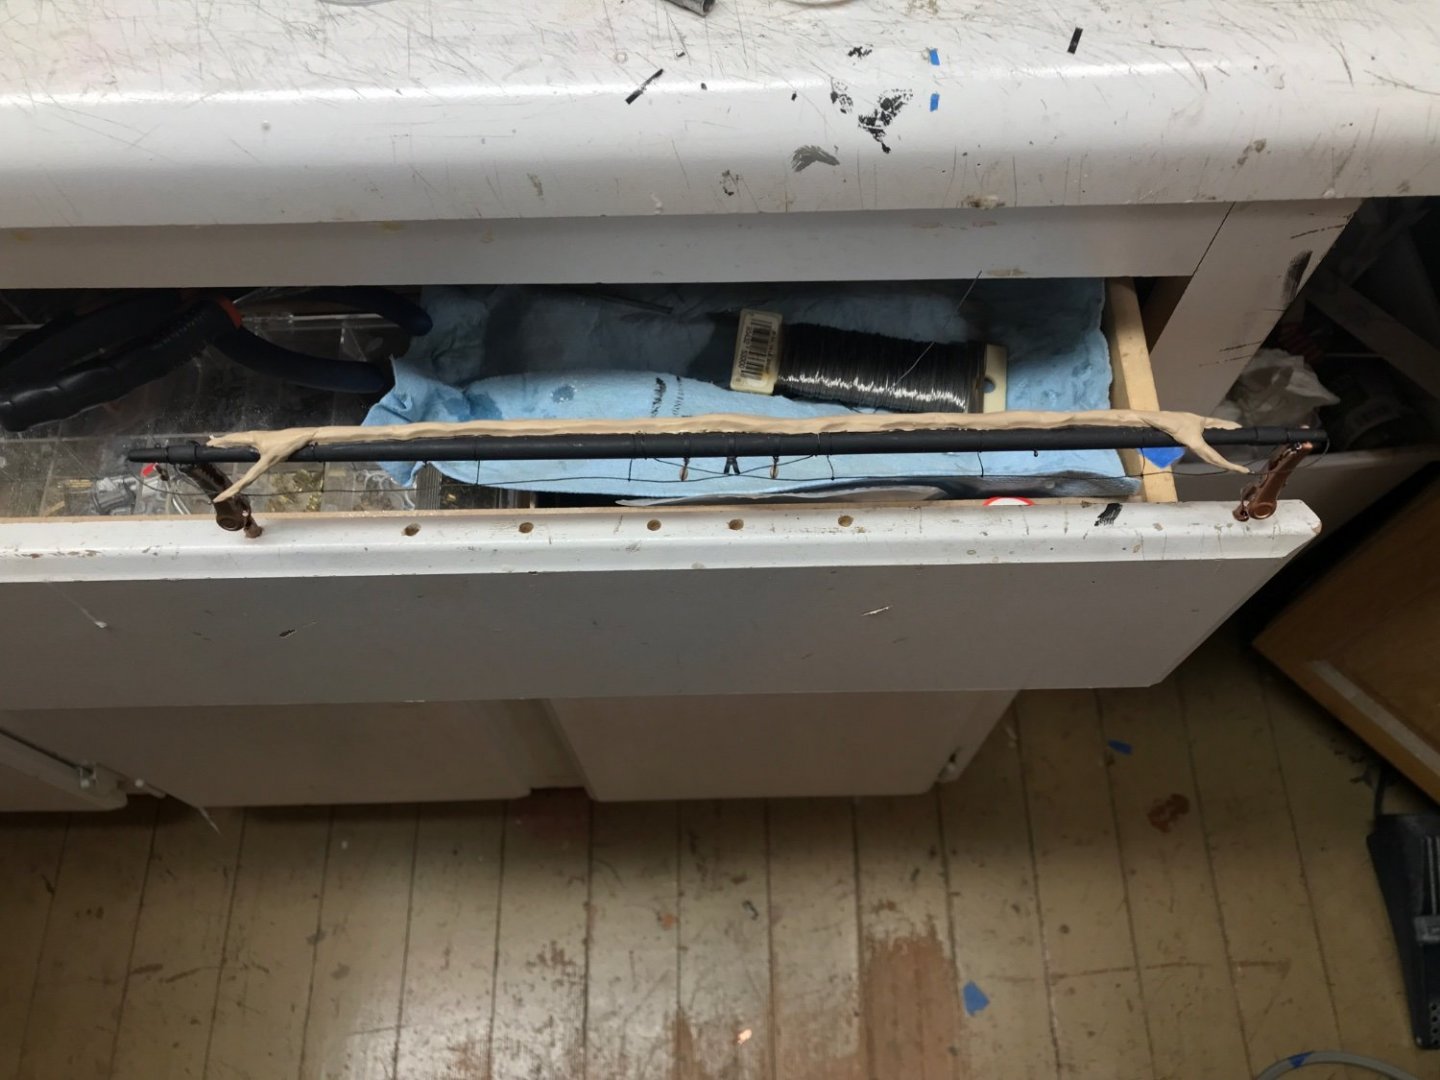
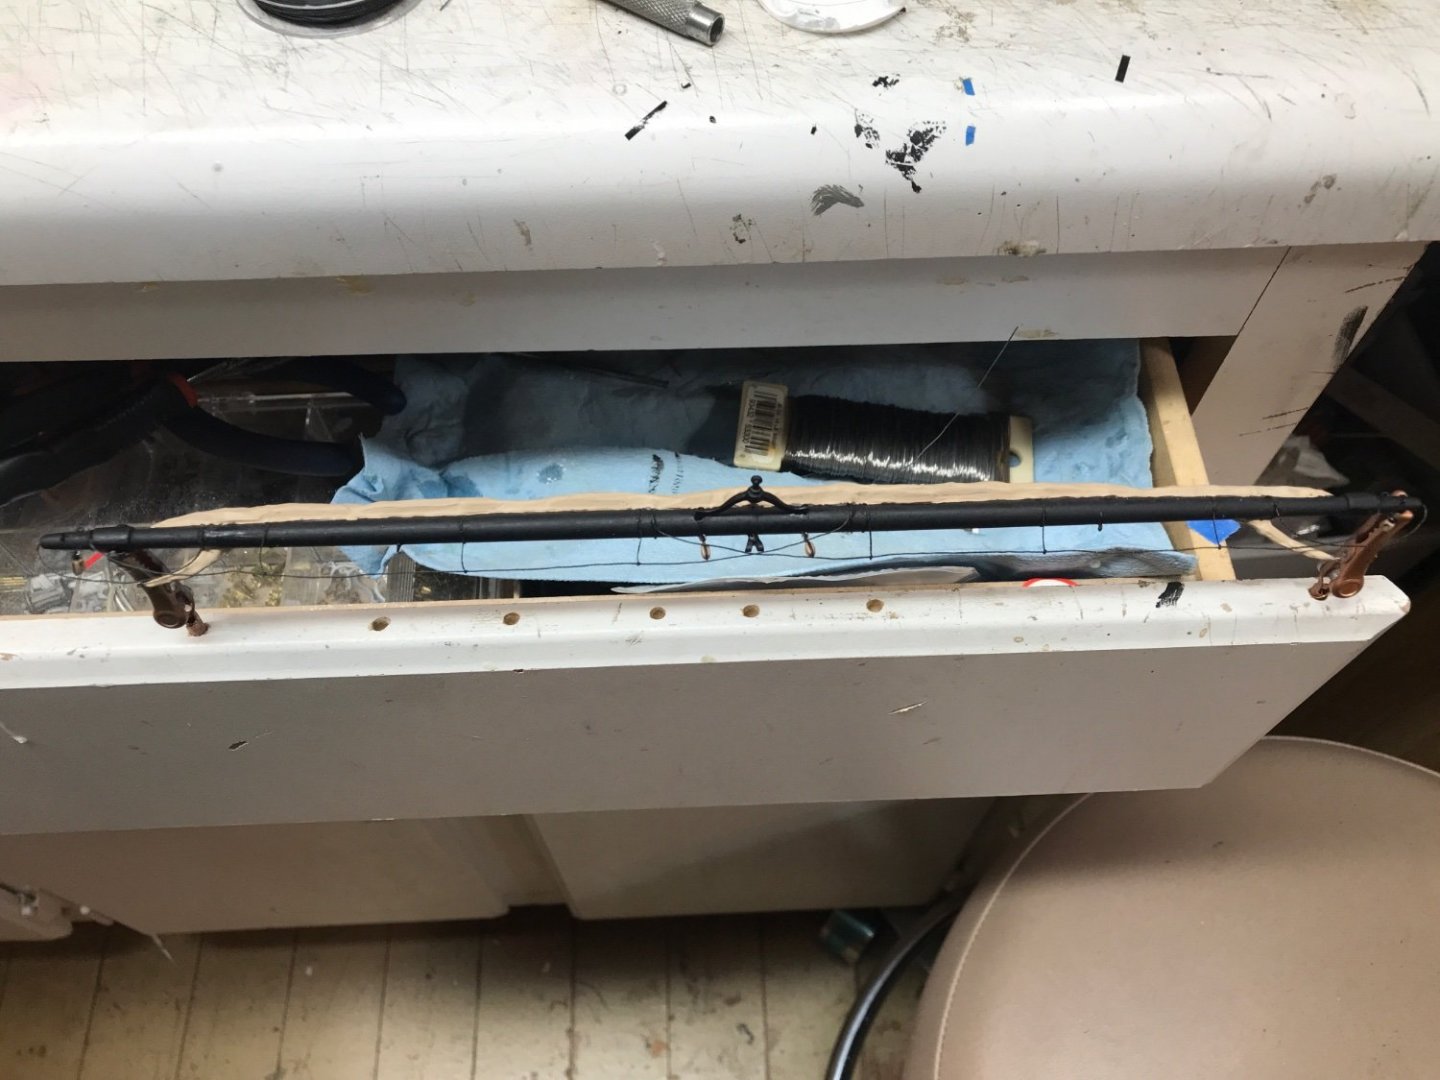
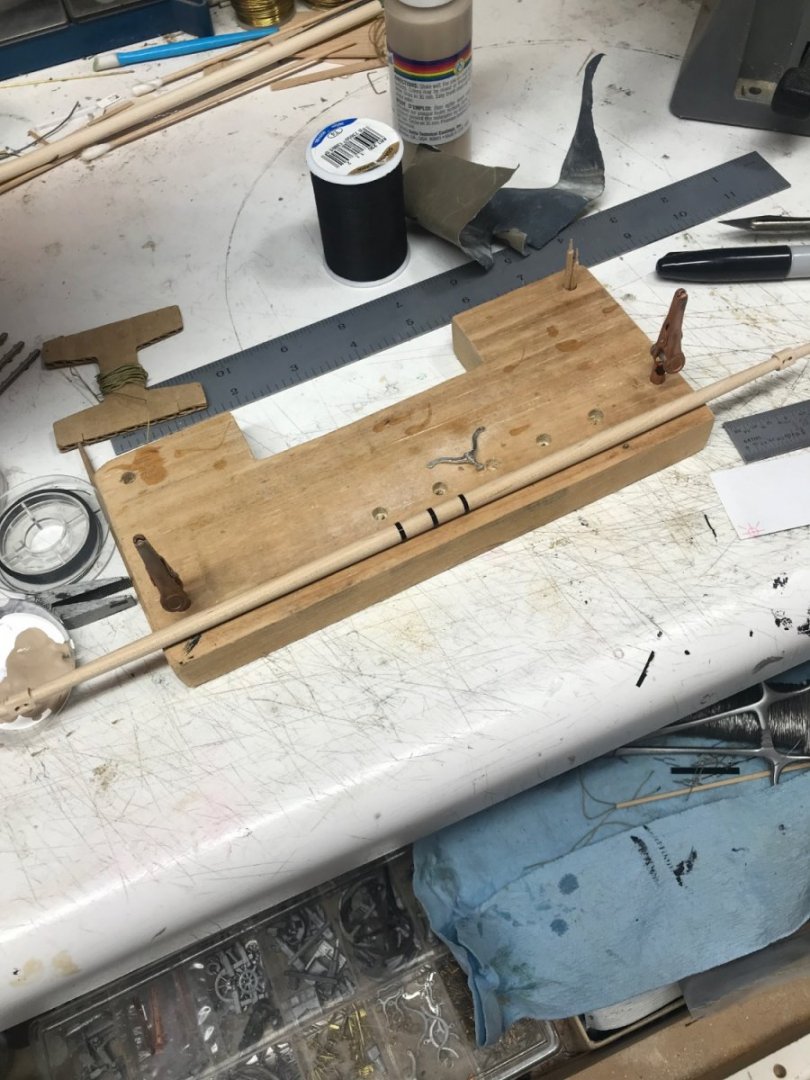
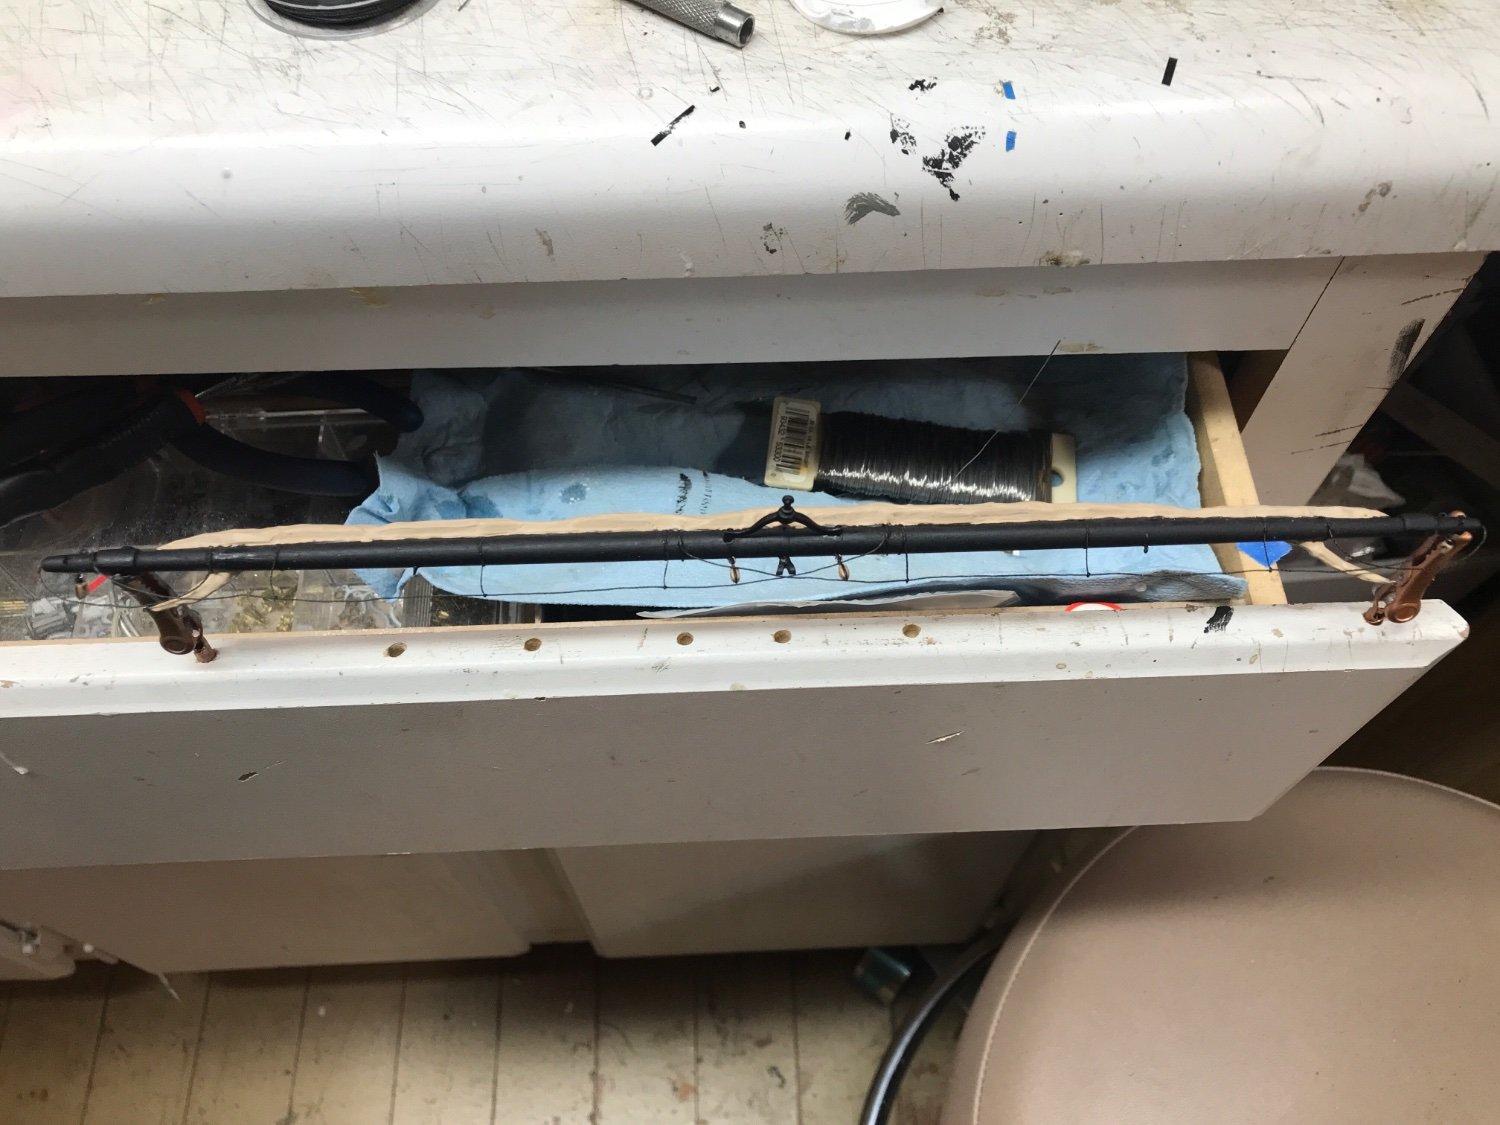
That’s funny……I’ve never looked at it that way. I needed a surface that I could place adjustable holes for alligator clips …….and be movable…..by being able to pull out close to me and the be able to push back away. Great adjustability and ease. It just happens to be the edge of the drawer. Who woulda thunk? Rob
- 3,560 replies
-
- 1
-
-
- clipper
- hull model
- (and 2 more)
-
Marc...I don't mean to be petty...but those are NOT bollards. Bollards are found on pier side and are a single large drum like belaying structure....these are *BITTS*. Rob
- 525 replies
-
- 1
-
-
- cutty sark
- mantua
- (and 2 more)
-
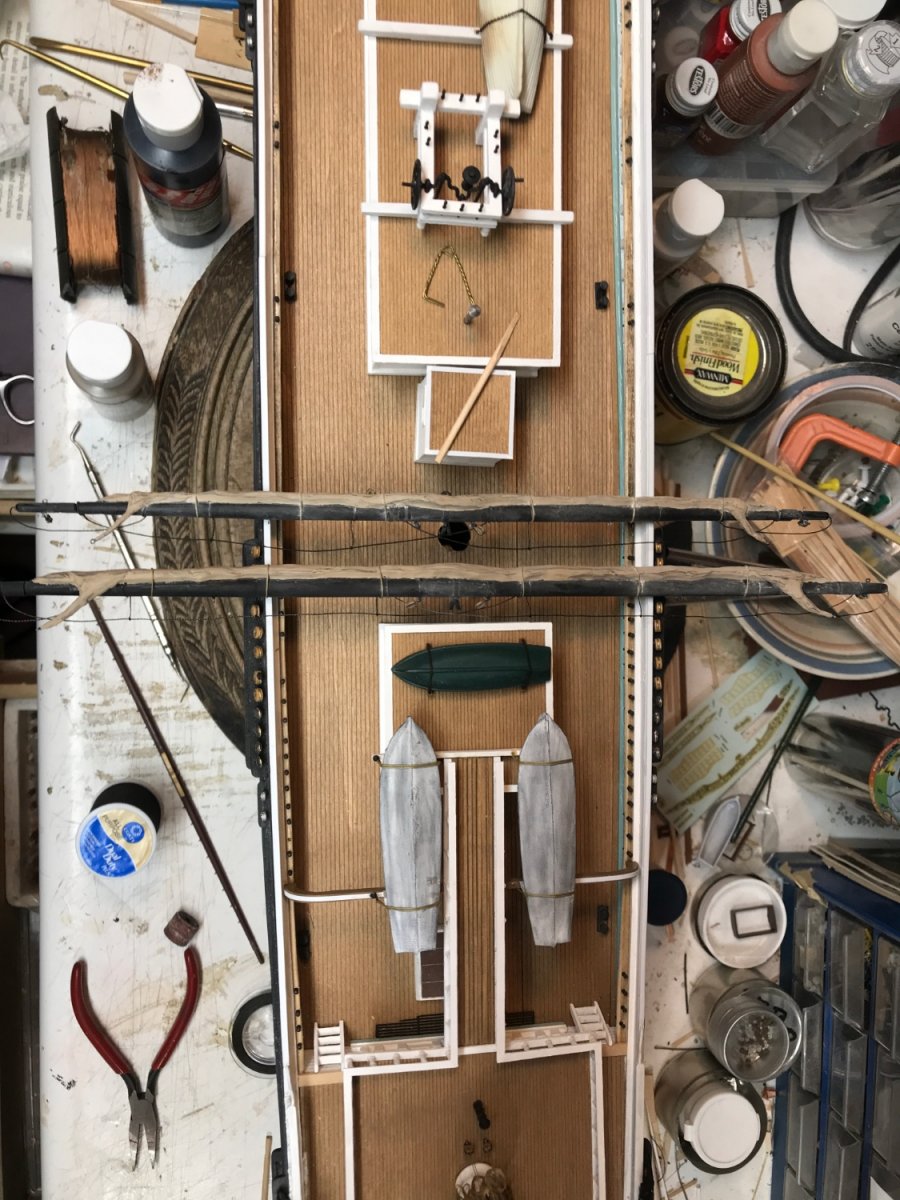
Finished painting the upper topsail yard….now she’s ready for blocks and her sail. Rob

- 3,560 replies
-
- 6
-
-
- clipper
- hull model
- (and 2 more)
-
Finished yard details and weathering…….now onto the next. Rob


- 3,560 replies
-
- 5
-
-
- clipper
- hull model
- (and 2 more)
-
What's so fantastic...is the wax-compound is so easily manipulated and formed...but when solidified (And When highlighted)it looks like furled, bunched, rolled, stacked canvas/cloth. The argument is, *Its a wax* won't it melt?*. Well its a very stiff compound when set....and who is going to let their model get so hot that it begins to deform/melt? Too many other things on your model will ignite and combust first. It's a moot argument. By the way....I've even experimented with sheet beeswax and it works just as well. When heated up and then cooled down it linda like anneals the wax....and once painted over, the paint encapsulates it and further protects is. Just another of my *Hack* tricks of the trade...... I get the look/effect I want by unorthodox means. No other known method works and looks so well...IMHV. Thanks Pat for your wonderful compliments. You wouldn't consider putting anything less than what would meet your stringent requirements on Your magnificent Victoria. I encourage you...give the technique a try and work out any kinks for yourself. Oh..one last hint....I use twisted wire within the twisted ends of the sail at the clue where the blocks attach. It supports the natural bend and strengthens and supports during rigging. Rob(There....I've just given up my secret)
- 3,560 replies
-
- 5
-
-

-
- clipper
- hull model
- (and 2 more)
-
Its feast or famine. I just wish I could take the time I really want to spend on Glory. I've already begun the work on the next yard(Upper topsail) for the main. I just loath having time gaps in my log of days and weeks of inactivity. IMV, there should be daily updates...😄 OH....in a perfect world... Rob
- 3,560 replies
-
- 4
-
-
- clipper
- hull model
- (and 2 more)
-
Finished adding the sail to the main yard….now to let it dry before I clean it up and then add bunt blocks and gaskets. And weathering. Rob
- 3,560 replies
-
- 6
-
-
- clipper
- hull model
- (and 2 more)
-
Indeed my final answer was no...but the caveat was that you could build them yourself....you can do it...all you needed was an encouraging nudge in the right direction. It was not that I didn't want to help....but that I wanted to help/teach you how to fish....not just to feed you fish. And look what you've done...look what you've accomplished, and the kudos received from all of your followers and admirer's is proof in the pudding. You are gaining so much more then me simply building your masts...you're gaining the experience and skills to do it magnificently for yourself. The Master of all you survey. I'm proud Keith. You've learned skills that equipped you to identify scale errors and attention to ever elusive details.. Powerful skills that you can employ in your next modeling adventure...if you choose to go there. Great job for sure.
-
Sea Witch 1846 by Zooker - RESTORATION
rwiederrich replied to Zooker's topic in - Build logs for subjects built 1801 - 1850
Zooker...is there any new updates on this wonderful restoration? -
Keith, I remember when we first began talking about your build. It has been a learning curve but you have progressed and matured all along the way. Being your first real ship build you can be very proud of yourself. She is actually well made and you put in the hours of homework to make it so. It is your model and as such , you and you alone are it’s master. I’m just happy to have been able to watch and see her come to life I can’t wait to see her finished coming down the ways. Rob
-
I wanted to show an image of the Constitution to show you that the channel needs to be wide enough to accommodate the angle of the shrouds, so they do not rub along the gunwale. Rob
.thumb.jpg.c36eb314e09bd055af4b055516ae2b73.jpg)
-
Good move Keith....lacing those lanyards with the deadeyes so close to the hull would have been a challenging thing. The only concern would be to prevent the shrouds from pressing hard against the hull if the channel and deadeyes were not of their proper dimensions and in their proper locations. You're just cookin along. She looks wonderful. Rob
-
HMCSS Victoria 1855 by BANYAN - 1:72
rwiederrich replied to BANYAN's topic in - Build logs for subjects built 1851 - 1900
Fantastic job....lots of tooling and gigs to git-er done.😊 I don't mean to side track, but I did this once and this is how I did it. I found copper tube the right size....put it on the spar, marked and cut out all the *NON* banding material with a cut off disk....then soldered a simple THIN solder plug to the end...which was then burnished out..Kinda like with the rounding tool and burnishing tool you have. Place the soldered end into the correct rounding toll...then place you burnished down inside the now cut tube and simply press in the rounded end. Solder is very soft and pliable. Finish off with a bit of filing. Once done..paint black and mount. Mind you, I didn't do them this small...but the idea is sound. I'm so glad you are back in the yard maken it happen....what a joy. Rob- 1,013 replies
-
- 2
-
-
- gun dispatch vessel
- victoria
- (and 2 more)
-
agree not to replace the belay pins..since you will need the extended length to aid in belaying them...plus the extra length is hidden by the rope coils anyway. You're doing fantastic. Rob
- 481 replies
-
- 2
-
-
- Cutty Sark
- Revell
- (and 2 more)
-
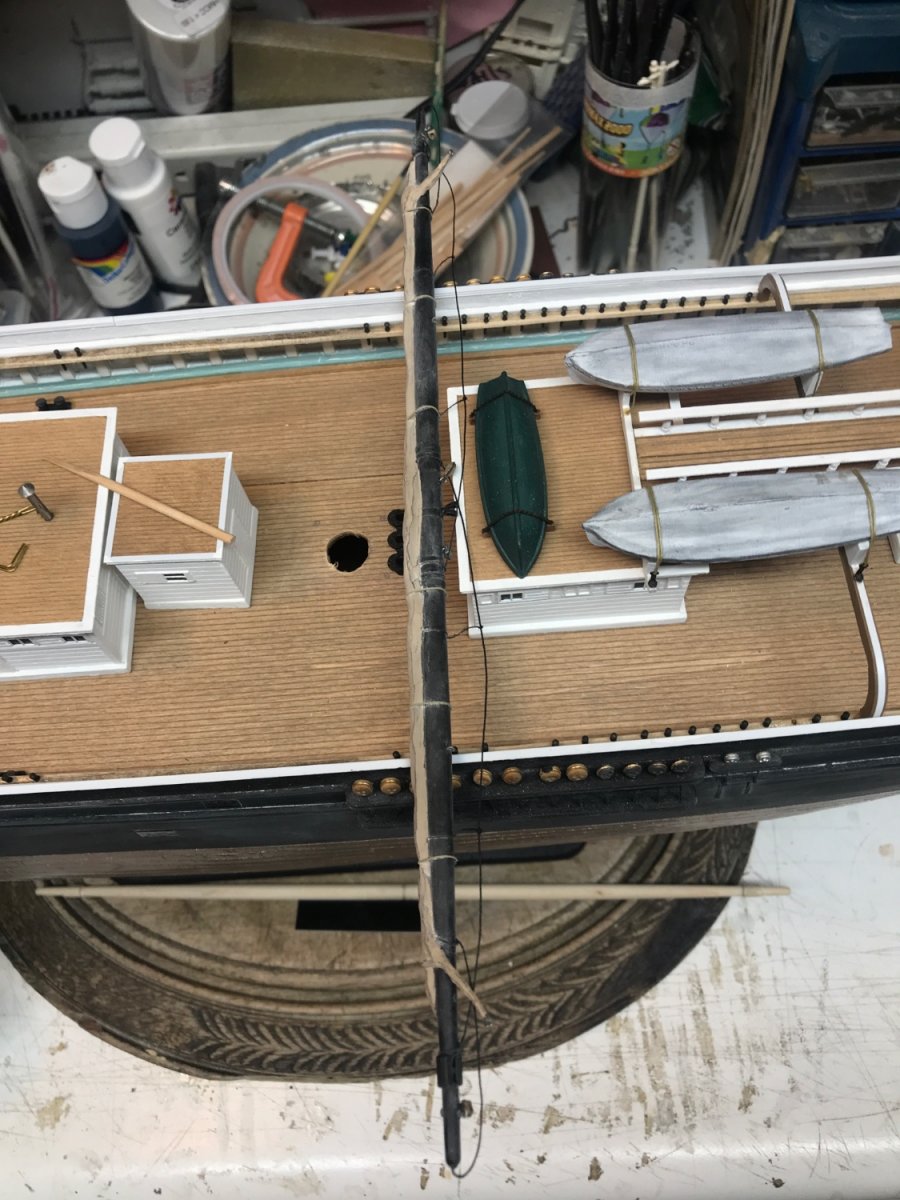
Well I’m changing my process again…….I’m going to build all the yards first this time….including the main yard too. Once the yards , including sails and all the blocks, rigging are complete, then I will finish up the shrouds on the mast. Then I can add the yards one by one to the mast. Process…..process….process. I finished the lower topsail first…..now onto the main yard. Rob

- 3,560 replies
-
- 6
-
-
- clipper
- hull model
- (and 2 more)
-
Wonderful detail. One reason why I didn't strop my deadeyes with braces through the pin rail...is you just can't see all the work you put into it...and then when you apply the numerous rope coils on the belaying pins in front of the deadeye braces....well...you see what I mean. Great job by the way. Rob
- 481 replies
-
- 2
-
-
- Cutty Sark
- Revell
- (and 2 more)


.jpg.57d3f7c9383ae19e968368e973b0b4cc.jpg)