HOLIDAY DONATION DRIVE - SUPPORT MSW - DO YOUR PART TO KEEP THIS GREAT FORUM GOING! (Only 24 donations so far out of 49,000 members - C'mon guys!)
×


rwiederrich
-
Posts
5,518 -
Joined
-
Last visited
Content Type
Profiles
Forums
Gallery
Events
Everything posted by rwiederrich
-
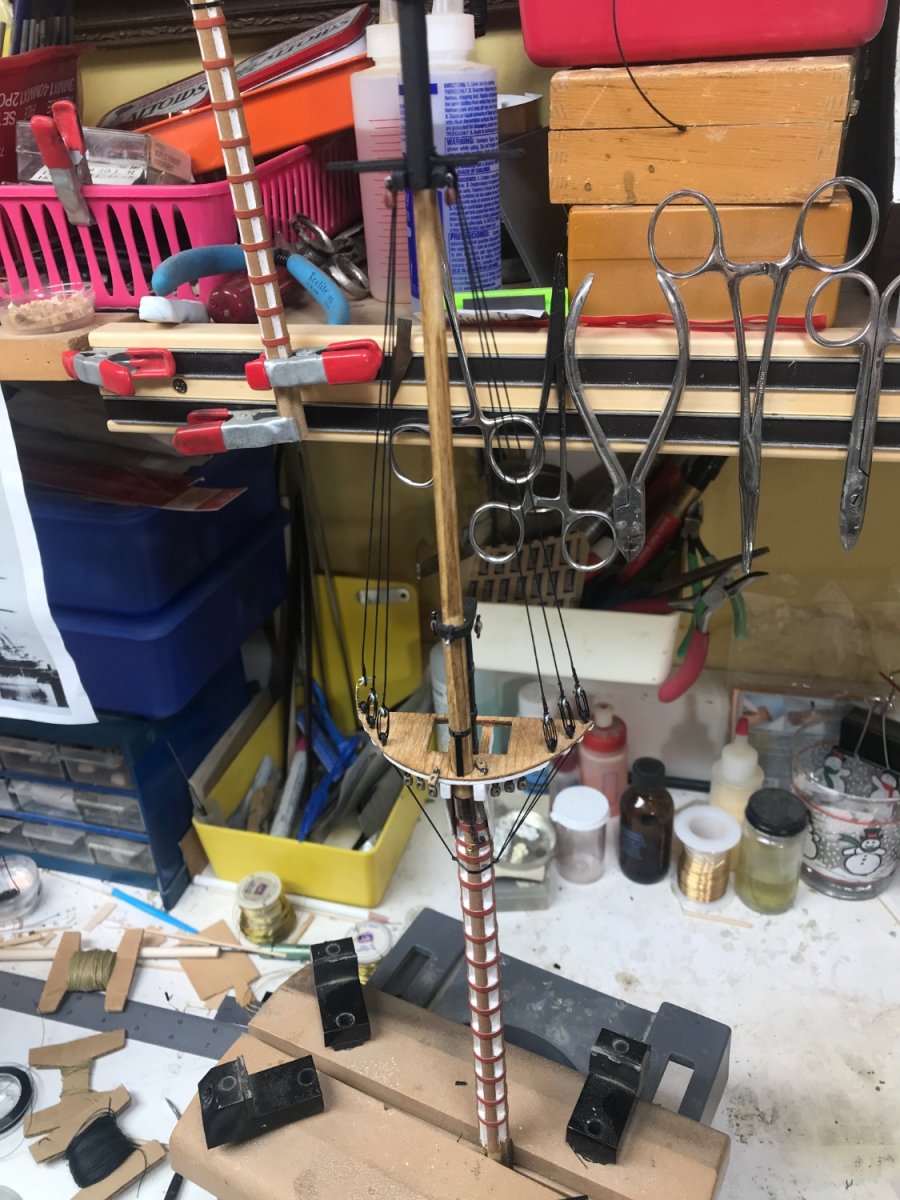
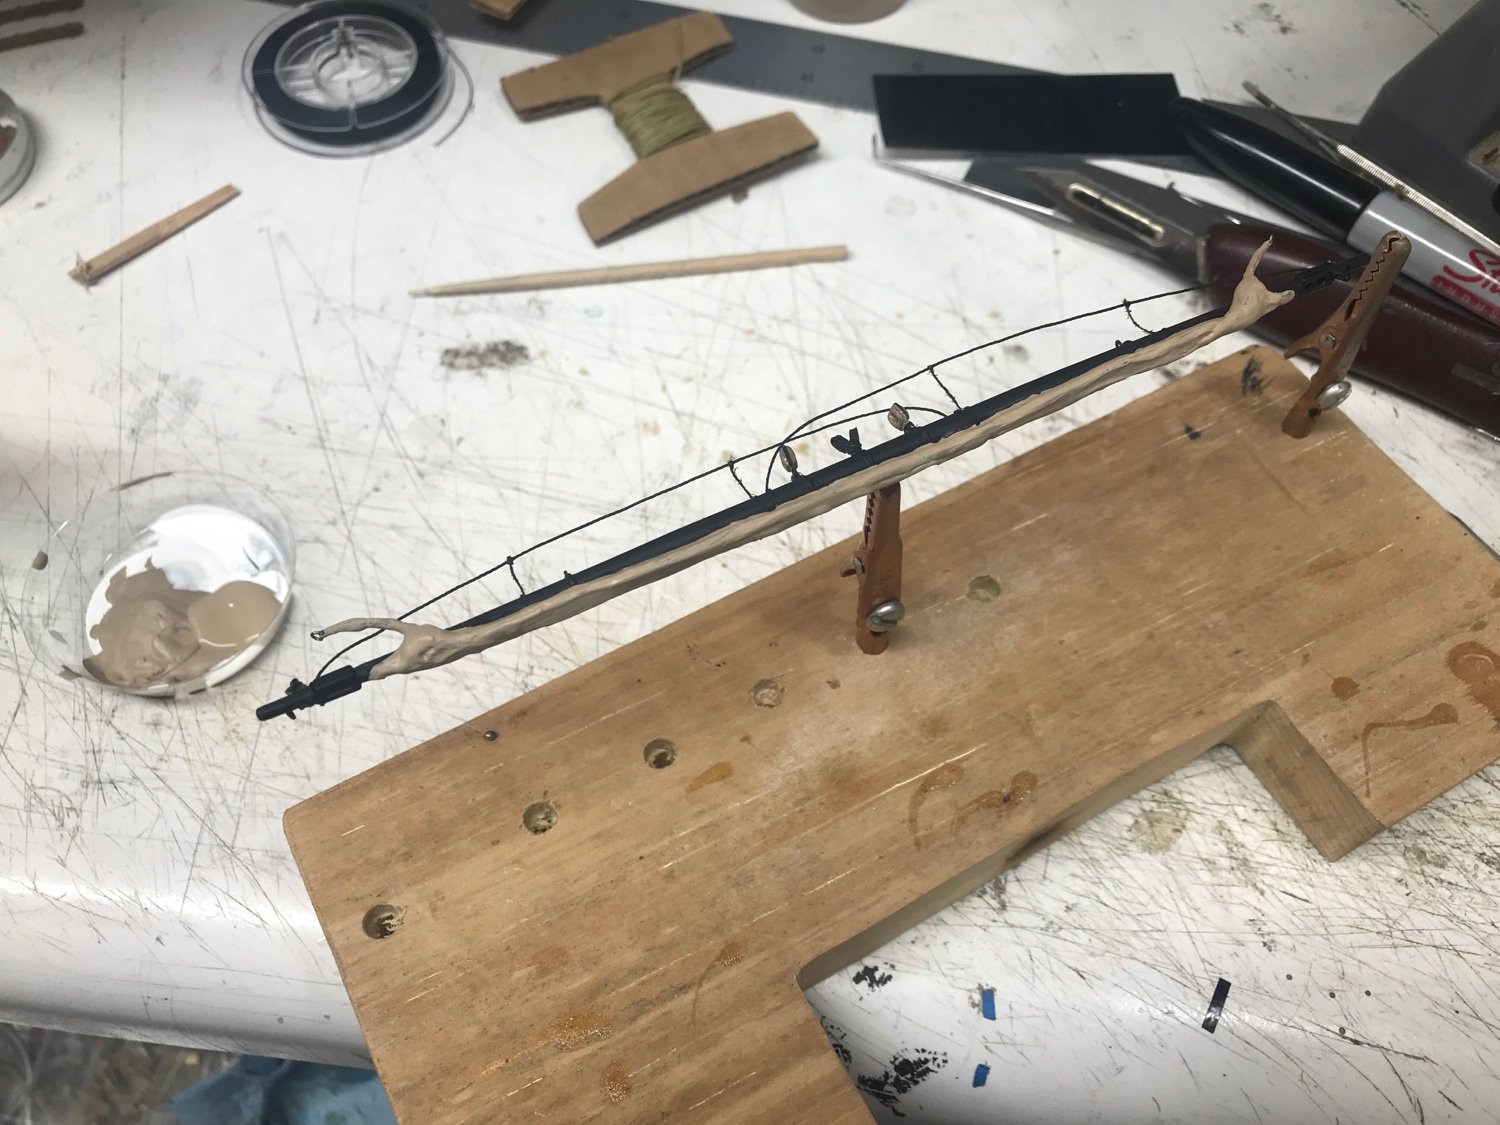
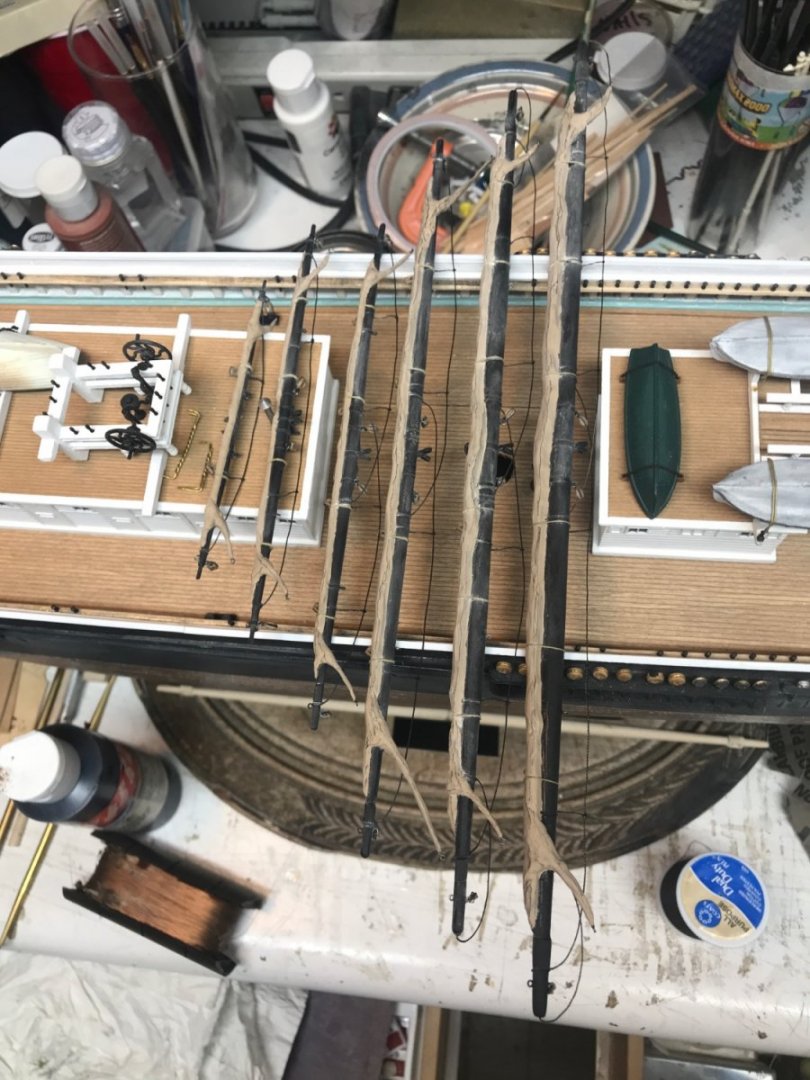
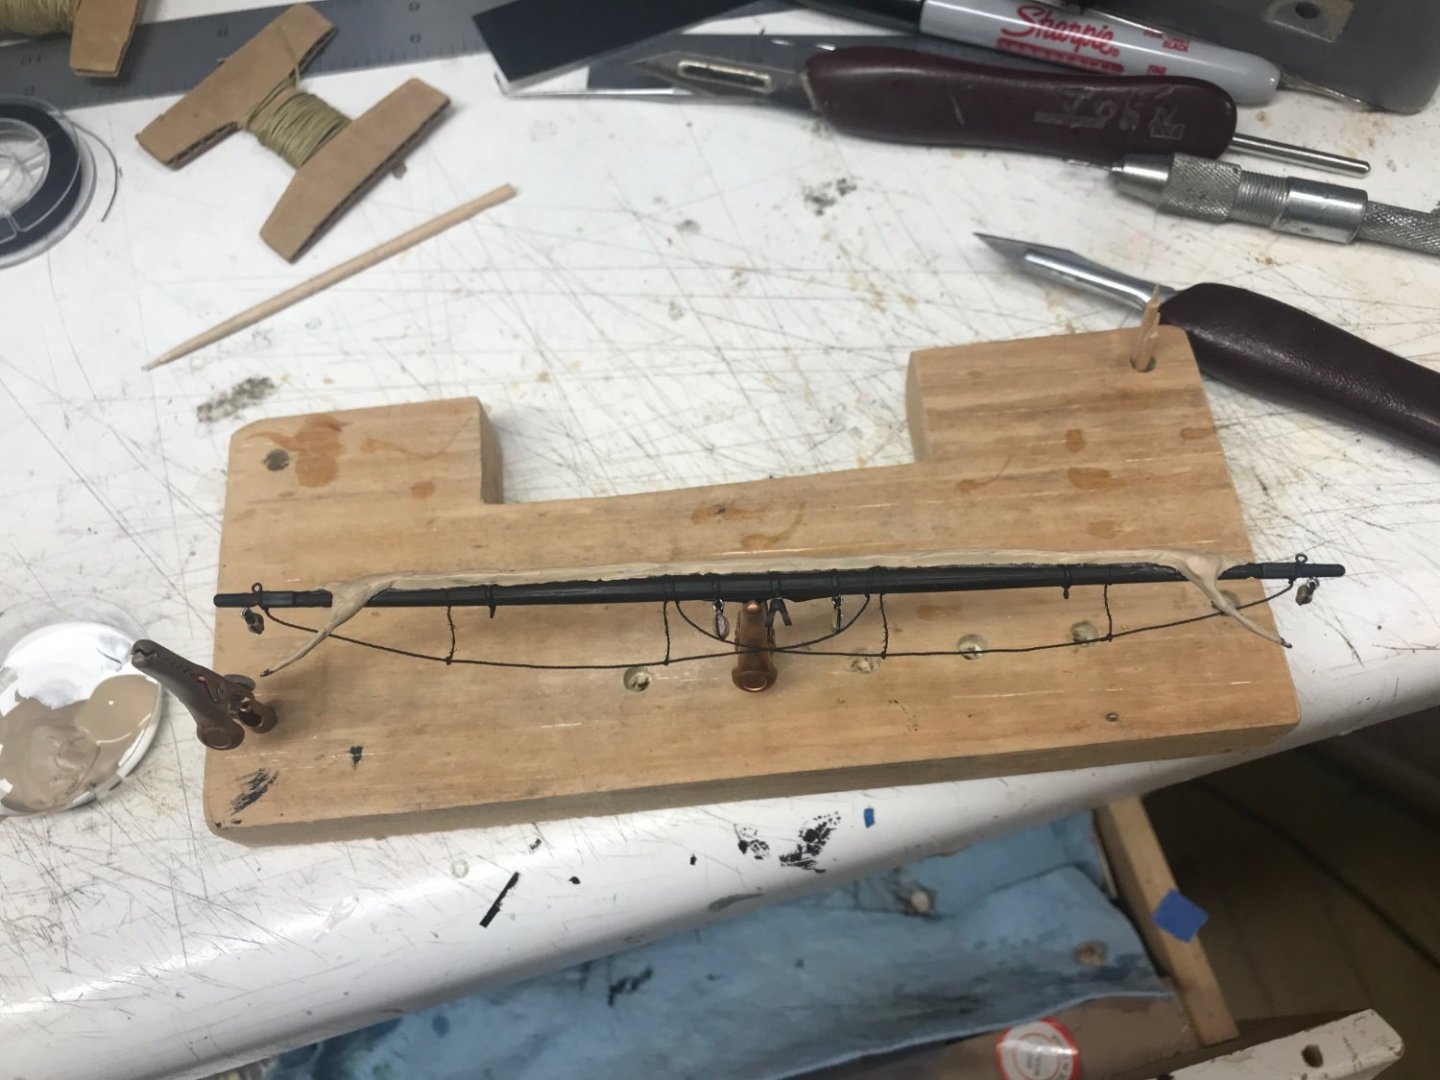
I kept it simple and made a wire jig and rigged the lanyards on the model...easy

- 444 replies
-
- 5
-

-
- Cutty Sark
- Revell
- (and 2 more)
-
Clippers are my specialty, though it was a short Era.....much design principles we have today came out of it. Rob
- 481 replies
-
- 2
-
-
- Cutty Sark
- Revell
- (and 2 more)
-
Hopefully the goal of your visits here at MSW is to acquire ship knowledge as well as the skills to model them. You've come to the right place for all things *Ship*. You're doing a great job thus far. Rob
- 481 replies
-
- 2
-
-
- Cutty Sark
- Revell
- (and 2 more)
-
I'm sorry to let you down...but neither of those ships were ever *Clippers*. They were full rigged ships(though the Star of India was reduced to a Bark, and is currently). The Balclutha was an iron hulled(same as the Star) ocean carriers(Or Windjammers). Neither were classified as *clippers*. The True clipper era lasted from around 1848 to 1869...Around 20 years...and they were generally built of wood(American) and composite...wood and iron frames(British). Americans built large ones, (1700~4555 hundred tons), compared to (900~ 1200 tons) for the British. Iron hulled ships(and wood hulled) with high cargo capacity that came after the clippers...were known as the DownEasters...(Or Windjammers), clipper looking, but much larger cargo capacity and shallower deadrise....resulting in a flatter bottom. *Extreme* clippers held the fastest records, do to their sharp entry and exits and extreme use of canvass. Speed was a true clippers goal...NOT cargo capacity. Hope this helps? Rob
- 481 replies
-
- 2
-
-
- Cutty Sark
- Revell
- (and 2 more)
-
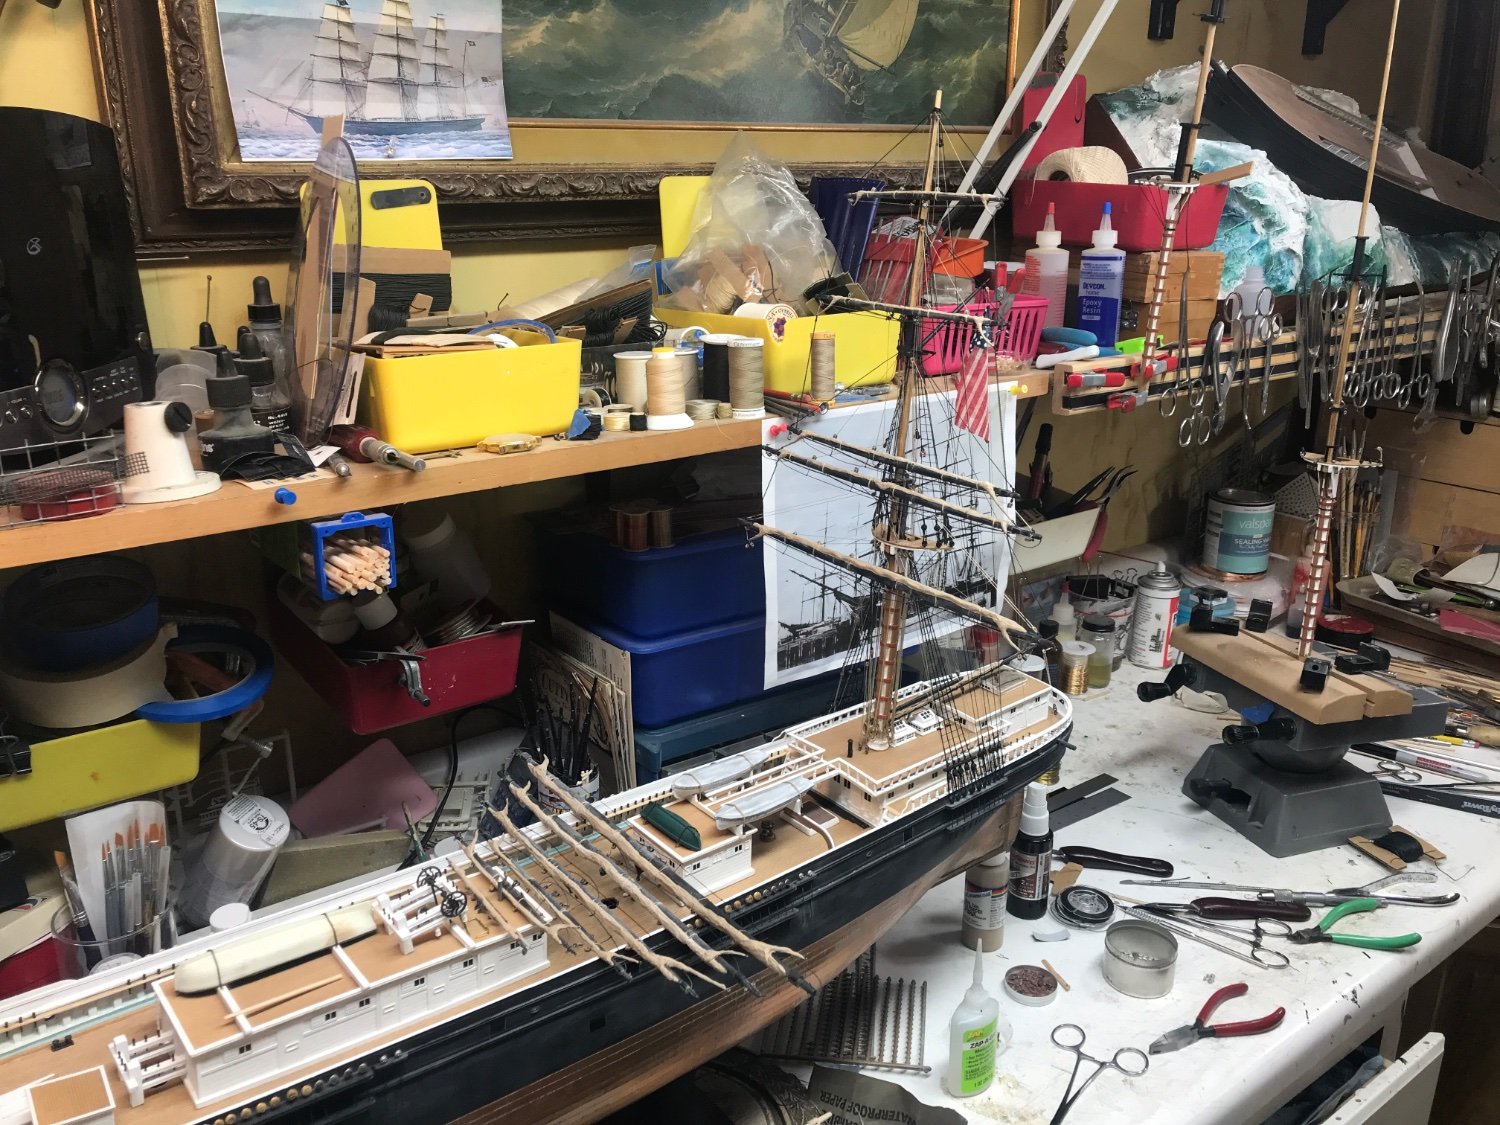
Great job Bruma.....Definitely. Just like you, I opted to build all my yards(with furled sails) for the main mast of Glory at once too. I just focused as you did. We followed nearly the same process, with slight differences. Now all you need do is mount them and rig them.....Riiiight.....I make it sound so simple and easy. You did a fine exceptional job. Painting them black I suppose? Great build. Rob
- 399 replies
-
- 3
-
-
- cutty sark
- revell
- (and 2 more)
-
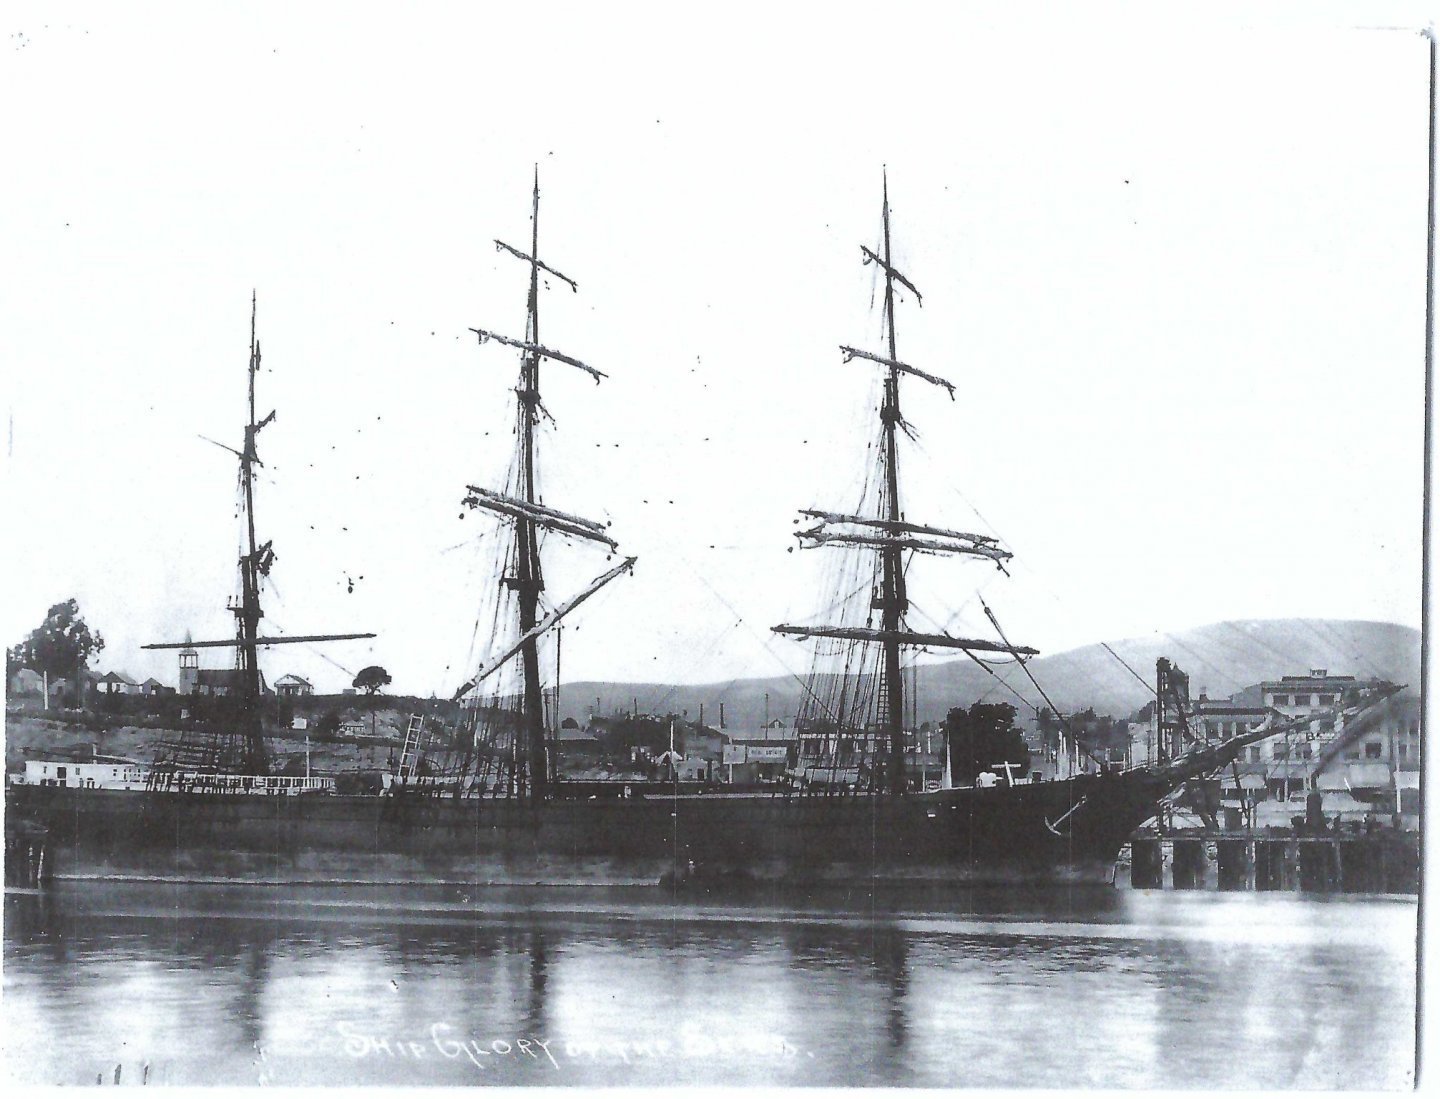
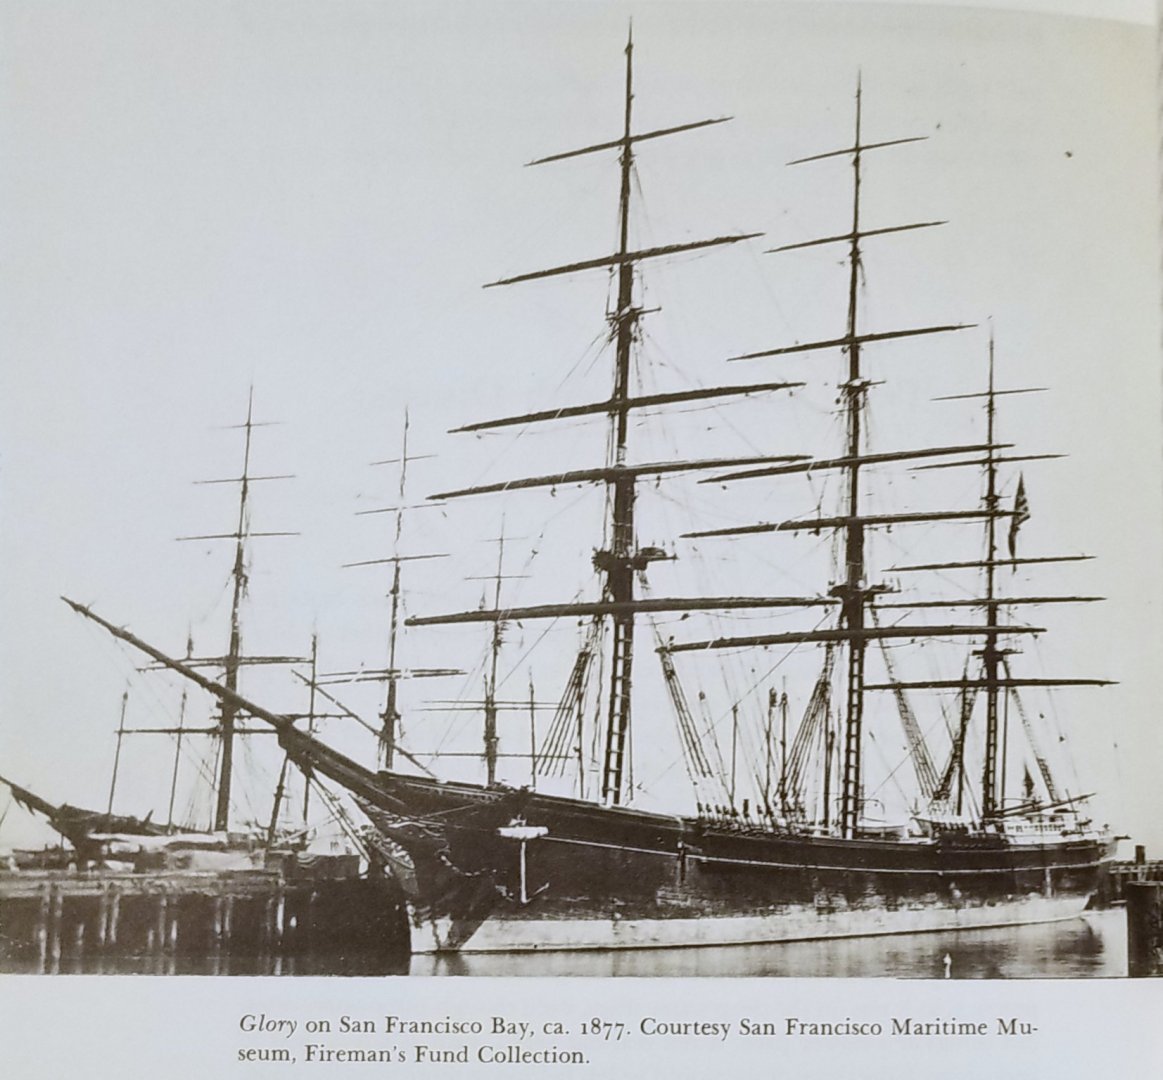
Not sure why this fitting out image was taken to be her sheer and bow/stern form? So many other images show better proportions and more like what we built.
.jpg.fb191a5bbebf581007b0f3ff7b84a5ab.jpg)

- 3,560 replies
-
- 3
-
-
- clipper
- hull model
- (and 2 more)
-
Thanks Bruma. I wanted something different then full set sails and the typical loosely furled sails. I opted for the way they stored them when in port for a time. Tight, clean and symmetrical. Shipshape. The impression any good captain wanted to leave viewers of his ship in port. Rob(It is my way to do something different)
-
Depends if your lookin or workin……..I’m doin both. Rob
- 3,560 replies
-
- 1
-
-
- clipper
- hull model
- (and 2 more)
-
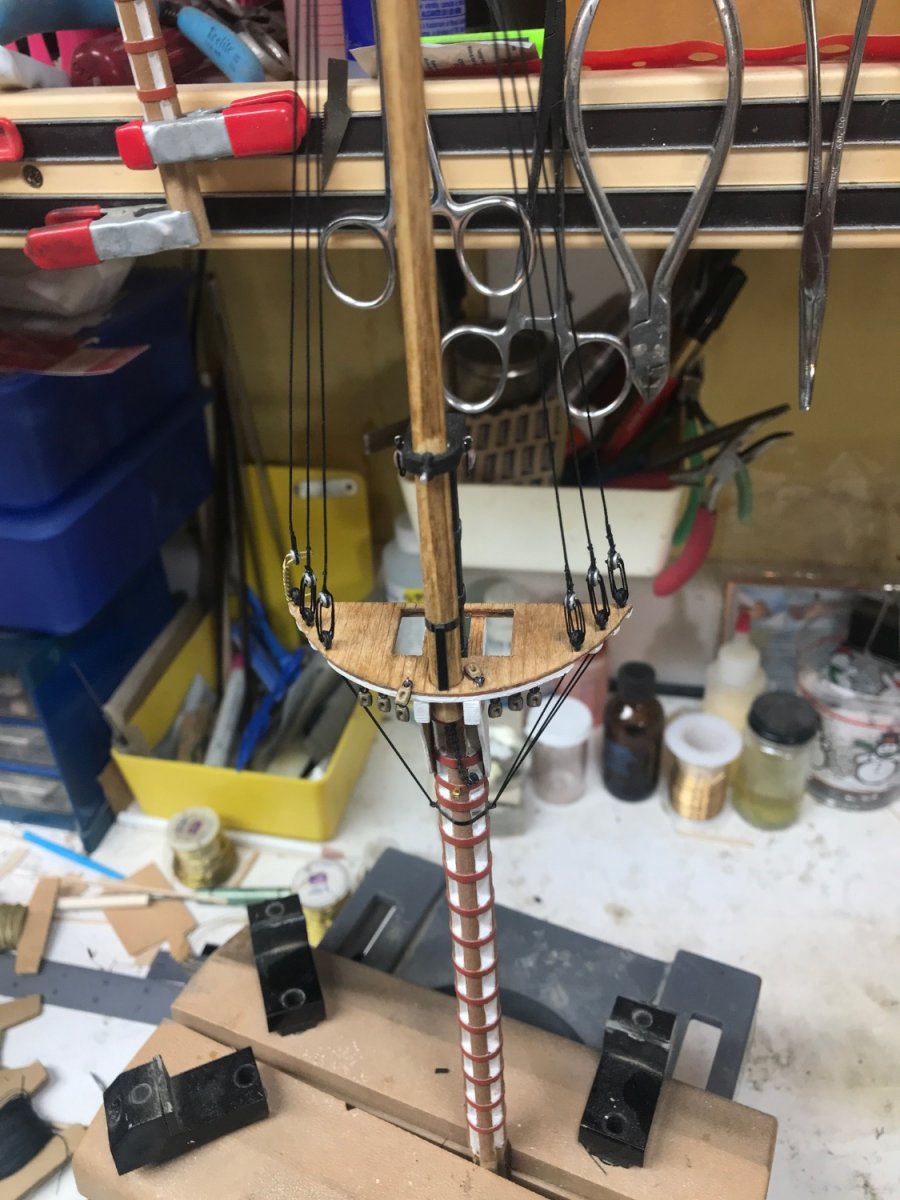
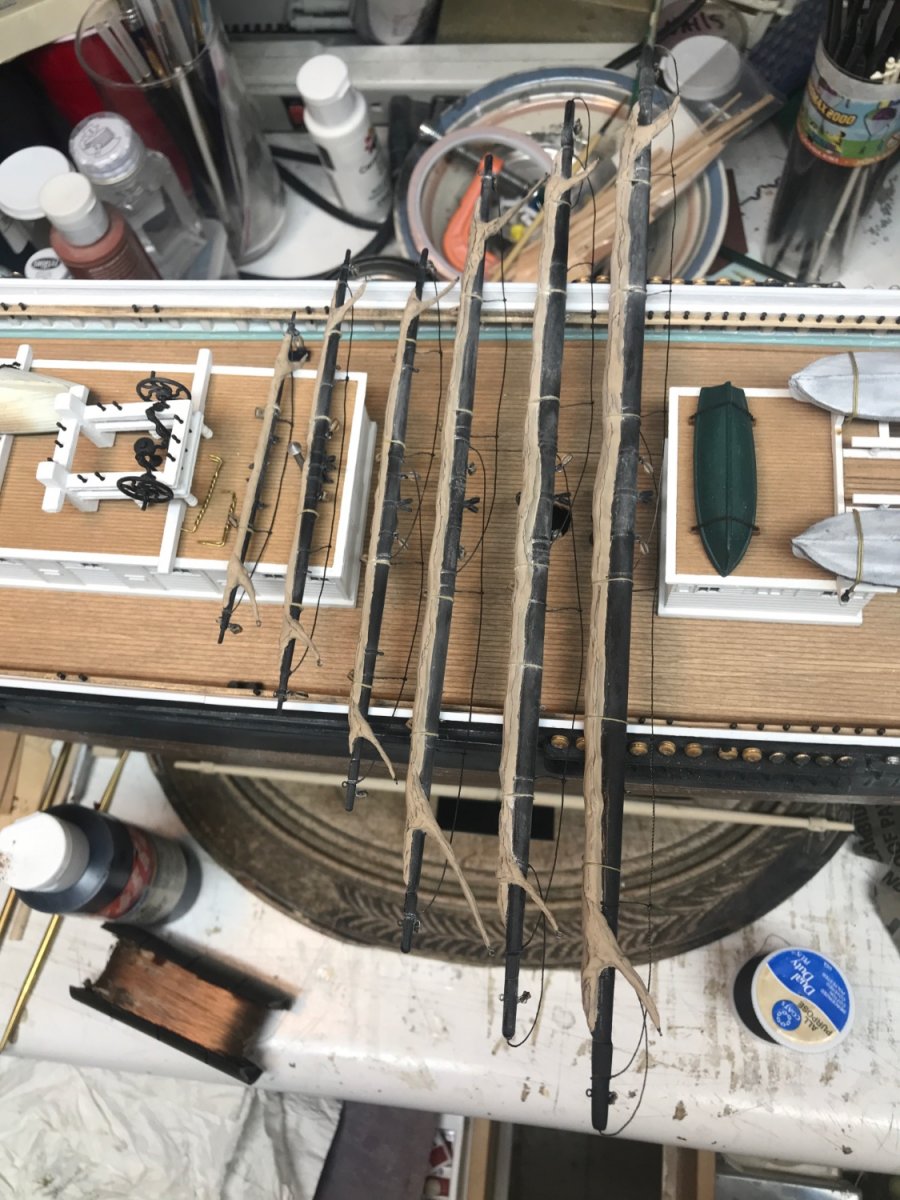
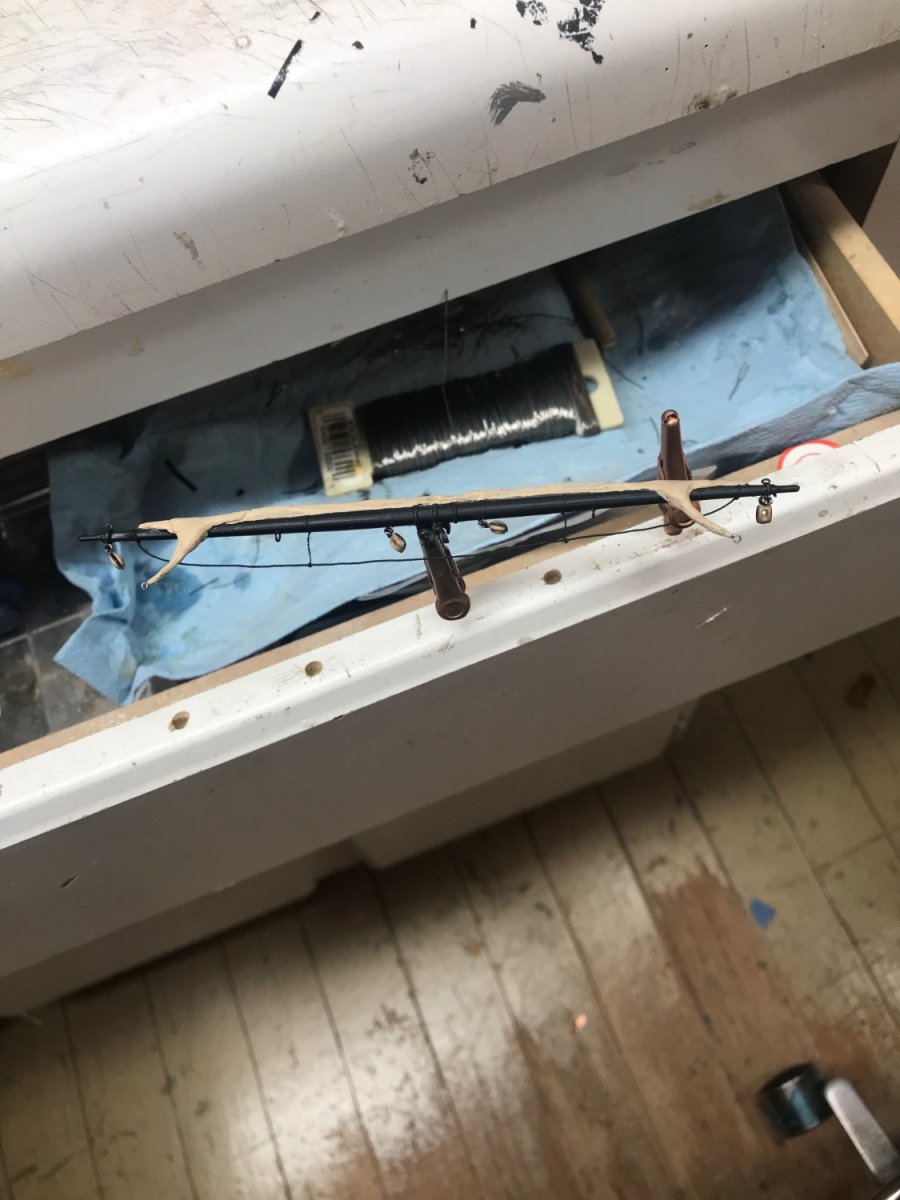
Making the lanyard gig to keep everything even Steven. Rob

- 3,560 replies
-
- 4
-
-
- clipper
- hull model
- (and 2 more)
-
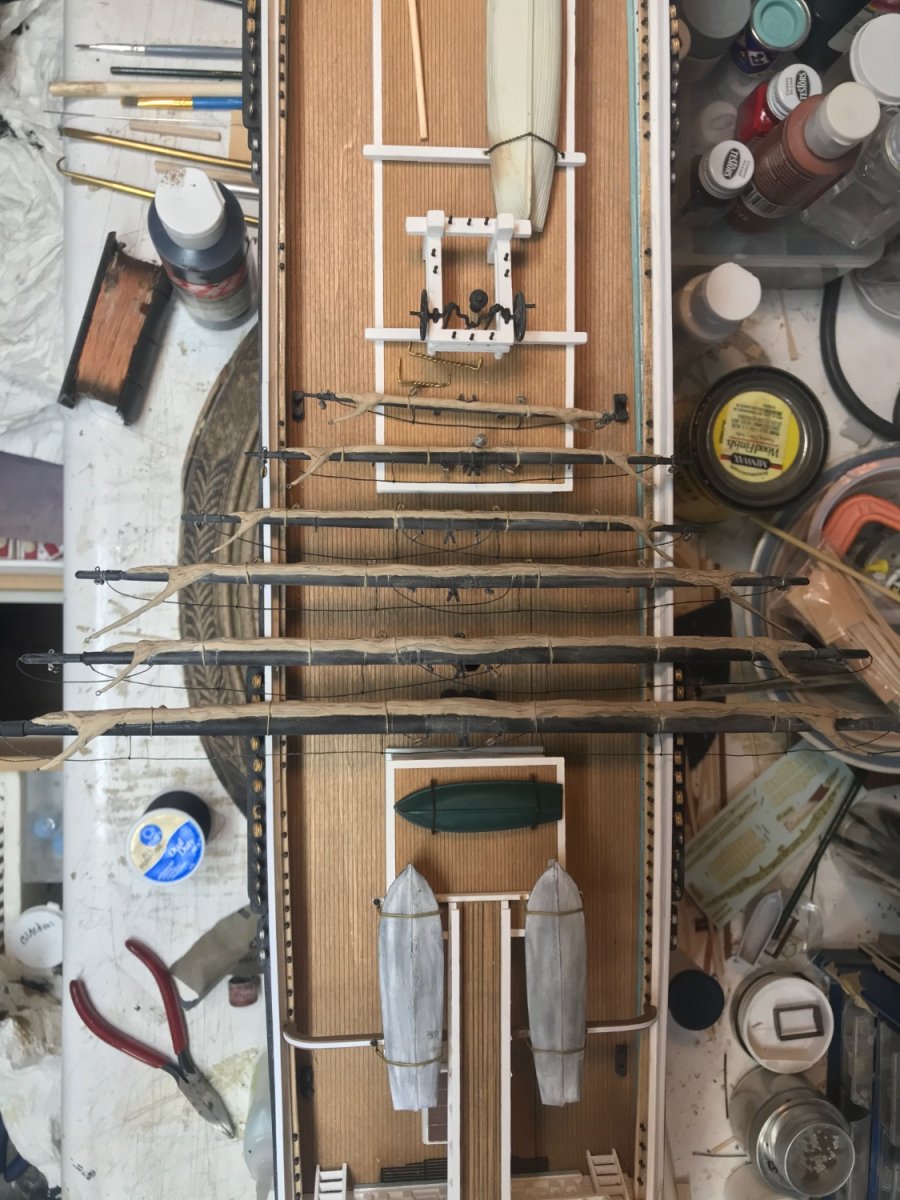
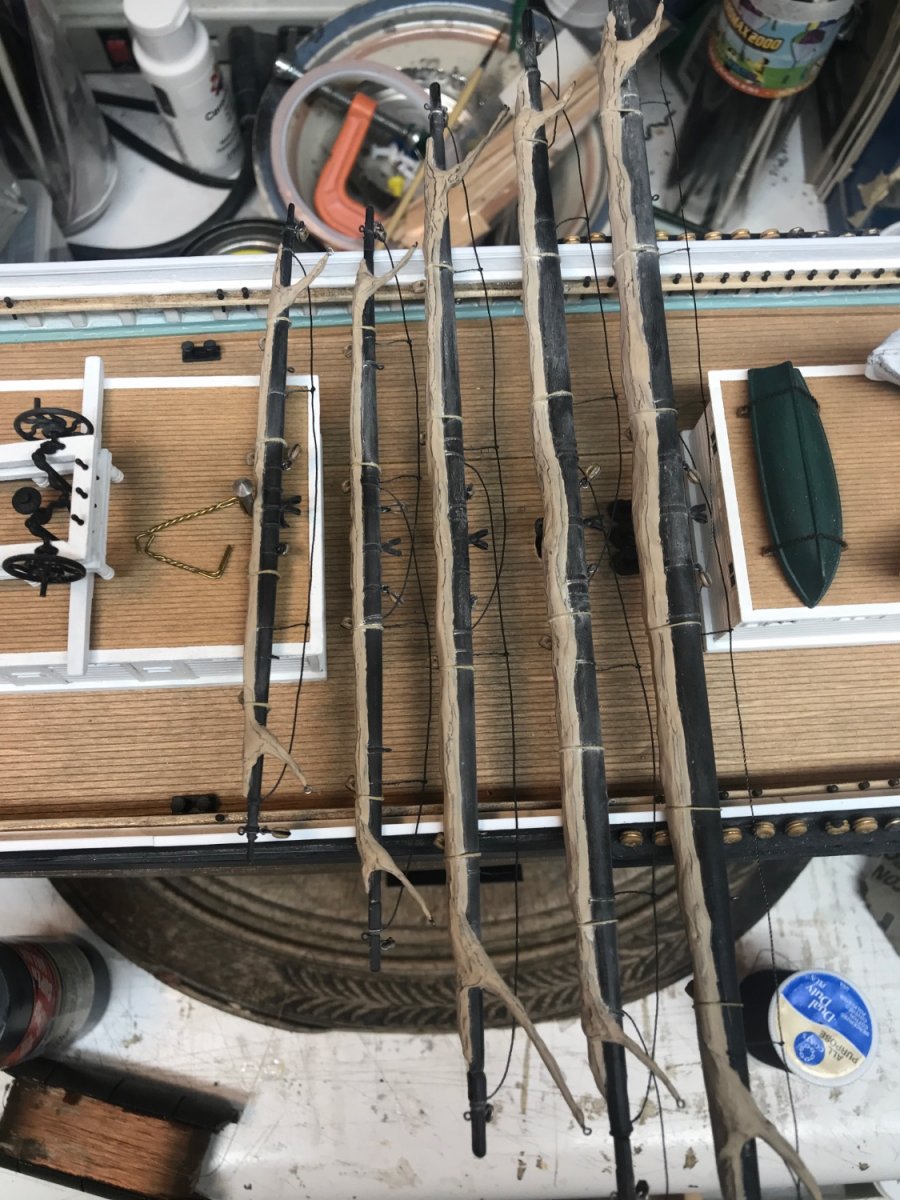
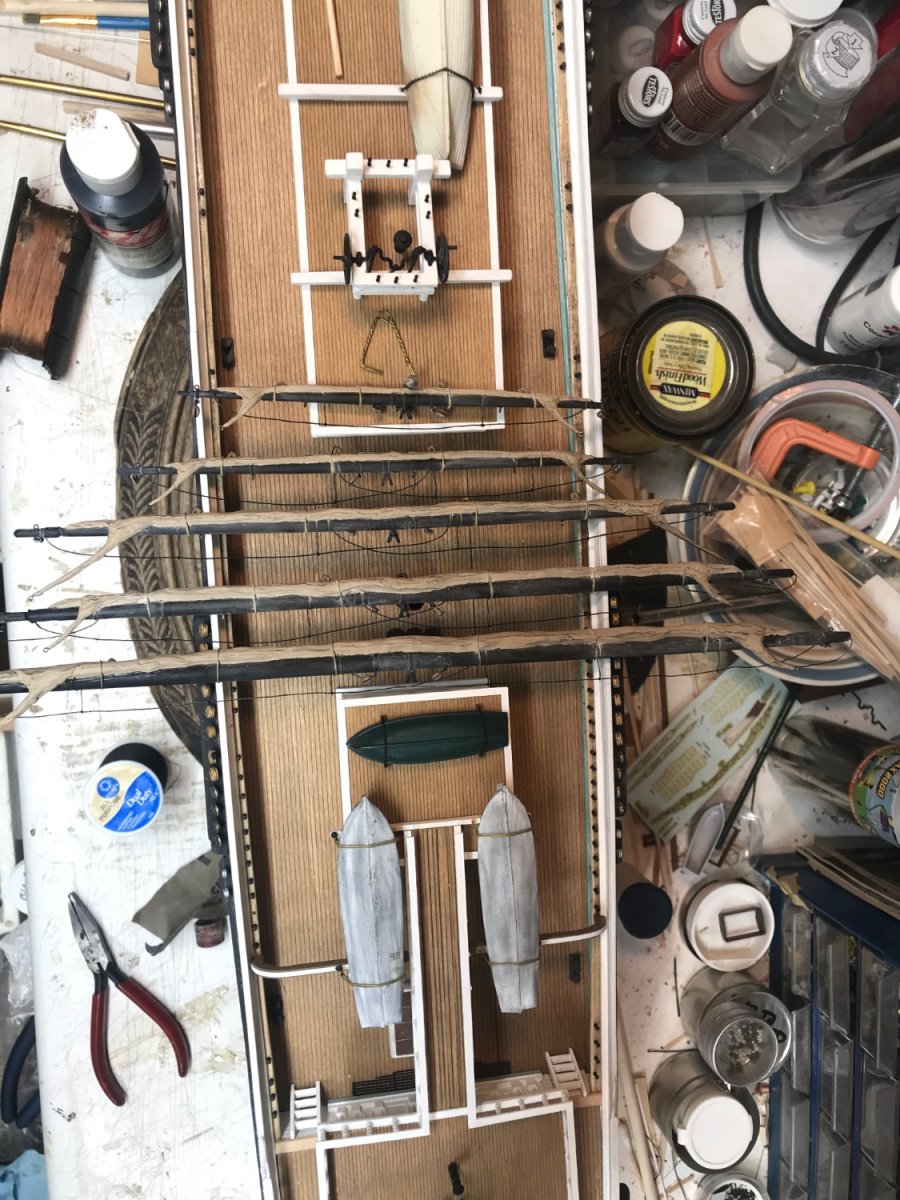
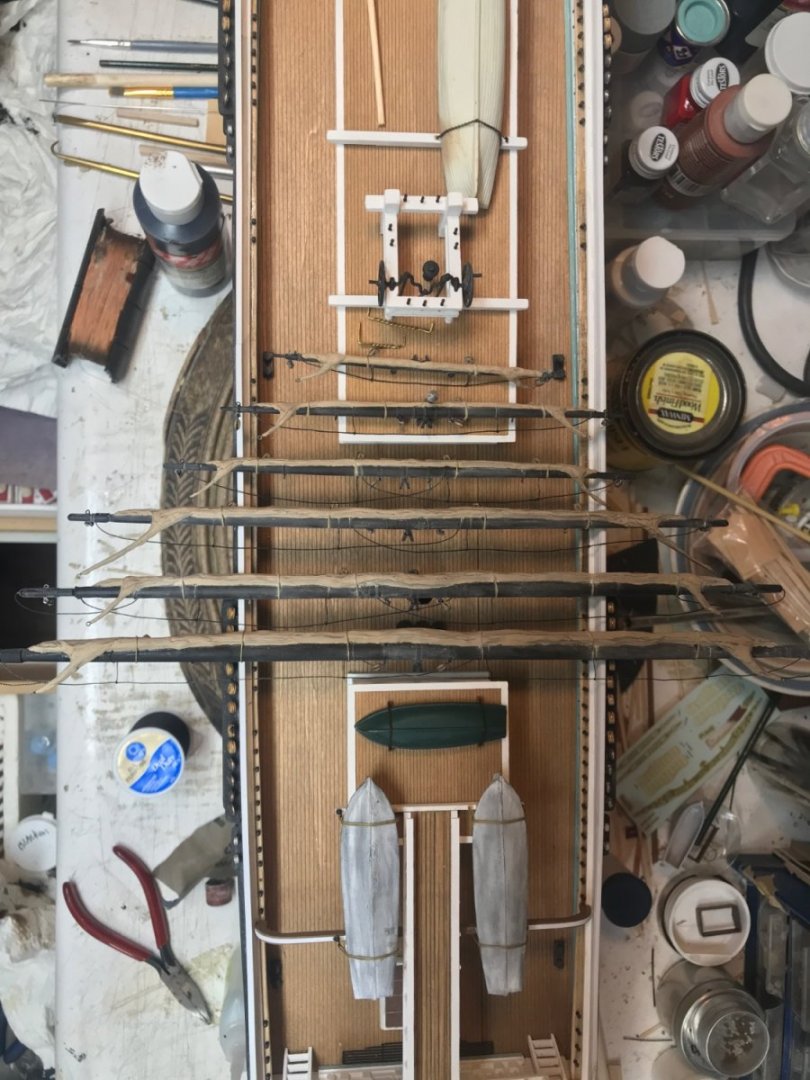
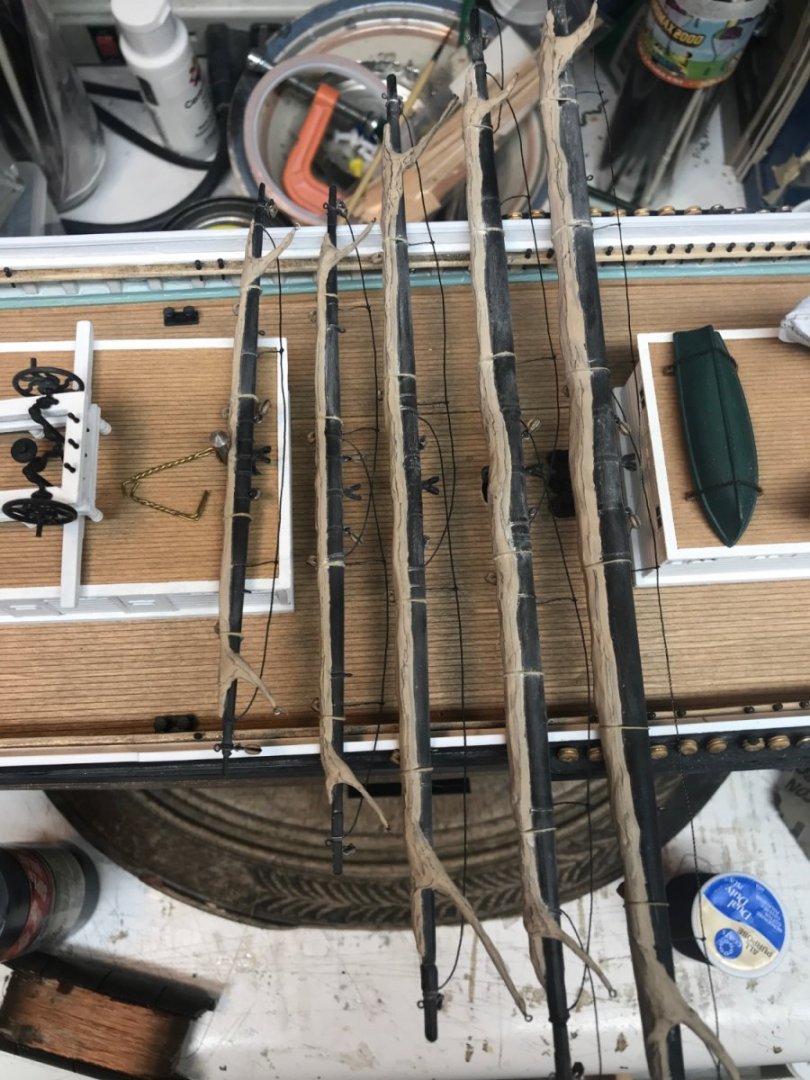
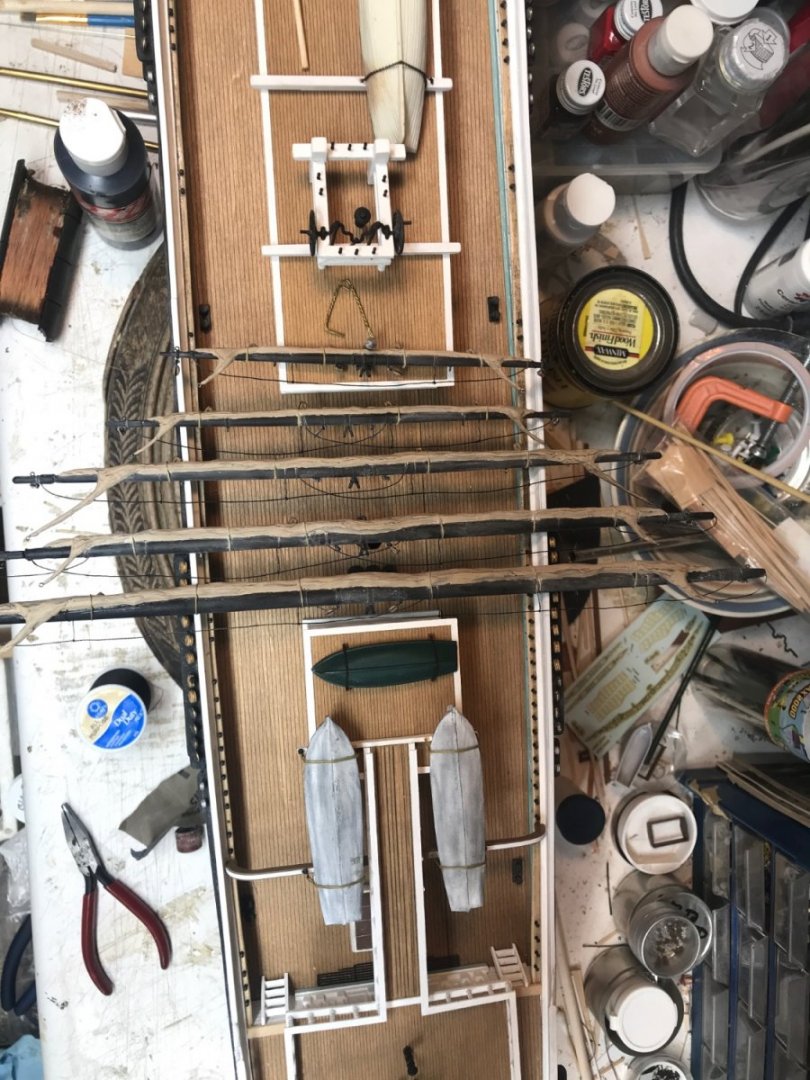
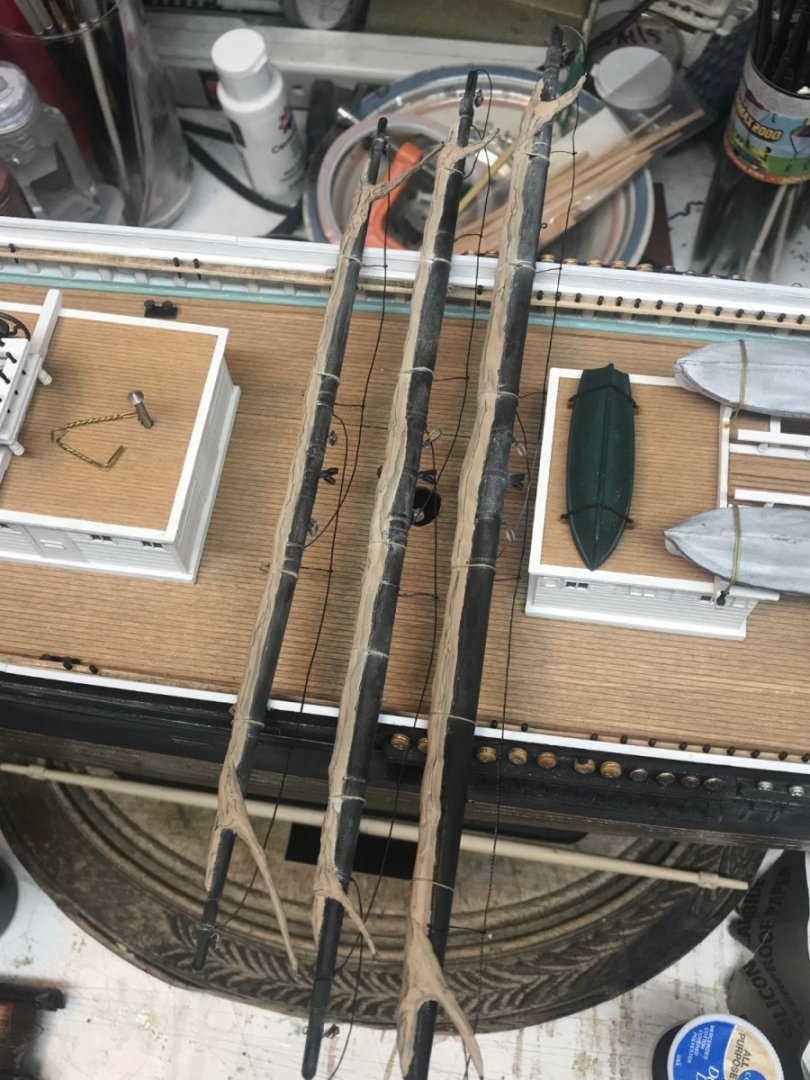
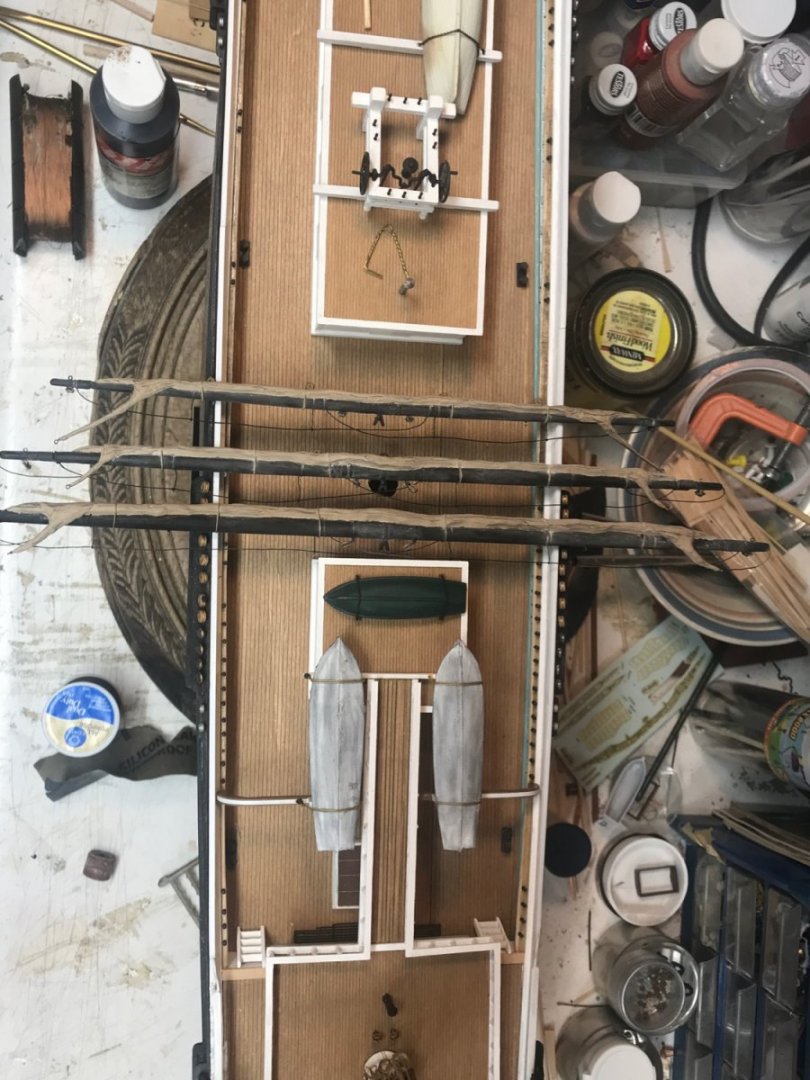
There we go…….all the yards are finished…… now onto the shrouds to finish them up before I mount the yards on the mast. Rob
- 3,560 replies
-
- 4
-
-
- clipper
- hull model
- (and 2 more)
-
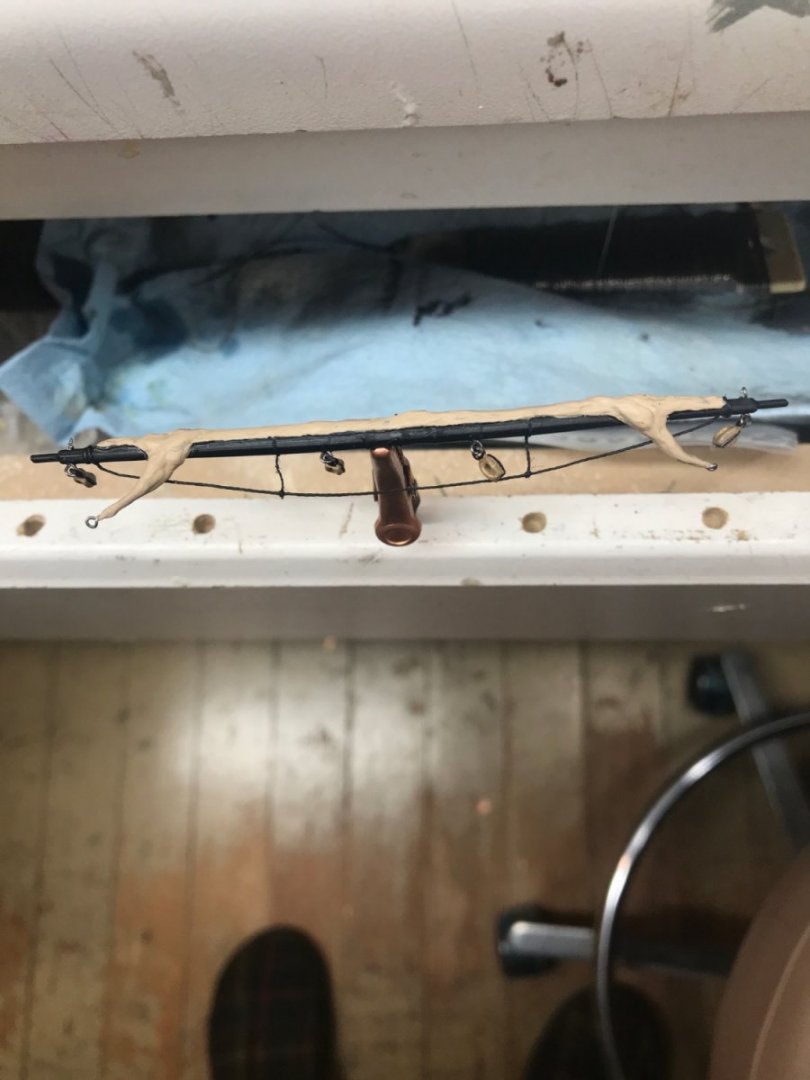
Pat …… I completely agree. Is would be so nice to have a second set of eyes and a homework buddy. Thanks for the fine compliment Here is the sky sail and yard getting ready for bunt blocks and some gaskets and a final weathering. Rob
- 3,560 replies
-
- 4
-
-
- clipper
- hull model
- (and 2 more)
-
Spent some time finishing up the main mast yards. Here are the completed royal and the top gallant. I’m in the throes of finishing the sky sail and yard. Once these yards are complete I will go back to the mast and begin finishing the top shrouds and the topgallant ones too. Thanks Rich for your continual work with Mike and the logistics of the article process. Rob

- 3,560 replies
-
- 3
-
-
- clipper
- hull model
- (and 2 more)
-
A final note. If Mike wants to show the evolution of Glory’s hull and that by way of revelation with new imagery……. Ron’s drawing can only be part of that revelation process……NOT its final outcome as we have demonstrated through our own research and models. Rob
- 3,560 replies
-
- 1
-
-
- clipper
- hull model
- (and 2 more)
-
Indeed…….I hope we don’t poke the bear too hard. I’m glad you are handling the dialogue with Mike concerning all of our findings. Keep me informed, and as usual, if You need anything, just ask. Rob
-
Weathering will finish it off. I’ll finish up the royal and sky yards tomorrow. Rob
- 3,560 replies
-
- 2
-
-
- clipper
- hull model
- (and 2 more)
-
Sails on the top gallant yard. Addition of gaskets and bunt blocks will follow after things dry. Rob

- 3,560 replies
-
- 4
-
-
- clipper
- hull model
- (and 2 more)
-
Due to the photographers location….the fitting out image appears to exaggerate the aft sheer. This error is translated to the line drawing as well. Closer aspects take on enlarged distortions. So reverse engineering needs to utilize other images to correct for these optical errors/illusions. Rob
-
I finished up the upper topsail yard and sail……now onto the top gallant.
- 3,560 replies
-
- 3
-
-
- clipper
- hull model
- (and 2 more)
-
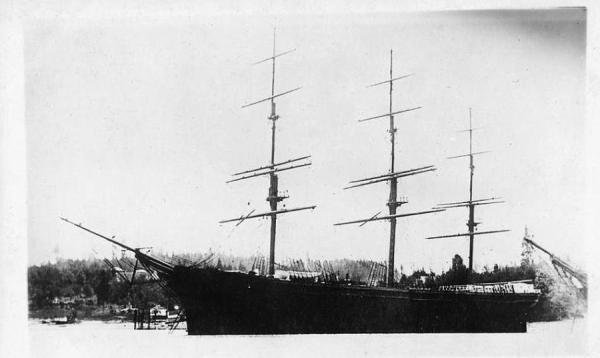
Rich. I’m becoming more convinced that Donald McKay built Glory on his own accord to attempt to turn round his financial situation, thusly not following a normal pattern of his to redesign a new clipper , but to build using designs he previously had designed. Drawing from his more successful designs we can see clearly the true similarities. The Donald McKay, Flying Fish….etc. I chose to add the 1.3 degrees to more closely mimic what photographs suggested……knowing fully that such deviation would and could not be refuted based upon known drawings. Which there are none. It was an educated attempt to harmonize what data I acquired to that of what photographs suggested. Rob
- 3,560 replies
-
- 1
-
-
- clipper
- hull model
- (and 2 more)
-
Rich……I stand by my confusing claim. Everything points to 7deg. During the build of my Glory(after we had our long conversation about optical distortion), I believe I slightly modified my builds bow by 1.3 degrees to compensate for any optical distortions that may have been incorporated by the image. (I’m not sure actually). This was provoked by the angle represented in her in the photograph of her at San Pedro. And your insistence her bow was sharper then previously determined. My calculations is roughly between 7 and 8.3. The hard #’s show 7degrees if all else is correct. Rob