rwiederrich
-
Posts
5,520 -
Joined
-
Last visited
Content Type
Profiles
Forums
Gallery
Events
Everything posted by rwiederrich
-
Sorry for the misunderstanding. Rob
-
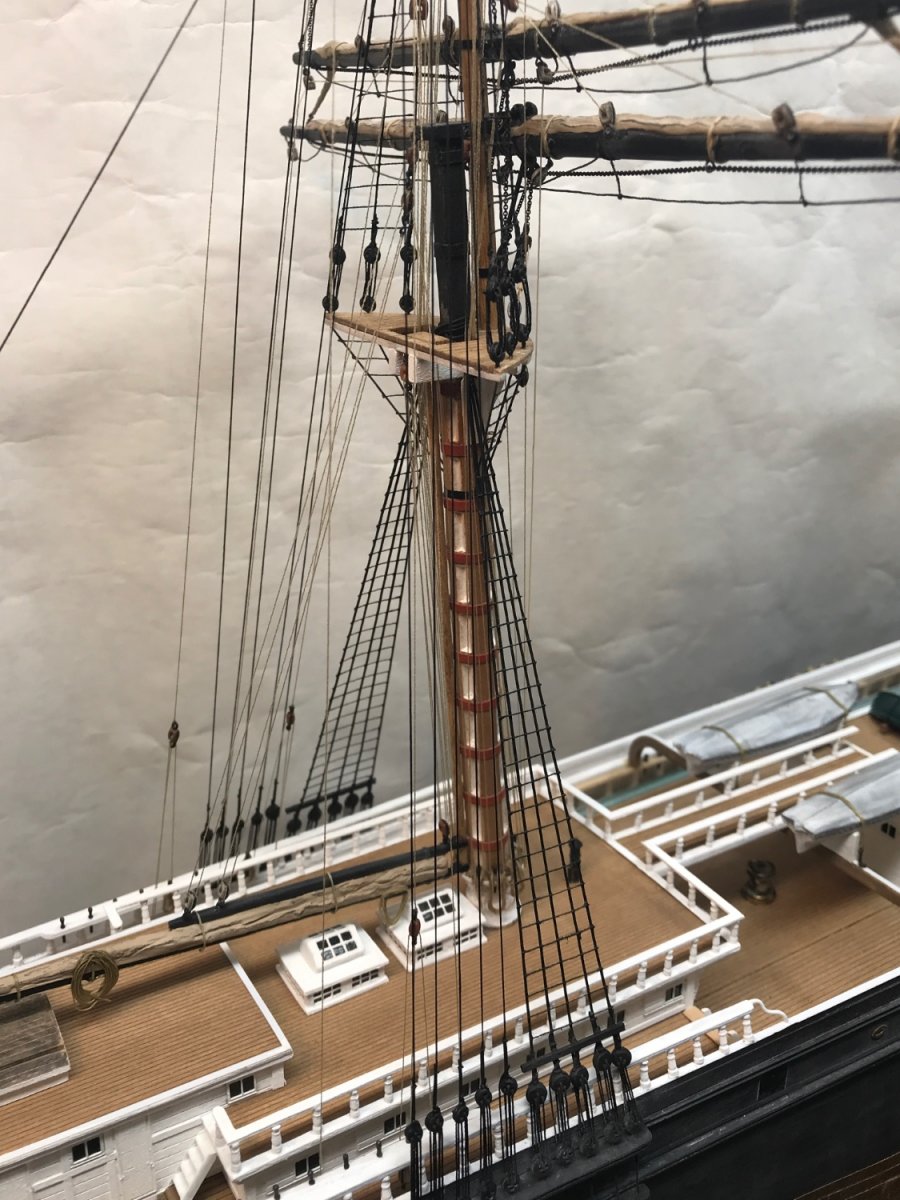
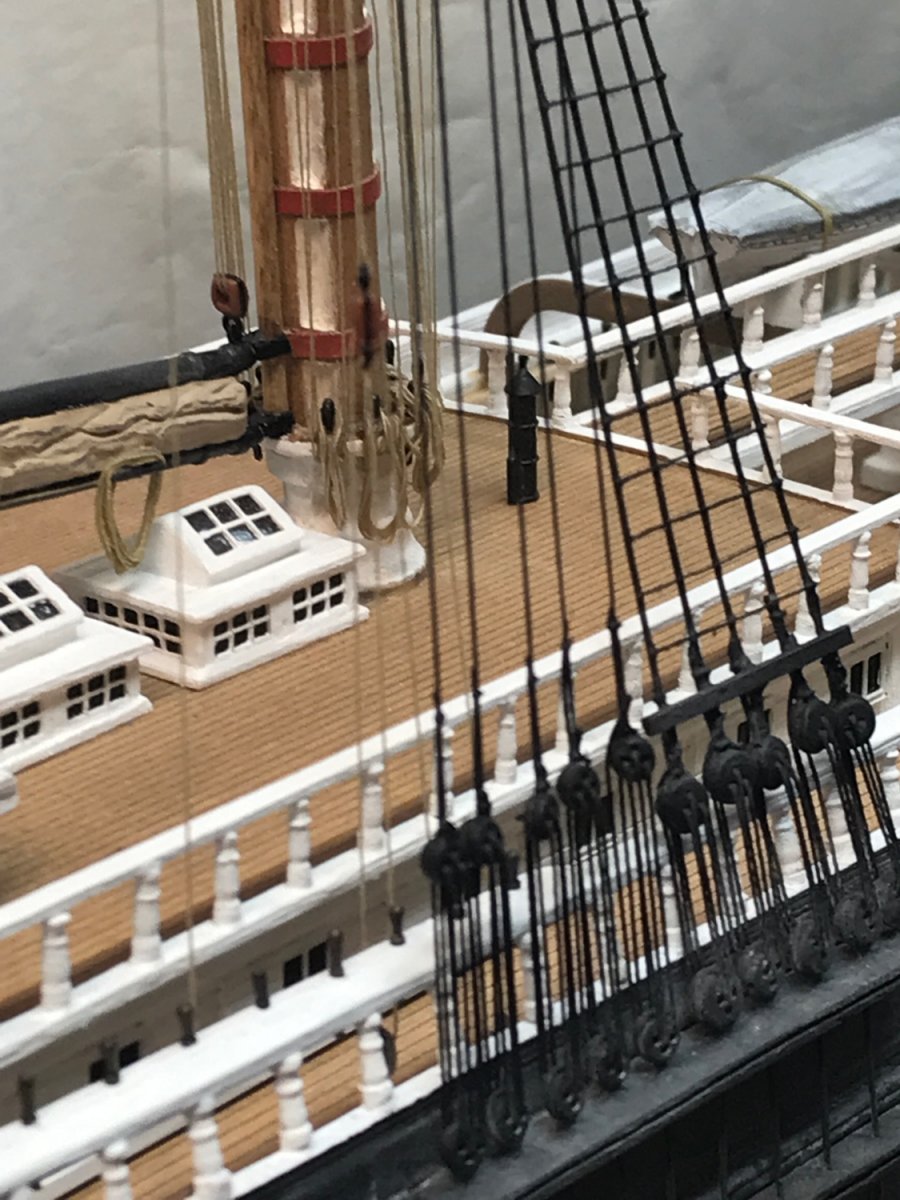
Good job……..but one fearfully evident issue pops up right away. The bands at 1/96 should be a scale 3’ apart…..roughly 3/8”…..center to center. Or at least symmetrical. Your final product looks very nice, but I fear the second attempt banding is too far apart for the scale. Sorry for the criticism. Rob
-
I completely agree……and you read my book……I used this authentic furled method because it actually does eliminate the work needed to make the jackstays as you mentioned. Still the effect is authentic and convincing. Thanks for the fine comment and observations. Rob
- 3,560 replies
-
- 5
-

-
- clipper
- hull model
- (and 2 more)
-
The crossjack is a more significant sail, so I made sure I made it slightly larger in quantity. Thanks for the compliment. Rob
- 3,560 replies
-
- 3
-
-
- clipper
- hull model
- (and 2 more)
-
I’m following the chart, but knowing some practices may be different. I will use license as well. Rob
-
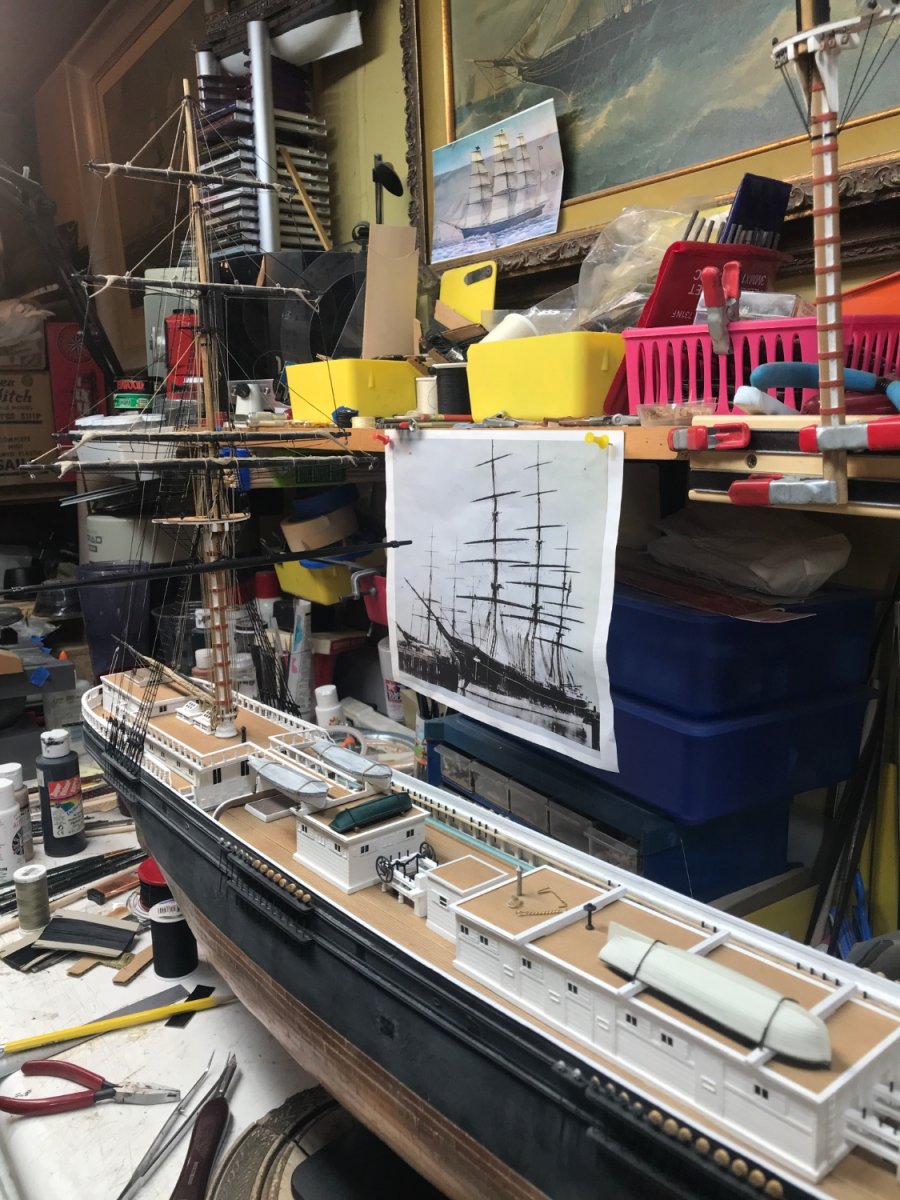
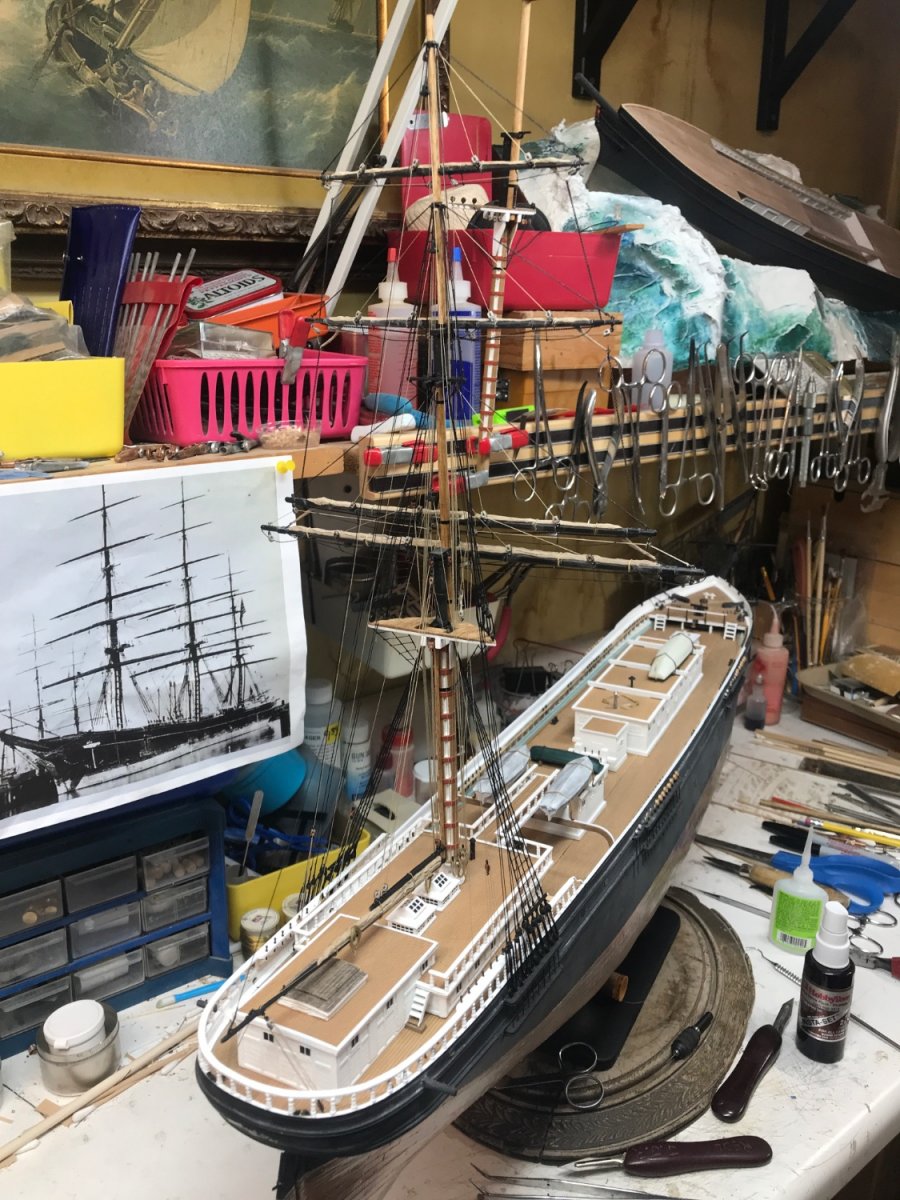
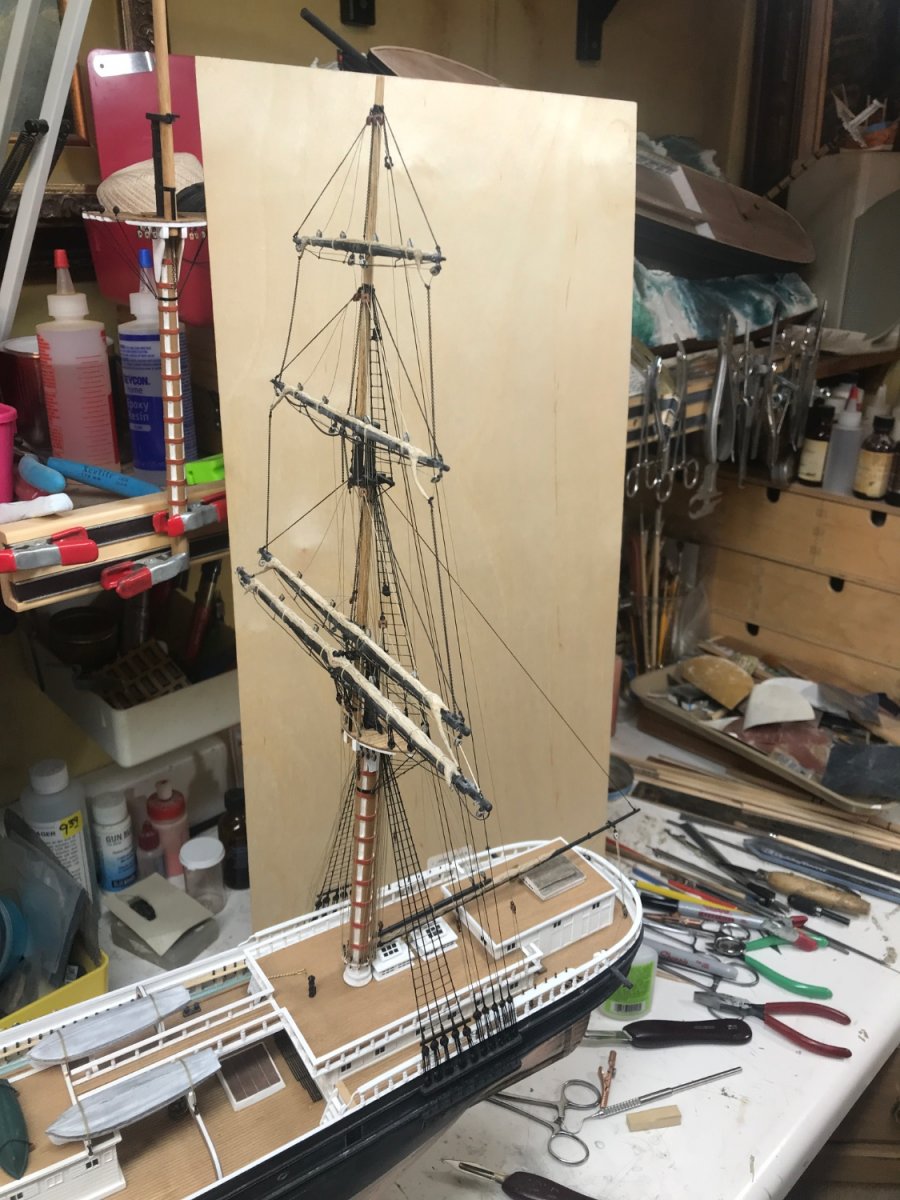
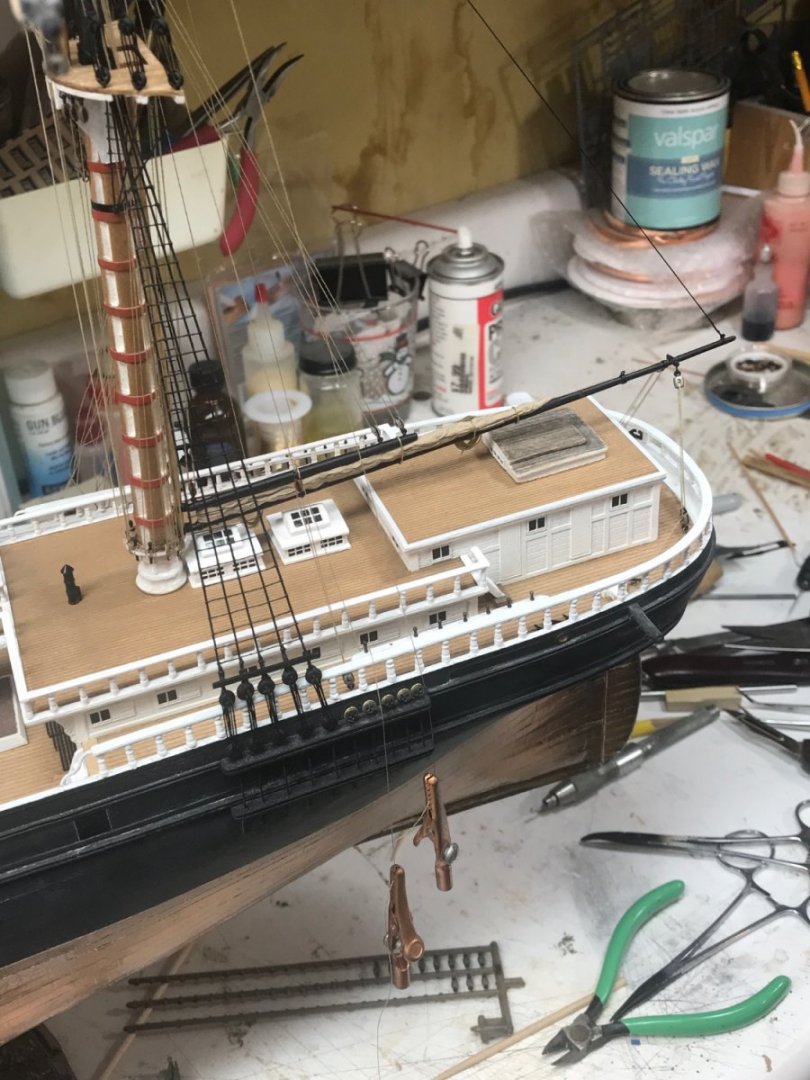
Flipped around and ready to clean up this mess………. Rob

- 3,560 replies
-
- 3
-
-
- clipper
- hull model
- (and 2 more)
-
Coming along nicely. Rob
-
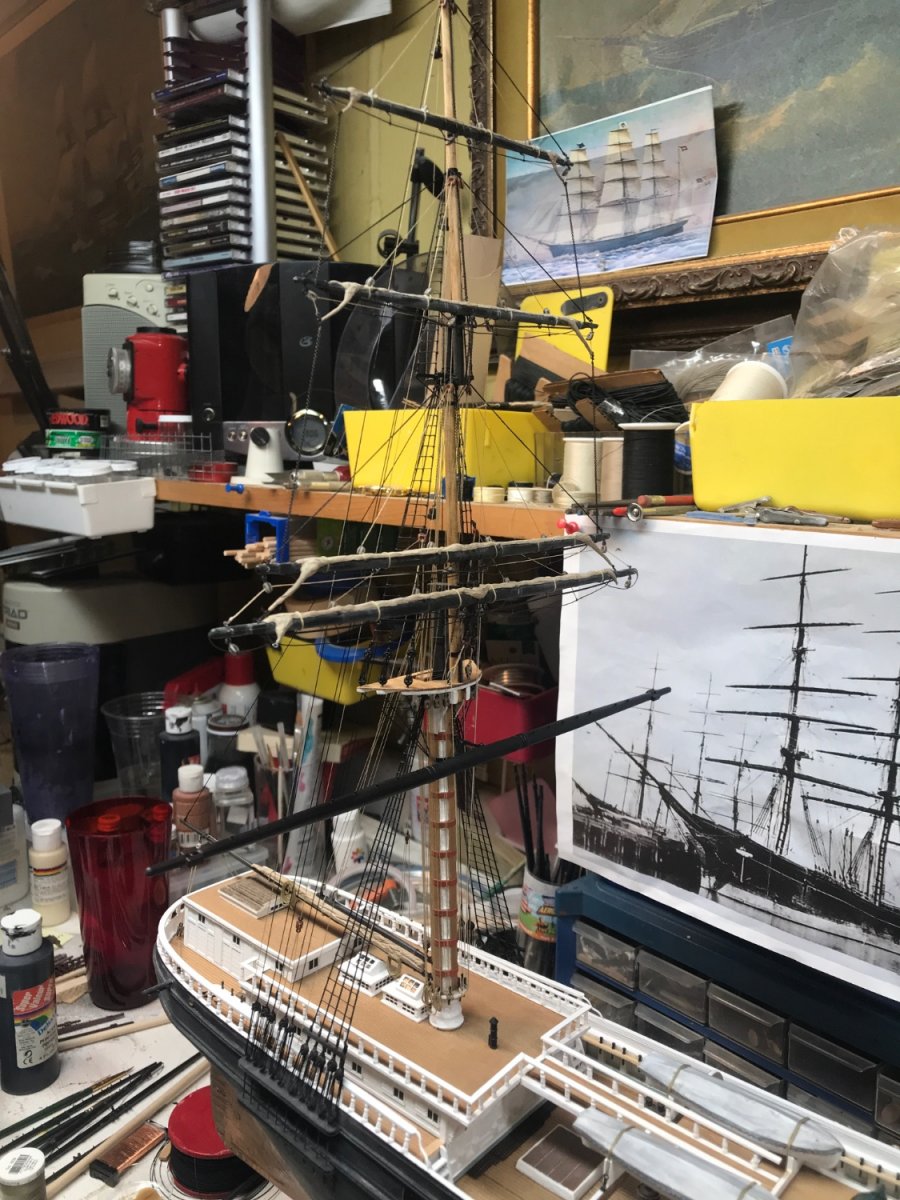
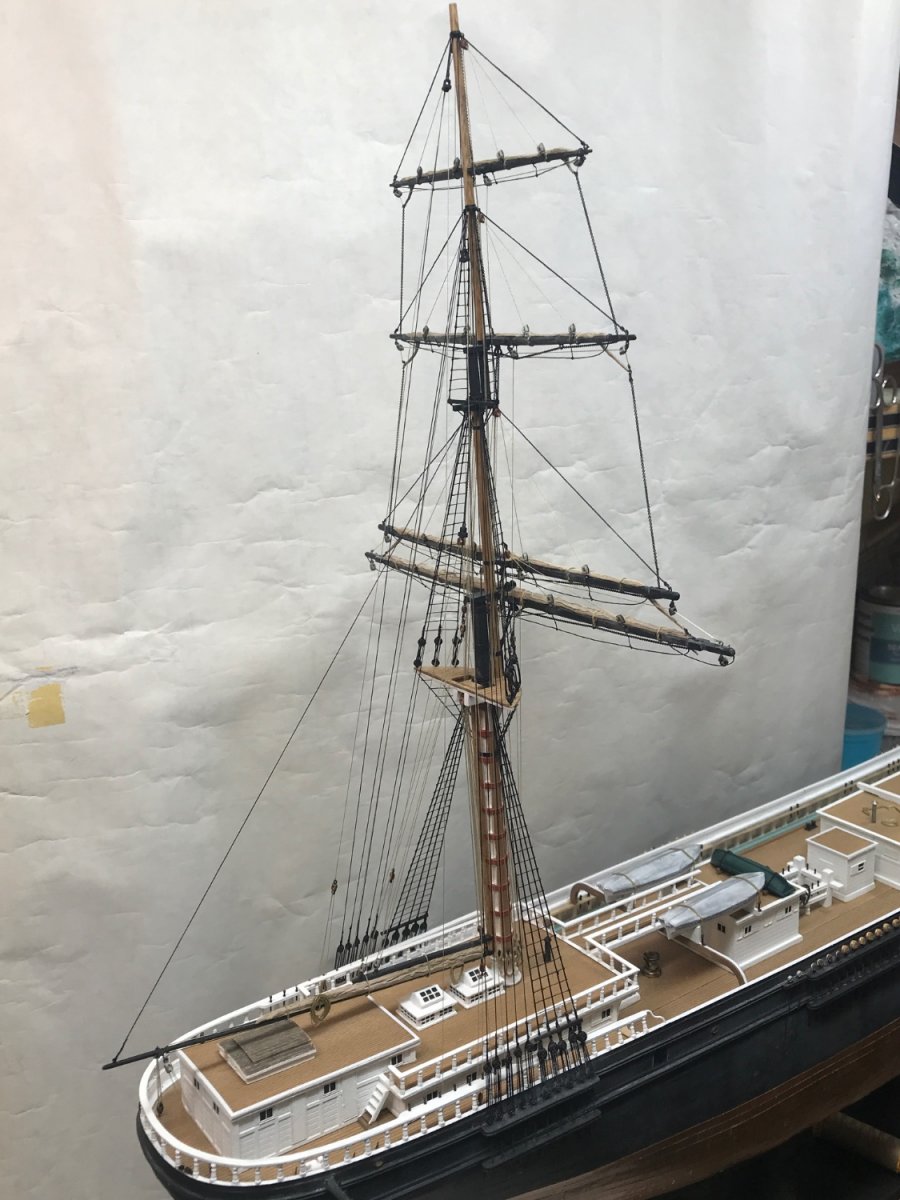
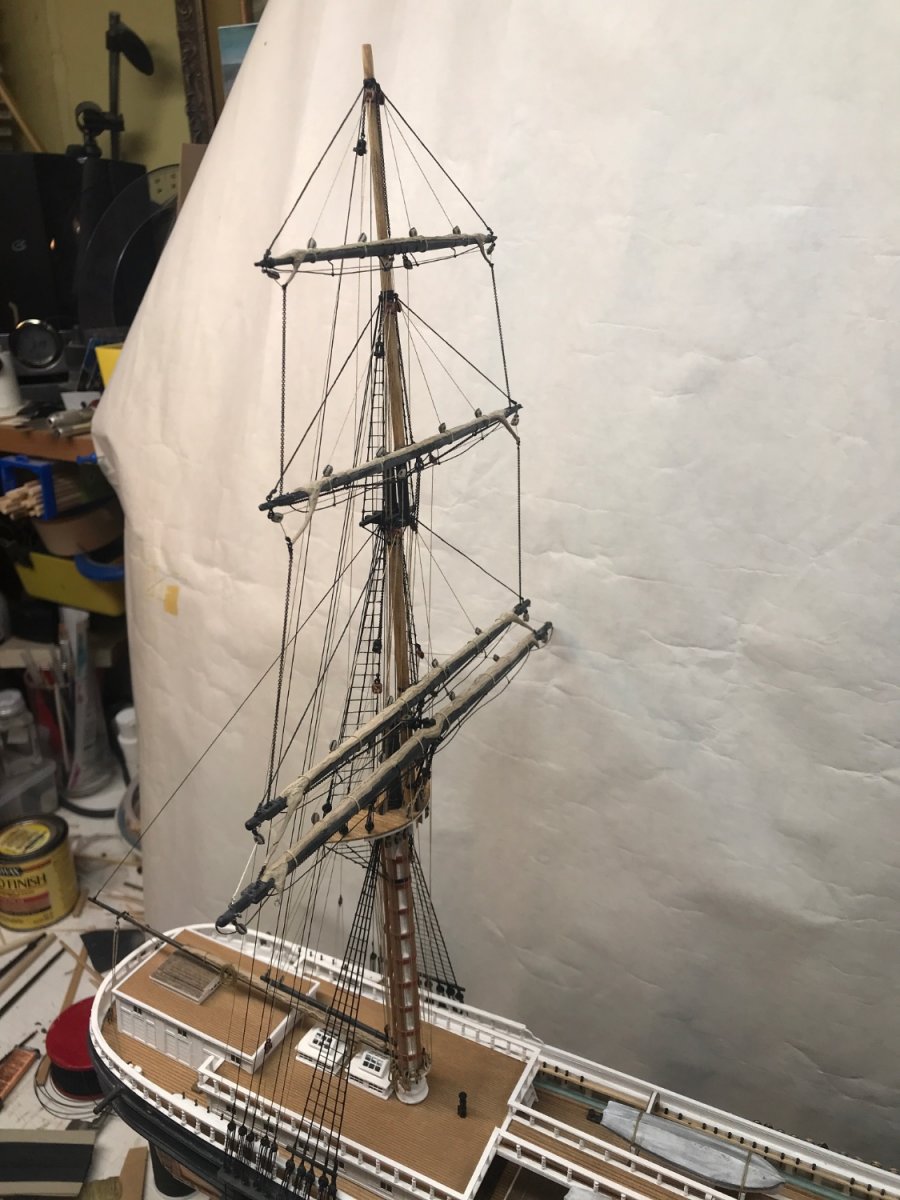
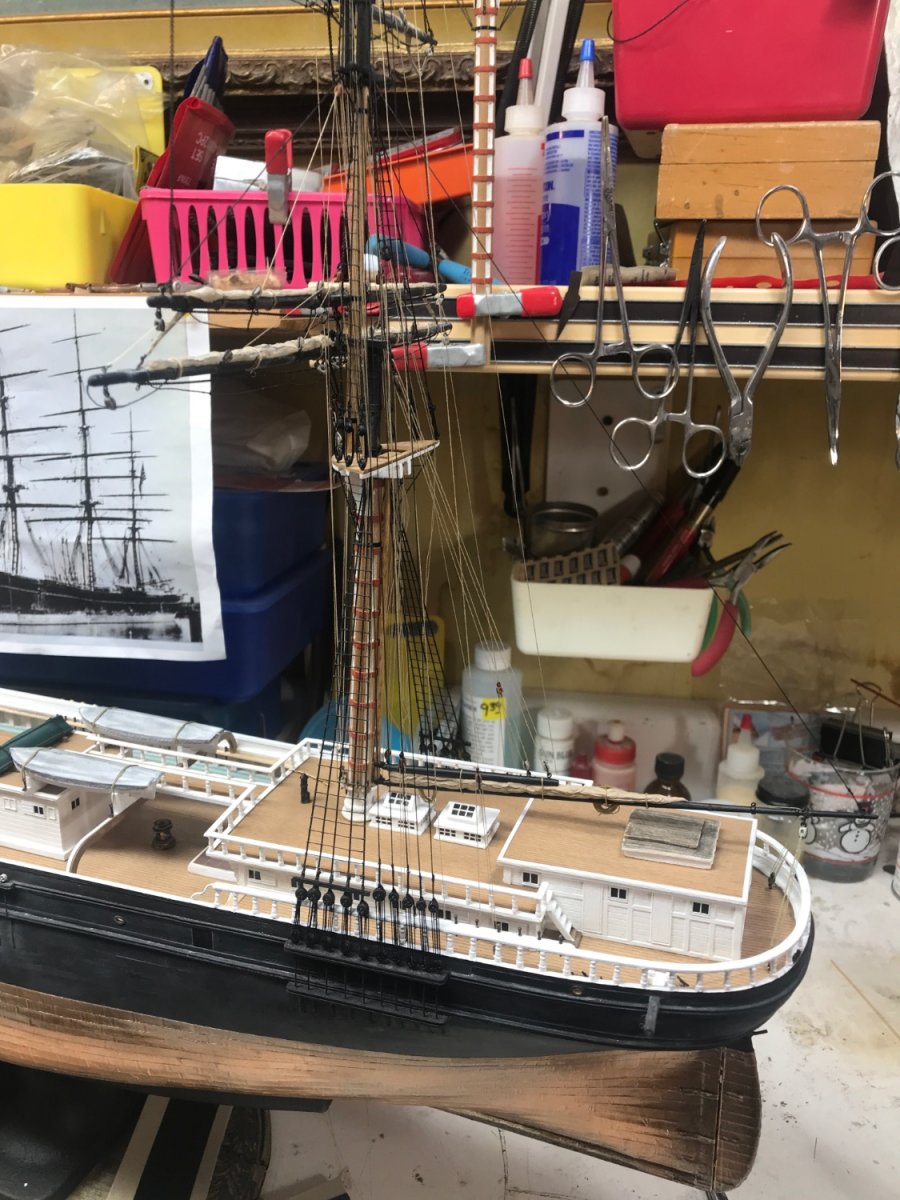
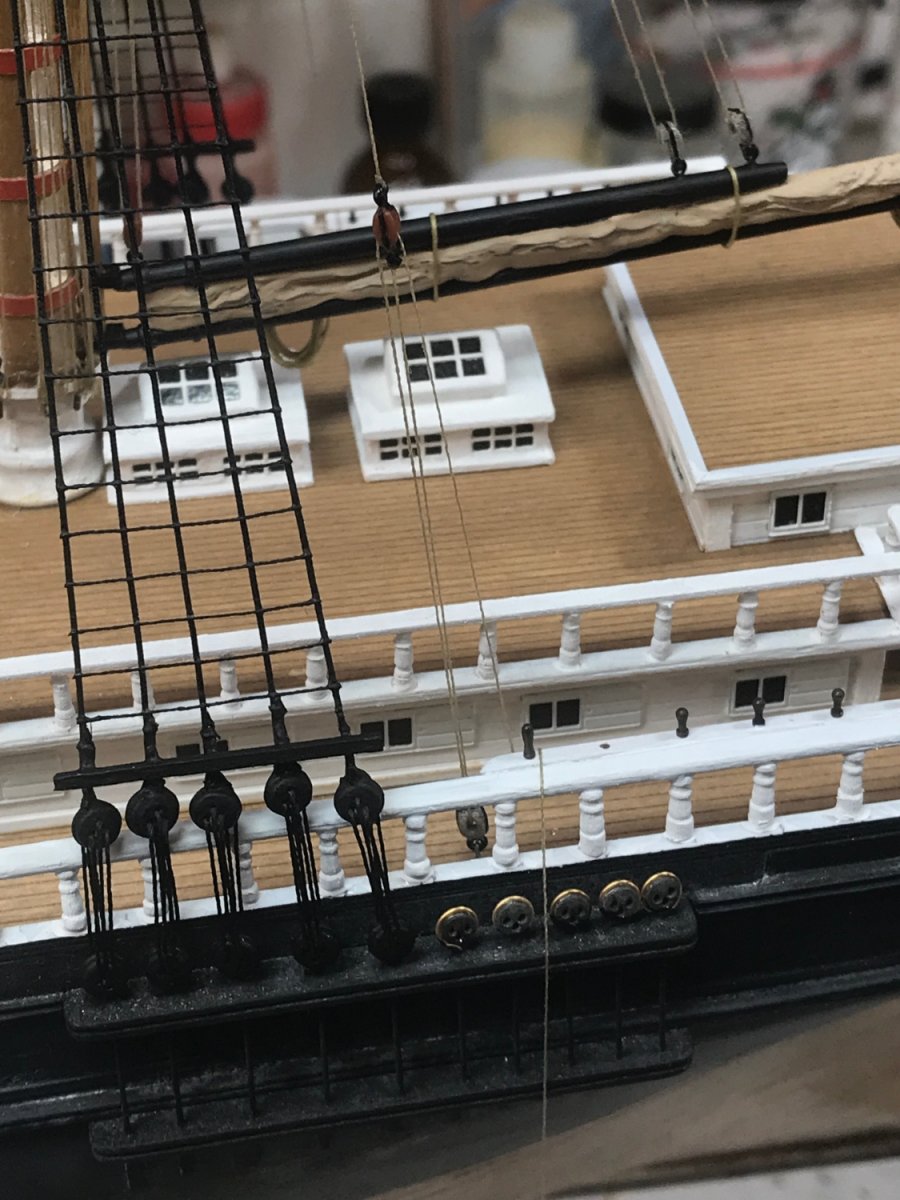
Finished up the port mizzenmast backstays. I’ll add a couple more details on this side before flipper to the starboard side. Rob


- 3,560 replies
-
- 3
-
-
- clipper
- hull model
- (and 2 more)
-
Right. The creative process finds many avenues. I'll leave you to do what you do....and I'll keep my focus on what's in front of me. Thanks for all you do. Rob
-
Rich...I have full confidence in your preparedness.....I'm simply saying the completeness of the models lends the article to possibly having a part 2 at some later date..when the models are complete. Not that you you need to add to what you have already achieved....for this first article deadline. Rob(feeling the need to get more work done.....soon)
-
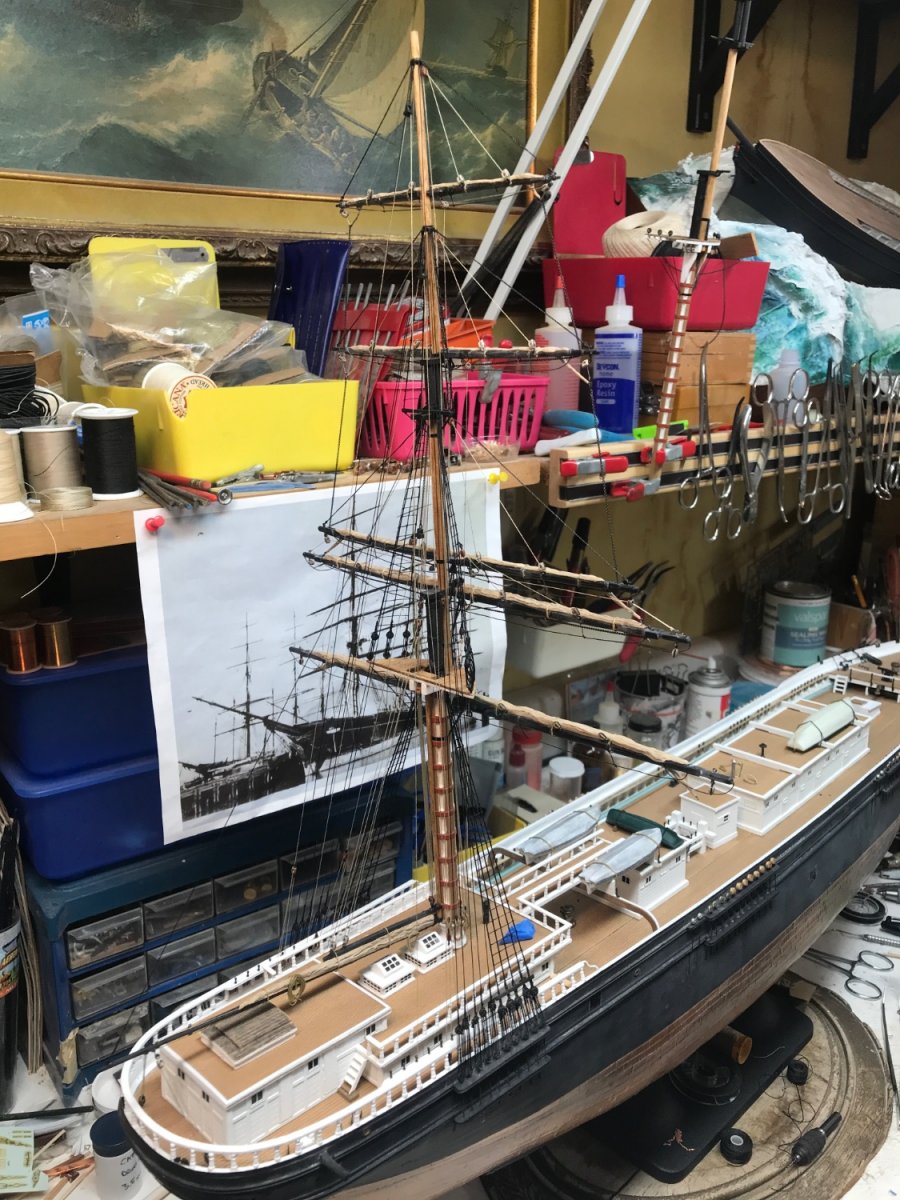
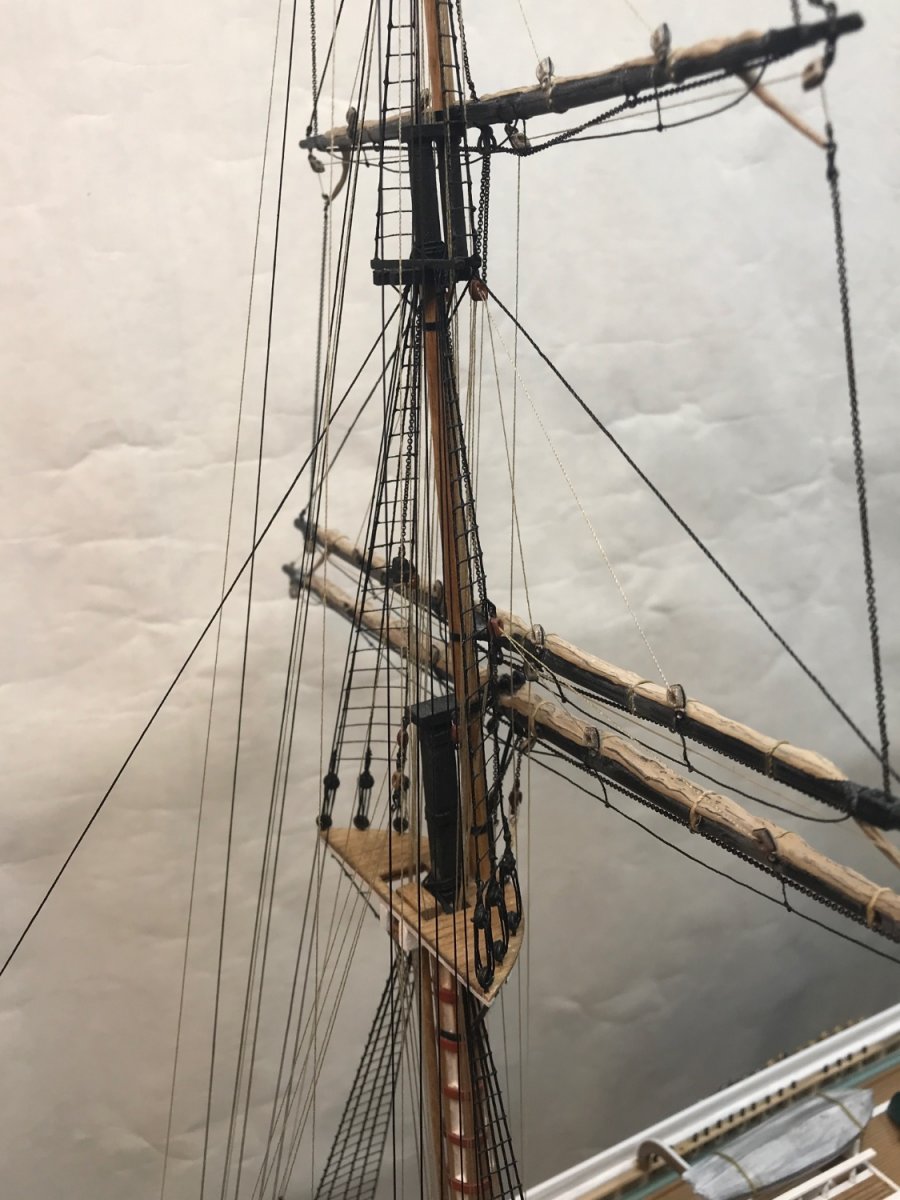
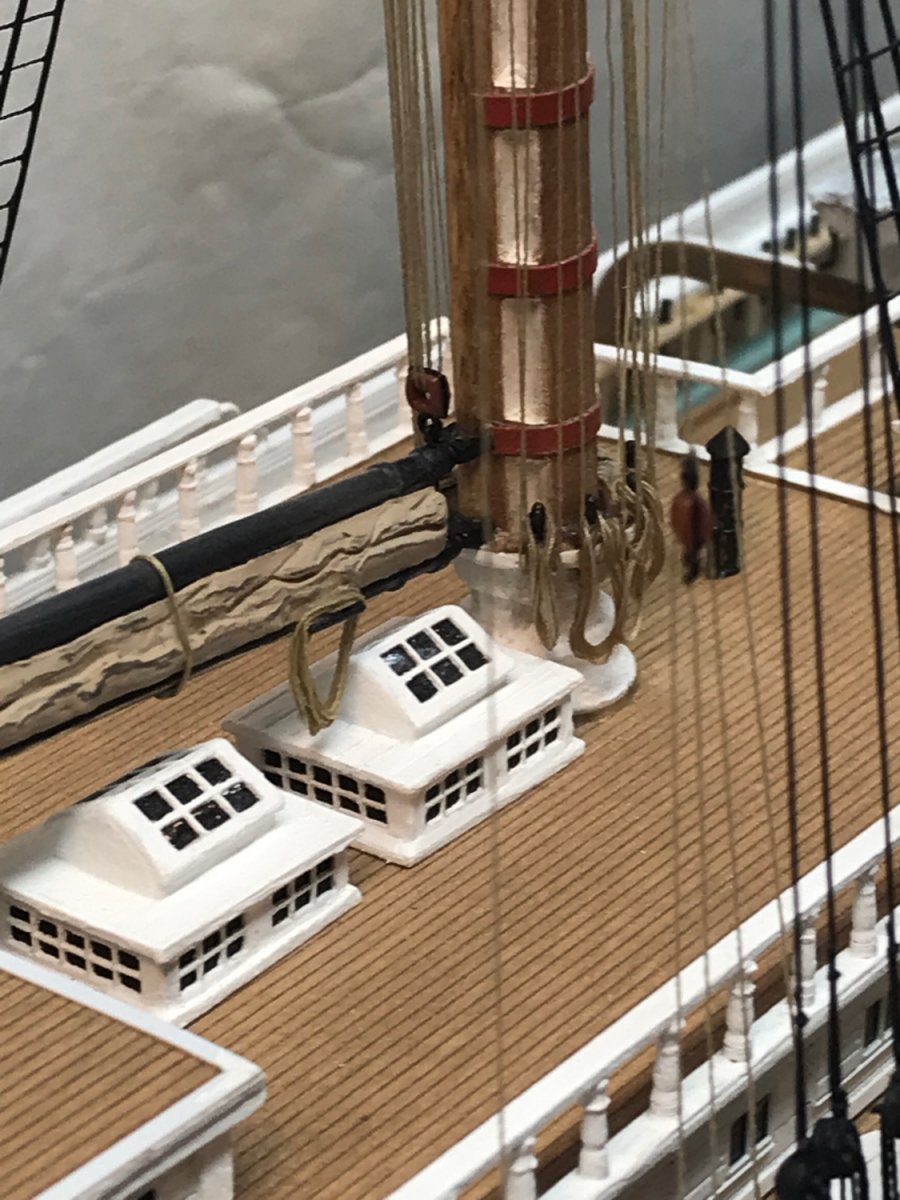
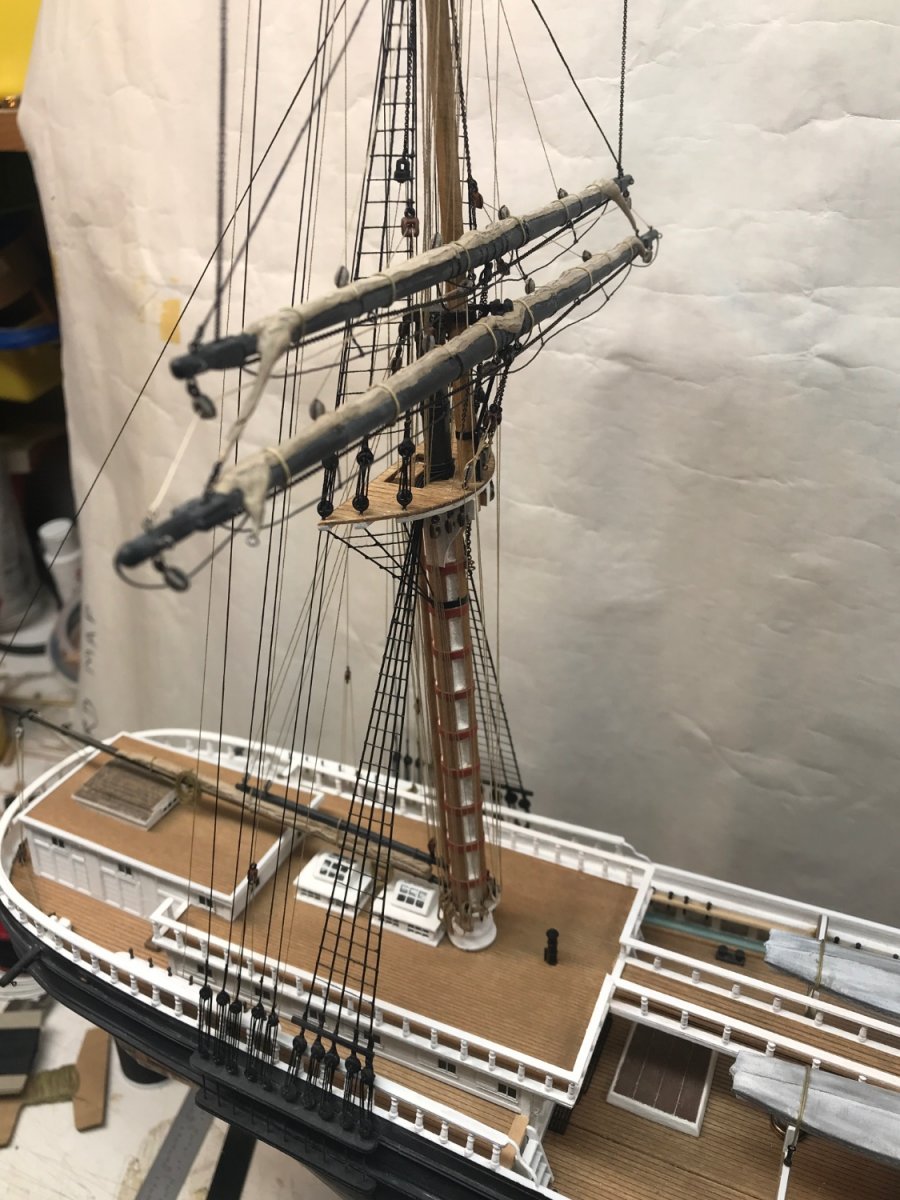
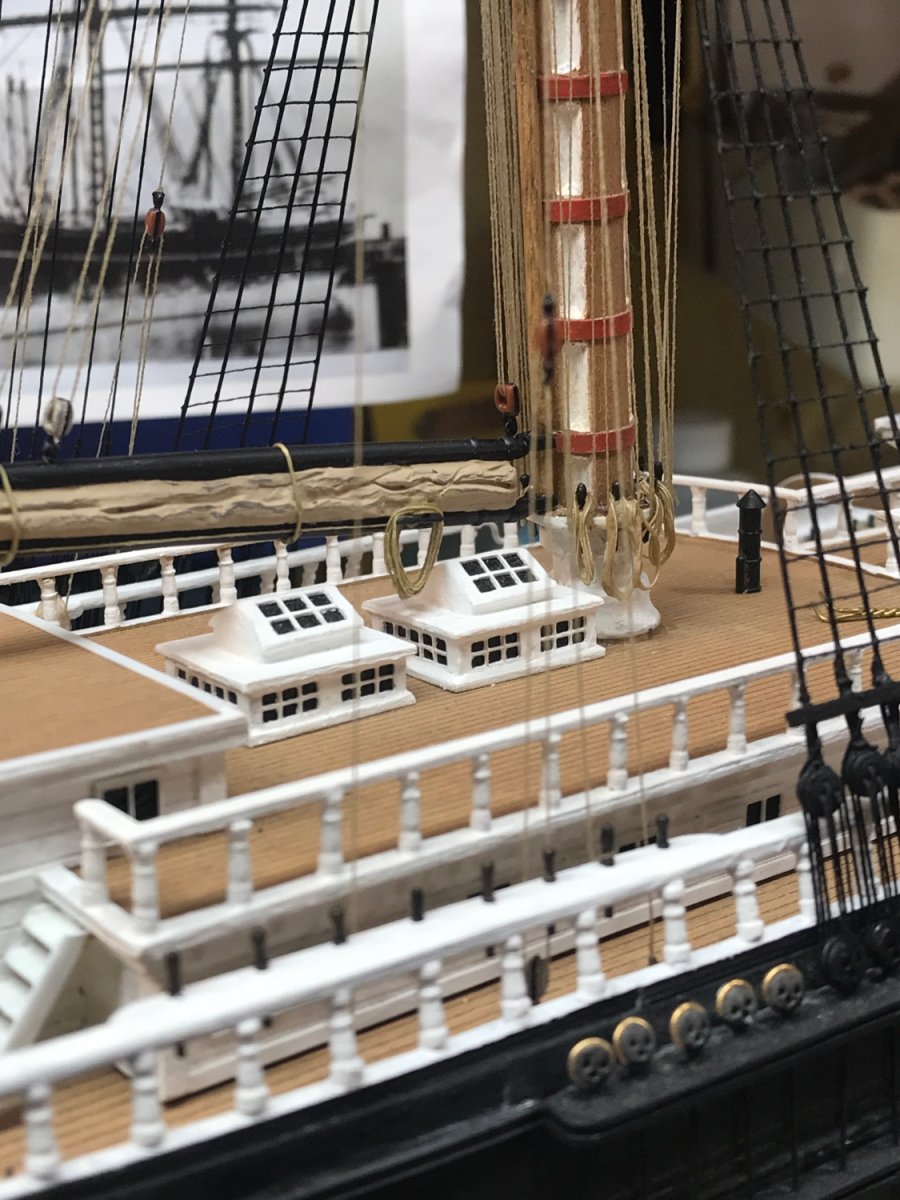
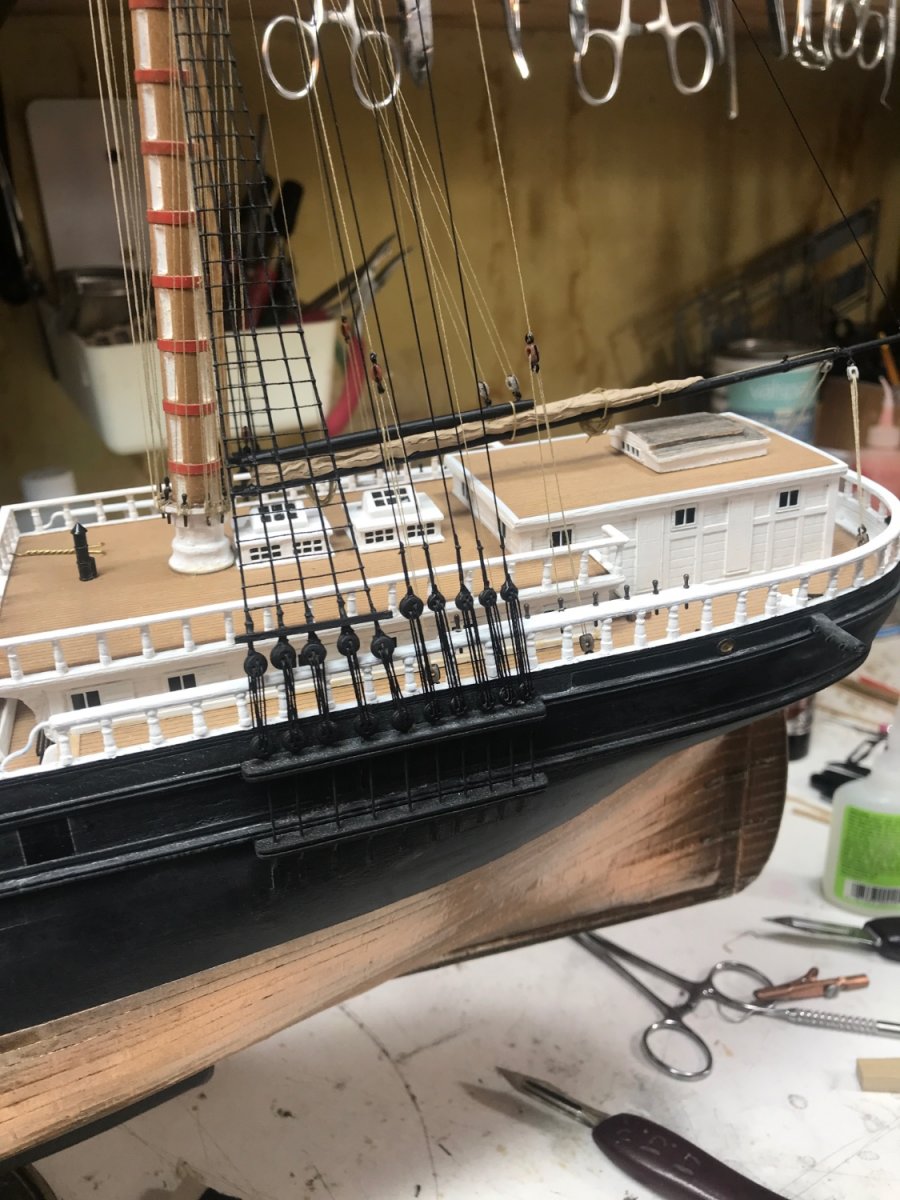
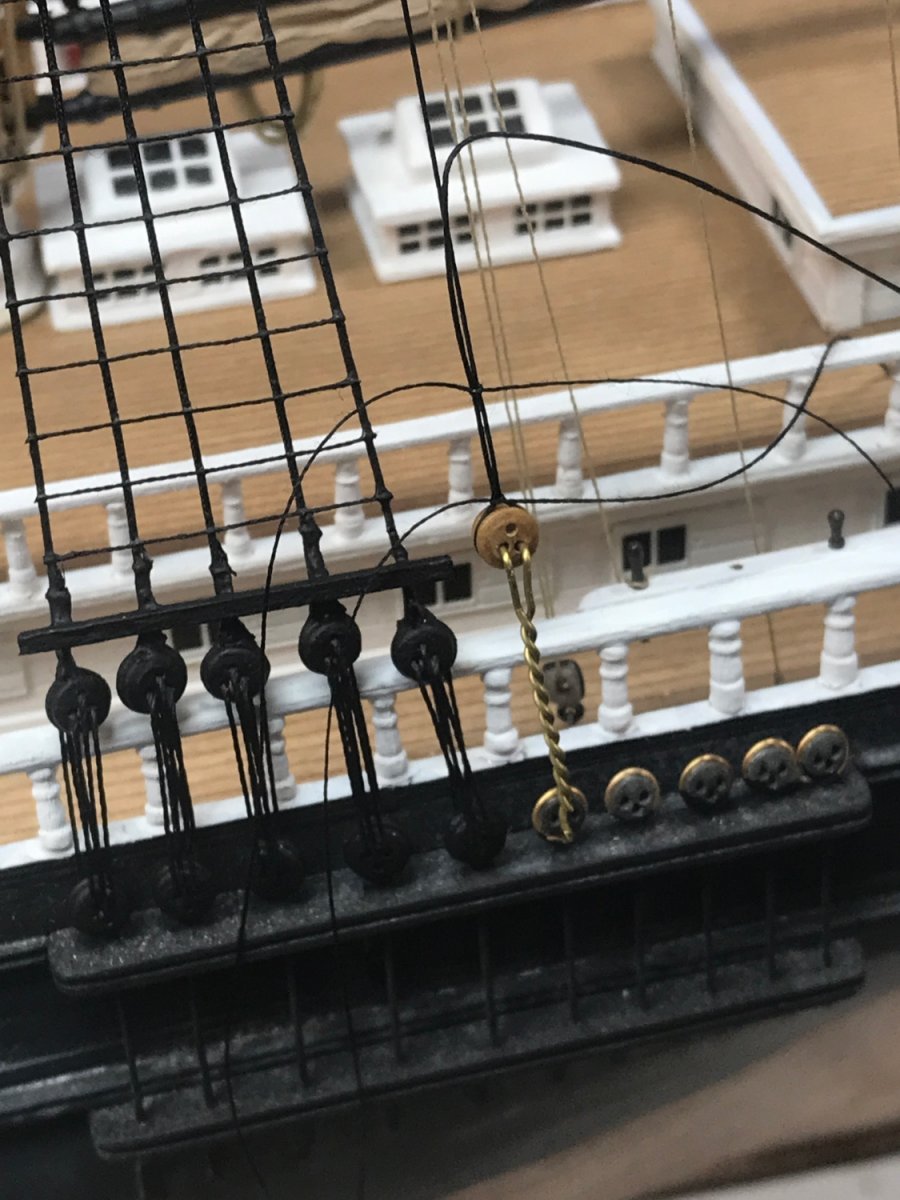
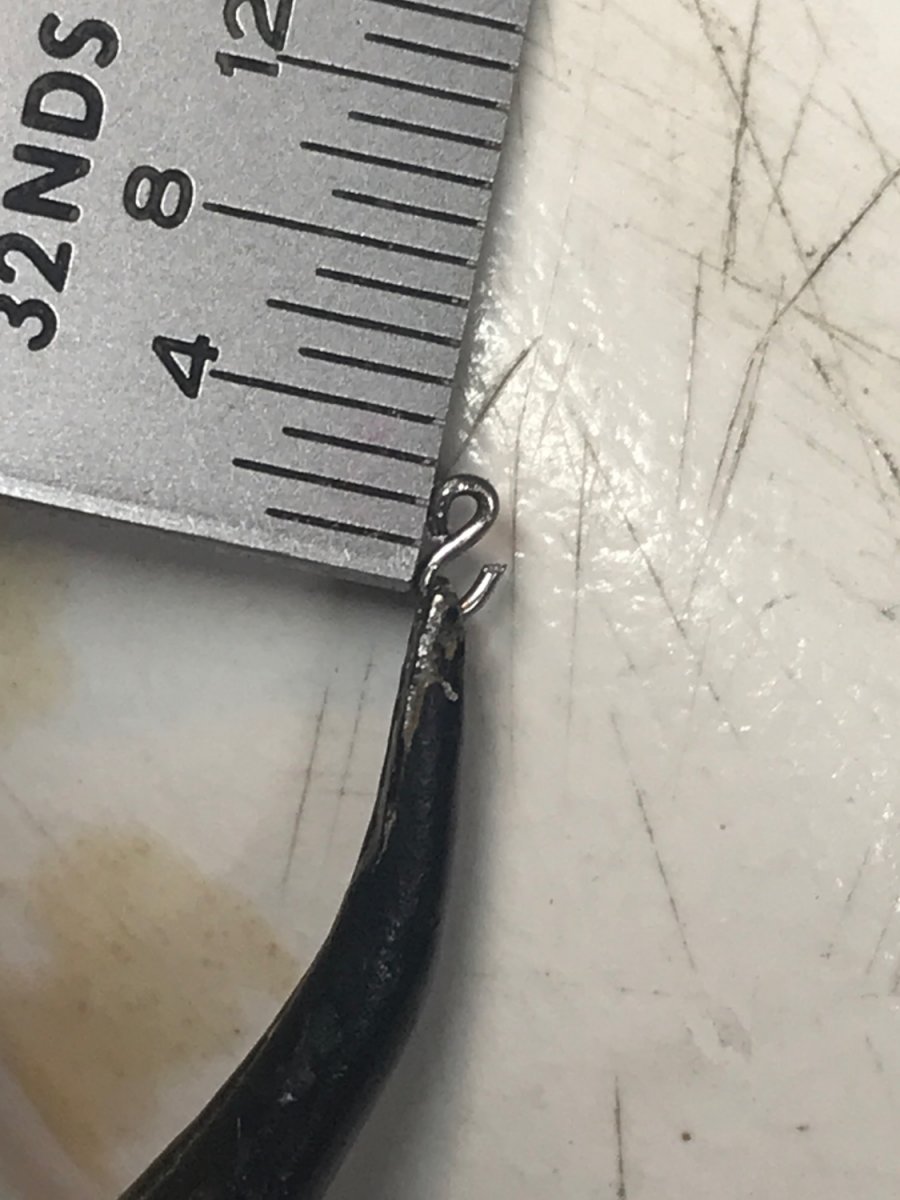
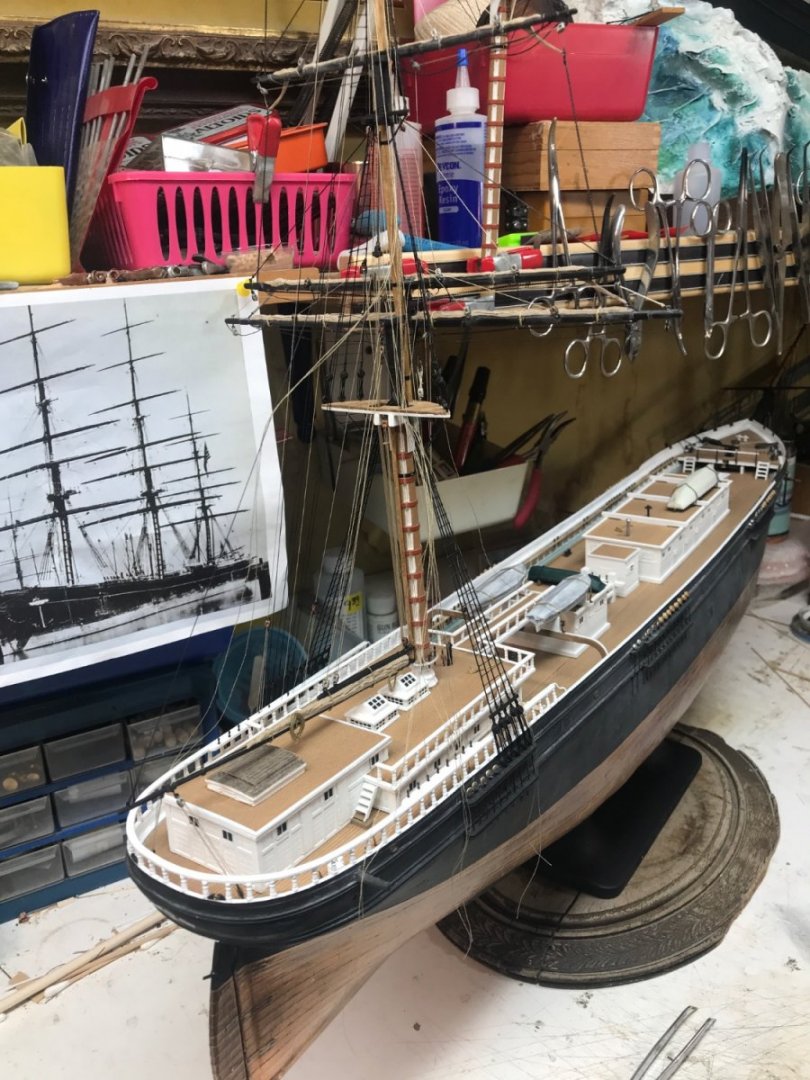
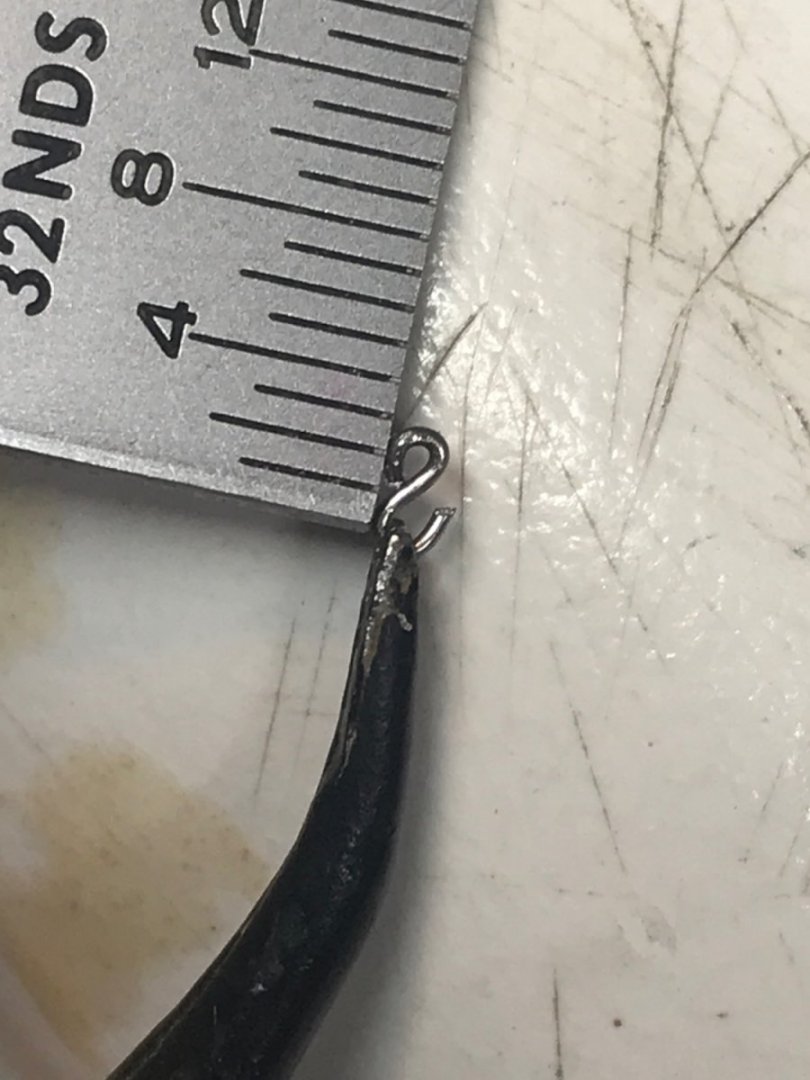
Making some purchase eye hooks for the yard halliards……..not bigger then 3/32”. Rob

- 3,560 replies
-
- 3
-
-
- clipper
- hull model
- (and 2 more)
-
I mentioned earlier in my comment that a second or third installment might be nice to follow up with the builds. I hope to spend more then one day a week on her...hoping to expedite her finish date. A date established to cause me to a closer completion date make me get off my toosh. A *due-date* is motivating. Thanks again for your efforts in this matter. Rob
-
Collections of Ship Models: Help!
rwiederrich replied to Sam Willis's topic in Nautical/Naval History
Thanks for the intro and reviews Sam.....I hope you find the material you are looking for...your project sounds amazing. Rob -
Rich...sounds like you are preparing a very detailed account of our research and the results...within our builds. Wonderful. I'd like to know about Ron Haug's corrections and Mike's critique if at all possible. I hope to have more completed by your July 1st deadline....possibly I could take a much better...*As-is* image for you at or close to that time frame for your submission. Possibly there could be a follow up after She is completed. Great job....I hope the publisher accepts your article. It will be wonderful to see and read. Keeping Glory's history and legacy alive. Rob
- 3,560 replies
-
- 1
-
-
- clipper
- hull model
- (and 2 more)
-
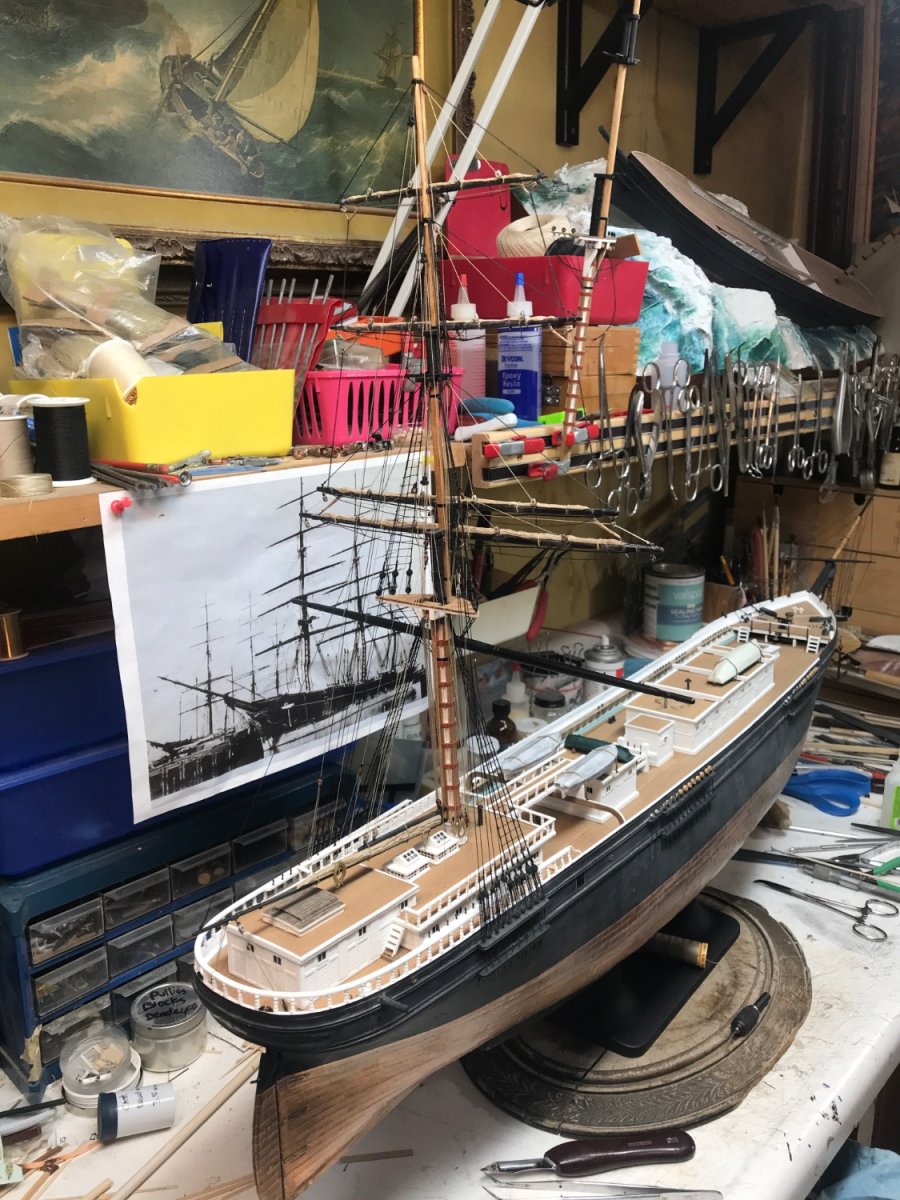
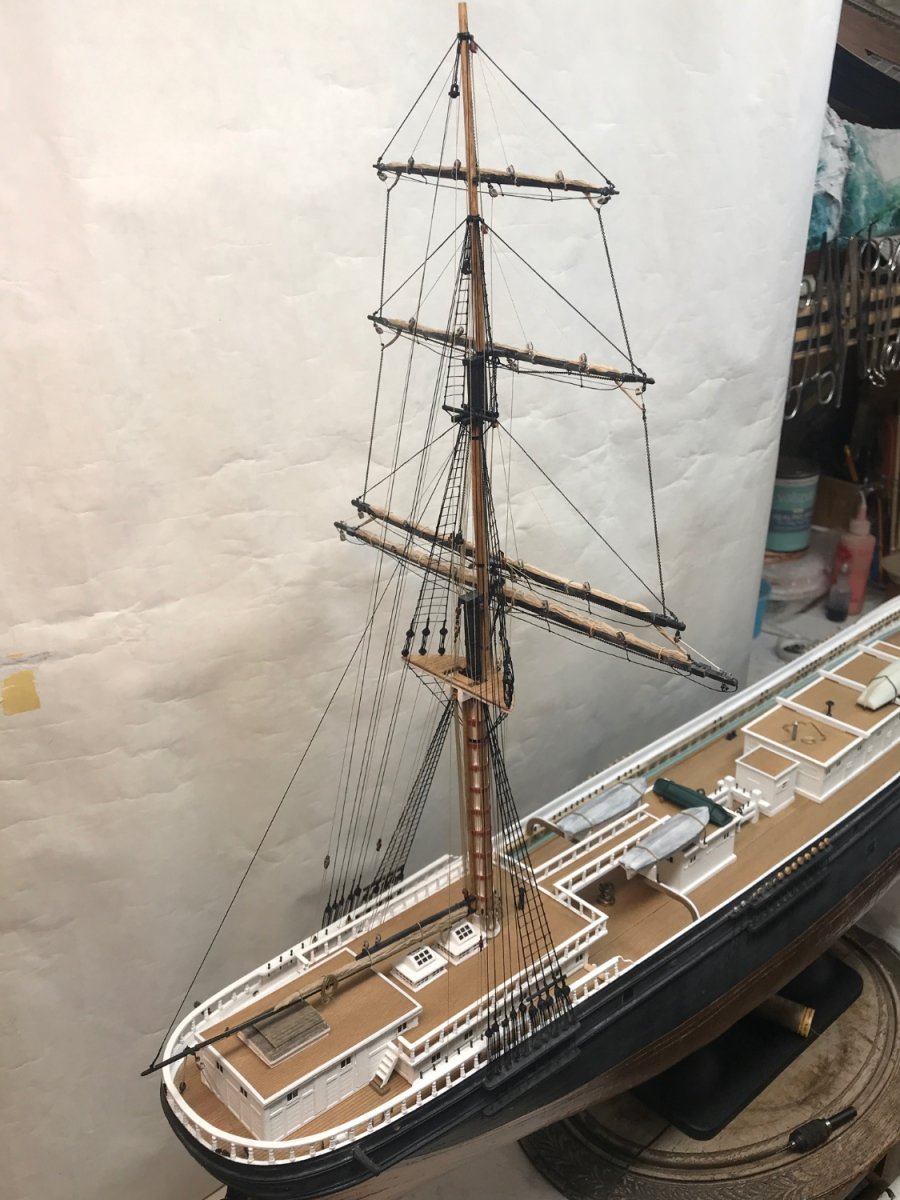
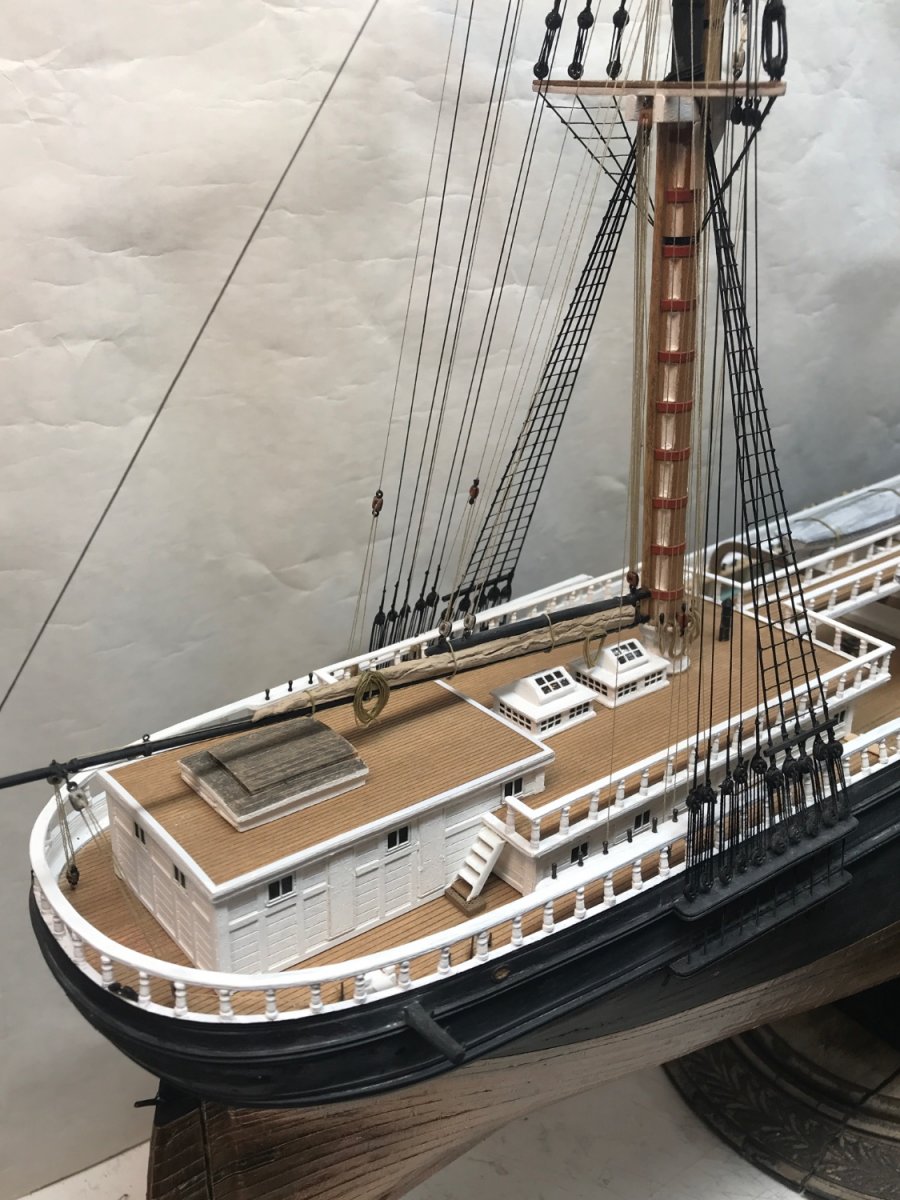
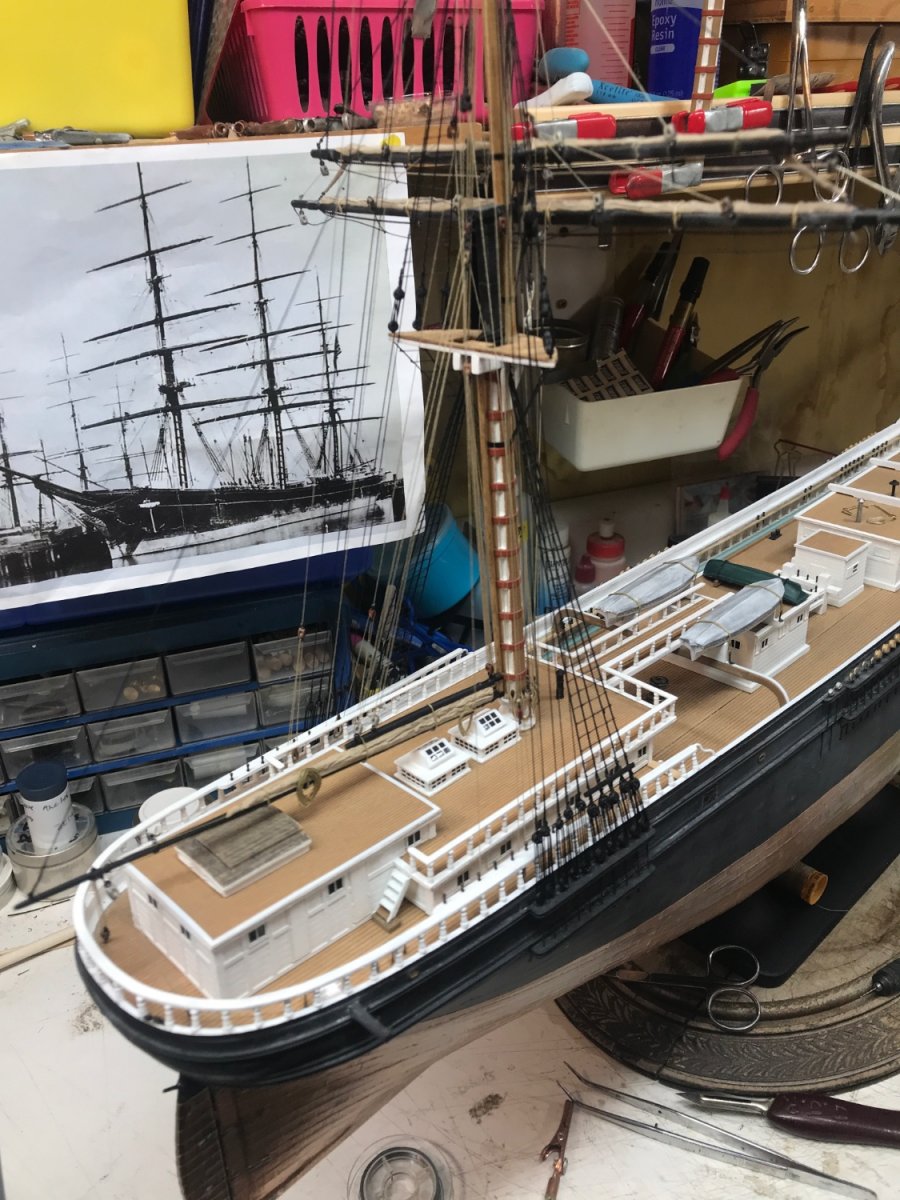
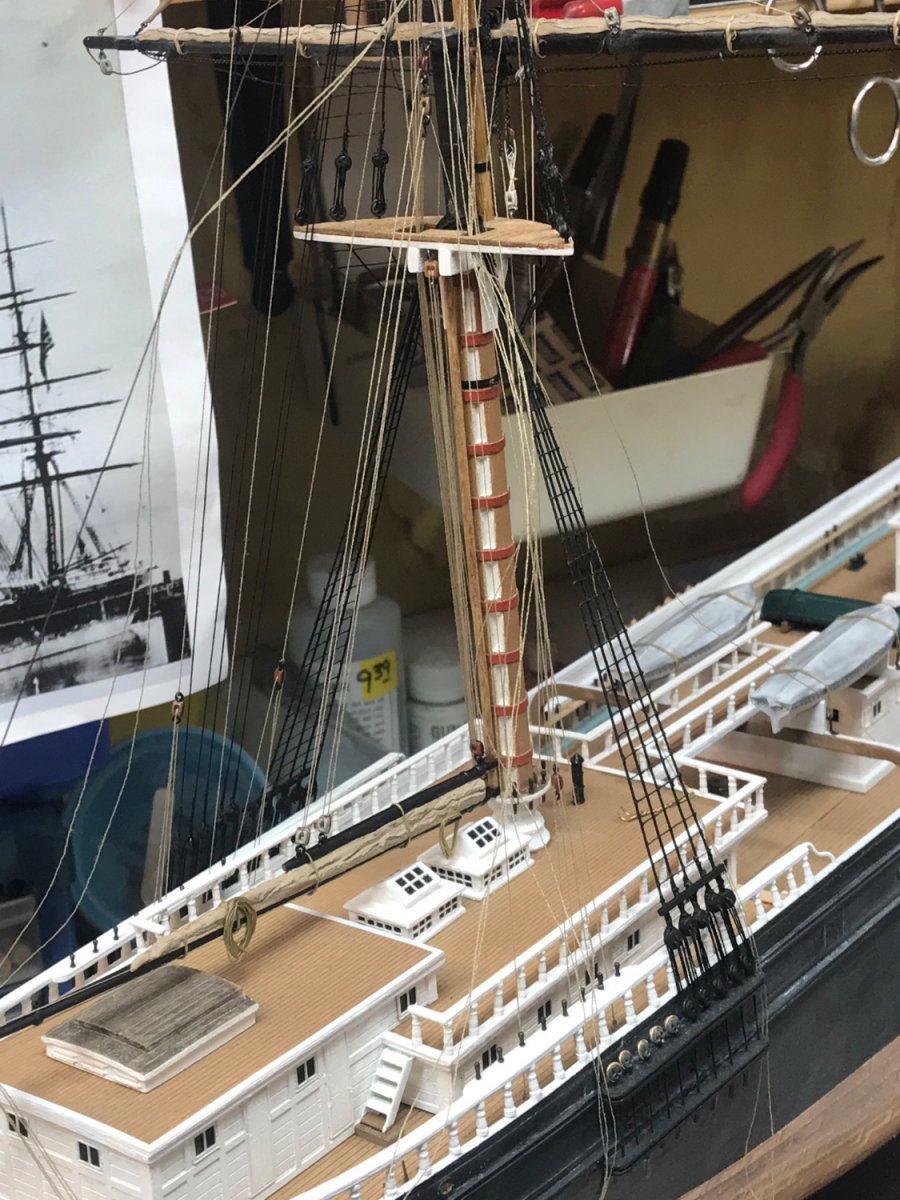
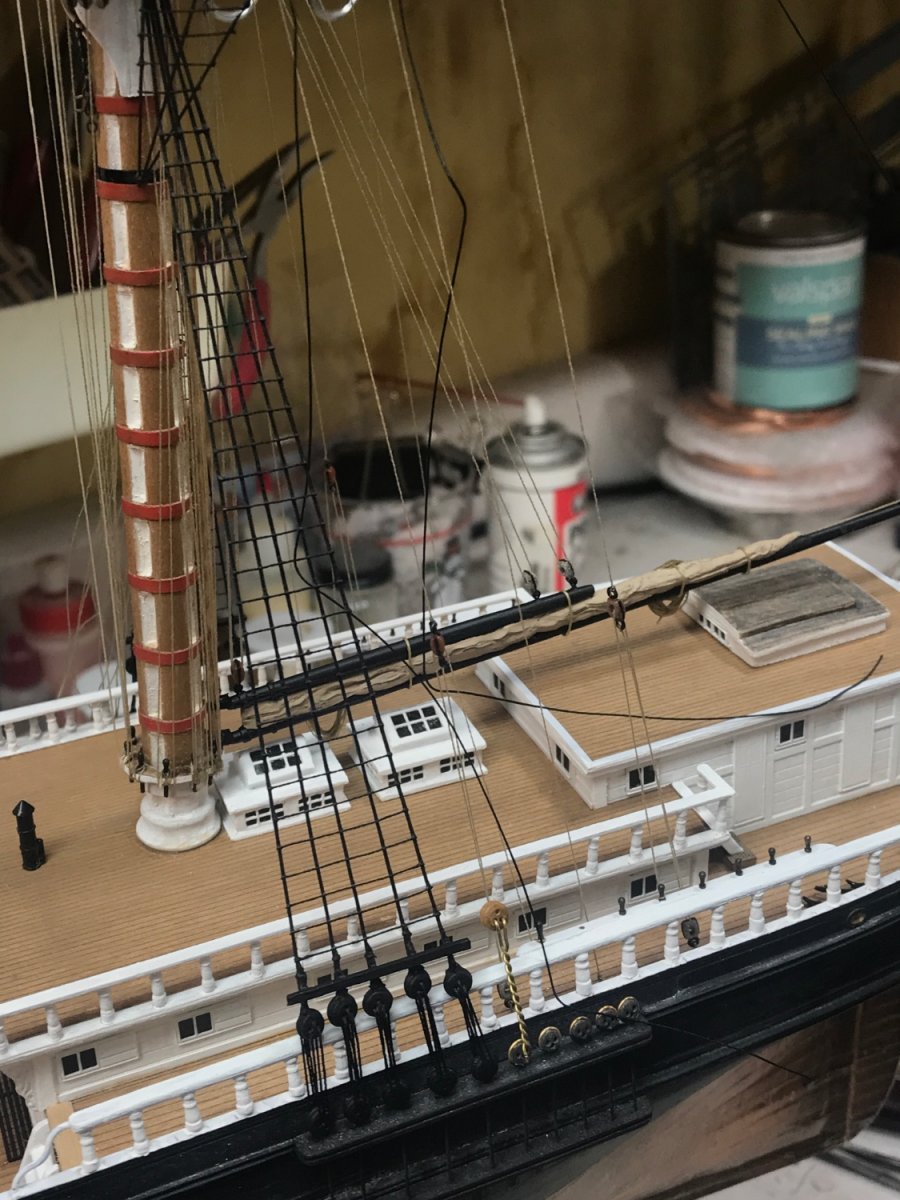
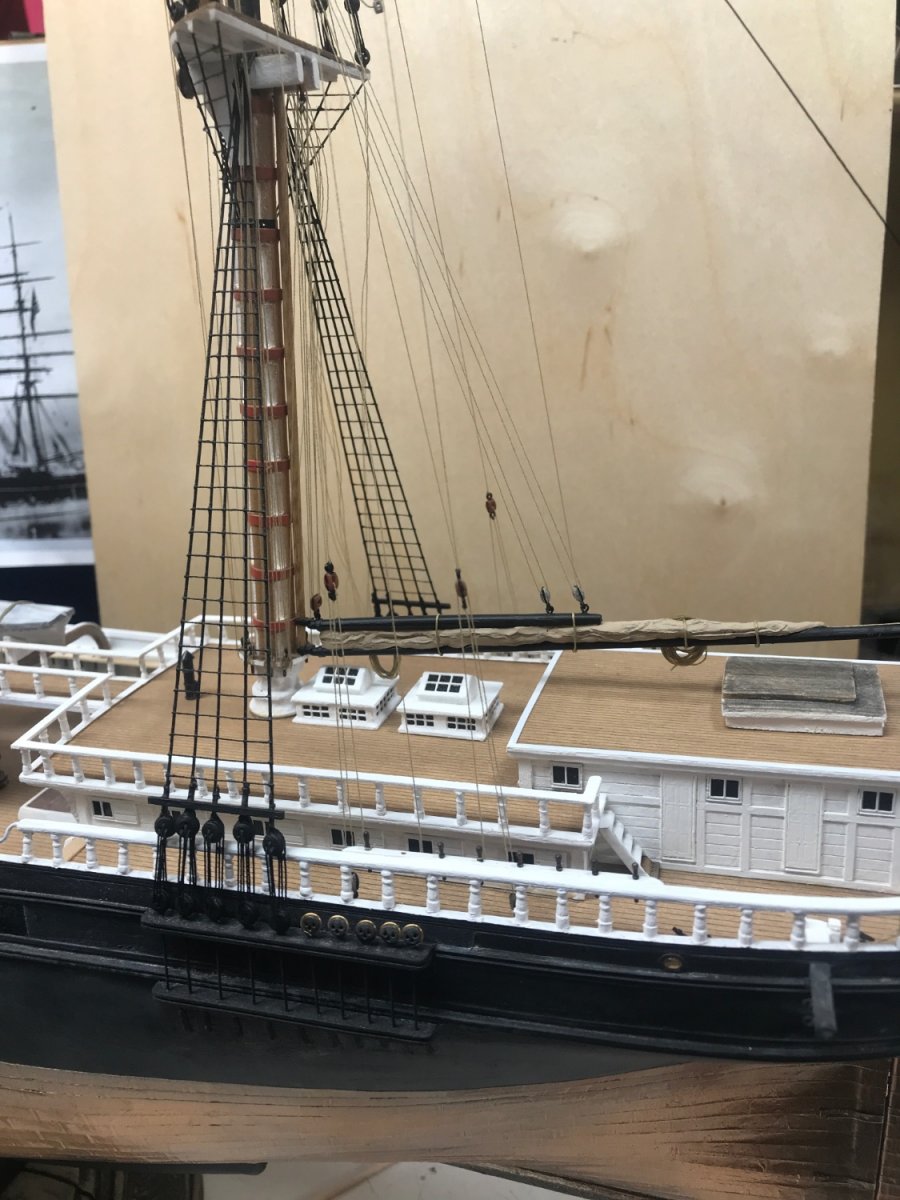
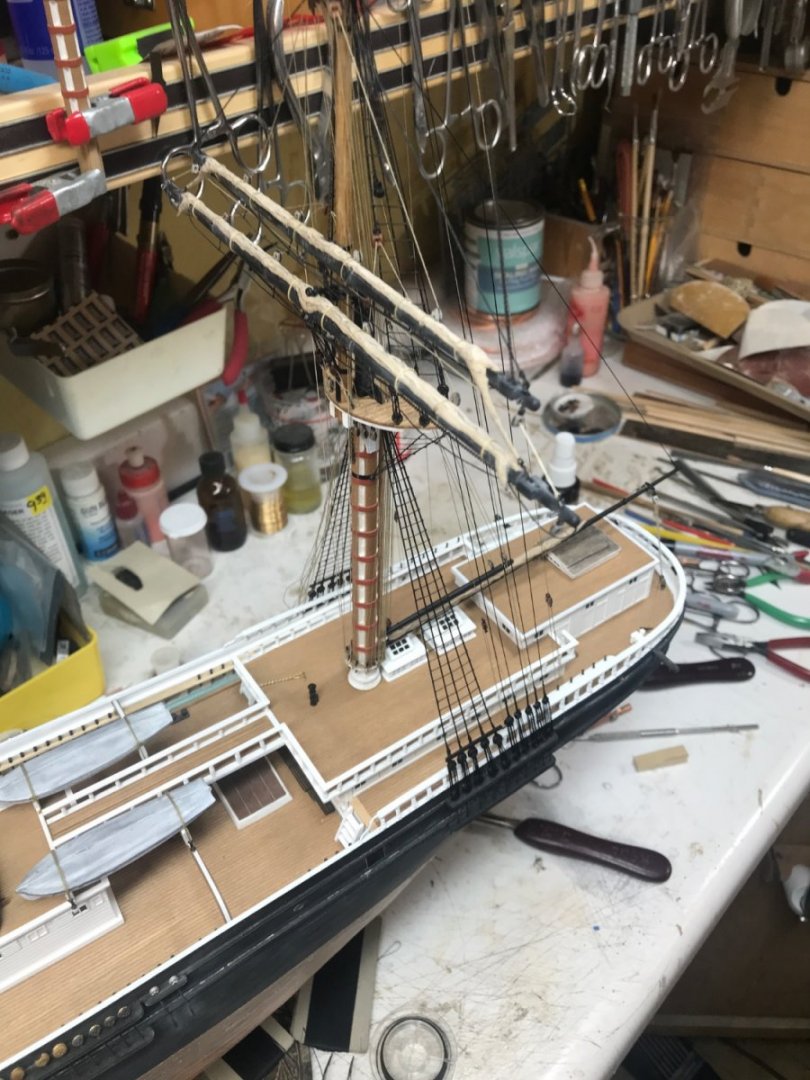
Thanks everyone, I appreciate it immensely. All I can do is my best and what I think will look best during this period in her life. I plan on adding the monkey boom (pennant boom) next after I finish up with the yard halliard’s and their purchases. I’ll probably move to add the port back stays as well before I flip her and then finish all these elements on her starboard side. Then and only then will I proceed to finish up her main mizzenmast yard. So much to do still. Rich, that last image you posted clearly shows the location of the forward davit…..just aft of the main channel Rob
- 3,560 replies
-
- 1
-
-
- clipper
- hull model
- (and 2 more)
-
Druxey…….my last two builds, I did the same as you. I wanted to build in small steps, to fool myself that I am working faster by finishing smaller projects. Small projects finished gives me motivation in the short term. Verses the long term exhausting idea that I still have so much to go. Rob
- 3,560 replies
-
- 1
-
-
- clipper
- hull model
- (and 2 more)
-
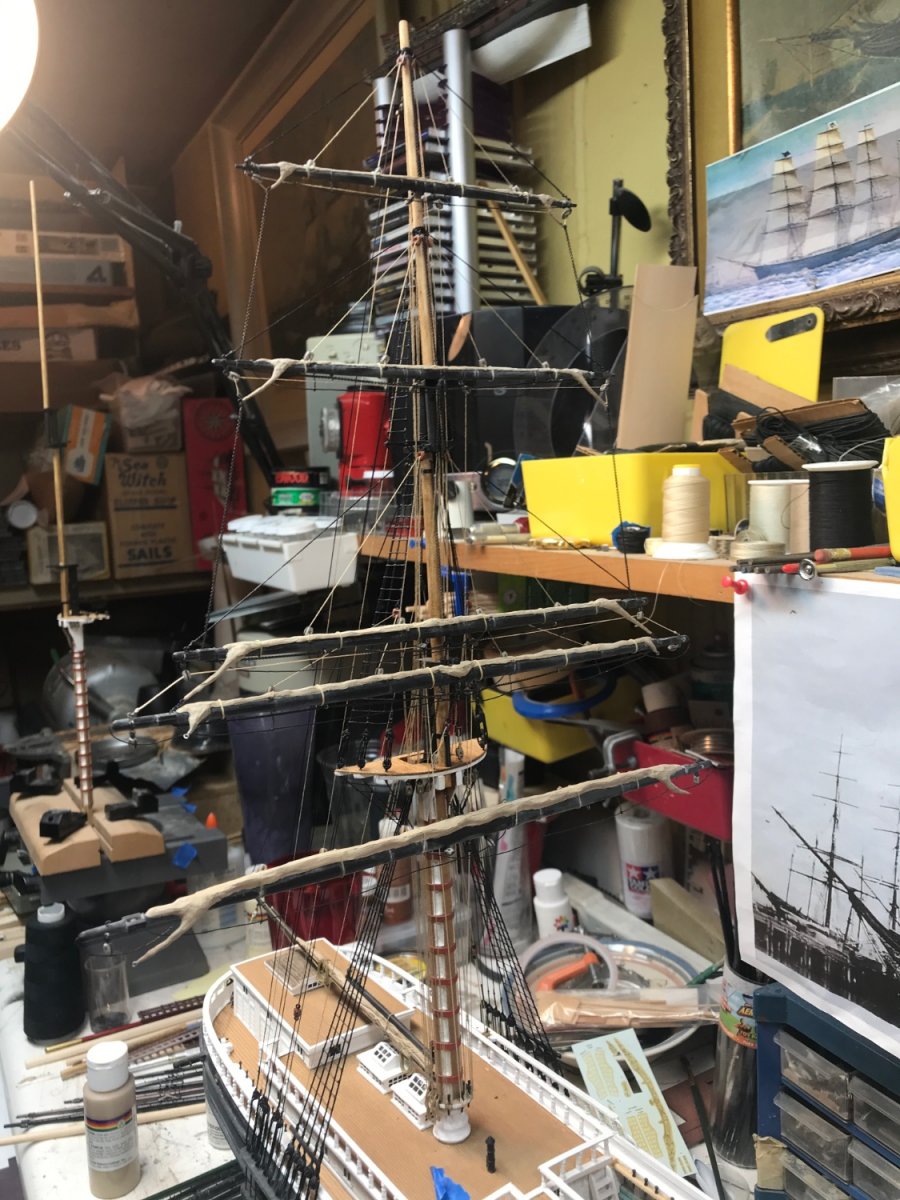
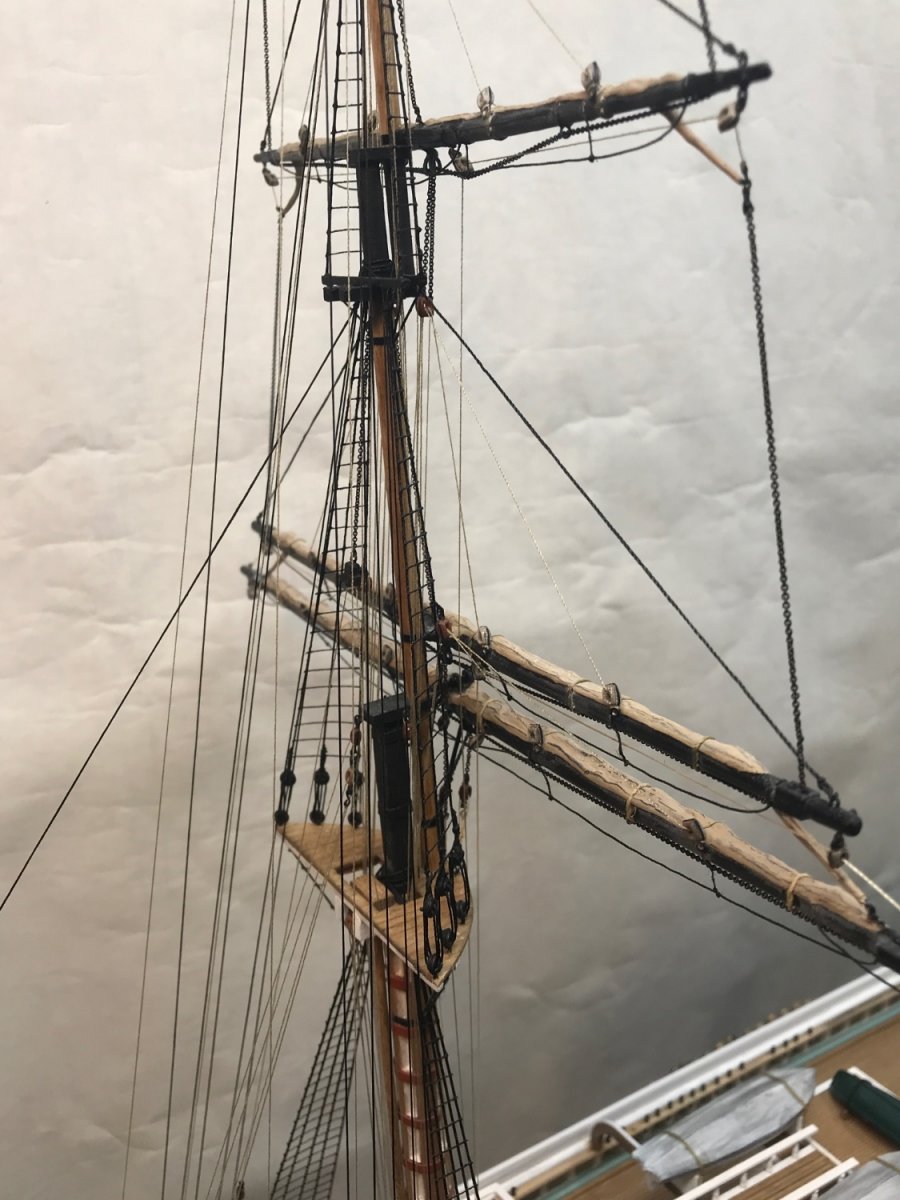
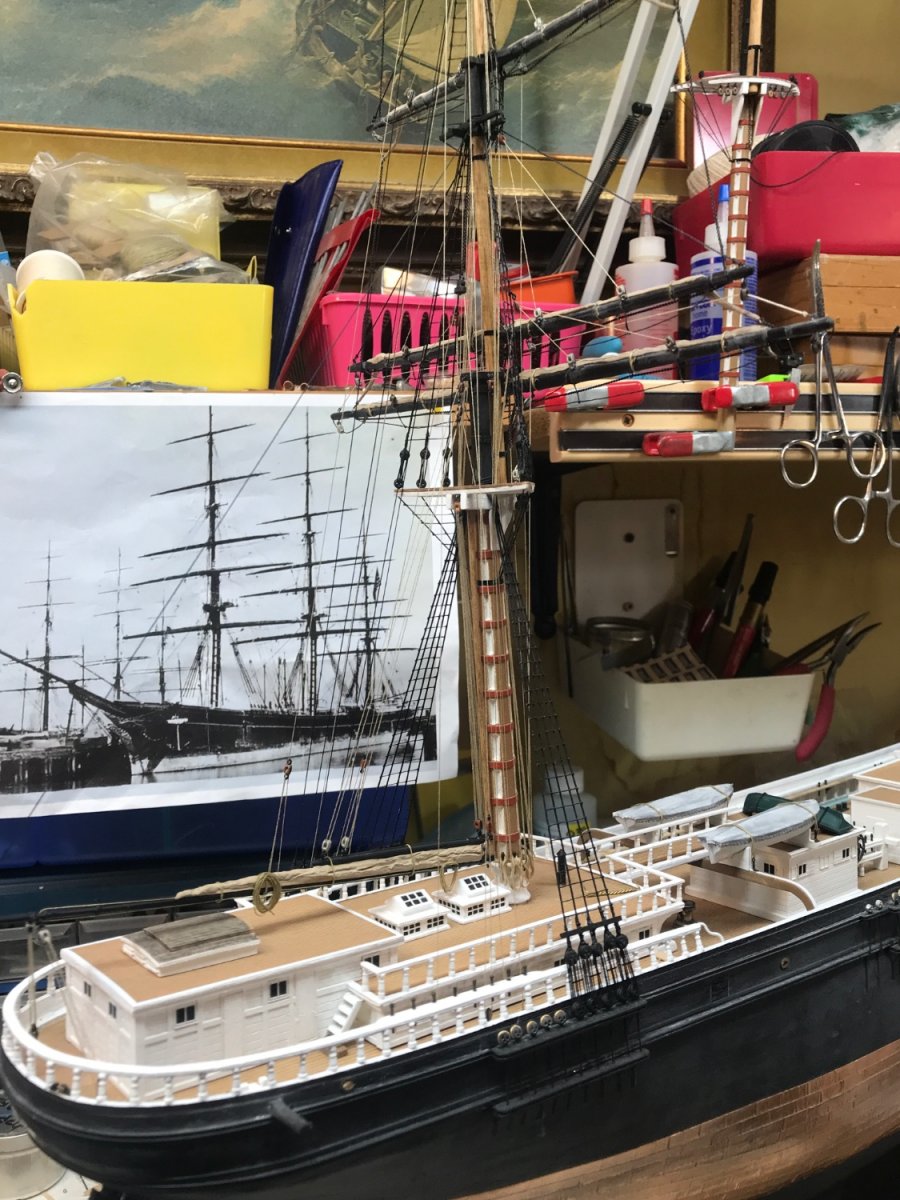
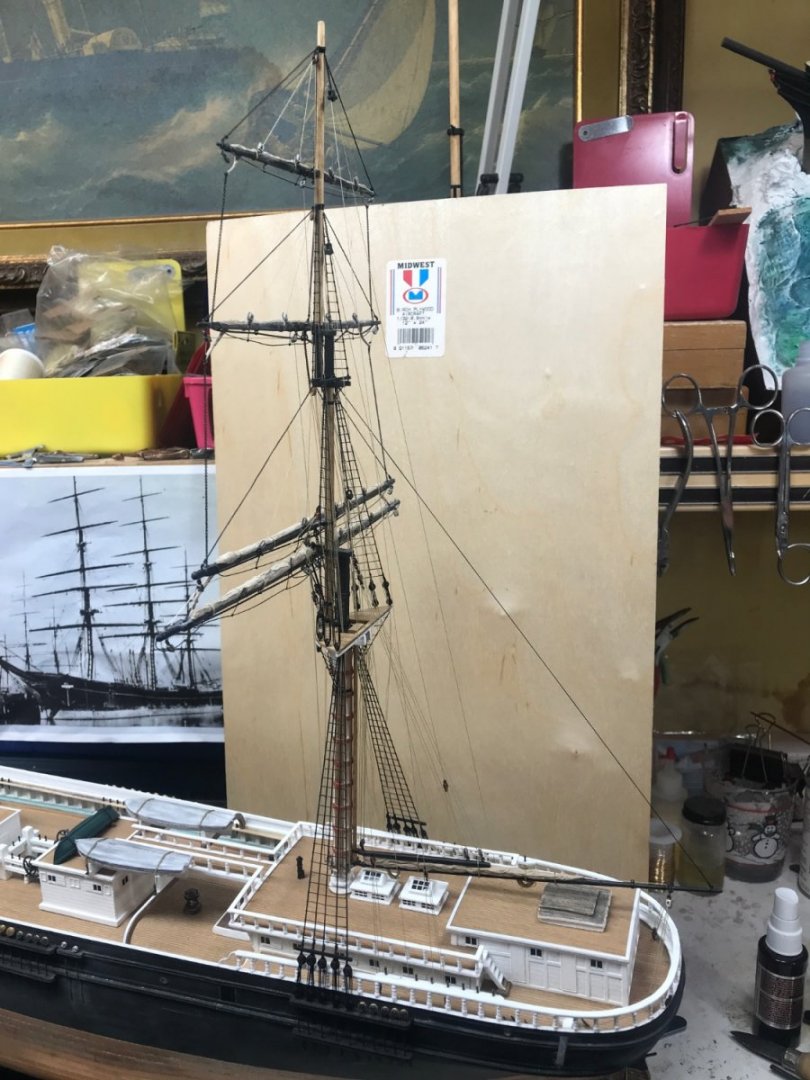
Lower top mast halliard purchase. Keeping things in line and to scale. Rob


- 3,560 replies
-
- 7
-
-
- clipper
- hull model
- (and 2 more)