HOLIDAY DONATION DRIVE - SUPPORT MSW - DO YOUR PART TO KEEP THIS GREAT FORUM GOING! (Only 24 donations so far out of 49,000 members - C'mon guys!)
×


rwiederrich
-
Posts
5,518 -
Joined
-
Last visited
Content Type
Profiles
Forums
Gallery
Events
Everything posted by rwiederrich
-
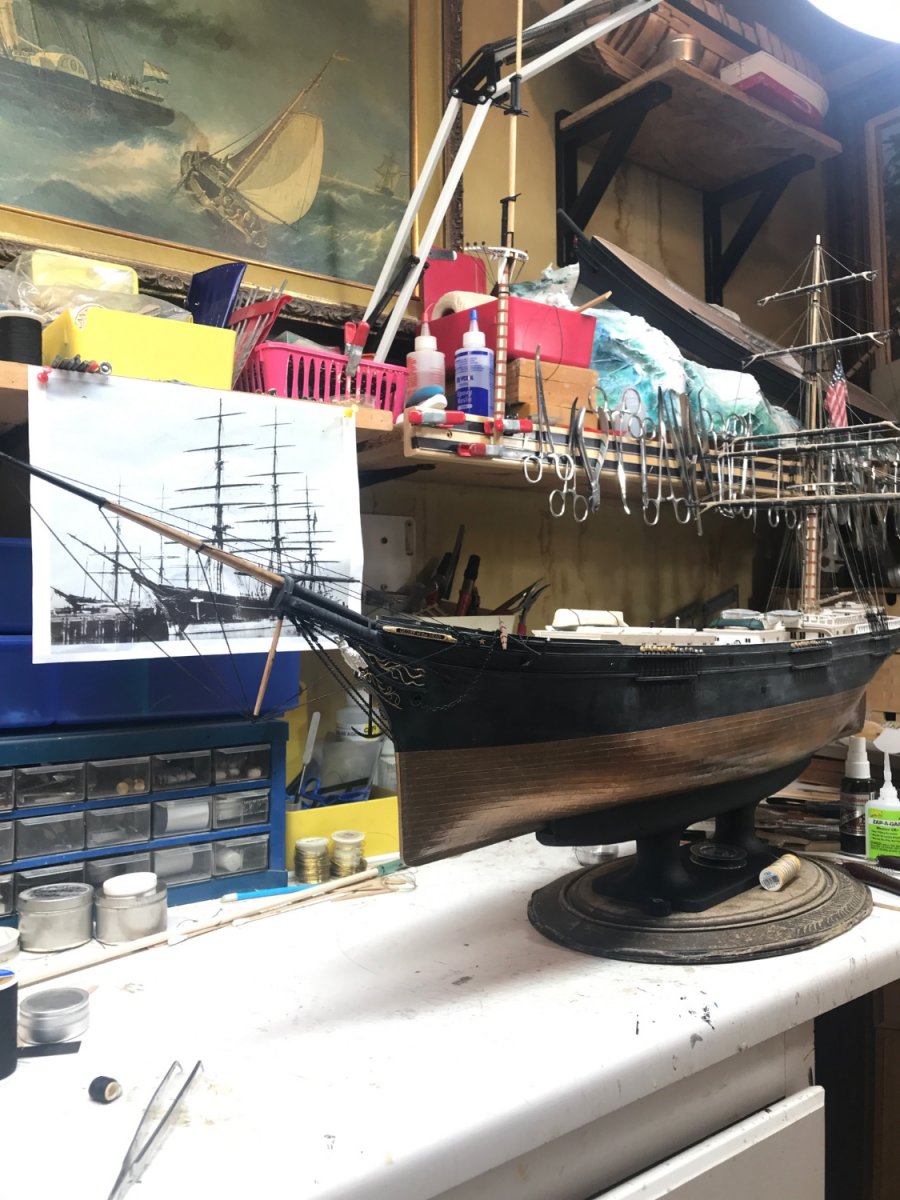
Fascinating! I've been skewering the net and my book library for any paintings or photographs of such evidence myself. I'm pleased you are taking on this overlooked subject...concerning McKay's *secret* hoods. Rob
-
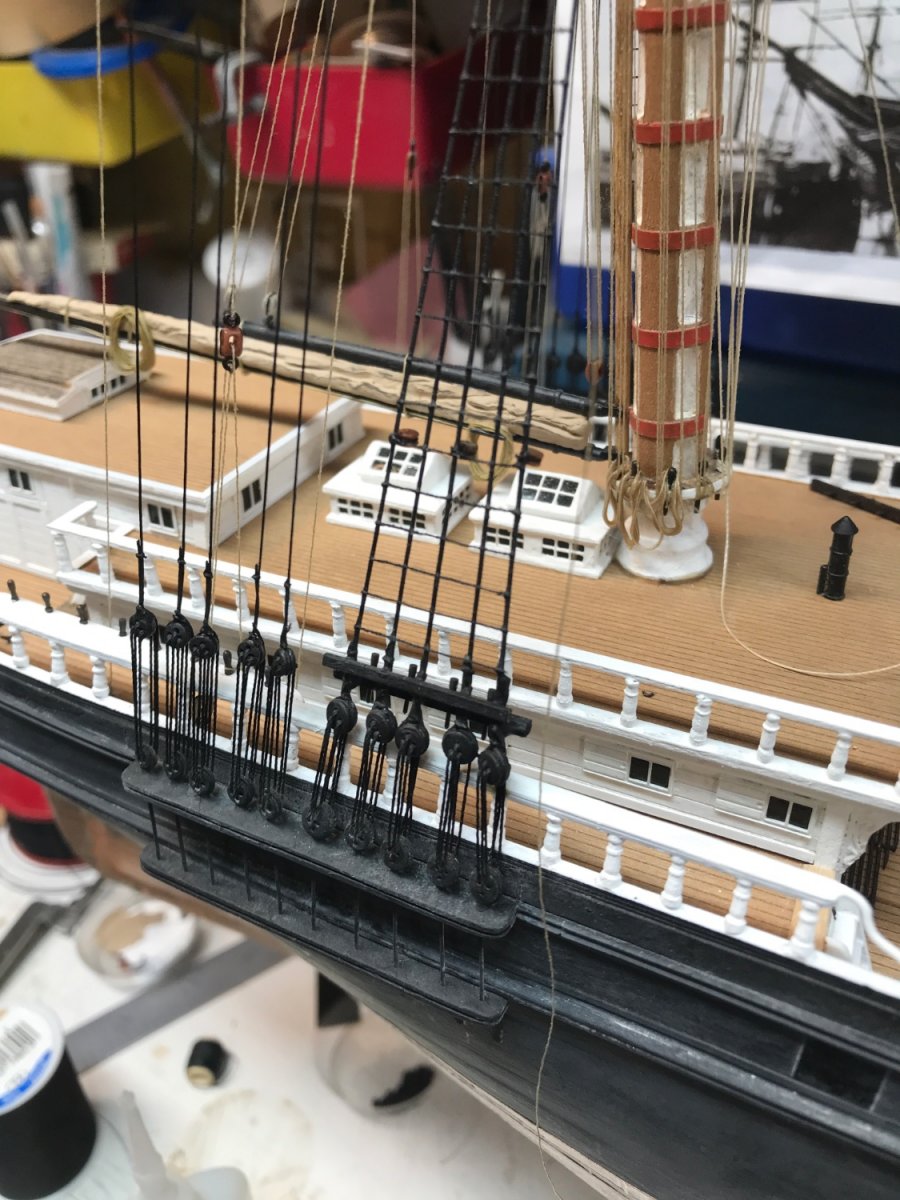
Your doing a fantastic job for sure. I bet you had to drill very slow to make those holes in the pin rails for the deadeye braces? I almost opted to do the same on my last Cutty build 15 years ago, but opted to let that detail go, as it would become invisible once the rigging was in place. Pick and choose your battles...I guess. Wonderful work. Rob
- 481 replies
-
- 1
-

-
- Cutty Sark
- Revell
- (and 2 more)
-
No reason to think McKay would not include the Naval hood on all his clippers. It’s like a signature. Rob
-
I thank you so much Michael. I assumed you had other things on your mind, like your wonderful train project. I appreciate the thoughtfulness. I surely wonder what a cut through the middle of that tree nail would look like. Thanks again…..I can’t wait for the prize. Rob
- 3,560 replies
-
- 2
-
-
- clipper
- hull model
- (and 2 more)
-
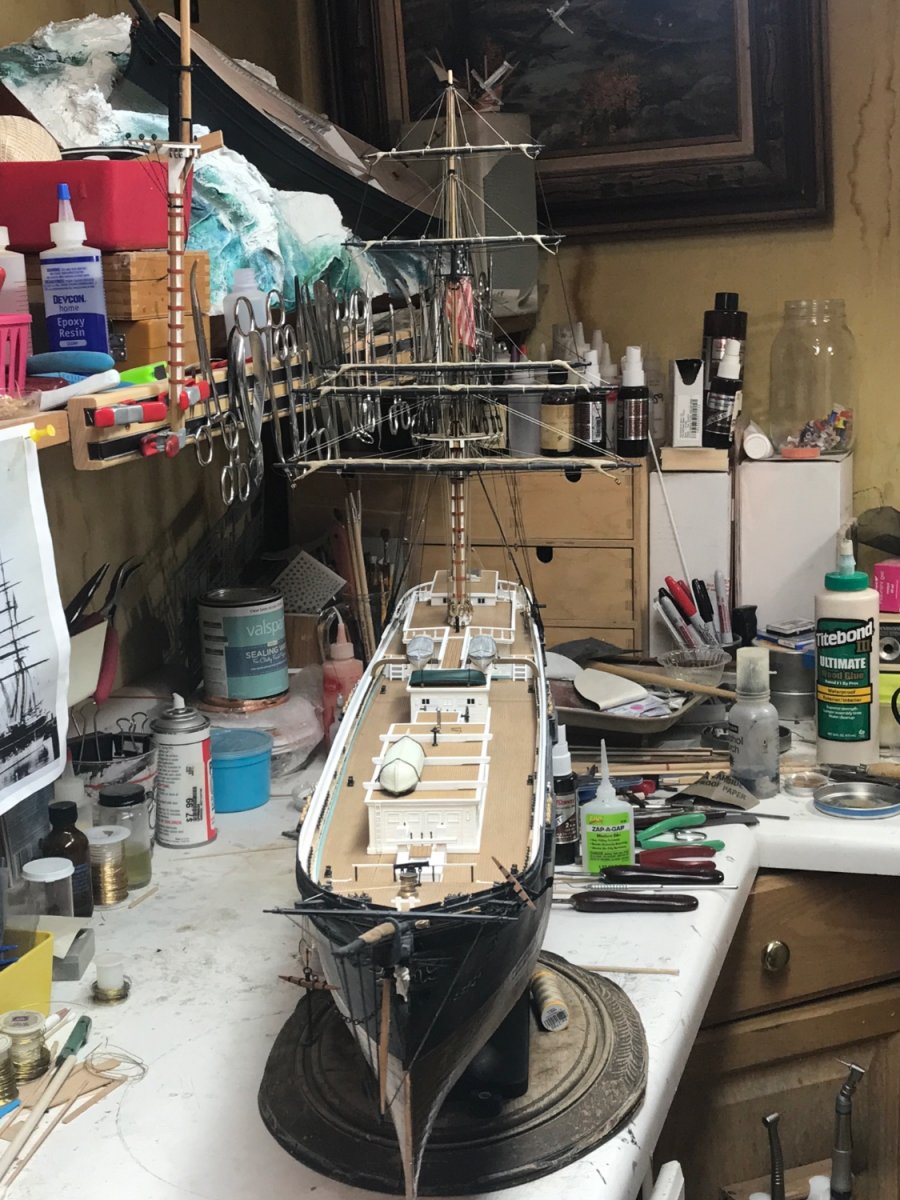
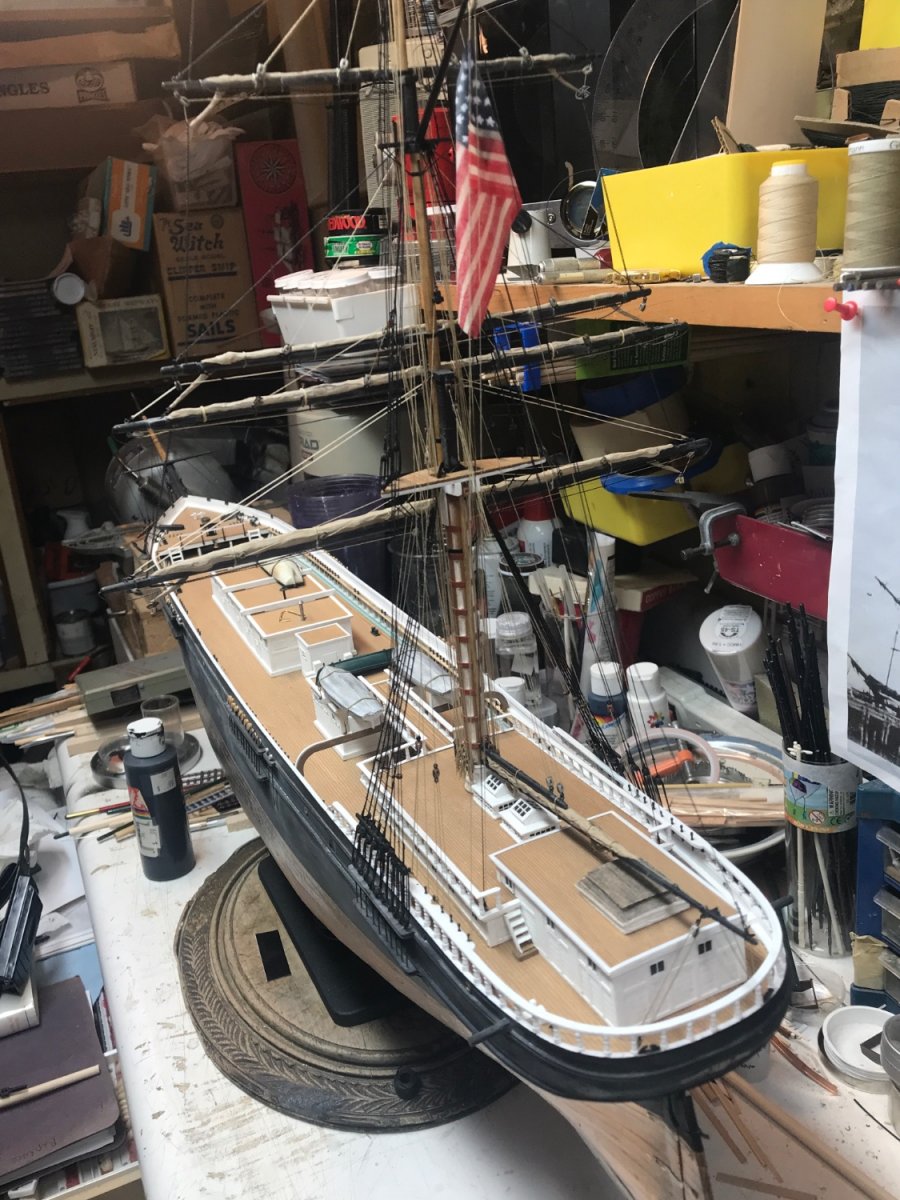
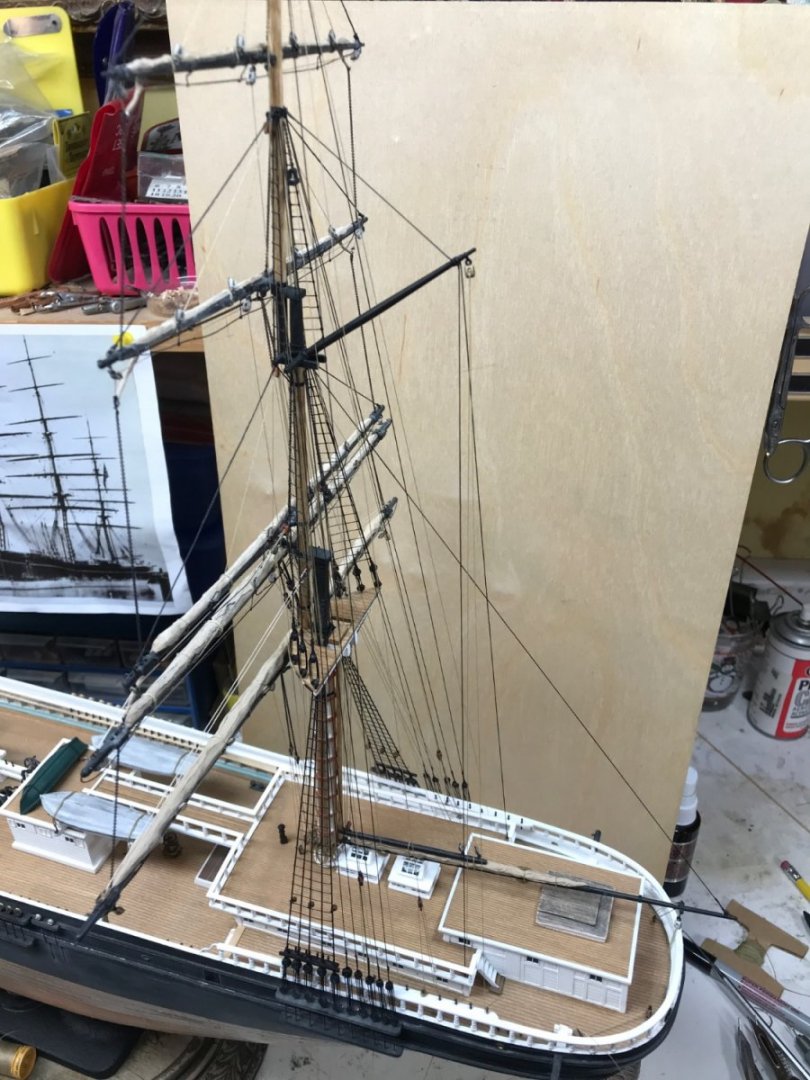
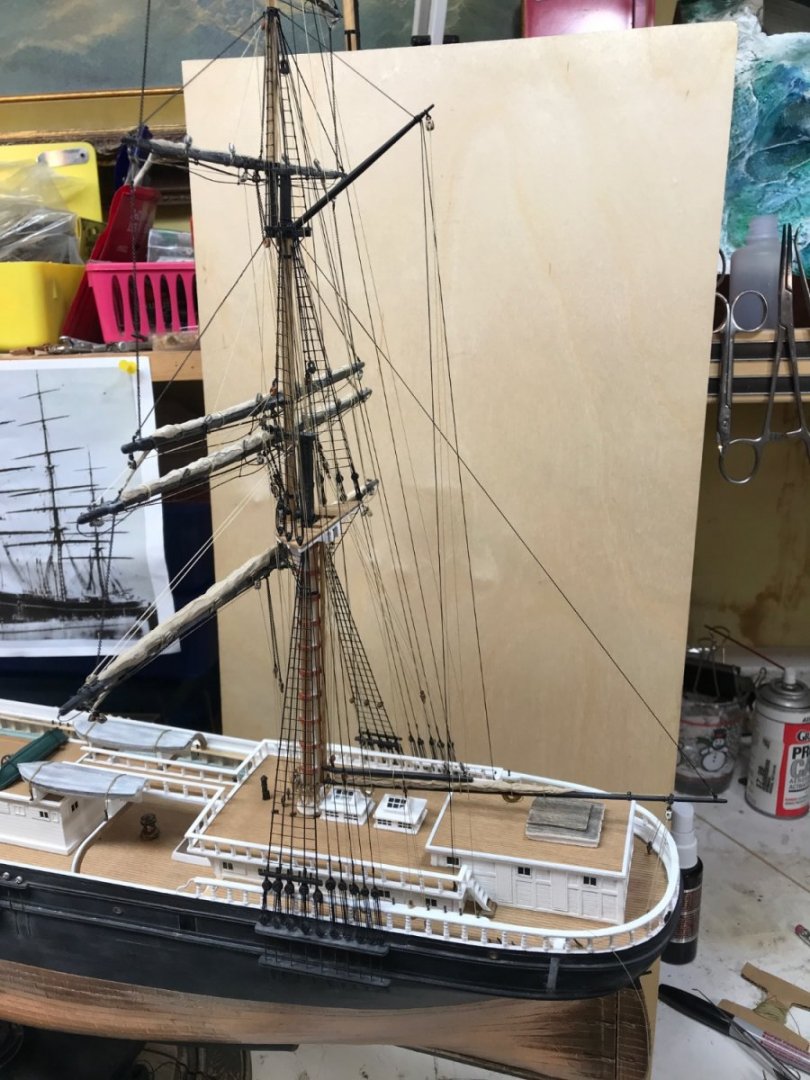
I added the sail……….still lots to finish before I move to the next yard. Rob
- 3,560 replies
-
- 6
-
-
- clipper
- hull model
- (and 2 more)
-
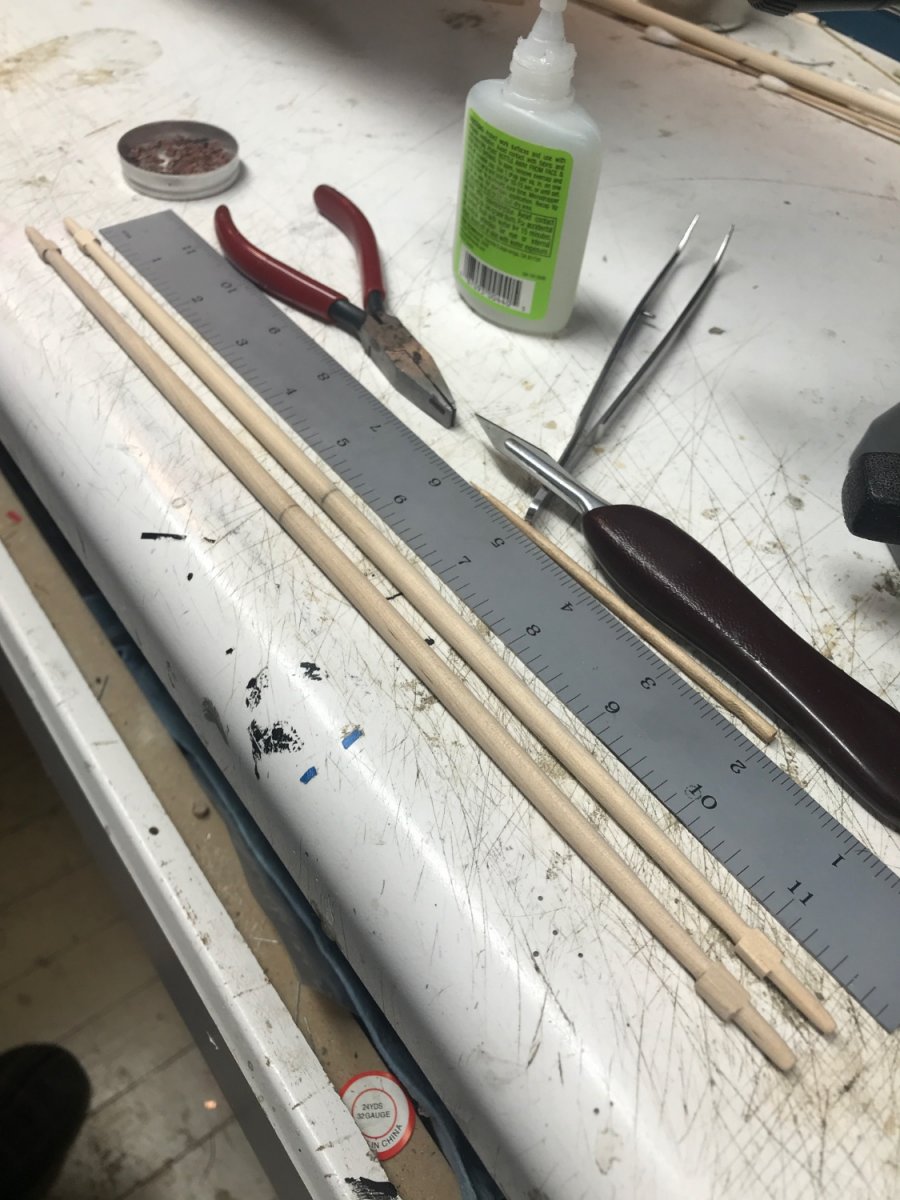
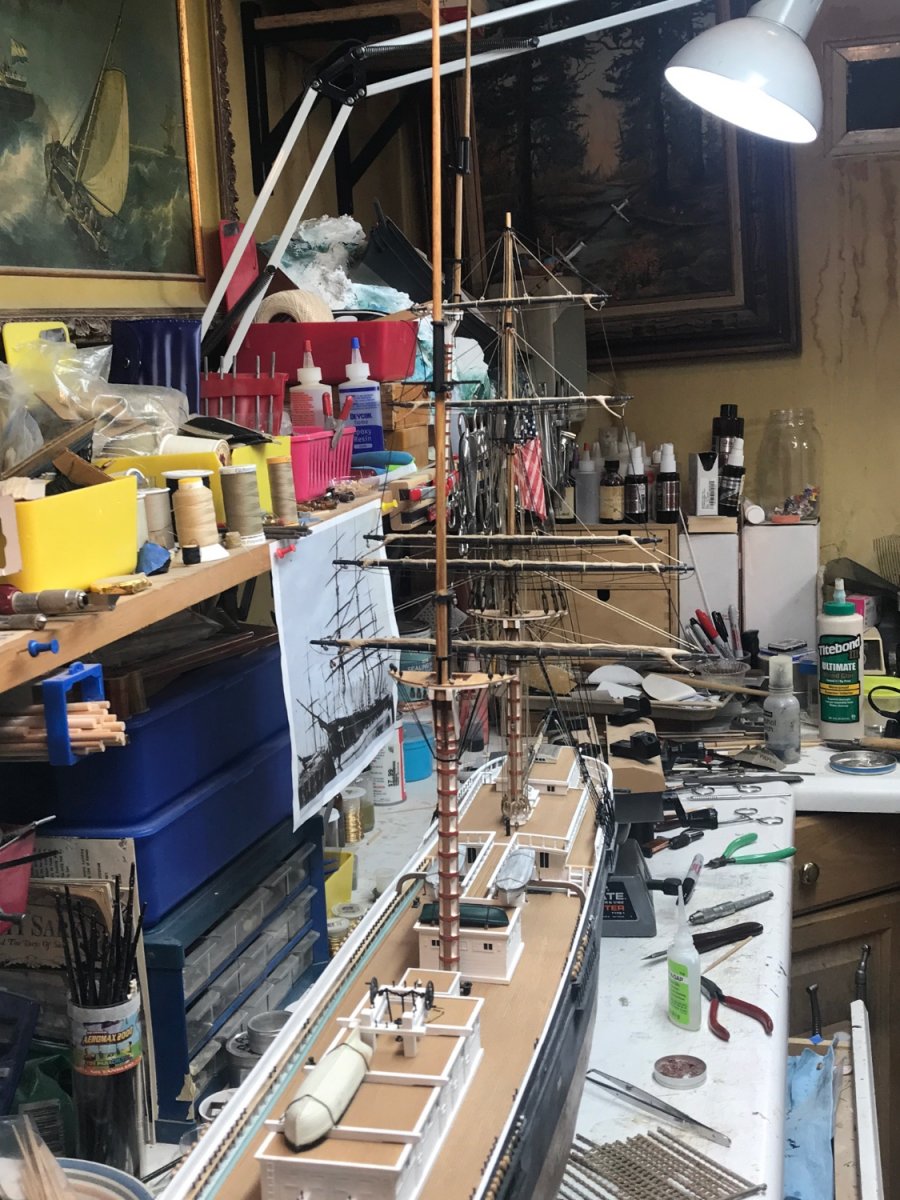
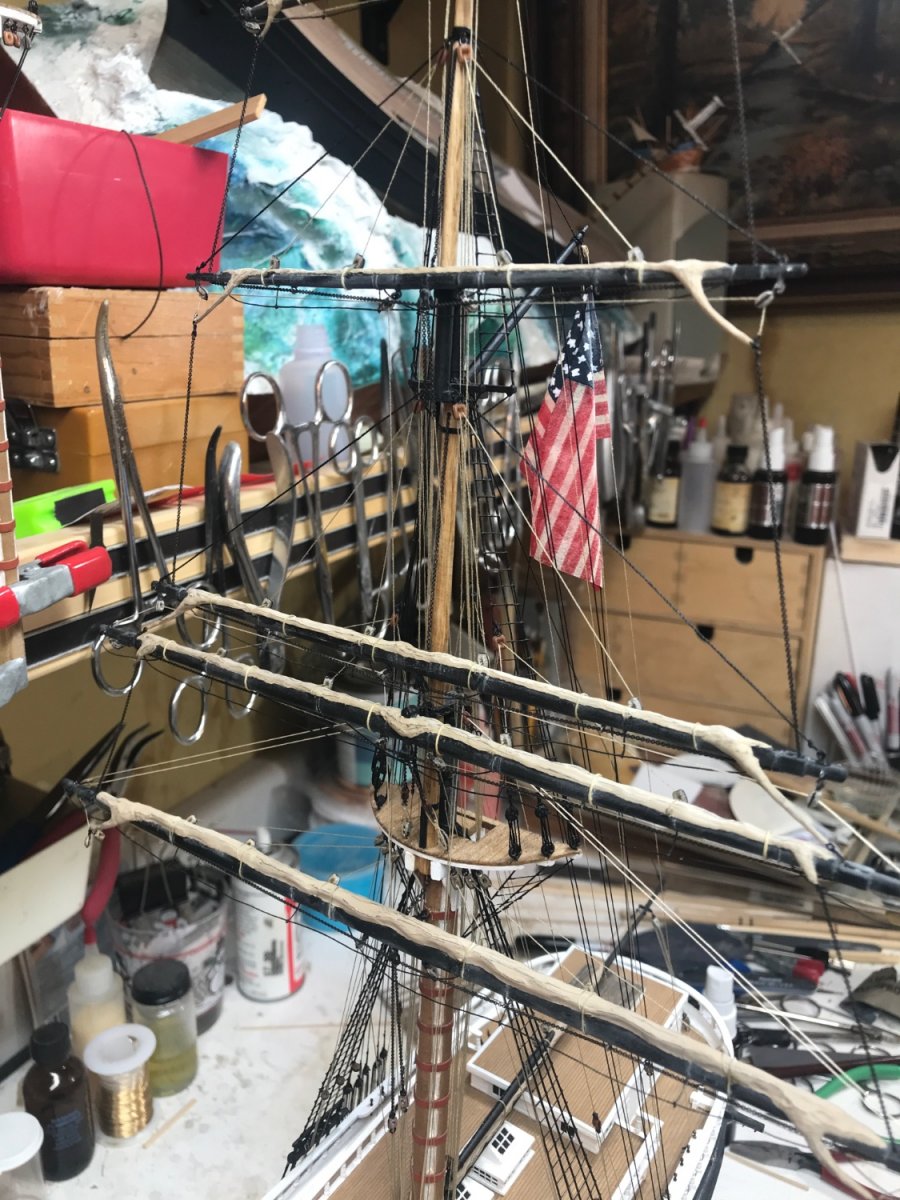
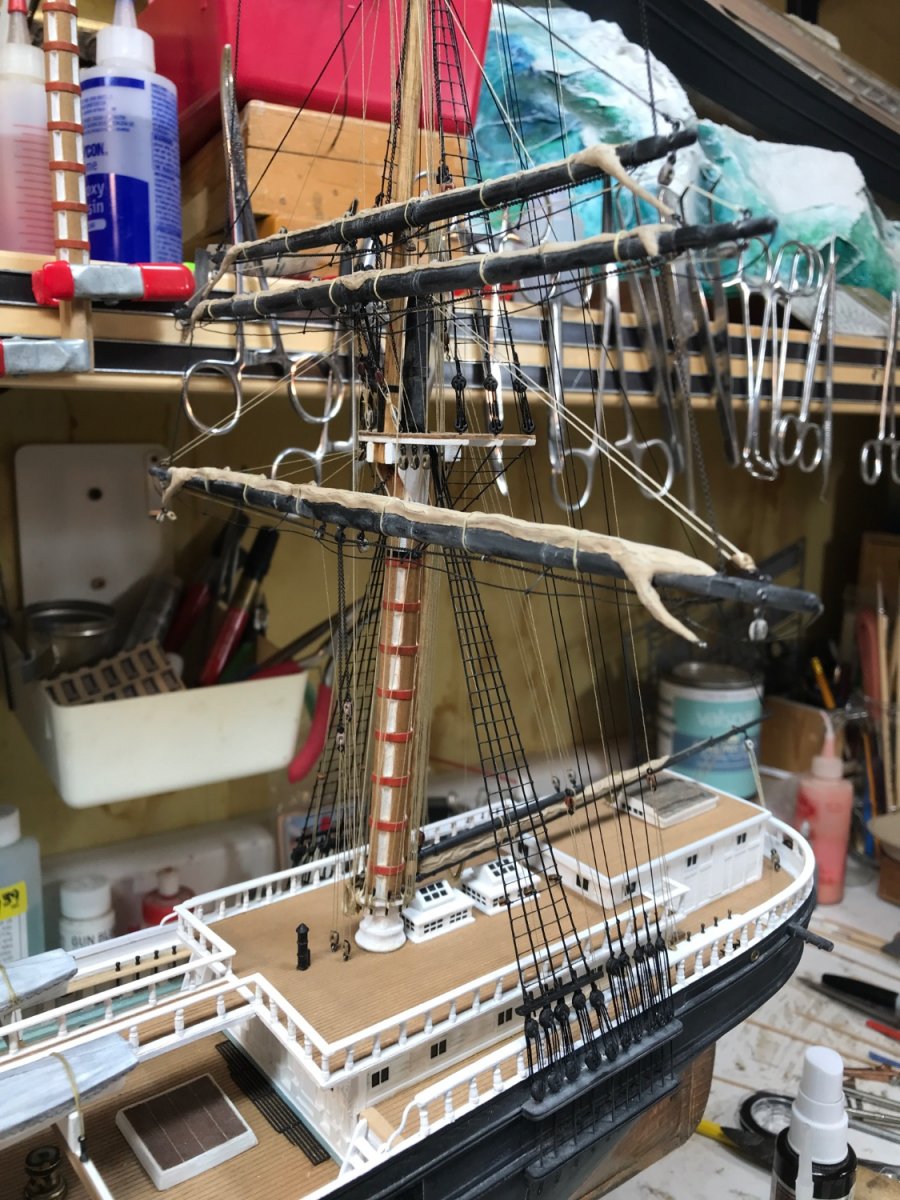
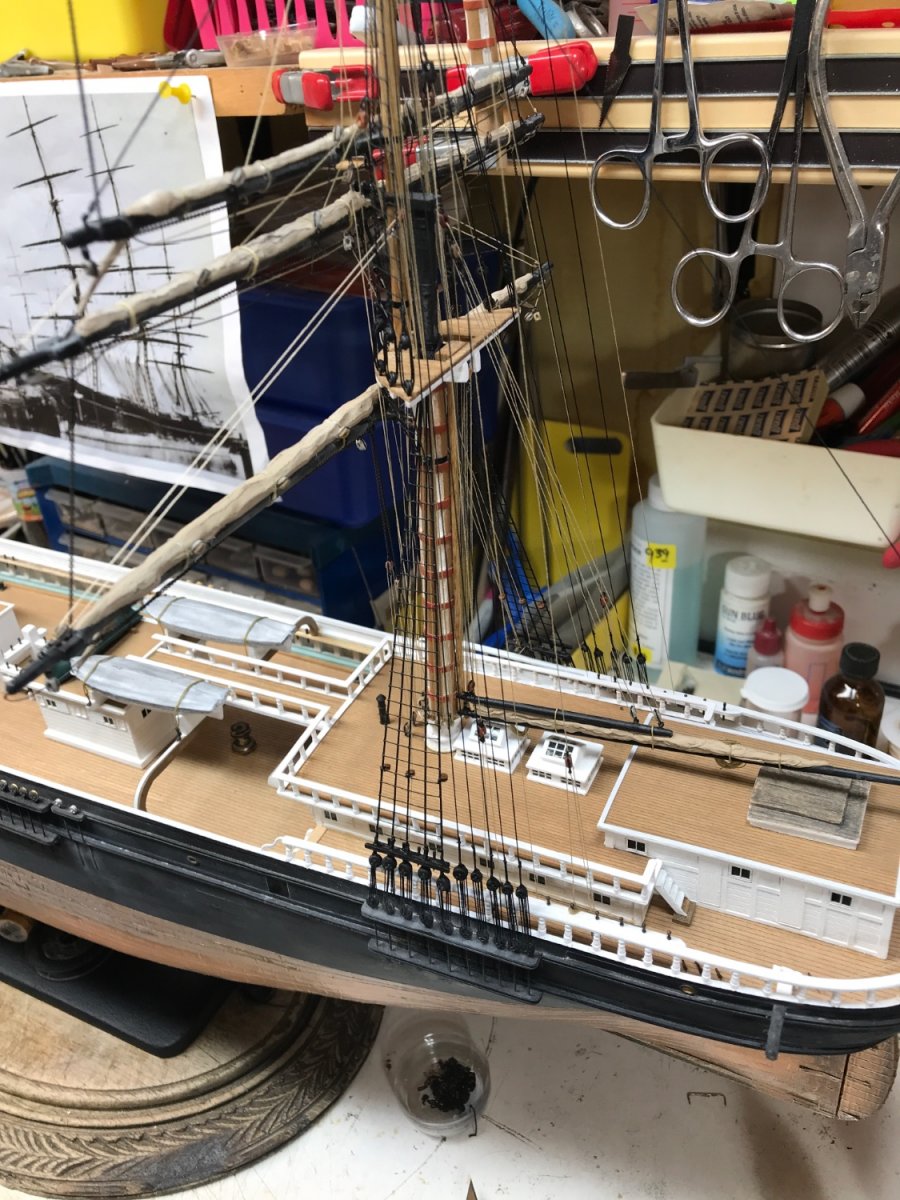
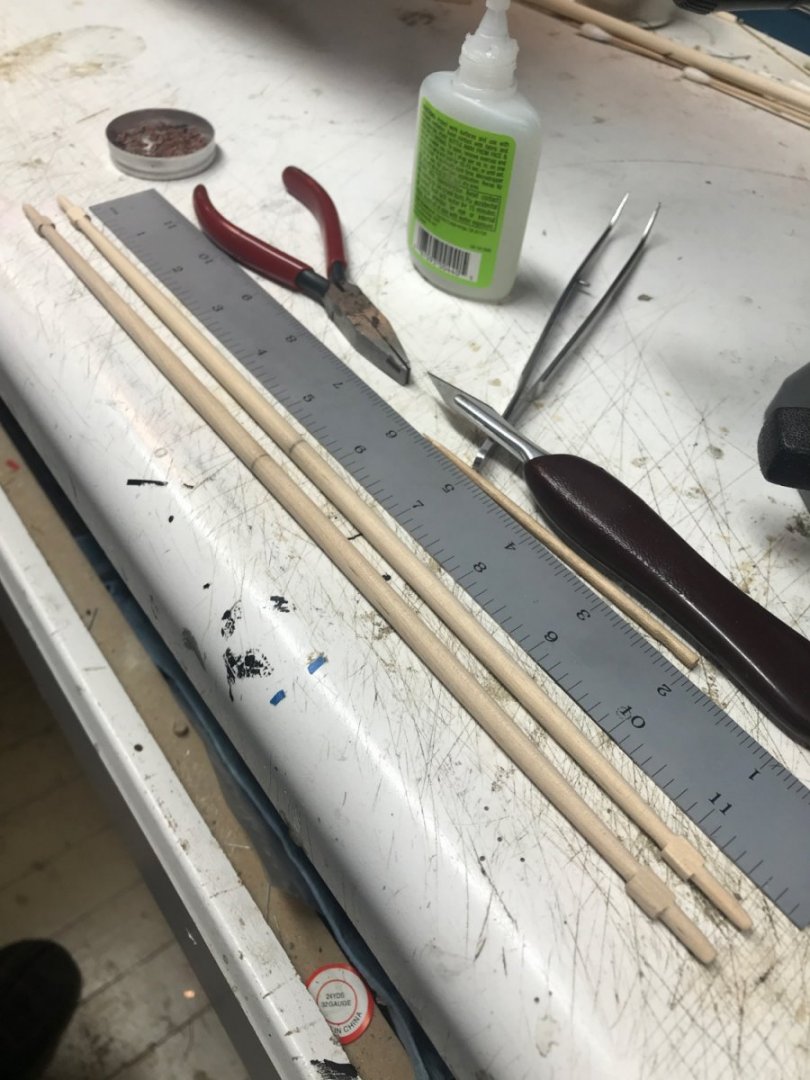
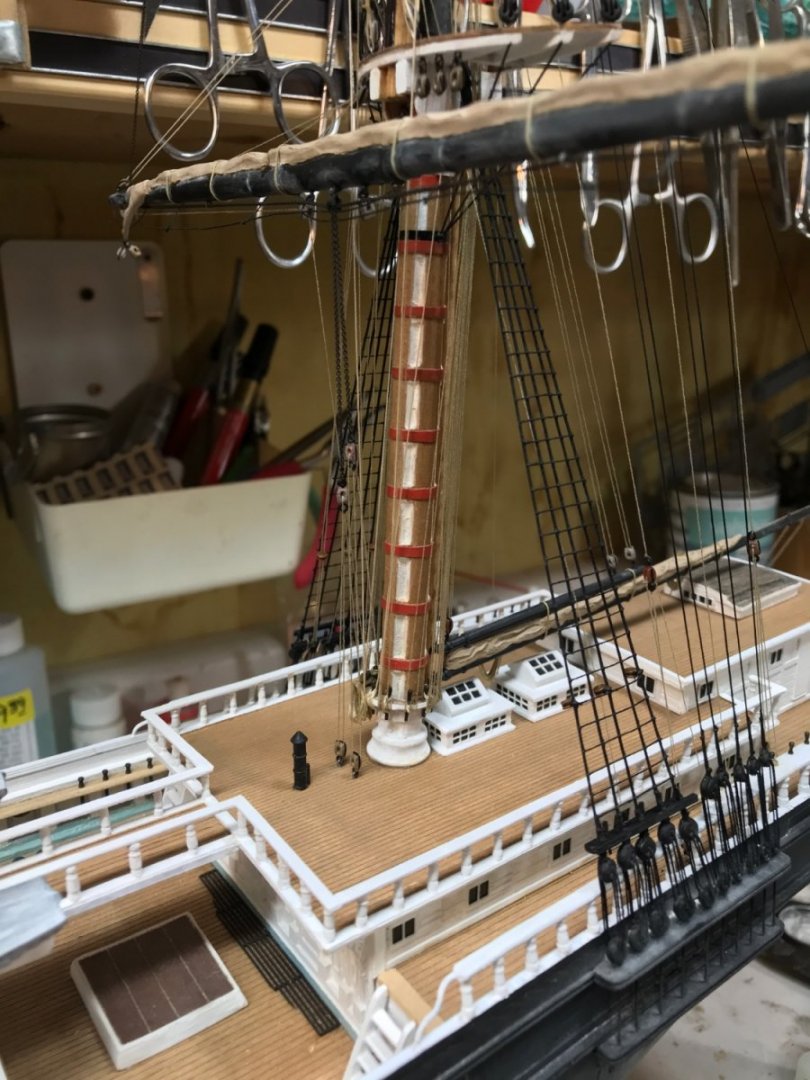
Up to this point, I’ve not taken pictures of all the yards as I was making them. Well, here are the two lower main yards for the fore and main mast. I just finished turning these on the lathe. I wanted to at least show them in the raw wood. I won’t show every yard I make, but you now have a clue as to my process. Now to dress them up with bands and eye bolts. Rob
- 3,560 replies
-
- 7
-
-
- clipper
- hull model
- (and 2 more)
-
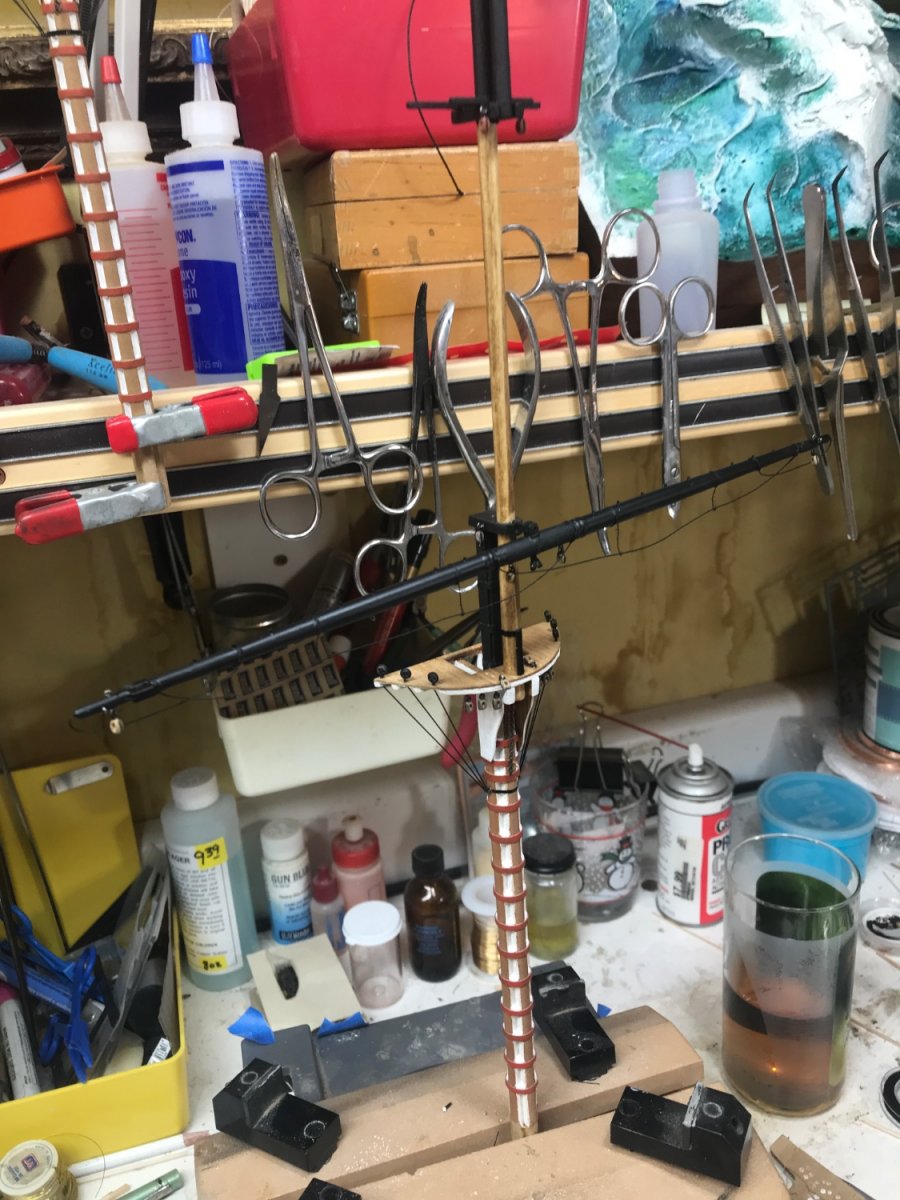
Those *Whiskers* are problematic for sure. I made a base with vertical poles in front of them to prevent me from bumping them. Rob
- 481 replies
-
- 5
-
-
- Cutty Sark
- Revell
- (and 2 more)
-
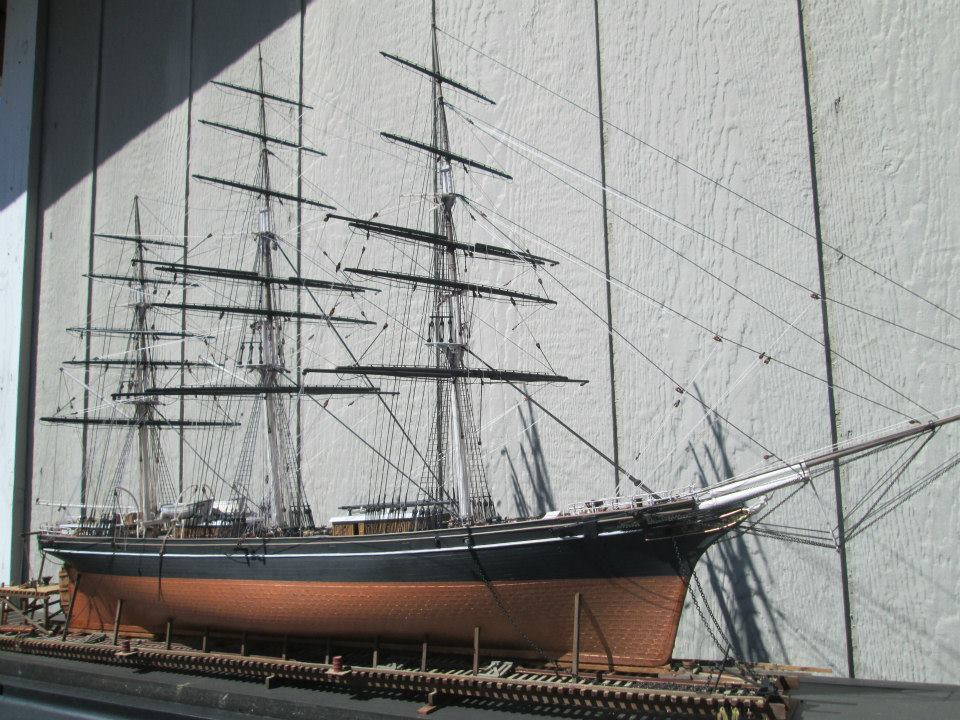
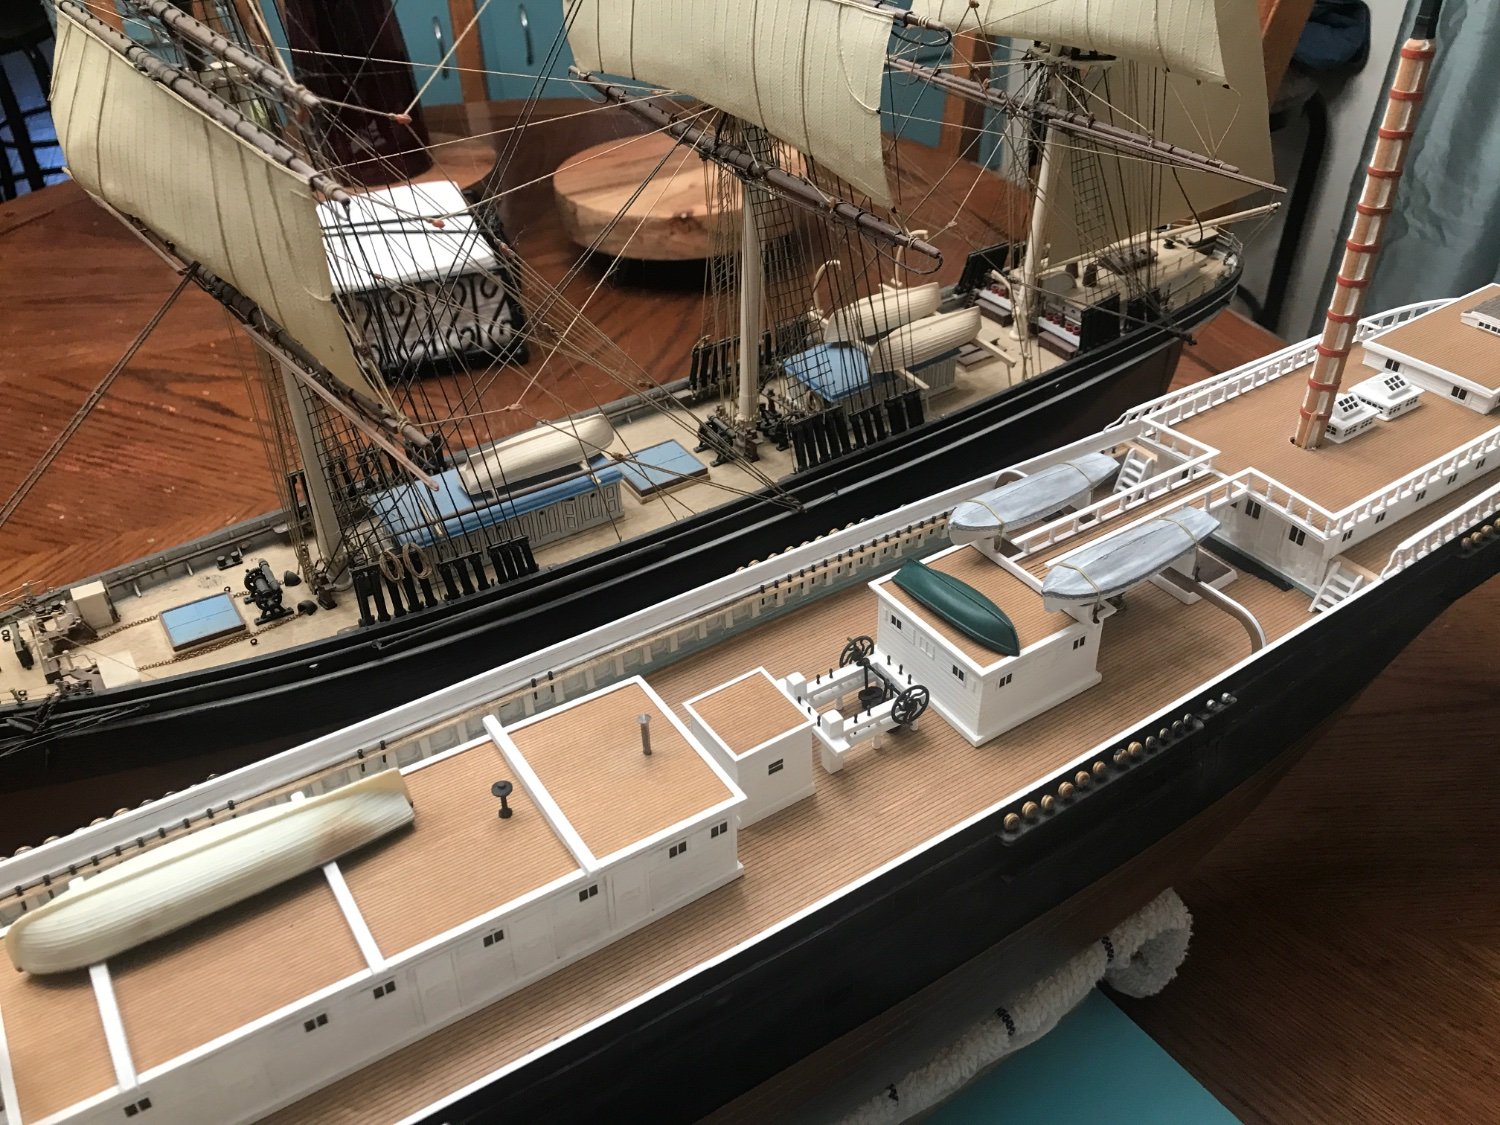
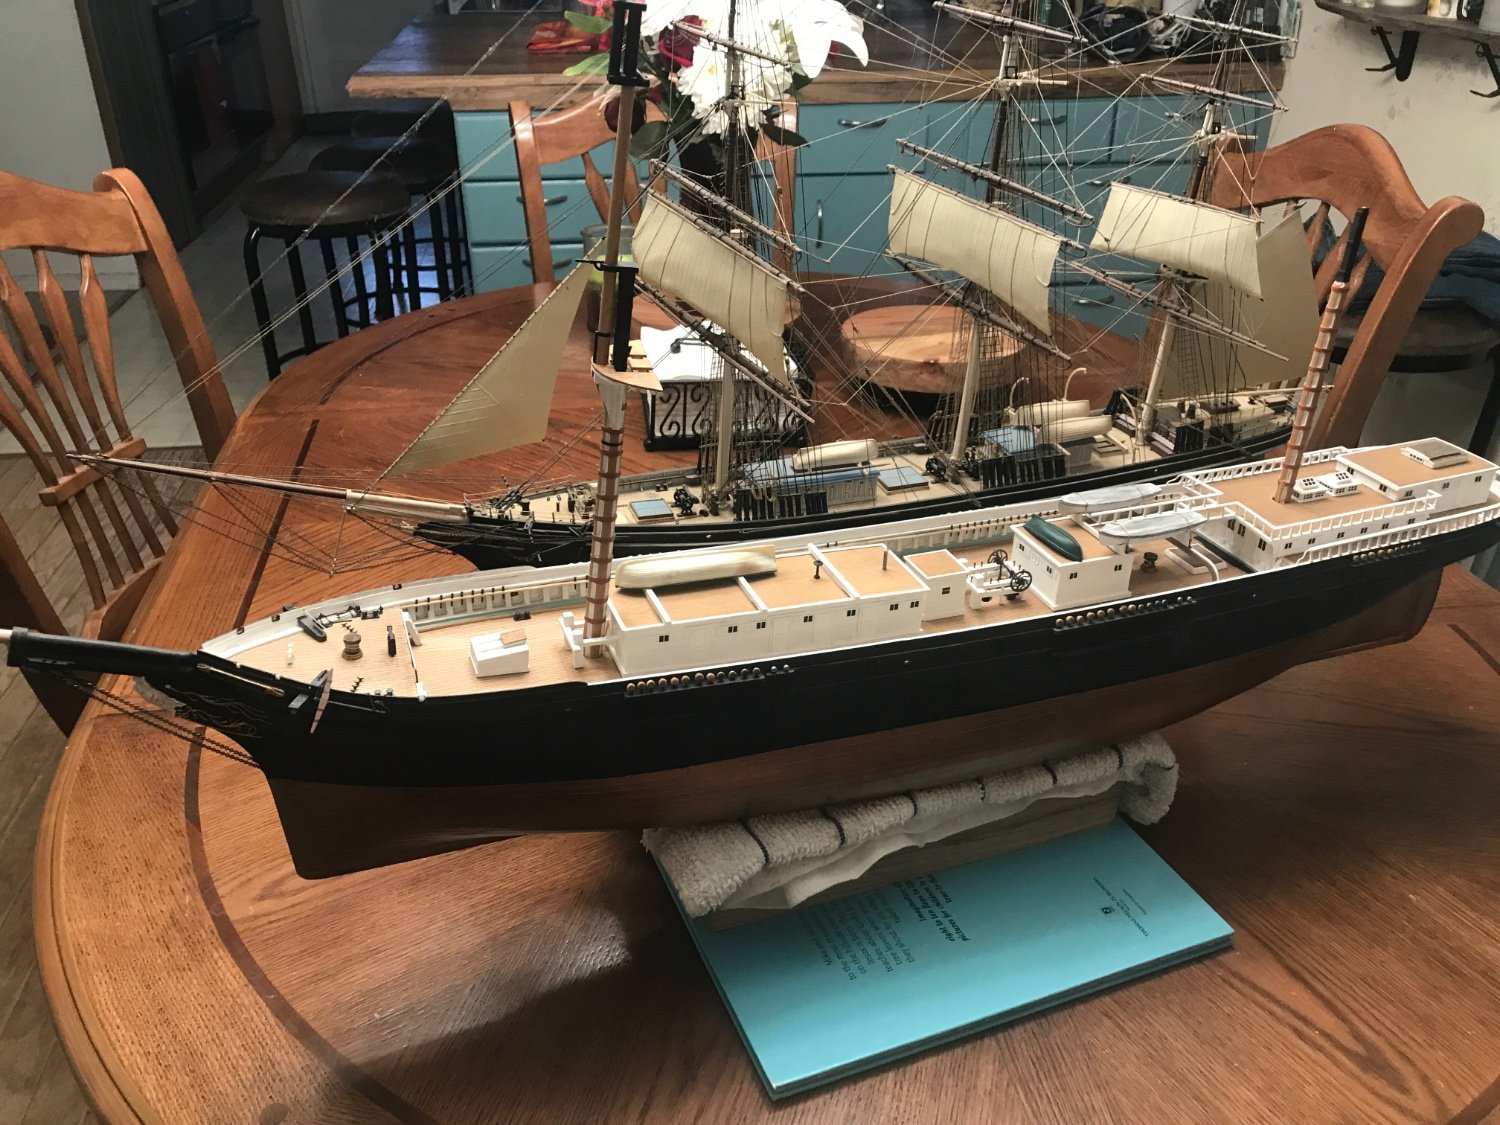
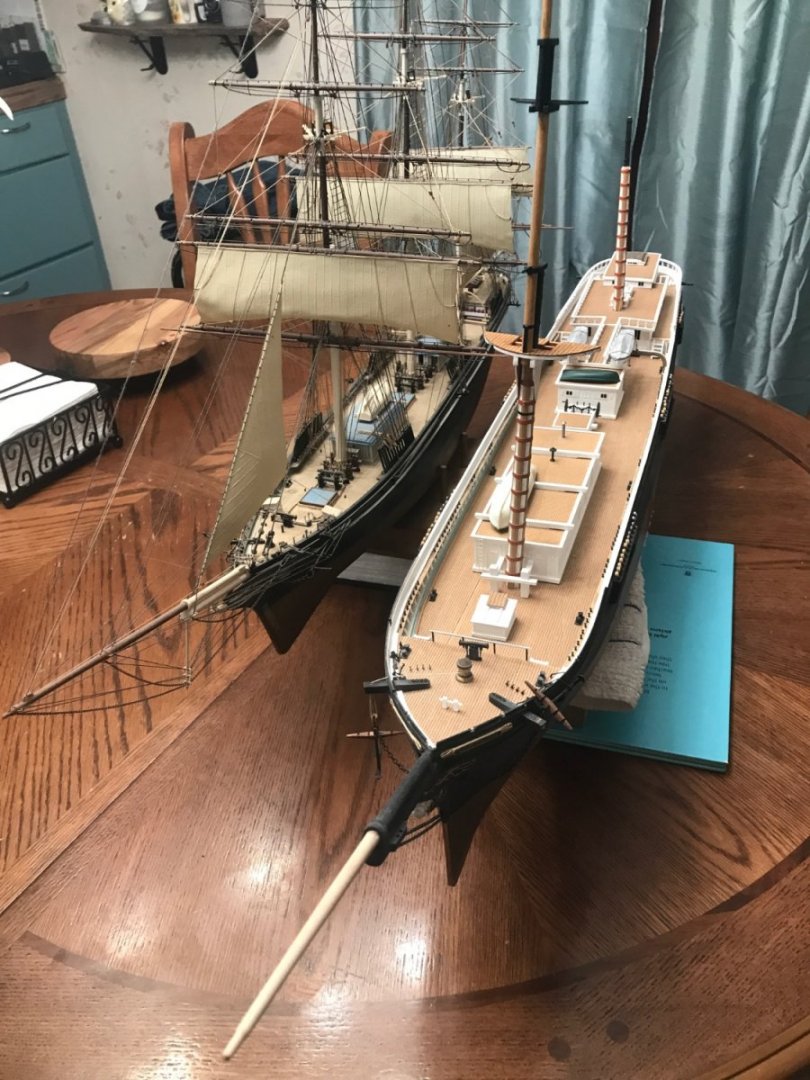
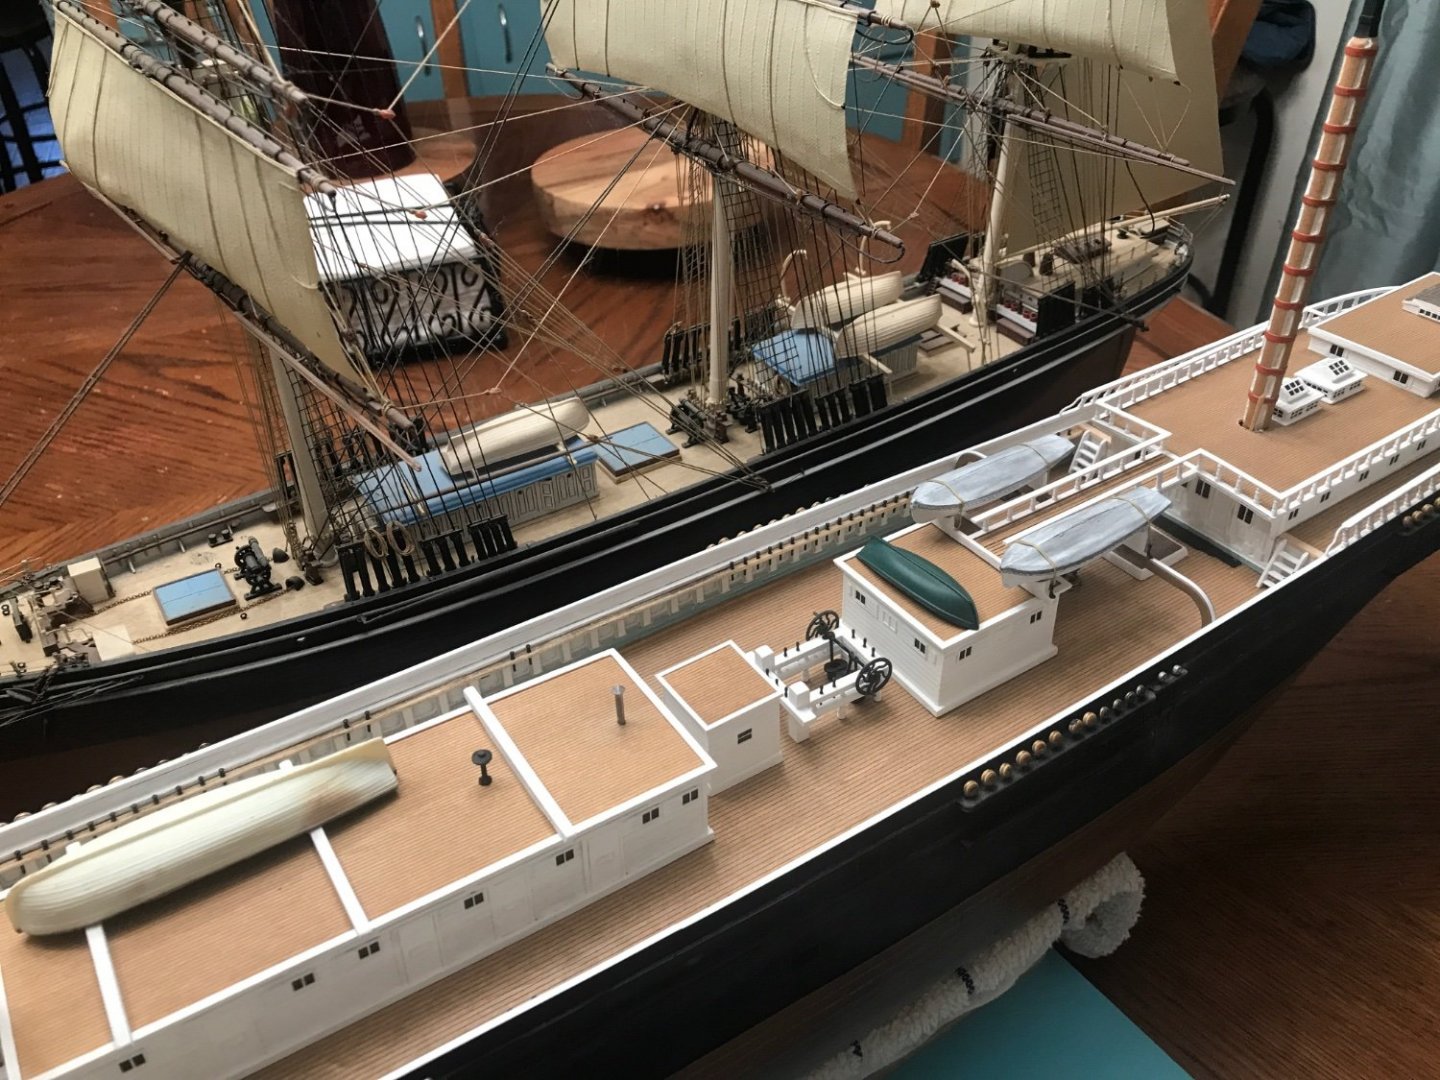
I look through my pics. Here is a scale comparison between the Cutty and my new Glory of the Seas. Amazing size difference. 960 tons compared to 2100 tons. This is an old CS I built 25 years ago. Rob

- 481 replies
-
- 7
-
-

-

-
- Cutty Sark
- Revell
- (and 2 more)
-
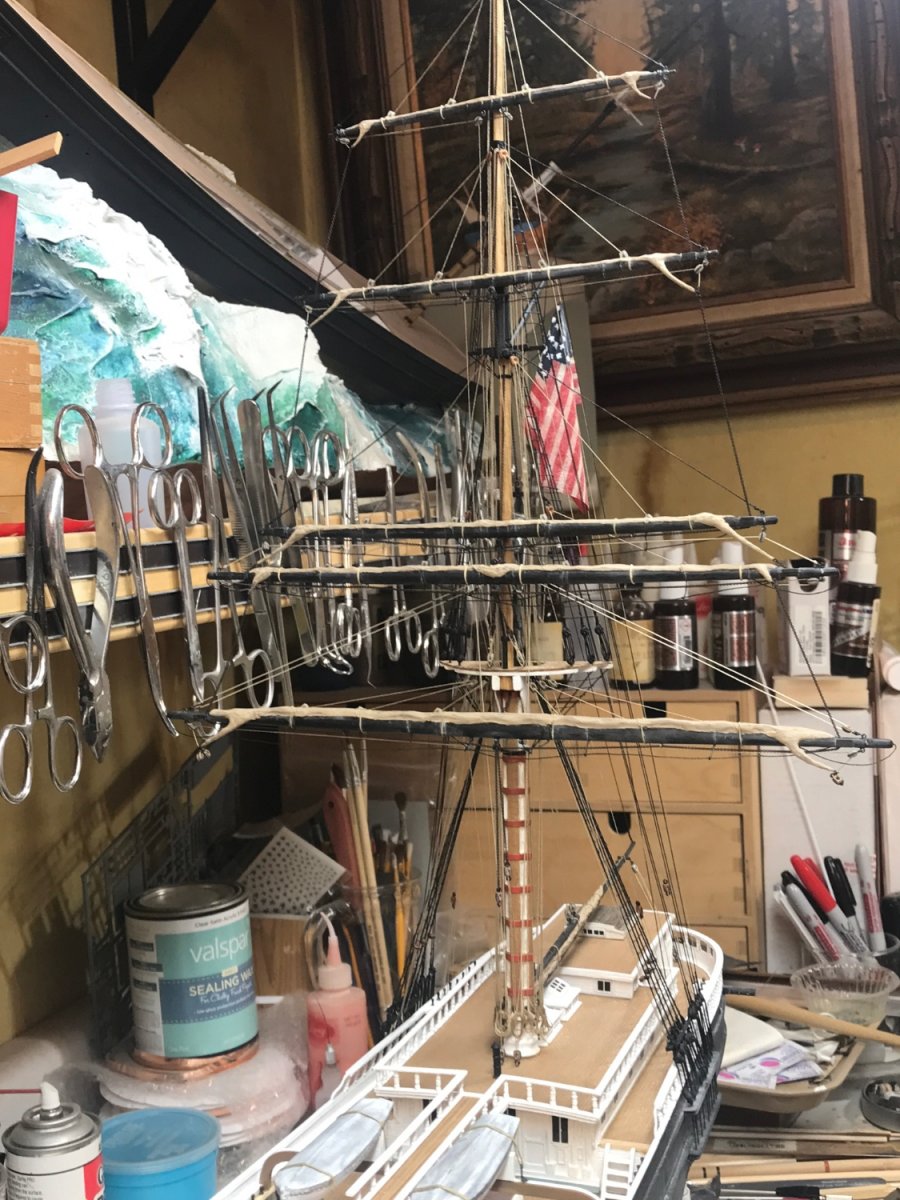
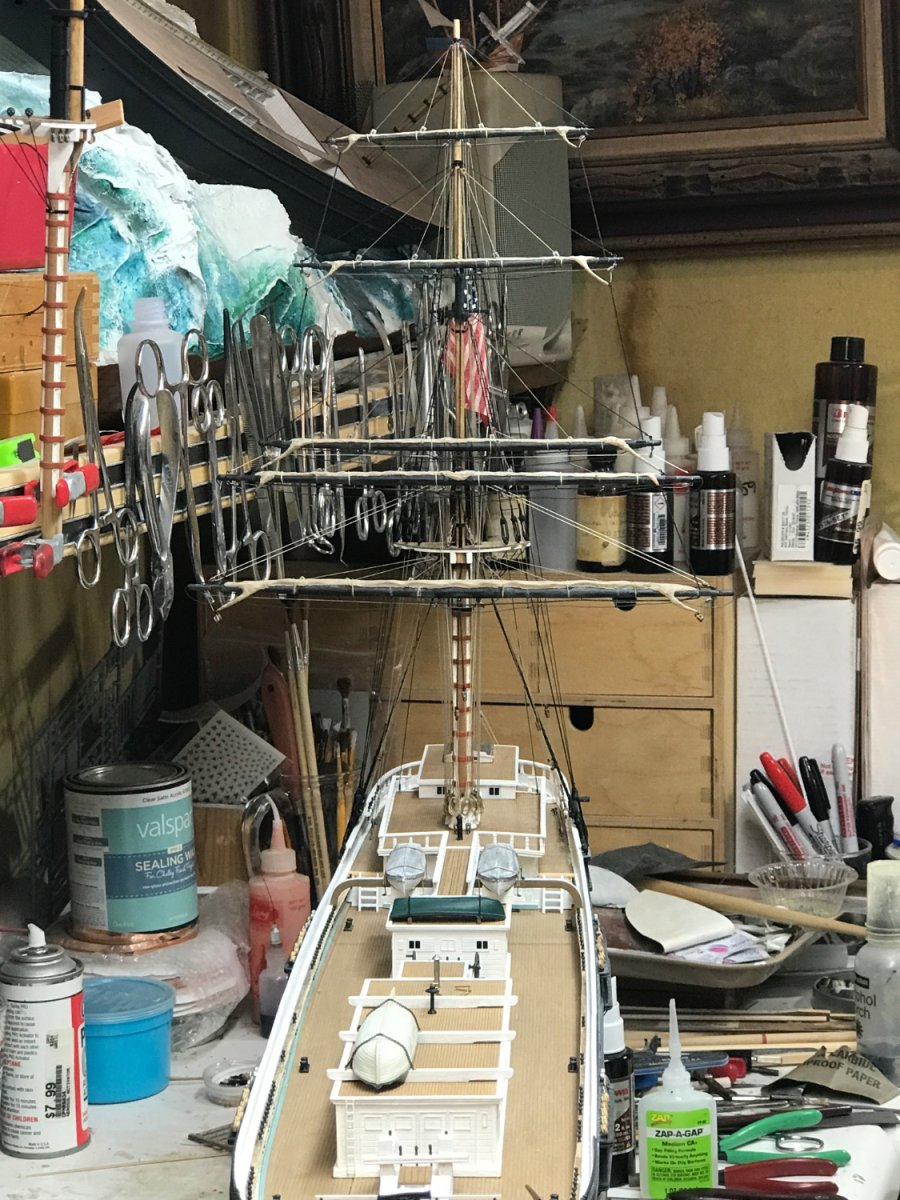
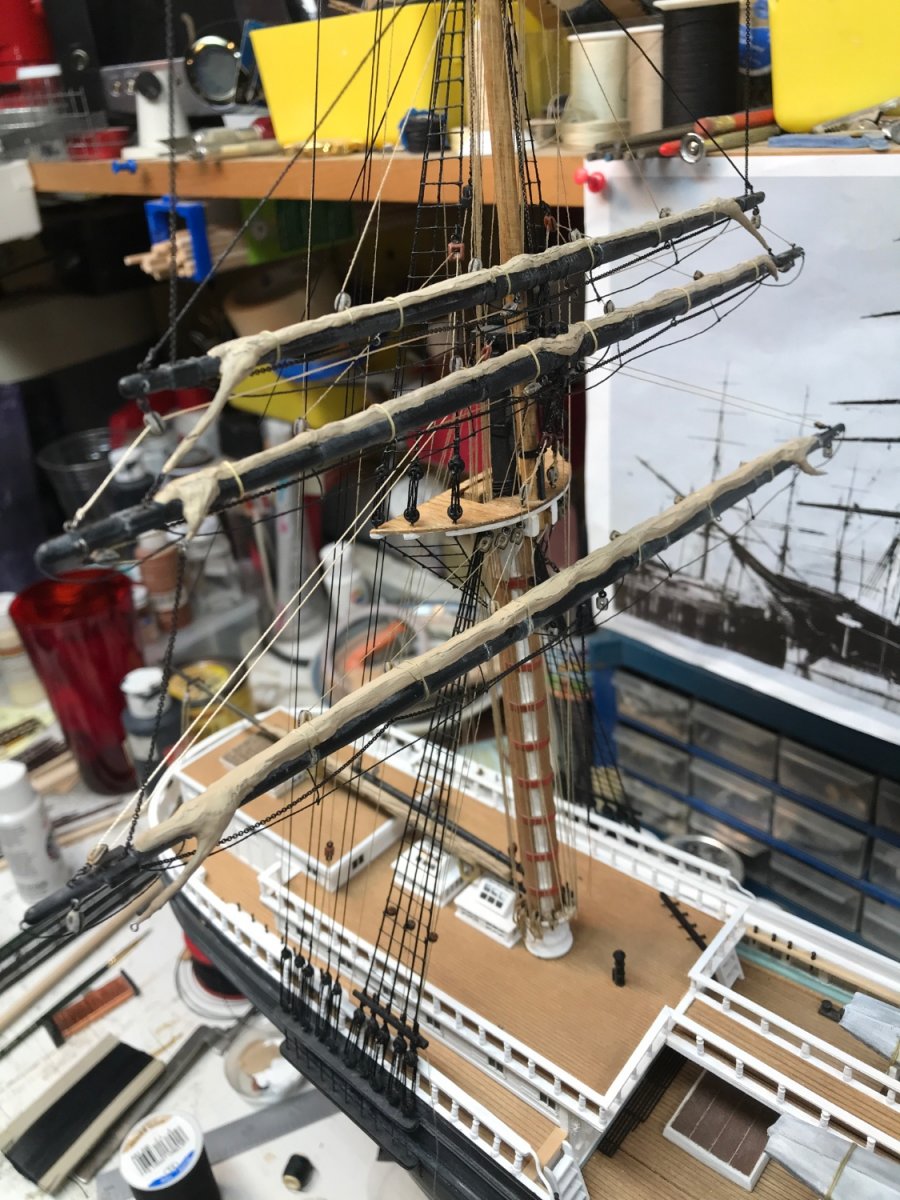
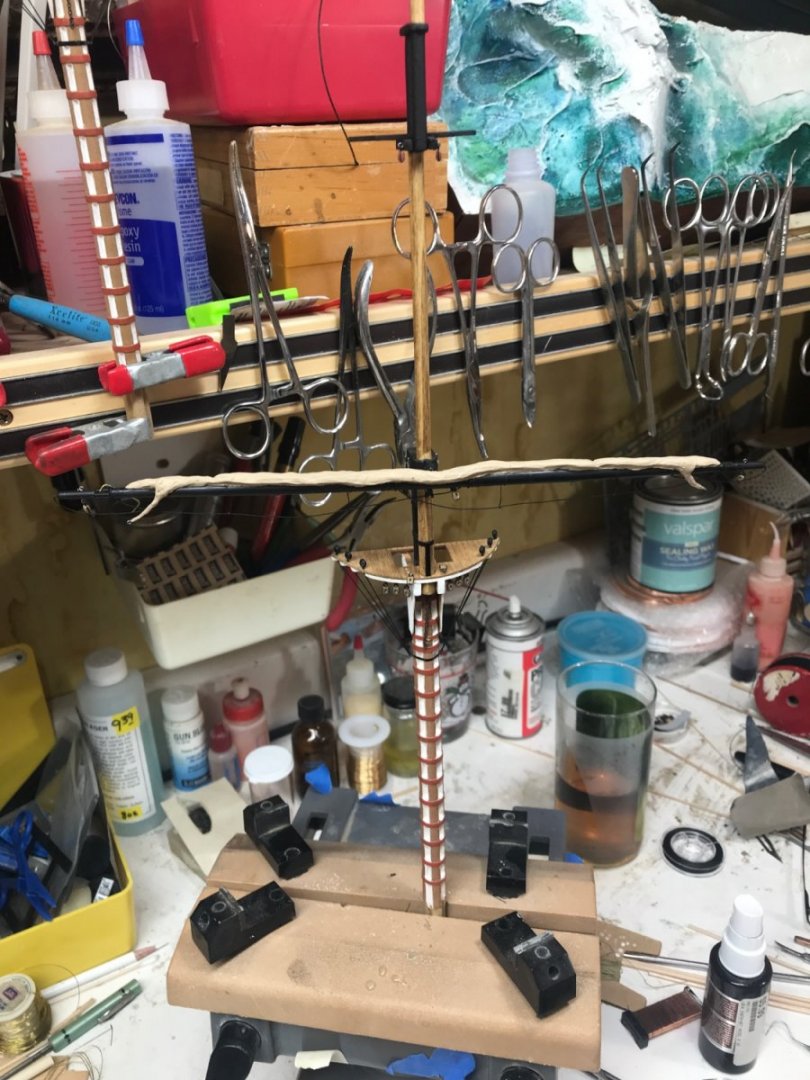
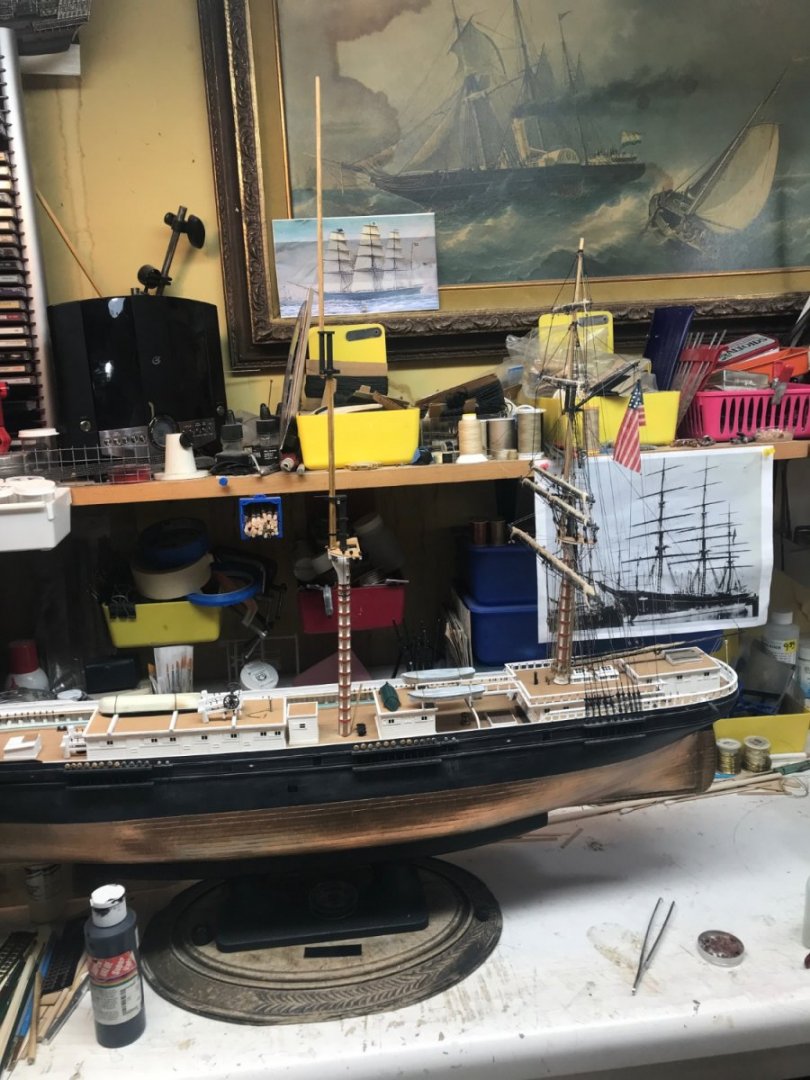
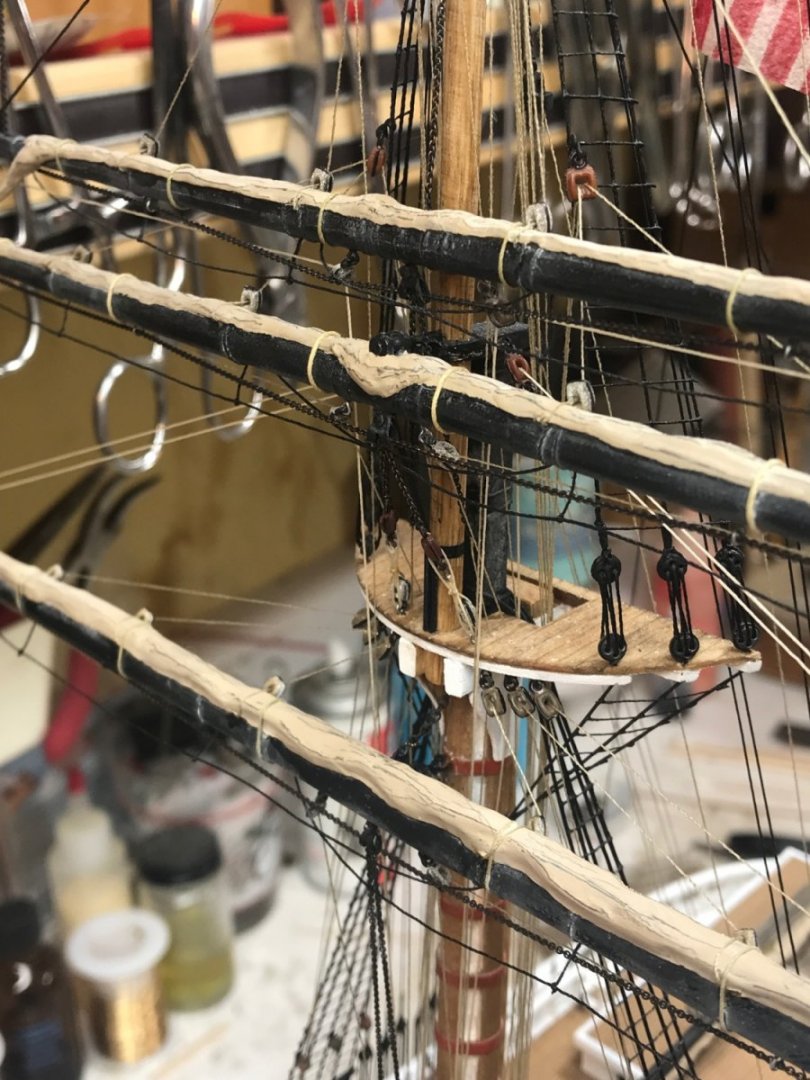
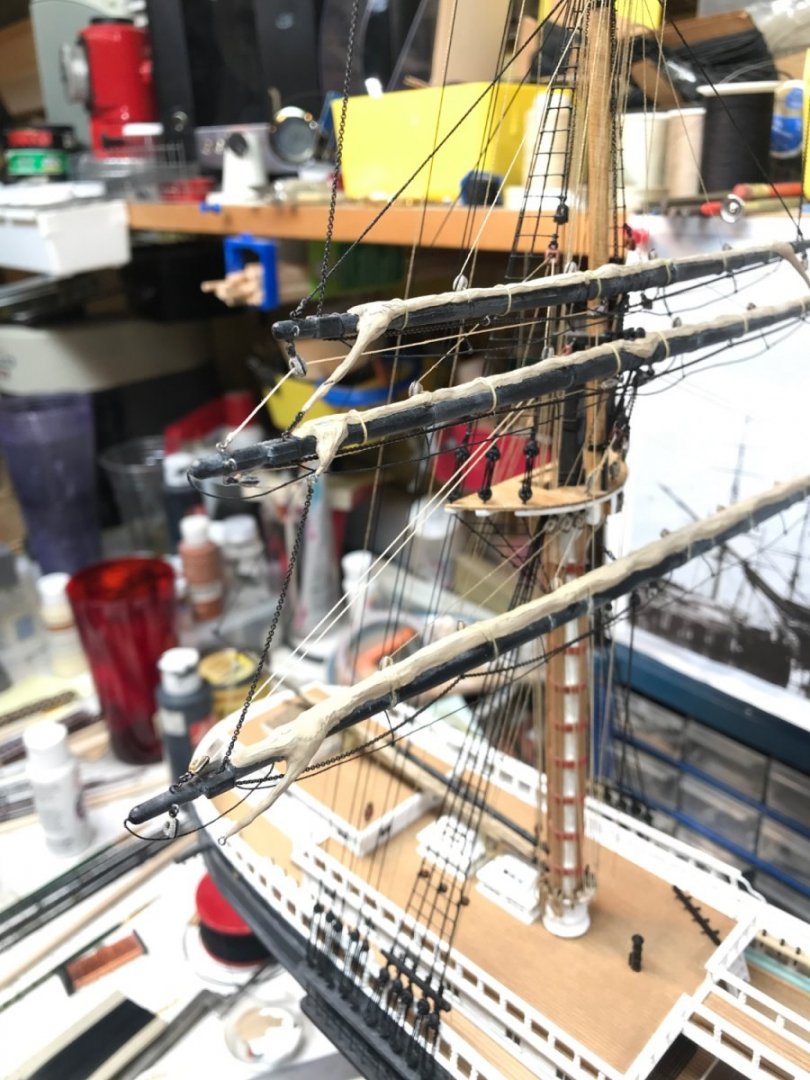
Test Setting the main mast after the addition of blocks and eyebolts. Rob


- 3,560 replies
-
- 9
-
-
- clipper
- hull model
- (and 2 more)
-
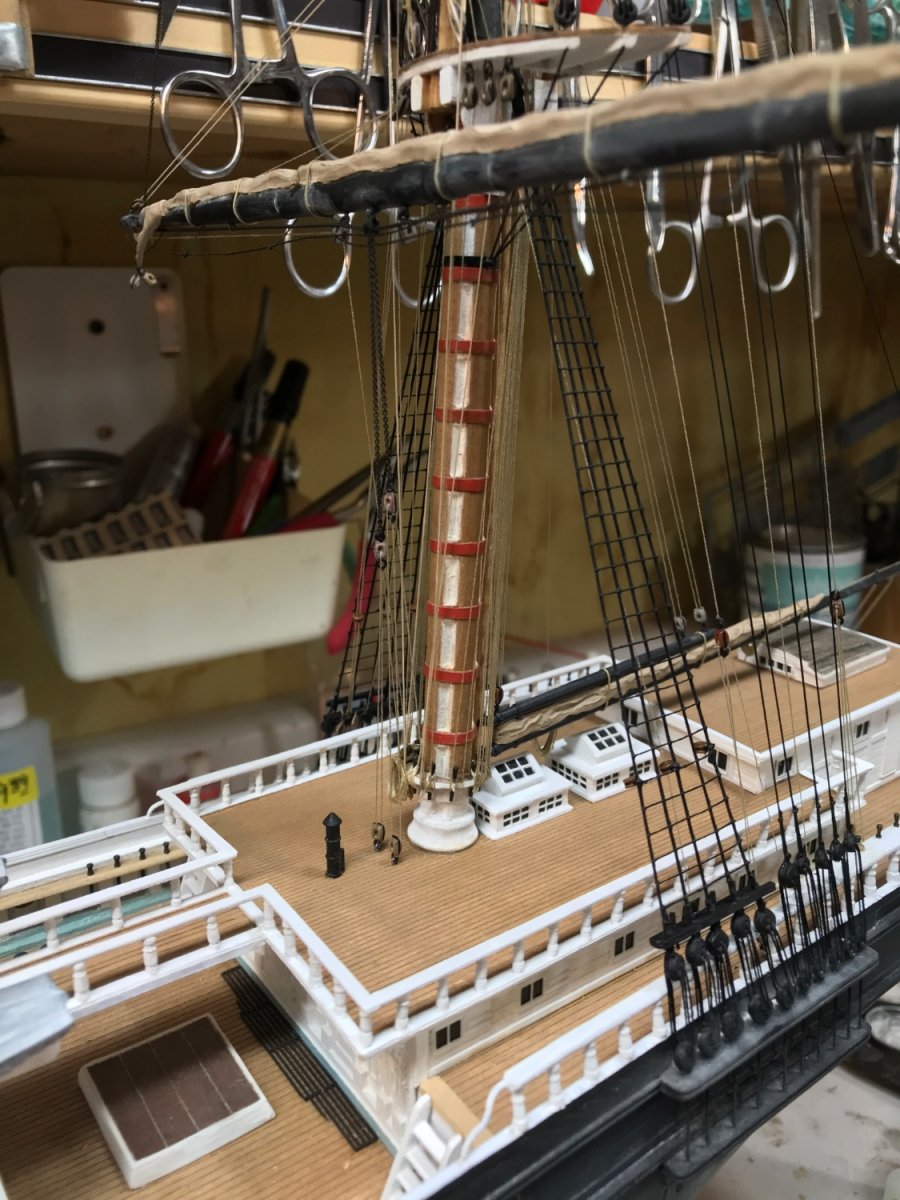
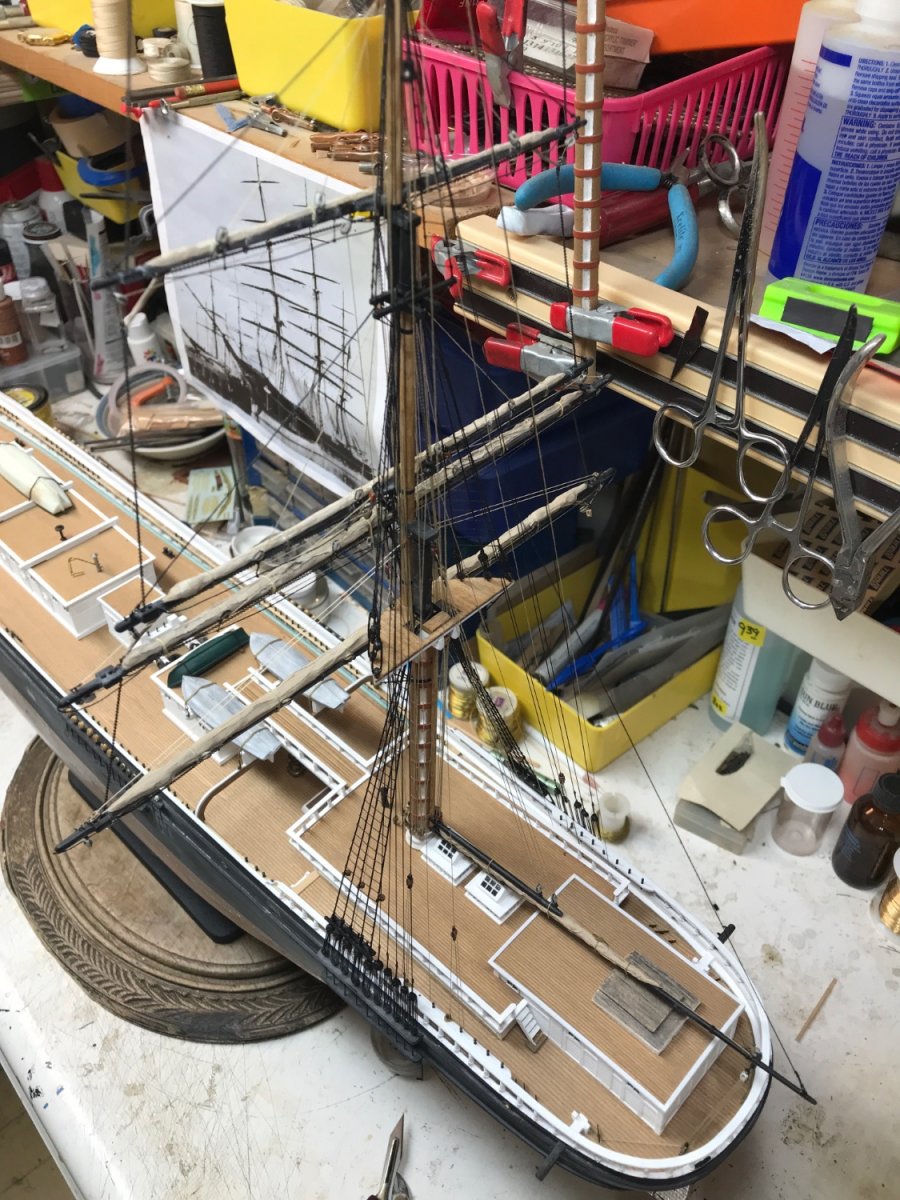
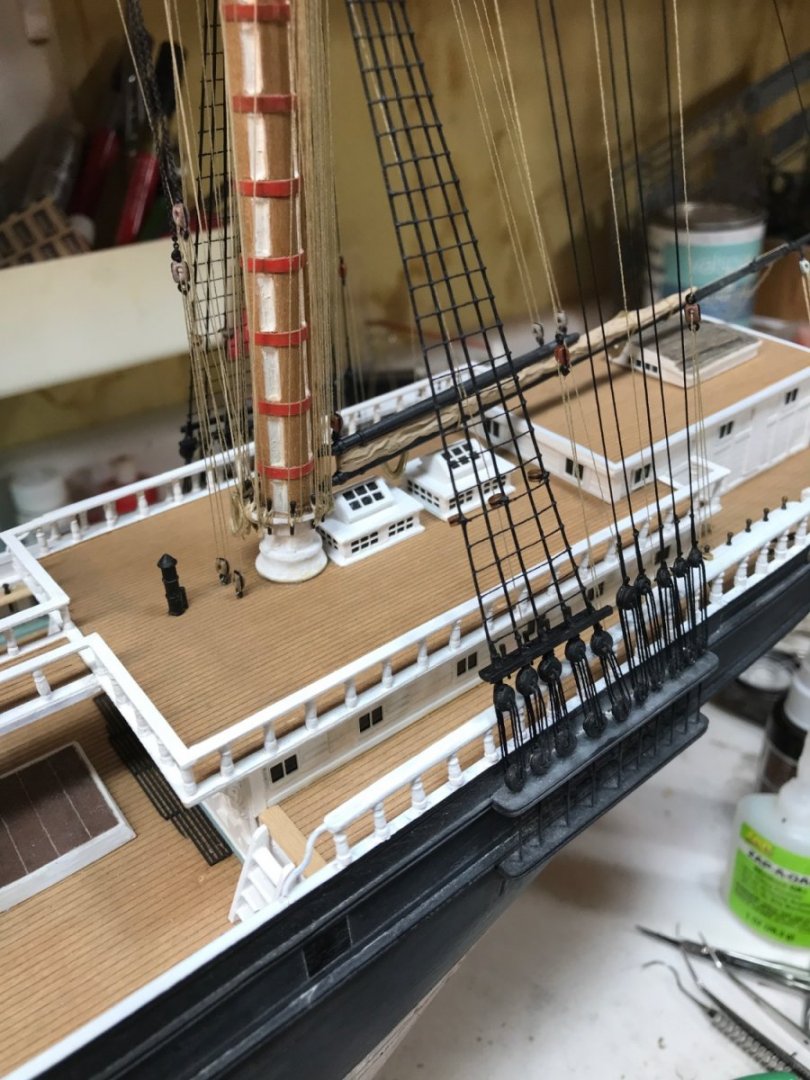
A few catch-up pics and I’m off on the main mast. Rob


- 3,560 replies
-
- 5
-
-
- clipper
- hull model
- (and 2 more)
-
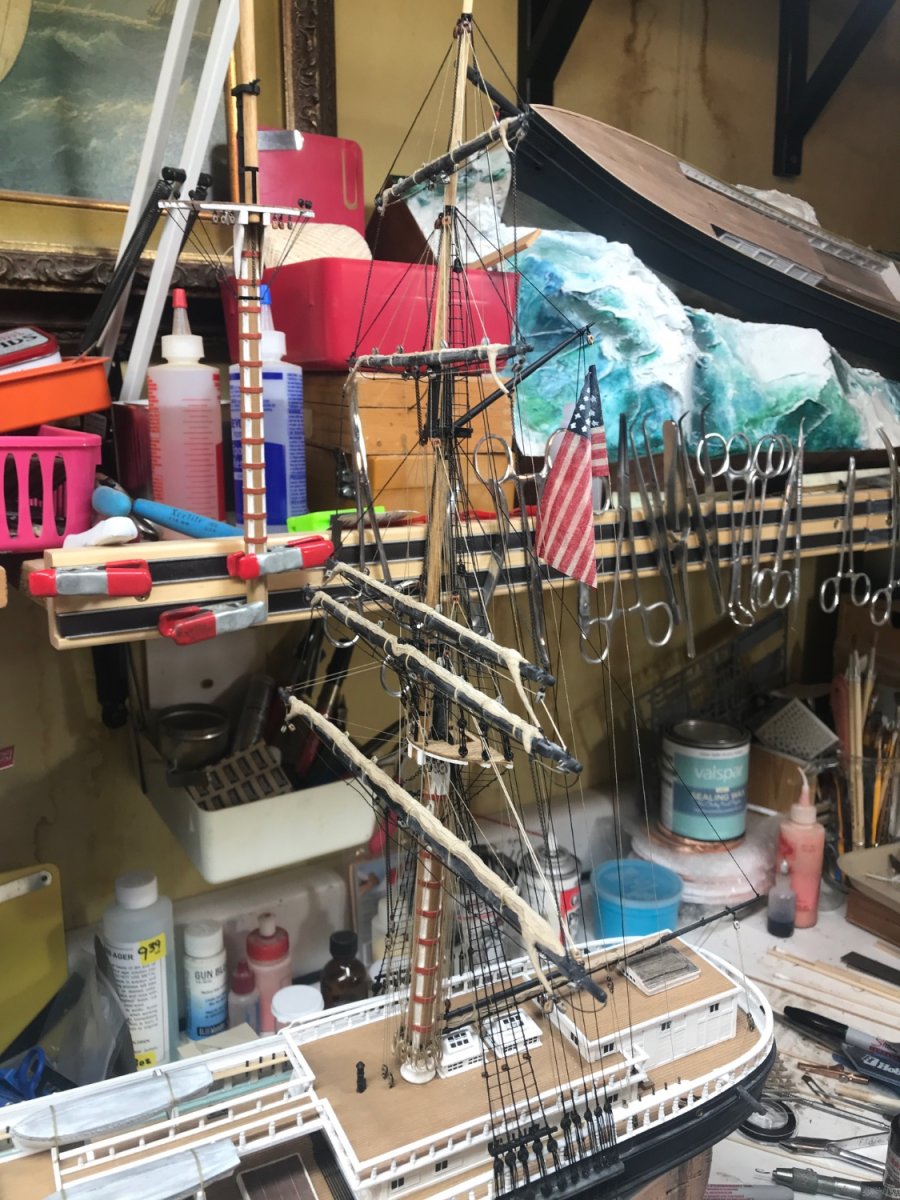
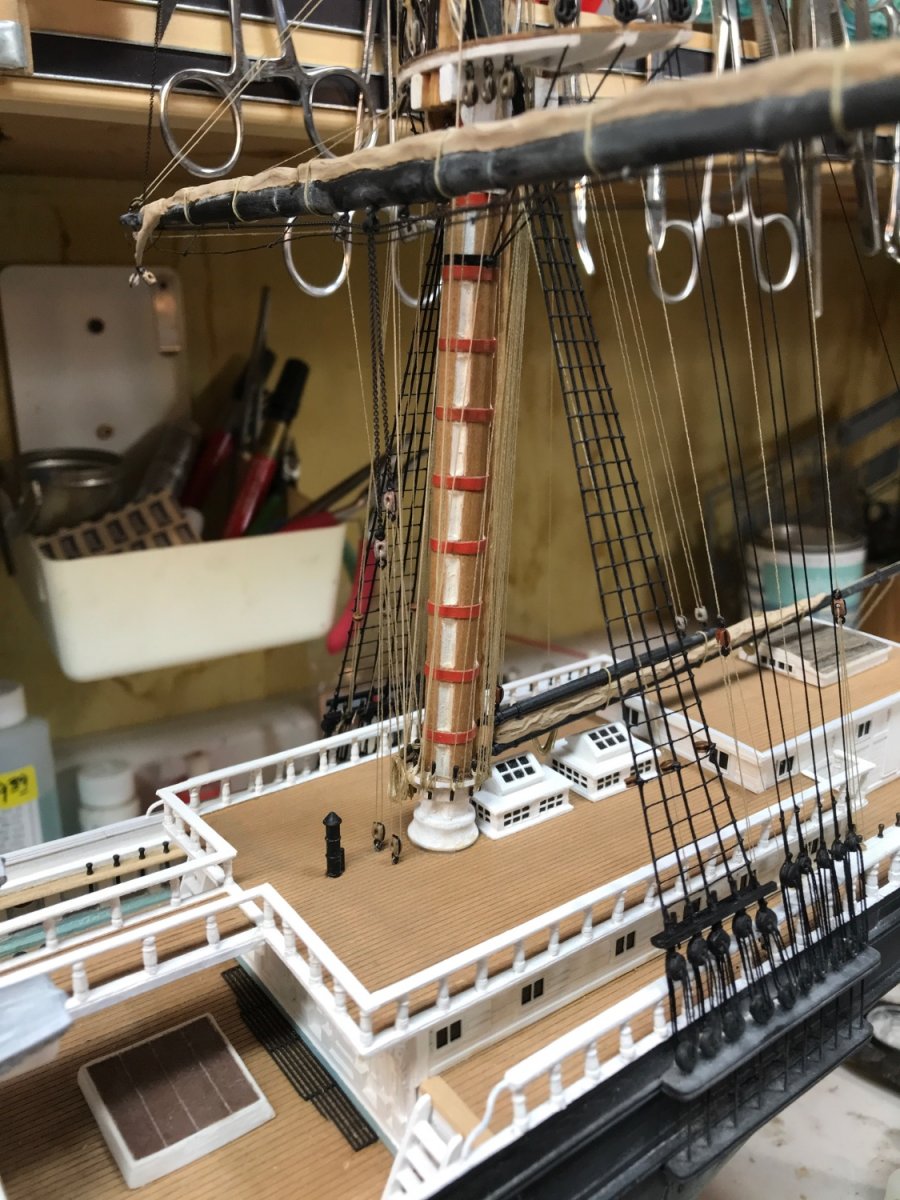
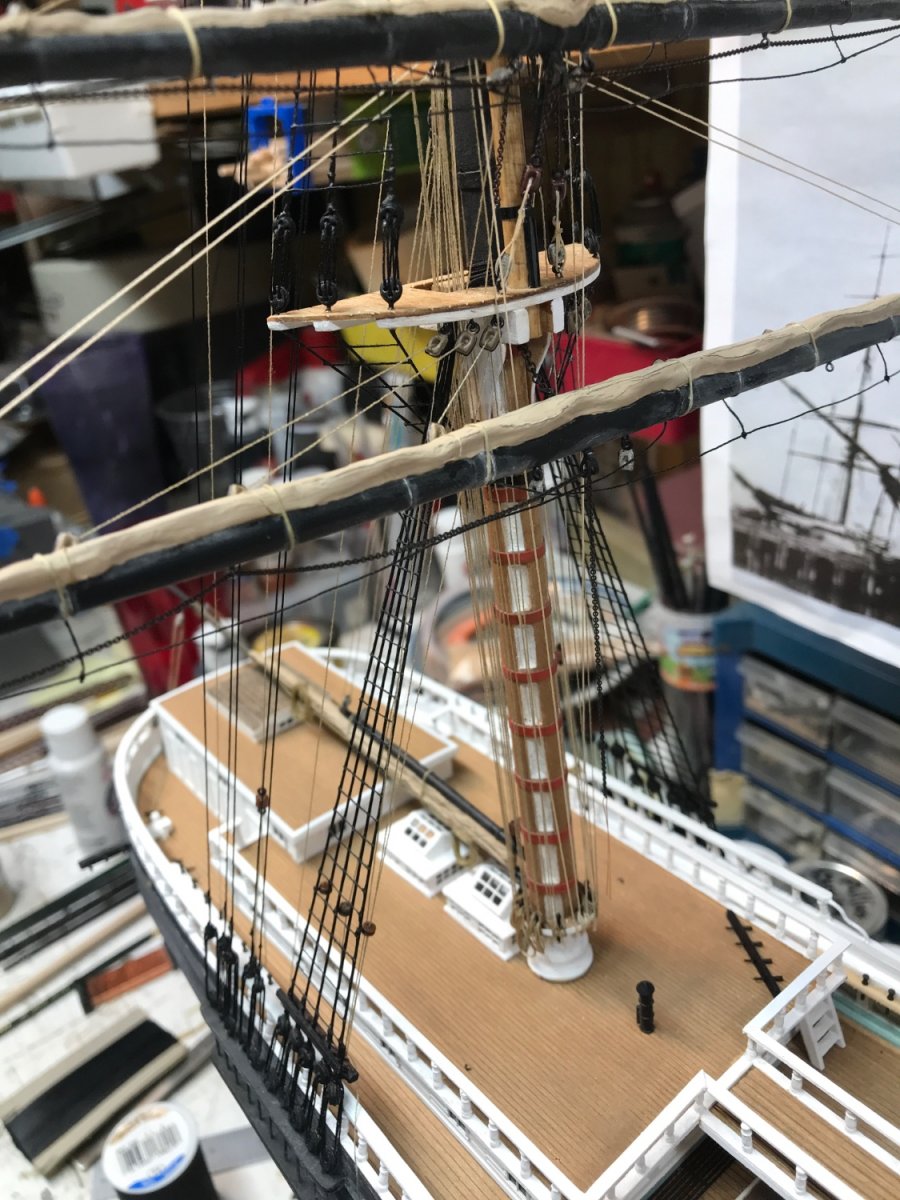
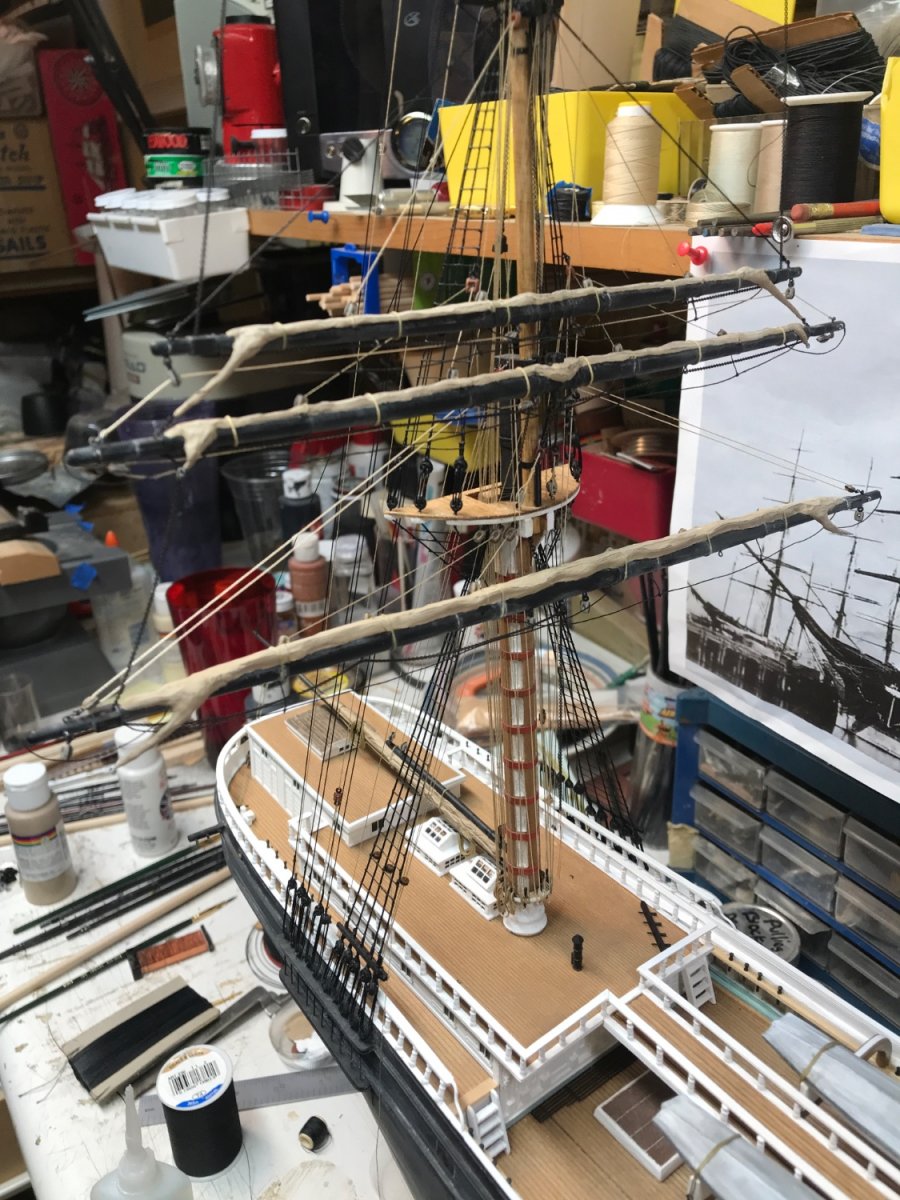
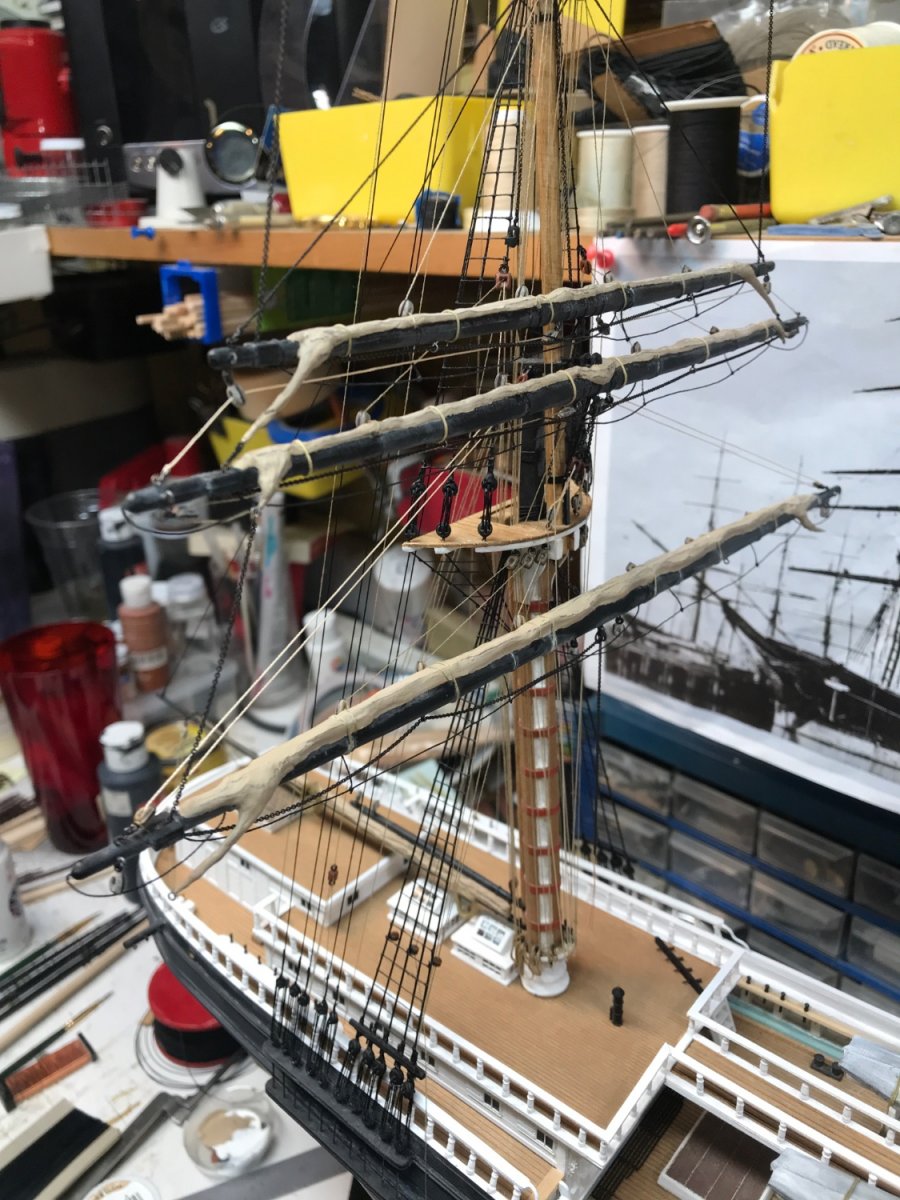
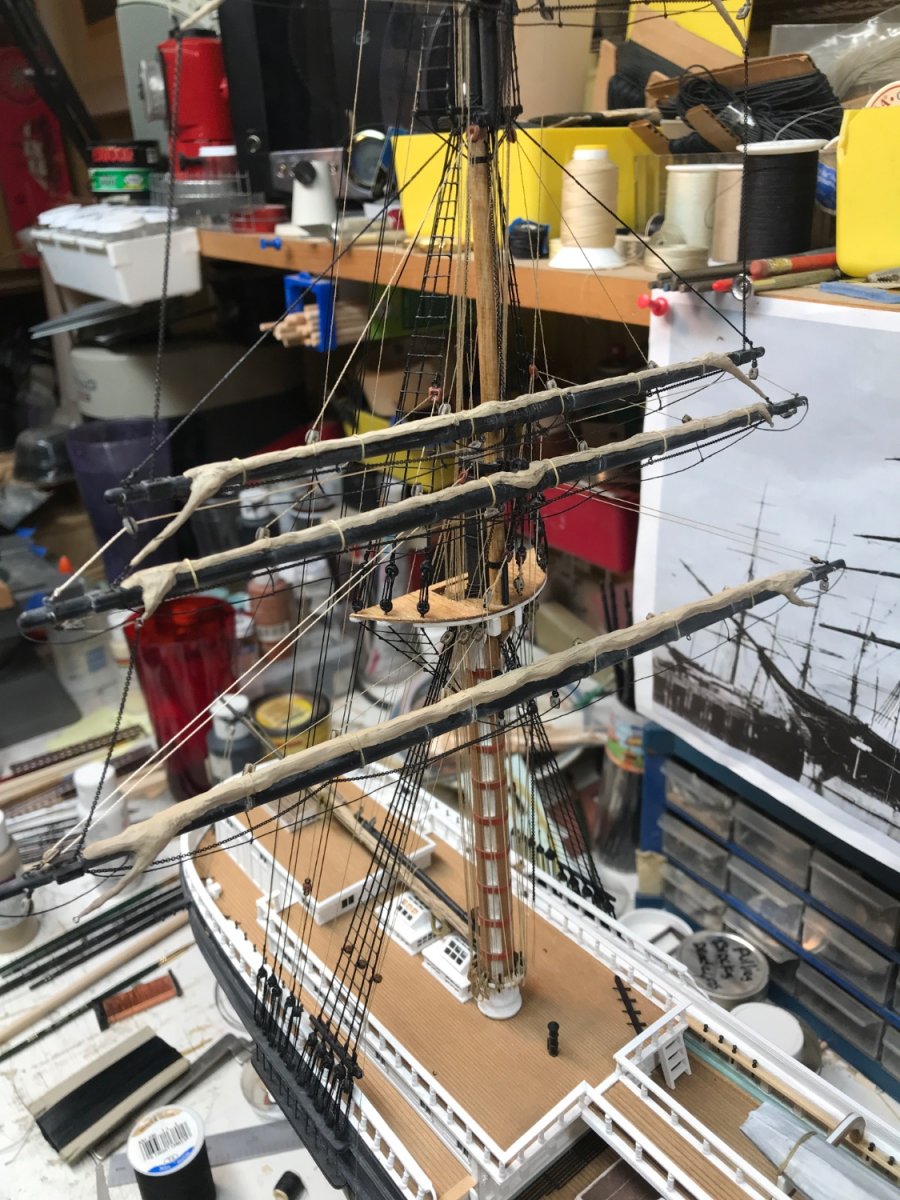
A few closeups before I throw myself into the main mast


- 3,560 replies
-
- 5
-
-
- clipper
- hull model
- (and 2 more)
-
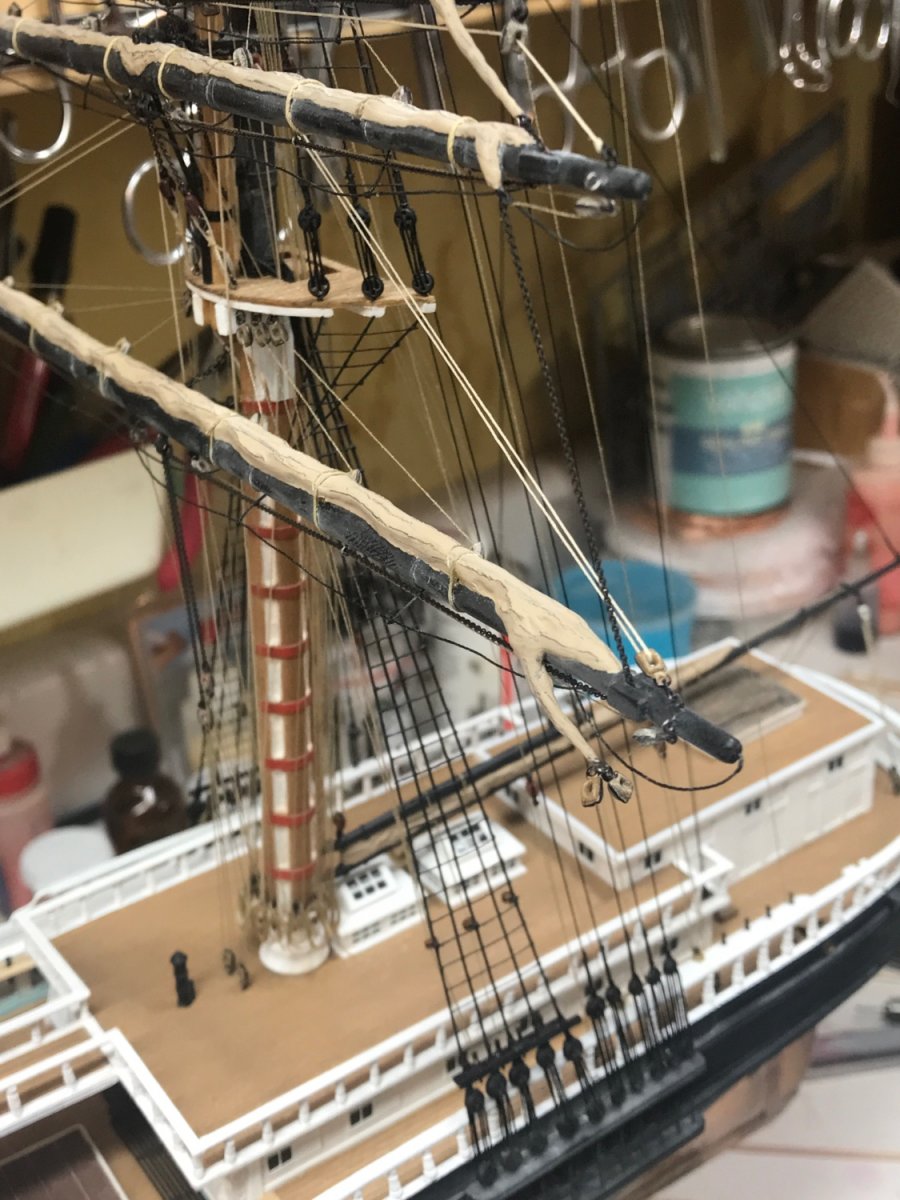
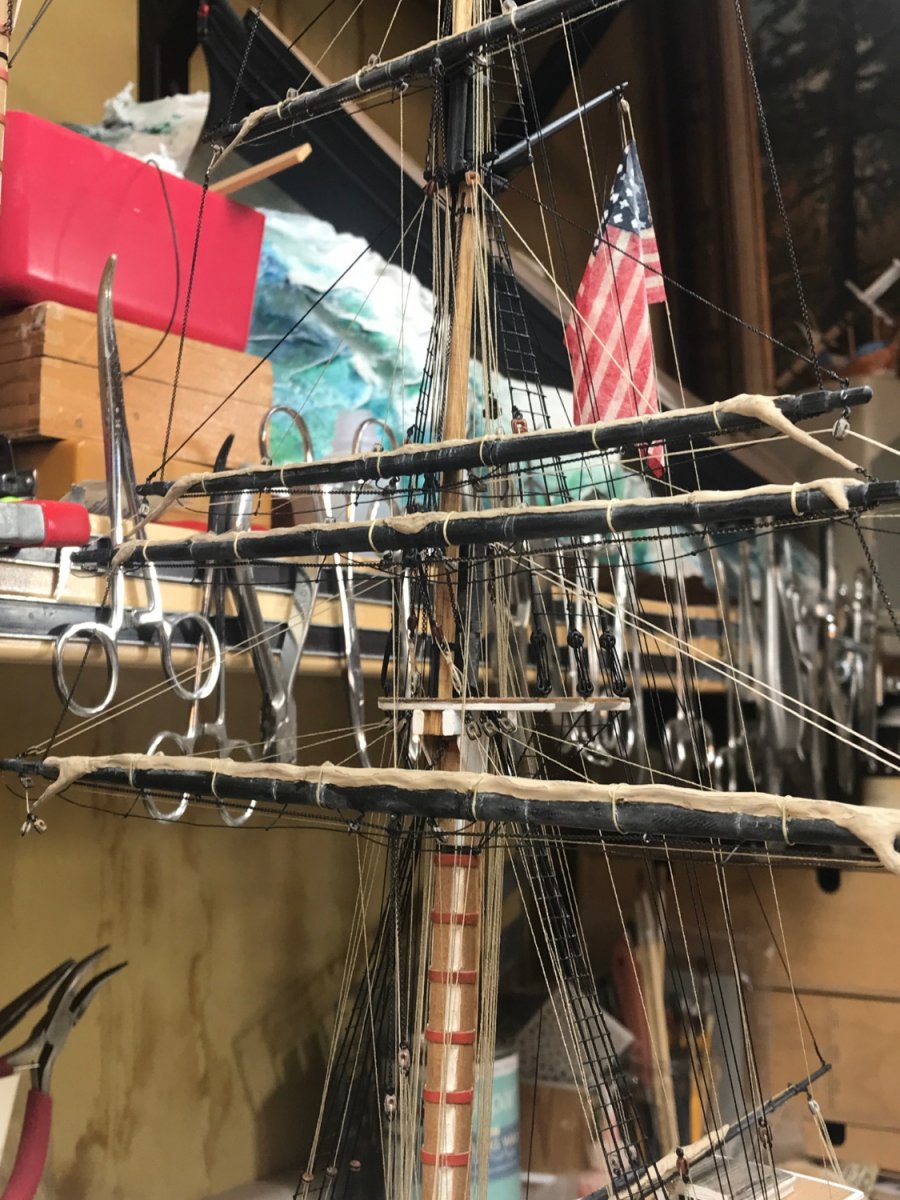
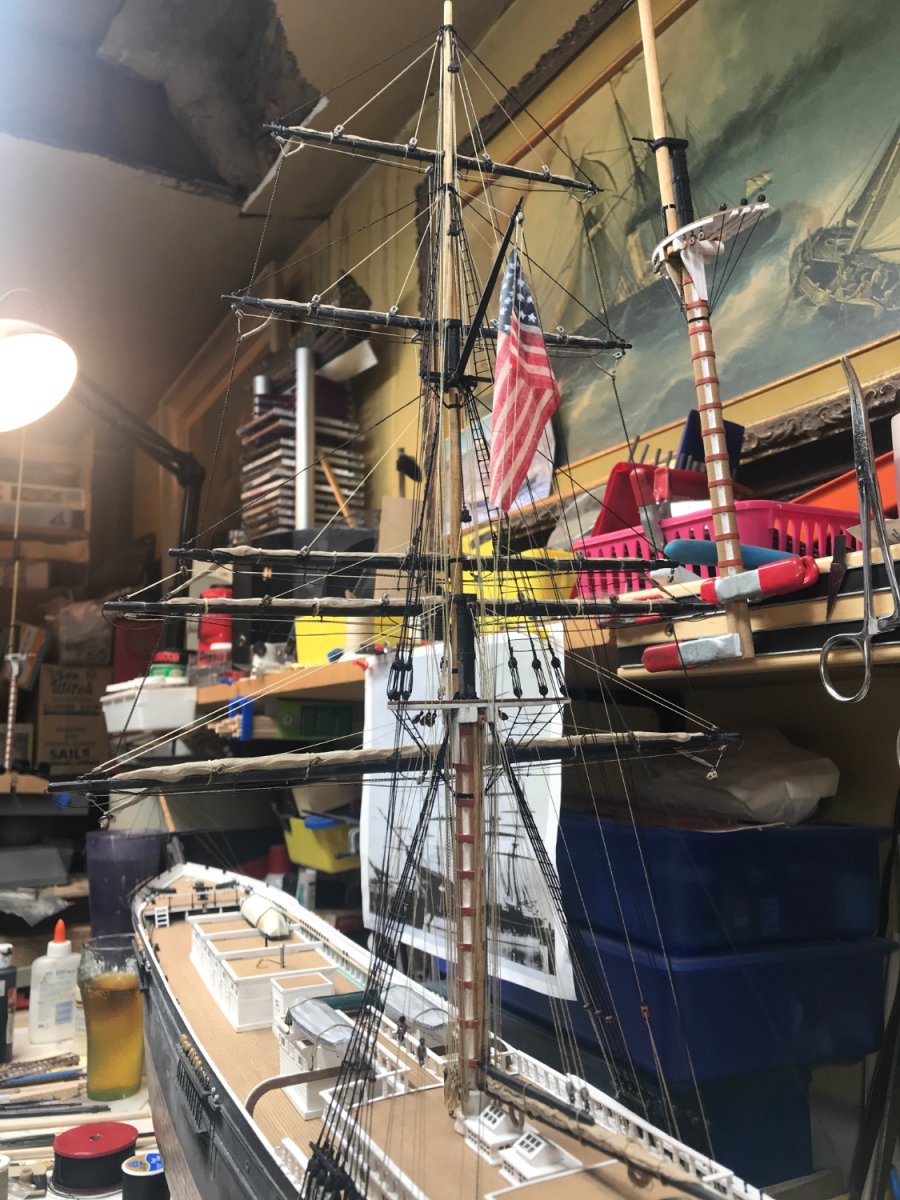
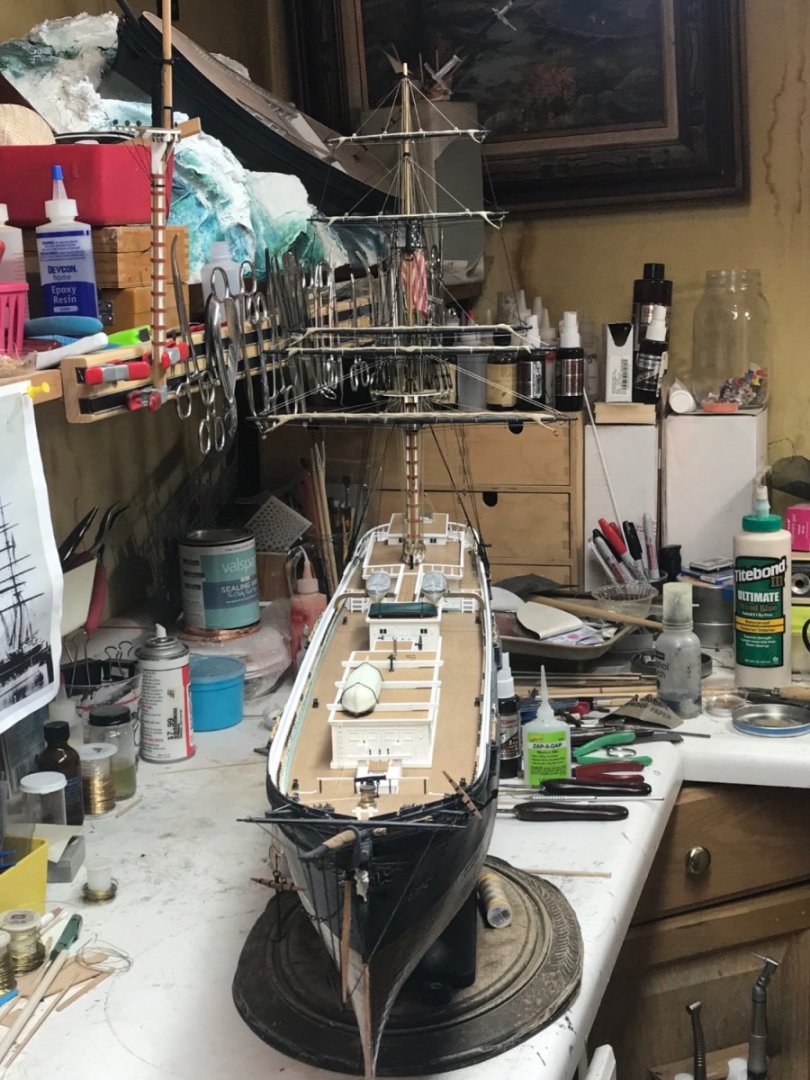
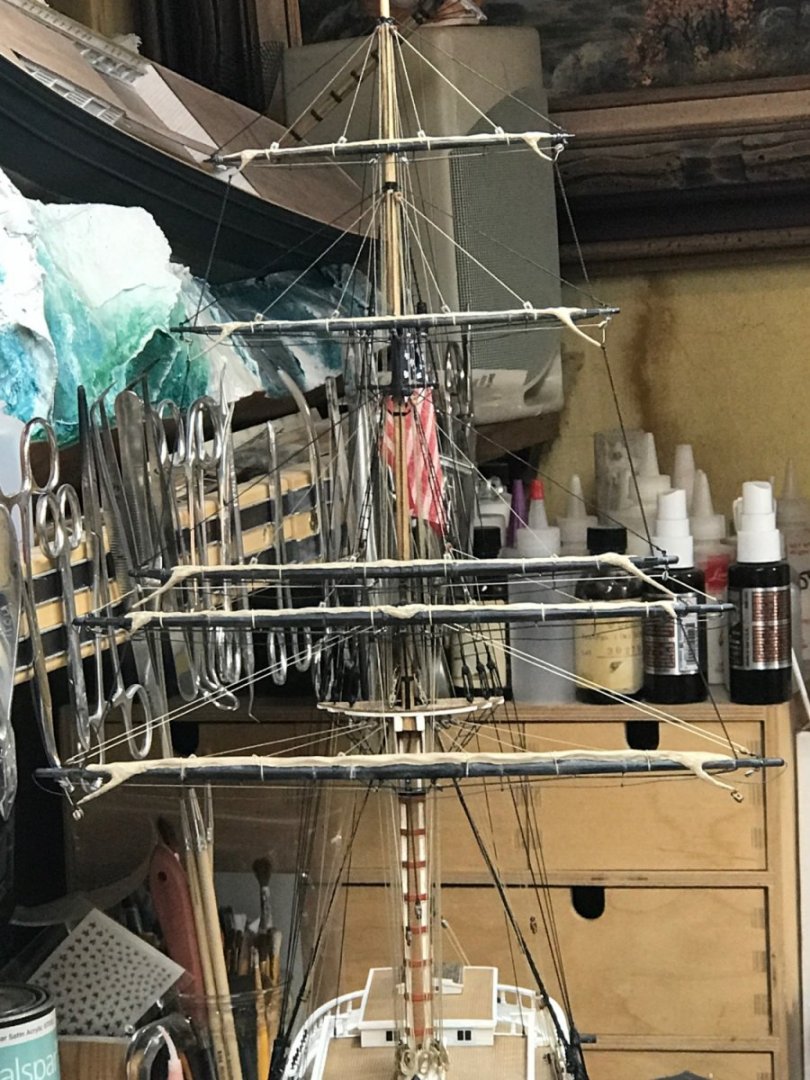
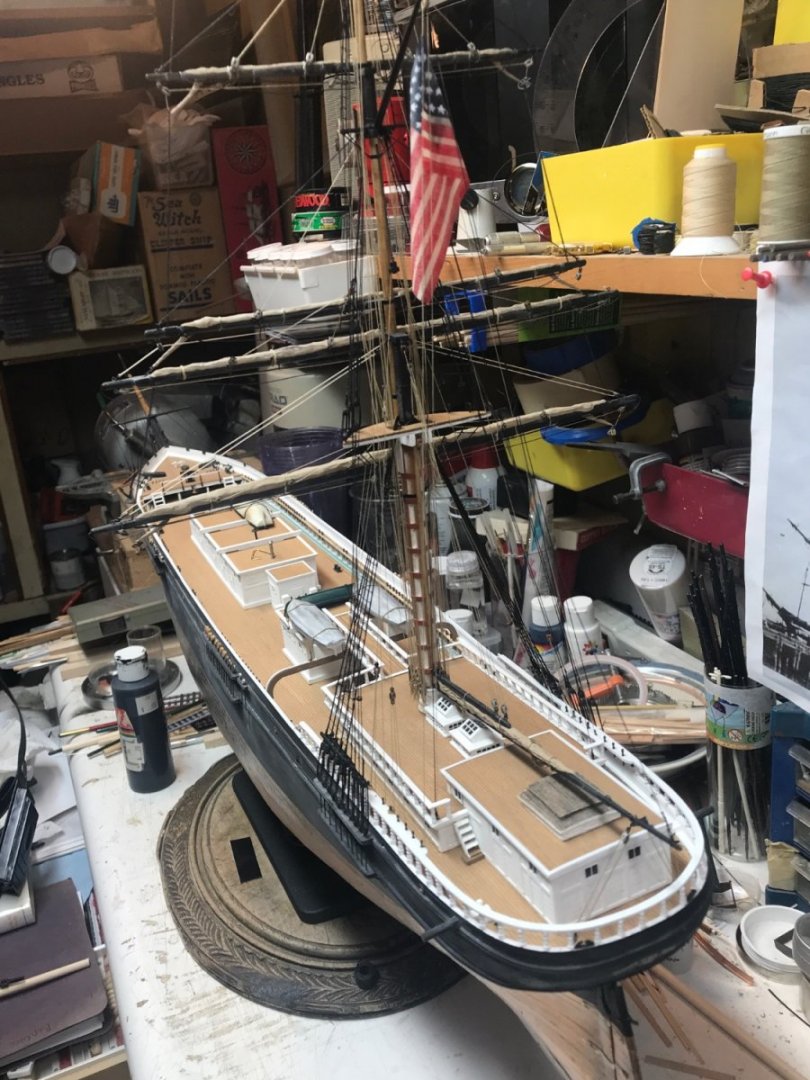
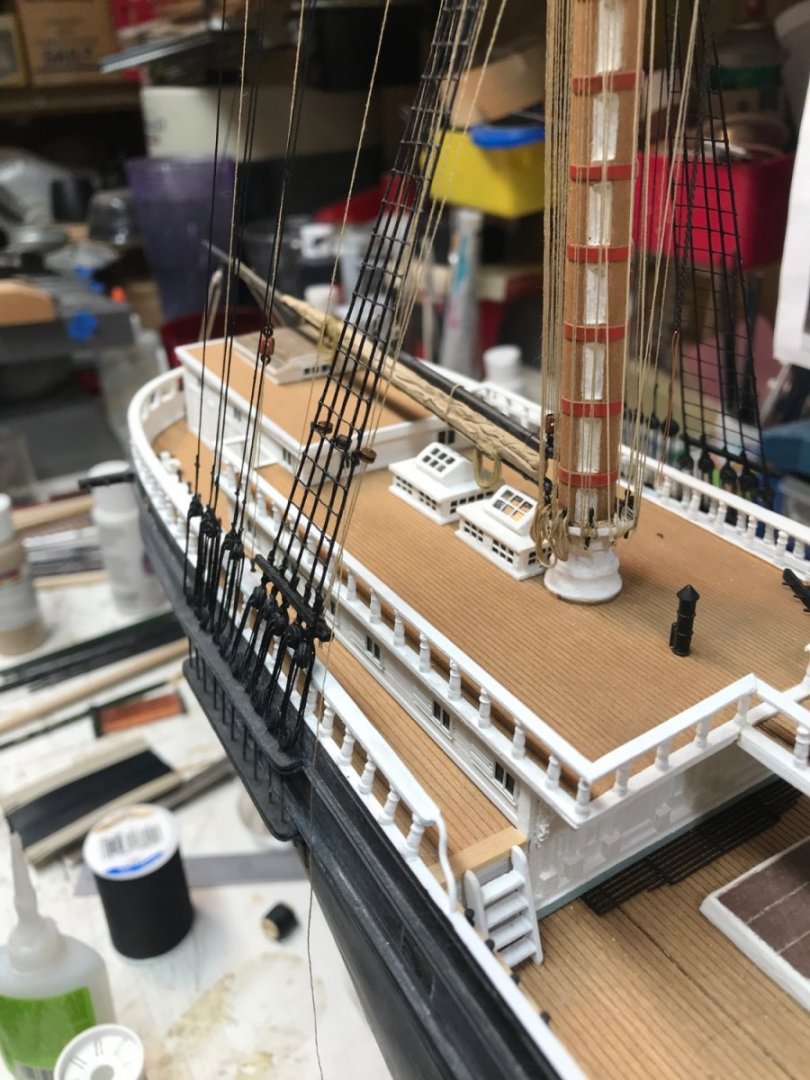
Started the pennant gaff and rigging…….just need to make a flag. Rob
- 3,560 replies
-
- 7
-
-
- clipper
- hull model
- (and 2 more)
-
I'm not sure...I think Fine Scale Modeler drew their images from a website I no longer use for the image capture. What images in particular are you seeking? Rob
- 481 replies
-
- 1
-
-
- Cutty Sark
- Revell
- (and 2 more)
-
Fantastic job…..she is clean and looking swell. I’m glad the chain plate issue has been resolved successfully. Rob
- 602 replies
-
- 1
-
-
- Flying Fish
- Model Shipways
- (and 2 more)
-
Thanks Pat. I couldn’t imagine trying this with cloth or silk span. Most folks are fearful straying away from accepted methods and materials. It’s the end result….Not the material used. Rob
-
Thanks for all the fine compliments. I rotated the model and began the port side rigging. I’m getting there, but still bunt lines and tidying up (rope coils). I’ll leave the braces off for now so as not to bump them. Nearly ready to add the final touch……the pendant gaff and old Glory. Rob


- 3,560 replies
-
- 2
-
-
- clipper
- hull model
- (and 2 more)
-
They turned out swell. Good job. Rob
-
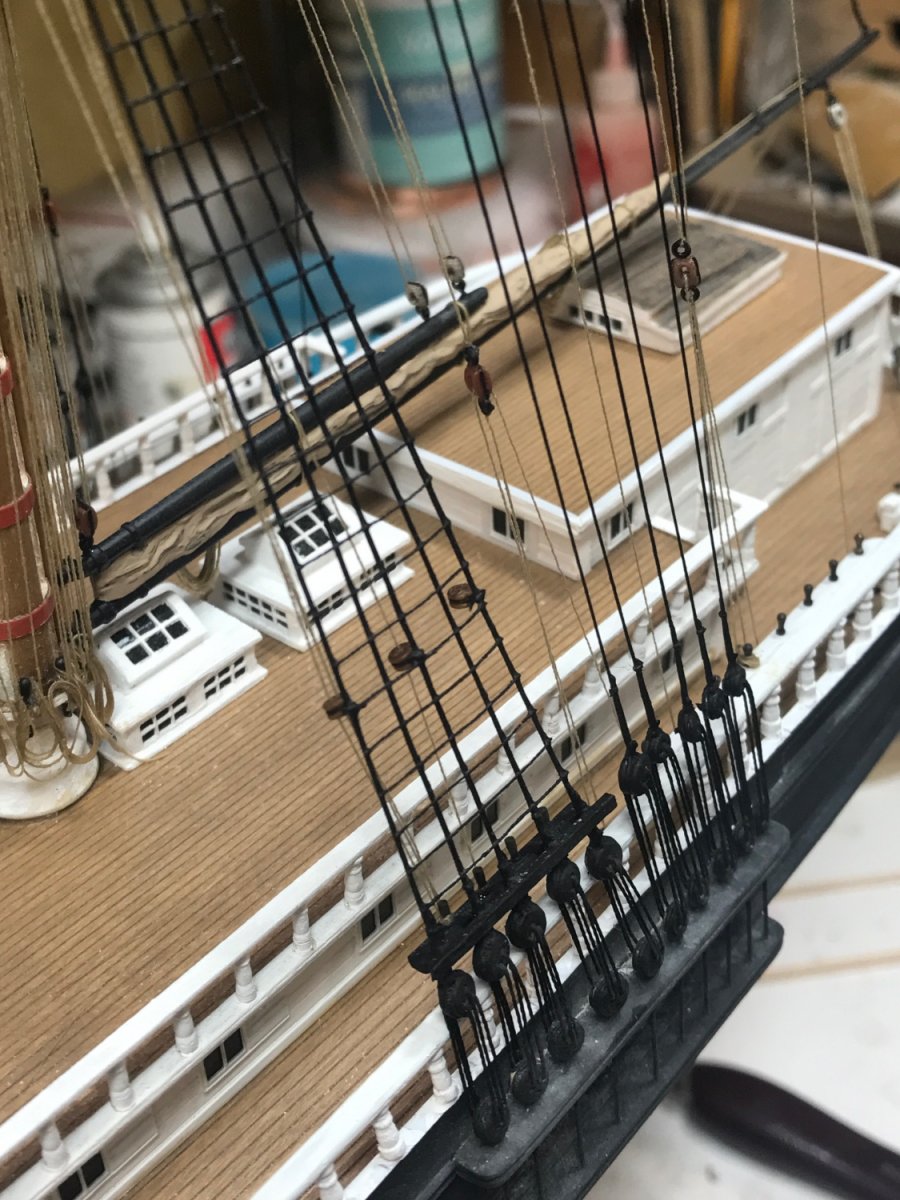
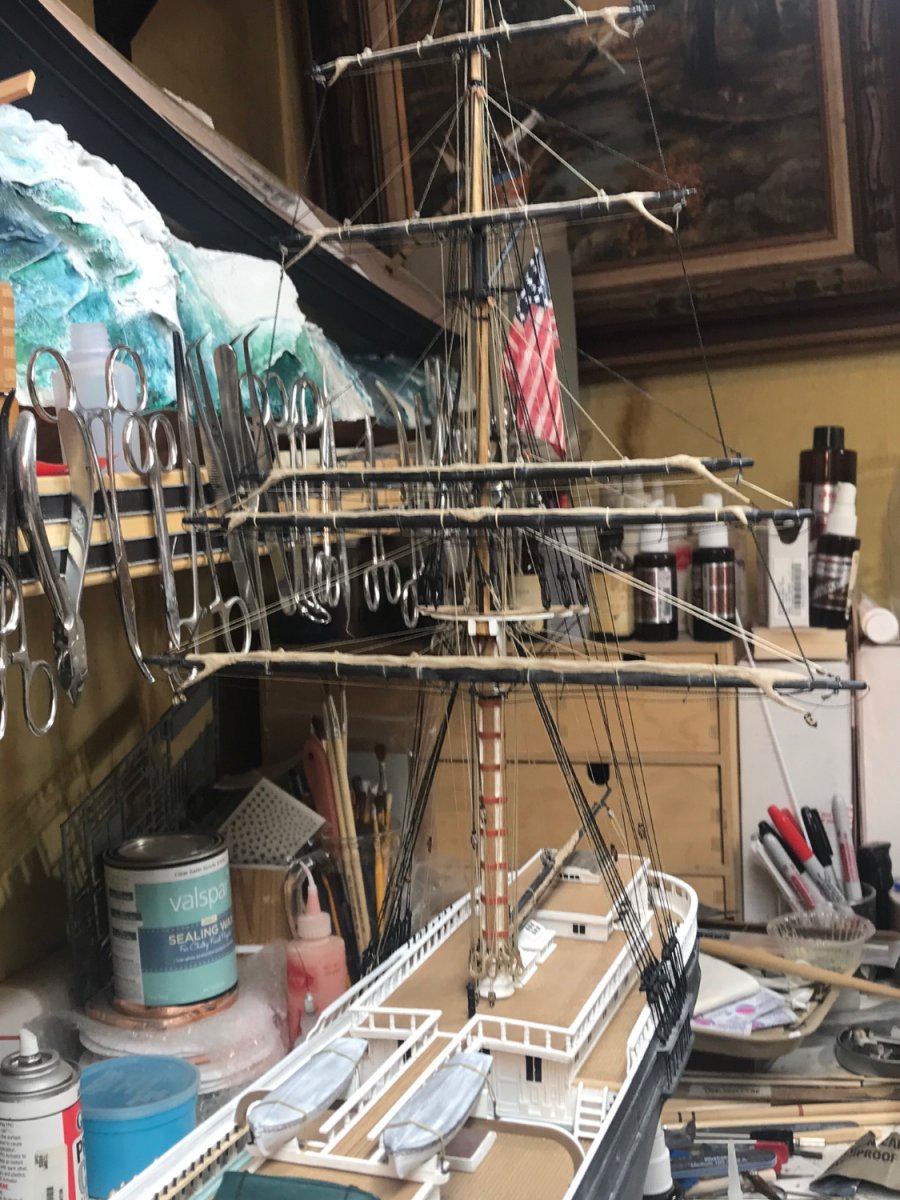
Started rigging the cross jack by adding the fair leads for the bunt lines and the lifts. Getting close finishing the starboard side. Still lots to do. Rob


- 3,560 replies
-
- 4
-
-
- clipper
- hull model
- (and 2 more)
-
I personally had to try twice to get it right, myself. Rob
-
Sorry for the misunderstanding. Rob
-
Good job……..but one fearfully evident issue pops up right away. The bands at 1/96 should be a scale 3’ apart…..roughly 3/8”…..center to center. Or at least symmetrical. Your final product looks very nice, but I fear the second attempt banding is too far apart for the scale. Sorry for the criticism. Rob