HOLIDAY DONATION DRIVE - SUPPORT MSW - DO YOUR PART TO KEEP THIS GREAT FORUM GOING! (Only 68 donations so far out of 49,000 members - Can we at least get 100? C'mon guys!)
×


rwiederrich
-
Posts
5,518 -
Joined
-
Last visited
Content Type
Profiles
Forums
Gallery
Events
Everything posted by rwiederrich
-
I salvaged them from another parts kit. I fashioned the pumps and mechanical items. I try to use whatever and from wherever I can to achieve my goals. It's the end product that counts. I didn't make the boats(though I covered them), I didn't scribe the decking or house material, I didn't cast or solder the anchors. I believe everything and anything(Preferably if it is already engineered), can be repurposed and will be utilized....because when all is said and done, it is the end product...a fine scaled, detailed model that is the goal. How I got there, is not part of the judging criteria. Rob
- 3,560 replies
-
- 1
-

-
- clipper
- hull model
- (and 2 more)
-
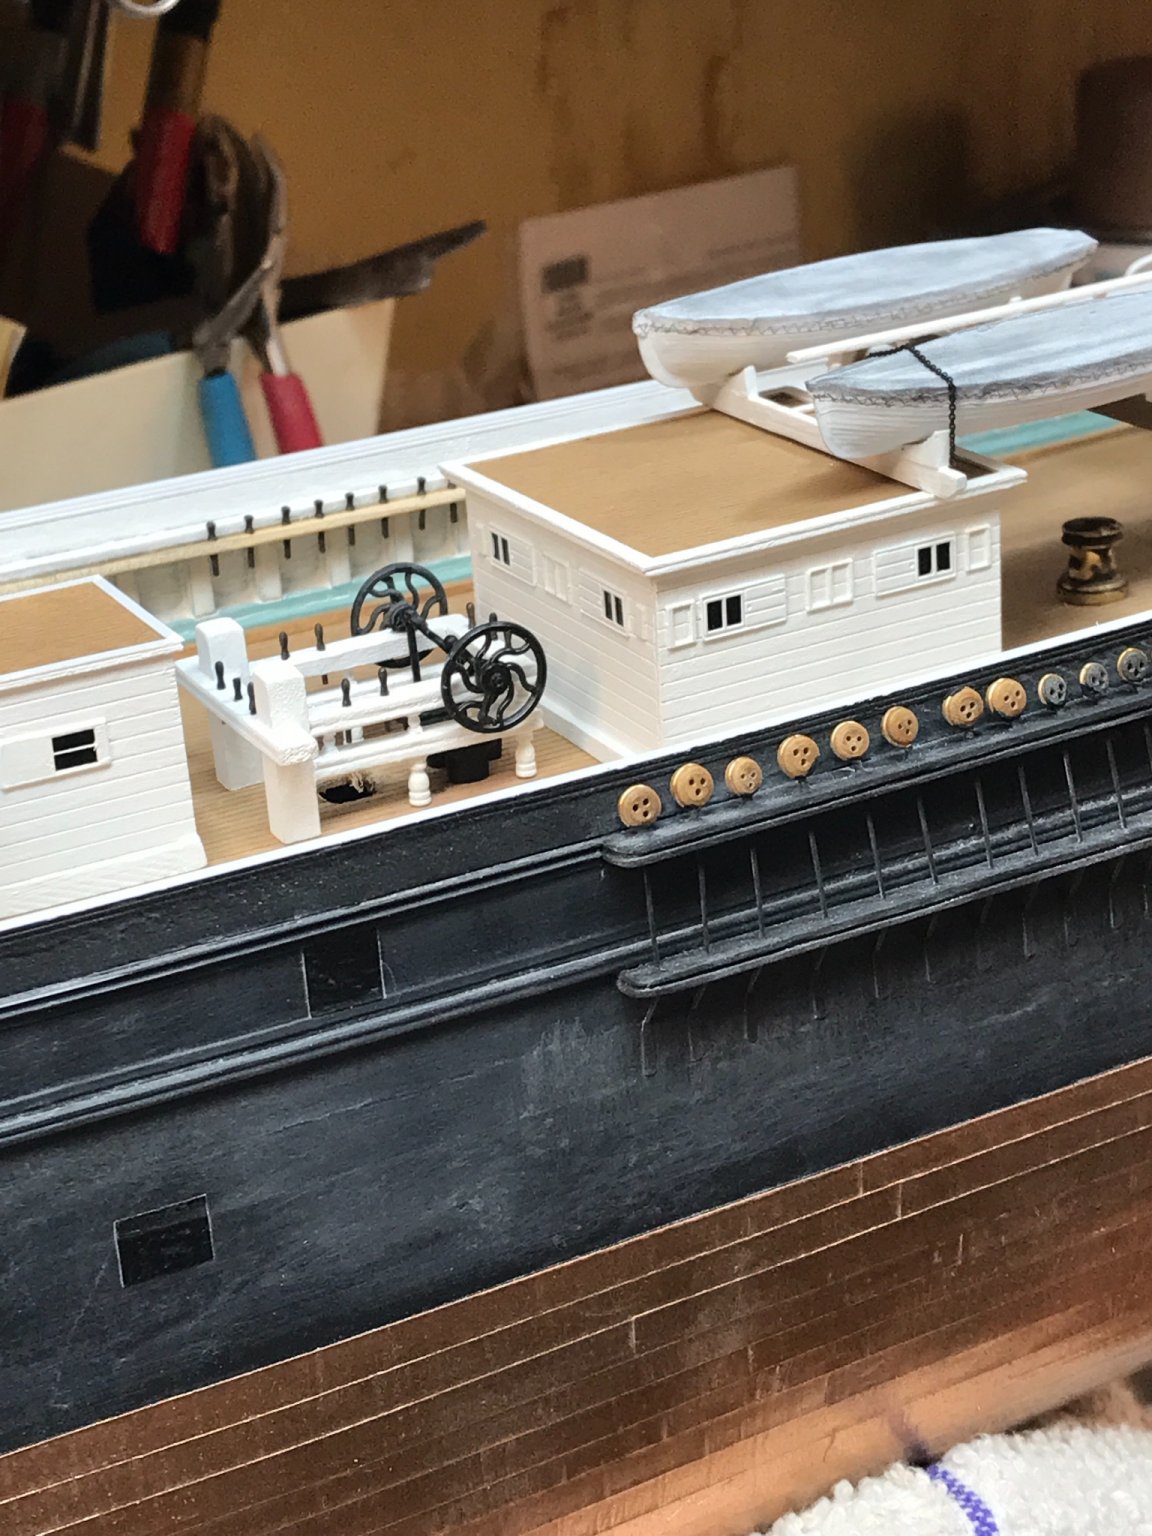
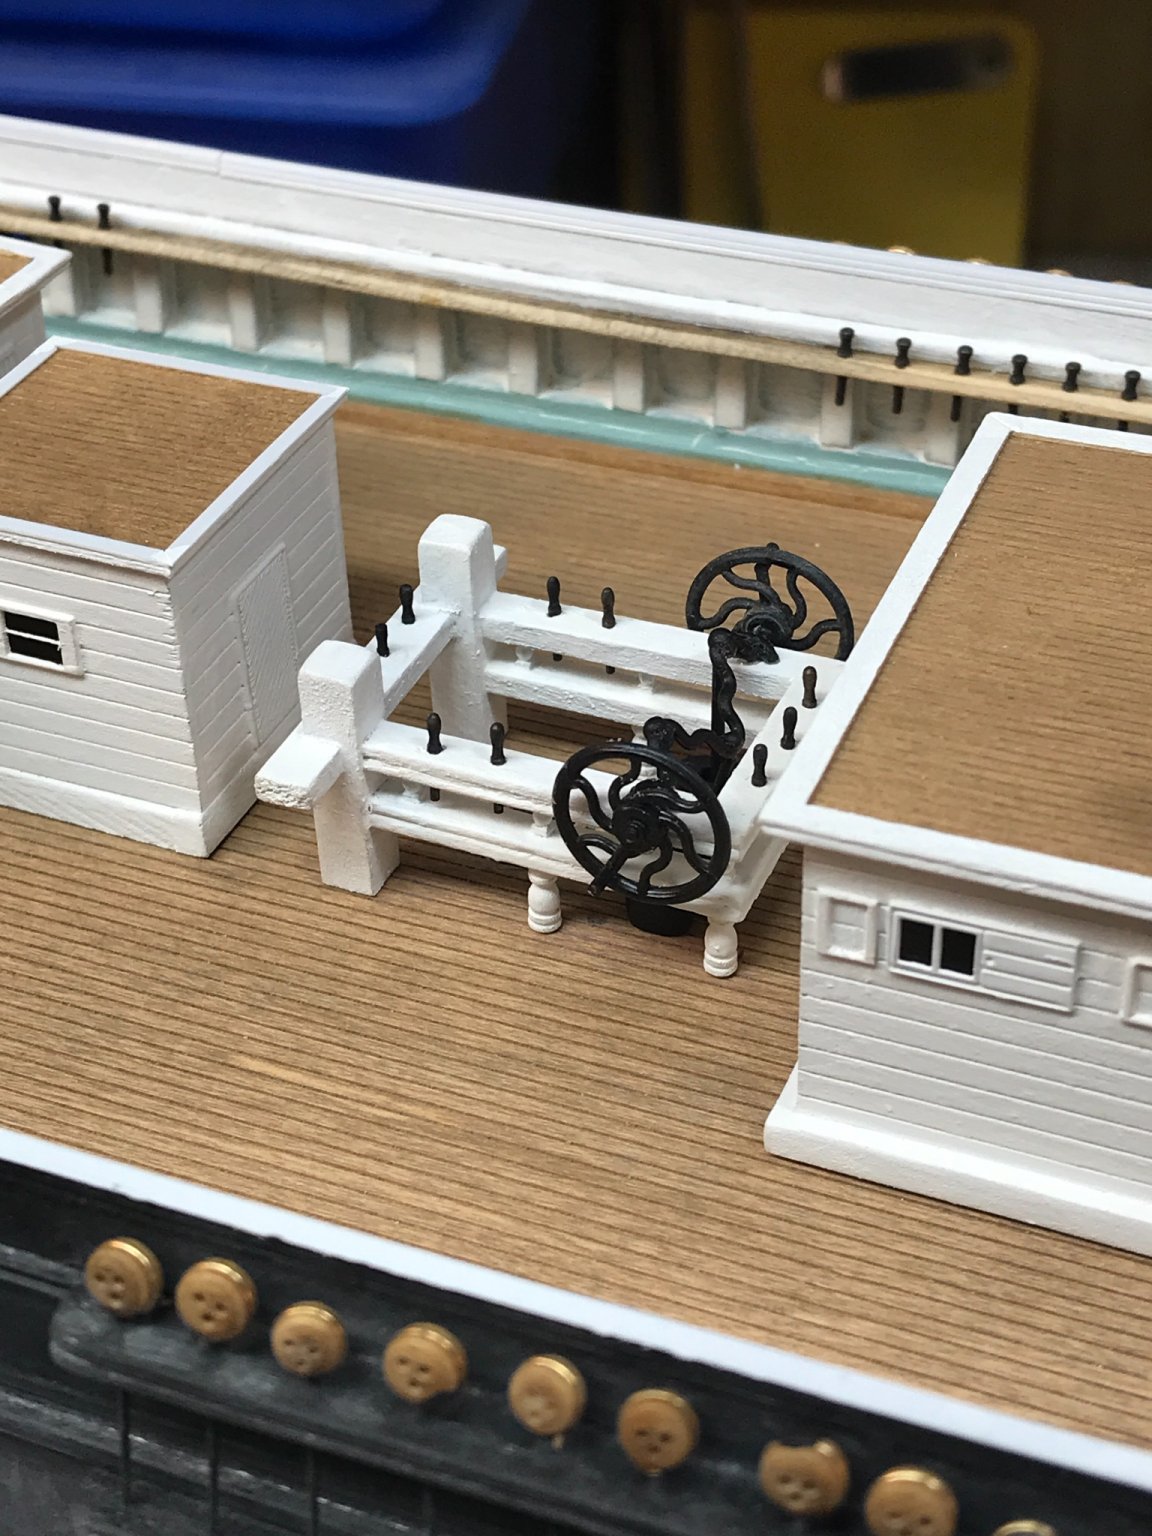
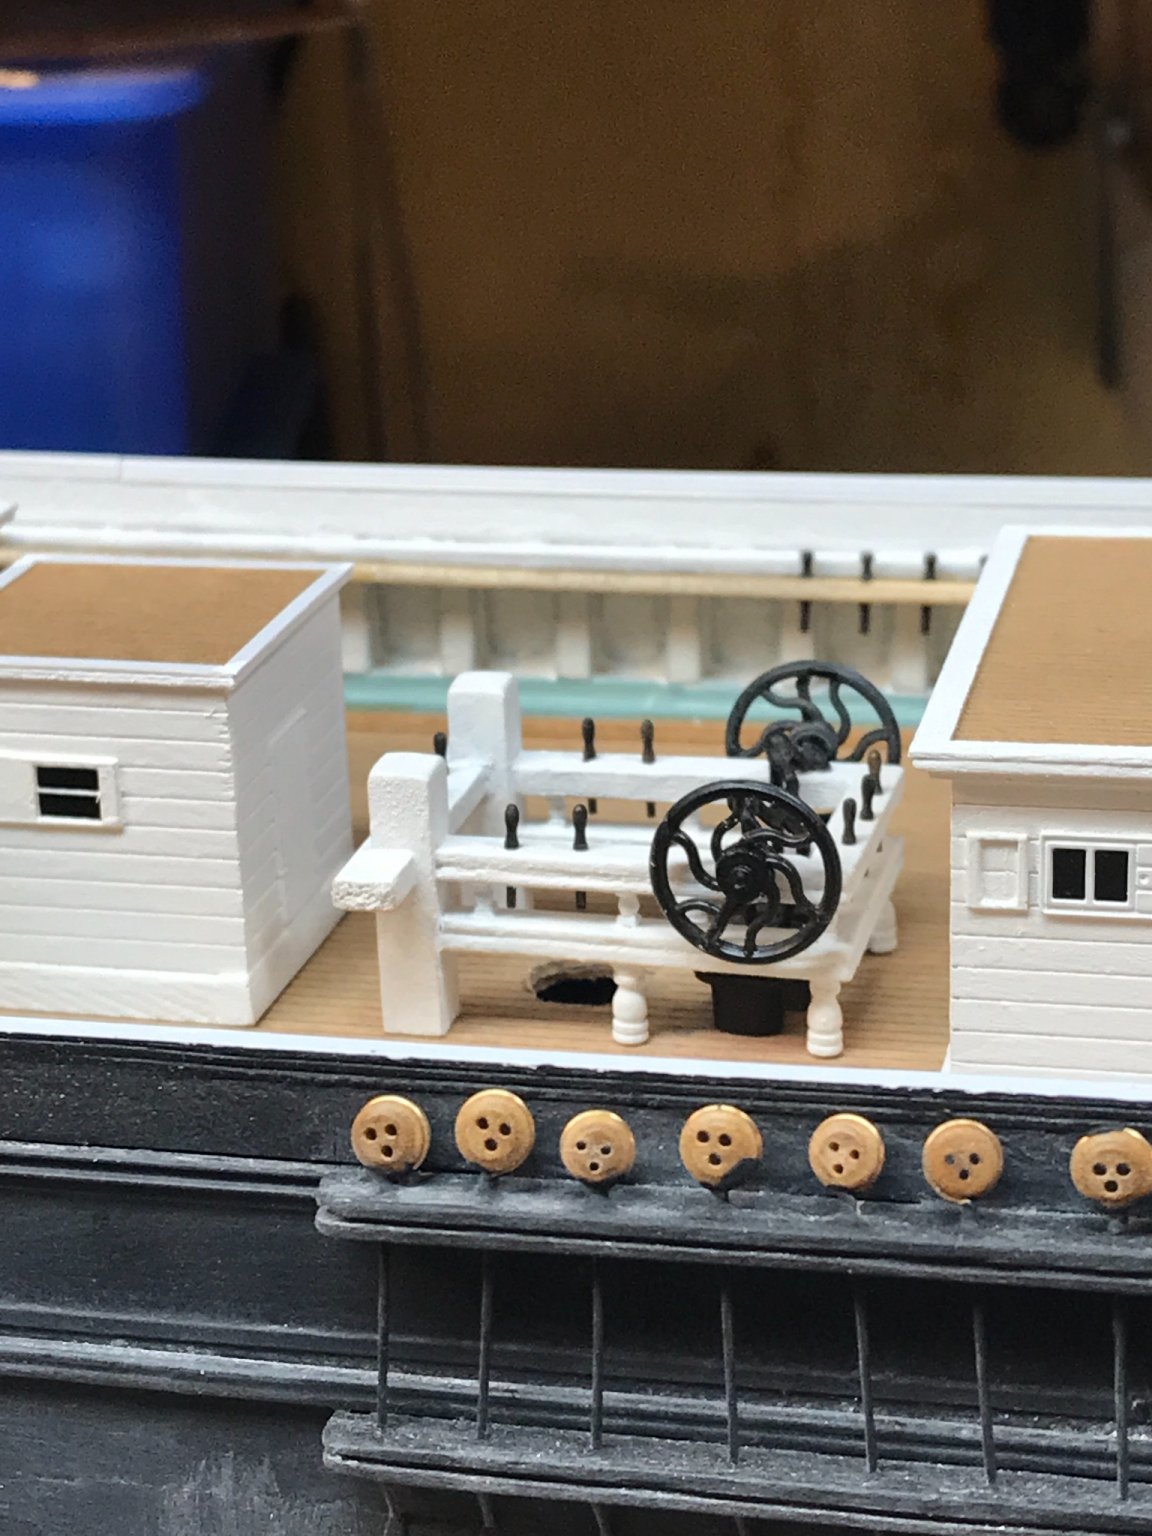
Worked on the main fife rail and pumps and flywheels. Rob


- 3,560 replies
-
- 5
-
-
- clipper
- hull model
- (and 2 more)
-
It'll be fun...I have 2 approaches, so we'll see which one I go for. Still working out the processes for each to determine which will take up my time. Rob
- 3,560 replies
-
- 1
-
-
- clipper
- hull model
- (and 2 more)
-
For me, it is not the time spent...I enjoy every minute making it and I did with all my other builds. It is, the significance of her reproduction, so history can at least have a model example of what she most likely appeared like. It would be for historical significance that I would donate her to a qualified deserving museum. Rob
- 3,560 replies
-
- 1
-
-
- clipper
- hull model
- (and 2 more)
-
If the Logistics could be worked out, I might consider such an adventure. Lots of logistics would need to be worked out for such an endeavor. It would be nice to have a small gallery of images and artifacts and her scale model. A wonderful thing to think about. Rob
- 3,560 replies
-
- 1
-
-
- clipper
- hull model
- (and 2 more)
-
I might even consider that. Donating her to a deserving honoring museum. Interesting notion. Rob
-
Thanks Pat. I try. Rob
-
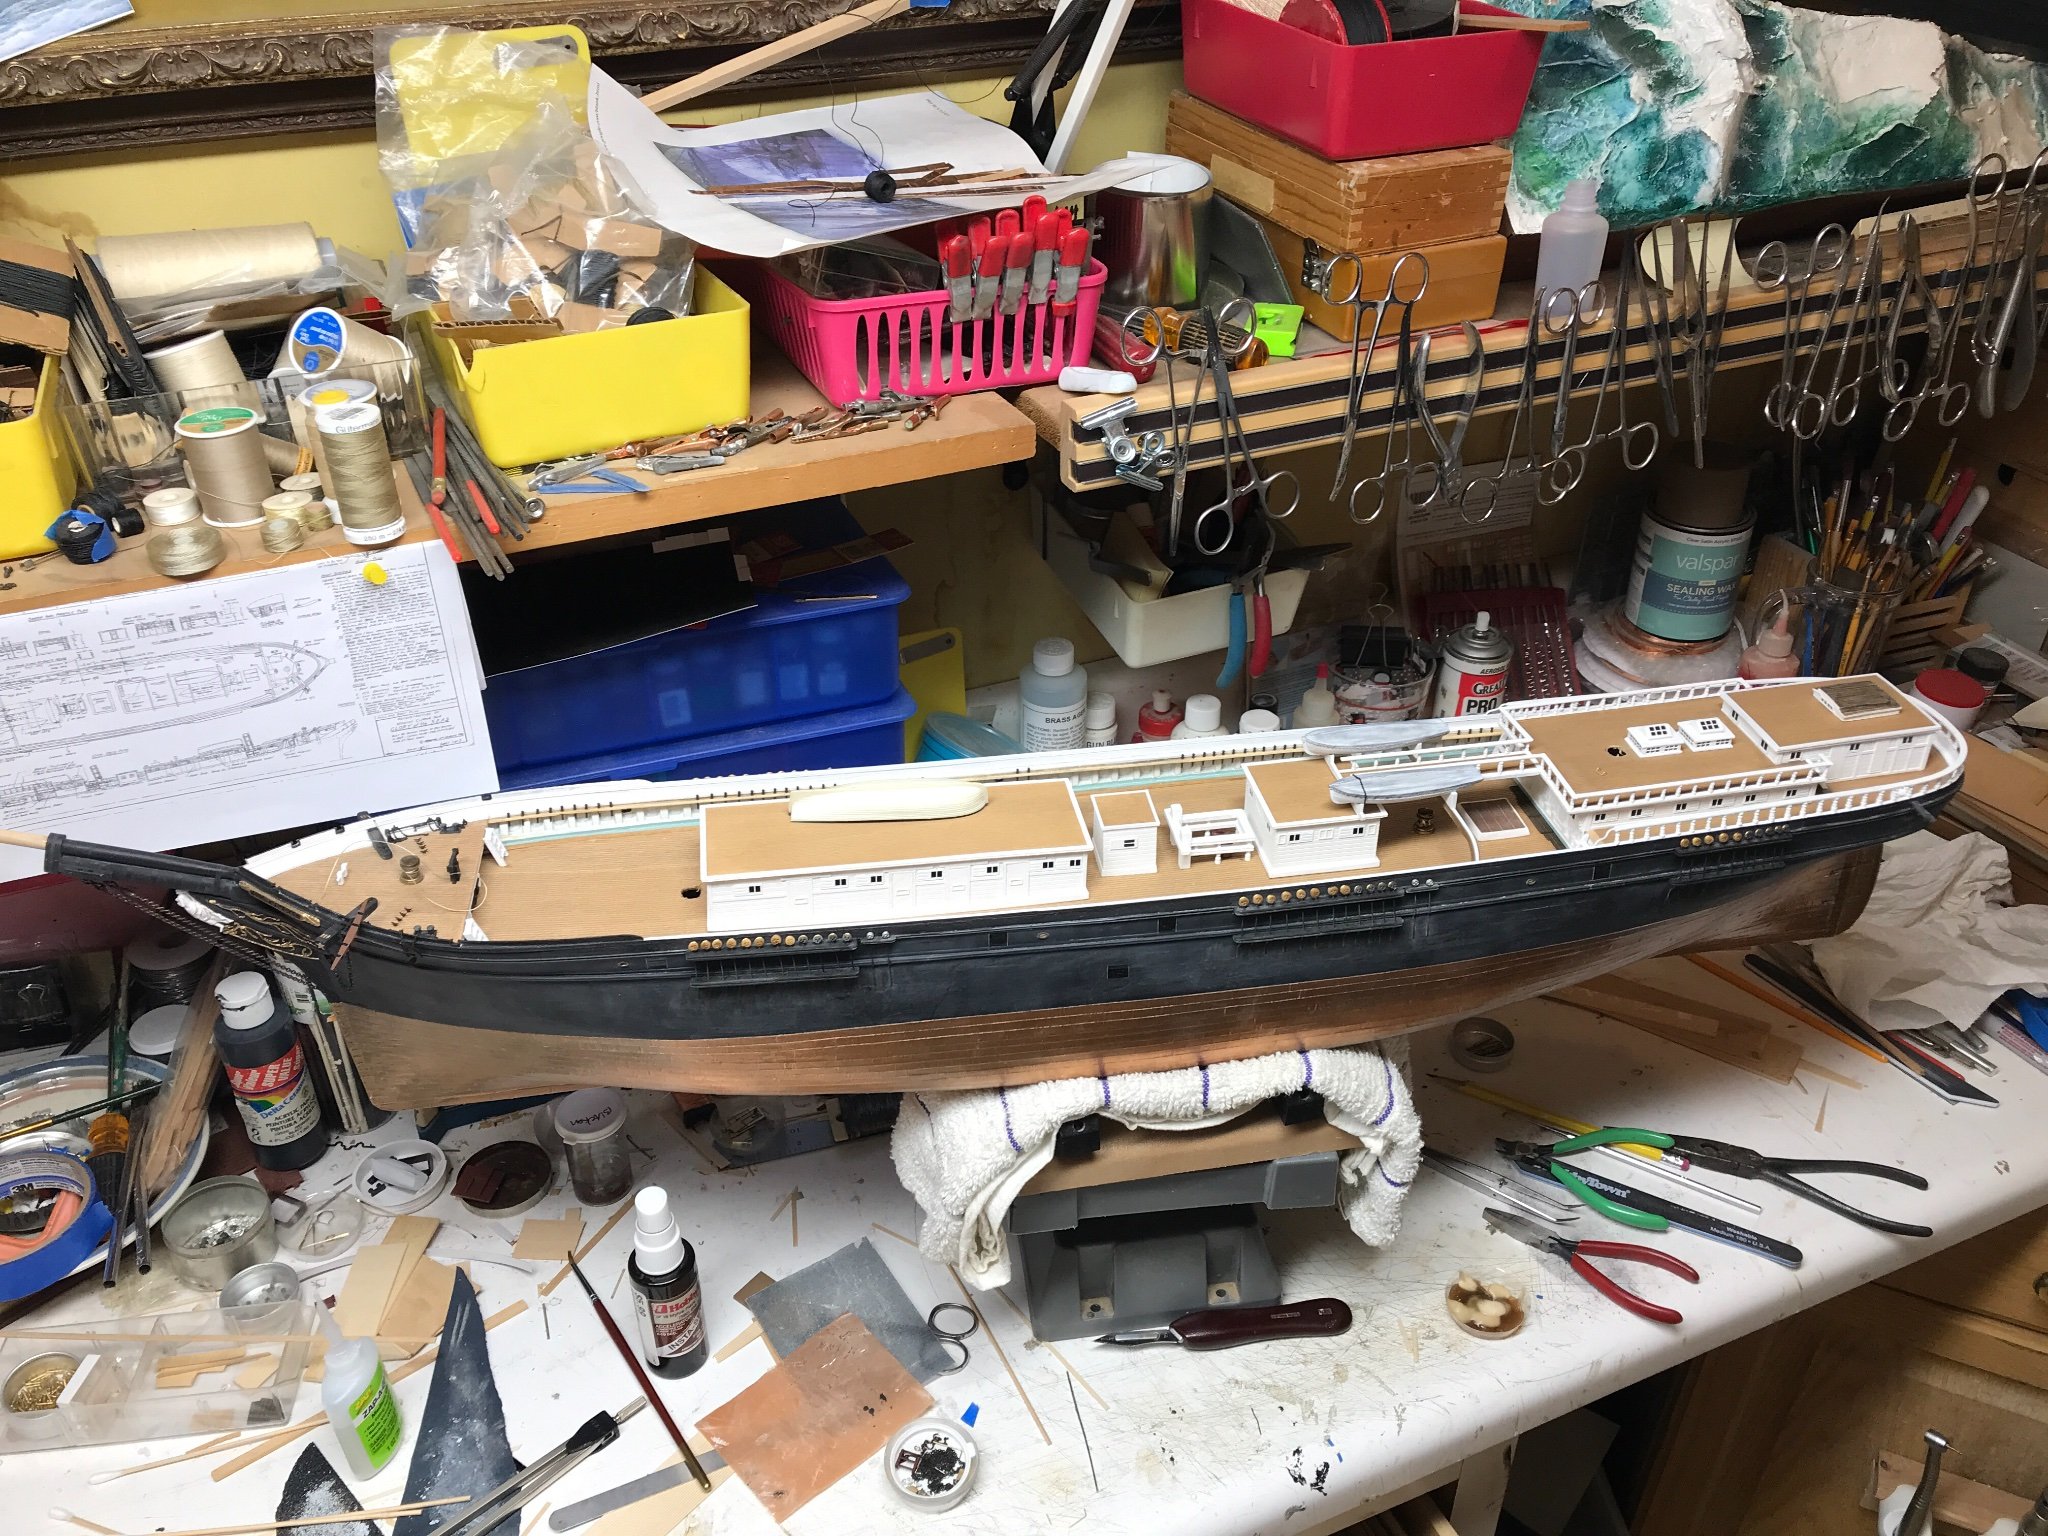
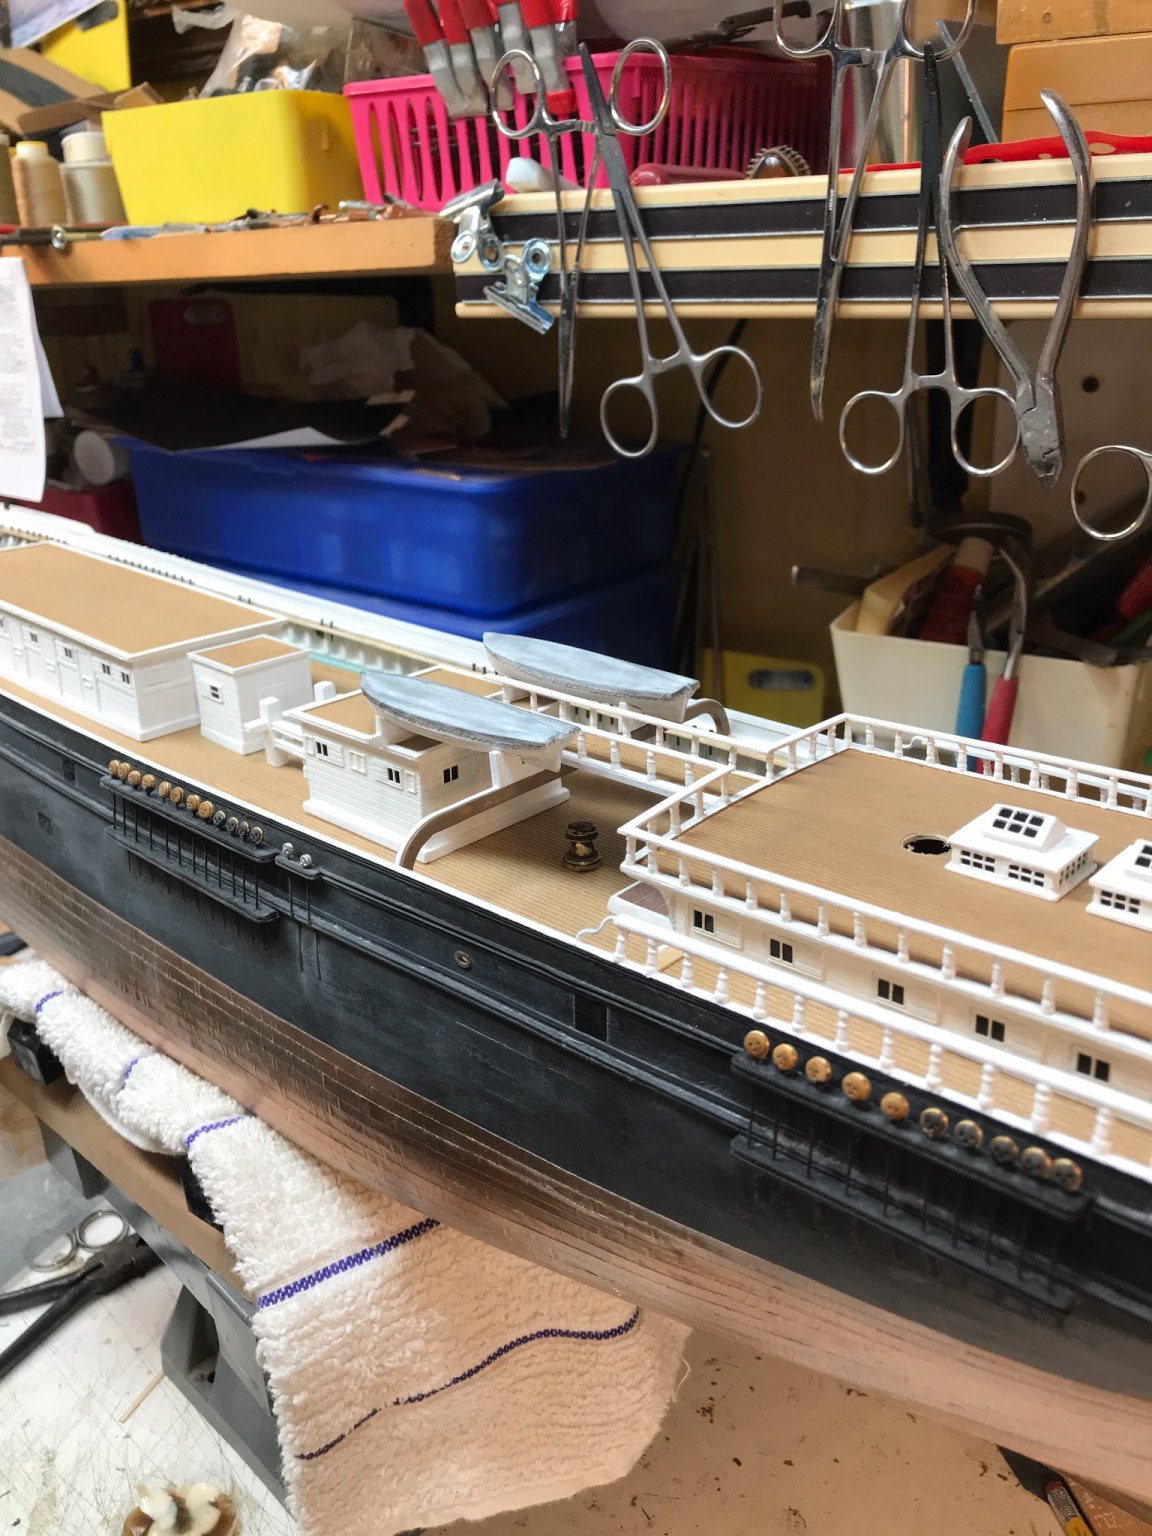
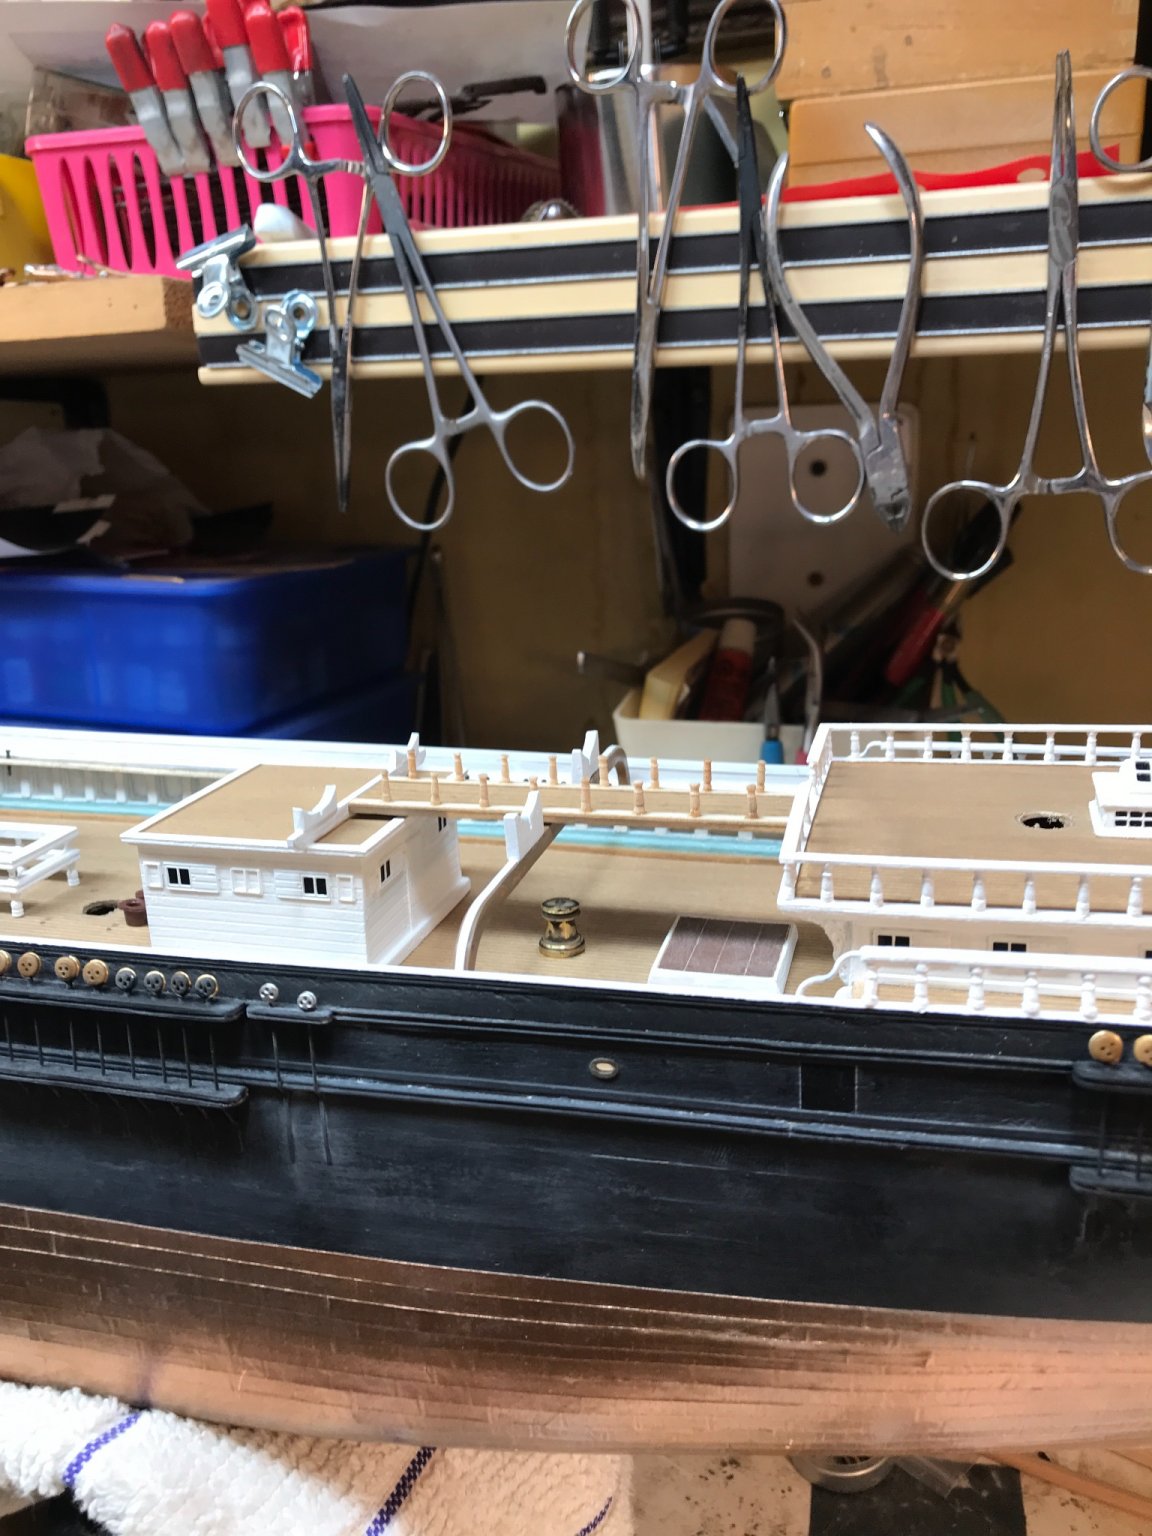
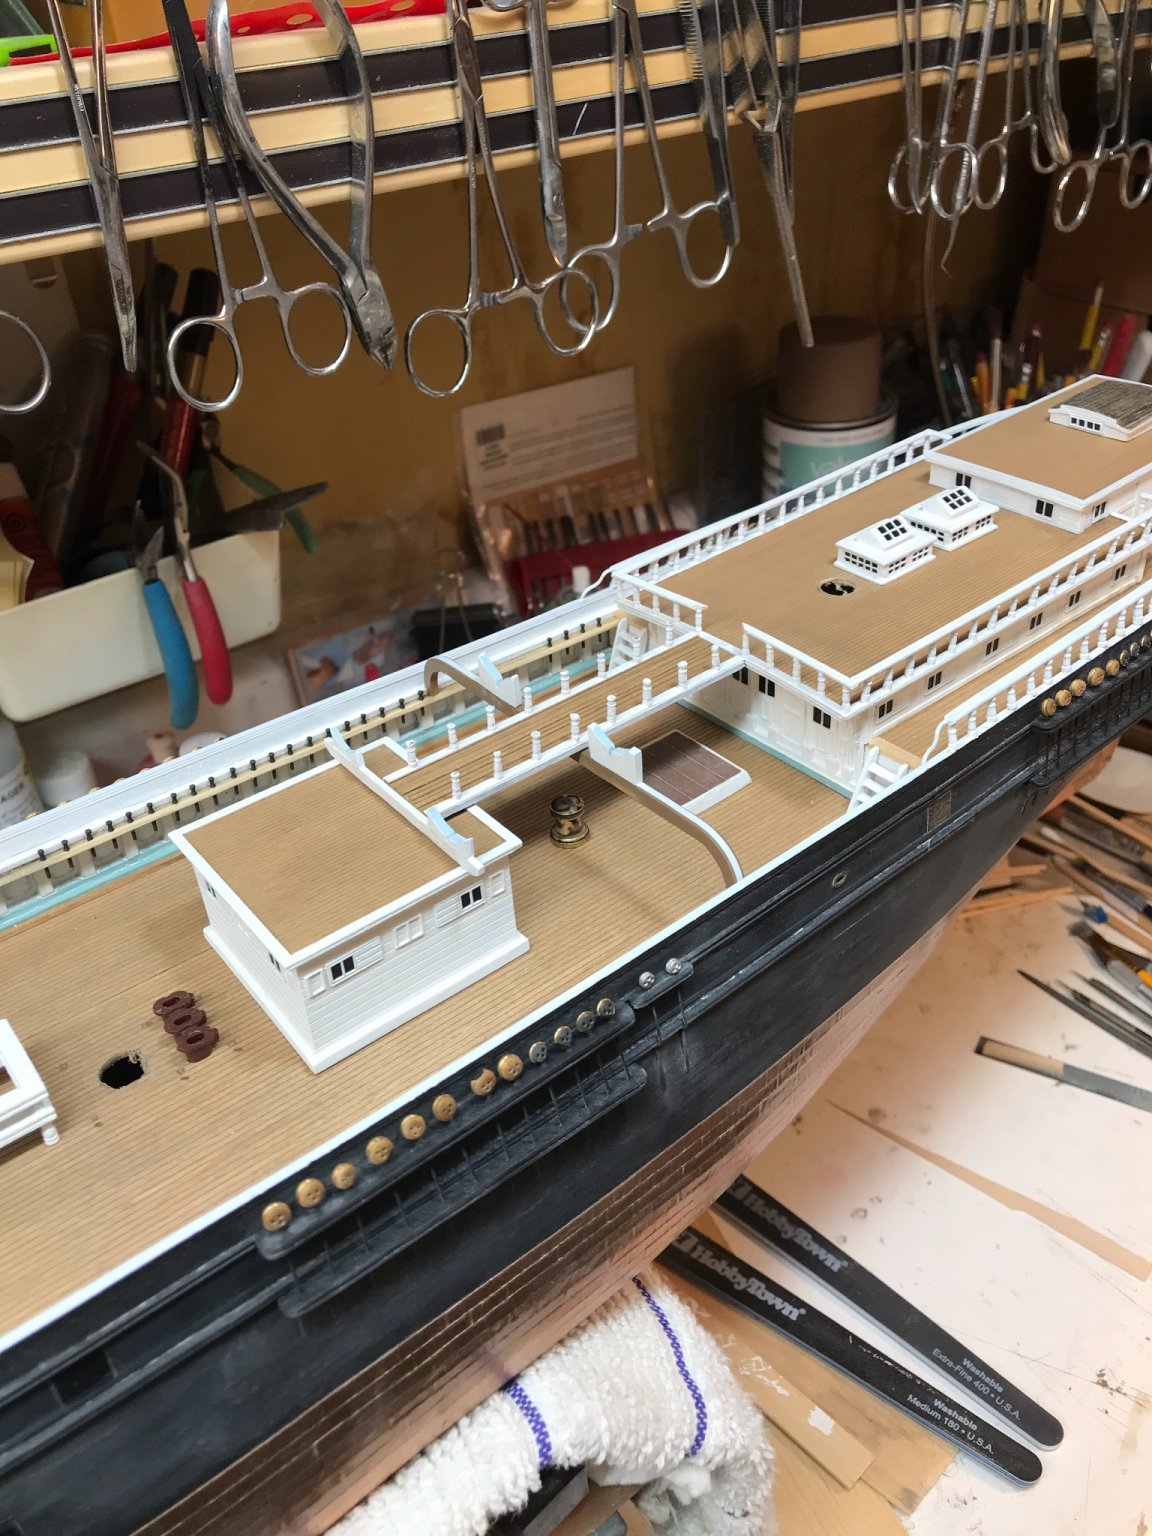
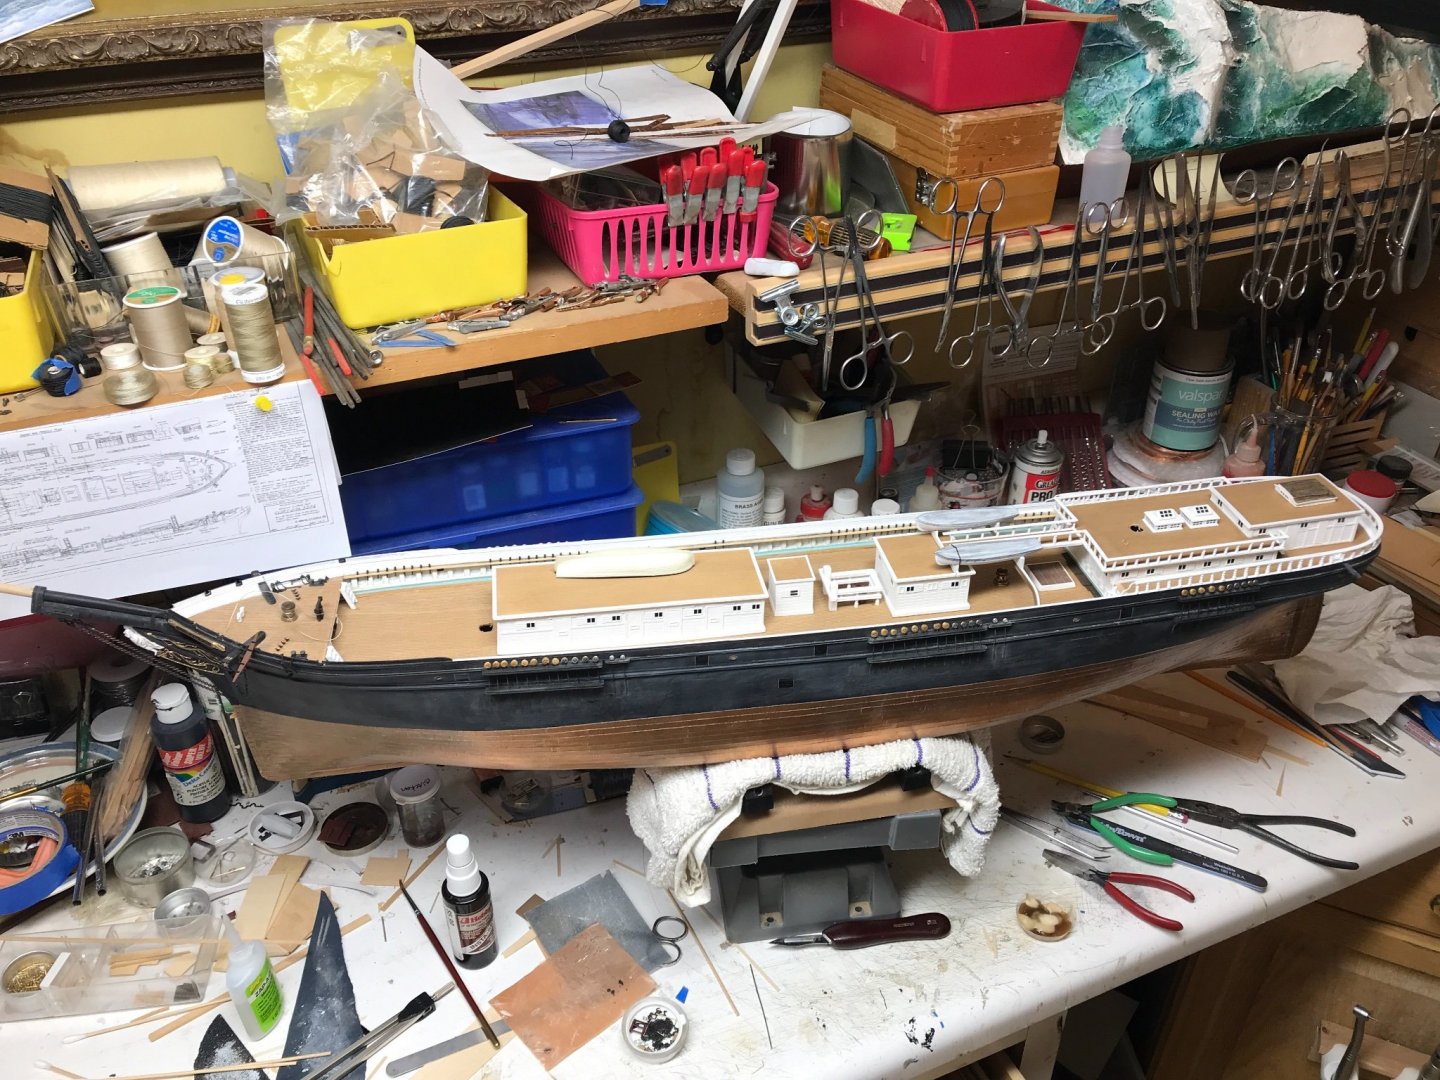
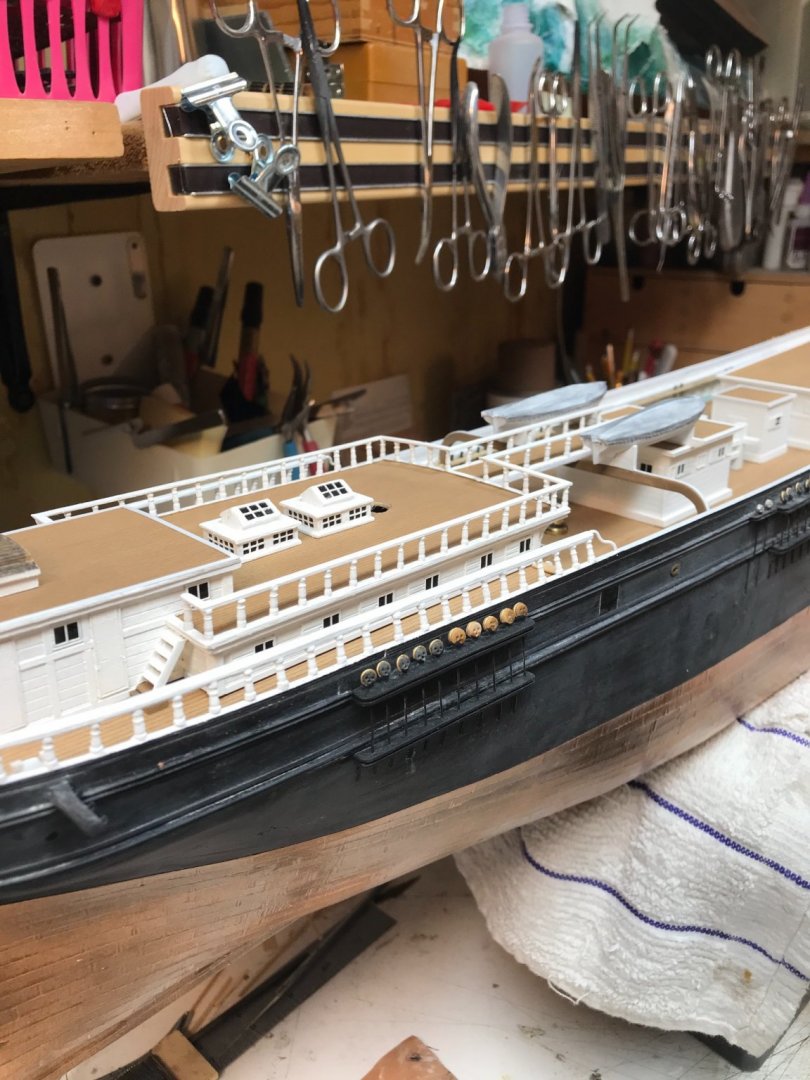
Lastly a pic of the overall build as she sits on the bench. Rob
- 3,560 replies
-
- 6
-
-
- clipper
- hull model
- (and 2 more)
-
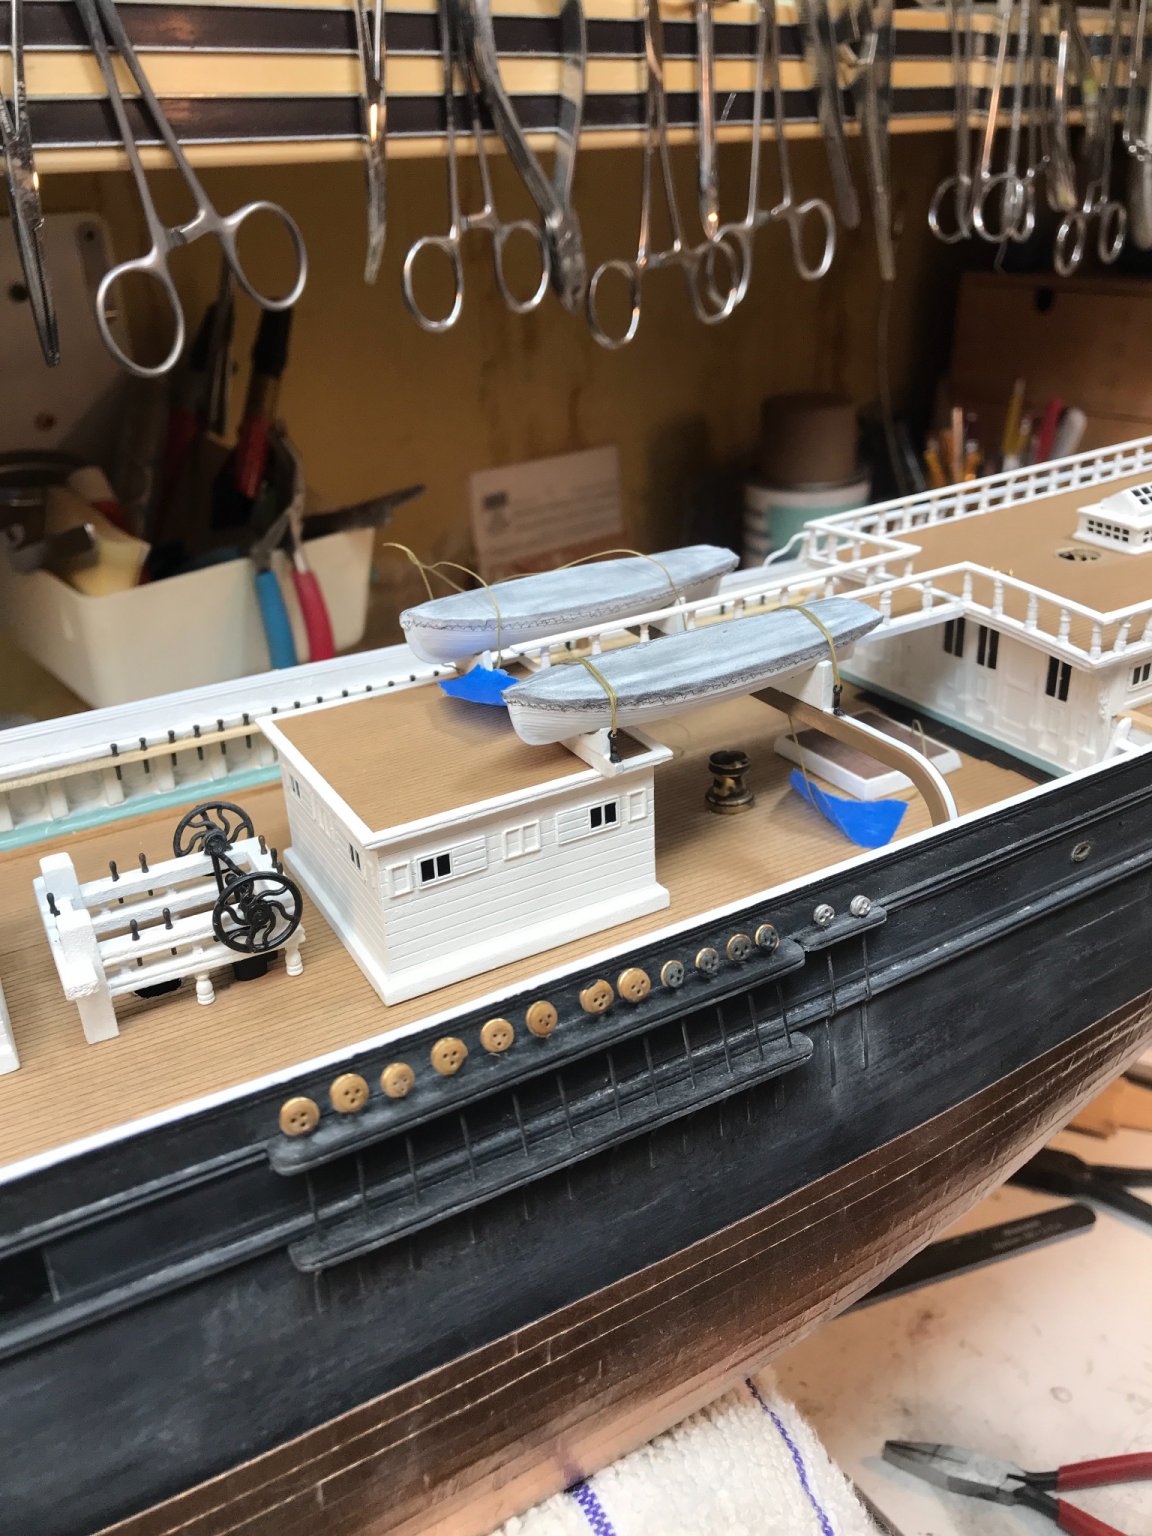
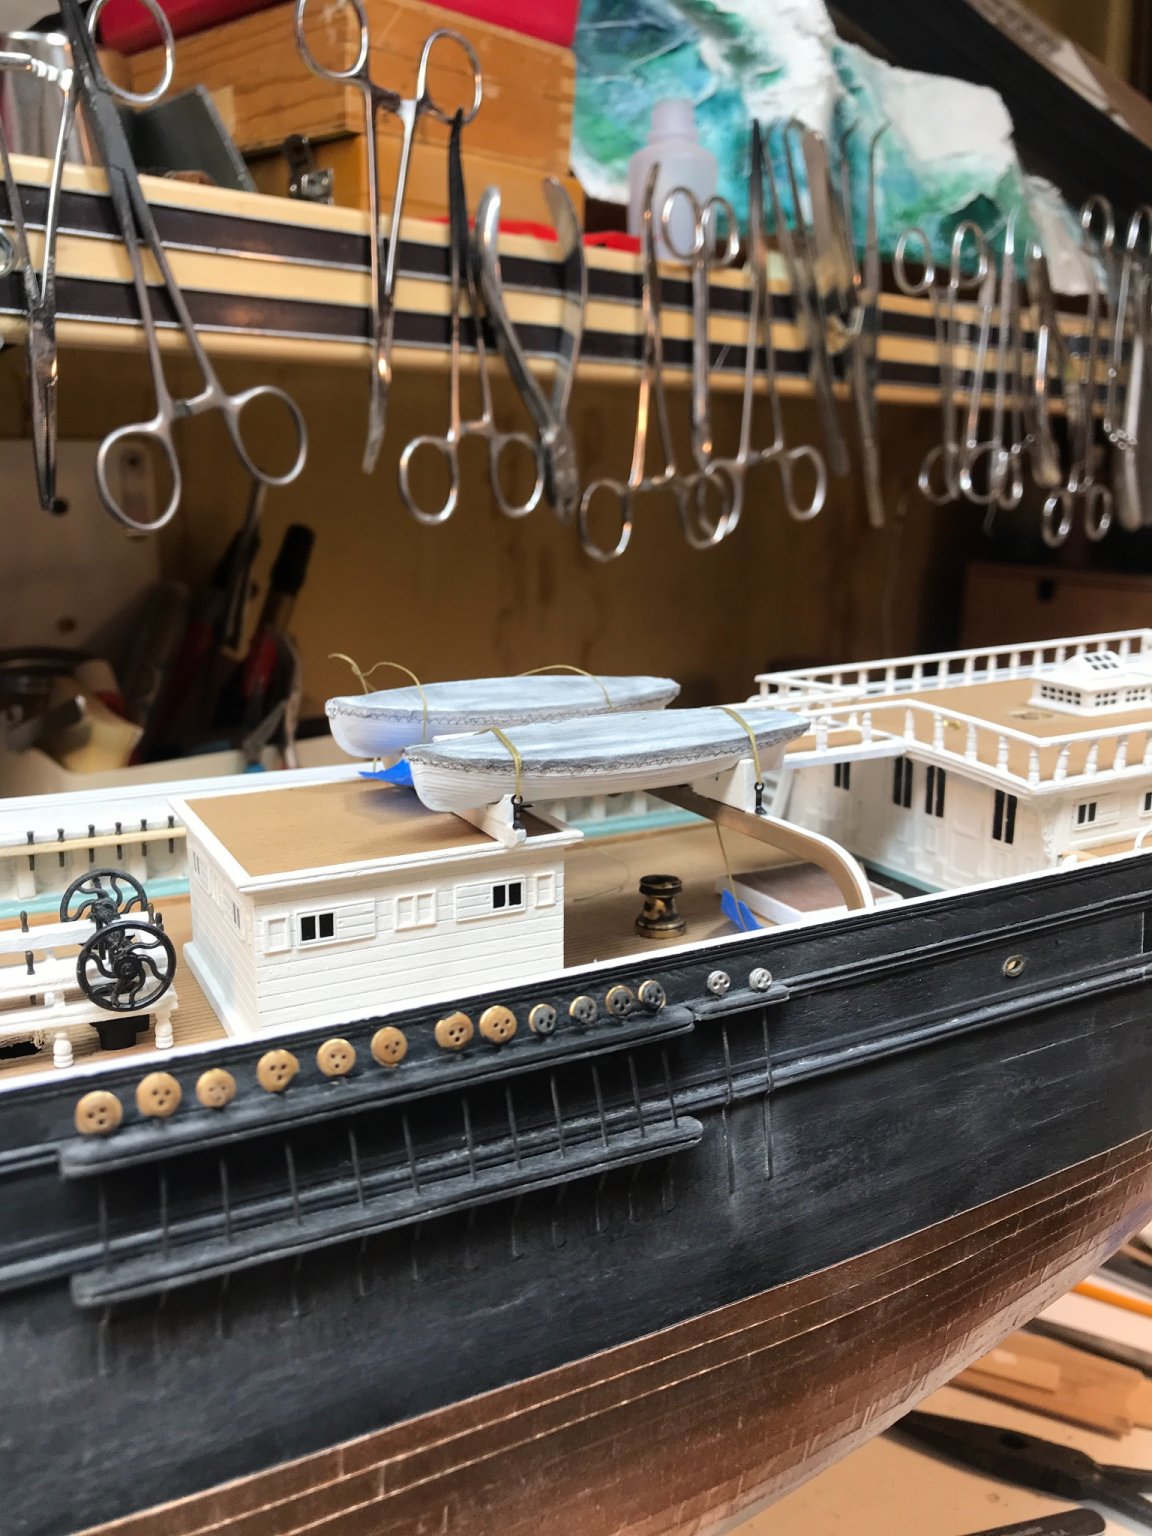
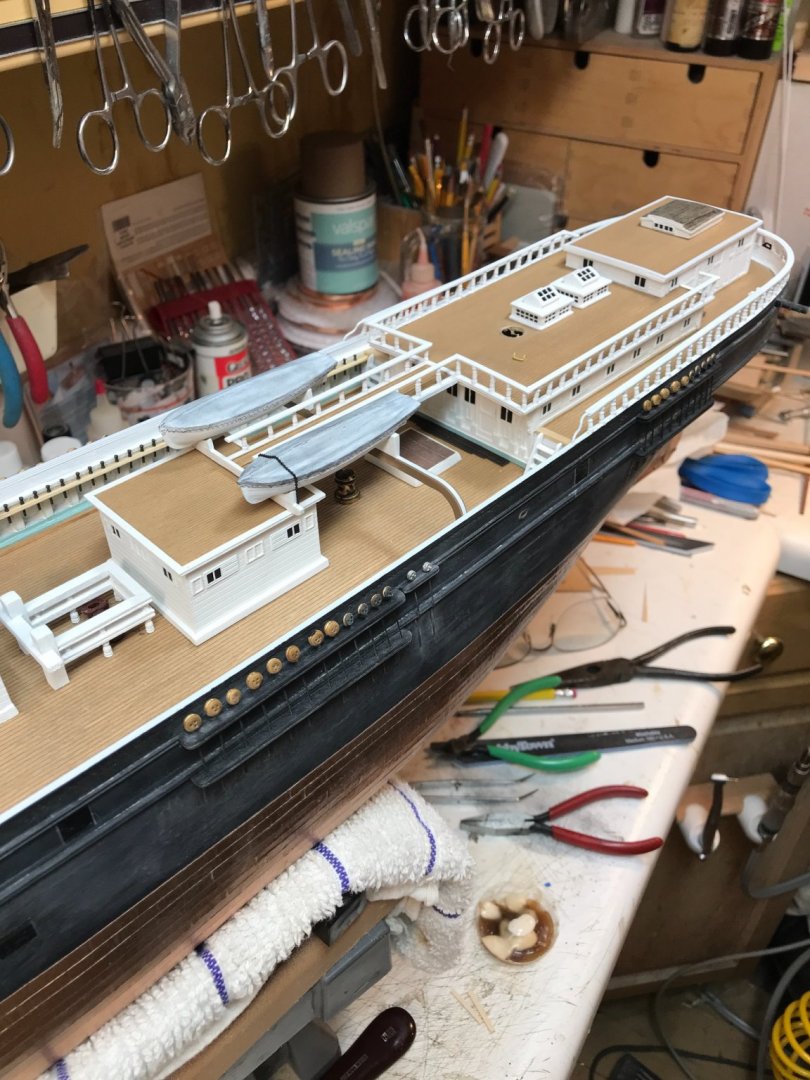
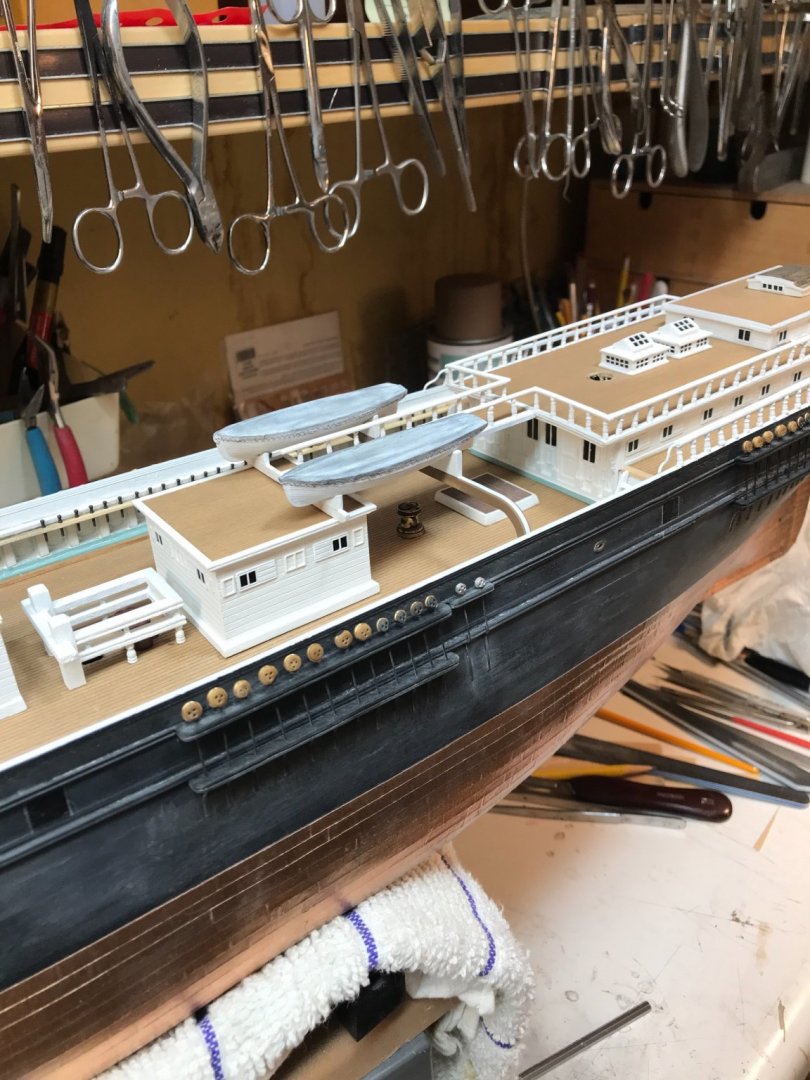
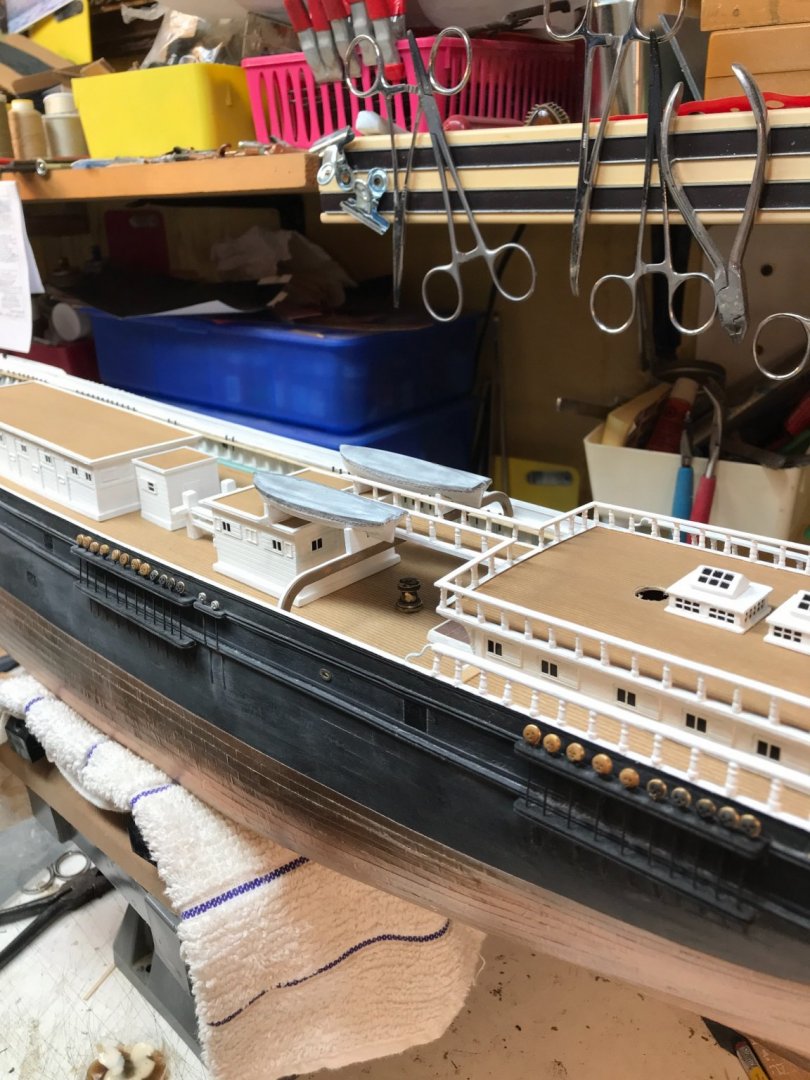
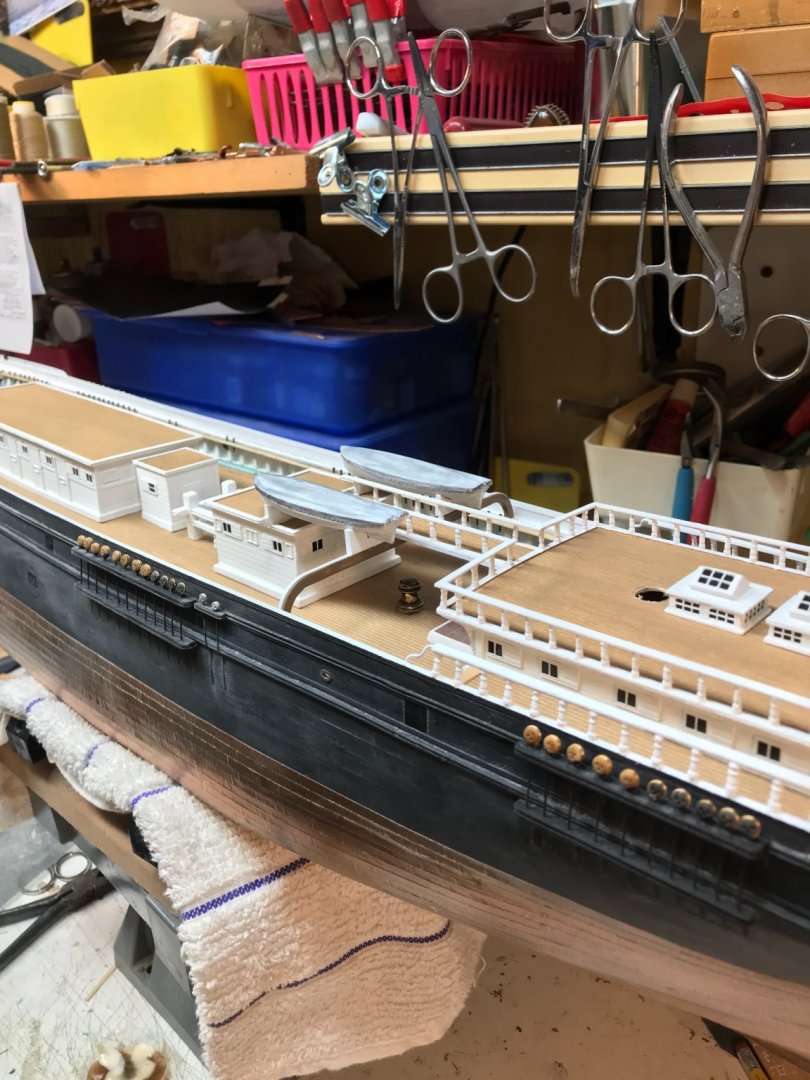
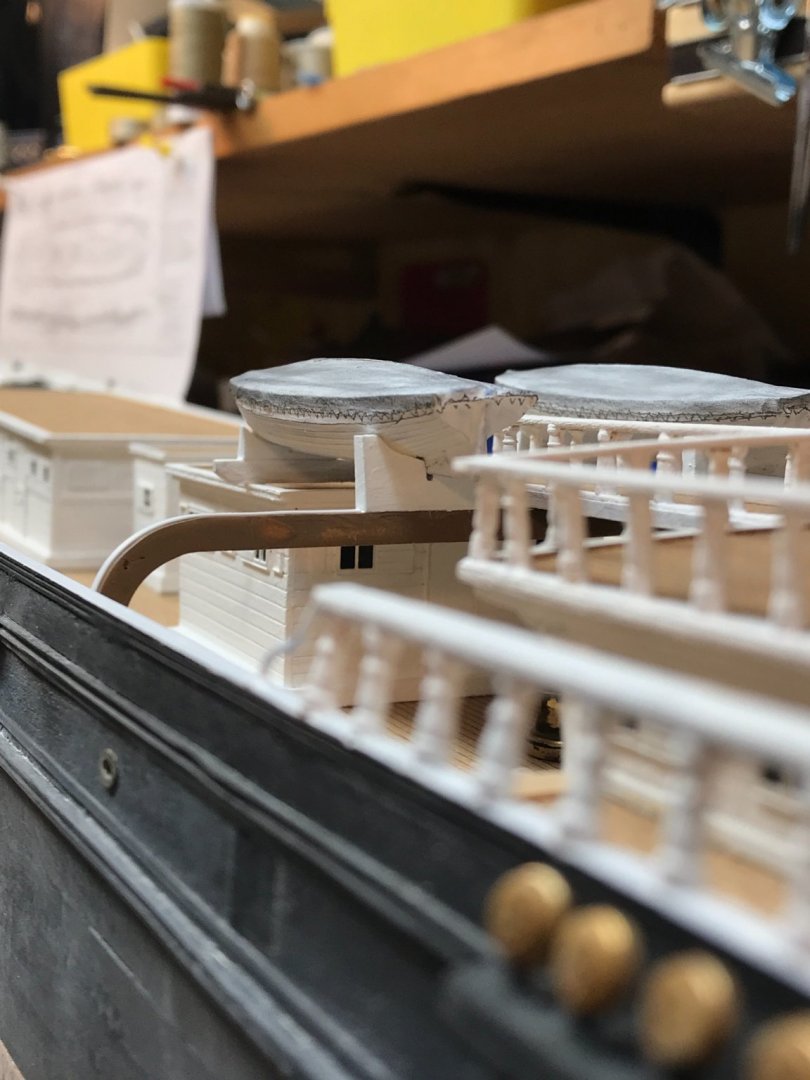
I try to have as much convincing detail this scale can provide. Here are a few more pics.

- 3,560 replies
-
- 5
-
-
- clipper
- hull model
- (and 2 more)
-
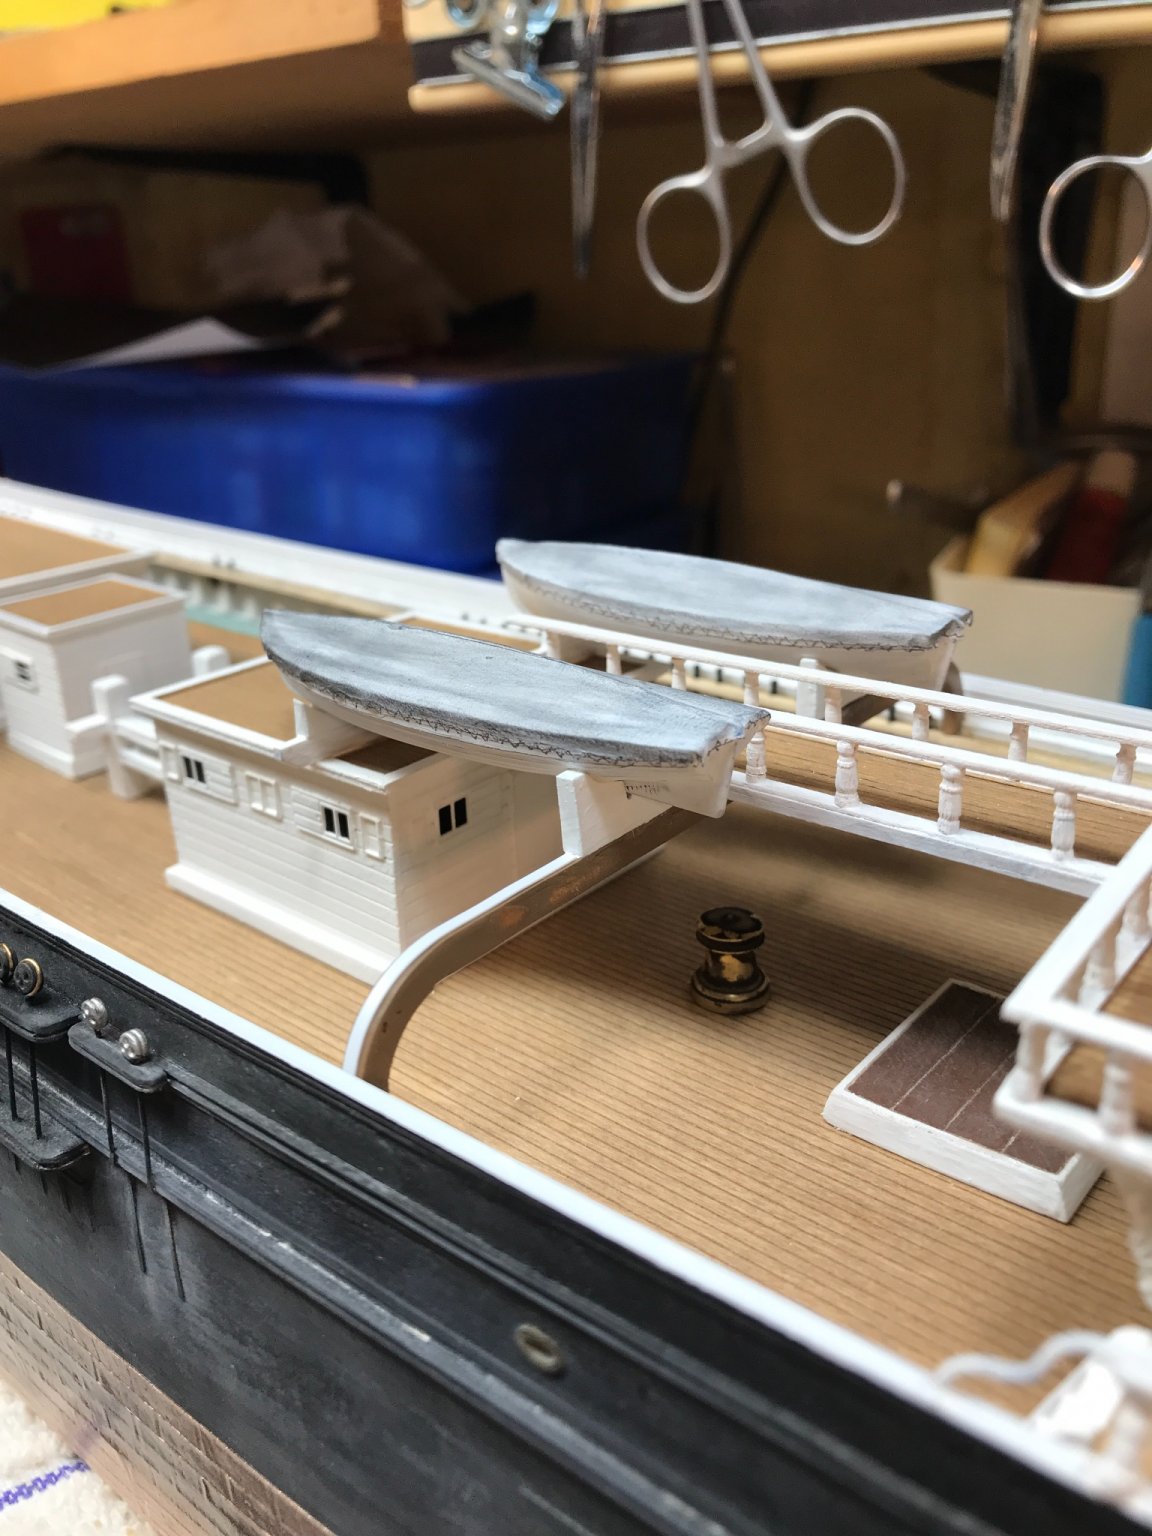
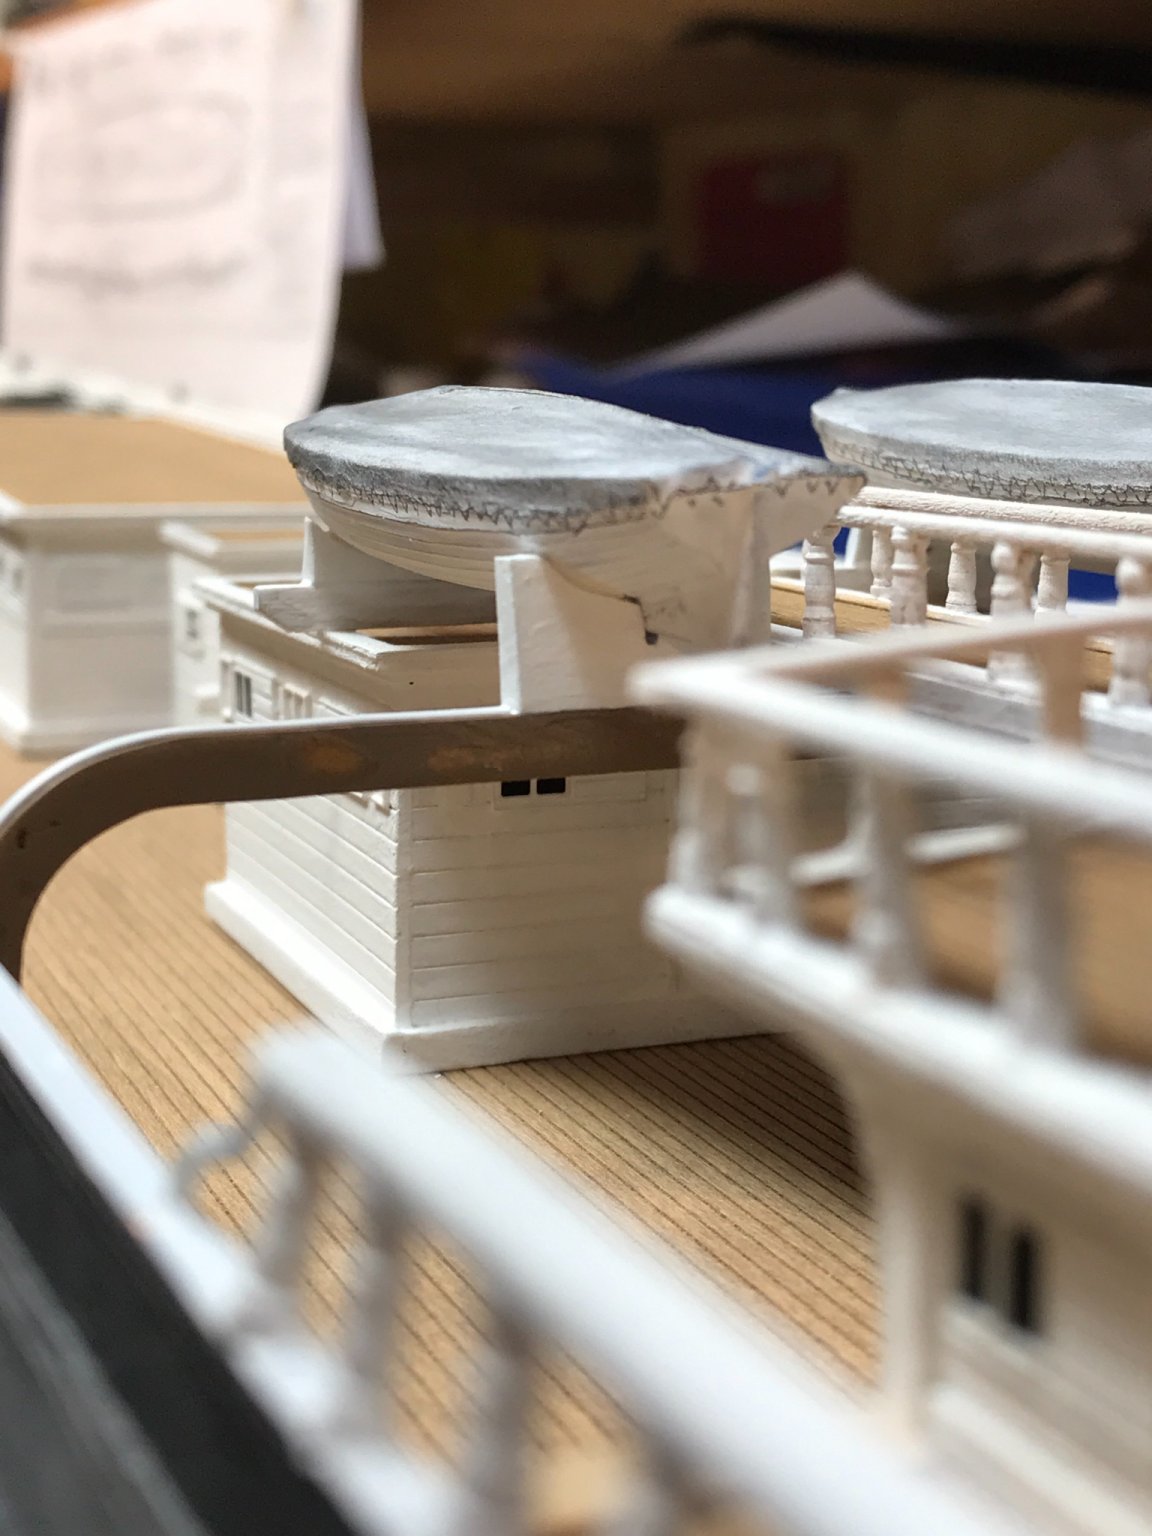
Lots of work to still do, like boat straps and lots of fine details. Rob


- 3,560 replies
-
- 6
-
-
- clipper
- hull model
- (and 2 more)
-
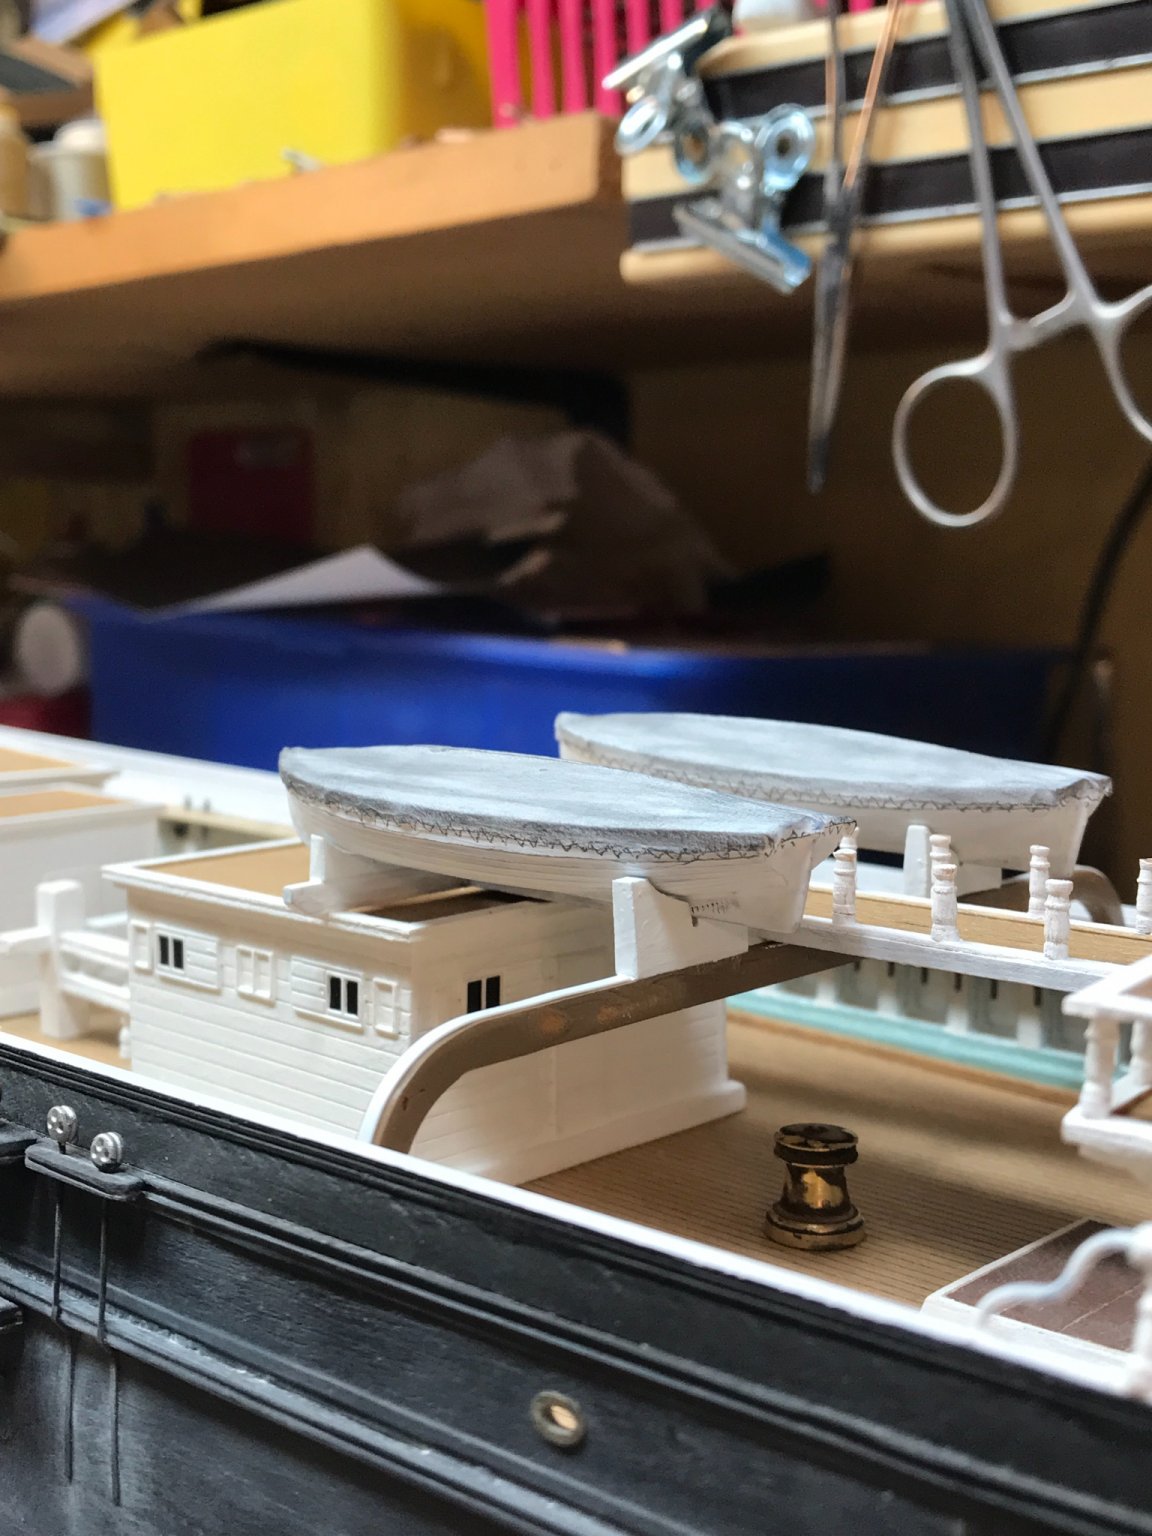
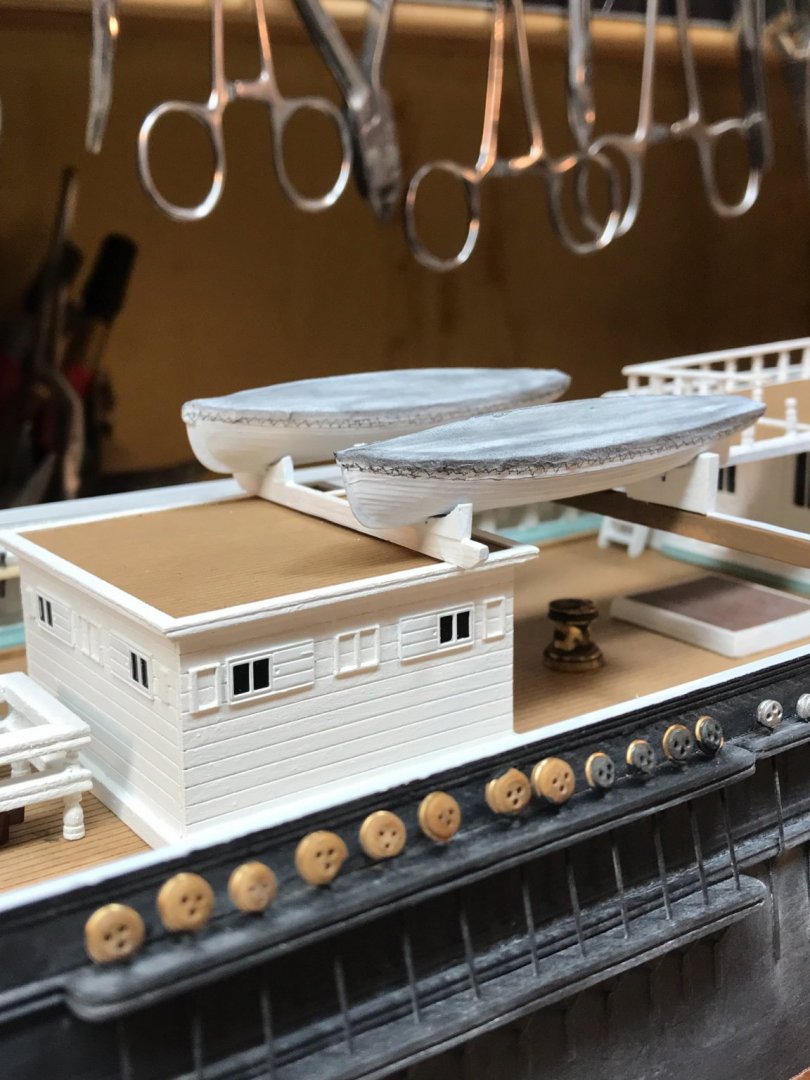
Started to finish up the boats. Still have to finish up the rail and glue things down. Rob

- 3,560 replies
-
- 3
-
-
- clipper
- hull model
- (and 2 more)
-
During her 1877 image she had all composite masts.....so composite it will be. Rob
-
That was precisely my own conclusion. Composite mast were not actually more expensive then good, clean, straight logs for a good quality mast. Composite masts were built to accommodate for the lack of good, clean, straight logs of this size. You brought up the very point I was going to bring up. Good call. Rob
- 3,560 replies
-
- 1
-
-
- clipper
- hull model
- (and 2 more)
-
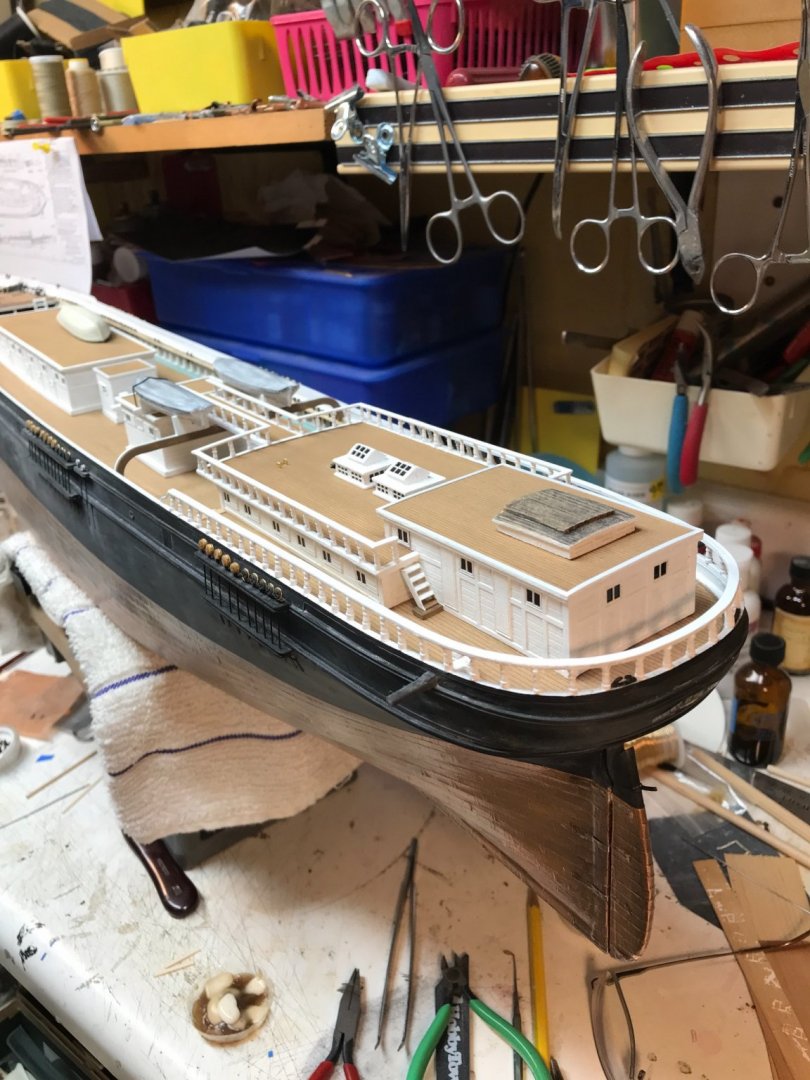
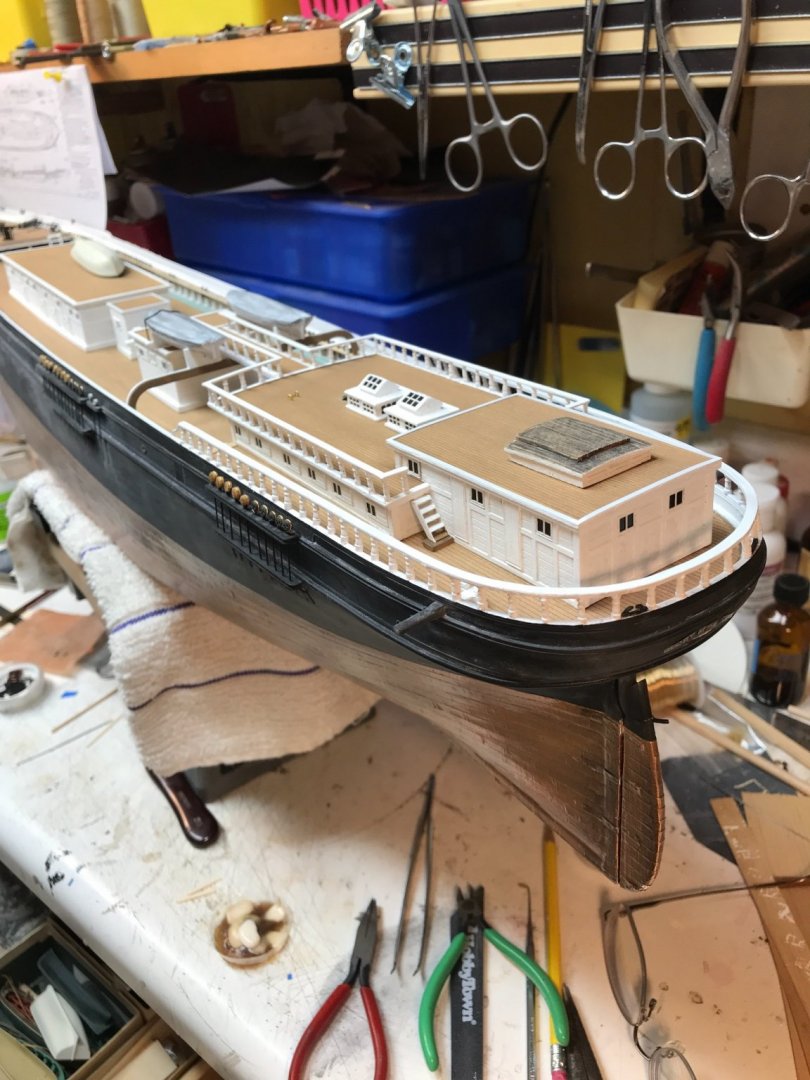
Rich, I wasn't talking about the lumber on the long cabin roof...but the material on the boys house roof. Zoom in on the image of the stern and the boats on the skids and you will see that there are definite panel lines on some structures....and most of what is there is undefinable. You can see things lying about on the front half of the roof, before the boats. Looks to be something tarped. But whatever it is, its large and bulky, completely blocking the catwalk access. The material on the long cabin, could be for the coop, but the state of the woods condition lends itself to more of spare wood used by the carpenter in case of emergency and he needs to fashion some item. It was expected that ships carpenters had lots of spare wood and yards about for mid ocean repairs. The presence of that weathered spar with the flat lumber suggests that is what this material is for. Looking along the deck up against the bulwarks forward in the same picture you can make out what appears to be a spar on the deck. Right where they would place spare spars for use in case of emergencies. Rob
-
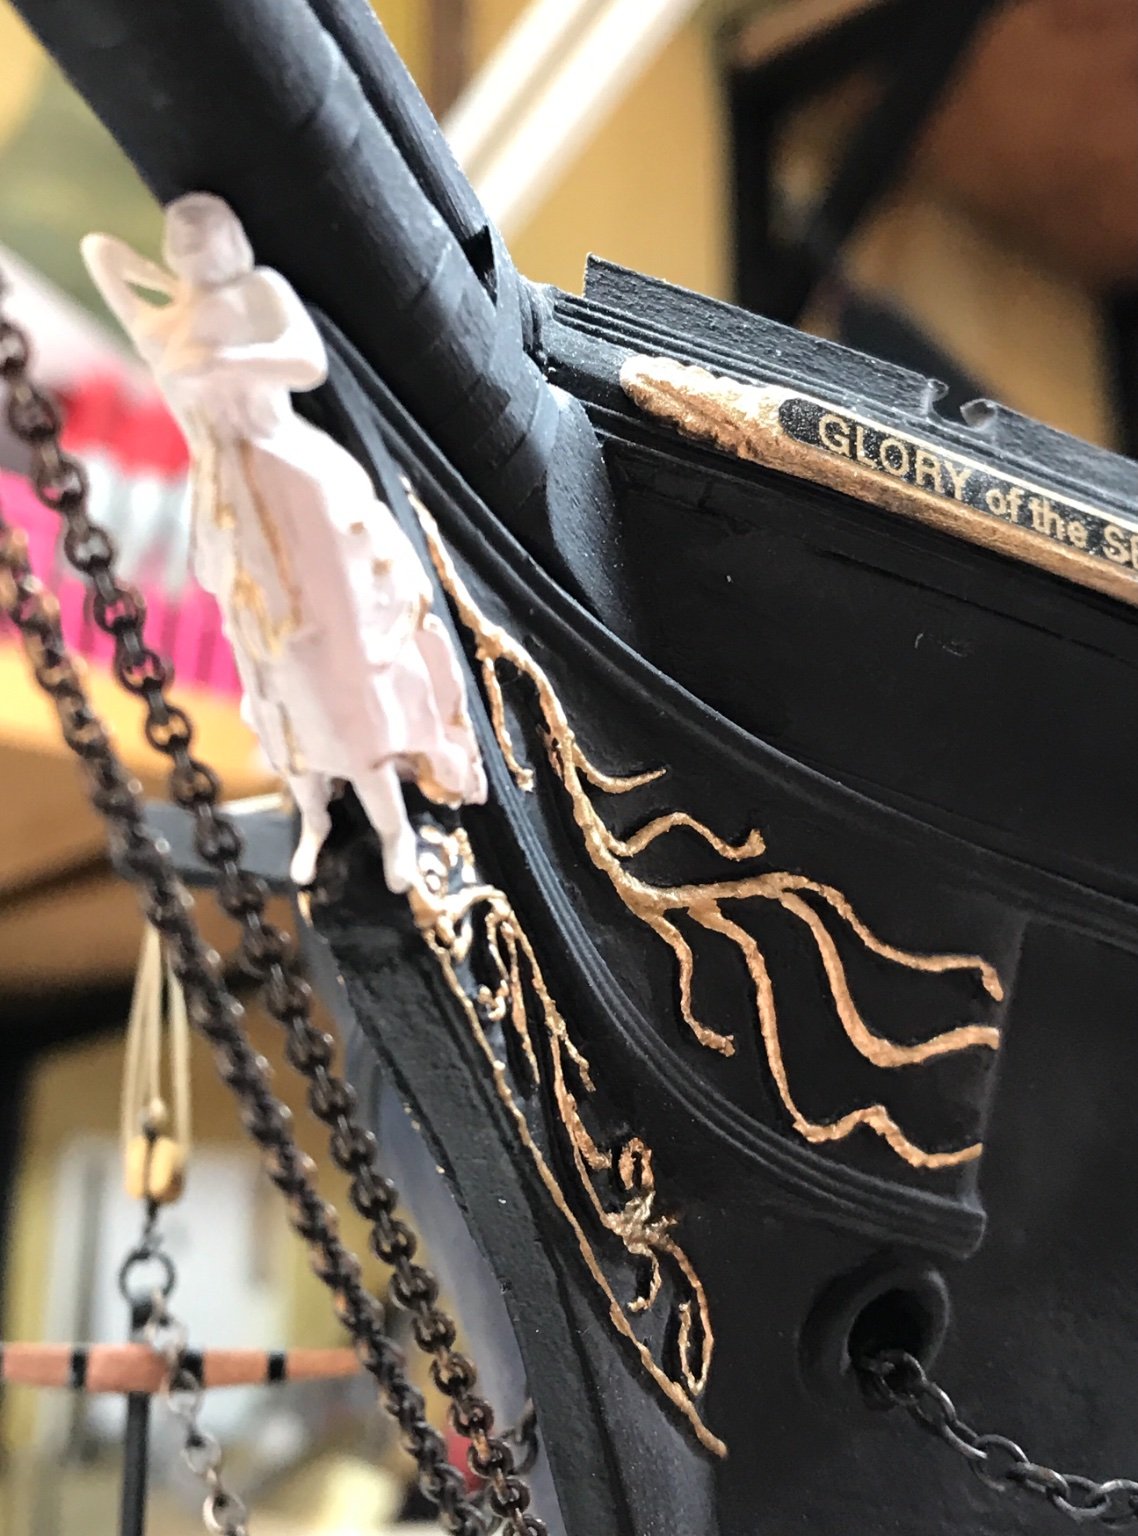
No problem Pat. On one hand you mistook my *Skills* as sloppy handling, and careless finger smudging....that could possibly pass off as intended weathering.........or........you were so over taken by the skillful application and intention of said weathering that its purposeful application was exalted unobtrusive brilliance, that its realism could only be attributed to sheer genius.. I like the way you think mate.....😁 The weathering at this scale aids in identifying slight details and actually forces the perception and simulation of shadows that produces greater realism. Reinforces highlights and defines depressions. Takes what would otherwise be a static, hot off the ways...model and brings it into reality with all its used, abused, needing maintenance suggestions. In short...it brings life into the thing. Thanks for your continued support and encouragement. Rob
- 3,560 replies
-
- 1
-

-
- clipper
- hull model
- (and 2 more)
-
Also one blaring issue....This image (Of her with the captain on the main house roof) could not have been taken before the 1977 image of her in SanFran...because it is clear all 3 masts had been replaced with single stick masts and in the SanFran image, all 3 lower masts are composite. Her original build configuration, she had composite masts. A Further bewildering issue is that in her later years when photographed getting converted to a canary....it is clear the lower main mast is once again a composite mast....... Her history must have resulted in *sprung* masts requiring full stick replacements. And further replacement of the main mast do to some unknown accident prior to her canary conversion.🤪 Pictures do not lie. Rob
- 3,560 replies
-
- 3
-
-
- clipper
- hull model
- (and 2 more)
-
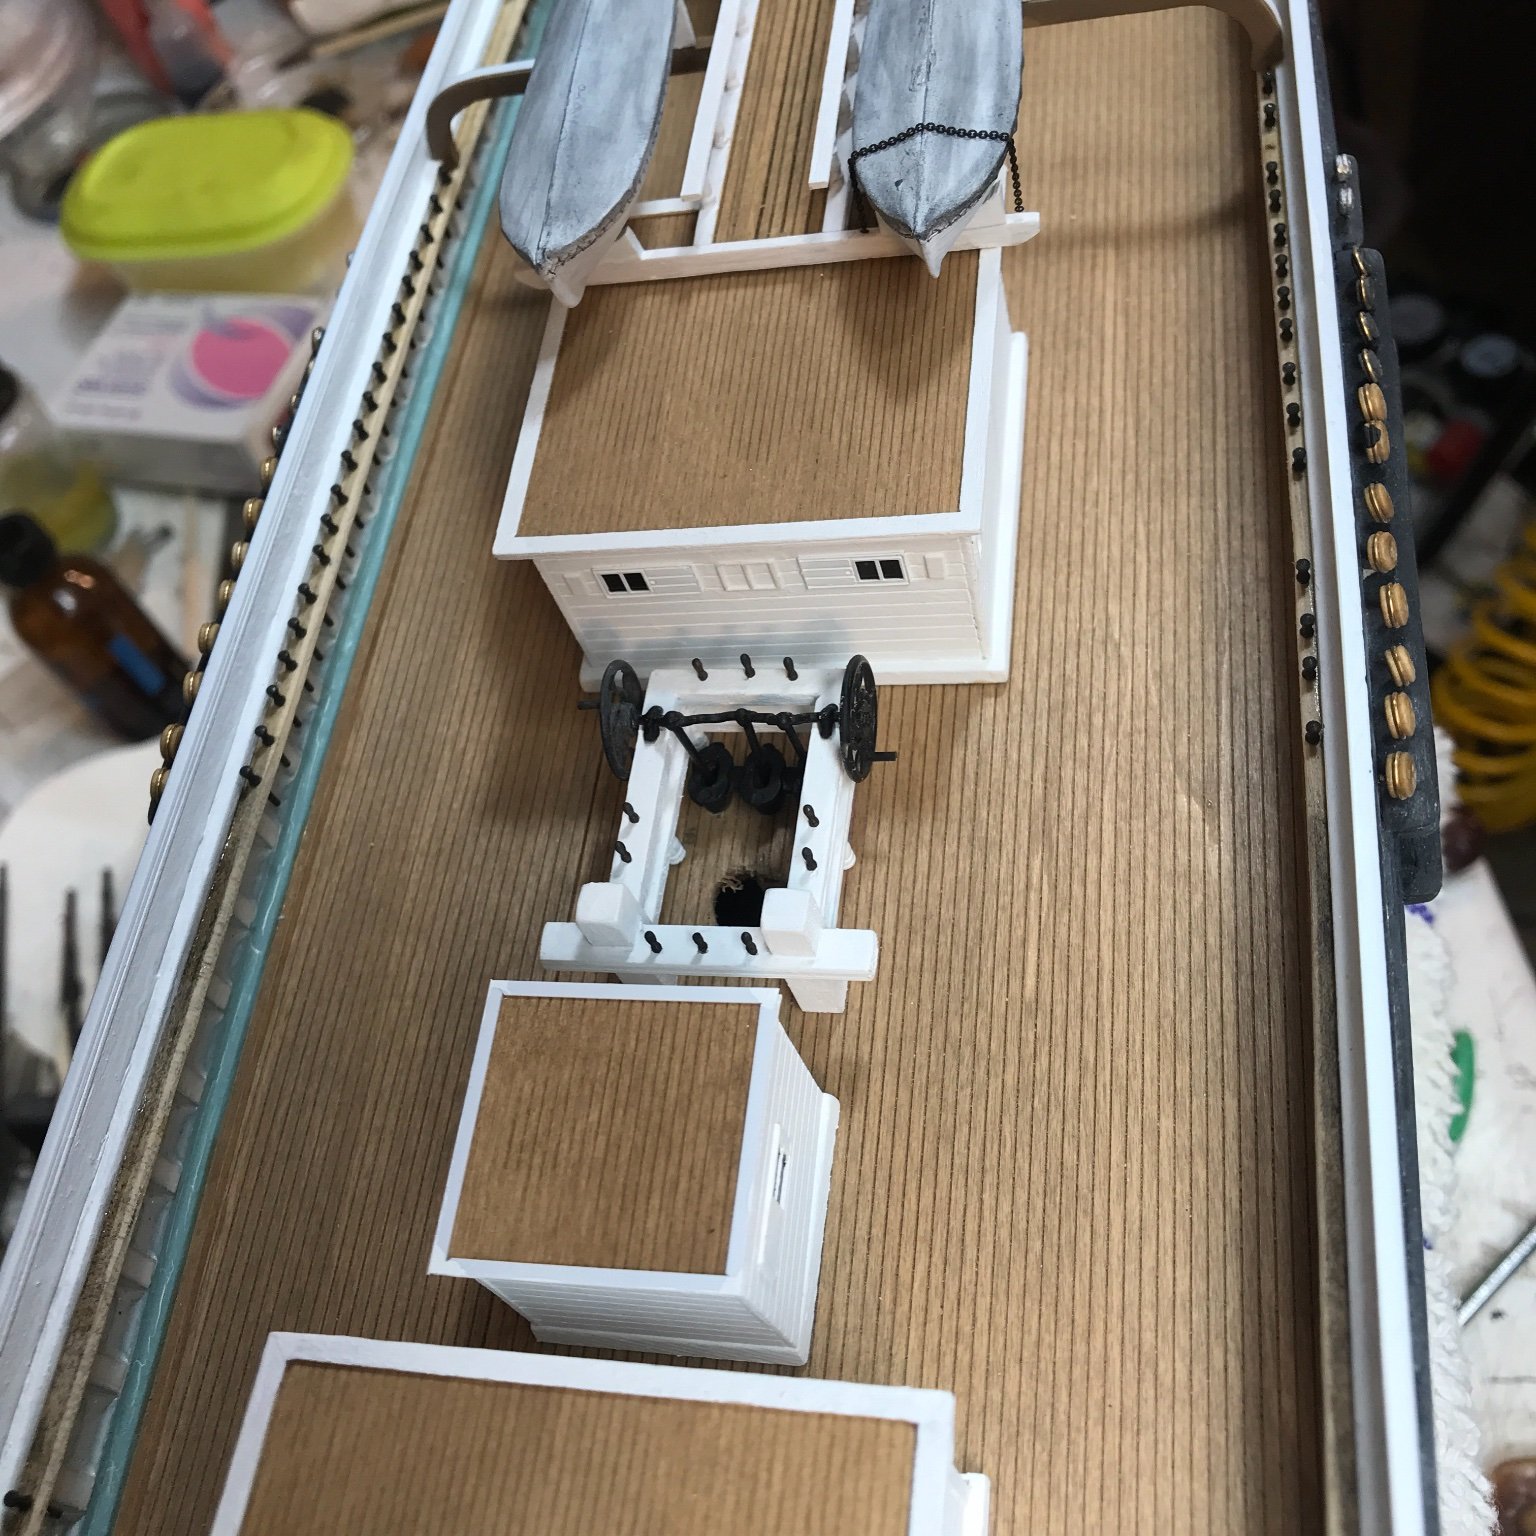
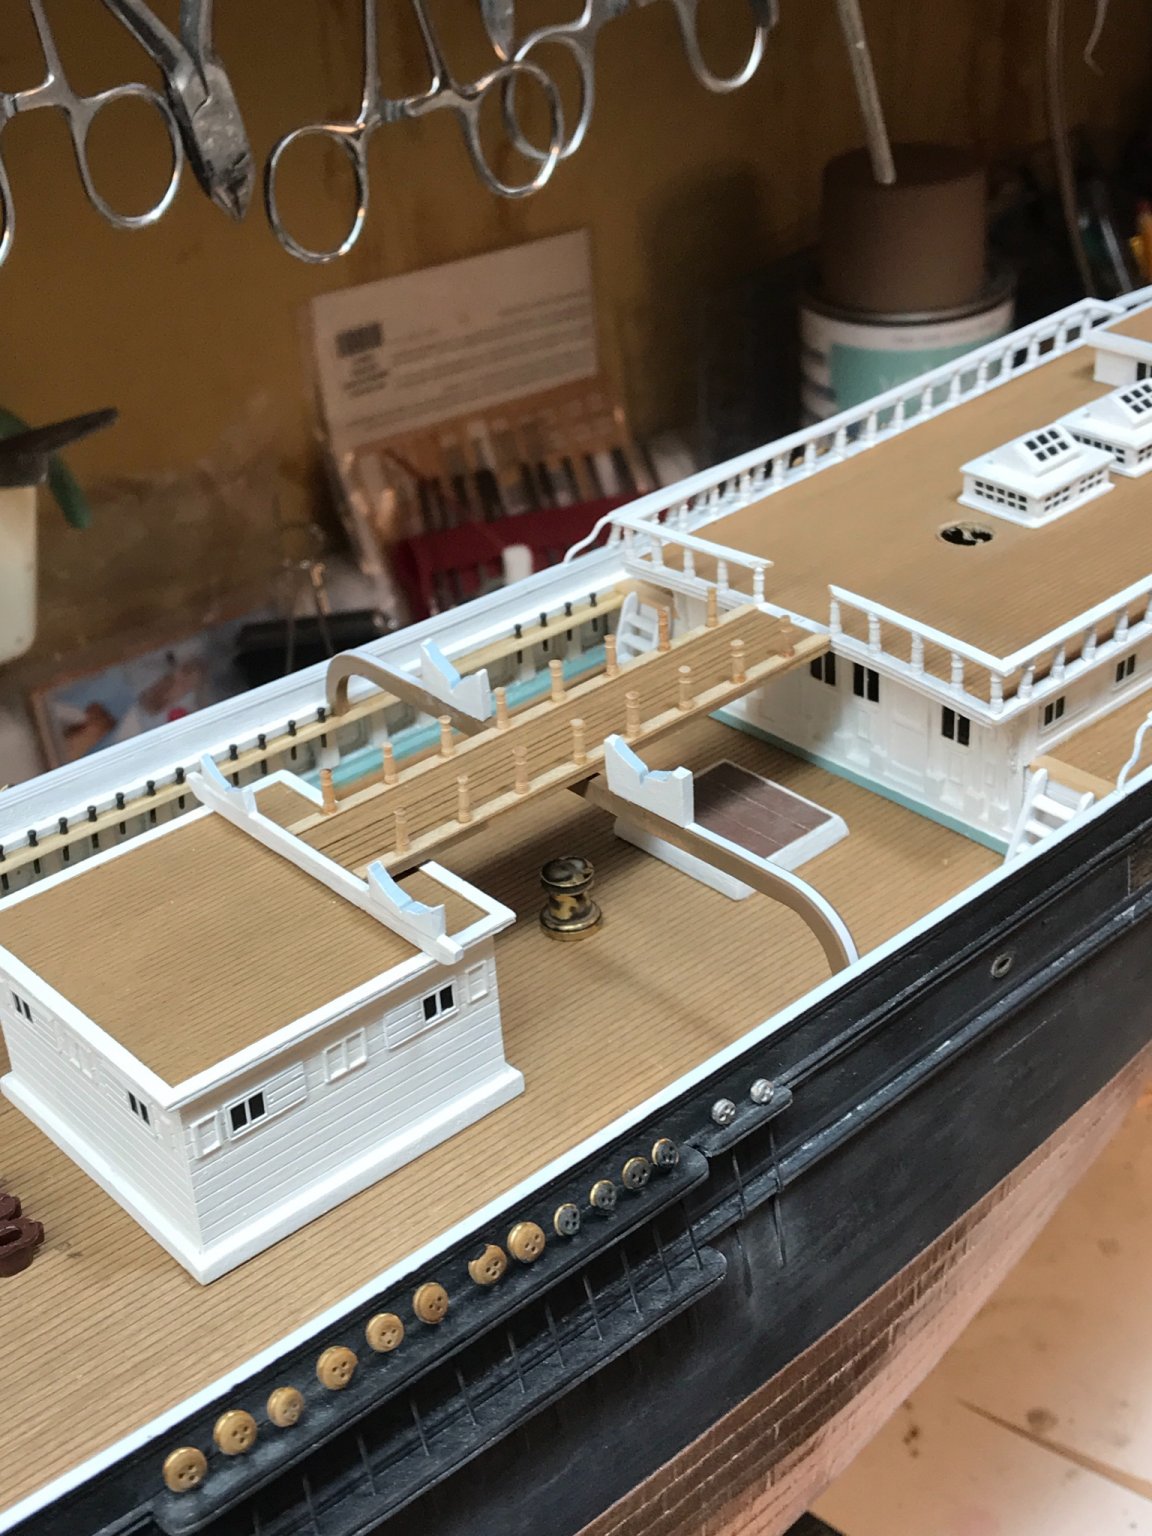
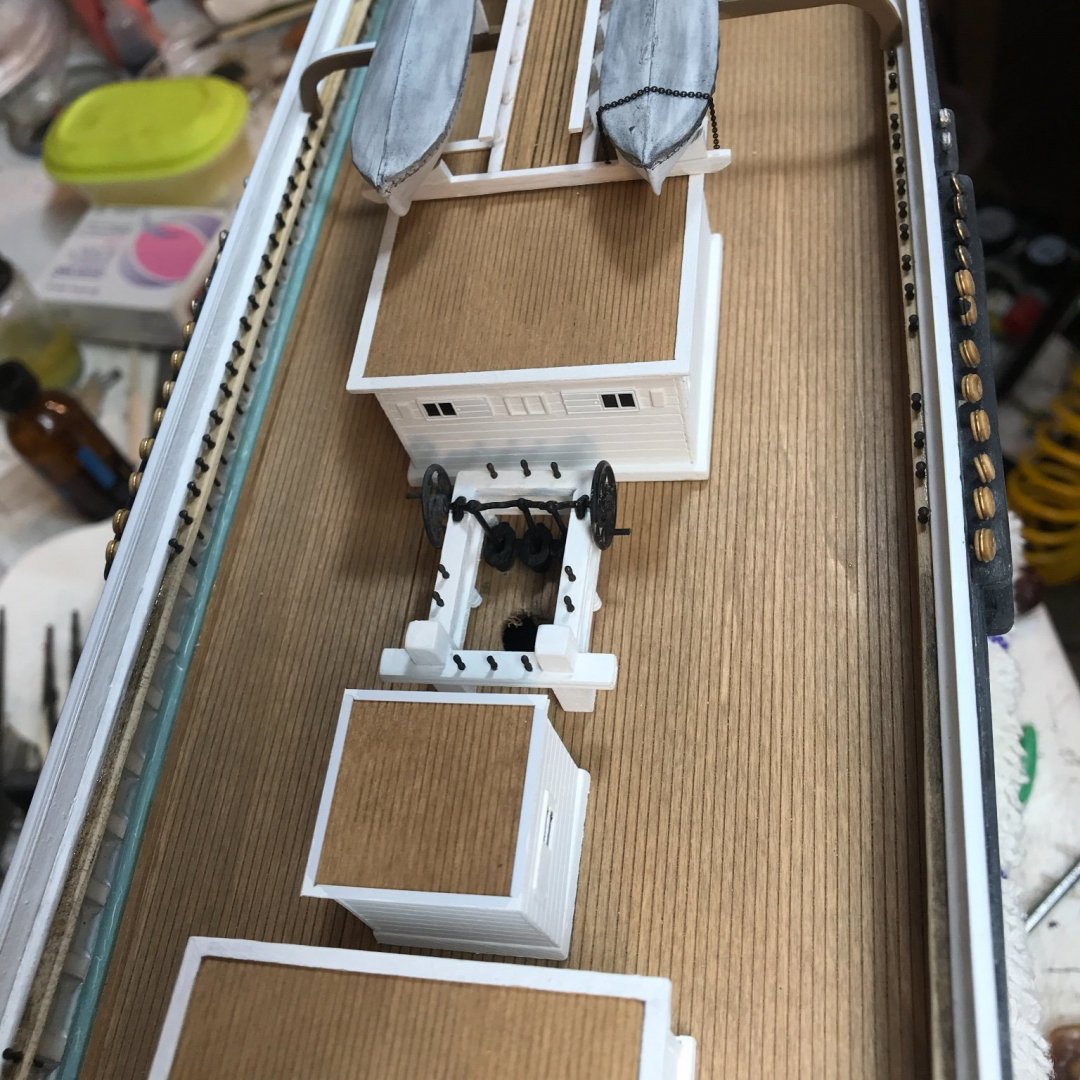
Couple of things I noticed while doing research for the boats and even the wheelhouse roof vent system. I always wondered about what they did with the structures used to create the chicken coop when in port? Do they lower the disassembled structure into the hold for keeping, or do they disassemble it and store it elsewhere? Well....... While studying the structures of the boat skids for and aft...I notices a structure that was stored on the forward roof of the boys cabin and what appears to be material stored on the catwalk between the stored boats. If you look closely you can see paneled structures similar to those of the houses themselves and other unidentifiable material stored there as well. I only assume this material is part of or sections of material(chicken coop) needing storage space while in port. Notice the material between the boats in this picture...and of course the material that appears to be stored between the boats on the catwalk in the picture of the boy on the boy cabin roof. Surely interesting find for sure.
.jpg.656b618c88e37851fb28b6382a64e8c7.jpg)

- 3,560 replies
-
- 4
-
-
- clipper
- hull model
- (and 2 more)
-
Its amazing how similar many of McKay's clippers deck houses and furniture looked...the recessed carriage house is a good example of this carried over design to many of his famous clippers. You are doing a great job...she is really coming together. Rob
-
Here...for the inquisitor's benefit, I will post the image that I use for my *Period*, in GOS history that I am building her. In my view, her most beautiful and profitable days....her *Heydays*...... Rob

- 3,560 replies
-
- 3
-
-
- clipper
- hull model
- (and 2 more)
-
Thanks Rich. Yes….Glory had loads of additions and mods This is why I chose her at SanFran. So much to model. Rob
- 3,560 replies
-
- 2
-

-
-
- clipper
- hull model
- (and 2 more)
-
I posted the penny in several images, so everyone can get a feeling for the scale I’m working in. Rob
- 3,560 replies
-
- 3
-
-

-
- clipper
- hull model
- (and 2 more)
-
The hull was intentionally weathered to look like that. Similar to what she looked like in her SanFran image. Rob
- 3,560 replies
-
- 1
-
-
- clipper
- hull model
- (and 2 more)
-
Great job and likeness. I don’t even think mine could pull off that well. Rob