HOLIDAY DONATION DRIVE - SUPPORT MSW - DO YOUR PART TO KEEP THIS GREAT FORUM GOING! (Only 68 donations so far out of 49,000 members - Can we at least get 100? C'mon guys!)
×


rwiederrich
-
Posts
5,518 -
Joined
-
Last visited
Content Type
Profiles
Forums
Gallery
Events
Everything posted by rwiederrich
-
See...this is the issue we have when discussing translation from 2D to 3D. Or from picture to actual model, from one scale to another. Its easy to sit back in your arm chair and critique others work(Not you particularly), but when so many eyes are looking at something...even the most glaring issue can be hiding in plane sight. When trying to translate dimensions, what appears the truth can actually be as false as anything. This is why I tried to get you to see that the bands on the bowsprit need to be viewed from their extreme bottom...because that is where the figurehead is. Look up the bowsprit to the next rings lower edge and you can easily see the *truth*. This is the method we must use when reverse engineering the Glory. This all began, because what we saw others do(Mike and Ron), we knew could not be correct...though they *Knew*, AT THE TIME THAT WHAT THEY WERE TRANSLATING WAS THE TRUTH. It only took years (Or weeks) to be found out to NOT be true. Ron's own recent redrawing of Glory STILL had glaring structural errors, and that, coming from a seasoned, professional. This is why any *transcript errors* folks may find in my translation, are, for the most part, subjective. Unless they are so incorrect, it changes the entire likeness. We're gonna have to just live with the slight hood *thickness*and not let it be a *game* changer, since the trim surrounding it is pretty much spot on...so lets focus on that if we need to focus on something. One last note...if someone is so particular about their own position, how is it that a drawing that passed peer review can have blatant errors? Look closely at Mike's profile and line drawings of Glory in his book and notice he has the flywheel of the pumps mounted inside the frame of the pin rail, when in fact, if you review the photographs of Glory being converted and while a canary.....you can see the construction scene on her deck AND men on the deck sorting fish and the flywheel of the main pump is clearly shown on the *OUTSIDE* of the pin rail frame. It is easy to make these kinds of mistakes when the task of creating or fabricating is so large. Swough........Nuff said. Time to move on to funner stuff. Rob
- 3,560 replies
-
- 3
-

-

-
- clipper
- hull model
- (and 2 more)
-
Mind you, I changed and redid and corrected many errors...such as removing and rebuilding her bowsprit because it was way off scale and far too small. Similarly, like what you are doing with her figurehead. Some changes just need to be made because scale actually changes other crucial items. But slight perspective errors in most cases are either fabricational errors or simply oversight and are generally not outside the privy of the modelers license. Rob(Preparing to make more mistakes)
-
Rich look at the band,s bottom, not the band itself. Follow it around and down. That is the bands true edge. What you see on the sides is curvature illusion. Zoom in and you’ll see that the band is right at the knot of hair in its bunn. If you follow the third and fourth bands to their lower edge, you will see Athene,s head is much closer to band 3 then 4. Rob
-
Don’t look at the 3rd band from its side, because that is optically confusing. Look at the band’s bottom edge and you will see that it is just behind the figureheads head. Rob
-
As stated elsewhere, I noticed it from the start but opted to NOT tear all my work out for such a minor discrepancy
-
Sometimes slight errors are part of the creative way. Rob
-
I made sure the third iron band on the bowsprit was over Athens’s head, where it should be. Rob
-
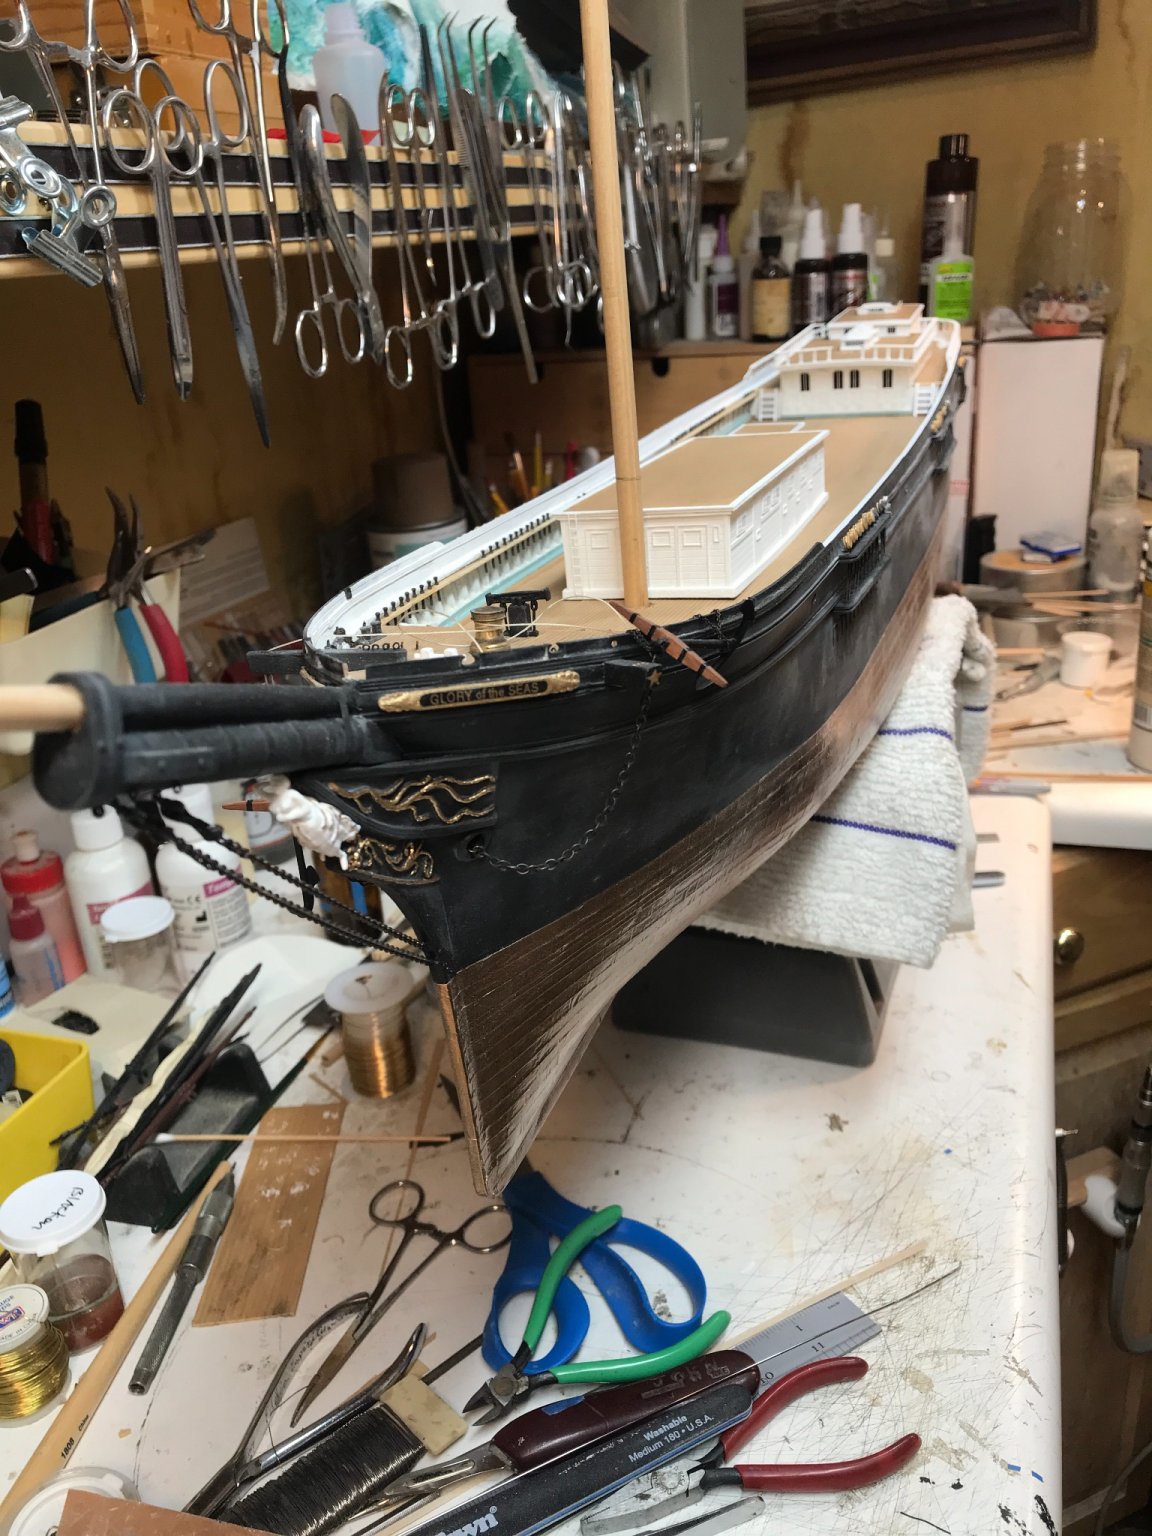
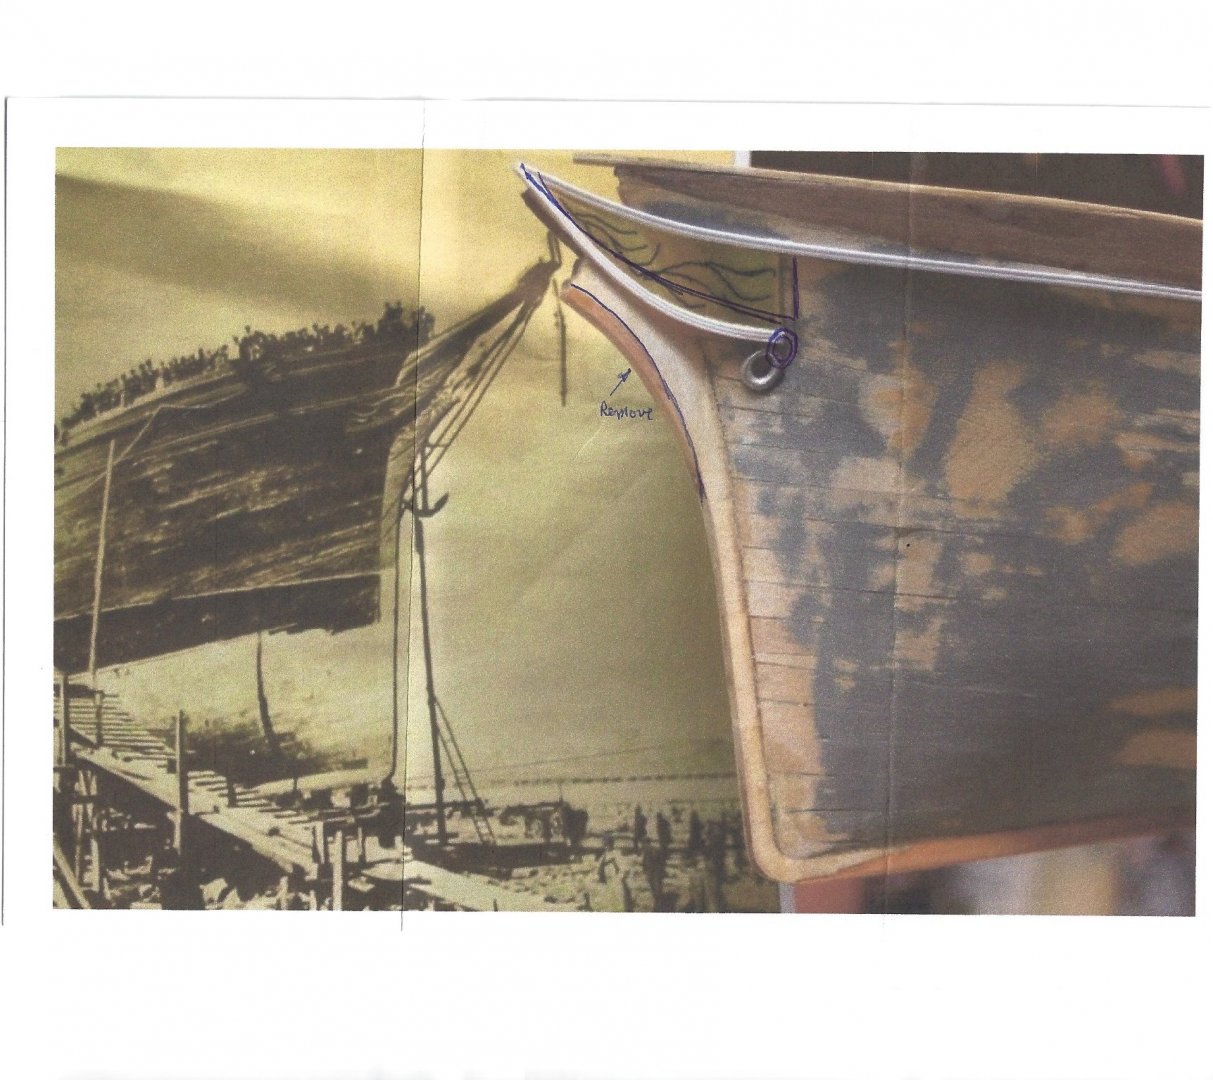
Actually the error occurred when gluing the lower 3 lobed trim to the metal hood. I actually cut the hood the correct width, but as I placed the trim, it slid from on top of the hood face to the lower leading edge. Since I was using CA glue , it stuck immediately and I could not get it to relocate without totally damaging the metal hood. It took a lot of work to create the hood and the tricky shim work underneath against the hull and the rolled edge at the hoods termination by the howes hole. Once I noticed it a great deal of thought went into it and I decided it wasn’t that great of an issue to tear it all up and clean things up and redo it all. So I opted to leave it as a builders anomaly. We all have them…….even my most ardent critics. Rob
- 3,560 replies
-
- 1
-
-
- clipper
- hull model
- (and 2 more)
-
Thanks Michael. Im moving out now. There is a great amount of pressure to be faithful to a resurrected beauty as is Glory of the Seas Rob
-
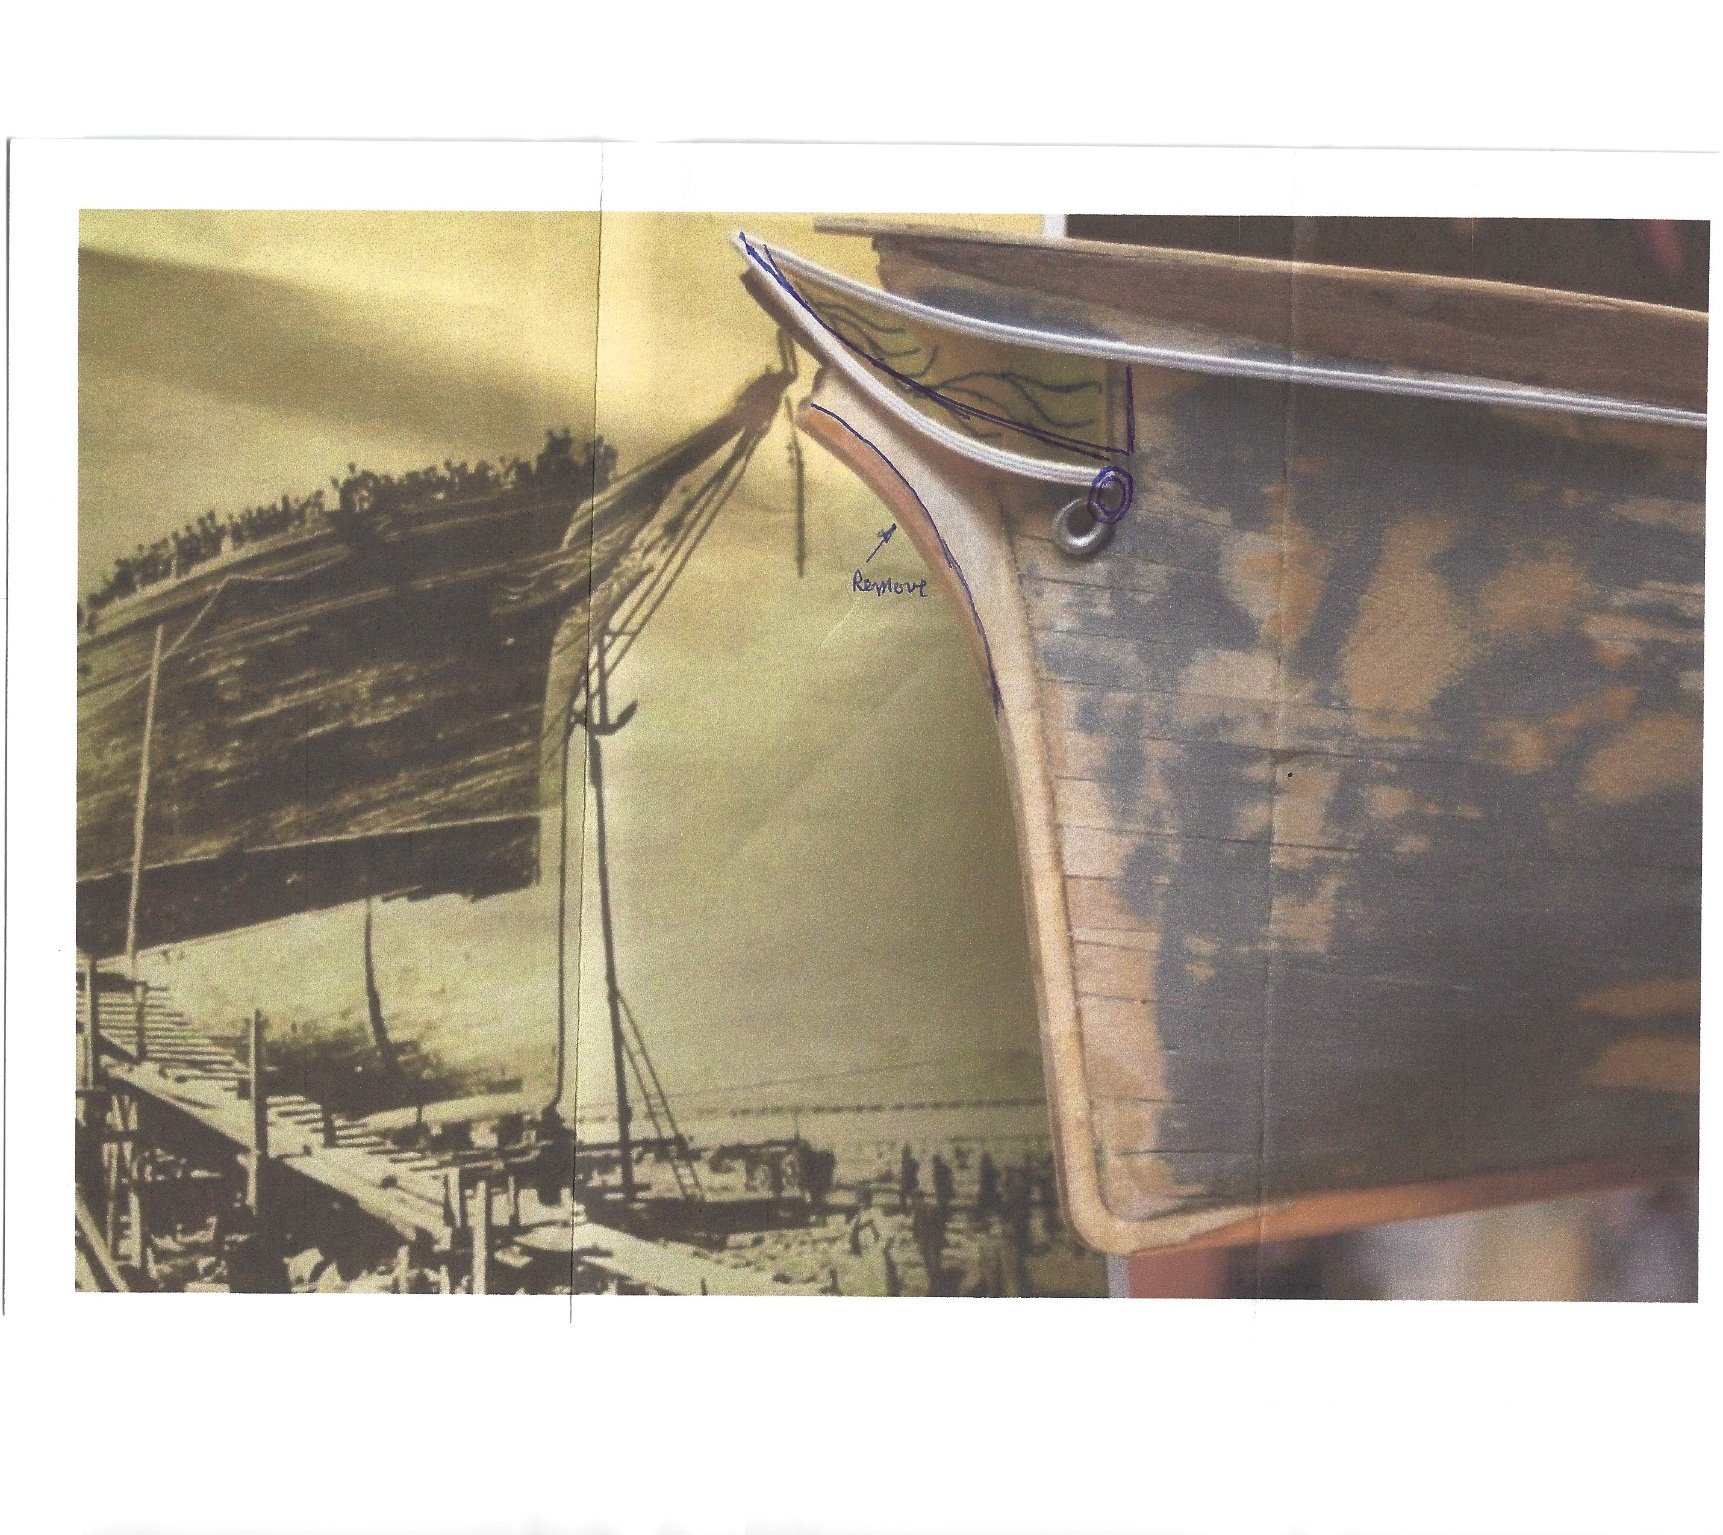
His correction was not what we discovered, but my execution. Here is the image and the correction marked on it. Rob
-
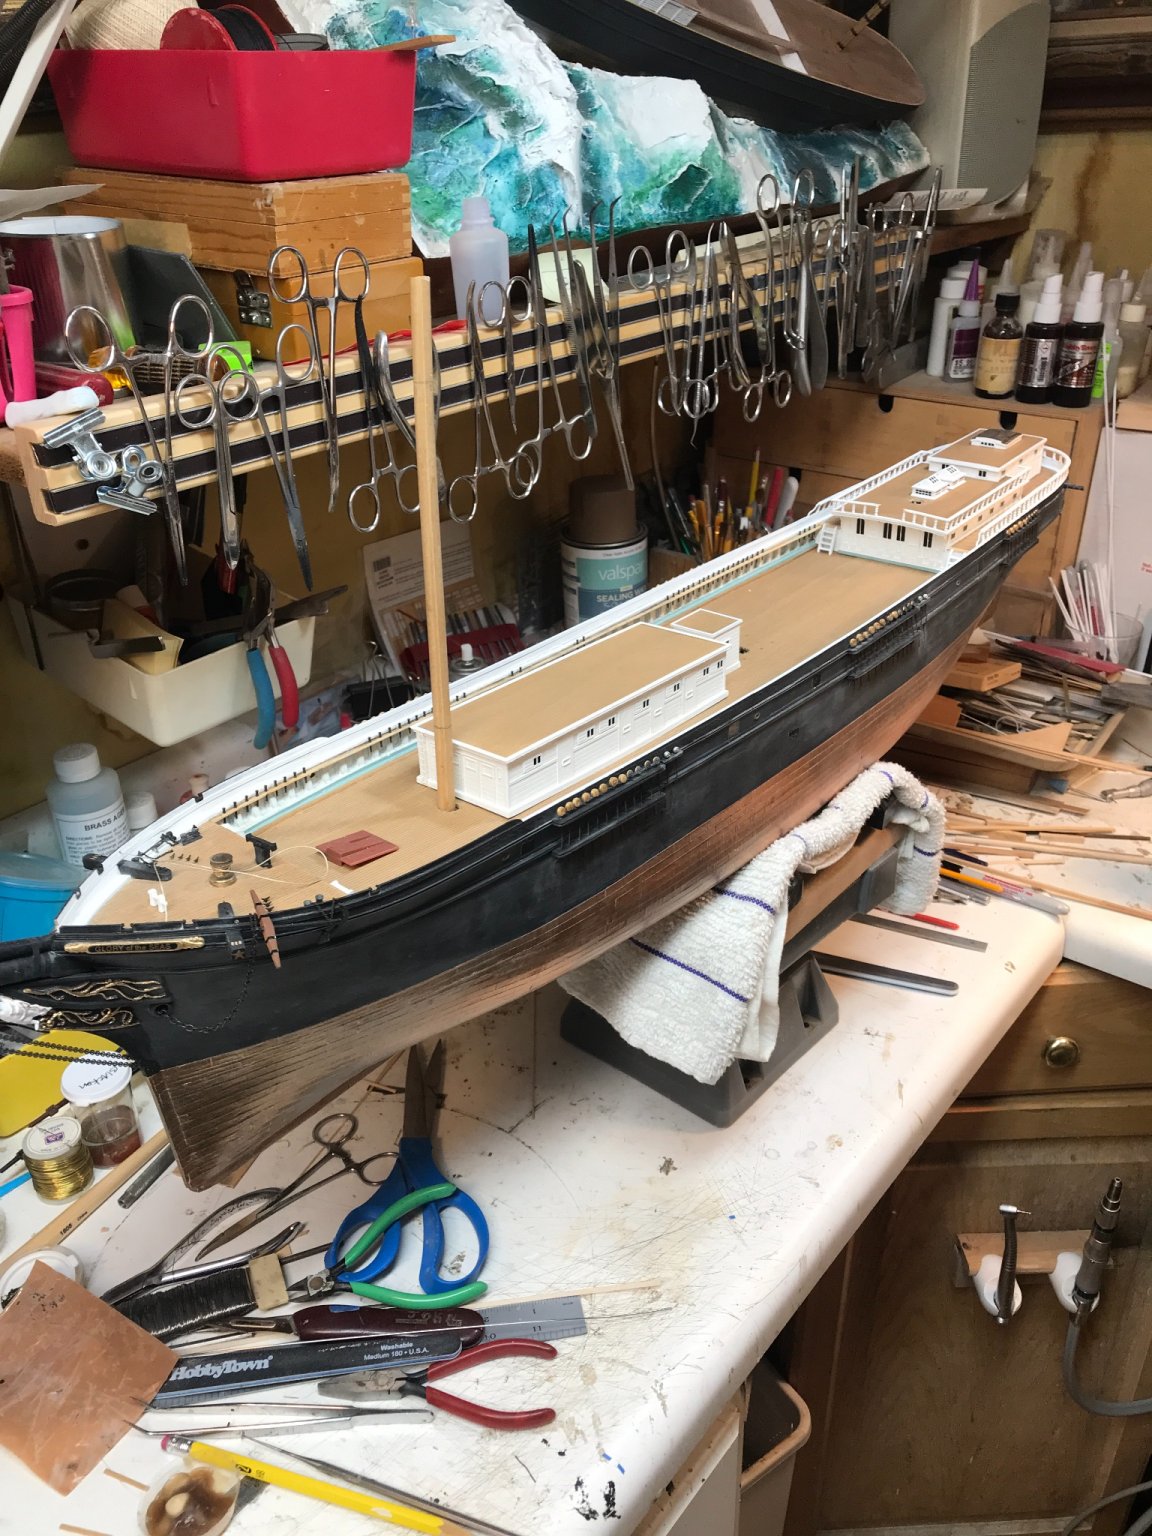
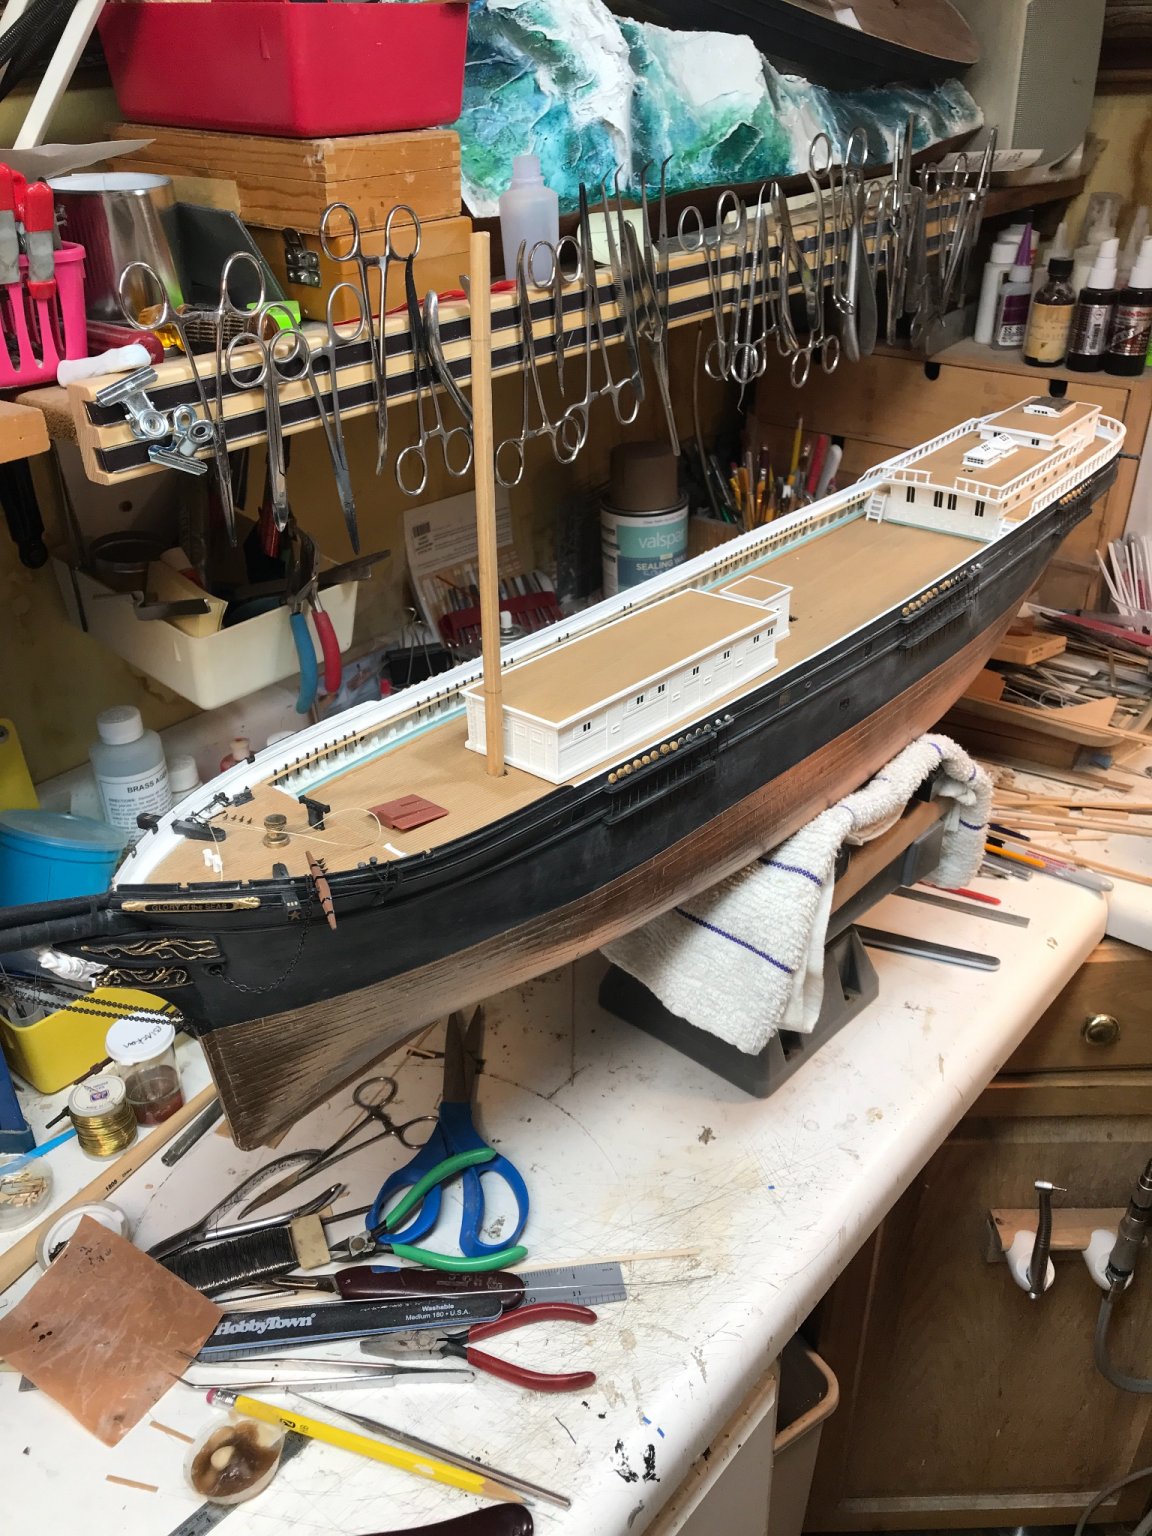
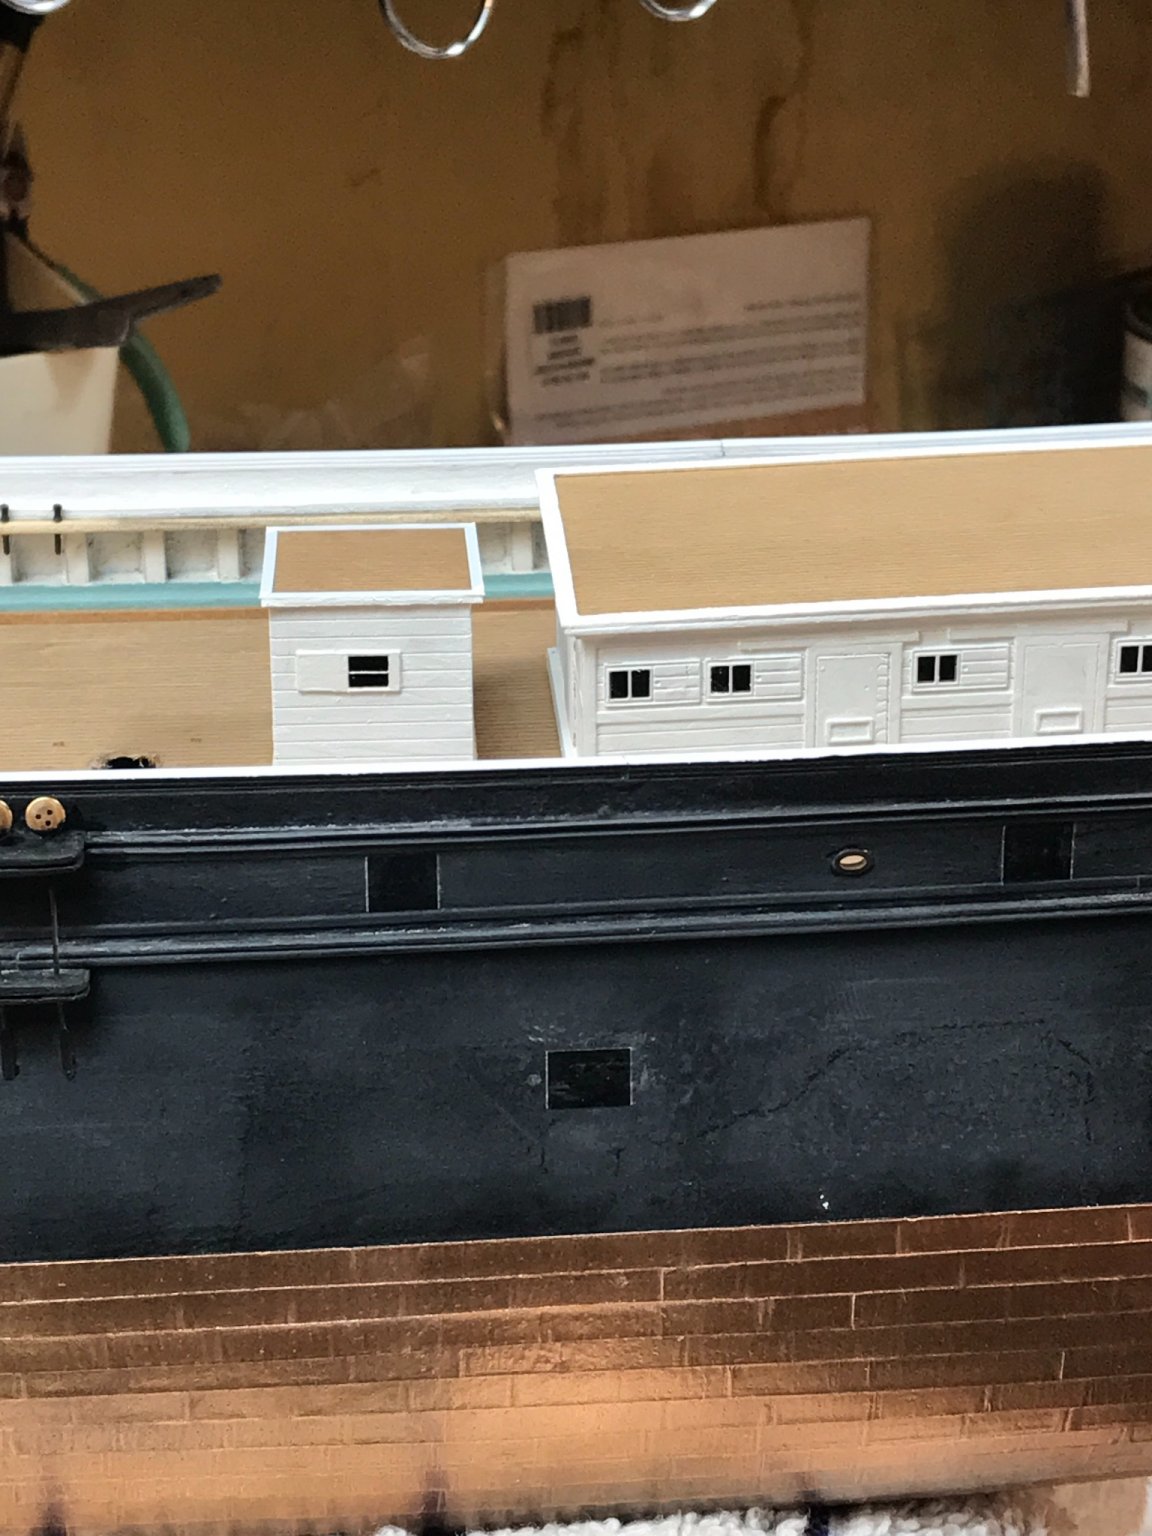
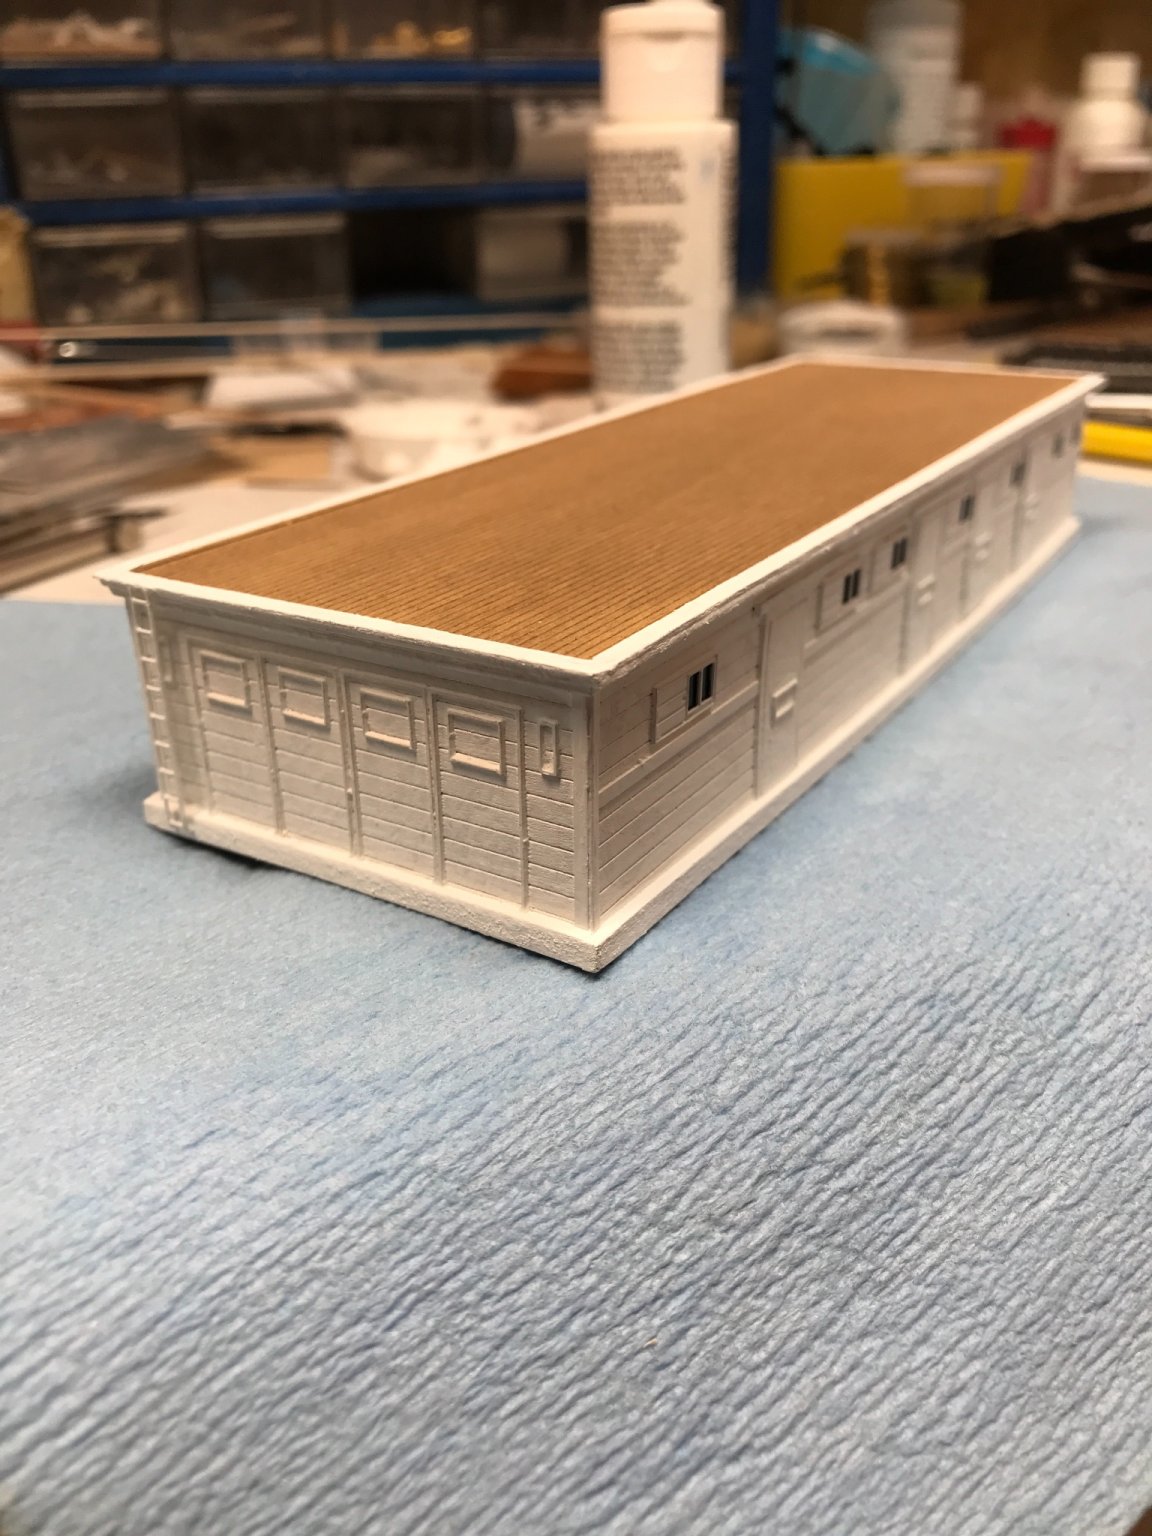
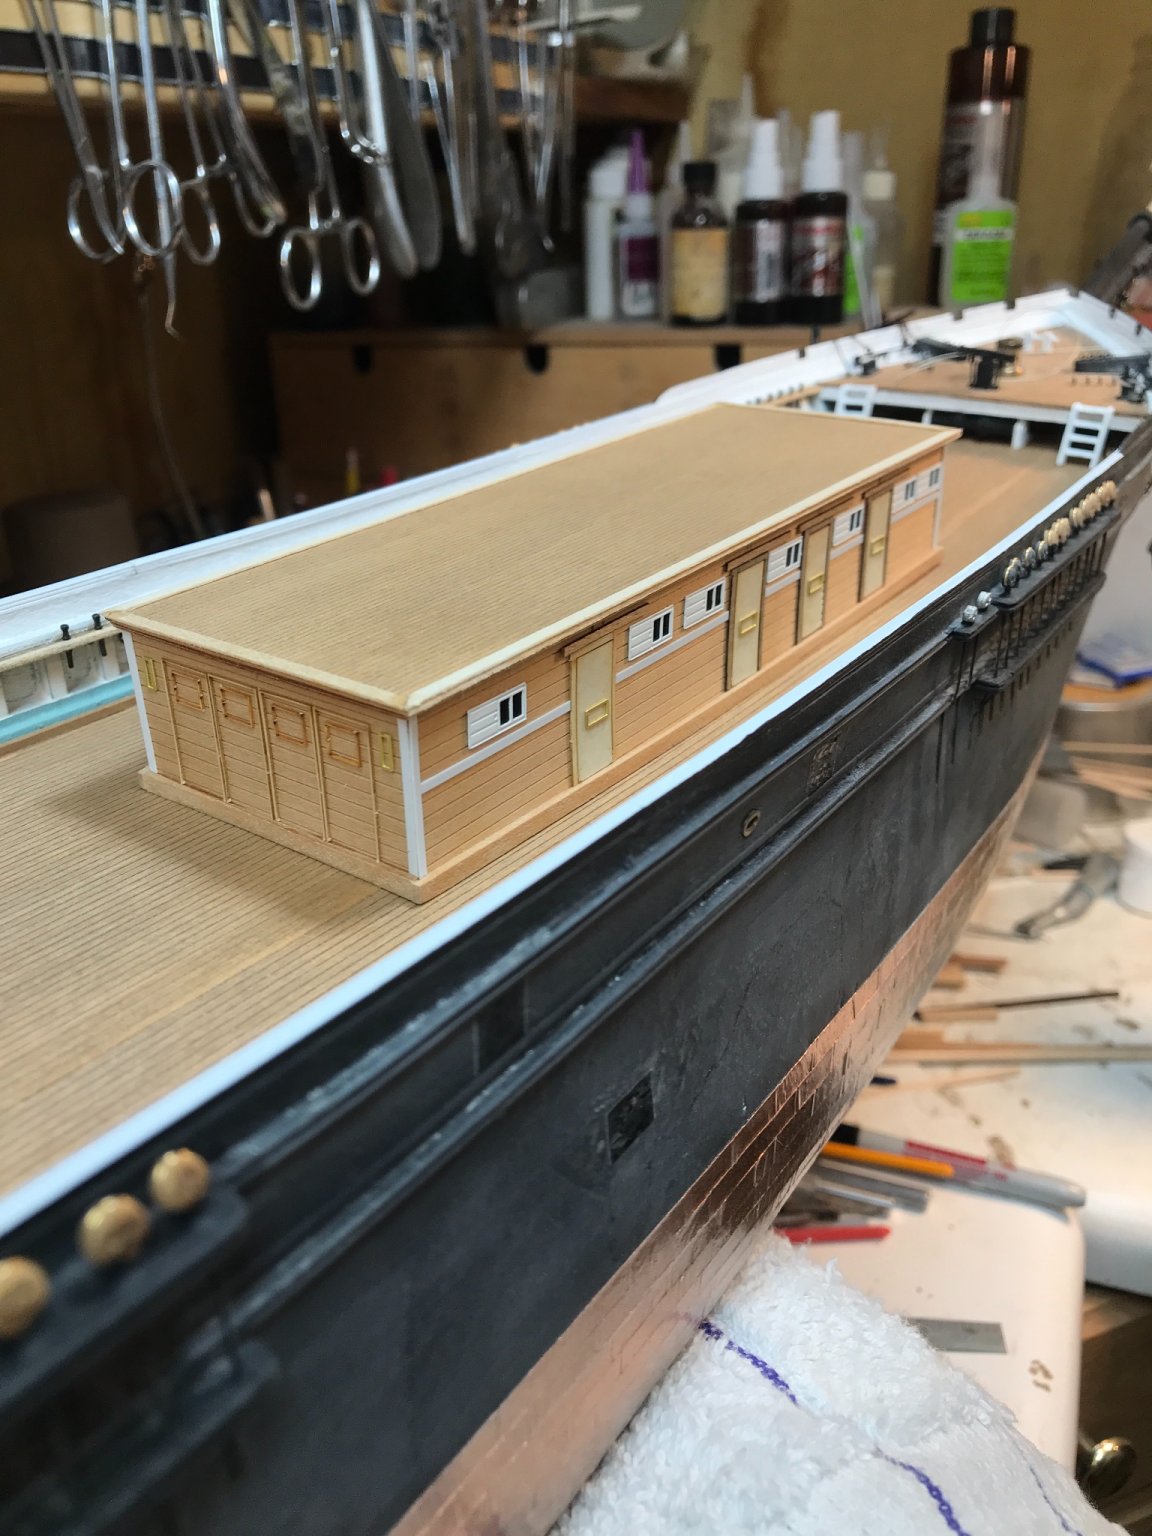
It’s a scale 18” wide. Thanks for the compliment Rob
-
I agree entirely Did you get the email from Mike? Apparently I did make some Naval hood errors according to our Australian friend. I see his point, but there is no turning back on that one. See……no body is perfect …… especially me. Rob
-
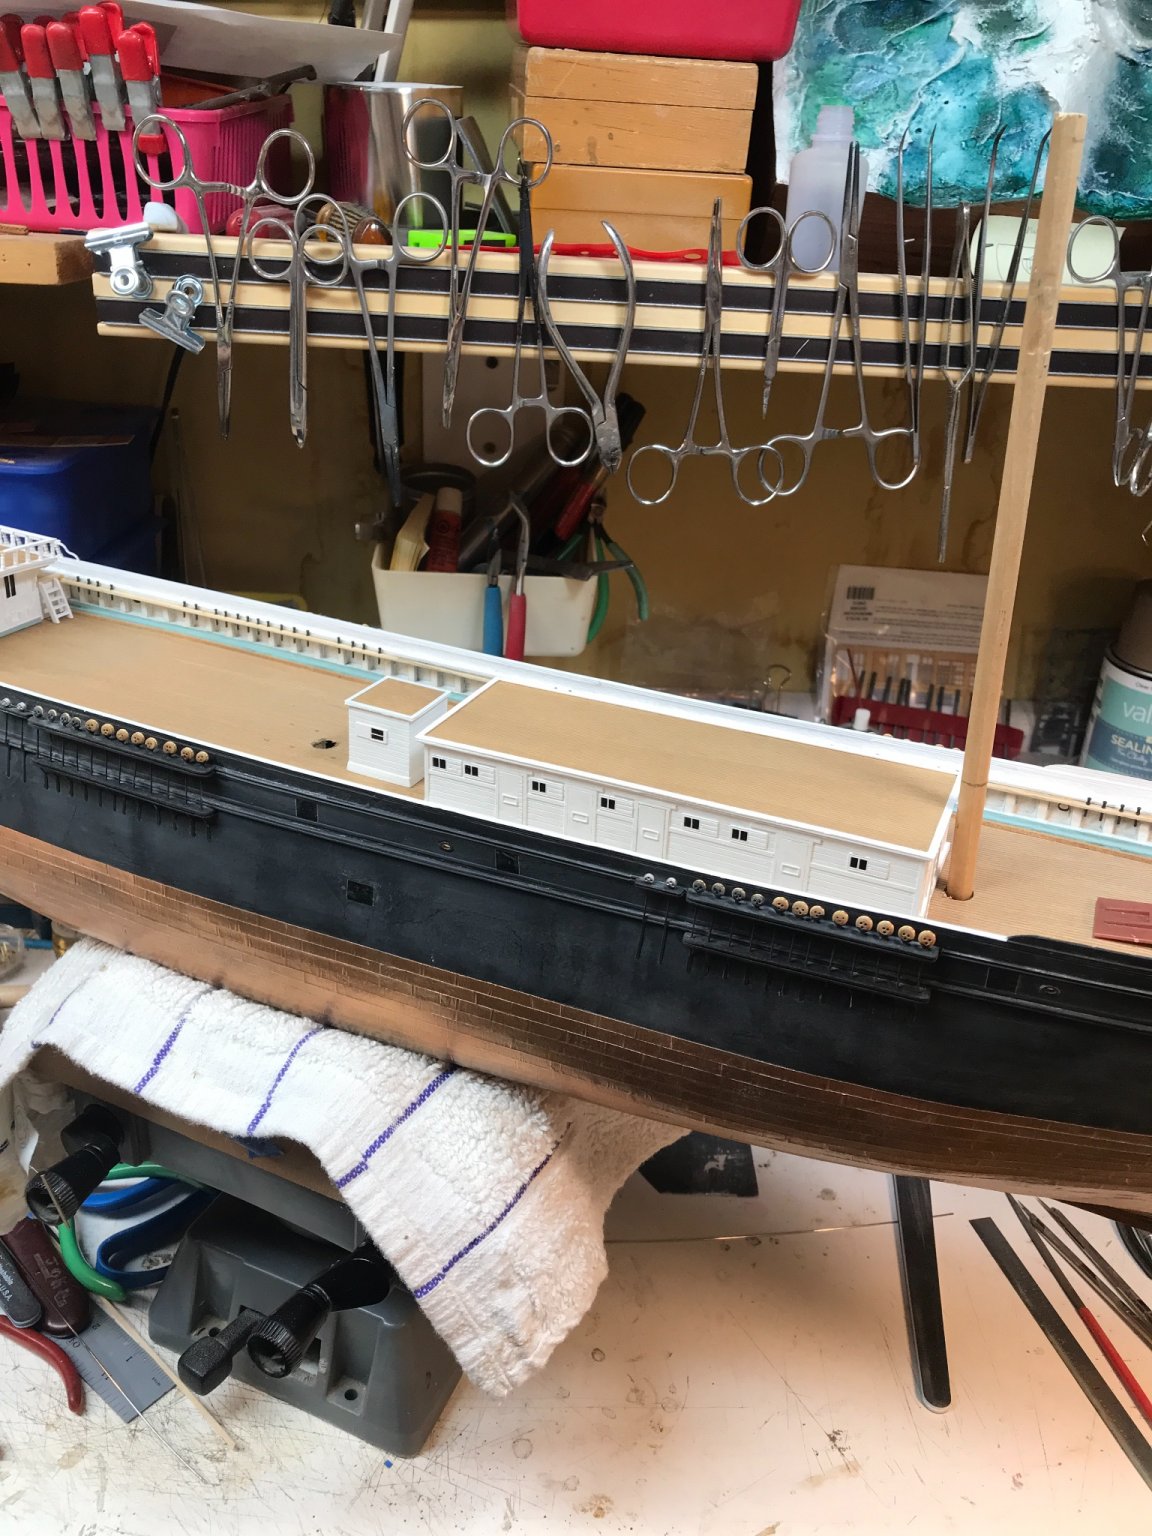
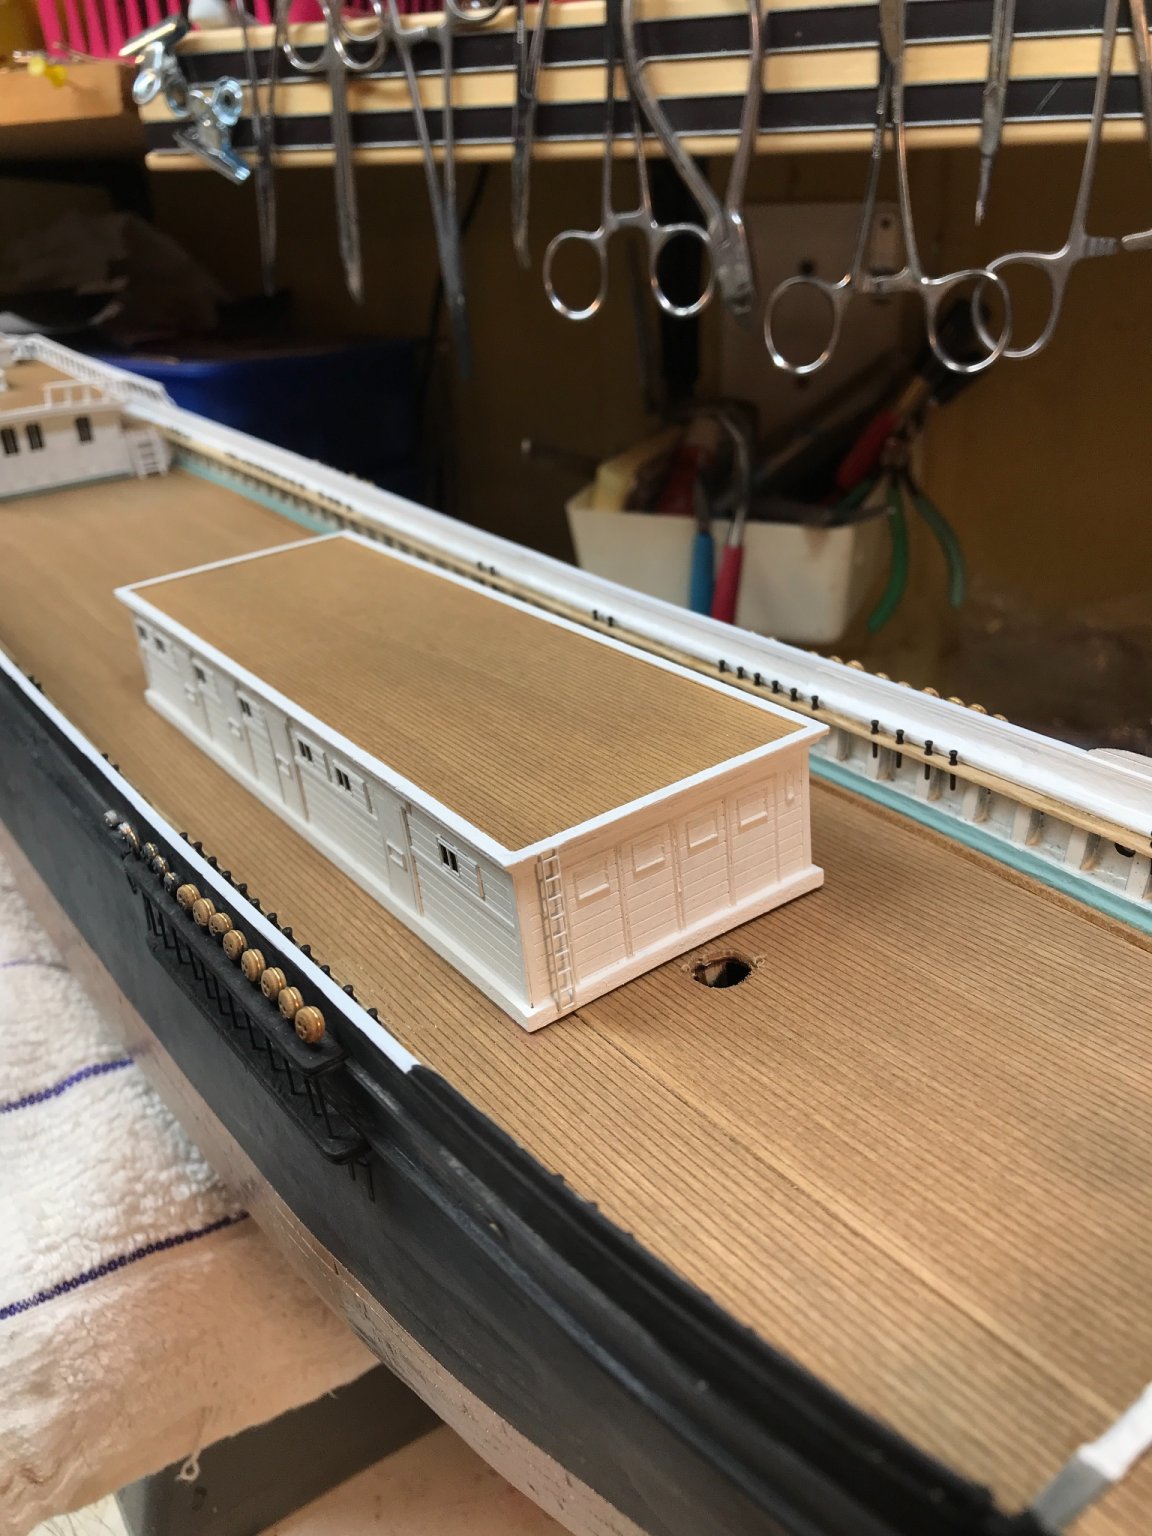
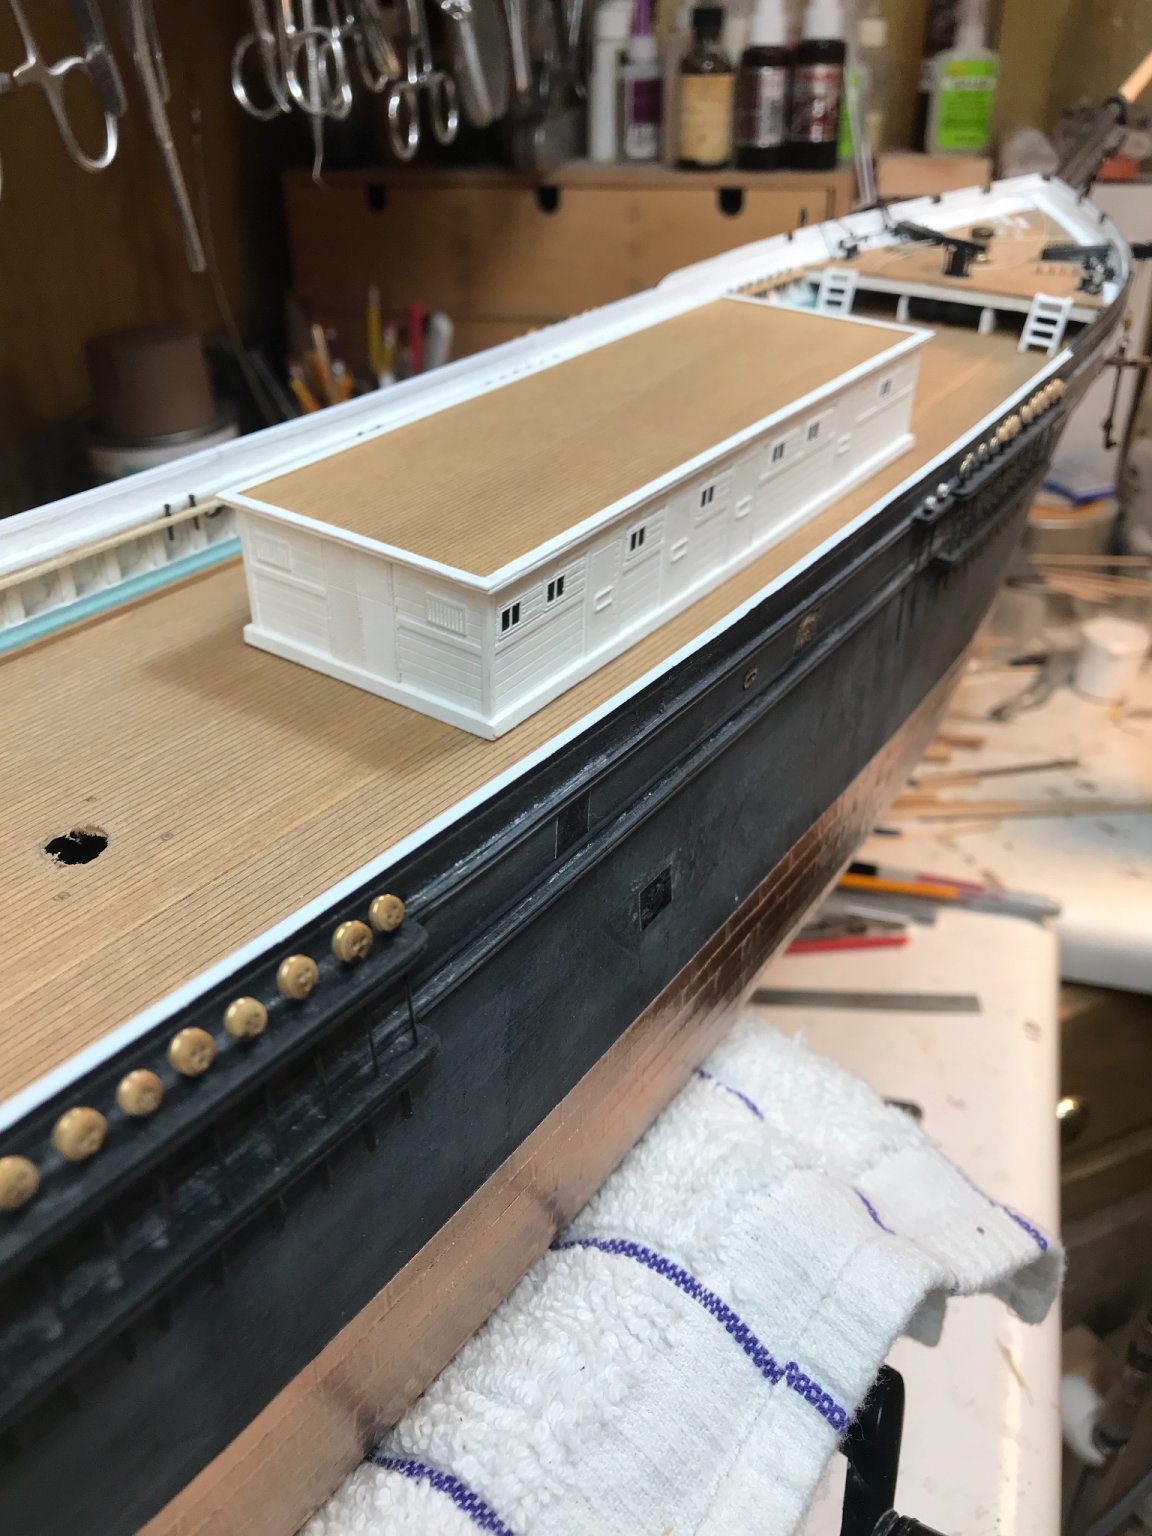
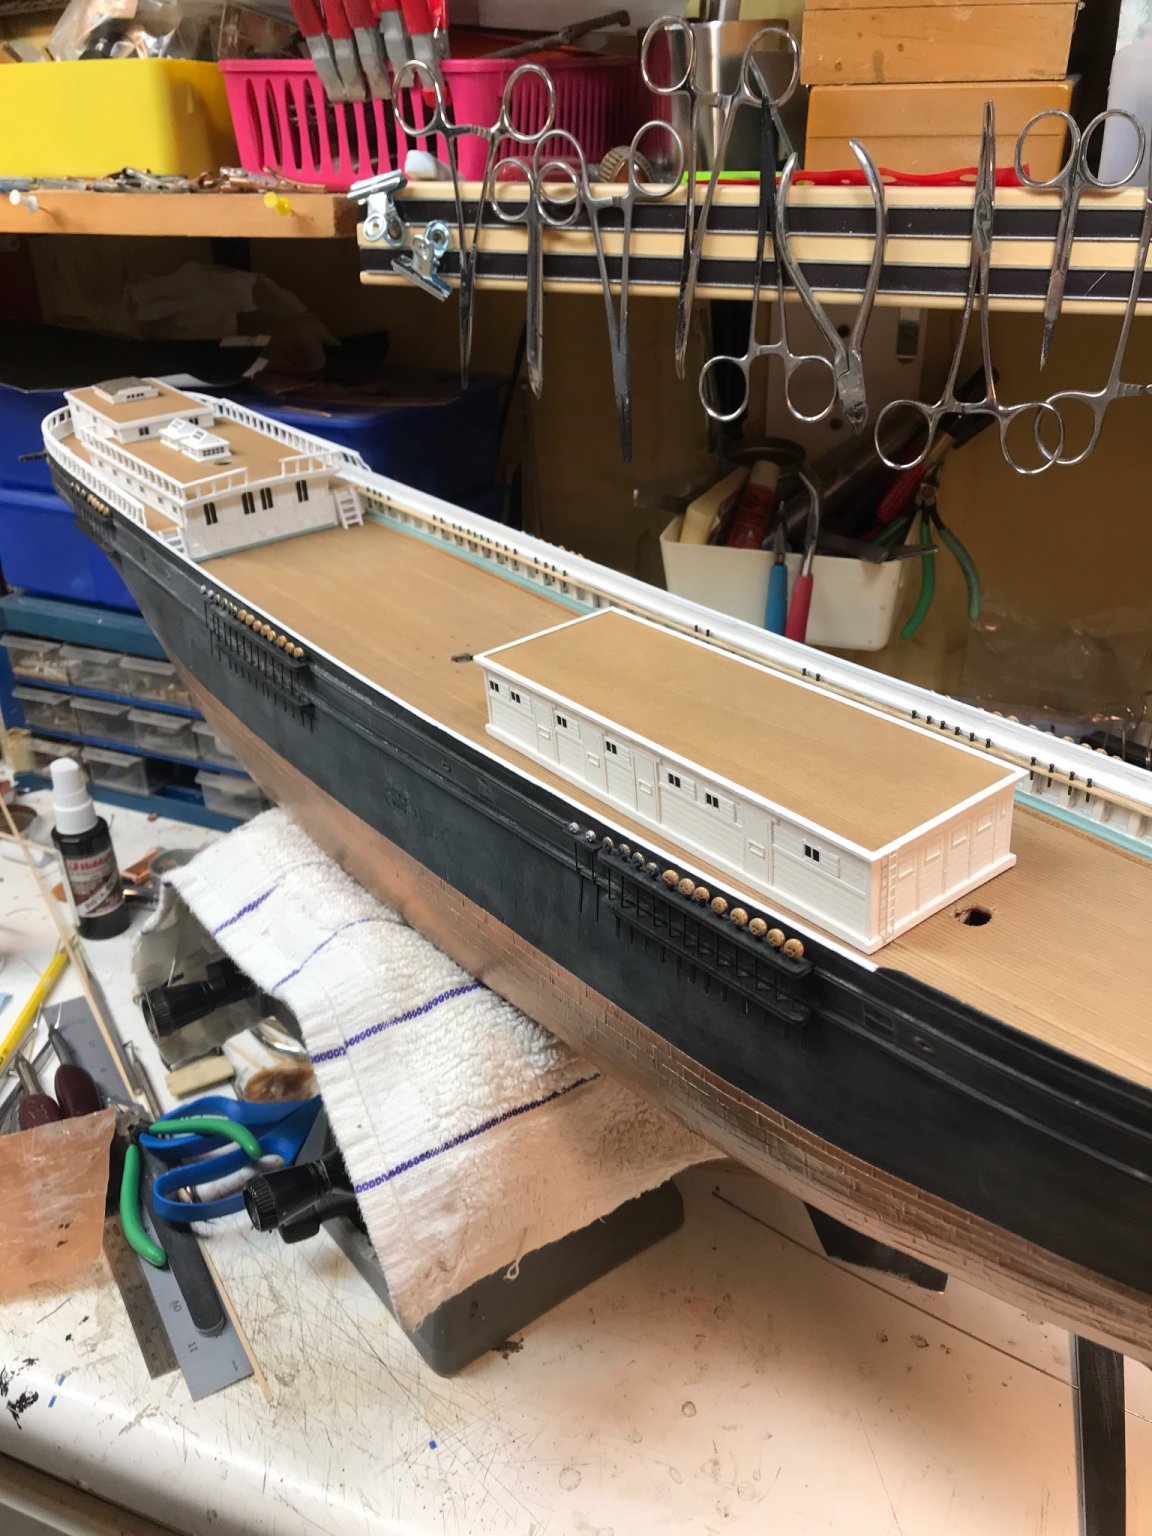
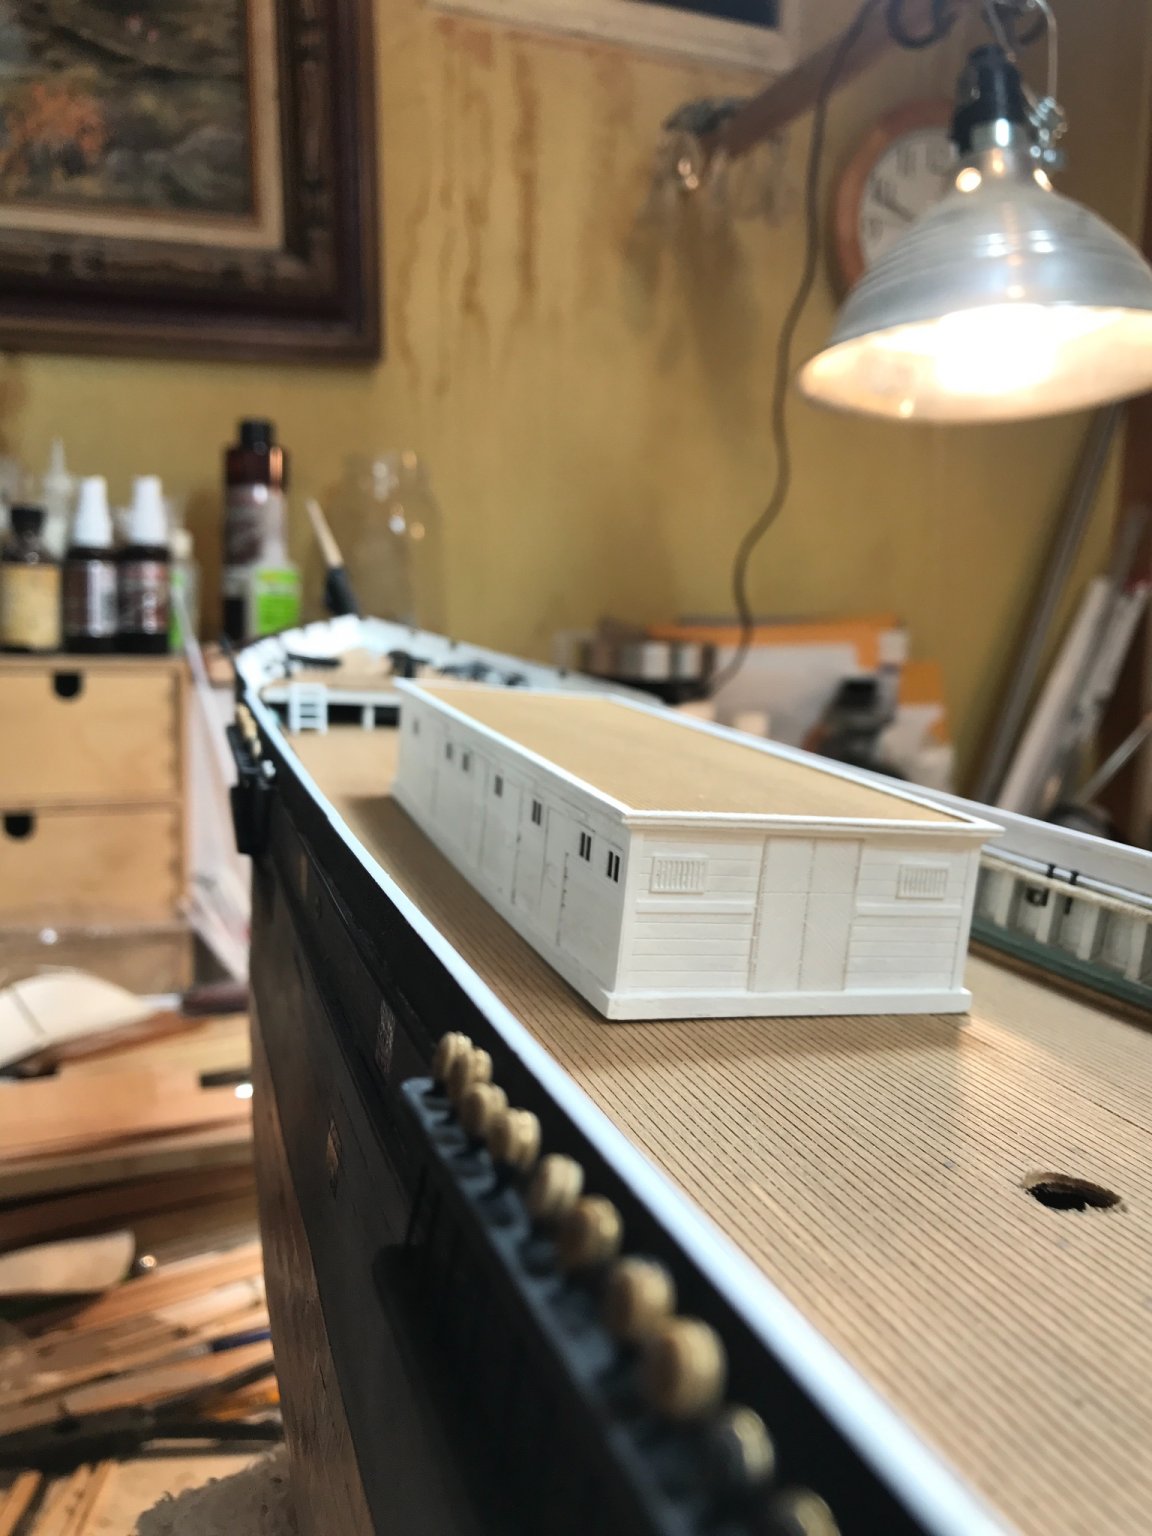
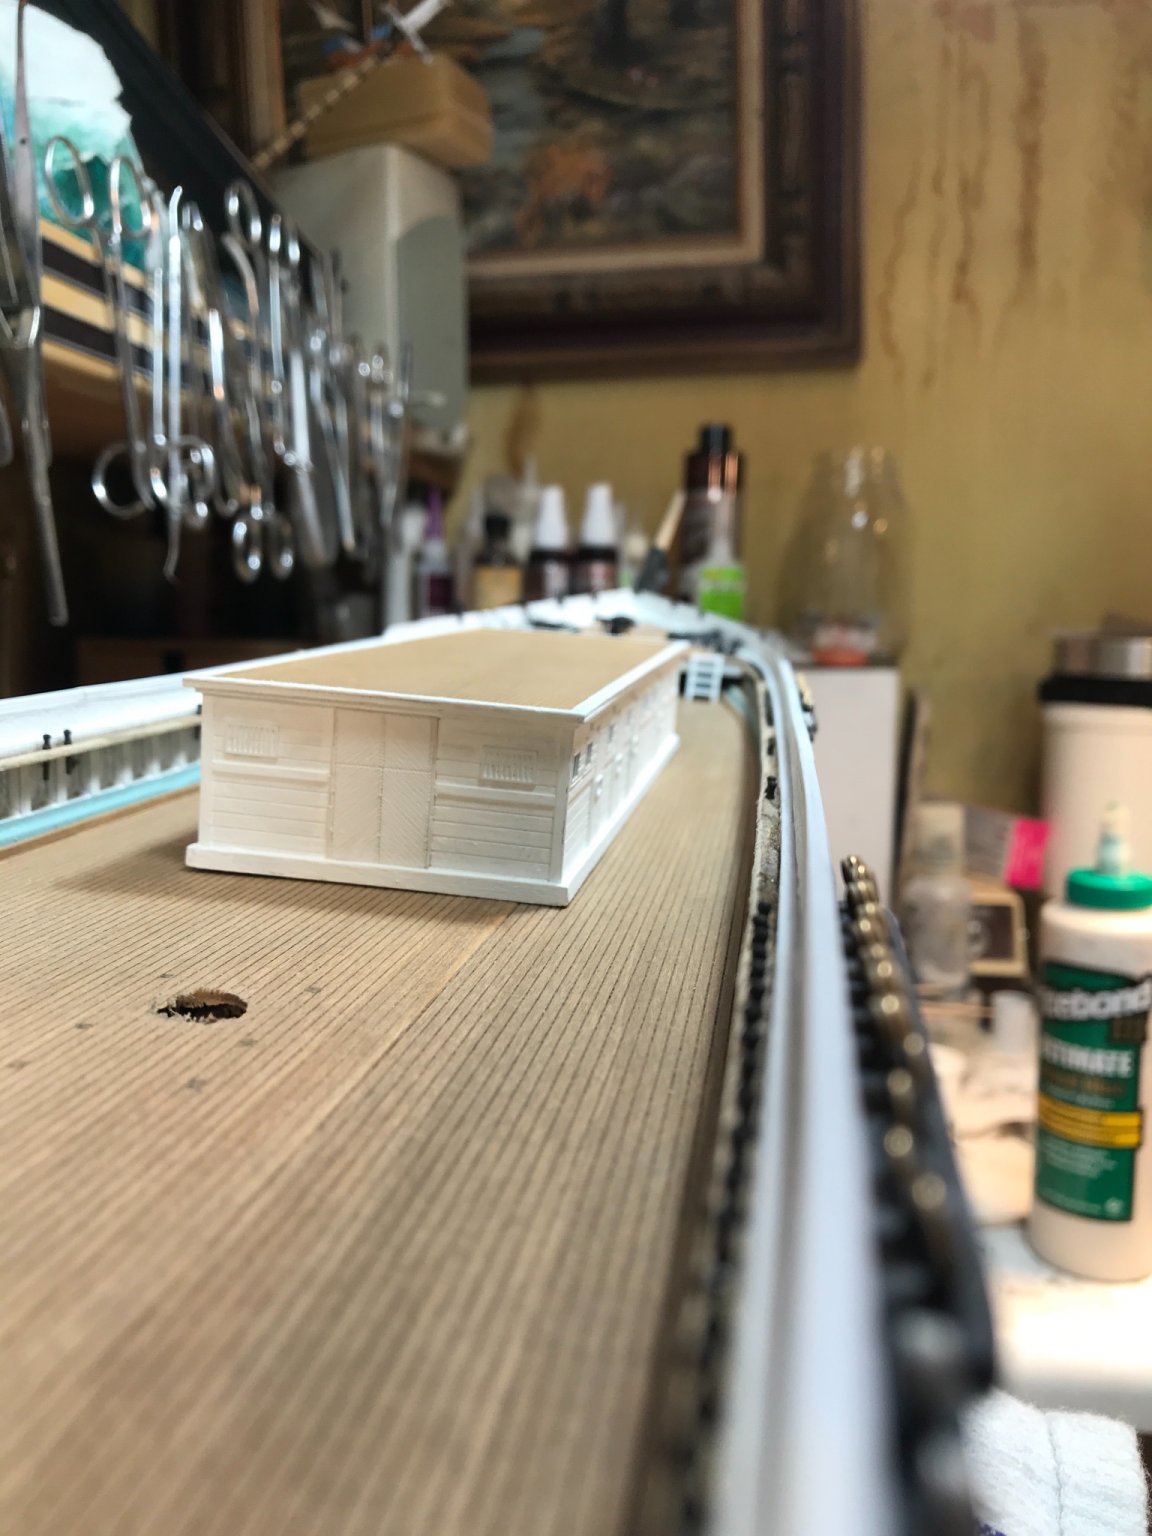
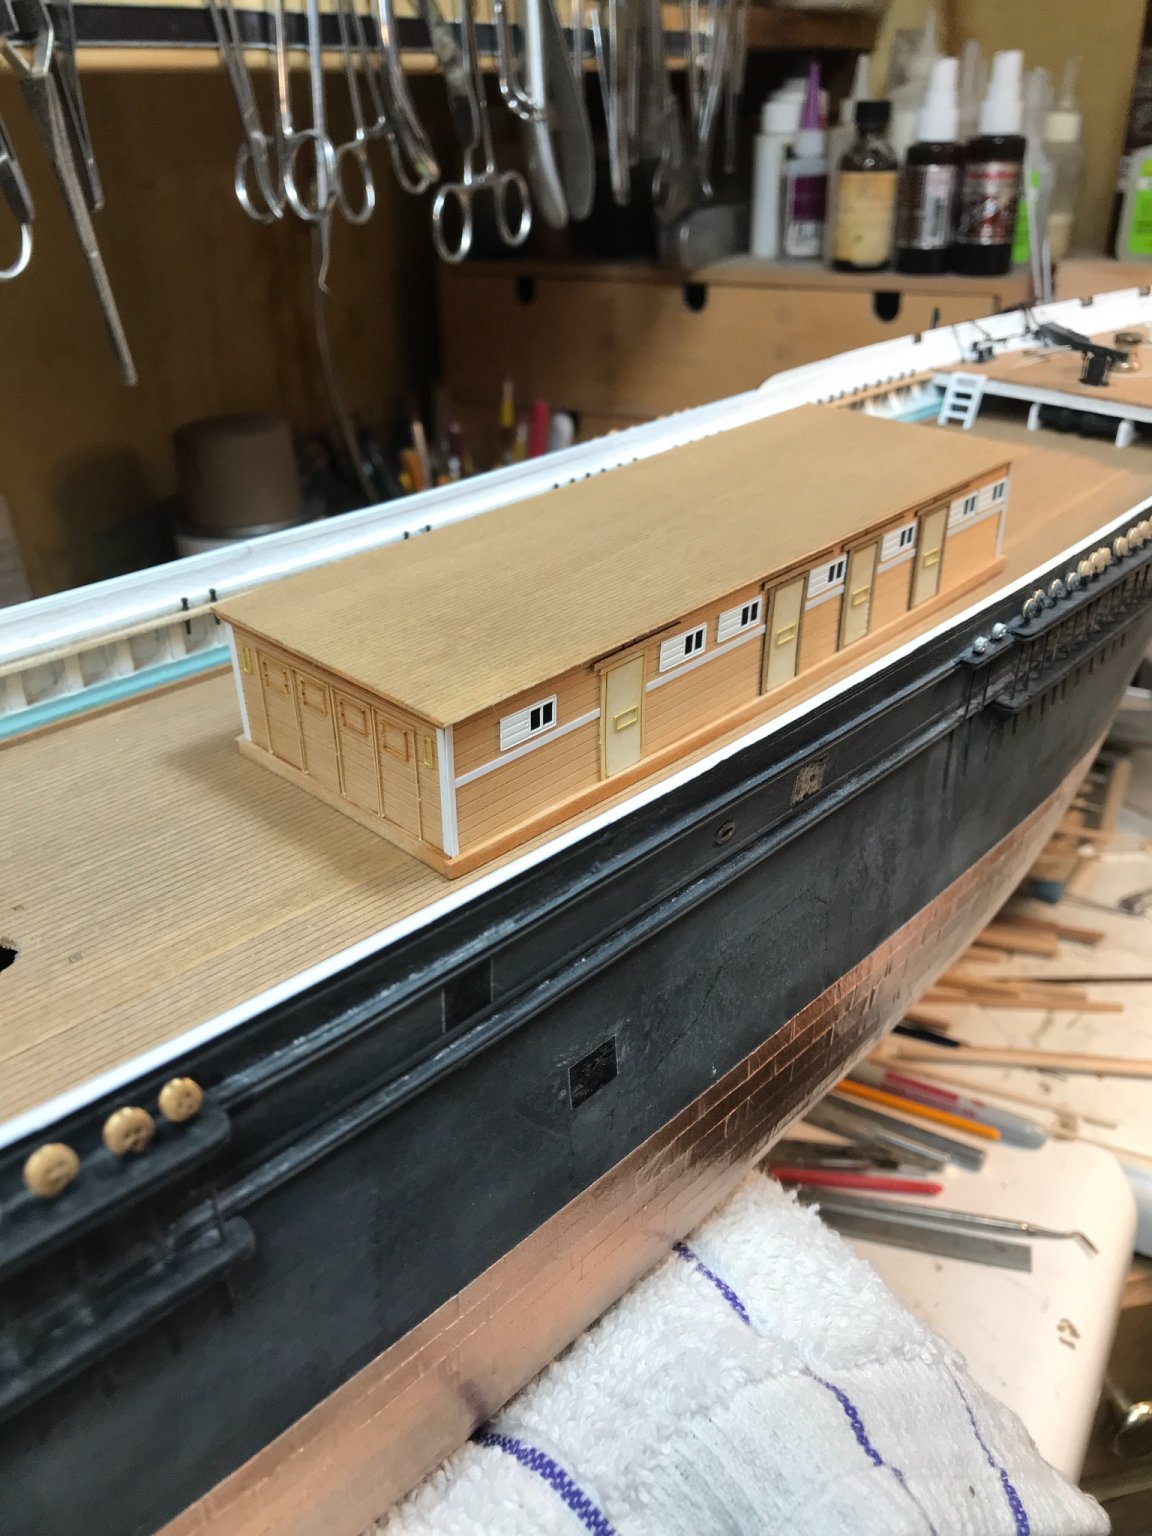
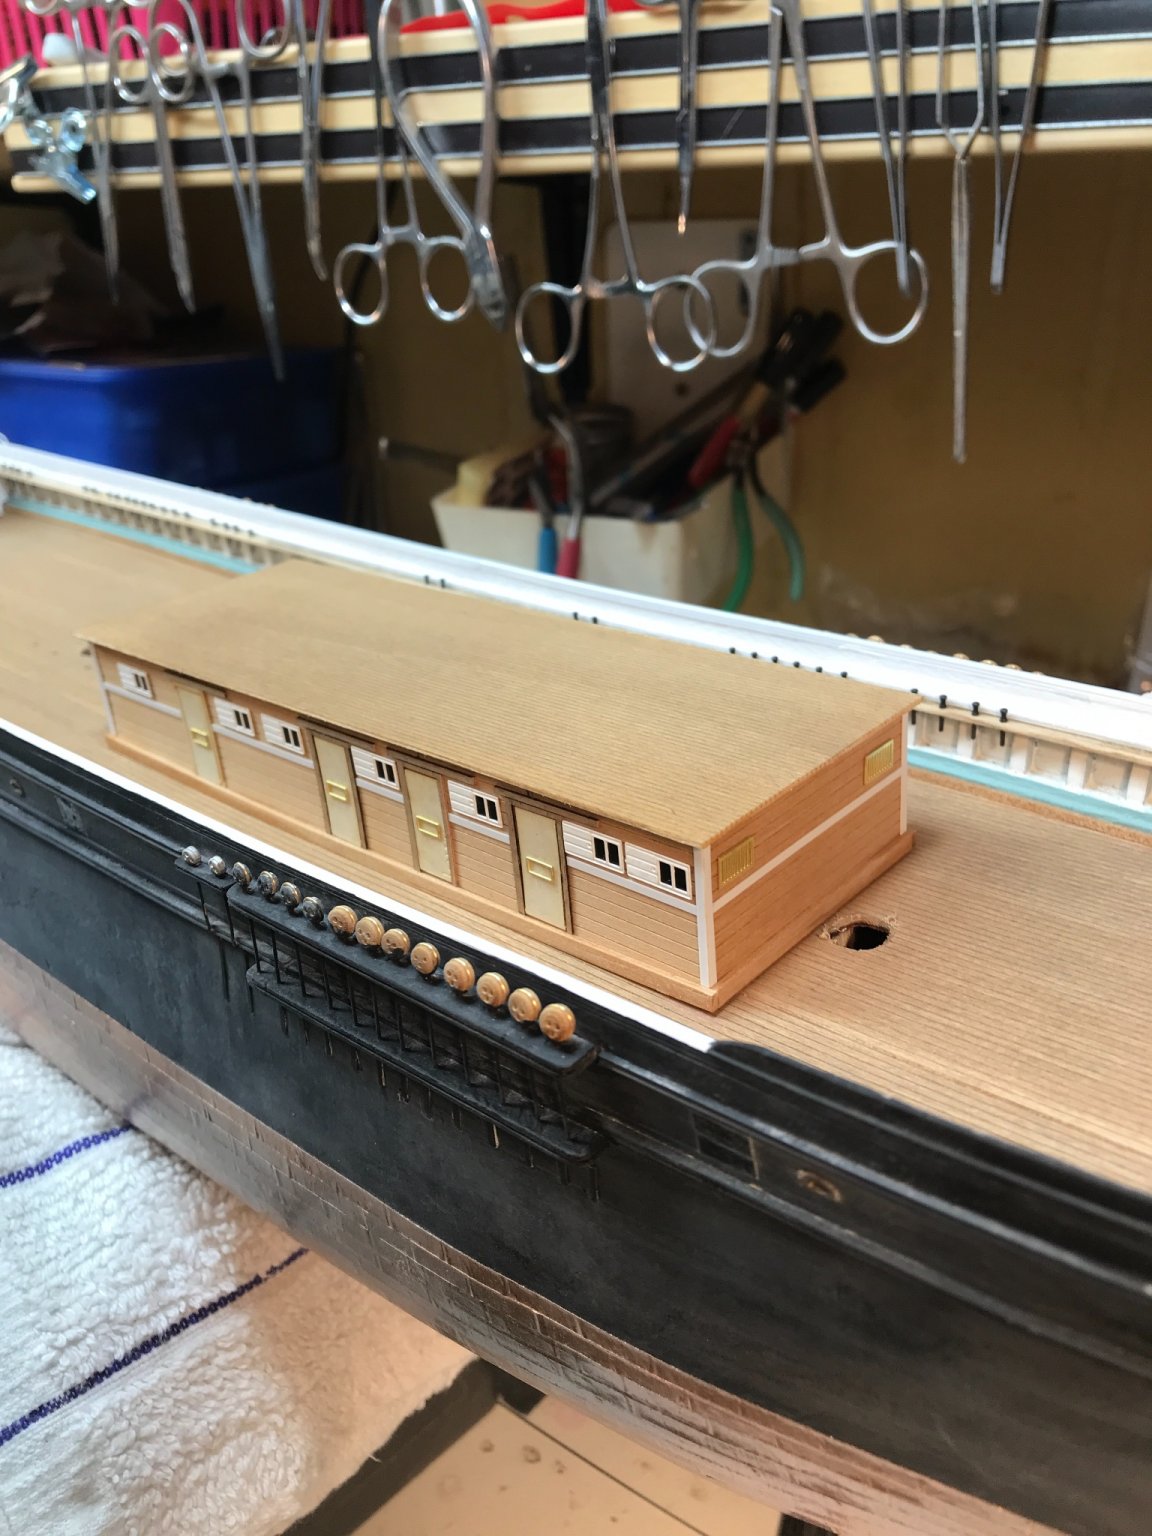
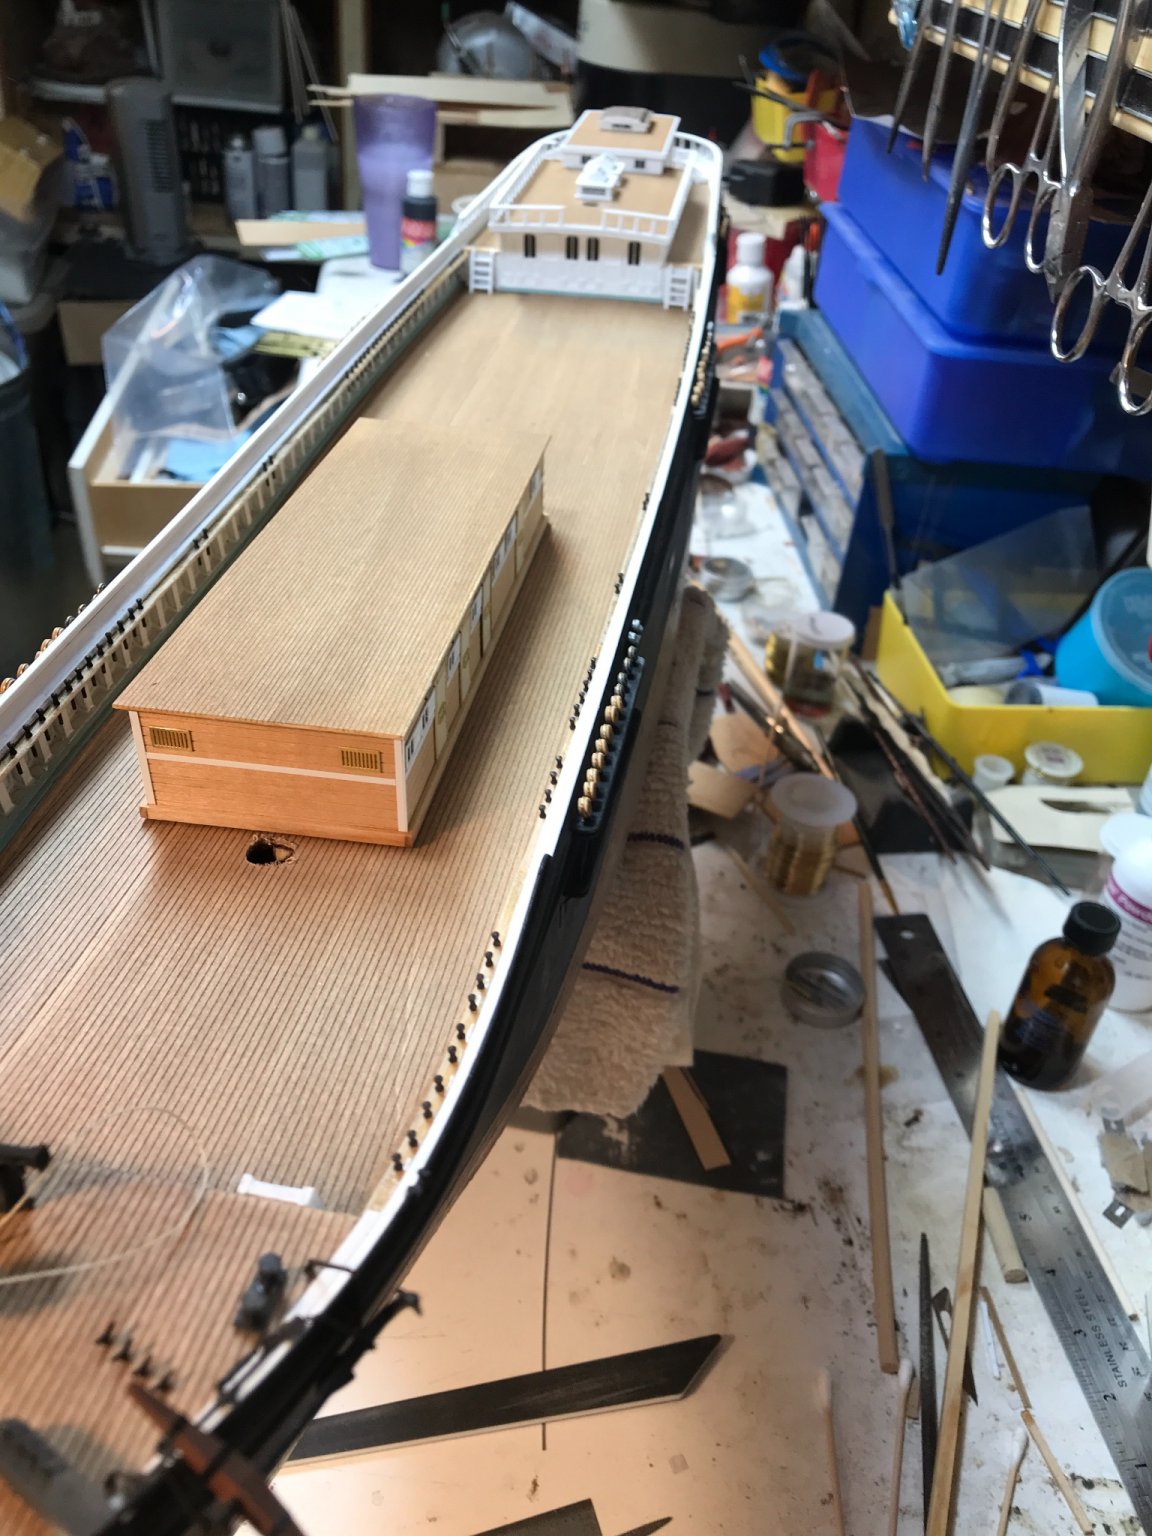
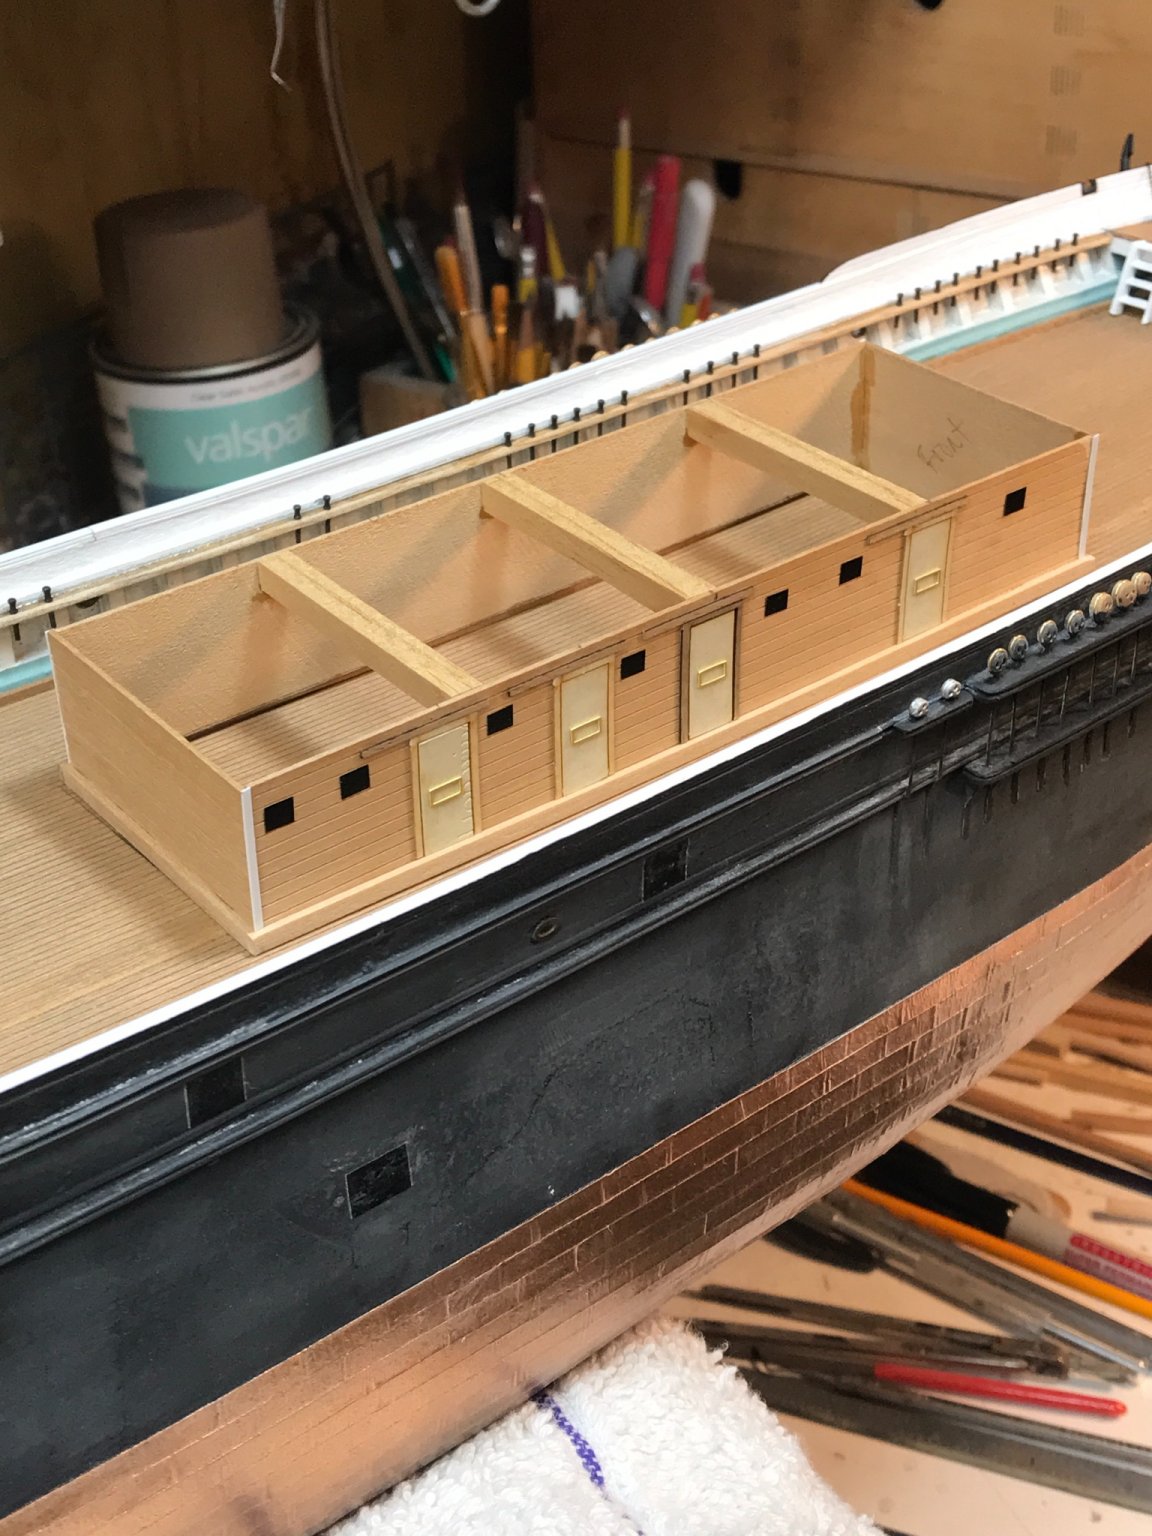
Thanks Rich. Here are a few pics after the doors and ladder were added. Rob

- 3,560 replies
-
- 4
-
-
- clipper
- hull model
- (and 2 more)
-
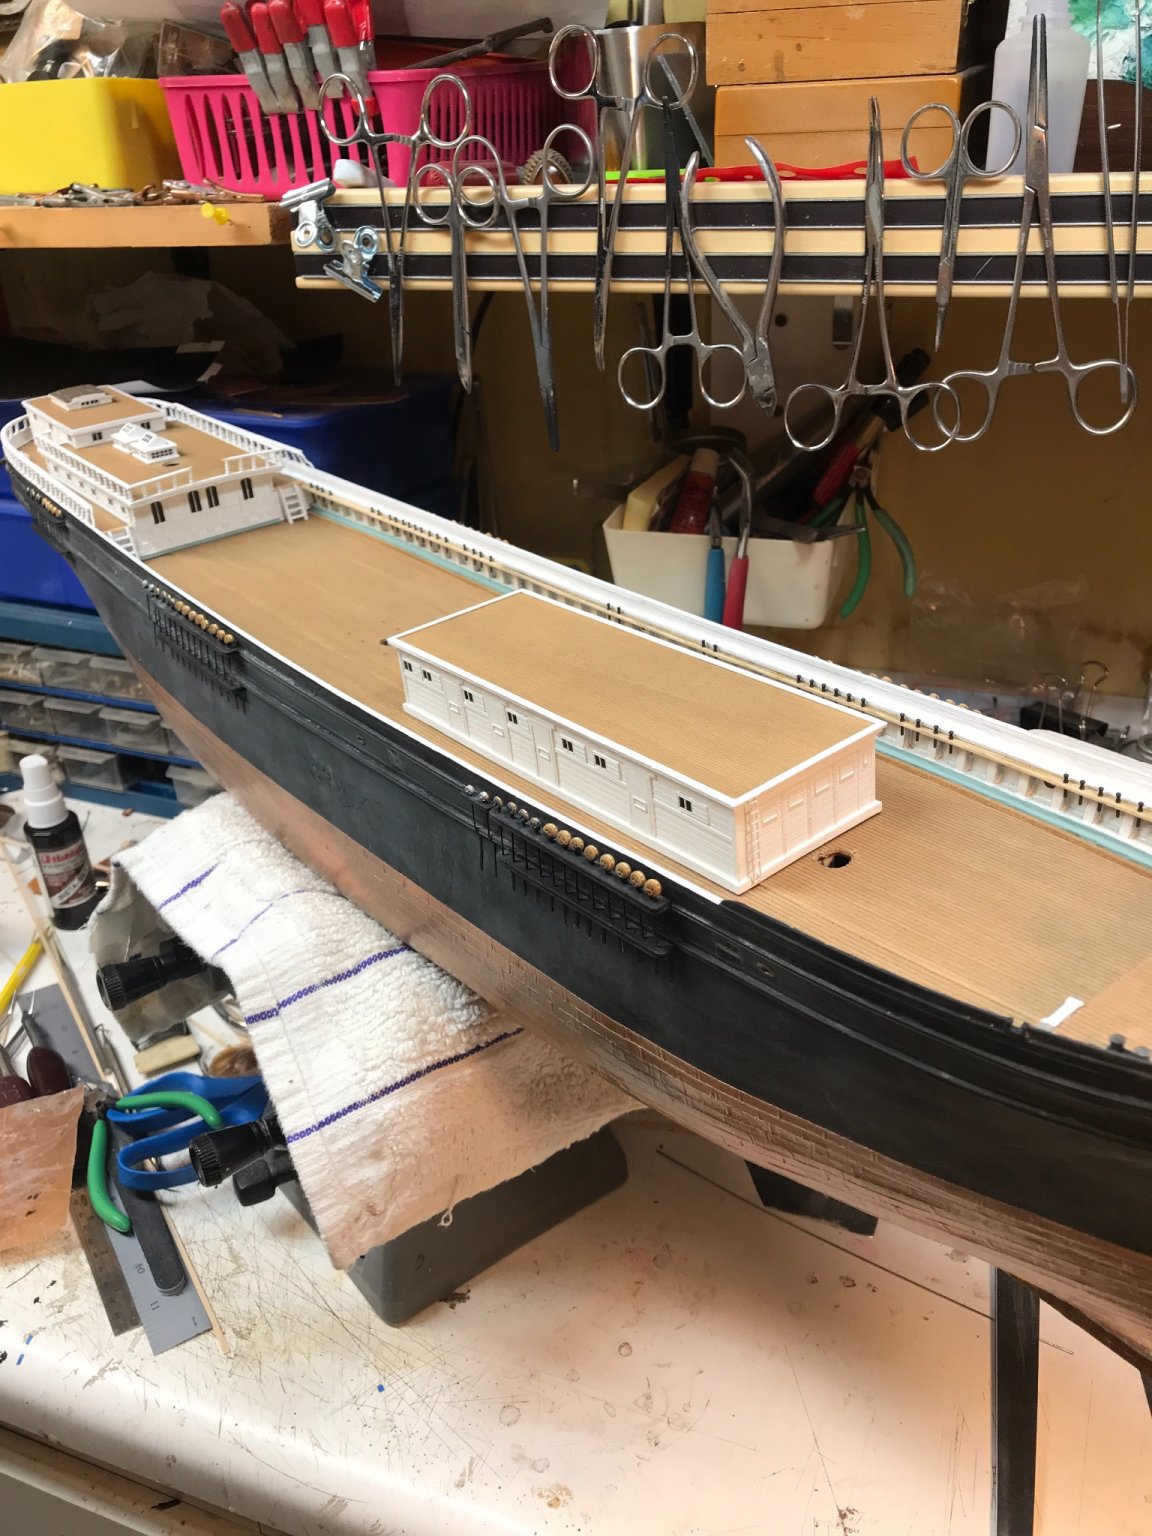
Rich. I can’t think of anyone better to spearhead an article on the subject for publication in the Nautical Research Journal. Your literally and descriptive skill set would be well employed at such a task. Personally , I am going to miss the continual updates and thrill of watching Vlad’s model come alive. Like everything, models do have finish dates. Mine’s probably a year or more down the road. Rob
-
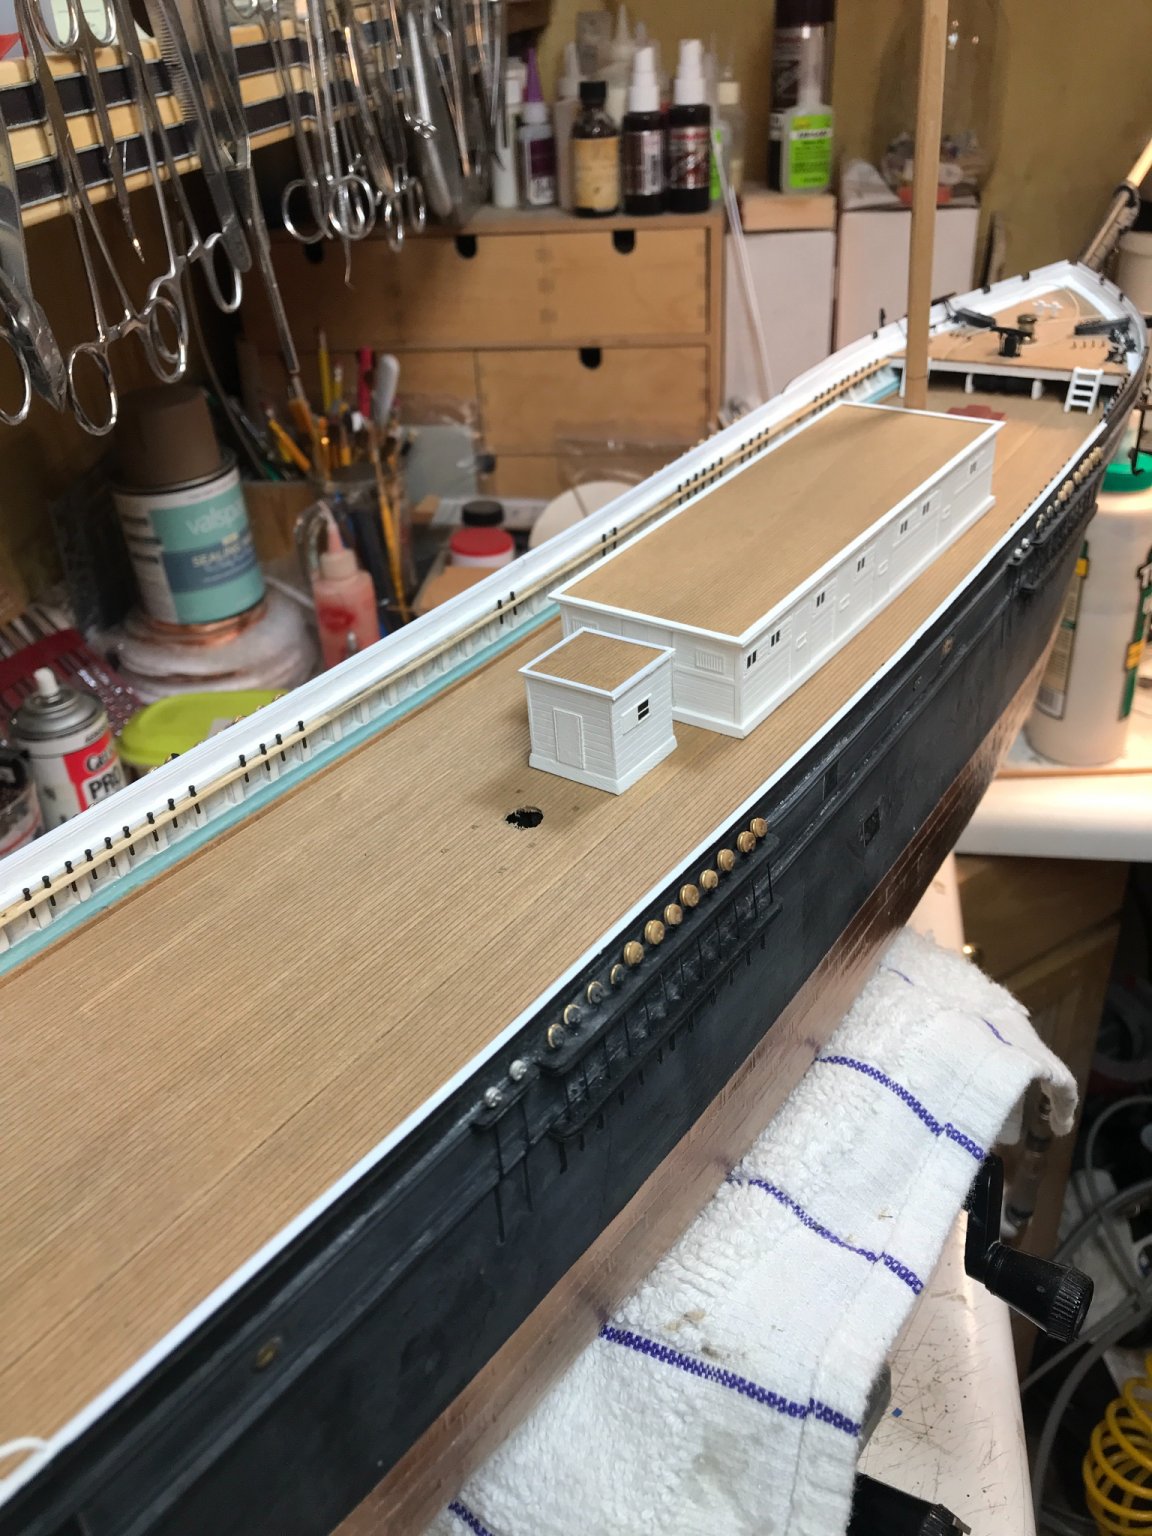
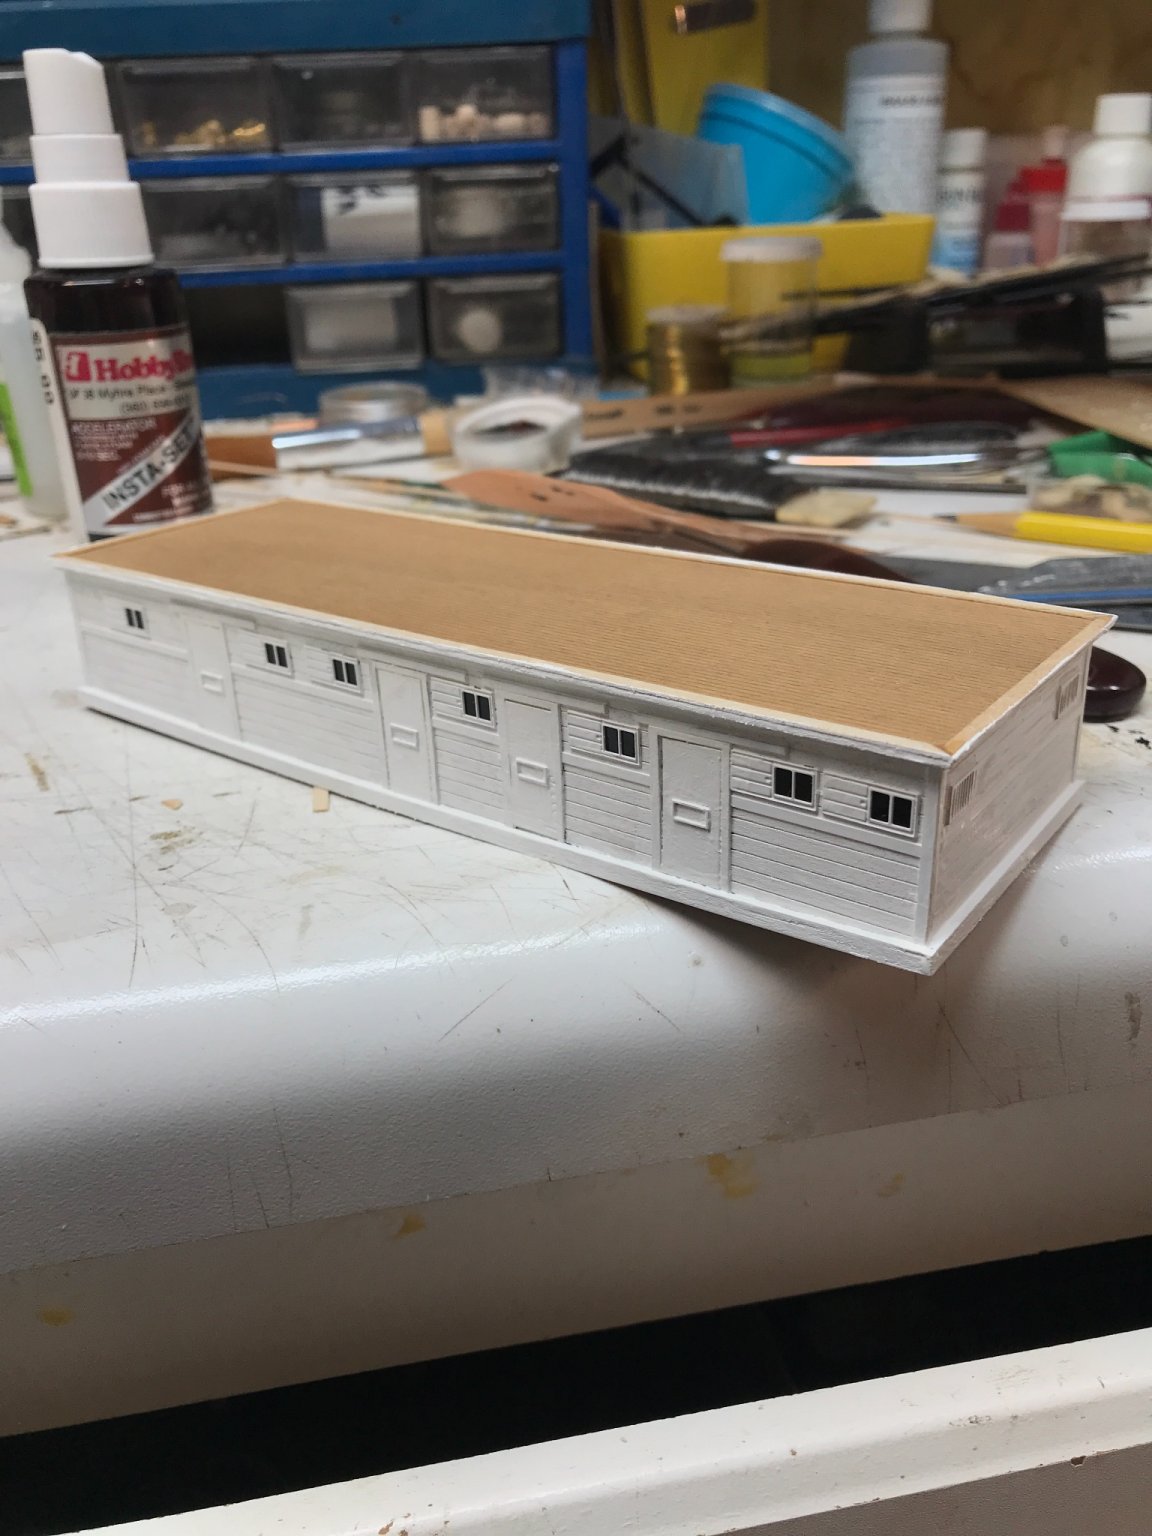
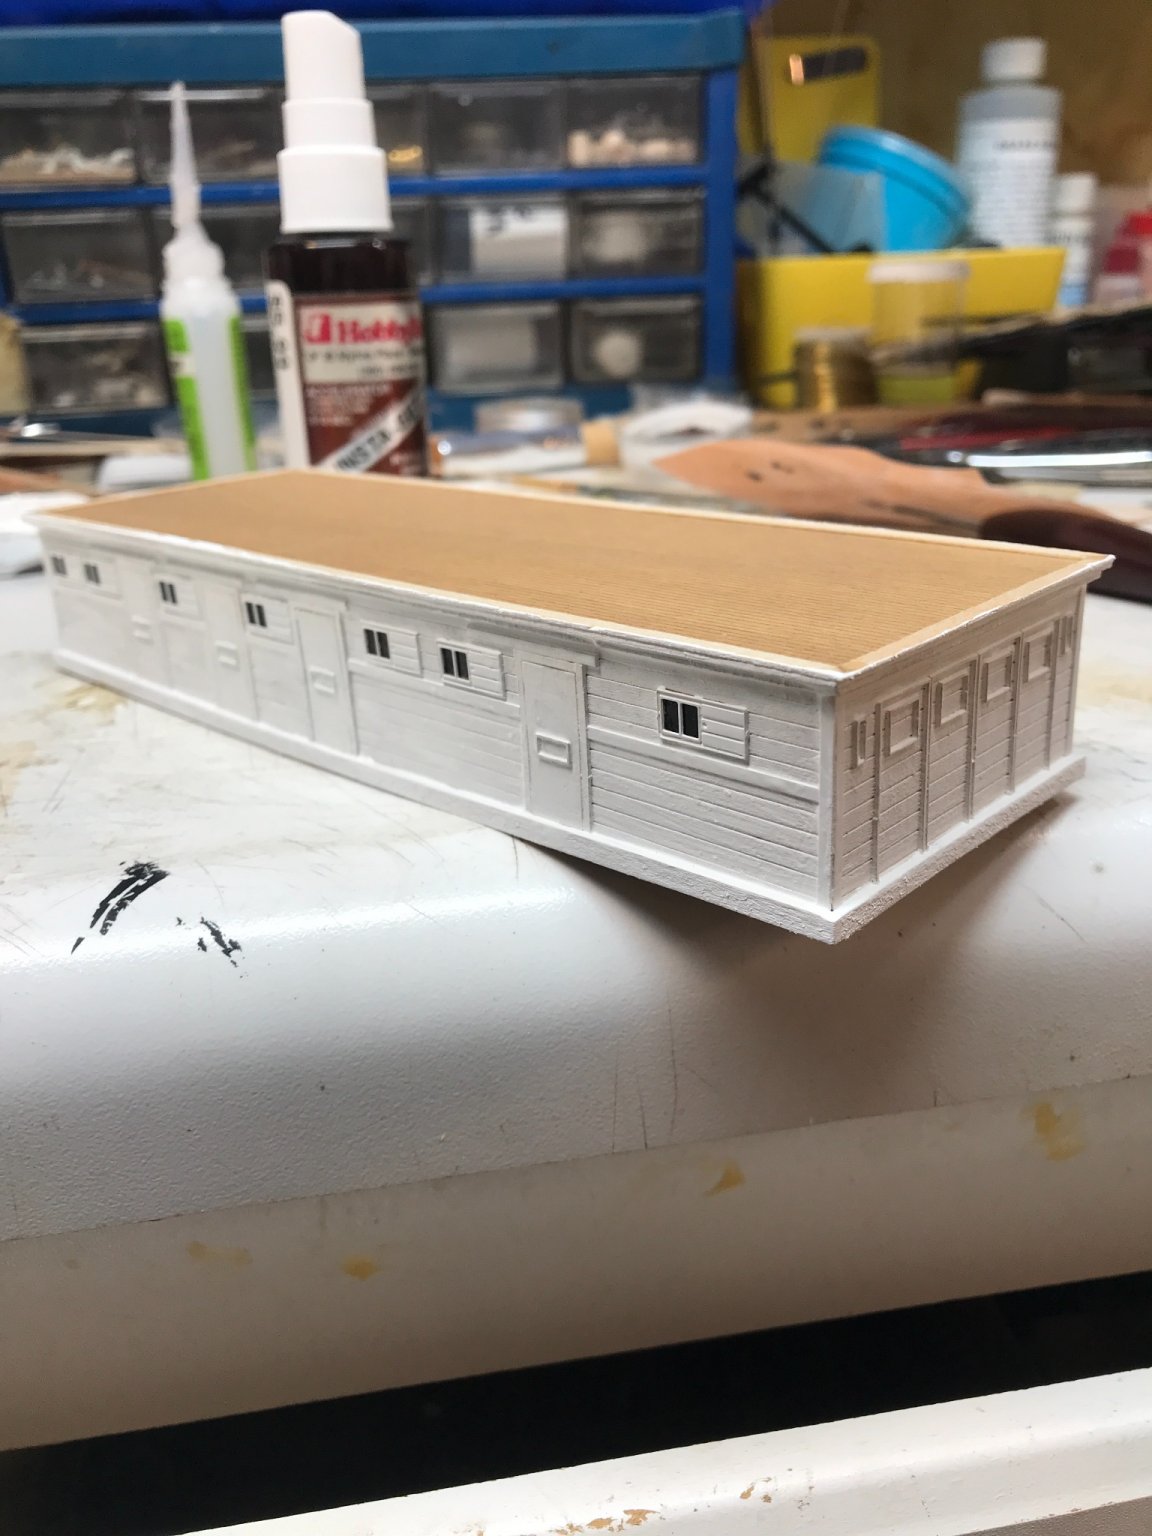
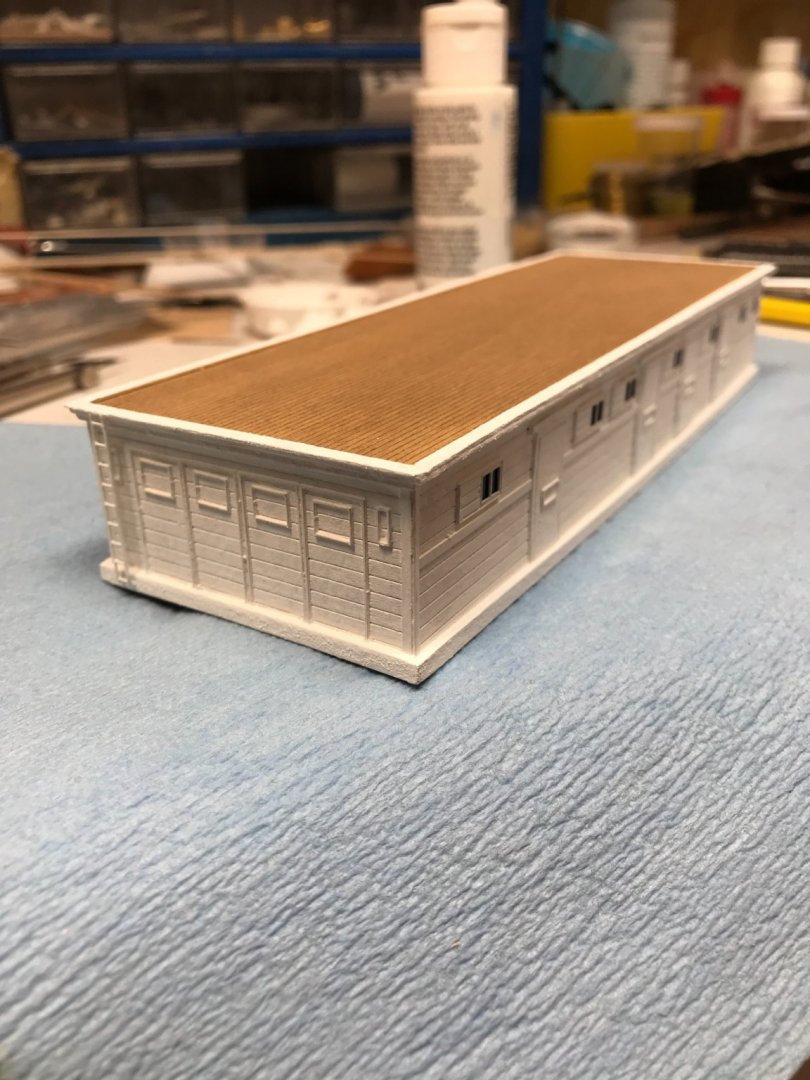
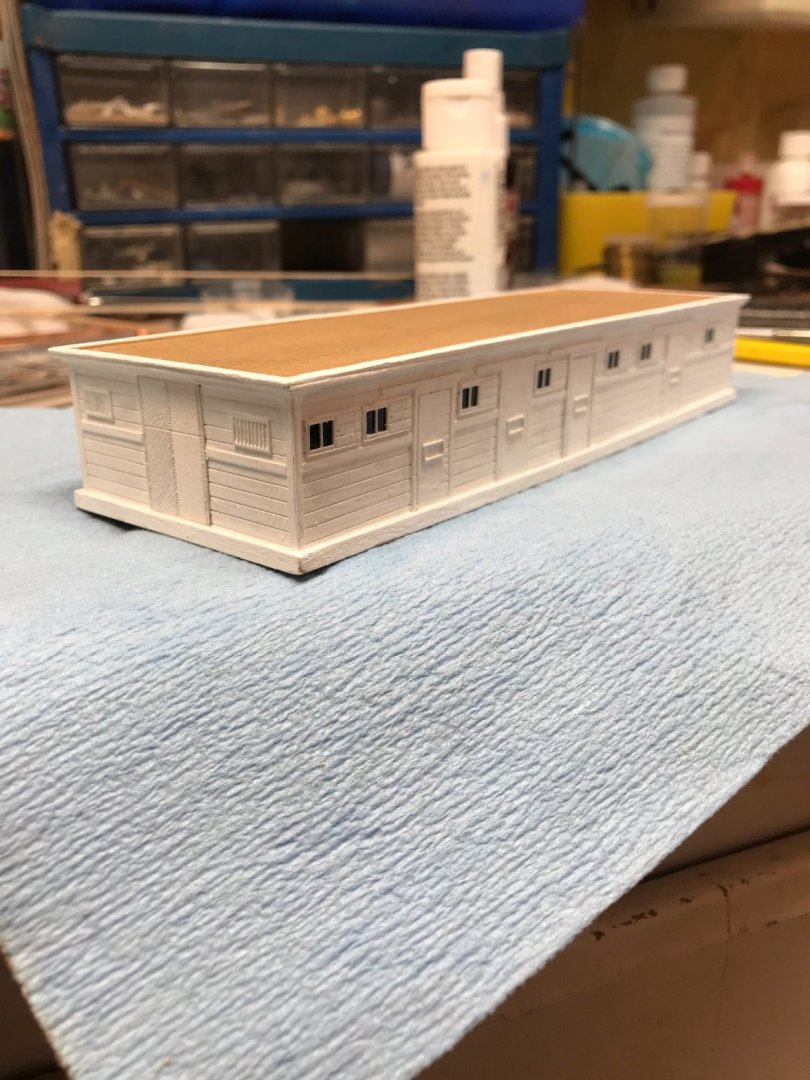
I set the house backwards on the model accidentally to take the picture. No worries. Just have to finish the aft doors for the donkey engine room and the addition of the boat skids. And finish painting trim. Rob
-
Vlad, Congratulations on the finalization of your build of Glory of the Seas. Your hull represents what so many hours of study, measuring and hard reconstruction looks like. You should be proud of yourself. I could have never come as far as I have without your instrumental help in gaining the bulkheads and framing for my own build I have copies of all the frames and I would have had to hand cut them all, if it were not for your generosity in having them laser cut. I hope you will keep us informed with the history and what’s in store with your magnificent Glory of the Seas I’ll be moving along with my complete build and I hope you remain a vigilant viewer and contributor. This has been great fun. Rob
-
That is correct. when I get home , I’ll get to the rest of the house. I hope to finish it up today. Rob
-
I plan on adding the windows probably tomorrow. The donkey room doors are next. Then the roof and it’s details. Rob
- 3,560 replies
-
- 1
-
-
- clipper
- hull model
- (and 2 more)
-
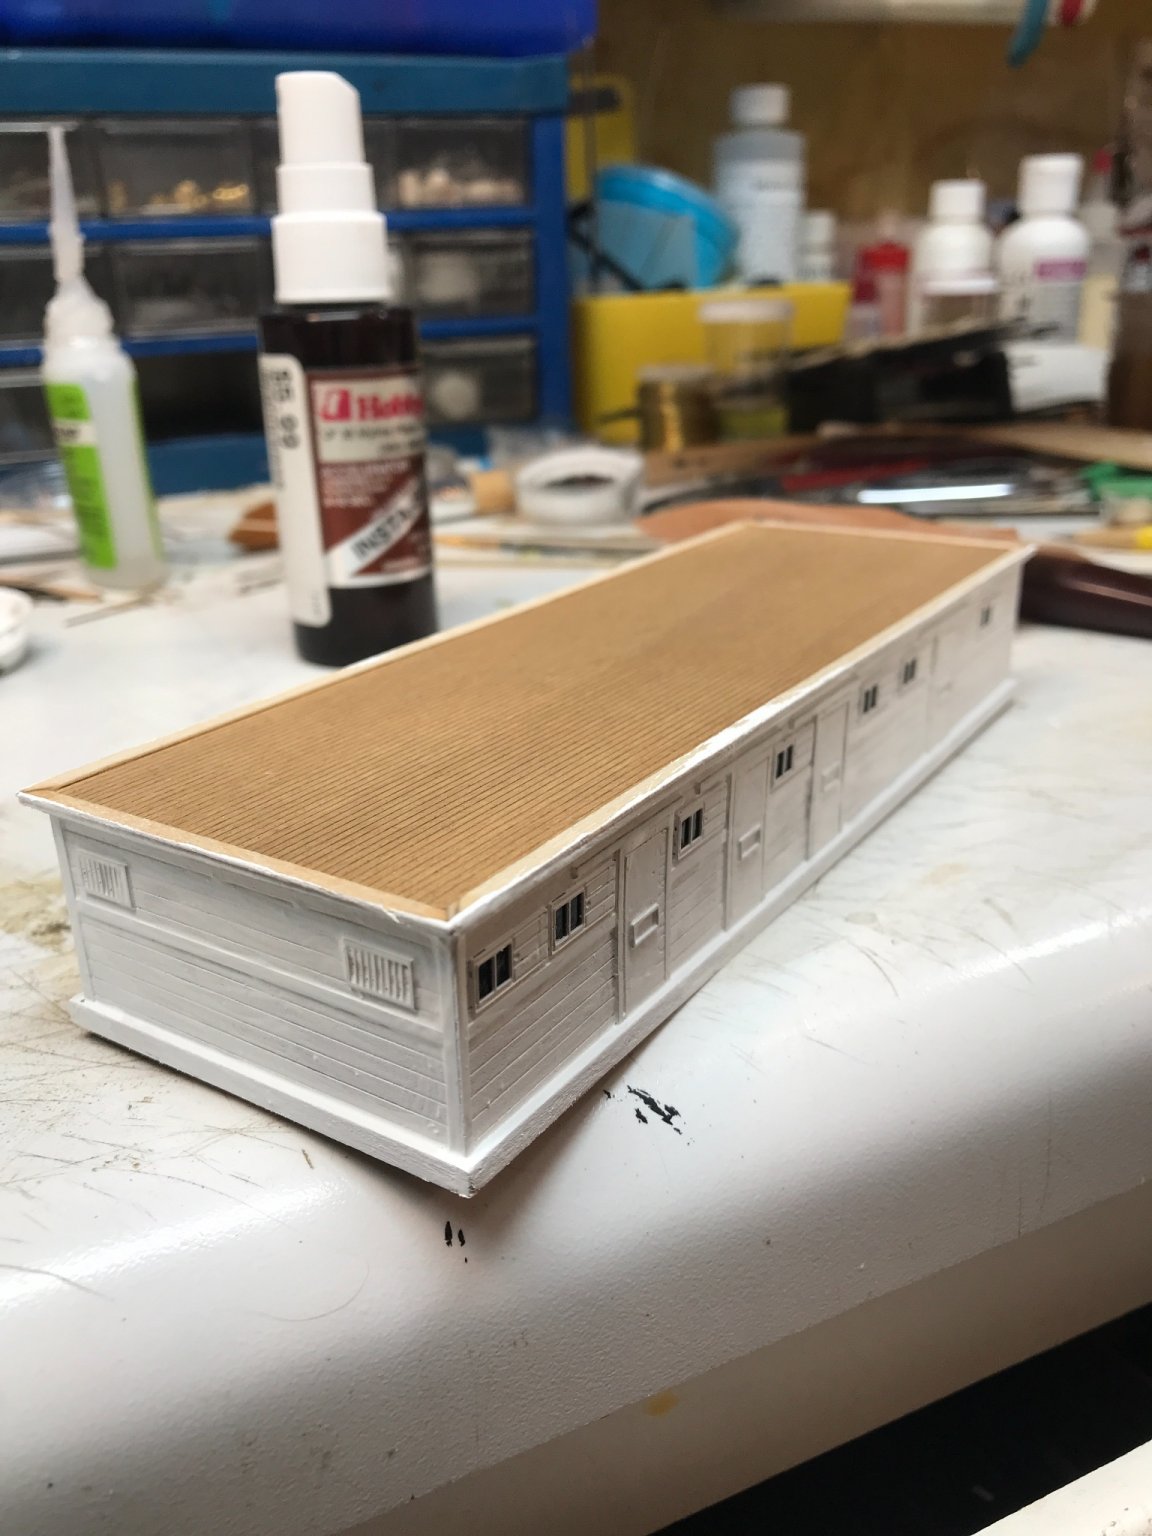
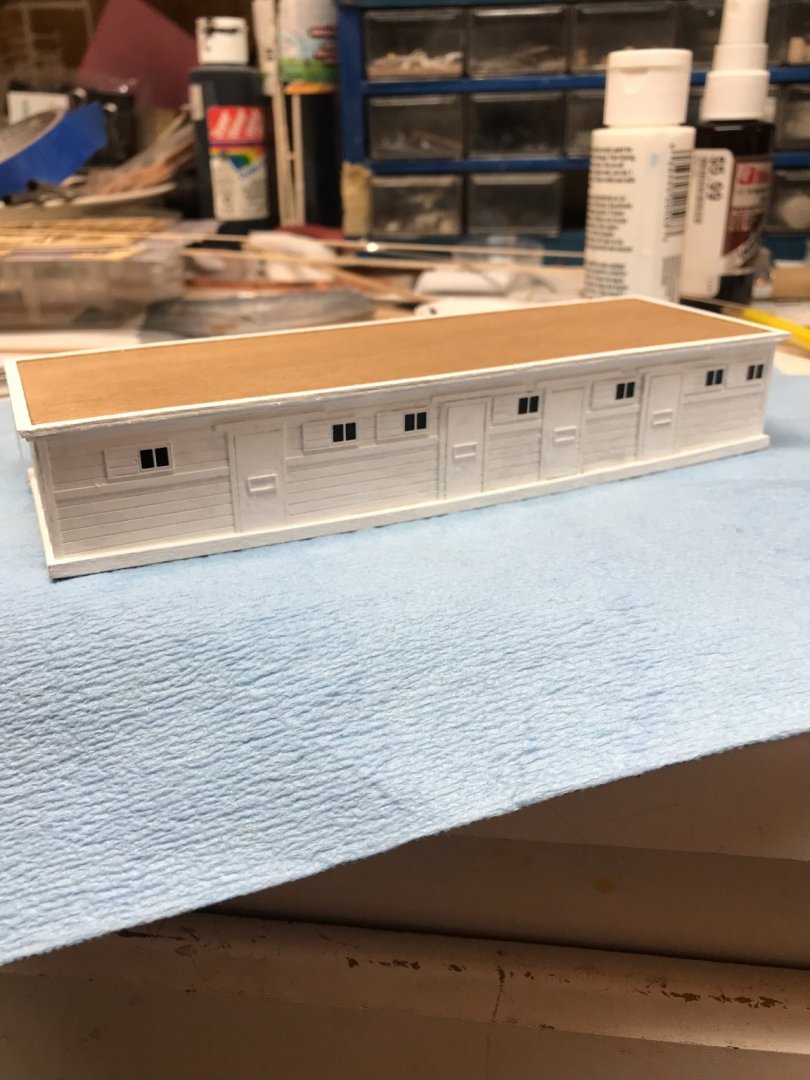
Started adding doors and windows and the trim on the corners. Rob

- 3,560 replies
-
- 9
-
-
- clipper
- hull model
- (and 2 more)
-
I have wood from model railroading scratch built stock. But I think Model Shipways produces scored deck sheets that are easily used for this purpose. Rob
- 3,560 replies
-
- 1
-
-
- clipper
- hull model
- (and 2 more)
-
Rich, you posted before that the main cabin was 18” wide