rwiederrich
-
Posts
5,520 -
Joined
-
Last visited
Content Type
Profiles
Forums
Gallery
Events
Everything posted by rwiederrich
-
Coppering job is looking fantastic Vlad...just fantastic. Great progress for sure. Rob
-
Yeah…..I took a day off so I could work on some astronomy equipment too. I hate redoing stuff, so I step back for a fresh perspective. Rob
-
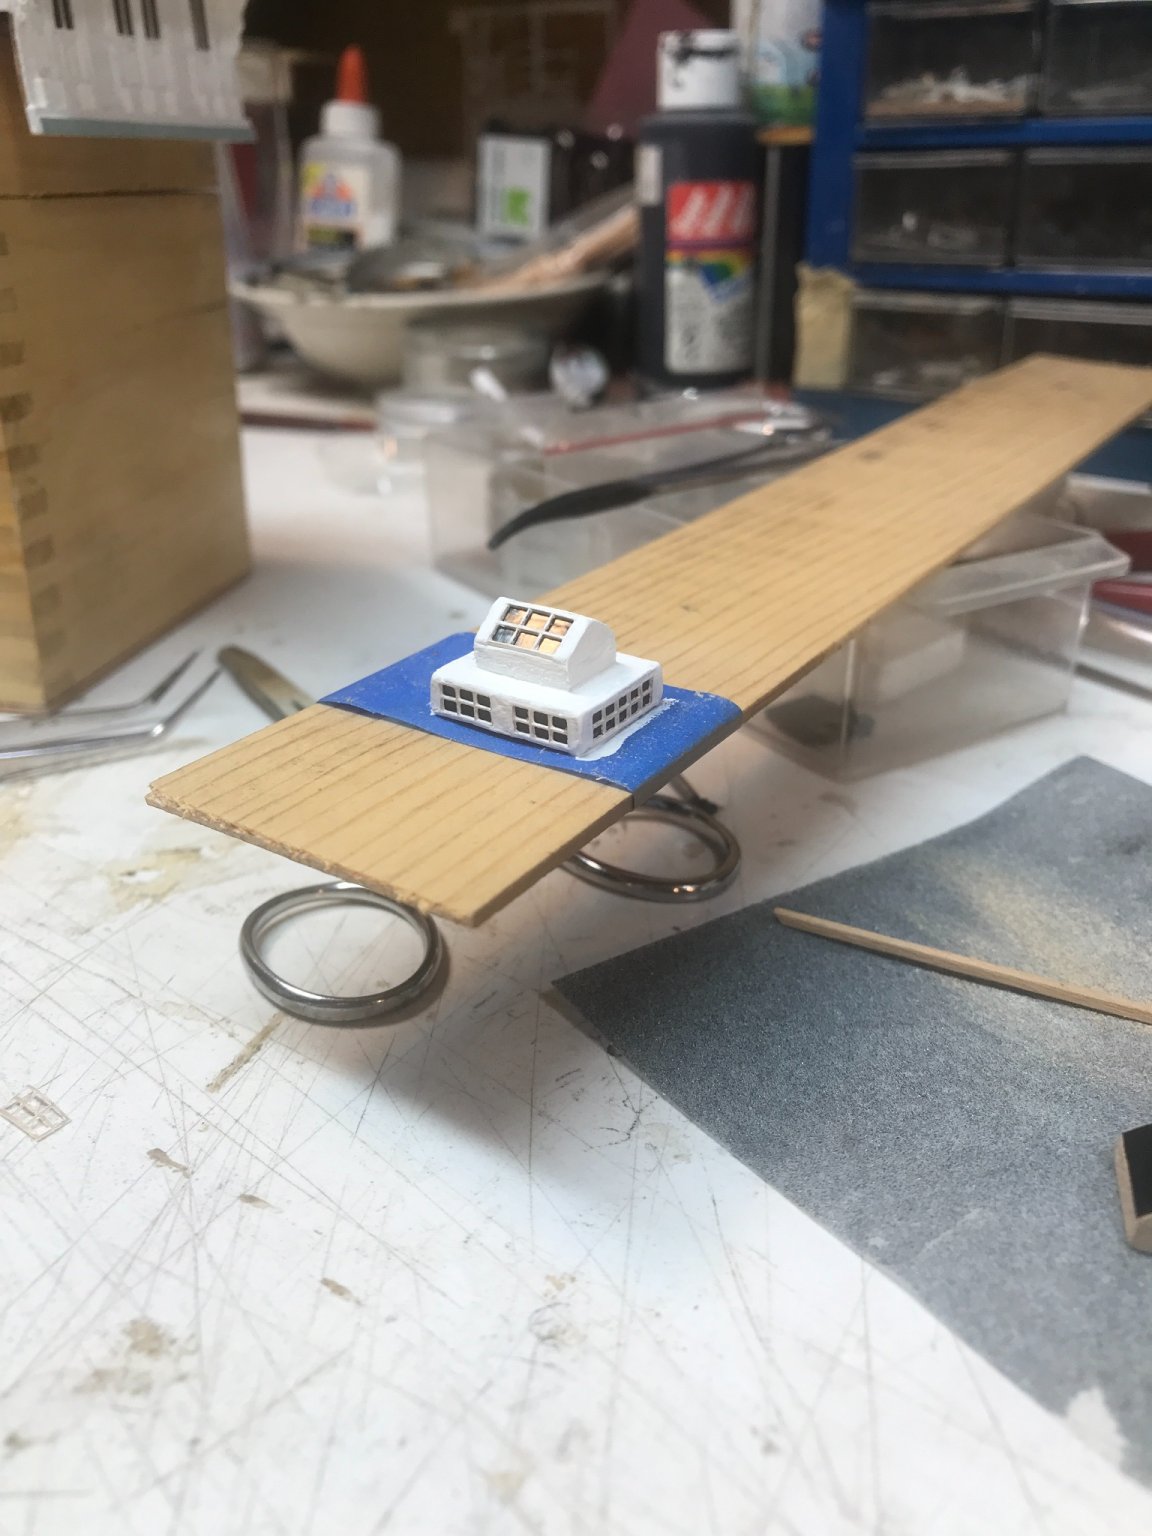
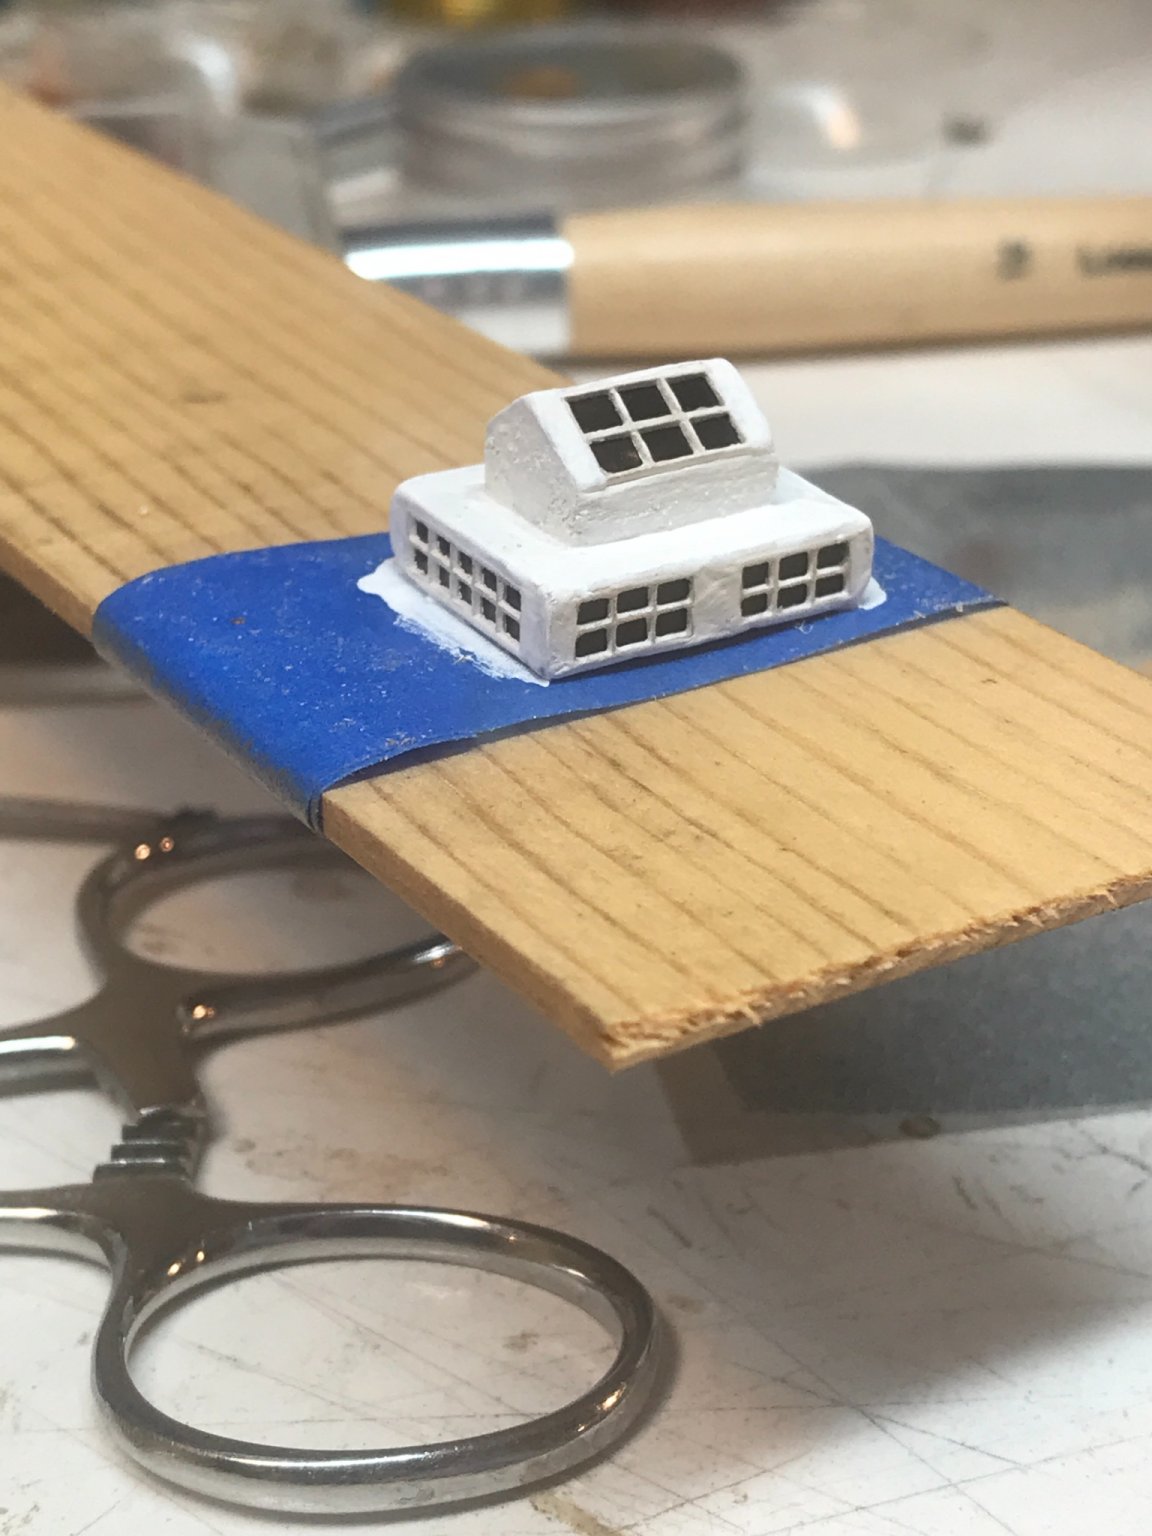
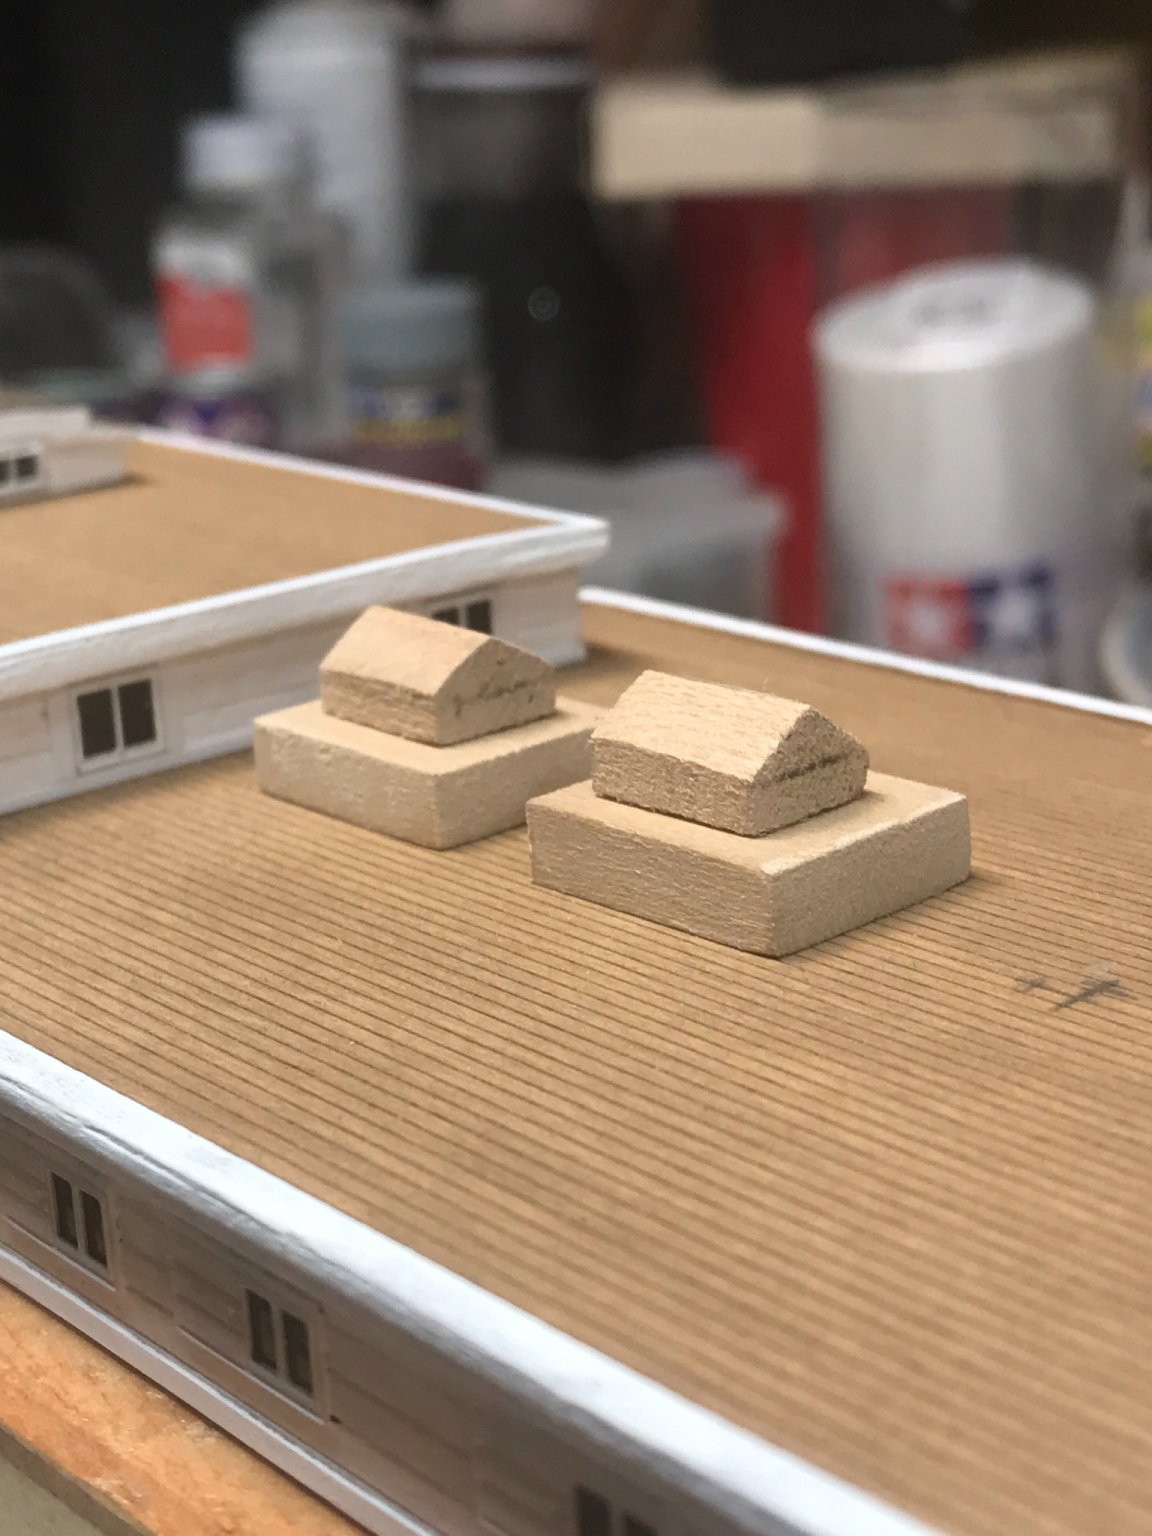
By looking at the close-up of the skylight with the man in the way....it can be calculated that there are 6 on the top and six on each side. They are of different size as can be seen. I'm going to remake mine and add edge molding on the bottom and widen the top roofs to reduce the end extension and lower its height. Good start, but needs refinement. I can't live with it. The prototype looks like it has recesses window panes and then the entire window is protected by a copper/brass wire cage. That will be fun to replicate. Lets see what I can come up with. Thanks for the pics of the CS skylight interior, it brings continuity and aids in conception. Rob
- 3,560 replies
-
- 2
-

-
- clipper
- hull model
- (and 2 more)
-
Thanks Johnny, I think my selection best matches #32 and #28 for sure. It's clean and crisp, but not over expressive. Perception is truly everything. Rob
-
Magnificent. Mine are so small, it's tough to get in all the detail. I need to make some mods and correct some issues and clean them up. Glad I only made one first. We’ll see. Rob
-
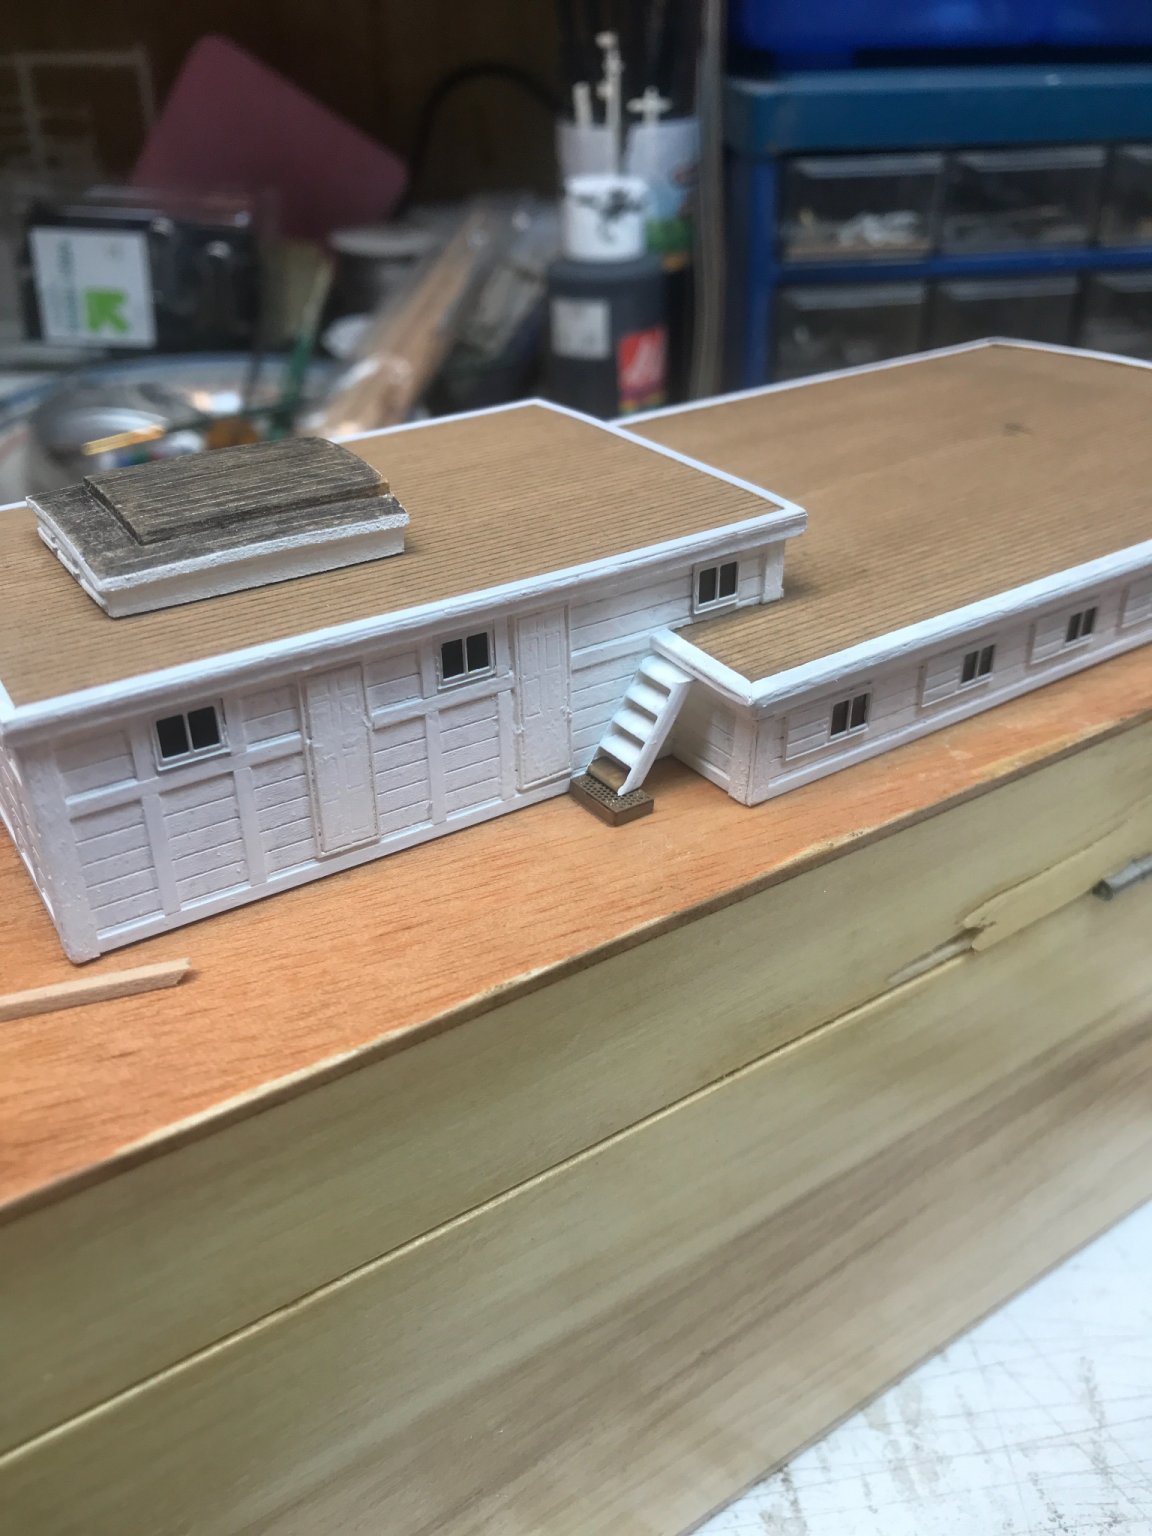
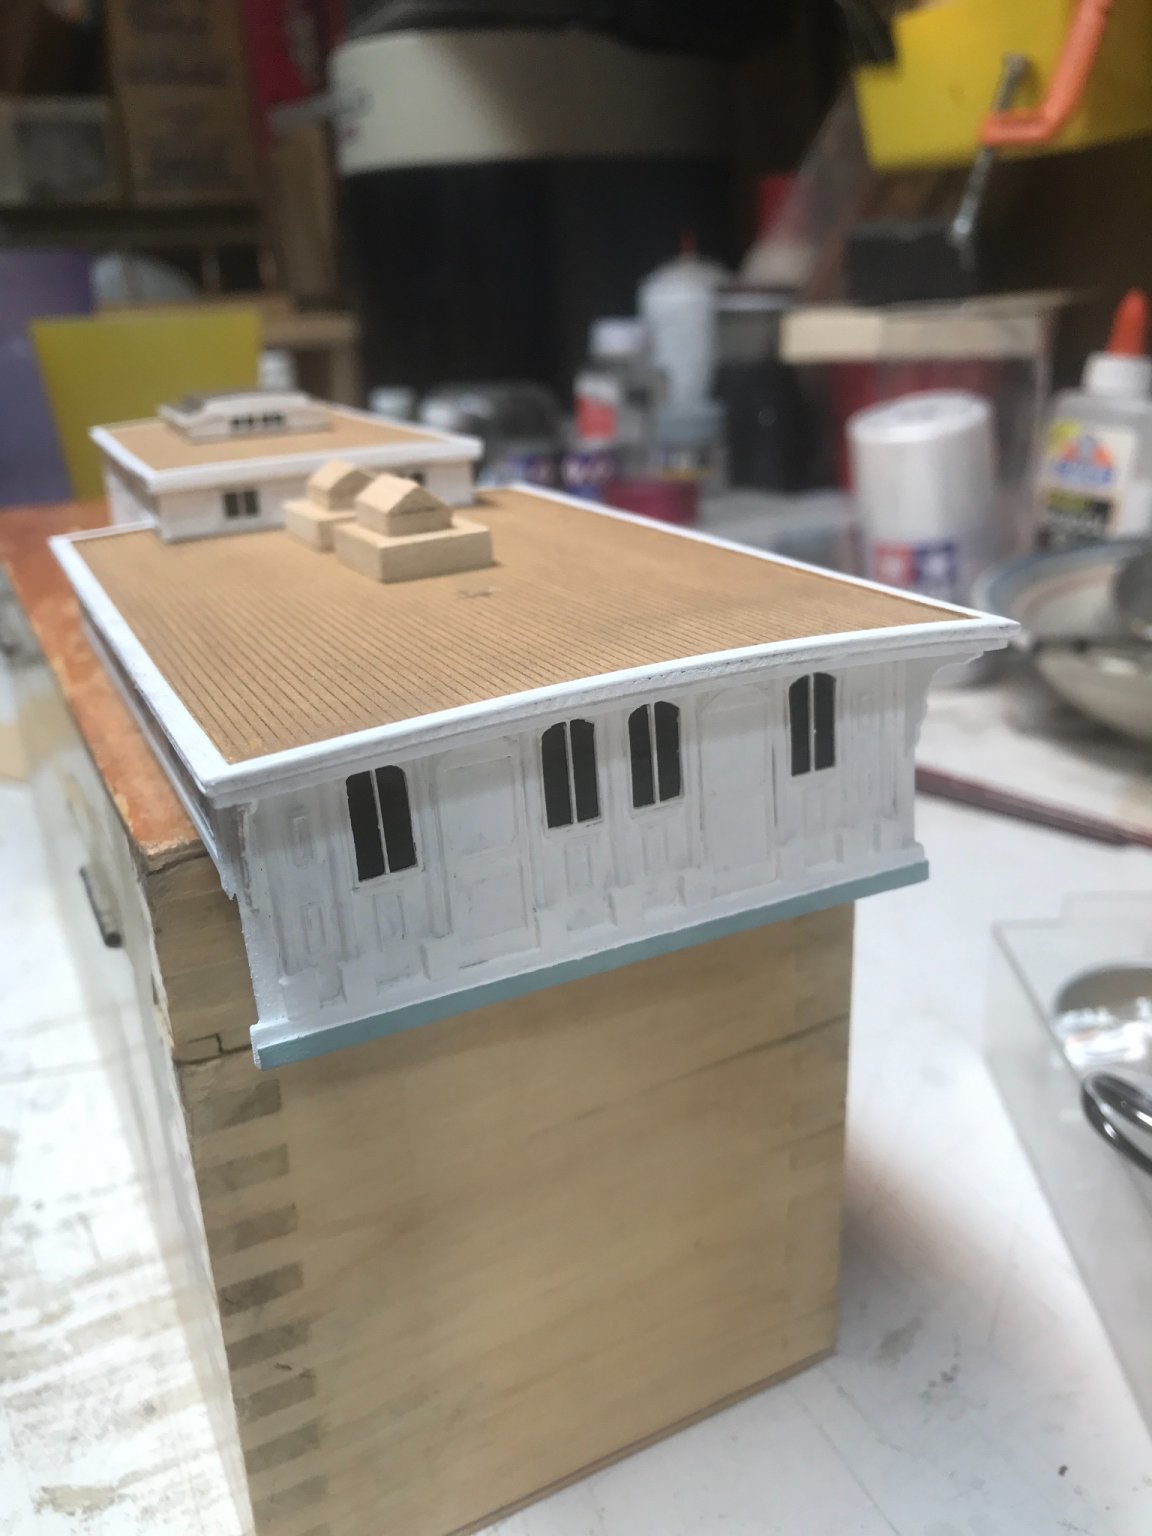
Still working on the trim and stuff. Rob
-
Thank Rich. Rob
-
Thank Rich. Rob
-
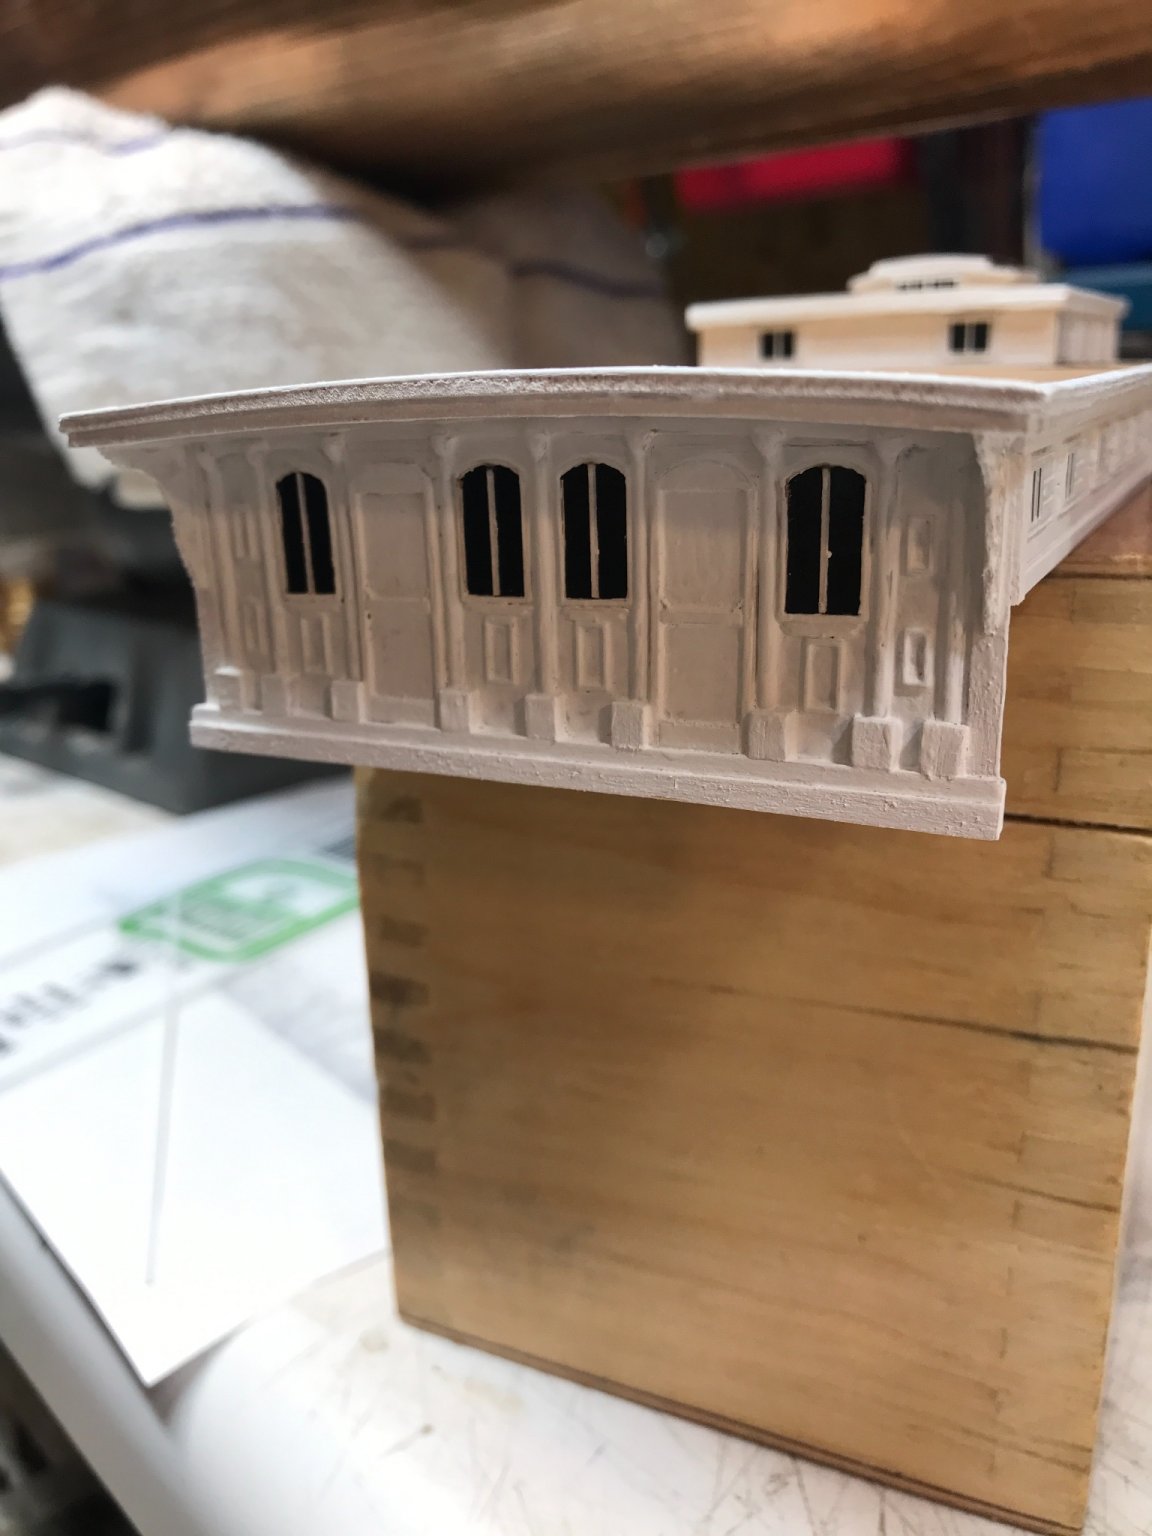
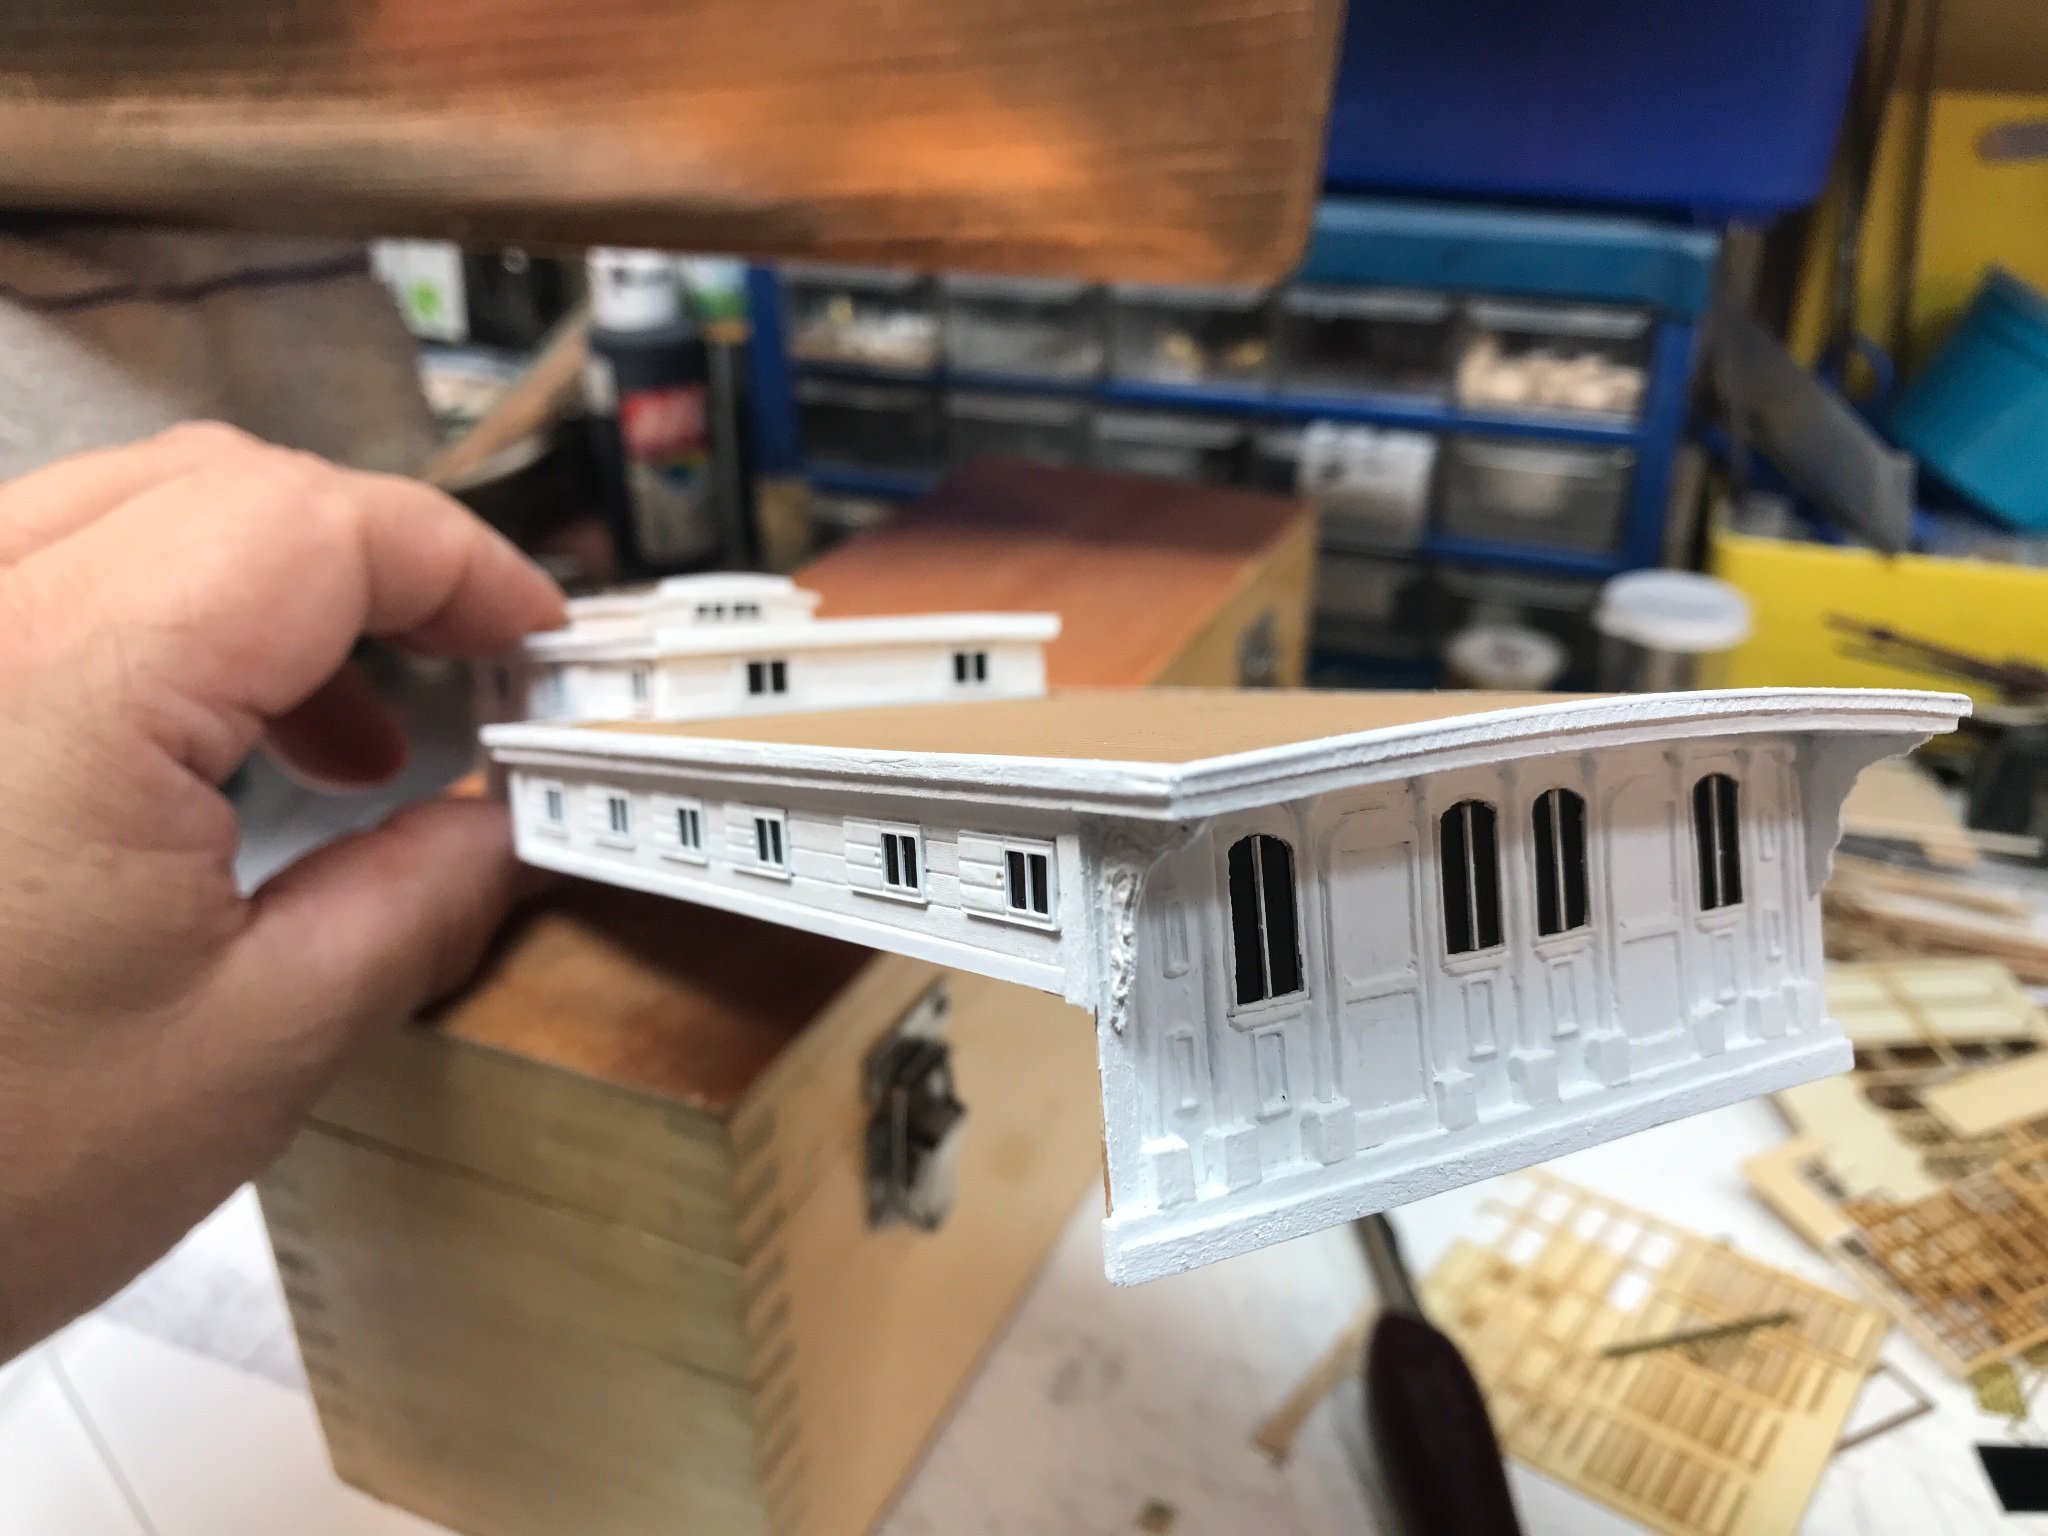
Lastly, I touched up some paint issues on the front of the carriage house. Rob

- 3,560 replies
-
- 6
-
-

-
- clipper
- hull model
- (and 2 more)
-
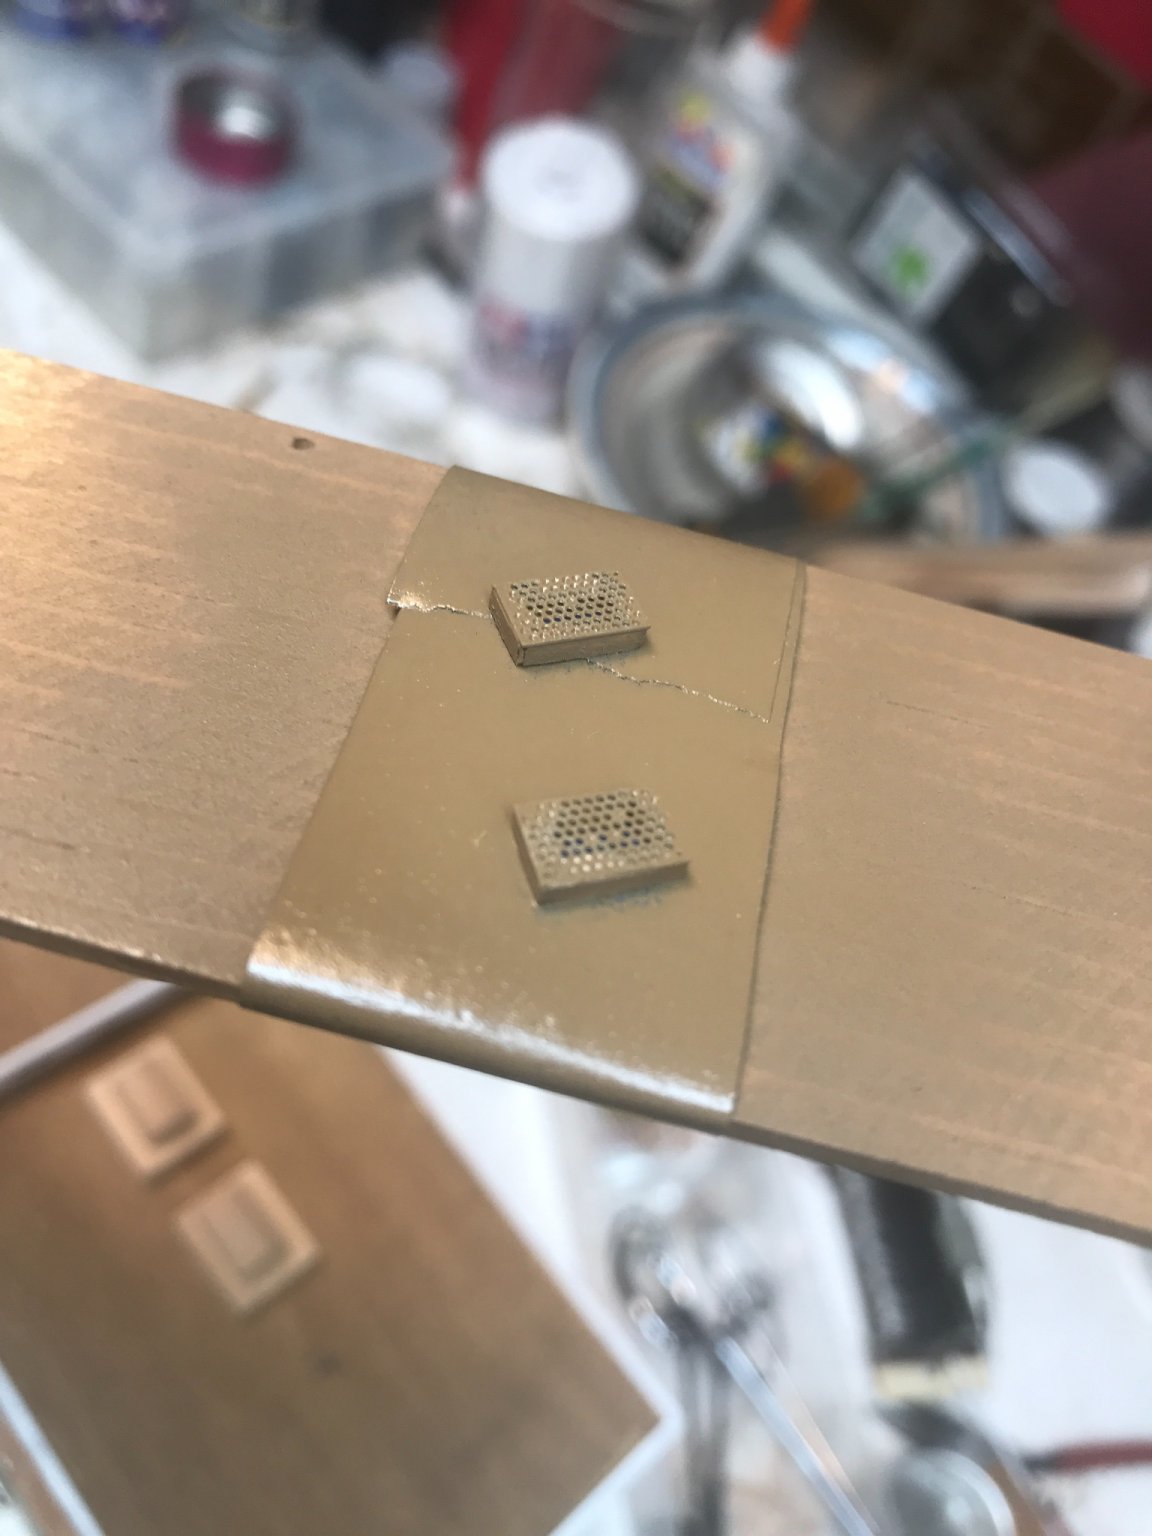
I also made these two grates that rest under the side ladders that leads to the roof. Rob

- 3,560 replies
-
- 3
-
-
- clipper
- hull model
- (and 2 more)
-
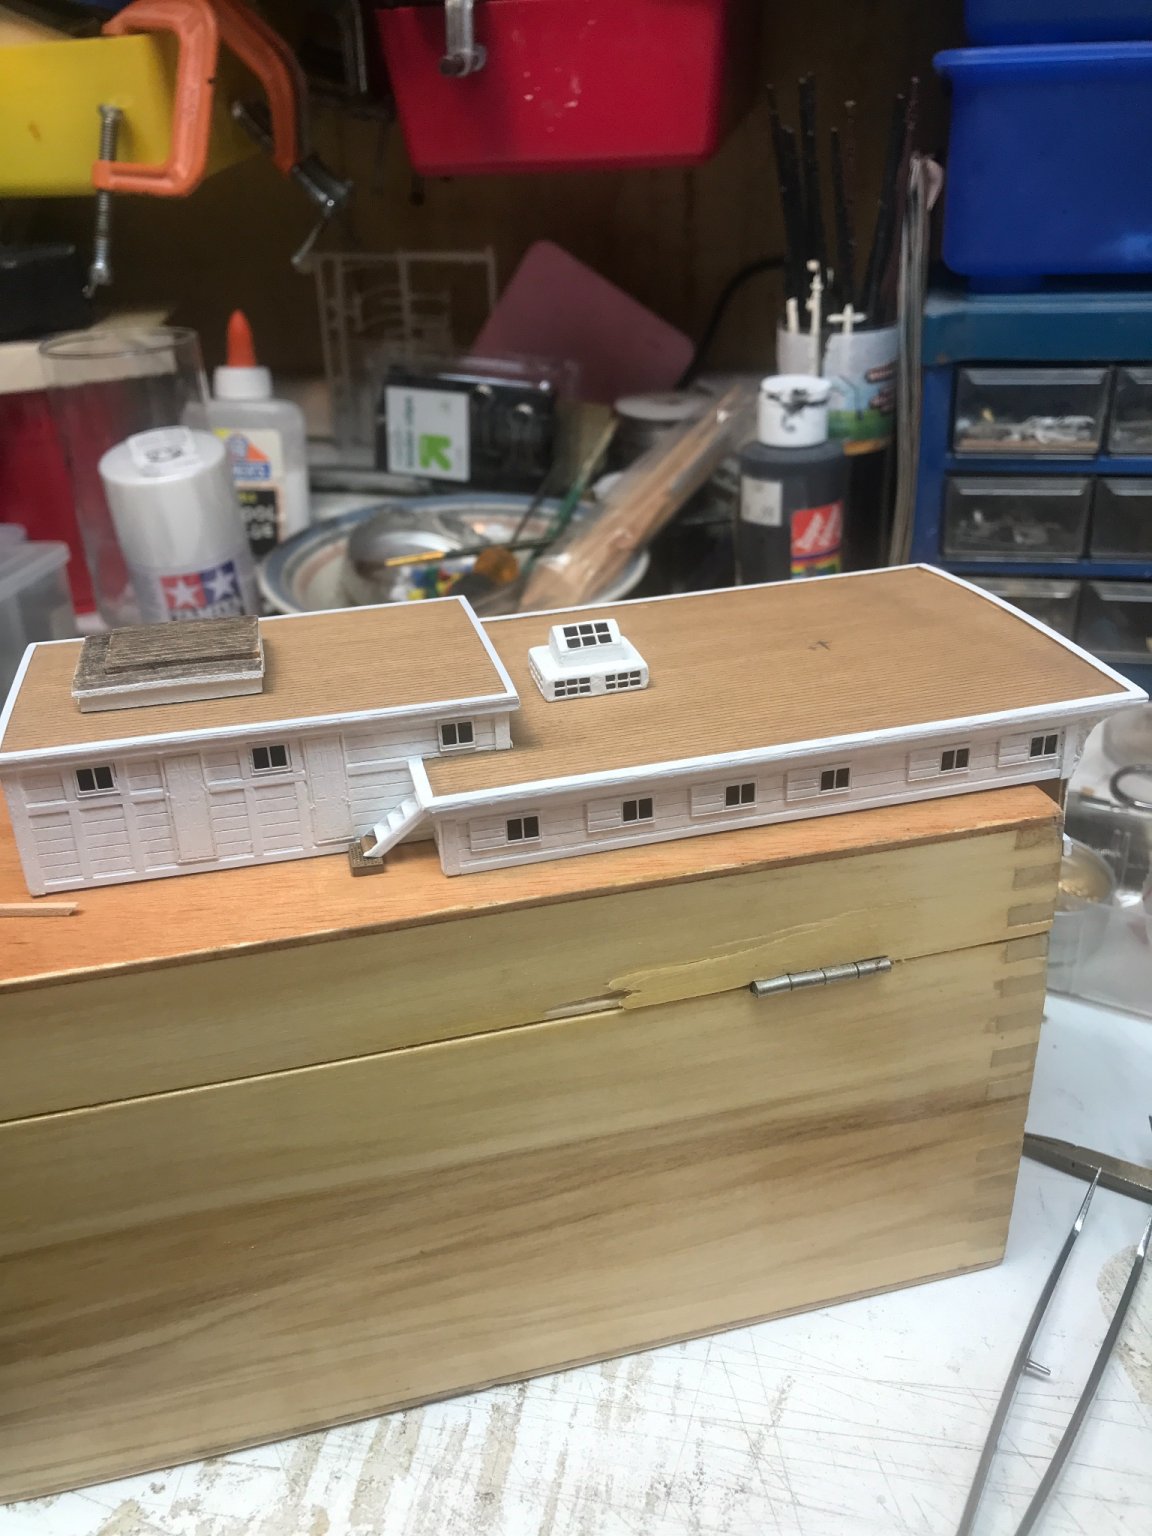
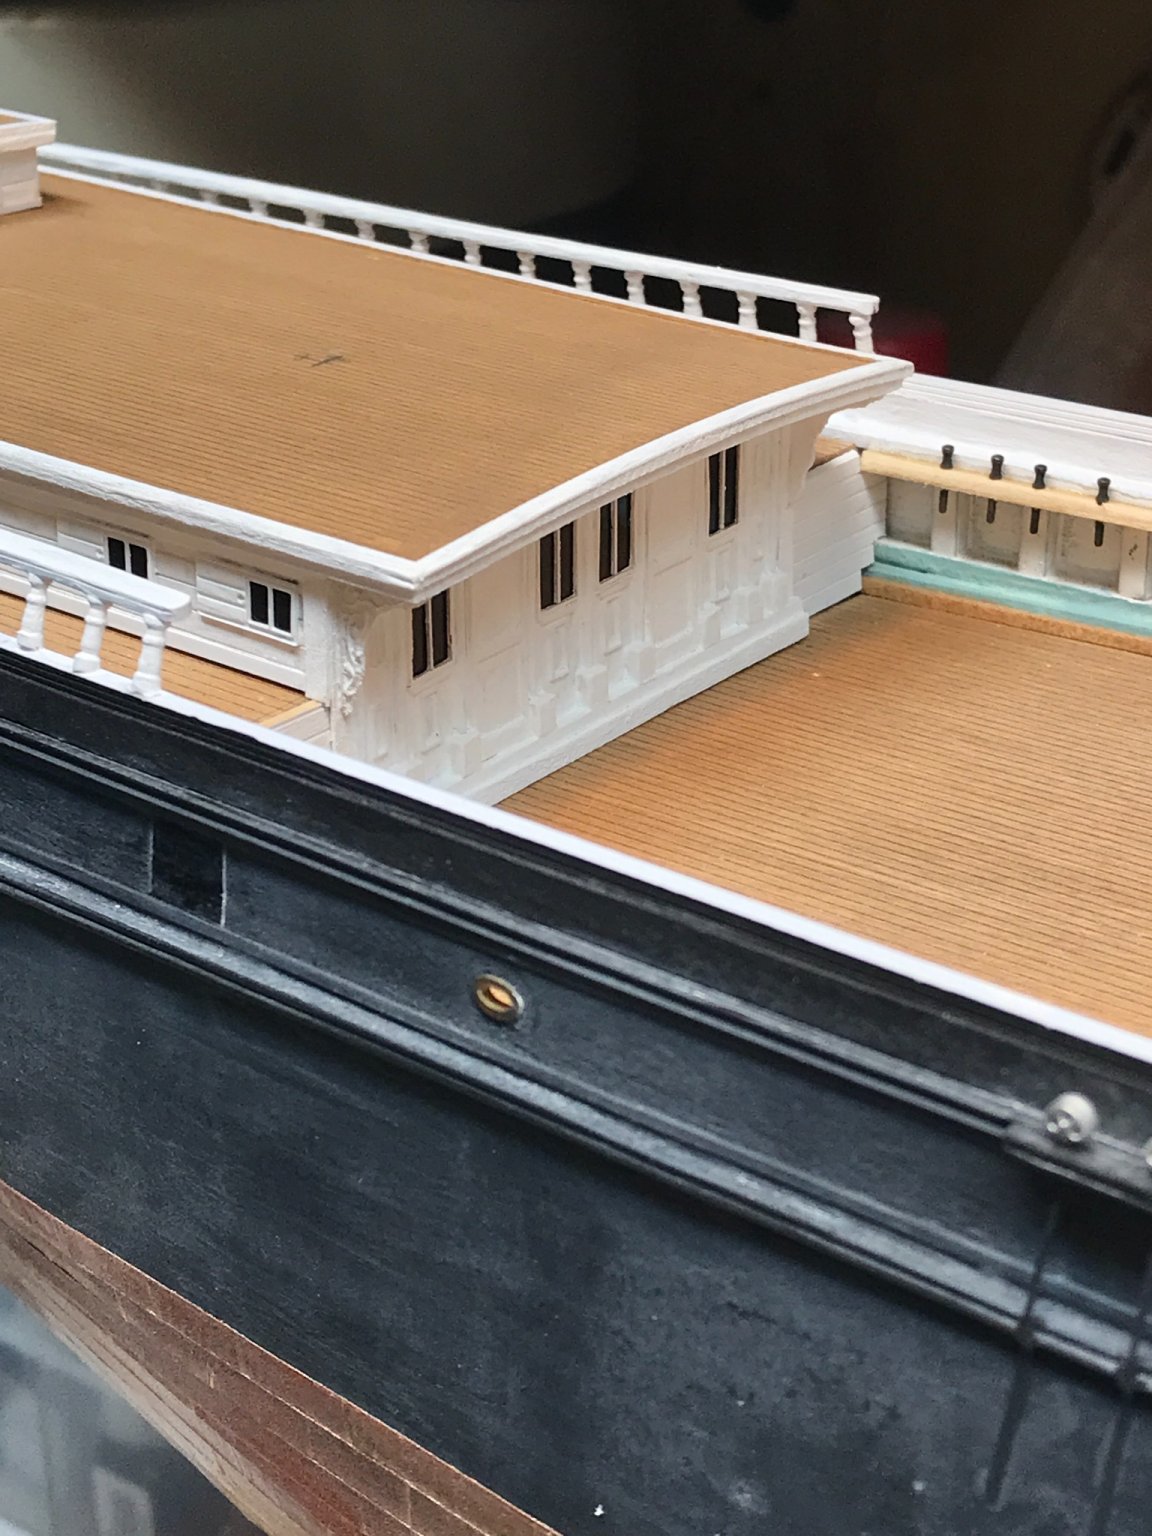
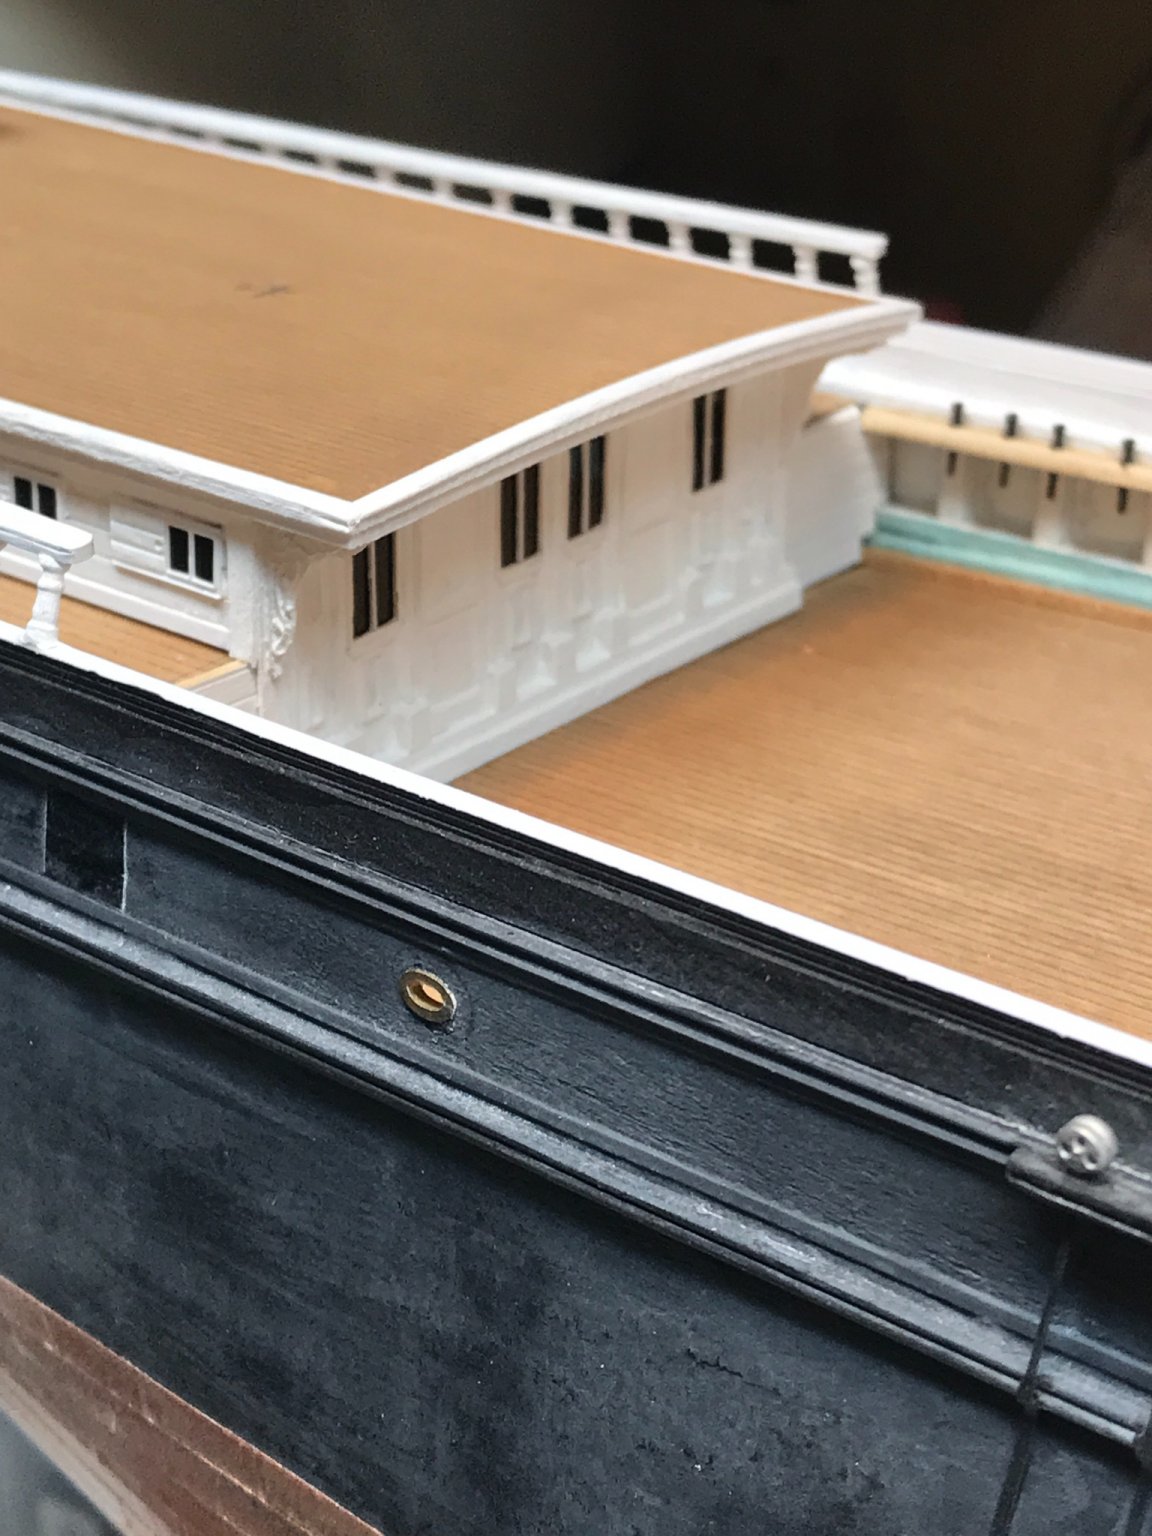
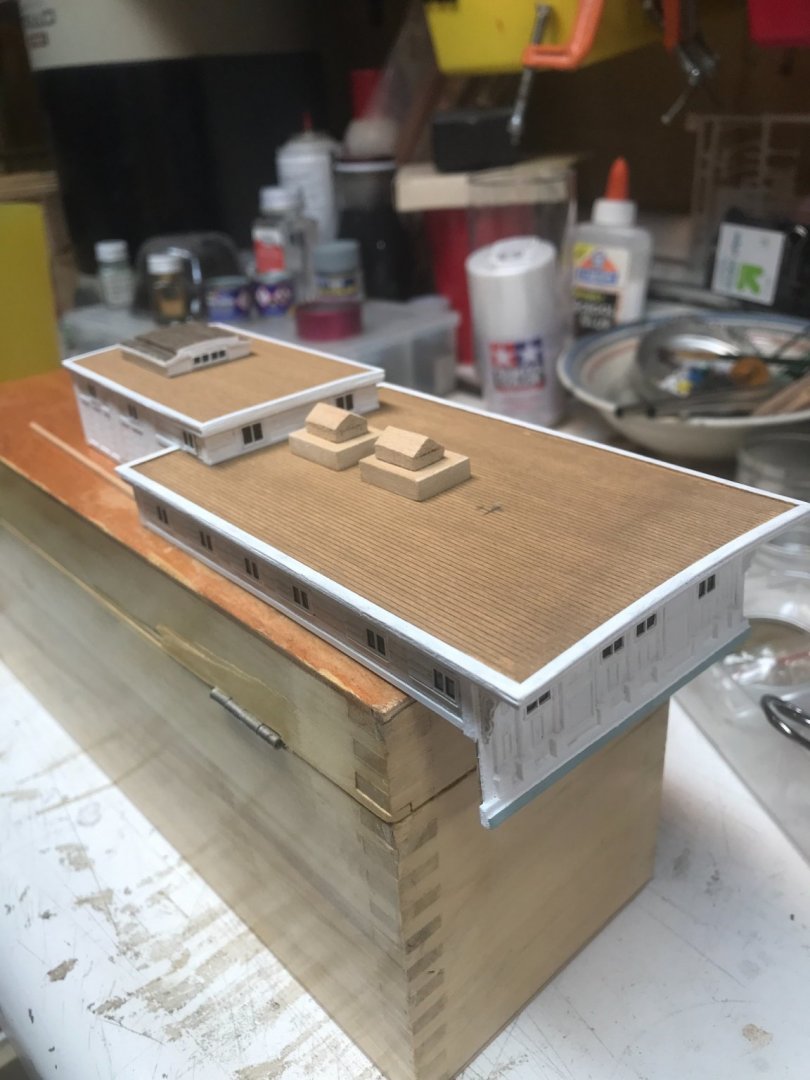
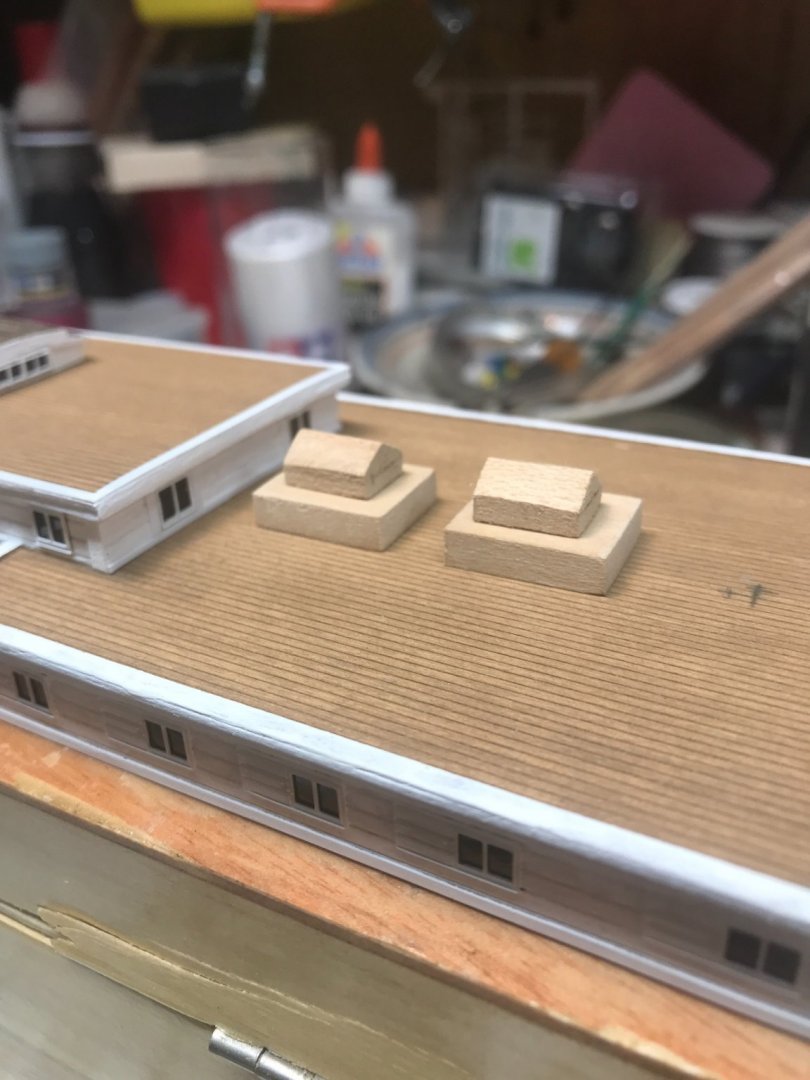
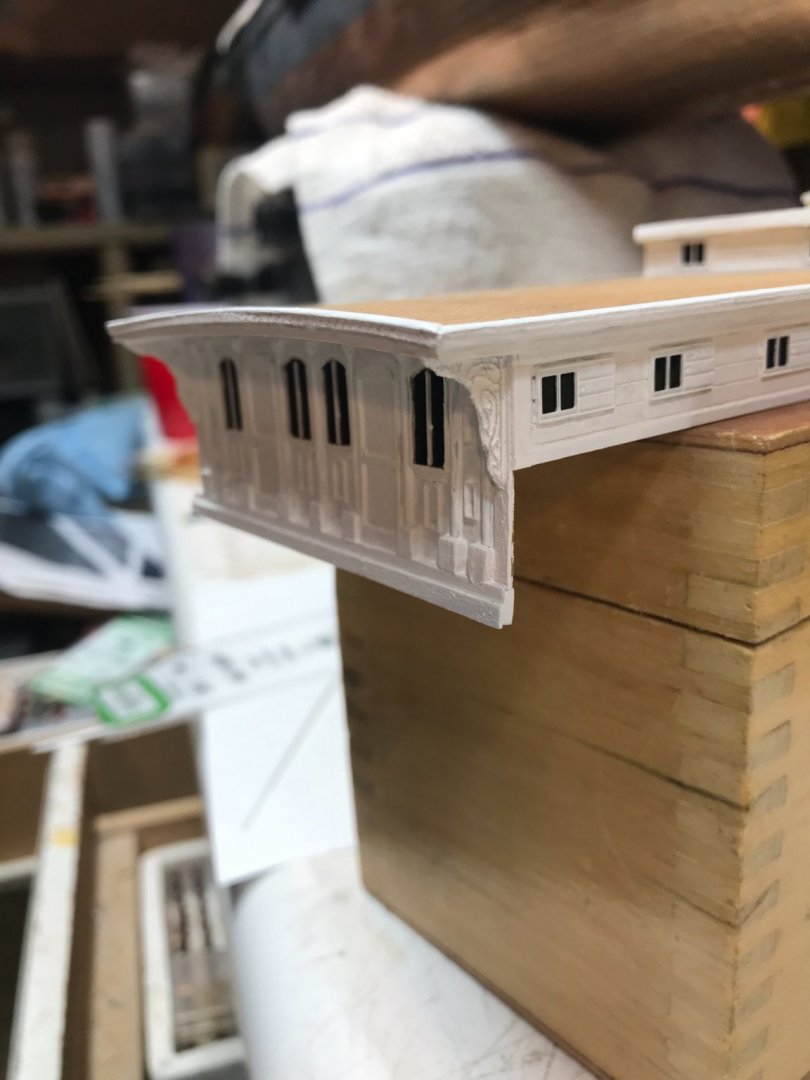
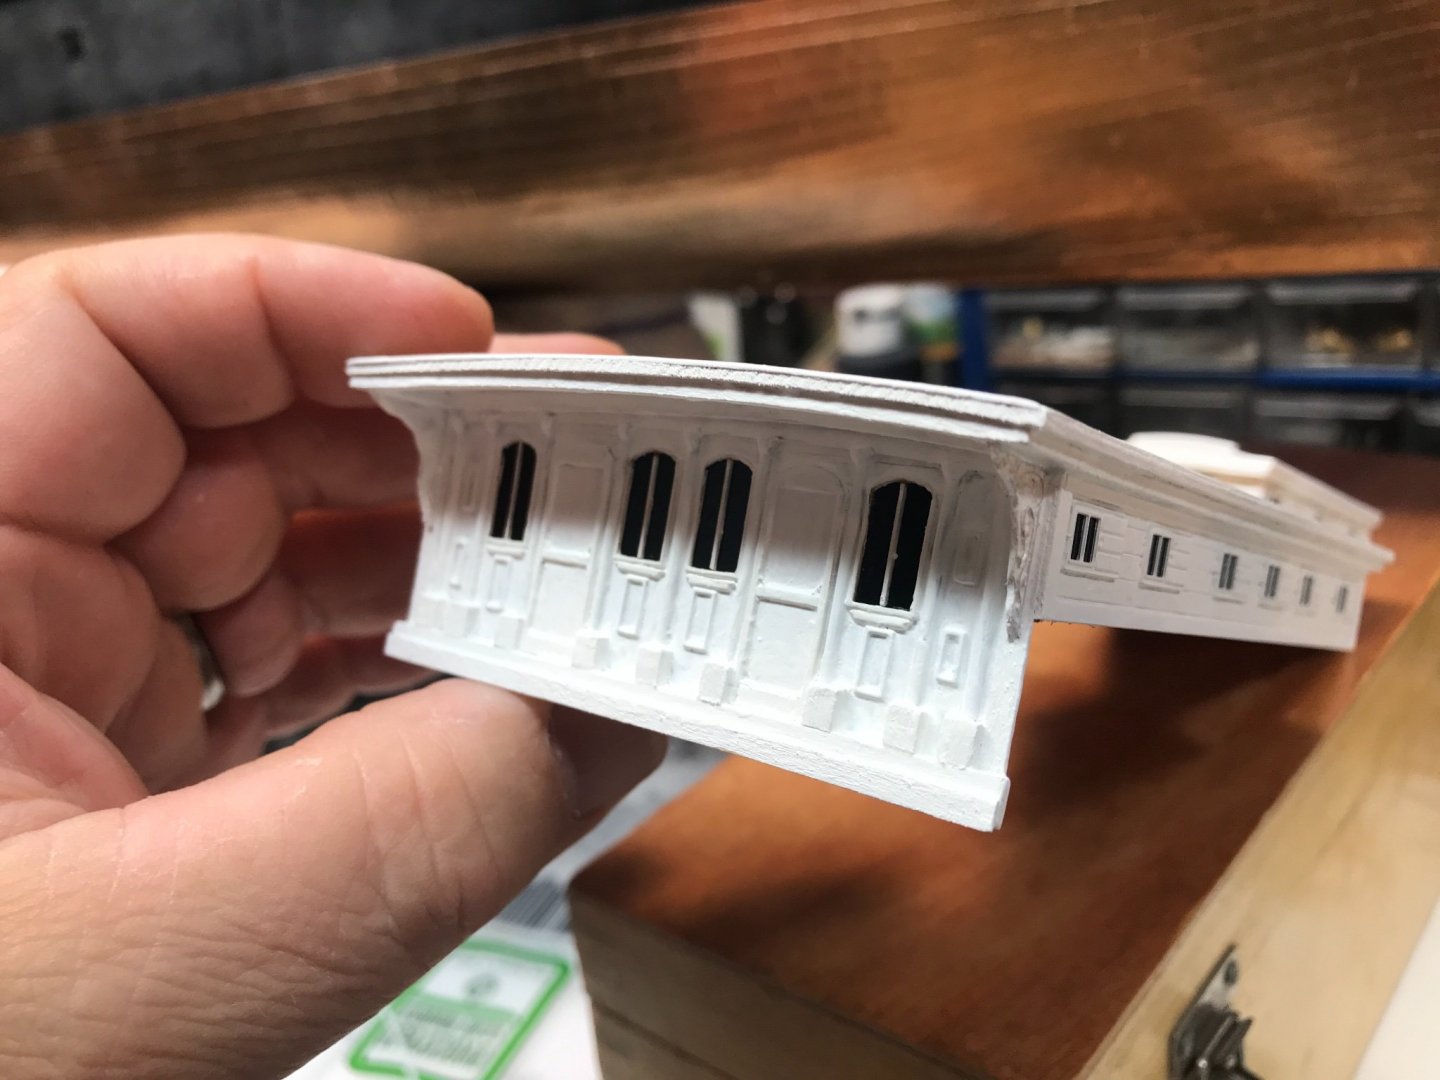
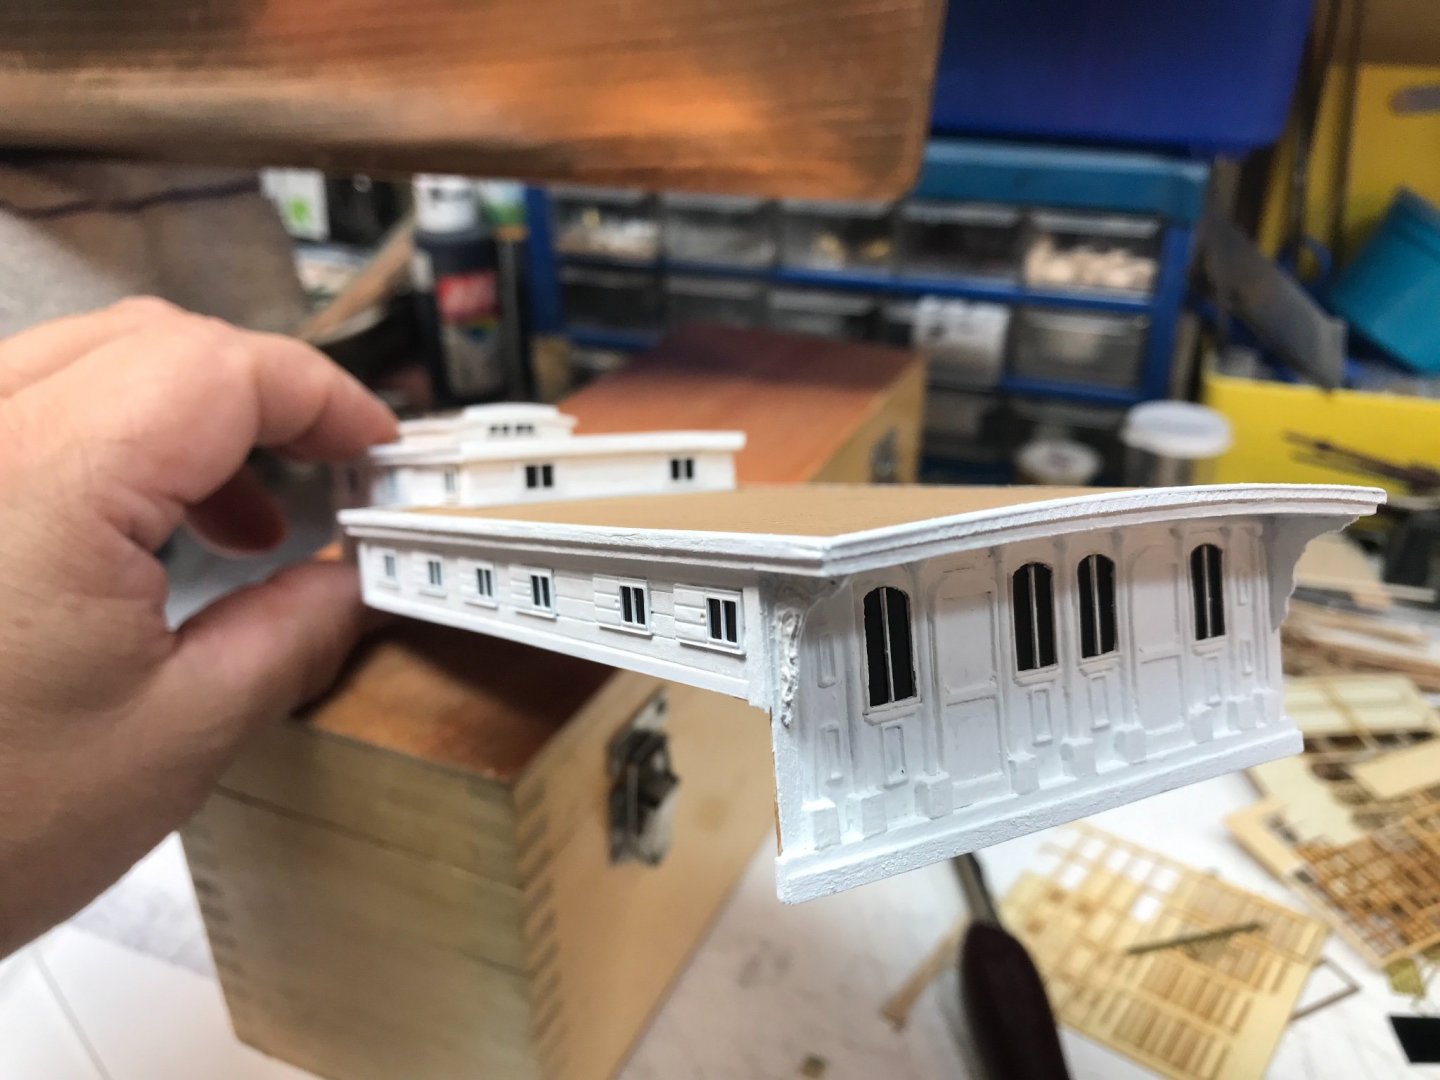
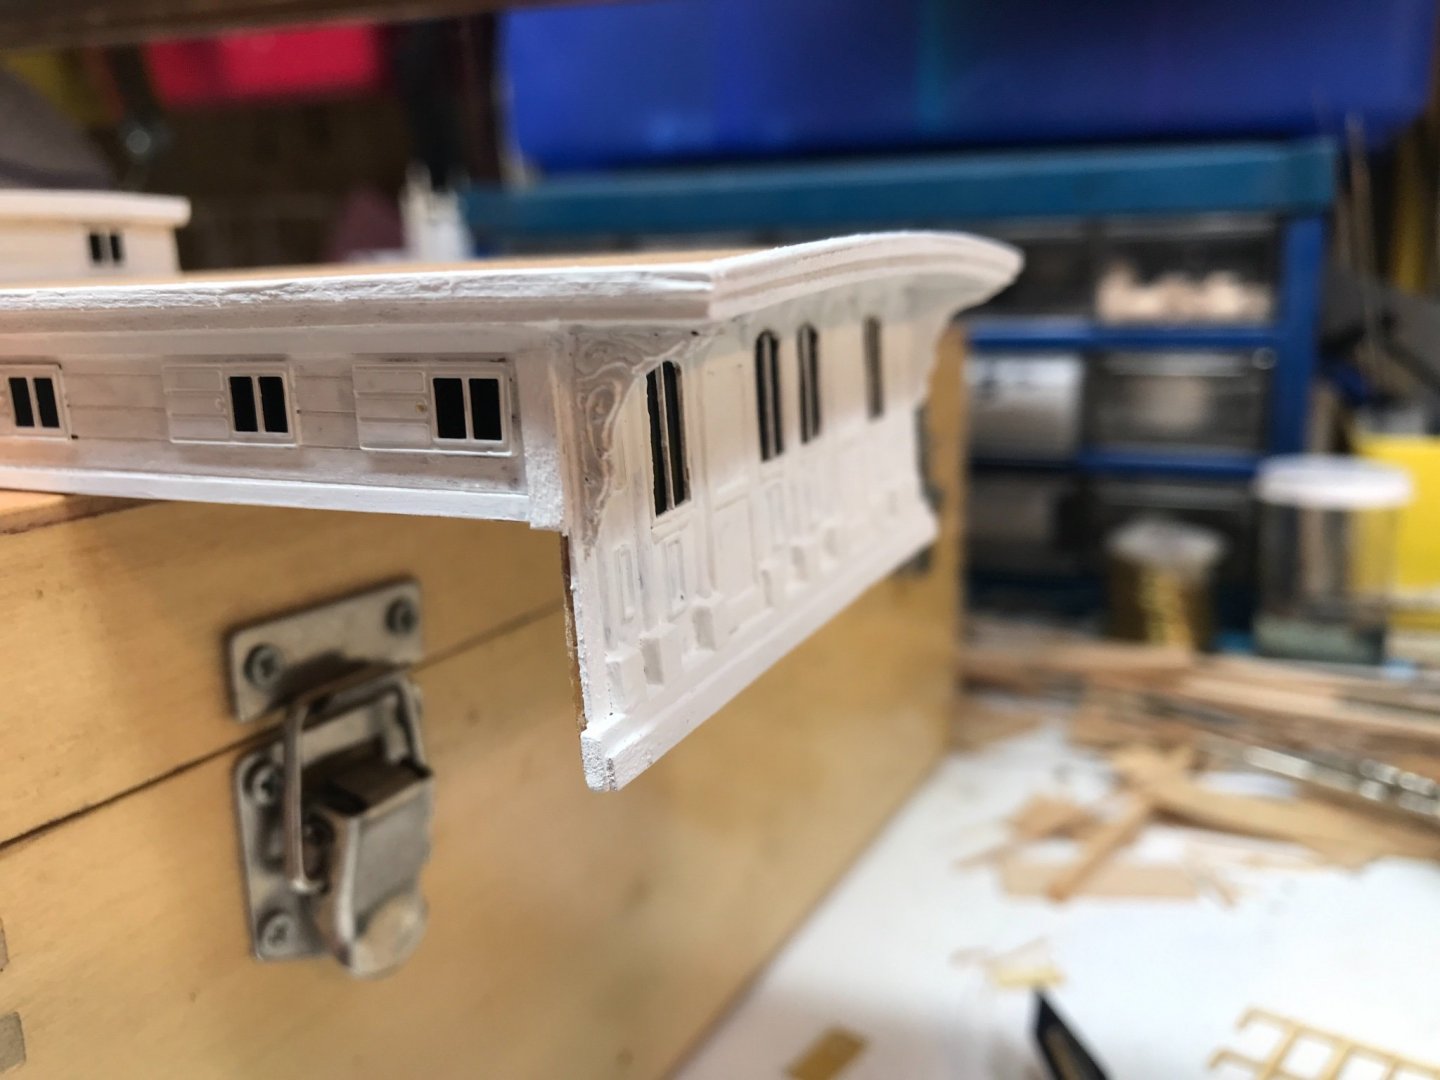
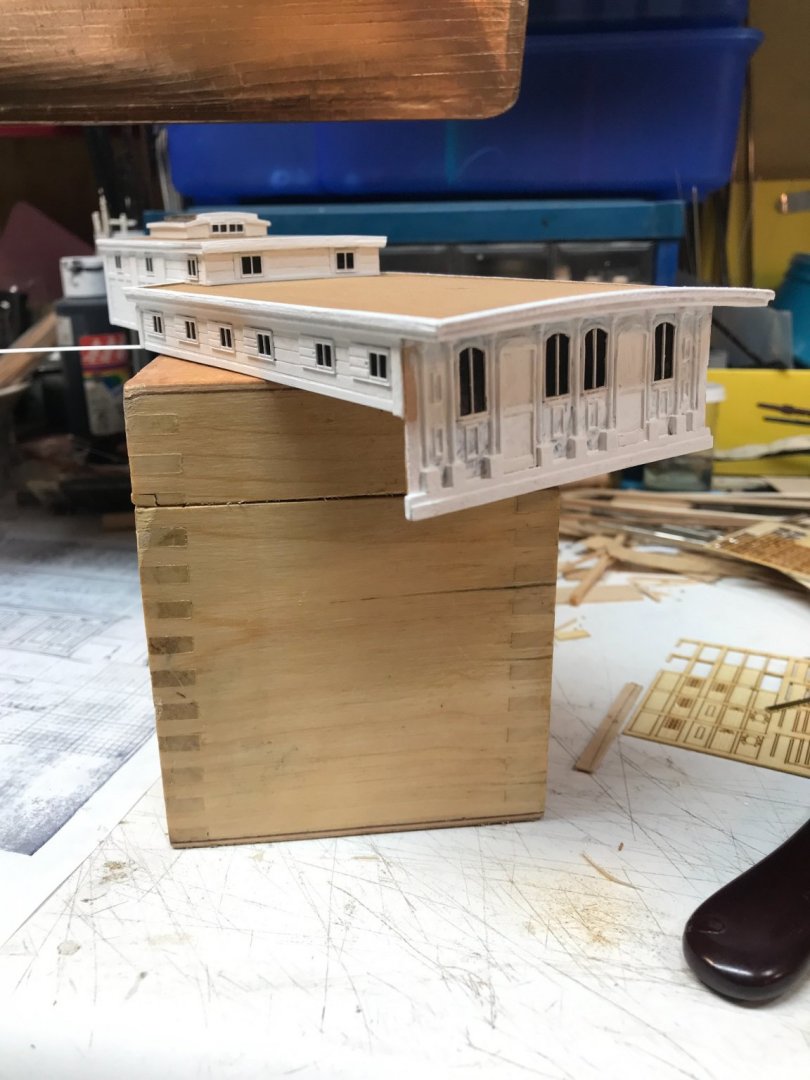
Worked a bit on several things. I cut out the base material for the two skylights. Simple approach really. Rob

- 3,560 replies
-
- 3
-
-
- clipper
- hull model
- (and 2 more)
-
Fun times ahead. Rob
-
Thanks Vlad. It took a couple of hours of focused uninterrupted work. I just hope all that detail will be able to be seen and appreciated after the boys house, gangway and boat skid are added. Rob
-
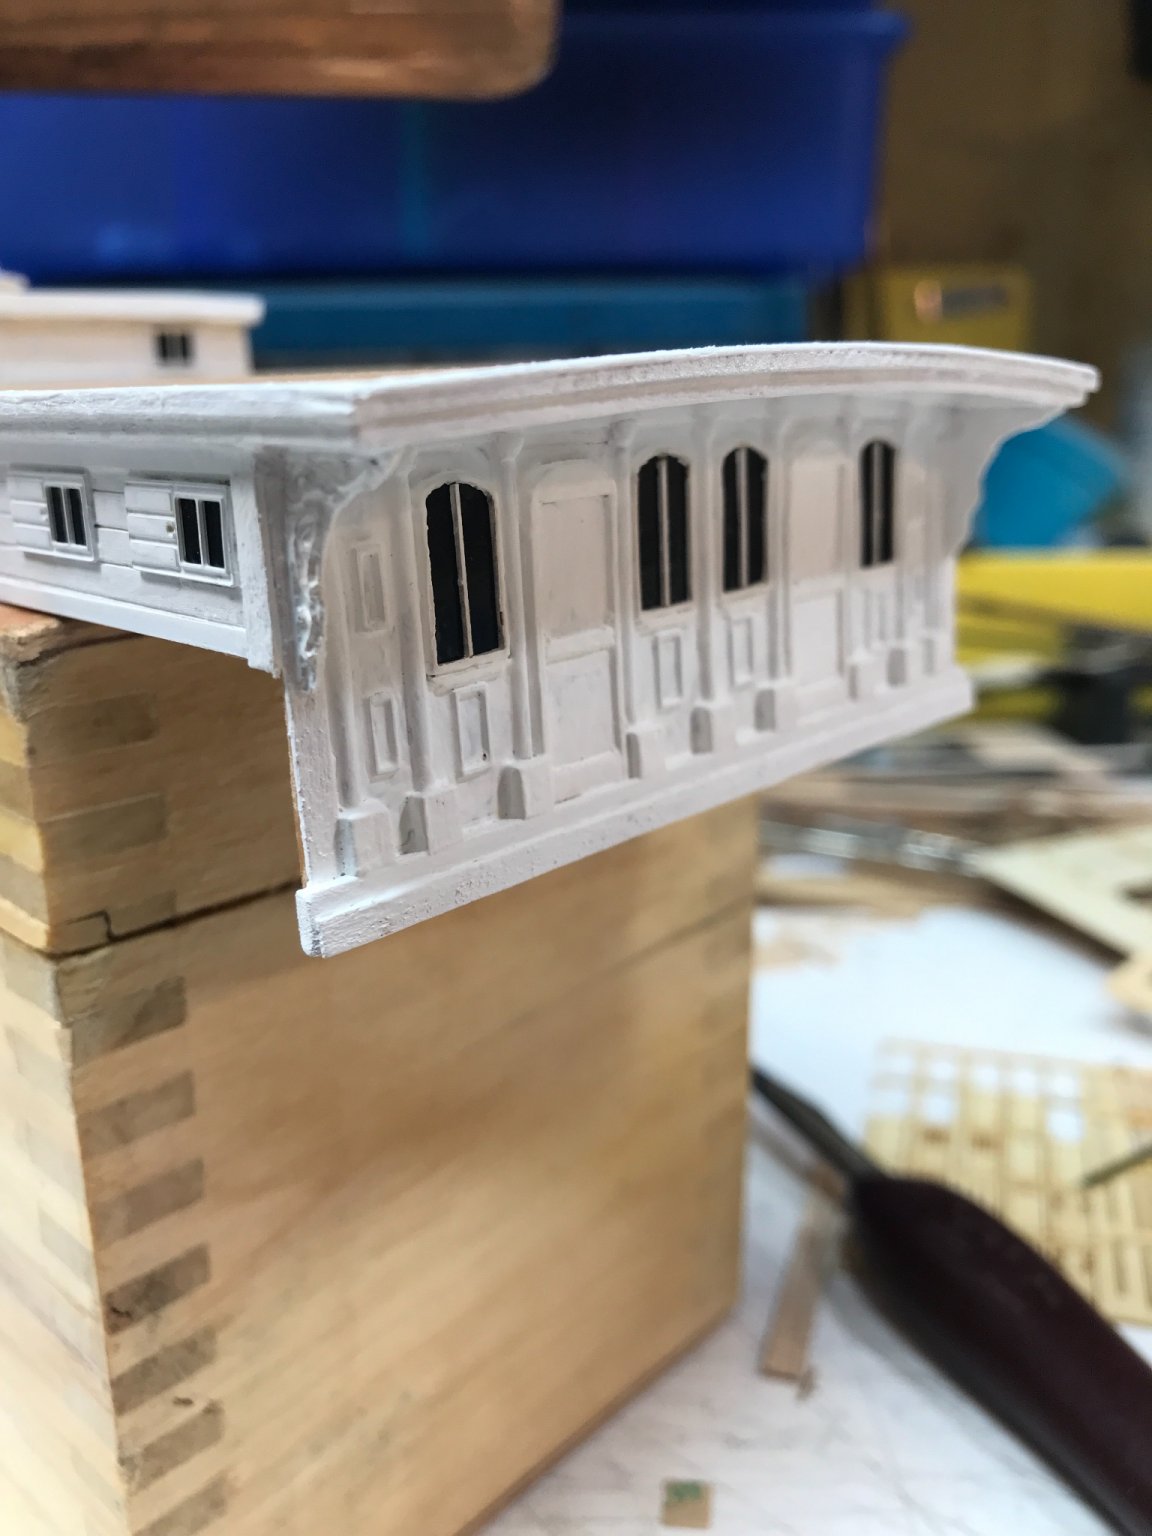
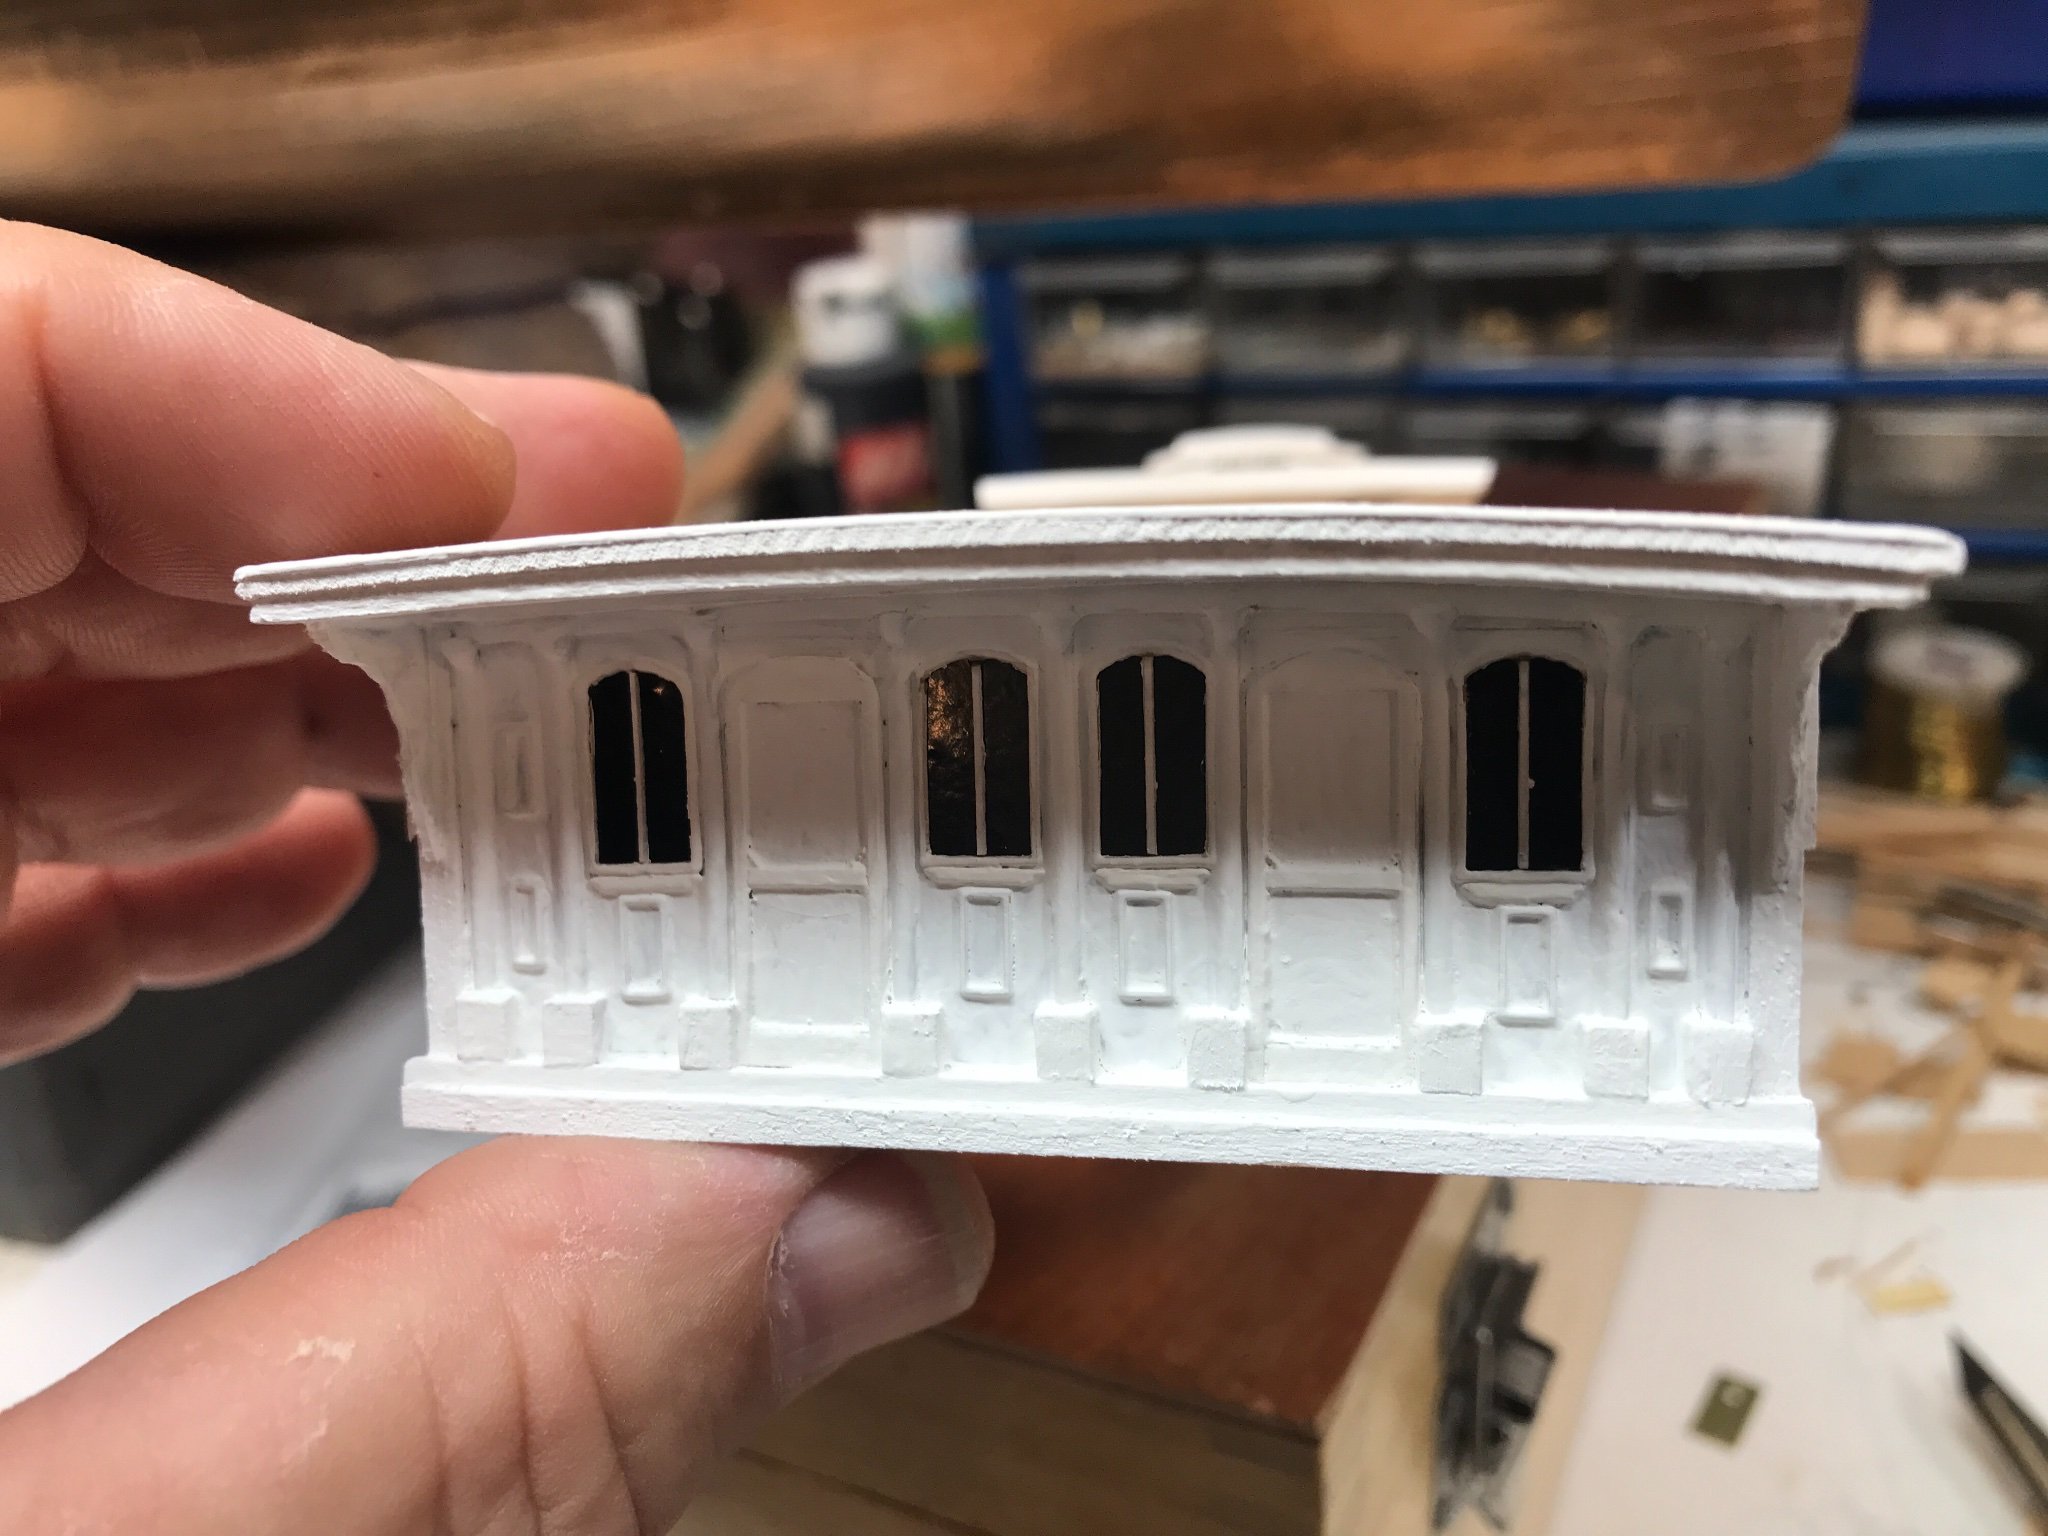
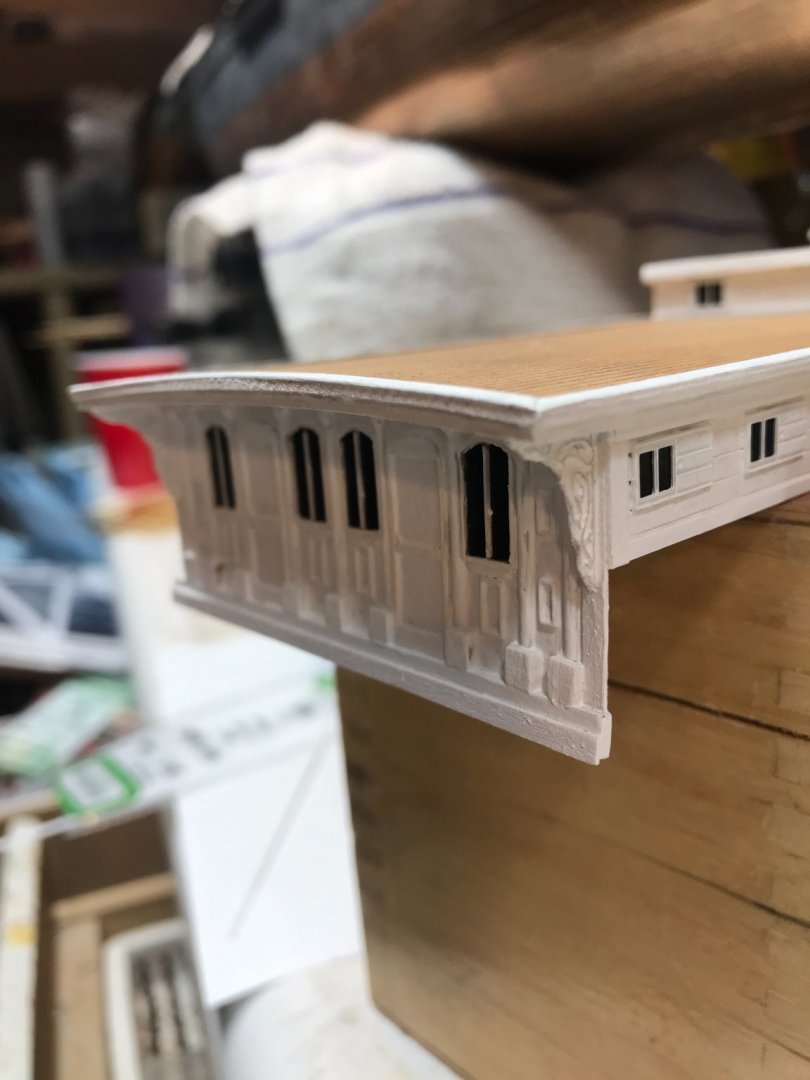
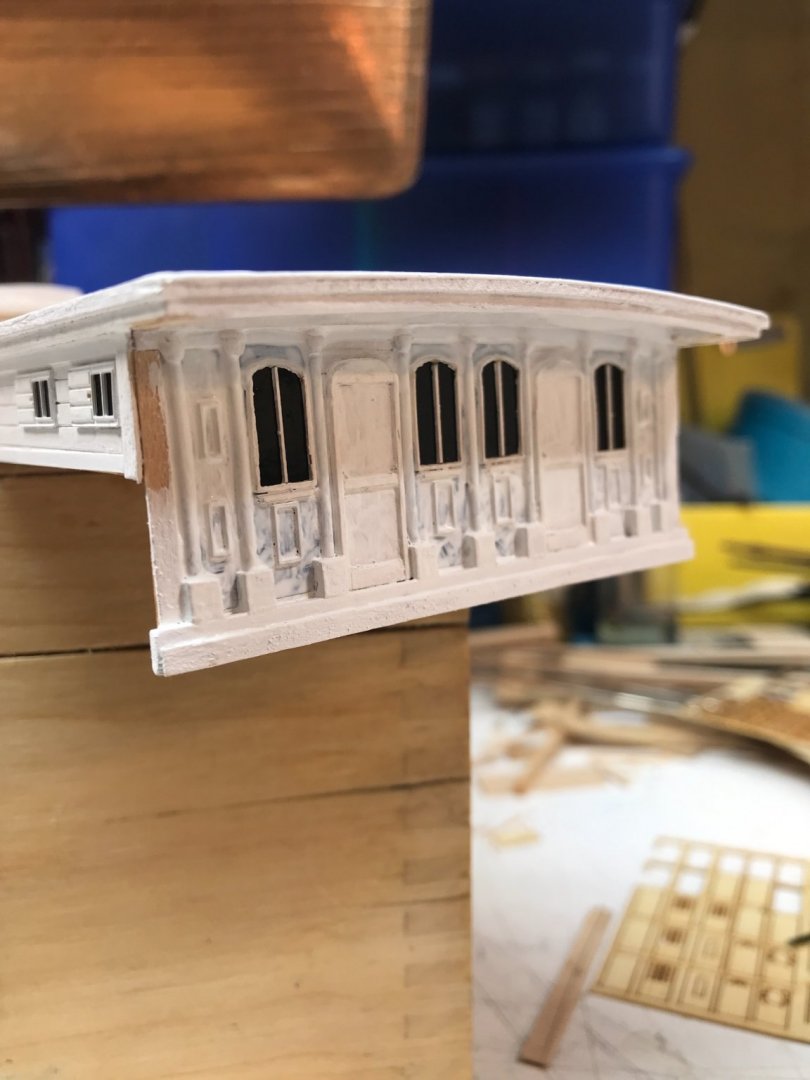
Thanks Rich and tell your wife thanks as well. The corner brackets took some doing, since they are roughly only 3/8ish in length and have ample carving relief on them. The windows are all made from hand cut parts.....crown, sides and sashes. The windows are roughly 3/8 in height as well. And don't talk to me about the doors...they consist of way too many parts. I opted on the color blue that I did, solely based on age represented.....limited photographic evidence, and preference. I struggled with the idea of sucha dark blue. It seamed so un characteristic of the simple color schemes typical of clippers. Though some extreme color combinations have been written about. I'm also striving to retain what I gather as the colors of her after her major refits and good weathered use. The image of her from astern with one of her cabin boys, demonstrates the extreme weathering she saw....by way of paint chipping and scuffing. It is clearly evident on her cabin doors and walls.....not to mention her boats. And this was in her heyday. Rob
-
Thanks Pat. Yes I've read about that practice......plus the constant shuffle through the doors made a real scuff. Rob
- 3,560 replies
-
- 1
-
-
- clipper
- hull model
- (and 2 more)
-
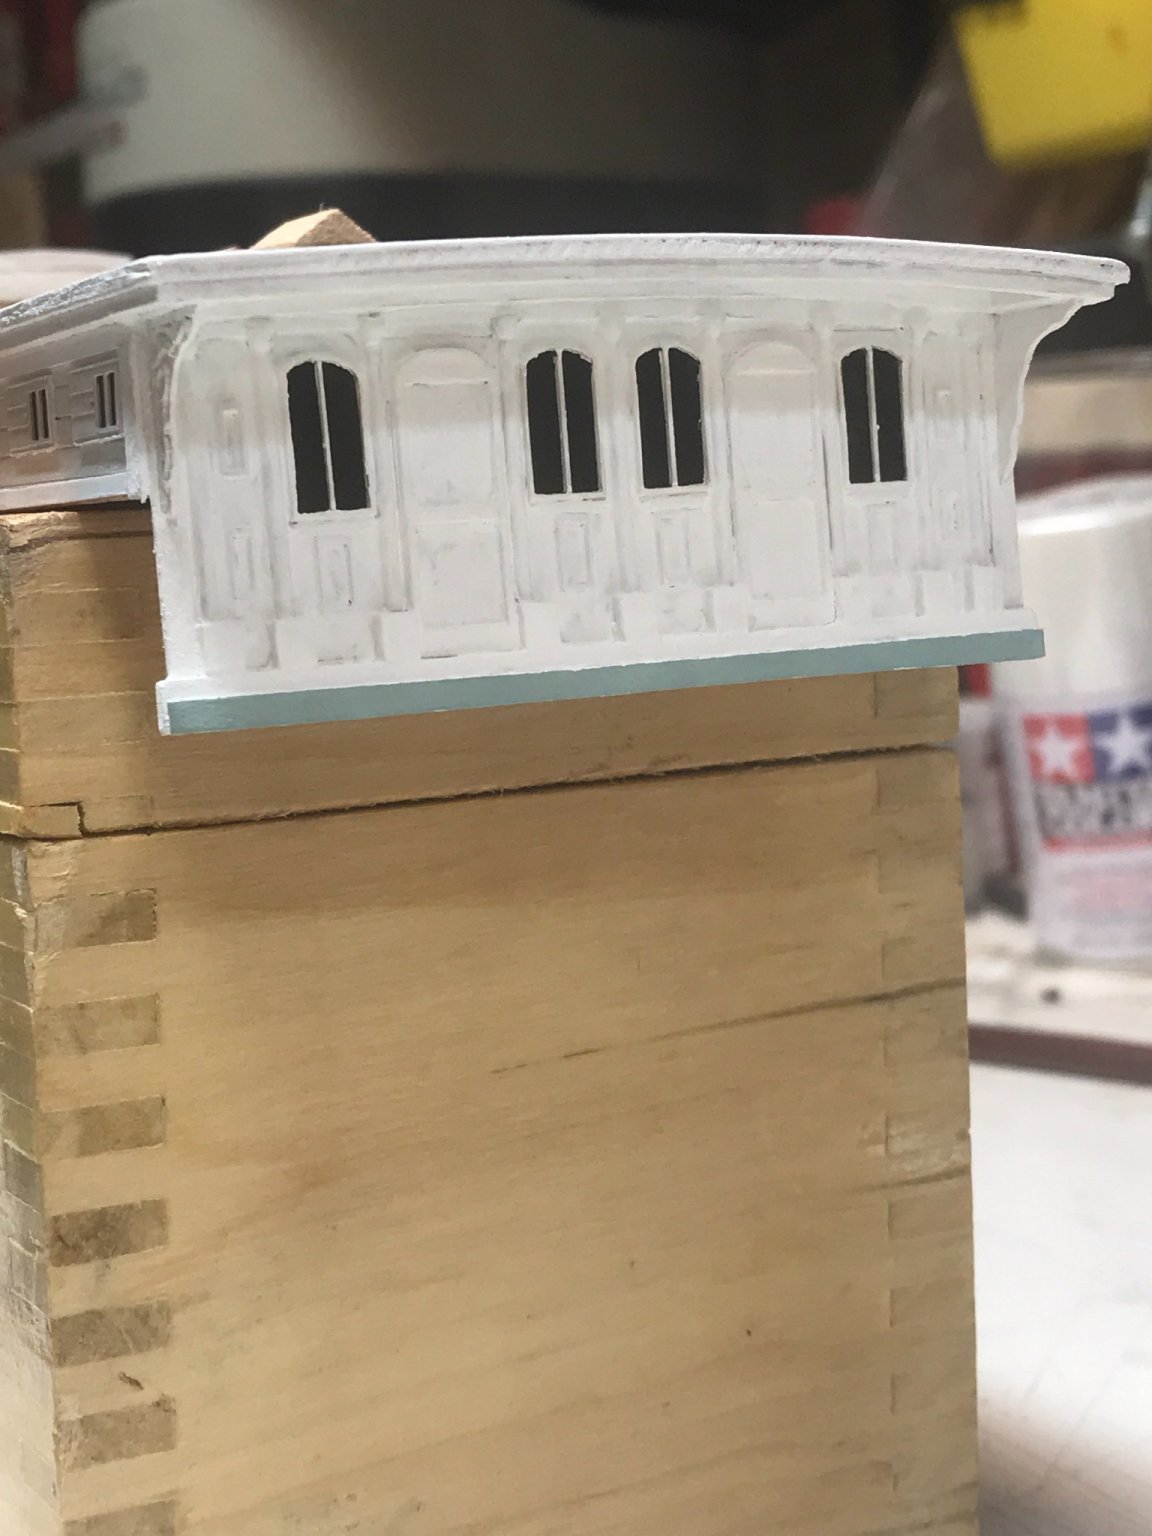
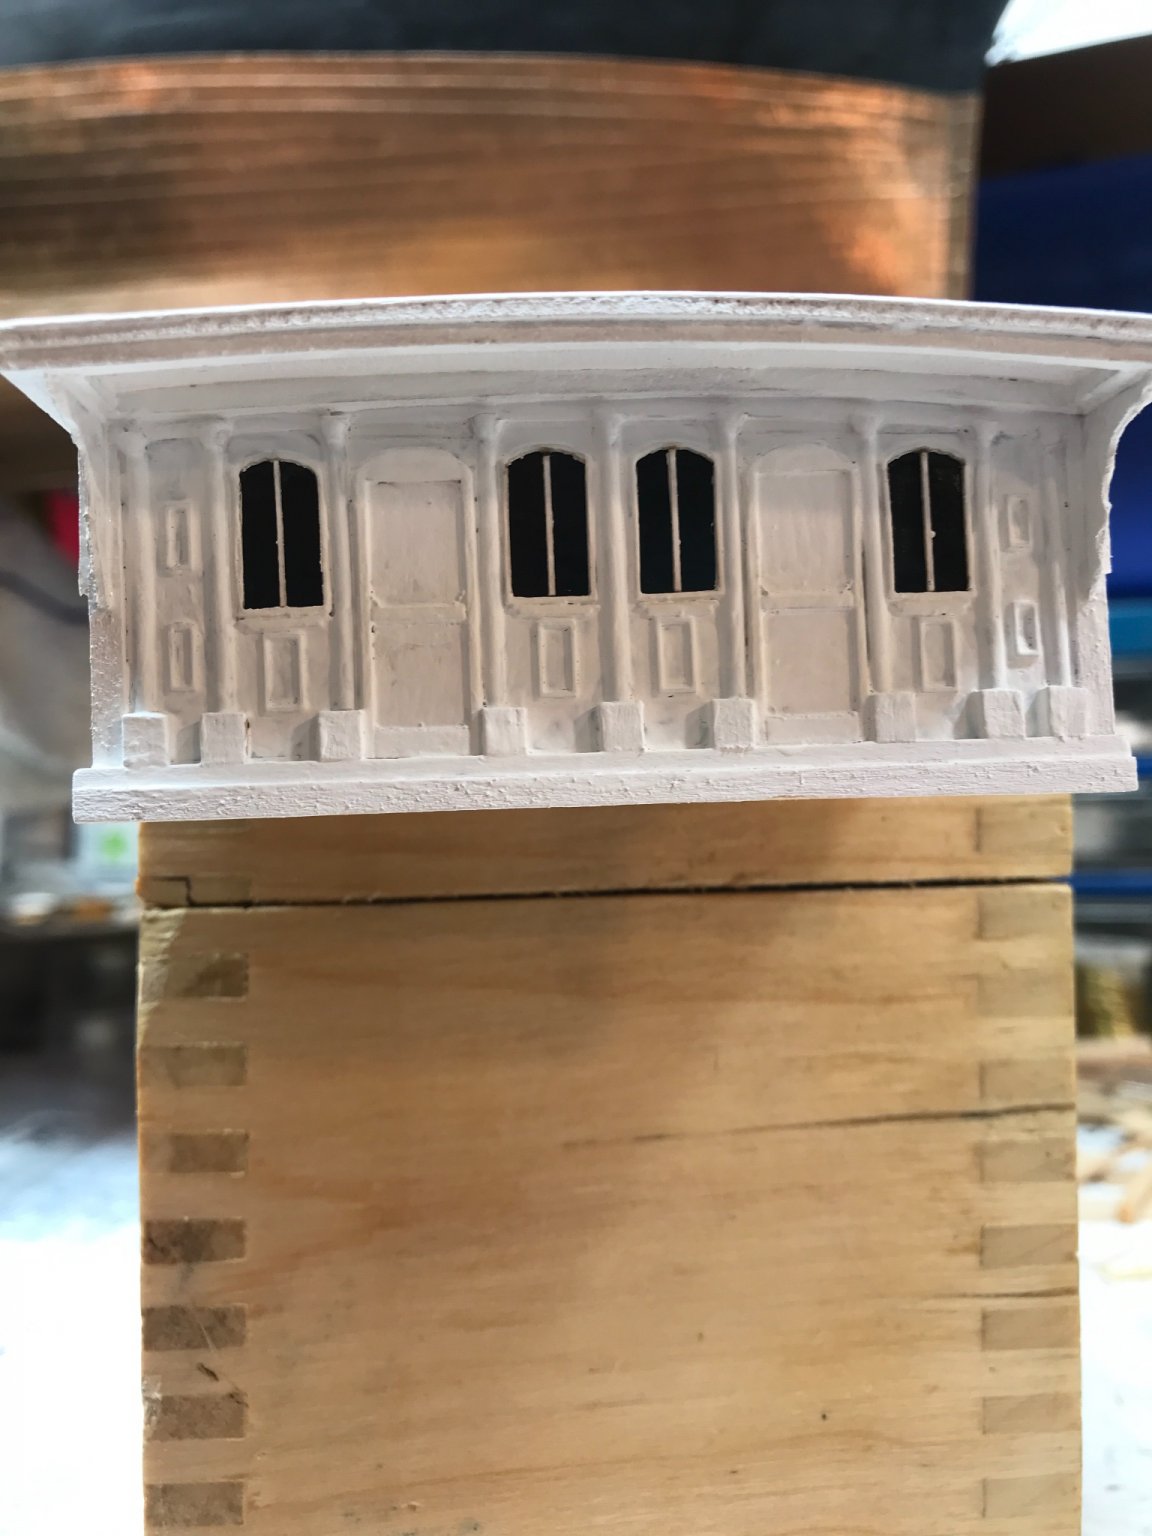
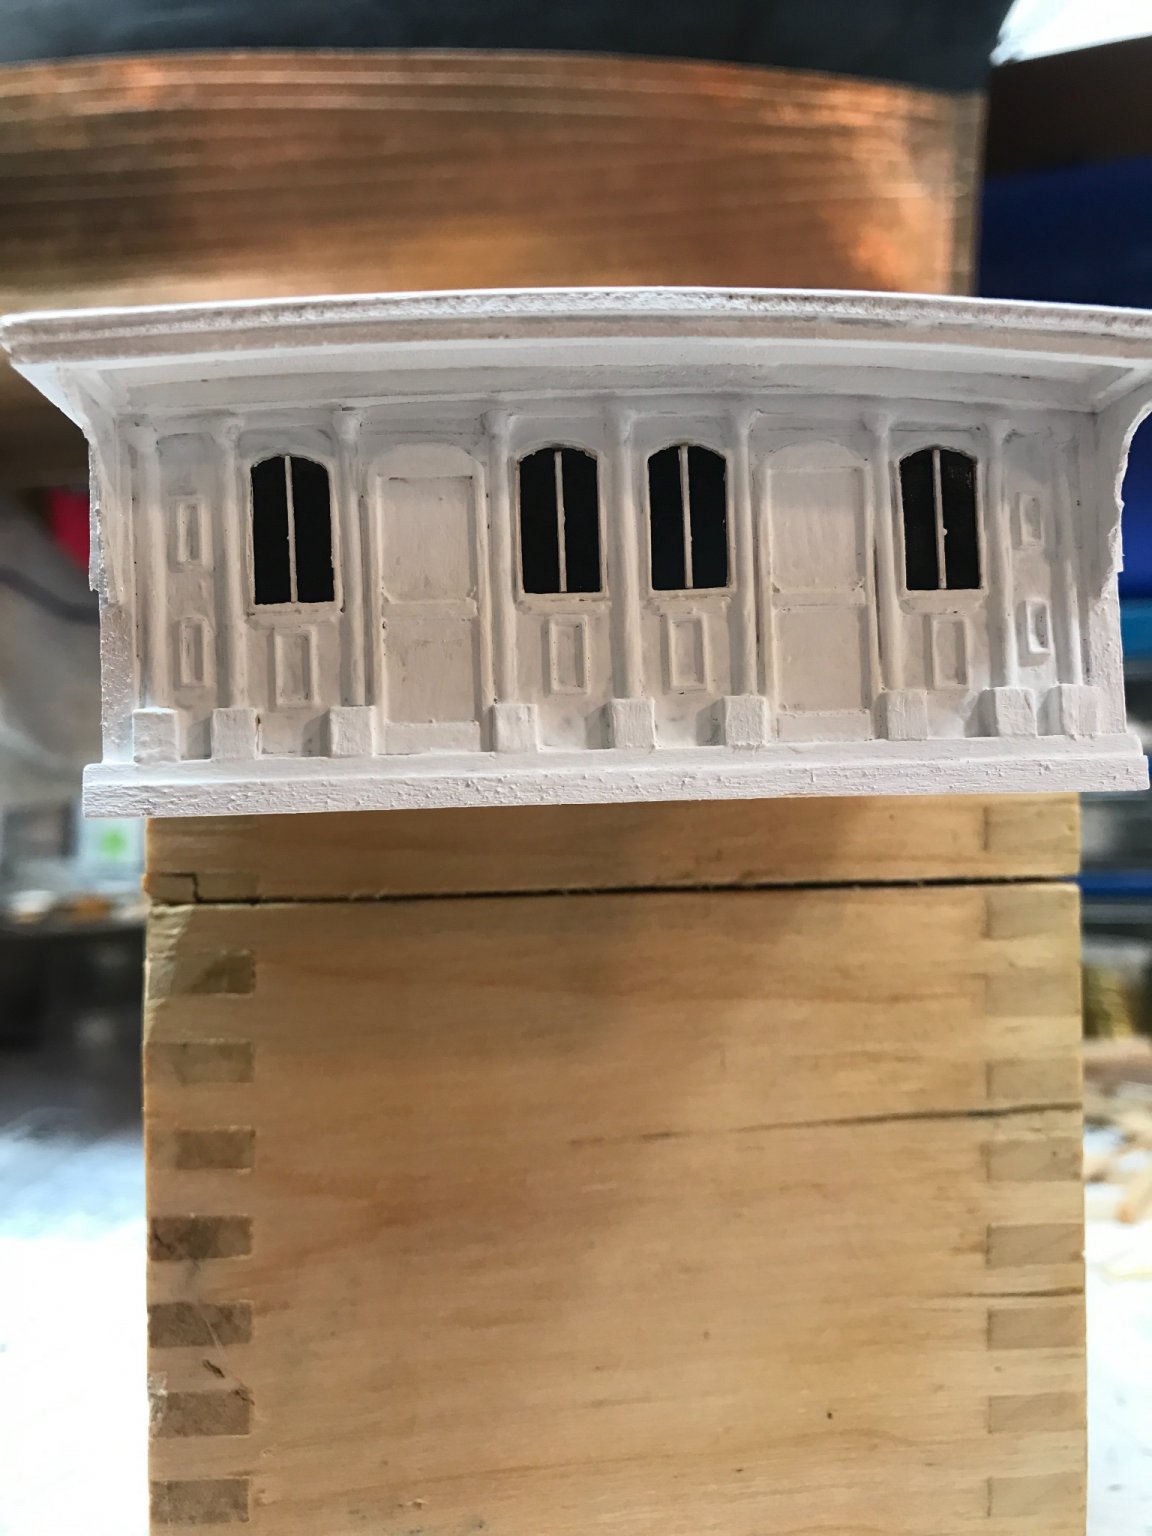
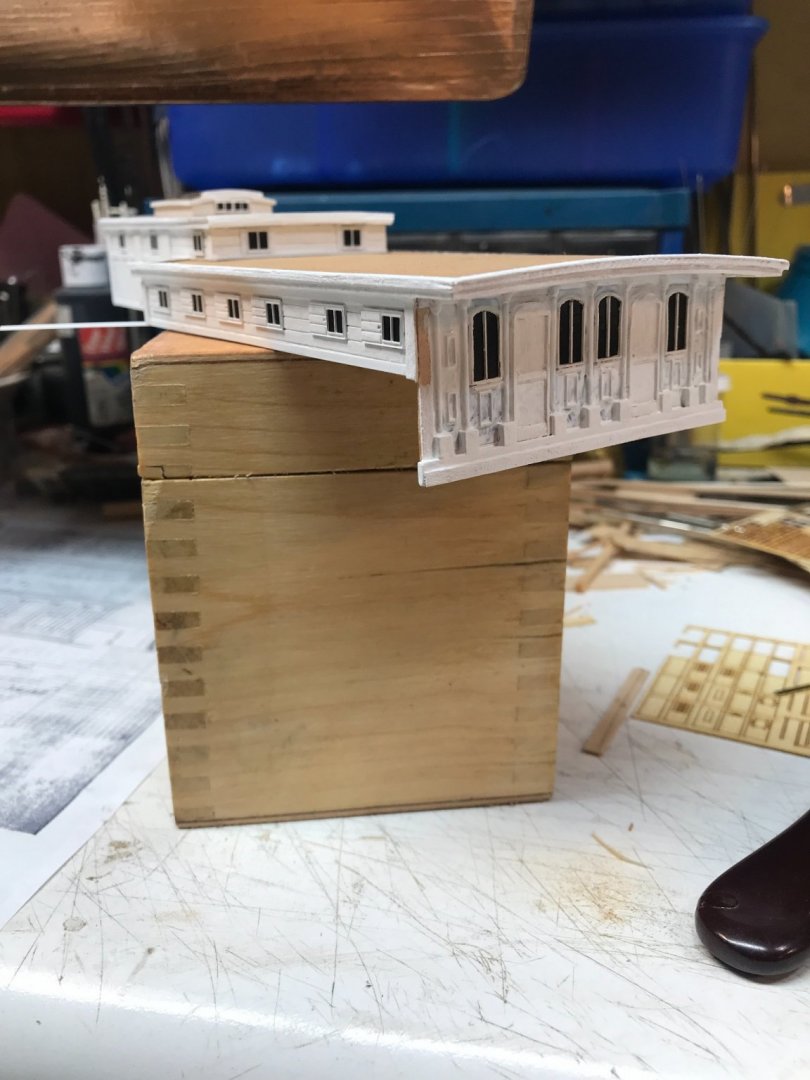
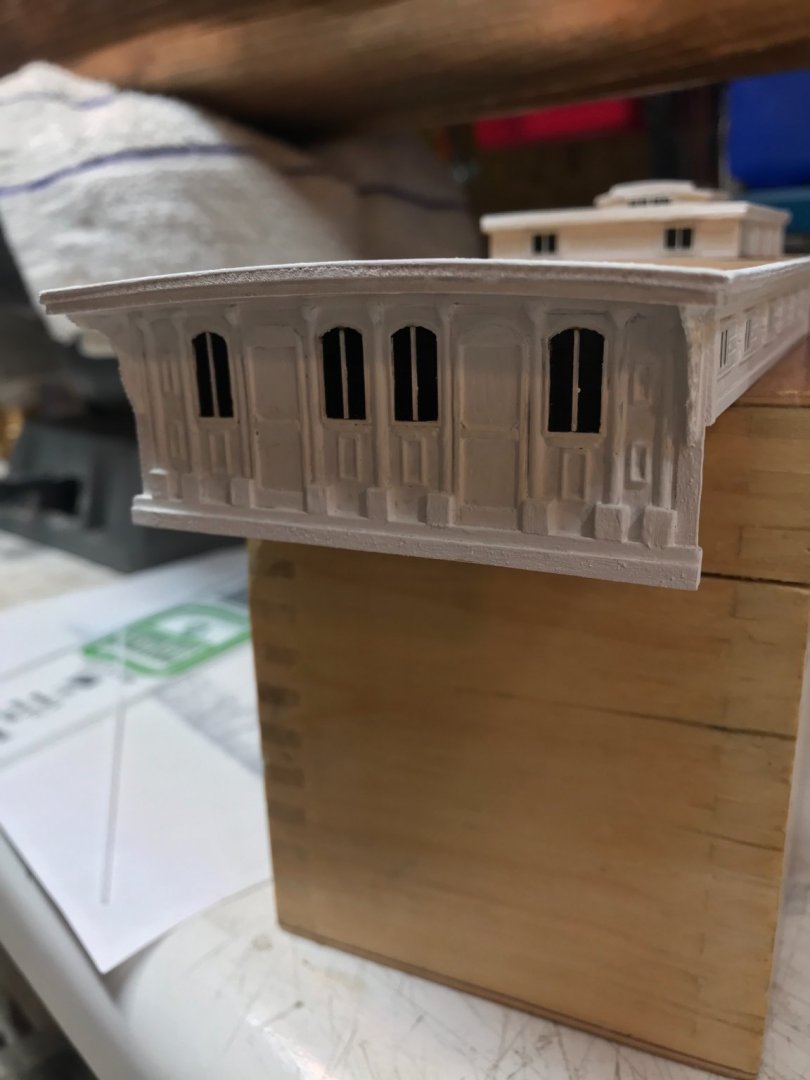
Finished painting and adding the carved brackets. Rob


- 3,560 replies
-
- 7
-
-
-
- clipper
- hull model
- (and 2 more)
-
First coat of paint on the front of the carriage house. It looks muddled……….cuz it is. It will all look good when dry and a second coat is applied. I’m working on the corner brackets, they go on after the painting. Rob
- 3,560 replies
-
- 3
-
-
- clipper
- hull model
- (and 2 more)
-
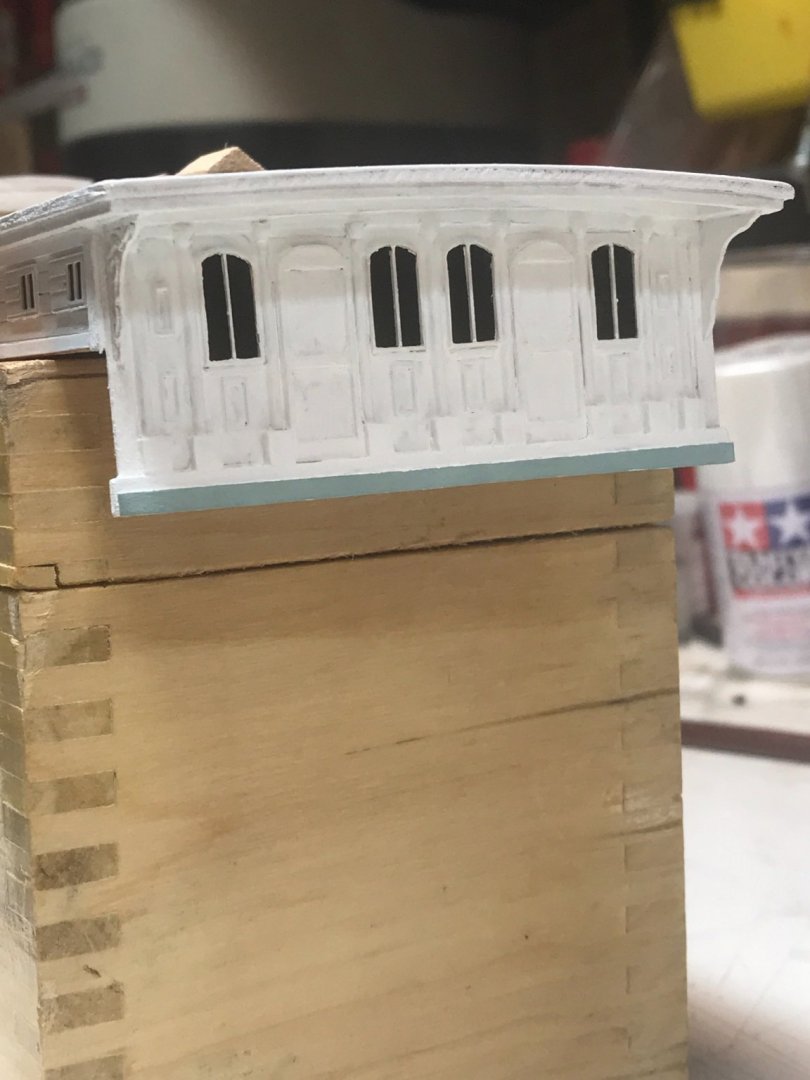
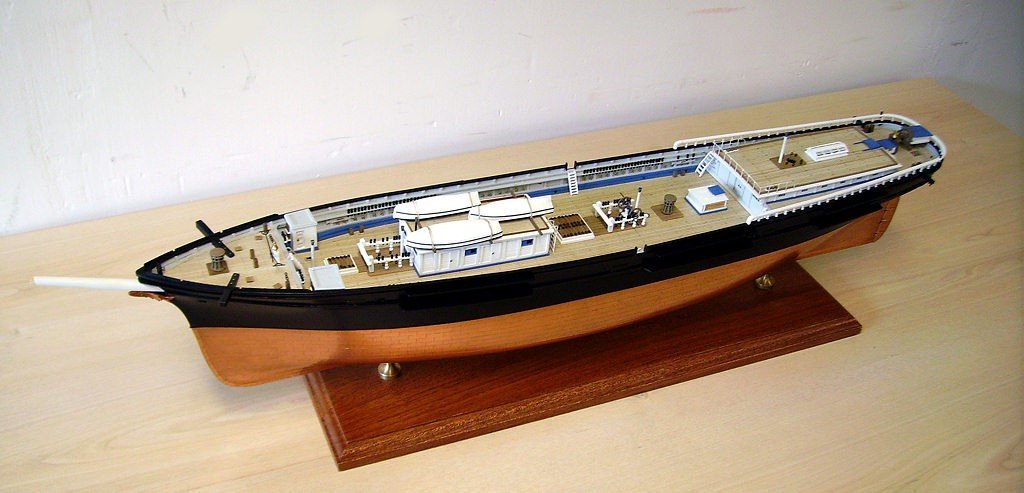
Mikes original model builder painted all the houses *Except* the carriage house, with the waterway color. It looks nice. Rob
.jpg.f1a02b47b3a643153f6b00241b717089.jpg)
- 3,560 replies
-
- 3
-
-
- clipper
- hull model
- (and 2 more)
-
Rich from what document can we arrive that the trim was painted the same color as the Waterway...or painted blue at all? B/W photographs are poor providers for definitive colors...though shades can be determined....but not true colors. Is the blue trim an assumption or based upon actual McKay practice? I'm not convinced either way. Rob
-
See how bright the blue is that this modeler used
-
Over the last few days I have been struggling with the notion of painting the lower edge of the houses with the same blue the waterways are painted. To be honest, Glory has gone through many changes at the hands of many captains and through sheer neglect. Many clipper builders or modelers like to use bold colors to distinguish these *trim* colors. Usually a bright blue. I'm not convinced. I prefer a more subdues blue and with that said not sure it was used to highlight the building base trim. On the other hand there is some evidence indicating there was some trim color. Notice the shaded difference in this image of the aft skylights on Glory.
- 3,560 replies
-
- 1
-
-
- clipper
- hull model
- (and 2 more)