-
Posts
478 -
Joined
-
Last visited
Content Type
Profiles
Forums
Gallery
Events
Everything posted by Paul Jarman
-
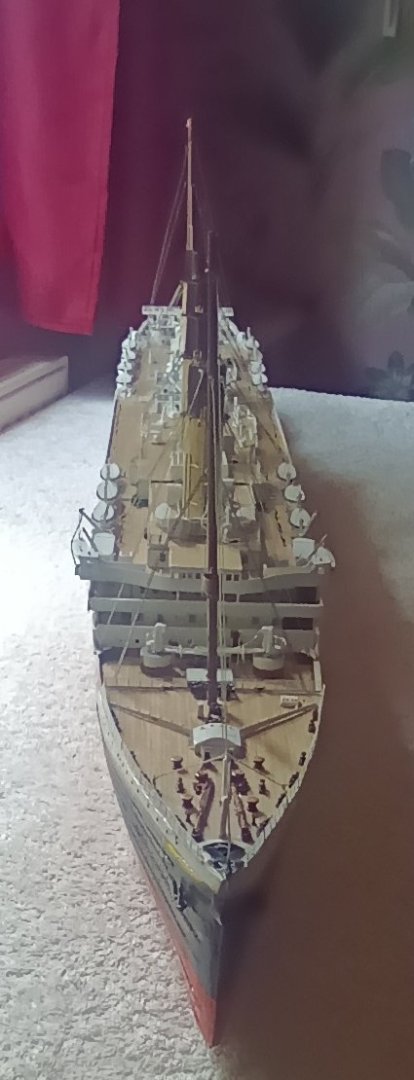
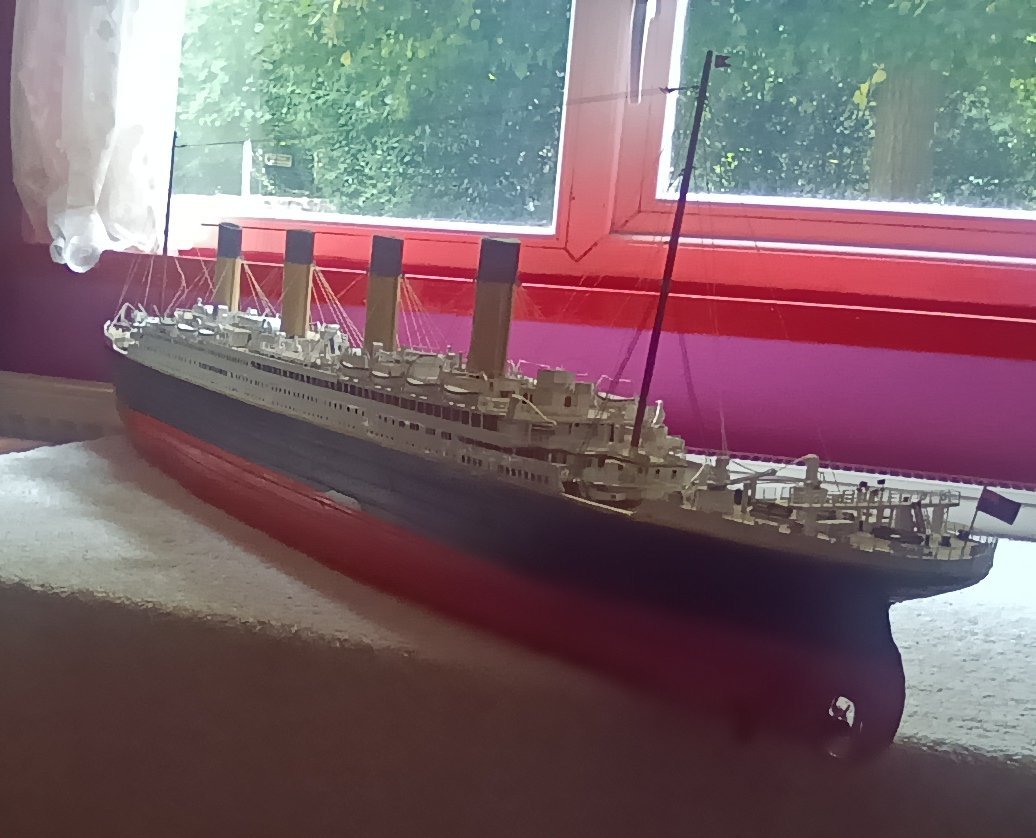
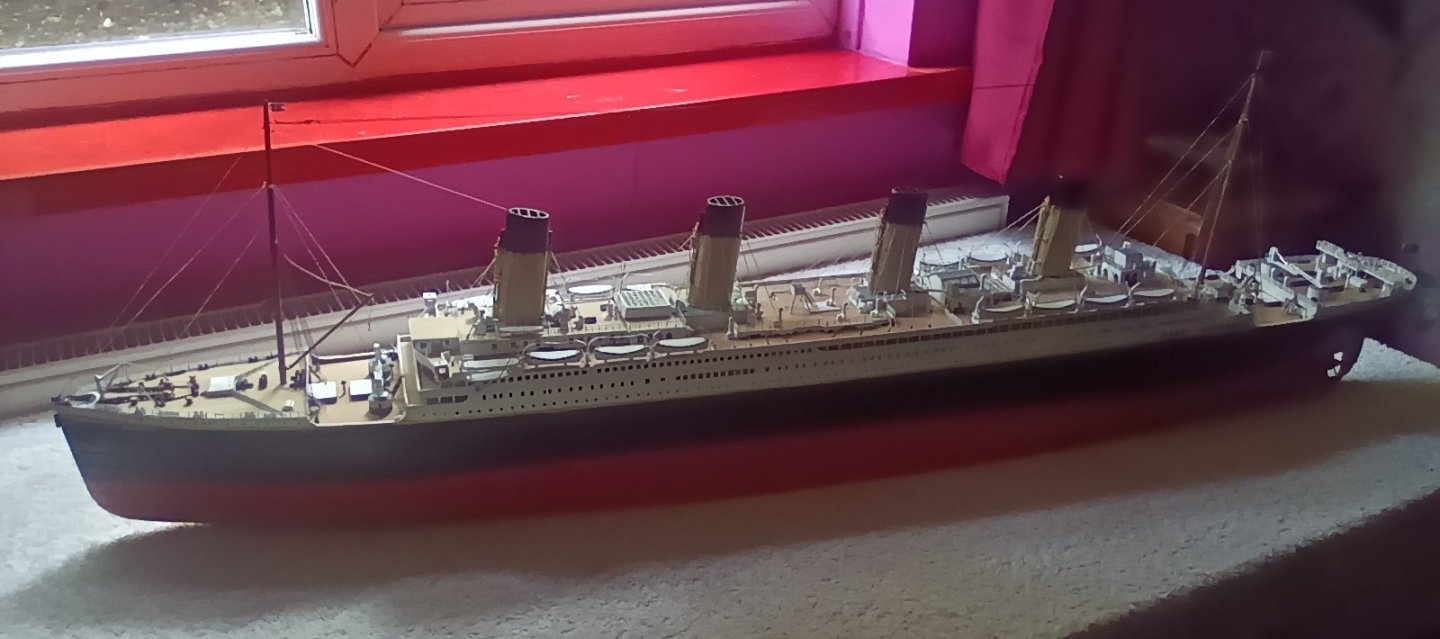
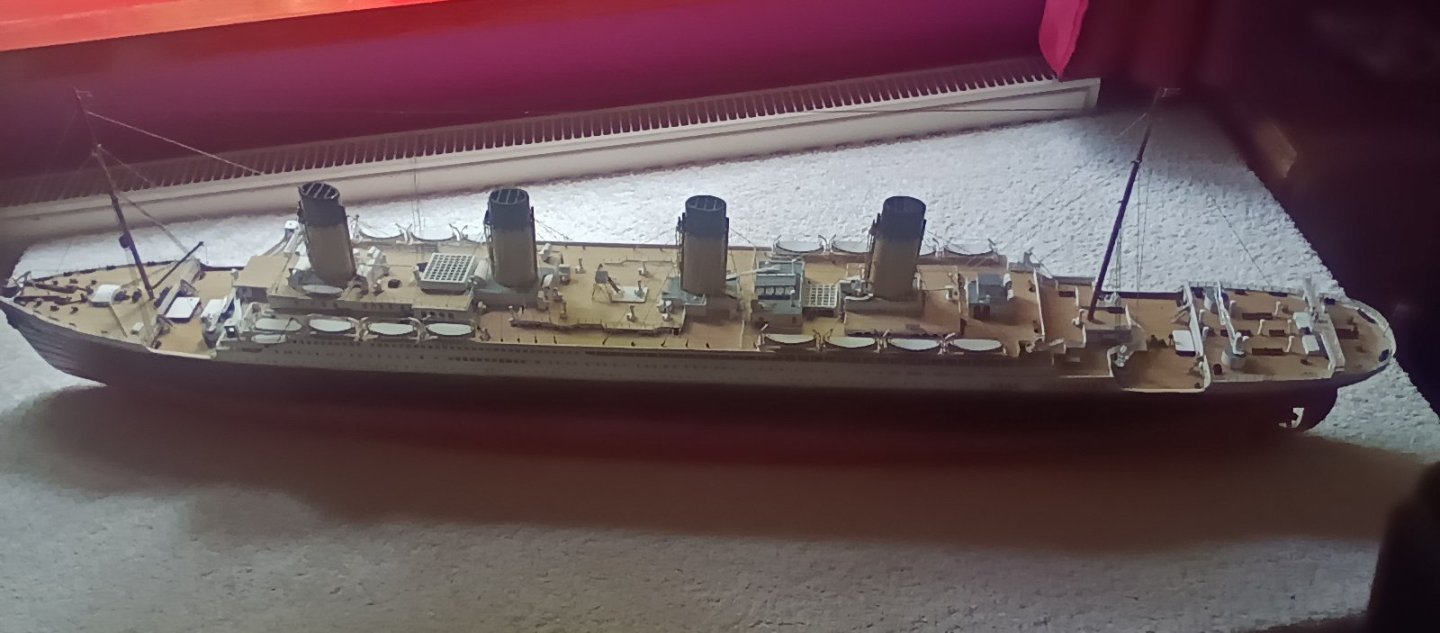
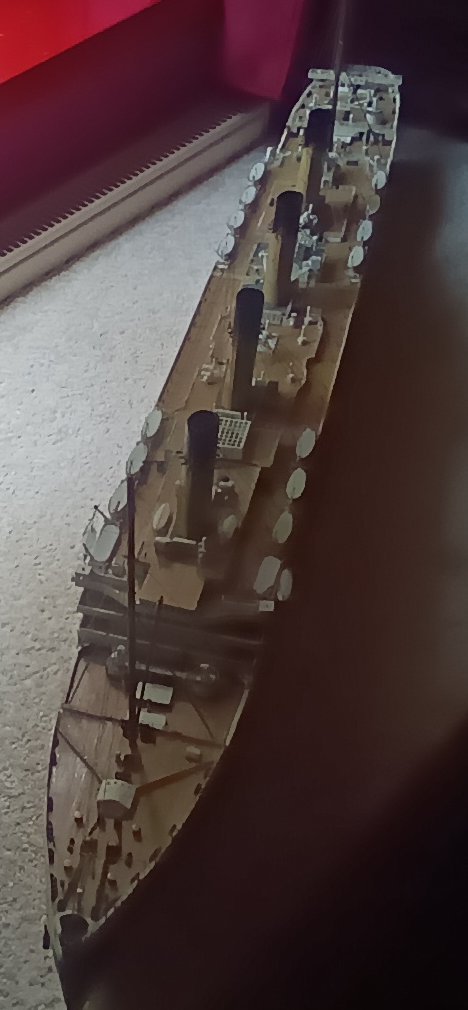
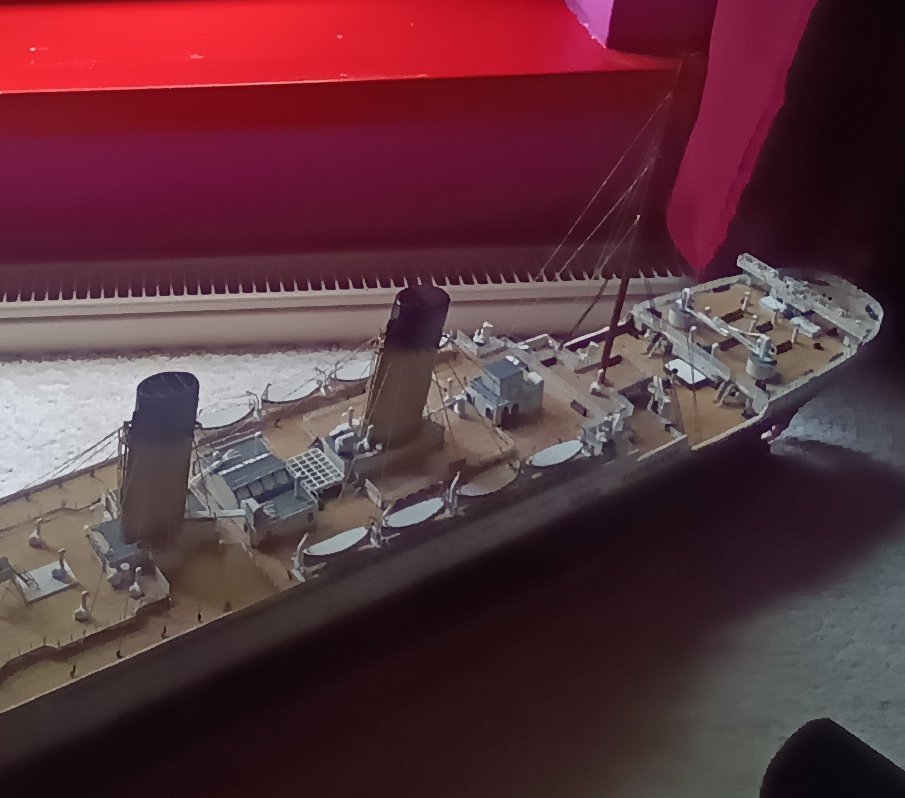
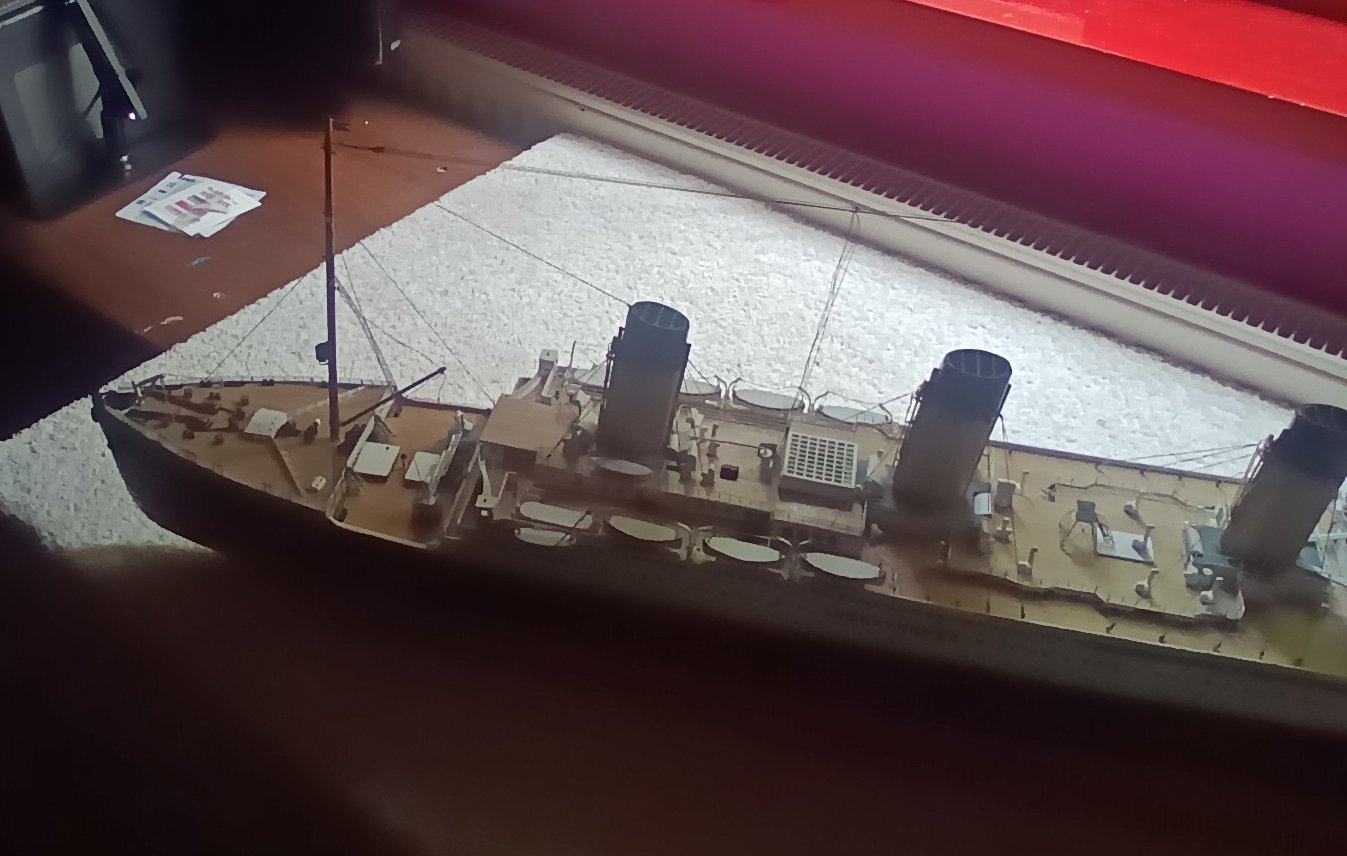
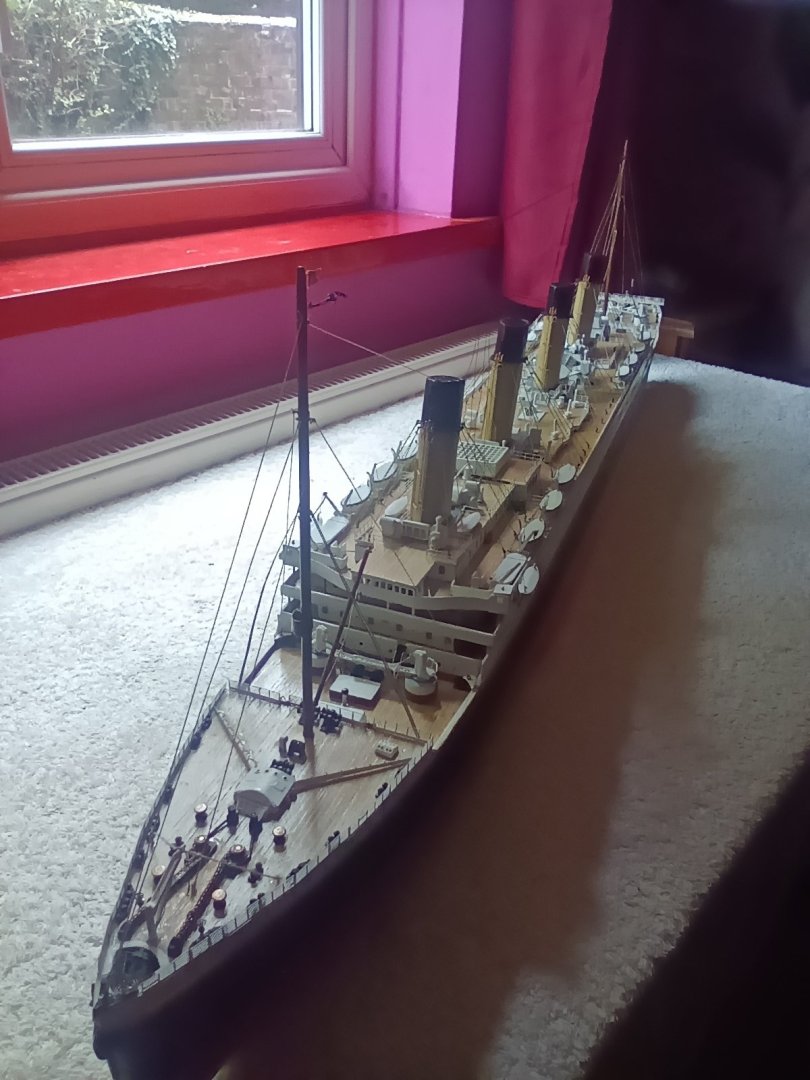
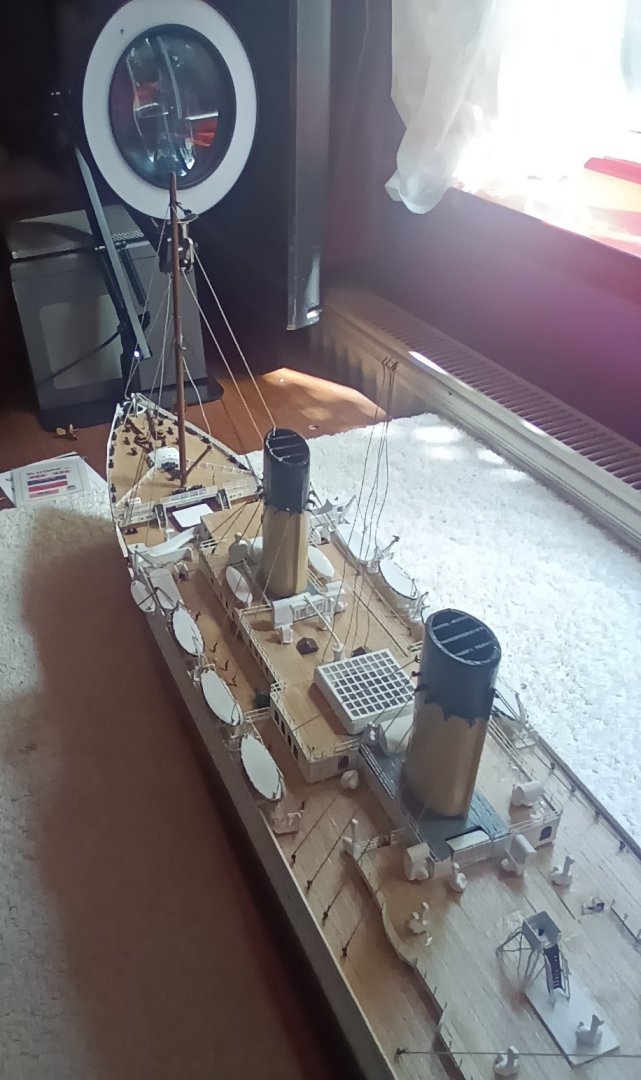
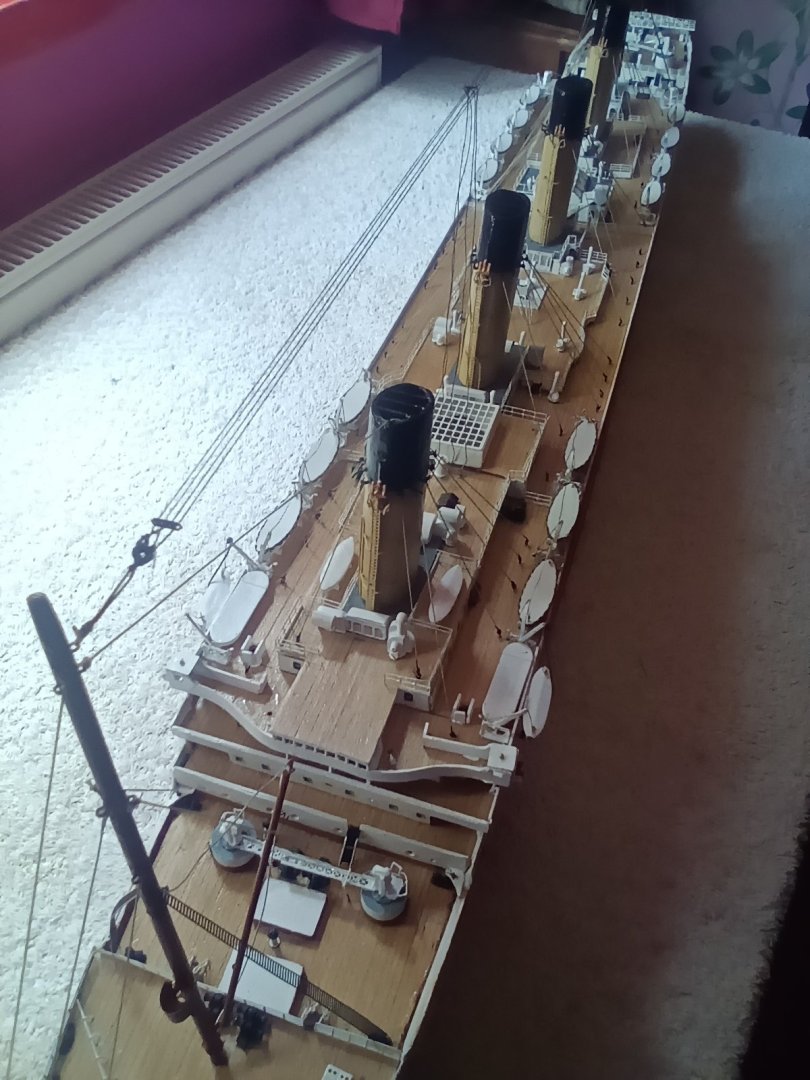
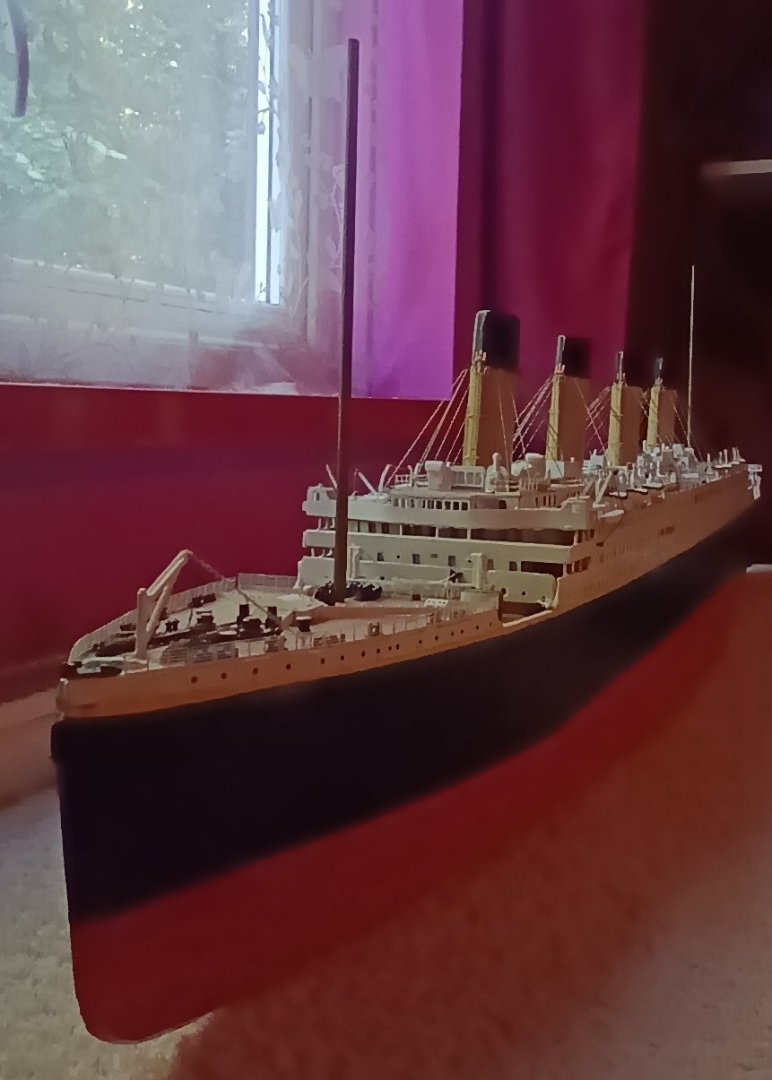
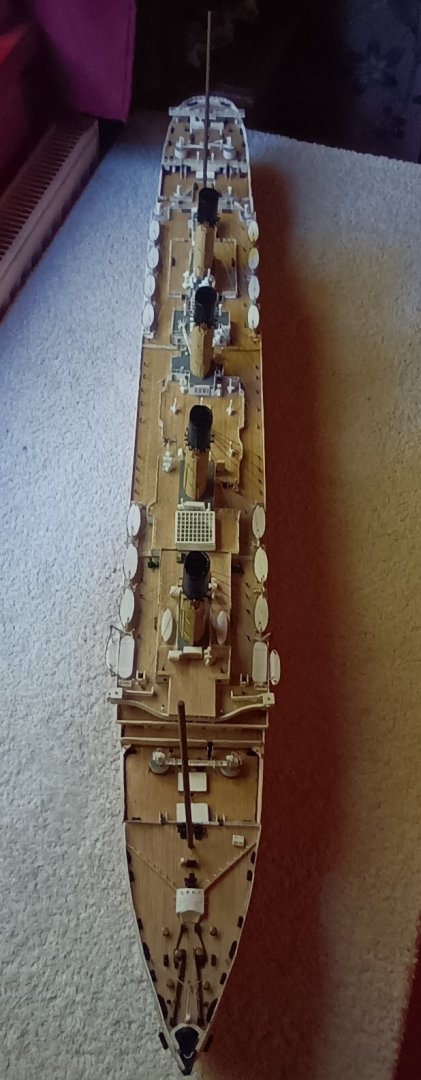
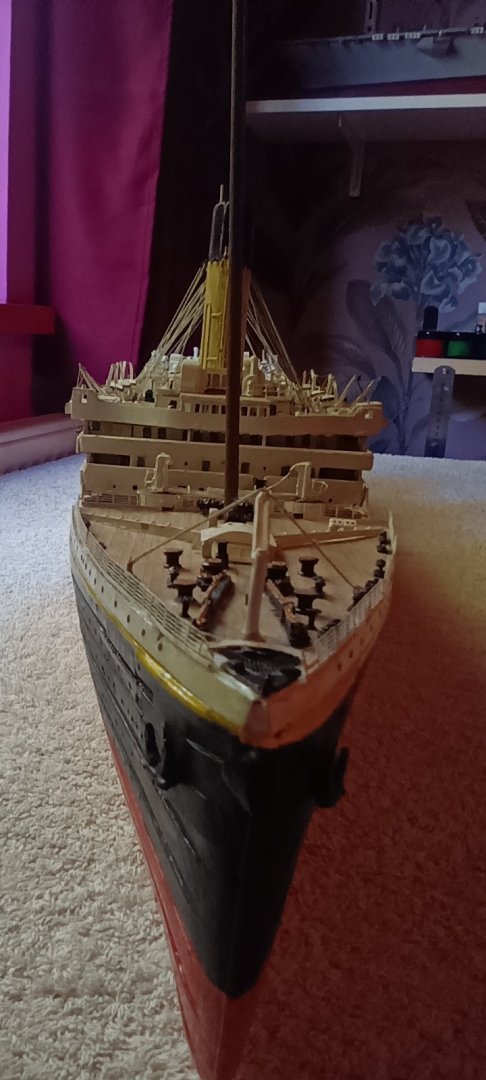
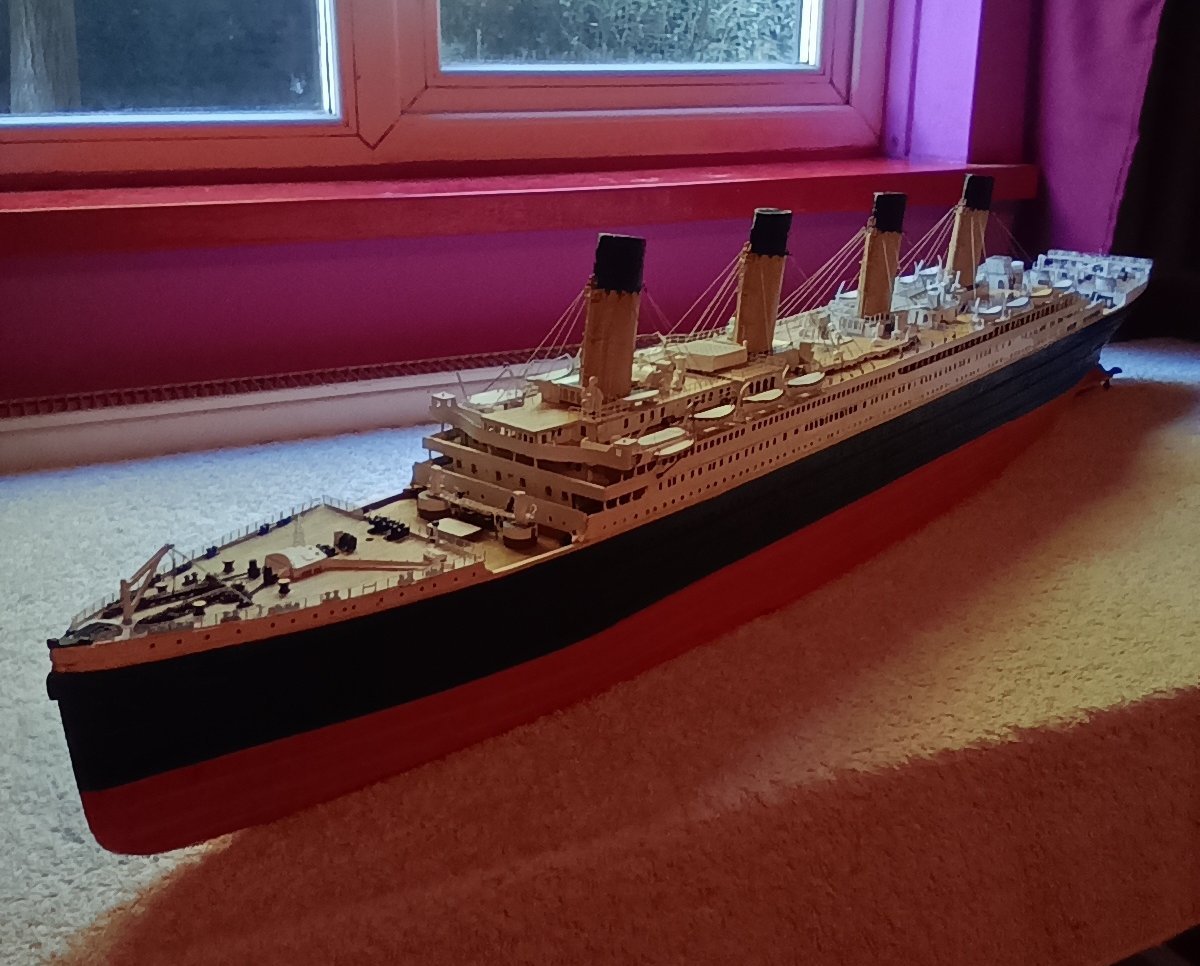
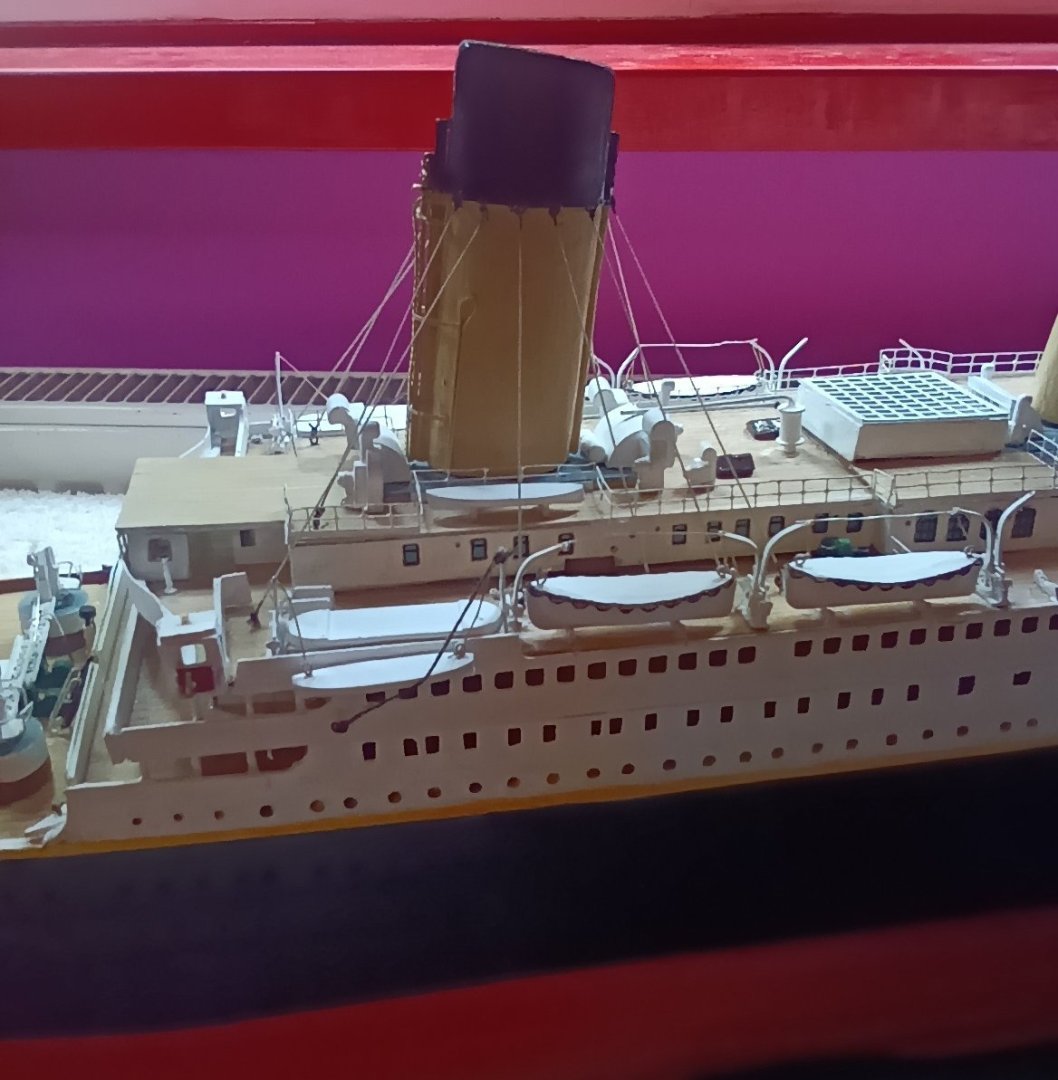
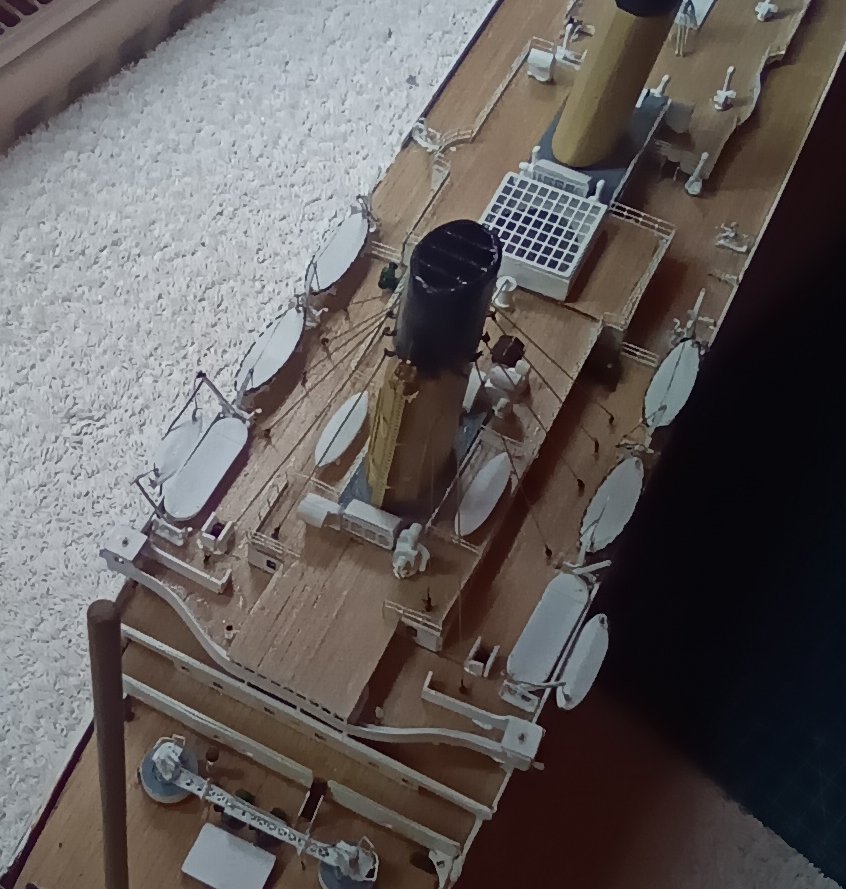
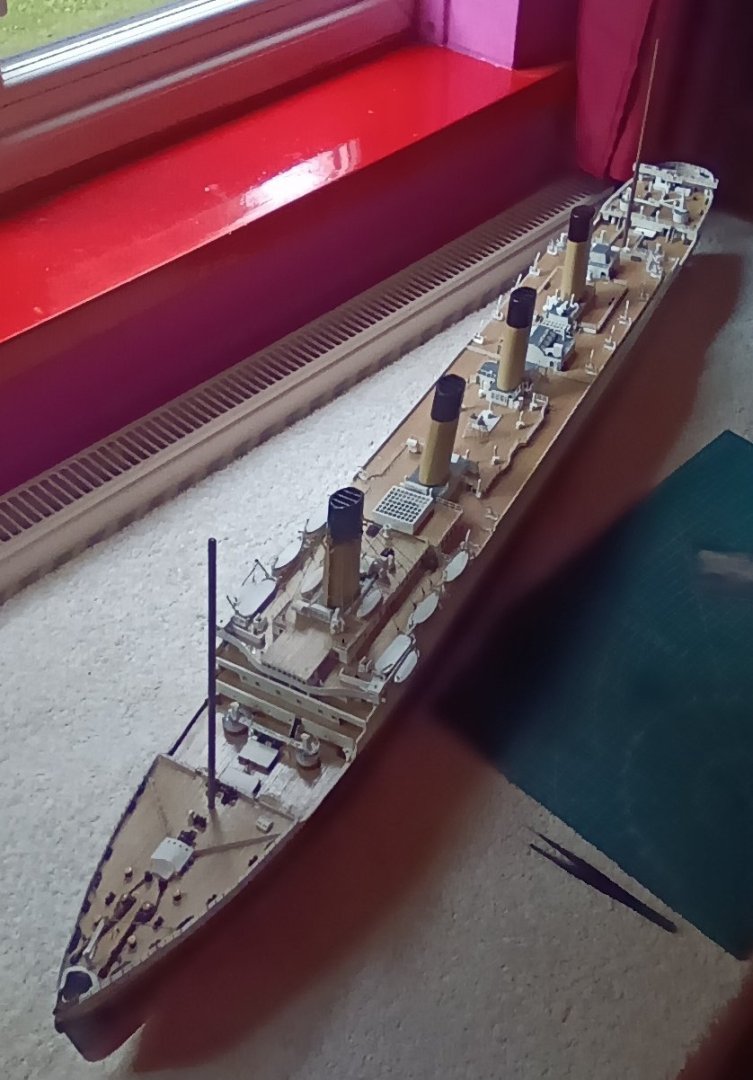
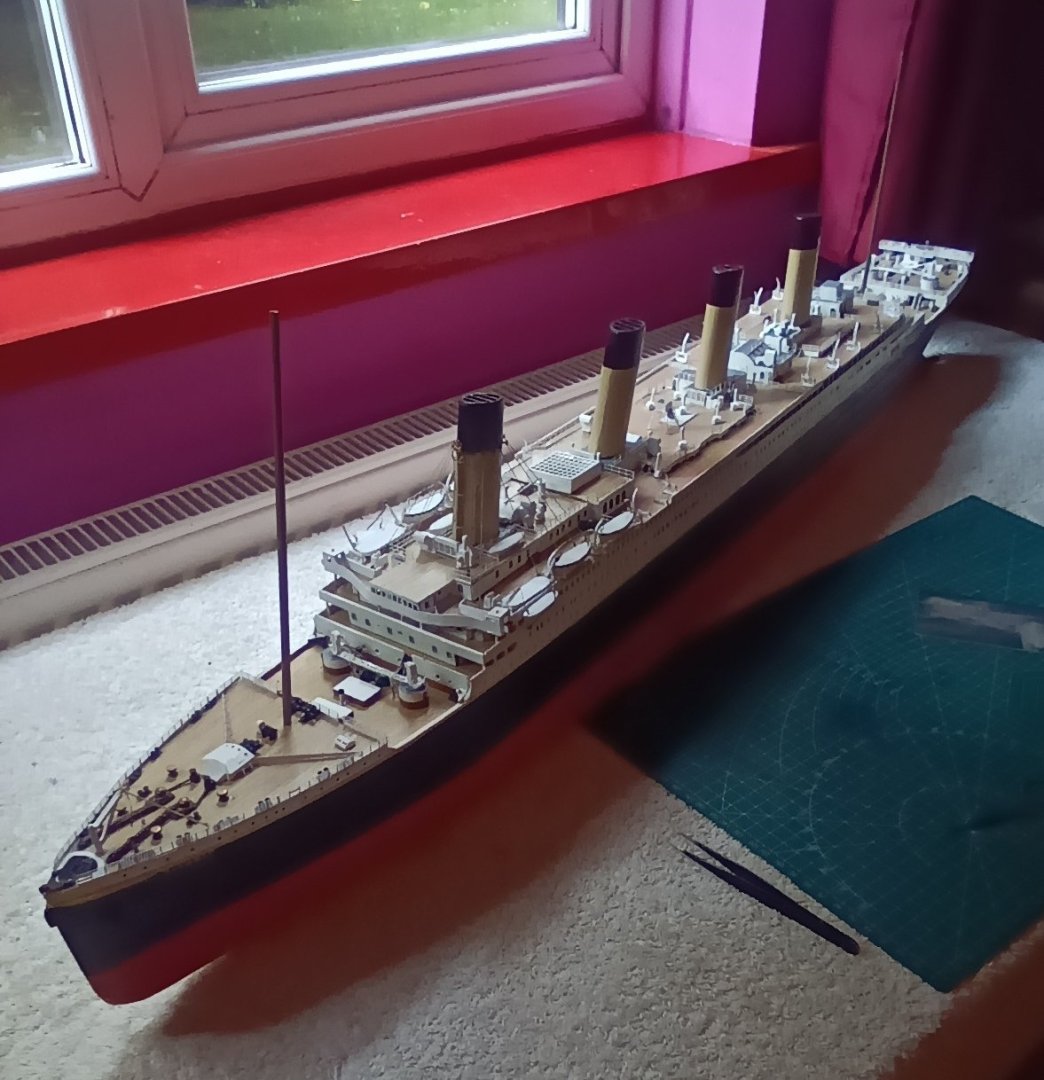
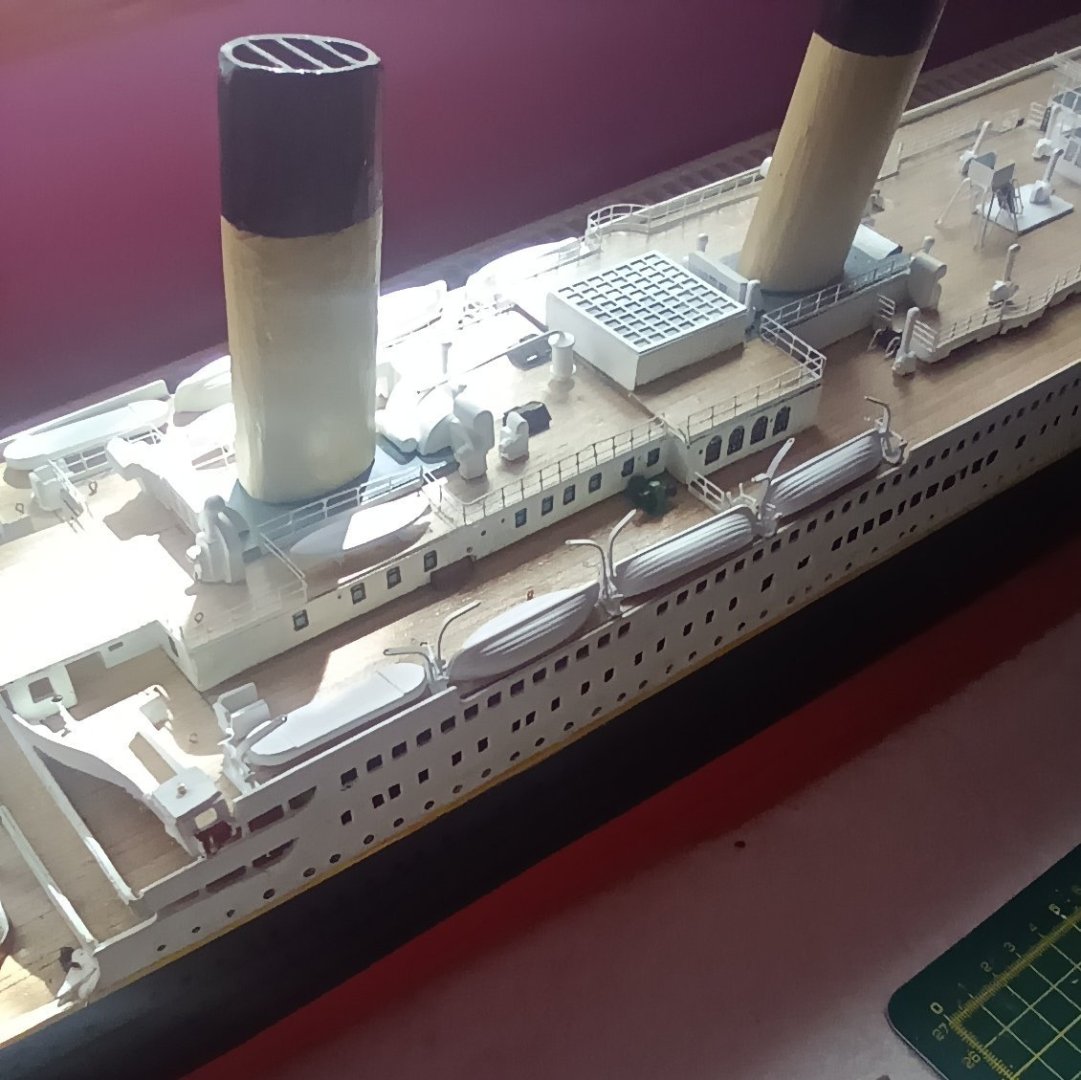
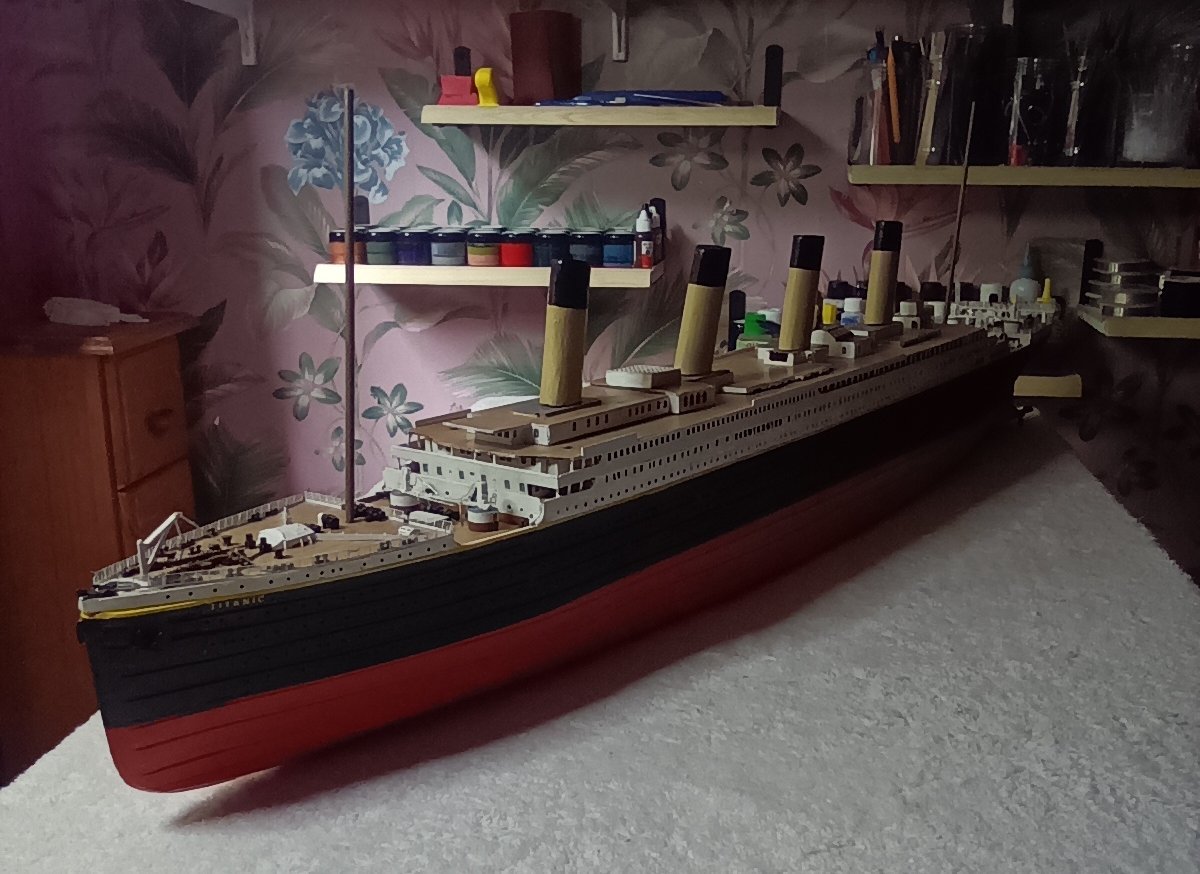
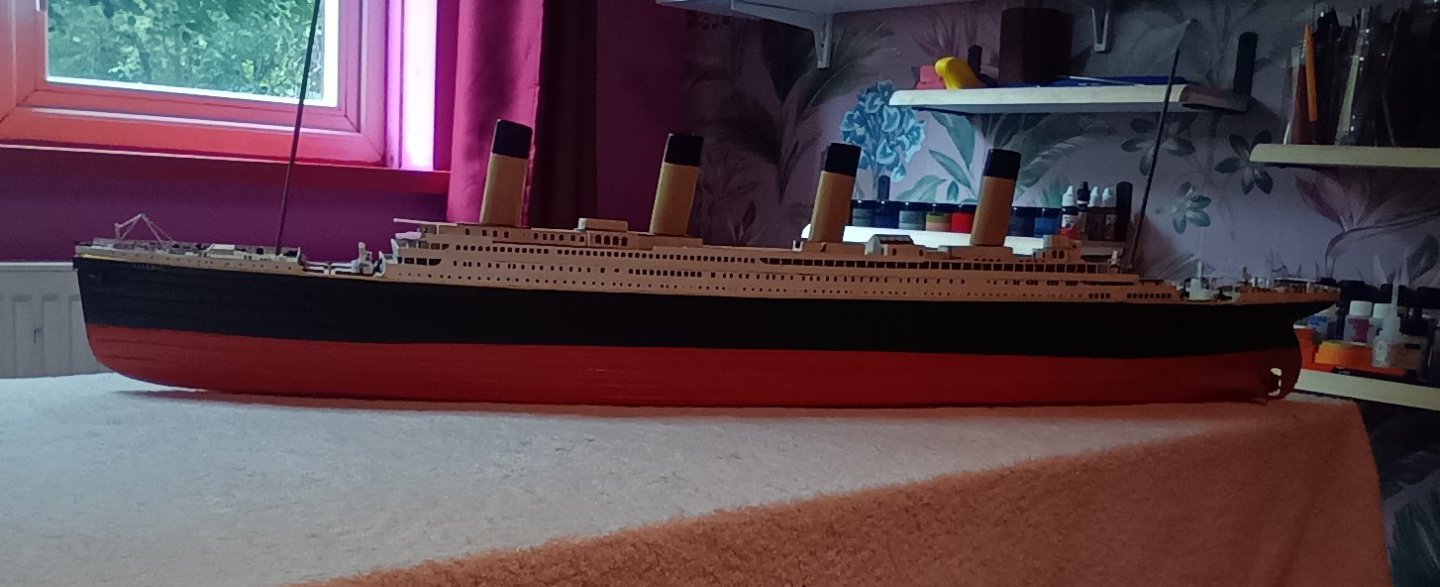
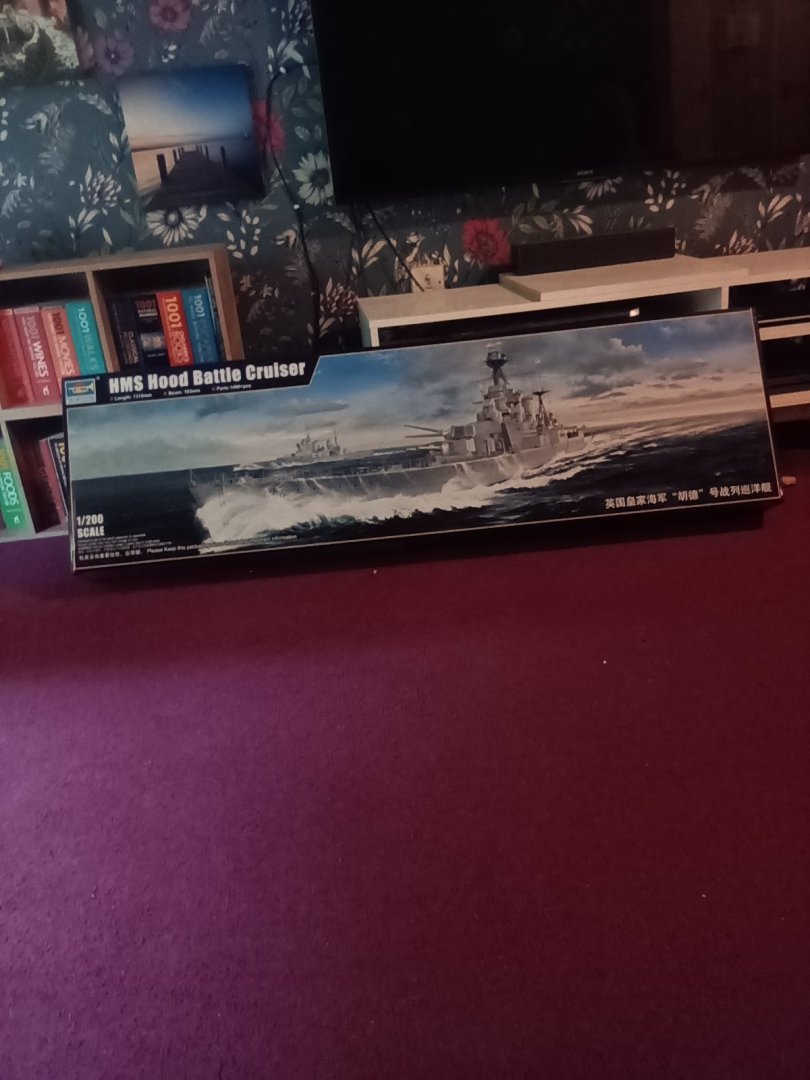
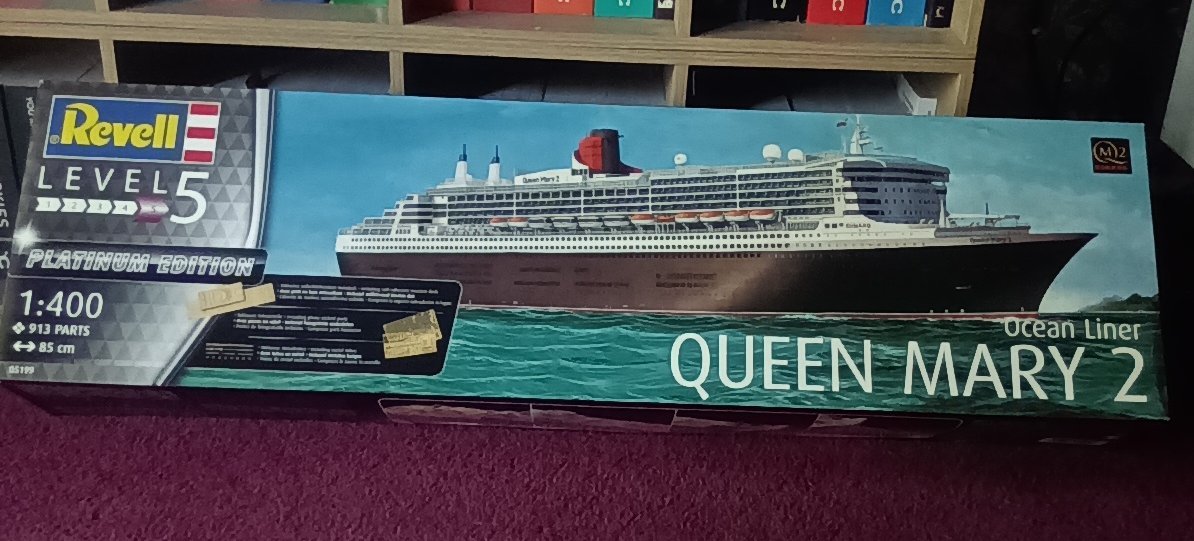
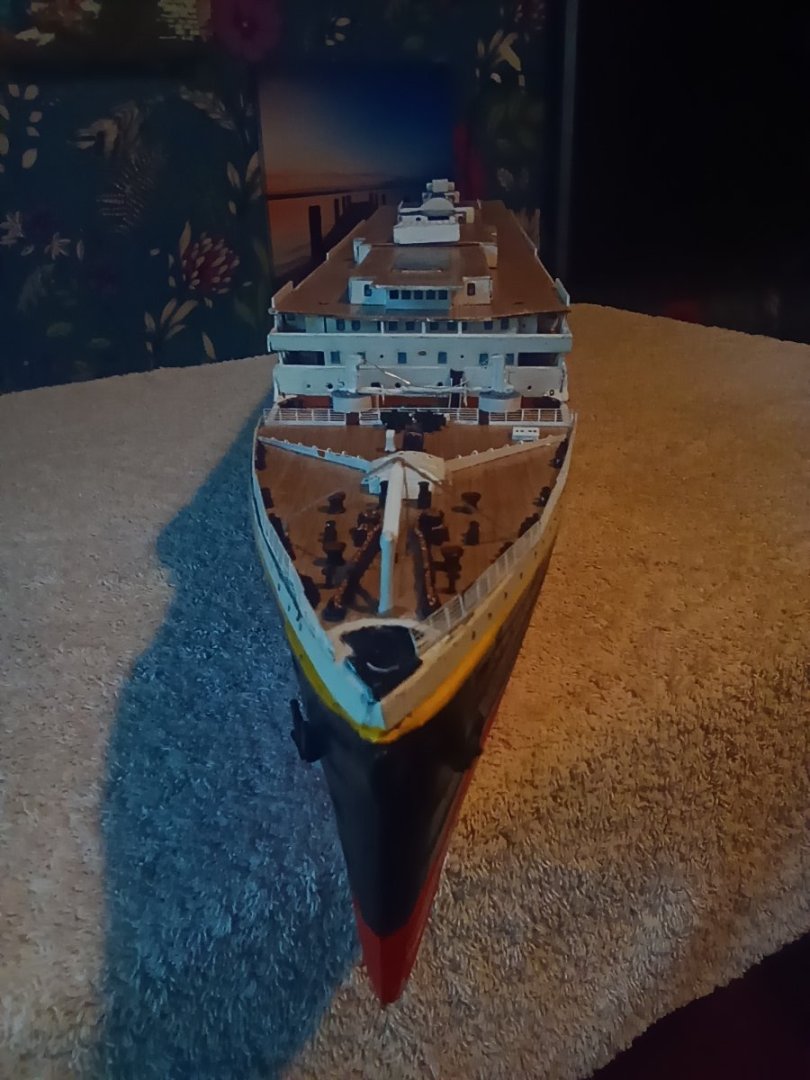
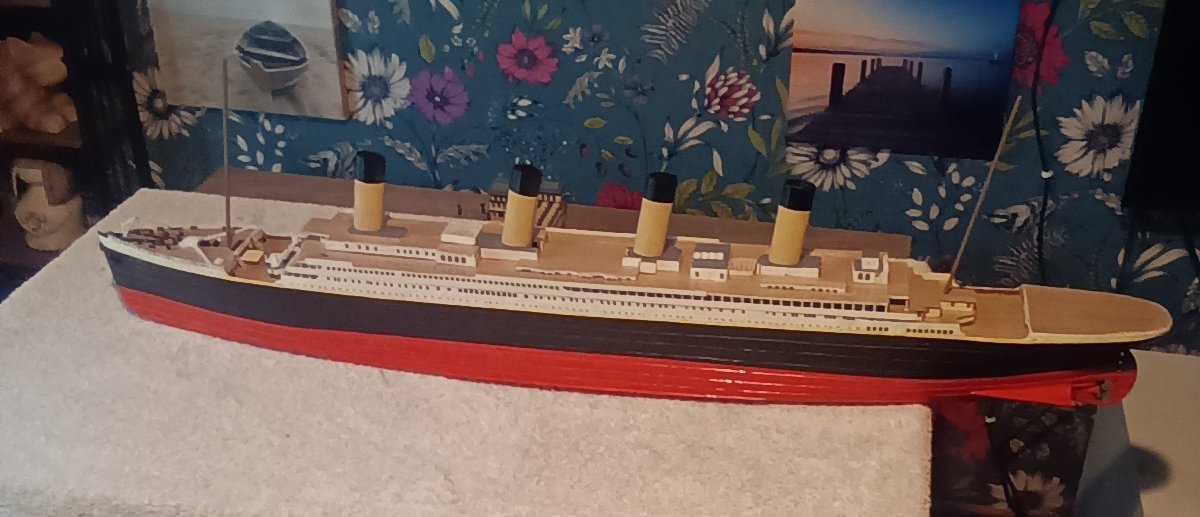
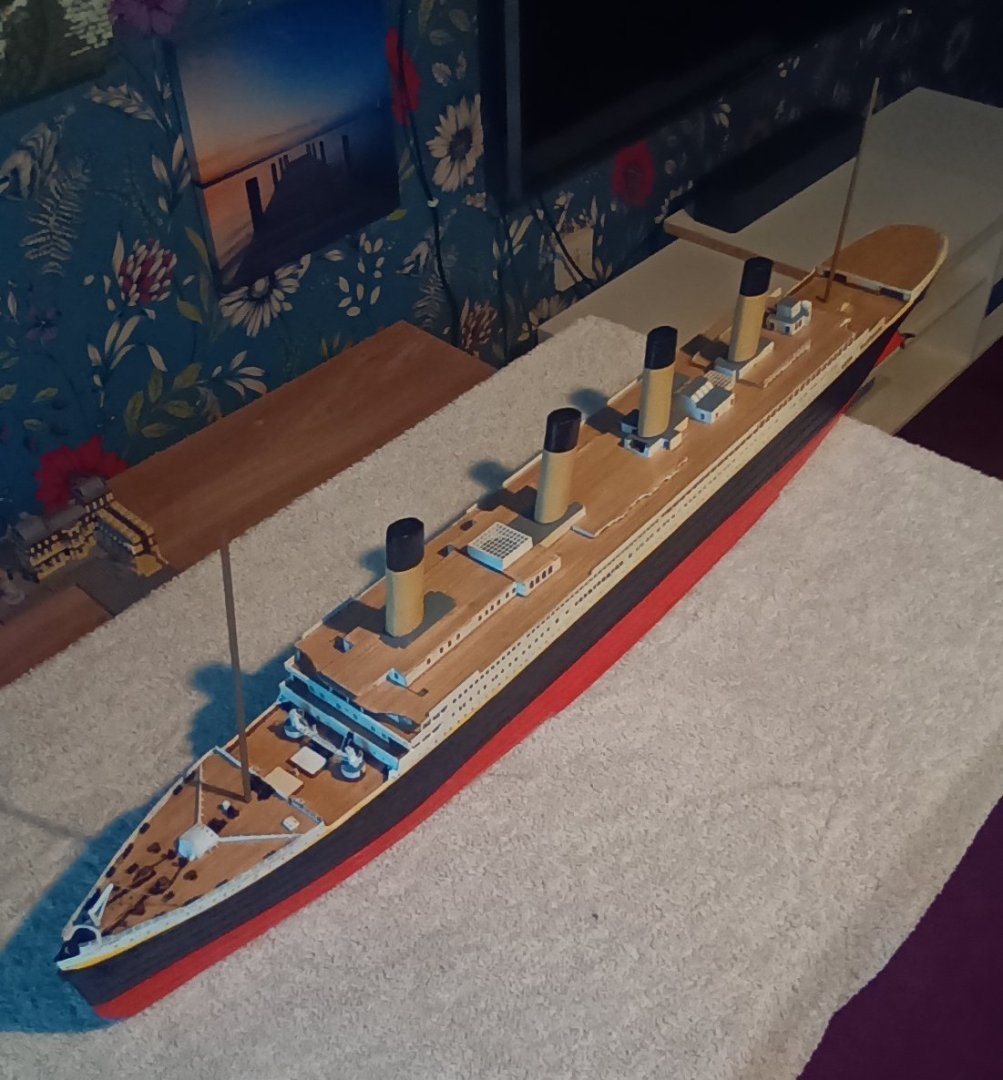
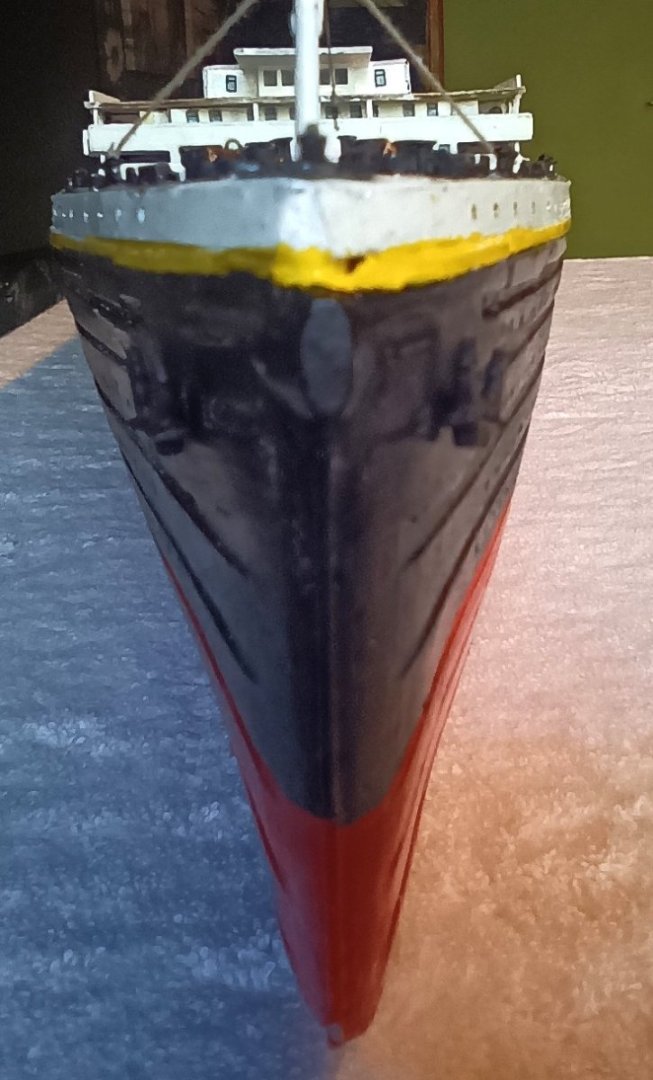
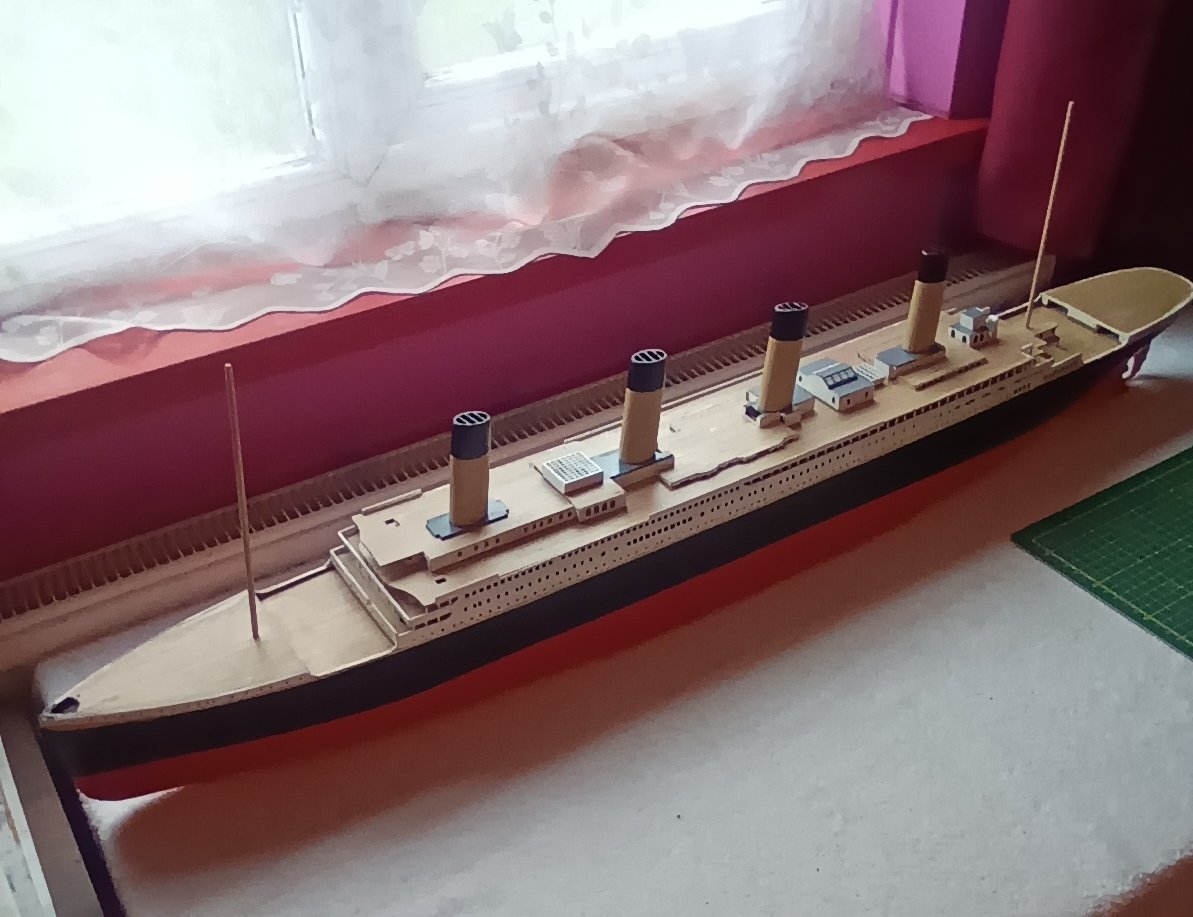
Titanic is finished after 2 years 5 months. Looks a lot better then the photos can ever do it justice. Getting those Marconi telegraph Wires across that length between the masts and keeping them in four straight lines was the most frustrating part of the entire build. But they look good. Never will I do another model that requires that type of work. Will concentrate more on plastic kits now. Wooden ships take so long. The four I have completed represent around 10-12 years of work. Couldn't get the lines coming down to the deck straight and tight though. I seriously thought about stretching out the plastic from a sprue to get them looking straight but it looked better with the same thread used for the lines.And does look better when viewed from a few feet away. Next big project will be HMS Hood 1\200 scale. I have been building the Queen Mary 2 from revell alongside the Titanic and am up to the hull painted.
-
Excellent,great job,well done Bob.
- 87 replies
-
- King of the Mississippi
- Artesania Latina
-
(and 2 more)
Tagged with:
-
All the deck fittings completed. Funnels fully rigged. And the ships boats rigged to their davits. Just the two masts to build up and the model will be completed. The photo etch on the funnels is not great,not terrible,just OK. But I'm happy with how it looks. I'm a bit funny with my modelling. I don't particularly like photo etch. I find it far to finnicky to work with. But at the same time I enjoy adding it to the model. Even to the point that I have brought the MK1 designs upgrade kit for the Hood.
-
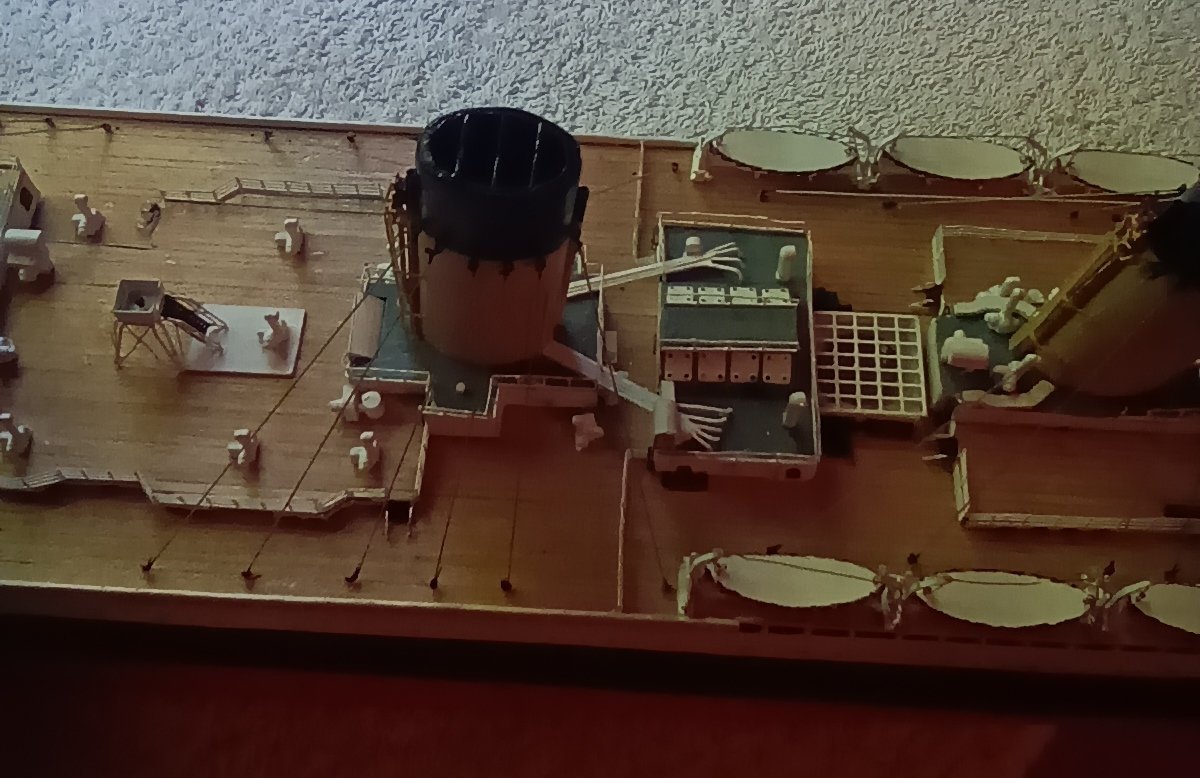
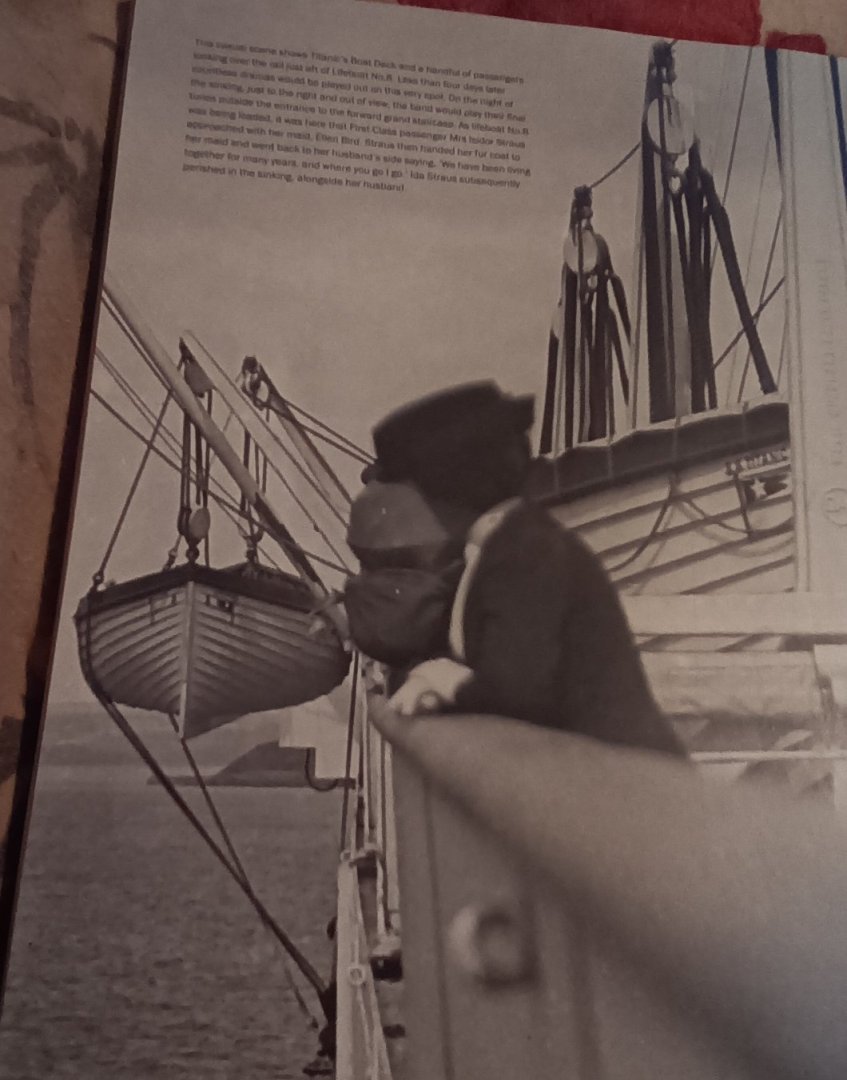
Funnel number 1 in place and rigged with the stays. First of the ships lifeboats in place. There is a nice photo looking along the boat deck. This shows how complex the davits where rigged. I have tried to very roughly replicate some of the ropes. I'm not sure what the cable was running across the top of the davit uprights. It wasn't on the uprights that had the two lifeboats swung out. I've represented it with some 0.3mm wire,but not painted it black. So that it is visible without being to conspicuous. The stays are made up with 0.5mm grey nylon thread to better represent the steel rope that was used. The lifeboat rigging is 0.3mm sand coloured thread. I am thinking about adding some figure of eight coils to represent the fall of the rope. Or some round coils positioned on the deck. But this may not work at this scale. The second funnel just needs a little but of work to get in line with the first. The photos don't really do the model justice. It looks far better when seen with the naked eye.
-
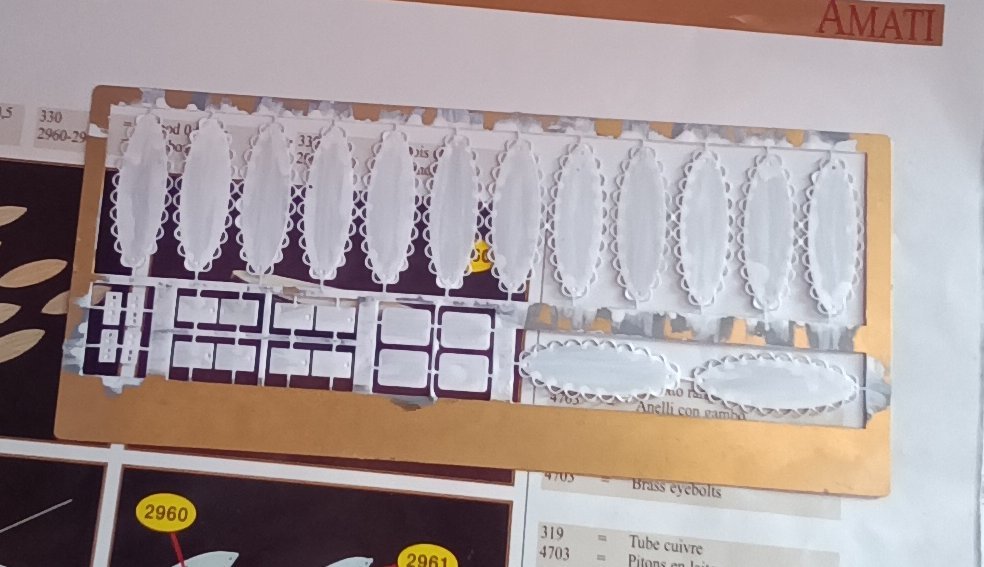
Most of the deck fittings completed. Moving on to the ships boats and the davits. The painted davits have been superglued together. This works OK, but they do come apart to easy when the upright parts are added, no matter how long They have been left for the glue to cure. So the first two of the next five have still been superglued. But I then decided that it would work better if they where soldered in place. This is a much better way of doing them and they are a lot stronger than gluing. Then using the dremel with one of the polishing wheels cleans them up nicely. The boats are just added upside down to get them in the correct position. The PE is the boat covers with the rope effect around sides needing painting. Then it's just the funnels masts and rigging to go.
-
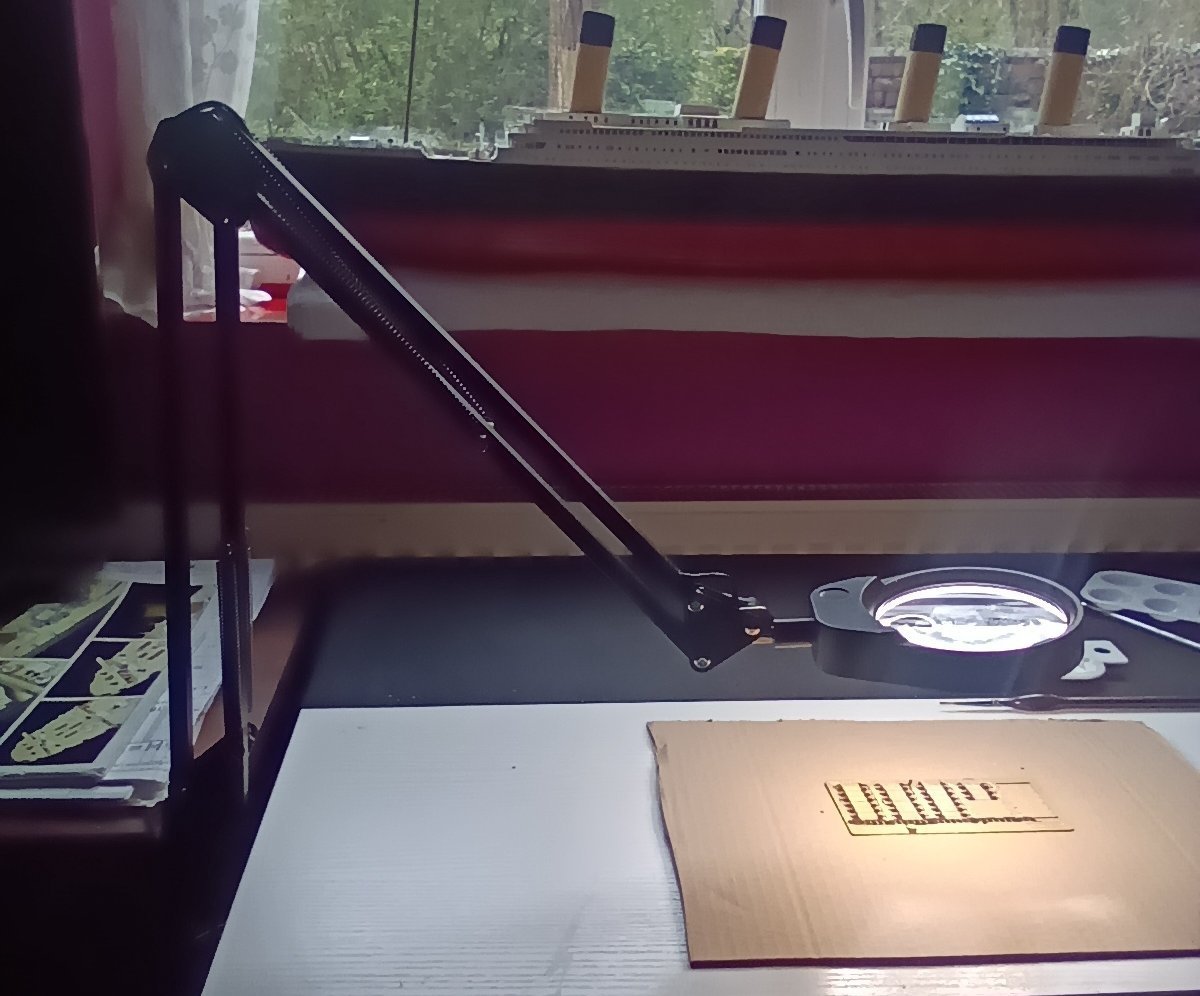
I'm using about the same as most people are. I recently ivested in a 10 times desktop magnifier which is excellent. It can be used at various distances. Can even get it over the deck of my model to see the positioning of the smaller deck fittings. I also have headband magnifiers that have various magnifications up to 25x.
-
Thanks Ken, Yes I've seen that site. I also have the Anatomy of a ship book. And will hopefully be able to get one of the aftermarket kits.
-
Titanic stern area complete. Now onto the boat deck and it's fittings. Then it's the ships boats and finally the funnels. On another note I have always wanted to build one of the 1\200 scale Trumpeter Ship kits.But not Titanic,prefer to build her in wood. So treated myself to this monster of a kit.
-
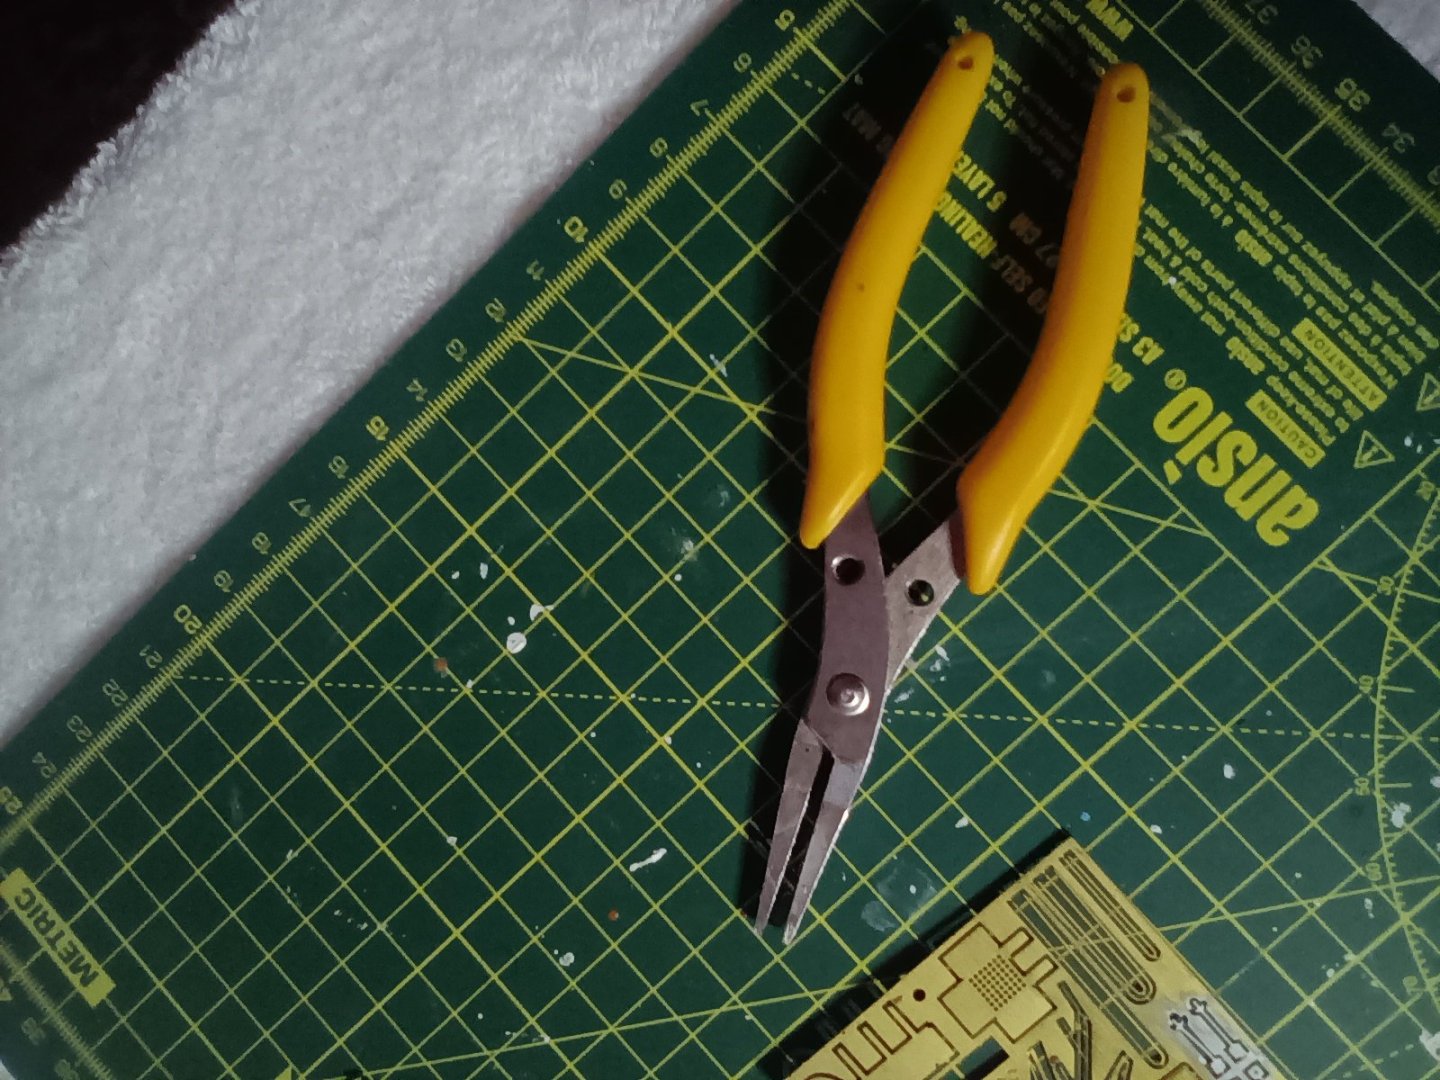
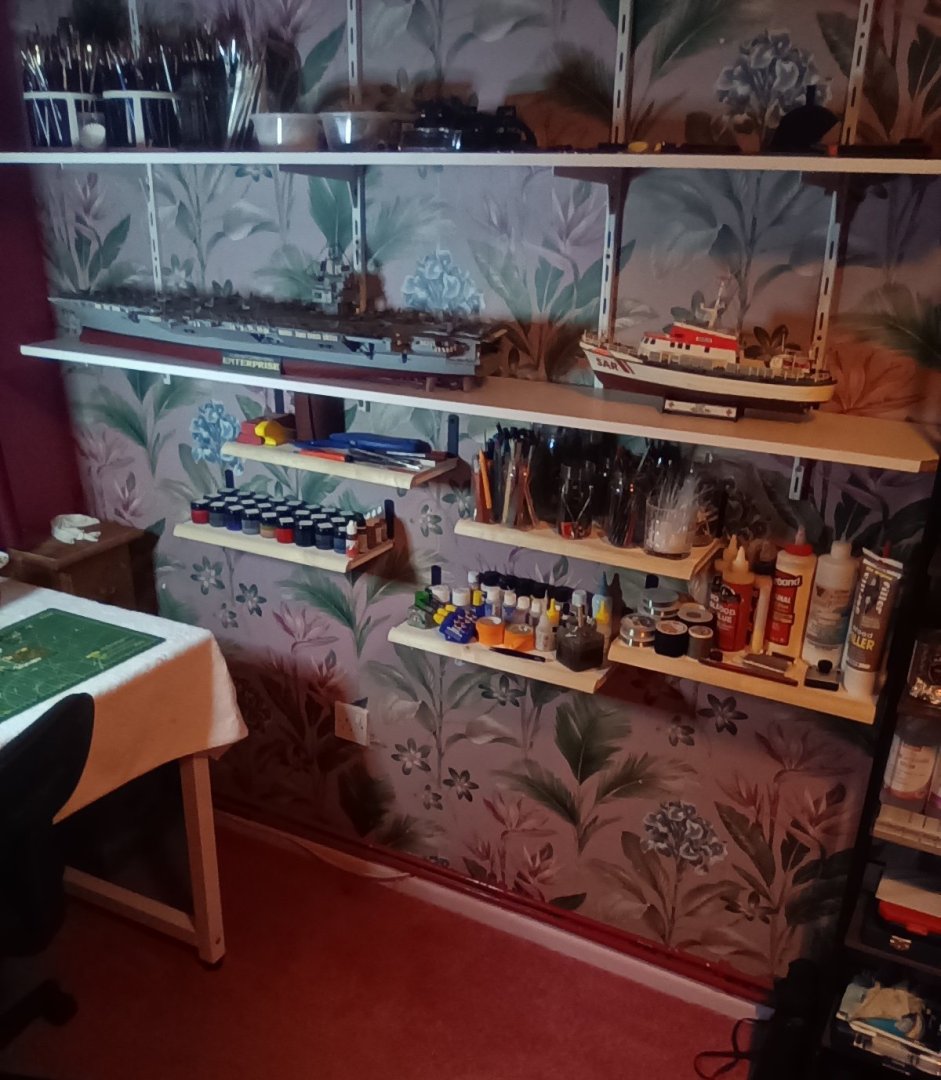
Had a seriously bad accident with Titanic. I had the poop deck handrails in place. Reached up to get some tweezers to add some bits and pulled the pair of pliers you see down. They landed smack onto the rails. The damage was unreal. After spending nearly two hours repairing them as best I could they are probably as good as they are going to get. The picture does make the look worse then they are, but Just can't get all the kinks out unfortunately. I have now put up some new shelves lower down. My tools where on the shelf that the Two models are on.
-
Starting to add the Poop deck fittings. The bench colours are based on the Titanic research association recommended colours to represent the teal colour. They are khaki Matt with black armrests. They look a lot better seeing them normally. They look crooked in the picture,but they are not. Will have to build the docking bridge next. Looking at the plans some of the parts go between the bridge columns. Lucky I did not add them first or it could have thrown the way they fit out.
-
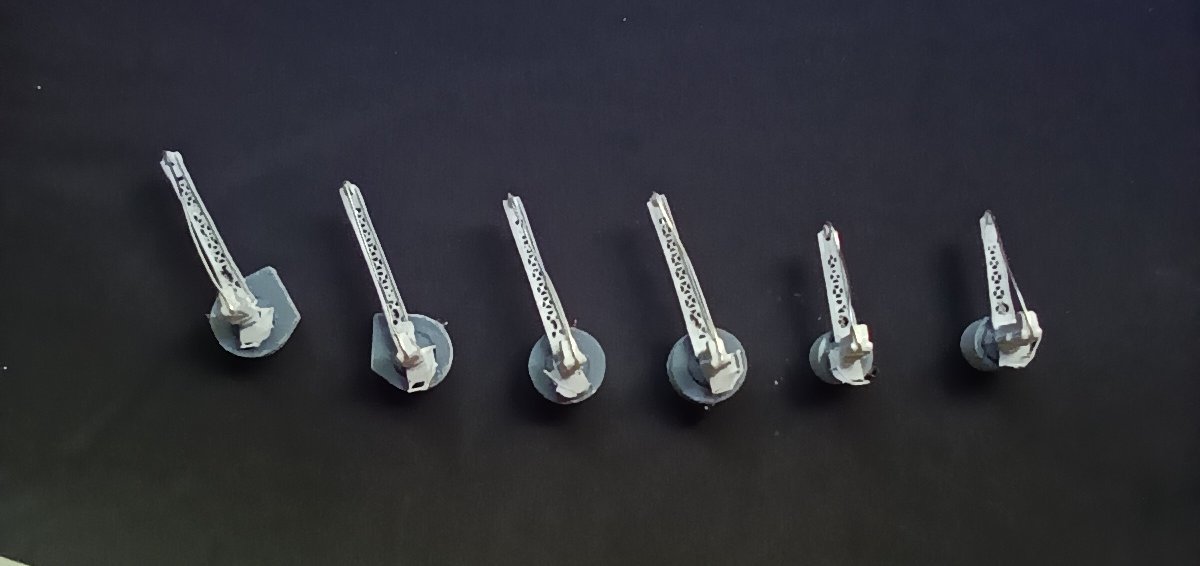
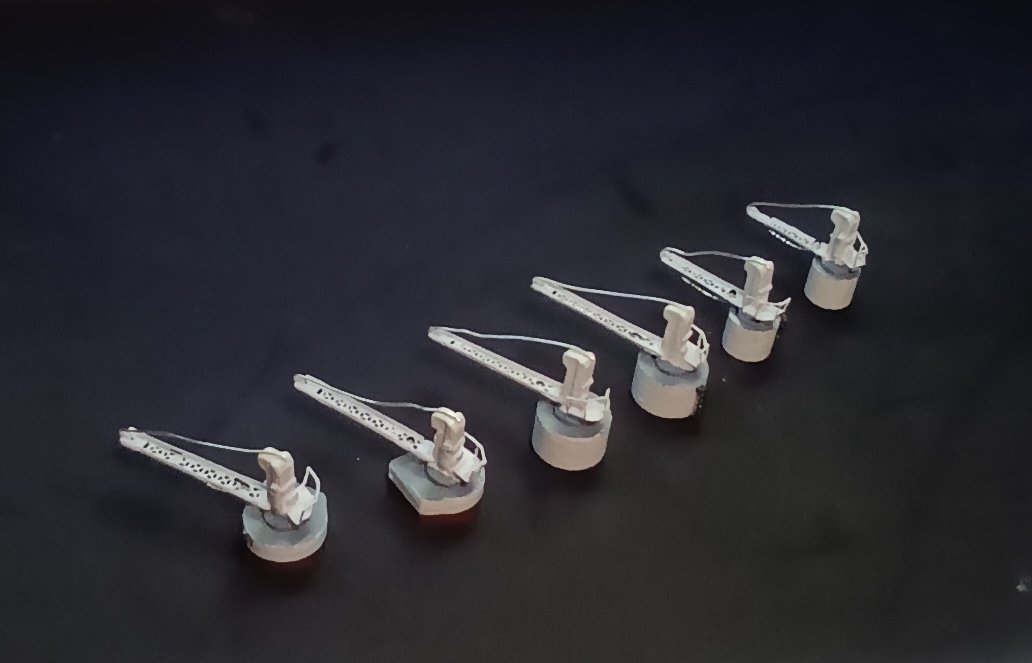
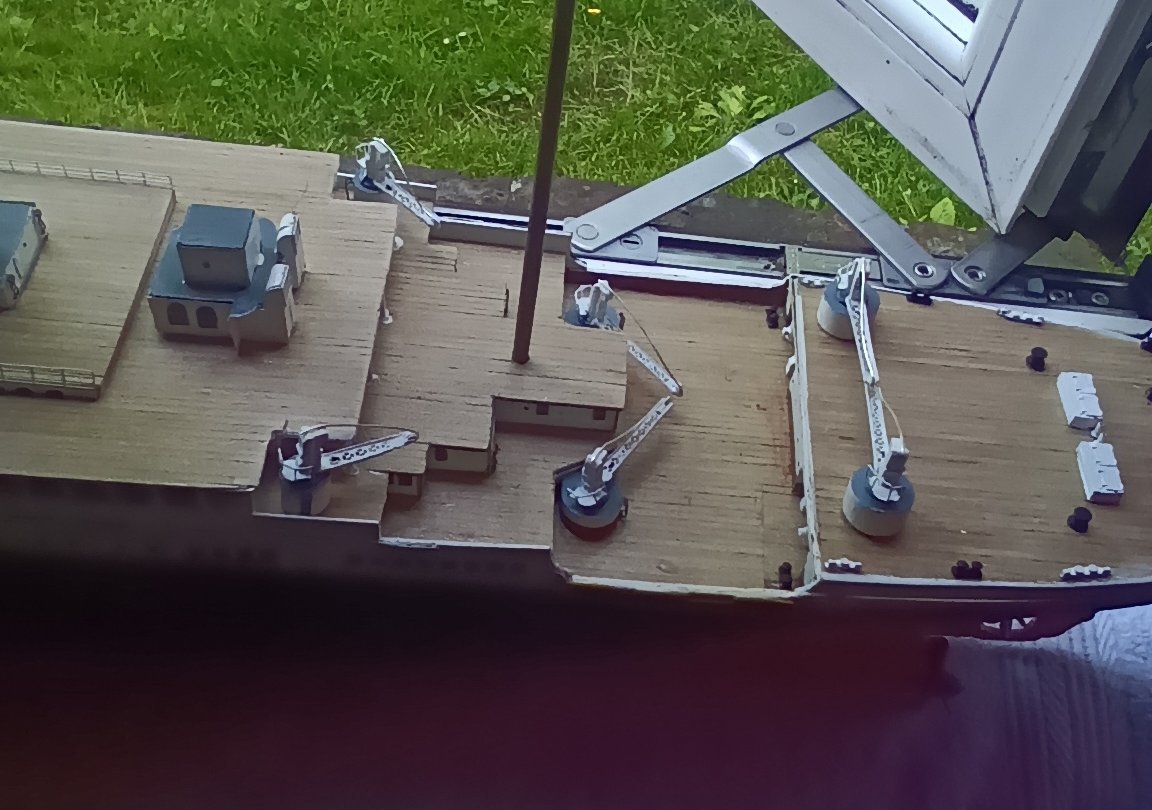
The cranes for the stern. These where a right pain. Attaching the sides to the jibs was so finicky. And three of them didn't have the small tabs used as guides. And one had the front part damaged. I have gone with the jewellers wire for the lifting cable. I am also displaying them flat instead of the 45°raised angle suggested in the instructions. I don't like raised look and much prefer them this way. They are roughly in their finished position. Now need to add all the fittings that I have painted ready to be added to the stern before gluing them in place. Then the docking bridge and onto the boat deck detailing.
-
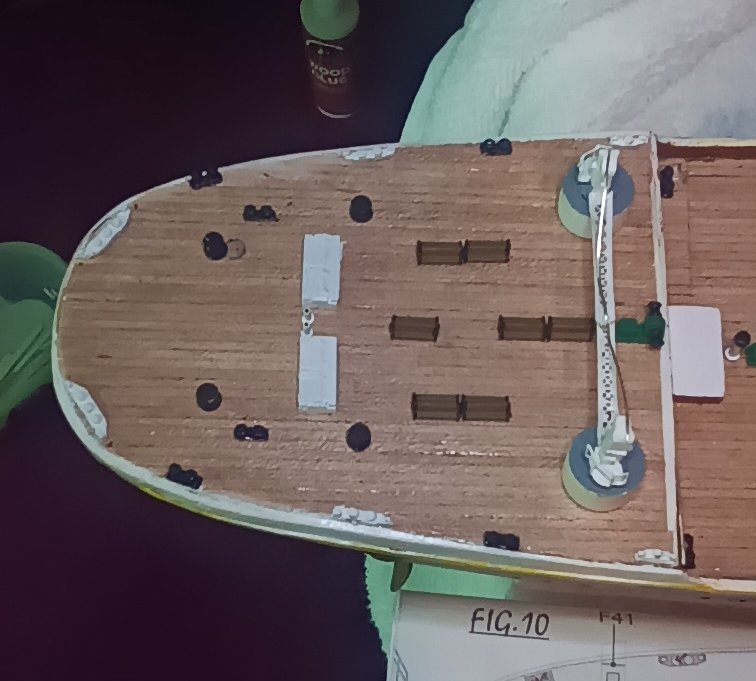
Not actually Titanic related. Just wanted show my next project when I finish Titanic. Wanted this for ages. Over 900 parts and photo etch to replace all the railings and other bits.maybe before the end of this year I may finish Titanic and start a build log for this. I'm working on Titanic's stern at the moment. Most of the poop deck and we'll deck fittings are painted and ready to install. I have reverted to the plastic benches supplied with the kit. I built 8 of the photo etch benches and they where just to large. once again should have taken a photo to show how They looked.They dominated the deck and the various fittings. They looked so out of scale with everything else on the model. I did try cutting them down but it didn't work. I am building the 6 cranes that go on the stern. They are a pain. Gluing the small sides to the crane jibs is a chore.
-
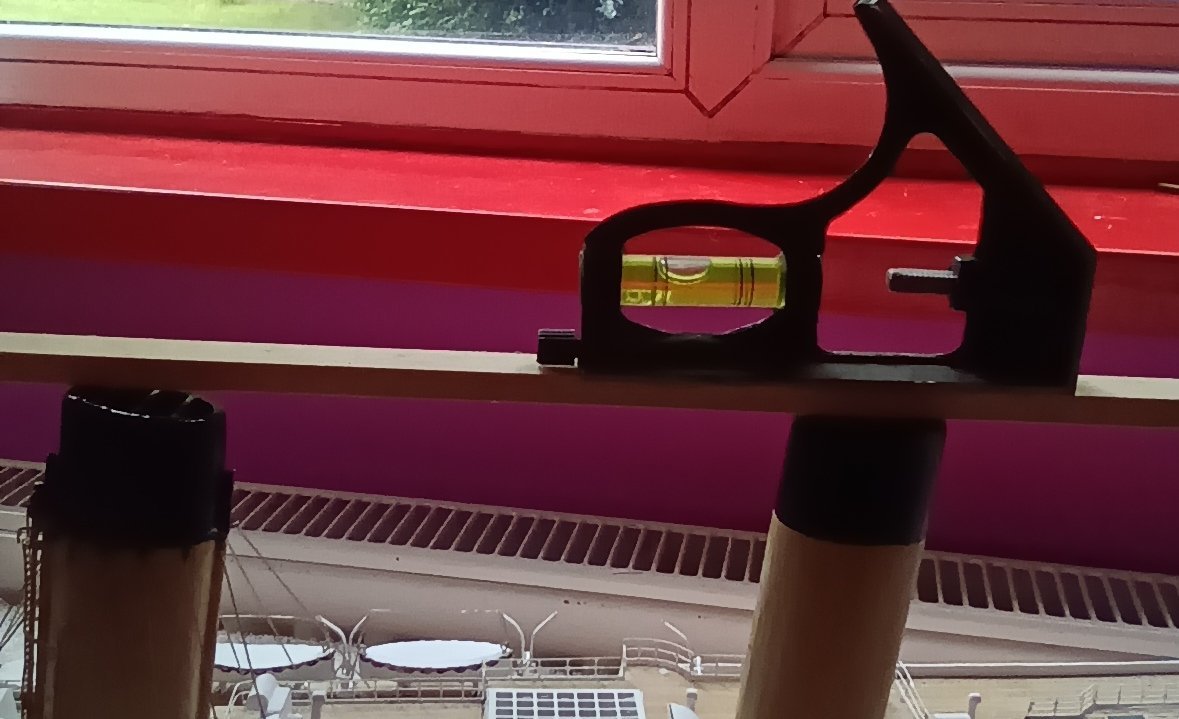
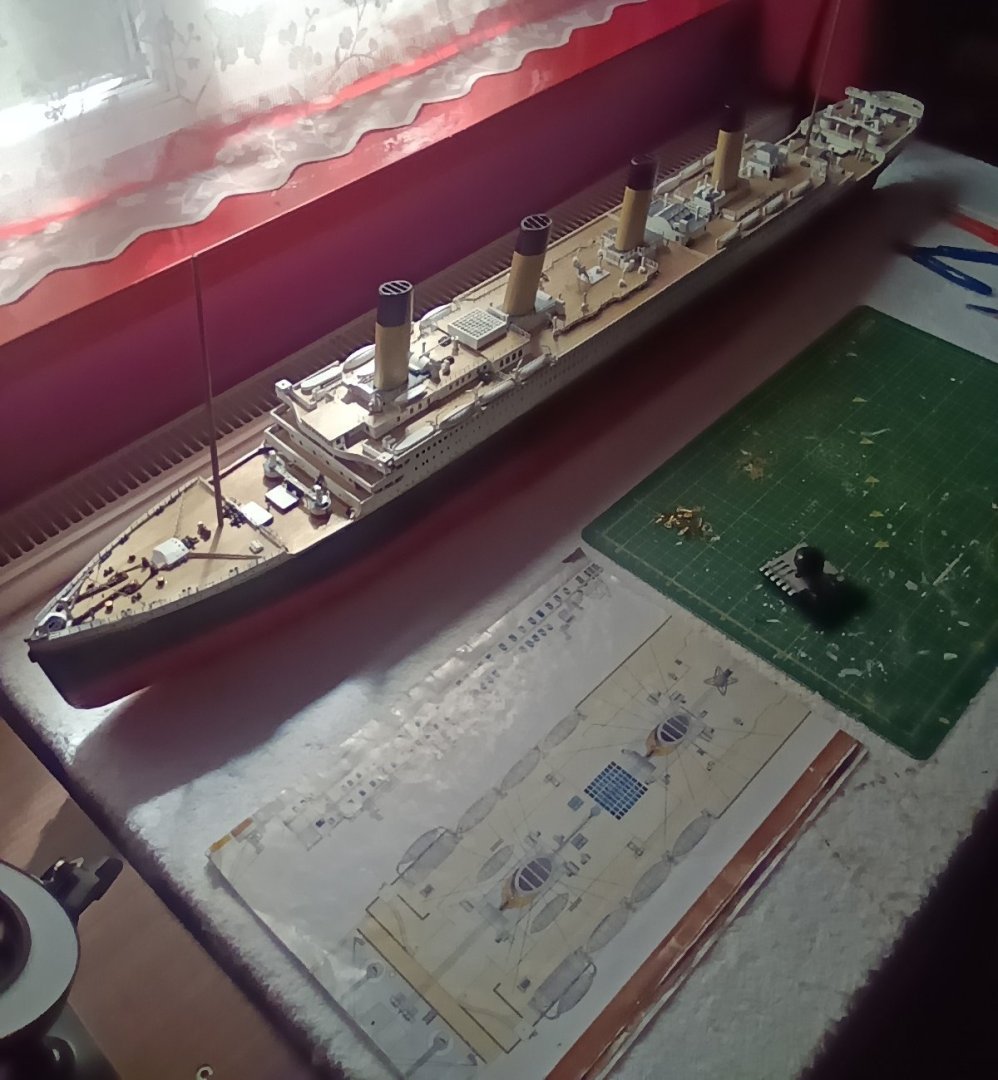
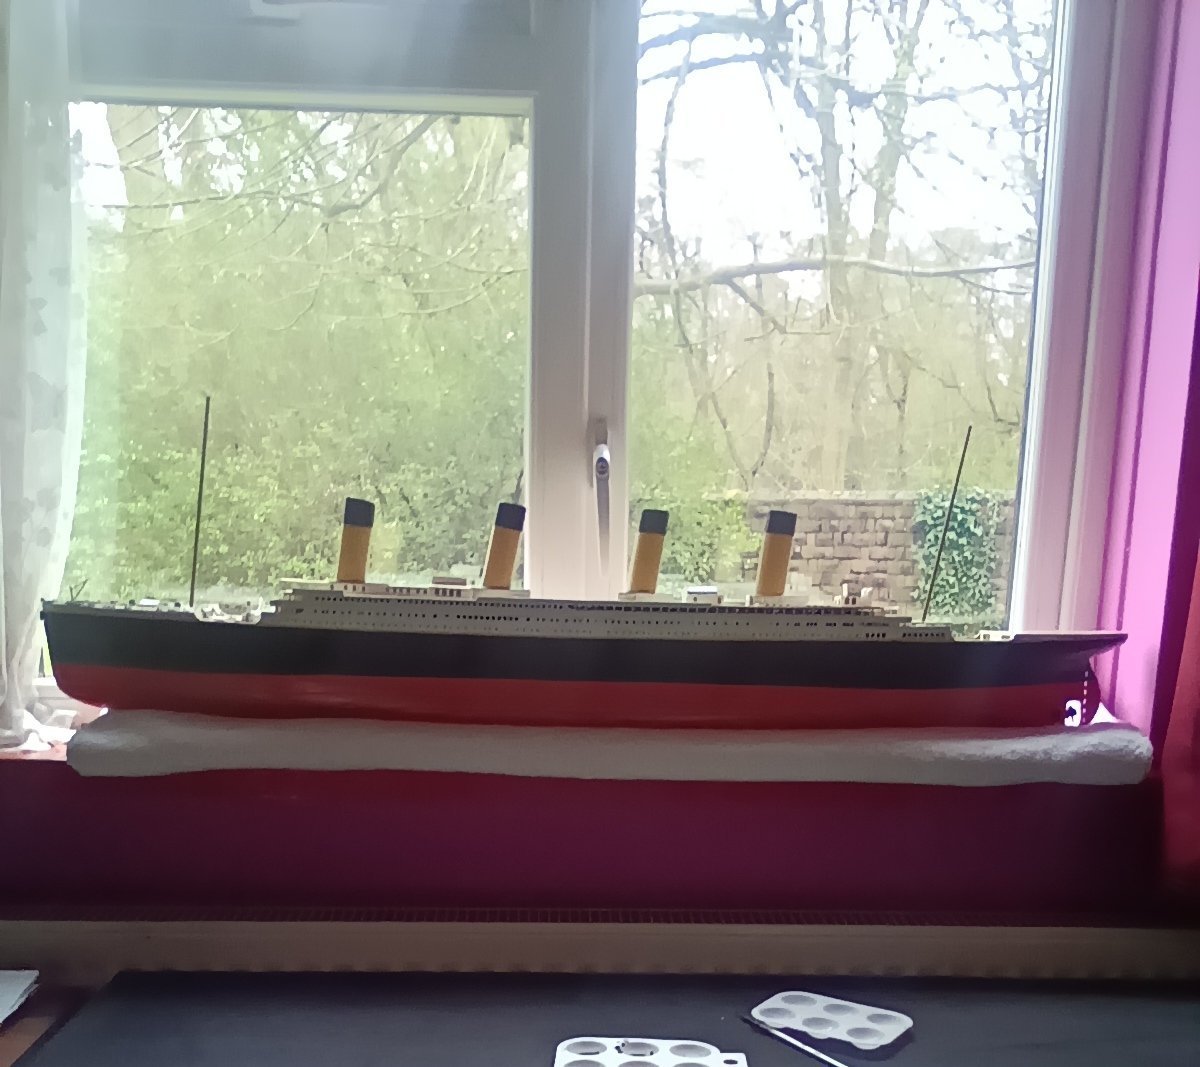
This is where I have the model sitting when working on the parts that need painting. Sometimes in this hobby things work out in your favour. I was struggling to open a container with a screw on lid to start painting the ladders,which are a dark brown. Couldn't get the lid to move at all. Wether there was a slight build up of fumes in the container or not I don't know. But the lid suddenly without warning burst off. And the paint literally exploded out of the container. I should have taken a picture. Somehow the paint had splattered all over the windows. And underneath the window sill. The wall and radiator where covered in thick paint. And somehow as if there was a shield around the model only a few tiny spots hit the ship.Can't explain how the model was not covered in paint. Or what I would have done had it been.
-
I can't believe I have not invested in one of these before. They are so much better then the headband magnifier I have been using. This one is 10x. Can't find one with higher magnification.
-
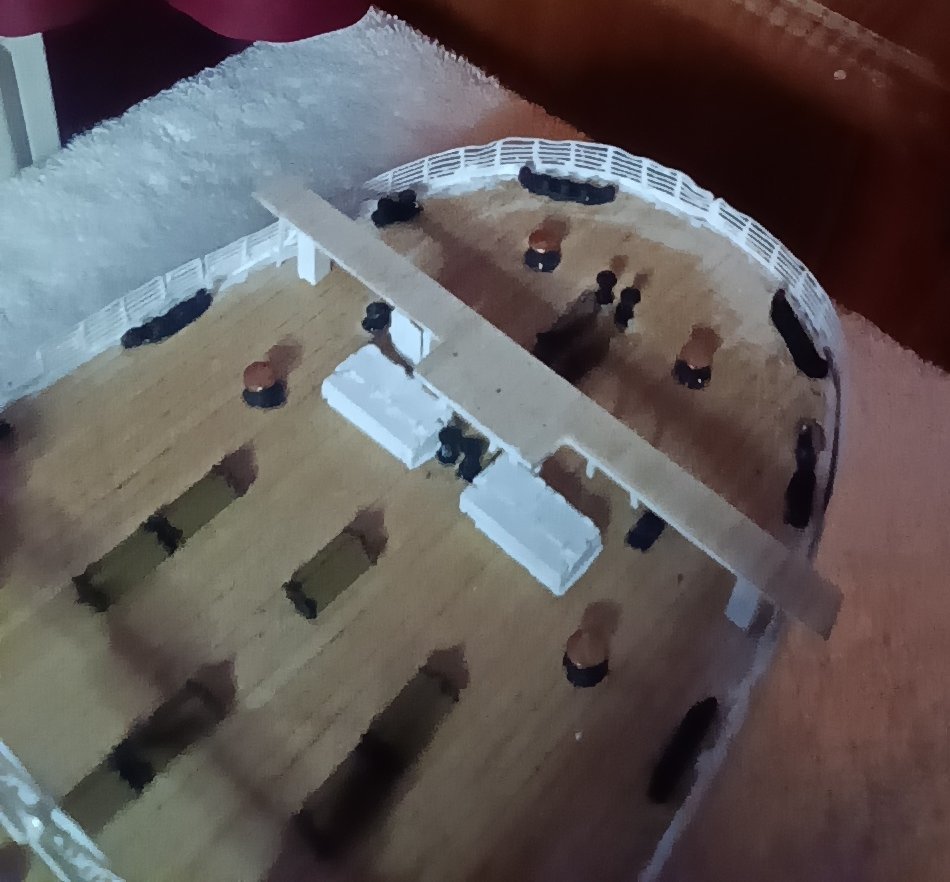
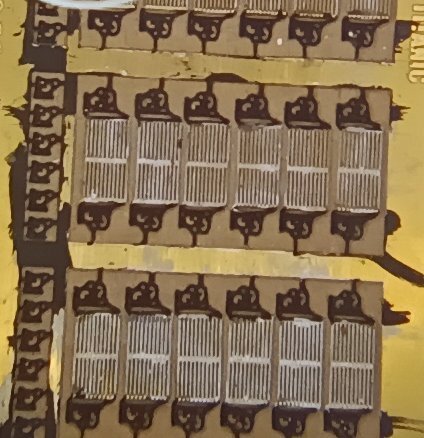
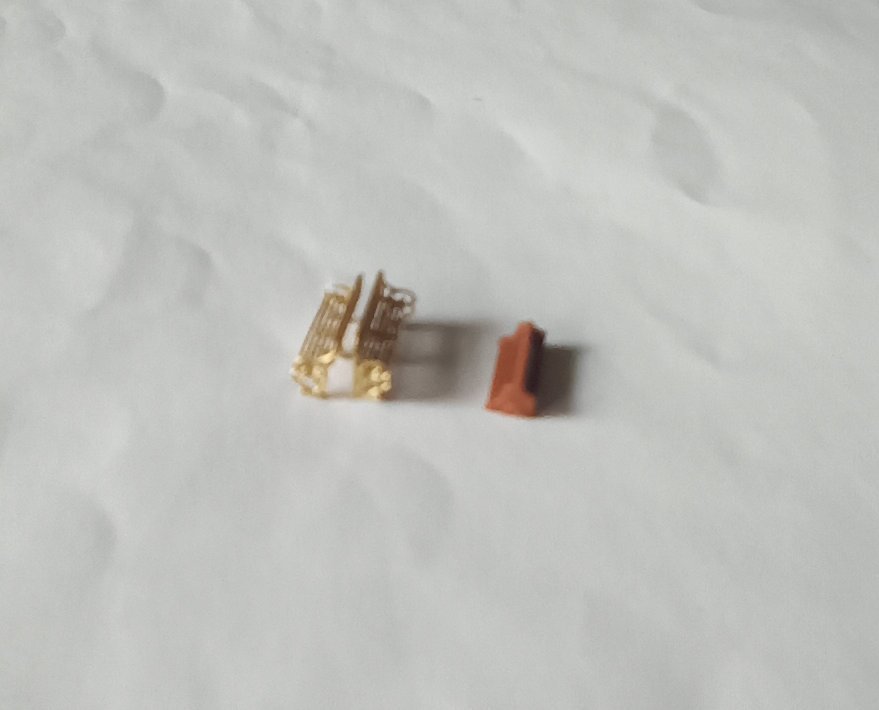
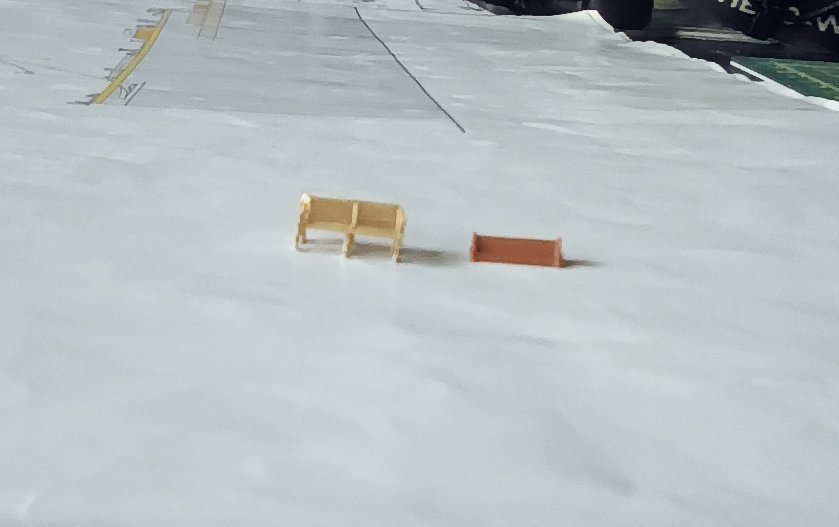
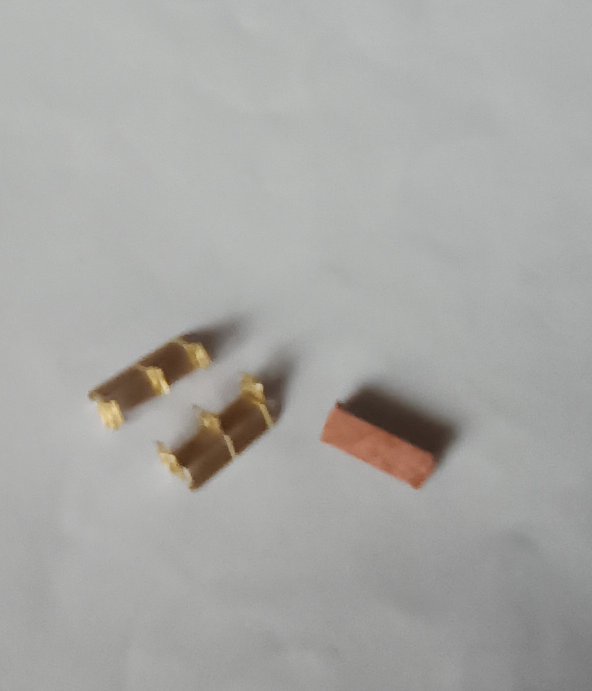
Starting on the Poop deck detailing. Photo etch benches as opposed to the plastic benches supplied with the kit. They look better with the naked eye. The tablet doesn't get as clear a picture as a good camera would. They are at least slatted The third picture shows the bottom of the benches. They are slightly larger and will take up more room on the deck,but look so much better.
-
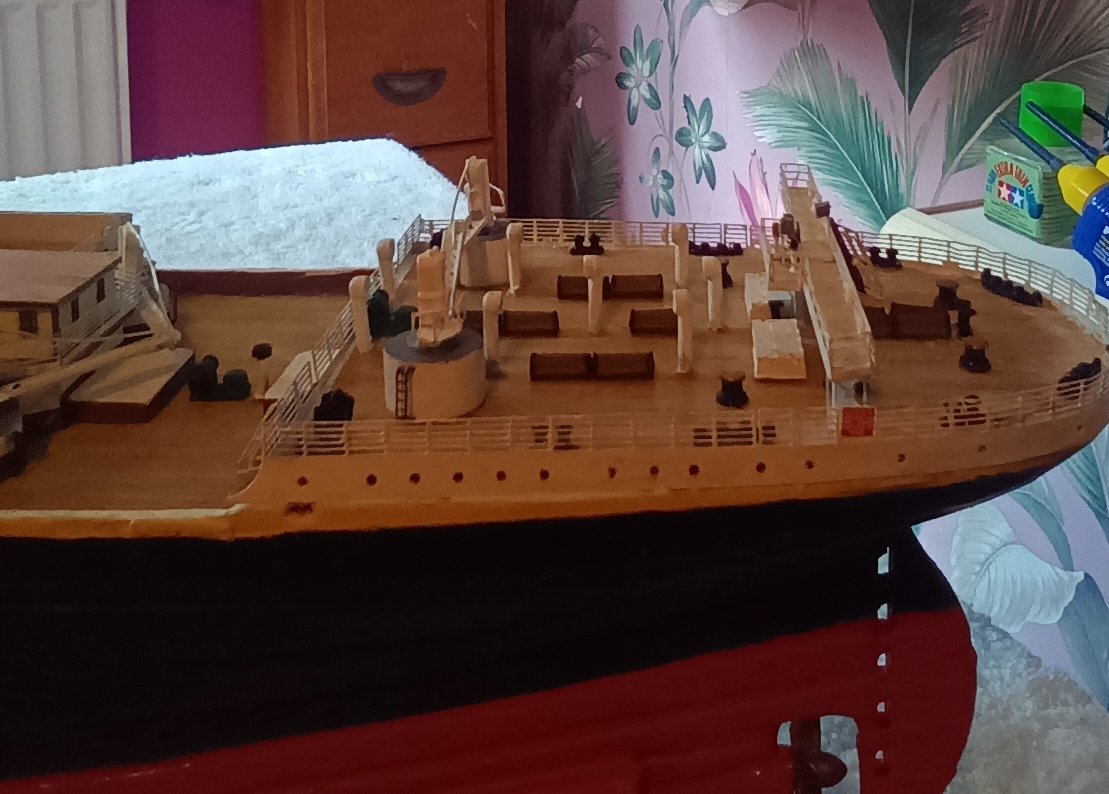
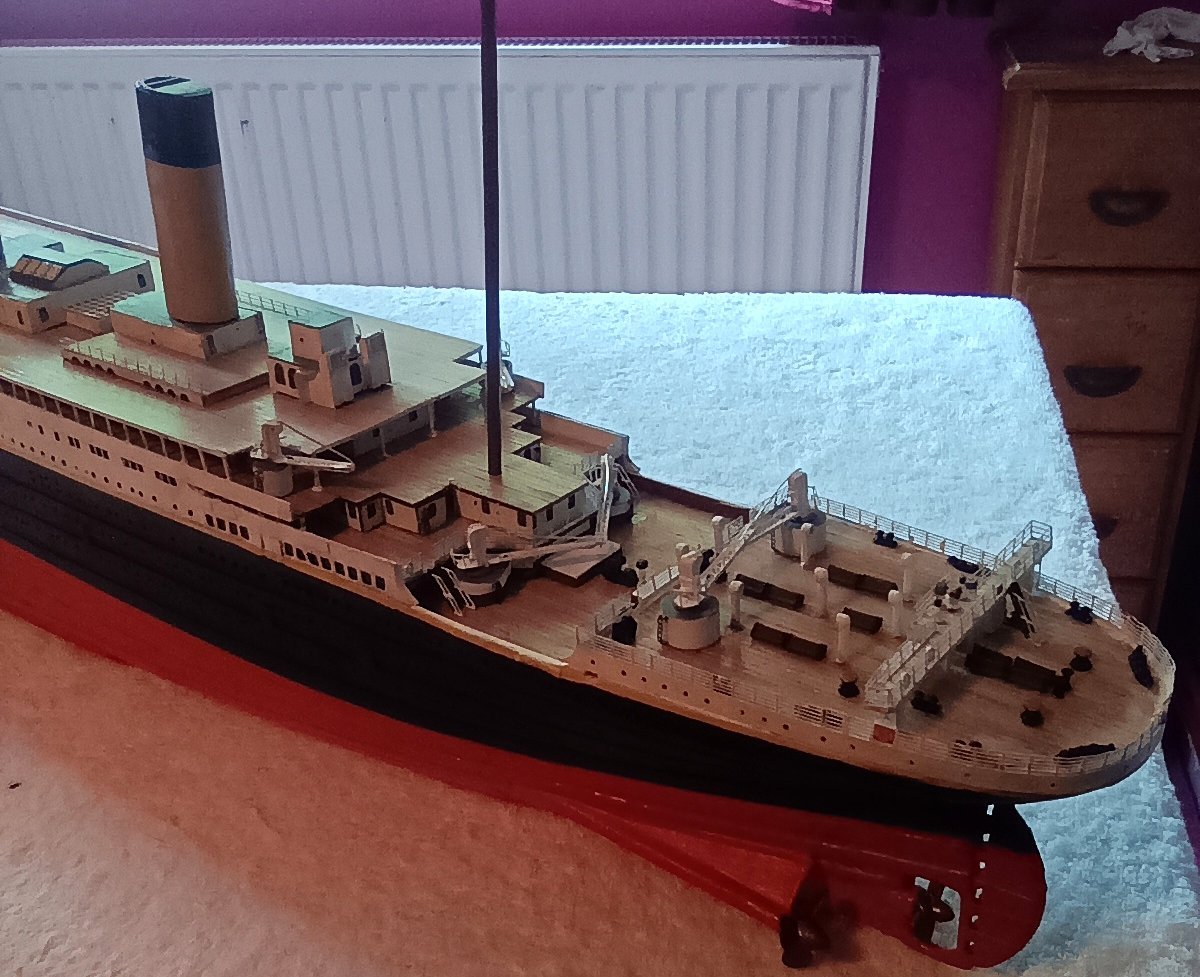
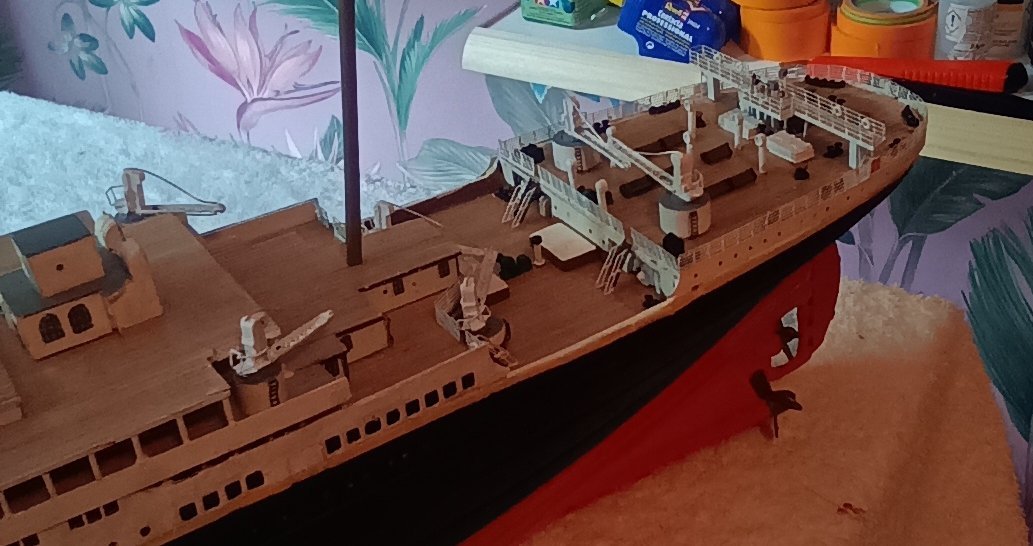
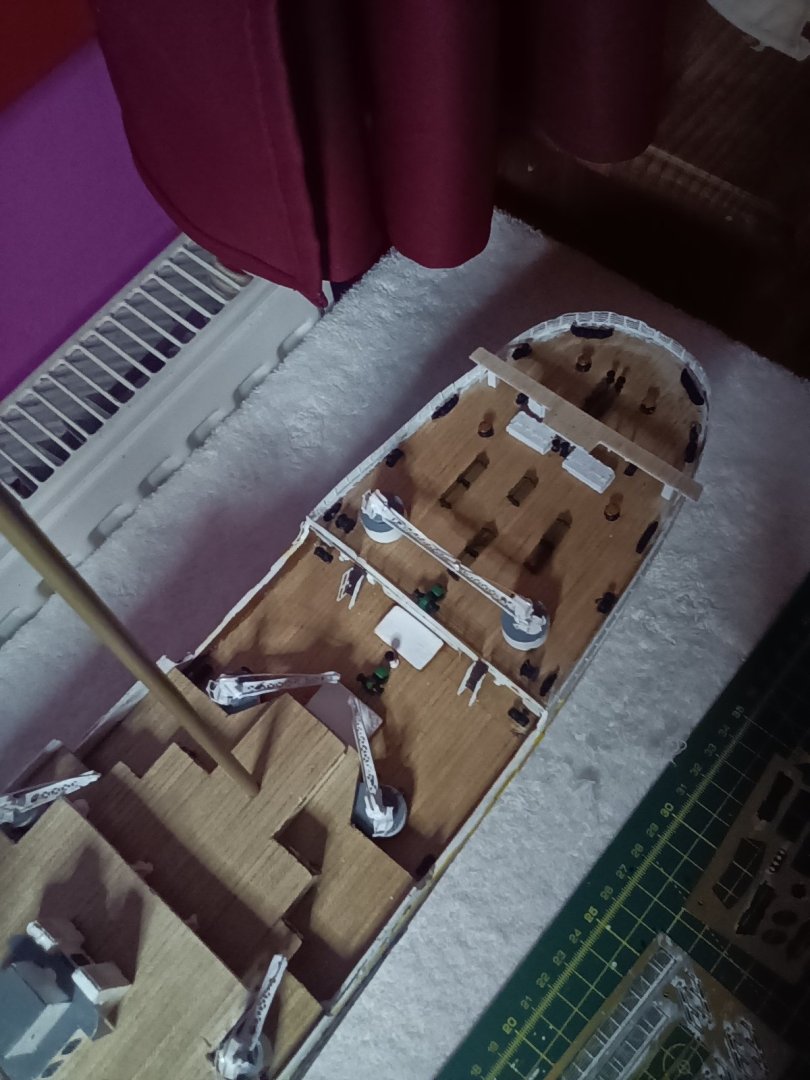
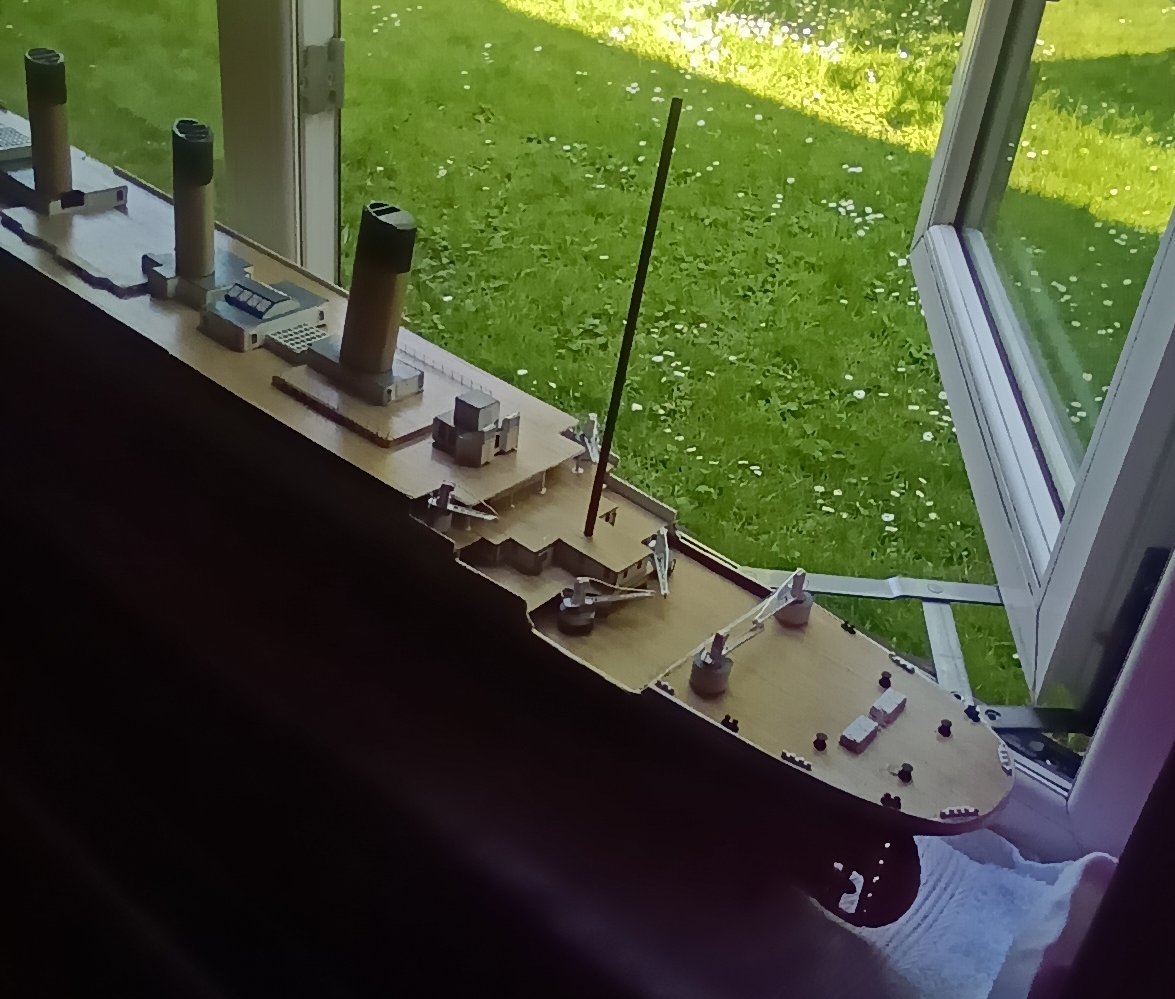
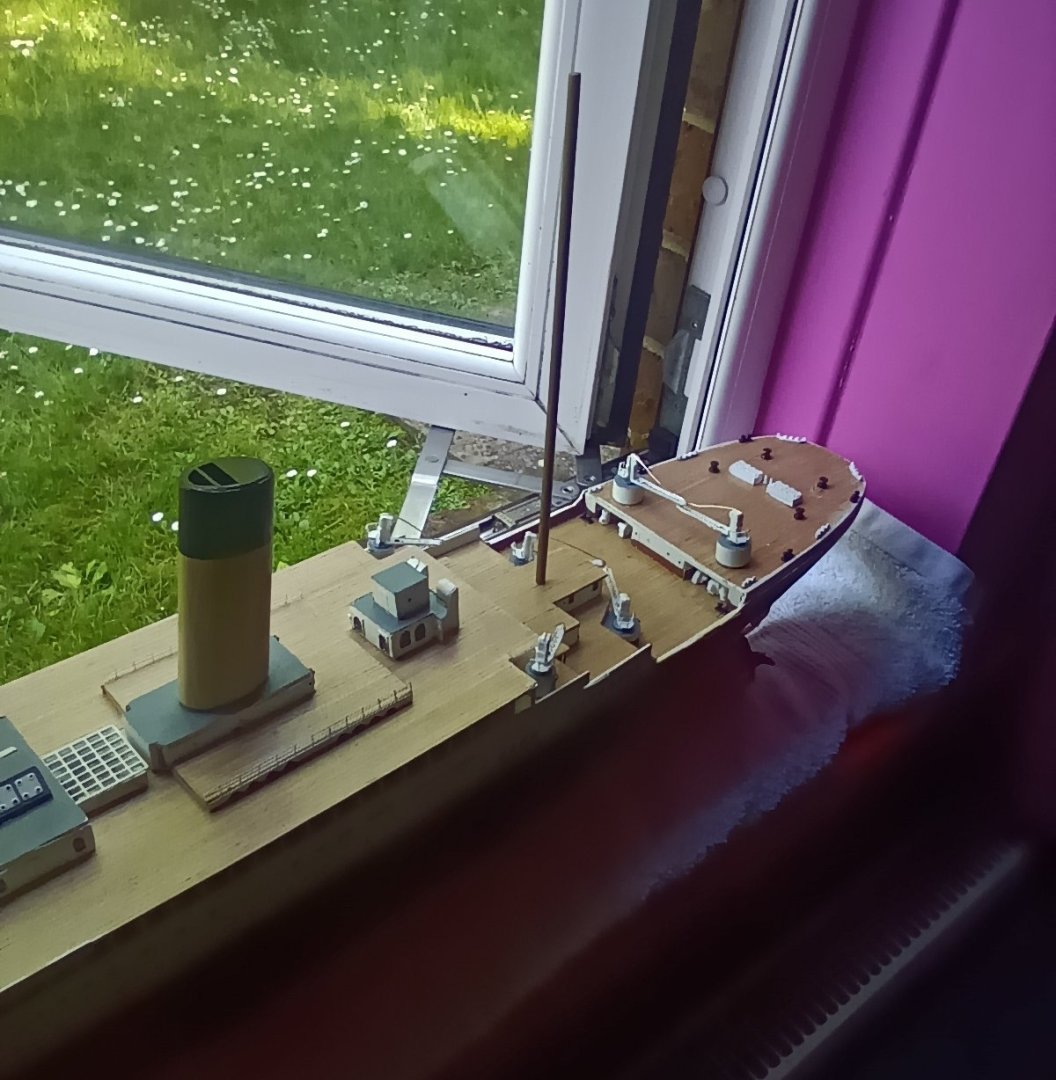
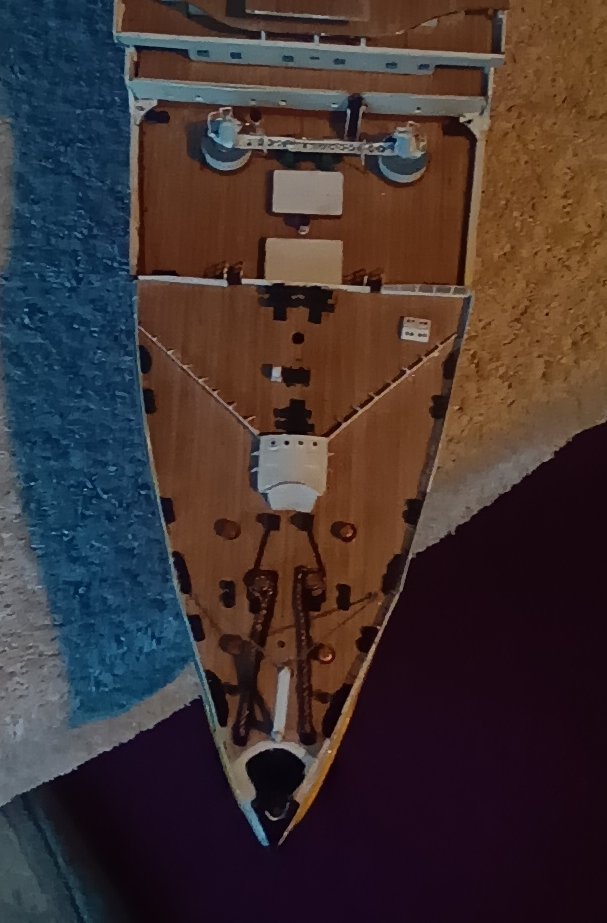
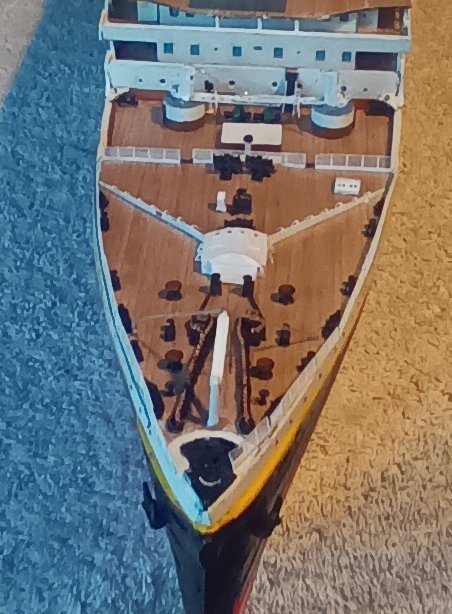
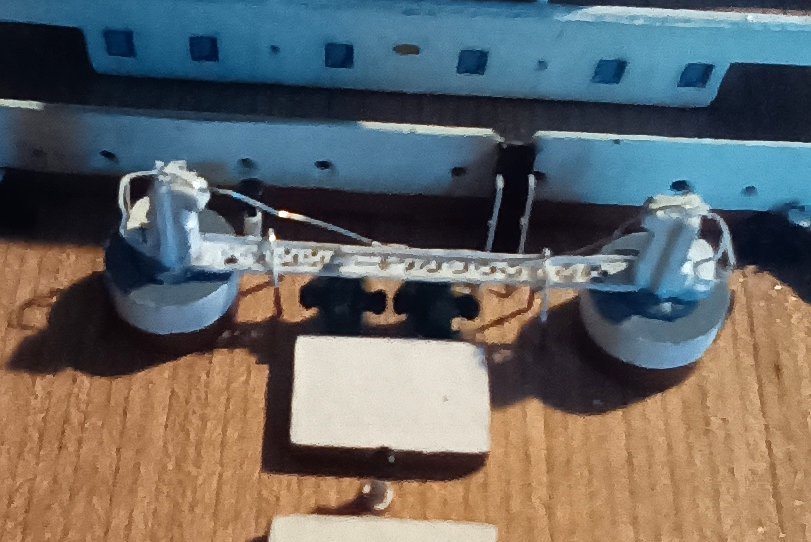
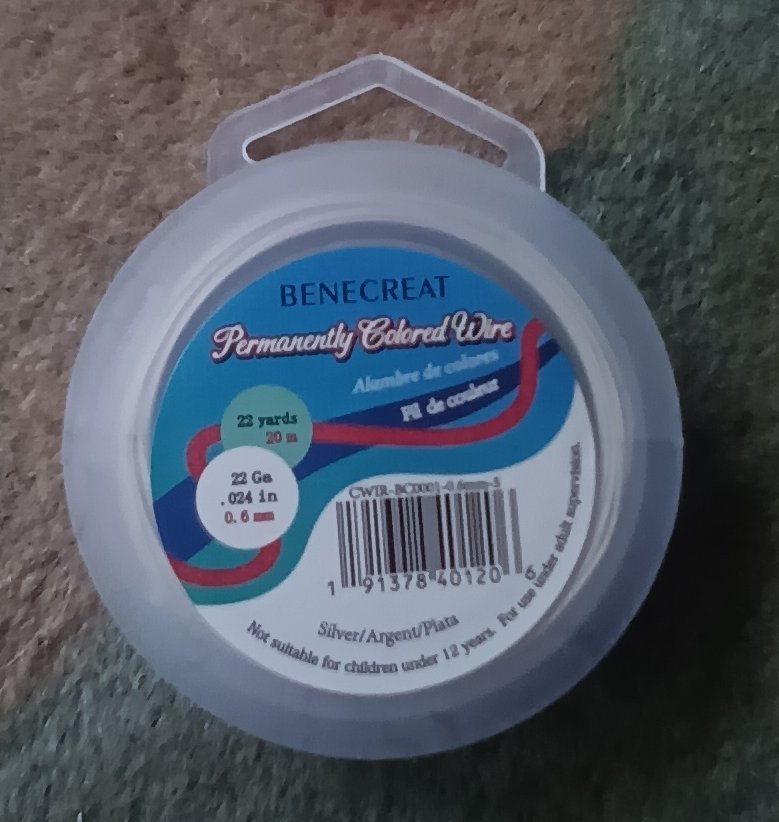
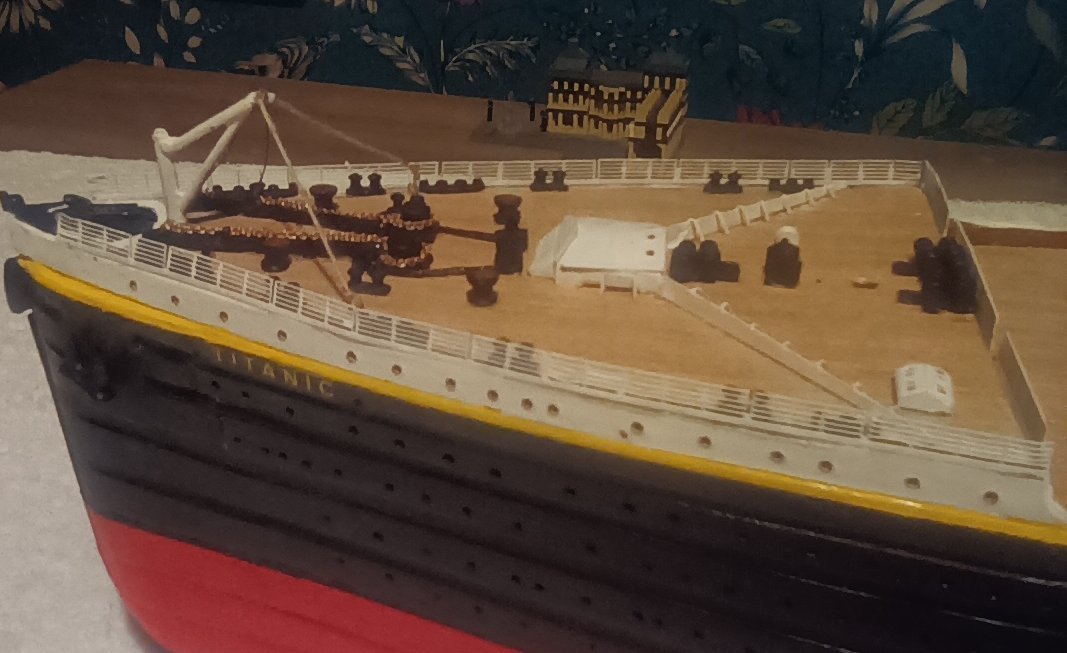
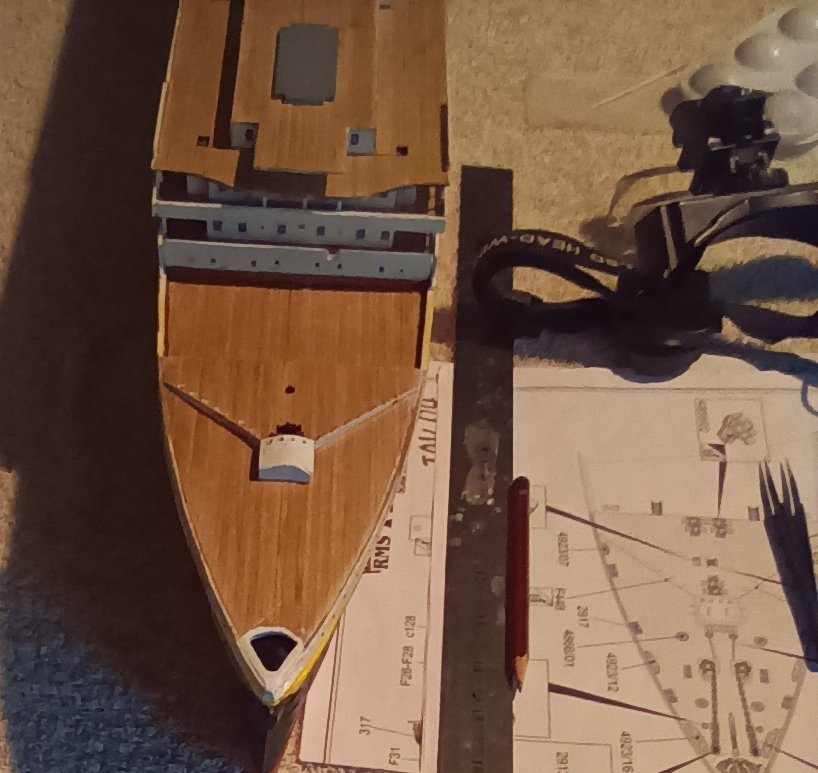
Forward well deck completed. I decided to have the cranes in their storage position. I have added two of the cranes jib crutches. These where tripods. There where actually three but at this scale the centre one didn't look right. I have also replaced the cotton thread with jewellery makers wire. see bottom picture. Most of the rigging on Titanic was steel wire rope,including the cranes hoist cable. I think it looks more realistic then cotton thread. The ladders are the replacement photo etch ones from Mini Brass. They look so much better then the plastic ones. My plan was to work along the boat deck and finish at the stern with the Poop deck and Aft well deck. But whilst working on the bow section it helped that there was nothing to knock off on the boat deck. This allowed me to use that deck as an arm rest when placing parts. So will do the same when working on the stern section. I will then work along the boat deck as part three of the build. How she looks at this stage. Looking a lot like Titanic now. The photos don't do it justice. They make it look like the bow section is somehow warped. It doesn't look like that when seen normally.
-
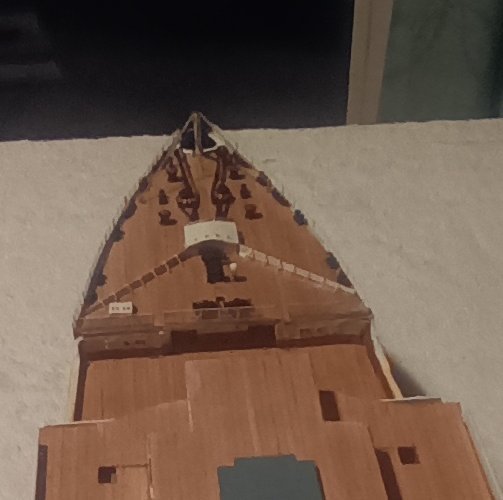
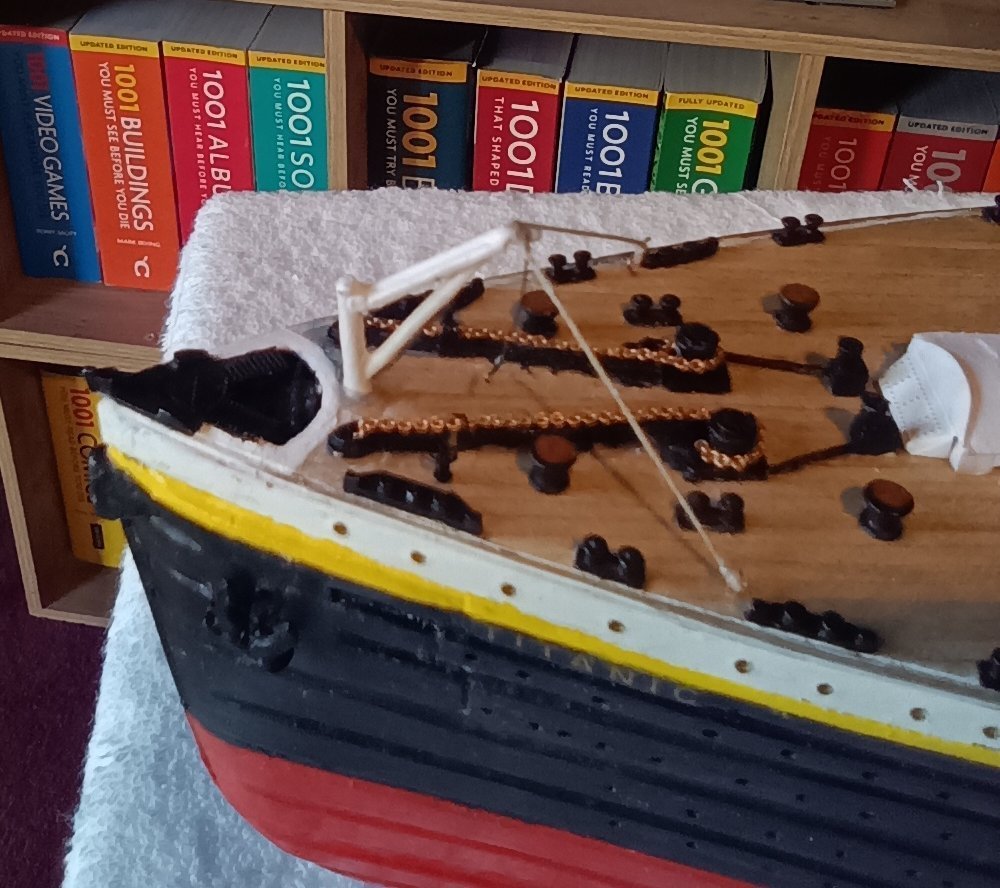
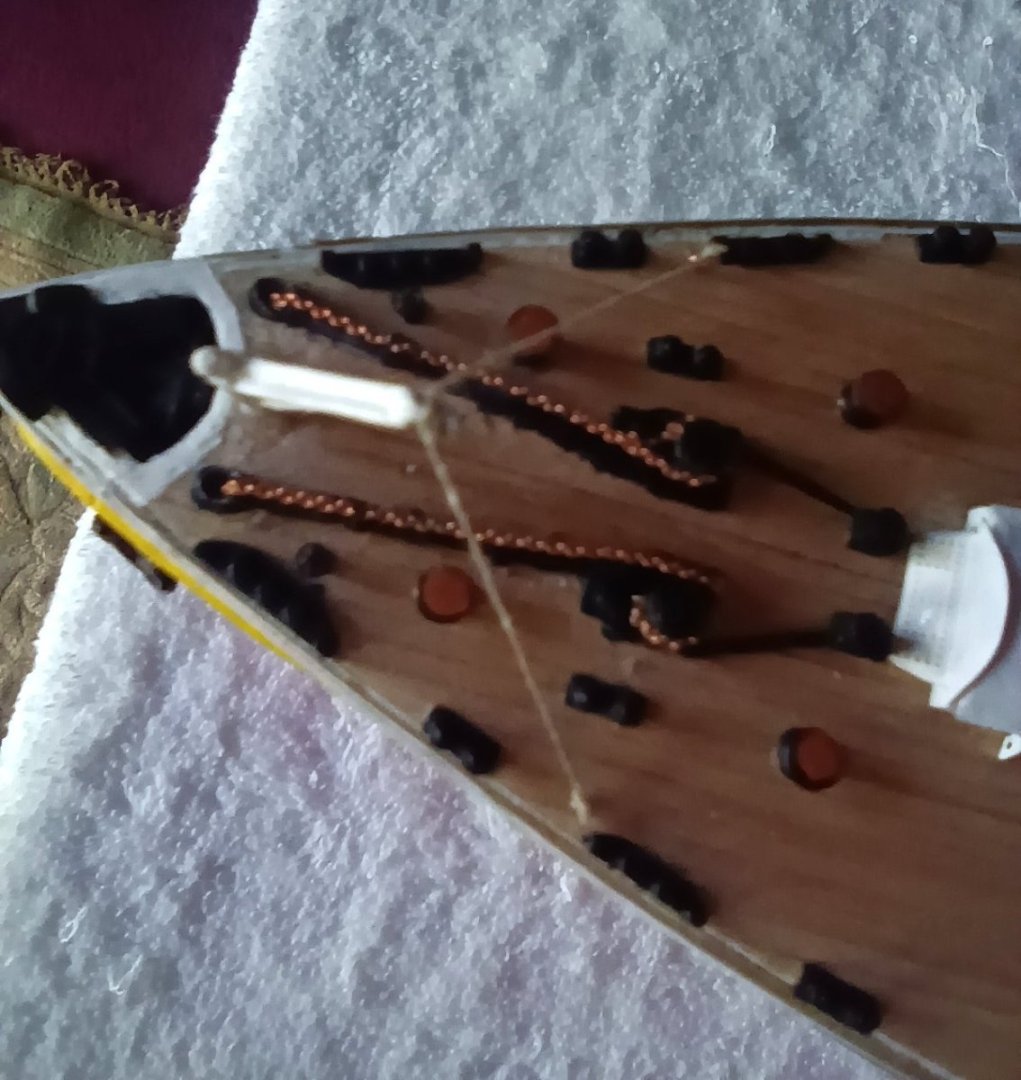
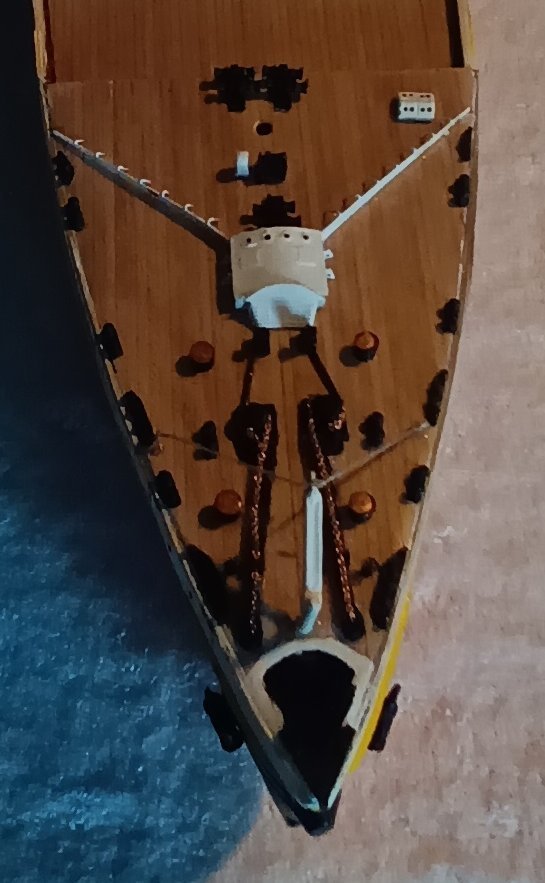
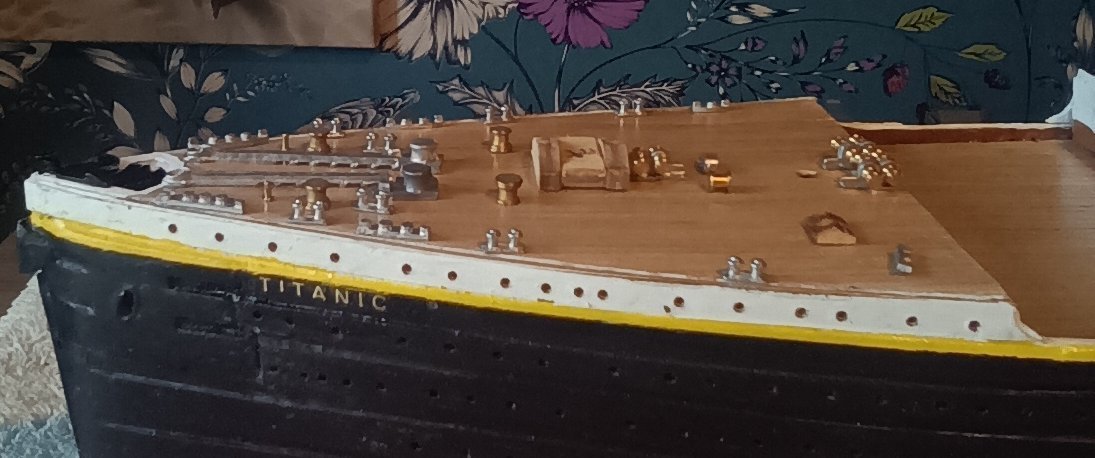
Bow deck completed. Handrails installed. The one part of photo etch detail I don't like.. They are so fragile. The piece that is supposed to fill in the very front of the bow has gotten out of shape and is pretty much useless. I will just have to hope there are some leftovers I can use once all the others are added. I also don't like the thread that is supplied with the kit. At 0.5mm it may work with the stays on the funnels and bottom half of the masts. But the diameters where different in other areas. So the part with the extremely small hook has been reduced to 0.3mm. I have also added a representation of the drag wires to the anchor crane.And drilled a hole through the top part of the crane to run the thread with The hook on through. This is better than gluing The thread over the top of the crane. The anchors have been added as well.
-
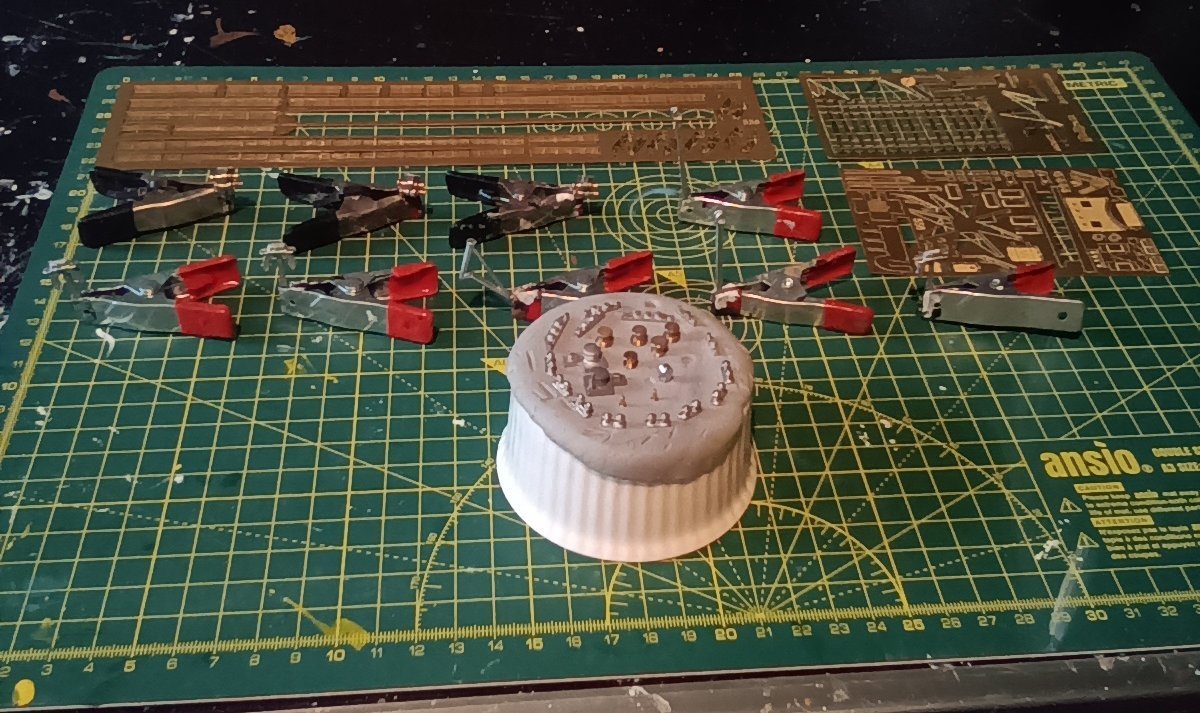
All of the fittings roughly in place on the bow deck. And ready for painting up. A ramekin and rolled out blue tack works well to hold all those tiny parts. And the photo etch and railings to be painted before fixing in place.
-
Everything glued back in place. It turned out to be a good mistake to make. After checking and double checking the instructions to make sure I had put each part together properly, I found out I had missed the instruction for 4 ladders. Could probably have fitted them once everything was glued in place but it would have been a very tight for to get them right. I have also painted the decks and structures with a Satin finish rather then clear gloss varnish. Might be me,but it seems to have very slightly darkened the decks.
-
All the housings reworked and dry fitted. Which is what I should have done in the first place. And the gap at the stern end as it should be. The fault was the PE I added from Mini Brass. It works just fine on the side walls. But I had added 6 pieces to various end walls. The PE is approximately 1mm thick. Doesn't seen much but once removed and the walls sanded down the measurements all fall into place. So will use the kit PE for these sections. It's just a couple of Windows and doors.
-
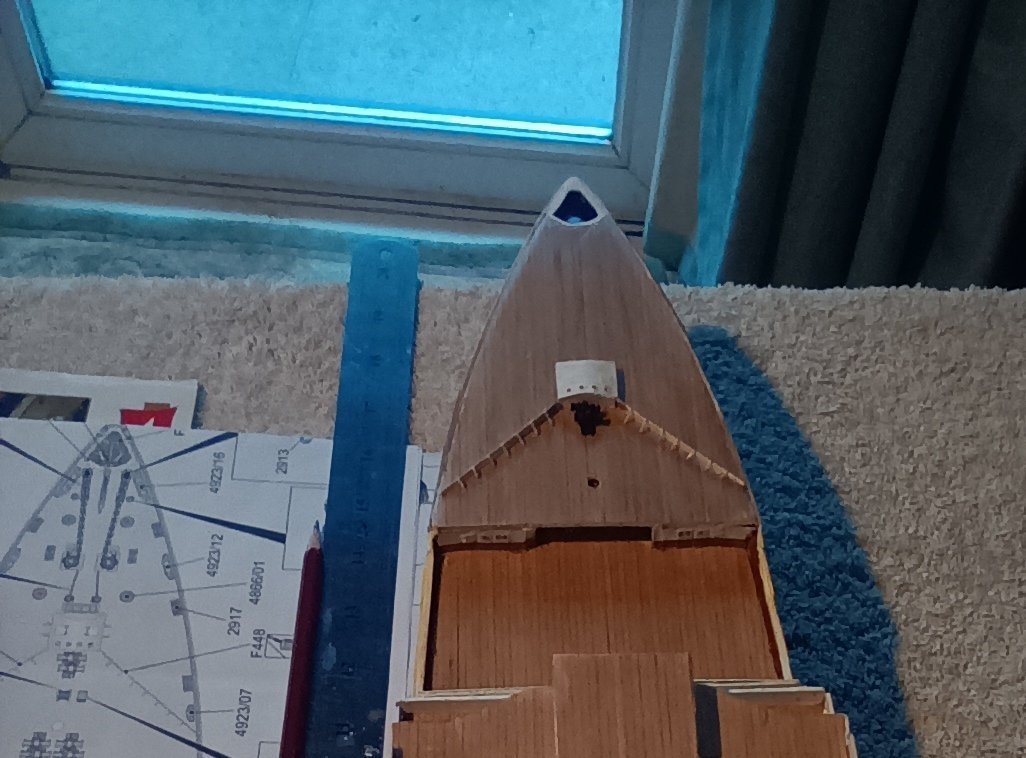
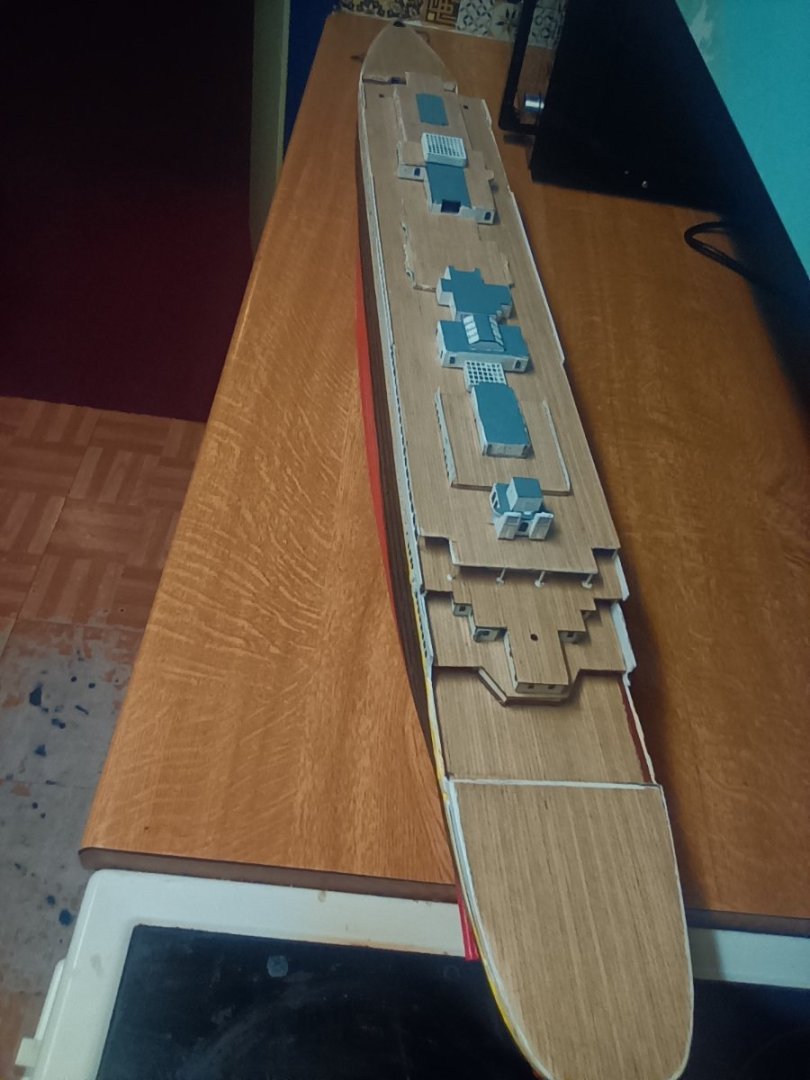
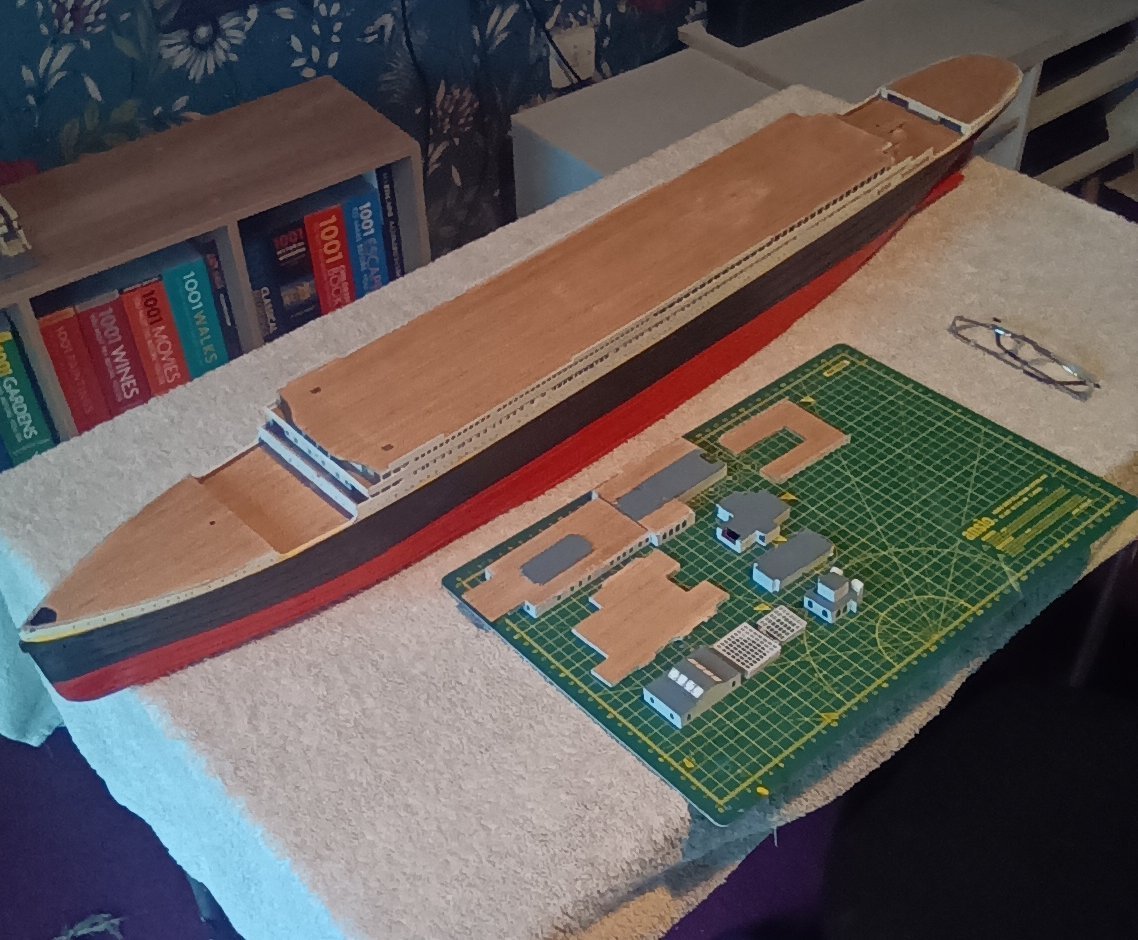
How many times as a modeller, especially building wooden ship models do you get to a stage in the build when you are only a few centimetres out that you have to start again? I spent the Weekend deciding wether or not I was happy with the end of the deck being a couple of centimetres out. I was not. Luckily I had glued all the structures onto the deck using a light coating of wood glue. Usually I use CA glue so there is no chance of movement when working around them. This meant they where easy to lift off. It also gave me the opportunity to do some tidying up of the edges. There are a few areas on the deck looking a bit iffy, but they will be covered once everything is put back in place. Had I used CA glue I would almost certainly have torn some of the planking off and would have had to strip it down and replank. And where I had measured the length of the deck, I had not taken into account the slight curve at the bow section. Now that I have measured it with nothing in the way, it is the correct length. Now I just have to go through all the plans and instructions for building all those structures and work out how I ended up with the stern section being out by the amount it was.
-
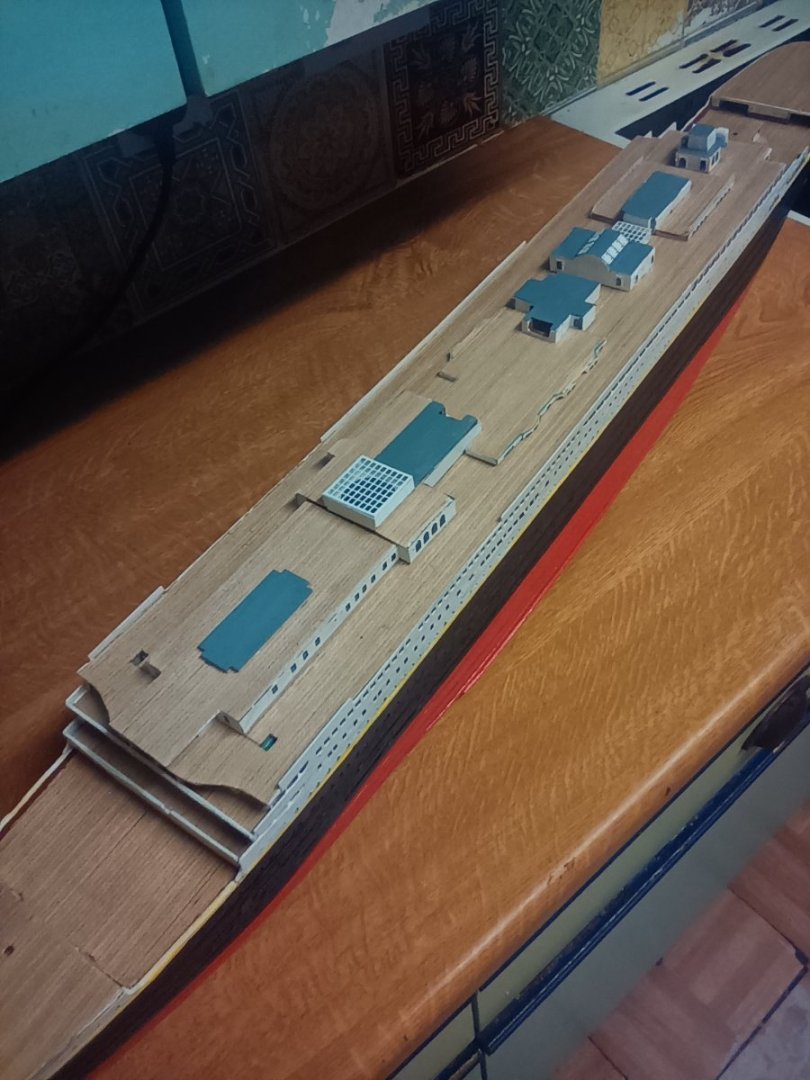
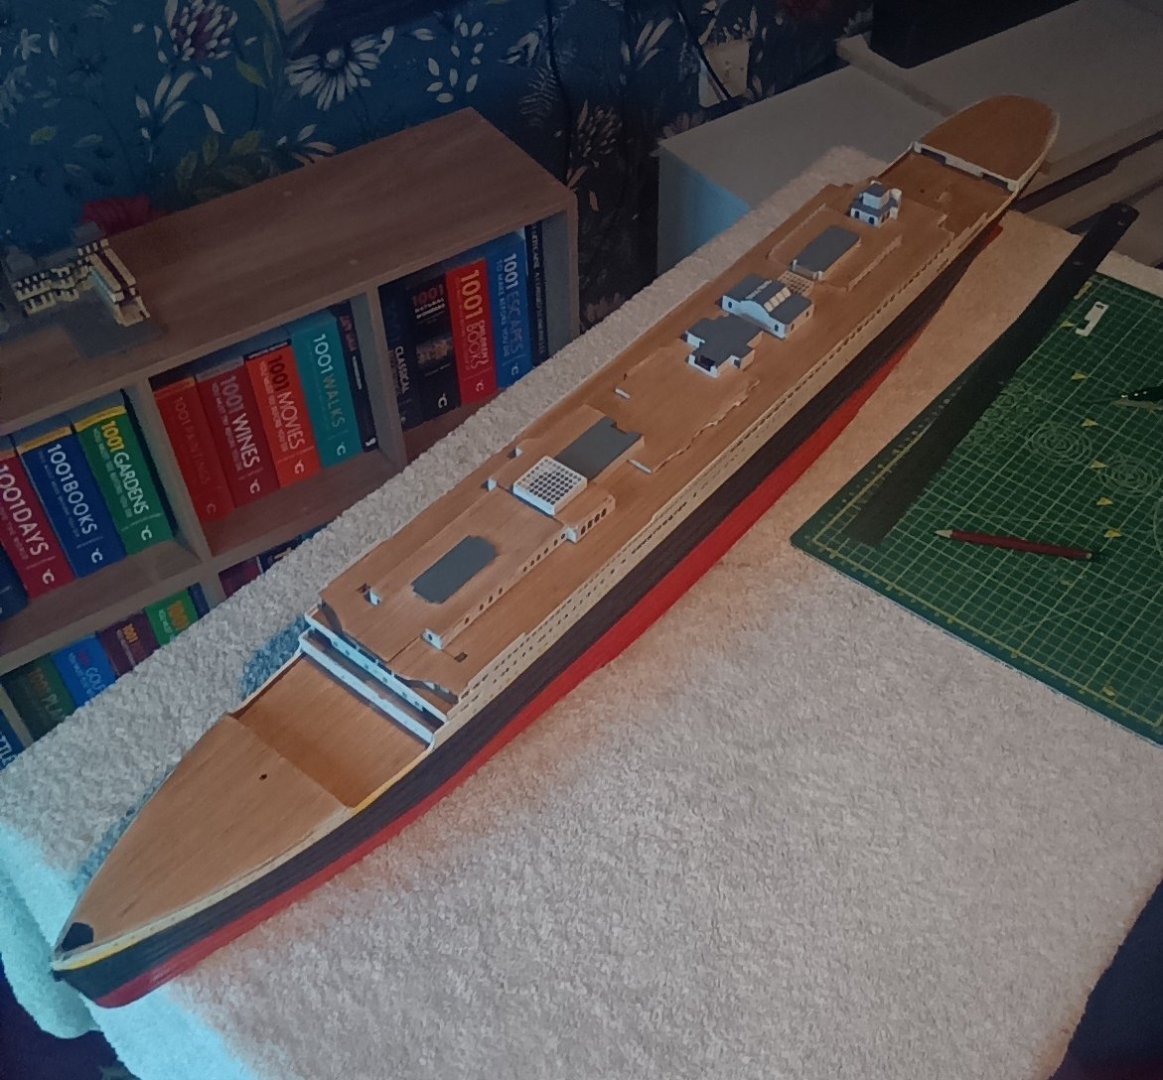
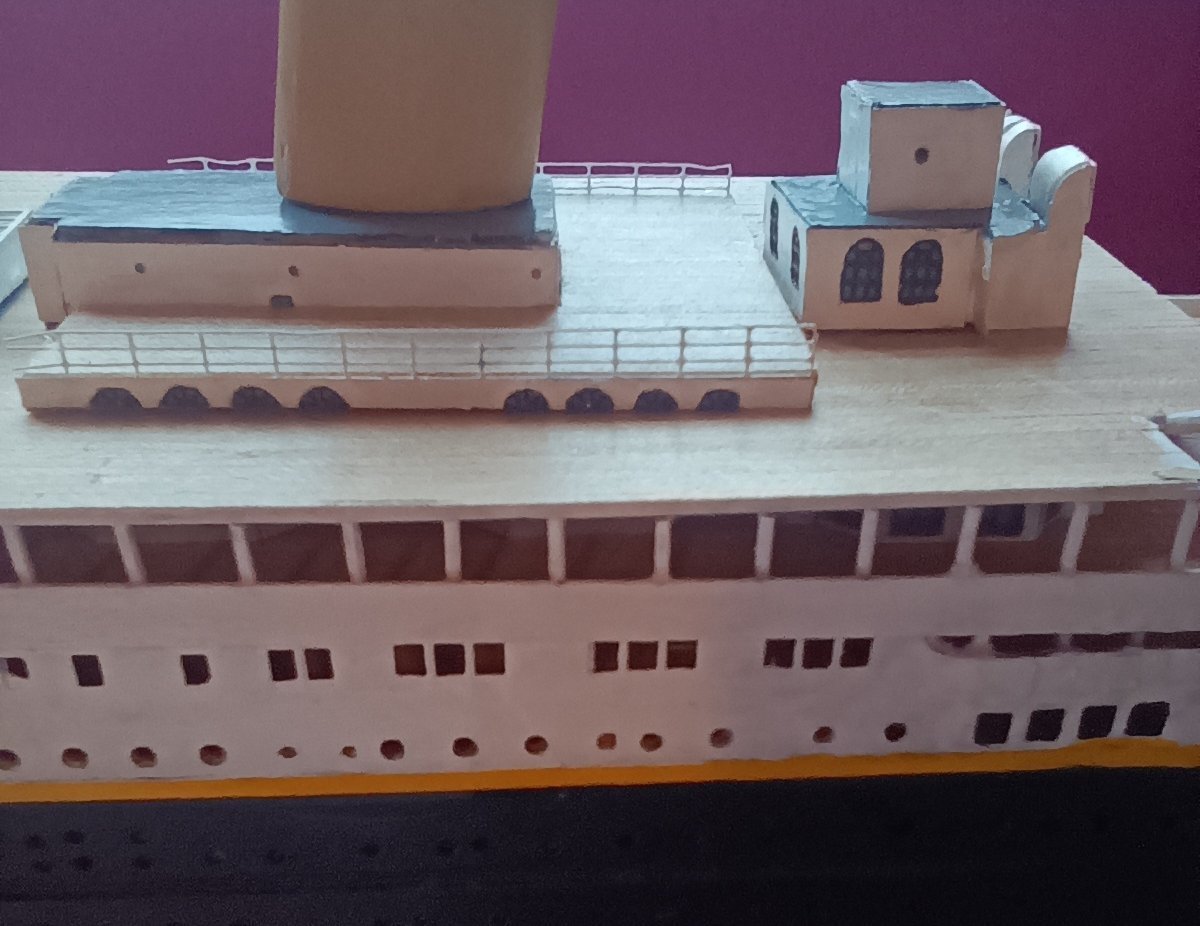
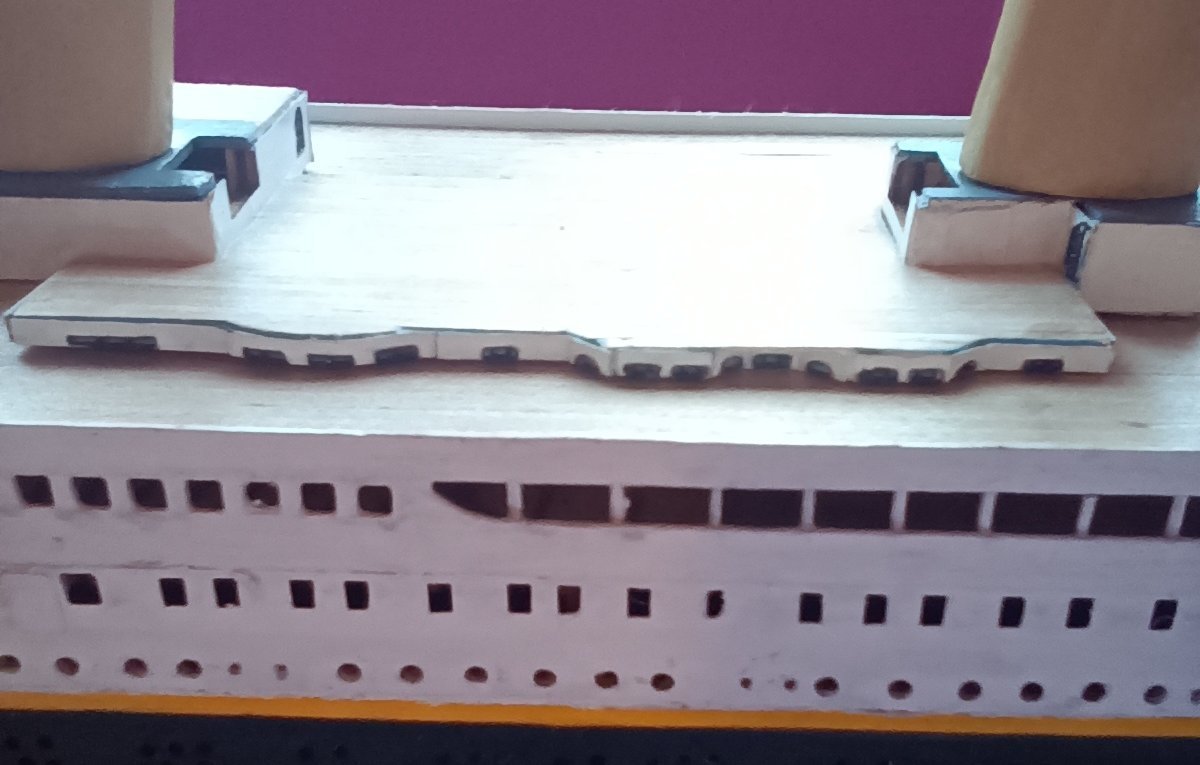
All of the main boat deck structures glued in place. I have measured each one and the gaps between based on the full size plans. I have then ended up with the change deck house structure at the stern being 2 cm short. Leaving a smaller area then there should be behind it. Luckily there is only the handrails and two benches that occupy that space. I considered stripping all the structures down and restarting, but soon realised that I would still have the same problem. After measuring everything it turns out that the fault is with the deck. It is 4 cm smaller in length then the plans suggest creating the 2 cm discrepancy. I have decided that rather then strip everything down, I will except it the way it is as it doesn't look to bad. The pictures show the state of the model at the moment. All the structures have had the Mini Brass PE added. It makes everything look so much better and gives nice smooth walls rather then painting bare wood and adding the kit PE. I will now start adding all the various fittings to the decks starting from the bow. The handrails,funnels and ships boats will be added last.
-
Personality I would never use CA glue for planking.I have used Vitalbond Aliphatic professional wood glue for all my models.It's essentially a wood super glue. And holds the plank to the bulkhead just fine. I then use a normal white PVA wood glue for second planking as there is more area fror the glue to grab. The only time I've used CA glue for planking is on occasional areas that have a lot of spring in them Paul
About us
Modelshipworld - Advancing Ship Modeling through Research
SSL Secured
Your security is important for us so this Website is SSL-Secured
NRG Mailing Address
Nautical Research Guild
237 South Lincoln Street
Westmont IL, 60559-1917
Model Ship World ® and the MSW logo are Registered Trademarks, and belong to the Nautical Research Guild (United States Patent and Trademark Office: No. 6,929,264 & No. 6,929,274, registered Dec. 20, 2022)
Helpful Links
About the NRG
If you enjoy building ship models that are historically accurate as well as beautiful, then The Nautical Research Guild (NRG) is just right for you.
The Guild is a non-profit educational organization whose mission is to “Advance Ship Modeling Through Research”. We provide support to our members in their efforts to raise the quality of their model ships.
The Nautical Research Guild has published our world-renowned quarterly magazine, The Nautical Research Journal, since 1955. The pages of the Journal are full of articles by accomplished ship modelers who show you how they create those exquisite details on their models, and by maritime historians who show you the correct details to build. The Journal is available in both print and digital editions. Go to the NRG web site (www.thenrg.org) to download a complimentary digital copy of the Journal. The NRG also publishes plan sets, books and compilations of back issues of the Journal and the former Ships in Scale and Model Ship Builder magazines.


