king derelict
-
Posts
3,295 -
Joined
-
Last visited
Content Type
Profiles
Forums
Gallery
Events
Everything posted by king derelict
-
Many thanks for the kind words OC. It's starting to come together. Alan
-
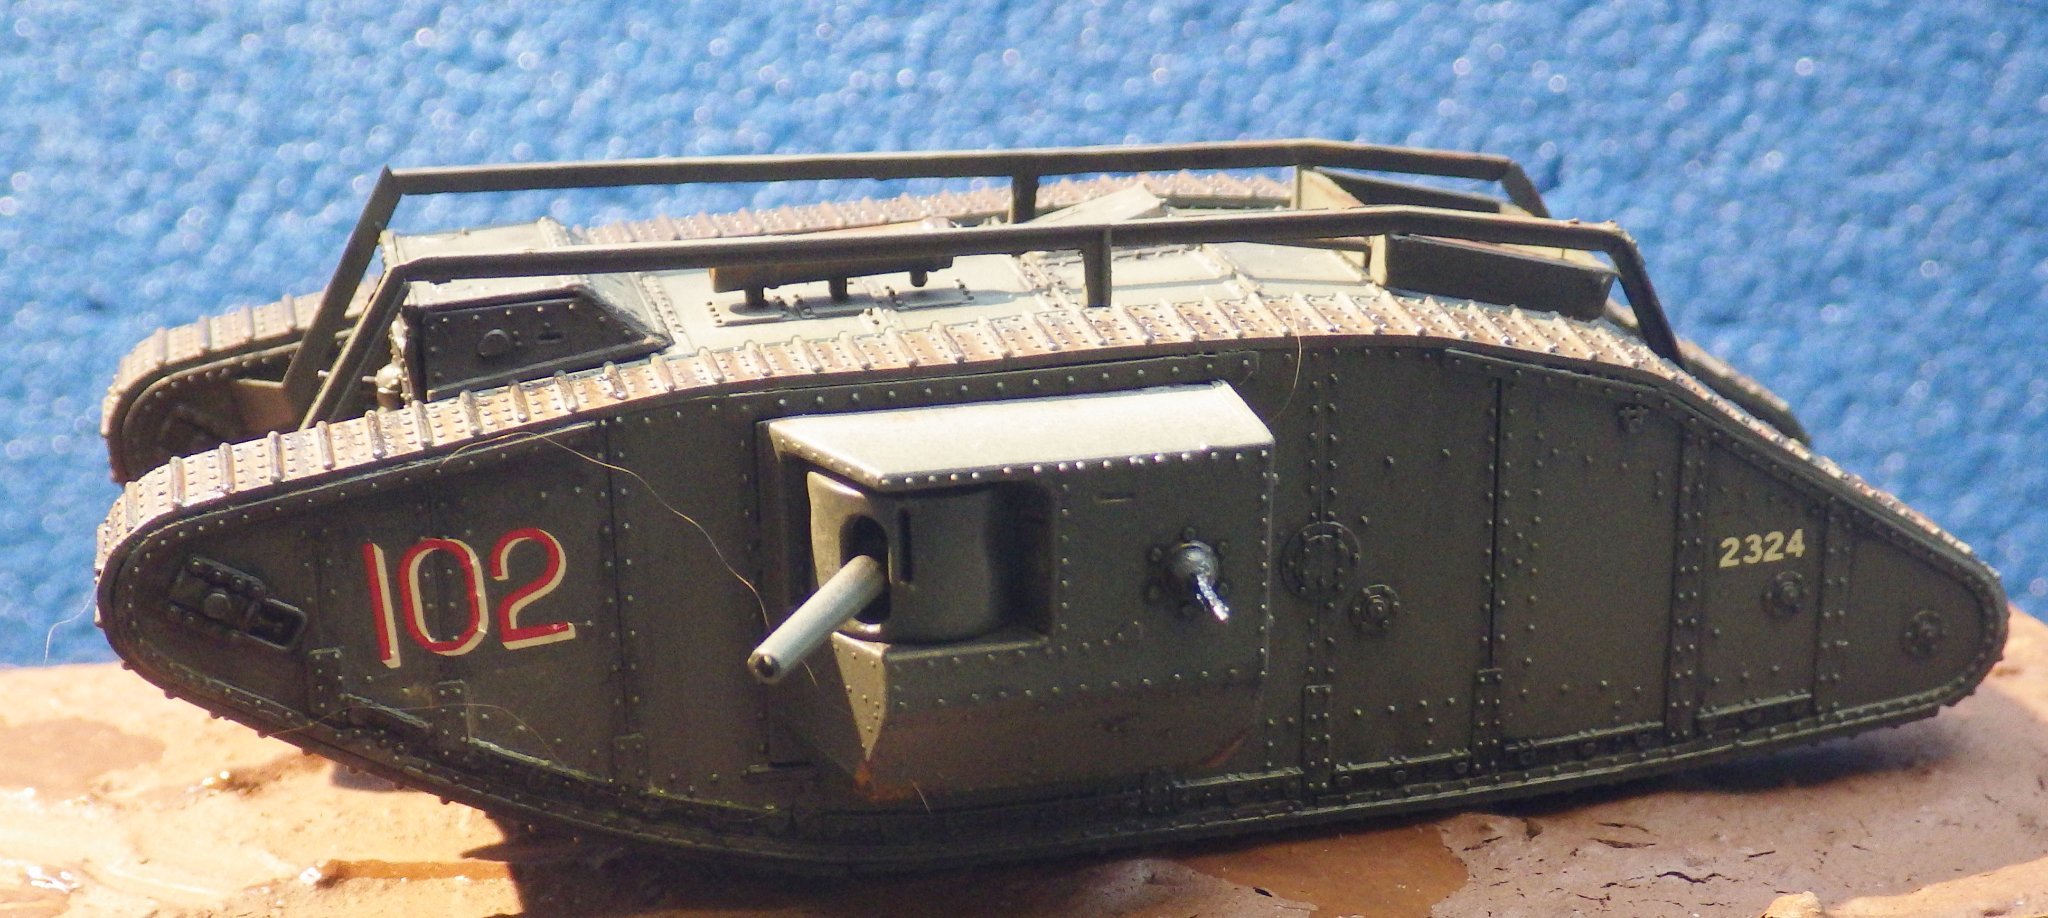
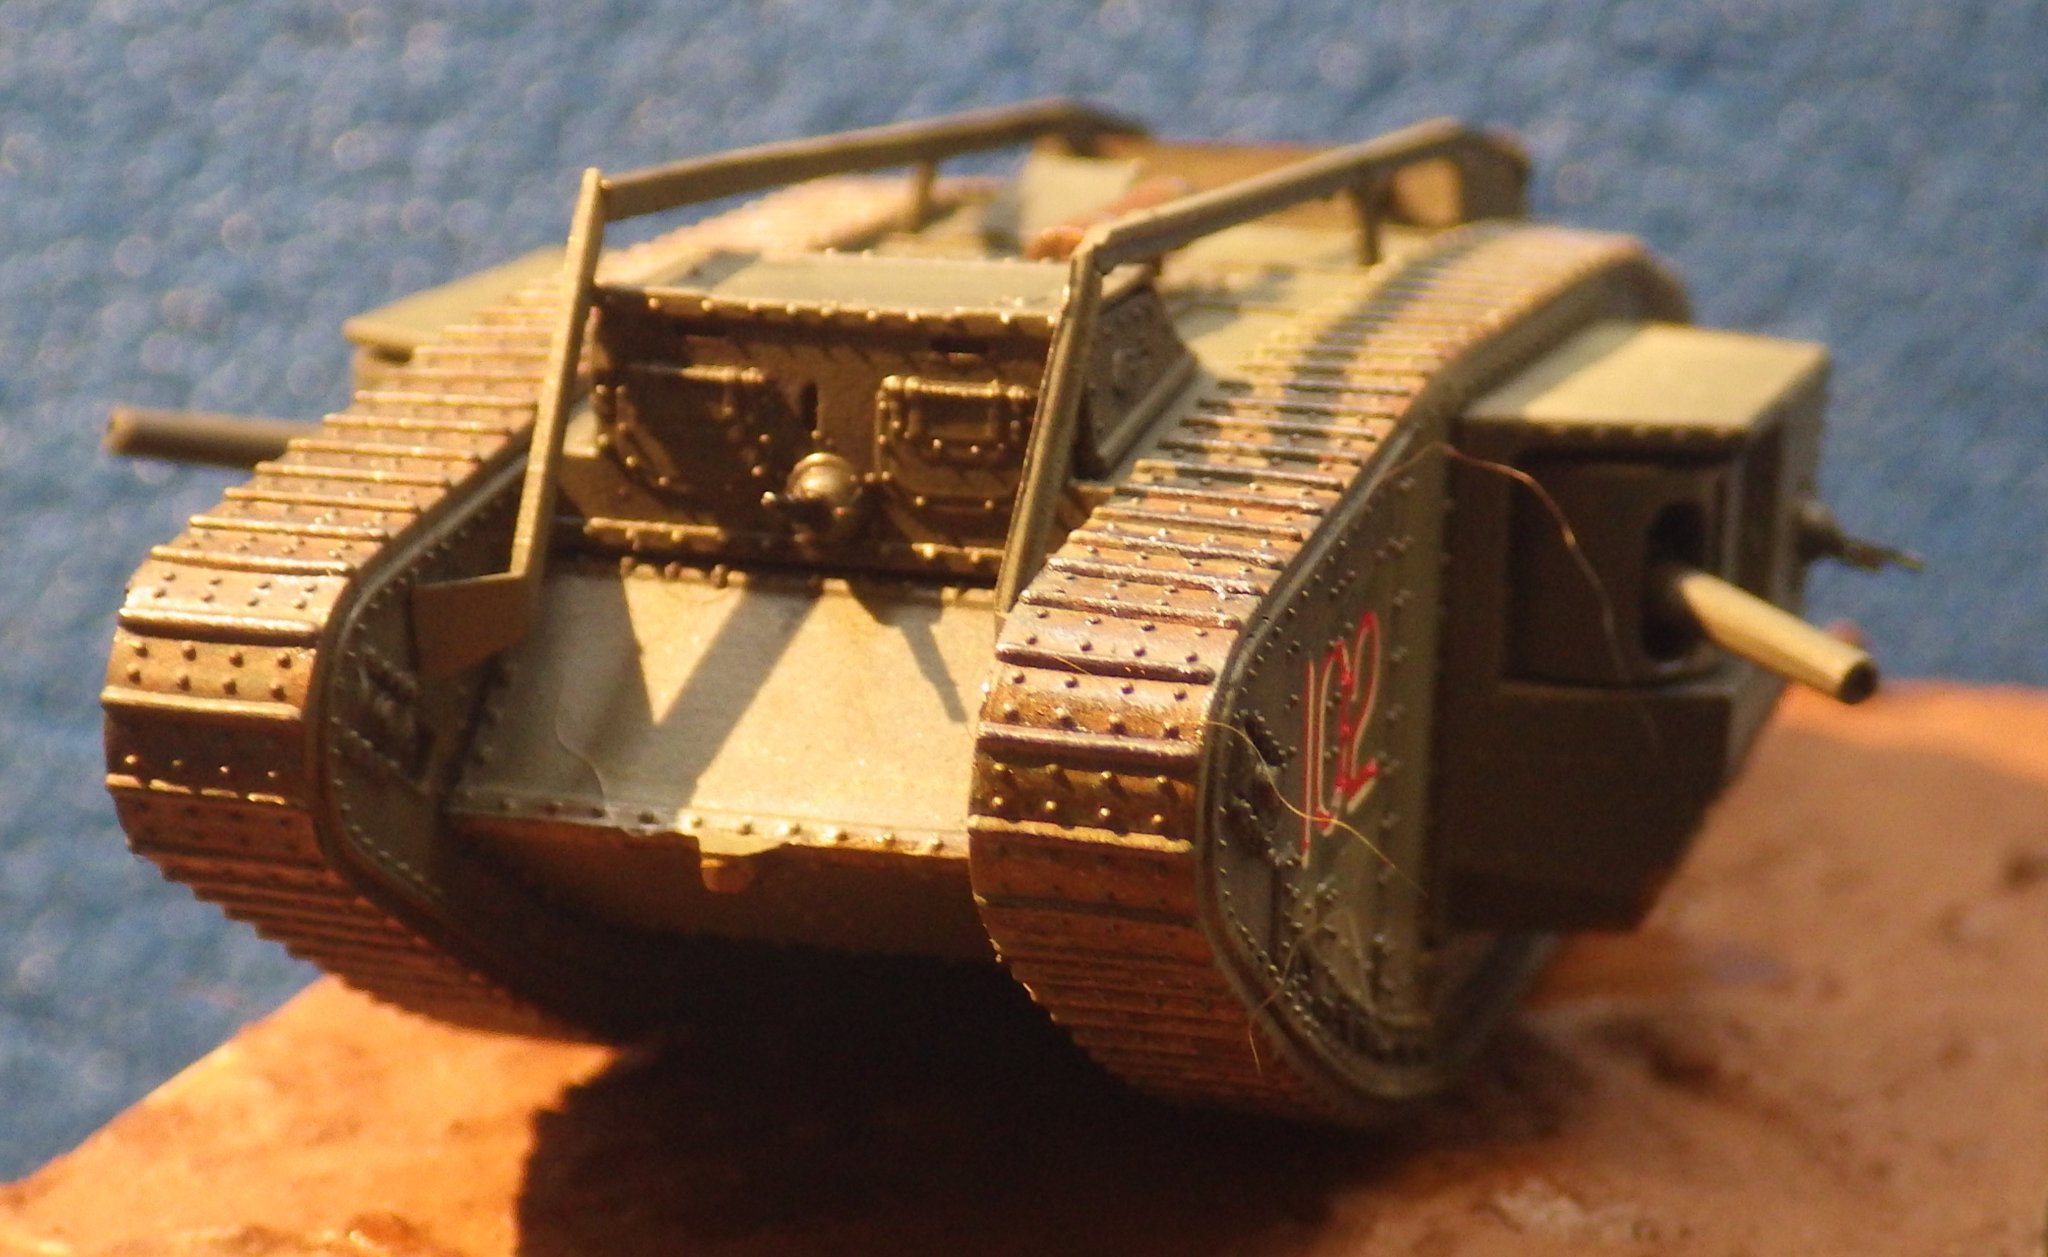
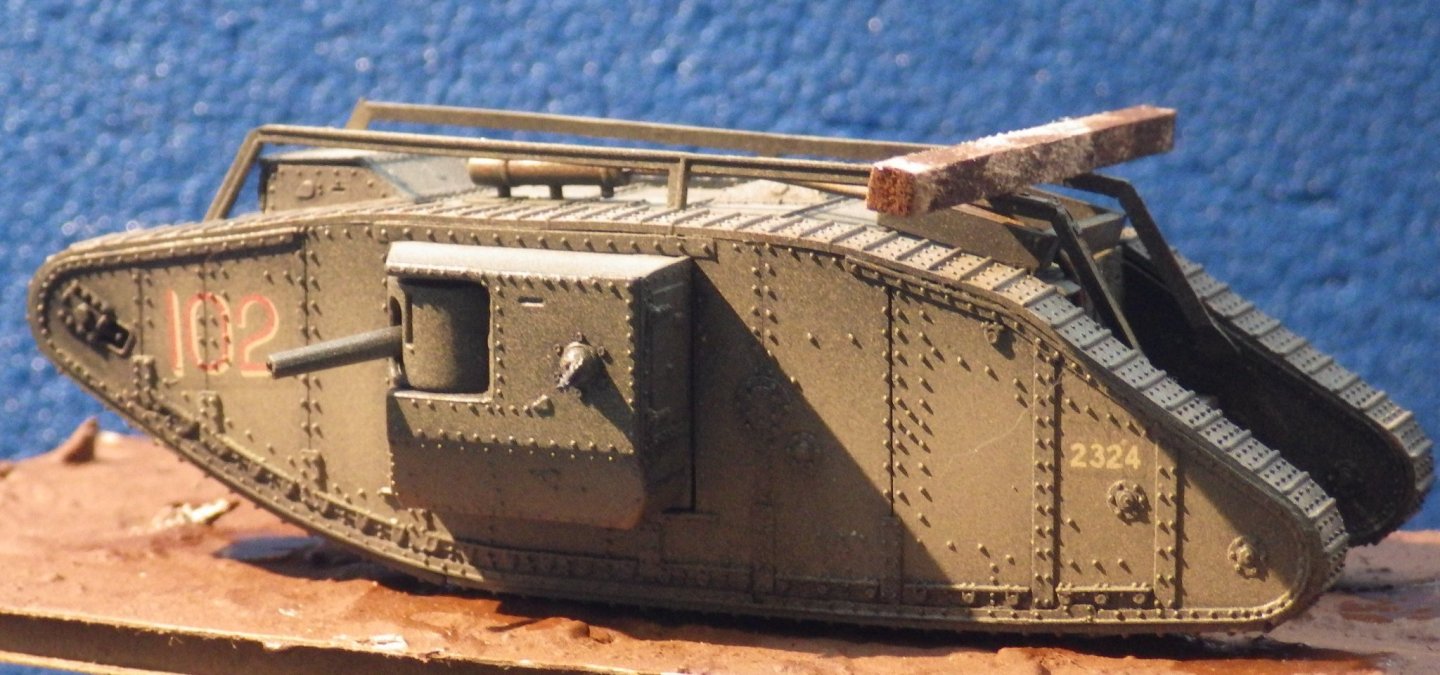
Many Thanks Egilman. That is great information and this photo finally explains to me how the ditching beam worked. I had assumed it was placed manually (like sand ladders) but now I can see that the tracks carry it under the tank and then back over to the front - explaining what the ditching rails are for. I thought the rails were just for securing equipment. I did find this video showing the ditching beam in action. I have to caution that some viewer may find the gritty representation of WW1 trench life in the early part of the video to be unsettling https://m.youtube.com/watch?v=Okahfp3GrWM As always, your research is a huge help. I have shortened the beam to look more like the photos and I have distressed the rails now that I know what they are for Alan
- 57 replies
-
- 10
-

-
Many Thanks OC Its good to be able to print the smaller deck fittings and see a useable result. Alan
- 460 replies
-
- 4
-
-
- Finished
- Flower-class
- (and 1 more)
-
Thank you very much Yves. I'll wear the badge with pride but I'm hoping I don't have to do too much more to keep it. I'm looking forward to knocking out good prints for a while. Alan
- 460 replies
-
- 3
-
-
- Finished
- Flower-class
- (and 1 more)
-
Thanks Grant I was getting very close to dumping the Ender and giving up on teh corvette Alan
- 460 replies
-
- 3
-
-
- Finished
- Flower-class
- (and 1 more)
-
Thank You Mark As an engineer I do much better with a tangible problem that I can find a solution to. It was frustrating flailing around not knowing what direction to go Have a great day tomorrow Alan
- 460 replies
-
- 1
-
-
- Finished
- Flower-class
- (and 1 more)
-
Thanks Lou Its great to see decent quality parts building up on teh print bed now Alan
- 460 replies
-
- 3
-
-
- Finished
- Flower-class
- (and 1 more)
-
The PE work looks great Mike Alan
-
The PE ladders look very nice. I'm missing the PE - might have to get going with Illustrious very soon Alan
-
The printer has been on duty through the day reliably turning out replacement parts. A last "before and after" shows the aft bandstand showing the poor quality of the earlier attempt that I was resigning myself to using. A set of bollards and cleats has now printed successfully I hope to continue printing out parts in between holiday activity for the next few days. Thanks for looking and for the encouragement Alan
.jpg.da69cc58a536064ba58c01f8f72a3510.jpg)
.jpg.c576d5dd444c269f5afa84bc8385f2aa.jpg)

- 460 replies
-
- 11
-
-
- Finished
- Flower-class
- (and 1 more)
-
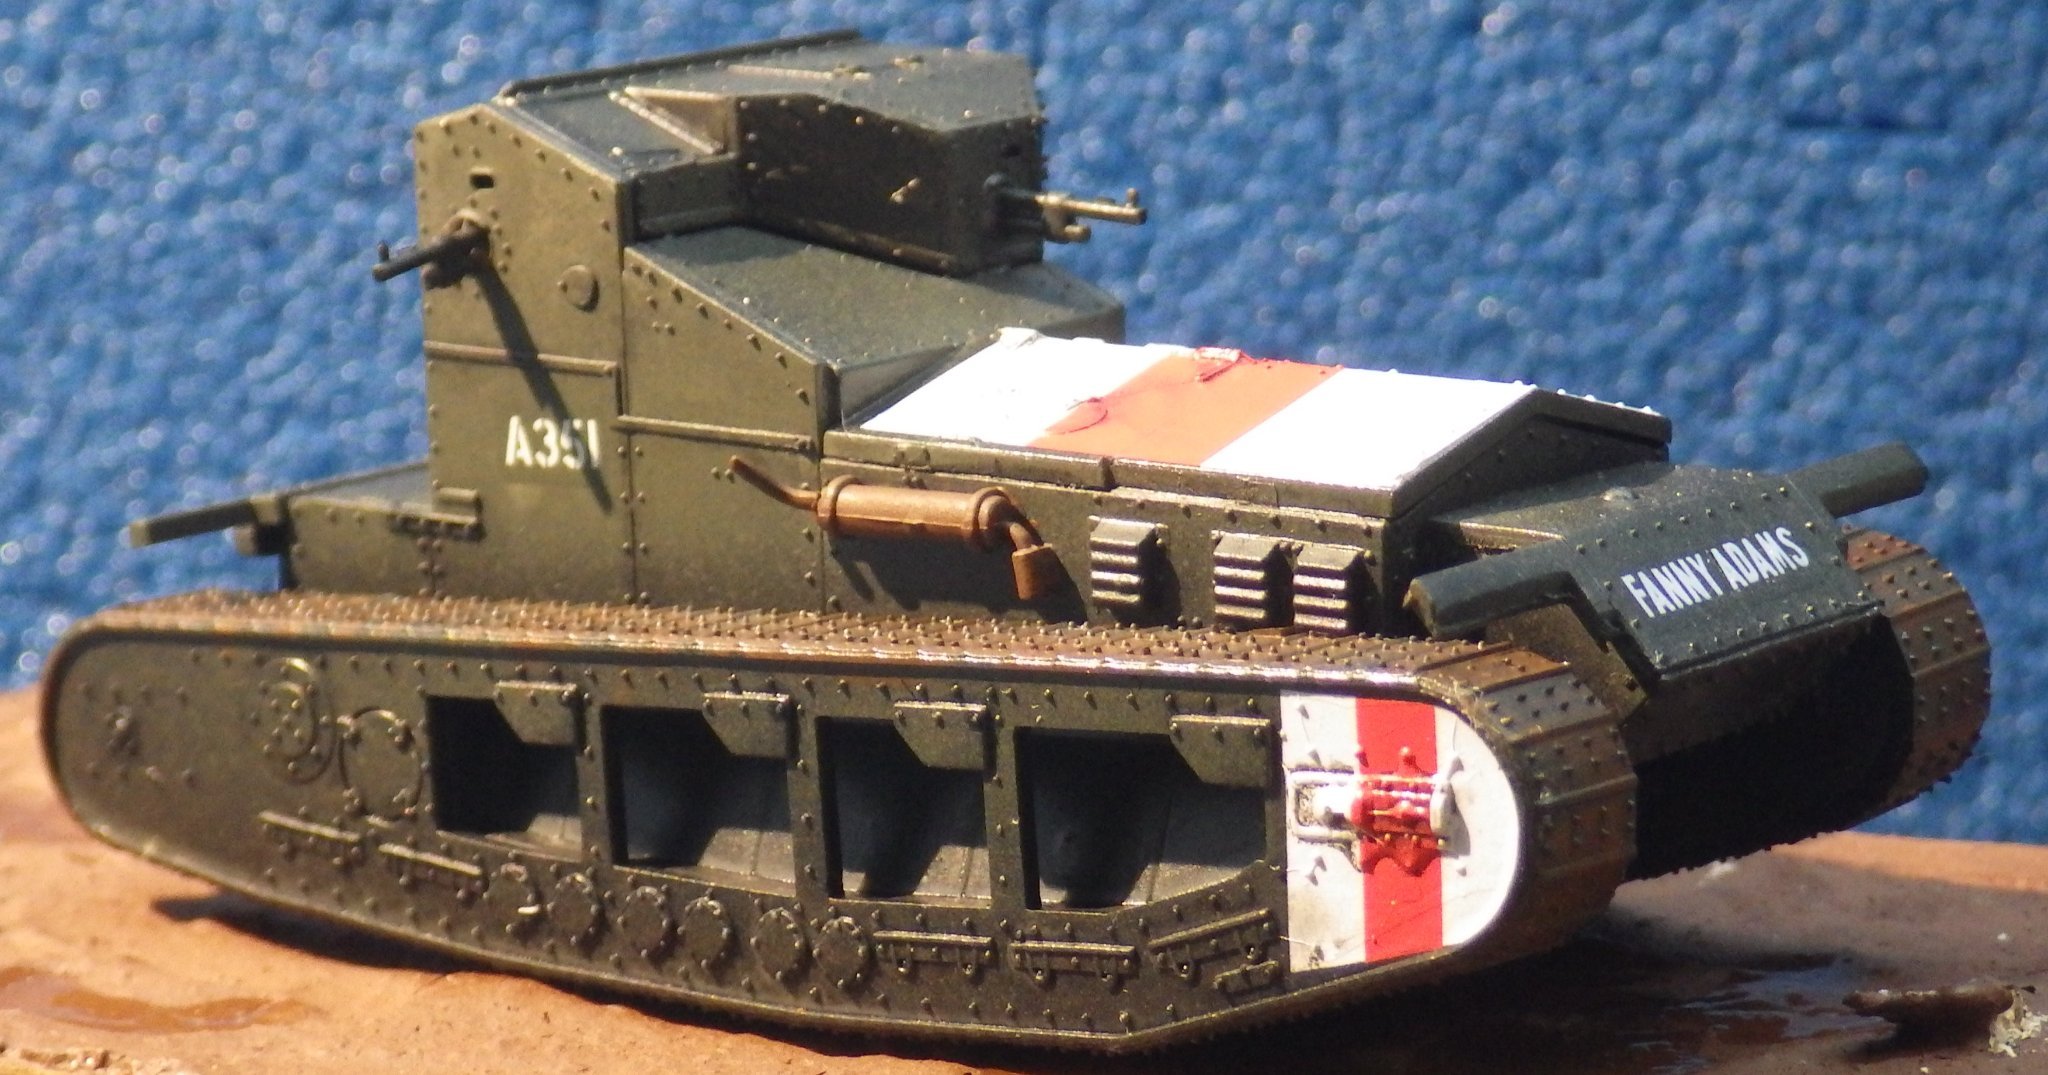
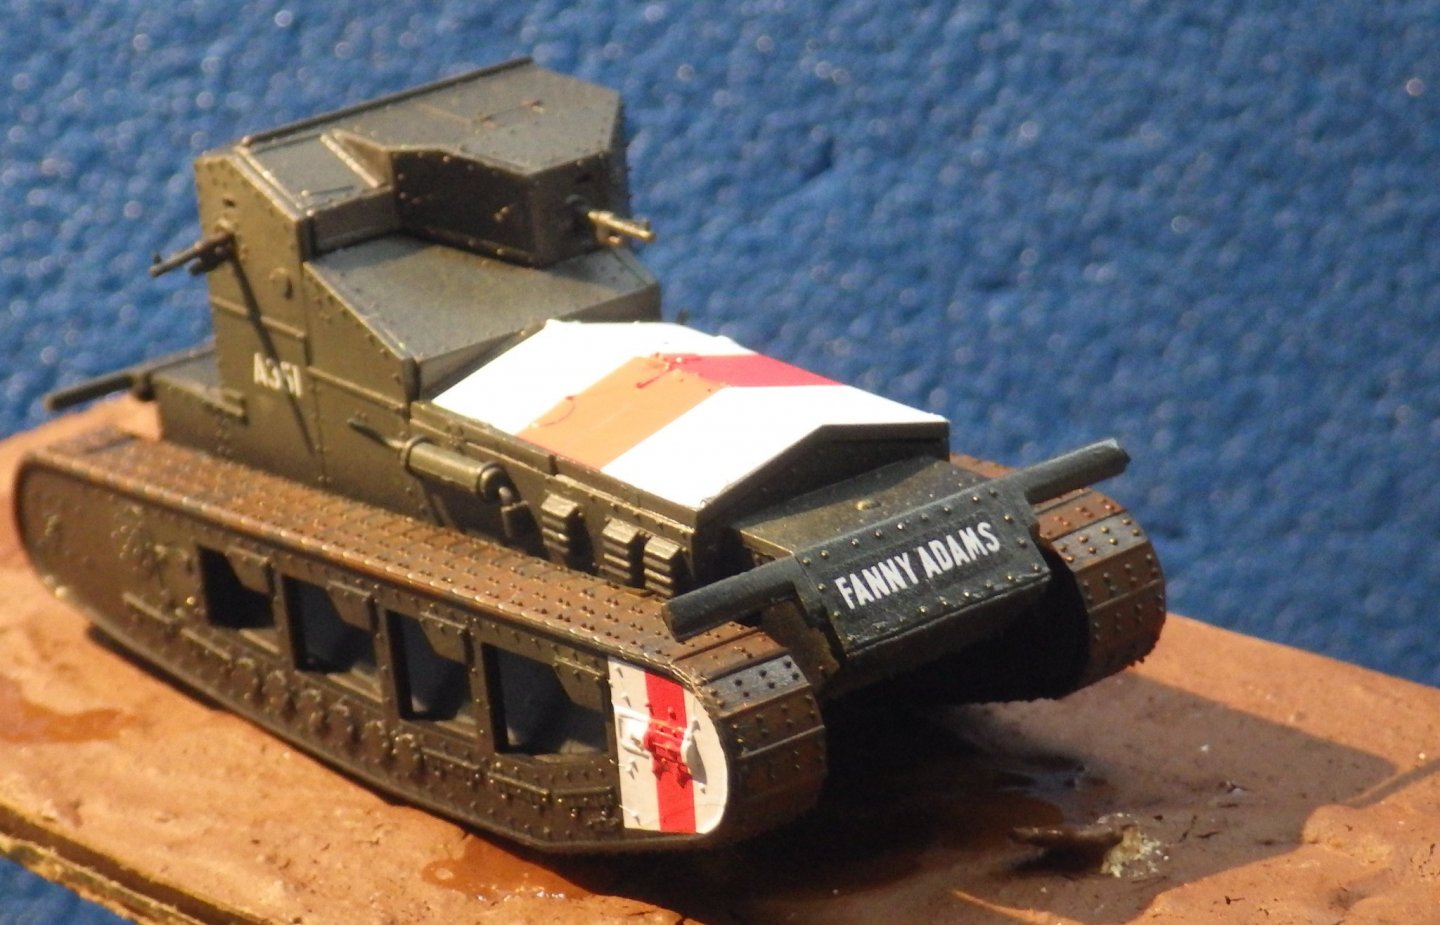
The very diluted black oil paint wash was used to bring up some of the details. Dust and rust next Thanks for looking in Alan

- 29 replies
-
- 12
-
-
Thank you for the kind words OC. Time to dirty it up a bit. Alan
-
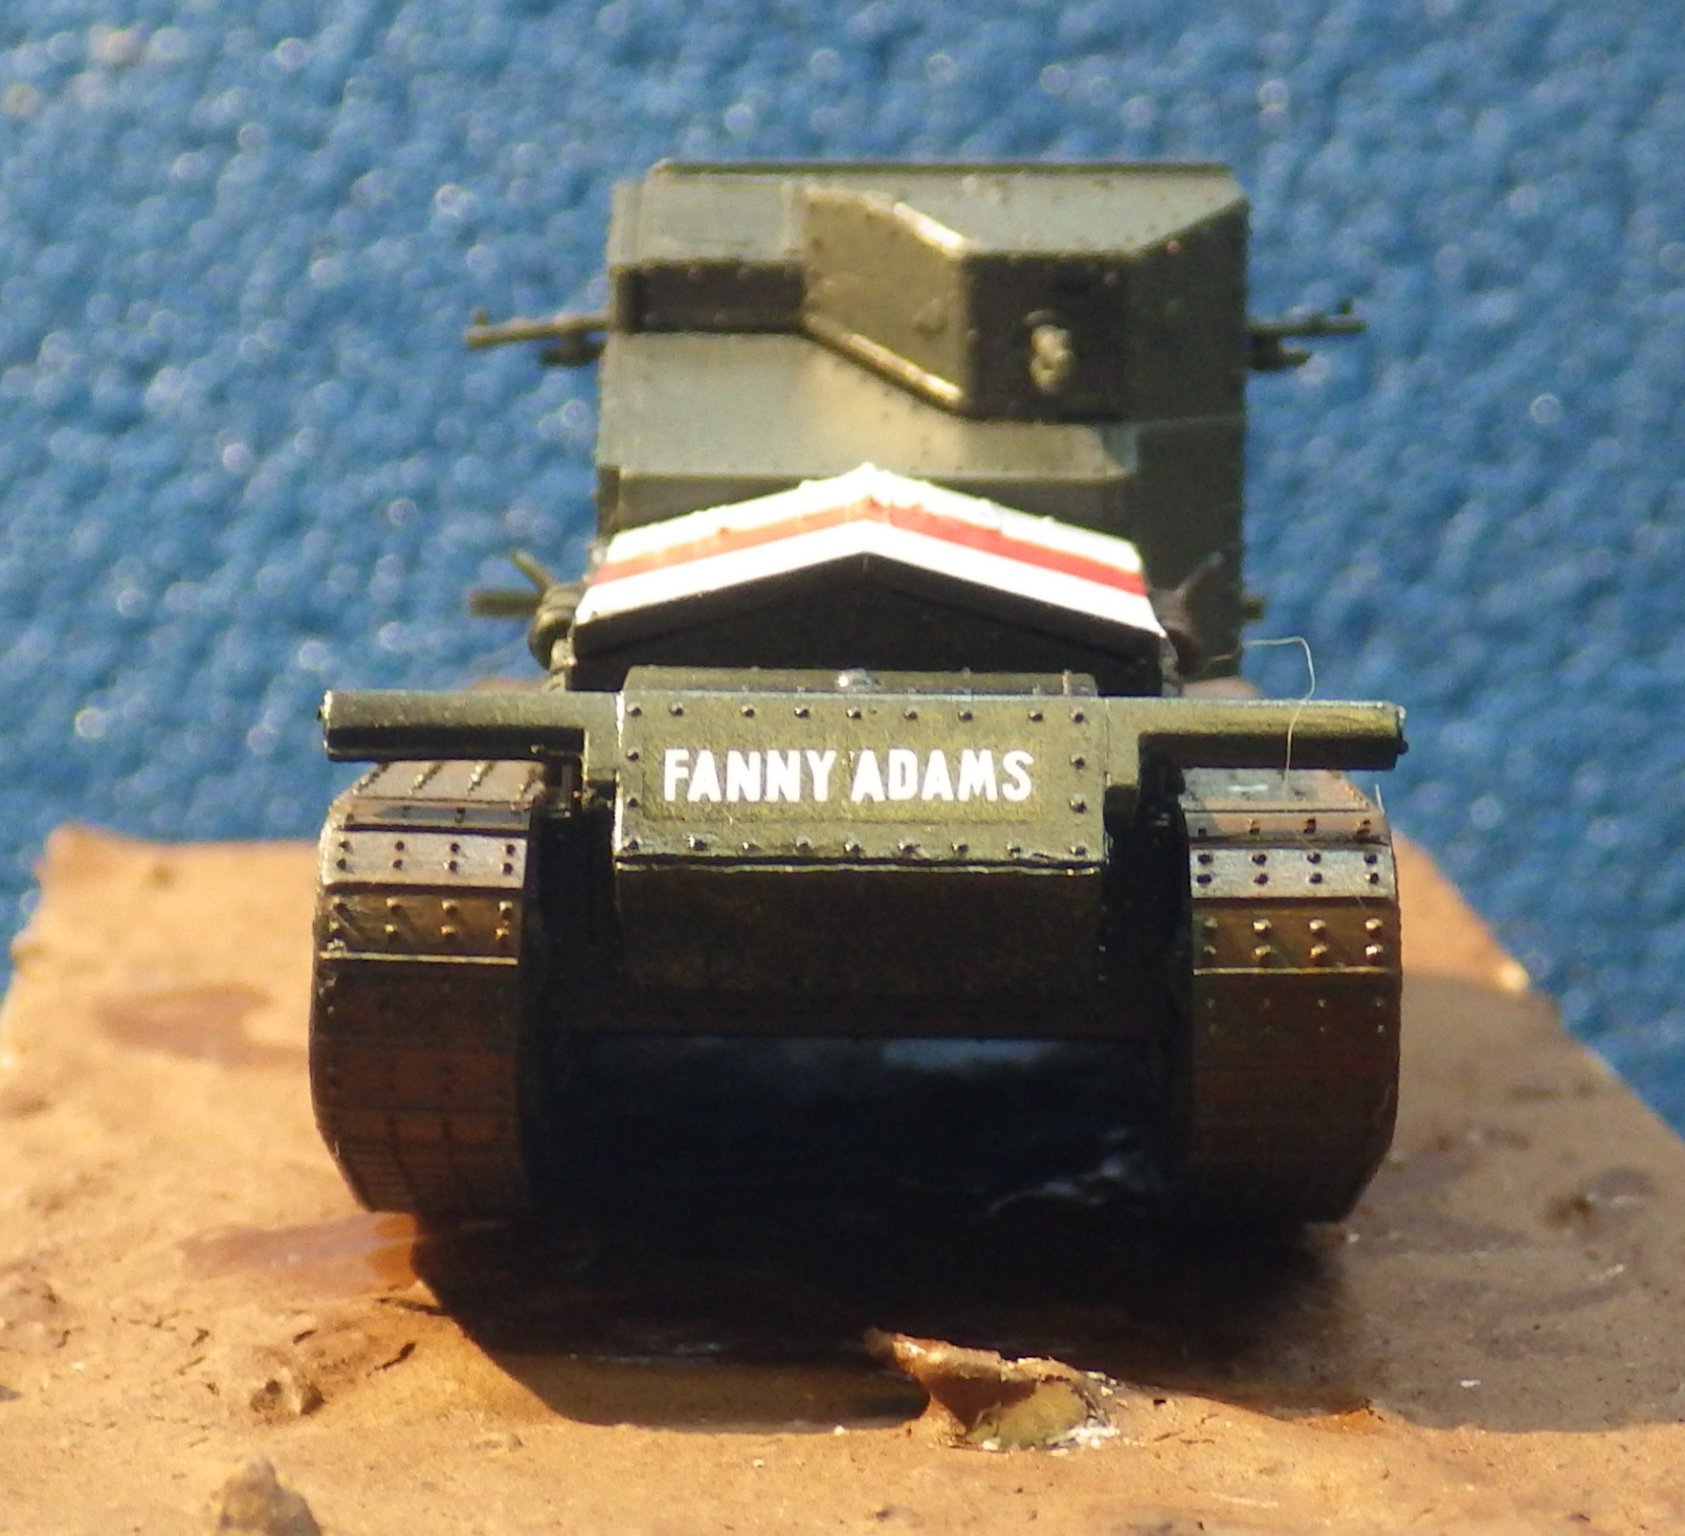
I air brushed a light mist of buff all over the tank and then deepened the spray over the lower hull to simulate a dusty vehicle rather than a muddy one (might try that next). Its done a nice job of knocking down the decal contrast too. I made a ditching beam from some spare wood stock and dirtied it up. Its just placed for size at present. I'm wondering if it should have iron bands at each end but my pictures found so far are unhelpful on that issue. I have chains to secure it on the ditching rails. First I will air brush a matte finish and then add the beam and chains Thanks for looking Alan

- 57 replies
-
- 11
-
-

-
Thanks Mark I think my oven is more suited to the turkey on Thursday Alan
- 460 replies
-
- 5
-

-
- Finished
- Flower-class
- (and 1 more)
-
Thanks Grant The Ender is a great machine for the price. It seems to be Crealitys business plan to ship an "entry level" machine and then have a huge range of upgrades to support it. Being originally supplied as a kit it is amenable to being pulled apart and rebuilt which is nice. The upgrades are generally not expensive . The lack of an upgraded gear is a bit annoying though. They do sell a complete new extruder but I'll see how the new gear holds up now that I'm not banging out 30 hour hull part prints back to back. Alan
- 460 replies
-
- 2
-
-
- Finished
- Flower-class
- (and 1 more)
-
I did find a third party selling stainless gears but they got horrible reviews for poor teeth profiles and off centre bores that I didn't give them a try. One reviewer stated that out of ten two were useable. Alan
- 460 replies
-
- 4
-
-
- Finished
- Flower-class
- (and 1 more)
-
Hi Mark I was surprised that it has already worn smooth in about four months. It has done some pretty heavy printing though. With all the initial problems i probably printed the equivalent of two hulls to get good prints. The disappointment is that in the extruder upgrade you just get the same brass gear instead of a hardened one> creality seems to prefer selling you bags of ten replacement gears instead. Alan
- 460 replies
-
- 4
-
-
- Finished
- Flower-class
- (and 1 more)
-
A day for learning. The replacement aluminium extruder upgrade kit arrived. In typical Creality fashion the instructions were an illustration with no text but there is a good Creality video and it is not very difficult. When I removed the original gear from the exruder I found the cause of many of my recent woes. The PLA filament is obviously quite tough stuff and it had chewed a groove in teh brass wheel removing the majority of the teeth and allowing teh filament to slip. This explains the poor detail and poor structural integrity of some of the prints - especially the more delicate ones. Also when I checked the calibration of the stepper motor I found that for a 100 mm commanded extrusion I only got 90 mm. So the printer has been under extruding the whole time I have had it and I think that is why I have had so much trouble with the alignment to the print bed. With the nozzle under extruding the line of filament being put out is thinner and cooling faster so getting good adhesion to the bed is more difficult. I am amazed now watching the printer putting down solid lines which are well fused to their neighbours and not skipping lines as it fills in sections. Its very encouraging to have found a solid reason for the problem and be able to effect a cure. The upgrade kit provides a brass replacement gear and I haven't seen a further upgrade to a harder material so I suspect this problem will come round again but at least i know the symptoms and the cause. I have invested in a pack of ten gears from Creality for $10. The first prints are very promising so here are a few before and after photos. The four inch gun shield (half) And the piece that brought this all into focus - the life raft racks Now I have to decide how far back to go with repeating prints to clean up their appearance. I had only started printing the detail parts so hopefully not too far. Thanks for looking in. Hopefully the next entry will be a bit more boat like Alan
.jpg.5435e2c28508ae4bec117928343c163c.jpg)
.jpg.e29a85cd9bd291a41c007b528d9f8127.jpg)
.jpg.0d287db3b15114503c3d000caa0571ee.jpg)
(1280x720).jpg.a19fecec17cf57e91105f110f3bb6a32.jpg)
- 460 replies
-
- 10
-
-
- Finished
- Flower-class
- (and 1 more)
-
Thanks Mark. I like to make one change at a time too and looking at the parts to change it doesn't impact teh nozzle so it will be left alone for the while Alan
- 460 replies
-
- 3
-
-
- Finished
- Flower-class
- (and 1 more)
-
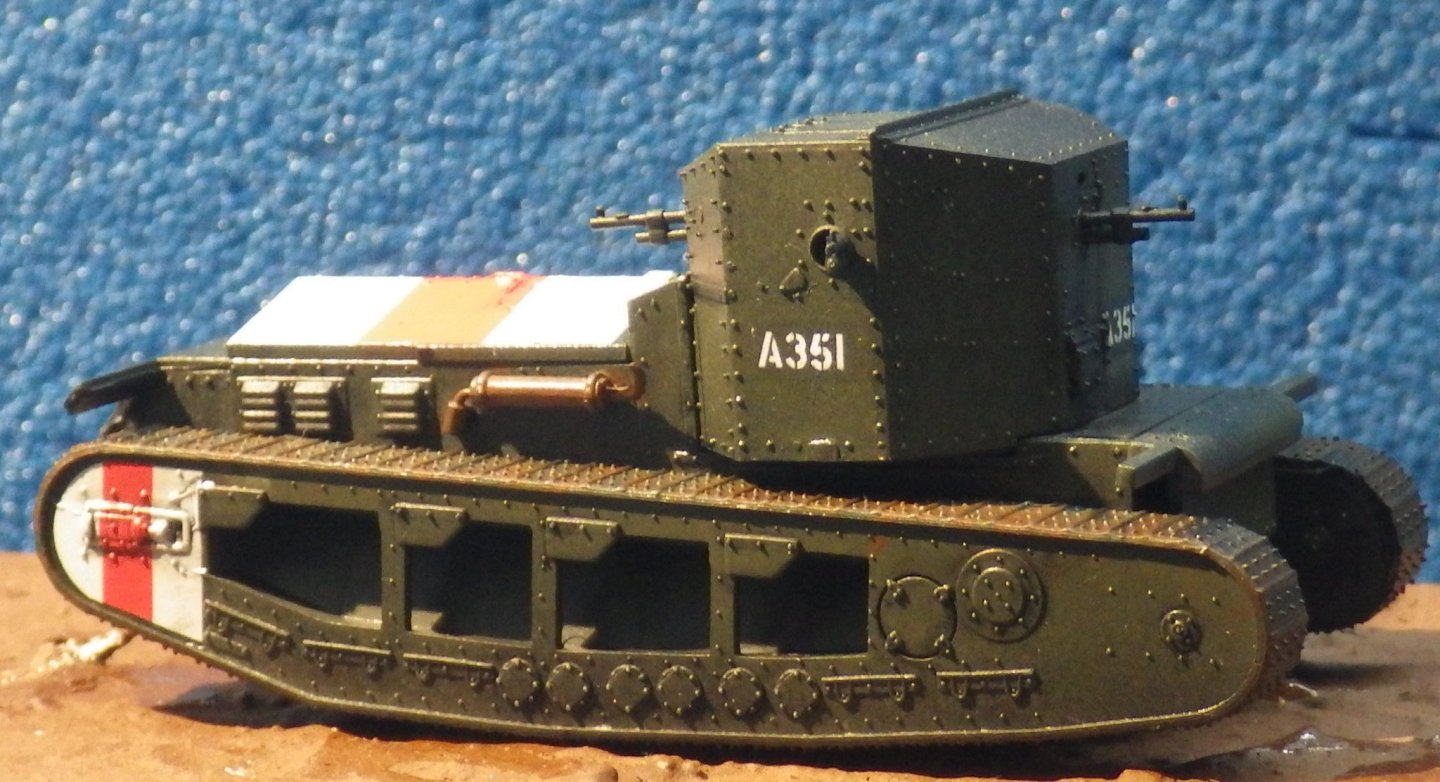
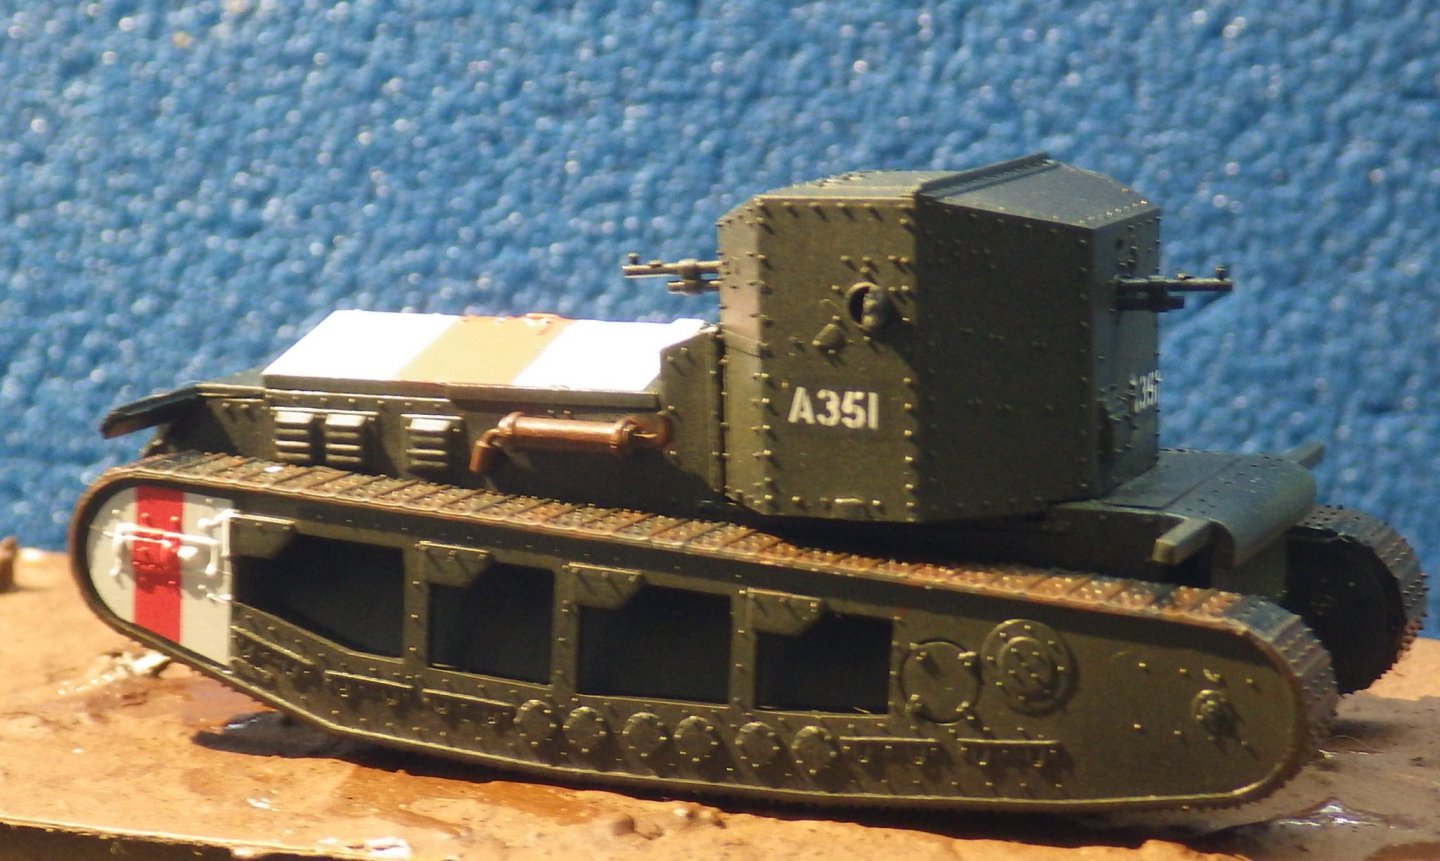
Minor progress. The decals have been added ready to dirt to layered on and the ditching beam Thanks for looking Alan

- 57 replies
-
- 11
-
-
Thank you kindly OC. Its a great subject. I would like to try a diorama with one. More plans than time as always Alan
-
Not a lot of progress here; most of the effort has been with the 3D printer. I added the decals in preparation for washes and dirt. Putting the decals on at the end will leave them far too clean. Thanks for looking in Alan

- 29 replies
-
- 11
-
-
Thank you Patrick. These Emhar kits have been very enjoyable Alan
-
Thank you Bruce - that is a great photo. Its interesting to see the canvas mudguards in place. That would be a really nice scene to try to model with the figures and the turret door open. I might have to get another kit and see if I can make it work. Many Thanks again Alan