king derelict
-
Posts
3,286 -
Joined
-
Last visited
Content Type
Profiles
Forums
Gallery
Events
Everything posted by king derelict
-
This looks really interesting. I’m looking forward to following developments. I’m feeling I should get my Flyhawk Renault FT-17 off the pile and join in. Alan
-
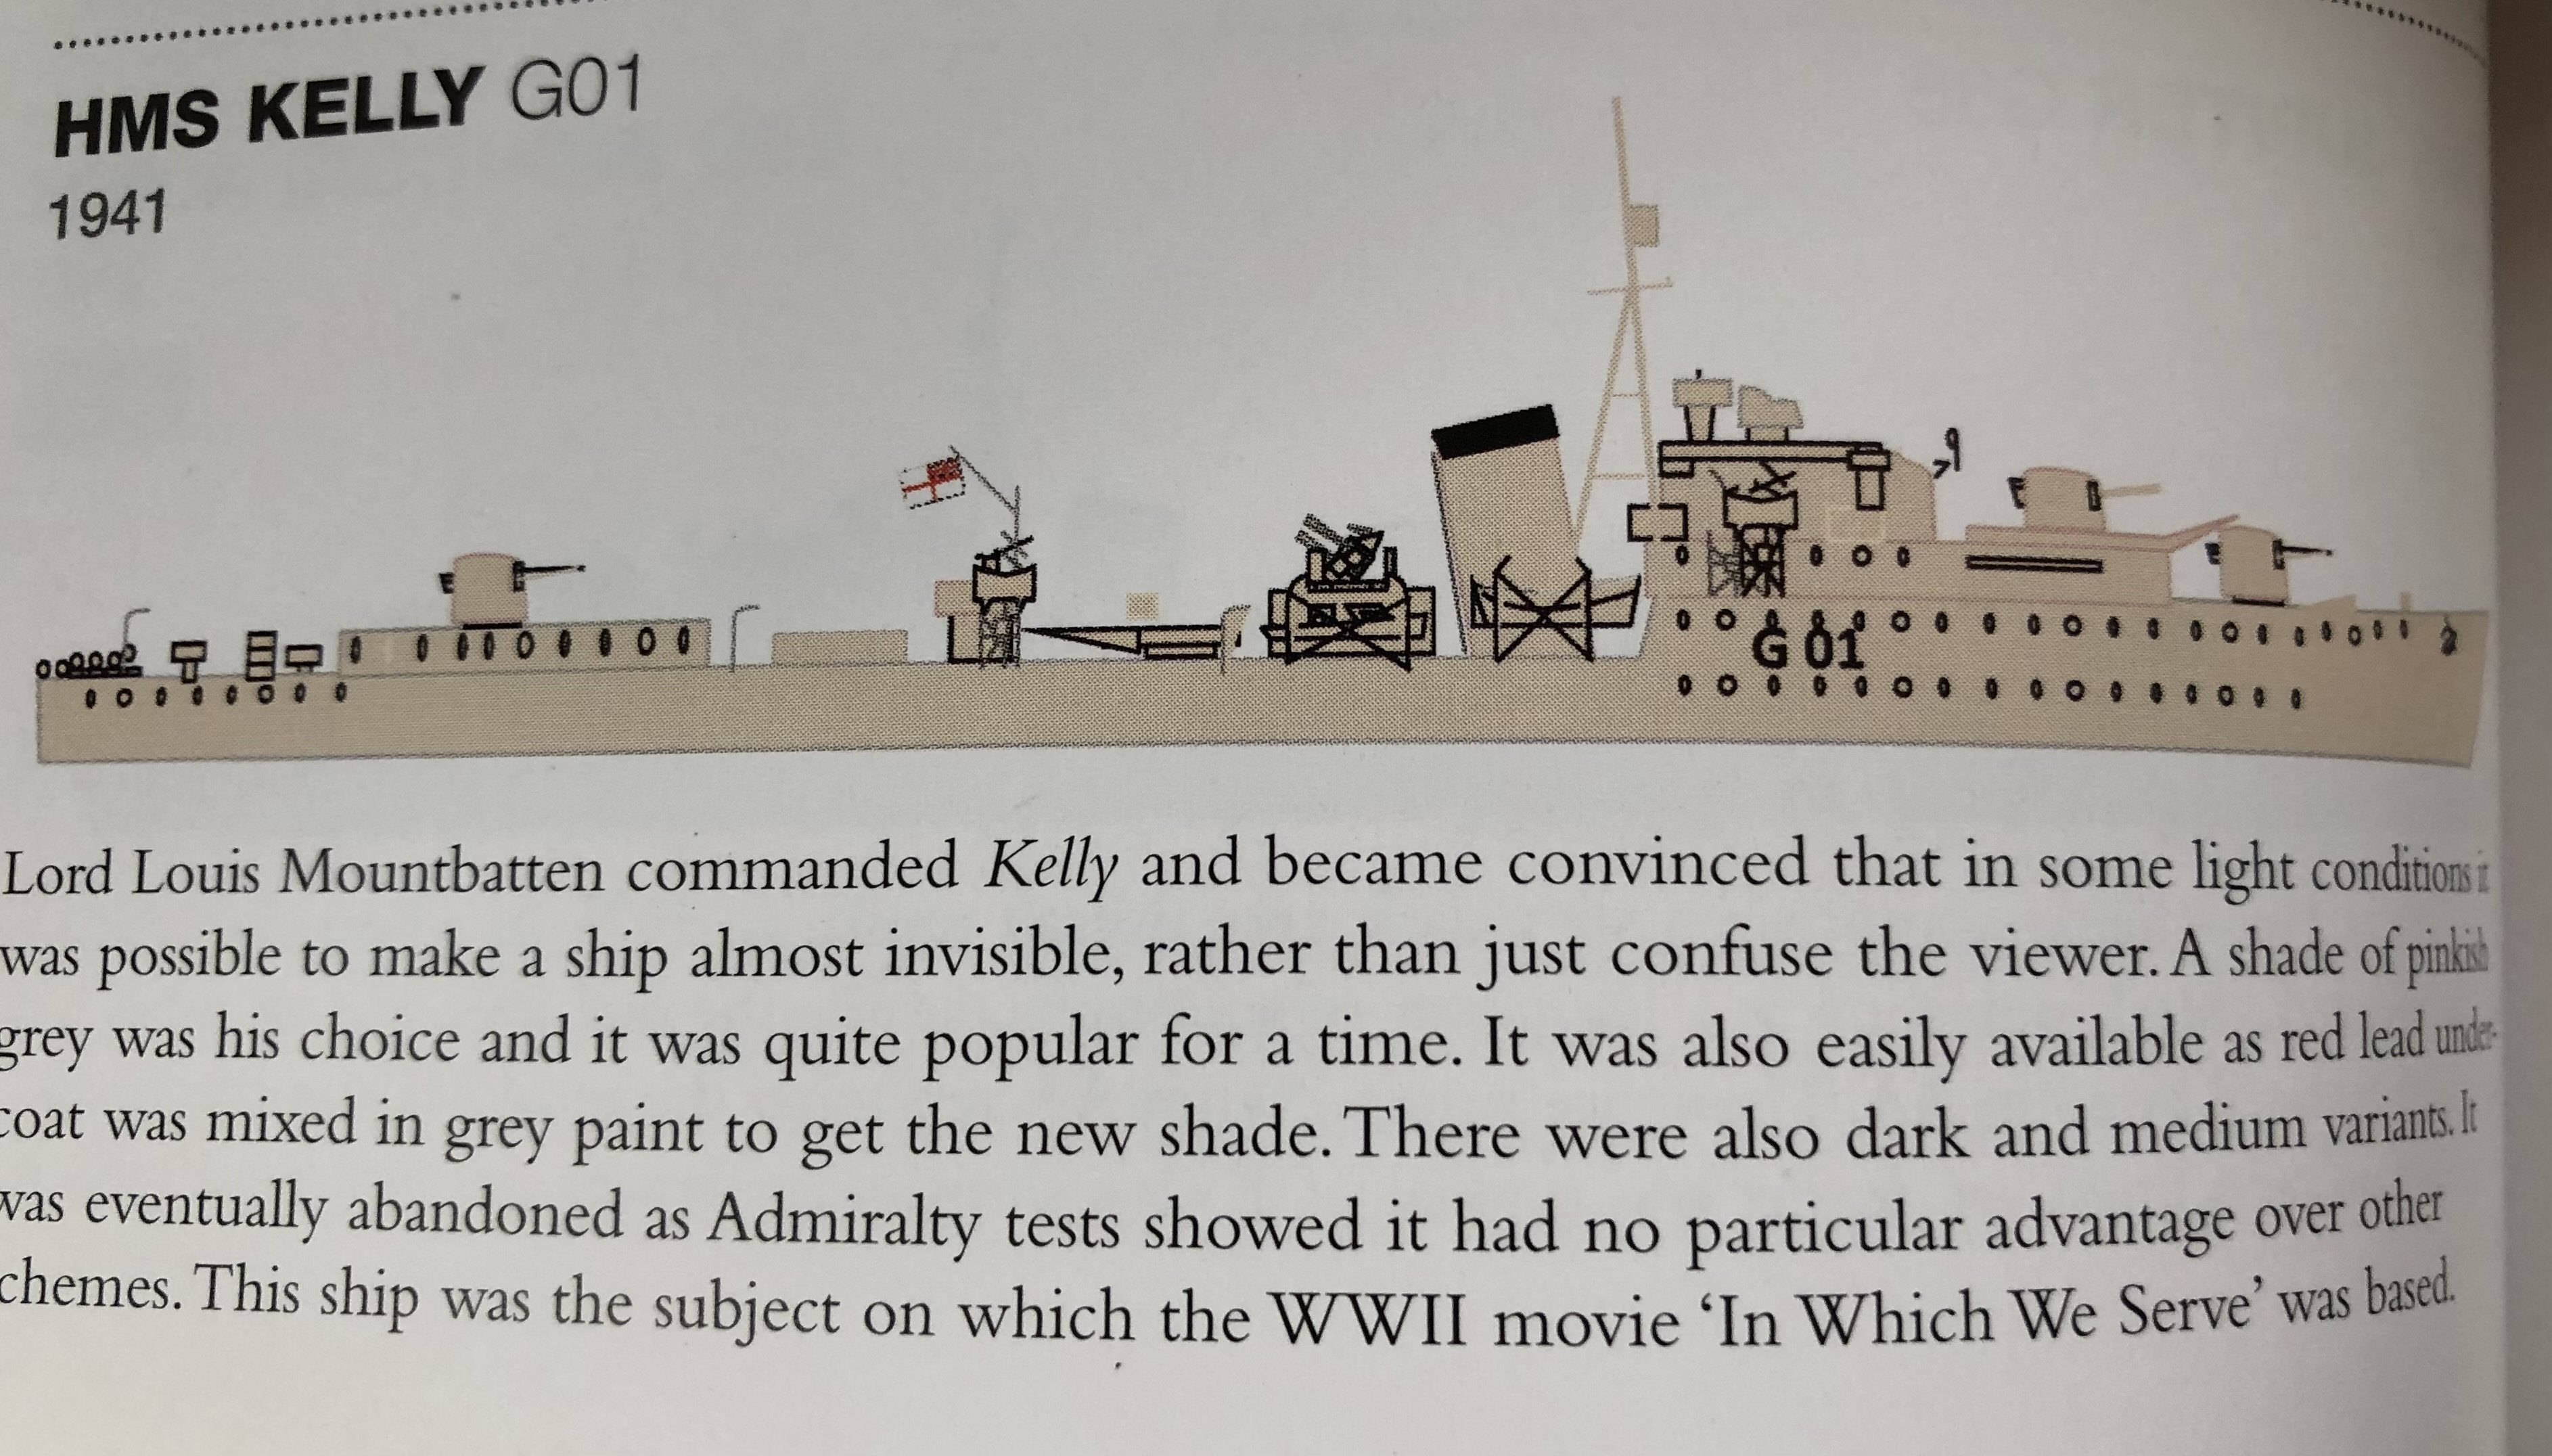
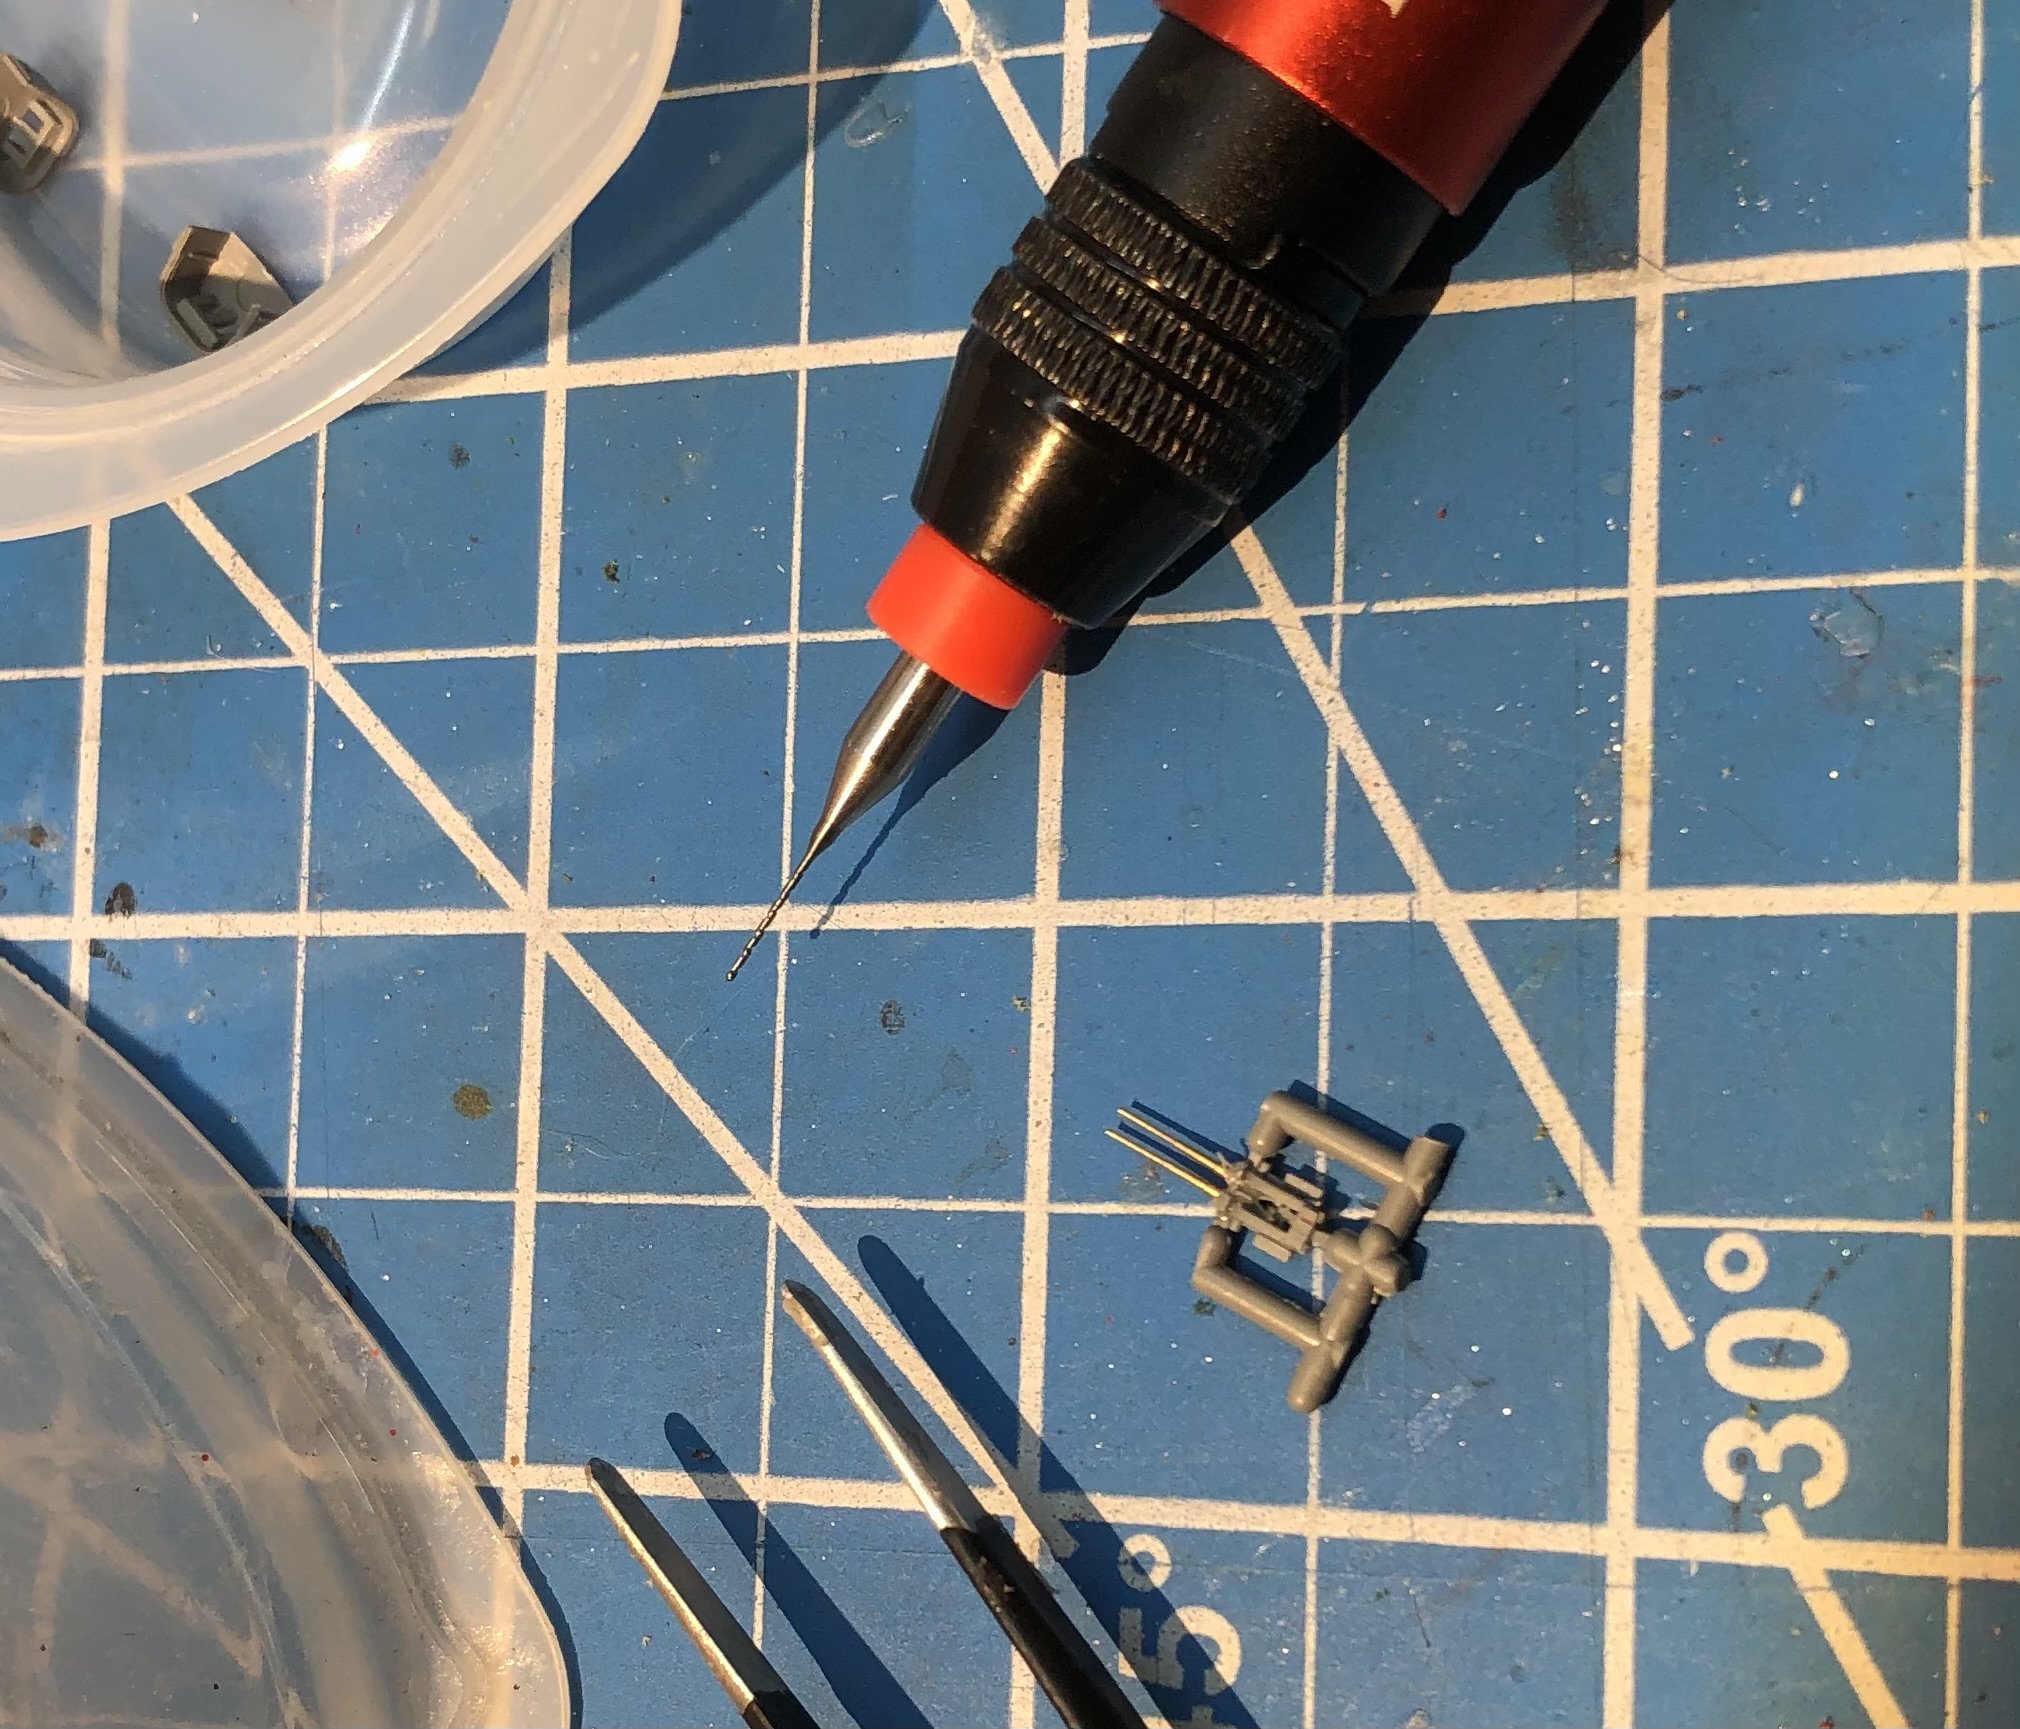
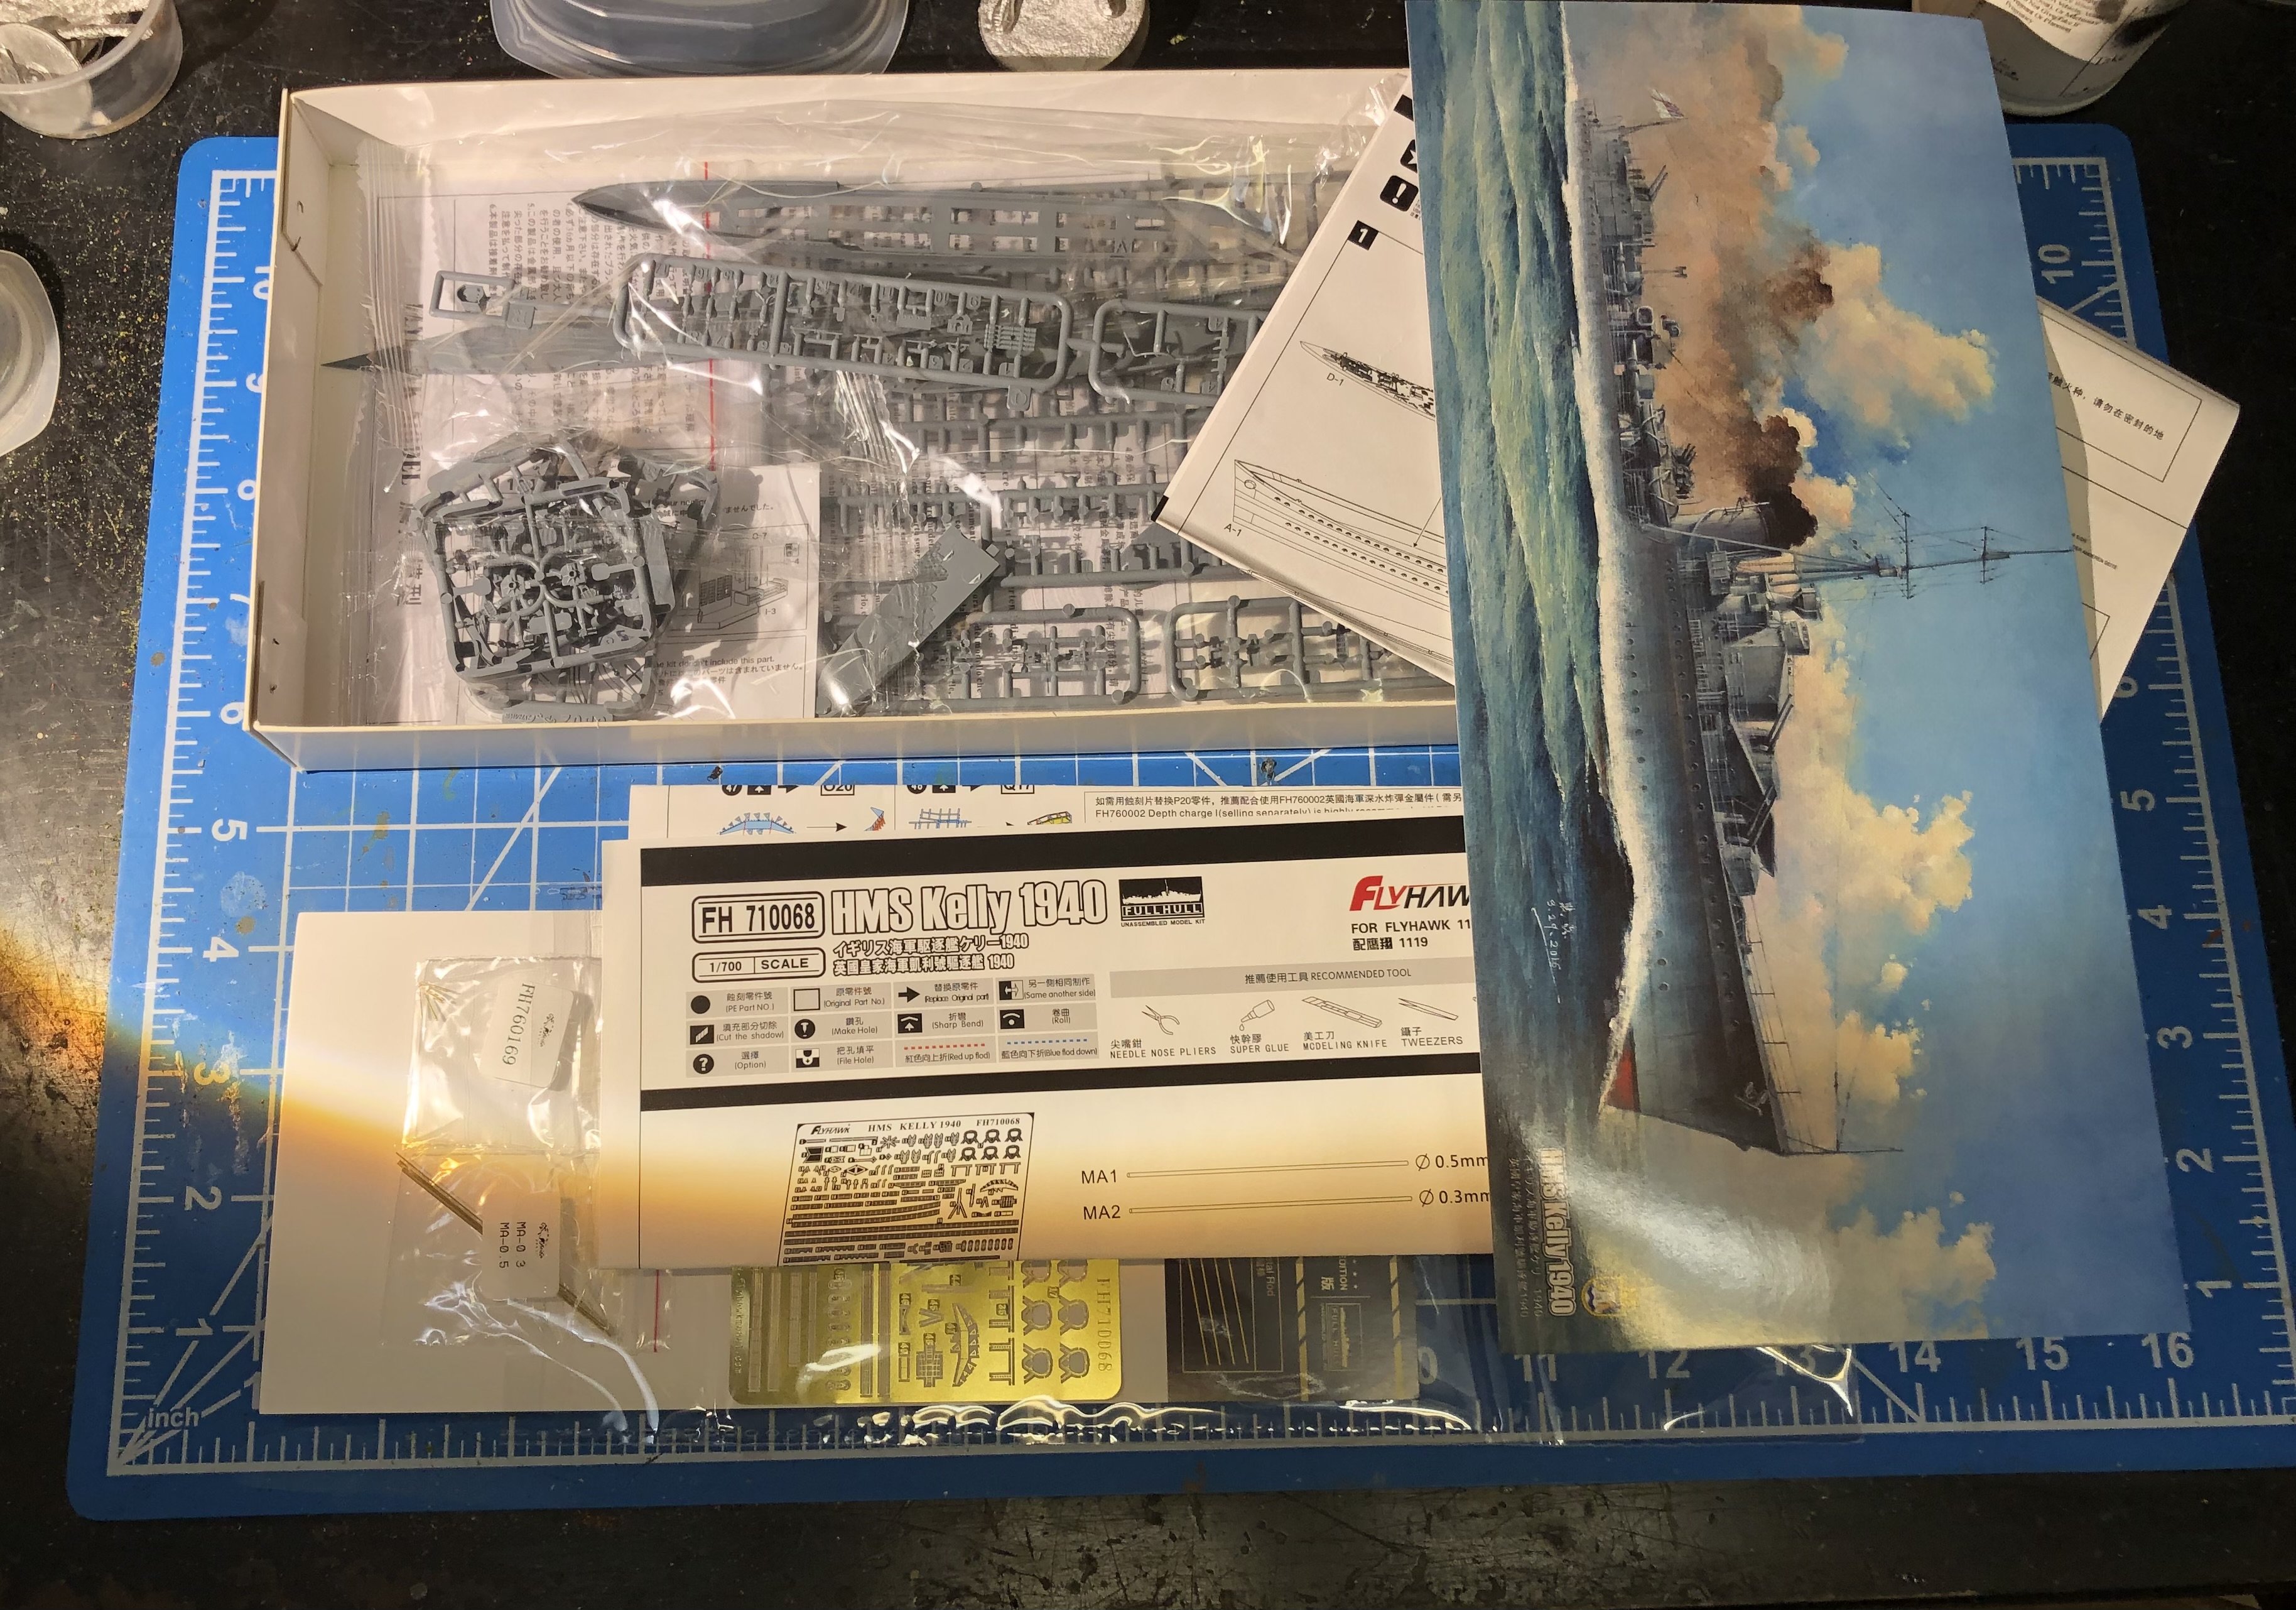
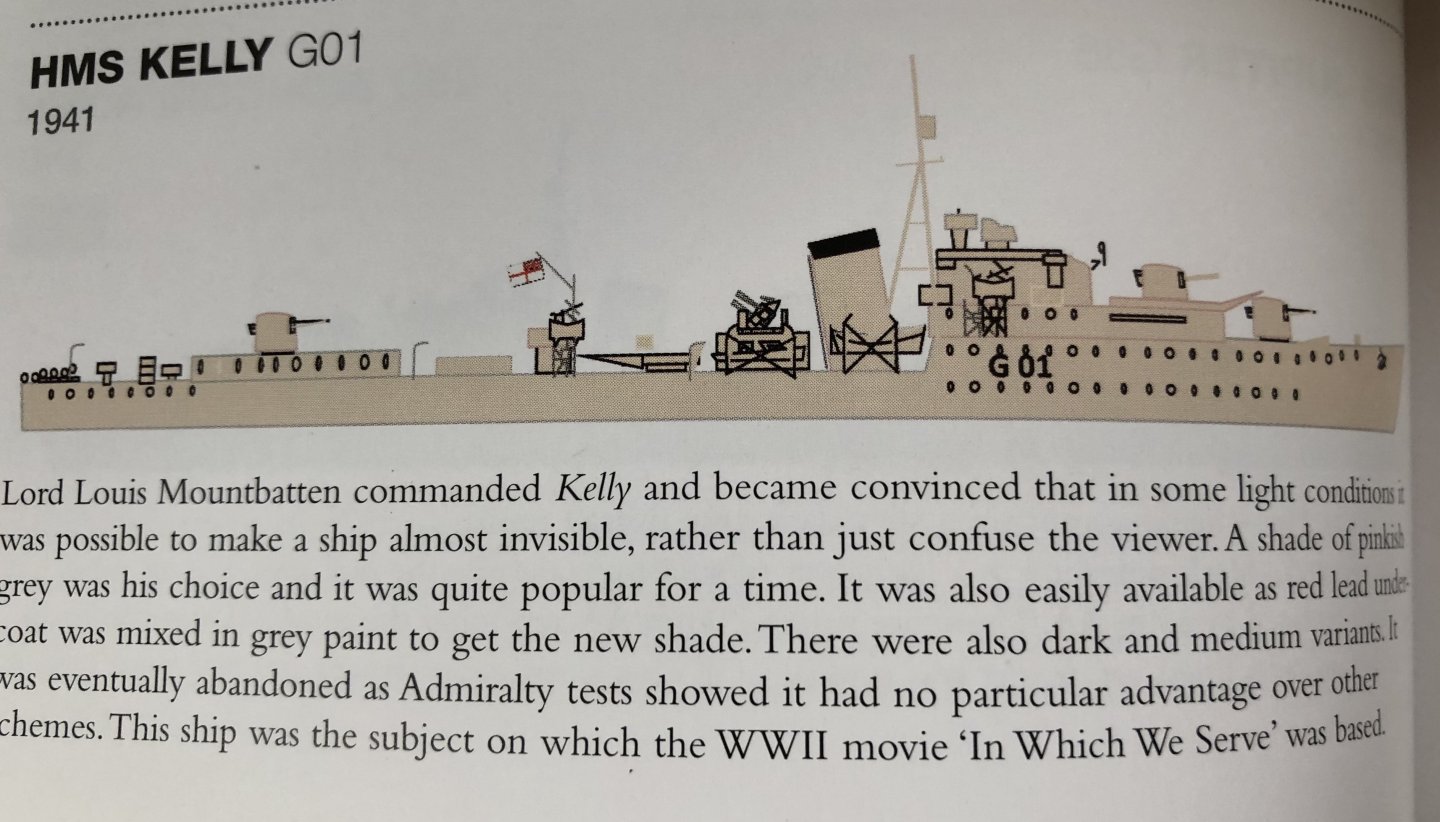
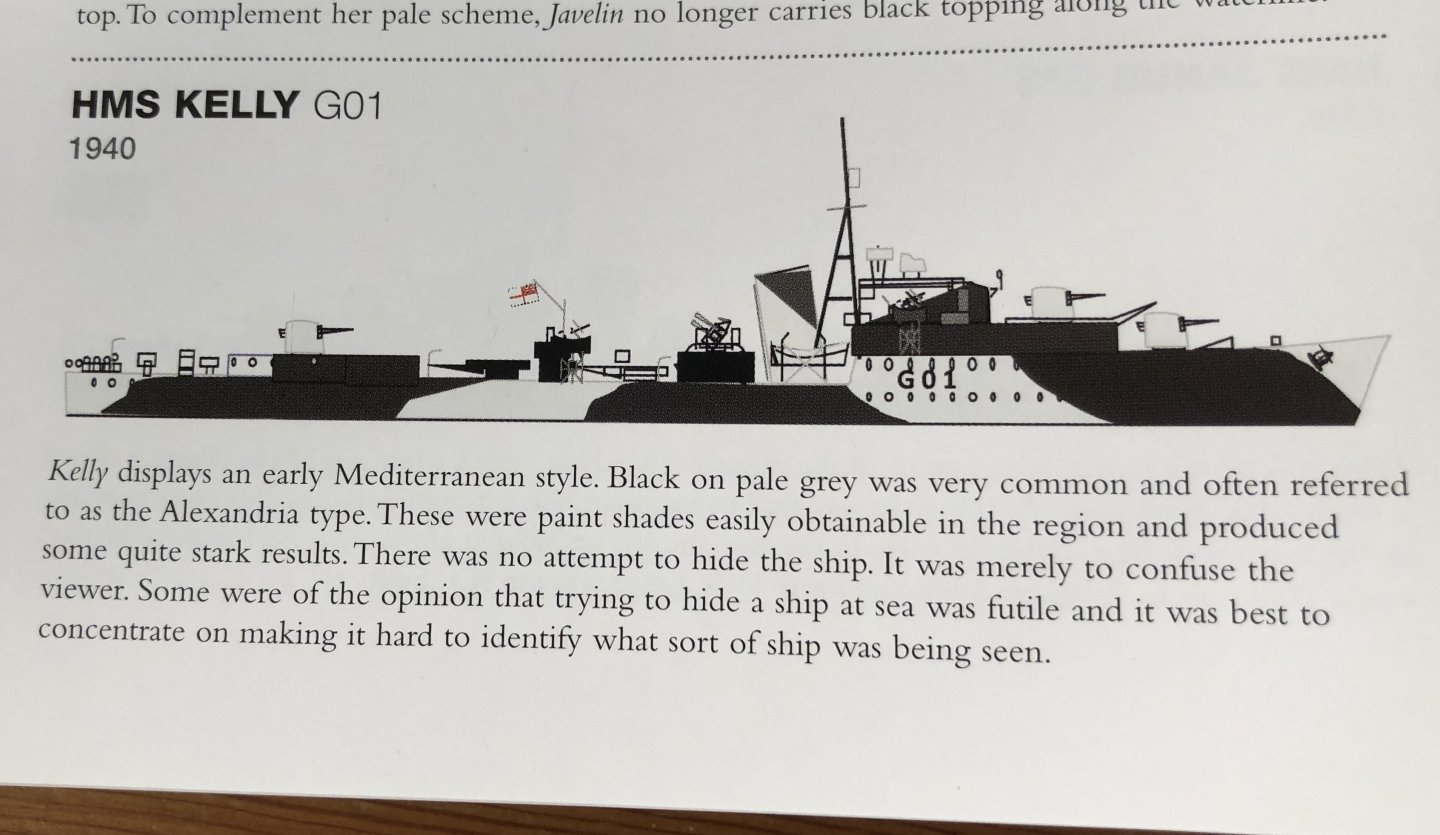
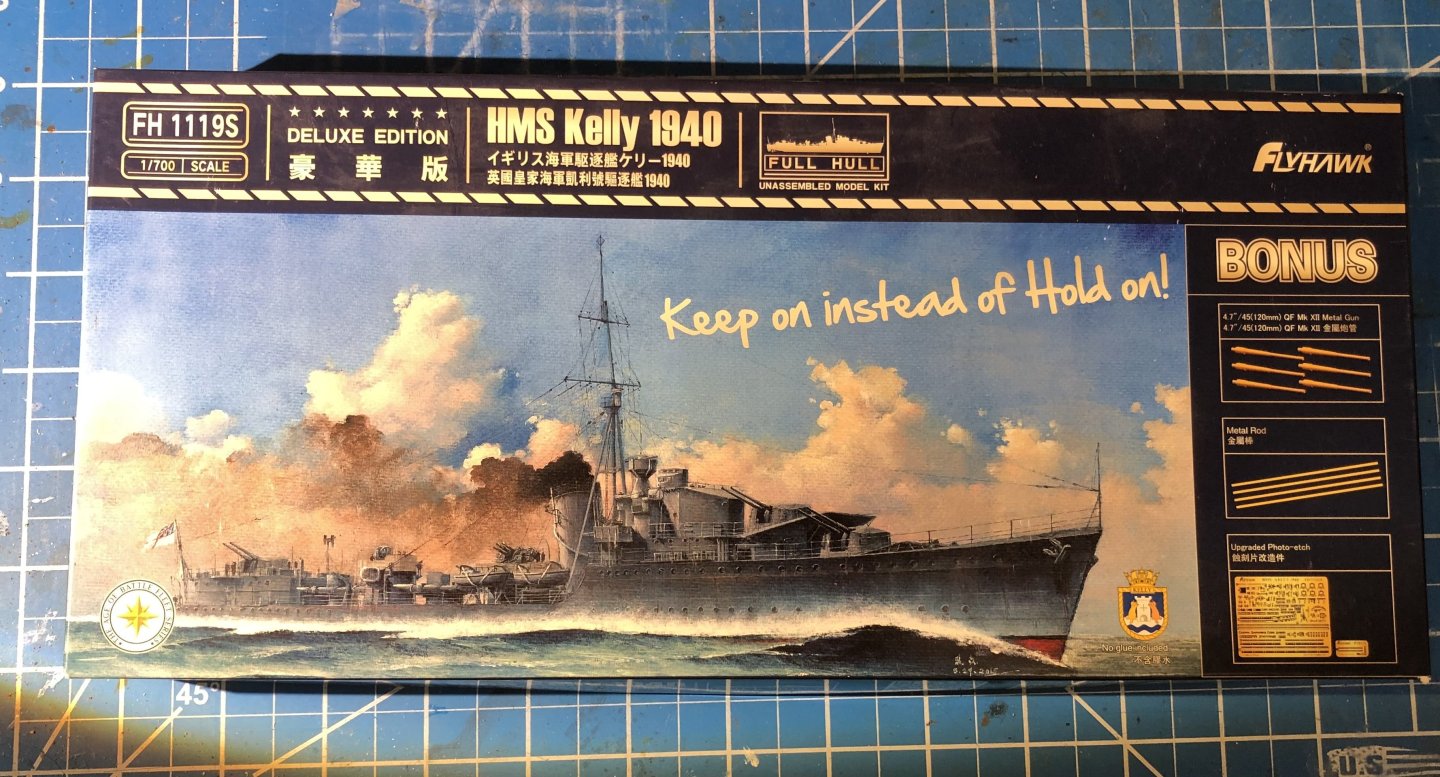
Well, I got distracted by incoming figures. This was what was supposed to be on the workbench next. HMS Kelly was a “K” class destroyer commissioned in August 1939 and had a thoroughly rough and short war. On the afternoon of 14 December 1939, the tanker Atheltemplar struck a mine laid by German destroyers off the Tyne Estuary. Kelly and the Tribal-class destroyer HMS Mohawk were dispatched as escorts for the rescue tugs Great Emperor, Joffre and Langton. During the operation, Kelly also struck a mine and sustained damage to her hull. While Mohawk put a party aboard Atheltemplar, and Joffre and Langton took the tanker under tow, Kelly herself was taken in tow by Great Emperor and returned to the Tyne. Reaching the Tyne just before midnight, Kelly was assisted upriver by the tugs Robert Redhead and Washington. She was towed to Hawthorn Leslie's yard for repairs, which took just a little over three months. This was the second of Kelly's misfortunes, having just returned to active service after a month in dry dock following storm damage. Repairs were completed on 28 February 1940, and Kelly returned to the fray. Astonishingly, she was involved in a collision with HMS Gurkha, just two days later on 2 March, necessitating a further 8 weeks in dry dock, this time on the Thames. She was released on 27 April, in time to assist with the evacuation of allied forces from Namsos. On 23 May, during the evacuation of Crete, she was bombed and sunk, with half her crew killed. Kelly did succeed in shooting down three of the attacking Stukas, while another was badly damaged and crashed upon returning to base. The survivors were deeply affected by the loss of their ship; Mountbatten shared their loss and tried to console the ship's company by reminding them all that "we didn't leave the Kelly, the Kelly left us!" This is a deluxe edition Flyhawk kit with PE and brass barrels and masts. For such a small ship there are an awful lot of bits in the box. PE looks quite civilized, nothing too minuscule to deal with. There are two sets of instructions, one for the kit and one for the PE, a lot of reading is needed to successfully integrate the PE. The paint guide has Kelly in overall grey but my book of British warships camouflage schemes shows two alternatives. Mountbatten pink, the man himself was skipper of the Kelly And this rather striking design I'm leaning towards this one as something a bit different. And I see Ive got stuck with yet another tripod mast. A tentative start has been made. I cut back the kit plastic barrels and replaced them with the brass one. It was only after letting the drill bit skip into my thumb on the third set that I remembered that my recent Black Cat order included 4.7 inch guns. Oh well, it’s all about the challenge. I left the base of the guns in the sprue as being easier to hold, seemed to work quite well. Thanks for looking in, I hope you enjoy the adventure. alan


-
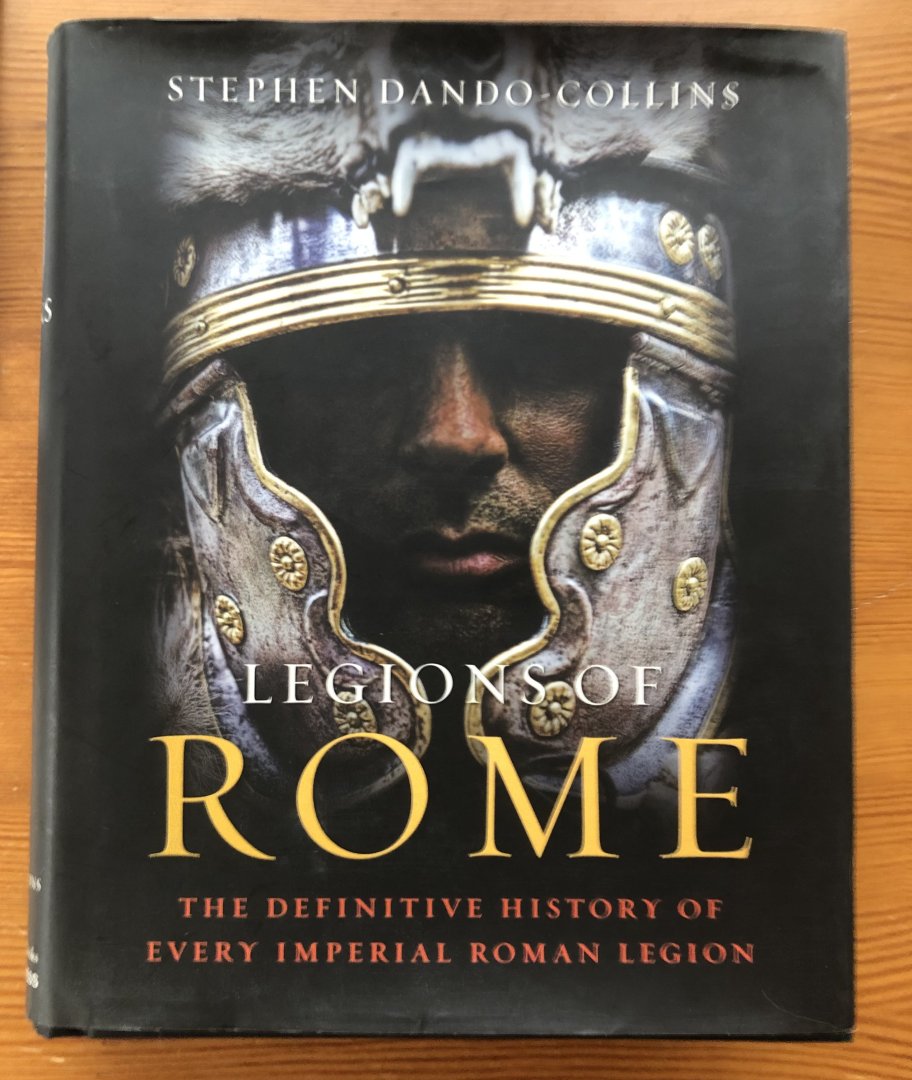
A lot of reading today researching the background and equipment of the vexillarius. I remembered I had this book on one of the bookshelves and dug it out. i think I bought it as a companion for the Simon Scarrow, Ben Kane and Harry Sidebottom novels. The sections on equipment agree with the information from @Canute so that take care of most of the painting issues. The book identifies the standard on the box art as belonging to the first Adiutrix legion who did indeed take part in the Marcomannic wars, the wars with the tribes of the Danube. The shield is wrong though and doesn’t match any of the legions shield designs. The legions postings don’t seem to have any reason to have a Nubian vexillarius though. It does occur to me that apart from the standard there is nothing about the figure to identify it as part of any particular legion so I can look for a different legion that maybe served in North Africa and maybe has an easier standard design. Luckily that decision can be made late in the build. This may be a bit slow as I work over in the ship log, this one sort of got away from me. Thanks for looking in, the likes, the helpful comment and the popcorn. alan
-
Welcome Phil. I think using a printer may be the way to go. Thanks for the suggestion. alan
-
Glad to see you Ken. Thanks for the very useful information. I think that takes care of all the equipment questions. No decals, they would have been nice. Ive ordered some decal paper for inkjet printers. Thanks again Alan
-
Welcome OC. I hope you have liquid refreshments to wash down the popcorn. alan
-
Welcome Jack. Glad you brought snacks, this may be a bit slow as it competes with the HMS Kelly build. alan
-
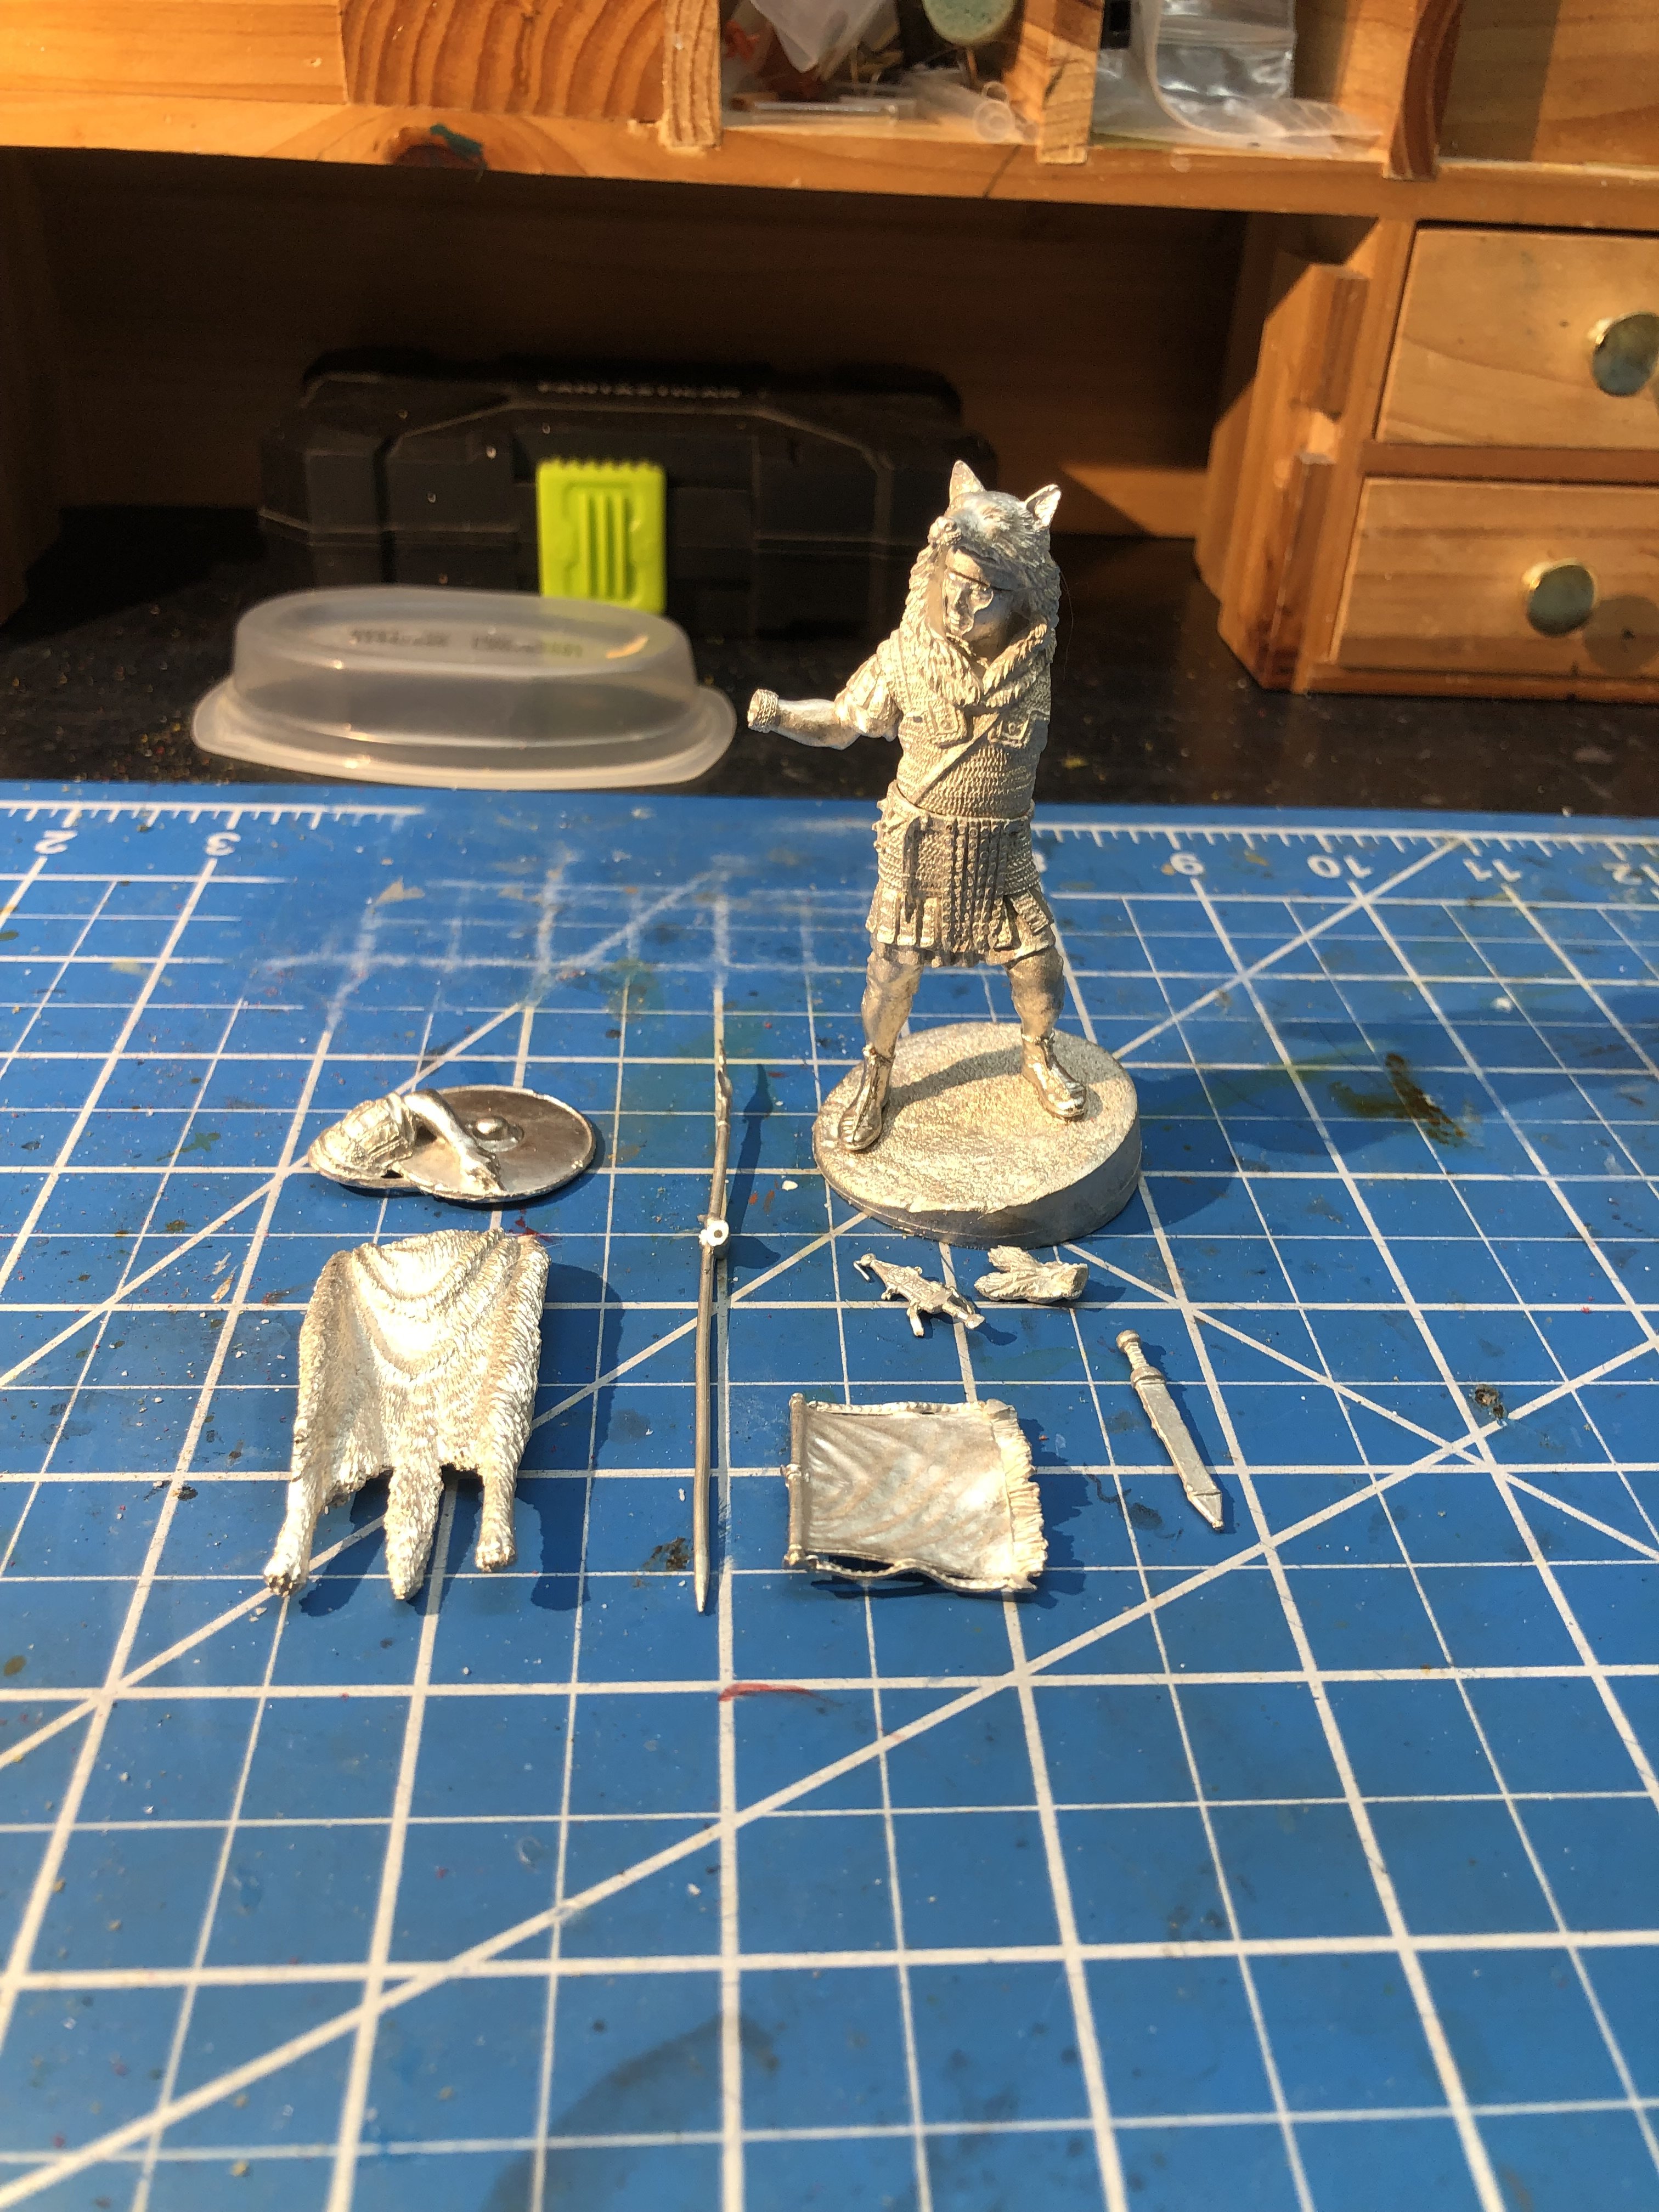
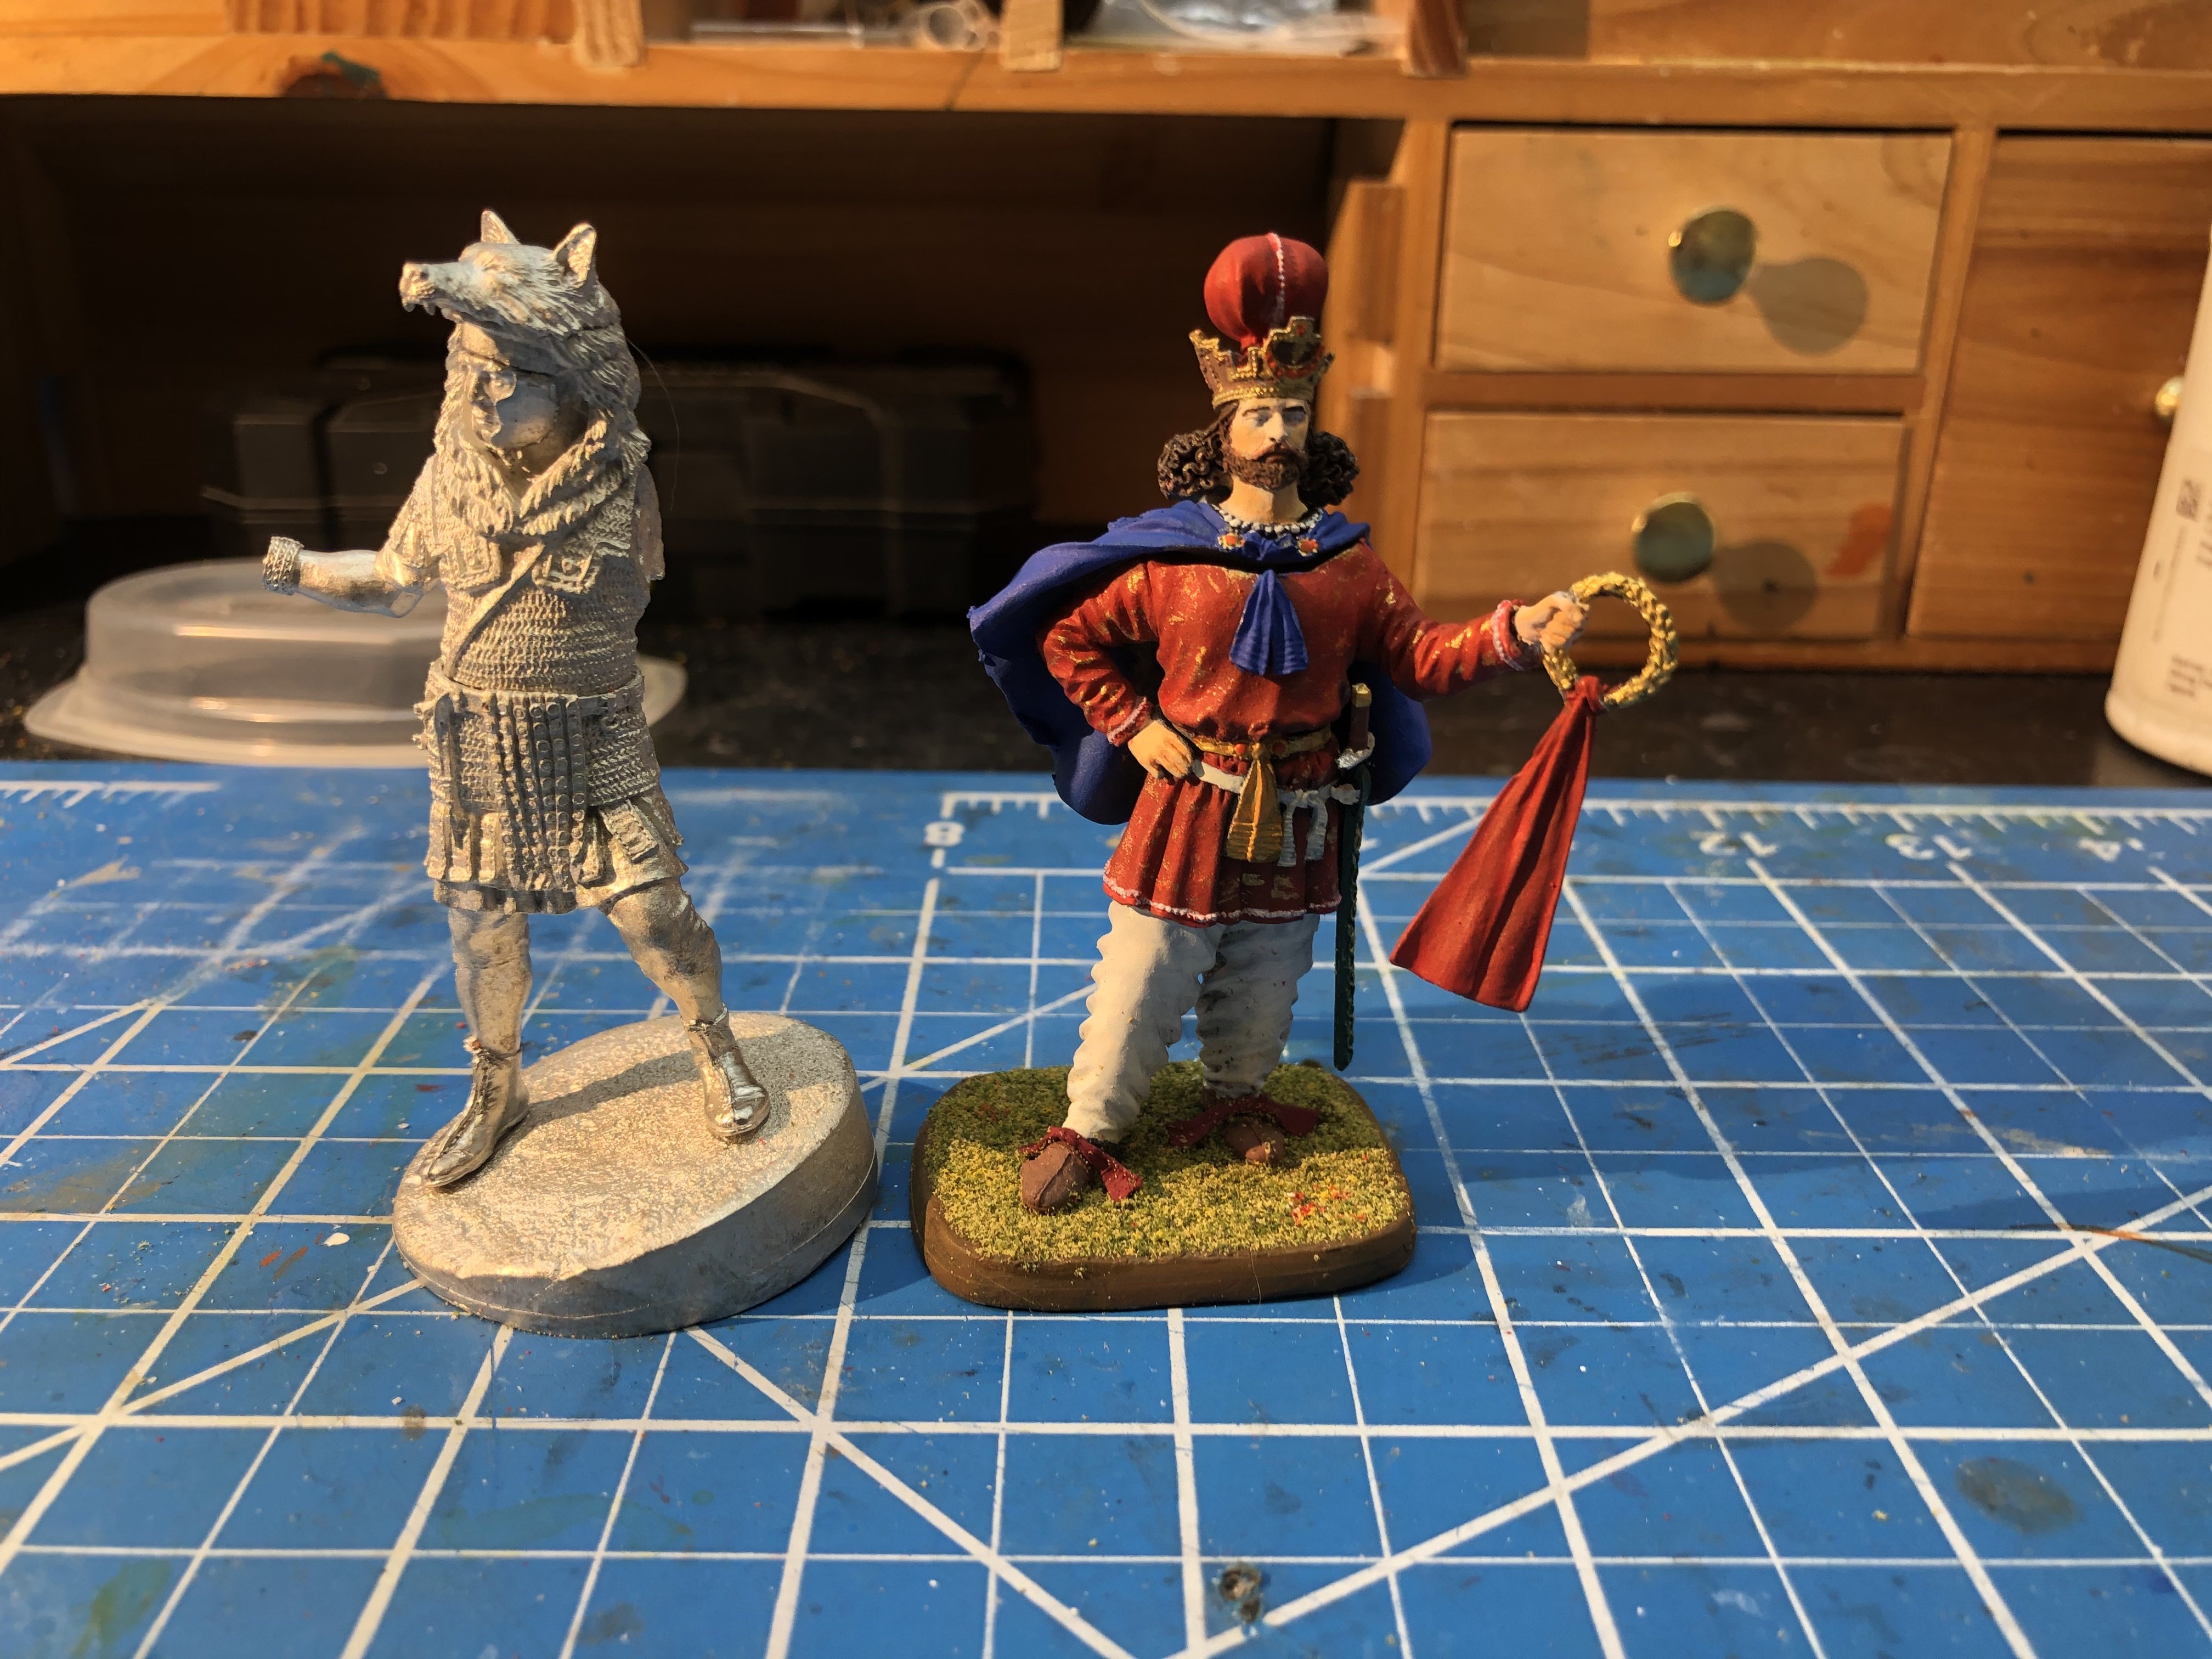
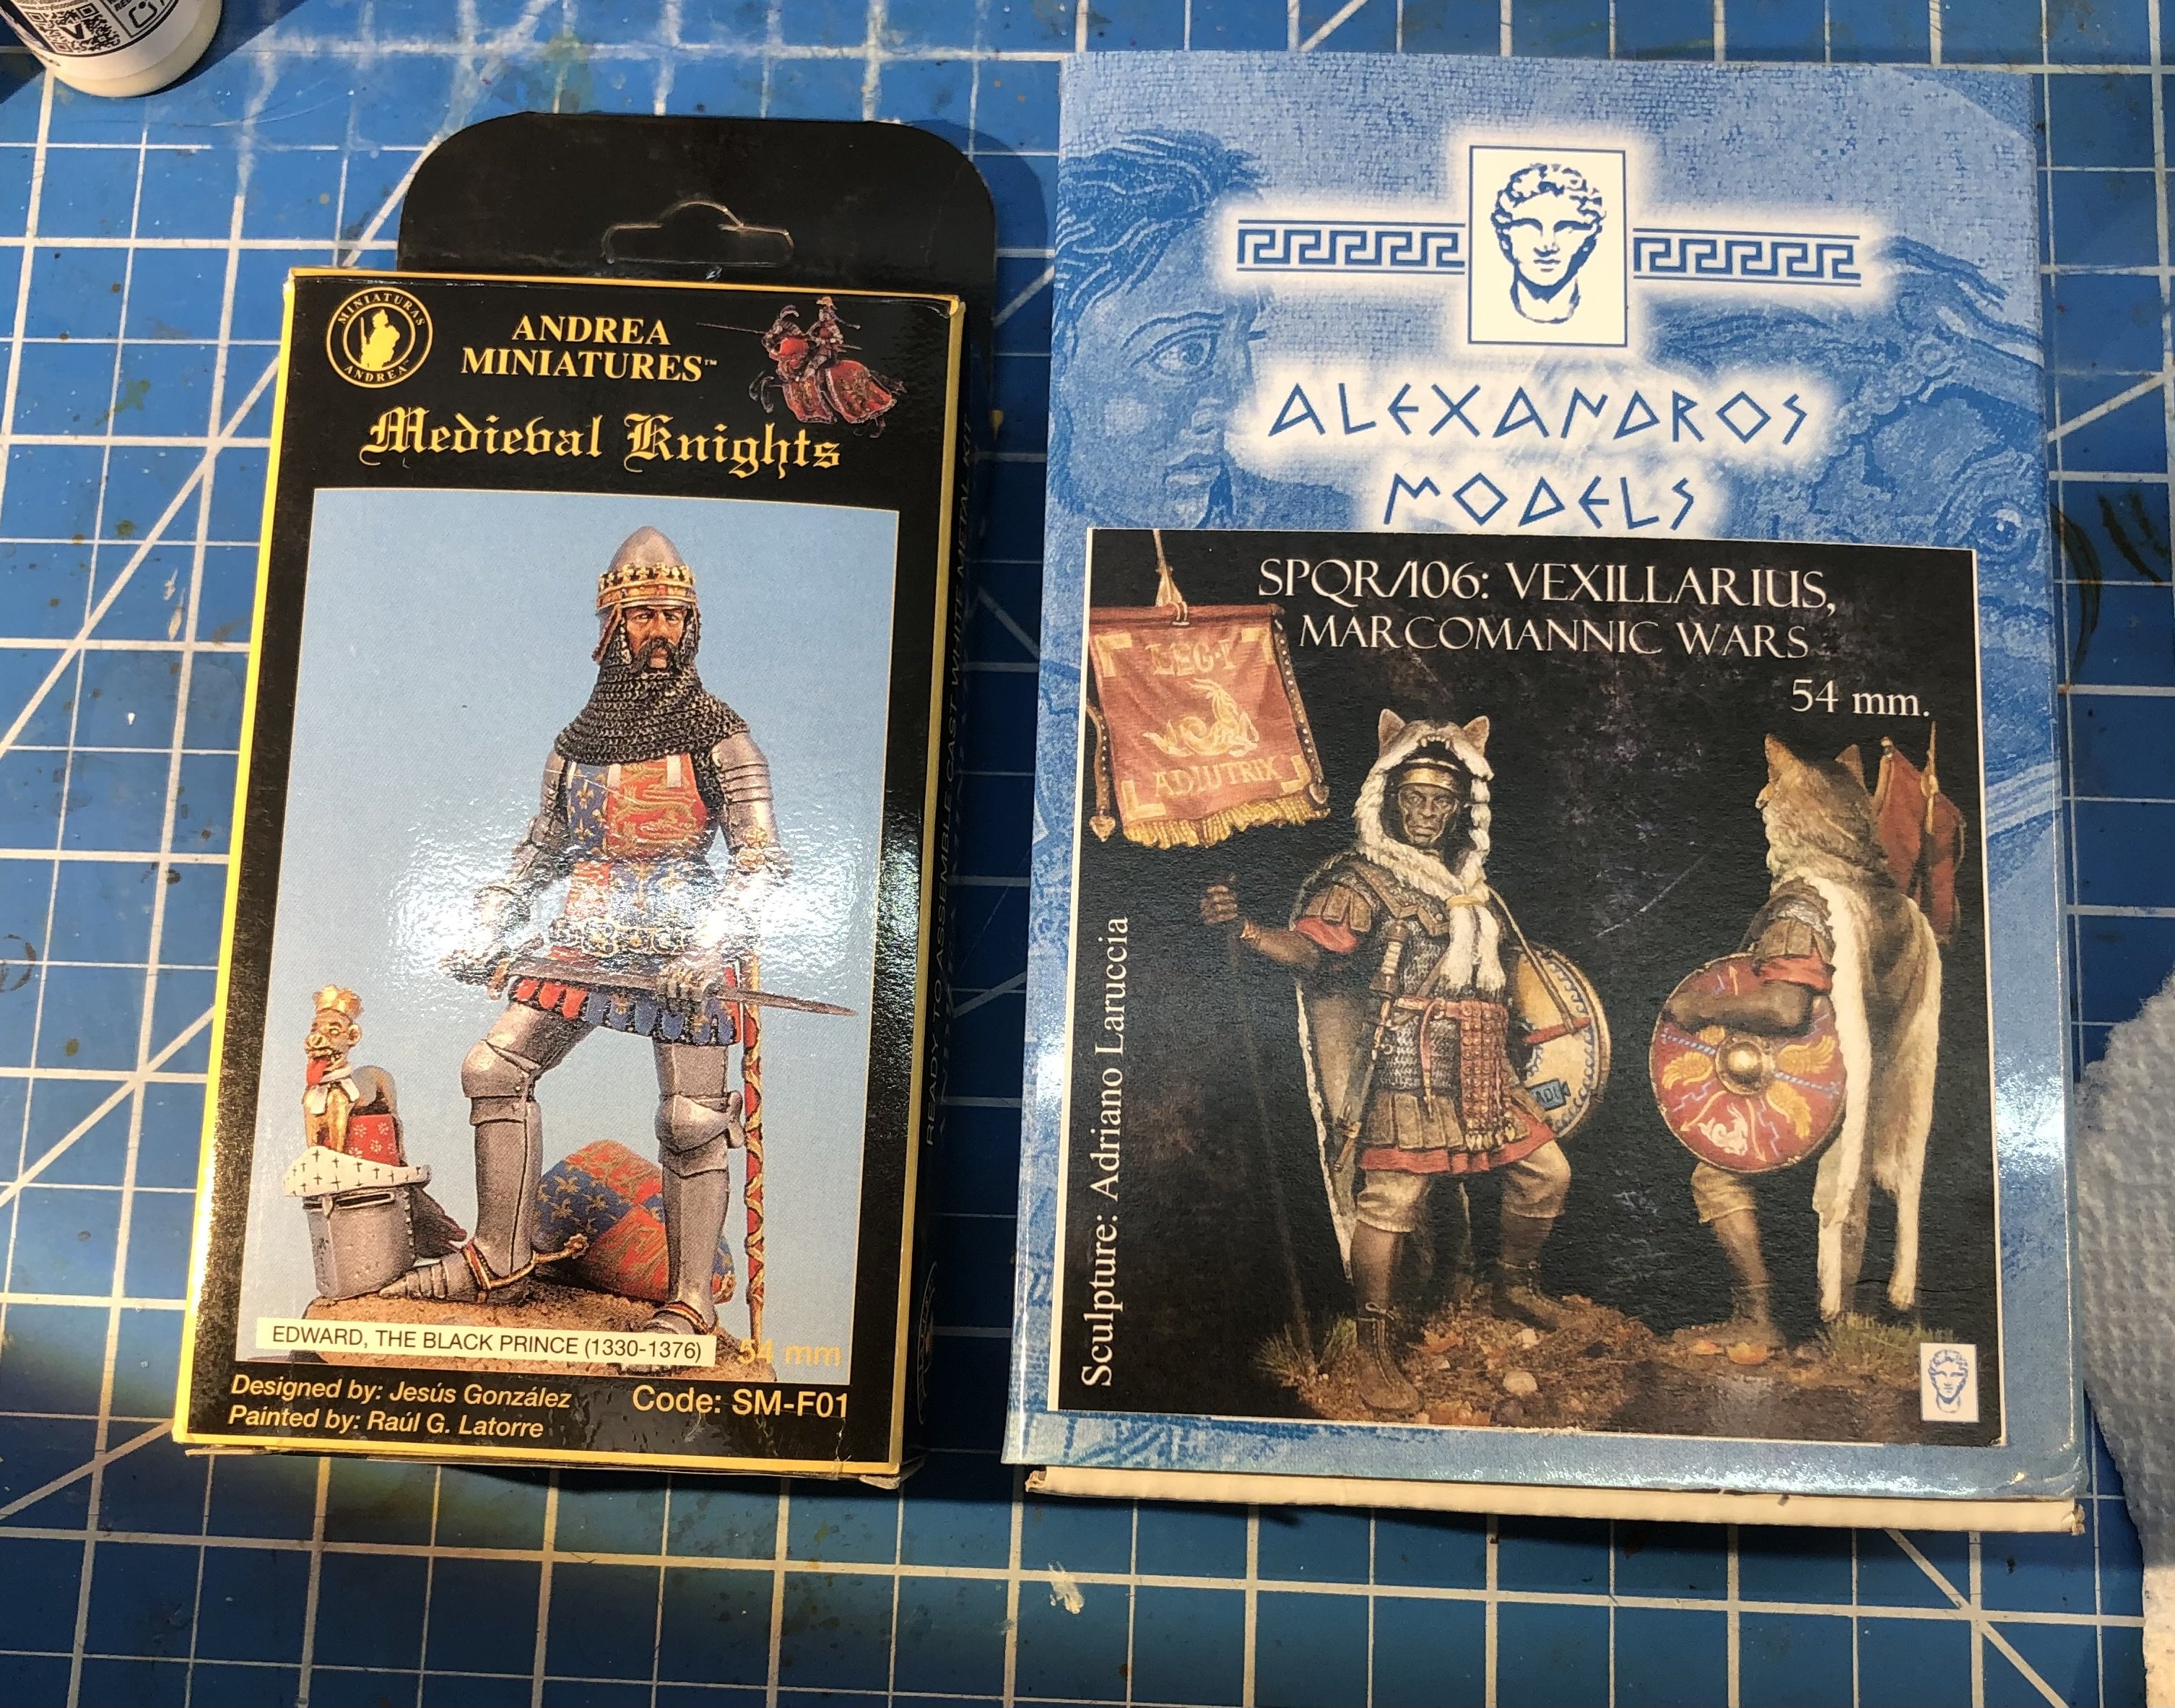
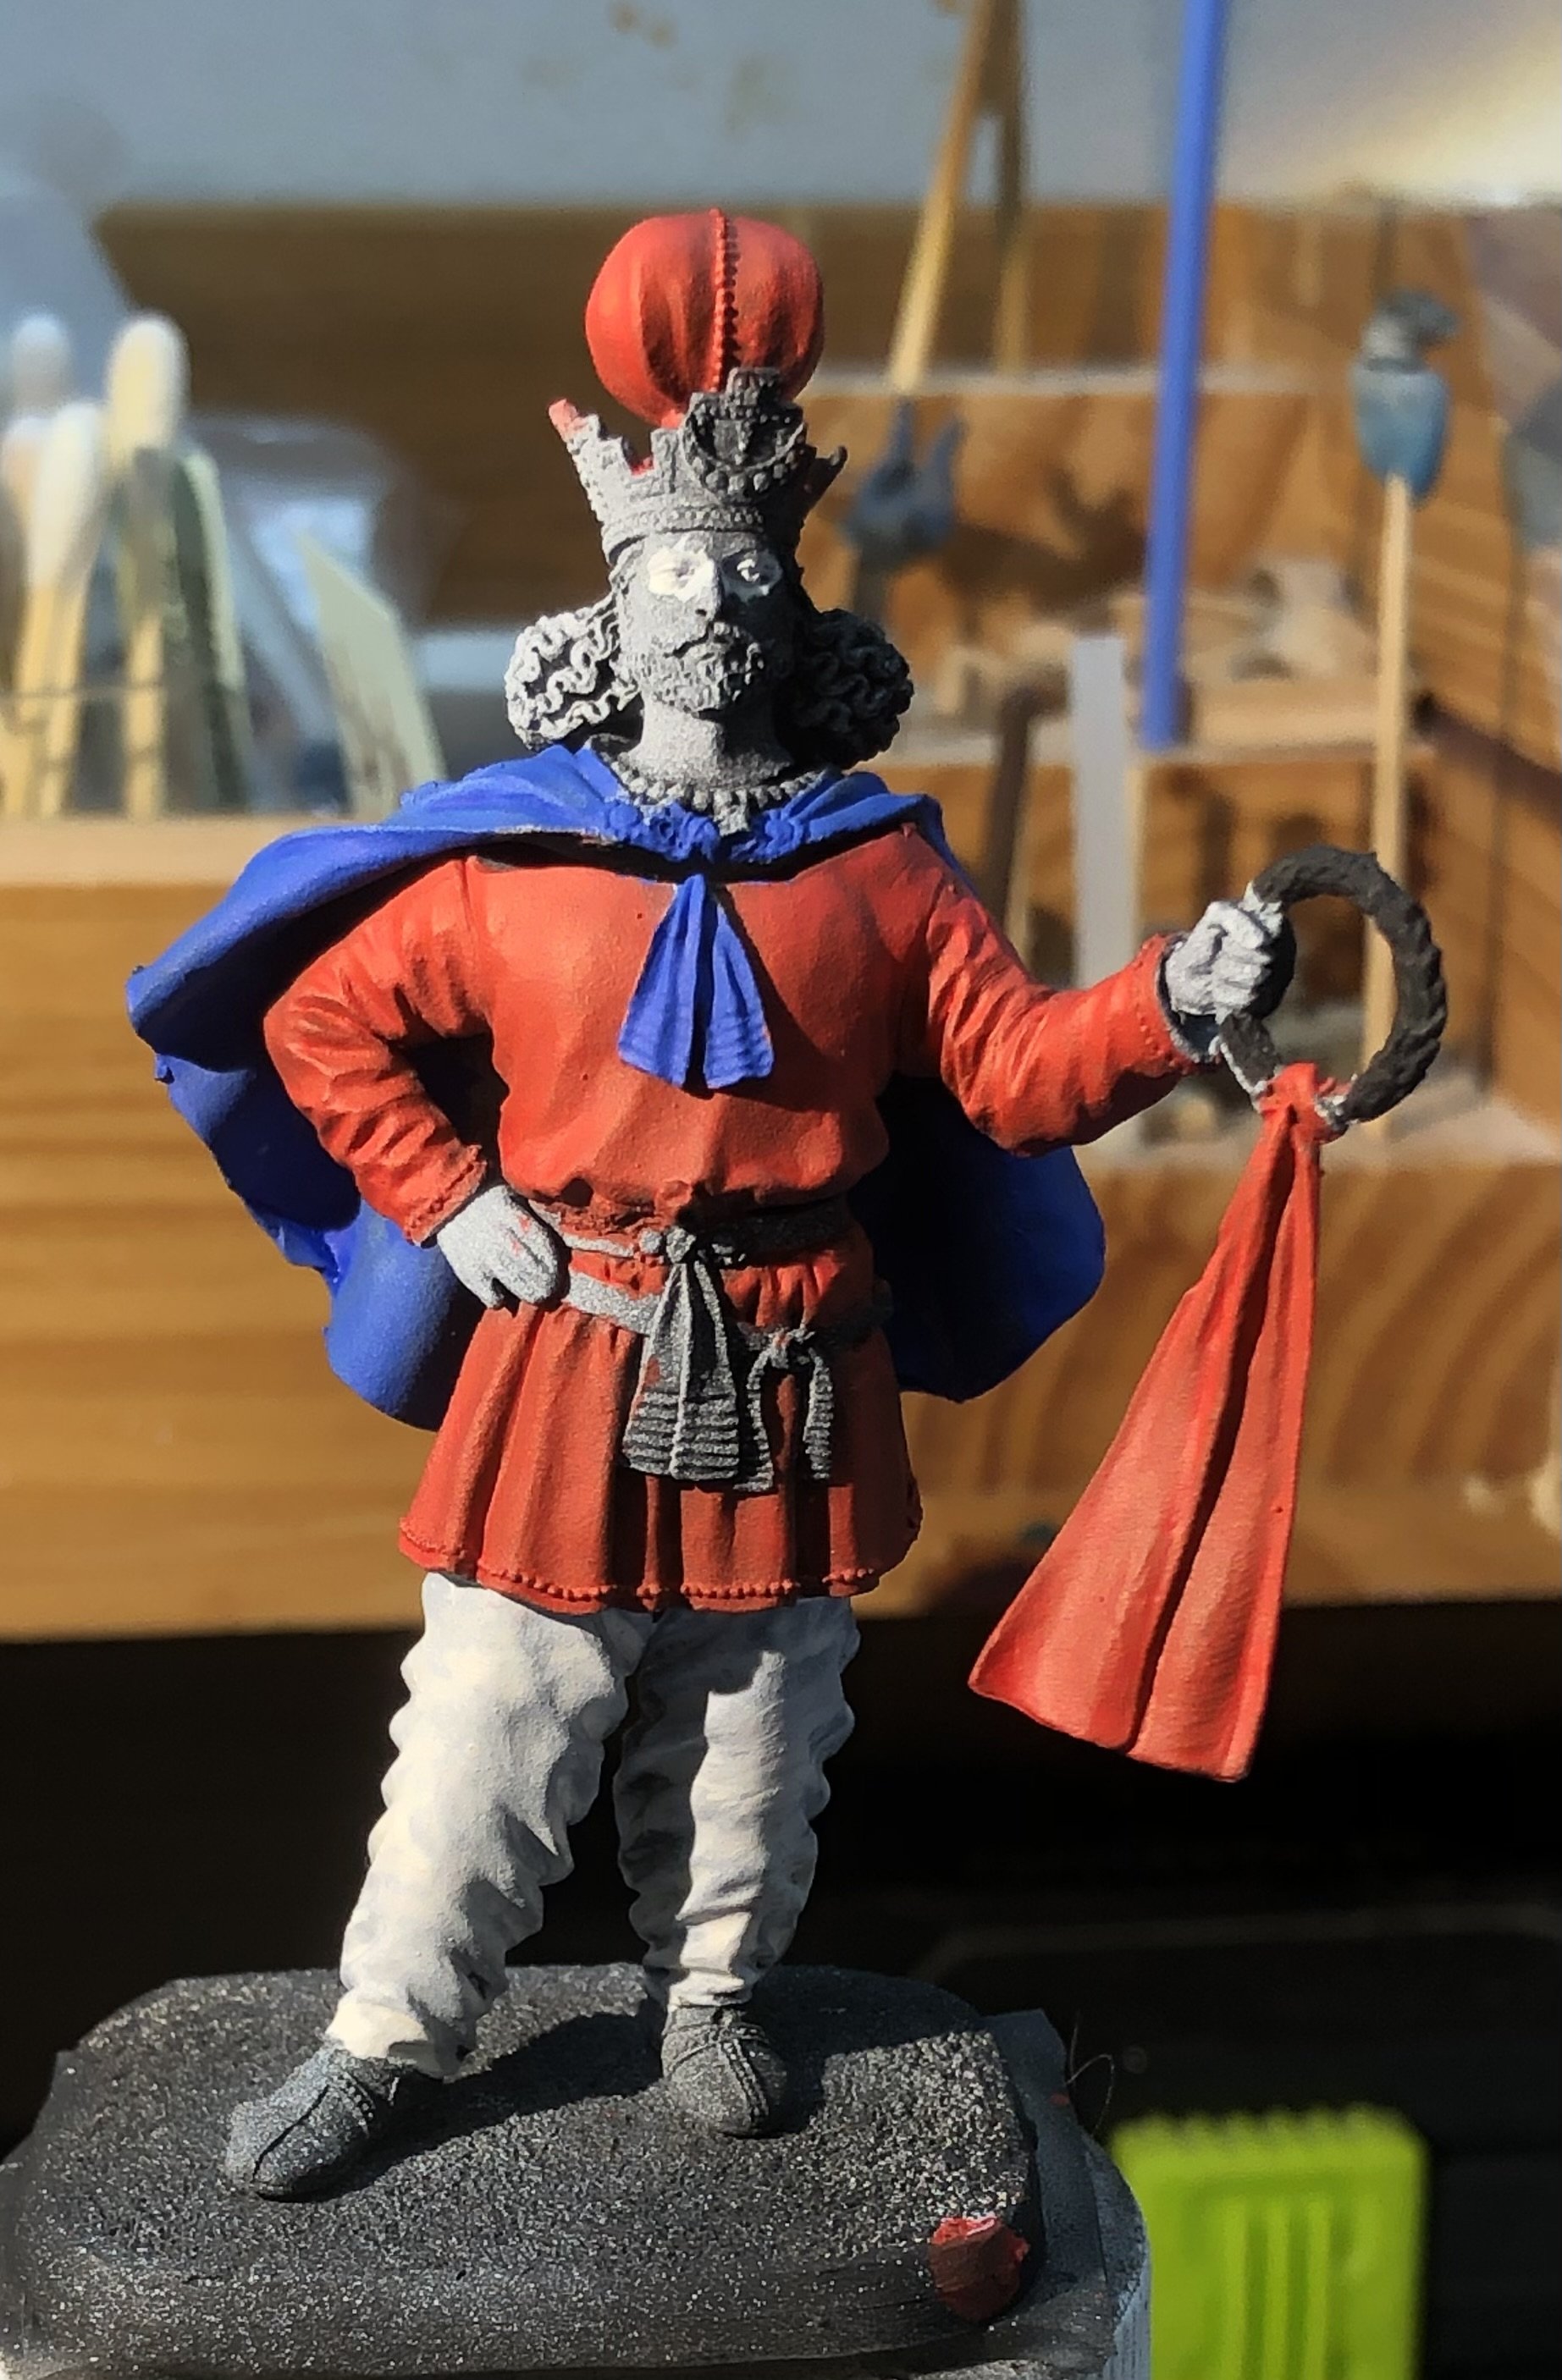
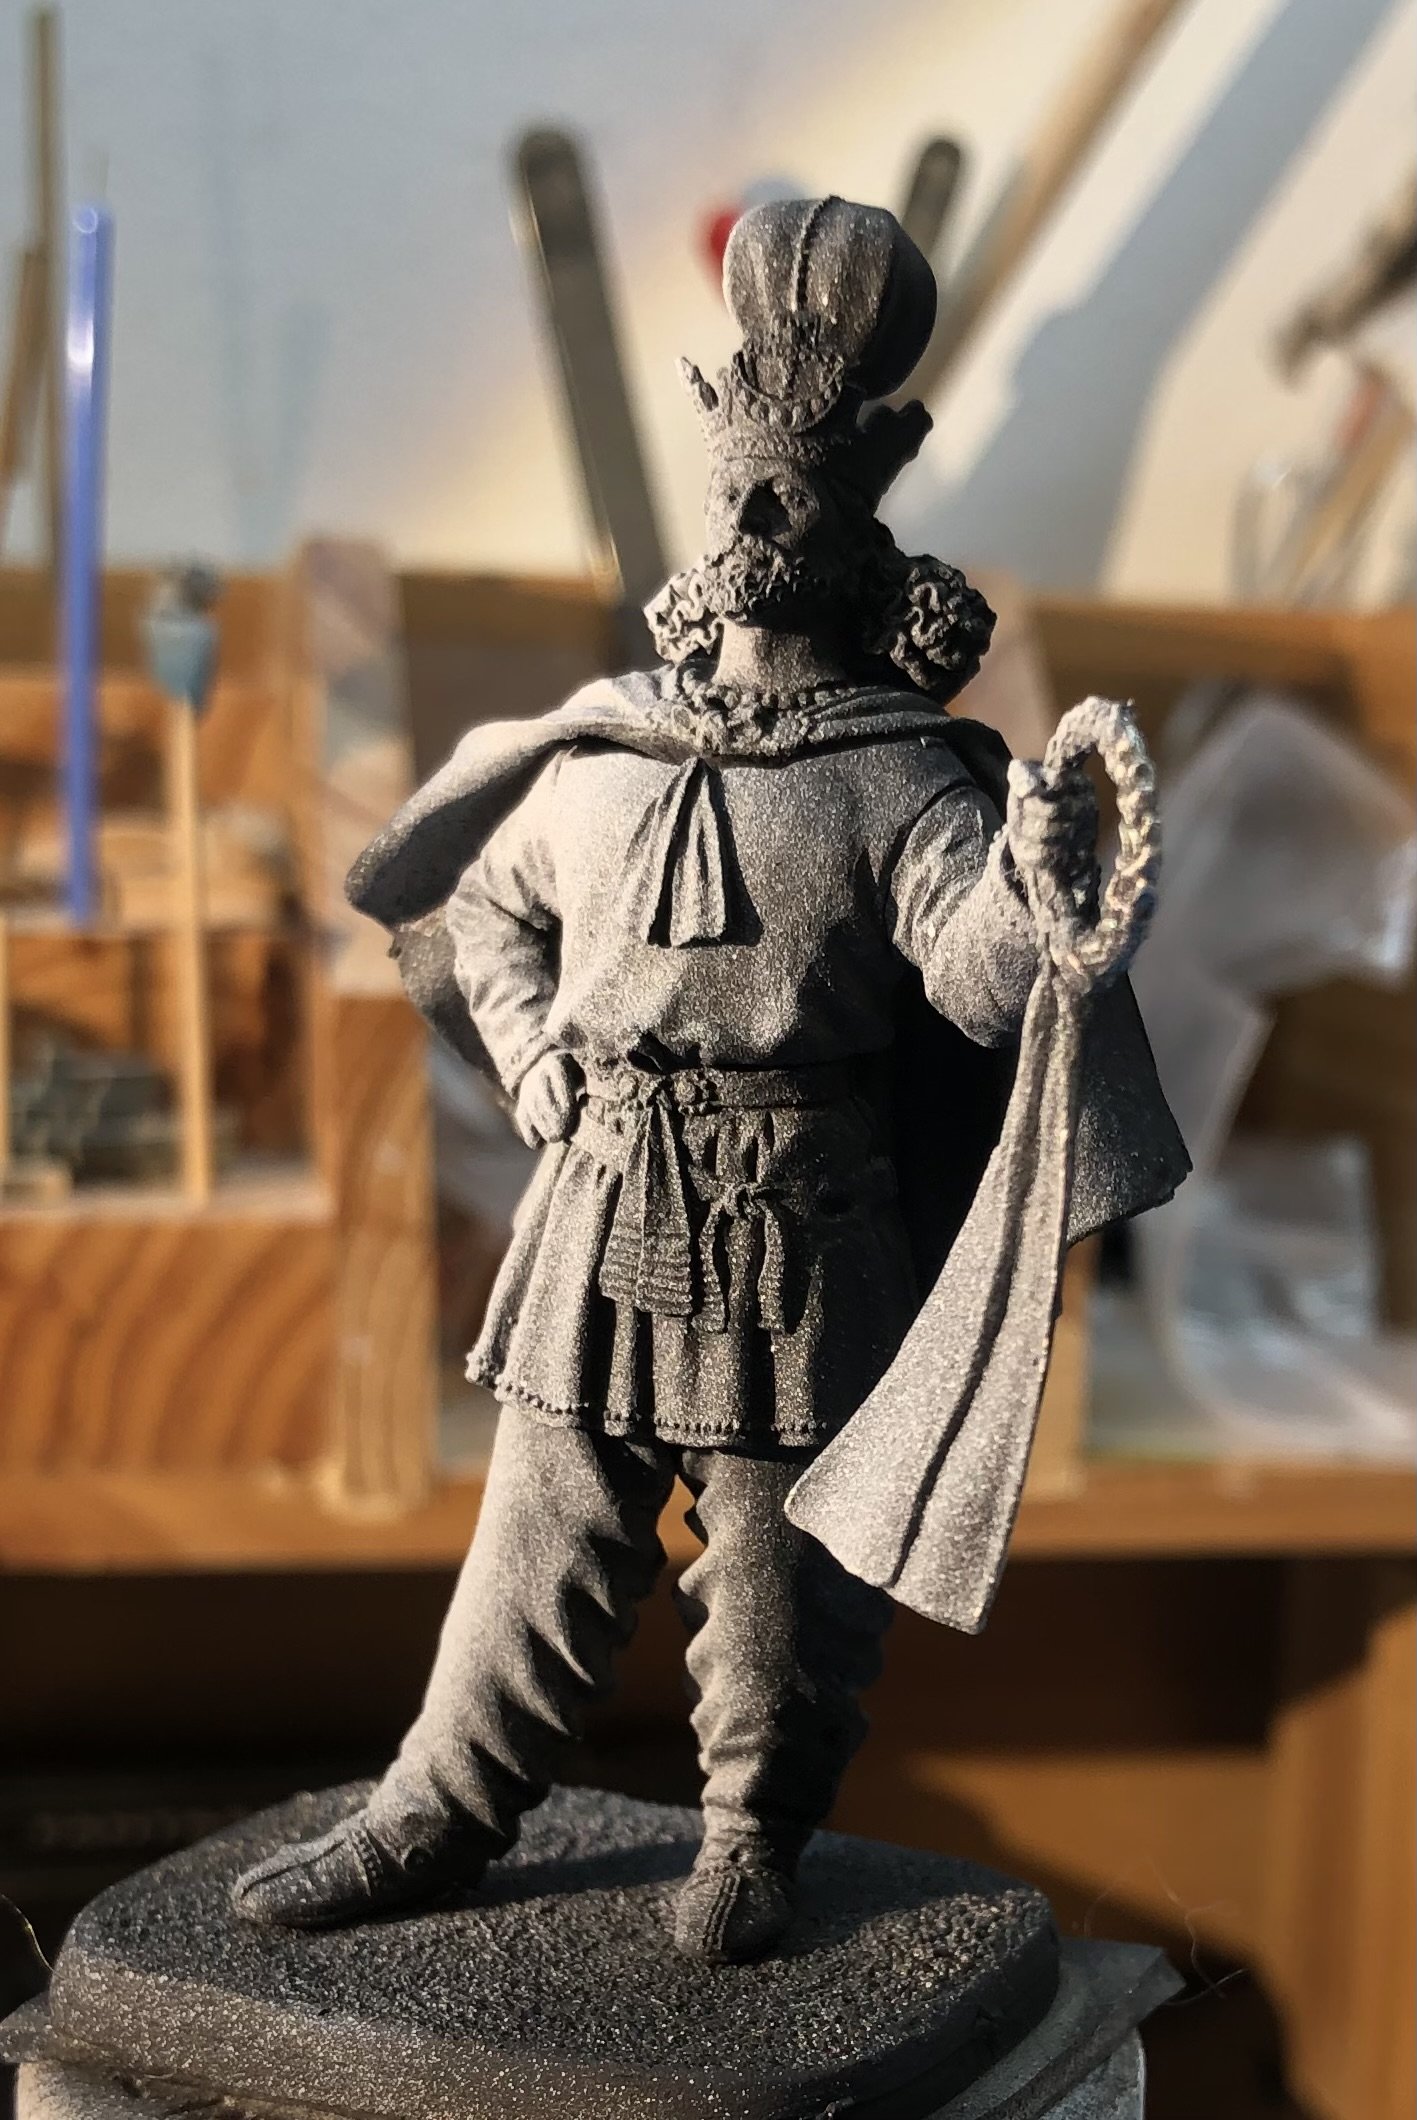
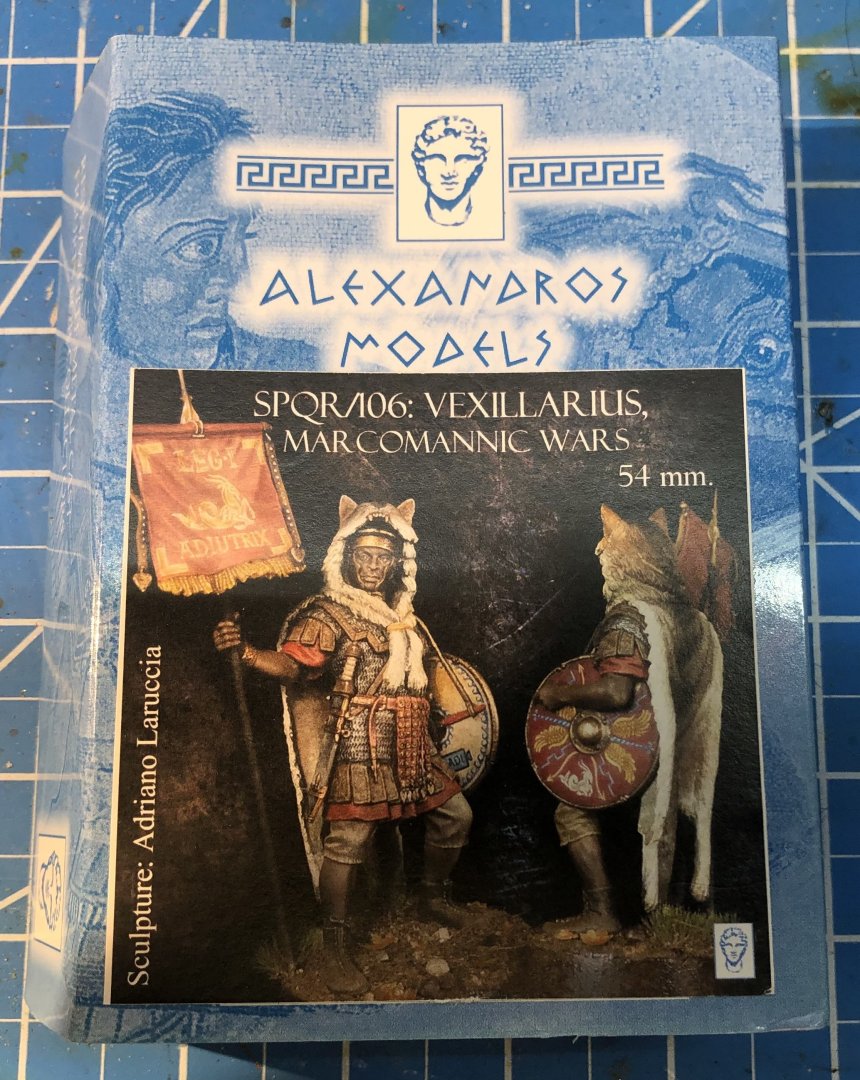
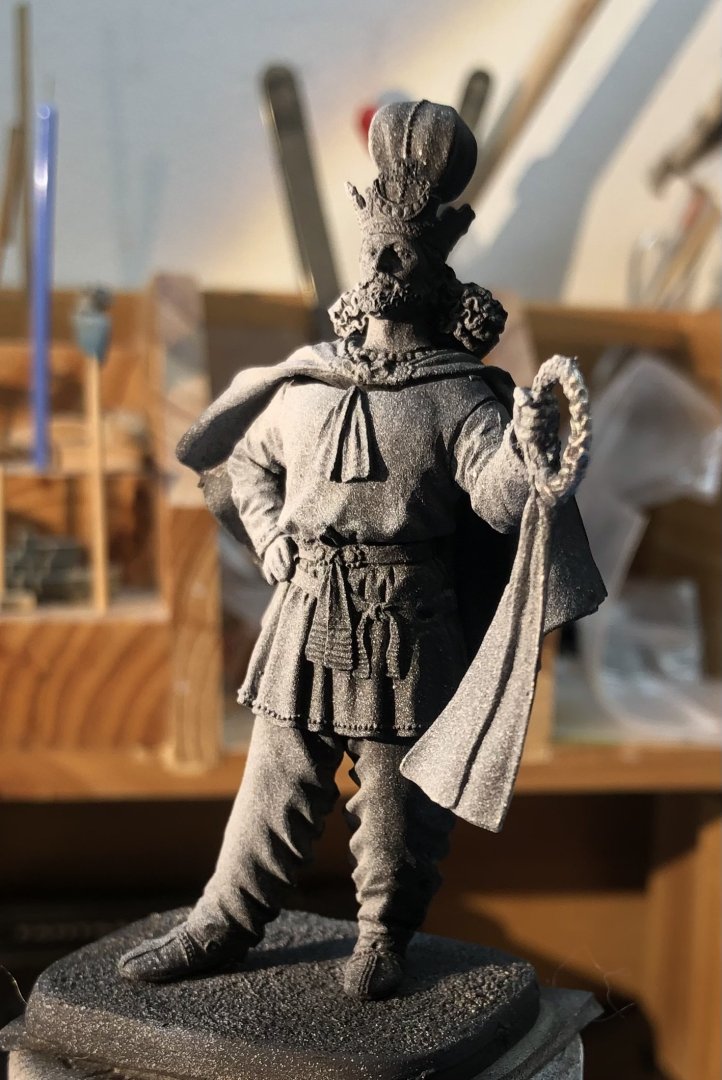
figure was one of the three figures I received on Monday. I had opened the two Andrea model kits and was a bit disappointed that the figures seemed well under scale. This morning I picked up the Alexandros figure and opened the box and this one looks rather good. Very little in the way of cast lines and it seems to have been designed to have positive locating features for most parts. The wolf skin is very nicely sculpted. So I thought I would check the fit and, well, the glue came out and here we are. I think this is how he will get painted to get maximum access to the details. The remaining pieces seem to go together without the need for filler. As you can see he is the same 54 mm size as Shapur I know next to nothing about the Roman legions so I welcome input if I stray too far from the historical record. This one has a number of challenges. - The various metals of his armor is going to need a bit of thinking about. - The standard is going to be impossible to paint neatly - Ditto his shield - The figure is cast as a Nubian soldier so the skin tones are going to be an adventure Thanks for looking in Alan


-
Thank you very much Andrew. Very enjoyable figure to paint. i just sneaked over to your Bounty log. Absolutely stunning. You do beautiful work alan
-
Thank you very much Jack. I’ve officially run out of display space. alan
-
Thank you very much Jack. I’ve officially run out of display space. alan
-
Thanks very much Phil. alan
-
Thank you very much OC. I’m really enjoying painting these miniatures. alan
-
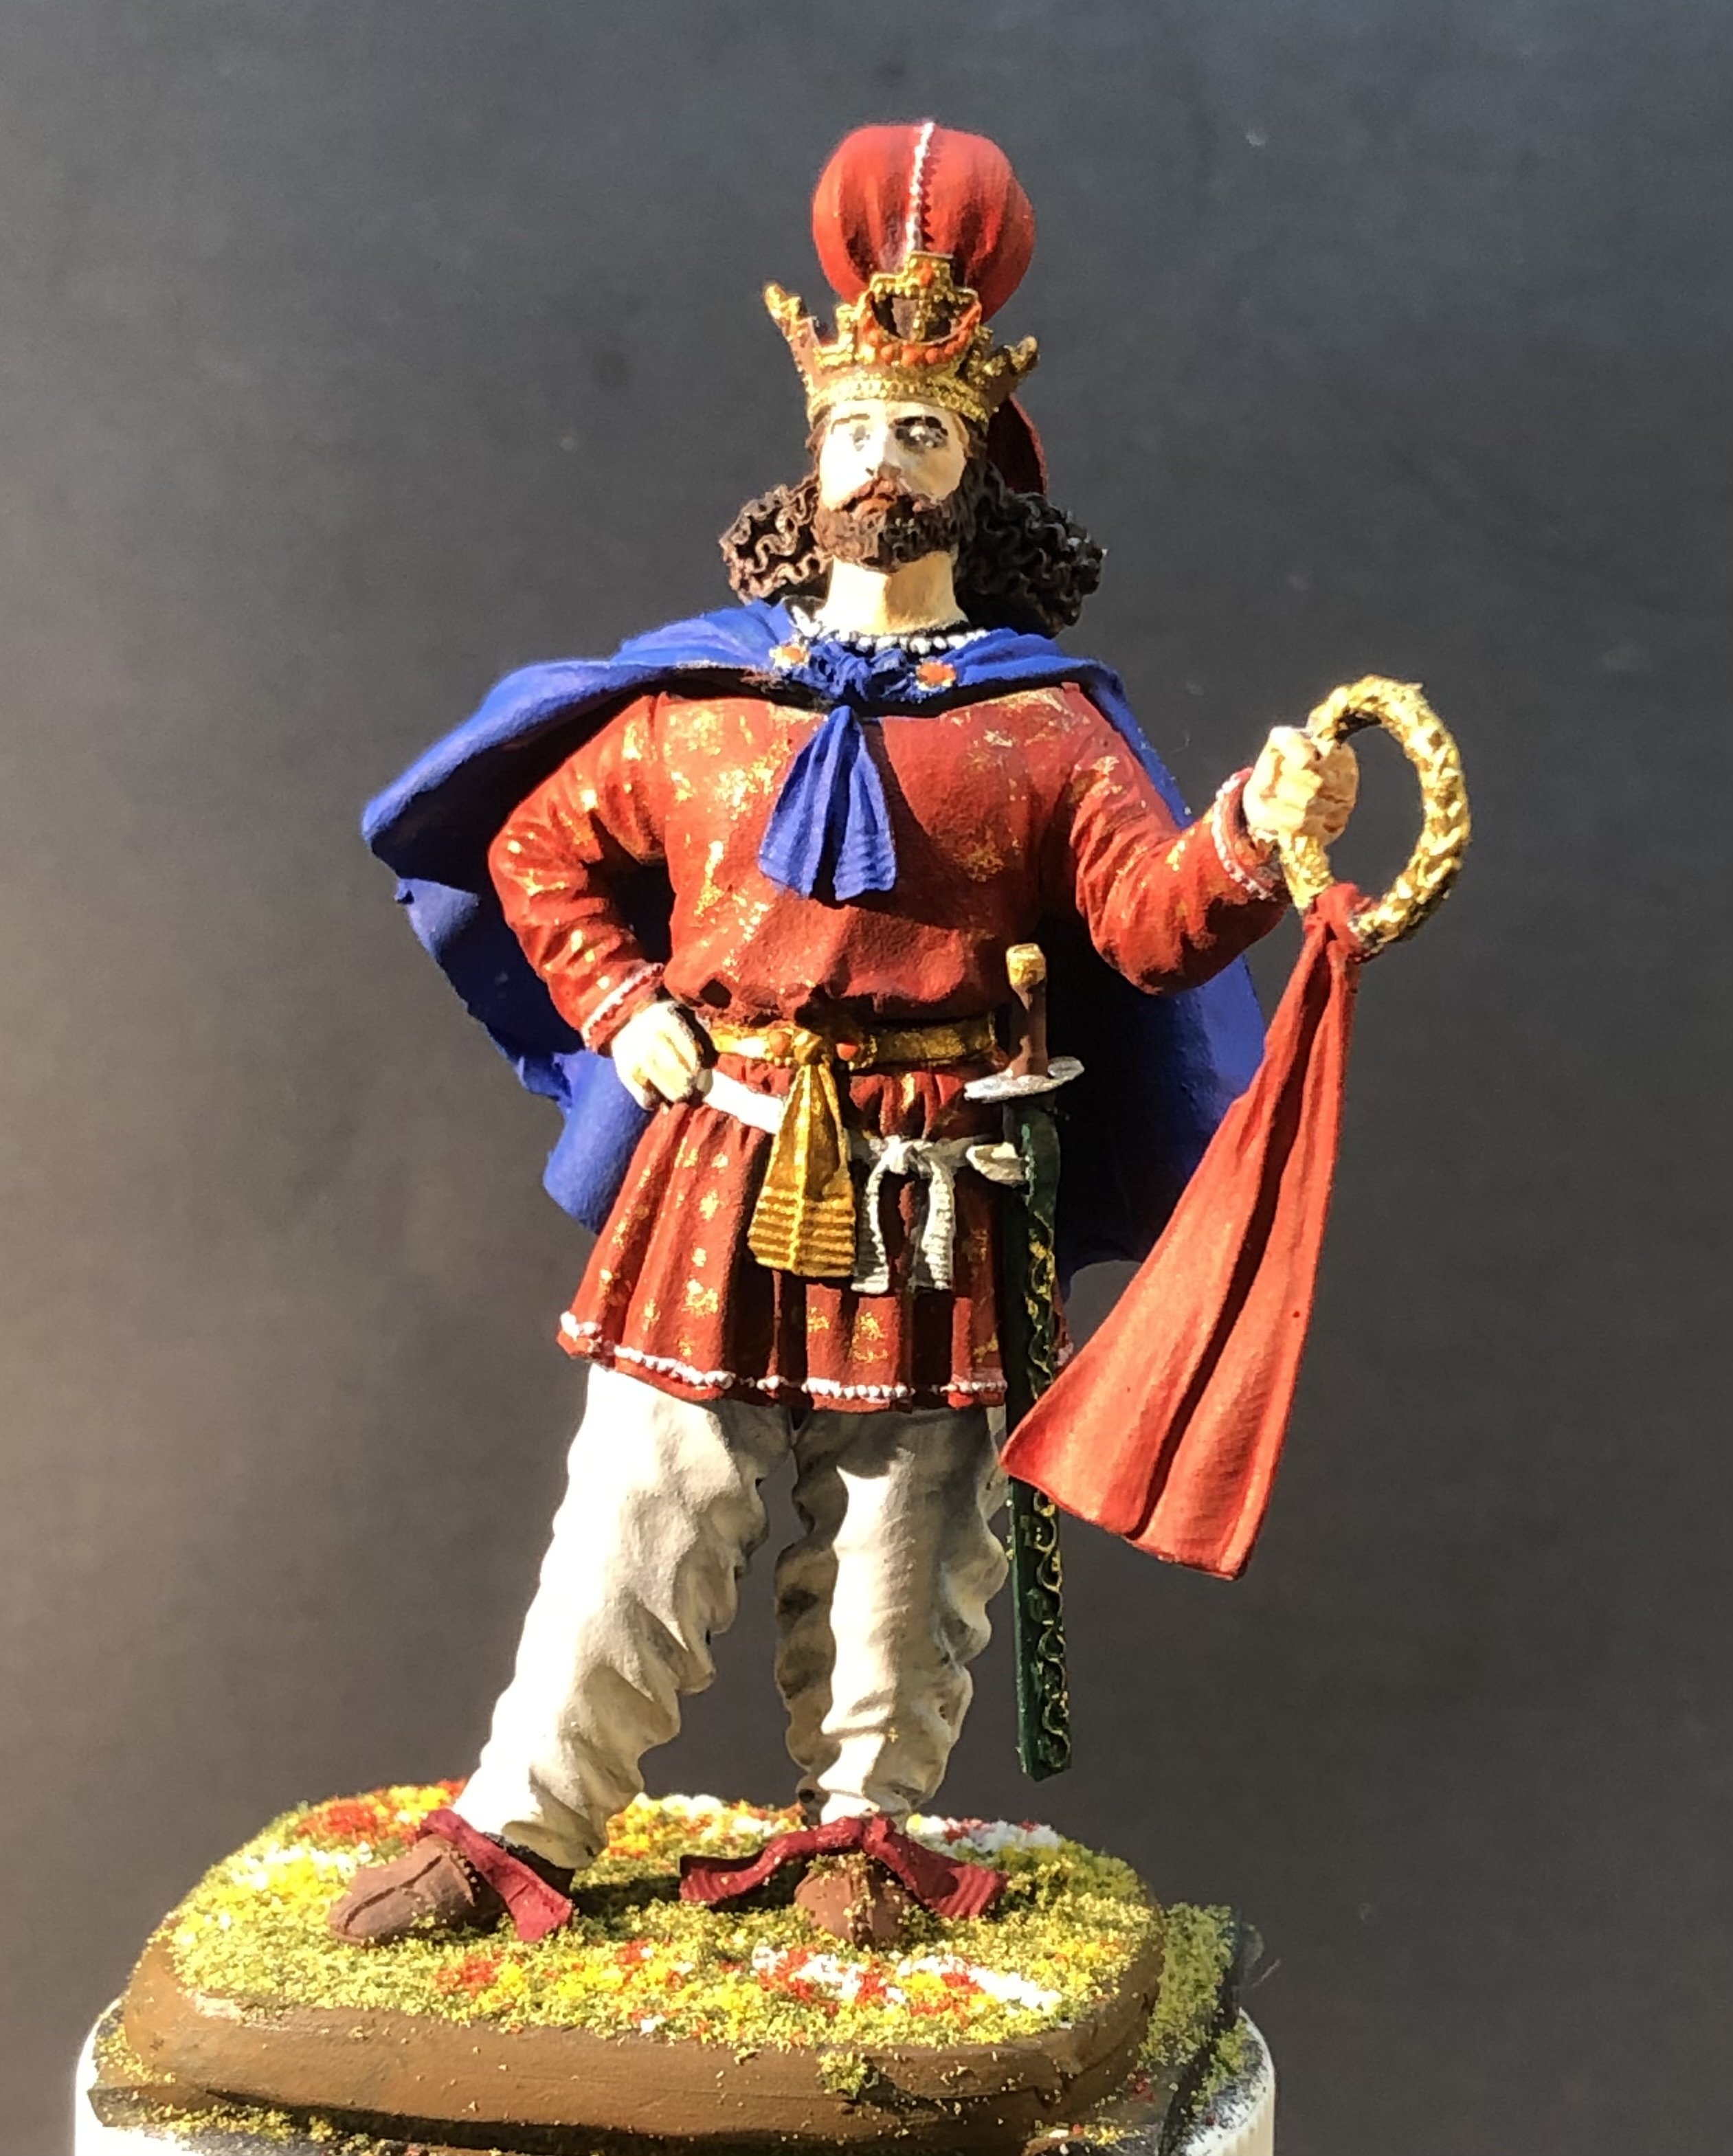
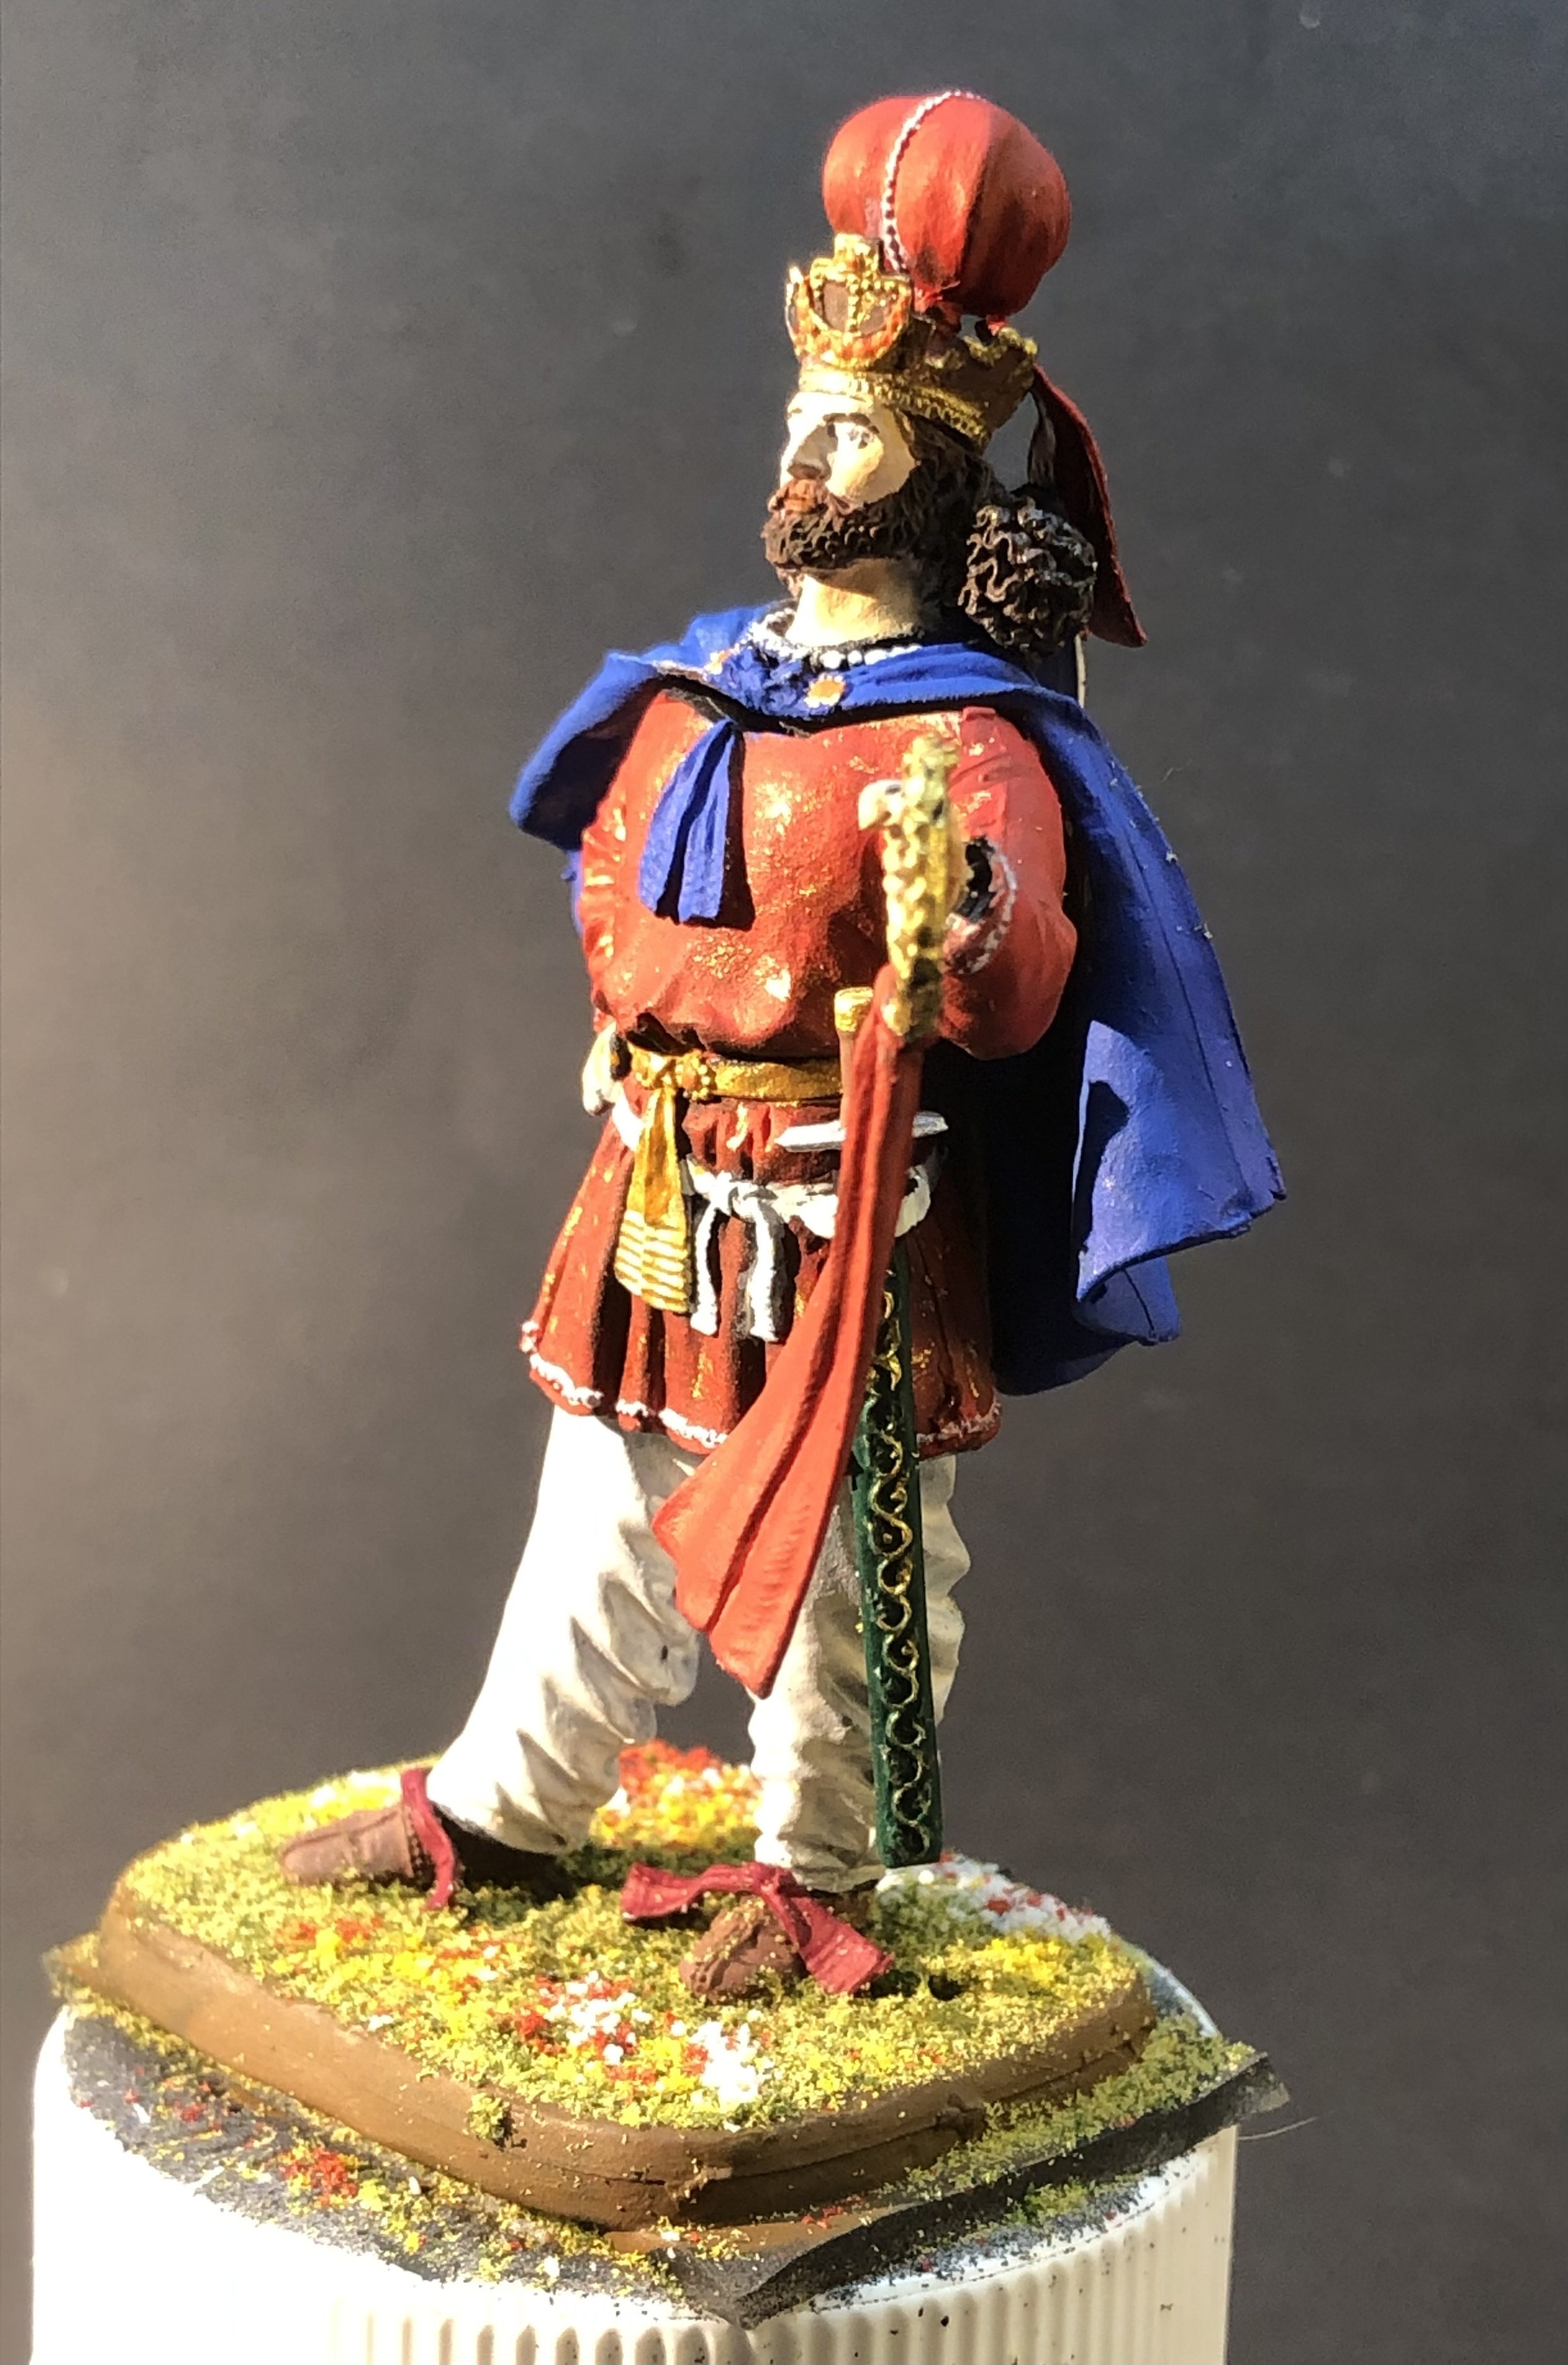
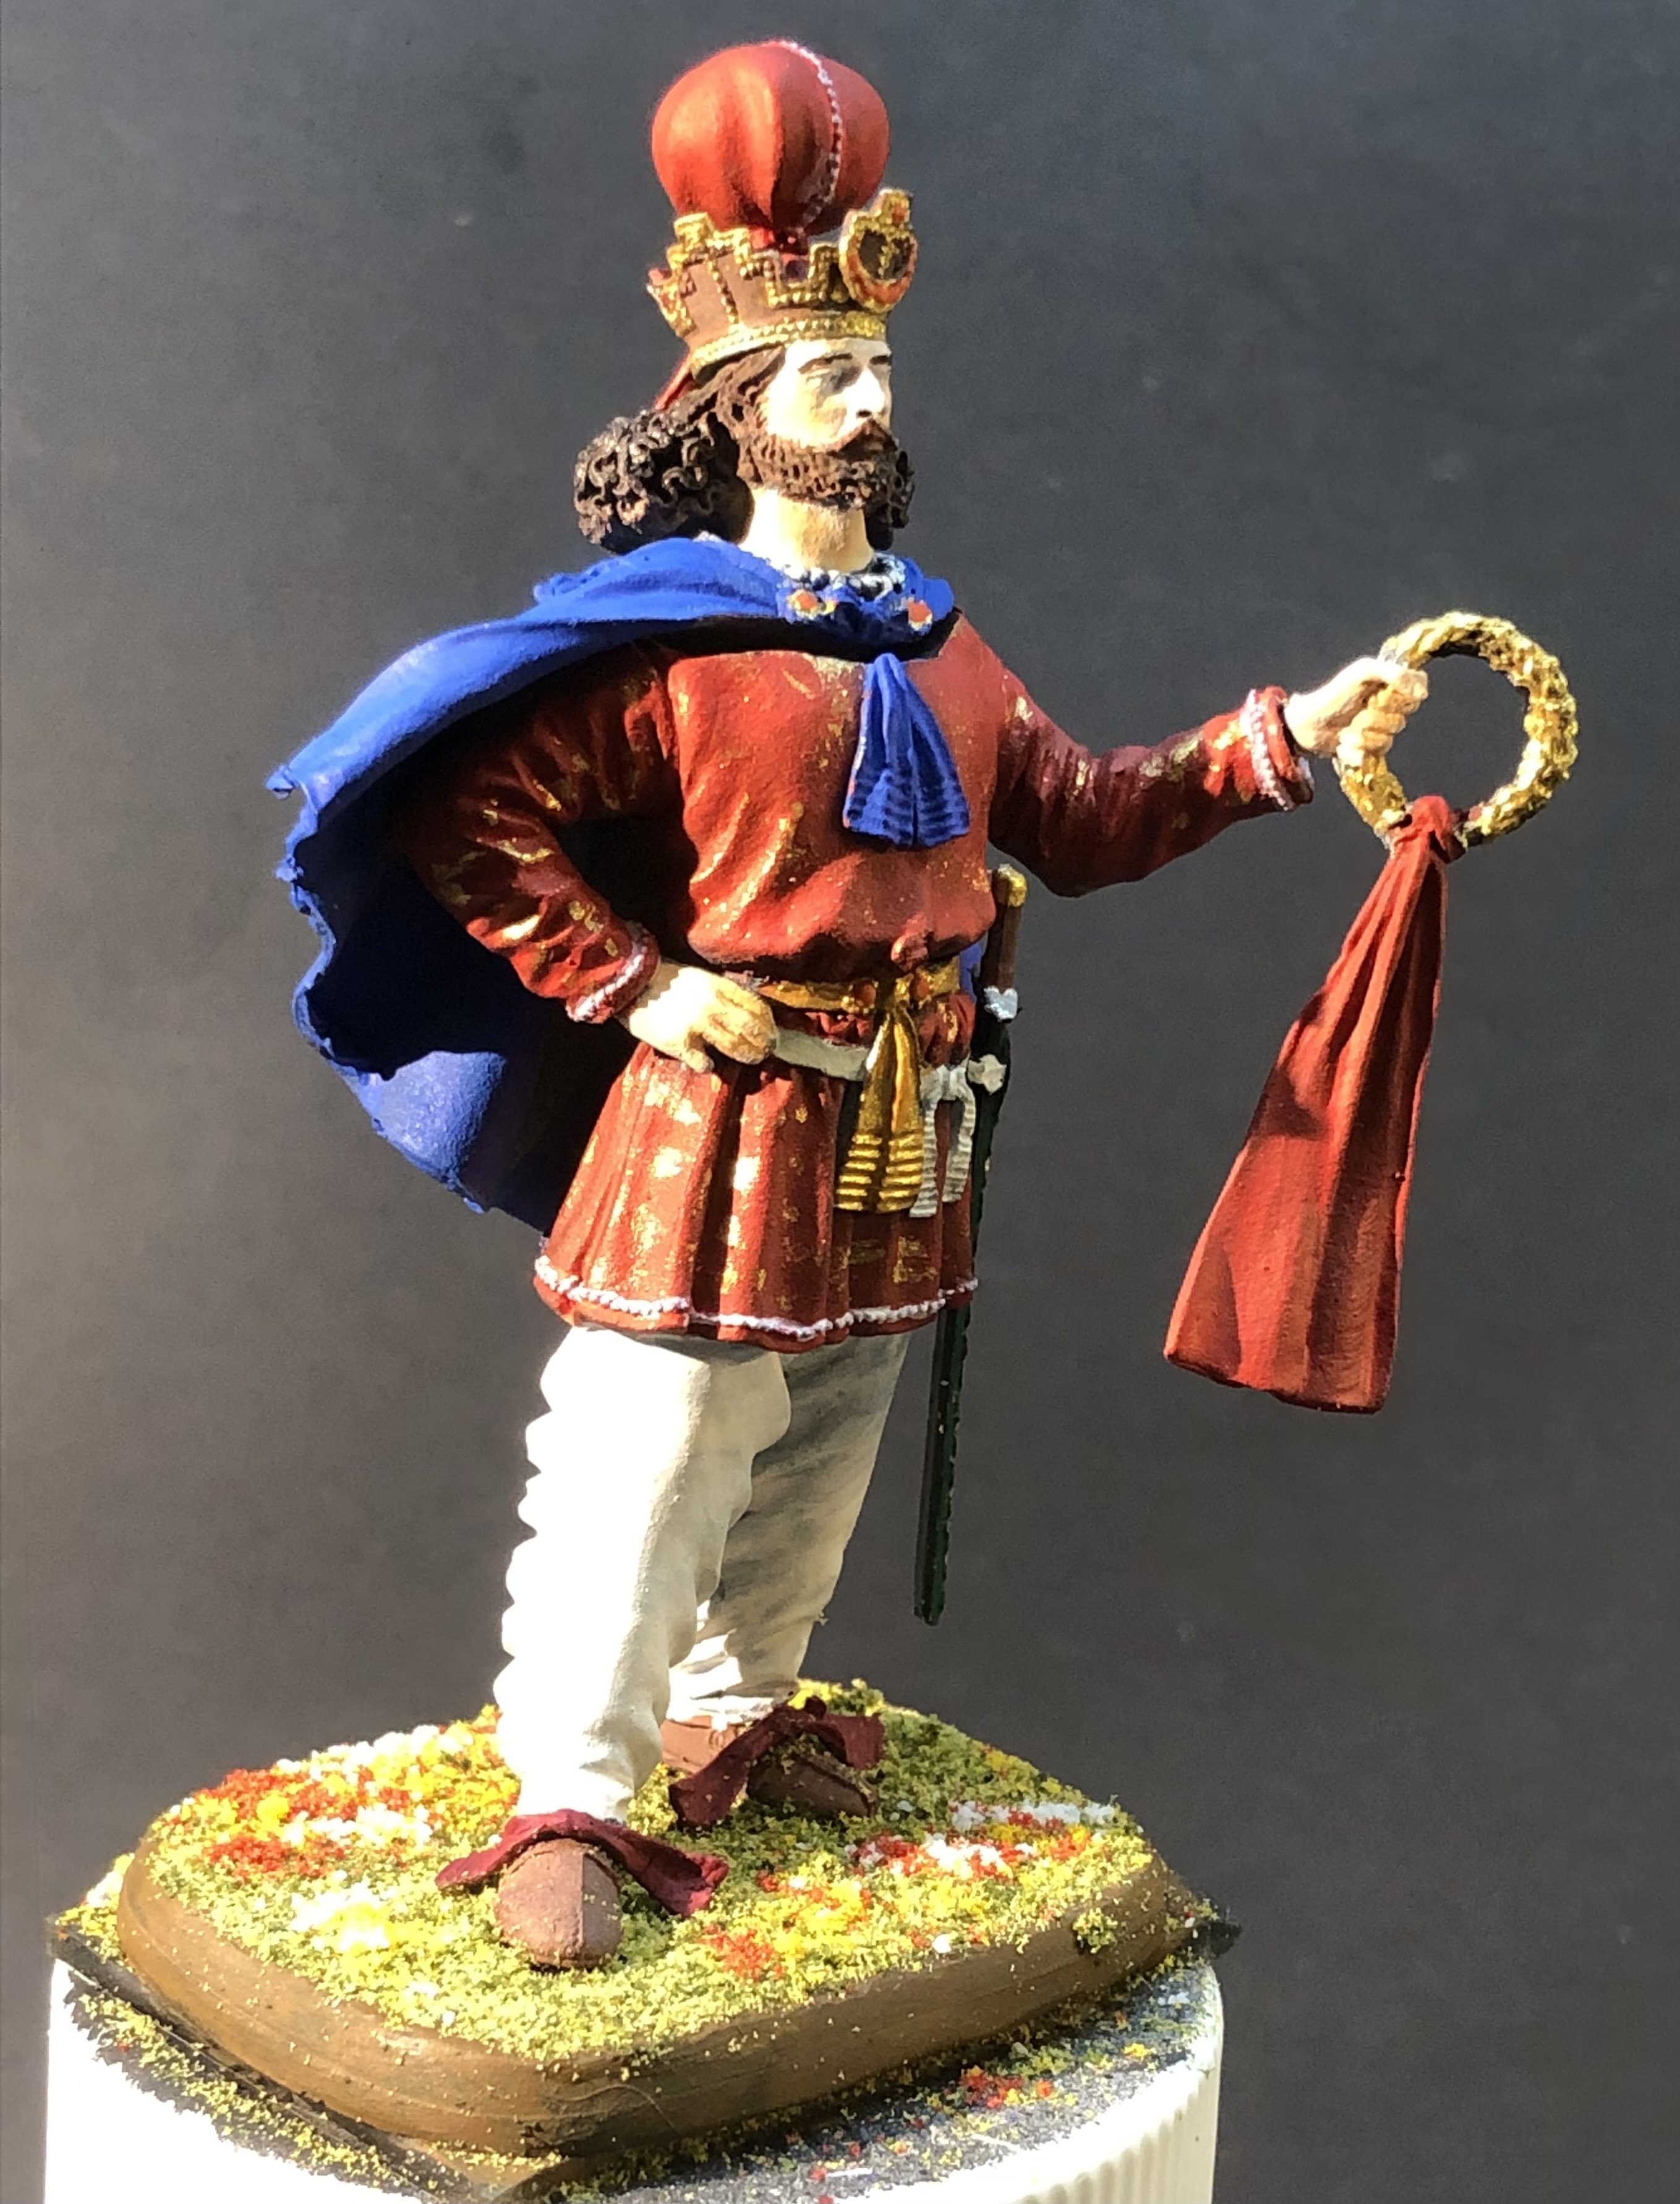
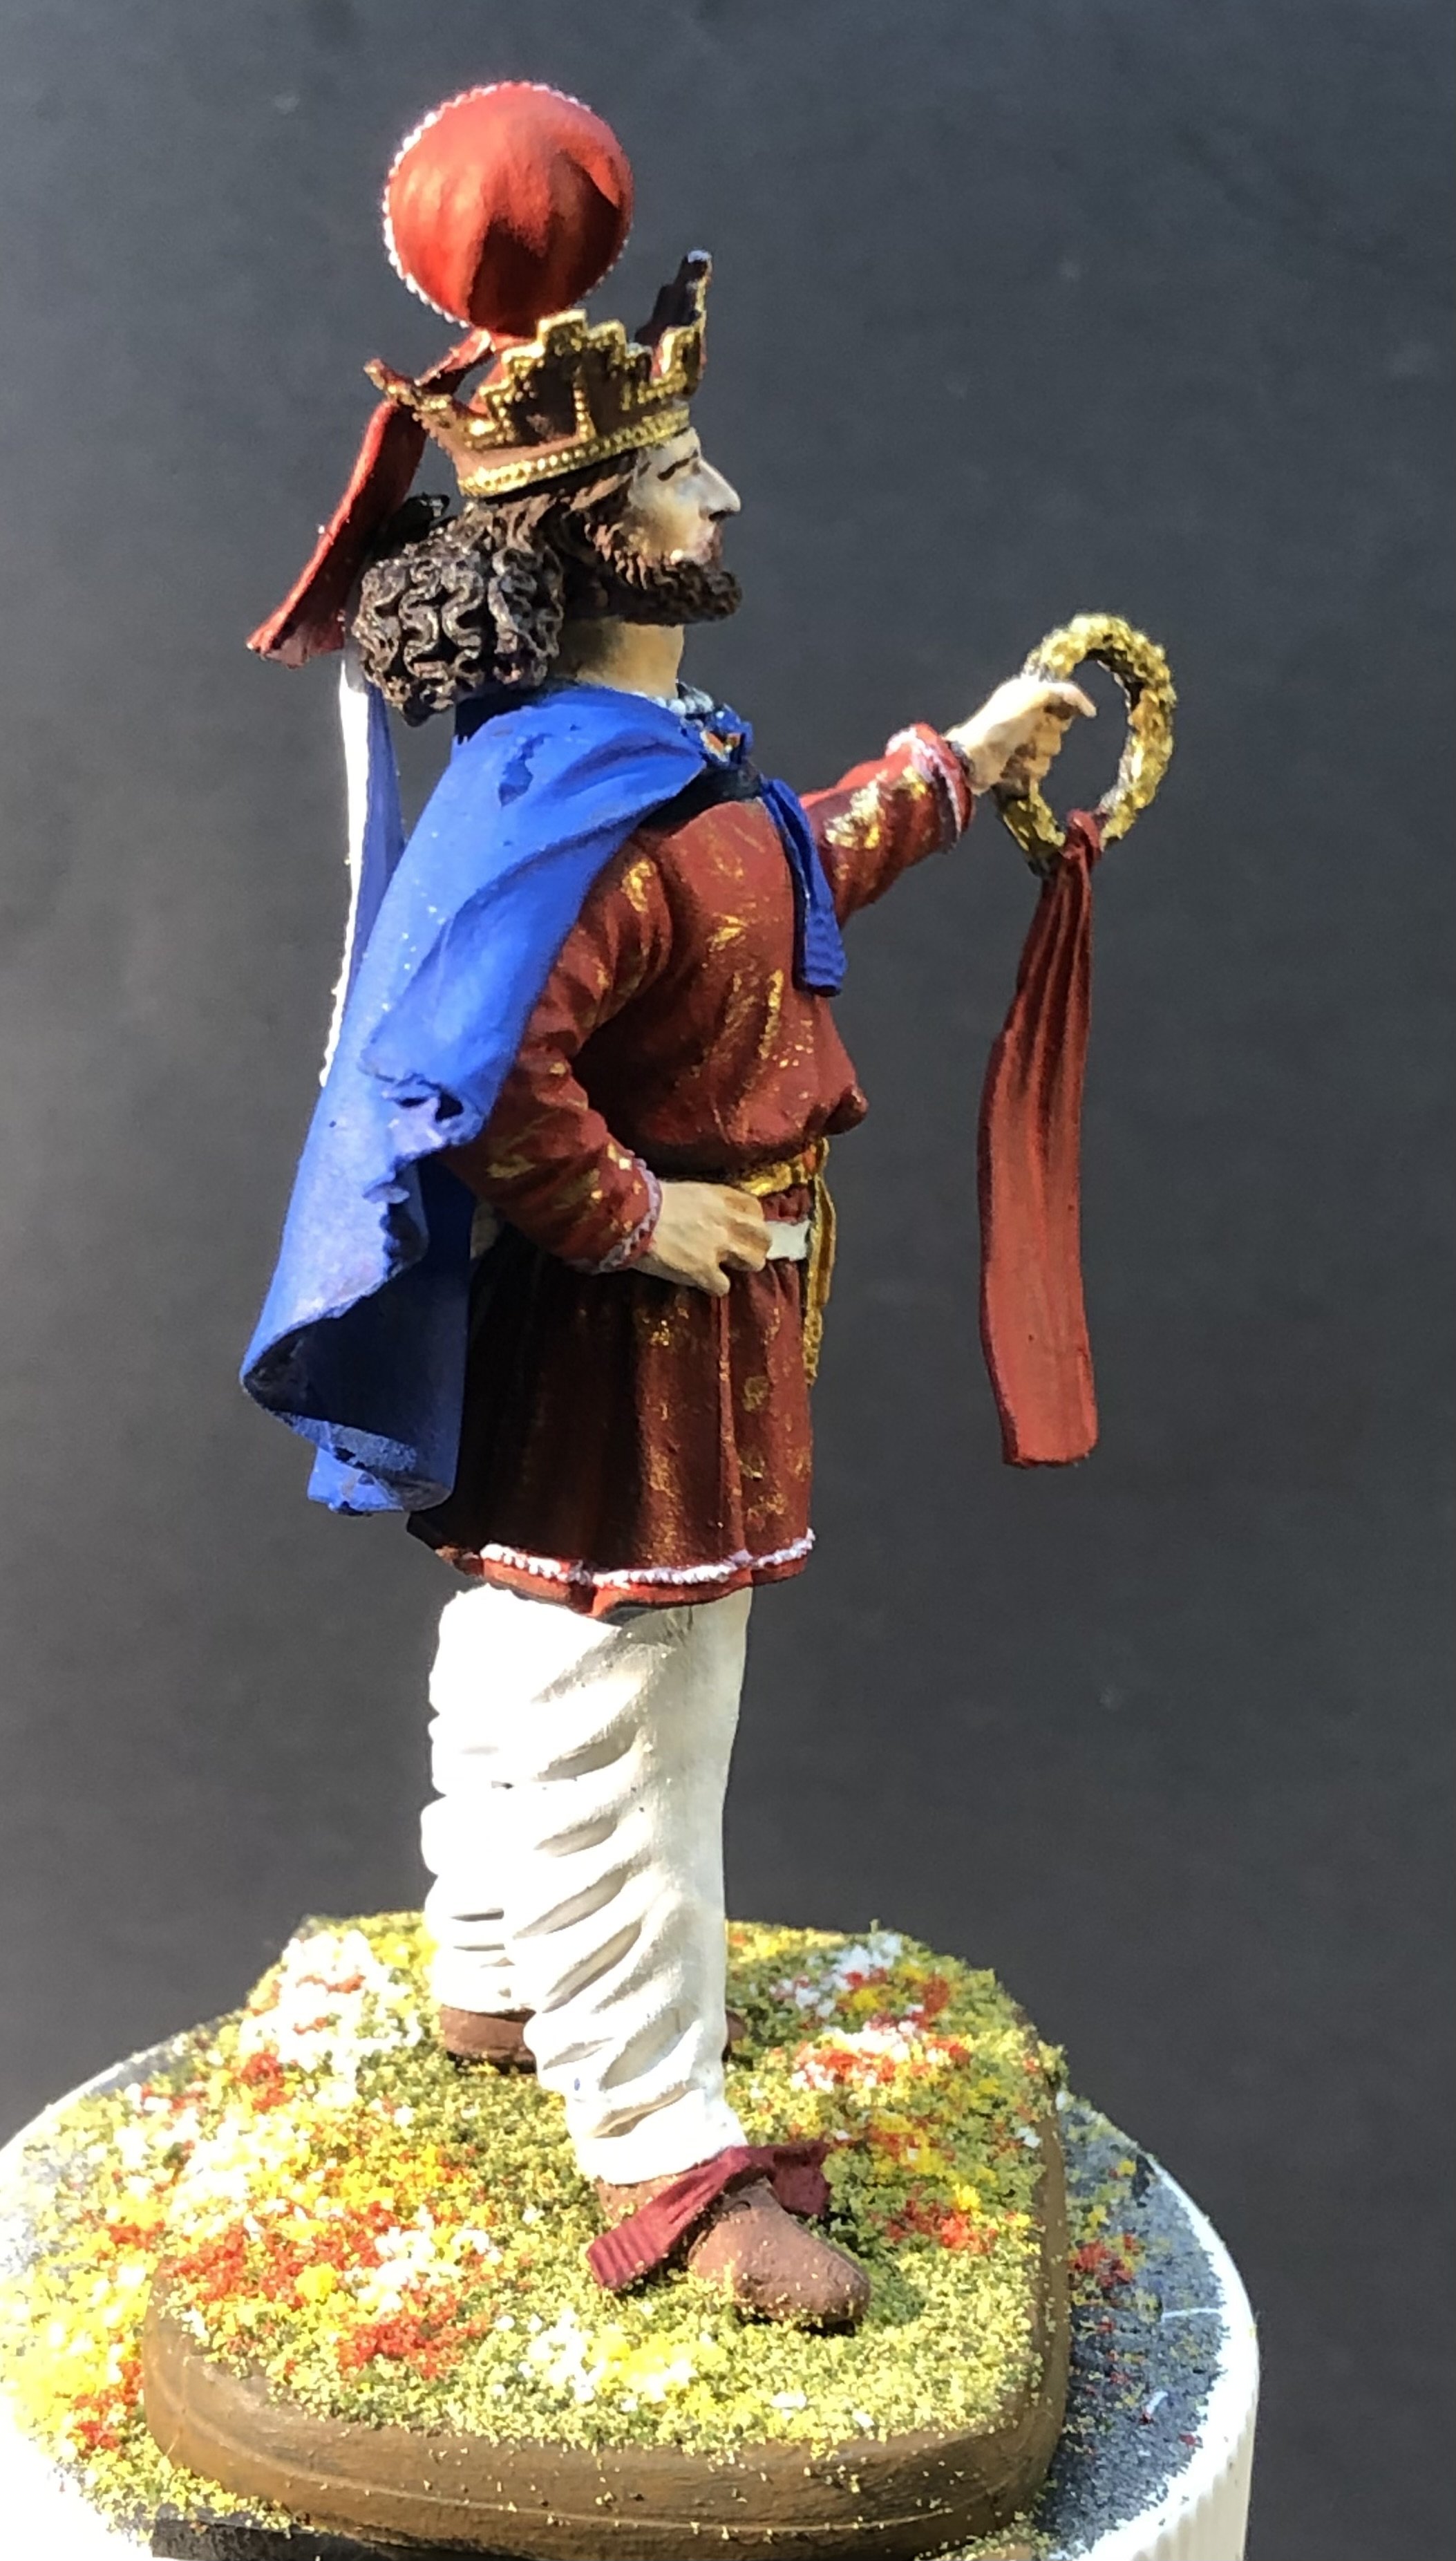
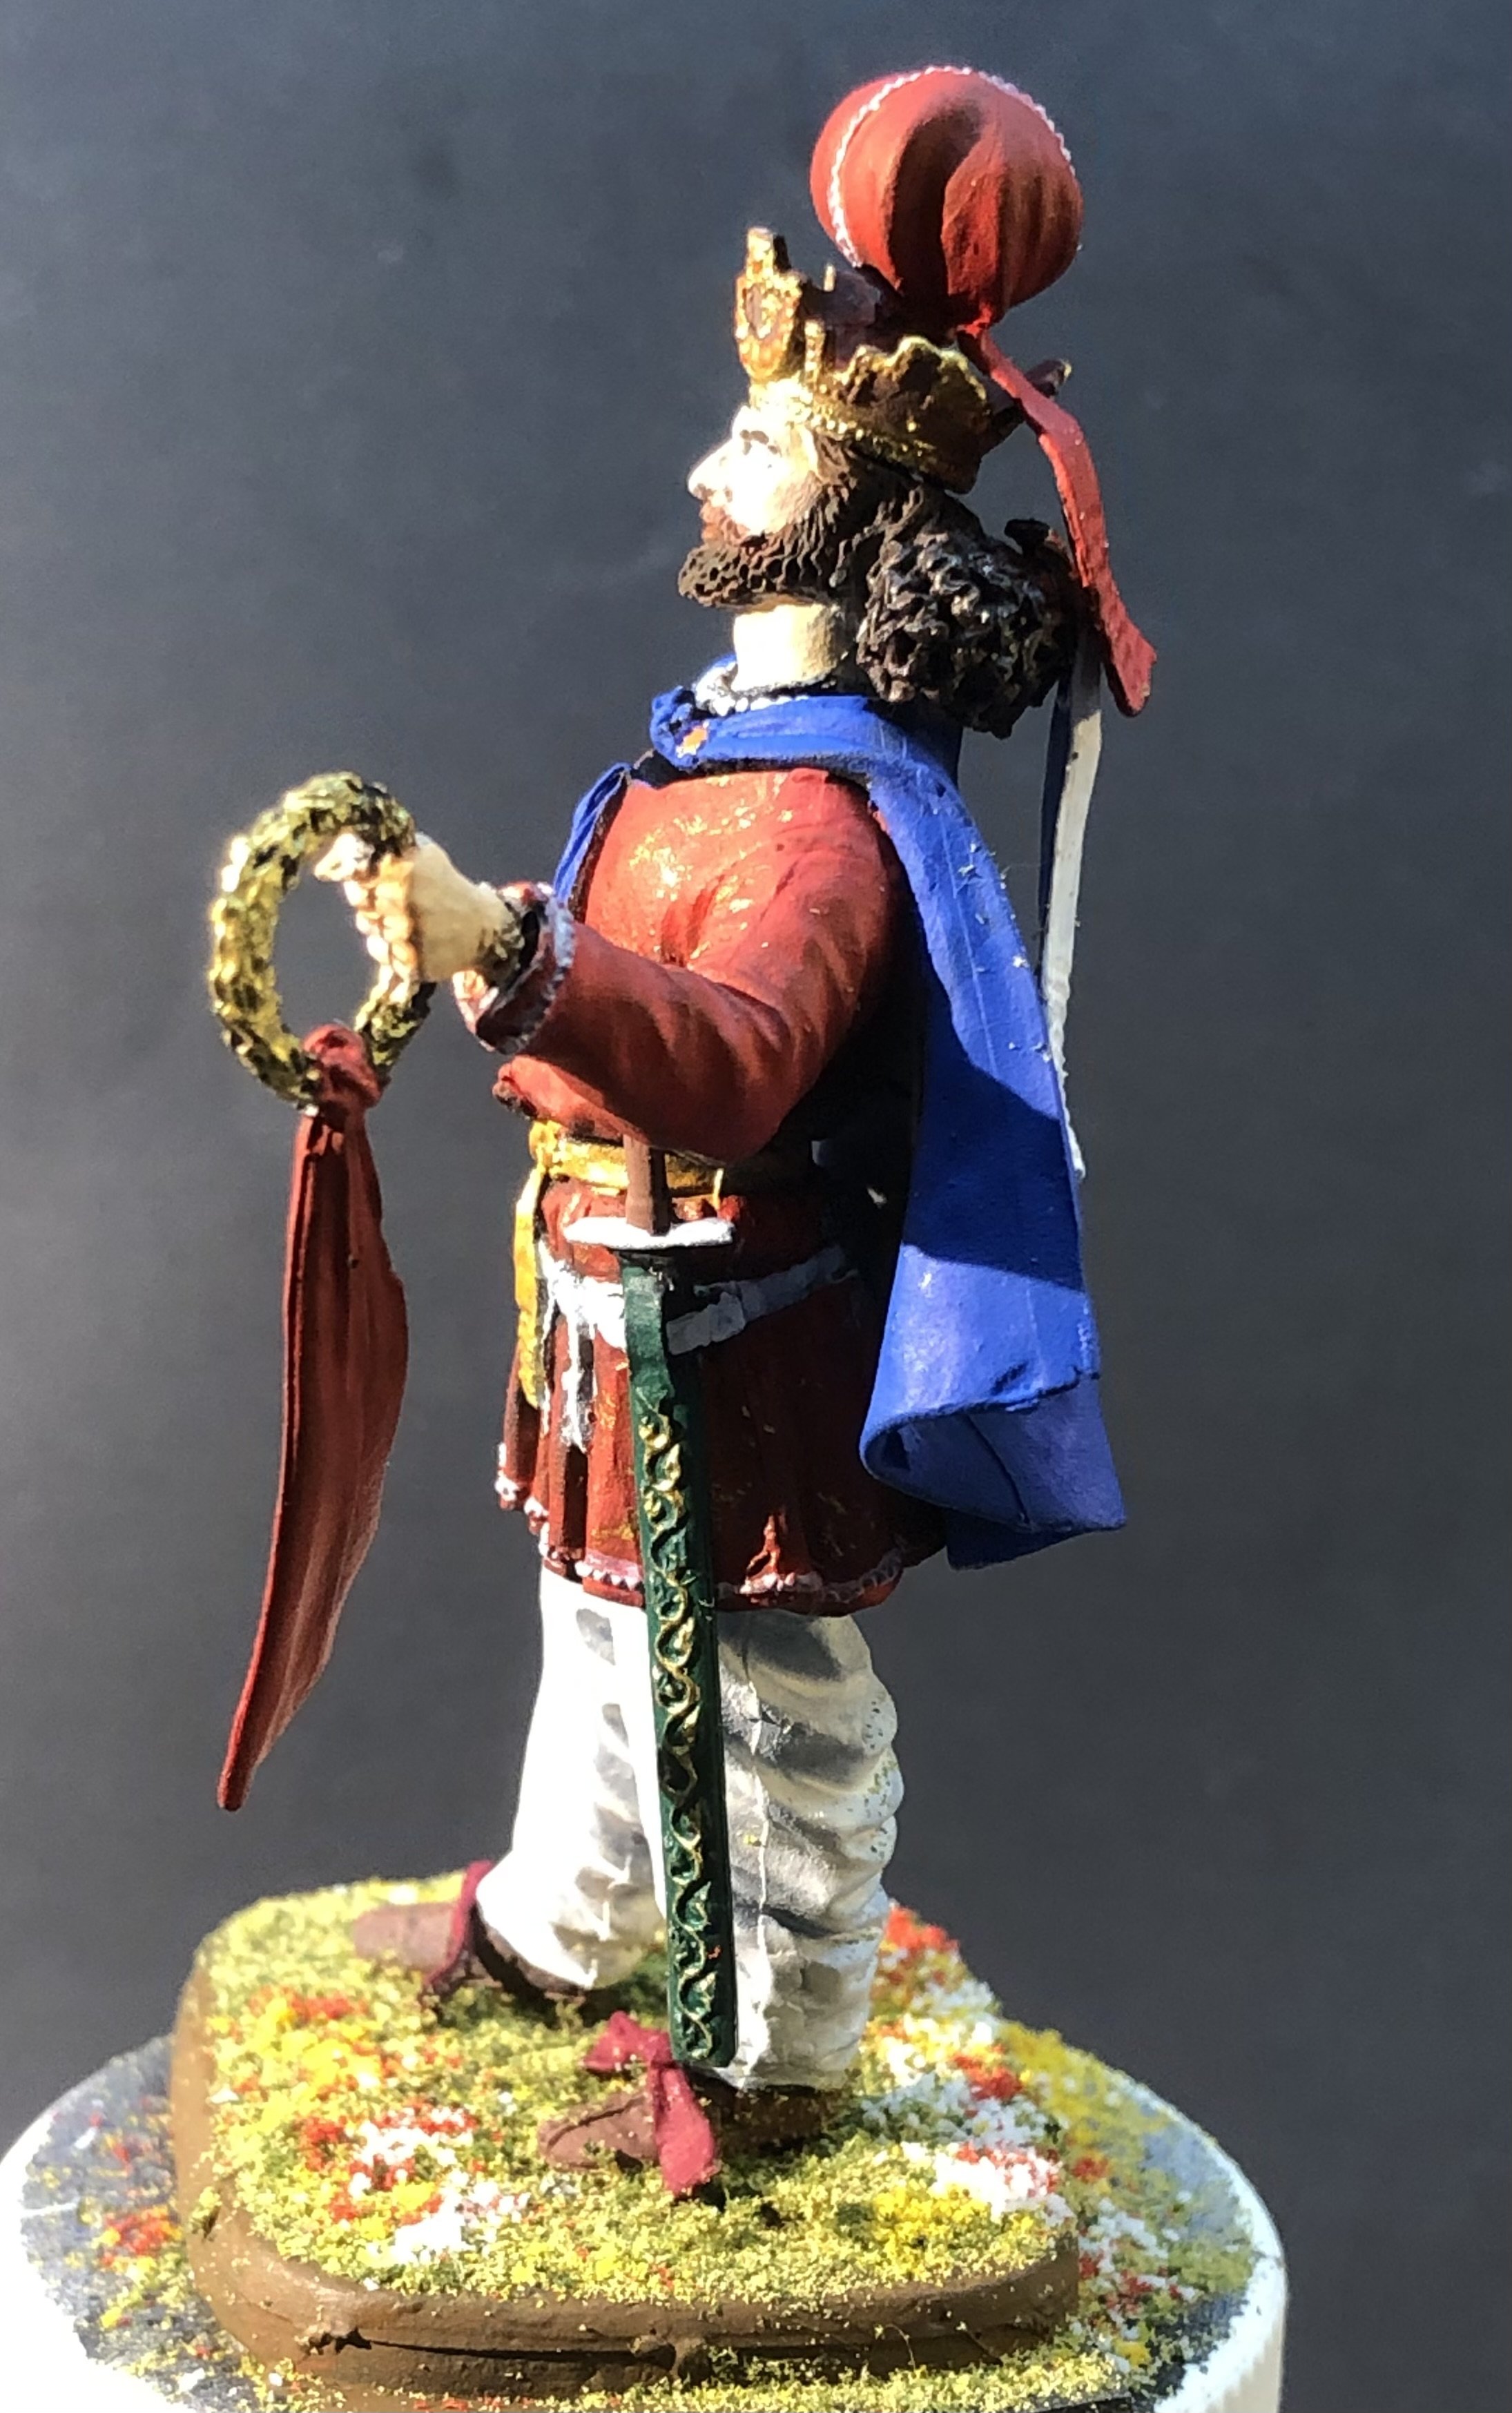
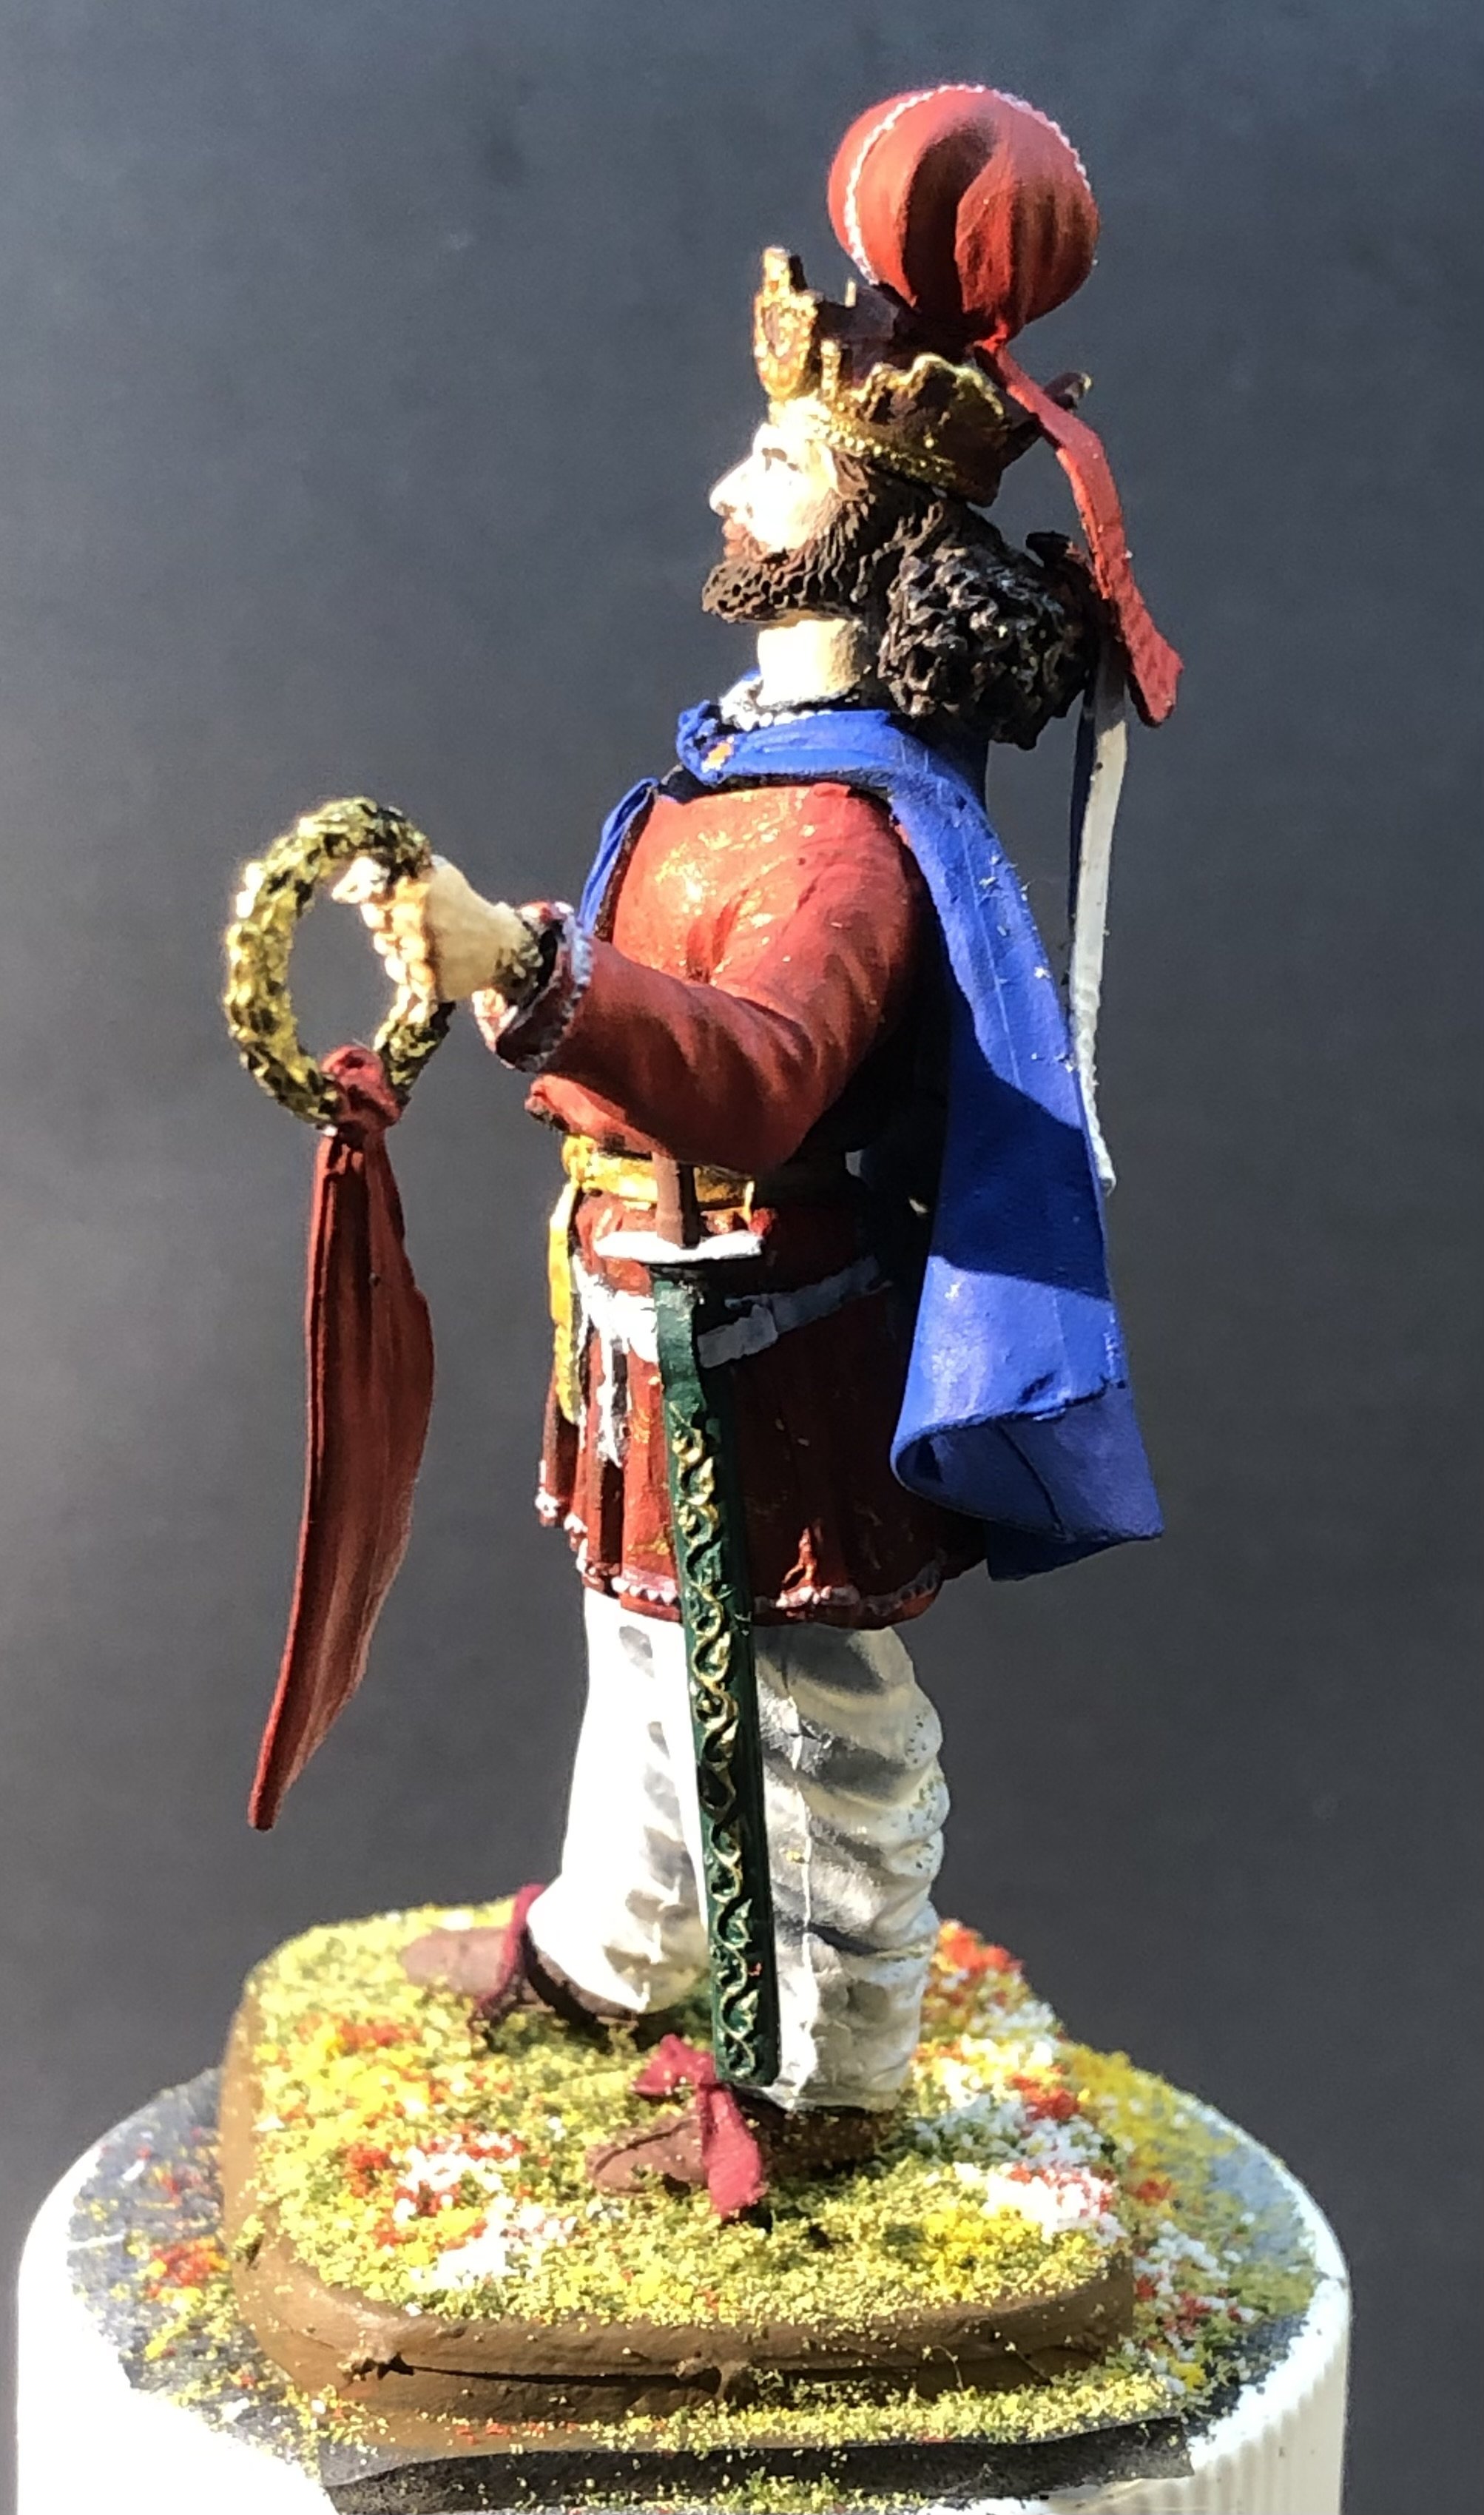
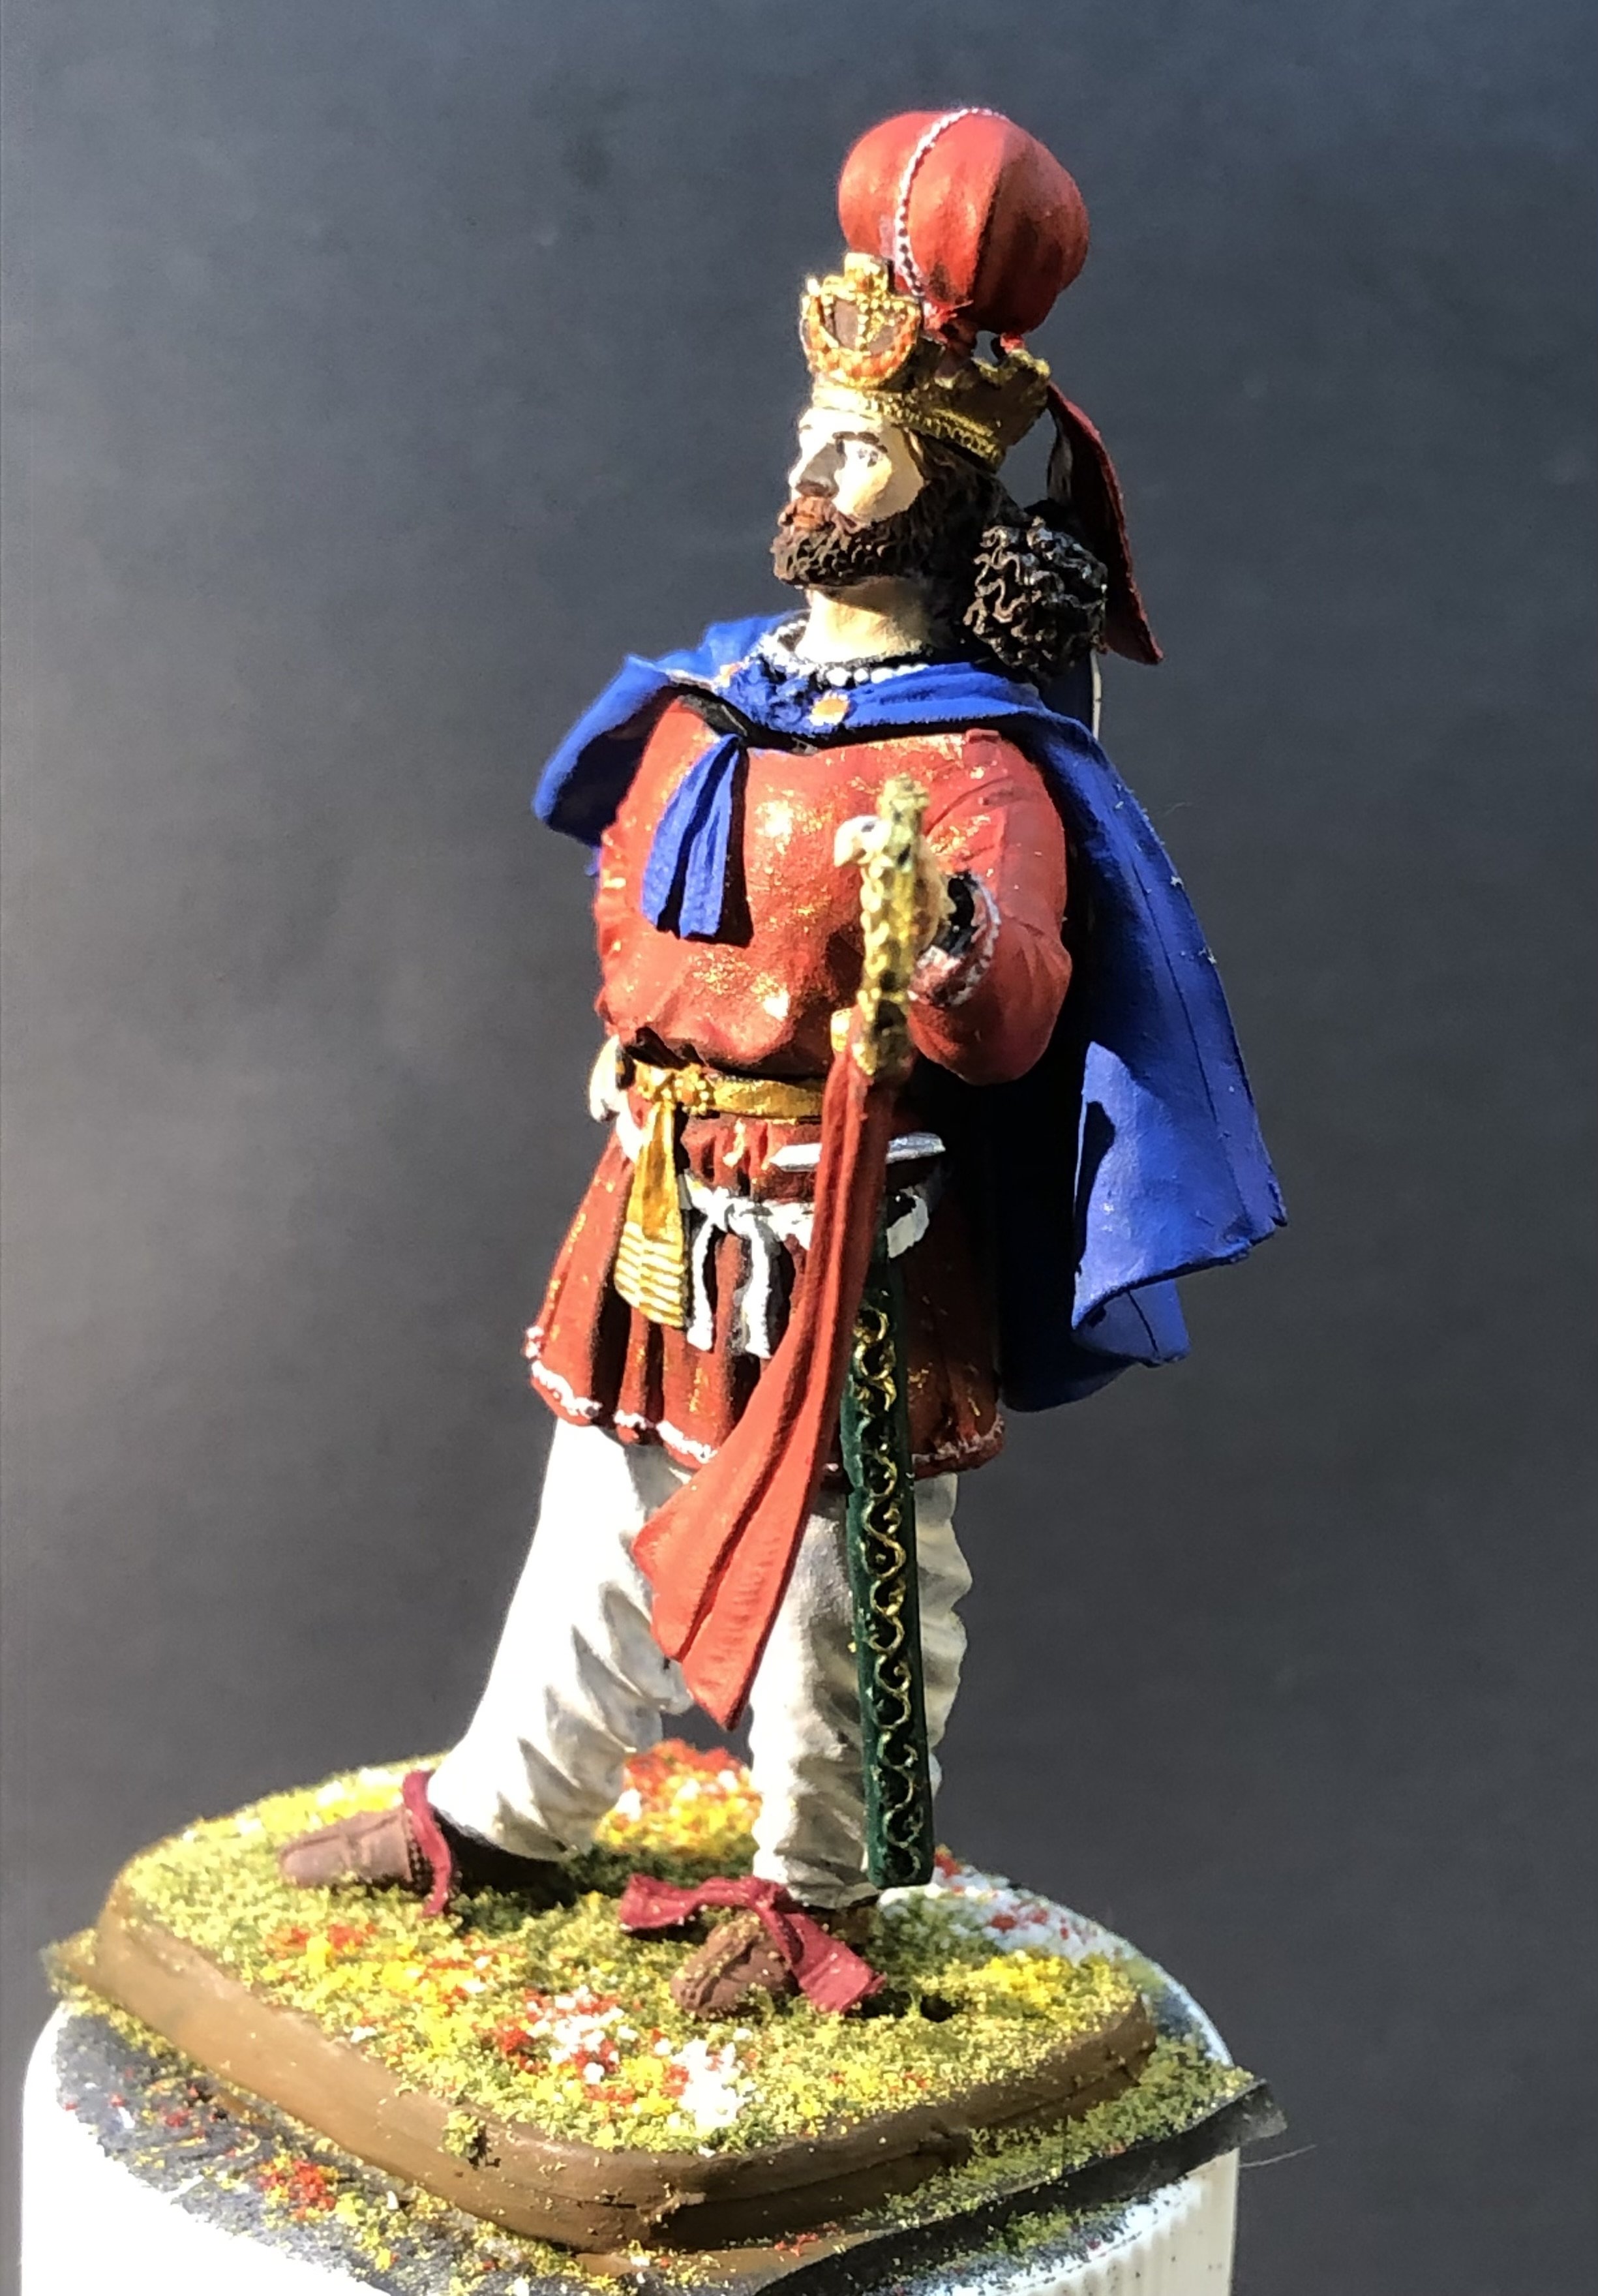
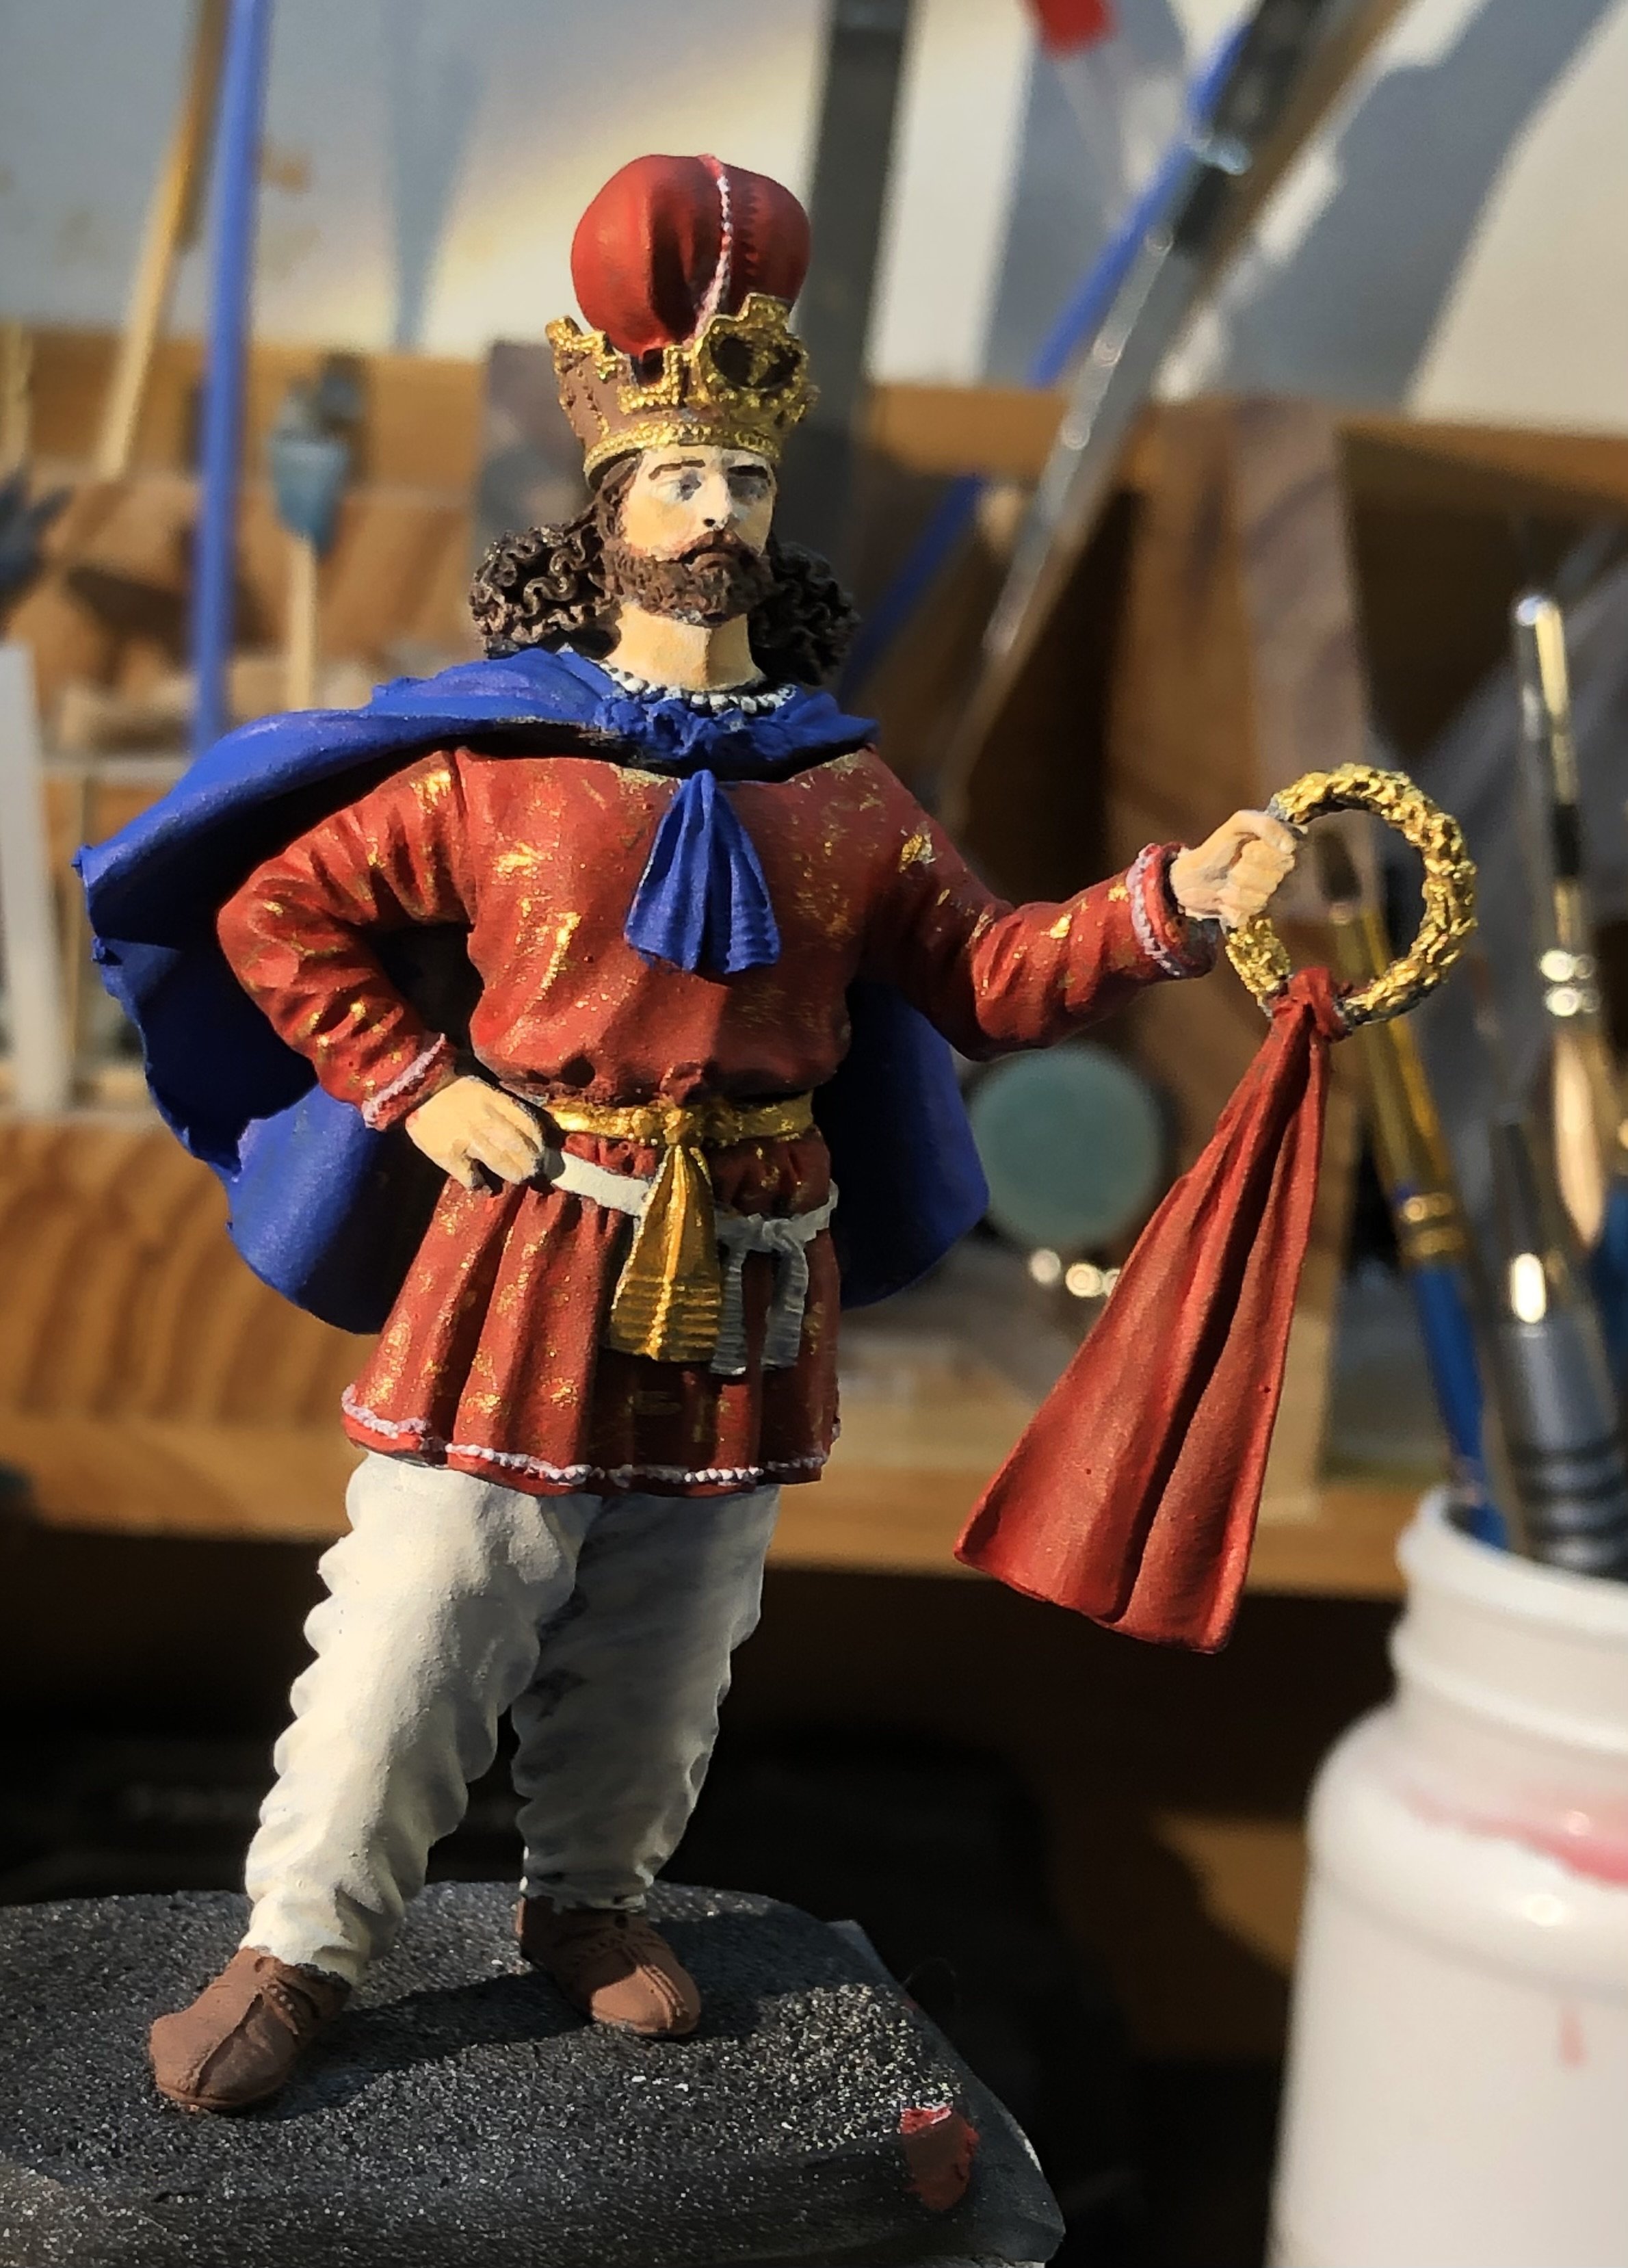
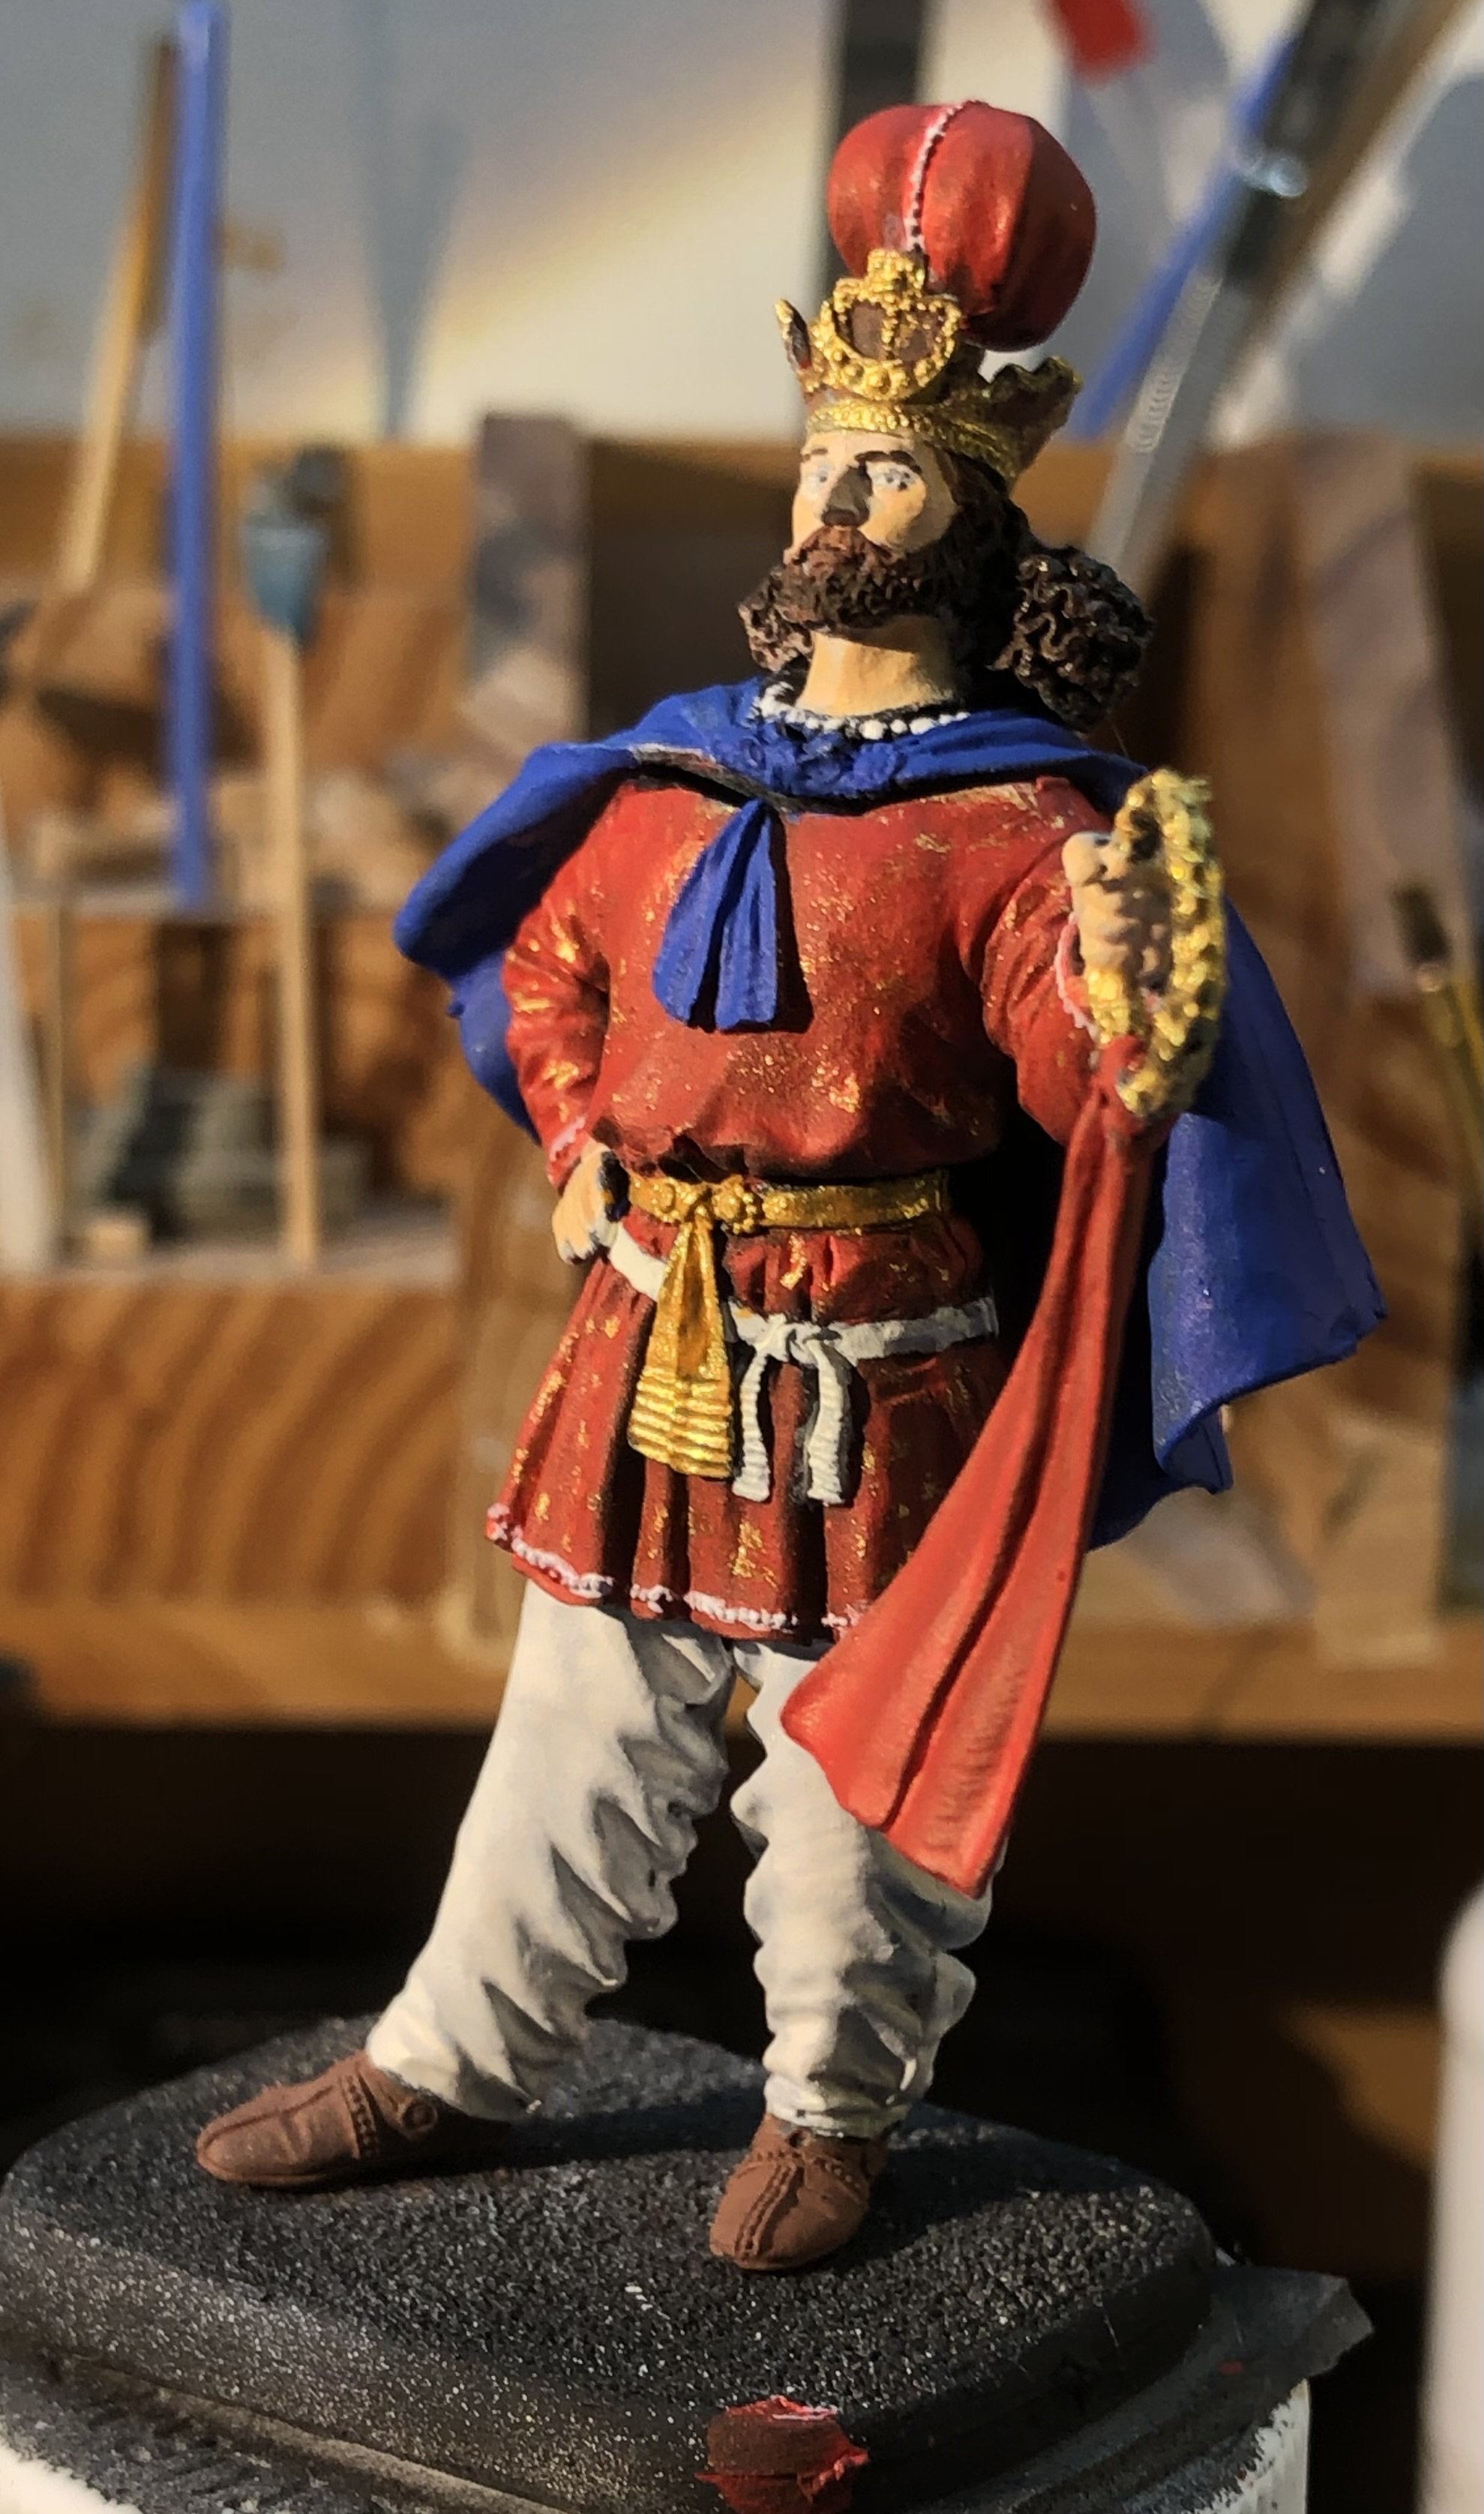
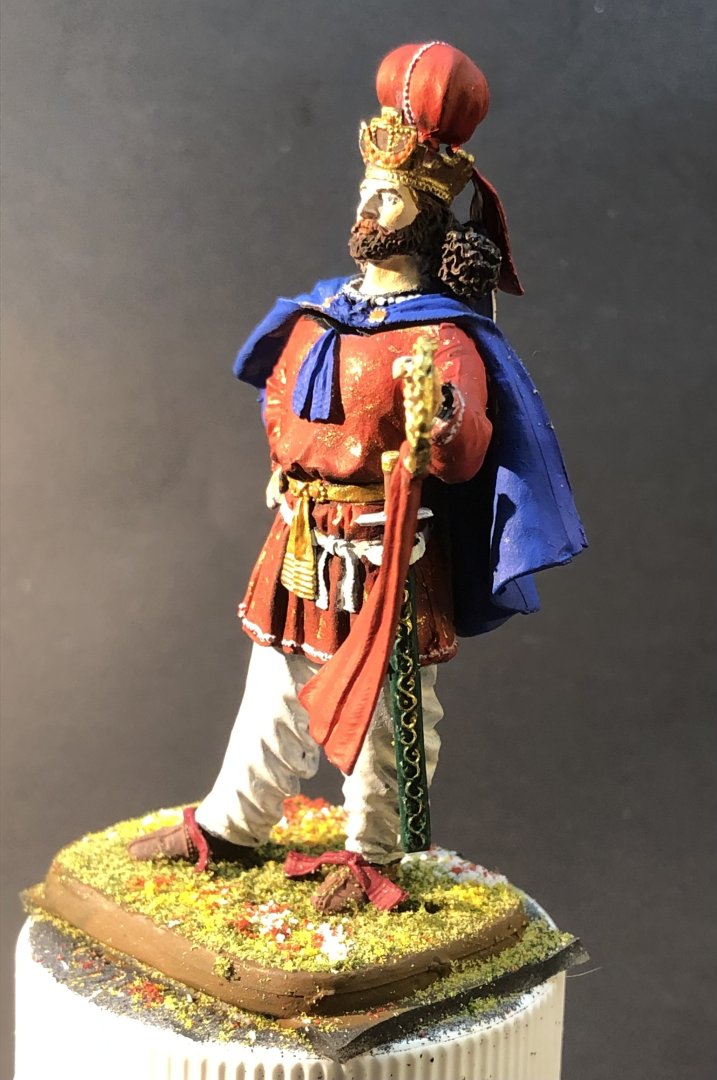
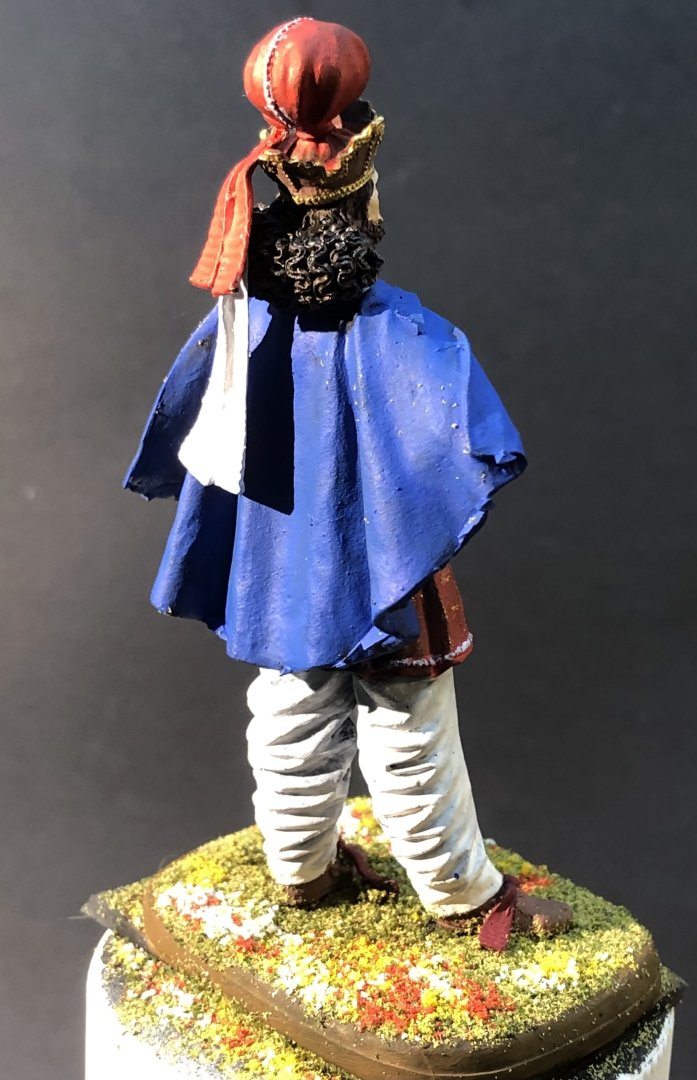
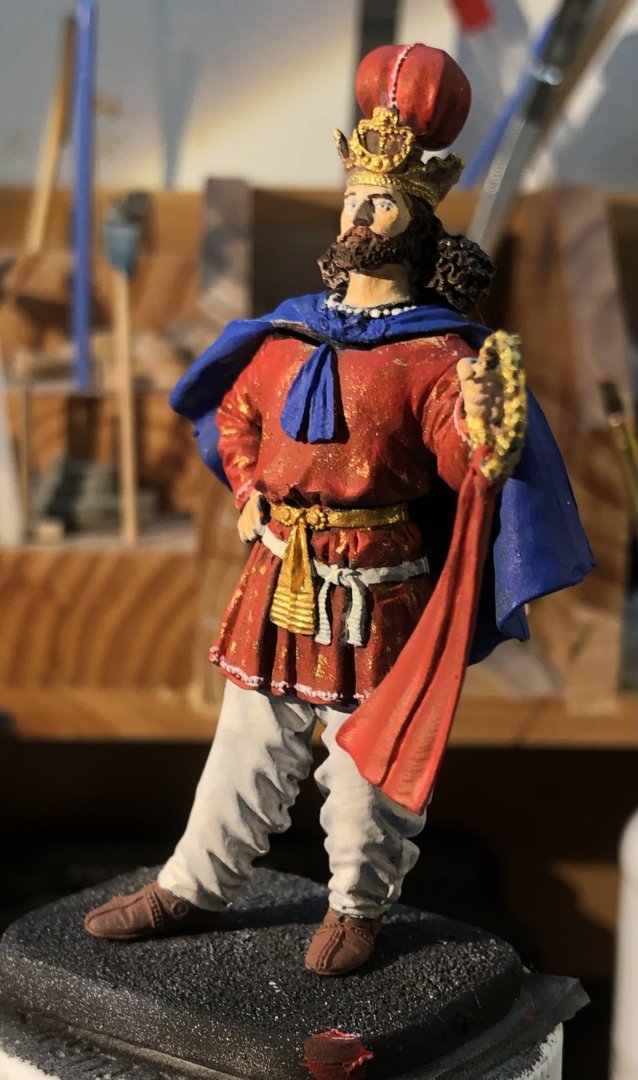
I had a good day today and I am calling Shapur complete. The lips were painted, the jewels on his crown and belt added. His sword, streamers on his crown and his cute floppy shoe laces all put in place. He nearly lost his laces, I thought they were scraps of castings and almost threw them away. Staring at the box art, the penny finally dropped. Put him on a grassy base using Woodland Scenics grass and added a floral touch, I’m not sure about how it came out , it may get modified a bit. Thank you all for looking in, the likes and kind comments. Now I have to decide what follows. Alan


- 32 replies
-
- 12
-

-

-
Thank you very much OC, I’m quite pleased with the face, the darker skin tone blended in well and accentuated the planes of the face. It helps that it’s such a nice sculpt. alan
-
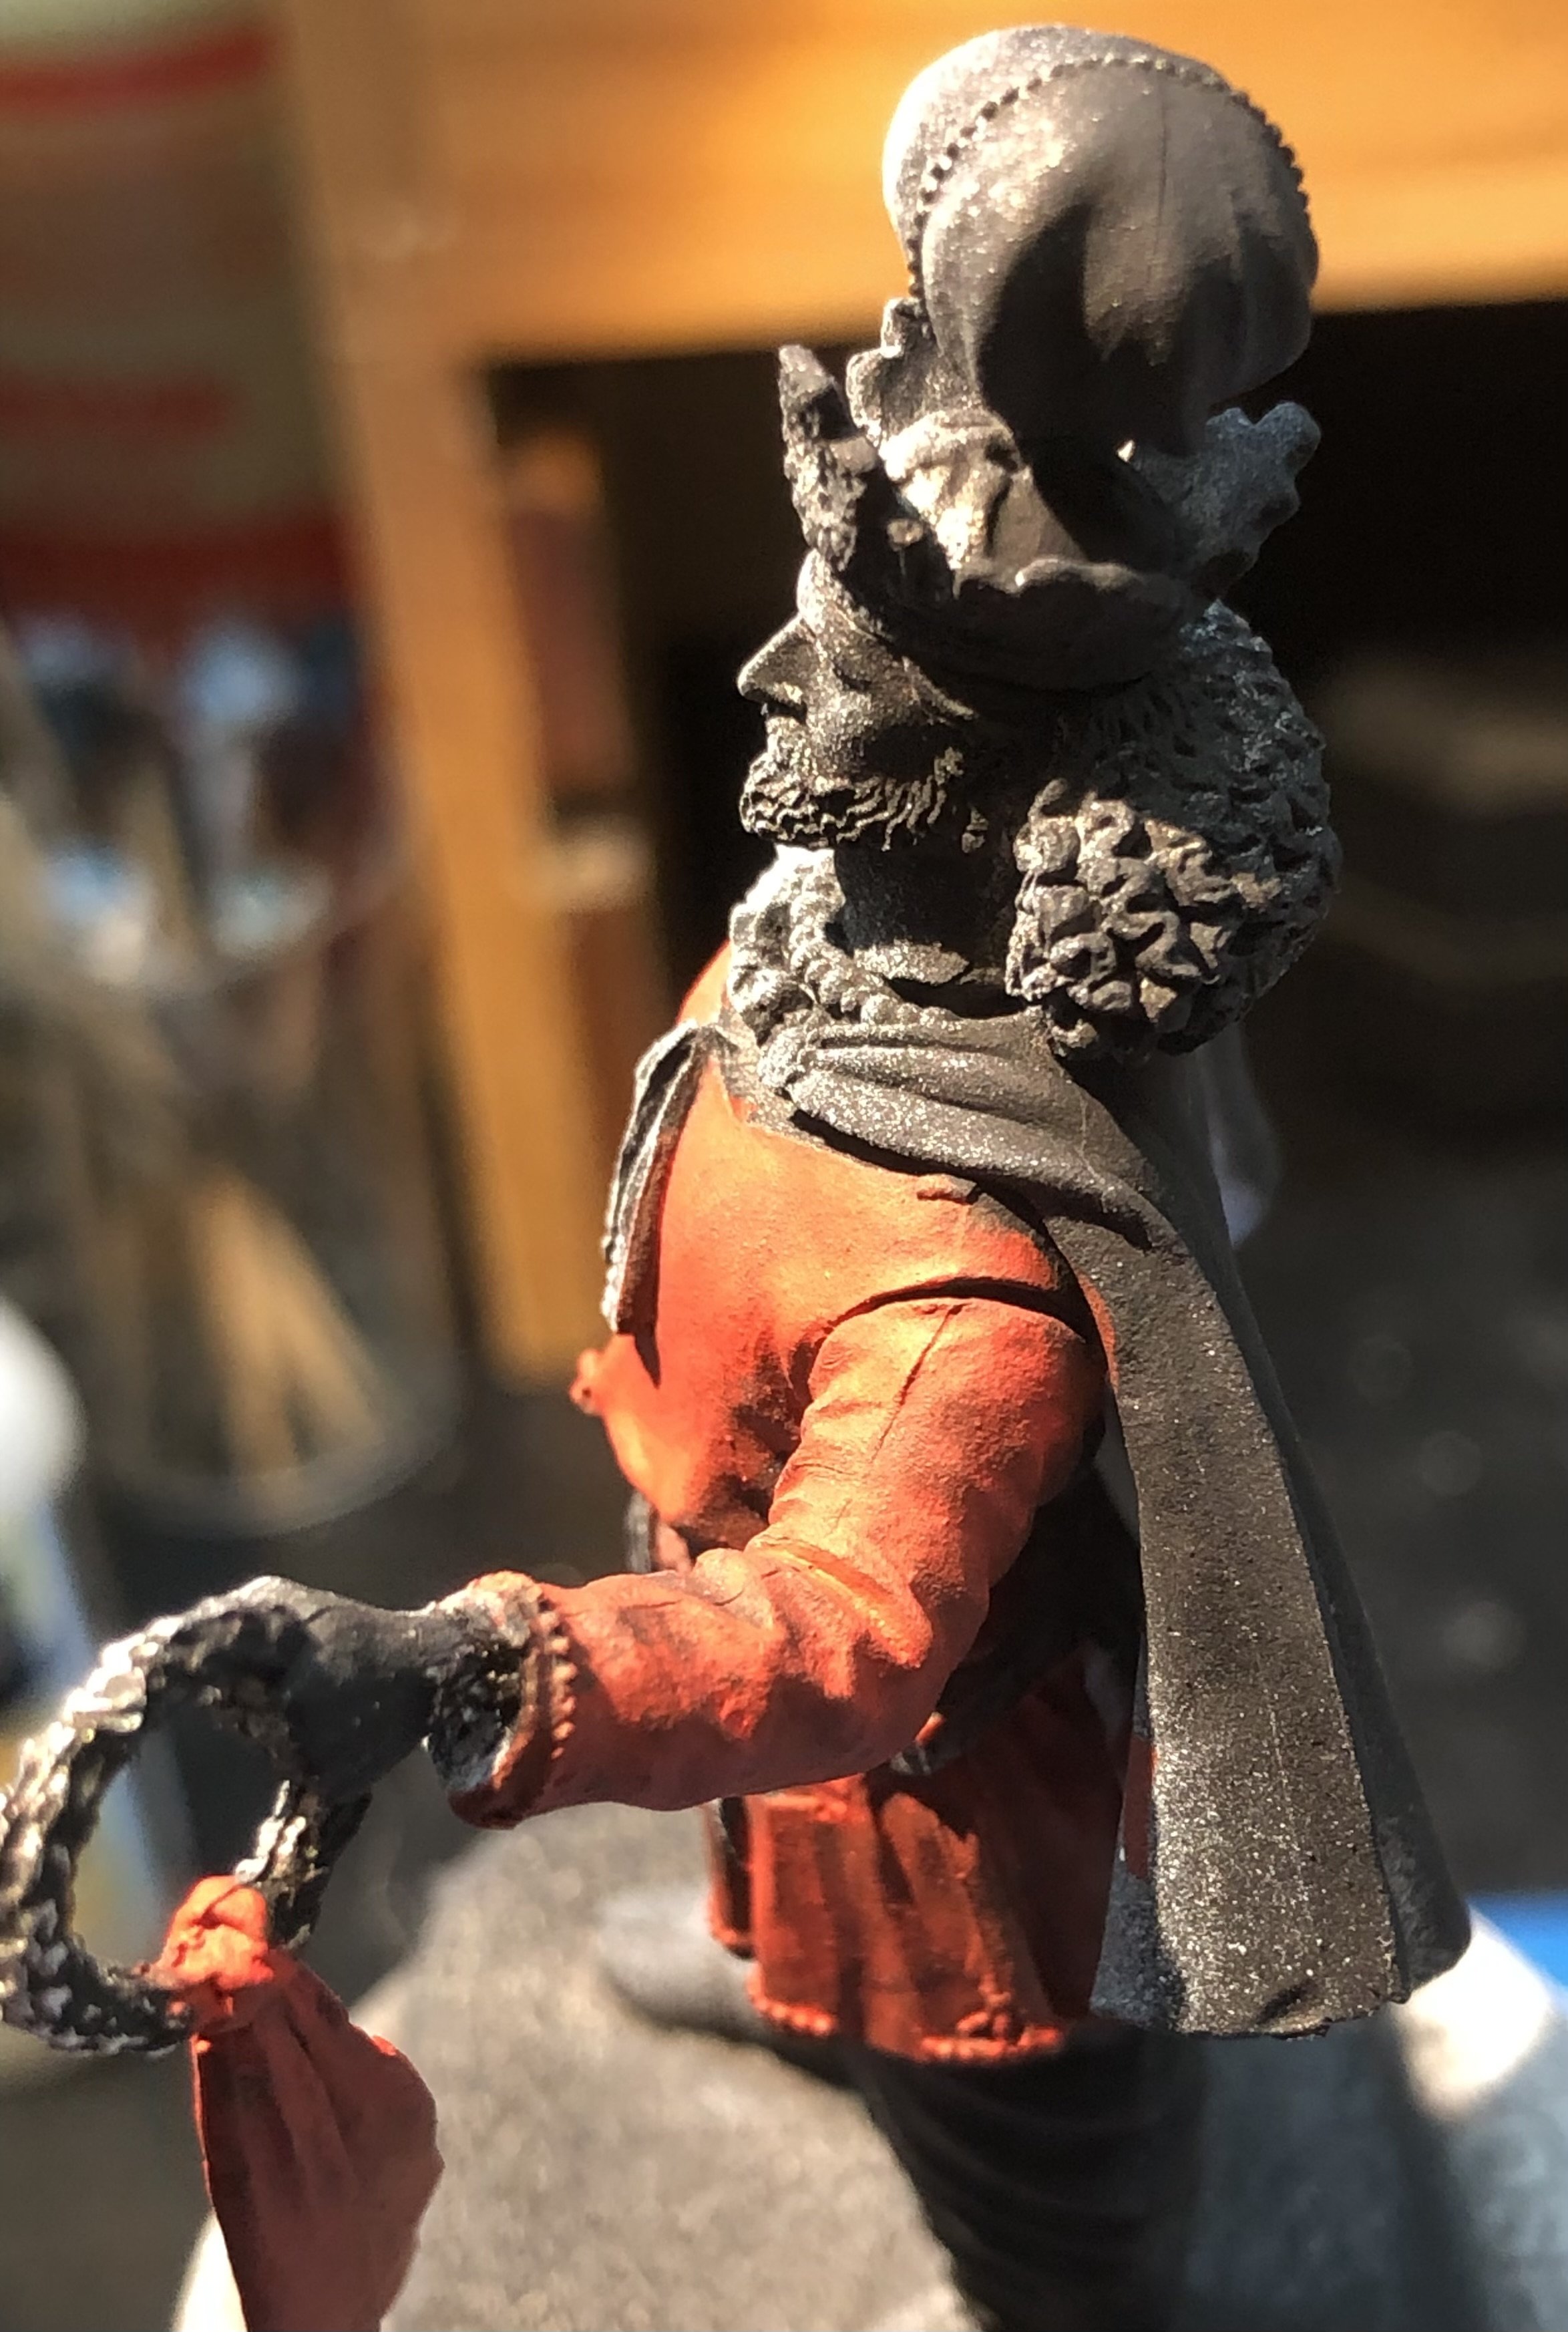
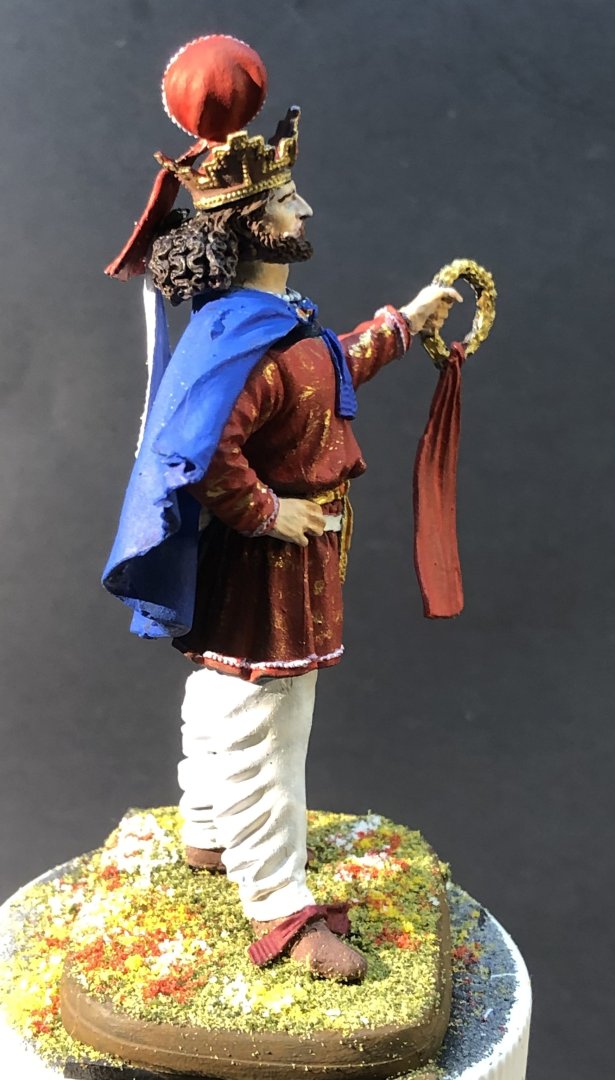
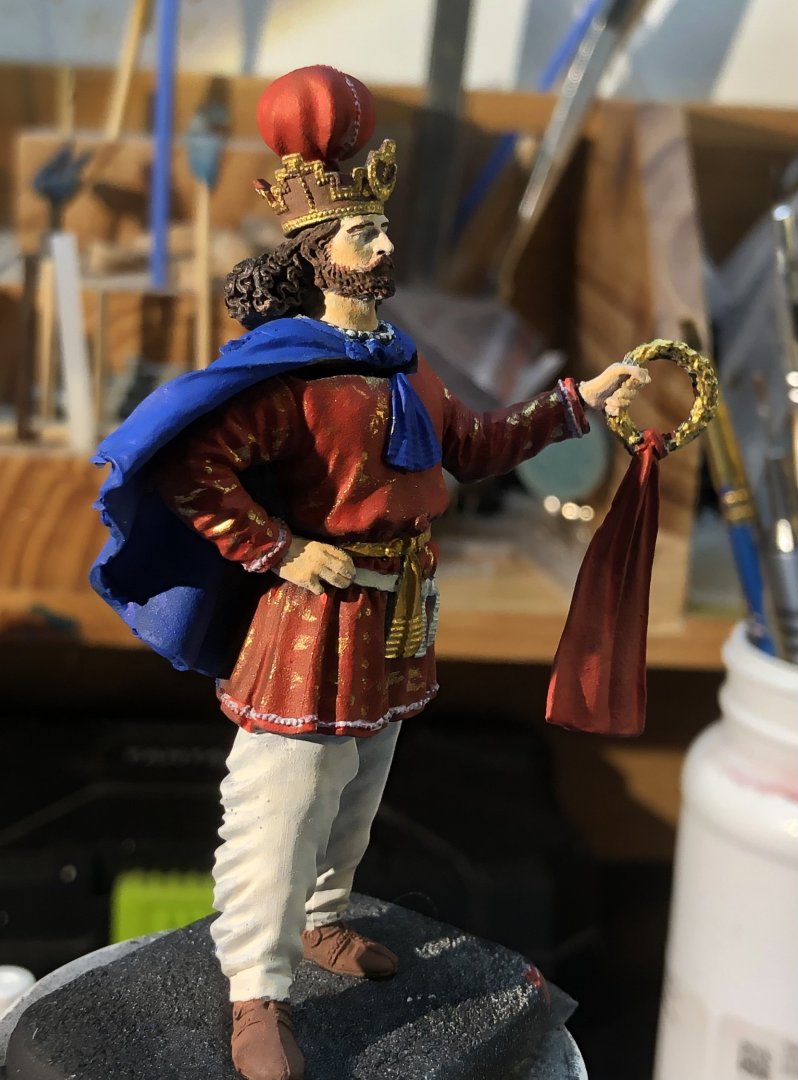
It’s a funny thing with the figures. One minute there seems days of work needed to complete the miniature and then suddenly it’s almost finished. I had a good afternoon of progress with a few tea breaks to rest my eyes. The main blocks of the figure were complete so I turned my attention on the detail. The face was given a coat of basic skin tone and then I added warm skin tone to bring out the shape of the cheeks. I still need to add the lips. hair is a base of saddle brown followed by burnt umber stippled over and then a very dilute black wash. A satin varnish was added once everything had dried. The beard and mustache were painted with burnt umber and faded out with saddle brown followed by. The painting guide says the thing in his left hand is a crown. I’m not sure why he needs a spare. Maybe it’s his Windy Day Crown. gold embroidered elements of his tunic are dry brushed gold using a stiff brush. I need to paint the lips, earrings and touch up the strings of pearls and the hands. Then I have the sword and a few other bits to paint and add. The postman delivered the long awaited package. The subjects look great and a quick sneak peek suggests the figures are very nice. Disappointingly they are very small compared to the Art Girona figures. The faces are going to be extremely difficult to paint. I guess 54mm is a somewhat elastic concept. Thanks for looking in, the likes and kind comments. alan


- 32 replies
-
- 10
-
-
-
Getting busy with all the details. alan
-
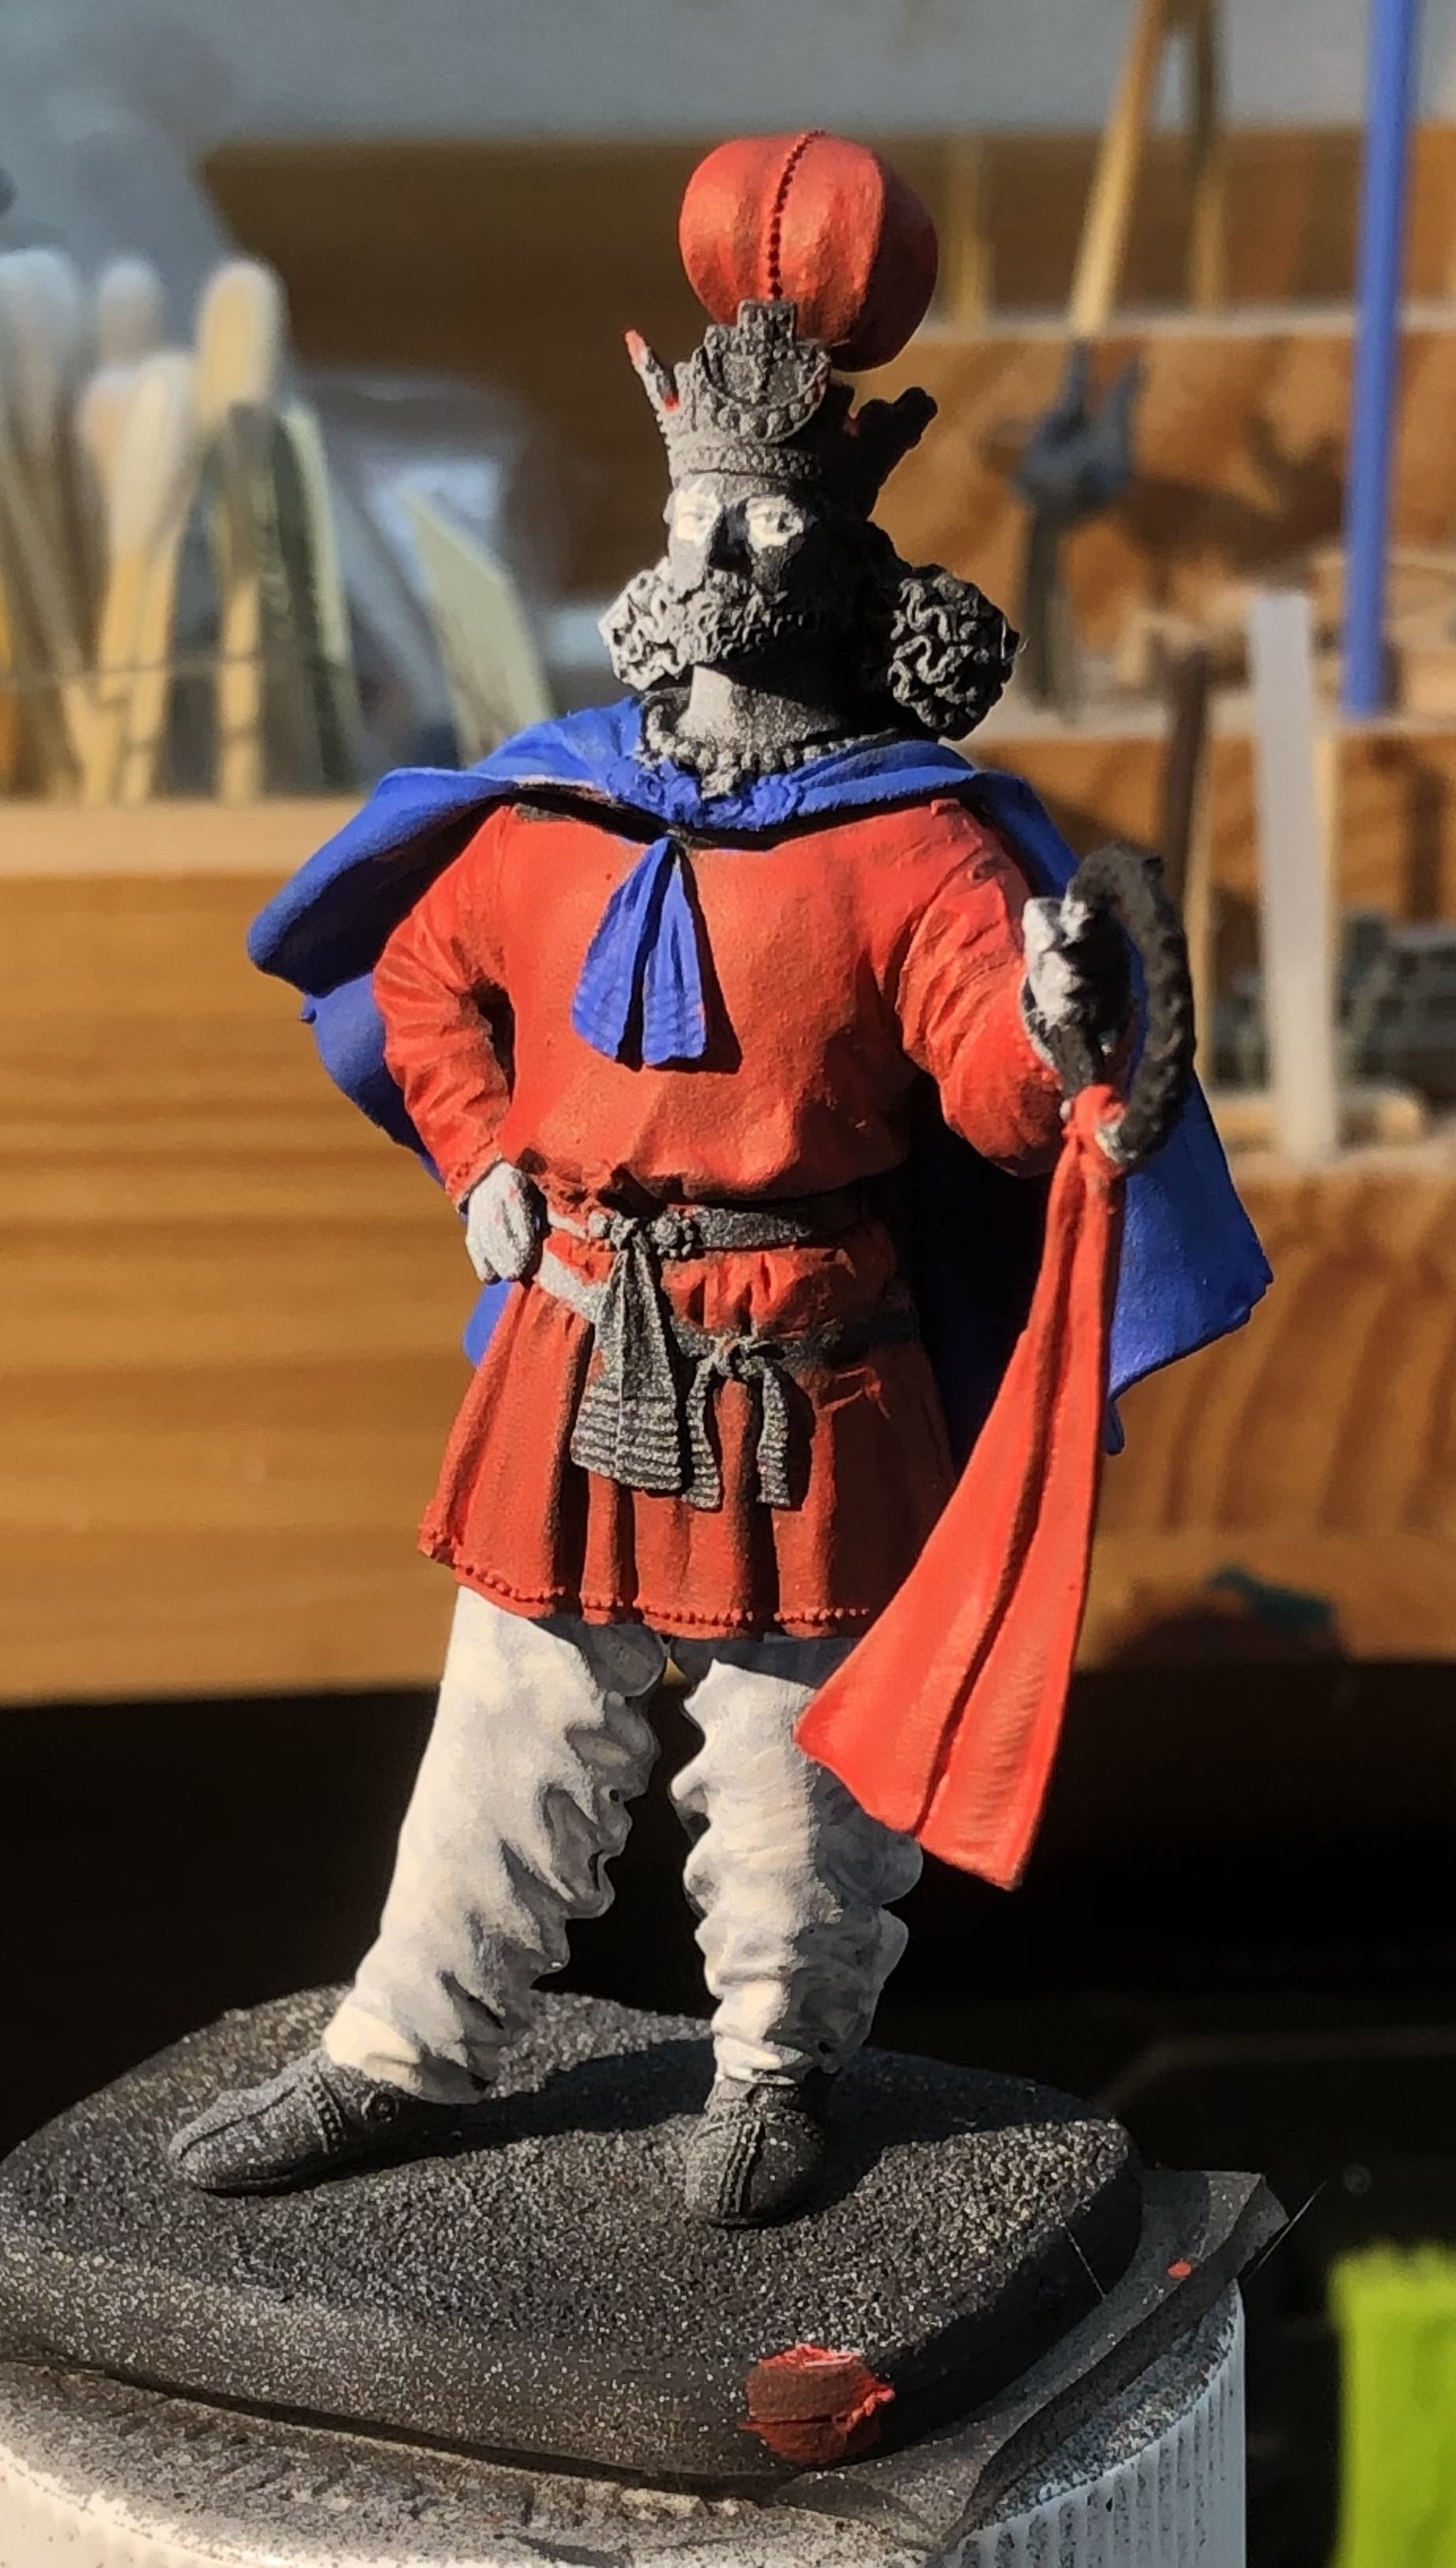
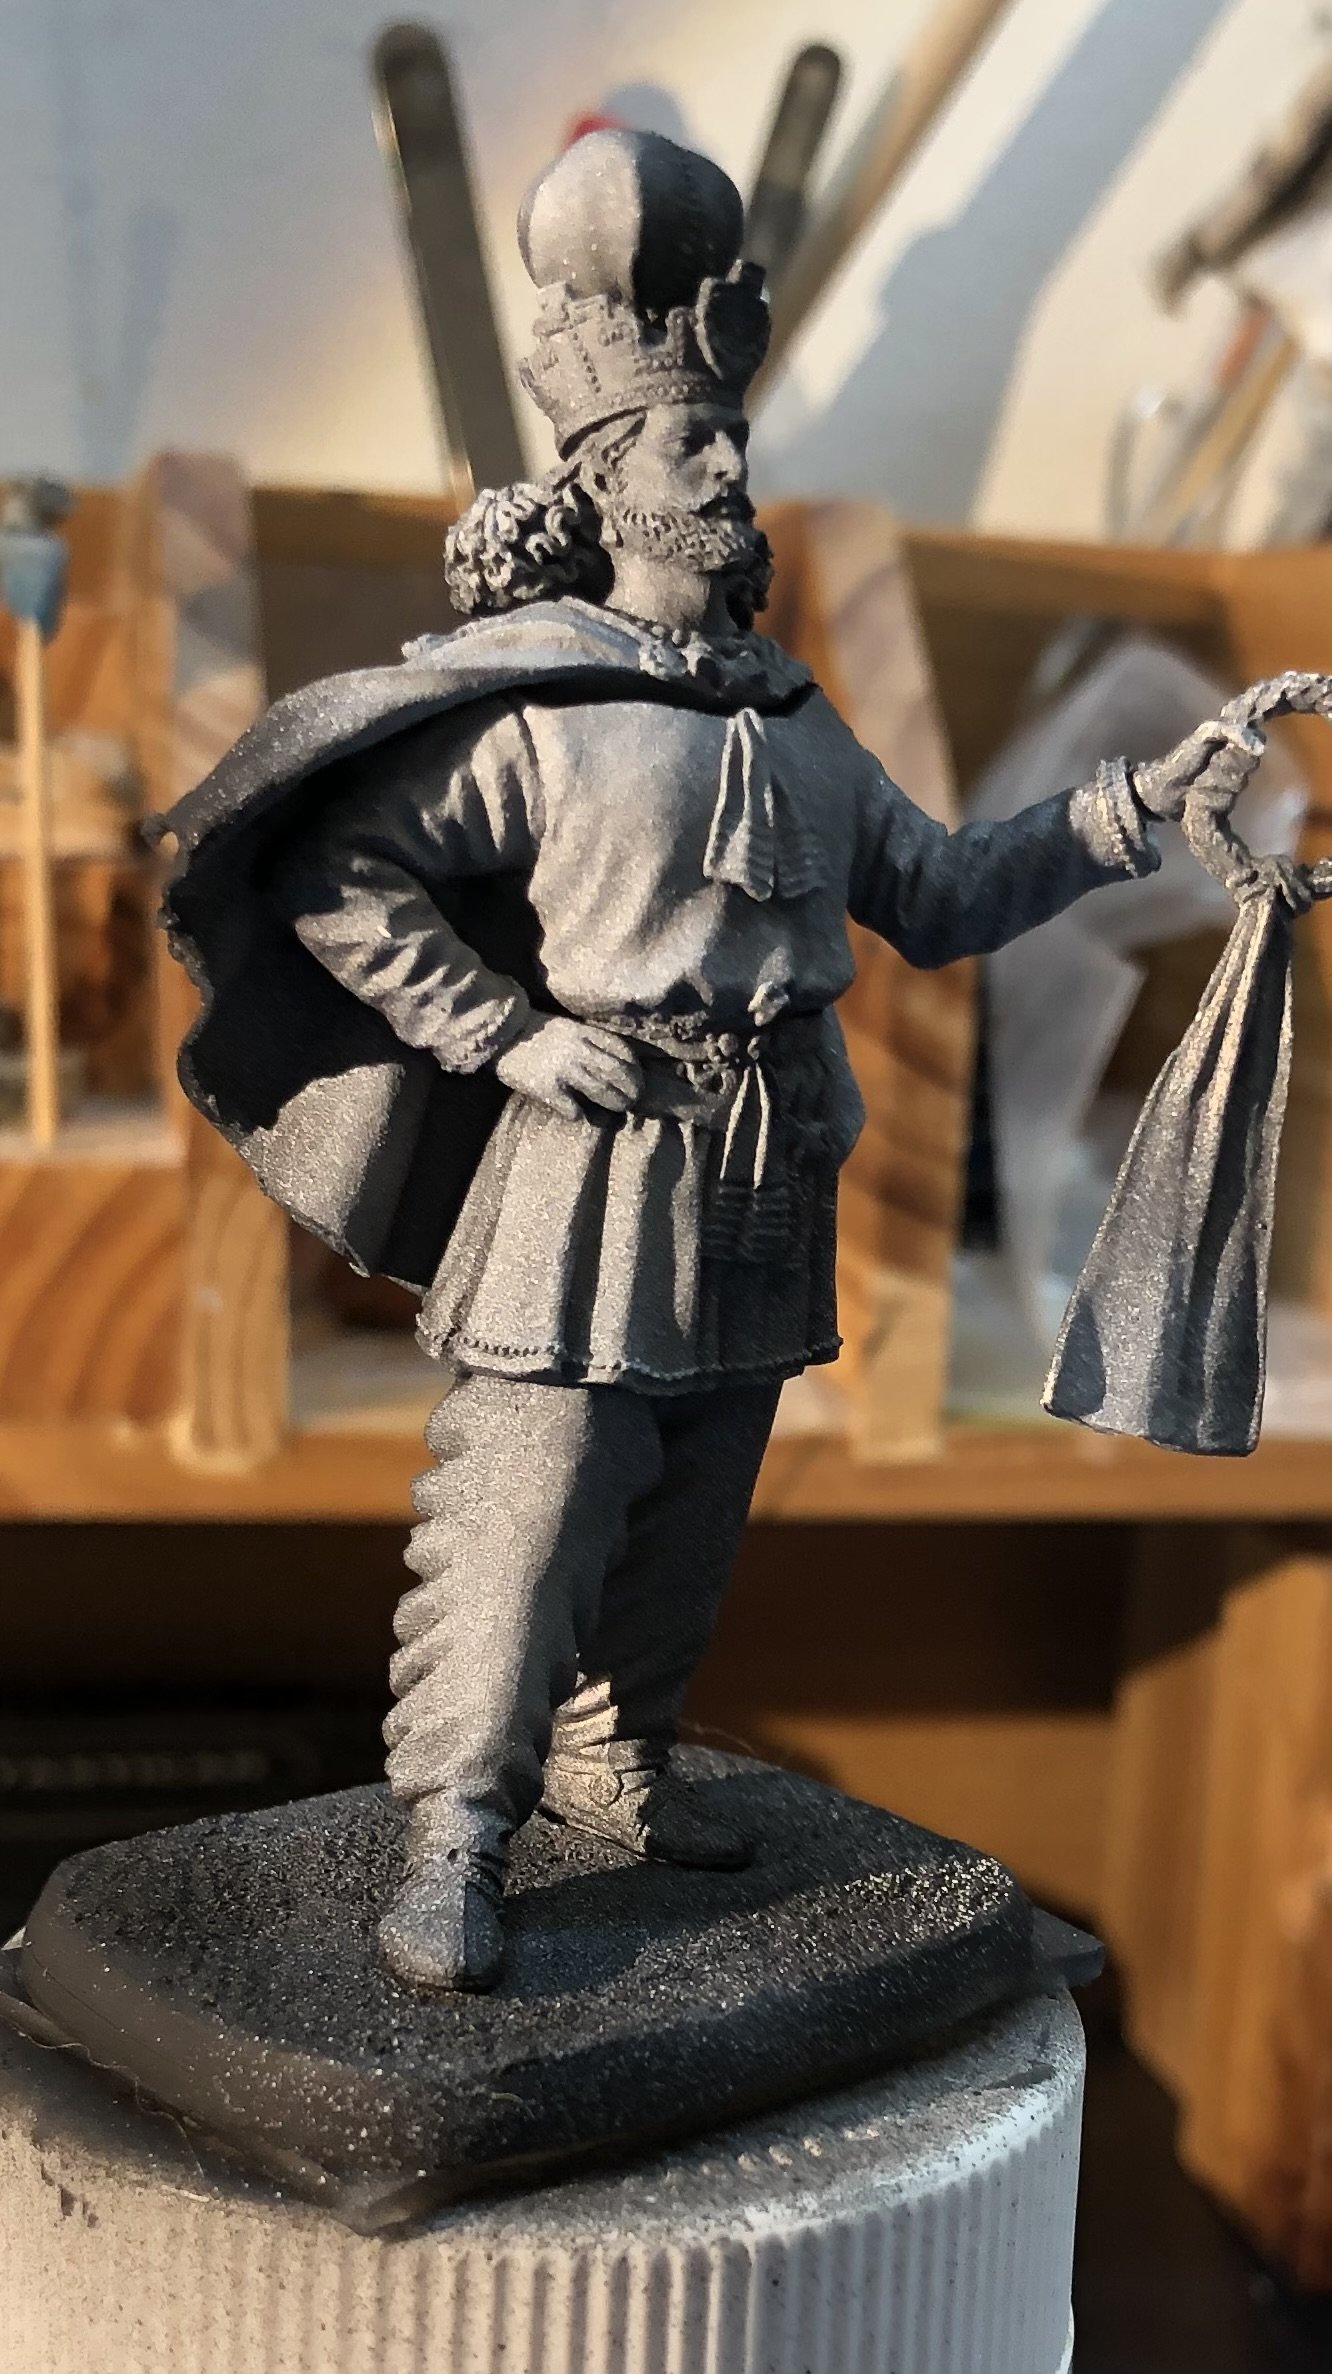
I tidied up the filler and continued building up the glazes on the main areas of the figure. I think the tunic is finished but the pants and cloak need another coat at least. The crown probably needs another coat too. The white on the face makes it easier to see the details around the eyes and will become the whites of the eyes. Thanks for looking in and the likes alan

-
Congratulations, you have built a beautiful ship. The sails really make the lateen rig look elegant. Very reminiscent of the dhows around Qatar in the mid seventies. alan
- 65 replies
-
- 1
-
-
- sultan
- Artesania Latina
- (and 2 more)
-
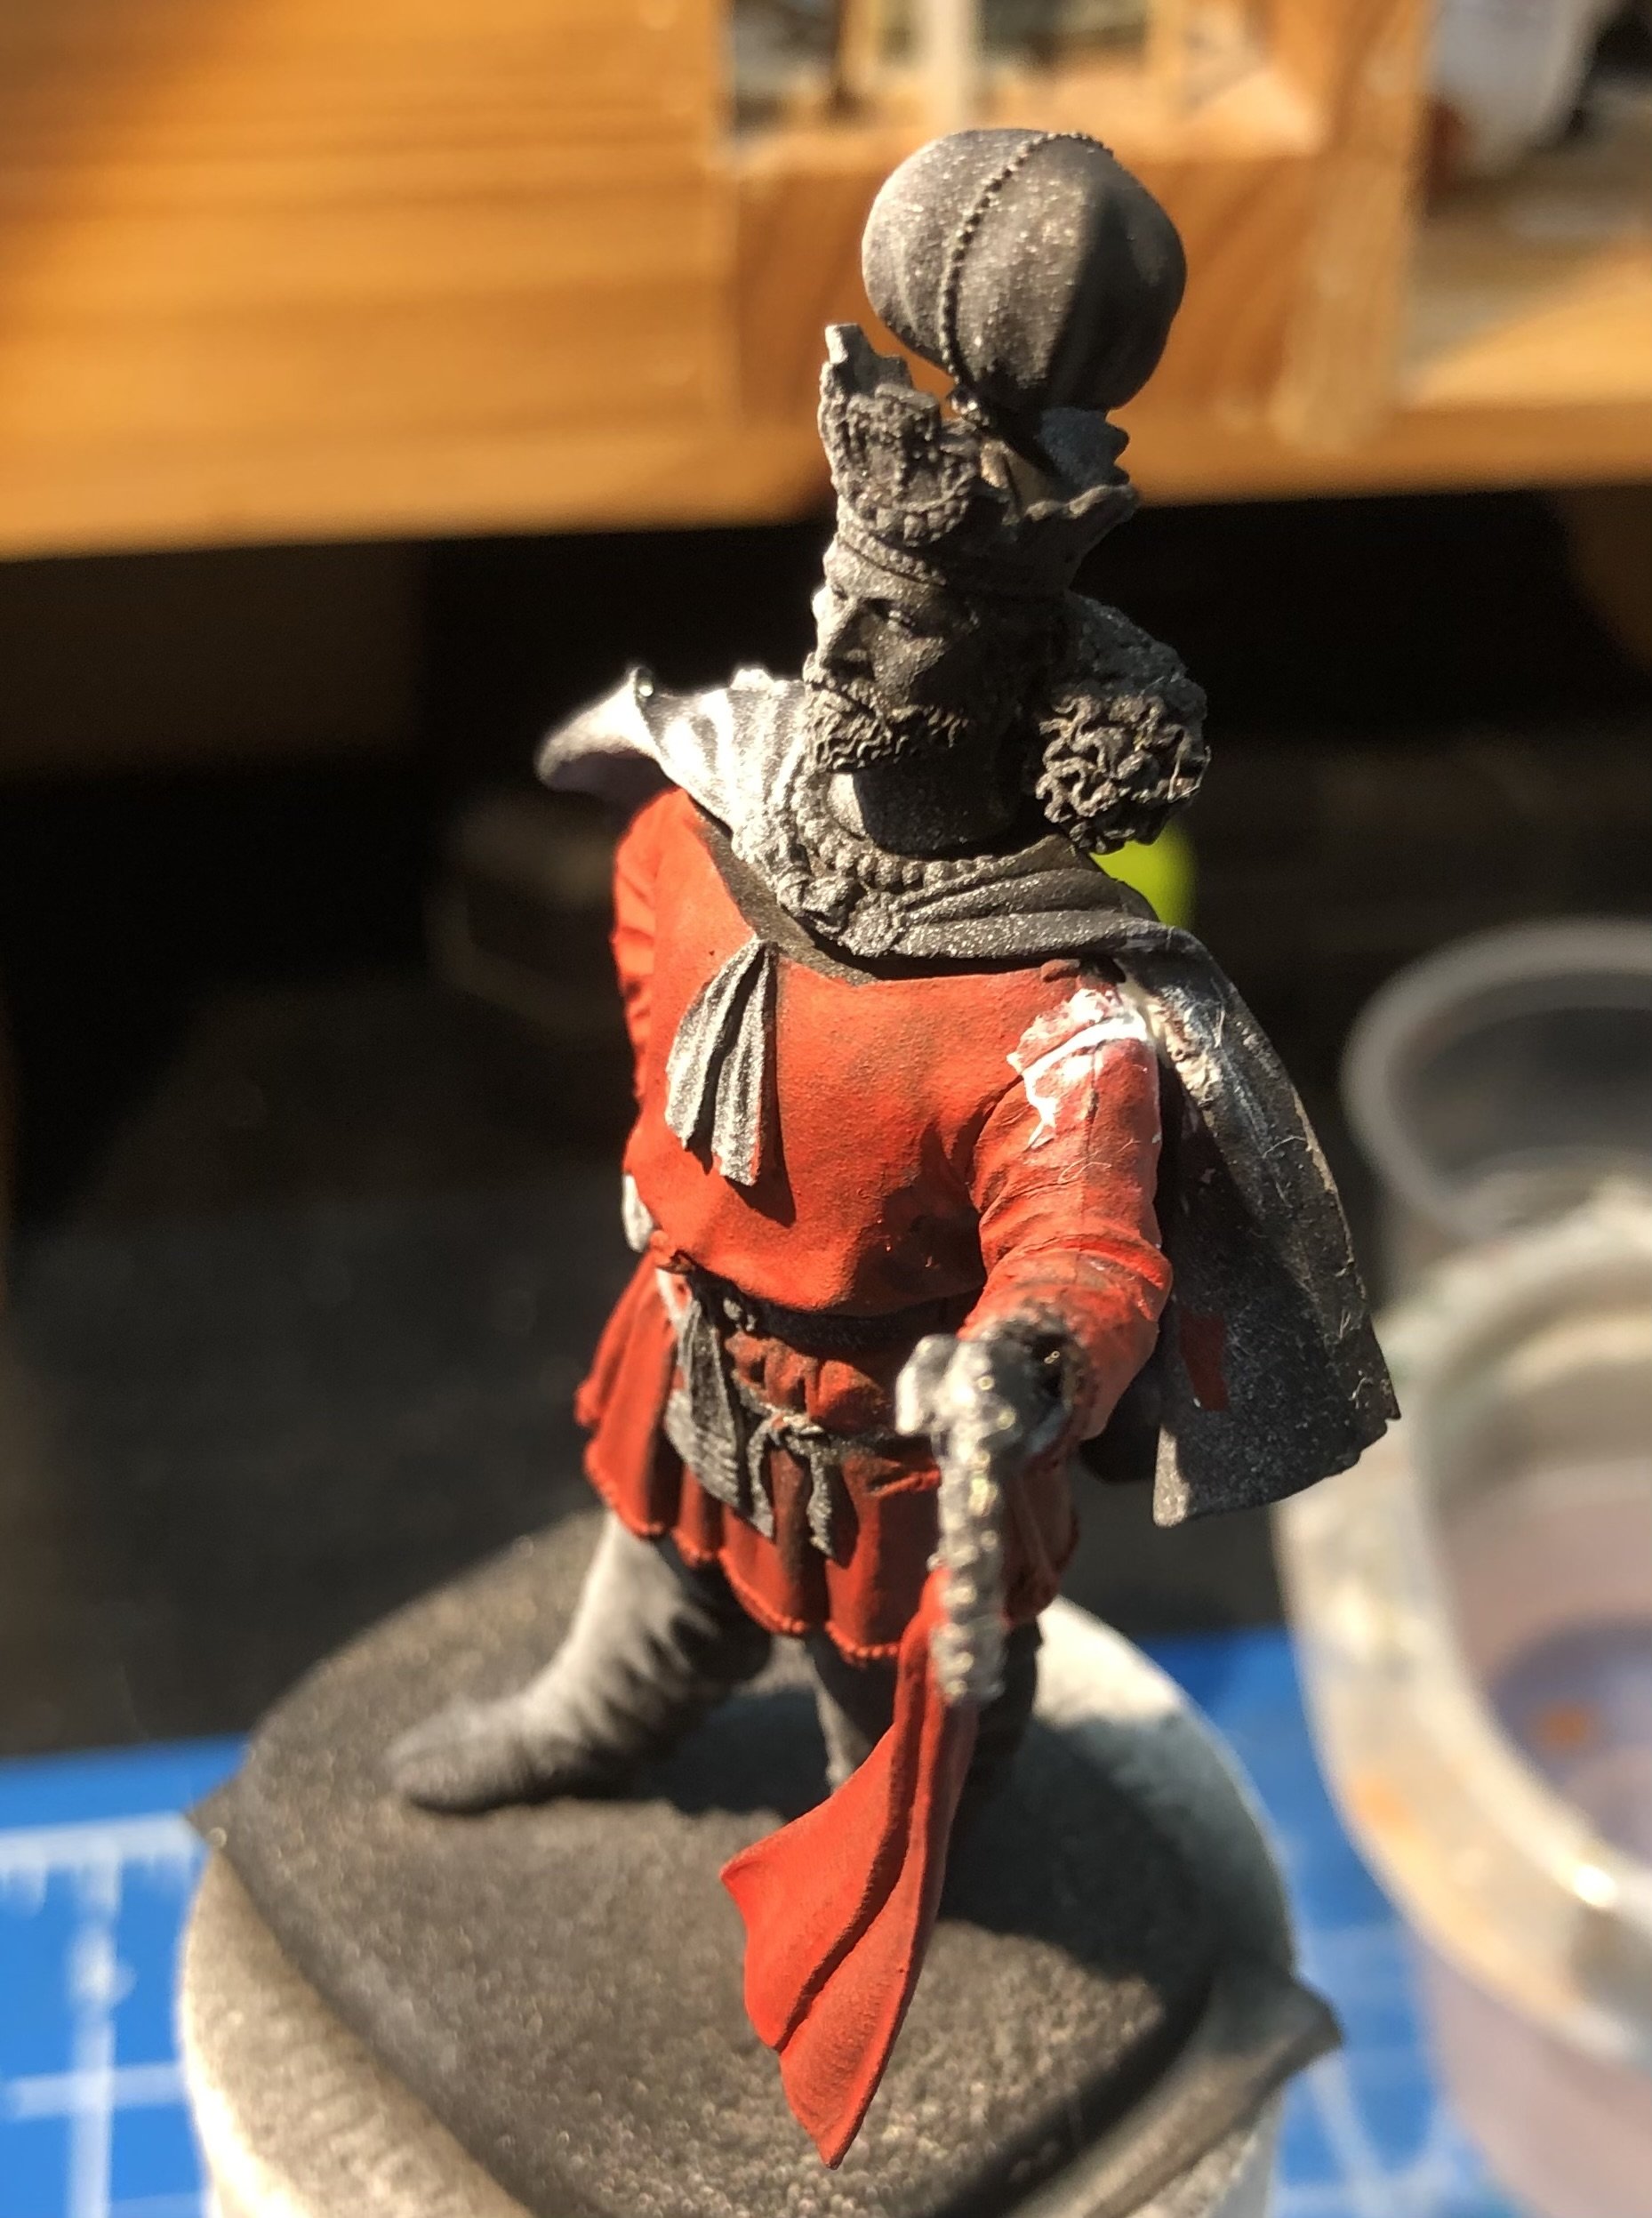
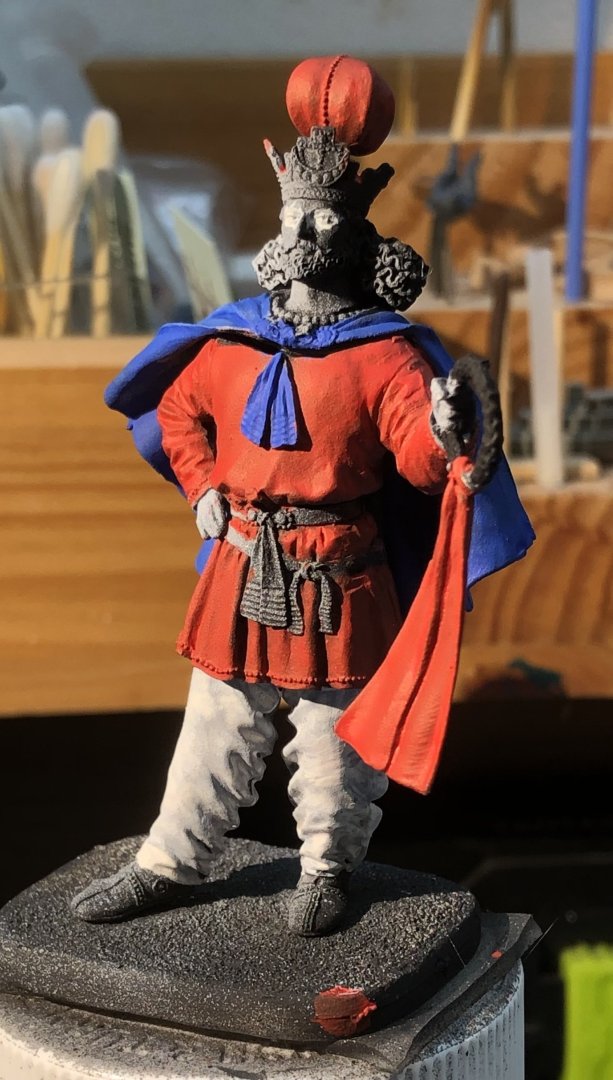
I started building up the red glazes on the tunic and this quickly revealed a gap on his right shoulder. I’m not sure whether the arm moved slightly while the glue was curing or if it was a problem with the casting. The pose looks natural so I have filled the gap with Vallejo plastic putty and painting will hopefully resume in the morning. Thanks for looking in and the likes alan


-
I sprayed the zenithal white shading, which also brings out the details. Now for the glazes. Thanks for looking in, the likes and comments alan

-
Thanks Phil. He should paint up nicely. The face will be interesting. alan
-
Thank you very much Ken. Still some Hunts, J/K class destroyers on the shelf. The Flyhawk HMS Kelly might be up next. alan
- 24 replies
-
- 3
-
-
- Eskimo
- Tribal class
- (and 3 more)
-
Nice work on the railings, especially the ones for the ladders, it’s easy to get the angle wrong and then it looks very wrong. alan