HOLIDAY DONATION DRIVE - SUPPORT MSW - DO YOUR PART TO KEEP THIS GREAT FORUM GOING! (Only 24 donations so far out of 49,000 members - C'mon guys!)
×


king derelict
-
Posts
3,272 -
Joined
-
Last visited
Content Type
Profiles
Forums
Gallery
Events
Everything posted by king derelict
-
I am very late catching up with this one but it was well worth reading the thread. A beautiful model of a favourite aircraft. The weathering is perfect. Excellent work I came across this article in a recent newsletter. Typhoon reborn (aerosociety.com) Aan
-
Airplanes and Tanks in plastic by Jörgen
king derelict replied to Jörgen's topic in Non-ship/categorised builds
Beautiful weathering Alan -
I agree with you and the 3D resin parts are so much nicer than the flat PE ones especially in 1/700 secondary weapons. Girders, catapults and cranes all look nice in PE but gun barrels less so Alan
-
The resin printed parts are really nice; especially the single Bofors. I see this being a major change to the hobby providing limitless upgrades Alan
-
Thank you Grant. The bag of blocks has diminished significantly; in fact I am wondering if I am going to have enough to finish the model Alan
-
Curtiss BF 2C-1 by CDW - FINISHED - Hasegawa - 1:32 scale
king derelict replied to CDW's topic in Non-ship/categorised builds
Beautiful model Craig. Excellent work Alan -
Late to teh party I'm afraid but Congratulations. The crew ladders and covers are a really nice touch. A beautiful model Alan
-
Thank you OC. There is a lot of grinding and sanding ahead but its still enjoyable although I am fretting to get started on the lighting and painting figures etc. Alan
-
Thank you EG I have a lot of enjoyable reading on here to catch up with and I hope I will be able to move along with the castle too. Completing that last tower will be a major milestone. Alan
-
Breathtaking. The details are beautiful. There are just so many elements to marvel over. The water looks very realistic. Congratulations on a spectacular model Alan
-
Beautiful models and seascape. Very dynamic Alan
-
Vincent Black Shadow by CDW - Revell - 1:12 Scale
king derelict replied to CDW's topic in Non-ship/categorised builds
Thank you Craig. I'm doing well; just not getting enough time at the workbench. It would be nice if someone could turn the heat down a bit but from what I read there are areas much worse off. Just hoping this isn't the prelude to a nasty hurricane season. I'm enjoying this build a lot. The Black Shadow was a dream when i was at university. Never got beyond an AJS and a BSA Alan -
Thanks for the information Mike The Niko kits have some really interesting subjects. I will have to spend some of my recent earnings on a couple to try. I'm missing 1/700 world Alan
-
Really nice job Jav. The weathering really makes it stand out. Great representation of an iconic aircraft Alan
-
I'm late looking at this Greg but its a beautiful model and the setting is realistically frosty. The water / ice is superb Alan
-
Thank you Ken Good to know that about the Yak kit. I got a bit carried away ordering from a Ukraine based seller on eBay. As usual I was attracted to the unusual. Excellent seller too. About ten days from Kiev to Florida. The Dora Wings kits look very nice. I haven't looked at the rest yet. I want to try a bare metal finish soon so this might be a good donor for a learning experience. Expectations dialled down on all fronts for this one. Alan
-
Thank you <ark; I miss the inspiration and interaction on this site. There are some great artists here Alan
-
Thank you Jack. I hope to be asking for some landscaping tips in the not too distant future Alan
-
Beautiful details Mike. Thats a lovely model. I should attempt a resin kit. I have alway considered them to difficult for my skills Congratulations Alan
-
Vincent Black Shadow by CDW - Revell - 1:12 Scale
king derelict replied to CDW's topic in Non-ship/categorised builds
The spoked wheels are wonderful. A huge improvement Alan -
Hi OC I've had to spend too much time in the real world recently but its great to see the photos of your figures again. I really like the one of the Rifles streaming out of the gate. I can almost see movement there. I hope your dental issues were resolved and all is well with you. I seem to be seeing far too much of the medical profession at teh moment and its far from my favourite activity even if a lot of it is on behalf of someone else. Alan
-
The camo looks very nice. congratulations Alan
-
This is looking real very nice. Your printed details are a lot tidier than mine. As regards the wooden decks at least for the Flowers it seems to be a case of some of them had wooden decks some of the time and the layout was variable too possibly depending on which shipyard built them so I expect you are probably correct in what you have done. Alan
-
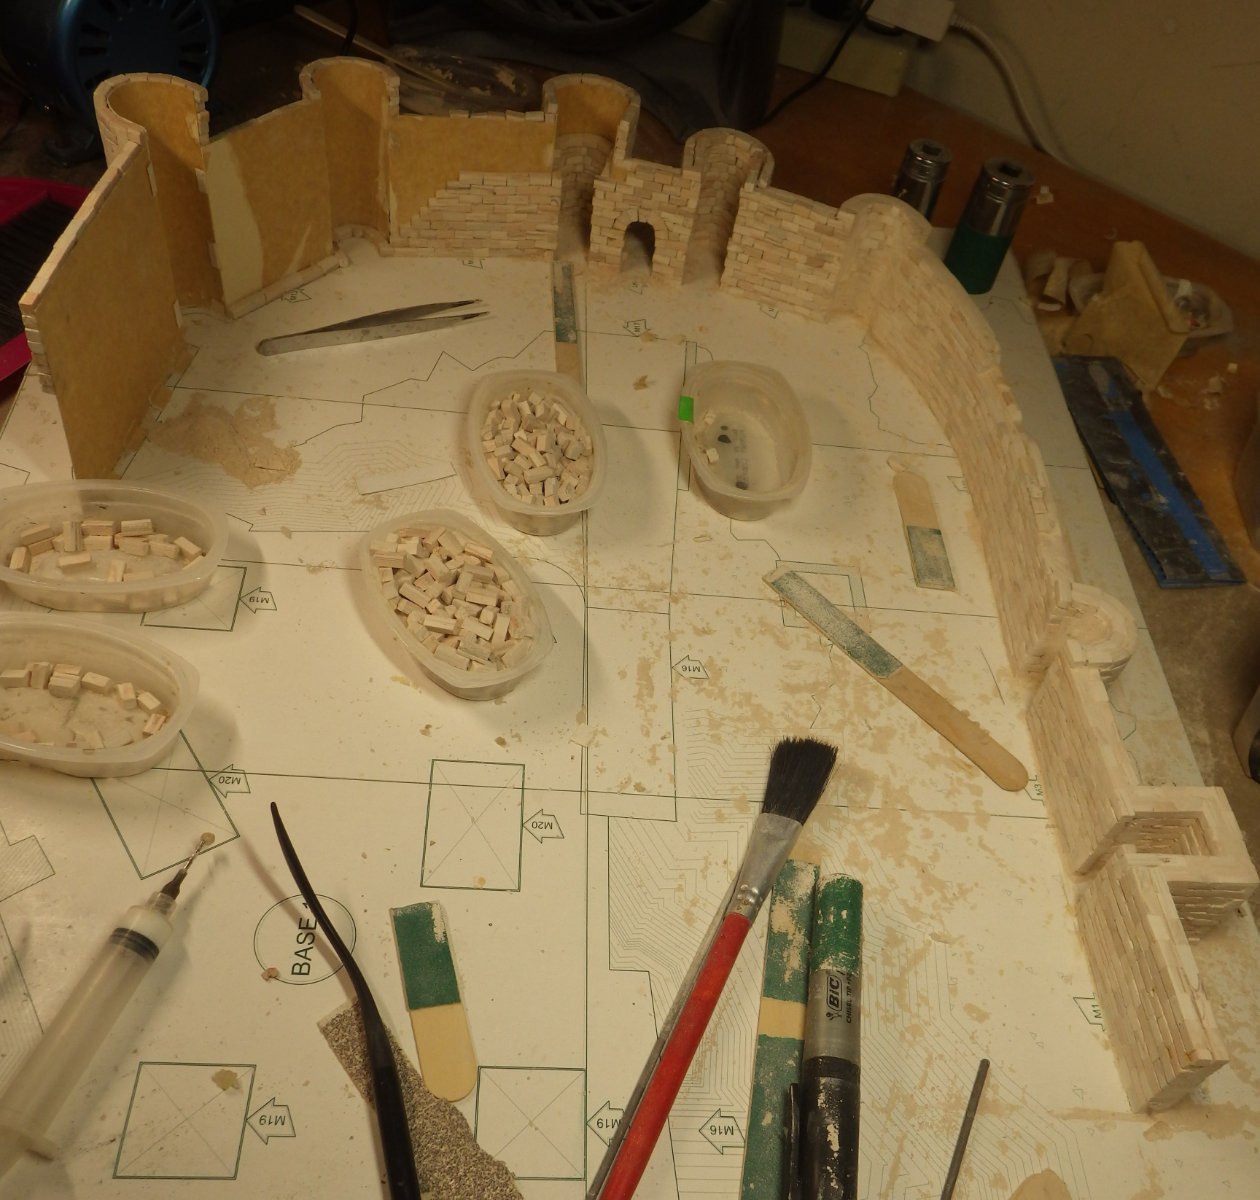
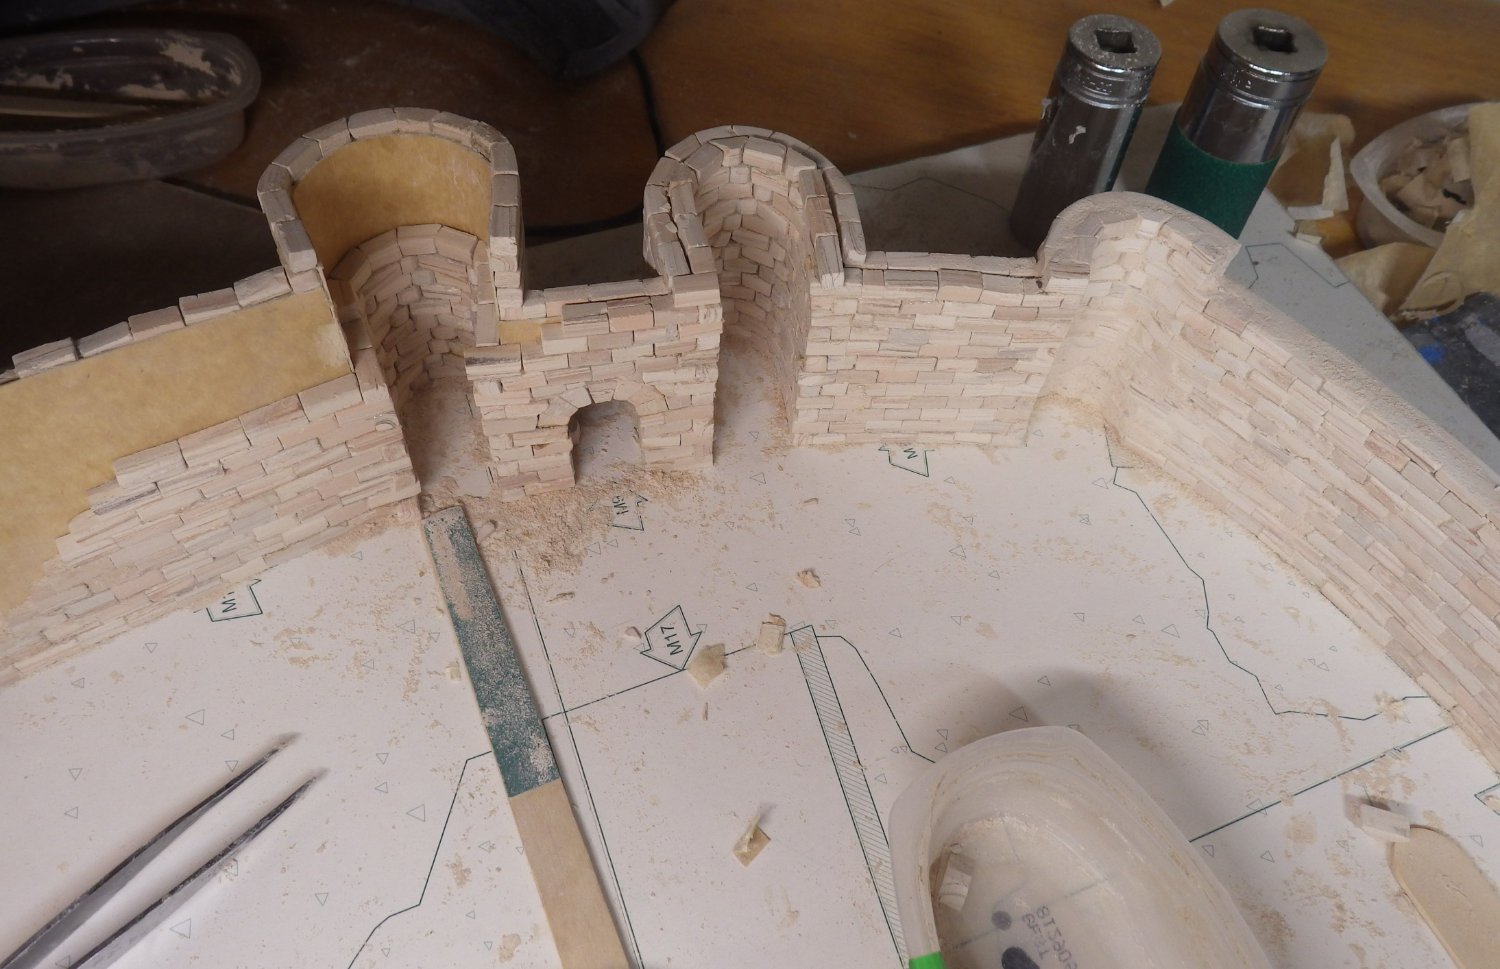
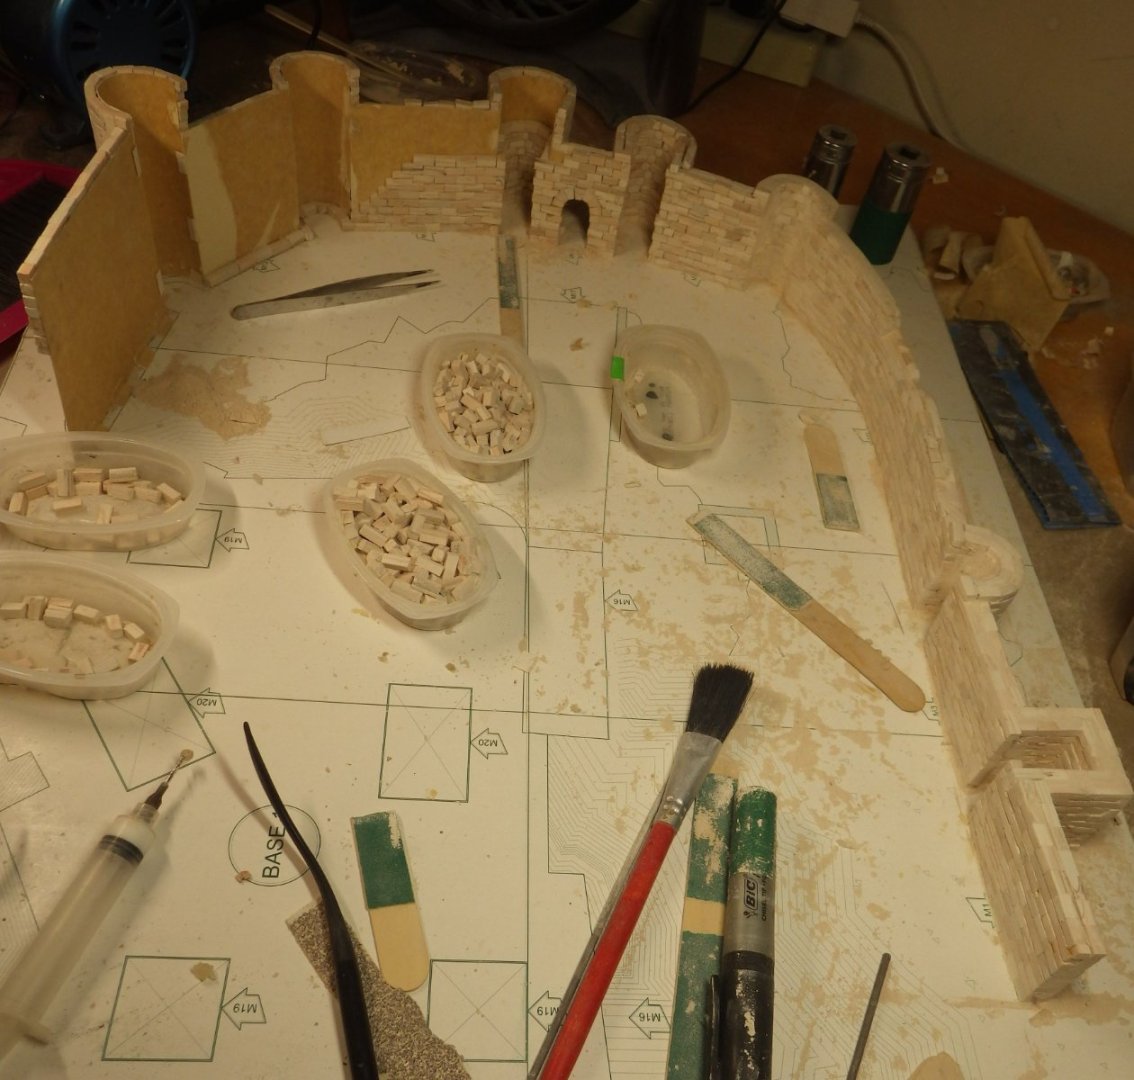
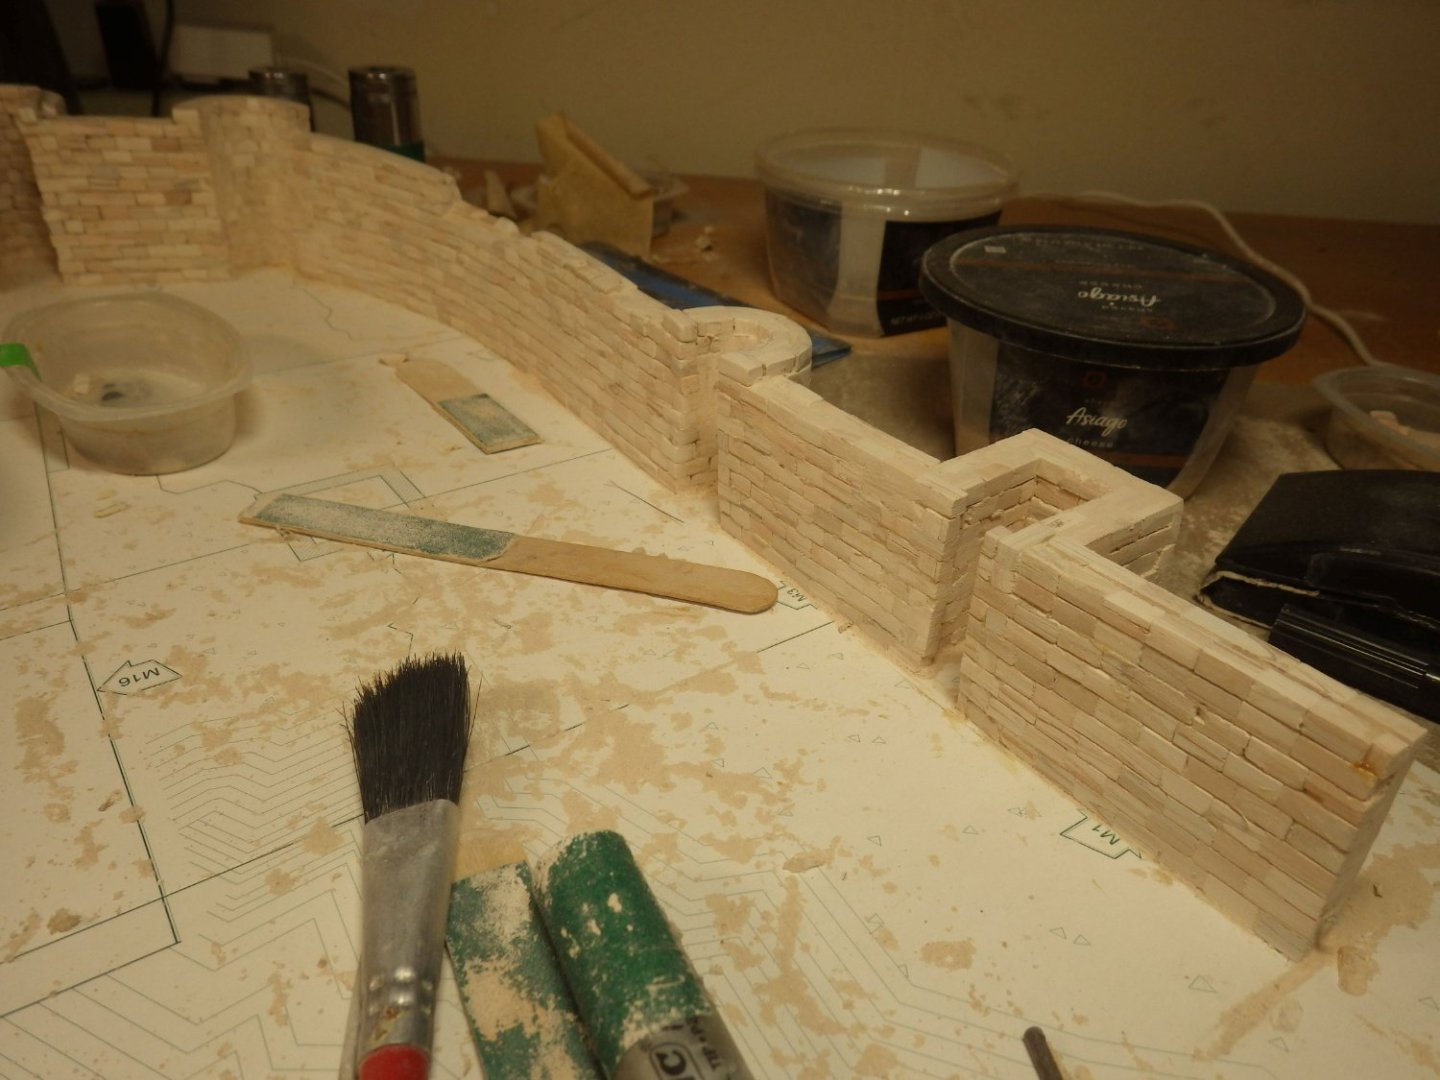
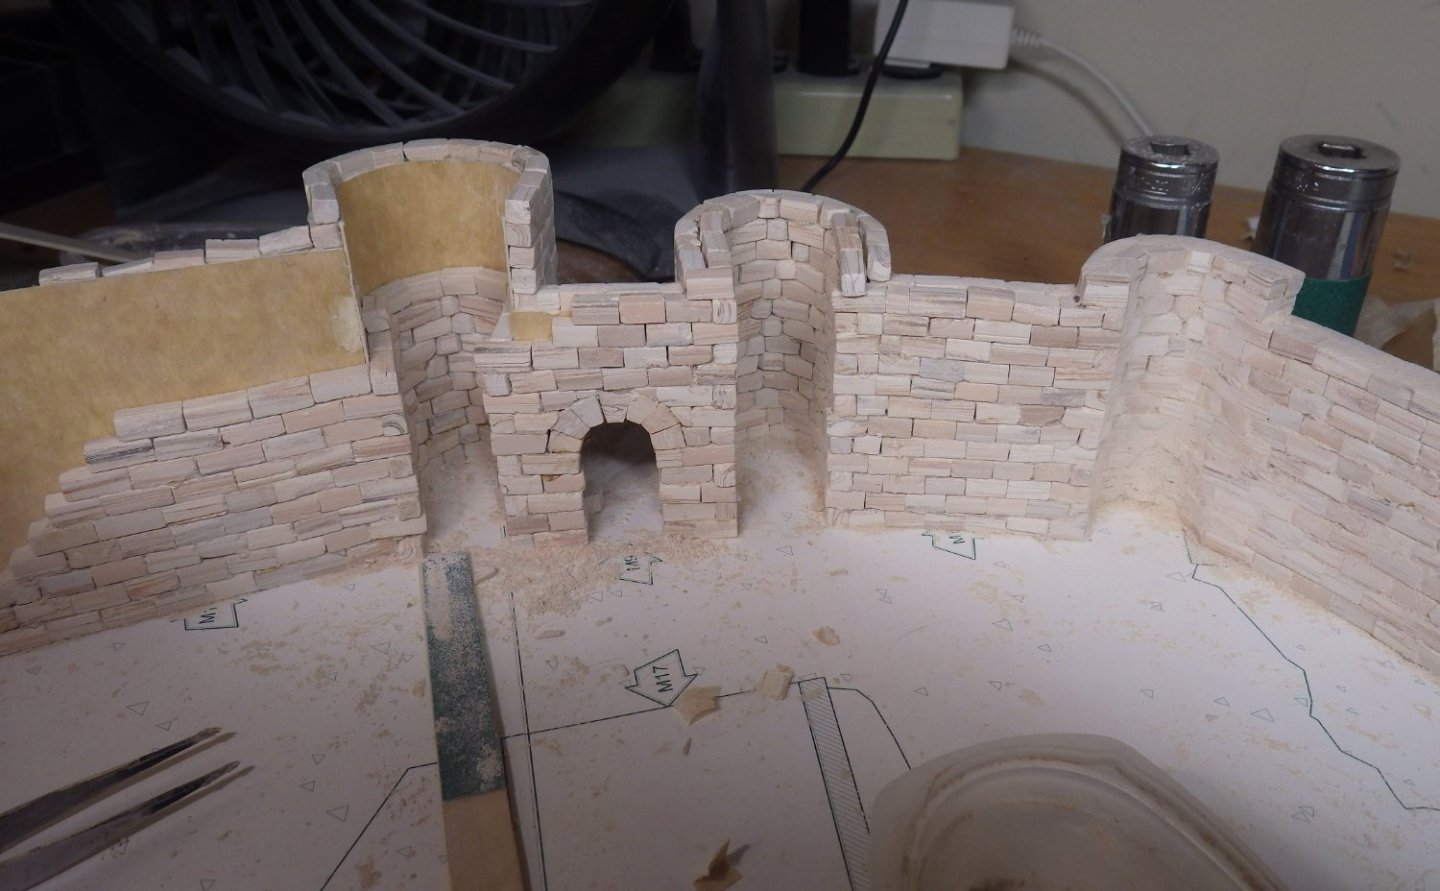
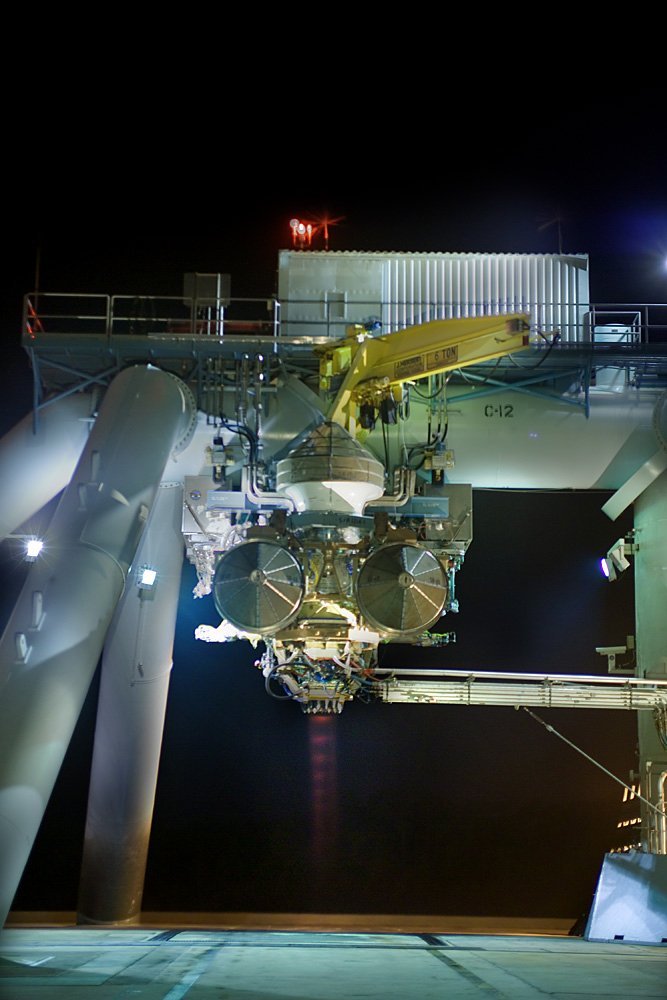
After a shamefully long absence I'm back and hoping to make regular appearances again. Work has been very intrusive and eaten up far too much modelling time. Helping a friend through surgery has used up what was left of my waking hours. Hopefully both are coming to a conclusion in a positive way shortly This is what I've been spending far too much time dealing with. This is the F-35B engine in Powered Lift mode; nozzle down and Liftfan engaged. Its not in afterburner but you can still see the shock diamonds from the exhaust. AB is not supposed to be engaged in Powered Lift but we have done it accidently and it really cooks the concrete The one slight benefit of all this work stuff is a bump in the piggy bank. Most is going off to pay for boring stuff like replacement water pipes in the house and repainting the exterior I have used the opportunity to add to the kits on the shelf (and in the cupboard and under the bed etc) I quite fancy another Wingnut Wings kit before they disappear forever but I'm not sure I am good enough to do them justice. I've also been looking for the Flyhawk Iron Duke ship model kit but the only place I can find it is Squadron and I seem to recall mixed reviews about them. Anyone got any recent experience since they absorbed Freetime. So back to the Castillo Loarre. I try to be a little done when I have an hour spare. Although the pace is glacial it actually lends itself to this sort of attention. The sessions are far too short to get fed up with endlessly shaping the bricks. The inside of the circular towers are really tedious to do and smoothing them out afterwards is a bit challenging, Thats where the deep sockets in the background come in. I have stuck sandpaper onto them and they fit onto the tower and can be rotated to clean up the interior walls. The short sessions are handy in another way. The work is all done reaching across the baseboard and the old back gets a bit cross about that after a while. The lack of time has meant my plan to complete the curtain walls before the hot weather arrived has failed but a desk fan on the workbench is keeping things tolerable in the garage. At least nothing is light enough to blow away on this project. So, this is where I am now Only 2 and a half towers left and enthusiasm is still there to make it to the end. Then I can switch to other bits of the model; the main building and the lighting. Sorry its been a while but thank you for stopping by. Alan


- 462 replies
-
- 14
-

-

-
Hi Craig This is really shaping up to be a hot summer. Working out on the test stand is miserable especially when the sun has warmed up the metal surfaces. Thankfully most of the time I'm in the air conditioned control rooms which are cooled to the point of needing a fleece jacket at times. I'm hoping to be back on the site a bit more regularly now as testing slows down. Its been frustrating watching time drift away doing real world tasks. Thanks for the good wishes. Alan