


king derelict
-
Posts
3,294 -
Joined
-
Last visited
Content Type
Profiles
Forums
Gallery
Events
Everything posted by king derelict
-
Sorry. Autocorrect insists that PE should be OR and I missed a couple in my reply. For me the key to PE is planning the sequence of bends so you can access the area to bend as needed Good luck Alan
-
Thank you very much OC your photos of Pembroke castle are wonderful. Black and white is really dramatic with the right subject. I envy you living with the town wall at the end of your garden. I've walked along the town walls of Conway several times and looked down into the gardens and homes that press up against the walls Alan
-
Looking very nice already OC Alan
-
Your Hurricane is superb. Excellent work. I always liked the workhorse Hurry. As I understand it there is a Hurricane VC, the only one in Fighter Command. Congratulations on the very positive recovery Alan
-
Great news E.G. Alan
-
I'm still learning how to use PE but I would recommend the following basics. A hard surface to cut on. I use a piece of acrylic but I have seen glass or metal mentioned. A scalpel to cut with. I use a round profile blade. You can use the scalpel or a single sided razor blade to slide under a piece of PE trapped under a steel rule and bend it up against the straight edge. That works for straight bends. A series of drill bits can be used for curved bends. I use Vallejo primer on PE and it sticks quite well but I think you have design yourself to touch ups if the PE is going to get handled. I haven't really used OR pliers. I bought a set and the jaws quickly went out of line. I do have PE benders and rollers they are great but pricey. I started out with the stuff above and it all worked fine for the average OR Hope this helps Alan
-
Simply beautiful. I hope you have a glass of something good for the topping out ceremony. The quality of your model demands it Alan
- 206 replies
-
- 1
-

-
- Vanguard Models
- Brixham trawler
- (and 2 more)
-
That is a real maze of PE. Congratulations on a spectacular result. It's very neat and will look great E
-
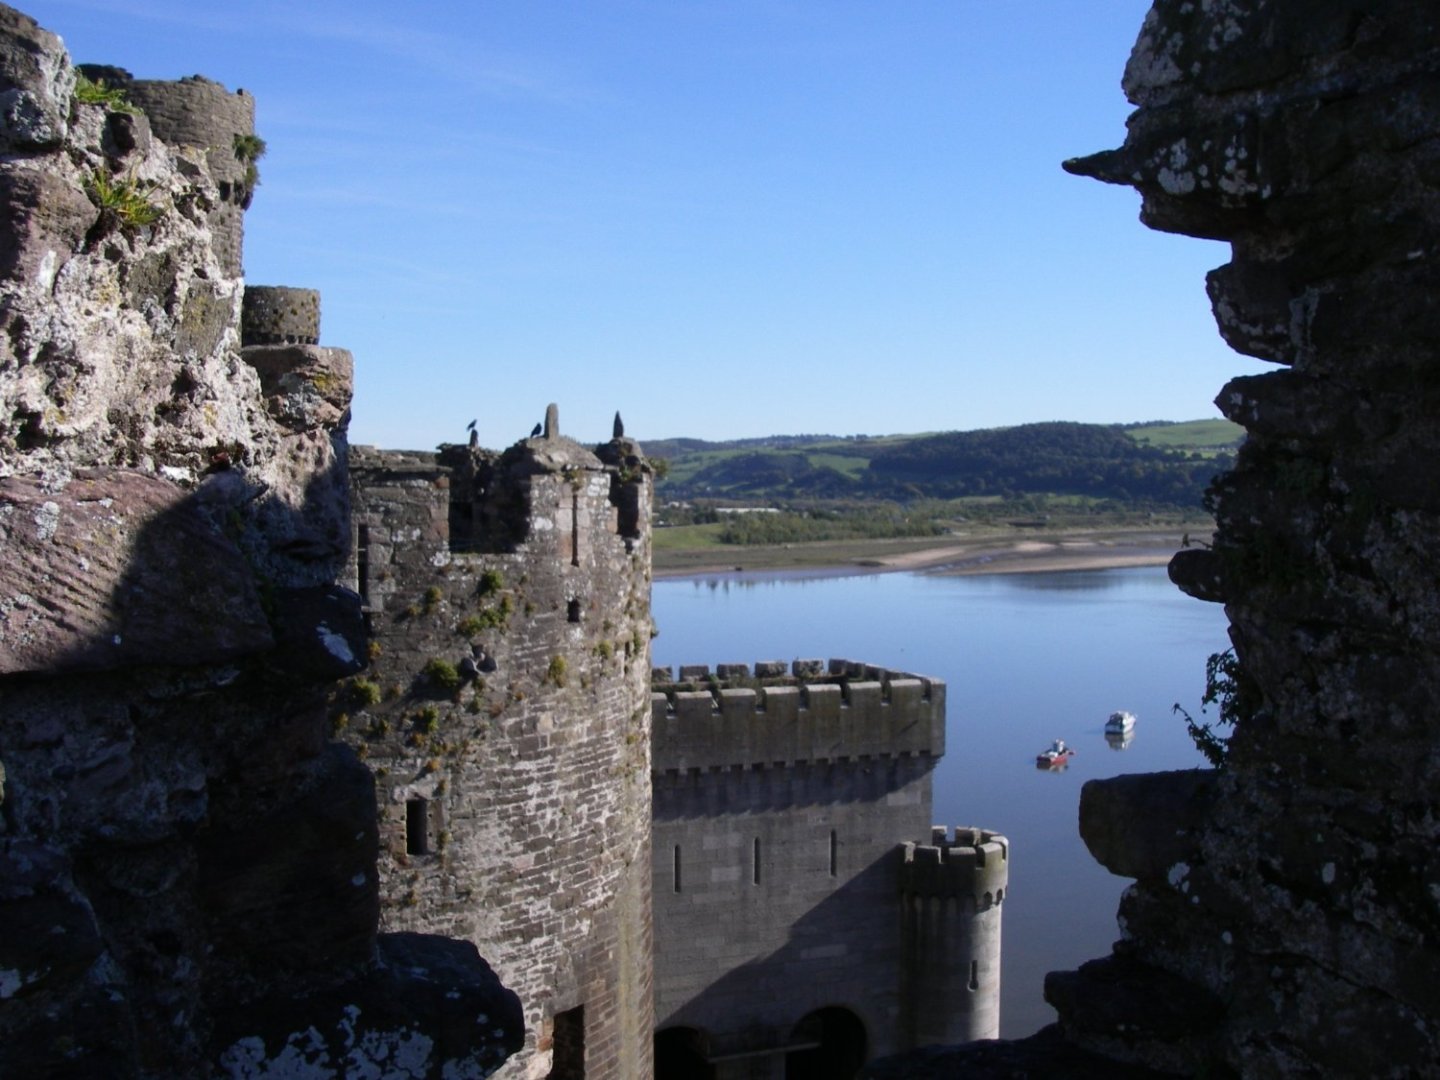
I reached a minor milestone today. I turned the corner onto the last section of walling and the end of the outer wall is in sight (at least the outer half - it all has to be done again on the inner side) You can also see that I have reached the point on the last round tower where the landscape starts to climb onto the wall and the brickwork no longer runs the full depth of the wall. Its going to be interesting trying to keep the tiers horizontal but the pattern on the cardboard formers should help I'm rough shaping and cleaning up while I wait for glue to set but I will go back and finish the tidying up once its all built. I taped the joins in the cardboard formers for the main structure and hand painted the interior black with craft acrylic to help reduce light bleed through. I need to map out the lights and how to position them. This probably needs to be done before adding the blocks. I also need to add partitions to stop lines of sight through the building. They will be full height and will also help hold the oof up. I'm sure Aedes Ars know what they are doing but they seem to trust some weighty structure to a few bits of cardboard The roof template shows the outlines of the next level and I have been tracing out which elements will have windows or doors and thus need leds in place and wires routing through the roof And here is a bigger version of those walls and towers Conway Castle, North Wales. A lovely place to explore Thanks for looking in, for the likes and the comments Alan
.jpg.2360316084644eda841546b0d0cef3e7.jpg)
.jpg.83eaaf995fd8ceec63f5ab3315e68726.jpg)
.jpg.5e24845e90fba5869c85913610068e08.jpg)
.jpg.8e44d676f1c2c1846951585e48fdd48a.jpg)
.thumb.jpg.fb2d8b9d1e22f488cdfe961d42bf775f.jpg)


- 462 replies
-
- 13
-

-

-
Thank you Craig. Thats an intriguing story and an new place to visit. Alan
-
Thank you Mark And its probably going to get slower. Continental Drift? Alan
-
Thank you Craig I had previously read that the answer to how the huge blocks of the pyramids were moved in place was --- whips! I think you may well be onto something though. Curiously Aedes Ars also make a model of Stonehenge - another construction of huge blocks that continues to challenge the experts. Maybe Aedes Ars know something! Alan
-
Thank you Andrew I had the same feeling when I started sanding it down. Unfortunately it will all get sanded off to reveal the bricks again. I was a bit heavy handed in places. Alan
-
Thank you very much Gary It does tend to look a bit rough at first and then you sand and shape a bit and suddenly it starts to look like it might all come together. I love the Welsh mountain countryside and the castles are spectacular Alan
-
Lovely detail work. The grating is a very nice piece of work Alan
- 57 replies
-
- 2
-
-
- marisstella
- batelina
- (and 1 more)
-
I'm working along the next wall and round tower. One more round tower and I reach the part of the wall that is partly covered by the hillside so it doesn't get completely covered in brickwork. Today has been spent playing with ideas for the lighting and mapping the wire runs in the main structure. The upper floor is complicated and I was thinking about adding the cardboard formers before placing the upper floor in place but I think that might cause problems because I think some of the walls have to be covered in blocks before other walls are added. That part of the build is going to be very interesting. Today more wall building but I also continued shaping the towers and added a filling mix of sanding dust and diluted white glue to the gateway. This now needs to be rubbed back to bring the blockwork back into view but it already looks better. The arch needs more tidying but I will probably wait until the other side is in place so it can be matched. Thanks for looking in and all the likes and support To borrow @mtaylor tag line The wood might be patient but the stones are glacial Sorry Mark Alan
.jpg.044b86dd0d1ffb0ca7c2da7b45e32130.jpg)
.jpg.5e0ab4d4e832ce99c9f7161a86a47d12.jpg)
- 462 replies
-
- 19
-
-

-
-
Thank you Waitoa The build is enjoyable but I wish there was an elf that visited the garage overnight and squared off and chamfered the blocks for the following day Alan
-
Thank you very much OC. This is turning out to be much more enjoyable than the Towers of Rochelle. Working on the bigger tower was soul destroying. I was adding bricks but nothing seemed to be happening. Castillo Loarre has more elements which are generally smaller so I can see progress - even if its not a very exciting spectator sport. I think it will look good as a finished model especially with lights and figures. Thanks for the support Alan
-
I built the Dragon 1/700 Z38 and it was an enjoyable build. That was a simple grey hull so you should have a lot more fun. They are nice kits Alan
-
The mainsail looks great. The weathering is perfect. Nothing more needed. A beautiful boat. Alan
- 206 replies
-
- 1
-
-
- Vanguard Models
- Brixham trawler
- (and 2 more)
-
I'm still working slowly along the outer walls, The round towers tend to slow things down as most of the blocks require sanding to fit. Only two more round towers to complete on the outer walls. Today I reached the main gate, The kit has preformed keystone shapes for the arch but they still need a bit of filing. The gateway was quite fiddly and not helped by the limited access caused by the adjacent towers. The stones above the arch are a bit ragged but they will look better after some attention with a sanding dust / glue mix. At least the tiers remained level as they crossed the archway. I'm starting to plan out the lighting. That looks like it might be a bit more complicated that I first thought but still very workable as long as its planned in advance. So work to date And to break up the tedium of watching the walls slowly grow. This is Dolbadarn Castle in North Wales. A medieval Welsh castle at the head of the pass into the mountains Thanks for looking in and for all the likes and comments Alan
.jpg.d3a8cc3f6c95673e0f0968ef457a5cd9.jpg)
.jpg.ce78206ede6b708d2a301fc37e37b2c4.jpg)
.jpg.c8e4ac80b988942044938dc4b69efe86.jpg)
.thumb.jpg.e491035da7329f74f0fa09d4a7fd7b84.jpg)
.thumb.jpg.4c1cac27d252df429e3344901eefd489.jpg)
- 462 replies
-
- 18
-
-
Hi Mike Sorry for the slow response. I get the custom cut acrylic sheets for TAP Plastics. They have always been great to deal with and are very fast Cut to Size, Polycarbonate & Acrylic Plastics : TAP Plastics A hint that I have learnt. If you get smaller pieces for display cases like the WW1 in this topic the price of the cutting outweighs the cost of the acrylic. When that happens you can order multiple pieces of the same size without affecting the prices. So in this case I wanted a case 11 x 9 x 4 inches. The 9 x 4 pieces came out at 10 dollars but stayed at ten dollars all the way to six pieces. So I ended up getting 6 off 4 x 9, 6 off 4 x 11 and three off 11 x 9 without increasing anything except the shipping price a little. So that makes three cases at the price of the first. Hope that helps Alan
-
One of my favourite aircraft. I'm definitely in for this. Looking forward to your masterly treatment of the subject. And hoping to learn some ideas for my own Typhoon kits. Alan
.jpg.7ab4d5c01586af8608444ffbadf12cc8.jpg)


.jpg.8f63bf167c7ed1186051d40f8b18e0dd.jpg)
.jpg.de27f79603dde9568286ee88723cff28.jpg)