king derelict
-
Posts
3,295 -
Joined
-
Last visited
Content Type
Profiles
Forums
Gallery
Events
Everything posted by king derelict
-
It looks very good with the farm now parallel to the front of the display. Your second photo looking along the road and the front wall of the farm shows how good it is all getting with some figures really starting to add atmosphere Its going to look superb when all the figures are in place. Alan
-
For what it's worth I use PVA In a situation like this it works for bonding extruded polystyrene to perspex based very well Alan
-
And maybe upgrade the springs on the bed adjusting screws Alan
- 321 replies
-
- 4
-

-

-
- Finished
- Flower-class
- (and 1 more)
-
I like the nice, subtle weathering Alan
-
I'm having a bit of trouble getting back into the rhythm of this one. There seems to be so many things to do that I start one element and then get distracted and go off to play with something else and then again off to research and read up on Flower corvettes. Hopefully things will start to settle down. I had been lazy and had grouped a lot of the deck fittings together into a single print. On closer examination a lot of the parts were a bit messy; maybe because of the cooling of layers as the print head moves between all the pieces. I printed out some individual parts and they were much nicer so I went back and printed them all again. They only take 10 - 15 minutes so printing them is a bit of a distraction; removing teh completed part, reheating the bed and starting the job over again. I printed the remaining items needed to complete the foredeck section Sheer curiosity had me also print the propellor. Here it is as it came off the printer still with brim and support structure. Once that was removed it looks quite nice. Parts are getting a primer coat and hopefully we will see some more orderly progress as I build up the foredeck I hope everyone has a great weekend. Thanks for looking in Alan
.jpg.adb1dd3c1685b5da6d5556b7bfc0be61.jpg)
.jpg.103c2af4da0f15be75414a7f1597e262.jpg)
.jpg.d90235e1d819fceed528e0a9f0083756.jpg)
.jpg.2c0d042e5b362d2b50b4708340db0c9a.jpg)
.jpg.c4183df437a31e52acc6a656a7a782fe.jpg)
.jpg.76deab3cd92829e5483e38adf14c1b76.jpg)
- 460 replies
-
- 10
-
-
- Finished
- Flower-class
- (and 1 more)
-
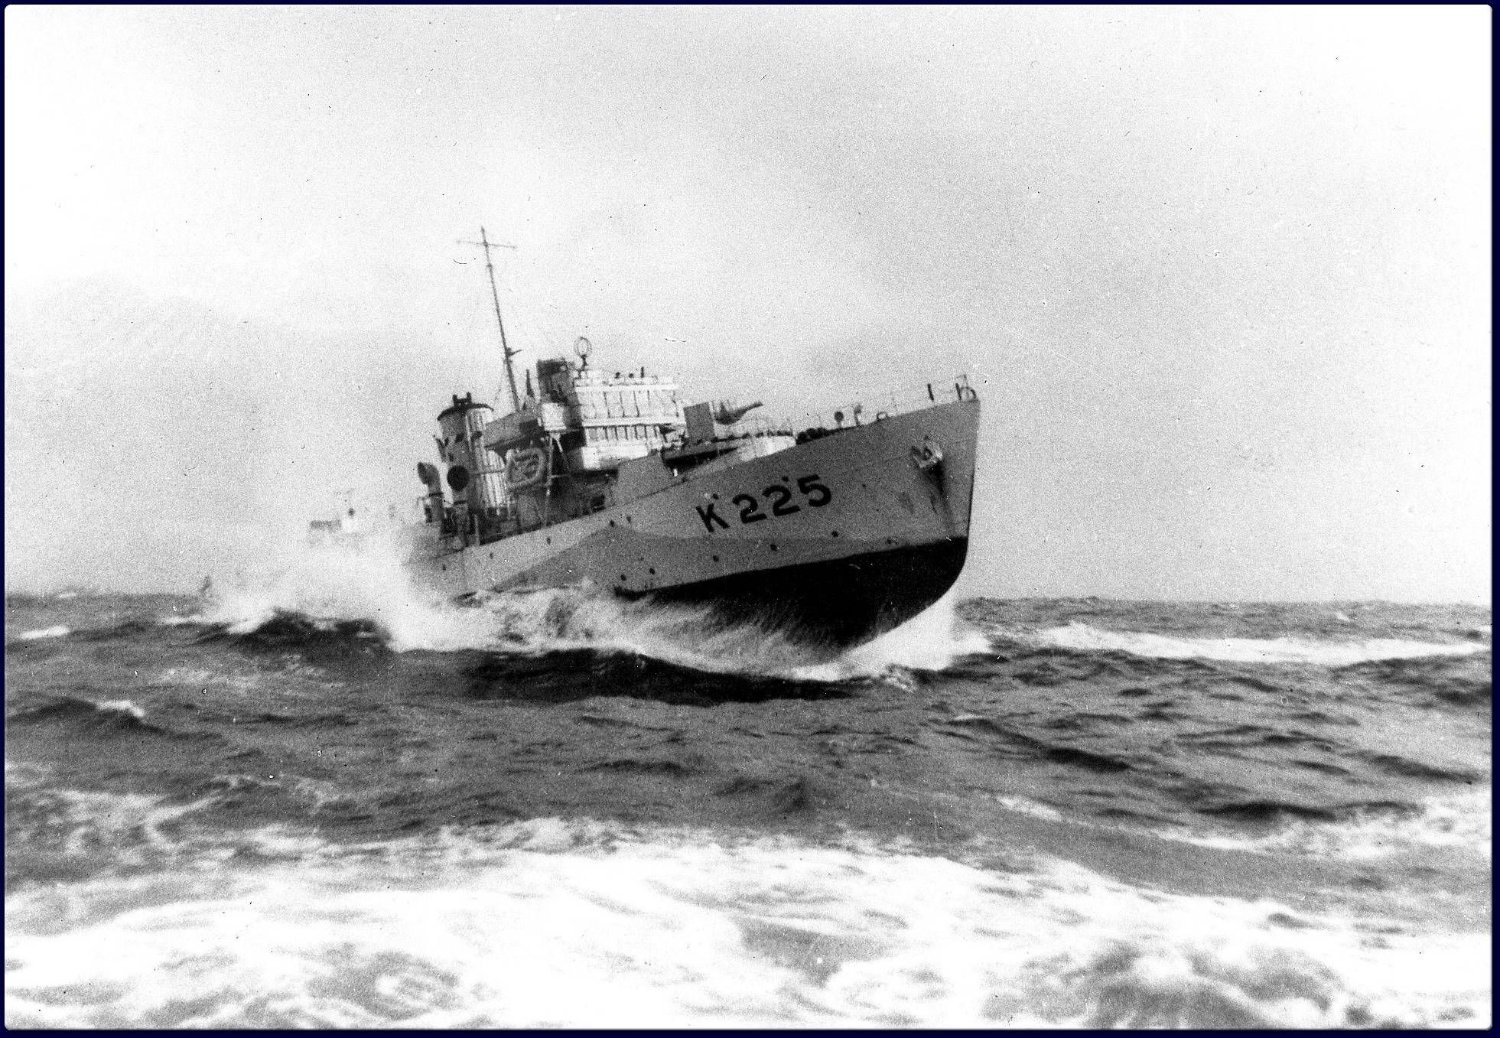
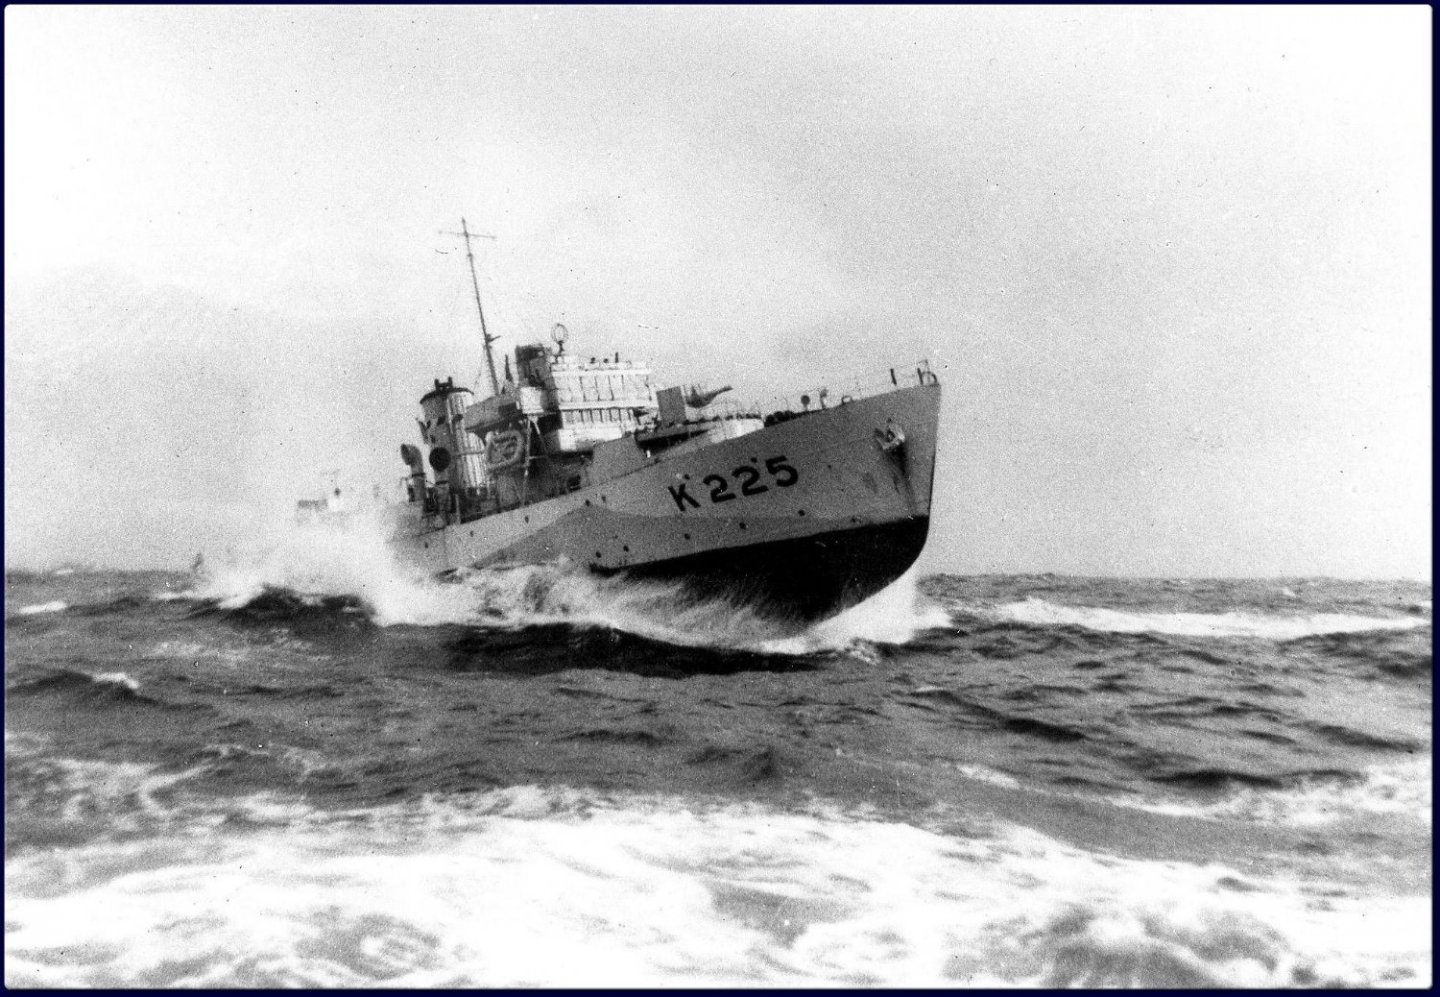
The first coat of gesso showed up some lines where the pieces of foil overlapped so I corrected that with some diluted glue and toilet paper and when dry added a second coat of gesso. That looks good now and has knocked most of the sharpness off the crumpled foil This morning I started colouring the sea. I'm aiming for a dark deep ocean look. Something similar to this The first colour was a coat of navy blue and while it was wet I worked some black into the troughs. I'll let it dry before deciding if anything neeeds to be lightened and also adding the wake and bow wave I ordered the display case pieces from TAP Plastics on Saturday. The pieces were cut and packaged for shipment the same day and the parcel arrived today. They are a great resource; their prices seem to be holding and they turn orders around very quickly. They also have an interesting range of acrylic rods and tubes, cubes and spheres that you just know with be useful for something I started gluing the case up but found I don't have large enough clamps to hold the top piece in place while gluing so its off to Harbor Freight. I hope everyone has a great weekend Thanks for looking in Alan
.jpg.5bf253e12a09373b4d8bbc90d6c34319.jpg)
.jpg.727b8bd3f0323654a6fcfa9fa79c7f21.jpg)
.jpg.ab6960e42949d8e89d76bbfa9b60be0b.jpg)
.thumb.jpg.1e17b0139b4323d36486d7ad94bdac3e.jpg)
-
Continuing to look very, very good OC Alan
-
Hi Kevin It amazes me how the printer seems to shift out of alignment for no good reason. Maybe because it was moved during the down time. Anyway it seems to be back in the groove today I upgraded the bed springs a while ago, I use a filament heater too. The metal extruder seems to be well worth the money so far. I installed a capricon Bowden tube. I'm thinking of new rollers if I can find a solid reccomendation. There seems to be a lot of options around and they all get very mixed reviews. A new motherboard is also up for consideration. Alan
- 460 replies
-
- 5
-
-
-
- Finished
- Flower-class
- (and 1 more)
-
Thanks Mike I did that before too with the Montrose seascape. I wanted to try something different this time with a much calmer sea. I think it might cost me a lot of gesso though. Alan
-
After a longer than planned break i summoned up the courage to deal with the demon printer again. Of course having been sat idle for four months I had to spend an hour levelling the bed again and the first few prints required further adjustments but I think its about right again. Hopefully the new feed system will continue to produce consistent results. I'm working on detailing the foredeck area and the bandstand before installing it on the hull. I had printed quite a few of the details but I'm reassessing some of them now that I am getting better print quality. I printed a selection of hatches, the reels and the windlass parts. The earlier windlass is in the background and looks tatty by comparison with todays effort. I need to source some anchor chain now I'm trying to get away from using epoxy glue and would prefer to not use CA all the time. I bought a tin of MEK and tried it and was not impressed. I later found that it is MEK substitute which might explain it I think most of the heavy printing is done so it should not be a major part of the continuing build but there are quite a few small parts to print out. Thanks for looking in Alan
.jpg.6e1beaa3a1969b4be9934d6533f67e31.jpg)
.jpg.d9867ad38cf4746892b1d207b3b4e0ac.jpg)
.jpg.a2cca9cb1aca5bdcda5d0abf4fefc524.jpg)
- 460 replies
-
- 9
-
-
- Finished
- Flower-class
- (and 1 more)
-
The brickwork is fantastically real. Great work there Alan
-
Slow progress waiting for glue to dry. I added a layer of diluted white glue and also some toilet paper where I need to form bow waves and wake. I think I'll give it a coat of gesso to see what it looks like before painting it. Thanks for looking in Alan
.jpg.1e444ce1648ceeb8c933d866819288c1.jpg)
-
I would agree with you Craig. They also complicate the build flow trying to keep paint off them and can need masks. Once you start to weather them I think a painted deck can be just as effective. That fit issue is a real risk Alan
-
I'm here with my multi pack of Crunchie bars at the ready Alan
-
I started the seascape by cutting a base front a piece of extruded polystyrene insulating board. I used the lower hull piece to mark out the position of the ship I then used PVA glue to add a layer of crumpled foil to create some depth and random wave patterns I will add a layer of PVA glue to soften the sharp edges and then some toilet paper in places soaked in a water and white glue mix to define the wake and bow wave. The objective is to produce a nice easy sea well within the initial operational envelope. Not this sort of thing Although I would like to try this with a small destroyer at some point. Thanks for looking in Alan
.jpg.cd8dbba914c5acd7e7740a139d07b658.jpg)
.jpg.8b06cb7a4bb05df0faf42d775e827cb9.jpg)
-
I have to agree. By the time you have finished with a model you now know how to build it properly - but its too late. That is the value I see in a lot of the logs; getting some idea of the build flow - or not! On the complicated builds I find that very hard to plan out. I also find it a very nerve wracking experience to add the delicate PE clad structures to the deck; especially with wooden decks added which can intrude into the base of the structures. I Have started test fitting all the superstructure blocks before detailing them up. Its a shame to see this log parked, I was enjoying the progress and admired the model as it developed. I thought it was looking very good. I;m excited to see the Waterloo diorama back though. Alan
-
My favourite build log. Its great to see it back Alan
-
Thank you Joe. These little Flyhawk destroyer kits are lovely little models. I still have HMS Legion and HMS Kelly to build. Alan
-
No I used the Orange Hobby ones from BNA. The micro master jets are the C (Navy) model and I needed the B (Marines / STOVL ) variant for the Wasp
-
Thank you very much OC. I'm very pleased with how she came out. I was a bit daunted when I started but taking it a step at a time it has been a very enjoyable build. It's taught me that I need to do more research and not assume the kit is always correct. To me this came out nicely enough to make a seascape and display case rather than stick her in with the rest of the fleet Alan
-
F-86F-30 Sabre by Egilman - Kinetic - 1/32nd scale
king derelict replied to Egilman's topic in Non-ship/categorised builds
Darn autocorrect. It should have read "inlet FOD screens are an interesting concept" I need to re-read my comments Alan -
F-86F-30 Sabre by Egilman - Kinetic - 1/32nd scale
king derelict replied to Egilman's topic in Non-ship/categorised builds
The inlet with its struts looks very good Egilman. I'm FOR screens are an interesting concept. Alan -
Thanks for the kind words Denis. It was another nice Flyhawk kit although my example suffered some warping. Thank you for the tips regarding getting rid of colour casts. I need to improve my photos including moving to a better camera. This one doesn't like the close up stuff that 1/72 armour and 1/700 naval models seem to need. I'll try some outdoors shots on the next one. Thanks again alan
.jpg.0a53b8589331525a2615fd24ba2bbfb4.jpg)