


Jeff T
-
Posts
247 -
Joined
-
Last visited
Content Type
Profiles
Forums
Gallery
Events
Posts posted by Jeff T
-
-
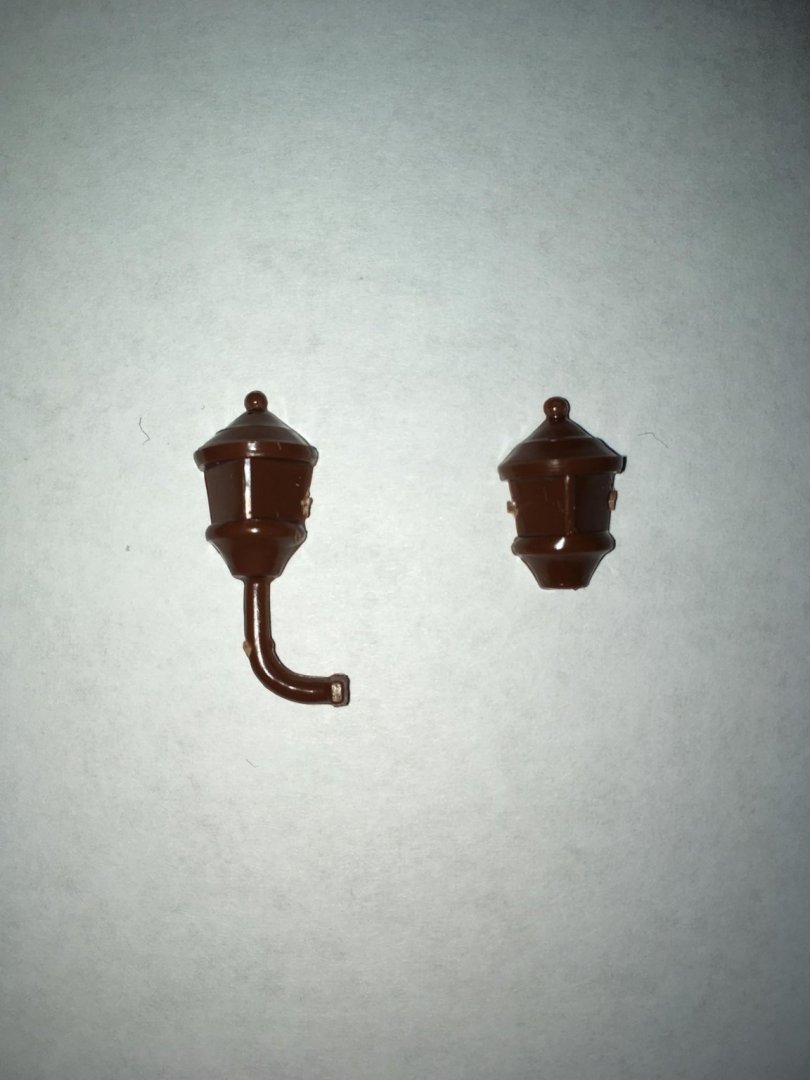
I realize that I did not previously have any photos of the stern lantern housings after making the modifications to the castings described above, so I took some photos today:
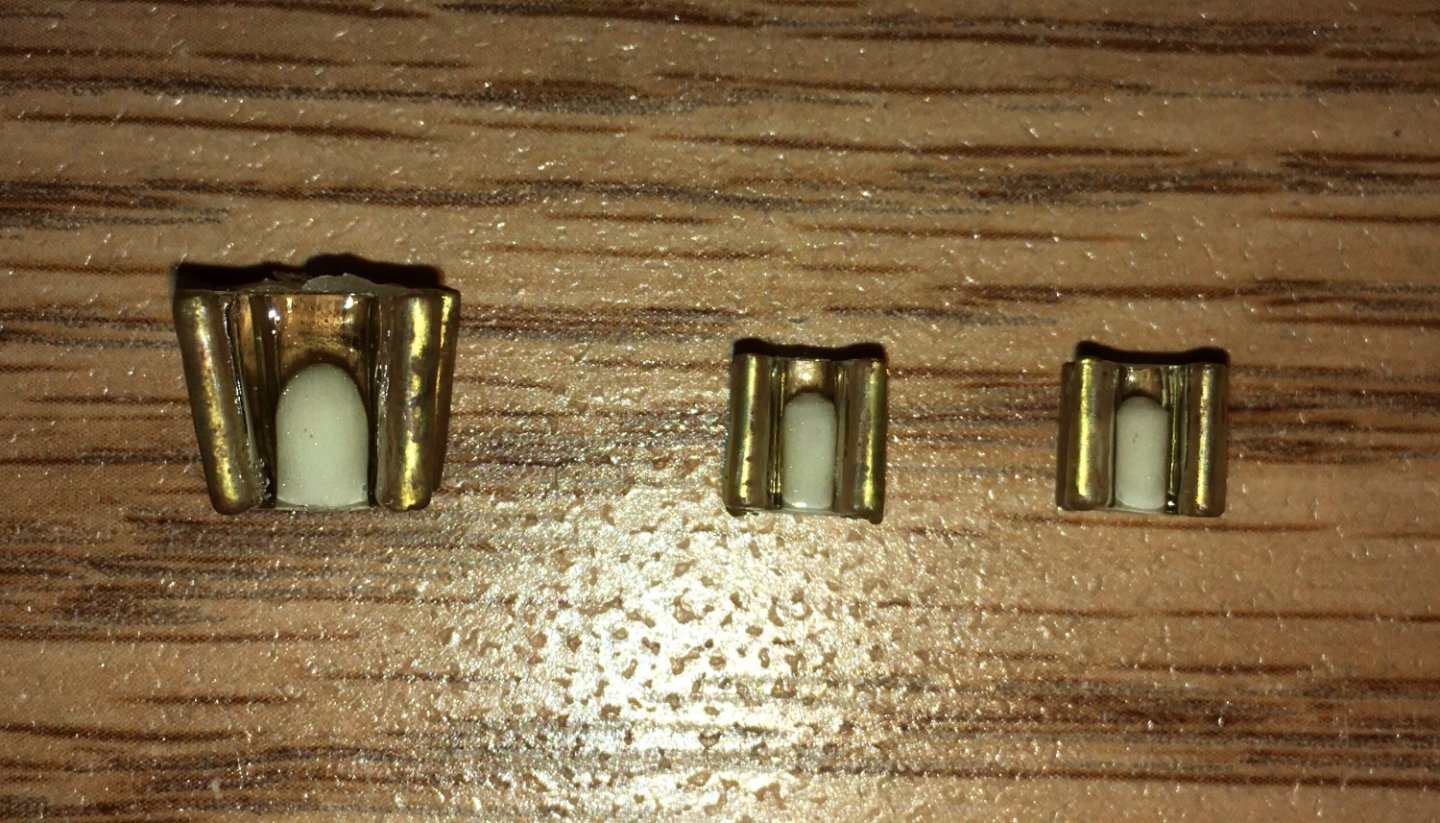
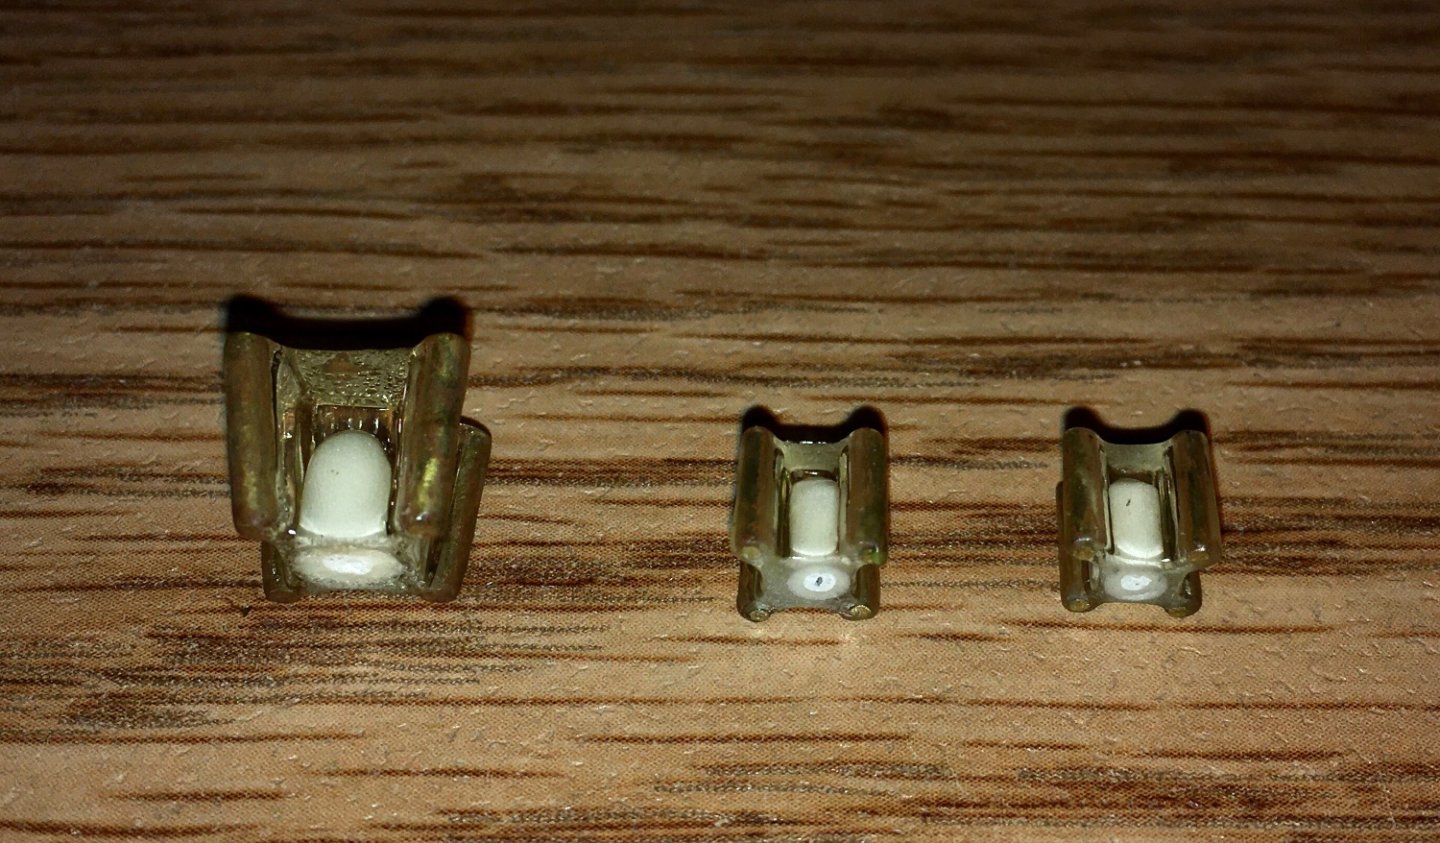

I had applied some “dirty weathering” to the brass verticals so that it will better match the crowns and bases and the rest of the sterncastle.
I also took a photo that shows the crowns and bases that will go with the two smaller stern lanterns:
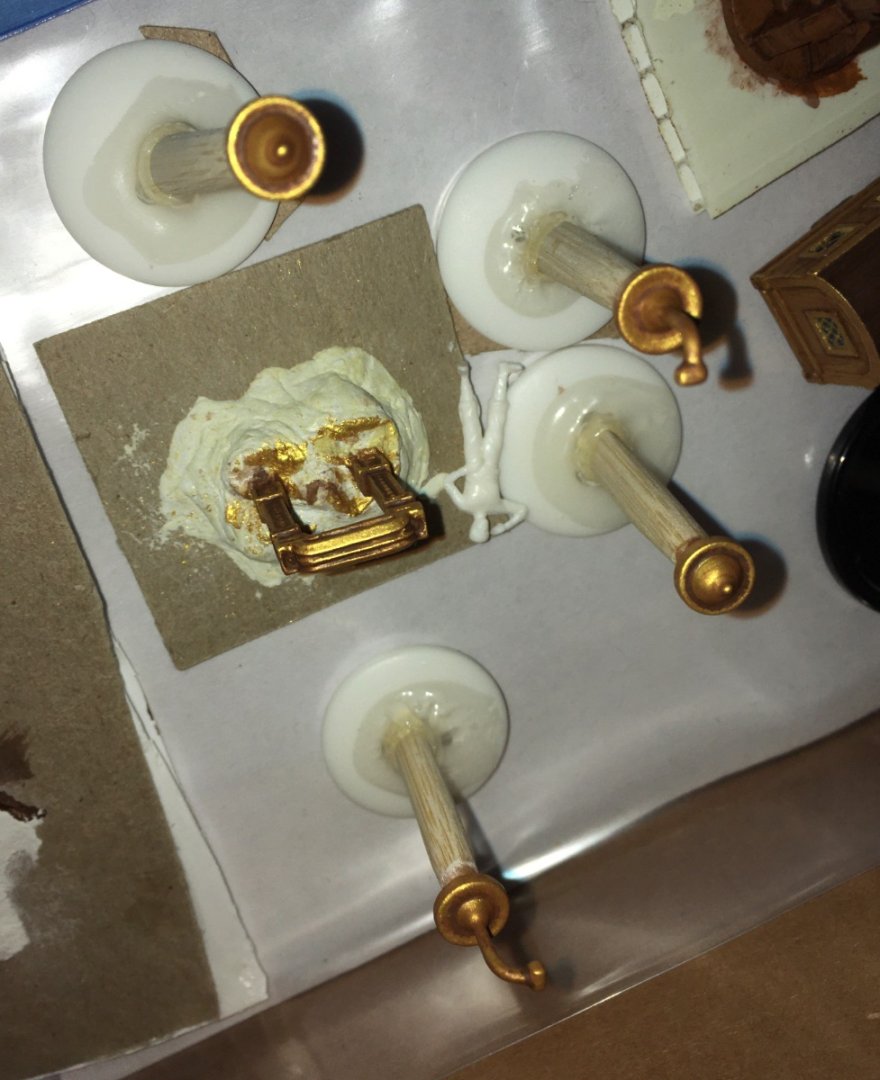
Each of these pieces is still attached to the temporary support pedestal that I used to hold it while painting it. The piece that you see in the center, slightly to the left, is a belfry that I also painted in the ornamental gilded style.
-
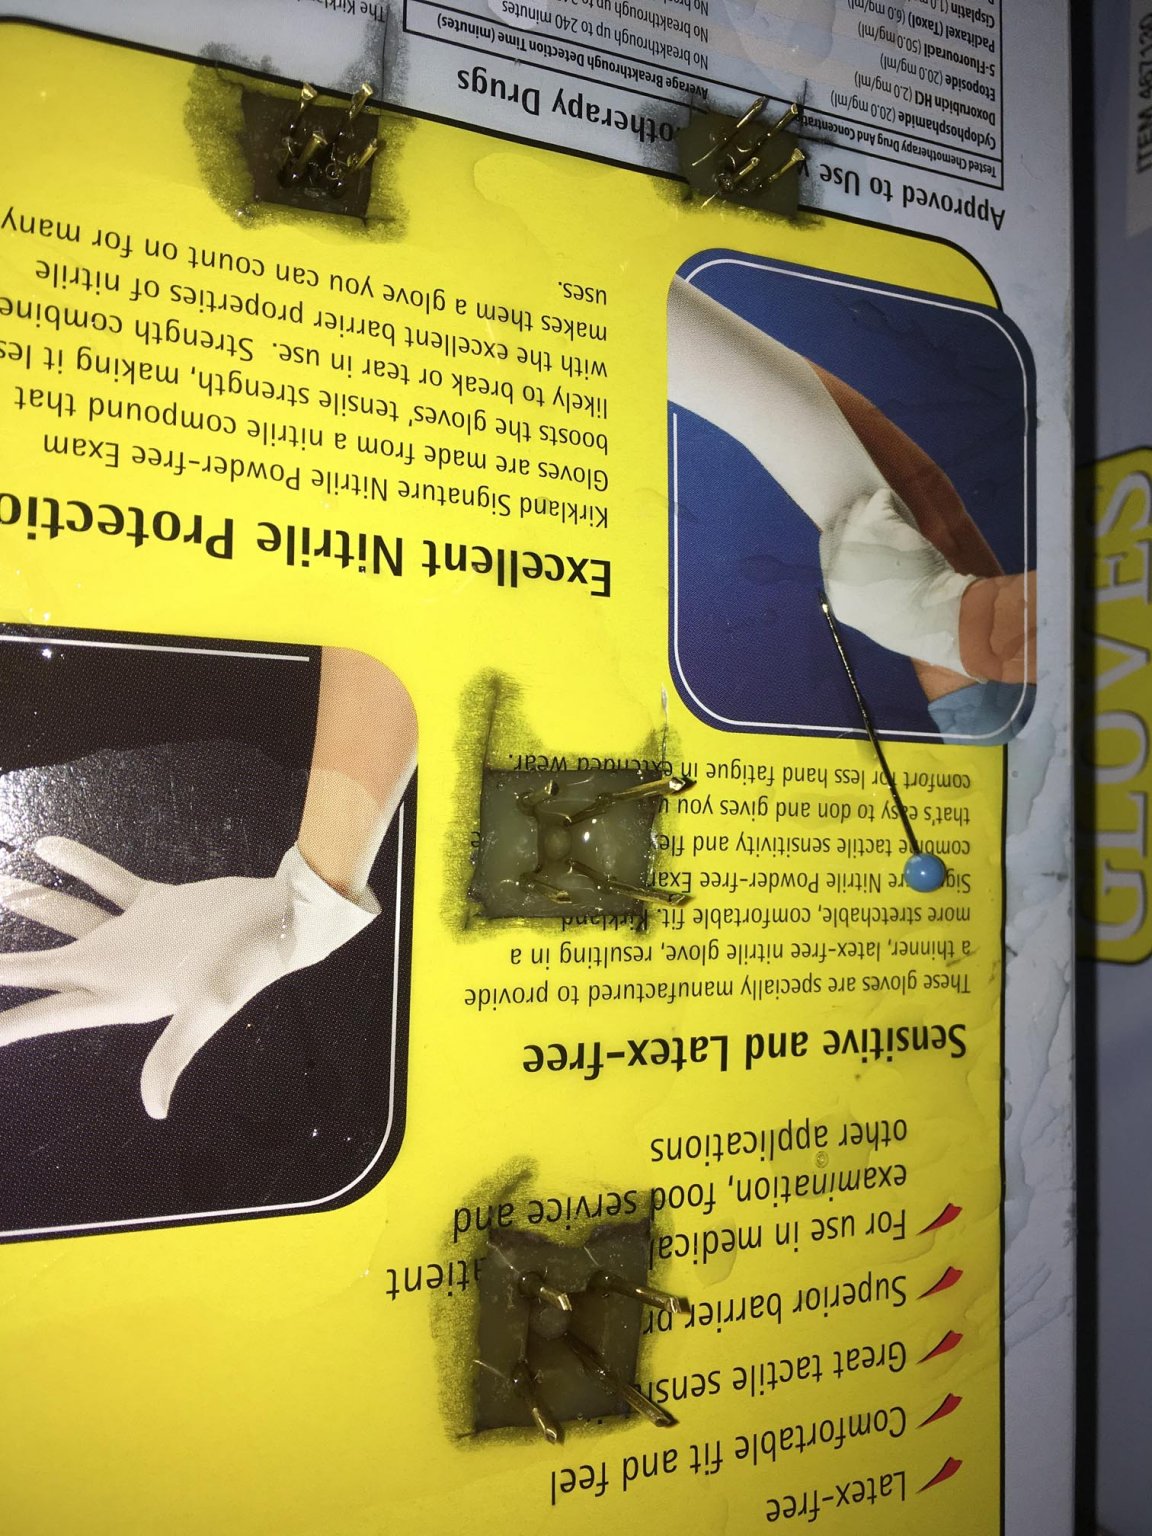
I think I may need to clarify something about the photo of two cast pieces from the excerpts that I pasted above:
They are not complete in this photo. The longer piece on the left was actually cut down into two smaller pieces, and the centers of them were drilled
and filled with neutral orange glow in the dark paint backed by white acrylic. These two smaller pieces will be used in the two smaller stern lanterns. The bigger piece on the left, which was also filled with the glow paint backed with white acrylic, will be used for the large central lantern. This piece was also trimmed down at the top and bottom after this photo was taken.
-
Thank you!
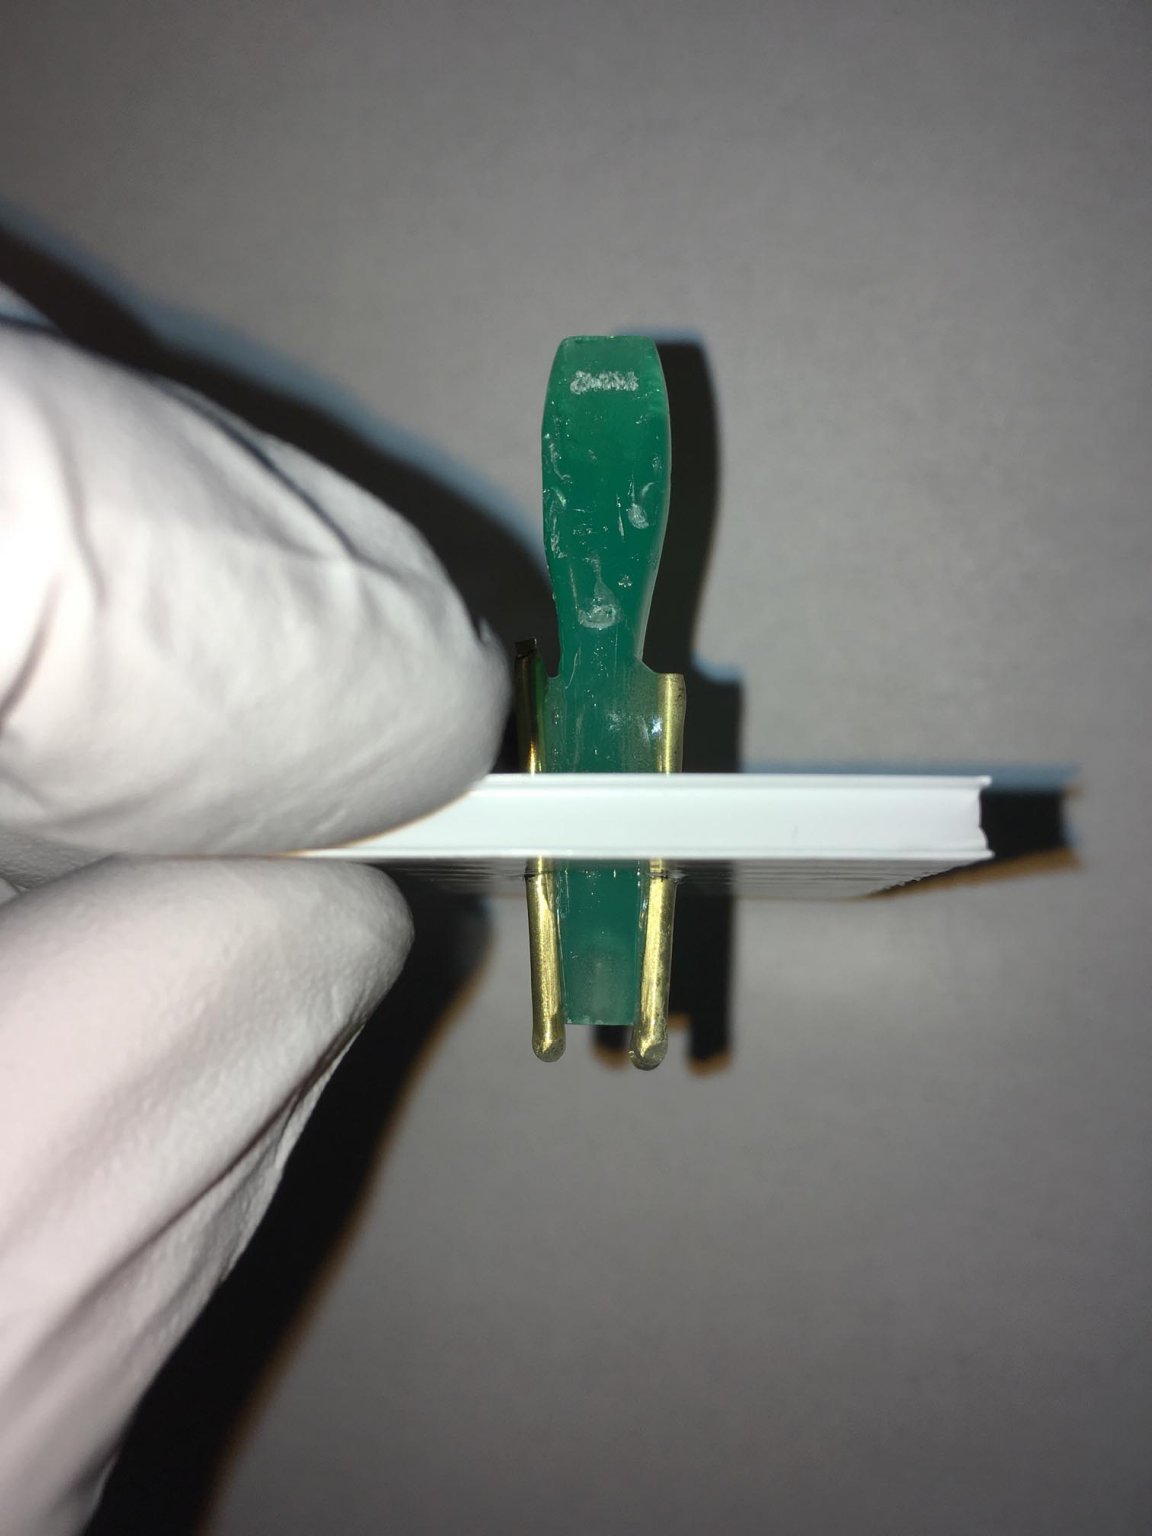
For the three stern lanterns, I will not be using the pieces the way they were supplied in the kit. Instead, the shades have been replaced with pieces that I cast from clear epoxy, with brass verticals. I will use the crowns and bases from the kit, but I needed to make their diameters larger, as described below (focusing on the central lantern) in a couple of excerpts from entries in my build log from June 2020:
I wanted to make the stern lanterns look more like lanterns, since the way they were supplied meant that you had to paint the glass panes some color (which color?):
So I decided to remove the tops and bottoms of the lanterns and replace the middle portion, which I call the "glass housing", with transparent material, in the center of which would be a glowing candle "flame".
I made latex rubber molds:
Poured ArtResin clear epoxy into the molds:
I made spares in case that some didn't turn out.
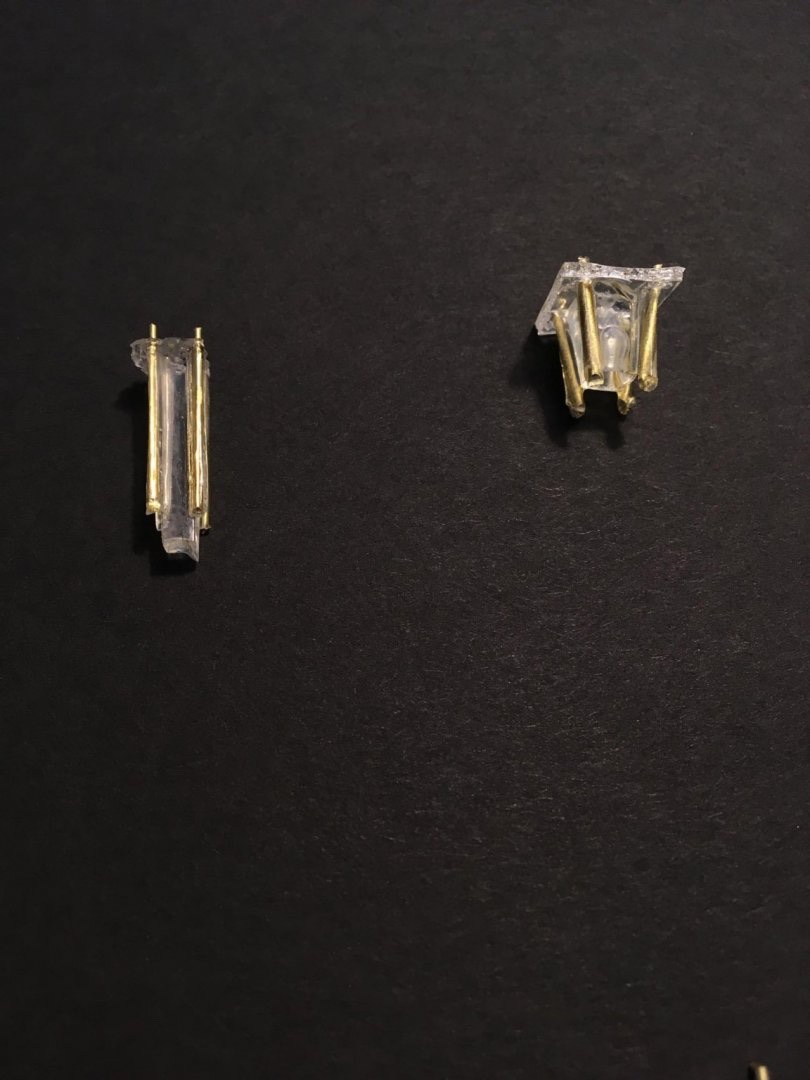
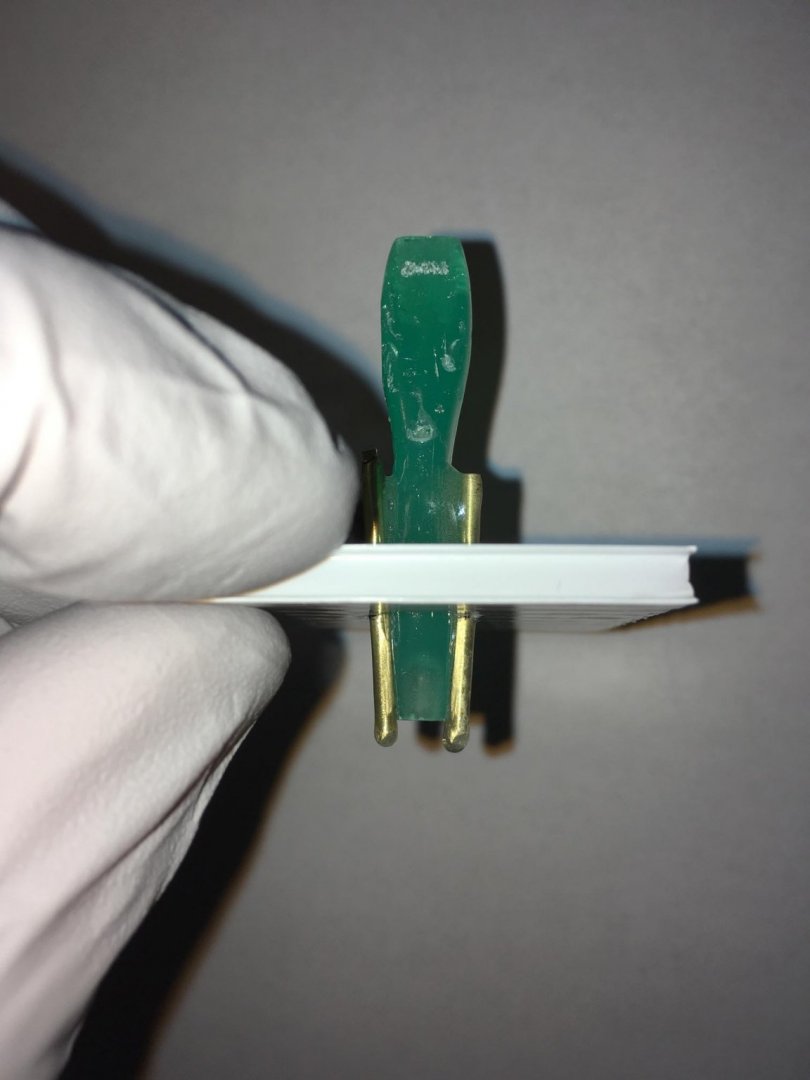
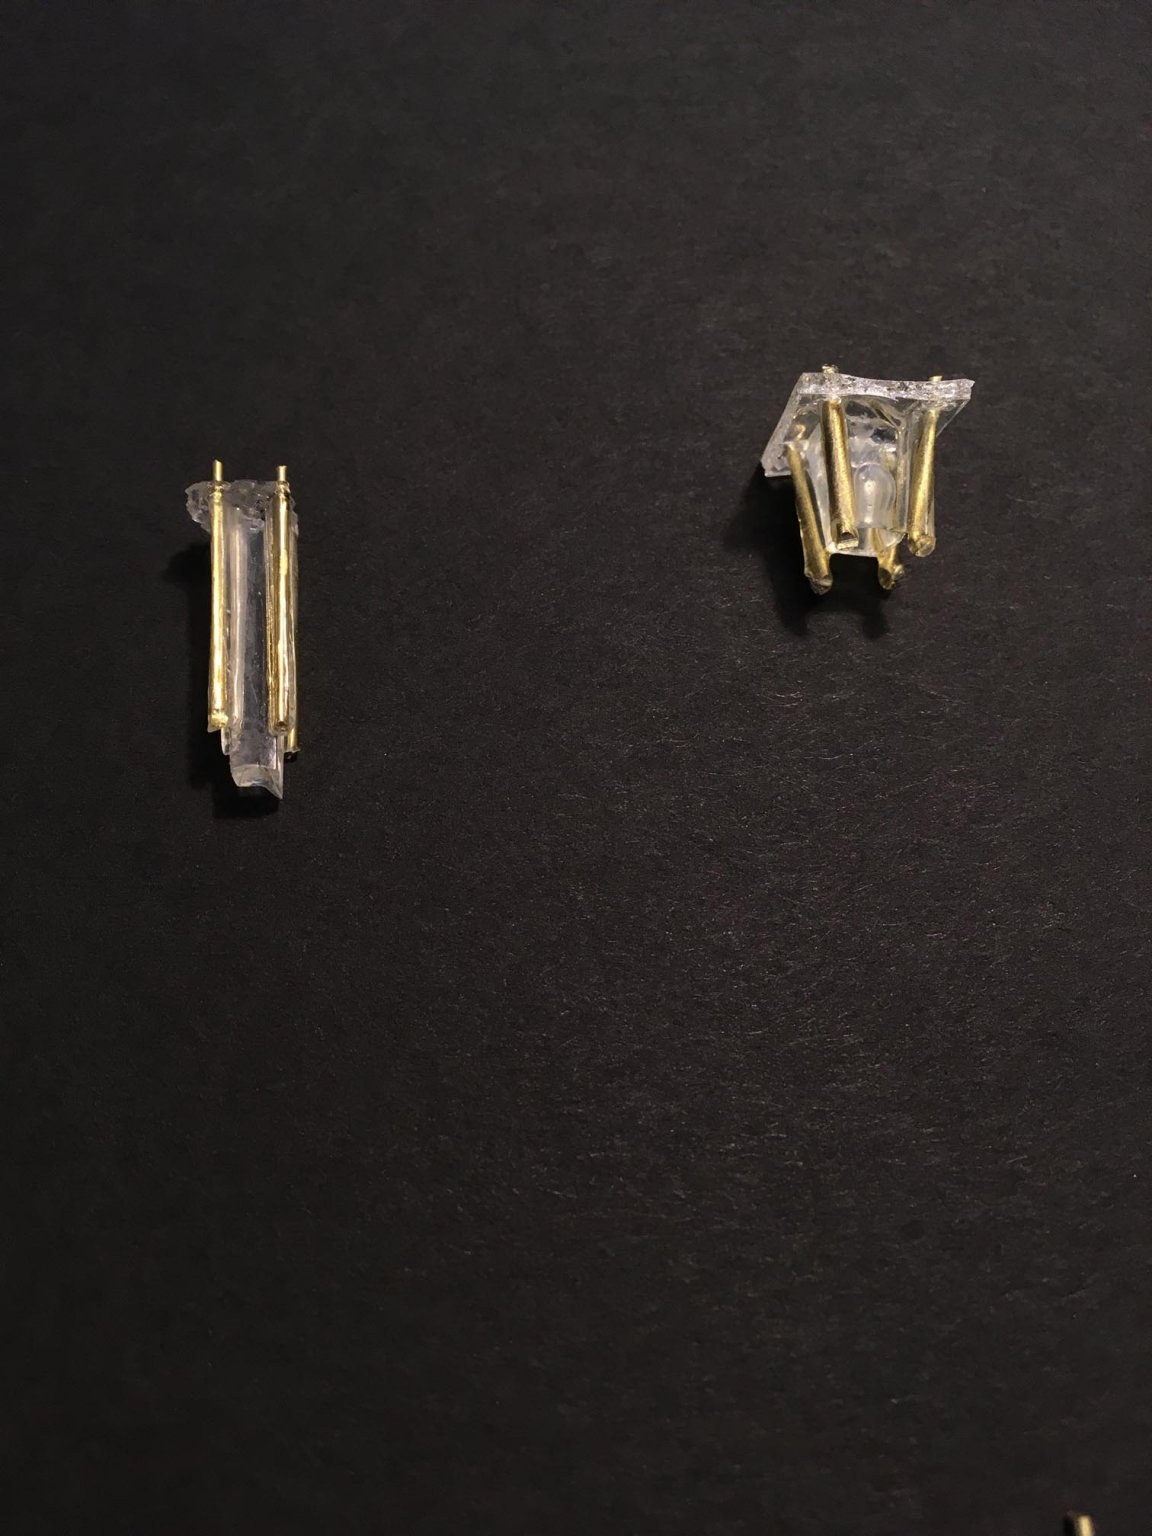
And here are the cast pieces:

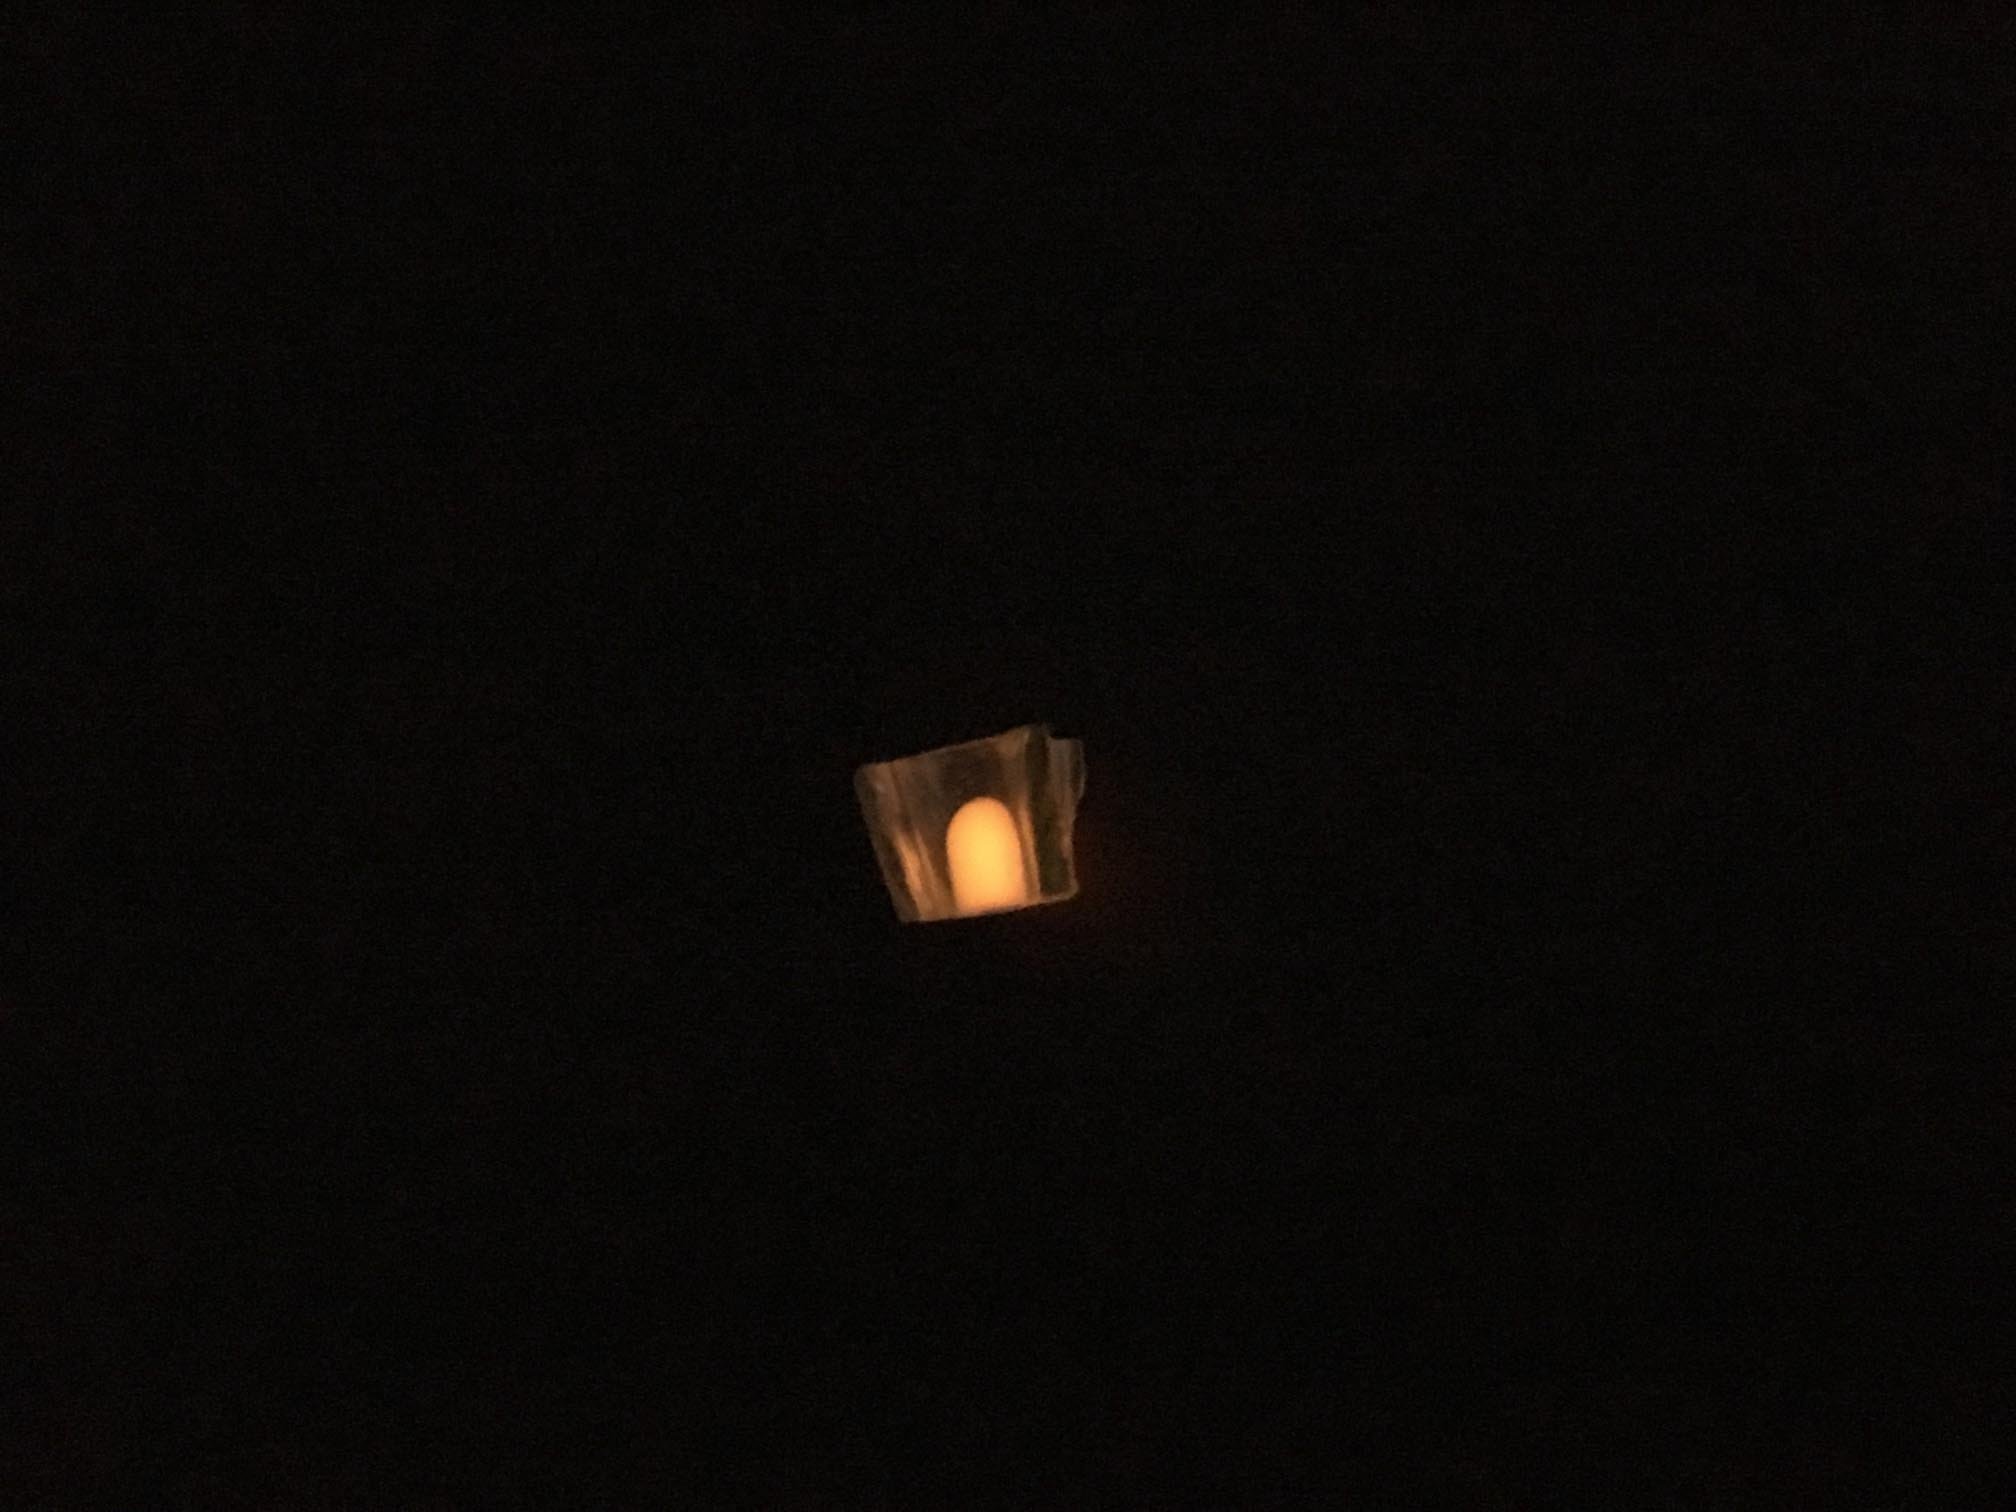
The lantern "glass housings" have central "cores" into which I painted a glow in the dark orange acrylic paint (and white acrylic paint behind it) so that they glow in the dark after being charged with a strong LED light. Here is a "test piece" in the dark after being charged:

I needed to make the diameters of the tops and bottoms of the stern lanterns larger in order to fit the new housings, so I glued polyester buttons to them and painted them up (including dirty "weathering" with a wash):

Eventually, they will be glued together with the "glass housings".
-
2 hours ago, 72Nova said:
Great work jeff!, I would imagine you'd do the same for the stern lantern?. Couple of questions, how long does that paint glow for and how would you charge them once the model is cased?. The chevrons look great by the way, nice crisp lines!.
Michael D.
Thank you, Michael!
The neutral orange glow-in-the dark paint is unfortunately weaker than the green paint, so it does not glow as brightly, but I chose it because it is a more natural color for lanterns. Earlier on in my build log, there is a picture of a test casting for the main stern lantern where the central portion is filled with coats of the neutral orange glow-in-the-dark paint backed by white acrylic paint to aid in reflection and make it brighter. The duration of the glow of the neutral orange paint unfortunately is also not as long as the green paint. It dies away rather quickly — only after a few minutes. When the model is cased, I plan to use a very strong LED with enough sharp focus to shine as strong of a light as possible through both the glass and the stern windows. It won’t be perfect, but there should be some glow seen from within when the room lights are turned down. The stern lanterns should be easier to light up because they are on the exterior.
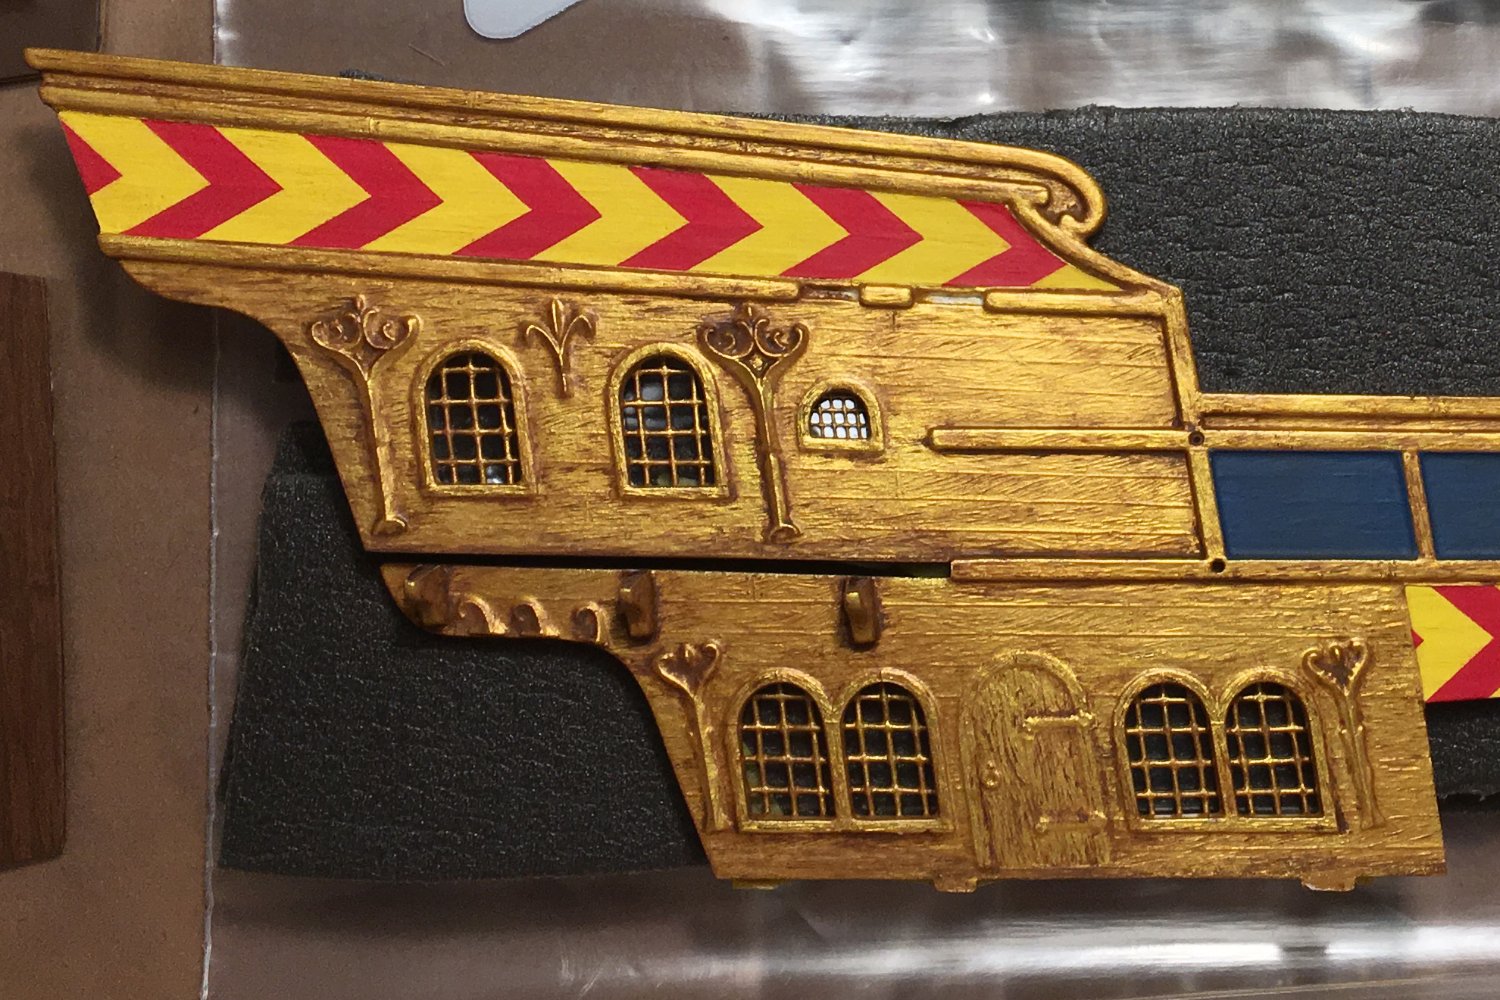
The chevrons were like a labor of love for me — multiple steps involved and sequential masking, with touch-up trimming by painting over and/or lightly scraping off bleed-through.
-
6 hours ago, Wintergreen said:
That are some very neat lanterns!
Fascinating (for me at least, since I don't do plastics, yet.)
Thank you!
-
In order to be able to assemble the sterncastle (or aftcastle) on the ship, I will need to have all of the furnishings for it to be completed first. The kit does not include inside furnishings for the cabins, because the windows on the molded pieces were blocked out. Now that I have made transparent windows, we will be able to see into them, but all I have from the kit to put into the cabins are crewmen figures. So I will be using third party kits and pieces and I am doing some scratchbuilding to complete the furnishings.
The photo below shows that there are two cabins, the upper cabin on the half deck, and the lower cabin on the main deck:

According to Angus Konstam and Tony Bryan's book Spanish Galleon 1530-1690, the upper cabin is the camarote or pilot's house, and the lower cabin is the captain's cabin (pp. 29 and 33).
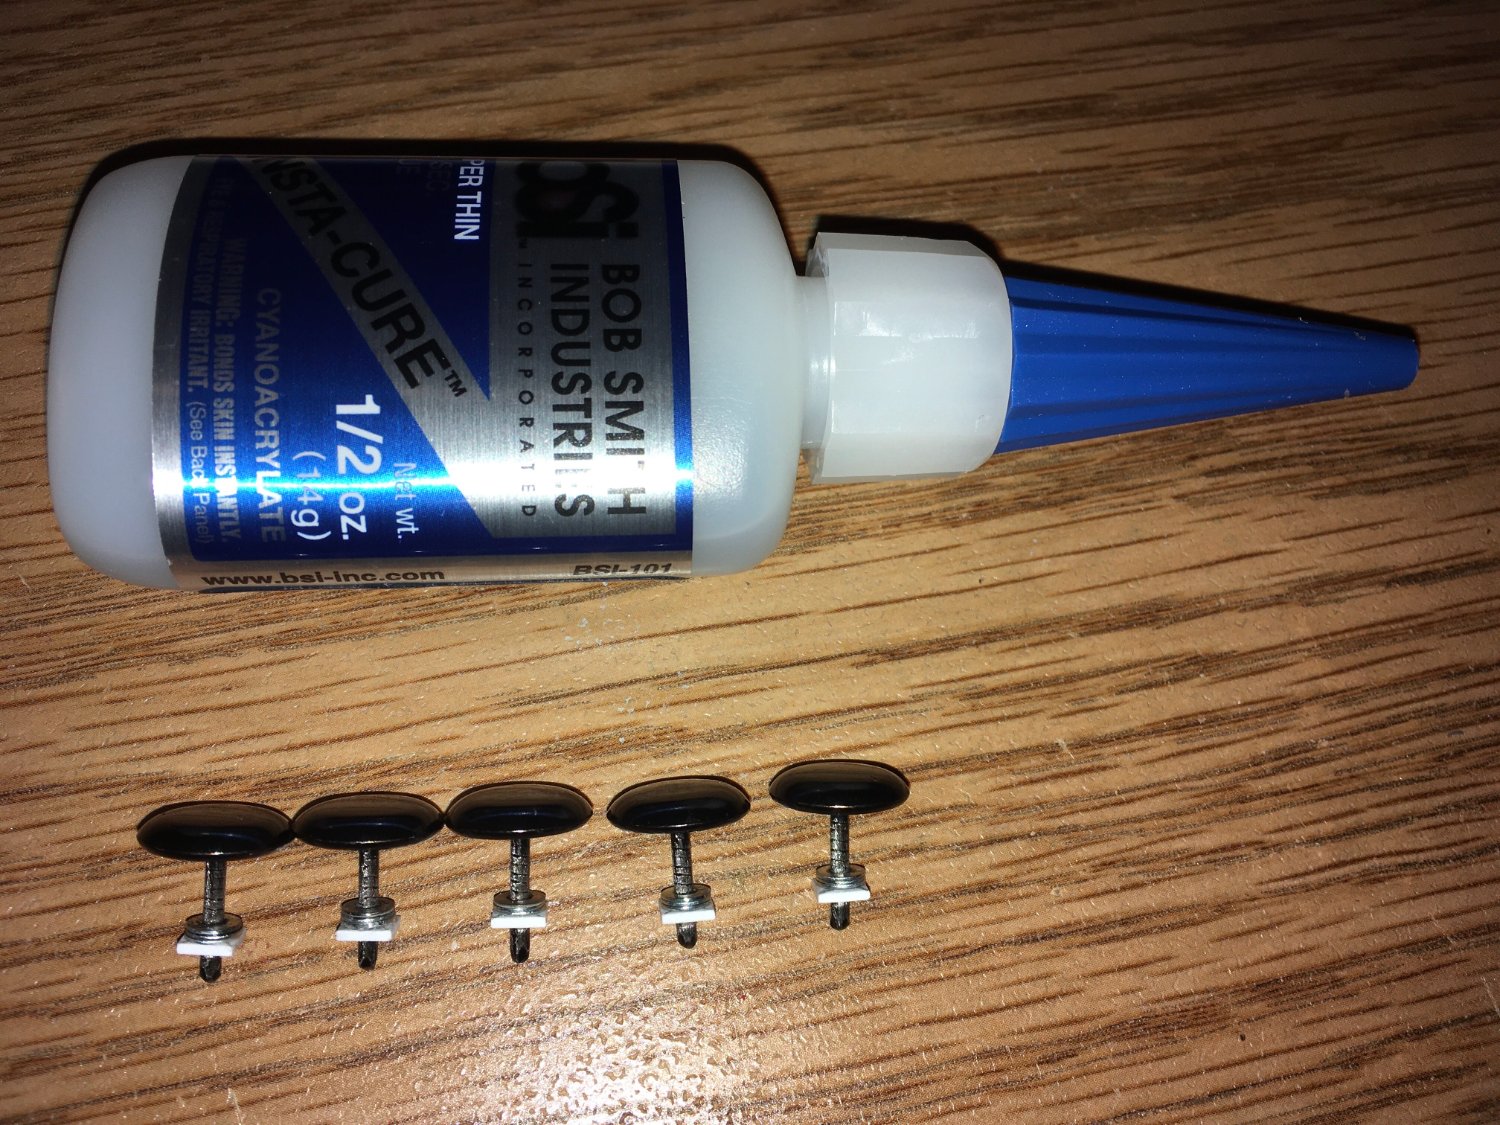
I decided to start with fabricating hanging lanterns to be mounted from the ceilings of the two cabins -- two for the pilot's house, and three for the captain's cabin.
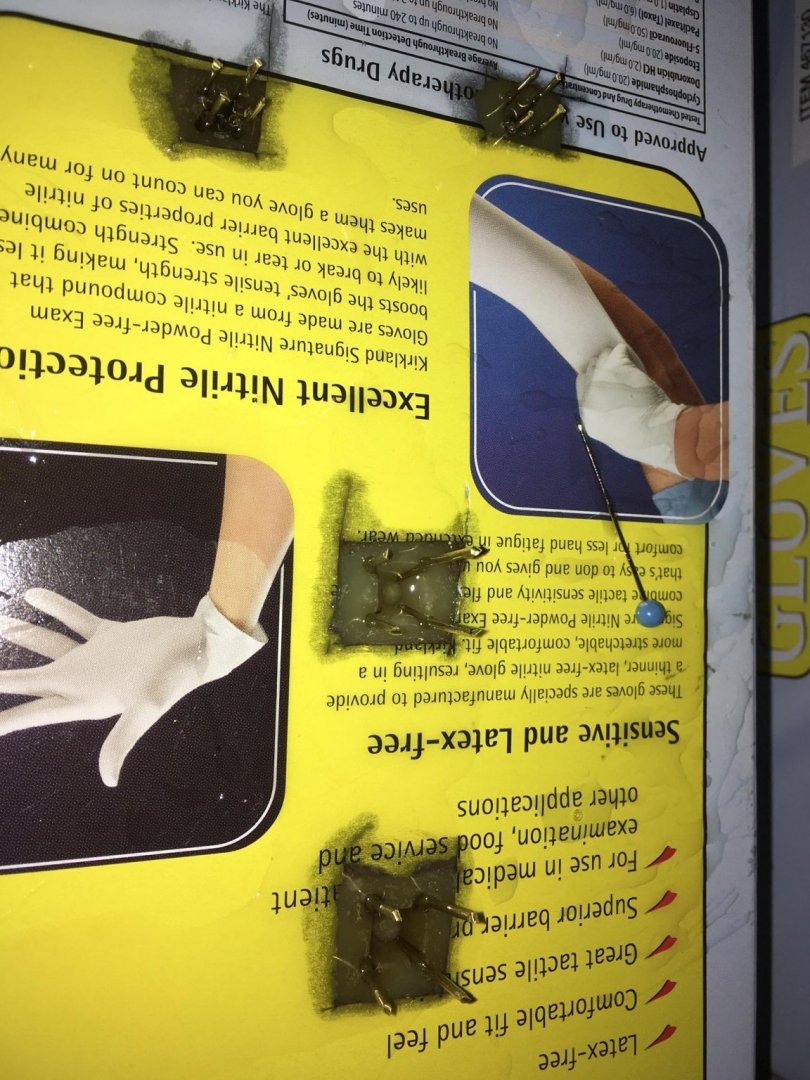
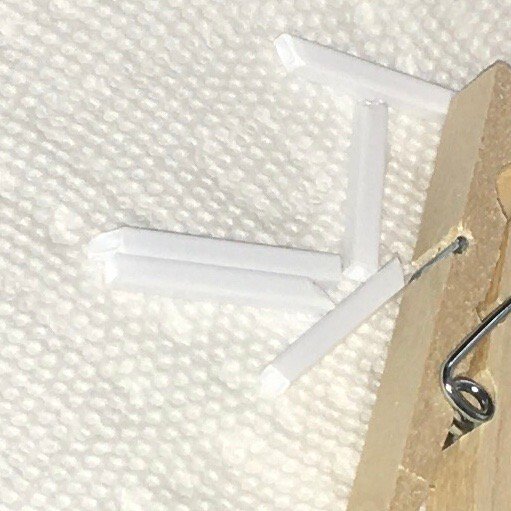
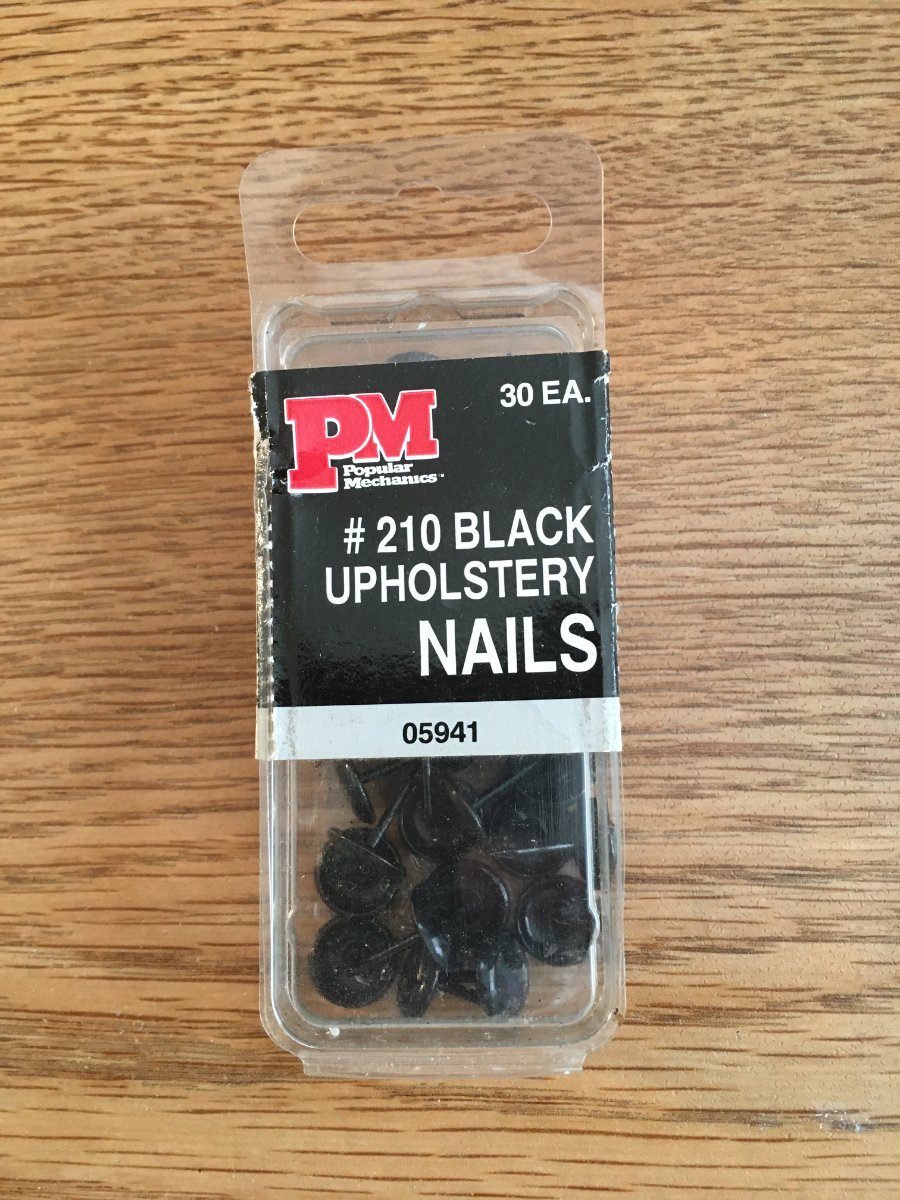
I have some old black upholstery nails that I thought would work well to attach the lanterns (with the wide round nail heads being the canopies or attachment points):

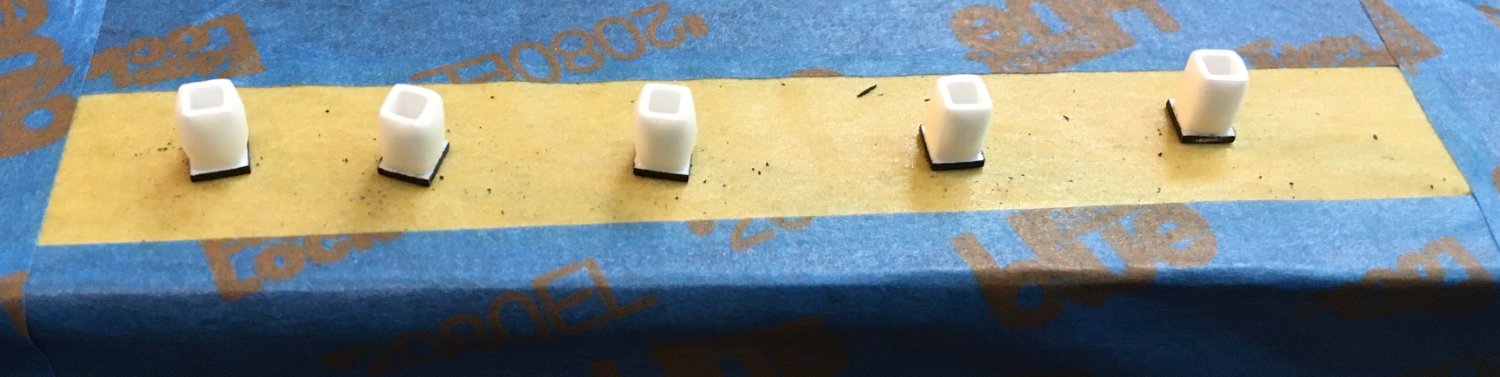
The shades of the lanterns (glass enclosures protecting the candle flames) would be simulated using 3mm square Evergreen styrene tubing:
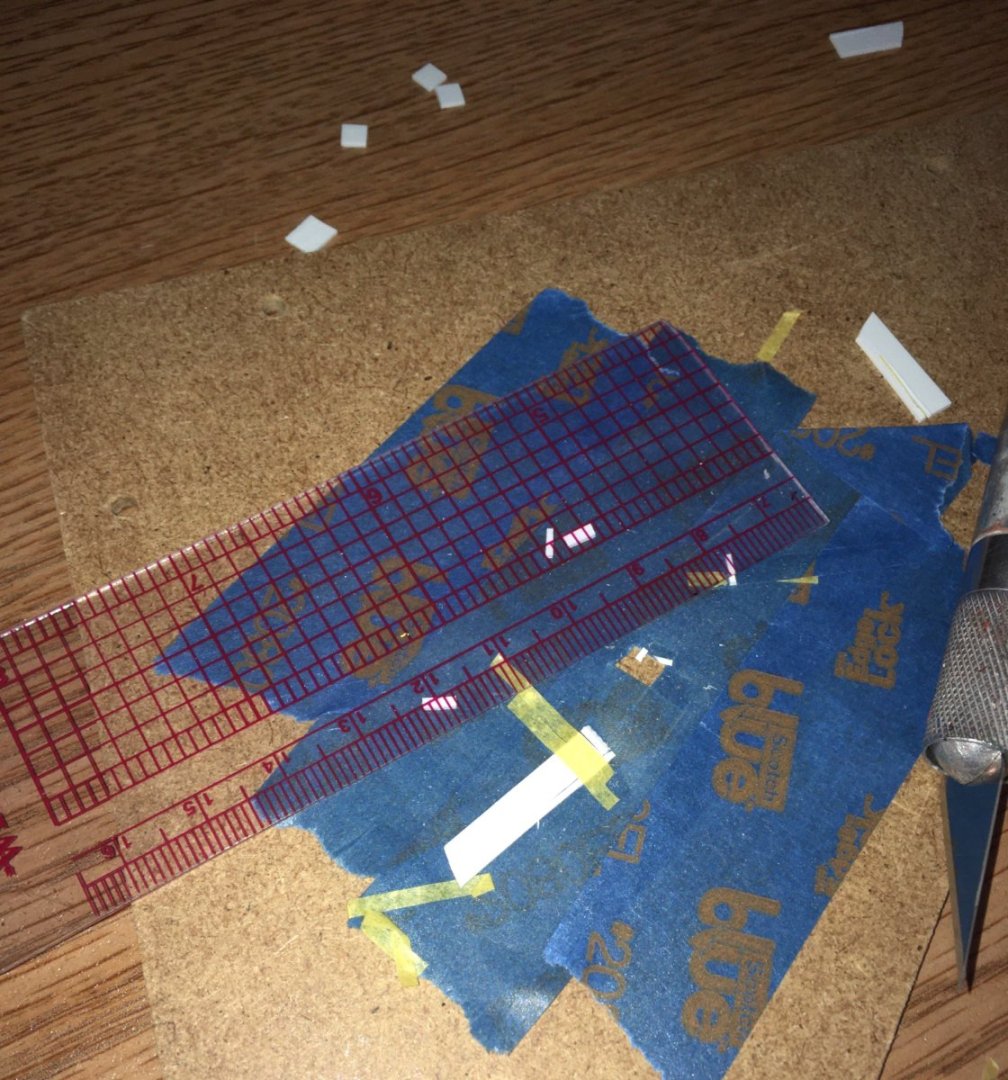
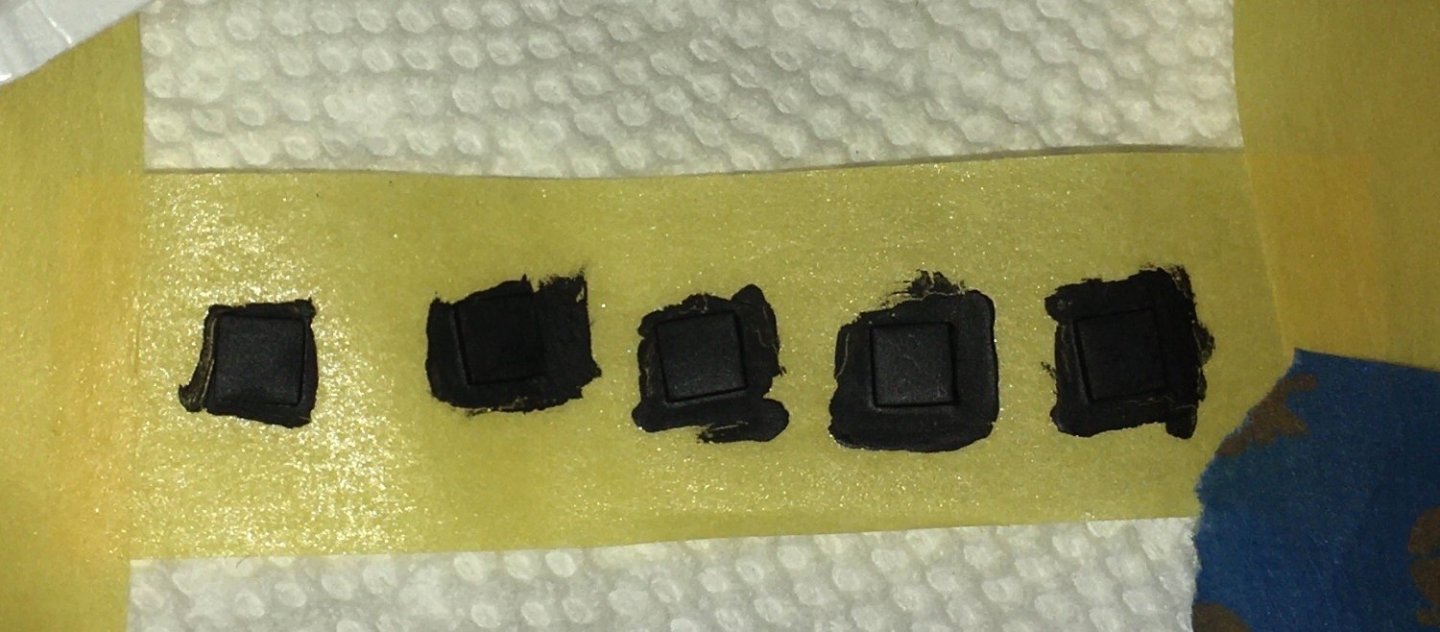
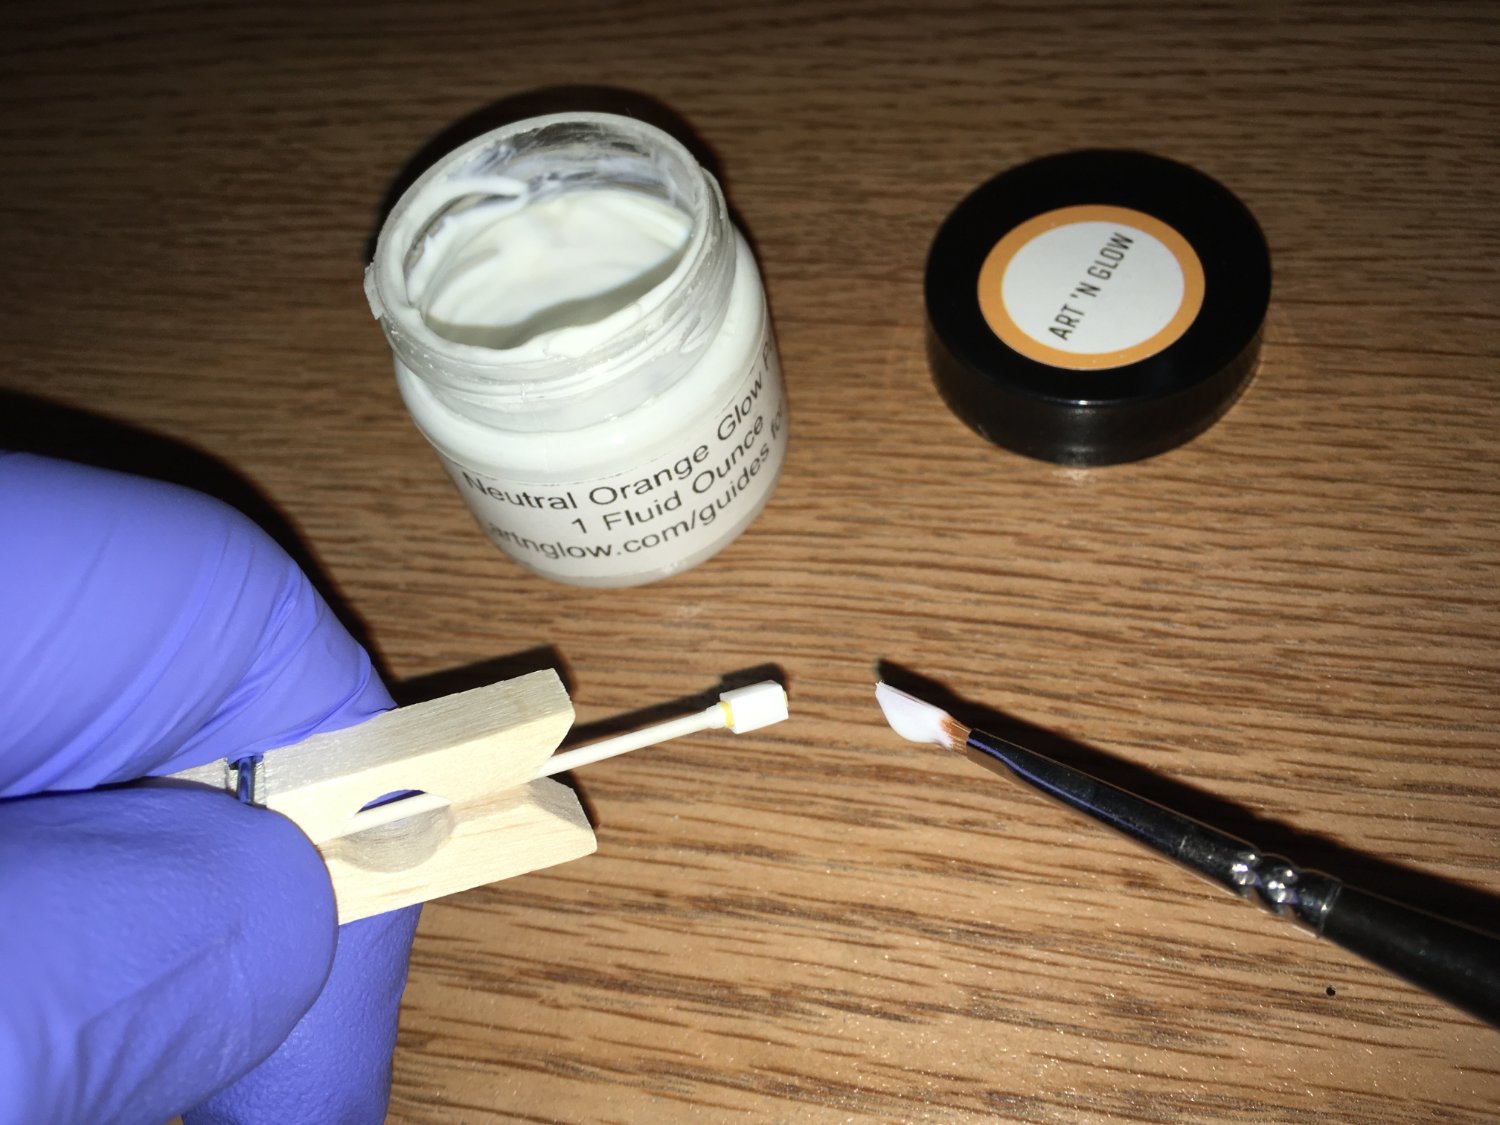
After I trimmed them to size, I painted them with white enamel as a primer so that acrylic paint would stick to them:
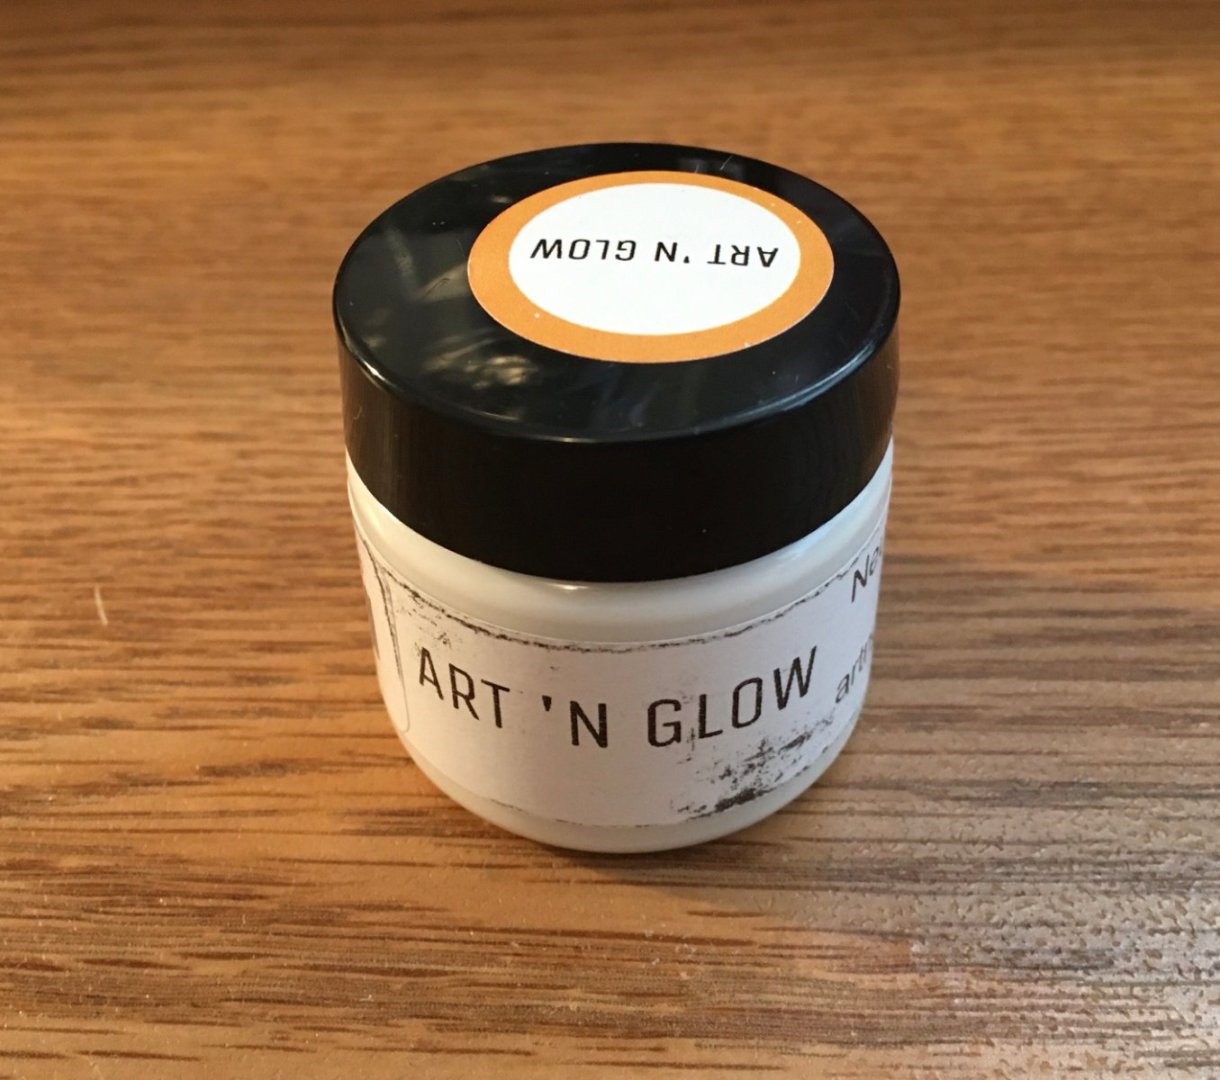
To create the effect of light, I used the same neutral orange glow-in-the dark paint that I had used for the stern lanterns. I mixed dilute Liquitex Flow Aid with it so that it would go on smoothly. It is almost white in color (slightly yellowish when dry) when it is viewed under ambient light, but after it is charged (I use an LED light), it glows orange in the dark.
 Several coats were necessary so that there is enough strontium aluminate laid down for a strong glow. It made the surfaces of the shades "bulbous", but I would rather accept that than settle with a very weak glow.

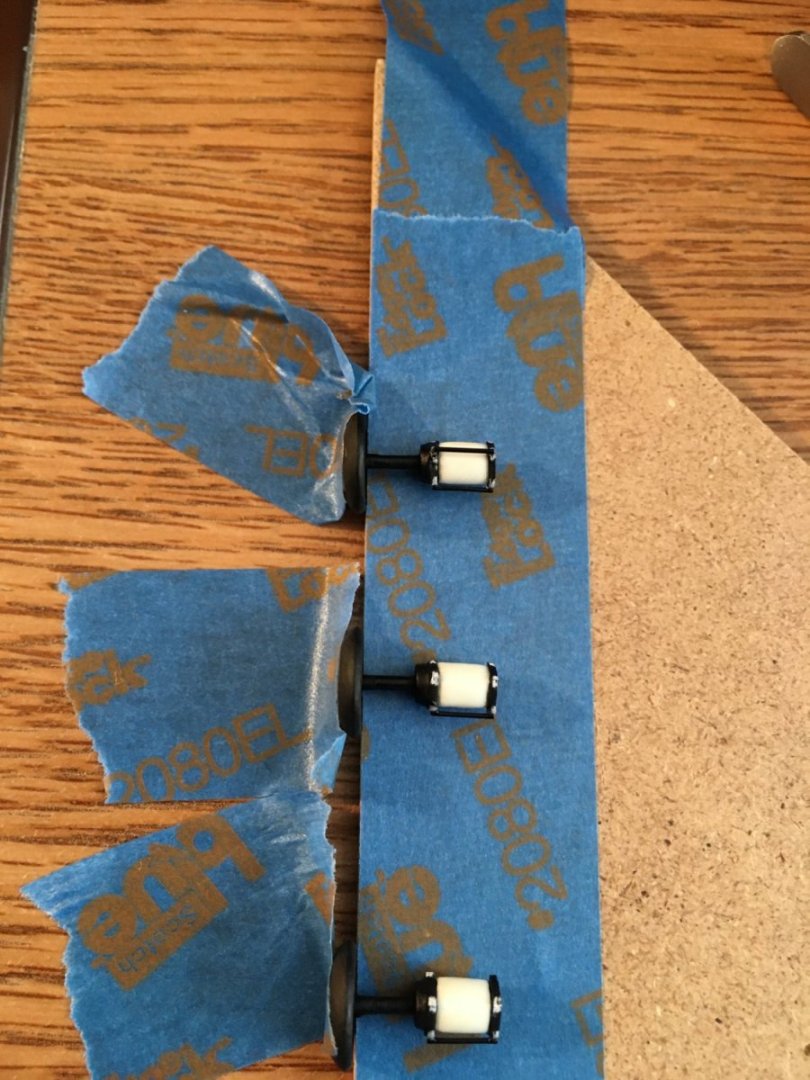
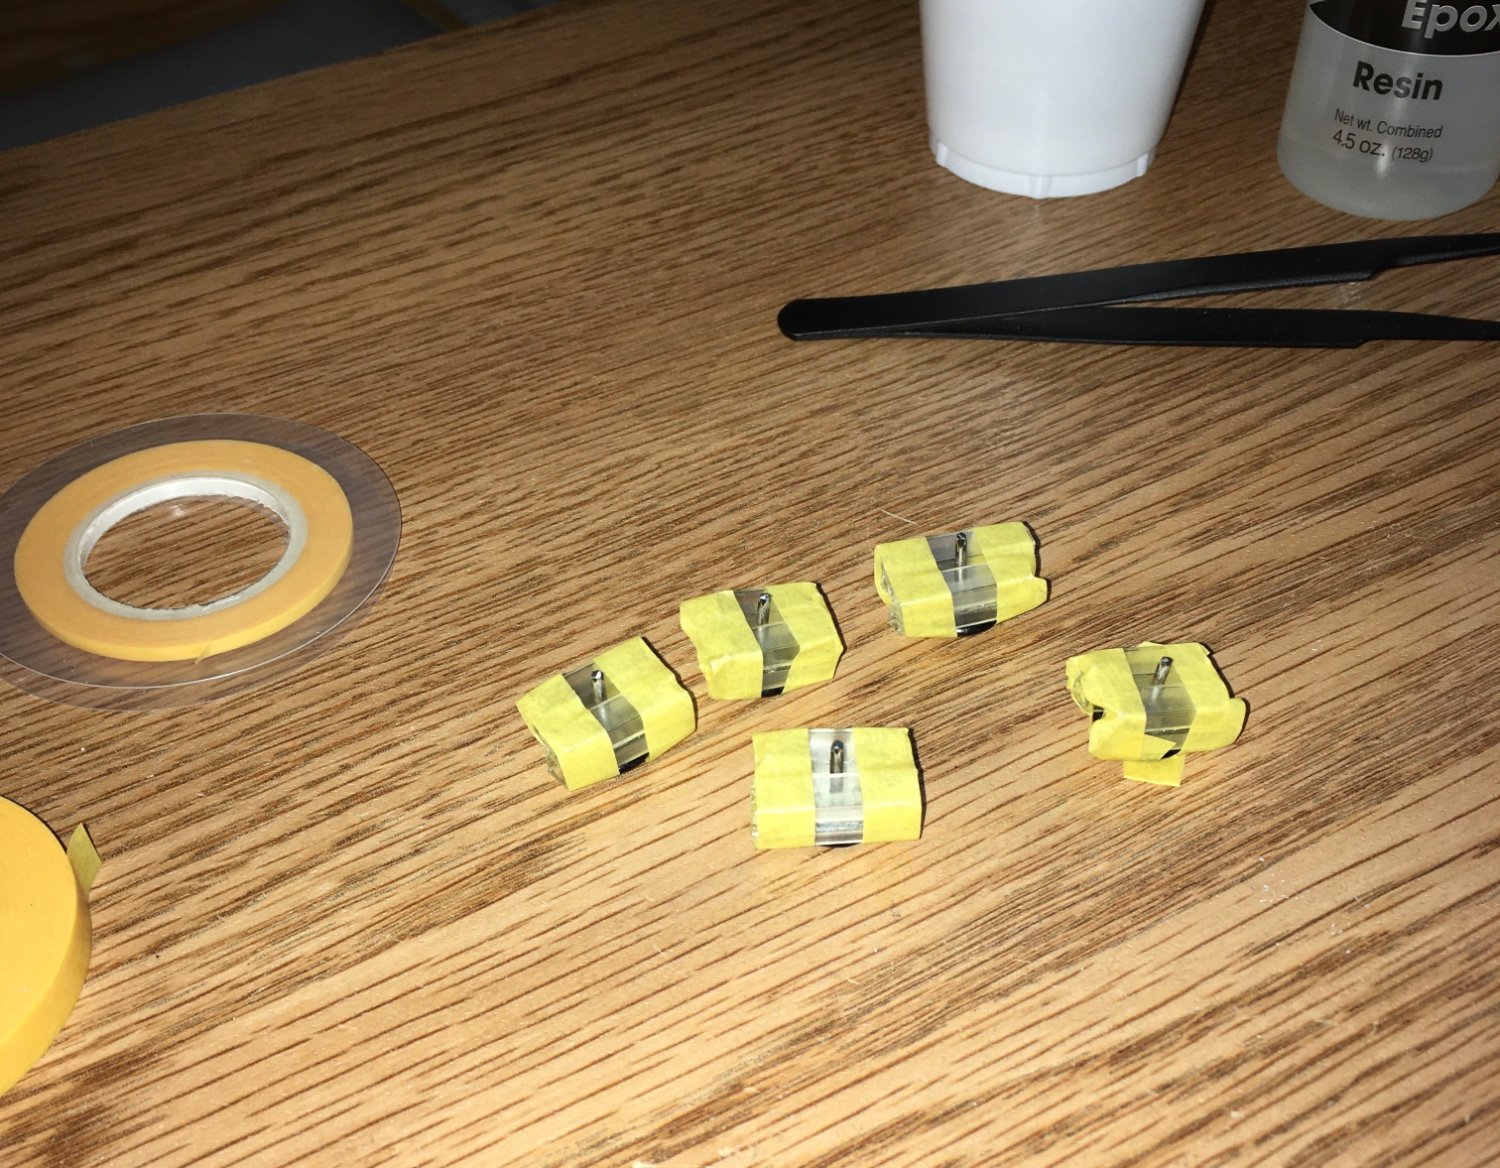
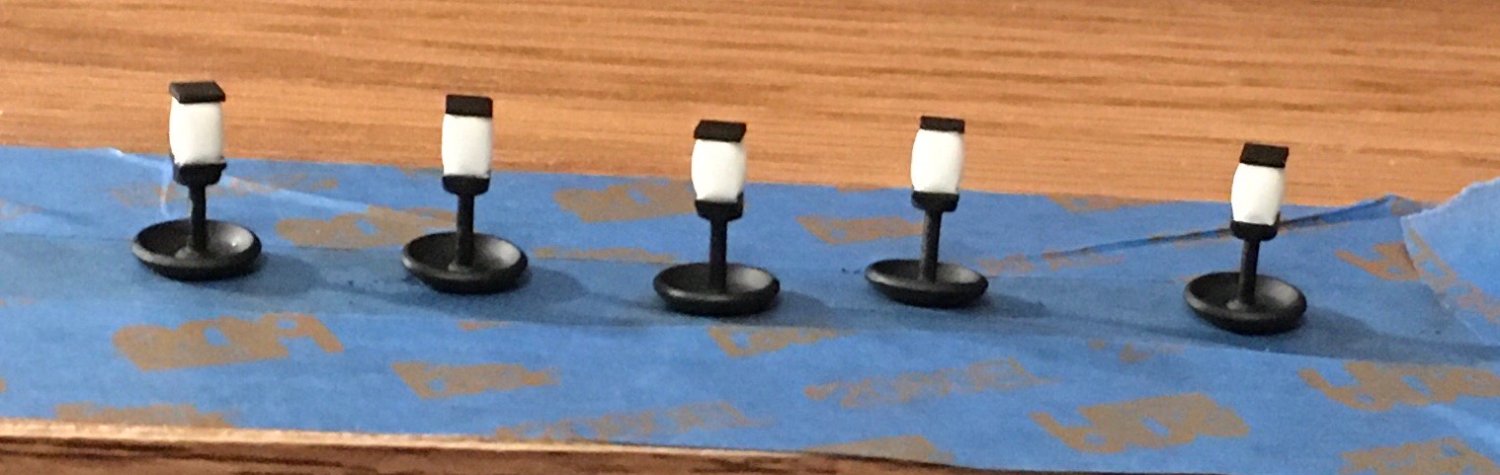
4mm squares were cut and sanded from Evergreen styrene strips (for the bases and crowns of the lanterns), and I drilled holes in the crown pieces:
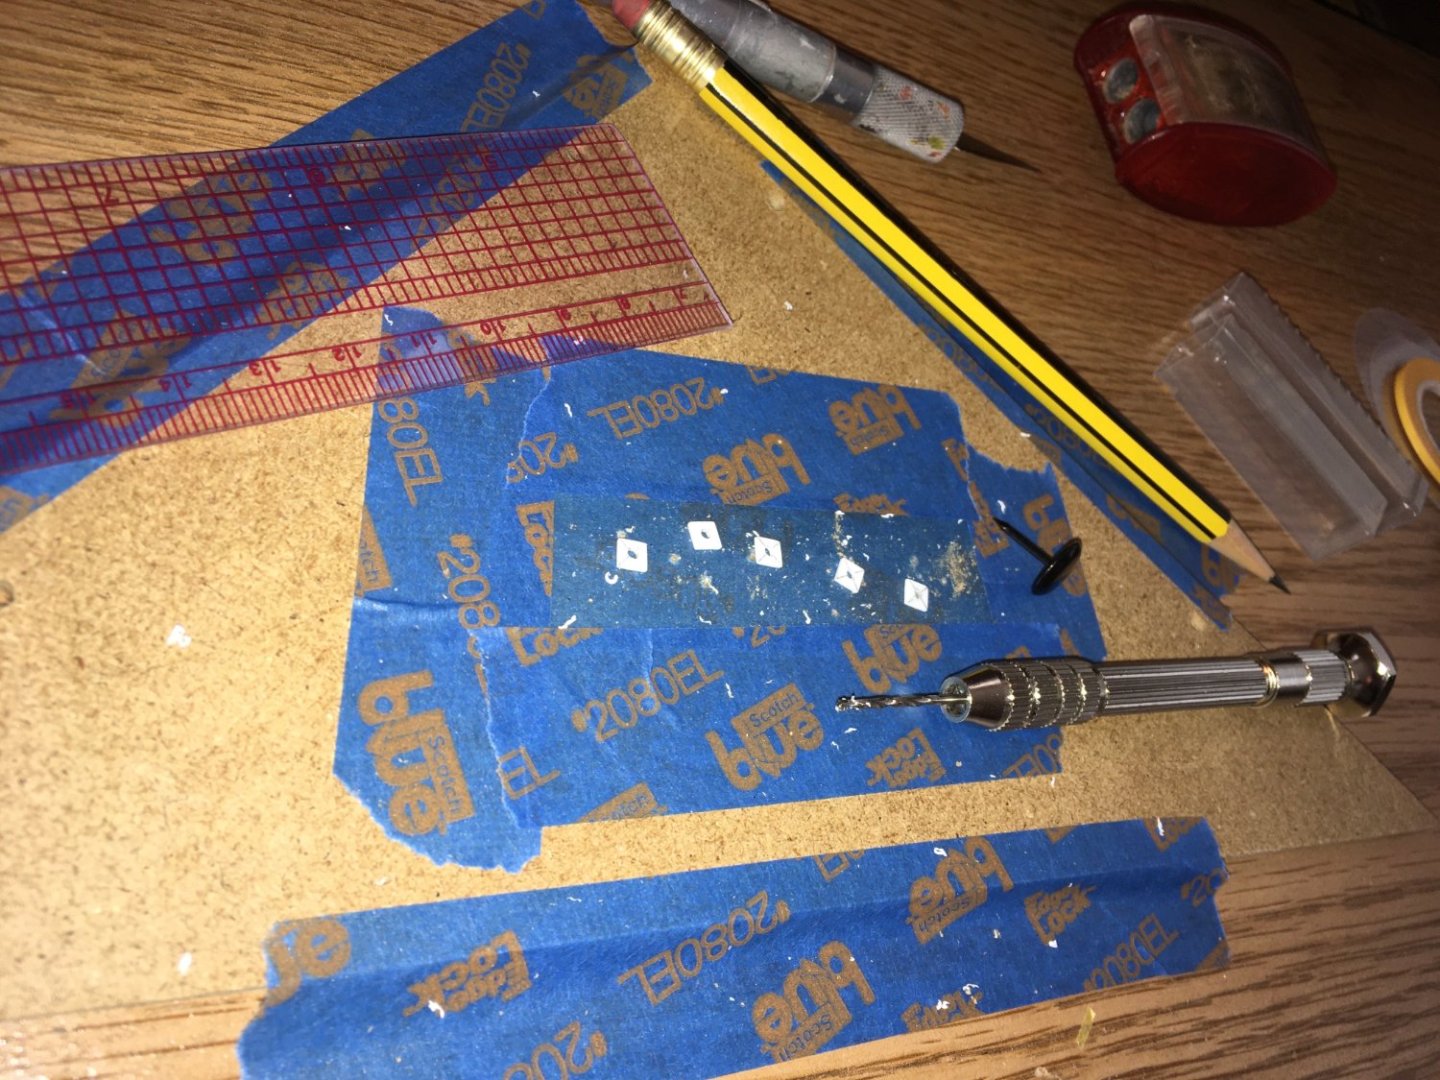 I made temporary spacers to elevate the crown pieces above the nail heads so that, when the spacers were placed on either side of the nail, the pieces could rest on them and be secured with epoxy to keep them at a uniform distance from the head.

Three tiny washers had been placed between the head and crown piece for each lantern, and when the lanterns were turned upside down, the washers would stack over the flat styrene. I secured them in place with thin cyanoacrylate glue, and then used thick cyanoacrylate (followed by sanding) around their edges to try to eliminate the stacking grooves. This would give the crowns more height and shape.

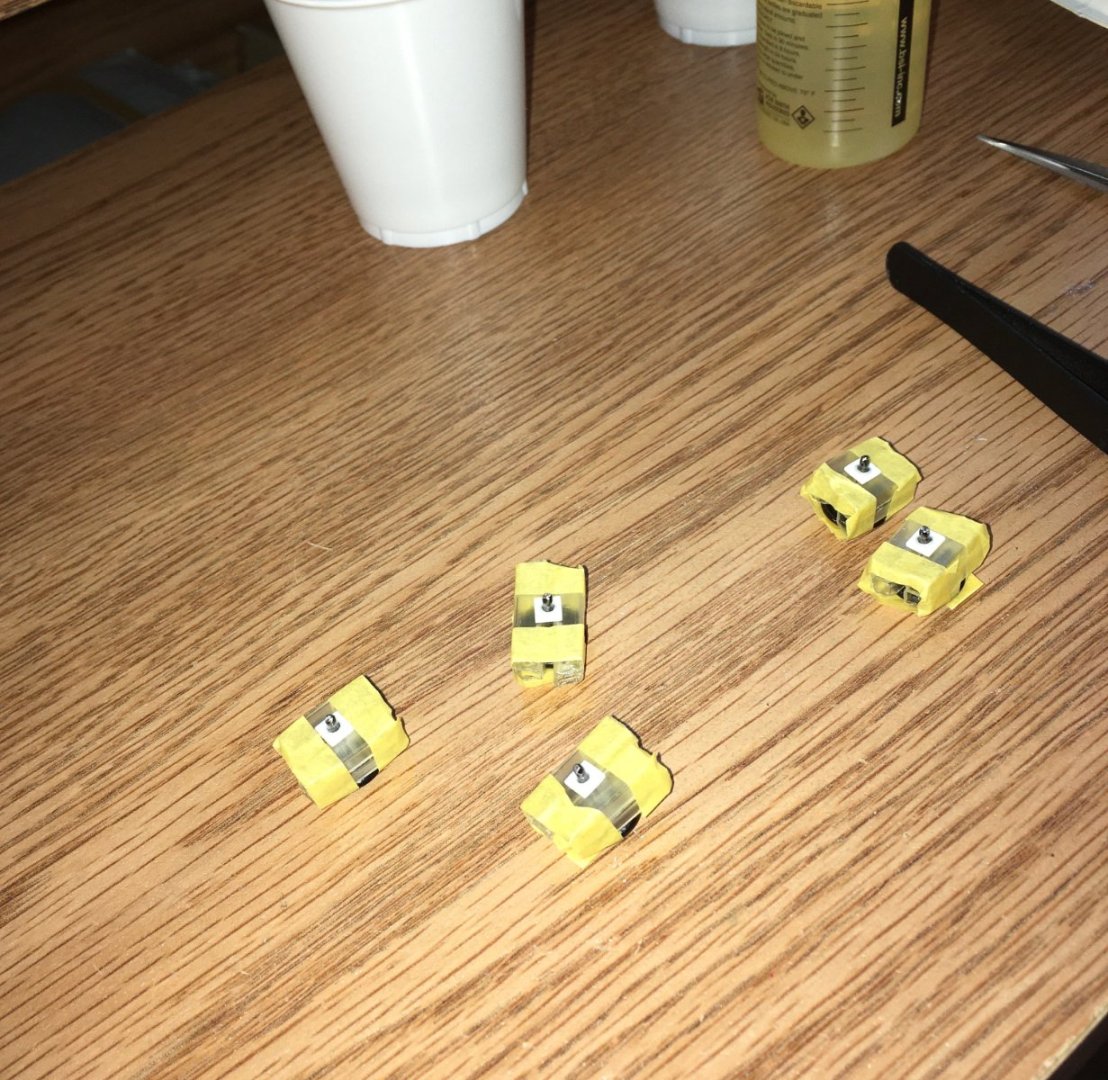
Black enamel paint was applied to the bases and crowns, except for where the shades would be glued.
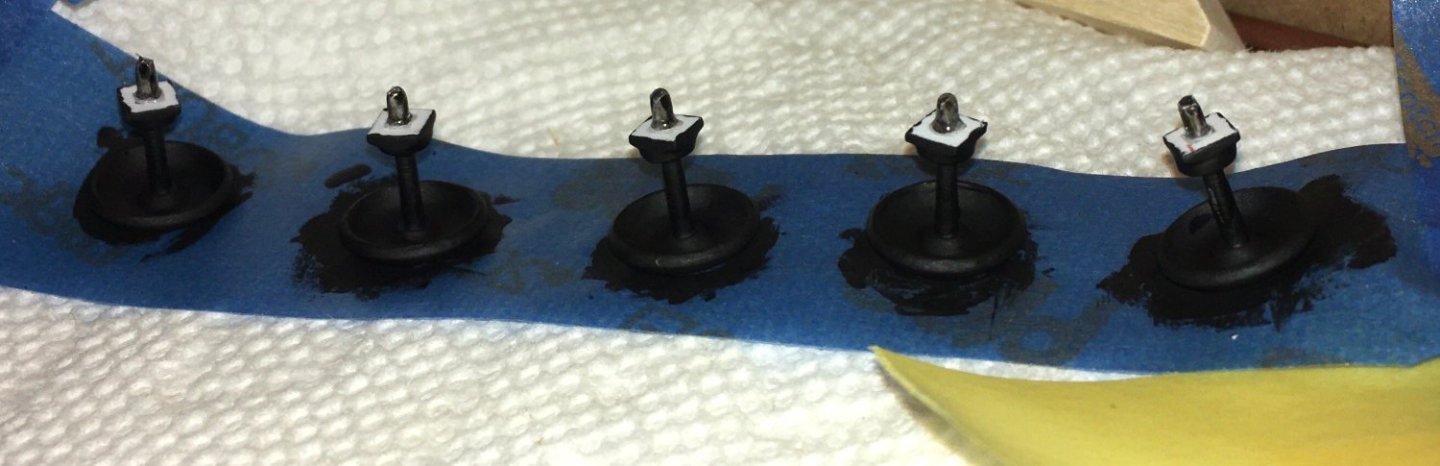
The shades were first glued to bases, then the other ends of the shades were glued to the crowns:


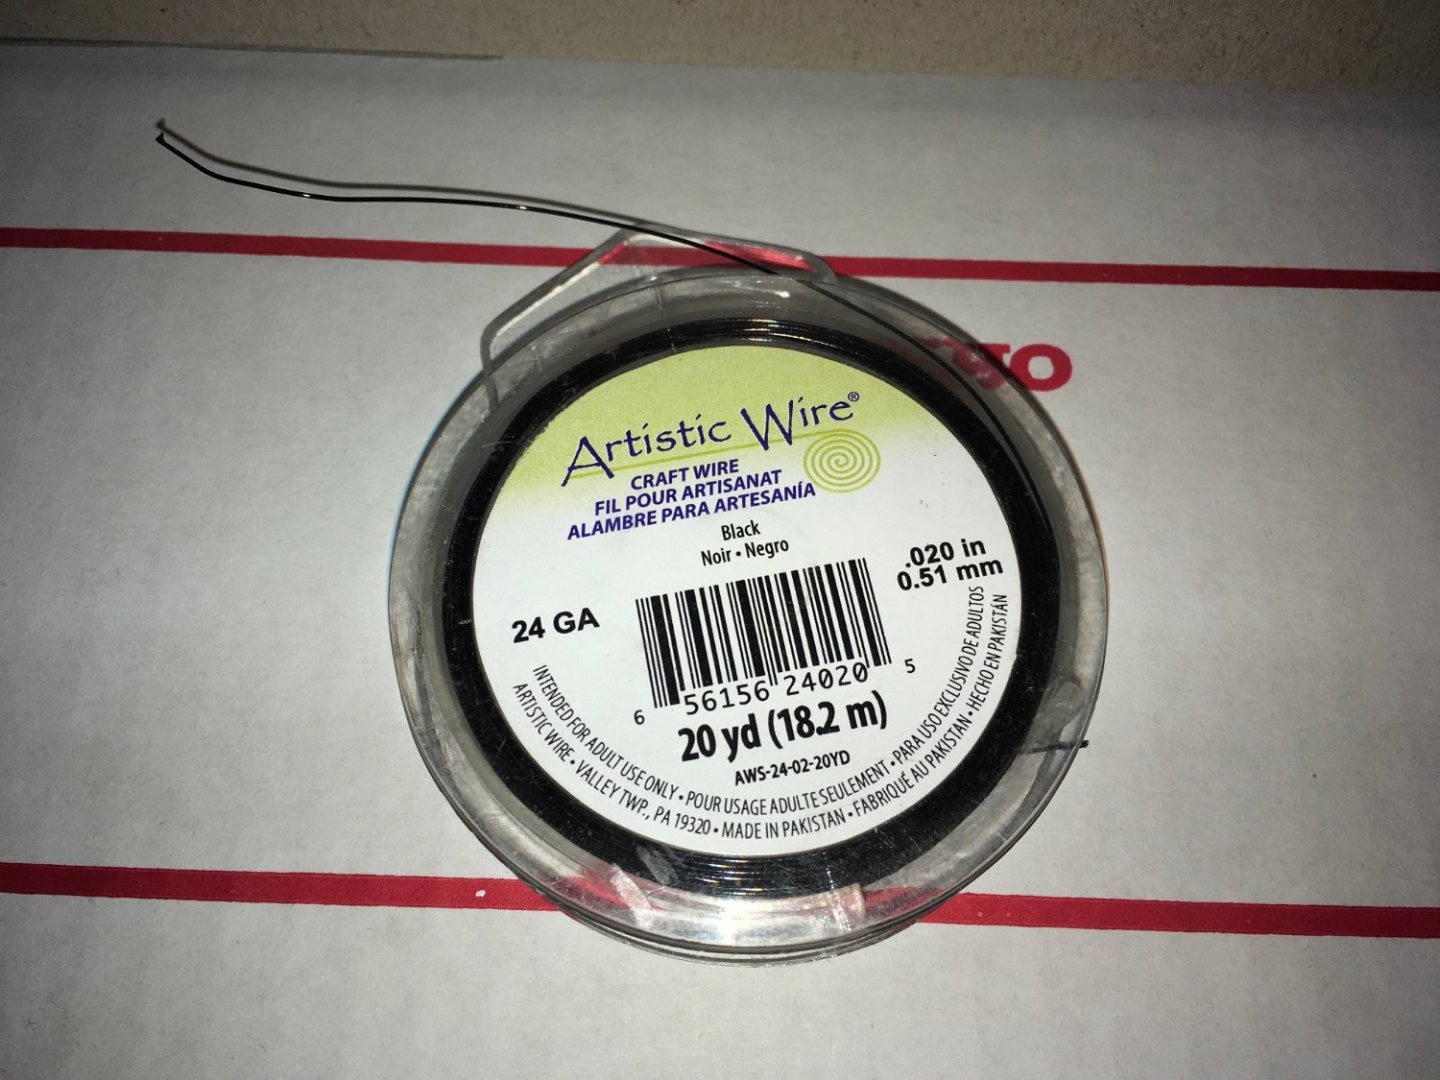
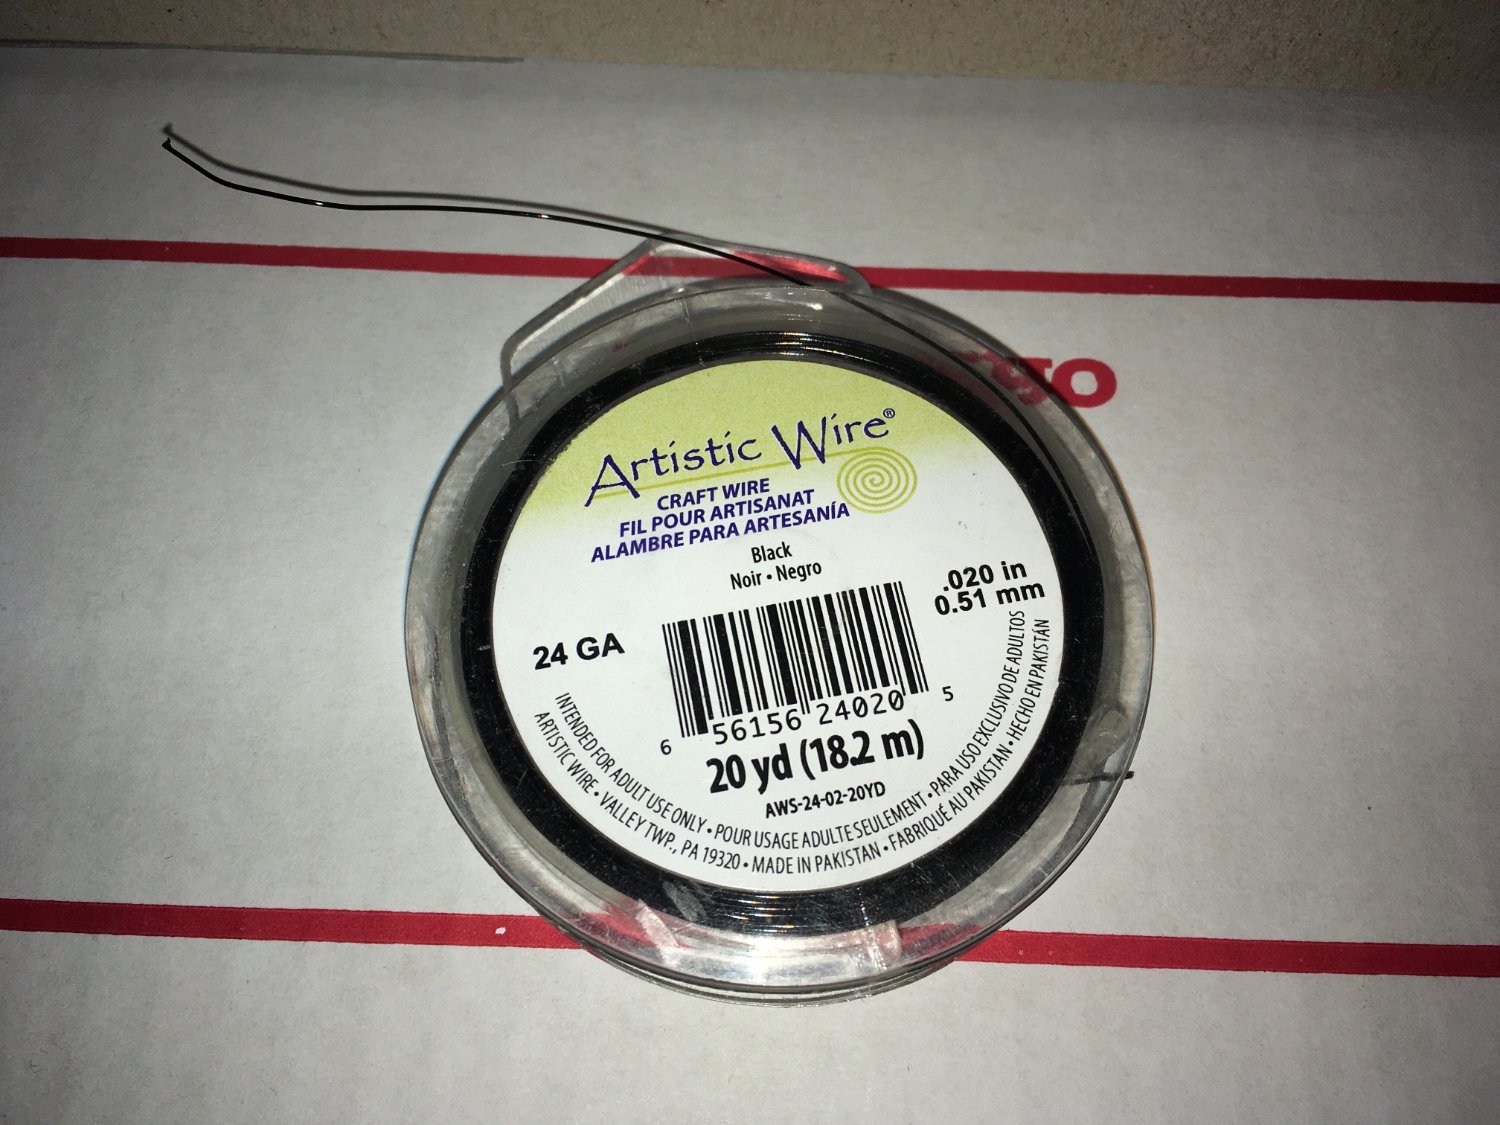
The lanterns needed something more, so I decided to make verticals for them using 24 gauge copper wire. (I can also use that wire later on to strop the lower deadeyes).
I scraped off paint from the corners of the bases and crowns so the cyanoacrylate glue would adhere well.
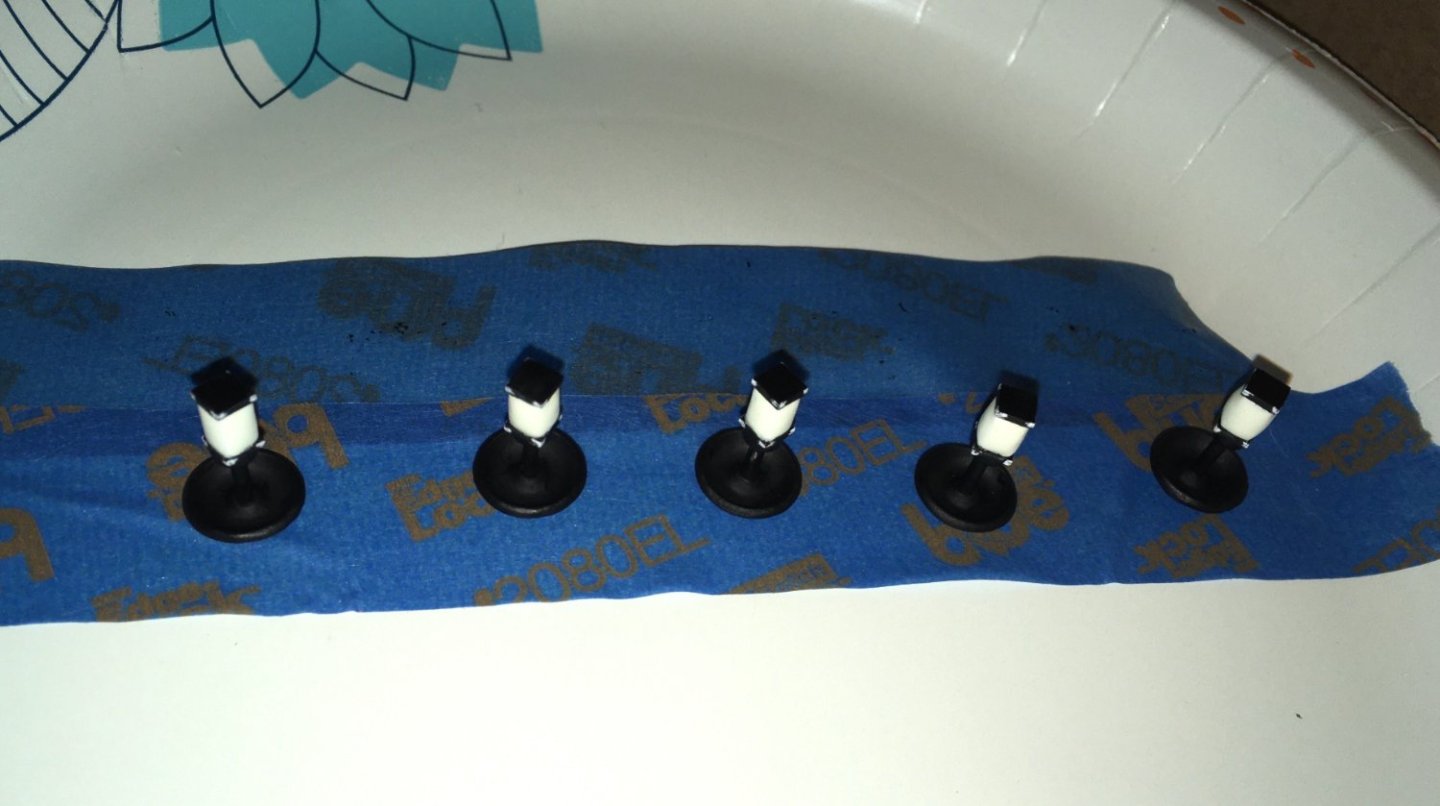
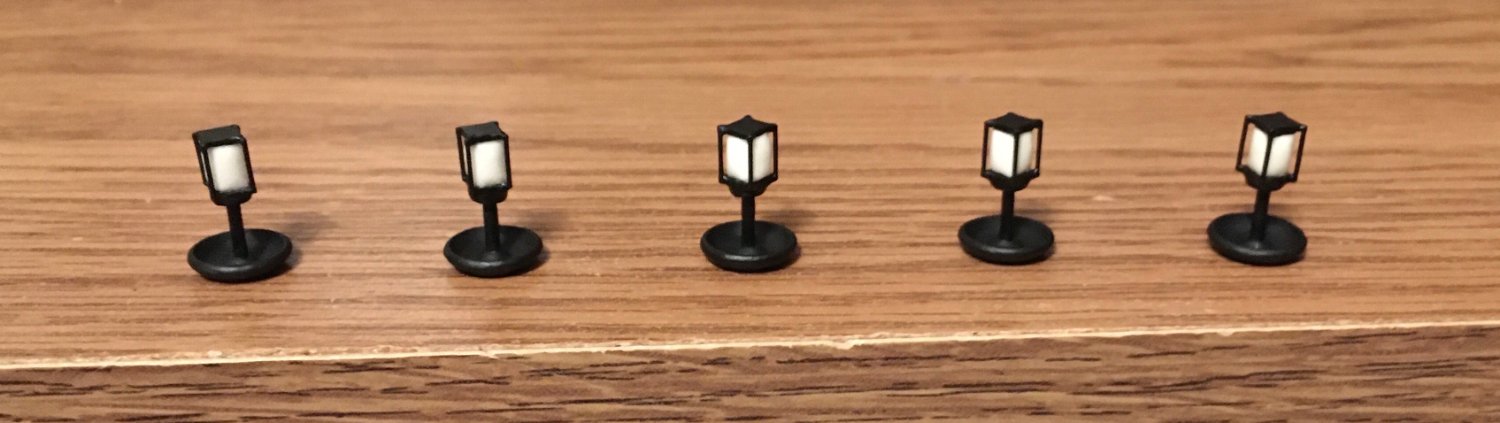
The wire was straightened, trimmed, and glued in place at the four corners of each lantern:
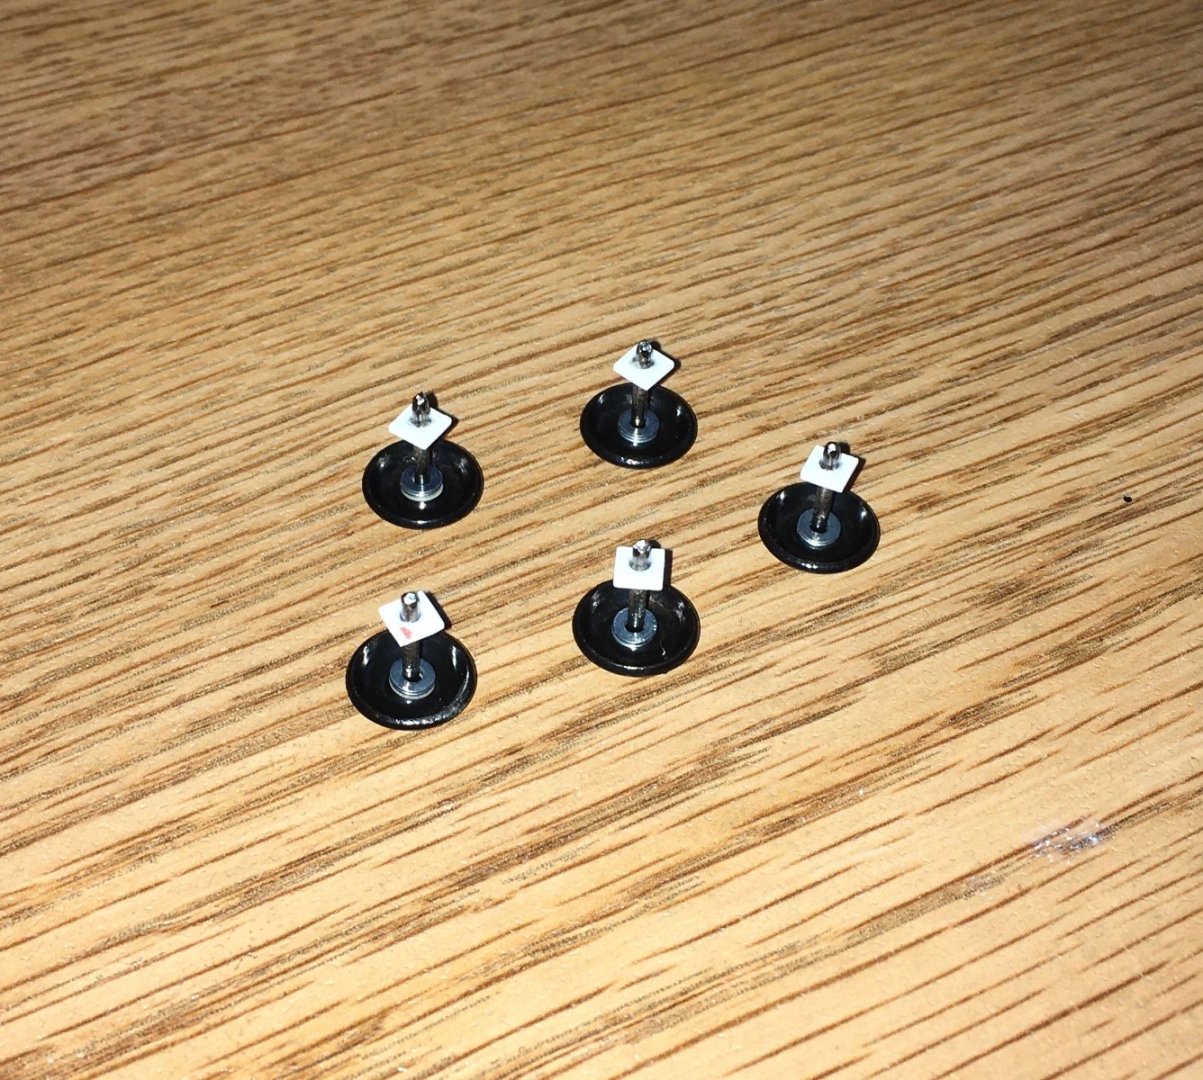
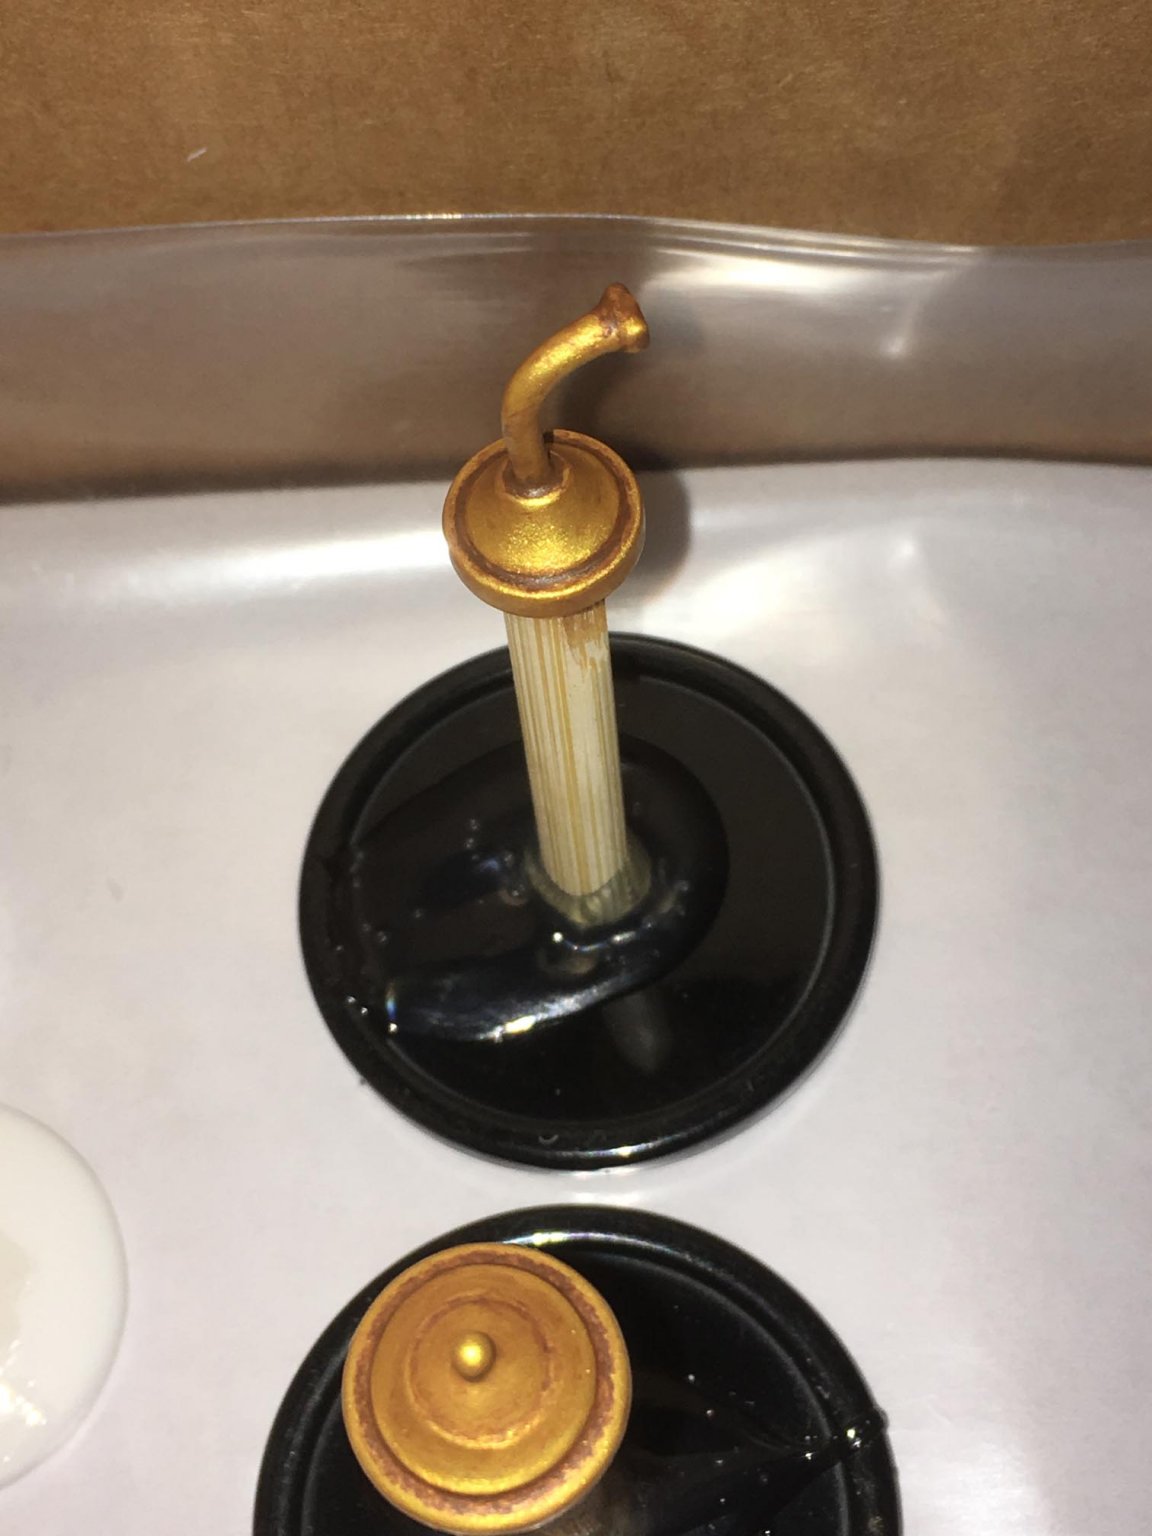
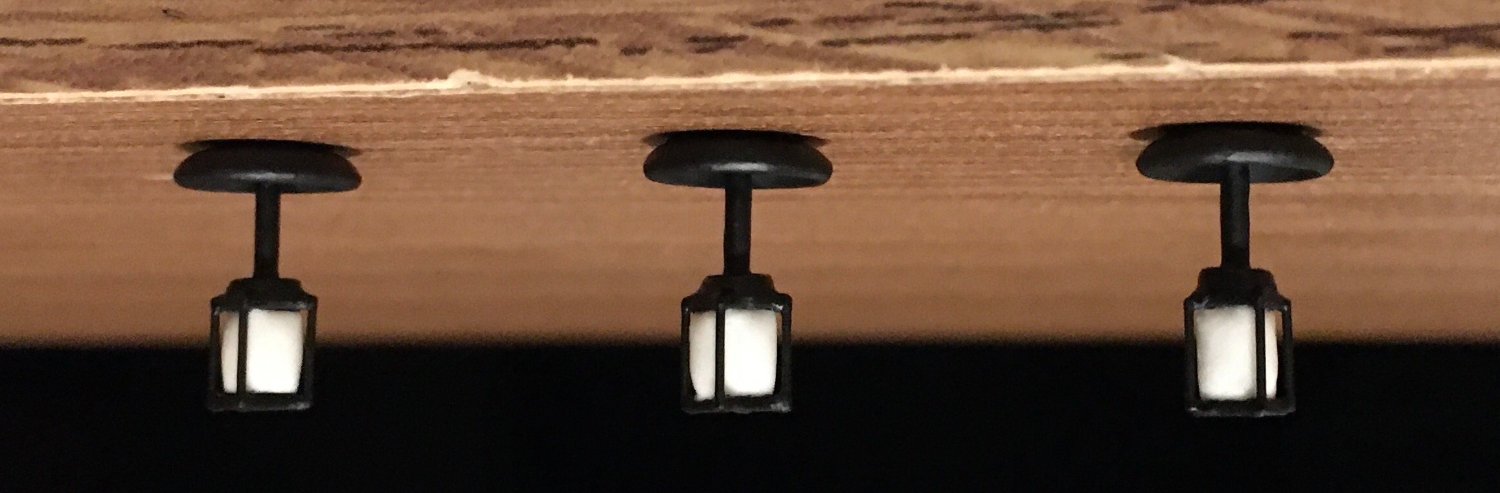
Here are the completed lanterns:

When this photo is turned upside down, it shows what they can look like when "hanging":

The lanterns have to "hang" down far enough from the ceilings so that they are fully visible through the windows, because they will need to collect as much light as possible from the LED shone through the windows in order to glow sufficiently. I realize now that I will need to add more spacers between the (nail head) canopies and the ceilings when mounting them. I don't think that the canopies and spacers will be easily visible though the windows due to the angle of view.
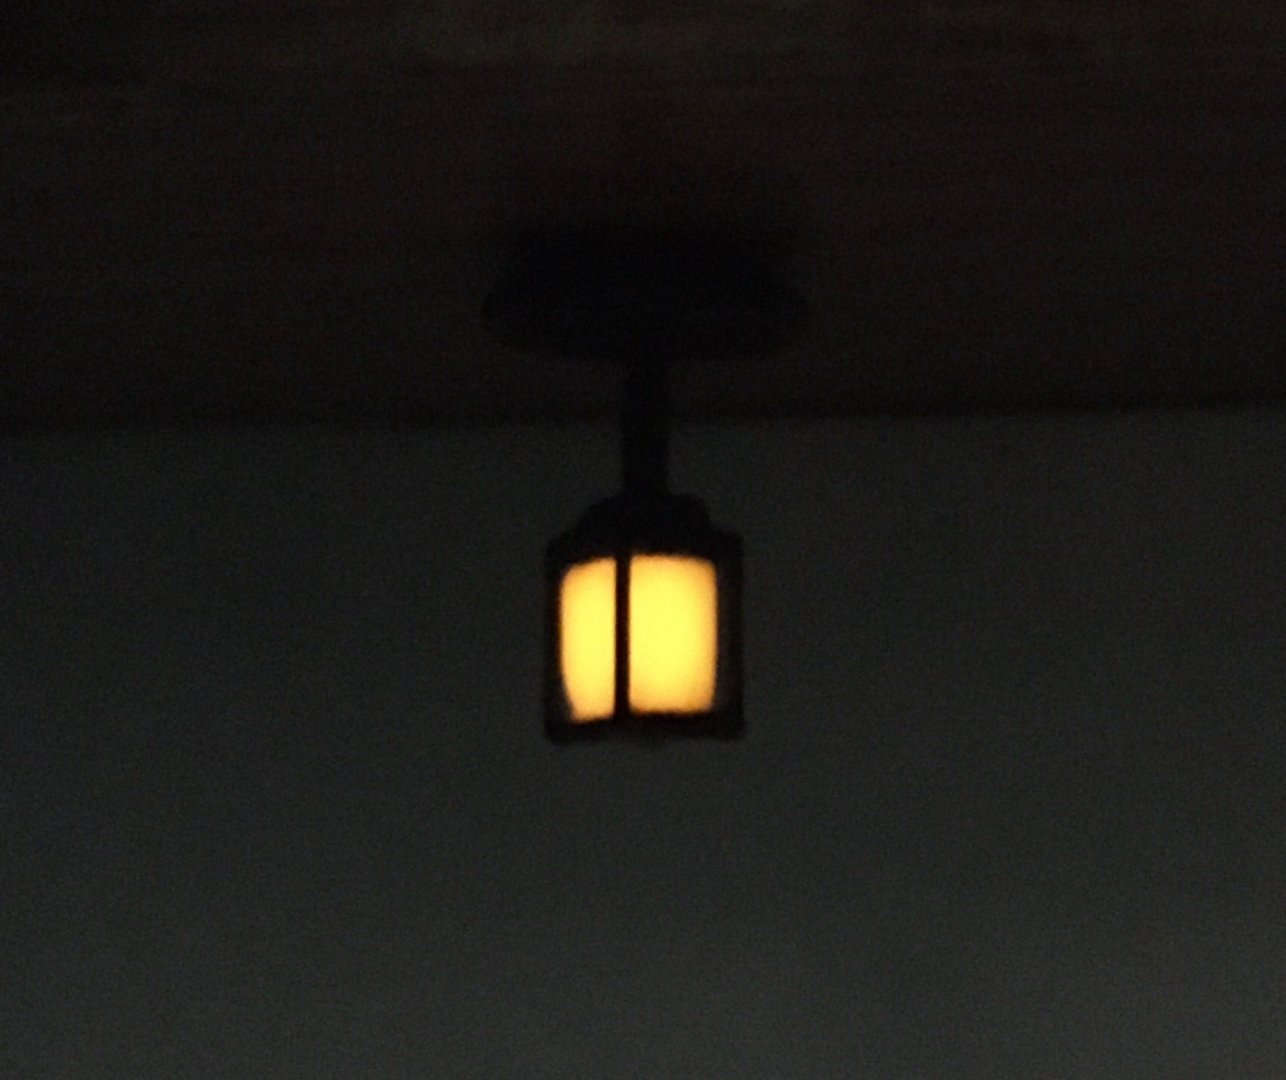
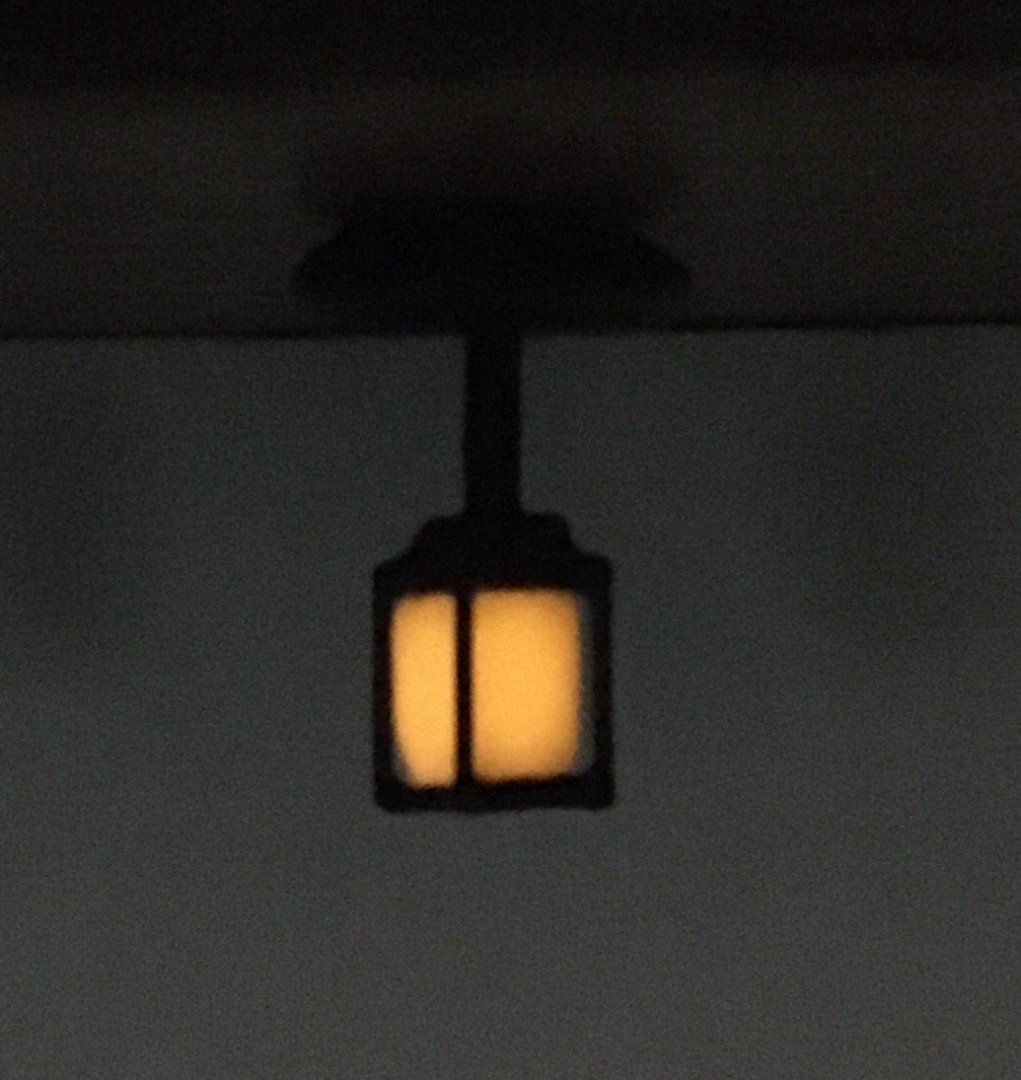
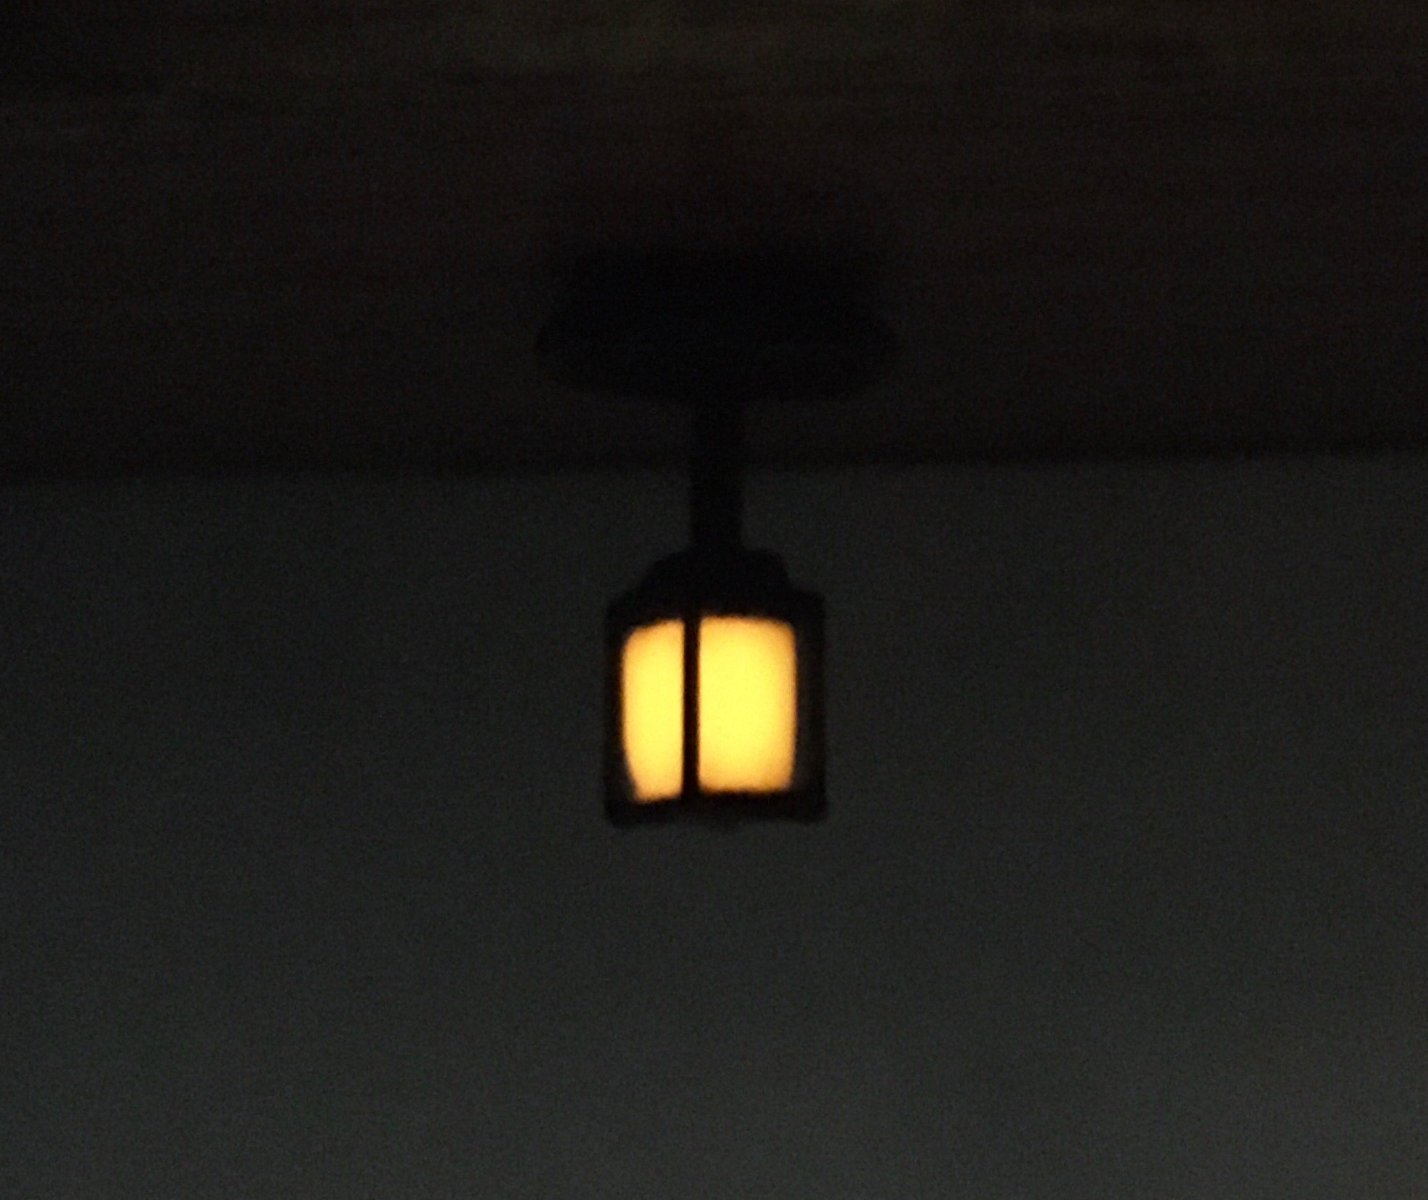
Here is what a lantern would look like in the dark after being charged with LED light:
-
Congratulations! Your model is absolutely beautiful!
- Old Collingwood and mtaylor
-
 2
2
-
Also, I am waiting to paint the boat cradle pieces until they are glued to the boat -- I have thought ahead and I think that it will be easier to accomplish by dry fitting them to the grating, setting the unpainted boat in place so that it is seated correctly, applying liquid cement to the interface between the boat and cradle pieces, and then removing the assembly, painting it in one piece.
-
In the last two photos above, you can see that the gloss of the enamel stain has been deadened by matte varnish. I avoided using the acrylic matte varnish that I had used for the cannons because the matting solids didn't always cover evenly on the first coat. This time, I used Golden acrylic varnishes, and still had some difficulty getting an even sheen at times, but I think the end result turned out okay. Note that many of the surfaces that will be glued to the model were left unpainted to help with glue adhesion. Also, I am keeping the cleats on the sprues for now so that I don't lose them before it is time to glue them in place.
-
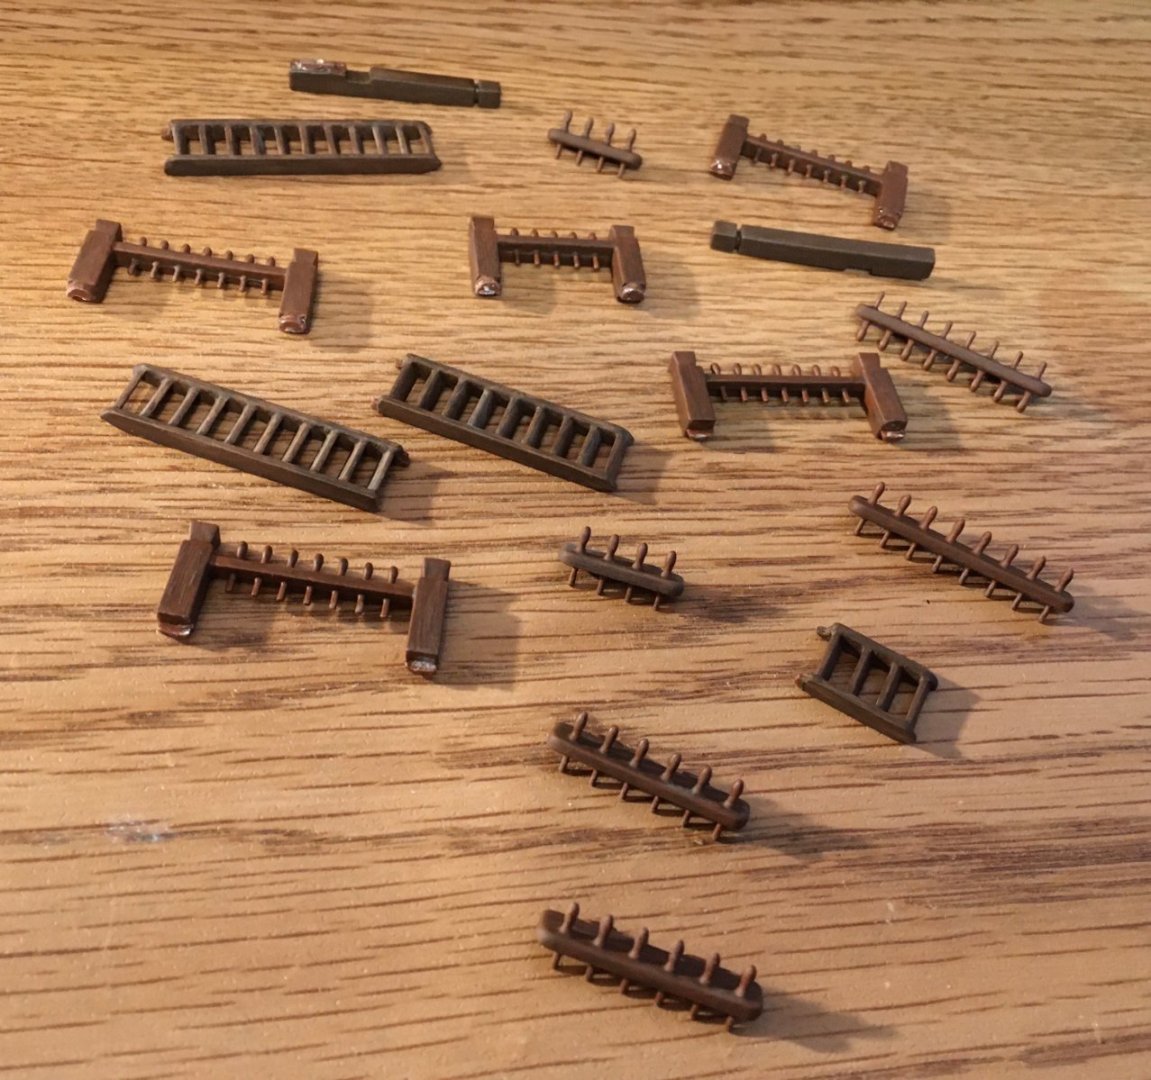
This is an update on those miscellaneous deck pieces (above).
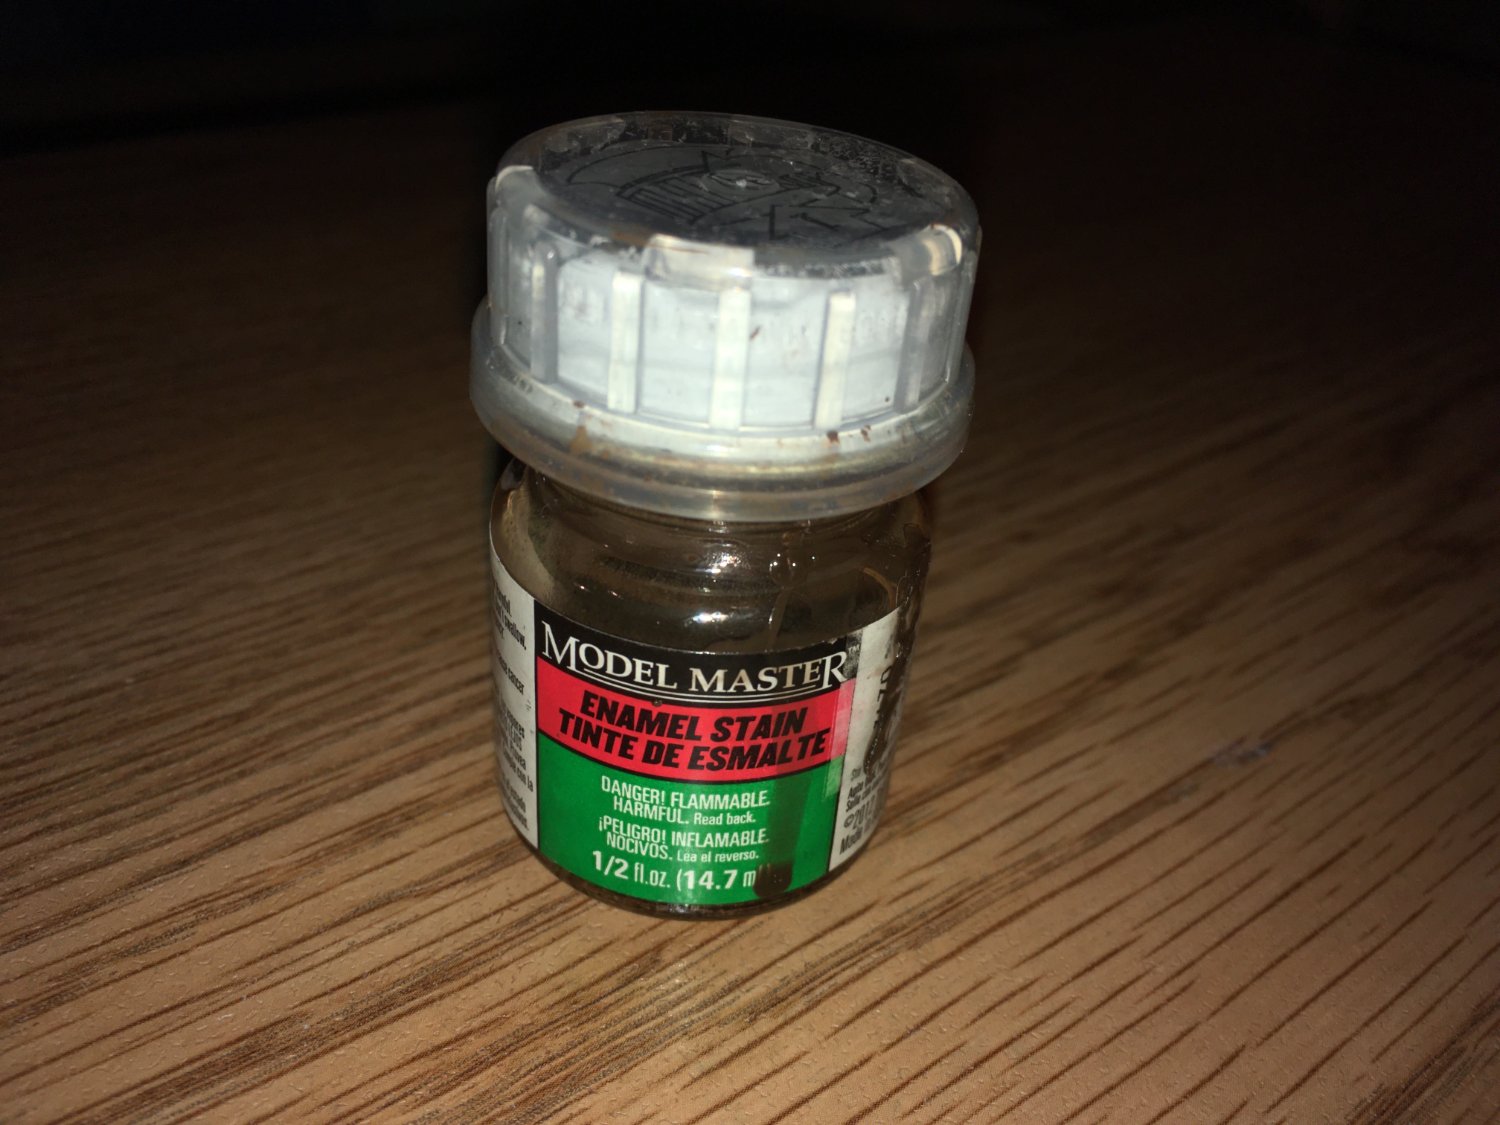
I used enamel paints: Model Master Flat Leather for pinrails, Italian Dark Brown for catheads and cleats, or Military Brown for stairs.

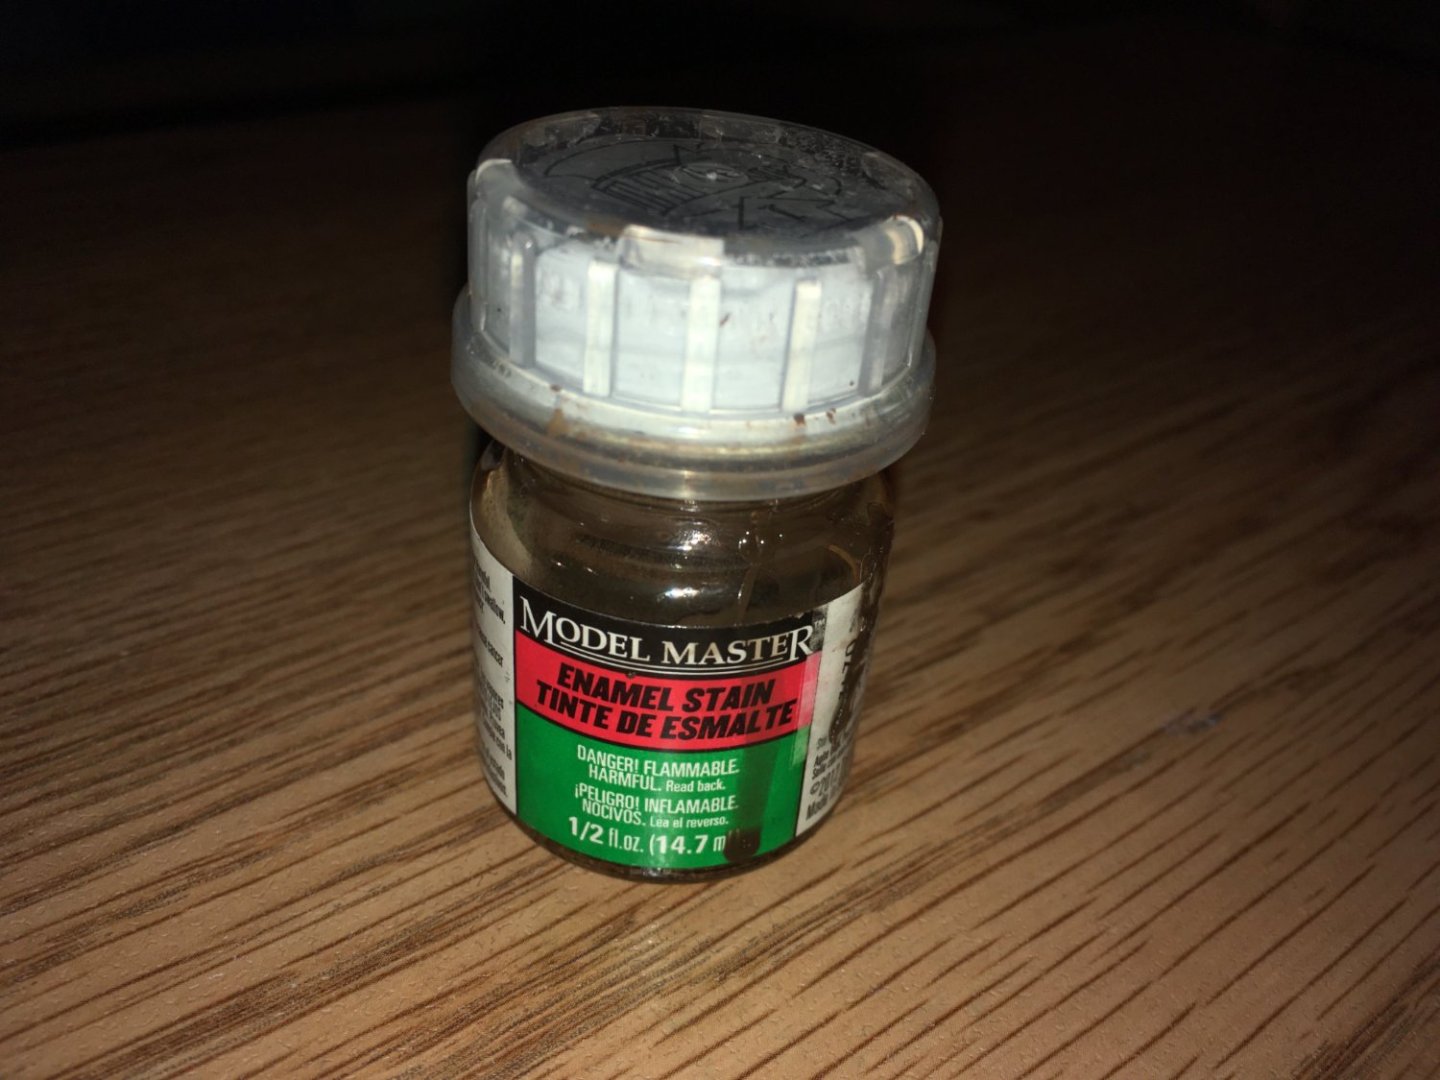
After an isolation coat of clear acrylic, I used the same brown enamel stain that I used previously (for consistency) to weather them:
It

-
-
-
-
Beautiful scratch building!
- Baker and Edwardkenway
-
1
-
 1
1
-
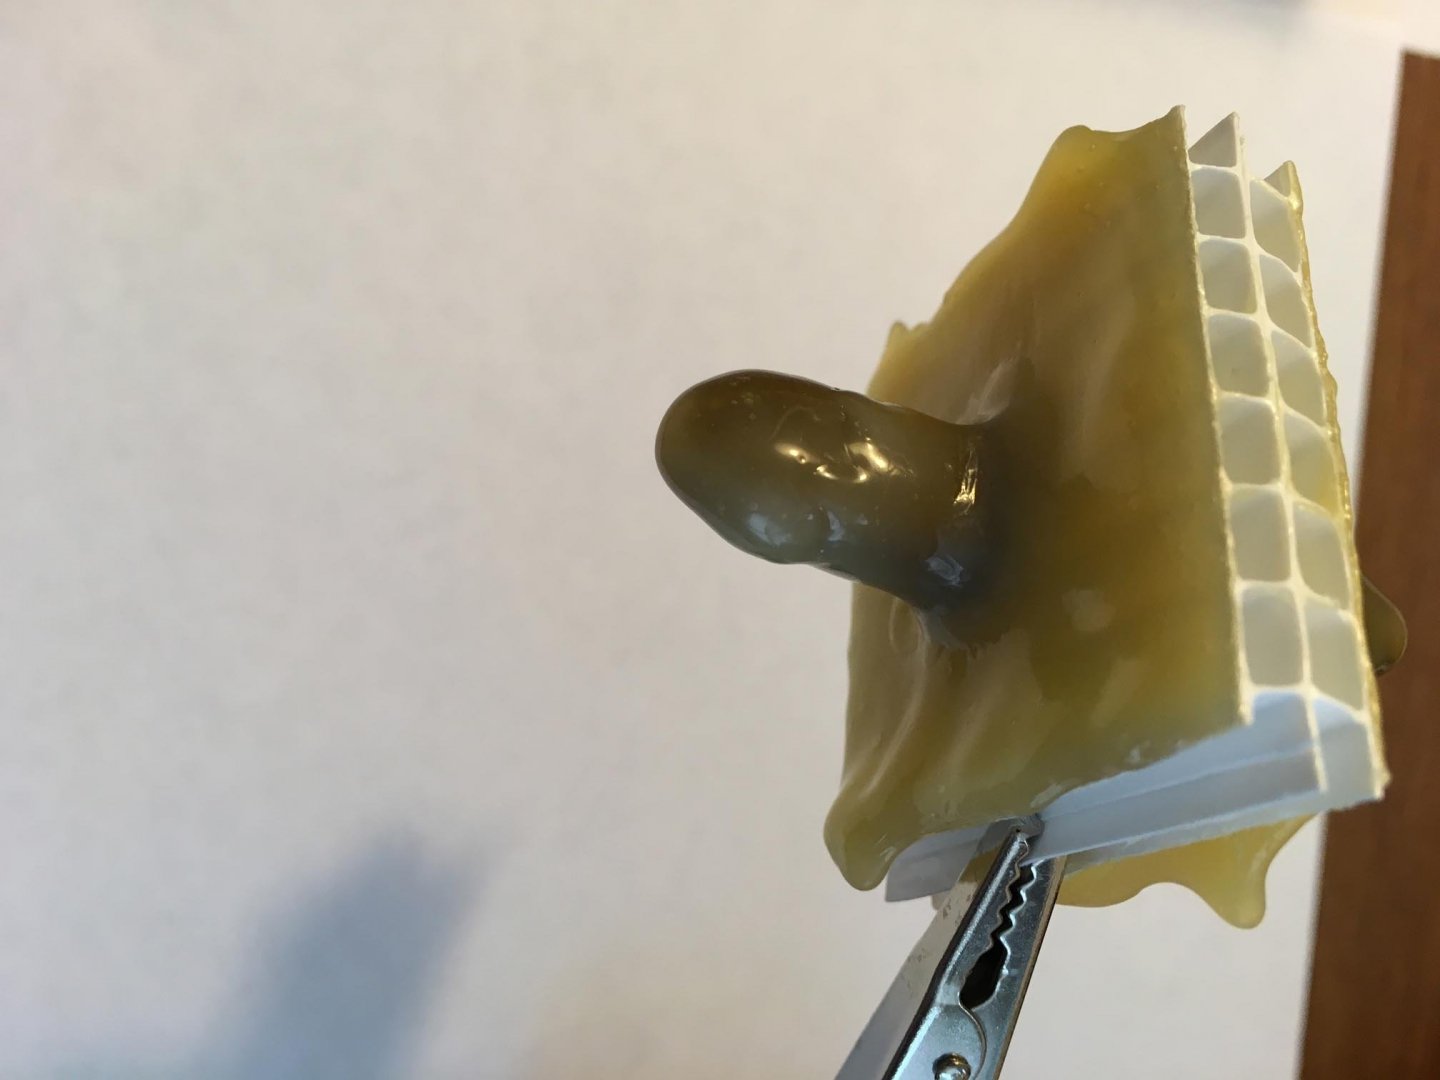
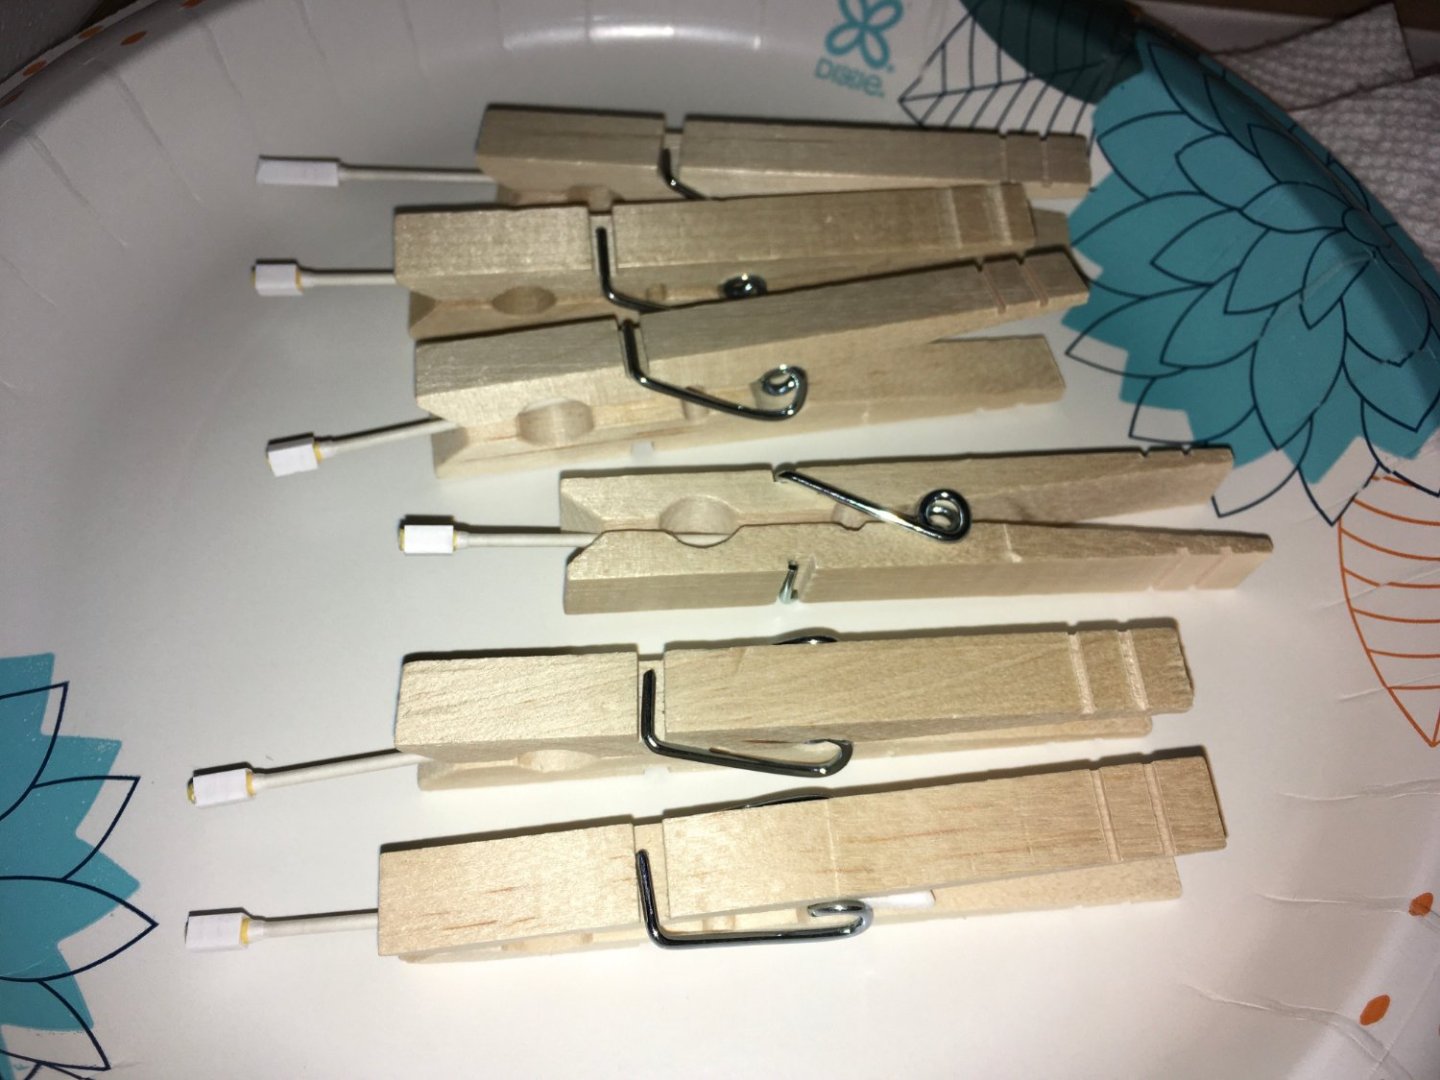
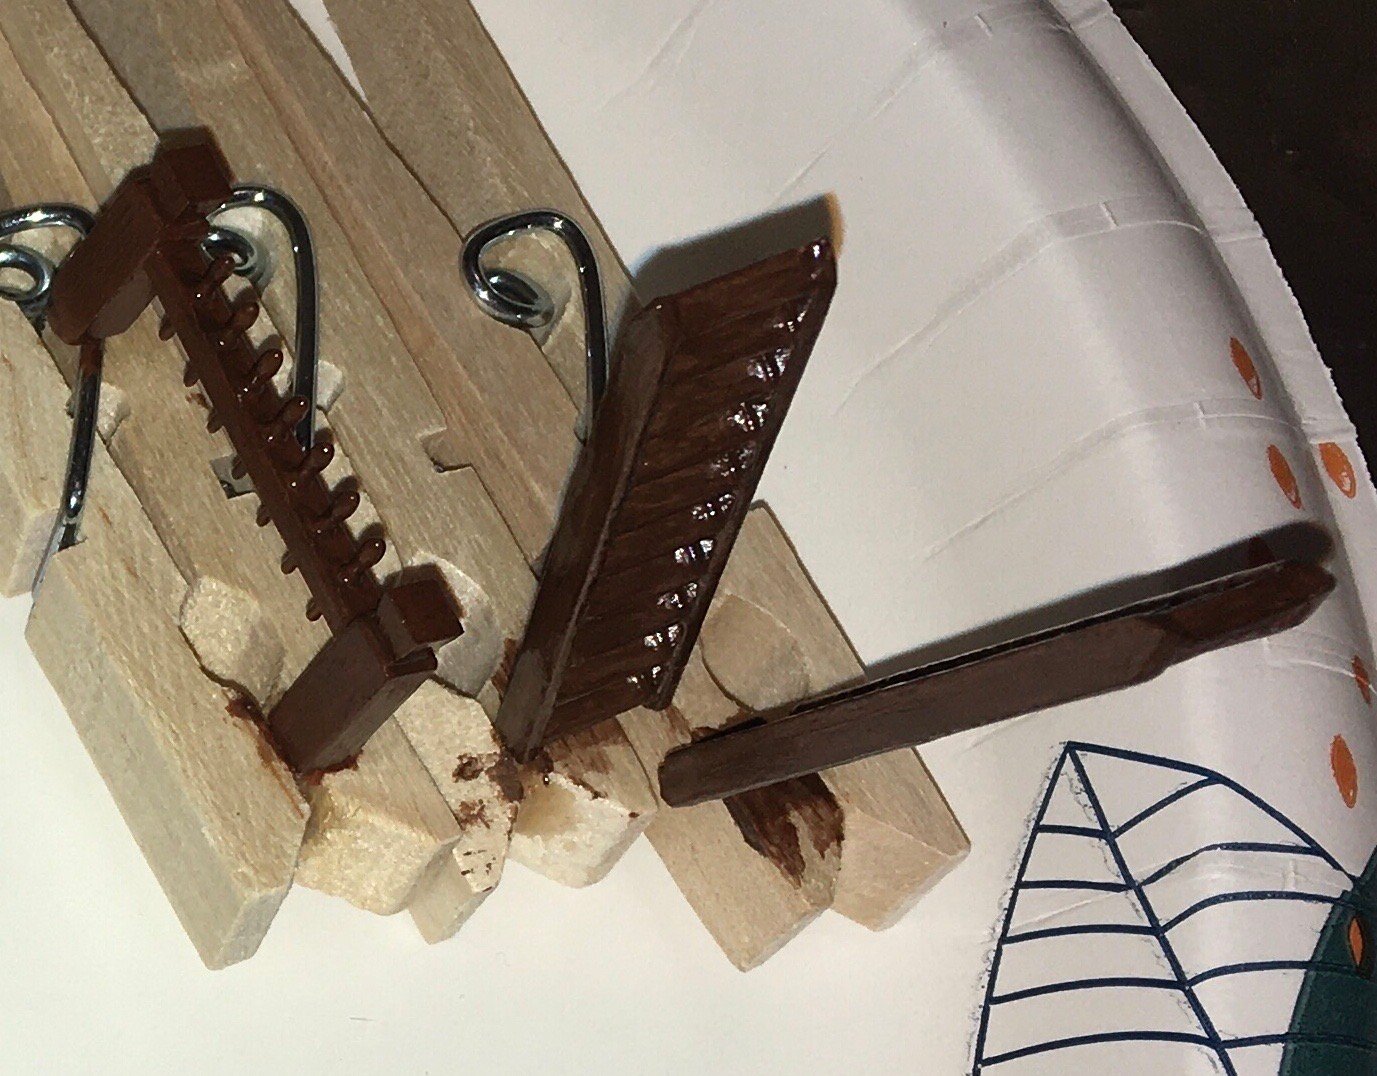
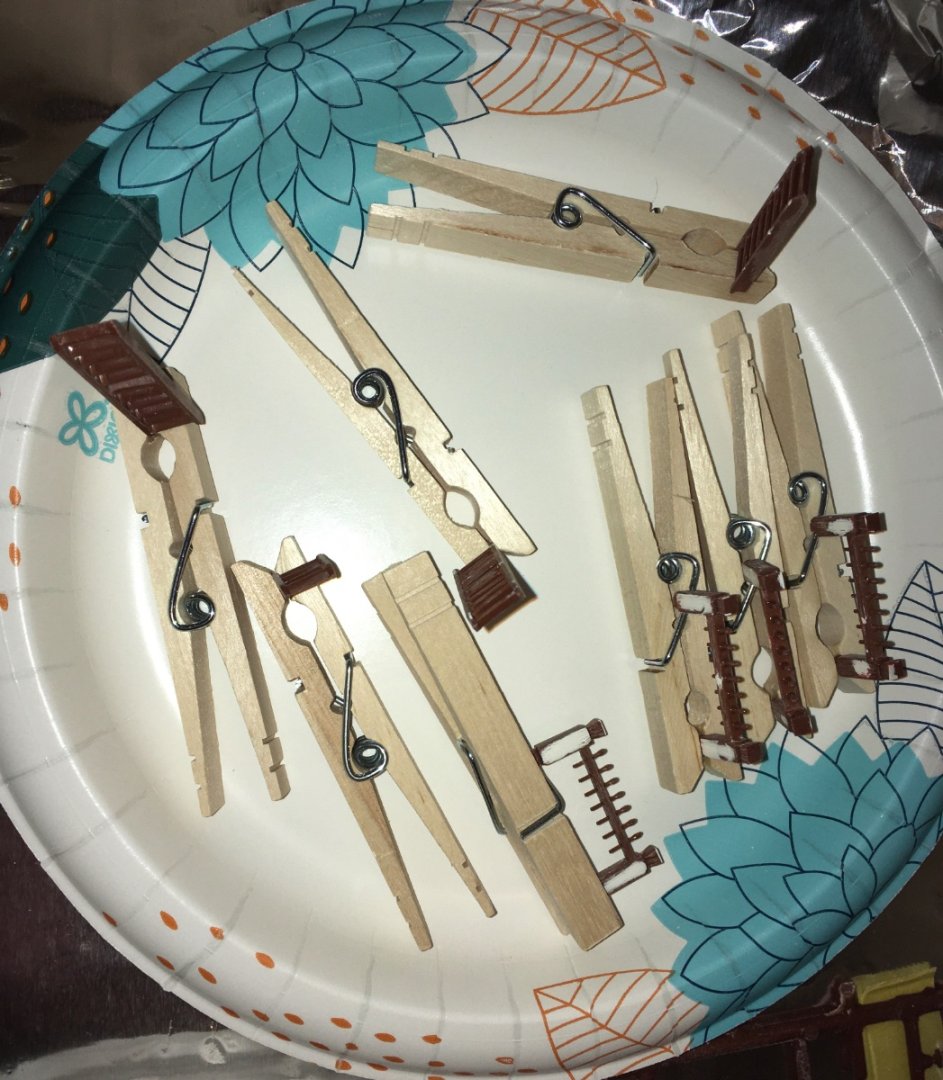
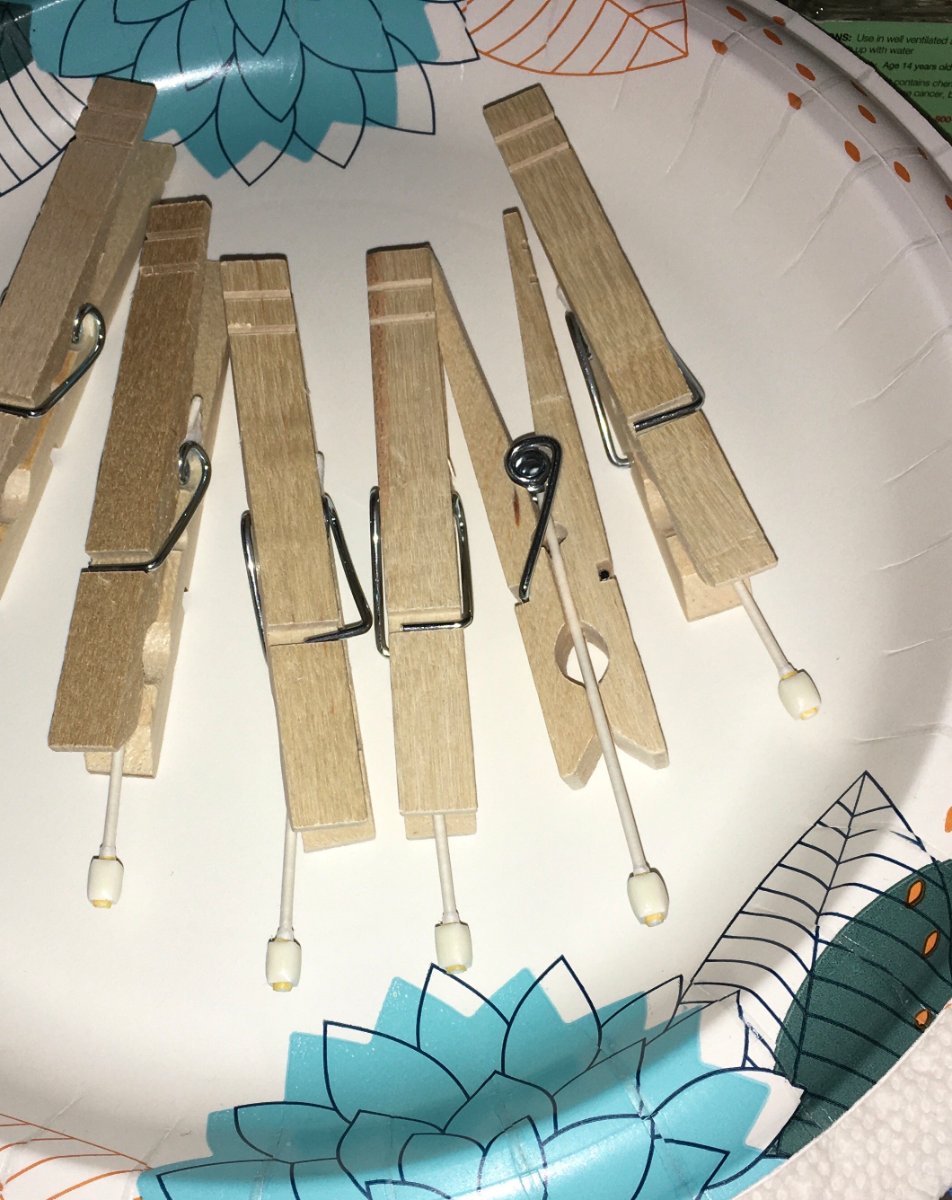
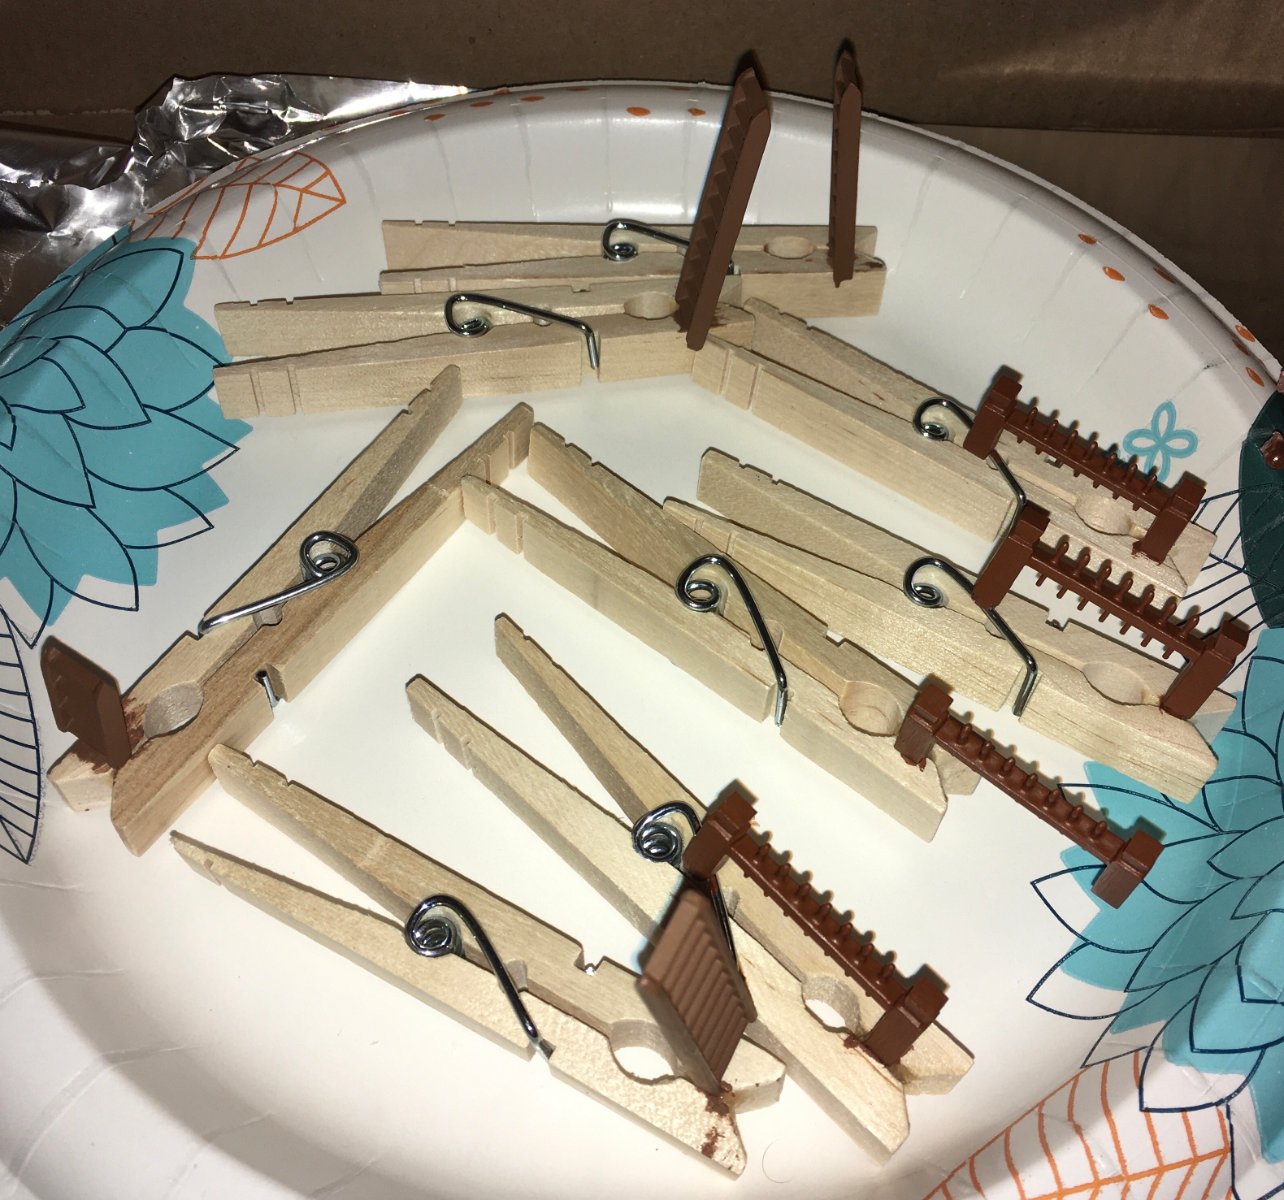
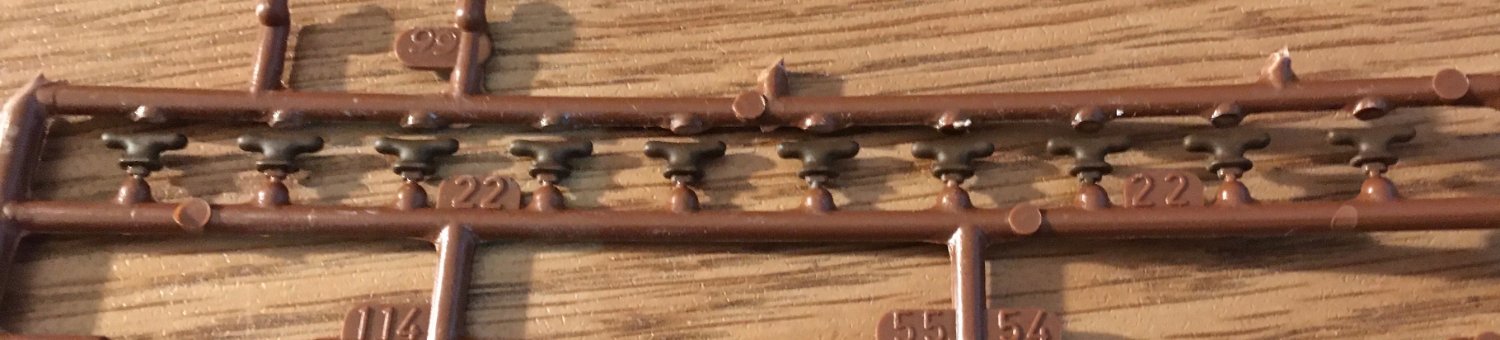
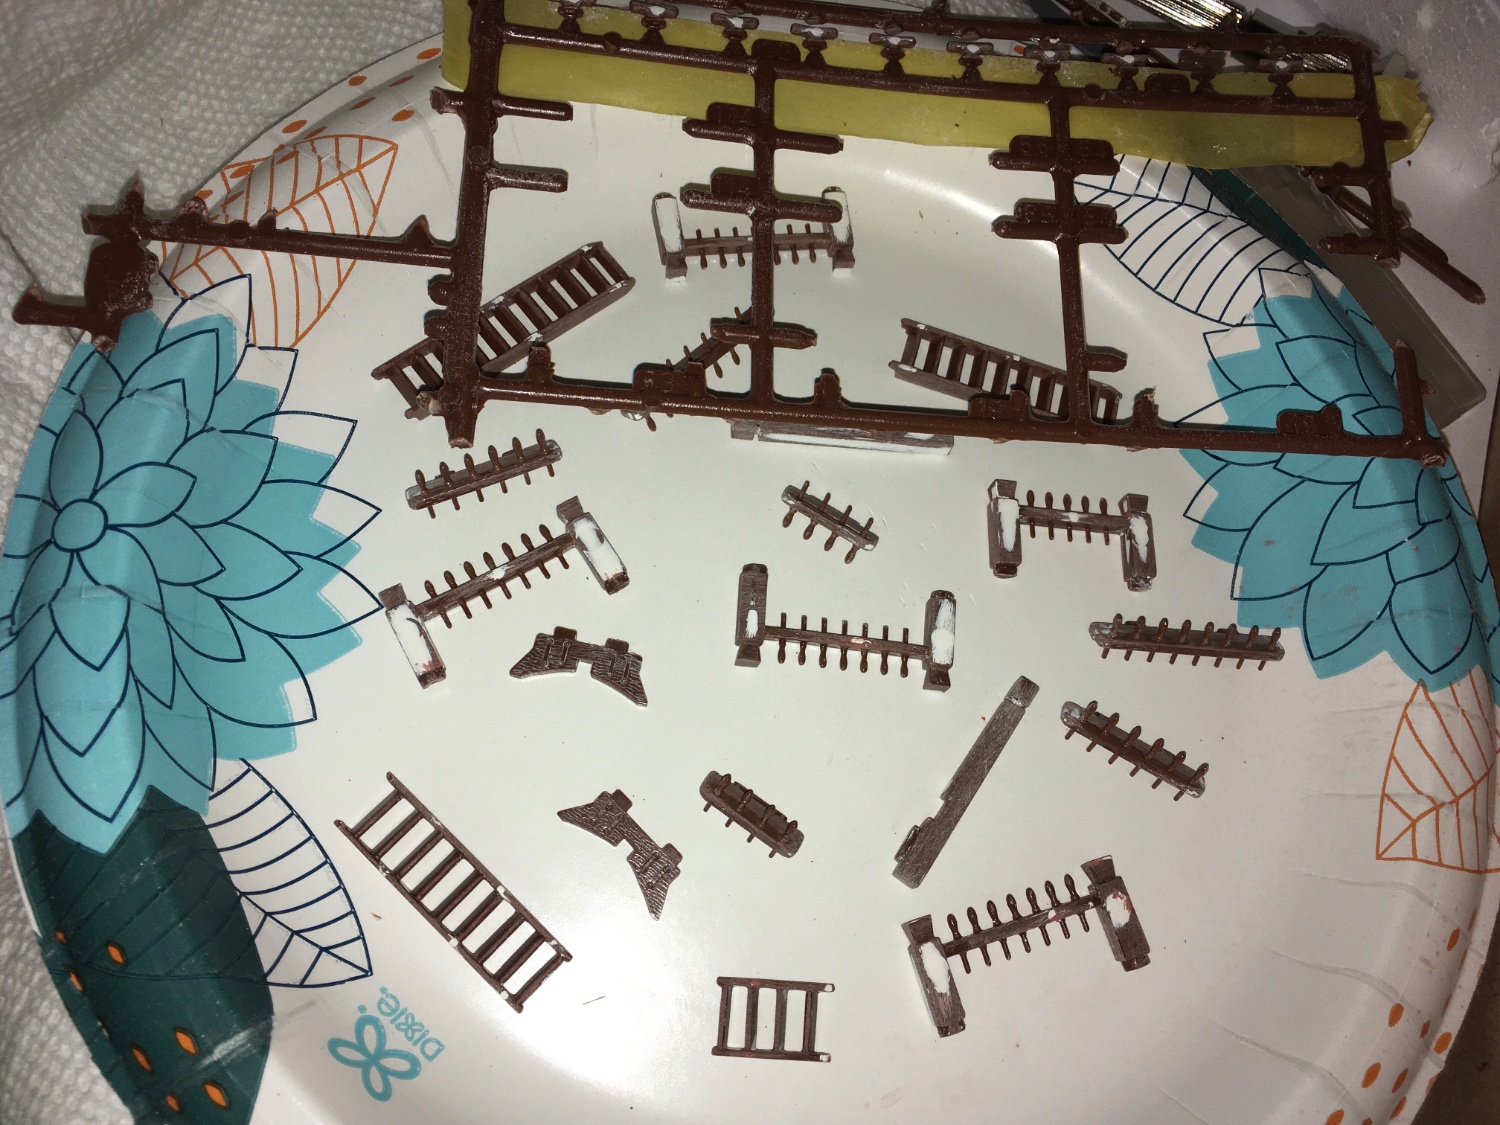
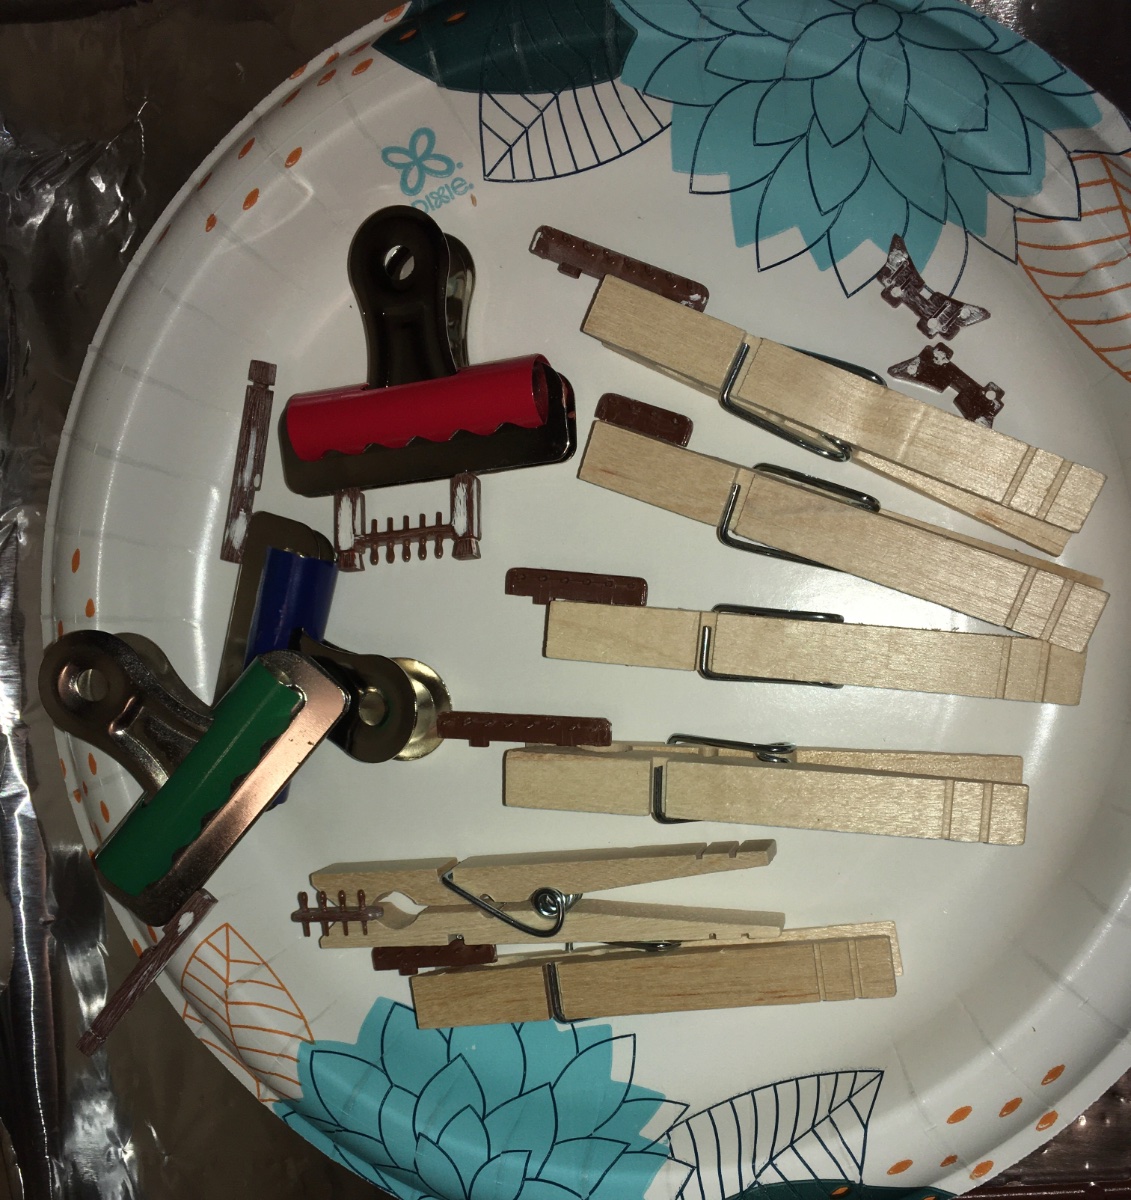
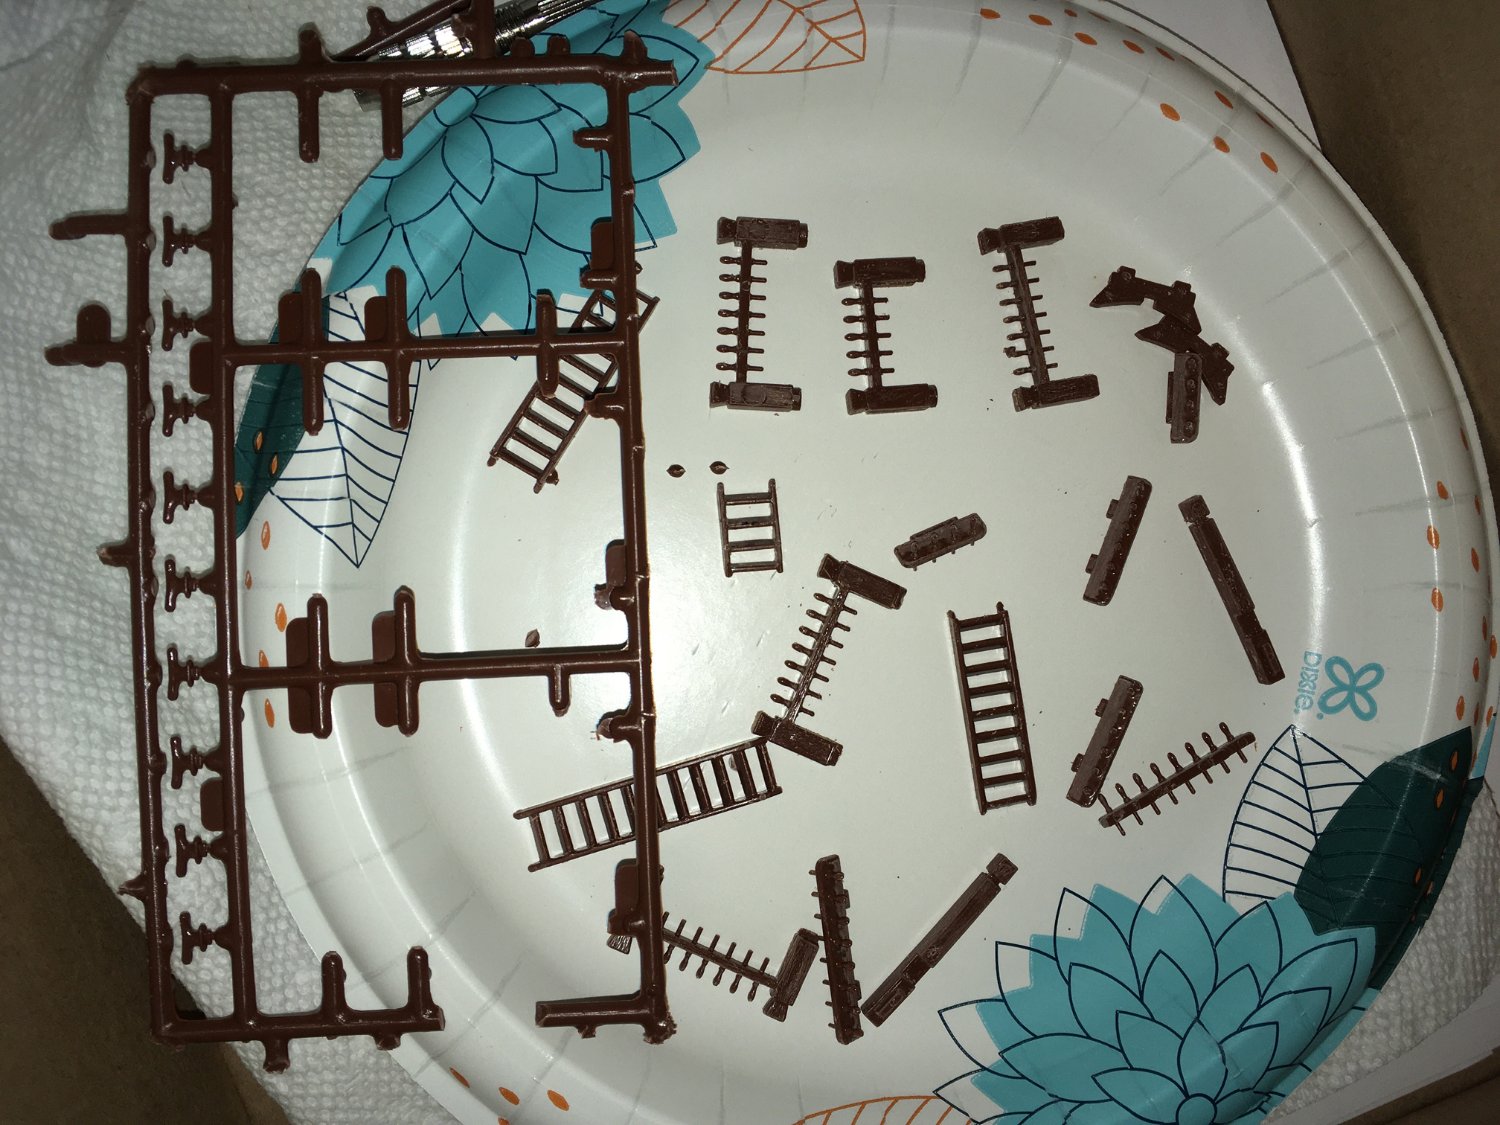
Progress with these parts is slow and sporadic, as usual for me. They required a lot of puttying and sanding, and once that was done, I scribed wood grain (where I had sanded it off) with a knife. Here are some
photos before the first coat of paint. I find that clothespins and clips can be handy to hold the pieces (by the surfaces that will later be glued) for painting.


-
Thanks, Michael! Yours is looking quite like what I’ve seen of pictures of the real Vasa in Stockholm — it’s a unique way to do the kit, like a mini museum!
-
Great work with those modifications to the beakhead grating — it can be tough with plastic pieces to clear out small areas. I remember the challenge that I had when cutting out the solid windows in the aftcastle of my galleon. This work looks even more delicate.
- Old Collingwood and Baker
-
2
-
1 hour ago, 72Nova said:
I started fabricating the pin rails and there are 6 total, at the Qtr deck and beakhead, the rest will be integrated into the new railings. I used .030"x.100" styrene and 24g copper wire, I dipped the end of the wire in medium ca glue and hung upside down a few minutes to form the bulbous end, It's looking pretty darn good to my eye. As always thanks for looking.
Michael D.
Nice way to fabricate the pins in a small scale — Marc had a good idea — they should be sturdier than styrene (with the copper wire instead) when it comes time to rig to them. If they bend, the pliable copper could likely be easily bent back straight again.
-
3 hours ago, 72Nova said:
A step often overlooked by many that makes a huge difference in the finish product....drives me nuts!!!. I like to use as much of the original parts as possible, with a little tweaking here and there can be made to look very convincing. Great work Jeff.👍
Michael D
Thanks, Michael
As a kid, I would just twist the parts off of the sprue and immediately glue them to the model, painting it after it was built. Thanks to the internet and the forums, I could never go back to that. I see what can be done, and I want to make it end up being the best model that I could build. Far from perfect, yes, but my best effort. Preparing parts can be tedious and sometimes frustrating, but I look forward to the result.
-
I'm going back to the plastic again. It has been a while since I worked with the styrene kit pieces, but I have decided to continue with the preparation of some parts that I had left undone over a year ago before seeing the cannons through to completion.

Basically, I am cleaning up a lot of seam lines, leveling (the best that I can) slight mismatches of the mold halves, and flattening out ejector pin marks and depressions for stairs, catheads, pinrails, cleats, and boat cradle pieces. I am sanding, scraping with a hobby knife, "smoothing out" some areas using Tamiya Extra Thin cement brushed over the styrene, and I will also use Milliput Superfine White epoxy putty where needed to get the pieces ready to paint.
- Baker and Bill Morrison
-
2
-
Great job with your Mayflower!
-
-
-
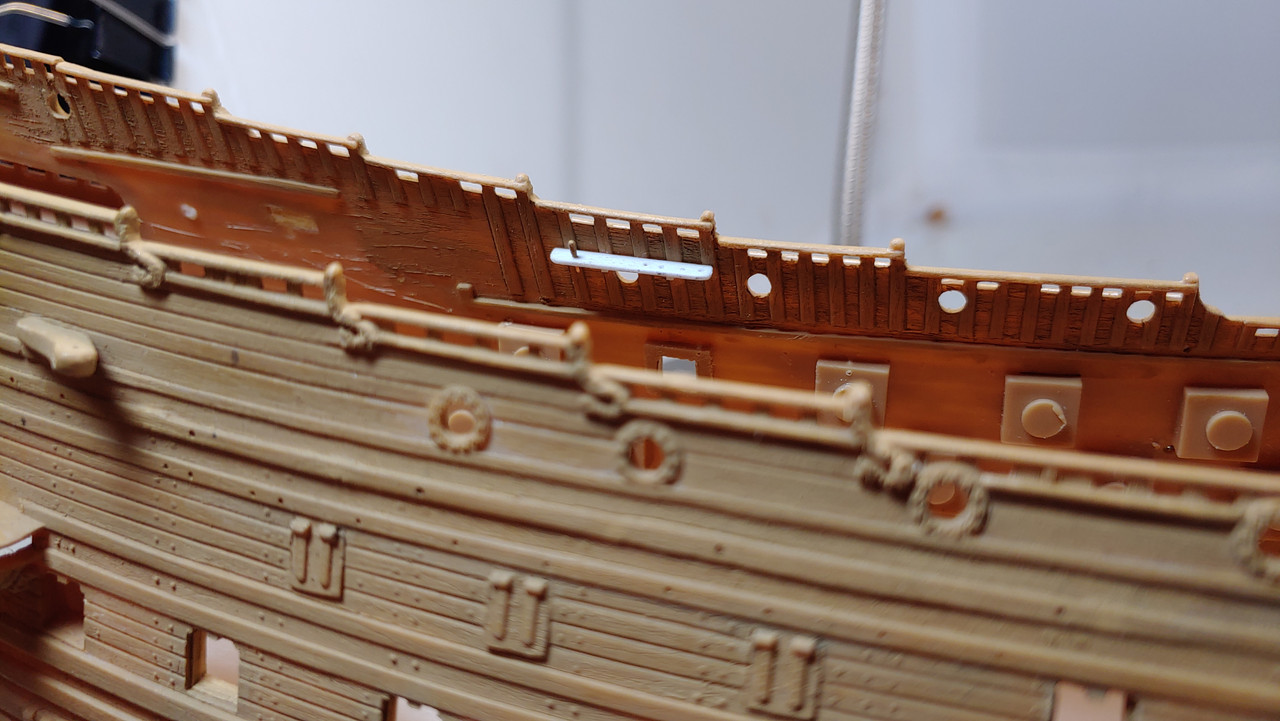
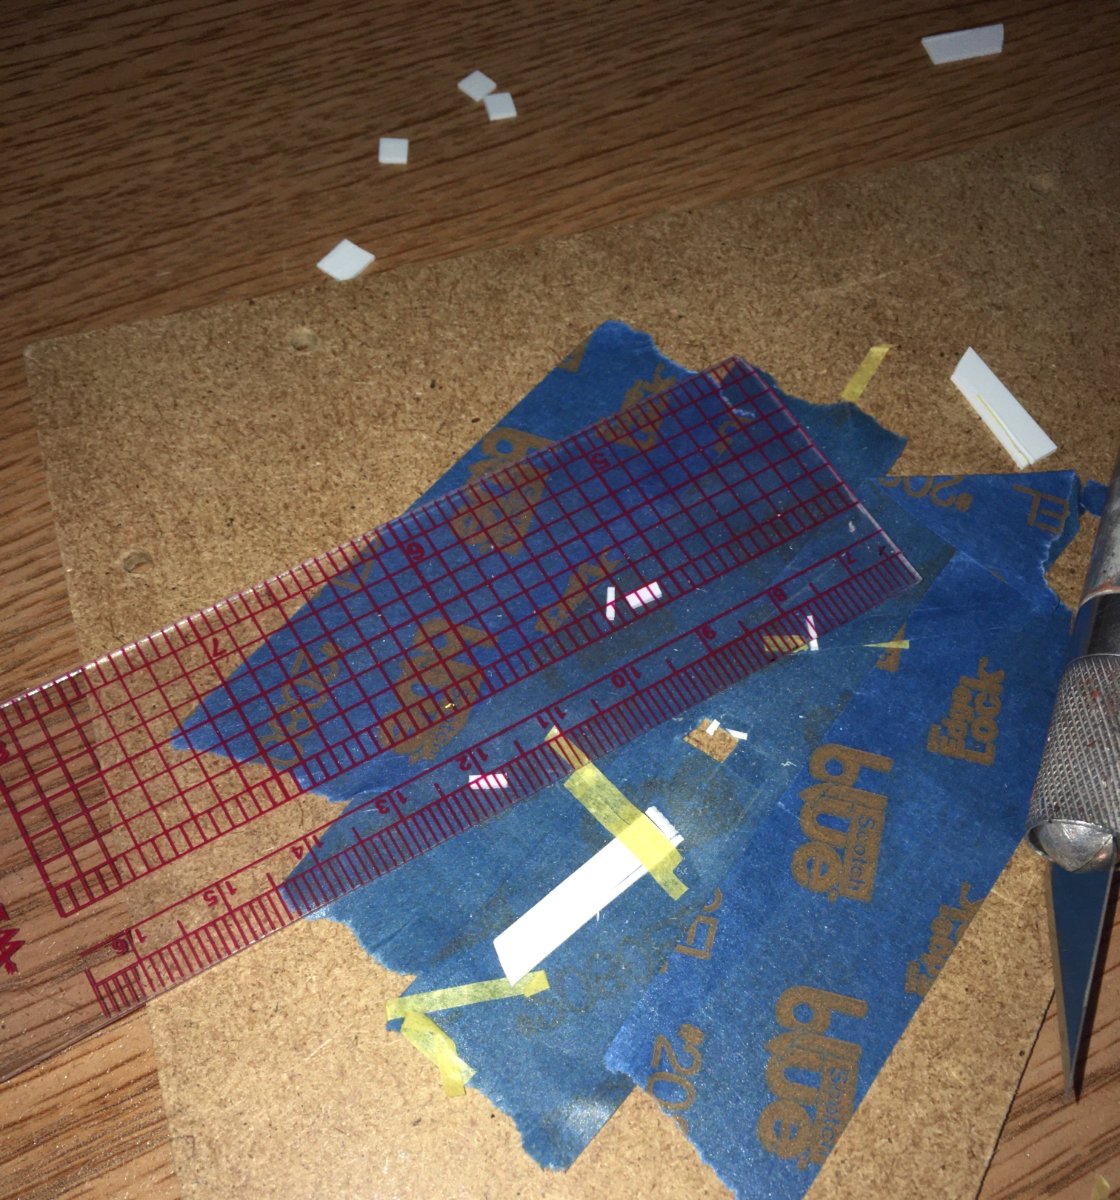
I made capsquares for the cannons using a technique similar to one that I saw on Model Ship World (can't find the post).
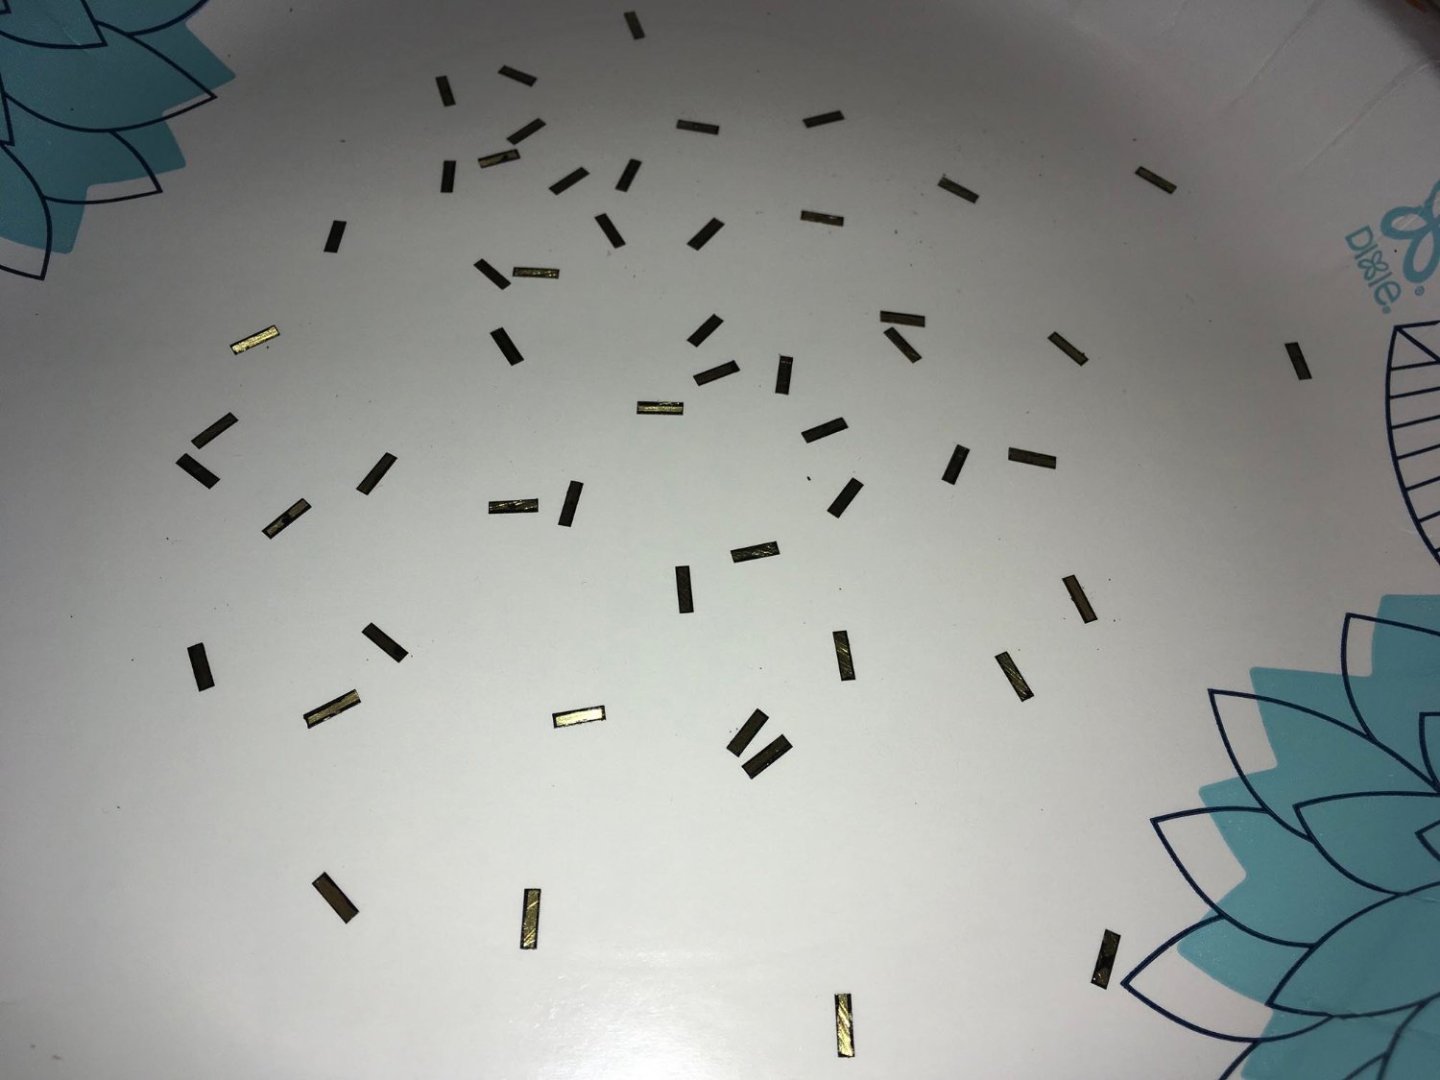
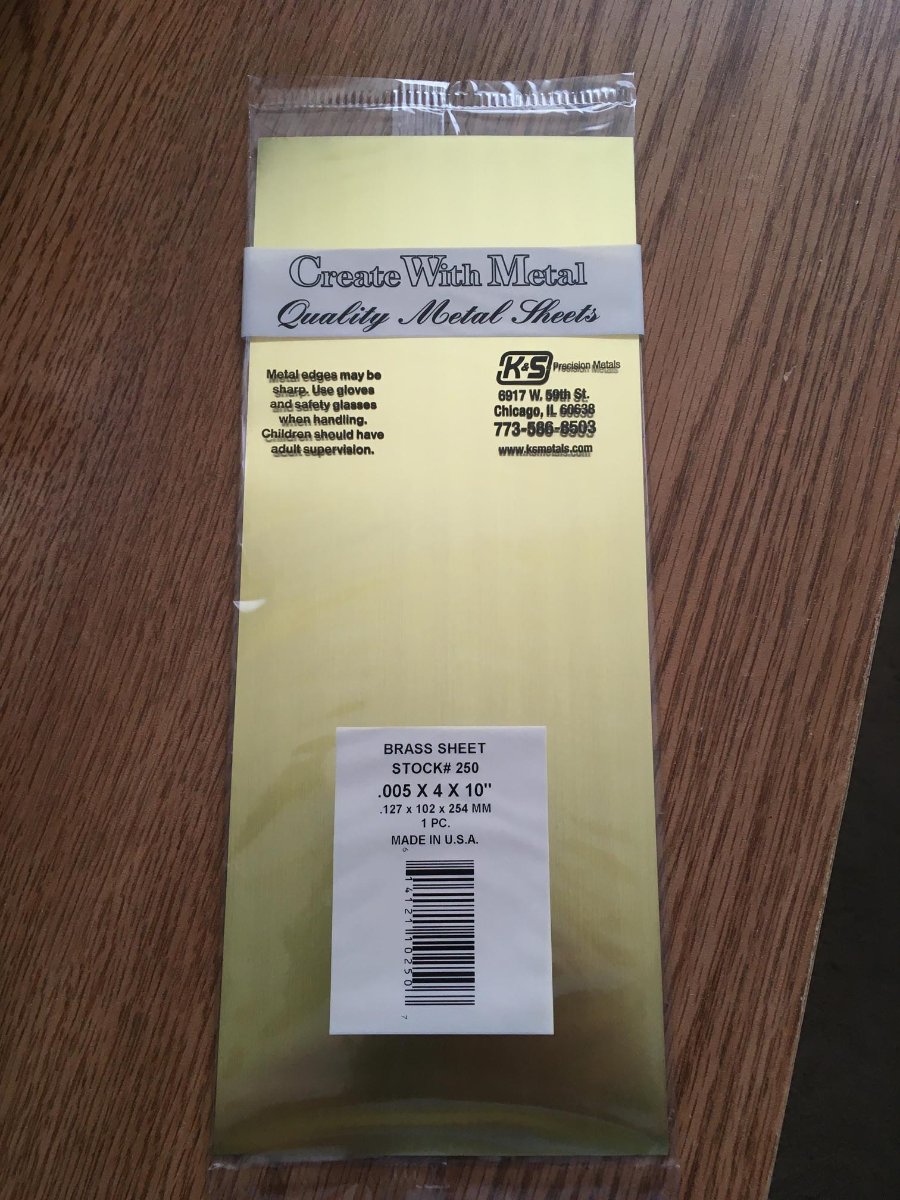
Starting with a 5 mil thick sheet of brass,

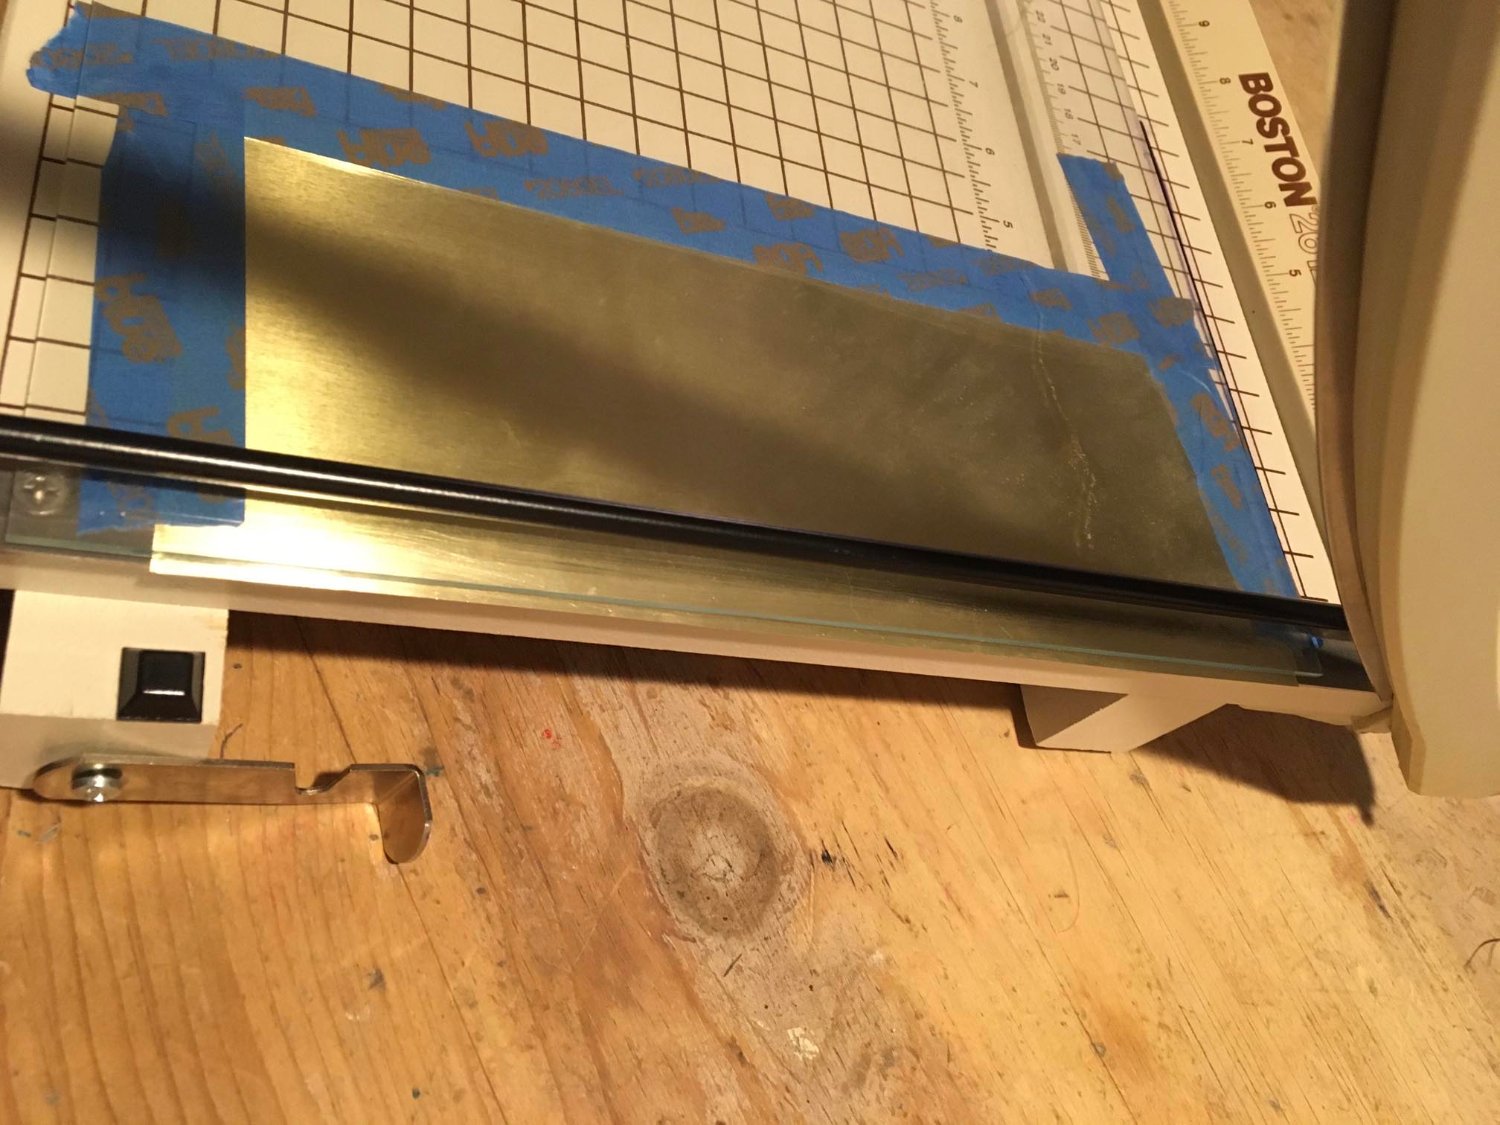
After sanding the front and back surfaces of a long edge of the sheet to aid in future paint and glue adhesion, I used a paper cutter to cut thin strips:


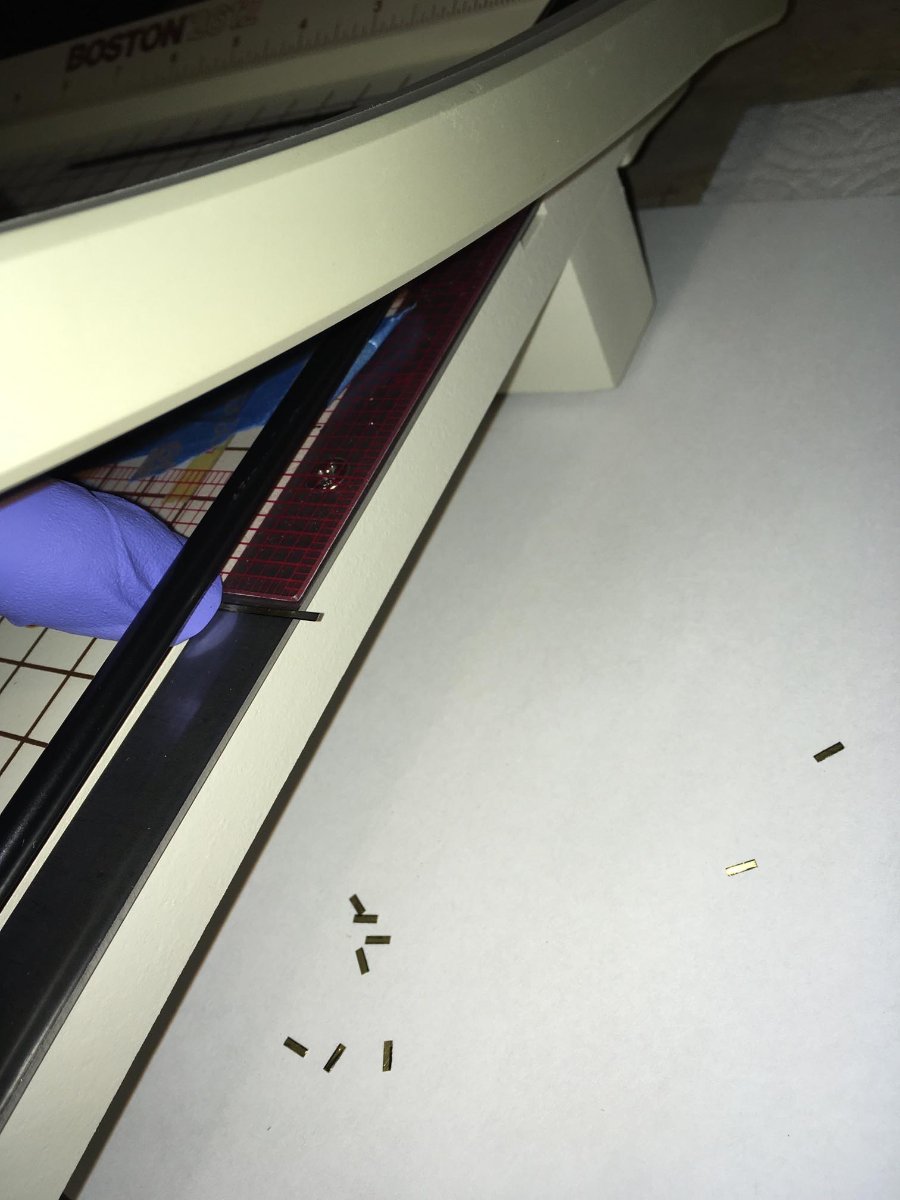
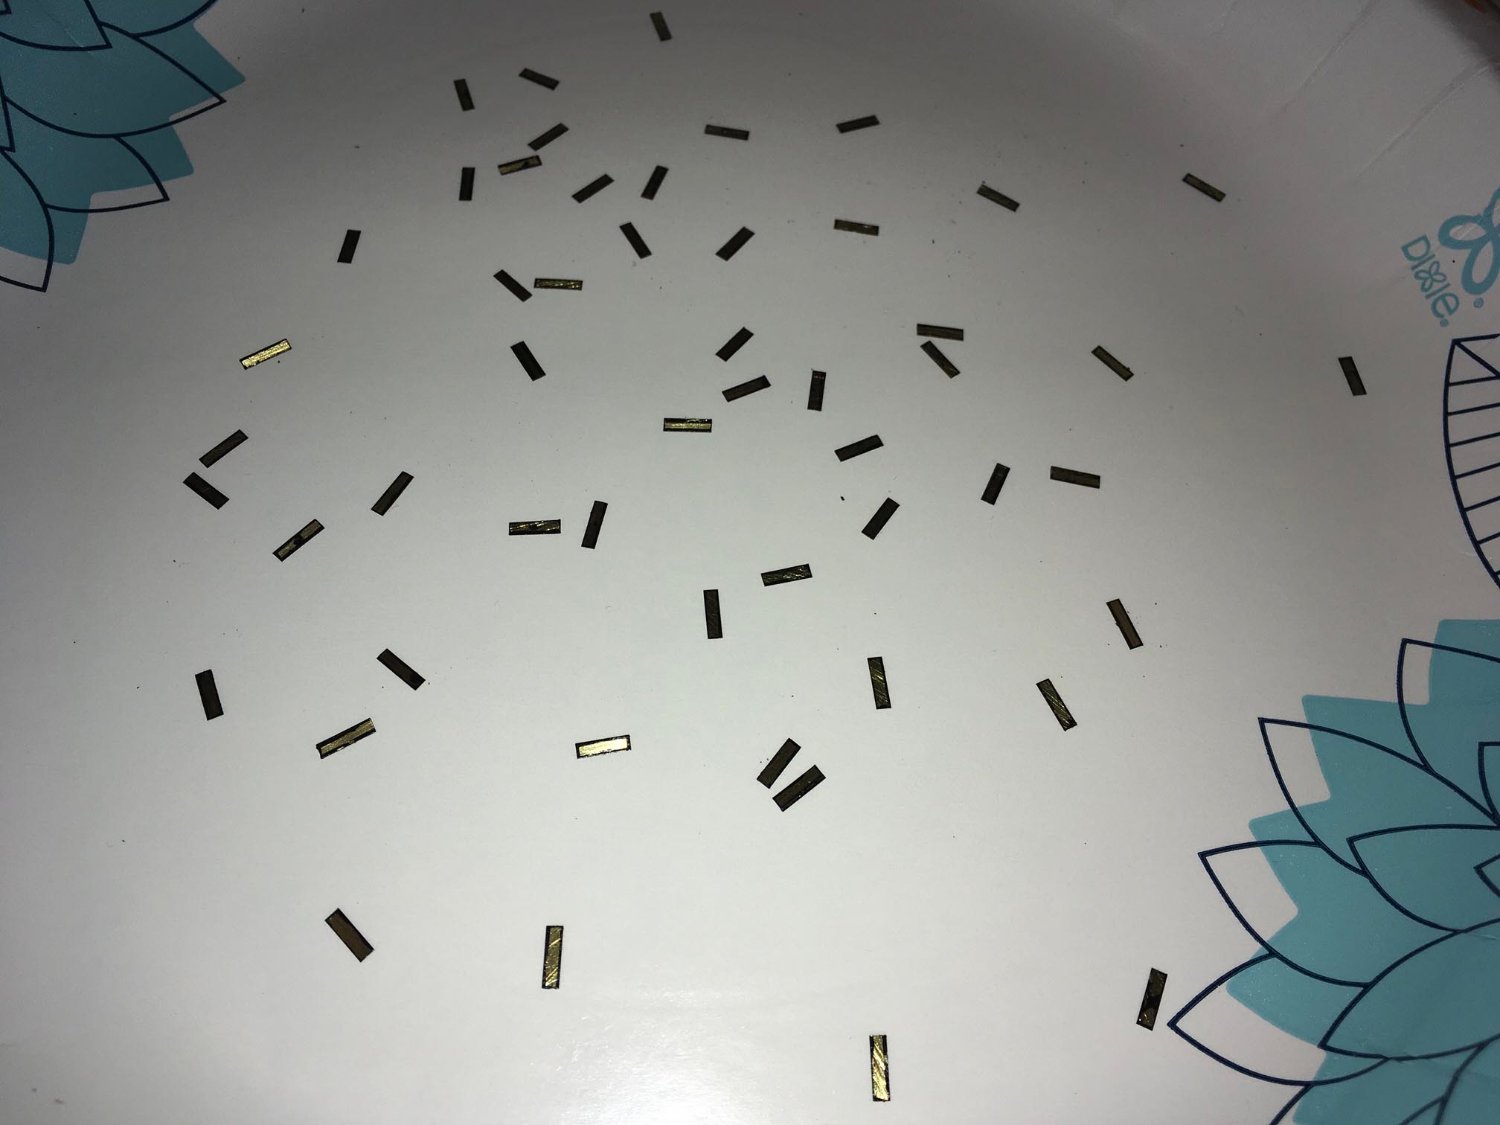
I used the cutter again to slice measured lengths:

A black paint marker had been used on the edges of each capsquare before placement as they would be difficult to paint after gluing the capsquares down.
I glued the front of each capsquare down first using thick CA glue:
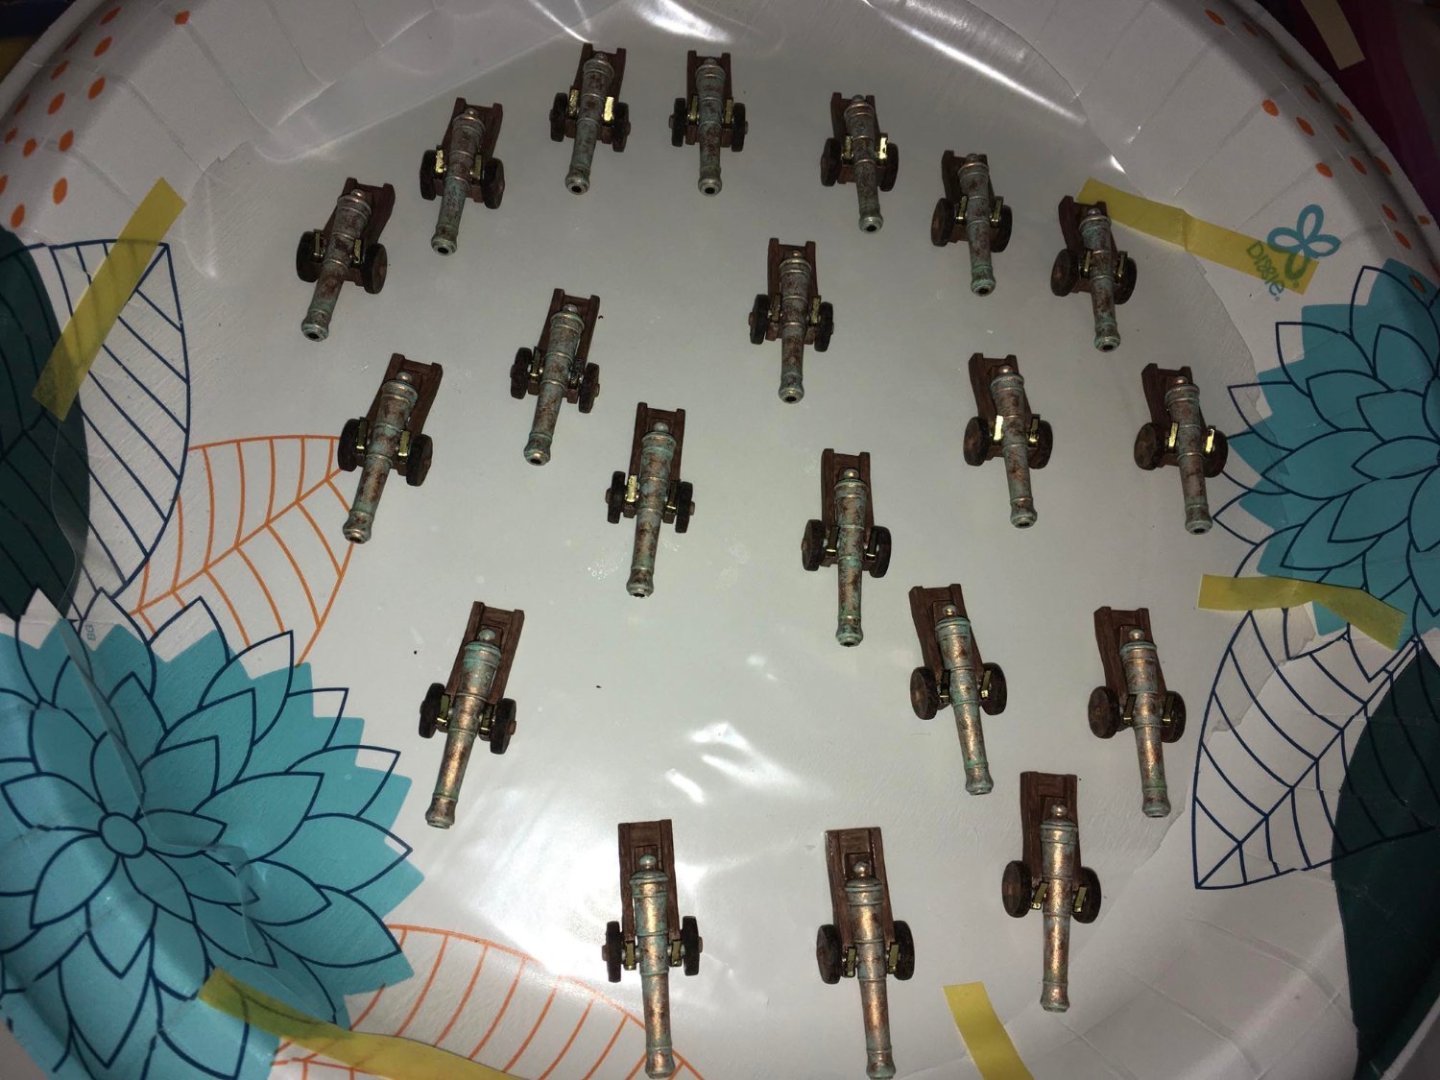
After giving plenty of time for the glue to dry, I bent the brass over the trunnions and glued down the back ends (glue was also used over the trunnions):
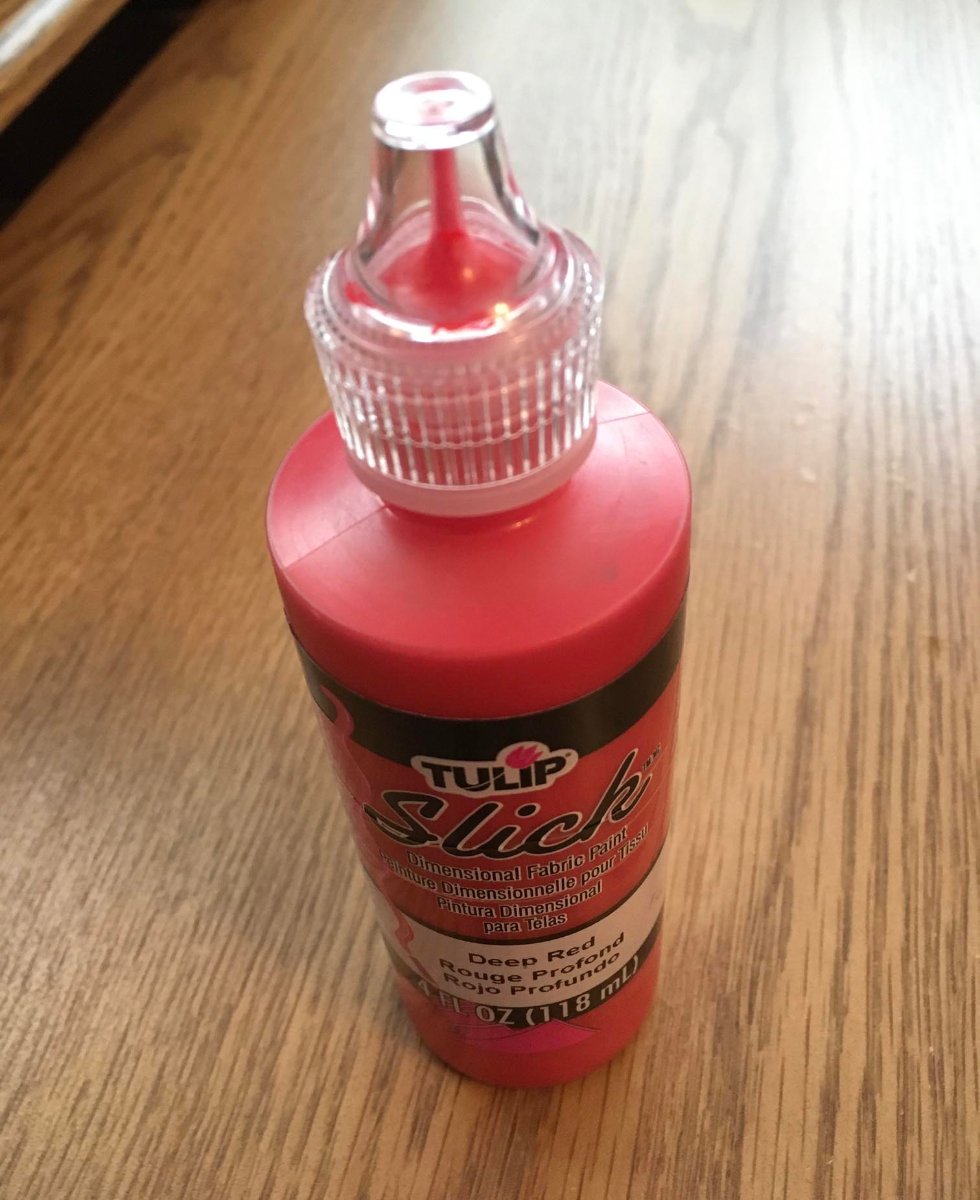
To simulate latches or bolts on the capsquares, I used a "puffy paint":
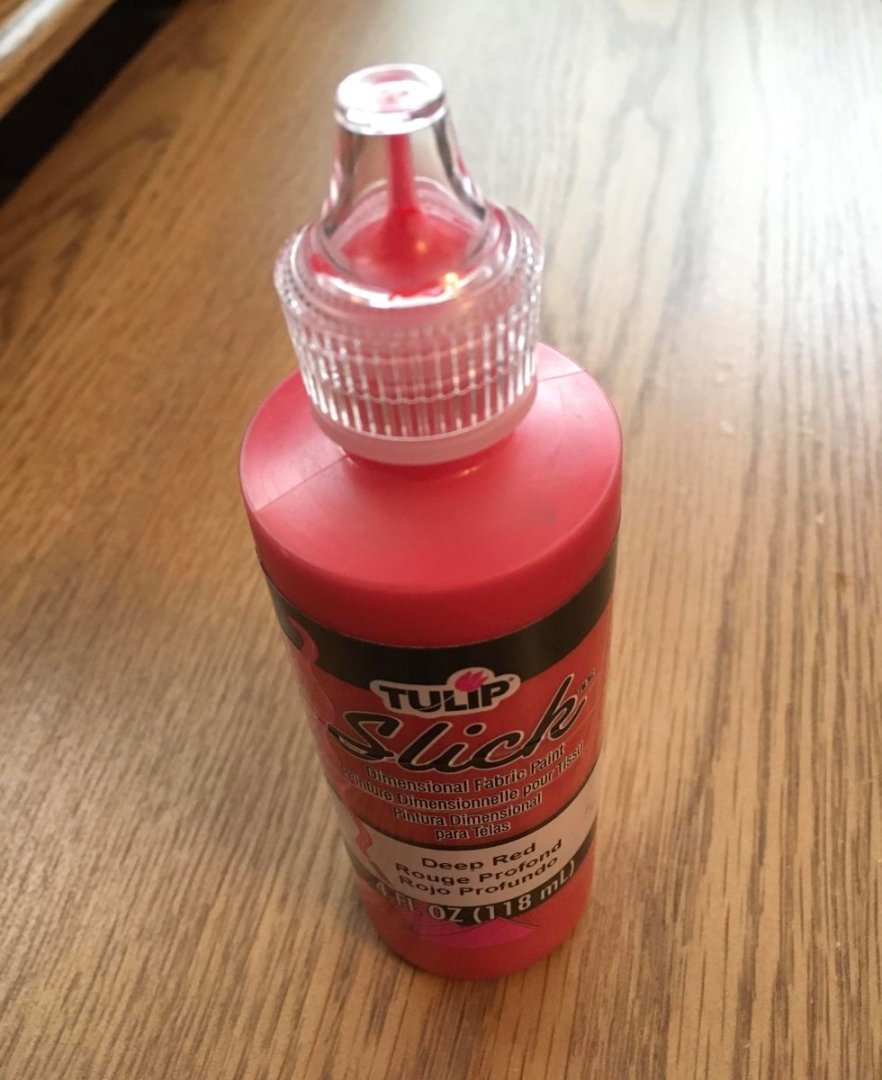
The narrow nozzle on the bottle was used to apply a small spot of paint to the front and back of each capsquare. The paint dries as a raised bump or cone shape:
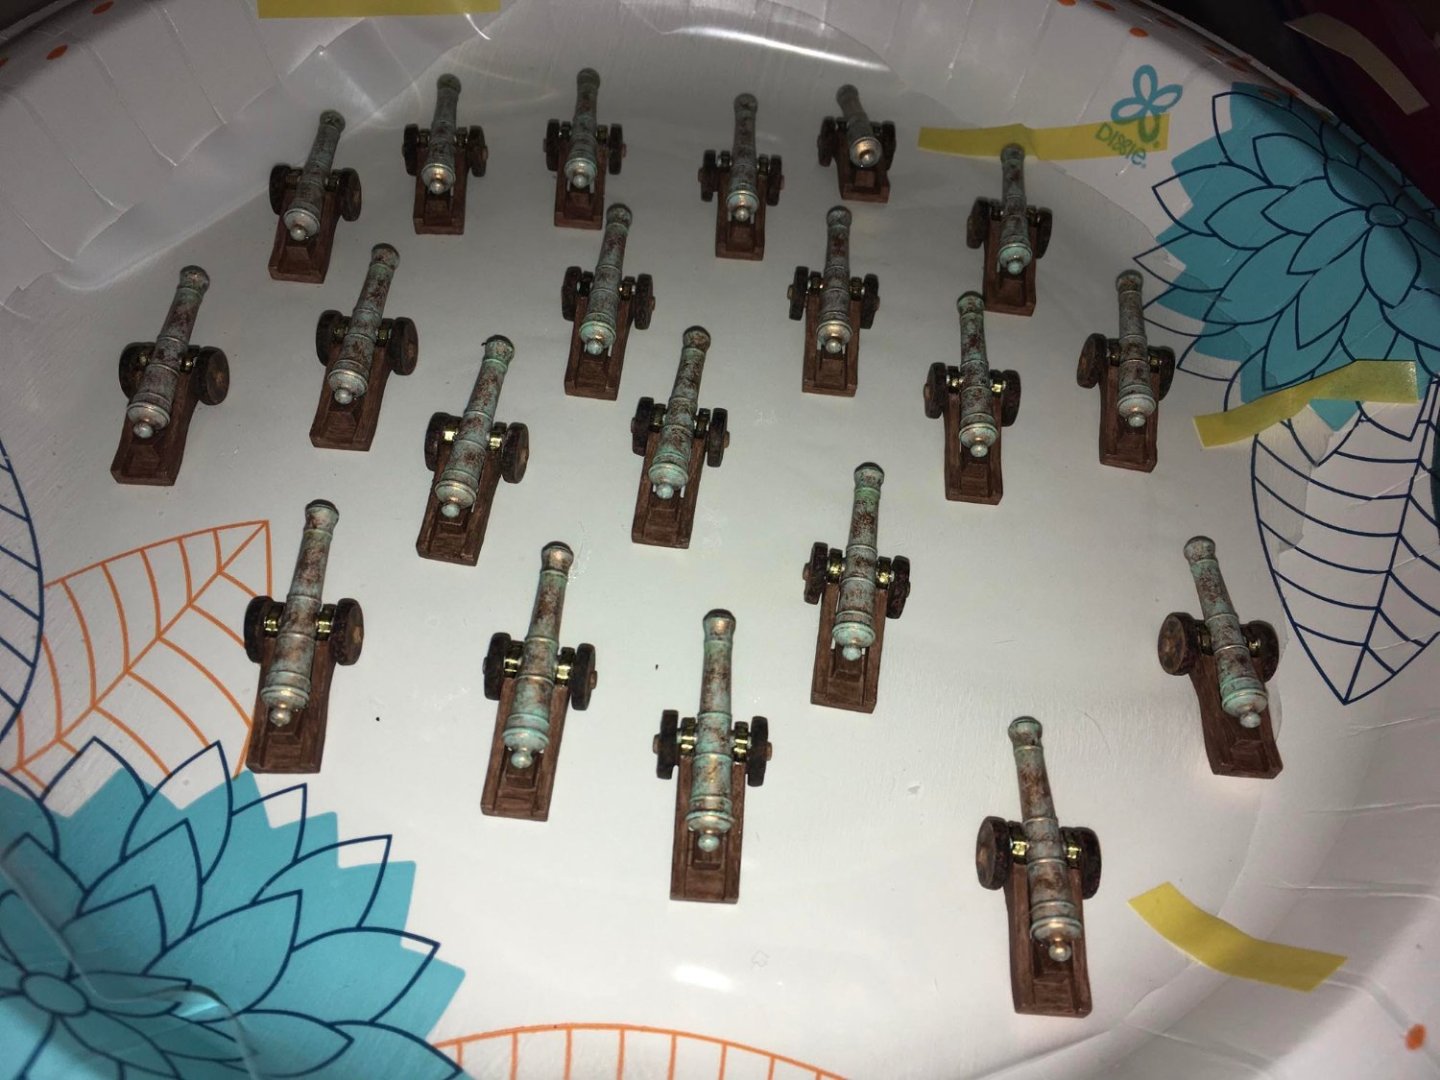
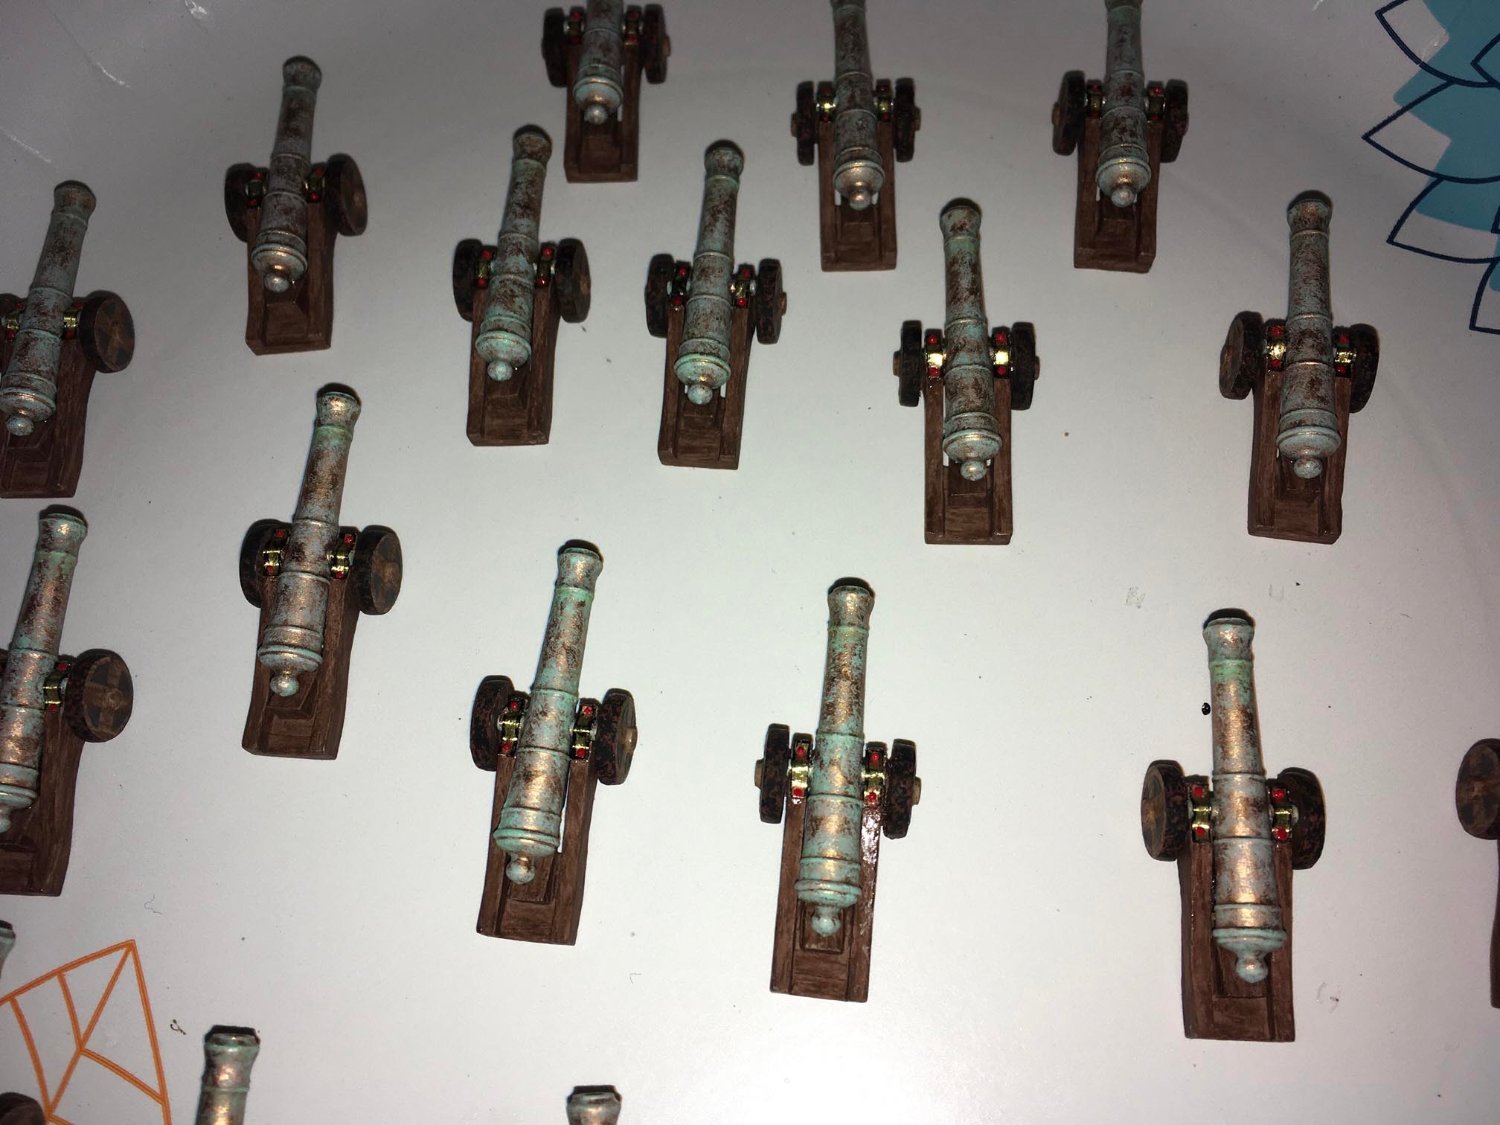
Black enamel paint was applied to the capsquares to simulate iron:
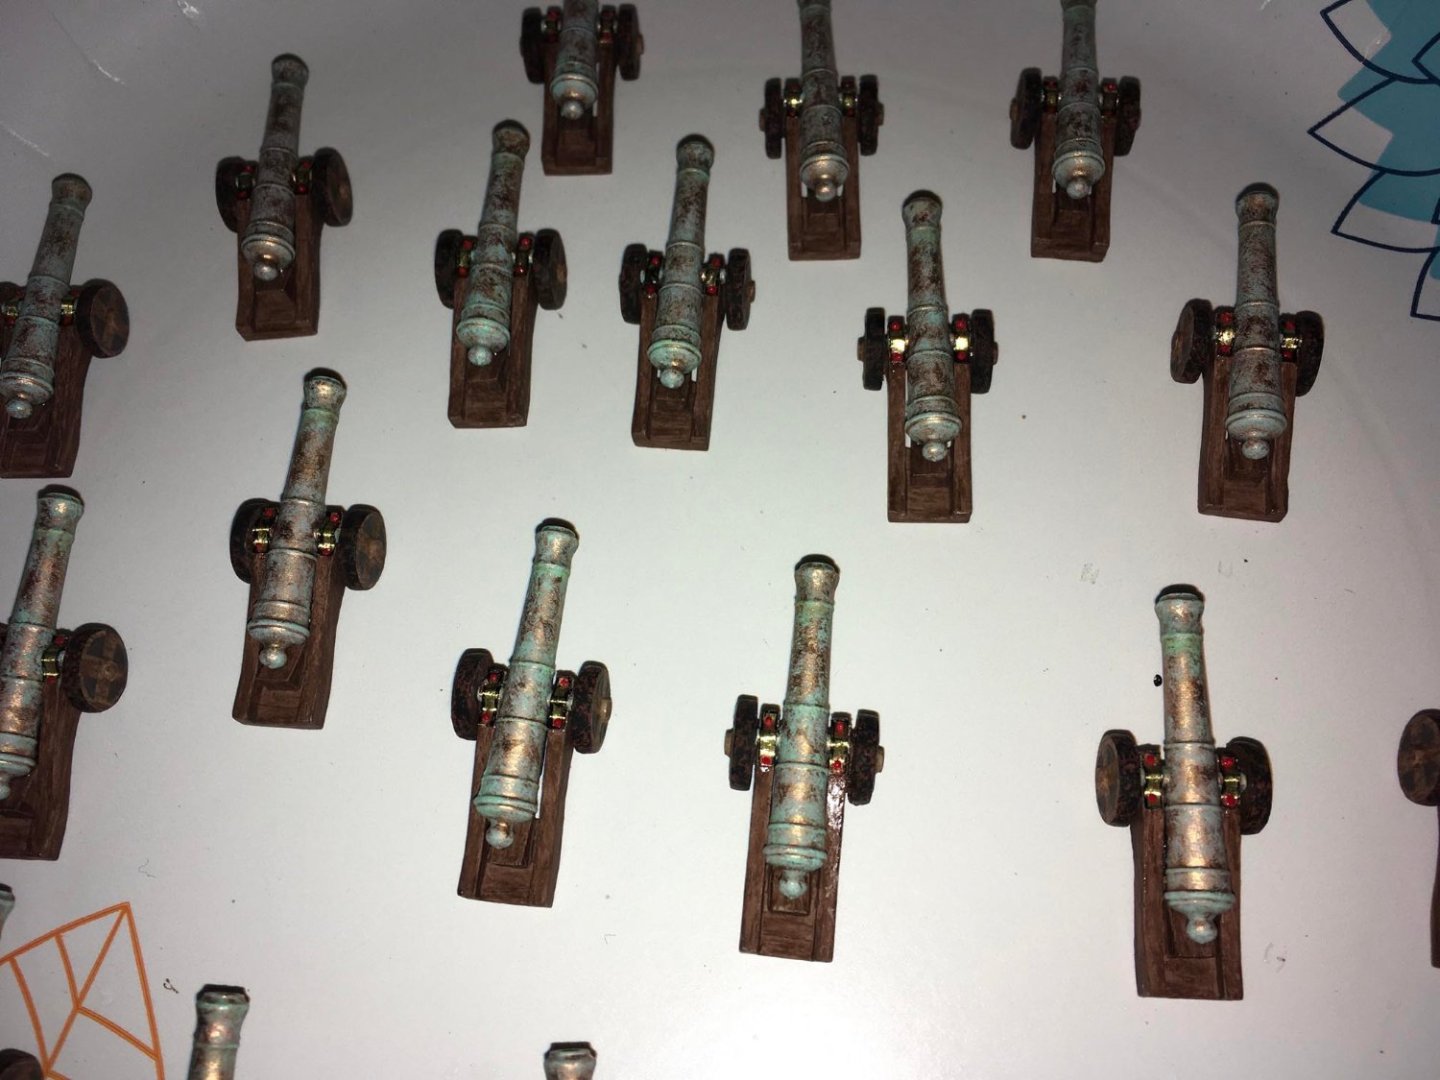
After a clear coat of acrylic, I applied rust color details (same as for the wheel rims or tyres):
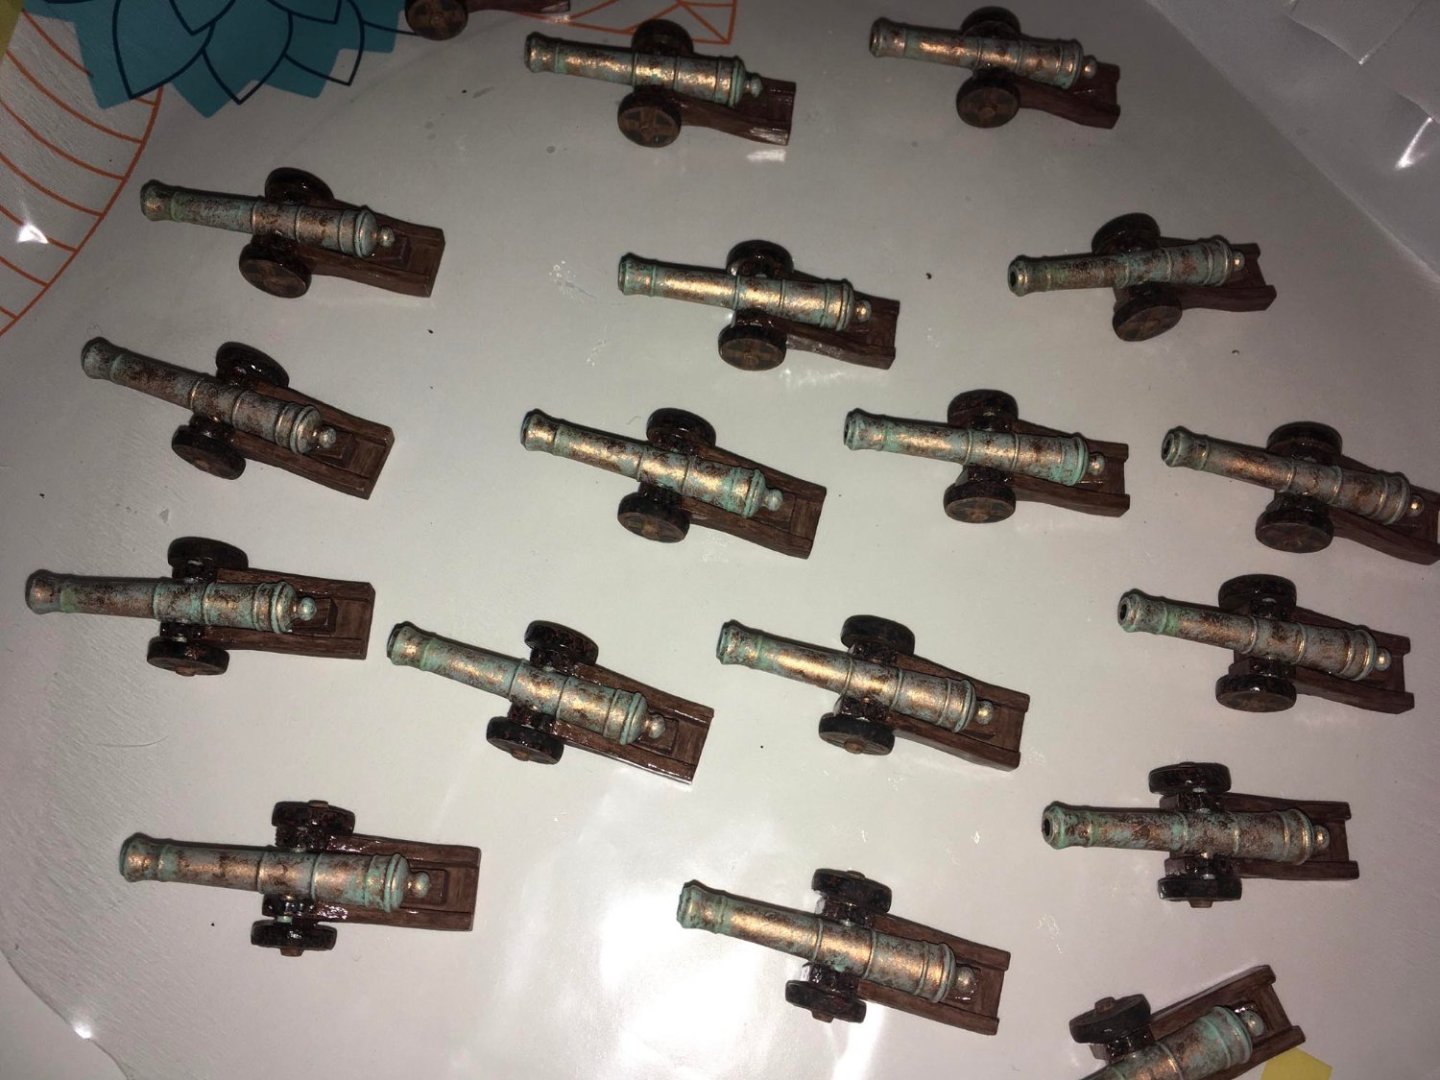
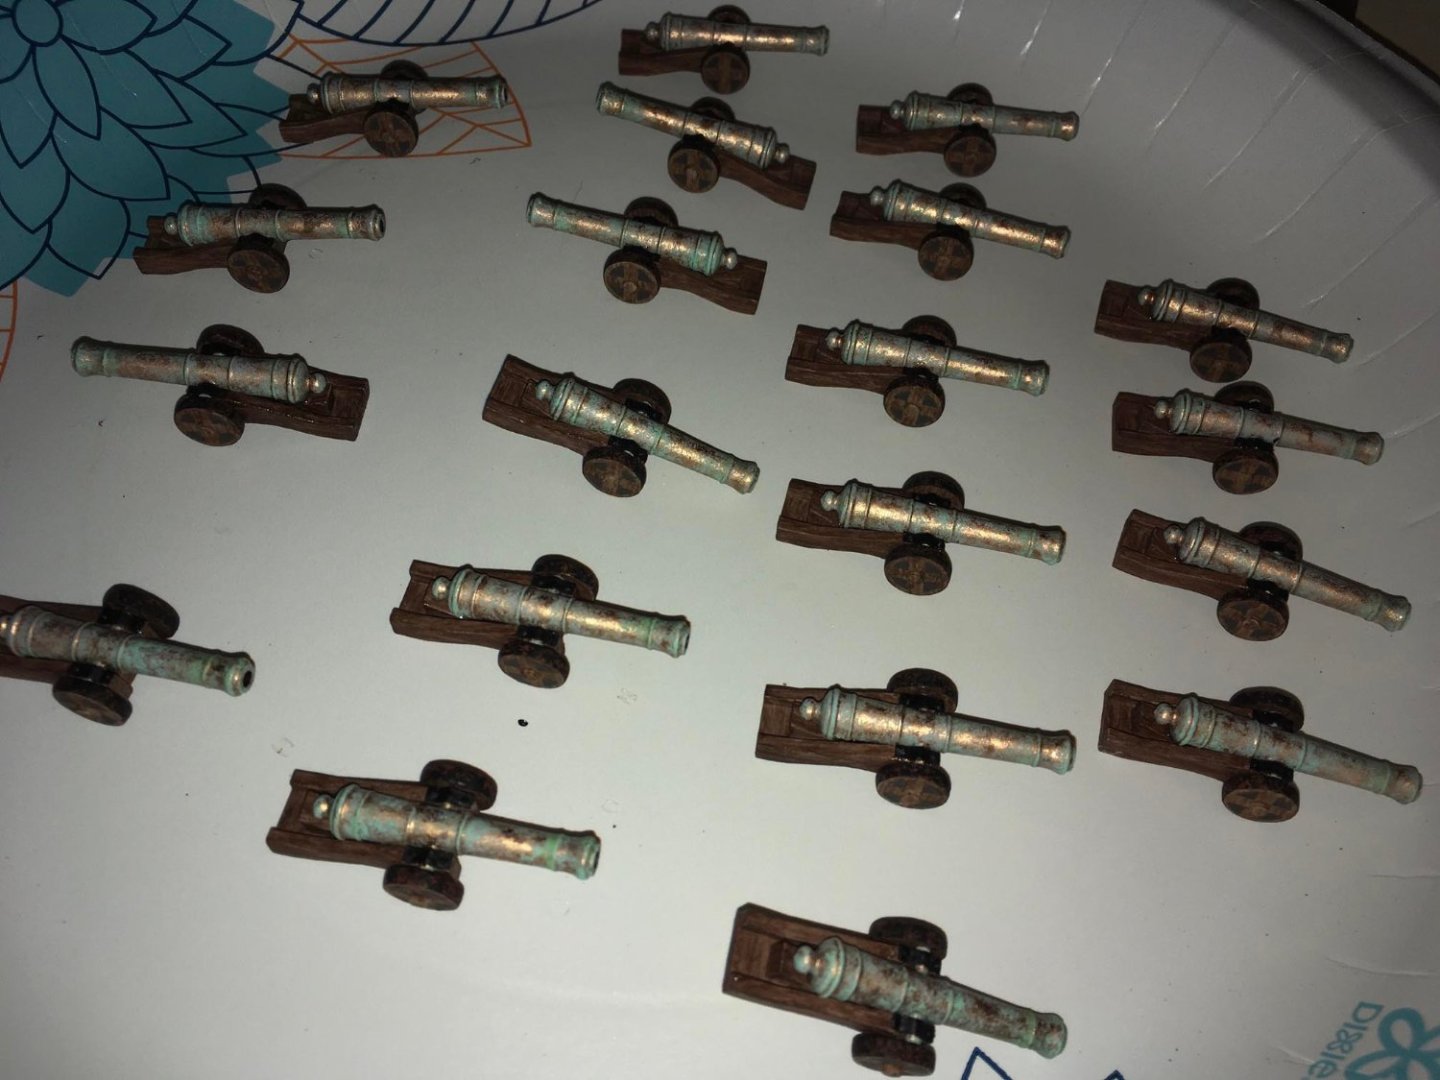
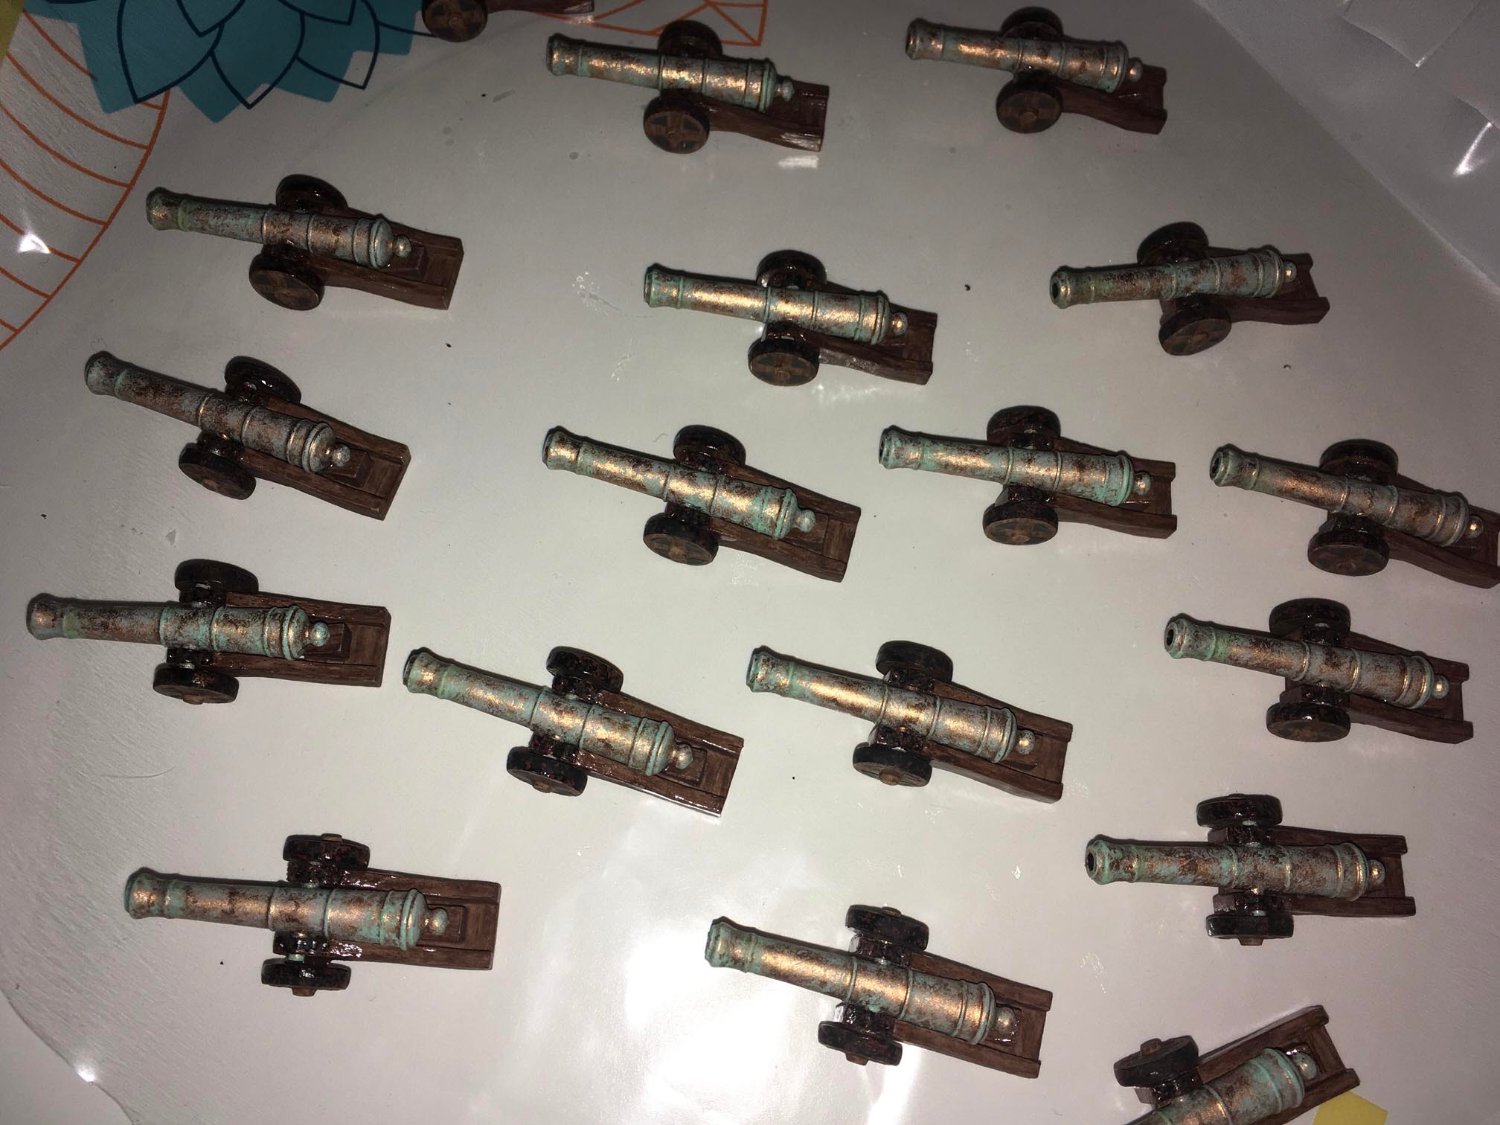
To make an even flat sheen, after a clear acrylic isolation coat, I applied a flat varnish (AK Interactive Ultra Matte Varnish, which gives a great result, but is difficult to work with). Now, my cannons are finally done:

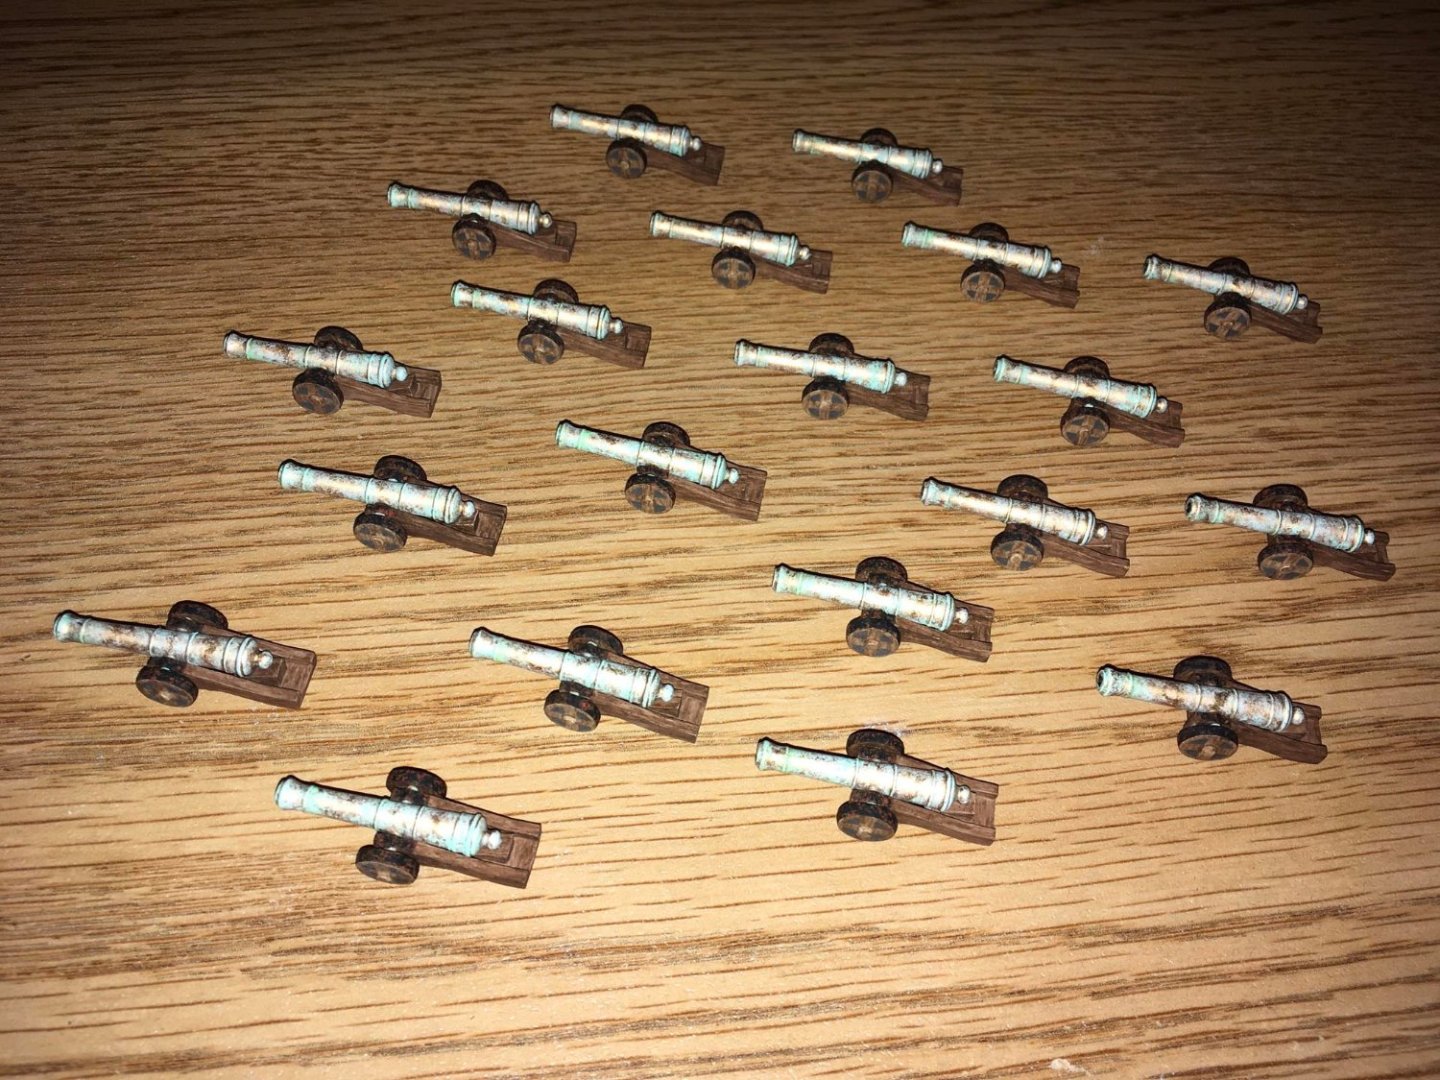
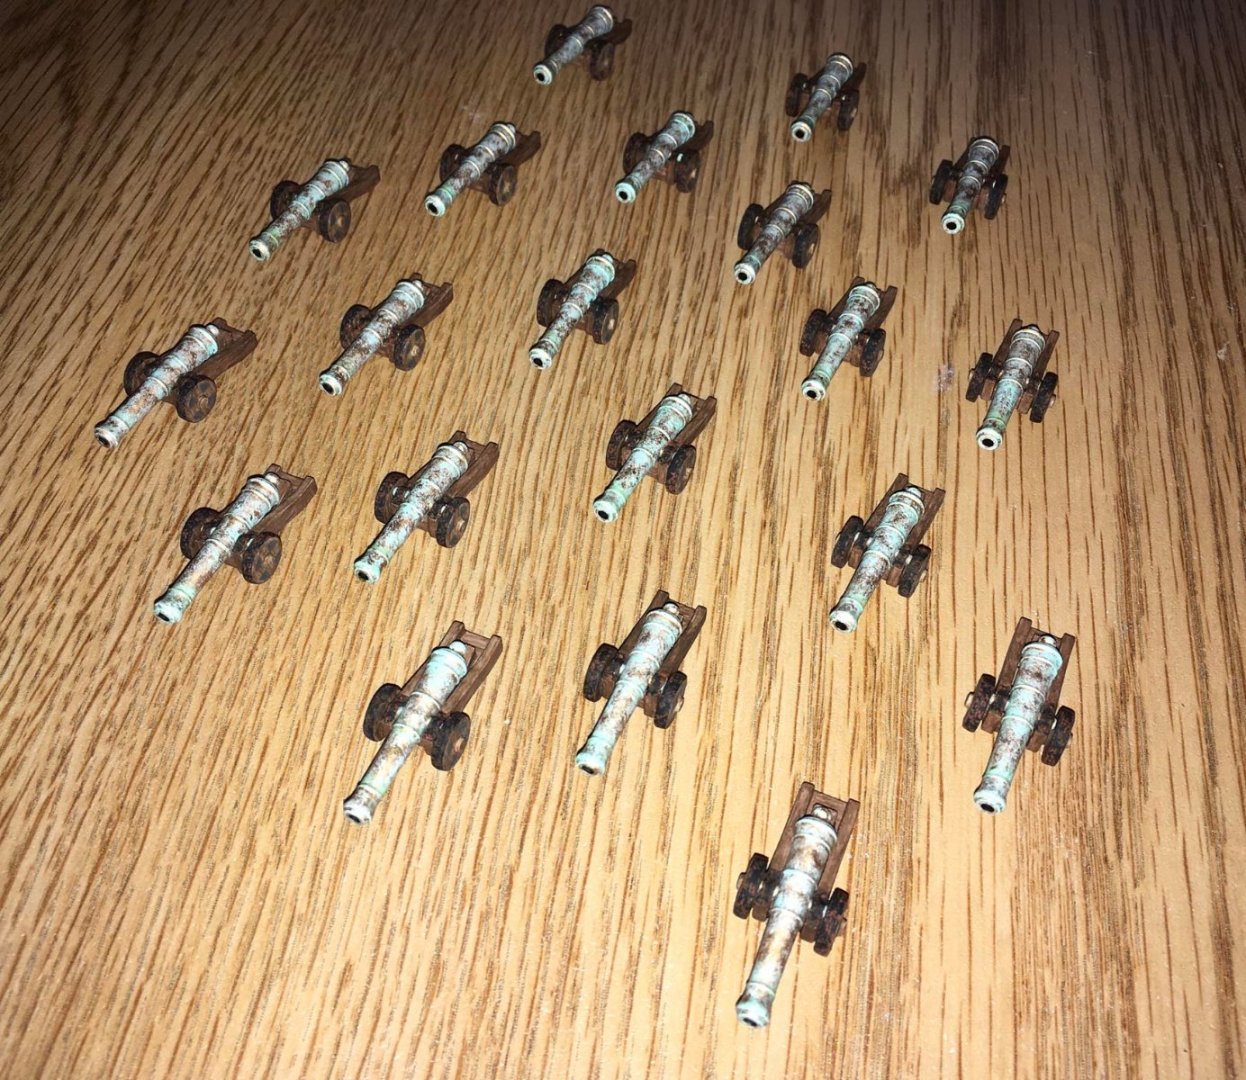
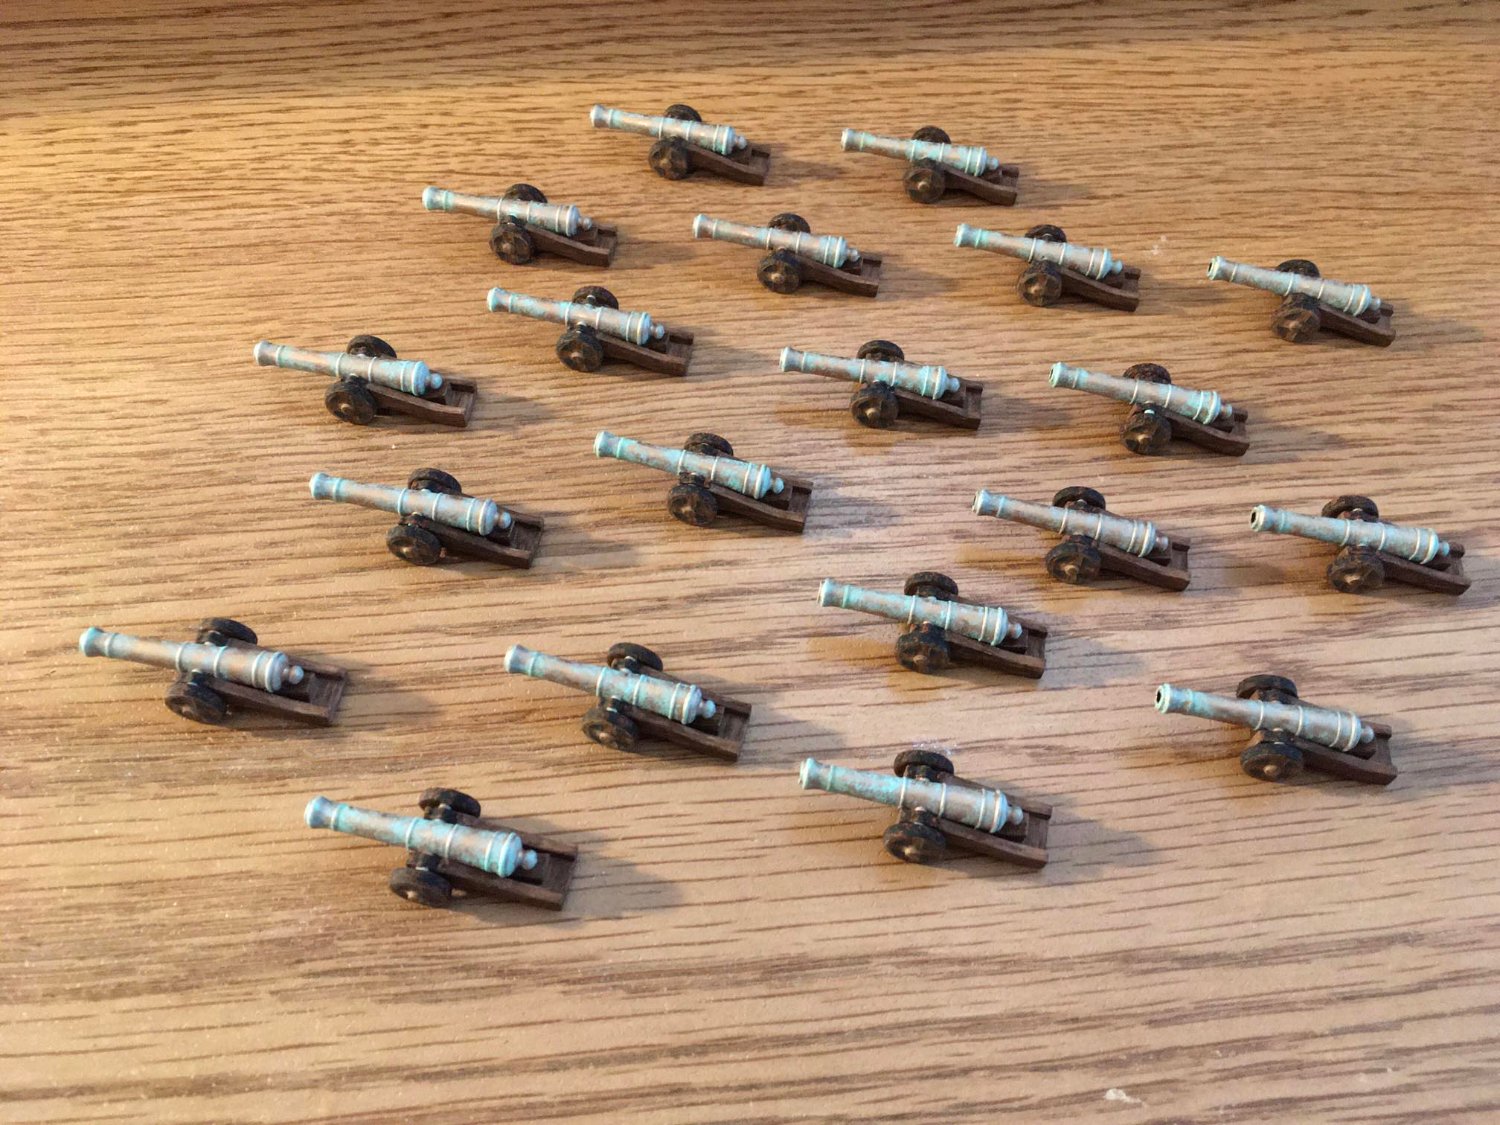
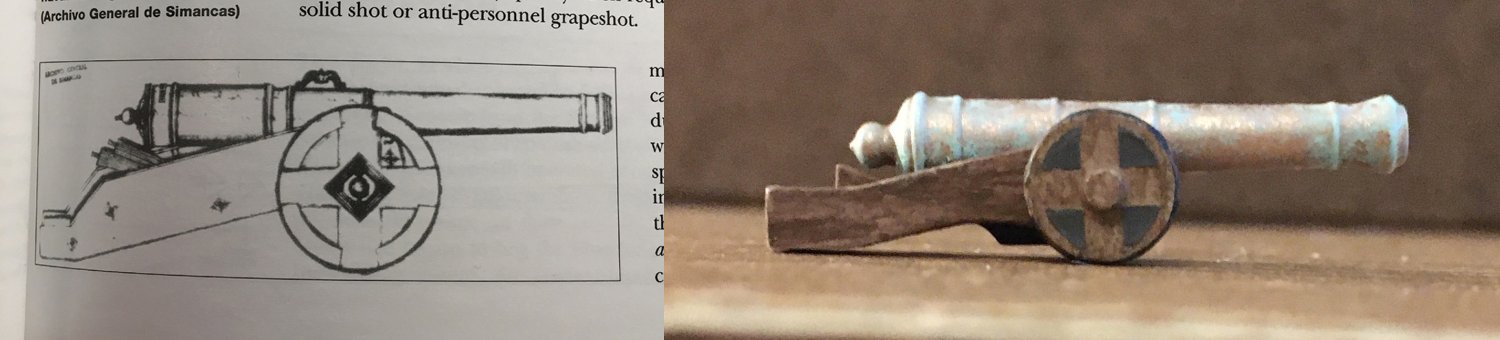
Here is a comparison of my cannon compared with the contemporary drawing of a Spanish naval cannon:
It is not exact, but it is a similar idea. I know that with mine, the proportions of the gun to the carriage are off, but I think it will still look fine on the model. I will not be able to maintain exact scale throughout the build, and I'm accepting that.
I've been working off and on with these cannons for so long that I have become a bit tired of them for right now, so I will set them all aside and work on some other preparation. It will be a bit of time before I get them onto the ship.
- Prowler901, Altduck, Baker and 5 others
-
8


Statenjacht by Melissa T. - FINISHED - Kolderstok - Scale 1:50
in - Kit build logs for subjects built from 1501 - 1750
Posted
Looks beautiful!