Tim Moore
Members-
Posts
357 -
Joined
-
Last visited
Content Type
Profiles
Forums
Gallery
Events
Everything posted by Tim Moore
-
And this week's mystery kit part is...........
Tim Moore replied to MacBeagle's topic in Wood ship model kits
Hi Andy. I believe it is fitted on the mast, teeth down, and the jaw fitting at the end of the horizontal boom rests on it. -
Beginner - Rigging Tools
Tim Moore replied to nheather's topic in Modeling tools and Workshop Equipment
Hi Nigel - enjoy your upcoming build in the new year! Have to agree with toolmaker Paul’s suggestions, decent tweezers and particularly those collapsible eye needles have been exceptionally useful in practice. -
I build models to escape, to occupy my busy hands and mind. It gives me something to do where I am only answerable to myself. The process is important to me, and I get a sense of accomplishment, although, like a jigsaw puzzle, I only rarely bother to look at them when finished. The historical association is also important, getting to know and appreciate the subject matter. Nobody in my family or close to me ever built models, so for me there is no familial association or trigger.
-
Well I think it is an outstanding sub presentation to my eye. Bravo! And I appreciated you showing all the steps in the water building.
-
Hi Chris. This is the process I have followed on colour boundaries on my hulls and it has given me good results. I usually take the tape up soon after I’m finished rather than let everything harden. Seems to work best. I usually only use latex paints. Thukydides is quite right you usually want to do the darkest colour last, but in your case I imagine there would be difficulty trying to set tape on that small element, which is also curving opposite to the plane of the masking tape.
-
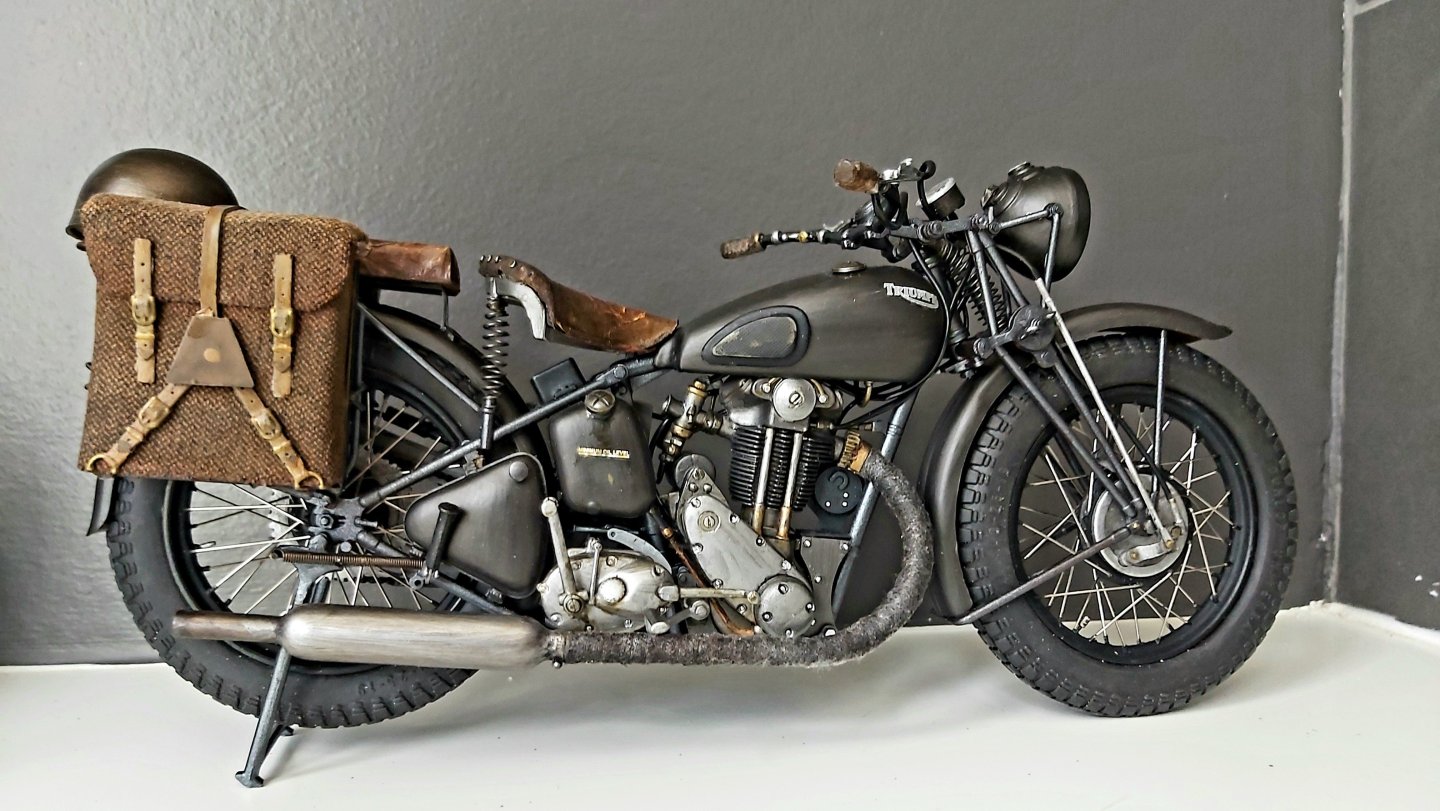
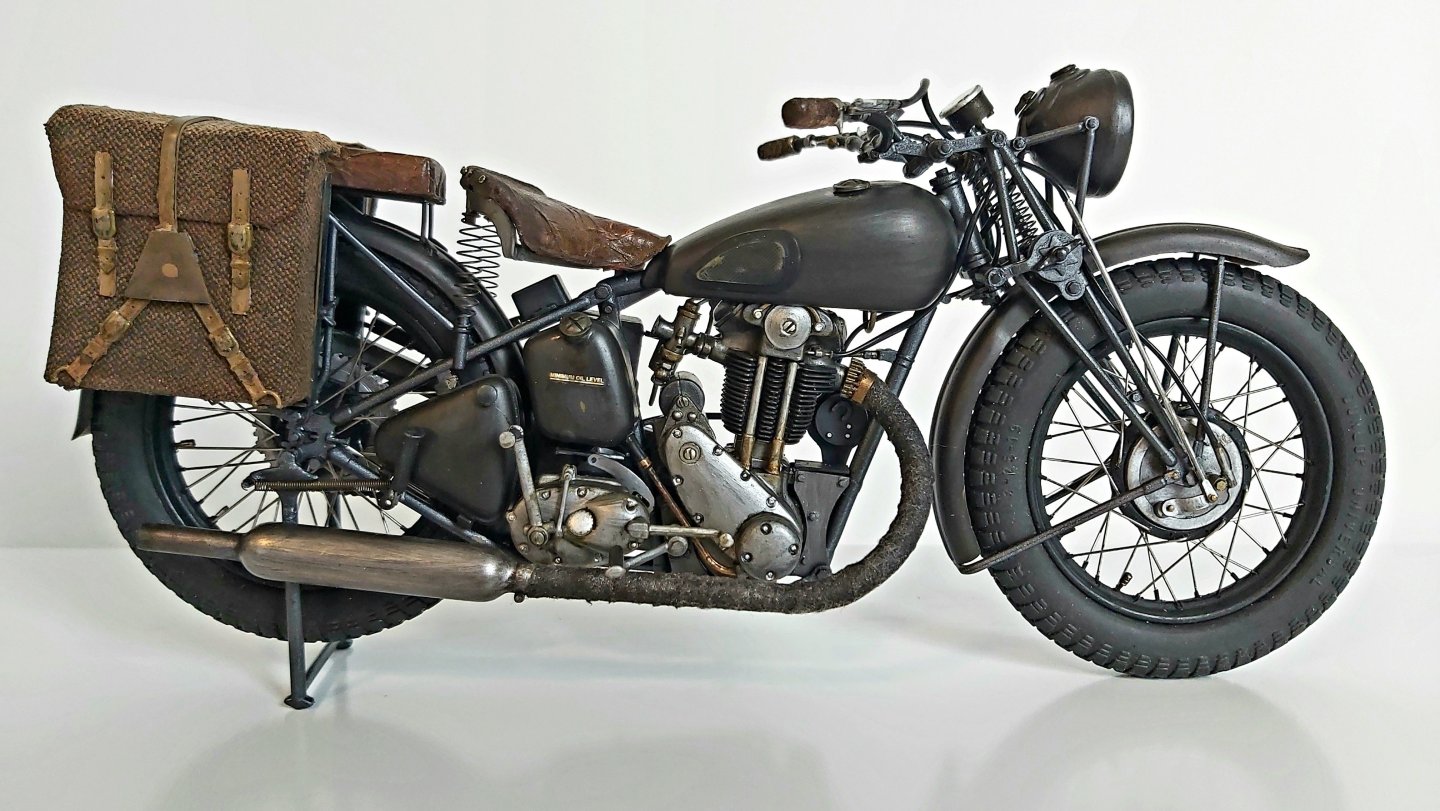
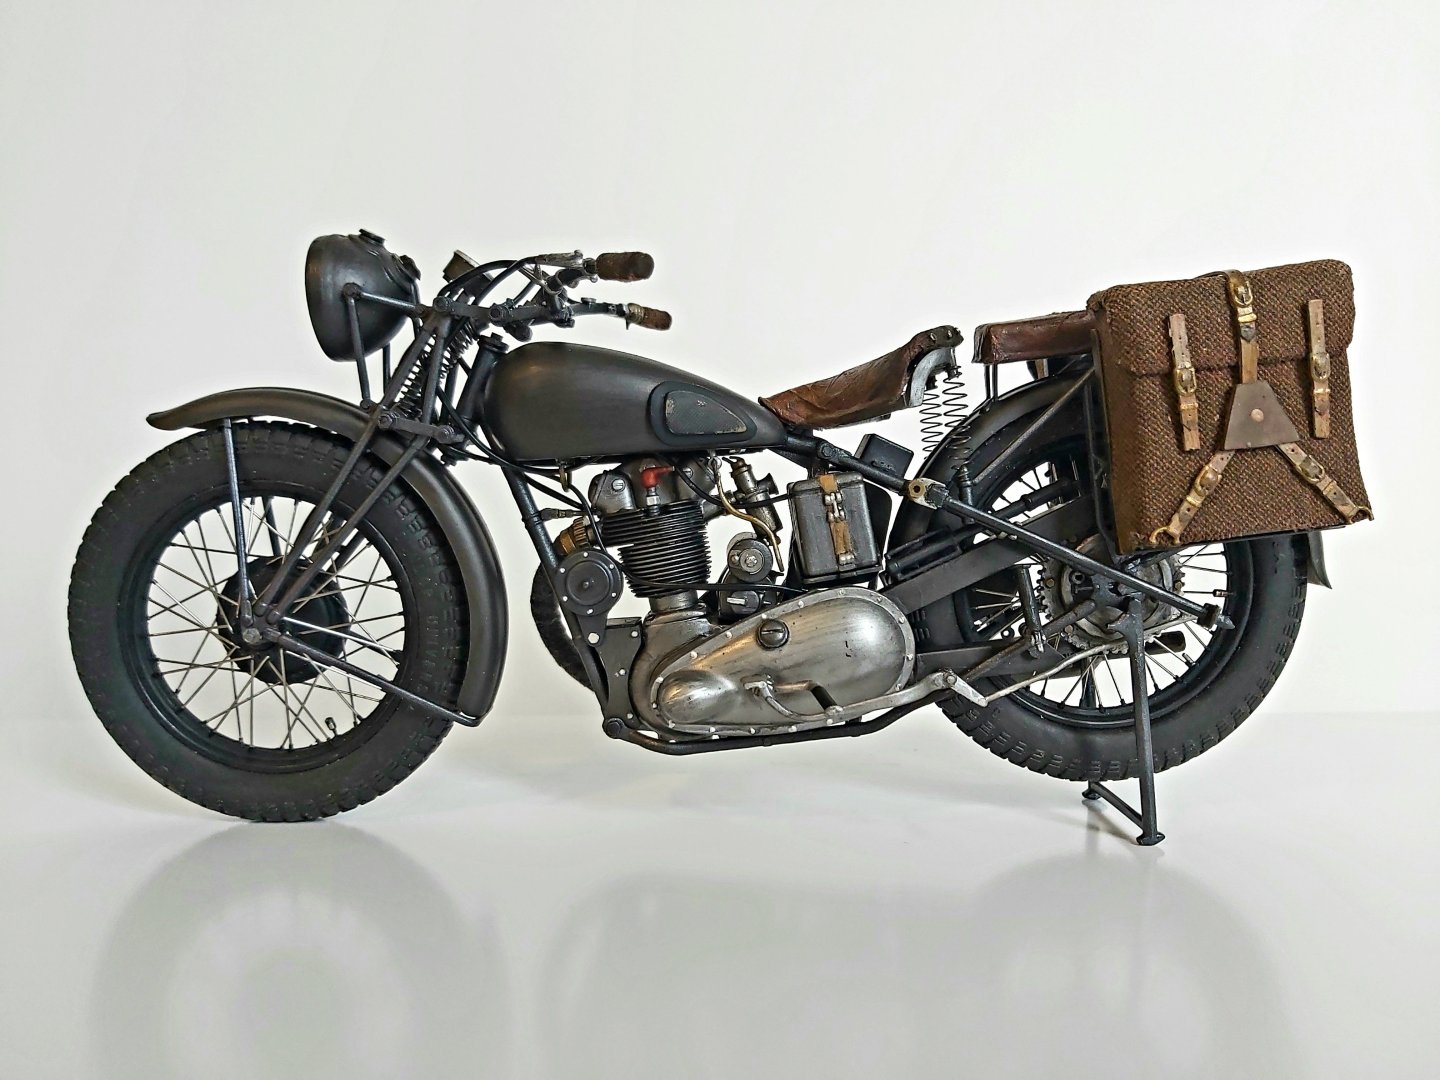
Triumph 3HW by Tim Moore - Italeri - 1/9
Tim Moore replied to Tim Moore's topic in Non-ship/categorised builds
Thanks Shipman, and you are quite right, I have demonstrated a willful disregard for historical authenticity! To be honest I thought about a desert version but it came down to paint I had on hand. -
Triumph 3HW by Tim Moore - Italeri - 1/9
Tim Moore replied to Tim Moore's topic in Non-ship/categorised builds
Thanks Rob, appreciate your comments, great to hear from the North Channel! Just took a look at your Crocker build, wow that is going to be pretty amazing methinks. I will have to pass on Egilmans ‘honey I shrunk the bike’ award to you when you pull that together. -
Triumph 3HW by Tim Moore - Italeri - 1/9
Tim Moore replied to Tim Moore's topic in Non-ship/categorised builds
-
Triumph 3HW by Tim Moore - Italeri - 1/9
Tim Moore replied to Tim Moore's topic in Non-ship/categorised builds
Thanks to everyone for dropping in….like the sound of the Manx bike for a future project, and am totally humbled by Kim’s house motorcycle model collection. Just some more cabling to finish, decals and final detail painting etc and I’ll wrap this up. Still have to go back and reset the slightly troublesome fork/frame connection so it works correctly. For the saddlebags I glued on a bit of old thin denim on the plastic and then stained it. Probably not quite scale but hoped it would visually suggest a canvas type fabric.
About us
Modelshipworld - Advancing Ship Modeling through Research
SSL Secured
Your security is important for us so this Website is SSL-Secured
NRG Mailing Address
Nautical Research Guild
237 South Lincoln Street
Westmont IL, 60559-1917
Model Ship World ® and the MSW logo are Registered Trademarks, and belong to the Nautical Research Guild (United States Patent and Trademark Office: No. 6,929,264 & No. 6,929,274, registered Dec. 20, 2022)
Helpful Links
About the NRG
If you enjoy building ship models that are historically accurate as well as beautiful, then The Nautical Research Guild (NRG) is just right for you.
The Guild is a non-profit educational organization whose mission is to “Advance Ship Modeling Through Research”. We provide support to our members in their efforts to raise the quality of their model ships.
The Nautical Research Guild has published our world-renowned quarterly magazine, The Nautical Research Journal, since 1955. The pages of the Journal are full of articles by accomplished ship modelers who show you how they create those exquisite details on their models, and by maritime historians who show you the correct details to build. The Journal is available in both print and digital editions. Go to the NRG web site (www.thenrg.org) to download a complimentary digital copy of the Journal. The NRG also publishes plan sets, books and compilations of back issues of the Journal and the former Ships in Scale and Model Ship Builder magazines.


