


Arctic37
-
Posts
56 -
Joined
-
Last visited
Content Type
Profiles
Forums
Gallery
Events
Posts posted by Arctic37
-
-
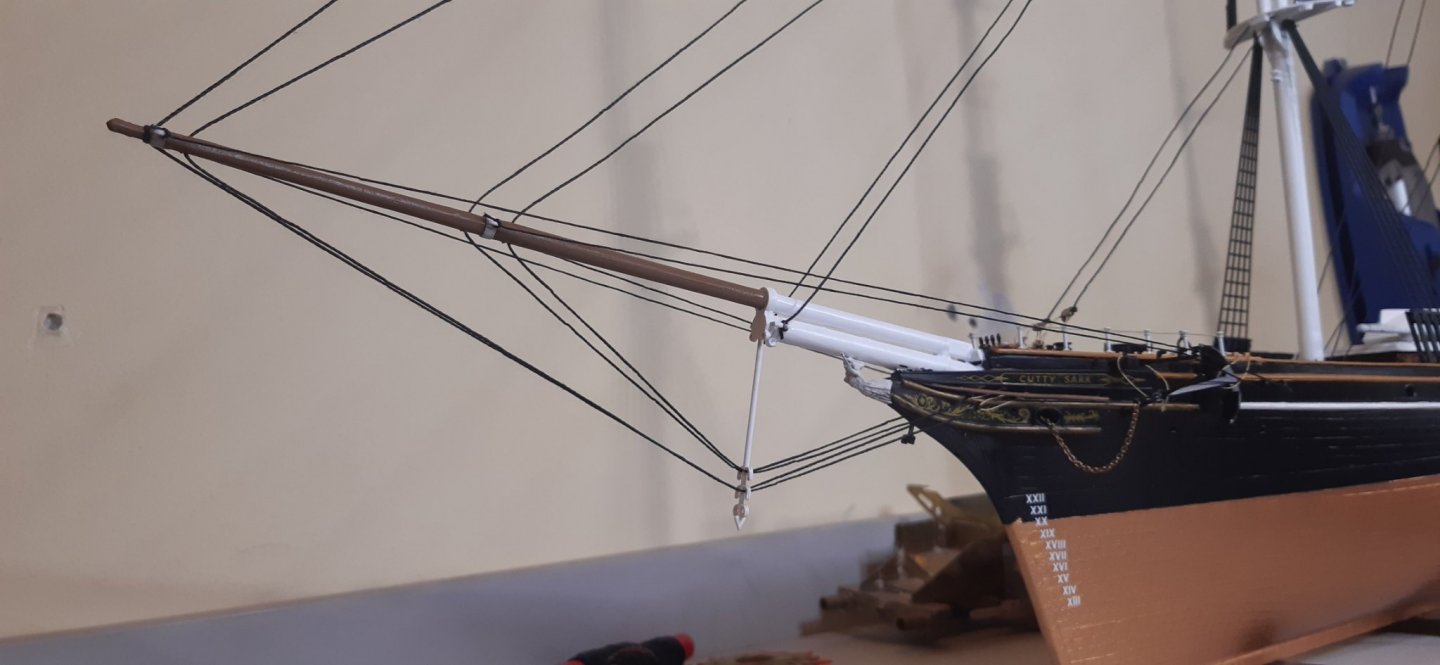
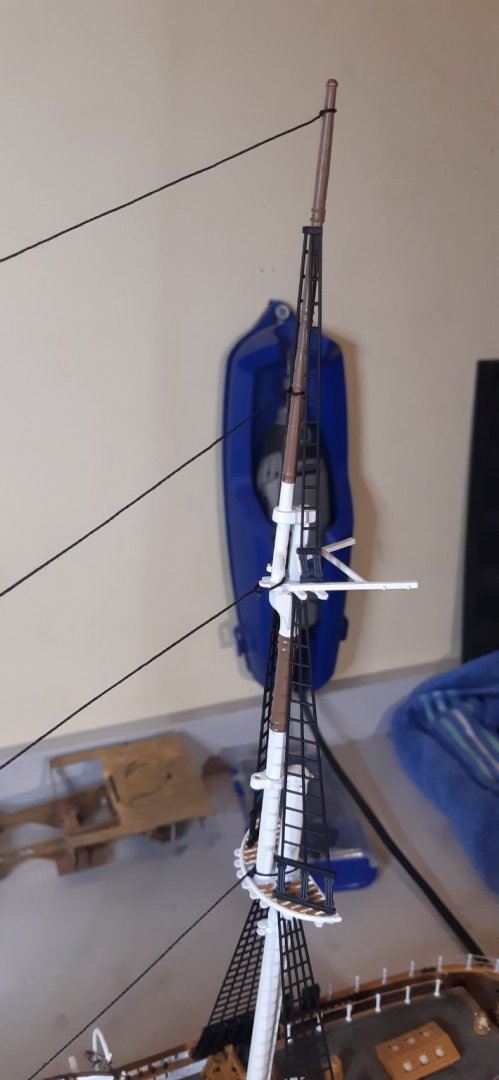
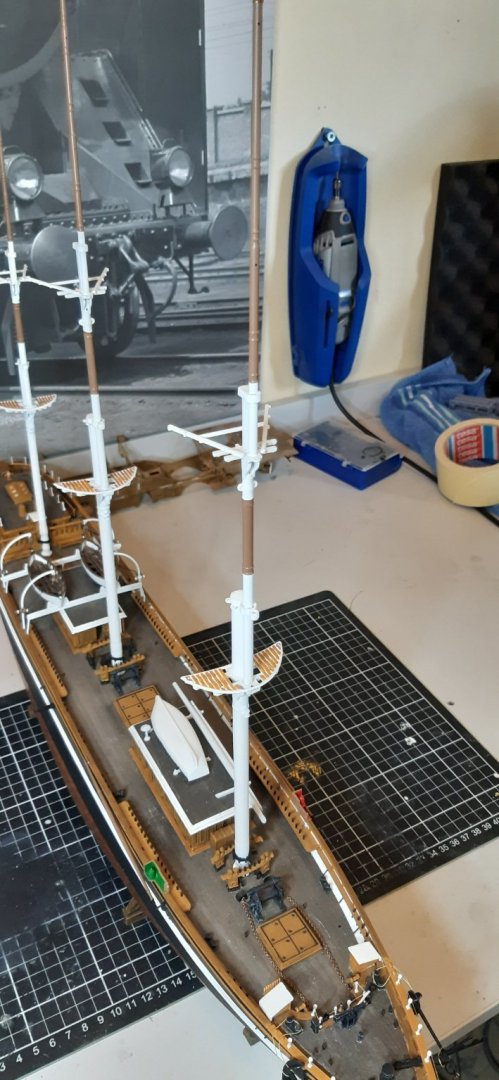
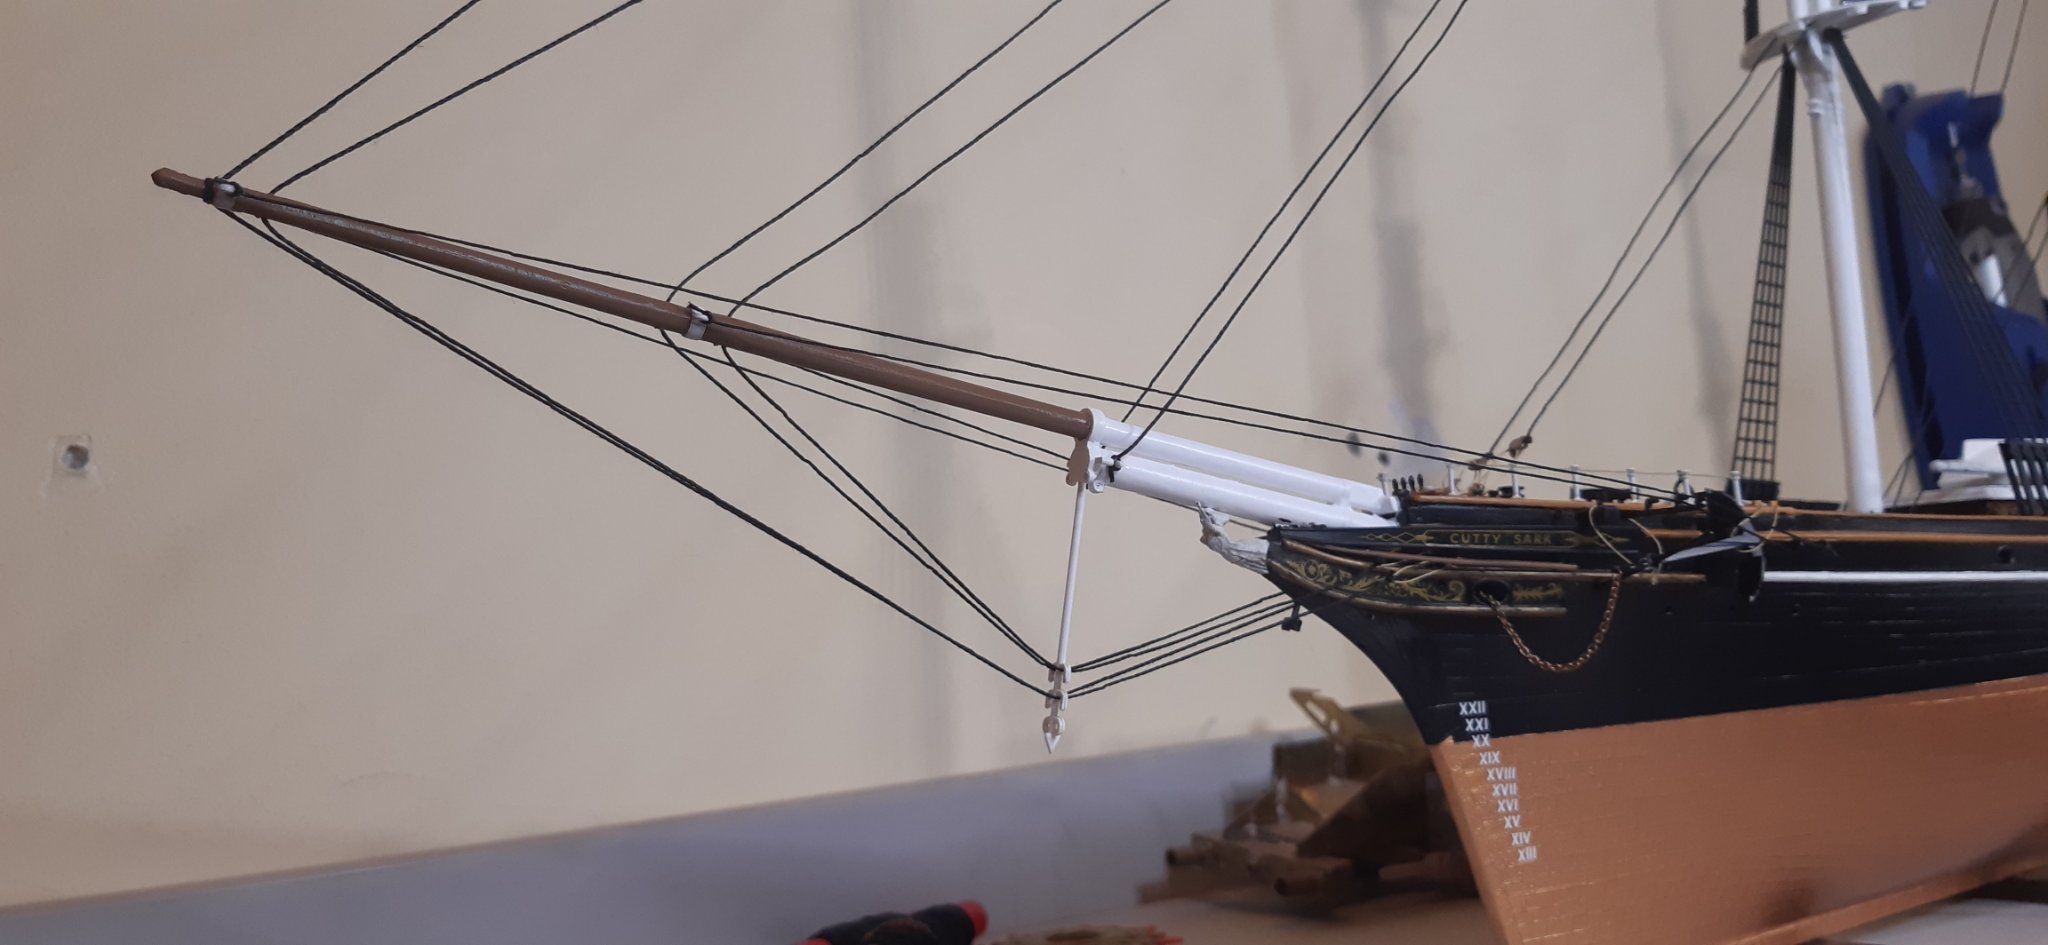
Yesterday was all about rigging. I've managed to finish the longitudinal stays, now "only" the backstays (all 36 of them) remain from the standing rigging.
It was easier than I tought, but the Revell instructions were unusable. Quite a few wires were missing, others went from a wrong place to a wrong place... I have original rigging plan, so I could work it out in the end, but sometimes I spent more time figuring out the correct layout, than actual rigging.
Also the ropes are quite stiff, so at some places I couldn't tighten the rope enough.
But words aside this is the result:

- Cirdan, Bob Fraser and hof00
-
 3
3
-
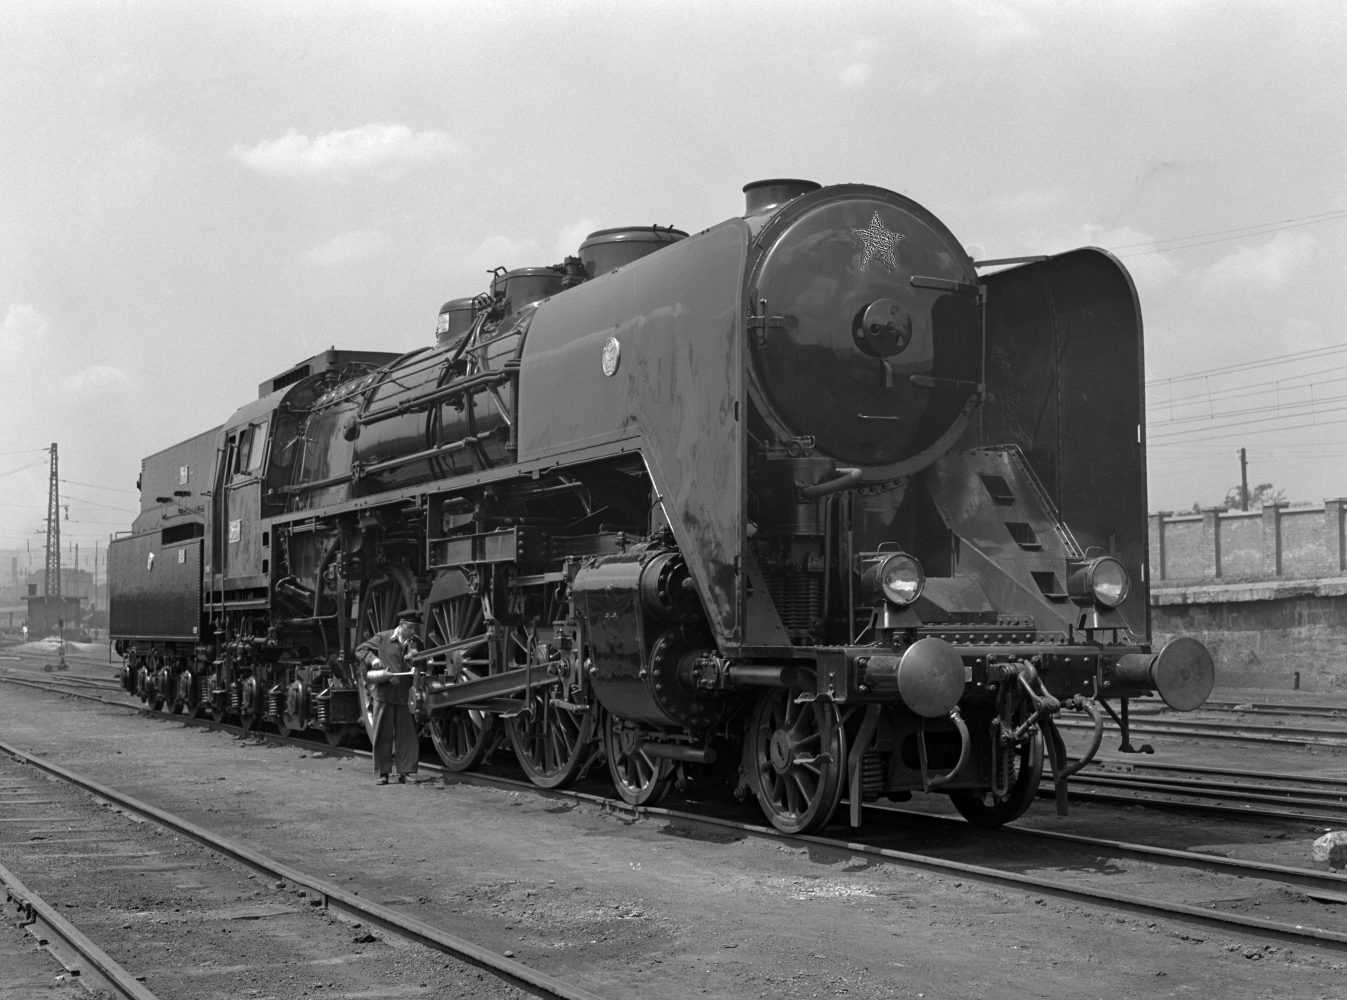
19 minutes ago, Veszett Roka said:
Wow, and a 424 type steam locomotive at the background?
That is a 303 class loco (I admit, it's not that easy to distinguish the two). I'm building the model of the locomotive too, also it's my favourite steam engine, so I bought a picture of it and placed it in front of my workbench.
-
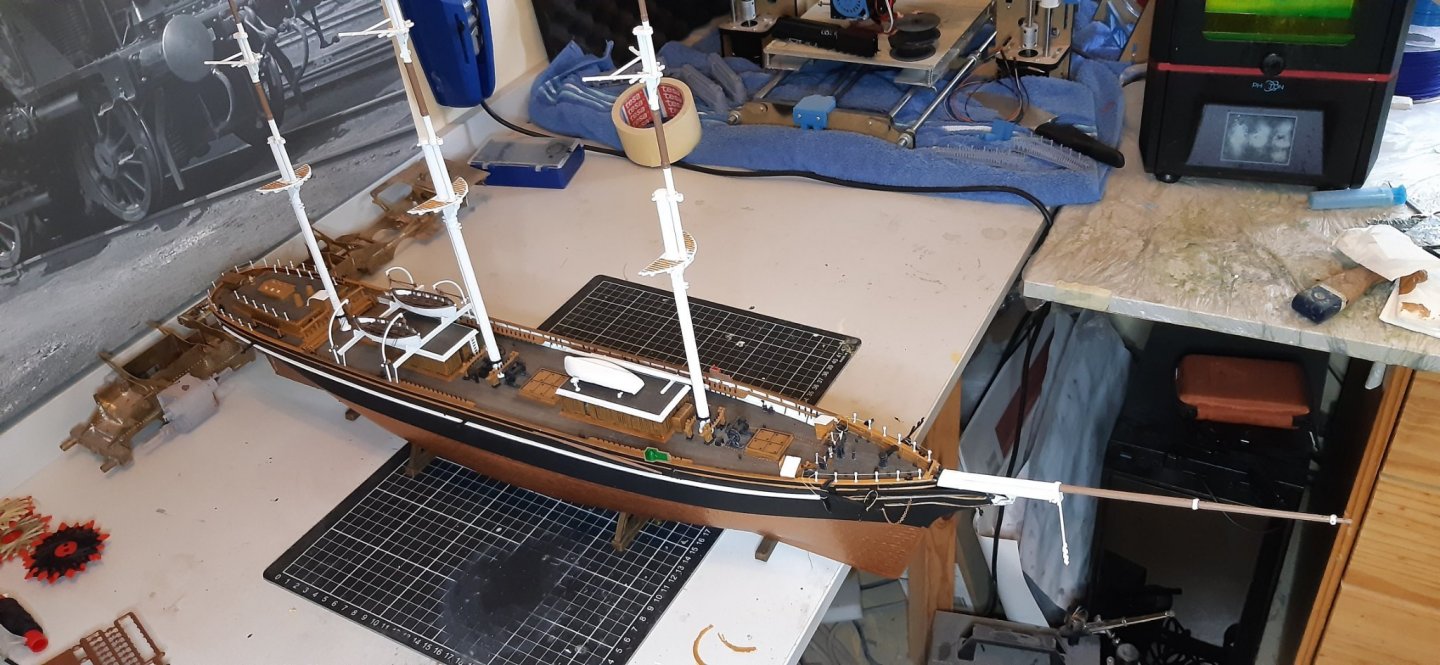
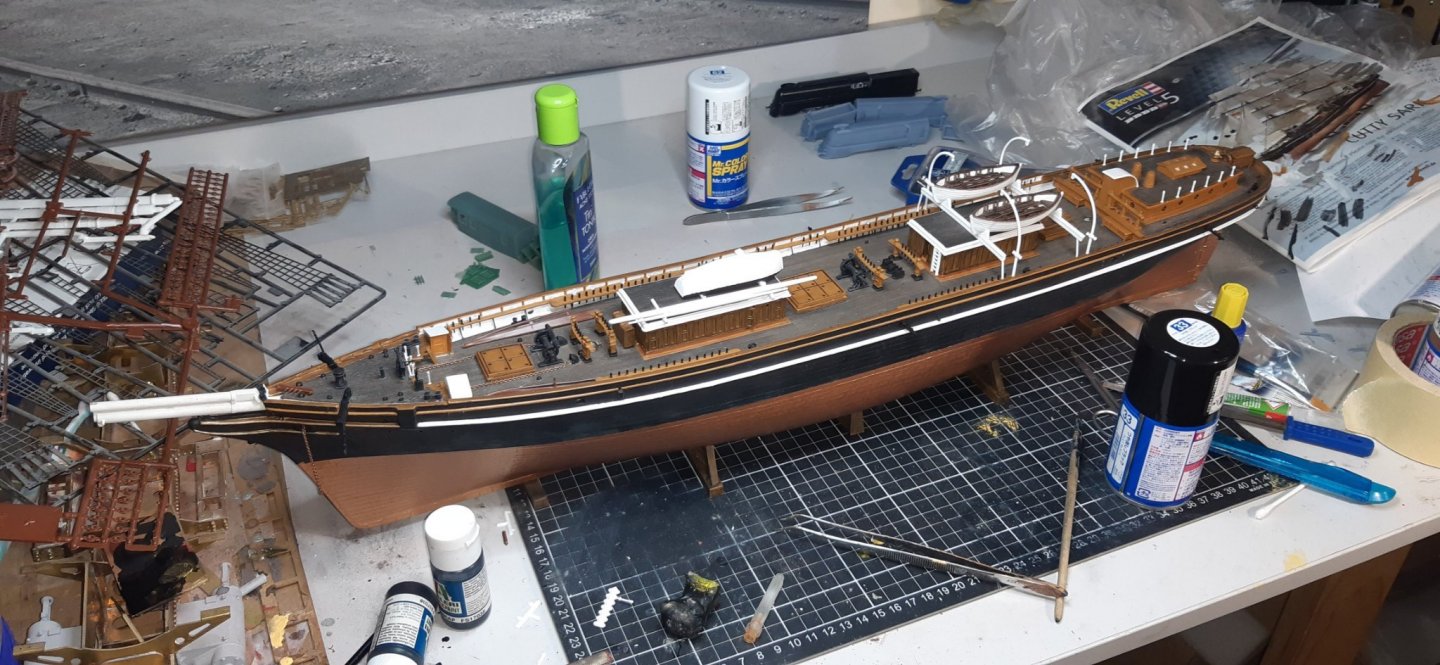
On the previous day I applied the decals, then coated the hull with semigloss varnish.

Then I continued with the shrouds. I used the molded ones from the kit, because they look quite good, compared to other parts of the kit. Also because the ship already have a truckload of rigging, I didn't want to make my work unnecessarily harder and longer, since I'm pretty sure, I couldn't make the shrouds better looking from threads, than the molded version. During the work one support beam of the boats needed to be replaced, because originally I placed it on the wrong place... Luckily it didn't do too much damage, and was relatively easy and fast to repair them.
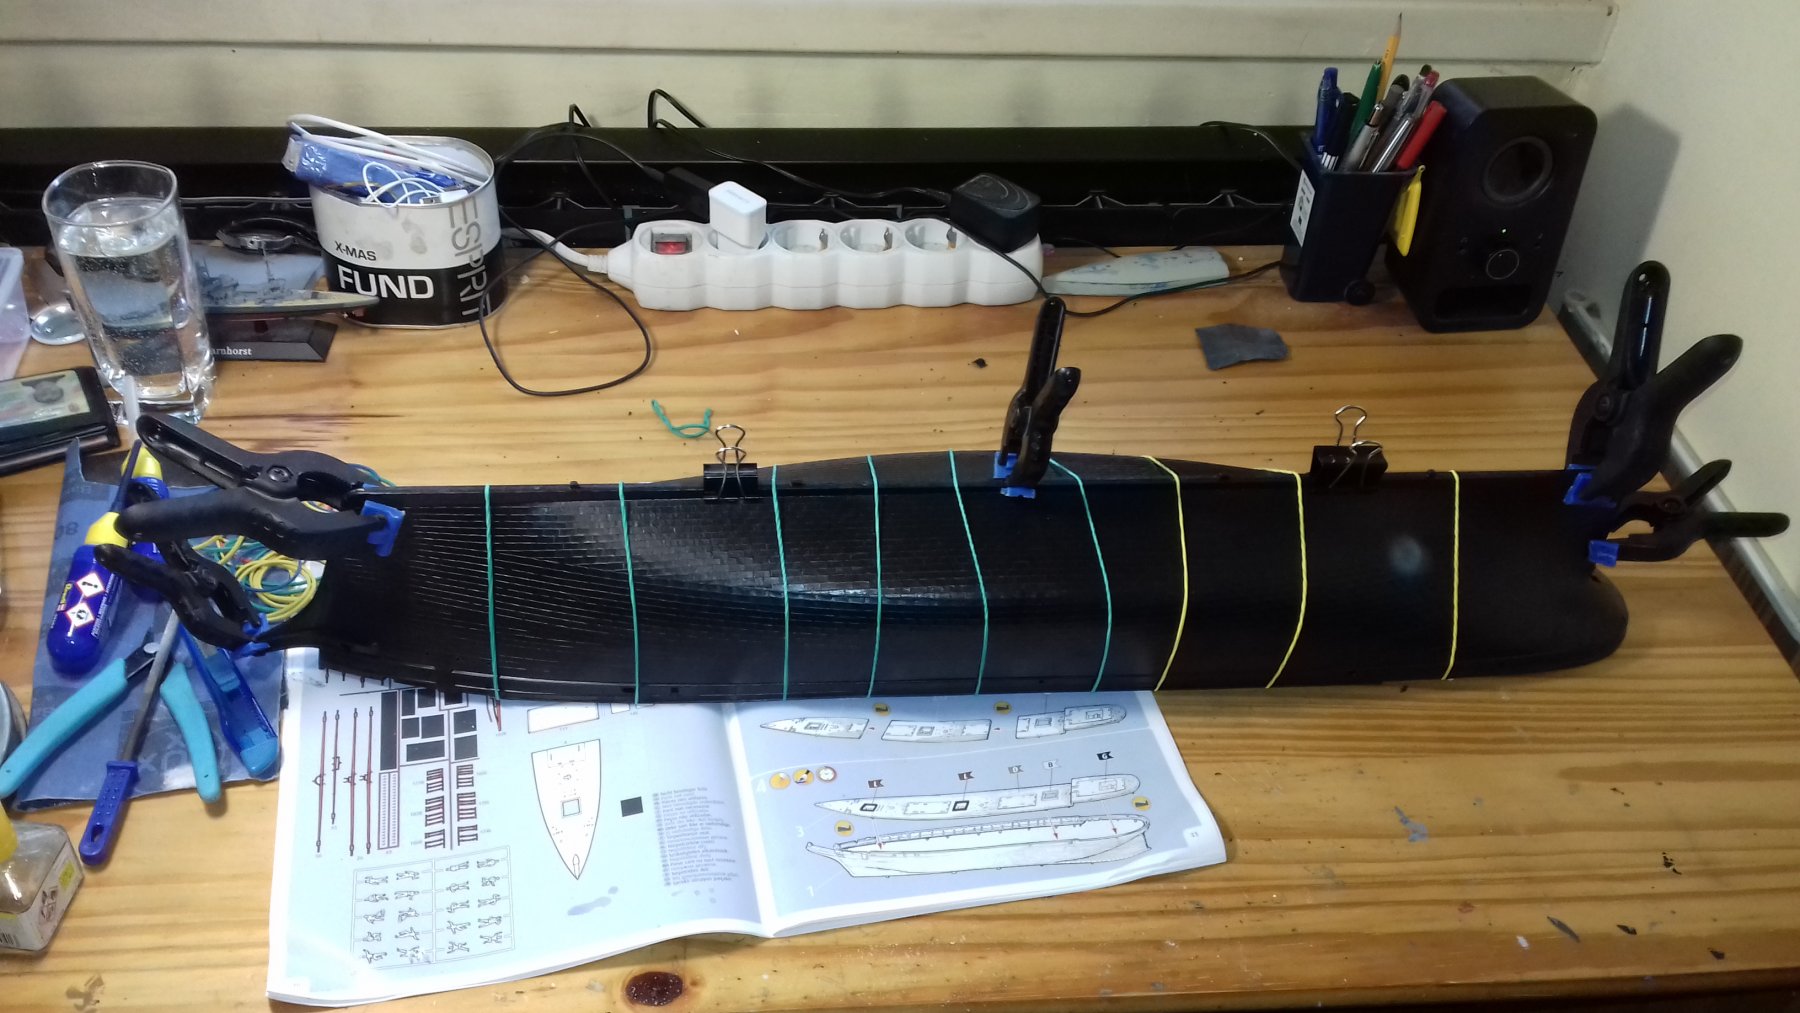
Now starts the hard part: rigging 🙂 Standing rigging is the easier part, but I'm already afraid of the difficulty and tediousness of the job. Also the manual being quite incomprehensible and inconsistent doesn't help. Luckily I have parts of the rigging plan, that will make it easier.
- Veszett Roka and Cirdan
-
2
-
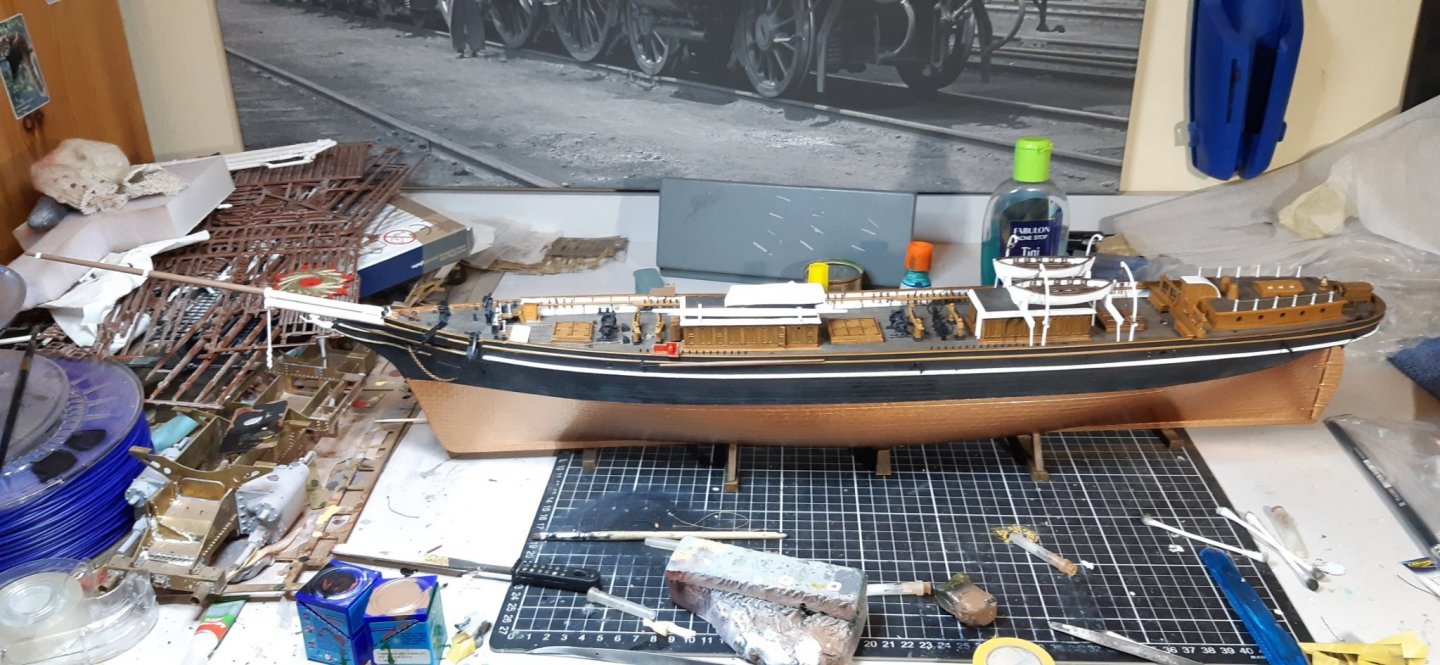
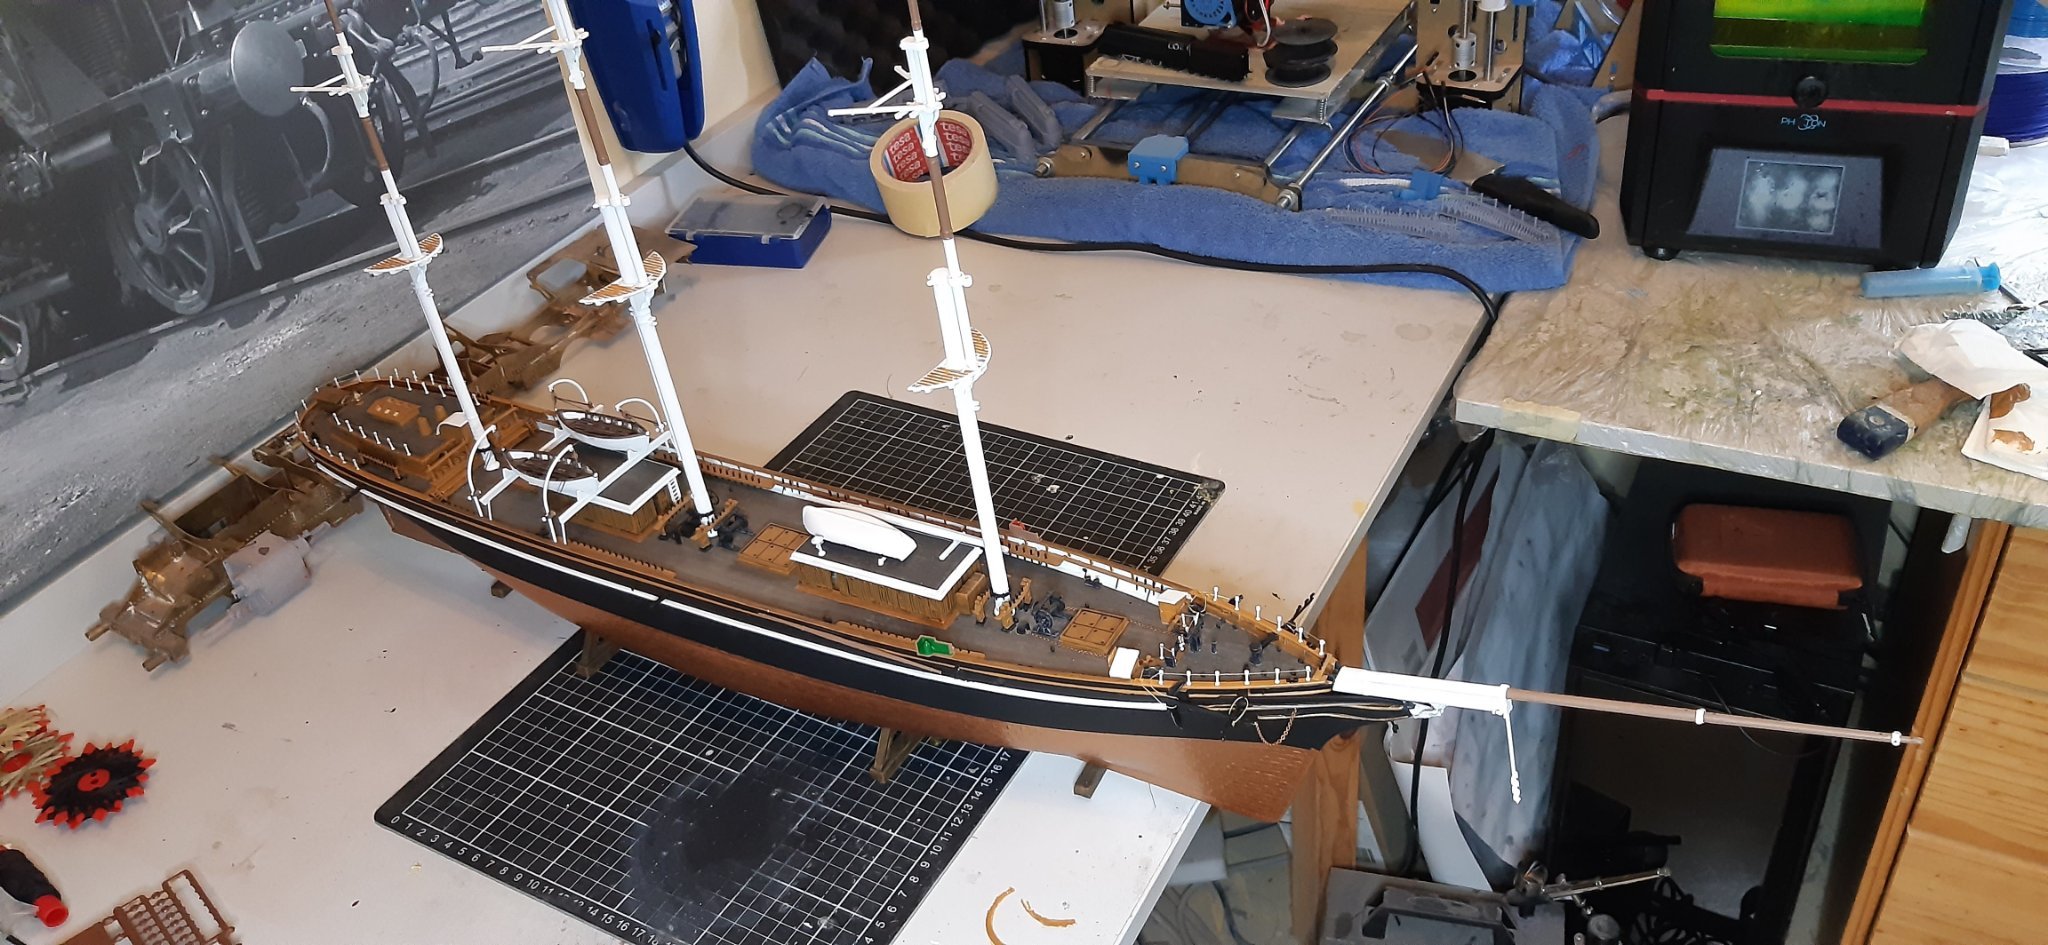
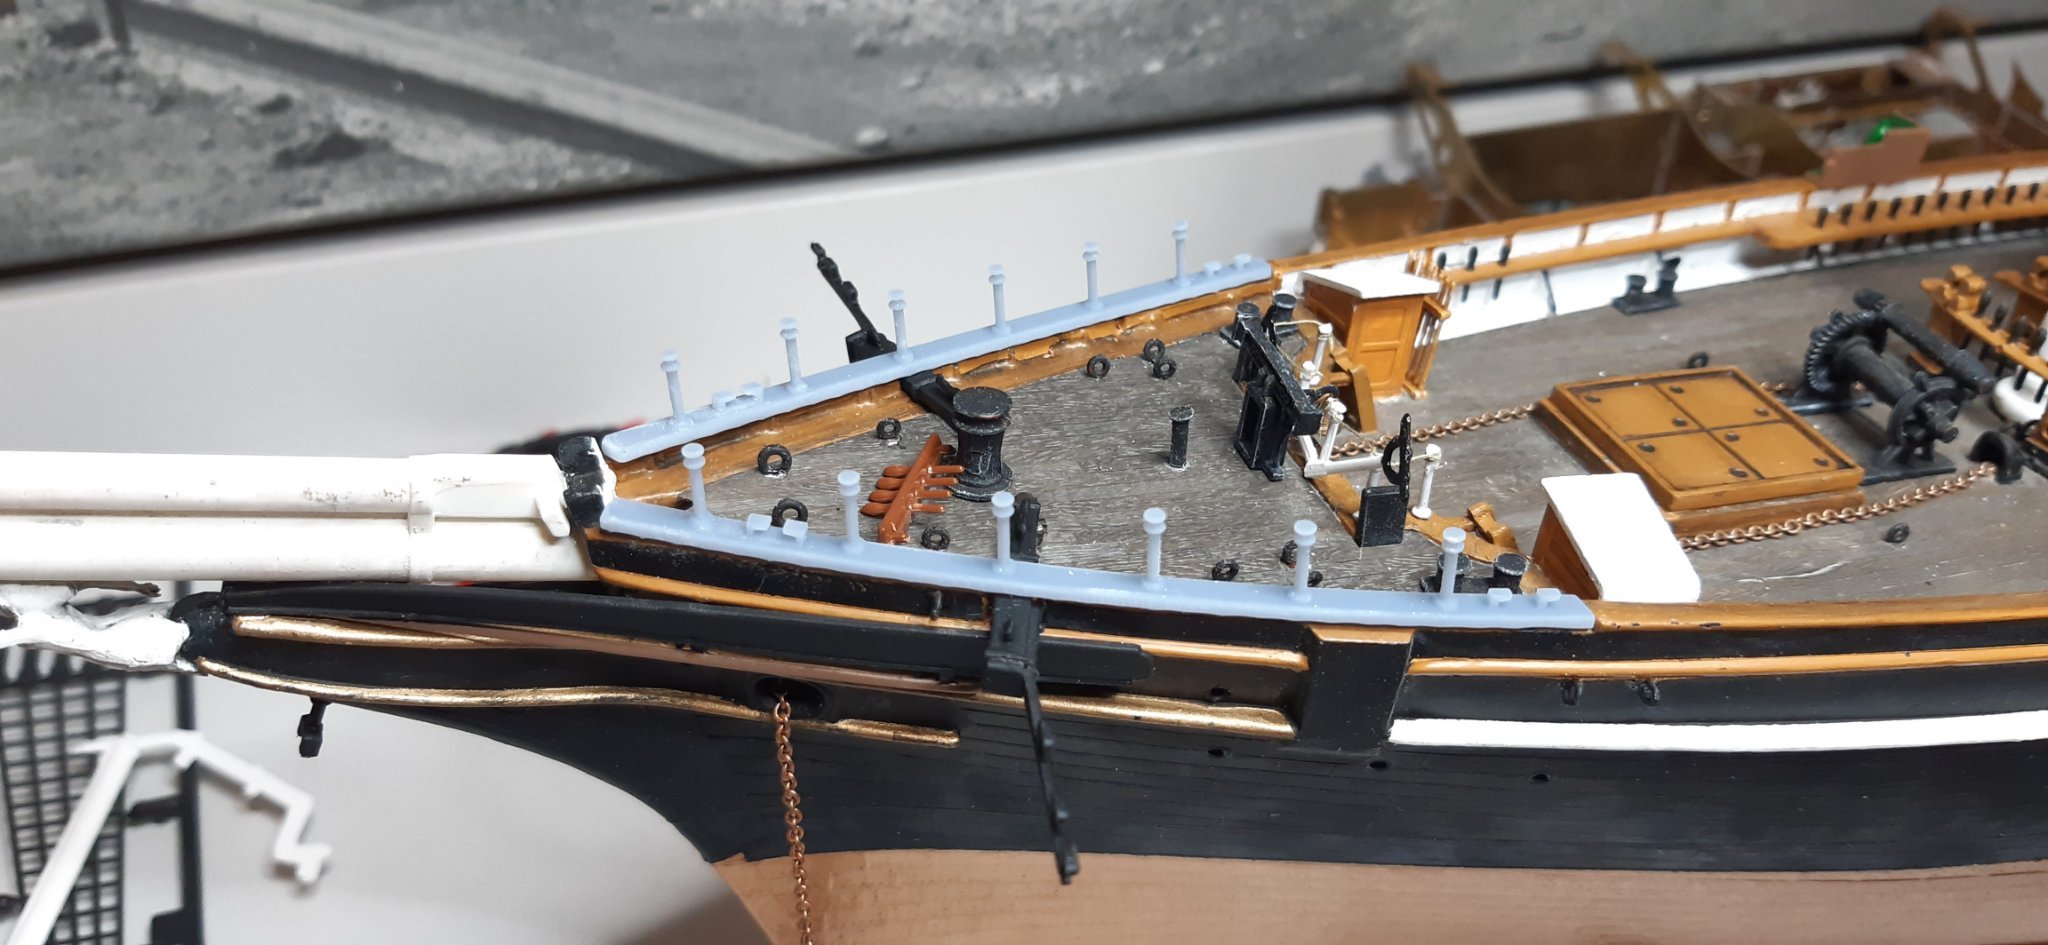
One step closer to the finish line.
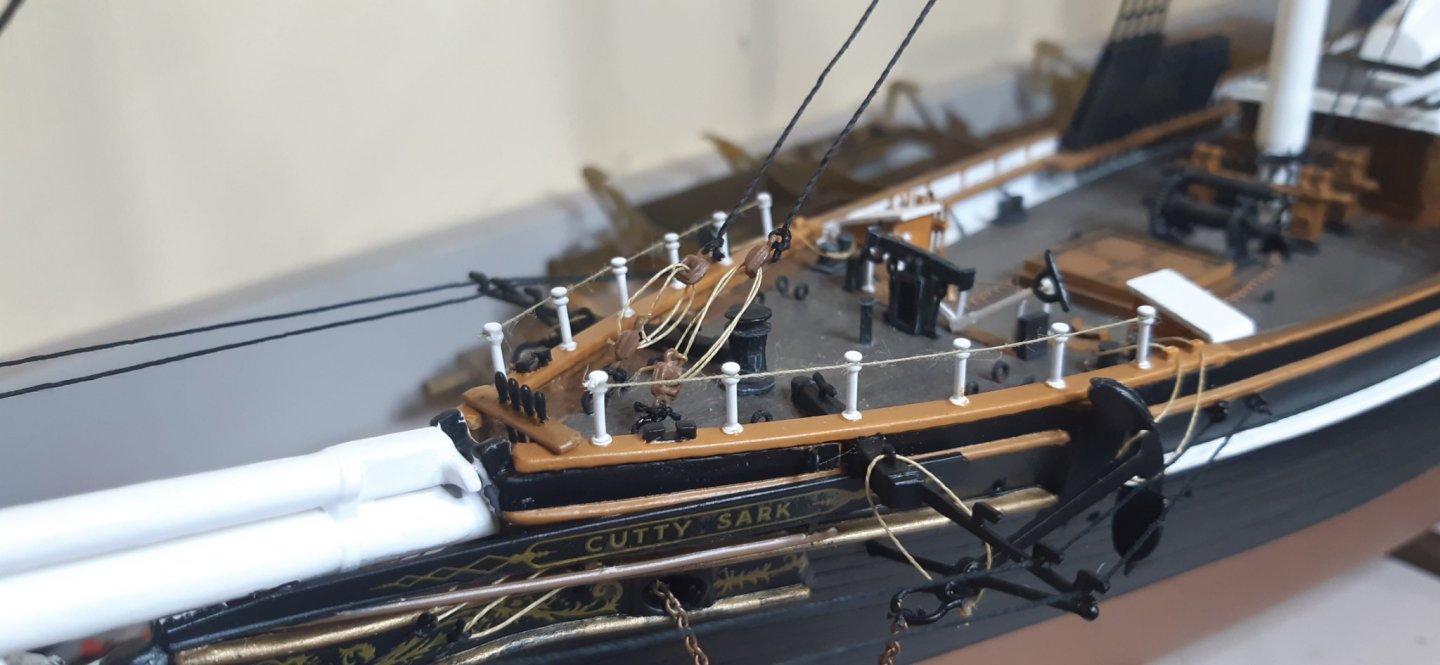
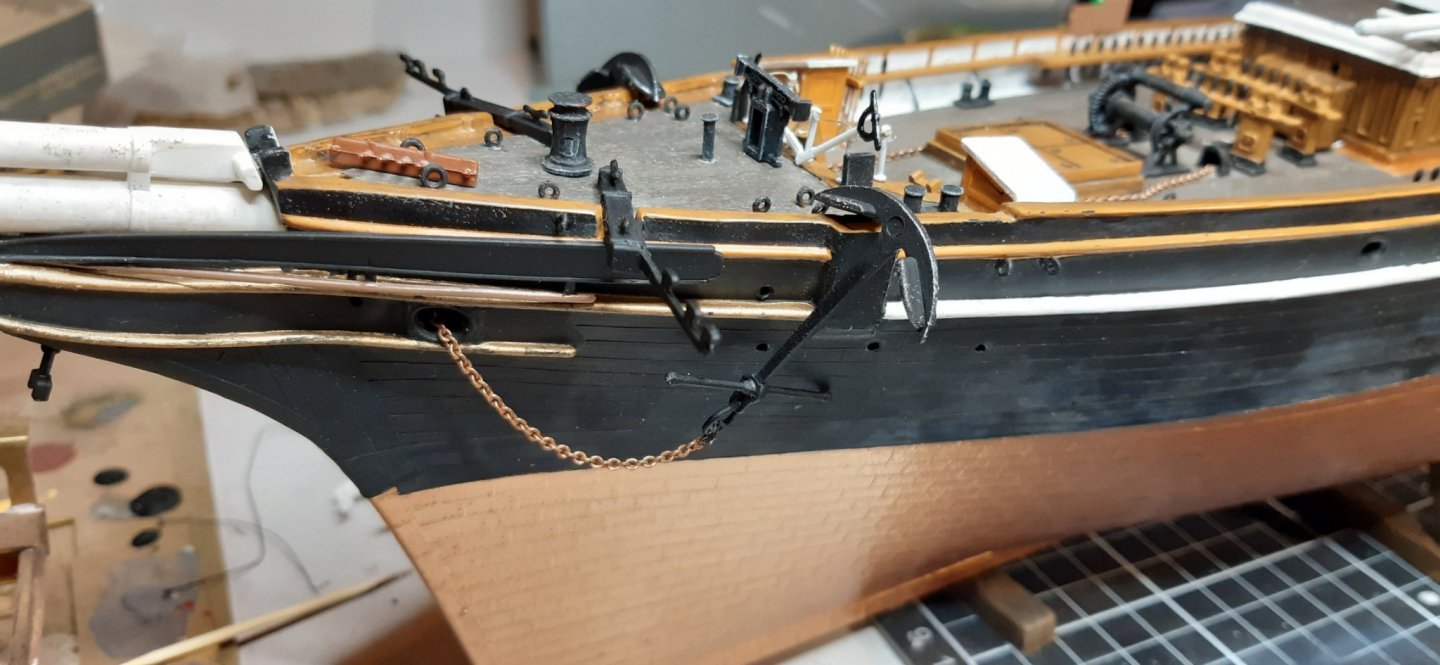
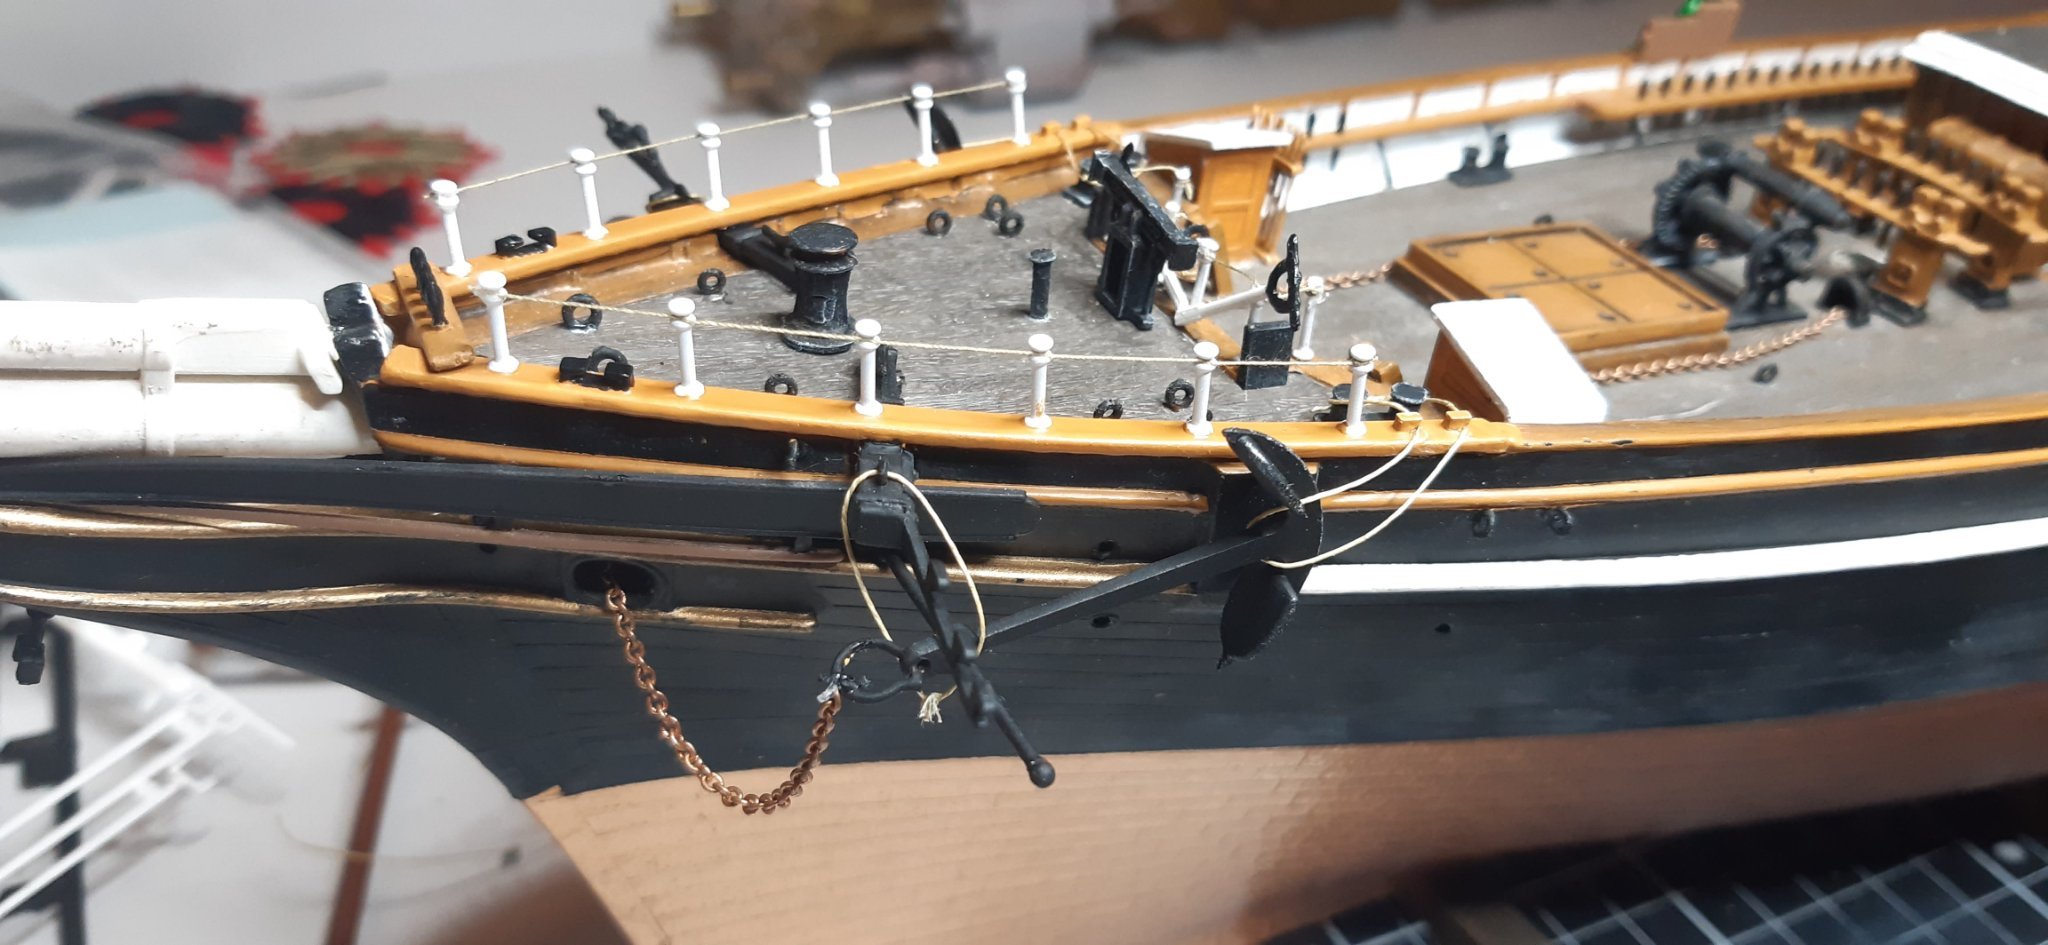
The railings and other missing parts from the deck are now placed, and the anchors were tied up.

Any idea how to make the anchors look heavier? Maybe coat the ropes with glue, and tighten them until the glue dries?

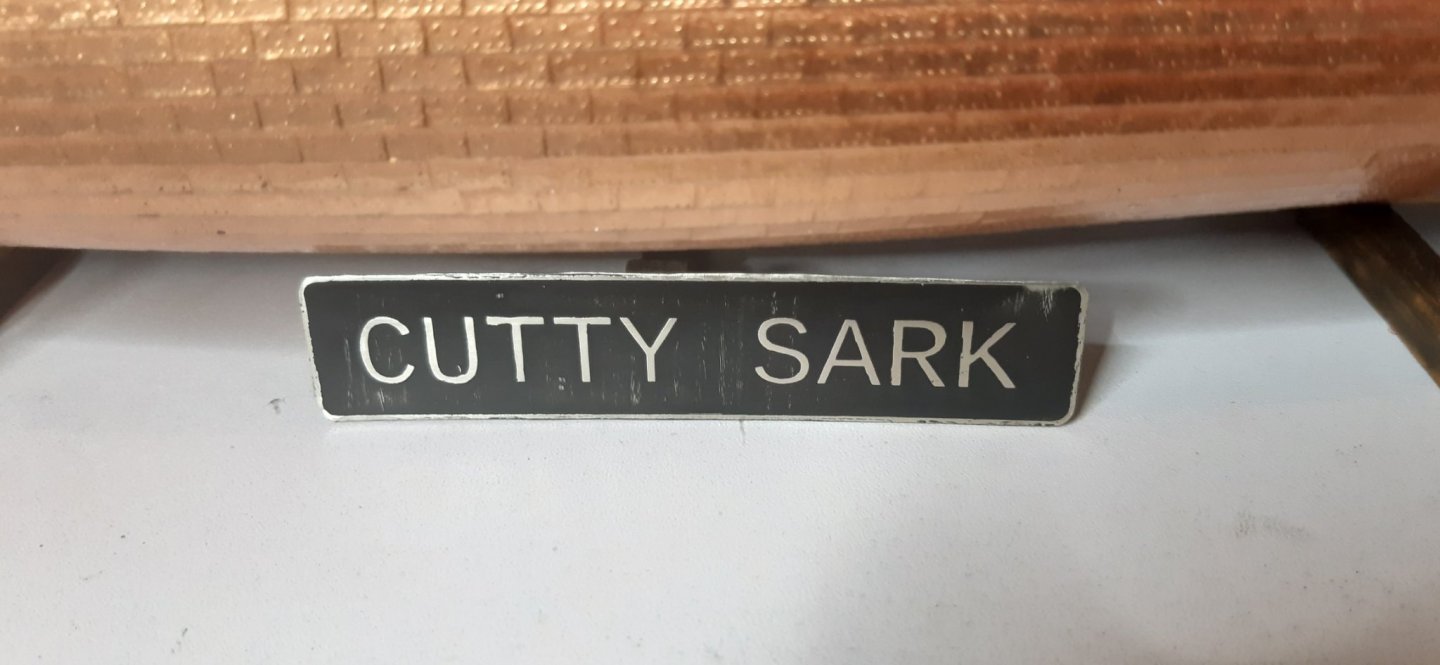
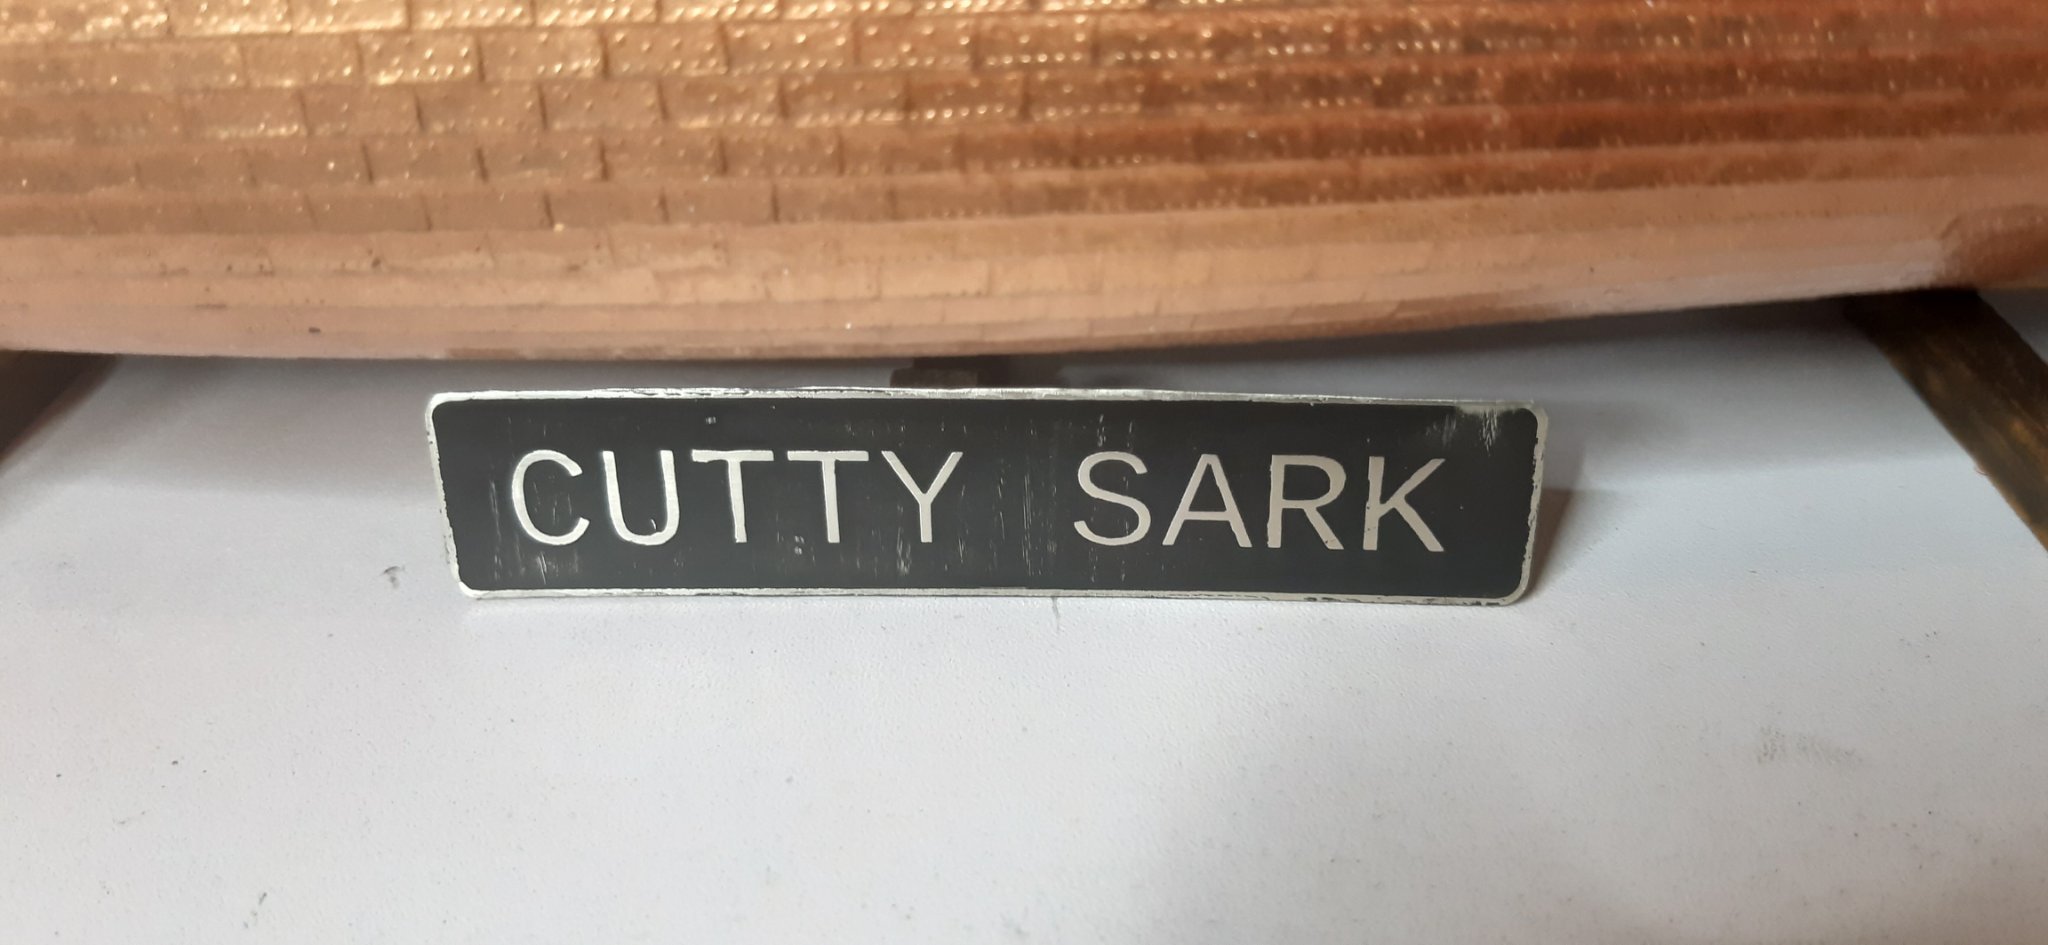
In the meantime, when the paint dried, I photo-etched a new nameplate from Nickel-Silver (the plastic nameplate in the kit was awful)
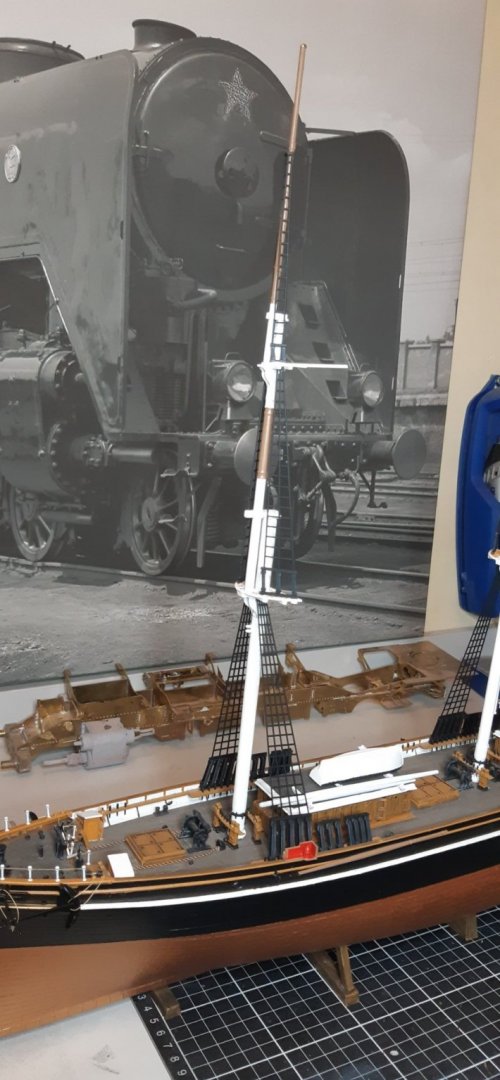
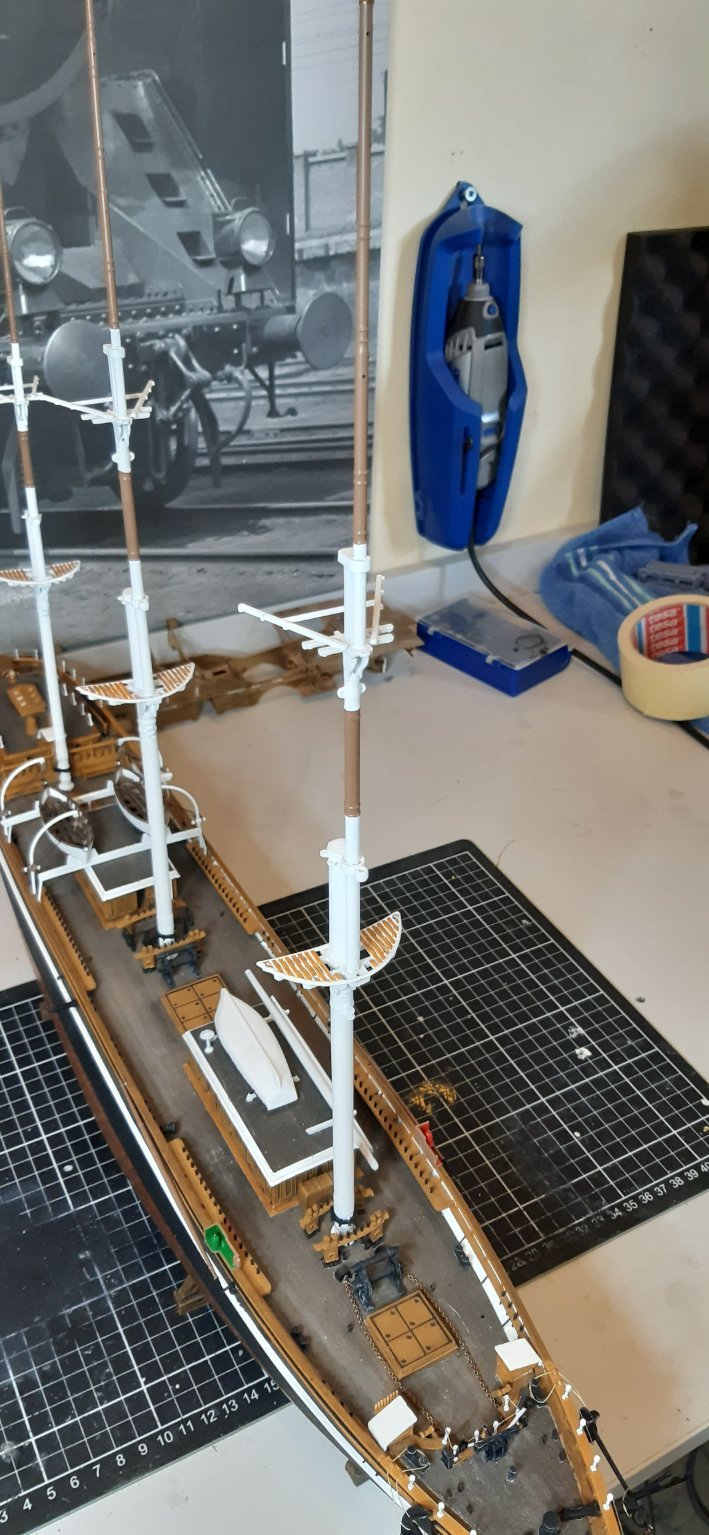
At the morning I corrected the painting on the masts, and placed them on the ship. Now she starts to look like a real sailing ship.

-
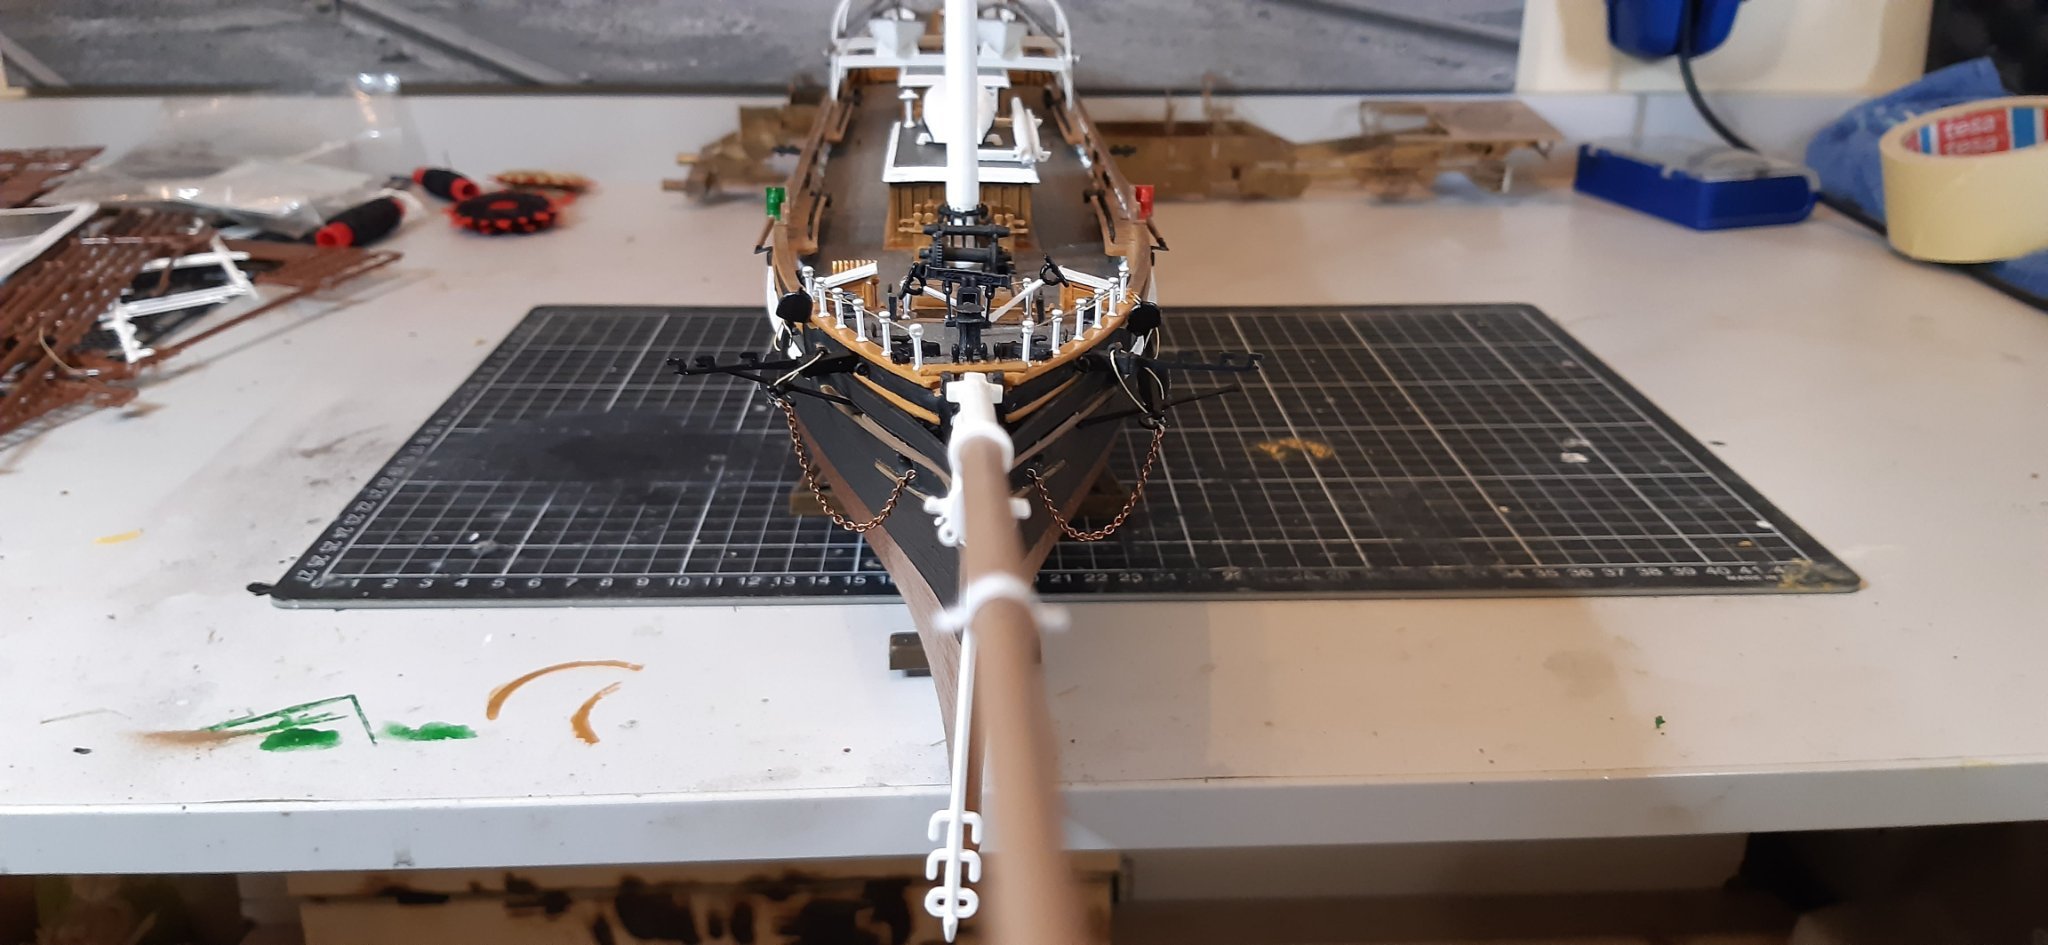
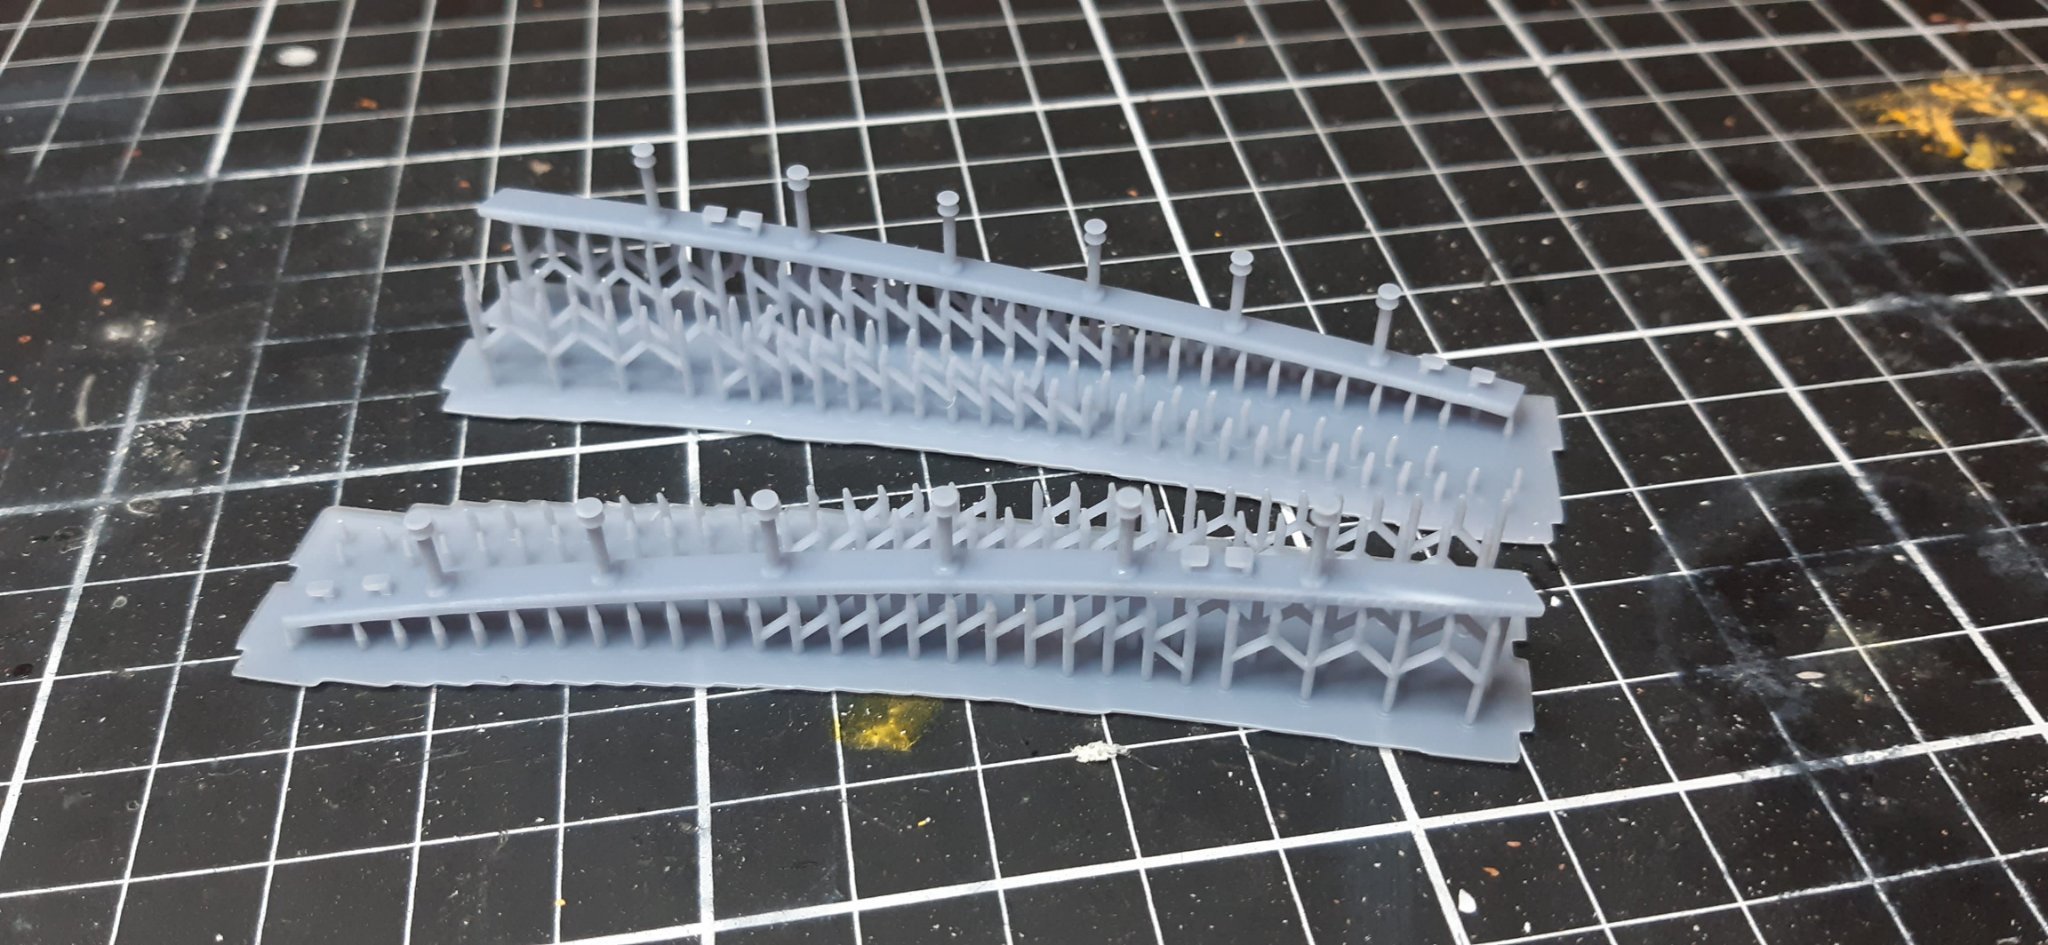
I successfully lost the bow railings, but good thing about having a 3D printer is, when you lose a part, you can replace it in a day, including designing the part.
Also most of the time, after sanding, it looks better than the molded part from the 70s.

Dry fitting, not yet glued
-
9 hours ago, shipman said:
Stunsail Booms.
Thanks, makes sense.
-
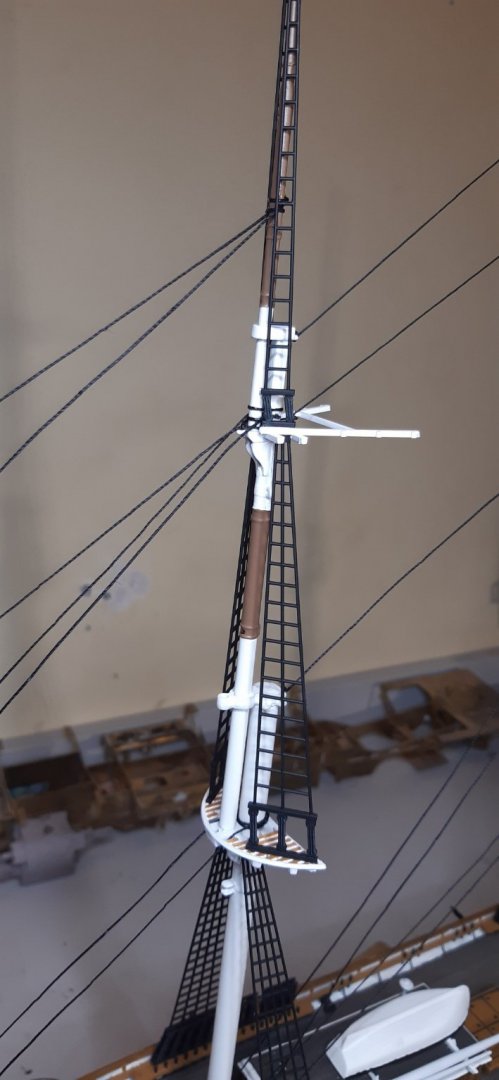
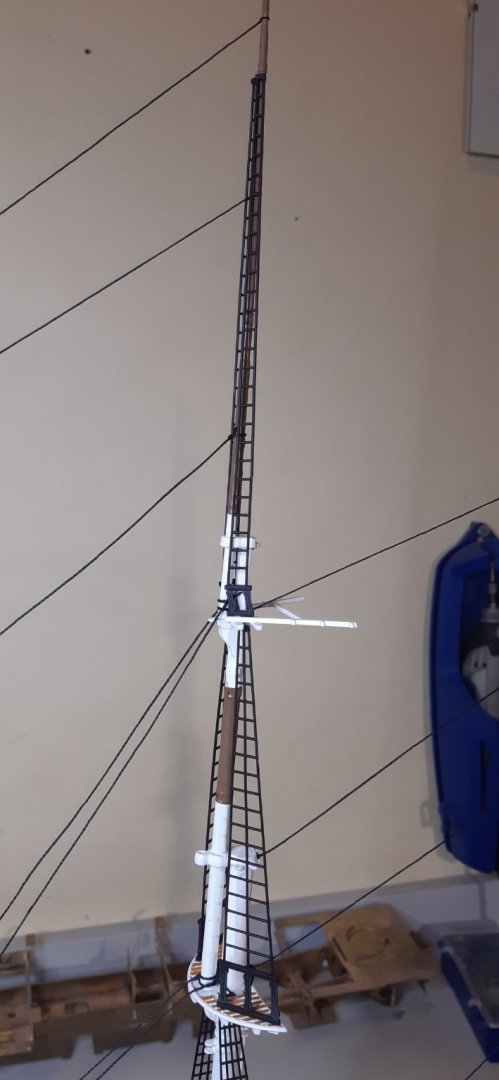
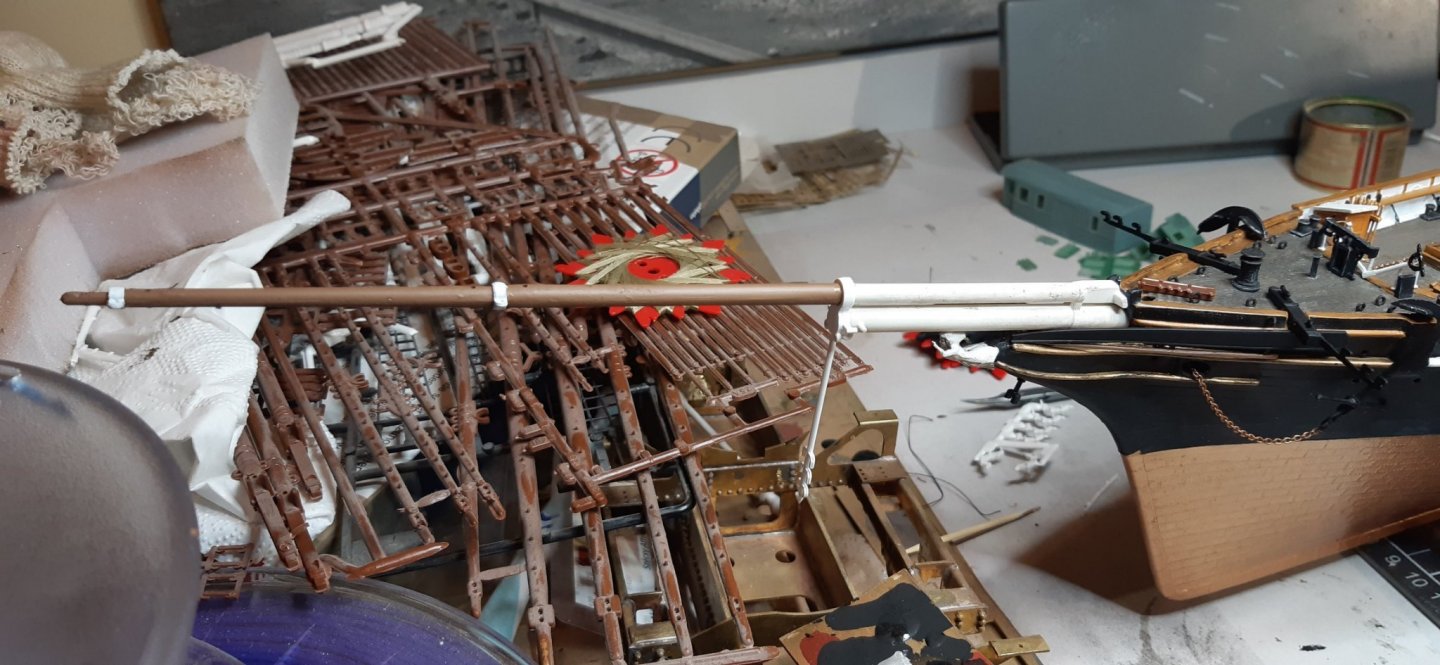
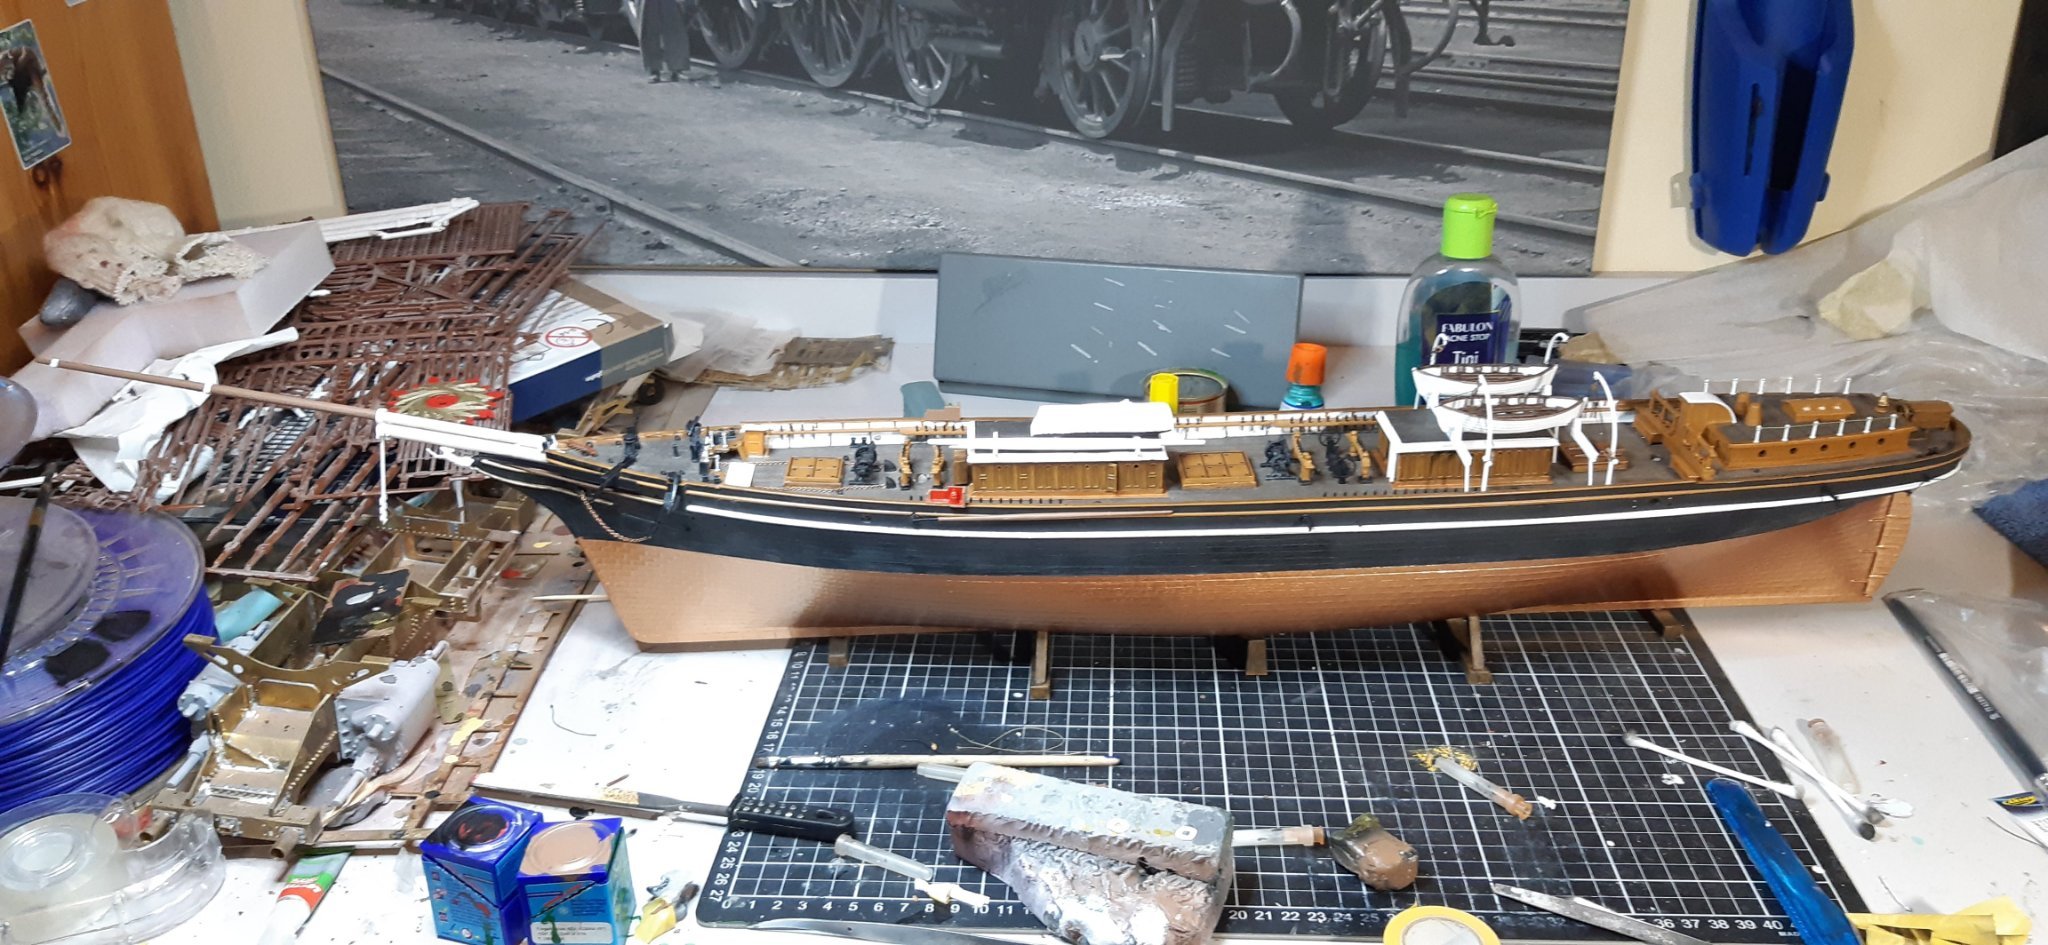
I continued the build with placing the navigational lights, some rods under it (doesomebody knows the function of them?), the bowsprit, the anchors, and the figurehead. With that the Cutty Sark lays in full length on my workbench. Being 92 cm long its quite big 🙂 also impressive to look at.
Now I only need to make the bow and stern railings, before the ship can start to grow upwards (I already started to glue the masts together, until the paint arrives for the railings)


-
On 8/18/2021 at 11:35 PM, Cirdan said:
There's a model of the Cutty Sark with storm sails. I think they were made from a sort of paper since the scale is rather small:
https://dyn1.heritagestatic.com/lf?set=path[8%2F6%2F0%2F4%2F8604188]&call=url[file%3Aproduct.chain]
And a model of Thermopylae by Lloyd McCaffery, also with storm sails:
https://www.jrusselljinishiangallery.com/pages/mccaffrey-pages/mccafferyimage-thermopylae.htm
Thanks for the references
-
15 hours ago, Cirdan said:
In general, sails for clipper models are very difficult to make convincingly (especially in such small scale) and even if they were made as real as possible there is a kind of rivalry between the hull and rigging on the one hand and the sails on the other. With such small sails, however, I can imagine that the model will look homogeneous.
Nice model you have there 🙂
More or less that's my opinion too about the sails. With full sail the hull will disappear under them (also I would have to make around 30-35 individual sails, which is a big no-no 🙂 ). But also there are no sailing ship without sails imo. So the golden mean is to make a sort of storm rigging, with only few sails in use, luckily there are reference paintings, and some photos for that. I will need to figure out though, if the unused sails were just tied up to the masts, or were completely dismantled from the masts and were put into storage.
-
On 5/27/2020 at 2:27 PM, Bill97 said:
Good morning. Just stumbled on your blog. I recently completed the Revell 1/96 USS Constitution and now getting ready to begin the Cutty Sark. Like you, I prefer to leave the sails off so as to see the rigging, which the Constitution had tons of. On the Constitution I did not paint the deck. Just left it the cream color of the plastic. However, after reading your blog and others I am interested in painting the deck on the Cutty Sark. I am wondering if you would mind explaining in more detail how you did yours?
I got some dark-greyish brown (something olive drap, but I don't remember the exact article number), and made three variants. The first one is pure color, wirhout additional paints, the second is with a little added white, and the third is with little added black. After that I painted every plank with one of the three variants. So in the end the whole deck is the same color, but with slight differentiation.
-
Hello again everybody,
it was a long time since my last update, but I got into some other very time consuming projects (like starting university studies 🙂 ). Now I decided, that this ship collected enough dust on my shelf, and it's finally time to finish it, and give her a glass case and a proper place in my room.
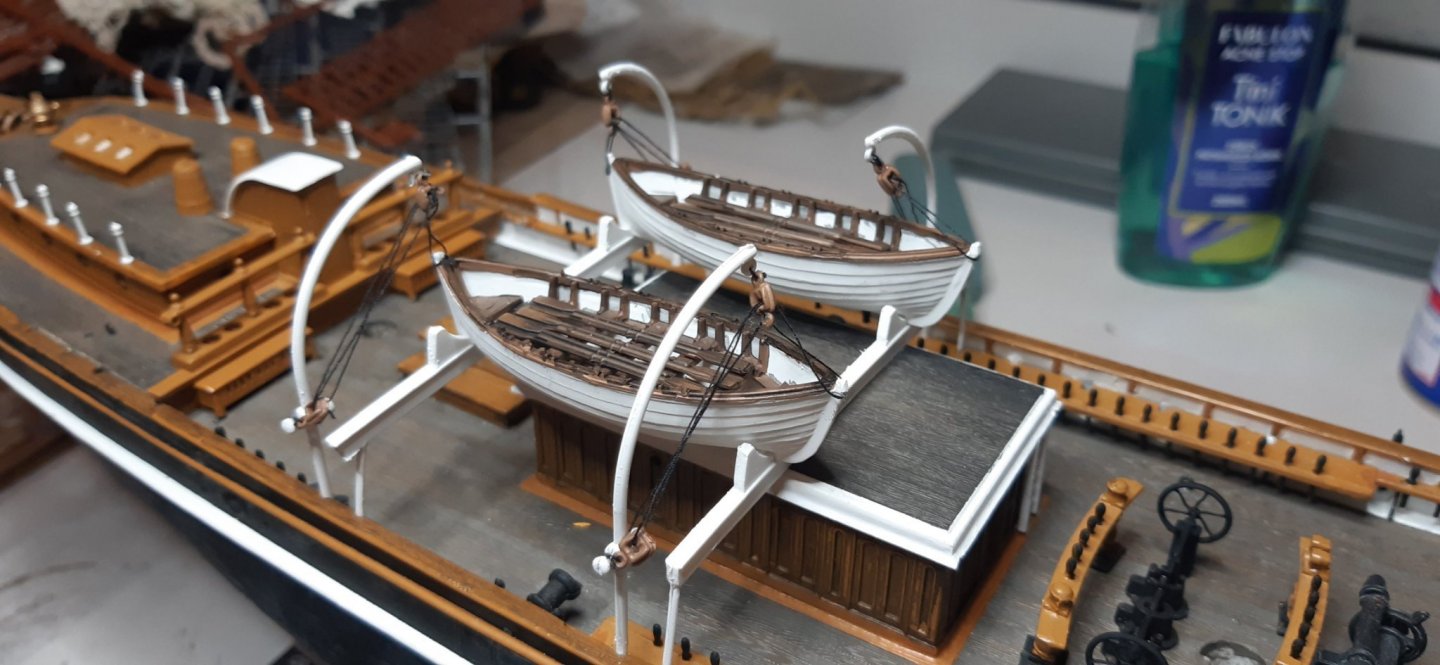
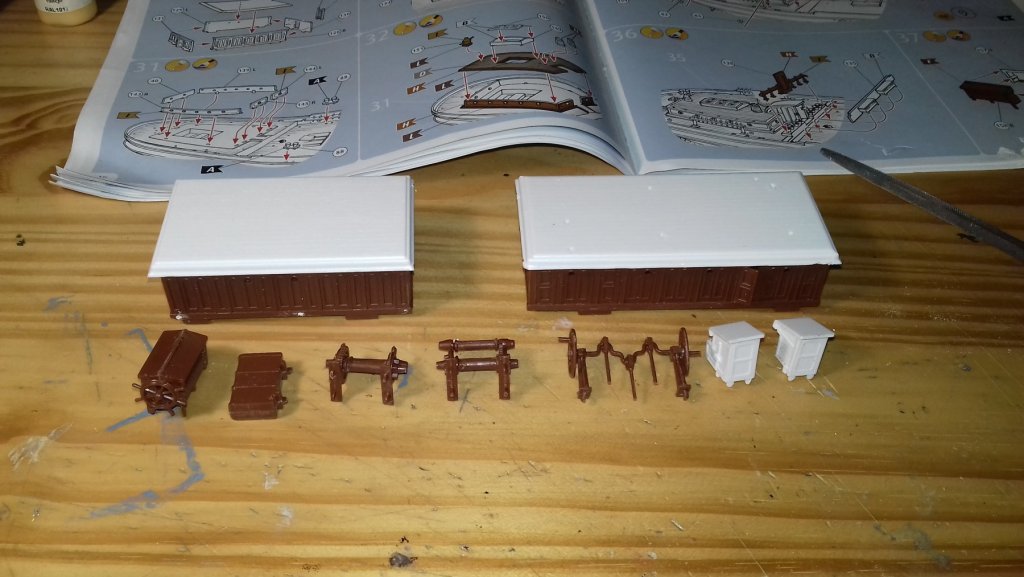
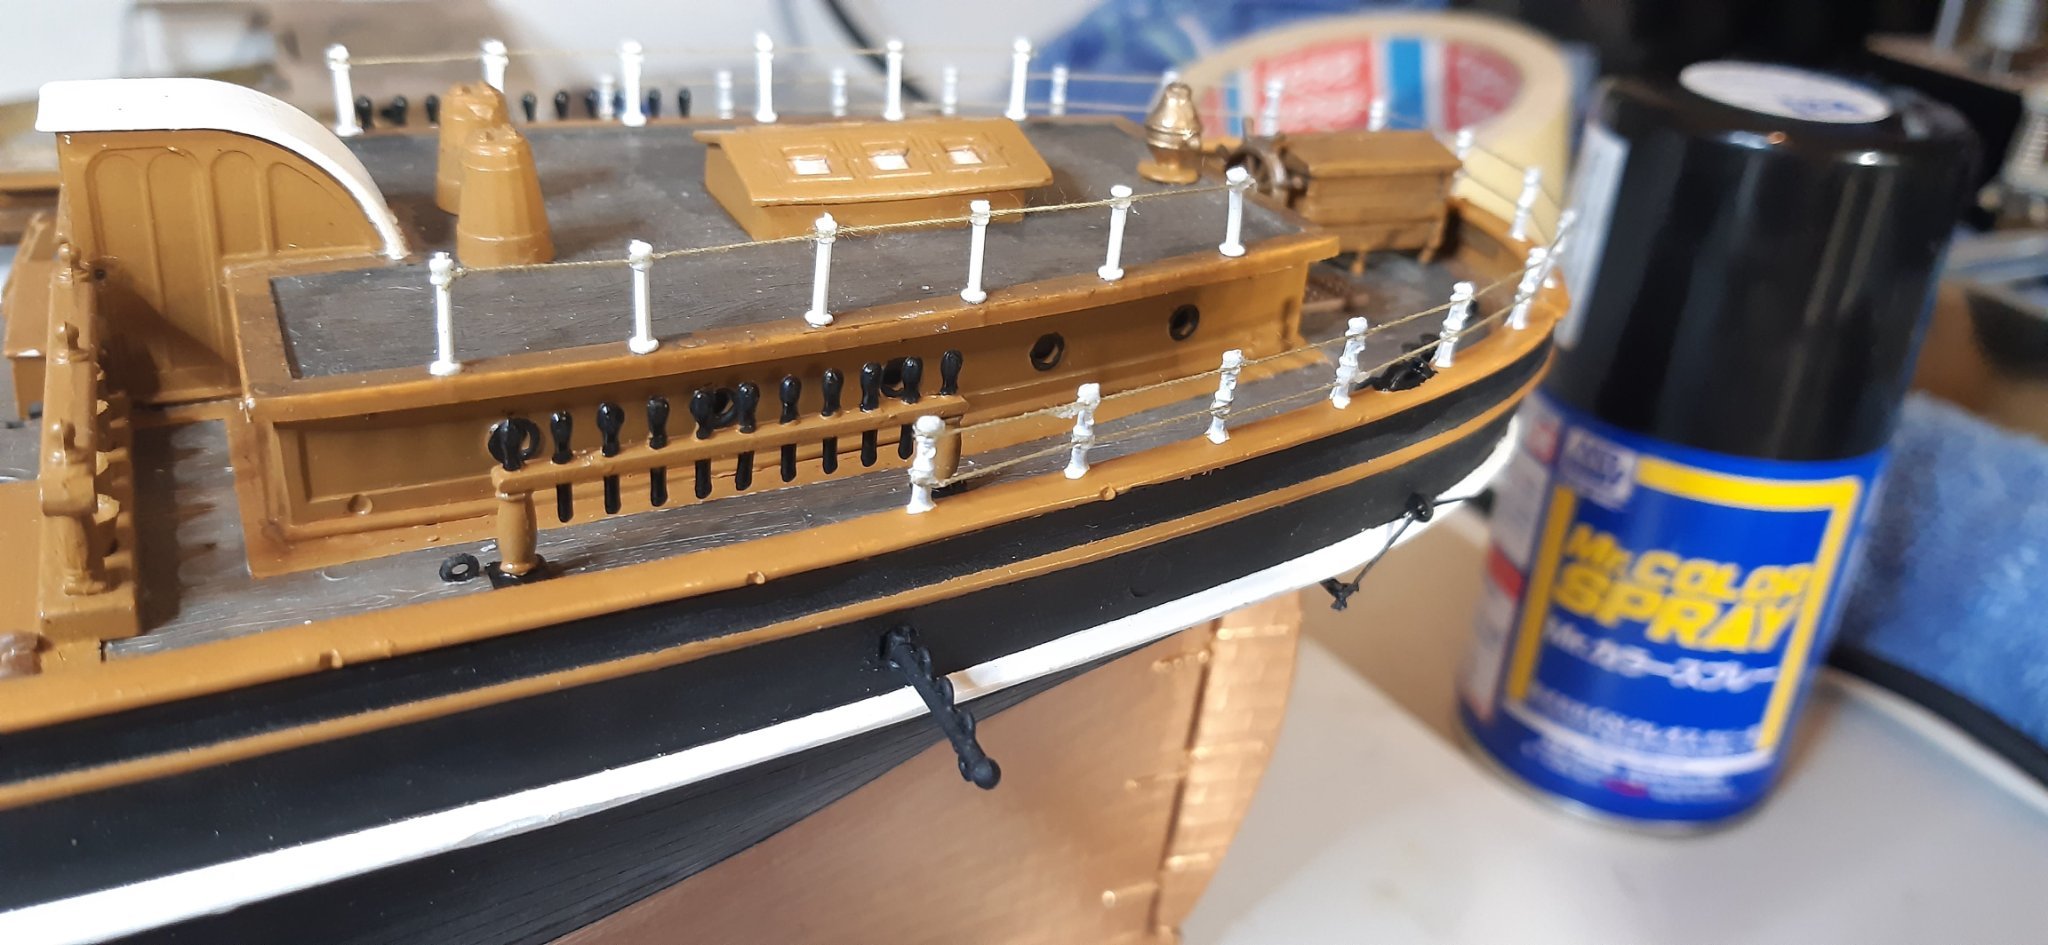
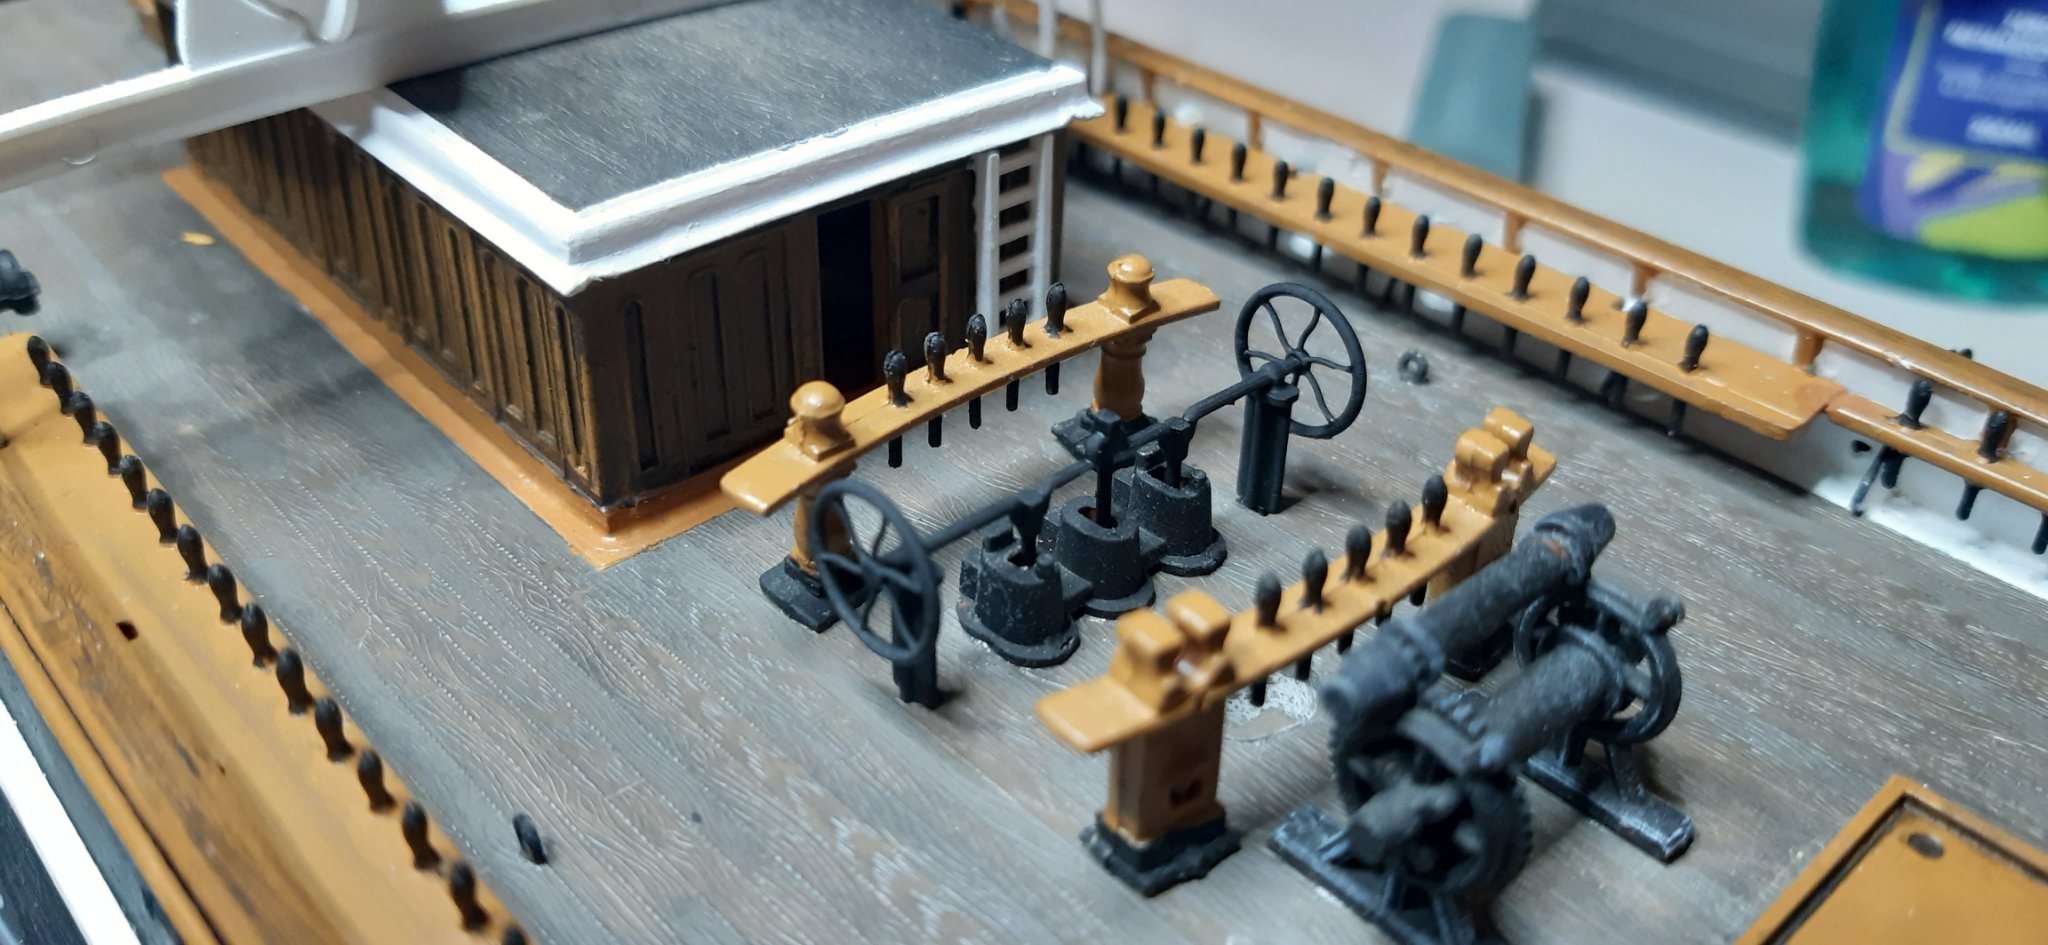
I continued the work, where I left off, namely the boats, their cranes, and some other deck accessories.
When the build was on hiatus, the hand pump was lost, but during that time I got myself a 3D printer, so it was easy to replace the lost one. It looks quite good imo.
Now only some minor parts needed to complete the deck, so after vacation I can start working on the masts and rigging (I'm already a little scared of them 🙂 ).
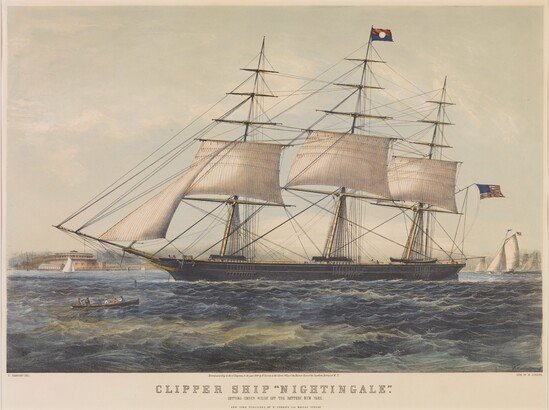
Since full sails and no sails look equally bad on a model ship, I decided that I will do (when I get there) something in between. The ship will sail with only some jibs, topsails, and a spanker (like on the painting picture)

-
After two months of pause due to lack of time, I could continue building her.
The anchor chains, some part of the bowsprit and the foredeck was fitted, and I also installed some things deck: cabin houses, bell, hatches, etc... Hopefully by the end of January she will be completey except masts, rigs and sails.thumb.jpg.f257b8a6cc2554ffa0f30bf28ff10390.jpg)
- Fernando E, Fright, GrandpaPhil and 4 others
-
7
-
I will always update the log when I can make some progress with her.
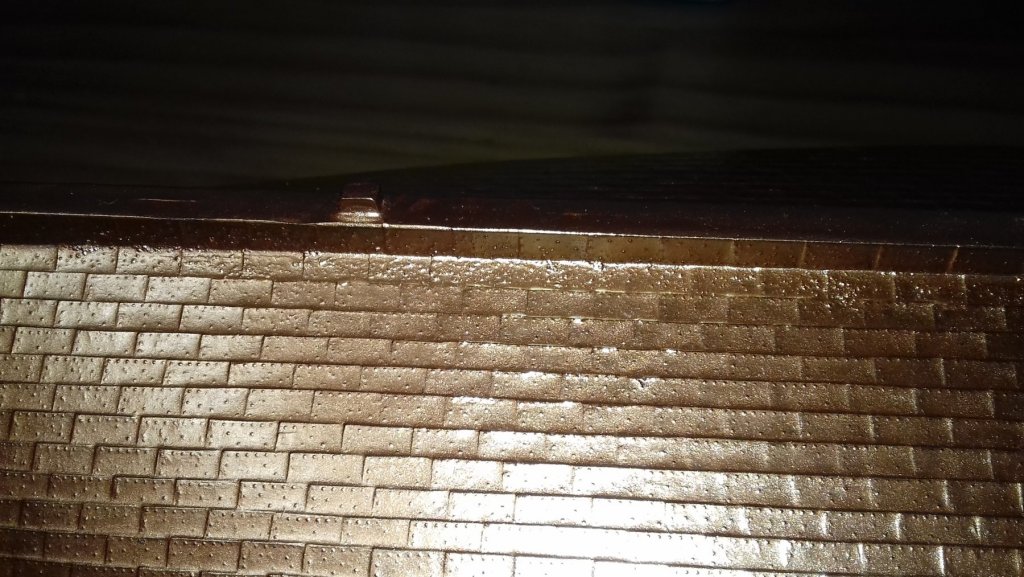
When I painted the copper color, I used up half of the pot, with the airbrush in 3 layers, and the hull needed approx 10-15 coats altogether, so I would say you will need 3-4 pots of Revell Aqua 93 (but only if you are as "talented" in airbrushing as me 😄 , in better cases you maybe need only 2)
For the upper part, I used 3-5 coats of black color, so 1 pot of black paint is more than enough
- popeye the sailor, Fright, Richmond and 1 other
-
4
-
I try to replicate the reference photos :-) (and I assume, back in service not everything was super clean, hence the dark wash)
- Richmond, CDW, Fernando E and 3 others
-
6
-
The project is not halted 🙂
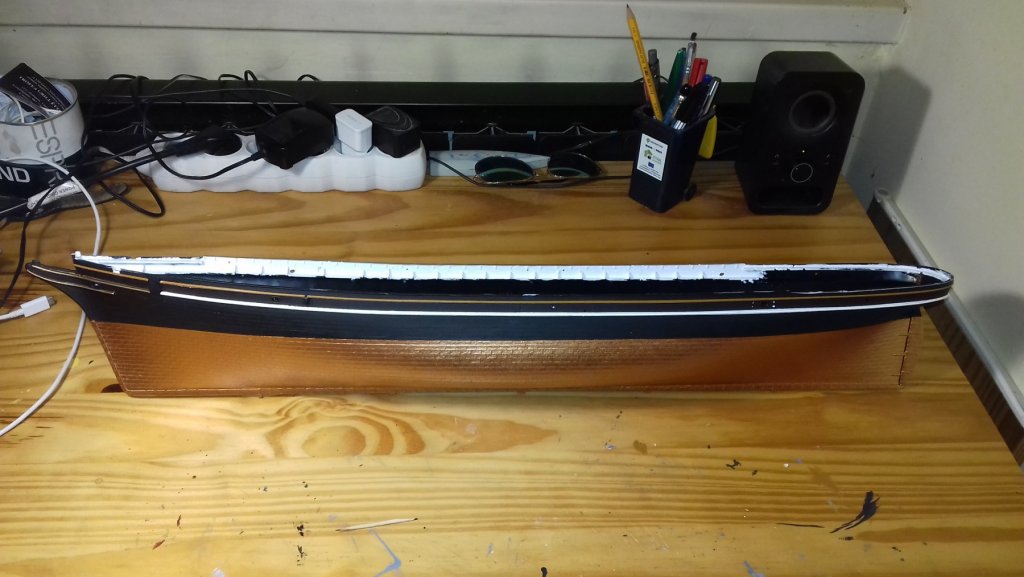
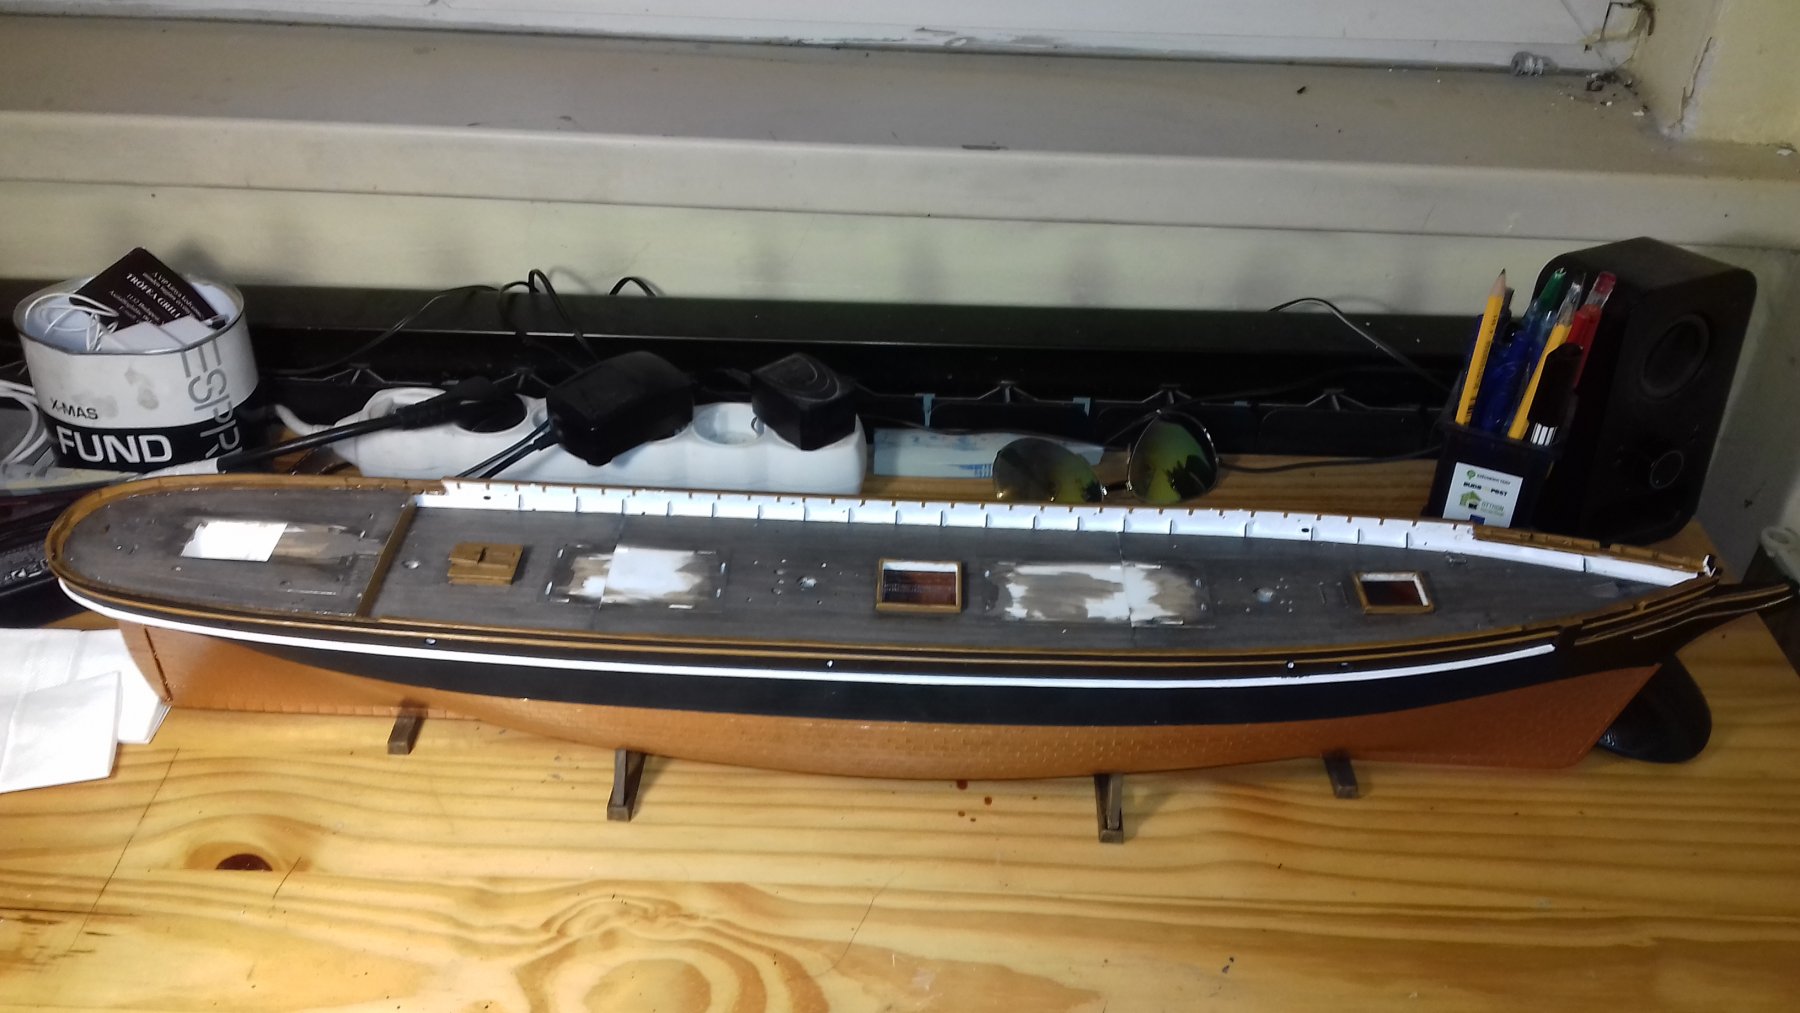
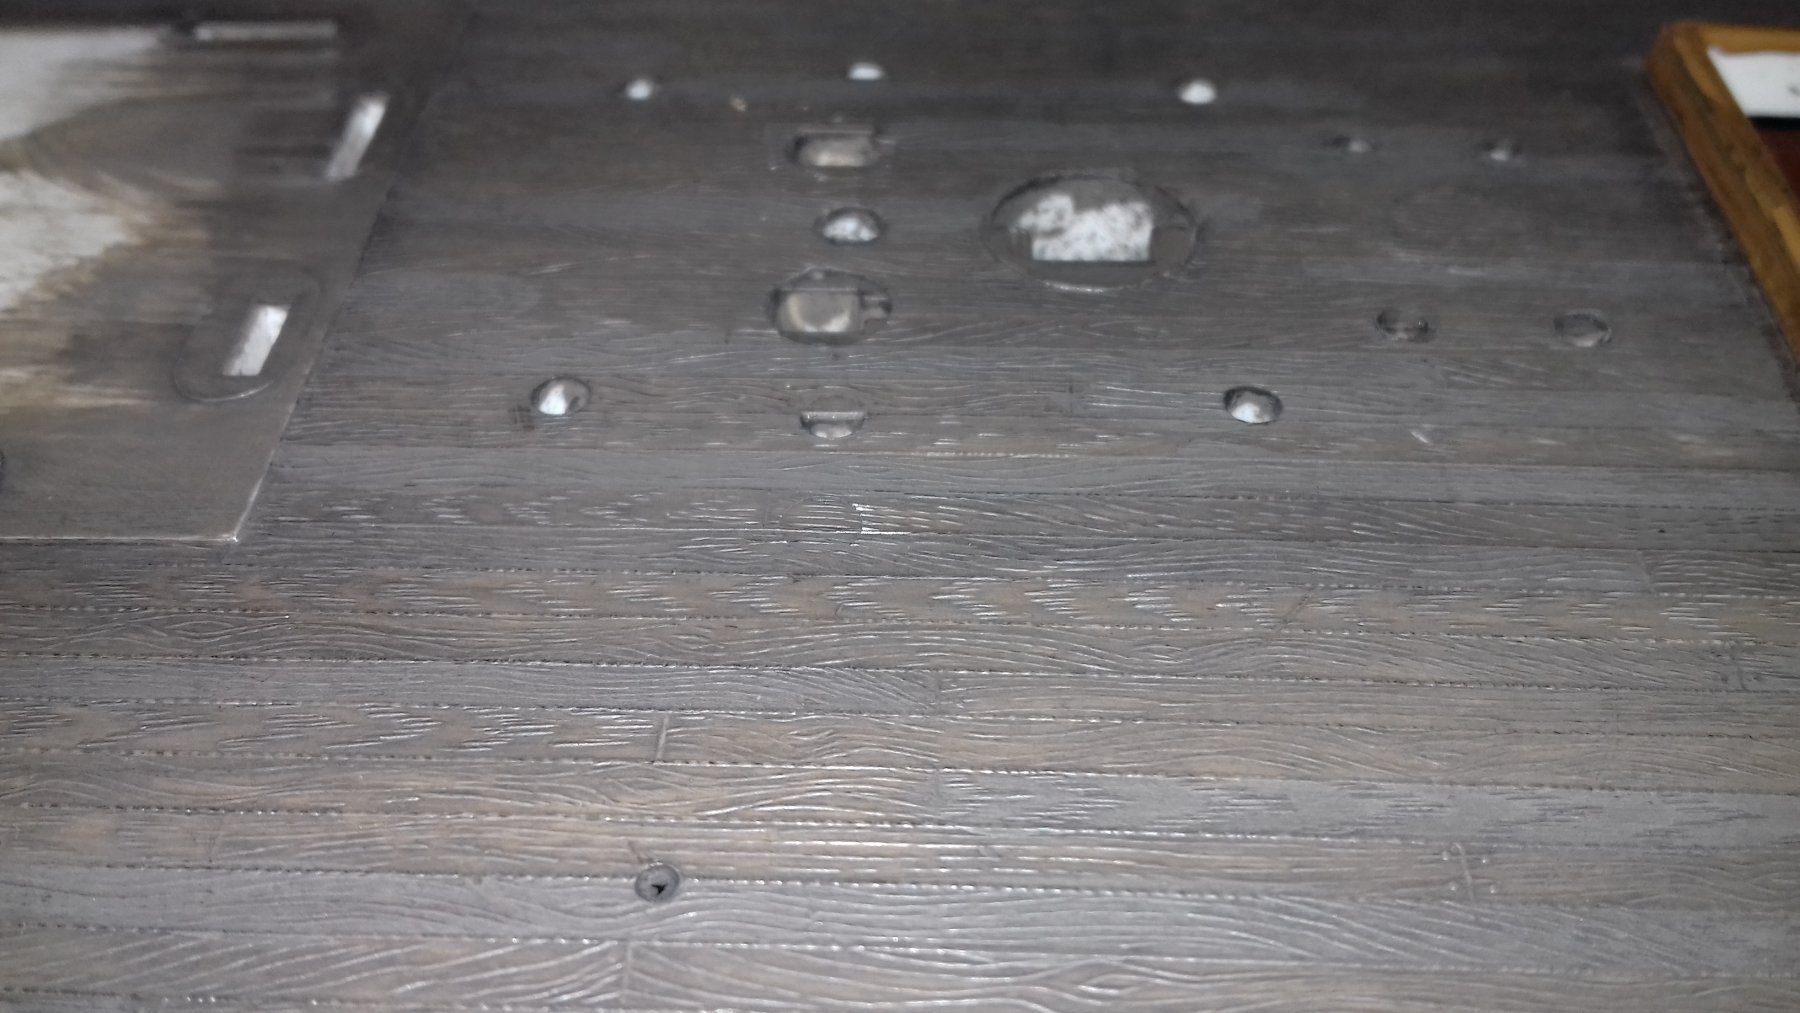
State of progress today: The hull completed. I painted the deck and tried to imitate the wood, with two slightly different (only the brown:white ratio is differ slightly) paints of brown (Revell 187, earth color) then it got a black wash, and a coat of graphite (from a pencil) , which was later scrubed down, but remained in the edges (so basically a wash). When both the hull and the deck paint has dried, they were glued together and I placed the stand under the ship (which are boatyard-wood imitations)

-
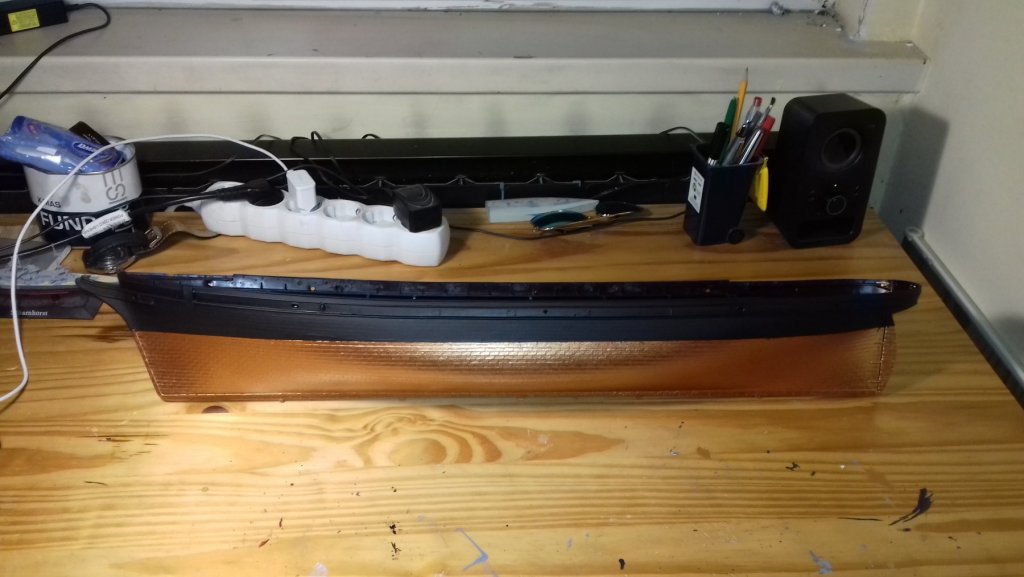
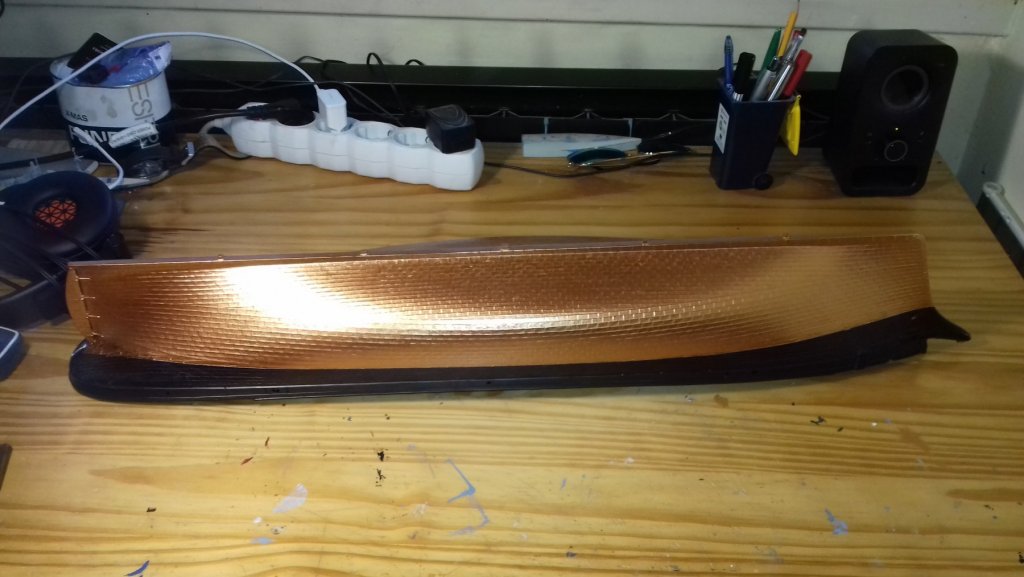
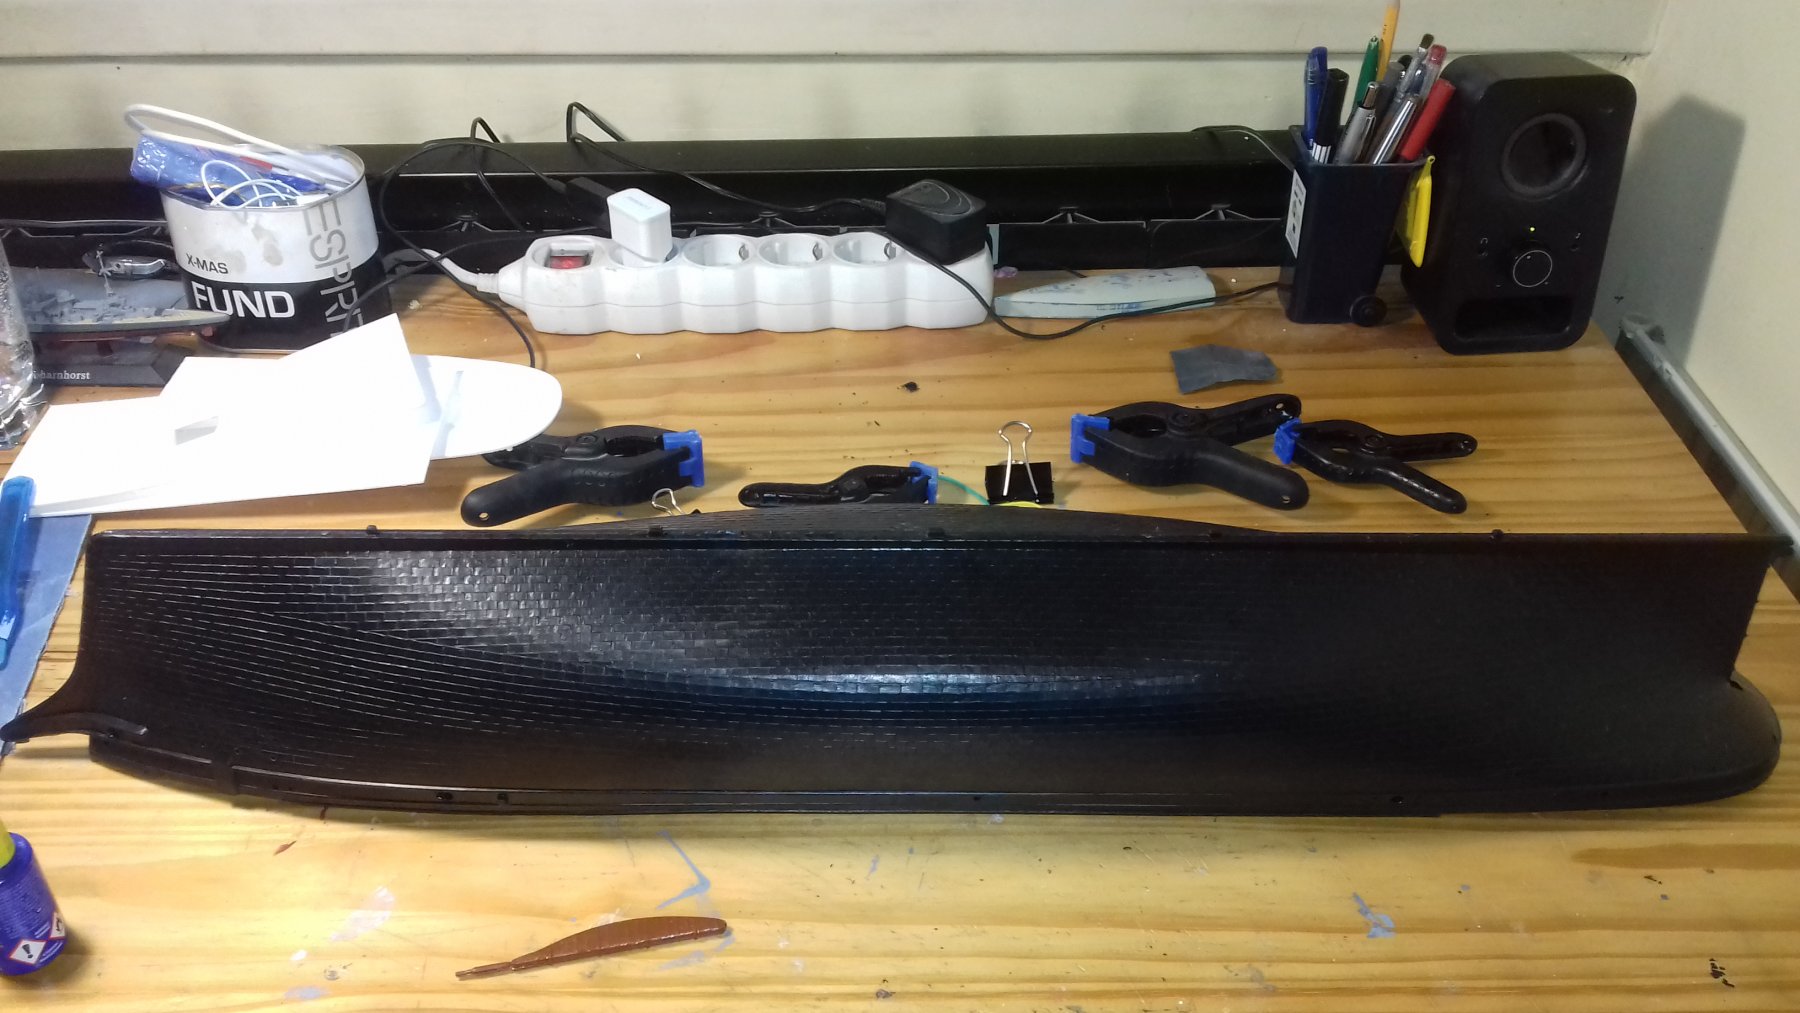
Today the outer hull painting was finished, inside the natural wood areas still need to be made.
-
This is how she looks tonight.
The main colors of hull are painted, but some corrections around the masking is needed. "Only" the paintings of the side-belts (I don't know how they called properly, I hope you know what I mean) and the inner side remain to be finished, but then the hull is complete, and I can start working on the deck.
- popeye the sailor, CDW, Fright and 4 others
-
7
-
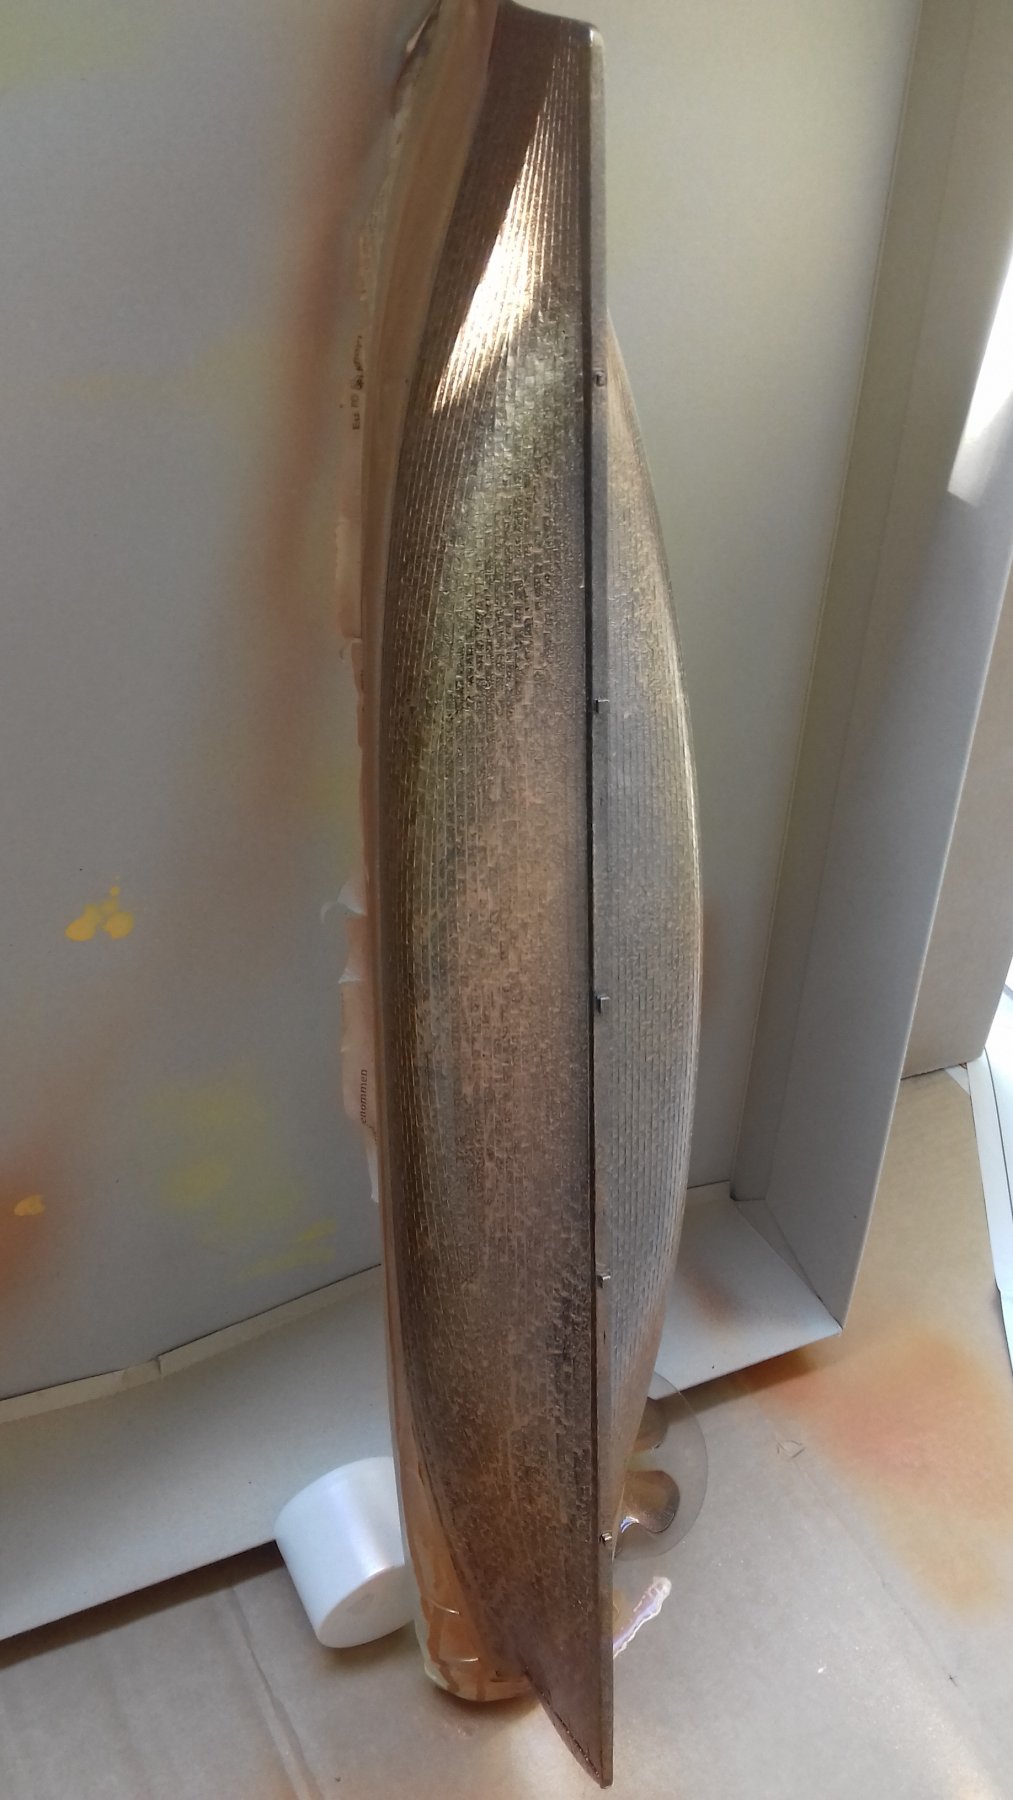
I stopped buying enamel 3-4 years ago and changed to acryl, because they don't smell, dry quickly, and easier to keep the accesories clean. Only my laquers are enamel, because acryl is very vulnerable. This copper color was touch-proof-dry in 20 minutes (this is why I was able to paint 10 layers in one day)
And thanks for the link it's really interesting. -
9 hours ago, popeye the sailor said:
I was never a fan of the three section decks....
I hate them too, especially because the panel lines are positive so you can't engrave them again if you fill them up with putty at the joints of the deck parts.
For the yesterday progress:
I painted the hull with three coats of copper color (Revell Aqua 93) with the hobby-airbrush, but after the airbrush used up all of the loaded paint (half of the can (!) which was even diluted in 1:1 ratio), and the results were not satisfactory (see first picture), I didn't want to waste the remaining paint, so I decided to finish the hull with brush. I was using a big 16 sized brush, and the paint was diluted 1:1 here too. I painted one coat, then I waited for about 20 minutes, then painted the next coat. It continued until about 10 coats (excluding the airbrush), until the result was satisfactory.
And she already has some bivalvia and algae 🙂 (actually they are tiny dry bubbles from the soap, added to the paint, to counteract the surface tension of water (becuase I use acrylic paints diluted with water), and help the paint evenly flow everywhere)

- Fright, Old Collingwood, Fernando E and 2 others
-
5
-
NenadM: Of course you can join, you're welcome!
Jud: Thanks for watching. I plan to build a glass box for her to keep out the dust.
Today evening had the airbrush arrived, so tomorrow will be Painting-day.
-
I hoped that today I would be able to paint the hull and the deck, but unluckily the airbrush didn't work (it haven't been used since 1 or 2 years), it has paint as dry as stone in it, which I couldn't clean with my accesories, and the air is leaking everywhere (maybe because the sealings have worn out). So until the newly ordered air brush doesn't arrive (cheap hobby type, costed around $9, but good for large area painting), the build continued with deck fittings (pump, lifters, steering wheel) and deck housings.
- popeye the sailor, lmagna, CDW and 3 others
-
6
-
Thanks Fright, I hope, you will finish yours, and we could see her later in your build log too.
-
-
I hope this model will satisfy you as good as me, when it will be finished
- Old Collingwood, CDW, Fernando E and 1 other
-
4


.jpg.c1f9bd2b76c380152c352f84cefefdf3.jpg)


Cutty Sark by Arctic37 - FINISHED - Revell - Scale 1:96 - PLASTIC
in - Kit build logs for subjects built from 1851 - 1900
Posted
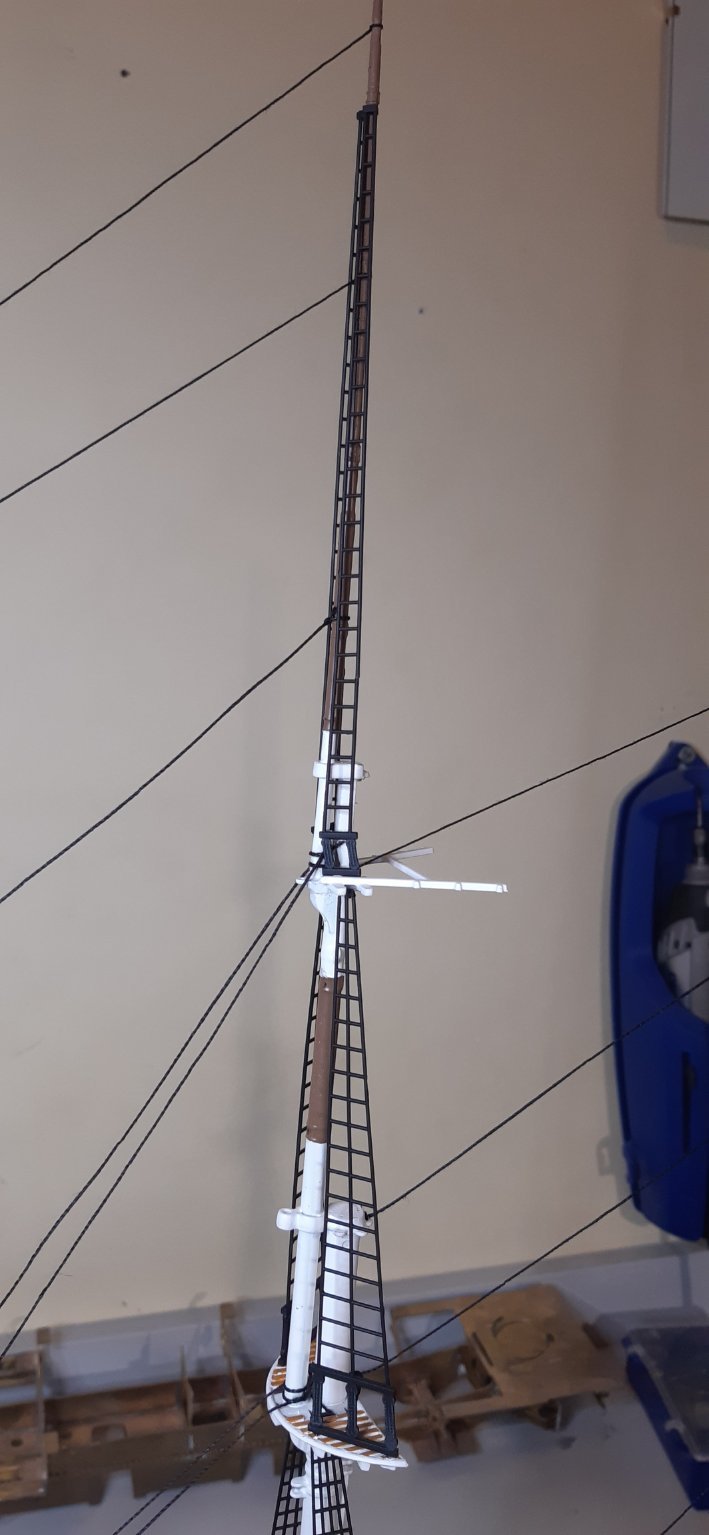
It was a tedious job, but the standing rigging is complete.
I already started to look at the running rigging (Revell manual a bit more useful in this regard), altough I will make the yards and sails before the rigging (I think it will be easier to fix the sails to the yards, when I don't have to manouver my hands around a couple dozen ropes and parts)