HOLIDAY DONATION DRIVE - SUPPORT MSW - DO YOUR PART TO KEEP THIS GREAT FORUM GOING! (Only 20 donations so far - C'mon guys!)
×


rowand
-
Posts
154 -
Joined
-
Last visited
Content Type
Profiles
Forums
Gallery
Events
Everything posted by rowand
-
 Hi Steve, Very nice work - I thought you might like the attached photo of the replica Endeavour ship's wheel, for your info.....if not, no need to keep it. Cheers, rowand
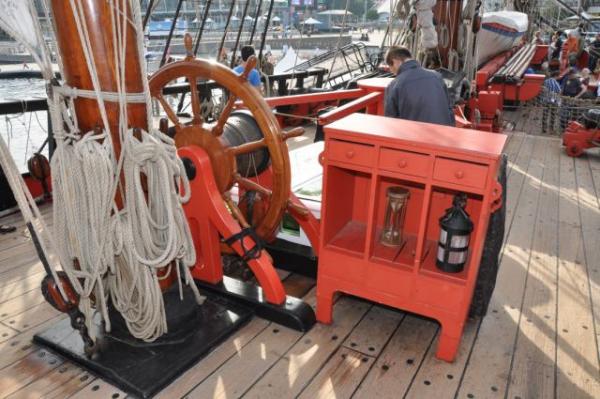
-
Hi Mick, I'm with Adrieke on this one, got a front row seat and a nice cold one, Cheers! rowand
-
Great work Adrieke, your model looks fantastic. Cheers, rowand.
-
Hi Ken, Yeh, Happy Birthday!! Your model looks impressive, nice work! Cheers, rowand.
-
Hi Anja & NickM, Thanks, I'll get back into it shortly (I think)............. You'd think with winter at this end of the world I'd have nothing else to do? grrrrr....... Have a great day & Cheers, rowand.
-
Hi Adrieke, I drop in on the forums every now and then to keep up with the build logs and have to agree with you. Work just keeps getting in the way of one's best intentions......... (the grass can wait!!)....... Cheers and keep up the good work, best regards, rowand
-
Hi All, I haven't gone down with the ship so to speak but been fairly busy with work commitments. I'm working on the railings at the moment and if any one has any tips, I'd appreciate some guidance. Work has interefered with my hobbies for the moment and I've just picked up another gig which I'm pretty happy about. It'll keep Endeavour in dry dock for a little while yet but provide the funds to re-float her shortly. I hope you're All well and modelling on........ Have a good one and Cheers, rowand
-
Hi Pete, That's a bit of a disappointment for you about the keel. I know what you mean about the timber in the kit warping though, I've had similar problems with other bits and pieces. I've also experienced AL's product support as well, I'm still waiting for them to reply via the model shop I purchased the kit off for some replacement parts. That was over 12 months ago now, so I ended up having to scratch build the parts, never mind it was a nice day to do that......... The only suggestion I've got on drilling the mast holes is to make sure that they are all in line and vertical with reference to the horizontal (across the vessel) and maybe average the twist out by using the main mast as the reference for the other two.......... At the end of the day, it'll look great. If anyone else has any thoughts, please join in. Have a good one, Cheers, rowan
-
Hi Capt'n Slog, Thought I'd drop by and say g'day. Your Endeavour is looking great, nice work!! Cheers, rowand
-
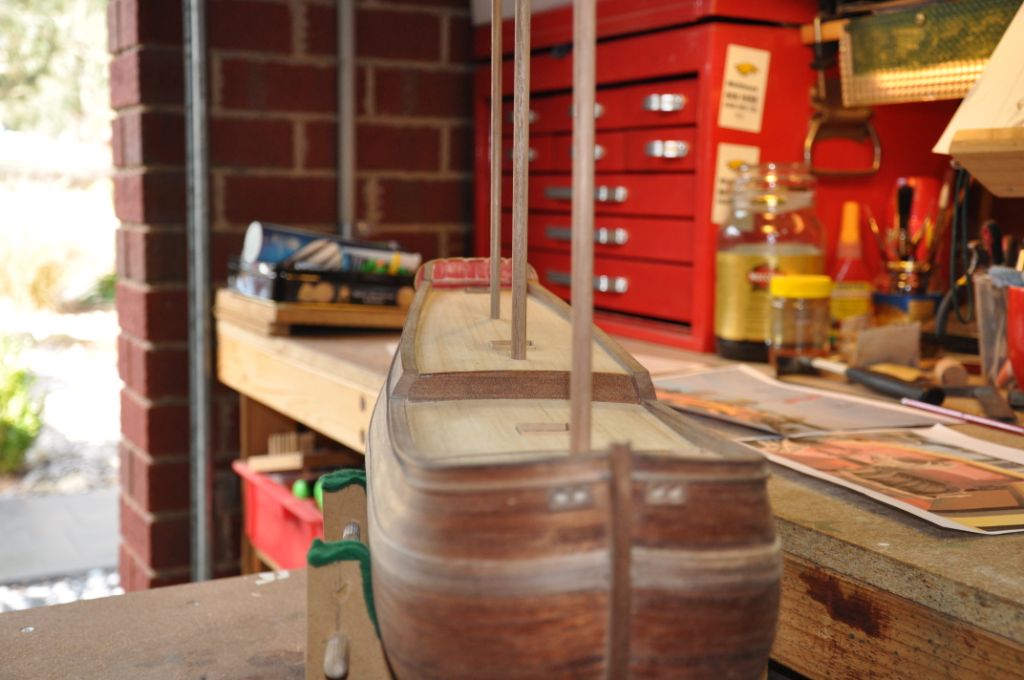
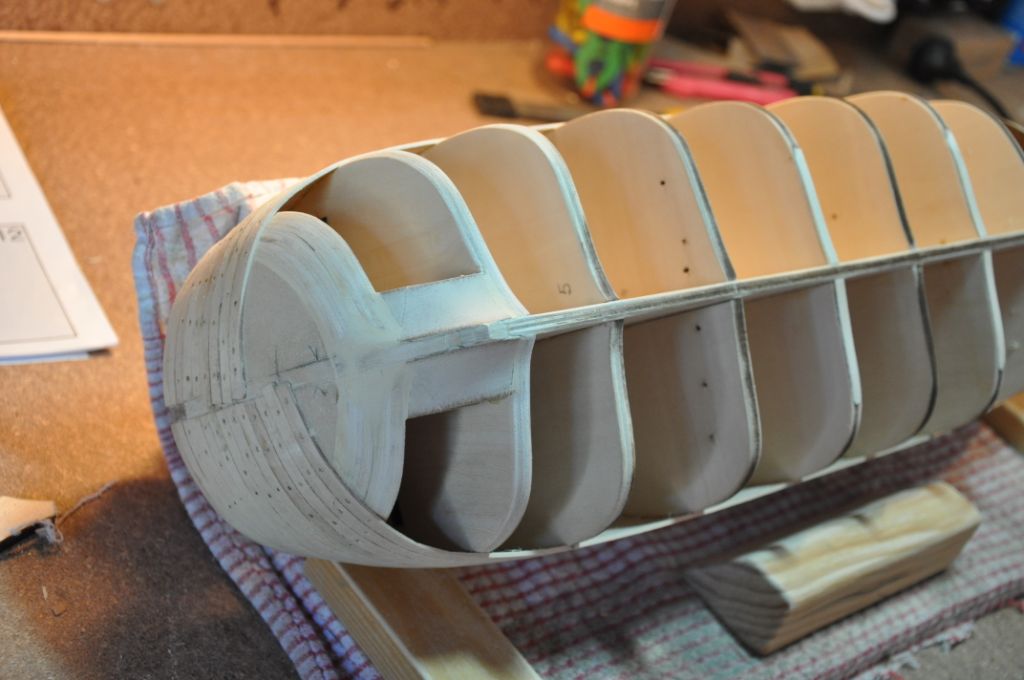
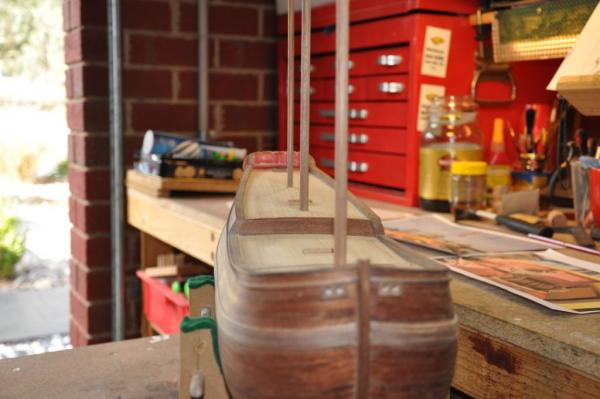
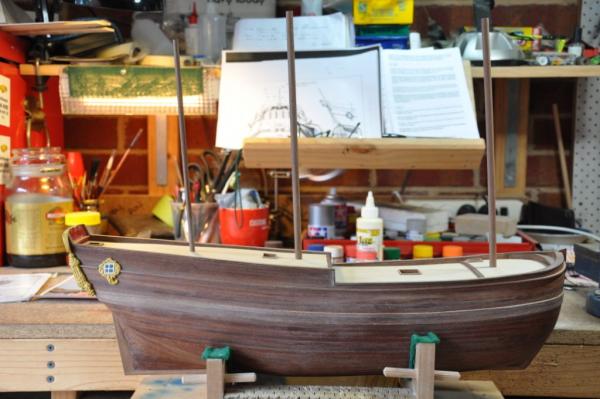
Hi All, As promised in my ealier post above, I've attached some photos of the masts in position after I drilled the holes...... I poked the masts into position for the photos and there is a tiny bit of slop in the holes so please don't think this is the finished product. Have a great weekend, Cheers, rowan

-
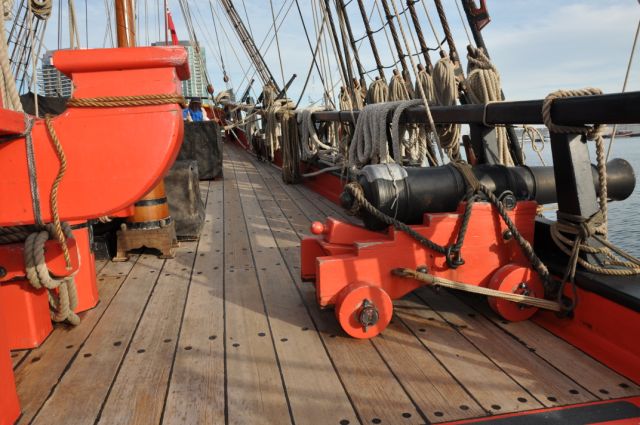
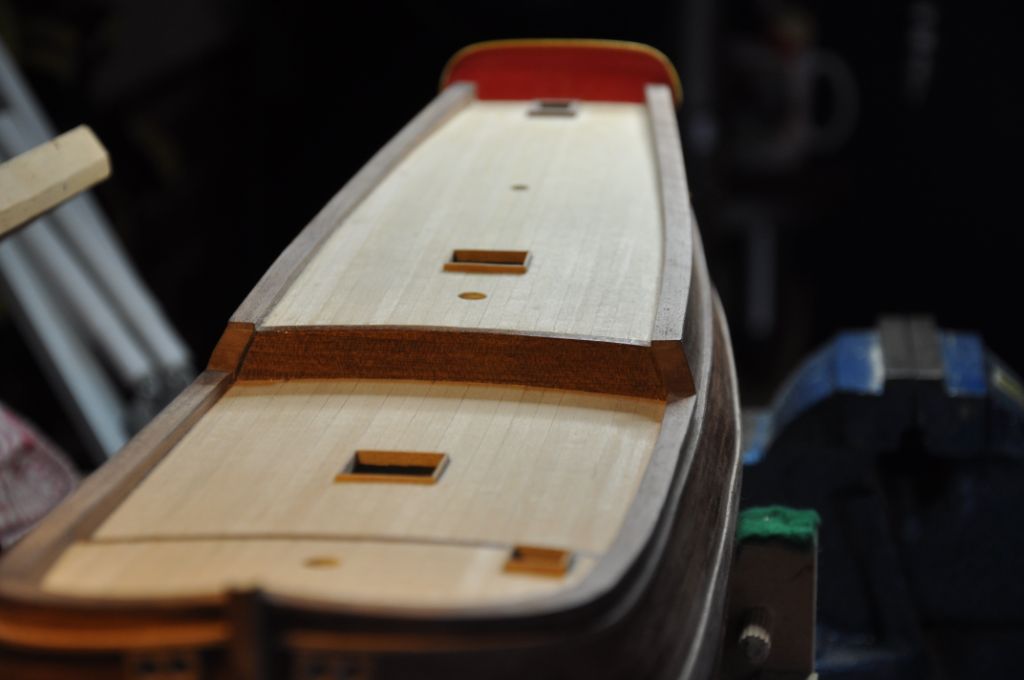
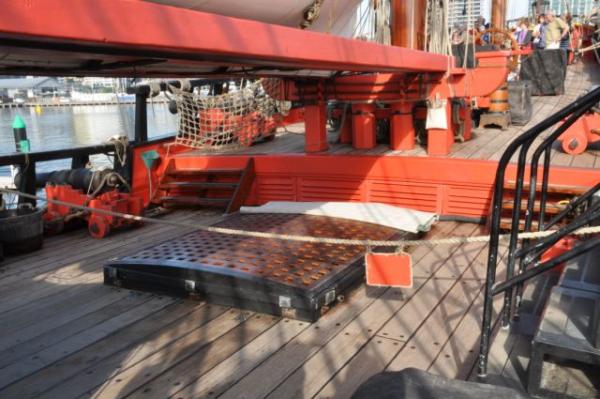
Hi Adrieke, I dug out a couple of photos of the Endeavour decks that I hope might be useful to you, Cheers, rowan

-
Hi Adrieke, Have you or anybody else got an thoughts or comments on how you drilled the mast holes, please Mate? It's a pretty critical part of the build and any comments or advice would be welcome.......... Cheers, rowan........
-
Hey Sjors, Thank you, I really appreciate everyone looking in and their kind comments, it's very encouraging and for a first time builder, it's great to have your support and encouragment. I've been surfing through the forum and viewing the most fantastic modelling efforts and have to say well done to every one for the very high quality and superb models on the forum. I've got to lift my game, that's for sure............ Cheers, rowand....
-
Hi Adrieke, Yep, you're spot on there. I measured them off the Longitudinal section drawings and got slightly different values, but only by a smidgen here and there. Cheers Mate, Have a good one, rowand..........
-
Hi Pete, I ummed and arred on this for quite a while and had some close calls along the way. I think it's fair to say that you only get one go at this. With reference to the AL kit drawing "Longitudinal section" (cutaway side veiw) I used a protractor to measure the angle of each mast in relation to the deck using the deck as the (zero) reference. I found that each mast has a different angle or sweep towards the stern in relation to the deck but each mast is more or less parallel with its neighbour mast. There are three aspects for each mast that need to be considered. It needs to be located on the vessel centre line, it needs to be angled back at the correct angle relative to the deck and it needs to be perpindicular to the horizontal line across the vessel. This part of the build made me pretty nervous so I have a drill press (vertical drill) and used that to do the risky bits.I set the model up on the vertical drill press table and by adjusting the angle of the table for each hole to position the deck at the correct angle to drill each hole relative to the vertical axis of teh drill. Then using a spirit level, I set the deck as best I could in the horizontal across the vessel. I think I must have checked each setting about a million times and made sure the drill was spot on the mark. I used new high speed steel cutting drills (nice and sharp) to cut the holes on a low-medium speed (r.p.m.) and a fairly slow feed drilling into the deck material as I didn't want to tear the wood around each hole. It took me about an hour and a half to set up each hole to drill (and 20 seconds to drill) so by the time I finished, I needed a beer (or two). Once I finished the drilling, it took me a while to build up the courage to see if I got it right (I'll put up a couple of pikkies up over the weekend). If you like, I can set the model up in the drill press to depict the above. Anyway, it didn't come out too bad. After having endured this part of the build, I'd advise strongly against drilling free-hand, there's too much room for error. Either manufacture and set up a drill guide for each hole or use a drill press. I think the masts are one of the more obvious things the eye will look at on the model and probably the easiest part of the build to make an error with as they need to be in line along the centre line of the vessel (fore and aft), sit perpindicular to the horizontal across the vessel and sit at the correct sweep angle. Anyway which way you decide to do it, I'd advise to take your time, work out what you want to achieve and how you are going to make sure that you get the outcome you want. Don't hesitate to get back to me if I can help any further. Have a great day, Cheers, rowan
-
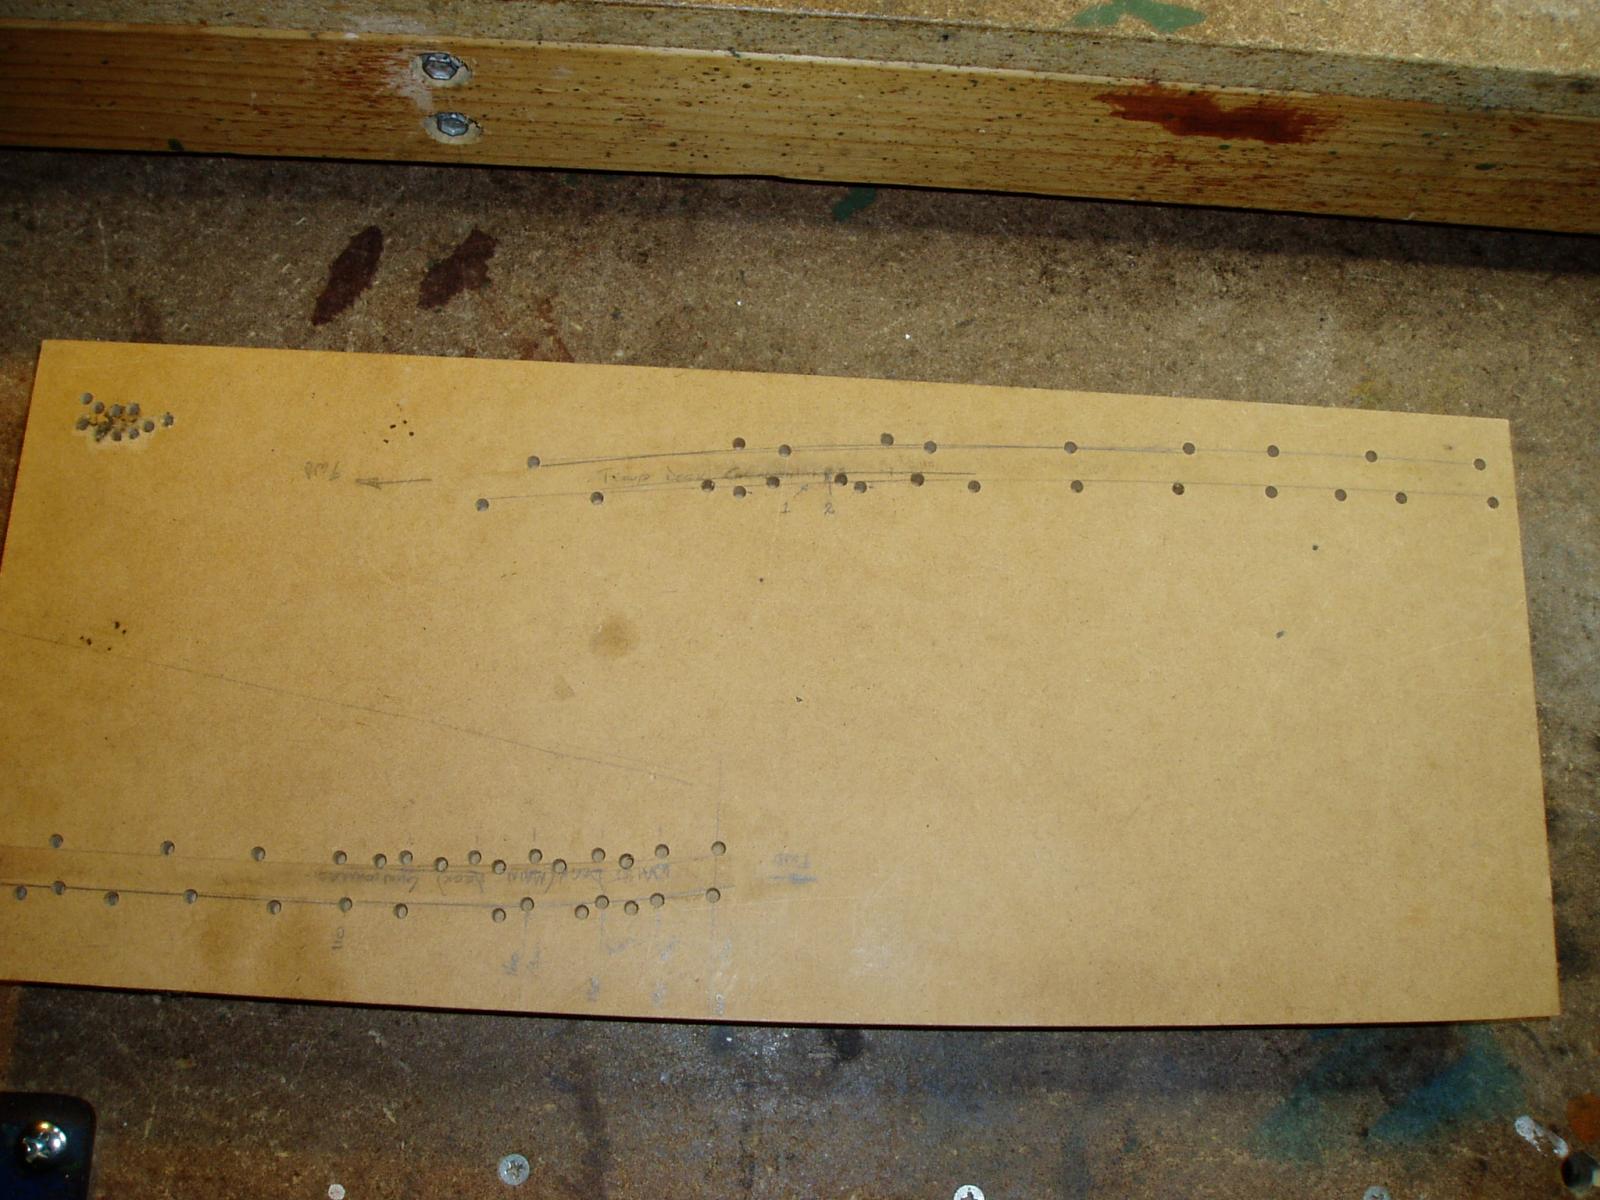
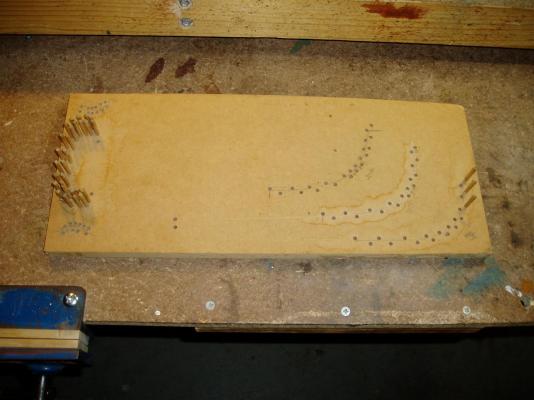
Hi Pete, yep, it's an AL kit and I think, like the rest of the modellers, I've found discrepancies in the kit and the instructions too. This is a great forum and as you can see from the other modellers, we're not the only ones that have discovered the short falls of the manufacturer. There's lots of information and tutorials here in MSW and if you haven't checked it out, I'd encourage you to do so. To answer your question on bending planks and beams, at first, I tried using a plank bending tool but only manged to knip the end off the plank or cut it in half.......dohhh!!! After that, I made my own jigs out of some MDF wood and 4mm dowel (I got that tip from another modeller). I've attached a couple of photos. I soak the planks or beams in hot water for a while and then place them in the jig. Depending on the type of wood and radius of the bend such as the hull planks, I had to try and ply the planks between my fingers to soften the grain and encourage them to bend. If necessary, I repeated the process a few times until I could get the bend correct and put them into the jig. When bending the walnut timber, I found that it needs a longer soak time and I needed to keep the water hot while the timber is soaking. I only did a couple of planks or beams at a time and let them dry fully in the jig before I removed them and fitted them to the model. With the sideways bends in the walnut timber like the deck rails, I also clamped them down to keep them flat and stop them from warping while in the jig. I guess the thing is to take your time, nothing needs to be rushed. Have a great day, Cheers, rowand

-
G'day Greg & Jeff-E, Thank you for your kind comments, I can't believe how many folk have been/are interested in my build log and the positive feed-back I've received. Have a great weekend, Cheers, rowand.
-
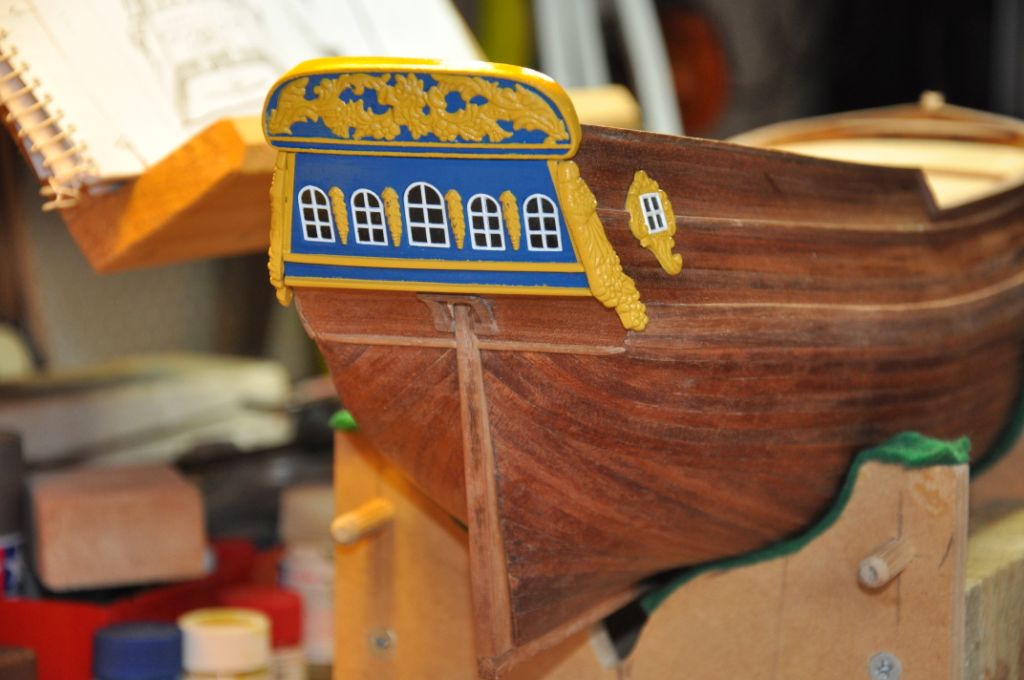
Hi Pat, thanks for that, Mate. Hi Adrieke, I found that the kit has some differences to the replica vessel and I'm trying to close that gap a little bit here and there but there are some bits and pieces that need small but signifcant changes to make it like the replica. I realised this a bit too late but I have decided to do what I can to fix up some of the discrepancies and get it a bit closer to the real deal without radical re-work. This model is on a steep learning curve for me.......... Have a good weekend All, Cheers, rowand
-
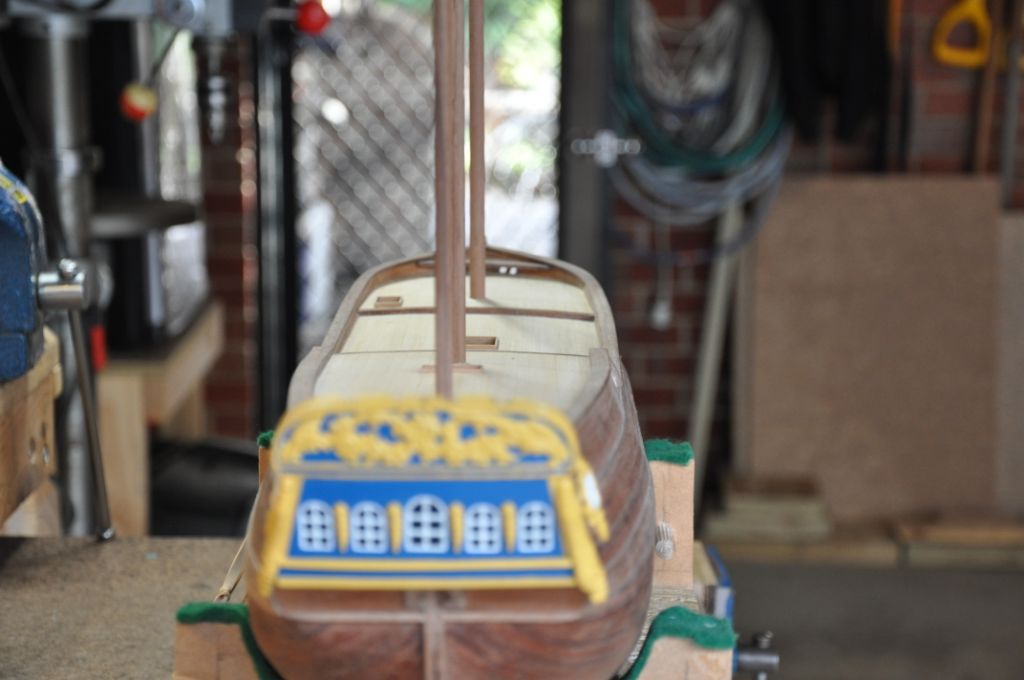
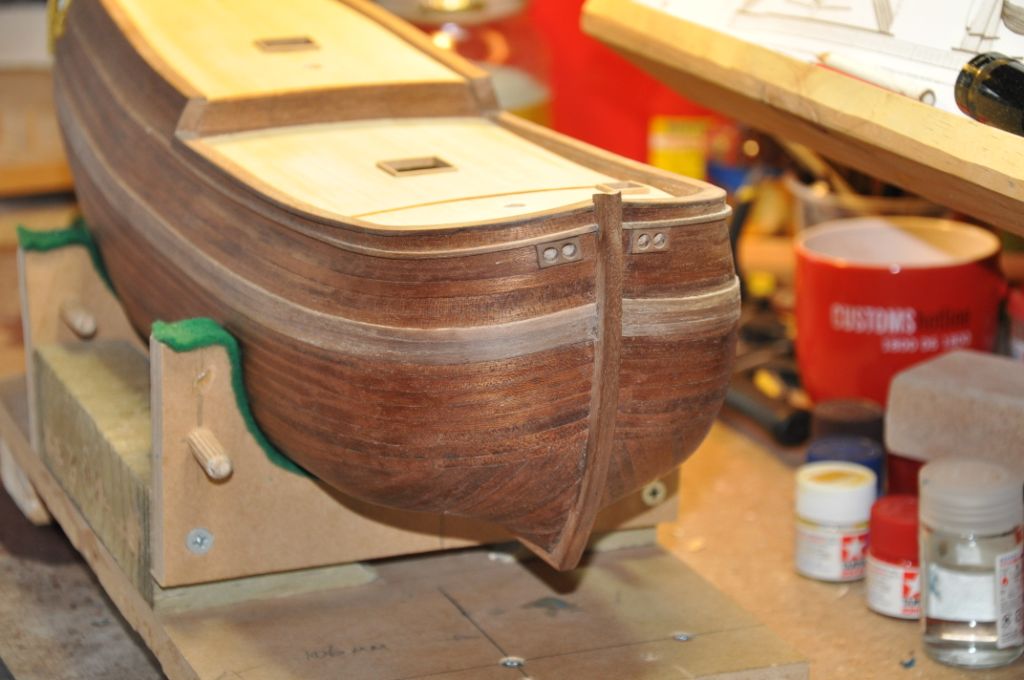
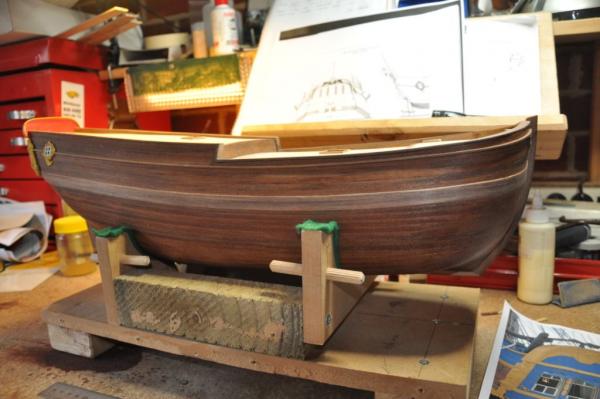
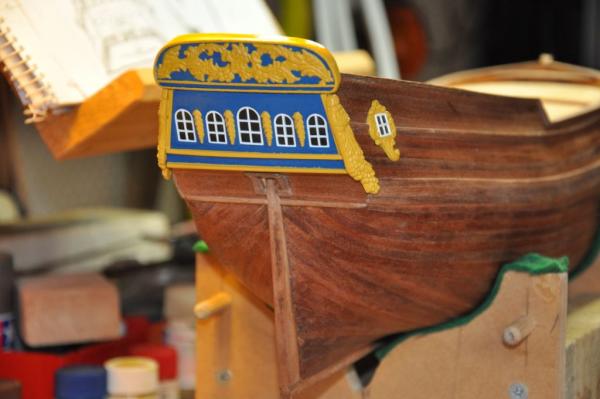
Hi Adrieke, your Endeavour is moving along nicely and she looks good. I found that I had to spend a lot of time sanding to get things to fit or shapes correct too and at one point I thought I was going to sand the ship away grrrrrrrrrr.... As for the paint and colours, I couldn't locate colours that were close to those on the replica (might not have looked hard enough) so I mixed up enough of each colour to do the whole job (if I decided to paint the whole ship). When I studied the colours on the replica, I found that they were good and clean when I took my first round of photos (Brisbane) but had faded quite a bit by the time the vessel had made Melbourne last year......dohhh!! Guess which photos I looked at first to use as the reference for mixing the colours (yep, Melbourne) but realized the effects of the sun and time, especially on the deck equipment and upper facing surfaces where it was more obvious. Have a good weekend, Cheers, rowand
-
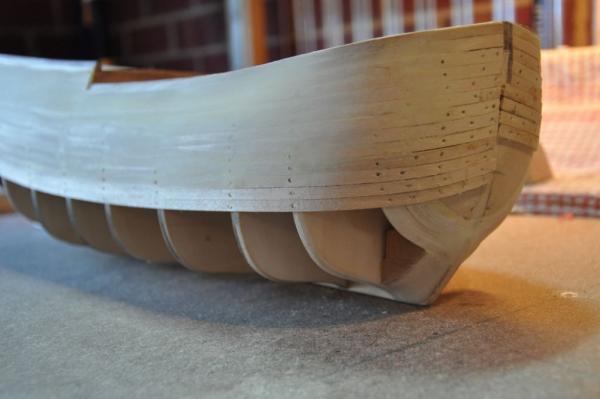
Hi Adrieke, Thanks Mate, you'll pass me in no time, I've been at it on and off for a while and she's in dry dock at the moment. Like I said in an earlier post, I wasn't happy with the finish of the model at the stern with the kit. I took reference off the replica vessel but would have been happier if I could have improved it a bit more. I'm looking forward to seeing your build, how's it going? Have a great day, rowand.
-
Hi John, Anja, robert 1965 and Steve, Thank you very much for your encouragement and kind comments, I didn't expect a reception like this and I'm a bit lost for words so, thank you very much will have to suffice. Steve et al, any advice you've got, please don't hold back, it's all very welcome. Thanks again, have a great day, Cheers, rowand
-
Hi Wim, Yeh, it really is my first wooden kit ship build and thank you for your kind comments. I commited to it before I read the experience level requirements on the side of the box (8 yrs and older) so progress has been a bit slow but never mind, I'm really enjoying it. Model Ship World is a fantastic forum and I'm picking up quite a lot from reading other build logs - my thanks to you All. Thanks for looking in, Wim. Cheers, rowand.
-
Hi All, This is my first wooden kit build ship. I chose the Endeavour becasue of its historical value and it looked like a good, interesting kit. I started it some time ago and I've taken some breaks along the way, sometimes because of other commitments and sometimes because I had to figure out the next step in construction. I have appreciated viewing other modeller's work and thought that I'd start up this build log to re-pay the debt and exchange ideas. Thank you for stopping by and have a great day, Your comments and ideas are most welcome. Cheers, rowand


-
G'day Pat, Thanks Mate..... Rowan D.
-
Hi Adrieke, I started taking some pictures but got more involved with building than photographing the progress. I'll take a couple of happy snaps of the model when I finish the work on the stern. Have a great day, Cheers,