


Dsmith20639
-
Posts
254 -
Joined
-
Last visited
Content Type
Profiles
Forums
Gallery
Events
Posts posted by Dsmith20639
-
-
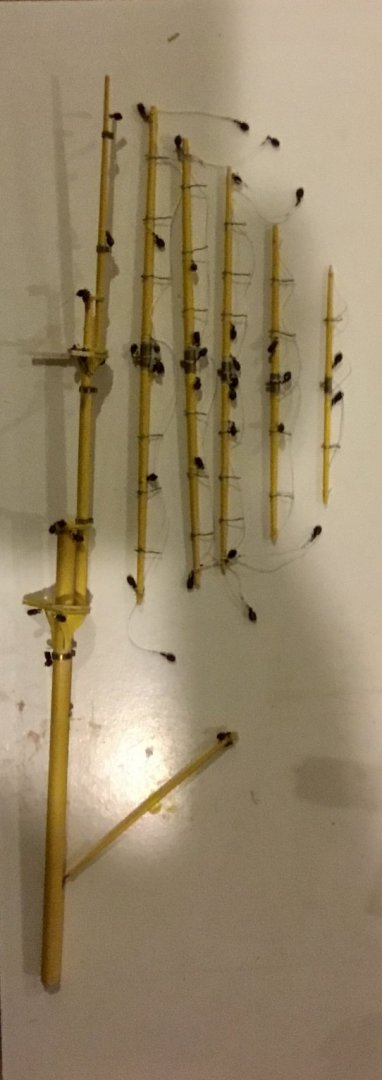
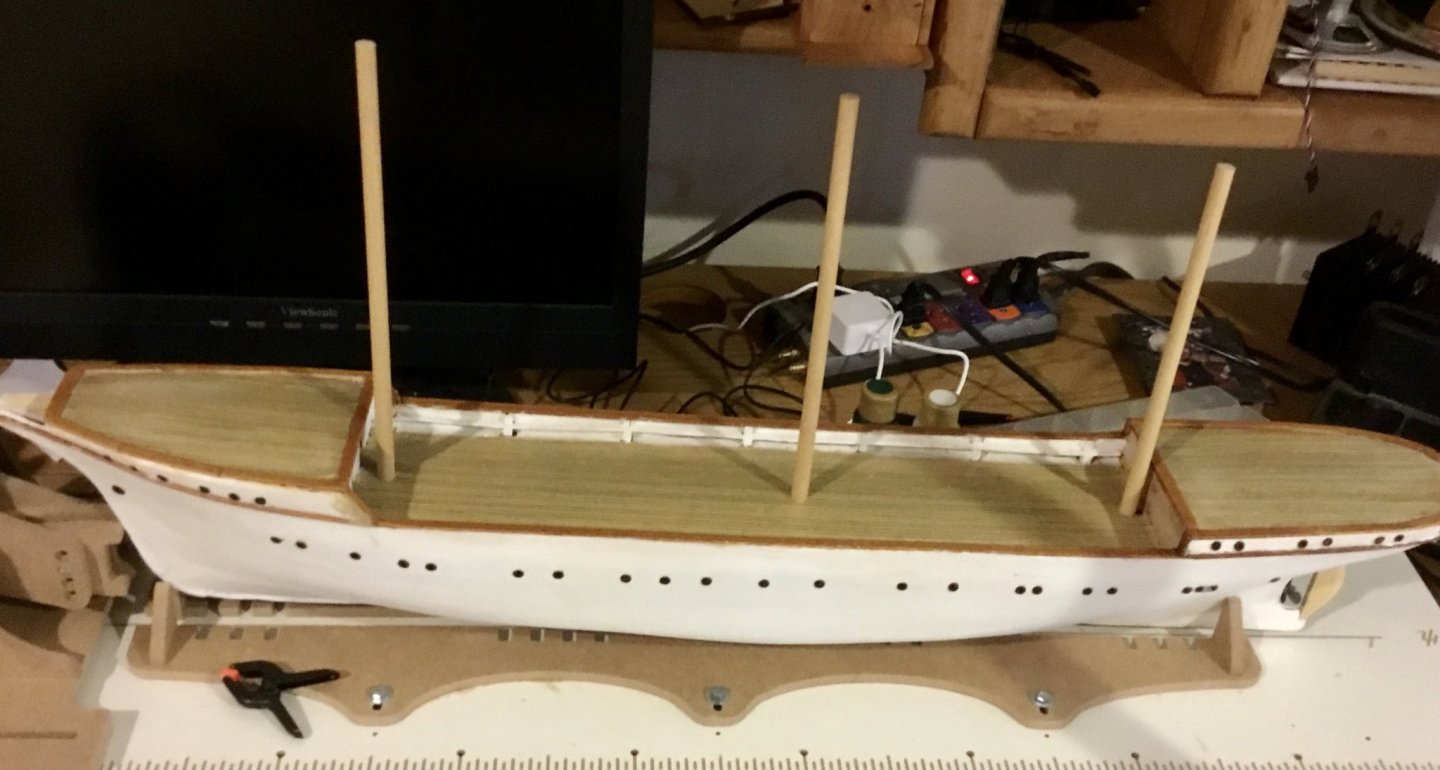
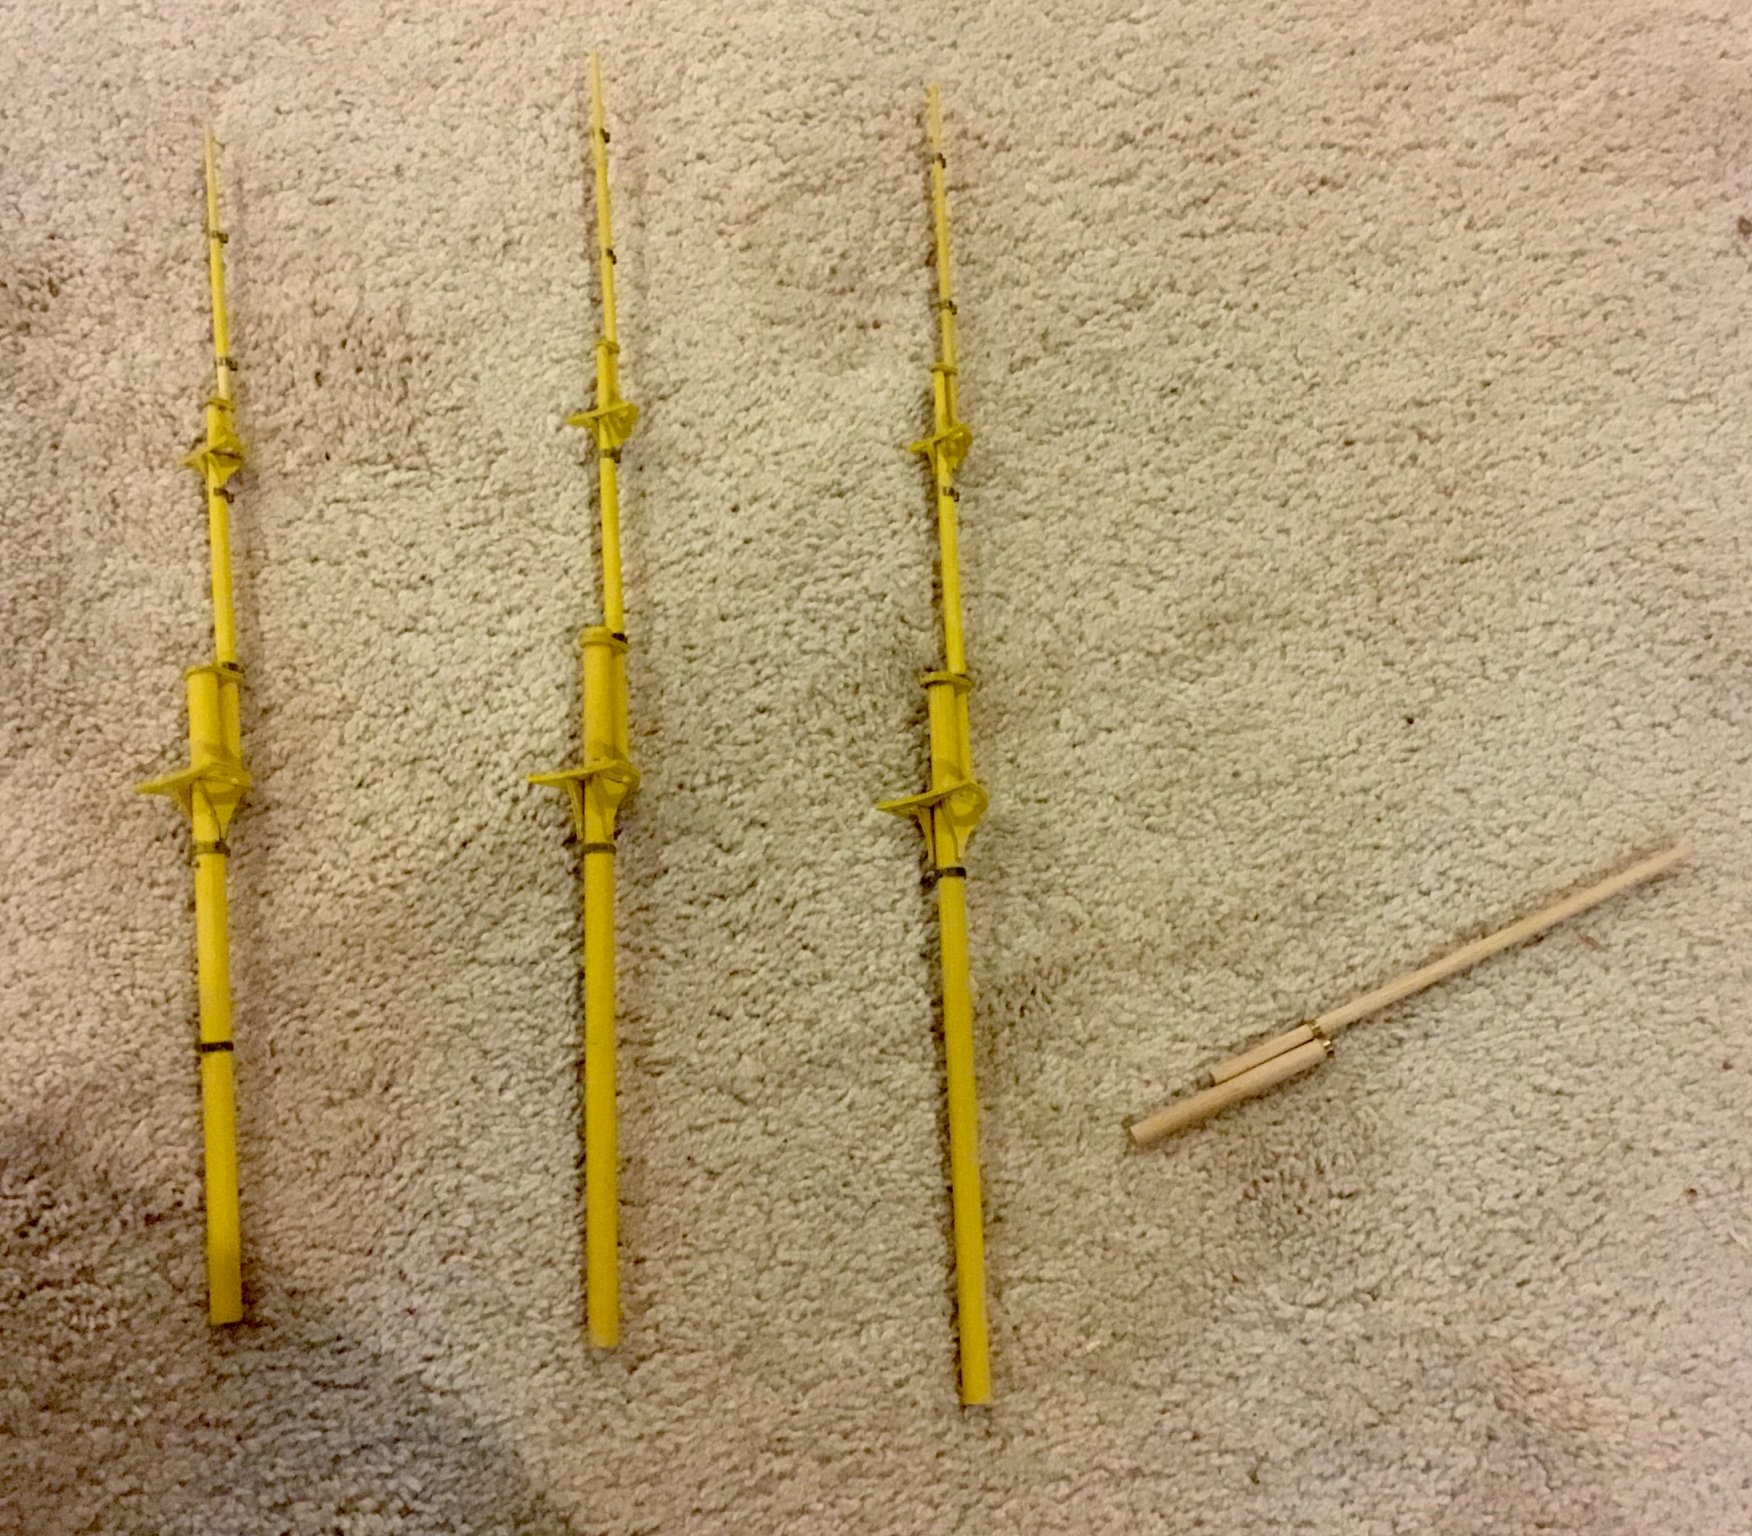
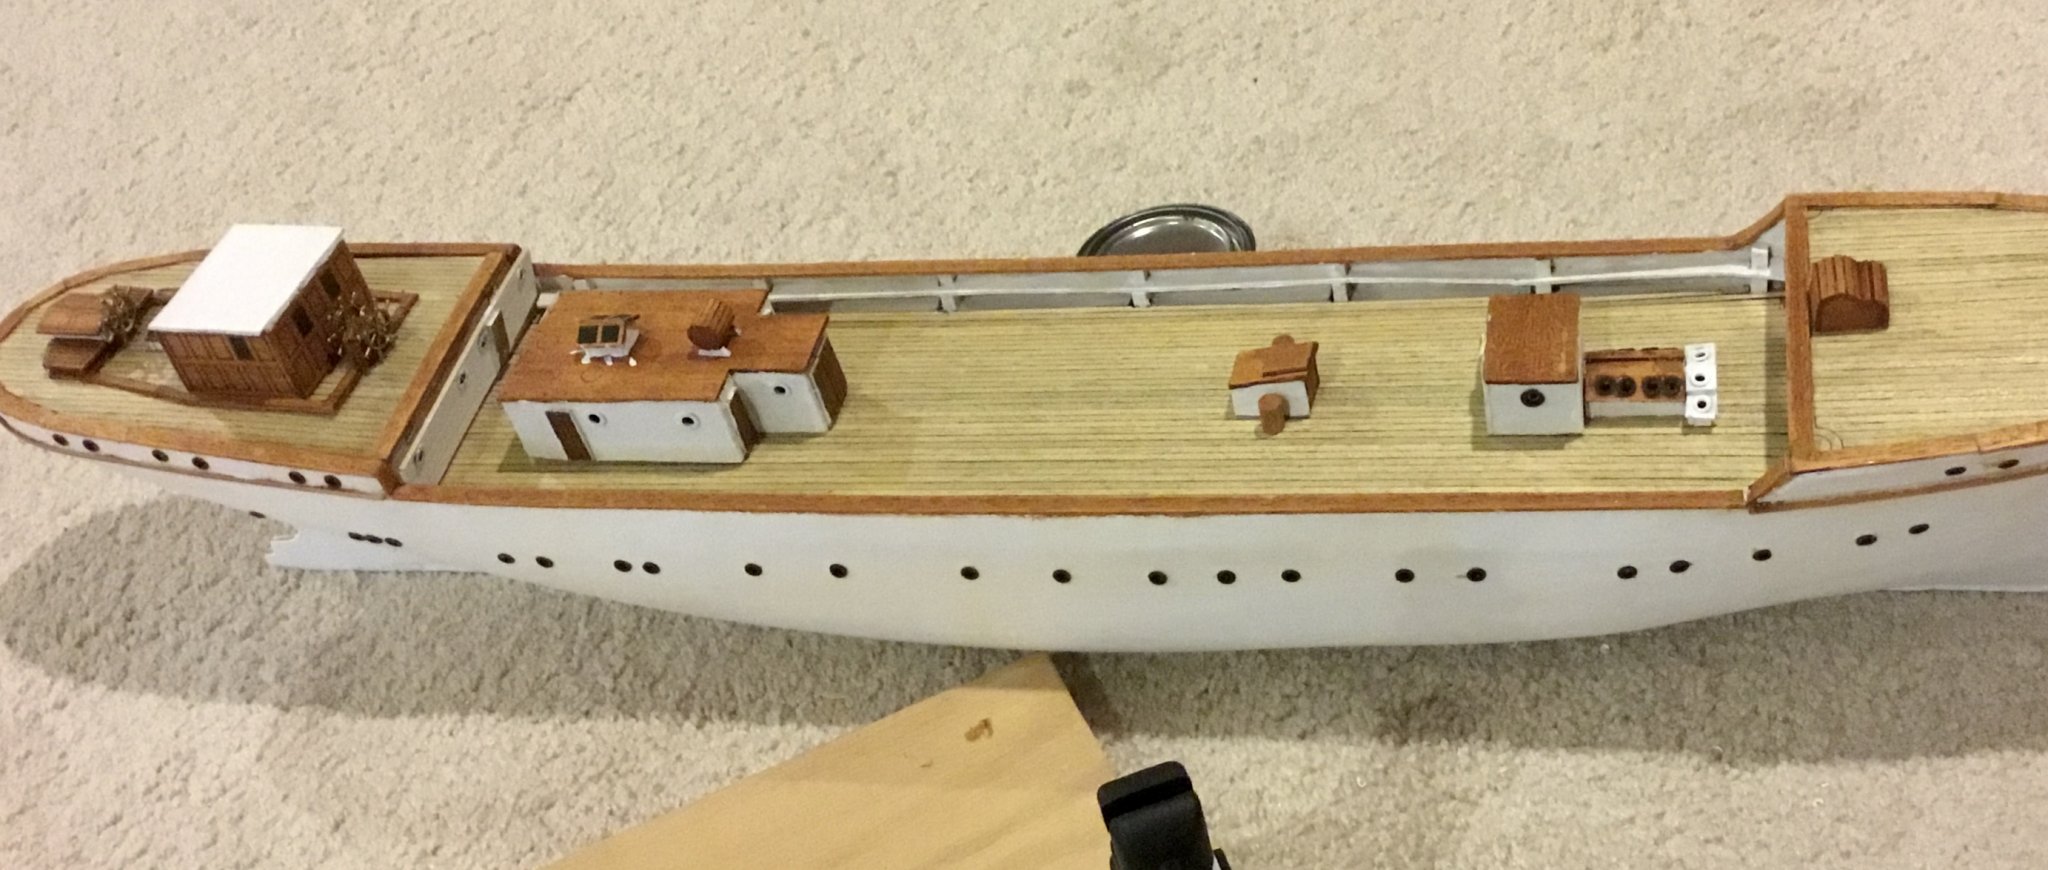
Completed main mast and its spars.

-
Completed fore-mast and its spars.

- ccoyle and popeye the sailor
-
 2
2
-
Did you buy the model at the museum store in person? They don't seem to have online access to the store.
- thibaultron and Keith Black
-
2
-
Painted hull. Made masts (3) and first spar (yard)


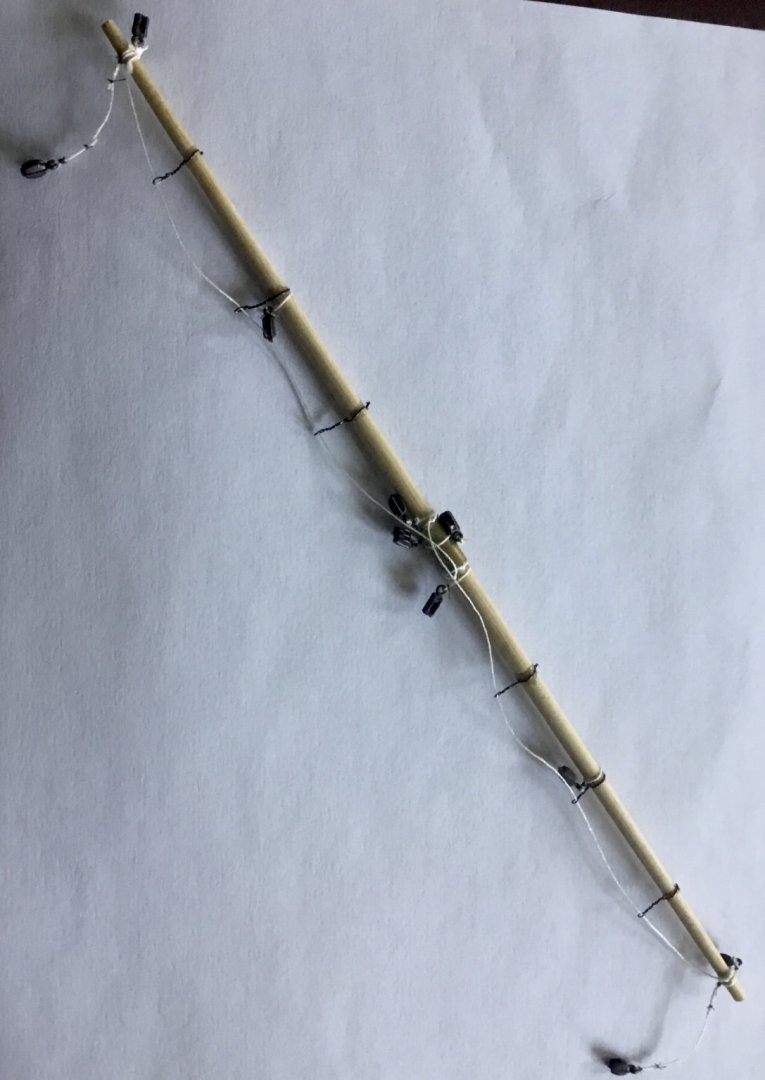 (of 15 to do). Takes a bit of time seizing each block rope. At least as I progress up each mast the spars get smaller with less blocks to contend with.It was a nice surprise to find the spars were already the correct length and pre-tapered.
-
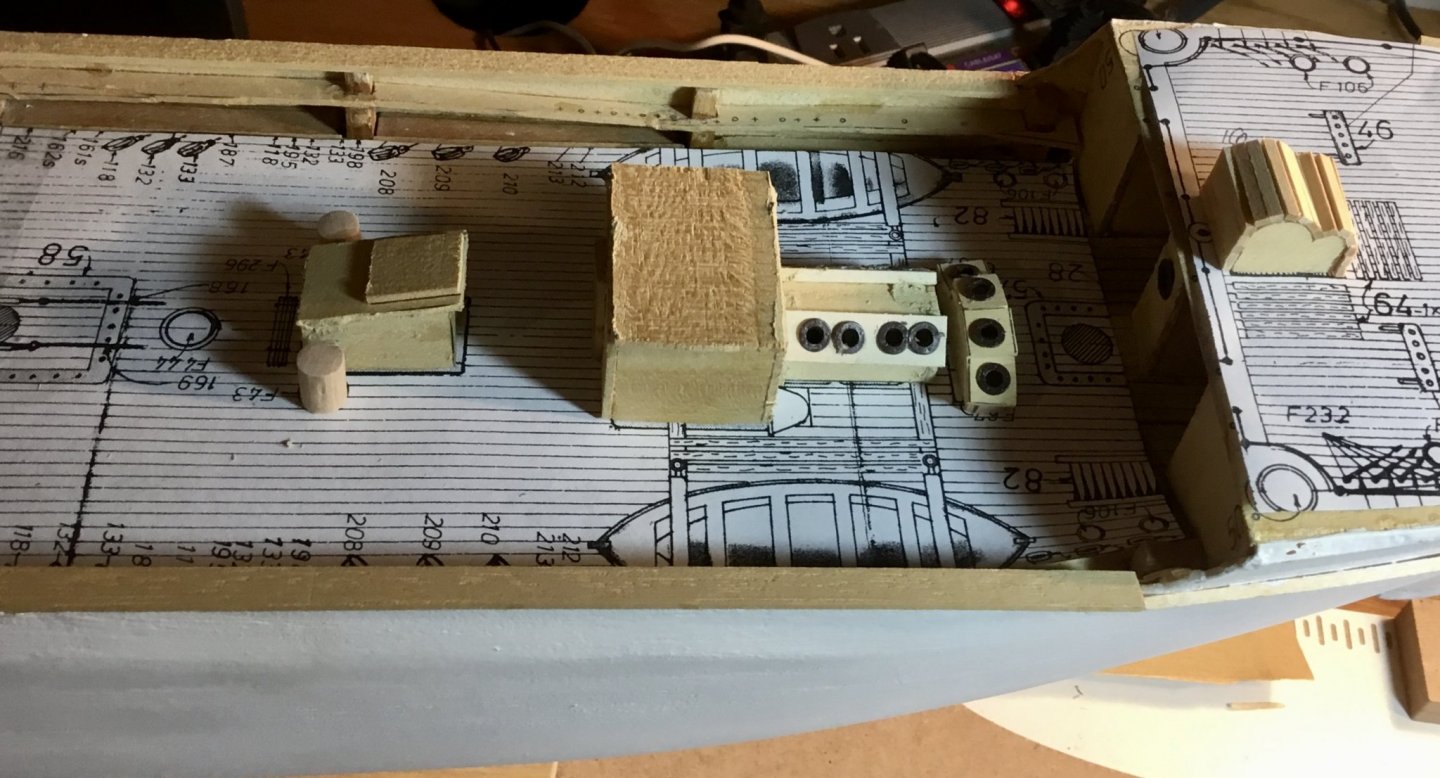
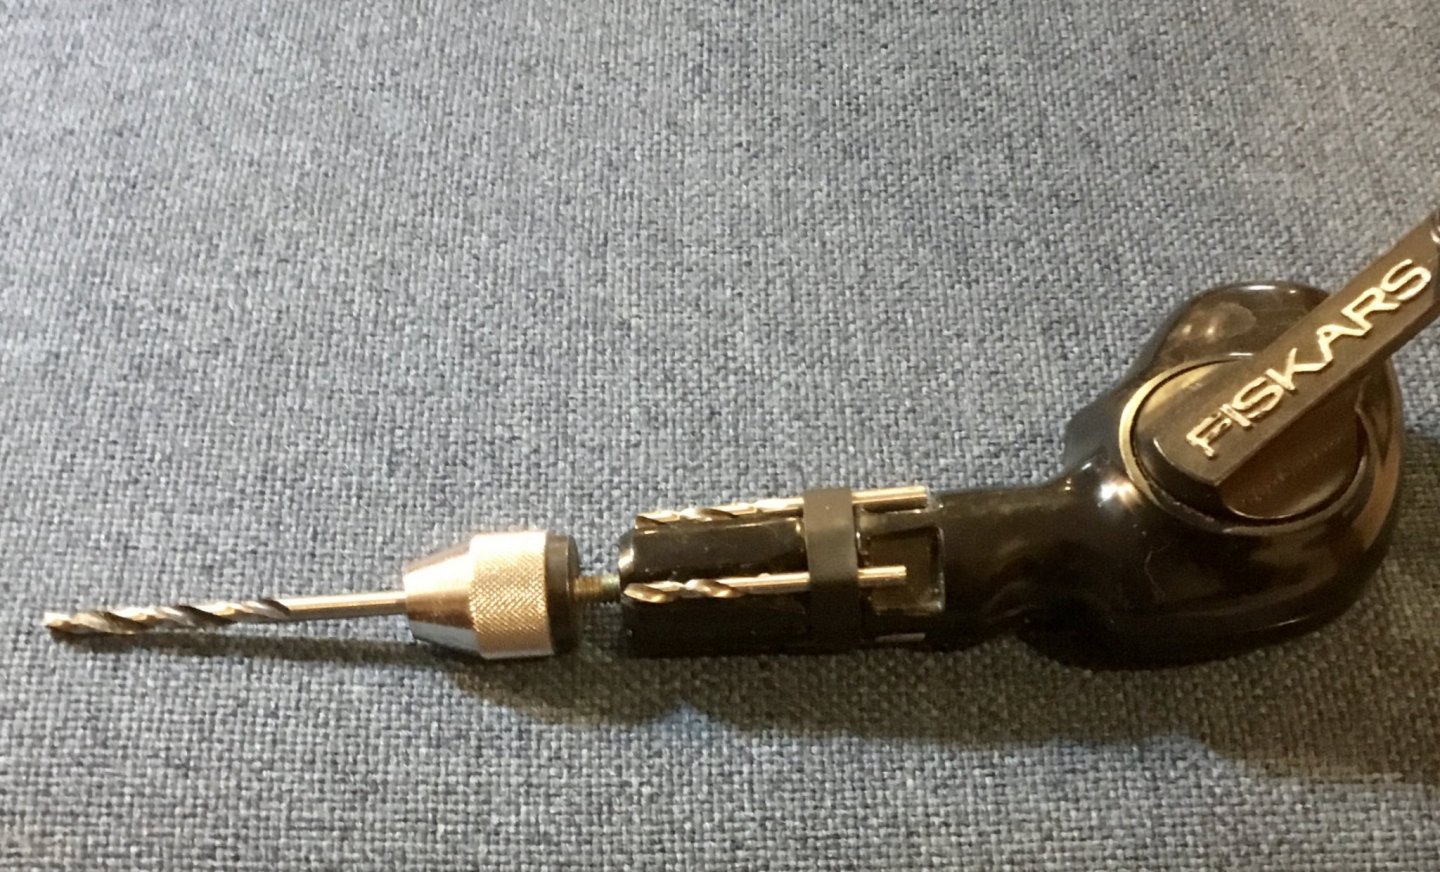
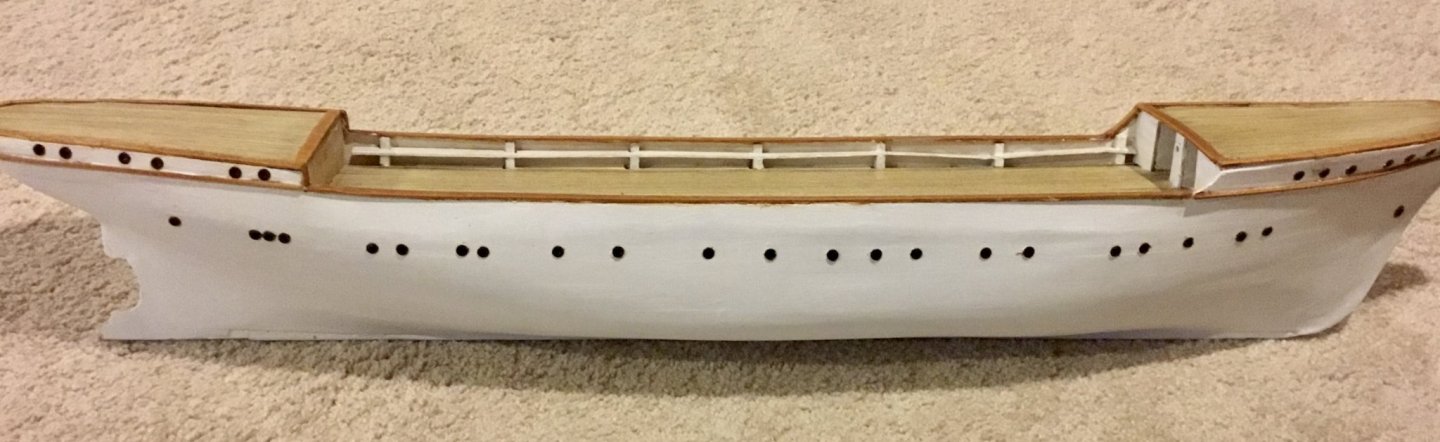
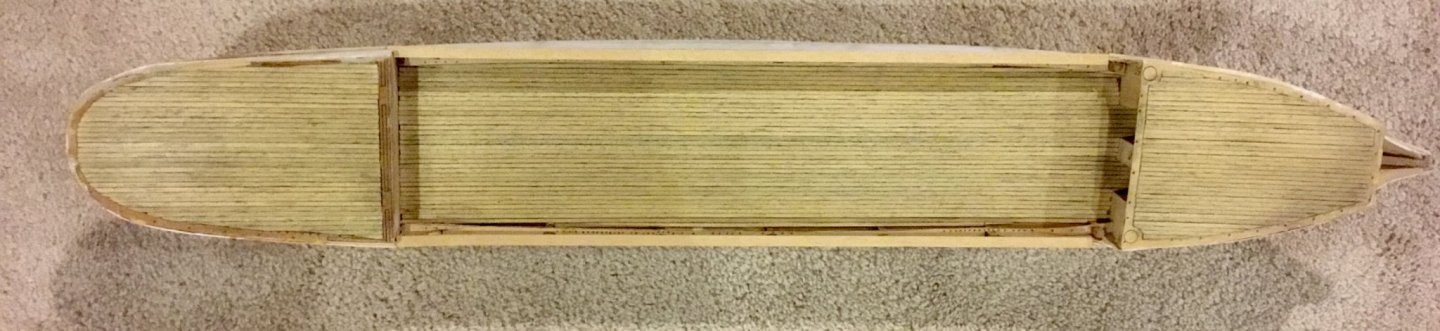
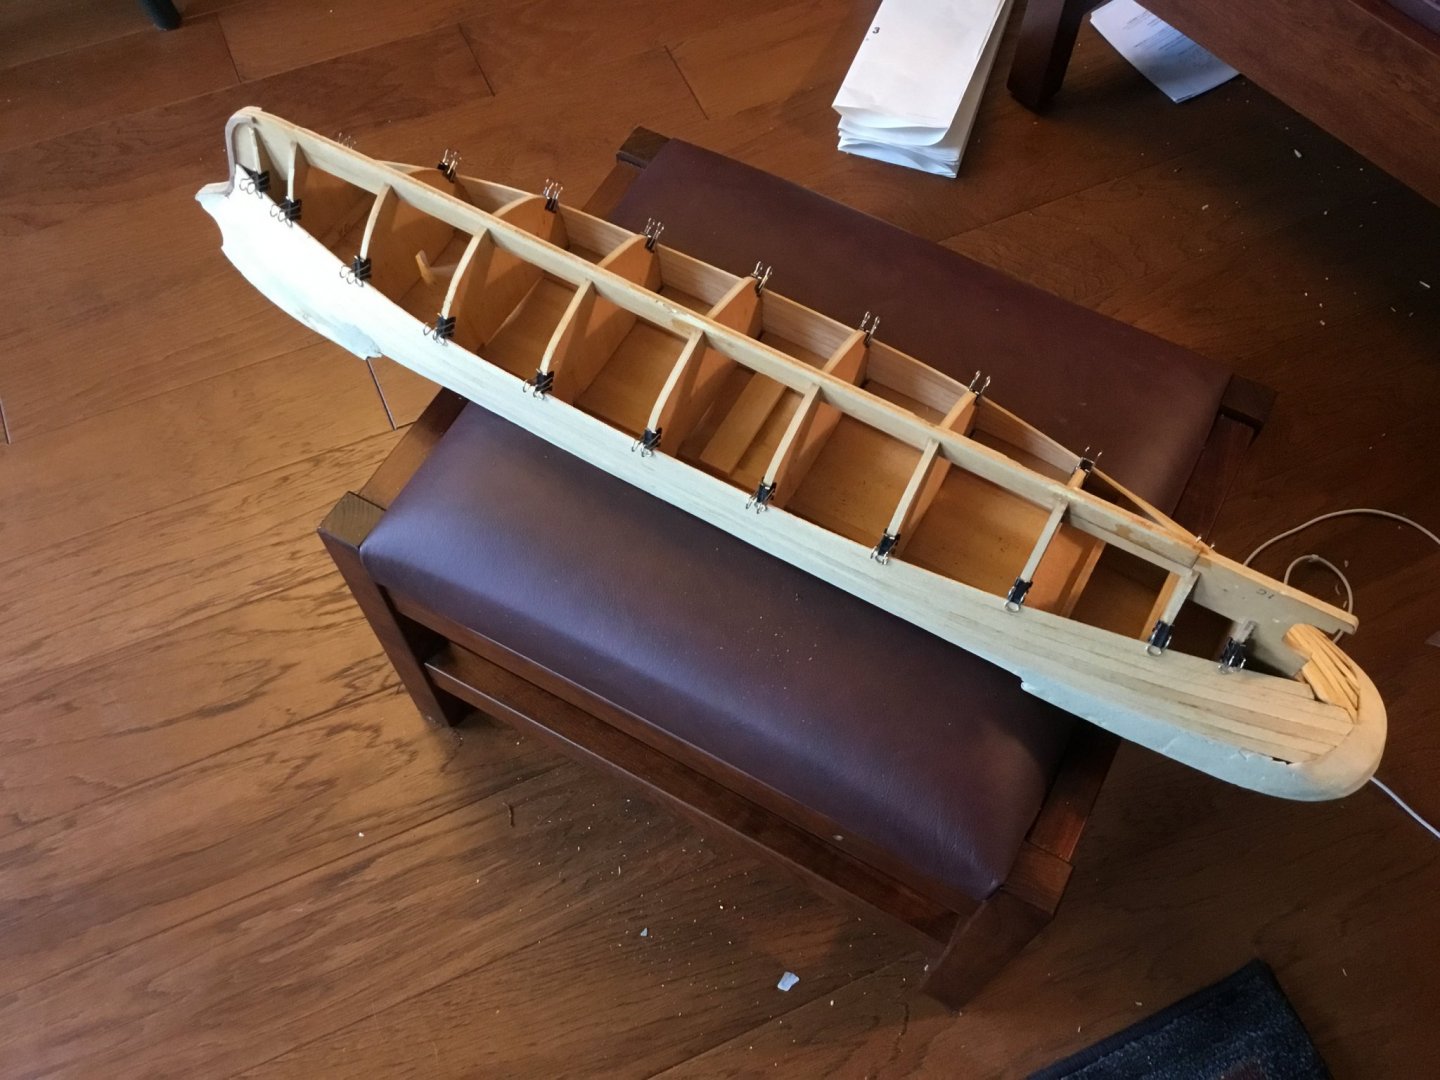
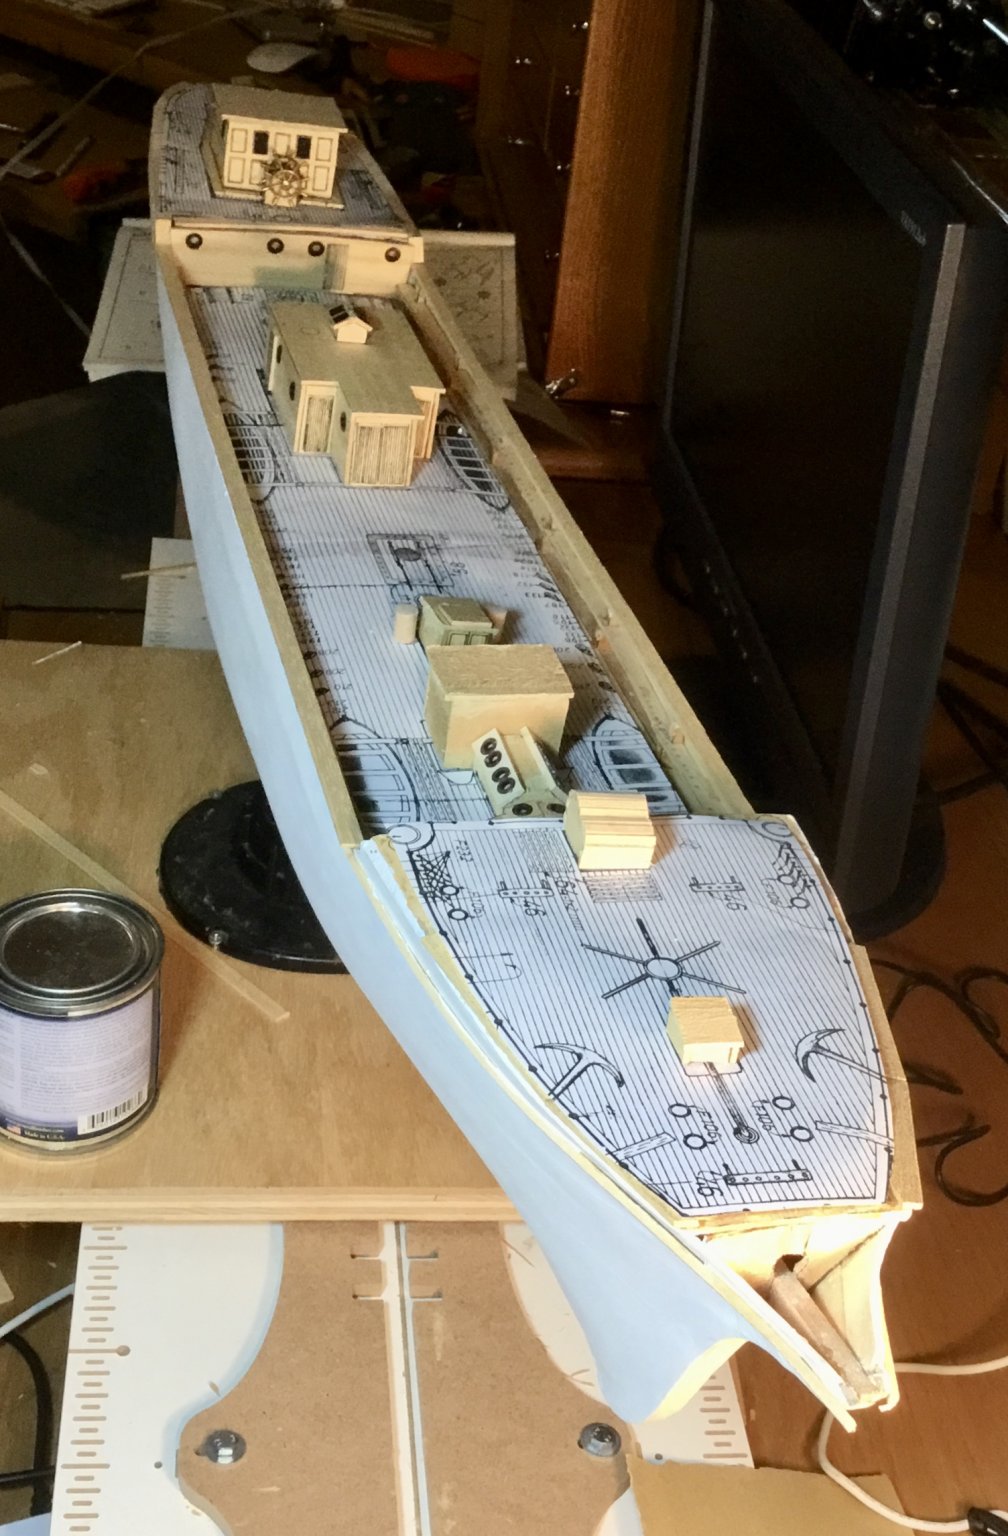
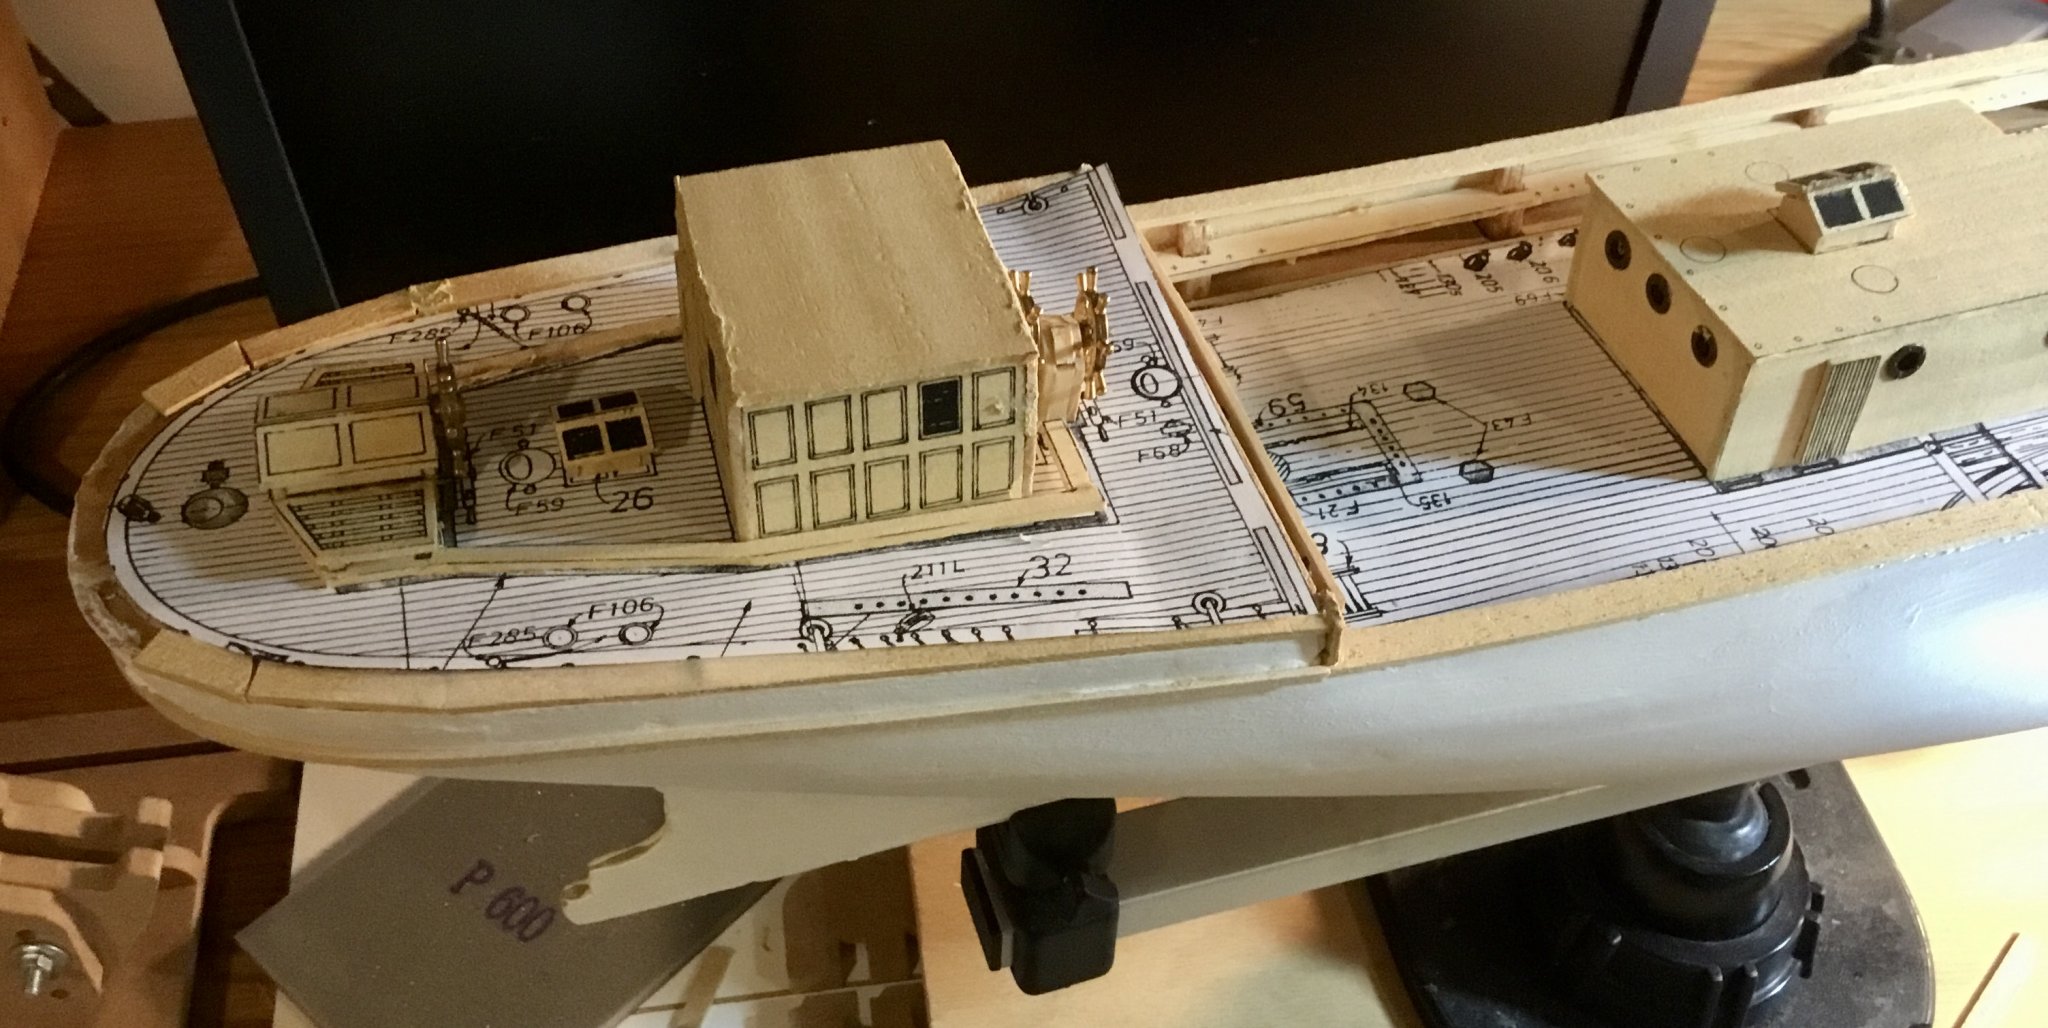
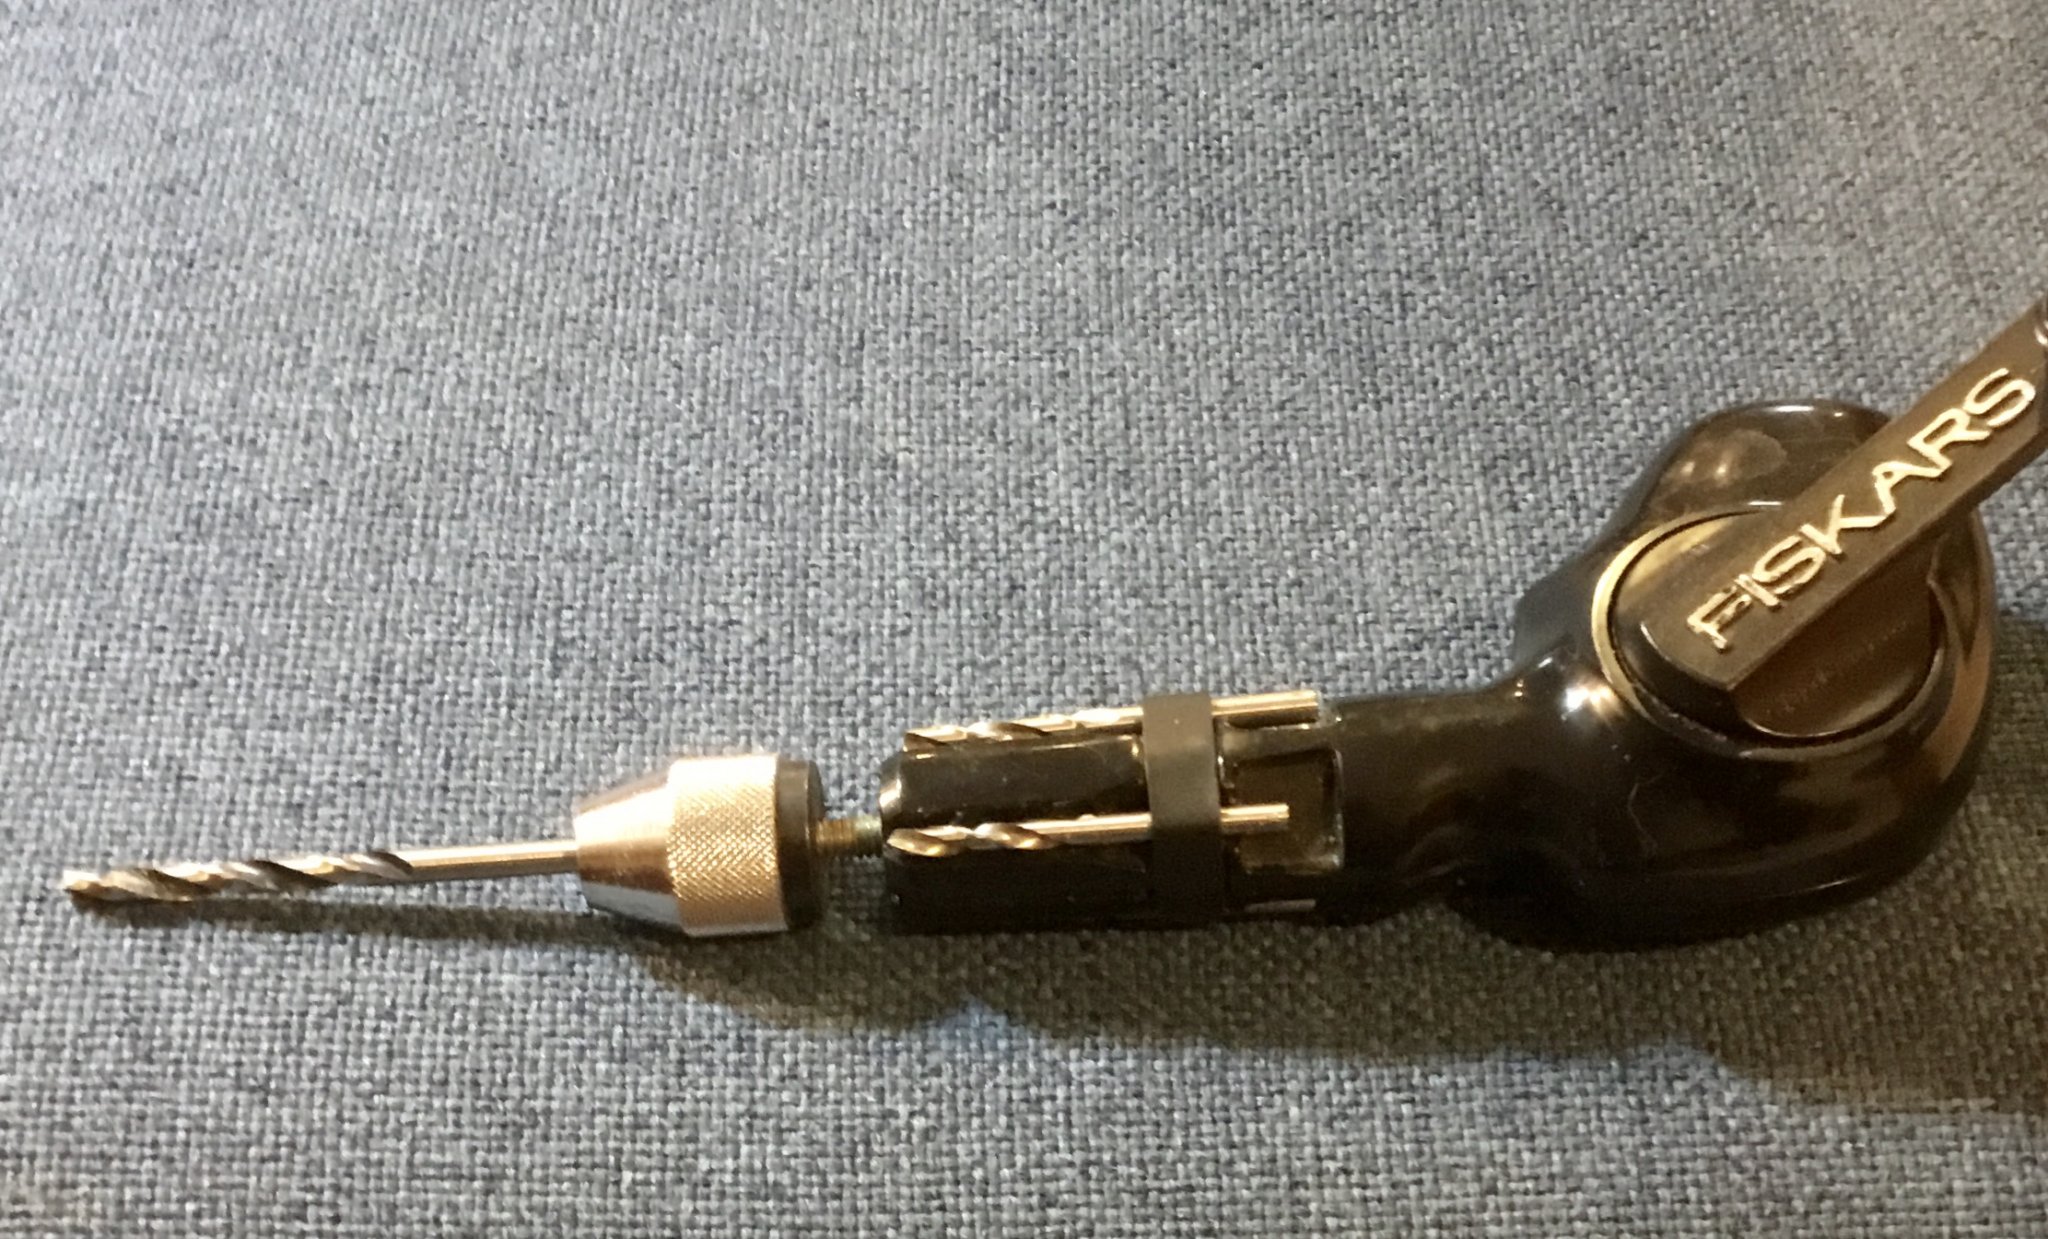
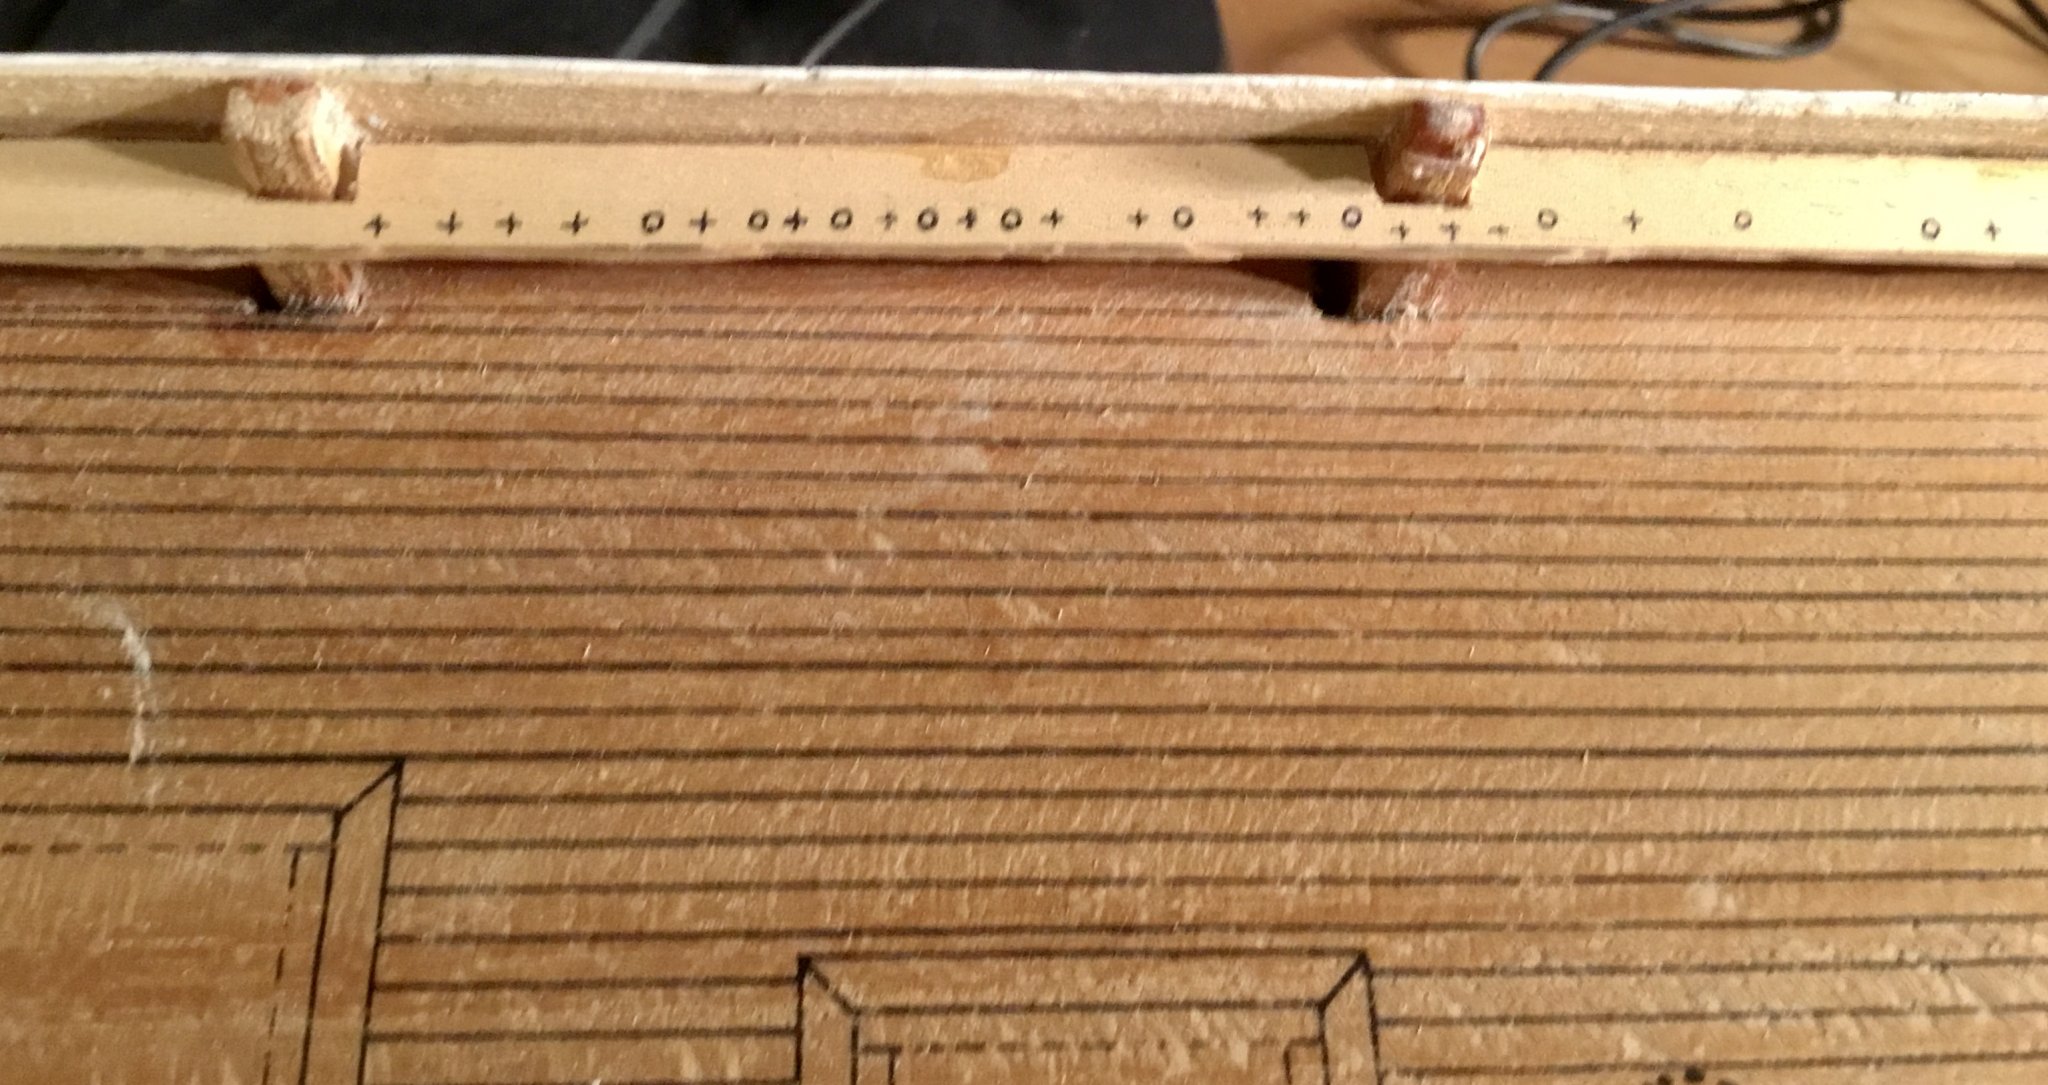
Cut out parts for masts and deck structures using scroll saw. Painted and stained deck structures and temporarily placed them in position to see how they looked. Reamer I bought to make holes worked but was very slow and tedious to get just the right size when making the holes for the deck structures and I wasn't looking forward to making the 72 holes needed for the hull. I measured the port-lights and bought a 5mm brad point drill bit. Now making a correct size hole using my hand drill took only a couple seconds instead of several minutes per hole. Drilled and installed all hull port holes using copies of the full size plans for placement. Drilled holes in deck for the masts. Next will be final painting of the hull.


- GrandpaPhil and ccoyle
-
2
-
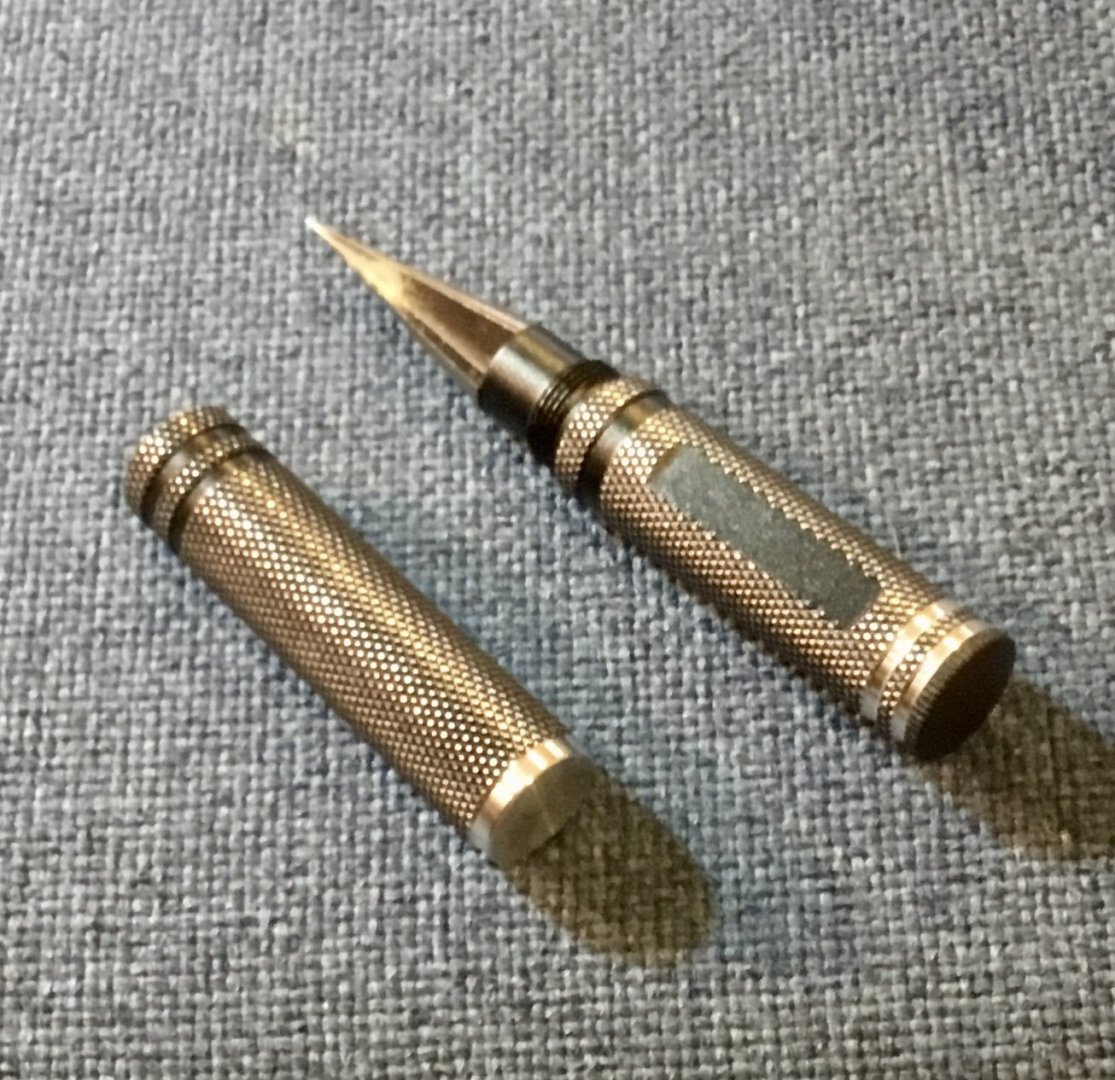
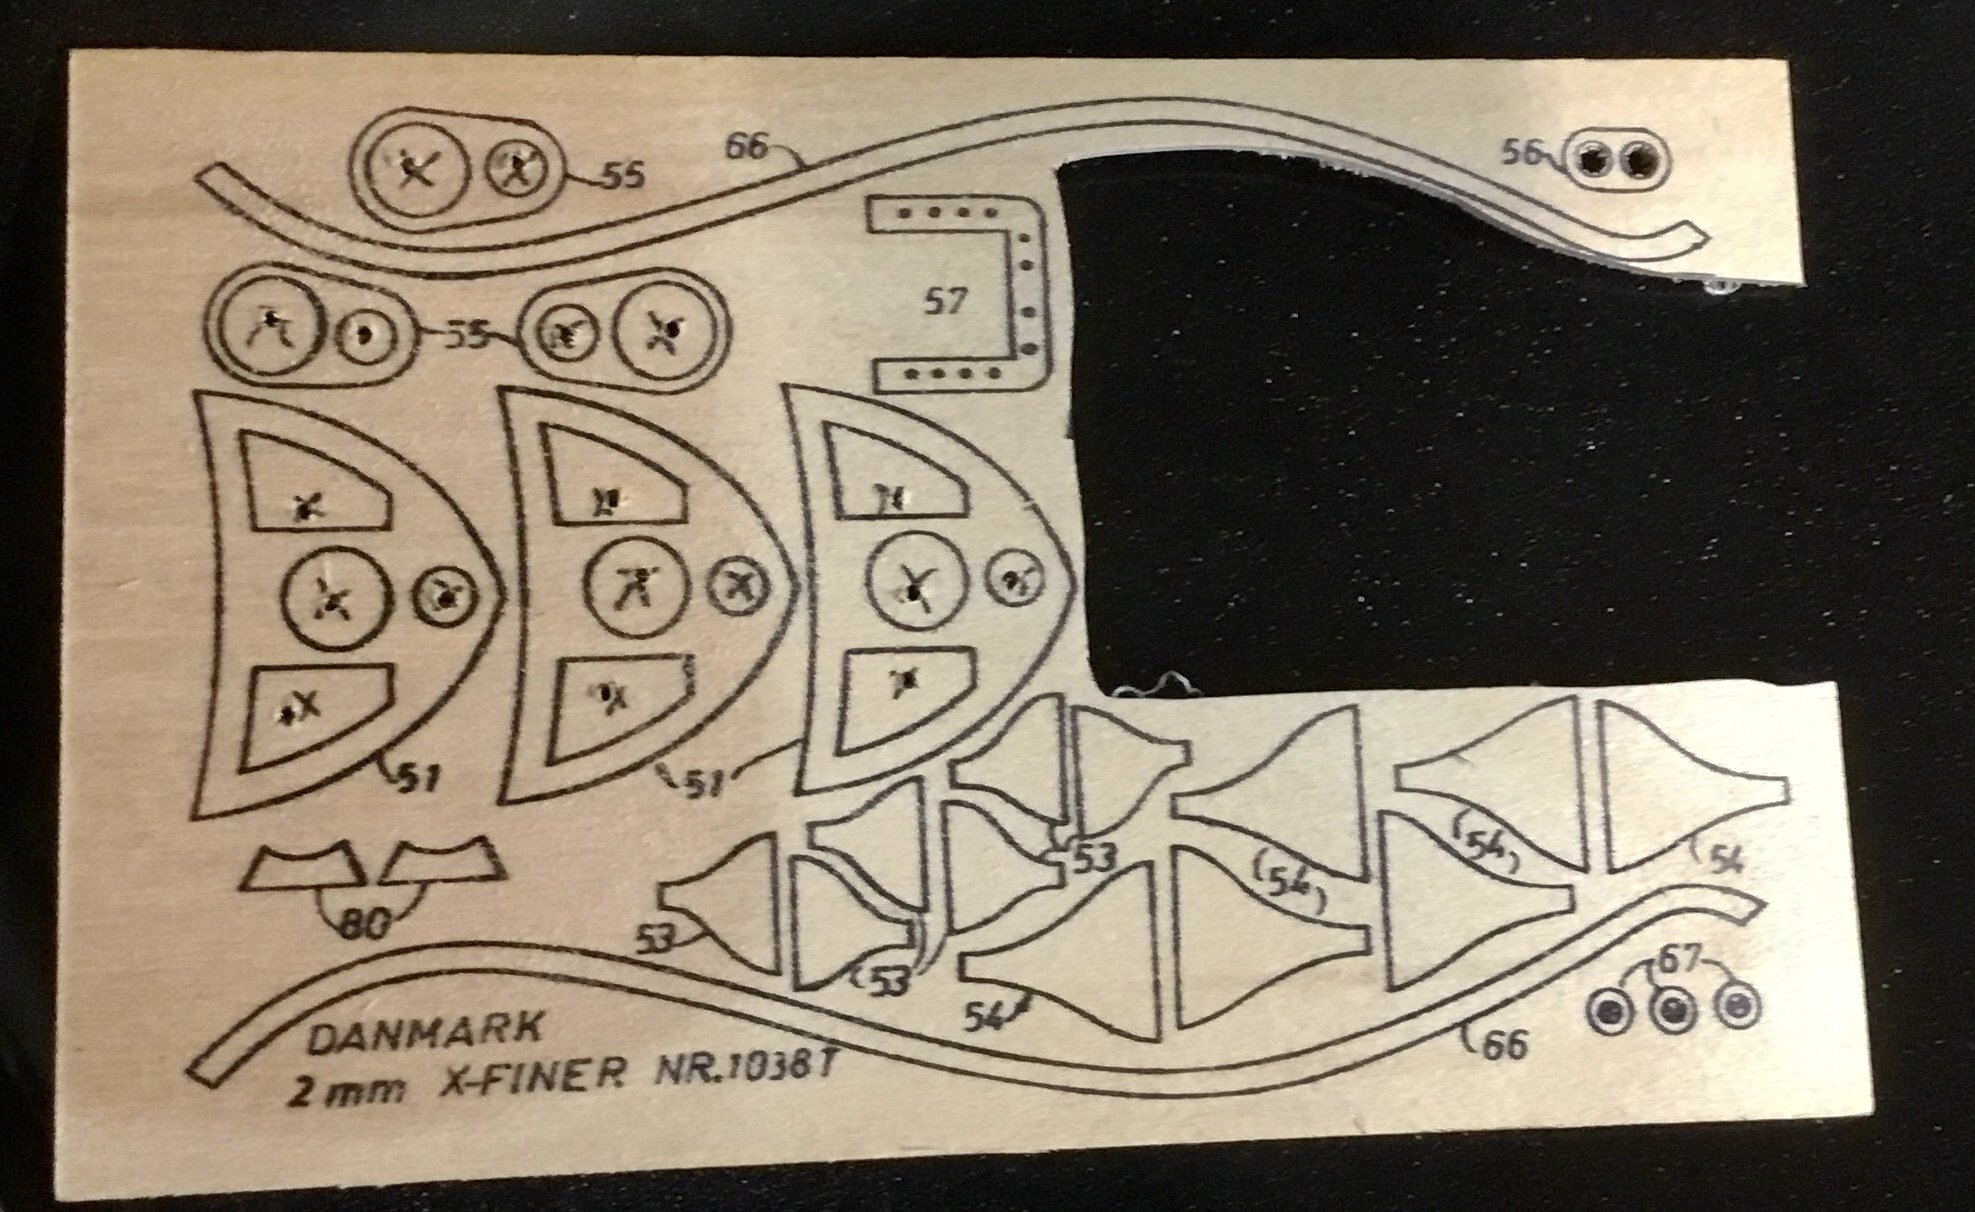
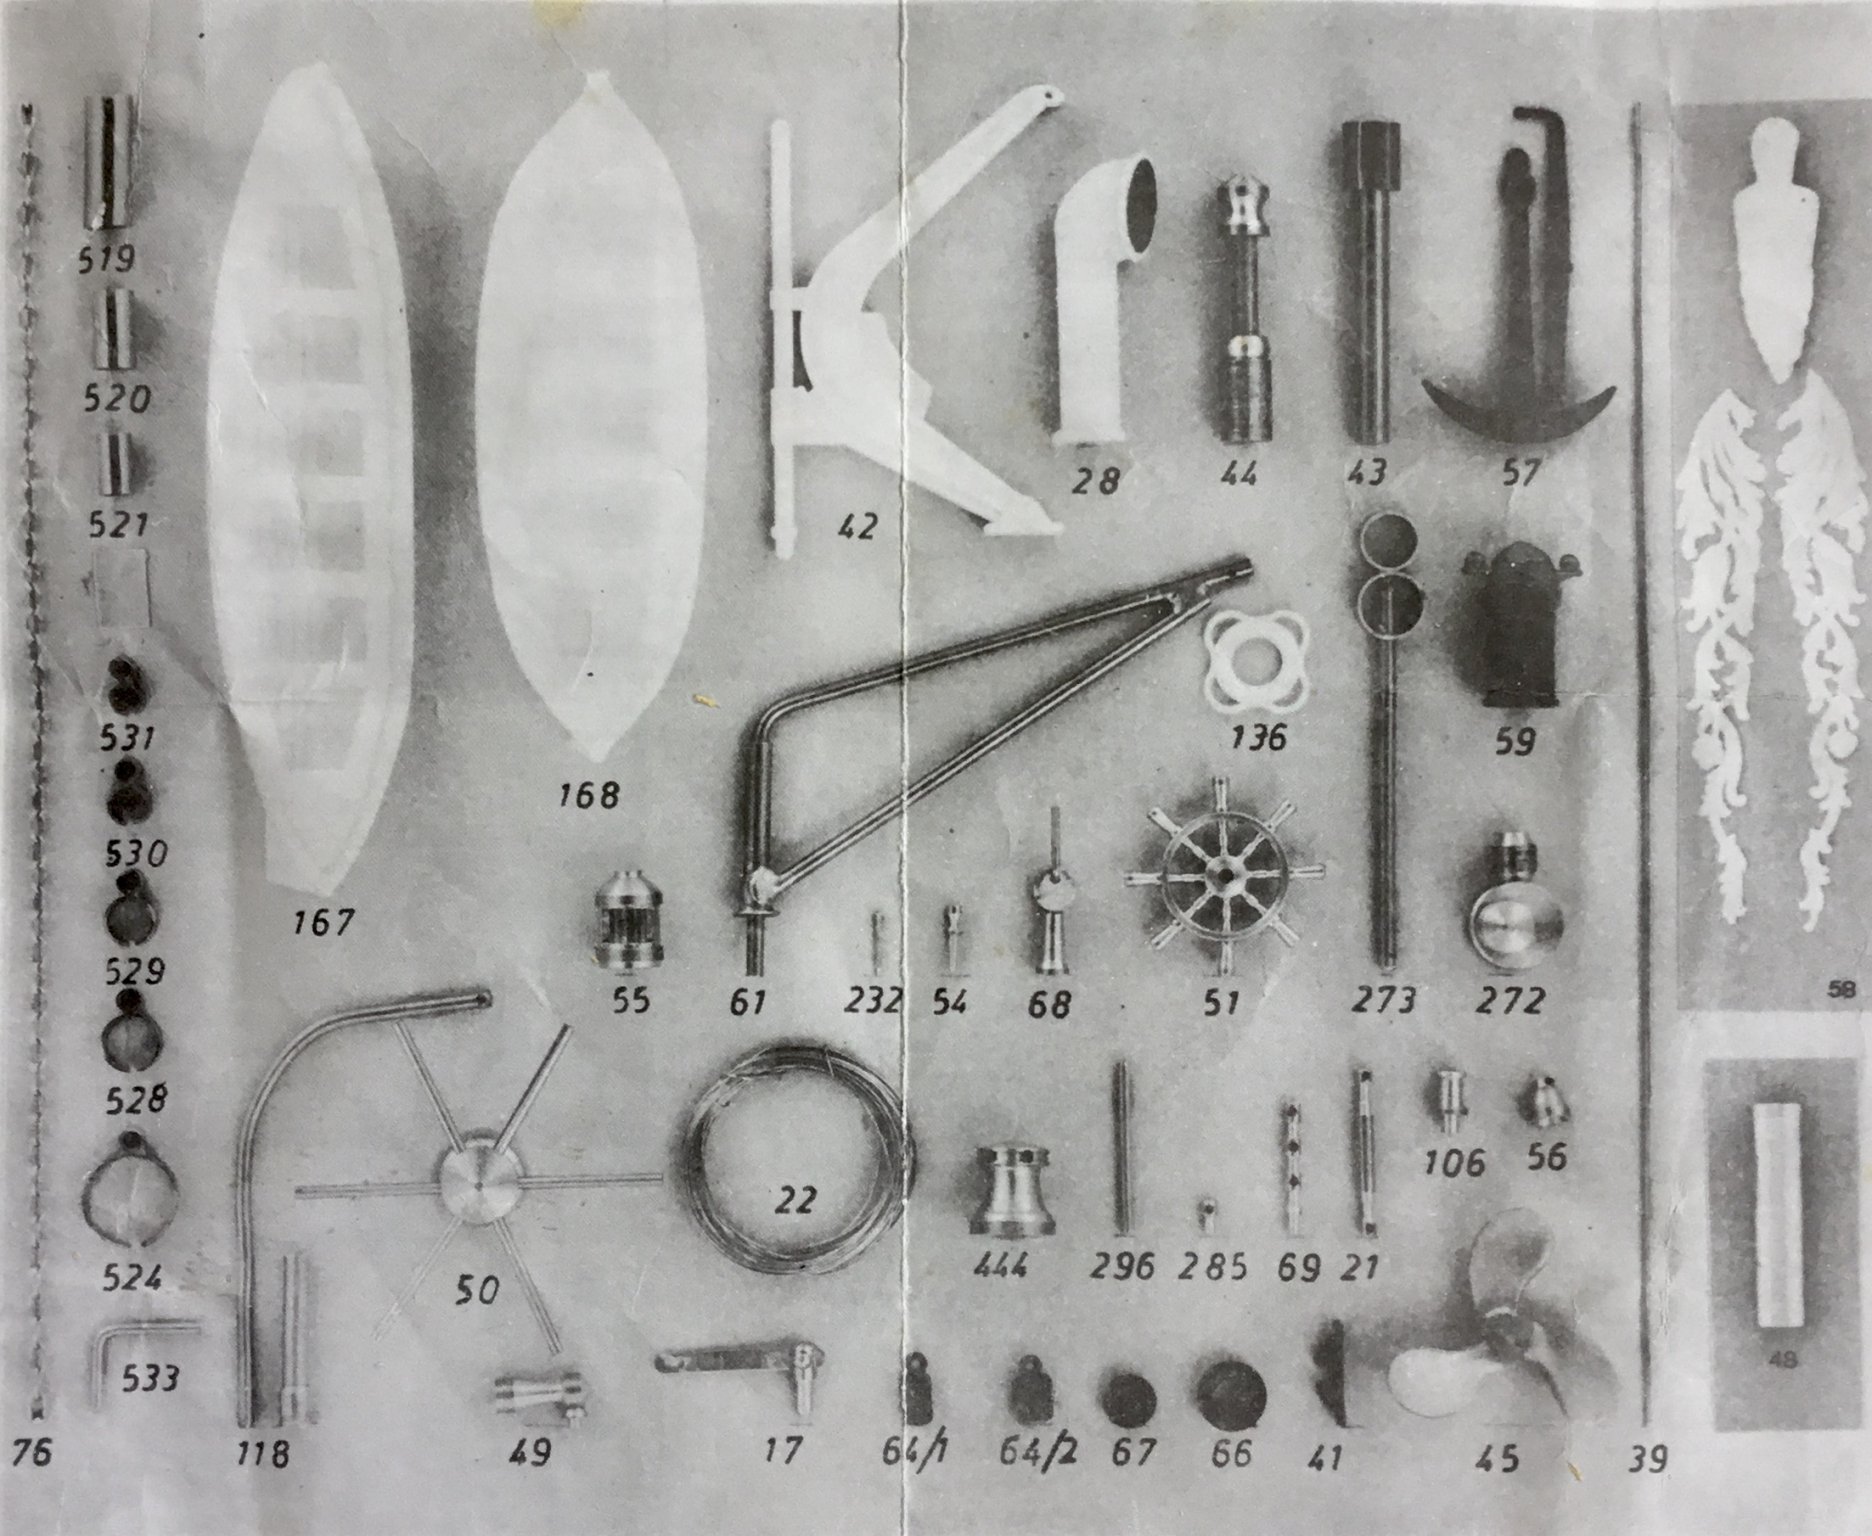
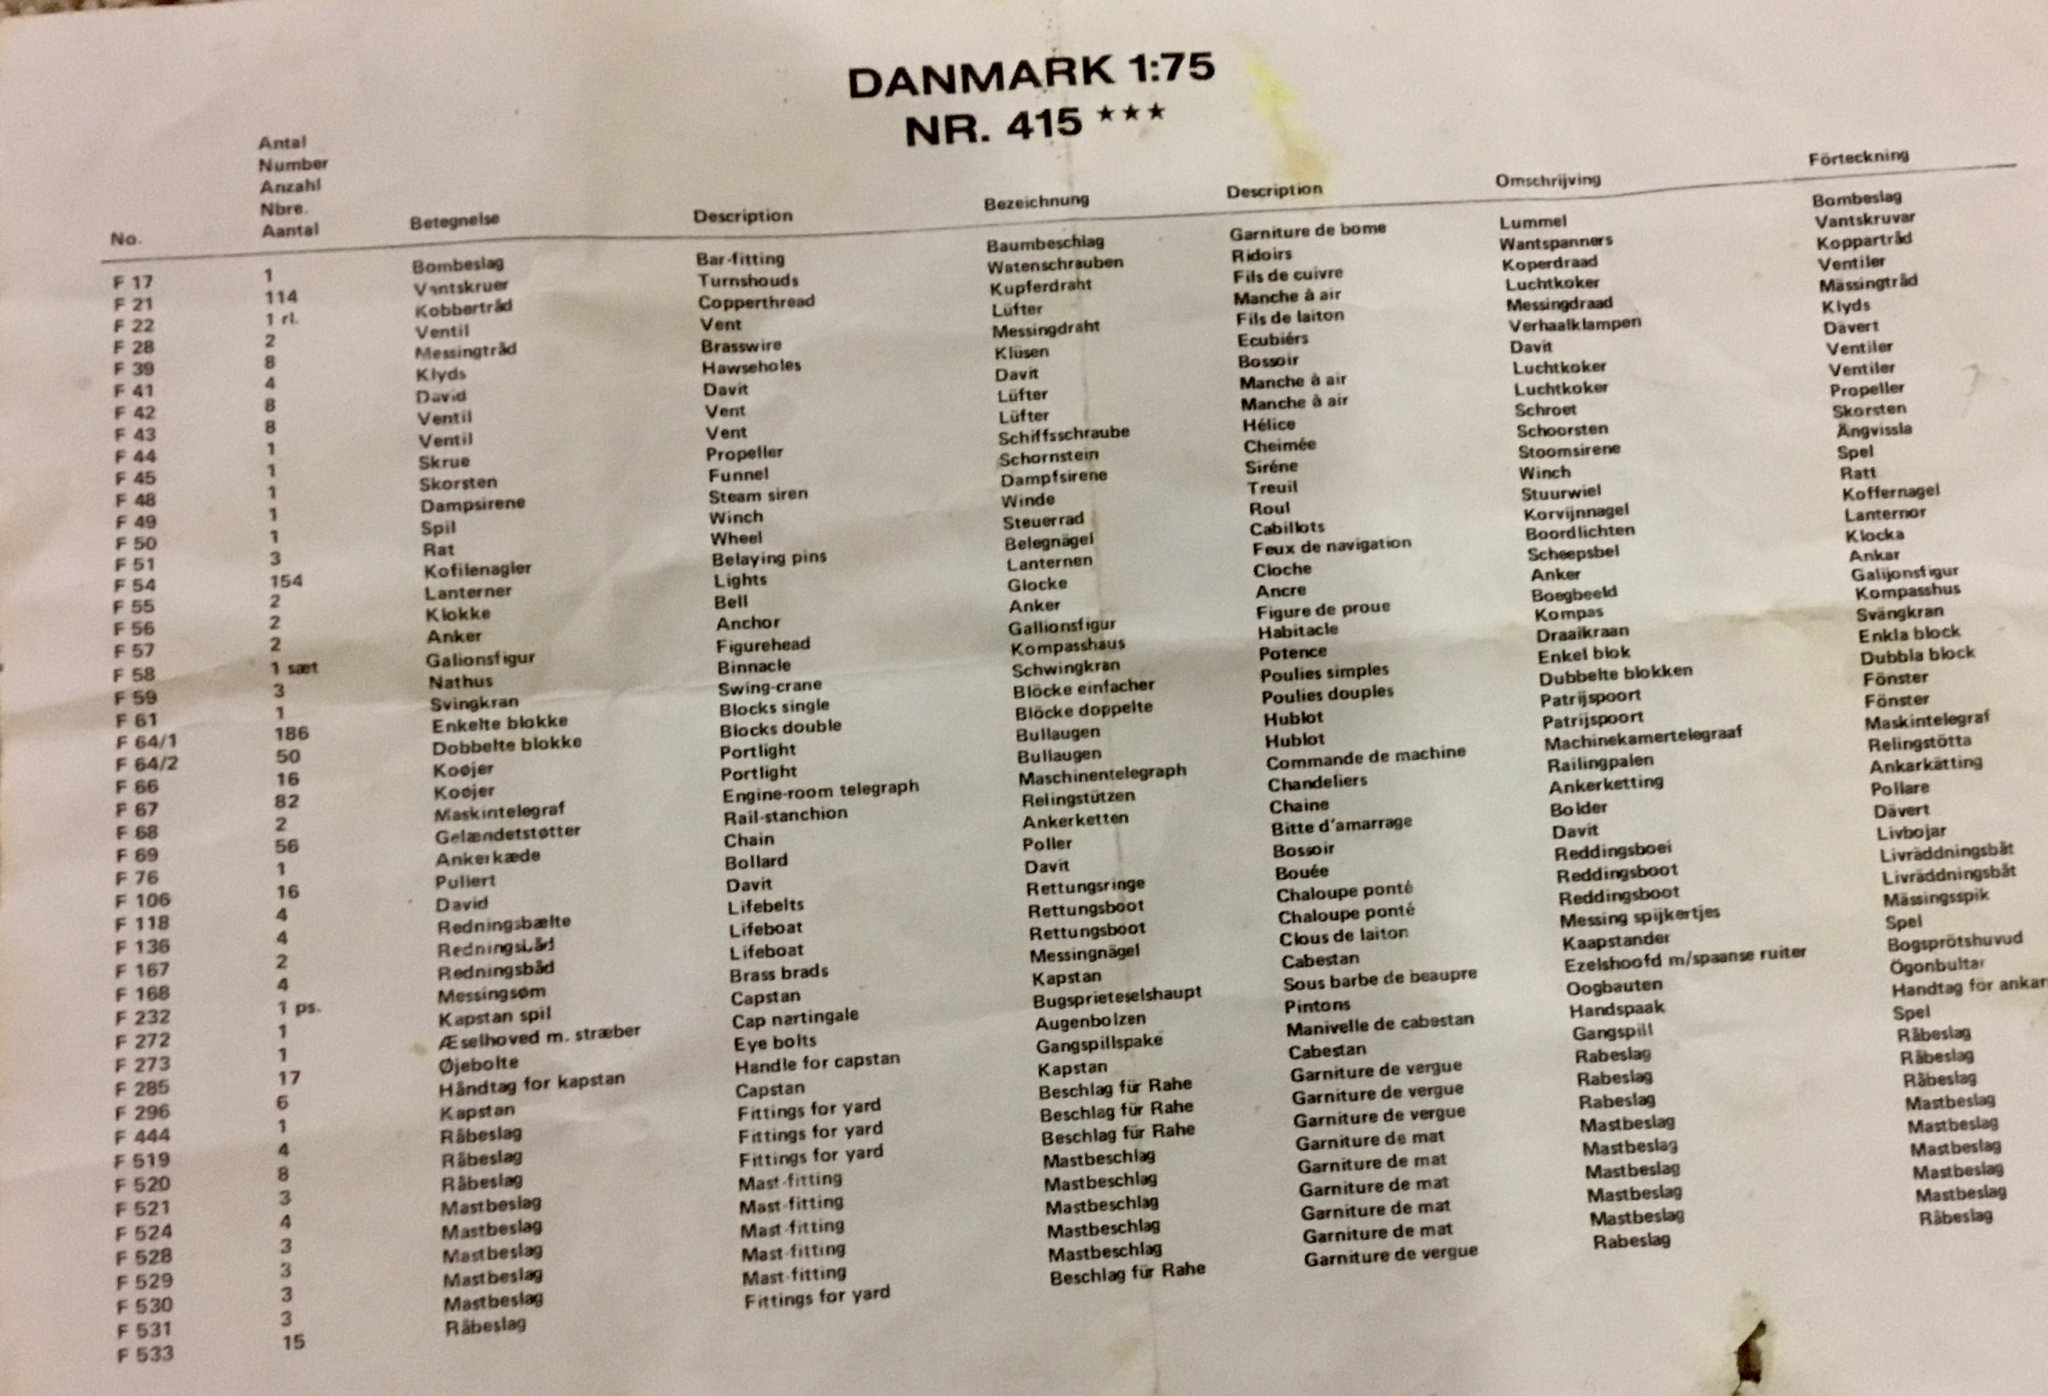
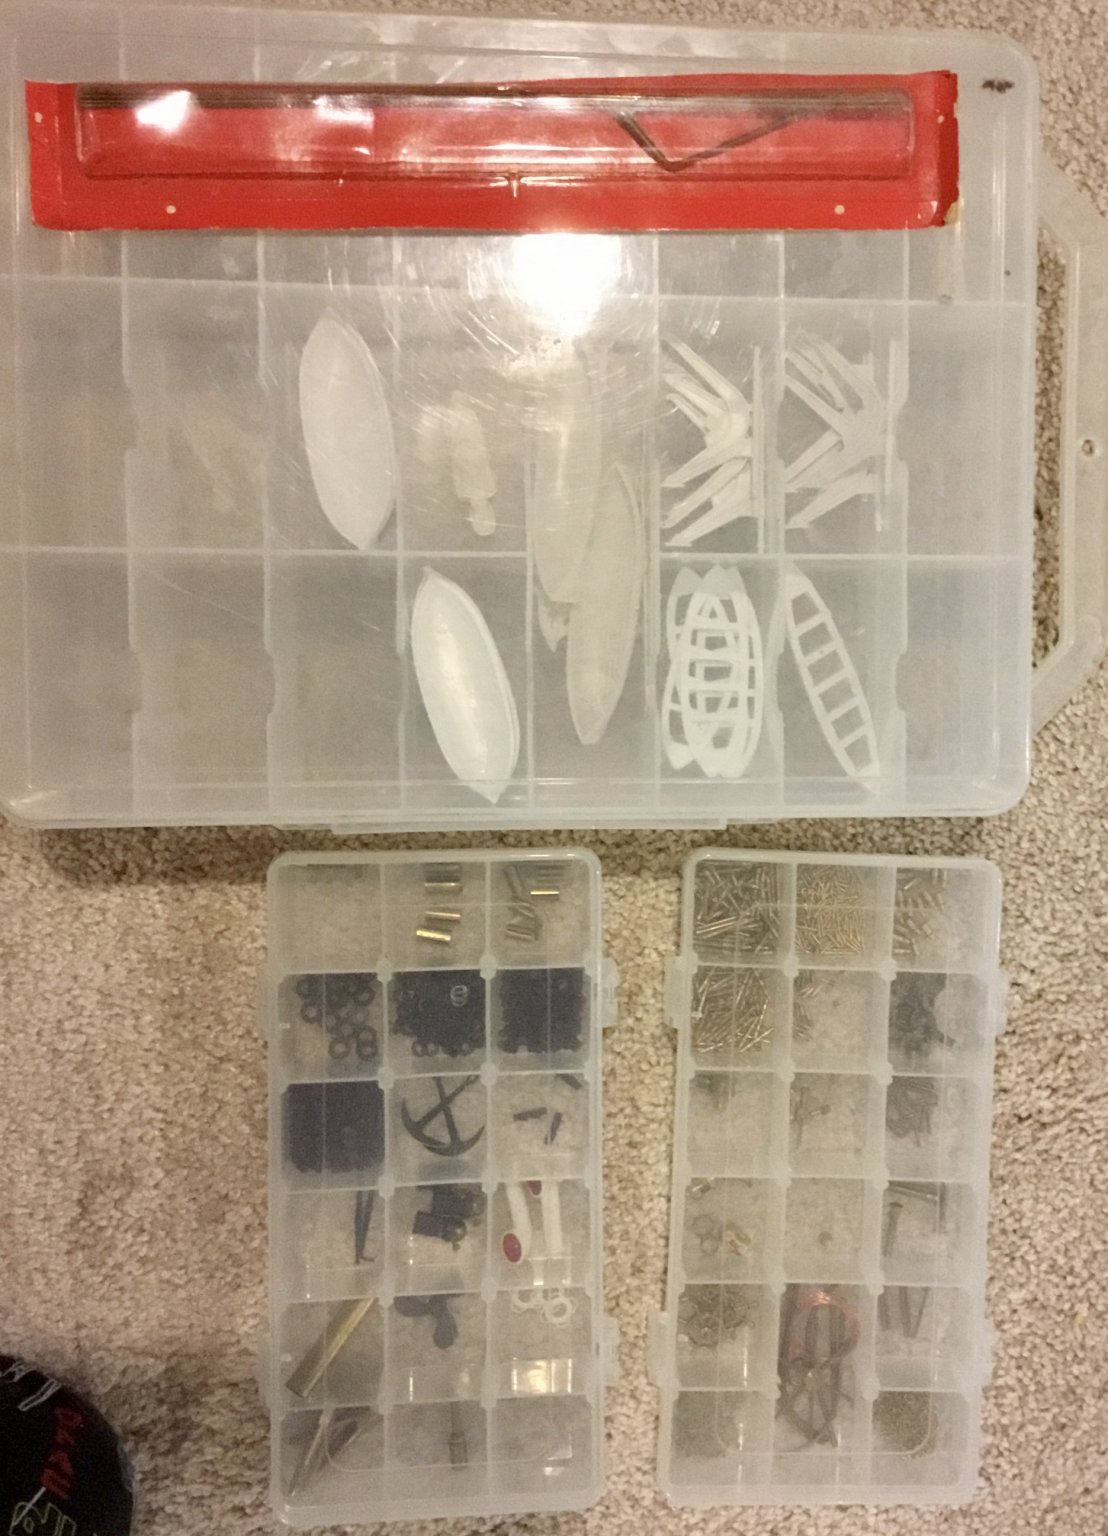
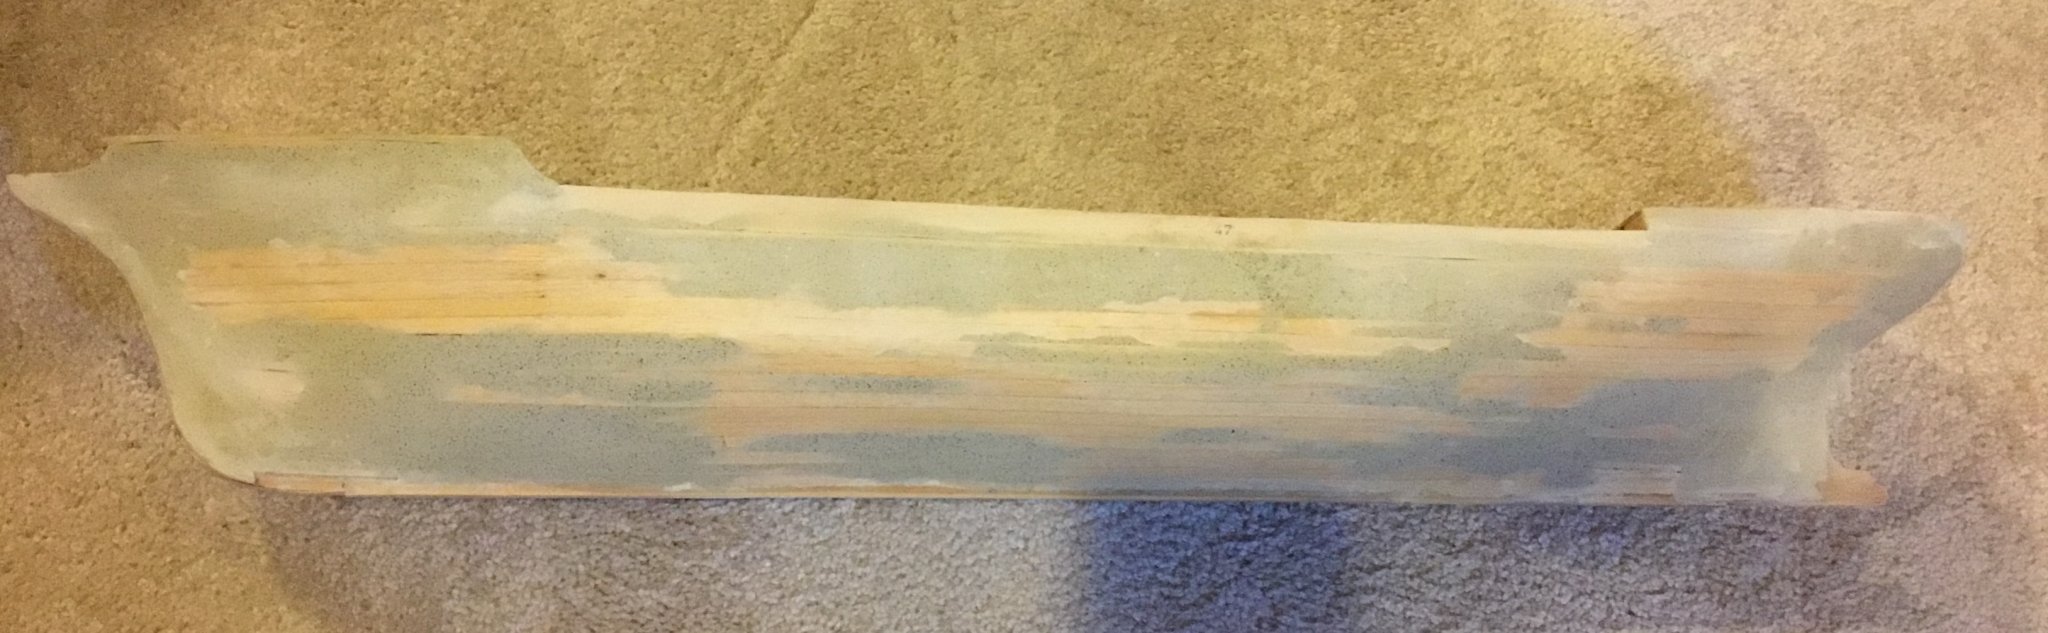
 Broke out and sorted the hardware package. All the blocks (236) are black plastic as well as the port lights (98). Ordered a hand reamer to make the holes in the hull for the port lights before finishing painting the hull. Meanwhile continue work on deck structures. Discovered that the wooden parts seem to split along the grain lines when trying to cut them out with a knife going across the grain so I've switched to cutting them out using my scroll saw instead.
-
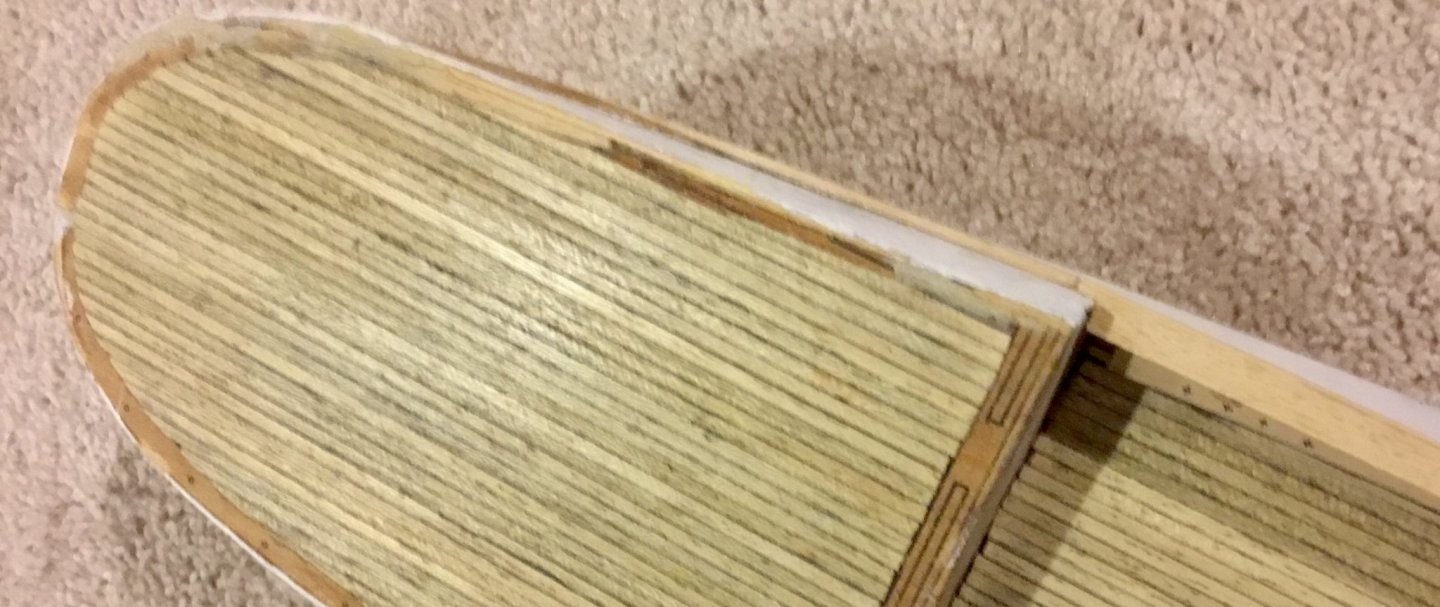
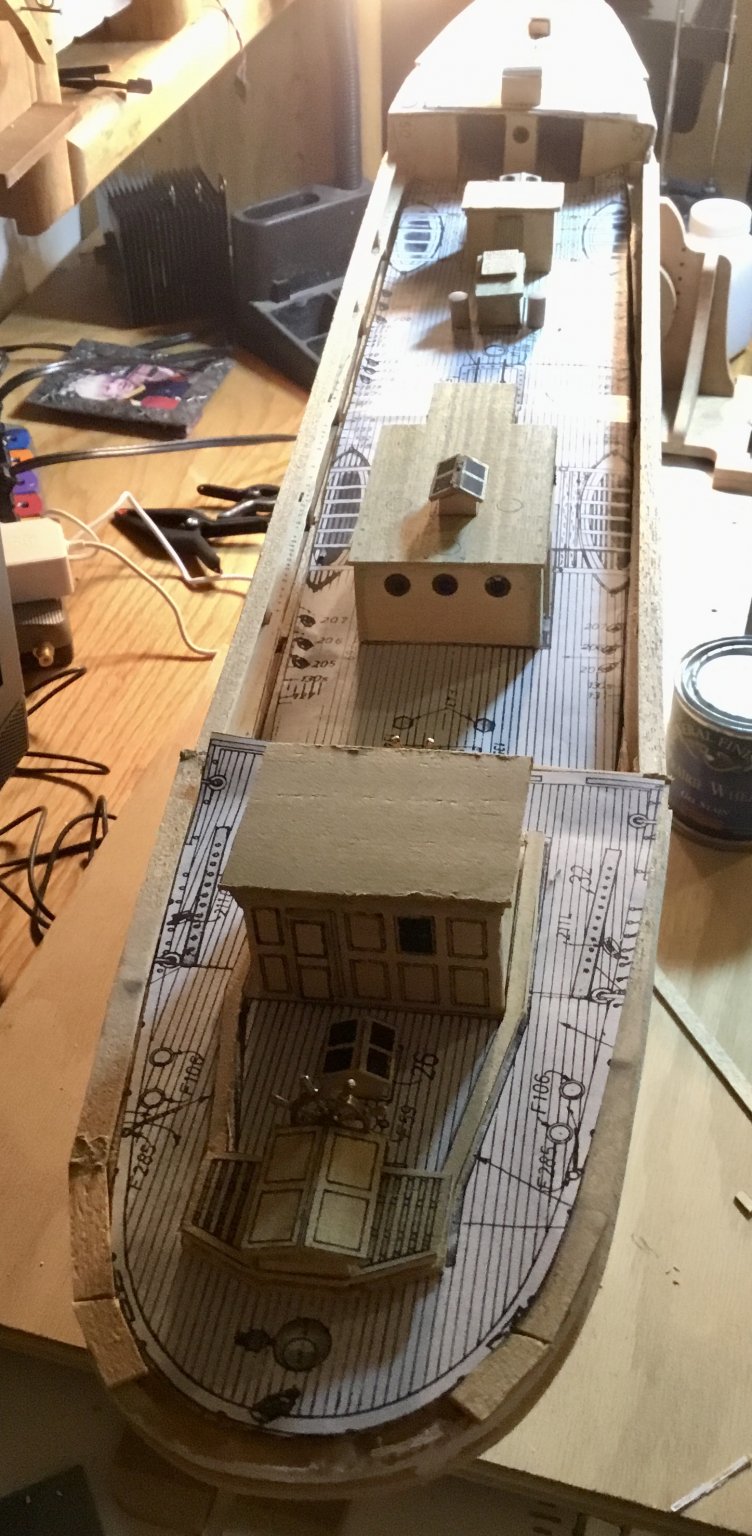
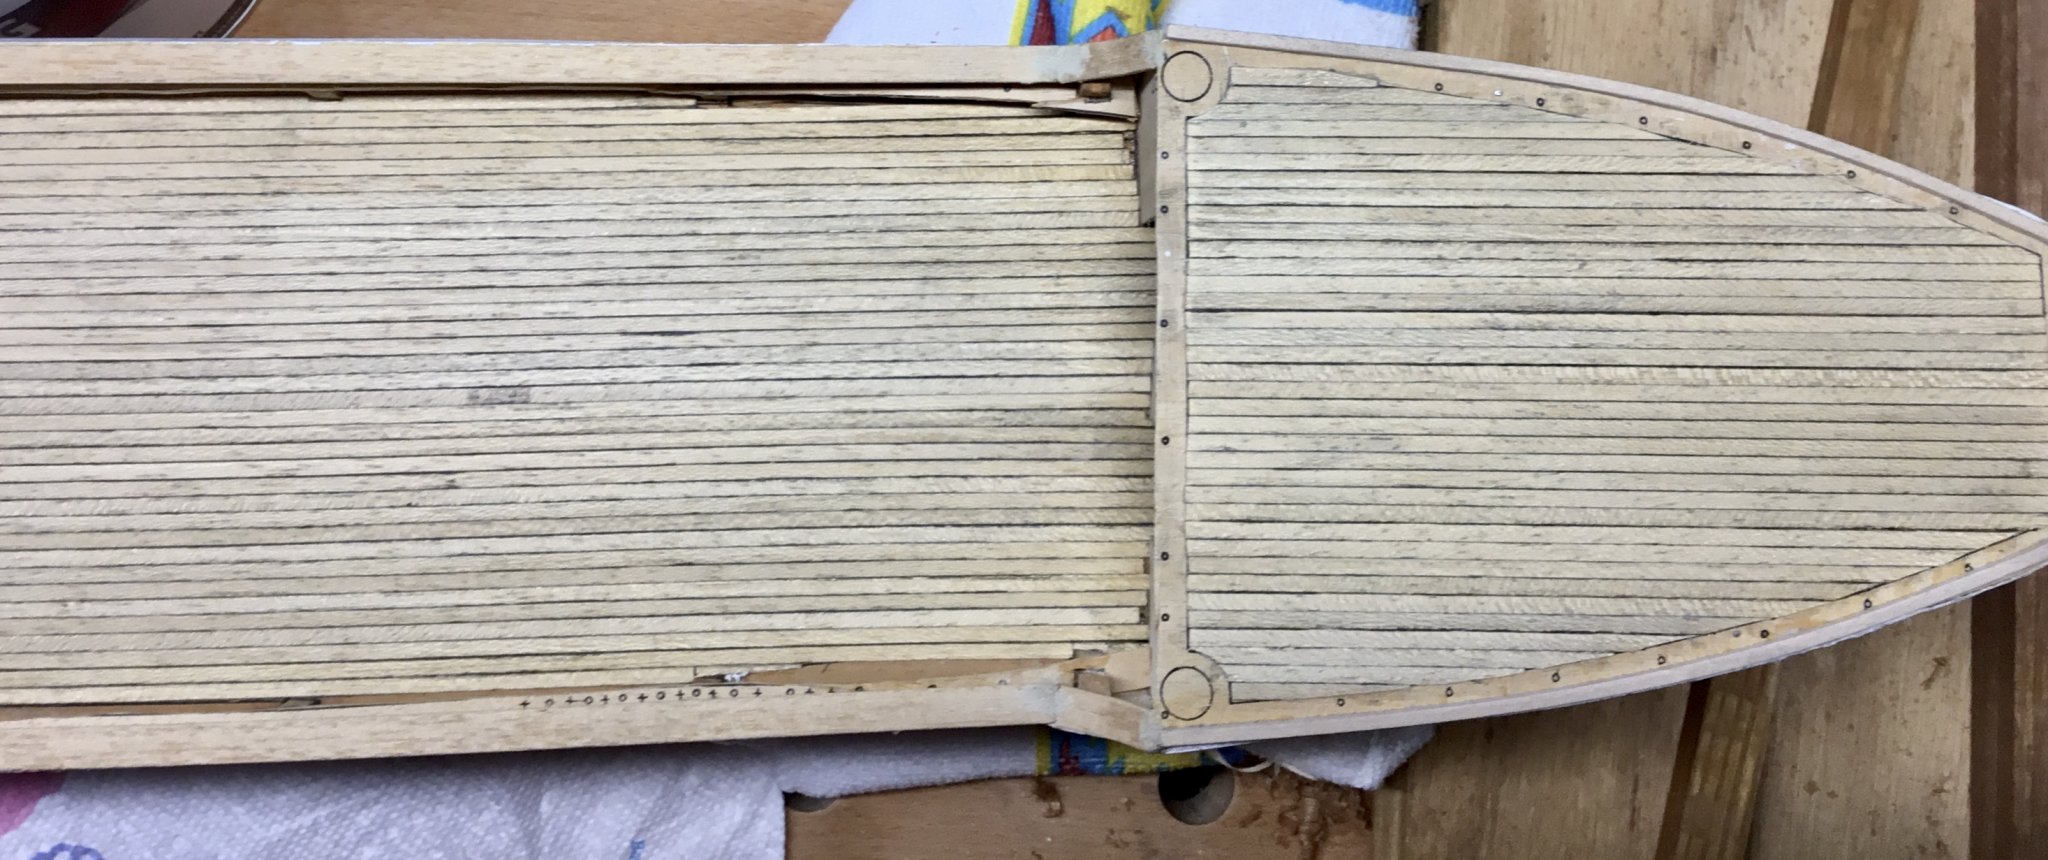
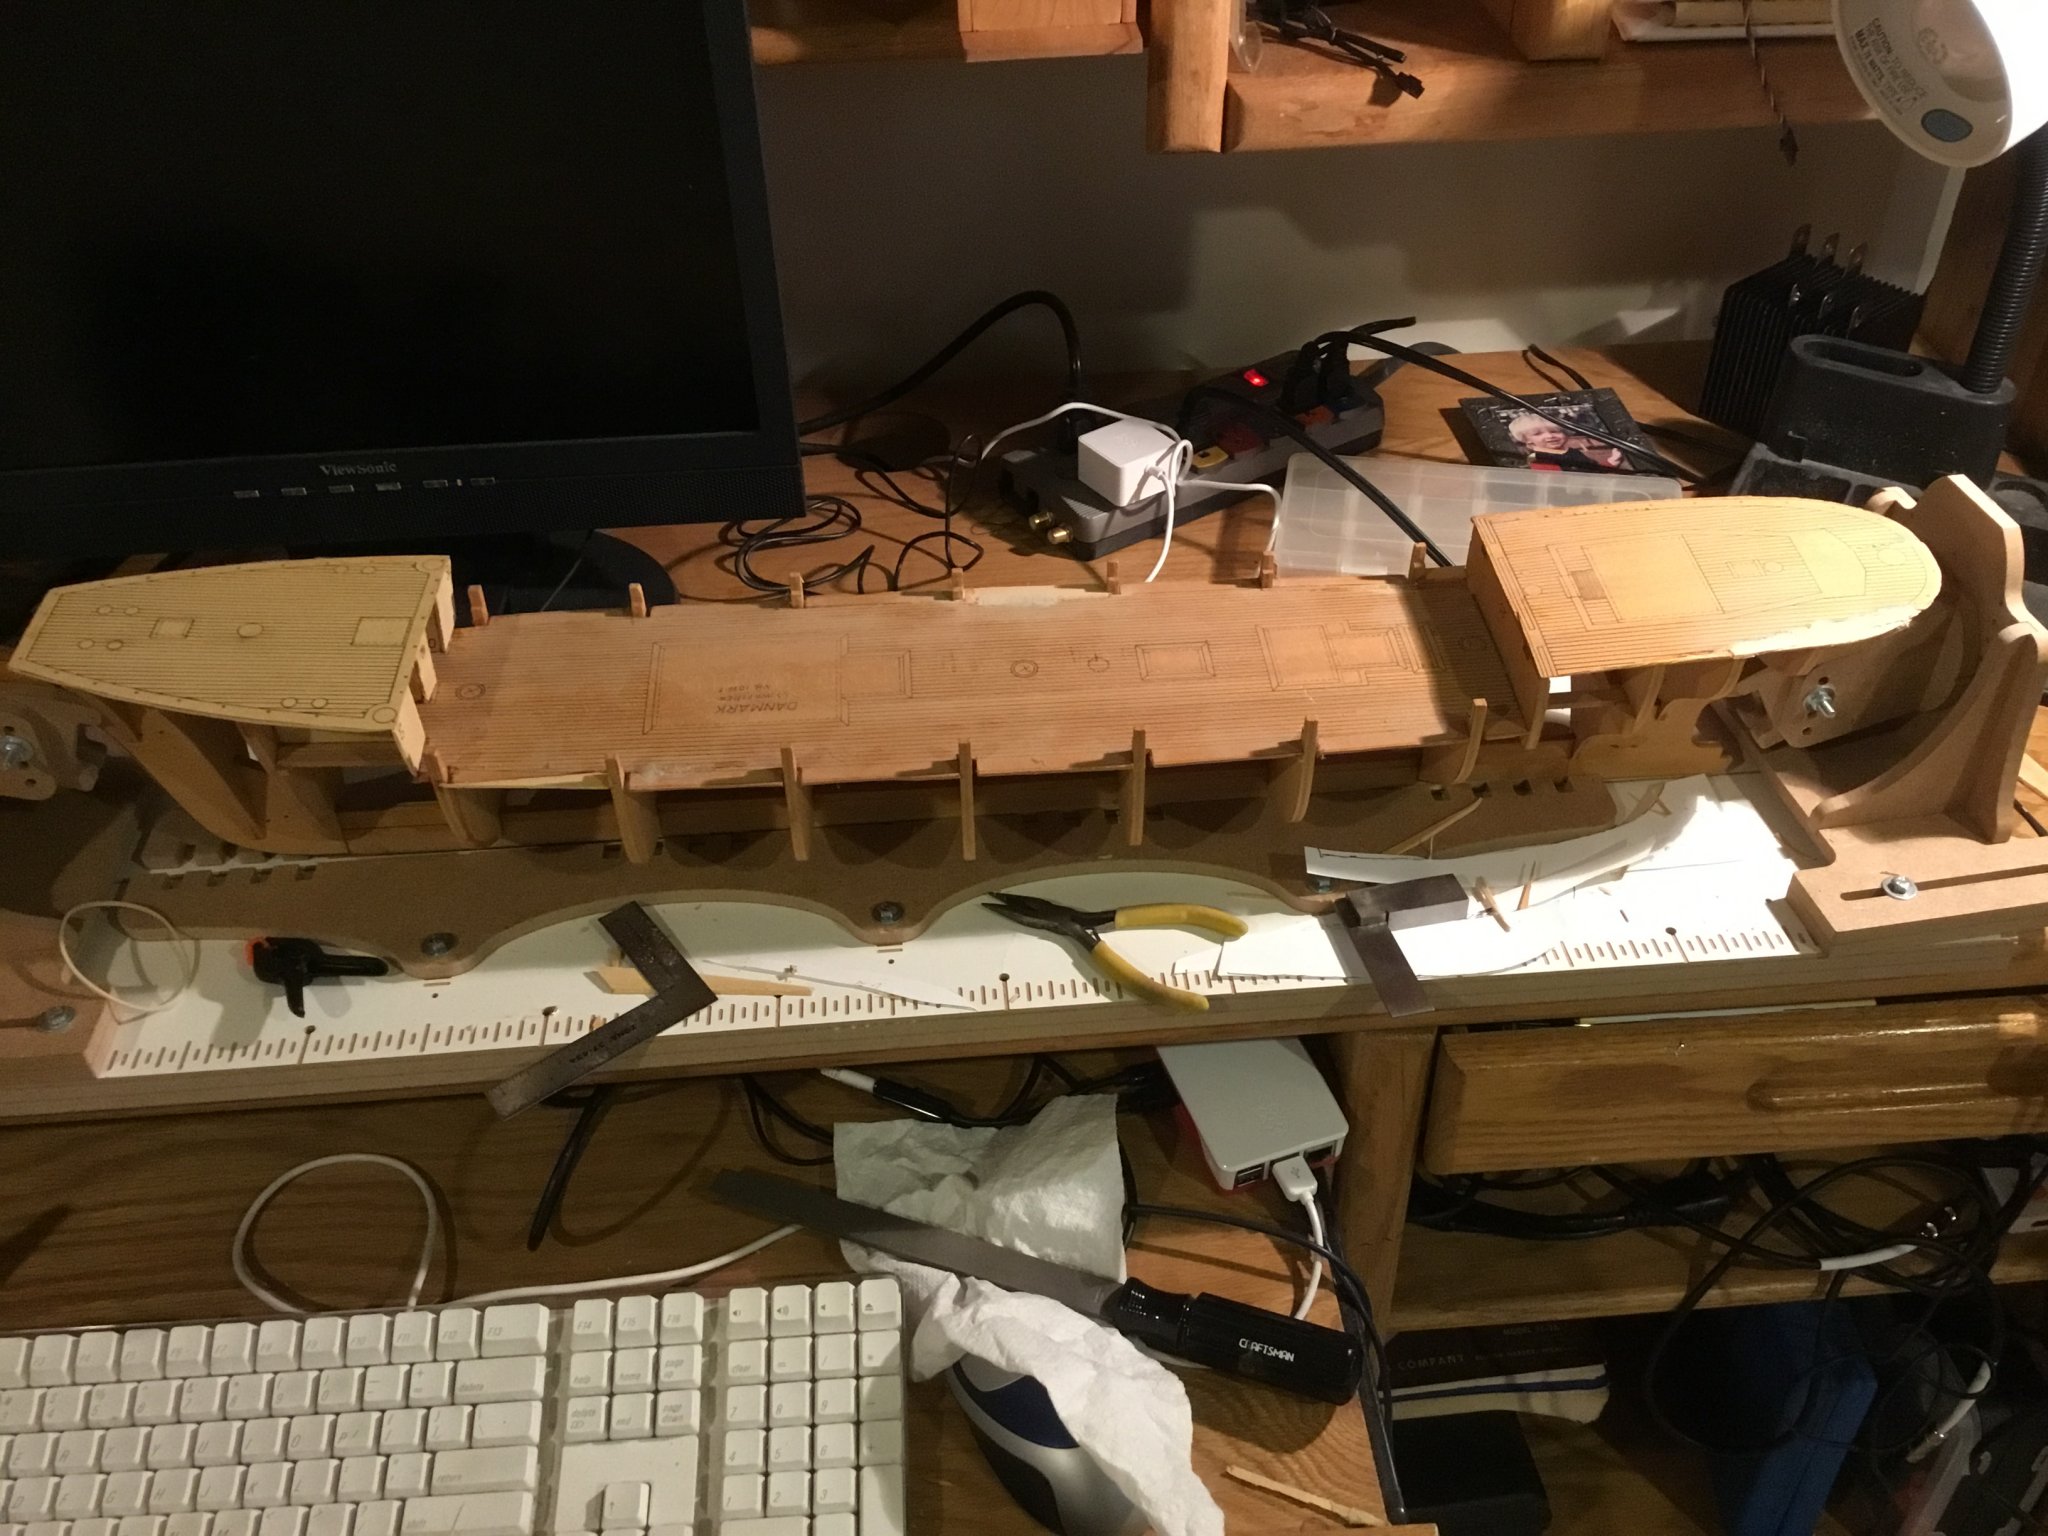
I Added the part #65 pieces and the railing as described in the previous post.
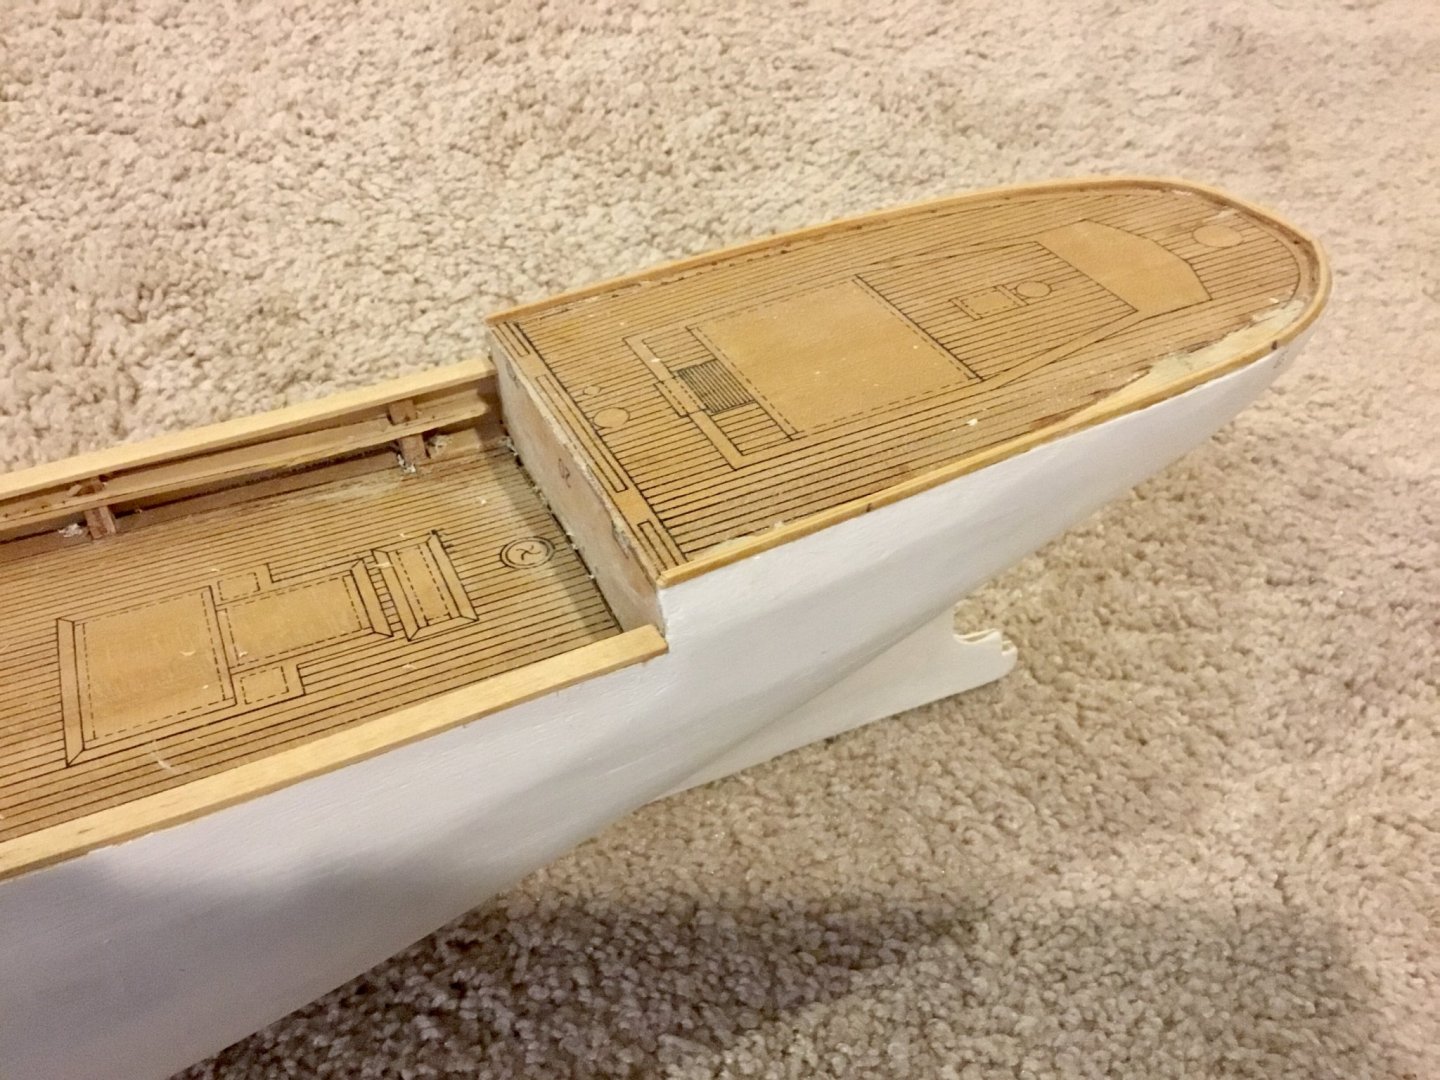
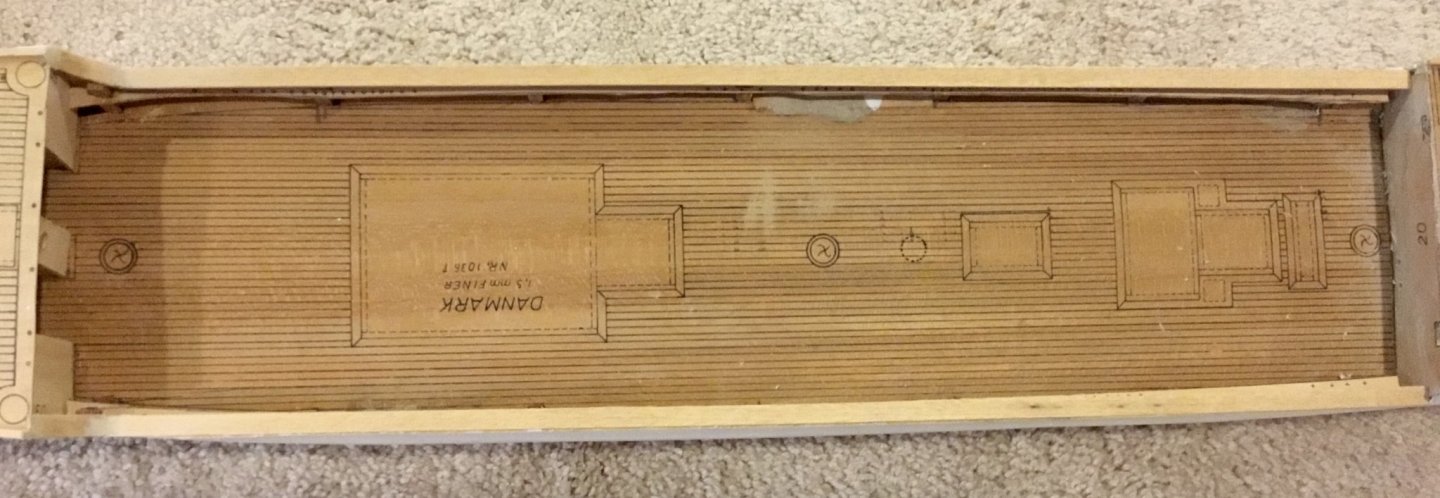
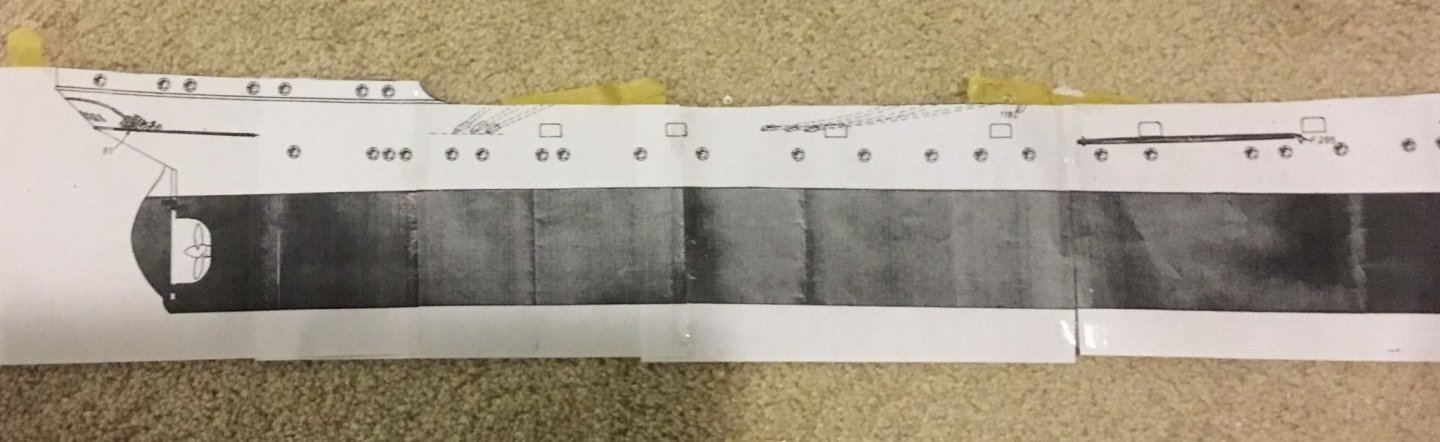
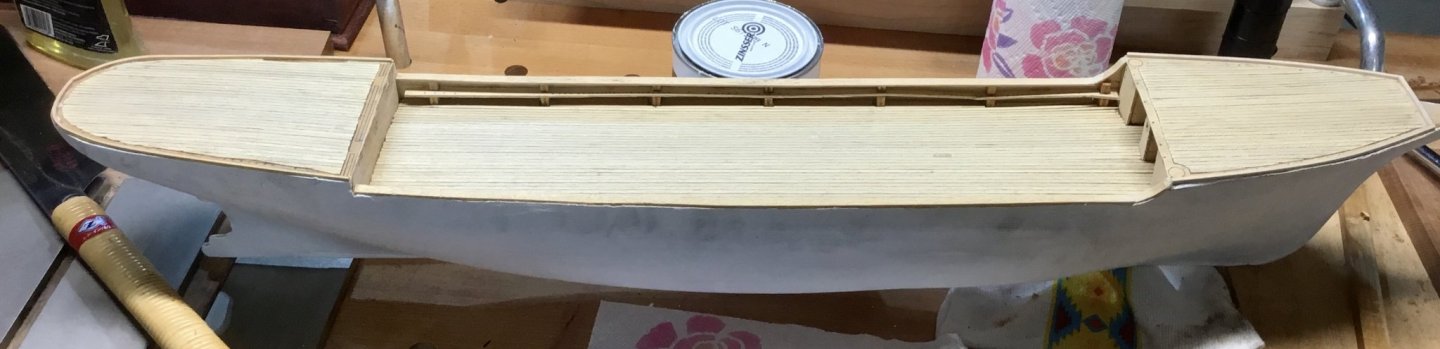
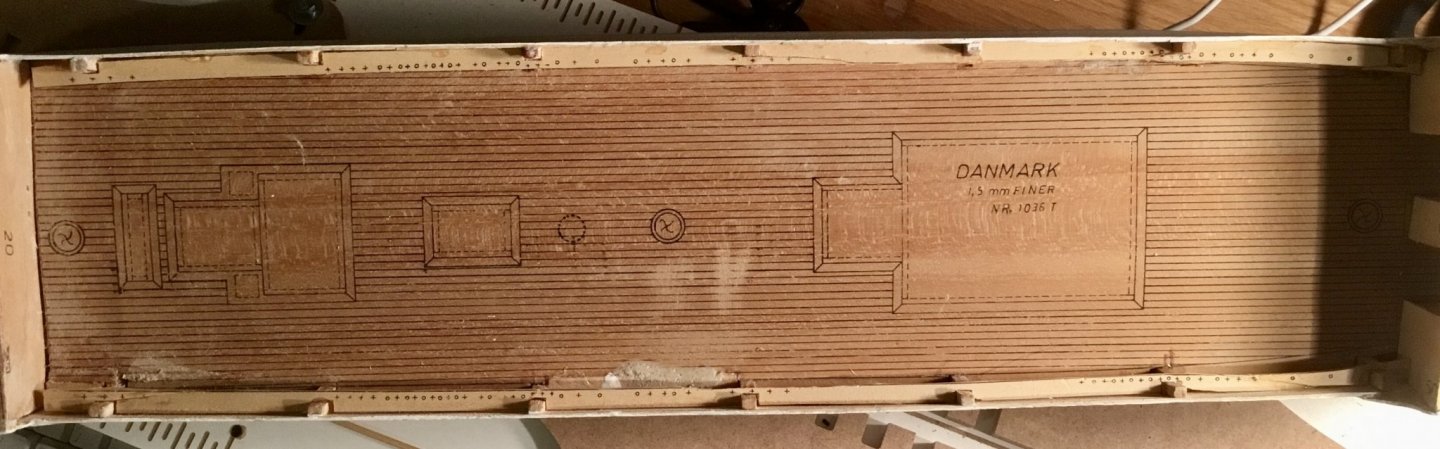
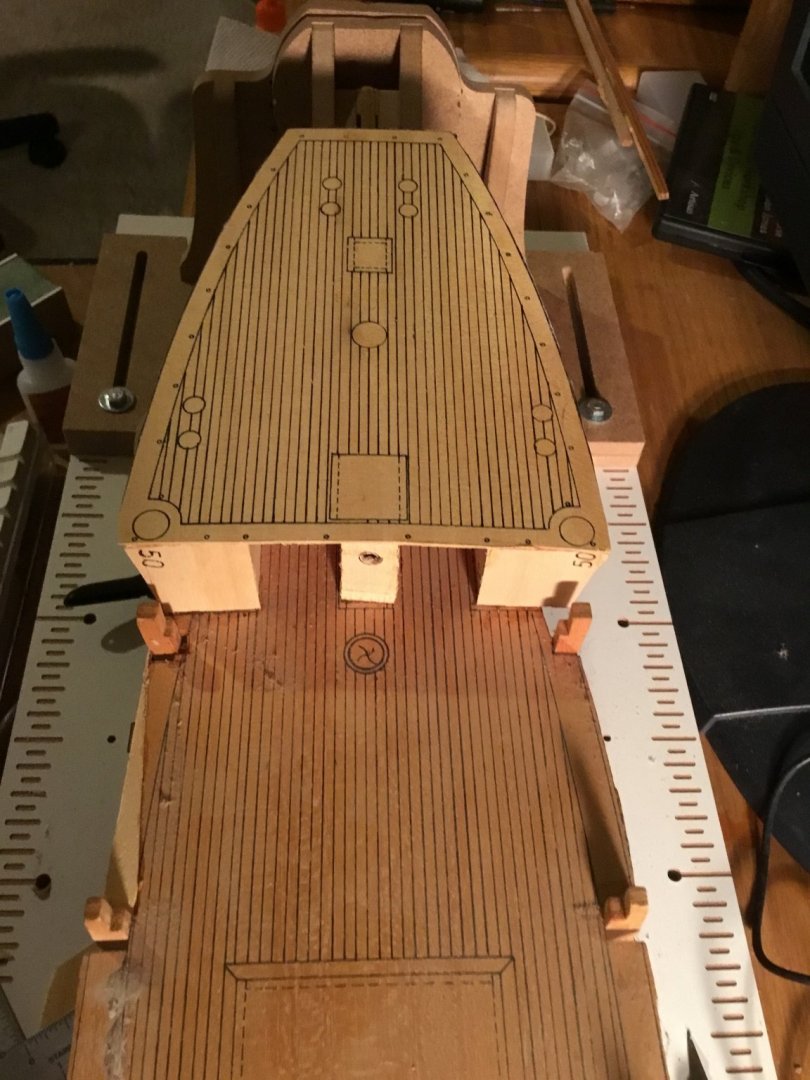
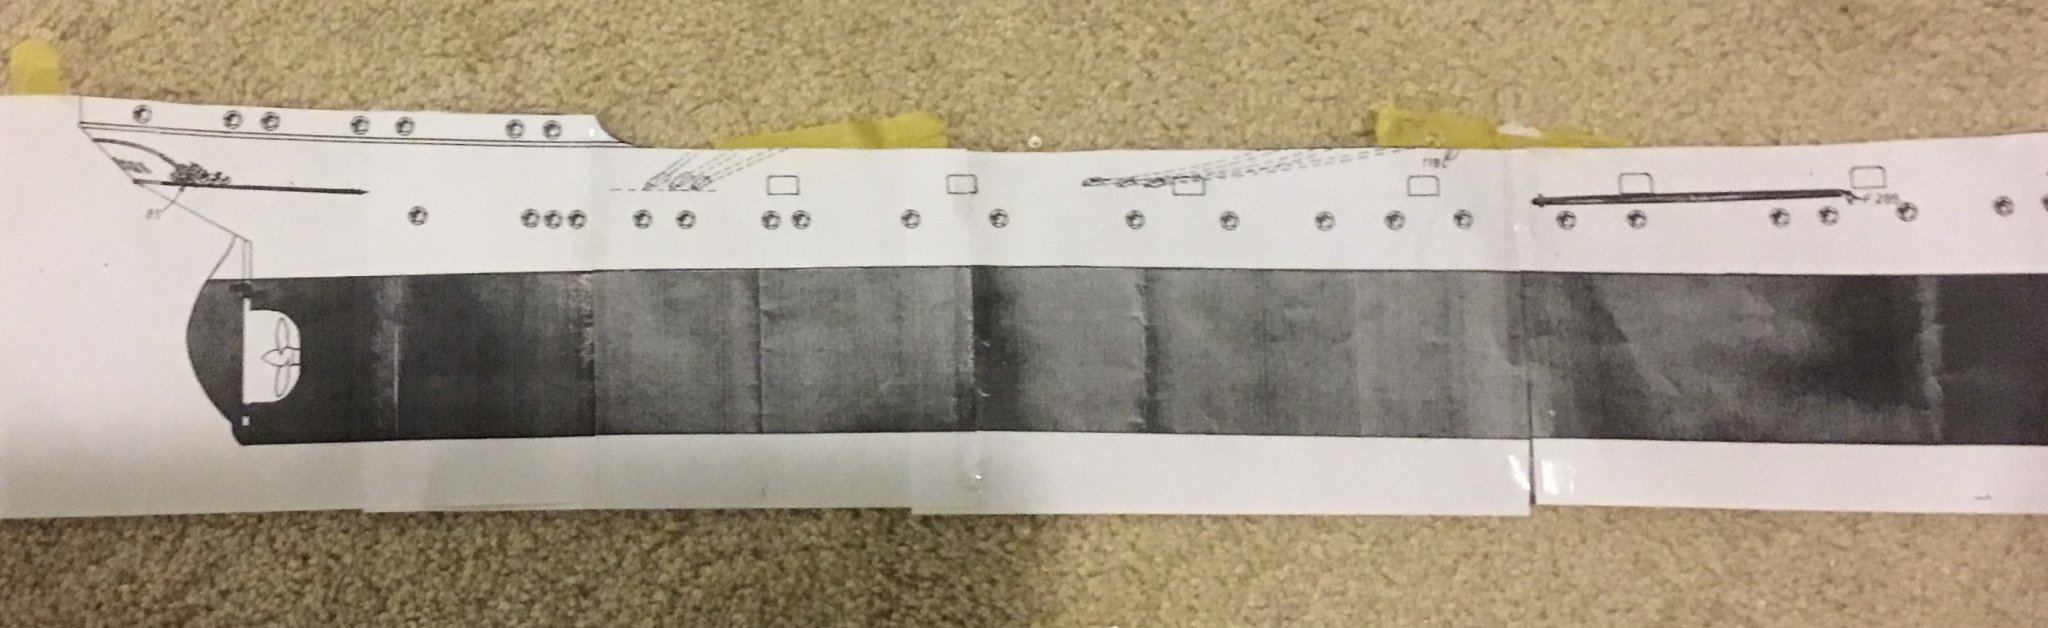
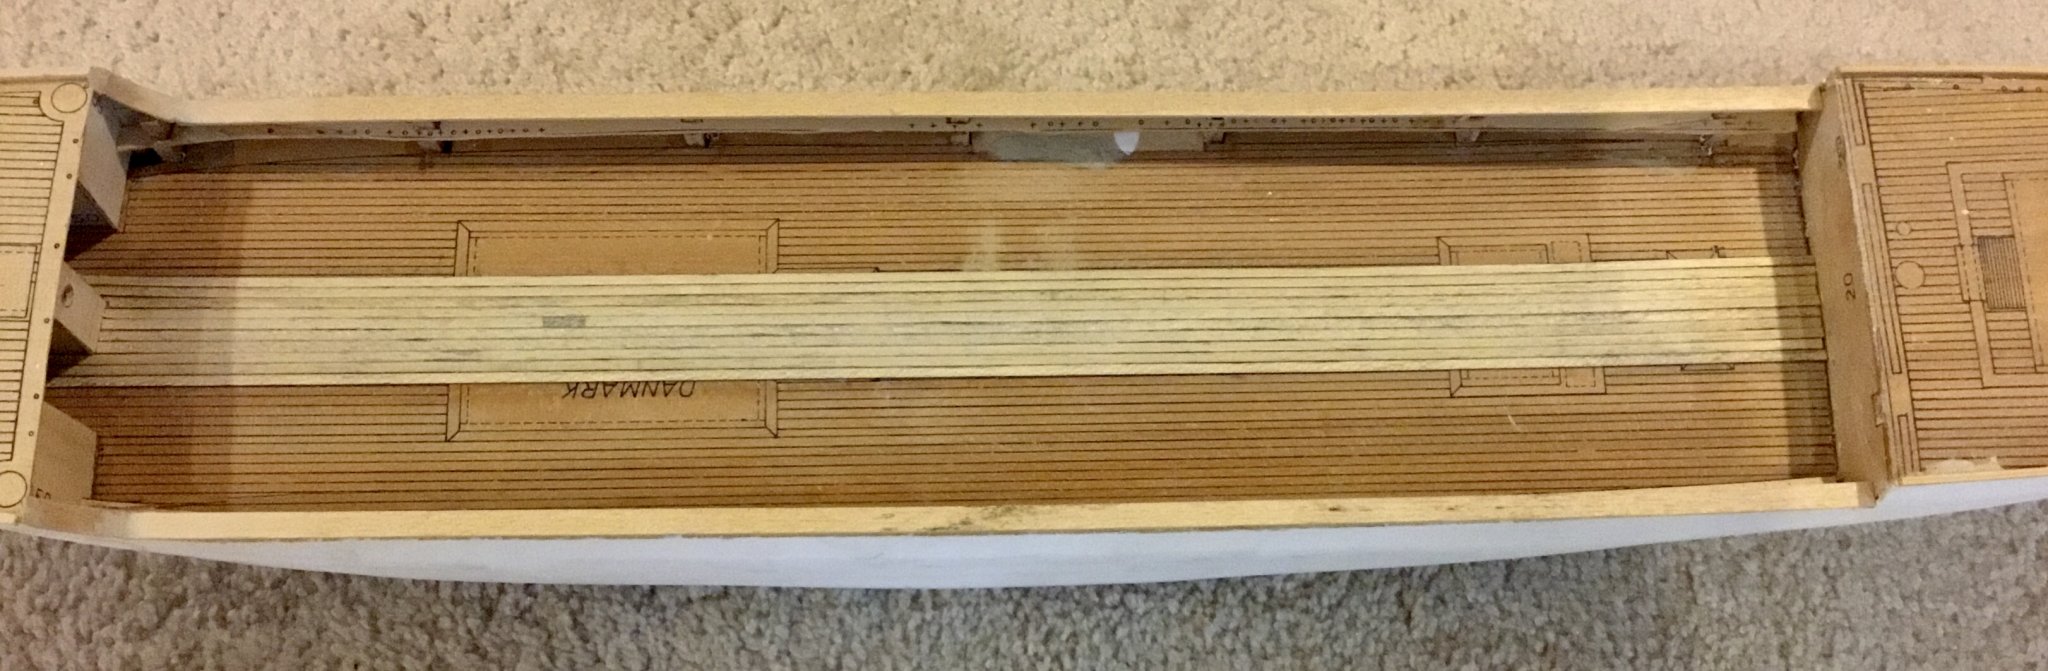
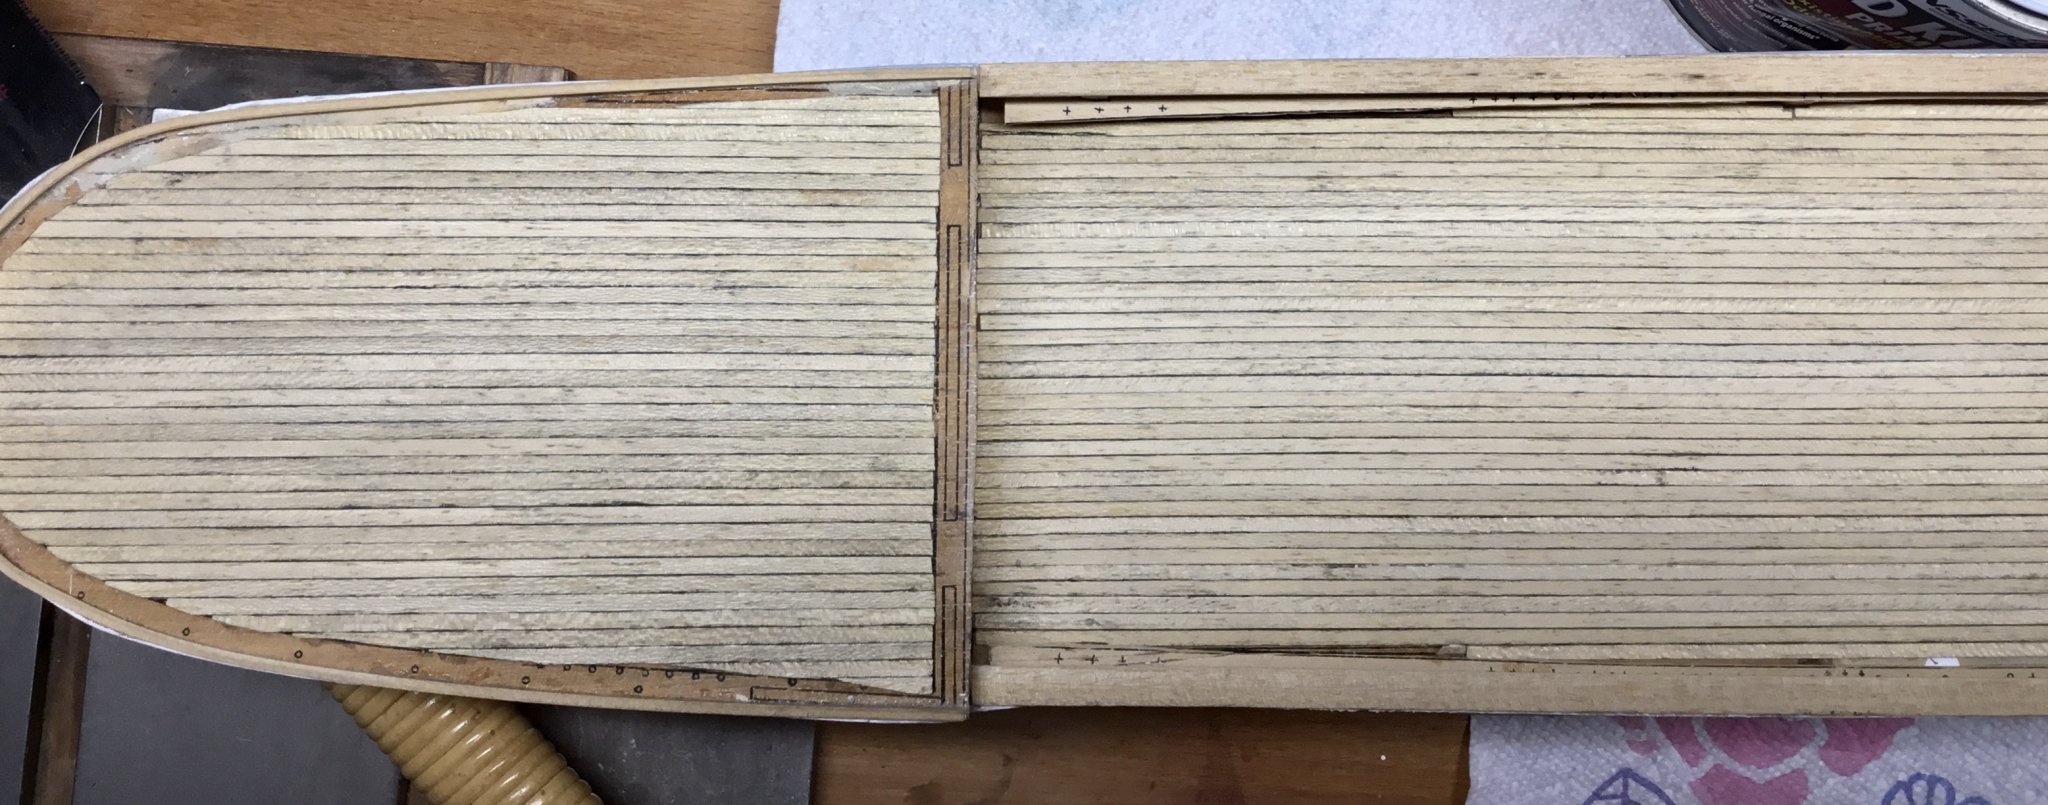
Then I installed the deck planking and made full size copies of the deck layout for later reference when adding the deck items.

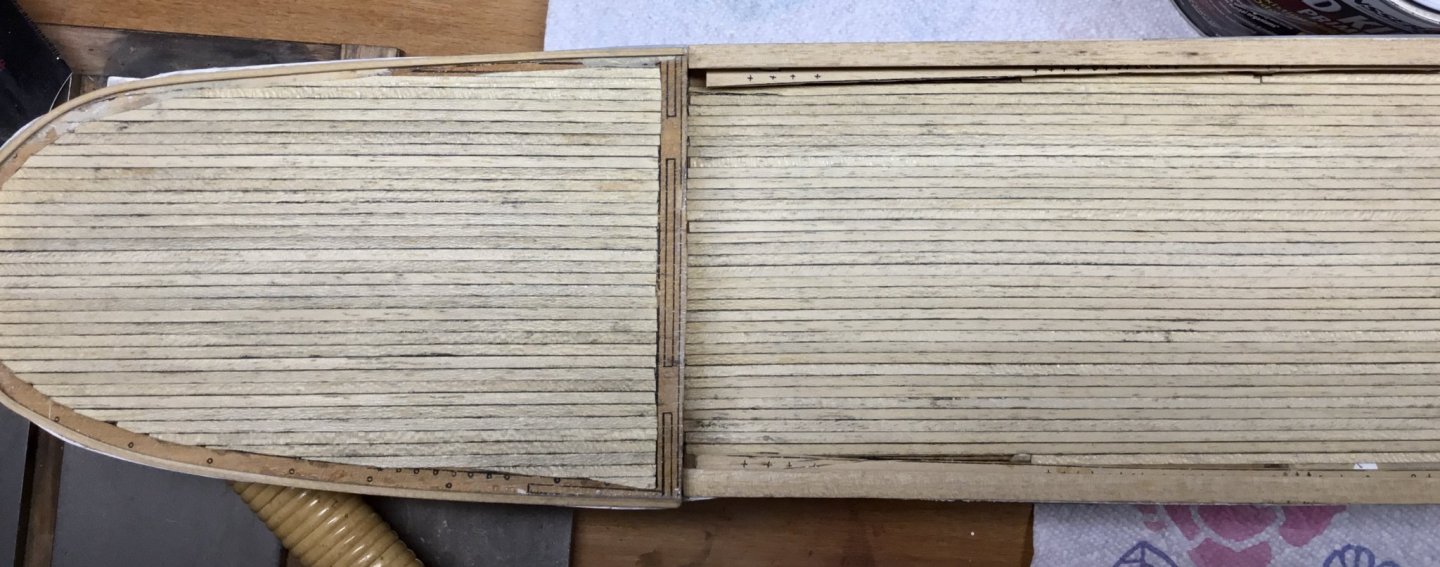

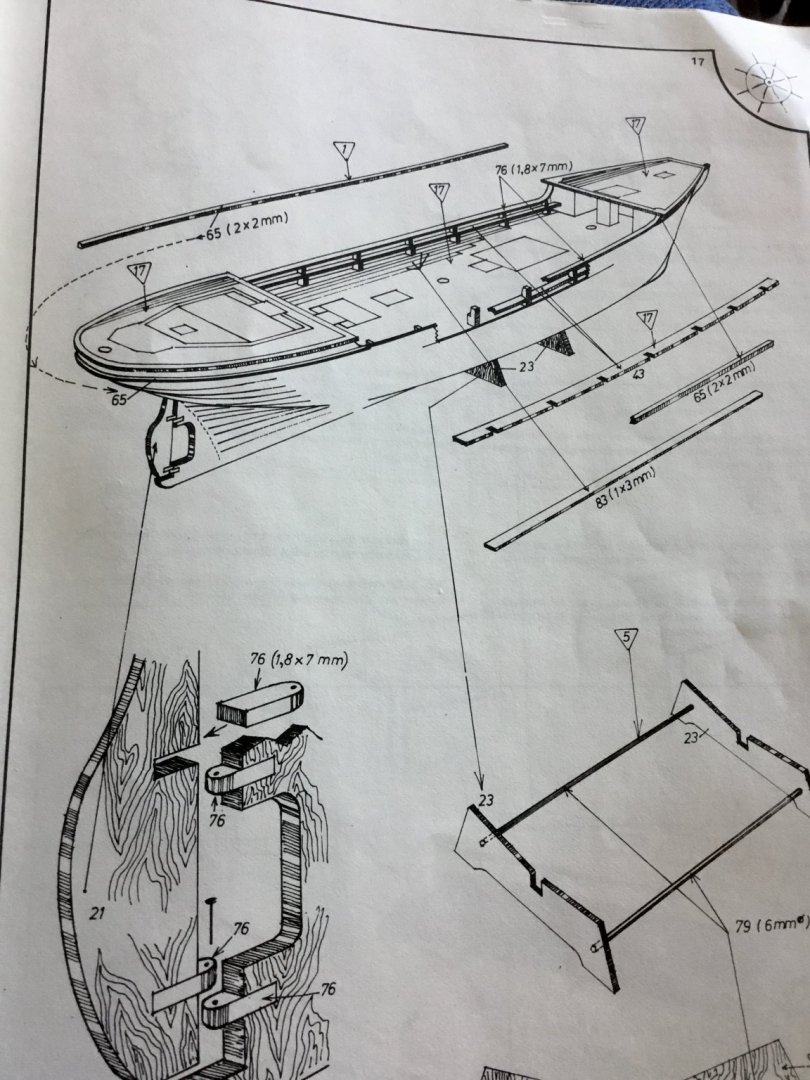
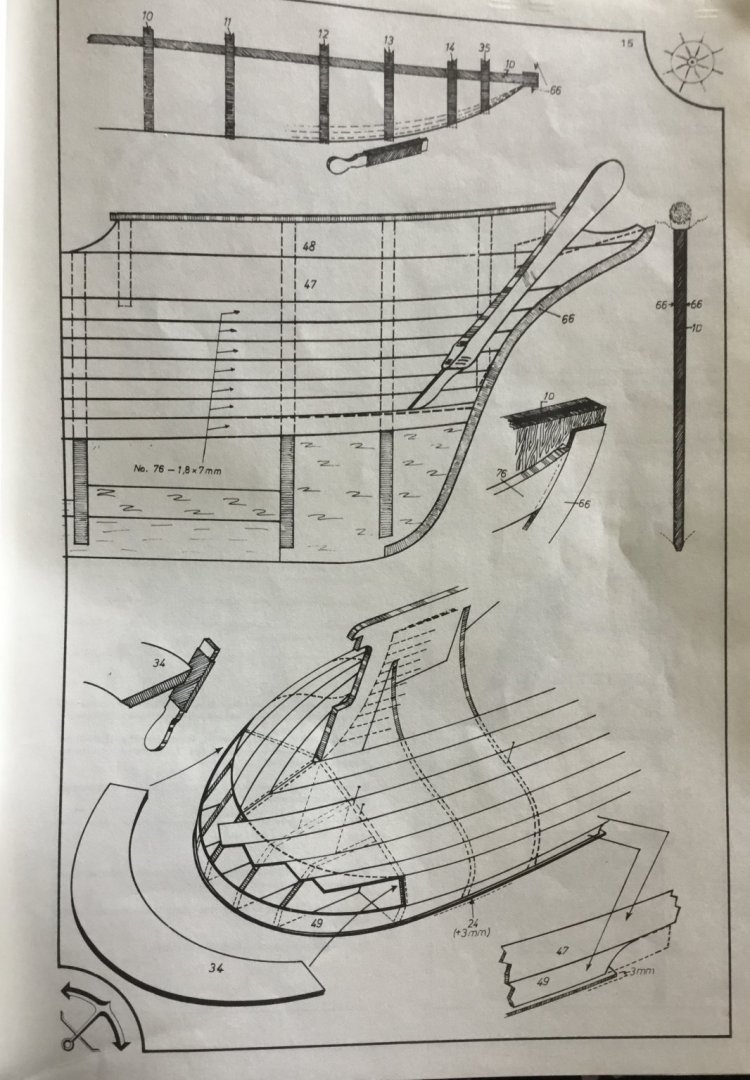
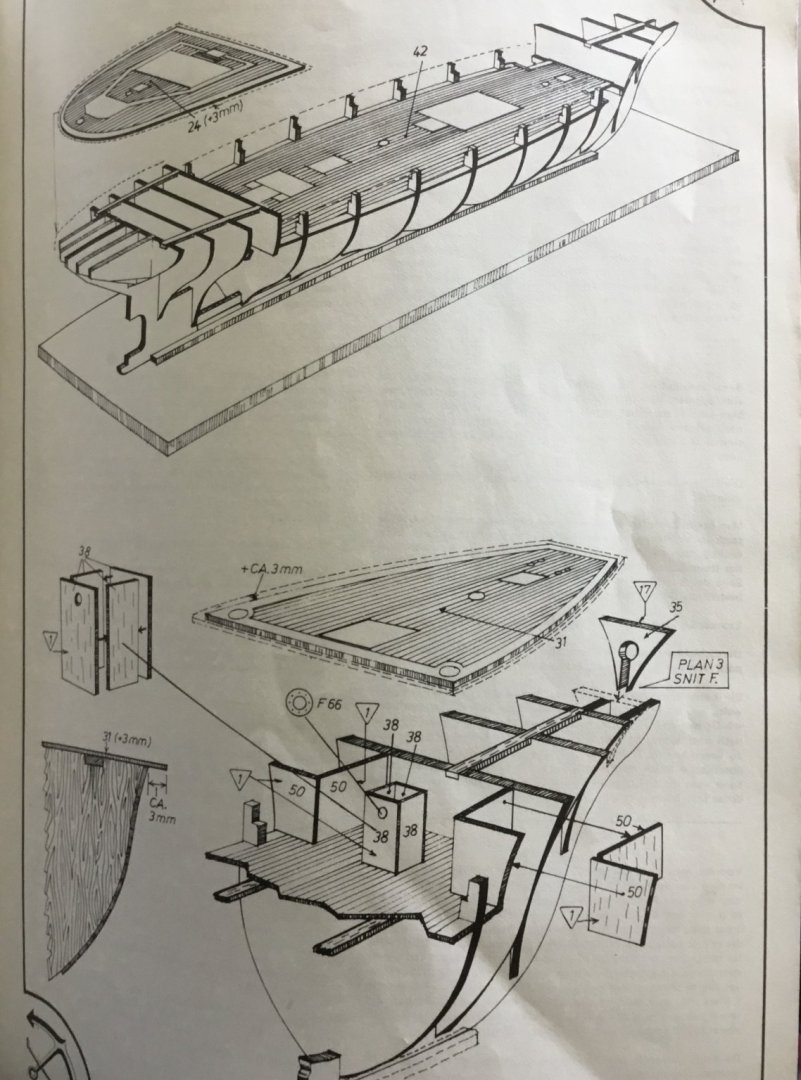
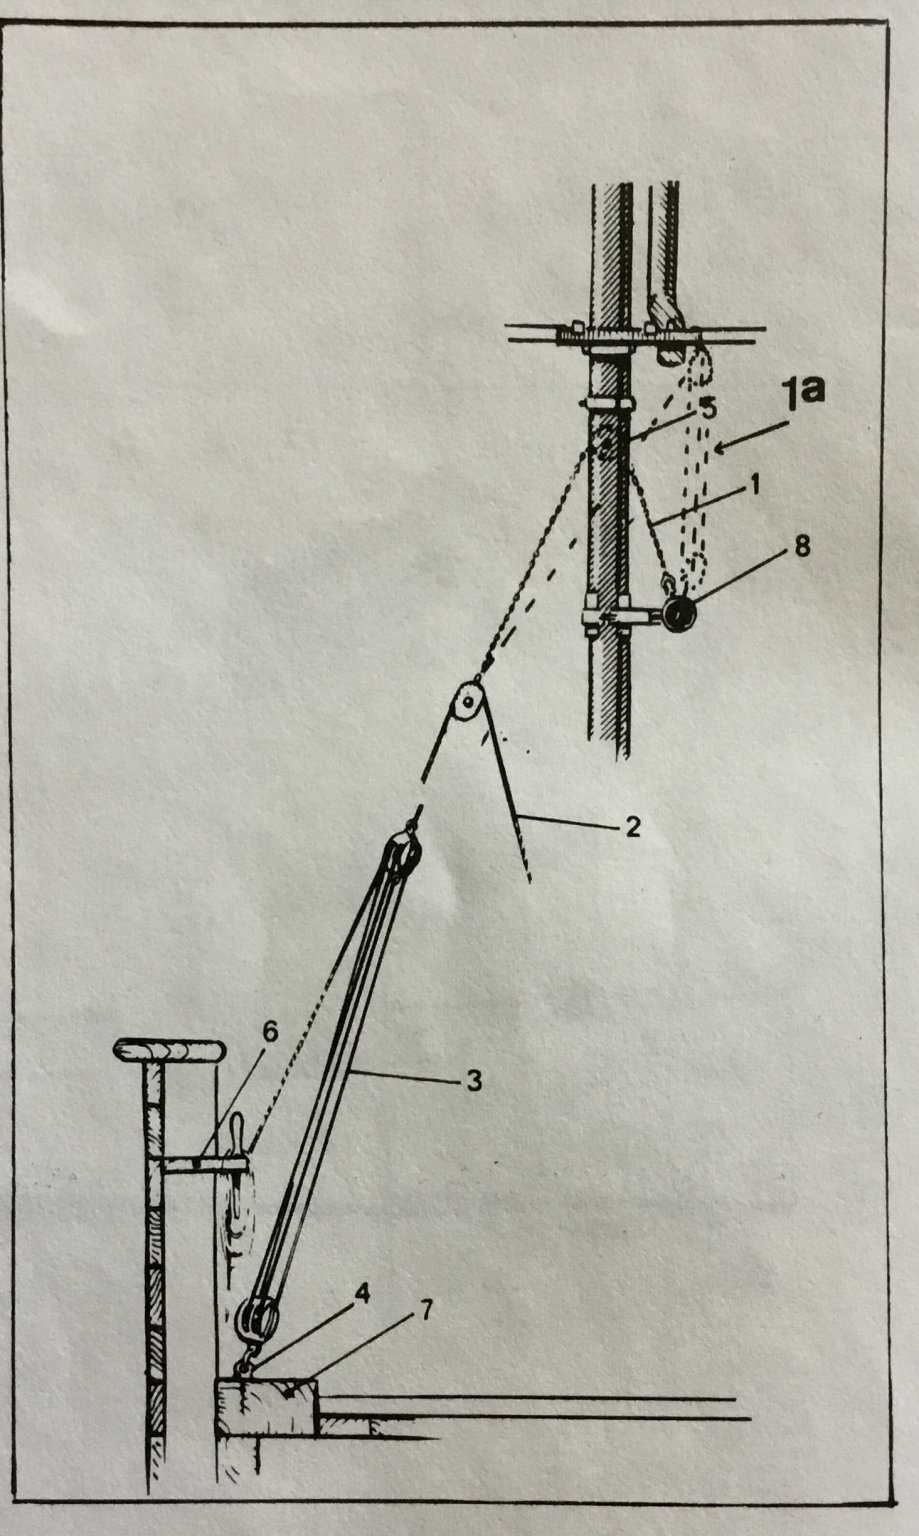
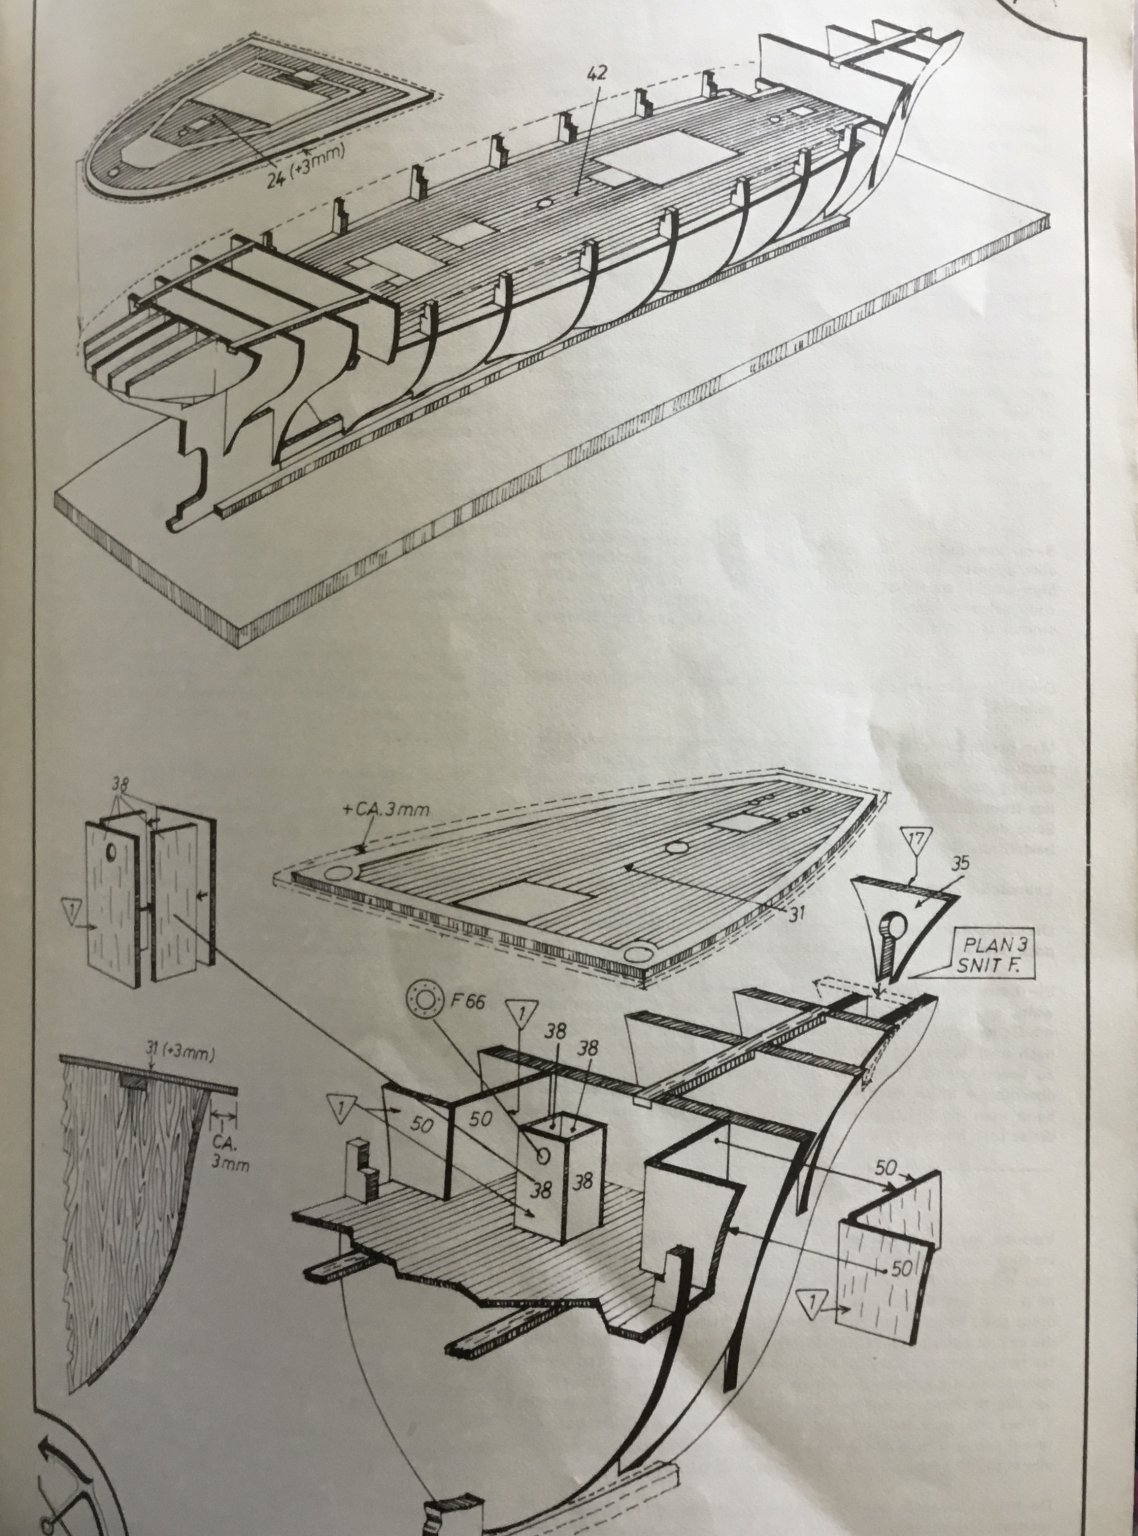
Preparing for the next step I added wipe on poly to the deck planking and while trying to figure out what I would do next on reviewing the instruction set I noticed the following diagram
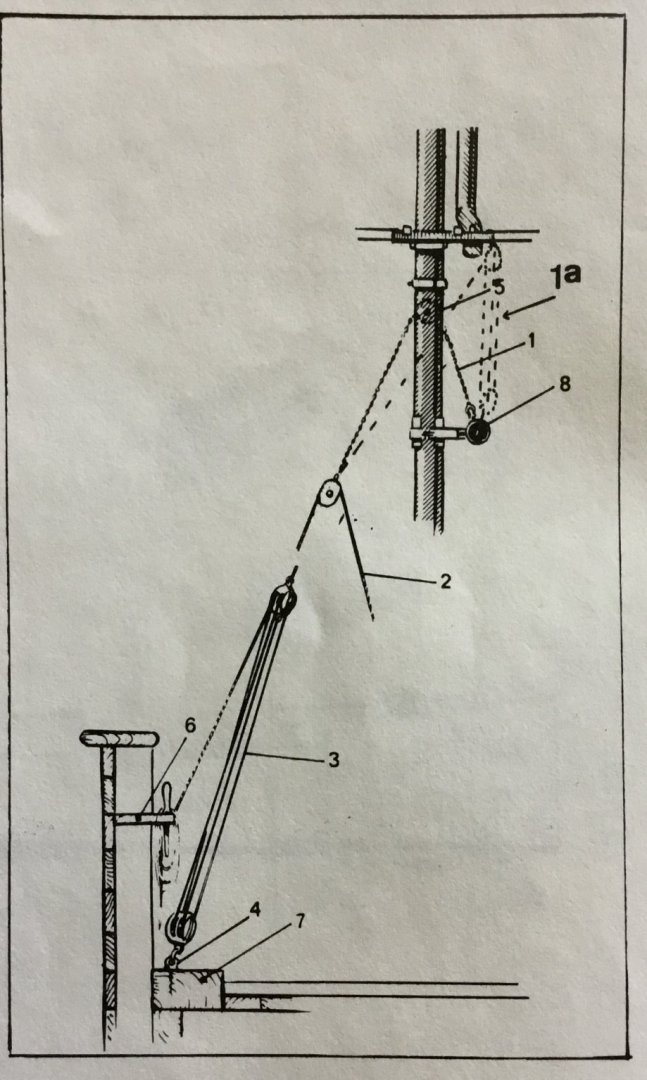
which shows that the railing sticks out from the hull of the ship slightly thereby answering my question about access the the pin rails. So I realized what I had done wrong in interpreting the instruction manual and removed and reapplied the part #65 pieces to the outside of the hull instead of on the deck as I had done previously.
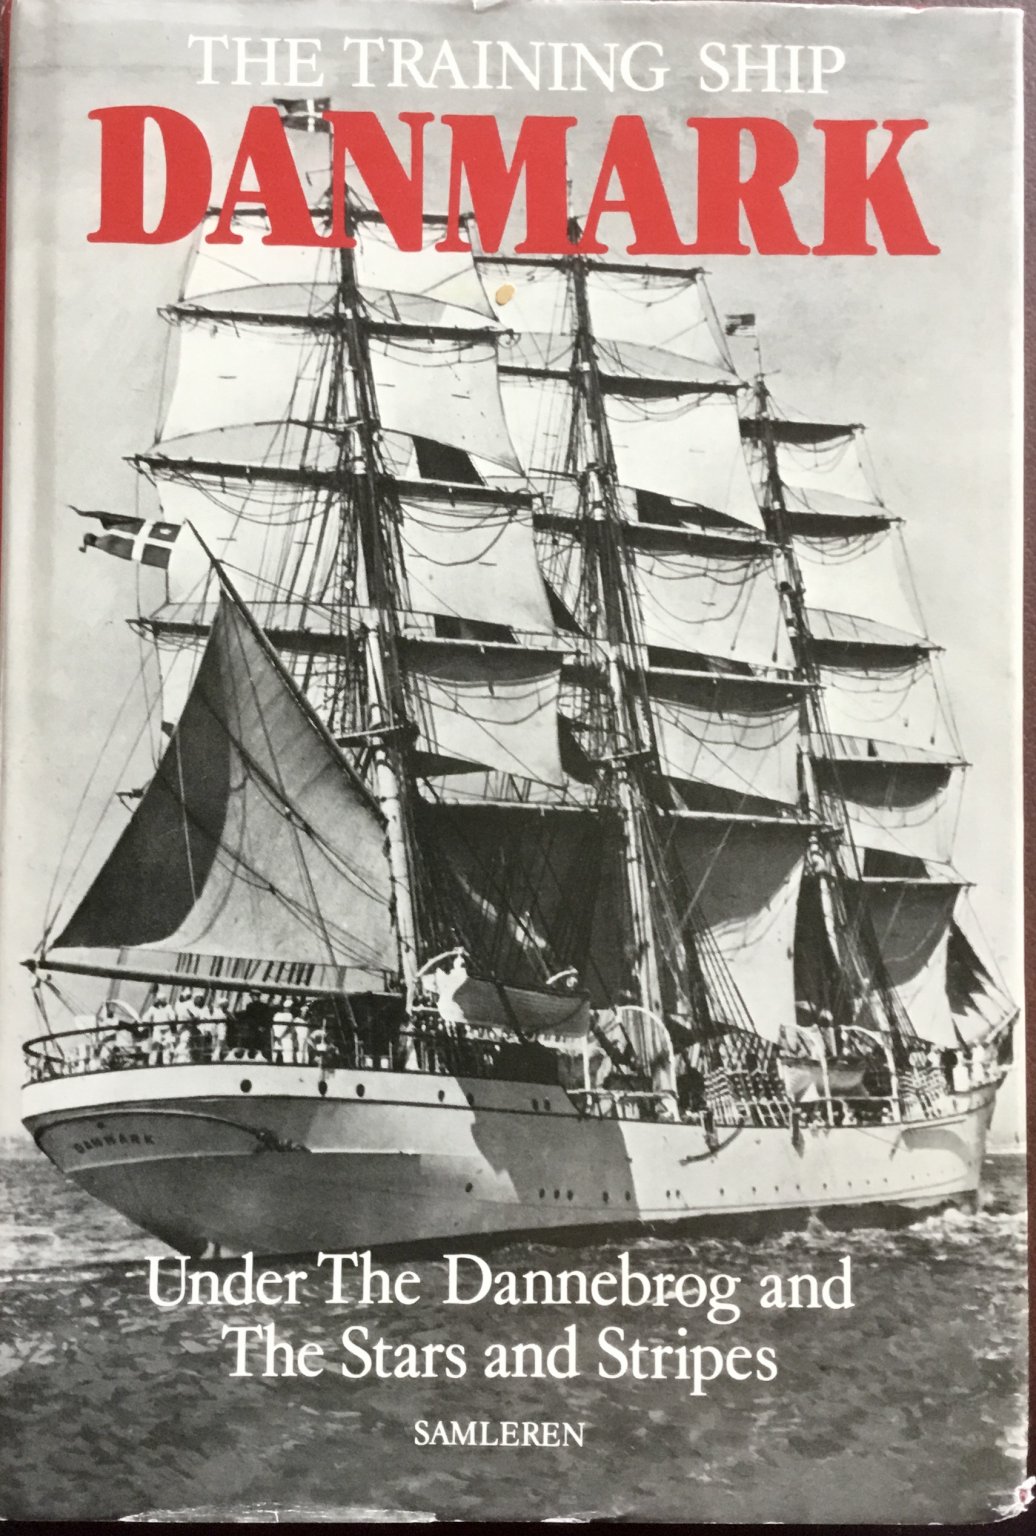
As a side note I found a book about the Danmark to read while I'm continuing the build. It's not a reference that can help with the build, but an interesting story about the time the ship was stateside during World War II.

-
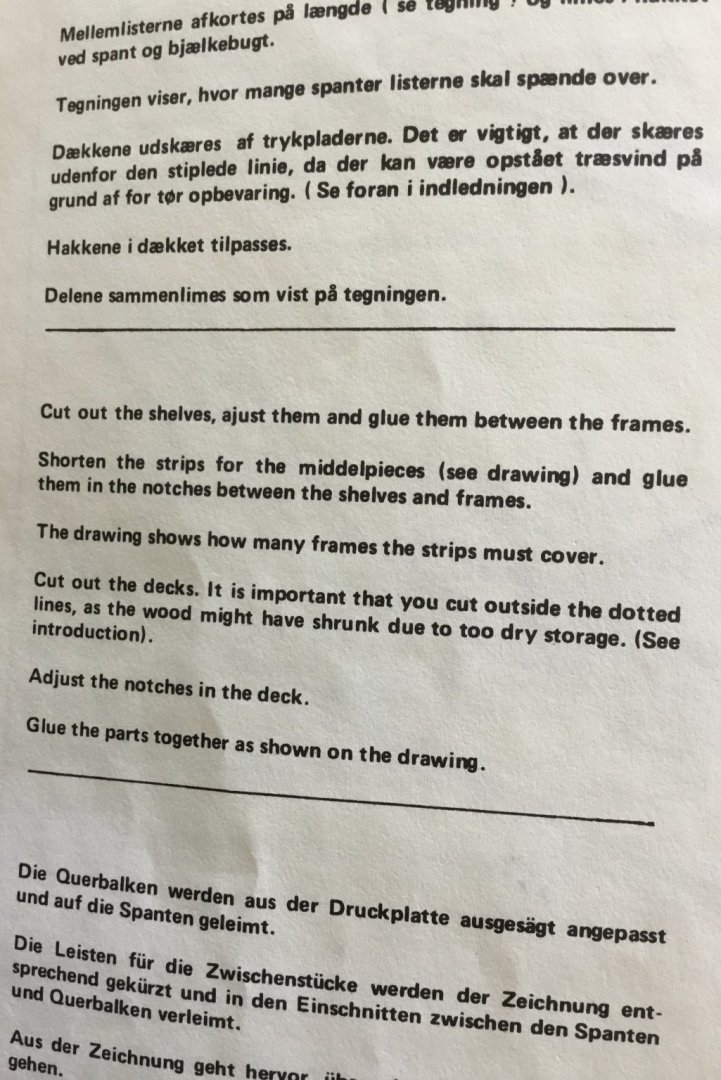
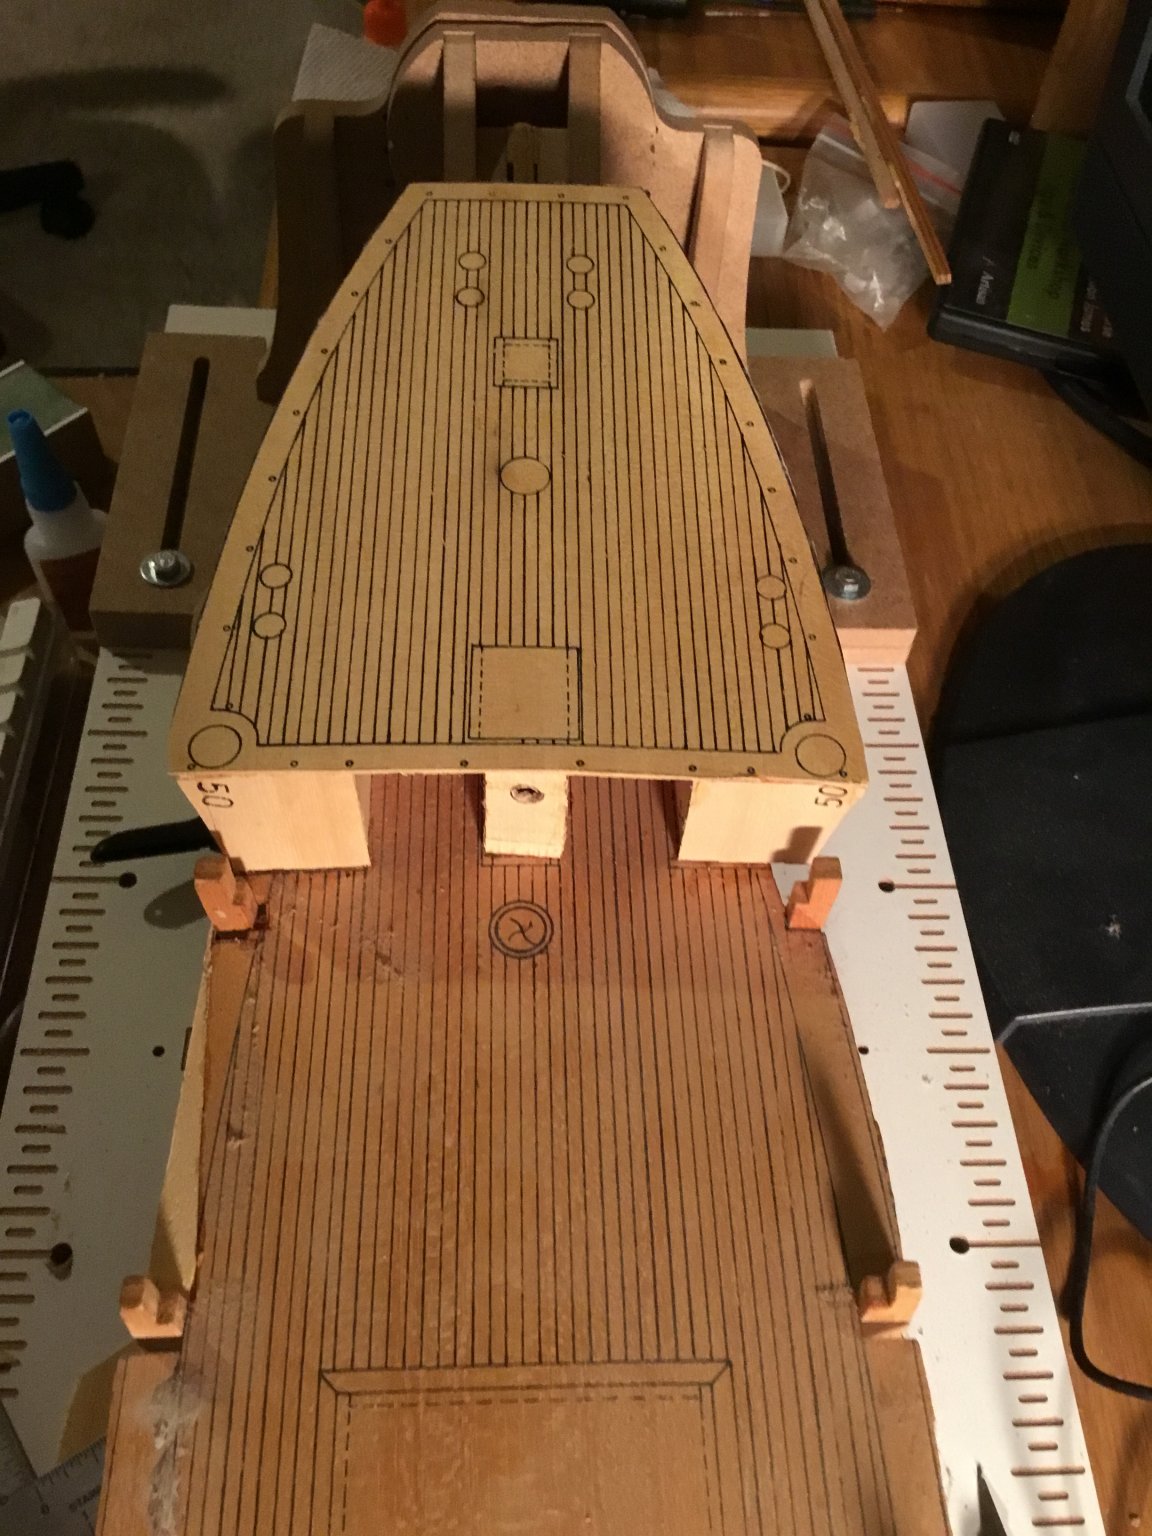
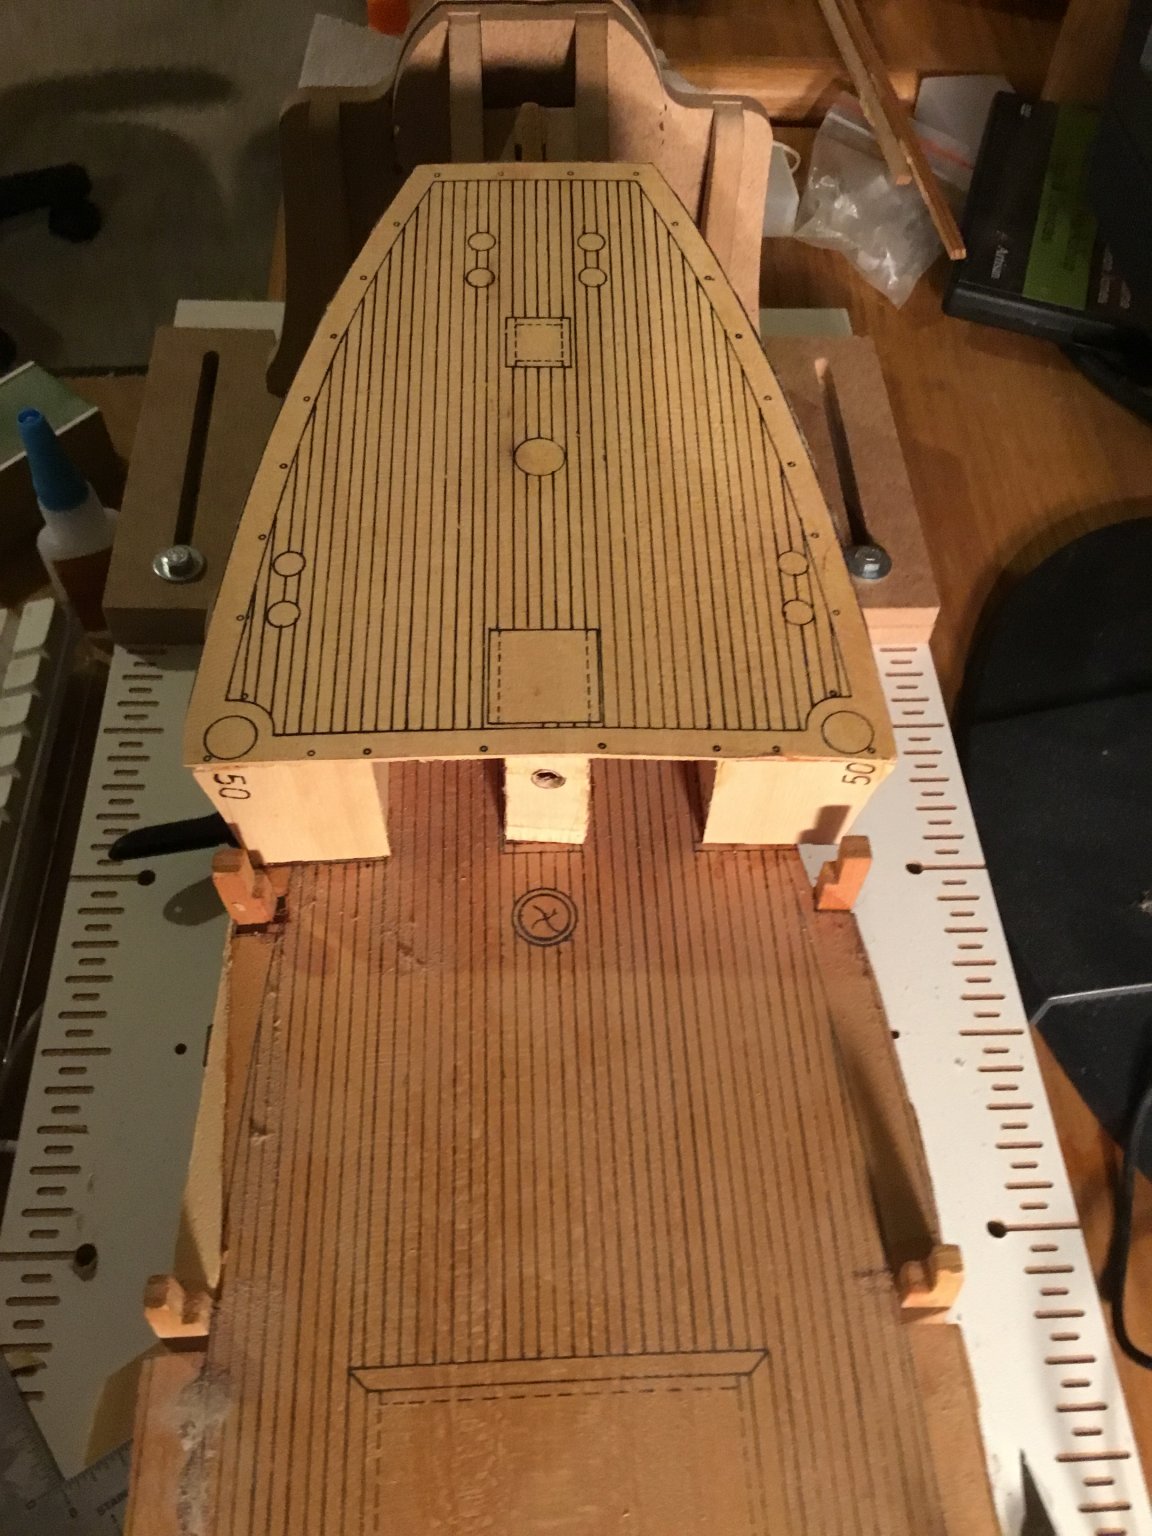
Taking a break from working on the hull. To answer Kevin's question, wood seems to be OK considering the age, some pieces seem to be rather fragile and
not the same quality as newer kits I have built. Now I have started to work a little on the deck. Installed item #43 (Belaying pin bench) and formed curve of
item #65 (cross tree?) was shown in diagram for rear deck. Not exactly sure where #65 goes on the front deck, I'm assuming port and starboard edges. Also will need to install railing pieces (#76) and will need to determine whether I need to drill belaying pin holes as marked on item #43's in case they are hard to access after installing the rails.

- GrandpaPhil and clearway
-
2
-
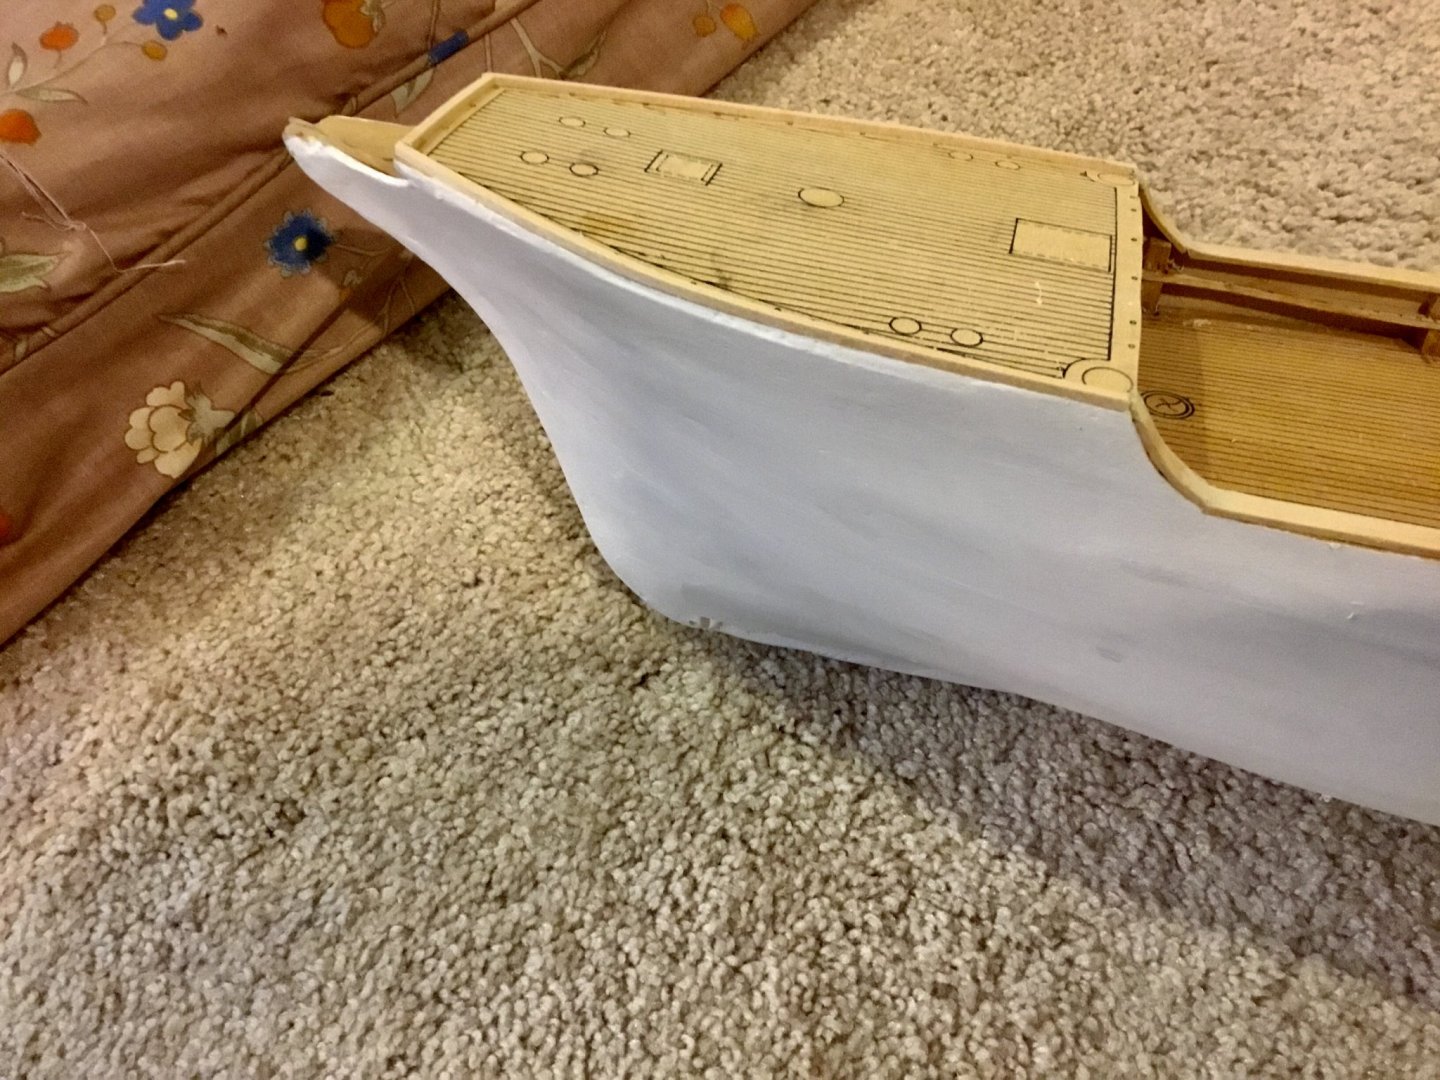
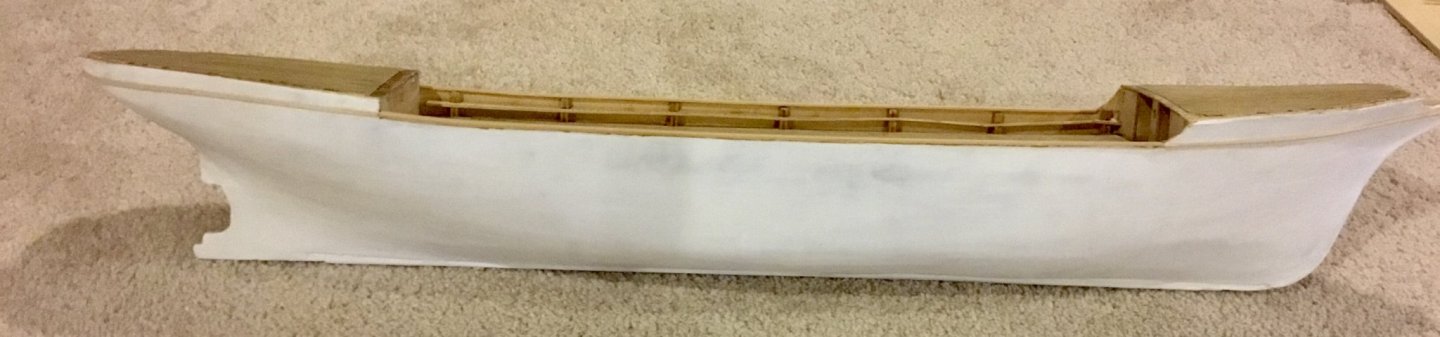
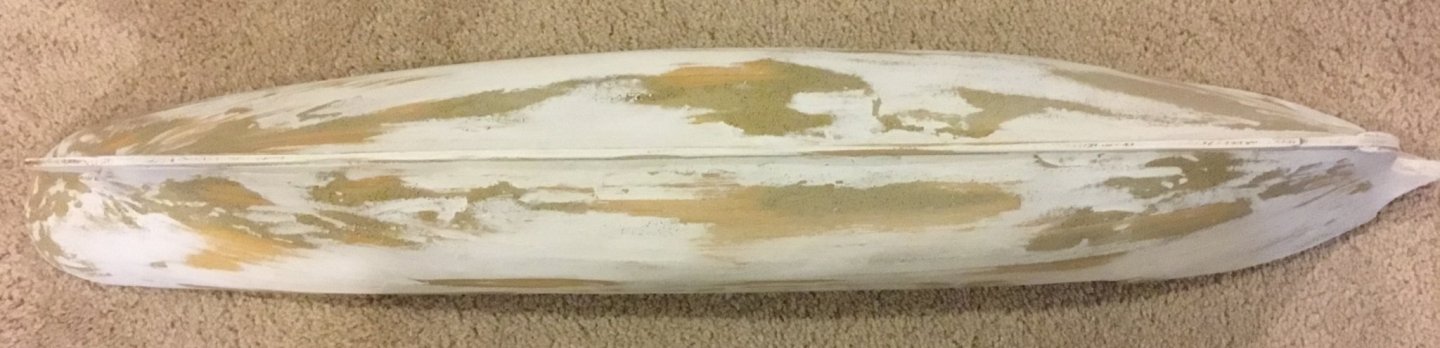
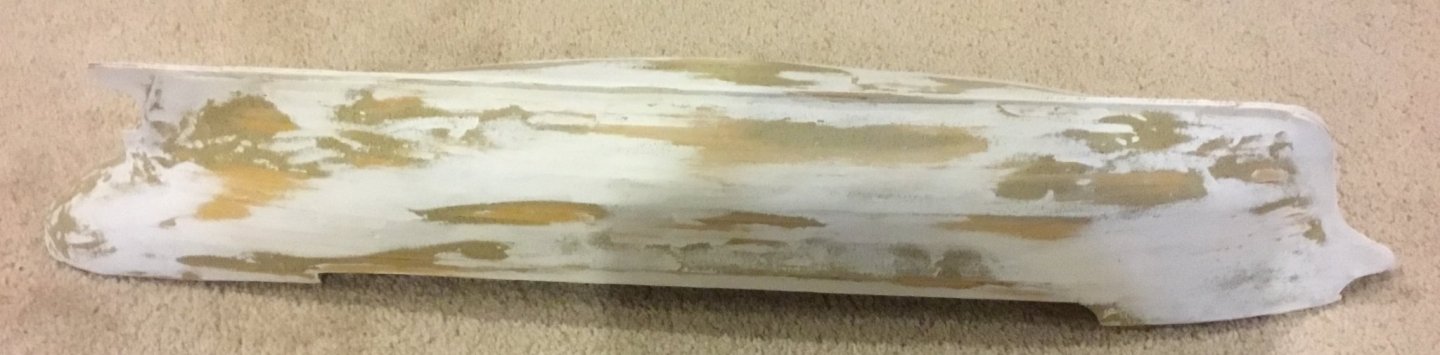
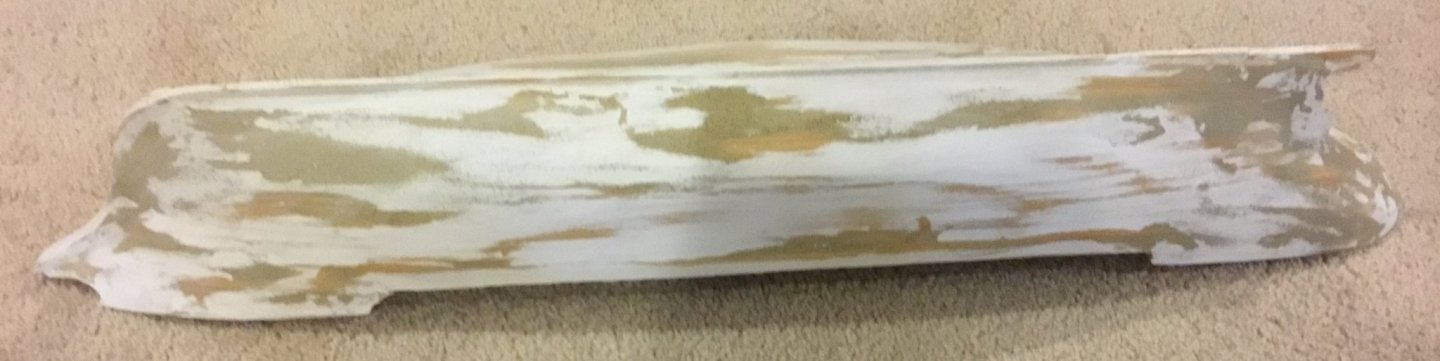
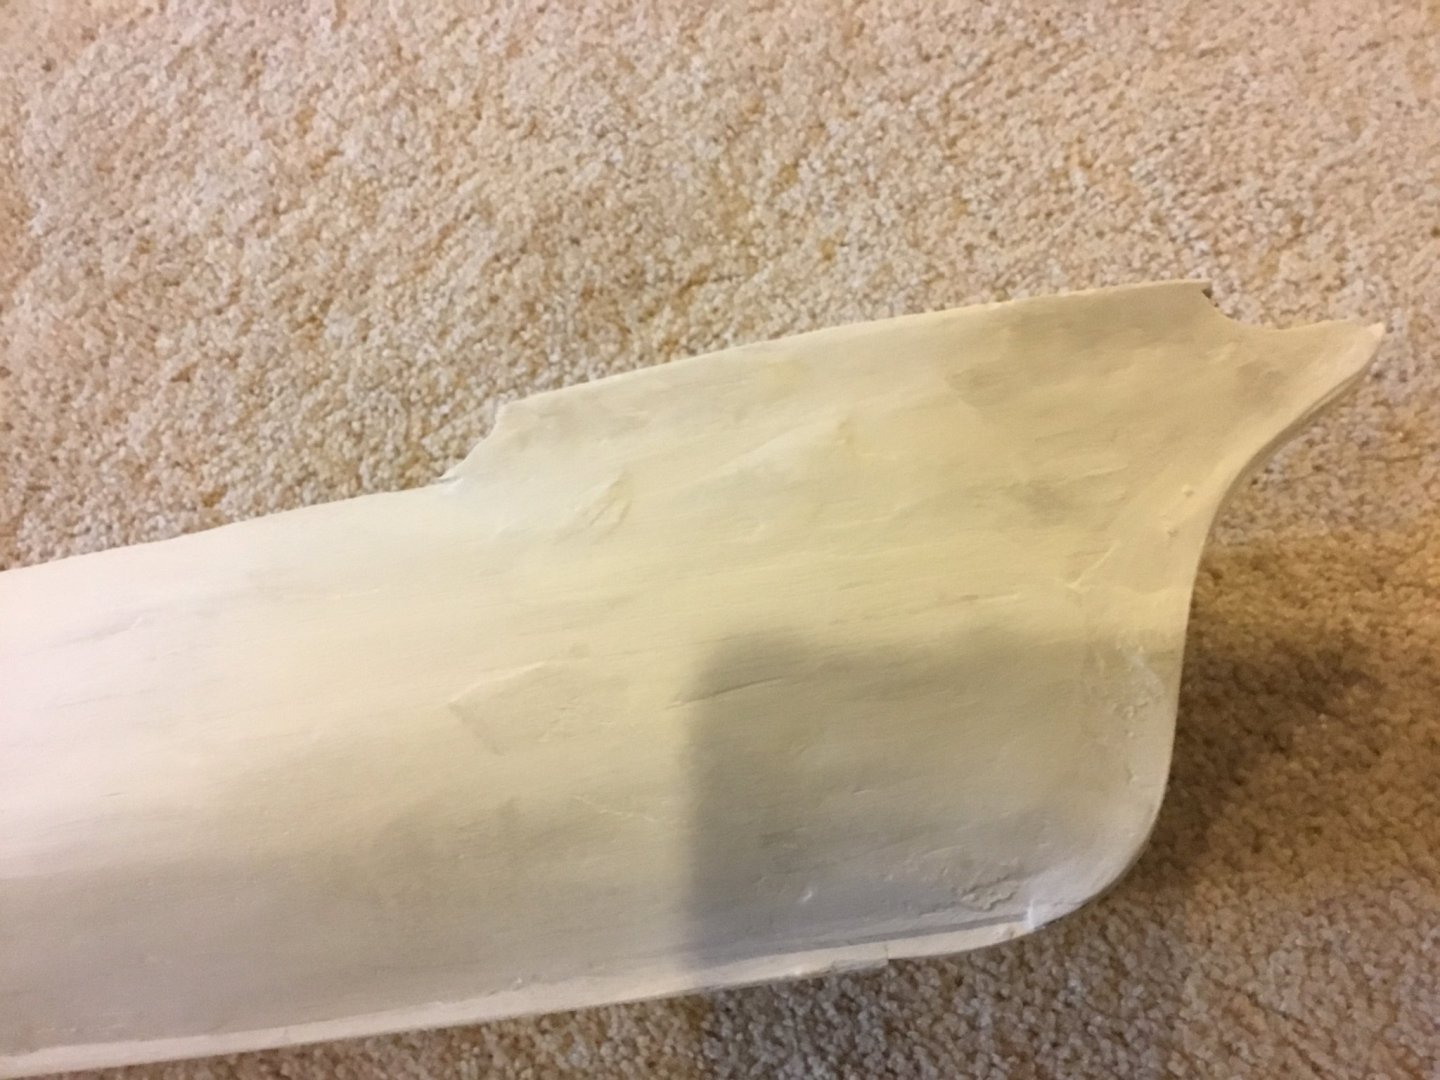
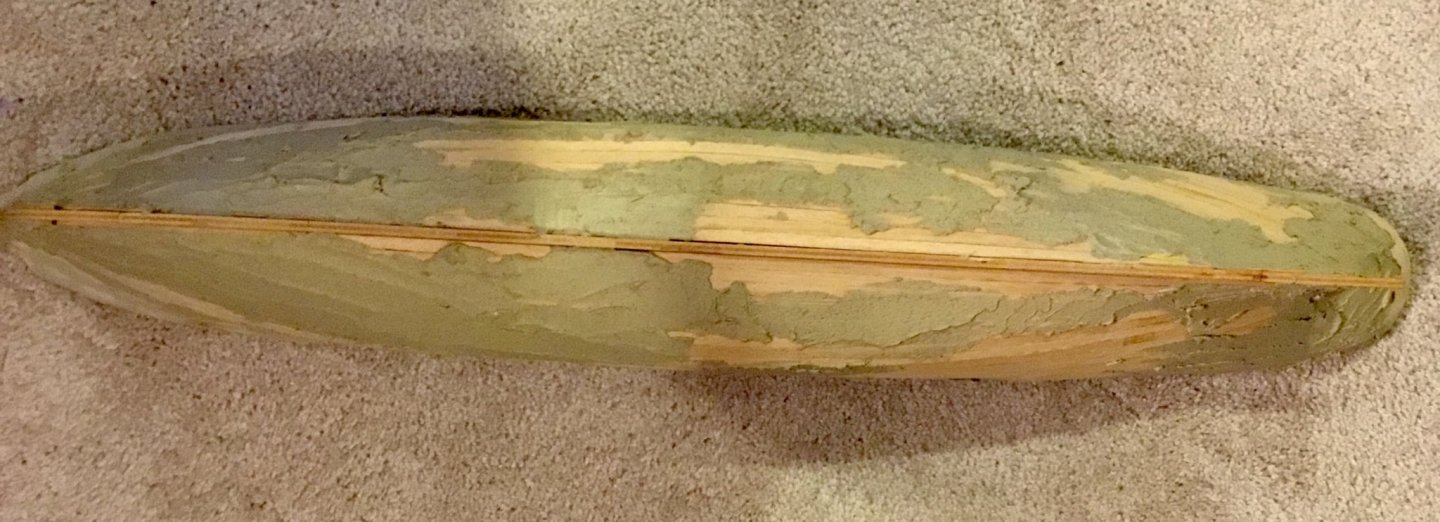
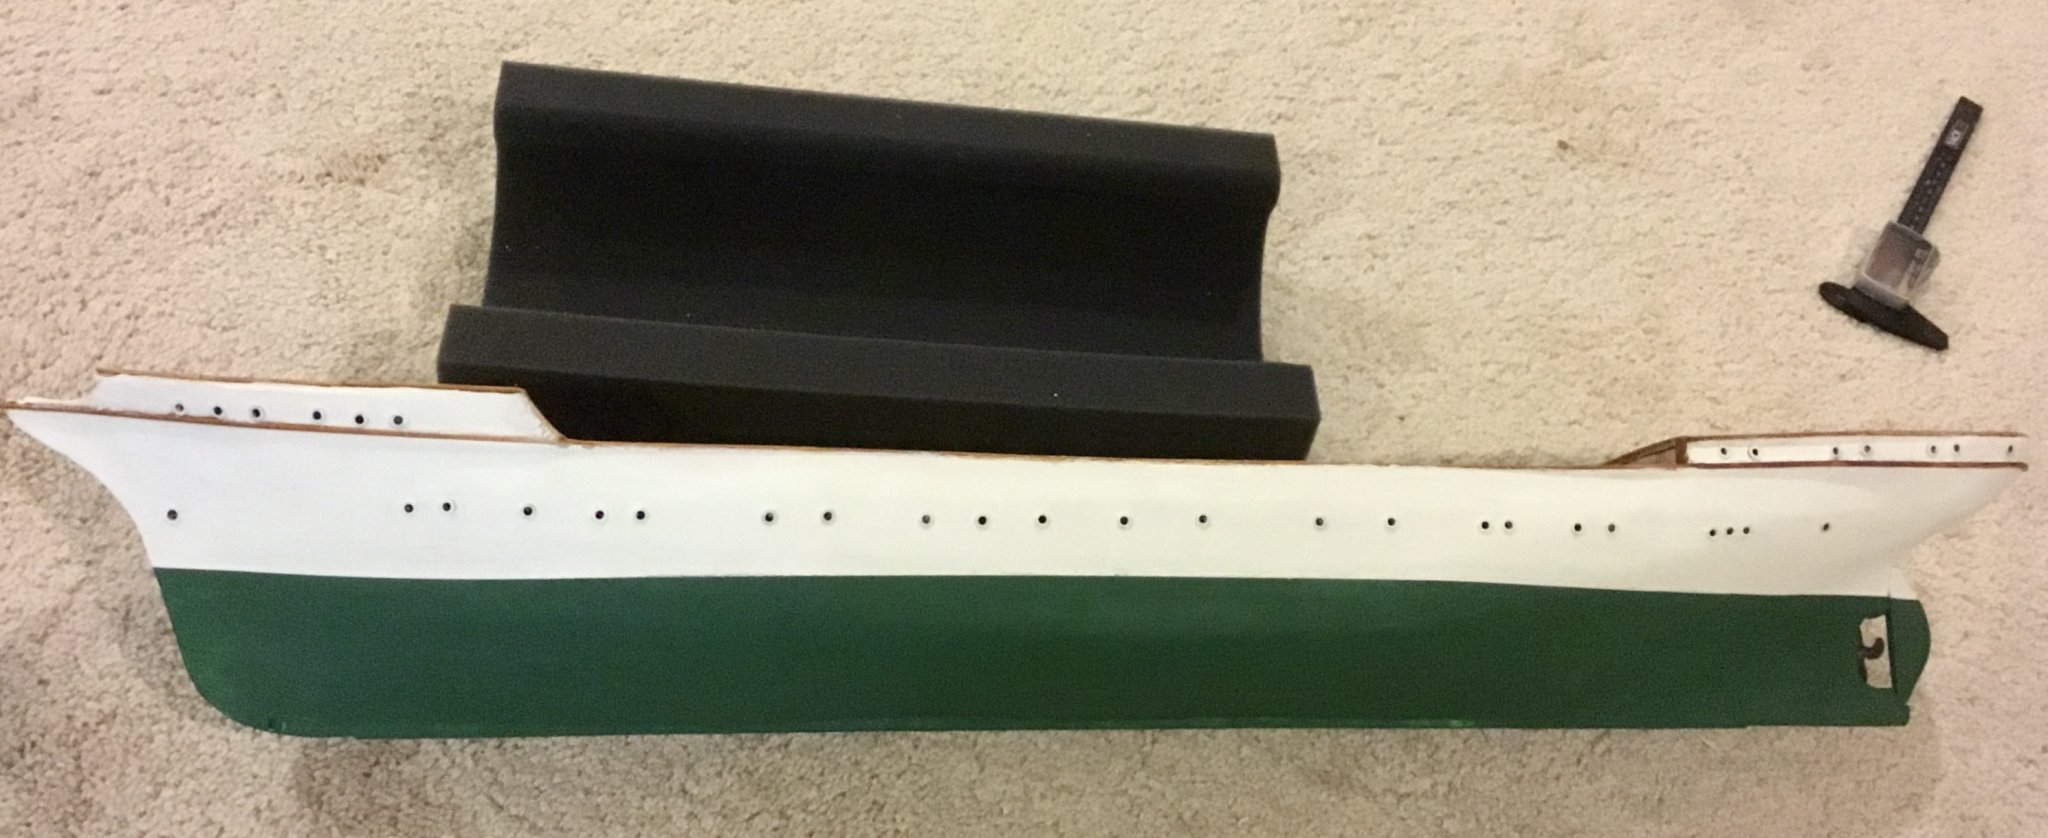
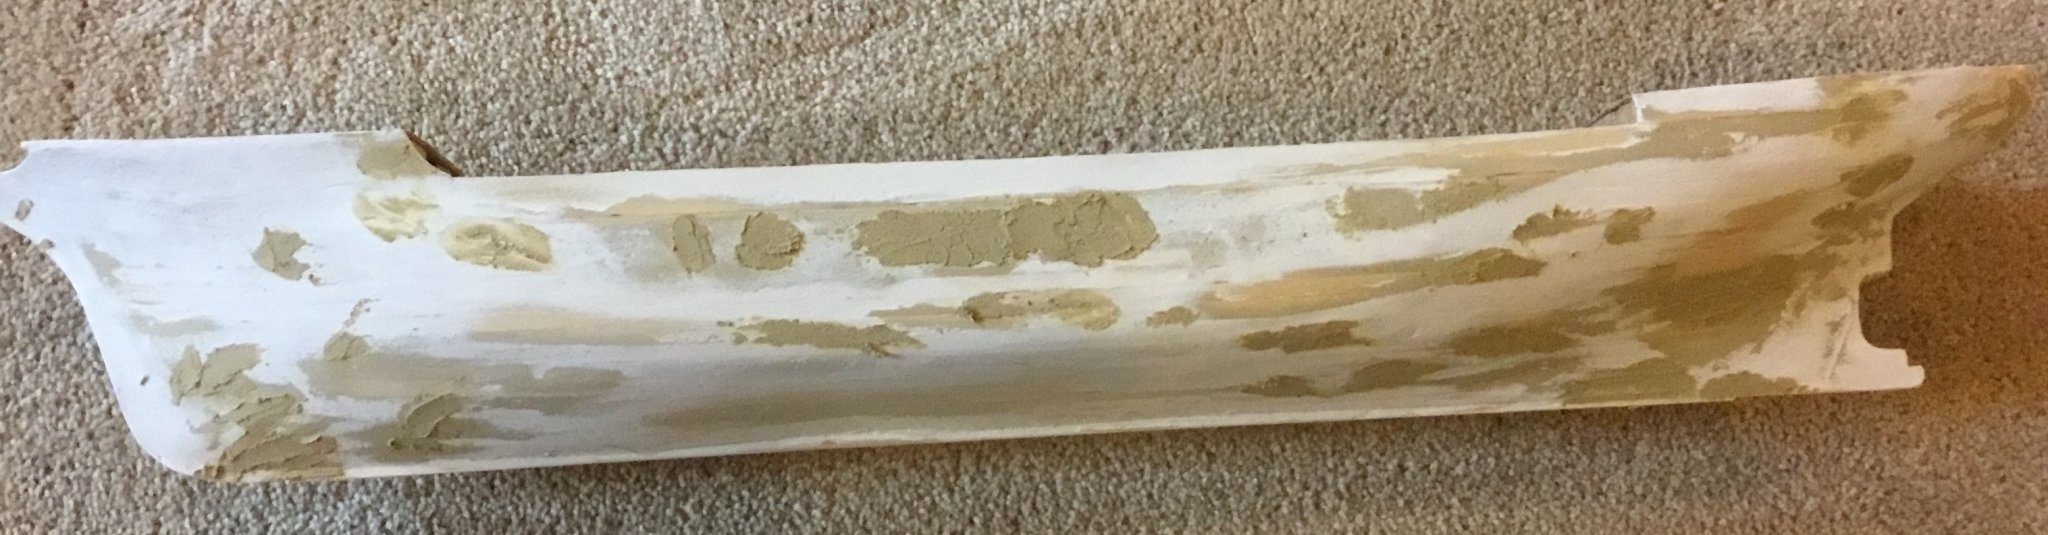
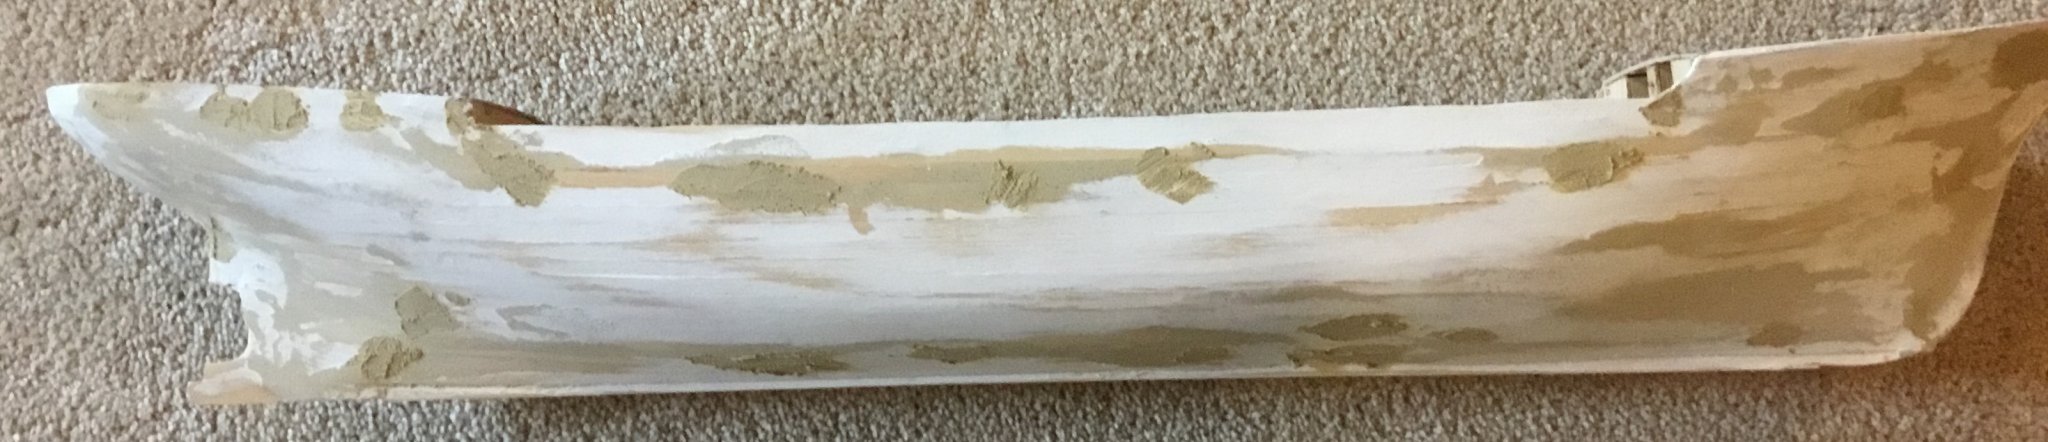
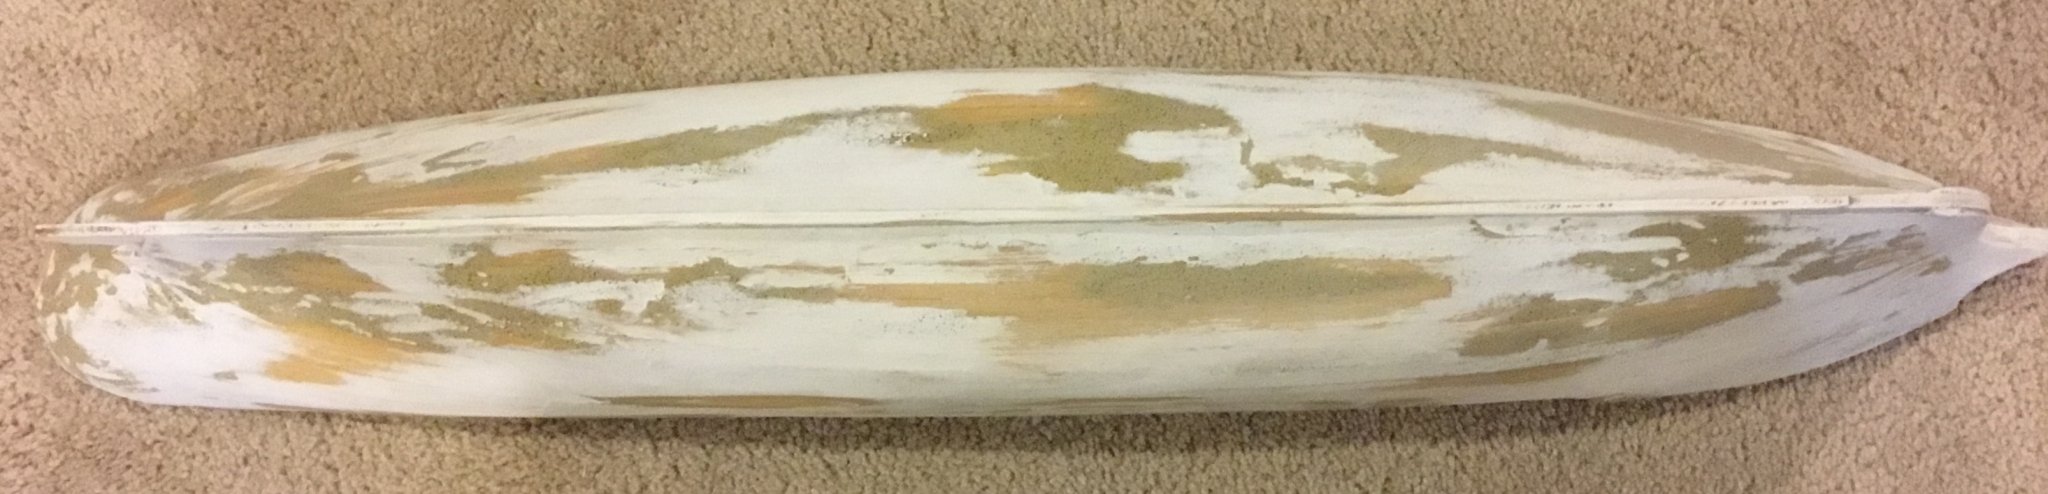
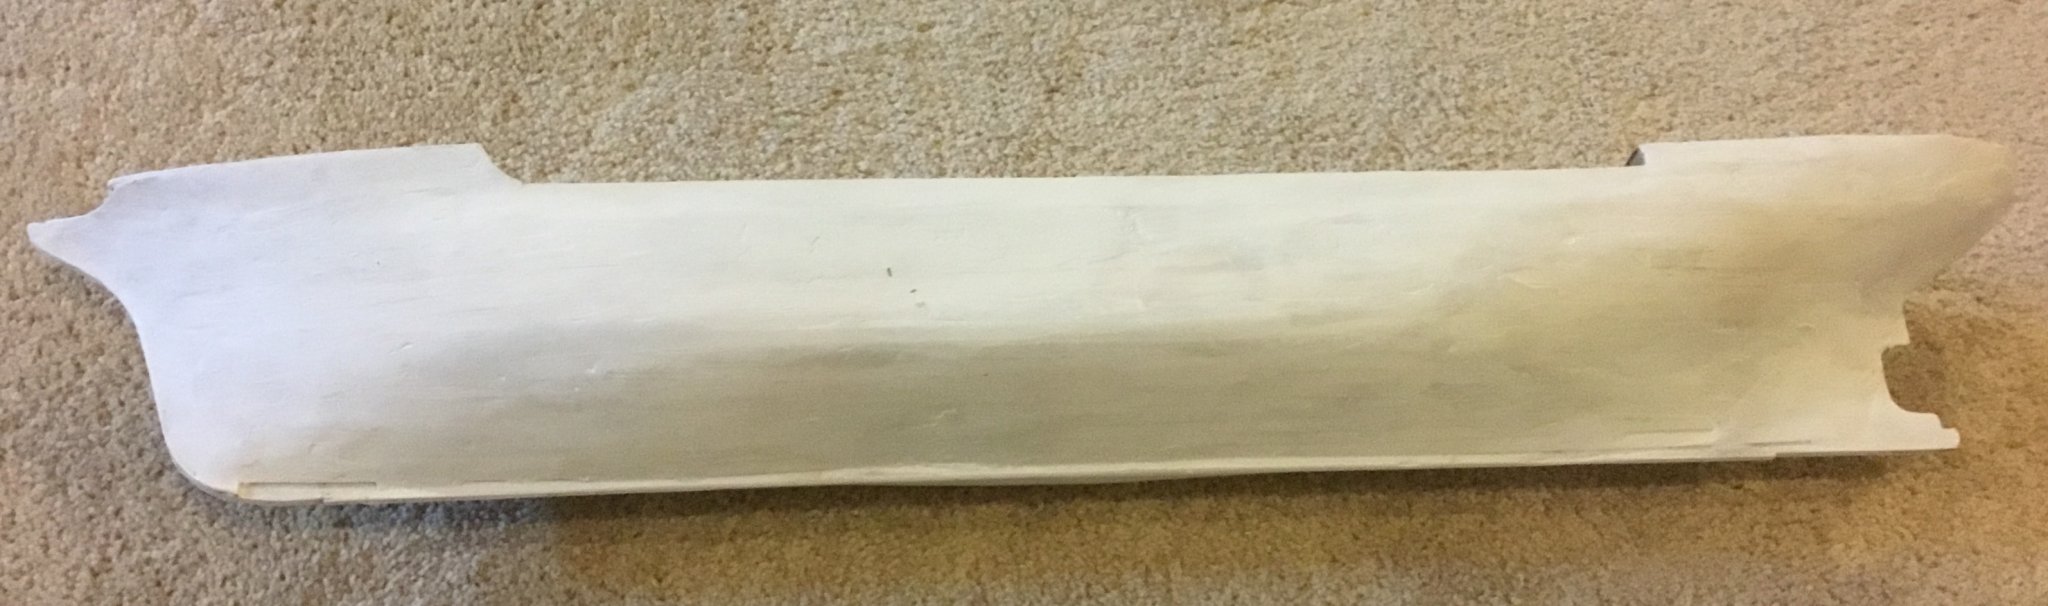
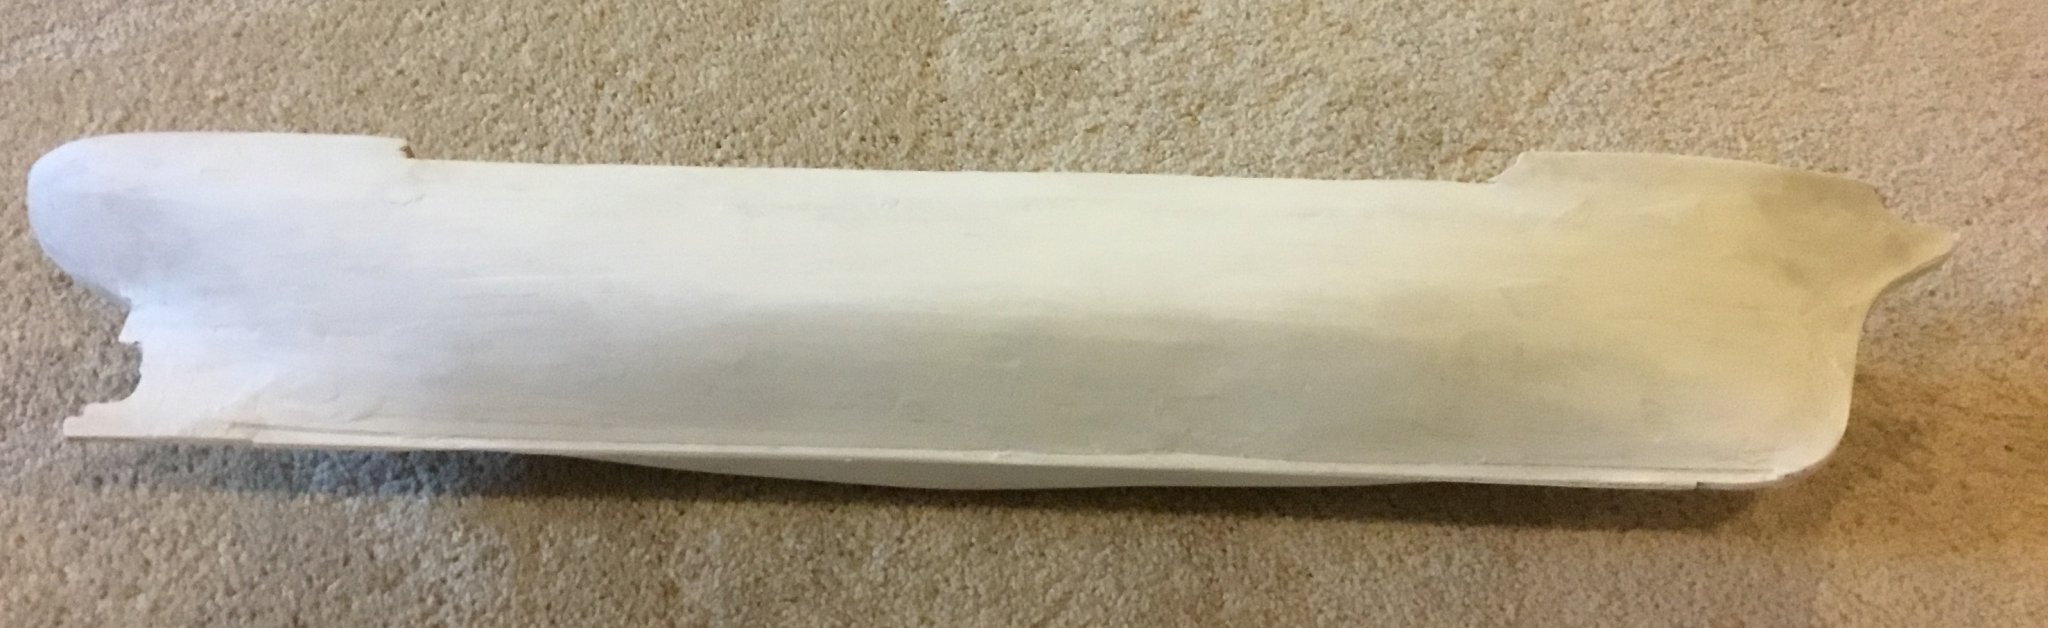
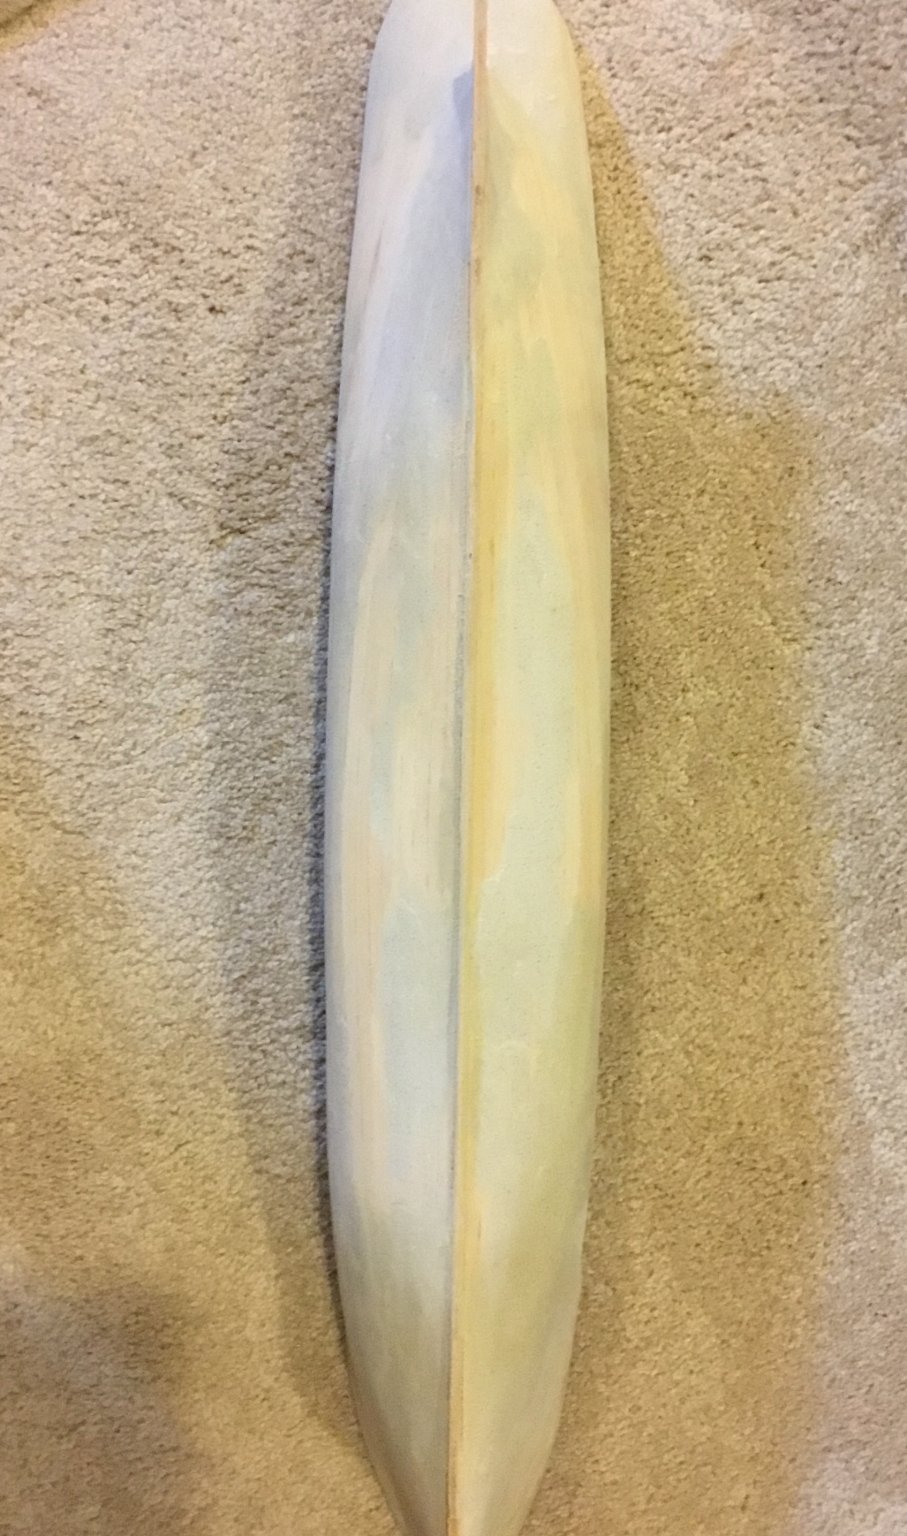
Sanded hull after application of wood filler. Painted with white primer. Wow does that bring out imperfections that were not visible before! Touched up with more wood filler then sanded a second time. Currently applying another coat of whiter primer. This may take several repeats until I get a reasonable base before final painting. Need to figure out how to get photos to load pin the correct order when drag and drop loading in bulk, then appear to be loading in the reverse order.


-
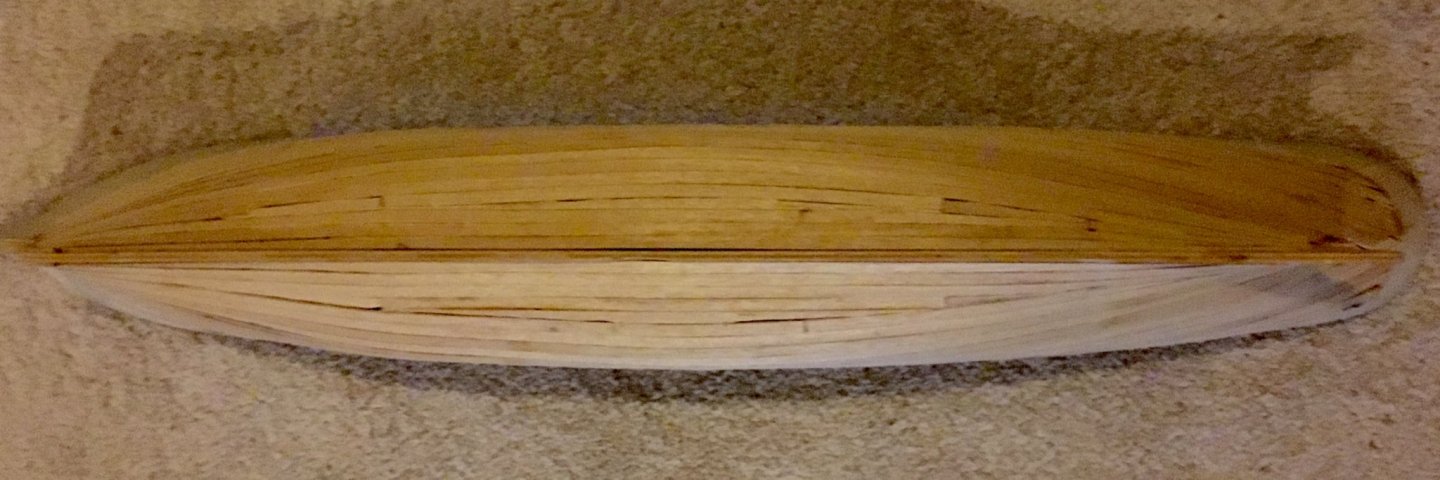
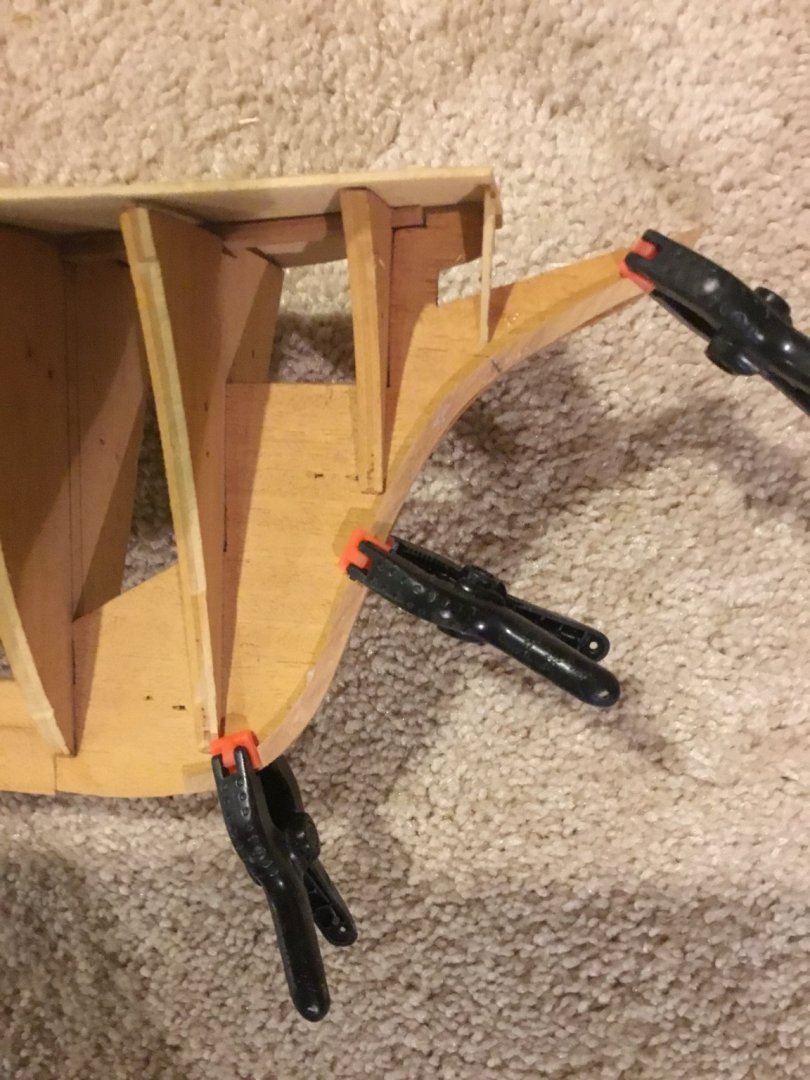
Completed planking and addition of wood filler in anticipation of beginning smoothing of hull and painting.

-
-
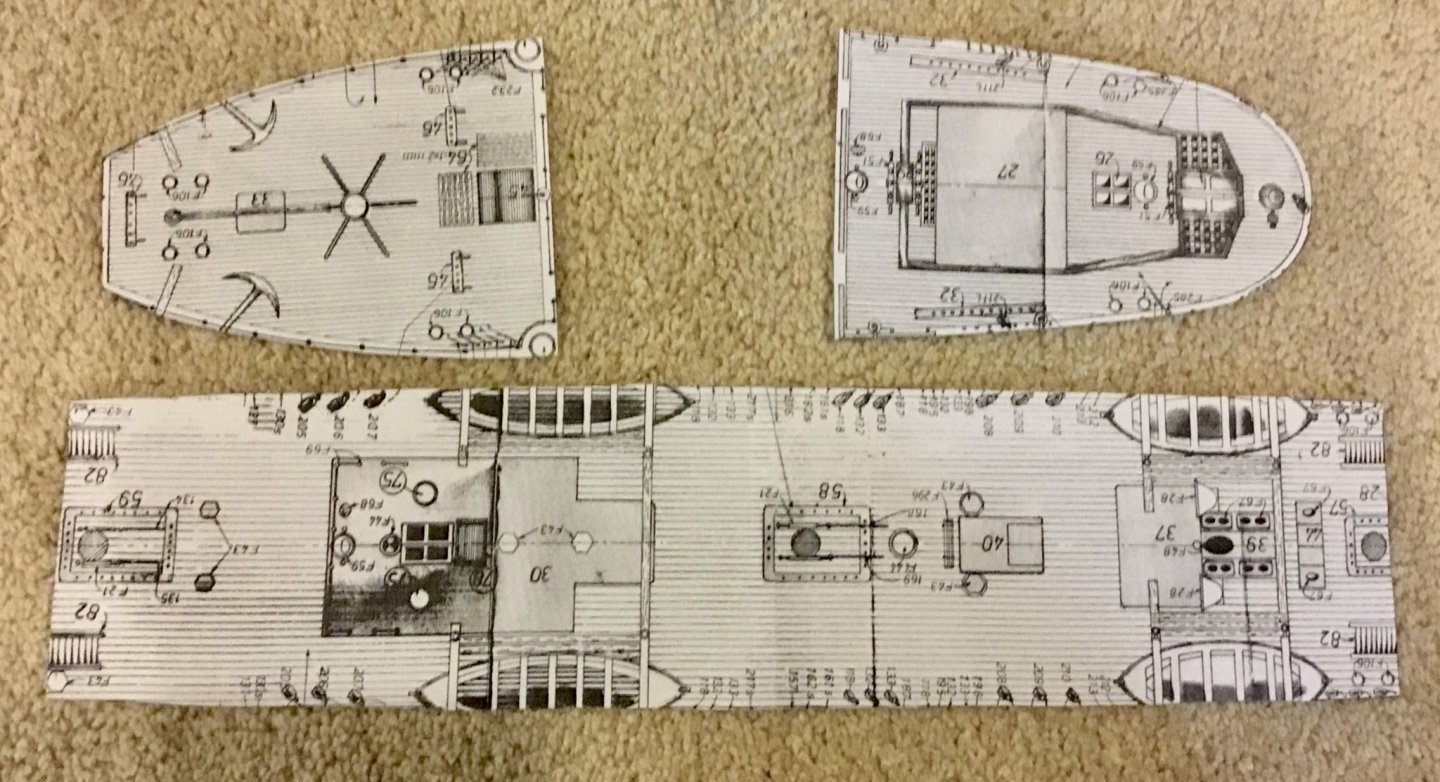
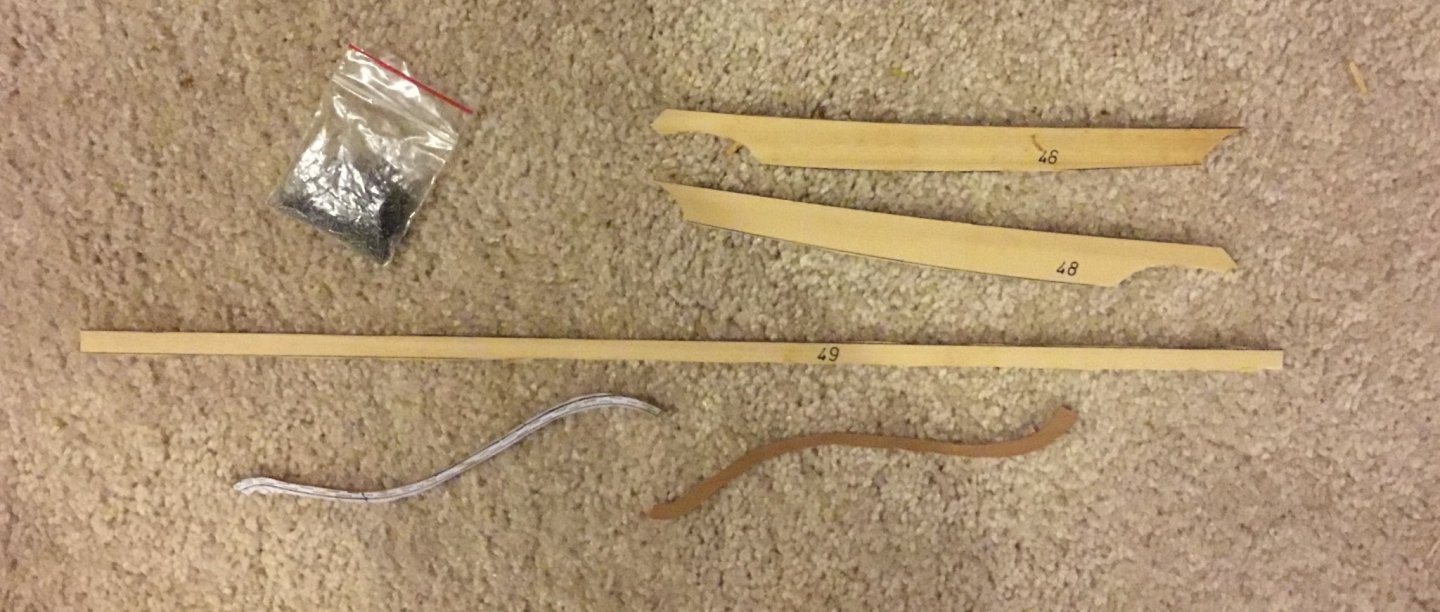
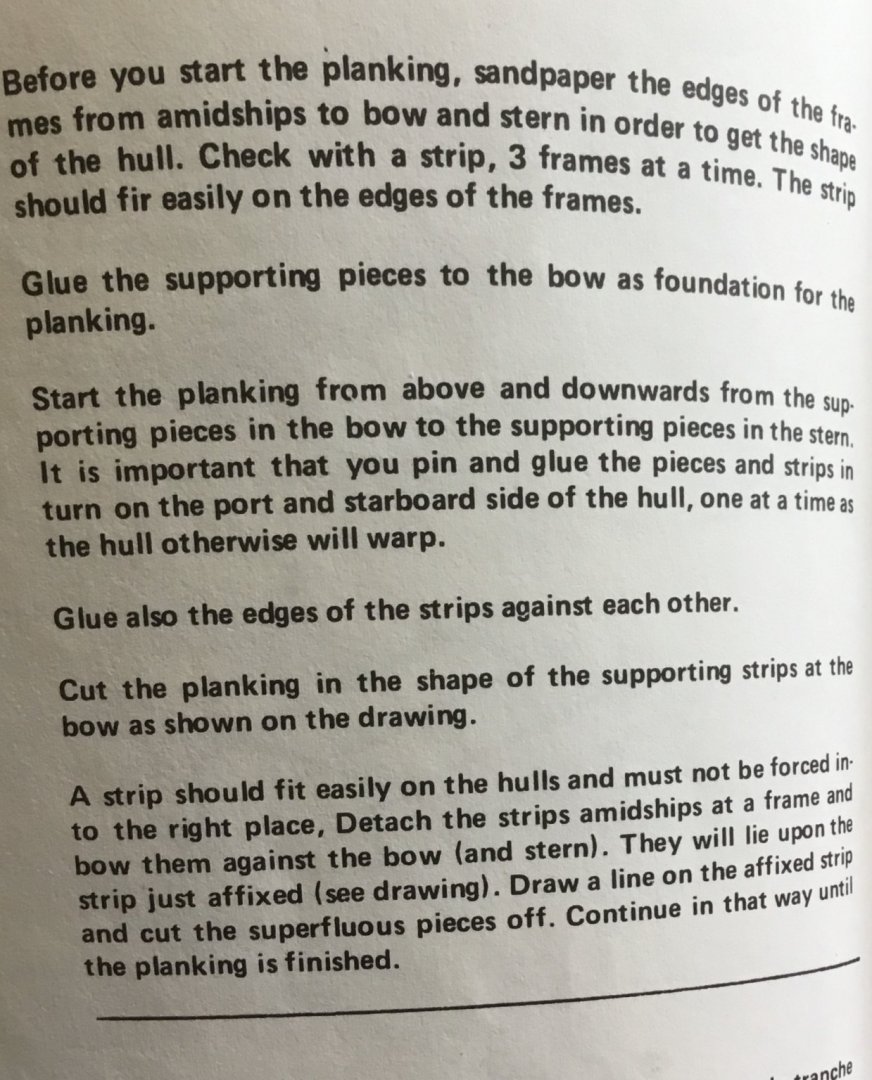
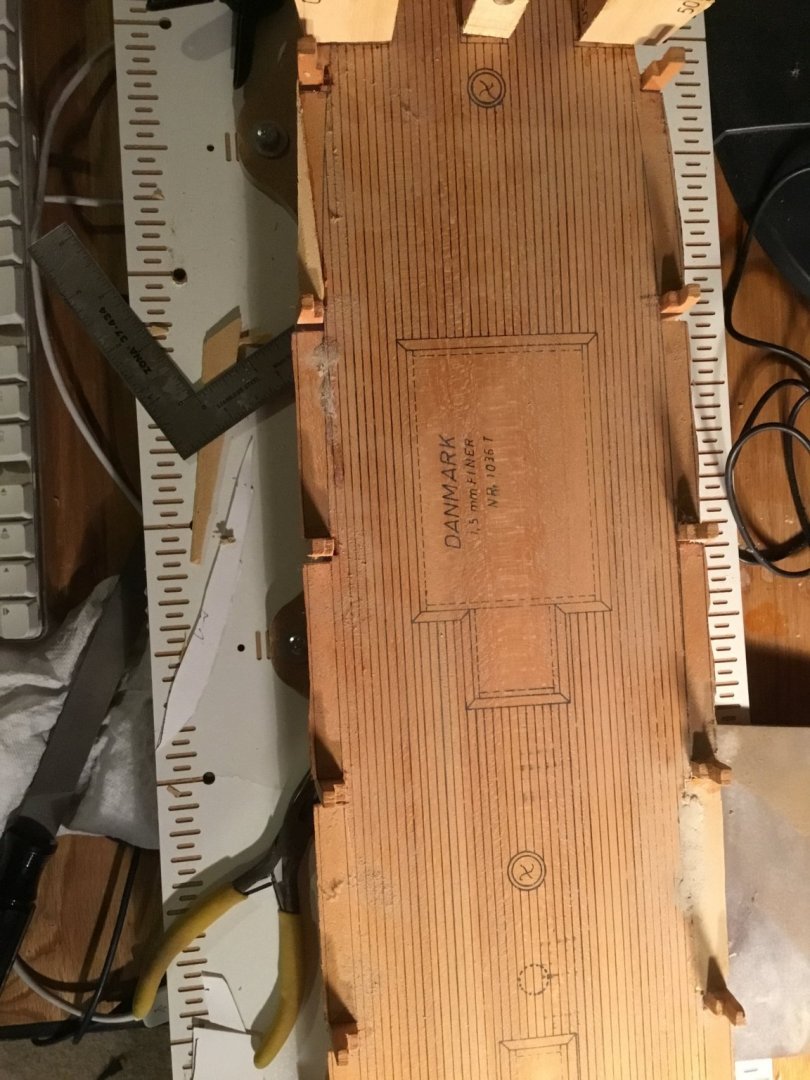
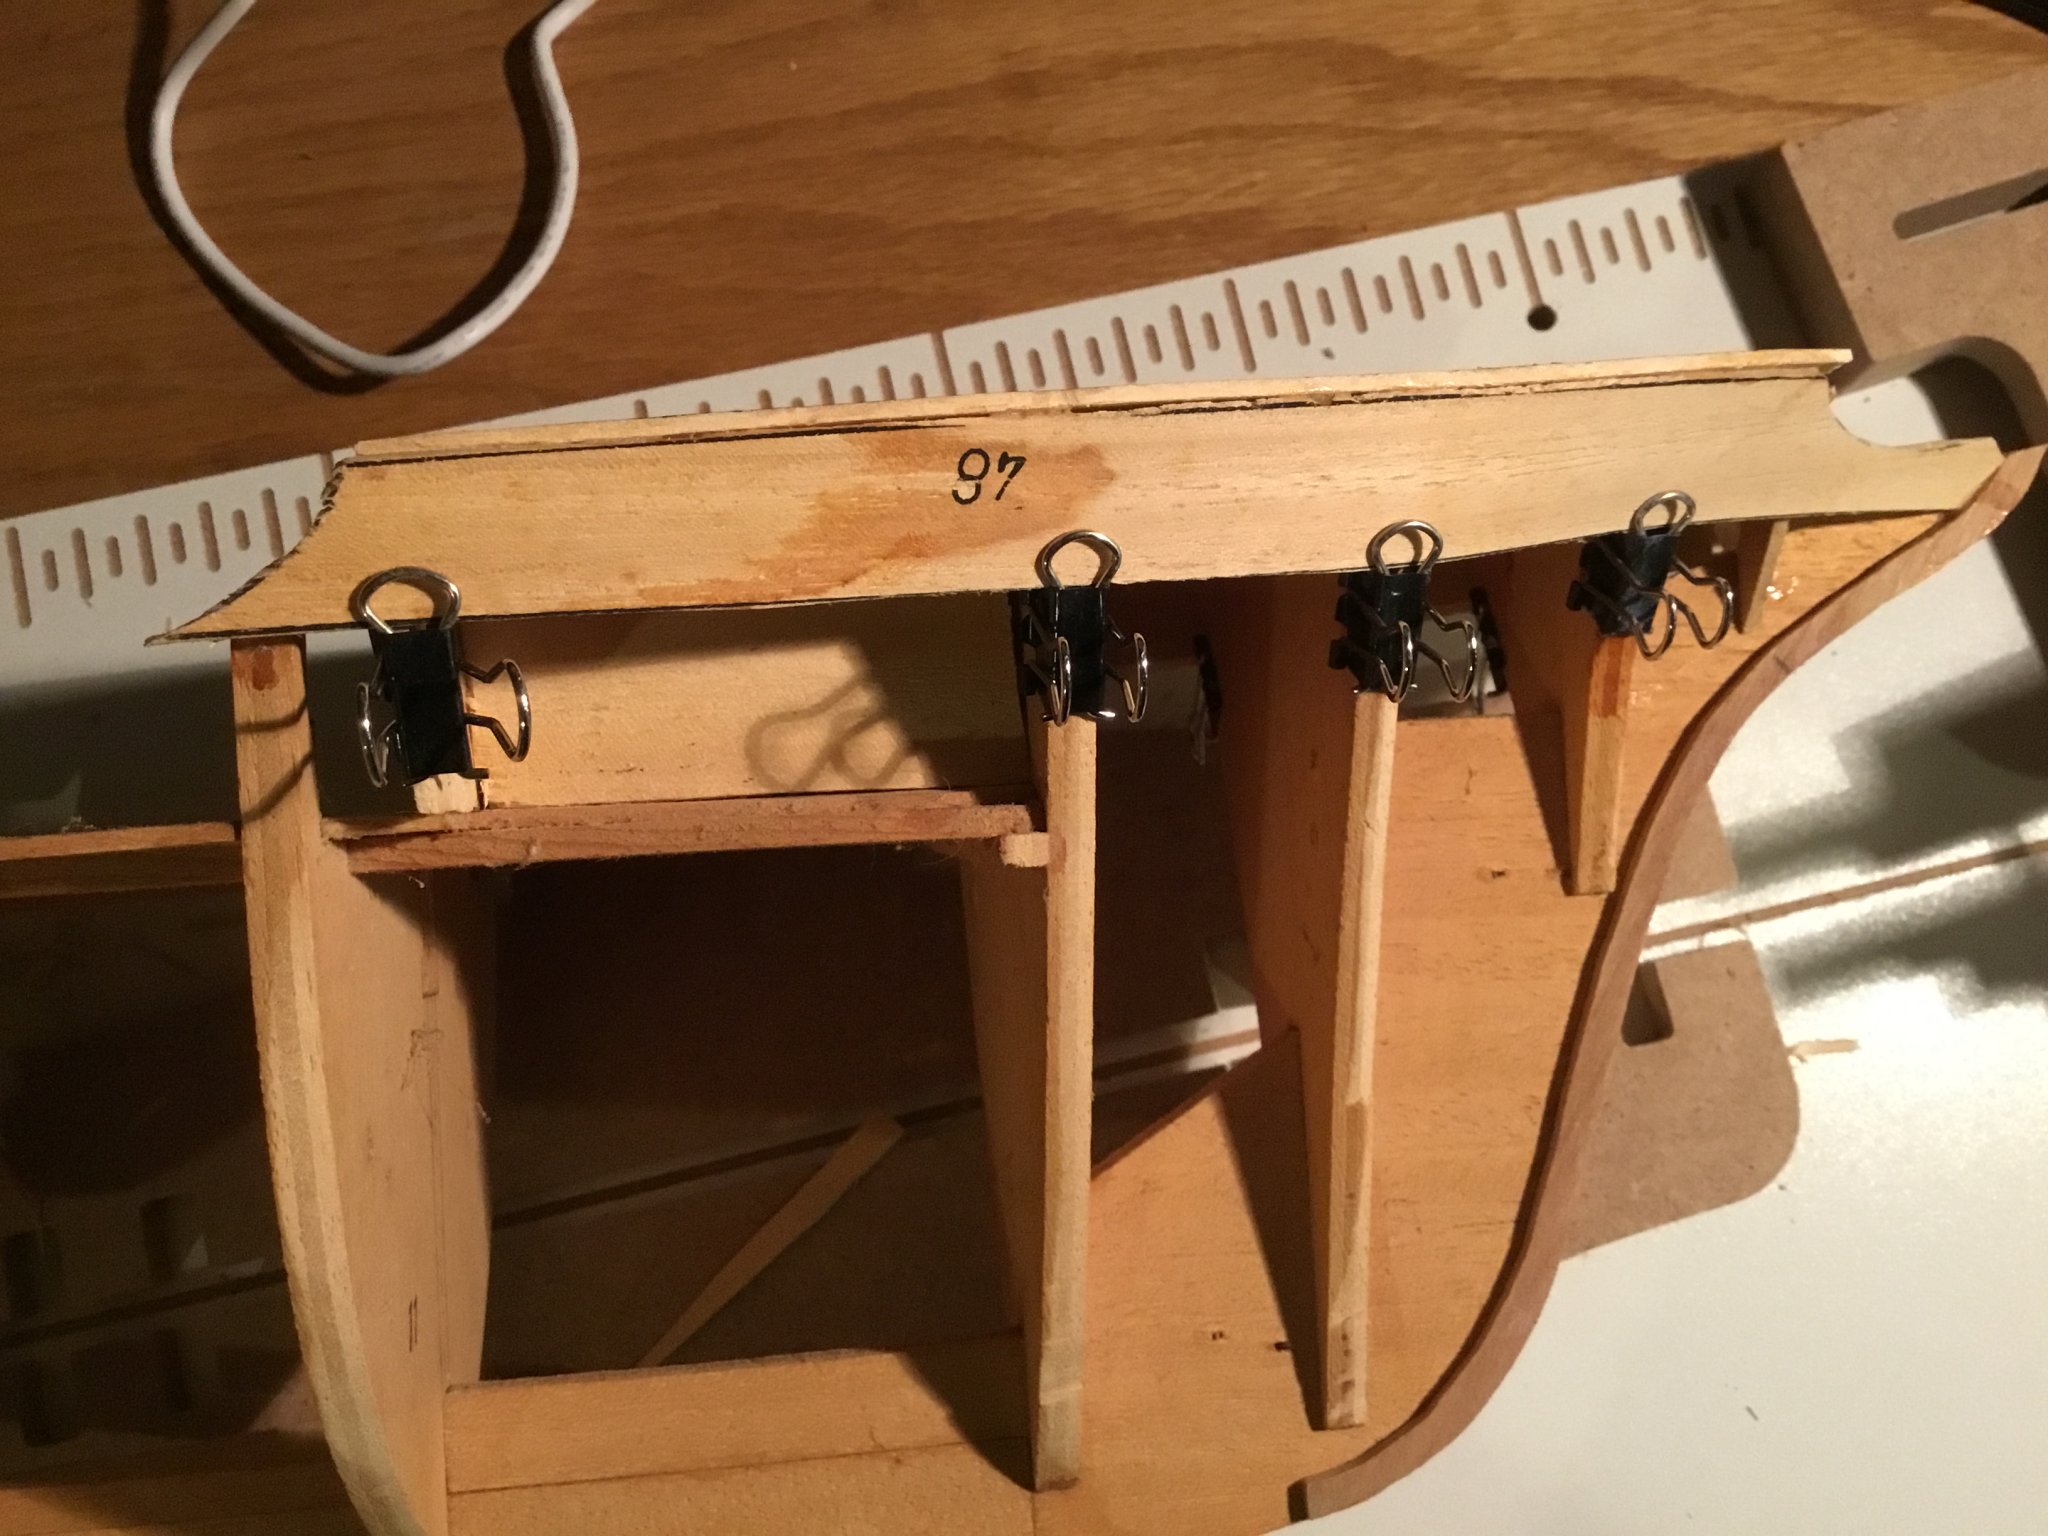
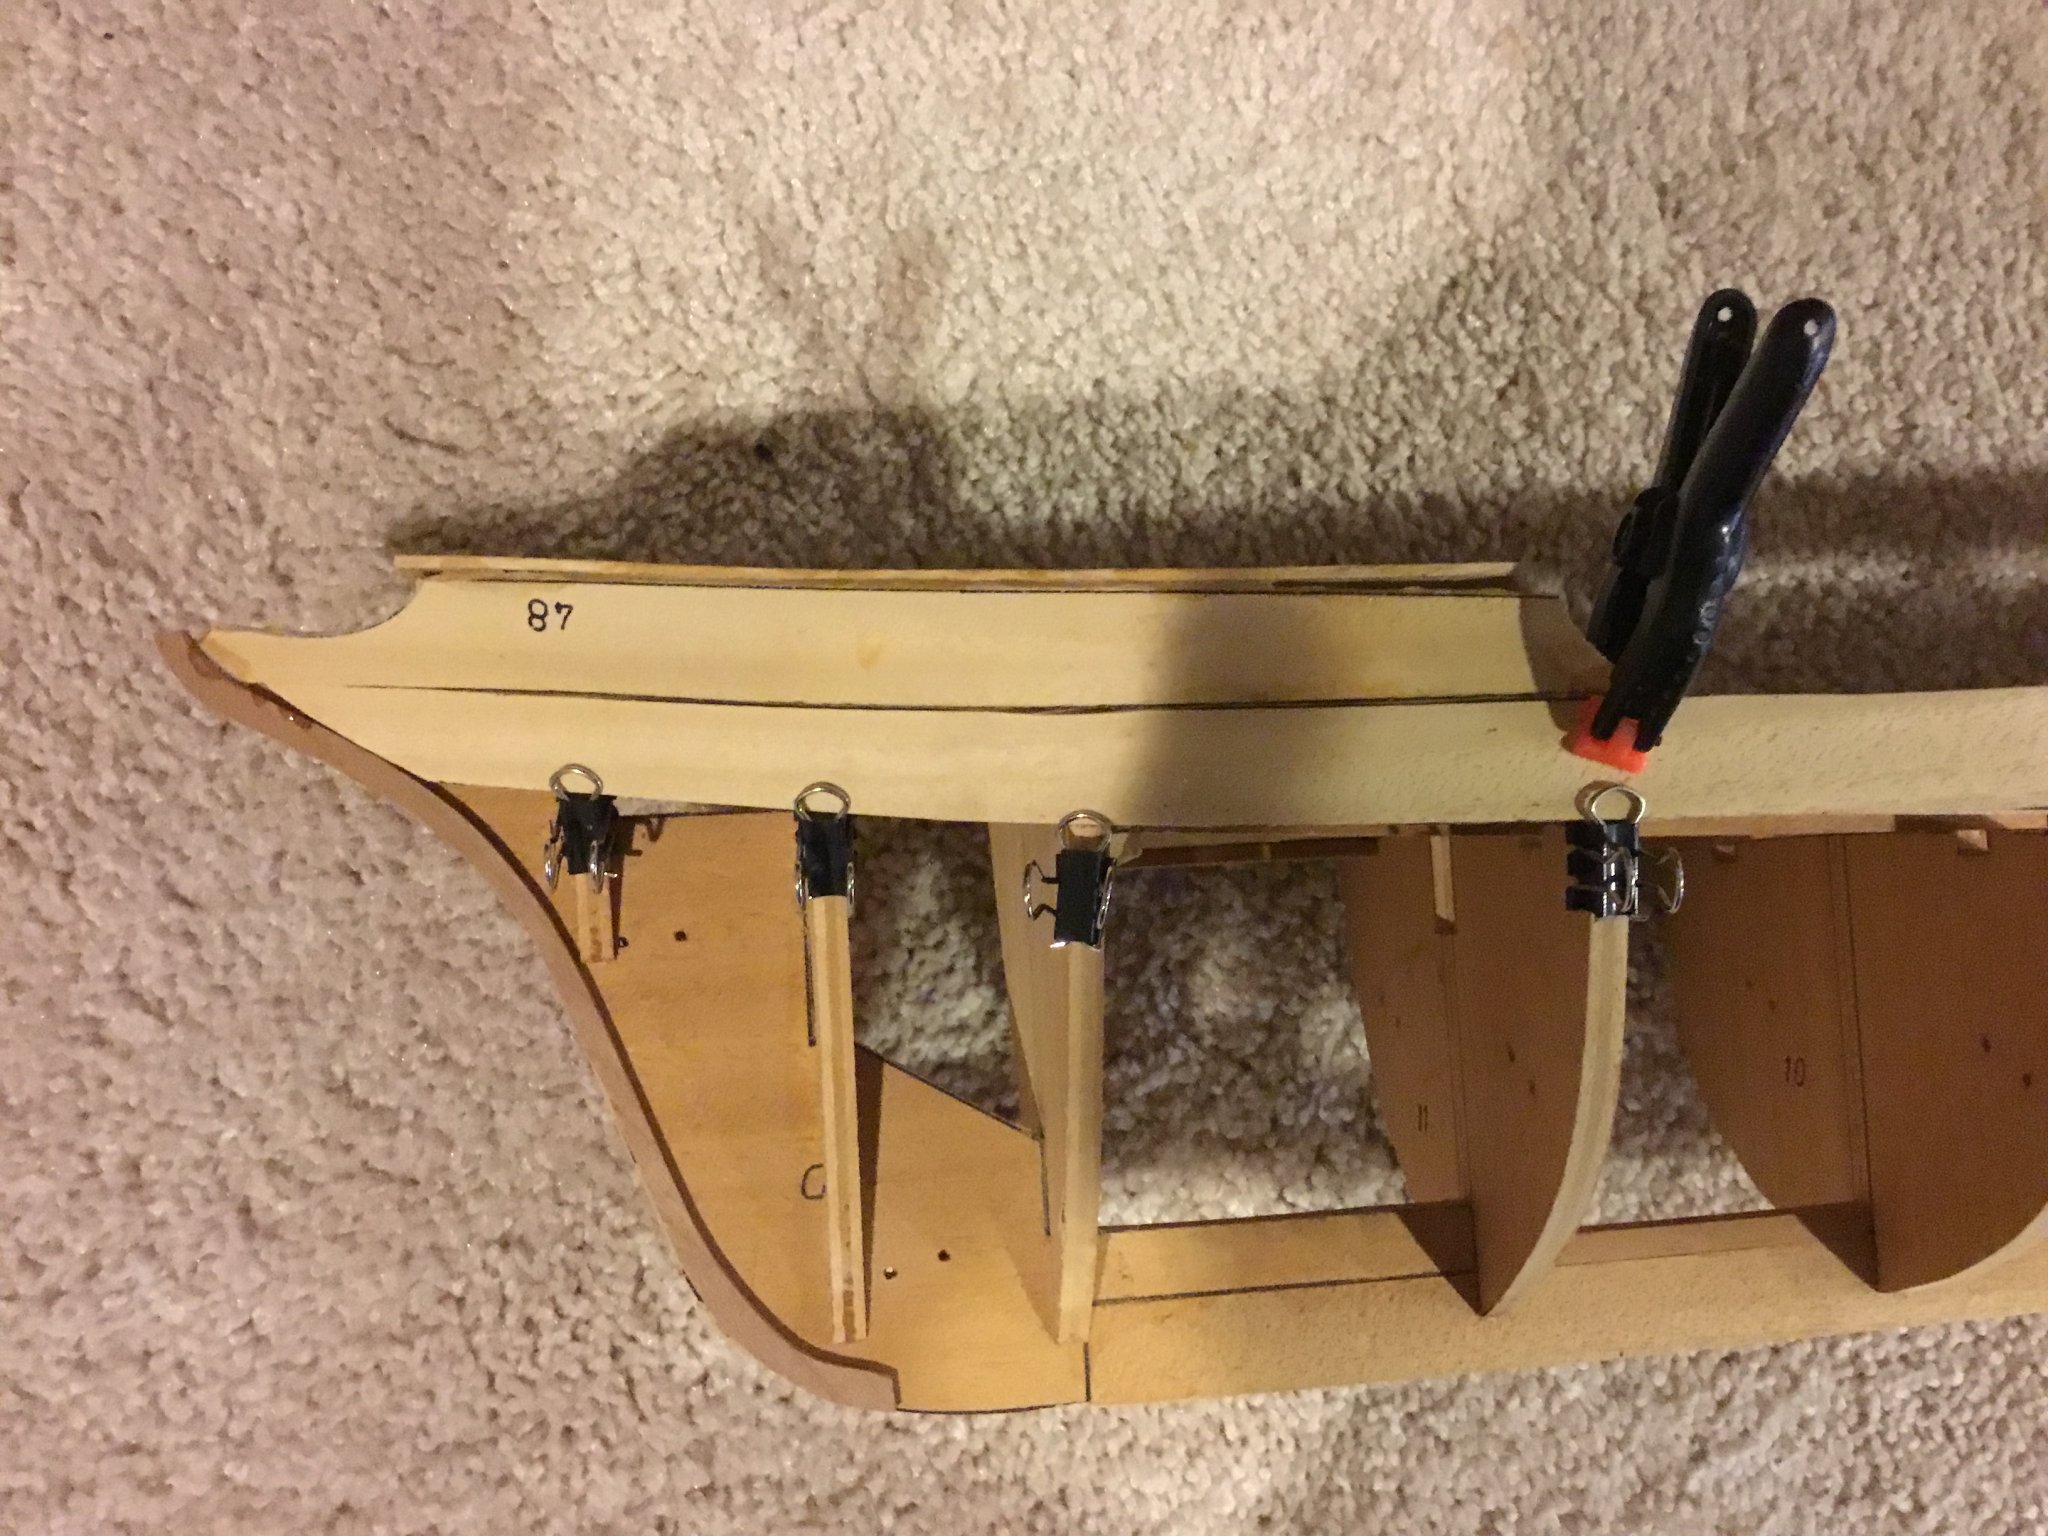
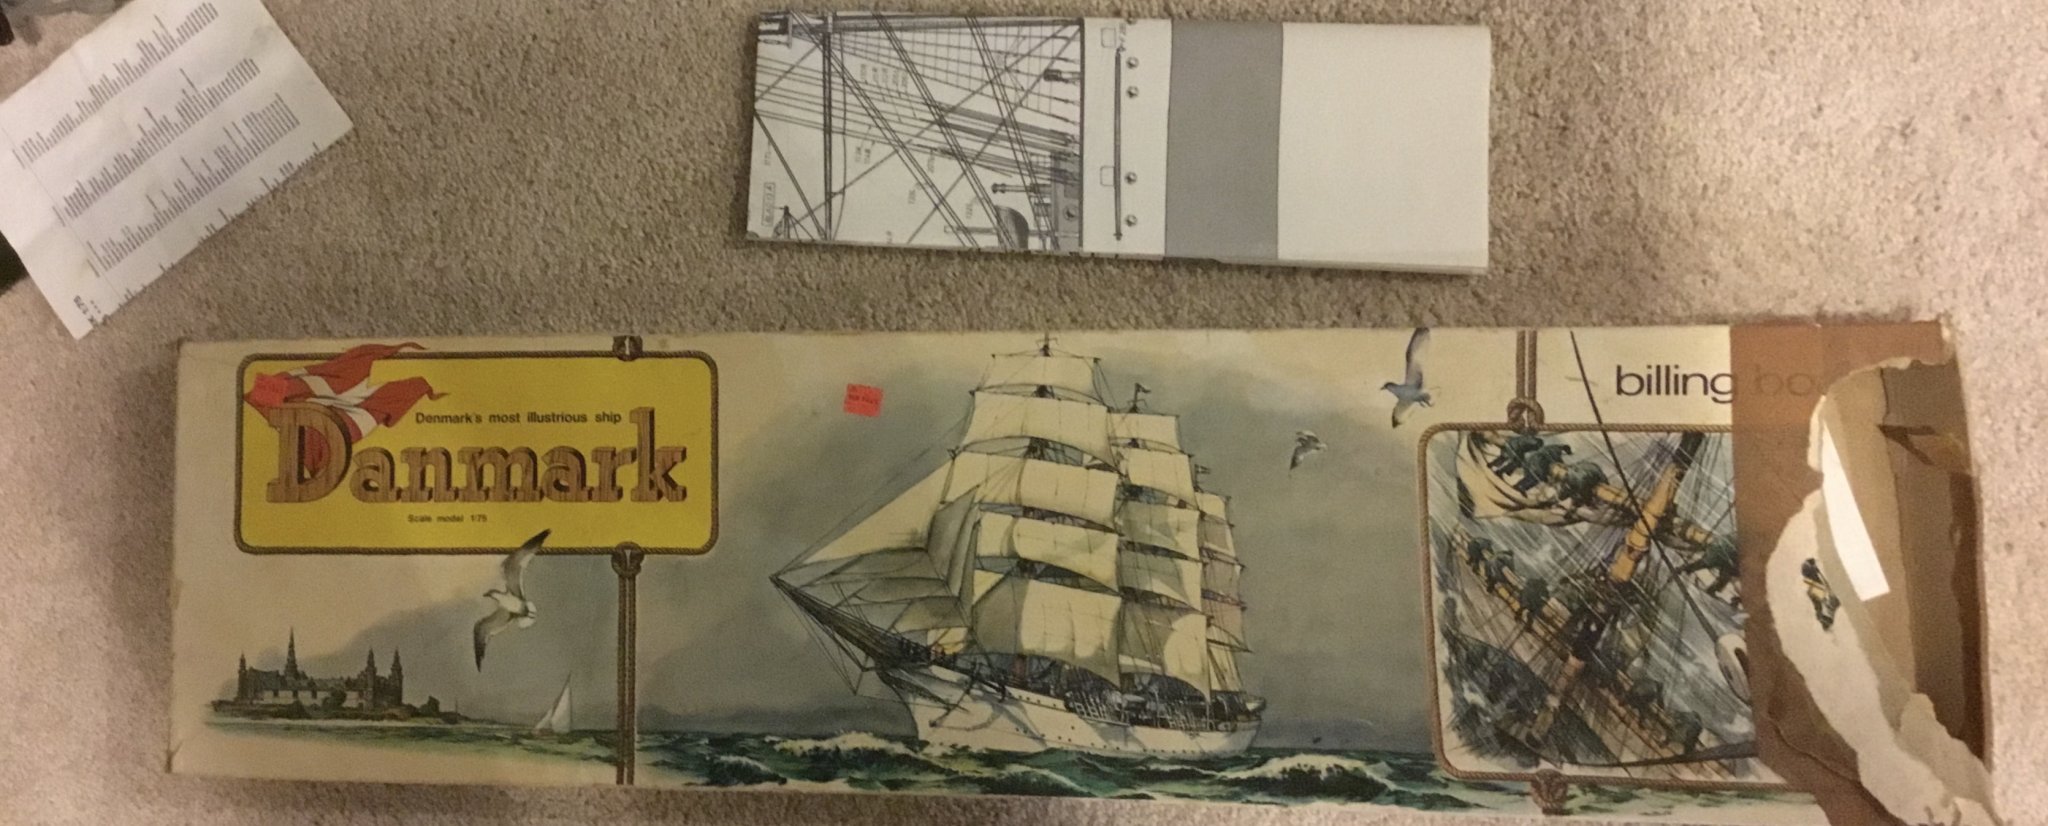
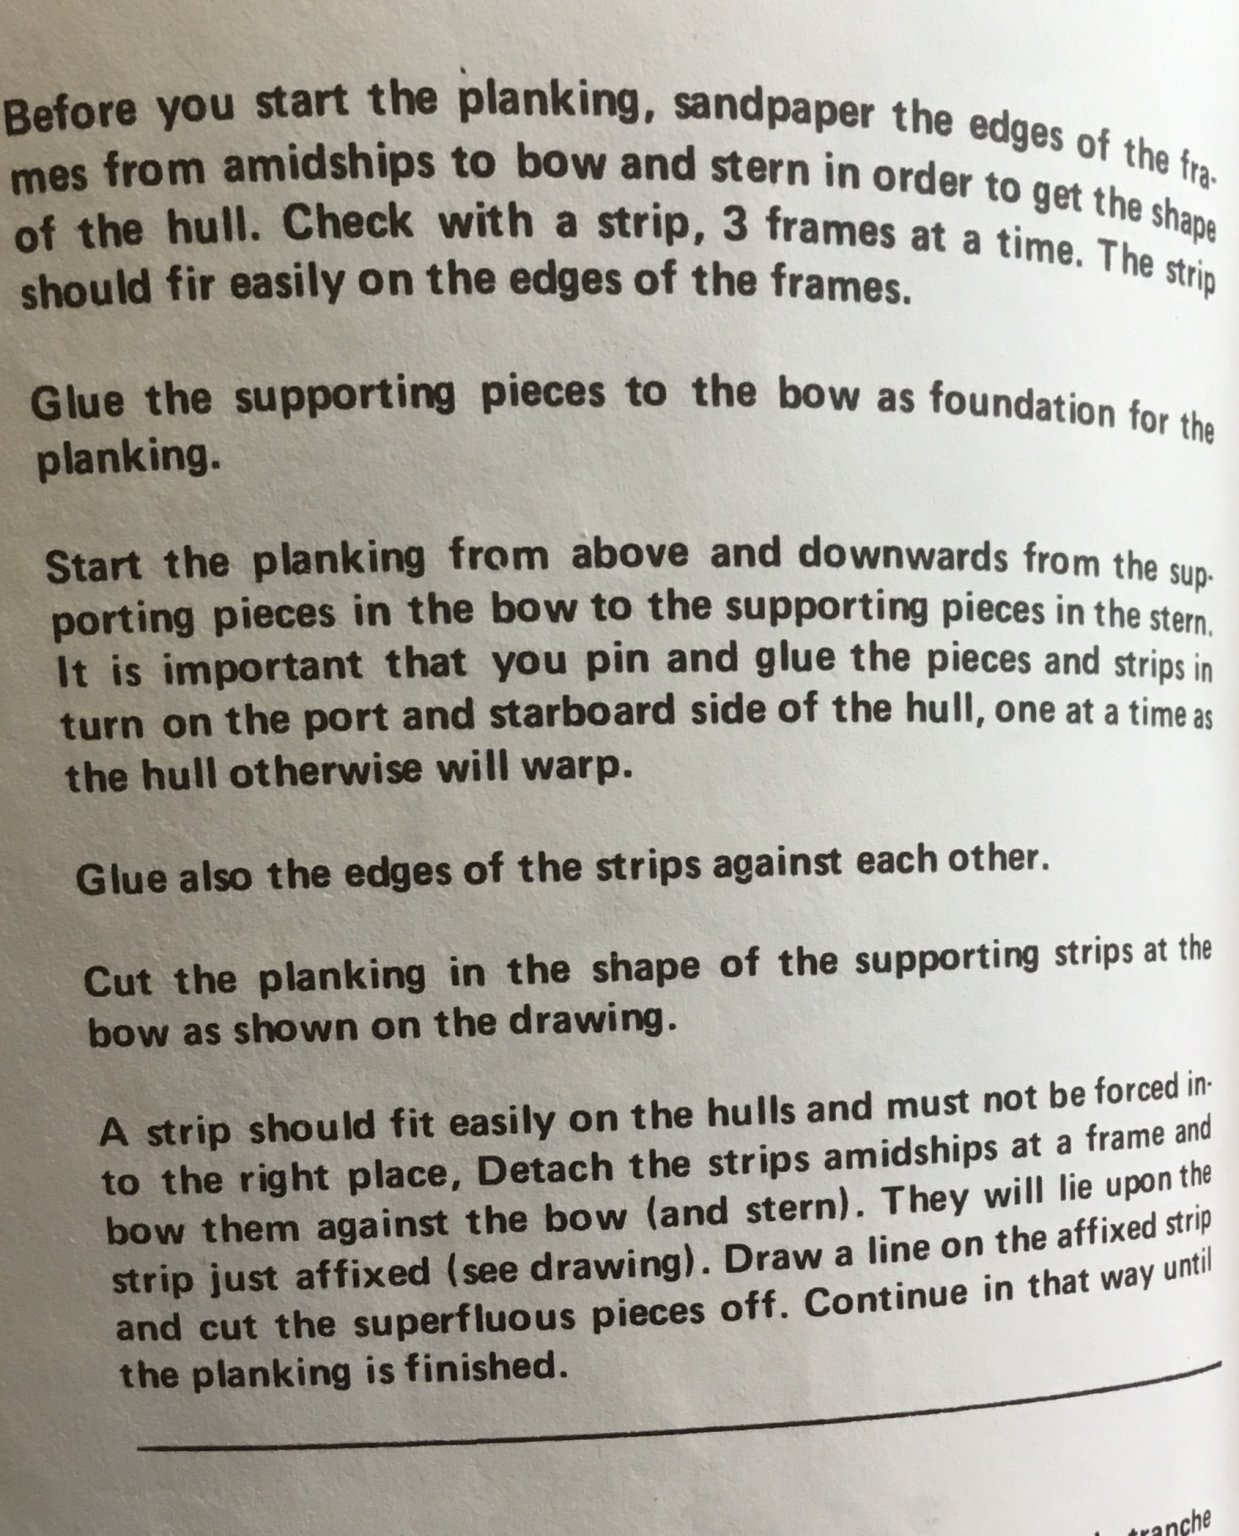
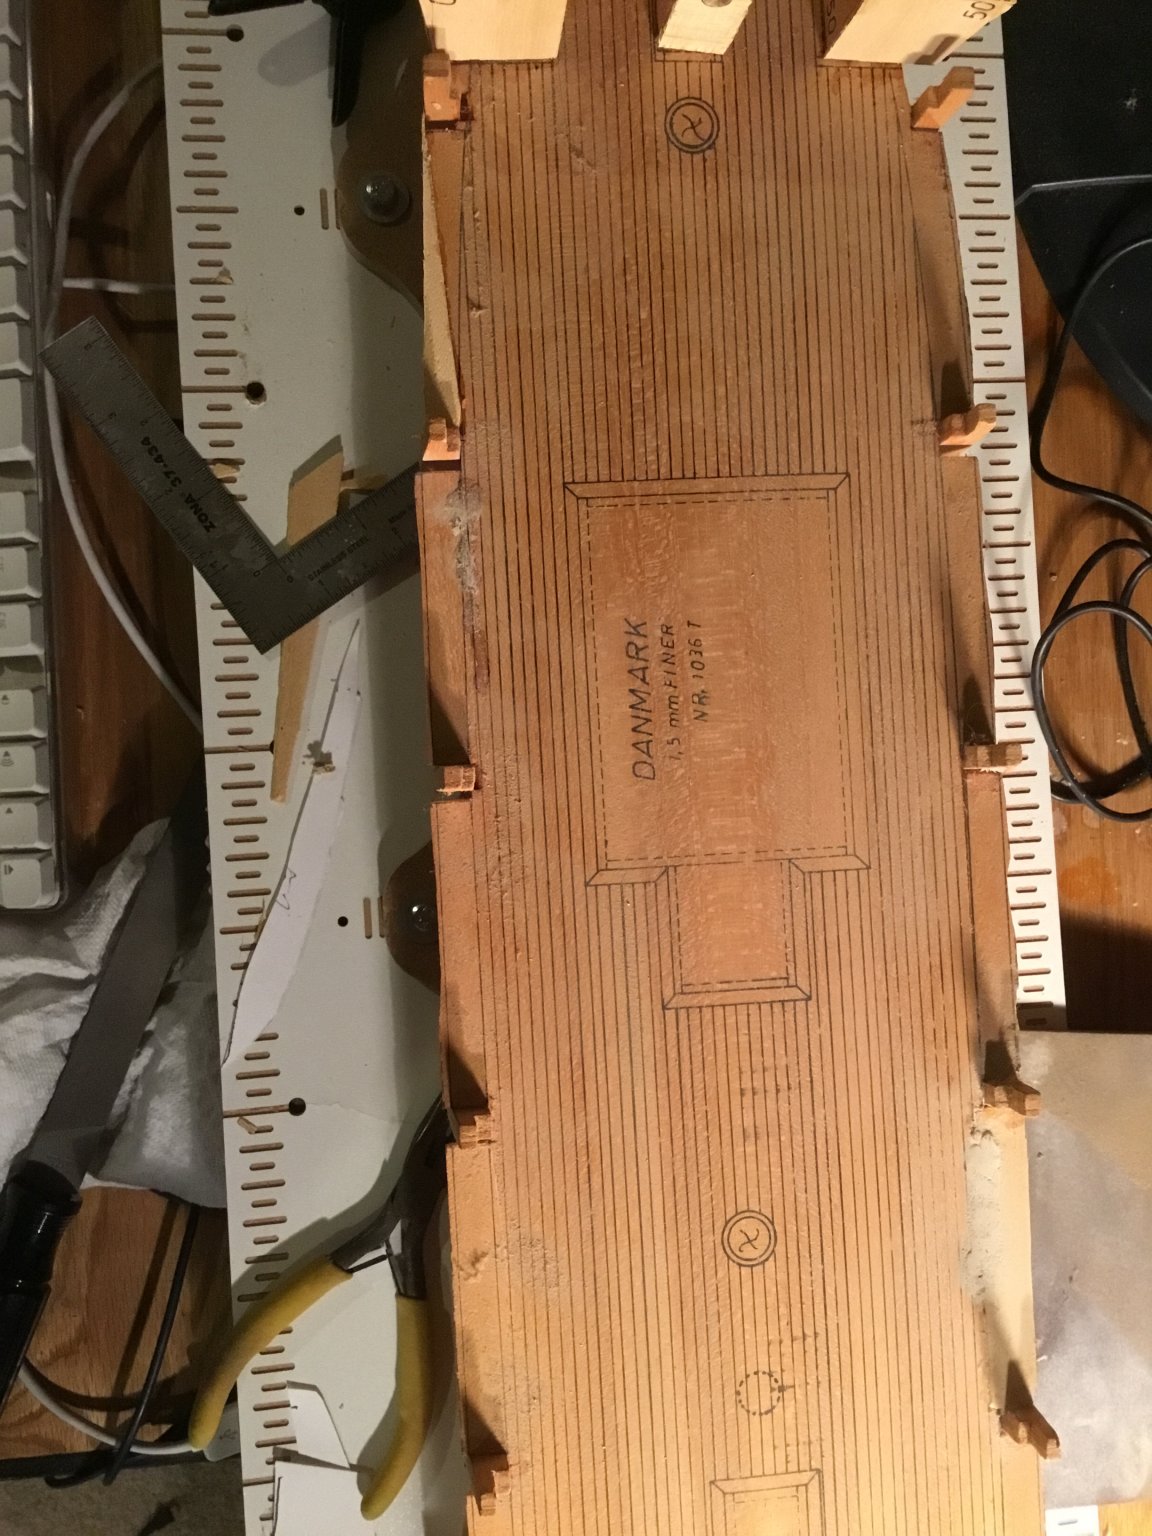
I cut out a few parts to start the planking process. Part 66 as shown in diagram could not be found and needed to be made from some scrap wood on my scroll saw after making copies from the full size plans. Included are copies of the instructions and diagrams from the instruction manual and a photo of the box the model came in. The small plastic package shown is the miniature nails that came with the kit for I'm assuming to attach the planking to the frame, at least that's what I plan on using them for.
- ccoyle, BobG, GrandpaPhil and 1 other
-
4
-
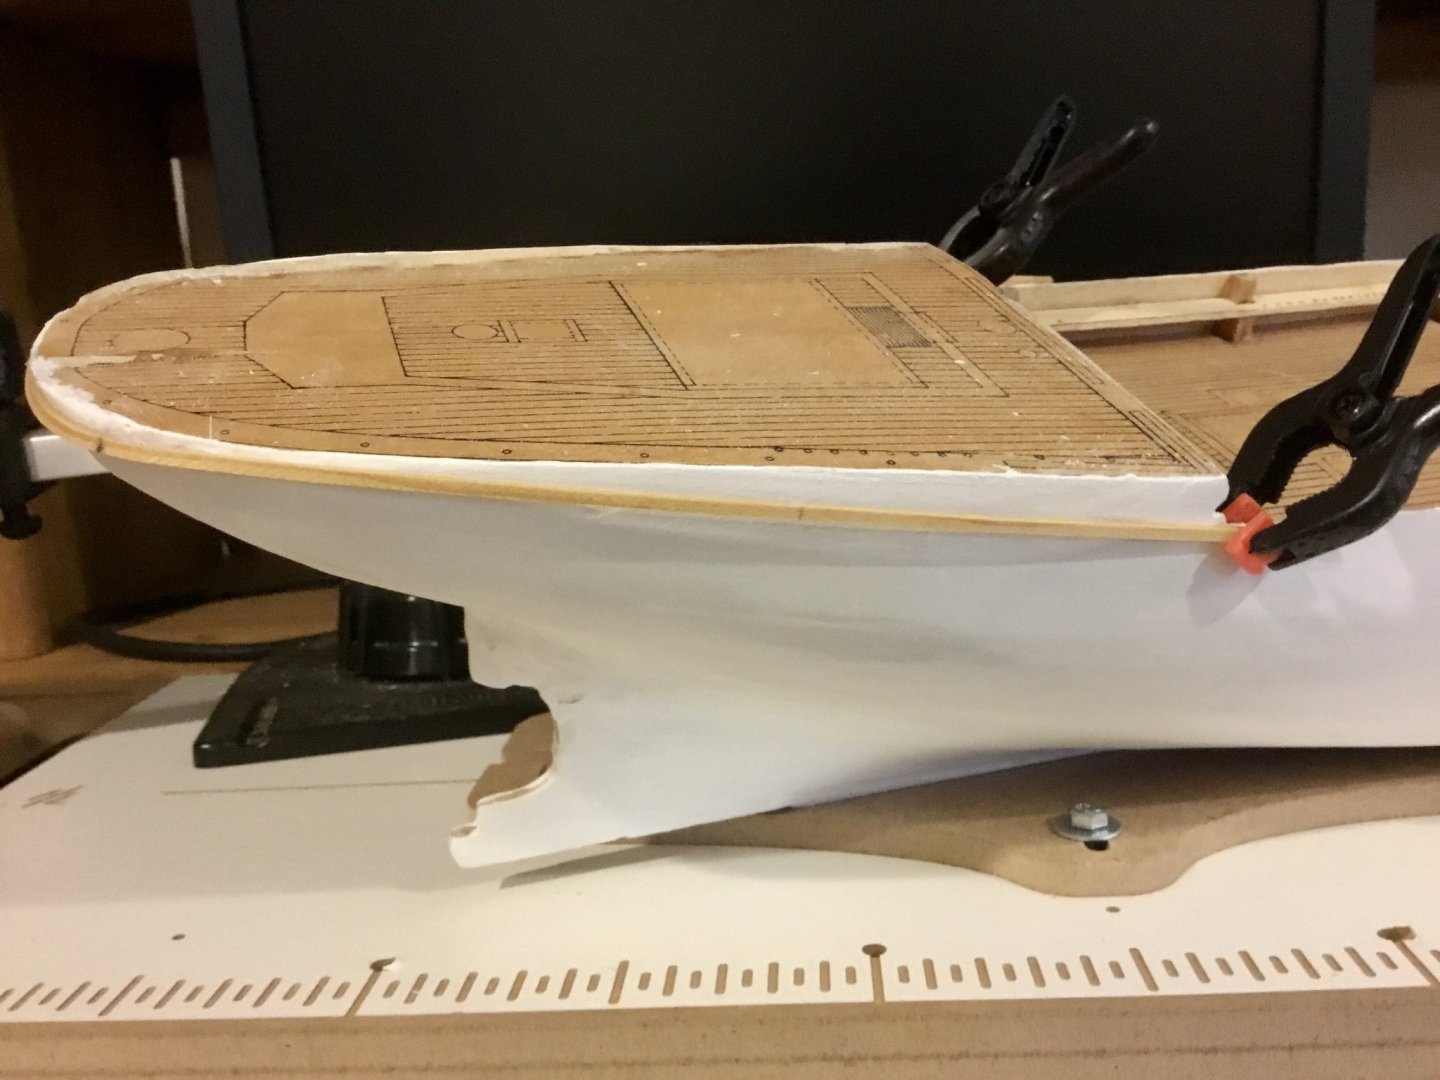
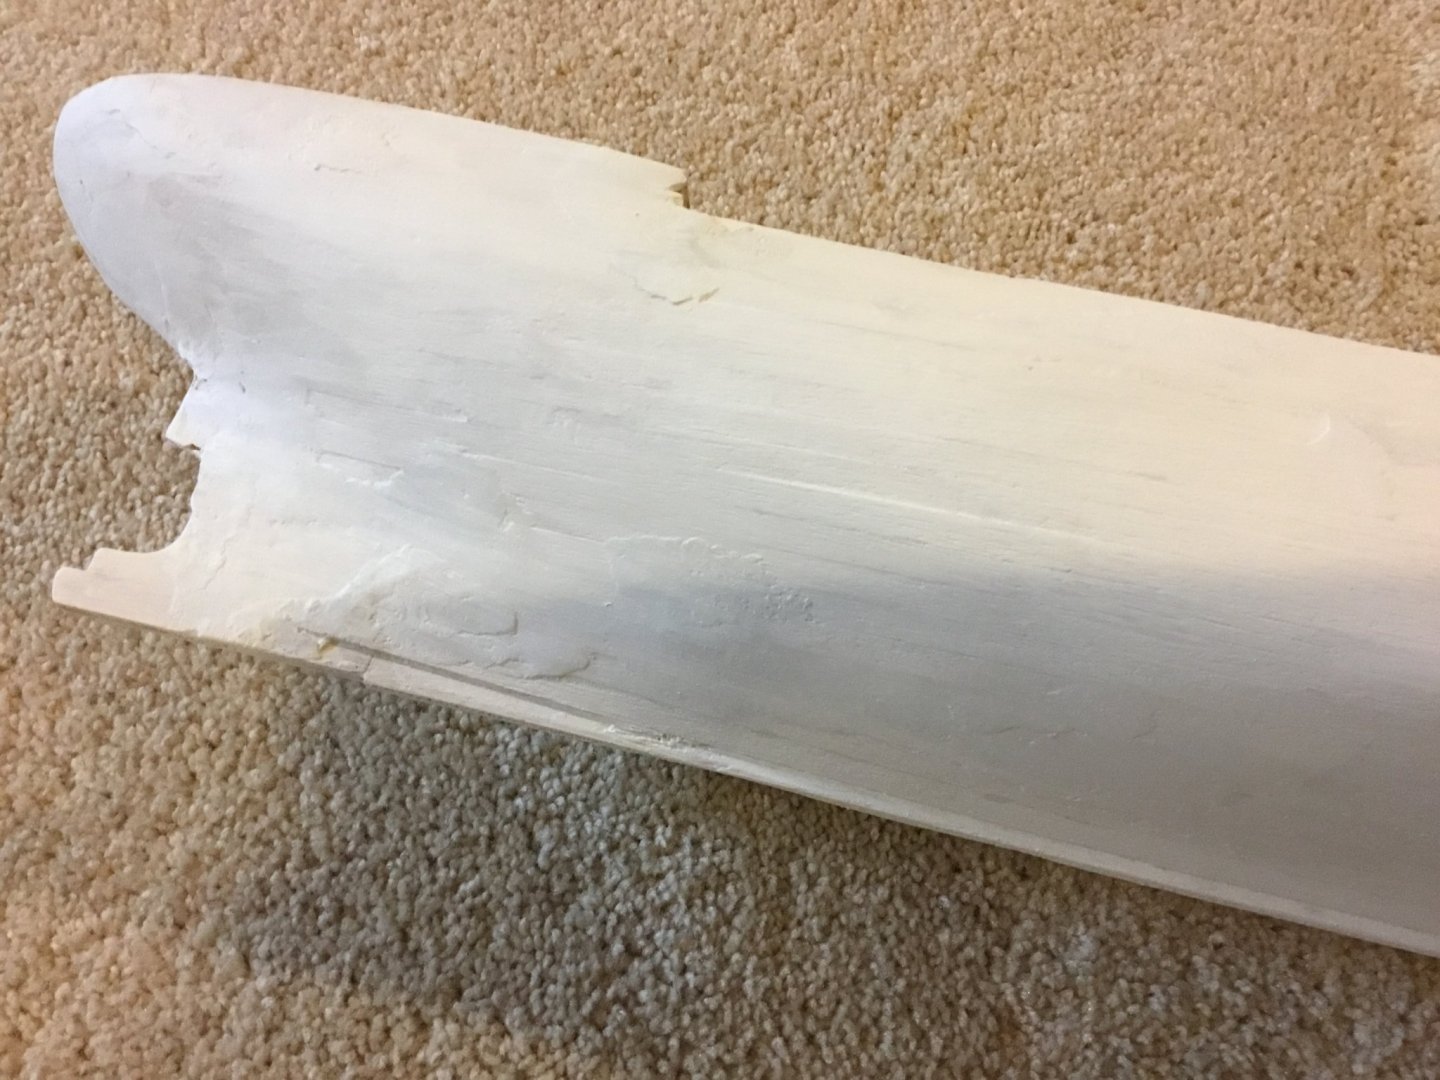
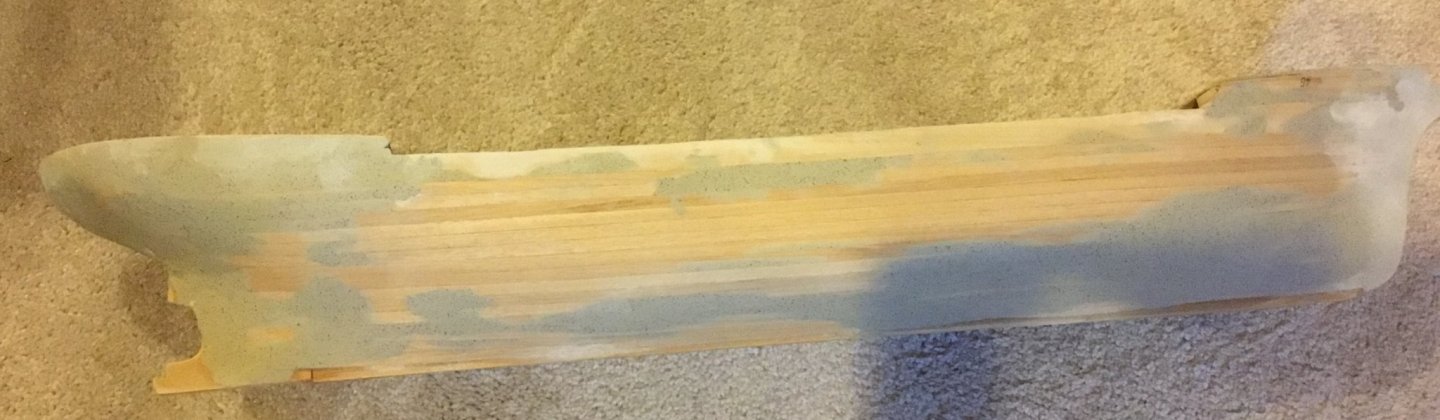
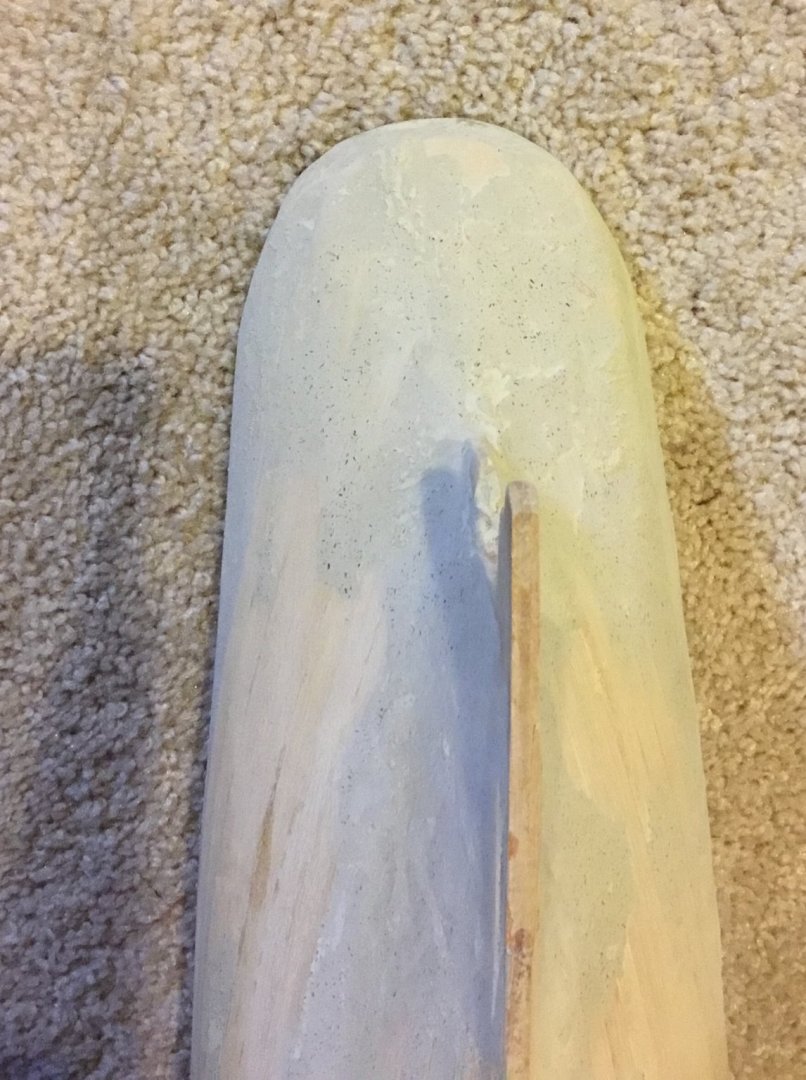
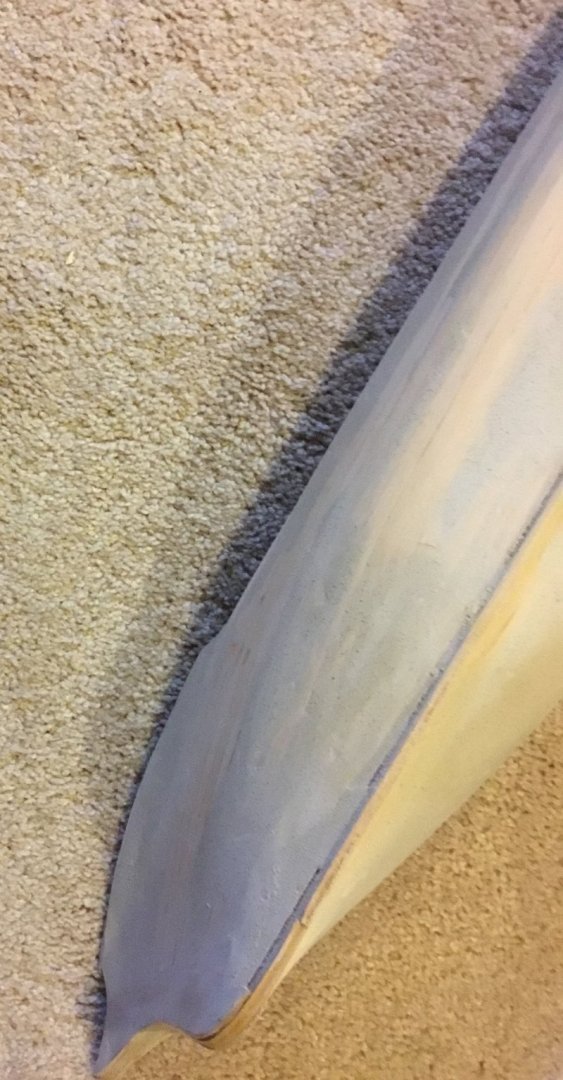
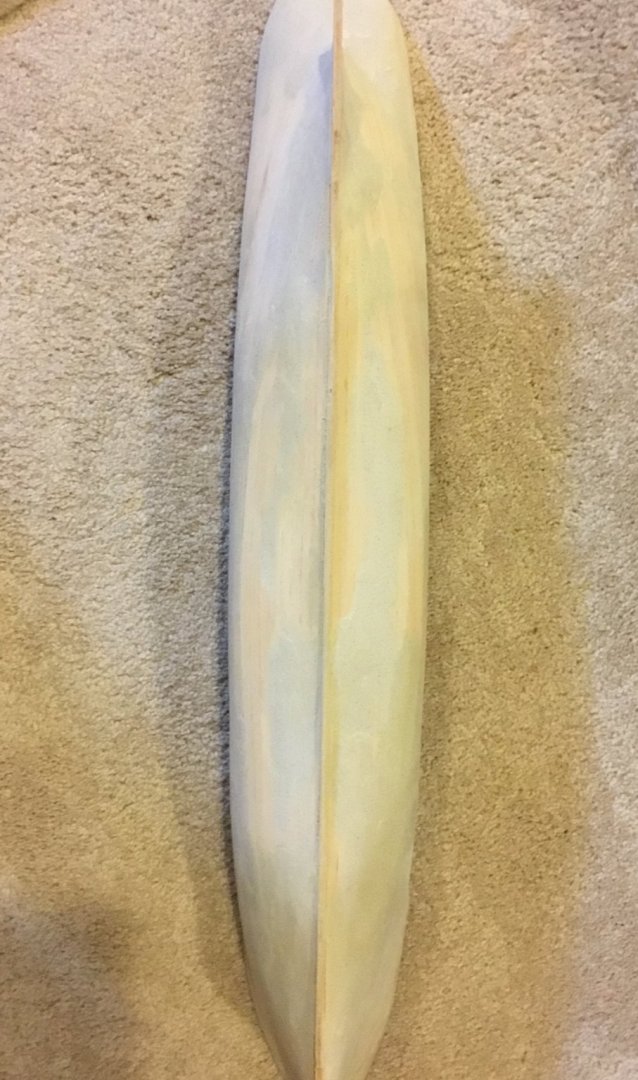
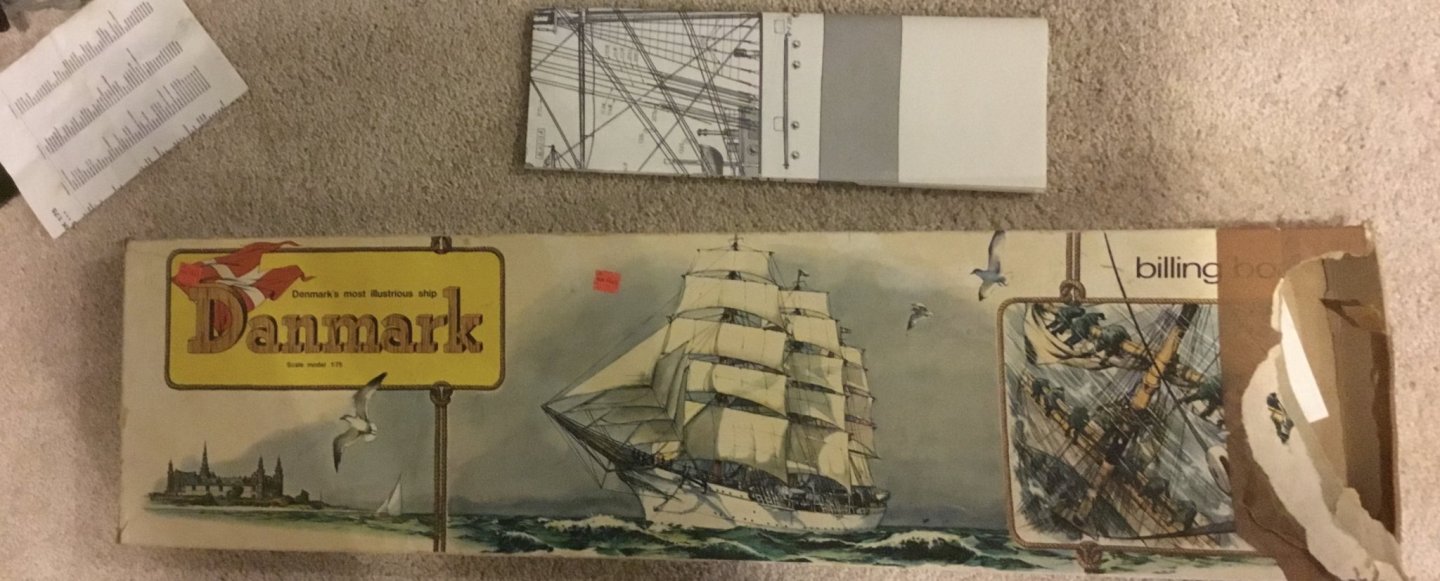
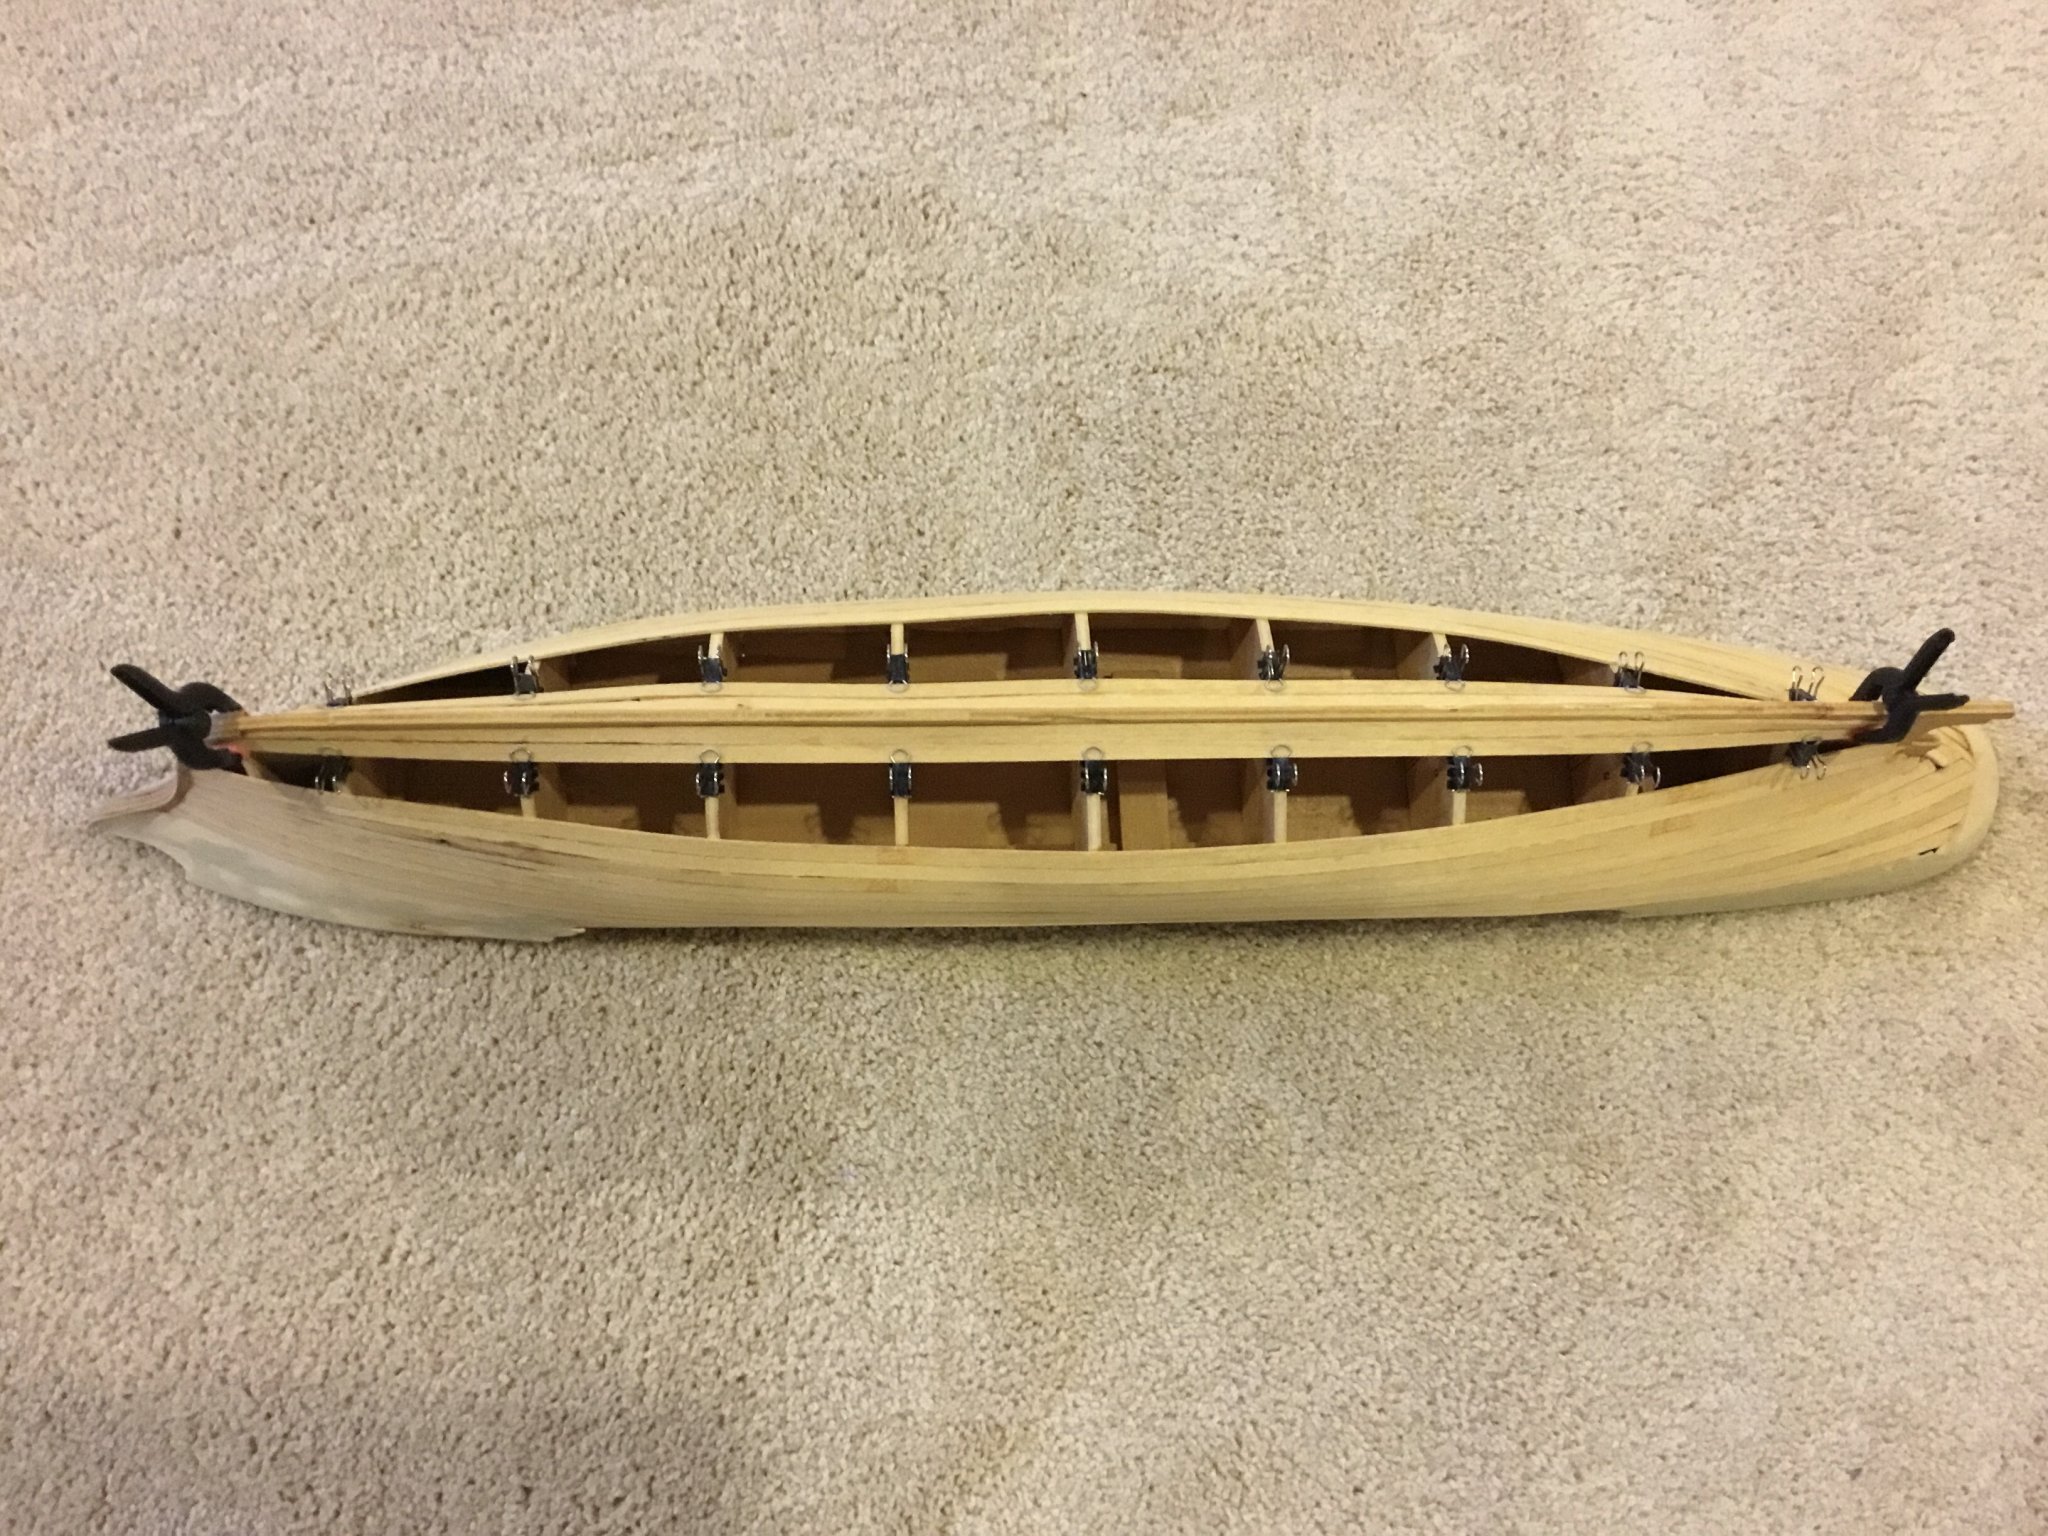
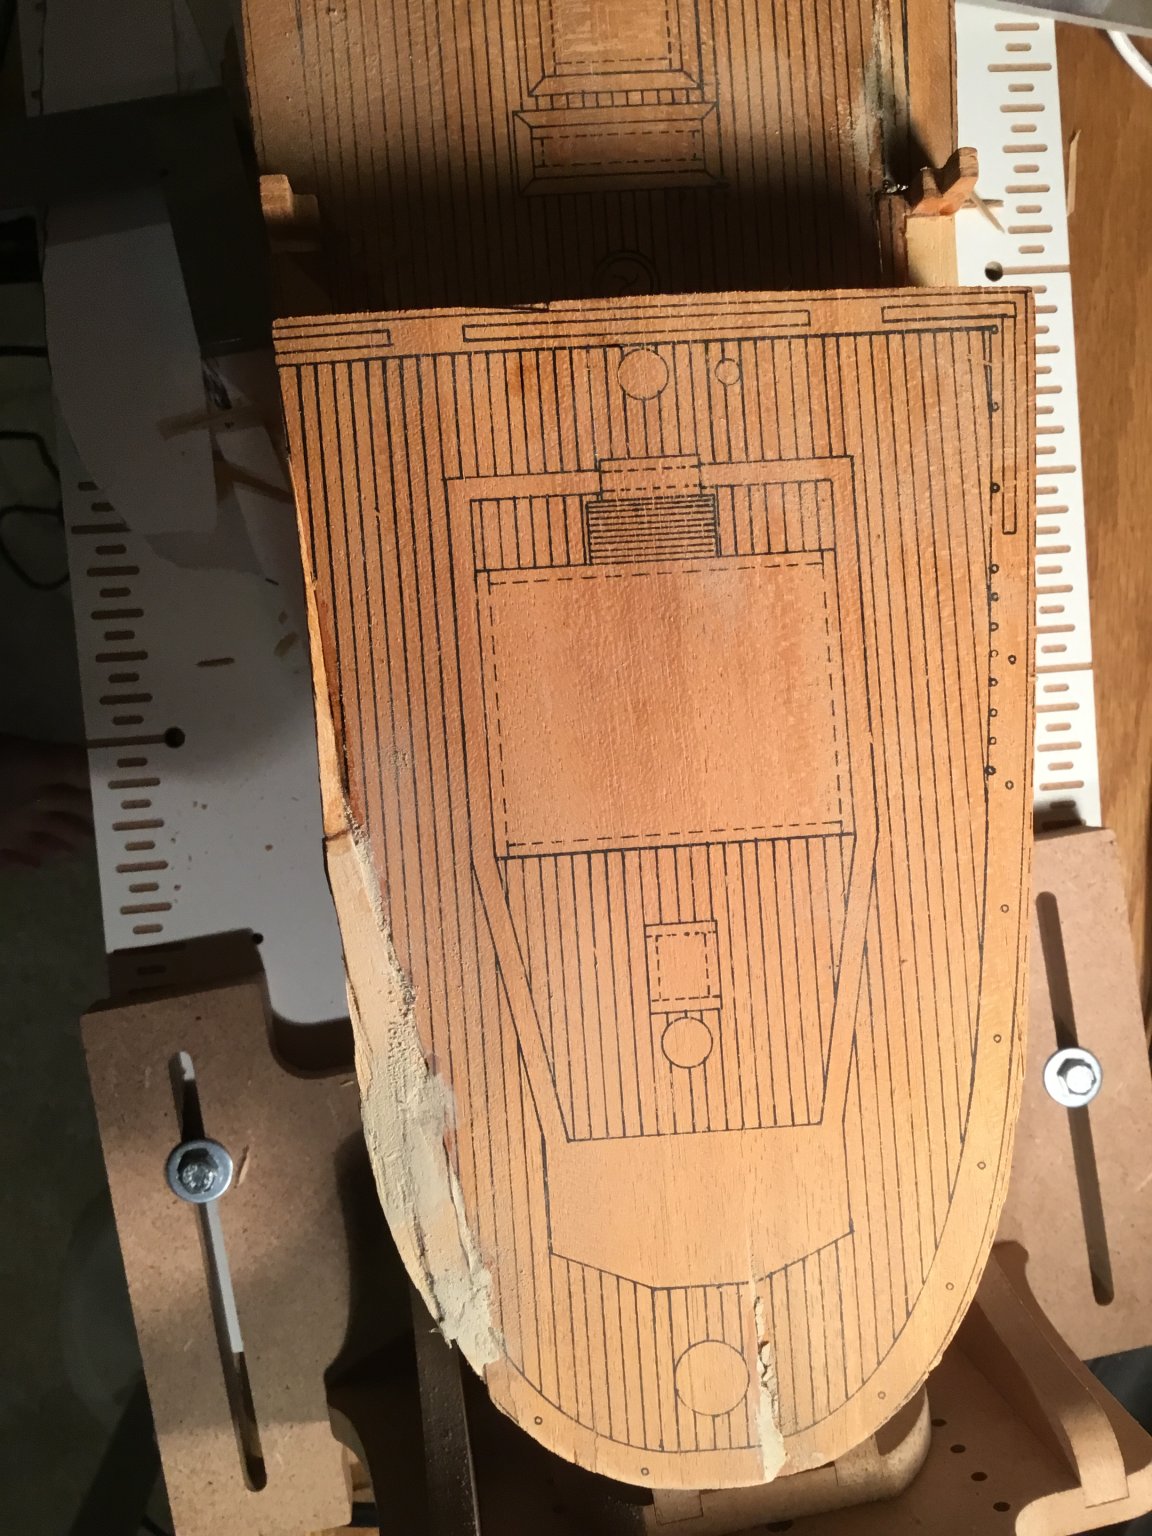
I recently started a build of the Danmark by Billings which I started nearly 30 years ago and then let sit idle during several moves over the years.
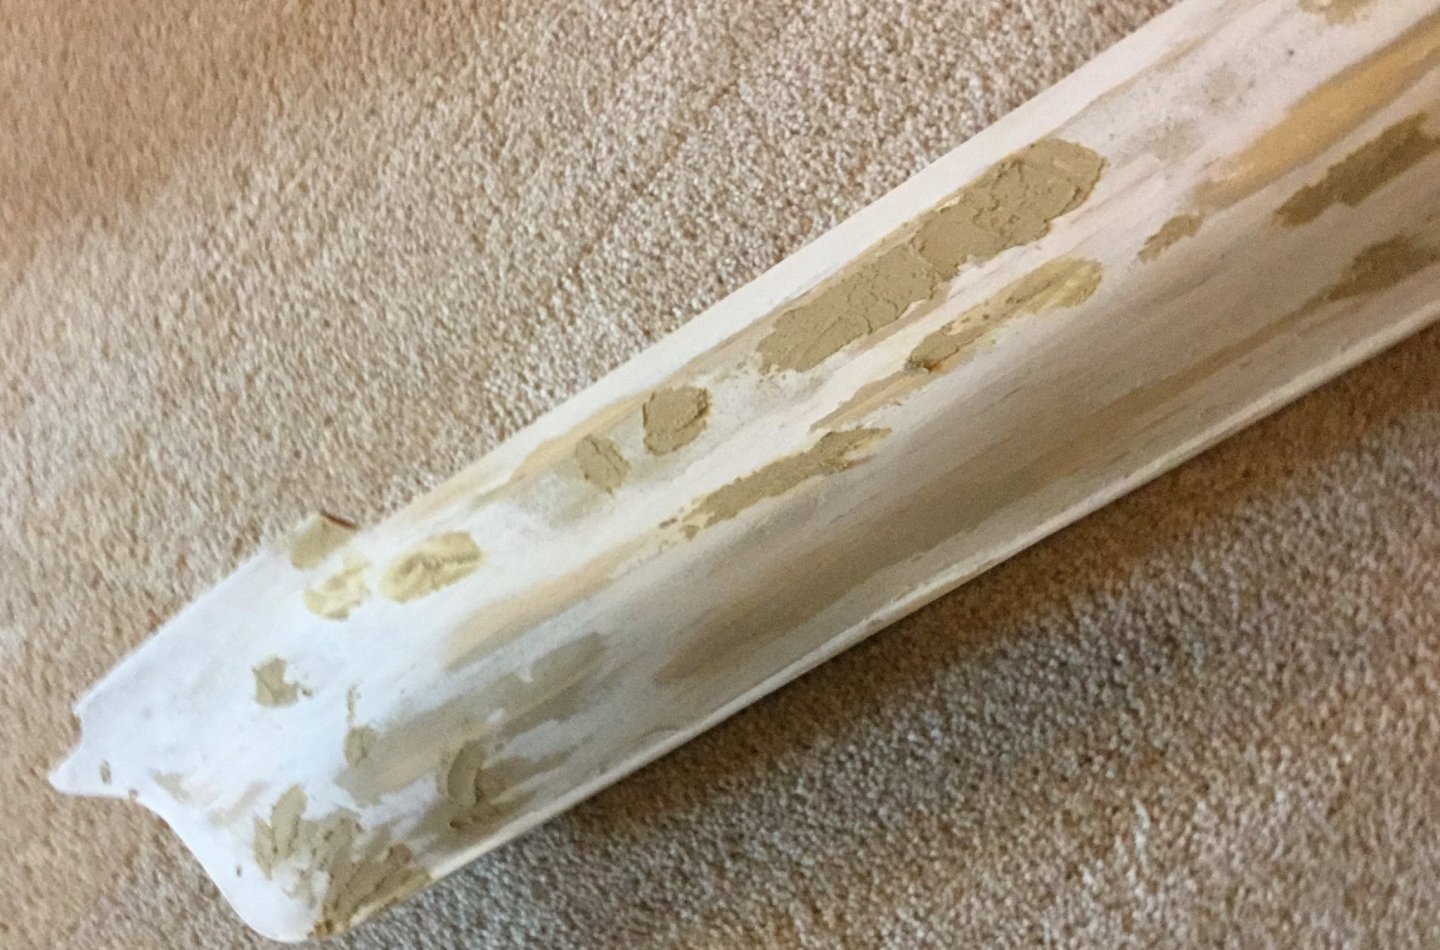
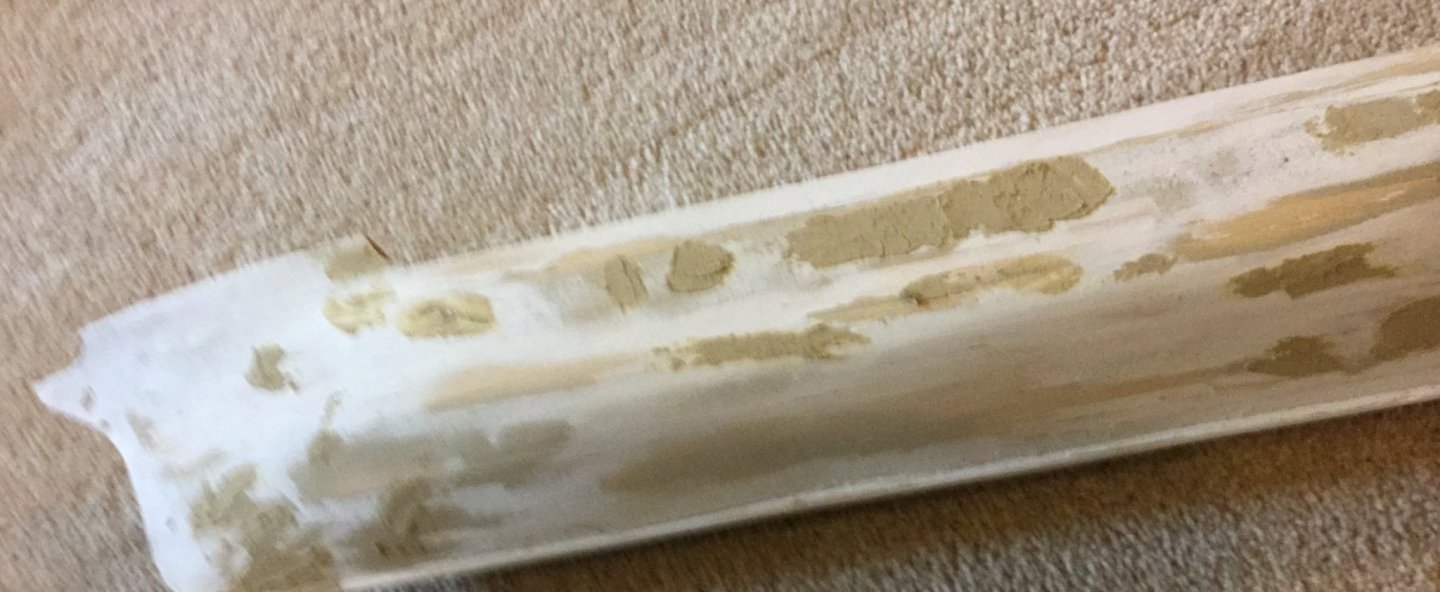
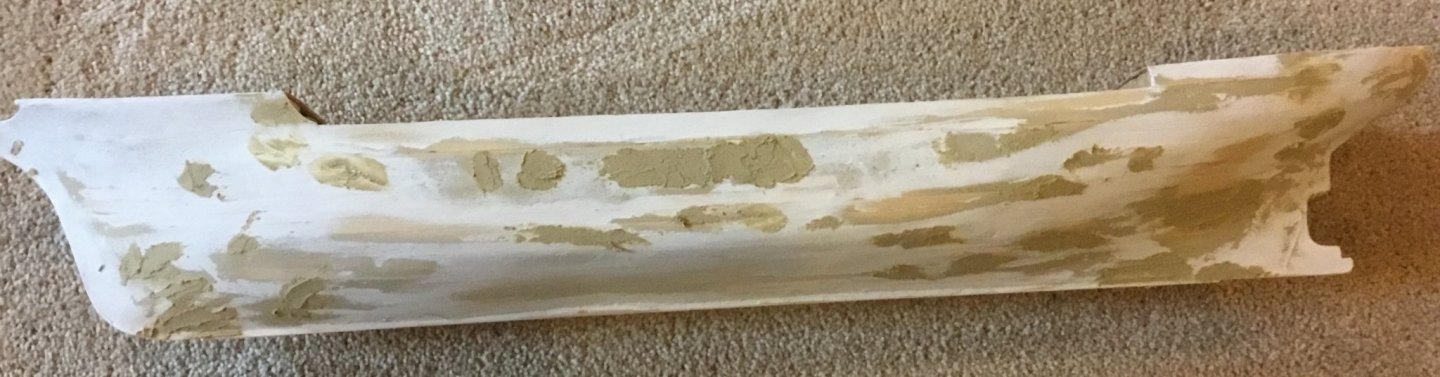
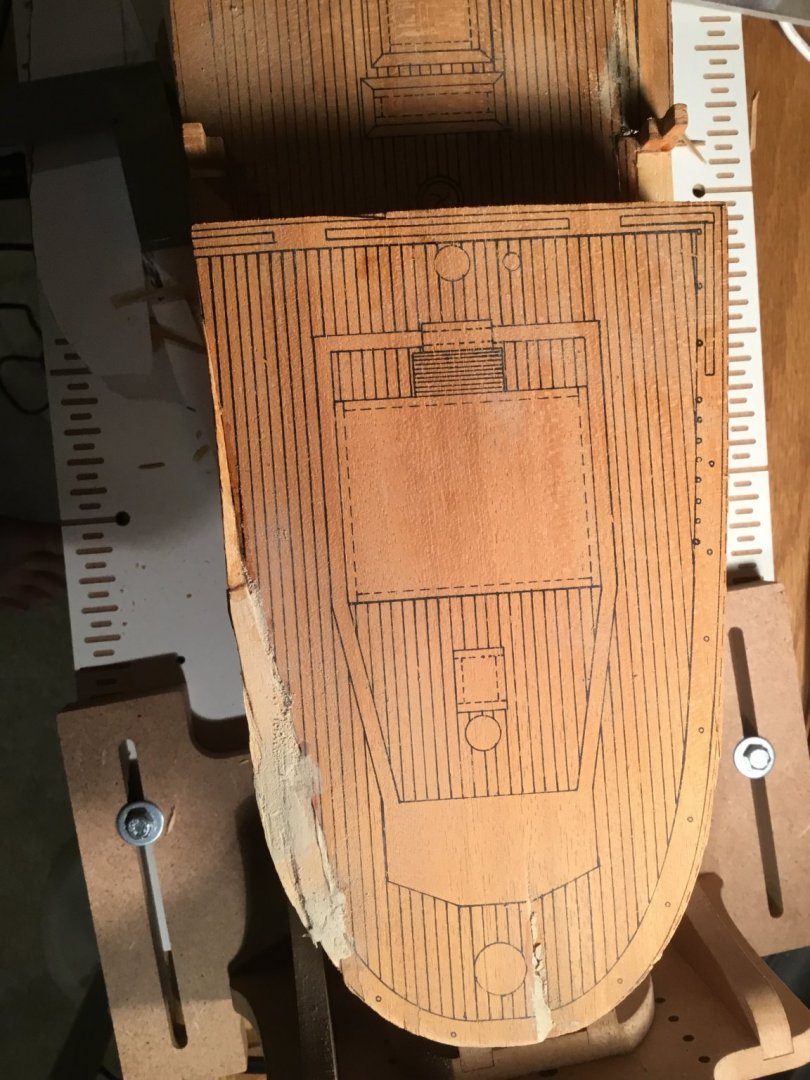
It received some damage during this time which I've repaired. Upon starting it up again I've noted that some3 of the wood pars aren't laser cut but just printed
on the wood and need to be manually cut out (which is a lot more work and prone to errors). Enclosed are photos of its current state. I will start on the planking
next. The instruction manual is mostly useless with the exception of the drawings.


- BobG, ccoyle, popeye the sailor and 1 other
-
4
-
I just picked one up online a few days ago from Free Time Hobbies in Blue Ridge, GA. for $29.99. Guess I lucked out.
- Canute, mtaylor, thibaultron and 3 others
-
6


Danmark by Dsmith20639 - FINISHED - Billing Boats - 1/75
in - Kit build logs for subjects built from 1901 - Present Day
Posted
Completed Mizzenmast and spars.