NovaStorm
-
Posts
321 -
Joined
-
Last visited
Content Type
Profiles
Forums
Gallery
Events
Everything posted by NovaStorm
-
 Awesome job, definite win!
 -
Way better!!! Great job parting them out
-
Pat in the end it is your decision and your model to do as you like. But to date the craftmanship you have shown in your build tells me you have the ability to be one of the great ones in this craft. Especially considering this is only your second or third build, as I recall. I only wish I had half your talent and had started at half my age lol, maybe in my next life Cheers bud will look forward to what ever you decide!
-
That looks so funny the kit one up against the 3d printed version. If the printed ones are brittle how are you going to get away with removing the barrel from the carriage. Not sure how you feel about this but for me this is the problem with 3d printing. If it was just the barrel which most kits come with be it cast or turned, this satisfies those of us who don't have a workshop to make our own. But when you include the carriage, sled and all the fittings you take away from the craftmanship and crafted content of an individuals project leaving you with just a good or bad paint job. Just my opinion, what are your thoughts on this Pat.
-
That is looking great, nice switch after all the work that went into the carronades.
- 950 replies
-
- 1
-

-
- syren
- model shipways
- (and 1 more)
-
Beautiful Pat, just beautiful pimples and all
-
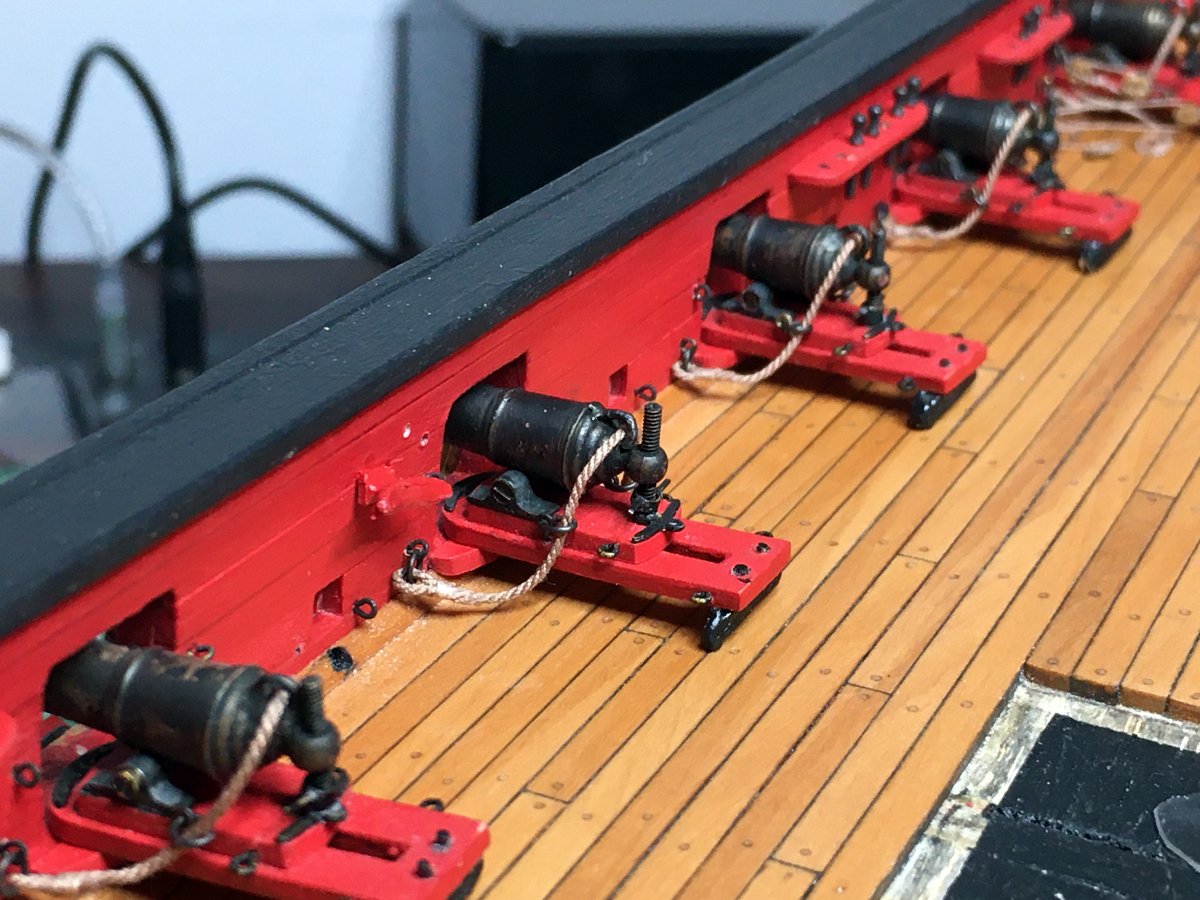
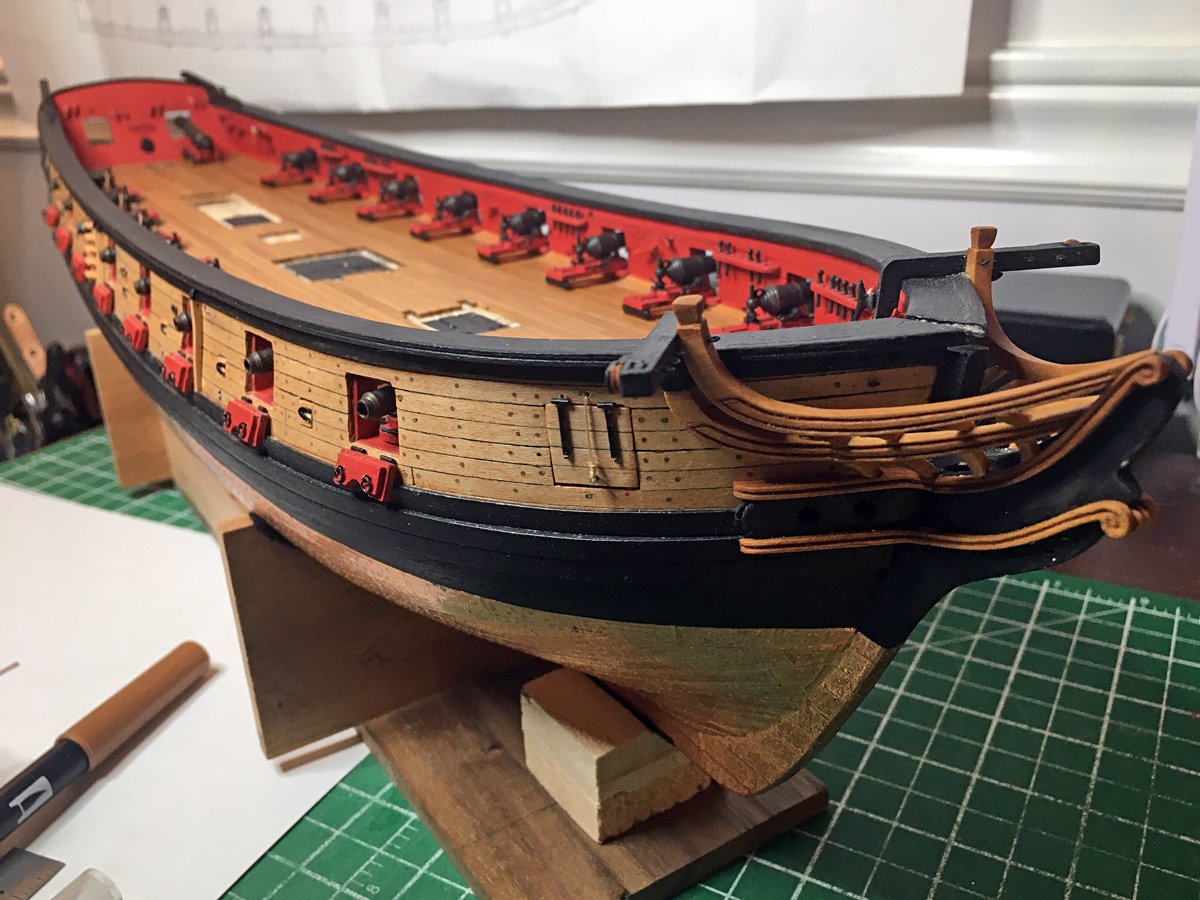
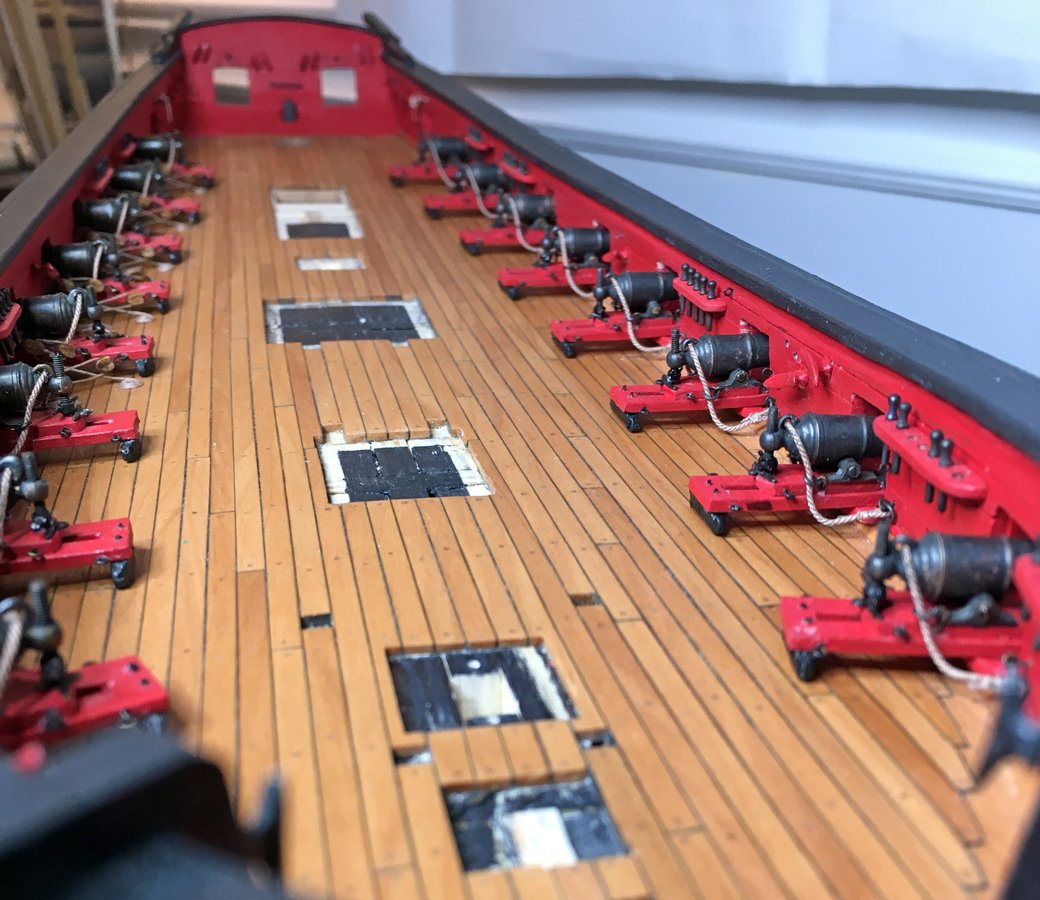
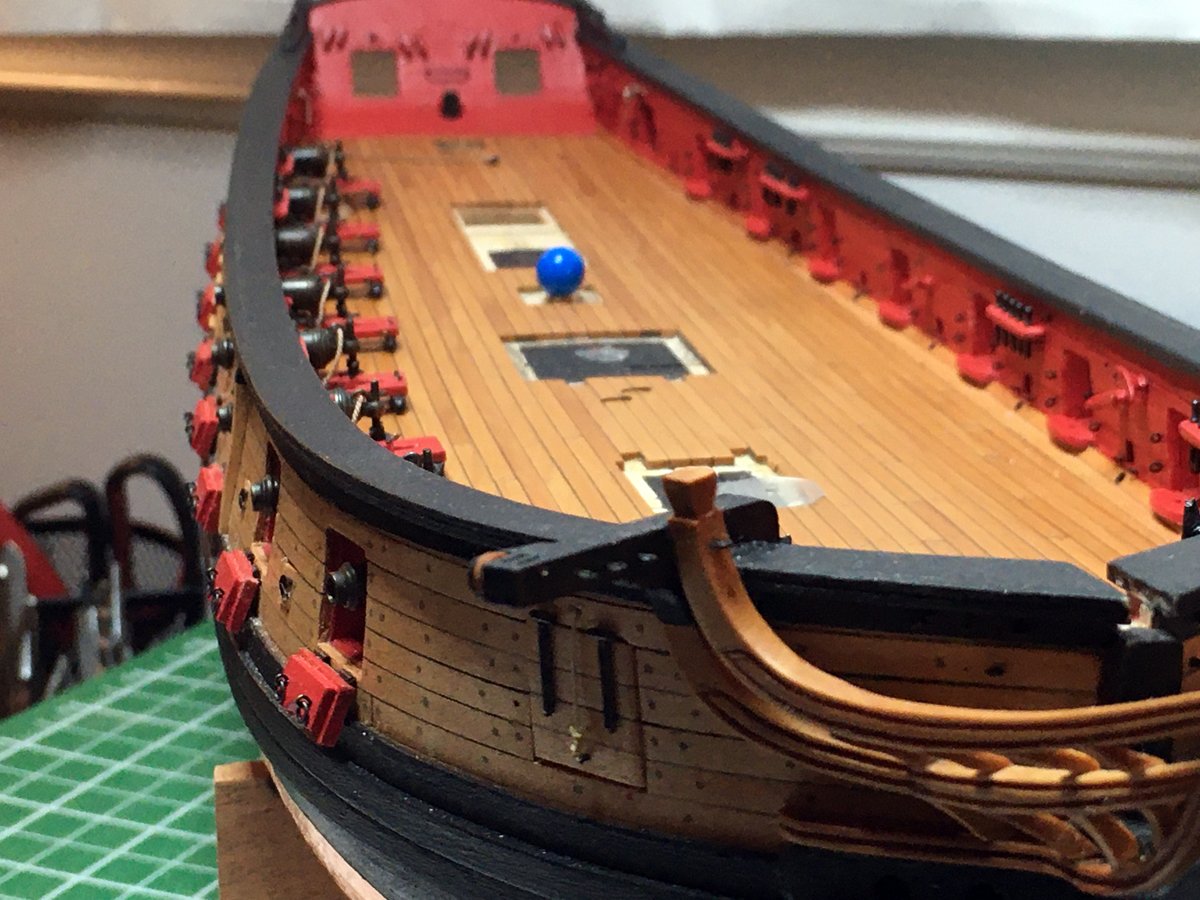
Cheers Pat, thanks for the great comment Picking away here. I just finished gluing in all the carronades and adding the breach lines.
-
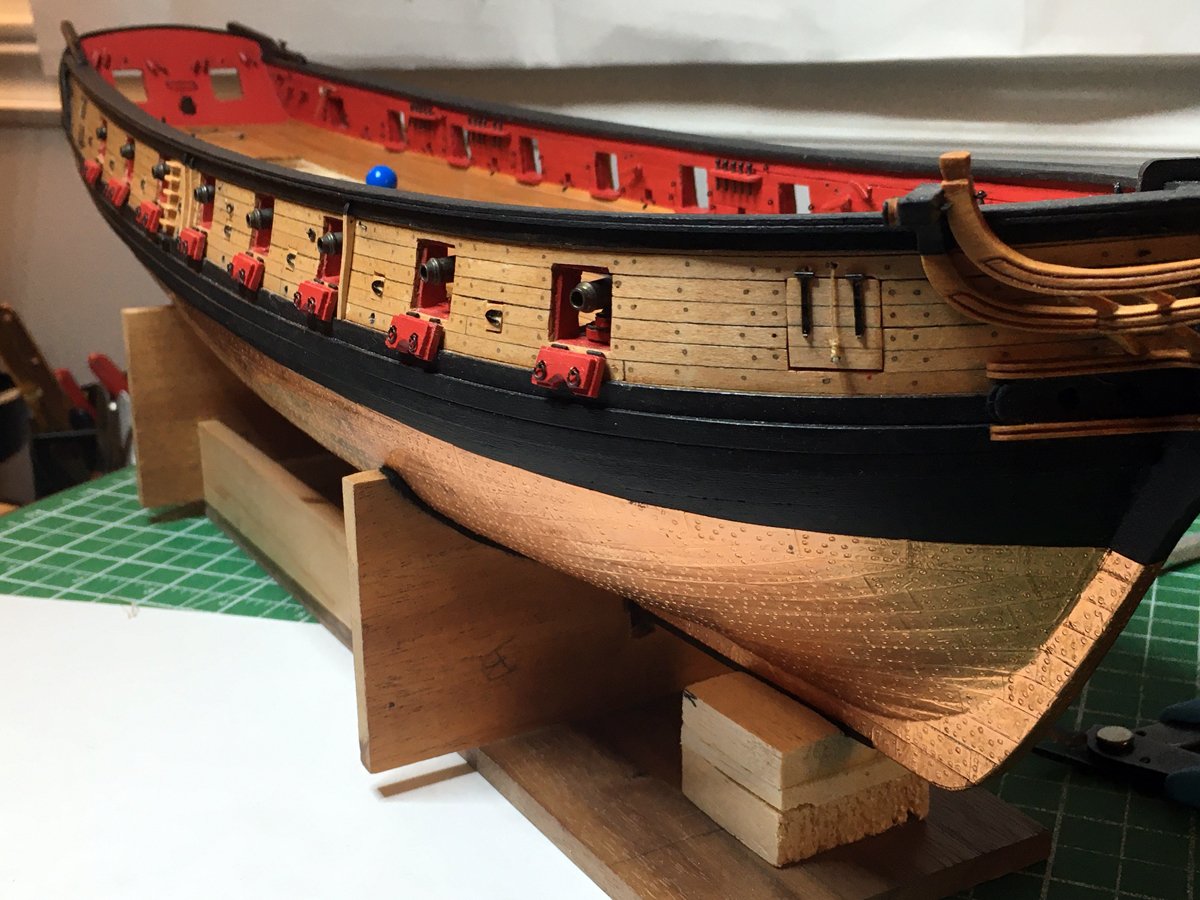
Thanks guys, I am a lot happier with the latest rendition for sure. Working on the port side carronades now. Finding them much easier now that I have a game plan in place.
-
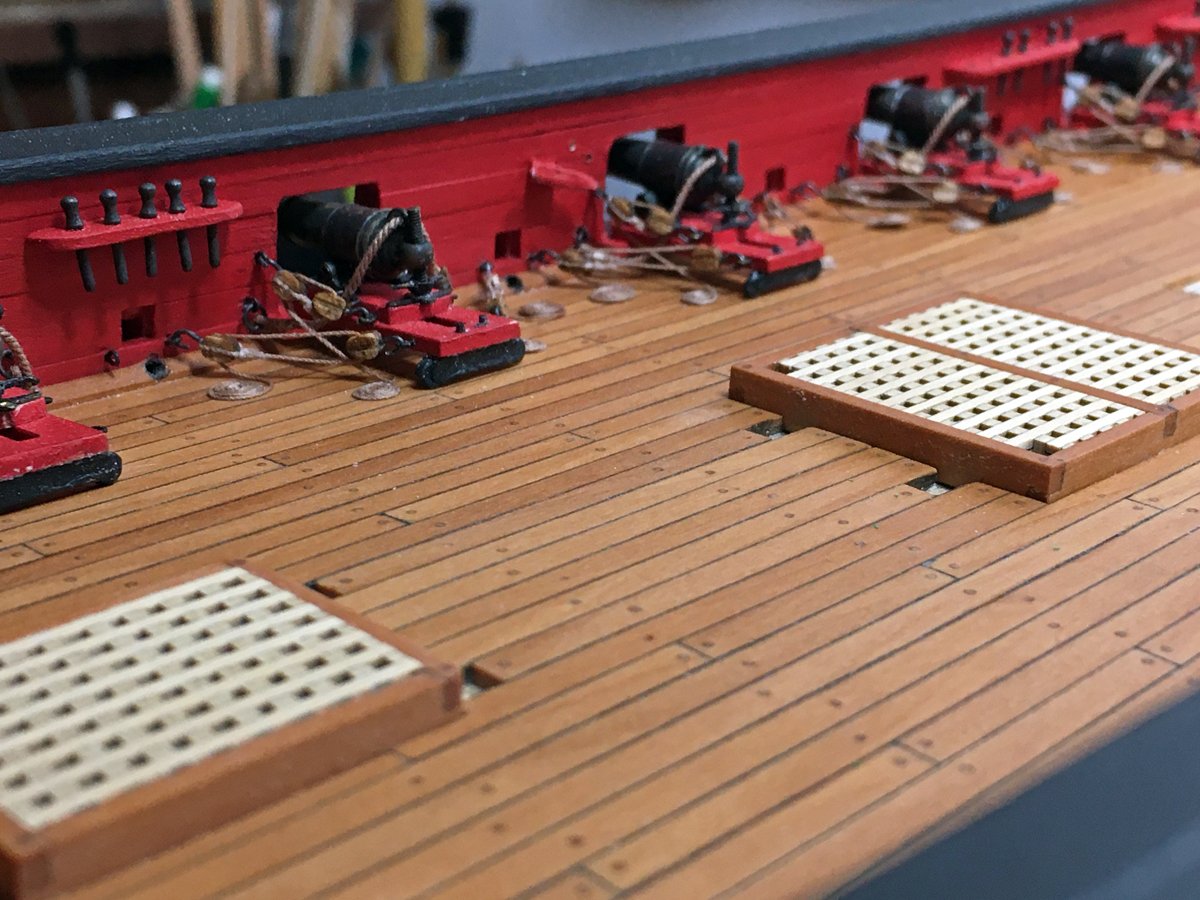
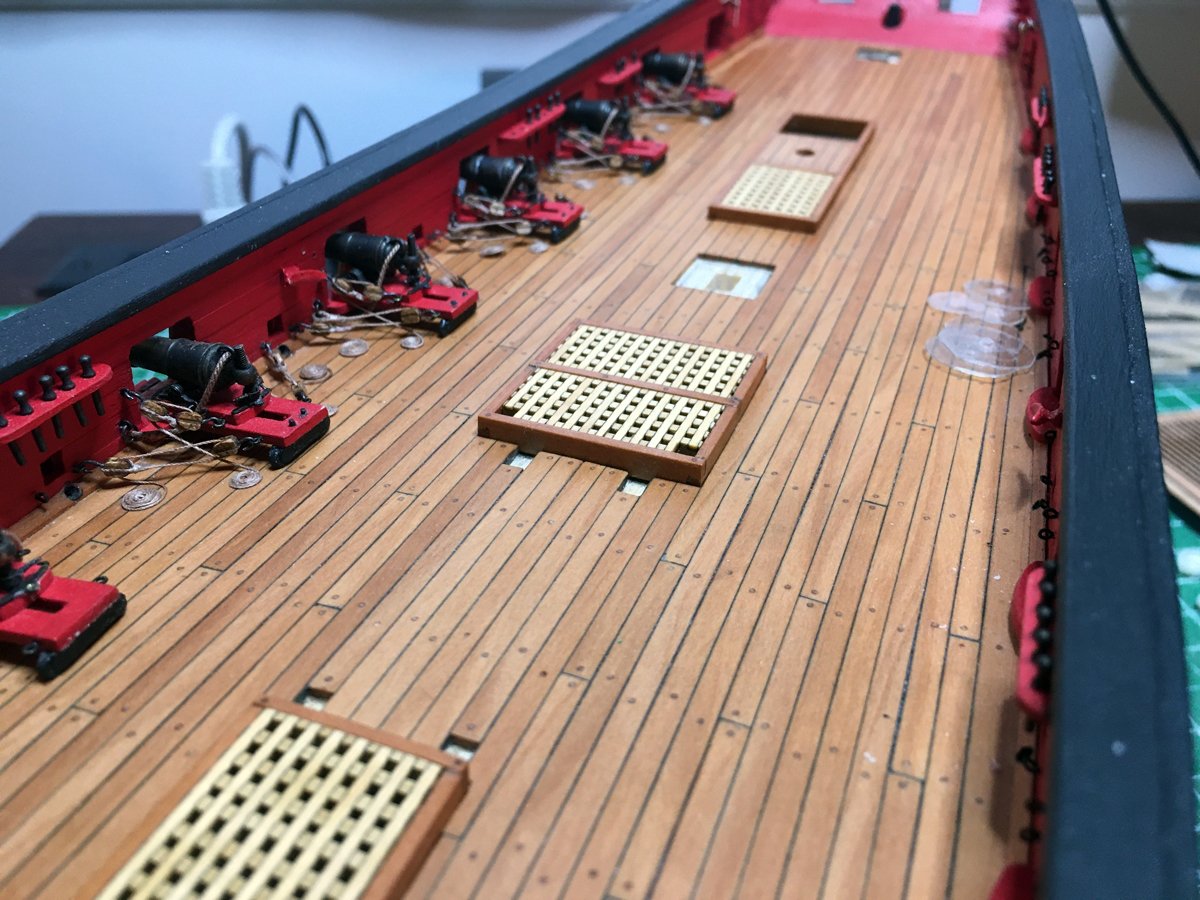
Thank you for great comment Thomas The gratings are just so much better!
-
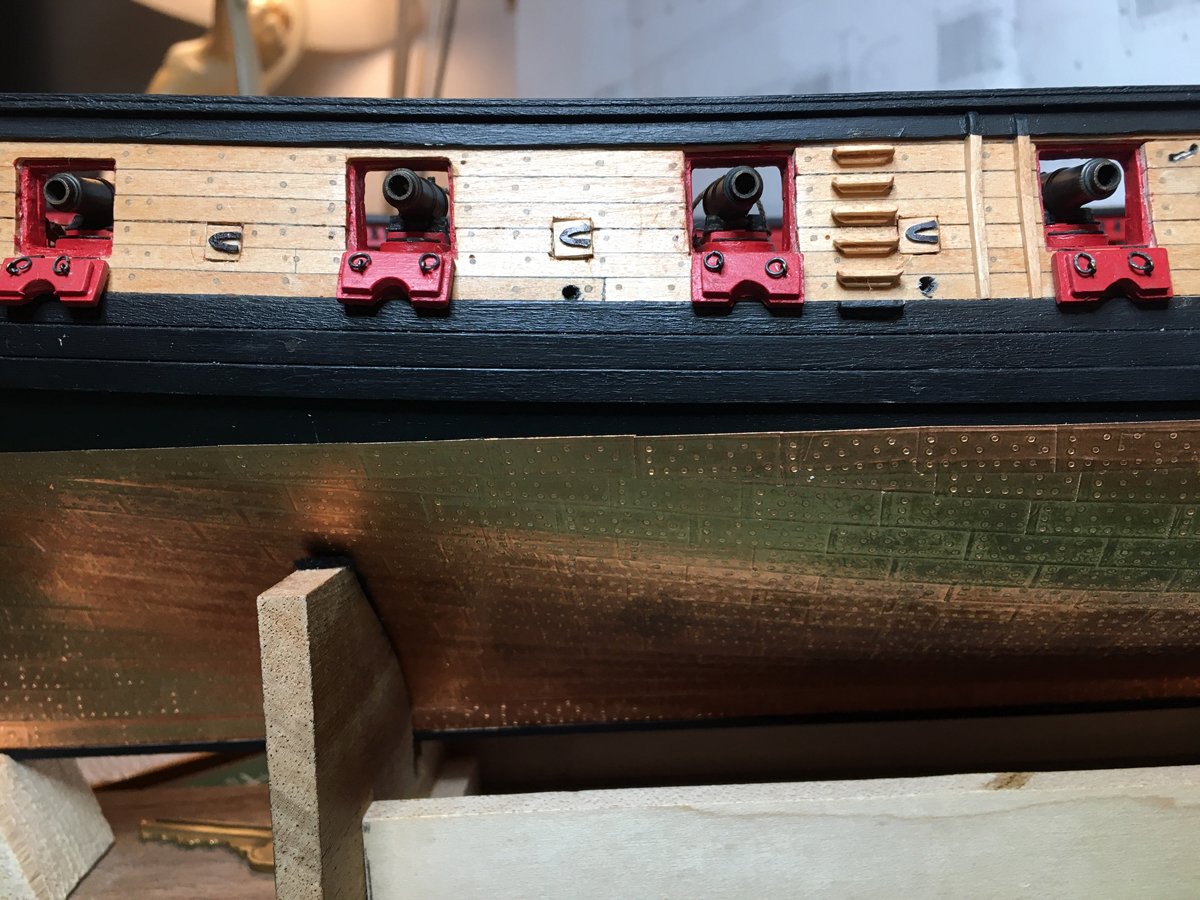
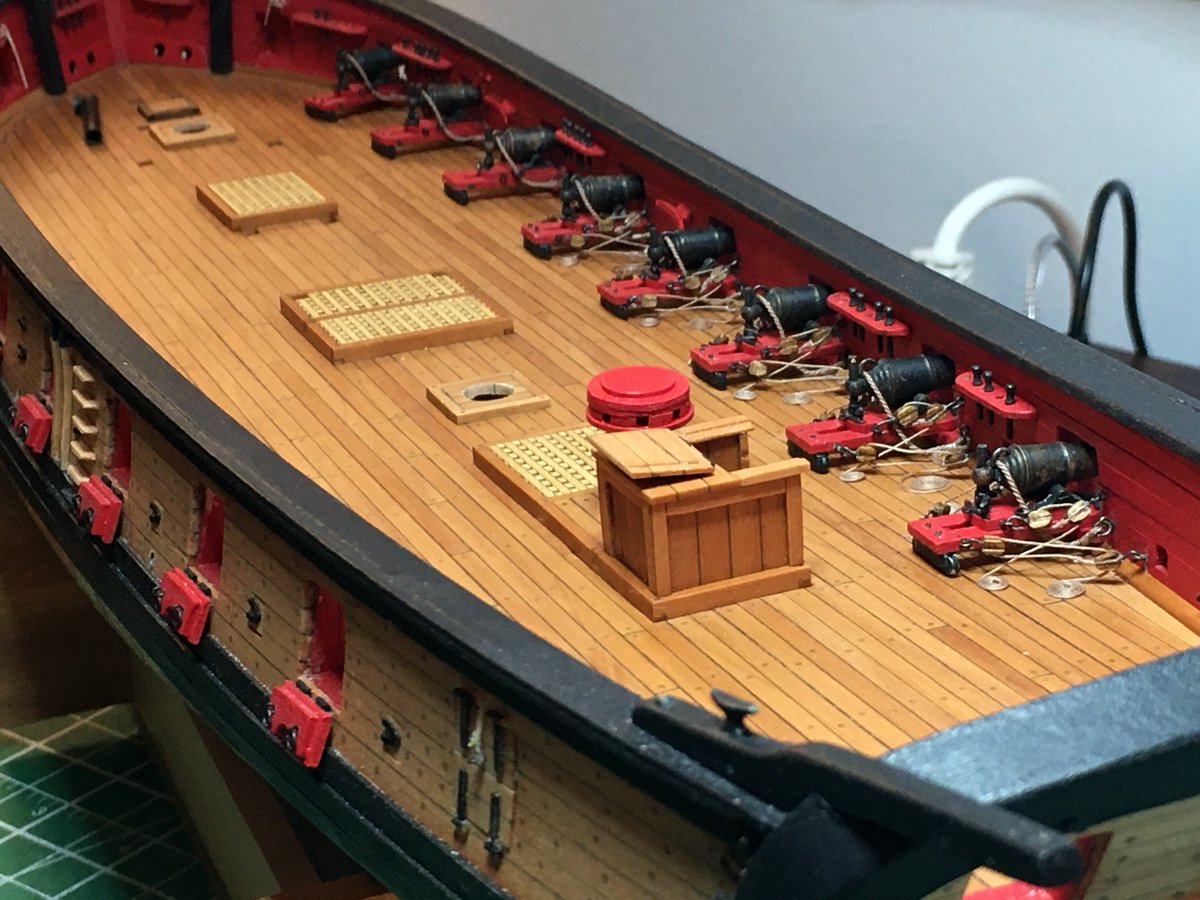
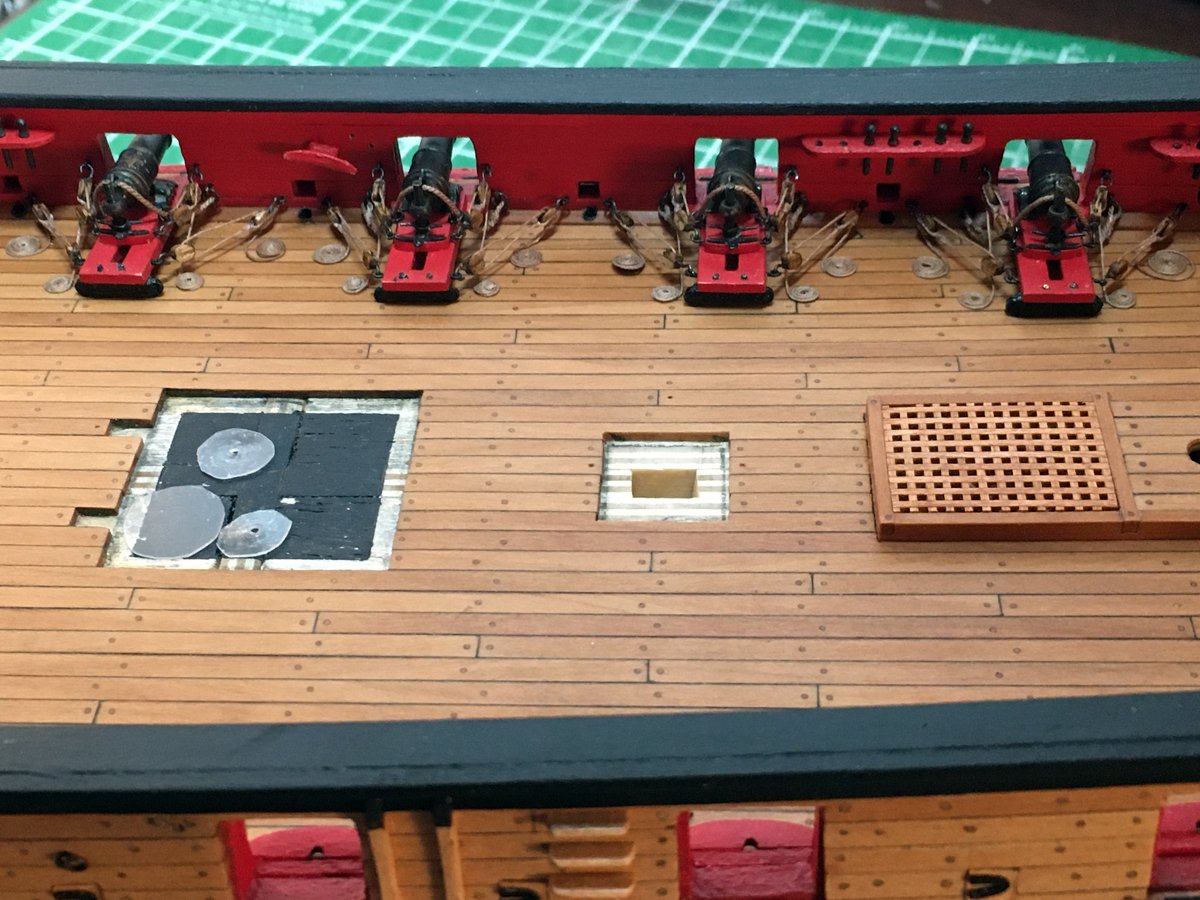
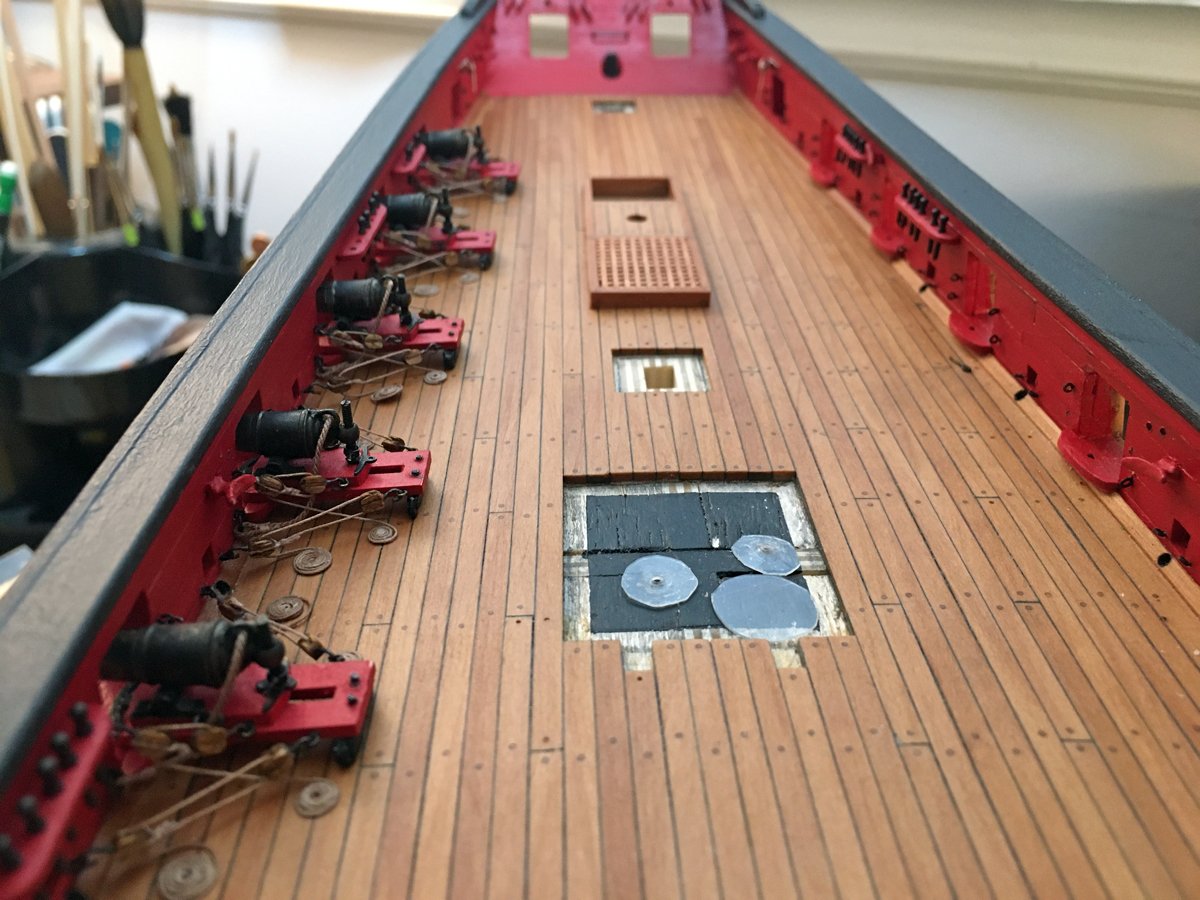
Needed a break from rigging the carronades and the grates were bugging me so I redid them. Yep I think it's the third time lol I like them way better now. I used boxwood grating from Chuck and this time is it honest
-
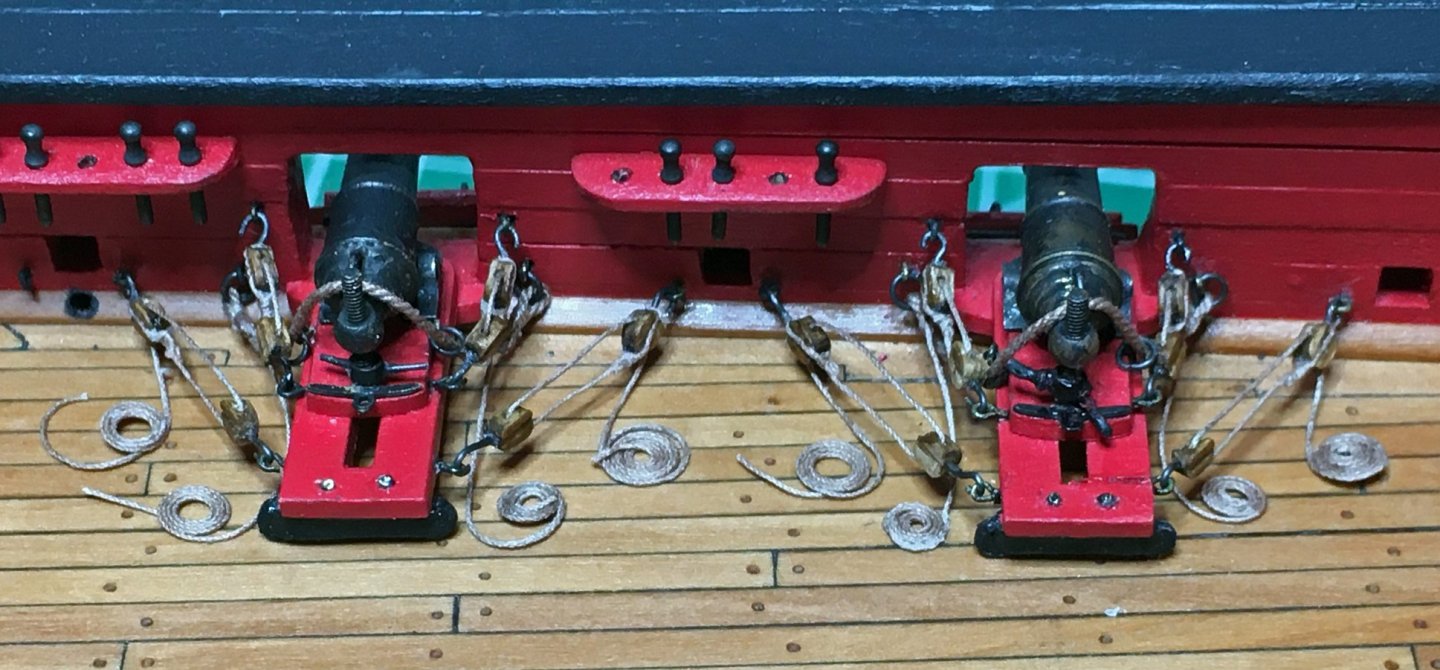
The bottom line for realism is that the batteries would never have looked like this in RL. The carronades are in the firing posture and as such the ropes would have been snaked out across the deck behind them. At sea and in port probably some of the blocks and tackles would have been stowed and others tied around the carronade in whatever fashion they choose along with the breach lines. Btw The coils are called "cheesed" when they are laid out on the deck this way.
-
Thanks for taking the time CL, your comment is much appreciated Oh and welcome to MSW, hope to see you doing a ship log here there are lots of folks willing to help and lot you can learn along the way. Cheers, Robin ~
-
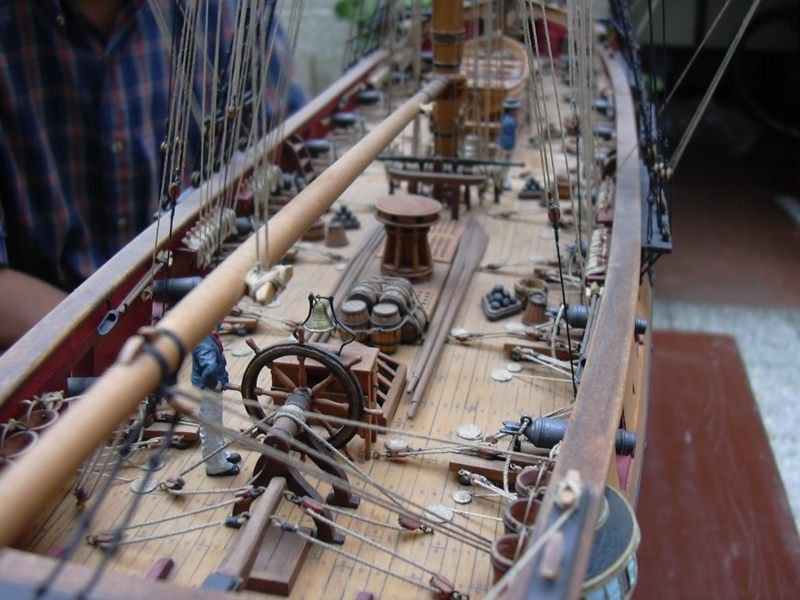
I will do some more searching see what I can find. I have seen coils done both ways on models. In order to properly emulate how they would be on a real ship you would be looking at something like the pics above. Sorry I don't know the modeler.
-
No you could be right bud. I honestly don't know but I did them that way because I also have the blocks oriented wrong which I did not realize until to late. Also there are so many different ways of doing them in the end I went with what I thought would not distract from my decking which I like to much to cover up more than I have to lol. Thanks for the great comment
-
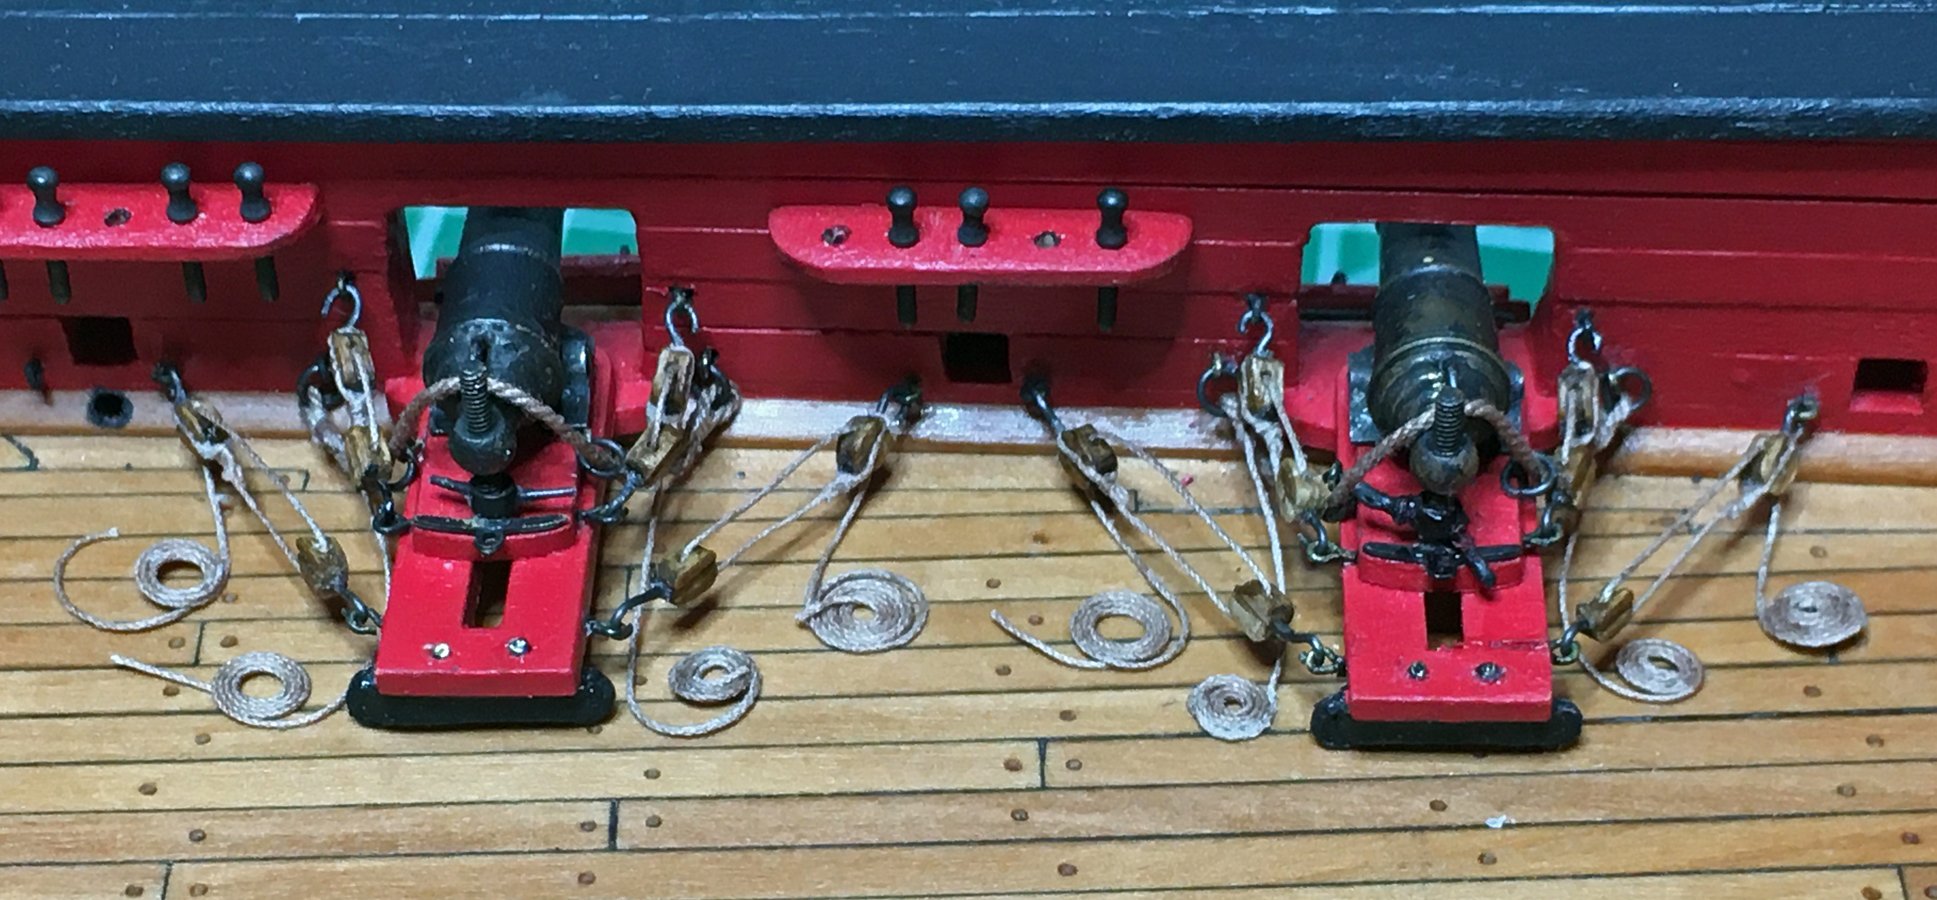
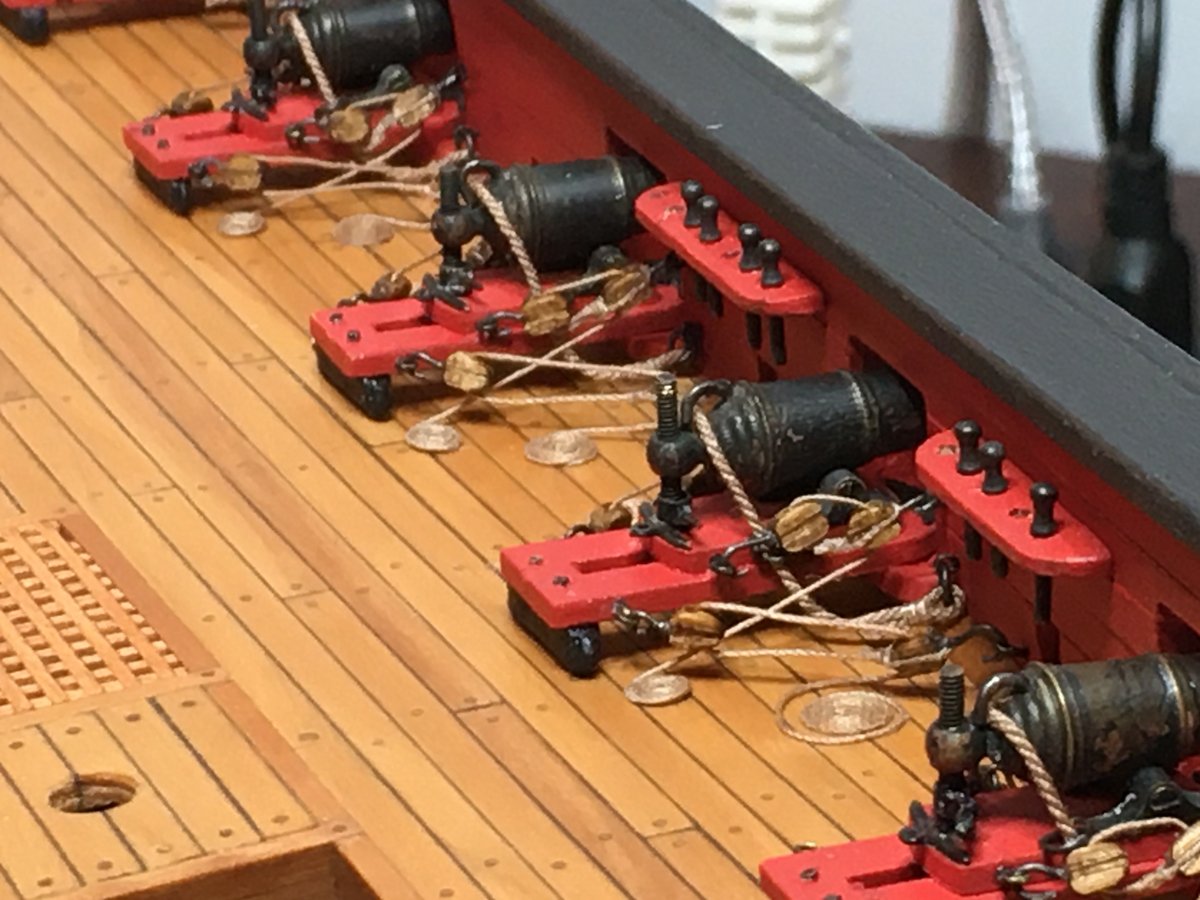
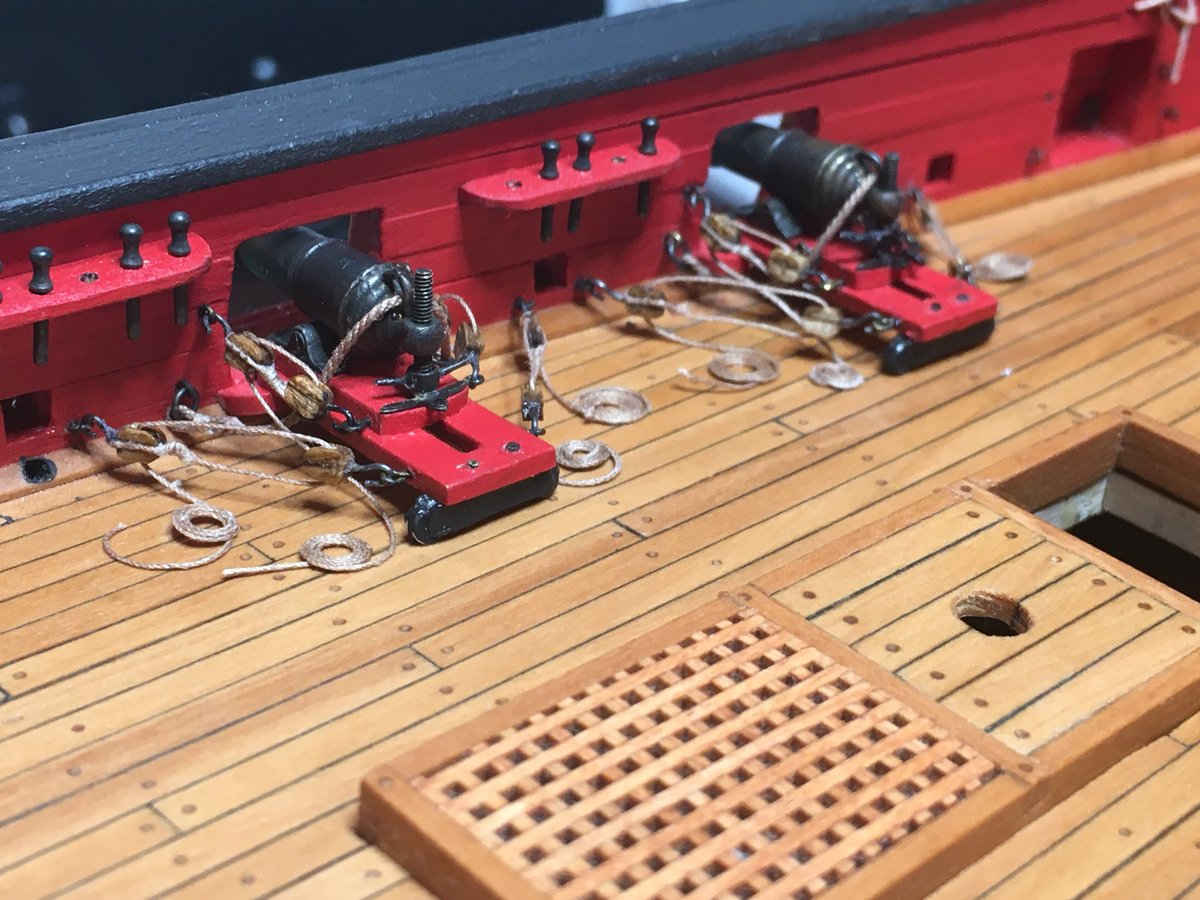
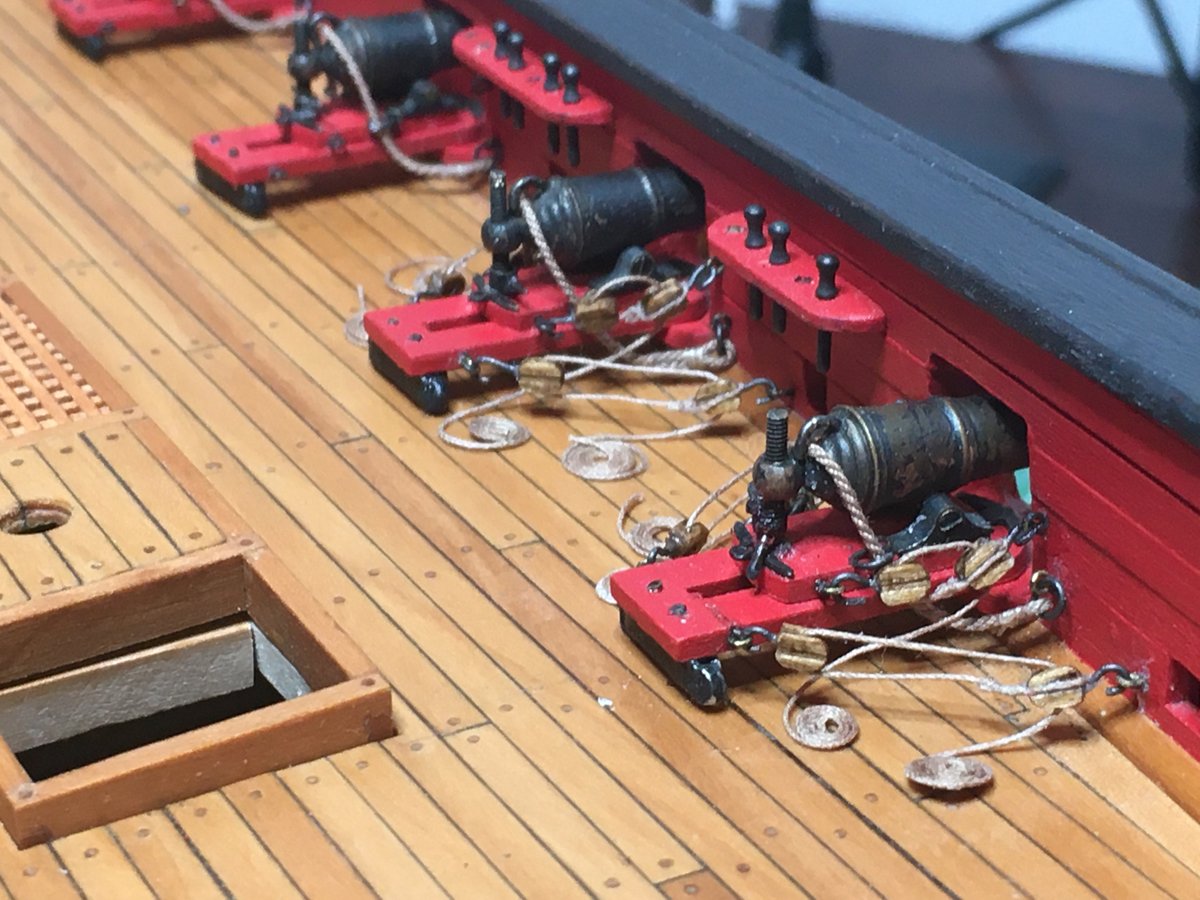
Well here are a few picks of what I came up with. I realize now that the hooks I put in the blocks were not at the correct angle but I did them according to the instructions which was a fairly simplified method. Hope you like them I went with a fairly small coil on sled line and larger for the carriage. Cheers ~ Appreciate all the help and picks provided. I am fairly happy for my first go at these
-
Artist's license so to speak I like it. Thank you the pic's are really appreciated.
-
Help Wanted! I've done up another carronade and would really like some feedback on the rope coils. I decided to go with an uneven look to the coils. Is this acceptable and would they have ever appeared like this in practice? Any thoughts or suggestions would be appreciated
-
This is big help to as I am new to so much of this. But I have also discovered that using a dry or slightly damp bristle brush is great way for dealing with slight glue overruns etc... and will probably work well here to!
-
Ahh excellent appreciate the pic and explanation Thomas. Thank you I learned a lot with that. Yes I will adjust any that need it. Also explains why the rings are there just back of the screws. Hi Gregory, thanks for commenting. I was referring to the line of ring bolts with split rings that run along the length of the deck and are set back from the carronades. True the carrronade base with wheels is fixed with a pin but the sled on top of the wheel base slides back in a slot (like when the gun is fired) Or as Thomas is saying it can be pulled back using an additional tackle. Or forward after firing by using the upper tackle which runs to the bulwarks.
-
Agreed Thomas, it doesn't bother me that they are out a little either. Their appearance and scale with the model make them more than worth it. I have a friend got this kit when it was first produced and the cast carronades he has look great! I couldn't of used the ones I received they looked like the mold had never been reworked since then. Couple of questions? The eye bolts and rings in the deck were they used to fasten the carronades in ruff weather? On the plans they show them placed in the deck so they are situated in line with the center of each carronade sled, with some additional ones in between. As I discovered early on the plans at the stern carronade port opening do not line up with the "as built" on my model. Therefore should I adjust accordingly rather than take their exact locations from the plans and have some of them off center with the sleds? Also what is the recommended method for gluing the rope coils for the carronades onto the deck surface, do you use just a touch of diluted PVA? I don't want to mess it up with glue showing through or white edges from the glue. Sorry if these seem obvious but I would rather know the best way of doing them
-
HaHaa I got a good laugh outta that one Pat. I remember feeling the same way about the sucker hanging off the stern.
-
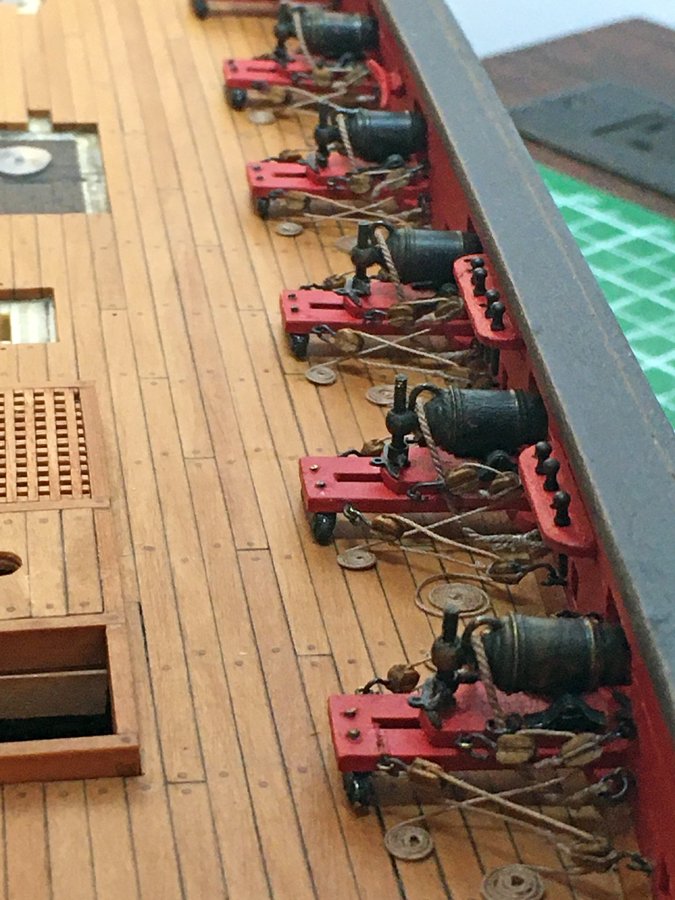
Thanks Patrick, I can't imagine fighting with the nylon rope after using Chucks. I probably would have given up! Haven't glued the carronades or eye bolts yet. But I probably will now that the breach lines are done and then install the tackles. My deck seems a to be a little bit narrower then the plans show with the guns in position, so I want to make sure that won't cause any issues before I commit Thanks for looking I really like the job you did on your breach lines they look fantastic. I chose to go with the simpler eye around the ring because it was easier on my eyes. I've got cataracts and glaucoma and my specialist appointment was cancelled due to covid so I am trying to keep eye strain to a minimum. Not easy at this scale eh but is what it is... Couple more pics, Cheers ~ The carronades are not dead center in the port openings. For my first time doing them and using caulder craft guns instead of the kit supplied I can live with it. ~
-
Thank for all for your encouraging comments and likes. All helps to keep the juices flowing Almost have the breach lines on the carronades completed on the starboard side. I decided to go with a simple eye splice around the ring then seized with silk thread.