HOLIDAY DONATION DRIVE - SUPPORT MSW - DO YOUR PART TO KEEP THIS GREAT FORUM GOING! (Only 13 donations so far - C'mon guys!)
×

NovaStorm
-
Posts
321 -
Joined
-
Last visited
Content Type
Profiles
Forums
Gallery
Events
Everything posted by NovaStorm
-
 She is a beauty Technically you should switch the way you have your flags. You did exactly what I did before doing my research lol. In fact the NS flag off the gaff is the most important flag position on the ship and reserved for the ships country of origin. If the ship was visiting another country and decided to fly that countries flag as a courtesy or to honor them then they would fly the other countries flag in any position below there own. The NS flag or any other sign or signal flags that the ship uses can go higher or lower than the country flag. The NS flag usually went where you have the CA flag. You have done such an awesome job making your flags. The signal flags are really going to add a nice touch to the end effect. Cheers Robin ~
 -
You should still be able to drill it the same way as in the instructions Matt. The only difference will be in the thickness of the decking. From what I have seen in some logs a block is drilled with the correct angle for the mast. The block is held down on on the deck surface and the drill inserted into the hole which acts as a guide. Your hole does not have to be the thickness of the mast base remember so it shouldn't be to hard to do. Check out Thomas Gahm's build Page 8 Here
-
That is looking really good, way better than before. You will be in the swing of it in no time now I have left mine to age lol naturally. I can see it change almost by the week. I only used one roll to do my whole hull so glad you have two if I had known I would have experimented more. You will get better and better at peeling the backing off too... Cheers ~
- 950 replies
-
- 2
-

-
- syren
- model shipways
- (and 1 more)
-
Any slight bends or folds will come out again with the burnishing so they don't all have to lay out perfectly clean. I used tweezers to hold the piece in position for sticking down I can't imagine wearing rubber gloves. First impressions (pun intended) are very important! Can you post a pic of the stamped impressions before you stick them to the hull. Are you planning on sealing the hull ( I used a couple coats of primer) most use wood sealer. I am not sure how well the glue will work being stuck to raw wood and you don't want it falling off after a year or two. I tried Dirks salt and vinegar to tarnish them on a test piece and it wasn't for me. There are other methods out there including using fire which I found recently. Left shinny new in another year or two it will naturally tarnish up and look great also. I think you will be on the right track with using an eraser to burnish. There is lots of copper in the kit if you have two rolls as I did, so do experiment to come up with what works best for you. Hope this helps it is a tricky and tedious process until you find the knack that works for you. Cheers ~
- 950 replies
-
- 3
-
-
- syren
- model shipways
- (and 1 more)
-
Thomas, great pic huge help thanks so much for taking the time It has occurred to me that I can use the basswood like a trial run template to. which I will do to hopefully get it all right before the final shaping and attaching of the pear parts. I'm slowly learning here!
-
I did the same thing and made up a bunch of different sanding pads when doing mine. They all came in very handy and I need to make some more It a good start Patrick keep er up!
-
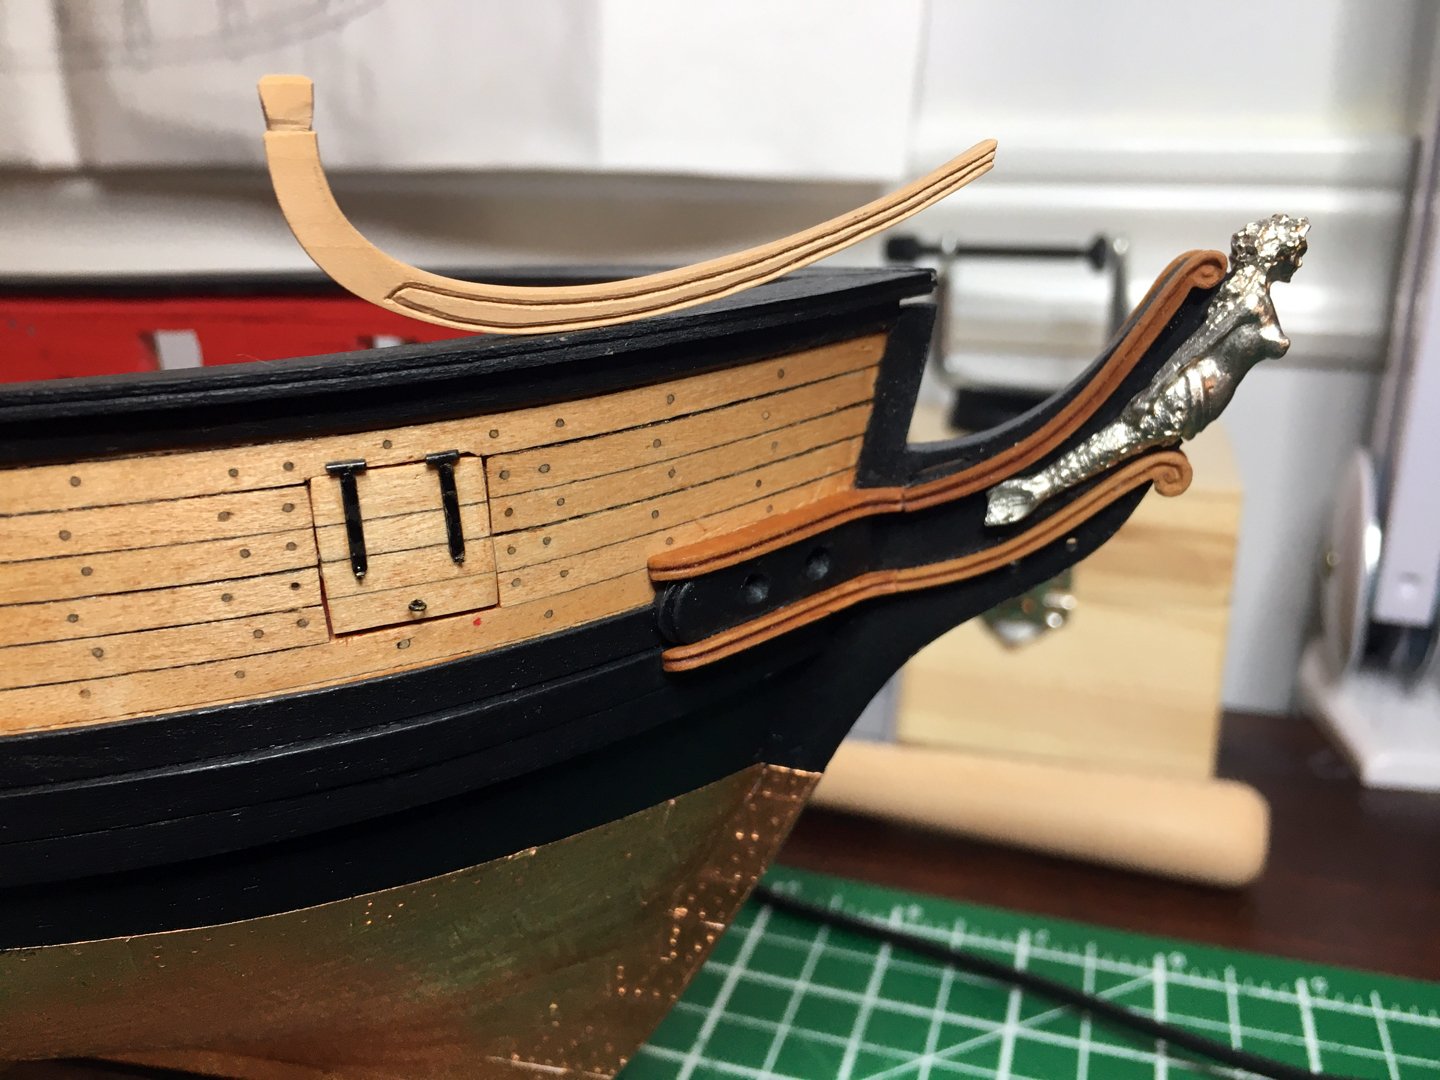
Well I think I cut my teeth doing the cheeks on the stem and hull. I just cut out using pear and carved the top head rail and it didn't go to badly. Think I will do up all the rest of the head rail parts and catheads before assembling them. Not totally sure if the top head rail actually gets notched into the rail or if the rail gets notched, or if it just rests against the rail and is really held there by the cathead? If Anyone wants to add any knowledge on that one I am all ears Oh the Admiral and I are out of isolation today all good! Phew!!!
-
Joe that came out some nice Regards, Robin ~
- 140 replies
-
- 2
-
-
- benjamin w latham
- model shipways
- (and 1 more)
-
Lets hope went shopping for a dremel at the local hardware then two employees who were on that day tested positive. But yes now I've got my dremel (amazon) and some extra time if the admiral quits putting me to work. Only her bathroom left to paint
-
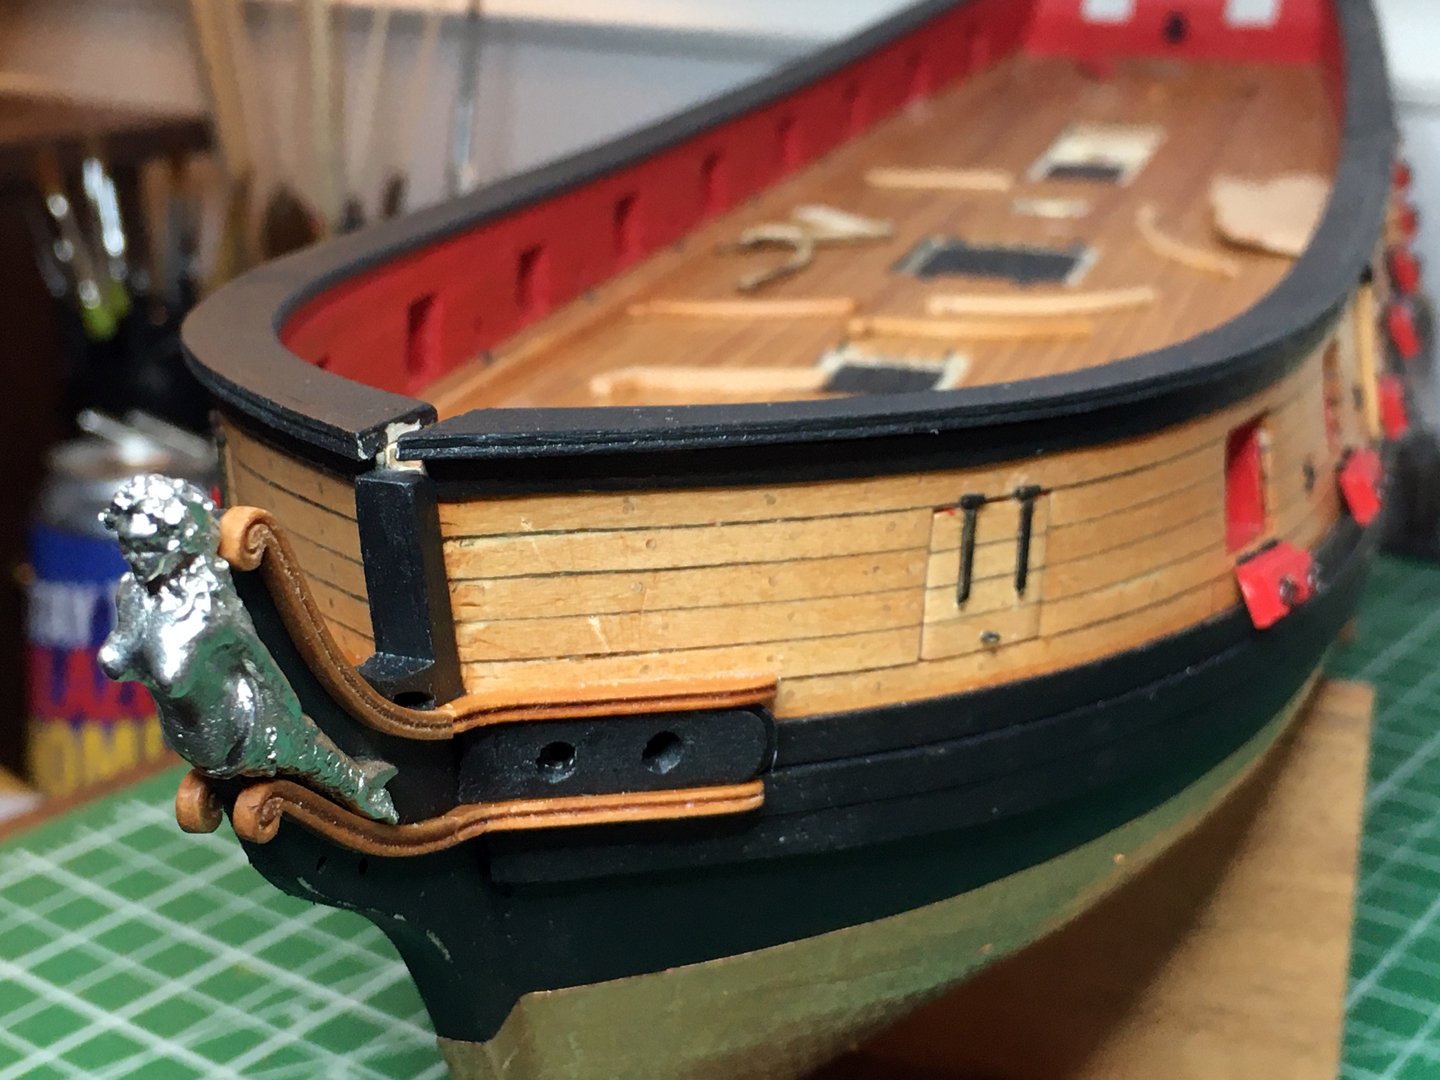
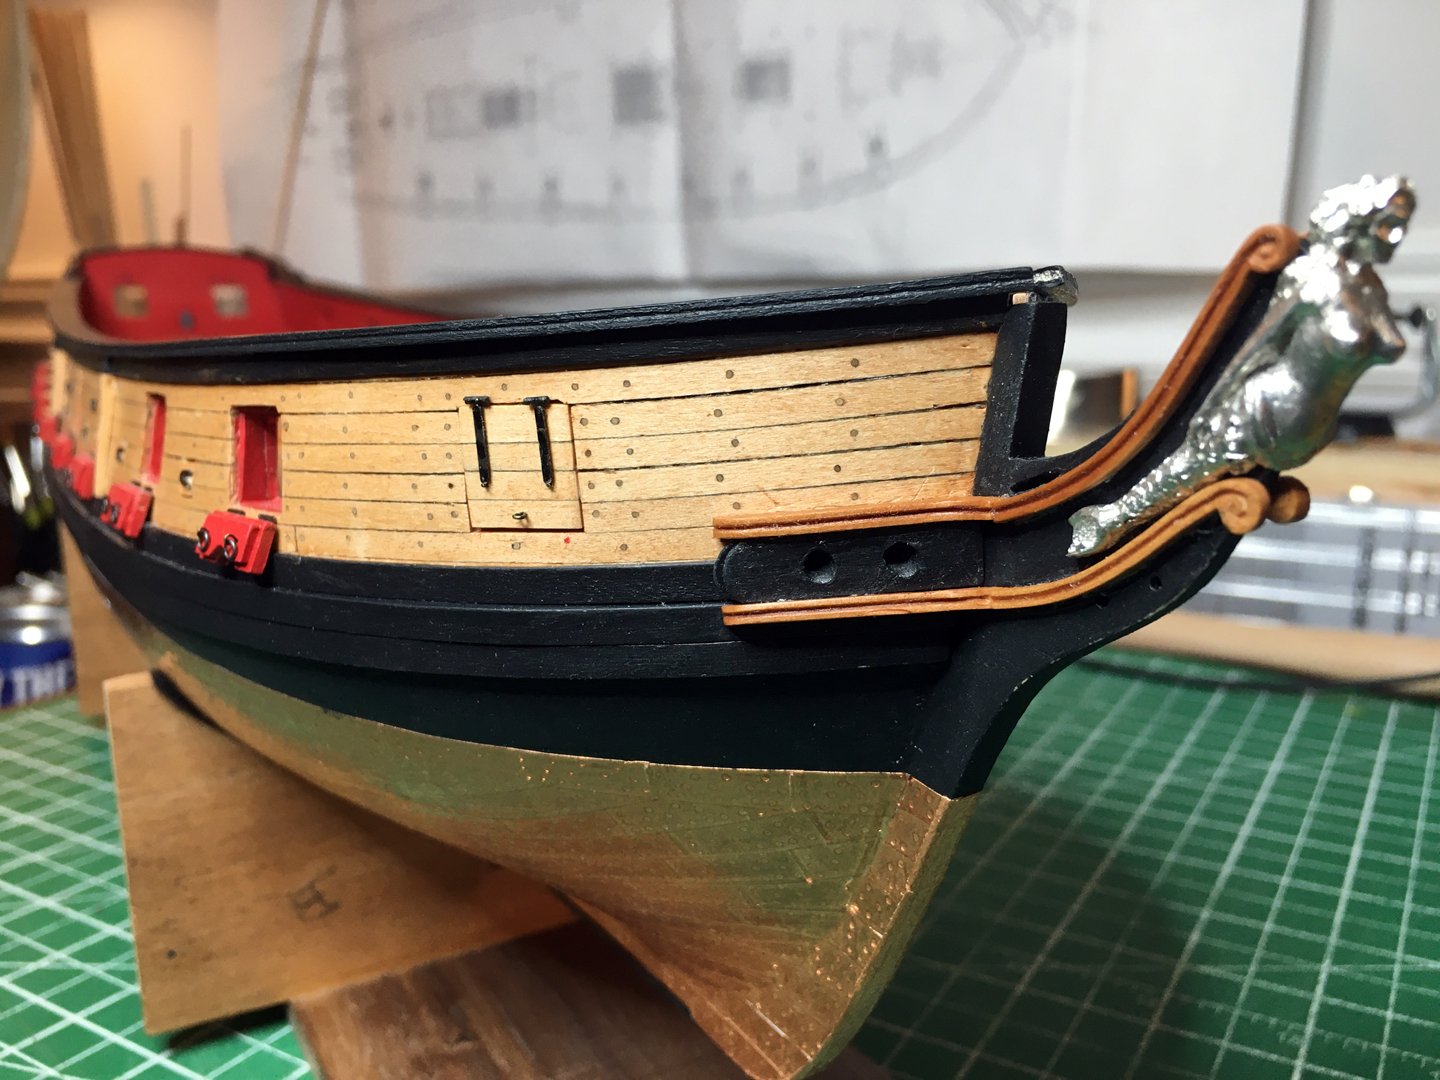
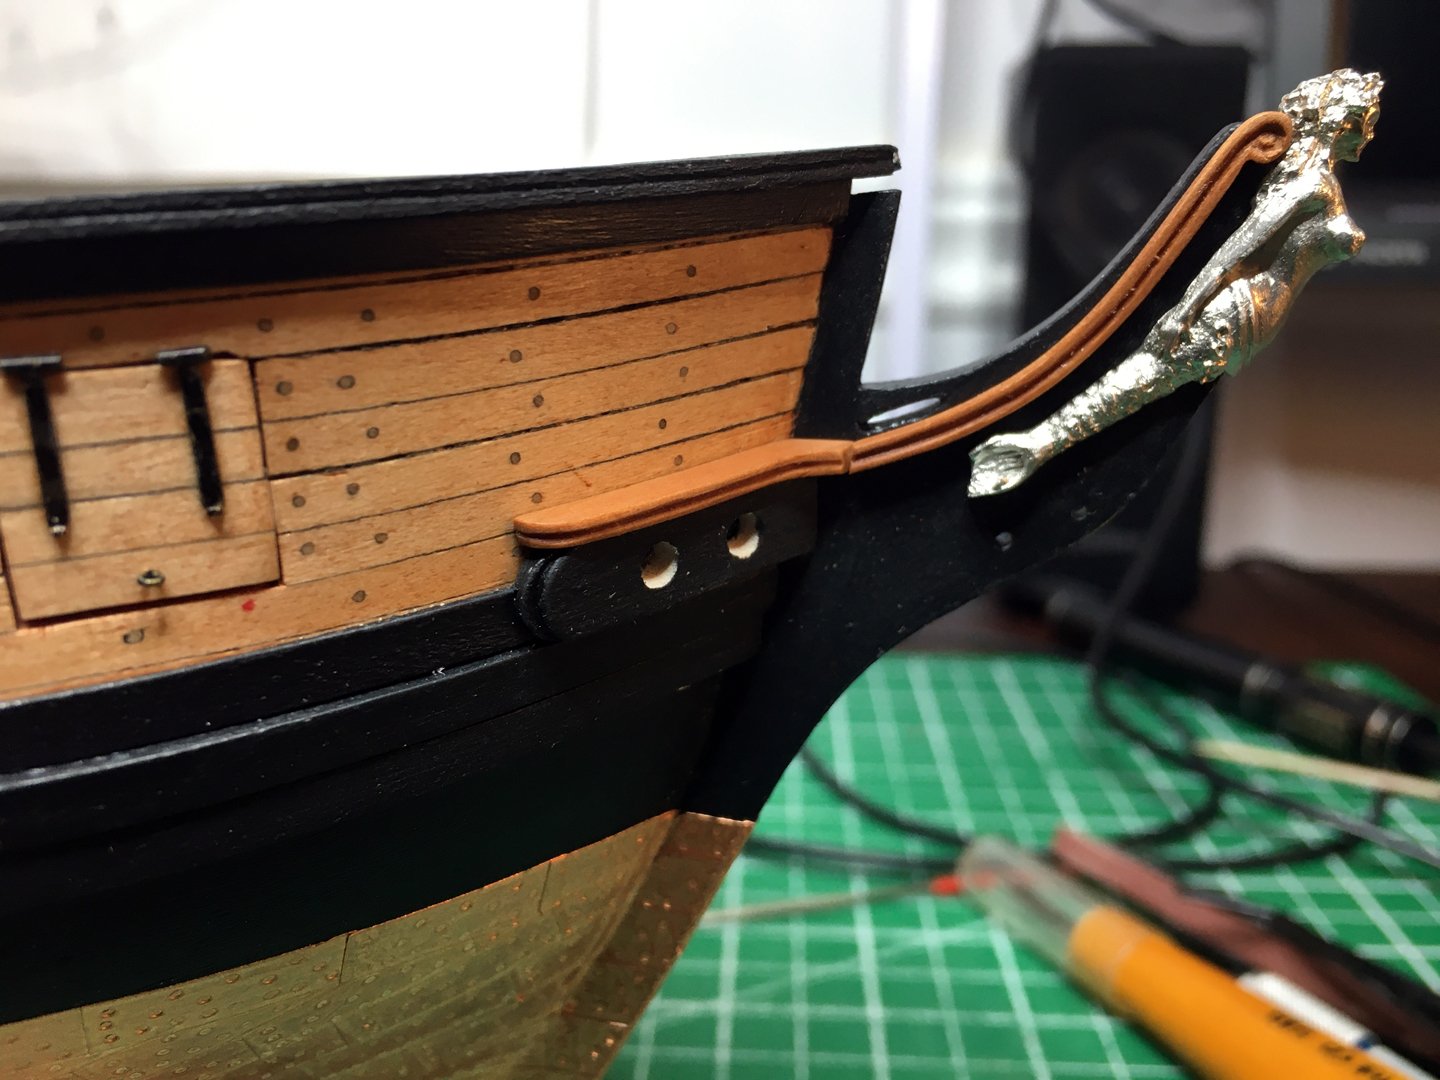
Well I've been put into isolation due to possible covid exposure. So I've had to stay the blazes home! That wouldn't have been so bad if I had everything I need right here but of coarse it never works that way. Anyway I've been picking at the head rail system and hawse pipes etc. It is a very tricky area which hopefully I can get right. My new dremel finally arrived today and the brass wire I needed for the carronades. Just couple pics for your entertainment Cheers all stay safe Regards ~


-
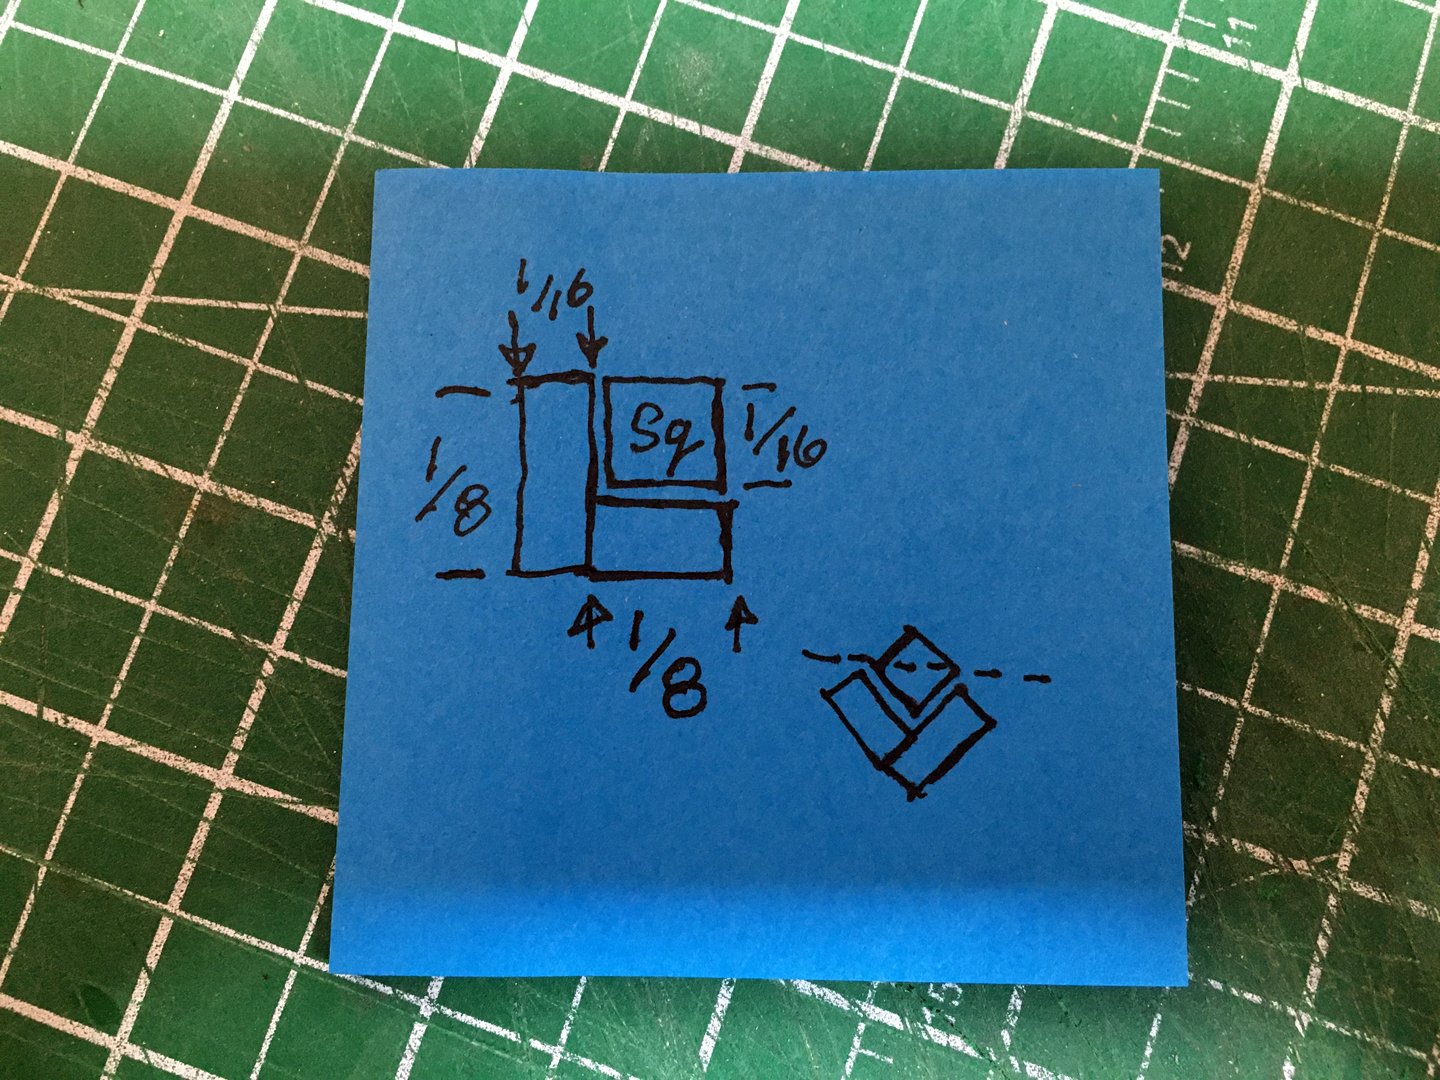
Good looking job you have done with your planking it looks very clean. Guess you decided not to nib the margin planks at the stern. For doing the waterway triangular profile I glued two 1/8 planking strips together to form an L shaped run a foot or so long. I then placed the strip of 1/16 square into the L and turned enough allow me to sand the strip flush with the edges of the L. Voila one triangular profile. Not sure what others have done but this was easy to put together and worked for me. Here is a pic if your like me a pic tells it better!
- 950 replies
-
- 3
-
-
- syren
- model shipways
- (and 1 more)
-
That will be a perfect little fishing dory when your finished. Same drawings I used on my Bluenose dories. I used a thick veneer for the planks and overlapped the bottom of each slightly over the top of the one below, on down. Cheers ~
- 140 replies
-
- 2
-
-
- benjamin w latham
- model shipways
- (and 1 more)
-
Excellent job your doing. I have the same problem switching sides, weird eh.
- 950 replies
-
- 1
-
-
- syren
- model shipways
- (and 1 more)
-
I think it looks better to, the other way it looked like they were missing. Thanks for asking for input Richard I think it is great that even with a build of your caliber you want all of our opinion's. Cheers ~
-
I liked the first one but this one is much better. What do the Jenson drawings show for whelps. I would have thought eight given they are just inserts that could be changed out as they wear down. Seems odd that the pics only show 4 eh. Beautiful work Richard
-
I went the opposite way when I did my deck. Mostly because I think it is easier to work out your nibbed plank at the bow first and then once done all you need is straight butt joints to continue the run. Once you get to the stern it is just a butt joint which is fairly easy to get right off. To each there own The deck bows in the middle on the long run that is normal. You should be able to take a plank pushed down flat onto the bulkheads and see it touching all bulkheads evenly without a gap or wavyness (not a real word) between any two. If you have a gap or it is wavy you may need to sand one or two to get it touching down evenly. Looking good what your doing. I followed Dirks example on the joints as well. It works out nicely. It is just personal choice if you want to leave the opening's for the coaming's or just glue the coaming's and fittings on top of the deck. The openings are how it is done on a real ship so some prefer to do it that way. Cheers keep up the good work
- 950 replies
-
- 5
-
-
- syren
- model shipways
- (and 1 more)
-
What you have done so far looks great and you are right with your stern filler below the counter. You can't have enough there.
-
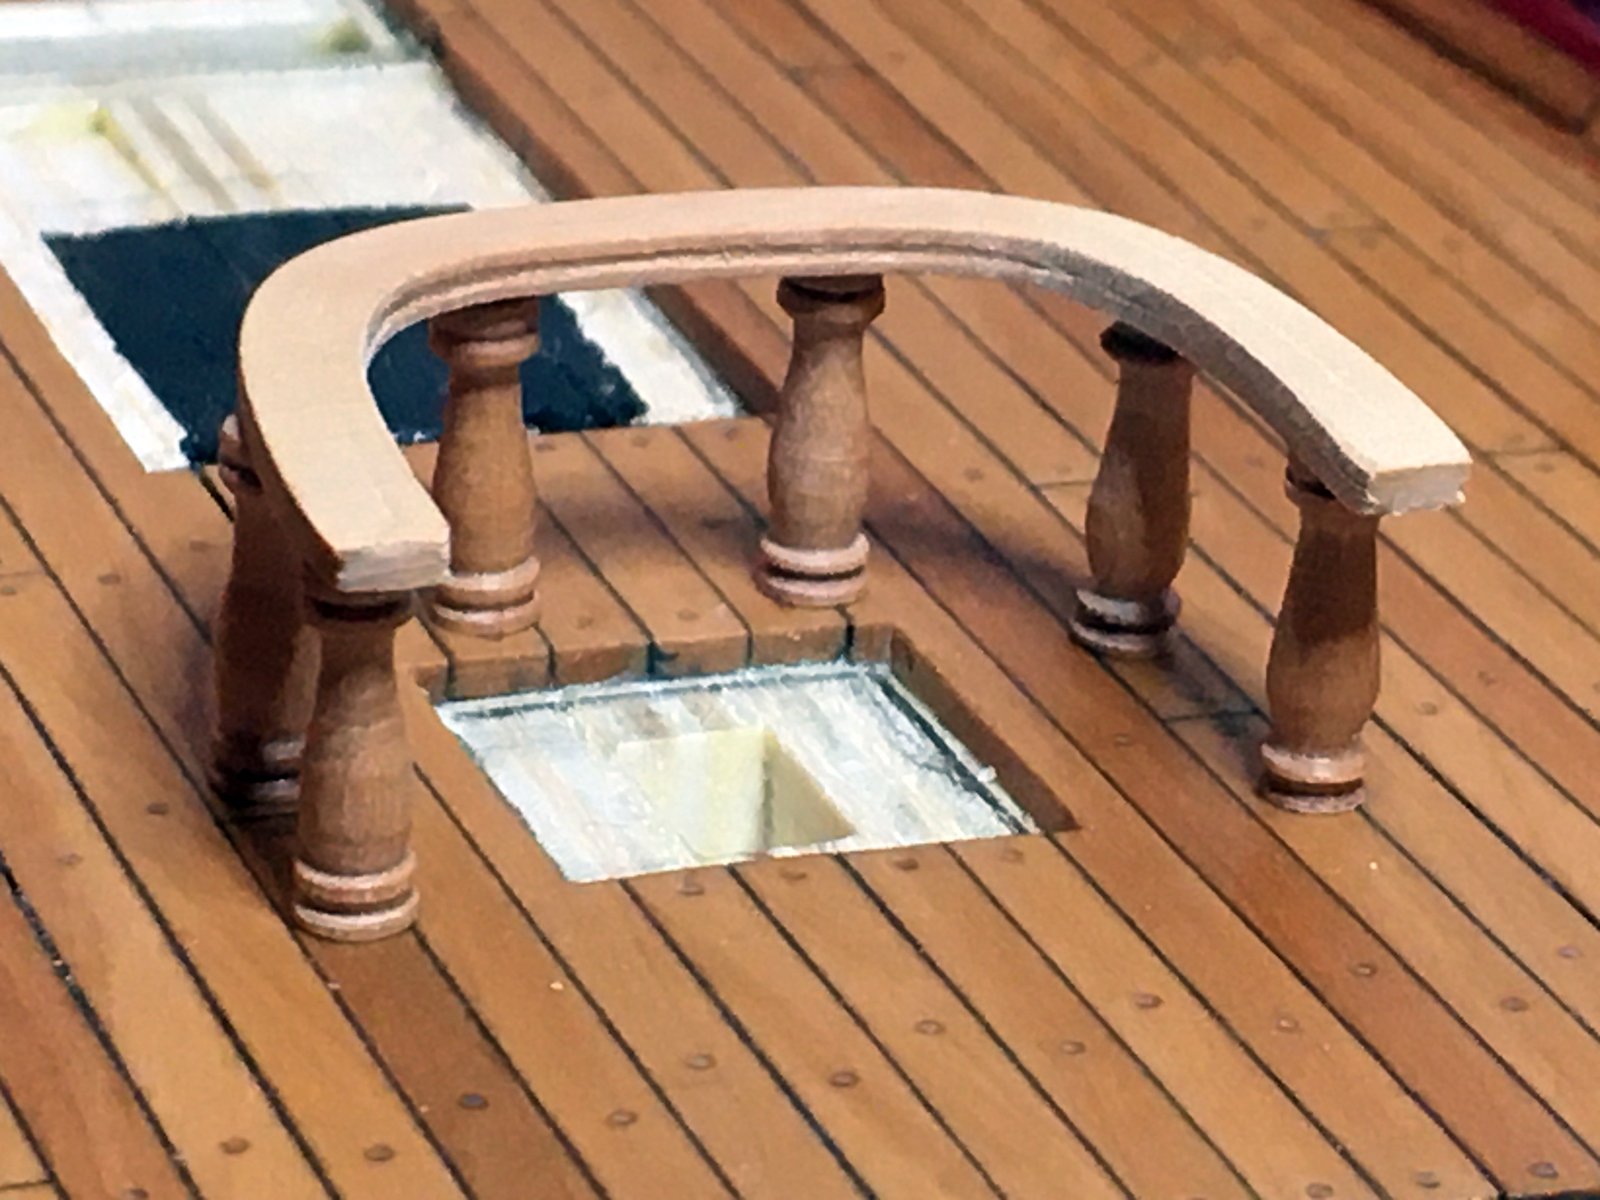
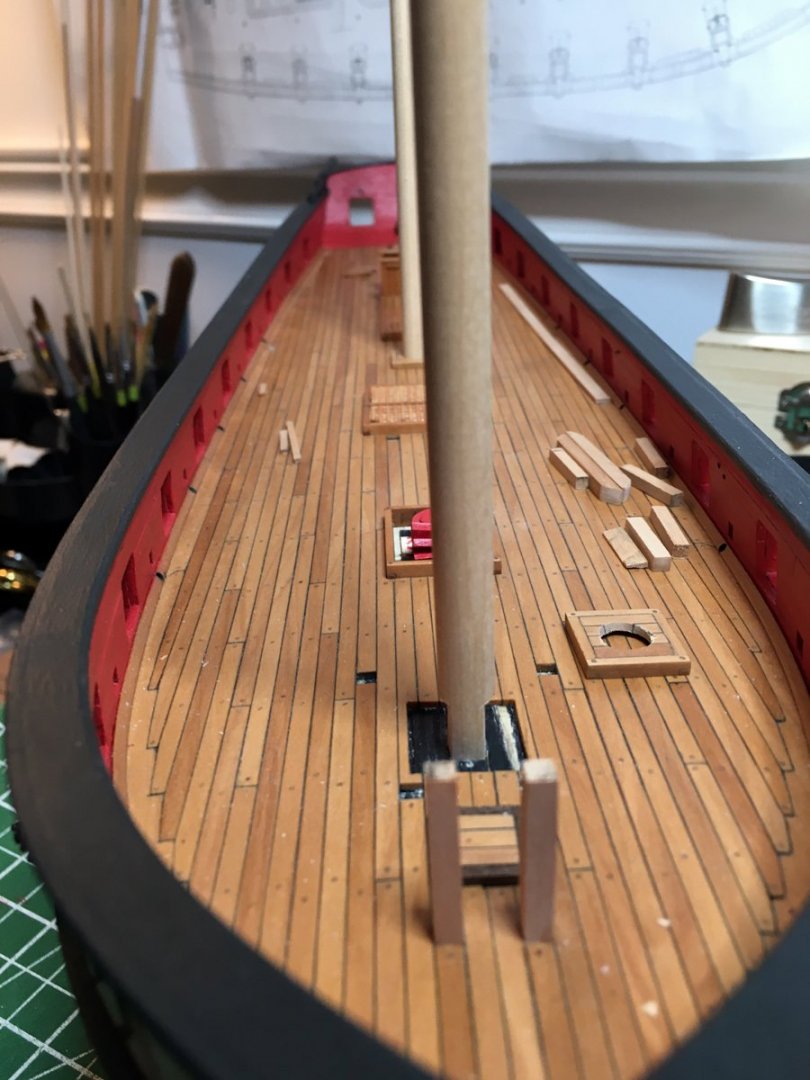
Thanks for the comments and likes from all of you. Much appreciated I've been just goofing around while waiting for my new dremel and some brass for the last carronades to arrive. Set up for the mast bases, worked on the fife rail and trying my luck with the head rails. Hope you are all staying healthy wealthy and wise


-
Loving it Richard, it is as much fun for us to watch as it must be for you building her. The windlass is looking real good and if I am not mistaken I believe the hull paint you have corrected Nice going m8 it will be many a year before we see anything like this build again I'm sure. Justice is being served!
-
They look good glad that worked out for you. I am no expert and it can be a tricky process nibbing deck planks if you haven't done it before. Not glueing in the margin plank can be an advantage and disadvantage so I would not want to tell you which is better for you. The problem with bass wood is it damages and breaks so easily that removing it from the ship to notch and nib the plank in can damage it. Especially if your deck planks fit super snug. Also not glueing it in until you have dry nibbed a number of planks does not take into account the glued edge of the plank which believe it or not adds to the thickness so when you go to glue suddenly they don't quite fit the same anymore, after two or three they start getting tight and a little out of line with the notched margin. So you have to take into account how will glue thickness affect run out. So if you don't glue the biggest advantage is you can lay out your deck well ahead of you and work out any issues before they really arise. Also removing to nib and notch can be easier than onboard but with basswood which is softer this is not as big an advantage as with a harder to cut wood like pear. I did mine in large sections without gluing in the margin until the end but I used pear which is very tough and hard so popping the margin in and out was not a problem. The choice is yours bud. Try what you feel will work for you. Also your scarf joints in the pic above look great but I would recommend you add the joint across the bulkead beam so both fore and aft joints intersect on the beam. This will be much easier to glue and strong when it come time to sand the deck and add fittings etc. Cheers hope this helps
- 950 replies
-
- 7
-
-
- syren
- model shipways
- (and 1 more)
-
I cut my own margins wally. I took a photo copy of the bow from the deck layout sheet. Cut away the outside edge of the margin planks leaving a little extra and set the sheet in on the deck laying flat in position. I was then able to draw in the final shape with out much effort. The paper folds to shape fairly easily and the point of the pencil gets into the corner. The bow just needs a couple little filler strips put in there. I believe you will be adding a layer around the hawse holes anyway so that will give you something to glue to as Eamonn has said. PS: a slight gap on the margin will be covered with the waterway. Cheers ~
- 950 replies
-
- 4
-
-
- syren
- model shipways
- (and 1 more)
-
It's great progress Patrick, you're taking your time and it shows, everything you have done looks great! That sub floor looks great to and will barely be visible at all once the companionway goes in Cheers, Robin ~
-
Thanks Keith and Keith great info I would not have known to do that. I would have cleaned it and painted. Cheers ~