NovaStorm
-
Posts
321 -
Joined
-
Last visited
Content Type
Profiles
Forums
Gallery
Events
Everything posted by NovaStorm
-
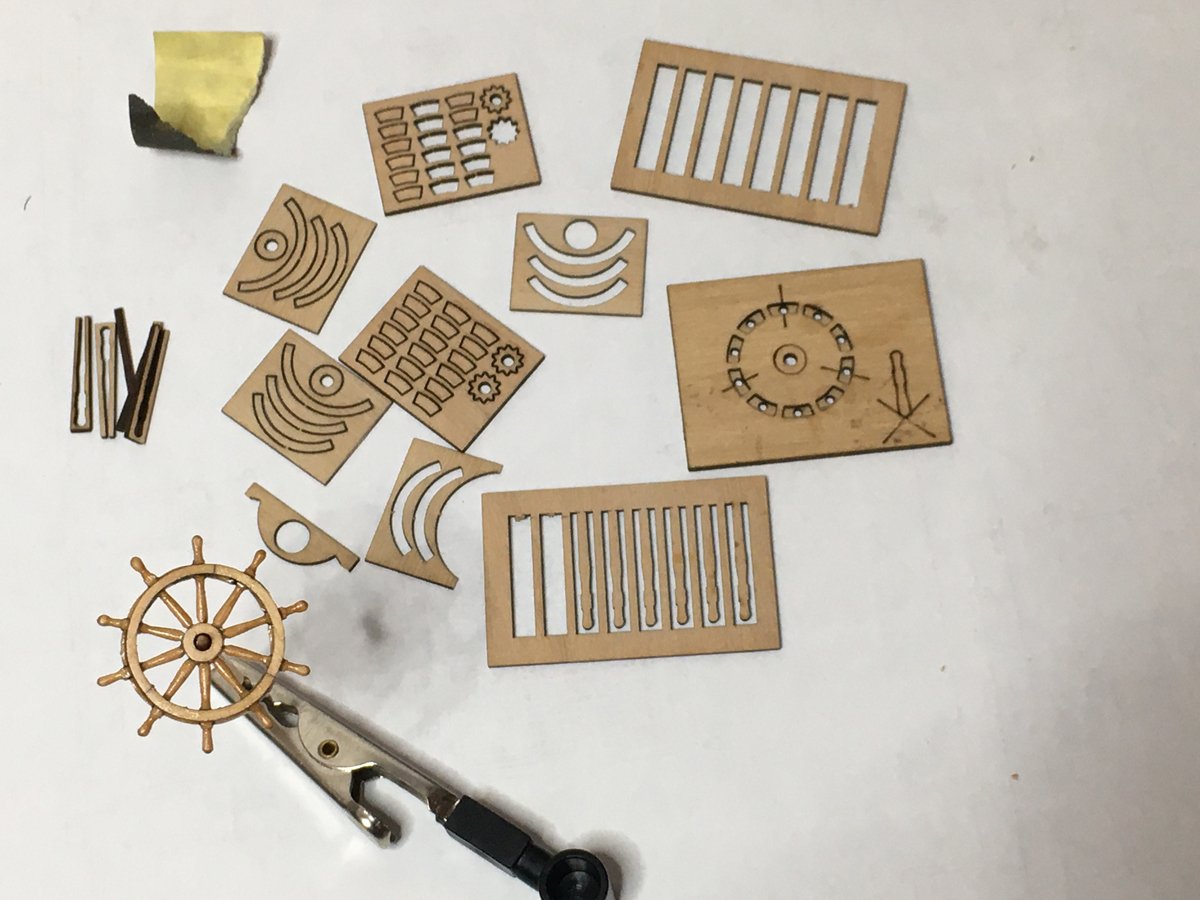
 Did up the wheel, made the wheel housing sides, drum and disks in pear.
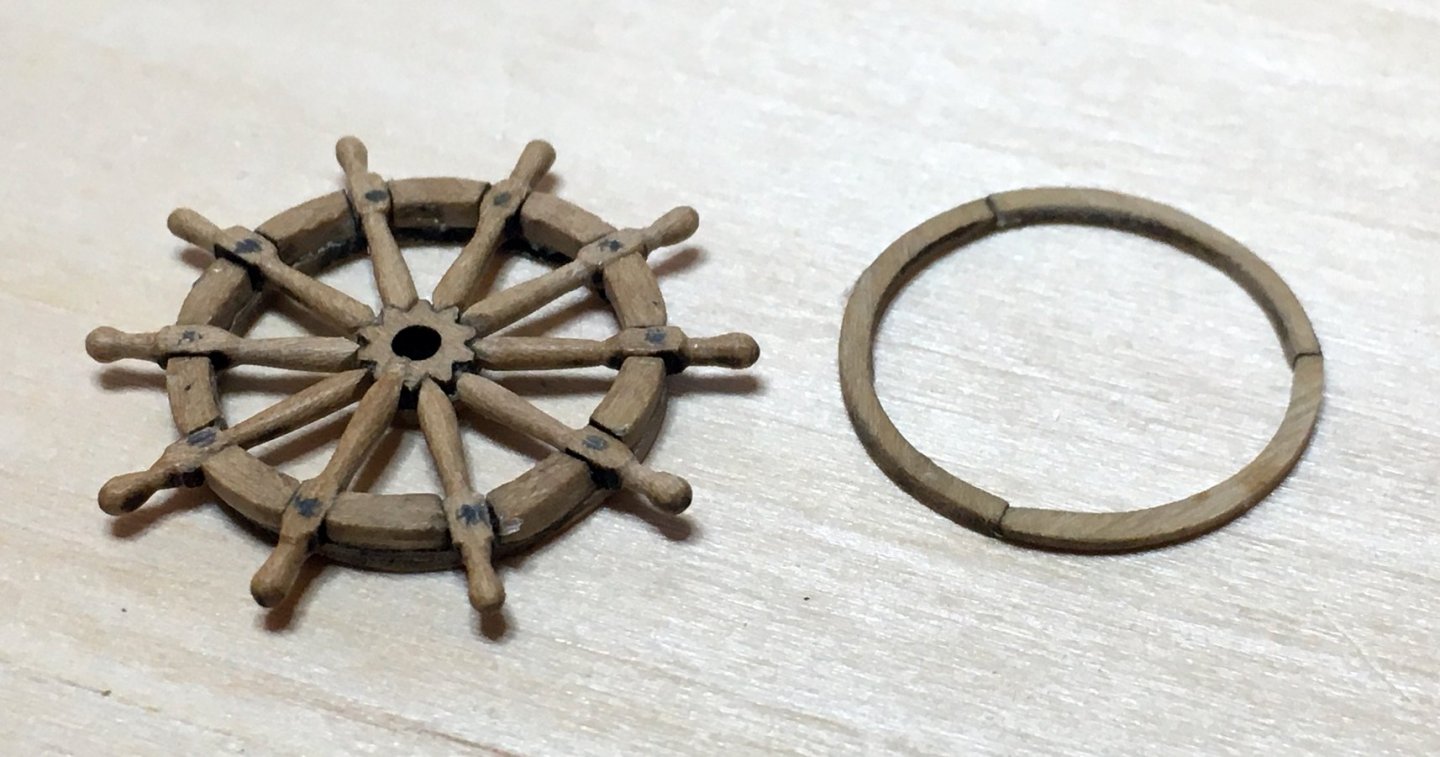
-
Pa I'm confused (not the first time) what is the purpose of the false deck.
-
Chucks 24mm boxwood wheel kit. I premade my rings by gluing the three segments on some plastic that resists glue and then used 2 sided tape on top of the jig to assemble. The spindles were turned in my dremel. Great little kit, thanks Chuck @ Syrenship Model .
-
Steven, Thomas thank you for the kind words Carved the timberheads for a couple pics. I haven't glued them as i want to make sure they are not over done. Any thoughts or suggestions are welcome!
-
I won't tell anyone Pat, honest
-
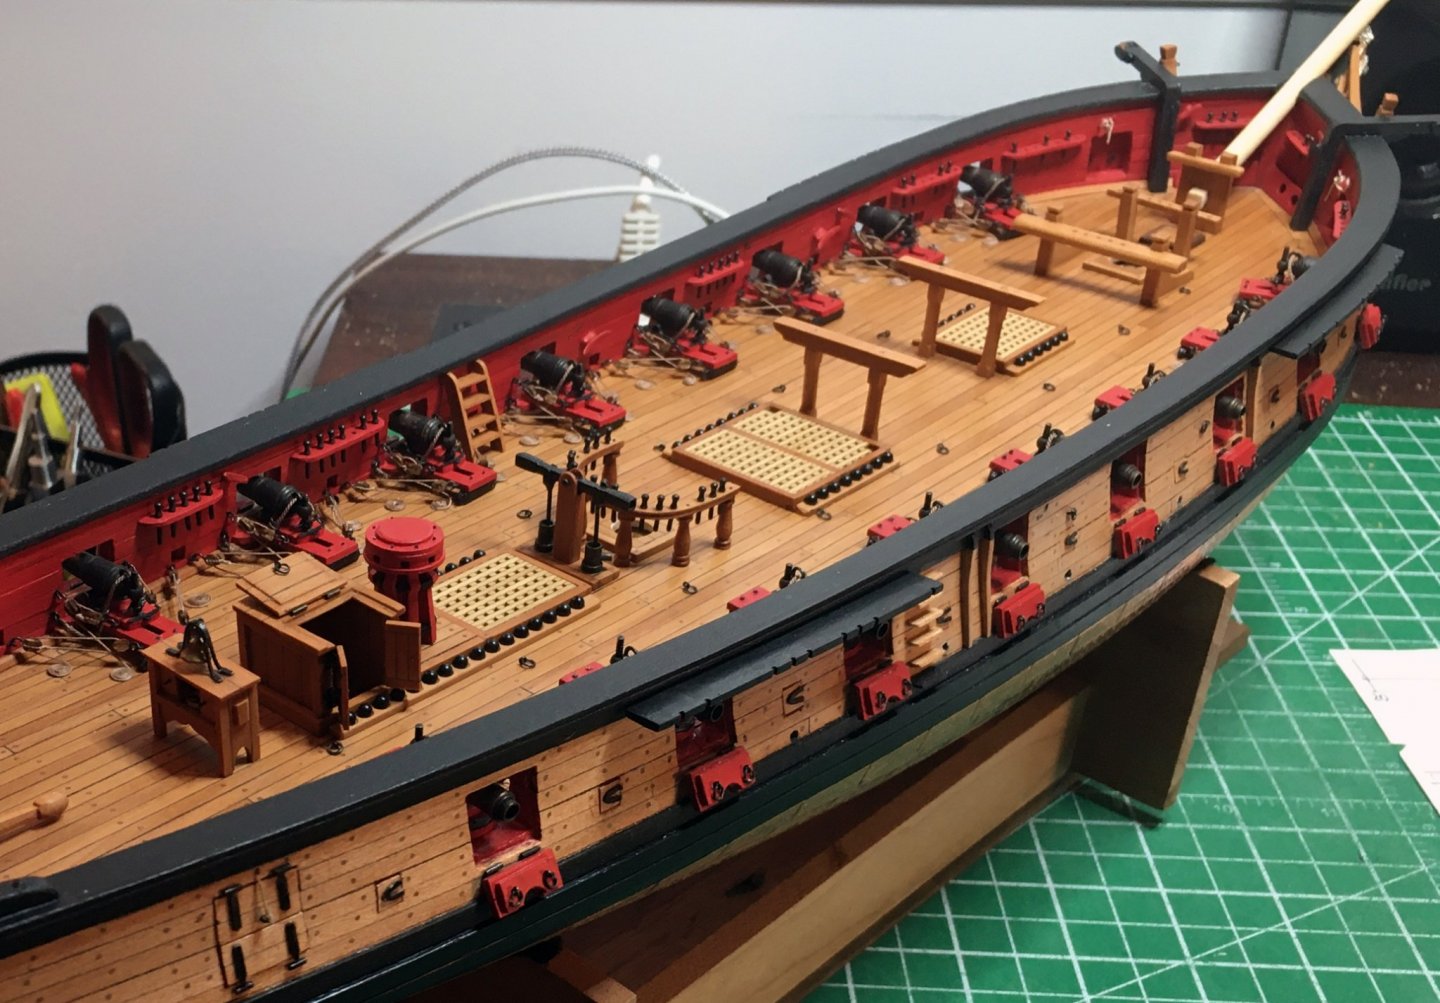
Hey thanks guys really appreciate you comments and thanks to all for the likes as well. Well honestly I haven`t reached that part in the instructions yet. A lot of my build lately has actually been without following the instructions per say and just going off the plans. First I heard of 3 boats was when Thomas mentioned it. I still need to have a go at the transom decorations and quarter badges too. I started the kit boat a while back but have no idea weather I will use it somehow yet. I picked up the master korabell boat kit with the intension of maybe using it also. I may even have a boat off ship as part of the display, I sadly haven`t even put much thought into a proper stand to mount the ship on either. Oh my Started putting ring bolts into the deck now. I also want to go through the instructions and make sure I have all the ring bolts on the bulwarks installed before gluing in the bowsprit bits as it looks like the rigging may require some more at the bow and I don`t want to get trapped in not able to drill later.


-
What you have done looks really good Justin. The gun port openings look really well done and I found them extremely hard to do well. Have a great holiday with the family. Stay safe and enjoy upgrading the kitchen and den for a change of pace
-
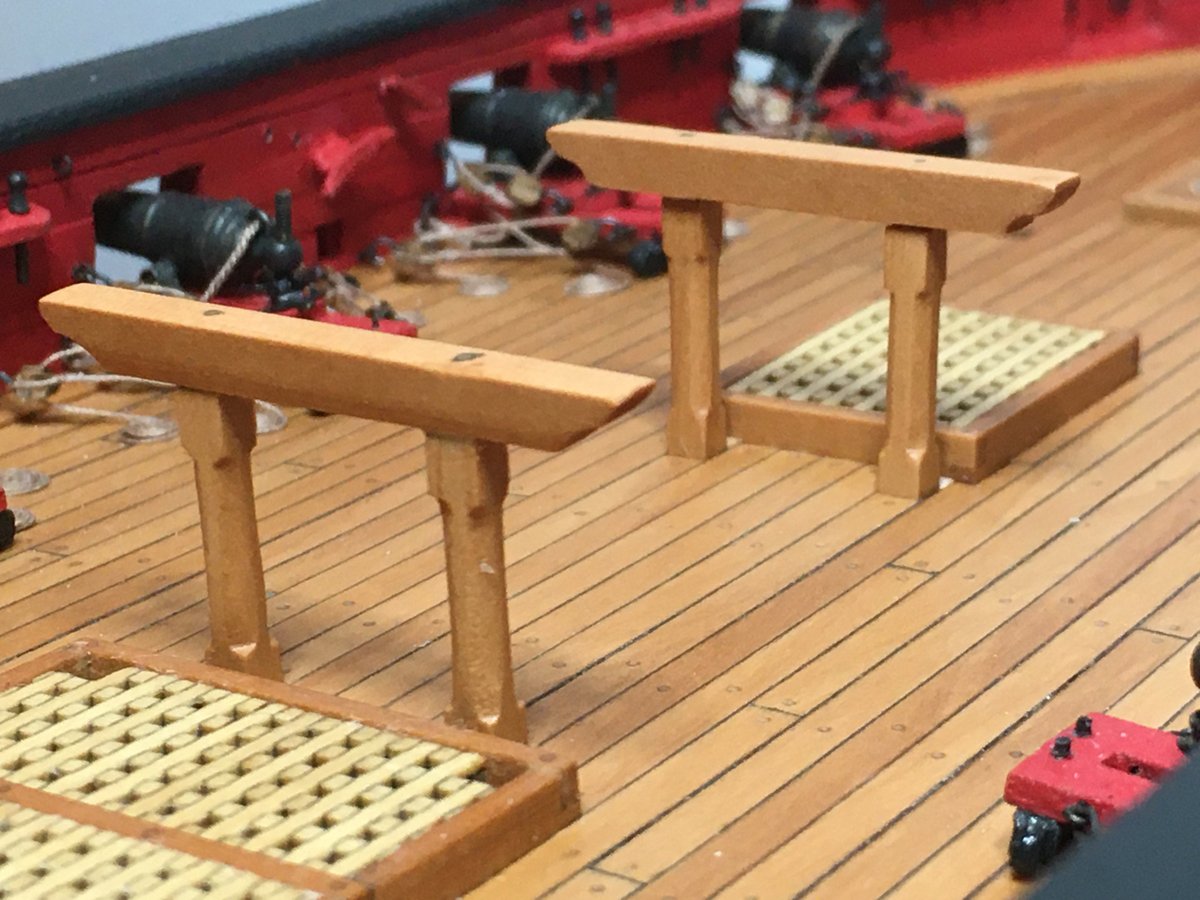
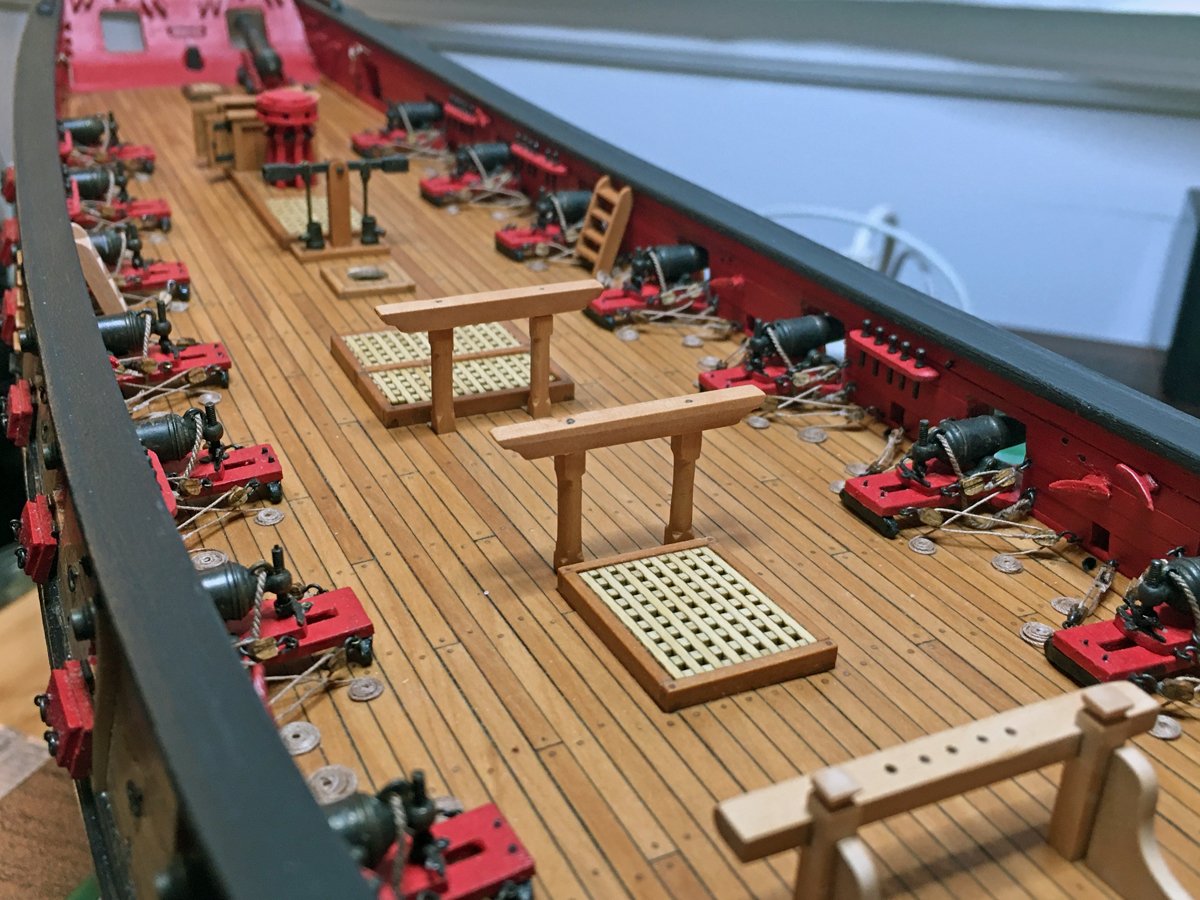
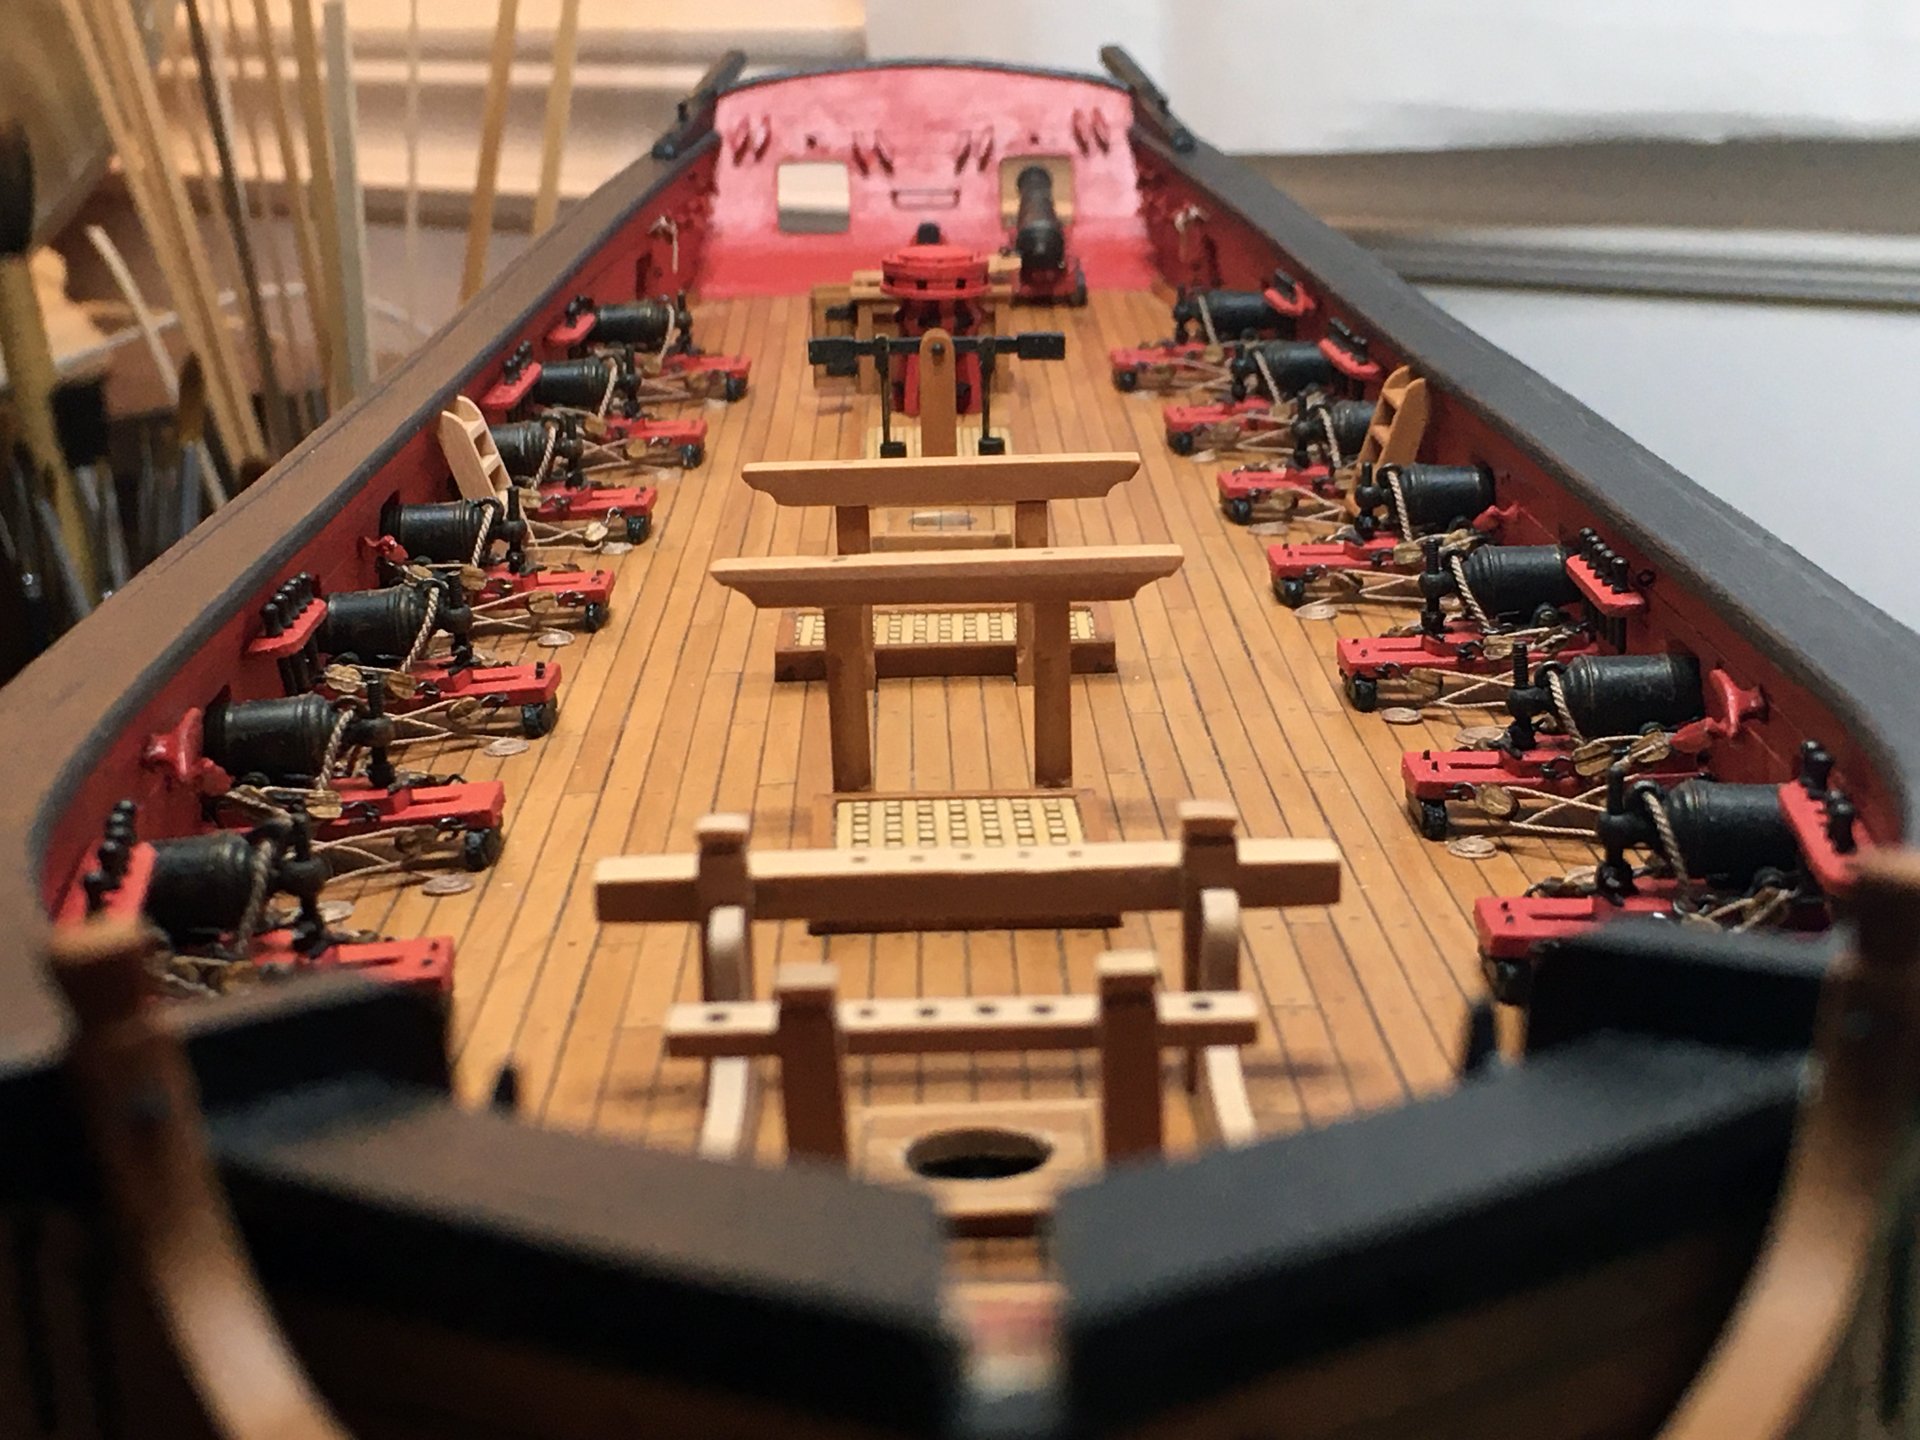
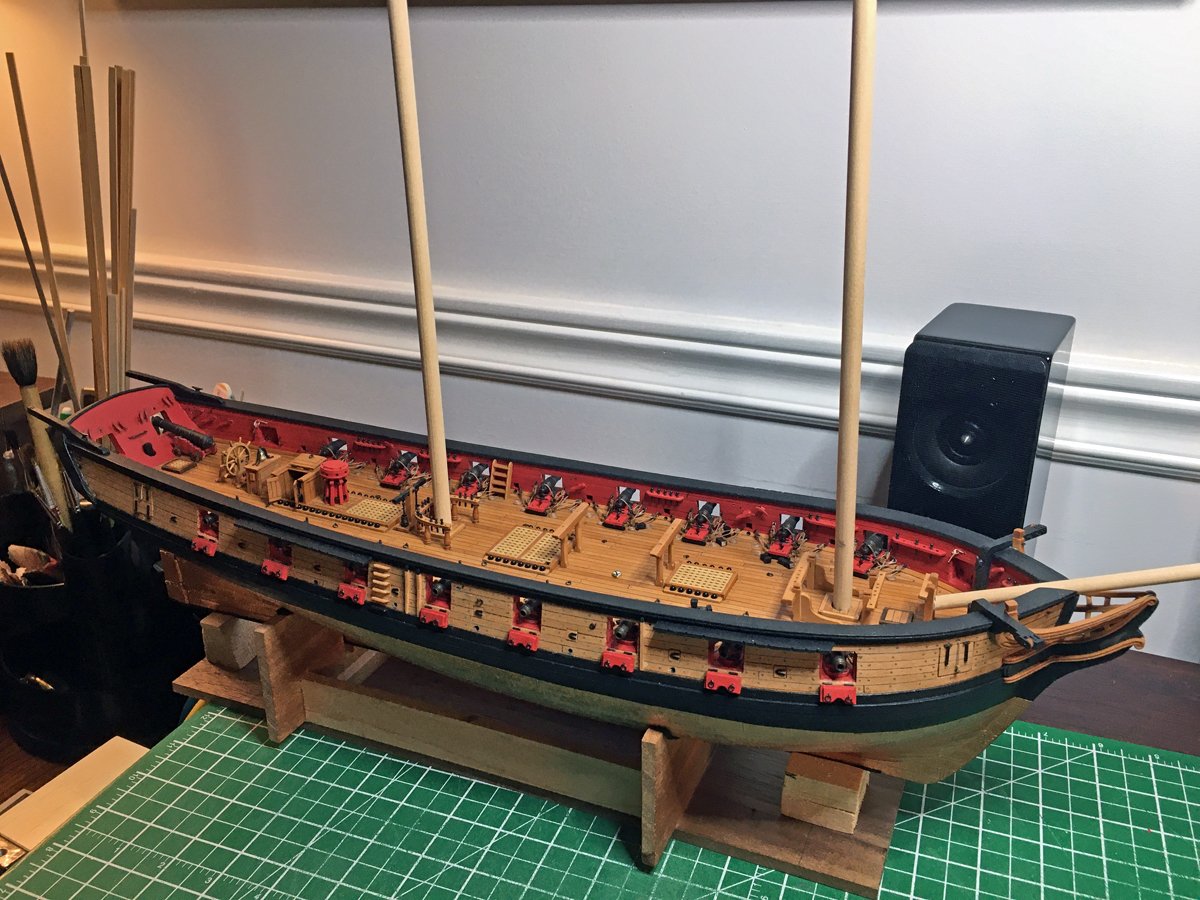
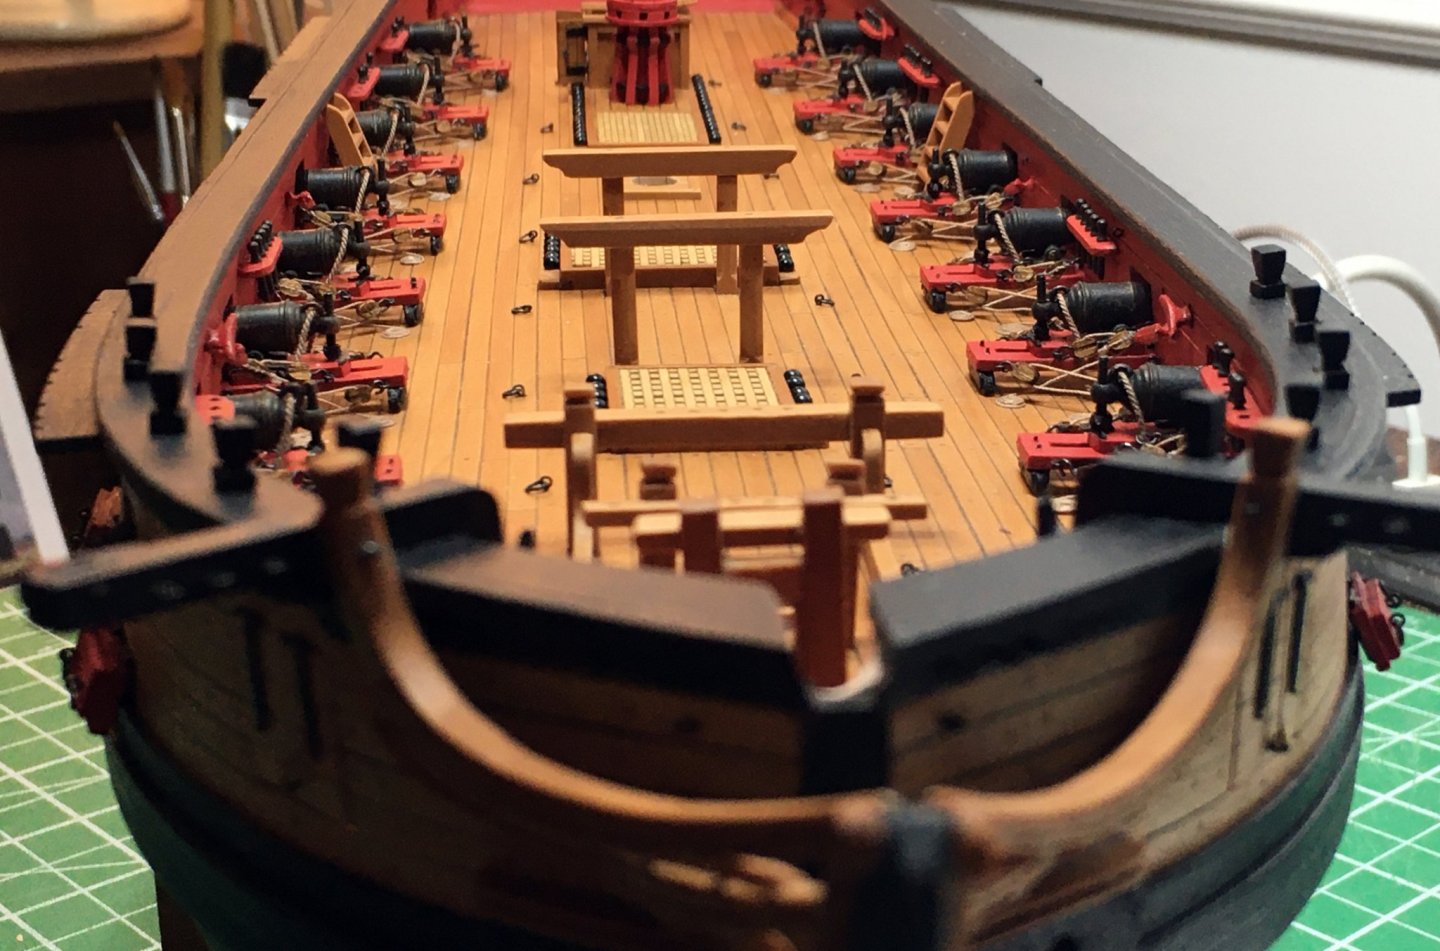
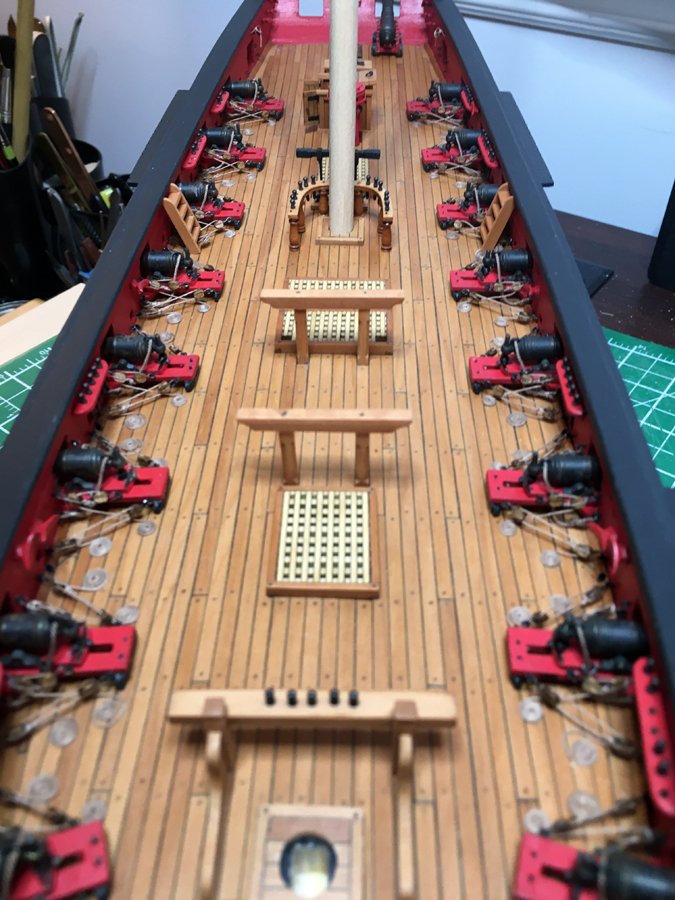
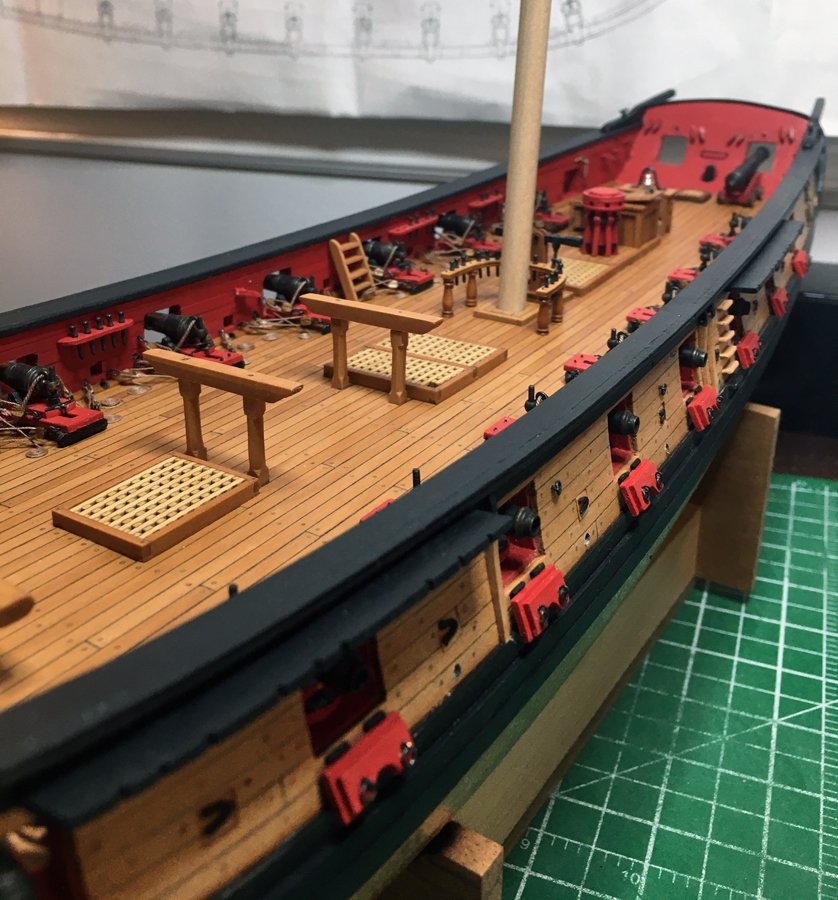
Cleaned up my deck a bit. Glued the last of the rope coils and glued the ladders, coamings with grates, companionway and capstan. Added the cannon shot racks and cannon balls. I used Caldercraft 2.5mm cannon balls to fit in with the upgraded cannons and carronades. I also added the eyebolts and rings that run across the deck behind each gun.

-
Nice work! I remember that cross piece not looking the same on the plans as in the instructions. Good eye
- 950 replies
-
- 1
-

-
- syren
- model shipways
- (and 1 more)
-
Those are looking really good. You would be brave to drill into the main rail partway. I glued my stanchions onto the main rail then drilled and wire pinned through the main rail down into the stanchion. Yours are thinner than mine by the look so I may be giving bad advice.
- 950 replies
-
- 1
-
-
- syren
- model shipways
- (and 1 more)
-
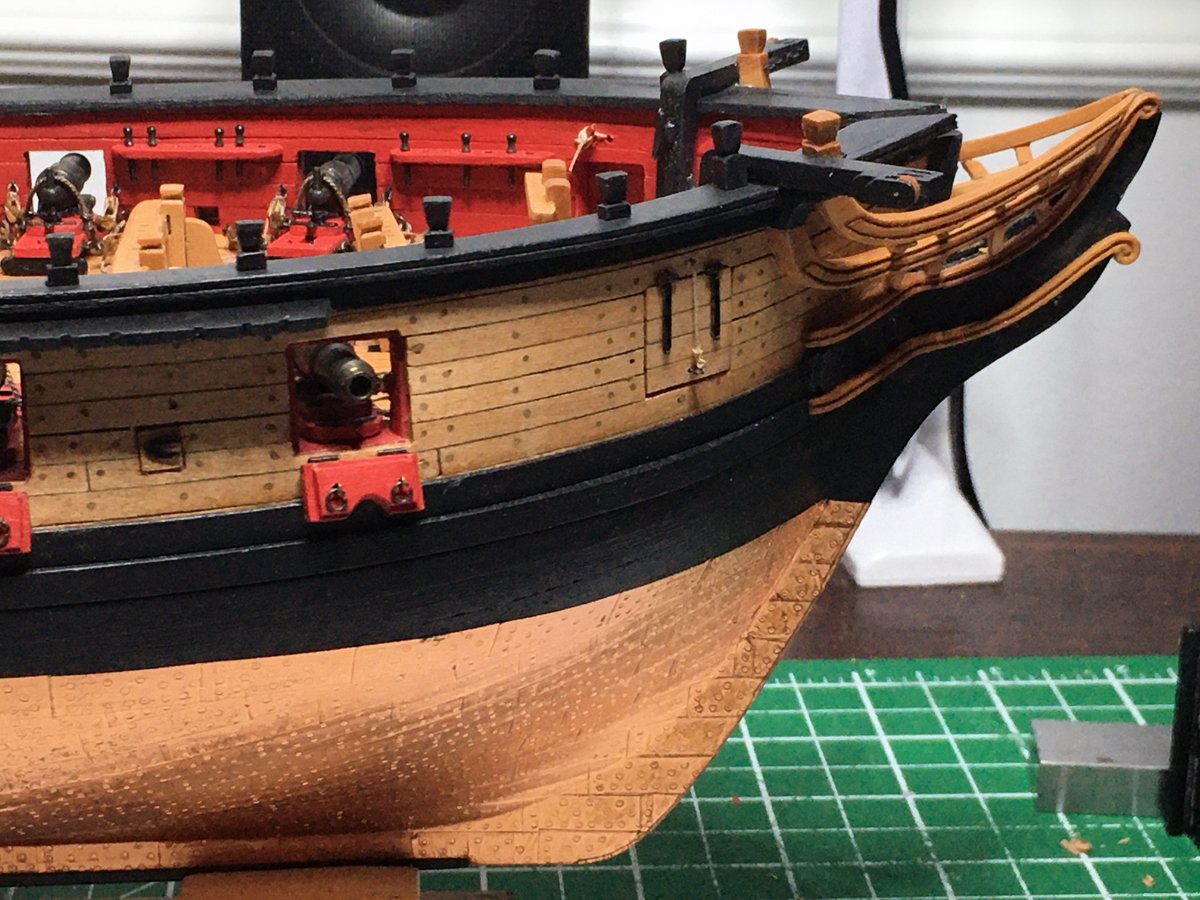
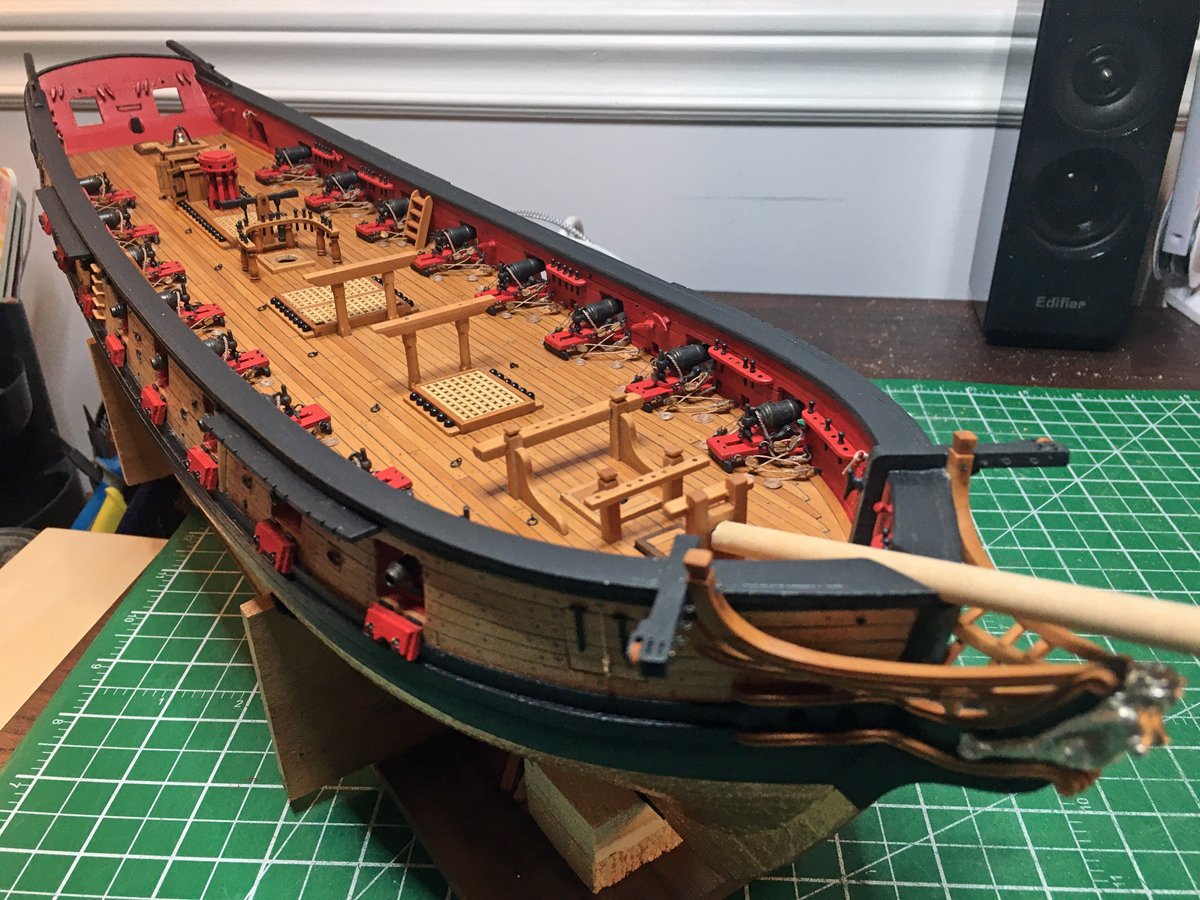
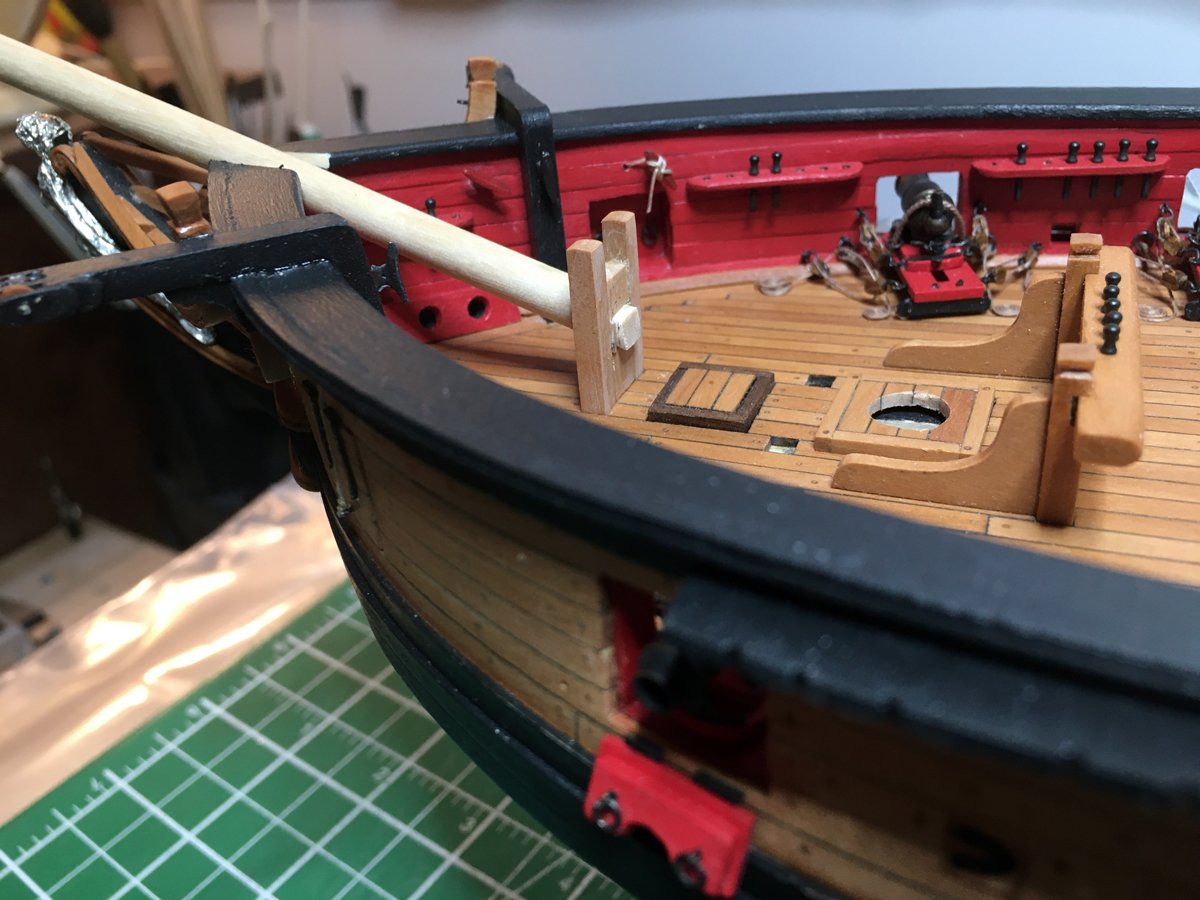
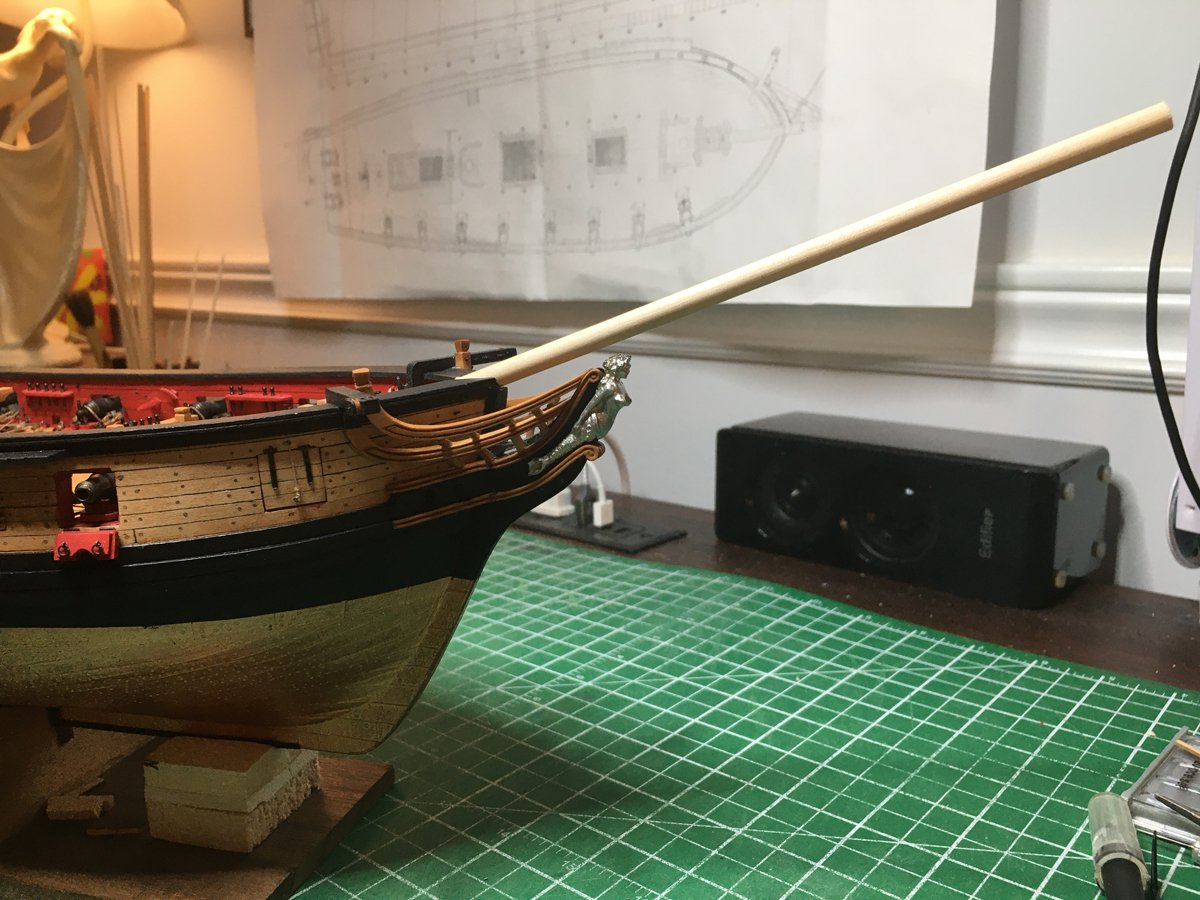
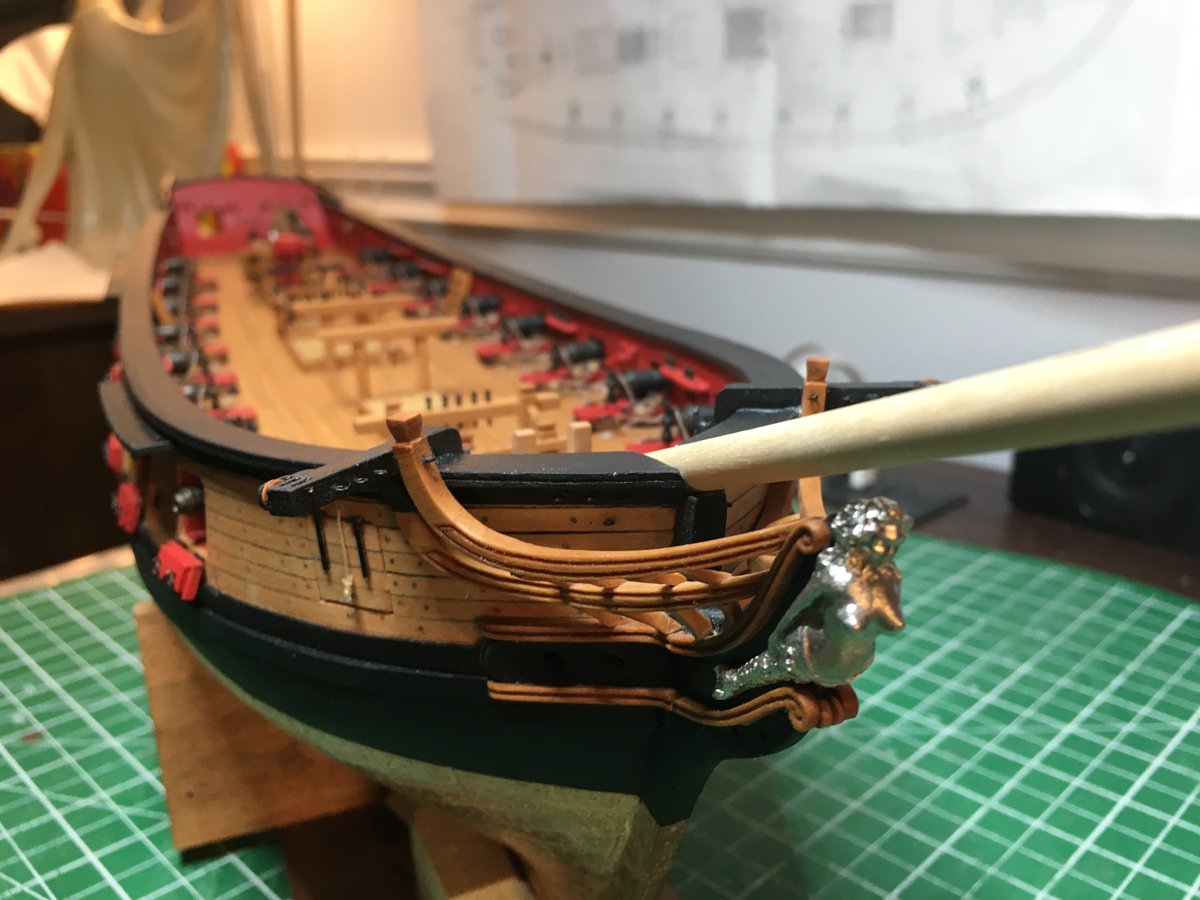
I decided to ruff in the bowsprit and bitts today. It is a little tricky as you have to do a square tenon to fit into the bitts and the 1/4 inch dowel that came with the kit was smaller than the 1/4" called for in the instructions. I ended with it sitting a good 1/8th inch above the mermaids head. With the undersize dowel I think this is as good as it will get. Nothing is sanded yet just ruffed in...

-
That looks a lot better Justin, I can see a big difference. ME paint is excellent in mho. It is good for airbrushing as well when thinned down properly. I also find it has a long storage life.
-
Oh were having fun now Mr. Bill, Christmas, your gonna think you've died and gone to heaven Enjoy ~
-
Are the mounts on the transom for the flag pole? They look great too.
-
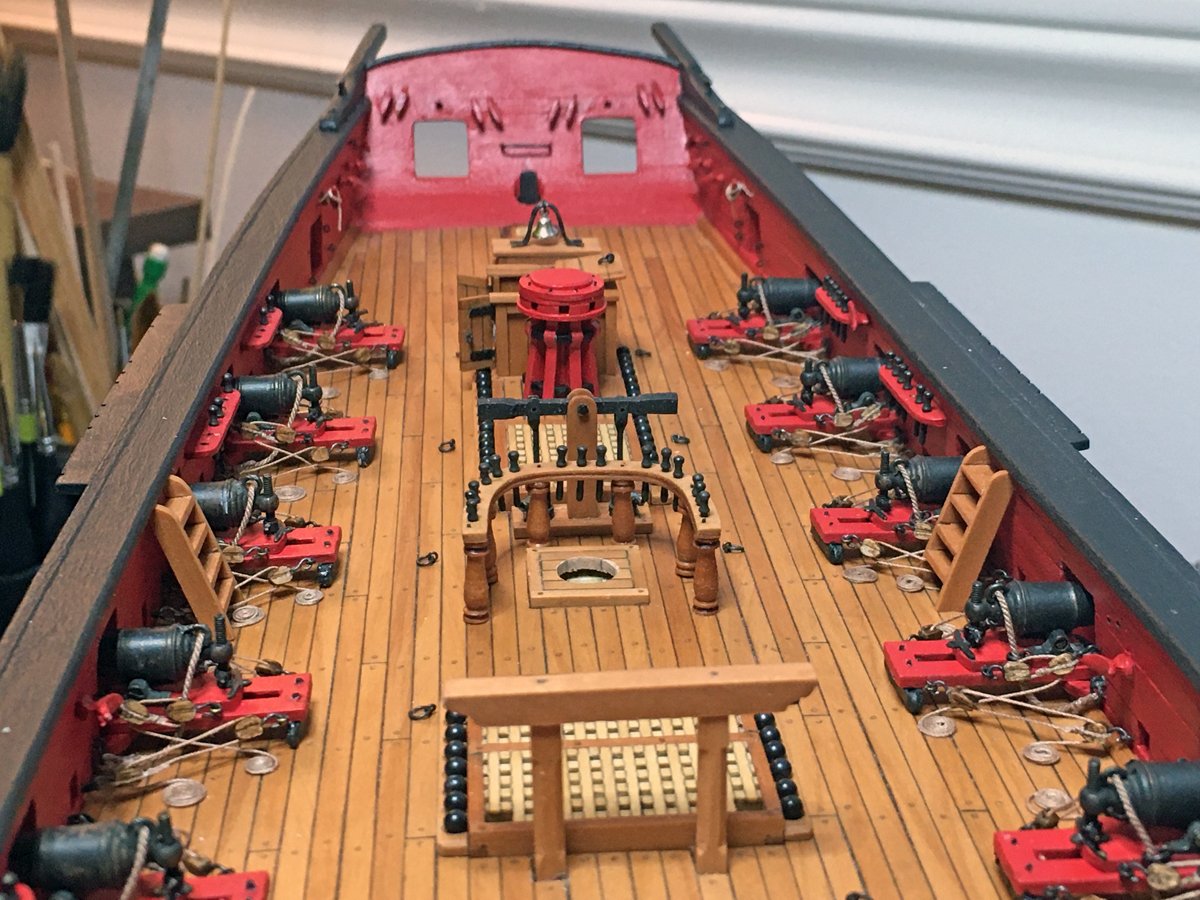
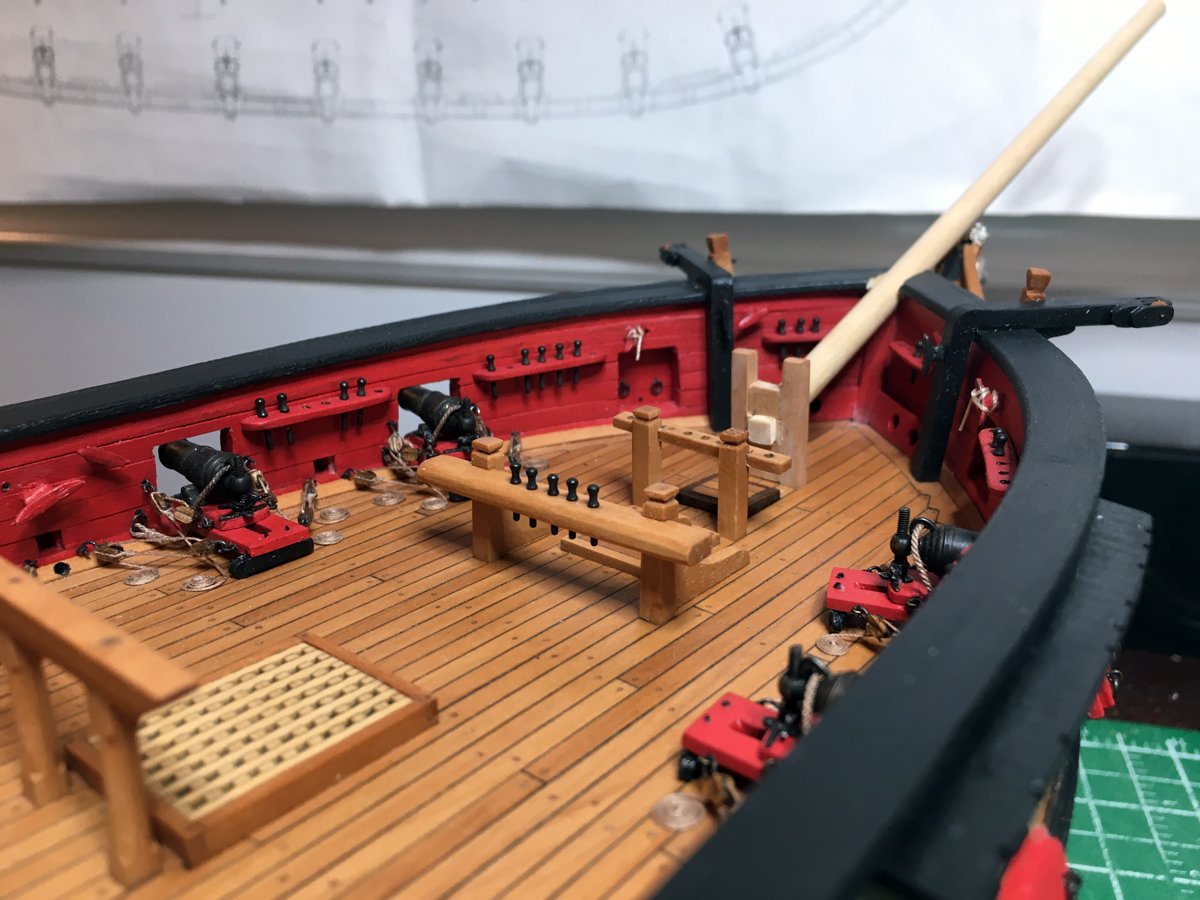
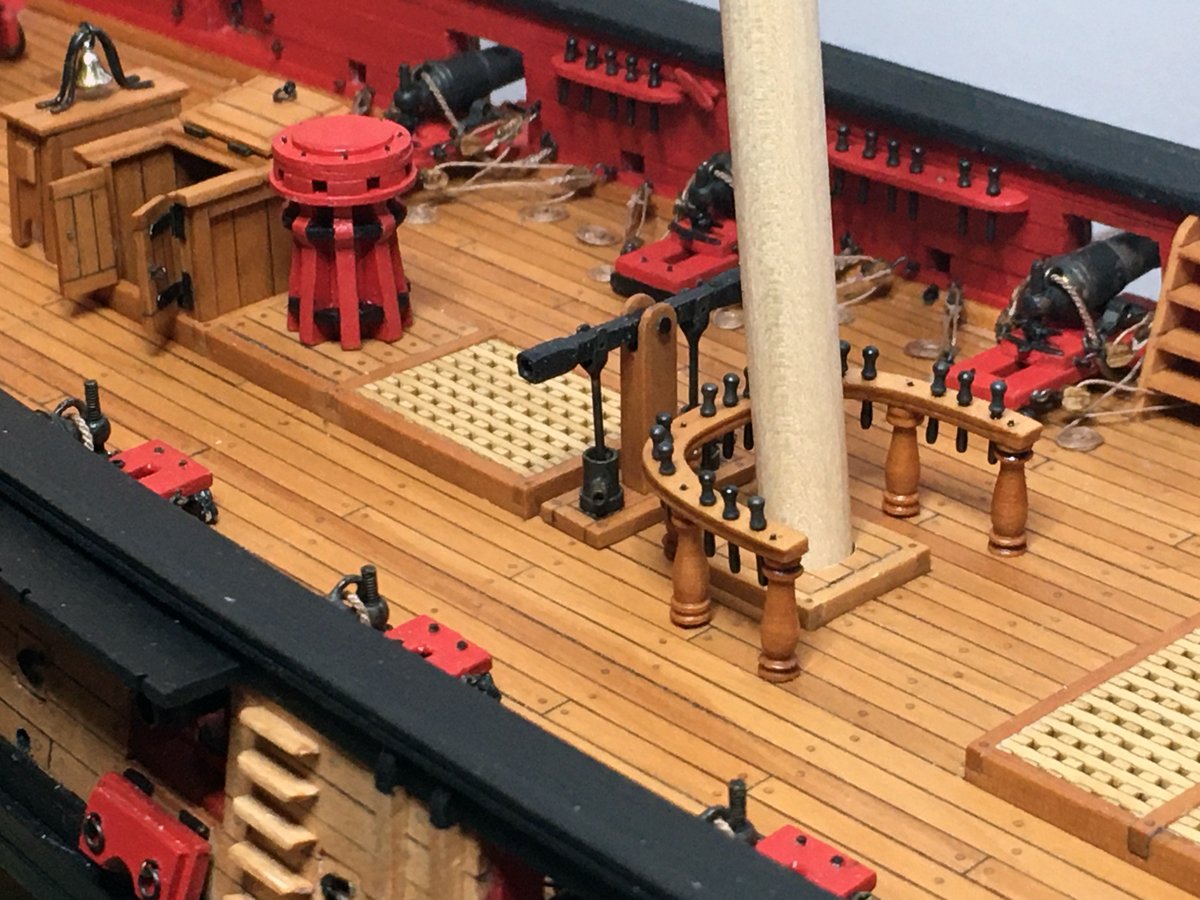
Thank you Thomas Still continuing with the deck fittings. Pinned and glued the fife rail together. The stanchions I turned in pear using my dremel, got pinned through the main rail. They are slightly wider than Chucks but I am good with it. I then drilled pinned and added the four channels two each to the port and starboard sides.
-
Looking real good you are moving righty along at a good clip!
- 950 replies
-
- 1
-
-
- syren
- model shipways
- (and 1 more)
-
What a nice clean build you are doing Justin. I don't think you will have to much trouble fixing the fashion piece.
-
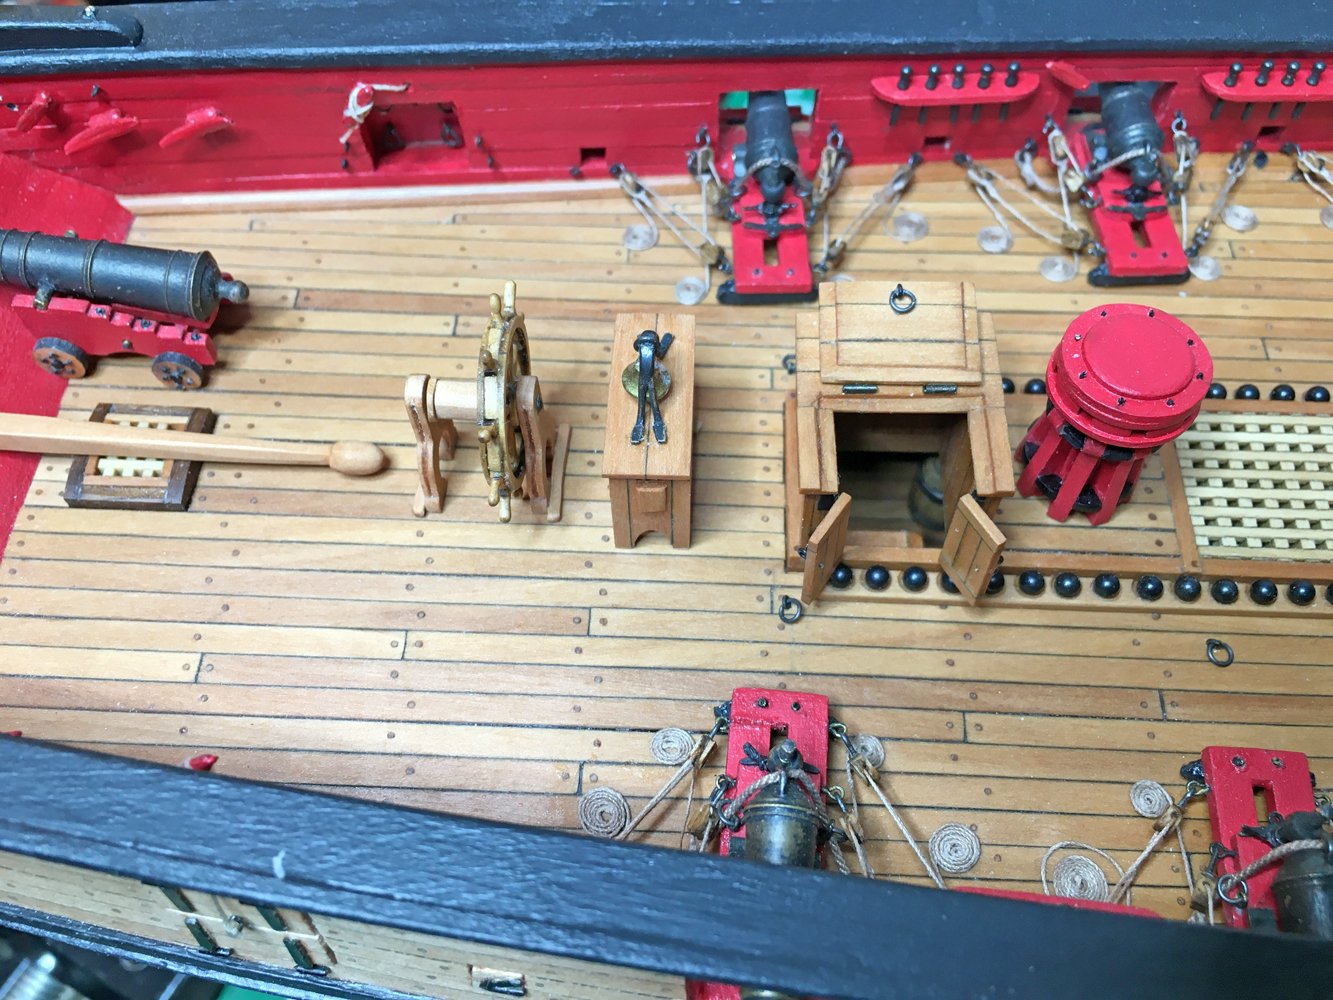
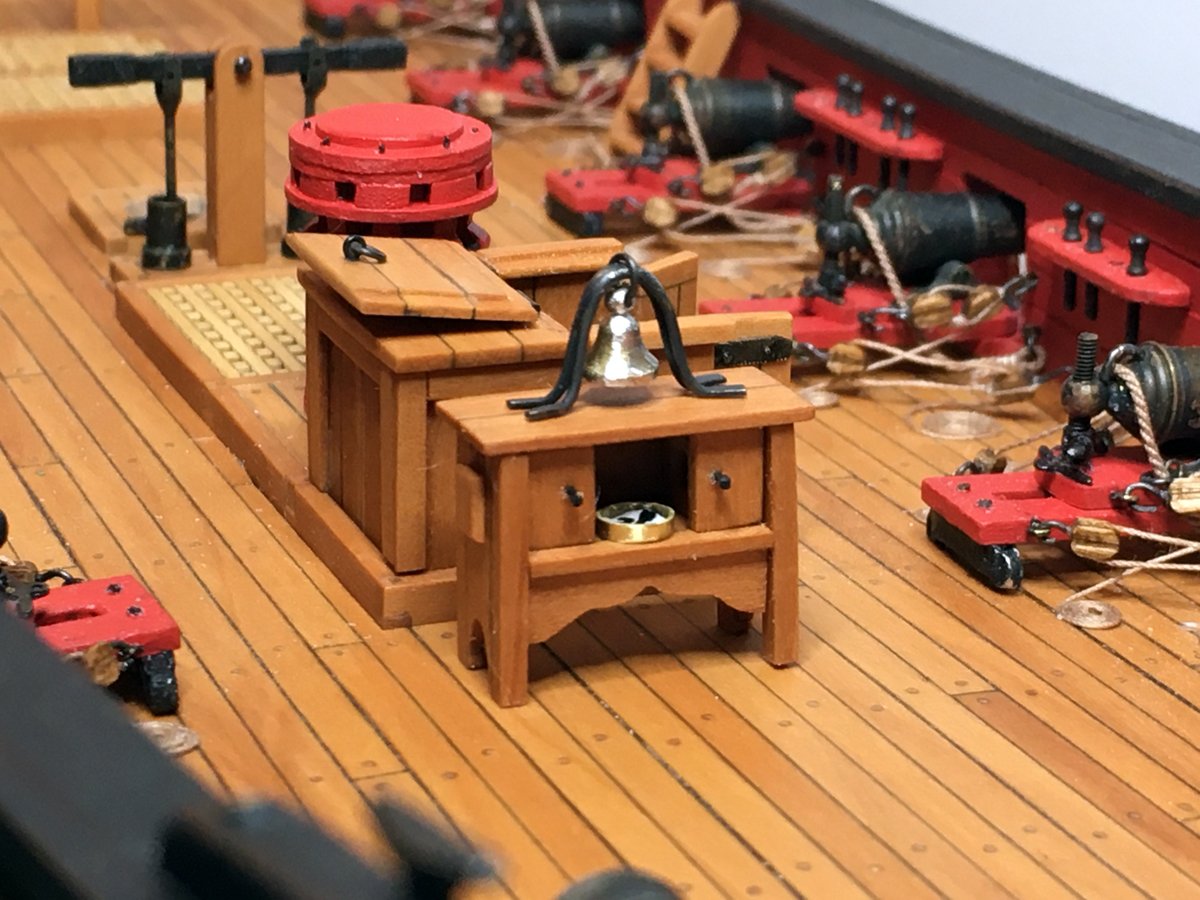
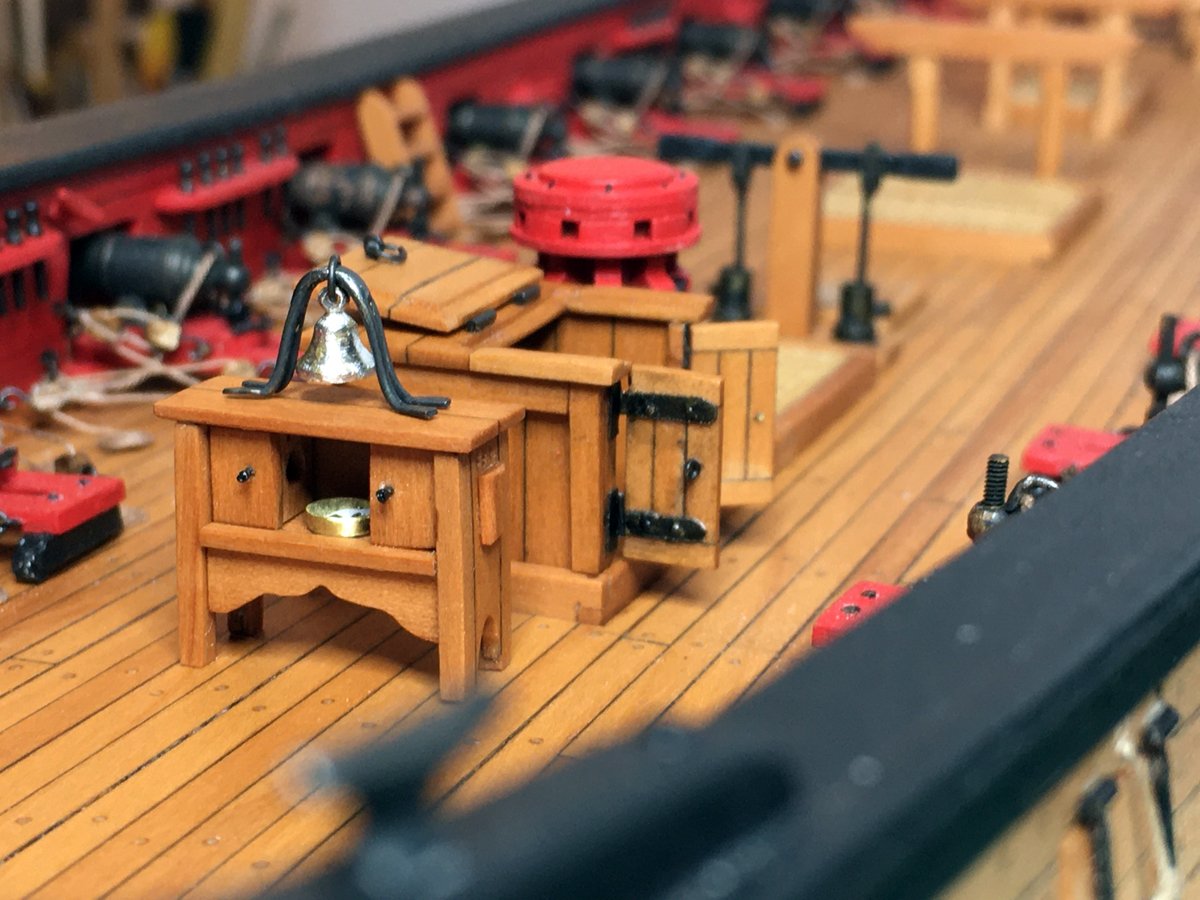
Hi Wally, yes I soldered the wires together. I started by laying down two slightly C shaped )( pieces of wire. Put a slight solder weld in the center and then bent them to shape. Worked quite well and was not very difficult. I also flattened the wire at the bends where it sits flat on the wood top. I was going to use thread to tie the bell on but opted for a wire ring instead.
-
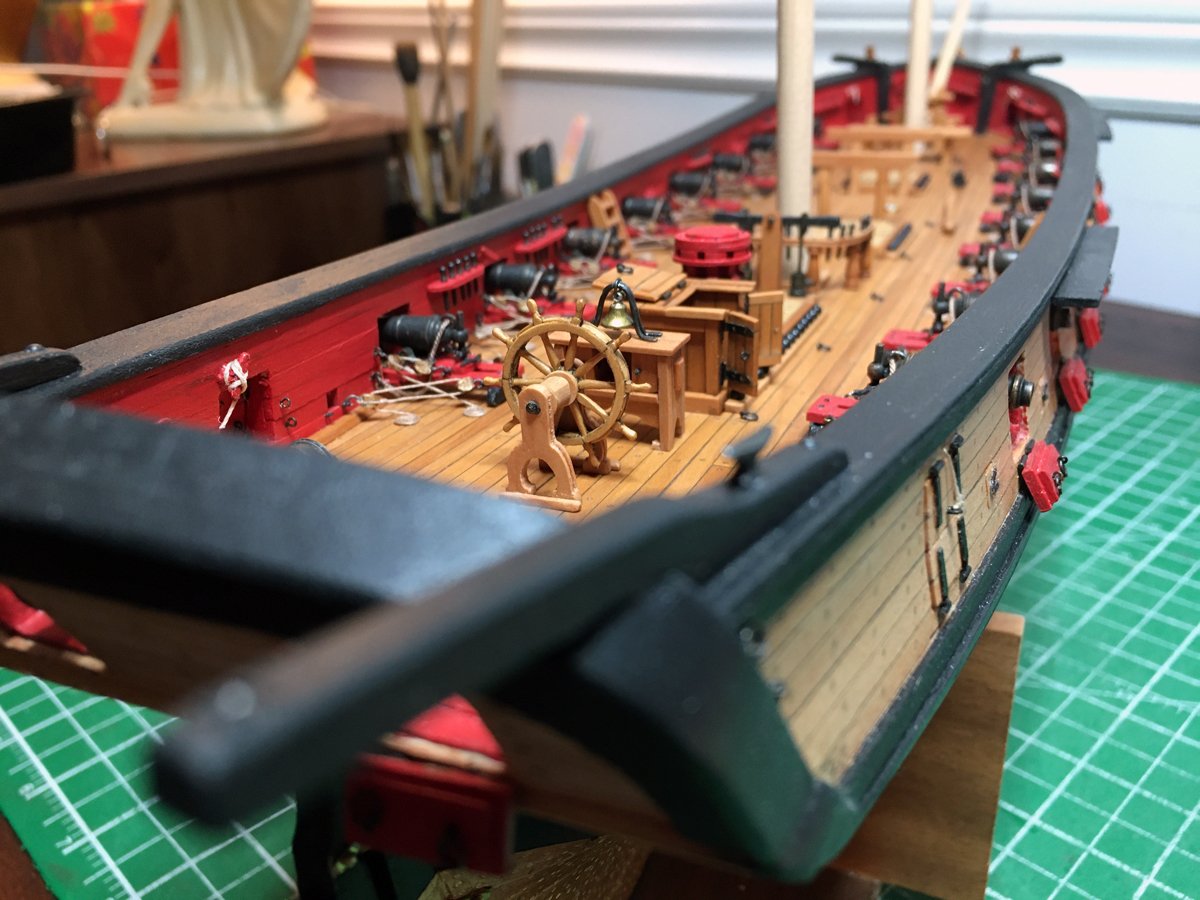
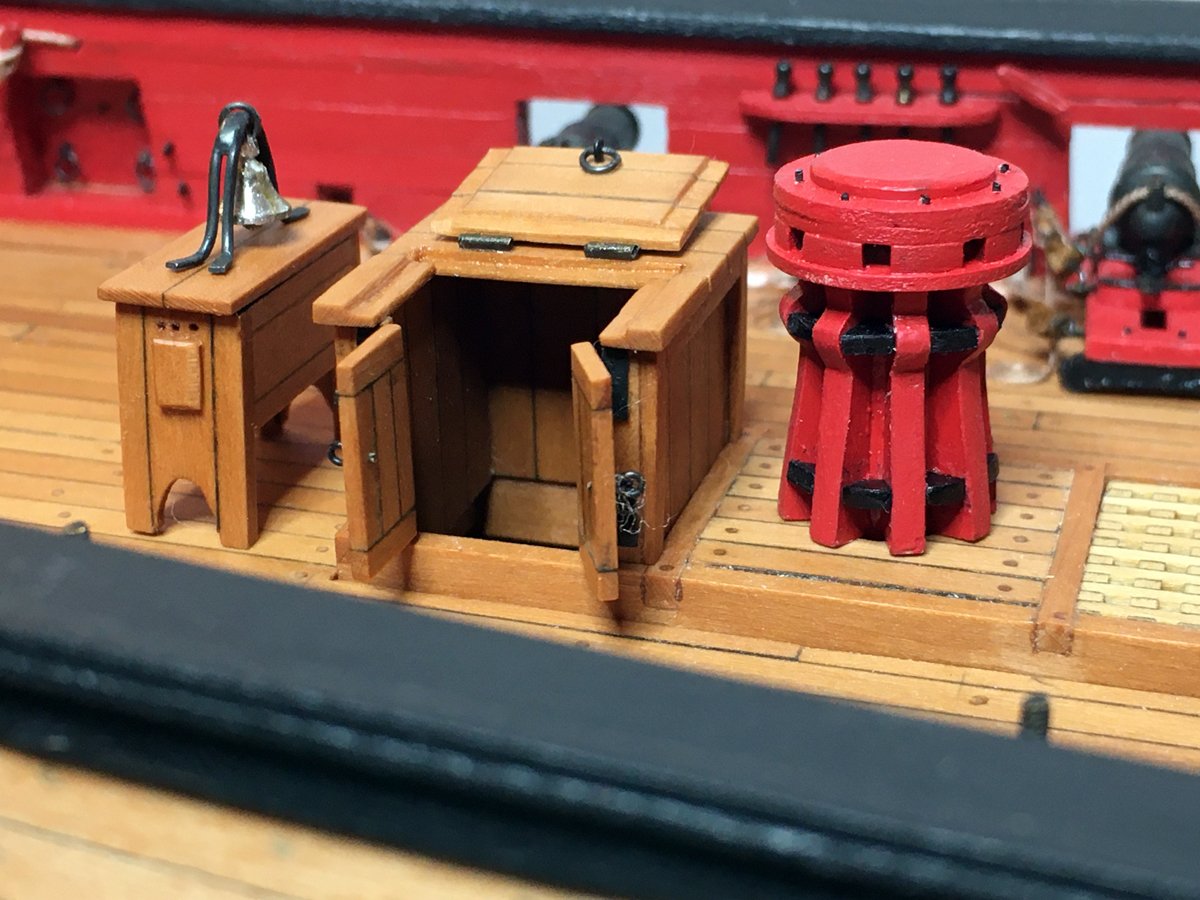
So I was not happy with my first go at doing the binnacle. It looked to much like a red dresser drawers so I have redone it with one in oiled pear wood and it is a lot better. I went with a much simpler design, on top I made a mount and added the kit bell, but I may swap it out for a brass bell at a later date. I also added a compass using a thin slice of some brass tube. I also reshaped the block ends of the pumps crossbar and cleaned up a couple area's. Cheers ~
-
Great job making the jig, the framing looks fantastic Thomas. Great update
-
My plan is to replace the kit boat with this one HERE from Master Korabel. BTW a Canadian site from your area I think. It will need to be resized to scale just as Thomas has done. Also I will have to saw the pear for it. Cheers ~ Wahka, thank for such a great comment Pic, pic, picking away!