Mirabell61
-
Posts
7,410 -
Joined
-
Last visited
Content Type
Profiles
Forums
Gallery
Events
Everything posted by Mirabell61
-
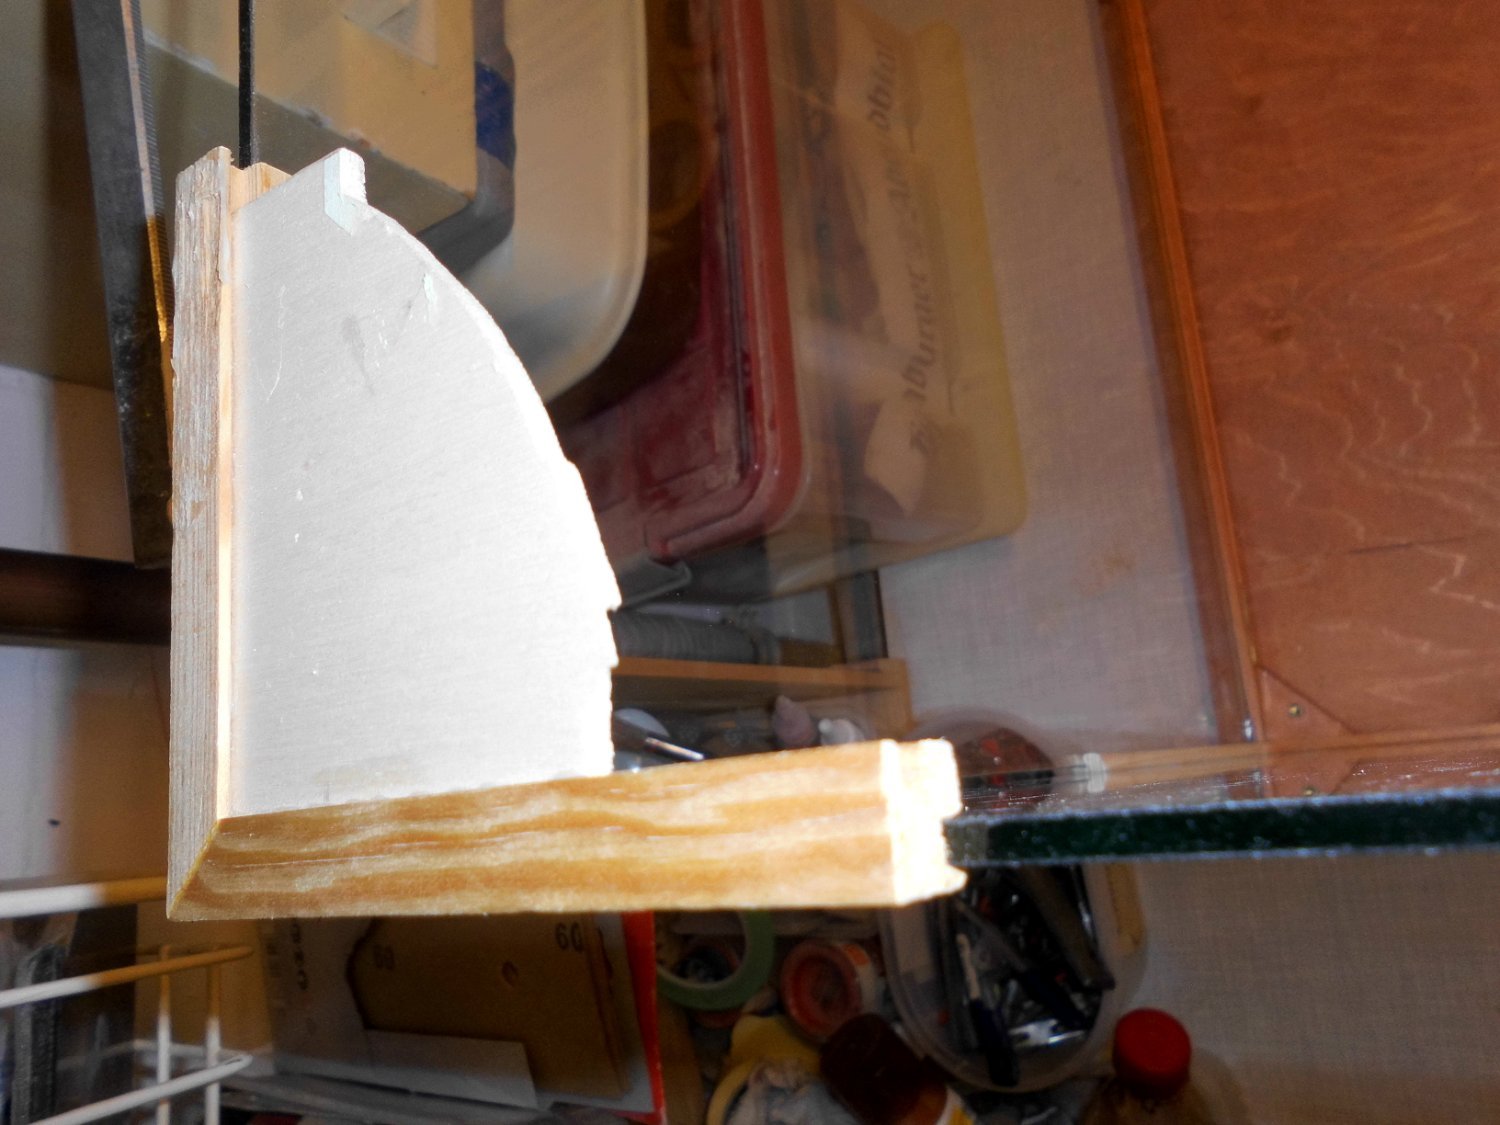
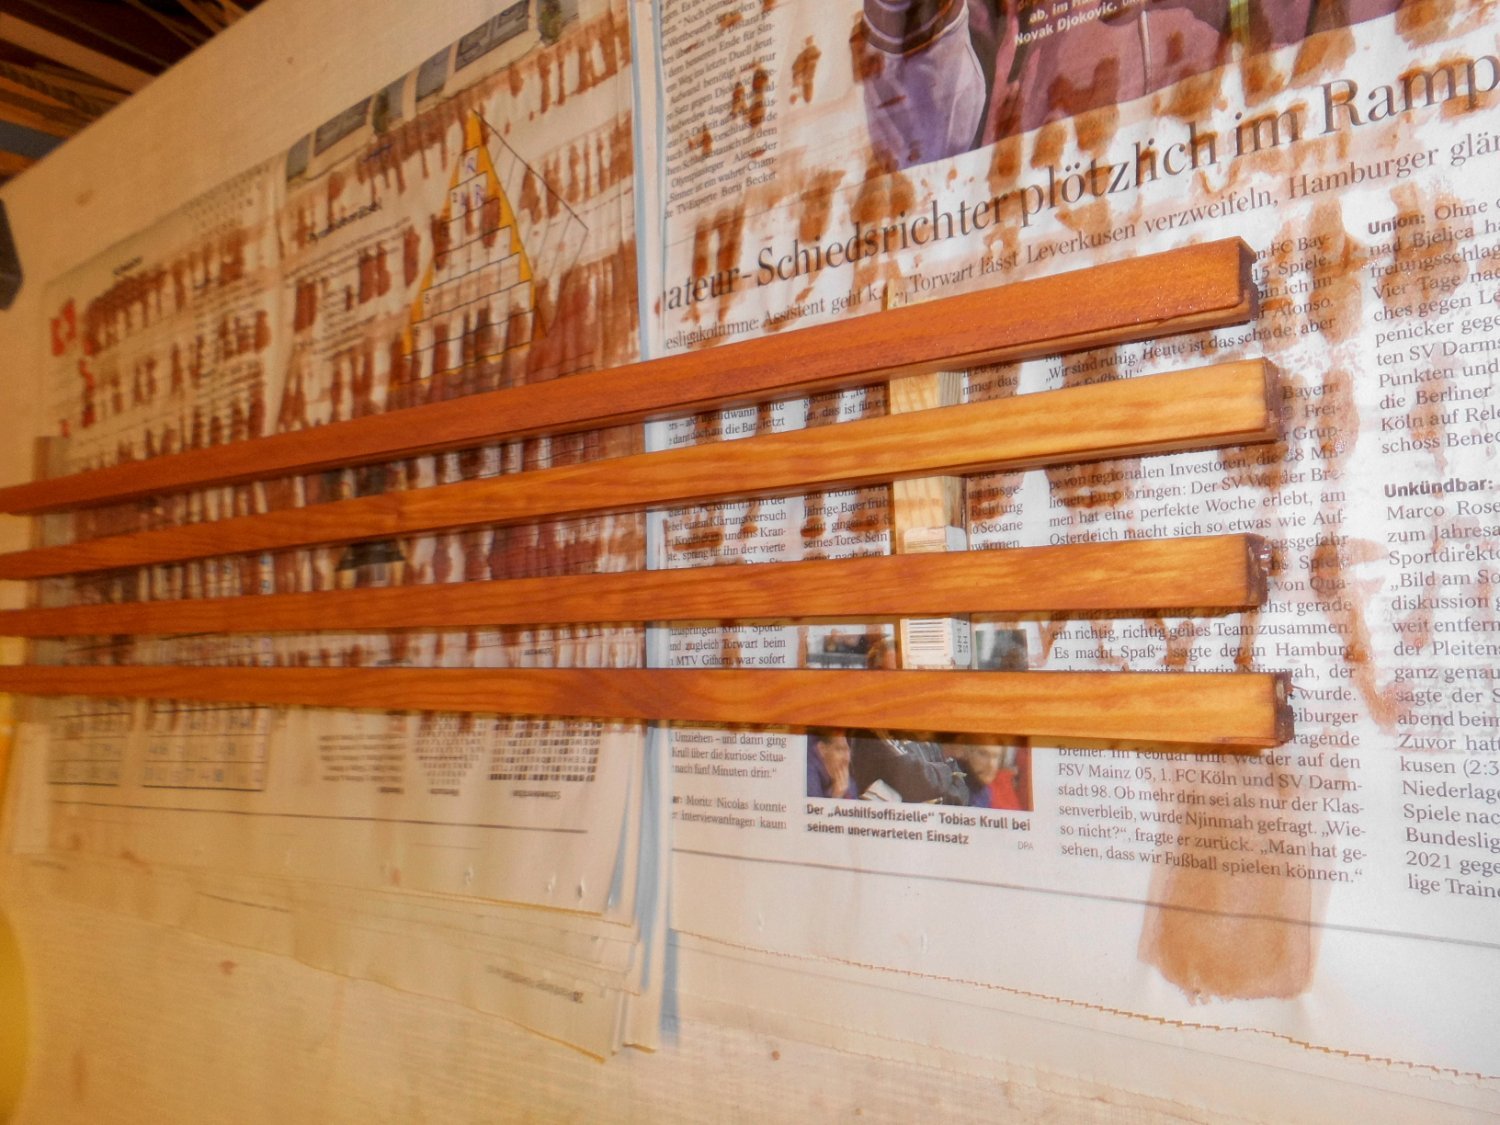
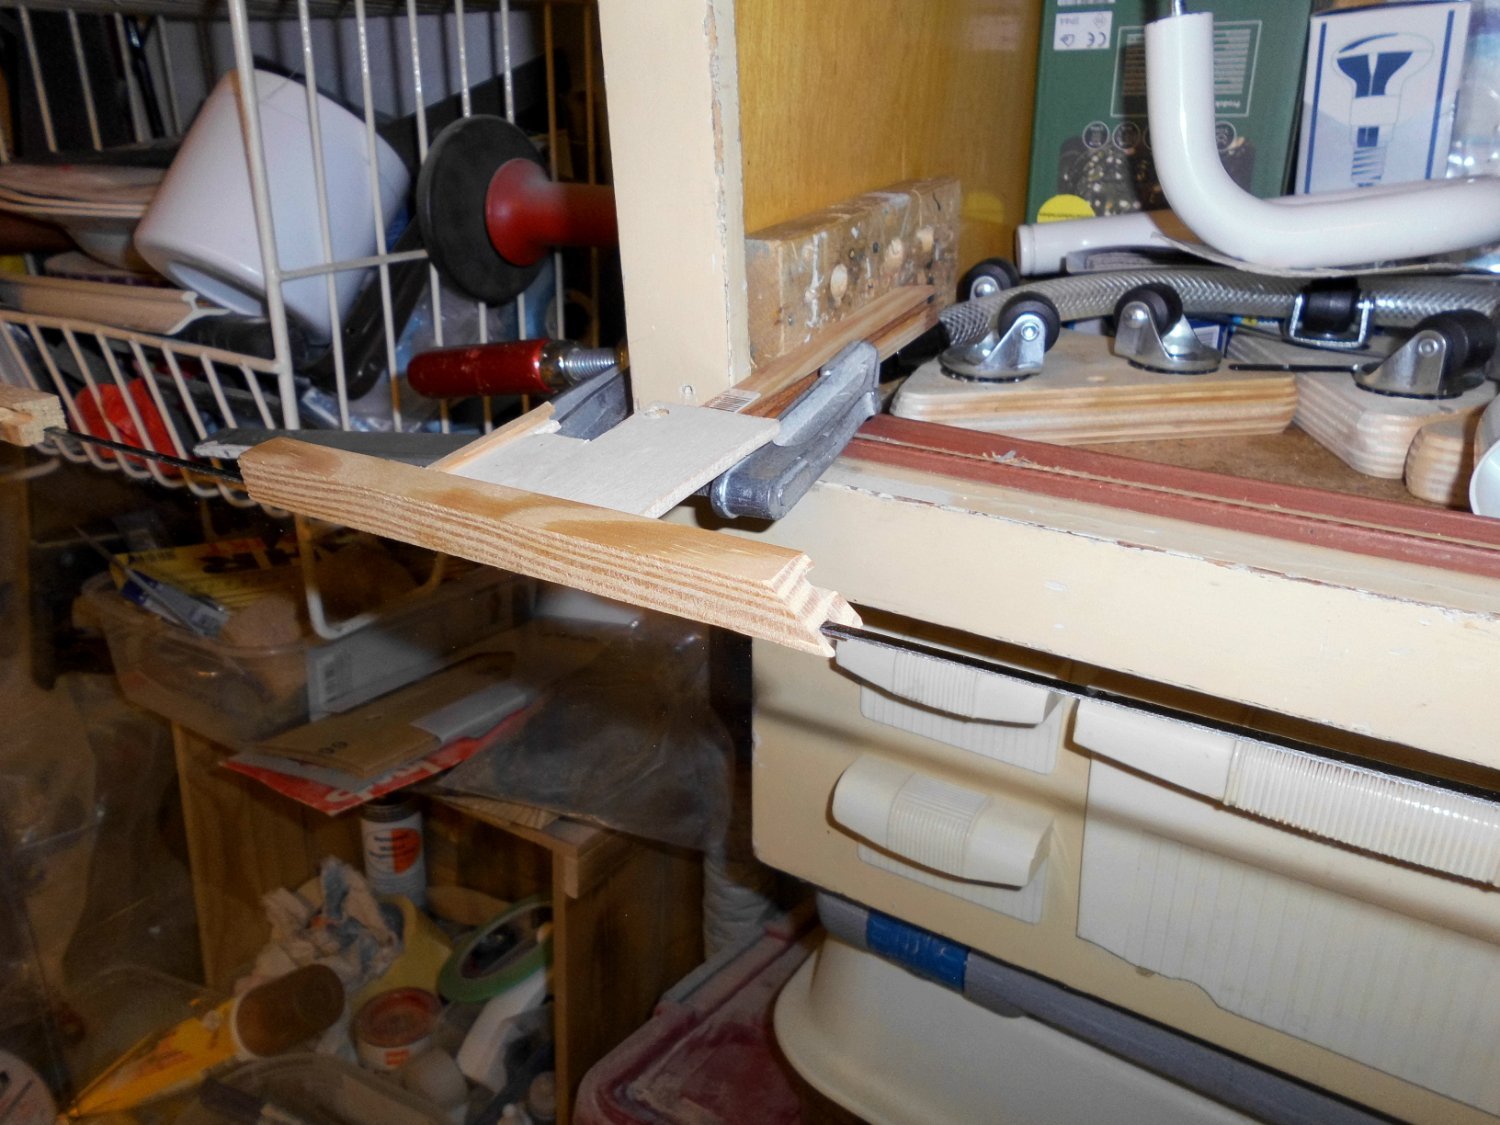
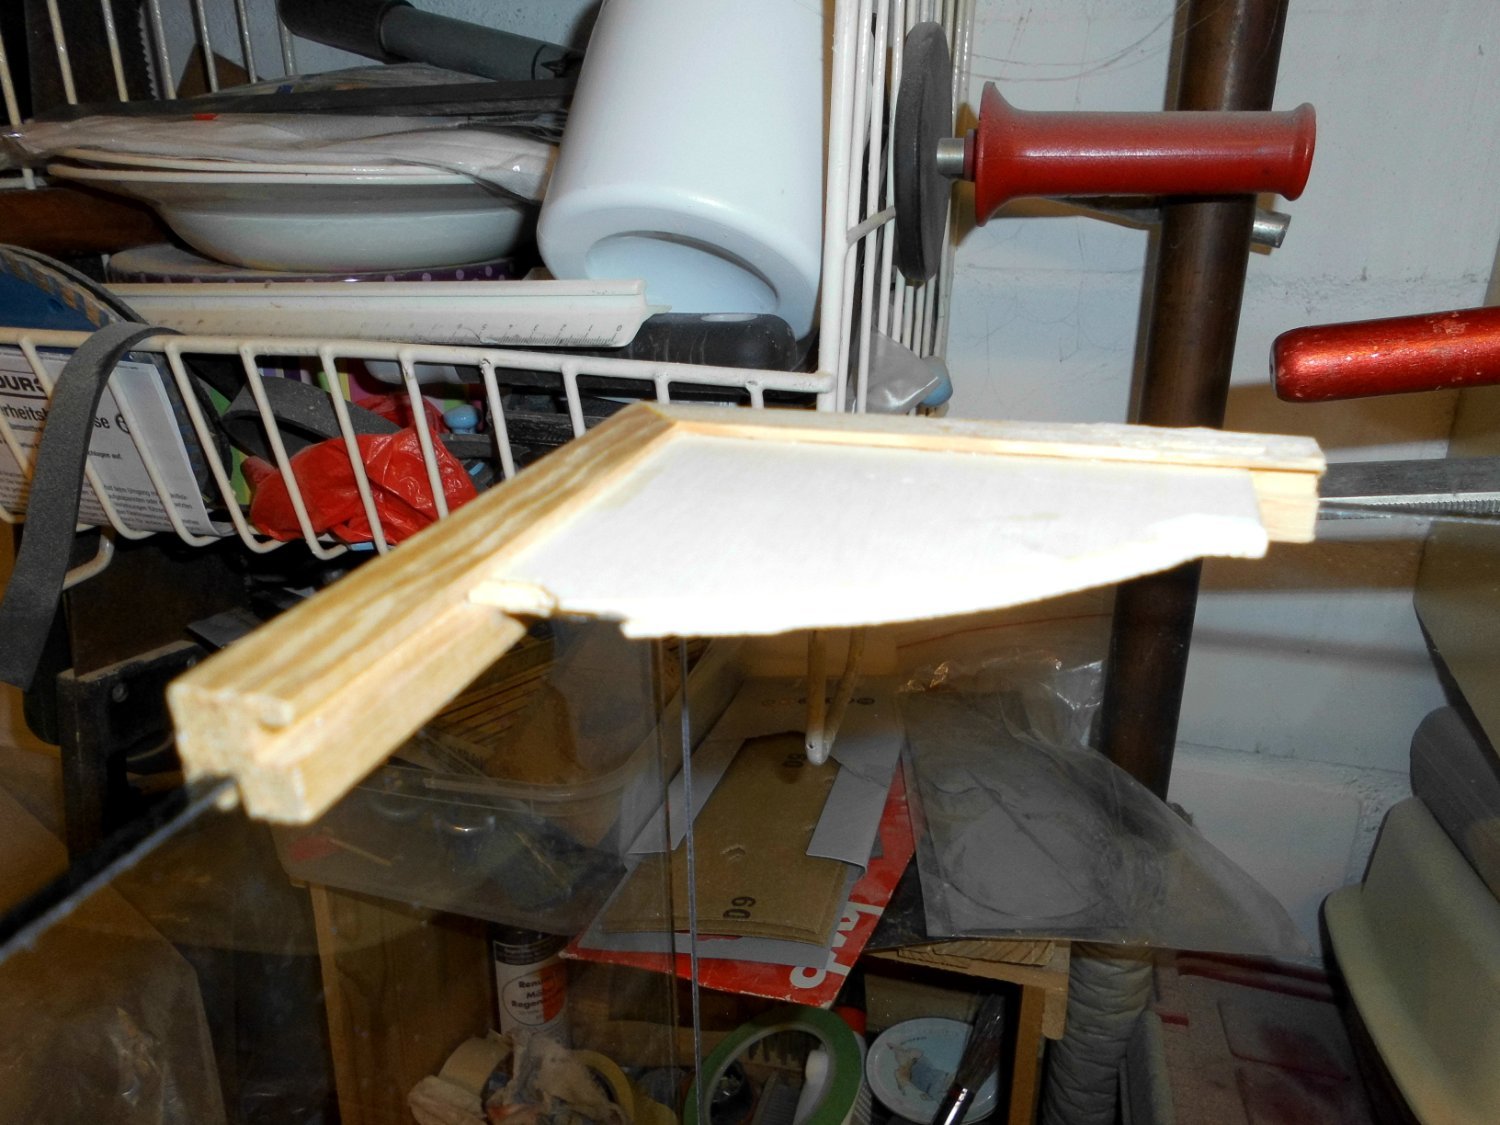
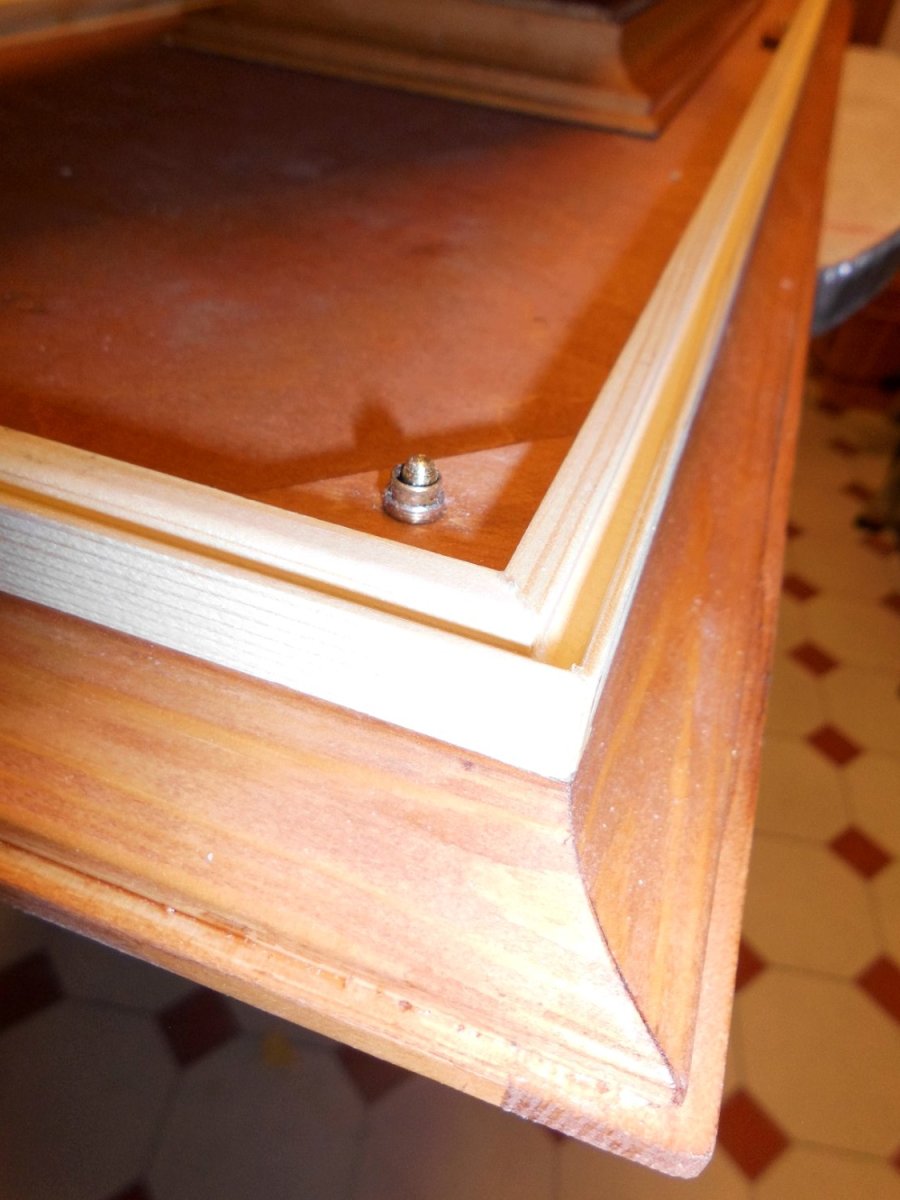
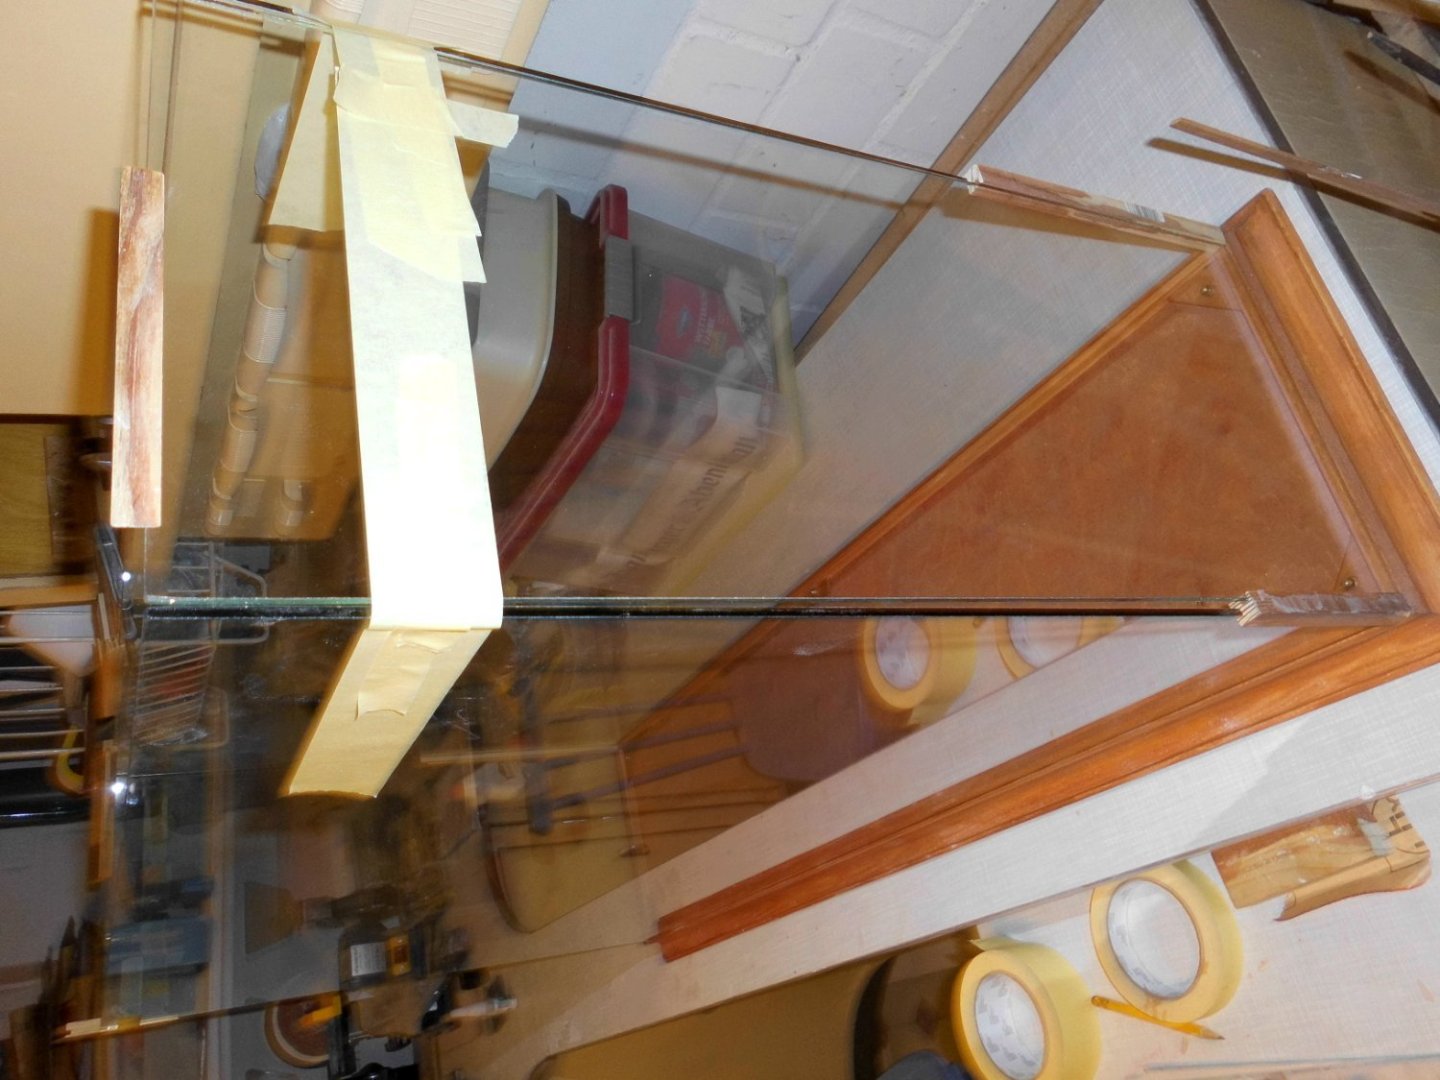
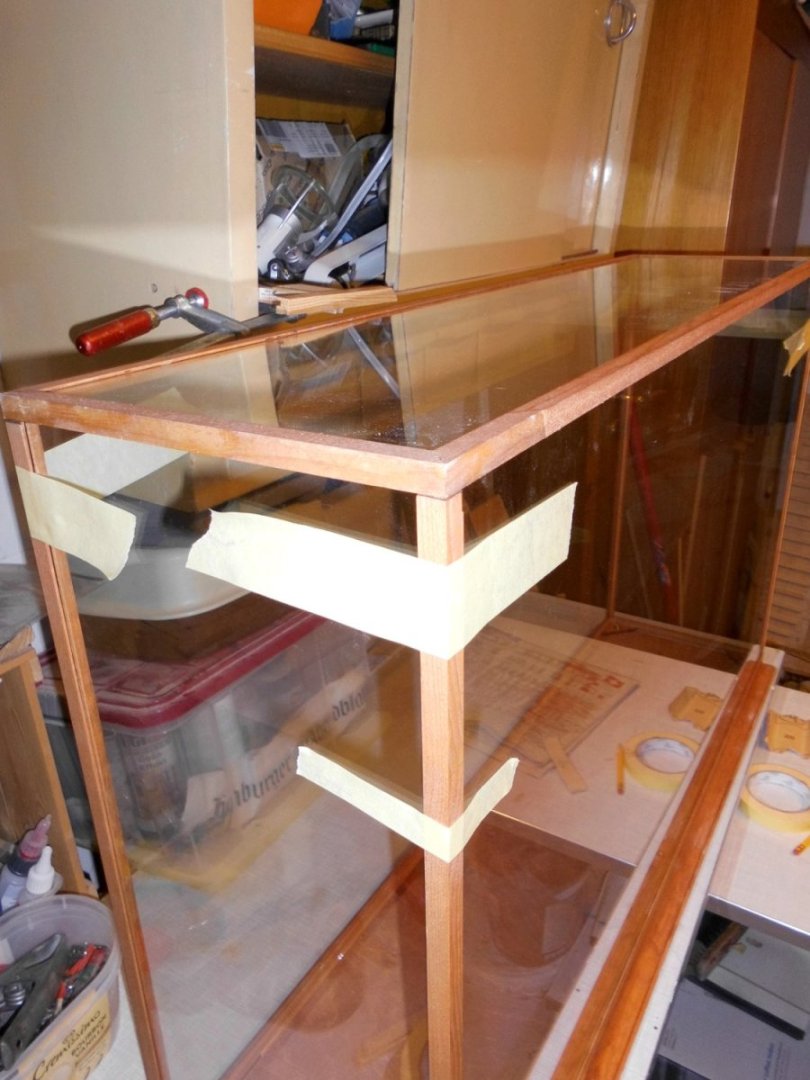
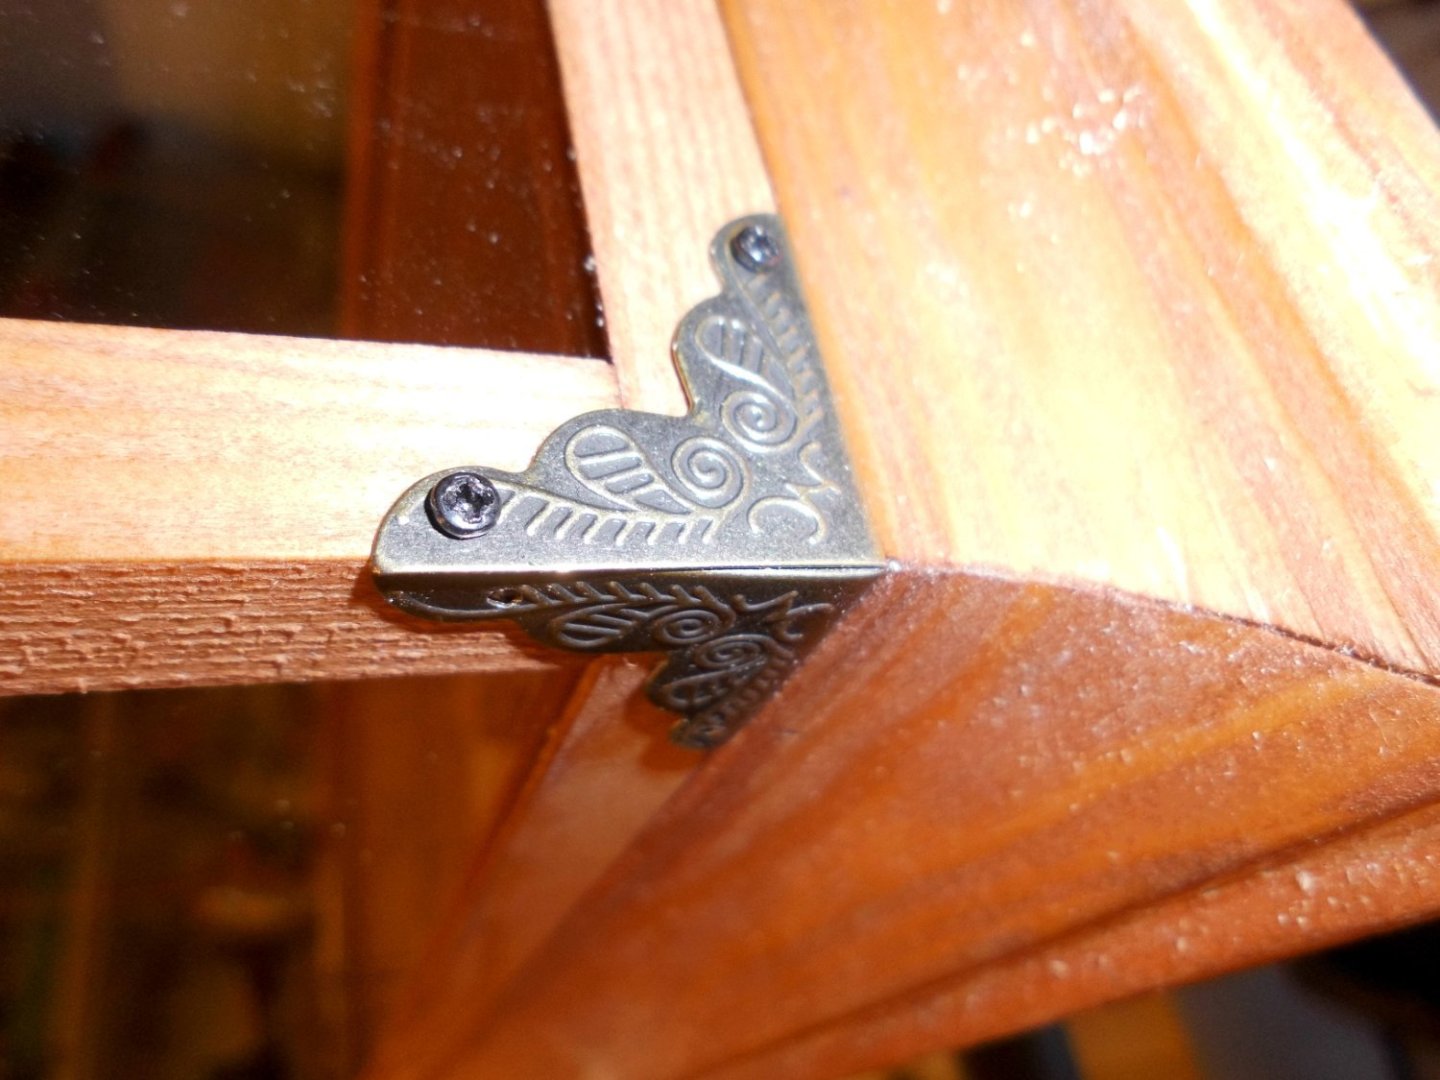
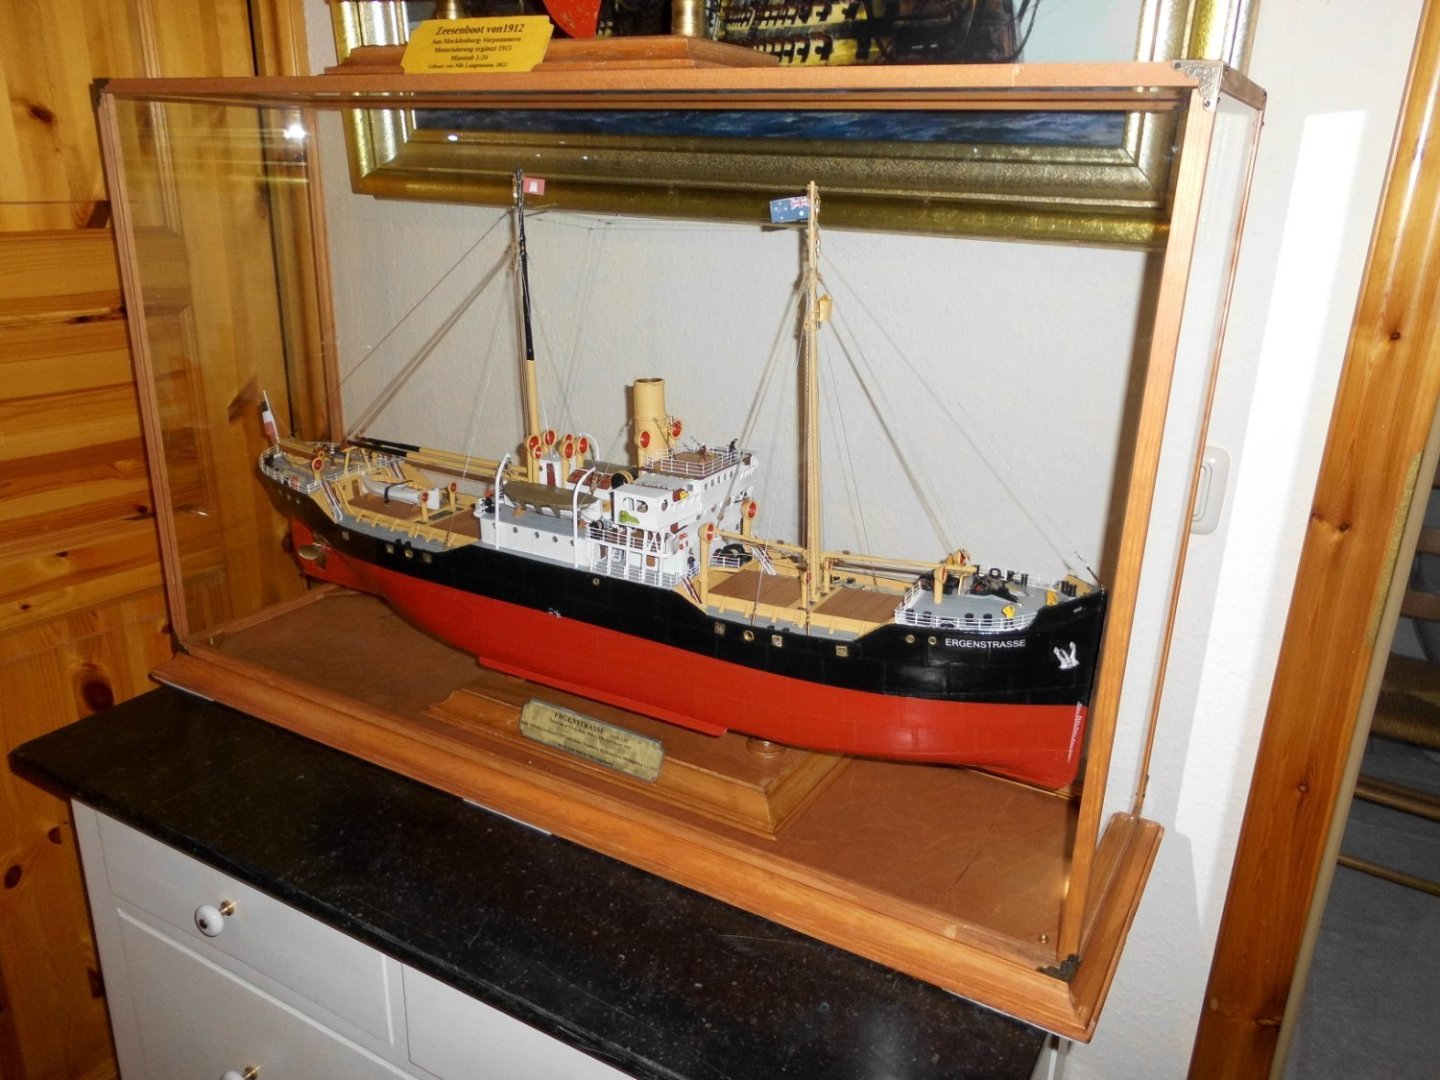
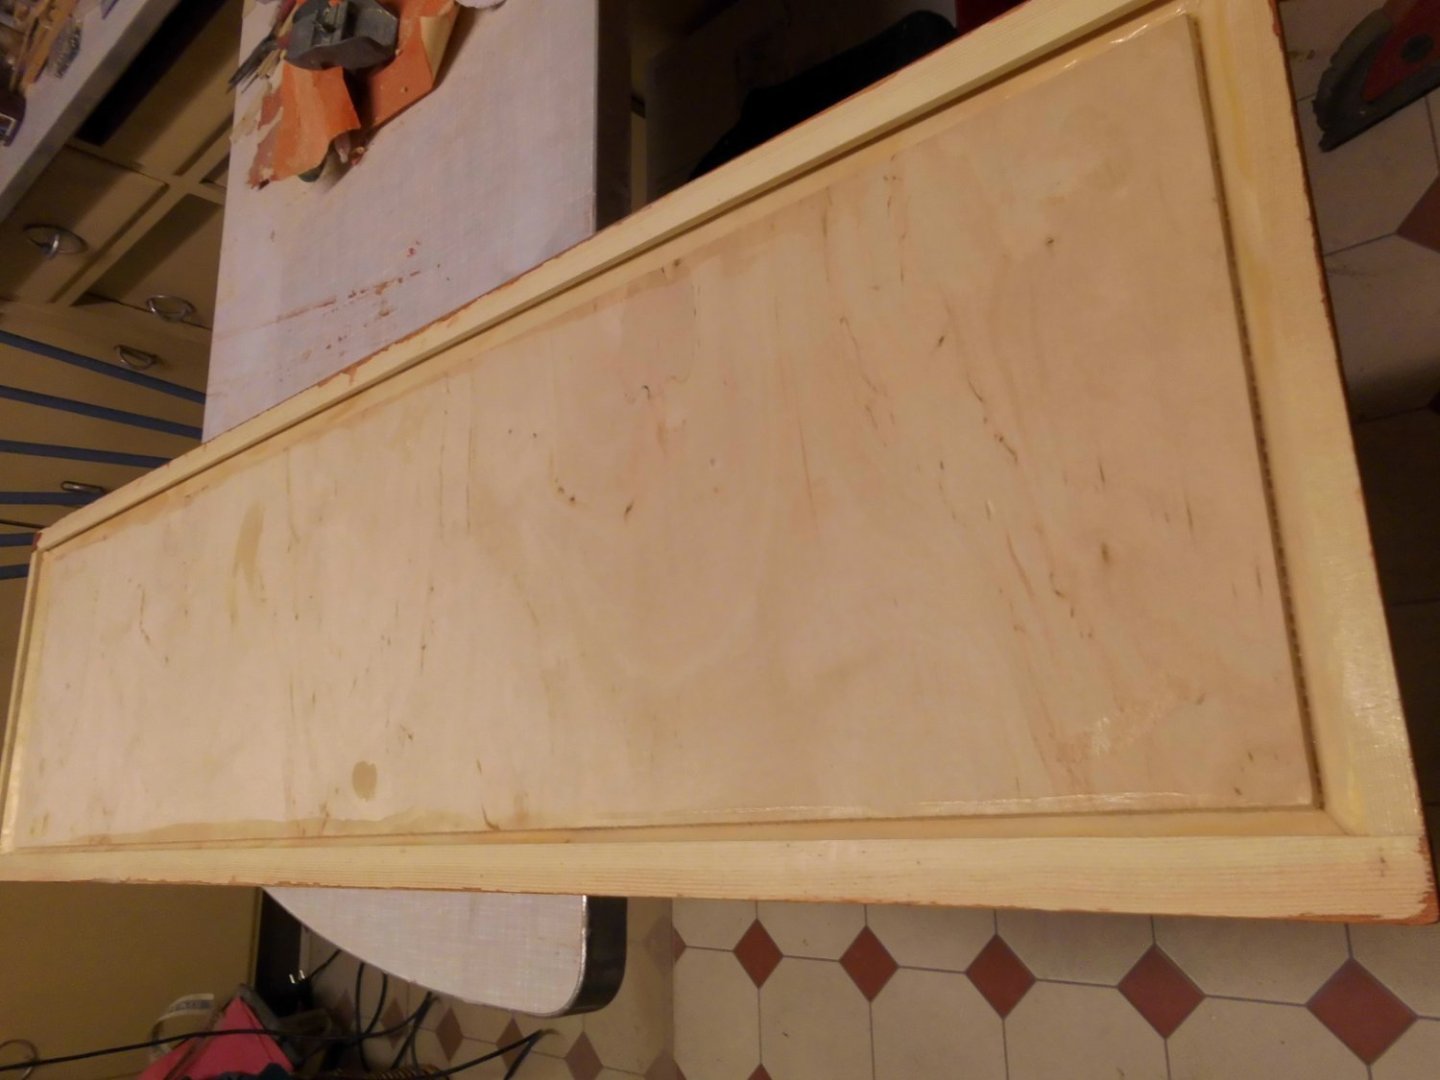
 Today I finished the glass case, and my wife was so kind to clean the glass in- and outside, as well as to help carry and swap some of the other cases to a new display place in my hobby office. This closes the project Here some final pics of the casing and its build..... This was my 11th case I built this way and I`m pleased that to date there was no broken glass. I`m not so happy of the steadily increasing prices for glass, so I`m surprised of the glasser`s offers every time. I would like to thank all that were interested in the build log, with many likes, wows, appreciations, comments and suggestions allong the ride. Nils the glass-panes are held with helping aids, such as the "third hand" clamped to the cupboard above, short fixing- and distance pieces, and preliminary self adhesive tape the angles are well keep the panes in place after the top panel is complete stained and framed, the 4 vertical profiles are stained an cut to length now comes the final assembly..... here again the clamped on "third hand" the right angle corner mounting the top panel ( lid) to the rest metal corners fixed with stainless steel blackend philips flat cross-head screws (M1,7 x 6mm ) the glass bonnet set down on the base with the 6 interacting positioning pins, also the are 6 self adhesive felt patches under the baseplate to enable a smooth contact.
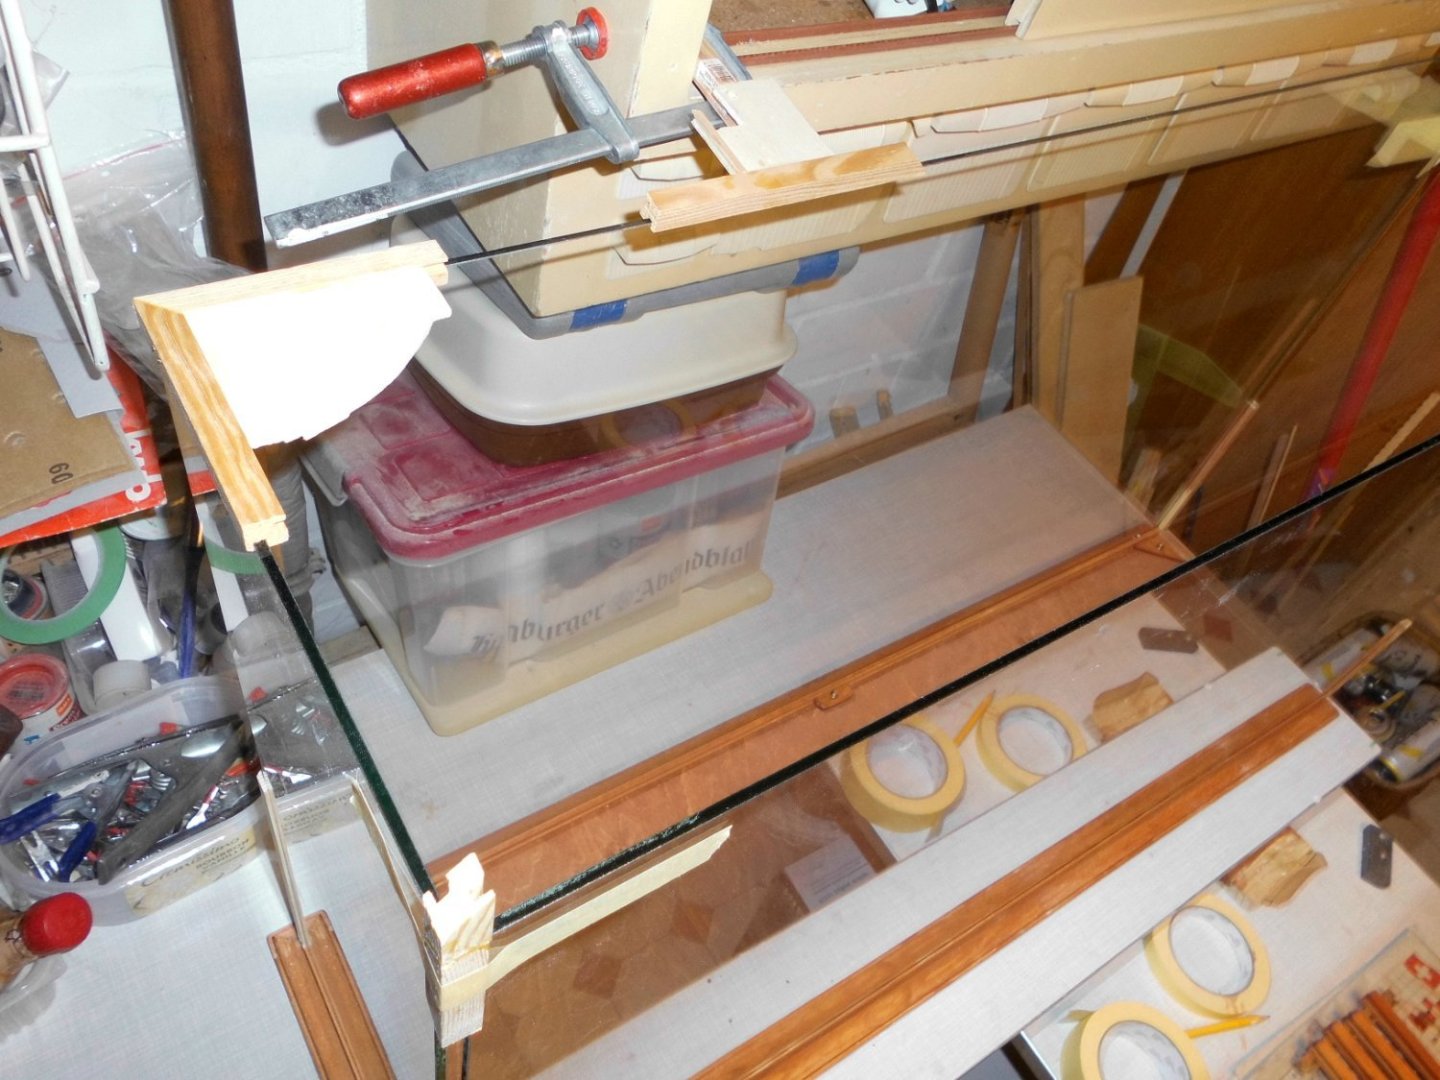


- 330 replies
-
- 21
-

-

-
Valeriy, a bit late though, but I just looked at the final Pictures, congratulations, a faboulus model in museum quality, its one of the best i`ve seen before Nils
-
Valeriy, Wow, that looks great. Would you like to share with us how you did tooth gear belts around the vent pipes ? Nils
-
Very nice planking job Hakan, Nils
-
fantastic mechanism detail Valeriy, Nils
-
thanks for sharing your find Keith, Nils
-
great work B.E. my recommendation : add the tiller-lines with appropriate blocks, of course its up to you.... Nils
- 648 replies
-
- 3
-
-

-
- Indefatigable
- Vanguard Models
- (and 1 more)
-
Thanks for your input Eberhard, I was`nt aware that those dapping blocks with matching punches are juwel-makers tools, Thats a very smart idea for making vent cowls as Valeriy did here Nils
-
very nice work Valeriy, how did you machine that multi smart idea enbossing block, is it hardened after machining ? Did you need to aneal the brass rounds prior to shaping with the punch ? The final soldering and trimming of the vents looks great.the relative thin wall-thicknesses, do not bring too much topweight to the model. Nils
-
very nice skylights Valeriy, I like the way you do this precise machining in brass Nils
-
Thank you Jond, Nils
-
wunderbar Valeriy ! Nils
-
Hi Roel, many thanks for your comment. The "Heavy weight punch" is a print on canvas, I like Geoff Hunt`s maritime paintings very much. Its because I`m short with display space that there are models in front of that wonderful picture. Nils
-
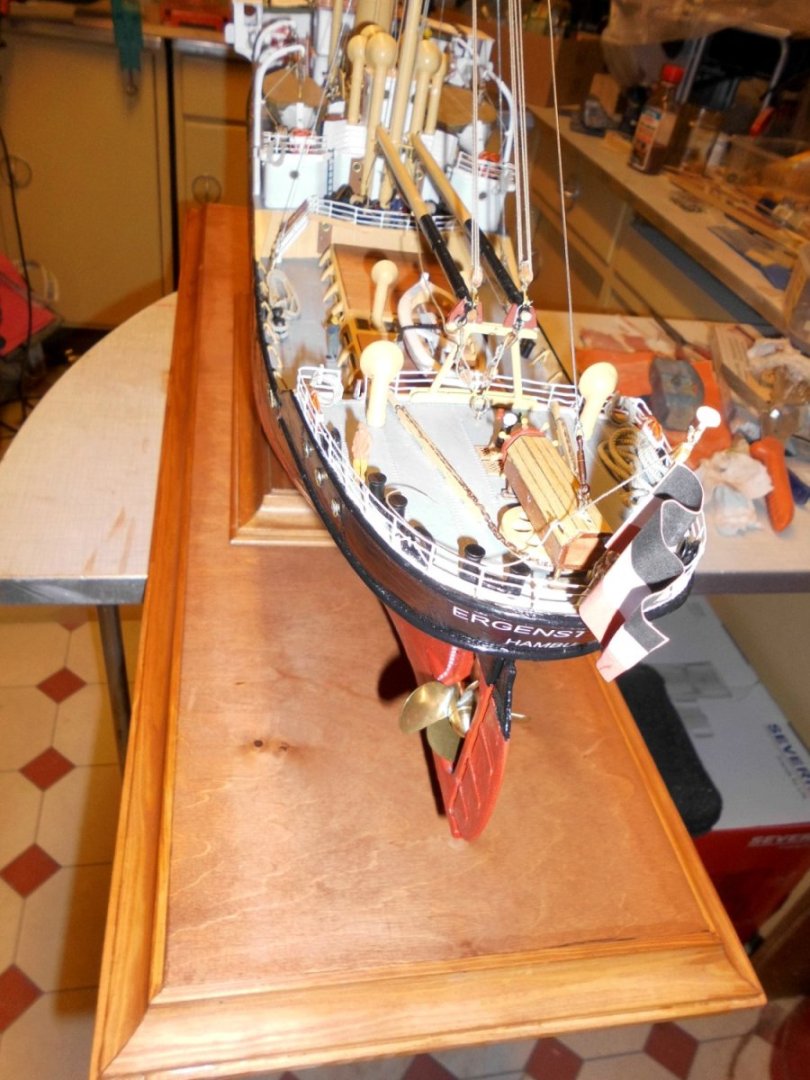
The model is finished, but not yet the glass-casing for it. I ordered the glass panes at my local glassers yesterday, and am meantime working on the baseplate and the frame parts (double slot) wooden liners ...... I have used this method to date on all my casings Nils the baseplate with edge-profiles and bottom liners the look from beneath the bottom liner profiles with reinforcement angles and brass sleeves to fit the 6 adjusting brass pins (here without stain treatment) the model will stand on its own standplate in the casing. This allows to remove it at any time, whereby the upper bonnet can be lifted off the 6 pins The case corners, hopefully precise cut panes of 4mm thick glass will fit exactly into the slots The wooden slots have slightly surplus of appr 1 mm in length in order to compensate possible wood shrinkage


-
Thank you both Richard and Kees, Richard, yes, I would add some weathering like rust etc, but unfortunately I have no expereience with that Kees, I`m 76 years, and the hobby with it`s modeling tasks still keeps me going quite well..... Nils
-
Very nice job B.E. I like those cutaways in the decks allowing the sight to the inside Nils
- 648 replies
-
- 2
-
-
-
- Indefatigable
- Vanguard Models
- (and 1 more)
-
Lovely build Steve, it looks great Nils
-
Very nice project Vaddoc, Nils
-
A great build Adam, your making steady and fast progress Nils
-
Good work Jond, she looks very nice Nils
-
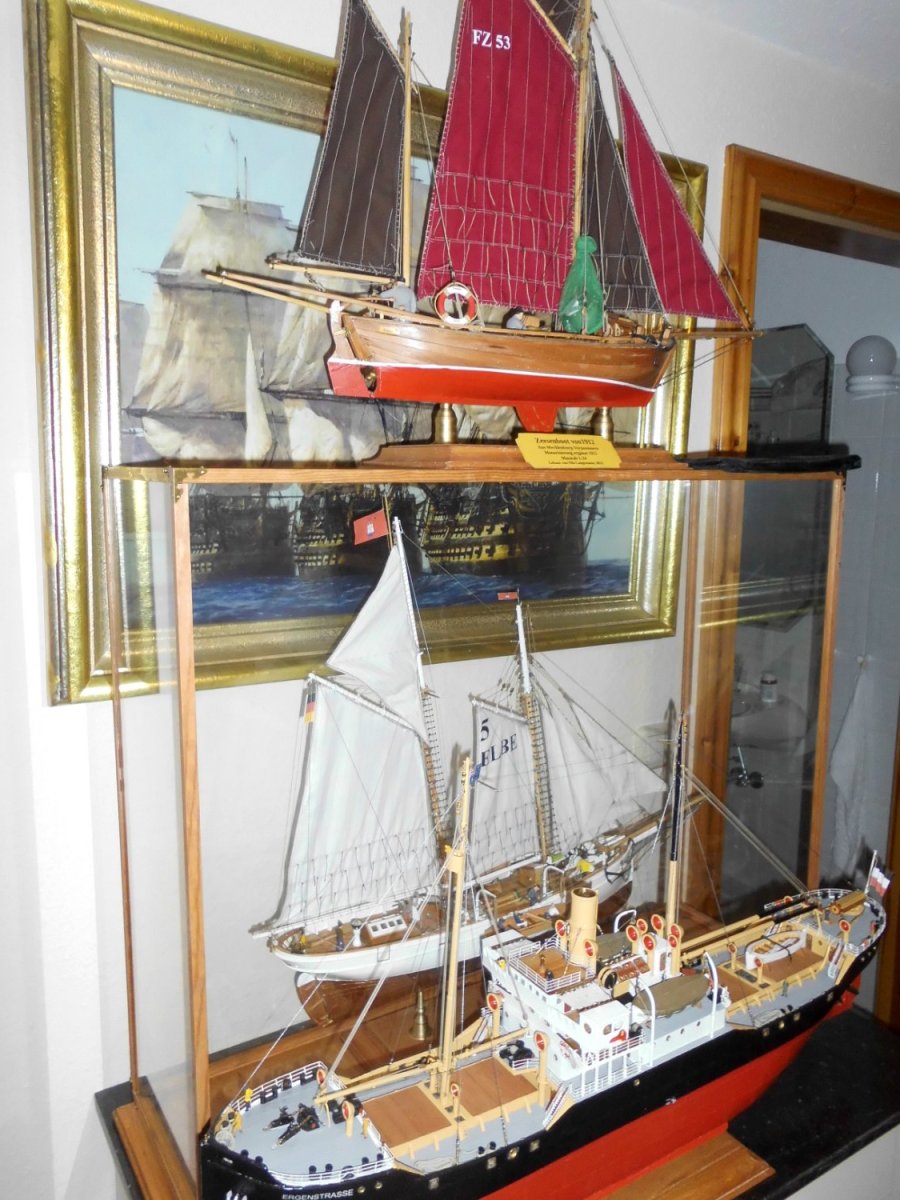
Hi Yves, many thanks for your kind words, much appreciated, I`ll have pull the handbrake on modeling in the moment, due to lack of space for displaying. I have`nt made any decisions for future builds yet, allthough there are many project ideas spooking around in my mind. I have to build the two glass cases next for my "Zeesboot", my wifes favorate one, and for the just finished "Ergenstrasse". The glass case of the "5 Elbe" pilotschooner fits as well for the "Zeesboot" perfectly, as this was intended, but that ca`nt be swapped every now and then, and the problem in cleaning a dusted ship, ca`nt be ignored eighther. Nils "Zeesboot" on top, underneath "5 Elbe" pilotschooner and "Ergenstrasse" in front

- 330 replies
-
- 10
-