HOLIDAY DONATION DRIVE - SUPPORT MSW - DO YOUR PART TO KEEP THIS GREAT FORUM GOING! (89 donations so far out of 49,000 members - C'mon guys!)
×


Mirabell61
-
Posts
7,409 -
Joined
-
Last visited
Content Type
Profiles
Forums
Gallery
Events
Everything posted by Mirabell61
-
 Thanks, how do you balance out at periscope depth, is there an automatic depth control, or is it to nerviously keep the eye to the periscope wave and two fingers at the hight rudder stick ? Nils
 -
great work Valeriy, how will you do the boats, any plans yet? Nils
-
FreekS Very interesting technical design and work, well done ! Just a question : Is it realy possible to RC-control a submerged sub, once its submerged you ca`nt see it any more ? Nils
-
Hi Keith, I`m using a polyurethan resin from "Trollfactory" webshop. its TFC PU Resin together with TFC PU Caltalyst, each in a 250 Gr. bottle (together for 19,80 EUR) If mixed together weight wise 1:1 you have about 15 minutes time untill curing starts. Nils
- 299 replies
-
- 4
-

-
- lightship
- Feuerschiff Elbe 1
- (and 1 more)
-
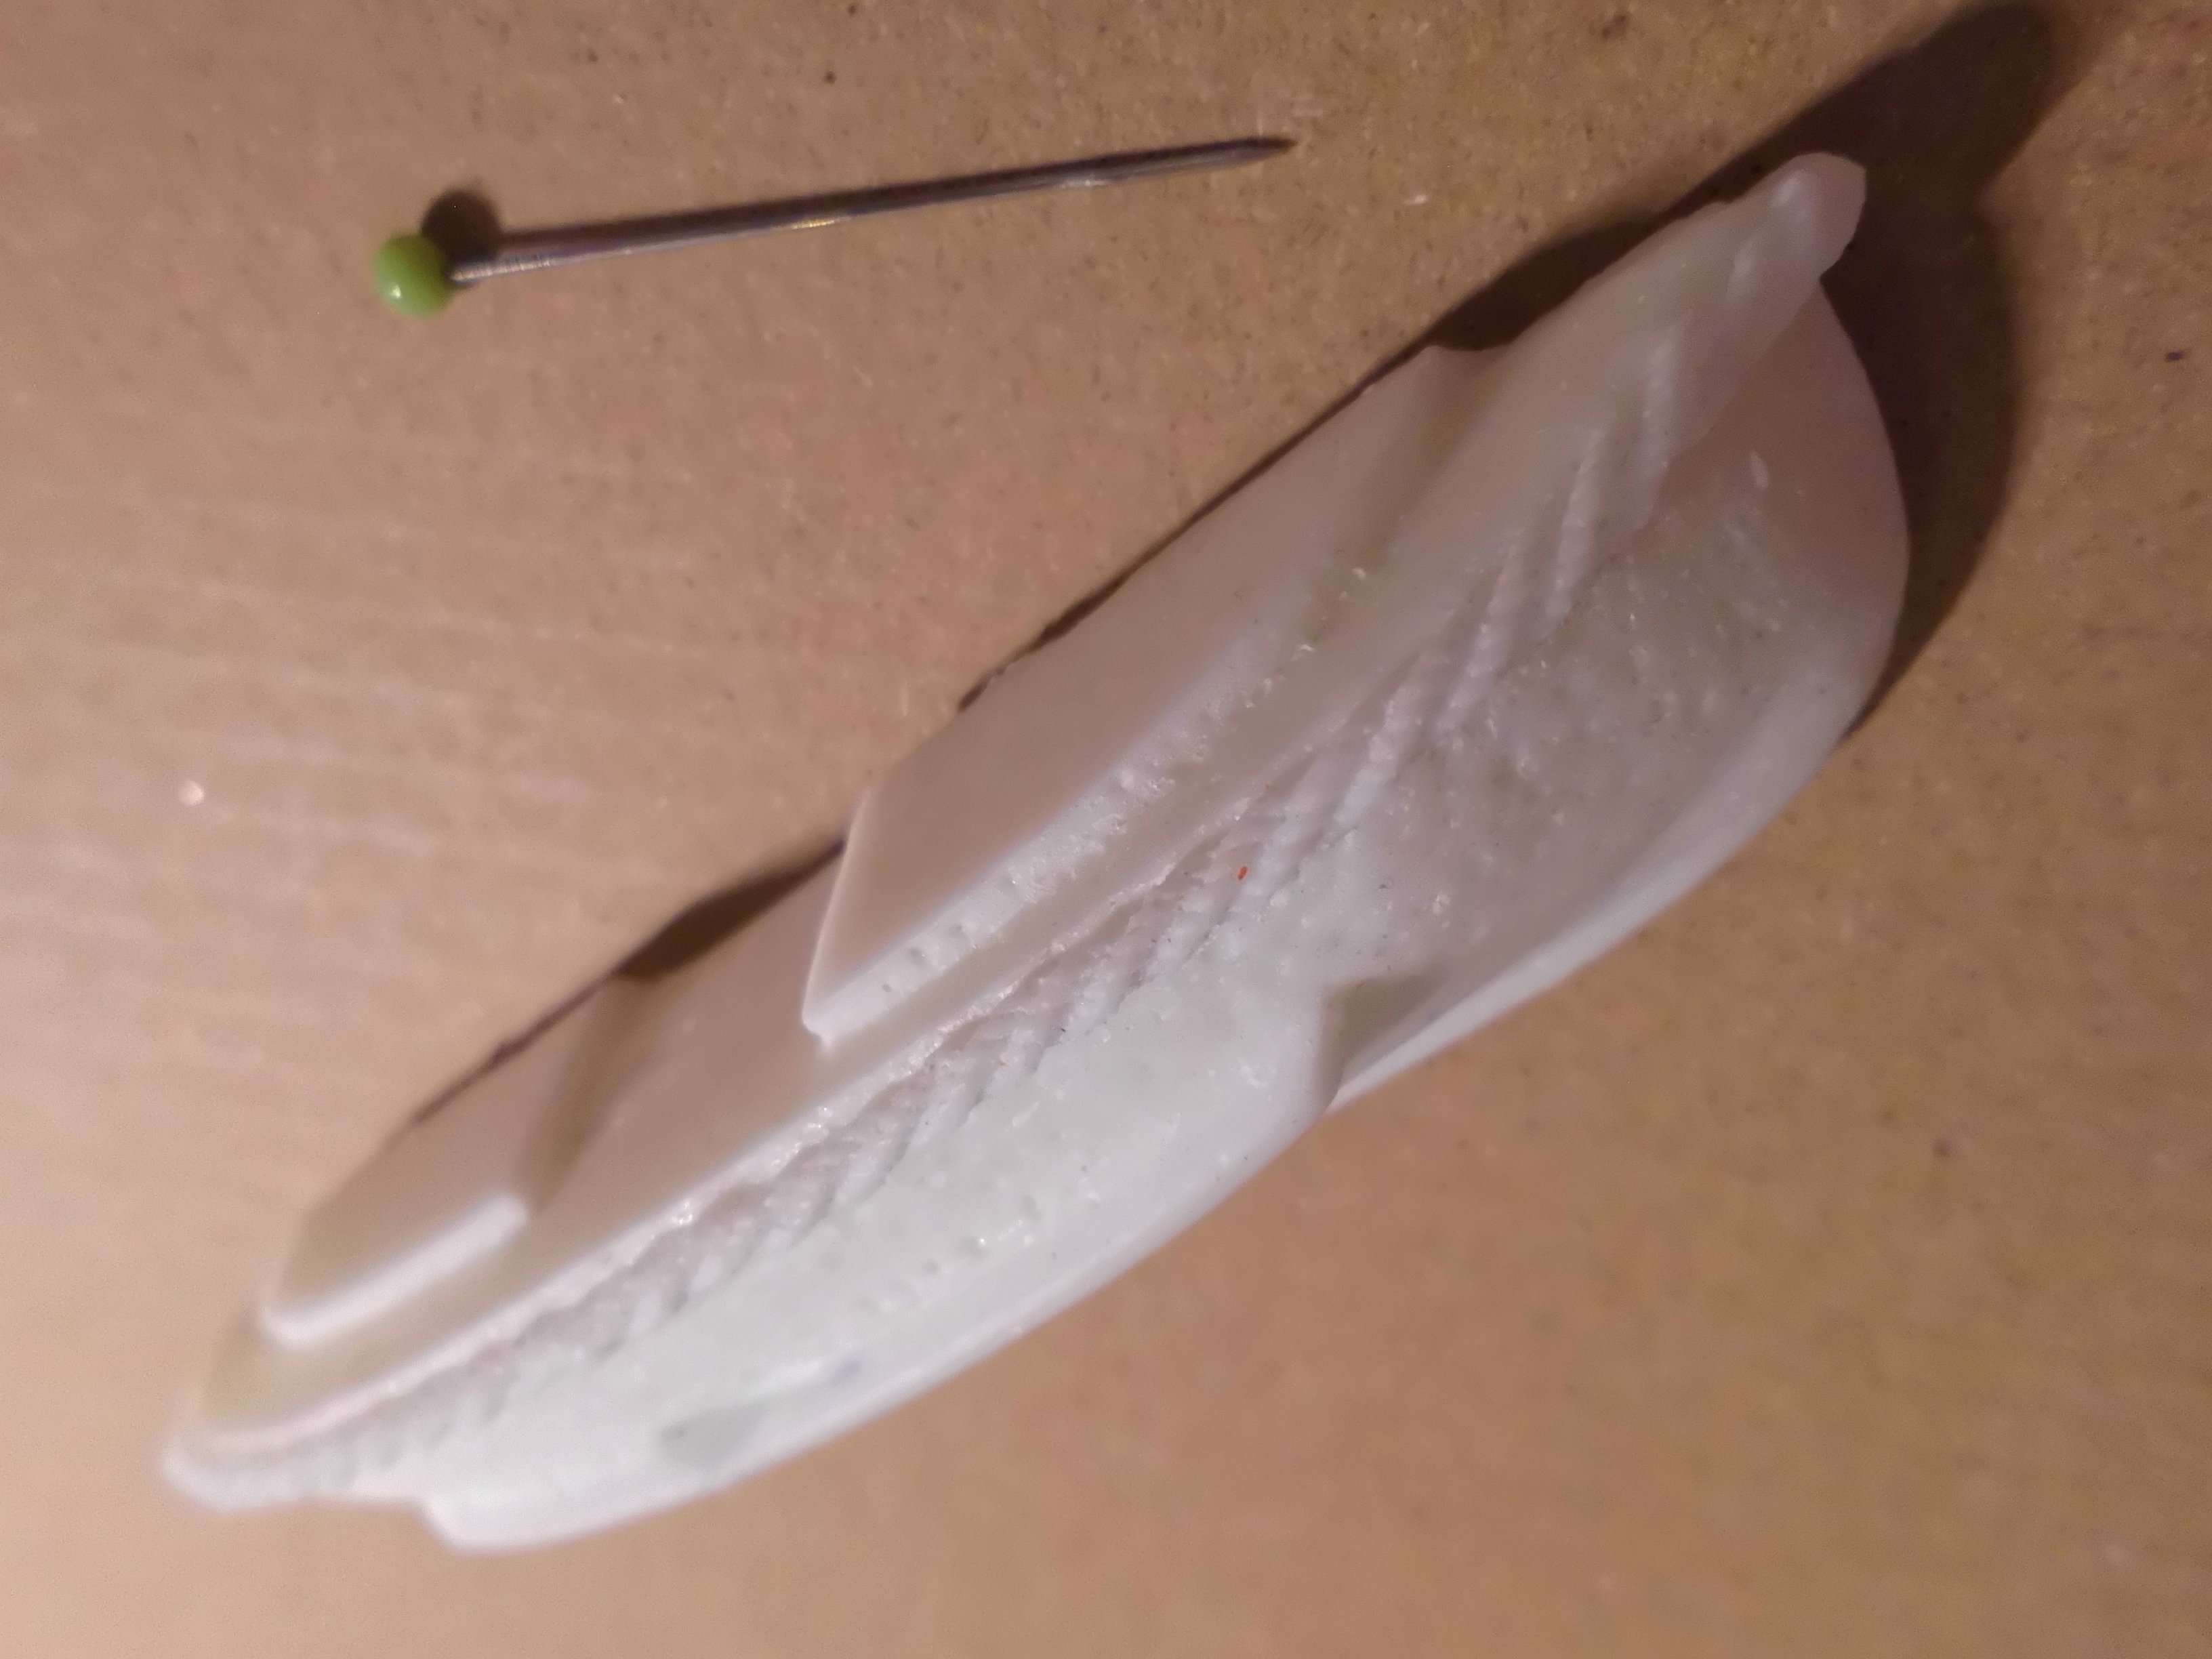
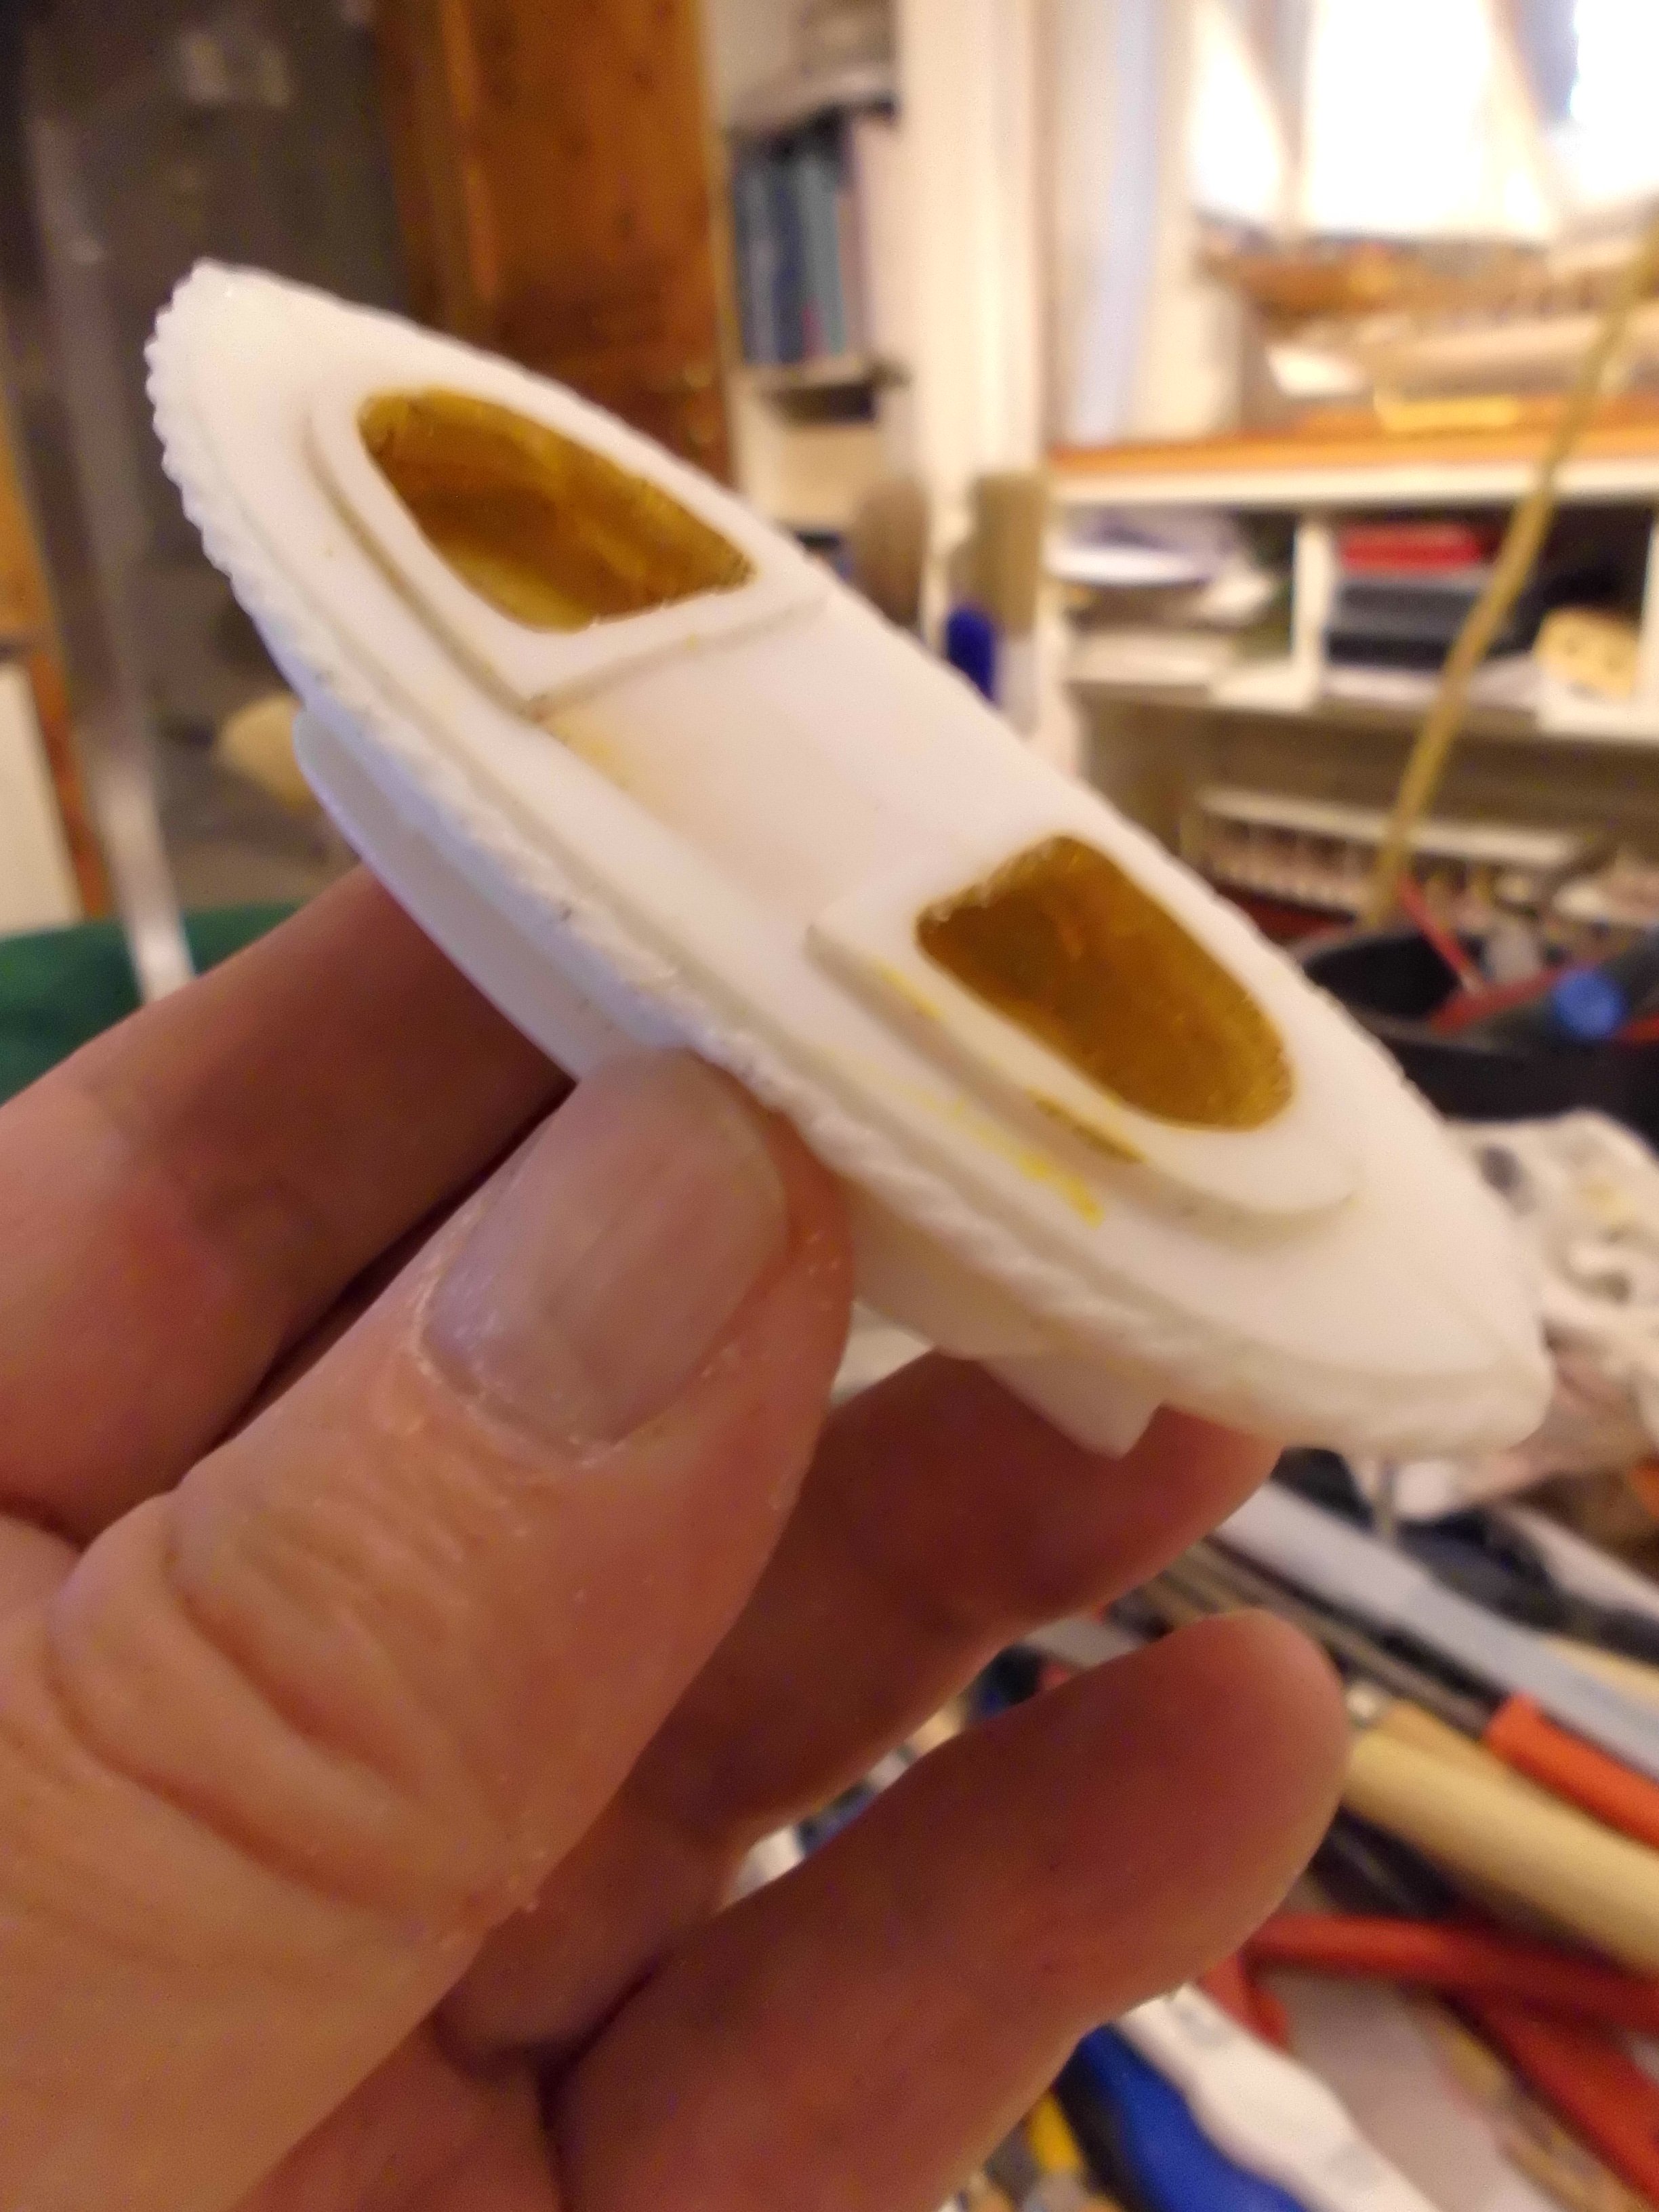
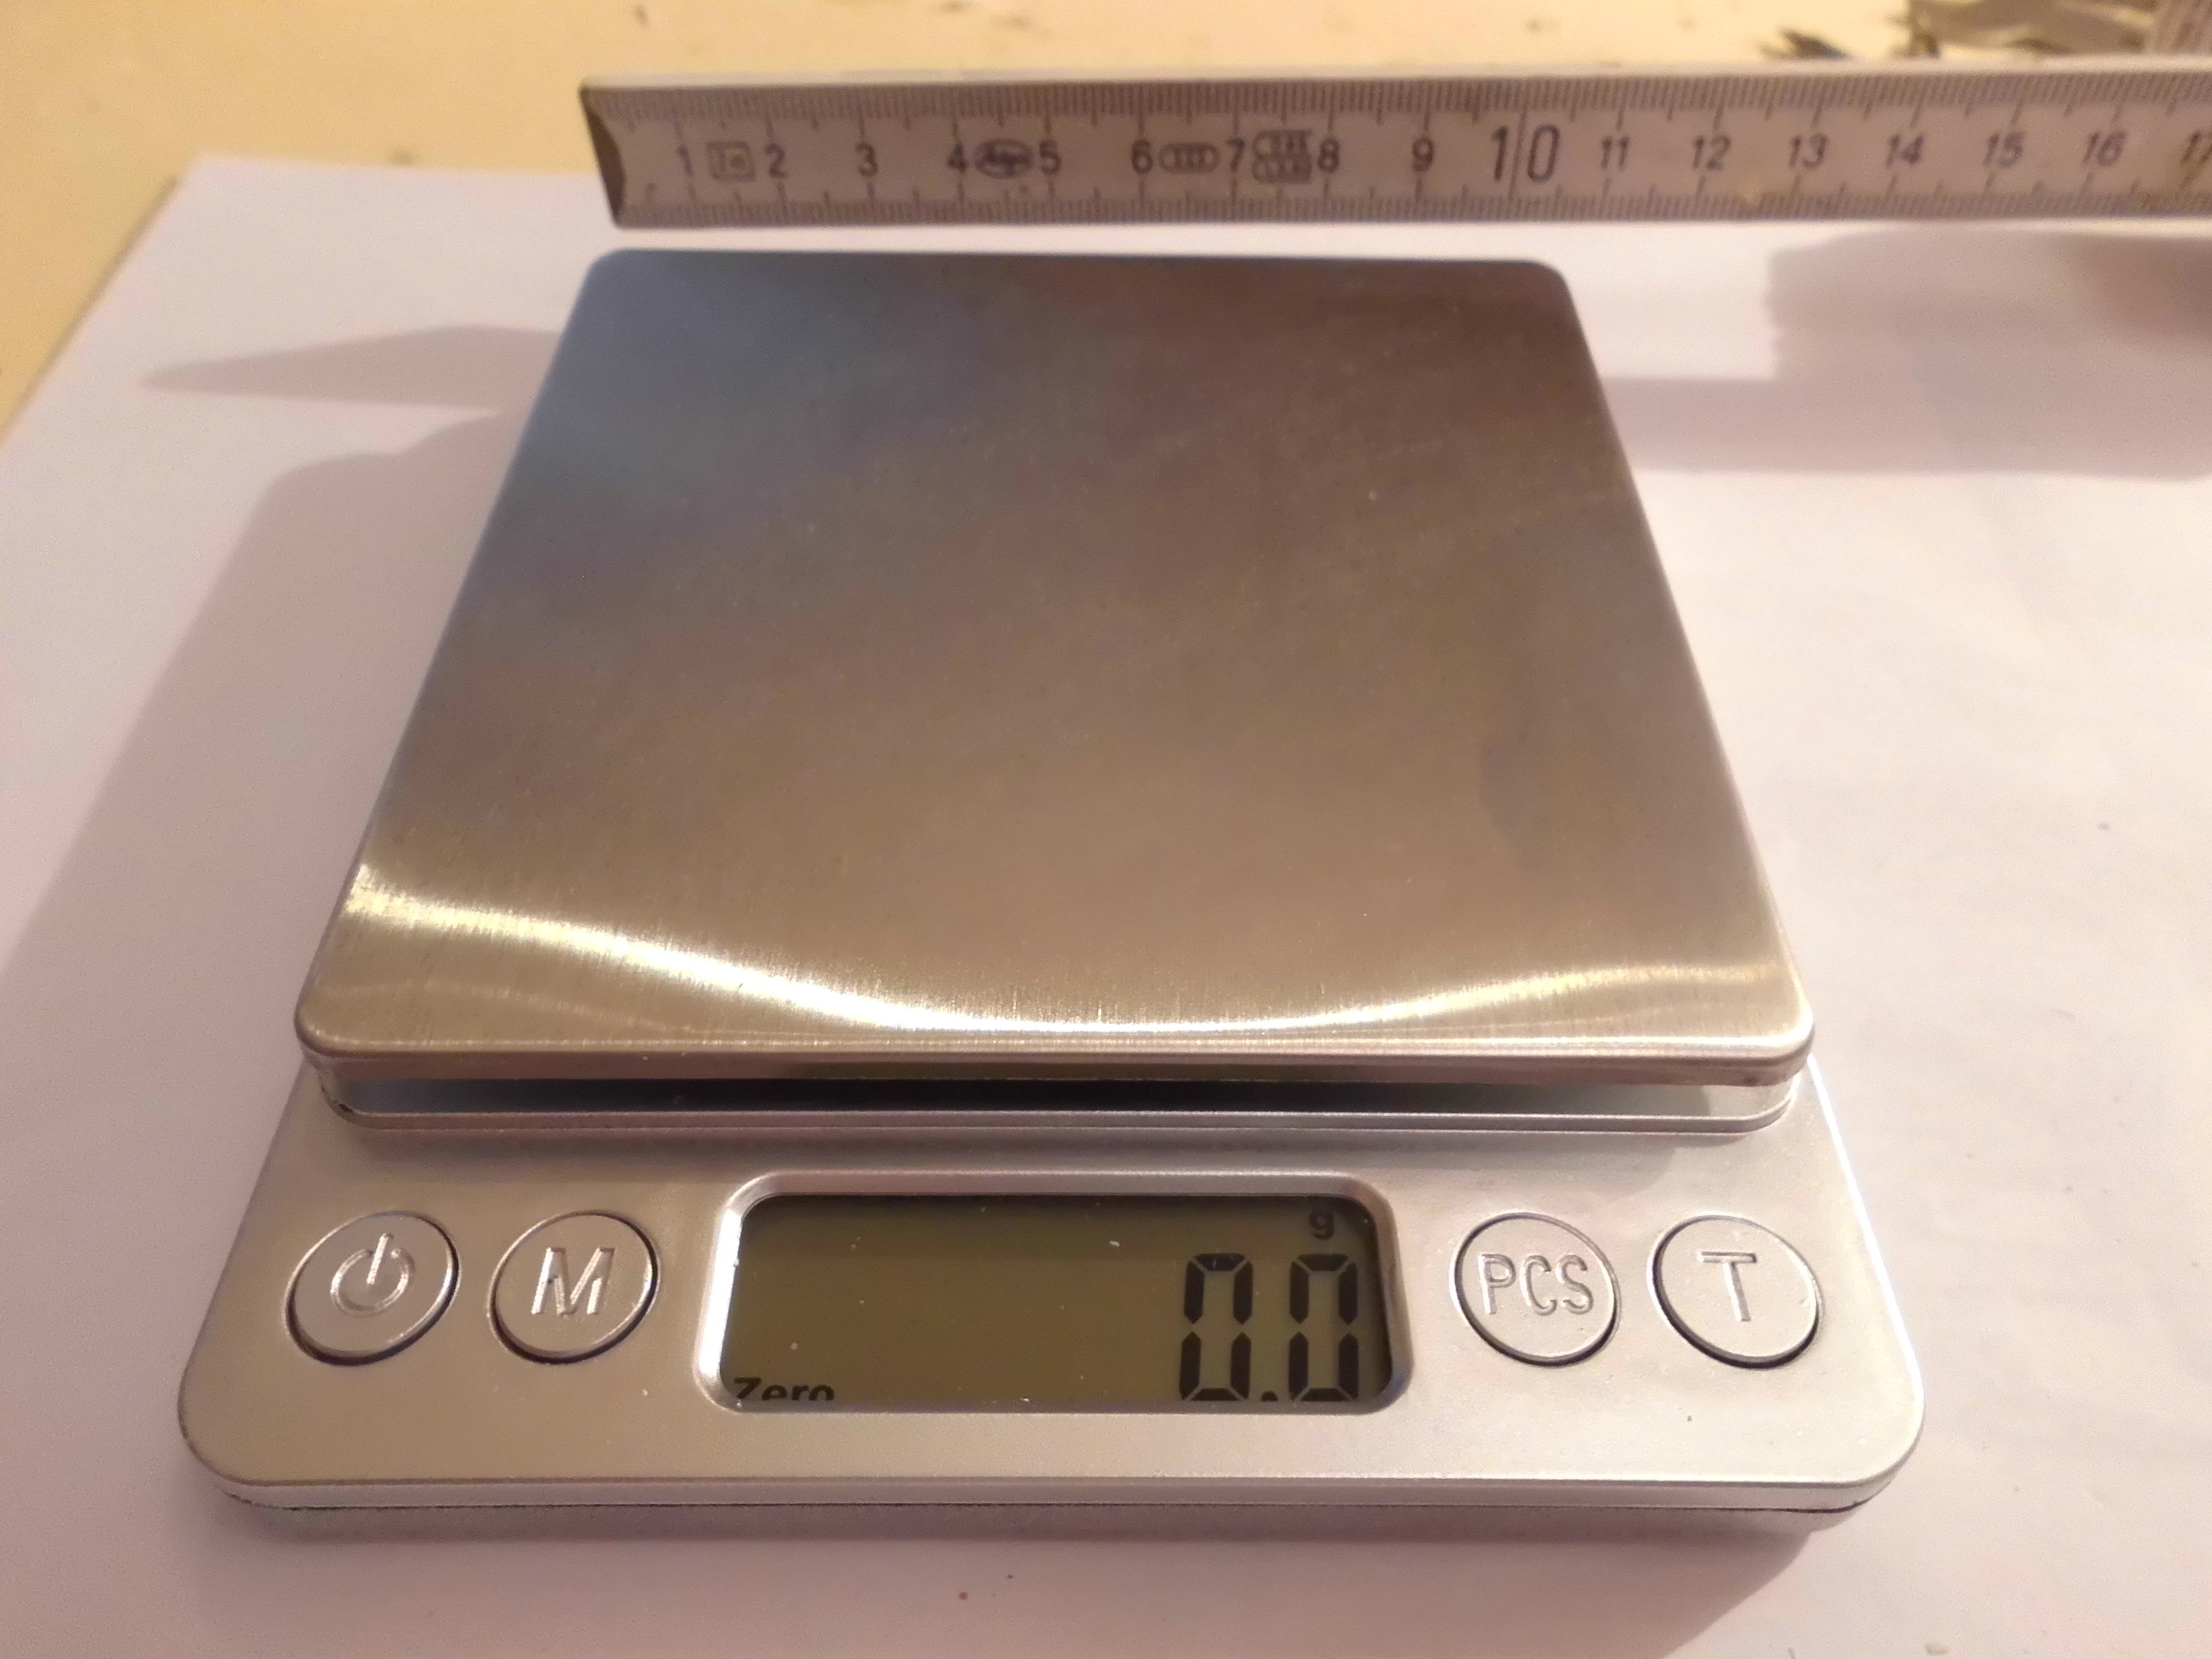
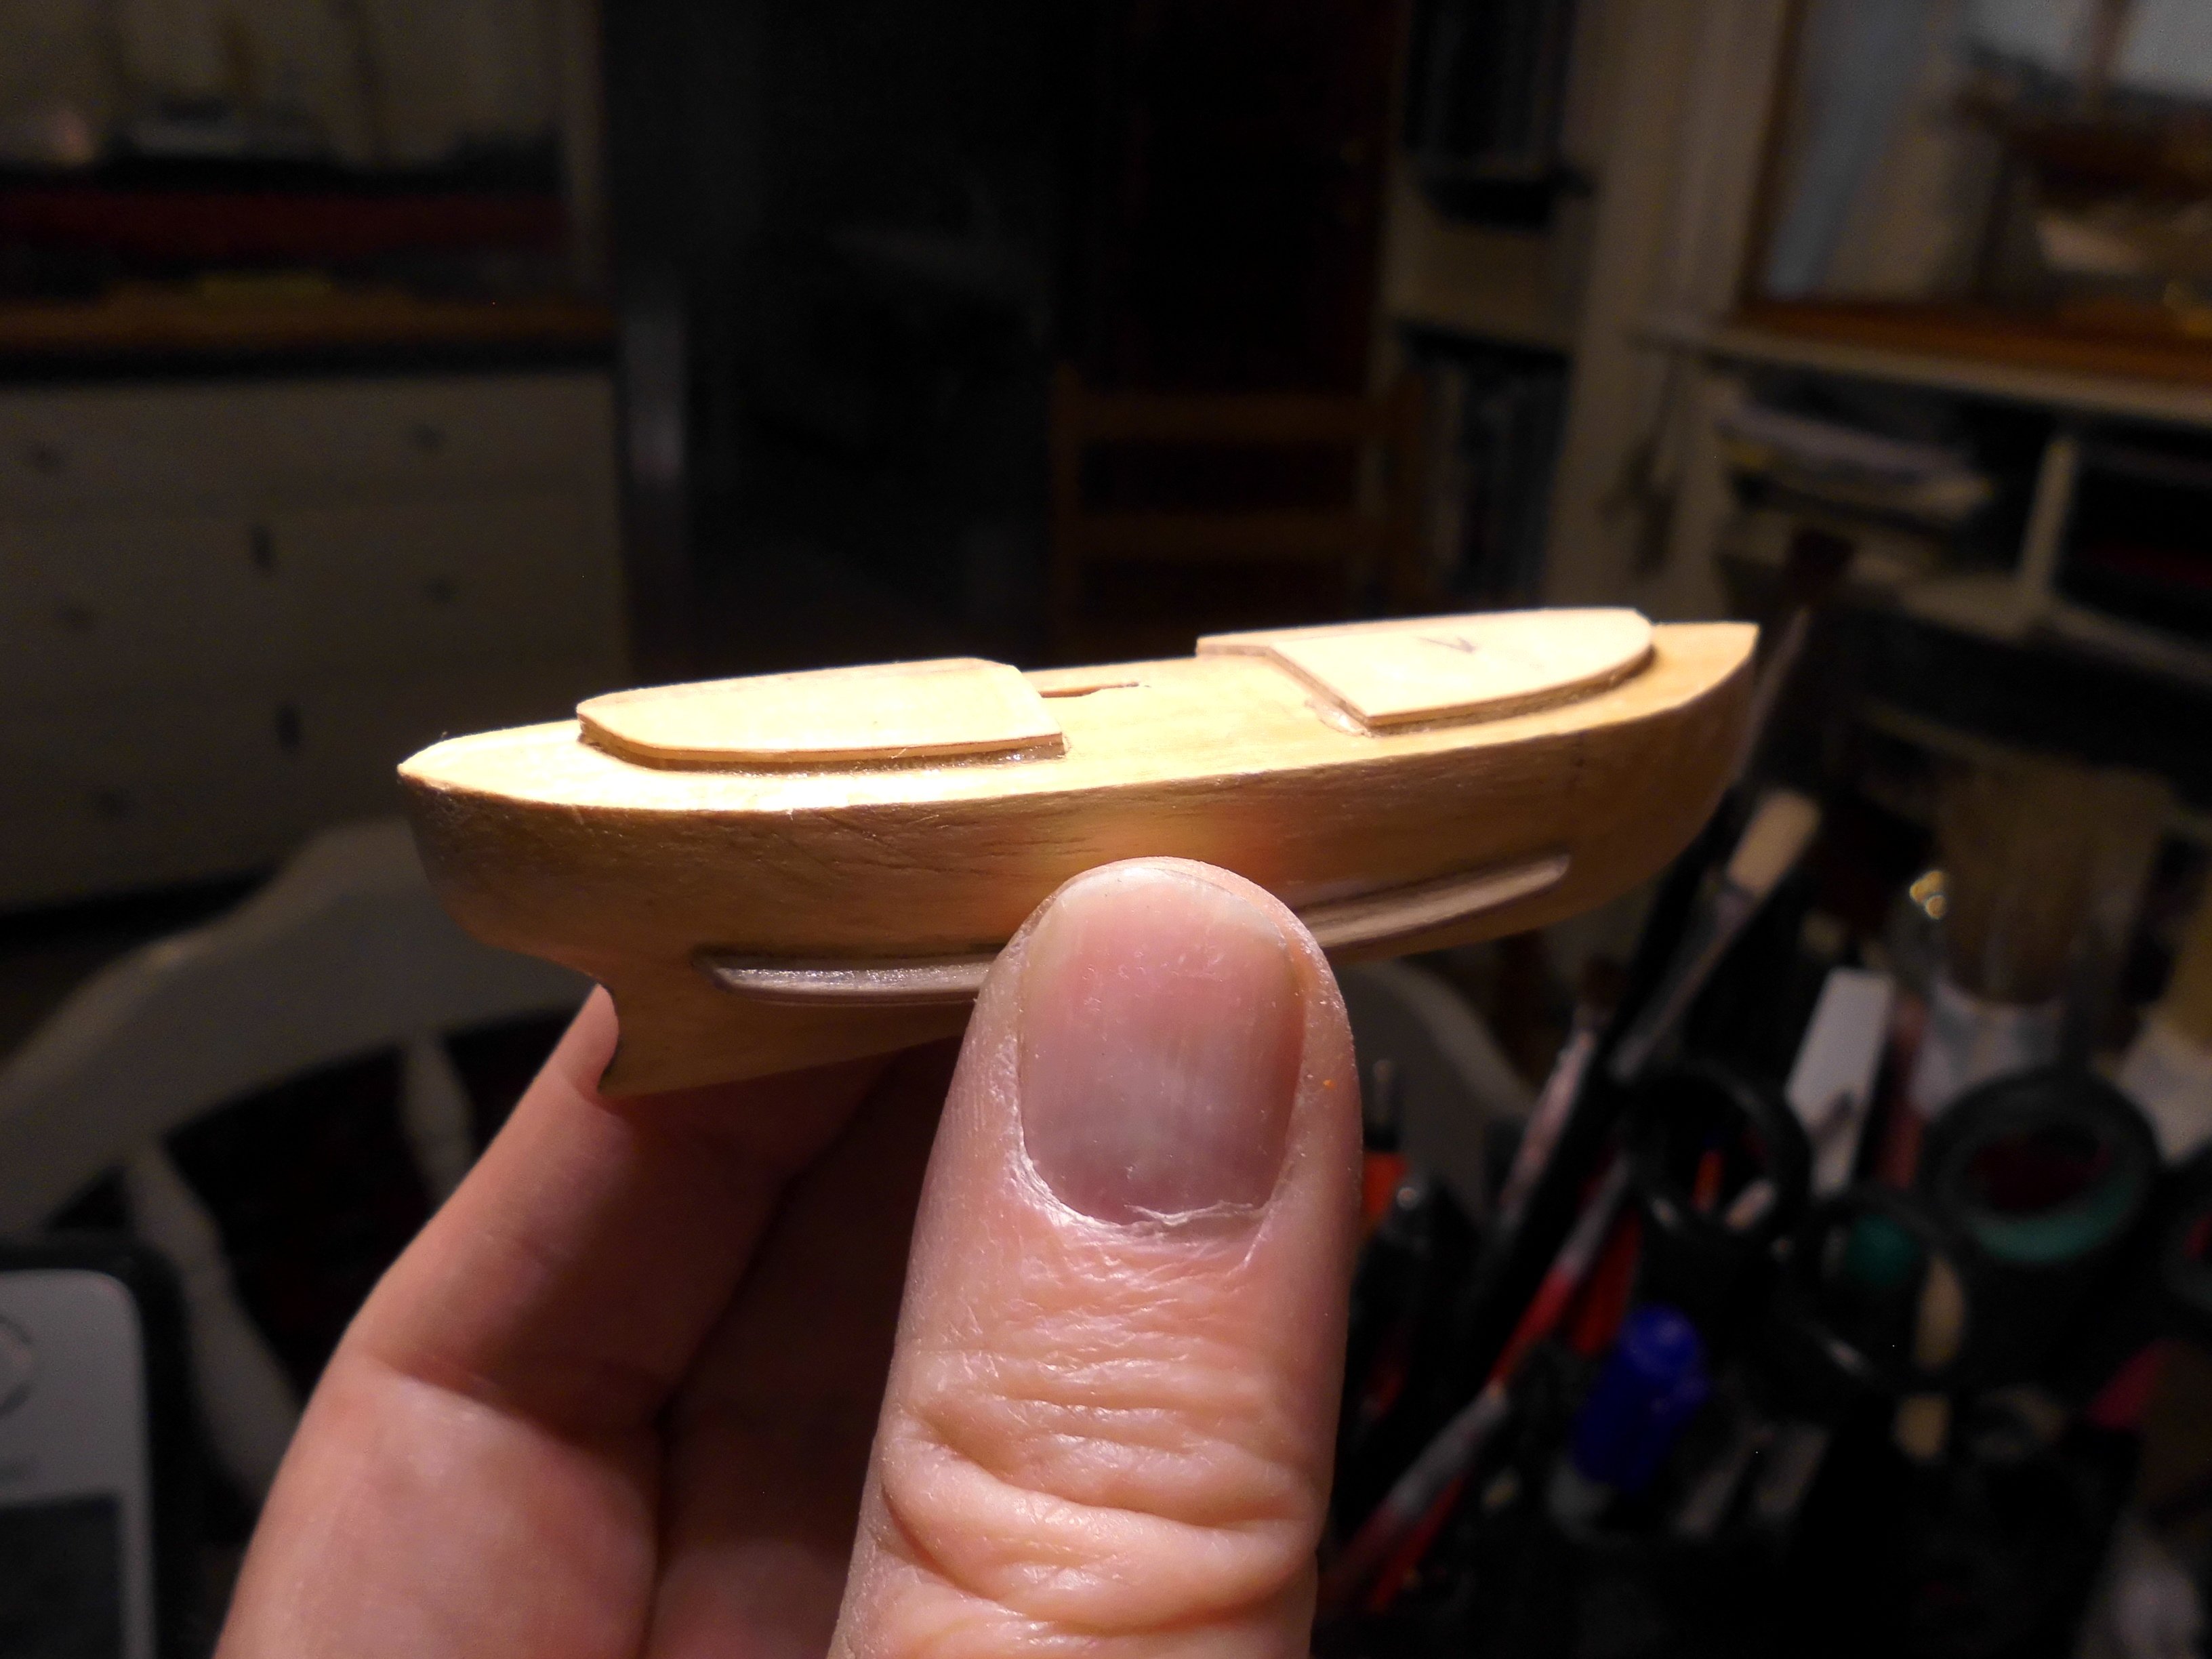
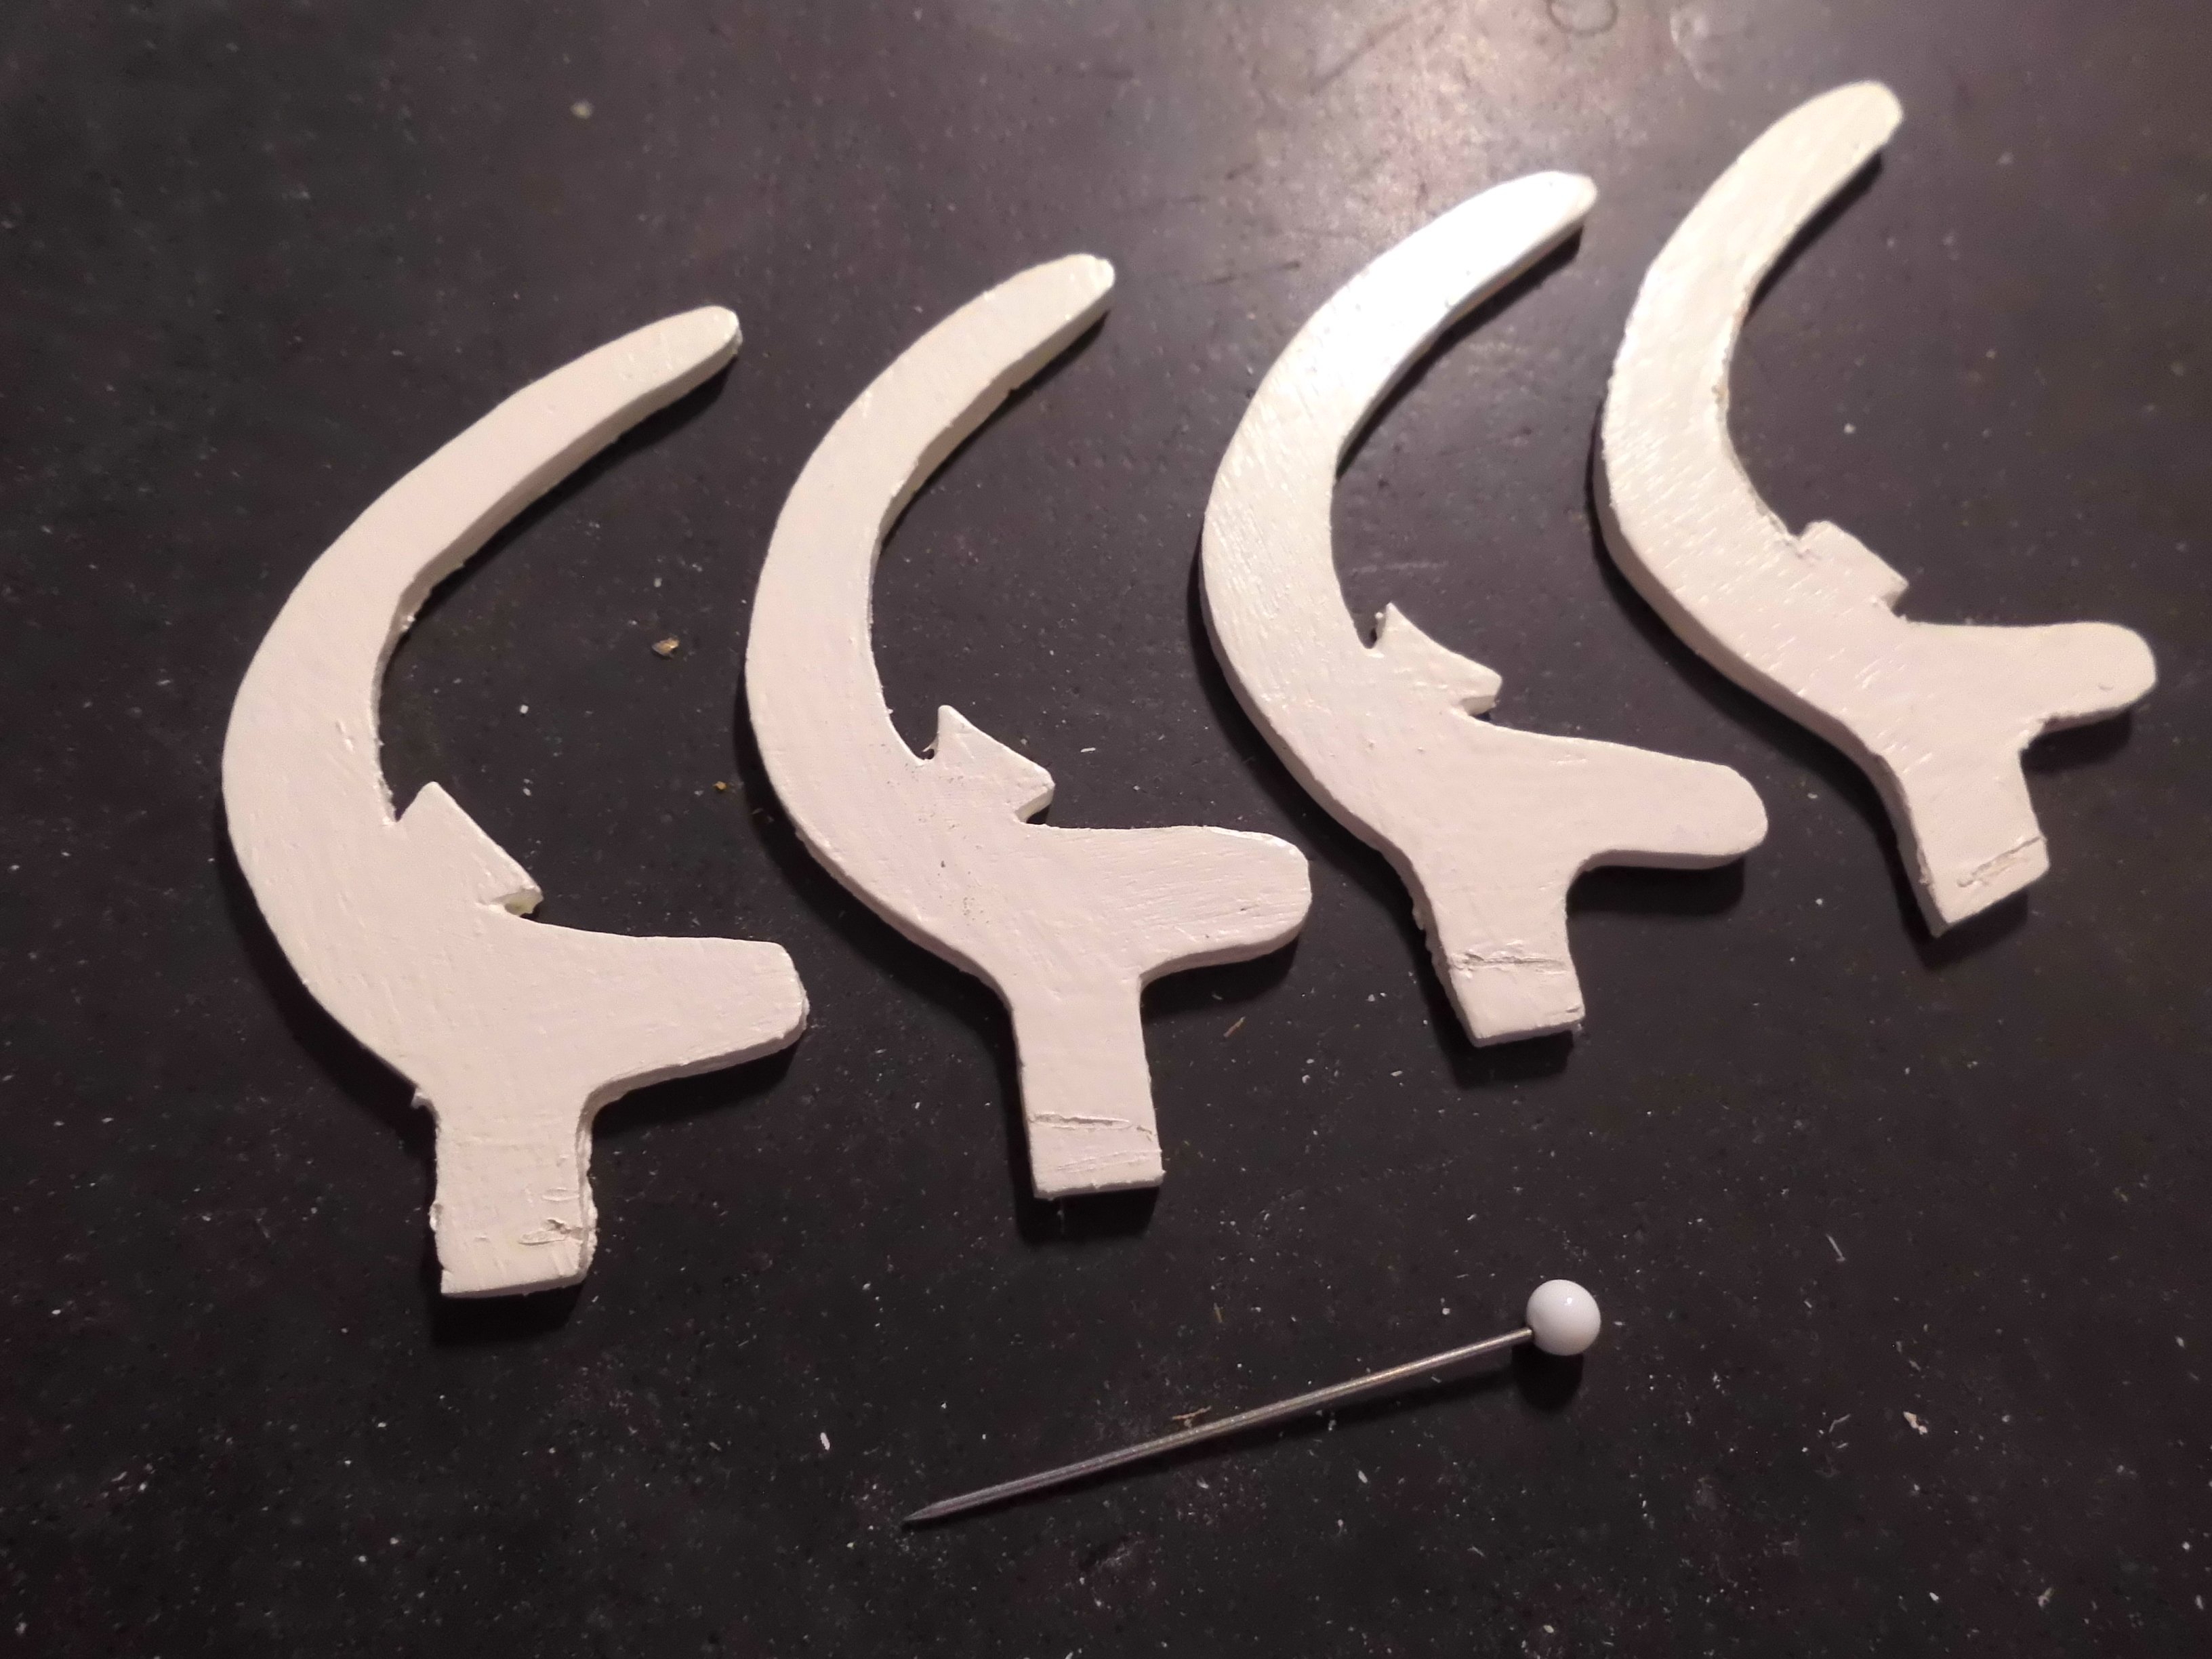
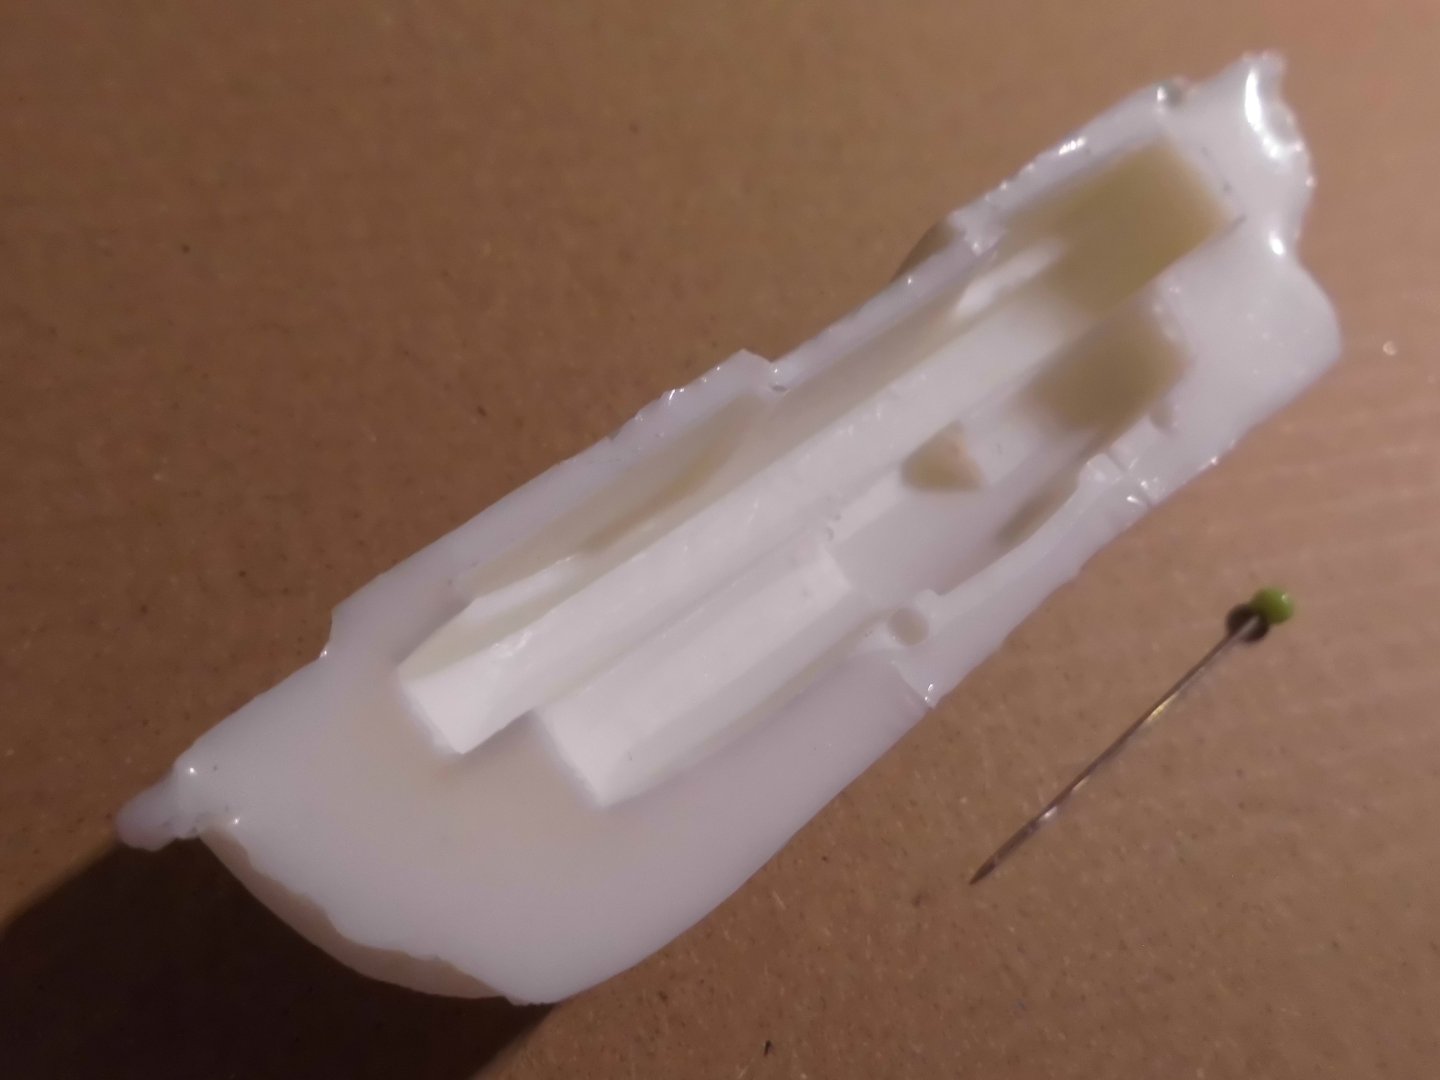
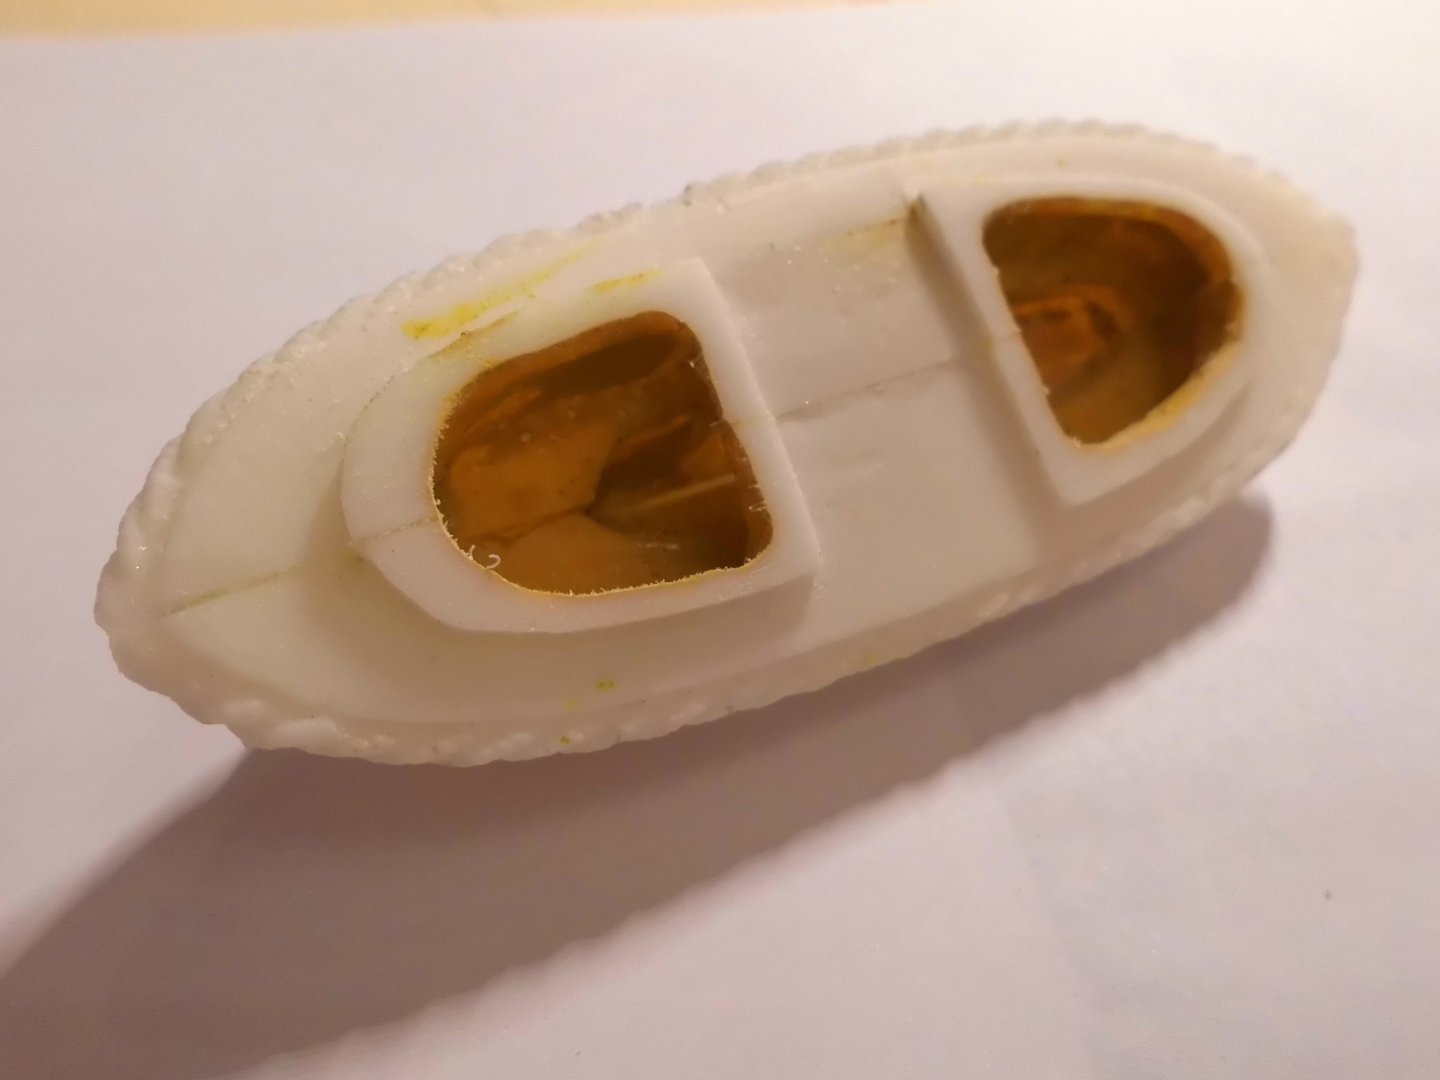
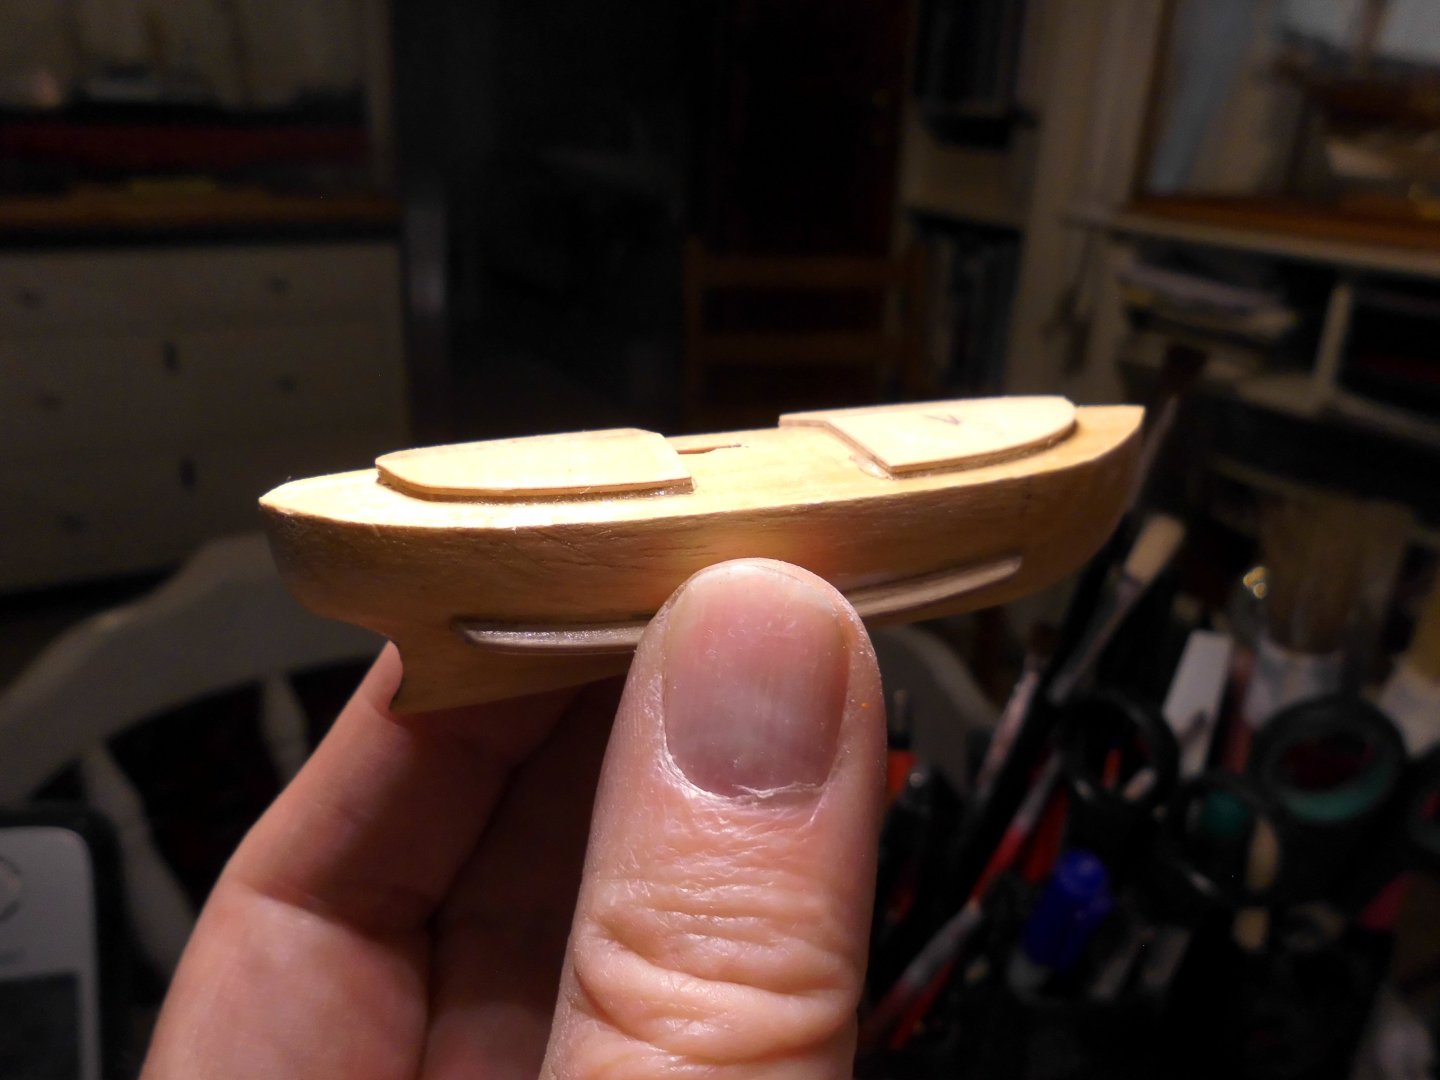
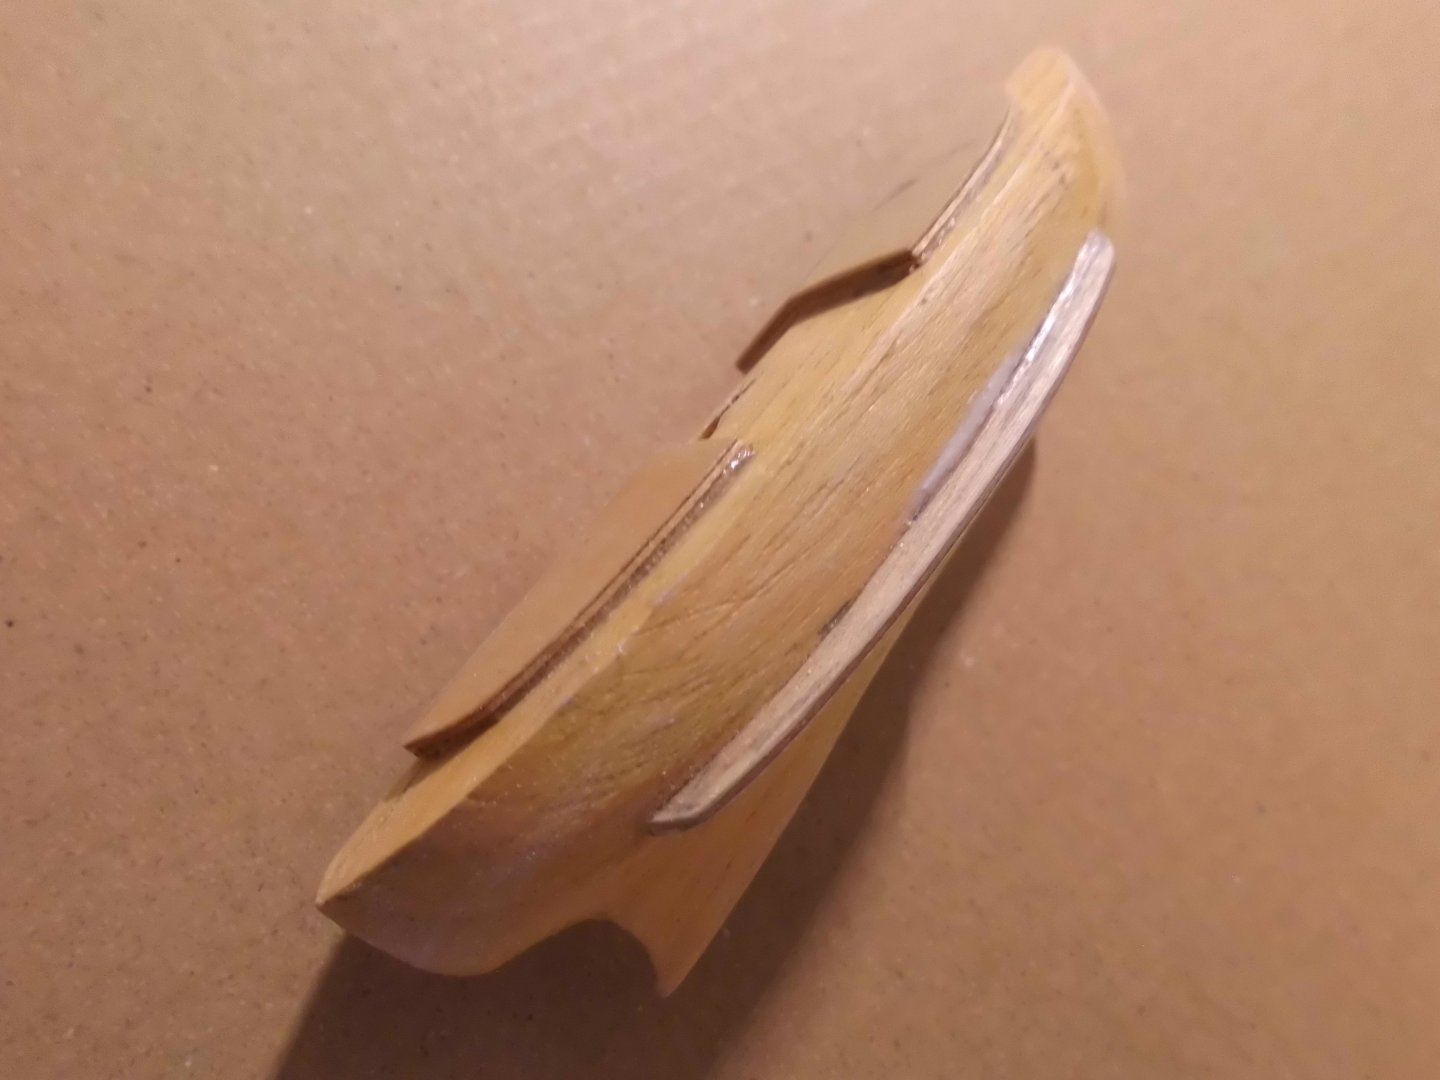
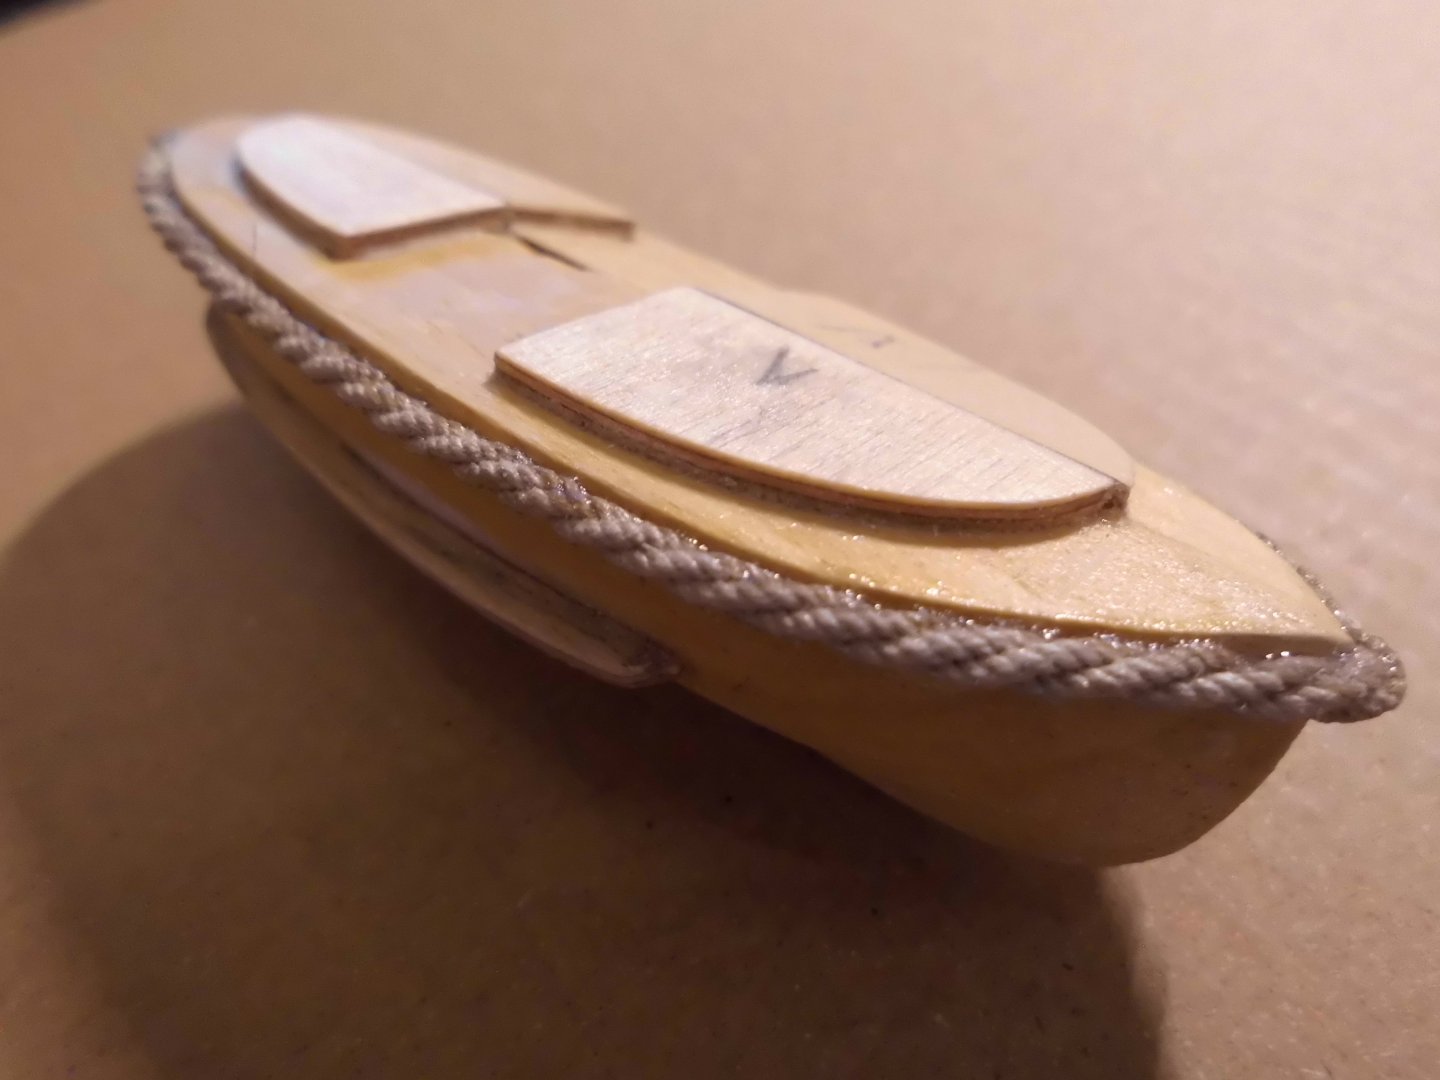
Update because I had problems with getting the mixture for the 2 components (both exactly the same weight neccessary ) I invested into a small digital weight scale. After using that, it works well and results are repeatable. I am holding now 6 halves, glued two together and cut out the cockpit areas. I should have done that long ago already. Nils the new weight scale stb. half model with inside contours outside view halves glued tother and cockpit areas cut out


- 299 replies
-
- 11
-
-
- lightship
- Feuerschiff Elbe 1
- (and 1 more)
-
Thank you Valeriy, glassing with face-polished plexiglass cylinders, very smart ! Nils
-
Valeriy, those skylights are wonderful. How and with what methode did jou do the glassing ( looks great ) ! Nils
-
Thank you Veszett, sure, I`ll keep it, for the sake of taking molds for spare boats if needed Nils
- 299 replies
-
- 4
-
-
- lightship
- Feuerschiff Elbe 1
- (and 1 more)
-
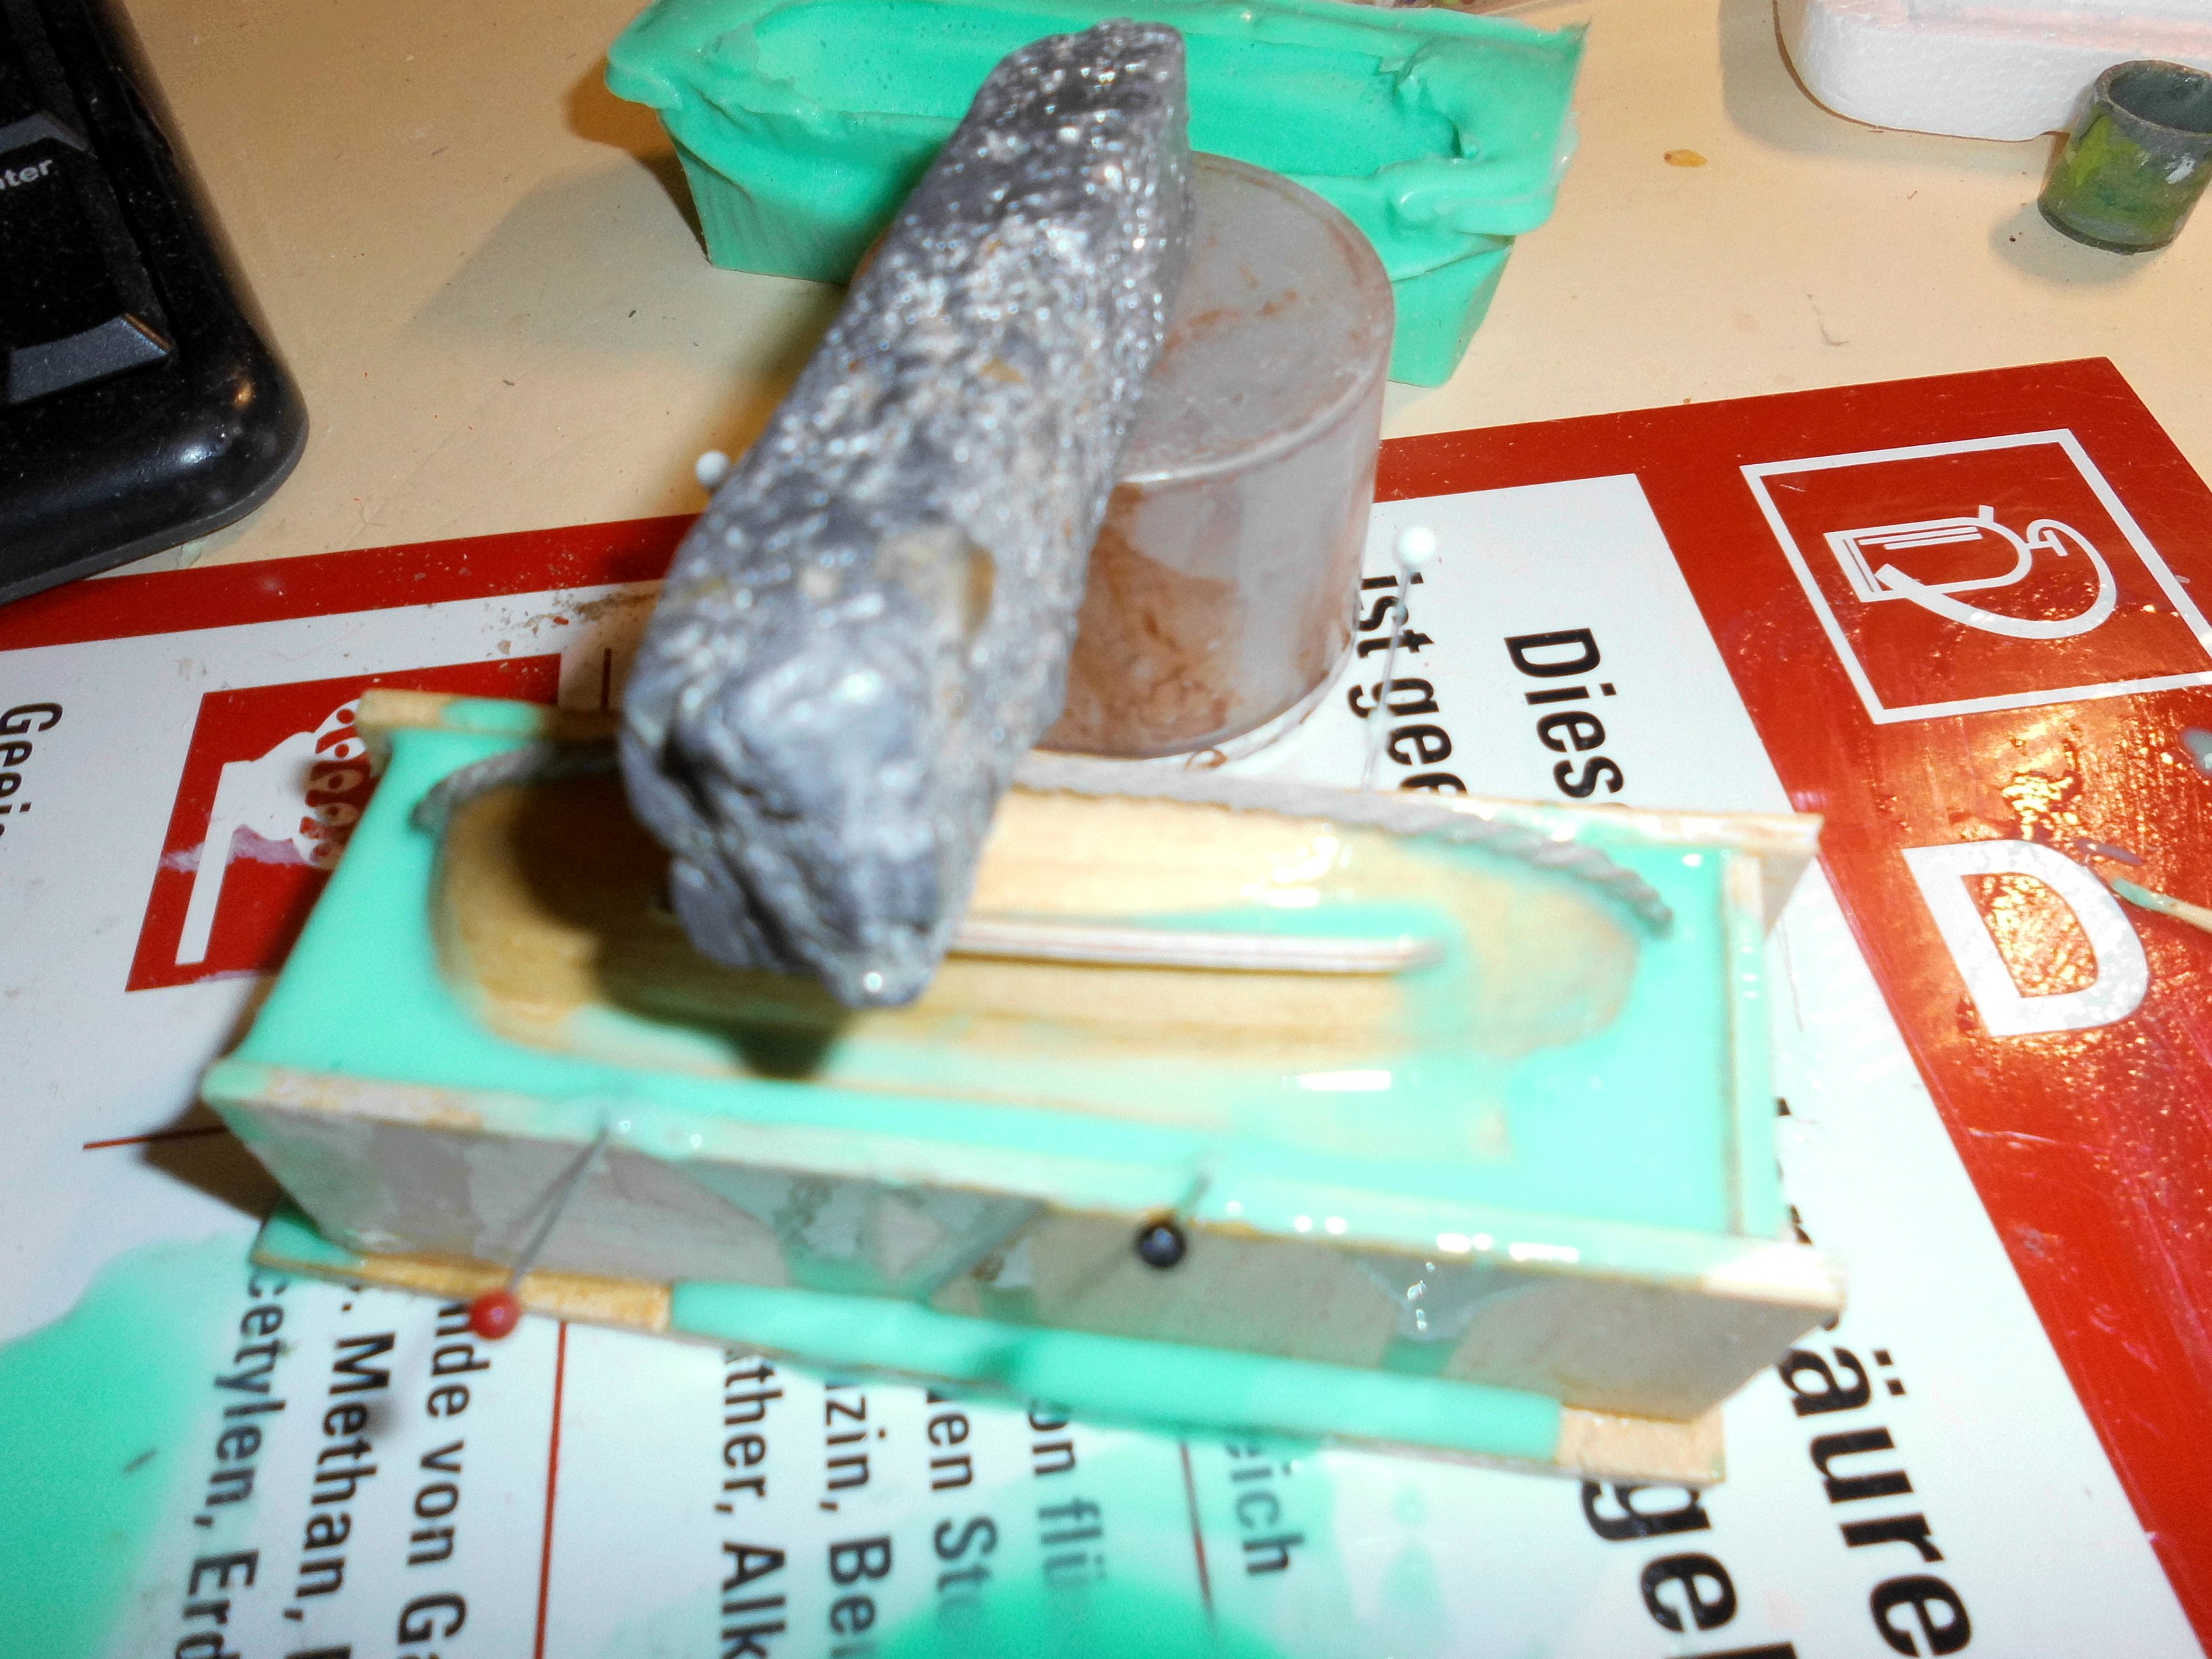
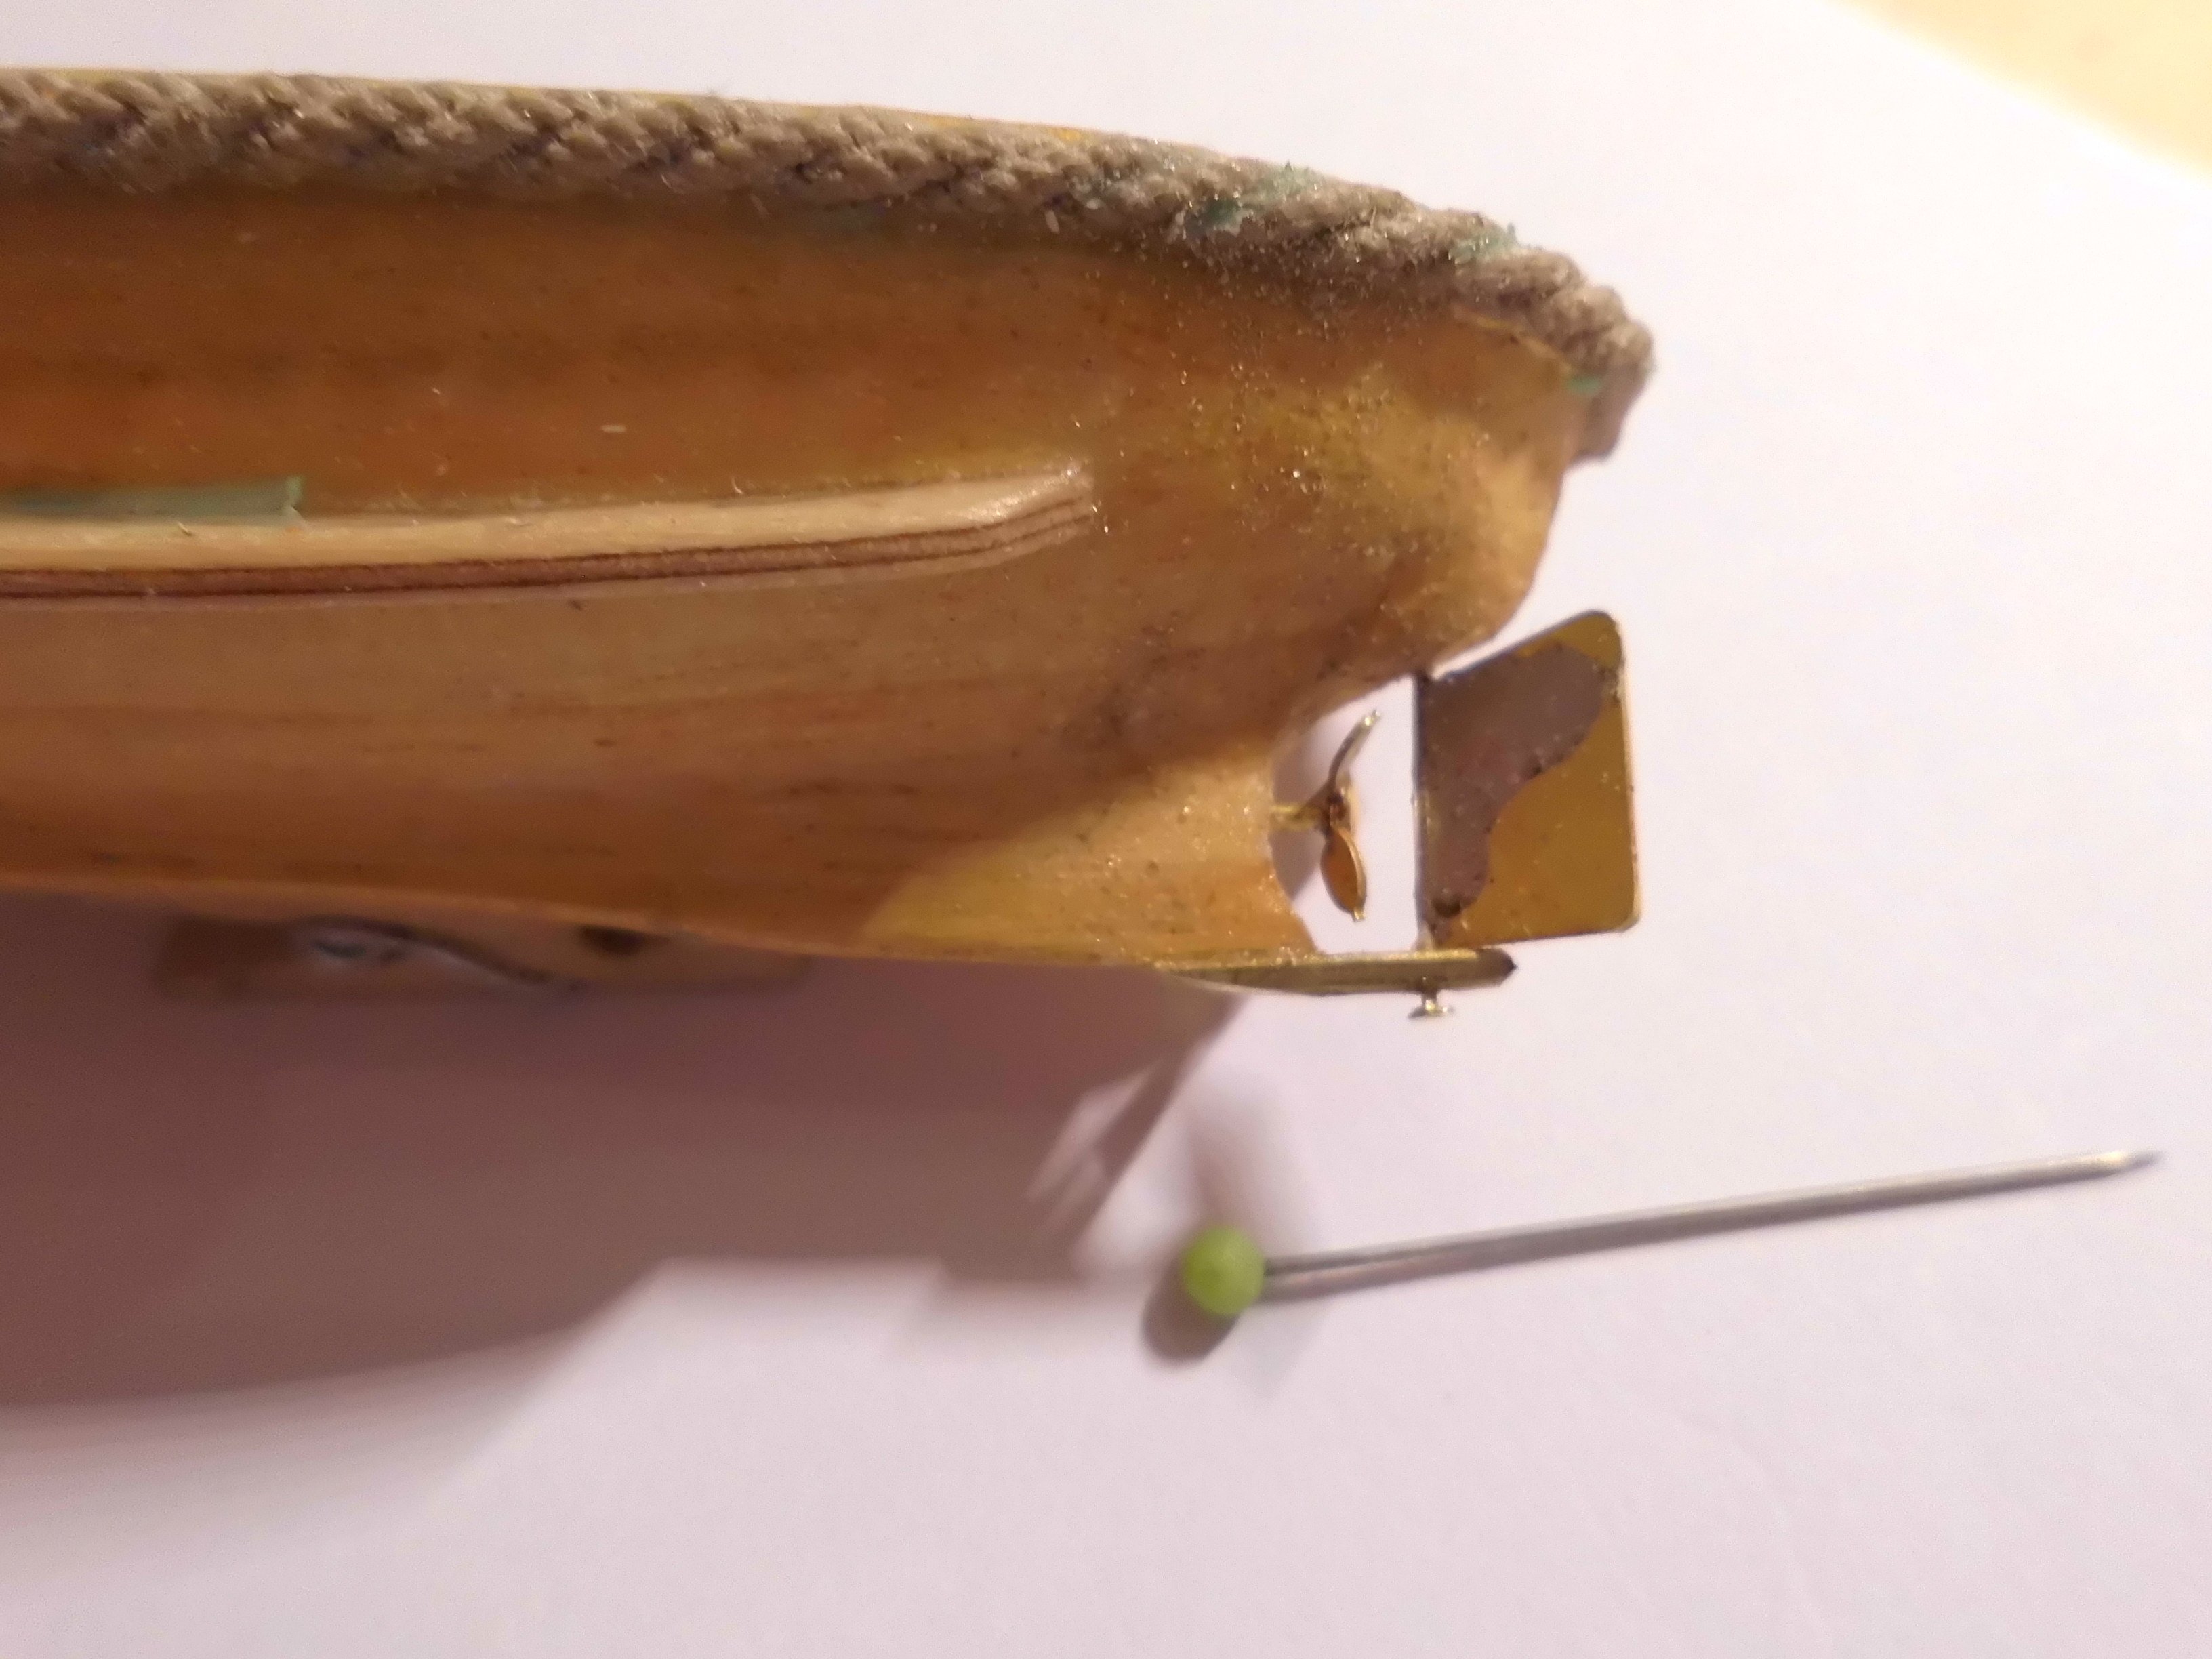
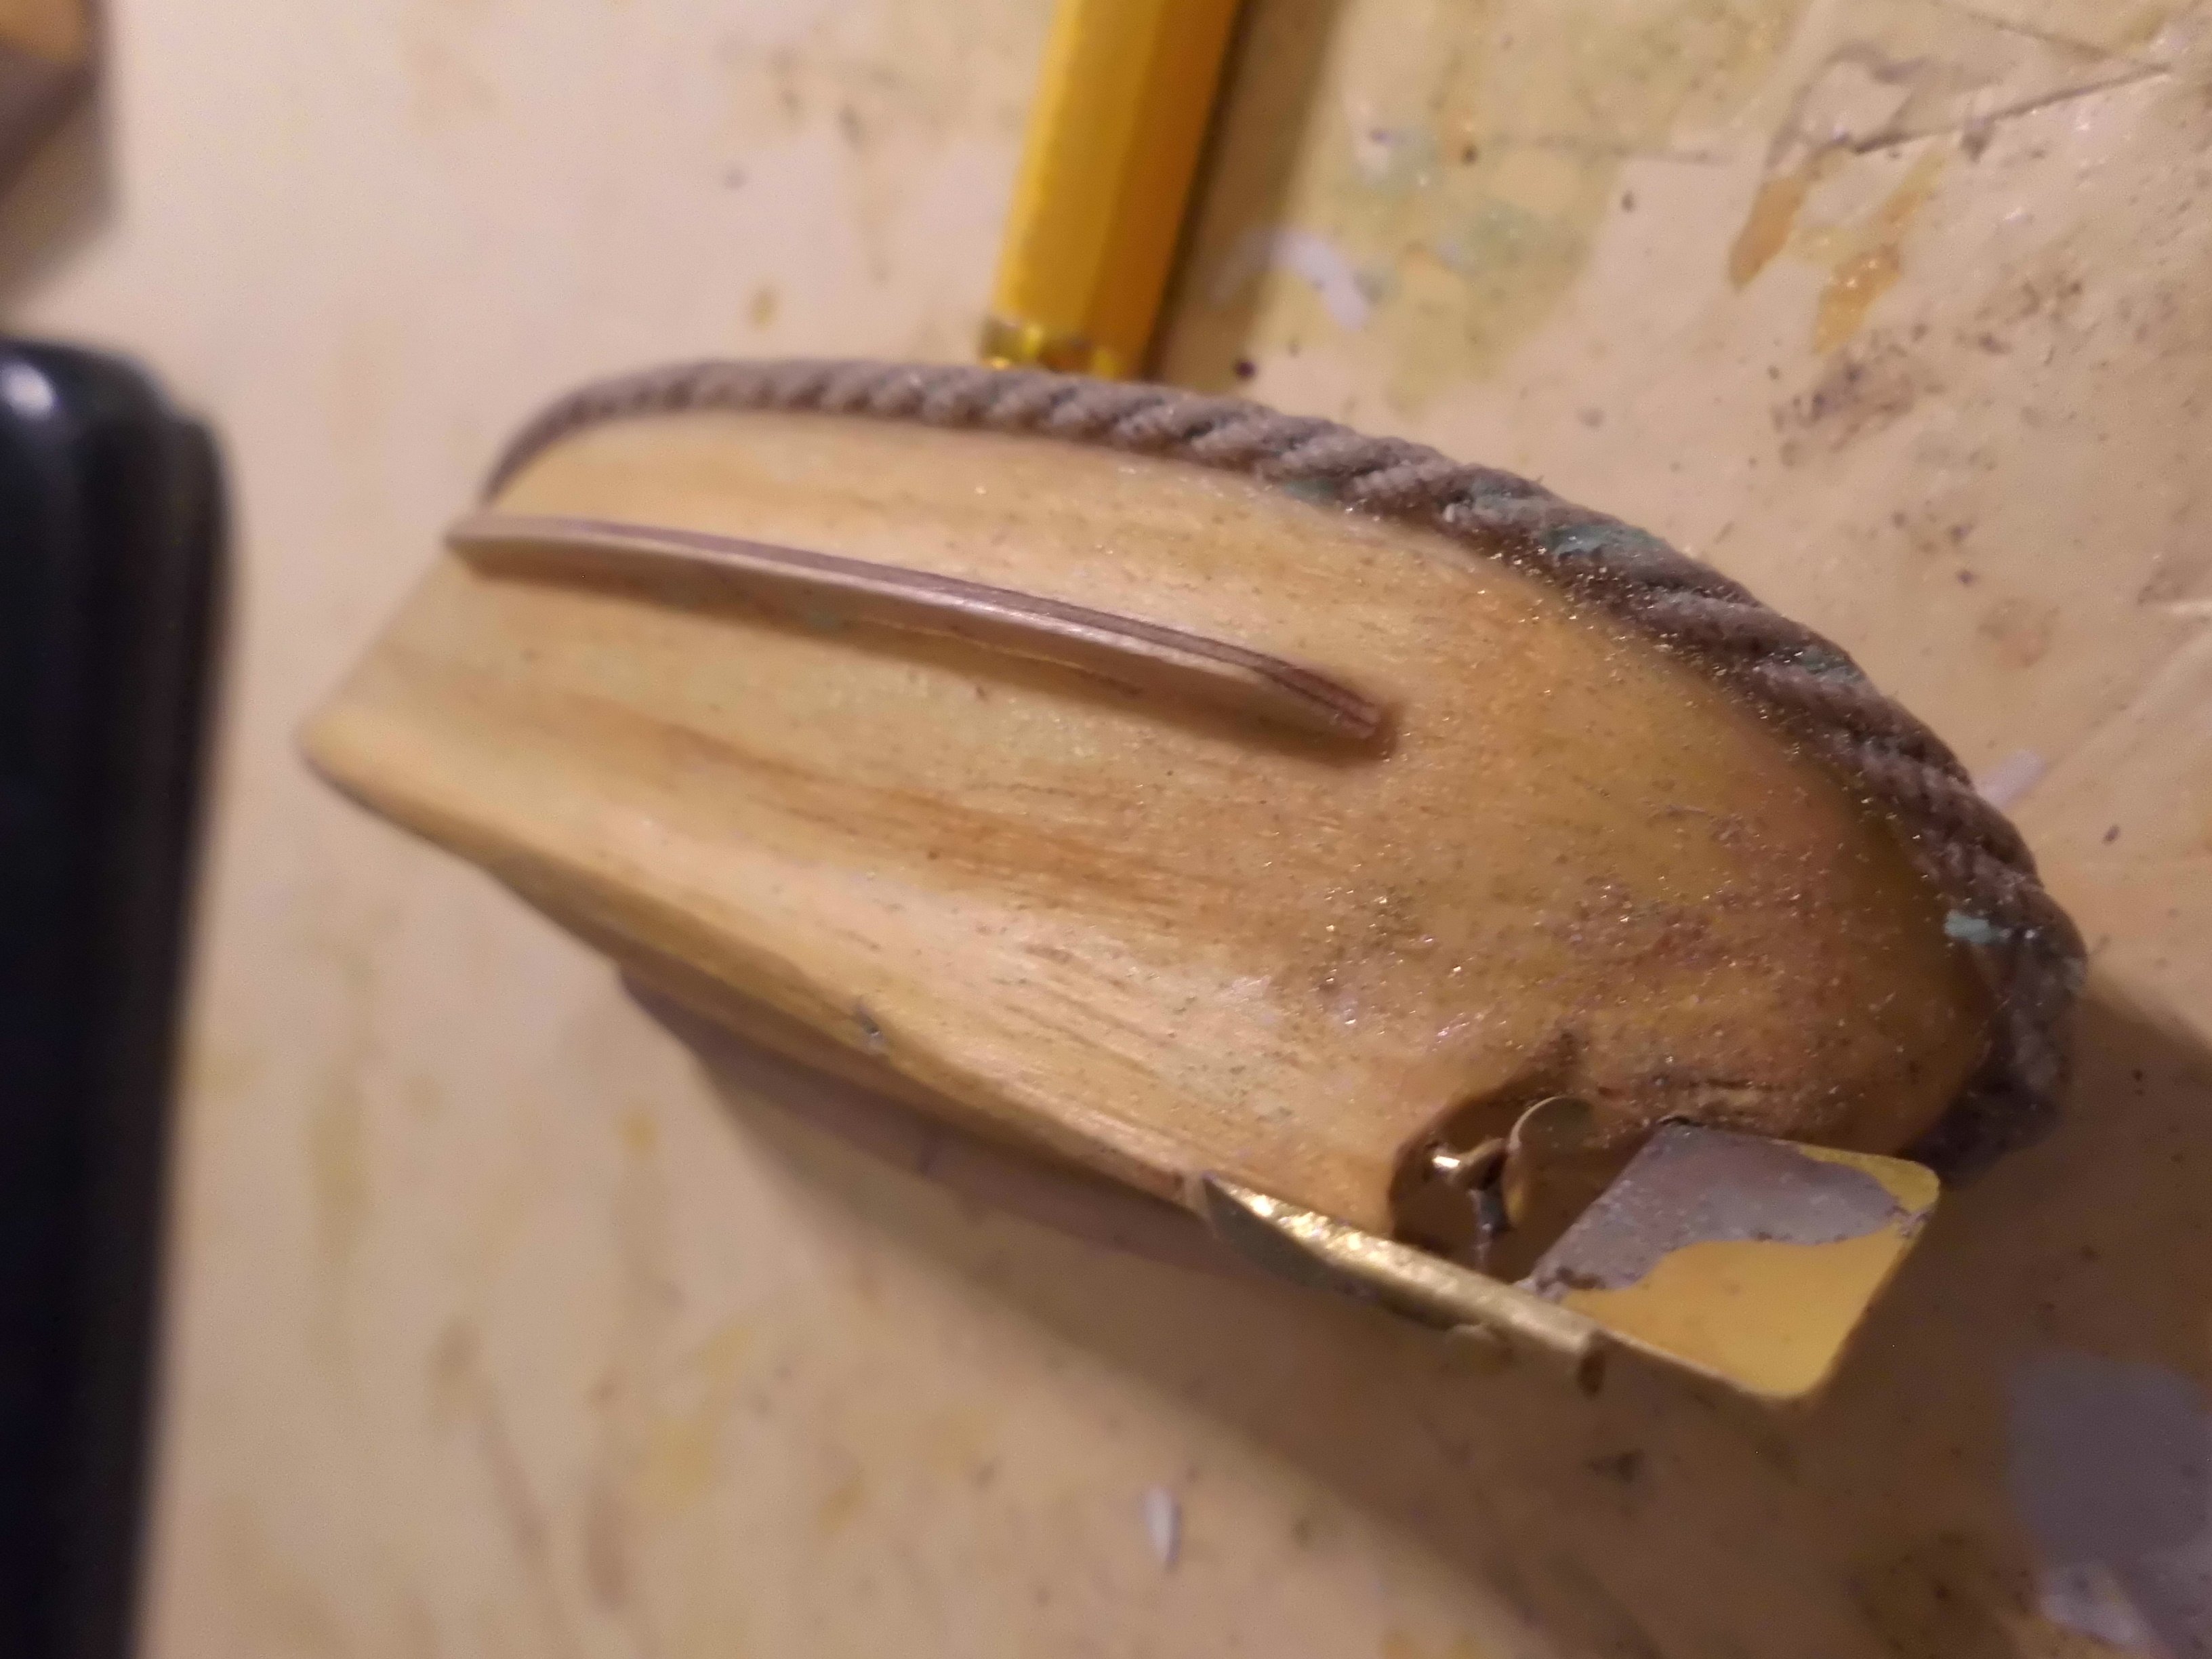
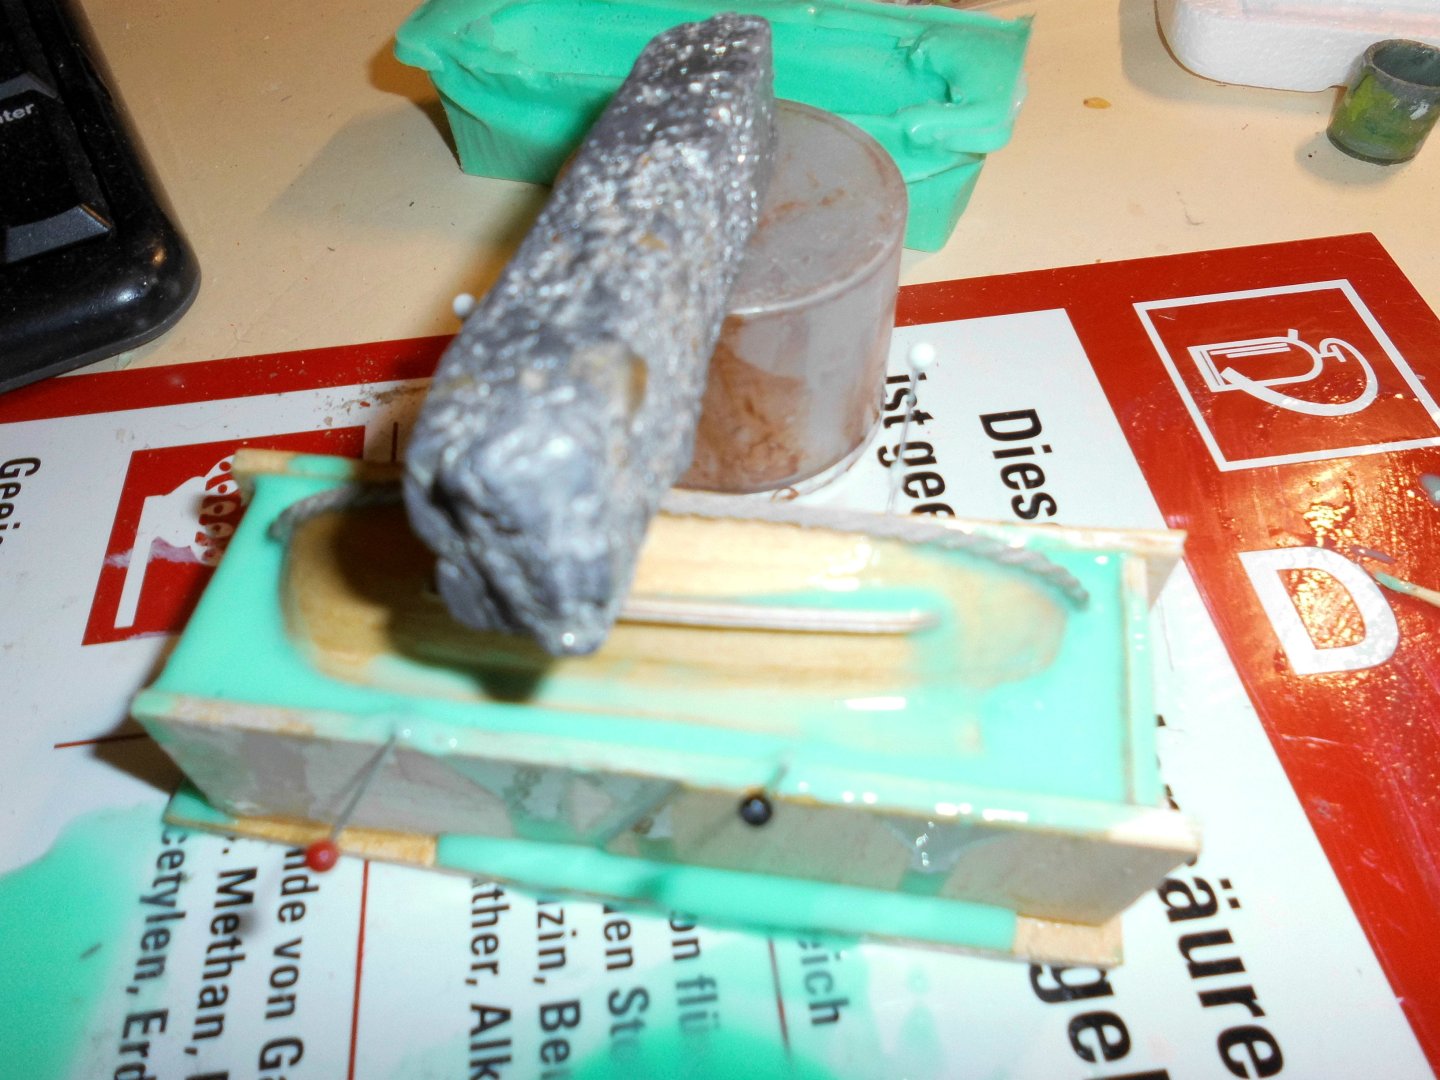
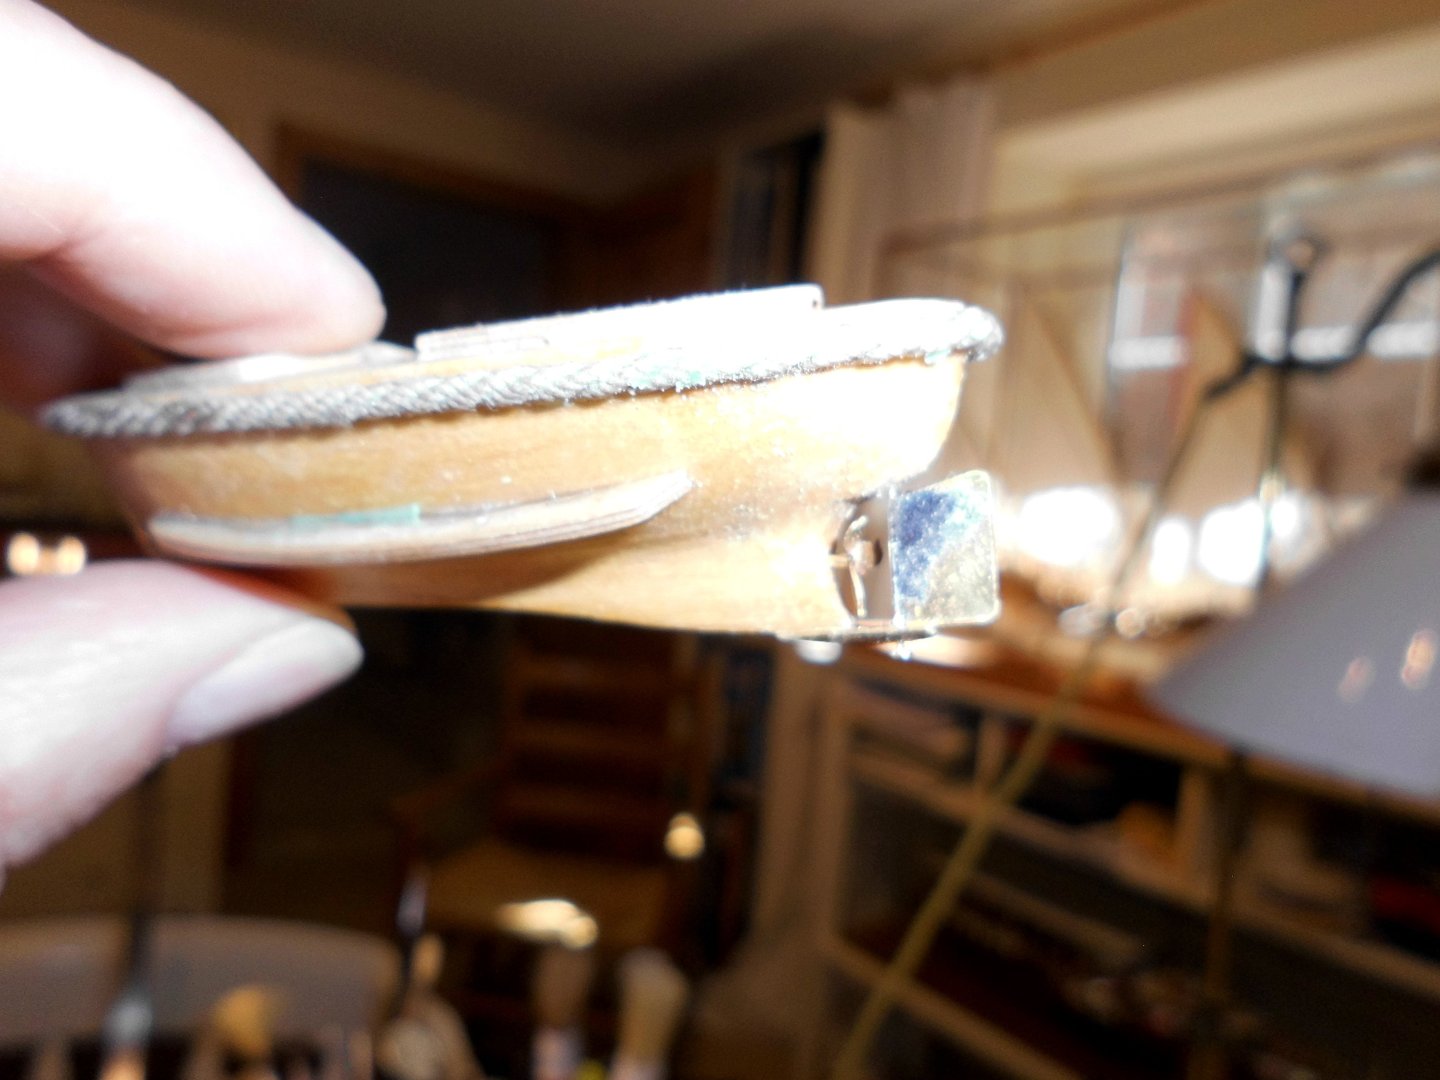
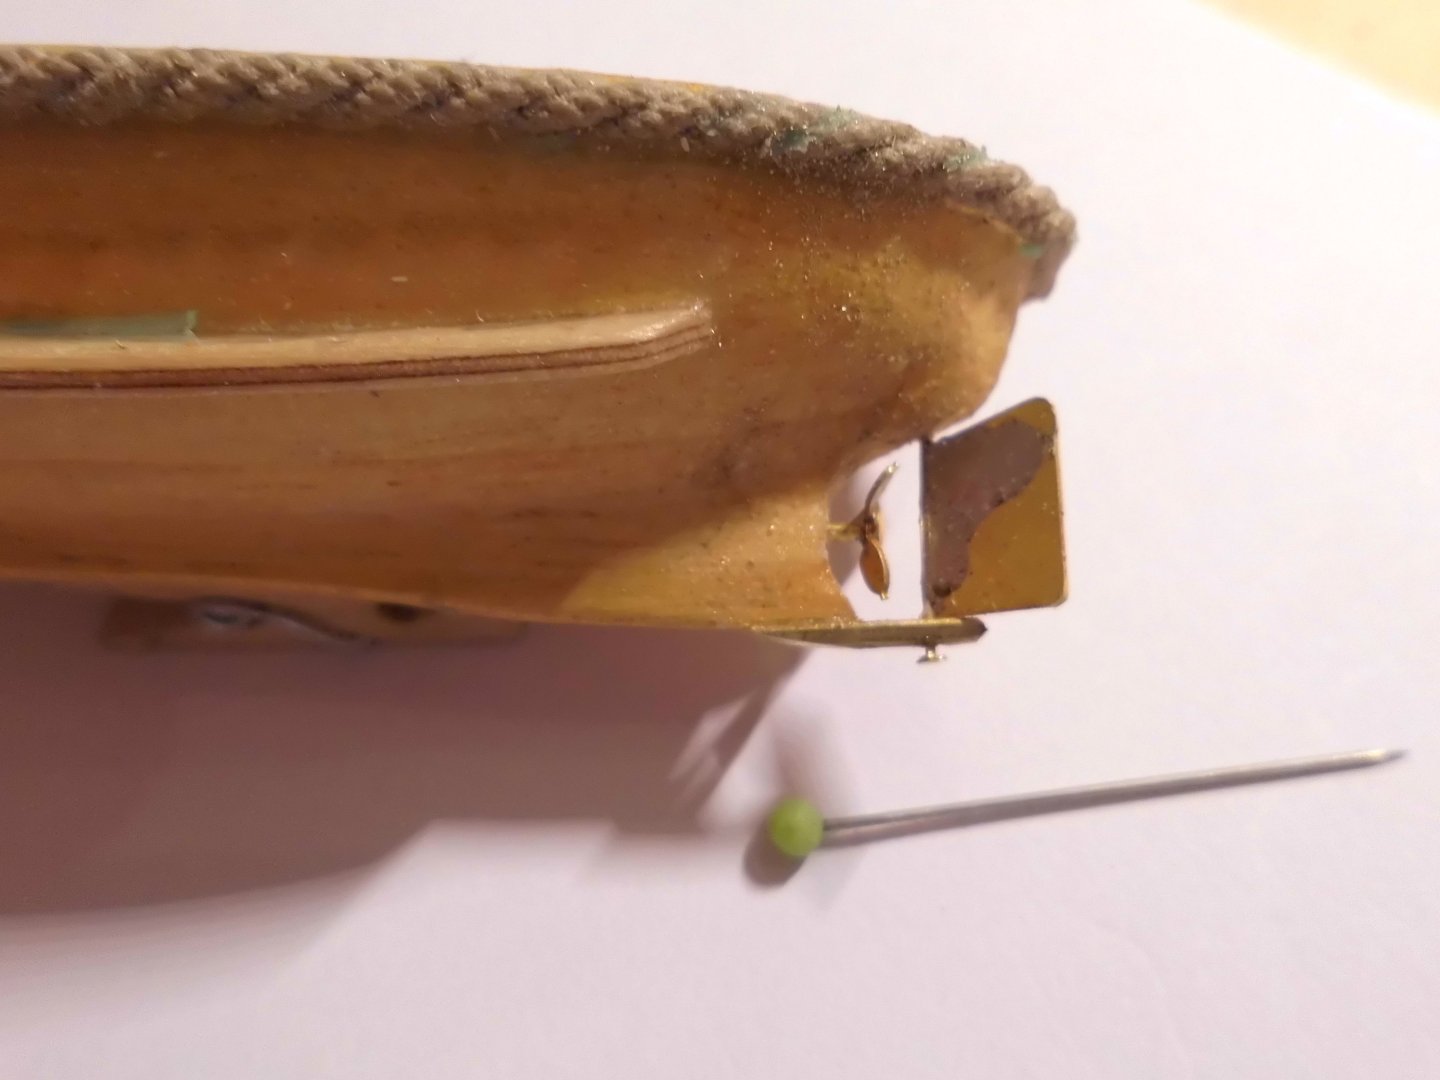
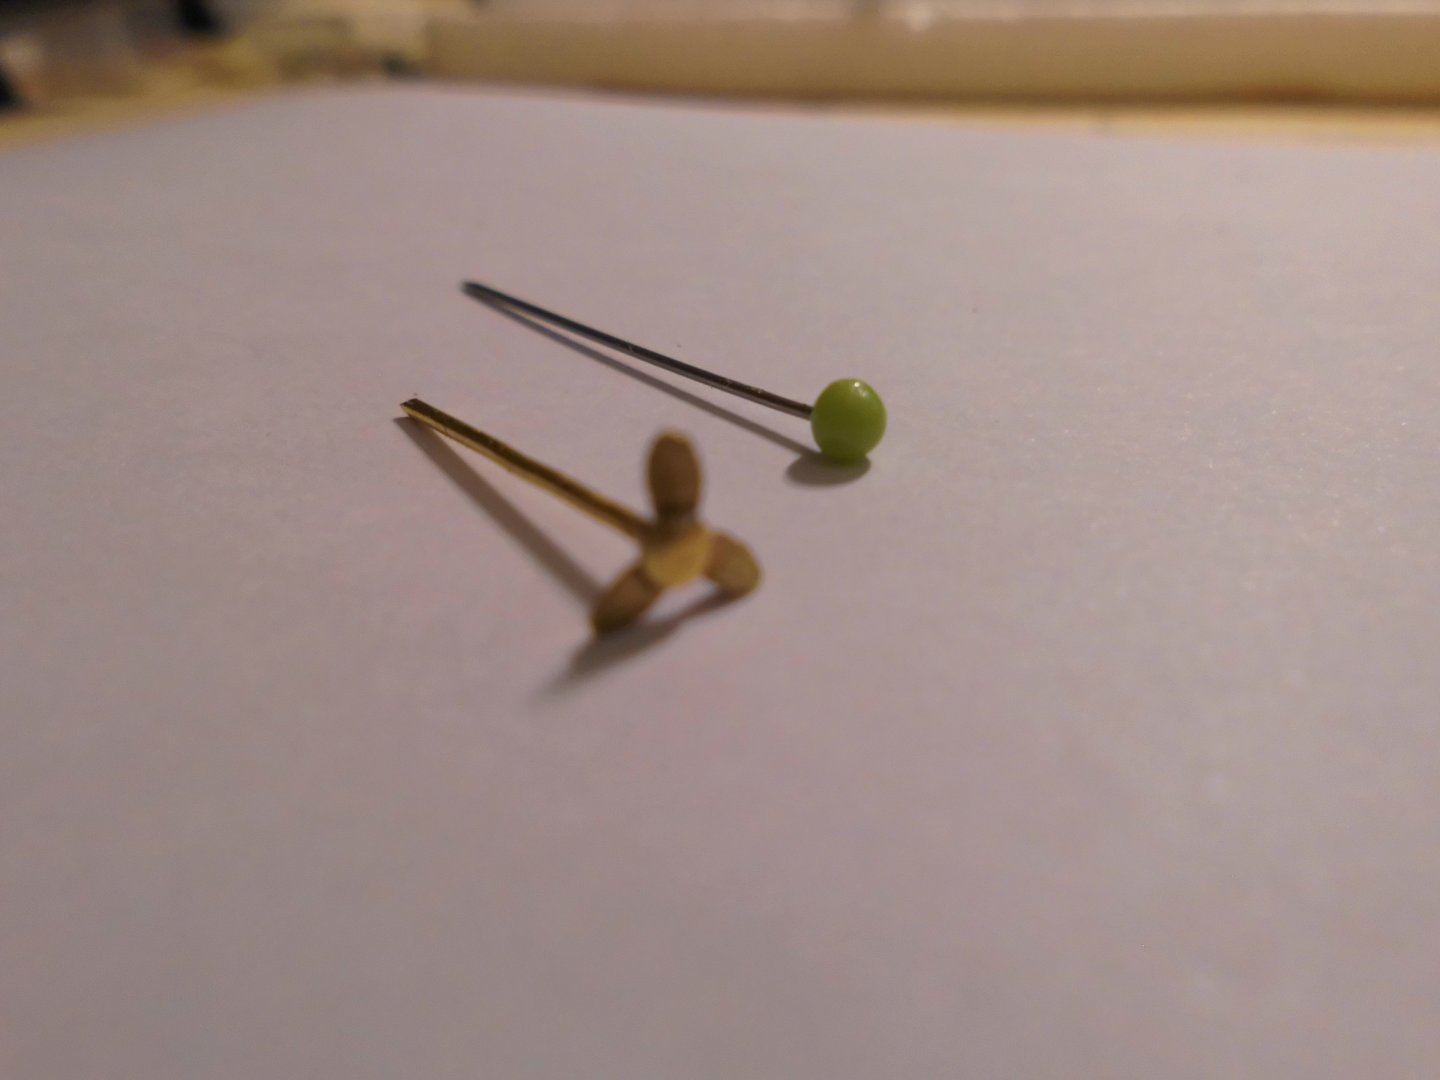
Thank you very much Rick, Update for the stb. side mold I built a better boxing (Balsa) for that half mold. I knew I had a mini platine with very small etch parts which also comprised 5 wee prop 3-blade etchings of only 5mm diam. Finaly, luckily I found it. because these mini etched props were taken from the market for reasons I do`nt know. the wooden plag could easily be removed from the mold thanks to the use of seperating wax -spray applied to the wooden model before. After removal the wooden plug was bearing no silicone residue. The blades were bent into shape. and the rudder blade was soldered to its shaft. To see what it looks like, all was mounted to the wooden model, as a sample, the heel was cut and drilled fom a small part of brass bar. I find it does`nt look bad, and even the rope contoures come out well. The polyurethan resin with appropriate hardener is ordered, and I`m eager to see the come-out , in some coming days after the wooden inside contours-plug is finished. Nils making the stb. side mold in an improved Balsa- boxing prop and rudder mounted the prop etching is only 5mm diameter and soldered to its 0,8mm shaft

- 299 replies
-
- 13
-
-

-
- lightship
- Feuerschiff Elbe 1
- (and 1 more)
-
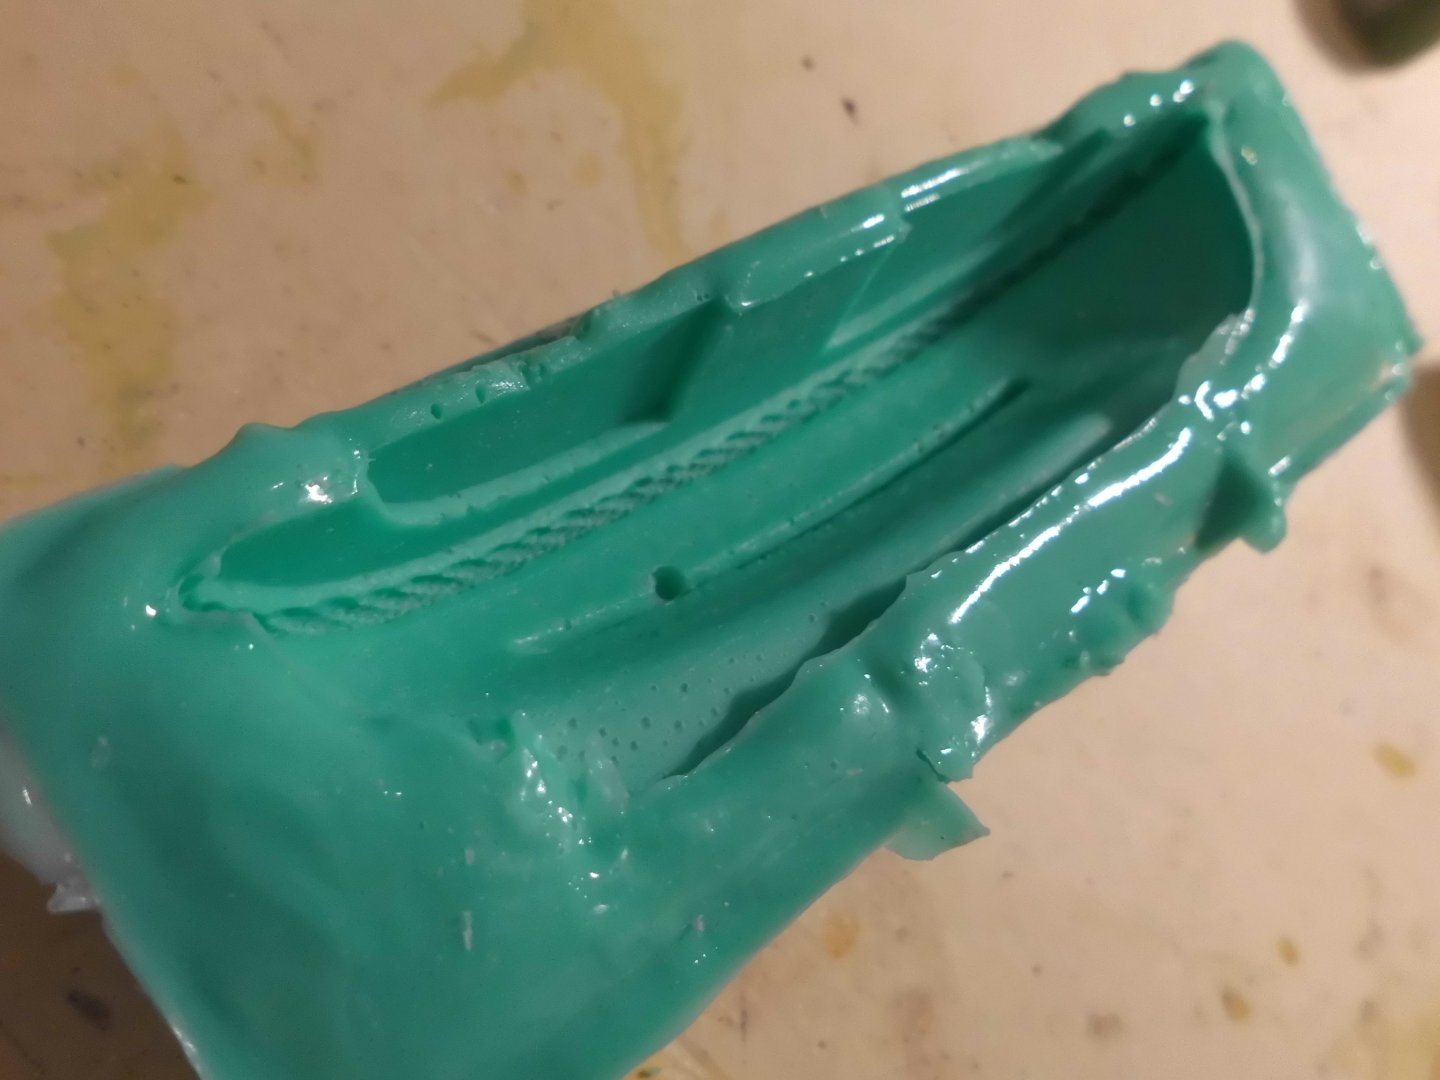
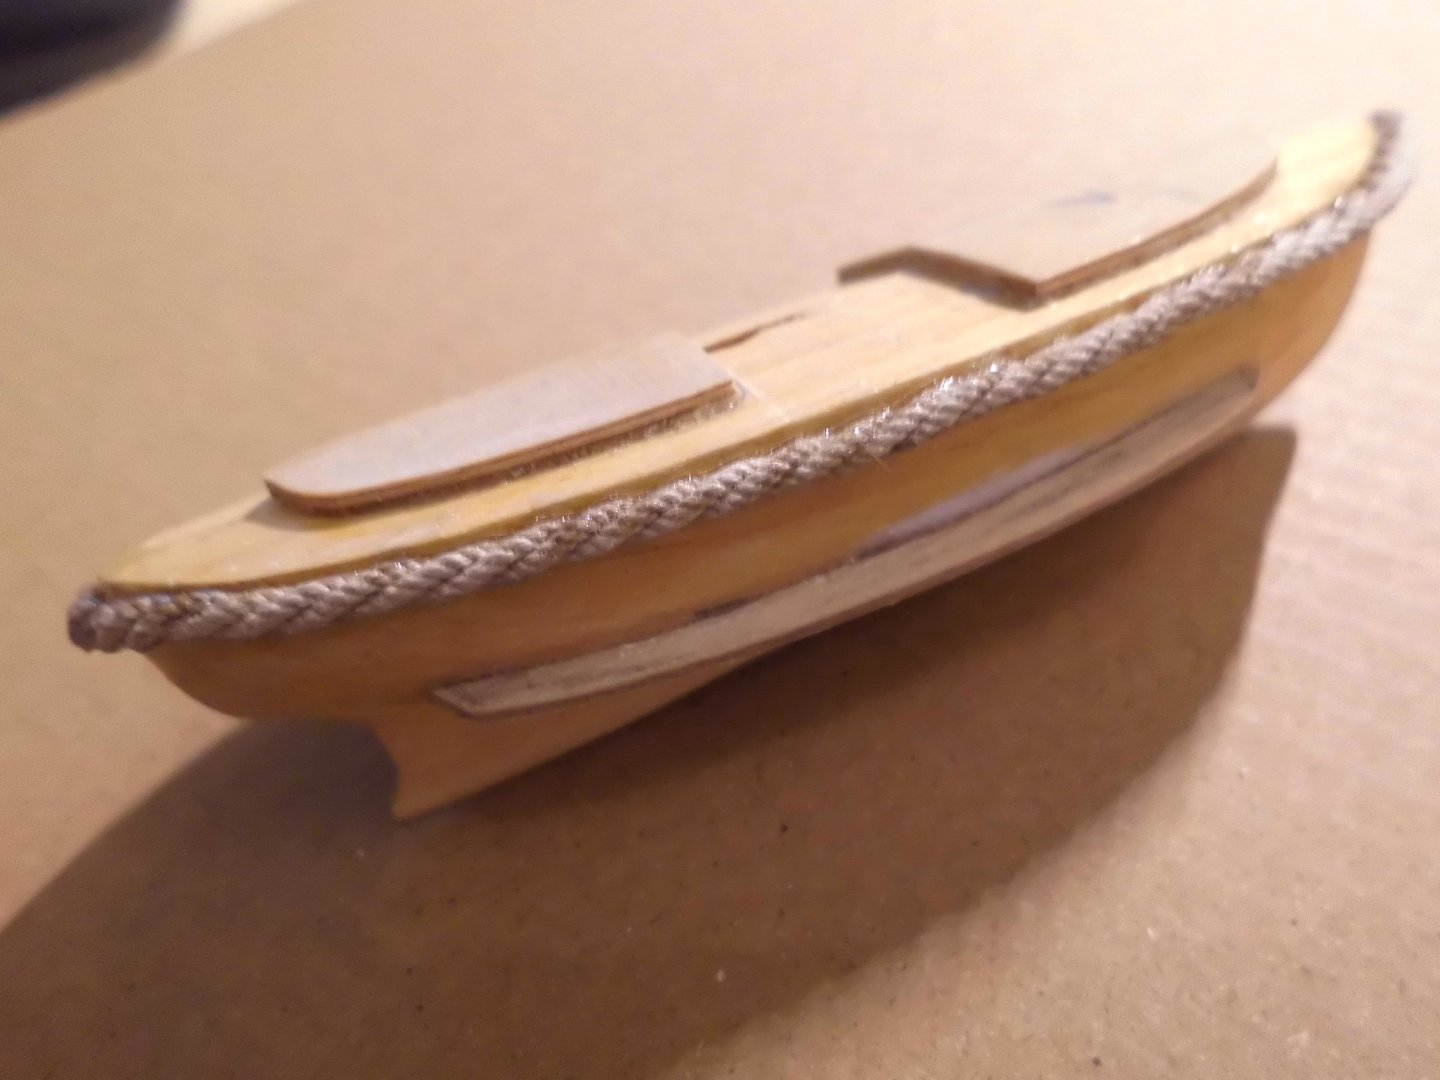
thank you very much Keith and John, Keith. I made a template of the deck only, the other dimensions are taken from free hand. The silicone mold for the port side turned out quite well. I`ll be going for the stb. side now. There is one little objection near to the bilge keel, where an air bubble got trapped, but that can be easily removed from the later resin casting John, I practiced the rope-line fender on my 5 Elbe Pilot schooner`s boats and it worked very well. All details of the rope were cleanly with the cast resin afterwards. My main concern was that the silicone`s lifetime may have also possibly have expired, because I had bought this longer ago together with the (now unusable) resin and hardener. Nils rope contours are clearly visable in the mold
- 299 replies
-
- 9
-
-
- lightship
- Feuerschiff Elbe 1
- (and 1 more)
-
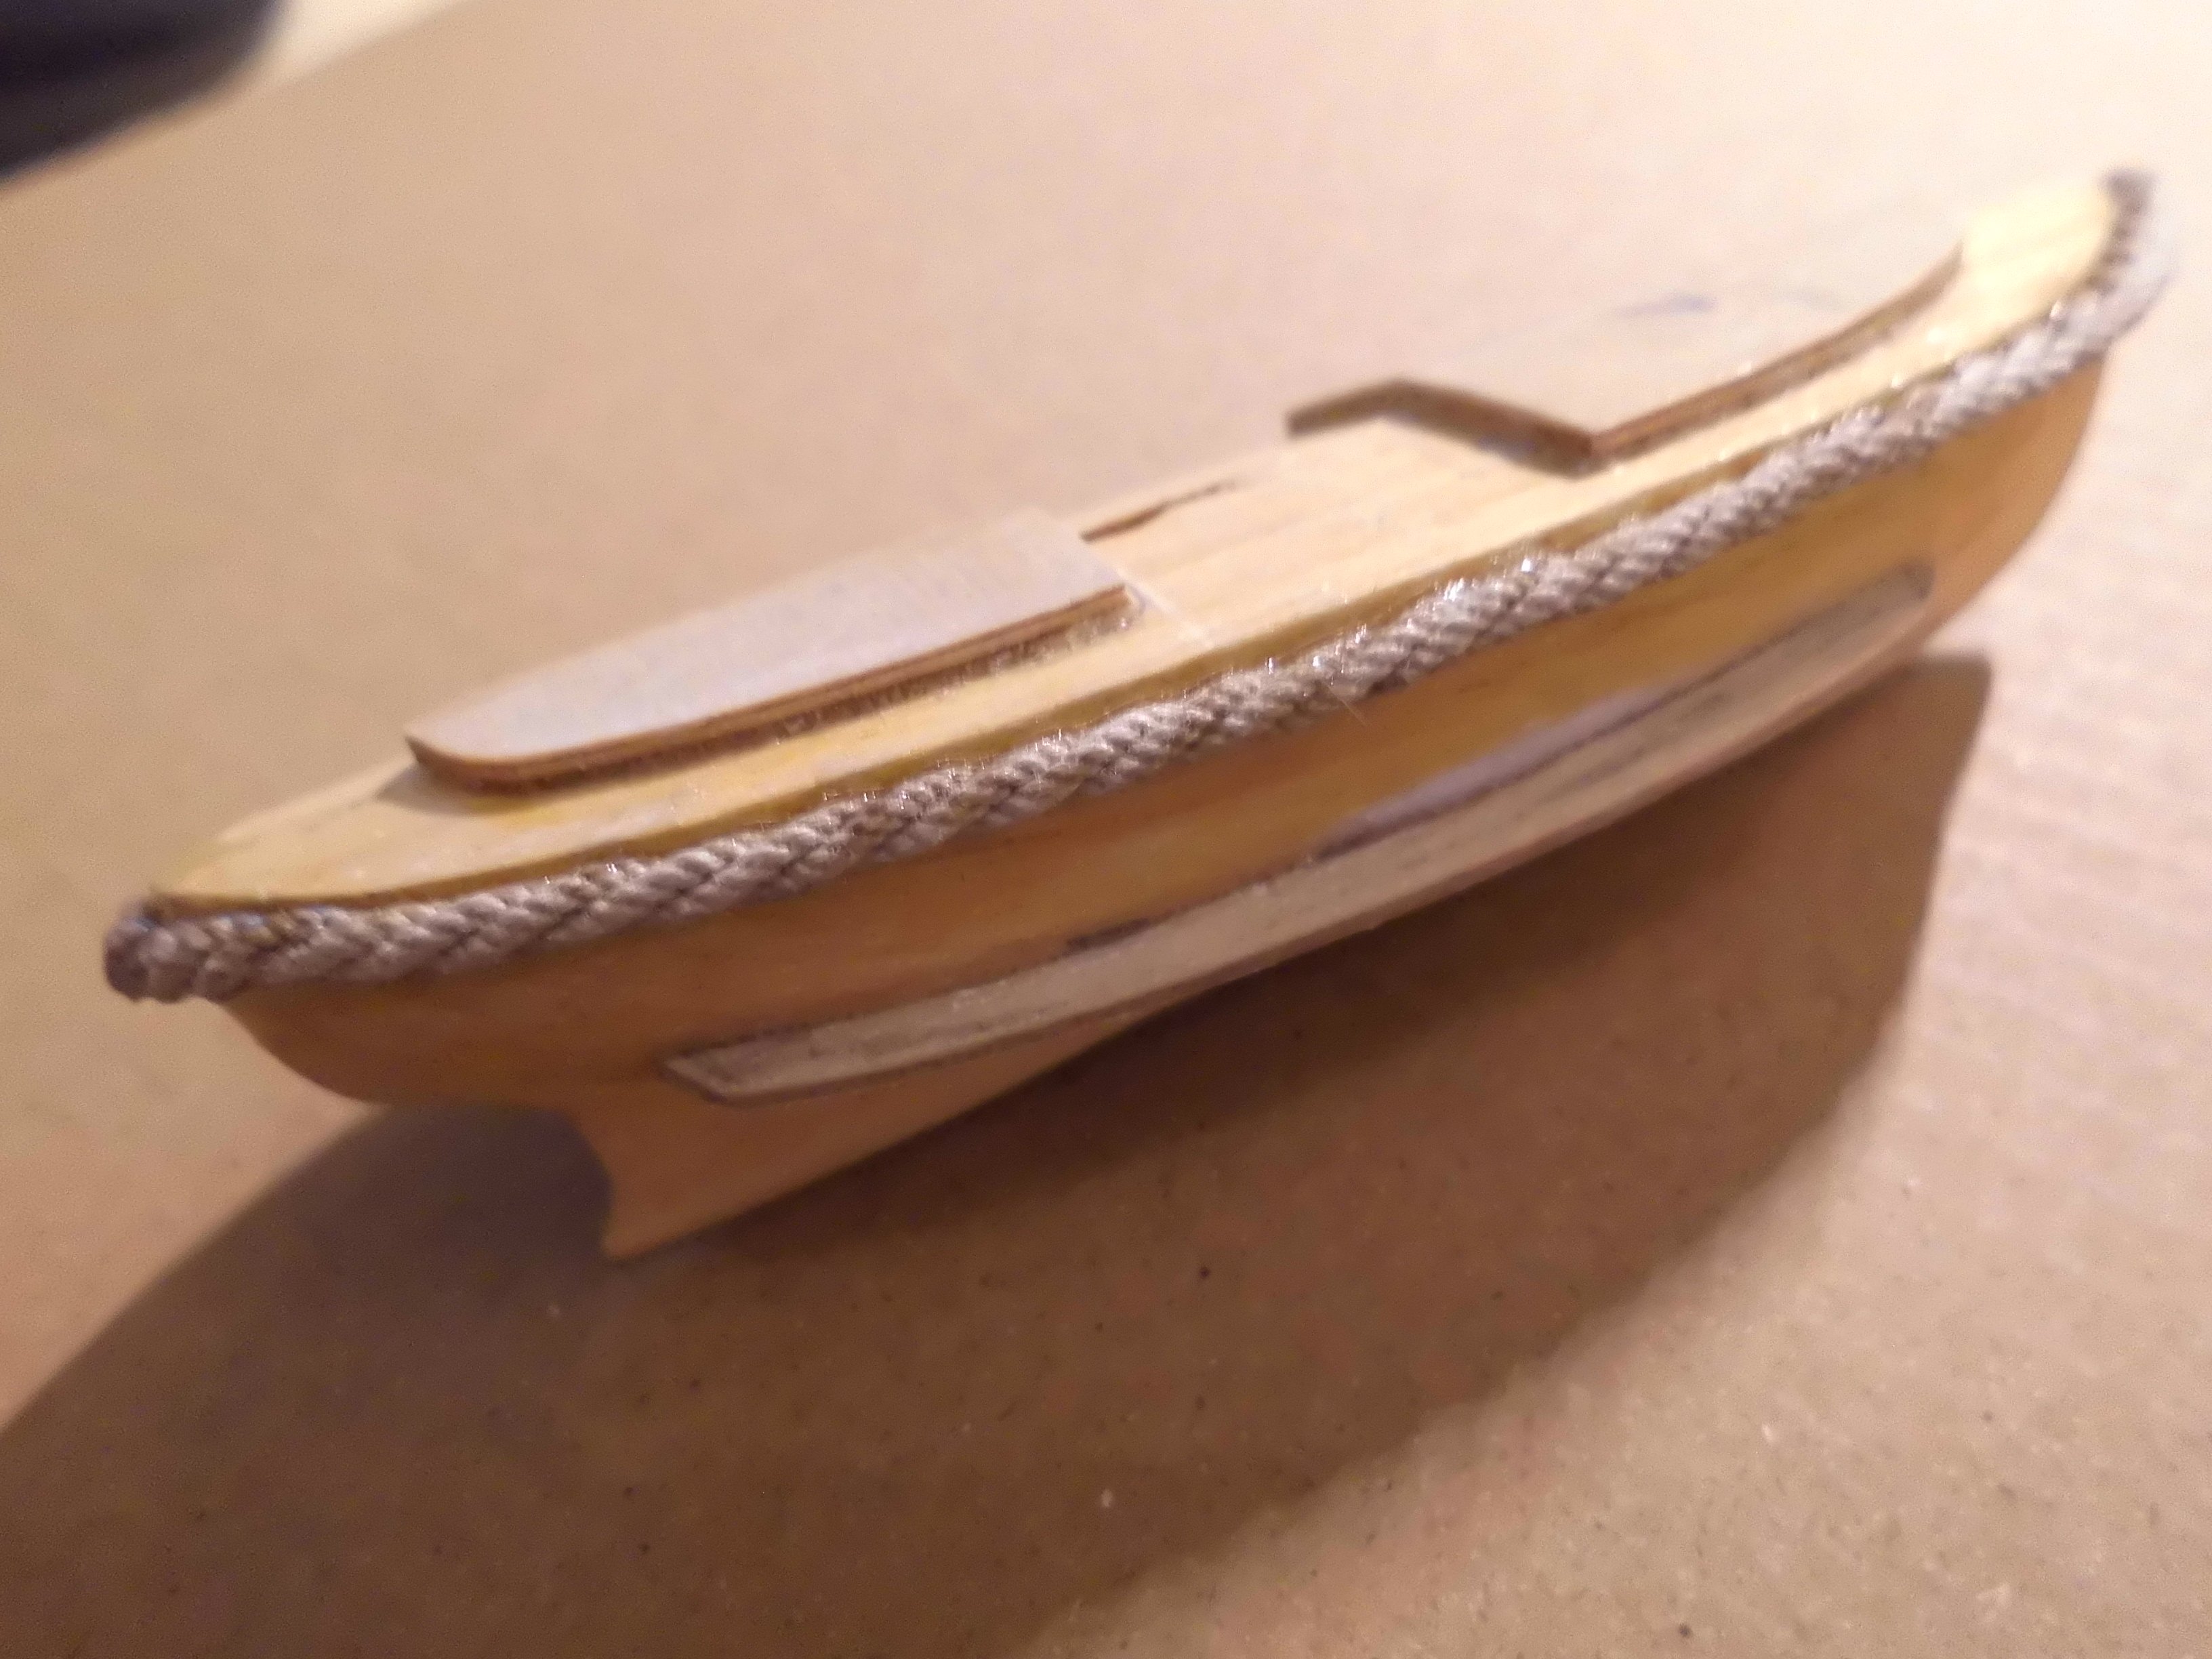
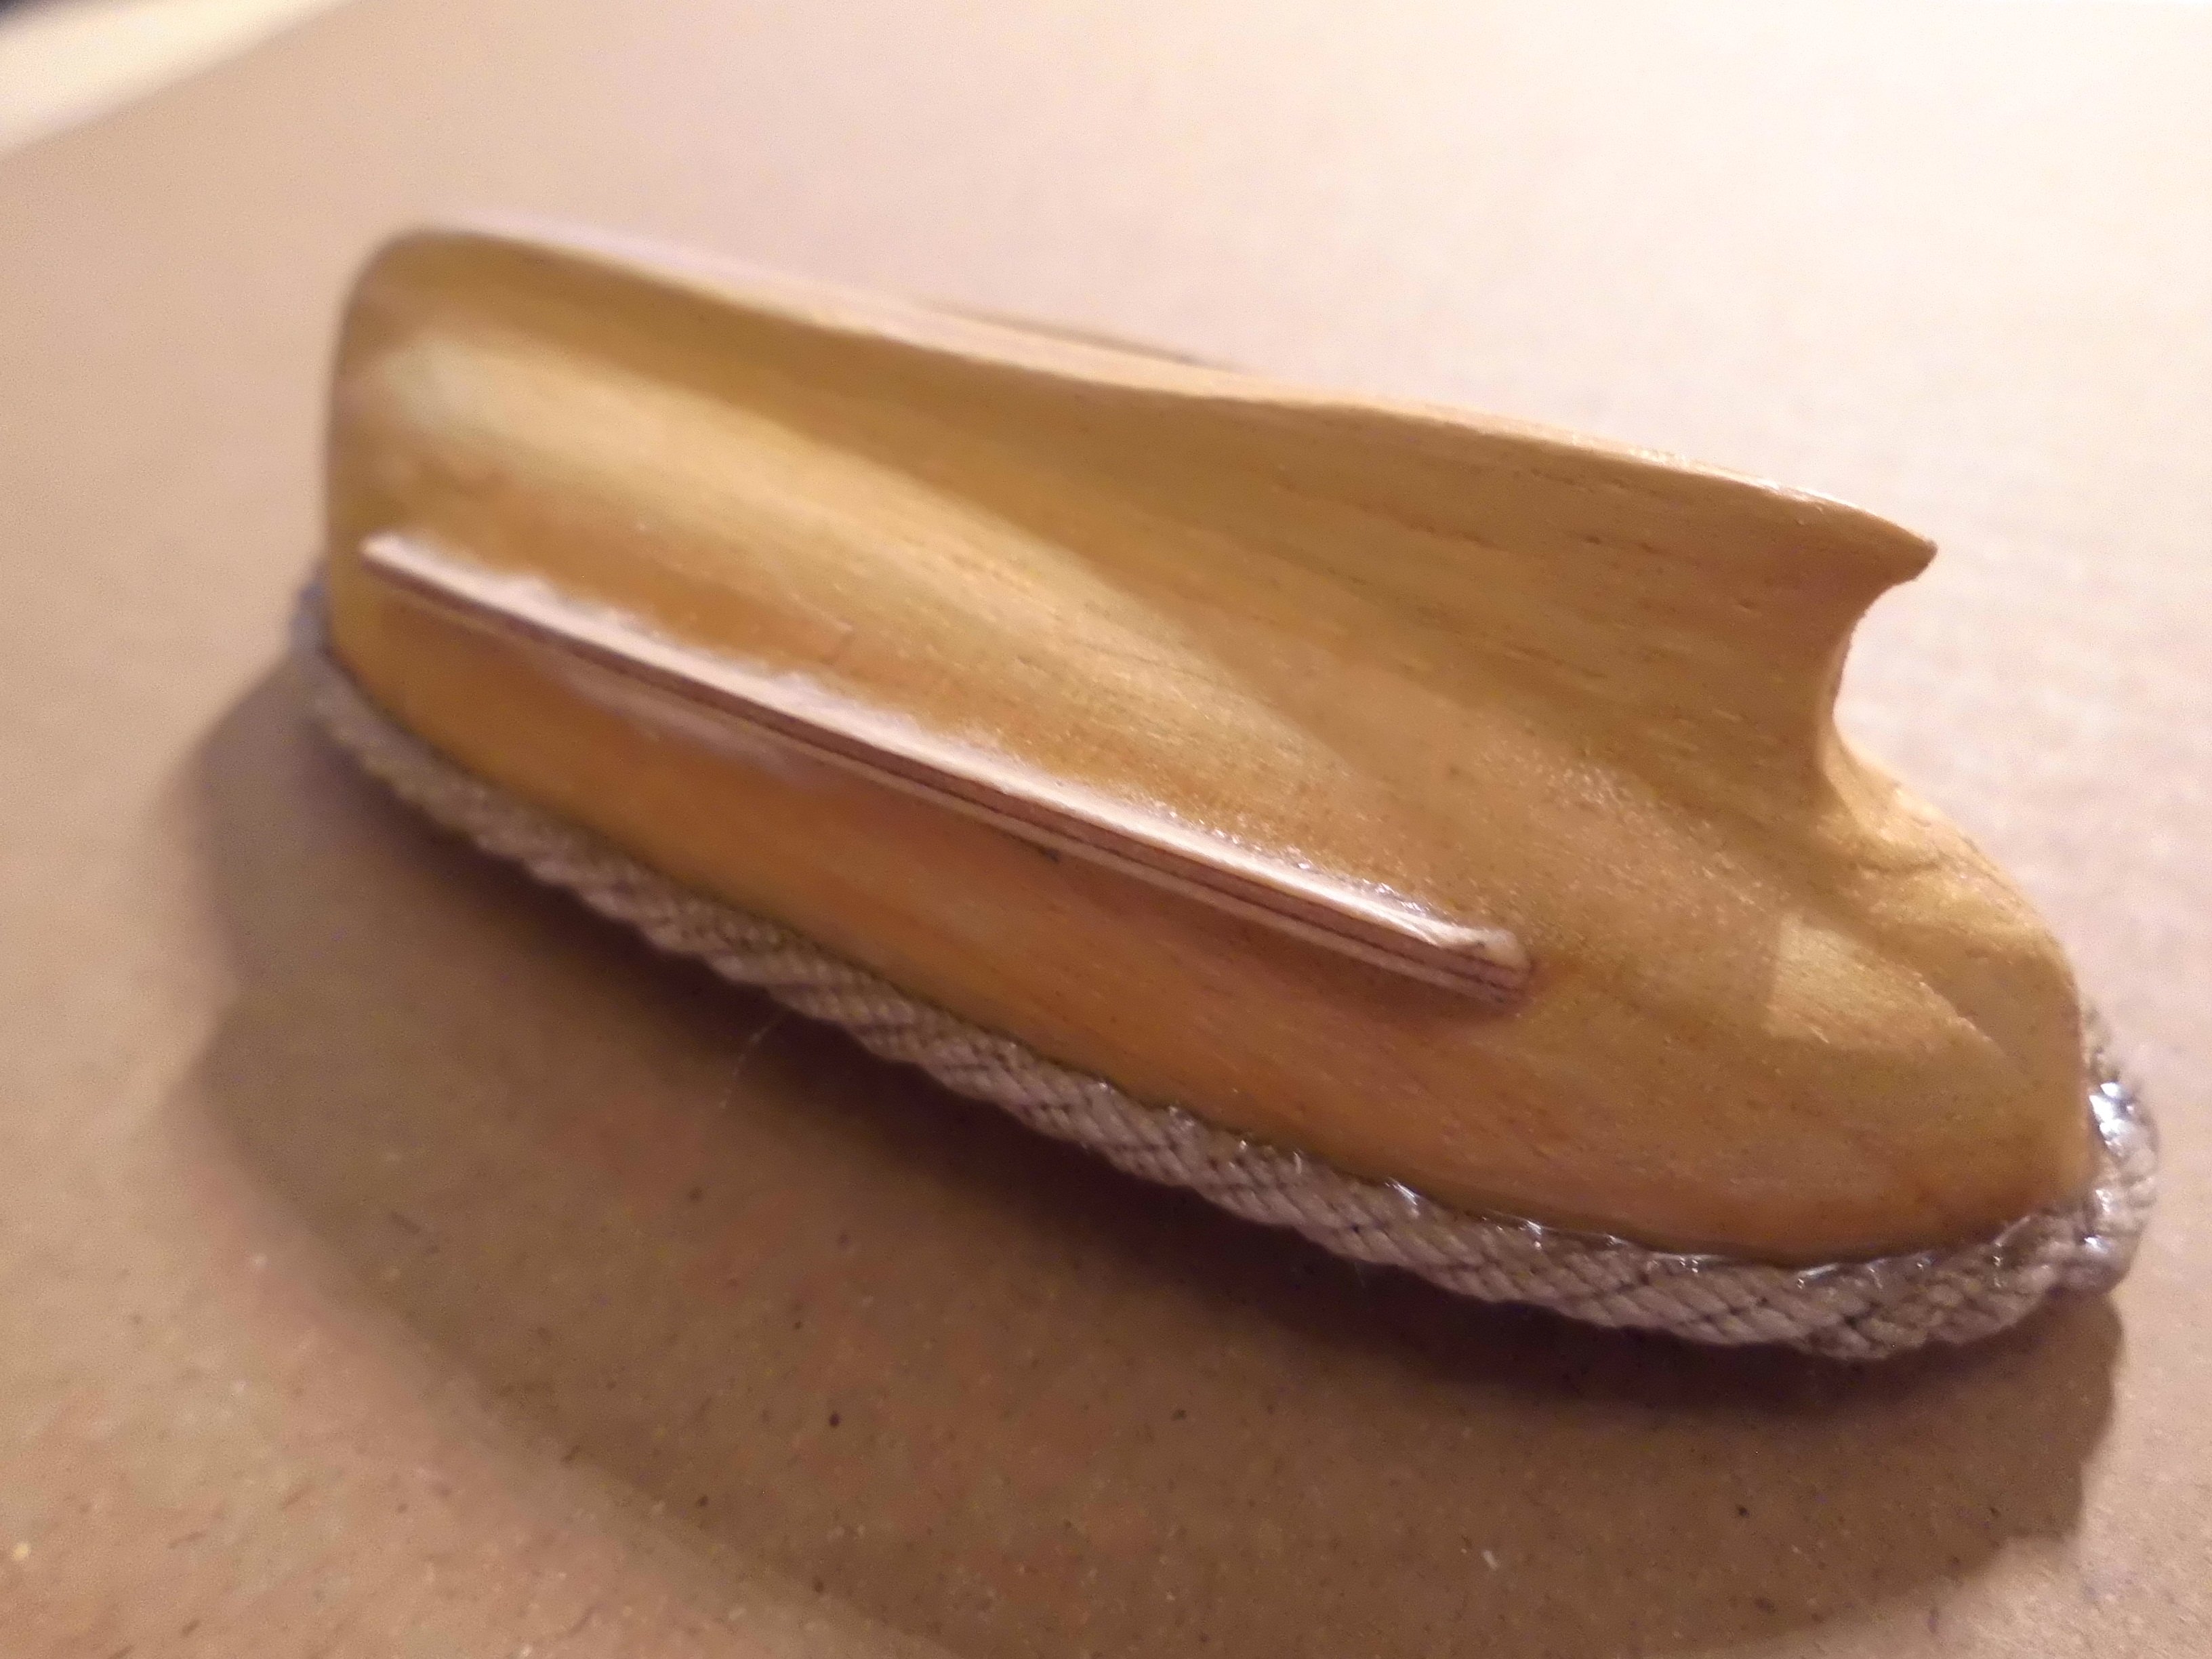
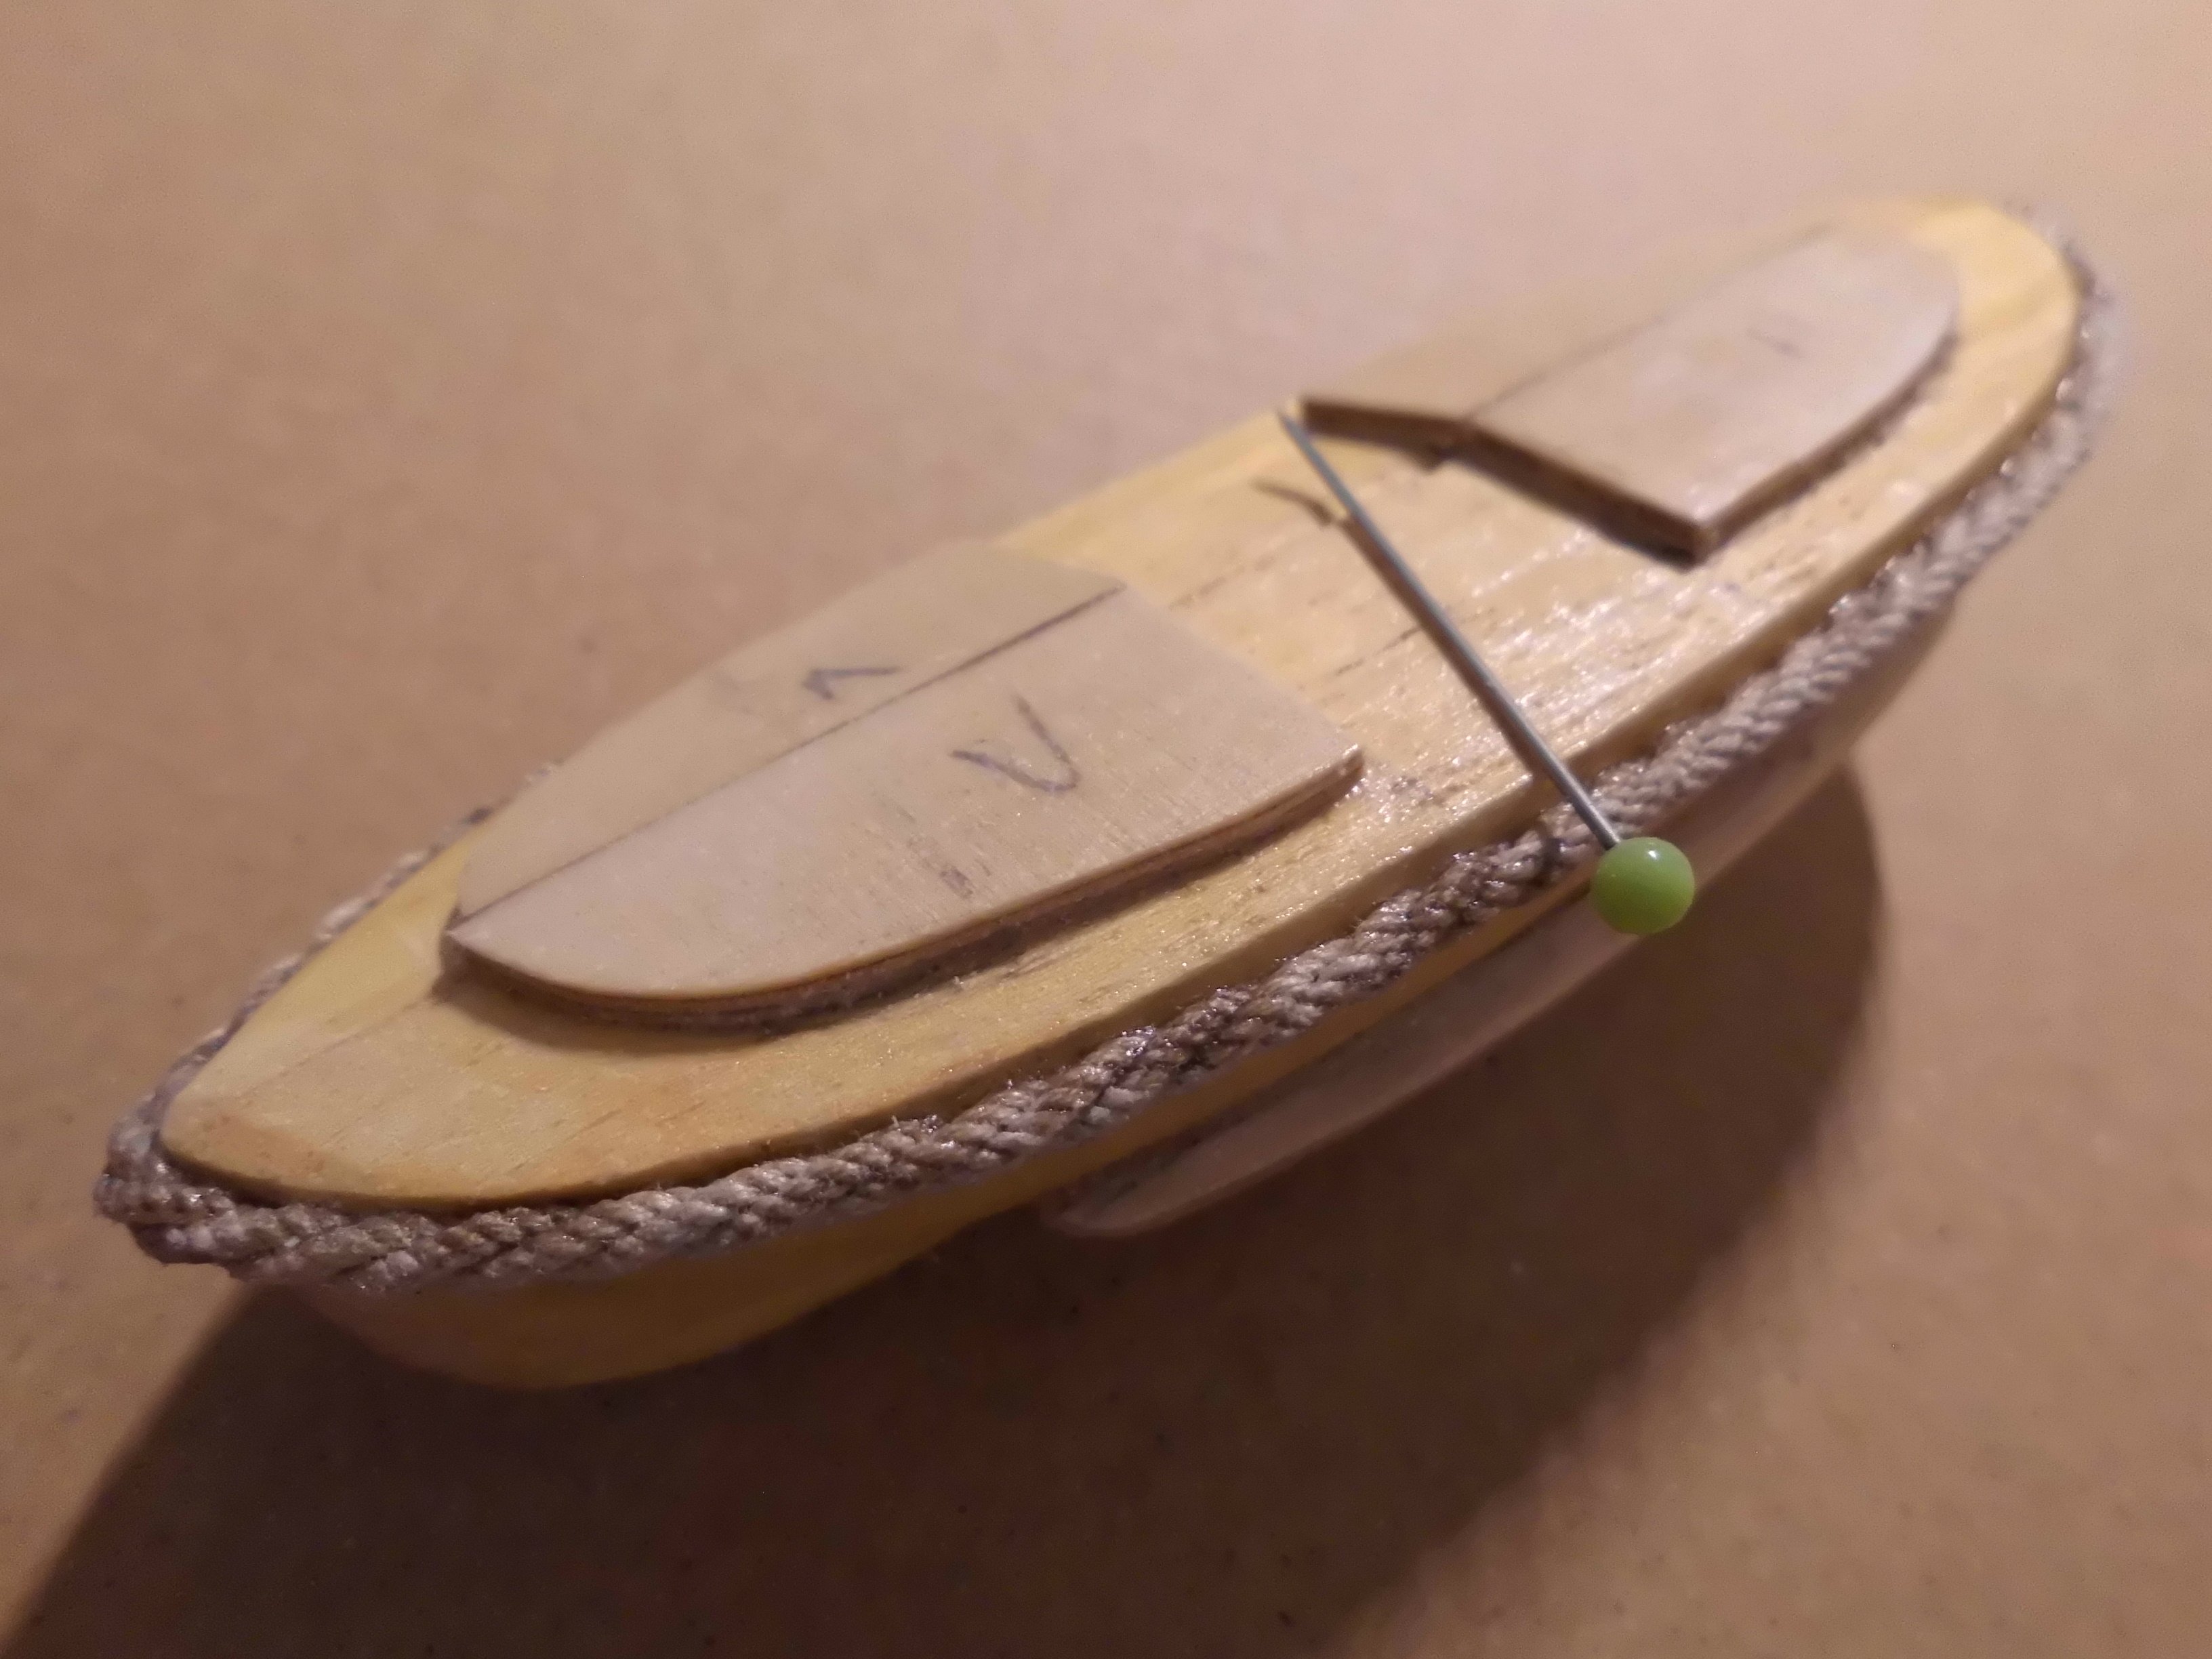
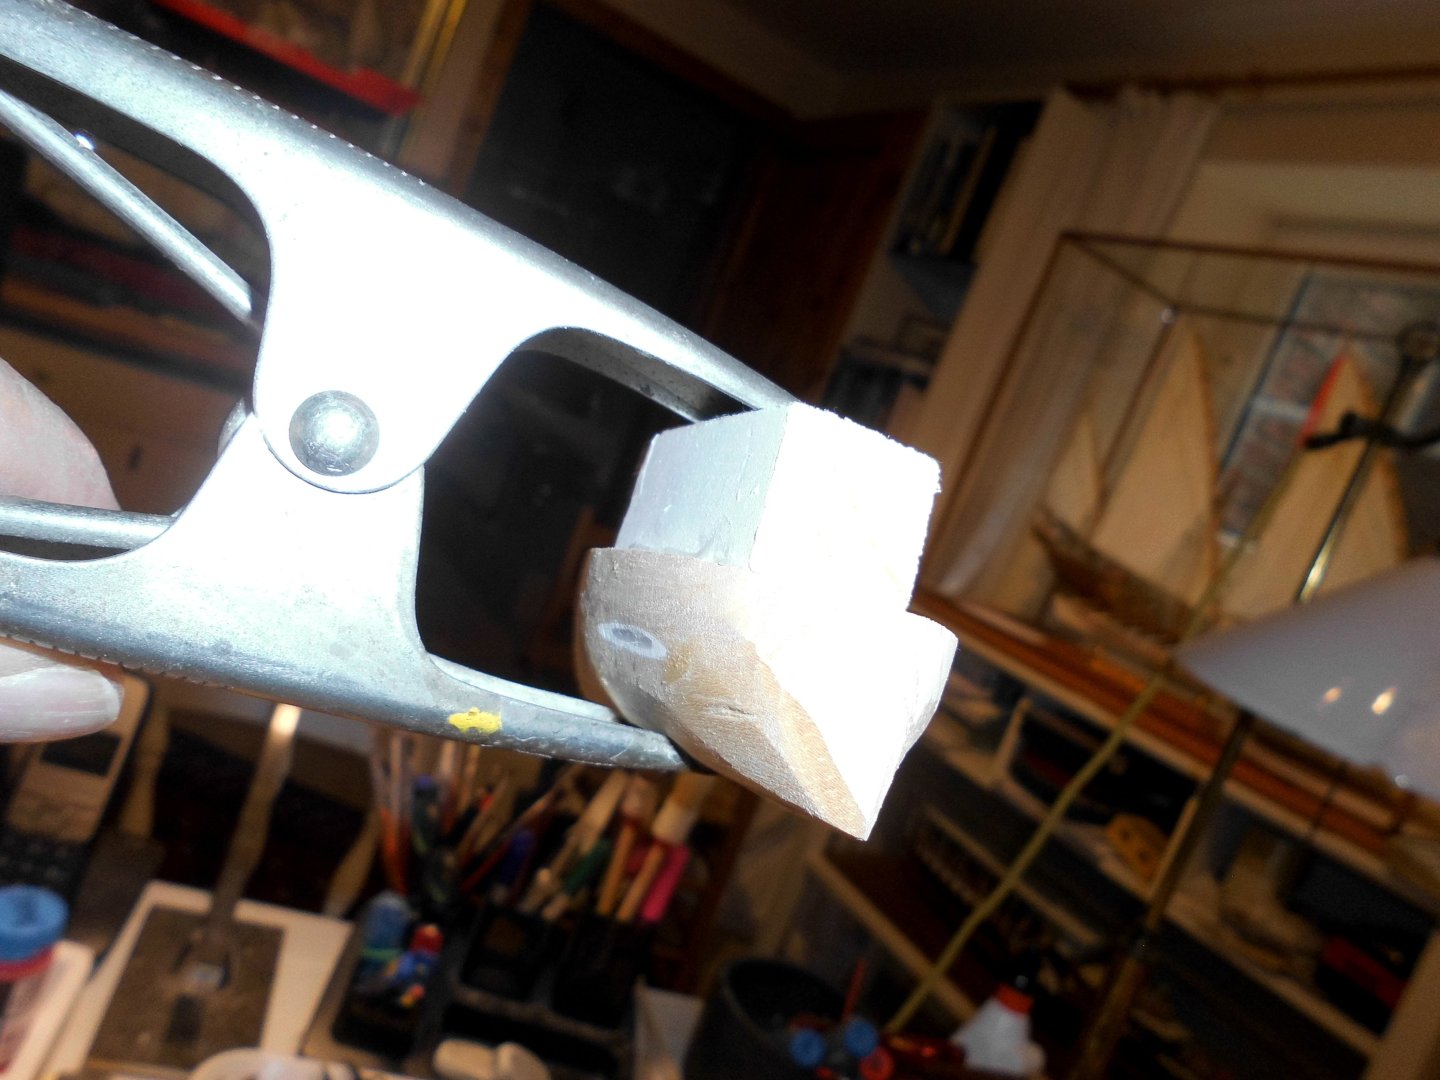
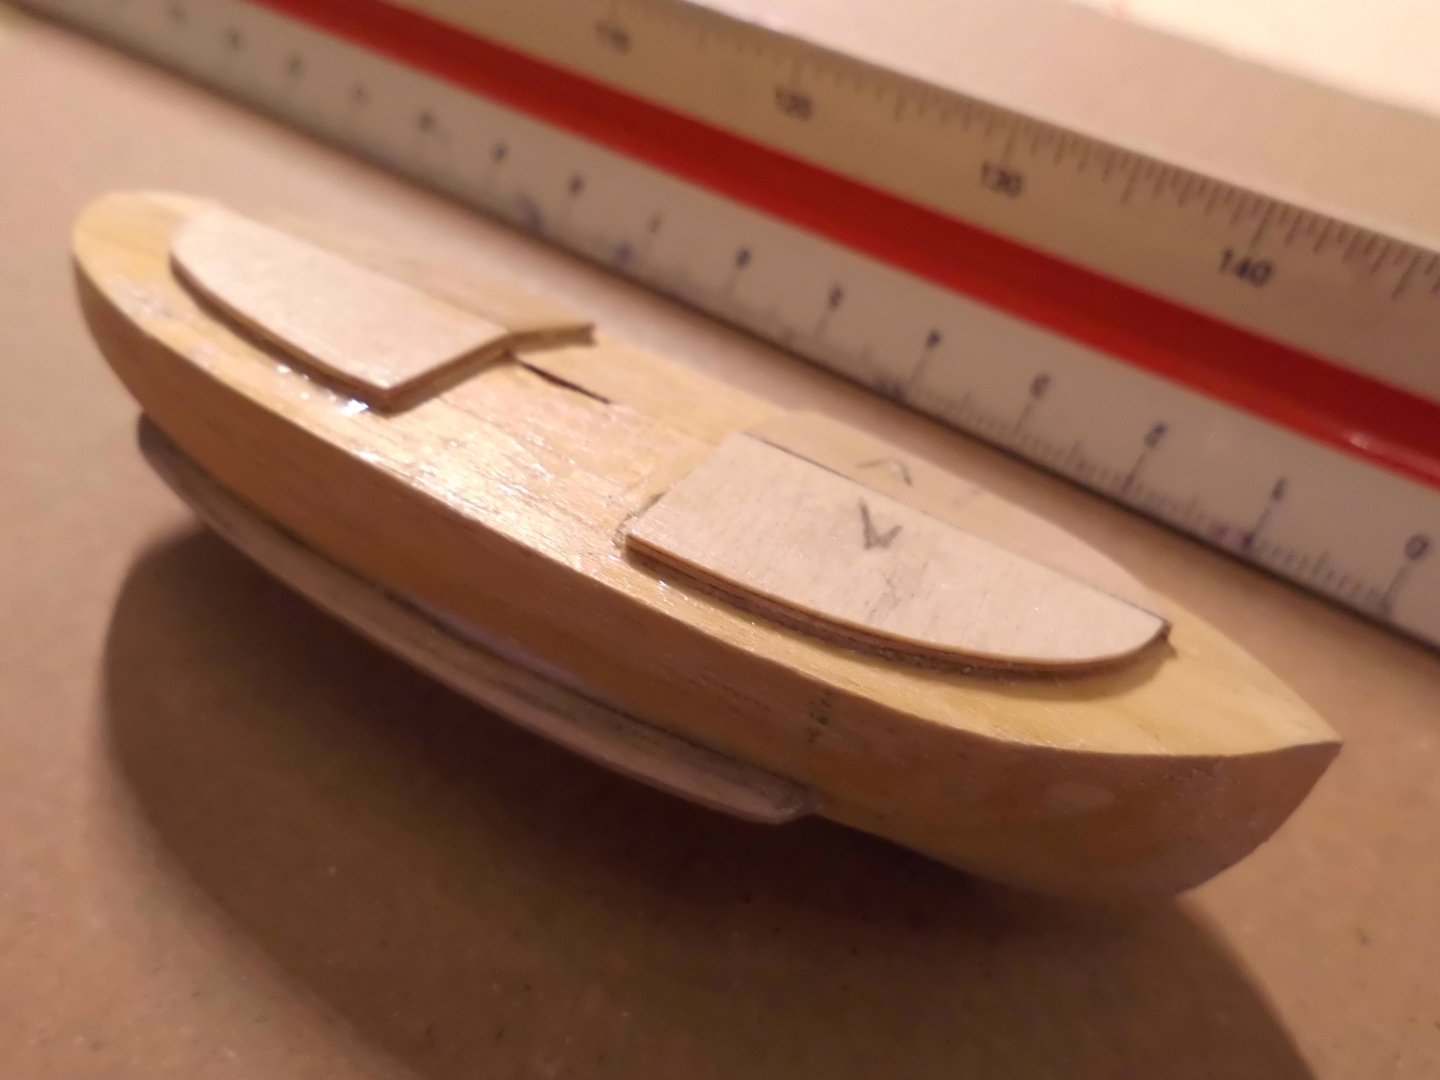
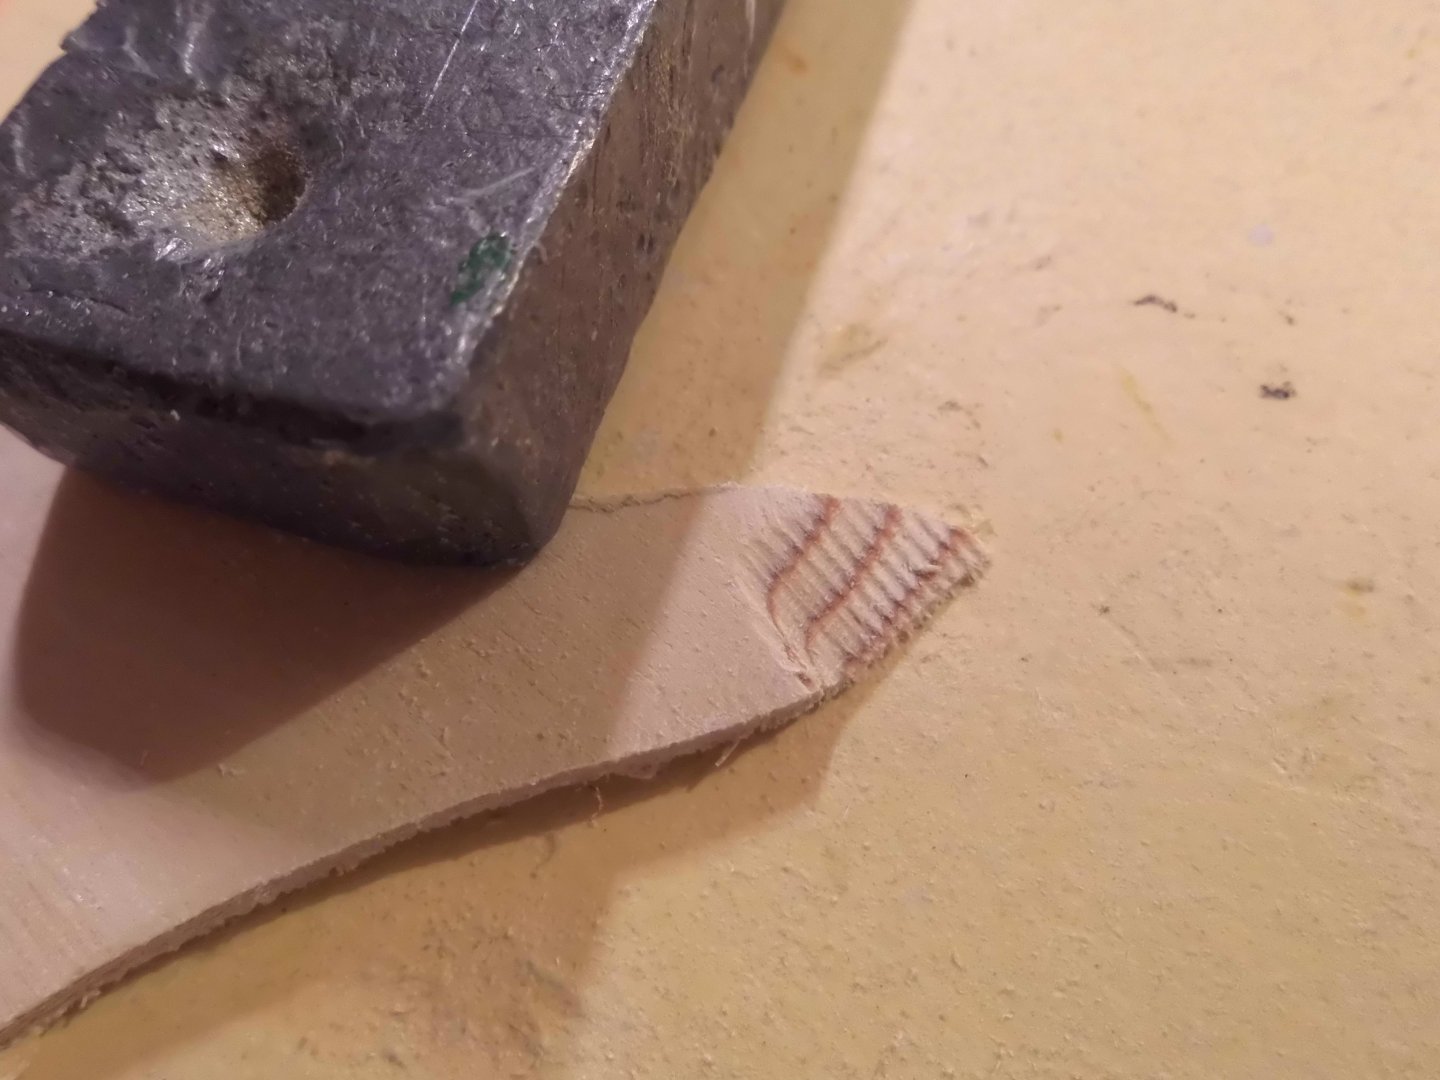
Update I started with the wooden model yesterday out of a light carvable wood, to take the silicone-mold from. The boats are after the pic of the make actual Fassmer lifeboats. In fact they are little launches with built in Motor. I put a fender line all around. there will be two cockpits later on cut out of the cast resin outformings. I stll have some silicone with catalyst left over from recent models, for the port- and stb. half-molds, hoping it would still work, but the resin and its hardener have unfortunately expired lifetime, so I need some new.... Also the wooden plug for the hull inside contoures must still be made. Prop and rudder / rudder-heel will be mounted to the resin models later on. Nils drawing of the actual Elbe 1 boats the wooden lug ontop is for holding in the vice during shaping in scle 1:87 the boats will be appr. 84 mm long bilge keels fitted fender-line all around


- 299 replies
-
- 13
-
-
-
- lightship
- Feuerschiff Elbe 1
- (and 1 more)
-
Thank you Roel, your comment is well understood. I think that a sample boat is required now, will have to make that first, a wooden model would do, I could take the silicone mold from that Nils
- 299 replies
-
- 9
-
-
- lightship
- Feuerschiff Elbe 1
- (and 1 more)
-
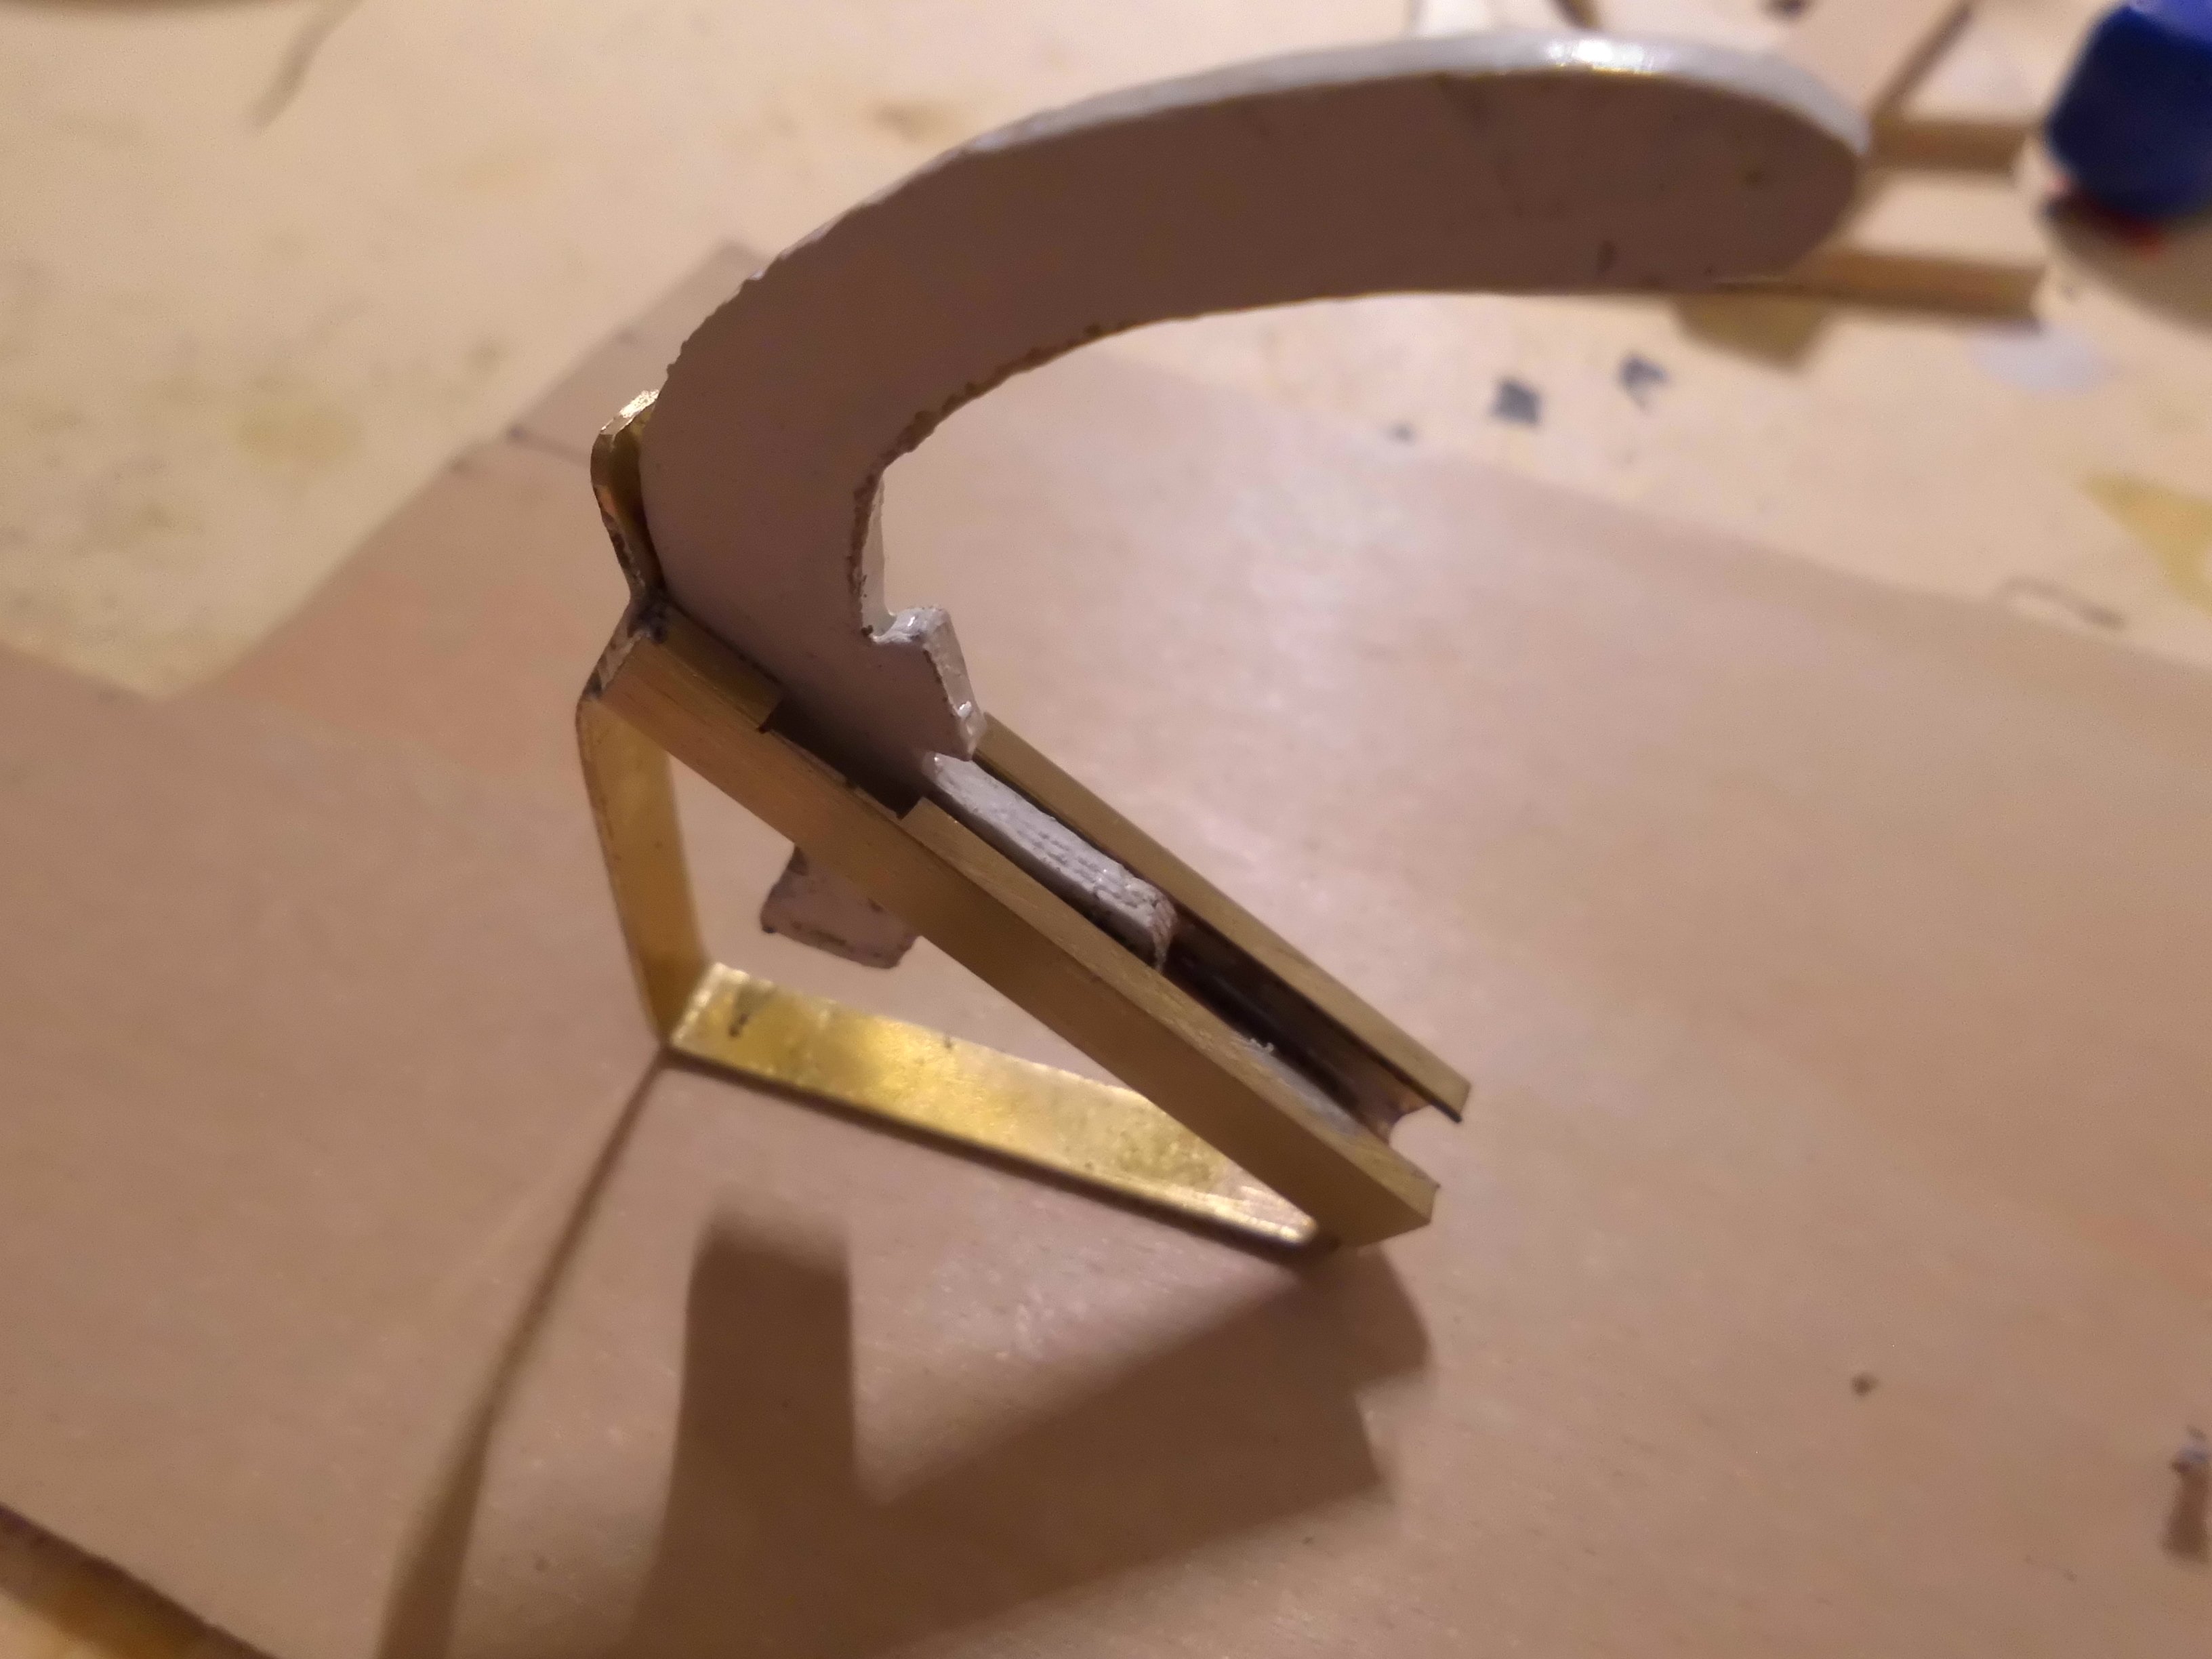
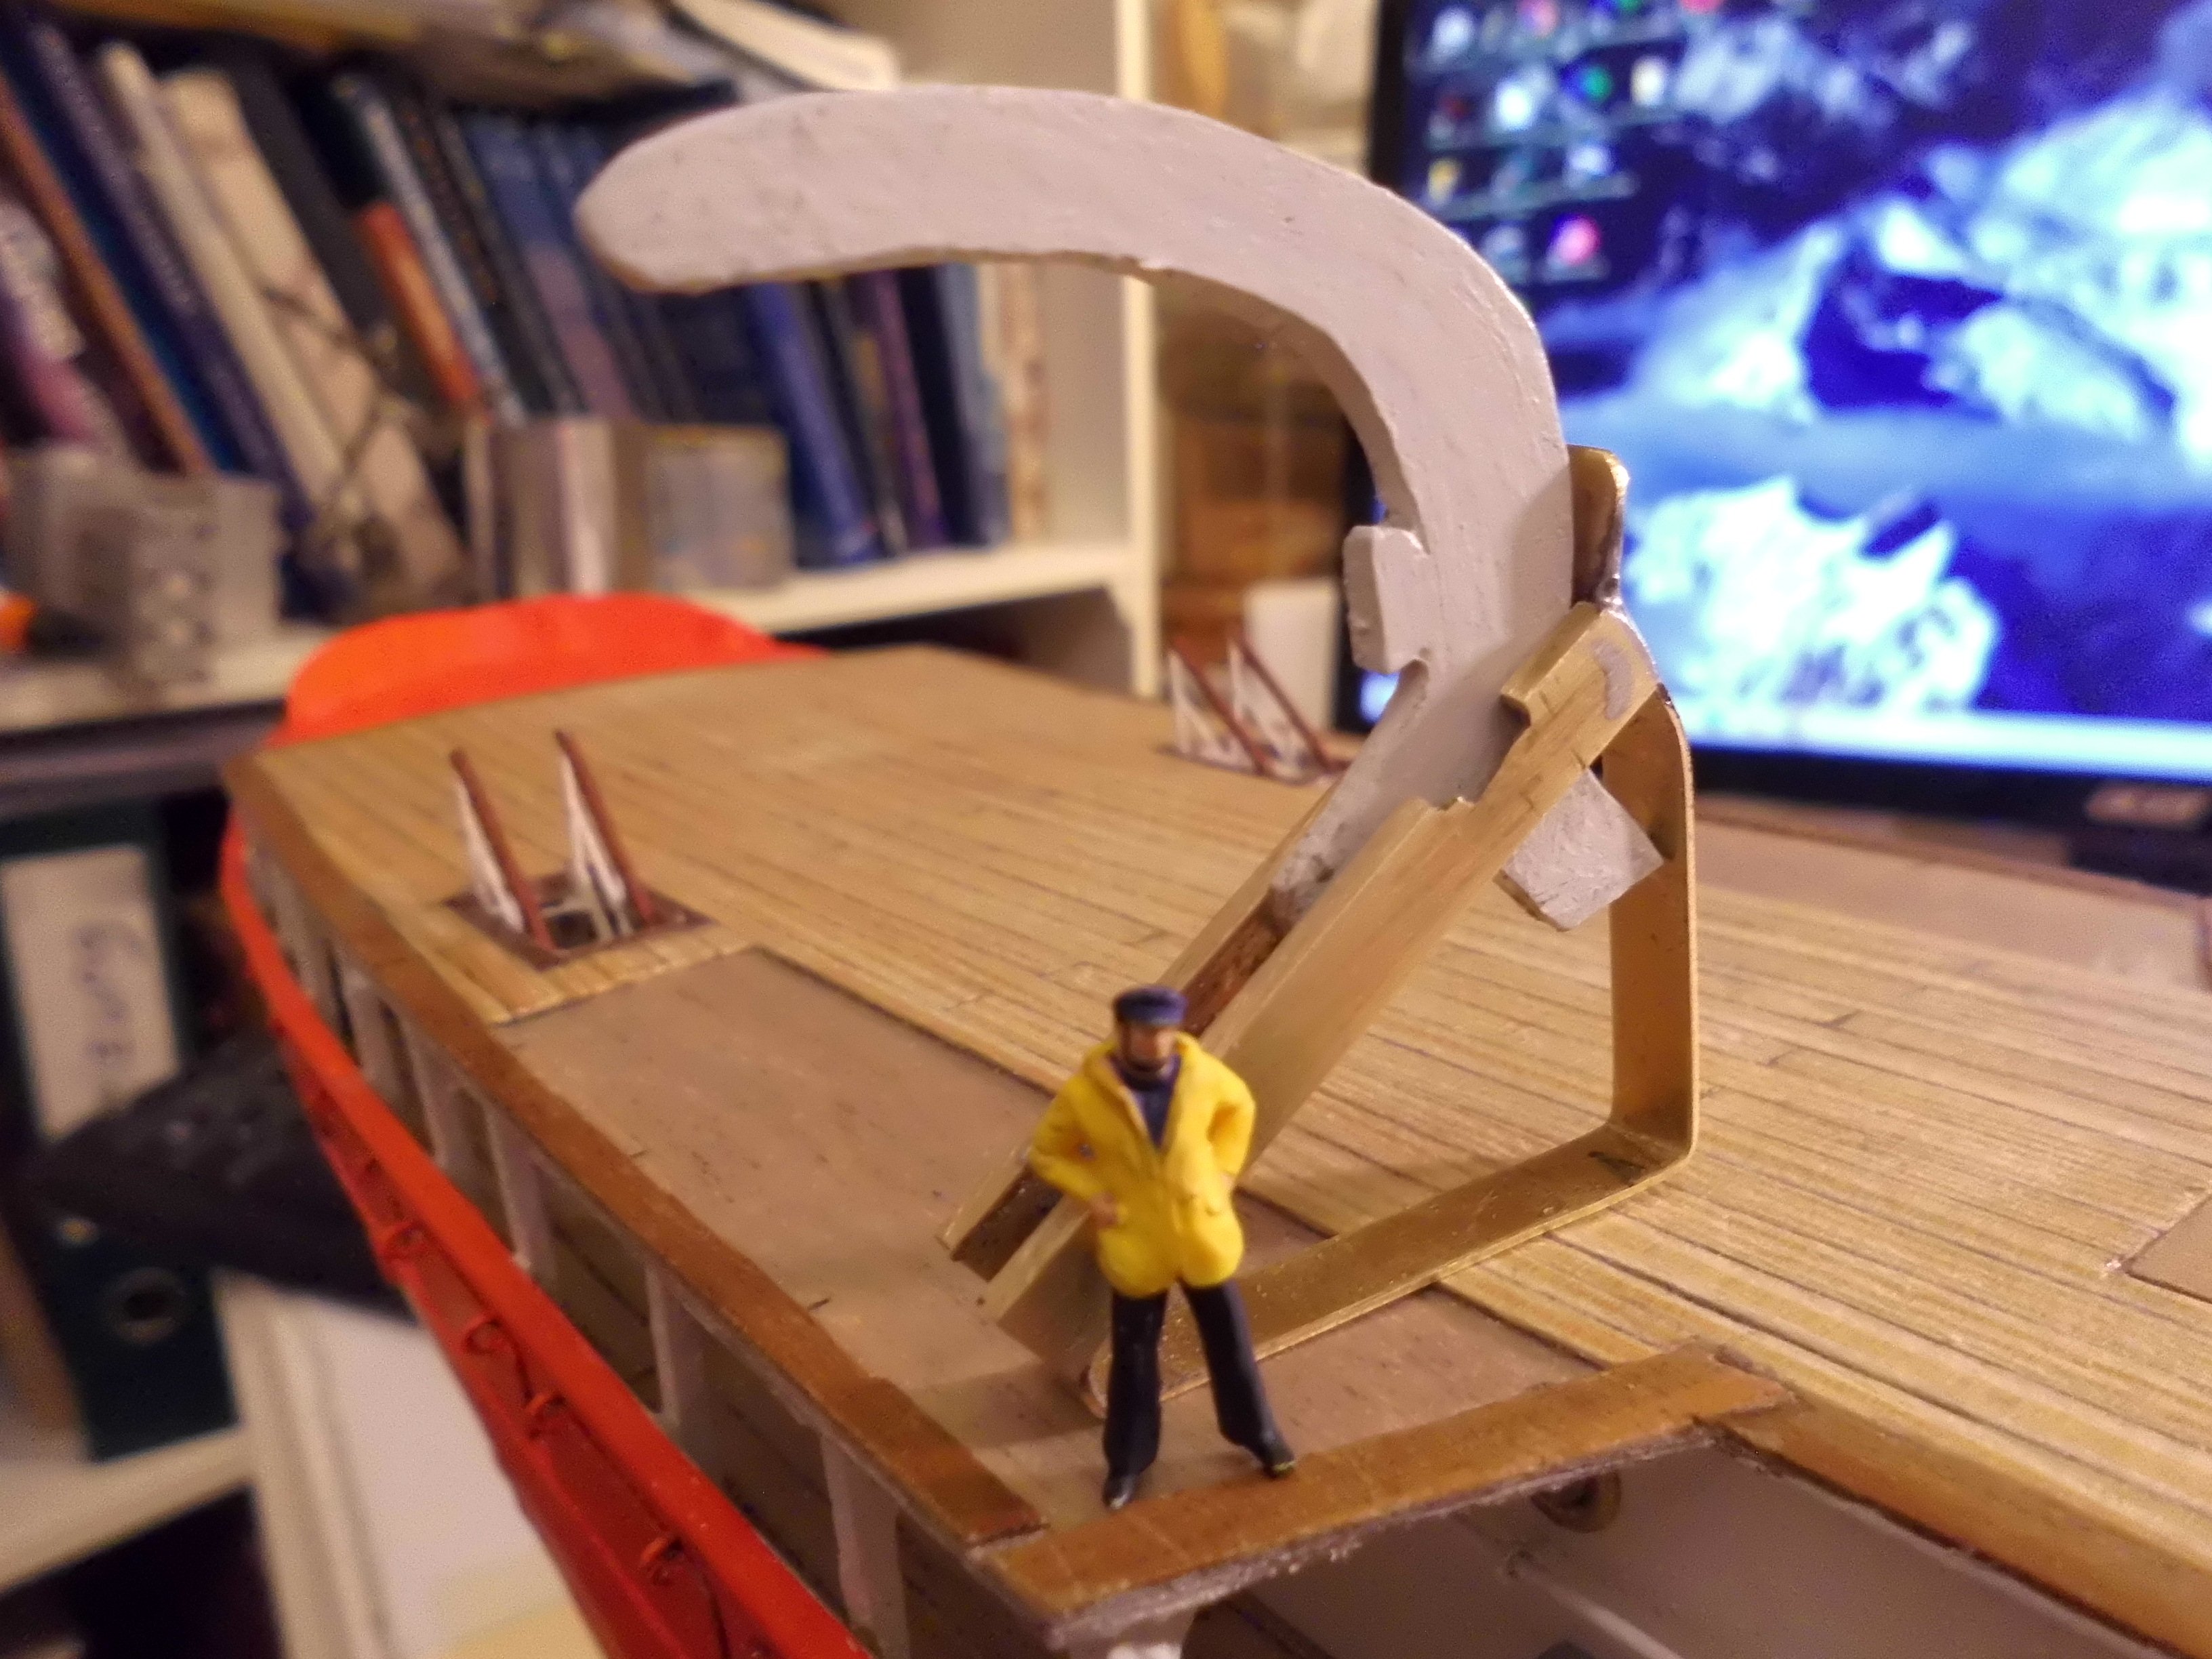
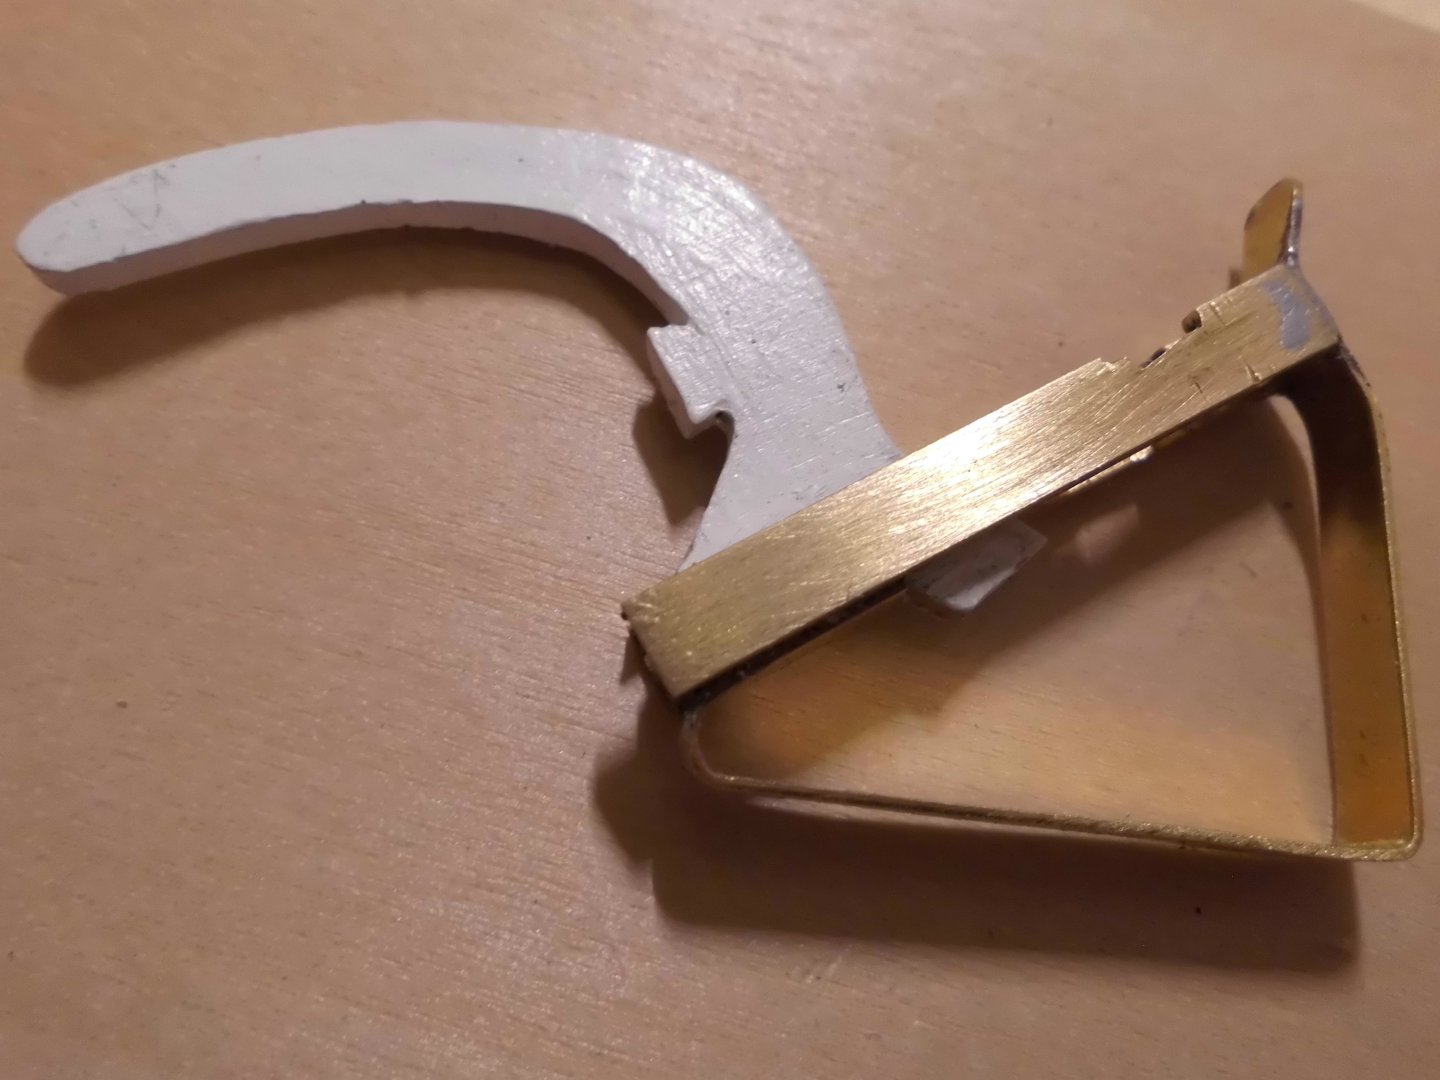
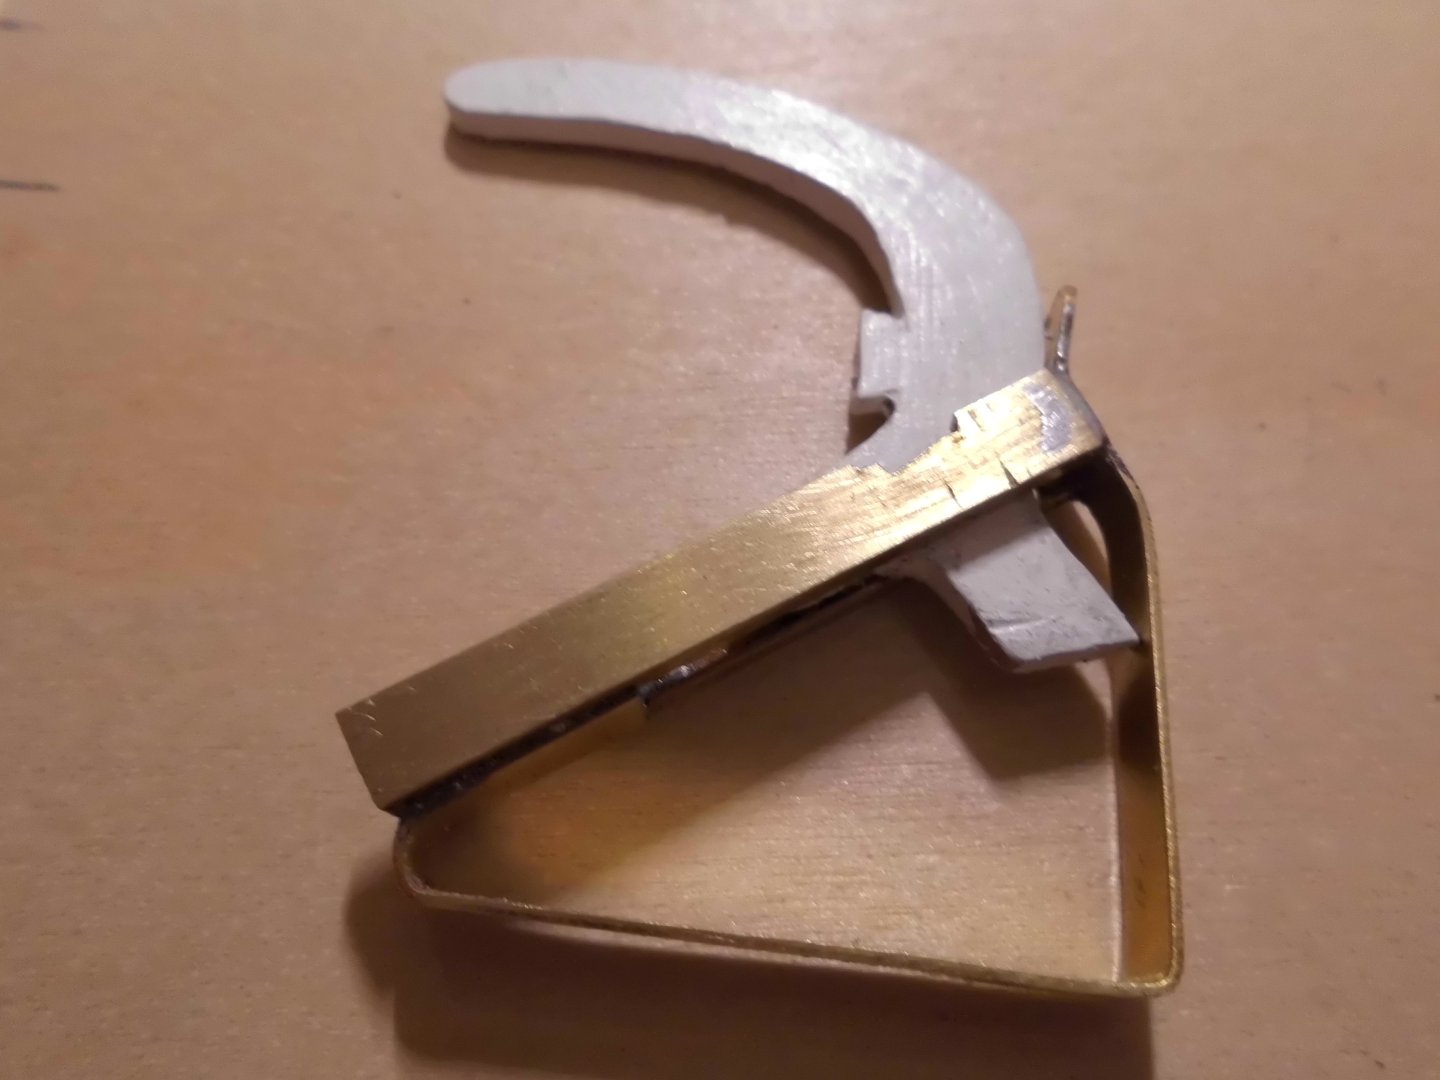
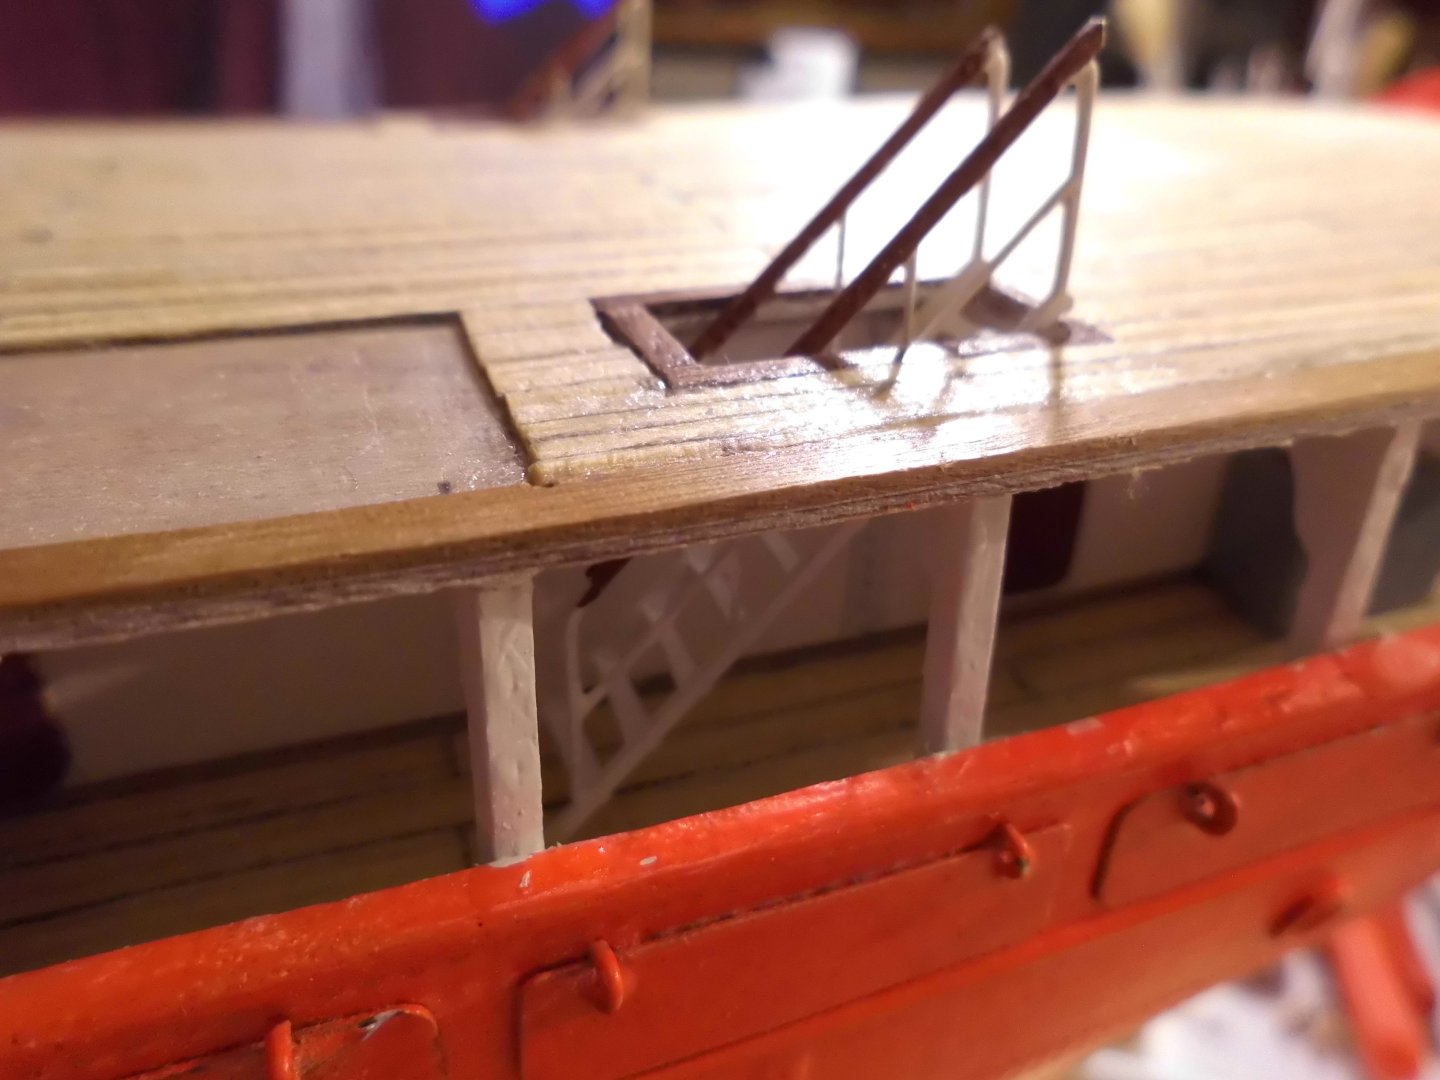
made a raw prototyp of the gravity davit with slide function. I may have to make the arms a bit thinner Nils just to see if it works ..... lower position upper position the slide profile is made from two U-bars


- 299 replies
-
- 15
-
-
-
- lightship
- Feuerschiff Elbe 1
- (and 1 more)
-
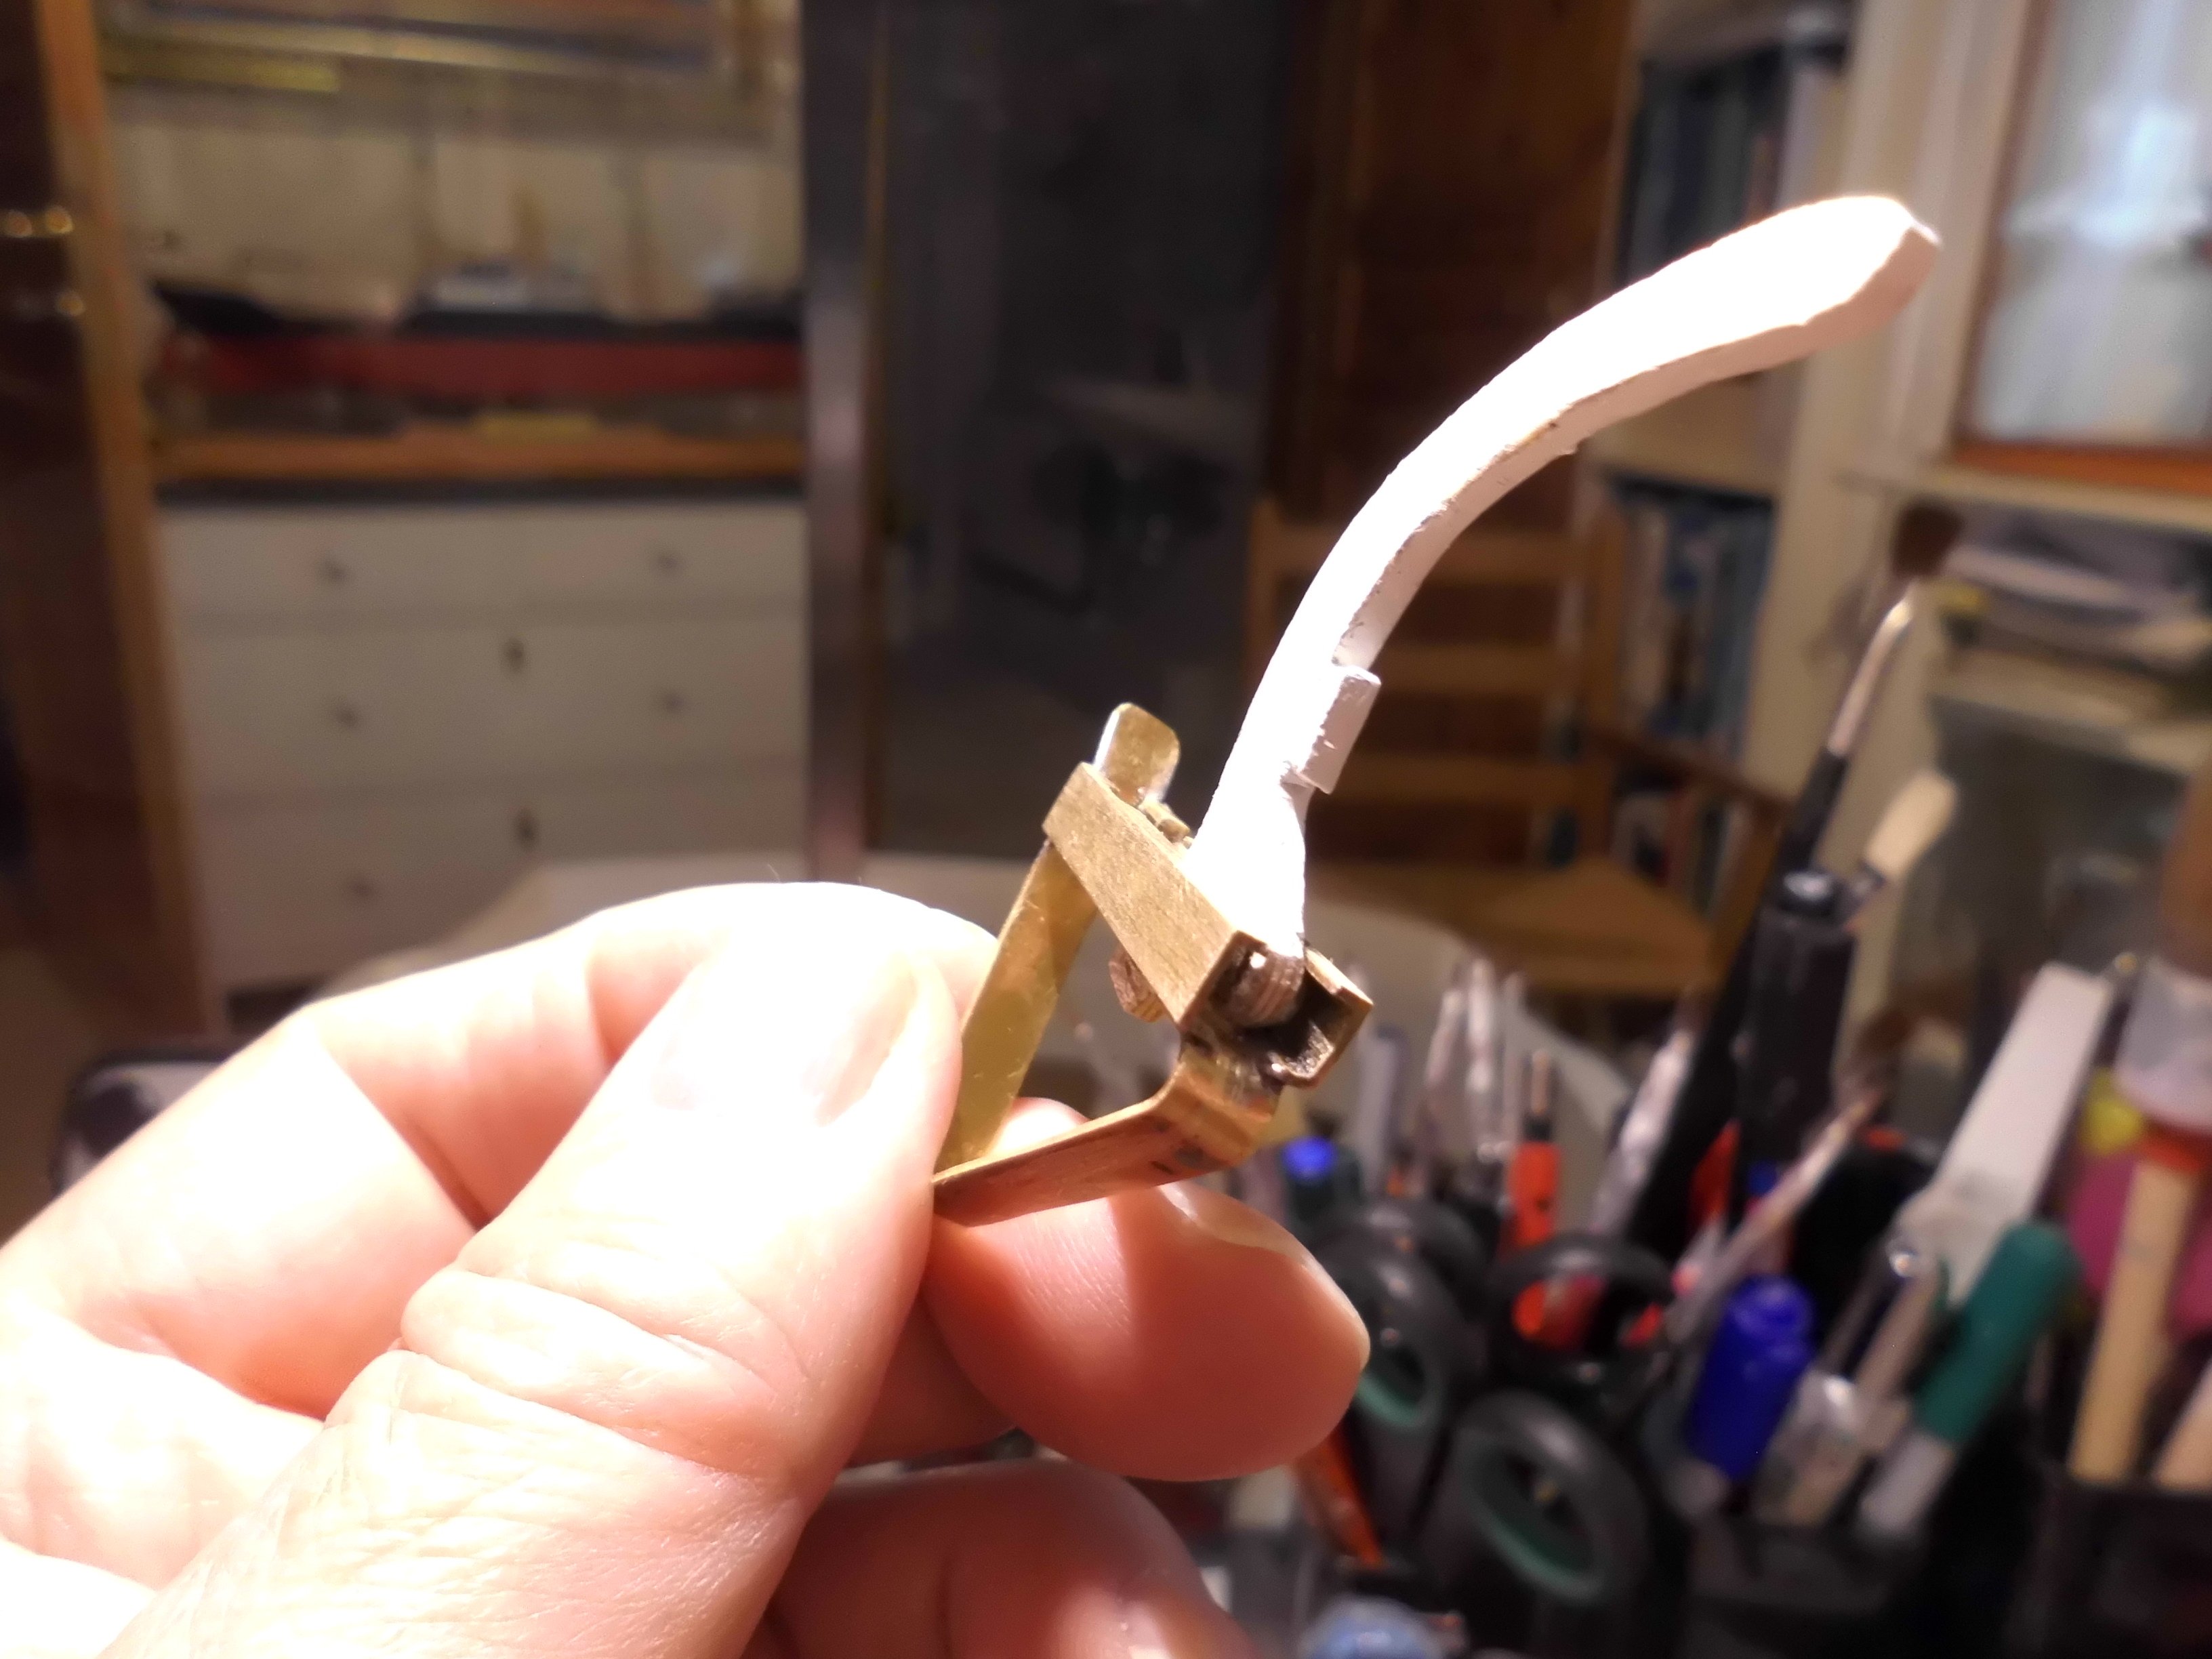
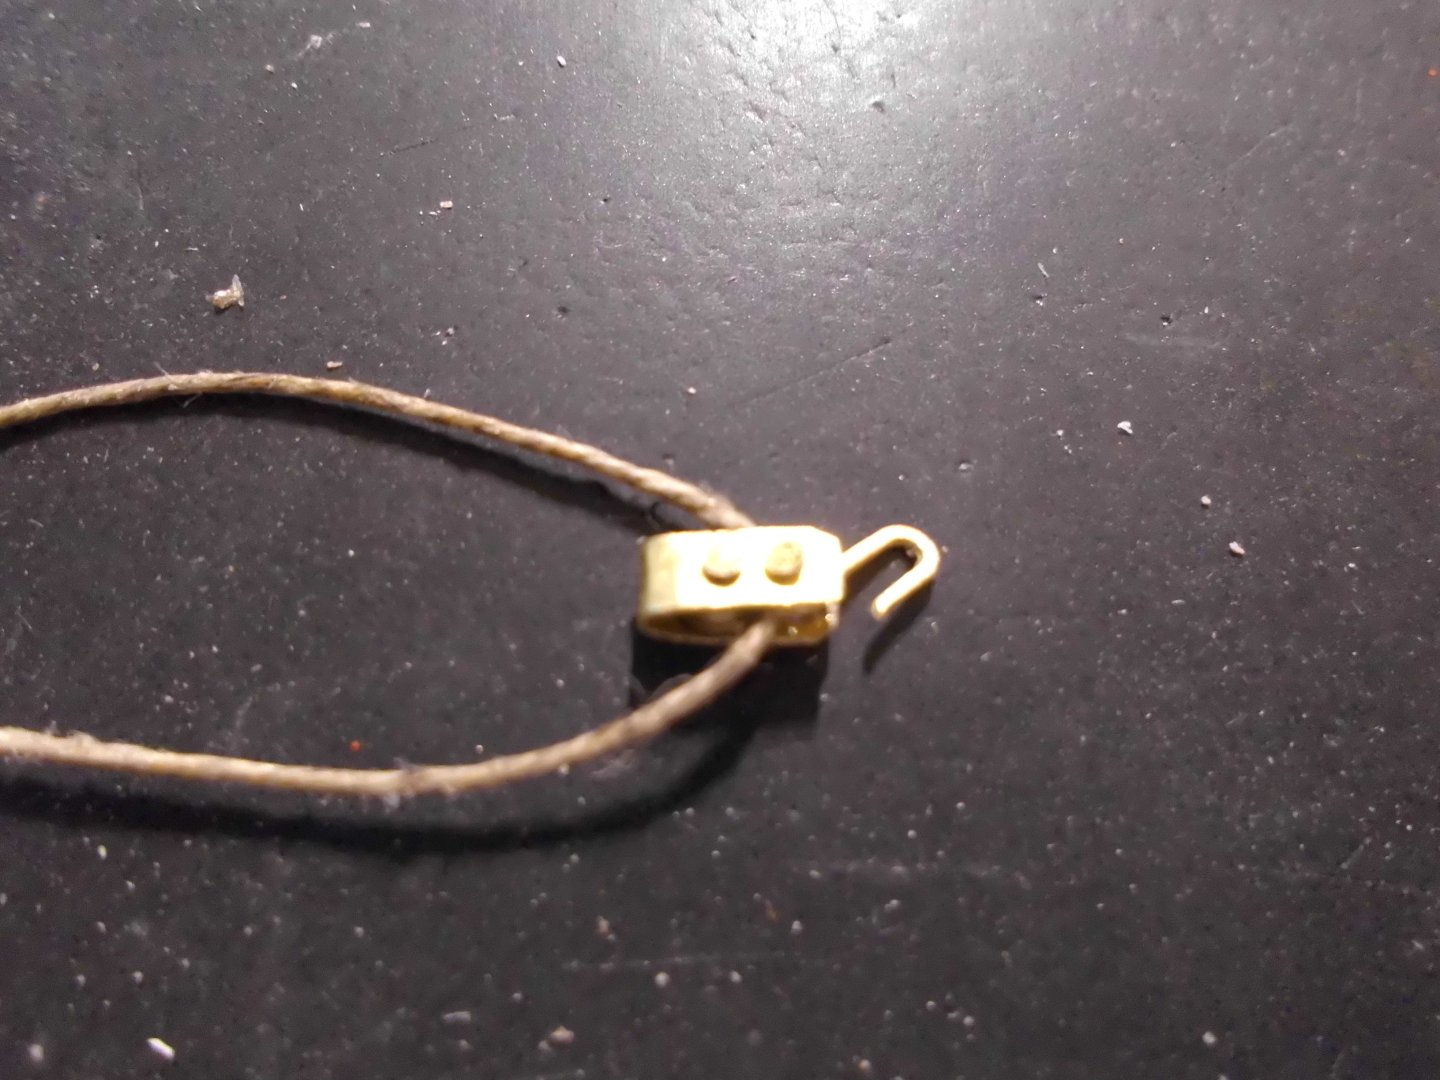
Hi John, gravity, yes I thout so.... made the 4 arms of the davits, and the rail round the bridge Nils the 2mm tick 4 layer beech ply the arms for the davits, it looks like the 2mm ply is strong enough greatly magnified the first prototyp boats hook, with integrated 3mm roll the bridge rail stairway to the bridge


- 299 replies
-
- 10
-
-
- lightship
- Feuerschiff Elbe 1
- (and 1 more)
-
Hi Vladimir, wunderbar ! Nils
-
Thank you Keith, I had already ordered small brass wheels for guiding the lines and brass U-profiles for the slide bar-supports. I think I`ll do the slide structures from 2mm thick 4-layer laminated ply, or from 2mm thick aluminium plate if the ply turns out to be too flimsy Nils
- 299 replies
-
- 6
-
-
- lightship
- Feuerschiff Elbe 1
- (and 1 more)
-
Right Keith, I also have my doubts about the boats weight and the friction in the system. It was my early thoughts to include some lead weight or so into the lowered boat boat as well, but, the intentsion to show one of the boats lowered for entering over the side, would overrule the doubts, even if it should not work as mechanicly foreseen. (only staticly bringing into position) It is ambitious for me to model that mechanism for this small scale, and what materials would be suitable for doing so. Hope I´ll get it done somehow Nils pic out of Helmut Thomas`s (model) magazine, allthough he did`nt include this shown feature himself

- 299 replies
-
- 5
-
-
- lightship
- Feuerschiff Elbe 1
- (and 1 more)
-
Hi Valeriy, wonderful work. Are those the boat-winches? Nils
-
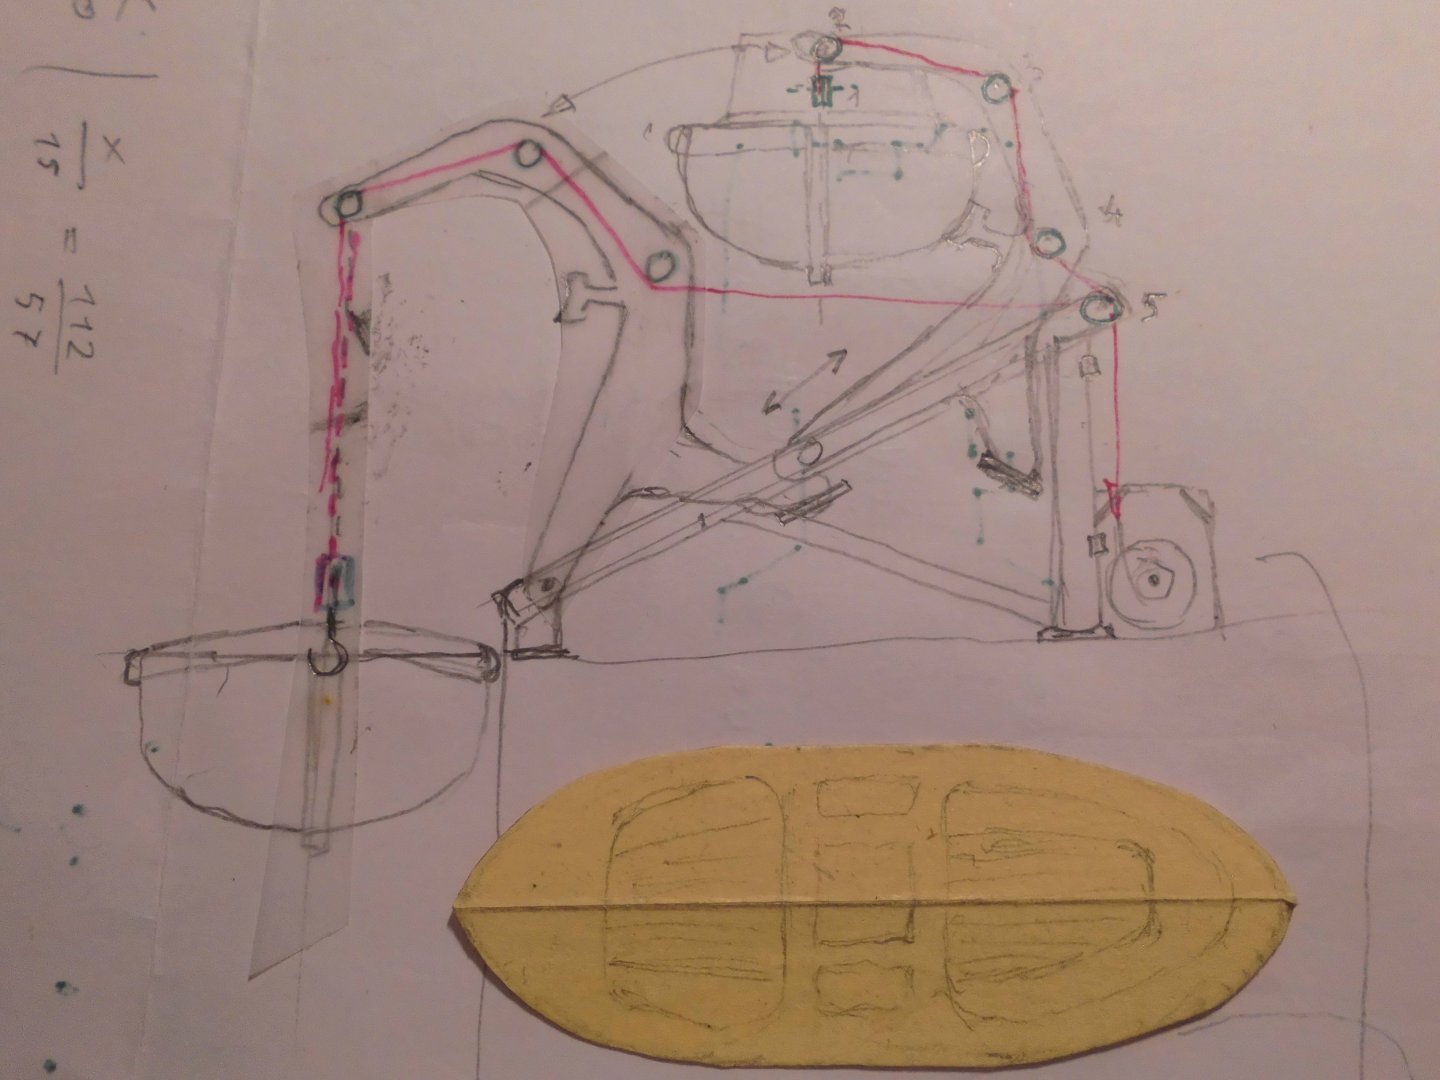
John, thank you very much. I am evaluating to make the davit-mechanism workable and trying to find right suitable function in scale 1:87. Here a preliminary (not scaled ) scetch, of which I think it may work. The boats would have to be handmade with help of wooden model, silicone mold, inner plug, and resin outforming. I intend to show one boat lowerd to the main deck and the other resting secured in fastening position. What do you think about it? Nils
- 299 replies
-
- 11
-
-
- lightship
- Feuerschiff Elbe 1
- (and 1 more)
-
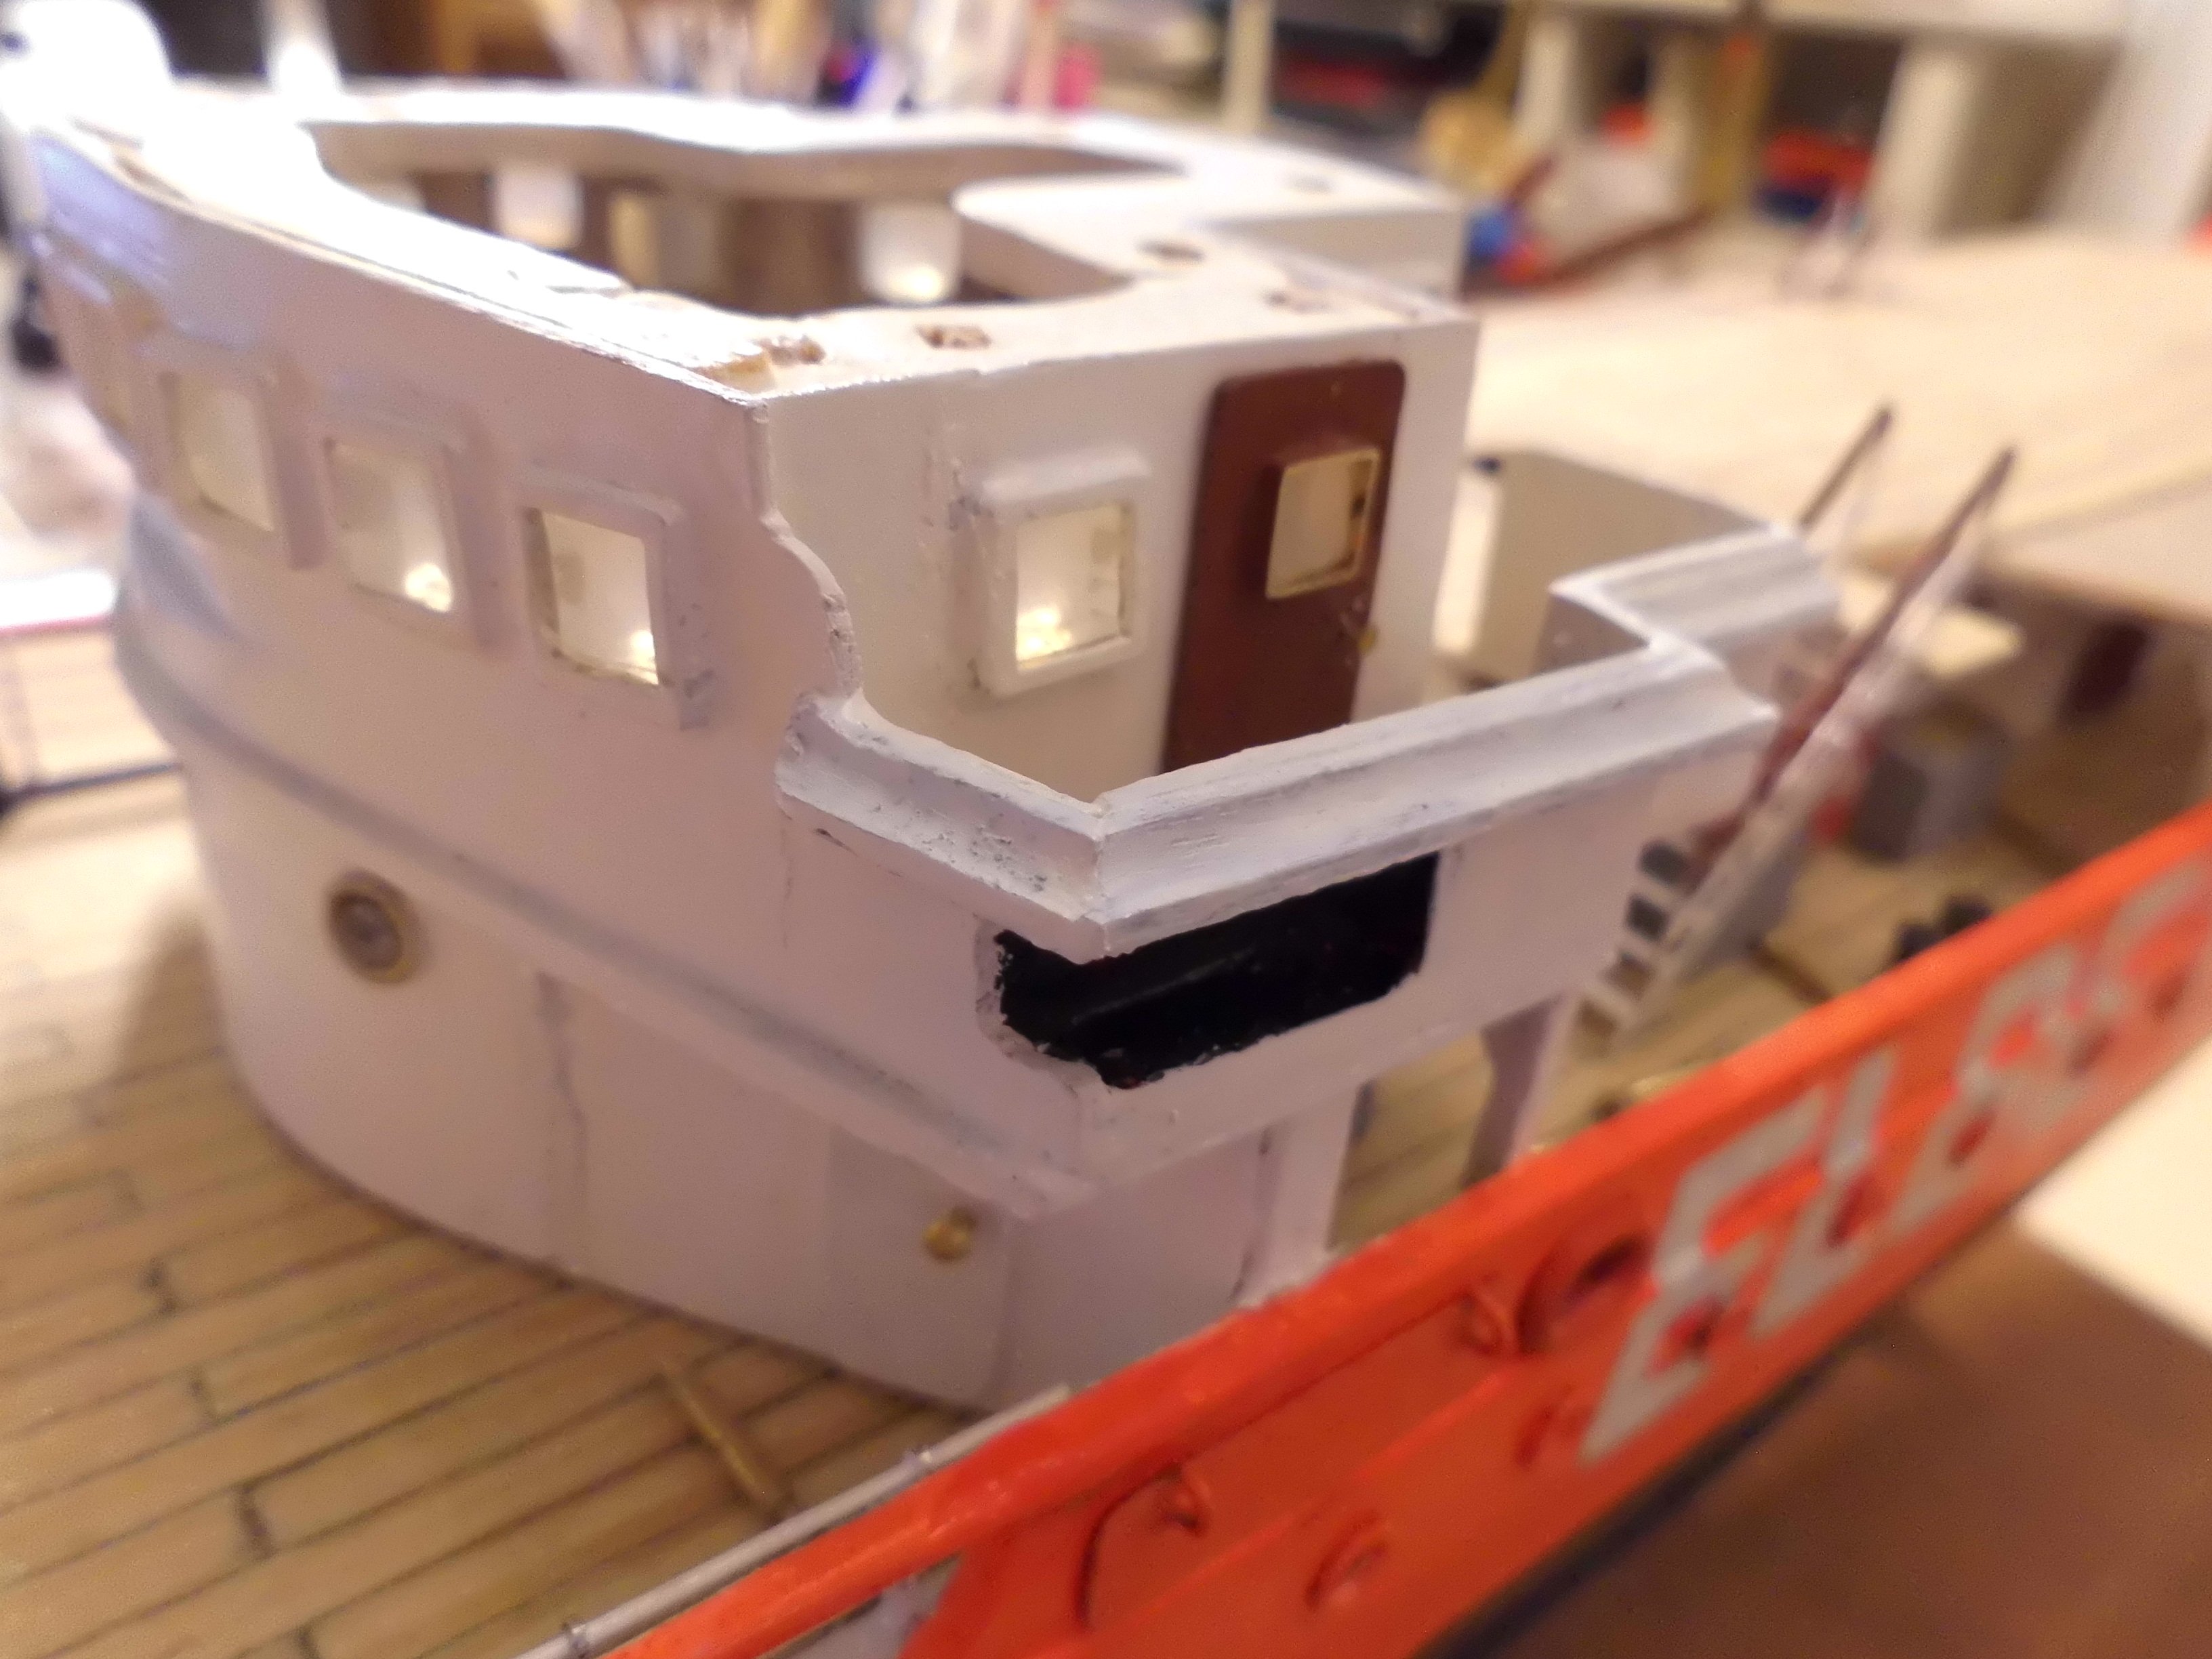
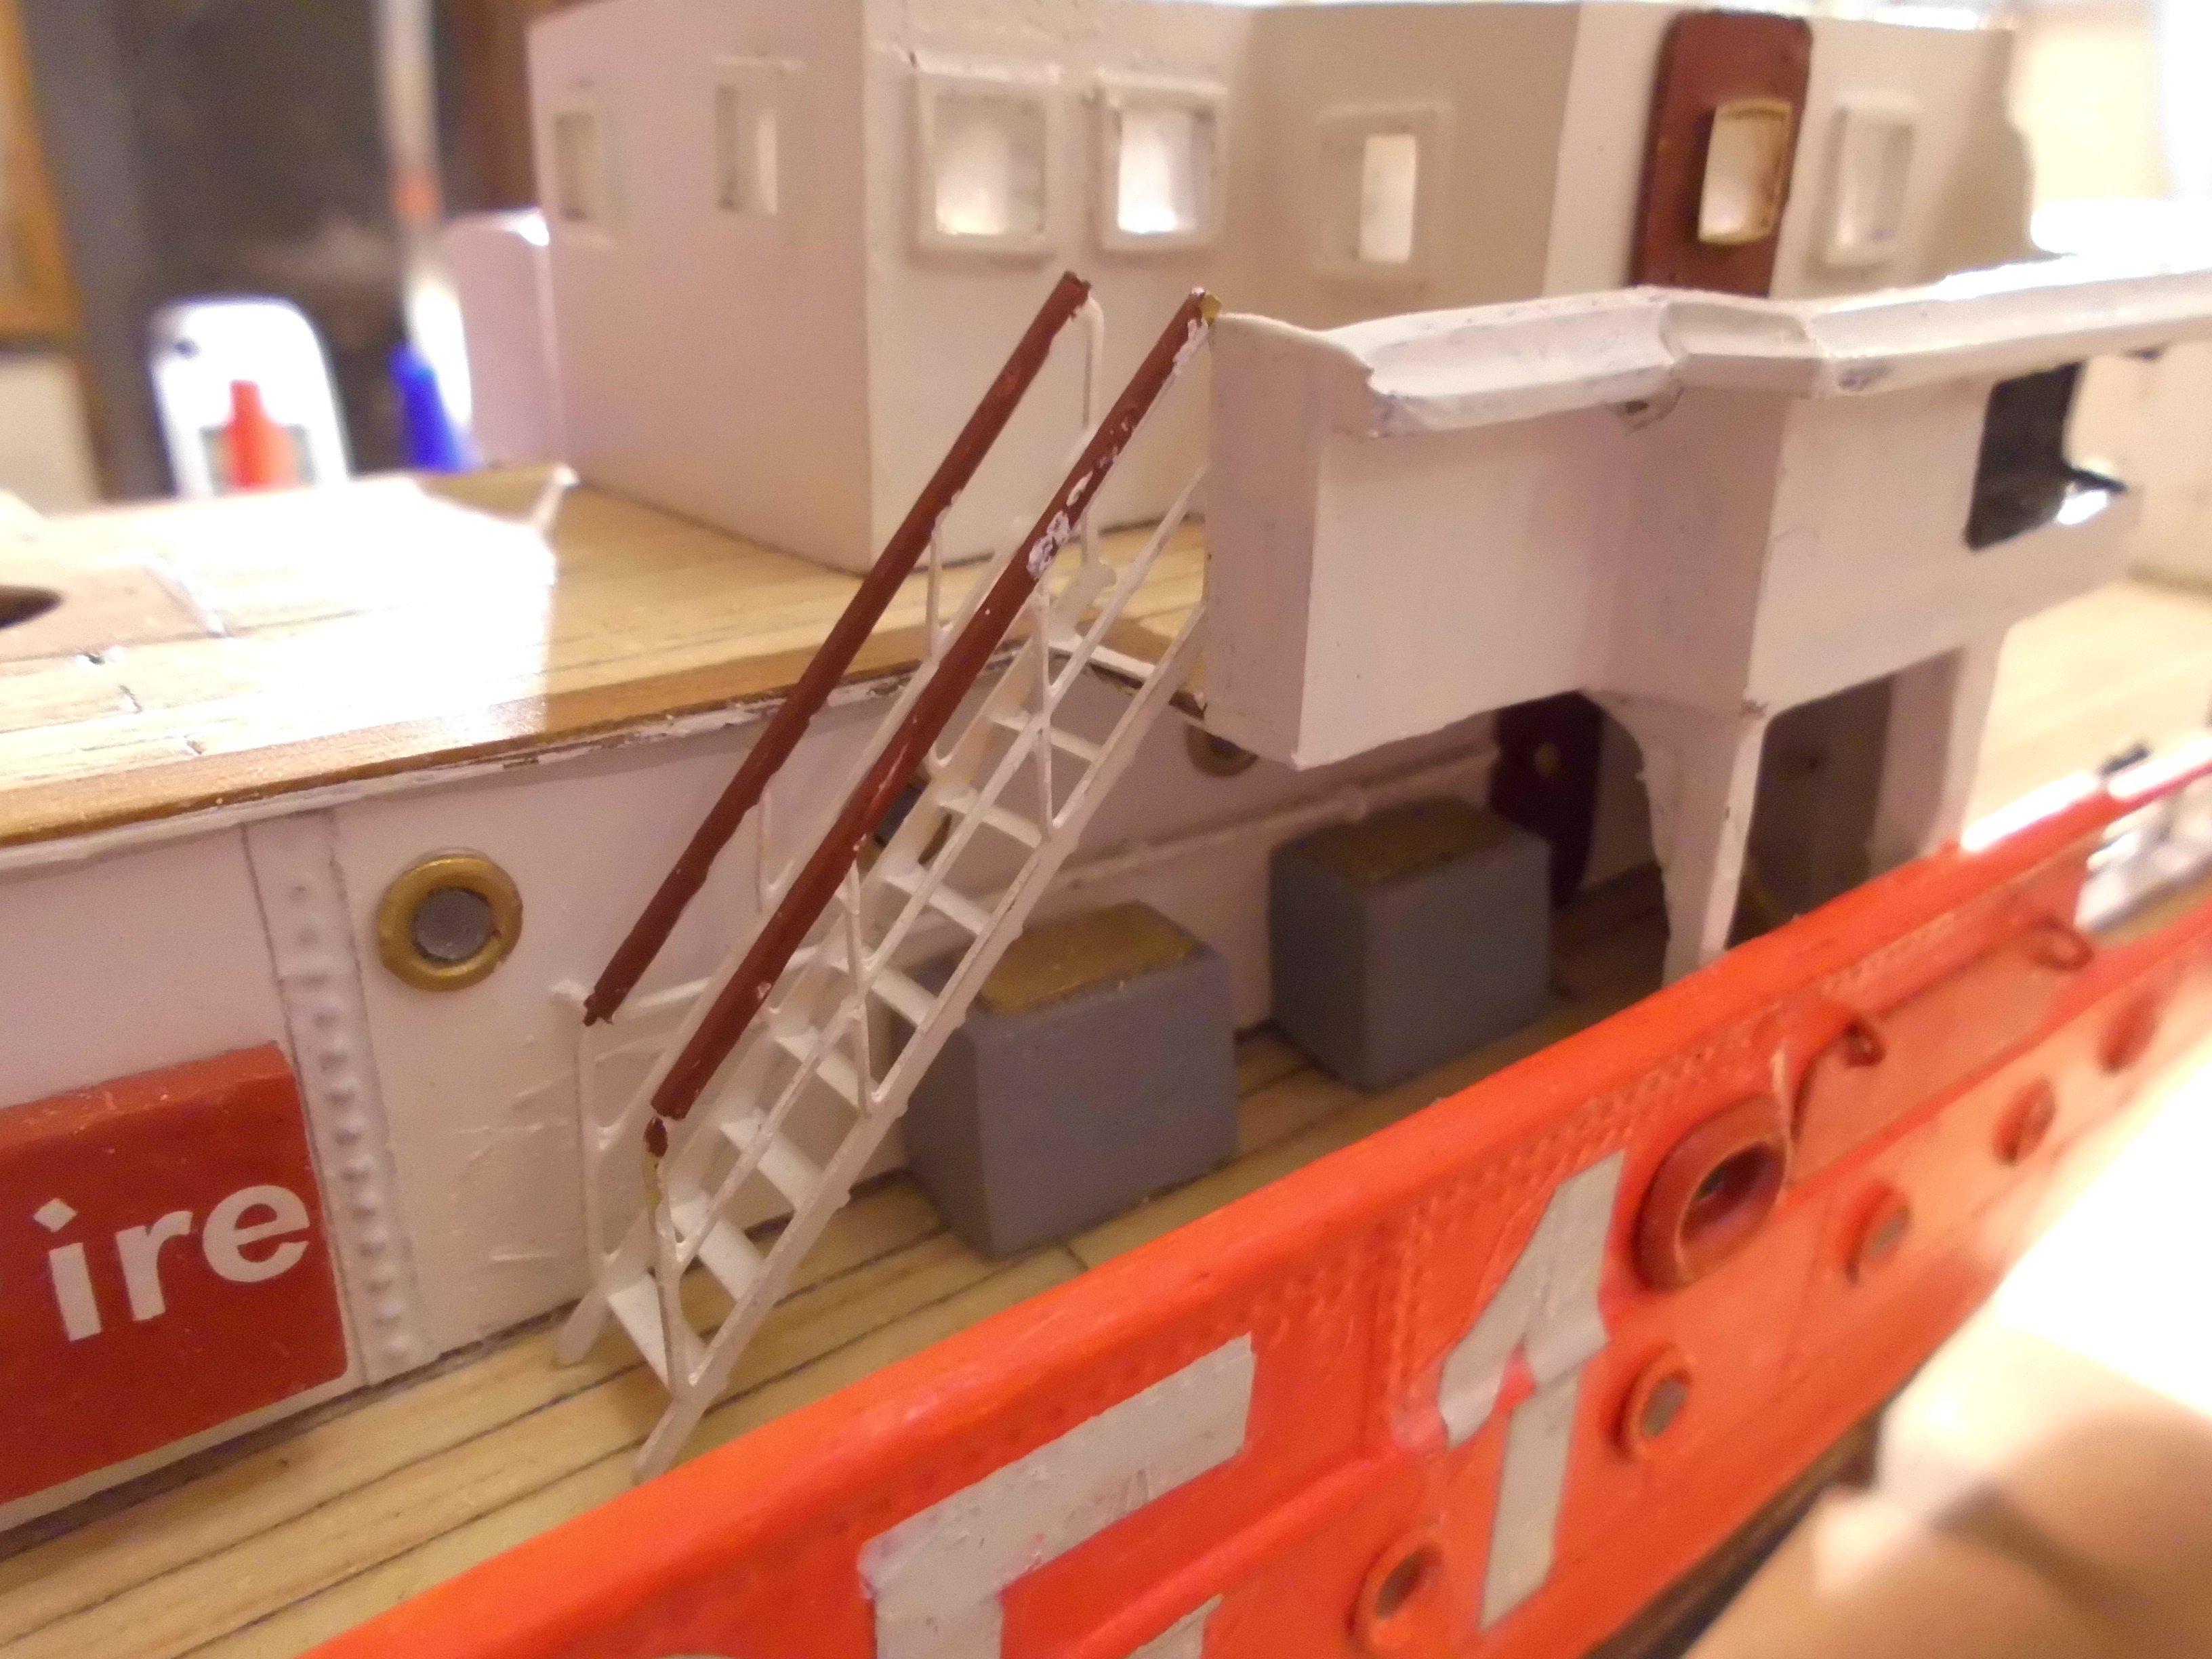
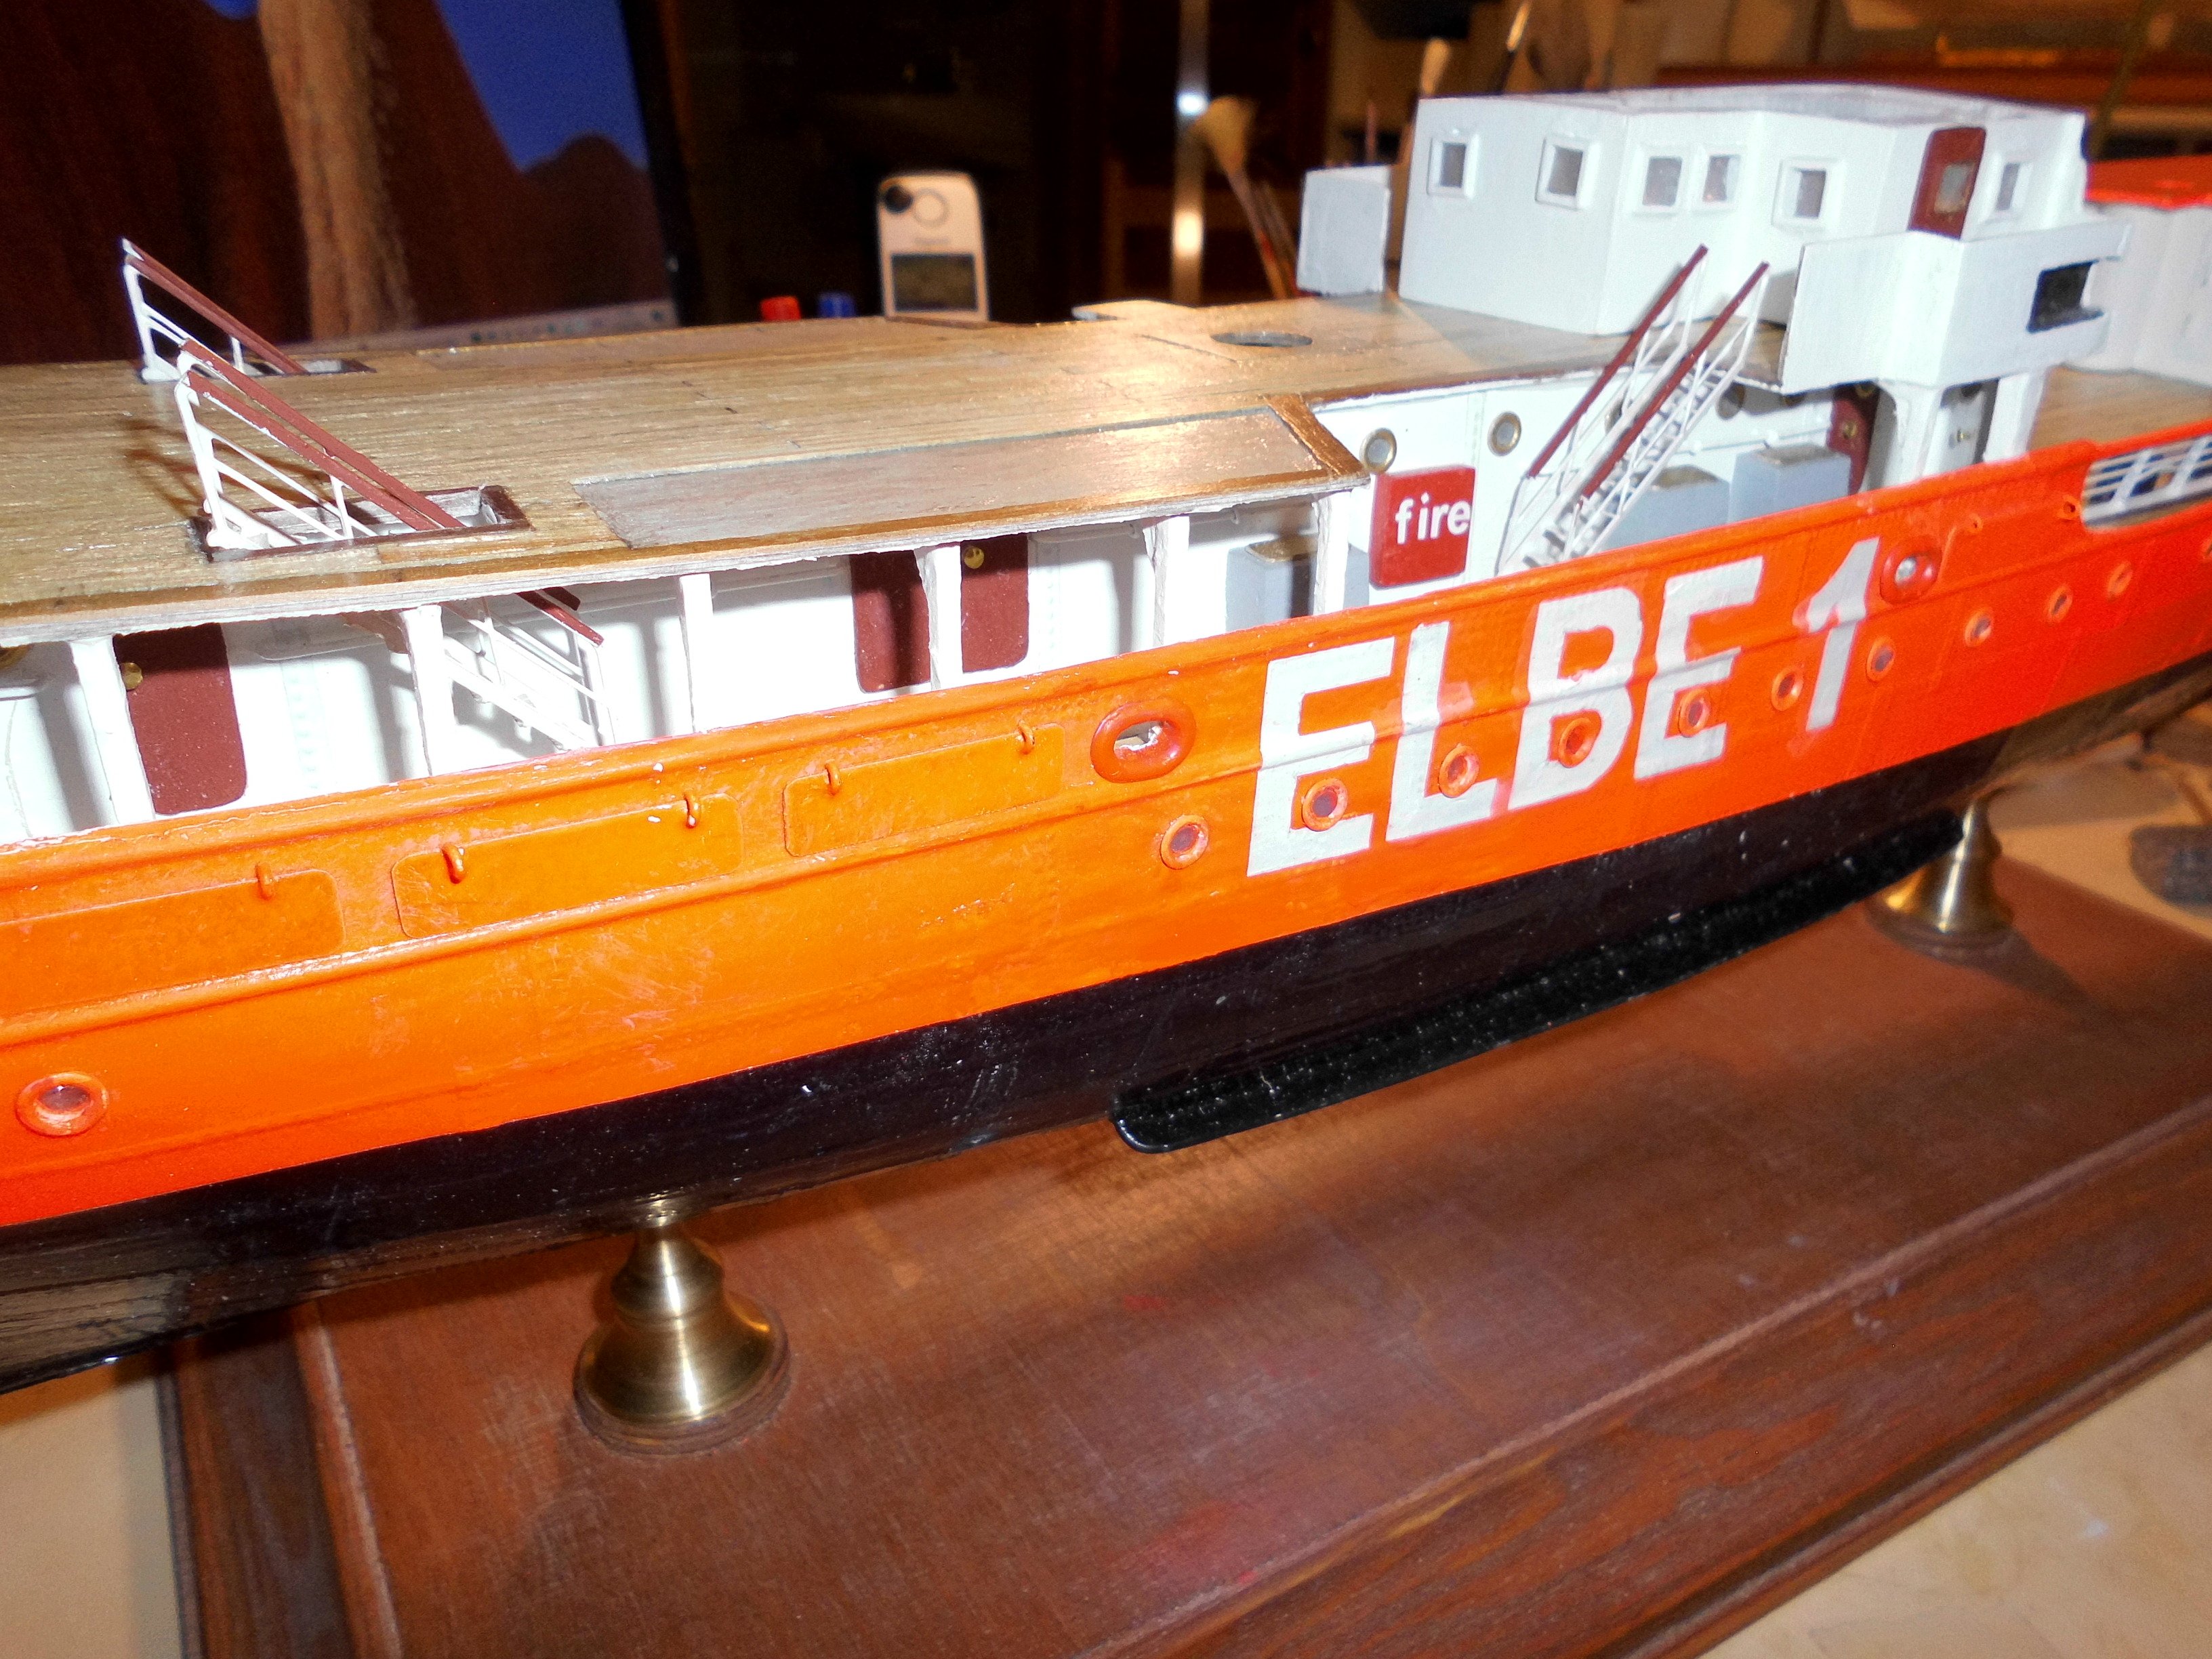
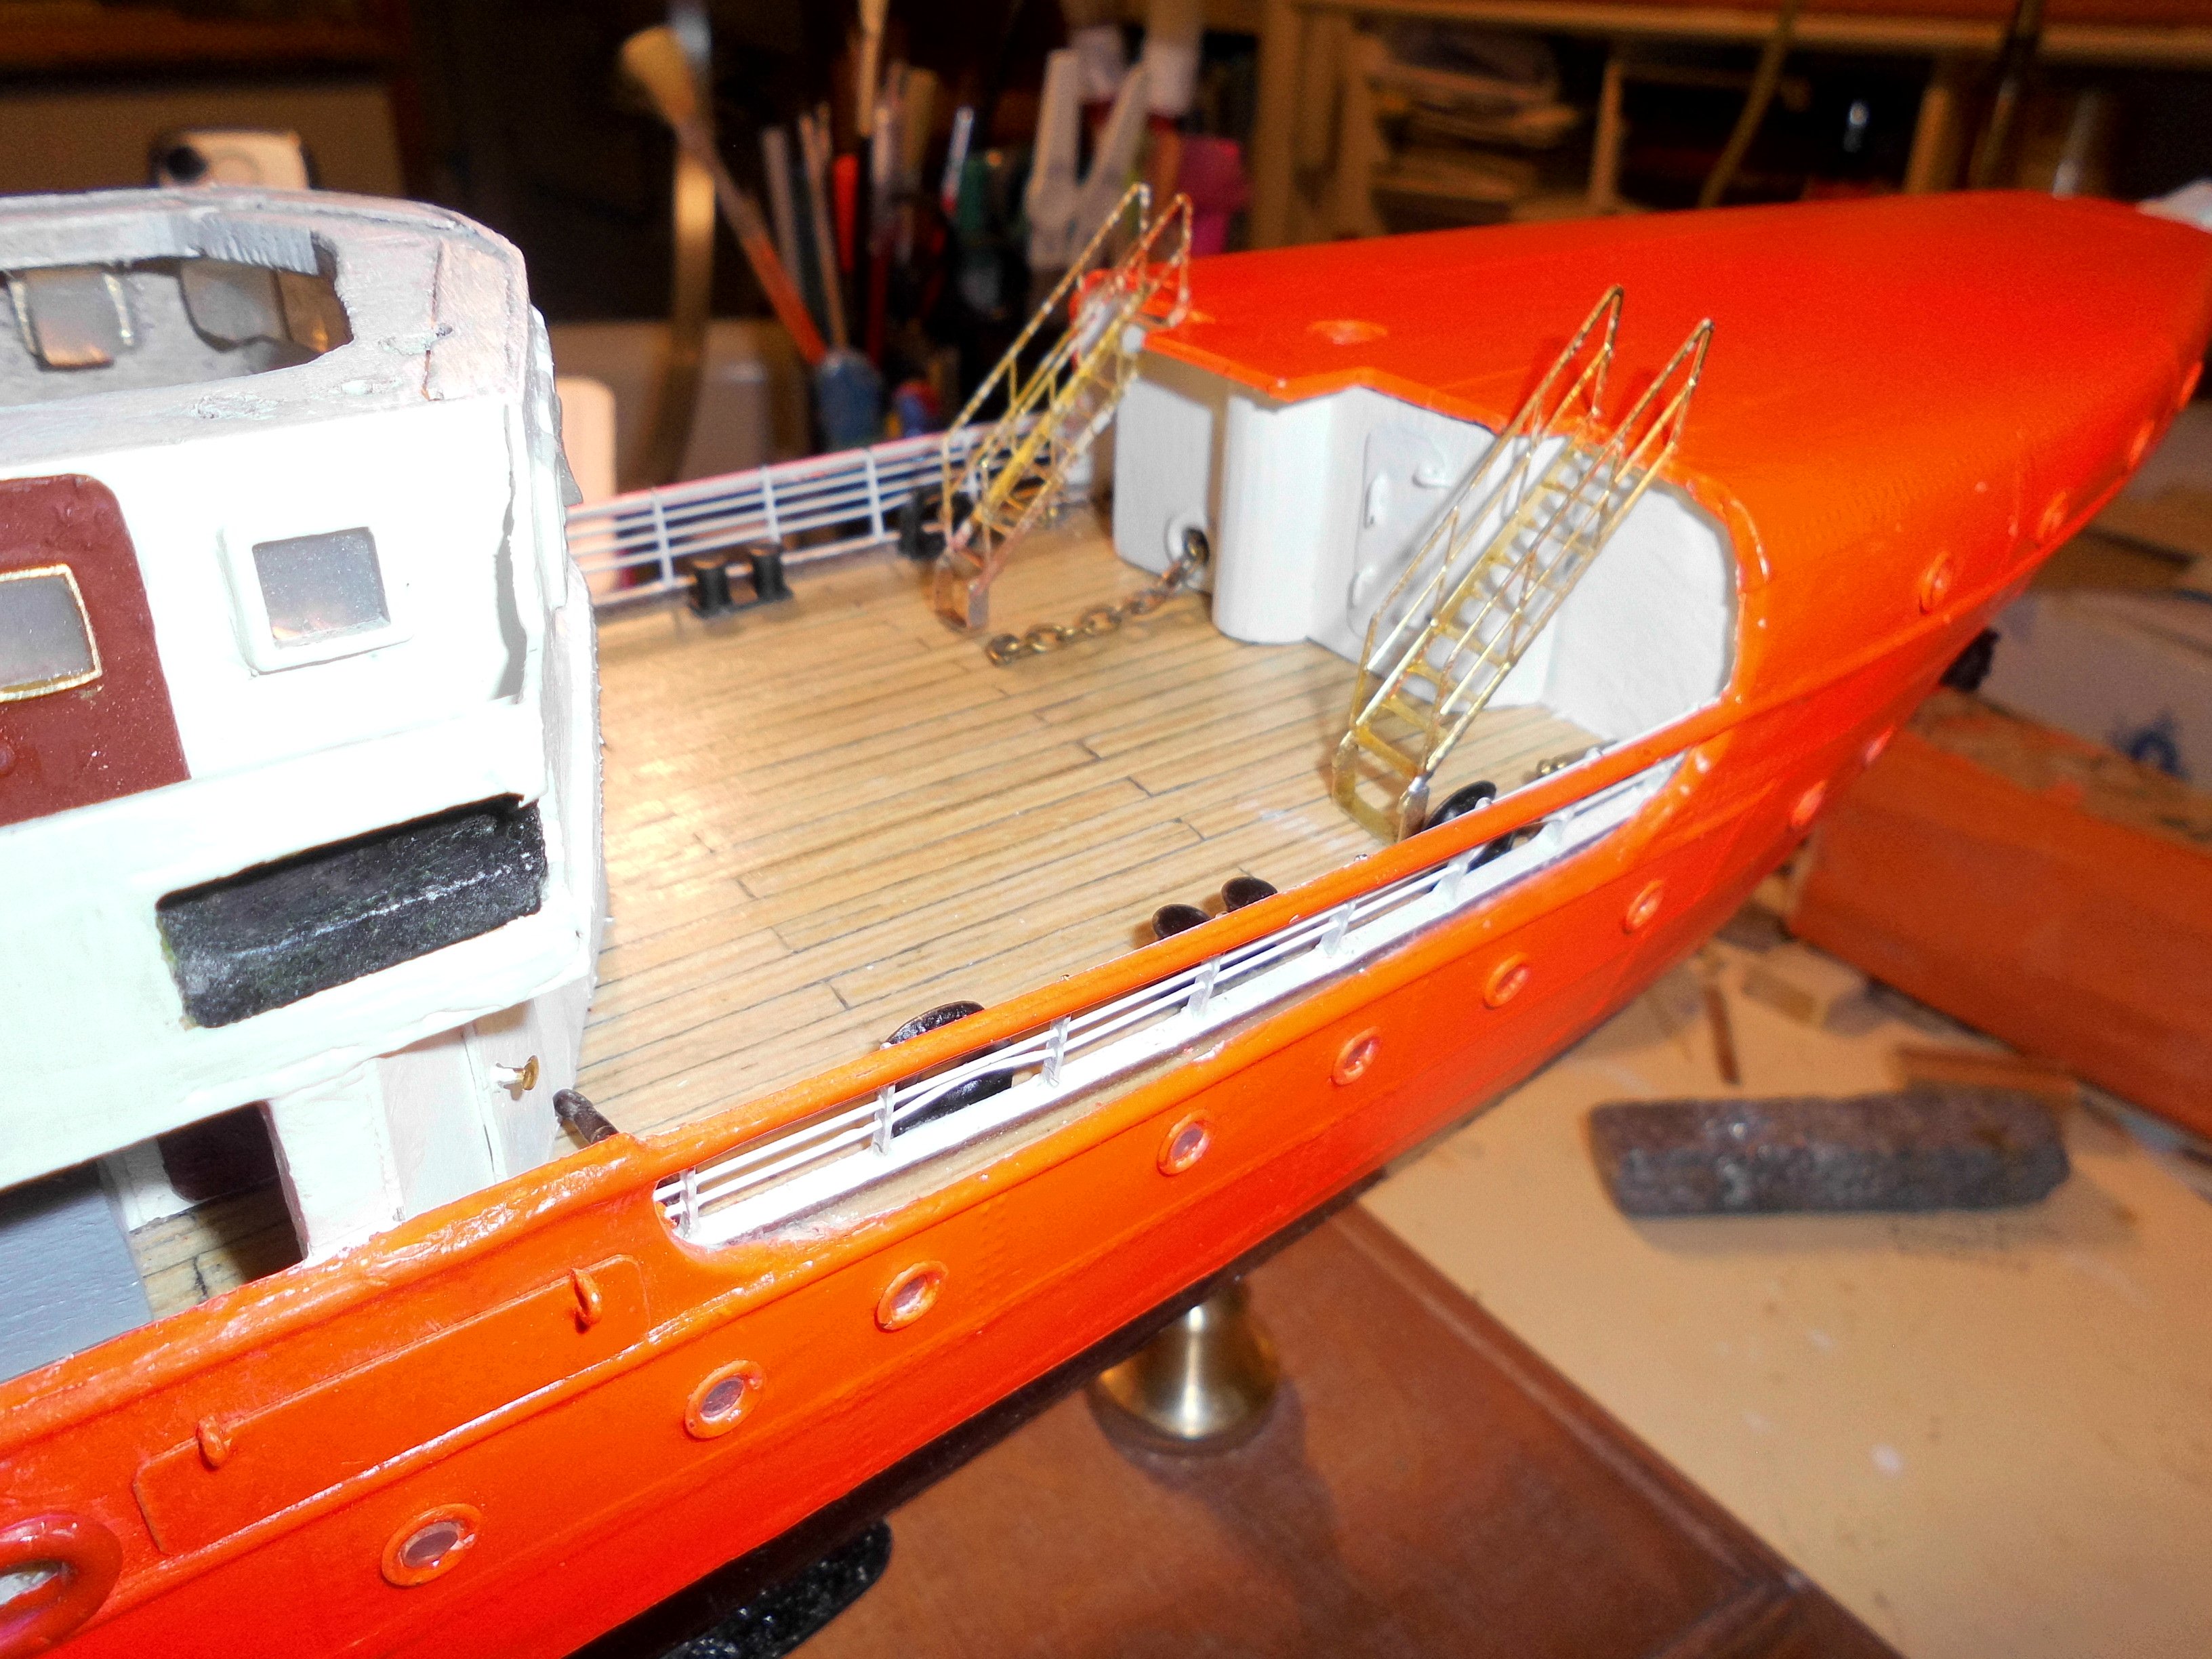
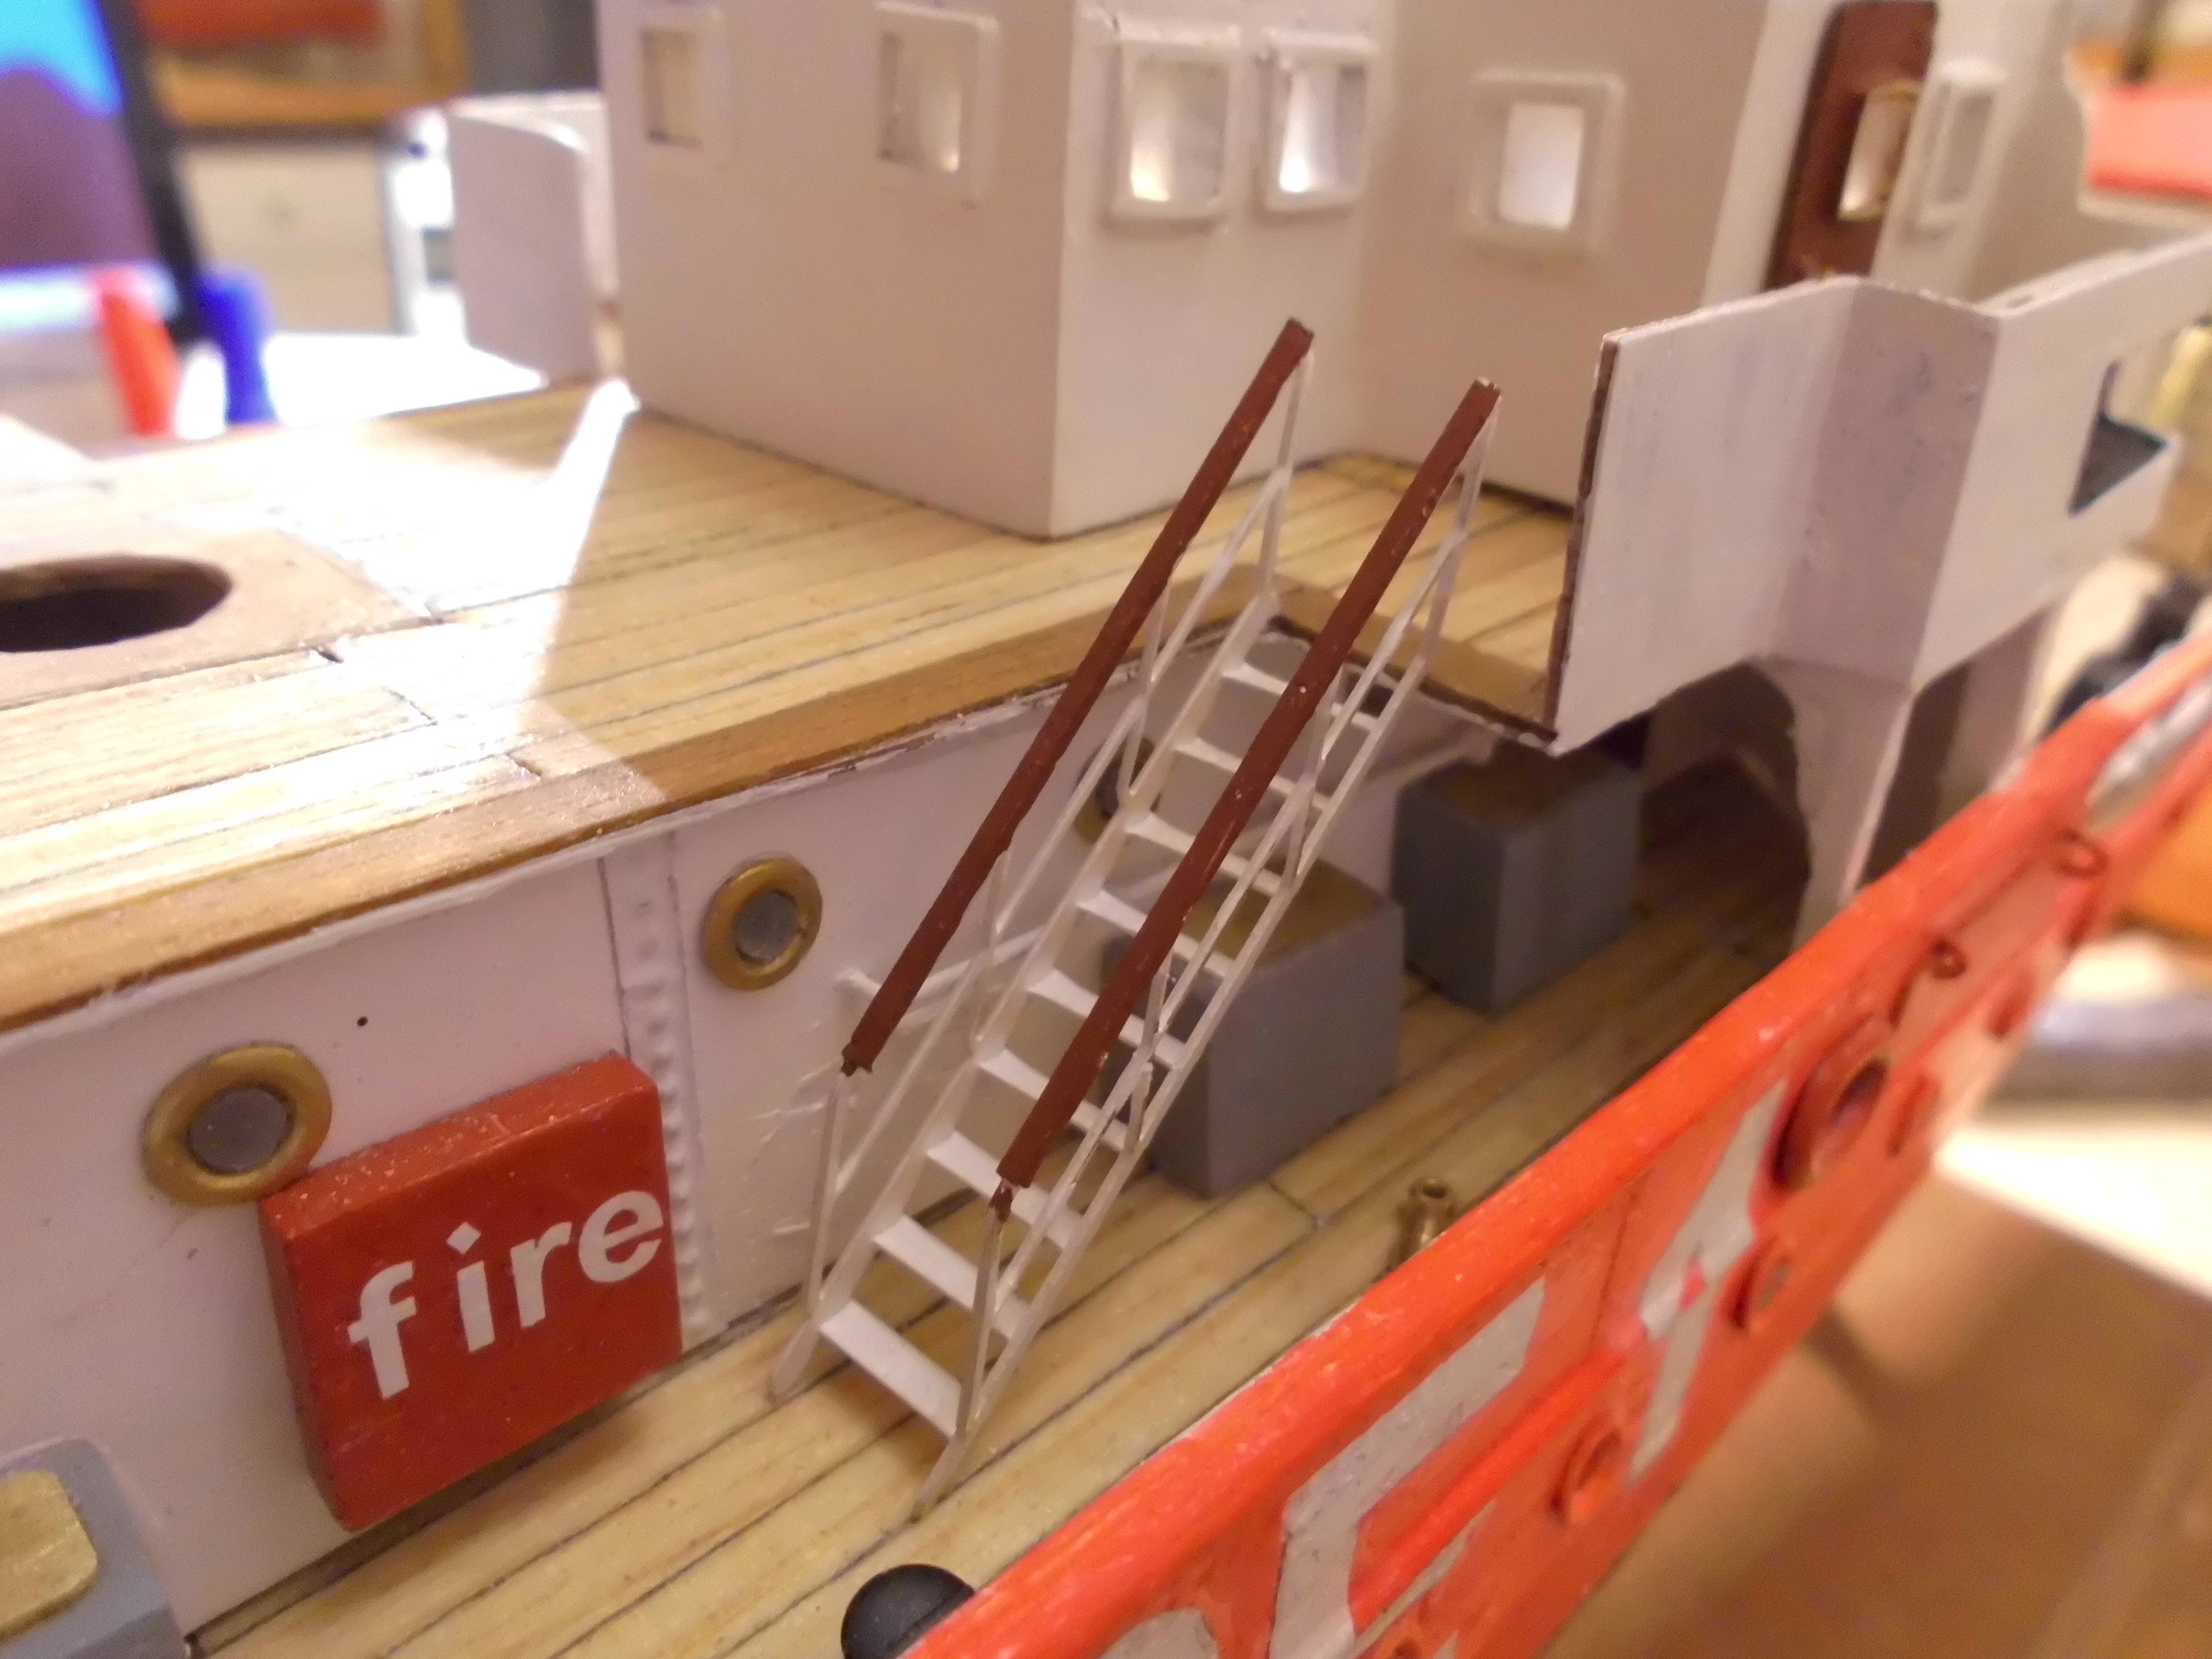
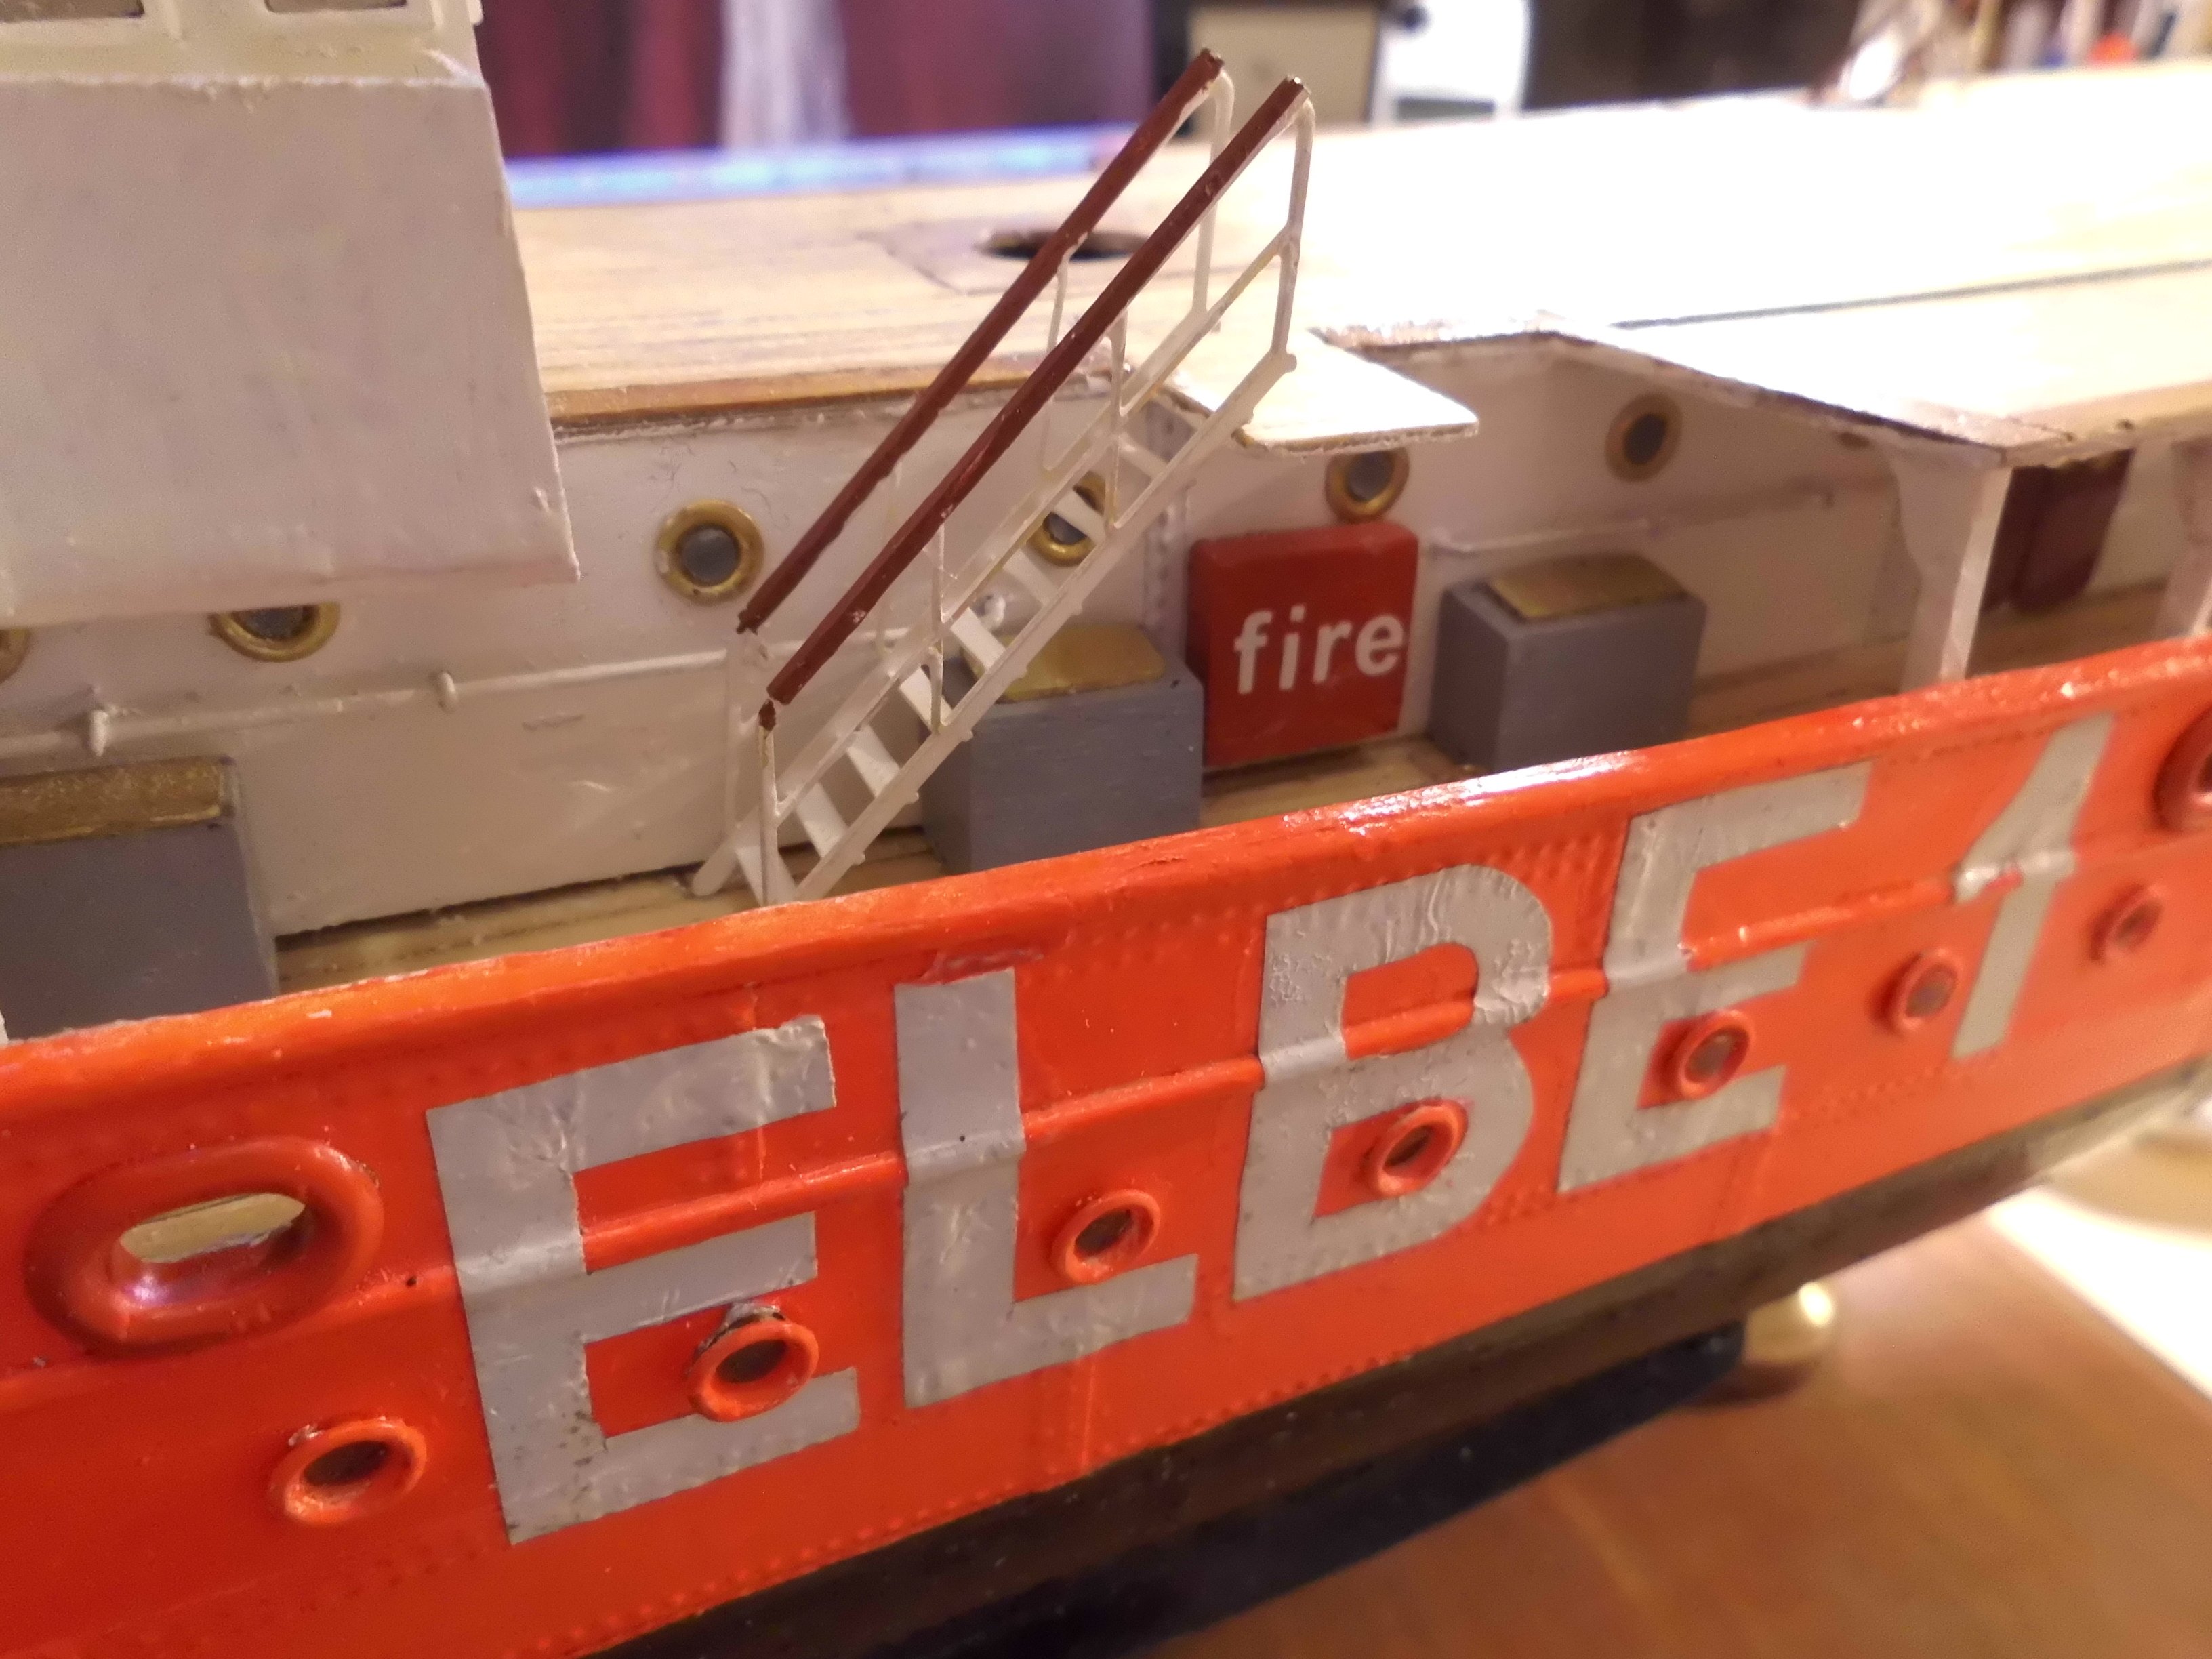
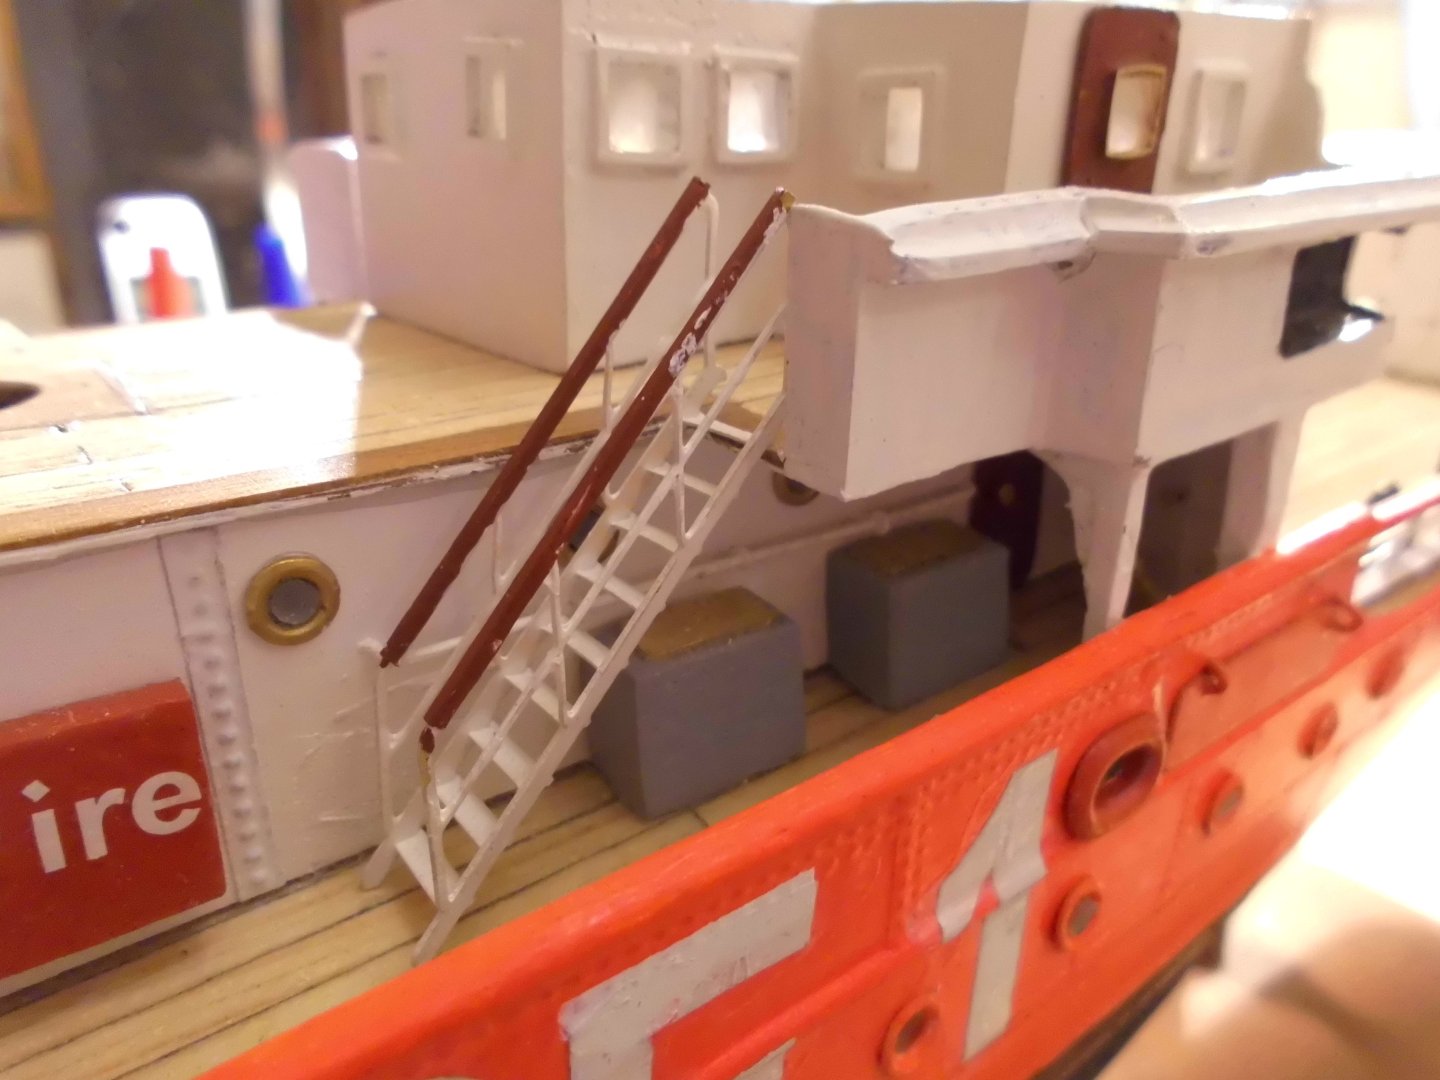
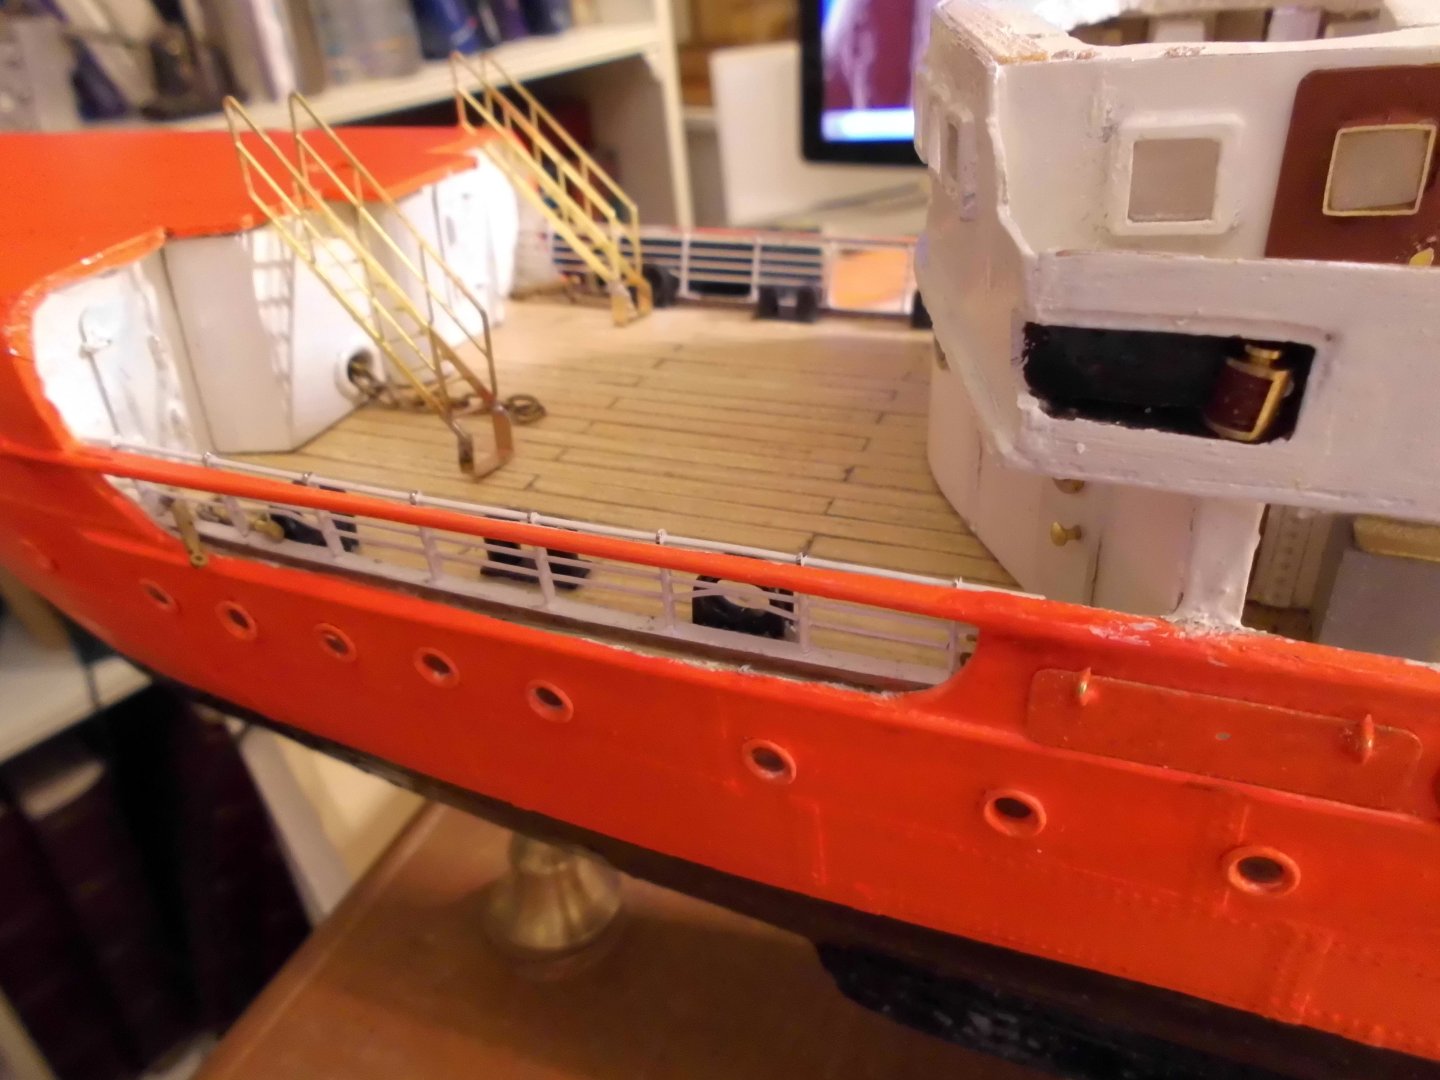
Update the walls of the bridge deck pending some rails etc. and the 6 stairways are under process. The nav.light screens are now matt black and the port nav.light is dry fitted, to check the dimensions Nils port nav. light forward stair to the boatsdeck aft stair to the boats deck


- 299 replies
-
- 13
-
-
-
- lightship
- Feuerschiff Elbe 1
- (and 1 more)
-
Hello Eric, I have`nt seen a Building plan on the market of neighther Alexander von Humbolt 1 nor of version 2 If I were to build the version 1, I would buy the revell plastic model (version 1 ) in scale 1:150 and use this for adopting all relevant details and ratings in to the scale I`m going for. The revell plans usually provied all neccessary belaying- and rigging plans. and Also a second hand book of the Alex would be of advantage for detailed pictures. for the frames I would use those of the Gorch Fock (simular hull shape) except for the super structures Nils
-
lovely work Keith, very nice planking progress Nils
-
excellent build Vaddoc Nils