Mirabell61
-
Posts
7,418 -
Joined
-
Last visited
Content Type
Profiles
Forums
Gallery
Events
Everything posted by Mirabell61
-
 Good work Yves, the model lööks great Nils
 -
Hy Boss, that kit is a very nice choise and you did a good job on the hull so far. I like the glasfibre reinforced hull with the rivet imitations Nils
- 35 replies
-
- 4
-

-

-
- Britannia
- Mountfleet Models
- (and 1 more)
-
interesting build methode Valeriy, nice clean work Nils
-
Good looking progress John, I have a question to the boats,..... are they self made from wood or by resin-casting ? Nils
-
Great work Bug, congrats, your ship looks fantastic, did you ever plan in sails with the rigging ? Nils
- 419 replies
-
- 1
-
-
- Victory Models
- Pegasus
- (and 2 more)
-
Many thanks Valeriy, for the drawings..... you`re a lucky guy to have such helpful freinds, together with your input, a well working team, well done ! Nils
-
Super work Valeriy, double-ender lifeboat and a workboat shells. Where did you take the hull shaping and the necessary software from for 3_D making? Do you operate your own 3-D printer ? Nils
-
I admire your beautiful work Valeriy, you are performing in top notch museum quality (and that all from scratch !! ) Nils
-
Beautiful work John, I love that reconstruction of your 4 mast barque Nils
-
Many thanks Valeriy, for your answer...., you did a great job there ! Nils
-
Very nice work Valeriy, how did you do the railings? are they made from brass wire ? and did you drill thin holes into the deck to press in........, perhaps with a thin glue moisturing? Nils
-
congrats Mike, a beautiful build Nils
-
beautiful work Ivo, congrats for your lovely Model, I trust that you and your granddaughter (what a fine present) are enjoying this all times Nils
-
a good choise Eberhard, and a very interesting project. I wish you a successful keellaying session soon. It promises to be a fine scratch built vessel on MSW Nils
-
thank you Jorge, I`m pleased that you like it Nils
- 692 replies
-
- 1
-
-
- eagle of algier
- chebec
- (and 2 more)
-
Hi Jeff, congrats for your lovely steam tug model, it looks very nice Nilsl
- 32 replies
-
- 2
-
-
-
- Lackawanna
- BlueJacket Shipcrafters
- (and 1 more)
-
Hello fellow model makers, I am momentarily taking a break in order to help my wife, who unfortunately broke her hand on the right arm and needs my assistance daily, as long as it takes Nils
- 313 replies
-
- 10
-

-
-
- lightship
- Feuerschiff Elbe 1
- (and 1 more)
-
lovely work Valerij Nils
-
Hi Keith, The hoist and lowering position, as well as sliding on the rack works, but with manual assistance. You were right with your estimation (too much friction in the line and the rollers) Nils
- 313 replies
-
- 5
-
-
- lightship
- Feuerschiff Elbe 1
- (and 1 more)
-
beautiful model Nick, those details look great, also the brass props Nils
- 68 replies
-
- 3
-
-
- Coates
- Rudderow-class
- (and 1 more)
-
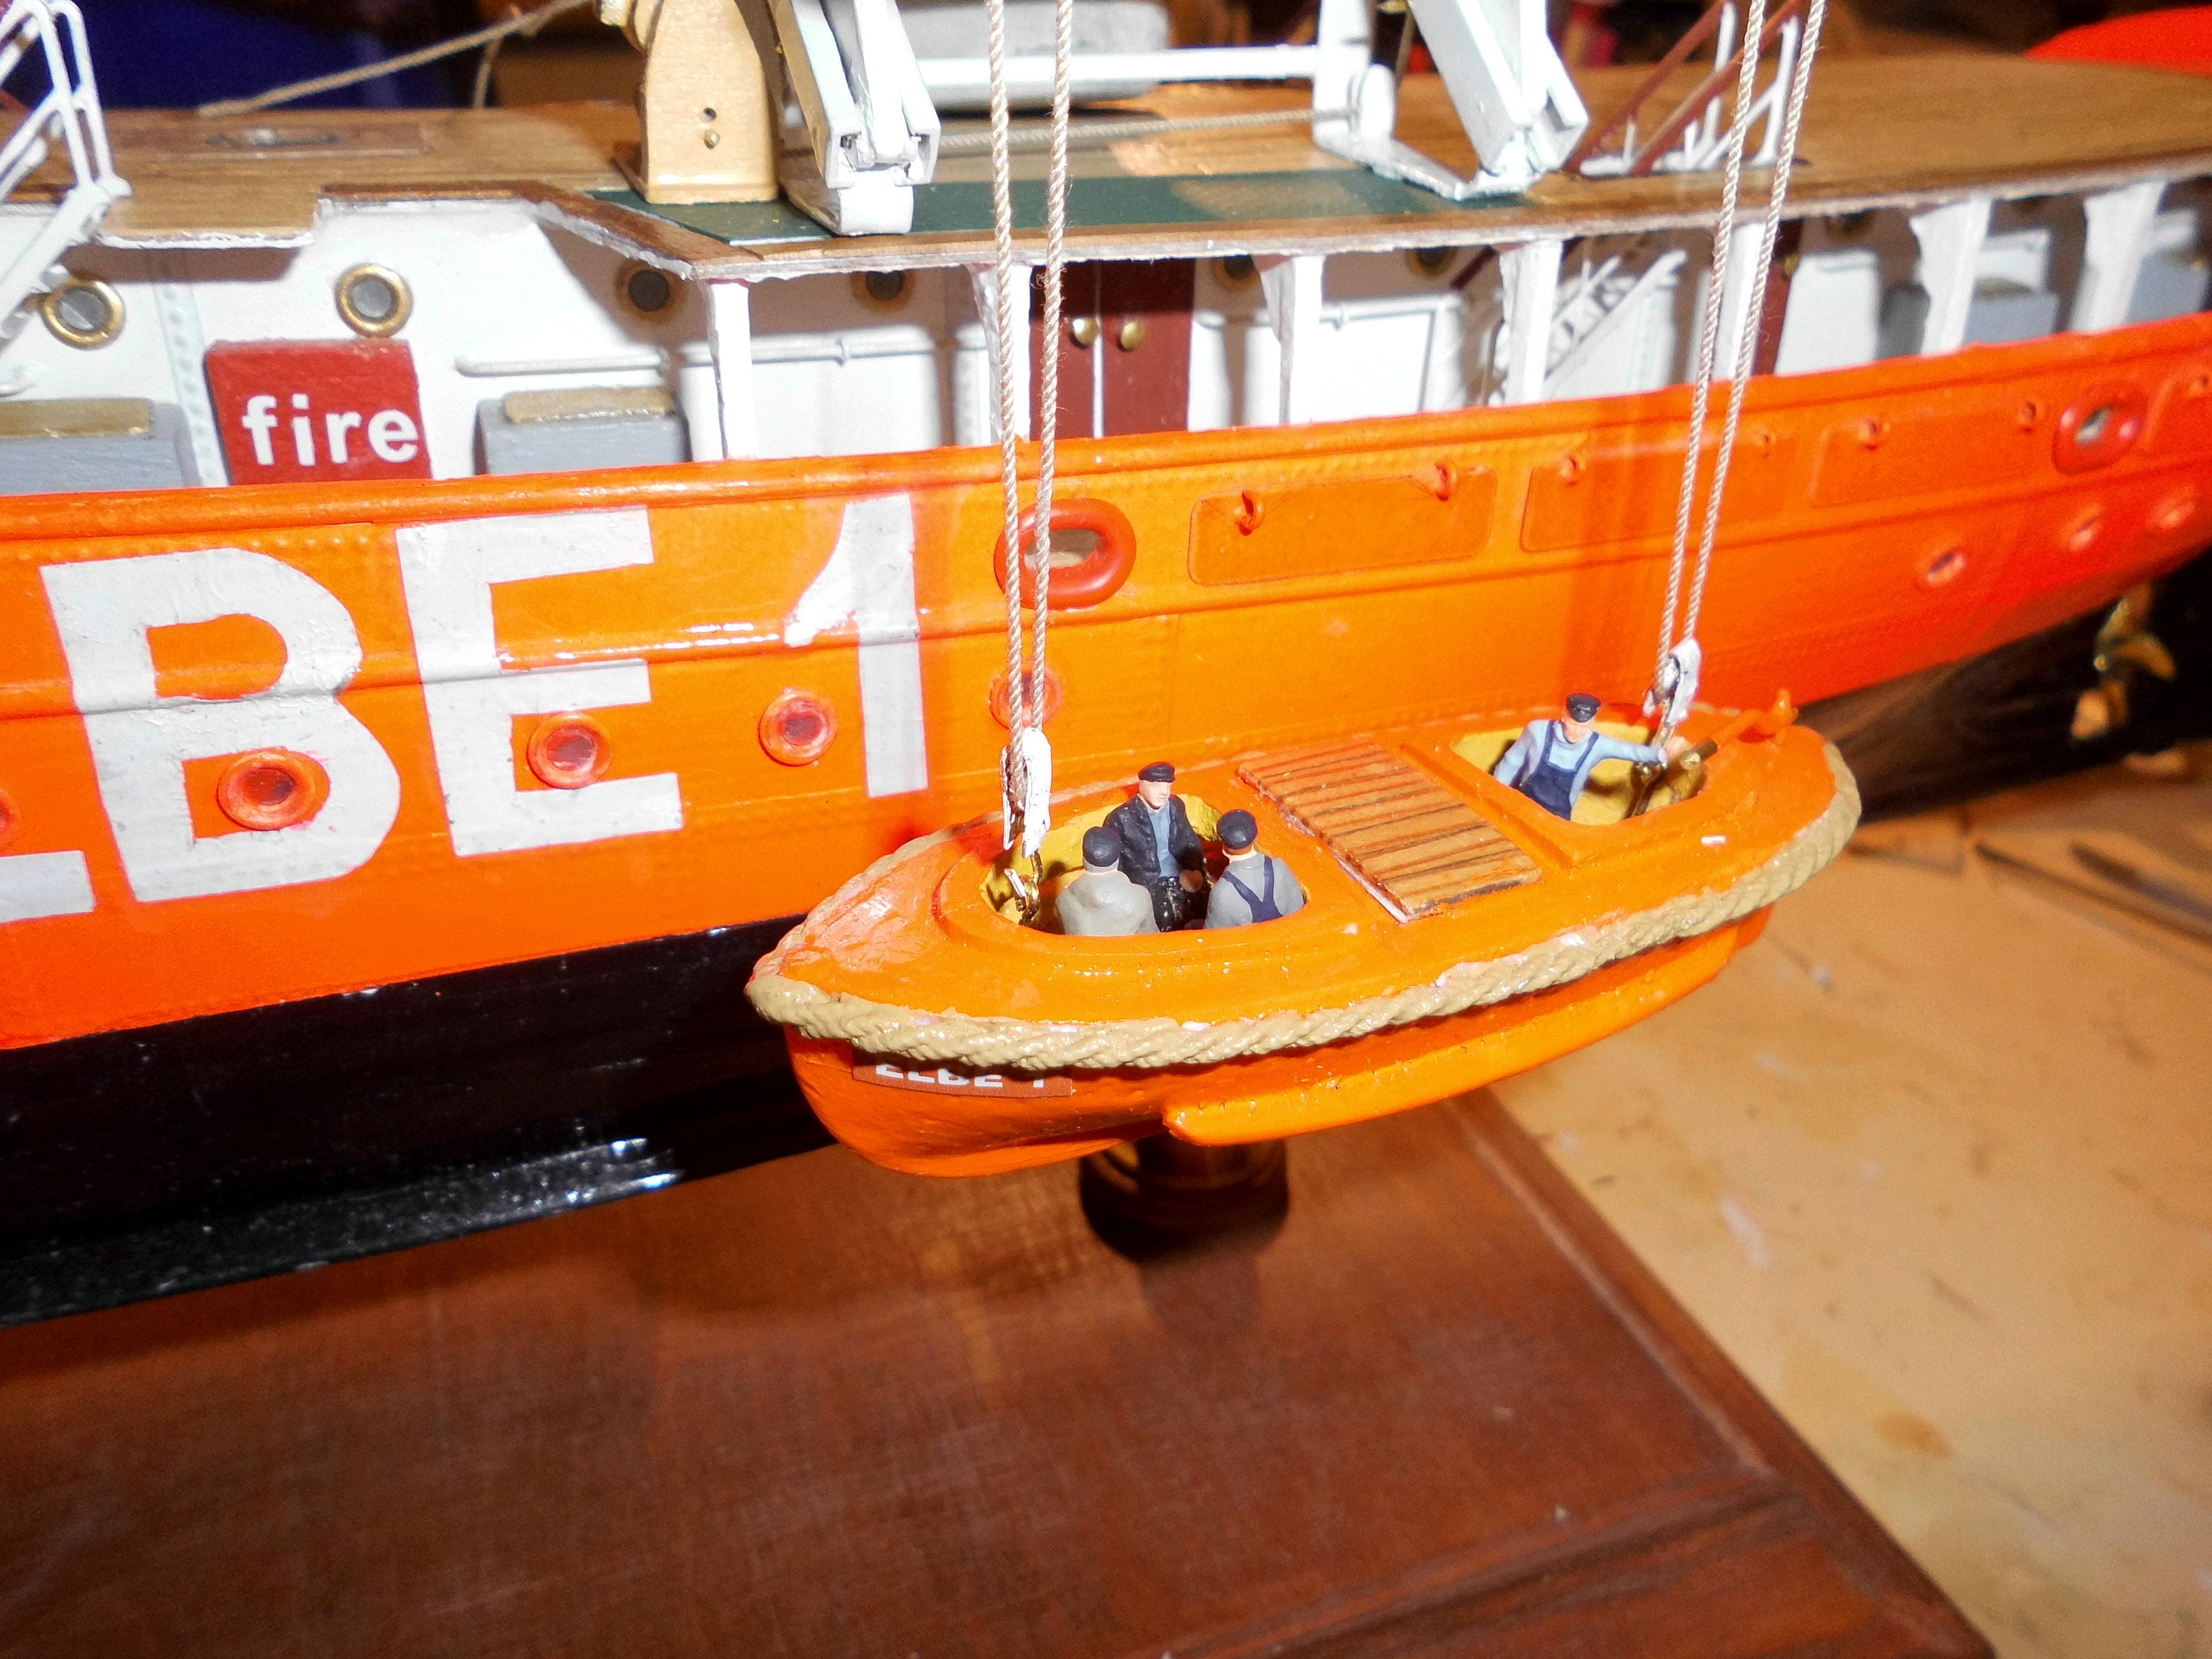
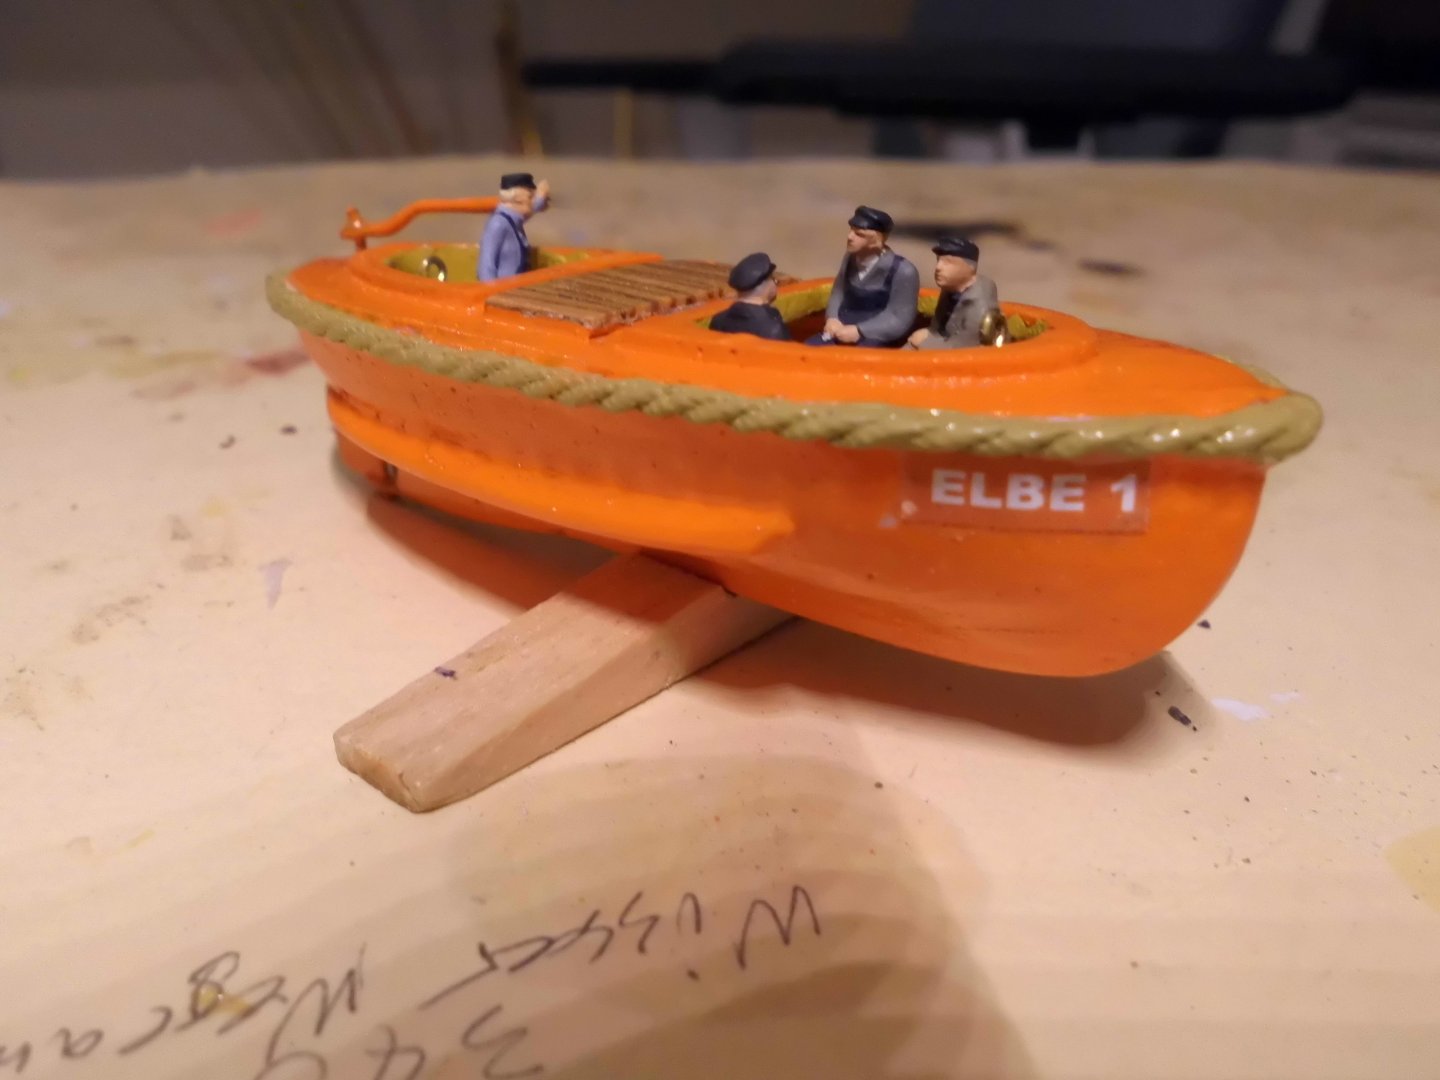
Update testing the function of the gravity davits with lowered boat on port side Nils the names are with white photo-paper, colored orange background and white letters (cut out and glued on) a working delegation is preparing to set over....

- 313 replies
-
- 19
-
-

-
- lightship
- Feuerschiff Elbe 1
- (and 1 more)