Ras Ambrioso
-
Posts
662 -
Joined
-
Last visited
Content Type
Profiles
Forums
Gallery
Events
Everything posted by Ras Ambrioso
-
 Again magnificent work. Valeriy must have the most detailed plans for Variag. That coupled with incredible craftsmanship results in his museum quality plus work. Our hobby is proud of people like you.
 -
Amazing challenge as usual. You are really a master at microscaling. I have similar boats to make for Amapa (at 1/64 scale). Following your steps, The two large ones will be covered and I will do the little jolly boat using the paper for planking.
-
Thanks for the compliments. I am trying my best within my capabilities. Y'all have been a tremendous help.
-
Here is the final product. The forward deck is done. The stanchions and railing and mooring bollards will come later after all the deck work is done. The next challenge is the ladders. Two for the bridge and three for the midships. Thanks for looking.

-
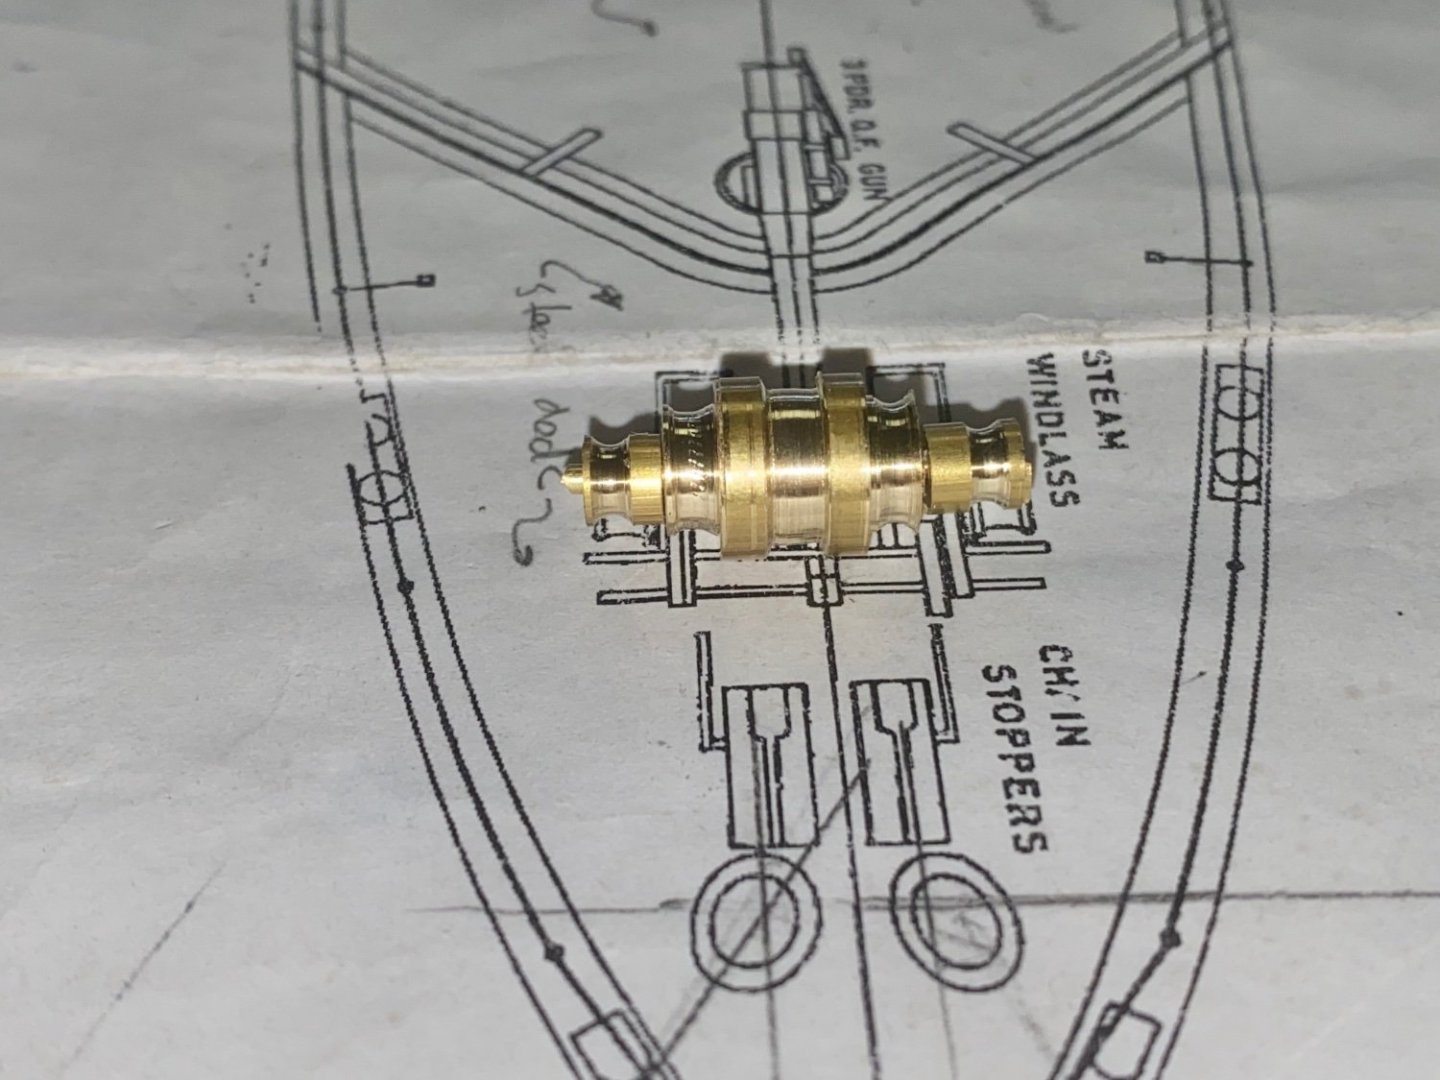
Things are looking good. The winch progresses. The bollard looking things are actually the steam cylinders. At my work tolerance (.0.5mm) I am having trouble transferring dimensions to the very tiny pieces, thus, you may see a little bit of asymmetry in my work. But I am learning fast in this new world of scratch building. Following is my interpretation of the anchor chain stoppers. Since this is my first scratch building I am learning as I go. The first lesson is that you have to think about how to build all the parts. No laser cut or etched pieces with numbers to match the locations. You have to figure out how to make each and install each piece in the right sequence. Sometimes you goof, and then, you go back and redo. Sometimes you figure that is your best, and you let it pass. Perhaps you will do better in the next project. I think that this is the challenge and, may I say, the fun of it. So, for you beginners, go on, try it. Watch our masters craftsmen and learn. It is all worth while.


-
A little more progress. Doing what I like best which is lathe work. Being away from this for over 20 years. Re-learning how to sharpen tools. Here is the latest feat: the beginnings of the anchor winch. Next step is to fabricate the base with the steam power and trying to scratch some teethes on the driving gears.

-
Wefalk, you never stop to amaze me. I worry about parts less than 0.5 mm and, here you are, working at 0.05 mm. Your ship model looks more like a 1/16 scale. My hat is off to you.
-
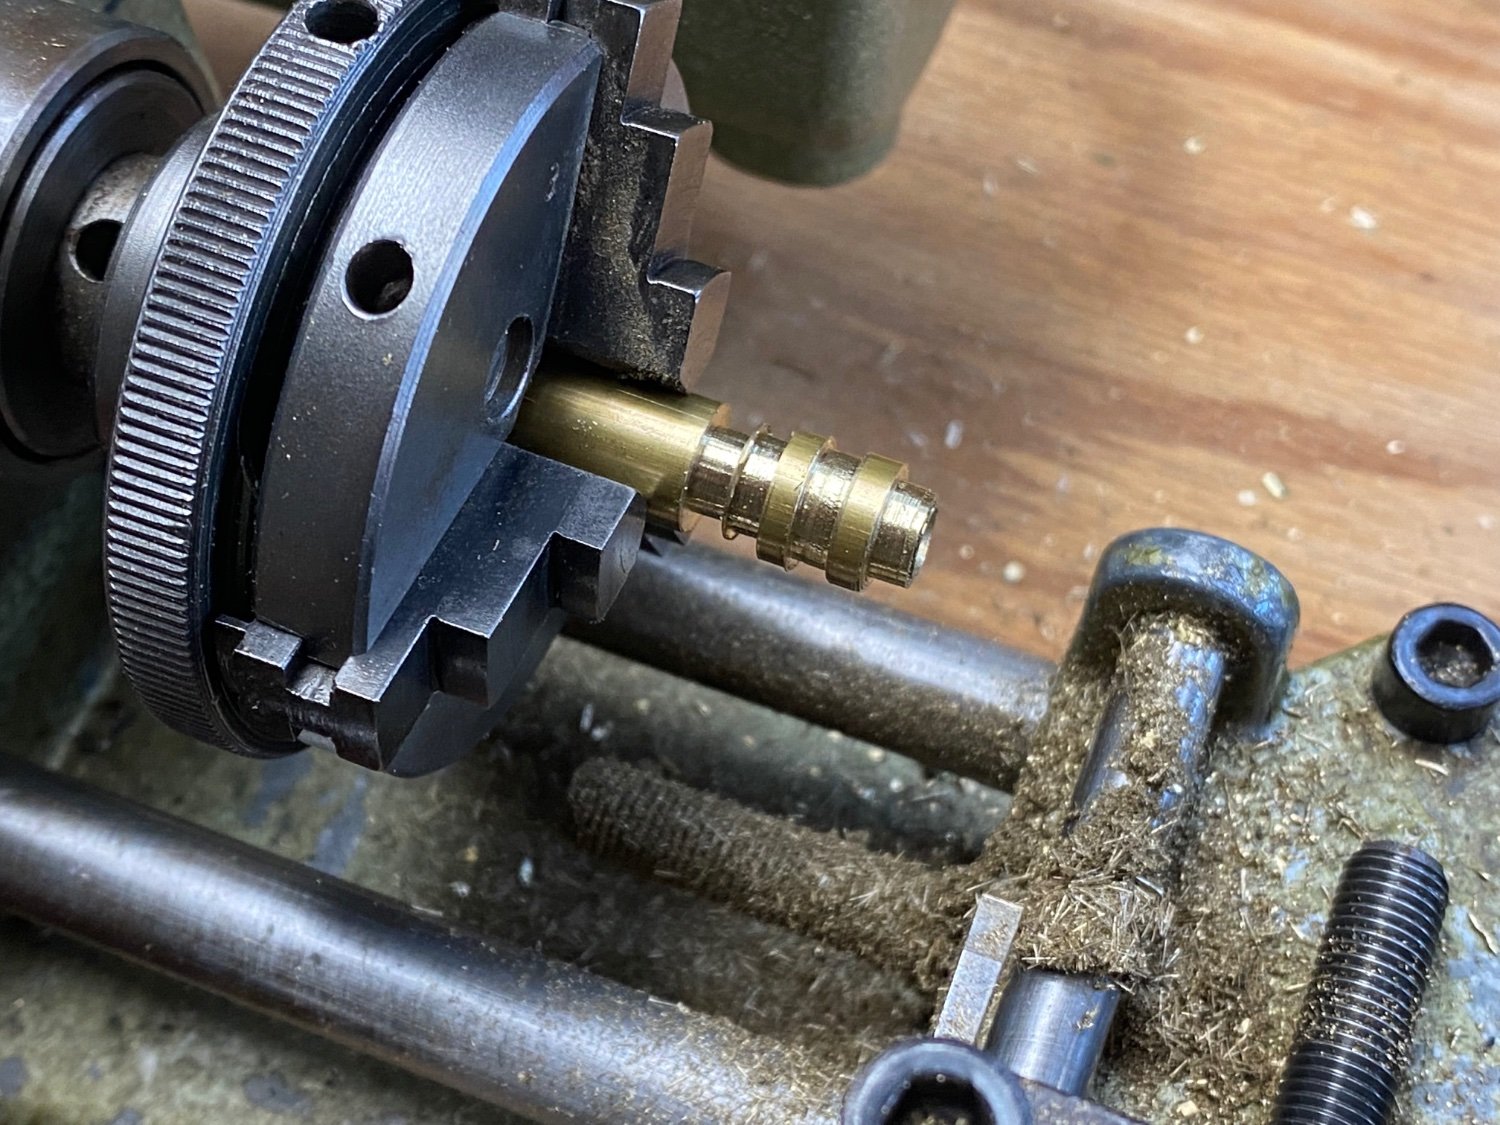
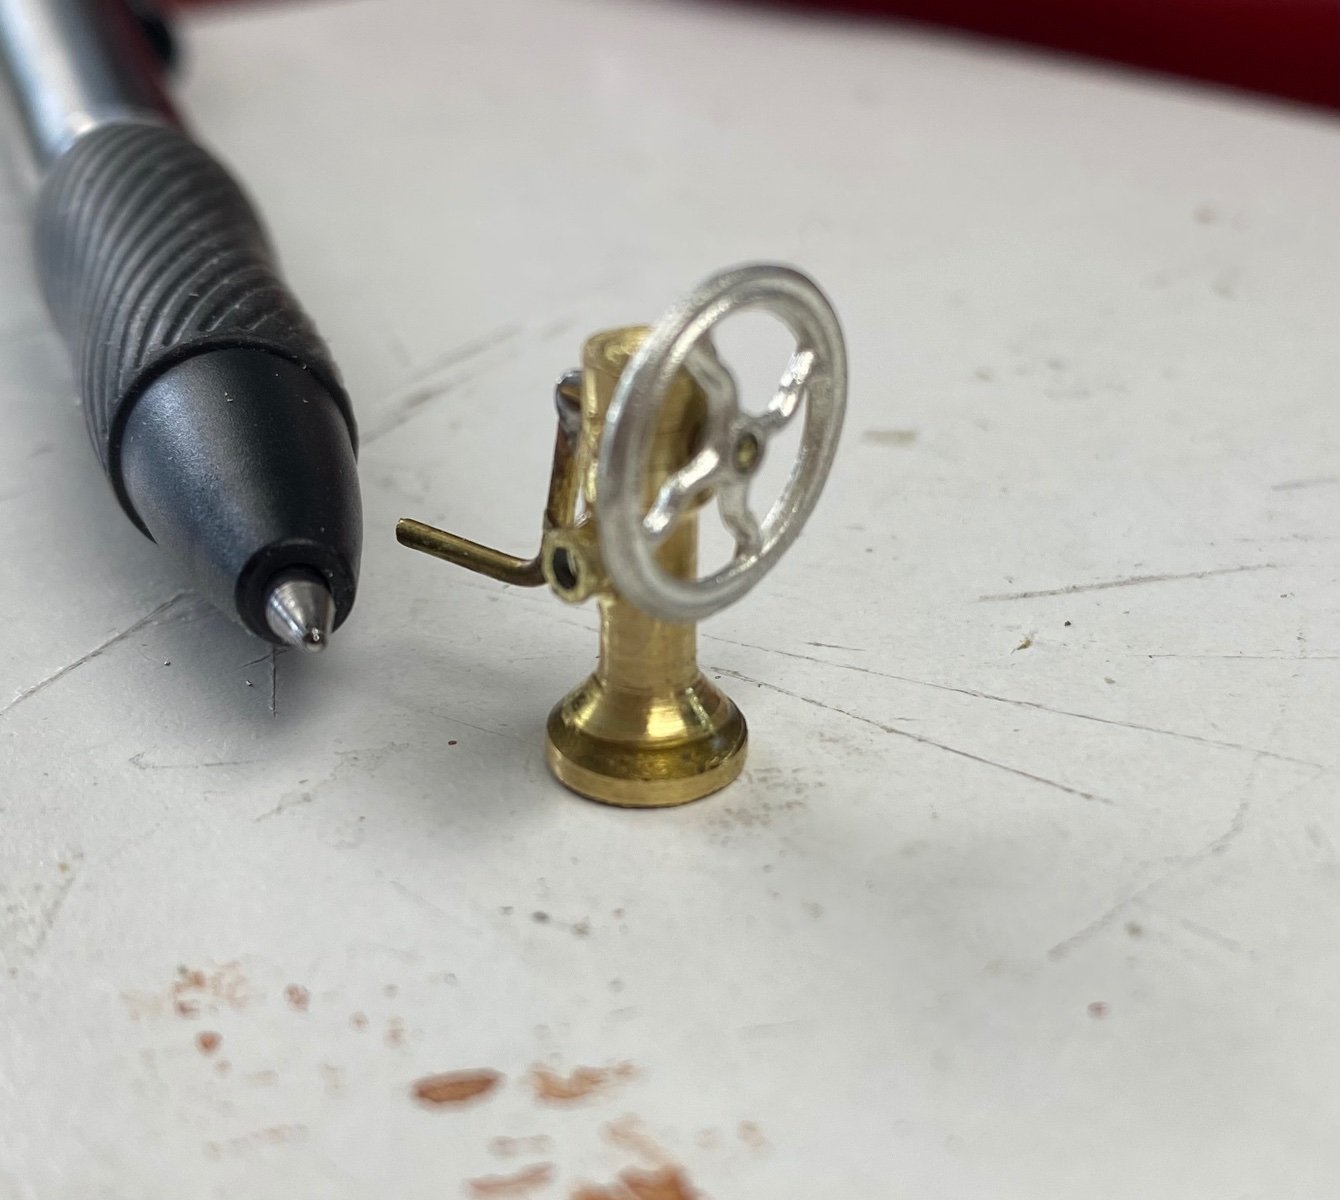
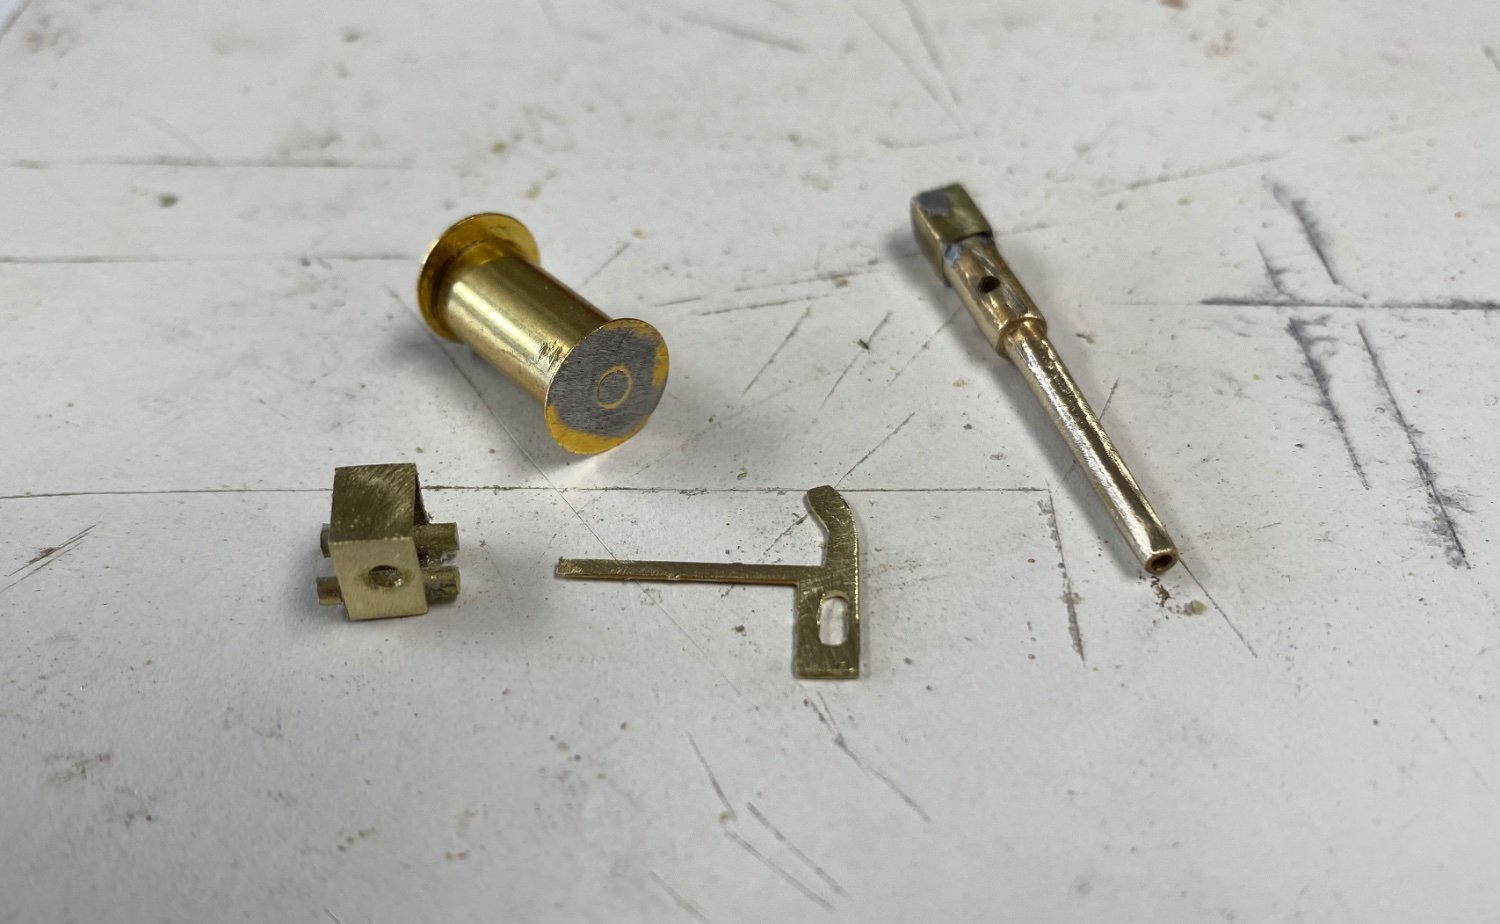
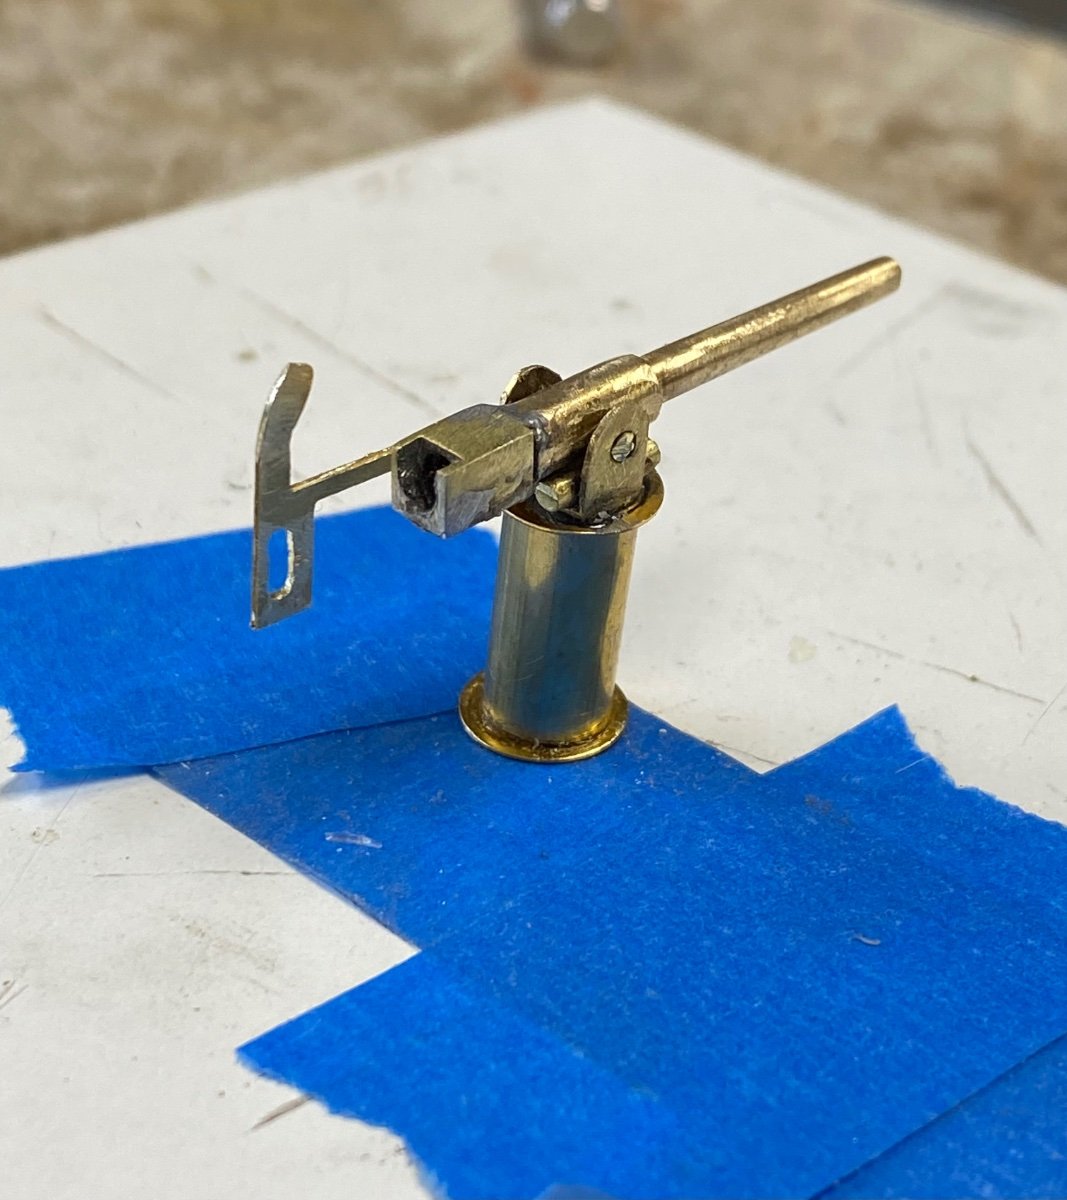
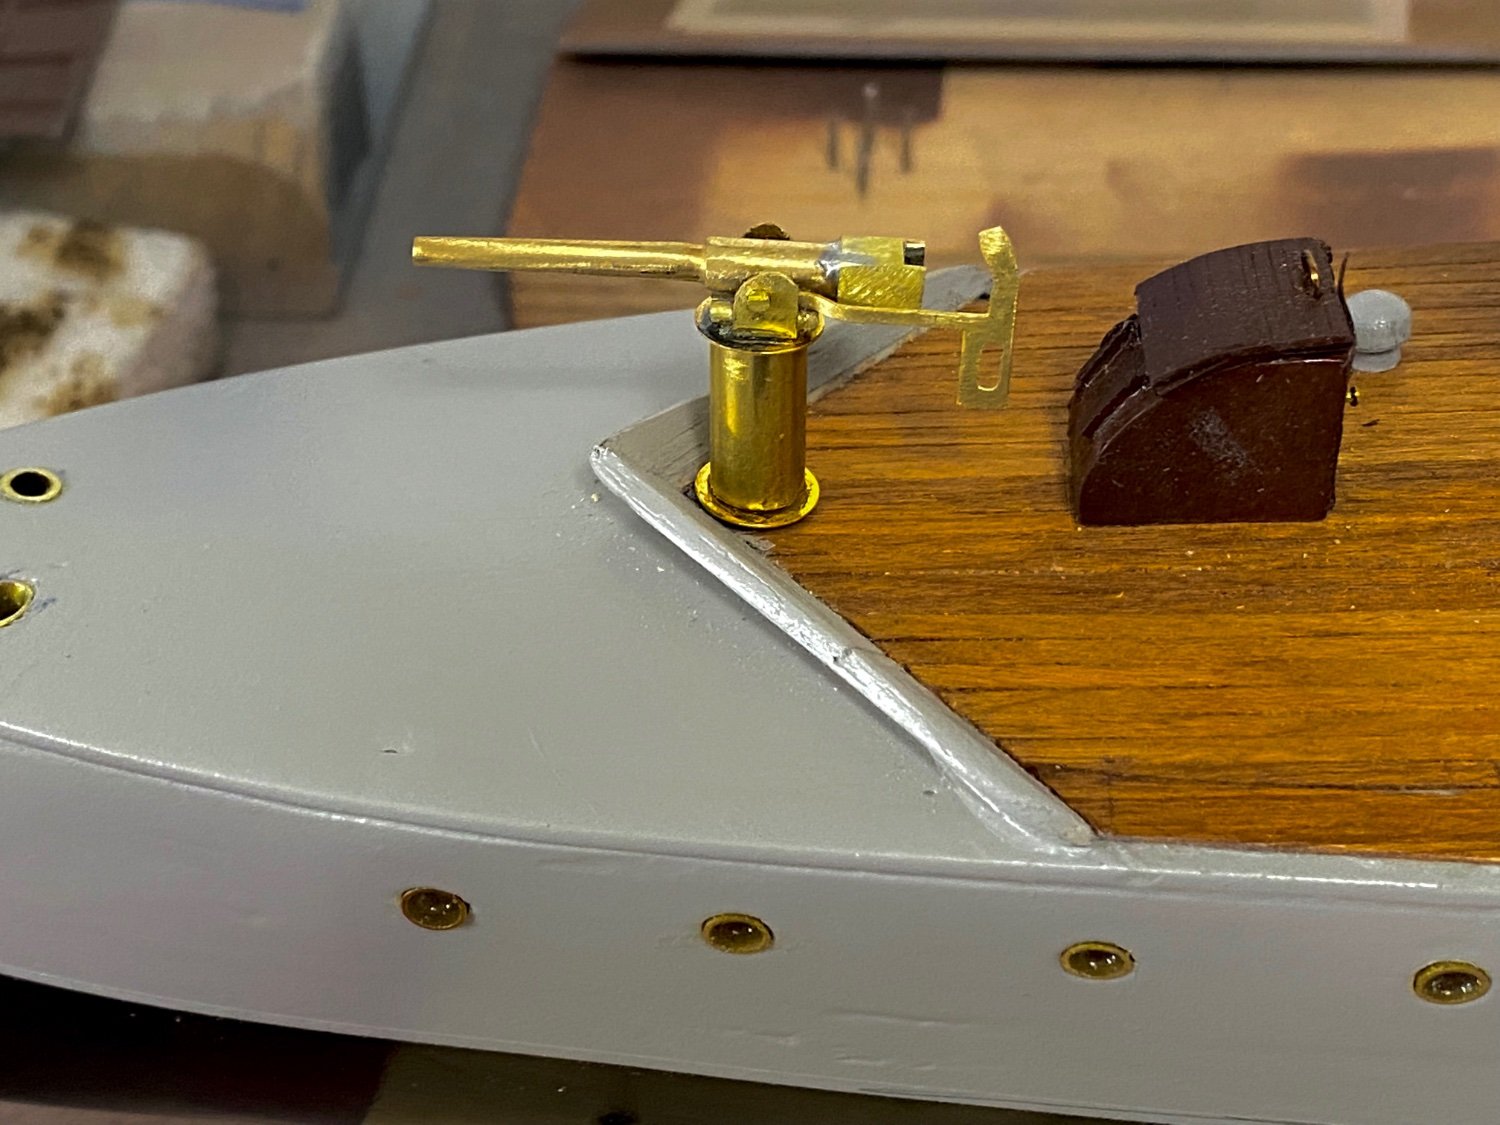
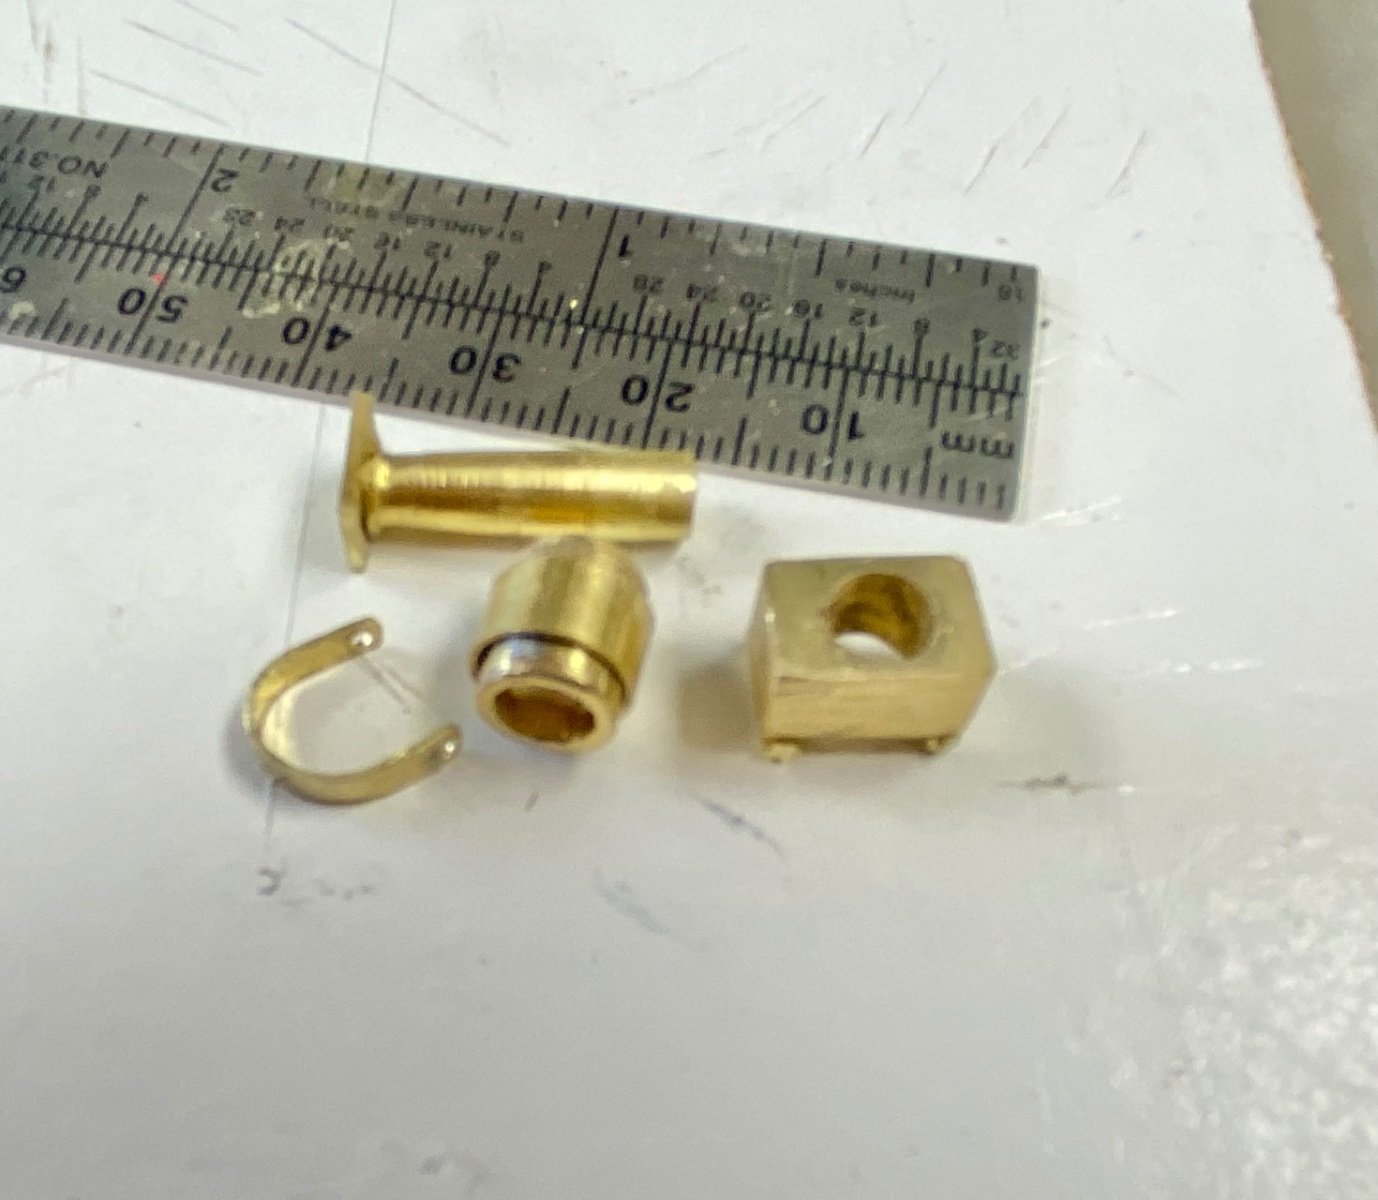
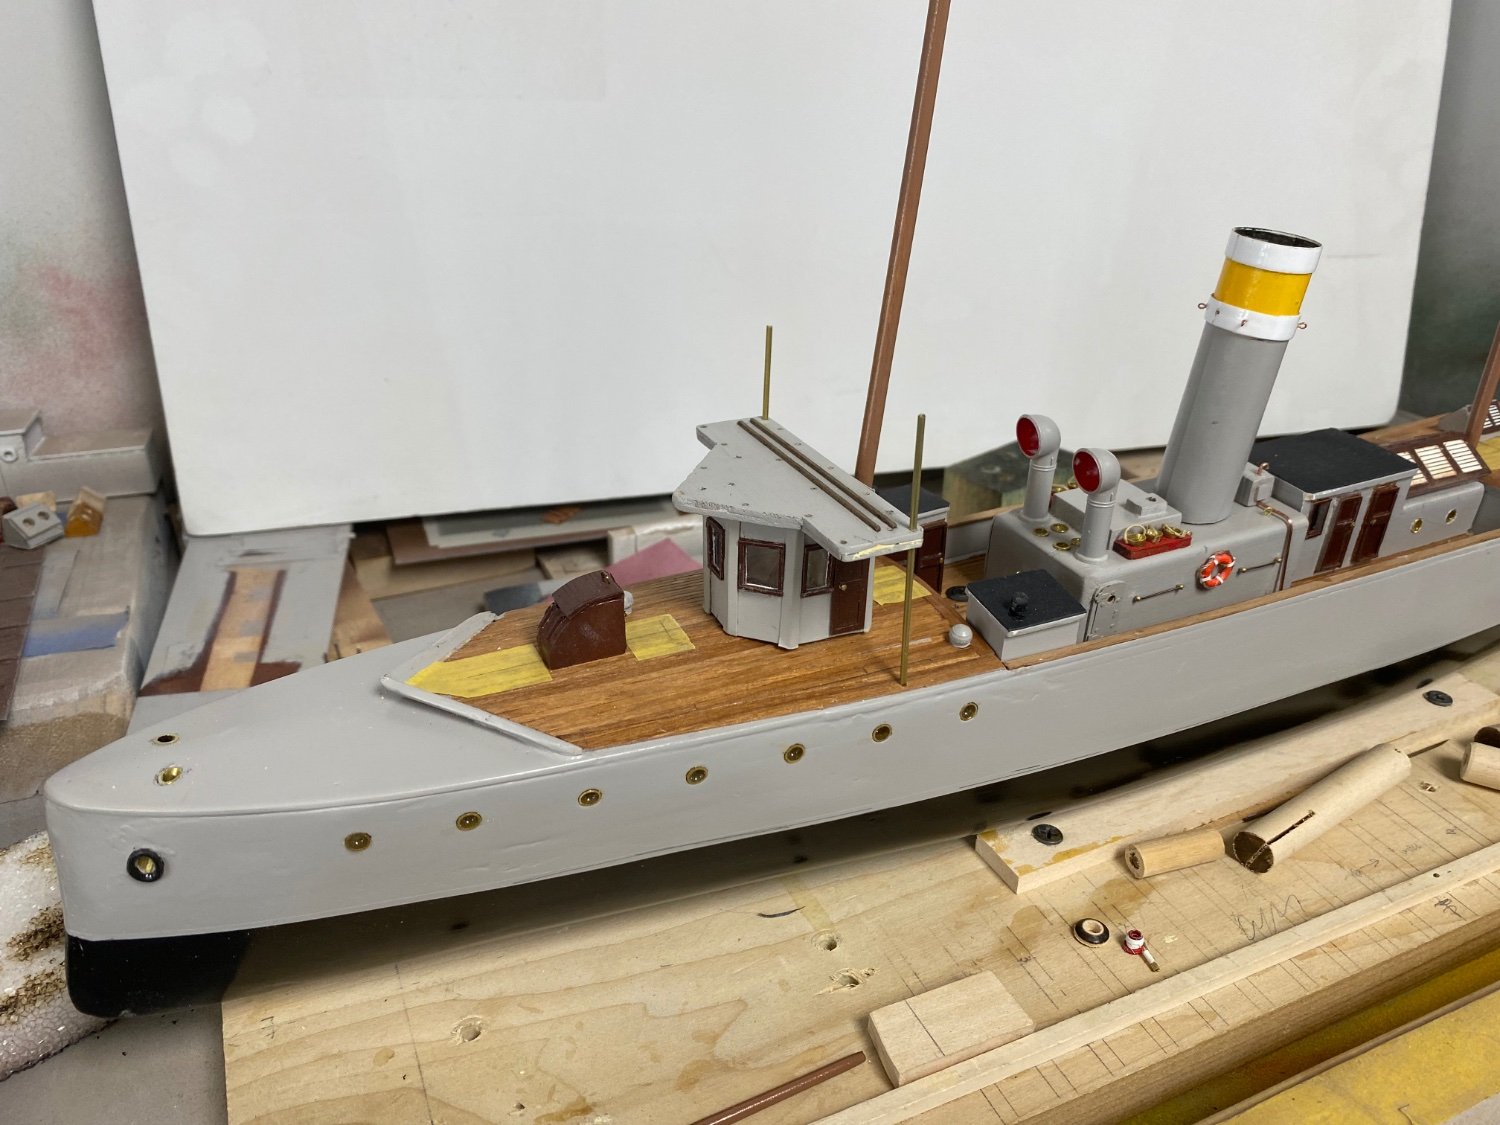
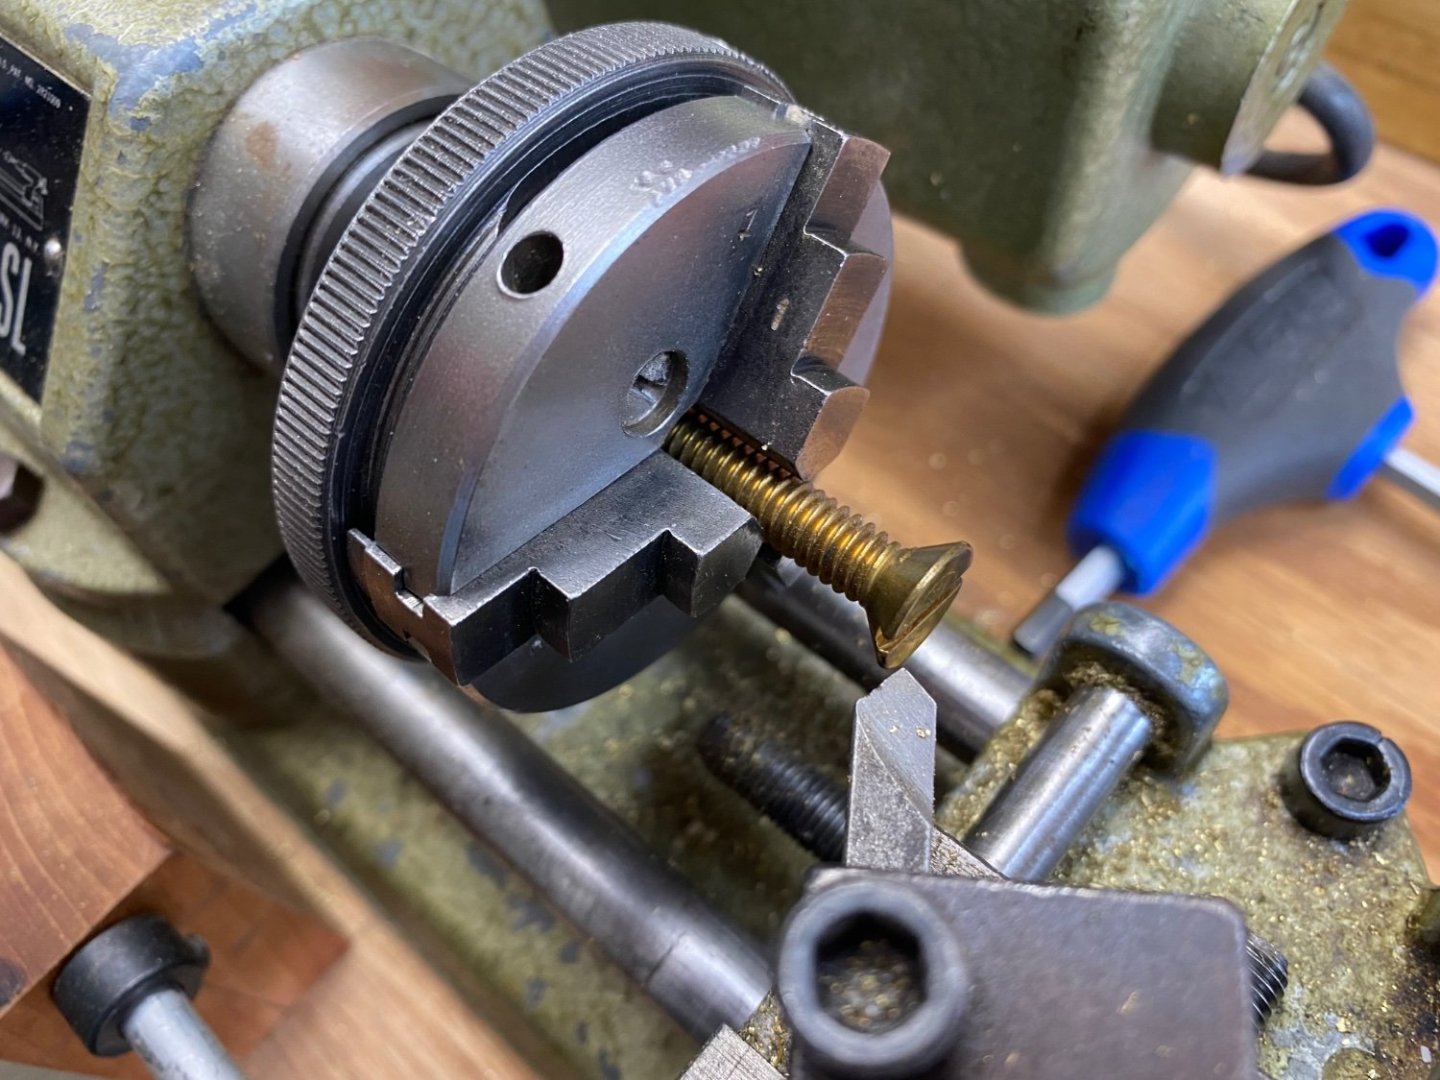
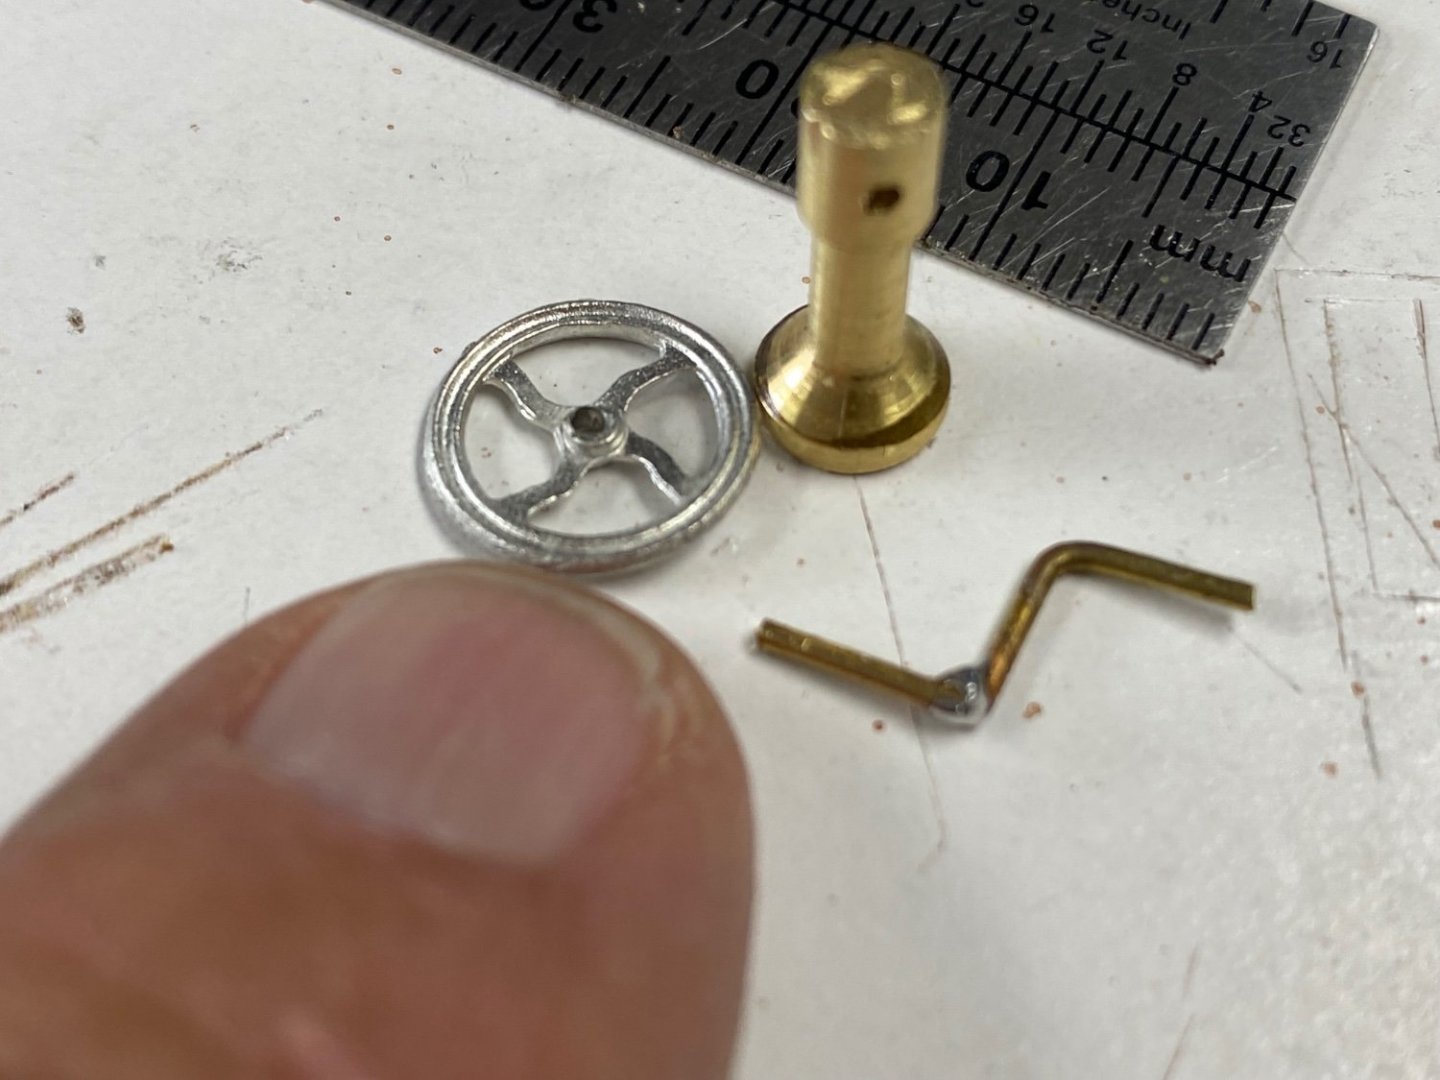
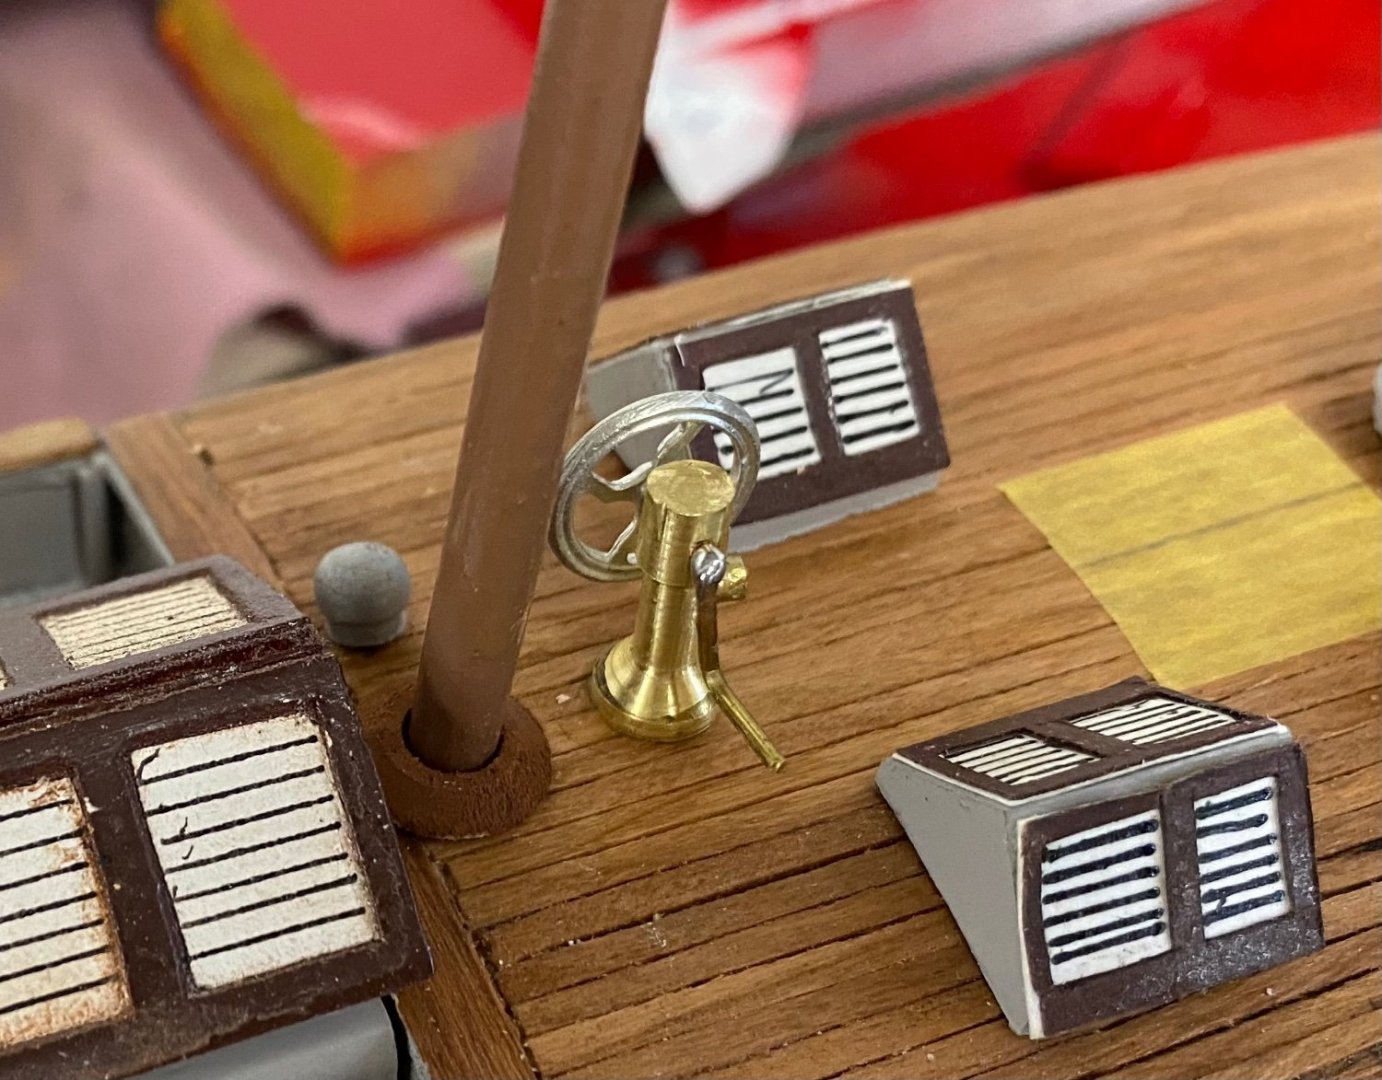
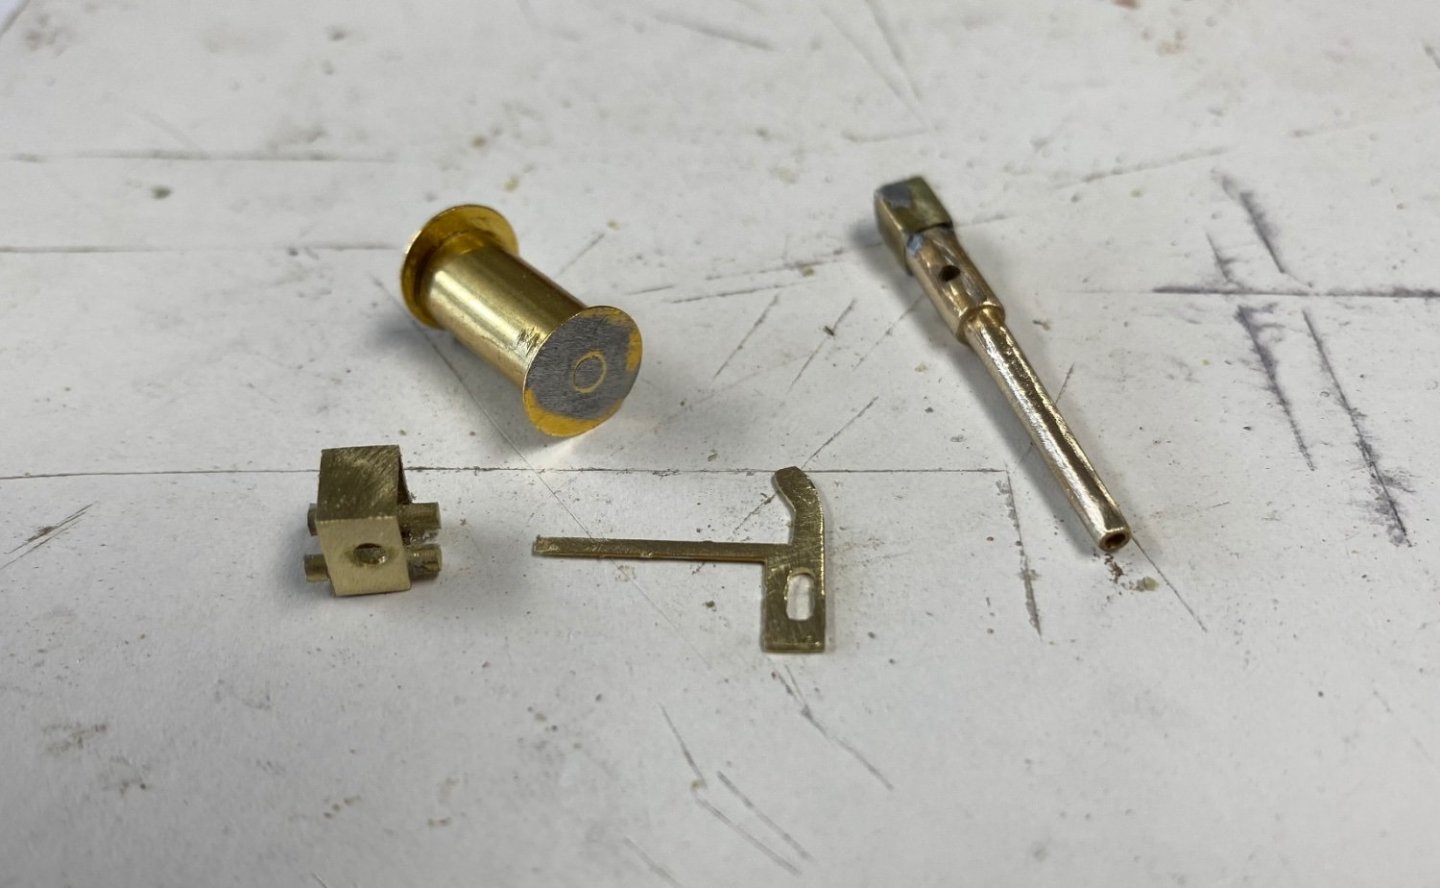
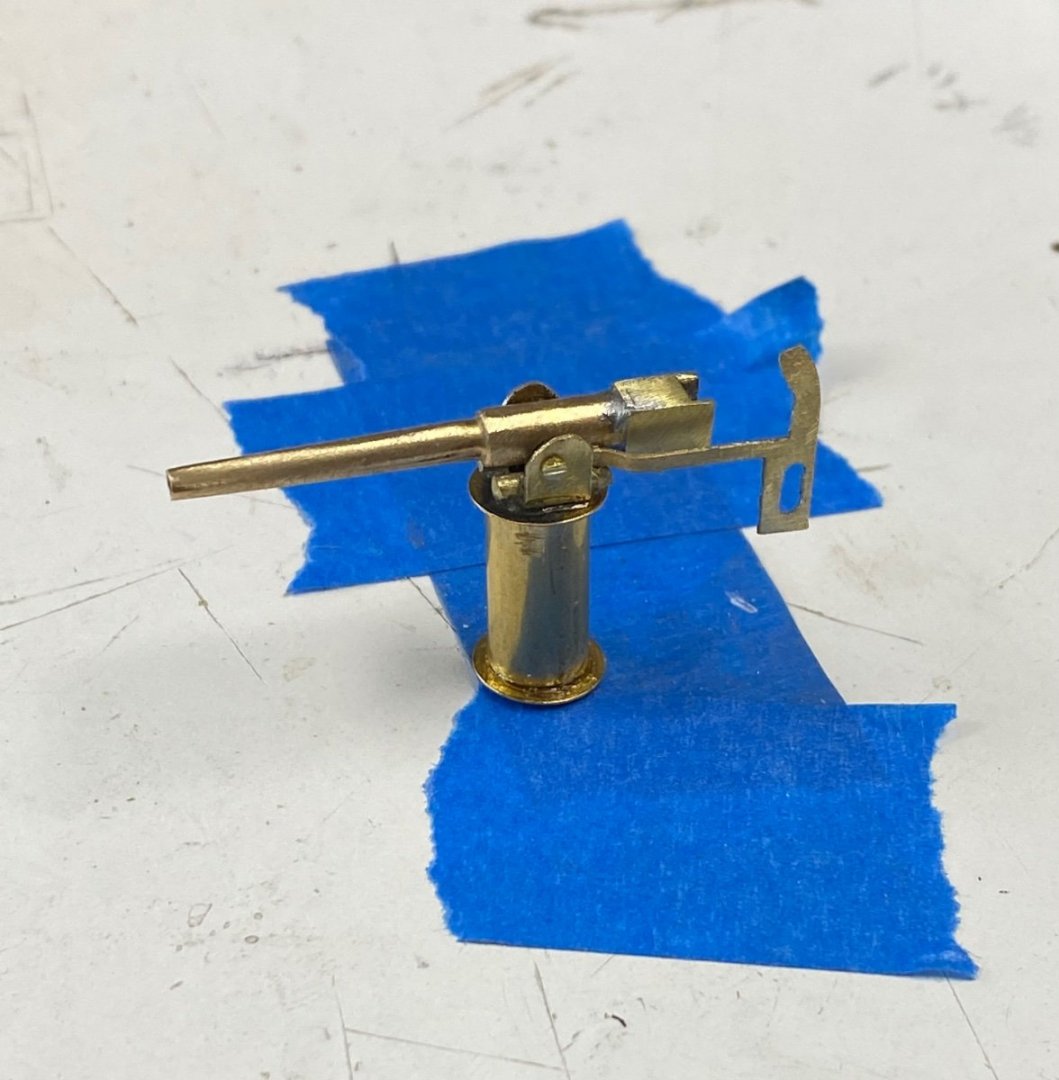
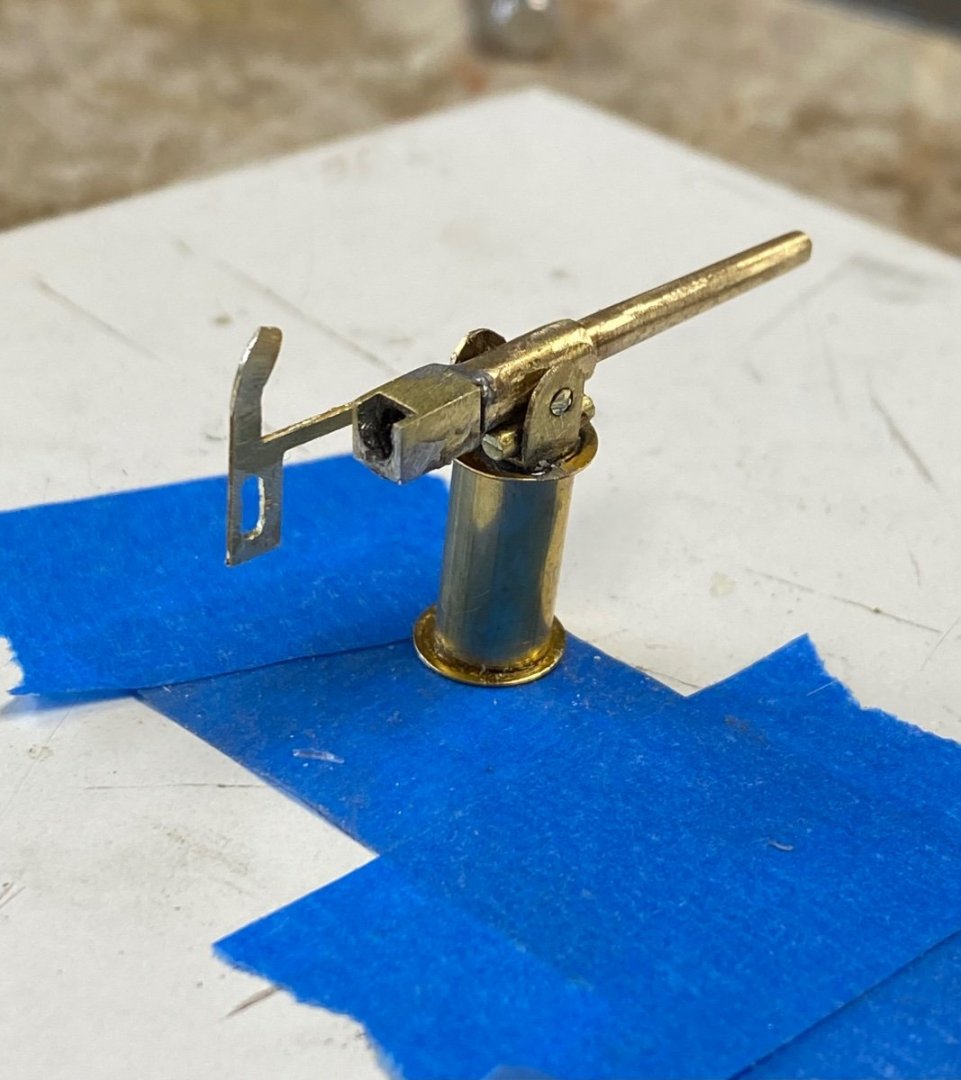
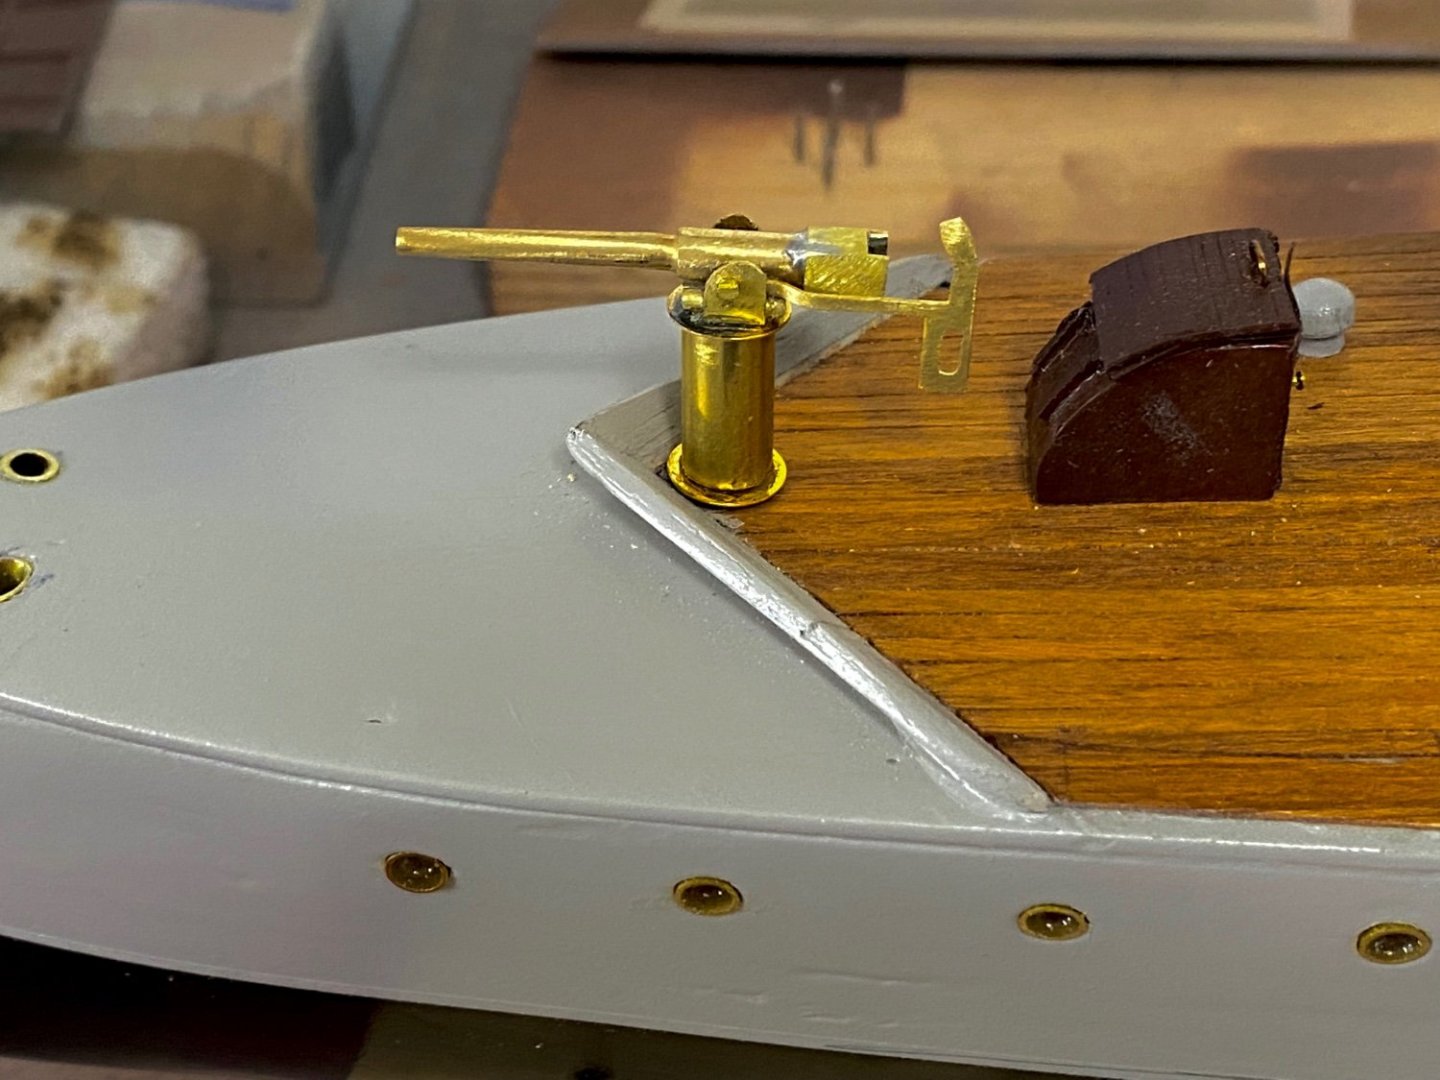
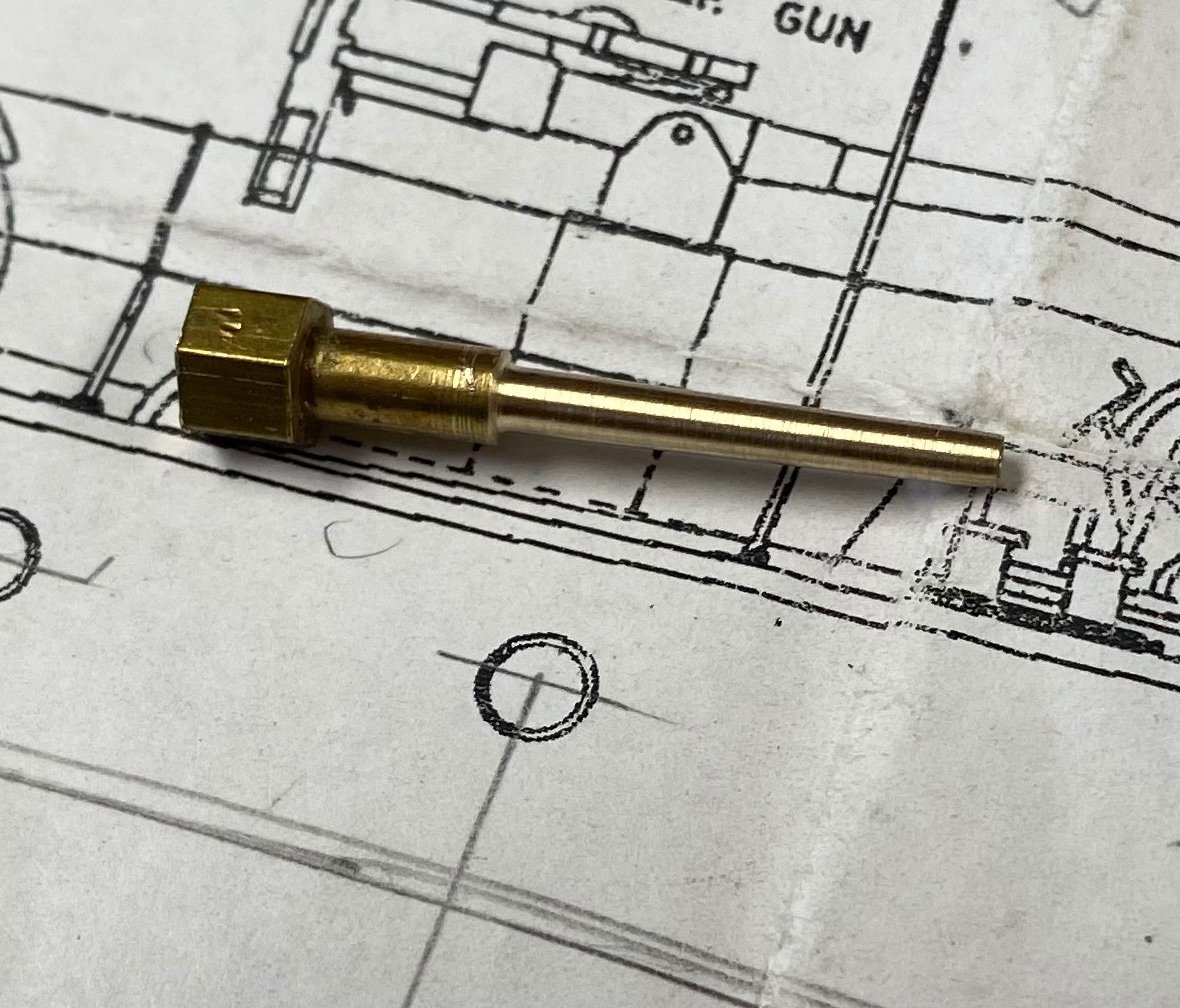
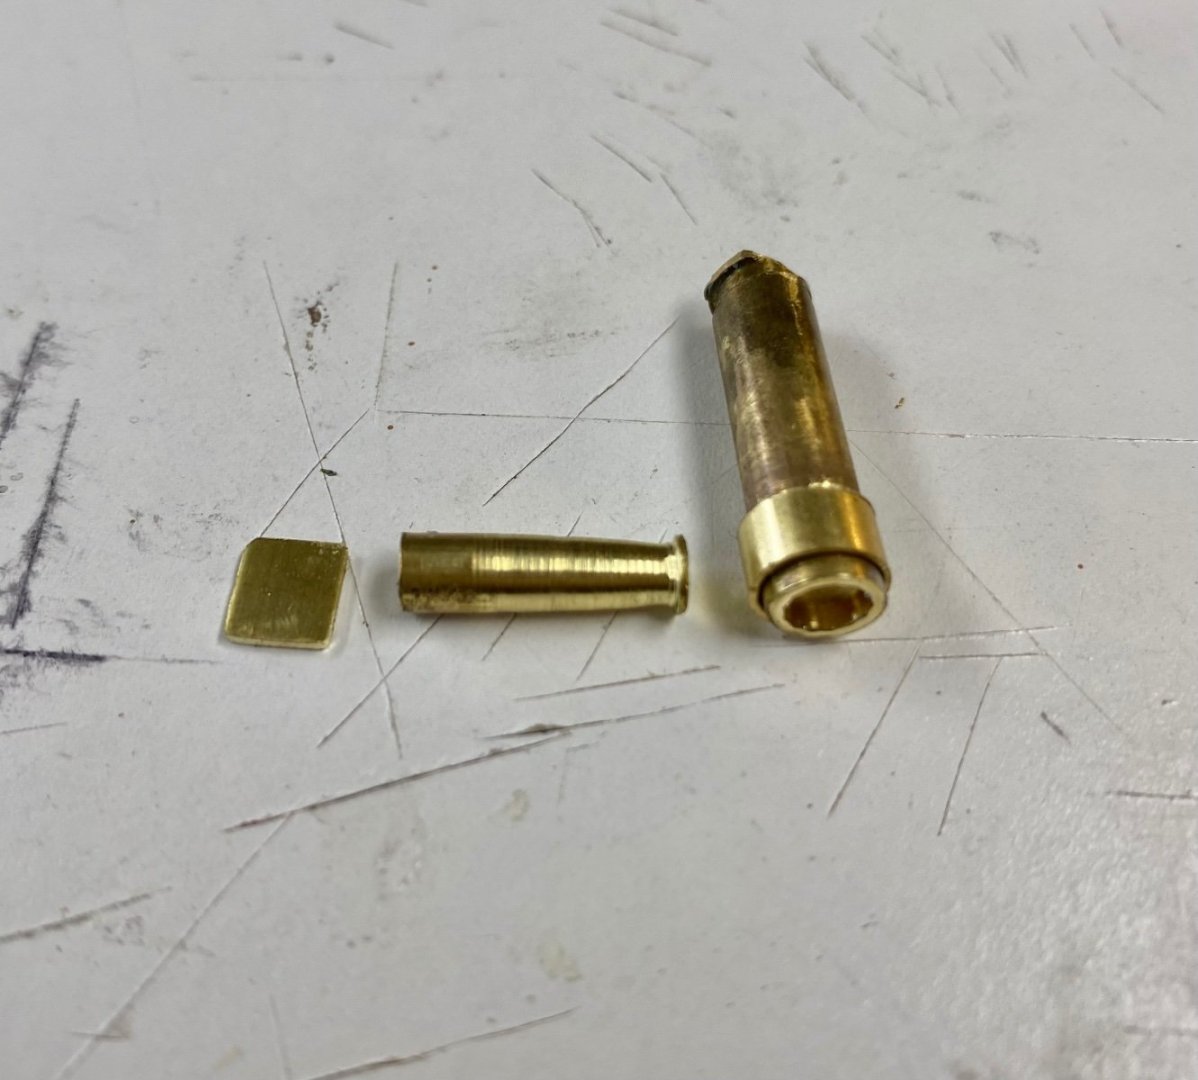
Today I worked on the Downton bilge pump. I couldn't find a proper size brass rod in my supply and used a brass screw. Following are the the completed parts. Please note that the hand wheel is a purchased item. I am not even sure if it is a still available. The finished product: And its place on deck: I will be busy elsewhere the rest of the week but, I I will continue next week with the last of the lathe works: the anchor winch.

-
Finally Amapá is armed. The gun is finished, perhaps not as sharp finished as we find on our master's work, but very satisfying to this first scratch builder. Parts under construction: The assembled gun: On deck: Very satisfying!! 😀 Worth a beer 🍺or two 🍺🍺 Next challenges are the anchor winch and the Downton bilge pump. Tune in next week.

-
Doing what I like best which is working with my Unimat lathe. The 3 pounder Hotchkiss QF gun under construction. Next I will tackle the winch and the Downton bilge pump. The last picture is a dry fit of the parts.

-
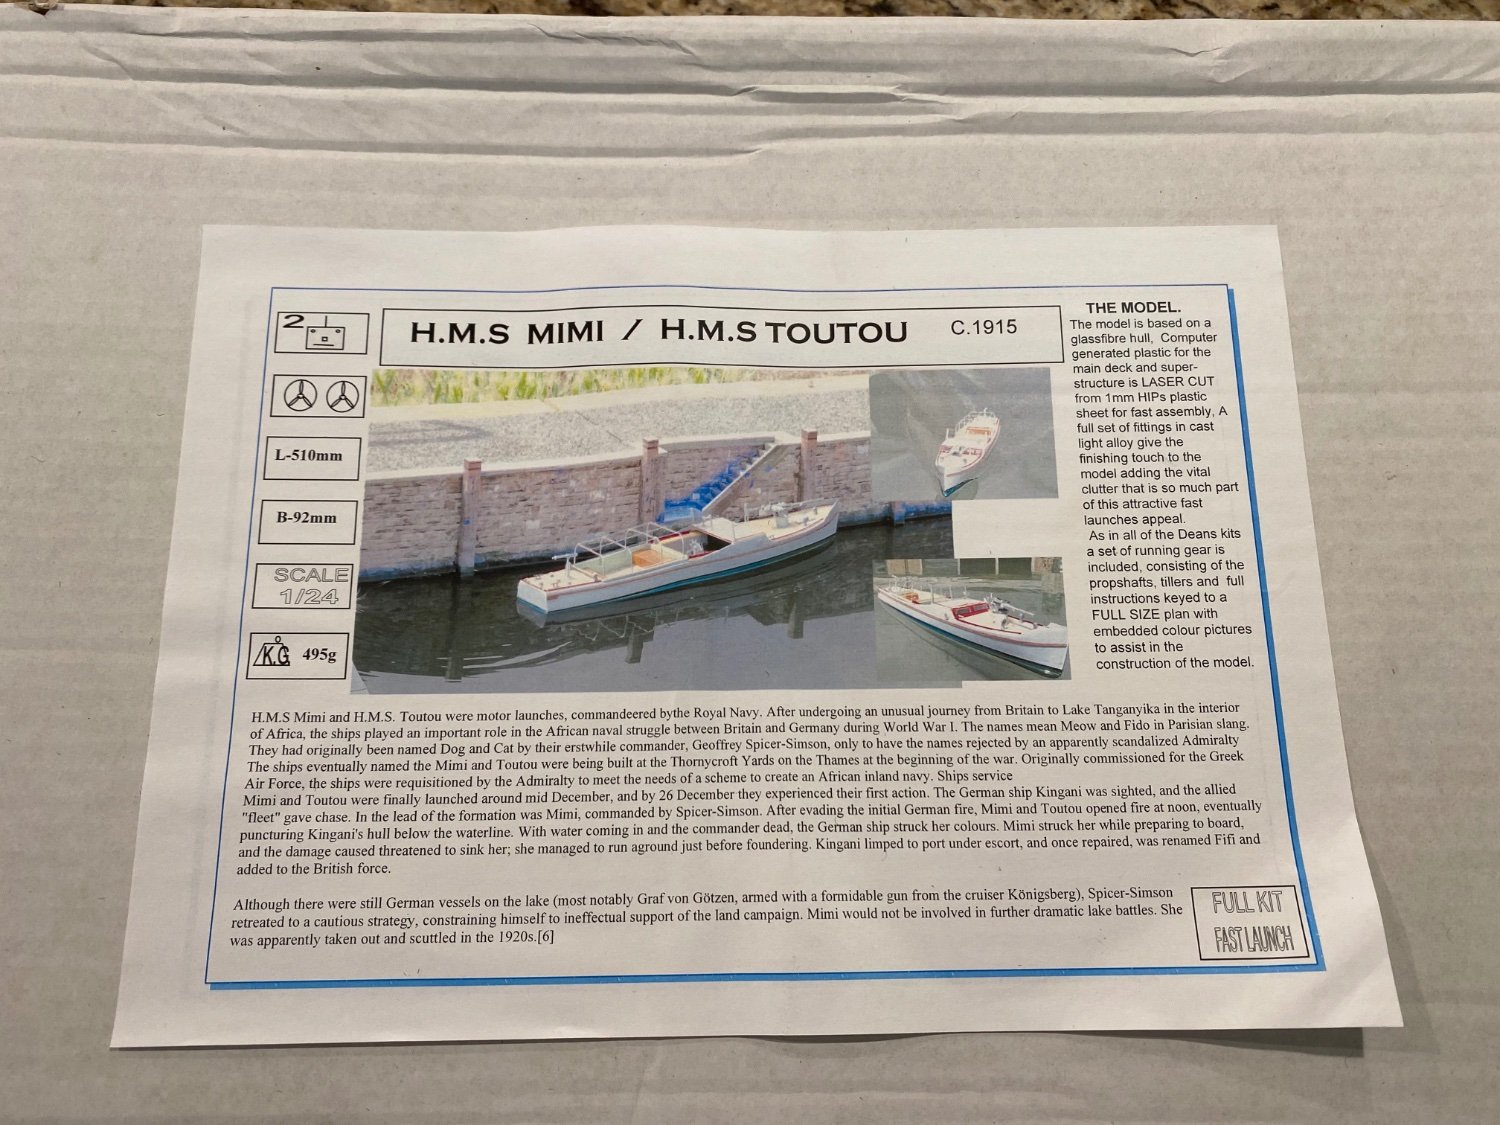
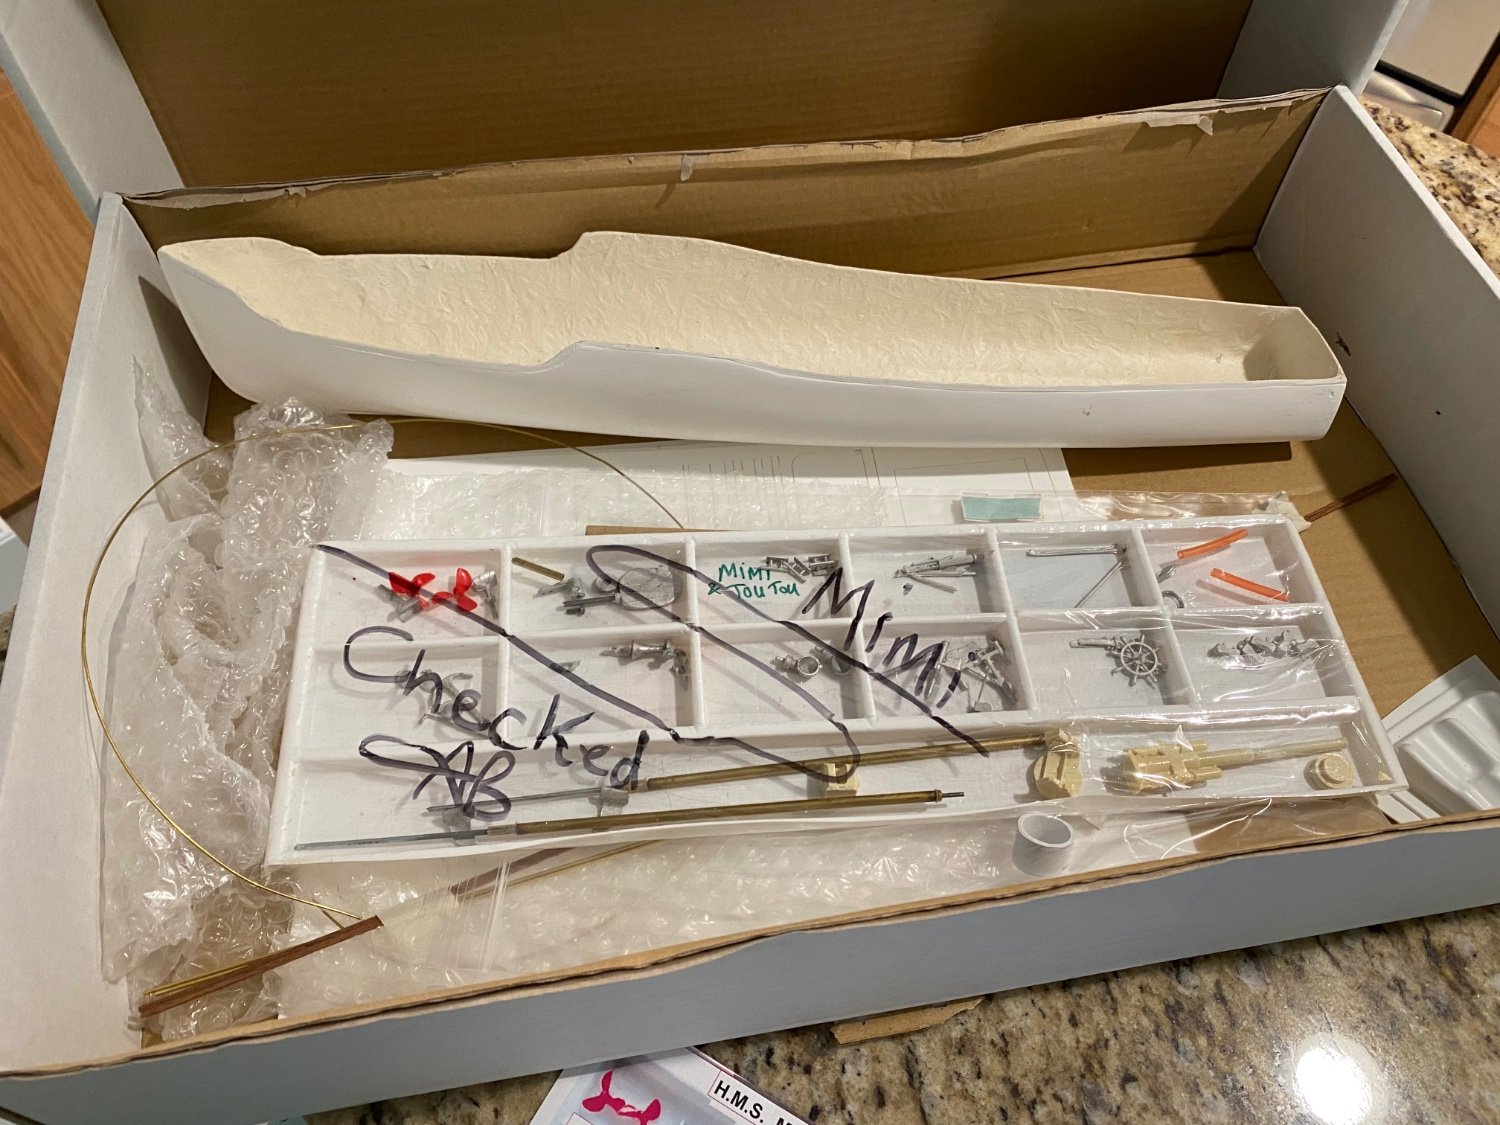
I am still working on Amapá but wanted to keep this log alive. It is amazing the time it takes to scratch build all the tiny details of a gunboat. The Mimi kit from Deans Marine finally arrived and the plastic hull is beautiful. Some of the metal fittings are castings and thus a little rough. My intention is to scratch build the hull from the frames up. Can hardly wit to get started in this new project. The kit is intended for R/C controls and there is a YouTube presentation of a finish model on action (https://www.youtube.com/watch?v=acRCBaoglus). Thanks for following.


-
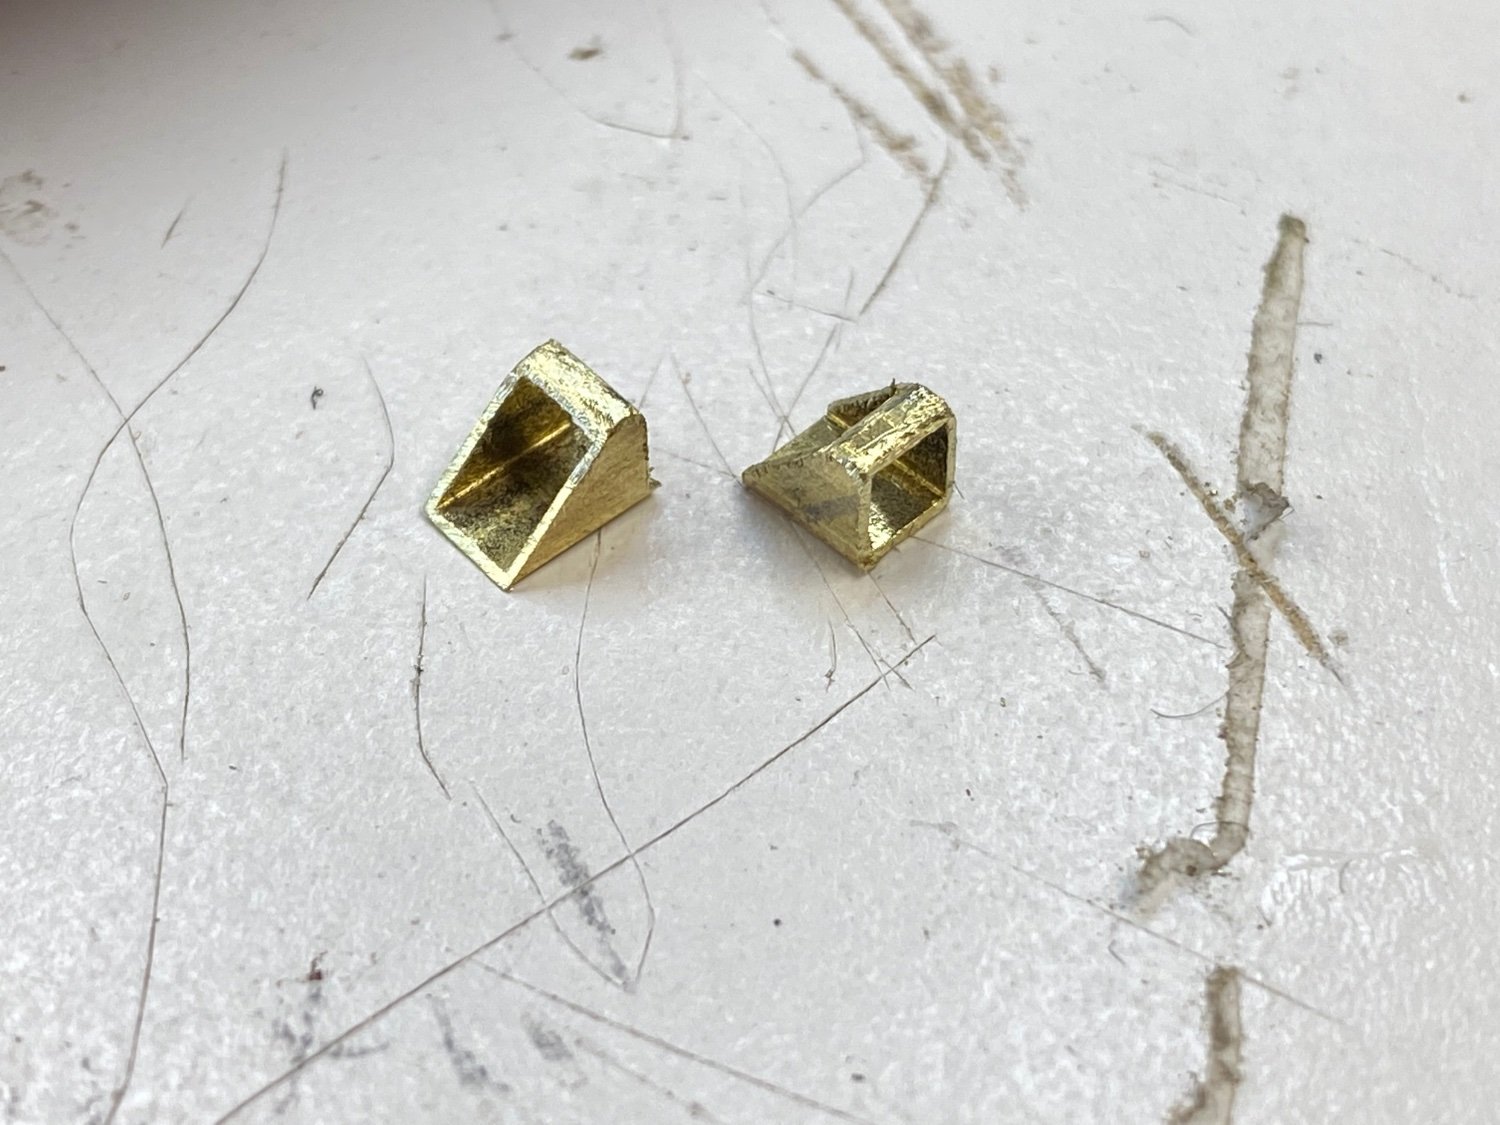
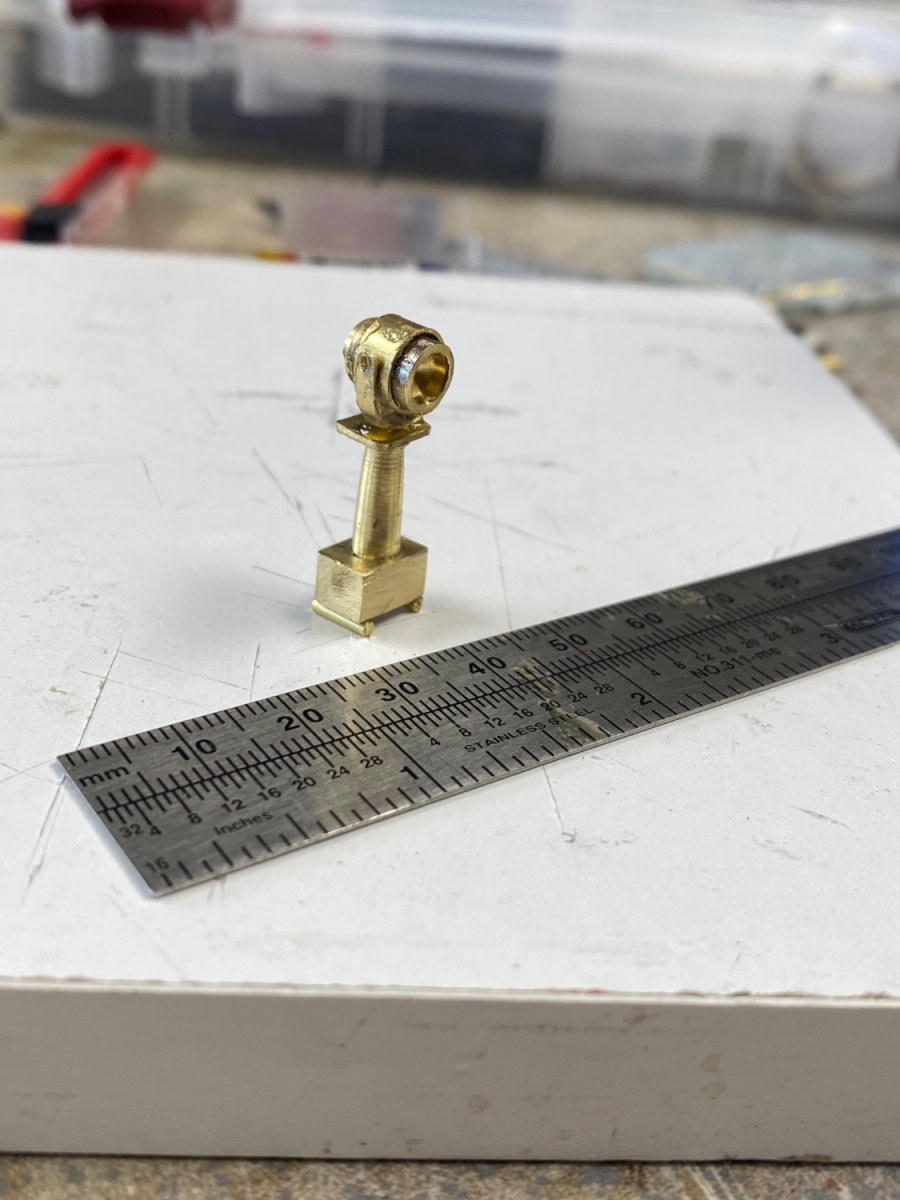
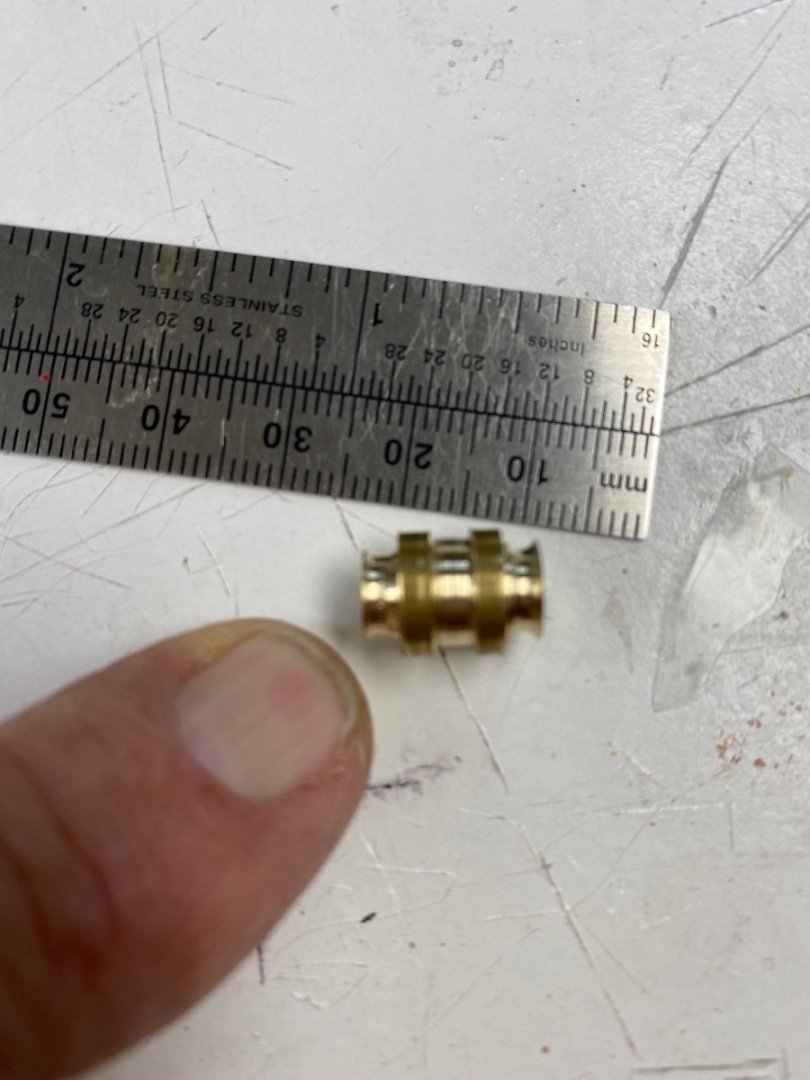
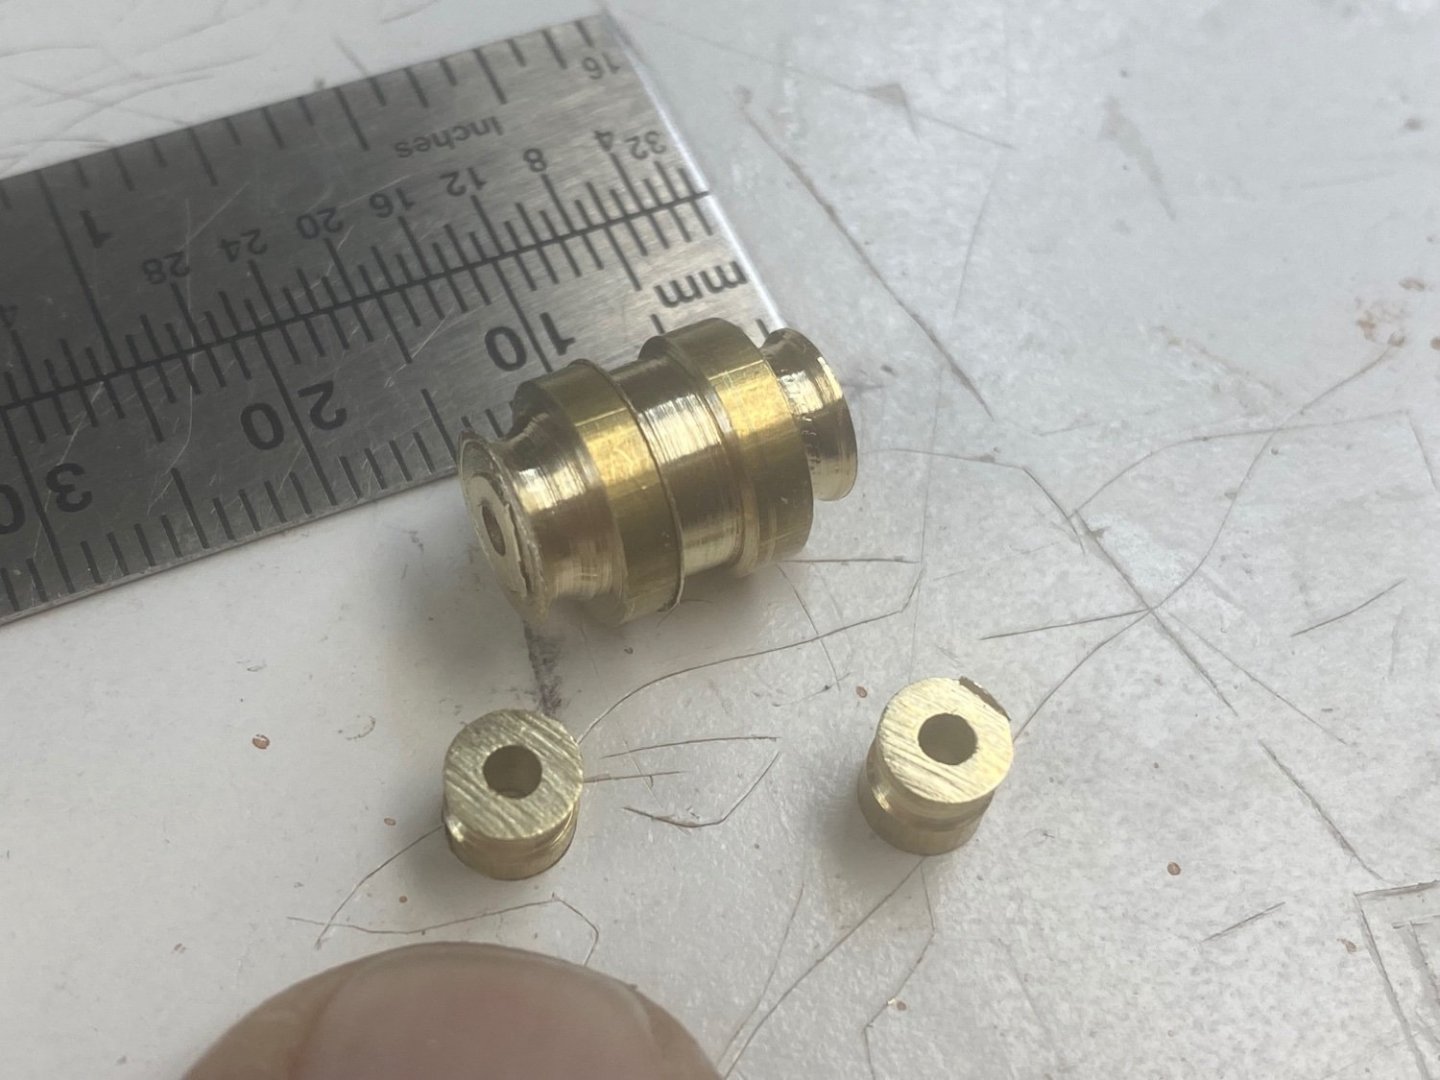
Completed the searchlight. The buggy wheels exceeded my 0.5 mm tolerance so I provided a roller. The searchlight still need the glazing and a good cleanup before mounting on the bridge. Following are the parts And the finished product. When the searchlight is in its place on the bridge, I will add four guy wires to secure it to the deck as shown in Valerliy photo (Post #114).

-
Thanks a lot Valeriy. Good to hear from you. we all worry about you Again, your extensive files saves the day.
-
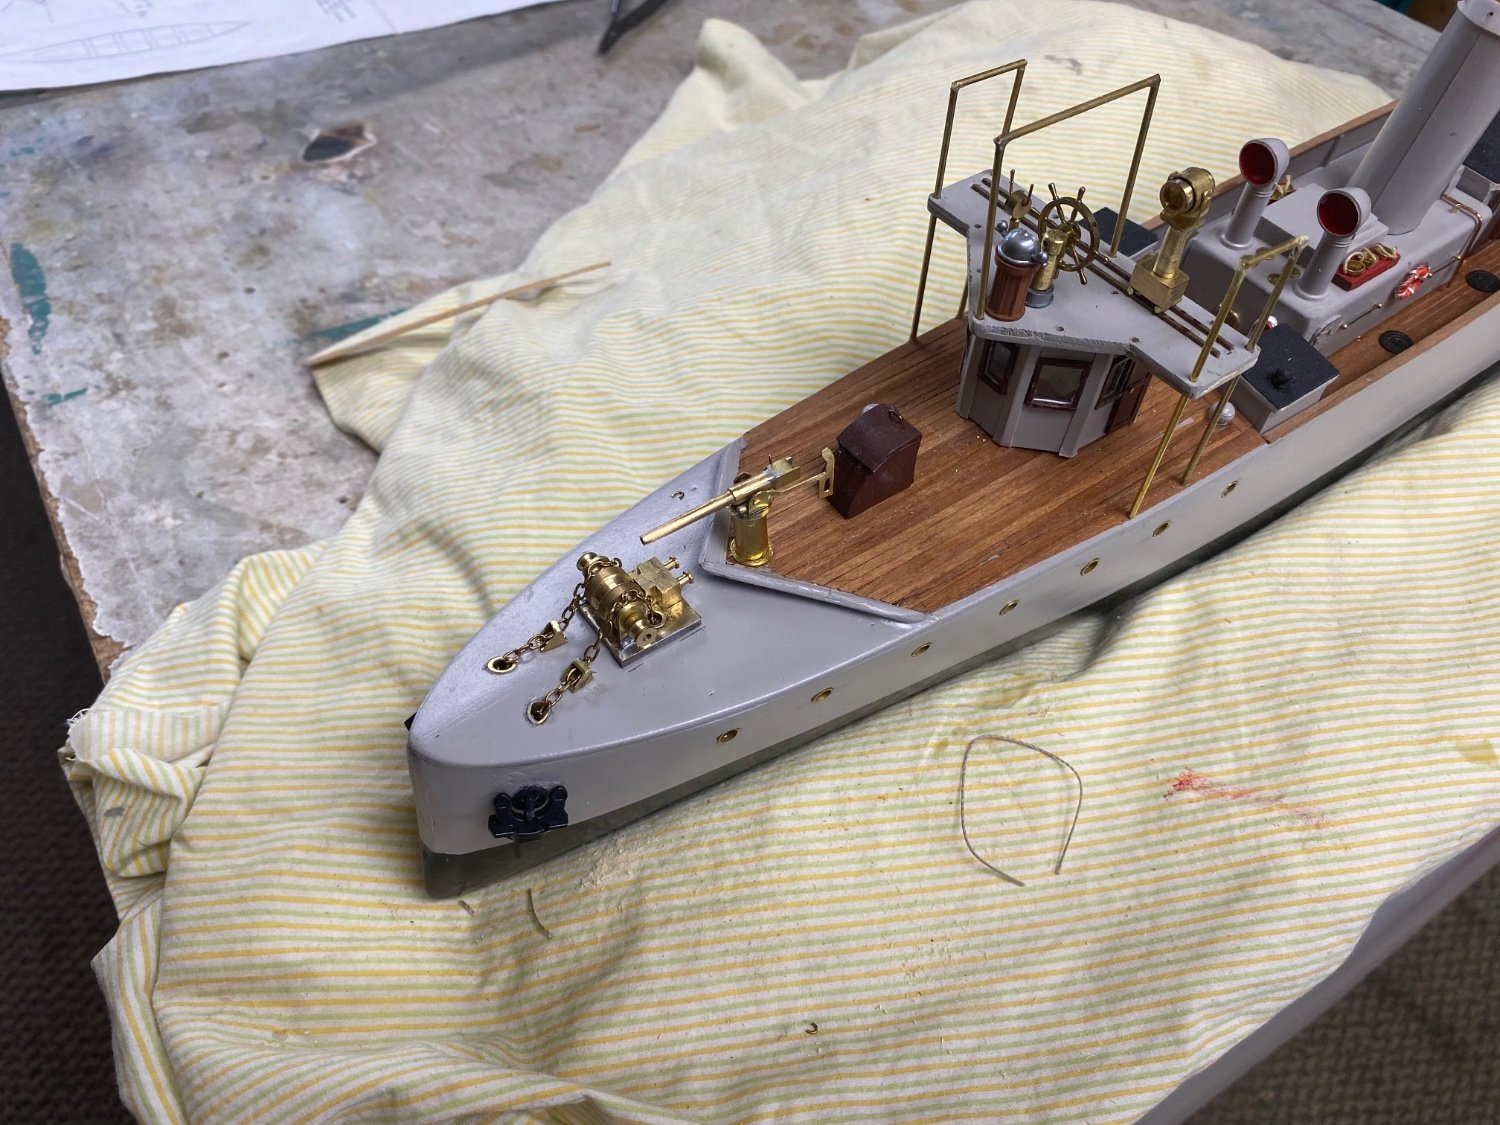
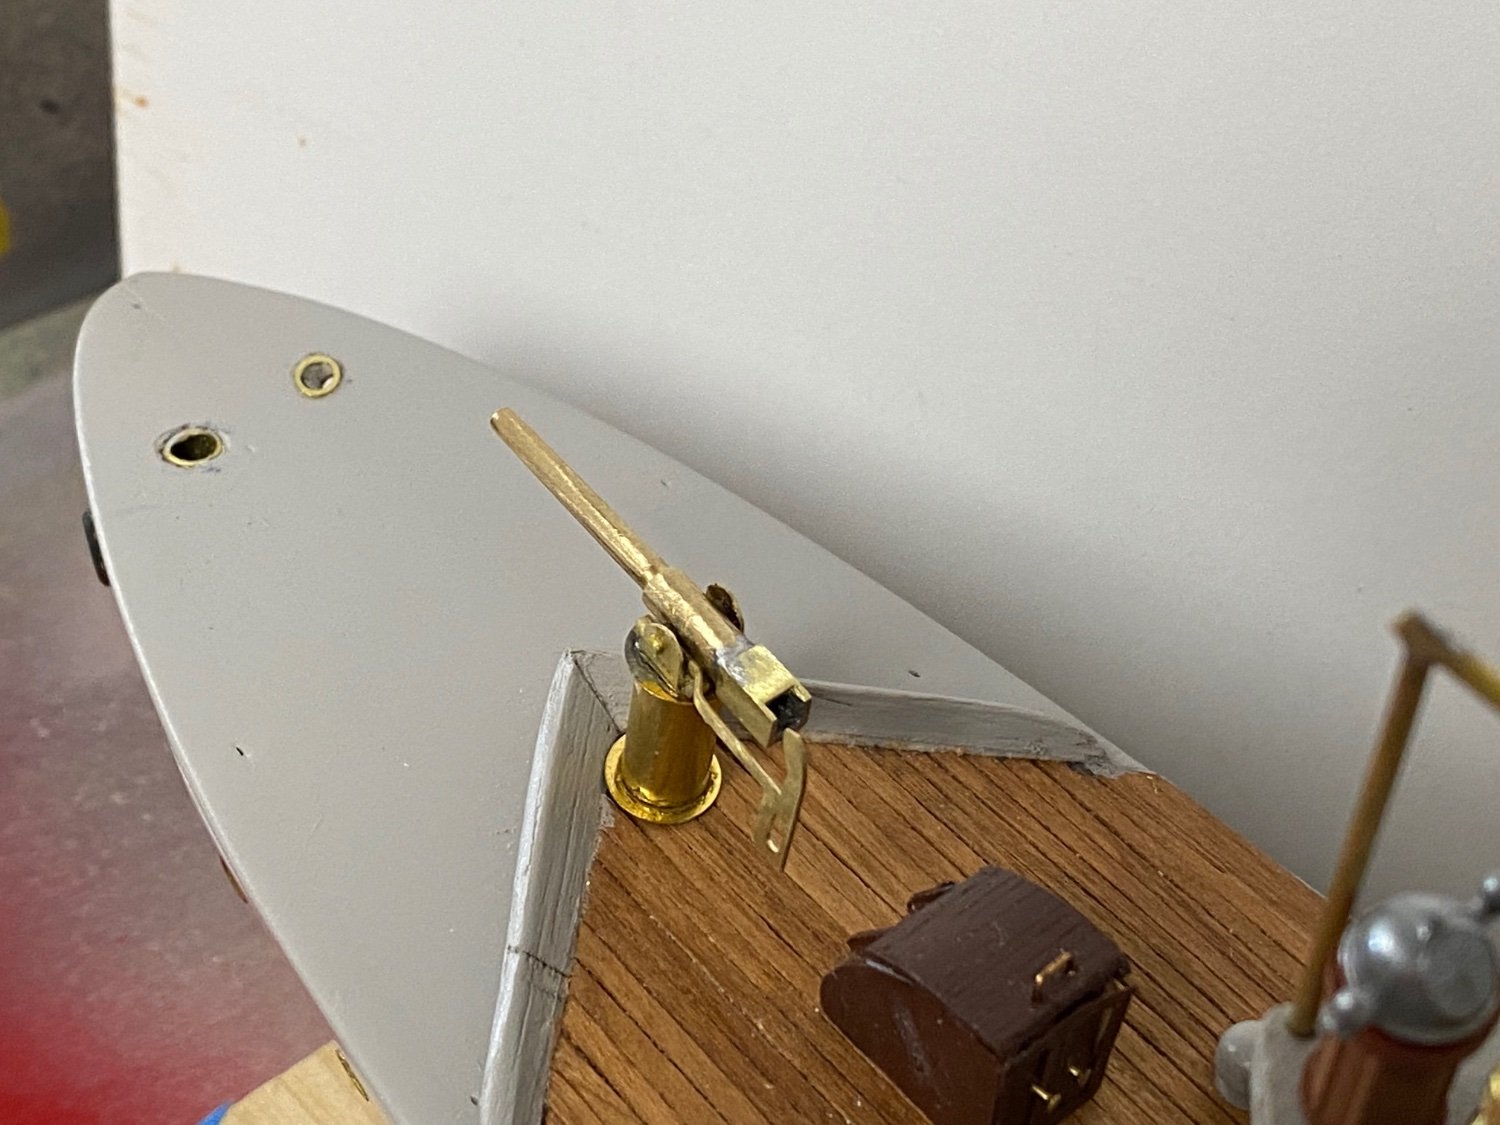
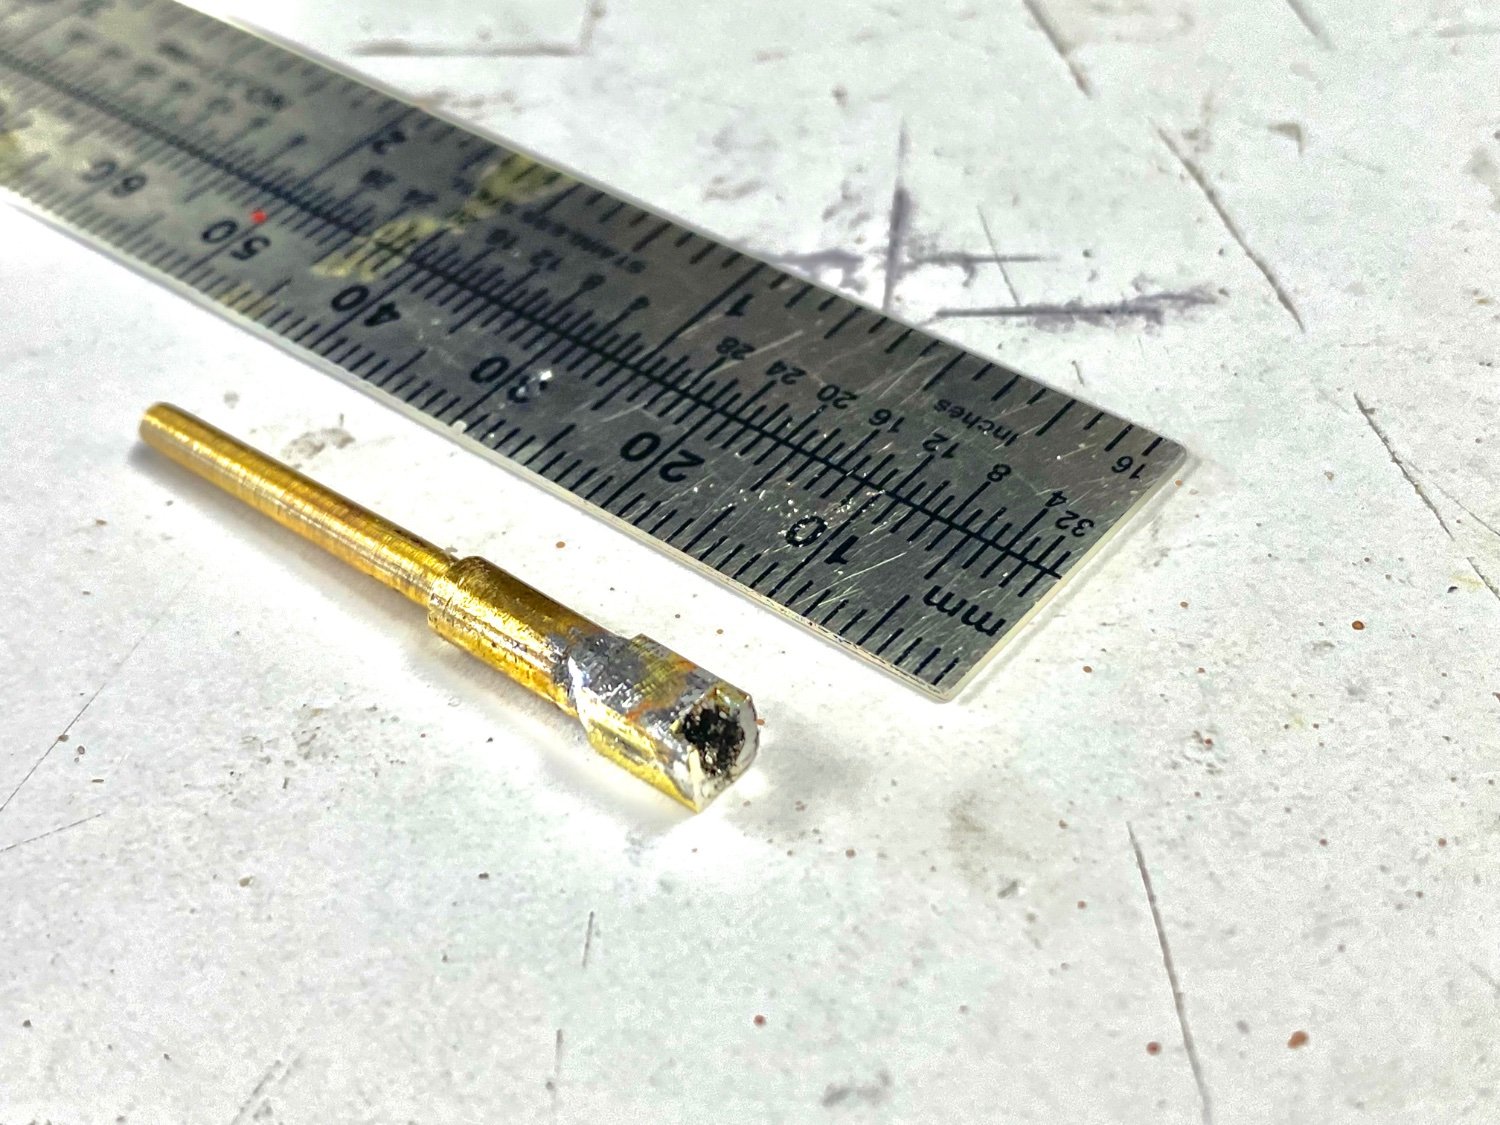
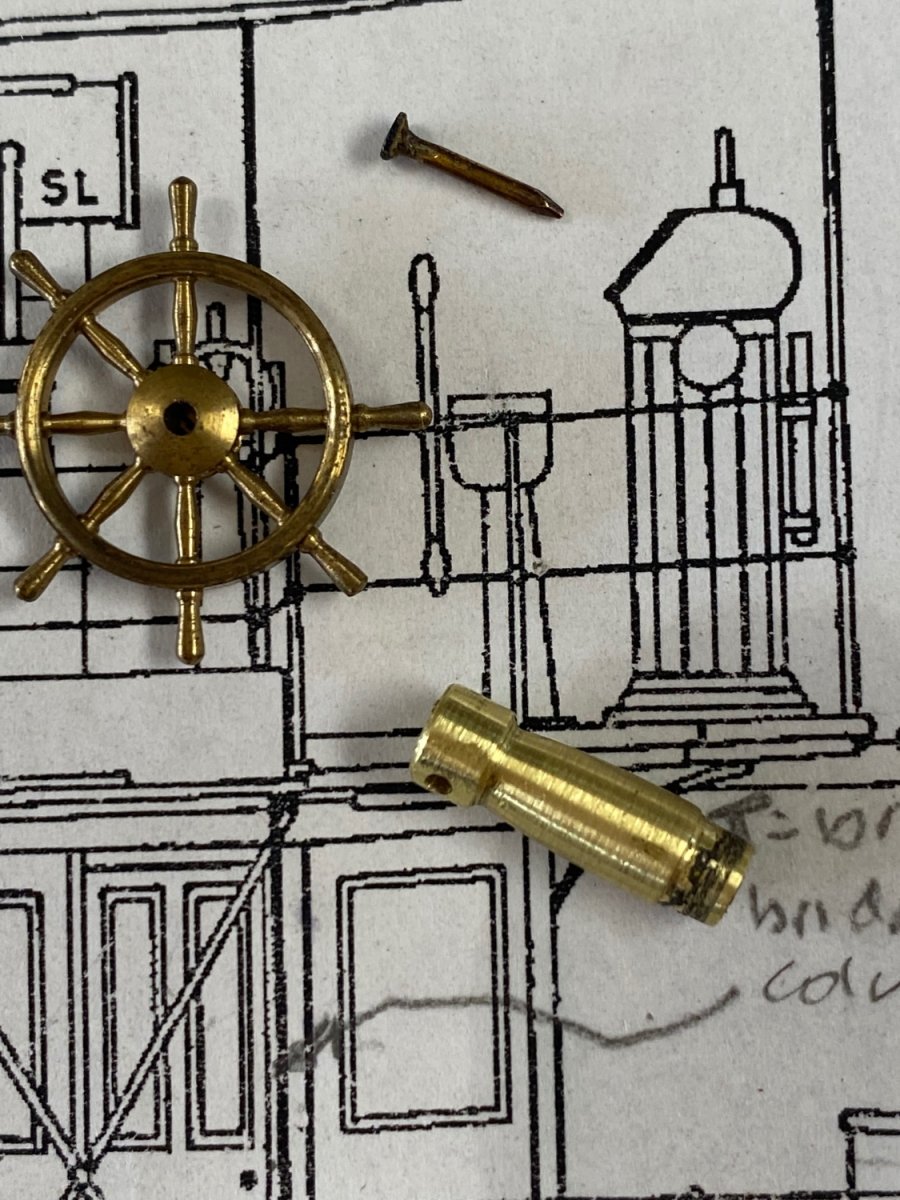
Following is the aft emergency steering station. This is is the beginning of the main, and only, gun for this ship. Still working on the breech detaling. And here is are the parts for the bridge wheel. BTW the wheels and binnacles were purchased, I am not yet at that level of detail. Next are the parts for the traveling searchlight still under fabrication. I am trying to figure out how to add the wheels. It seems to me that just rolling them on rails will result in the searlight tipping over under weather. The plans (Post # 112) show what looks like guy wires while the light is at the center of the bridge. But this would be a hard to relocate as the light is moved. The photo provided by Valeriy (Post # 114) does not show any type of anchoring system to keep the light under heavy sea. I would appreciate your comments. The photo shows the base, spindle and the body still unfinished. And little by little Amapá is taking shape. Thanks for following. My best wishes for the safety of Valeriy and his family.


-
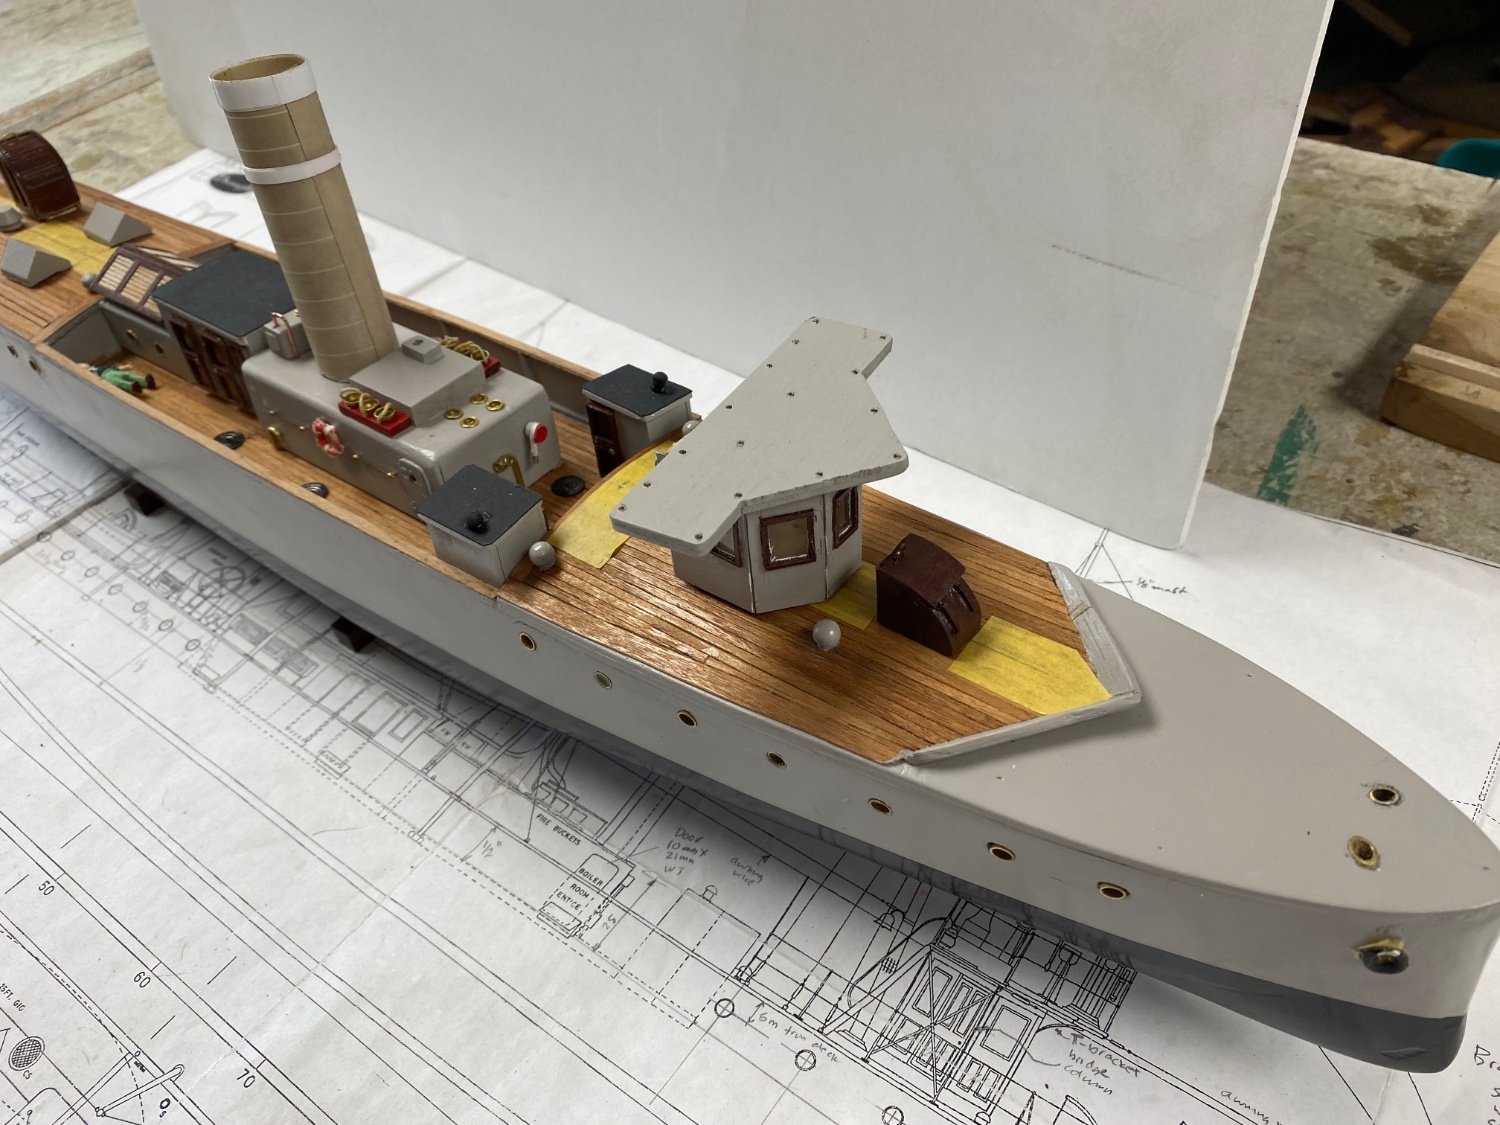
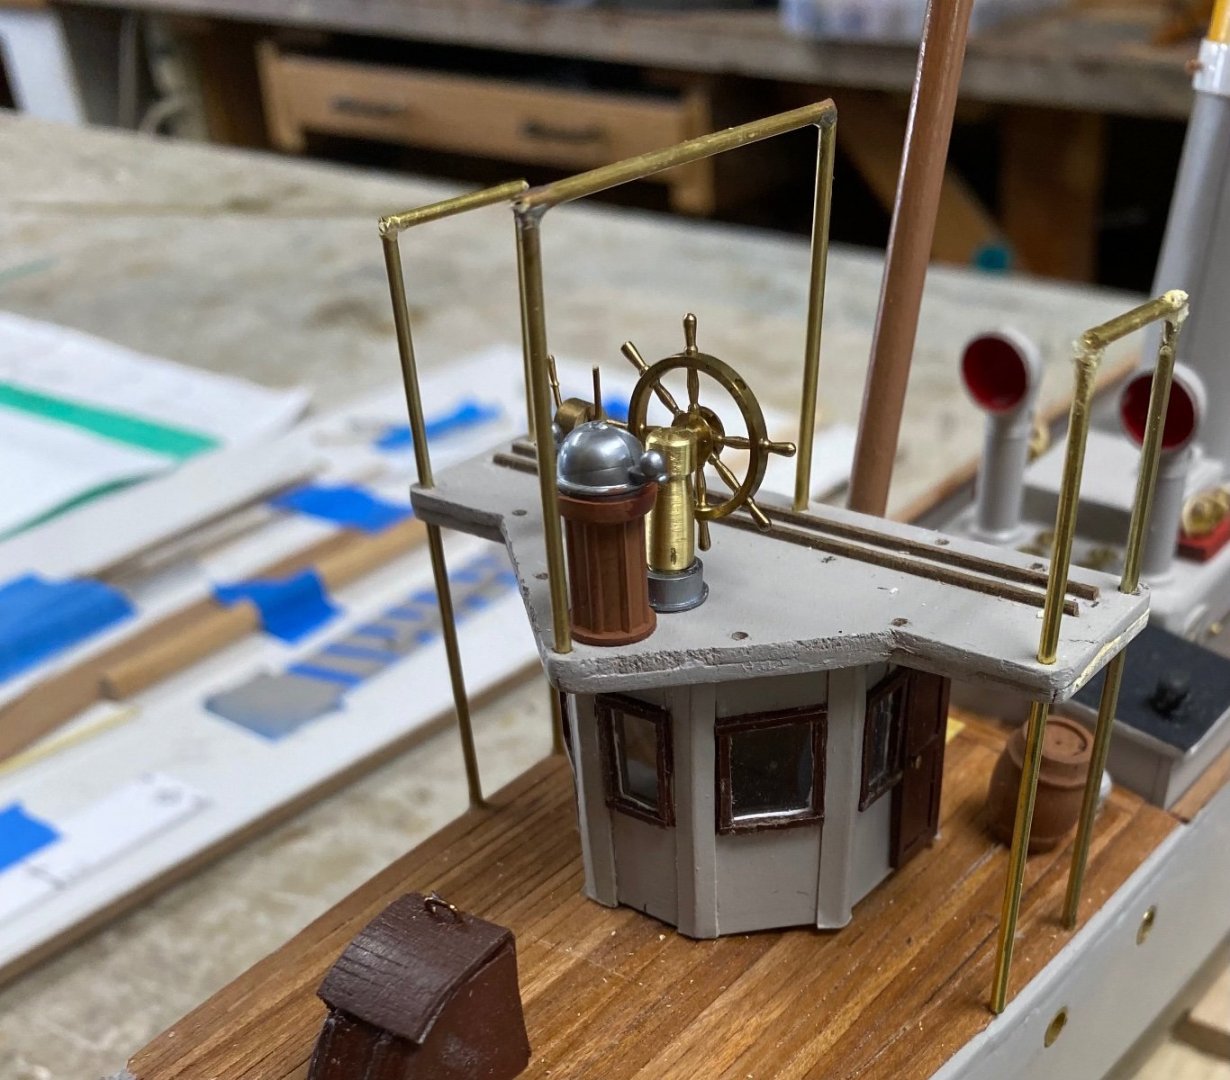
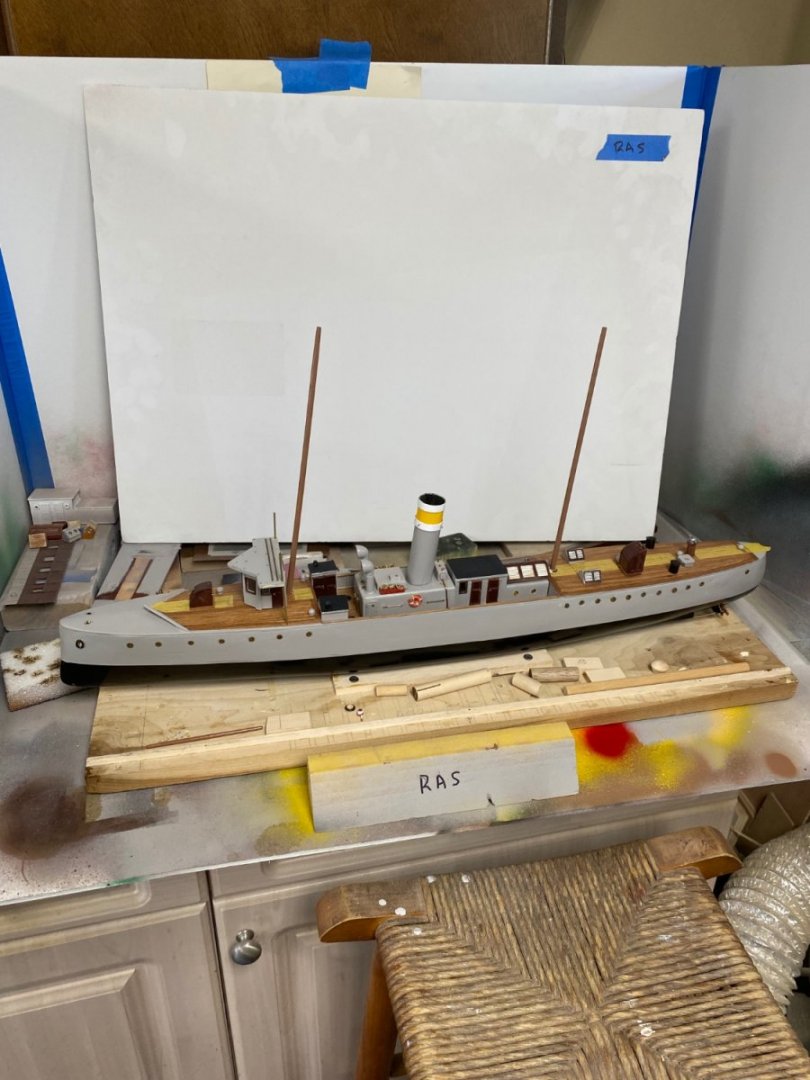
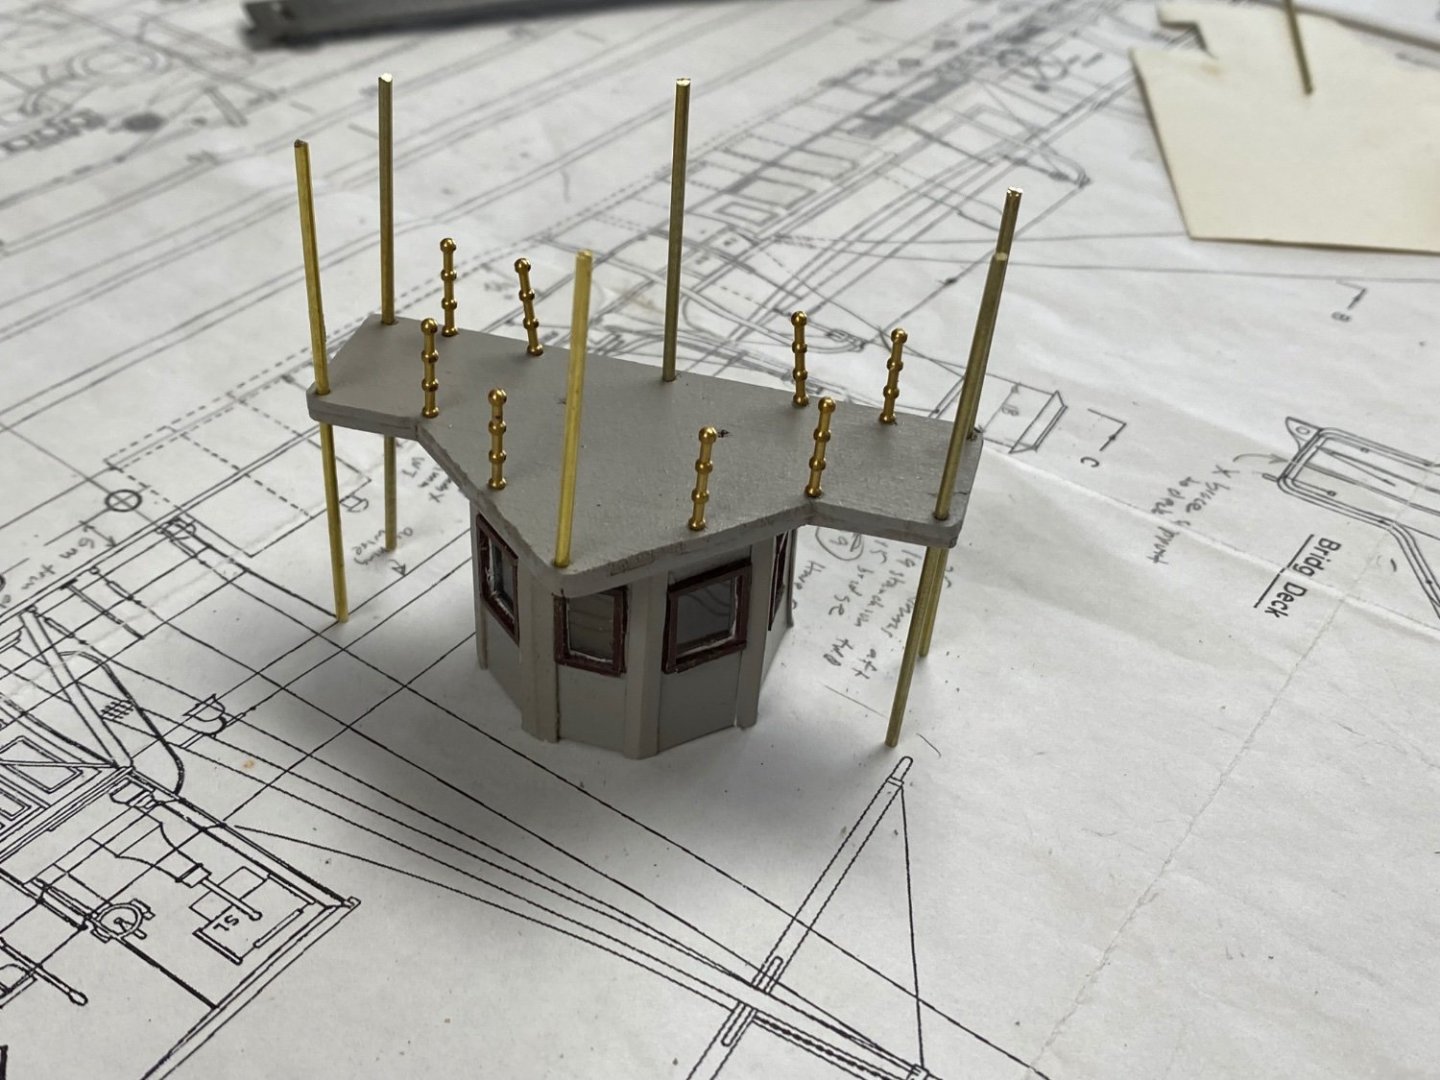
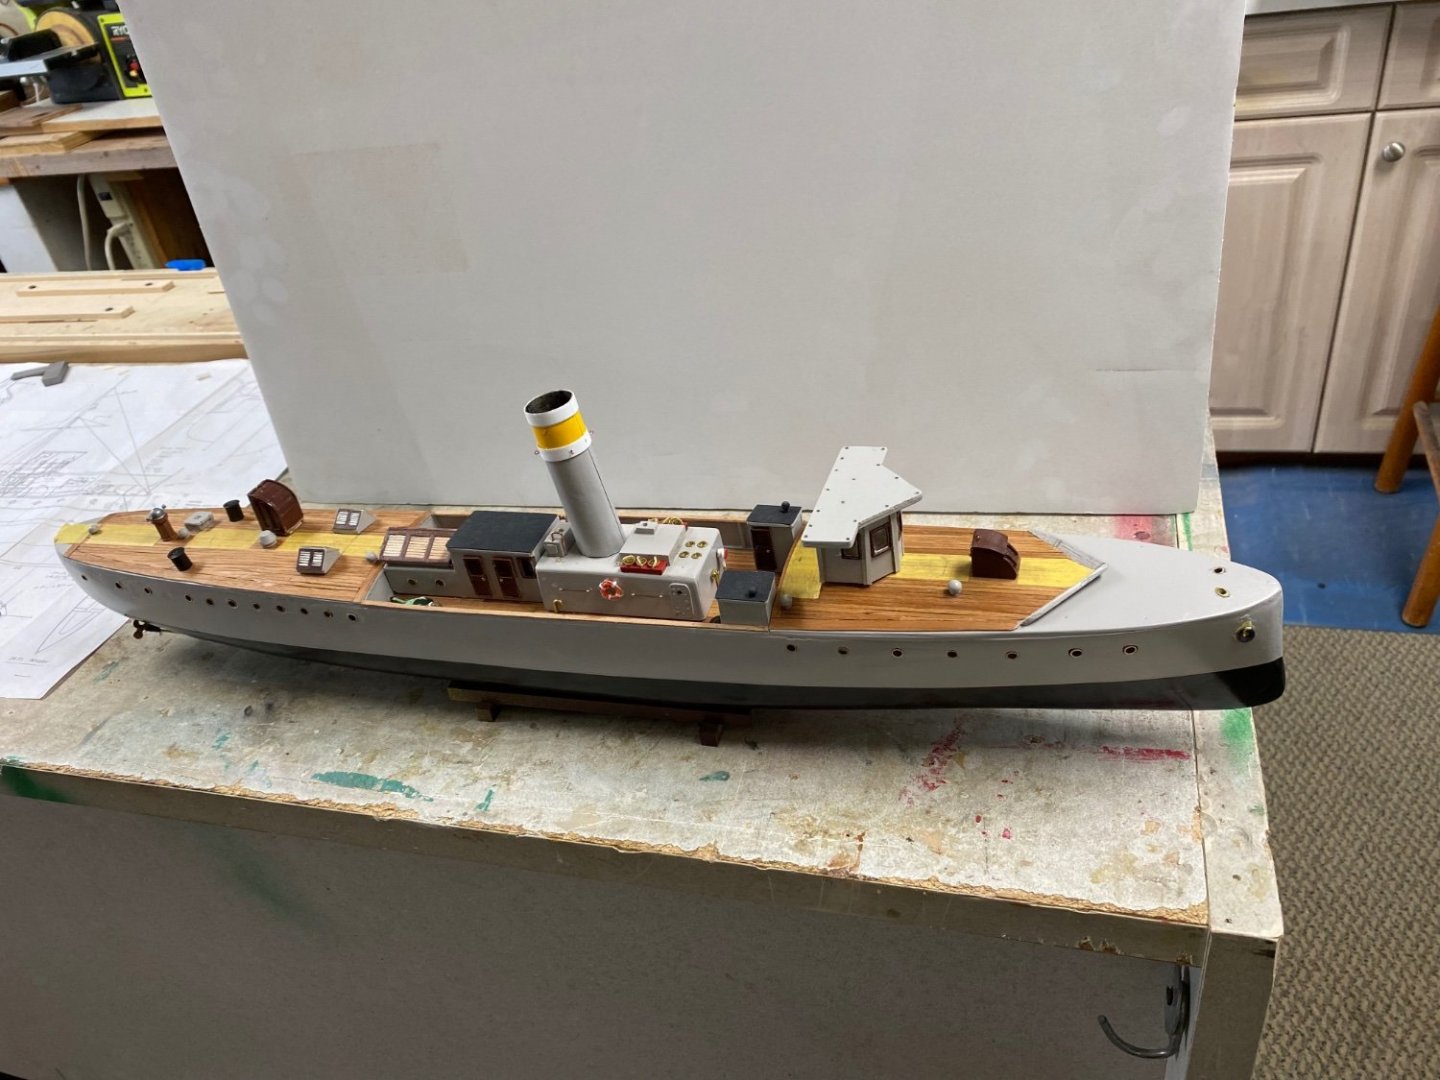
Progress continues, but it is incredible the amount of time you have to spend in the smallest of details. But perhaps, that is why we do them. Have now permanently installed the bridge and have been struggling to maintain the four legs square. Also installed the stack and the goose vents. The picture below was taken before I installed the other two legs to the bridge and the goose vents over the engine room access. Next I will be working on the mast's rigging. Decided not to do the the running rigging. In 1907, either steam or petrol were used leaving the masts function to support communications such as flags or wireless .

-
Glad to see you back. Excellent work thus far.
-
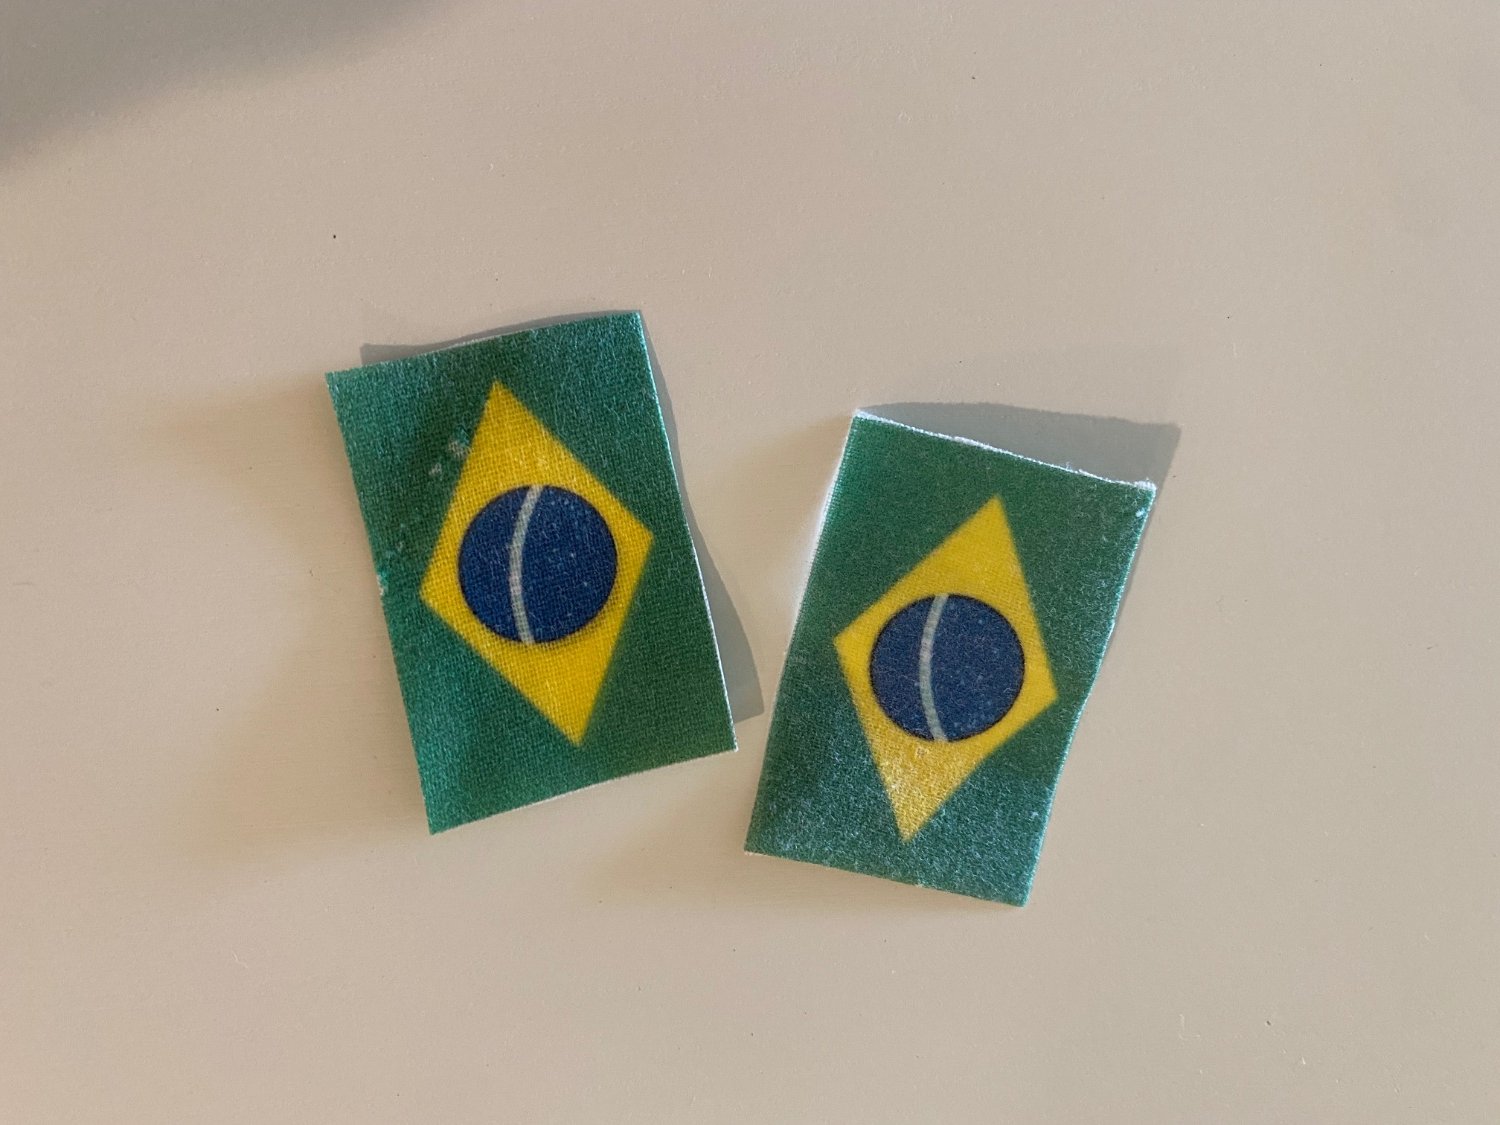
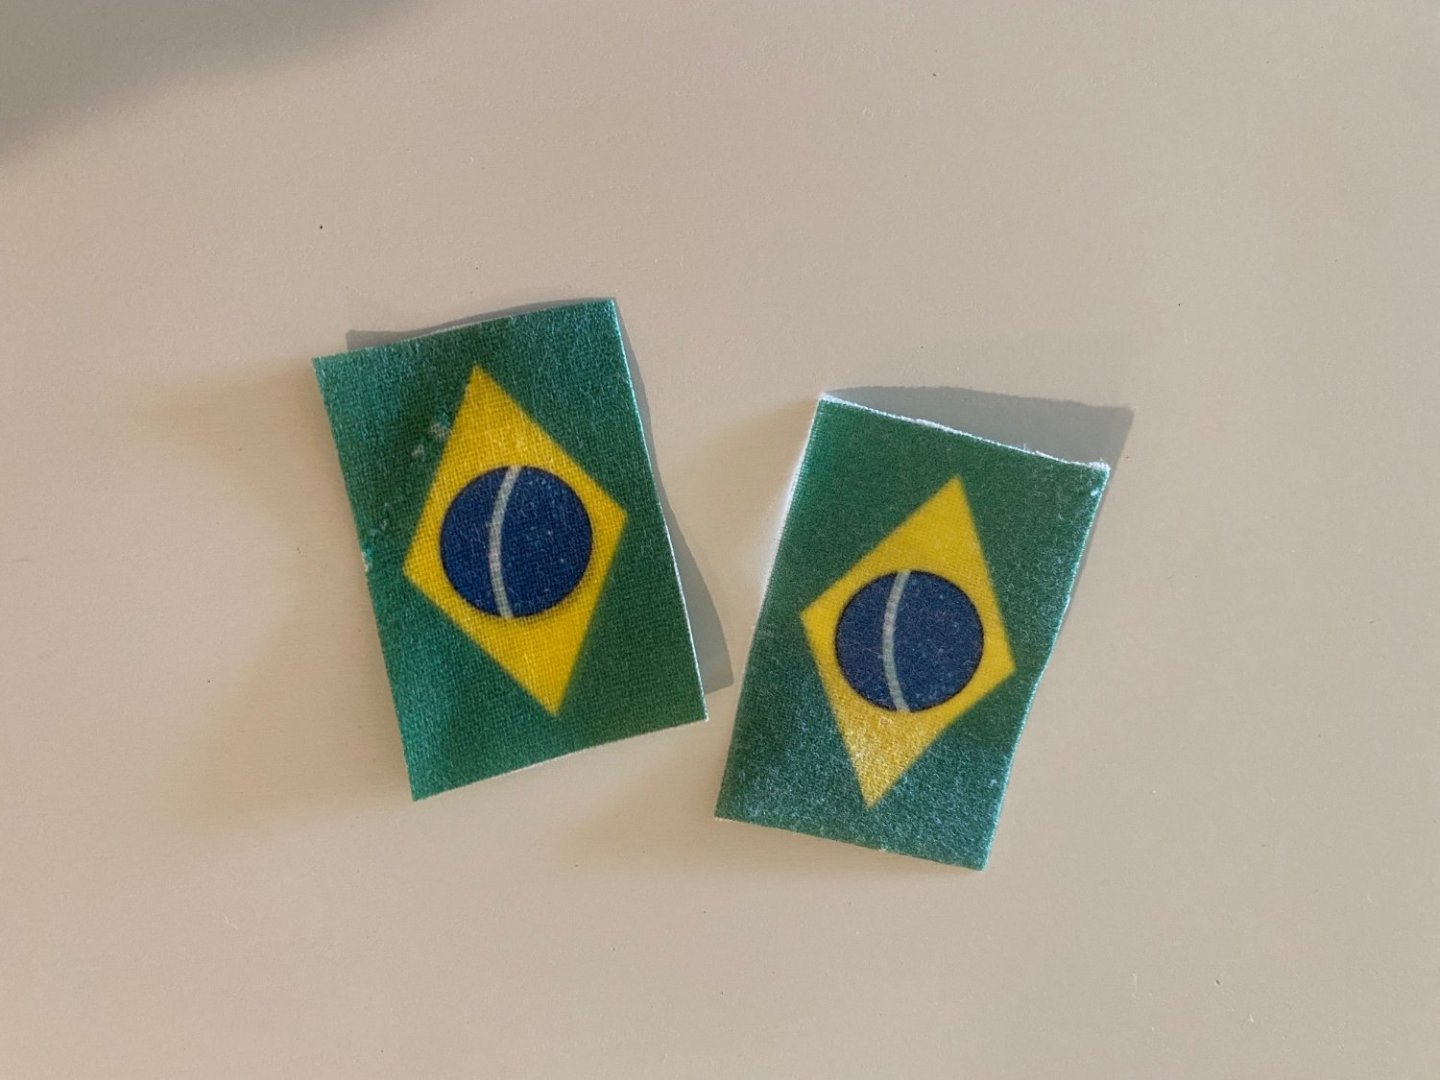
Thank you Mark. I like your idea of a "solid flag". I have ben experimenting several options. The main reason this last flag didn't sat well on the staff was that the amount of ink in the transfer made it too stiff. I thought also of using color dye to get the base flag color in and then just transfer the globe in the center. But now I like your idea a lot.
-
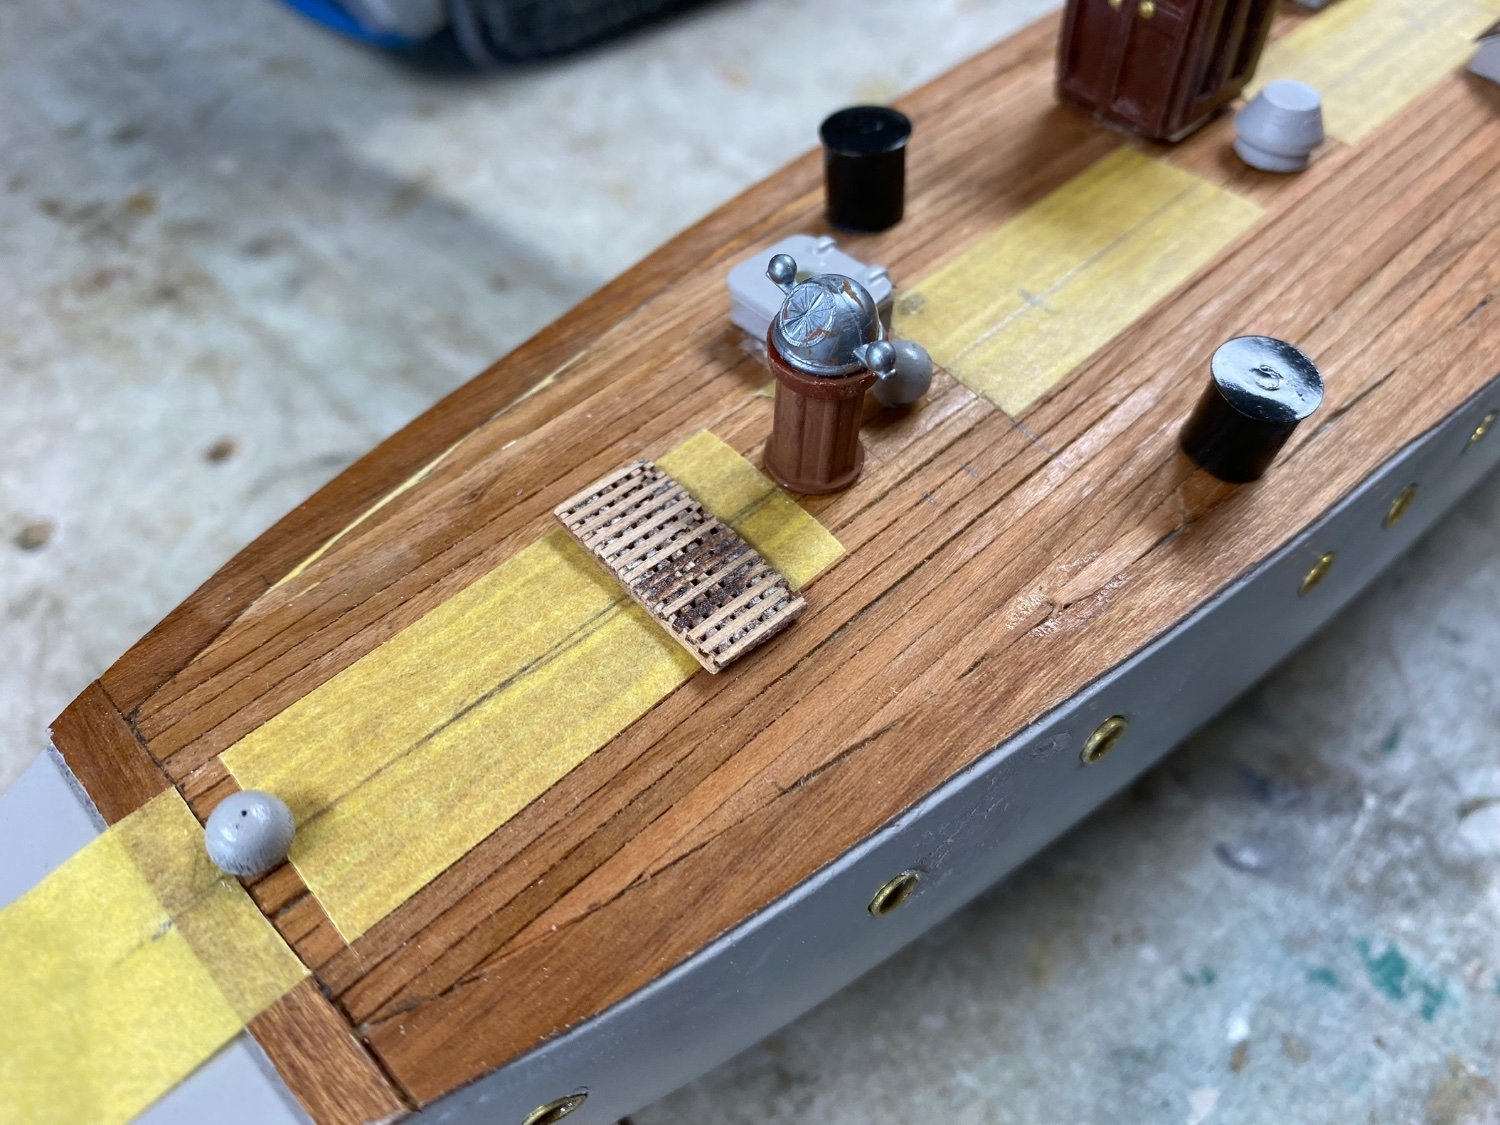
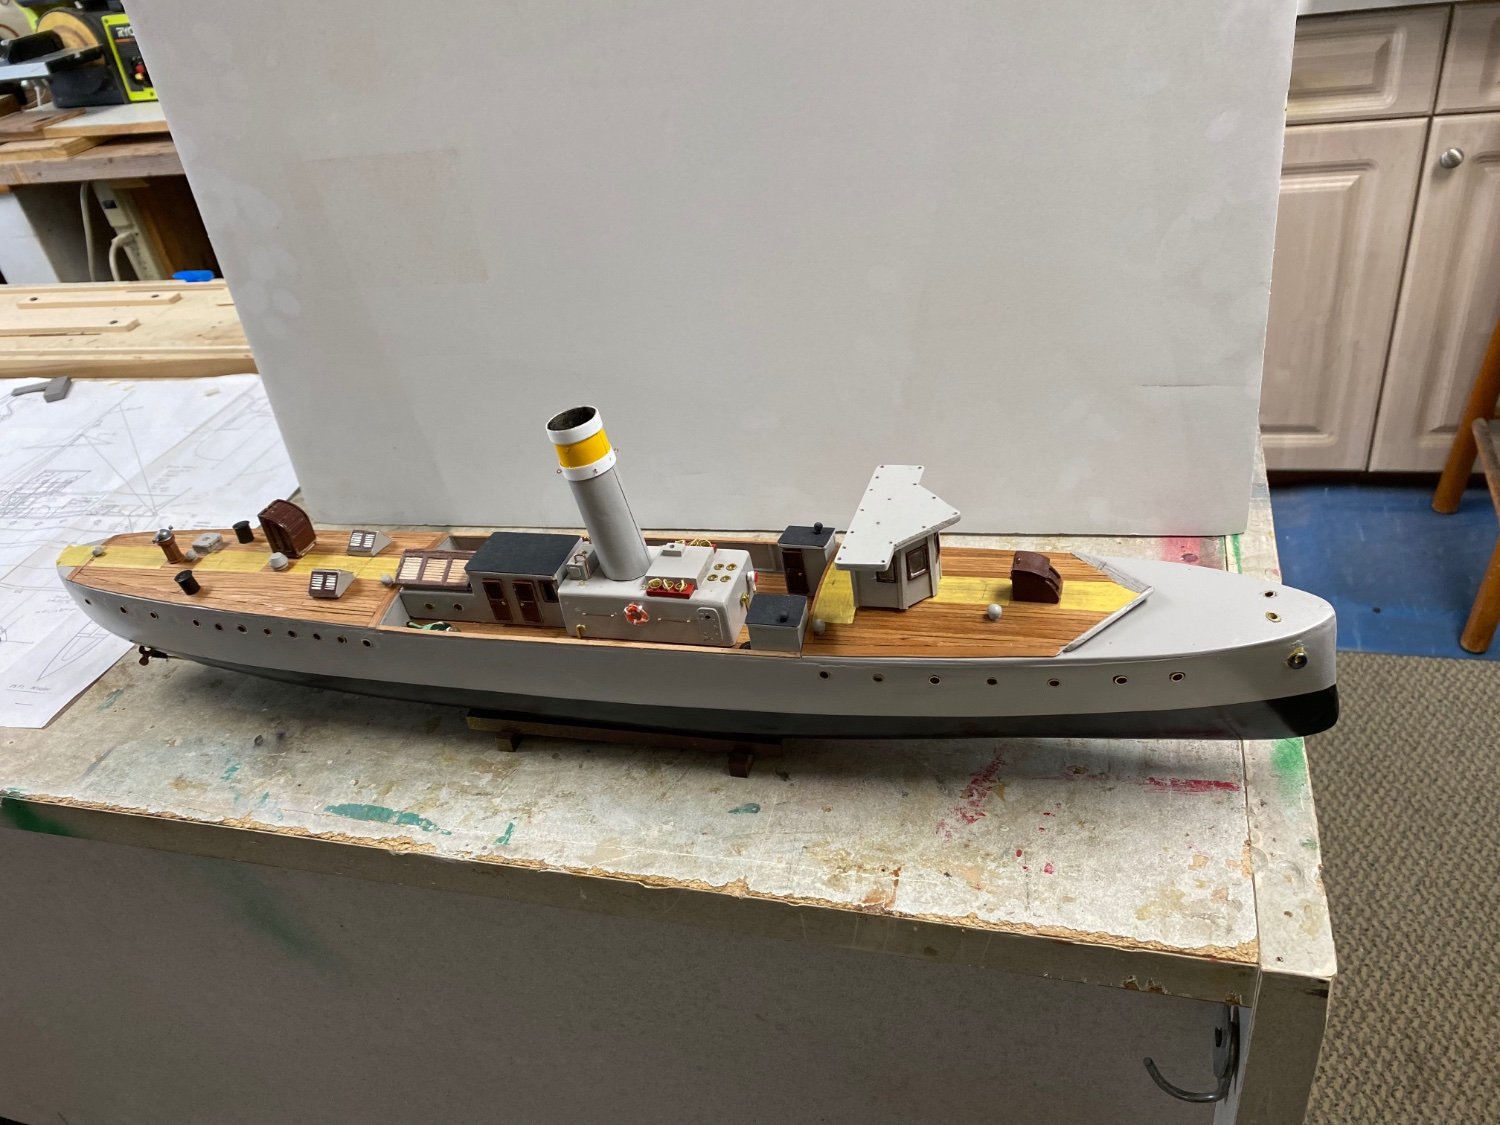
A little more progress. I wanted to fly the Brazilian flag on Amapá but couldn't find anything on the online stores. I did browse Modeler12's post from 2013 explaining the process to make your own flags using transfer paper and using the Admiral's iron on fine cotton cloth. So I did. However, the flag is not very flexible as the transfer made the cloth very stiff. I used an old handkerchief and made the the transfers on both sides creating a full flag. The colors didn't come out very bright but they will have to do for the time. Shown below are the two flags I made. Forgot to put a ruler to show the size but they are 40X28 mm. Then I dry fitted the bridge to include the poles for the awning. It's going to be a very busy bridge once I set the binnacle, the helm and the traveling searchlight. Then I assembled a grating panel to place at the emergency steering station aft. I use precut strips but used too much glue that shows through the openings in the grating. I'll see how it looks after painting and perhaps made another panel. And finally, I painted the stack and added the fittings for the guy wires to be installed later. I was not sure of the color of the stack so I assumed it was steel like the rest of the ship and painted it grey . I added white stripes using graphic tape. And gave the stack a yellow top for contrast. Thanks for your likes and comments.

-
Valeriy, you are right. Amapá is sort of a Coast Guard ship and thus, I don't expect it to be signaling to anyone. It was most used as a searchlight illuminating suspect subjects. Since the helmsman stands in front of the lamp, I am sure that they moved it to either end while cruising. I will probably replicate the carrying dolly and the rails but I need to sharpen up on my soldering. I will follow your advise.
-
Thanks to y'all. I will follow Wefalck's advise and paint the masts. The dowel wood did not stain nicely. And regarding the picture of the searchlight, that was exactly the way I had thought looked. This ship was for custom service so I would thing the searchlight was used for search only. Signaling lights are a little smaller. I'll see what I kind of detailing I can do within my 0.5 mm tolerance. The rig to move this monster looks a little cumbersome. Thanks for the picture. It seems that Valeriy has an immense file of data. Thanks
-
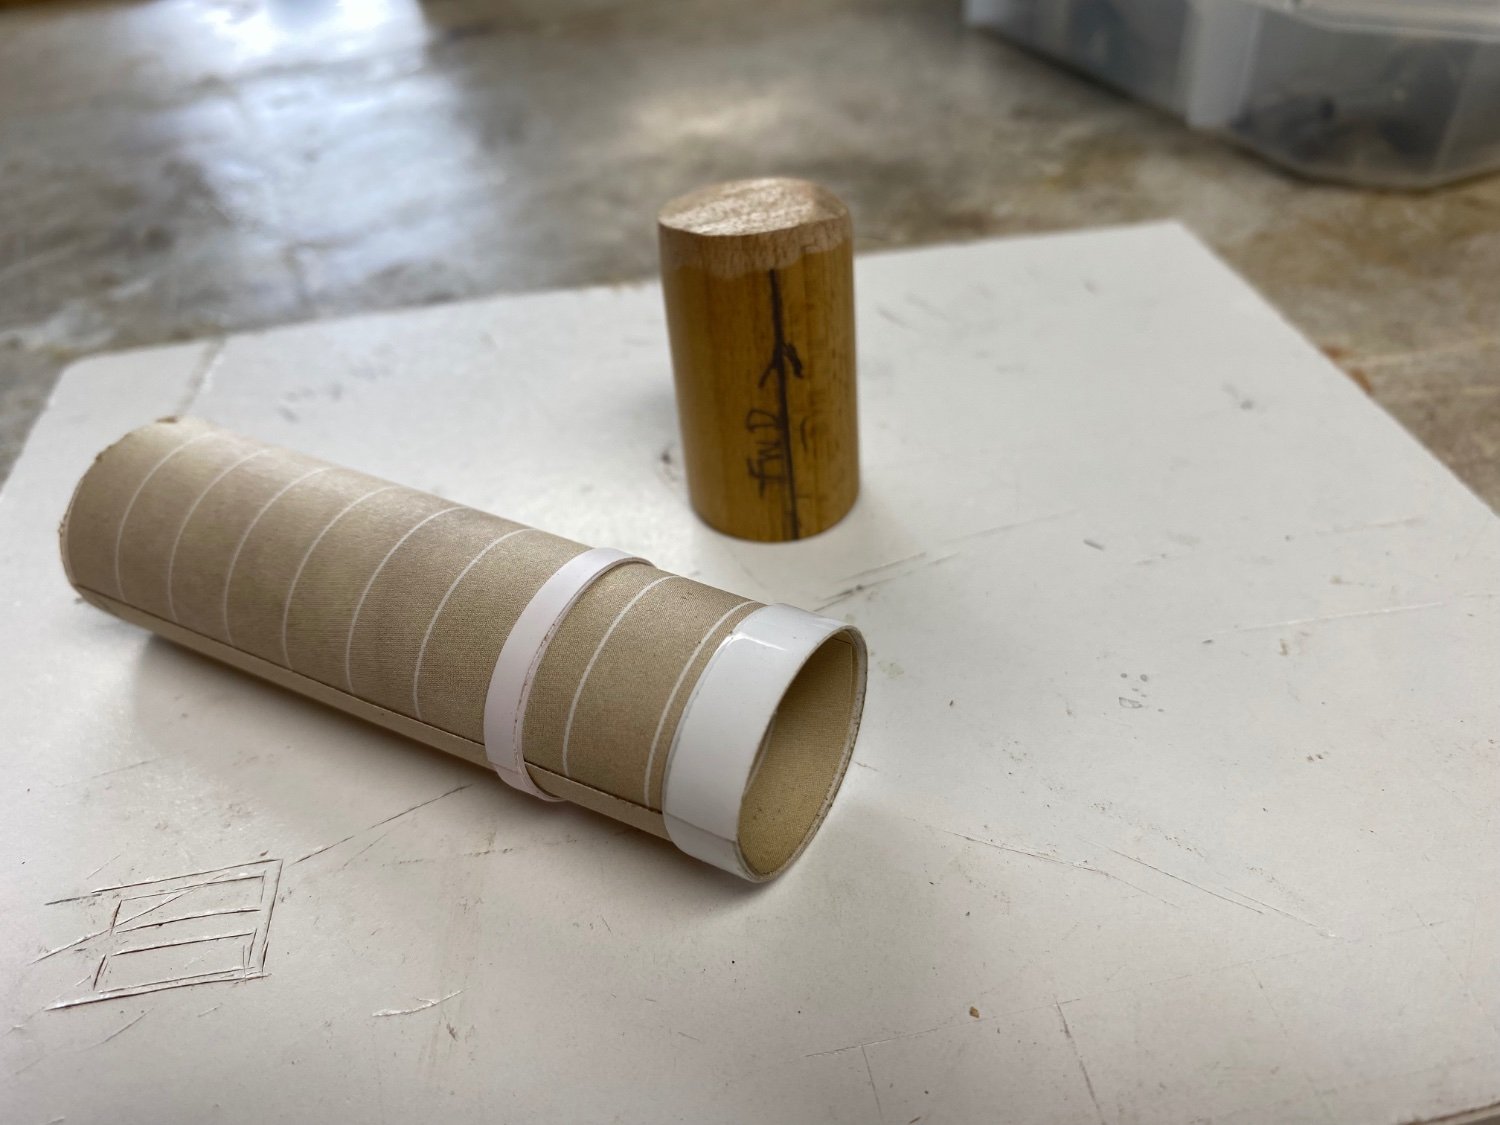
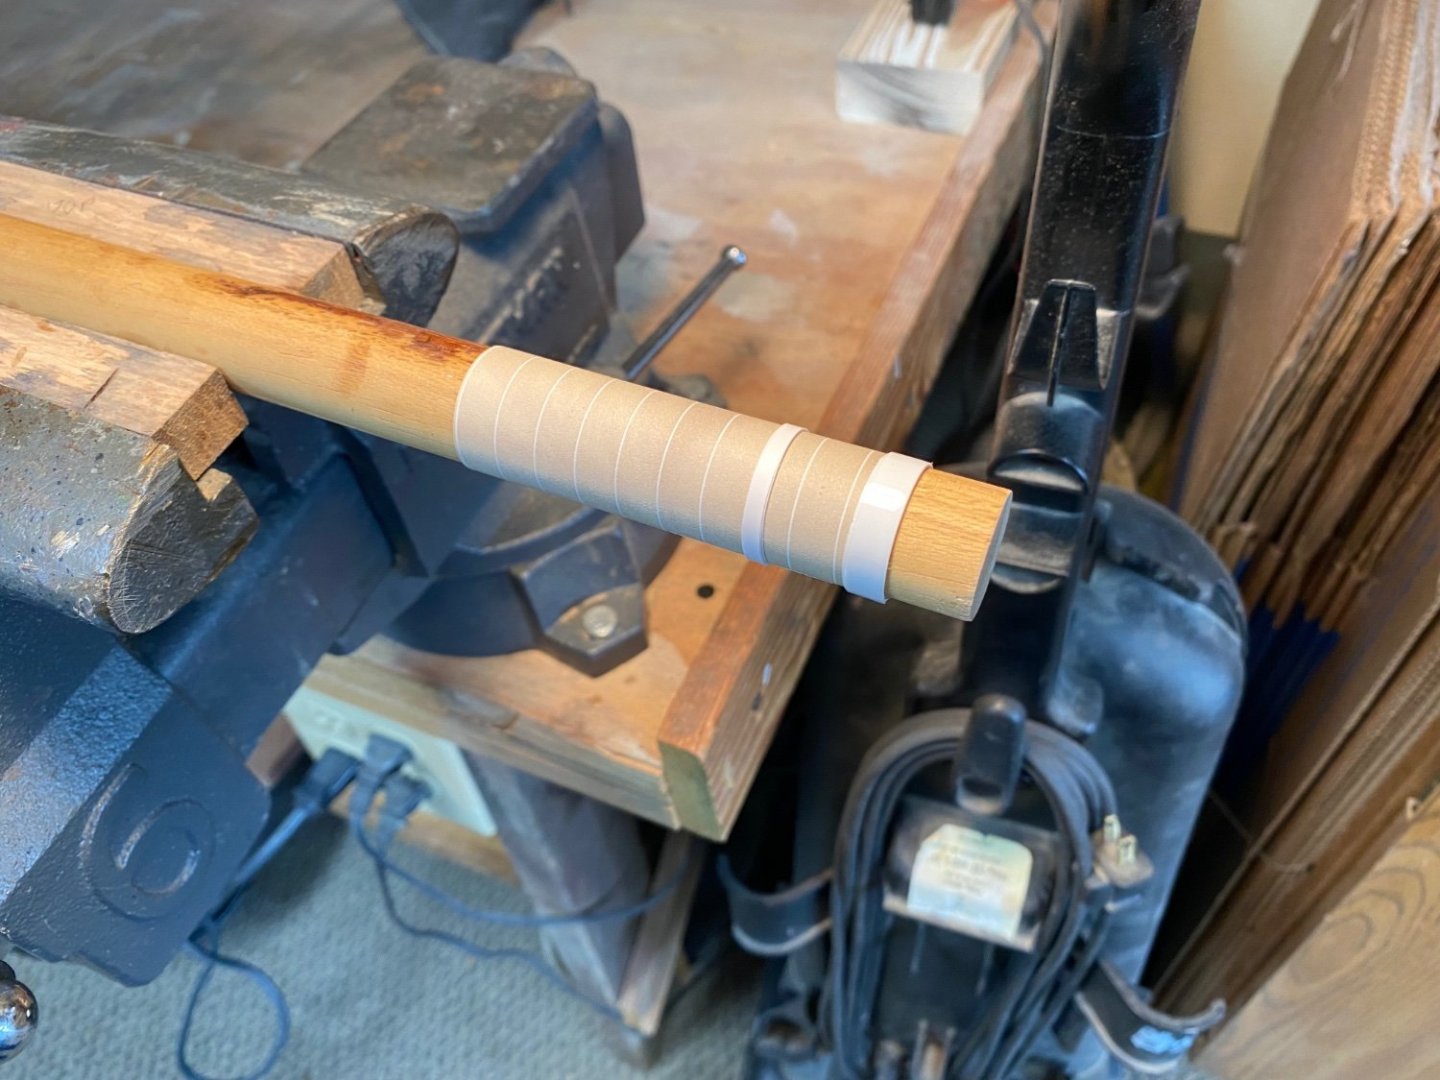
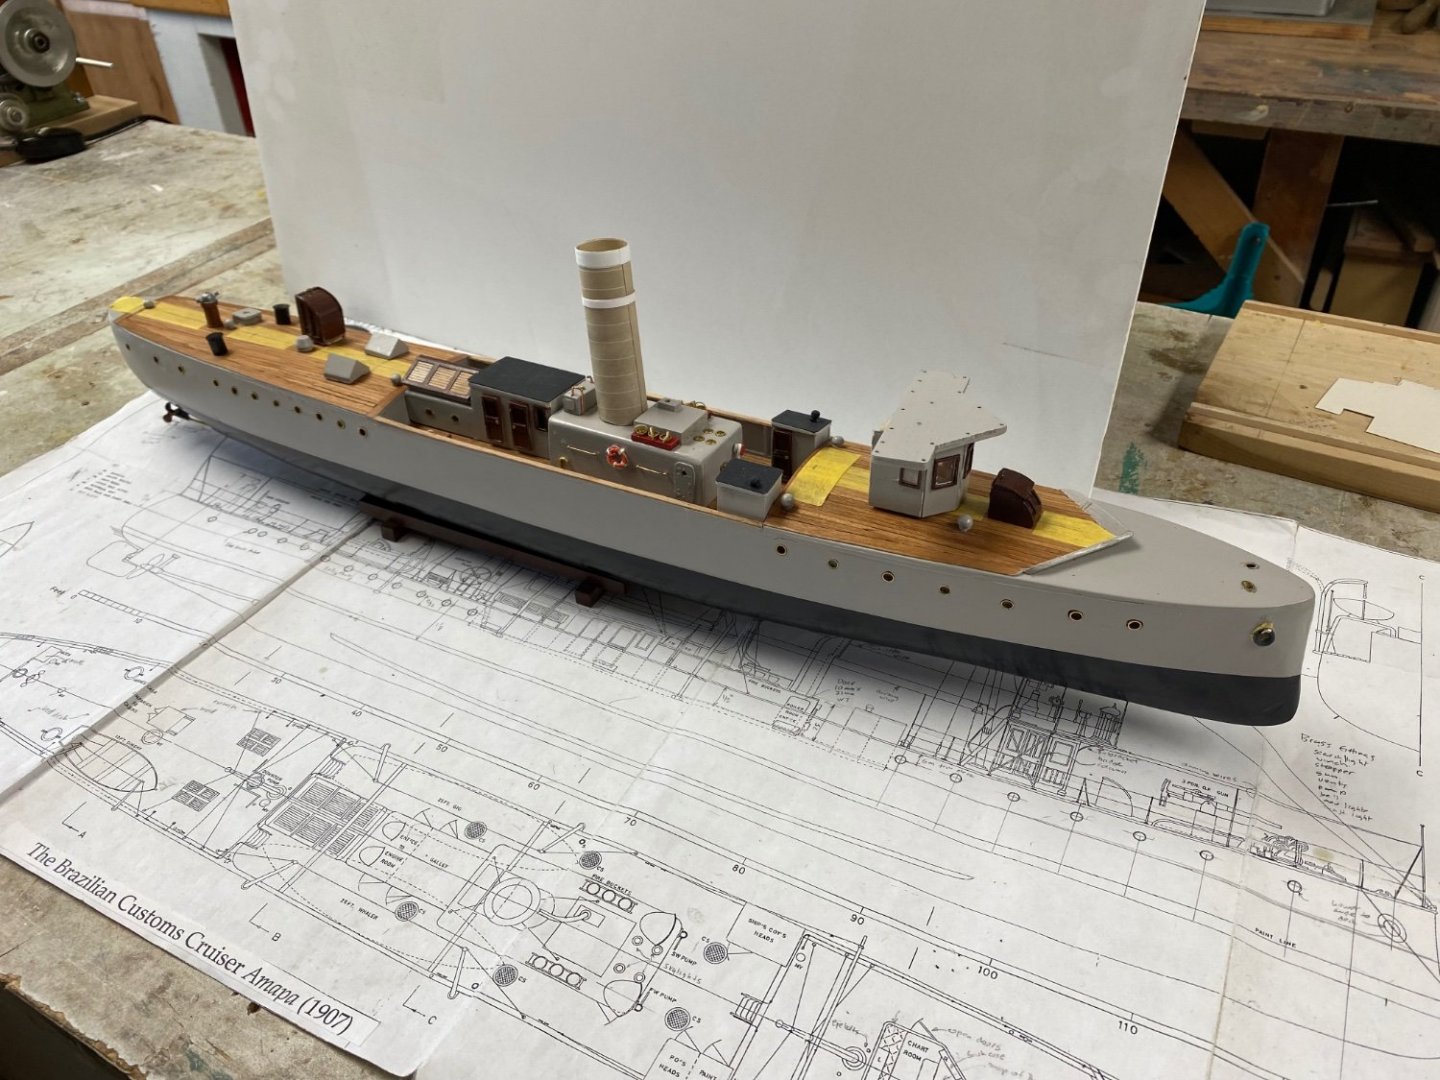
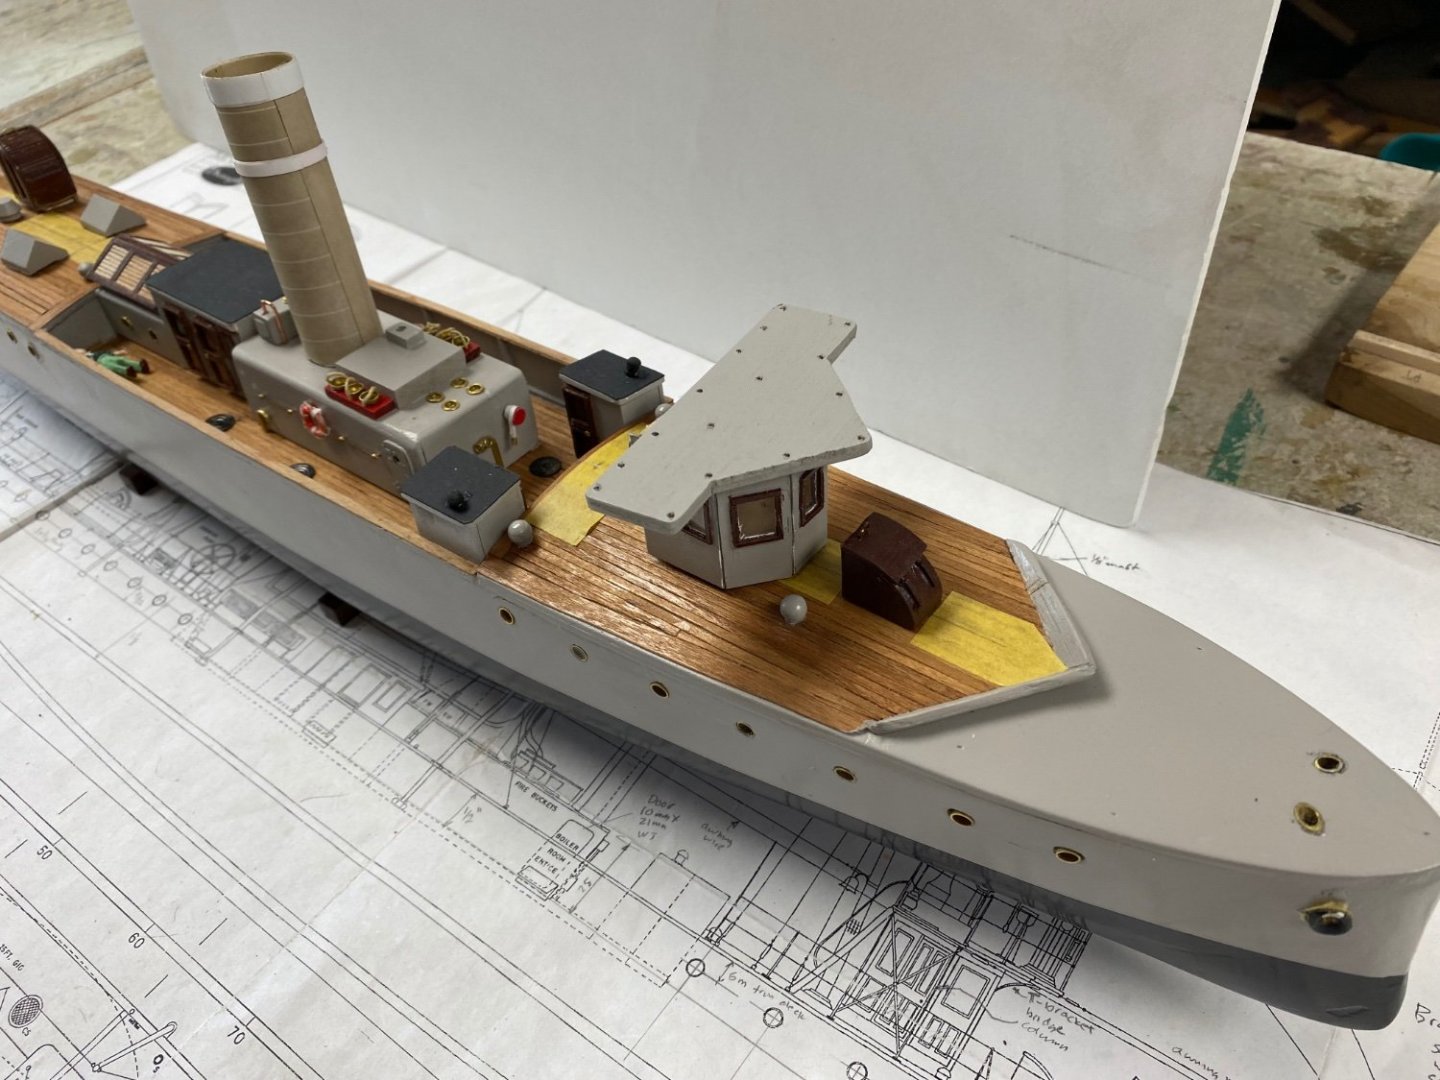
Little progress today. Fabricated the stack after several tries at the lathe. The chuck capacity would not hold the workpiece and I didn't have any suitable steady rest. Finally decided on a paper stack. Using a dowel as a mandrel, I wrapped note-book paper in a cylinder and closed it with two sided tape. Then, I used part of the mandrel to give it enough rigidity so it can be attached to the boiler housing. Believe me, it was not as easy as it sounds because on my first try I wound up gluing the paper stack to the dowel. Several more items were now placed on the deck. And the work continues. Got the masts cut and stained but still wondering about the finished look. Commercial dowel does not stain evenly.

-
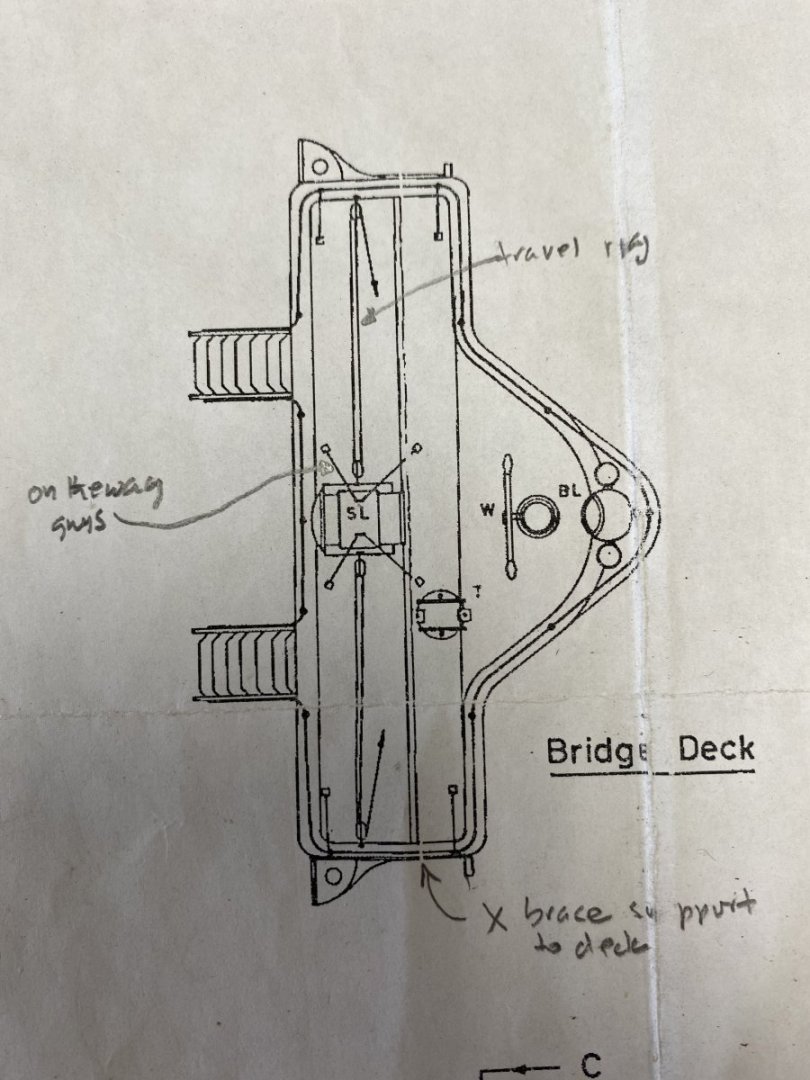
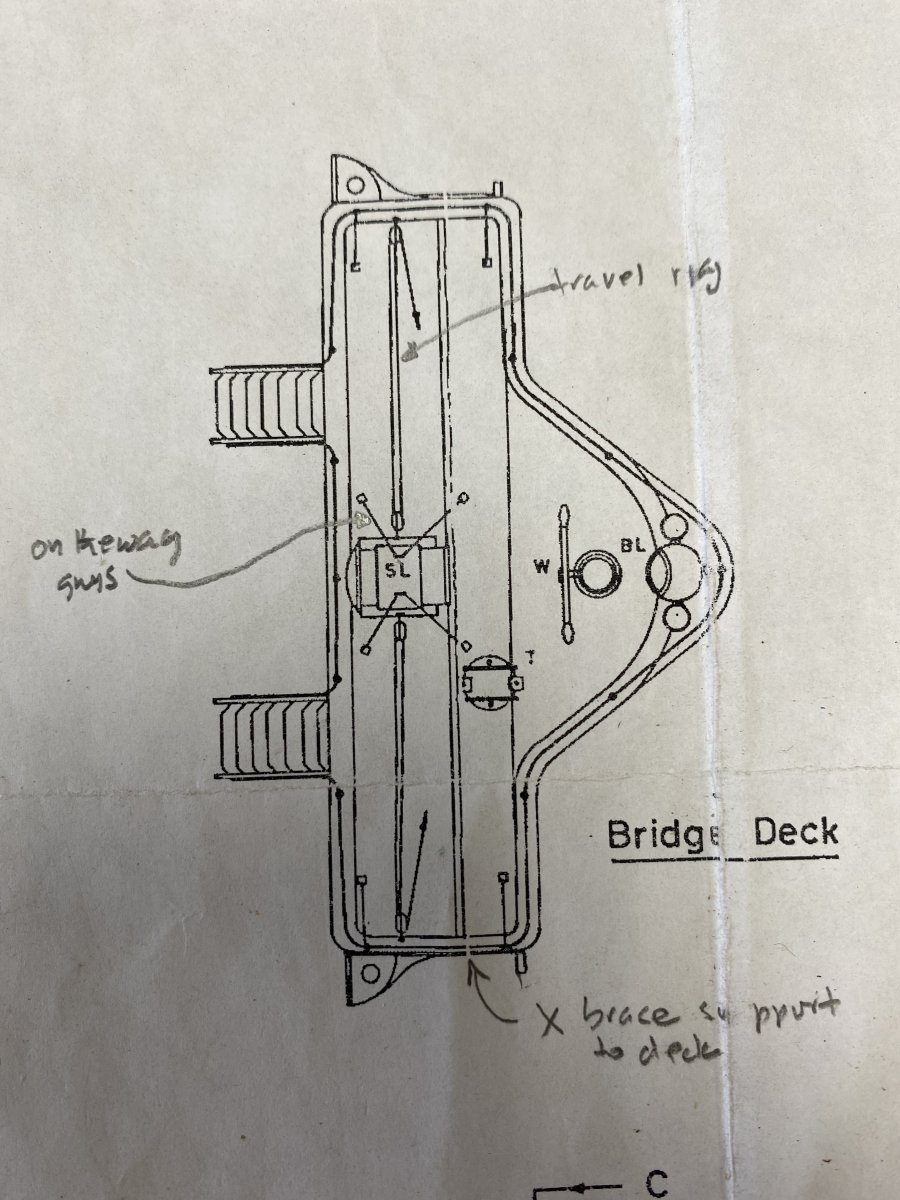
The information I have indicates that Amapá's searchlight is a traversing unit. It is mounted in what looks like rails and has a rope and pulley rig to move it from port to starboard. It also shows four stays at midship which, I imagine, are set while cruising. I have not been able to find any more information on this arrangement. I would appreciate your comments on this. Following is the plan of the bridge as it appears on the drawings.