Ras Ambrioso
-
Posts
662 -
Joined
-
Last visited
Content Type
Profiles
Forums
Gallery
Events
Everything posted by Ras Ambrioso
-
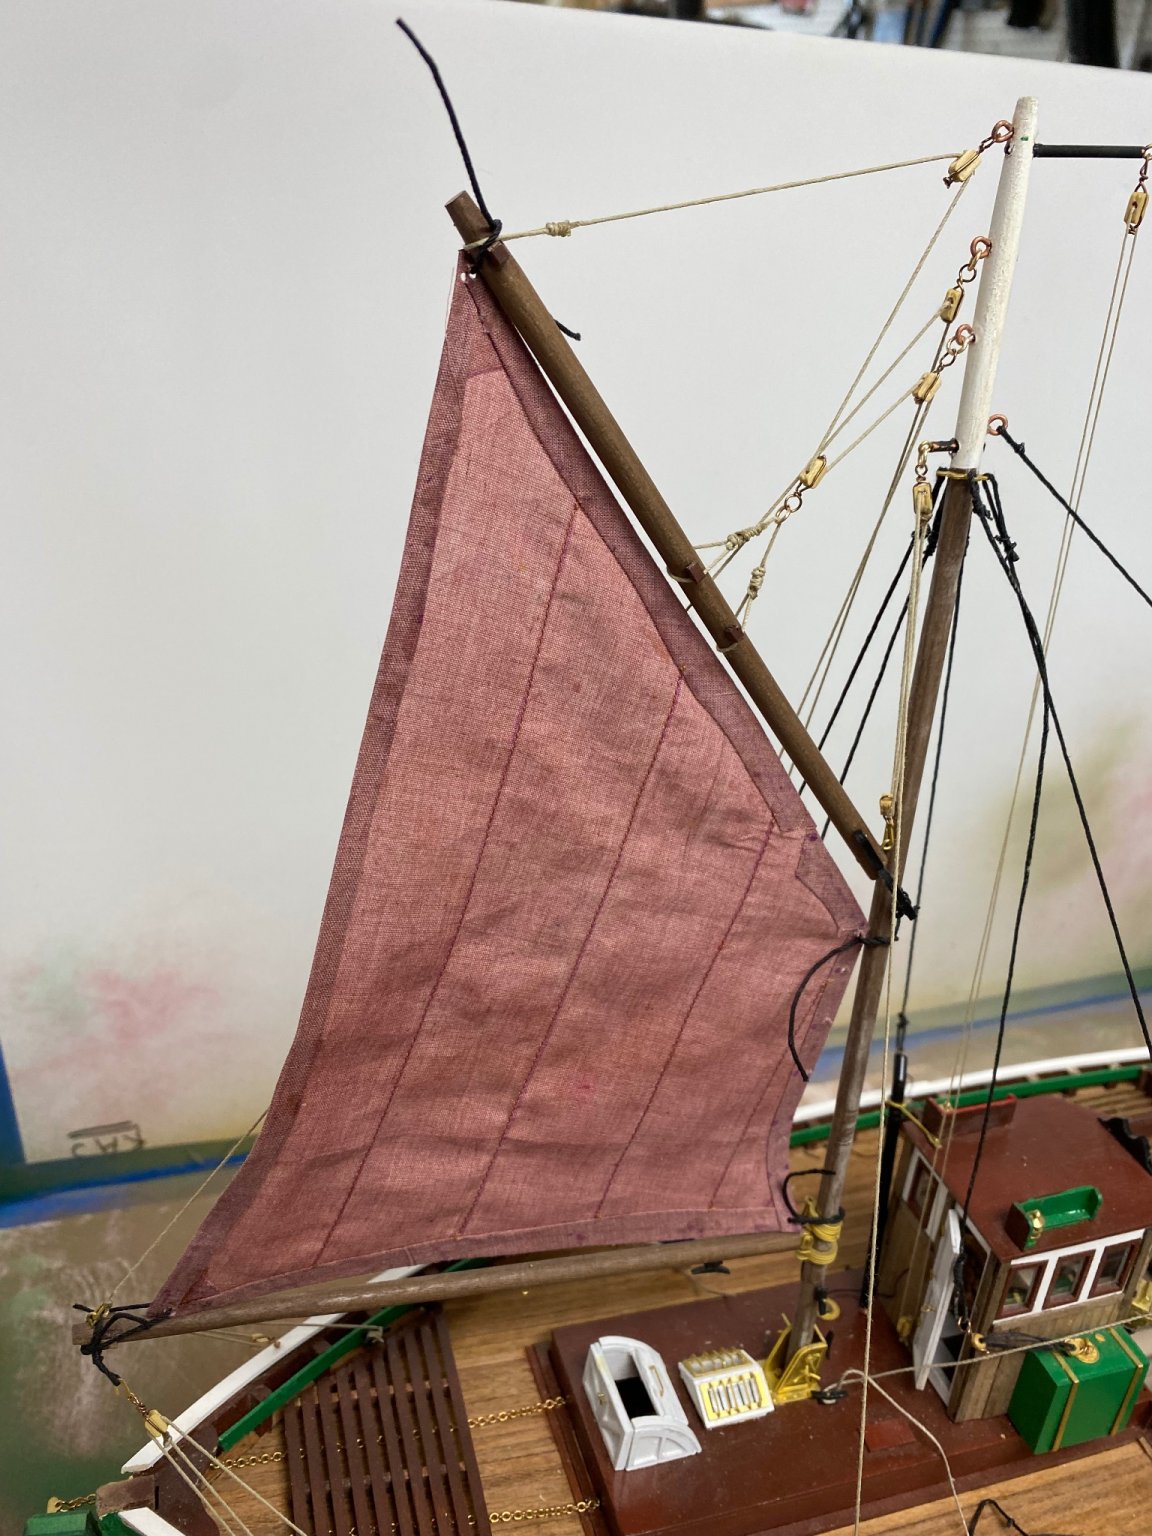
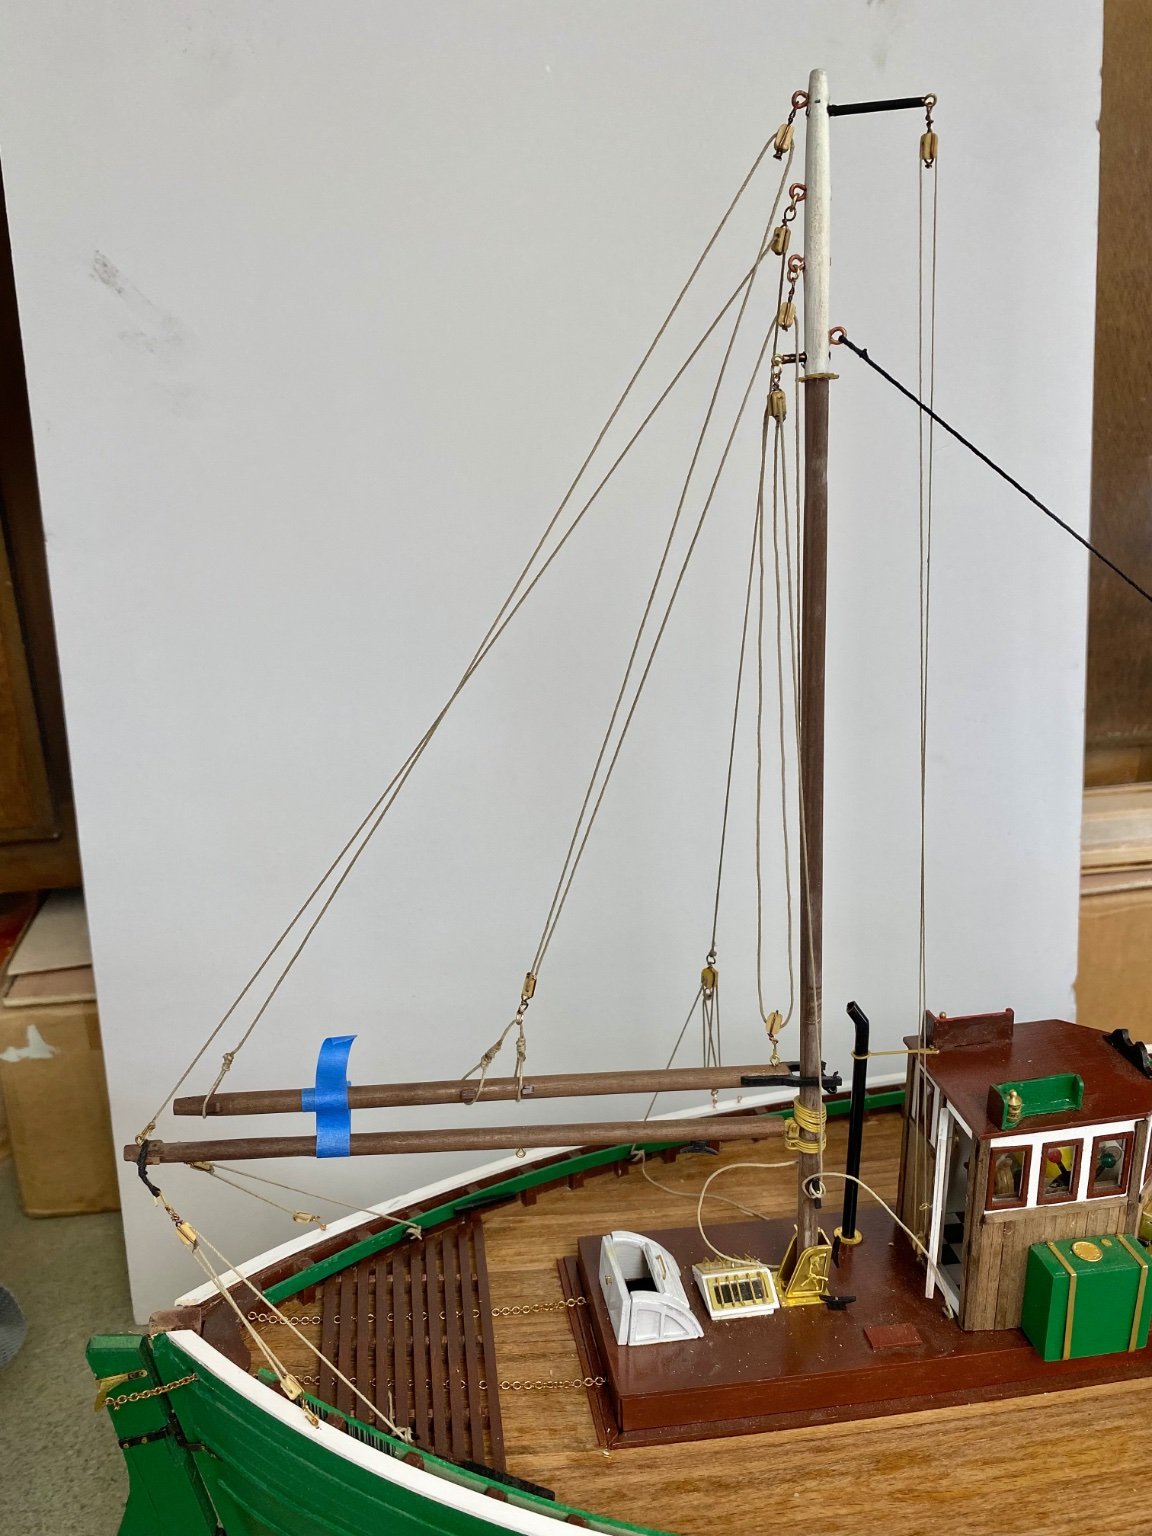
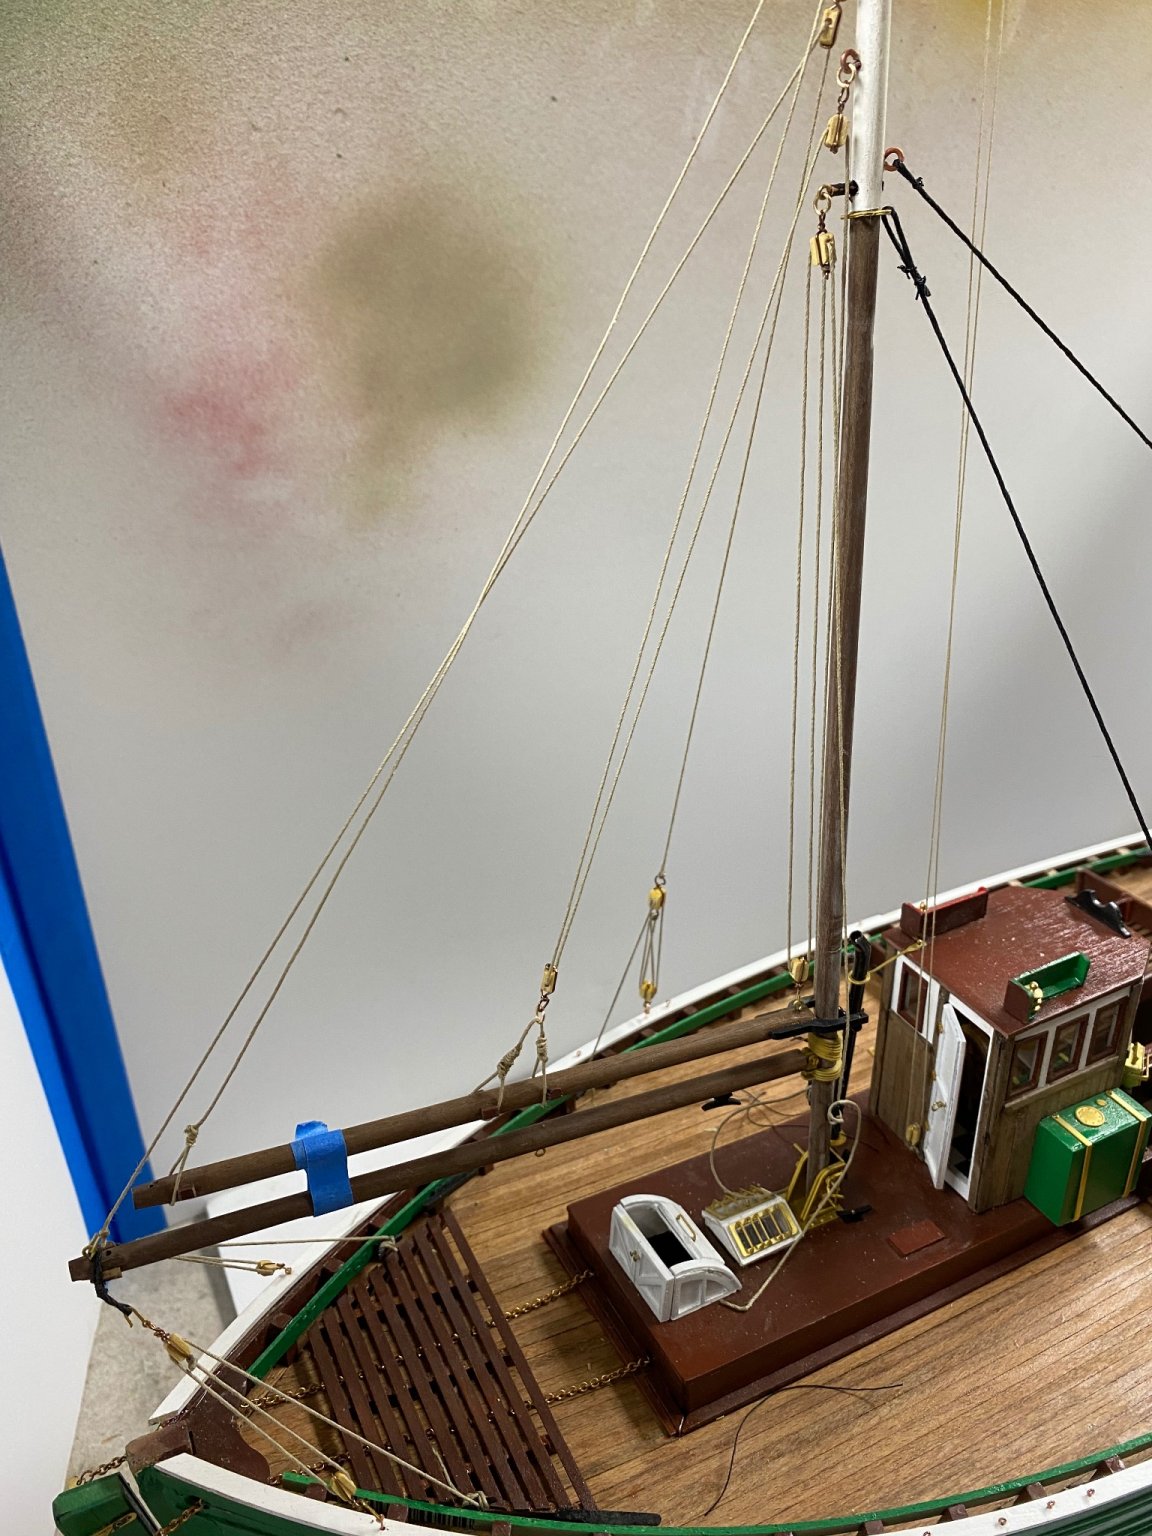
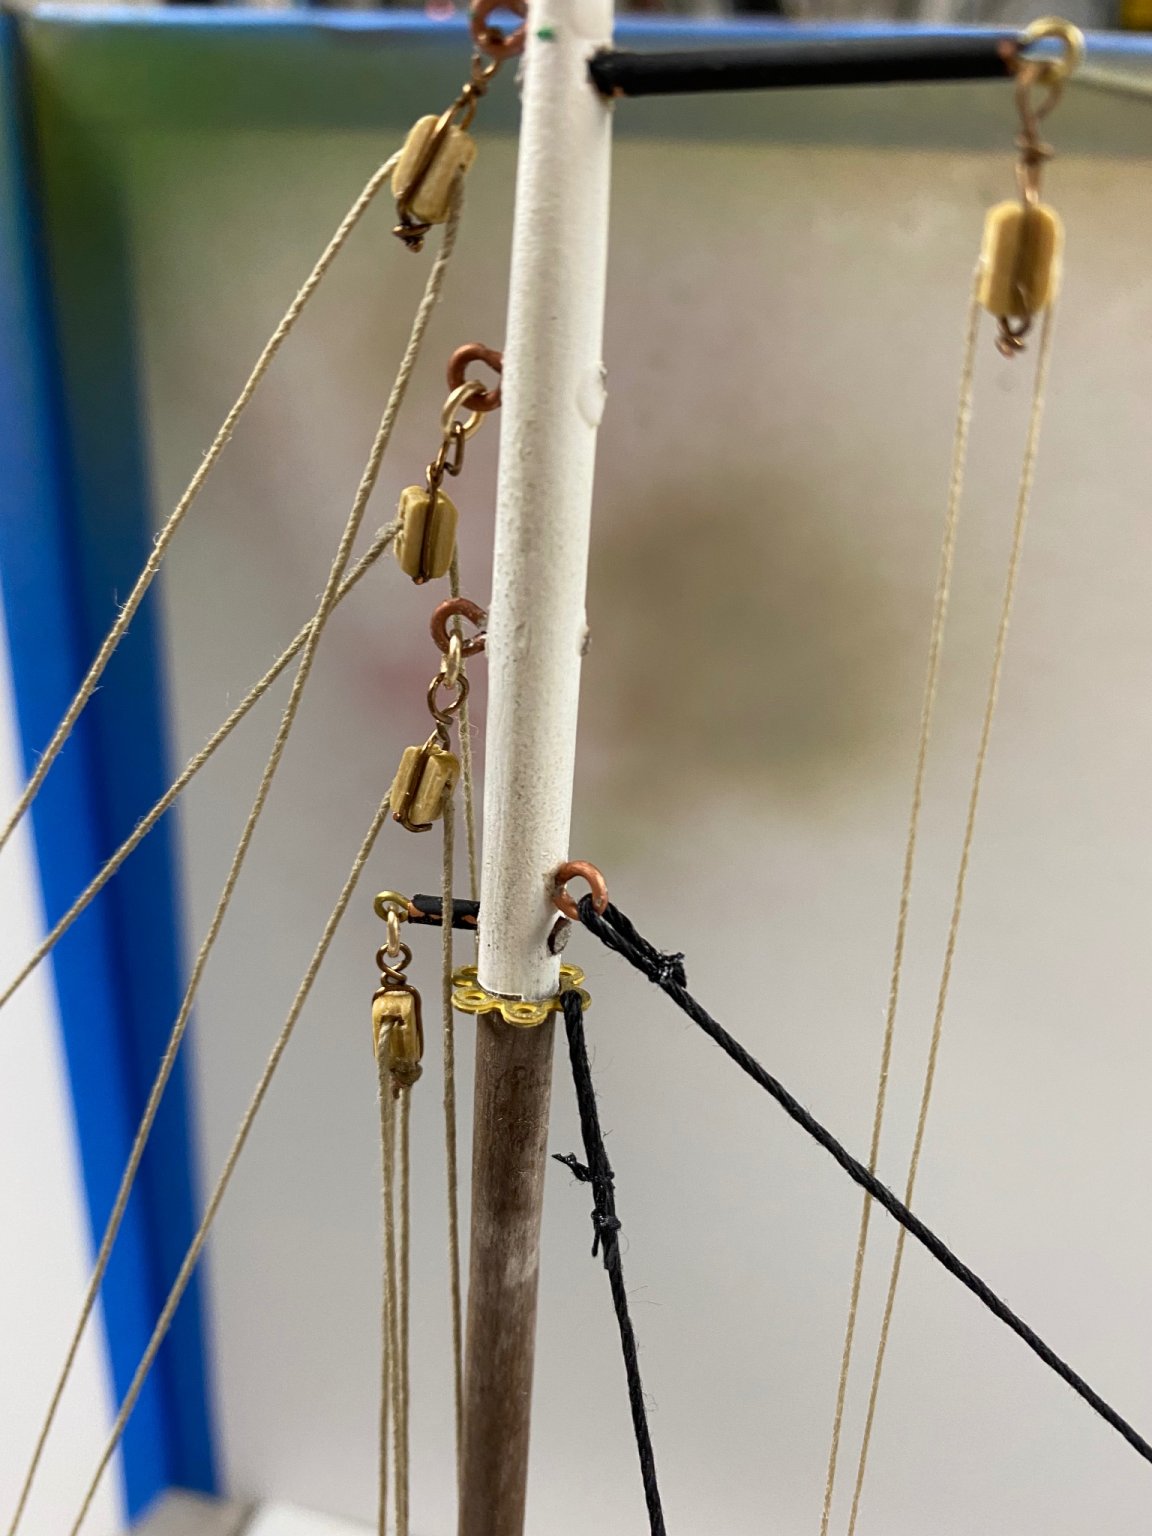
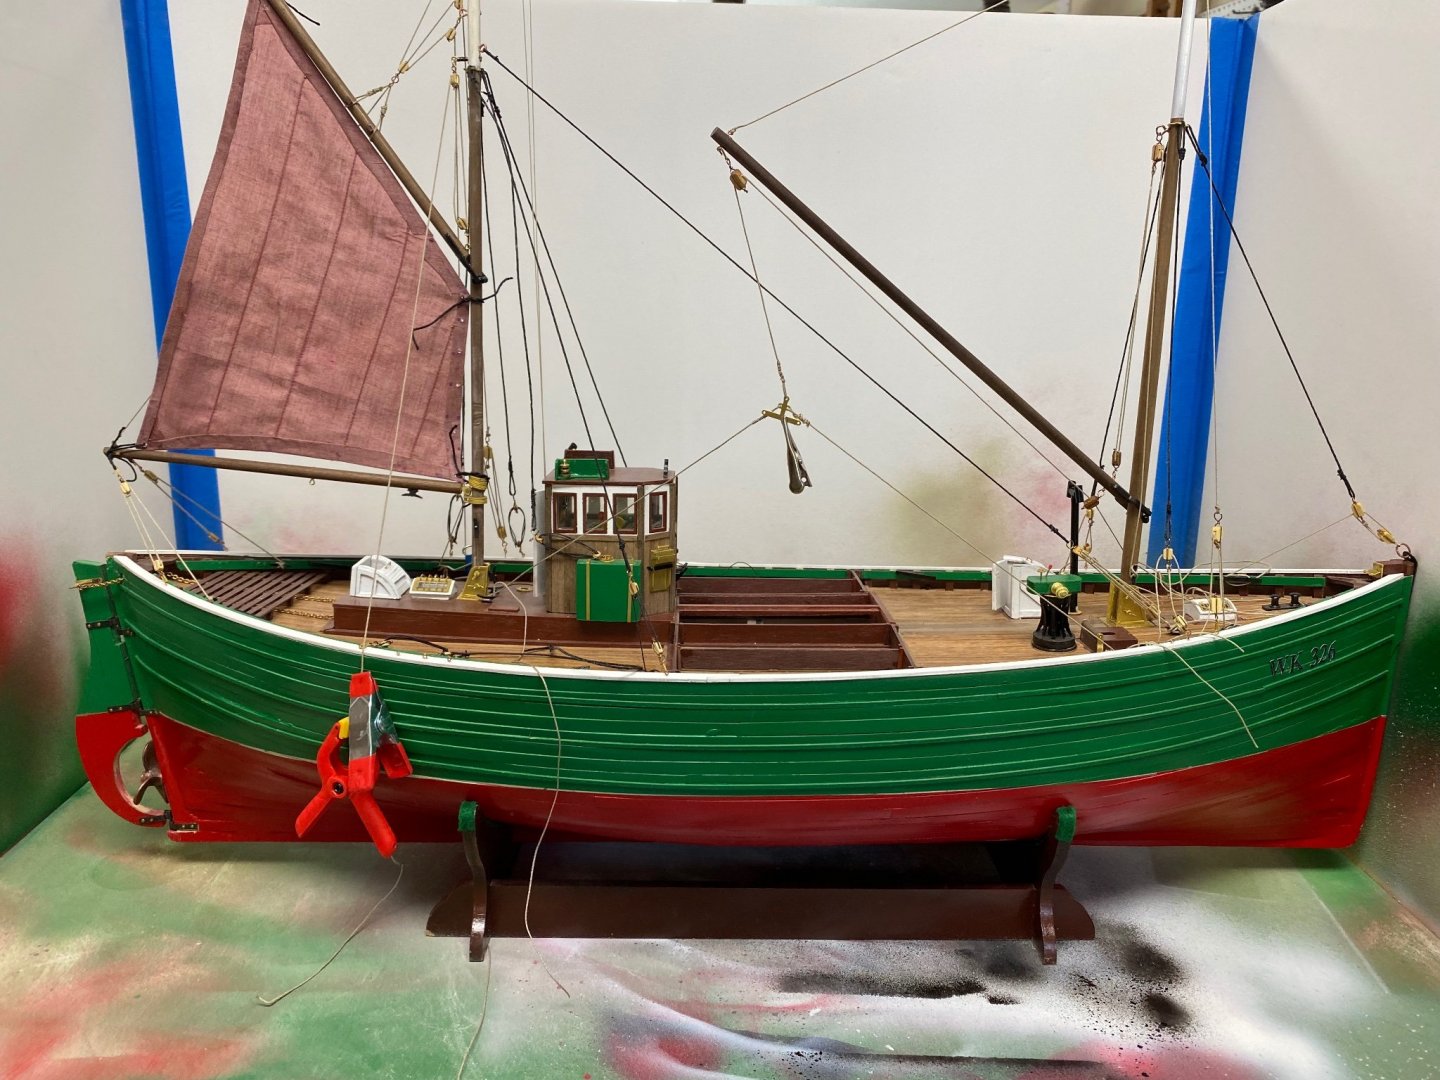
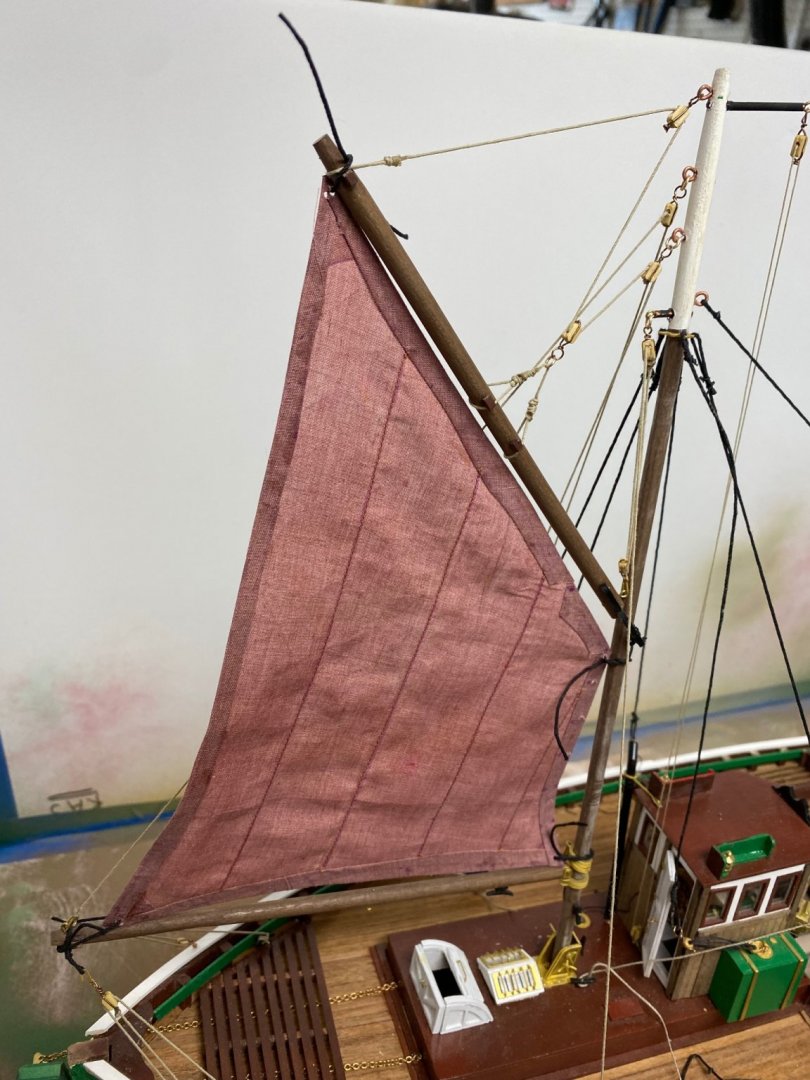
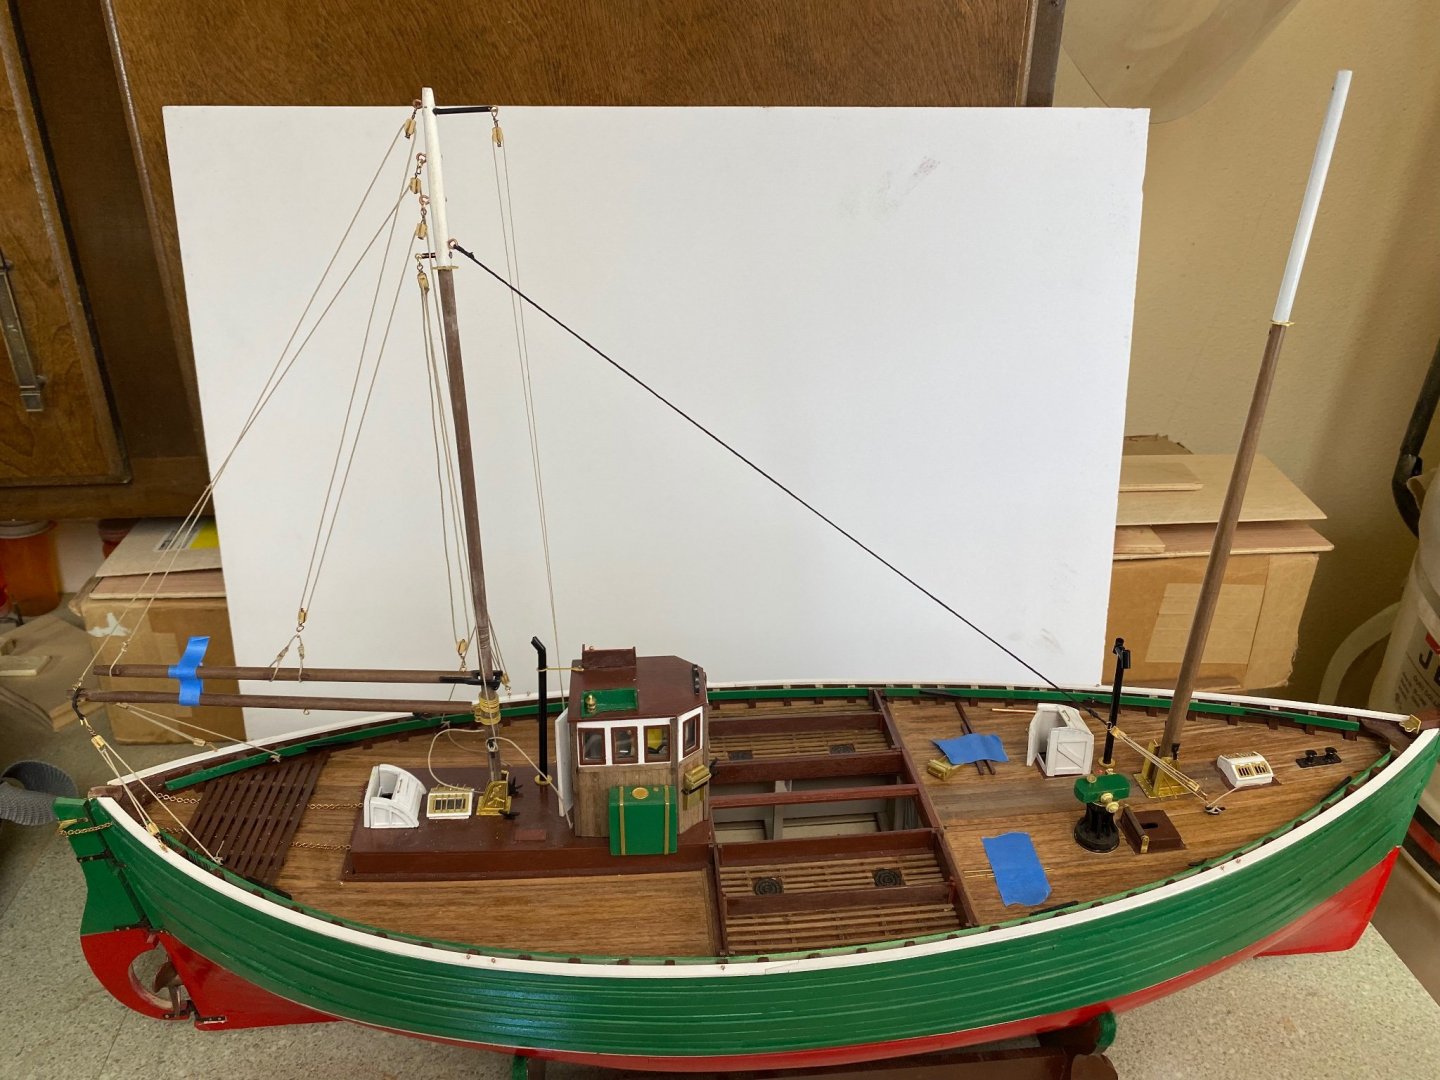
 I am including some pictures of the rigging and the dry fitted sail. Little work still remains since I broke one of the stays while installing the sail. On my next boat I will definitely do the whole rigging including the sail in a scale mockup away from the model. On this one, I had trouble with the final length of the stays and, in retrospect, I would have done the gaff halyard a little different. Notice the slack in the aft mast stays. Thanks for looking. Ras
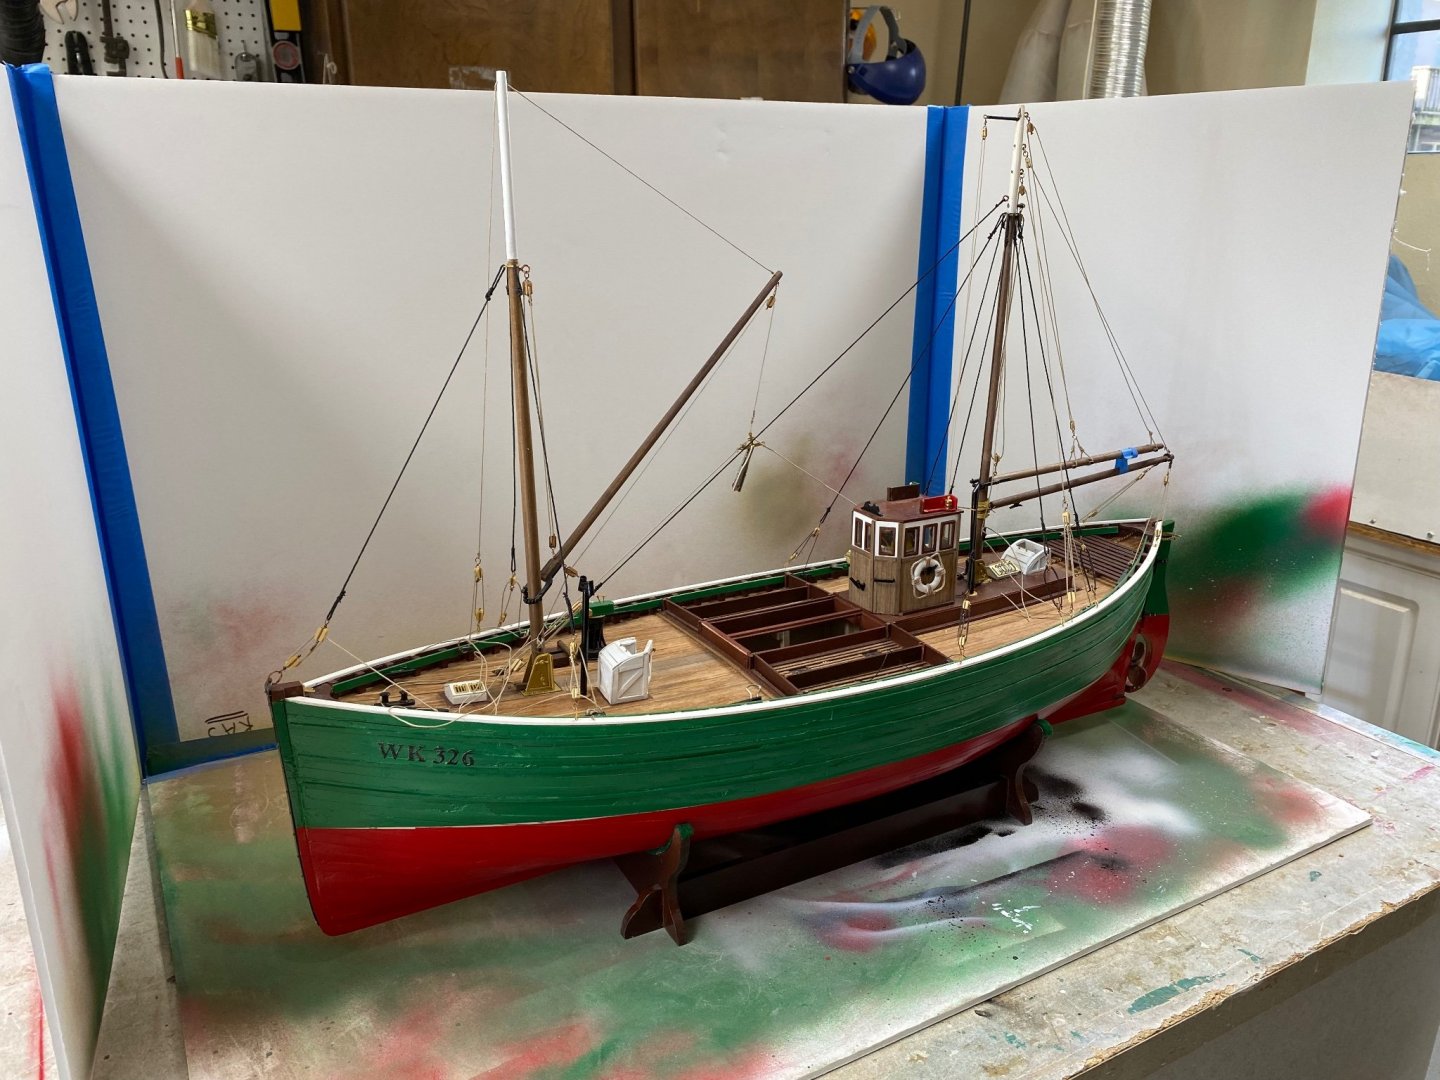


-
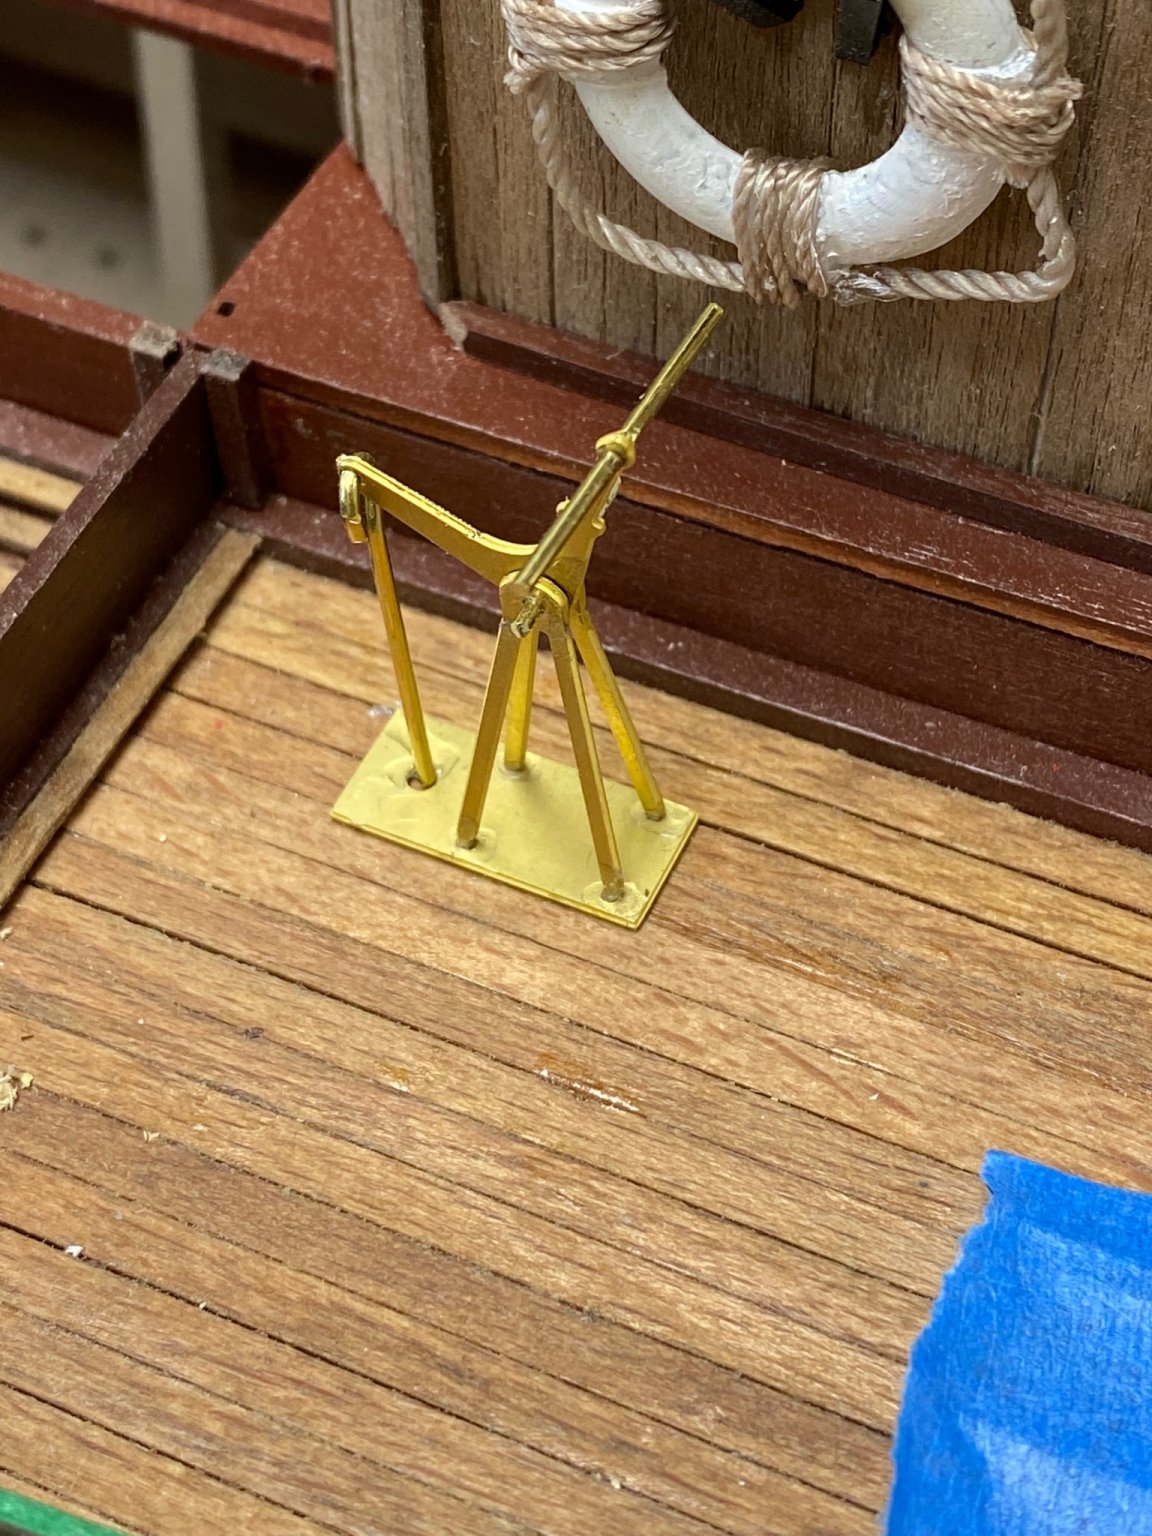
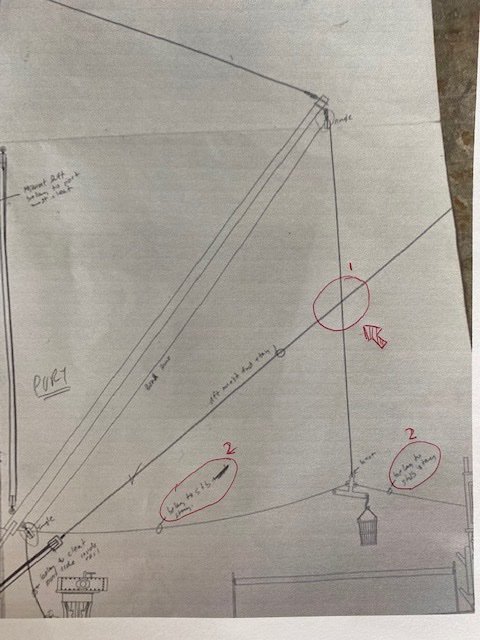
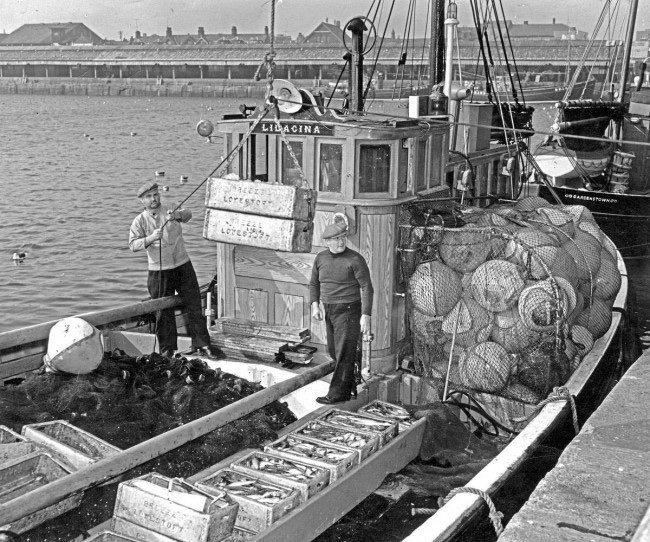
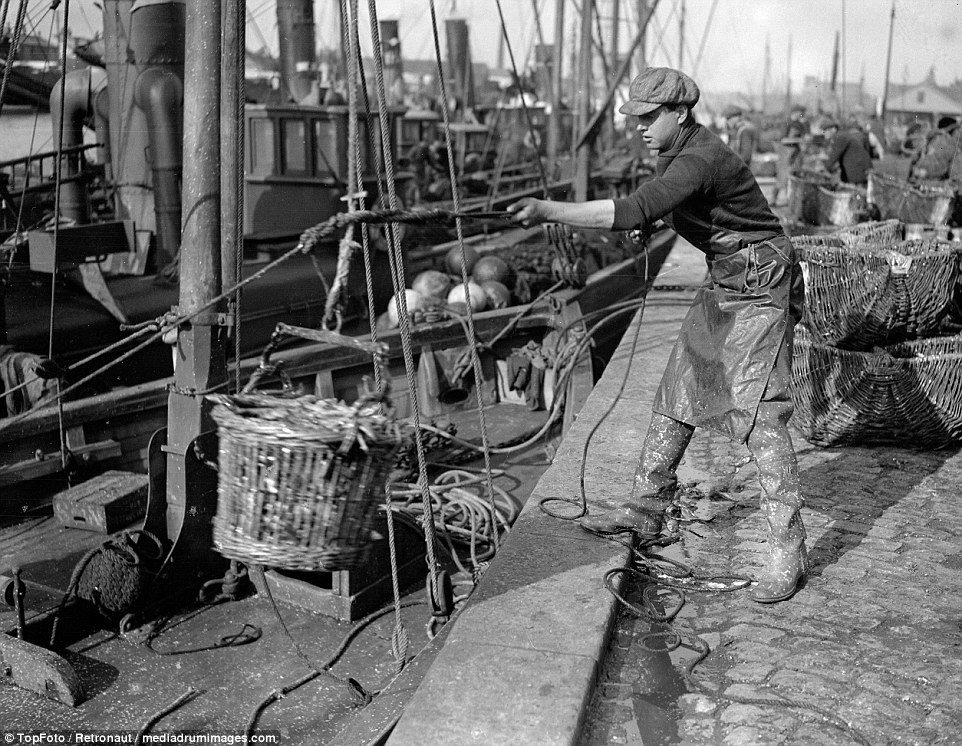
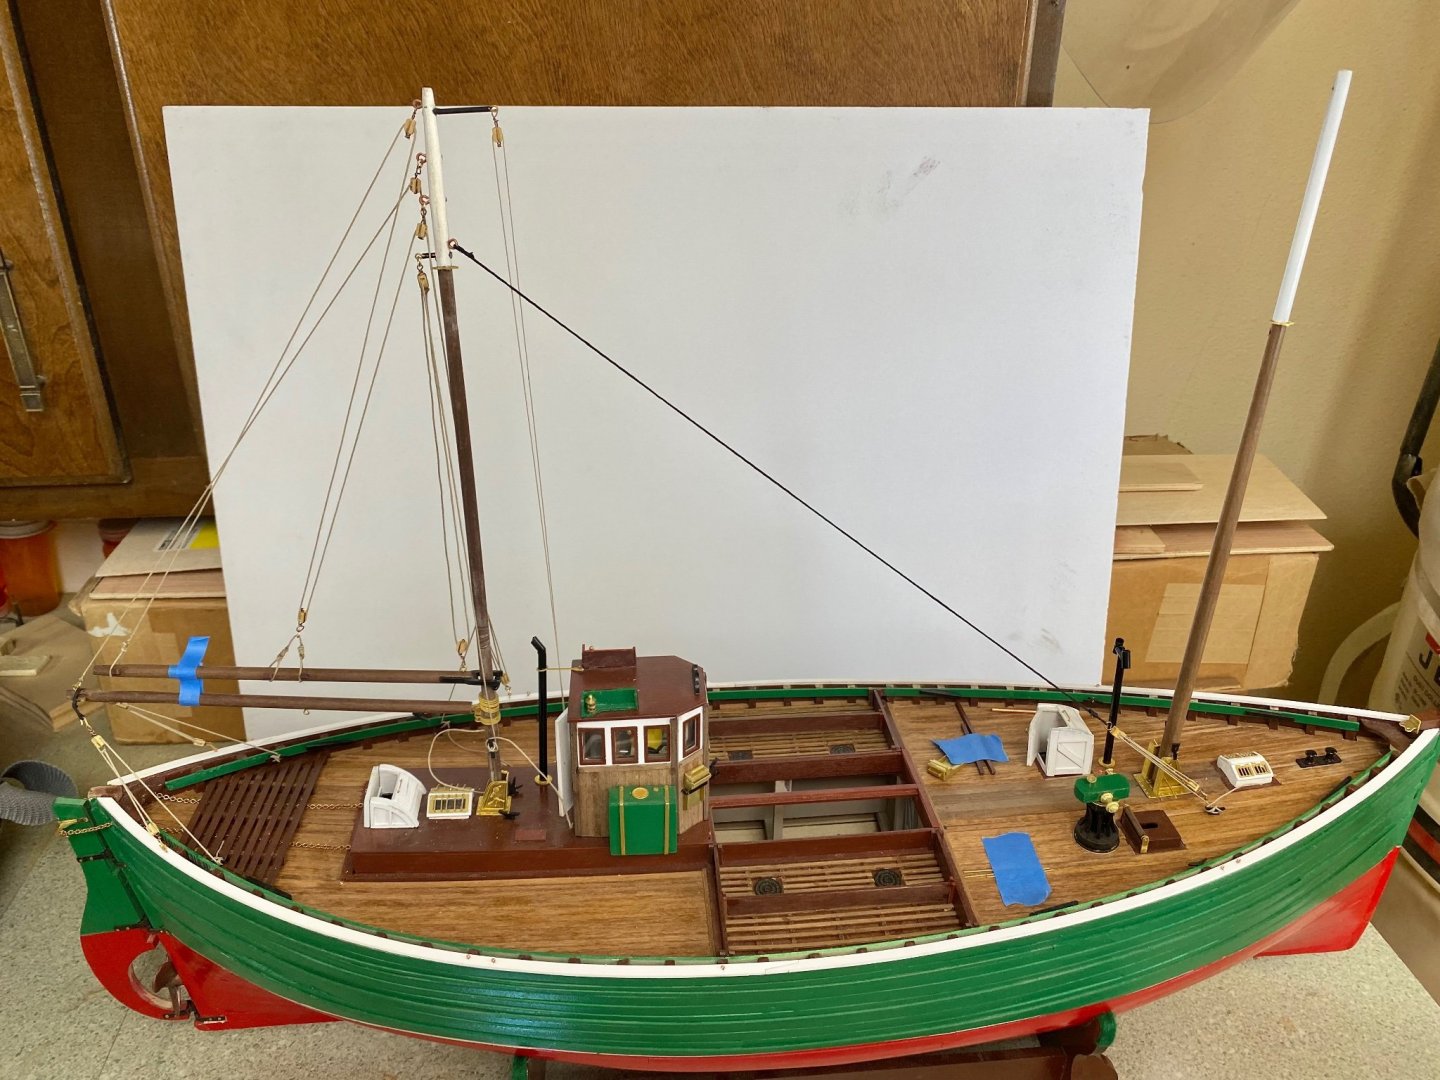
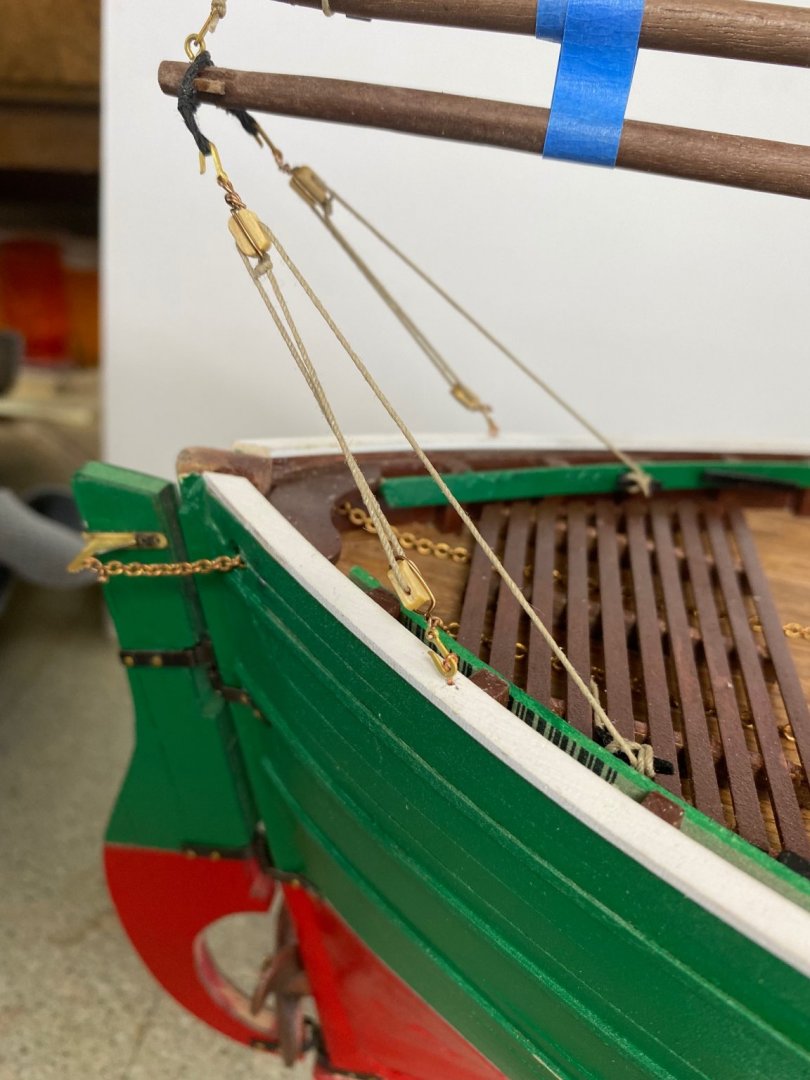
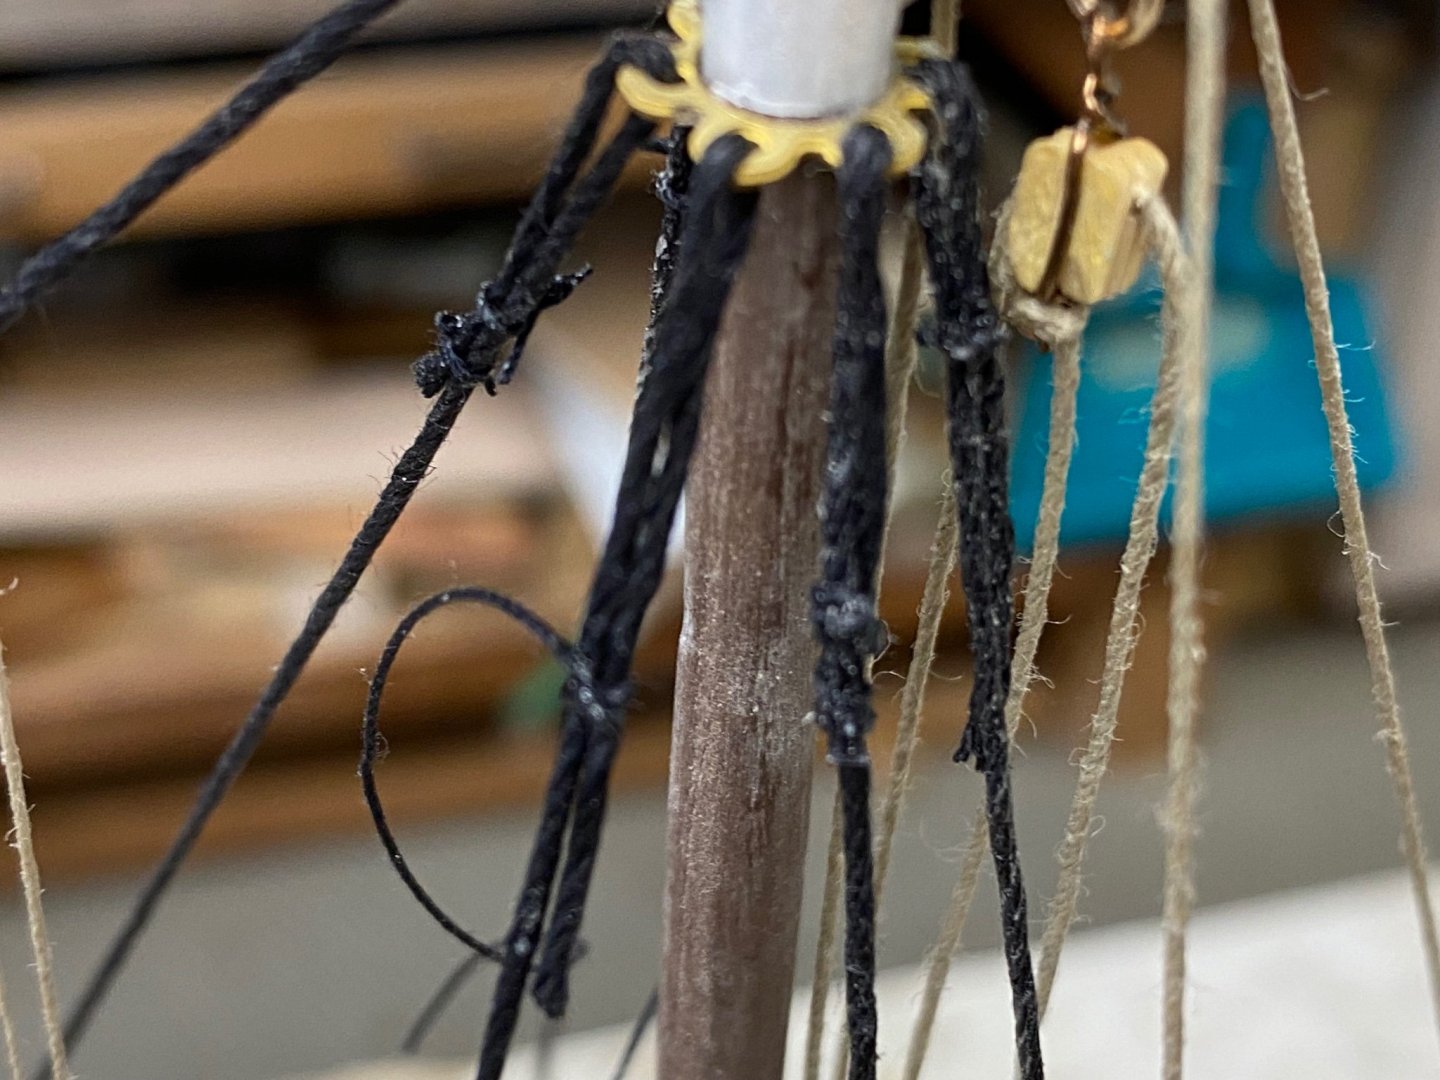
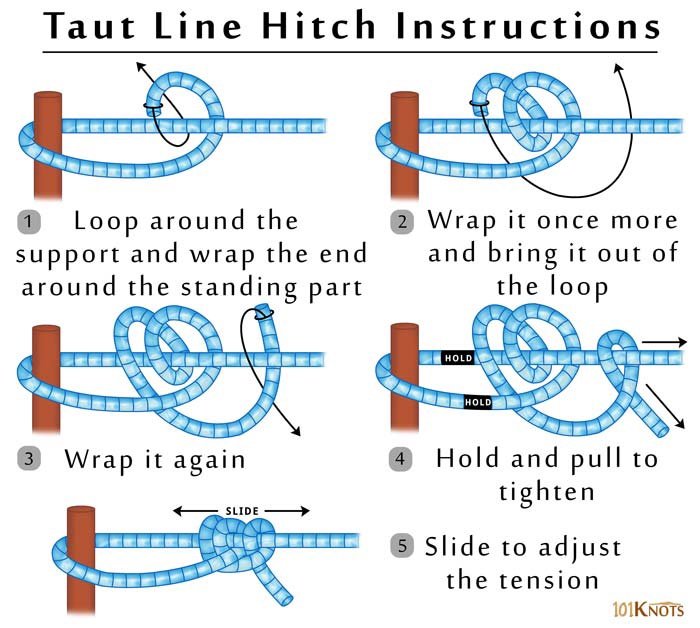
Today I have, technically, finished the rigging on the Fifie. Next will be to complete all the loose deck details. During this rigging I had trouble with the mast stays as it became very difficult to balance port and starboard to keep a plumb mast. As a result some of the tackle for my stays looks a little loose. I would appreciate any comments on the subject of controlling the stays tension to keep the plumb. MY method was a rolling knot but then the loops look unequal. Your advise will be appreciated. I also noted an interference between the after-mast forward stay and the load line for the derrick. The indicated arrangement in the drawing will only allow for loading from one side of the boat. This is shown on the drawing as item 1. The drawings are no very clear as to how to belay the control lines for the load, supposedly handled by the crew during the unloading. These are marked in the photo as item 2. Are they supposed to be tied to the stay? If so, what knot should be used? Following are photos of the actual unloading of the Fifie: Notice the messy decks. LOL
-
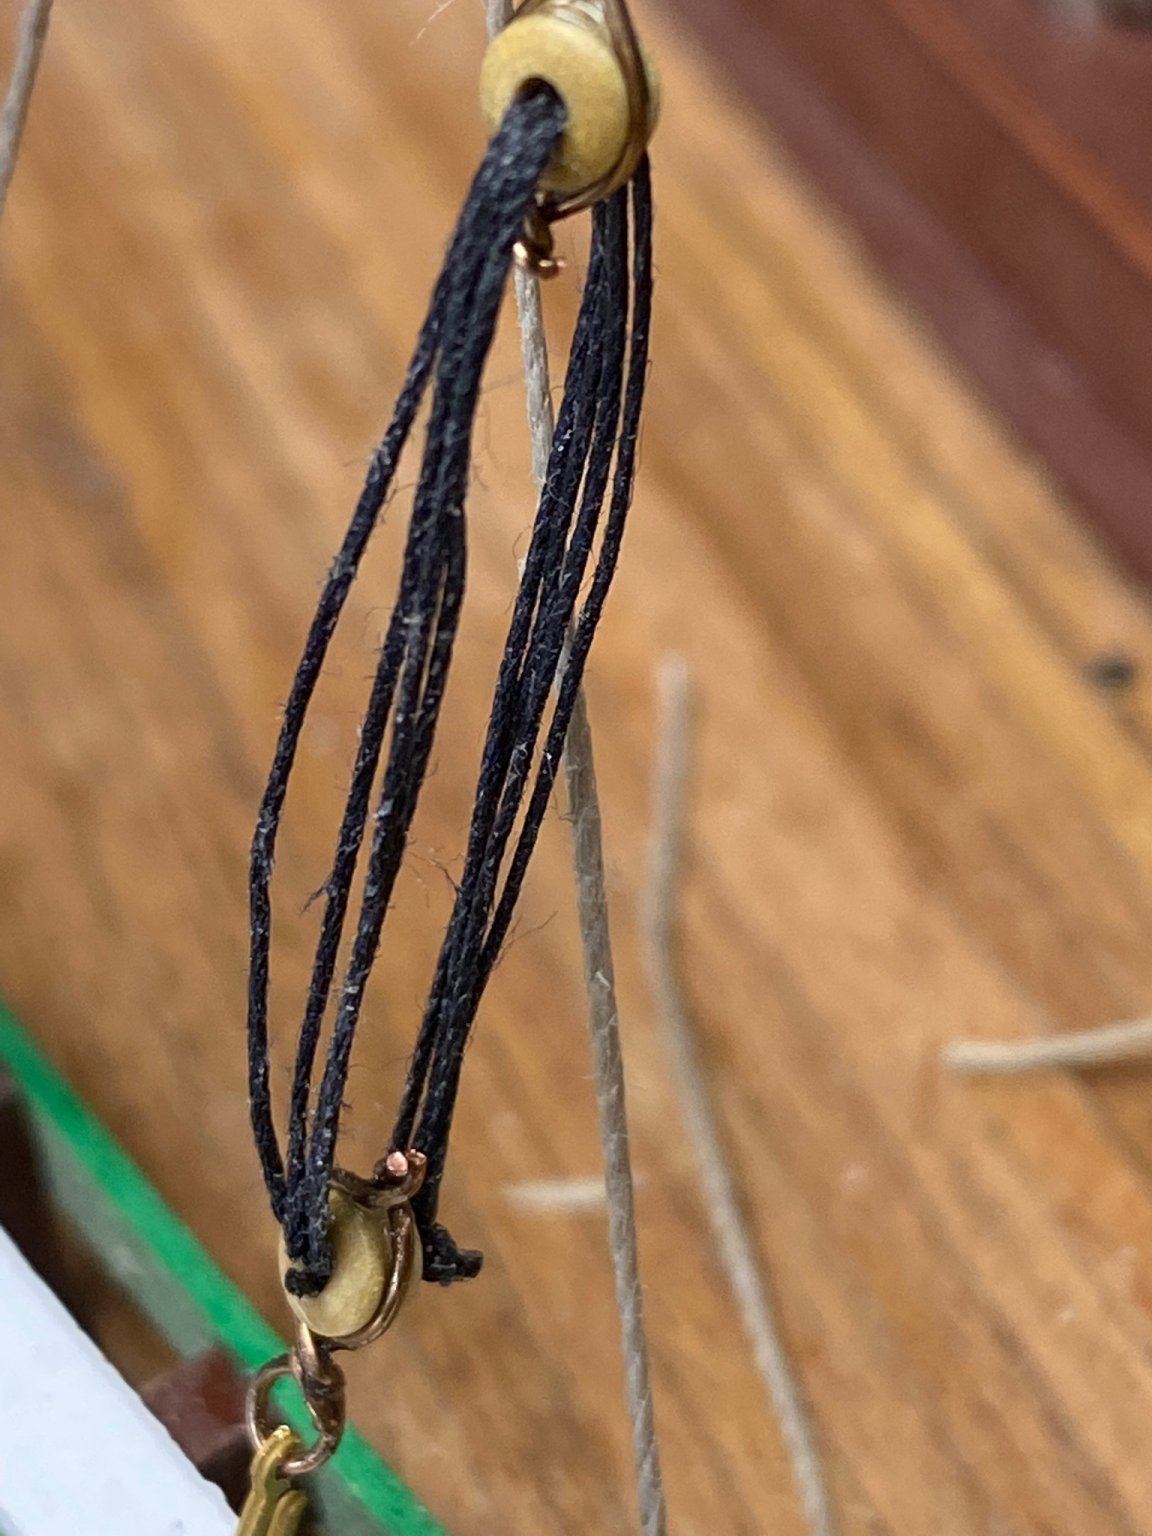
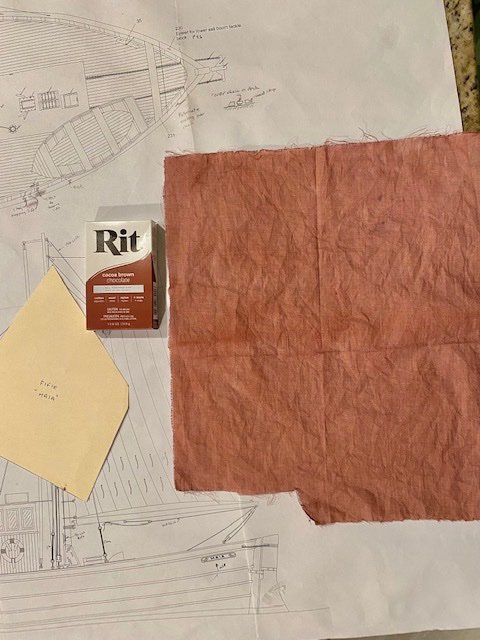
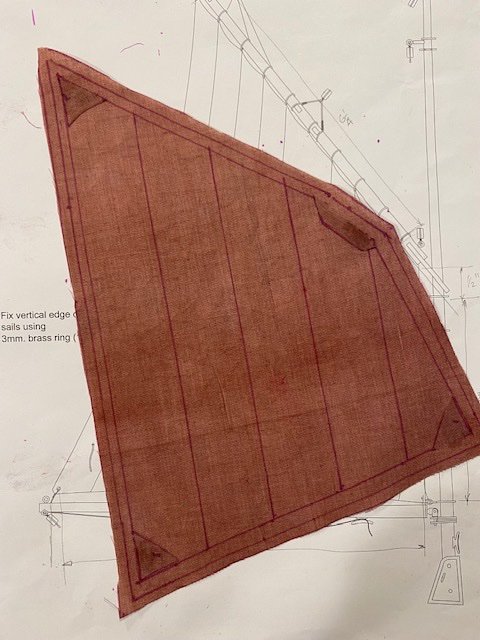
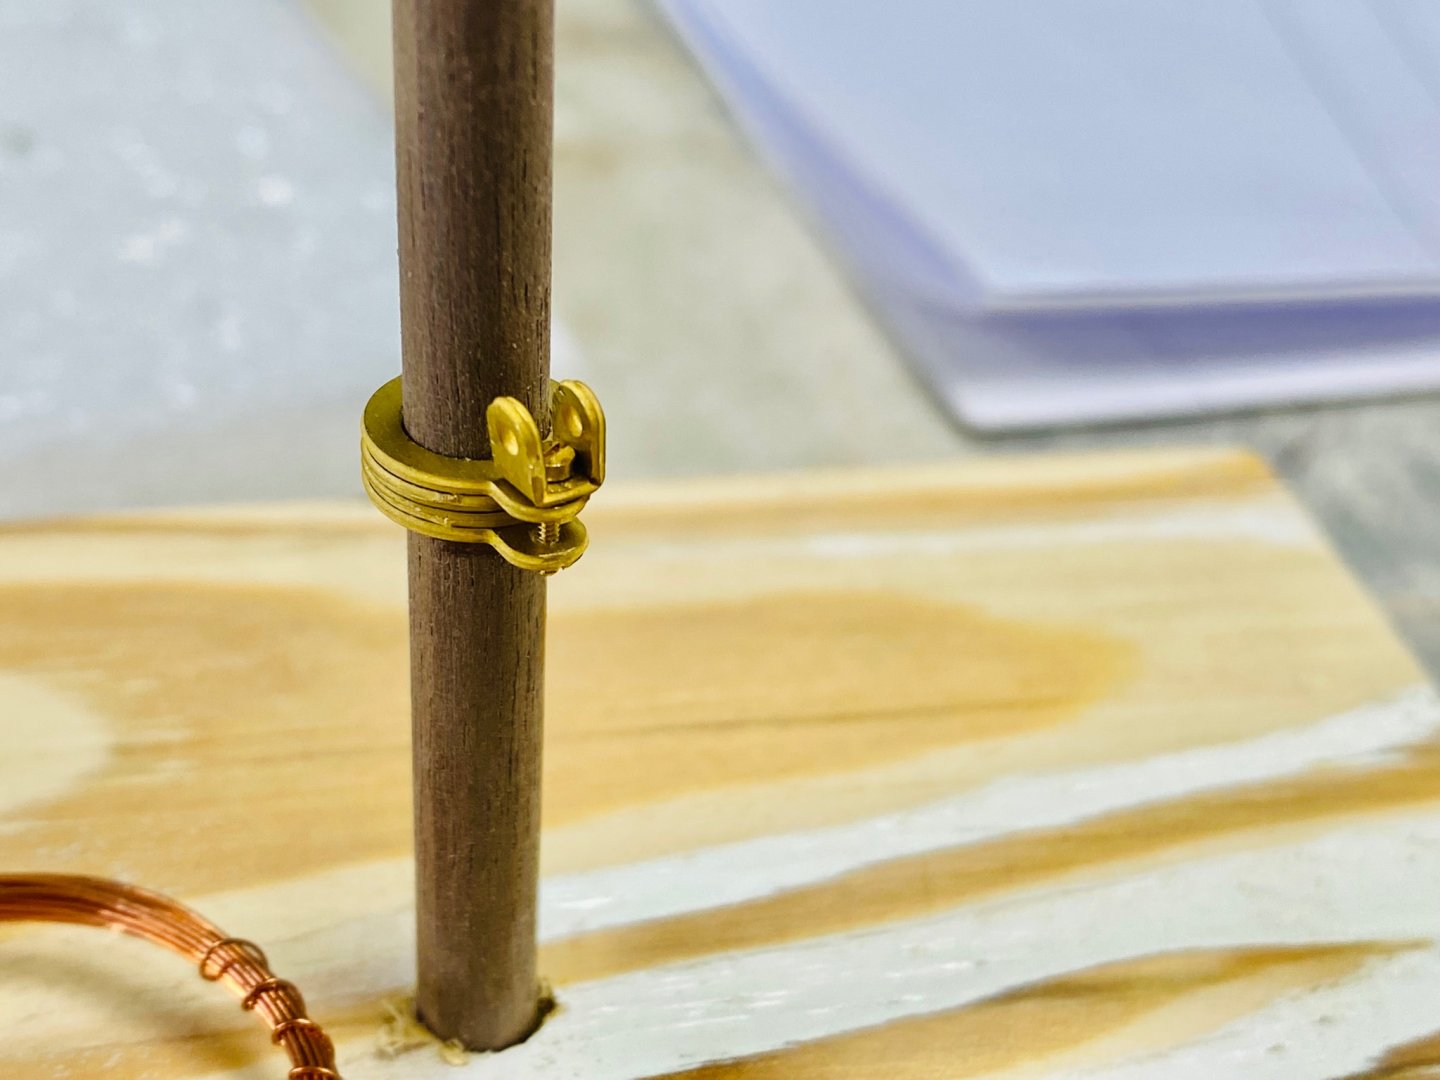
Thanks Yves. Today I worked on one of the stays in fwd mast. These ones are actually controlled with a regular block tackle but I wanted to check my idea of the sliding knot. I rigged the blocks and attached the one end of the stay, made a loop and served it in the bench. Then I run the other end through the mast ring and tied my sliding knot. Success. I didn't tighten it up completely because I need the opposite stay in place to keep the mast plumb. The only thing to watch, when tying this knot, is that the tightened loop be the size you want. I have dyed the sail cloth using the RIT Chocolate brown color. I made a template and cut the pattern and now all I need to do is to complete the hems and having my old lady friend stitch the panel lines. I am going to leave the stitching off the edge of the sail since I may consider furling the sail. Notice I added reinforcement at the sail corners

-
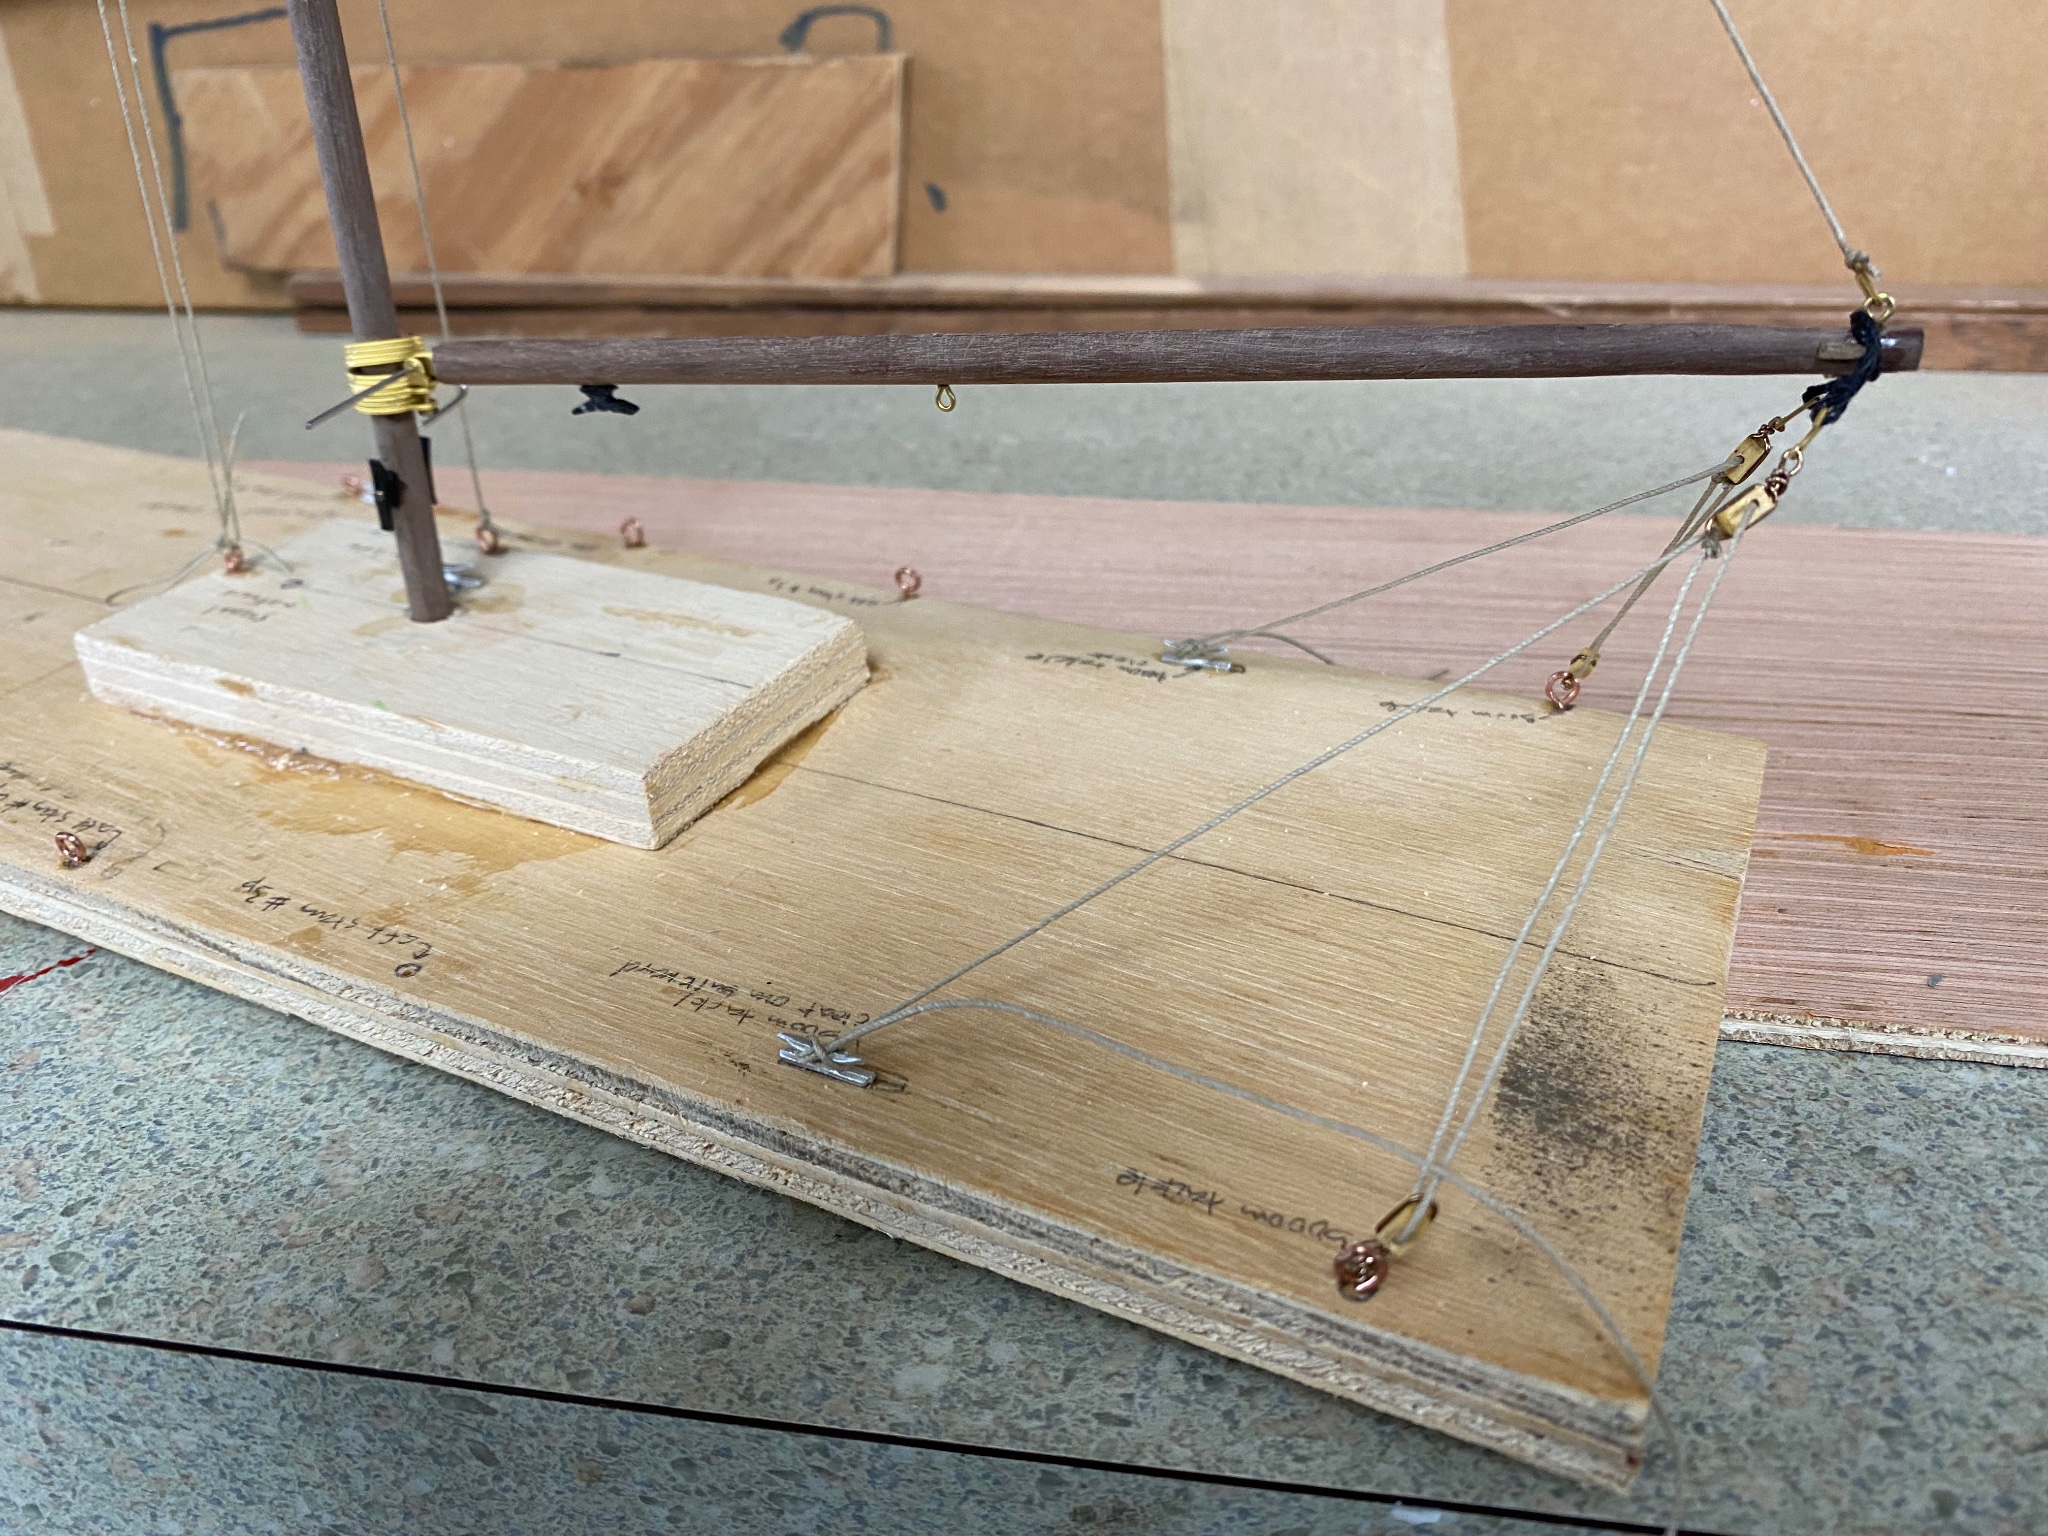
Almost finished the aft mast rigging After a little review of my work, I found that I could control the tension of the stays only in those stays with tackle. The ones rigged with eyes remained loose. I blamed it on the fact that they are looped to the mast to a brass ring and, when I tied the knots, I had no way to tension the stay. I also was having trouble trying to serve the loop. So I remembered my Boy Scout days and the sliding knot we used to tighten the tent stays. And this was the result It was easier to rig the stay on the bench and then place in the model. The lower part has a hook on an eyebolt on the rail and the upper loop went through the ring loop and then the knot was tied and tighten. Then, it dawn on me, that it would have been a lot easier to rig the whole stay in the bench and use a hook to connect the stay to the mast ring. Thats what you call afterthought. But I think I will revise all of the stay loops and replaced them with these knotted style.


-
Good luck cathead, everything looks fine from here. BTY, I think, when I do mine, I will keep the hull frame glued to the board. It will make the planking easier using the board as your third hand. Chris as said that it will be easier to remove the complete hull from the posting board later. My problem is going to be that I read this after I had glued the plans to my plywood working board. LOL
-
I had the same problem when building my fifie. I wound up extending the short frame with fillers but this resulted in a non-symmetrical hull. Let's see what our experts say about this.
-
BTW Ives, your corvette looks beautiful and I am looking forward to see it grow in details.
- 321 replies
-
- 5
-

-
- Finished
- Flower-class
- (and 1 more)
-
Going back to Egilman. It seems to me that the 3D is nothing more than a parts making machine instead relying on a kit maker or in your construction abilities. Then modeling becomes , like Roka says, a computer ability test. But you will have to to still assemble the parts and this is really what we do. So I am OK with both alternatives but I don't think I can handle the computer side so I will continue buying kits or making my parts the old way.
- 321 replies
-
- 7
-
-
- Finished
- Flower-class
- (and 1 more)
-
In the fifie I’m building, the steam winch had EP wheel installed. the Ep card had an extra one. They are a about 2.5 mm dia. I think these would be available on line
-
Roka, I agree but I am too far behind to catch up. It’s like learning a new language at our age and add to it a short memory and you got me.
- 321 replies
-
- 8
-

-
-
- Finished
- Flower-class
- (and 1 more)
-
Guys this last thread about the aileron horns is another reason I love this forum. We are not only modelers but historians. Thanks you guys.
-
Egilman, I feel the same as you regarding the future of modeling but I am an old man that just crossed from split to smart phones recently. I hope that the younger generation provide us with the parts resulted from 3D printing.
- 321 replies
-
- 7
-
-
-
- Finished
- Flower-class
- (and 1 more)
-
Thanks Cathead. I have been inspired by other builds in this forum. I am trying to build something a little different than just an "out of the box" kit. For my next adventure I am going to try a "scratch" build. But, I'll tell you these details are what makes it fun. I am going to make nets and improve on my fish. The boat will be presented as ready to unload crans of herring. Bumpers out, mooring lines ready and hold partially open etc, etc. Chris Coyle, PJG and Big Dan have been great models to follow.
-
Ives, I will be following your built closely. First, I have considered building the Flower corvette model for a long time and second, I am very interested in the 3D printing. Your comments on my build are always appreciated. Keep up the good work.
- 321 replies
-
- 8
-
-
- Finished
- Flower-class
- (and 1 more)
-
Cathead, I will be follow your built since that is on my list of projects after I complete my Fifie. Your land looks beautiful. I just spent last week in NW Wisconsin where the landscape is just as impressive. We are so lucky to live in such a beautiful country.
-
Chris: just by chance I got into your posting. I love your work and I am waiting to finish my Fifie to start the V108 and get into the card business. The Halinski Spitfire wire beckons.
-
Bob and Ives, thanks for your comments and support. Progress now is getting slow as these details take a long time for very little to show. This week I’ll be off since we are visiting friends in Minnesota.
-
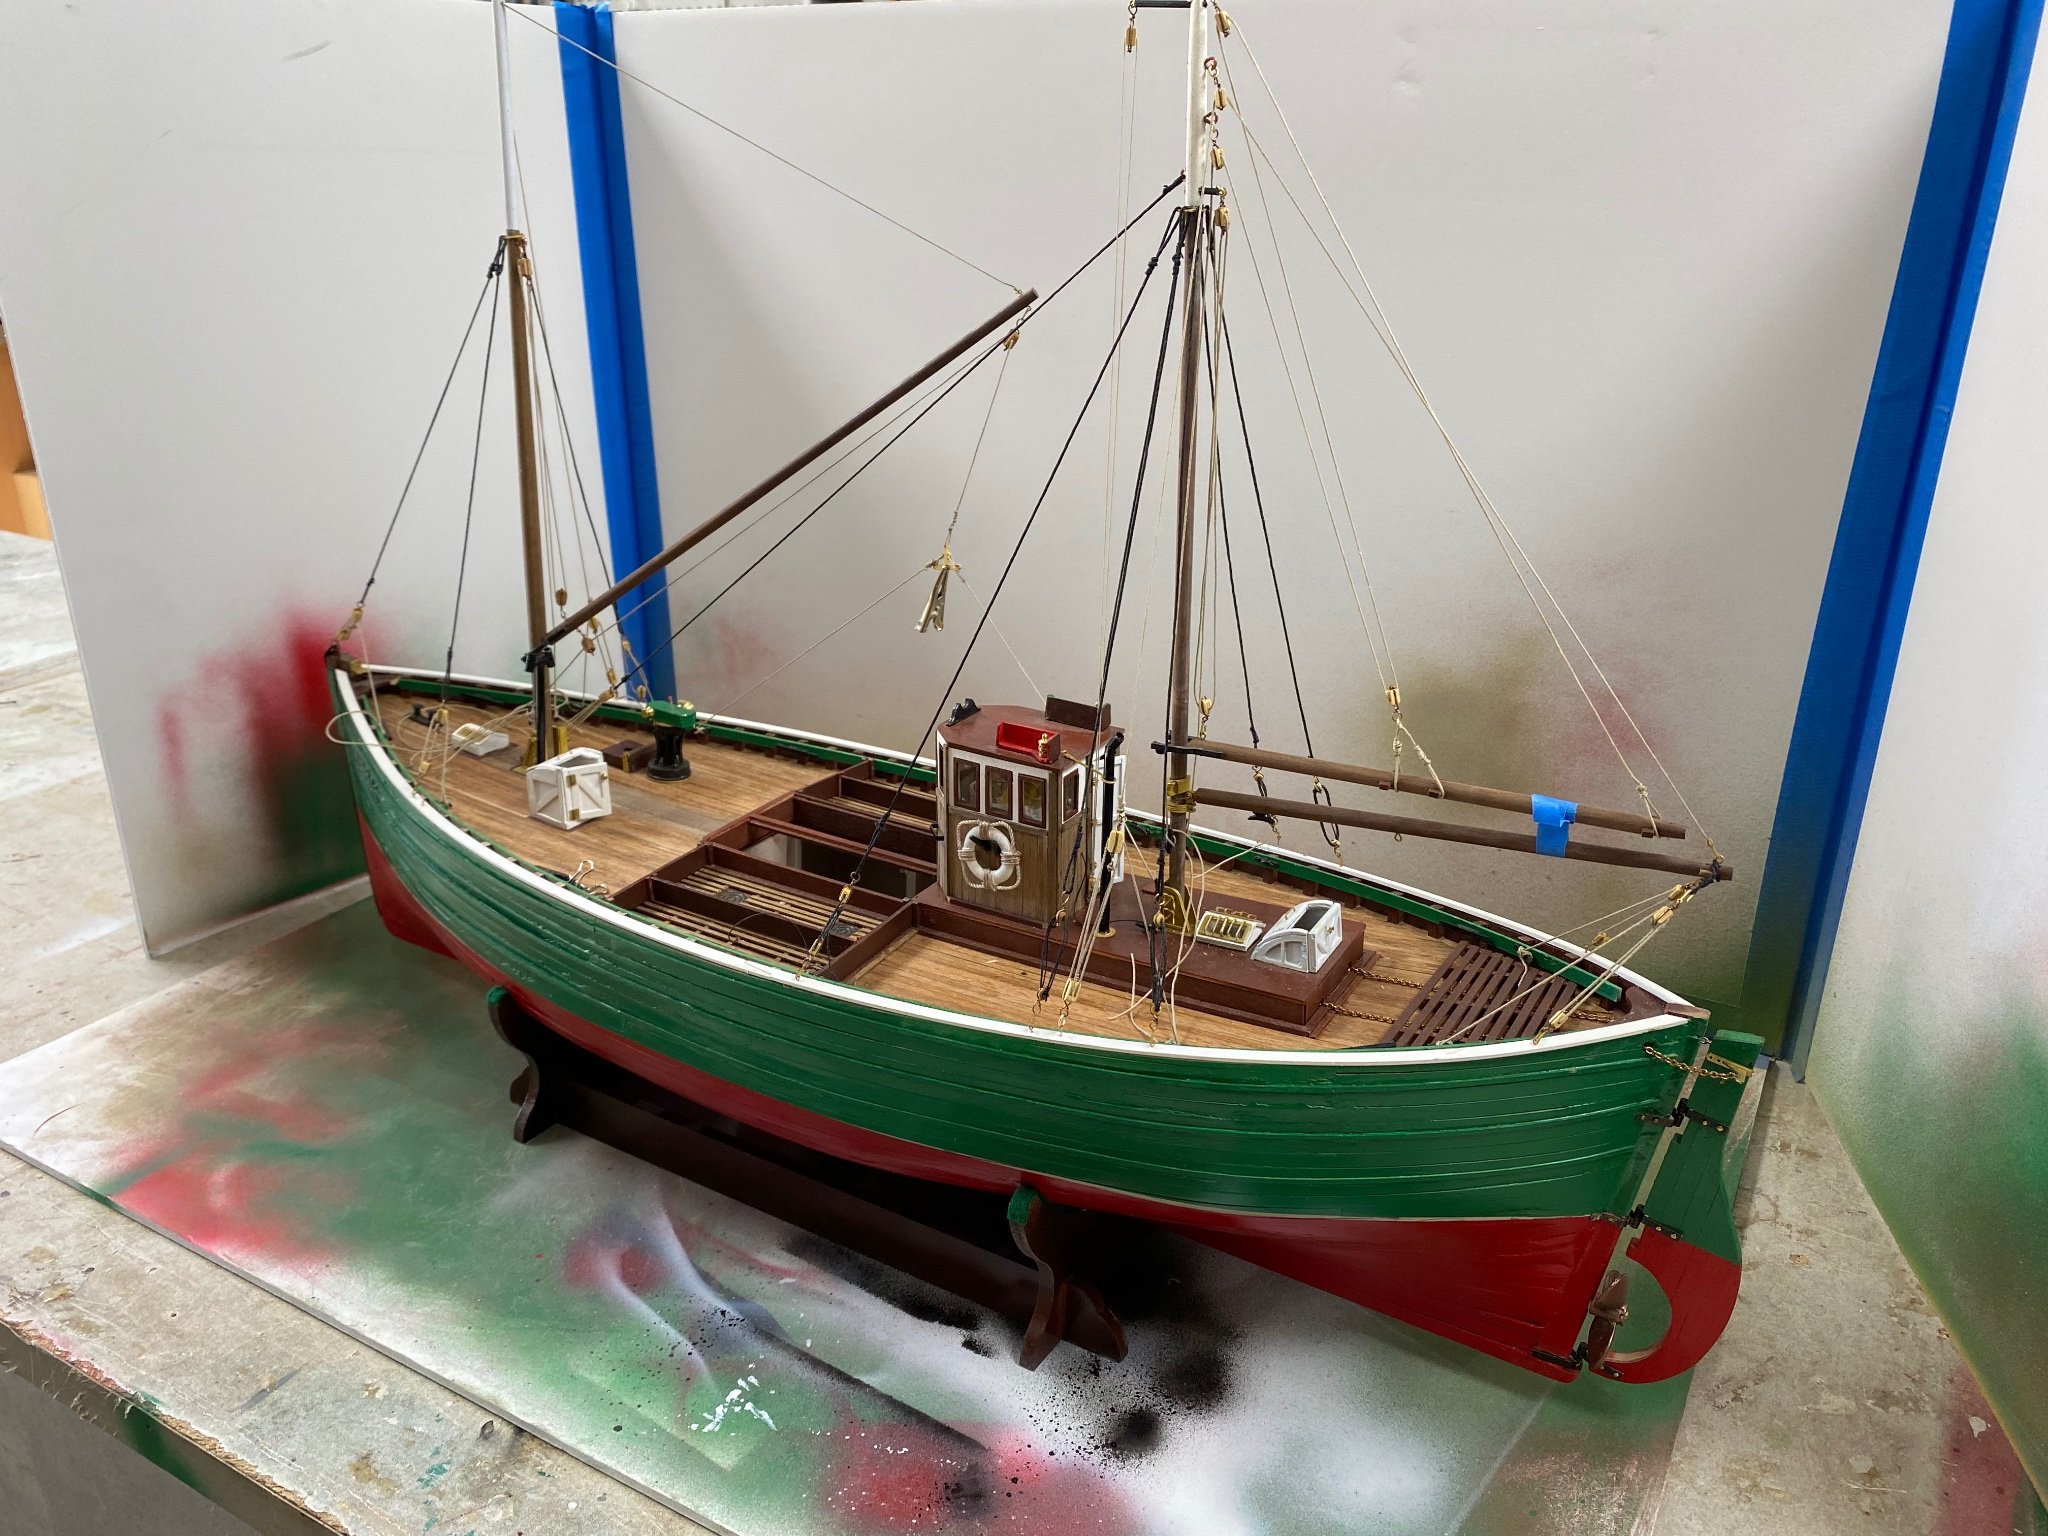
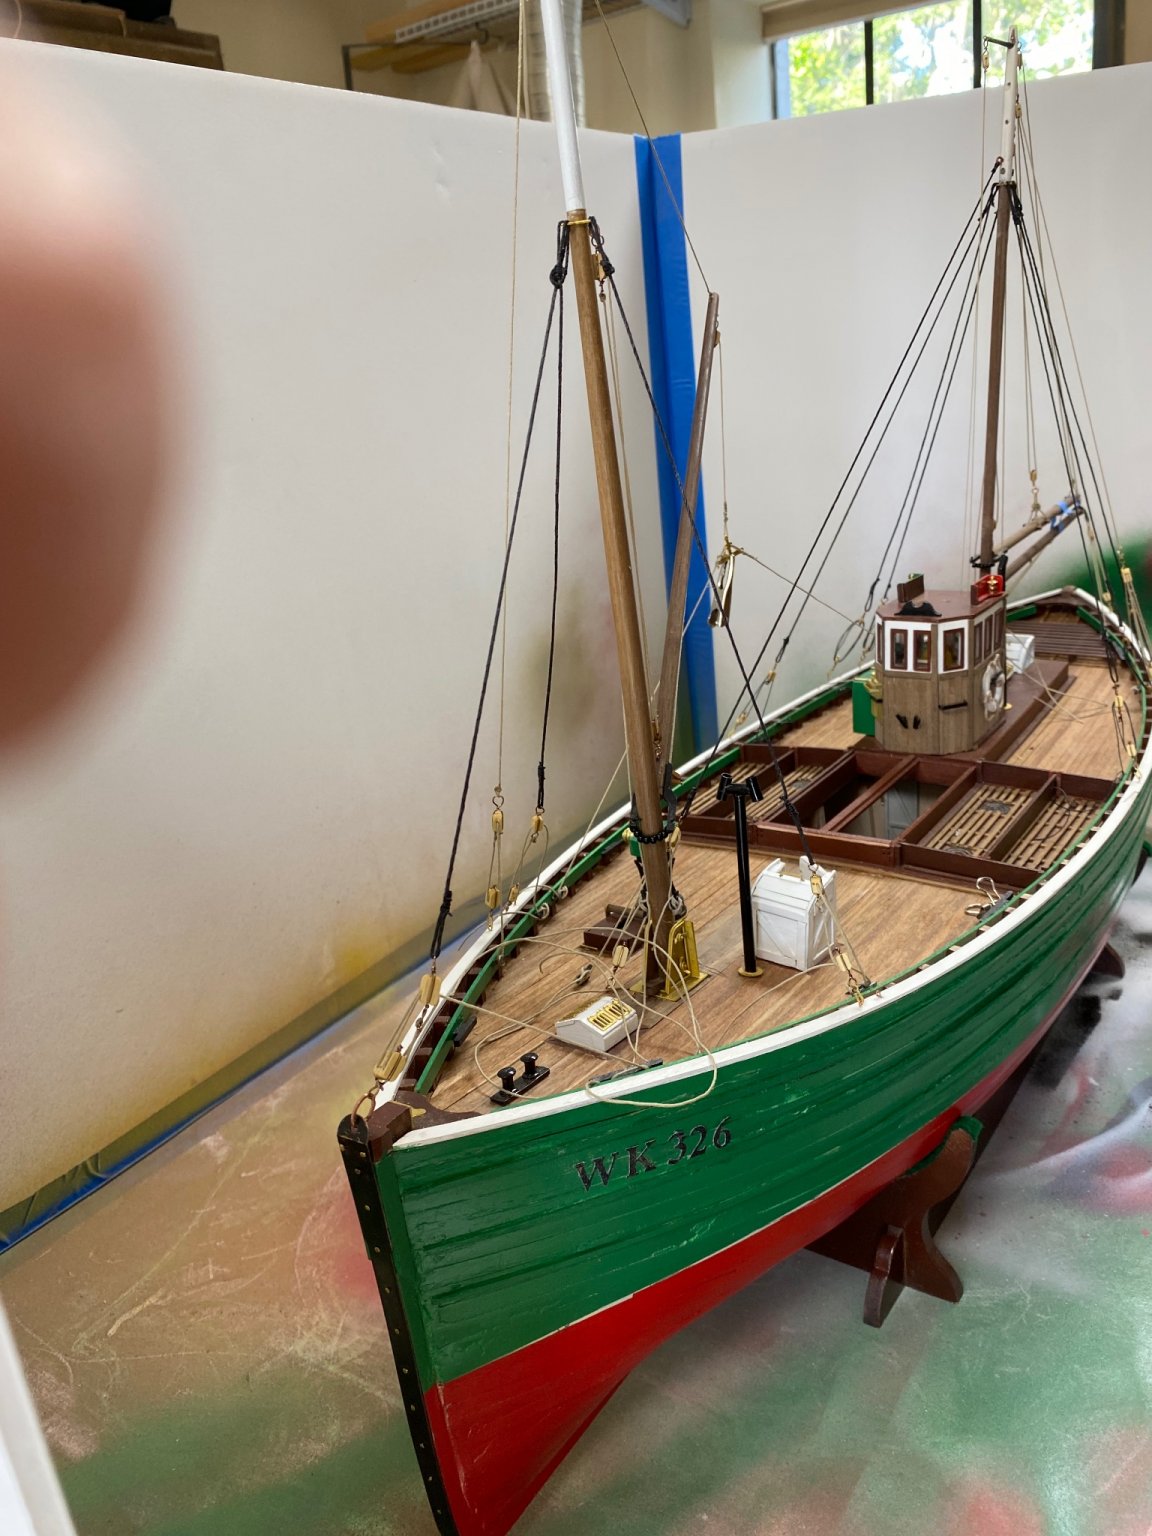
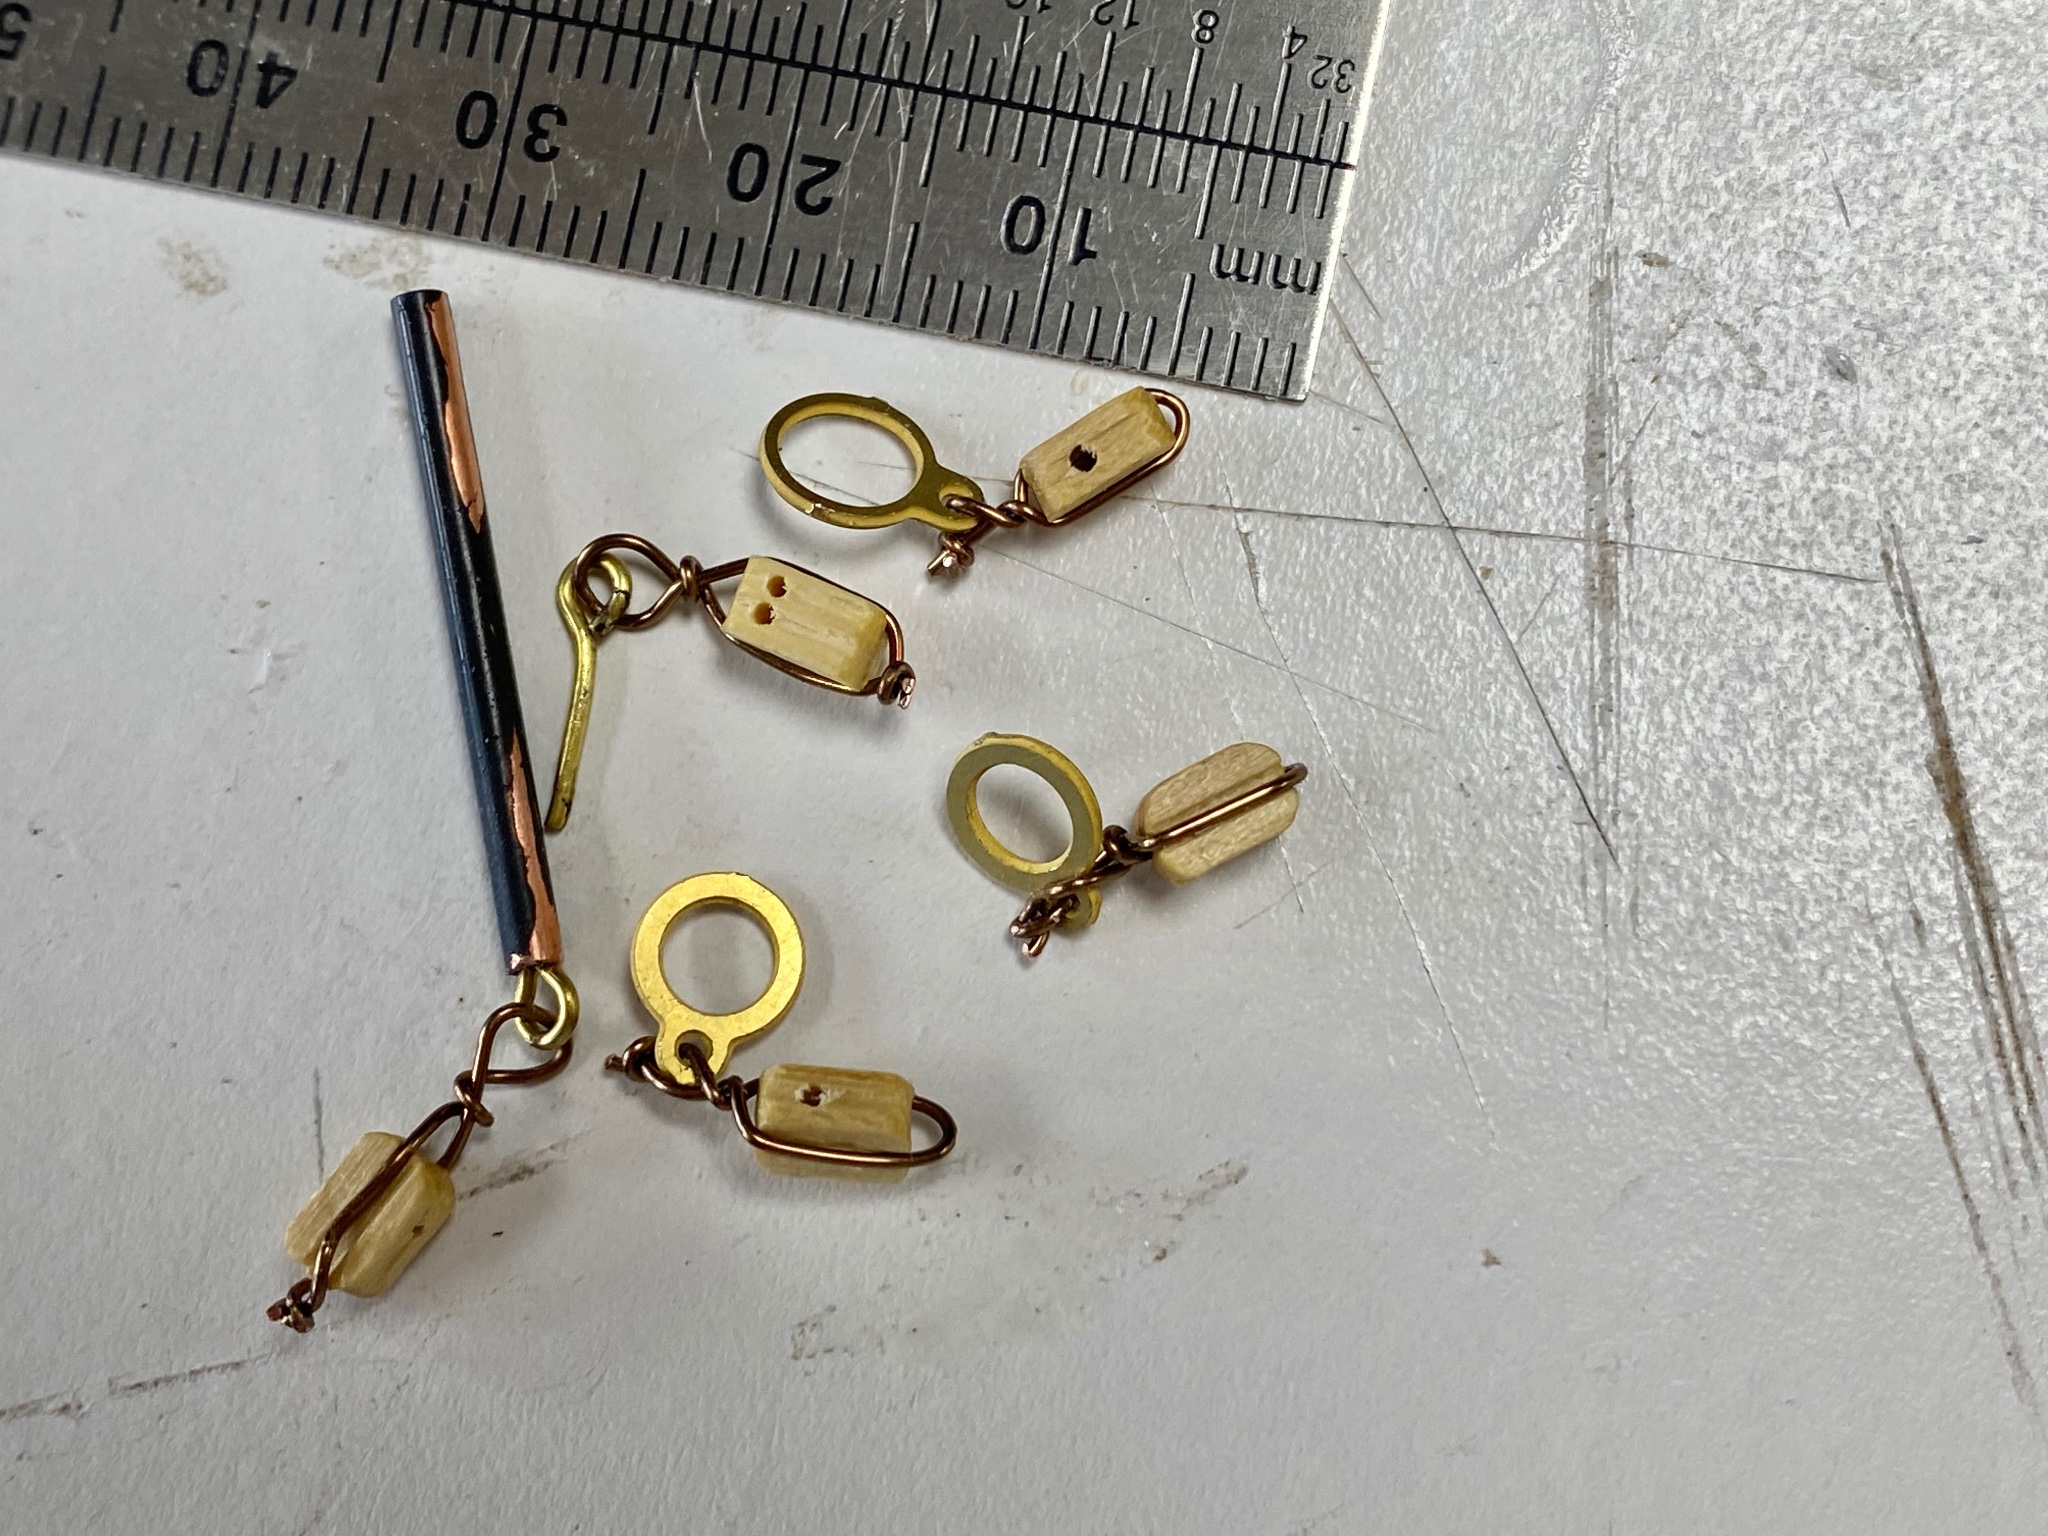
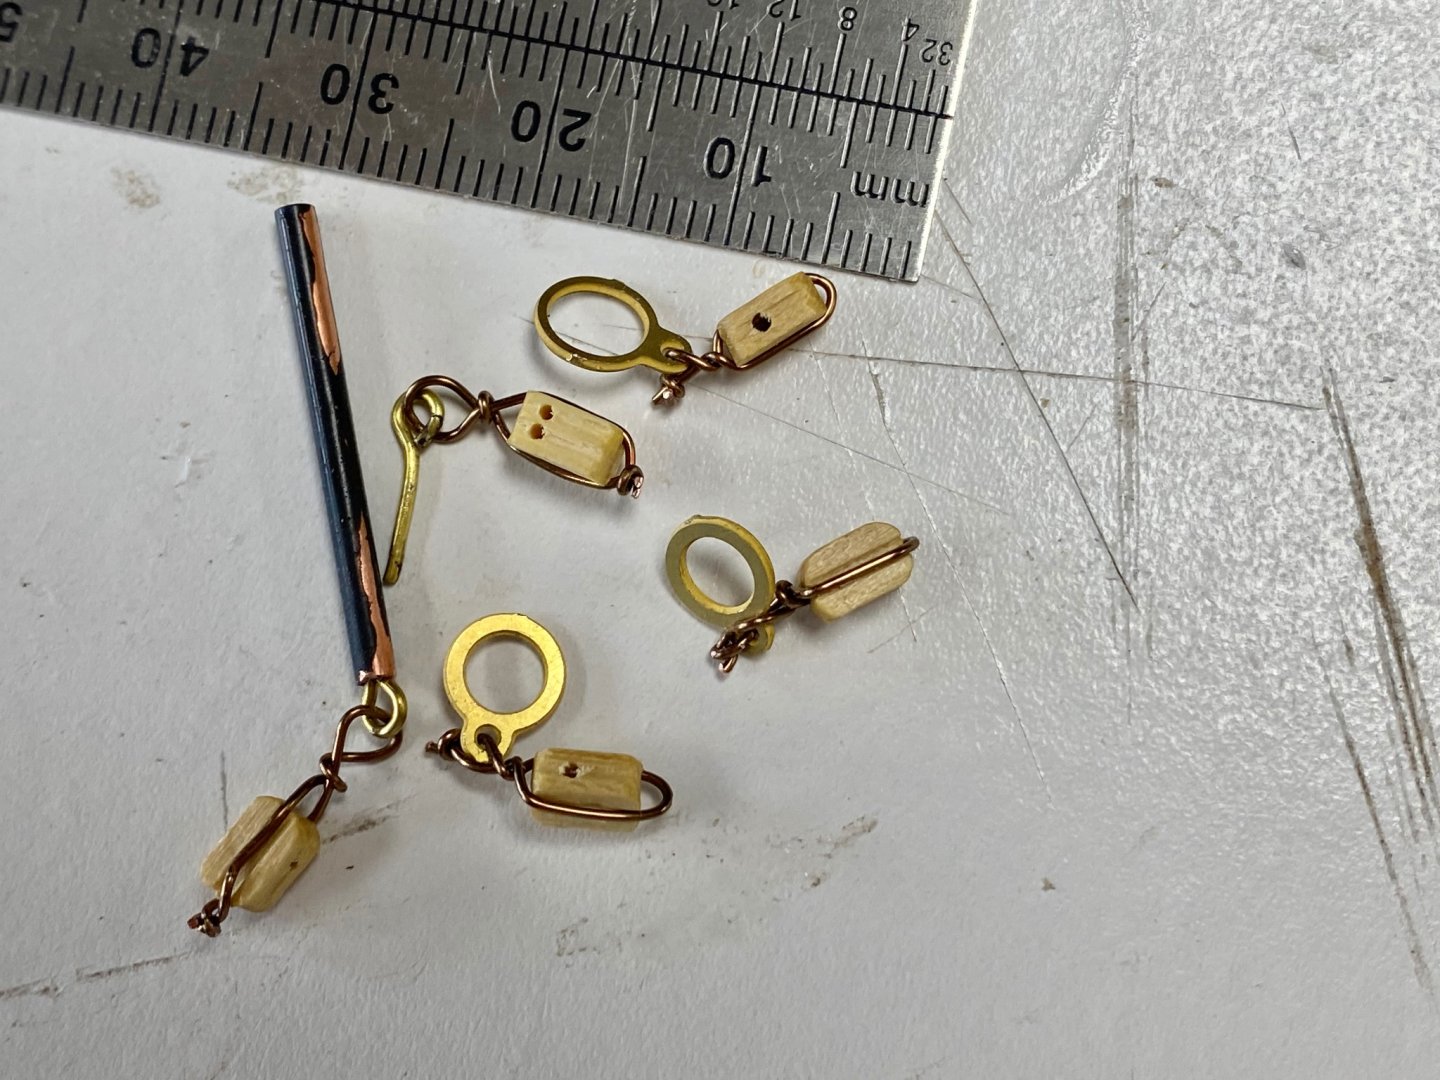
I have been working these past weeks in the rigging of the Fifie. It seems to take forever to rig those double blocks. I stropped the blocks by wrapping a brass wire and making eyes on the ends a needed. Had trouble getting the lines though the little holes even after using sewing needle threaders. in some cases the force necessary to get the the line across was enough to get the tiny wire from its base handle. All that even after I enlarged the holes. This is microscopic work and I praise Everhard (with his Wespe). Anyway I manage to get the rigging you see in the following photos but there is still a lot to be done. But I have to admit that I am enjoying the whole thing. After I finish the rigging I am going to install a sail in the furled position Still don't know what to do with the hold opening cover boards: to ring or not to ring. Thanks for watching and your comments are really appreciated


-
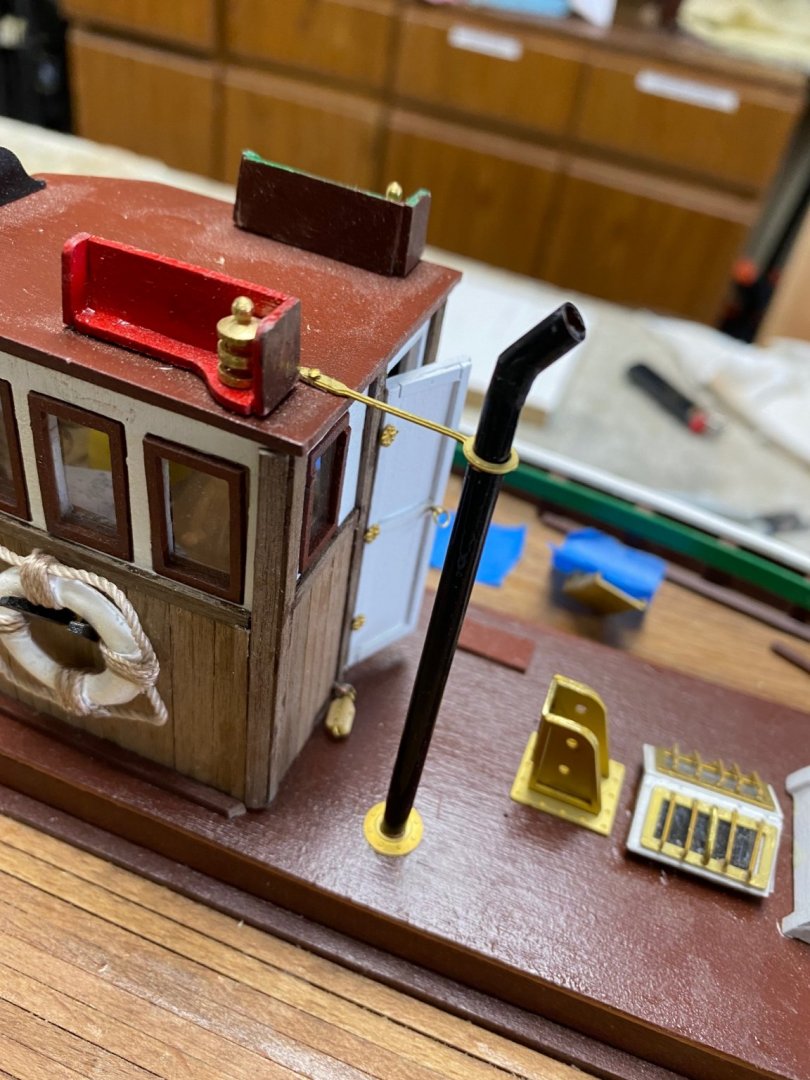
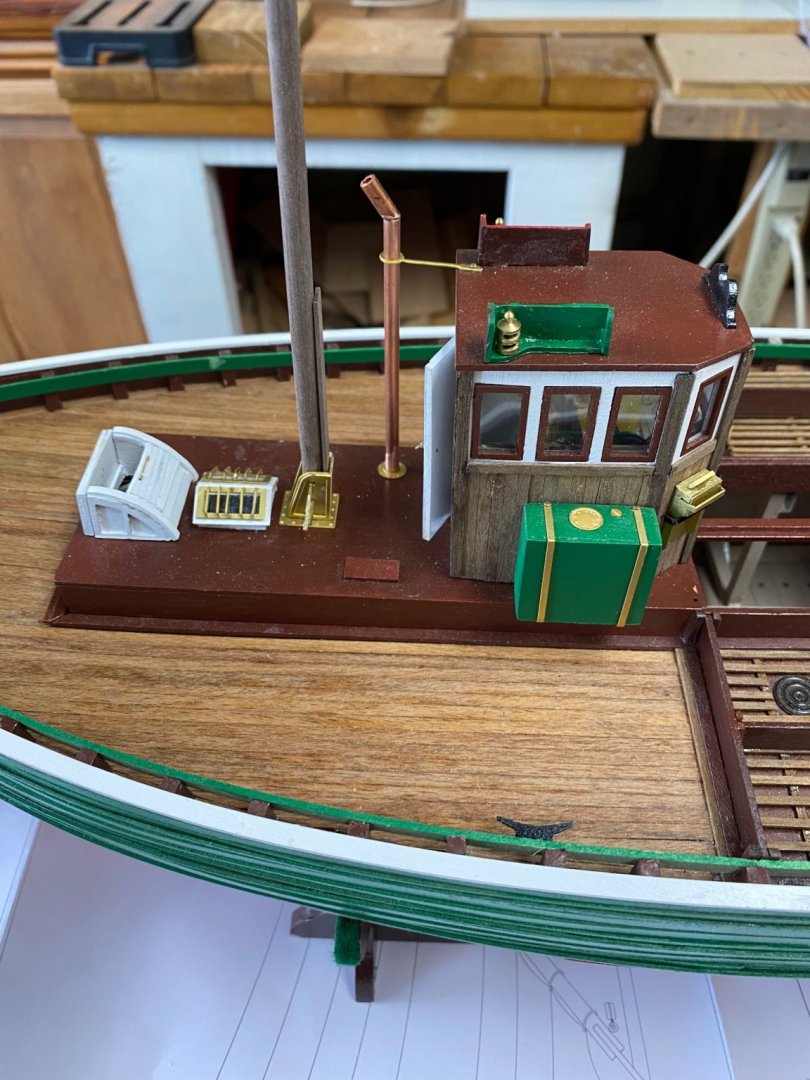
To Egkb and Bob, thanks for the tips. I am still trying to figure out about adding the the eye rings to the hold hatch covers. This is the engine exhaust And this is the fabricated stack for the boiler and stove in the forward cabin.

-
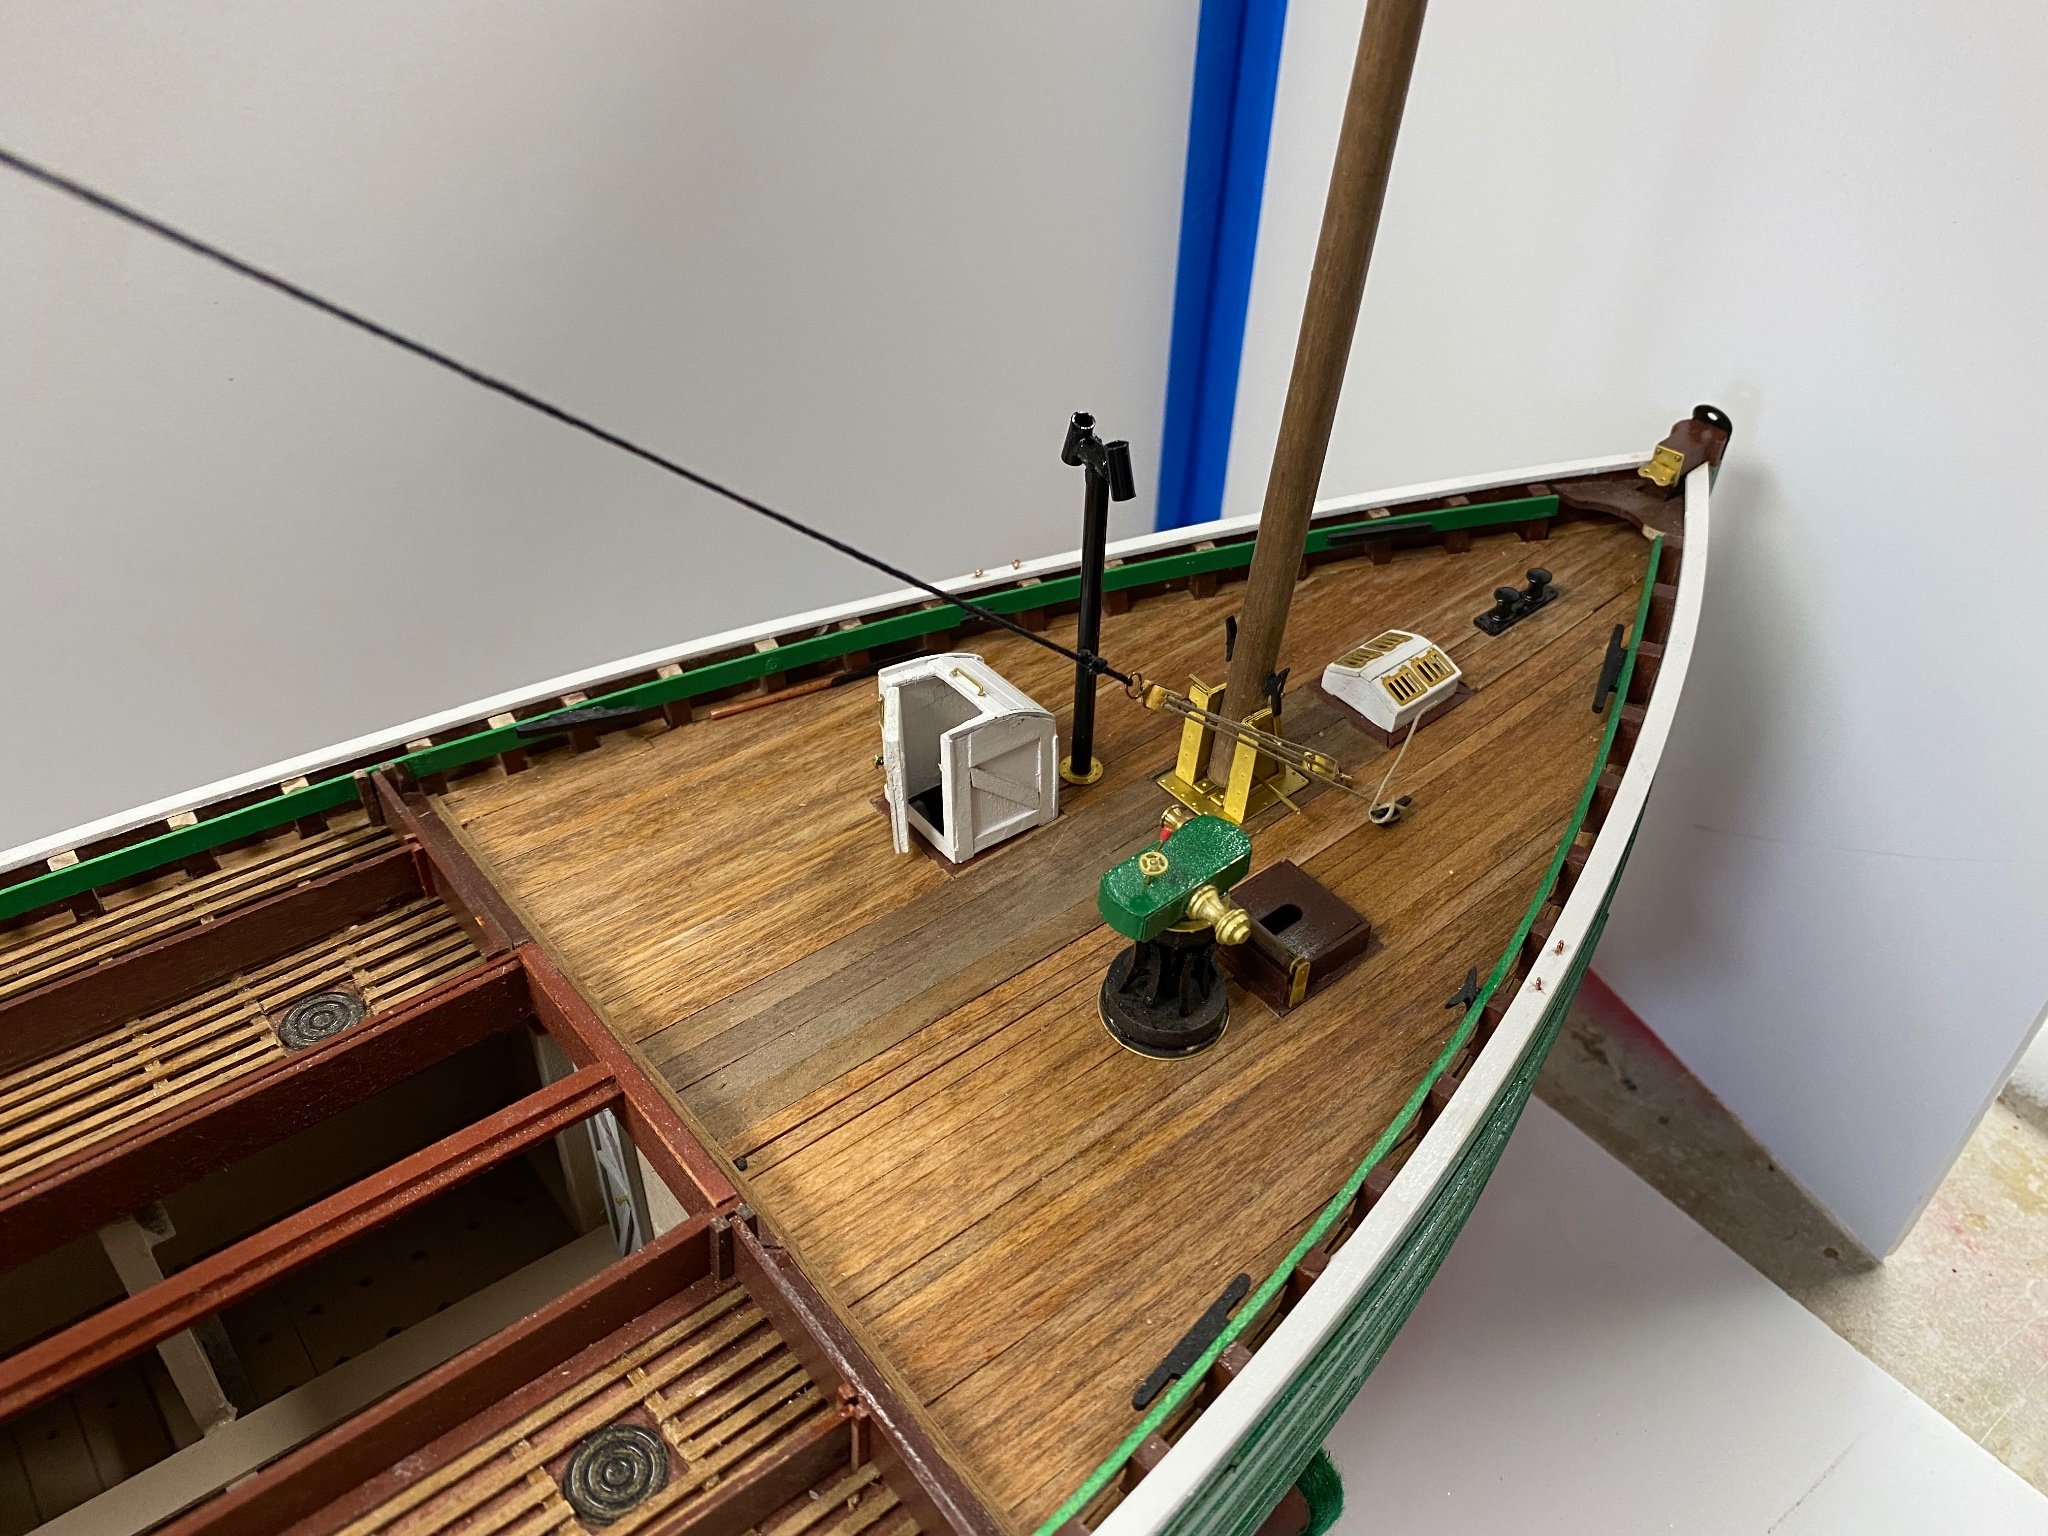
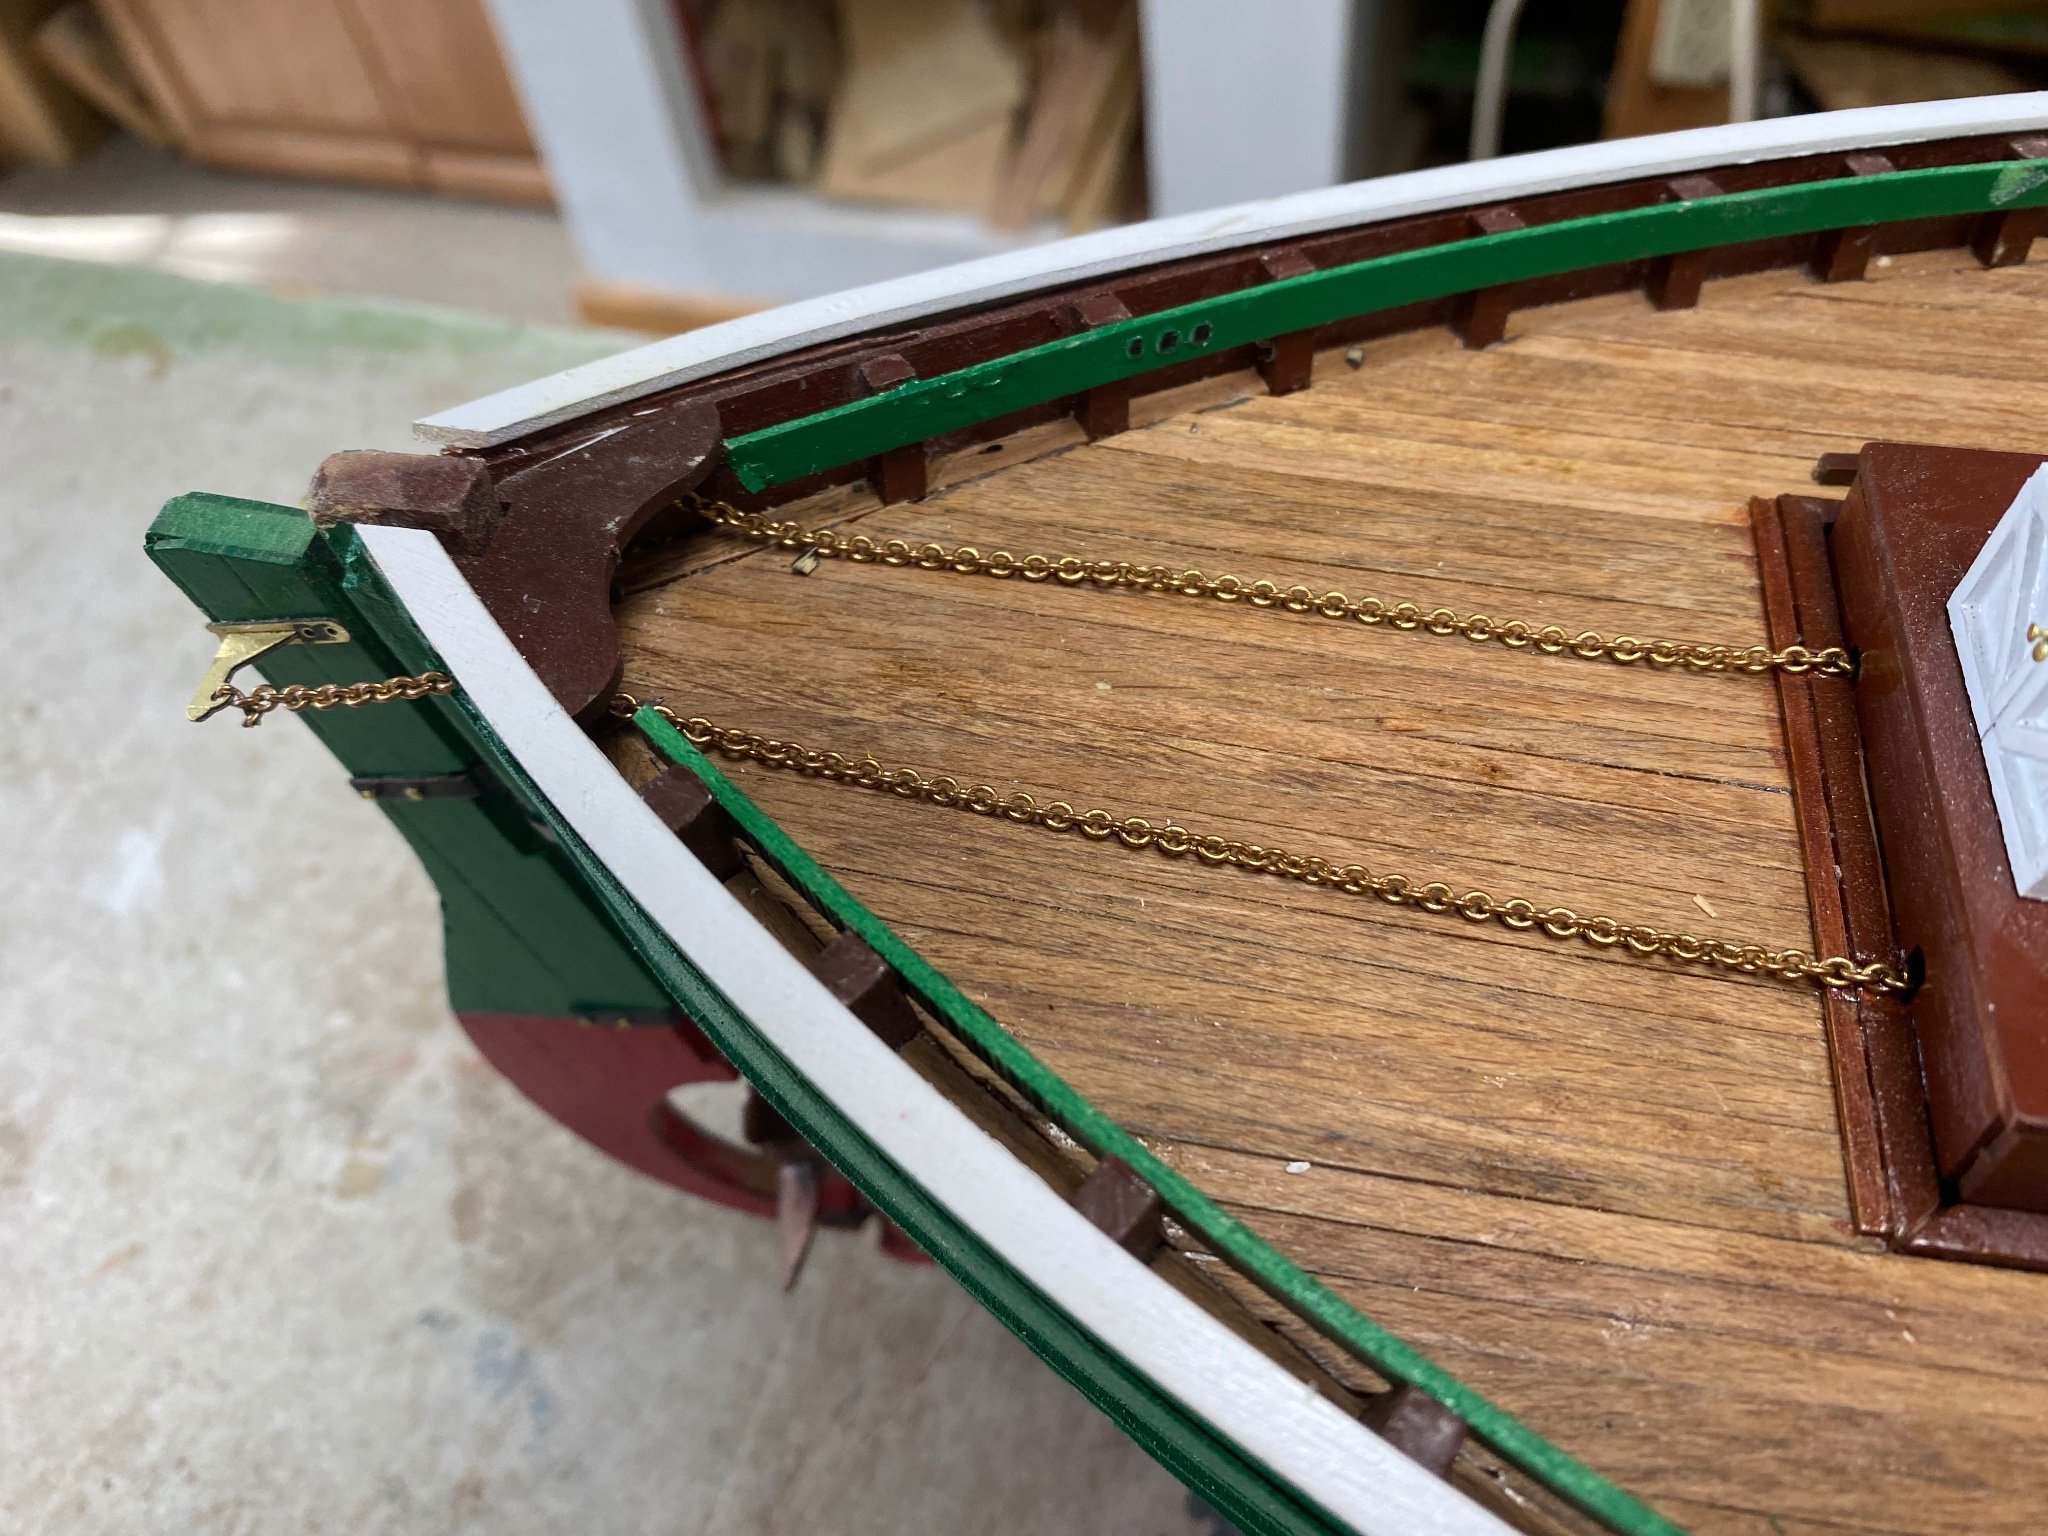
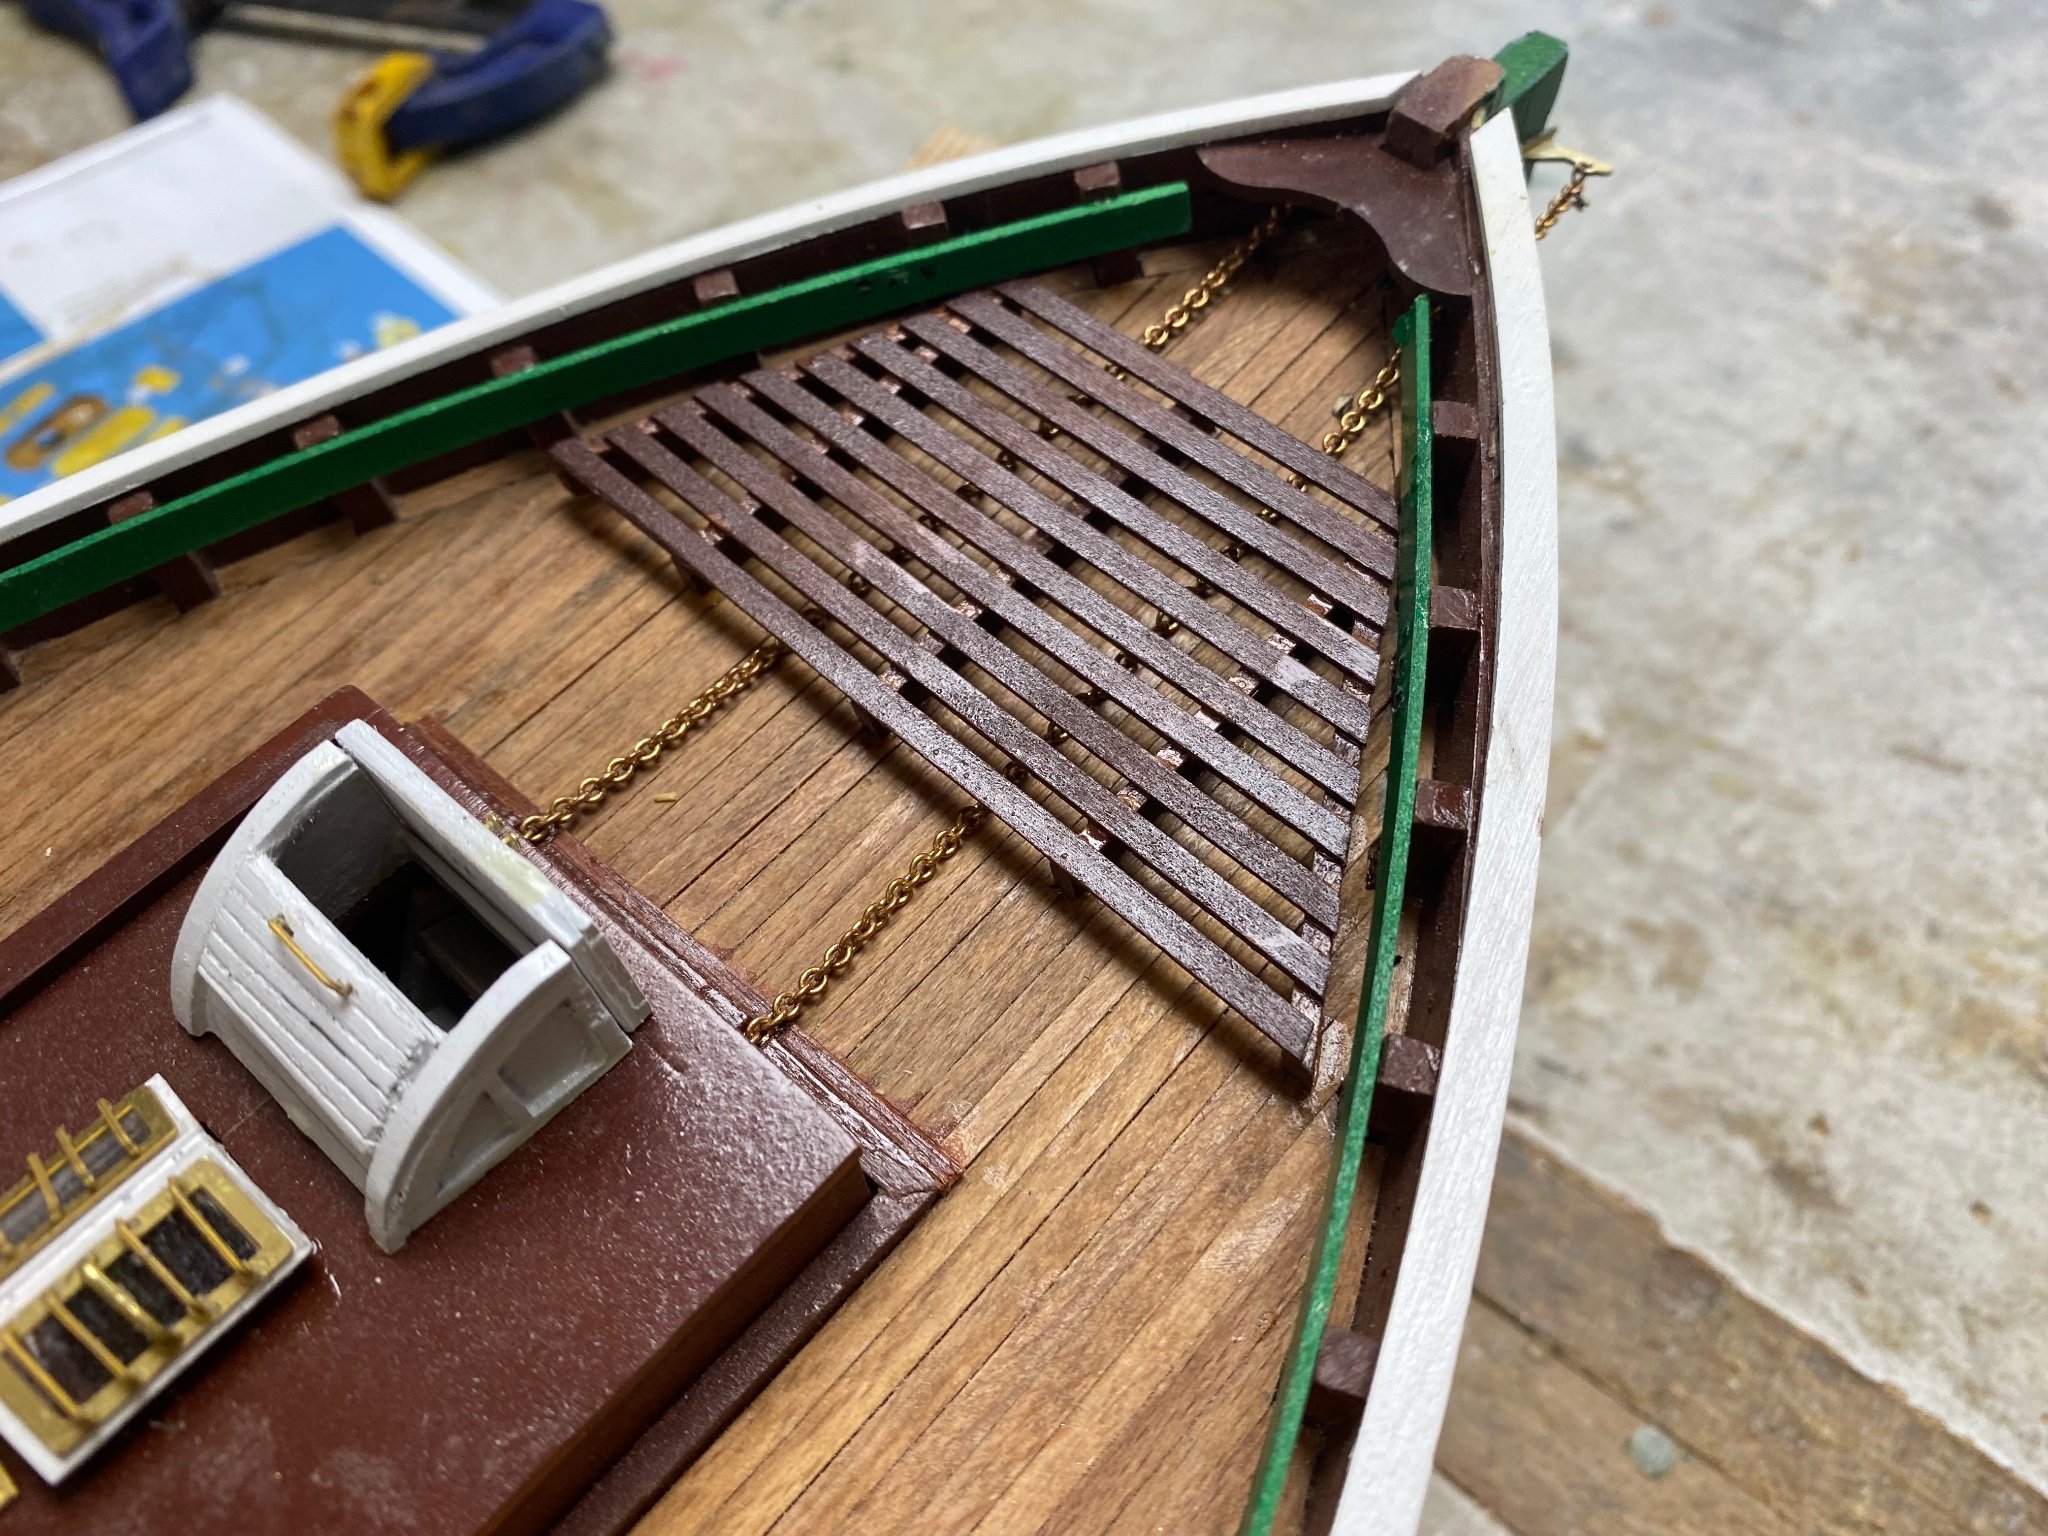
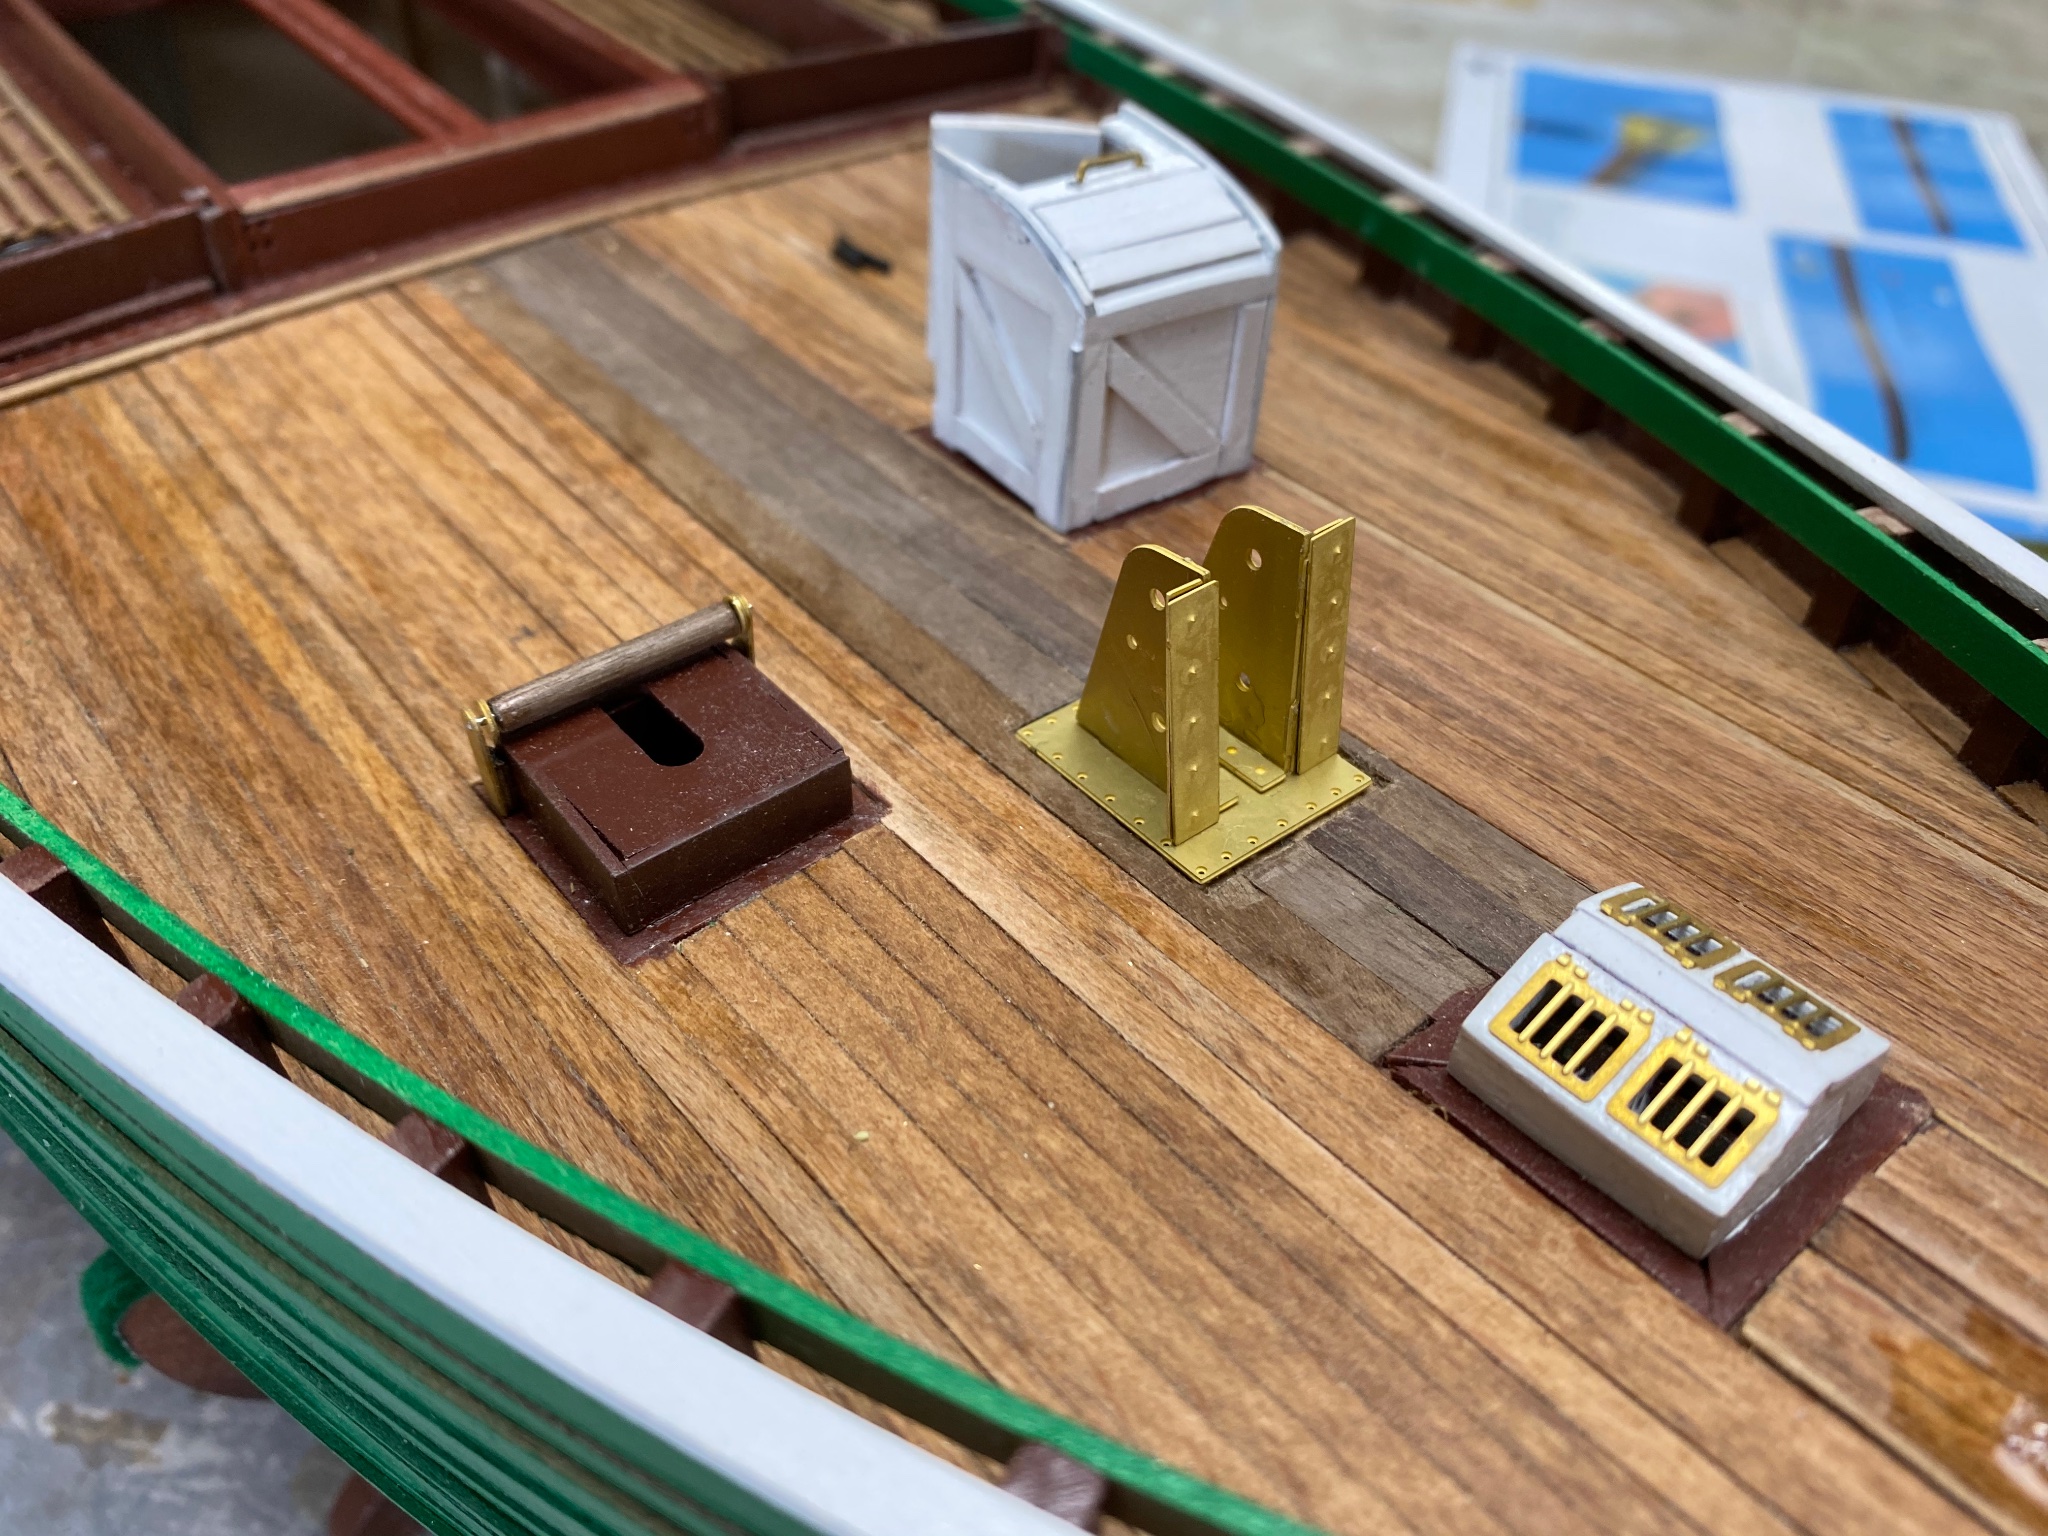
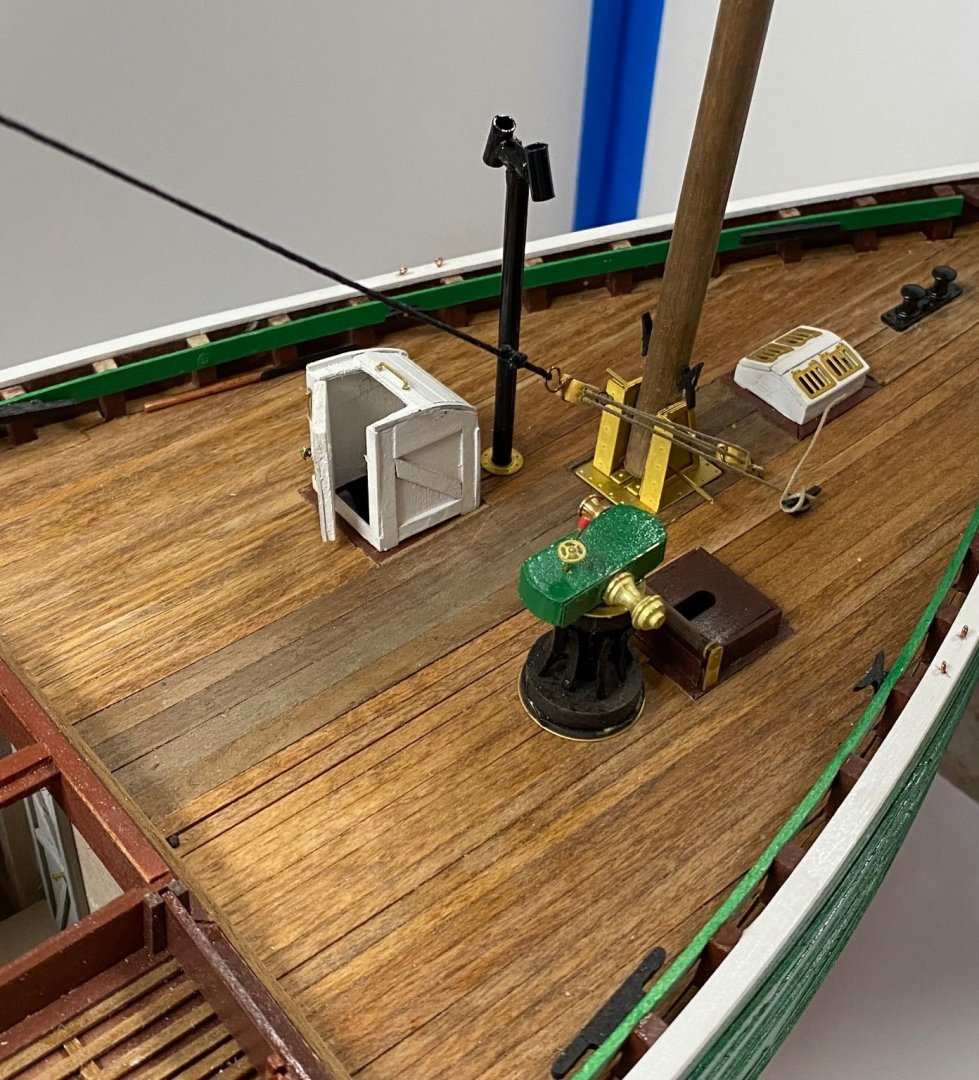
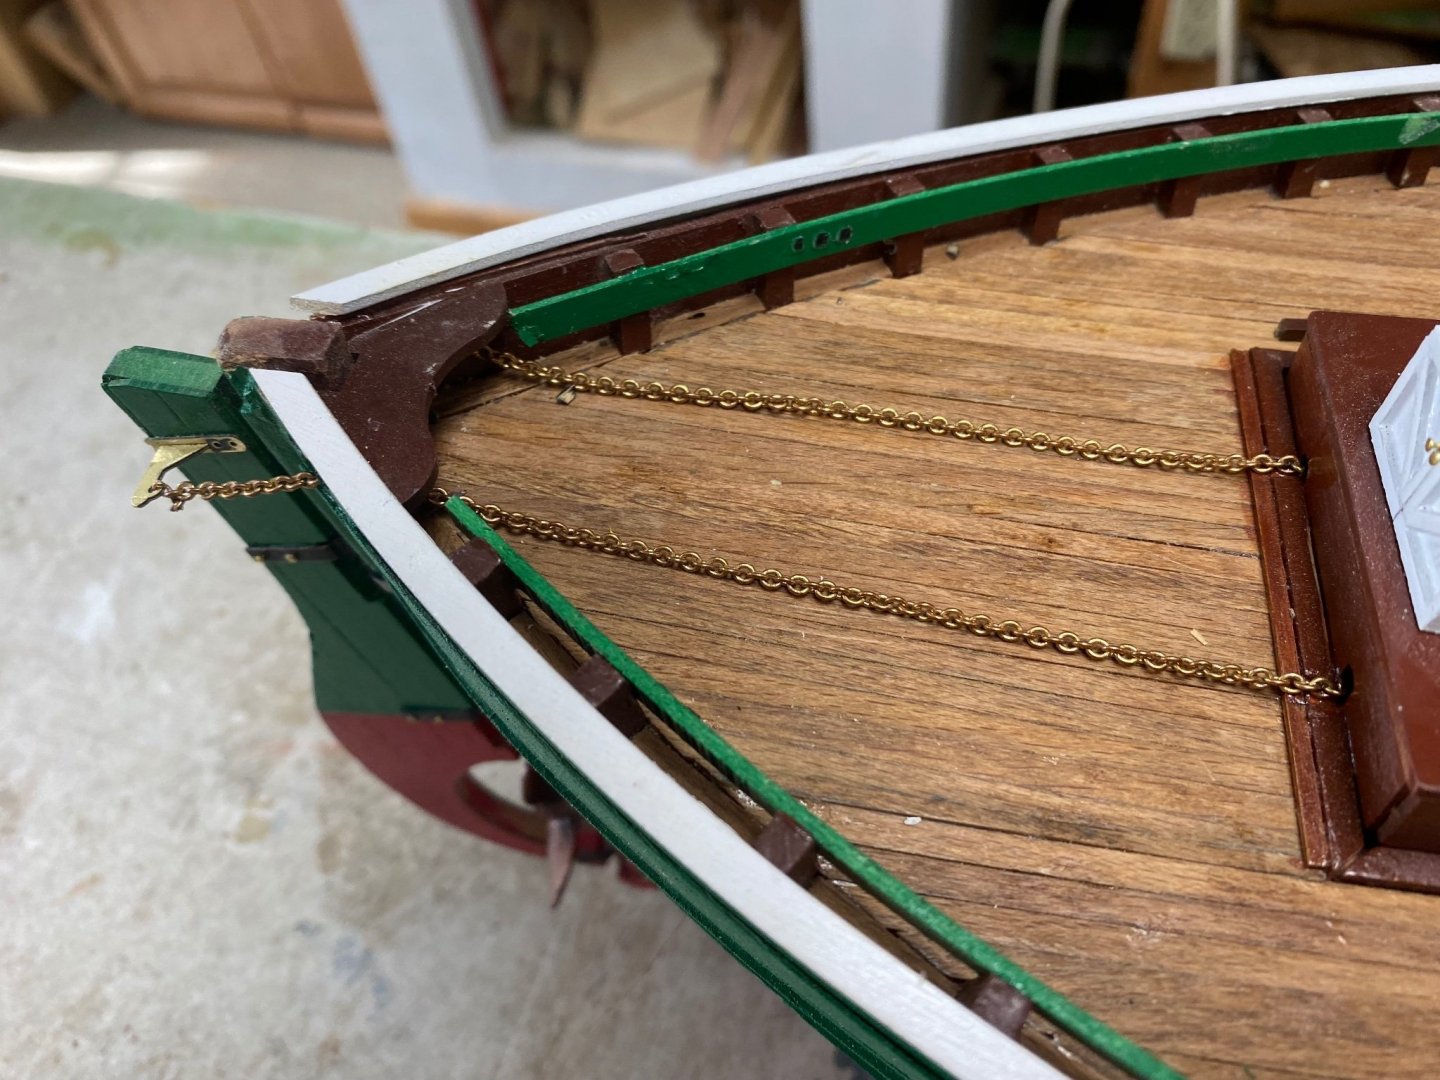
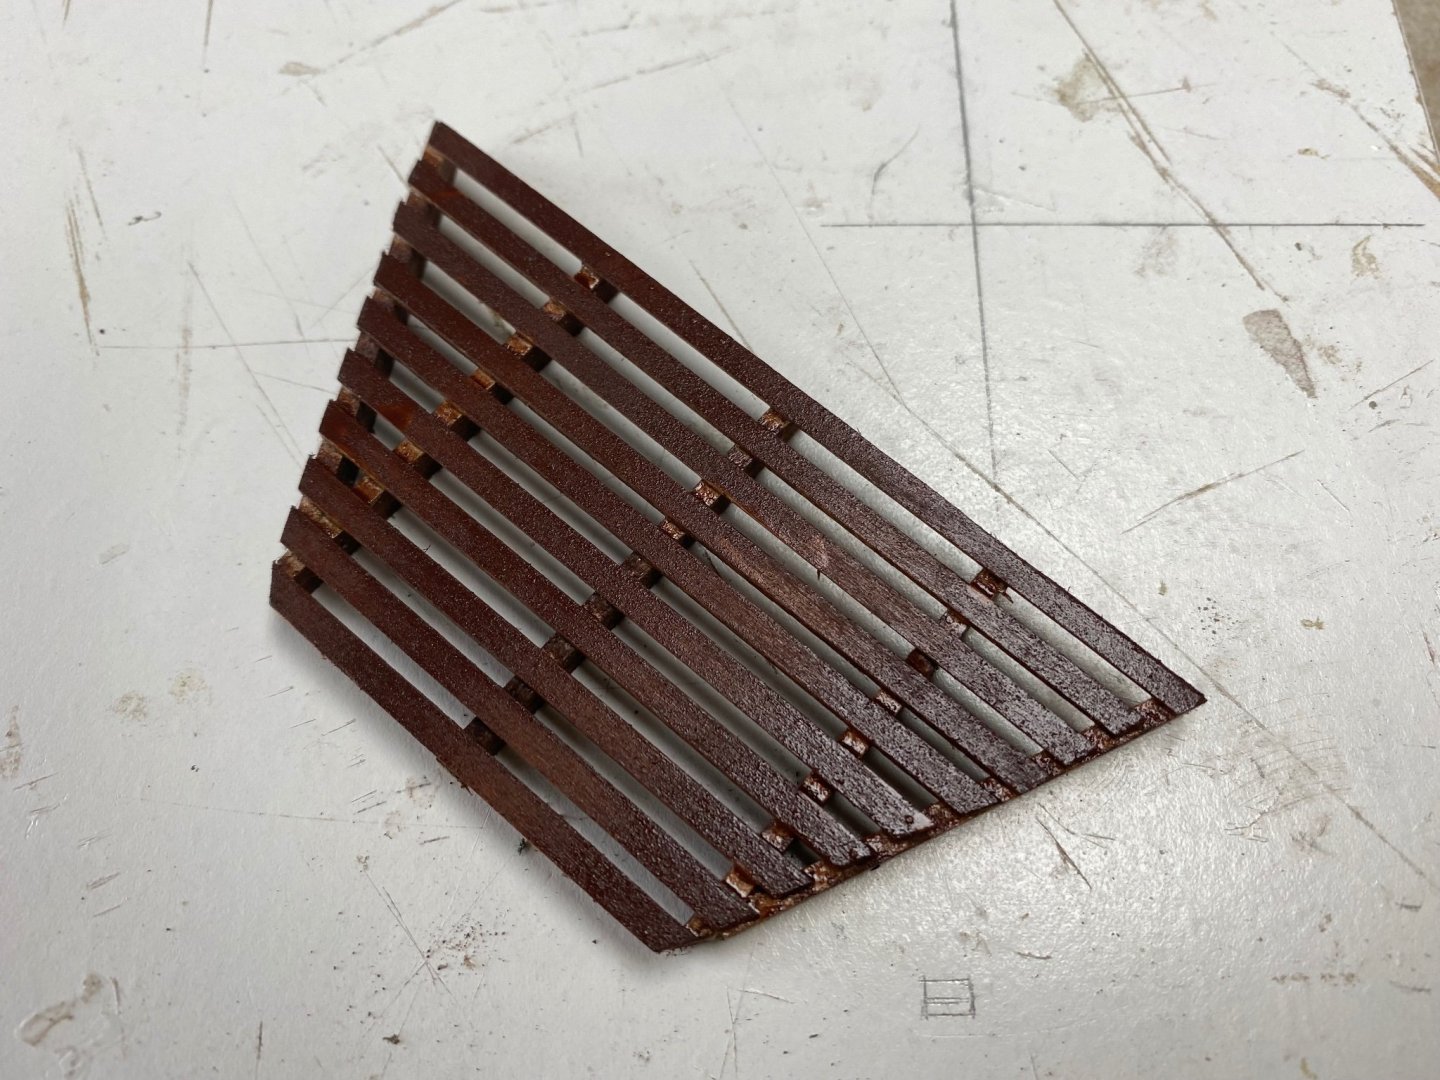
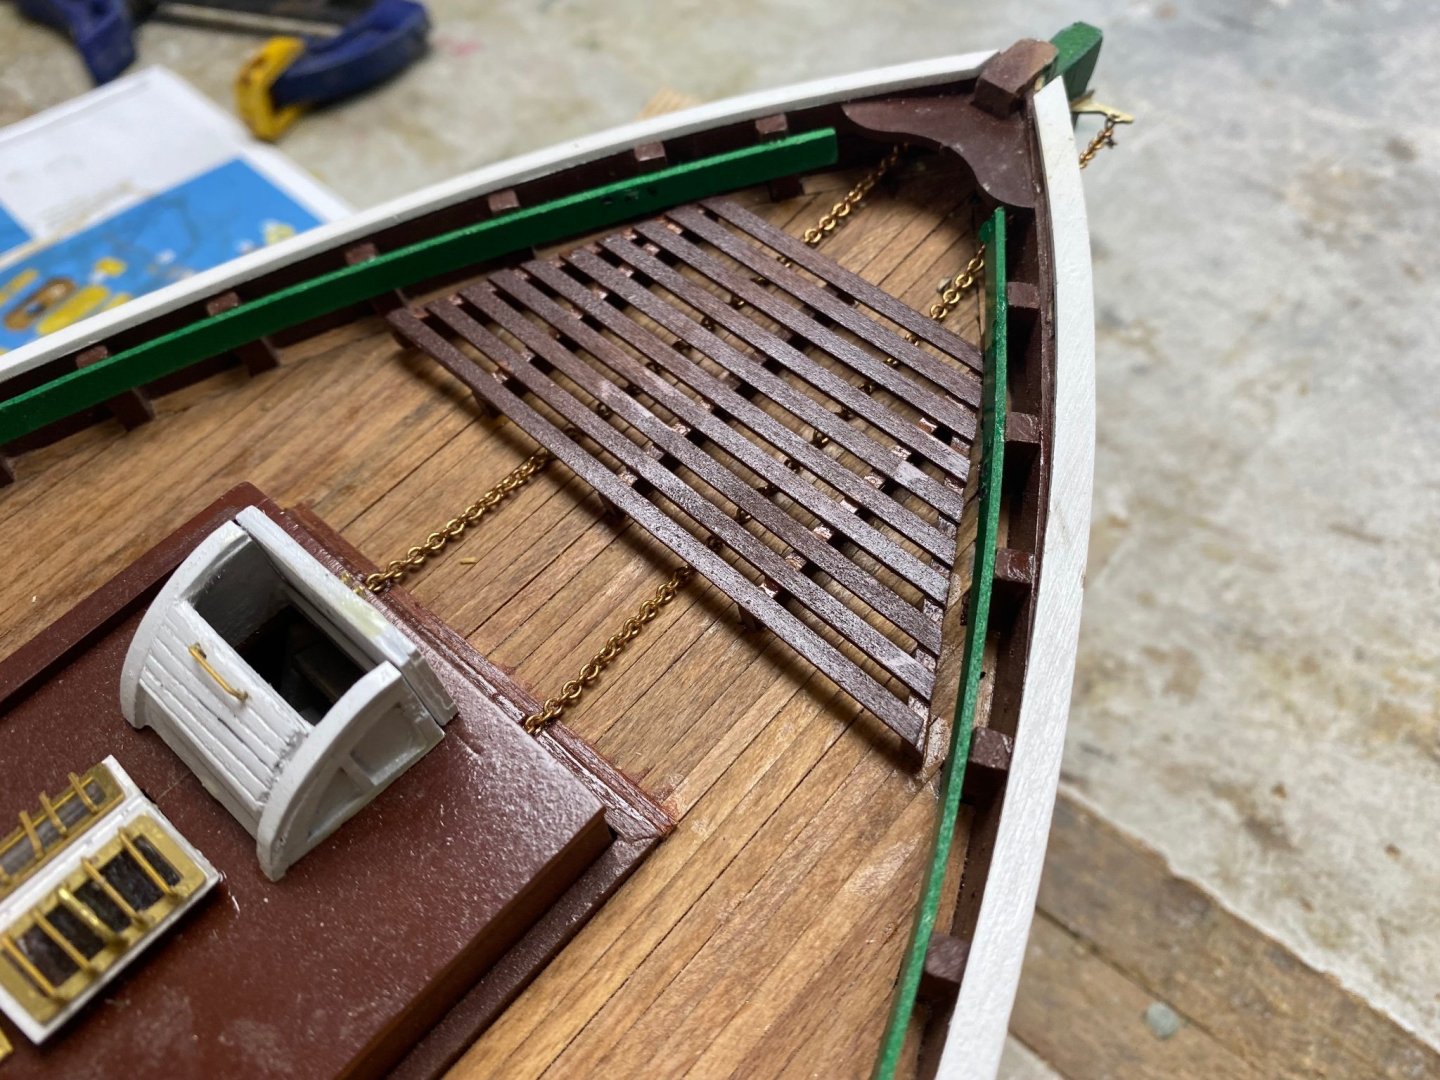
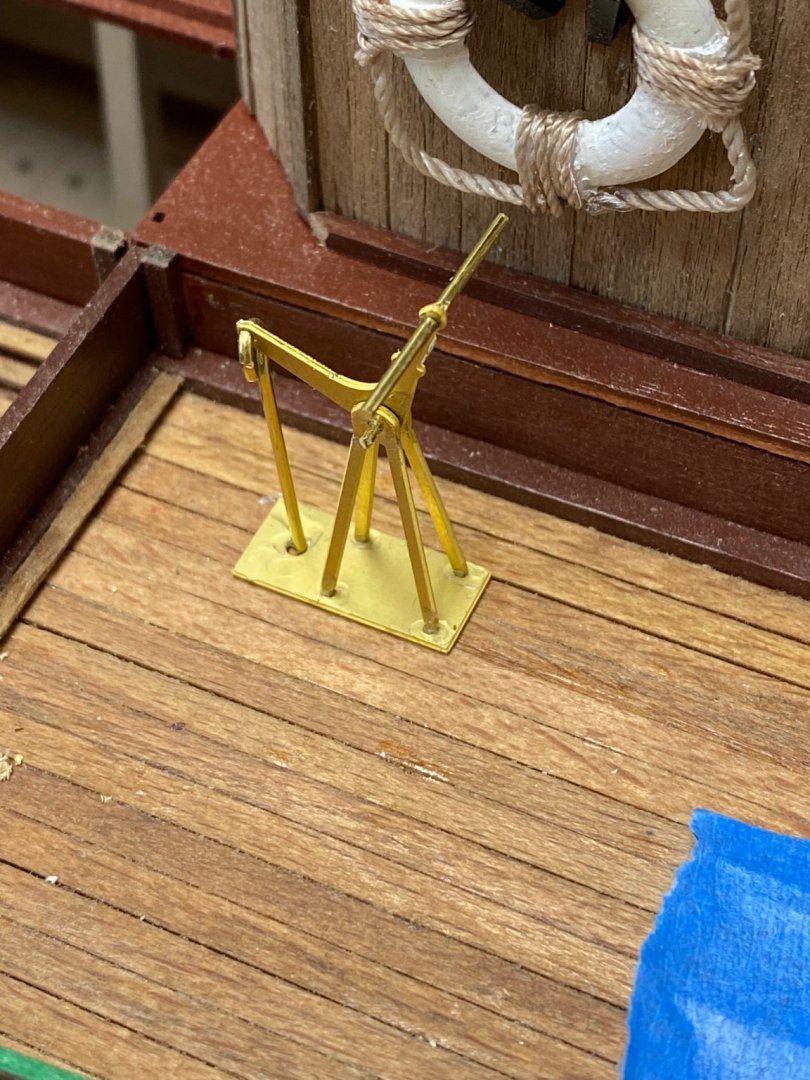
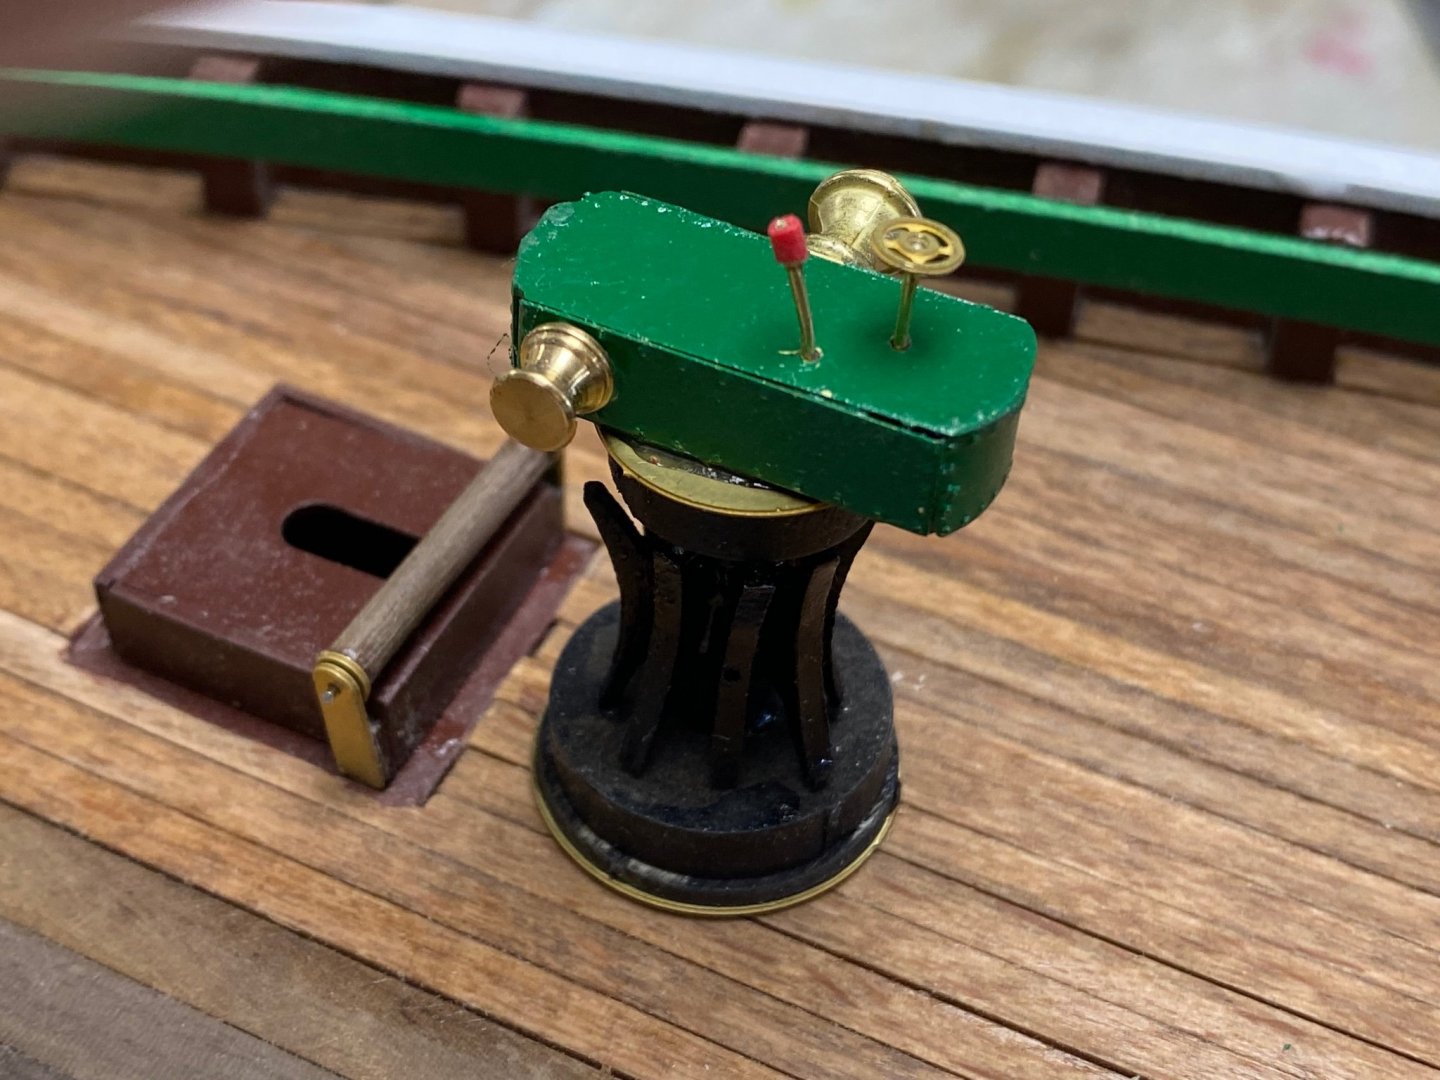
The dog ramp is finished so I am back in the workbench. At this time I am concentrating in completing all of the fixed deck detailing before continuing with the mast and the rigging. First item was to install all the eyebolts and cleats at the deck level. This was done. Then I thought that the chains running to the rudder presented an obstacle to the traffic through the stern. I built a sort of gangway with leftover wood: Then I fabricated and installed the bilge pump and the steam winch. I am still considering adding insulation of the engine exhaust pipe and the free standing steam boiler flue. Would appreciate comments about this. I have seen the actual pictures of the working fifies but it seems to me that the hot pipes present a hazard on deck.
-
Guys, thanks a lot for the likes. I have been busy with other projects. I forgot to tell you that I got multiples hobbies. One of them is to help out some of the old ladies on my building. Thus one has an old dog and a high bed that the dog can’t reach. So I am building her a ramp for the dog.
-
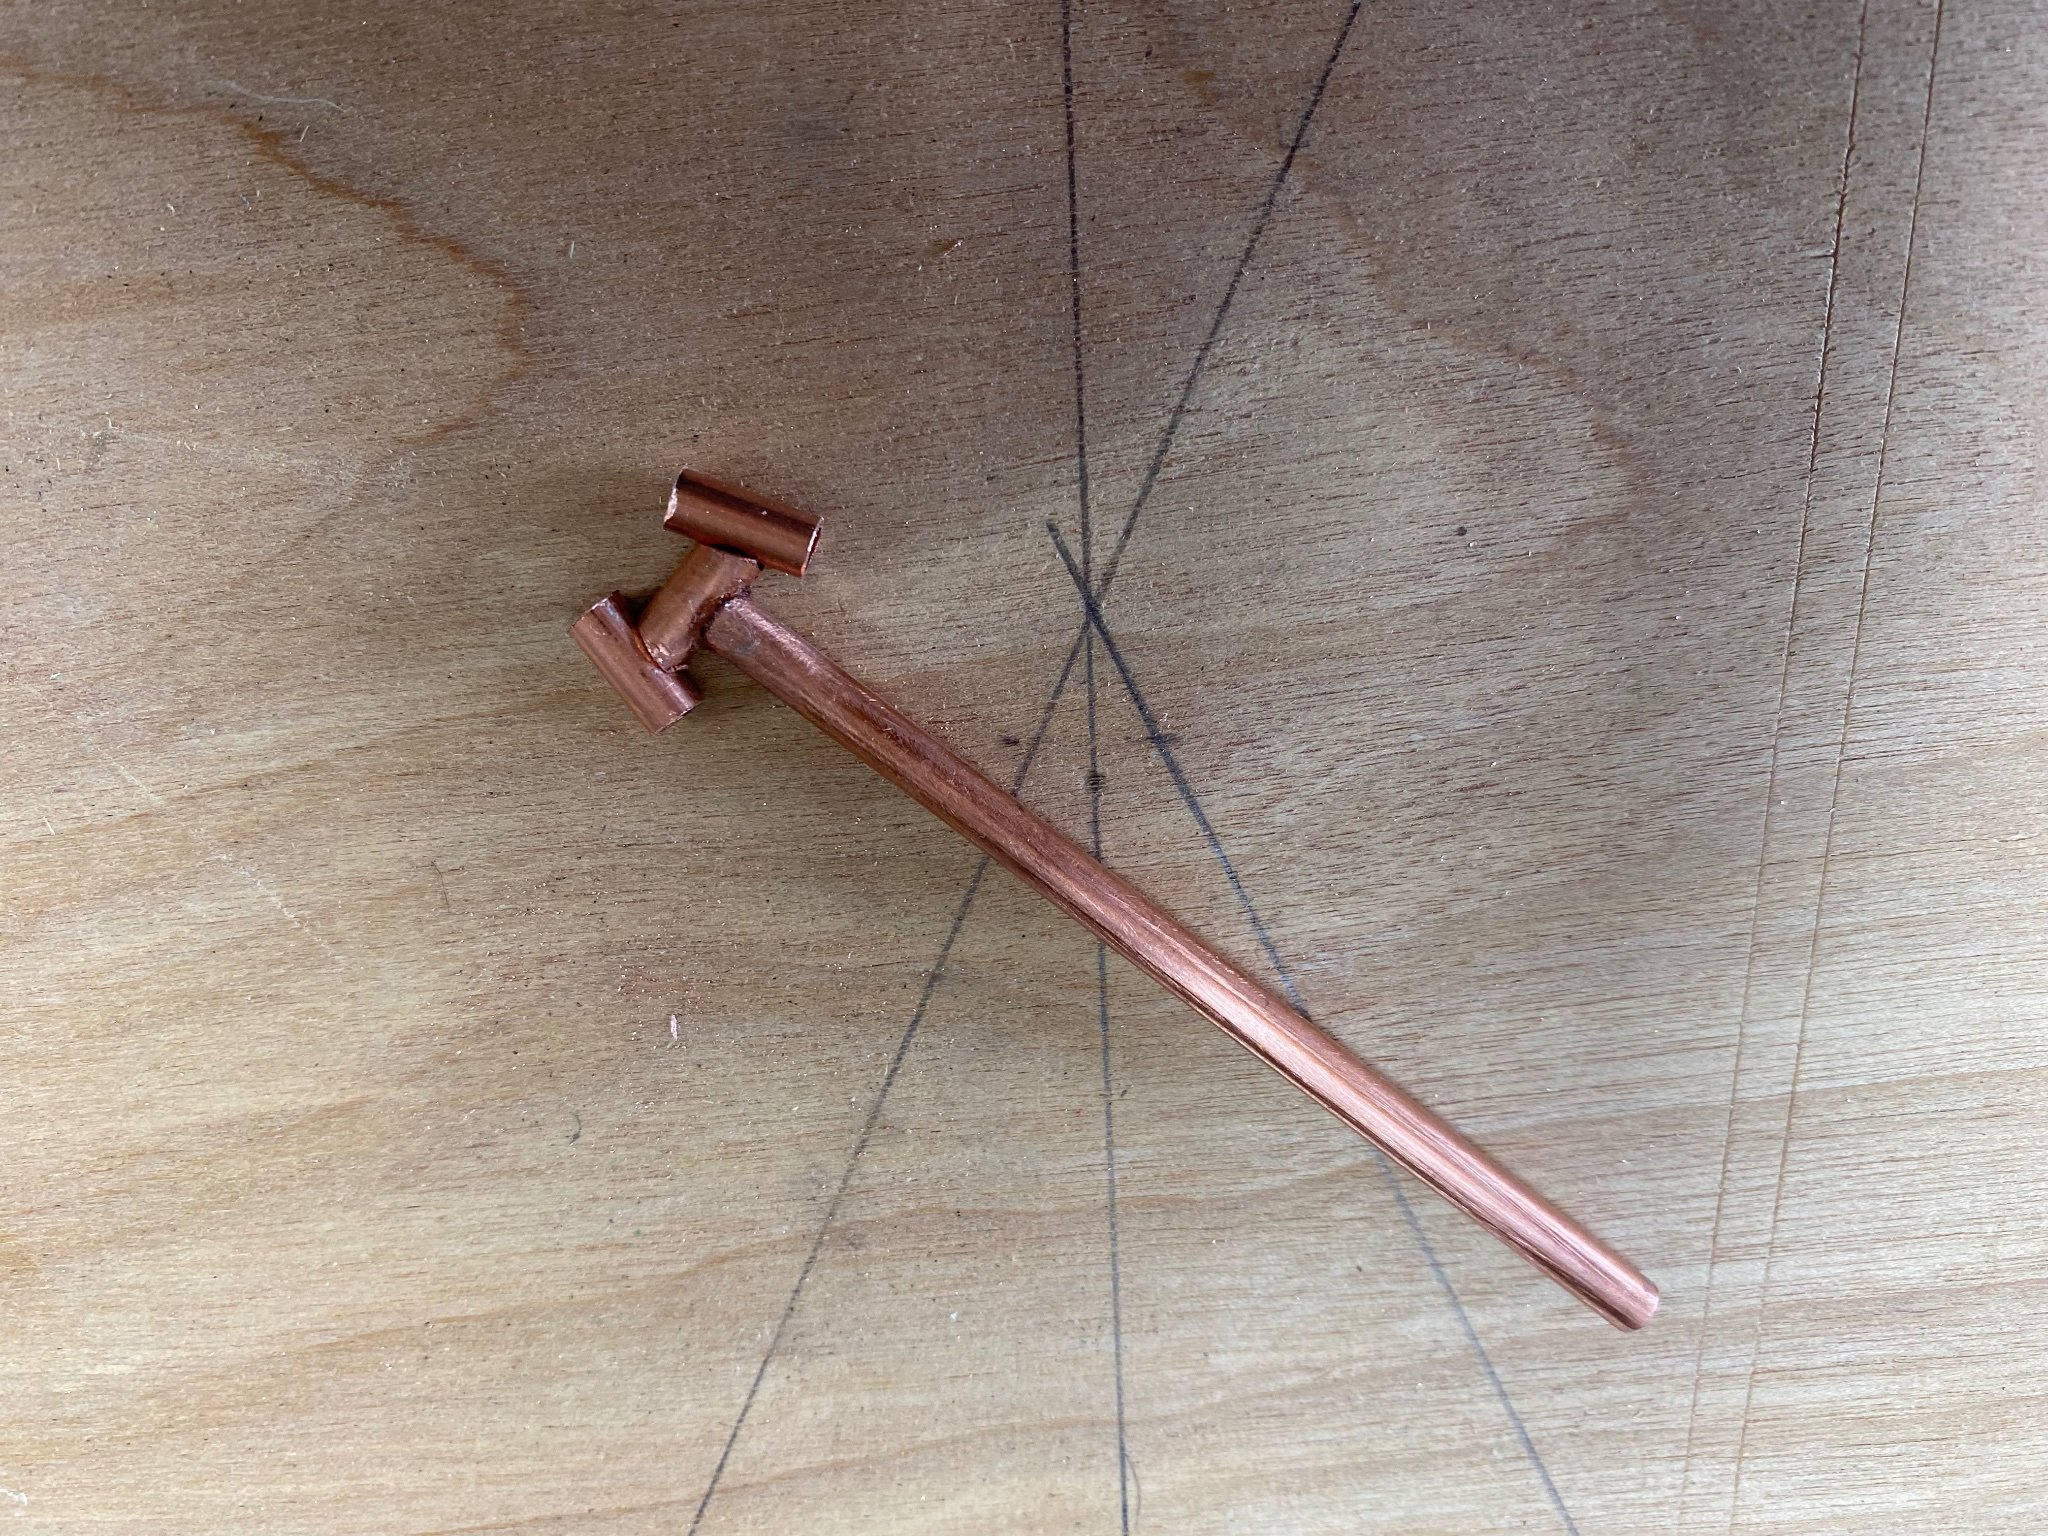
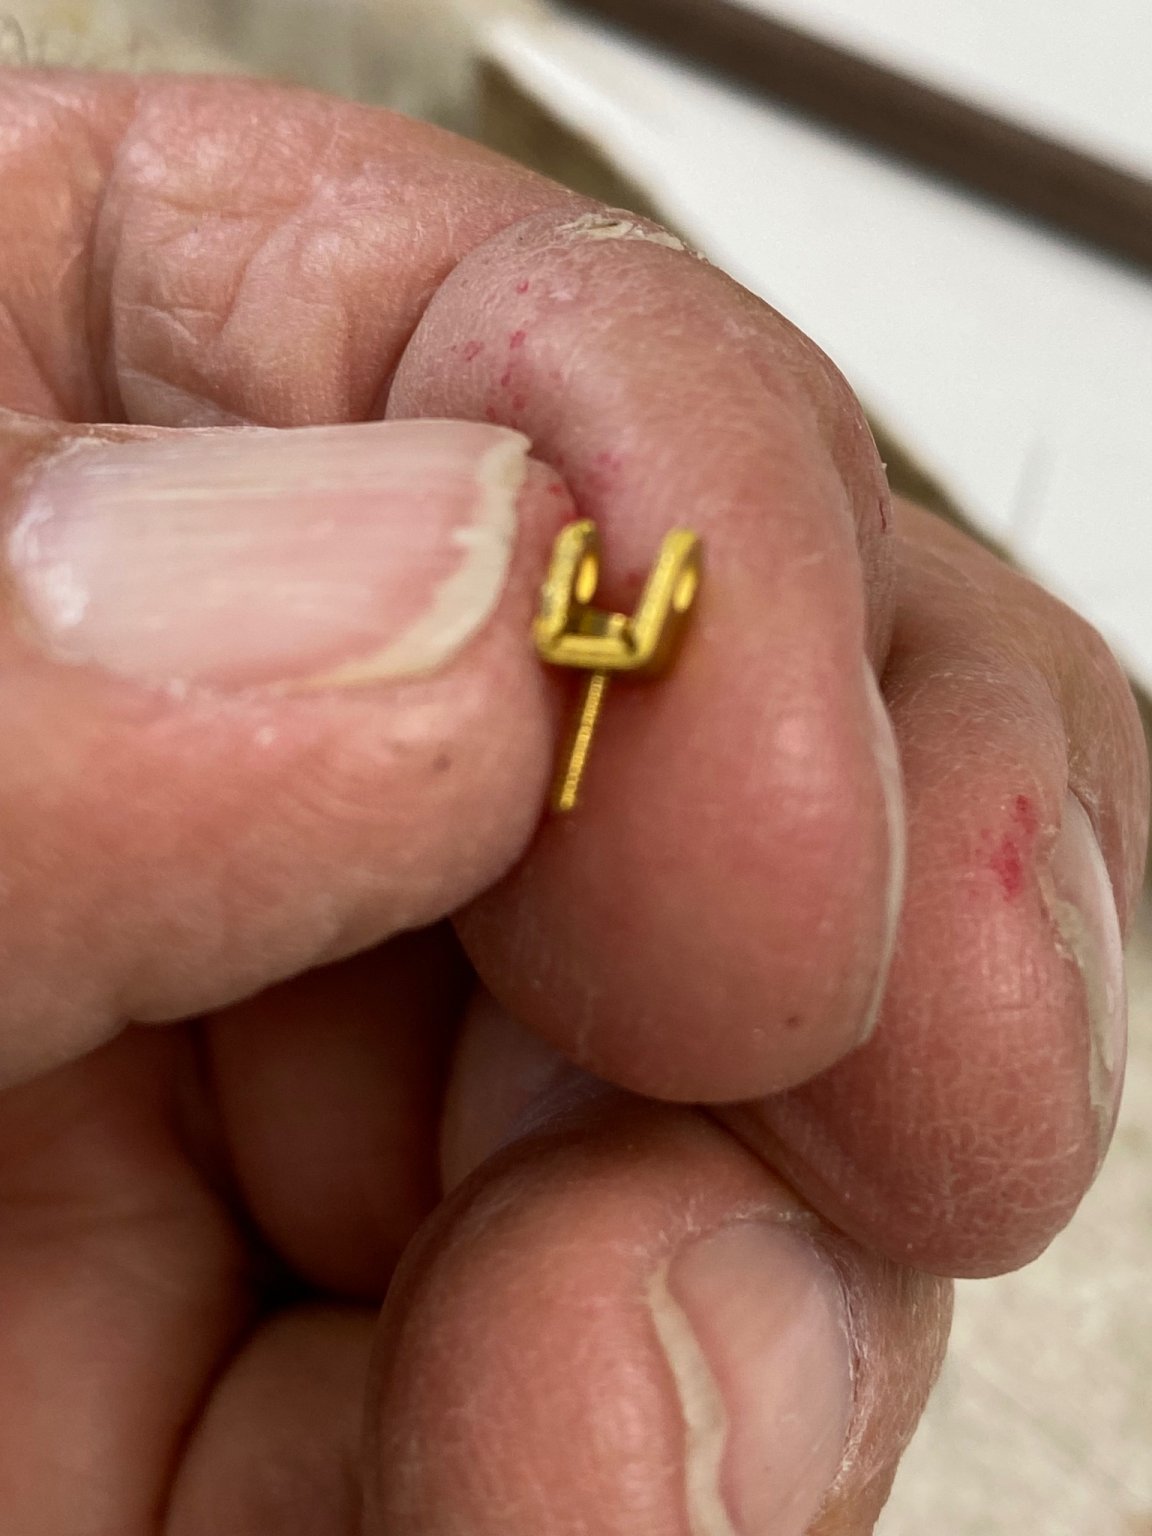
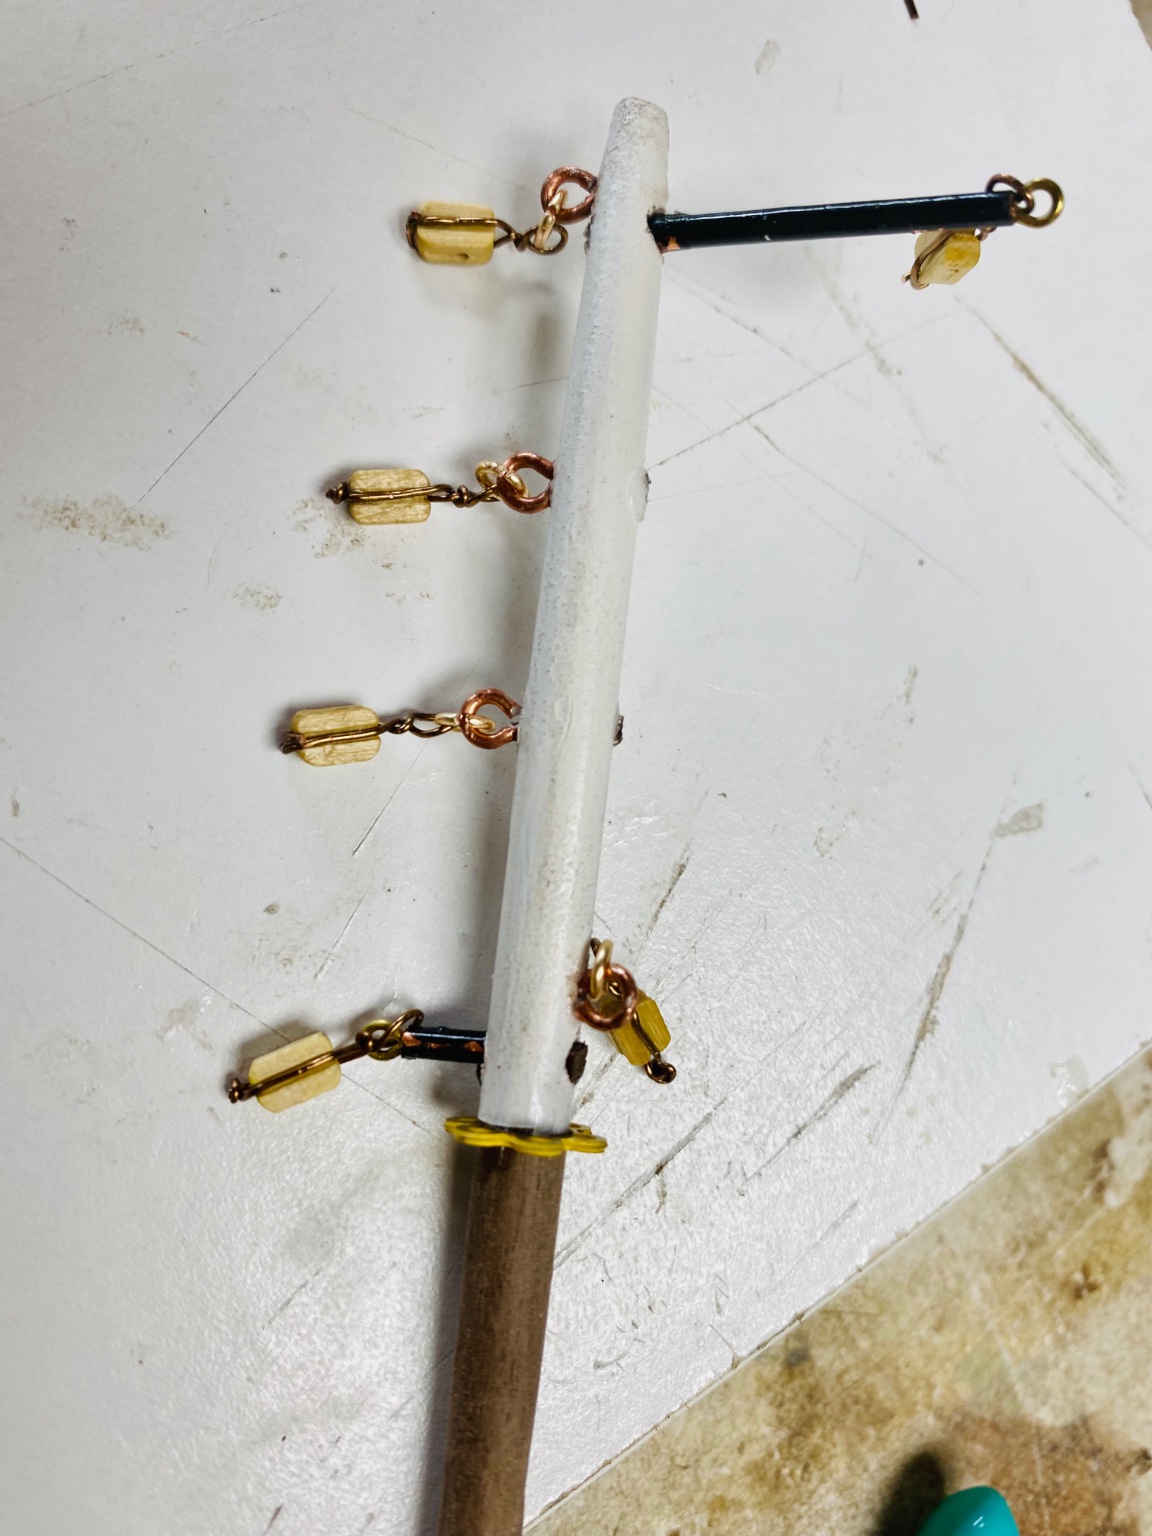
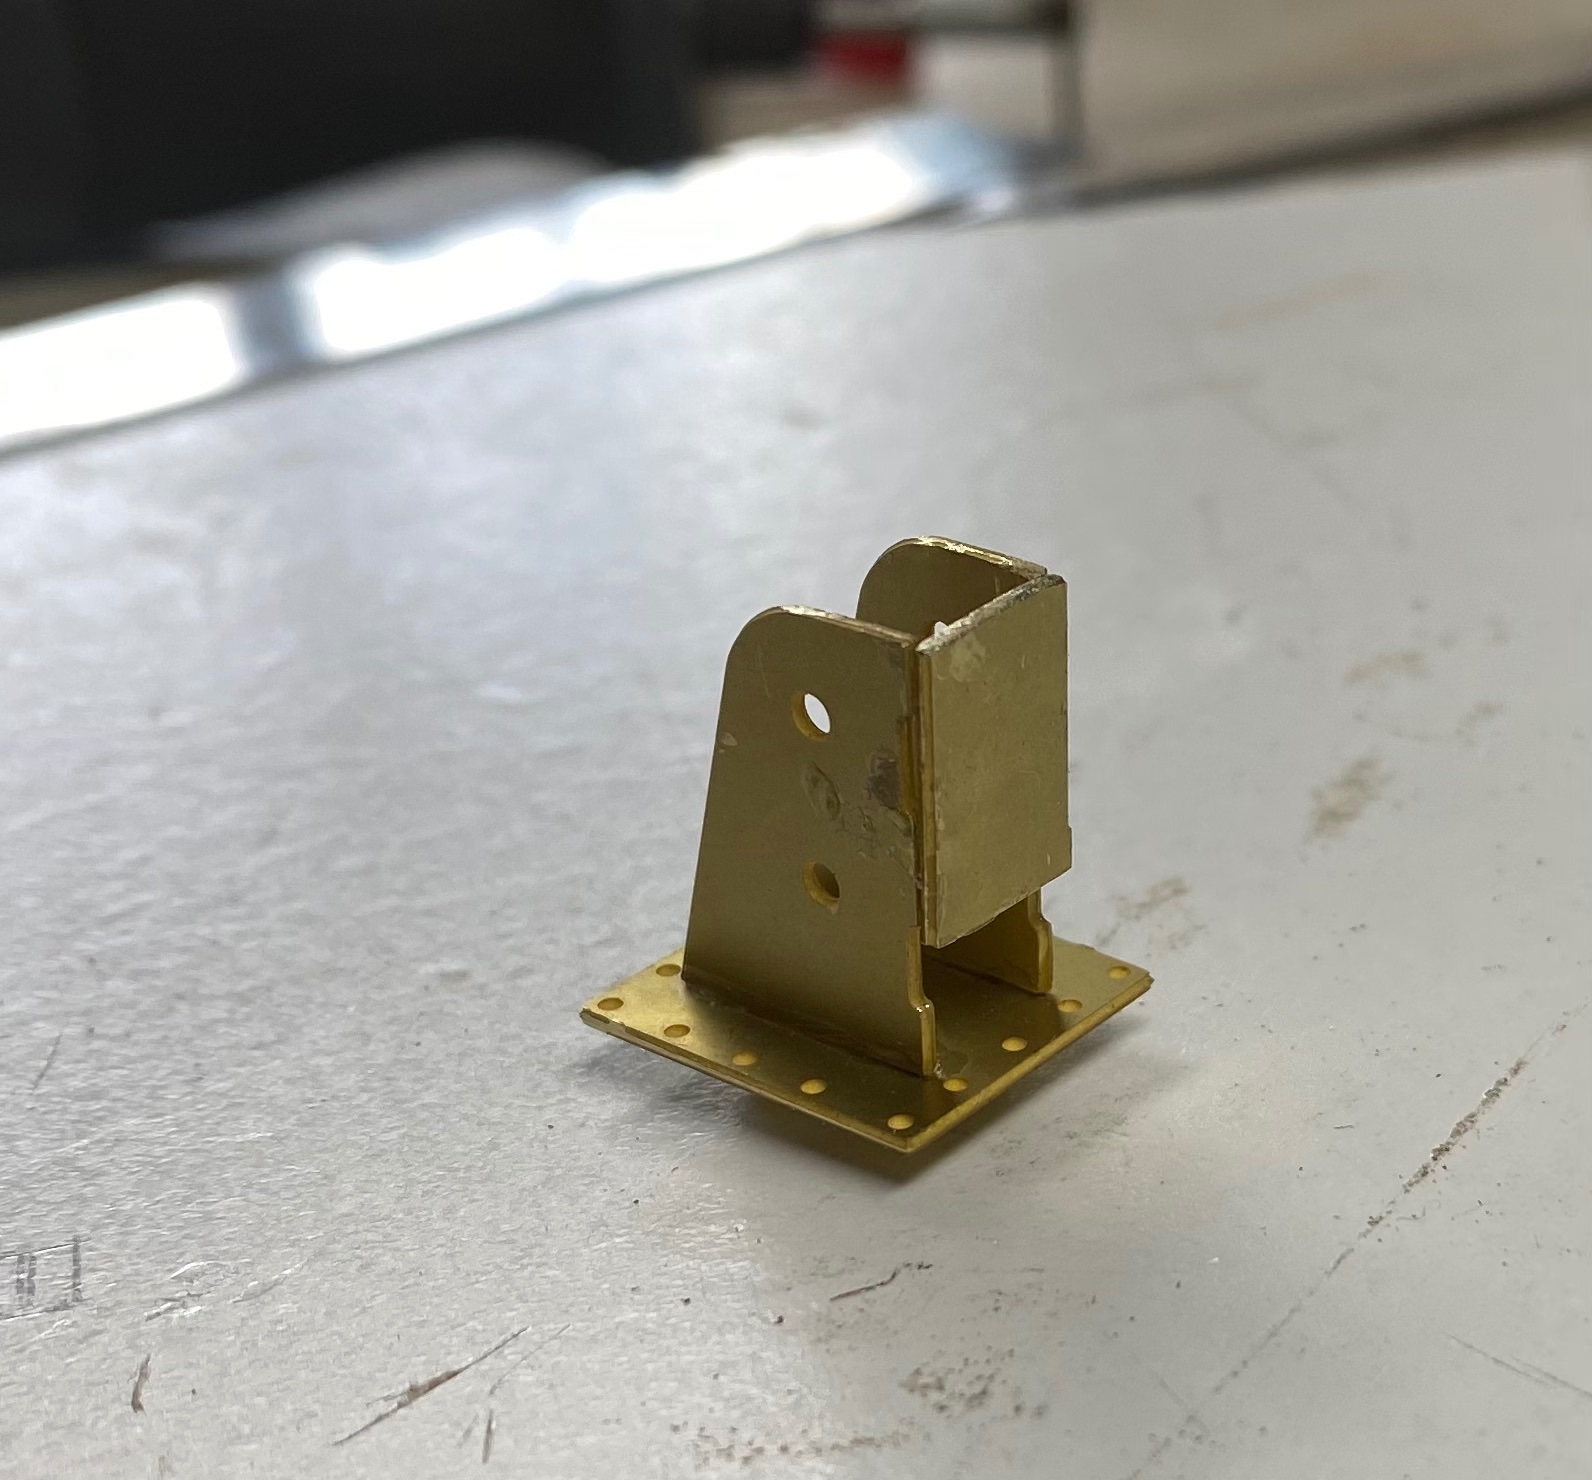
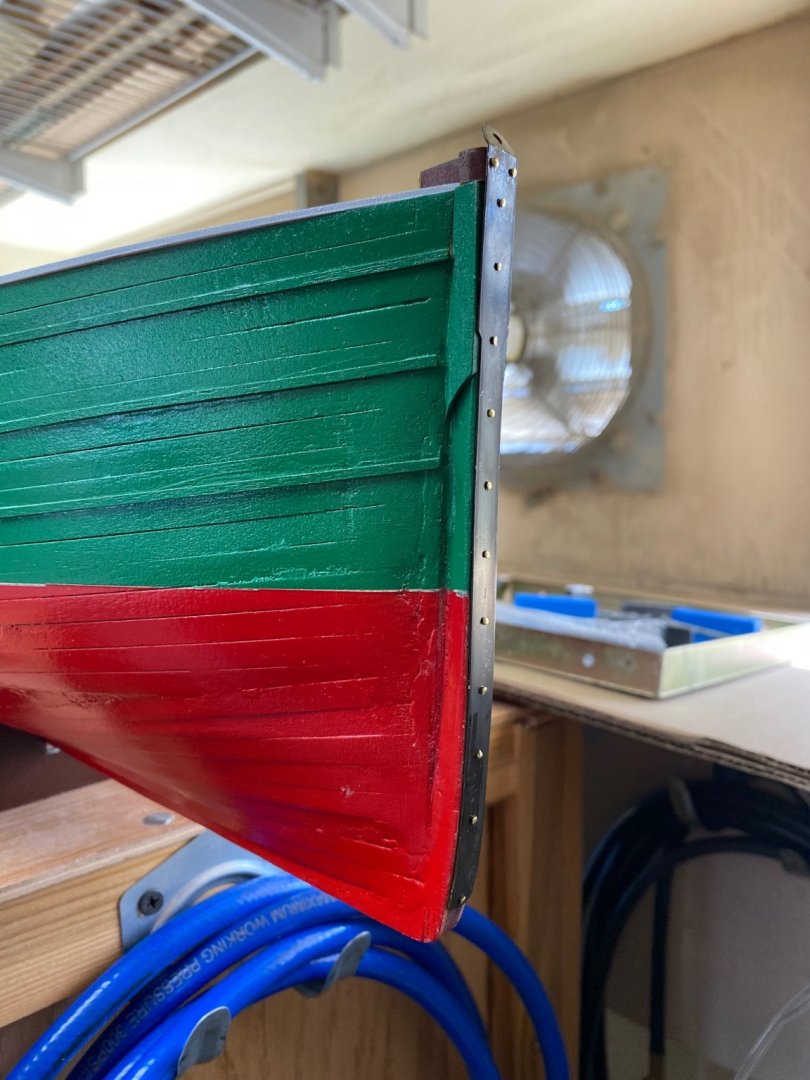
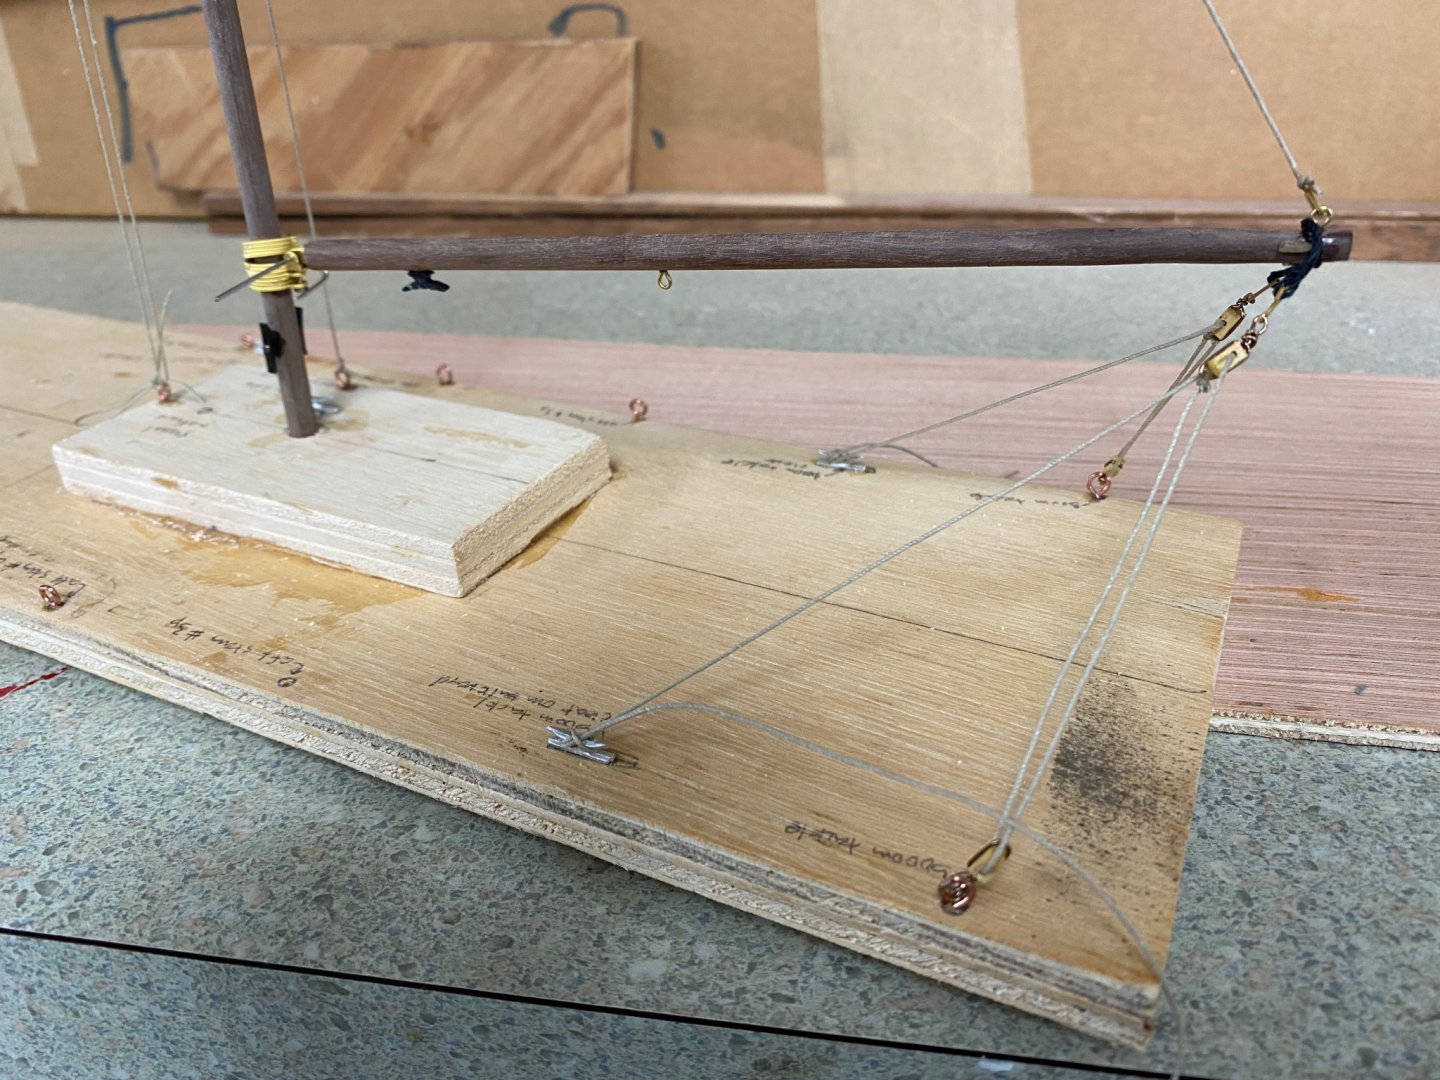
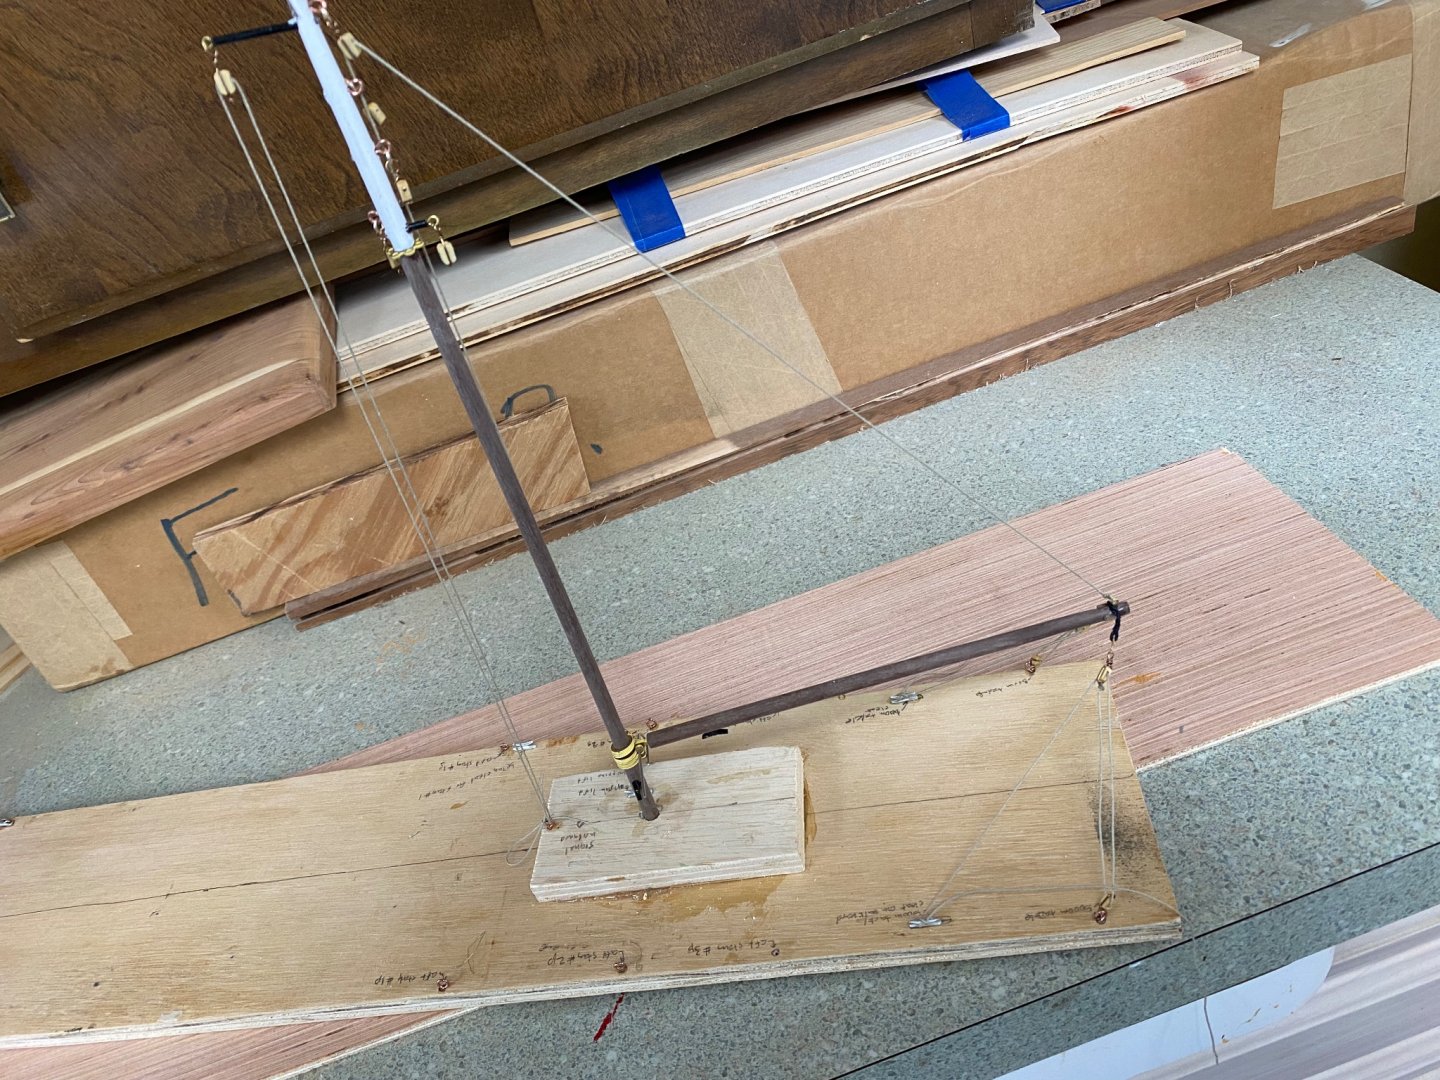
Being a while since my last post but I have been quite busy working on details for my fifie. On my last post I showed you the blackening of the stem water cutter. Following is the part installed. Next I dry fitted the aft mast and the engine exhaust pipe. I have been considering insulating the exhaust pipe but it looks good to me as a plain copper pipe. Fabricated and dry fitted the forward mast tabernacle. After this, I started what I considered microscopic work: fabricating the pieces for the after mast. Then I ran into a problem. My mast tapering did not match size of the holes in the provided brass hooks. Back to the drawing board.... Since the purpose of the hook was to a provide a place for the eye I decided to fabricate the eyebolts and drill the mast for installation. I made a simile of the deck on a piece of wood, installed the after mast, and proceed install the beginning of the standing rigging. This will make the rigging easier (for me) to place it in the model once I have completed the rest of the deck details and fixed some of the boo-boos. Keep watching, more is coming.


-
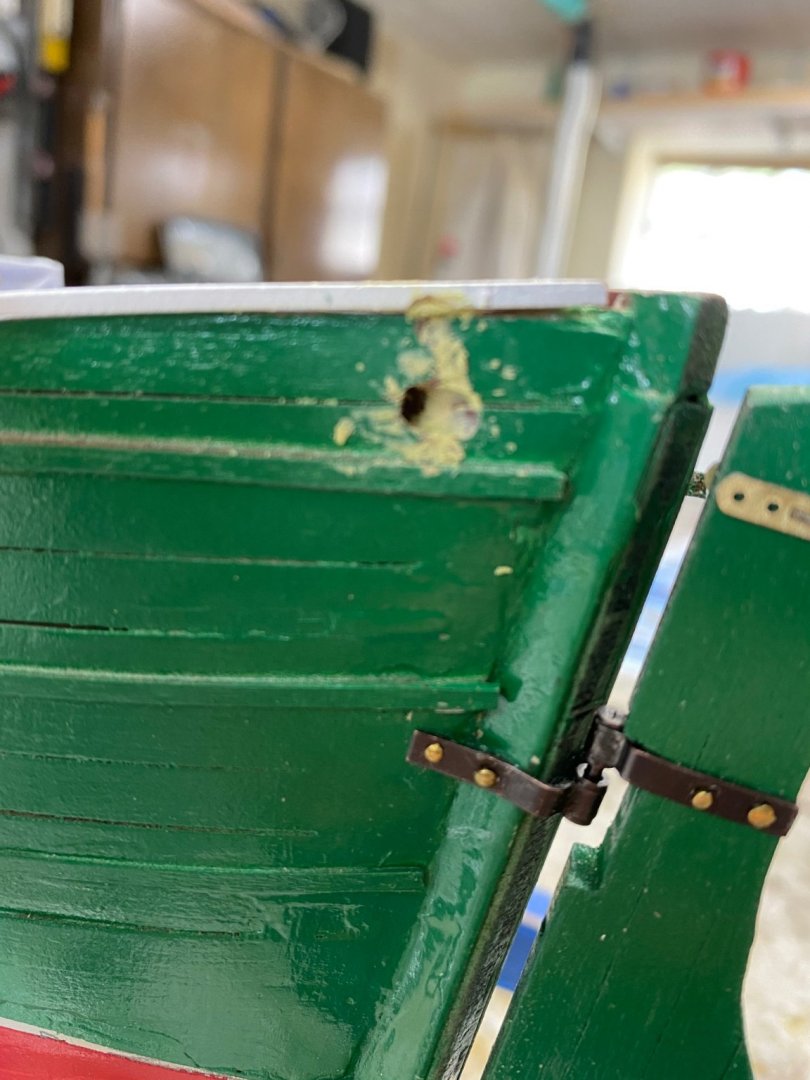
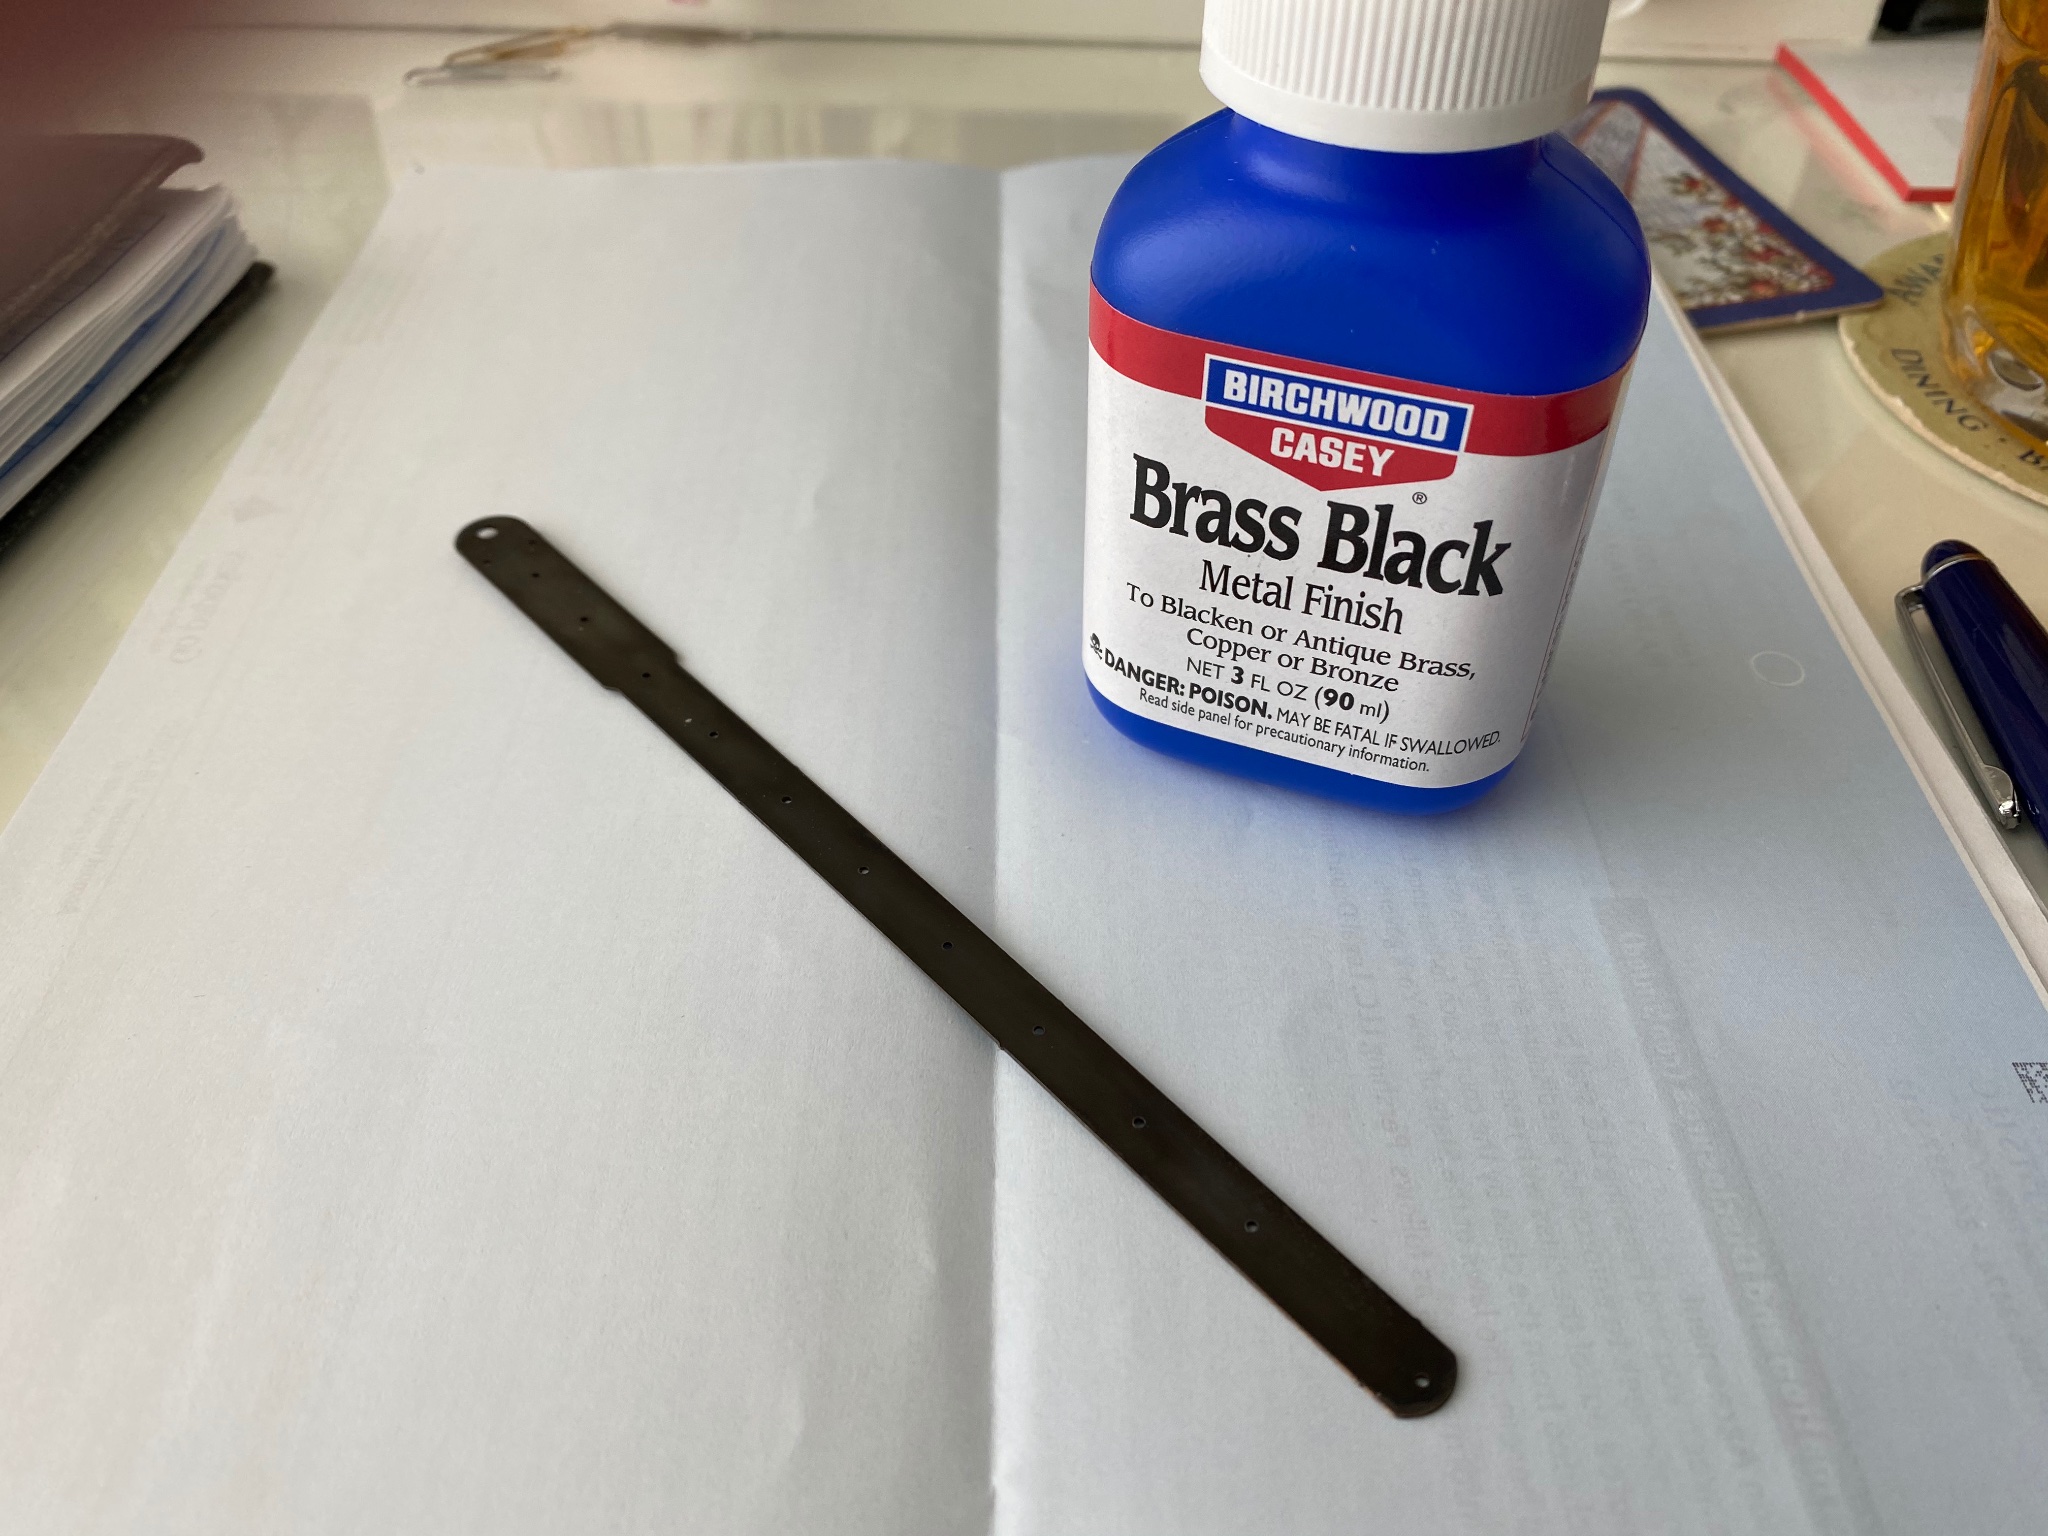
I am trying to get all the miscellaneous work done before getting into the serious business of rigging the ship. While working on the rudder, I drilled the holes for the operating chains and , would you guess? My shaky hand slipped . But the magic MiliPutty came to rescue and all thats left is to retouch the paint. As I mentioned before this boat belongs to a very poor scotsman. While working on the aft mast tabernacle the front EB piece disappeared, like by magic, now here then is gone. I went in my fours and searched all over the carpet , the workbench, my pants, et al, to no luck. then I just cut a piece from the brass etched leftover and this is the result All I need now is to drill a hole for the cleat. Then I worked on the stem brass piece. I was going to paint it black but decided to try and use the blackening system and I seen you all use. I bought the Birchwood Black Metal Finish. In my first try the color was not even and I blamed it both on the slick surface of the brass and the lack of cleanliness of the piece. I sanded the piece with 400 grit and wearing rubber gloves wiped it with alcohol and this is the result Next , I am going to work on the forward mast tabernacle and the fabrication of the masts.