HOLIDAY DONATION DRIVE - SUPPORT MSW - DO YOUR PART TO KEEP THIS GREAT FORUM GOING! (Only 75 donations so far out of 49,000 members - C'mon guys!)
×


Egilman
-
Posts
4,377 -
Joined
-
Last visited
Content Type
Profiles
Forums
Gallery
Events
Everything posted by Egilman
-
 Well, still in the deciding stage... The Admiral sat me down and told me that I have to look at the end result.... She knows me too well... Her opinion is that going further is going to frustrate me even more cause it will not be what I envisioned so I will never be happy with it, so why waste any further money trying to fix it...... Italieri is coming out with an updated kit (now available in europe for preorder) and use this kit as a learning experience... I still have all the decals and the extra parts that haven't been used and I can save the seat and cockpit...... Her recommendation is to stop beating my head against the wall and move on... And to be honest with you all, that is the way I'm leaning.... It's not a defeat but a heavy learning experience.... We travel down many roads in modeling, occasionally we come to a dead end.... I believe this is one of those times... I can't fix it unless I tear it apart and do a complete strip down and get all the accumulated finishes off... That in itself will create even more fit and finish problems down the line... It's not happening fellas..... I know my limitations.... (and I know from experience where it goes from here) Her opinion is get another one and try again in the future.... she doesn't mind the expense as long as I'm enjoying myself.... She also says is that it is painfully obvious to her that I'm not enjoying myself.... it has become a drain.... It's my stubbornness that is causing this, my unwillingness to give in... She says it is what makes me good at what I do.... but not to forget to face facts, this is NEVER going to come out the way I want it to... Go back and take the other road... Sorry fellas, I have to agree with her... This is going on Hiatus while I sort it out... It is the only course forward at this point...
 -
Well, No pics today, just a frustrated lament... I went to mask the tail for the pewter wax color sections... I used the light tack frisket tape, and the finish pulled off with the tape... Tried it a second time and same result... It's sealed but I can't mask it for colors.... Way too many paint layers on this thing that aren't really sticking... So I think I'm going to try and freehand it and if that fails, then I'll leave it as it is... It won't be completely color accurate I know..... Don't know what else to do with it...... except bin it and start over.. It's been a learning experience, an expensive one as the Admiral has noted, but still a learning experience..... Sorry for the rant my friends... I wanted this to come out nice, but it's time to decide which way to go, cut it off and get it done or bin it... She is being a real contrary lady.... EG
-
No, no difference in words. Just a difference in meaning based upon context or subject matter..... Also in American usage I've never seen an example of "The Lords house" used as the subject of a conversation. When directly referred to it is referenced as a church... "The Lords house" in reference to a church is an inference or metaphor used in describing an ideal rather than an actual object.. I know it's technical language usage which is a very droll subject, but it is the truth..... EG
-
May I suggest non-drying Modeling Clay, available from most any hobby/craft store and very cheap, fill the nose with it and tail sitting is over..... best thing abut it is you can conform it to whatever space you have.... and it doesn't need to be glued in... EG
-
Thank you Mark.. The wax is permanent, it's what puts the metal finish on the plastic and is gloss coated to seal it down, the decals go over the gloss coat..... And it doesn't change color when sealed.... EG Update: Below is an image of her gloss coated.... Yep, she doesn't change colors.... Waiting for a solid cure, before I continue... Way too many coats on her now, so I just wanna make sure before I go farther....
- 518 replies
-
- 10
-

-
Thanks Ken, It looks good... I know it takes a clear coat cause I already tested that on the turret.... I was just trying to get the pewter wax on the tail before sealing it down when I noticed it coming off on my hands... Easily fixable... I have some nitrile gloves that will allow me to handle it during this process, just a minor setback. So I'm figuring that I need to do it in stages, base metal finish down first, then a light seal coat, then the other metal colors on the tail..... So as adjusted, the procedure is now finish off the planes basic assembly, a thin coat of gloss black paint, the RnB silver wax (which goes down very thin), then a light gloss clearcoat, and finally the Pewter or Titanium colors on the tail and then an overall light gloss seal coat... Overall there are a lot of painted BMF's out there which are very very nice, but they do not match this in realism and it's done without an airbrush.... I'm going to finish this one, it's not my best work and has a lot of issues, So, I will be doing another F-104C - Blue Jay 4 in the future, (probably the new Italieri) but it's time to get this thing done and move on..... I've learned the basics of what I needed to..... Even the Admiral understands that this one was a learning experience..... she thinks it looks great, but admits she really doesn't know what she's looking at... Gonna touch it up now and seal coat it so it doesn't come off again... Thanks guys for following along and your patience with a plastic hacker's inexperience... EG
-
Thank Ed for the vote of confidence, But alas I still have more figuring to do... Not quite there yet... Over time, the wax will soften and come off when handling it... I already have a few areas where it needs to be touched up... And it's not going to stay hard long enough to get the decals down..... so I'm into testing mode again I have to find a sealer for it... Two steps forward and one step back..... It masks fine though tape doesn't pull it off I guess that is a good thing....
-
Thank you OC... But, we are not done yet, Rub n Buff is much better than the Uschi powders easier to put on... but it is effected by hand oils also, just not as fast... So I need to readjust the application procedures for it to account for that......... Probably have to put a clear coat over it and see what that does to it.....
-
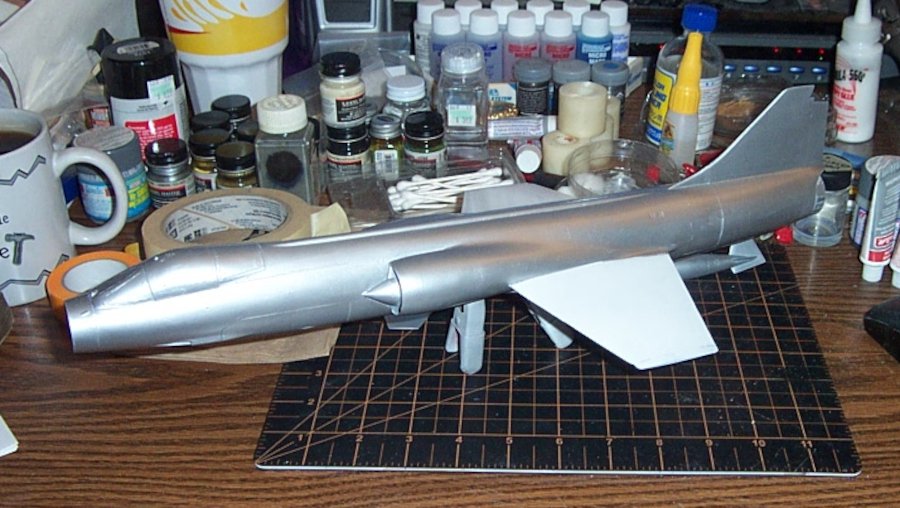
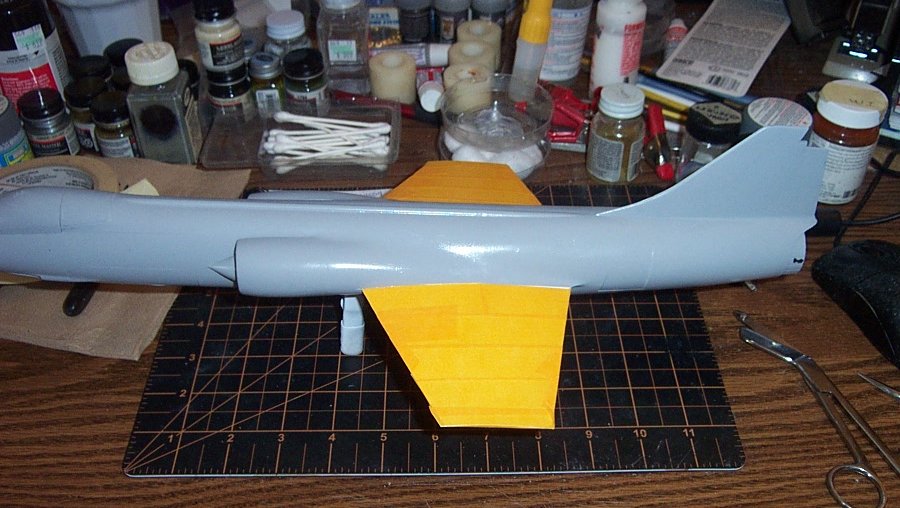
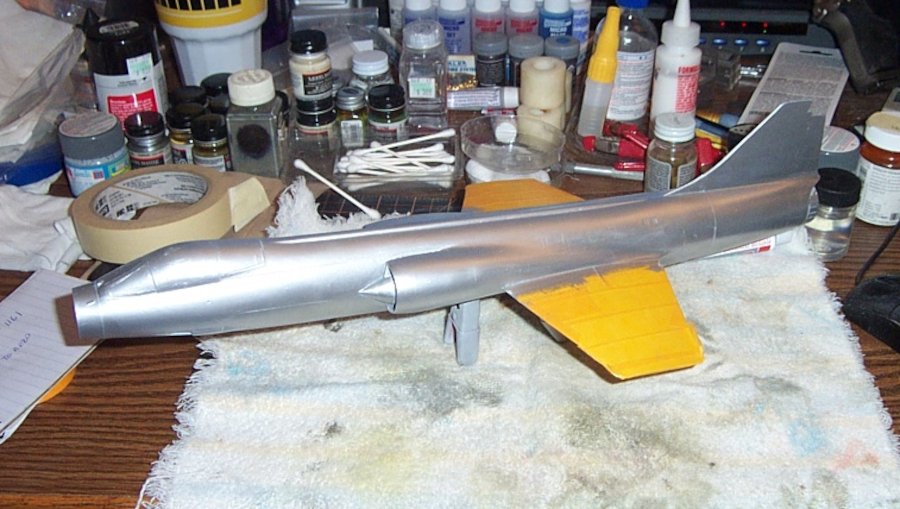
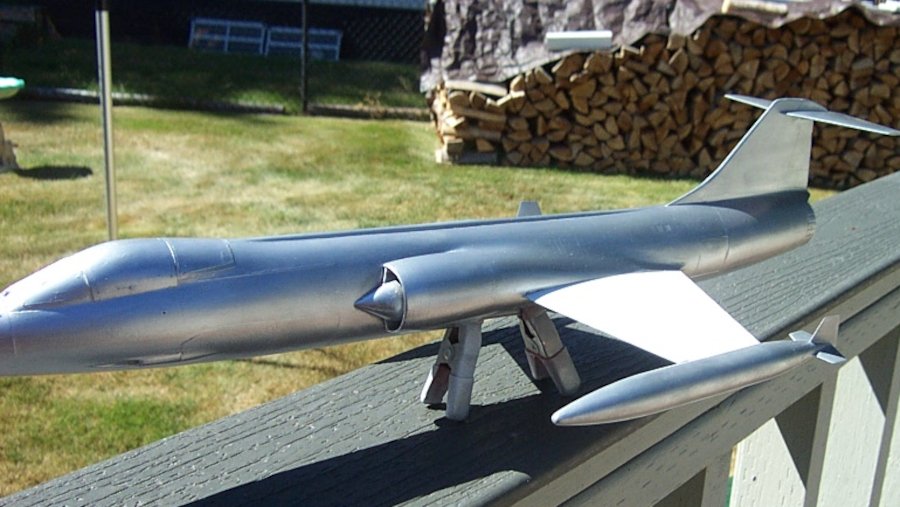
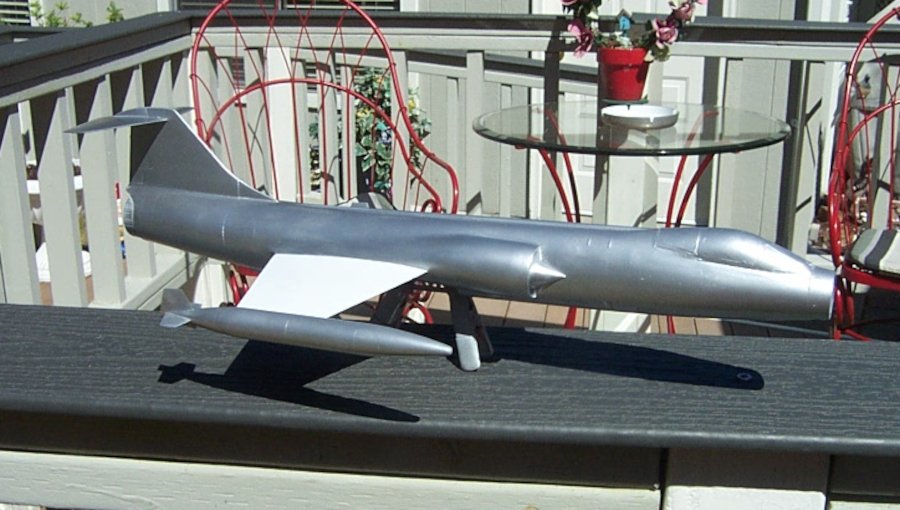
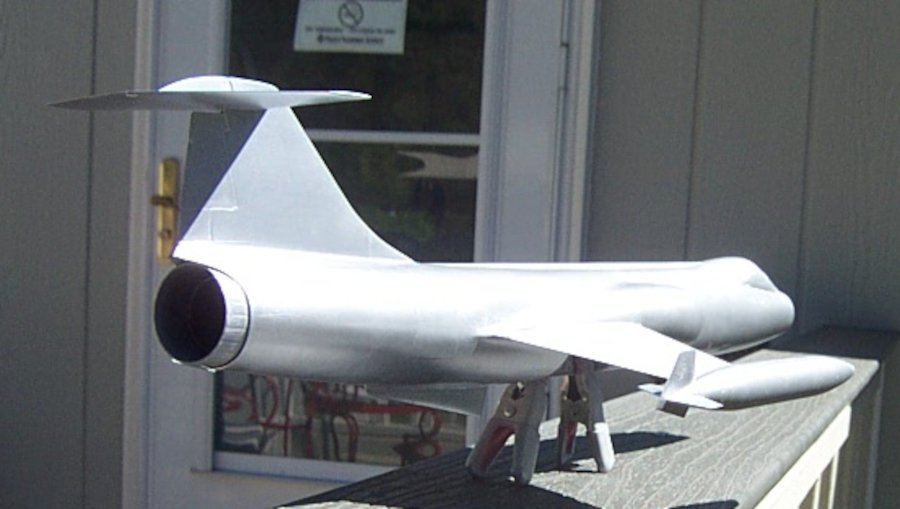
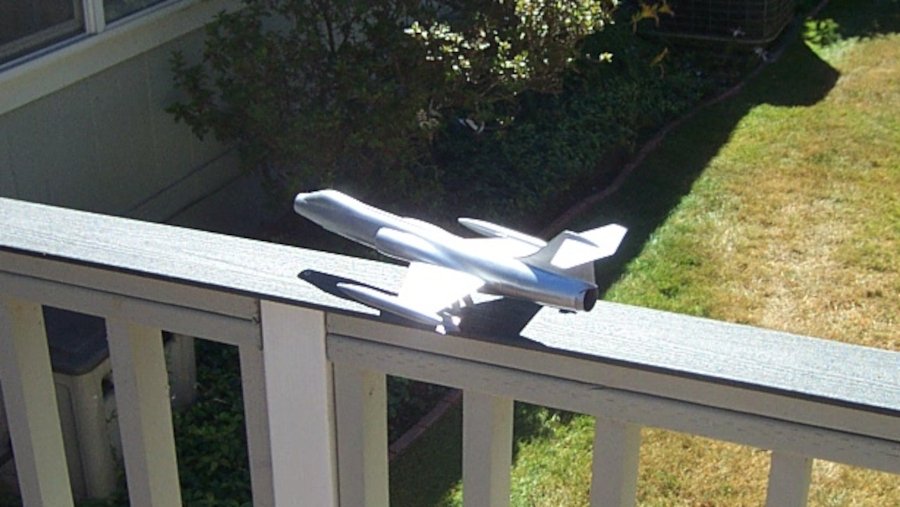
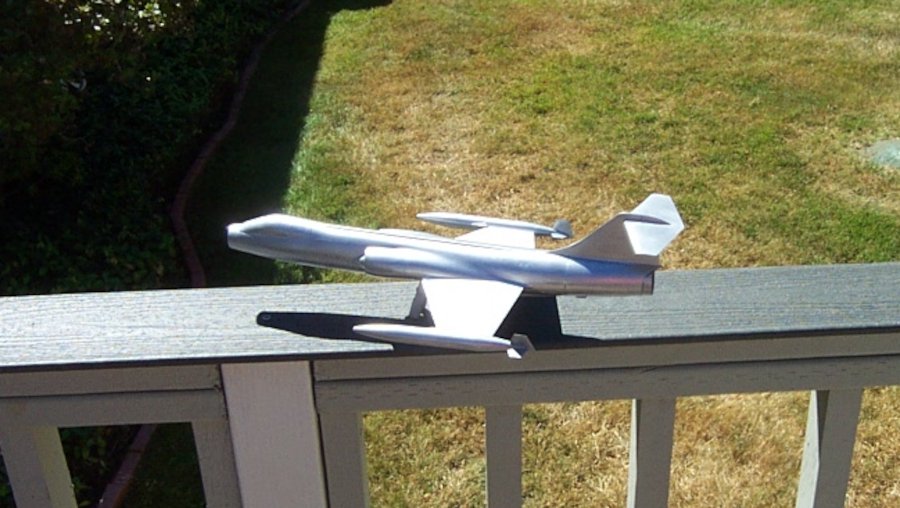
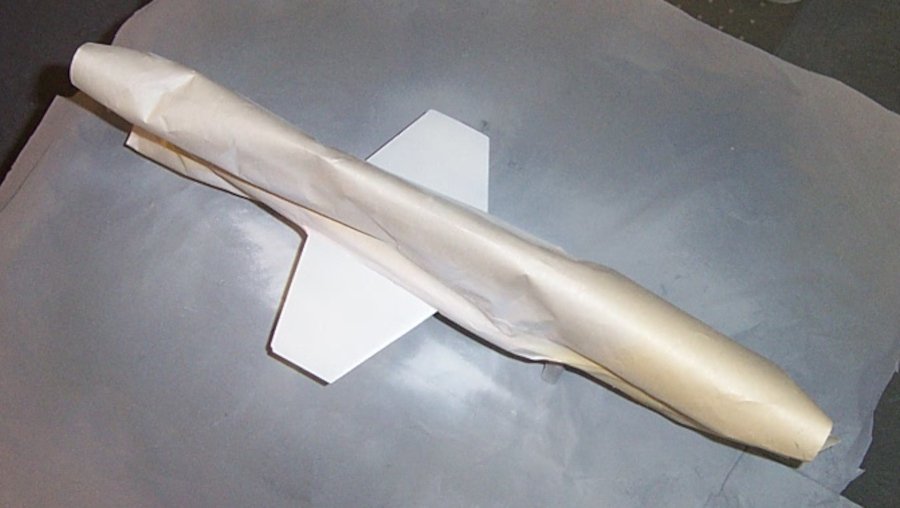
Update, the one everyone is waiting for.... Waxing this lady!!! (no, not that kind of waxing) We start with masking... we don't want any wax on our wings... Using 3/4" frisket tape we mask even to the fuselage to the flap then even with the flap to the trailing edge... We finish off with covering the wing surfaces with masking strips. I did it this way cause I do not want the masking tearing during application of the wax... Rub on and buff out.. It didn't take very long at all about 15 minutes to completely cover the fuselage... Top and bottom... With the masking pulled.... Wing Tanks and stabilizer added, she is really looking the part now... Time to get some outside shots.... She looks better from a distance than up close, yeah, the finish suffers from the refinishing work that went on before... But as far as the metal surface goes it duplicates the natural look of aluminum sheet metal in a semi polished state..... Some reflections, but not mirrors, the way most of them in common use were.... It reflects sunshine the way it is supposed to.... I don't think there is a better BMF product hands down.... There is nothing out there that matches this... Absolutely nothing... (of course in my humble opinion) Gonna leave it sit overnight, give it a final rubdown and call it good... Next, I will start concentrating on the details... which first up is the different colors on the tail...... Tamiya fine grey primer, a light coat of testors wet look and Rub n Buff... My next aircraft will have a black base coat... Anyway it is what it is..... It does look like a bare metal F-104 just don't get too close to it to see all the imperfections in the surface... A heck of a learning experience..... EG My first one, I hope you like it....
- 518 replies
-
- 10
-
-
Thanks brother..... Up next masking off the wings and waxing....
-
That's a badd Spad.....
-
You can do this on windows, but windows has a function built in for scrolling thru pic files in a directory called file viewer... It's been there since Windows 7....... just double click on the file opens the viewer
-
Beautiful work brother.... really looks the part, Hendon or the maintenance facility at RAF Strubby near Alford, could be any of a dozen basings.... Wonderful job!!!!
-
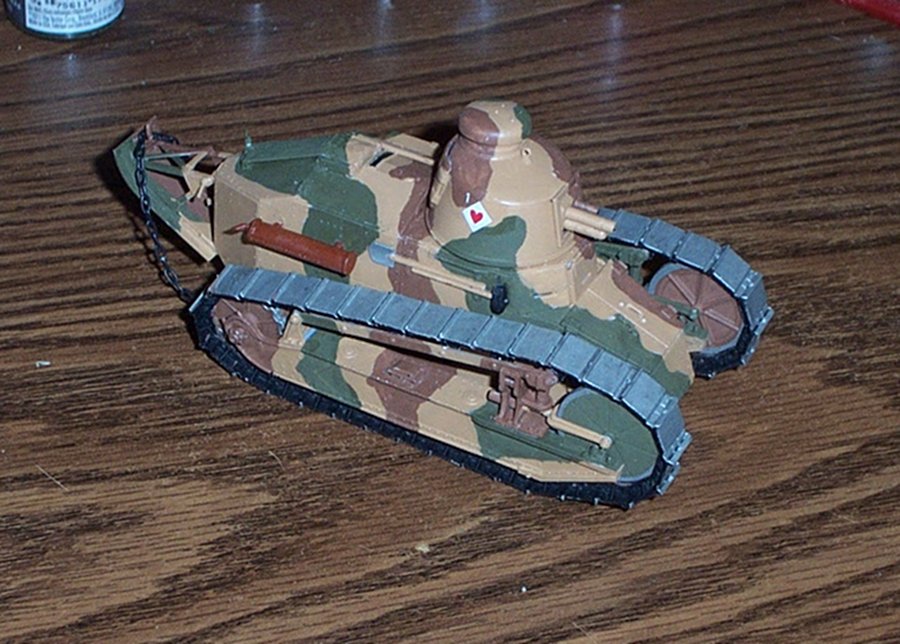
It's a nice kit, the "6-ton" tank (standardized as the M-1917) is an "americanized" FT-17.... Almost identical, it had an American engine and the exhaust and toolbox were on opposite sides. They soldiered on in the American Army to the lead up to WWII... around 1936 the same as the Victory Tank... Although some of them made it to France before the ending of the war, none of them ever saw combat as they were too late for issue to the using troops. They were extensively used alongside the FT-17's in the occupation of Germany after the war.....A side note: Practically every armored officer of any serious rank during WWII (B.Gen & up including Patton and Eisenhower) learned their craft at the controls of one of these... RPM also makes the FT-17 in both machine gun and cannon versions with US markings and color schemes... It's an excellent model.... Although I would replace the track with AM, they look so much better...
-
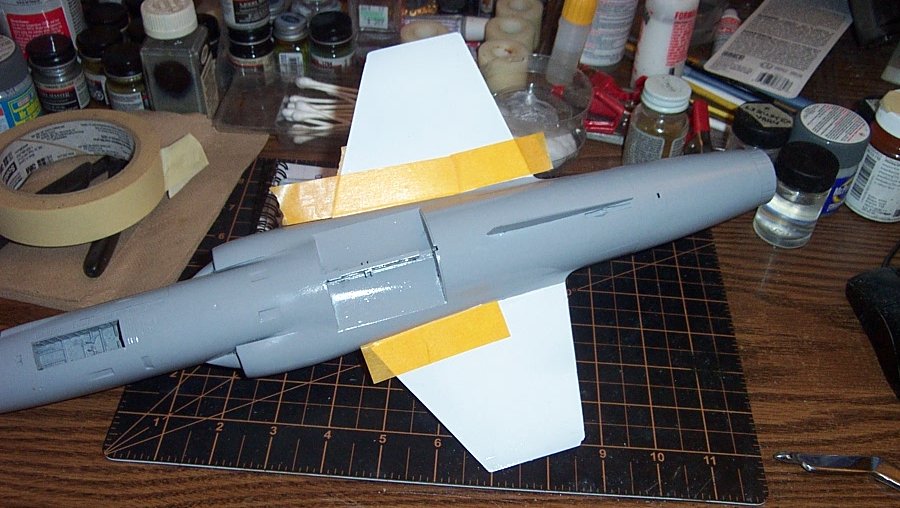
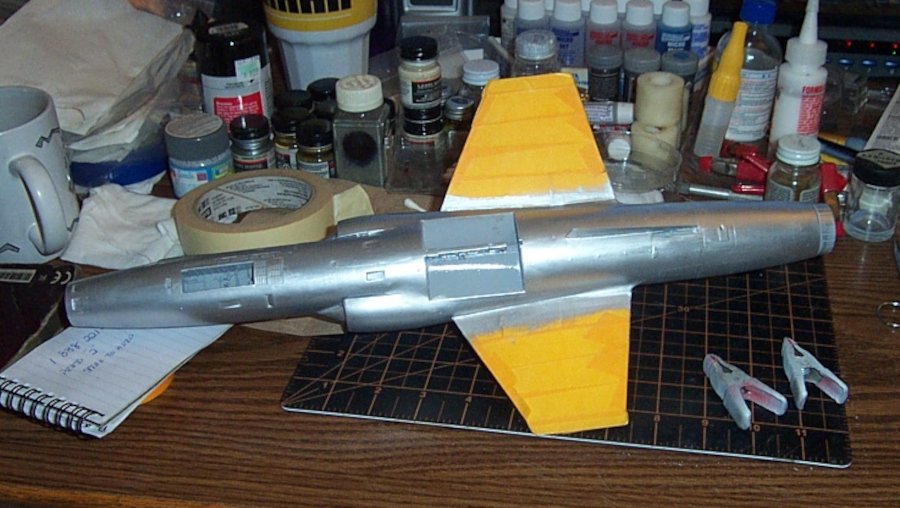
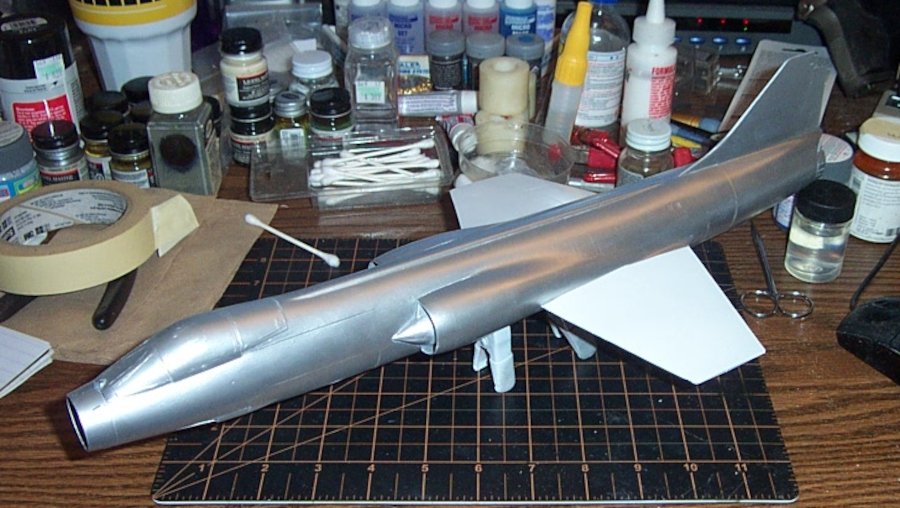
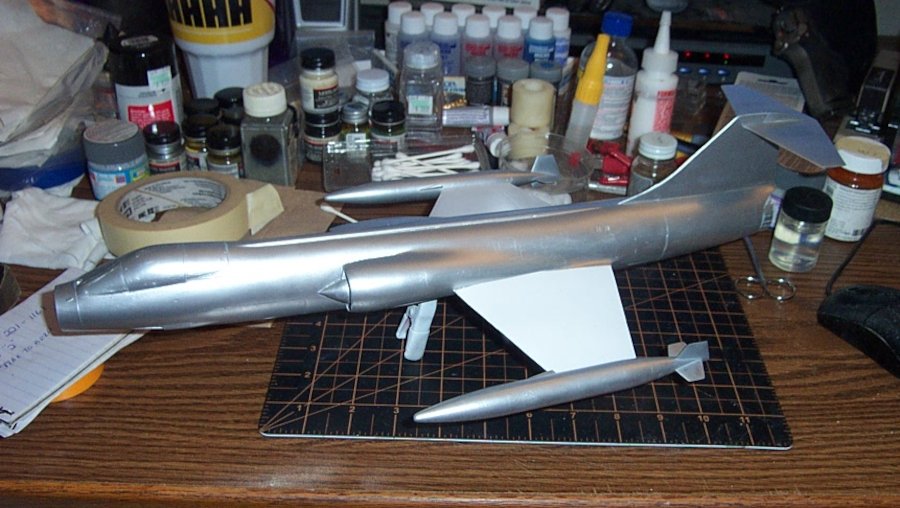
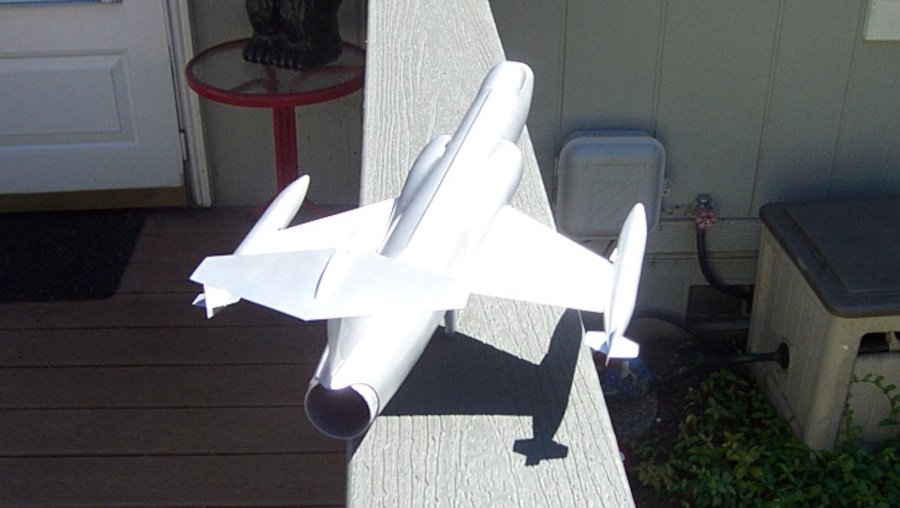
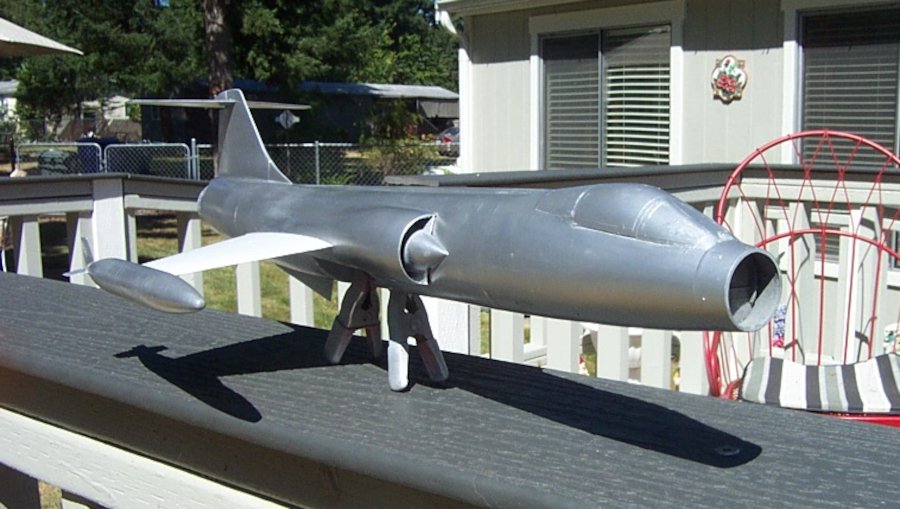
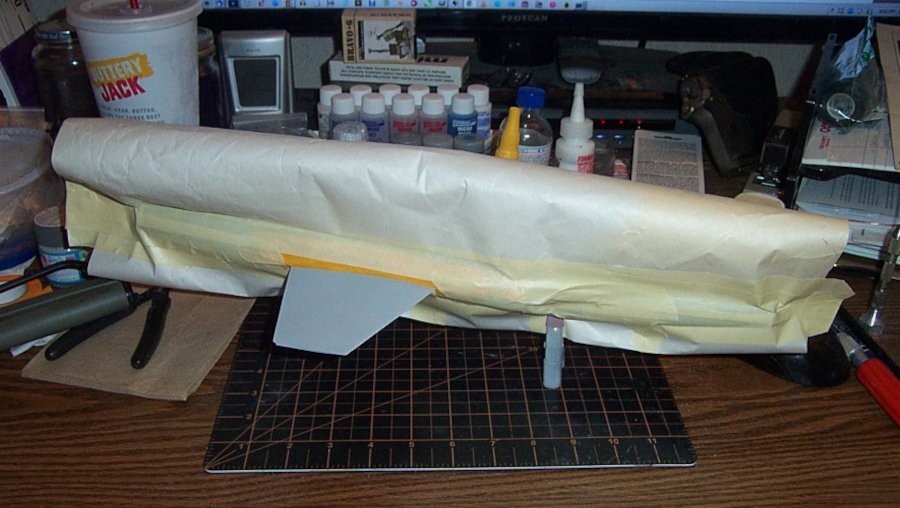
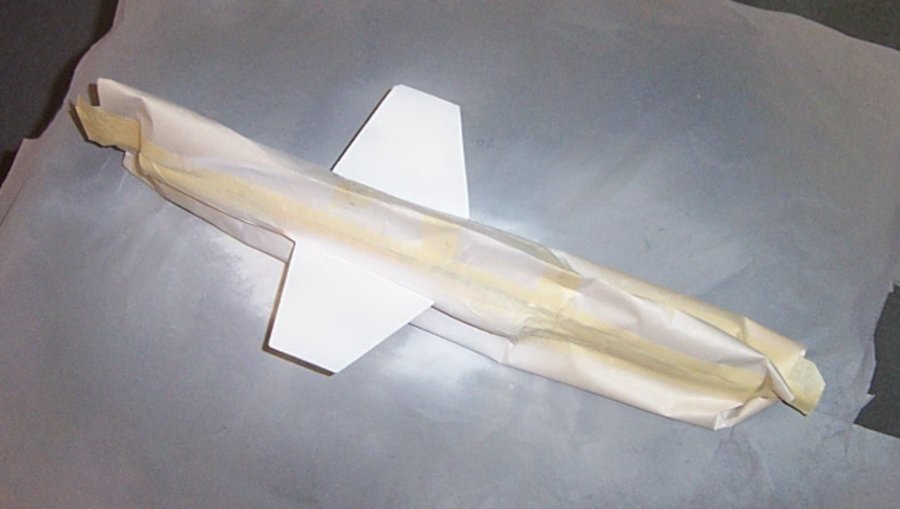
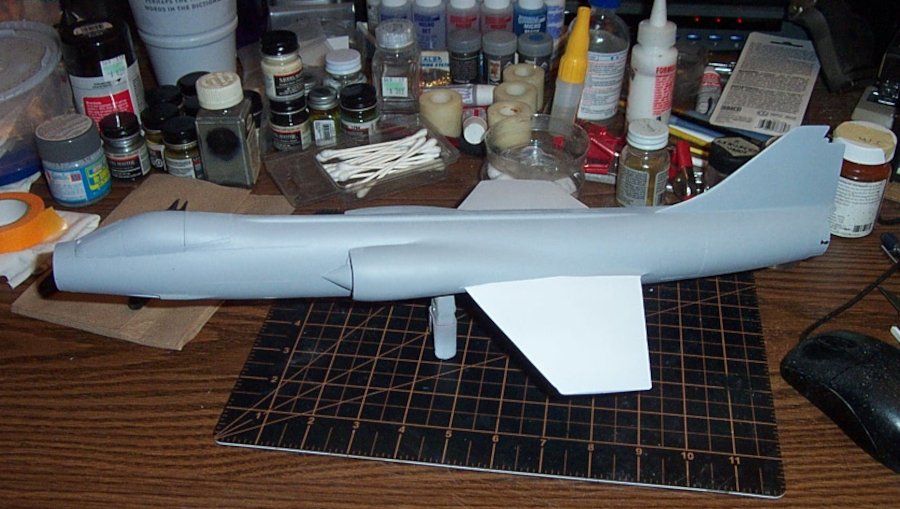
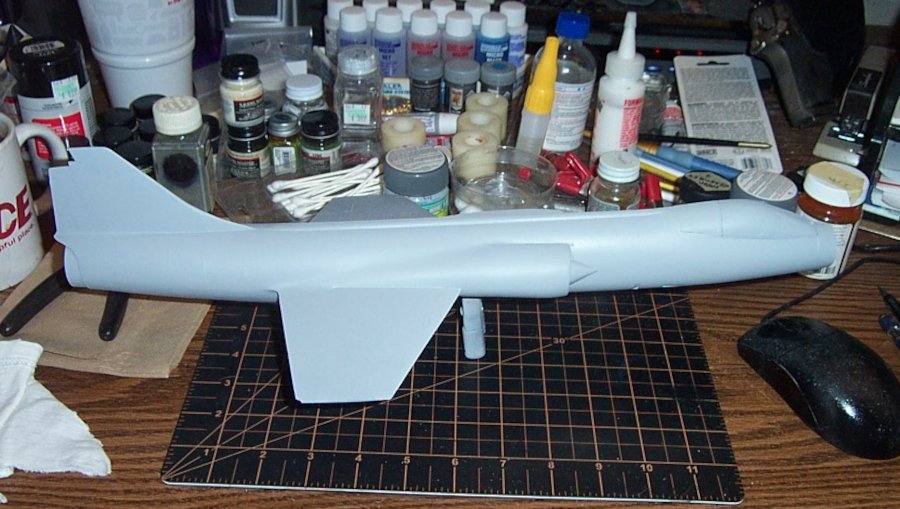
Final update before waxing.... Finished the priming, it's pretty smooth for the most part..... This is what she looked like after the final grey coat..... Not much different than the first prime coat..... Masking off the wings.... This was done with frisket tape in straight lines following the curve of the wing top and bottom, then a full length paper mask using shipping paper and standard masking tape looped over and under the fuselage and closed off on the ends leaving nothing but the wings exposed..... Tops of the wings in Tamiya fine white.... Bottoms of the wings in the same... Now I know that for most of the Zippers life in the USAF, they had White wing tops and AC Grey bottoms... but there was this one little period, from late '62 thru early '65 where the wings were white both top and bottom, Blue Jay Four was filmed during this period... so hence they are white top and bottom... And finally.... Now I still need to do a bit of cleanup at the wing roots, the masking left a raised edge that need to be taken care of. (minor issue) She's ready to go after a bit of time to fully cure... The procedure now is to finish the wings off first, they need to be clear coated and fully cured. Then mask them as they will appear on the final aircraft then do the wax finish on the fuselage.... Hopefully after that, I will be on the home stretch, as long as all my decals arrive ontime...... Finally making some progress, I felt barricaded for a while there..... {chuckle} EG

-
Thanks Dennis, I had a great day, quiet and relaxing.... (stayed away from the bench for a while) Micro mask was a godsend back in the day and is the old school standard now..... But those pesky AM designers do come up with myriad ways to part us from our money don't they... Sometimes old school is better..... It's pretty impossible to be late for your own funeral my friend, and if you actually manage to do that, you can blame others cause you were incapable of doing anything about it being incapacitated and all... {chuckle} Anyway, second attempt is coming up soon, I just finished the final priming, grey fuselage and white wings... Pics in a bit....
-
Almost there my friend, a final primer spray, spray off the wings in white primer then a light gloss coat.... Keeping my fingers crossed....
-
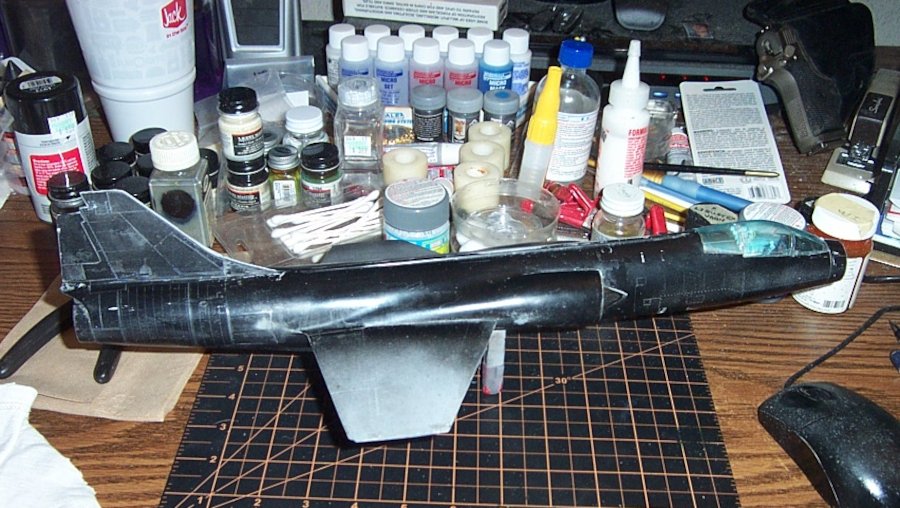
Another small update.... Canopy is glued on with canopy glue again, and wiped down and cleaned for spraying primer, now this isn't going to get everything but the loose stuff should be gone... On the spray bench.... And back on the work table for buffing/smoothing the paint.... There are of course some issues that need to be dealt with, tiny fills and edges that need to be buffed down before it gets a final coat of primer... and yeah it's had enough paint to hide some of the very fine details..... It will look good in the end, but will not be my best work..... I'll probably do another in the future..... But the experience in learning how is invaluable.... Onward... EG
-
Nice Job Patrick, and the regiment get a little bit bigger... Excellent work....
-
Yeah, and now, you get to make majik.....
-
Yeah I get it now, I figured it might be something like that... Cold forming after softening the brass... The mill vise and tool steel setup hinted at it also.... Ingenius old school foundry practice in miniature..... It's been so long since I've been in a machine shop I forget sometimes..... It reminds me that all we are doing is practicing our trades in miniature..... the skills and knowledge remain the same..... Thank you for the looking in at your wonderful work....
-
That's an awful lot of very fine timbering... A true manor house.... Have you decided what you going to use for the slightly off white mastic between the timbers yet? It's going to be spectacular truly fitting for the Lord/Baron/wealthiest man in town..... Impressive...
-
Thank Mike... Yes I always dip in Future when the canopy is finished, that takes care of all the tiny scratches that clear canopies seem to pick up and provides it a protectant layer of very tough, super clear, and super shiny acrylic... Plastic polish I don't use unless there is no other way to save the canopy.. (masking knife slippages on antique kit canopies come to mind) Usually with care and patience there is no need to polish the canopies, just dip them and be done with it...
-
Thanks Ken, This is such a minor thing I actually thought about not posting it but figured that there might be some that would benefit from the older ways of doing things...... Fairly straightforward and easy once you get the hang of it...
-
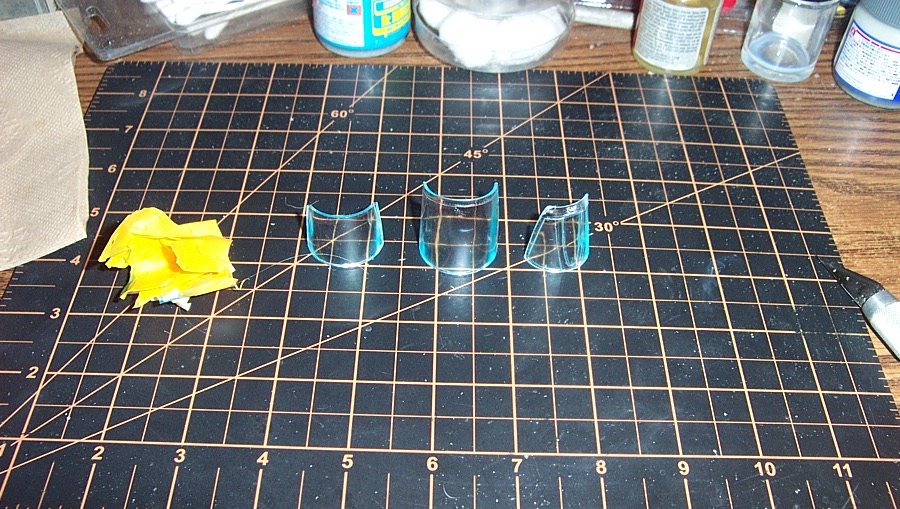
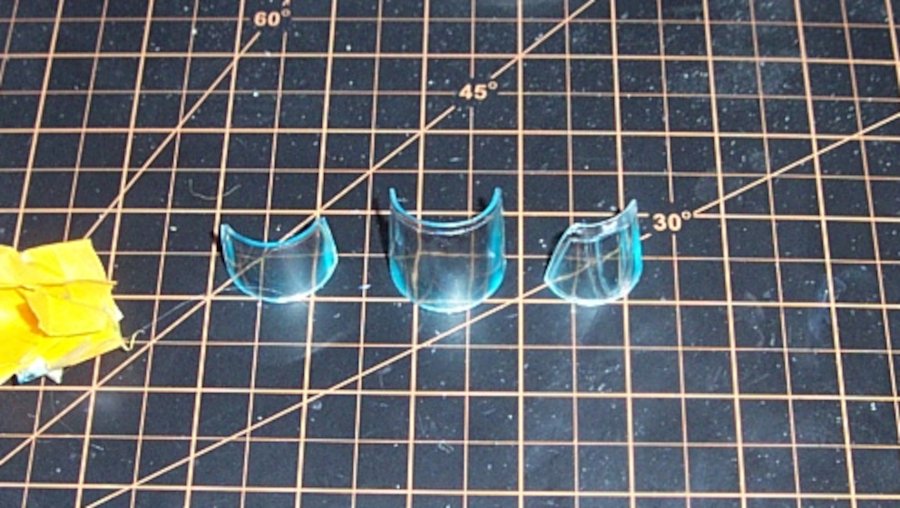
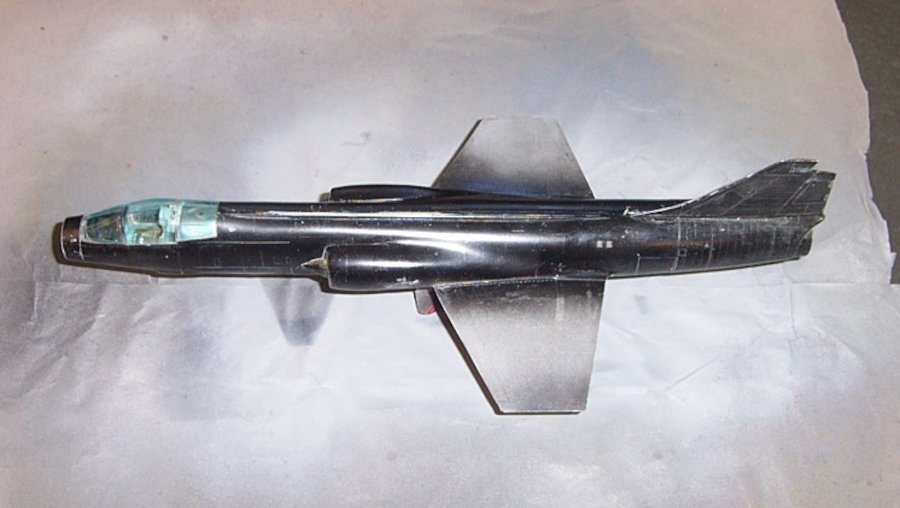
Short update... I cut the masks and pulled the masking tape..... Notice they now have a blue tint to the clear? those are the masks, a very thin film over the parts you want to remain clear.... you can see over the windscreen forward edge where they are still clear. Here's a close up.... That's it! Masking the canopy is done.... the clear parts now have a very thin removable film over them.... it is impervious to enamel paints... Ready to re-mount them and go to work on cleaning up the Fuselage.... Onwards... EG