HOLIDAY DONATION DRIVE - SUPPORT MSW - DO YOUR PART TO KEEP THIS GREAT FORUM GOING! (Only 24 donations so far out of 49,000 members - C'mon guys!)
×


Egilman
-
Posts
4,377 -
Joined
-
Last visited
Content Type
Profiles
Forums
Gallery
Events
Everything posted by Egilman
-
The same as the guys have already said... pour gently and slowly while it is curing a layer, me, I pour it on the back of the build plate while it is down to prevent spills and splashes.... Ron, make sure you go into the printer config and turn off the cover interlock so you can remove the cover while it is operating.....
-
One of those relatively cheap video baby monitors? That should be capable of allowing you to check it from time to time.... Another alternative is one of those cheap wireless security cameras should do the same thing.....
-
Yes it is, a whole new world.... I do know this, if I can figure it out I'm sure you can....
-
I'll be the first one to say I don't know for sure, all I have to go on is the results and my observations.... Engineering wise less thump equals less stress on the part when being lifted... The issue is print separation from the build plate causing a failed print... The FEP is flexible and the reason for that is to cause it to separate from the part when the printer resets for the next layer... The harder the part sticks to the FEP, (which causes the thump when it releases) means the printer has a more difficult time resetting successfully for the next layer.... The louder the thump, the harder it's sticking.... It logically would also be putting more and more stress on the partially cured resin of the part each time it sticks requiring more force to lift for the next layer..... The stress eventually gets to the point where it overcomes the strength of the partially cured resin and you have a failed print by either the part breaking or detaching from the build plate.... The sound itself doesn't bother me all that much, but what it represents does.... Refilling the resin vat during the print adds weight on top of the FEP and not to the print, with added weight the FEP has a harder time sticking to and lifting with the print reducing the thump and reducing the chance of a failed print.... Now like I said I don't know this for definite sure, but it works for me sufficiently to say that no thump equals a more efficient print and hence a better success rate... Just reporting on my experiences testing this printers capabilities, and what I've come up with to resolve issues as they come up..... I'm just figuring all this out for the first time myself..... If I'm wrong on anything or what I report doesn't make any sense someone please clue me in so we all can have a good laugh together... Print on...
-
Ok, another update, now at 50%..... But I did have a problem that I experienced before,.... Along about 47-8%, it started thumping again, very mild, but very perceptible... I was paying attention to this as I think it has something to do with the amount of resin in the vat.... So, when the thump started to be accompanied by a jiggle in the resin in the vat on the thump, I decided it was time to do something.... (the jiggle I'm talking about is like the scene in Jurassic Park, the water in the plastic cup jiggling when the T-Rex takes a step, you know, muffled boom/jiggle, muffled boom/jiggle) Back when I had a complete print failure it sounded like someone was using the vat for a drumhead and I speculated that low resin level in the vat was a contributing factor... Well, the action I took was to fill the vat back up with resin to the vat full line.... Guess what happened? After printing a couple of layers after the refill, the thump/jiggle went away... so my conclusion is that resin level in the the vat has a lot to do with a successful print, especially a large one like this one...... Right now it's running smoothly not a hint of sticking after that short episode and all I did was refill the vat.... The weight of the resin helps to stabilize the FEP film helping layer separation is my analysis... Keep your resin vats full my friends for best results.... EG
-
Ok 33% done... No jinx yet.... It's slowly turning out, still no sticking issues.... (finners still crossed) {chuckle}
-
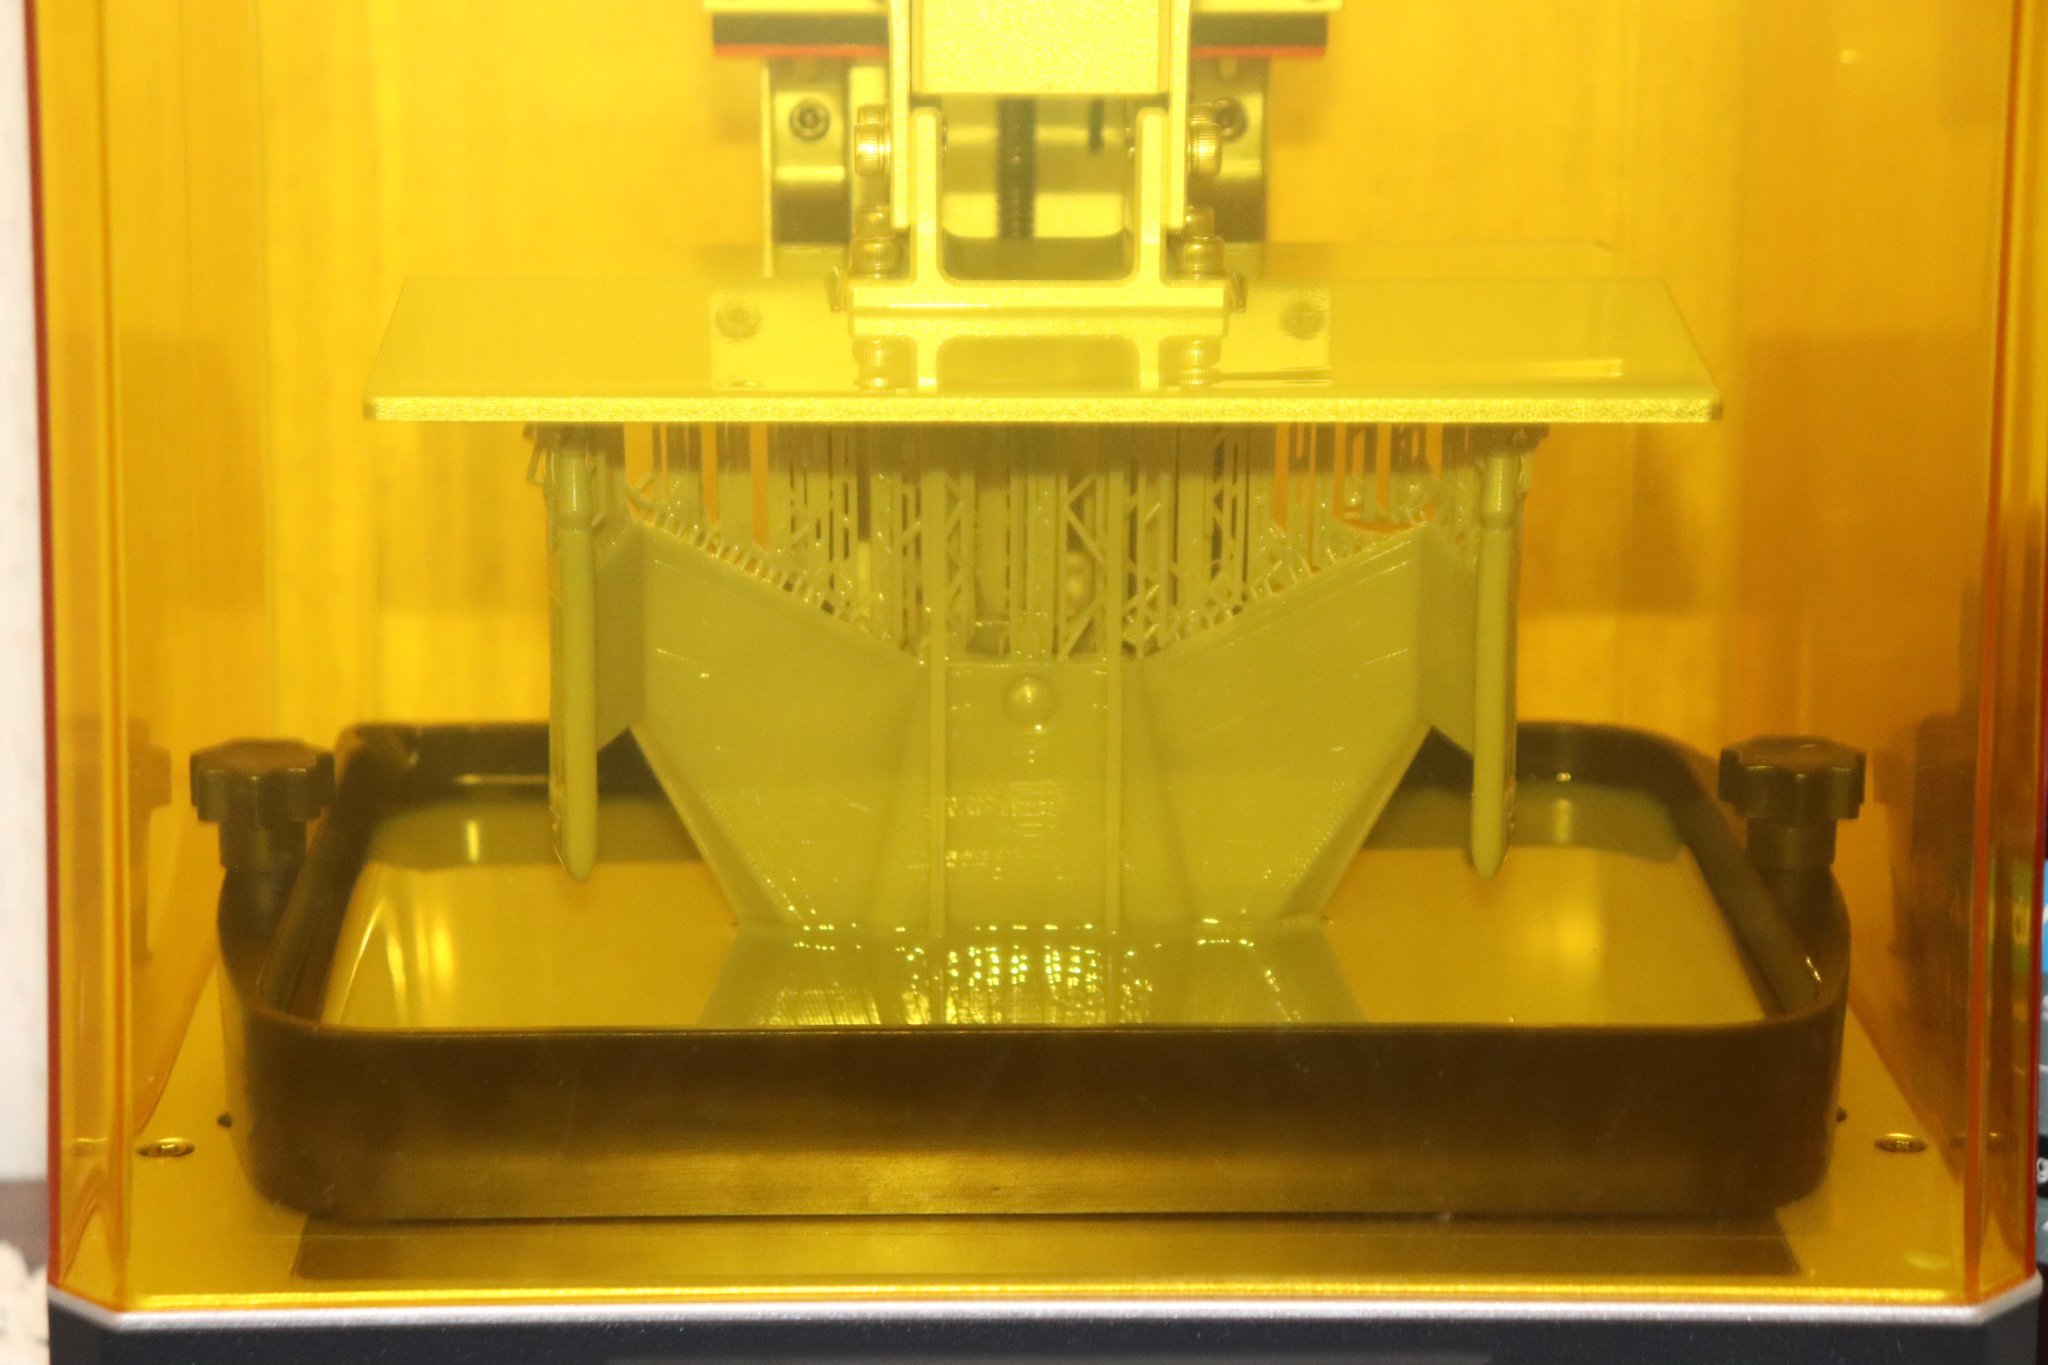
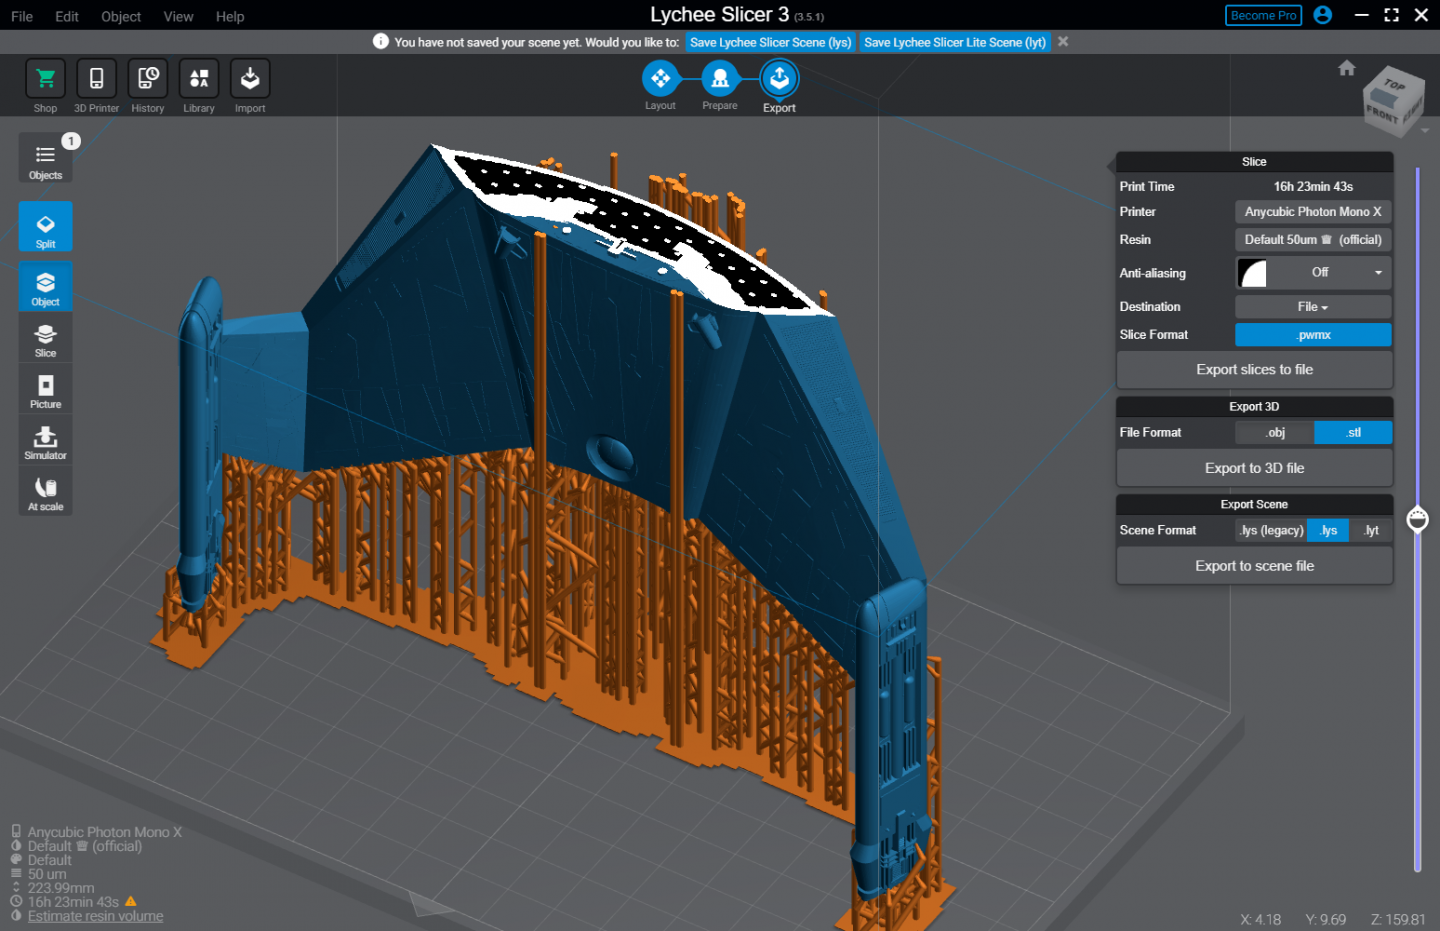
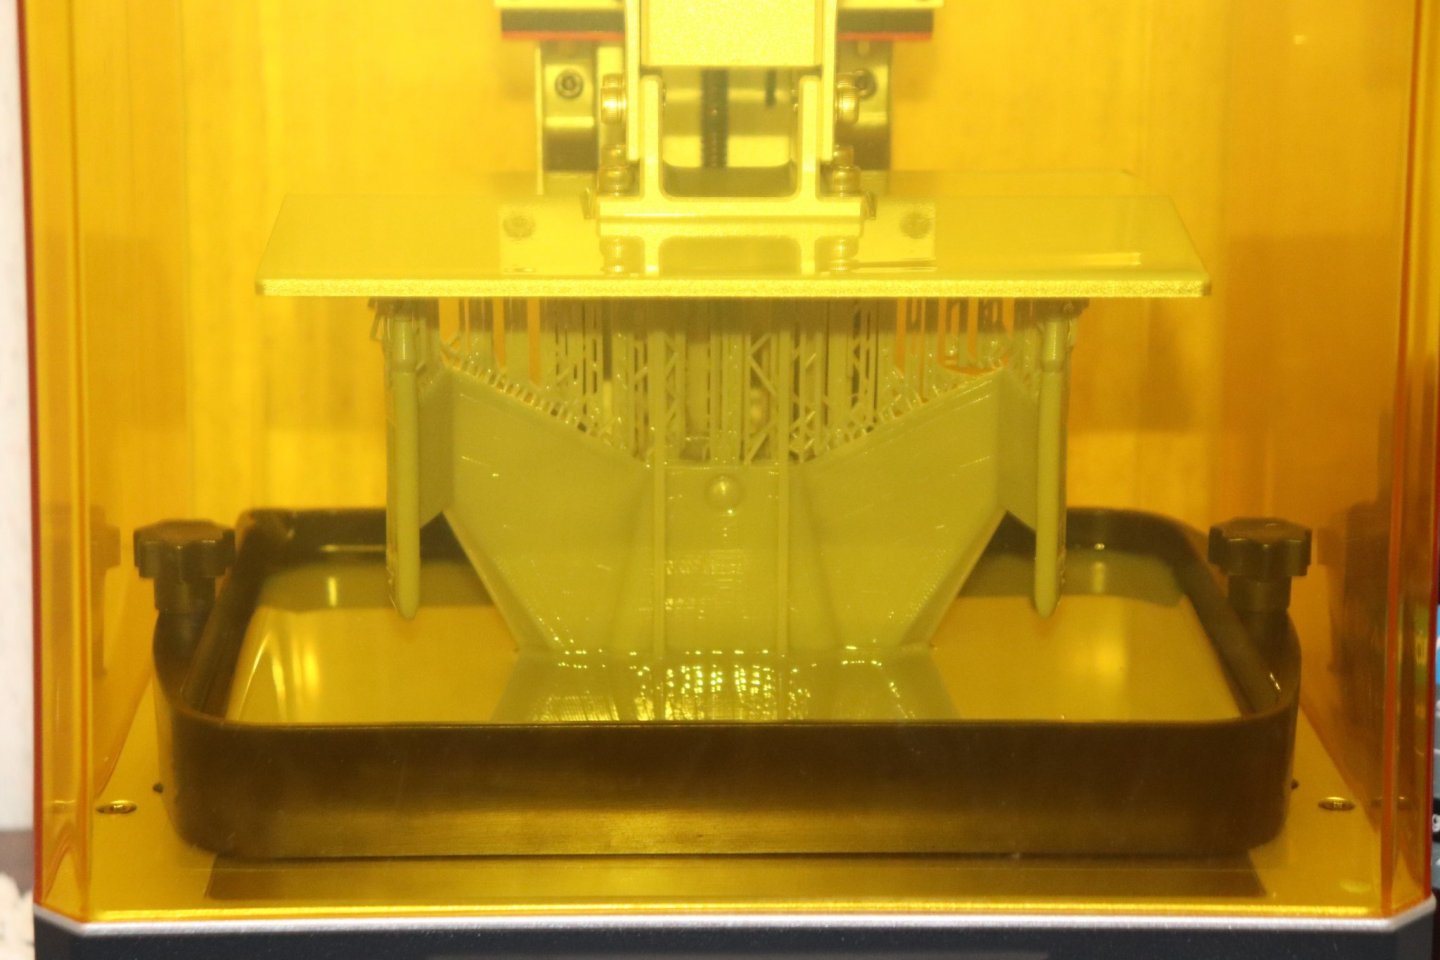
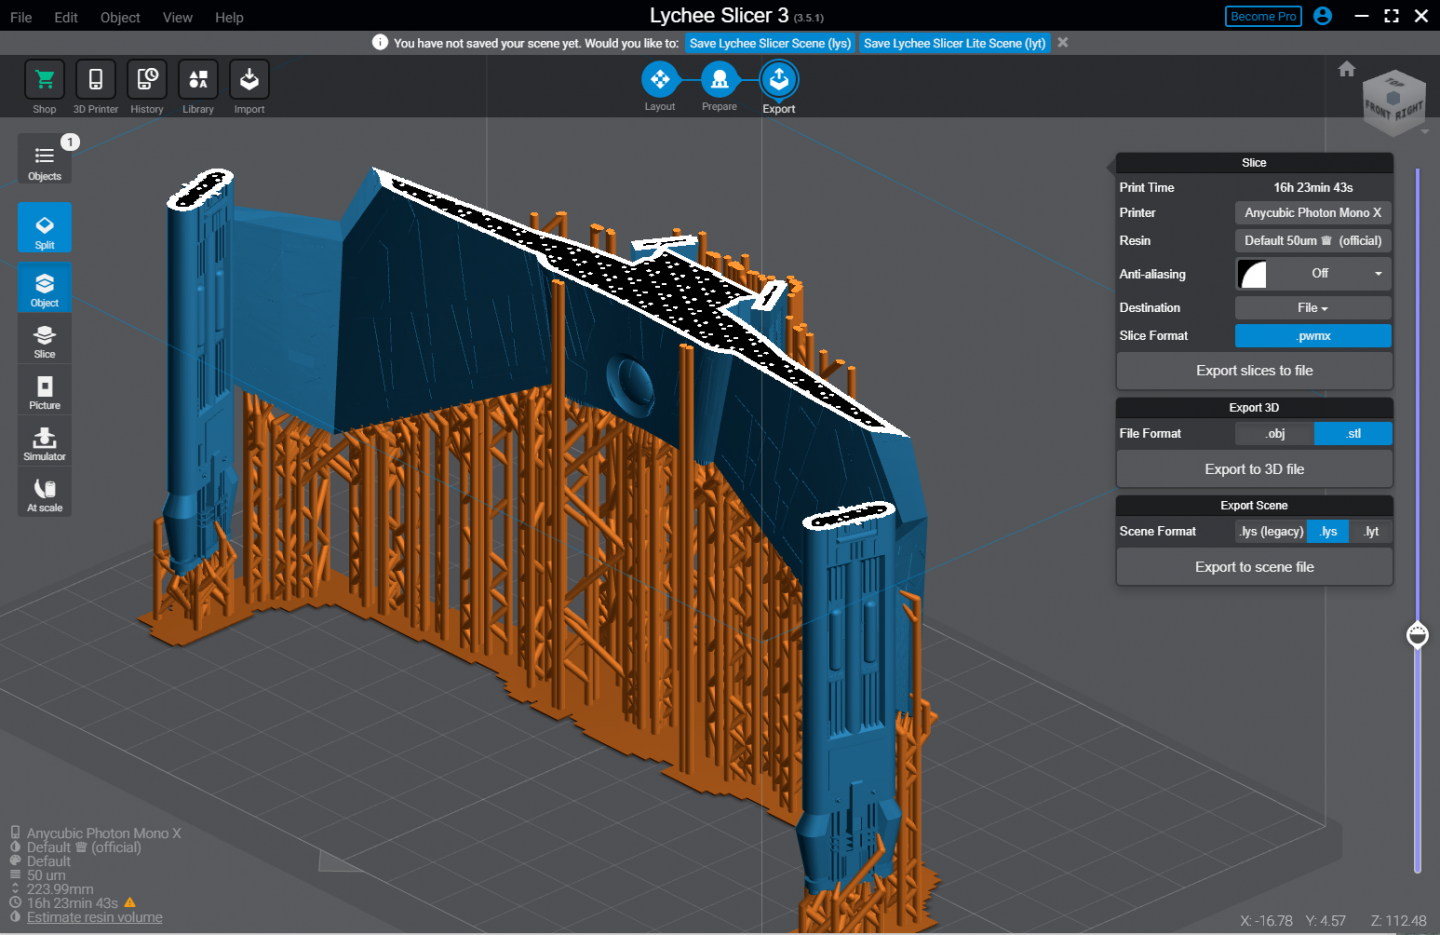
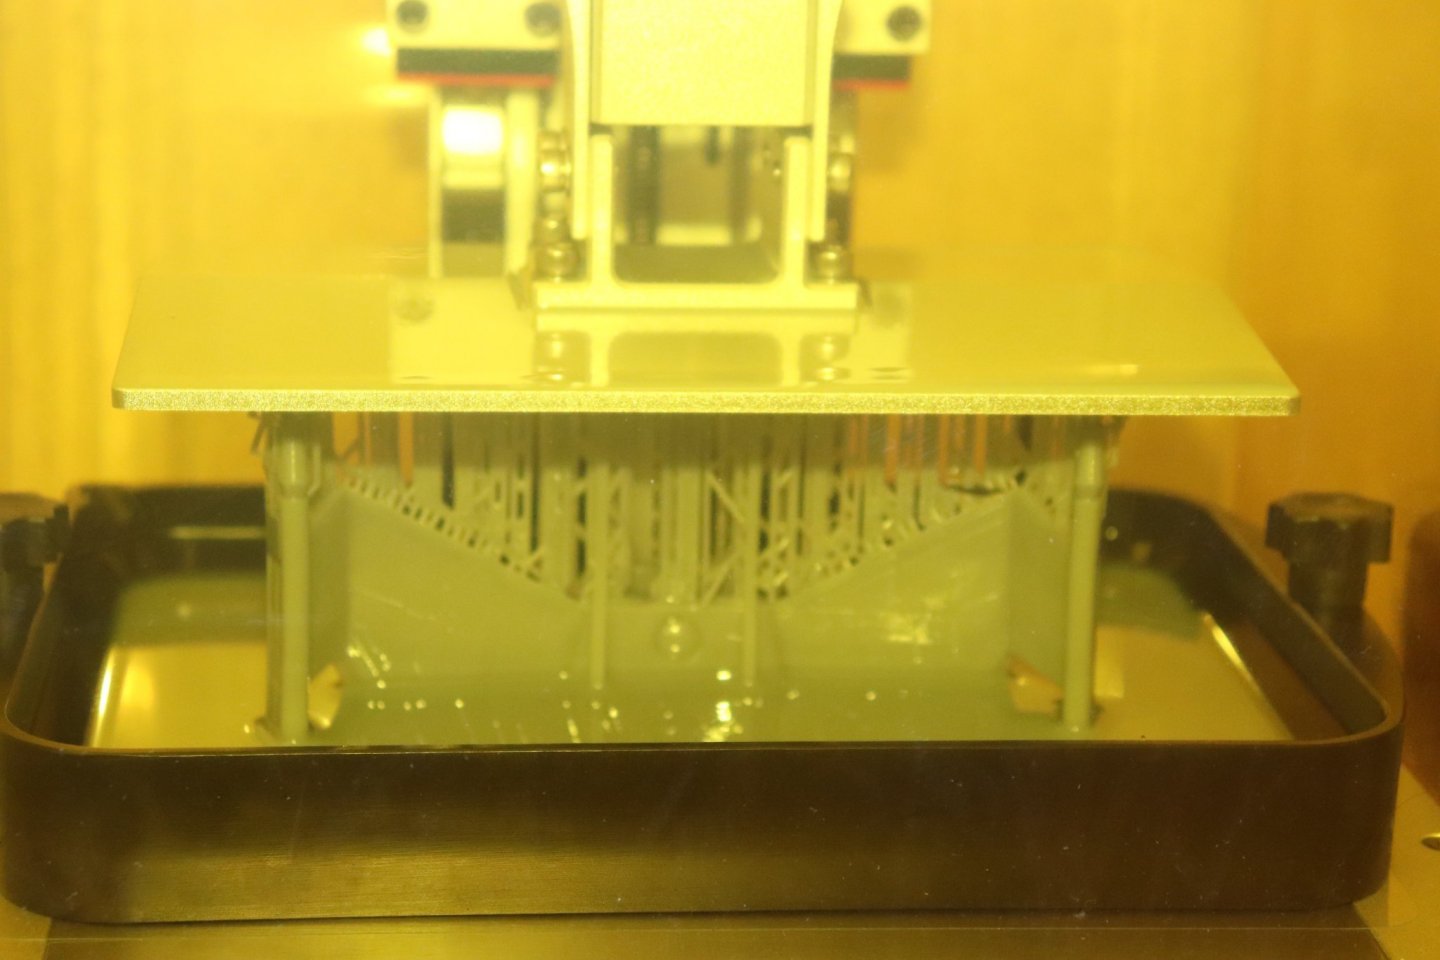
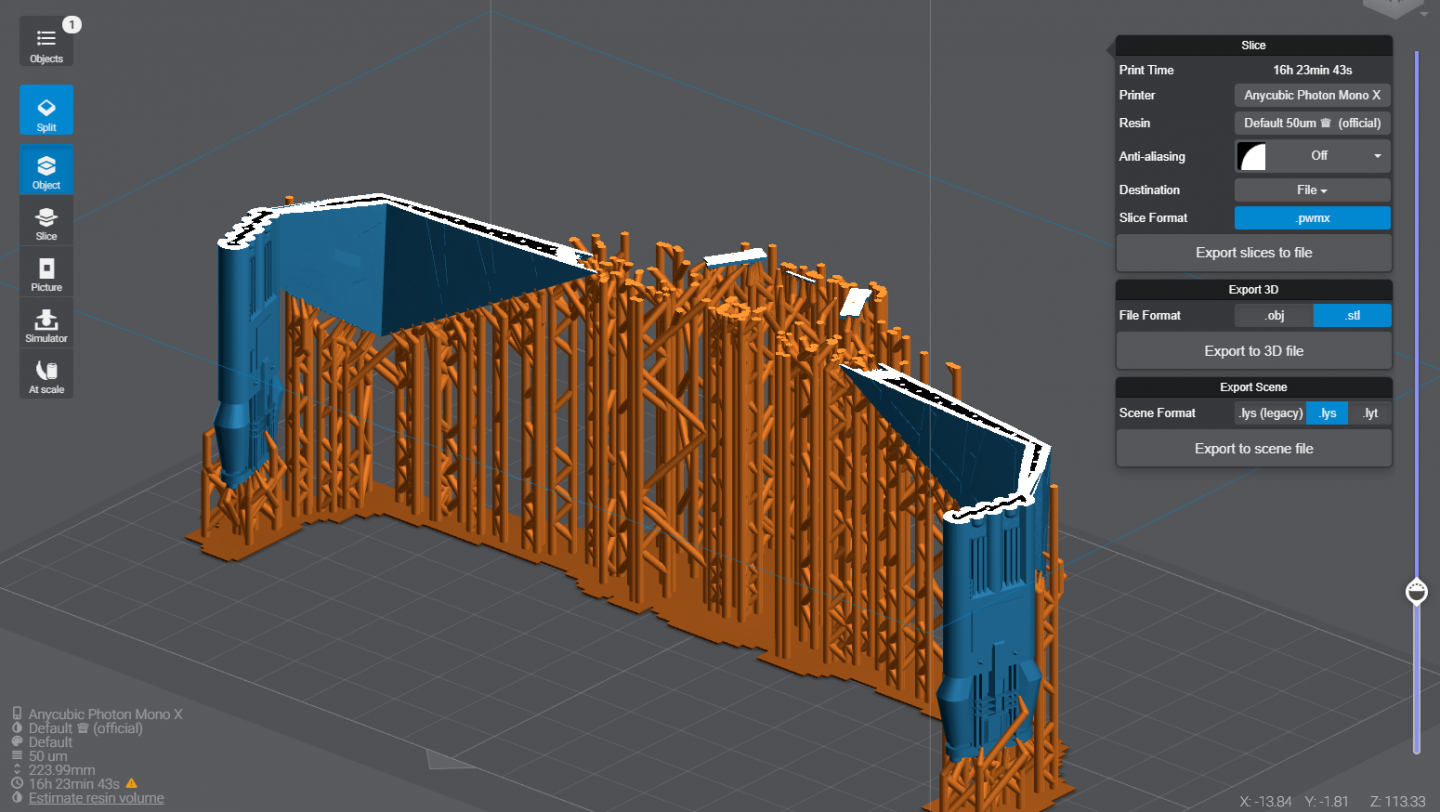
Currently running my third print test, with the new setting.... 23% done..... This is a 200% print, twice as large as the native print.... Should be 8.375" tall and 6" wide, 1/1000 scale... So far no issues and although I might be jinxing this, it currently looking good.... no sticking issues.... (so far) I could probably print it larger, but it would need to be split into separate parts... Maximum size would be 225% enlargement..... I'll take a pic of the actual printer when it get far enough out of the vat to see what it is.... EG
-
Heart-Attack city brother!!!! {chuckle} and one heck of a mess..... Protect those screens my friends.... you never know...... A $5 screen protector - vs - $180 screen....
-
Yep. the Klingon Cruiser I was printing separated on one side from it's supports so I cut it off.... When I was taking it down to to clean it I noticed what looked like moisture underneath the resin vat... It was liquid but in cleaning it I found a miniscule spot of cured resin on the screen... So, I've been waiting for the last few days for my screen protectors and spare FEP sheets to arrive.... They did today and are now installed.... (I replaced the FEP on the bottom of the vat just in case it was leaking, I didn't know for sure and sure didn't want to risk the screen) Next step is a calibration print... RERF file just to check this thing.... EG I would recommend a screen protector immediately, and extra FEP films..... I got mine both from Amazon.... I went with this recommendation on the screen protector... Amazon.... Supershields... 4 pack peel n stick, very easy to install and fit perfectly... covers everything including the kapton tape.... And Colorbot FEP films.... Very easy to install...... Advice says that FEP film is a consumable item and should be kept in stock as you will never know when you will need one... The people I've chatted with say they can last as few as five prints to as long 25 prints... One thing for sure, you WILL be replacing them in the near future.... Stay well my friends... EG
-
 I'll bet the designers had the same problem, so they resorted to their best guess as well...
 -
I've been a member of Space Modelers and the Lut Group as well as Space Paper Models, Project Apollo and Nasaspaceflight.com for decades... Experience from those groups (which have many current and former nasa engineers) says not to completely trust anything Nasa puts online..... it may be the best reference out there, but they are not always completely accurate..... Just a word to the wise.... even with that great source still check references... The list of errors in the Dragon Saturn 5 run to three pages, the hard part to accept is the official blueprints for the Saturn 5 have been publicly available for 30 years.... What your seeing in the kit is not uncommon... EG
-
WE are very patient brother.... We also understand... {chuckle}
-
It's more than just models brothers, the issue kreeps in with all full size machines... (ships, airplanes, especially large ones) I learned this when cutting 747 wing spars for Boeing 40 years ago.... when you finish one, the overall length is measured from an index point and the outer spars are cut for each end with an adjustment of a few thousandths of an inch longer or shorter then marked for THAT aircraft... The part belongs to no other aircraft..... In the engineering/machining world it is known as building within tolerances, in the machining/assembly world it is understood as cutting to the mating part requirements..... This is the same thing as cutting to the mating part requirements... You adjust the part to fit and the overall assembly to remain in tolerance.... Scratch builders deal with it all the time....
-
With all the processed materials going into building a home today, and as tight as they are making them, (no air infiltration) CO detectors are a must have.... Some parts of our environment must intercede on our behalf, it's why we put the things there.... Stay safe brother....
-
AS will I, that is mechanical artwork in it's highest form....
-
RFM 1/35 Panzerkampfwagen IV Ausf.G-Finished
Egilman replied to Javlin's topic in Non-ship/categorised builds
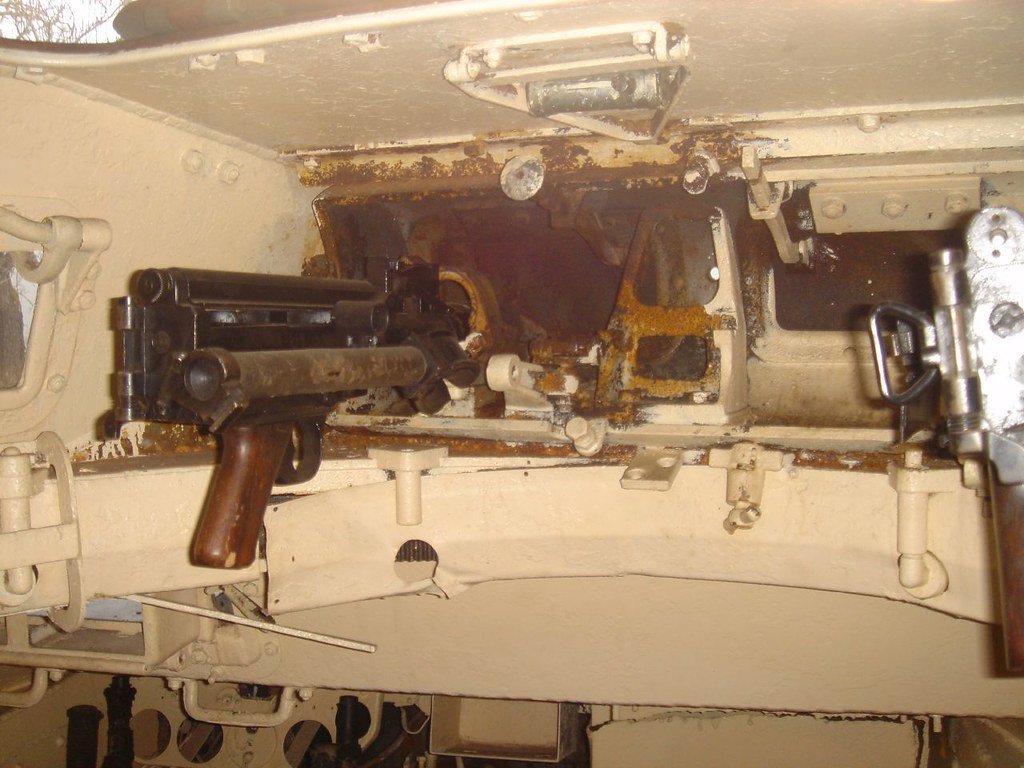
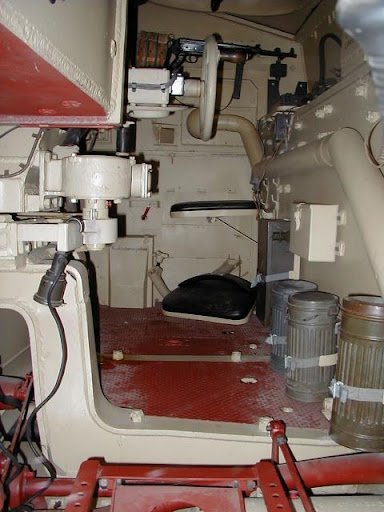
It was definitely an off-white..... Panzer I... Panzer III... Panther... Tiger I.... Now some of those might be postwar interpretation, but they look pretty genuine, (read very close) They are all museum pieces so I would say fairly accurate for the most part....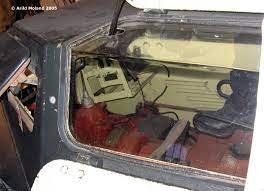
- 45 replies
-
- 12
-

-
Neither can I at this point.... Aftermarket? you kidding? https://www.scalemates.com/kits/wingnut-wings-32044-avro-lancaster-bmkiii-dambusters--1167941 Doesn't matter if it's actually needed, the aftermarket philosophy, "if you build it, They will buy it" the truest truism in the business....
-
Me too if I was still collecting, it has the potential to be another $1K+ kit..... as some get built and they get rarer and rarer... (like the Renwal turbojet)
-
What they did was sent it in three shipments, the Printer and Wash & Cure was shipped out of Chino CA. and the Resin was shipped out of New Jersey, all in separate packages... The resin will arrive in a few days, they do have a tracking number for the resin shipment but the shipper doesn't send it to you... I got the tracking number by complaining to Anycubic on their website contact form about them not delivering the resin.... I did the same thing and ordered a replacement from amazon as well.... They didn't respond for three days cause of a Chinese holiday they were observing..... The two shipments of resin arrived on the same day.... You would think they would get a clue...... But it was my only complaint.... It will arrive in a couple of days..... Nice setup.....
-
Well, somebody had to brother.... In todays world if it ain't all sleek and aerodynamic it isn't a spacecraft.... and the original Galactica at 4150 feet is a very impressive bird...... if you dig into the mesh, it shows every turbo laser turret, that's the level of detail on it.... It's worth rebuilding into a proper mesh.... AS far as Starship Troopers go I'm not a big fan of the franchise either... but having a model of the ship, well interesting to see it in 3D.....
-
tlhIngan voDleH deHqu' vIHoHqang, pagh tlhIngan voDleHba'.
-
Henry, I've tried them all, they all show, well, most show the same errors even the remixed versions which I didn't know about until I found that it was up on both Thingy and Cults... What they were fixing is the launch ports along the side of the outriggers for the vipers, the alignment of the outriggers and some panels along the sides of the engine section, they weren't really fixing the mesh itself... Mostly cause they didn't have to, the resolution available to FDM printers is four times less than to an SLA printer.... (but then you know that already) My conclusion is to redraw it so it works for an SLA printer, a printer that can take advantage of all that detail..... (maybe I'll repost it as well) {chuckle}
-
Thanks Neal, Yeah I kinda like them as well, fandom and gamers have blown out the genre though, I prefer the TOS and some of the TNG ships.... I'm not much for the little fighters, I like the battleships and cruisers... And thanks again for your help.....
-
That took nine and a half hours Craig.... I had to slow down the lifts, at stock settings it would have taken 4 hrs, but it was causing the print to fail... The 200% one I'm currently printing says 18 hrs estimated.... at my current settings....
-
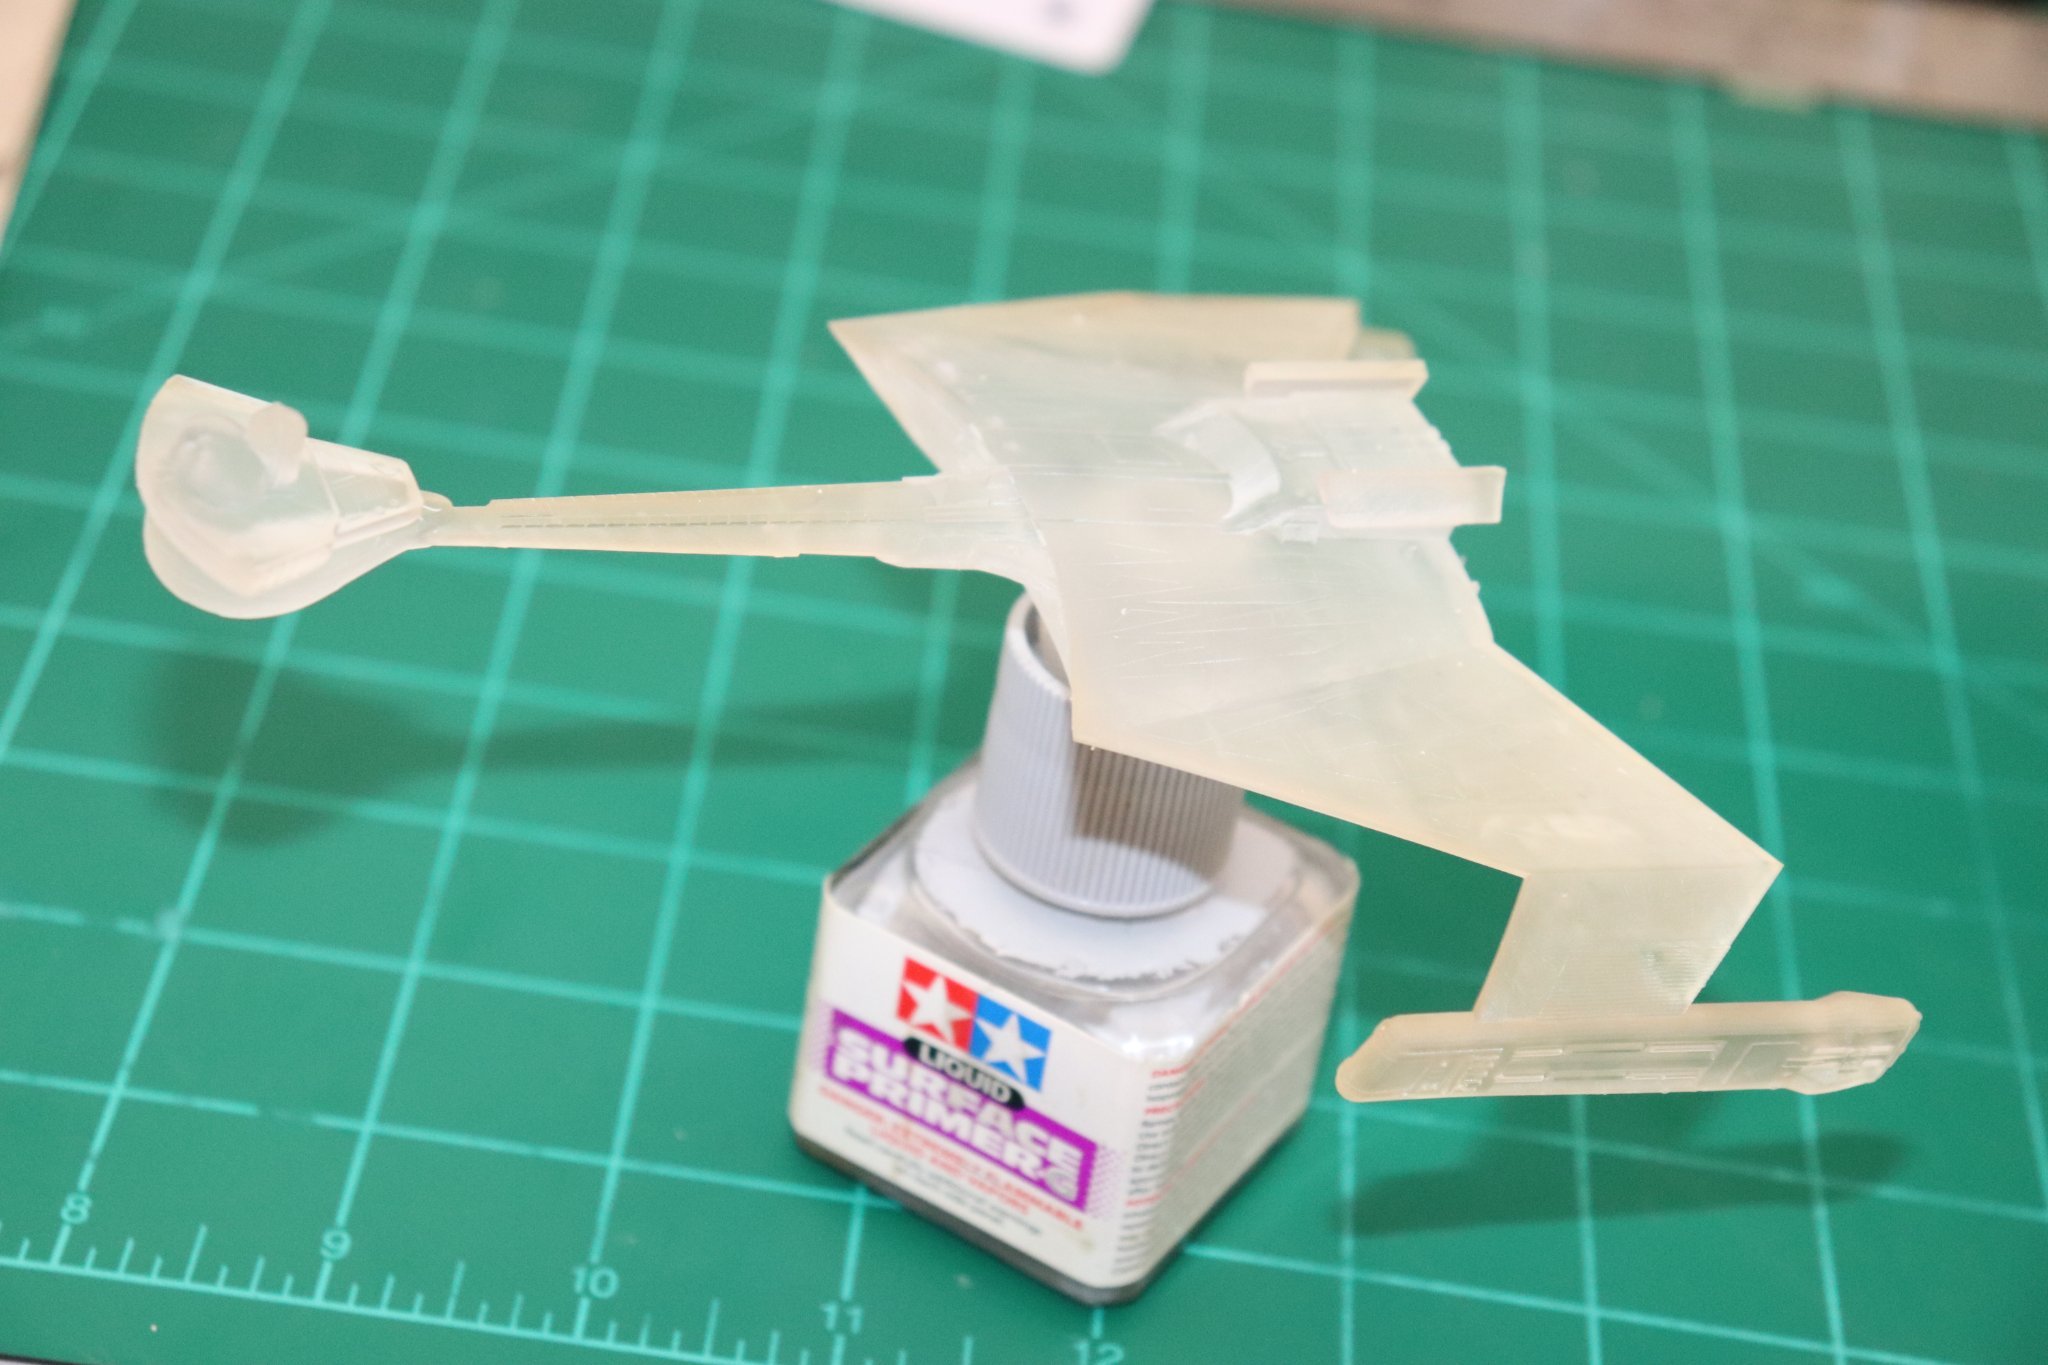
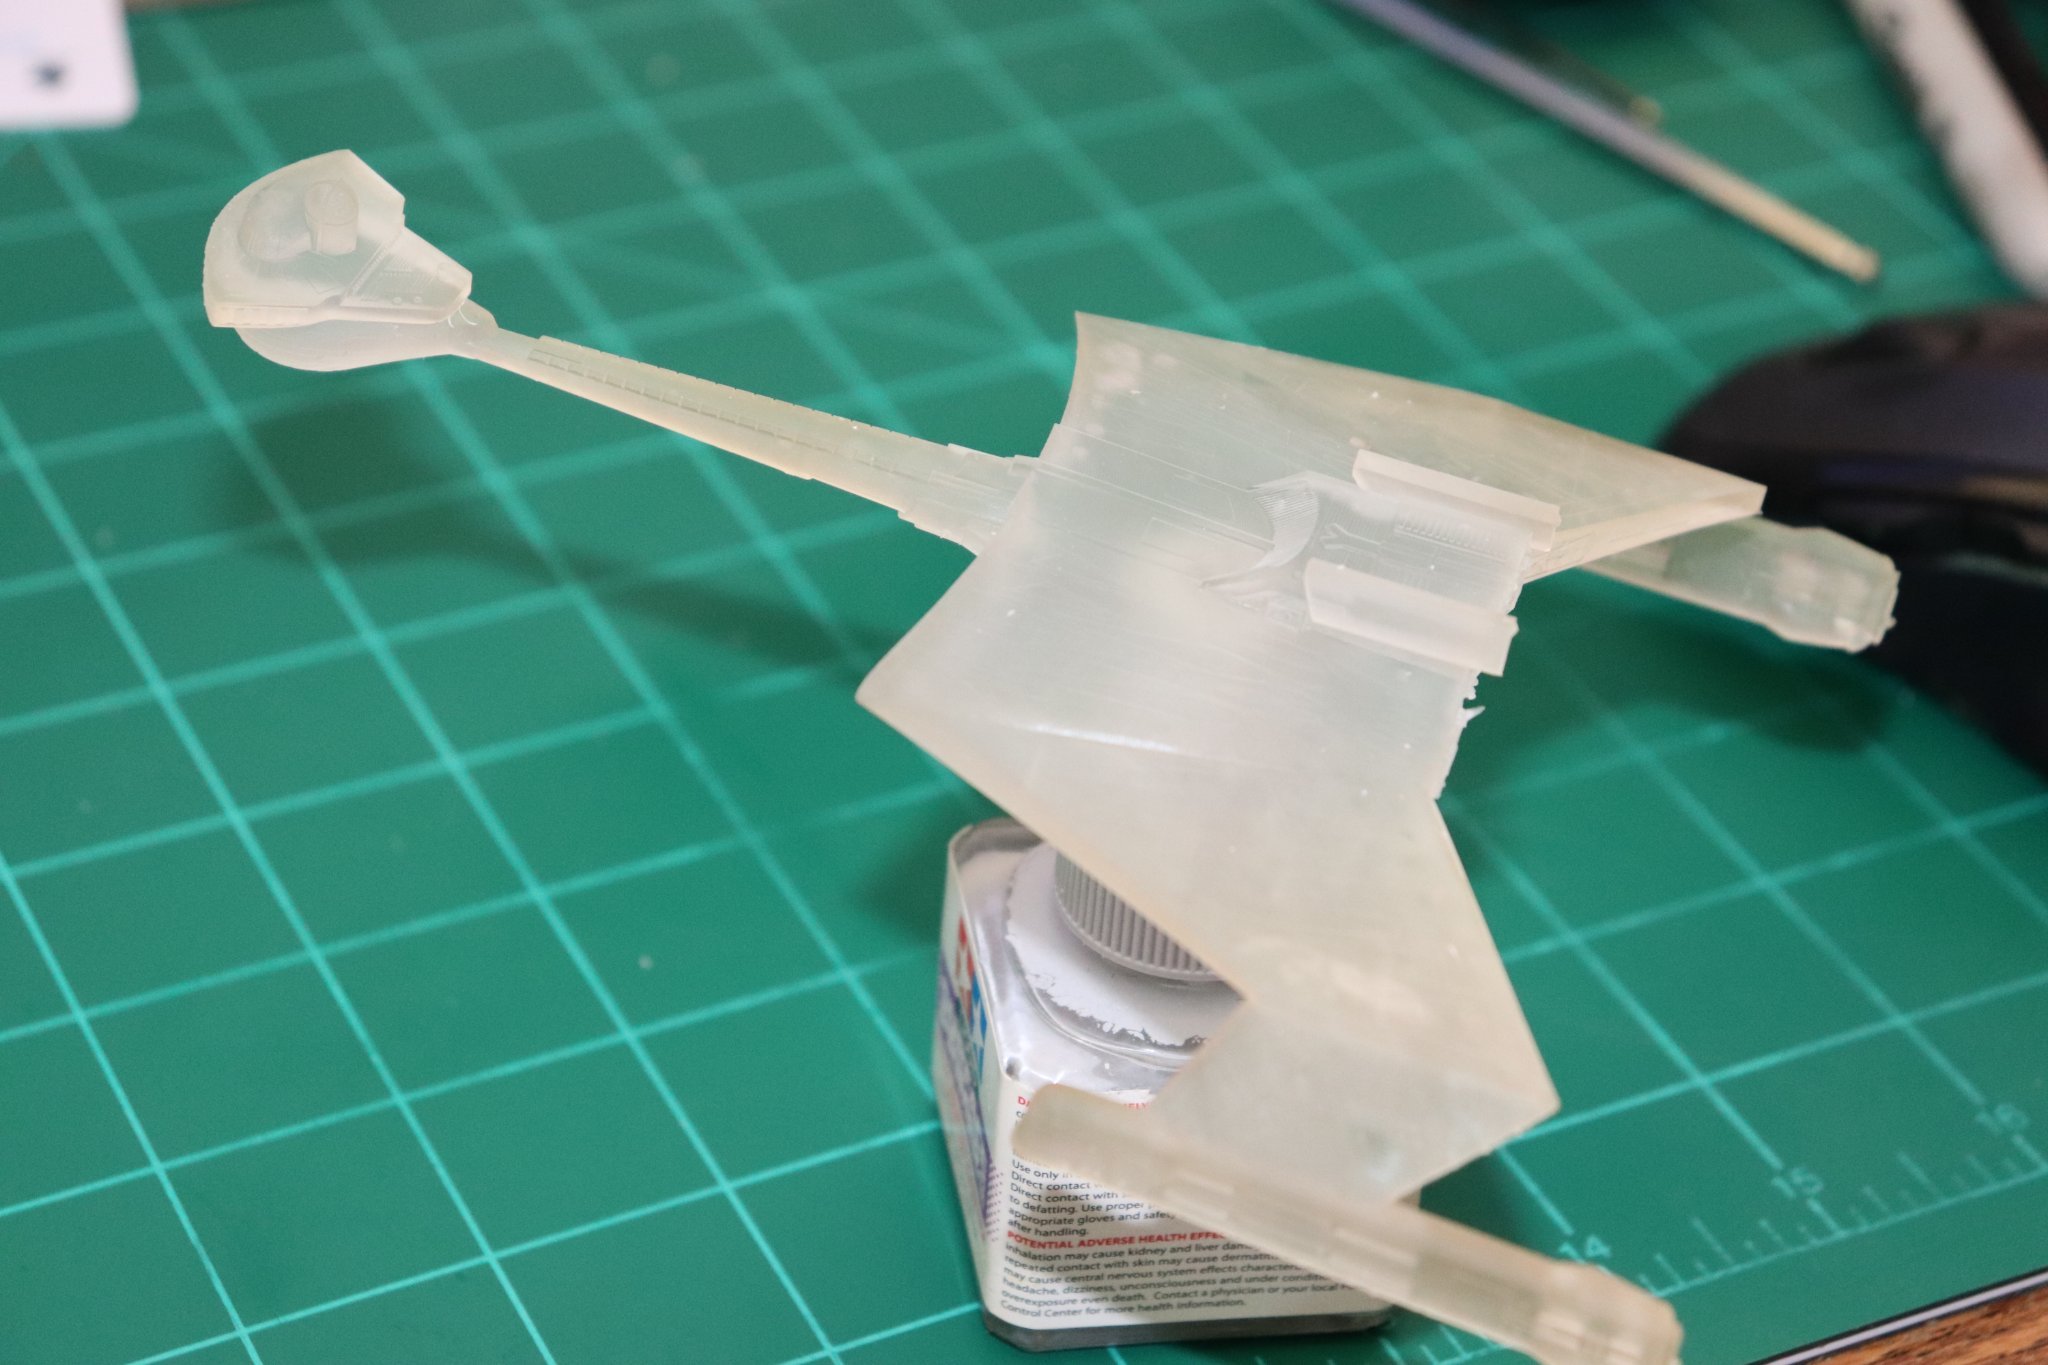
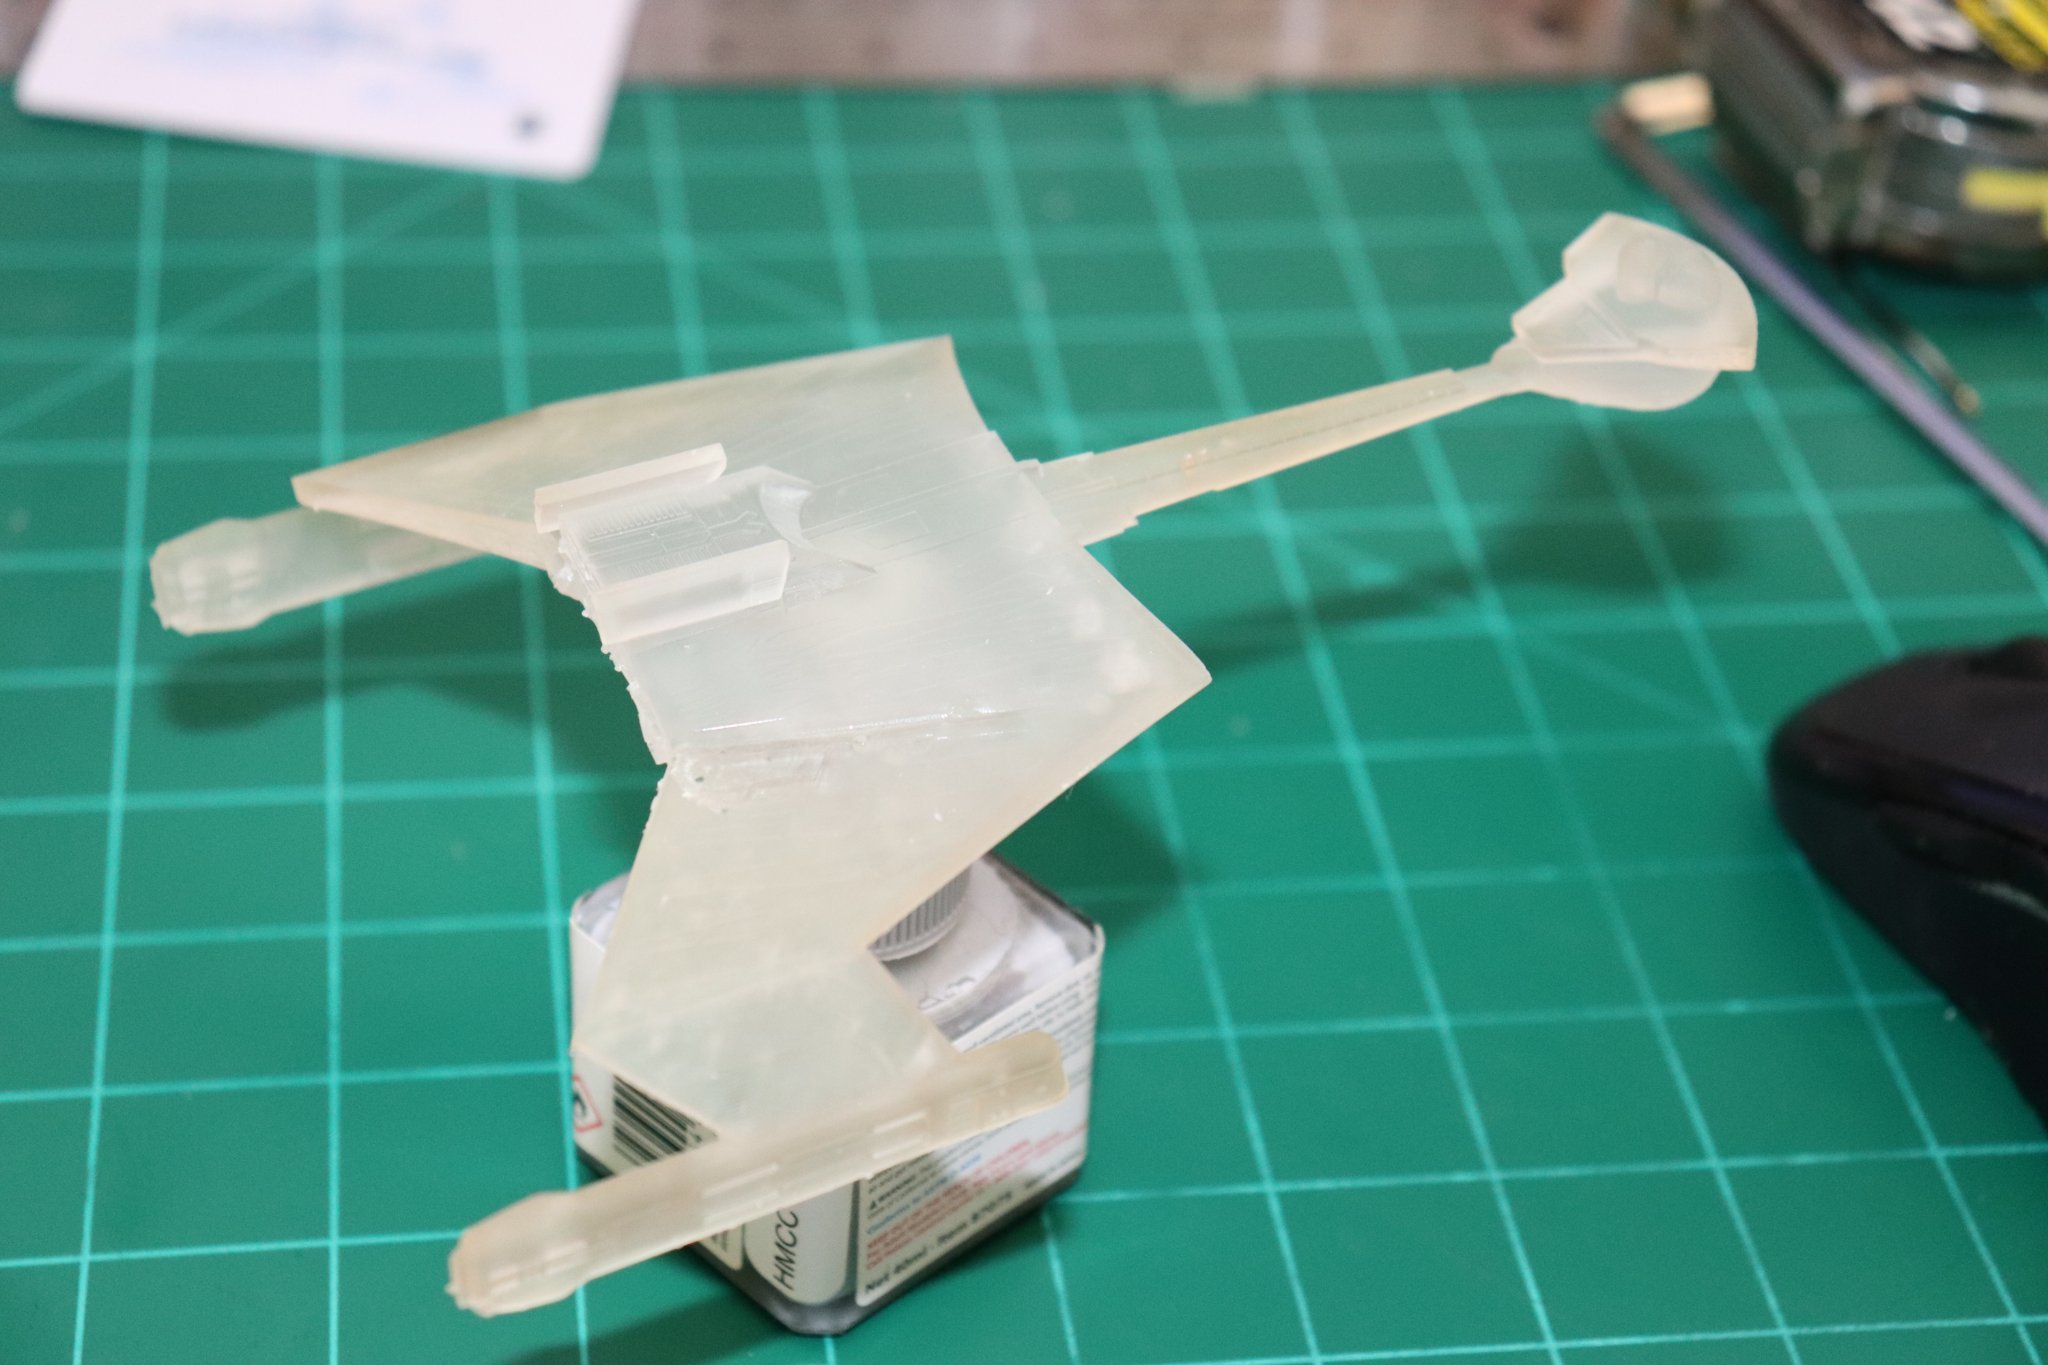
Last set of pics for test print #2.... Cured and removed from it's supports.... At this point she needs a bit of cleaning and then a primer coat... then we can see the details.... Tell me what you all think.. Until then.... EG