


Tony Dee
-
Posts
46 -
Joined
-
Last visited
Content Type
Profiles
Forums
Gallery
Events
Posts posted by Tony Dee
-
-
-
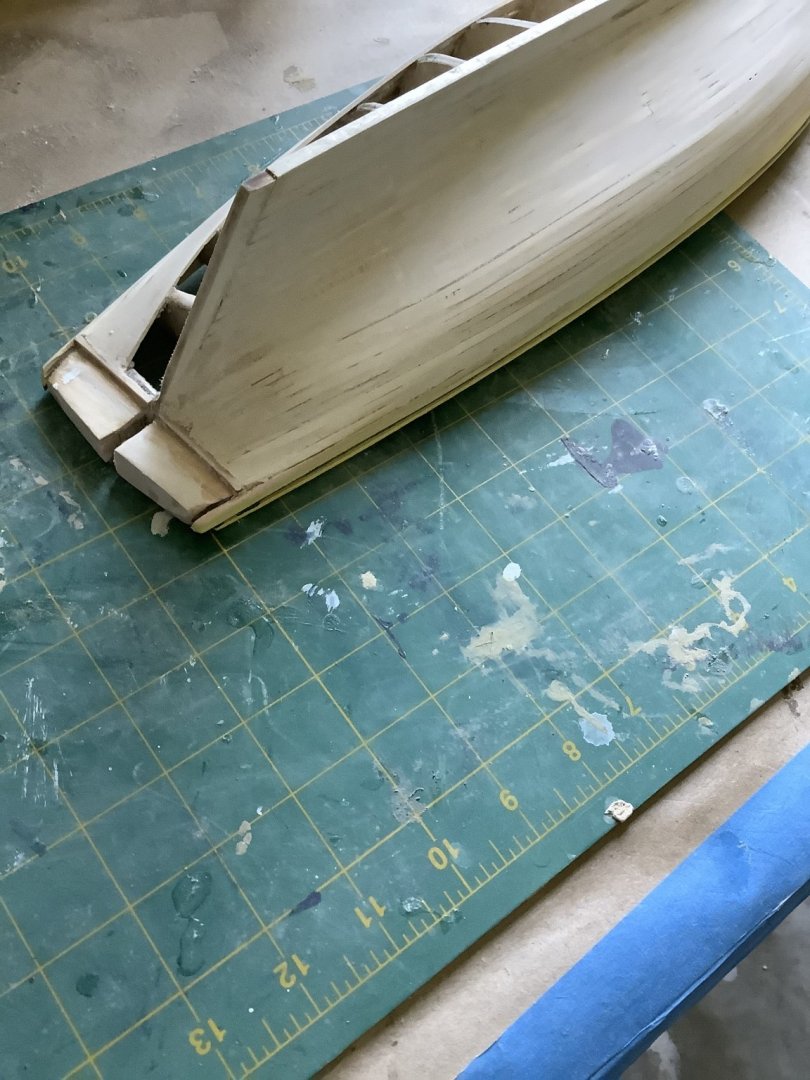
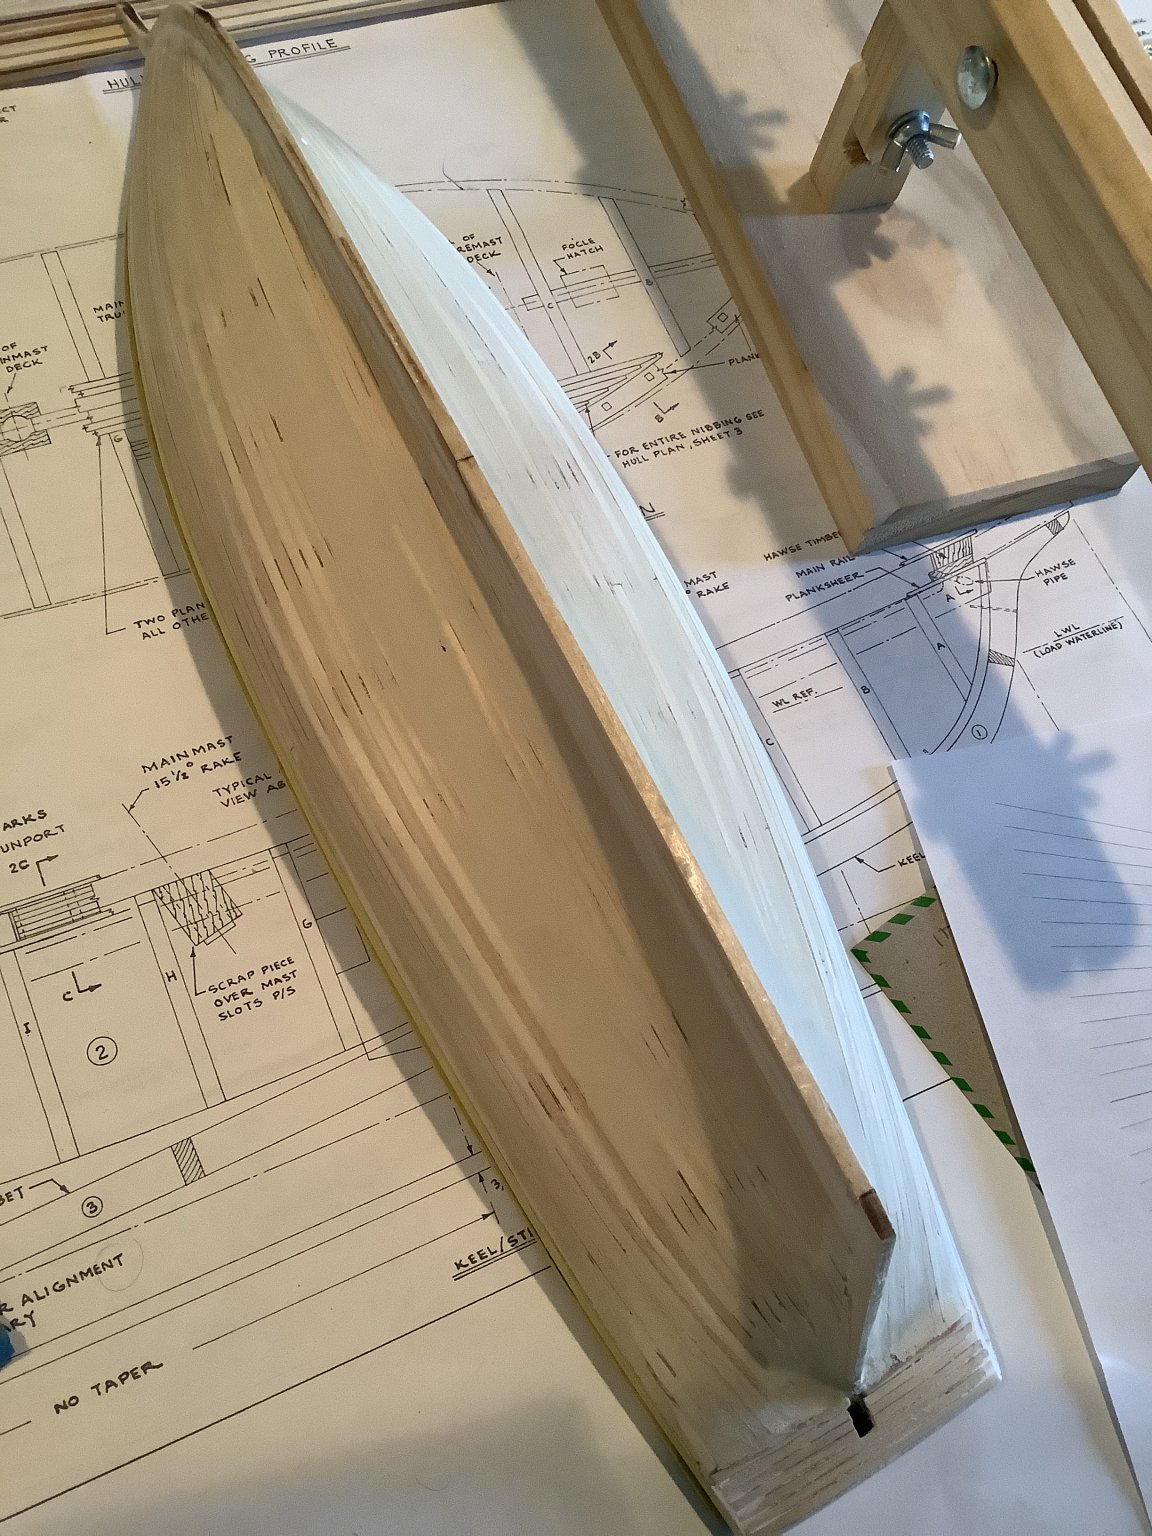
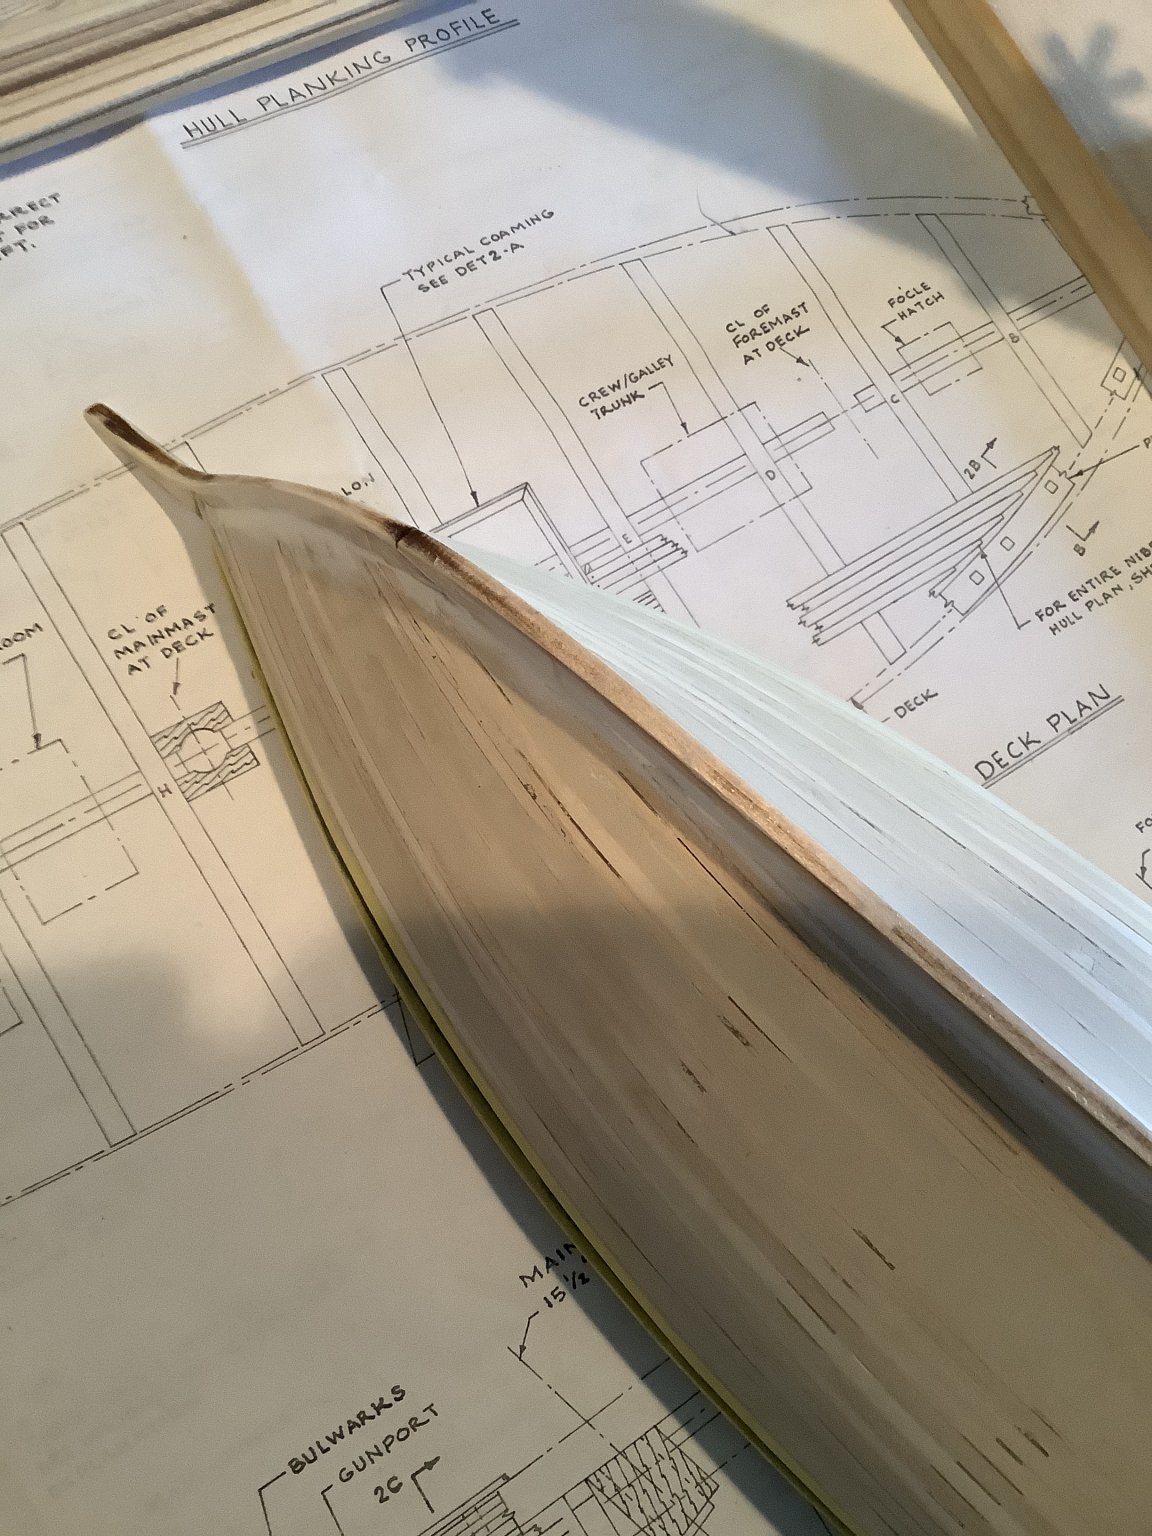
Planking finally done. A lot of delays in between but a plank here and a plank there each day while working paid off. Not a lot of bumps but smoothing it out by sanding and filling. First sanding complete. Finished the transom as well. I will fine tune so there are no uneven spots and then put a few coats of polycrylic for a nIce smooth finish on the hull.
I’m quite pleased with my first attempt at planking. I learned a lot and towards the end didn’t even glue my fingers together lol
Any tips on finishing the hull would be greatly appreciated
Enjoy
Tony D.


- David Lester, MEDDO, Duanelaker and 2 others
-
 5
5
-
Excellent. Have a few more planks to go, some fill and sand and then done. Work getting in my way so a bit slow but steady progress. Will post more pictures when planking complete
Tony
-
Used some filler and sanded lightly . I’m definitely not done with it yet and have more tuning but so far so good.
- David Lester and Sea Hoss
-
2
-
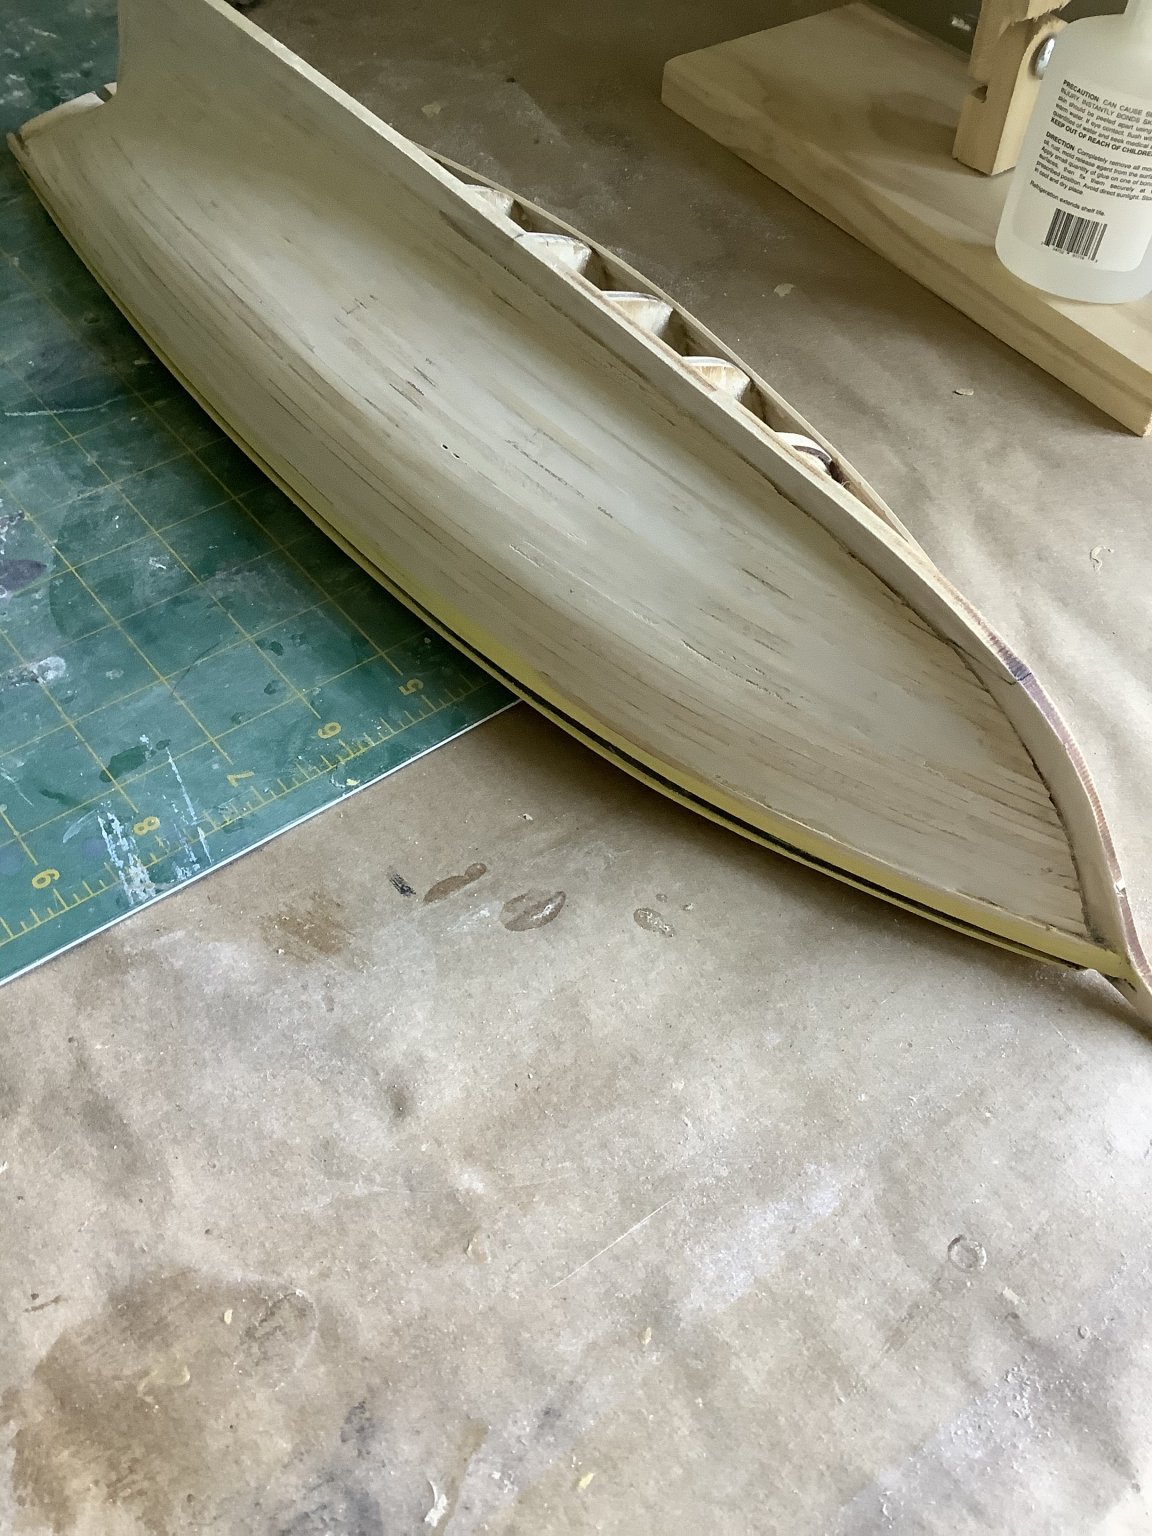
Hello all. After a few weeks off due to the coronavirus pandemic , I’ve been pretty busy at work. I started up again last week and have finished the planking on one side and halfway on the other.
This is the very first time I’ve ever planked a model ship. Heck it’s my very first model ship. I think it came out ok for the first attempt.


- Duanelaker, MEDDO, BobG and 1 other
-
4
-
Have not posted in a while but I’ve been busy marking out the hull and double triple and quadruple checking preparing for planking. His is he first time I have ever I’m my life done this so be kind with the comments. Lol
I also have to learn how to not glue my fingers together with CA glue. That’s not a good feeling lol
here goes

- Matt D, BobG and Duanelaker
-
3
-
19 minutes ago, Toolman said:
Looking good. Following along. I'm planning on the POB lI as well. Made an offer on one on eBay. Hopefully I will win.
Sounds good. I'm in the middle of planking and will be posting some pics soon
Tony
-
Ok so I am about to start planking. I marked the hull and put my first plank on using CA. Unfortunately i now need to remove it because i'm not happy. I ordered debonder. Will this help unbond it? I sure do hope so. Any advice for removing a plank?
-
Yeah mine has planked deadwood.
Thanks for the help
-
15 minutes ago, wefalck said:
If your ship has visible 'wales', you have mark out their lines first. Then you would measure the circumference of the bulkheads between the wales and the lower edge of the keel-rabbet. Likewise you measure the distance from the top of the wales to the lower edge of the capping rail and divide these spaces into equal segments.
Thanks. Yes I have the wales marked out already. What about the deadwood area? Would I measure from the bottom of the wall to the bottom of the bulkhead or the keel-rabbet?
-
Good morning all. I have a quick question. I am now at the stage where i will be lining the hull. When i measure to see how many planks should fit in a particular bulkhead to i measure from the top of the bulkhead to the bottom of the bulk head or do I go all the way to the keel for all bulkheads?
Thanks in advance
Tony
-
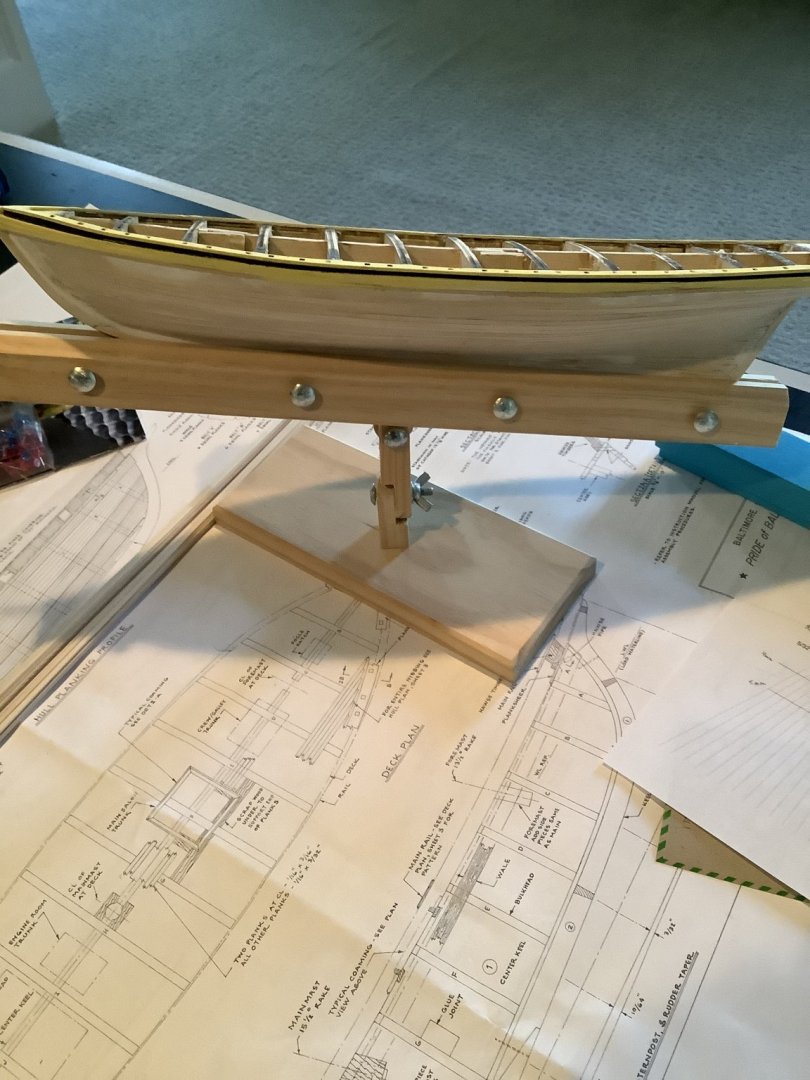
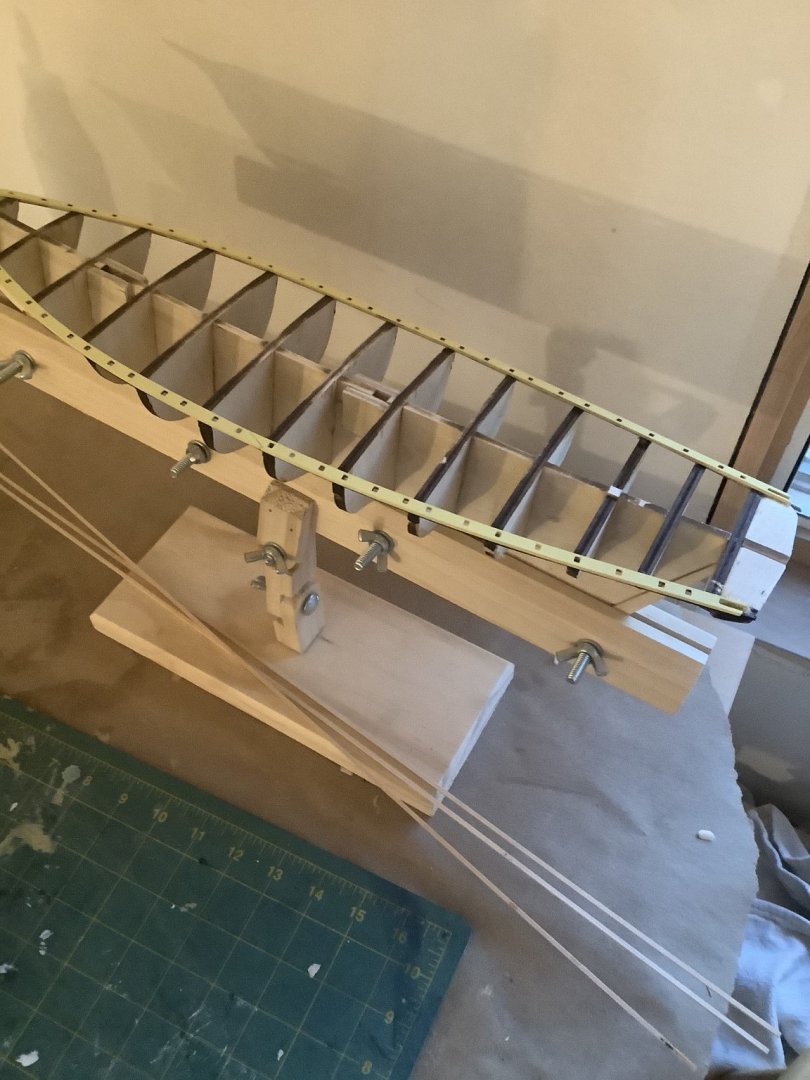
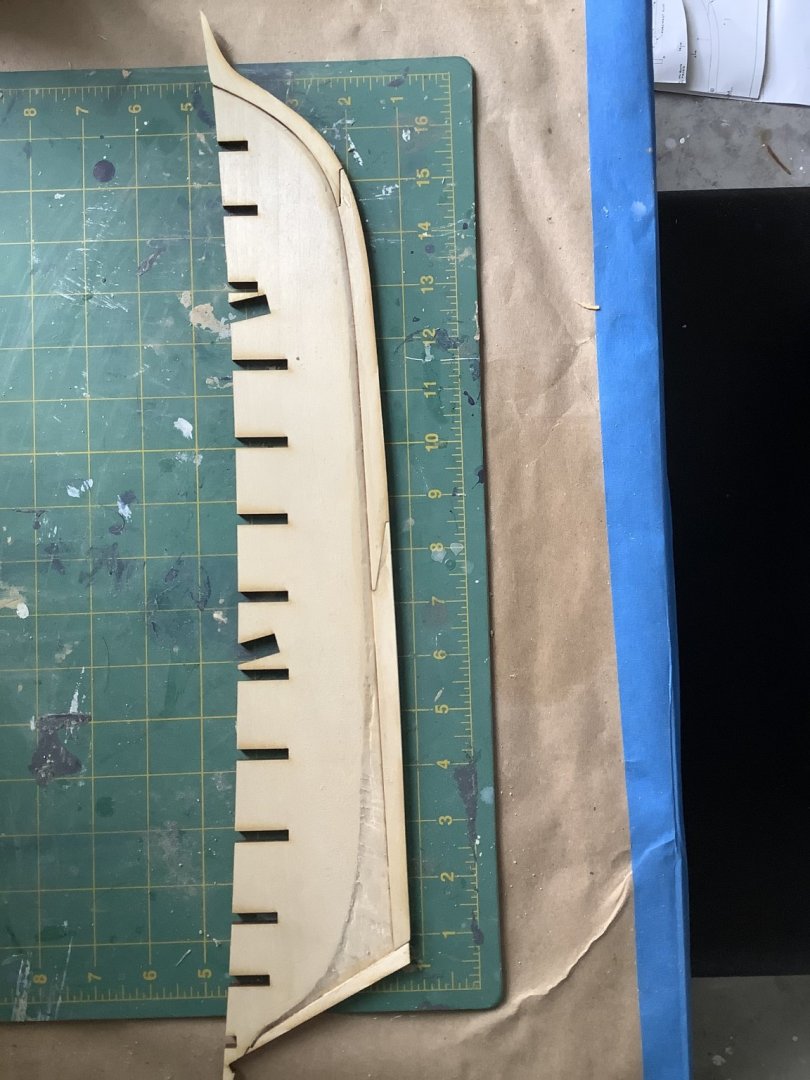
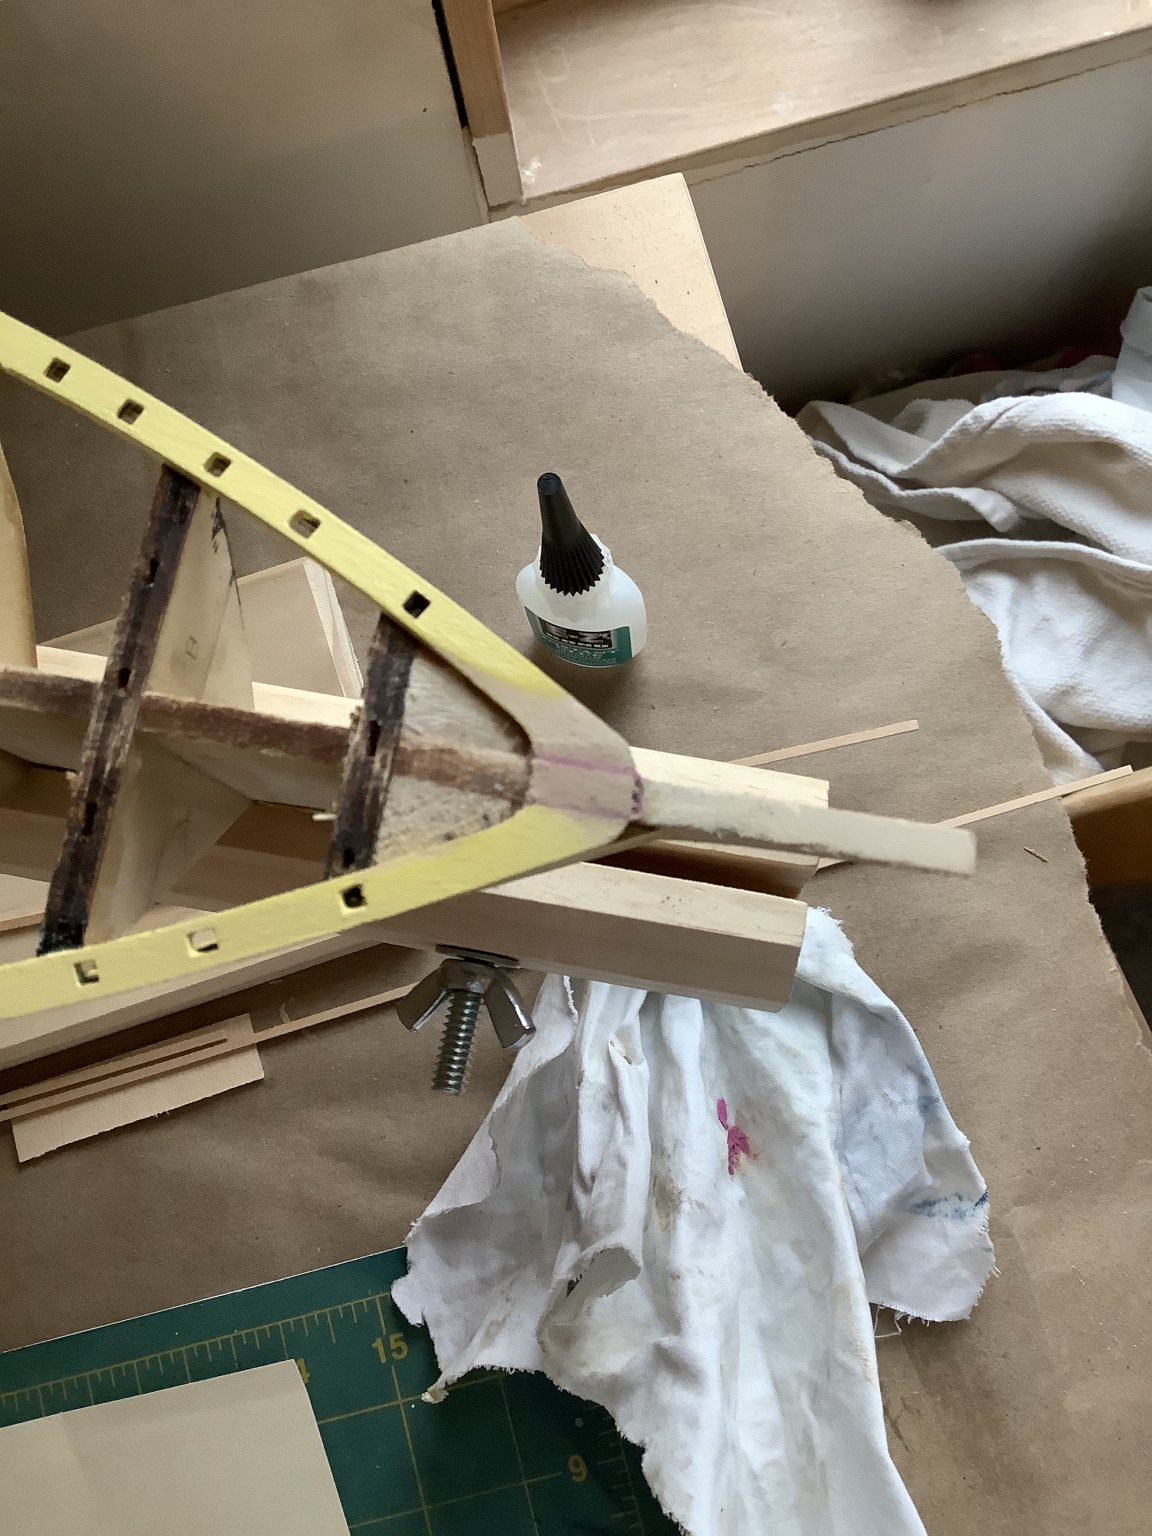
Today’s activities were fun. First order of business was to make a patch for the plank sheer that was short. Apparently everyone who built this had the same issue. I was hoping model shipways would have corrected it by now but nope, same thing lol
 The picture above shows the patch that I created. I beveled it so it matched the rest of the plank sheers shape. It then went on and installed the wale planks. This was not as bad as I thought . I also put on a coat of primer and painted them so I can have a crisp delineation between the black and the yellow. I’m sure I will have to freshen it up later but at least I got a first coat on.

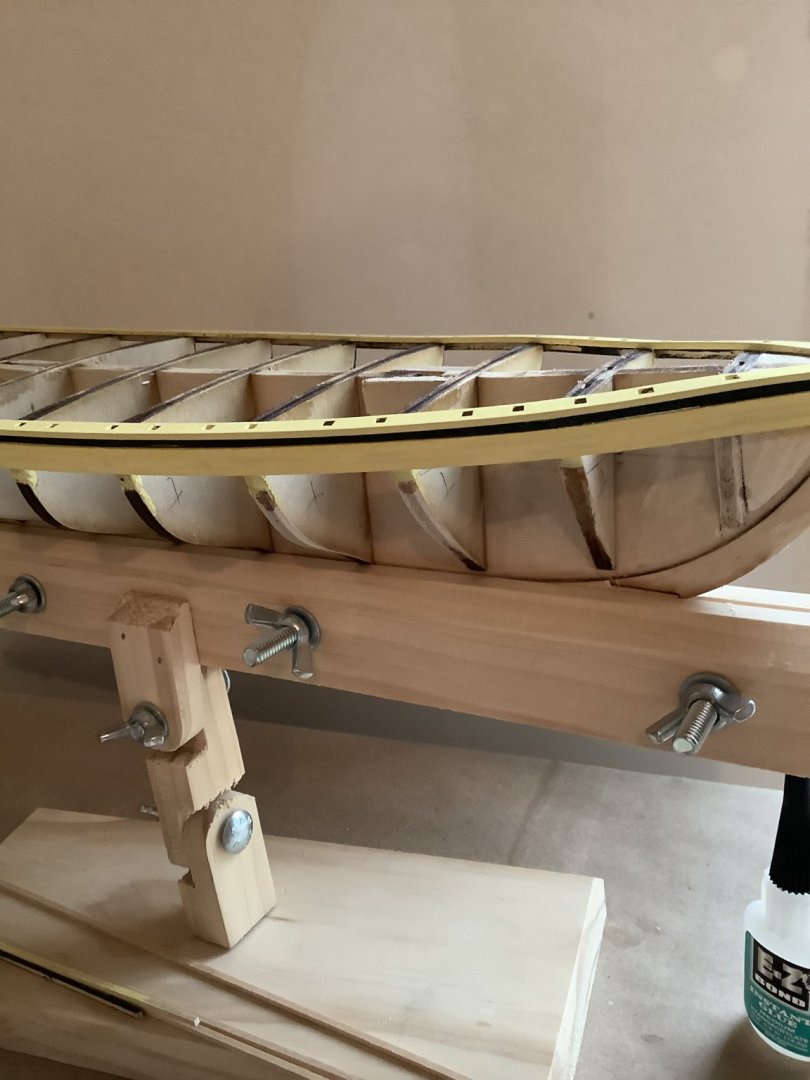
if I have time tomorrow I will finish fairing the bulkheads in preparation for planking over the weekend. Supposed to be a washout on Saturday so what better activity than to work on my model.
Hopefully the wife will understand 😳
Thanks to everyone who has responded to my log so far. I know it’s about to get tougher and will look to the more experienced modelers to help me throughout this process.
Tony
-
5 minutes ago, MEDDO said:
For the flat sections of the deck probably not necessary but you definitely need to fair the bow and stern frame so you can get a nice positive gluing surface. Most of that char will have to be removed to get those forward and aft frame ready to plank but otherwise as long as there is not any stress the char will probably glue just fine.
Page 9 of this article will show what I mean.

Michael
Thanks. That’s my next step. I’ve read the article you attached about 20x because I don’t want to mess up. Should I just use sandpaper or should I use a dremel or a file
Tony
-
11 minutes ago, BobG said:
I have found that sanding off the laser char is only really necessary on those surfaces you want to finish as the natural, bare wood. You will see conflicting opinions about whether the laser char should be sanded off of surfaces that will eventually be glued but, I followed Chuck's advice, and found that it wasn't necessary. I tried a test where I glued a few scraps together with the glue applied to surfaces with and without the laser char and they both made strong bonds.
Some model kits have terrible laser cutting where the char is extremely heavy and the cutting is uneven. I will sand those surfaces very lightly just so I can get a flat seal between the glued pieces. Be careful to keep the edges square when sanding the char off any flat edges. It's easy to round them somewhat and then you end up with gaps when you glue your pieces together.
Thanks very much Bob. I appreciate the insight.
Tony
-
58 minutes ago, GrandpaPhil said:
That’s up to you. I personally don’t worry about laser char on internal parts, but it’s a matter of personal choice.
Thanks for the response Grandpa Phil. Much appreciated. I didn't know if there was a standard or not. I'm not going to waste my time on the internal char
Tony
-
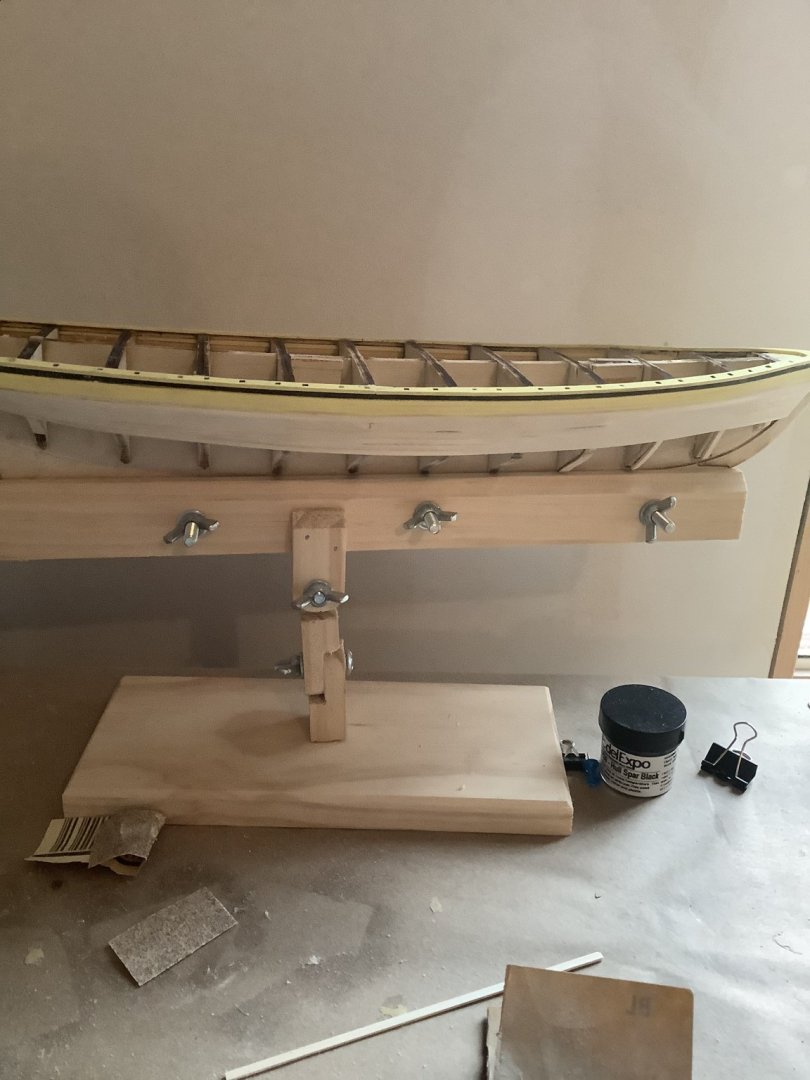
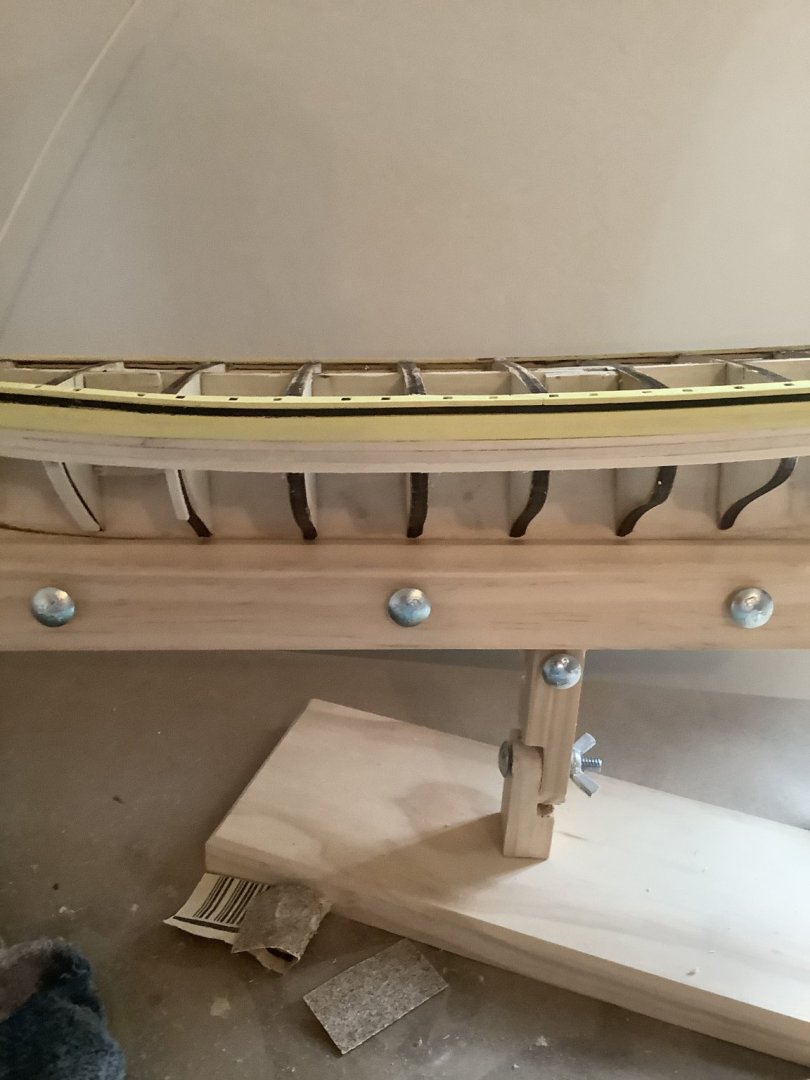
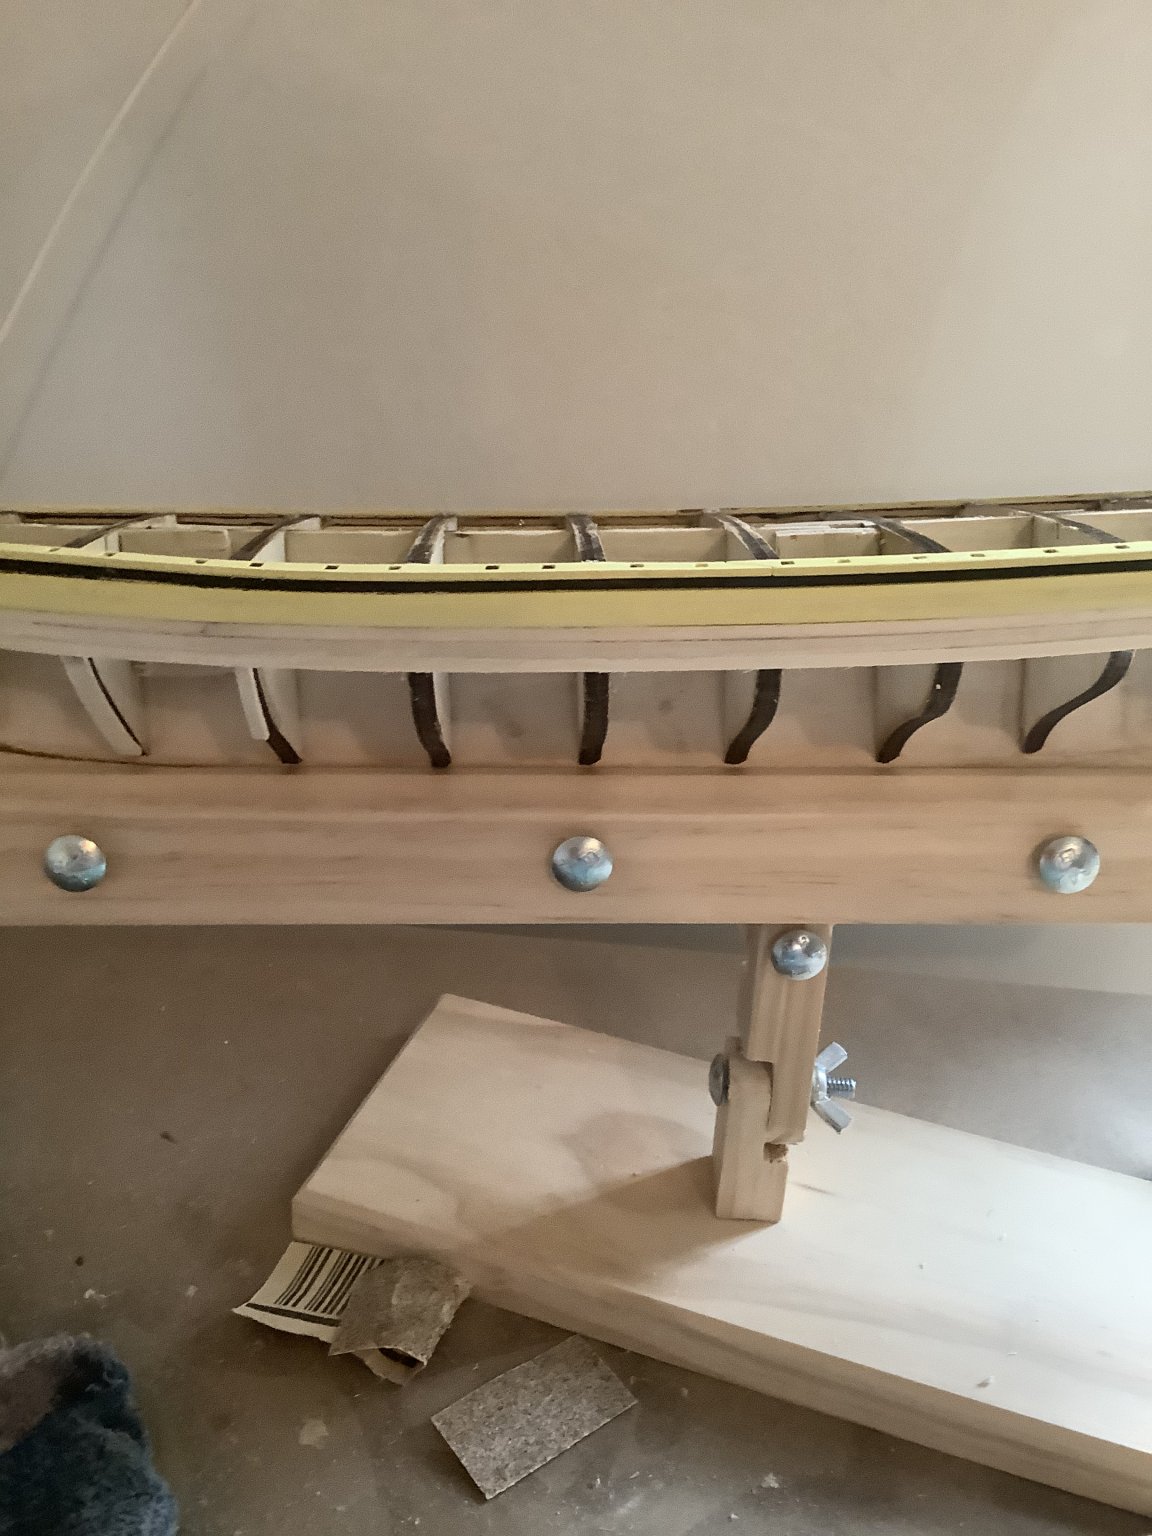
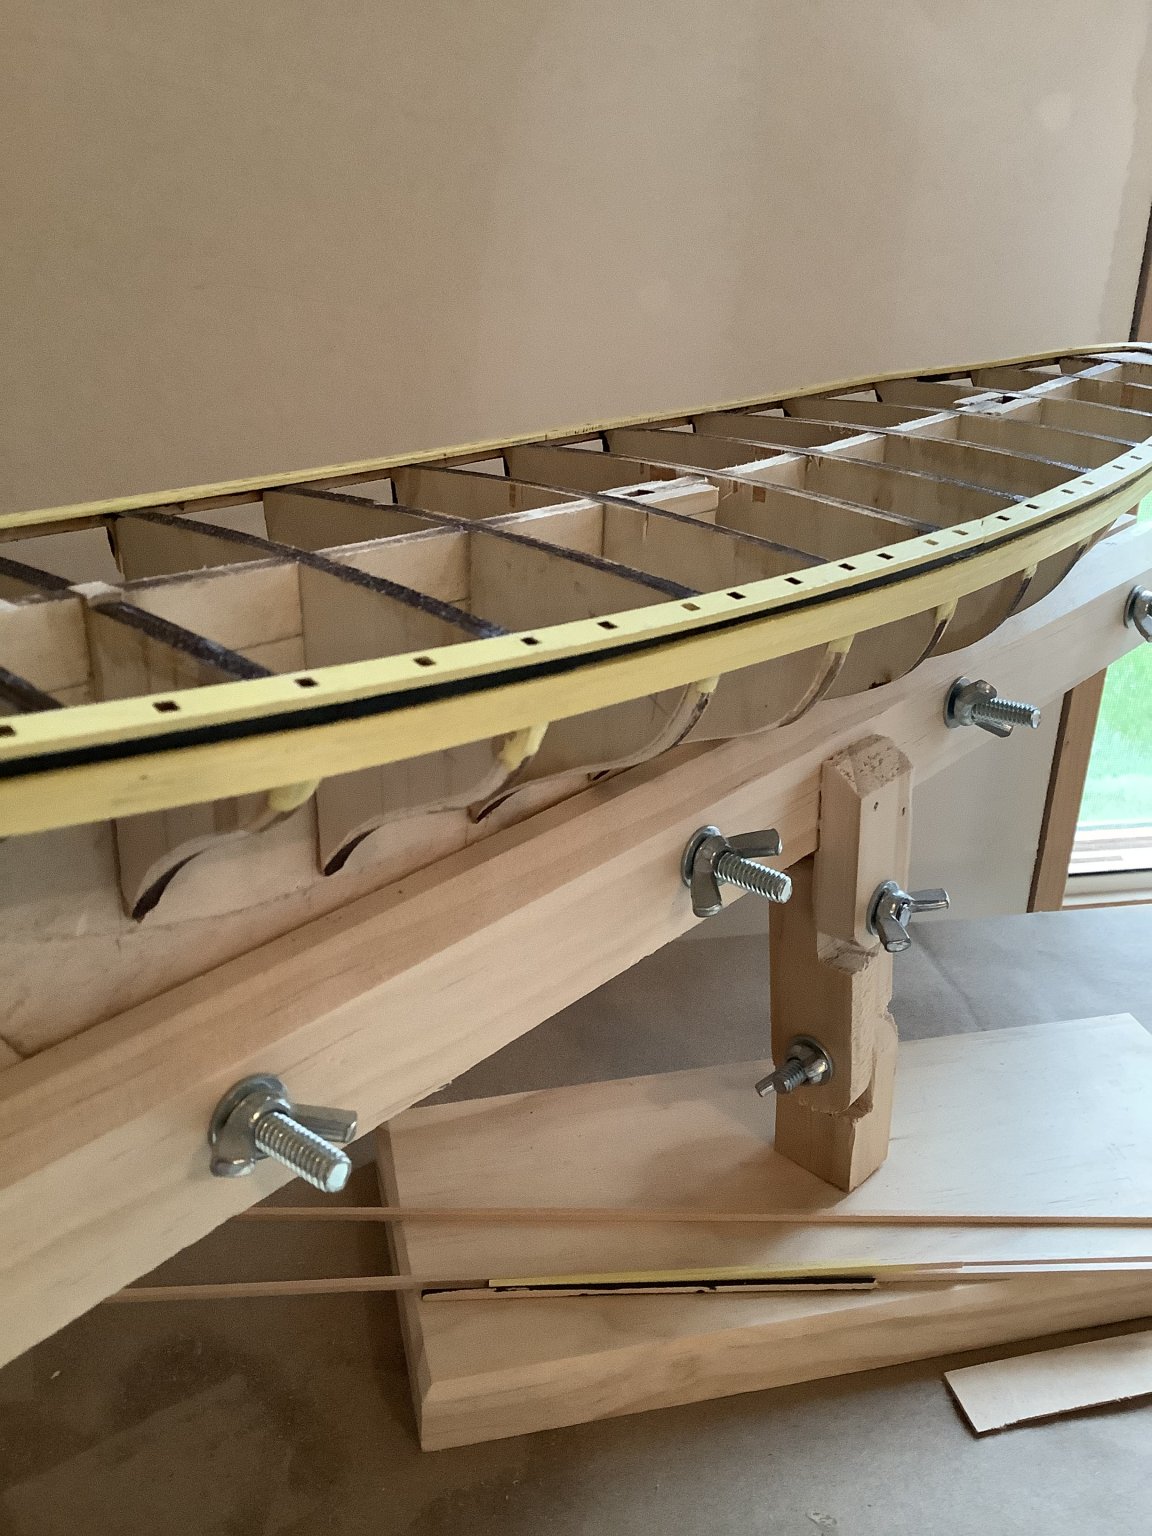
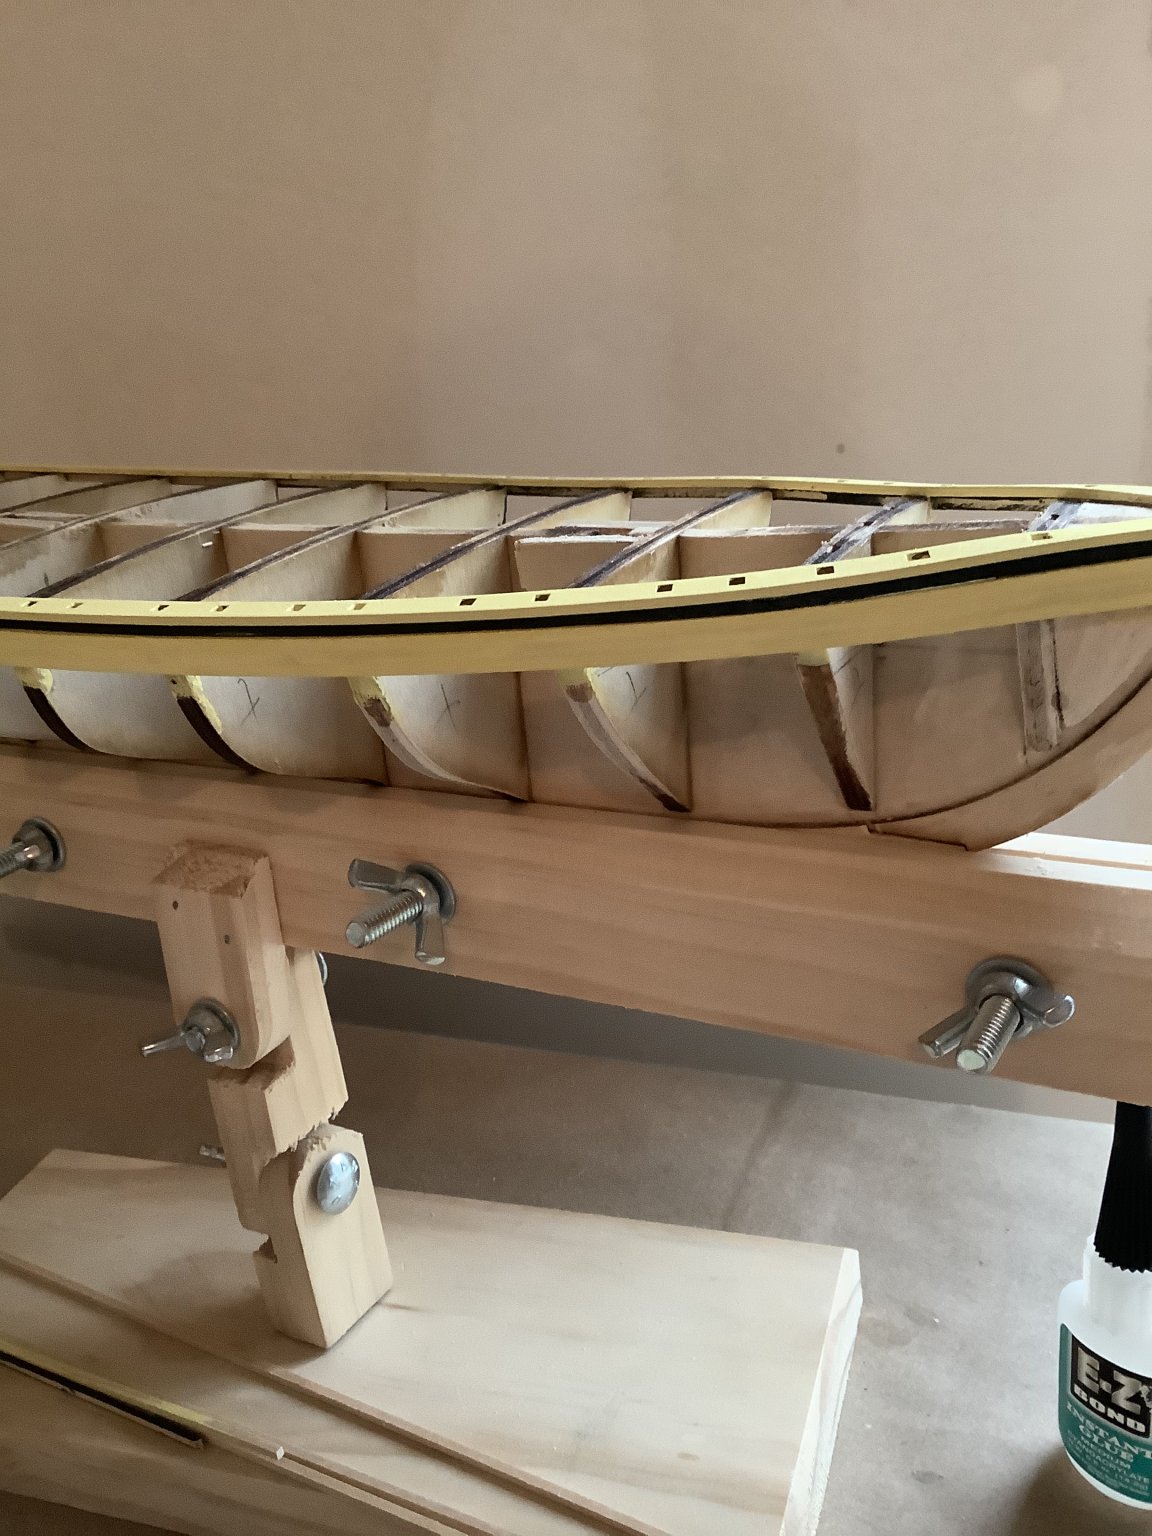
Spent several hours today working on the plank sheer. I was able to put the first plank below it (not sure exactly what the official name is) and will spend tomorrow working on the 3 wale planks. I took @David Lesteradvice from his build log and pre painted so that I could have a neat line between the black and yellow. Of course the inner part of the plank sheer will eventually be red so hopefully I did this correctly.
I did get some super glue on the pain so I will have to touch it up. This is my very first model ship so hopefully I am making the right progress and haven’t messed anything up for the future build out lol.
I also have to fair the bulk heads more but will do this once the wale planks are done. They seem to fit nicely without any bows or bumps.

I do have a question. Should I spend the time getting the burn marks completely off? I know they won’t be seen once the planking starts. What is the right way to do this?
Thanks for any assistance
Have a pleasant evening.
Tony
-
11 minutes ago, jwvolz said:
I do it that way. Especially helpful on the rock-hard plywood Model Expo uses. Do most of it before you install them on the false keel and finish with sanding blocks once installed.
Joe
Ok will try it. Unfortunately bulkhead already glued in so I will take it one at a time.
Tomy
-
Any thoughts on using a Dremel to fair the bulkheads?
-
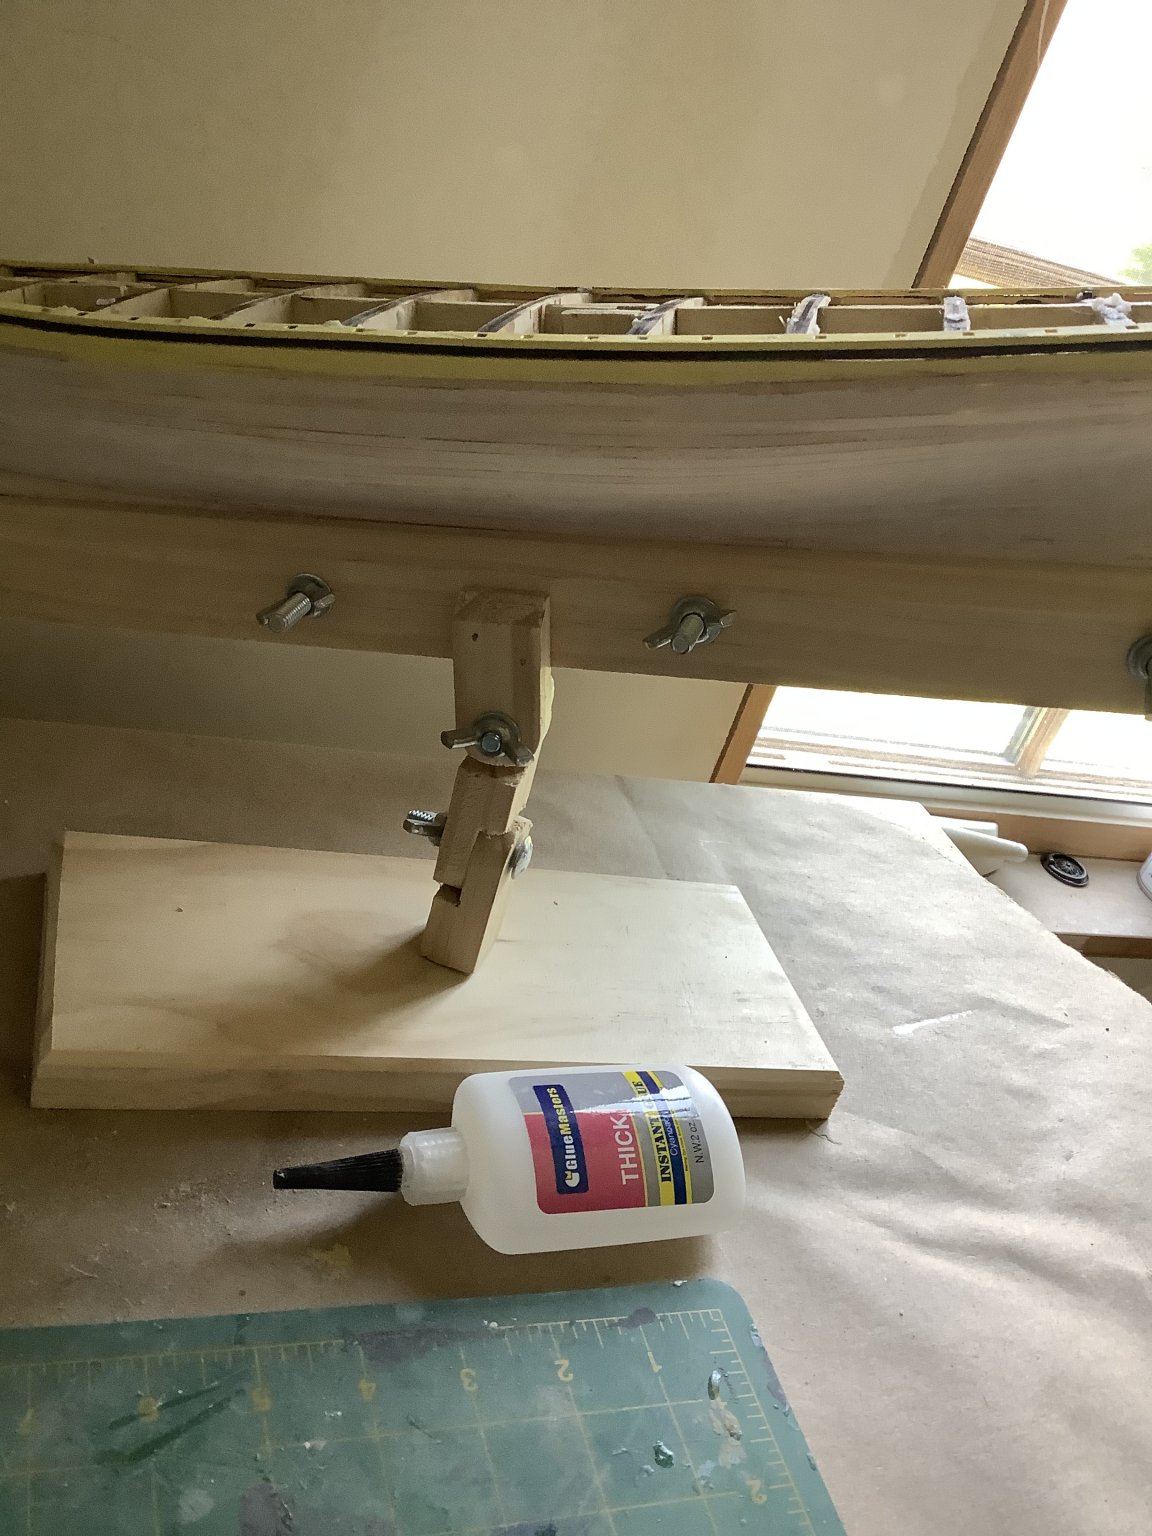
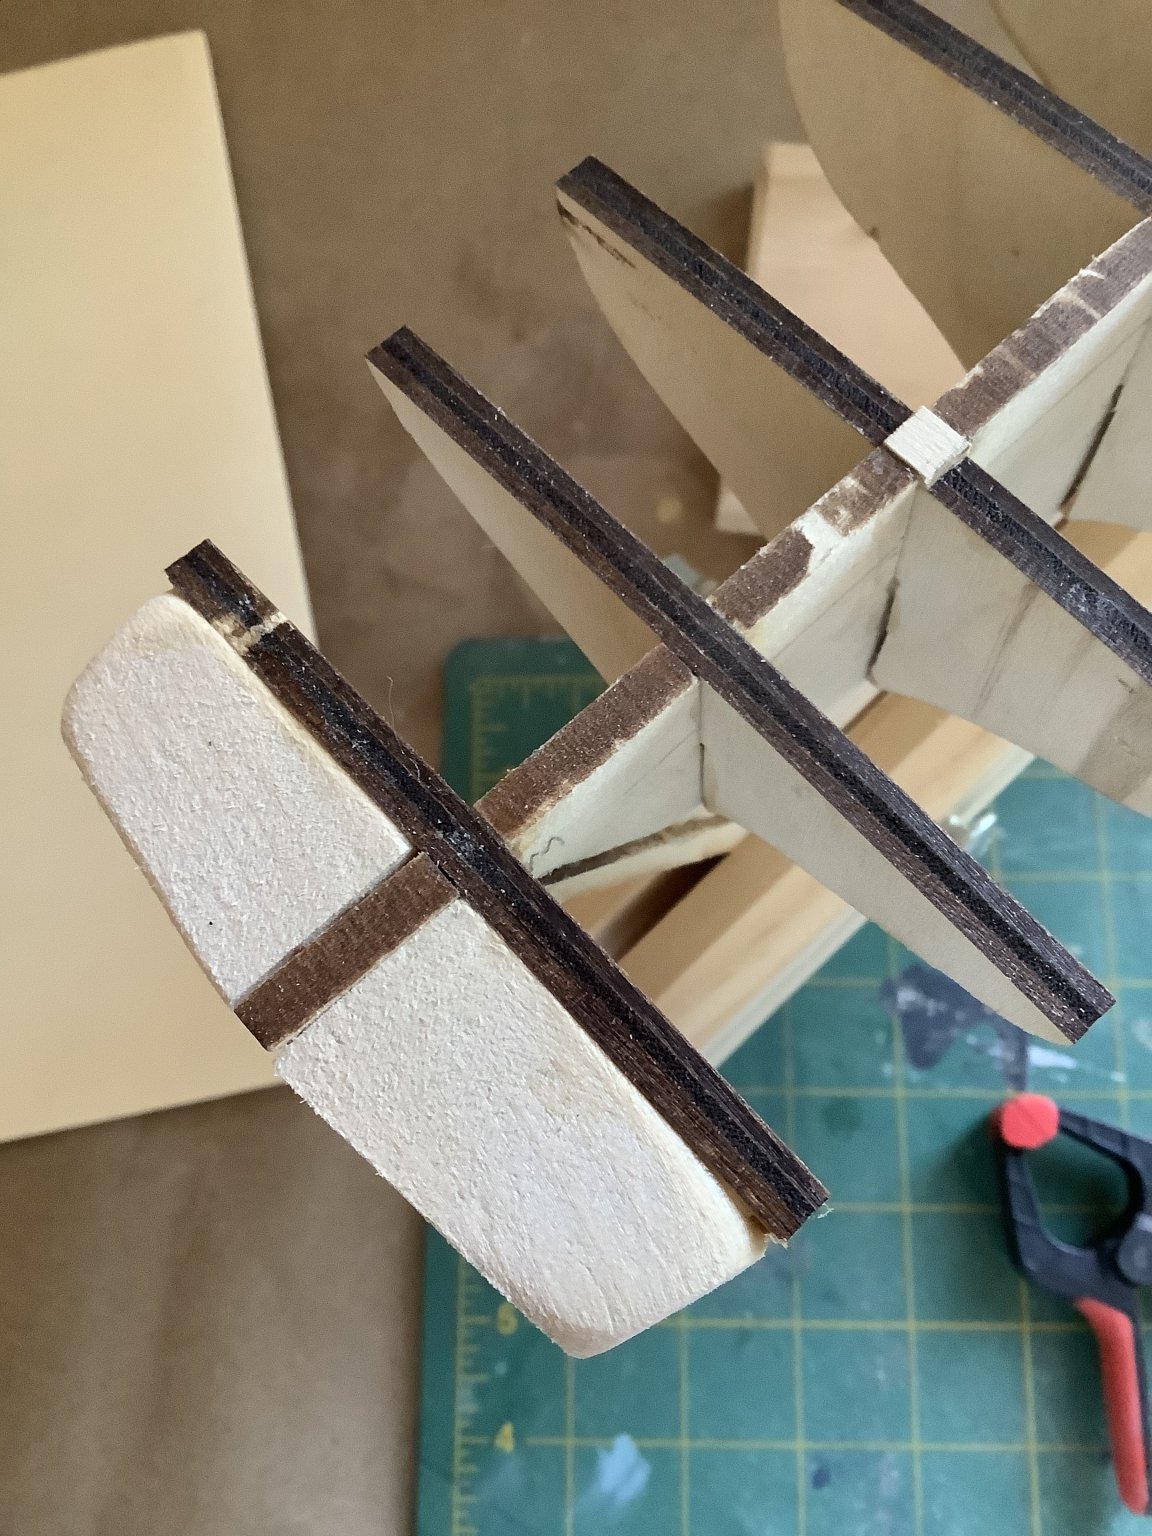
Bow filler blocks as recommended by Bob Hunts Practicum. This gave me practice shaping a block of wood which I haven’t done in years.
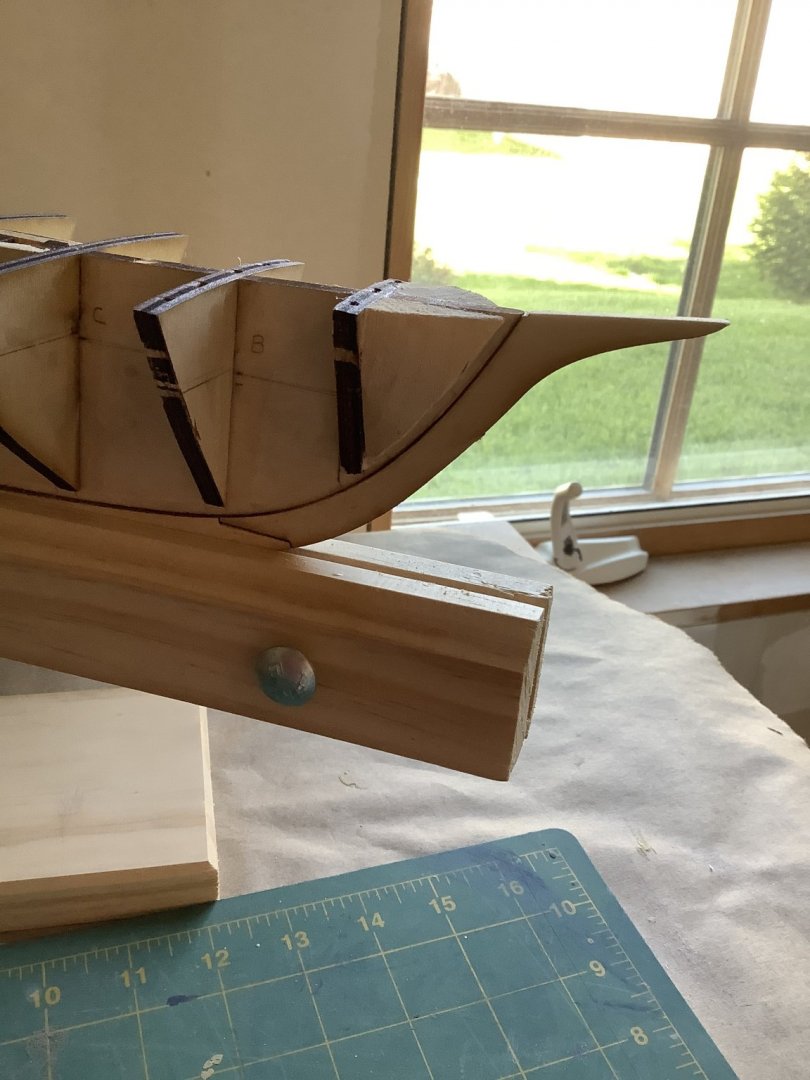
I plan on starting to fair the bulkheads tomorrow as well as sanding the deck. Hopefully will get the burns marks off during this process as well. If anyone has tips for fairing please do let me know.
Thanks
Tony
-
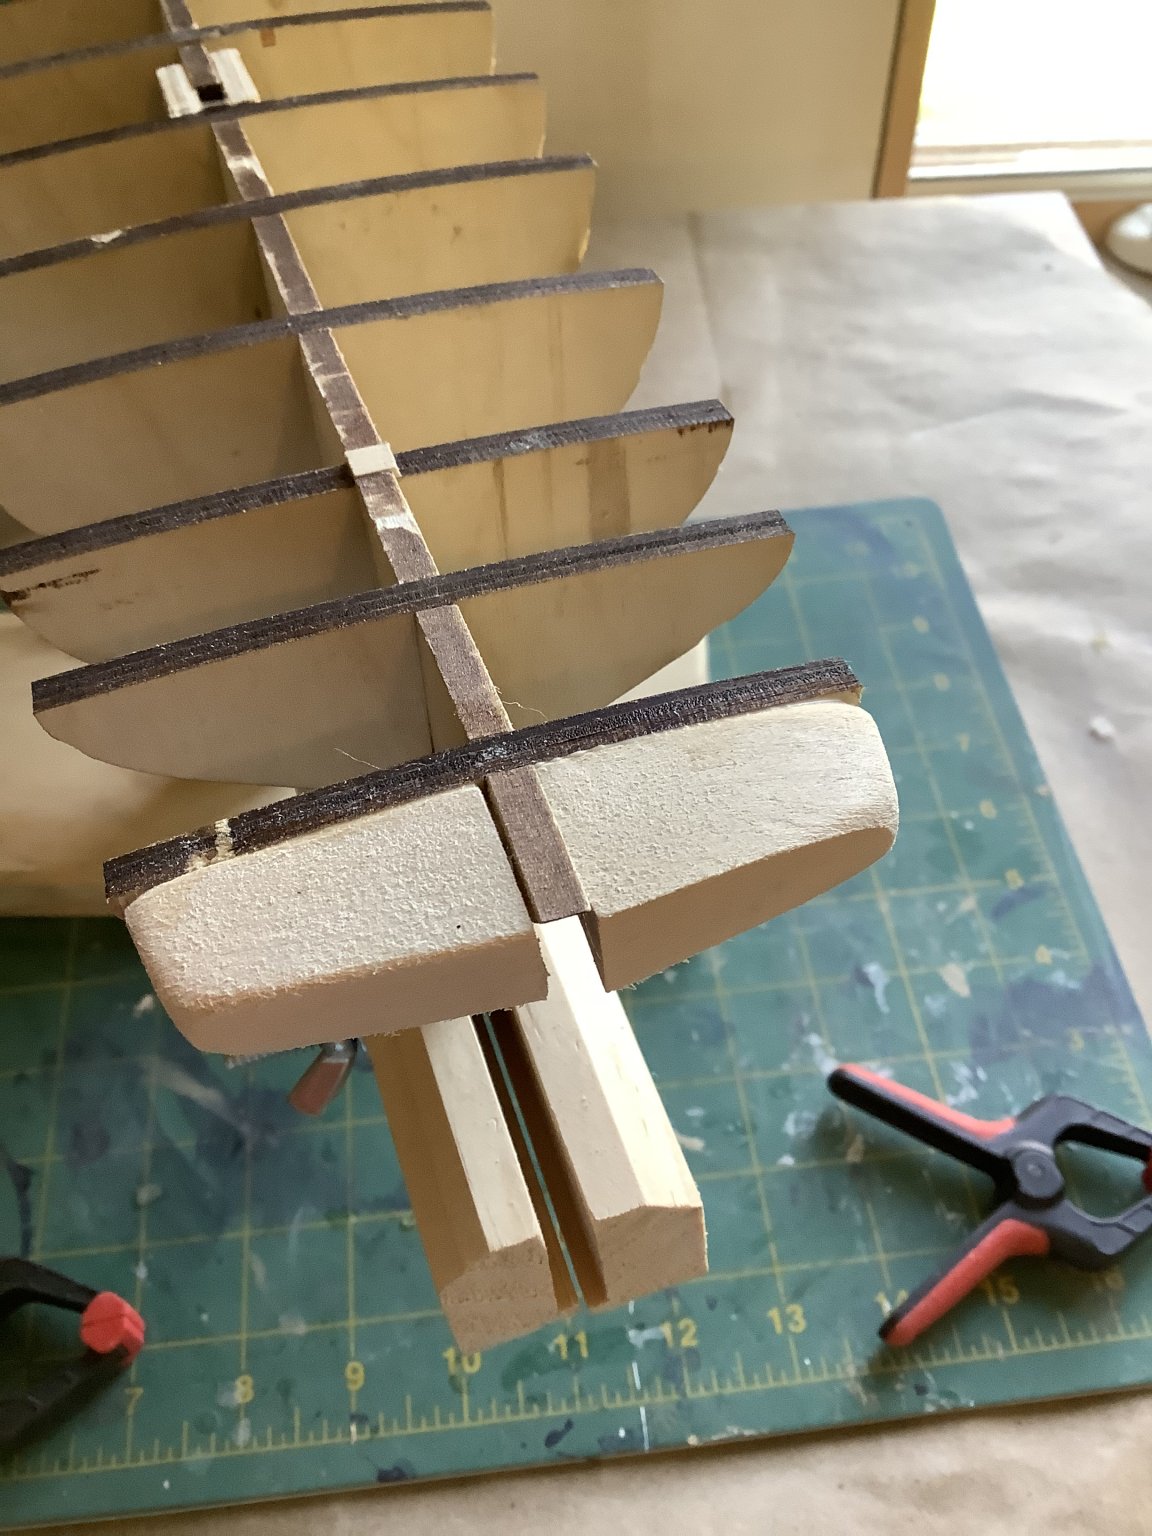
Spent today creating the filler blocks in the bow and stern. A lot of carving and sanding but I’m pleased with how it came out. I will finish the shaping when I begin fairing the bulkheads.


- GrandpaPhil, BobG, Ryland Craze and 1 other
-
4
-
-
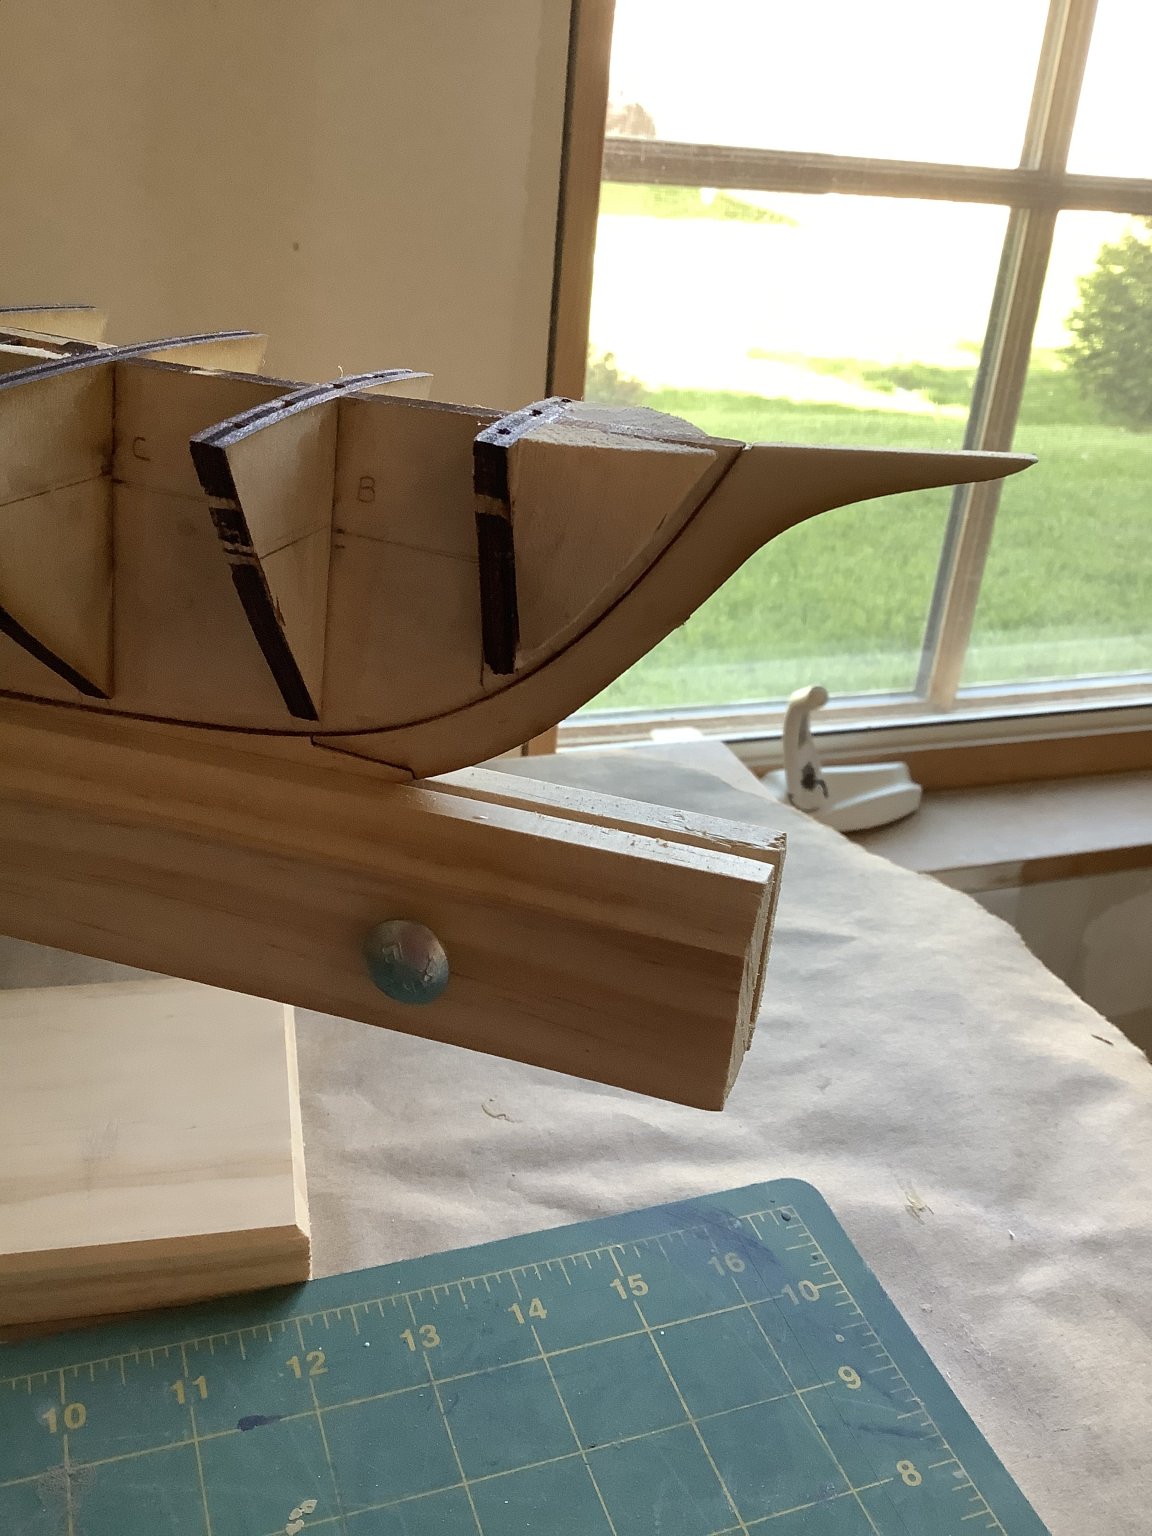
Spent a few hours dry fitting and ultimately gluing the bulkheads in place. They had a very snug fit and during my first test fit didn’t even allow me to put them in place. After several hours of slow sanding and filing I was able to get all bulkheads in place for a good test fit.
The waterline matched each perfectly and I felt good about gluing the, in place.
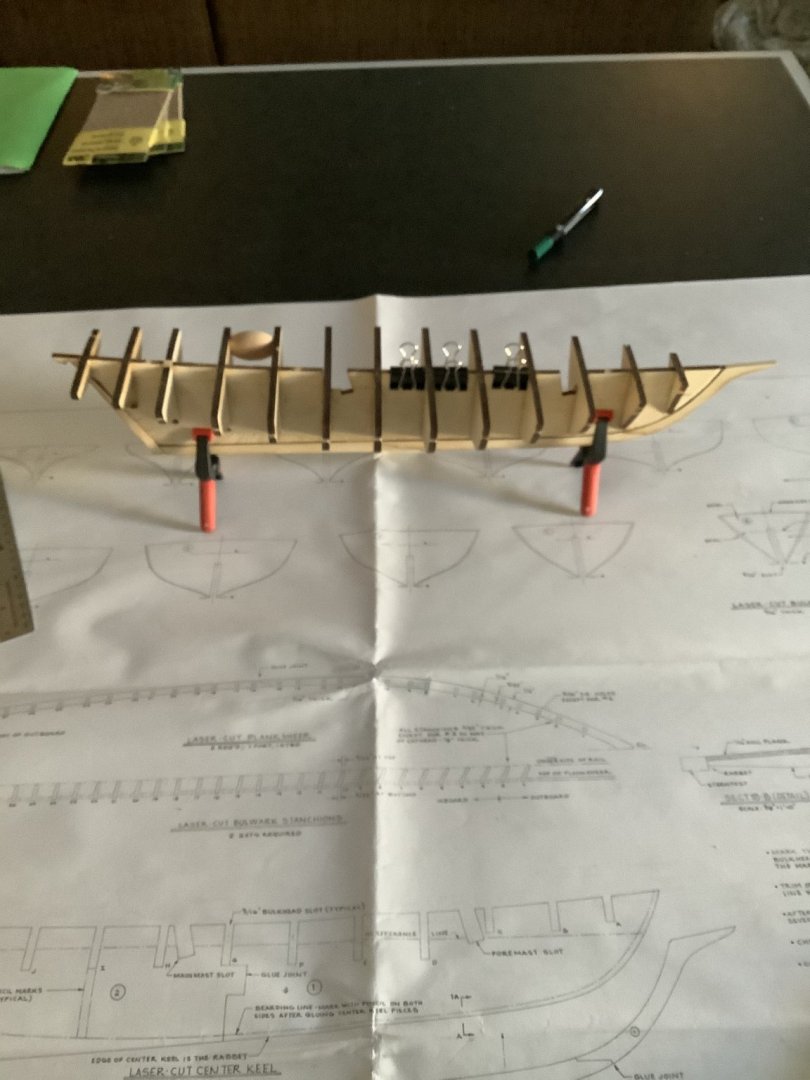
During the process I broke off a small piece on the bow and a very narrow piece where the masts fit. I will glue them on once everything dries over the next day.
- Ryland Craze, GrandpaPhil, Matt D and 1 other
-
4
-
Ok so cutting the bulkhead from the sheet turned out to be an all day chore. The laser didn’t go all the way through so I cut each one individually. If that wasn’t enough the fit of the bulkheads is so tight they don’t got all the way down even with the deck. I meticulously was able to file 7 of them which made them fit evenly albeit very tight. I guess that will be good when it comes time to gluing and squaring them up.
I marked the hull and measured out the waterline. Calling it a day. I have 6 more bulkheads to fit tomorrow before I begin assembling.
If anyone sees this, do the bulkheads usually fit his tight.?

- GrandpaPhil, Diver, BobG and 3 others
-
6
-
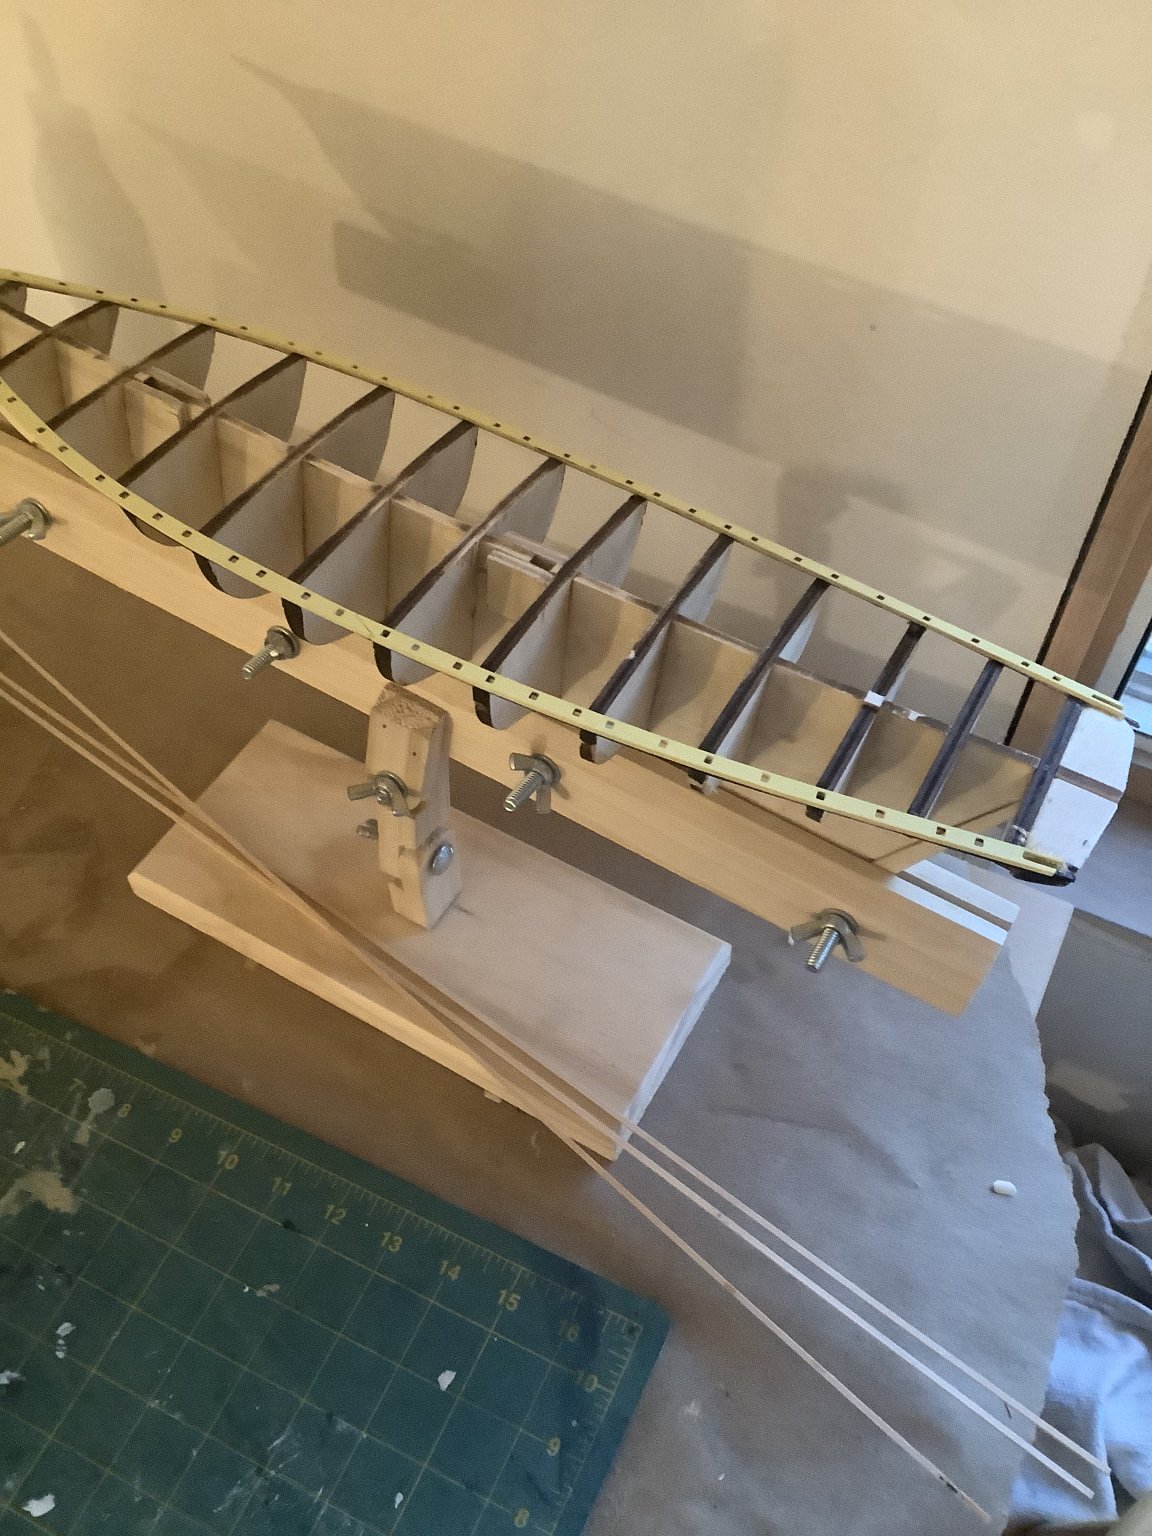
Today’s activities are to wait for the keel to dry and begin preparing the bulkheads. Will most likely give the keel a full 24 hours of dry time and then dry fit the bulkheads. I now see how the rabbet works. I used a small piece of planking to test it and it lies flush with he keel.
- Ryland Craze, Matt D, GrandpaPhil and 2 others
-
5


Pride of Baltimore II by Tony Dee - Model Shipways - 1:64
in - Kit build logs for subjects built from 1901 - Present Day
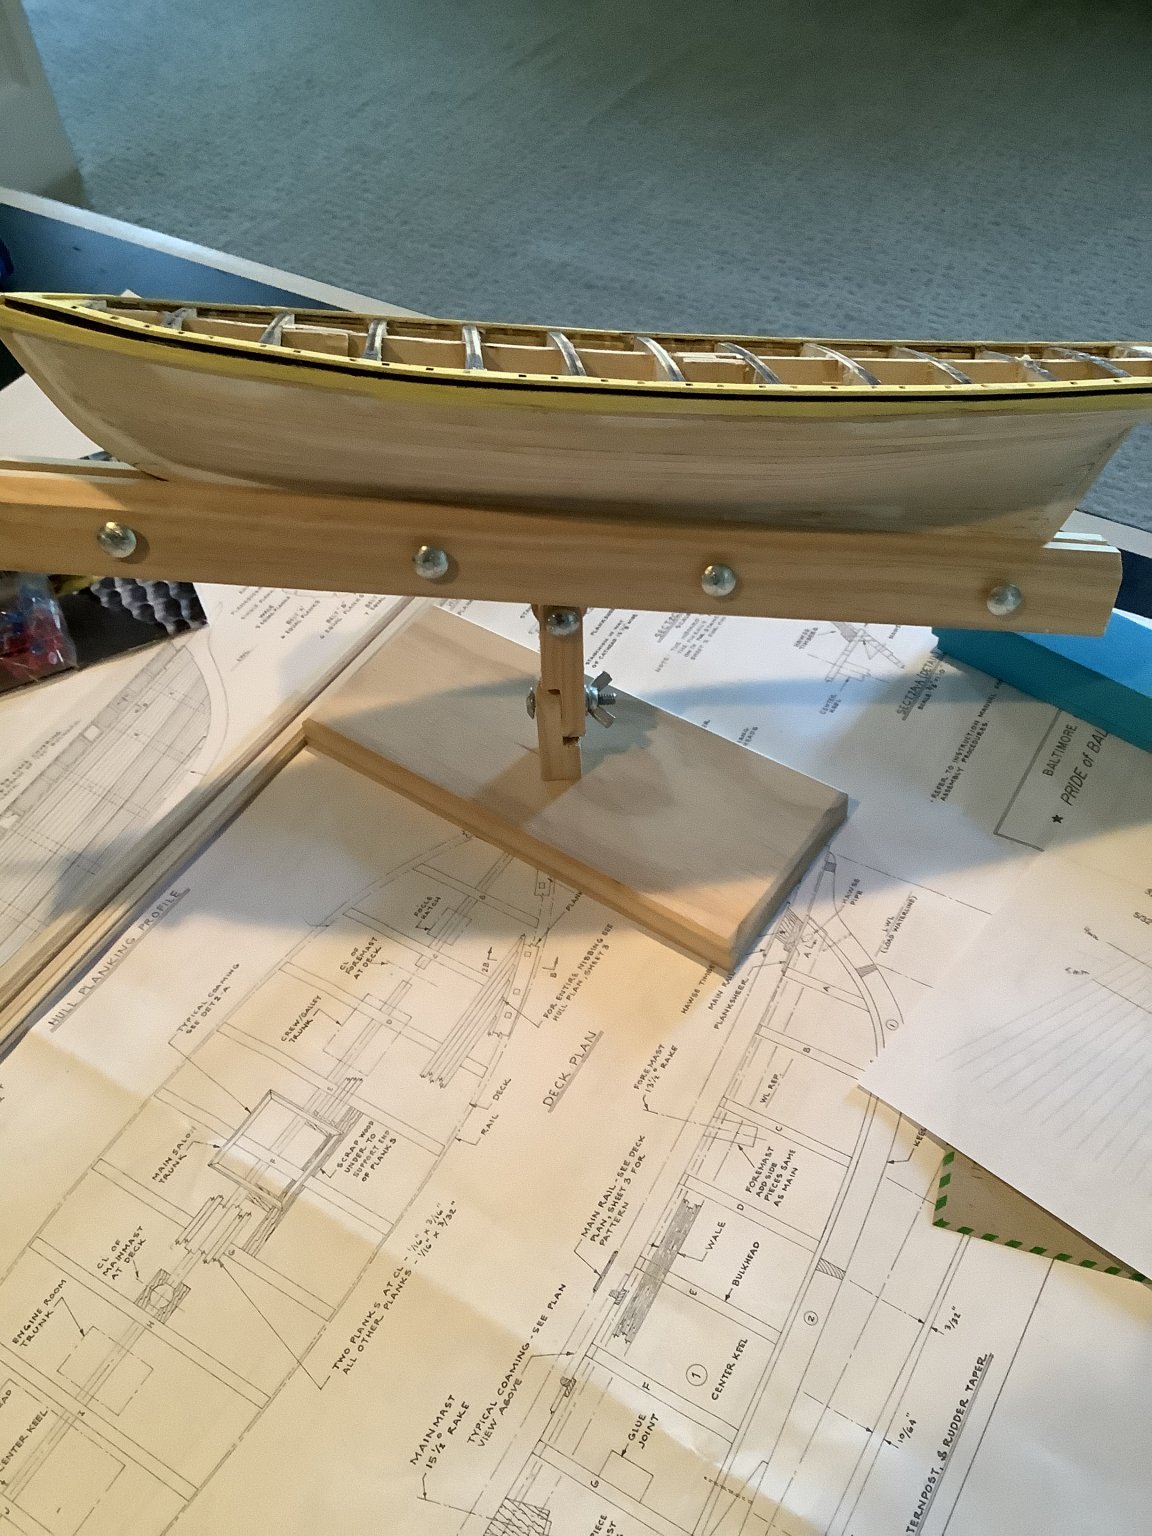
Posted
So I spent the weekend organizing and putting together a good workspace for my new hobby. I took a few days off to get everything hung and organized so now I’m ready to prime the completed hull before moving onto planking the deck. What do you think?