Papa
-
Posts
1,305 -
Joined
-
Last visited
Content Type
Profiles
Forums
Gallery
Events
Everything posted by Papa
-
It is kind of late for my two cents worth, but JSC has a United States that I have almost completed.
-
 Great work John. Being half Nova Scotian (my mother was born in Baccaro, NS)I am particularly fond of the Bluenose. I especially like the finish on the deck.
- 282 replies
-
- 2
-

-

-
- Bluenose
- Model Shipways
- (and 1 more)
-
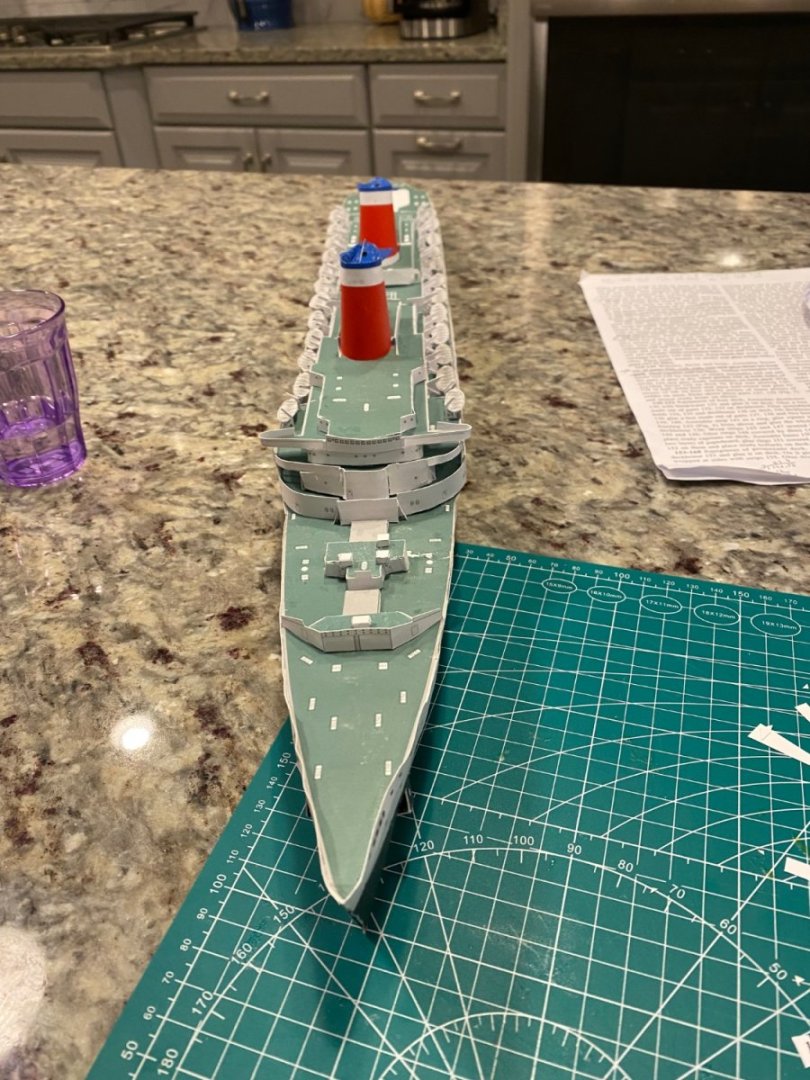
I am currently working on paper/card ship. I can only dream of being able to achieve your level of perfection.
- 26 replies
-
- 1
-
-
- Celtic Voyager
- Paper Shipwright
- (and 2 more)
-
Thank you. It was sort of fun but I made many mistakes along the way but was able to recover. Pert of my problem is that I am developing cataracts in both eyes and my close vision is gone. Not good for for the tiny parts and fittings in this kit. Just threading a block would take many tries. Go buy one. It is a very unusual model and doesn’t take up much space. And I think very fairly priced.
- 42 replies
-
- 1
-
-
- Cannon Jolle
- Master Korabel
- (and 1 more)
-
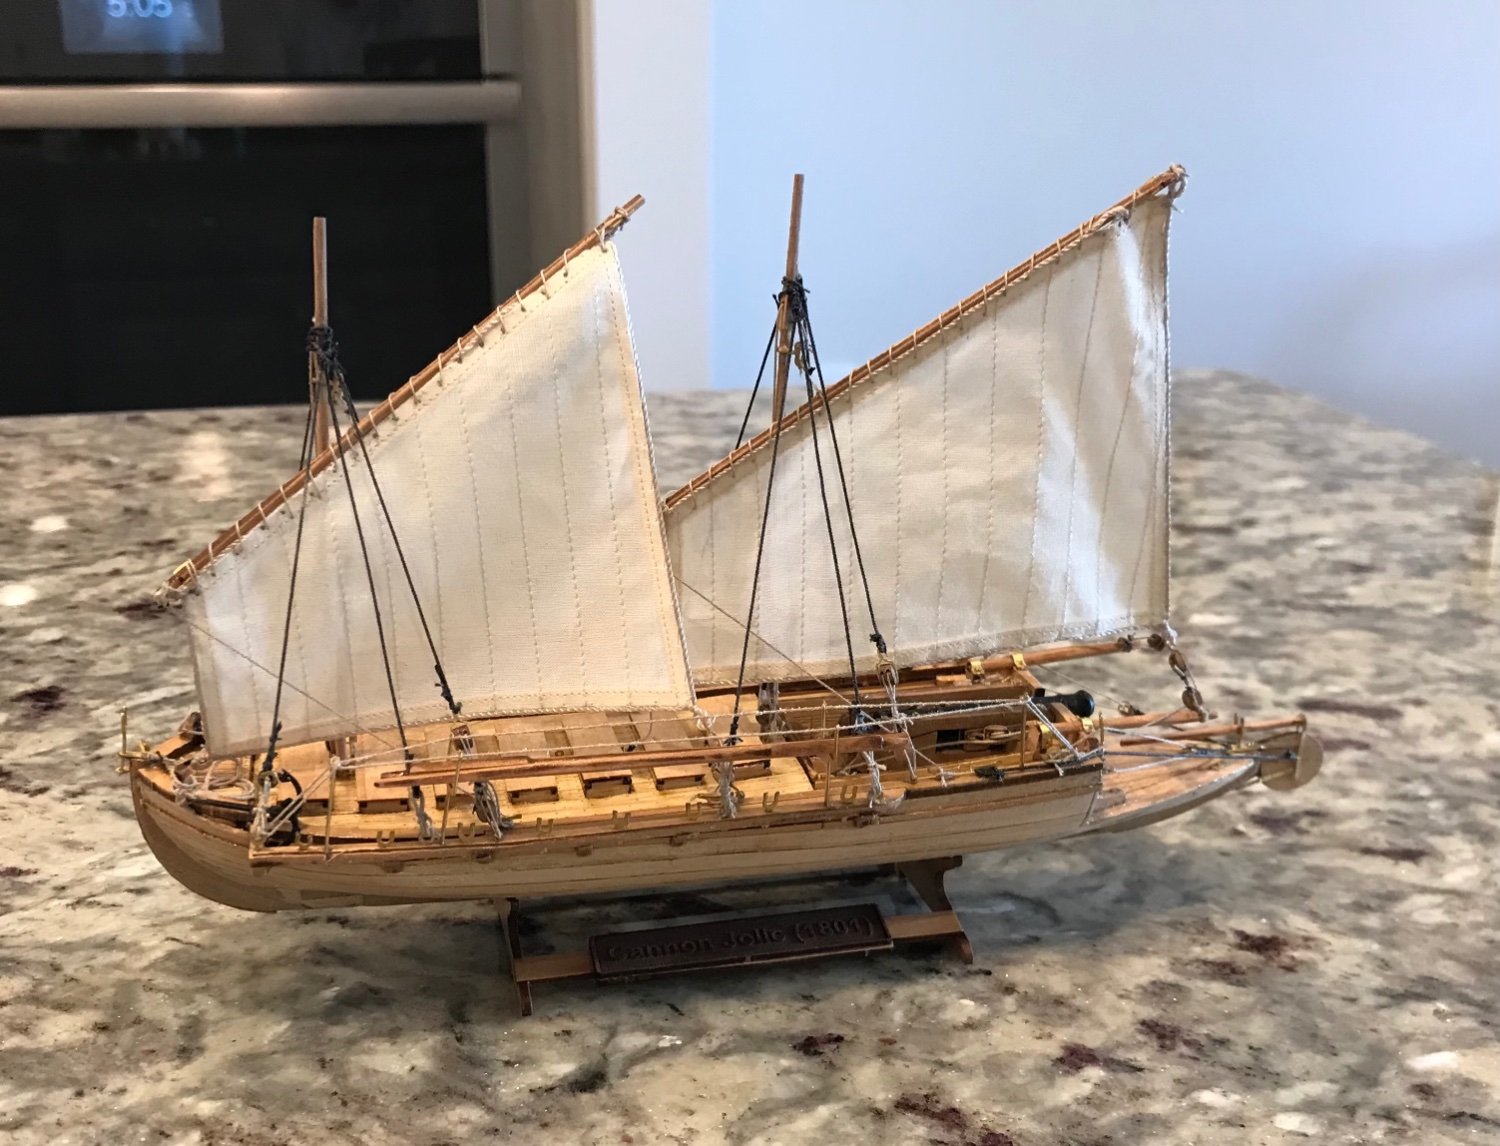
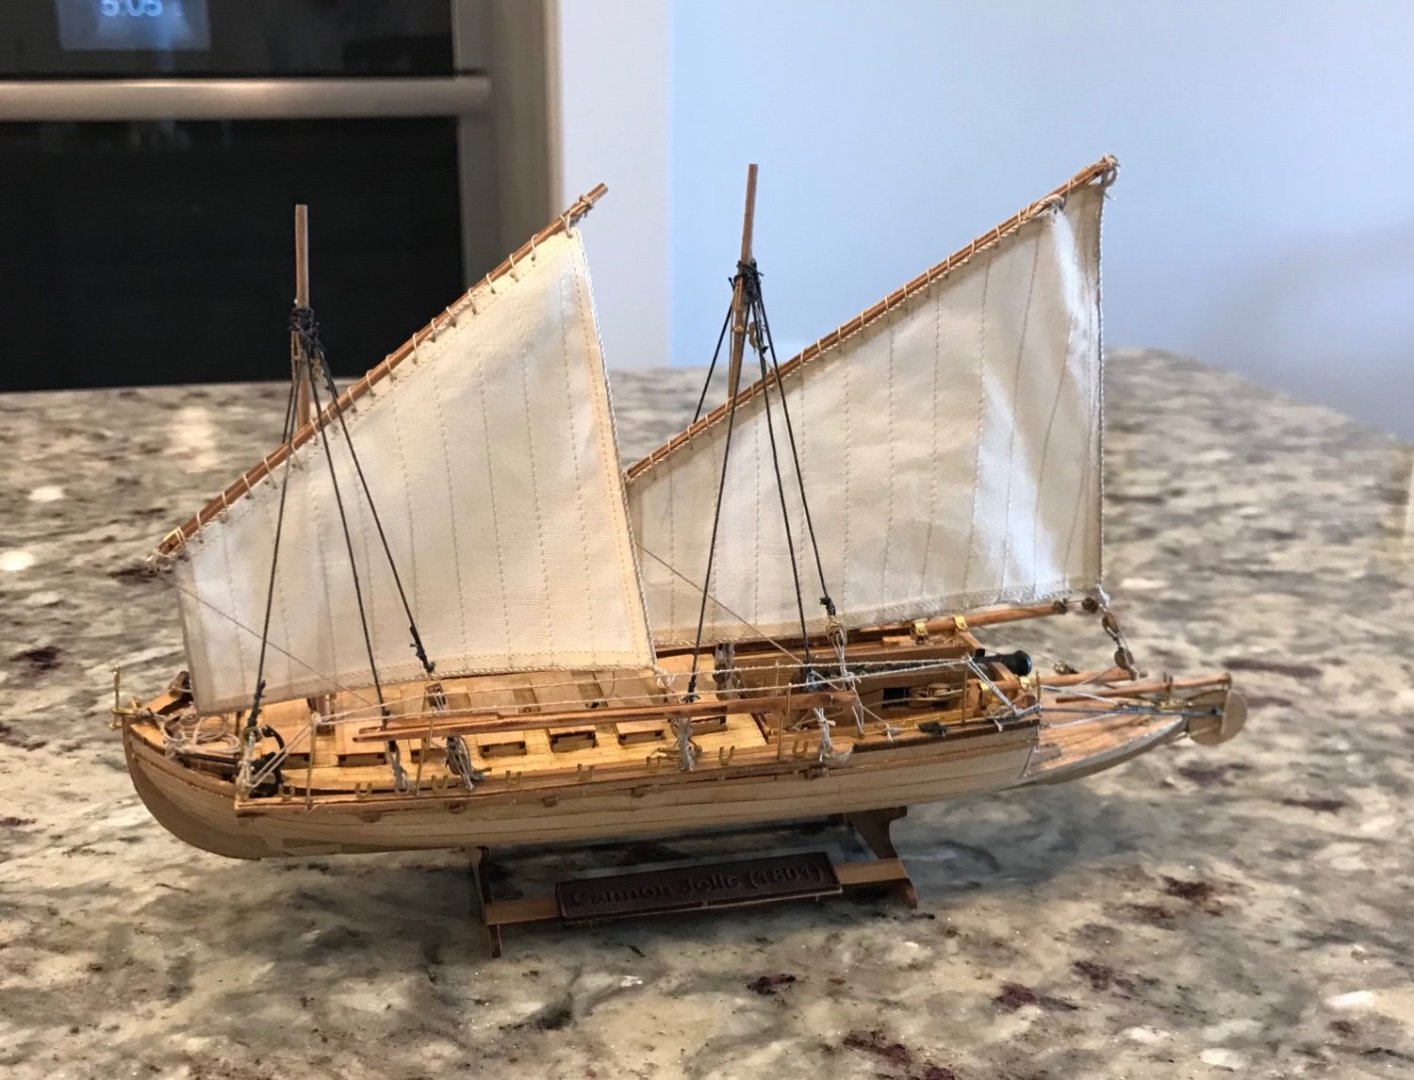
Finished. Very nice having a project completed in weeks, rather than years. I think I may do a paper model next.
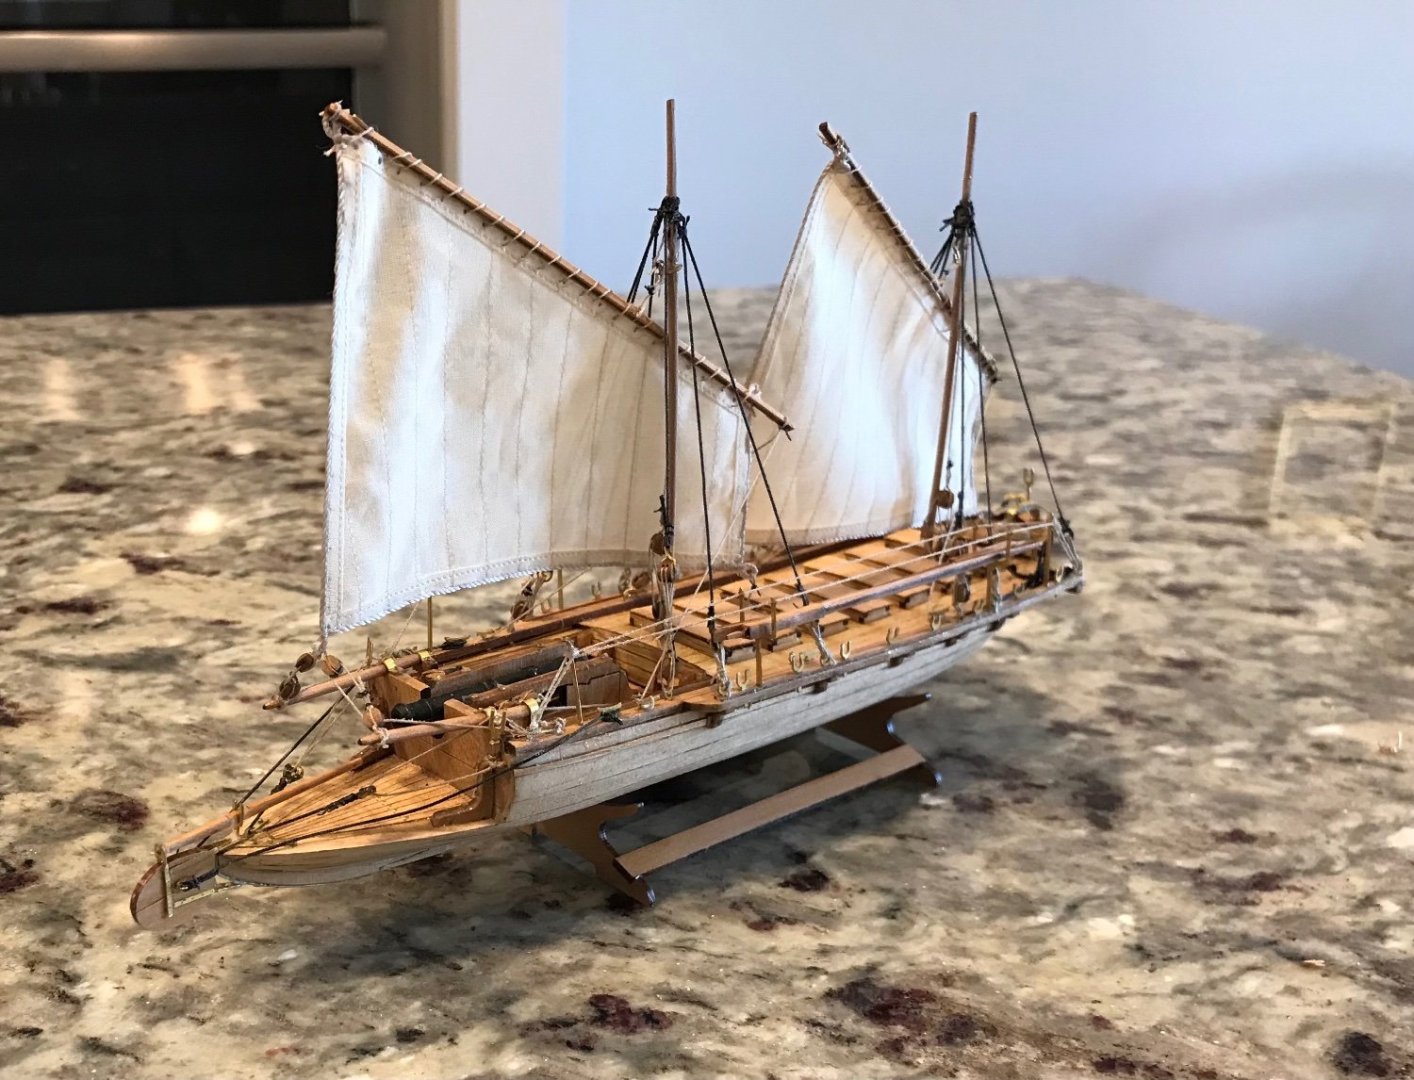
- 42 replies
-
- 4
-
-

-
- Cannon Jolle
- Master Korabel
- (and 1 more)
-
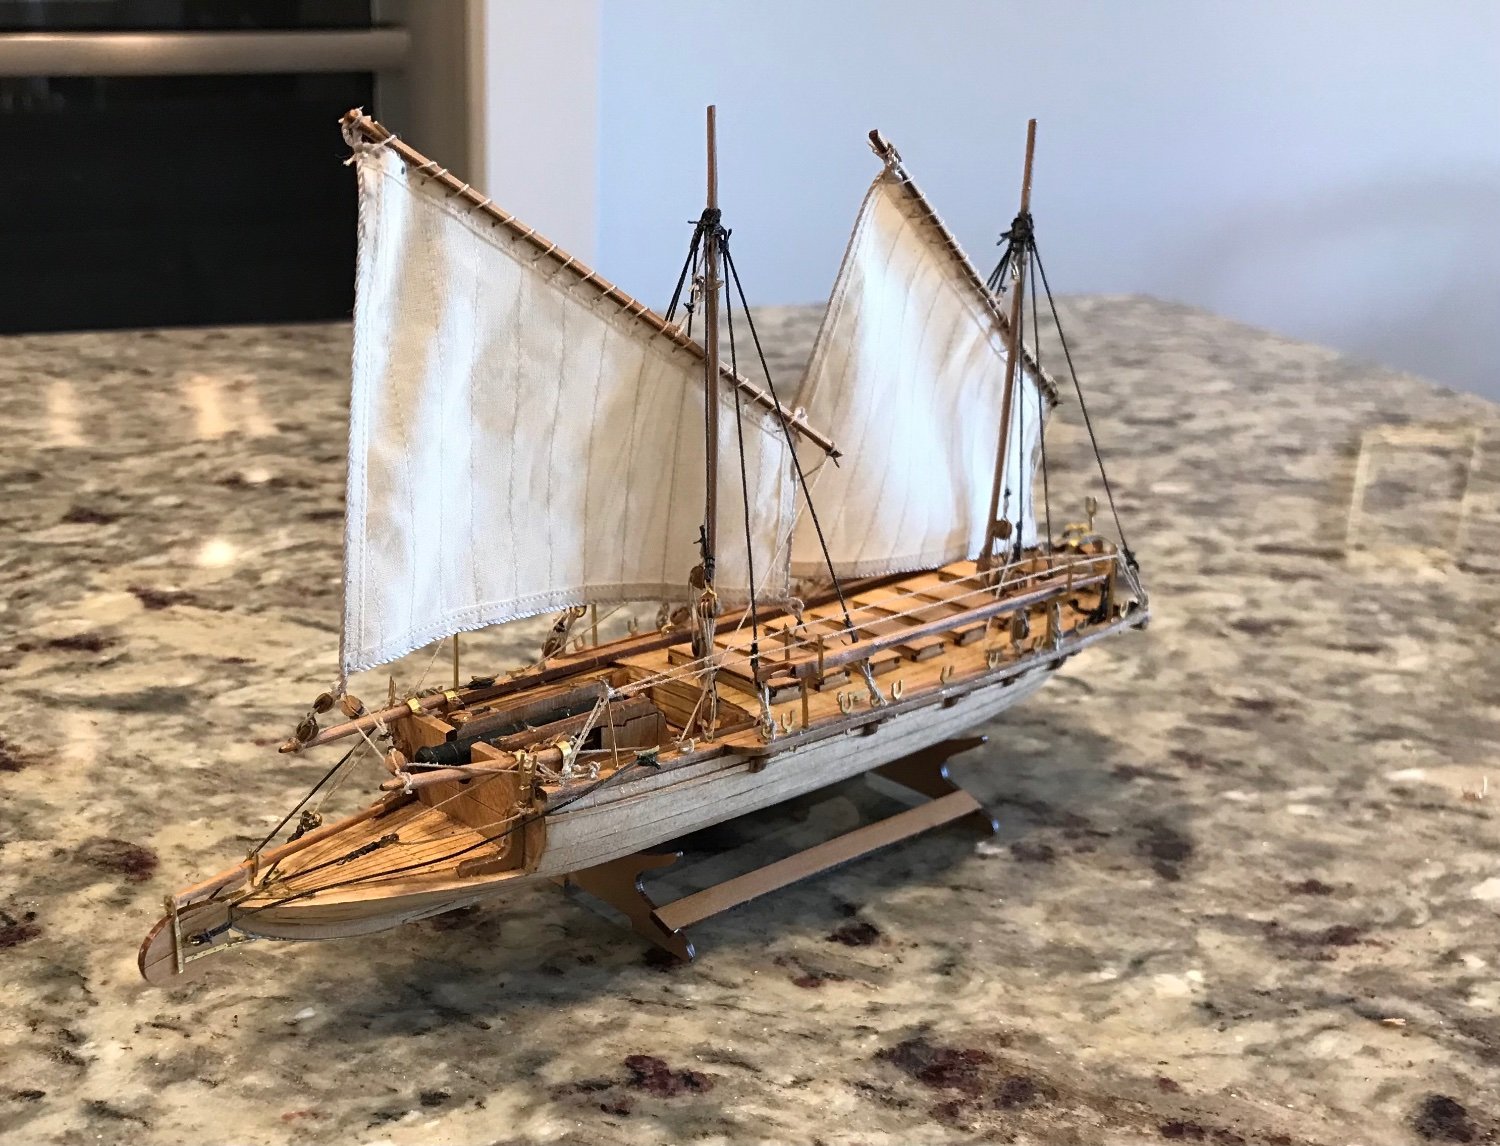
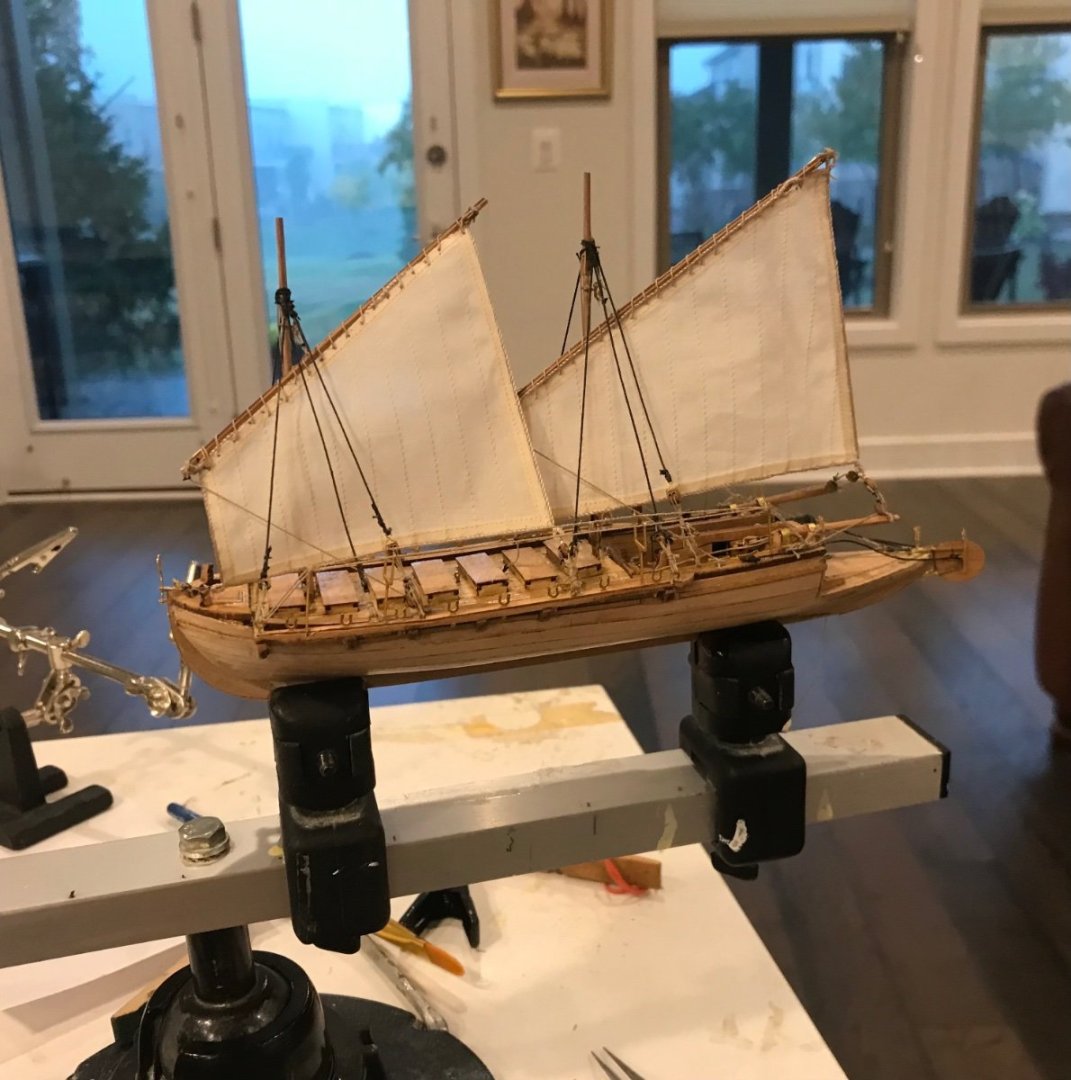
I am just about finished. Just have to shape the oars and tiller
- 42 replies
-
- 4
-
-
- Cannon Jolle
- Master Korabel
- (and 1 more)
-
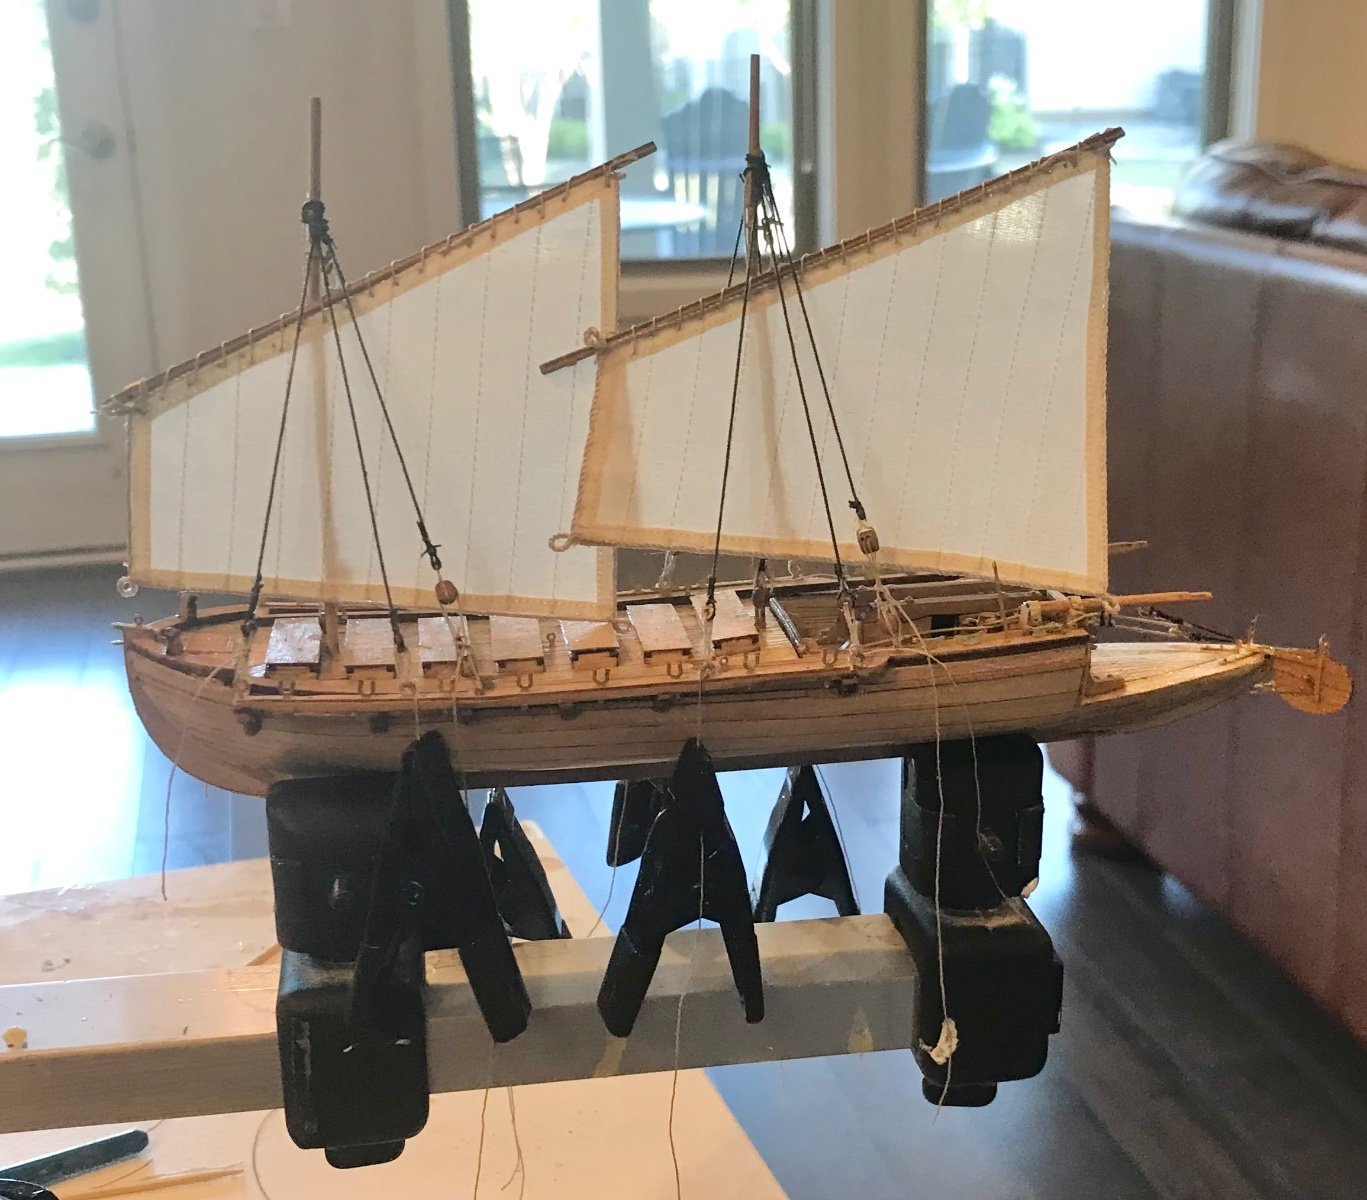
Because of the small size of everything this is a very difficult model to rig. It is coming along, but very slow.

- 42 replies
-
- 3
-
-
- Cannon Jolle
- Master Korabel
- (and 1 more)
-
I am starting the rigging. Have sails on the yards and the cannon rigging in place. A word of caution to anyone else building this model : the end of sep 6.2 says to add cleats to the masts. step b7 says to slide the hook/mast ring on the masts. They have to slide from the deck end and as I learned the hard way it can’t be done with the cleats in place. So add the cleats after the rings are on. I also learned that a tenth of a mm is critical on this kit. My masts were more like 1.7 - 1.8 mm in diameter. They have to be very close to the 1.6 spec or those rings will not fit. Be careful. The masts will be thin and fragile. I ended up breaking the main mast and had to remake it using the spare kit I had to purchase. (See earlier postings of my stupidity)
- 42 replies
-
- 4
-
-
- Cannon Jolle
- Master Korabel
- (and 1 more)
-
MiG-3 by Javlin - Trumpter - 1/32 - PLASTIC
Papa replied to Javlin's topic in Completed non-ship models
I am guessing that "IP" = instrument panel and "OOB"=Out of Box But "SOD" has me puzzled. A beautiful model though -
1961 Showboat Dragster by xken - 1/8th scale - scratch built
Papa replied to xken's topic in Non-ship/categorised builds
Fantastic model. scale? -
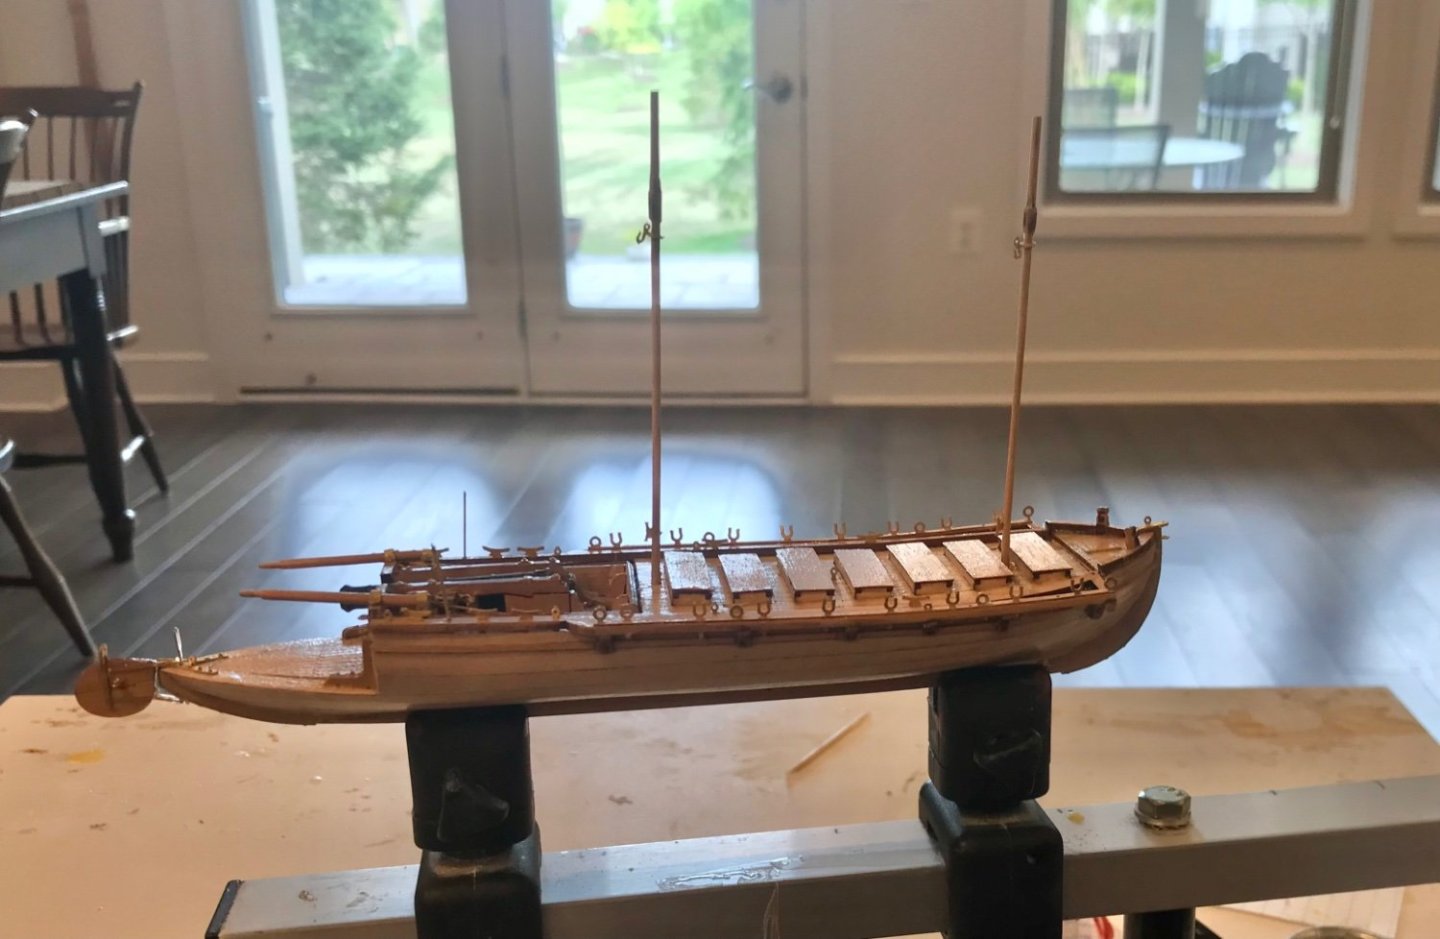
I spent about 2 1/2 hours shaping the masts😬. And that long or many longer fitting boomkins and brass clamps.
- 42 replies
-
- 4
-
-
- Cannon Jolle
- Master Korabel
- (and 1 more)
-
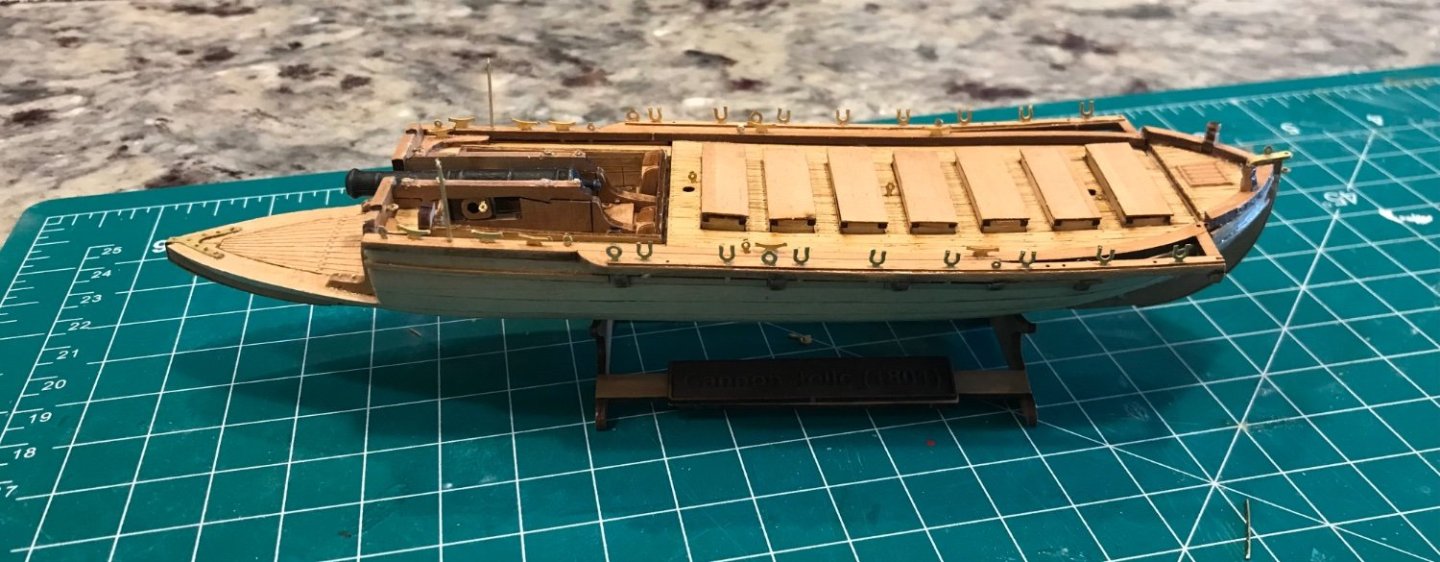
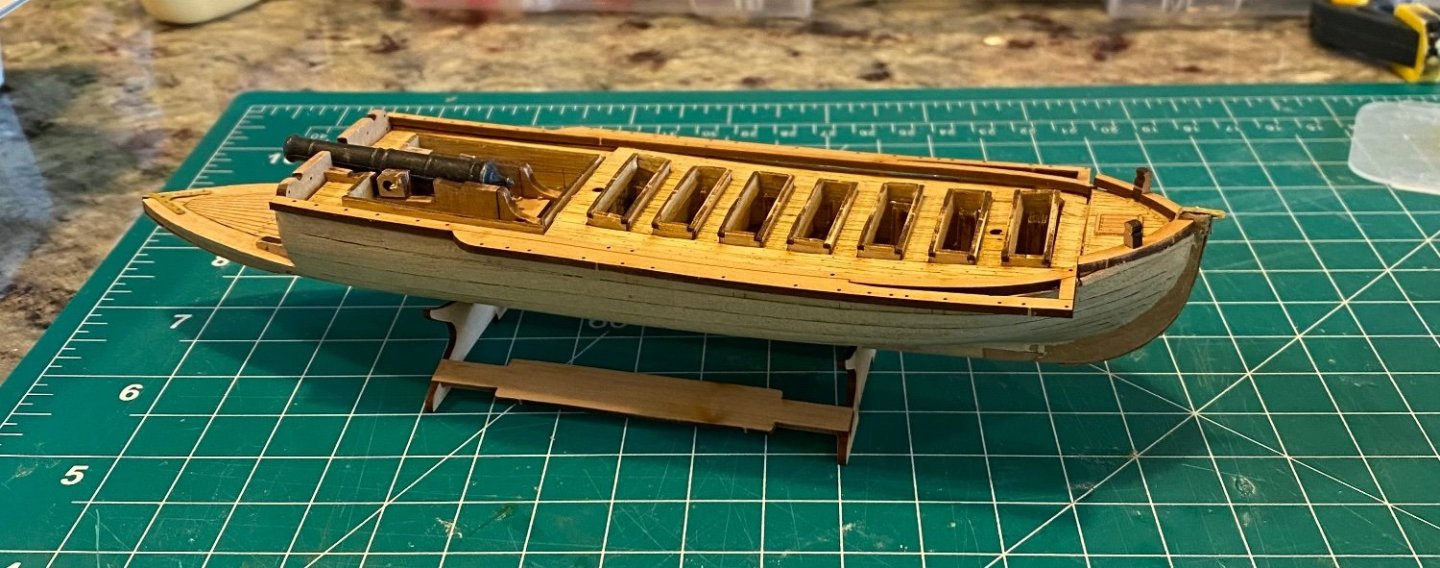
Most of the brass fittings are in place. I think I will leave the tall stanchions until after I have fitted the masts.
- 42 replies
-
- 2
-
-
- Cannon Jolle
- Master Korabel
- (and 1 more)
-
I checked the photos in your build log and lt looks as if you did not use the tiny nail pads (part 23) under the oarlocks.
-
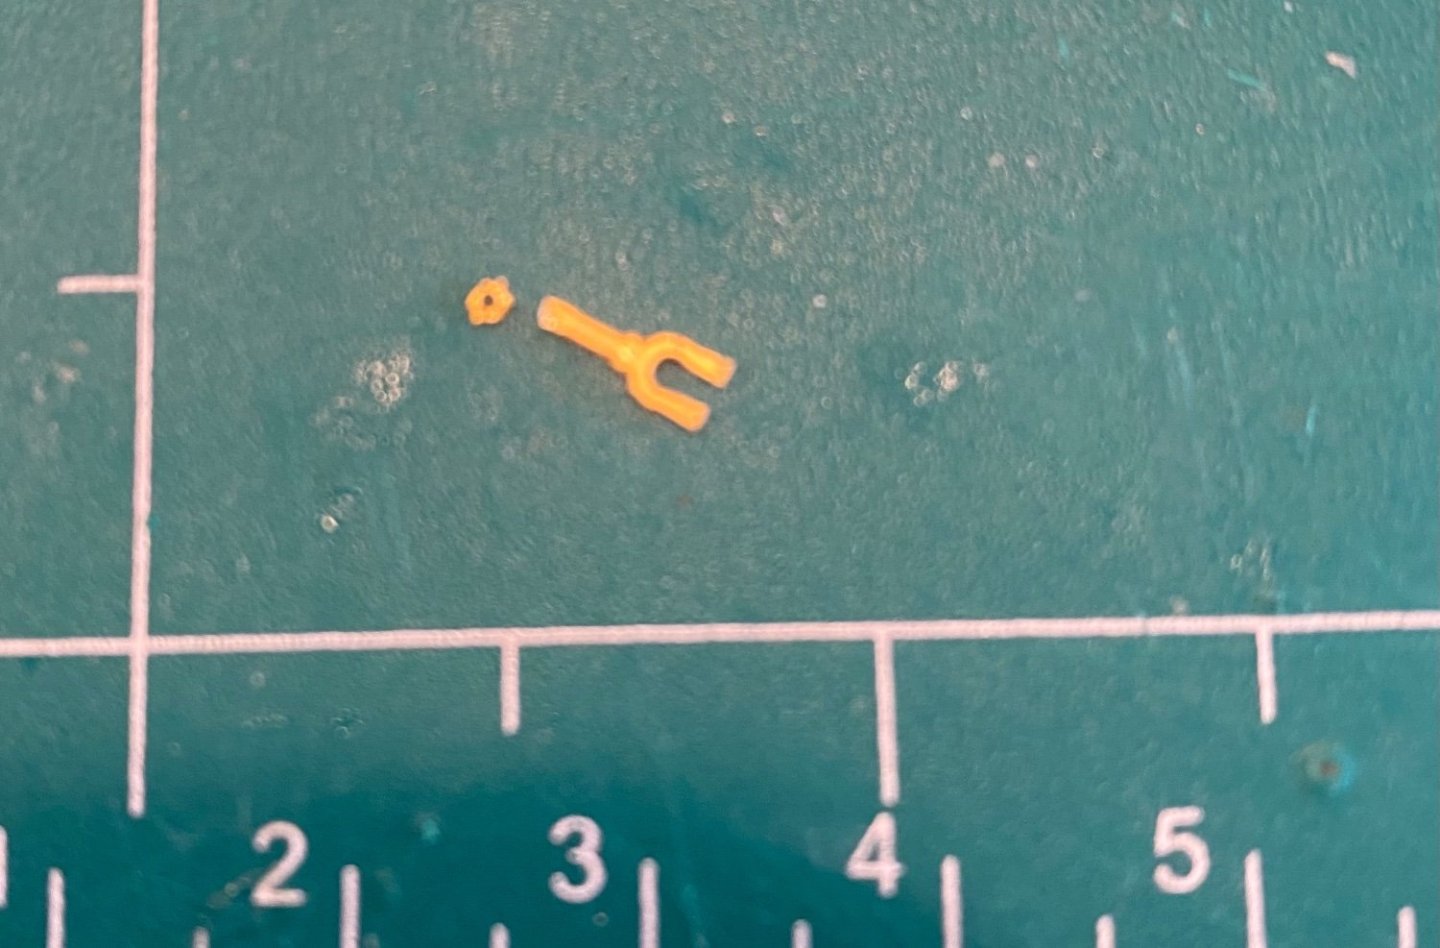
I took the attached photo to ask how Master Korabel expected one to insert the square peg (of the oarlock)in the tiny round hole in the nail pad. But in the photo I can see the outline of an oarlock inside the etching. Were we expected to file these down to this outline? The post might go into the hole if it were filed down and rounded. I saw nothing in the instructions to suggest this and in any case that would be way way beyond my ability. I plan to use them as is and without the tiny pad.
-
A bit of an understatement! And very difficult to snip off of the sheet.
-
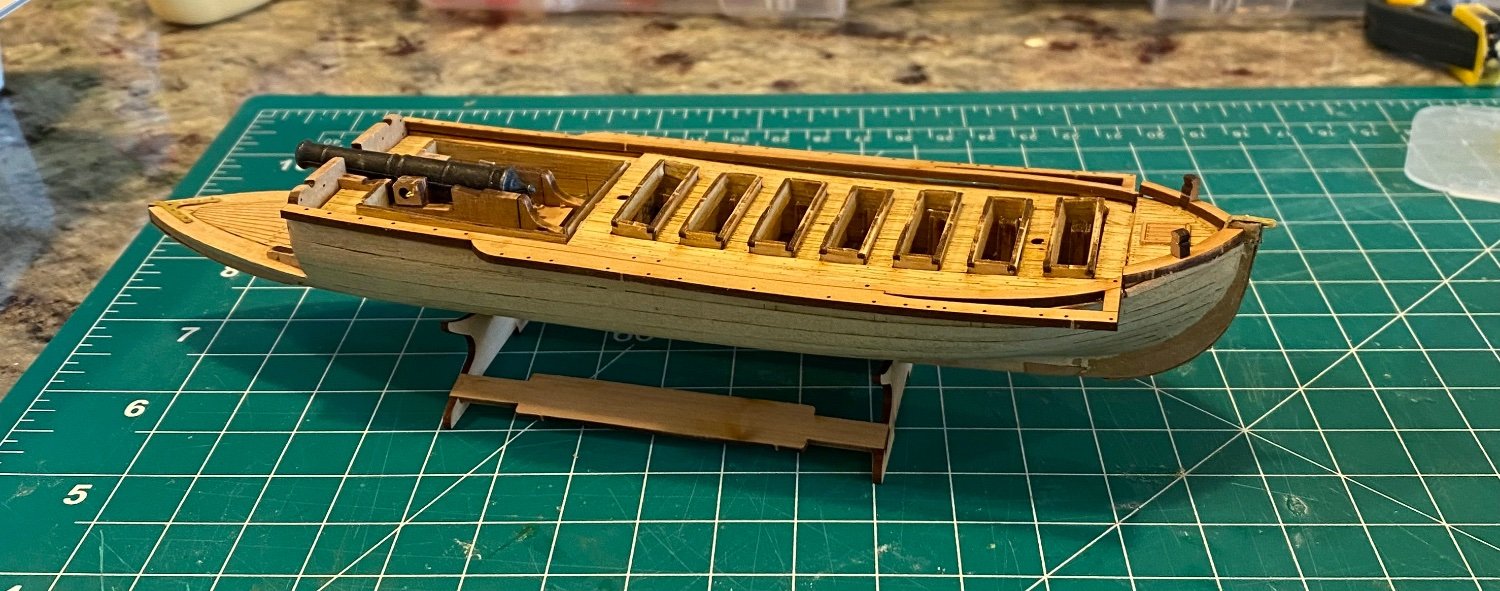
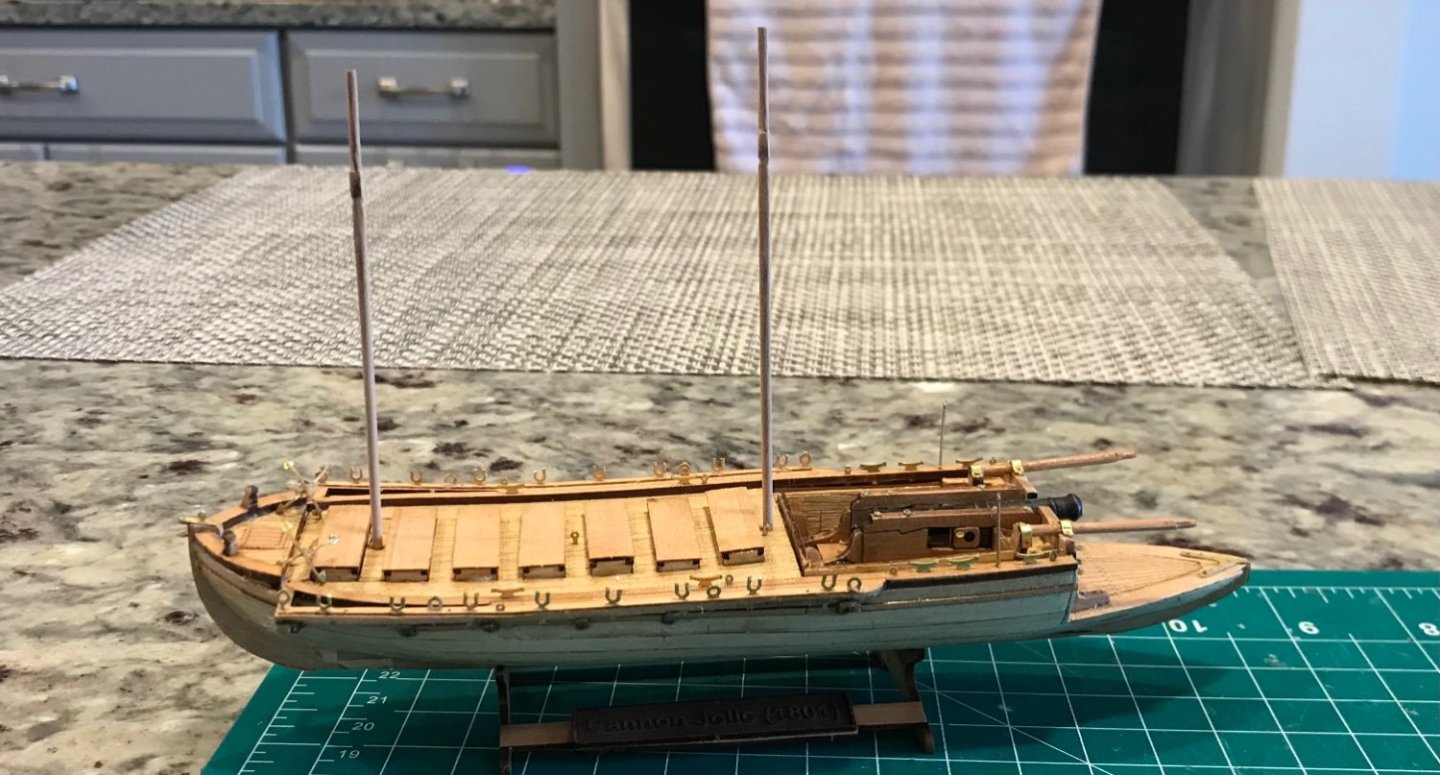
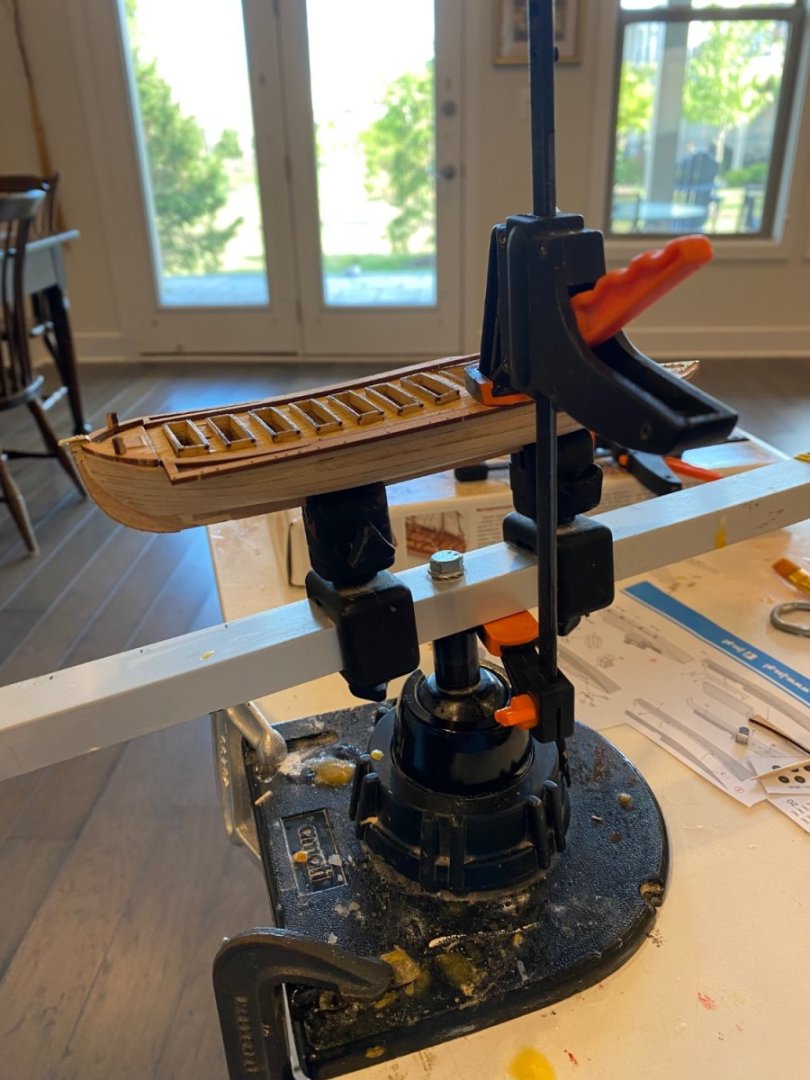
Current status. The long rails along the deck were difficult to glue down as the glue surface is very narrow and there is nothing to clamp to. I was eventually able to get a clamp from the rail down to the bar in the keel vise. It was unstable but held long enough for the glue to set. See photo (I used 3 clamps per side)
- 42 replies
-
- 5
-
-
- Cannon Jolle
- Master Korabel
- (and 1 more)
-
Planking is done. I installed the sternpost binding. I found that I could not do the nails as described by MK; they were too tiny and went flying around the room. Instead I drilled out the holes about 0.001 larger than the wire, held a small section of wire with needle nosed pliers and pushed the wire into the hole after dabbing the end in some superglue. I then snipped the wire flush with the binding plate. Some needed a bit of filing to get flush.

- 42 replies
-
- 3
-
-
- Cannon Jolle
- Master Korabel
- (and 1 more)
-
Velcro
-
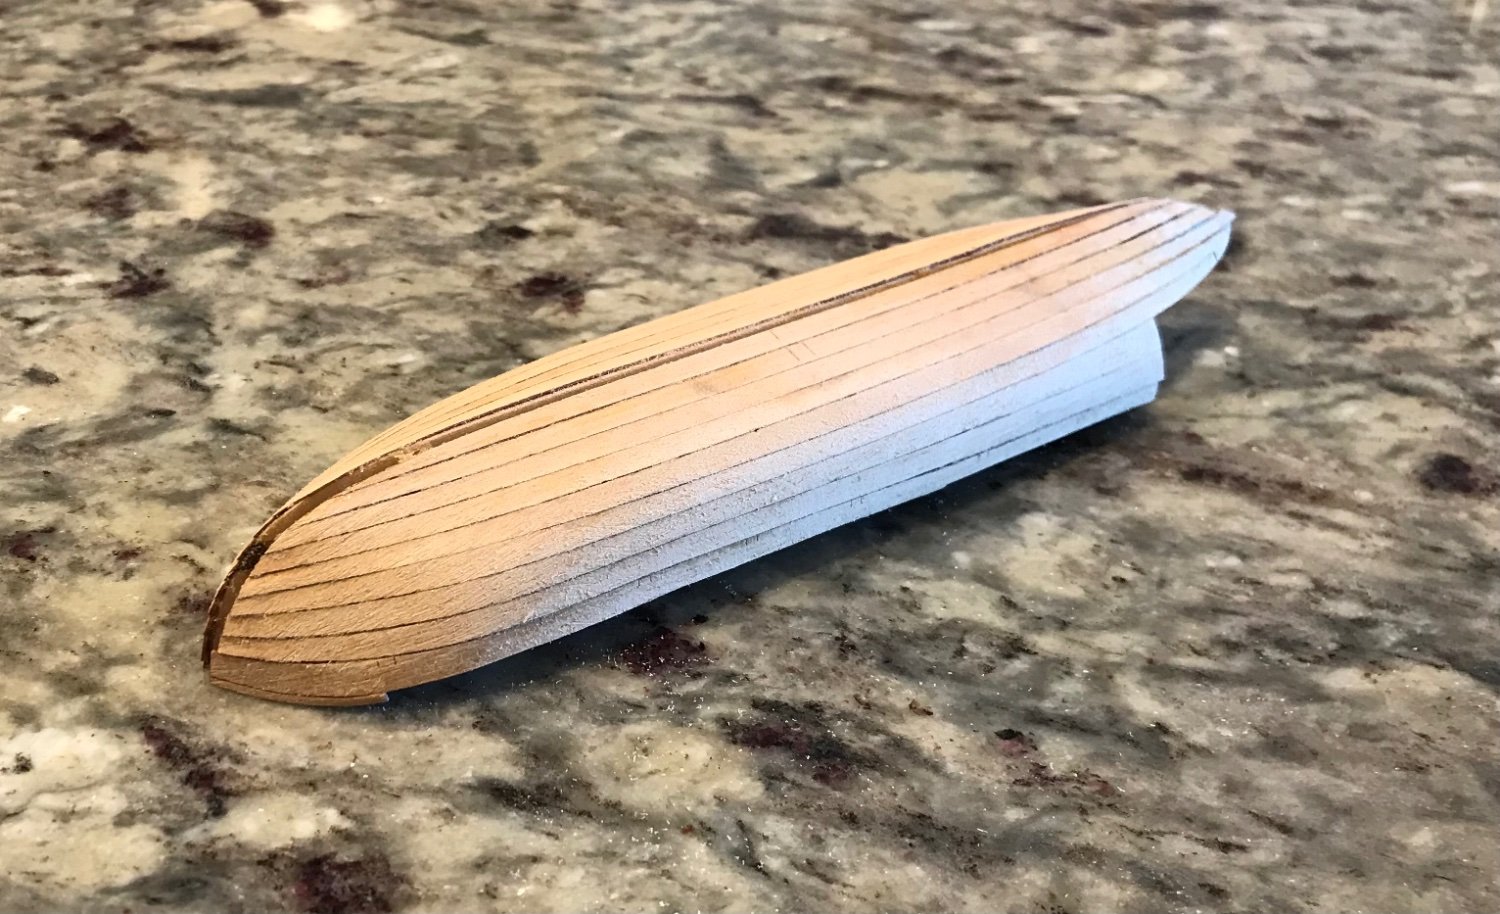
Planking is done. Started sanding. The planking was quite easy with pre-shaped planks. I did find it easier to align and glue the planks to the reference frame (15) first. And then glue forward and aft rather than starting at the bow or stern as recommended.

- 42 replies
-
- 1
-
-
- Cannon Jolle
- Master Korabel
- (and 1 more)
-
Back from the lake and spend the morning reviewing build logs for this kit.I would have saved myself a lot of trouble and expense had I done this before starting! Never to old to learn a valuable lesson. I was wondering if i should keep the PE parts bright as shown on the box art. Looks like all the builders painted the PE black. I am also looking at how the kits were finished (i.e., painted or stained etc.).
- 42 replies
-
- 2
-
-
- Cannon Jolle
- Master Korabel
- (and 1 more)
-
Yes, I know. Thanks for the reminder anyway. I wanted to make sure the keel fit before planking and the instructions suggested this step in fact. It took a lot of sanding but now the keel pieces fit perfectly without excessive force. I also now have 3 rows of planks in place. It is nice having the planks shaped to fit. The shipyard will be closed for a week as we are taking our granddaughter to a nearby lake for a week.
- 42 replies
-
- 2
-
-
- Cannon Jolle
- Master Korabel
- (and 1 more)
-
I just started fitting the keel. I see what you mean about a tight fit.
-
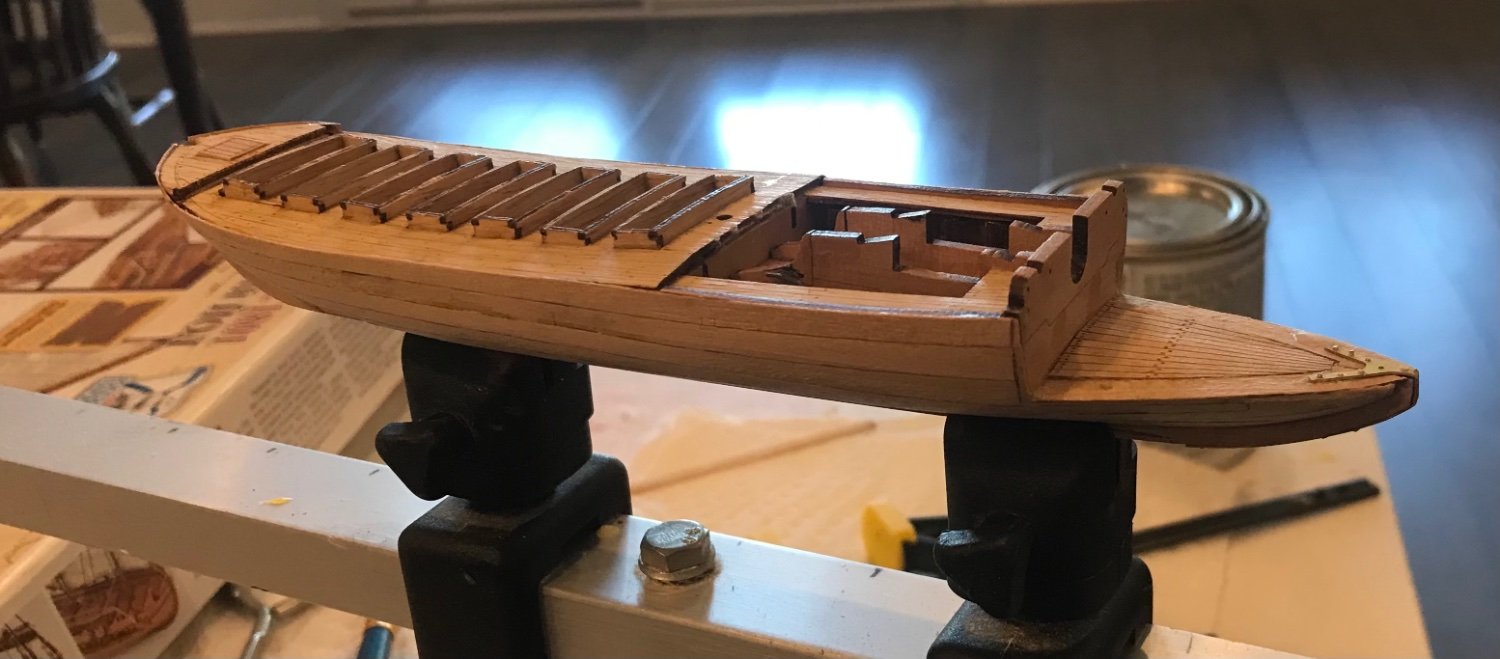
I have the seat supports (D10) in place and decks D5 L/R, D2 and D3. These pieces are very thin and fragile and the protrusions of D10 broke in many places places and 2 of the cross pieces of D2 broke as well . I wonder how anyone could install these without some breakage. It was certainly way beyond my skill level. In any case I think it will all look ok when finished. This kit is not nearly as easy as I had expected! After posting and looking at the photo I think the two forward deck cross pieces look wonky. They were the parts that broke. Since I have an extra kit I may just replace those two, cutting the replacements from the extra D sheet.
- 42 replies
-
- 4
-
-
- Cannon Jolle
- Master Korabel
- (and 1 more)
-
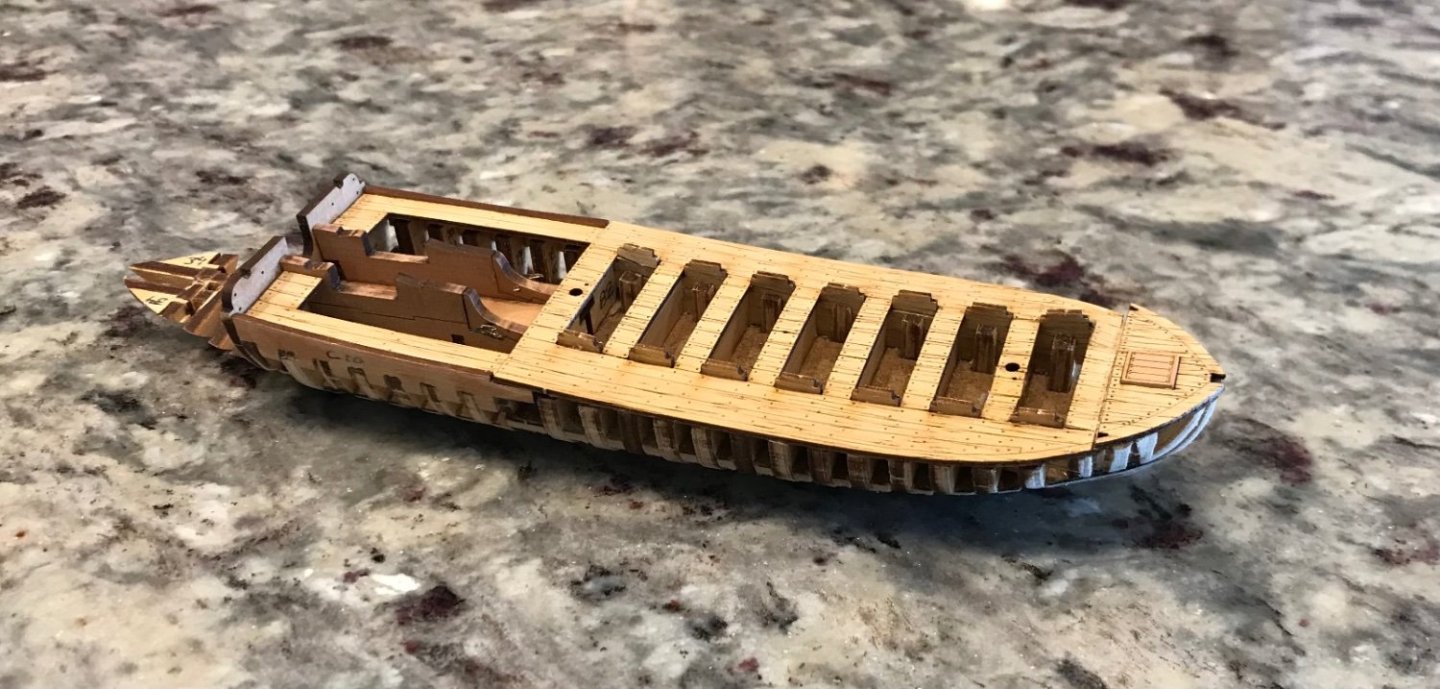
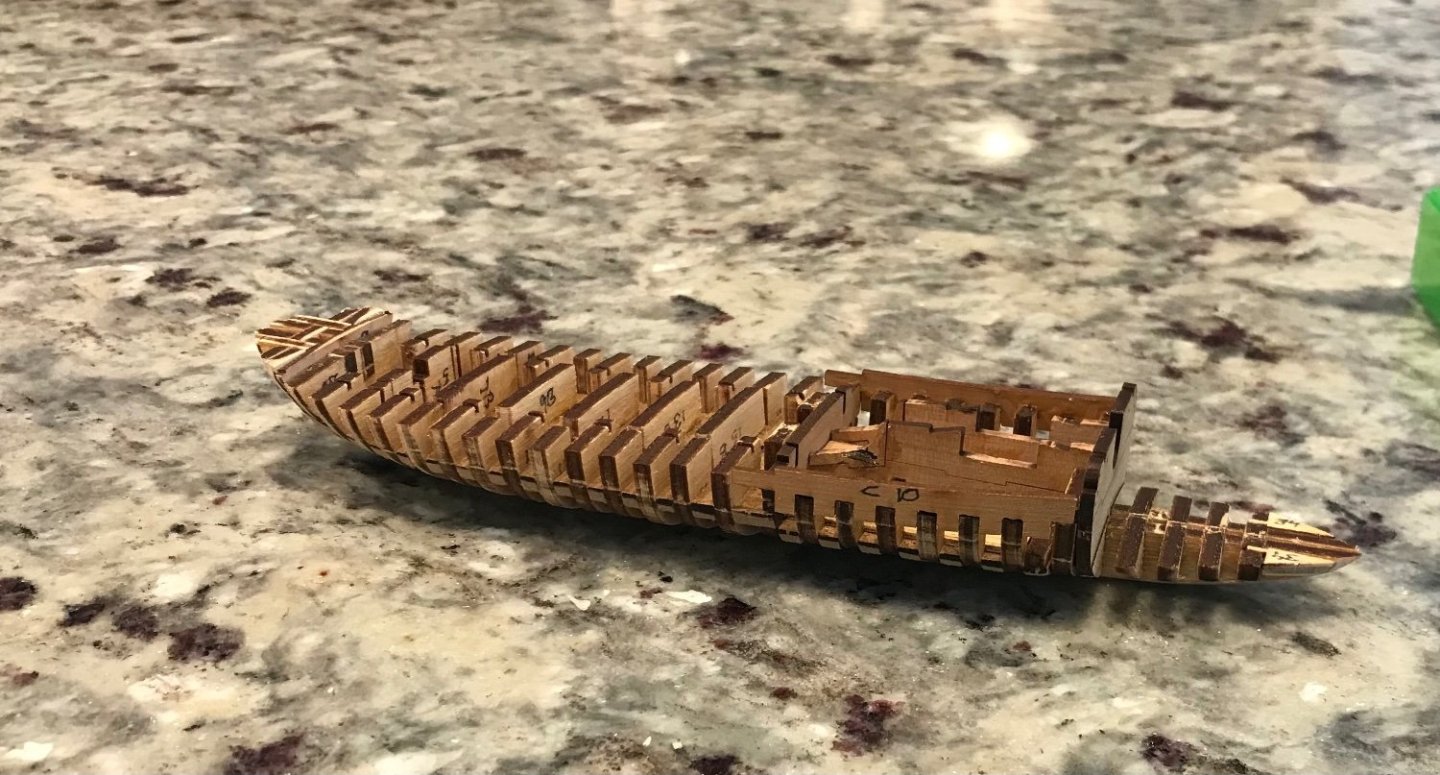
She is ready to get sanding and final shaping done. If I may offer a word of advice. There is no room for error in this kit. Everything is designed to fit snugly and perfectly in position. So check and check and check. I discovered when I was attaching the stringers C10 that the rough transom was not pushed all the way into its slot. Fortunately I was able to loosen the joint enough to tap it down into its correct position. I should have noticed that it was not correct when I attached it but somehow missed it.
- 42 replies
-
- 4
-
-
- Cannon Jolle
- Master Korabel
- (and 1 more)